GPS Enabled Trail Maps
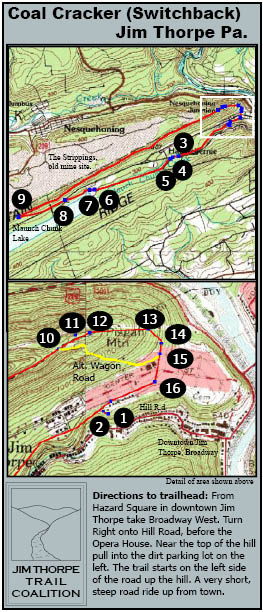
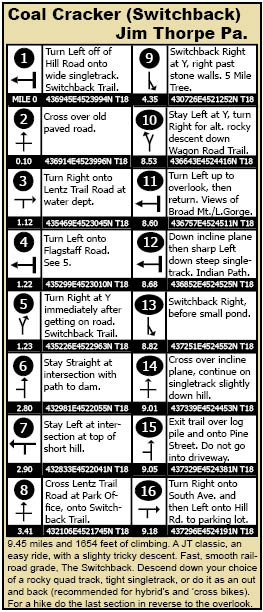
How to use a handheld GPS unit to create some really nice maps of mountain bike or hiking trails.
Tools You Will Need
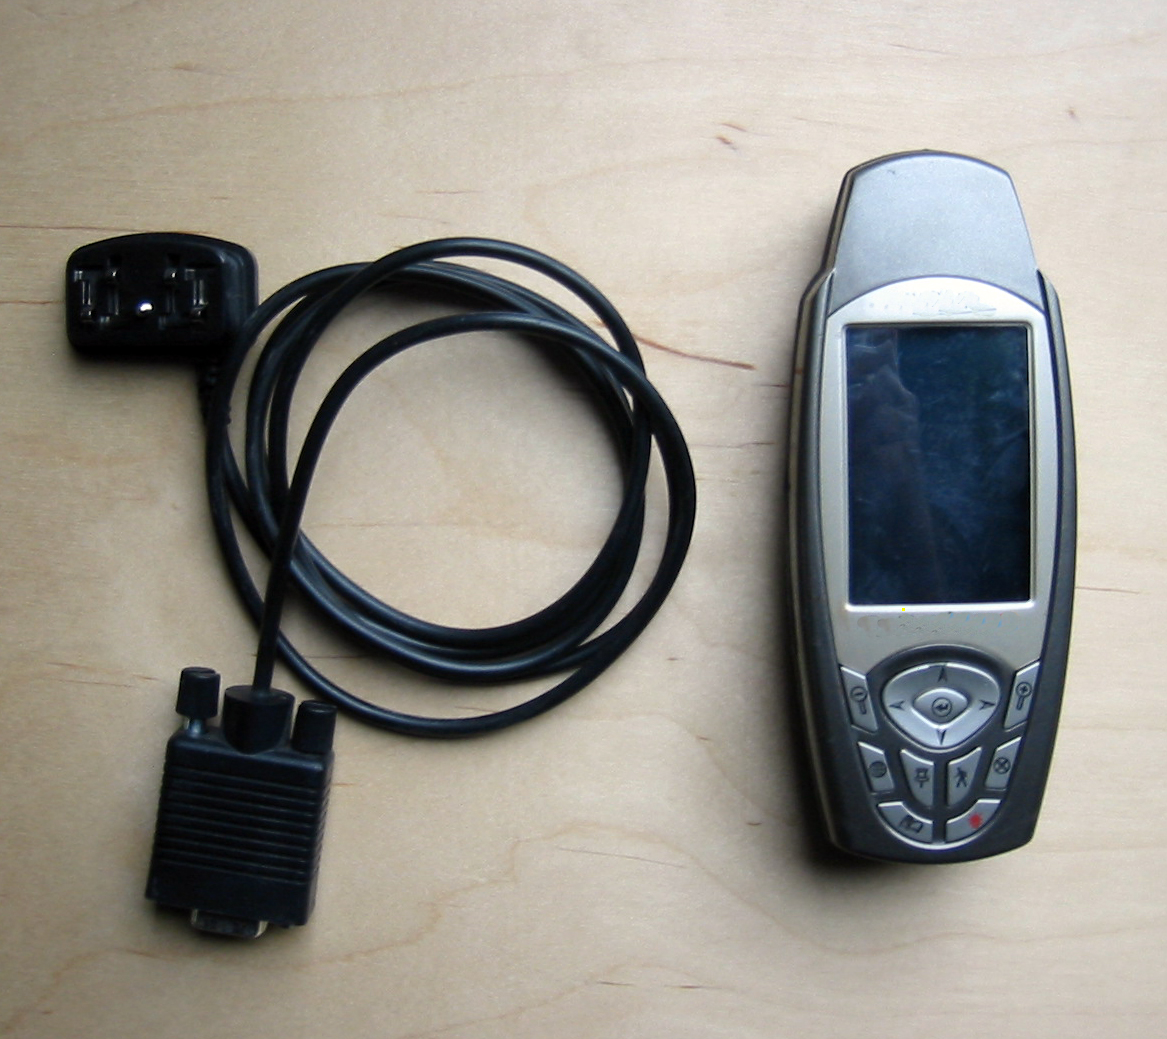
Buy or borrow a handheld GPS unit with a data transfer cable. The key features to look for are the ability to add waypoints and to add notations to those waypoints. You will also need software to transfer your tracks and waypoints to your computer. I highly recommend Topofusion, and the following steps are specific to it, although they should be similar in other programs. To layout your maps you will need a layput program, I use Adobe Indesign CS2, you might be able to use a word processor as an alternative.
Topofusion Software
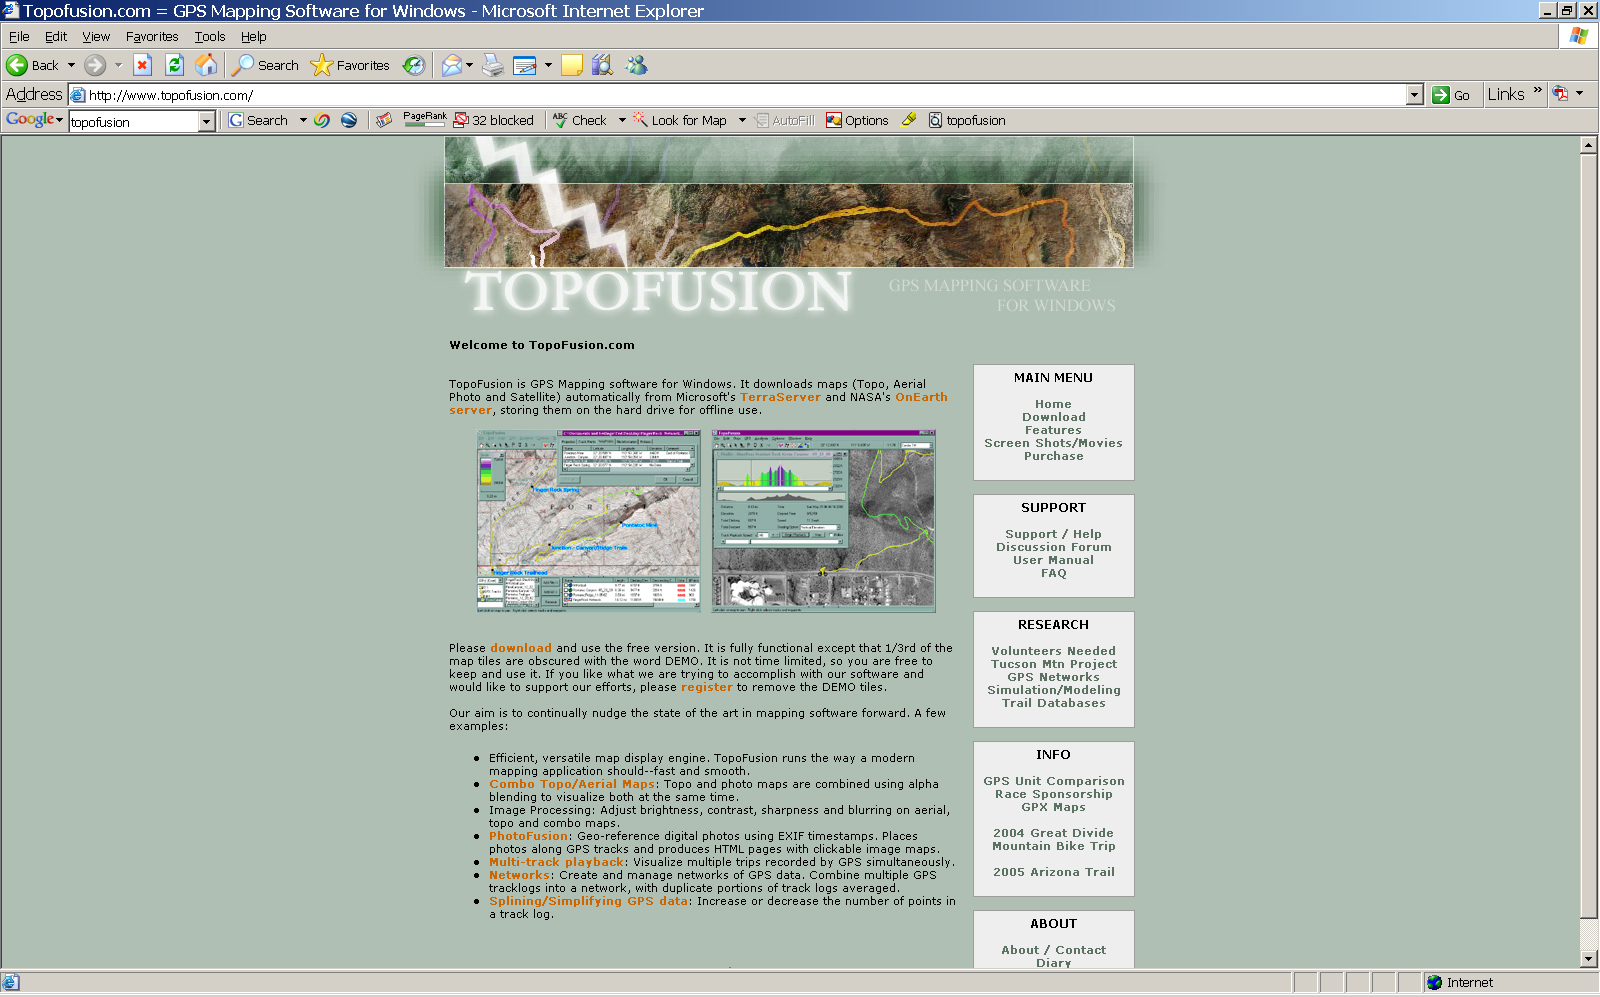
Available from www.topofusion.com. Allows you to download GPS tracks and waypoints. Overlays tracks onto topo maps and satellite images pulled from the web. Gives you mileage, elevation profiles, speed, slope, time, and all kinds of good geeky stuff. Even allows you to create trail networks and run multi-use trail simulations.
InDesign
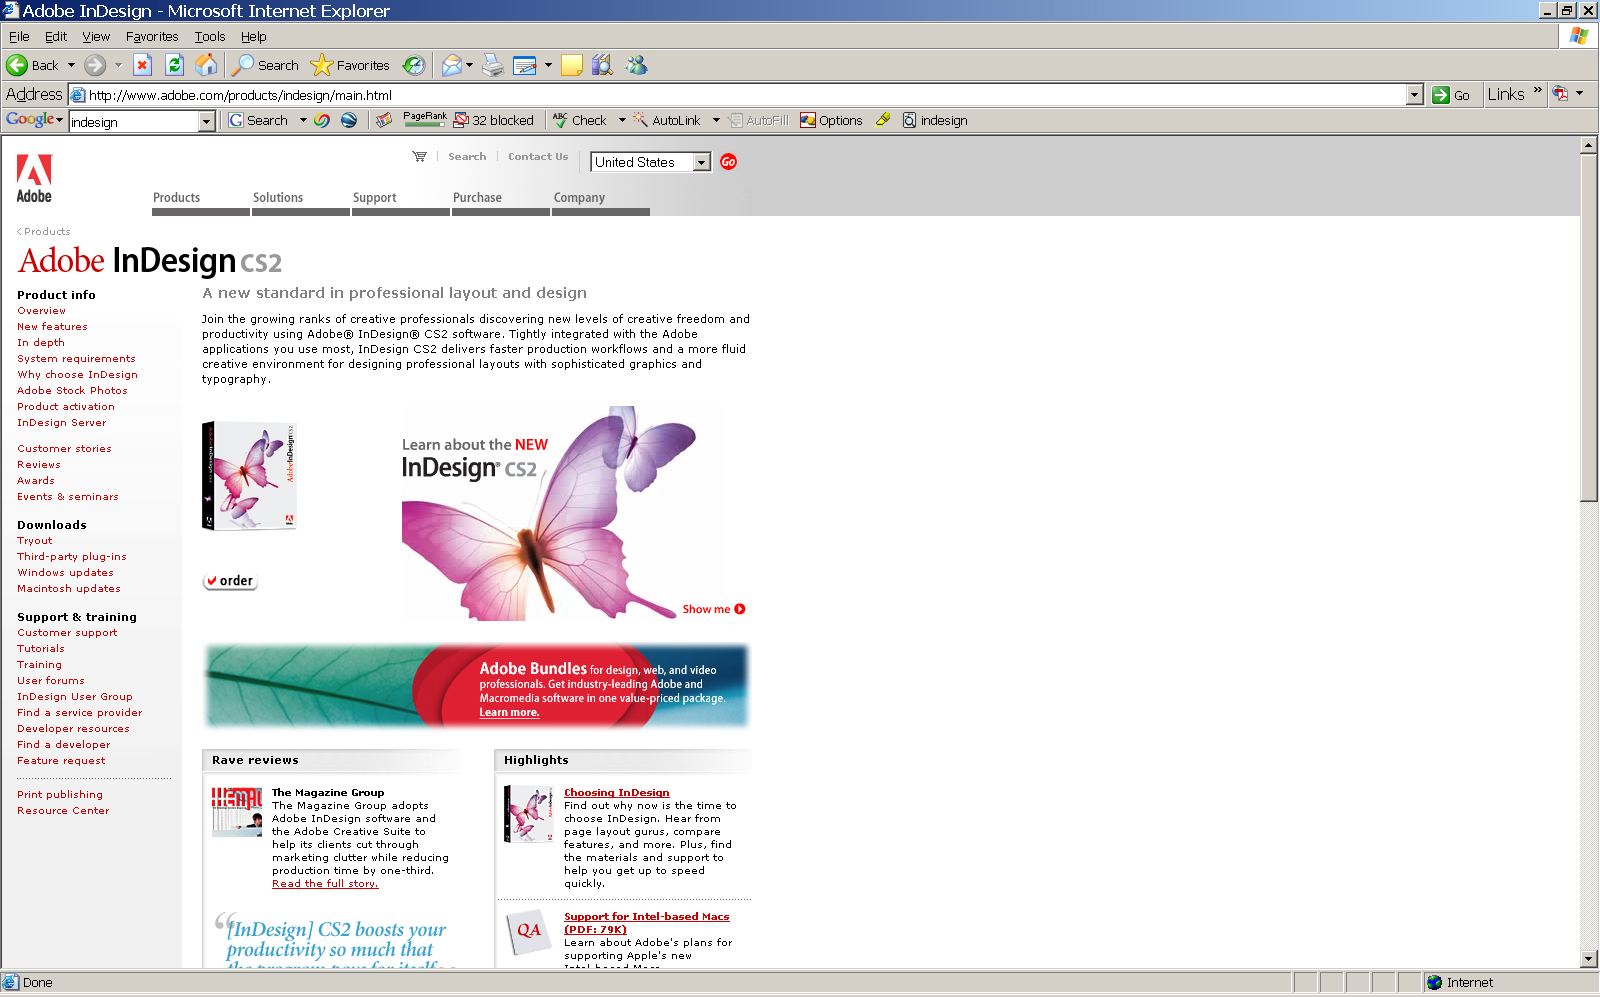
Good layout software. Available from Adobe, part of CS2 as well. Very useful for creating a master layout and then easily adding images and text. There are other alternatives out there, use whatever you like.
Go for a Ride, or a HIke!
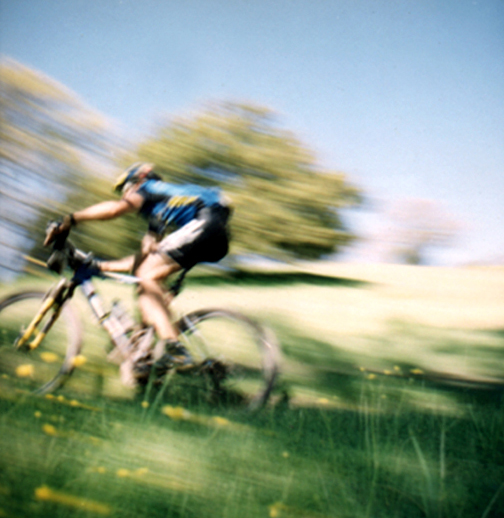
First I like to clear the memory on my GPS so I don't have to do any editing later. Start your GPS at the trailhead and mark it with a waypoint, add a comment "trailhead" to the waypoint. Now go for a ride and mark each intersection or important feature with a waypoint and a comment. I use abbreviations like "TL" for turn left at the tee. Make sure you don't lose the signal or you can get jumps in the track. When you are done turn the unit off ASAP.
Download Track Into Computer
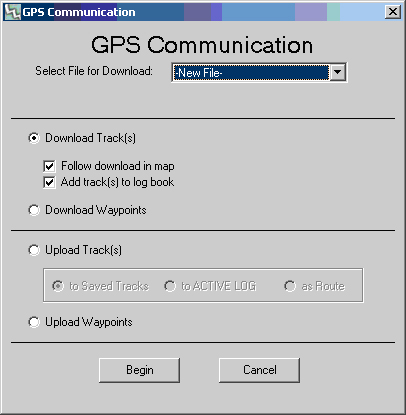
Use Topofusion, shown here, or your chosen program to download the track of your trail. You can set a number of things like track color and the like to what you prefer.
Download Waypoints to Your Computer
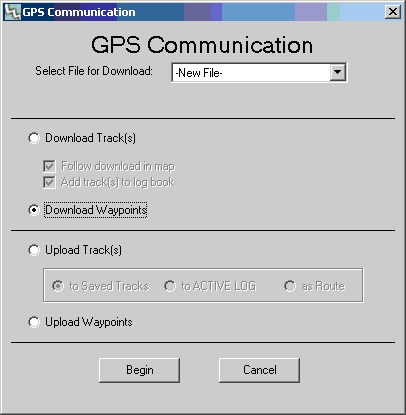
Using the same software, download your waypoints. They should come up at the bottom as a separate file and show up as squares. I usually turn the preference to "symbol" so that the waypoint names do not obscure the map.
Export Waypoints to Spreadsheet Format
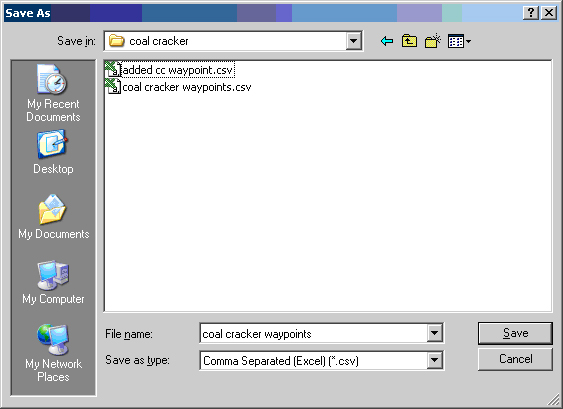
Topofusion very kindly added this feature for me. Select the waypoint file from the bottom of the screen and rightclick "save as" and select ".svg". Now you can open it in a program like Excel.
Add Notes to Spreadsheet File As You Like
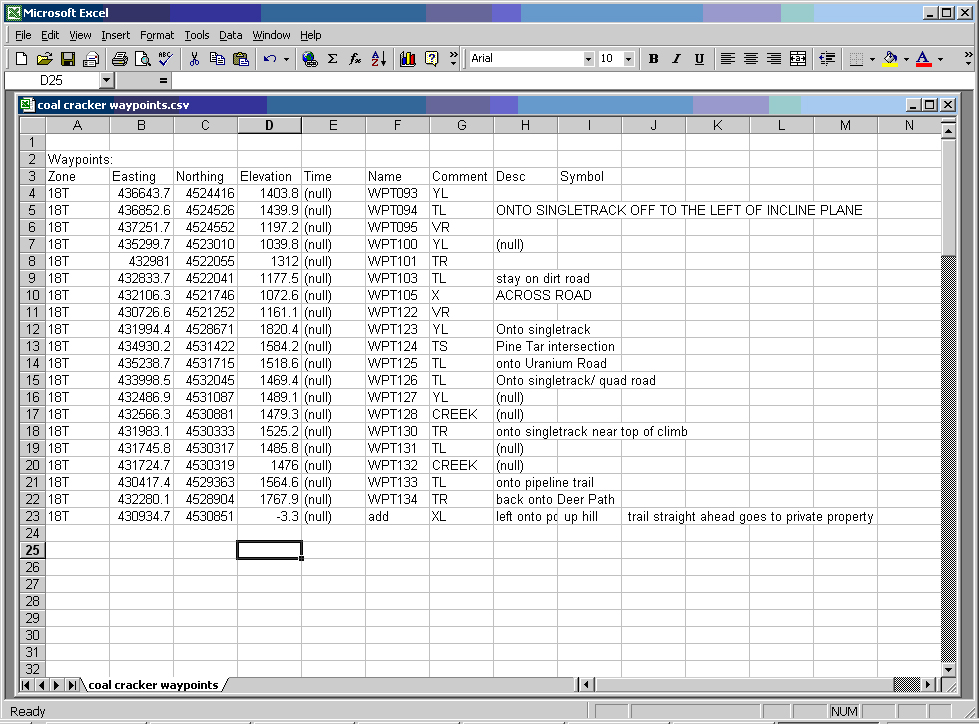
I like to add notes like "onto the rocky singletrack" to my spreadsheet. I use these to fill in the descriptions on my final map. I usually just do these from memory. You could also take a notepad and make these notes as you ride and note which number waypoint they go to.
Export Map View
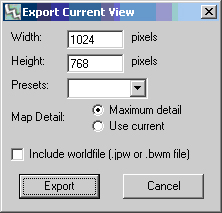
Position the track and map how you want them to appear on your final map. Choose either topographical or satellite views and scale. Remember that you will be cropping these to fit your map layout so you want to leave some bleed. Select "export view" from the file menu and save the map. You might want to play around with layouts and even save some versions with waypoint names or comments showing, it can make putting your map together easier.
Crop Map Image
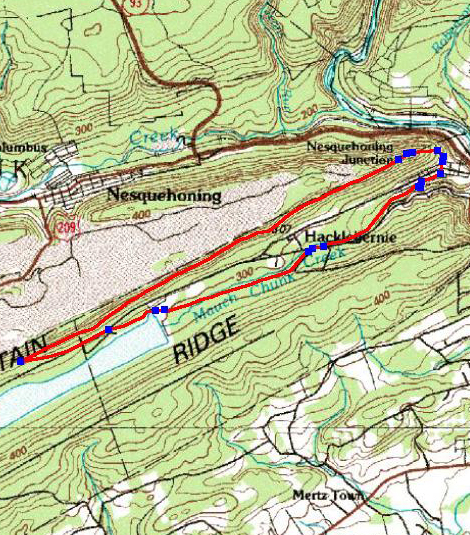
Open your exported map image and crop it to fit on your map layout.
Create Your Master Map Layout
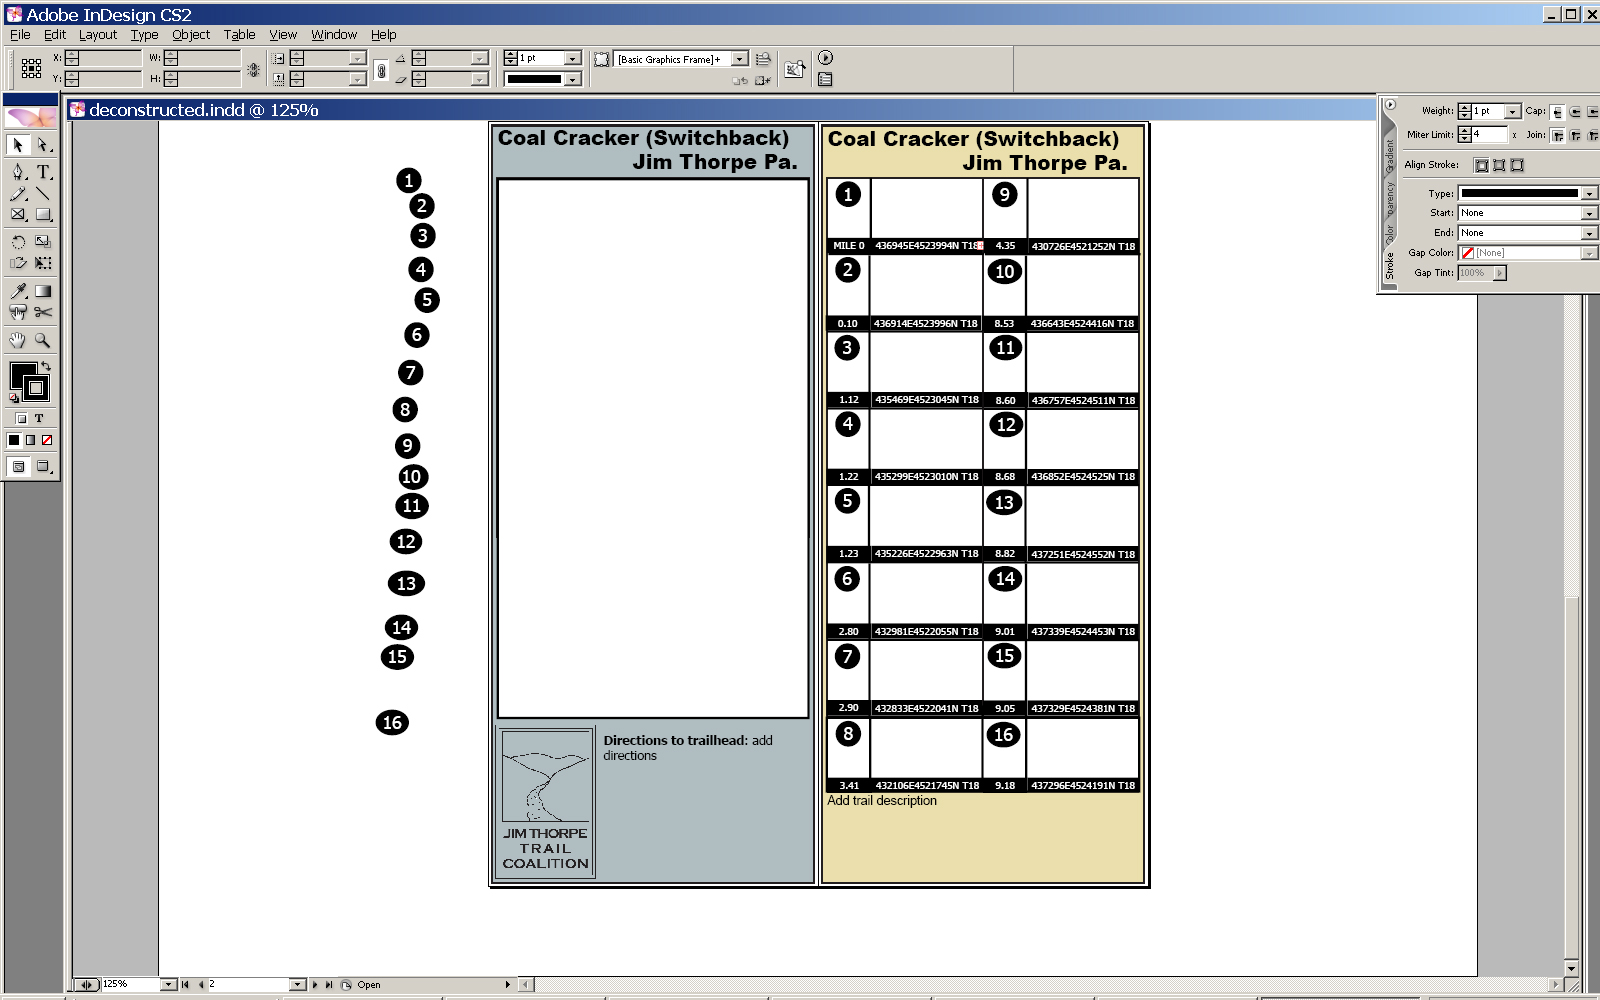
I choose to create a two sided format that makes a map that fits perfectly in a cycling jersey pocket, with enough sticking out to easily grab it. My template has the trail name and location on both sides, directions to the trailhead on the front along with the topo map. On the back there are arrows, mileage, GPS coordinates, waypoint descriptions, and an overall trail description. Both sides have the logo for our local trail group. The more you layout on your master, the easier it will be to make more maps later.
Add Your Map Image and Number the Waypoints
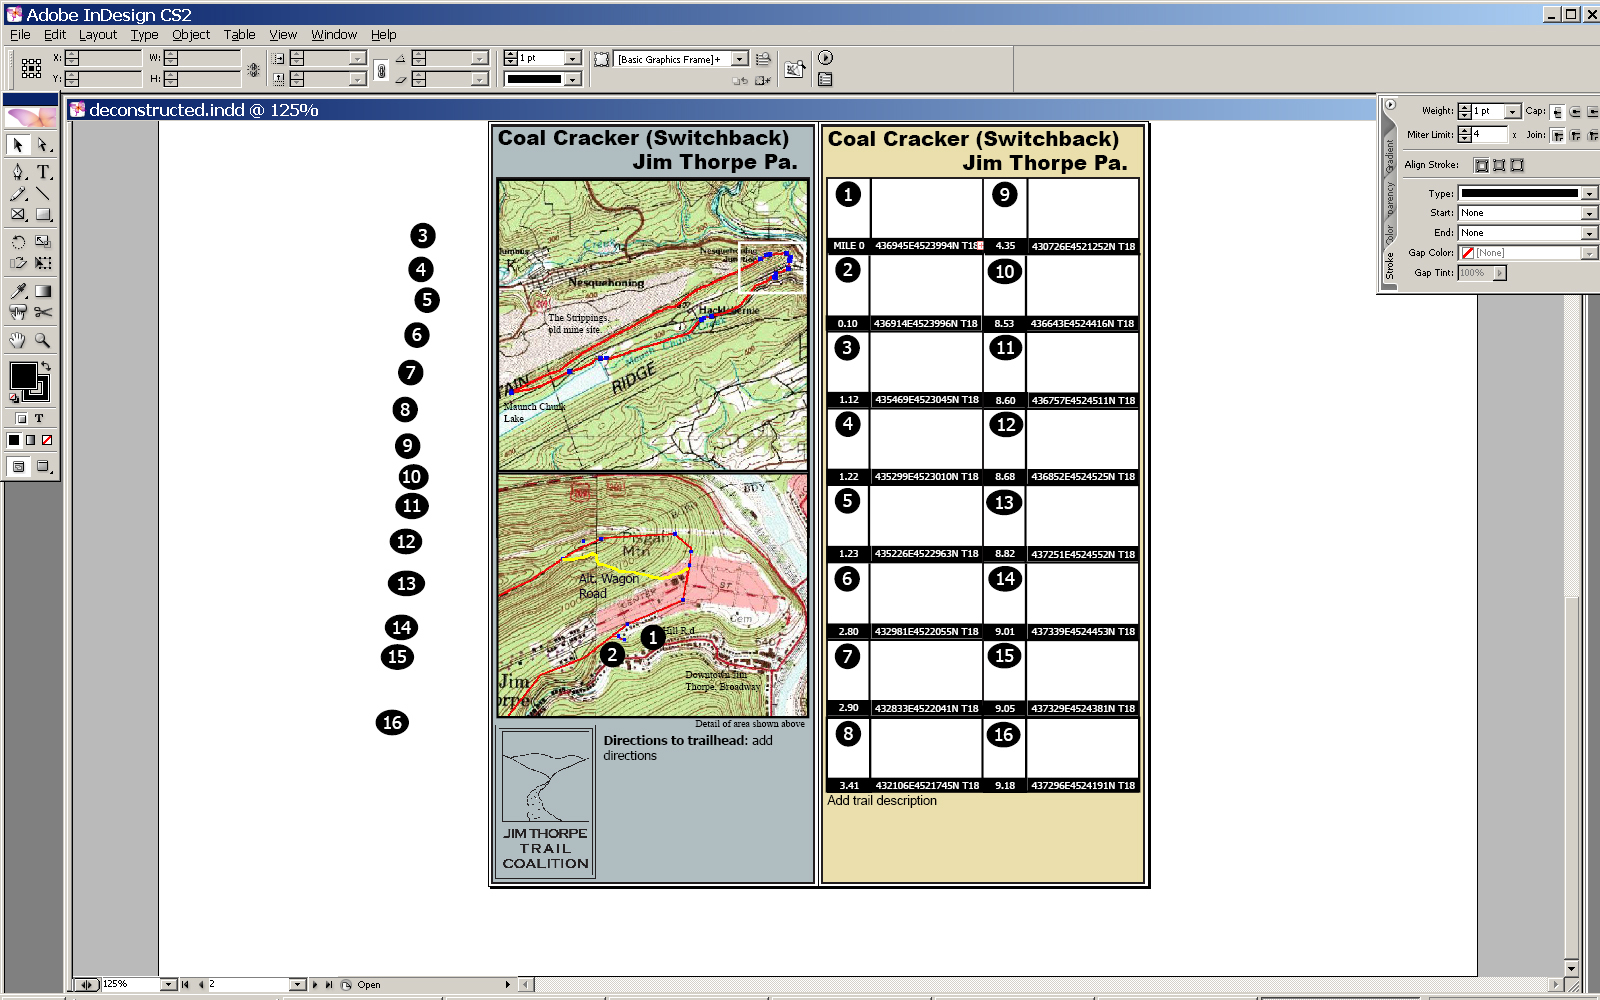
Insert the map image you have edited, and make sure not to distort it. Add numbers to indicate the waypoints. You might also want to note features on the map. Many of my maps fit better with North to the side, I just add a compass mark to these.
Make Arrow Symbols
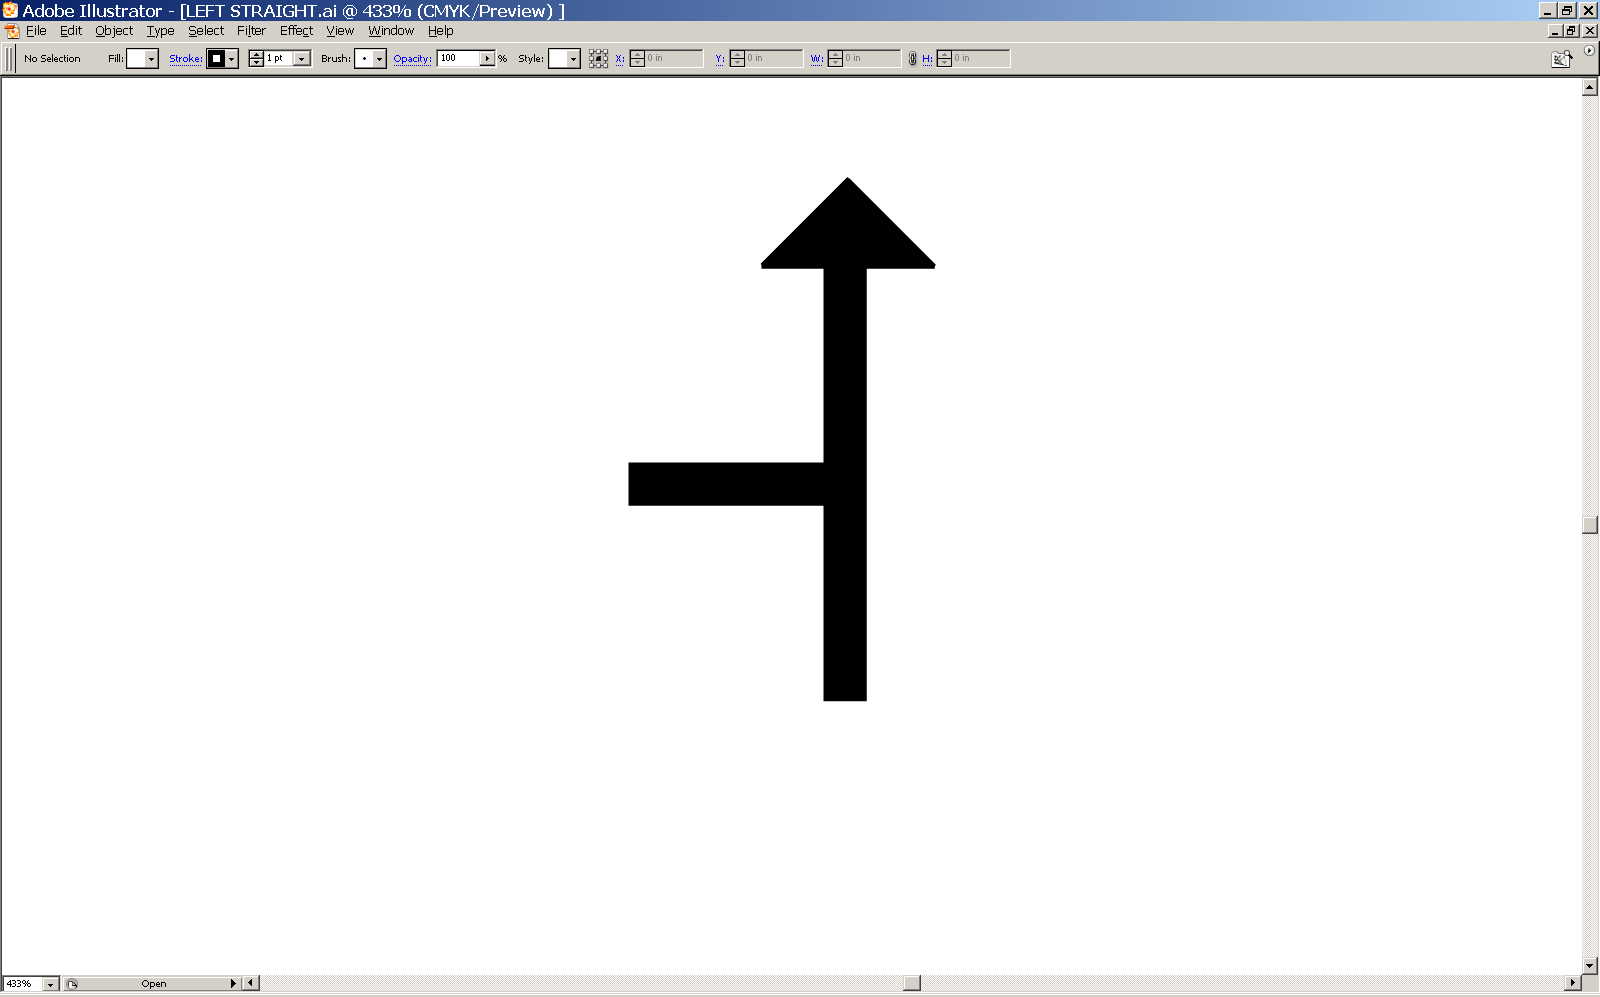
I made a catalog of arrow symbols in Illustrator to use as an added visual aid.
Add Arrow Symbols
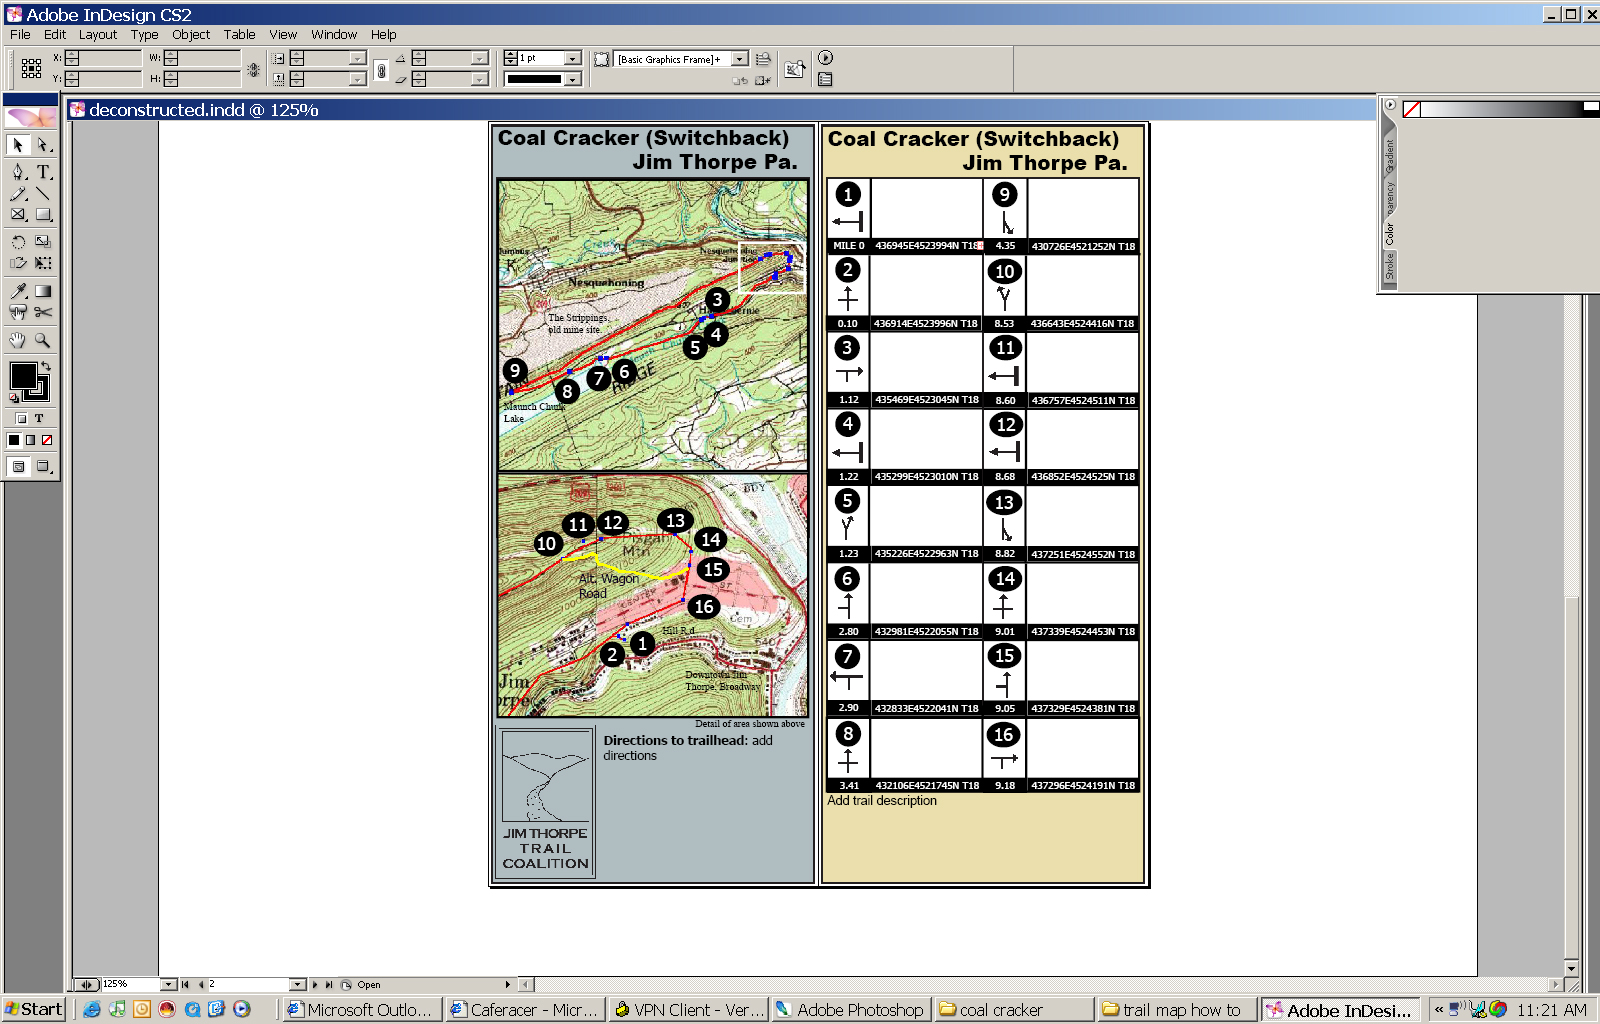
Add arrow symbols to your descriptions of the waypoints, I use my spreadsheet for reference.
Add Descriptions
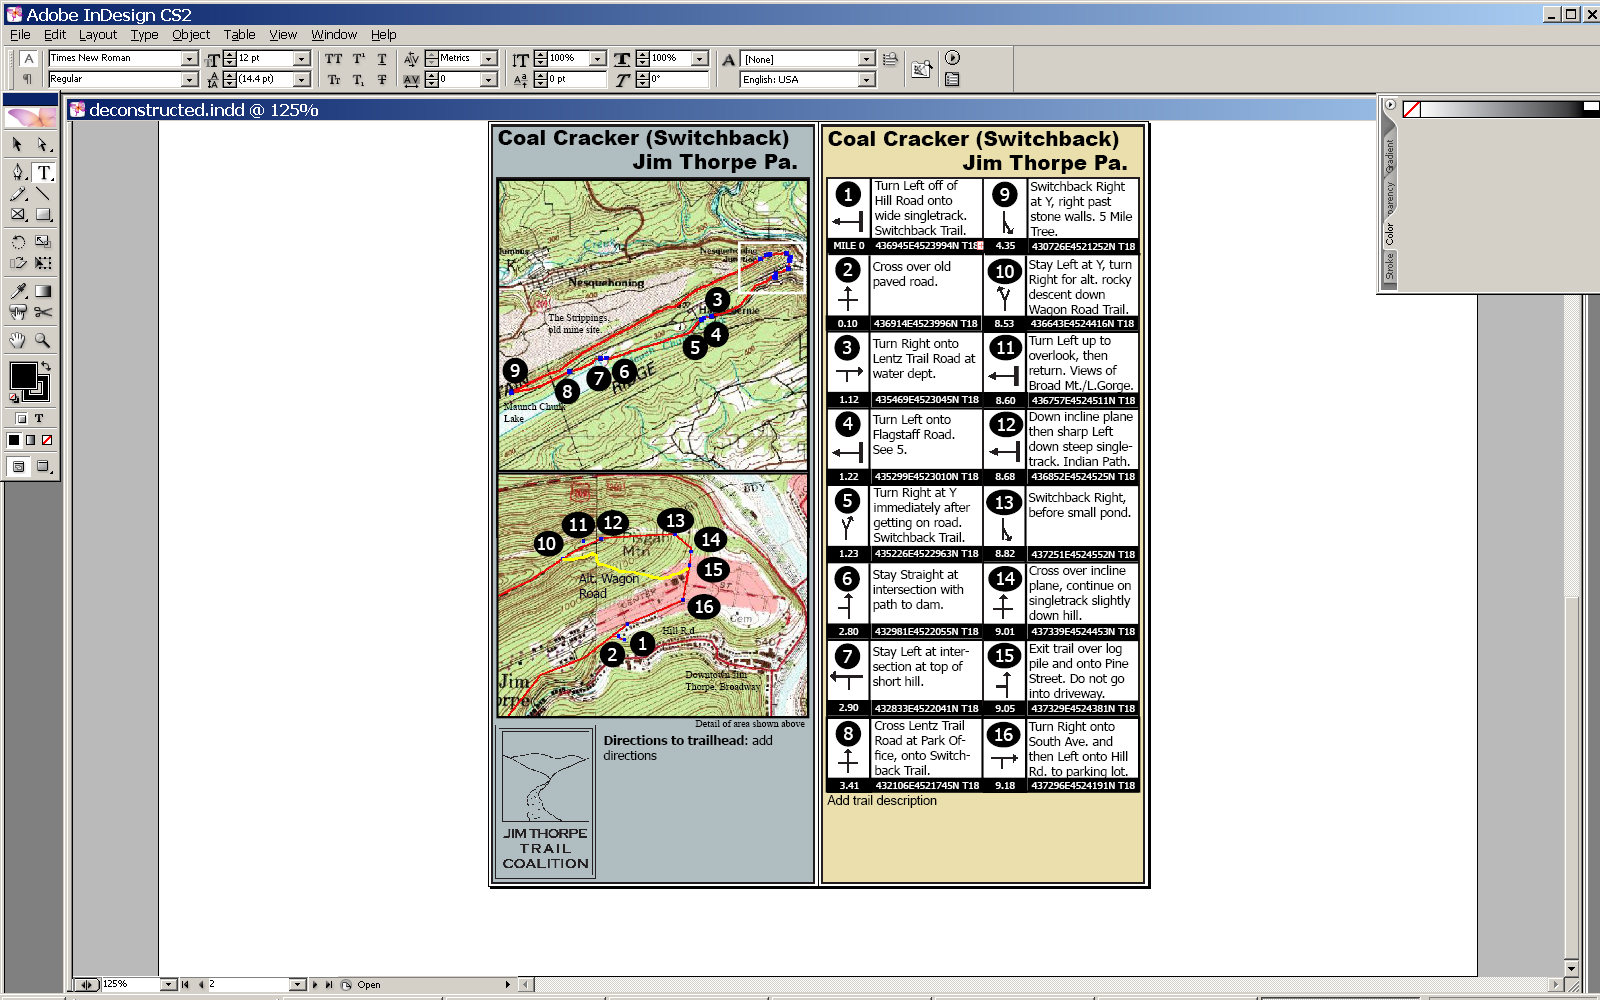
Add descriptions to your waypoints, these are very useful to people who will be using your map without GPS. Try to be descriptive. For example: "Turn Left at the Y, after you go down the steep singletrack with loose rocks".
Add GPS Coordinates, Mileage, Trail Overview, and Directions to Trailhead
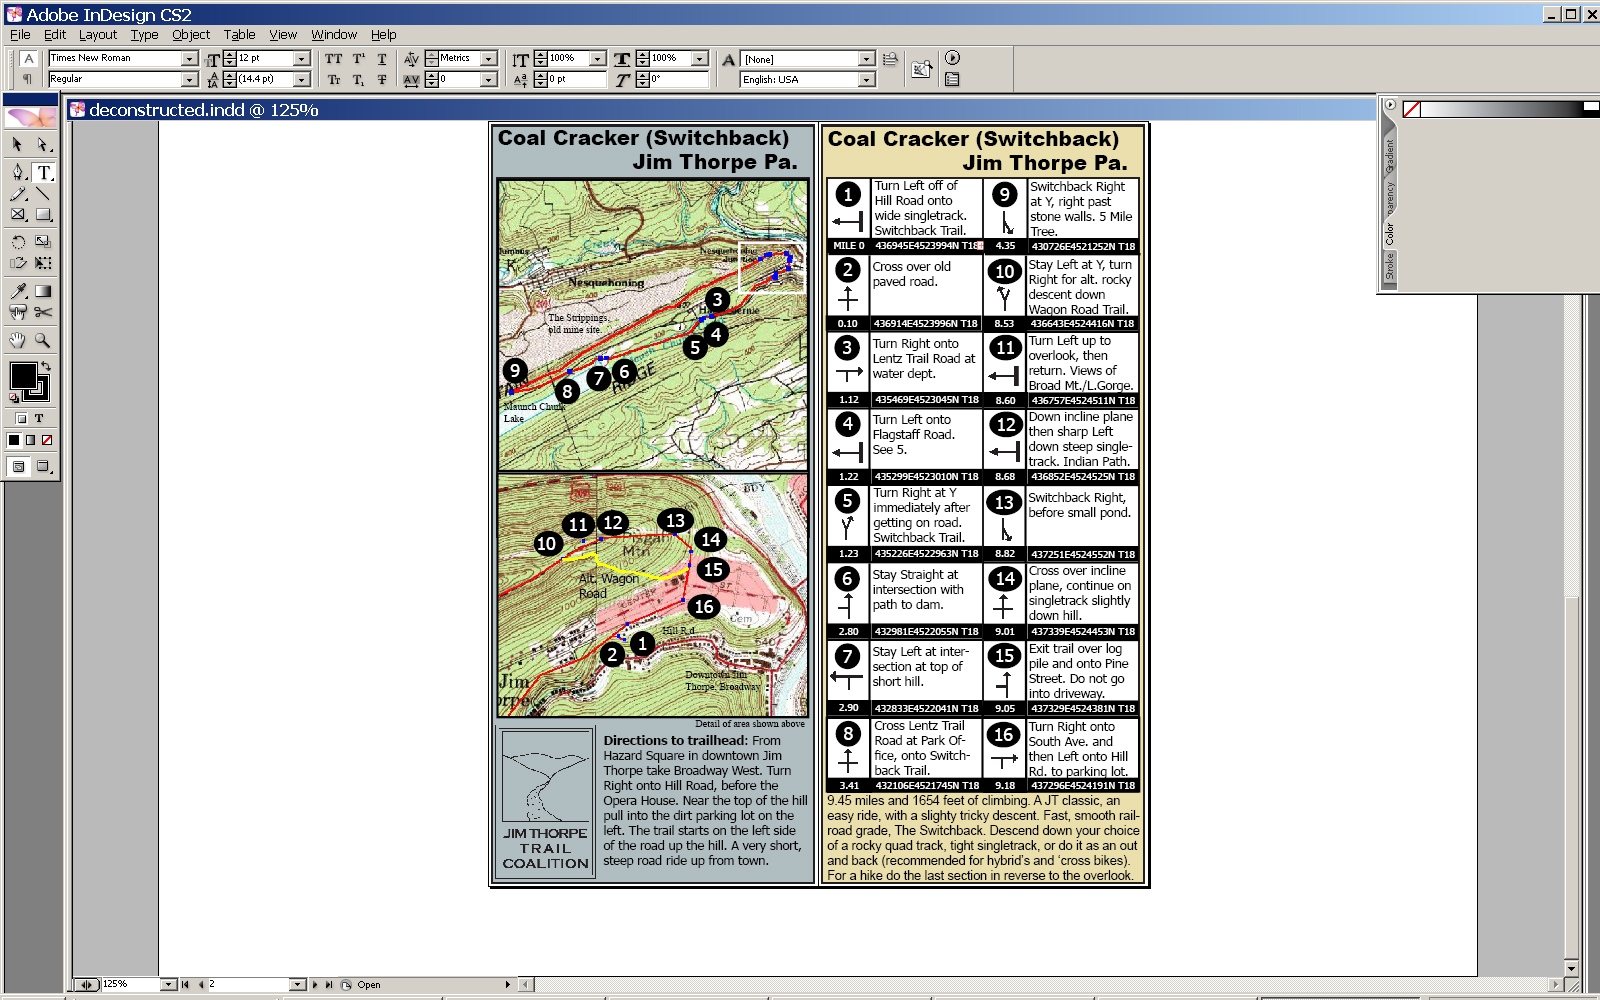
Add the GPS coordinates from your spreadsheet, either cut and paste or manually enter them. Add in the mileage to each waypoint from the beginning. You can use the elevation profile tool in Topofusion to get pretty close. This is useful for people using your map who have cycle-computers. Finally add written directions to the trailhead and an overview of the trail. I like to describe the terrain, the total mileage, the elevation gain, and maybe a little history.
Finished! Now Get Them Out to Other People.


Your map is done! Now figure out how you want to distribute them. In the spirit of openness I make PDF copies of mine freely available to people who join our trail group, who's membership is free. www.jttrails.wordpress.com
If you email me I might even send you a copy of my page layout master. Happy trails!
If you email me I might even send you a copy of my page layout master. Happy trails!