GO BABY GO

Go Baby Go is a national, community-based research, design, and outreach program that provides modified ride-on cars to children from birth to age 3 who experience limited mobility. My class of 2018-2019 inthe PLTW Pre-Engineering program took this assignment upon ourselves, and this is the step-by-step documentation of how we did the project.
Material List
Supplies required- Basic car base
- 3-D printed button made in Inventor,
- Limit switches,
- 5-point harness for safety and support,
- Music speaker for wiring and use for adding music into the car for flair,
- 3-D printed button for music playing,
- On and off kill switch,
- Boesch Built Qty 10- LED Lights- 3mm, 5mm, 8mm, 10mm pre wired 12 volt leds- 12V White, Red, Blue, Orange, Green (3mm, Red $6.99 + $2.99 shipping)
- (FAVOLCANO LED Light Strip, Blue IP65 Waterproof LED Tape Light, SMD 3528, 600 LEDs 16.4 Feet(5M)LED Strip 120 LEDs/M Flexible Tape Lighting ($9.99)
- 3 Krylon 16 Oz. Flat White Industrial Eco-Guard Latex Spray Paint Can,(12 Oz. Net Fill ( $6. 99)
- 1 can of Krylon Fusion Patriot Blue Spray Paint for Plastic (12 oz) Bundle with Latex Gloves (6 Items) ($15.98 +$7.99 shipping.
Optional
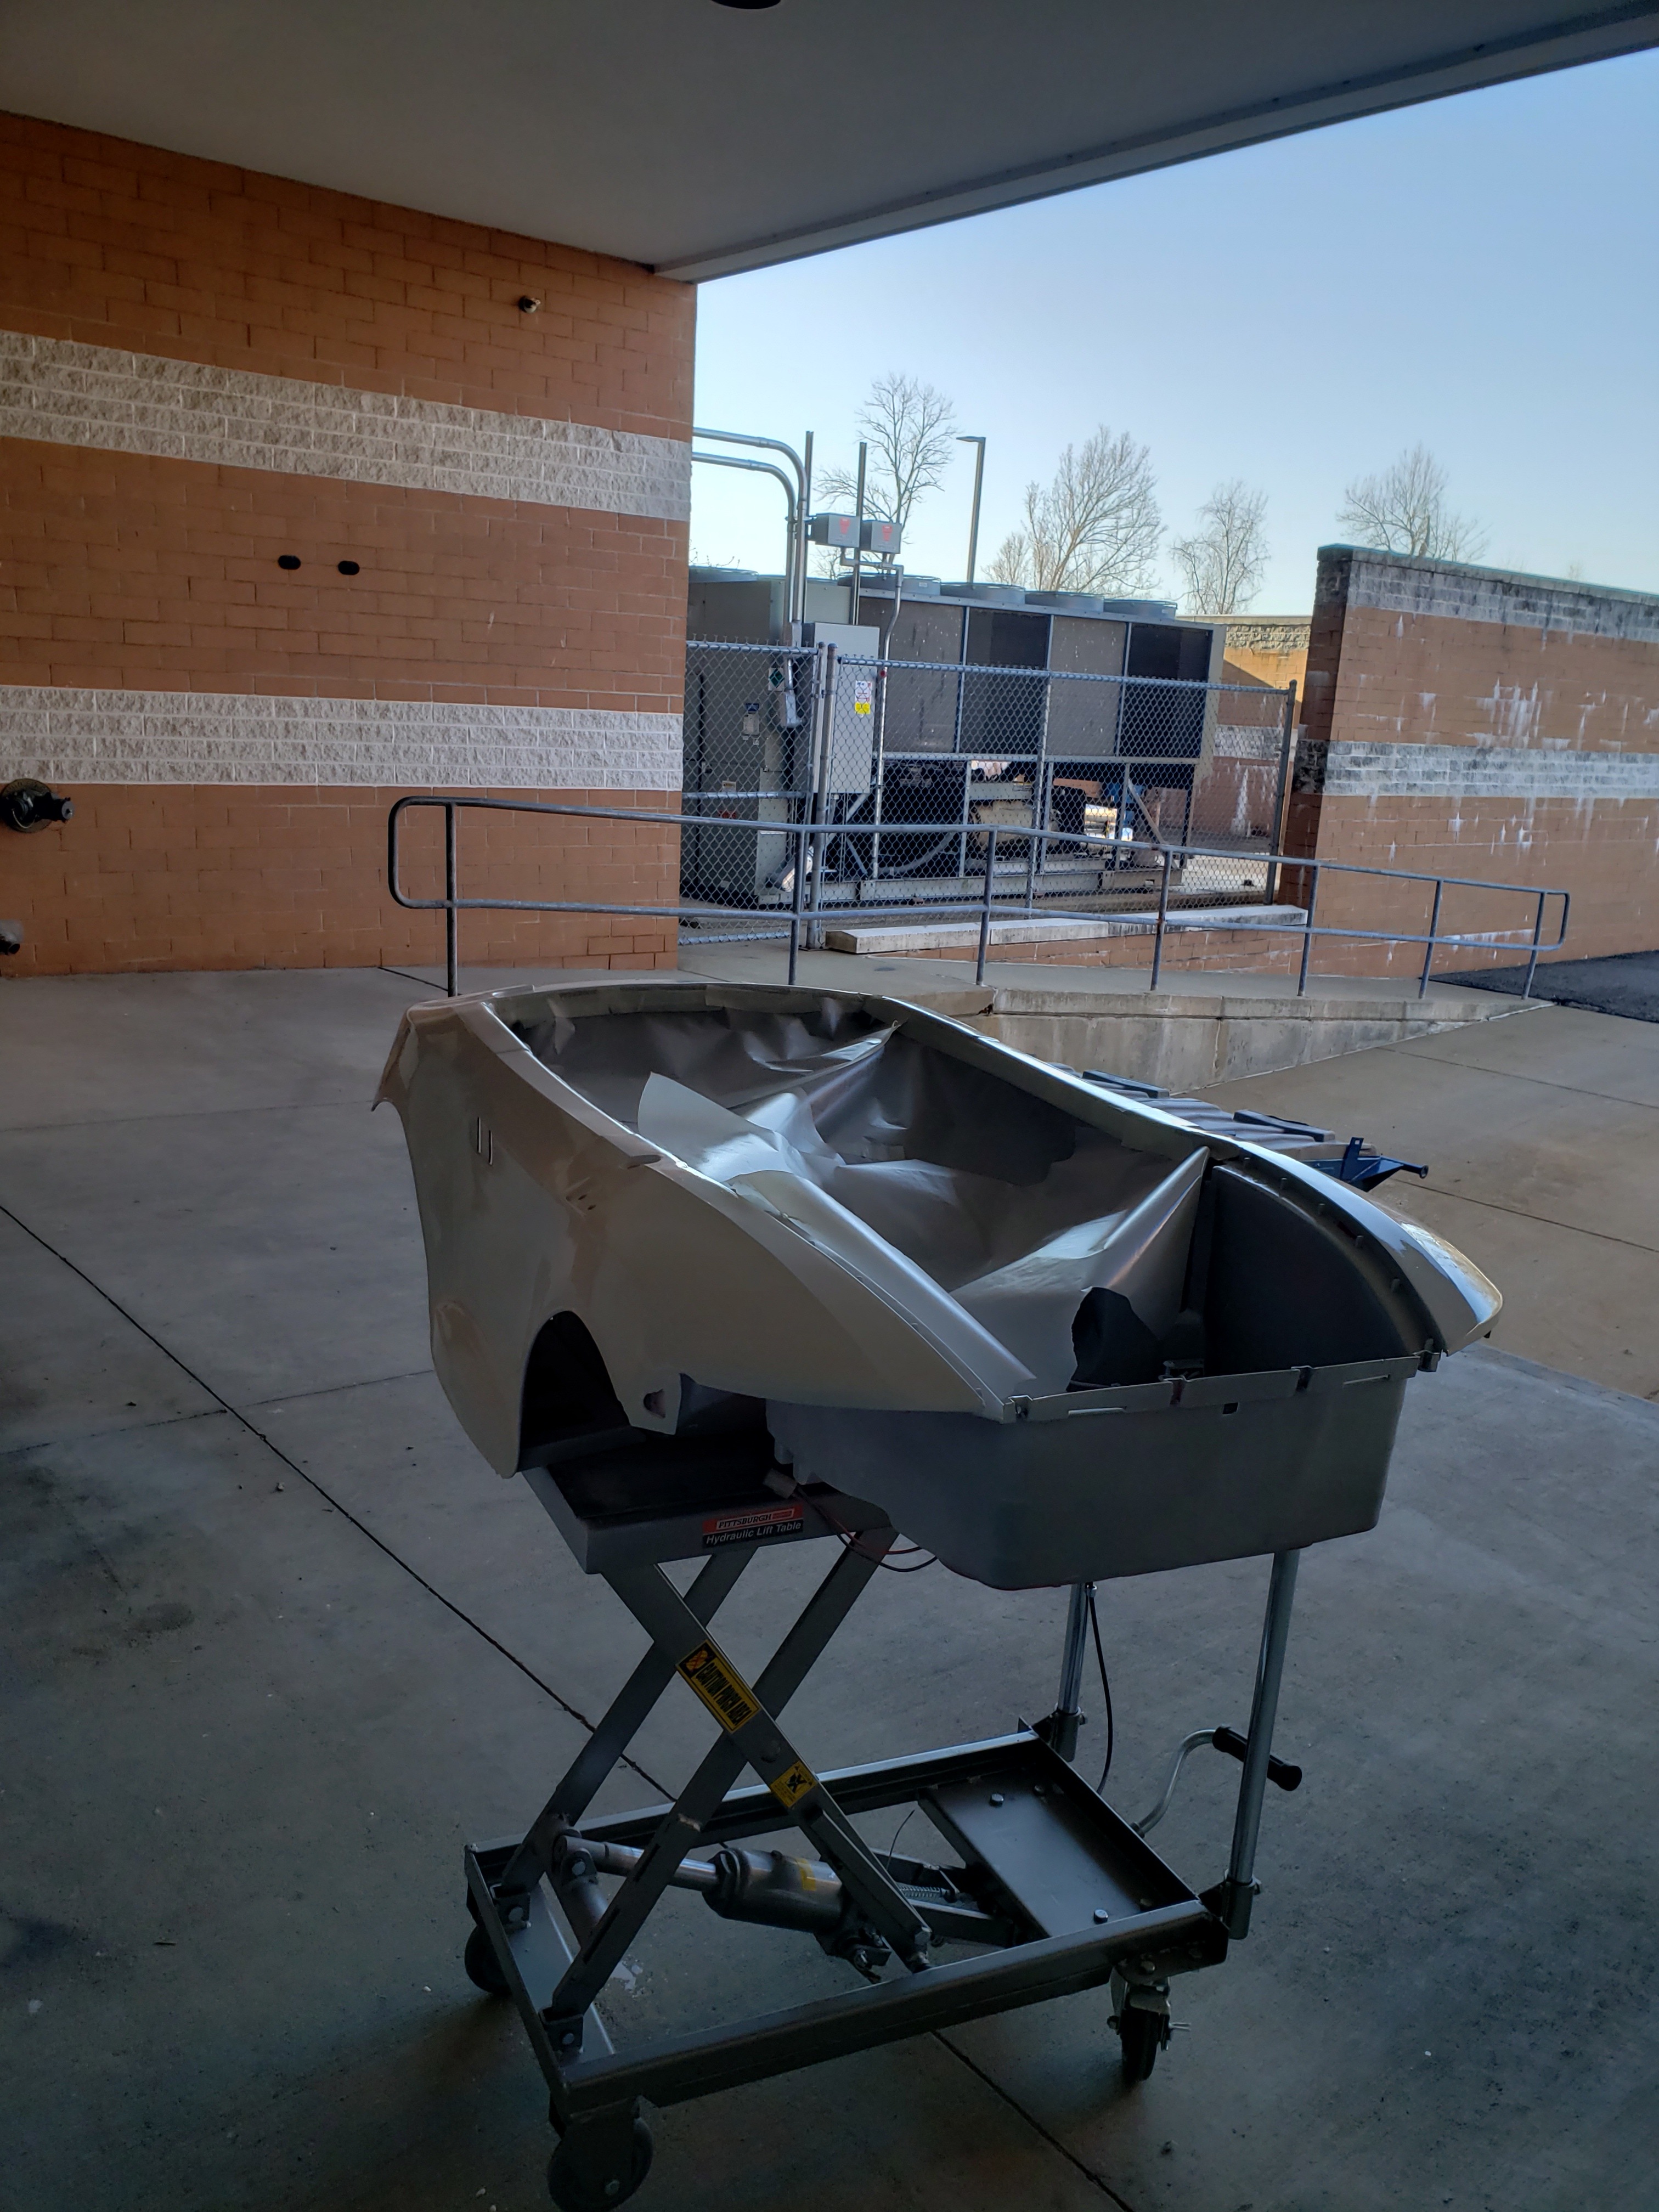
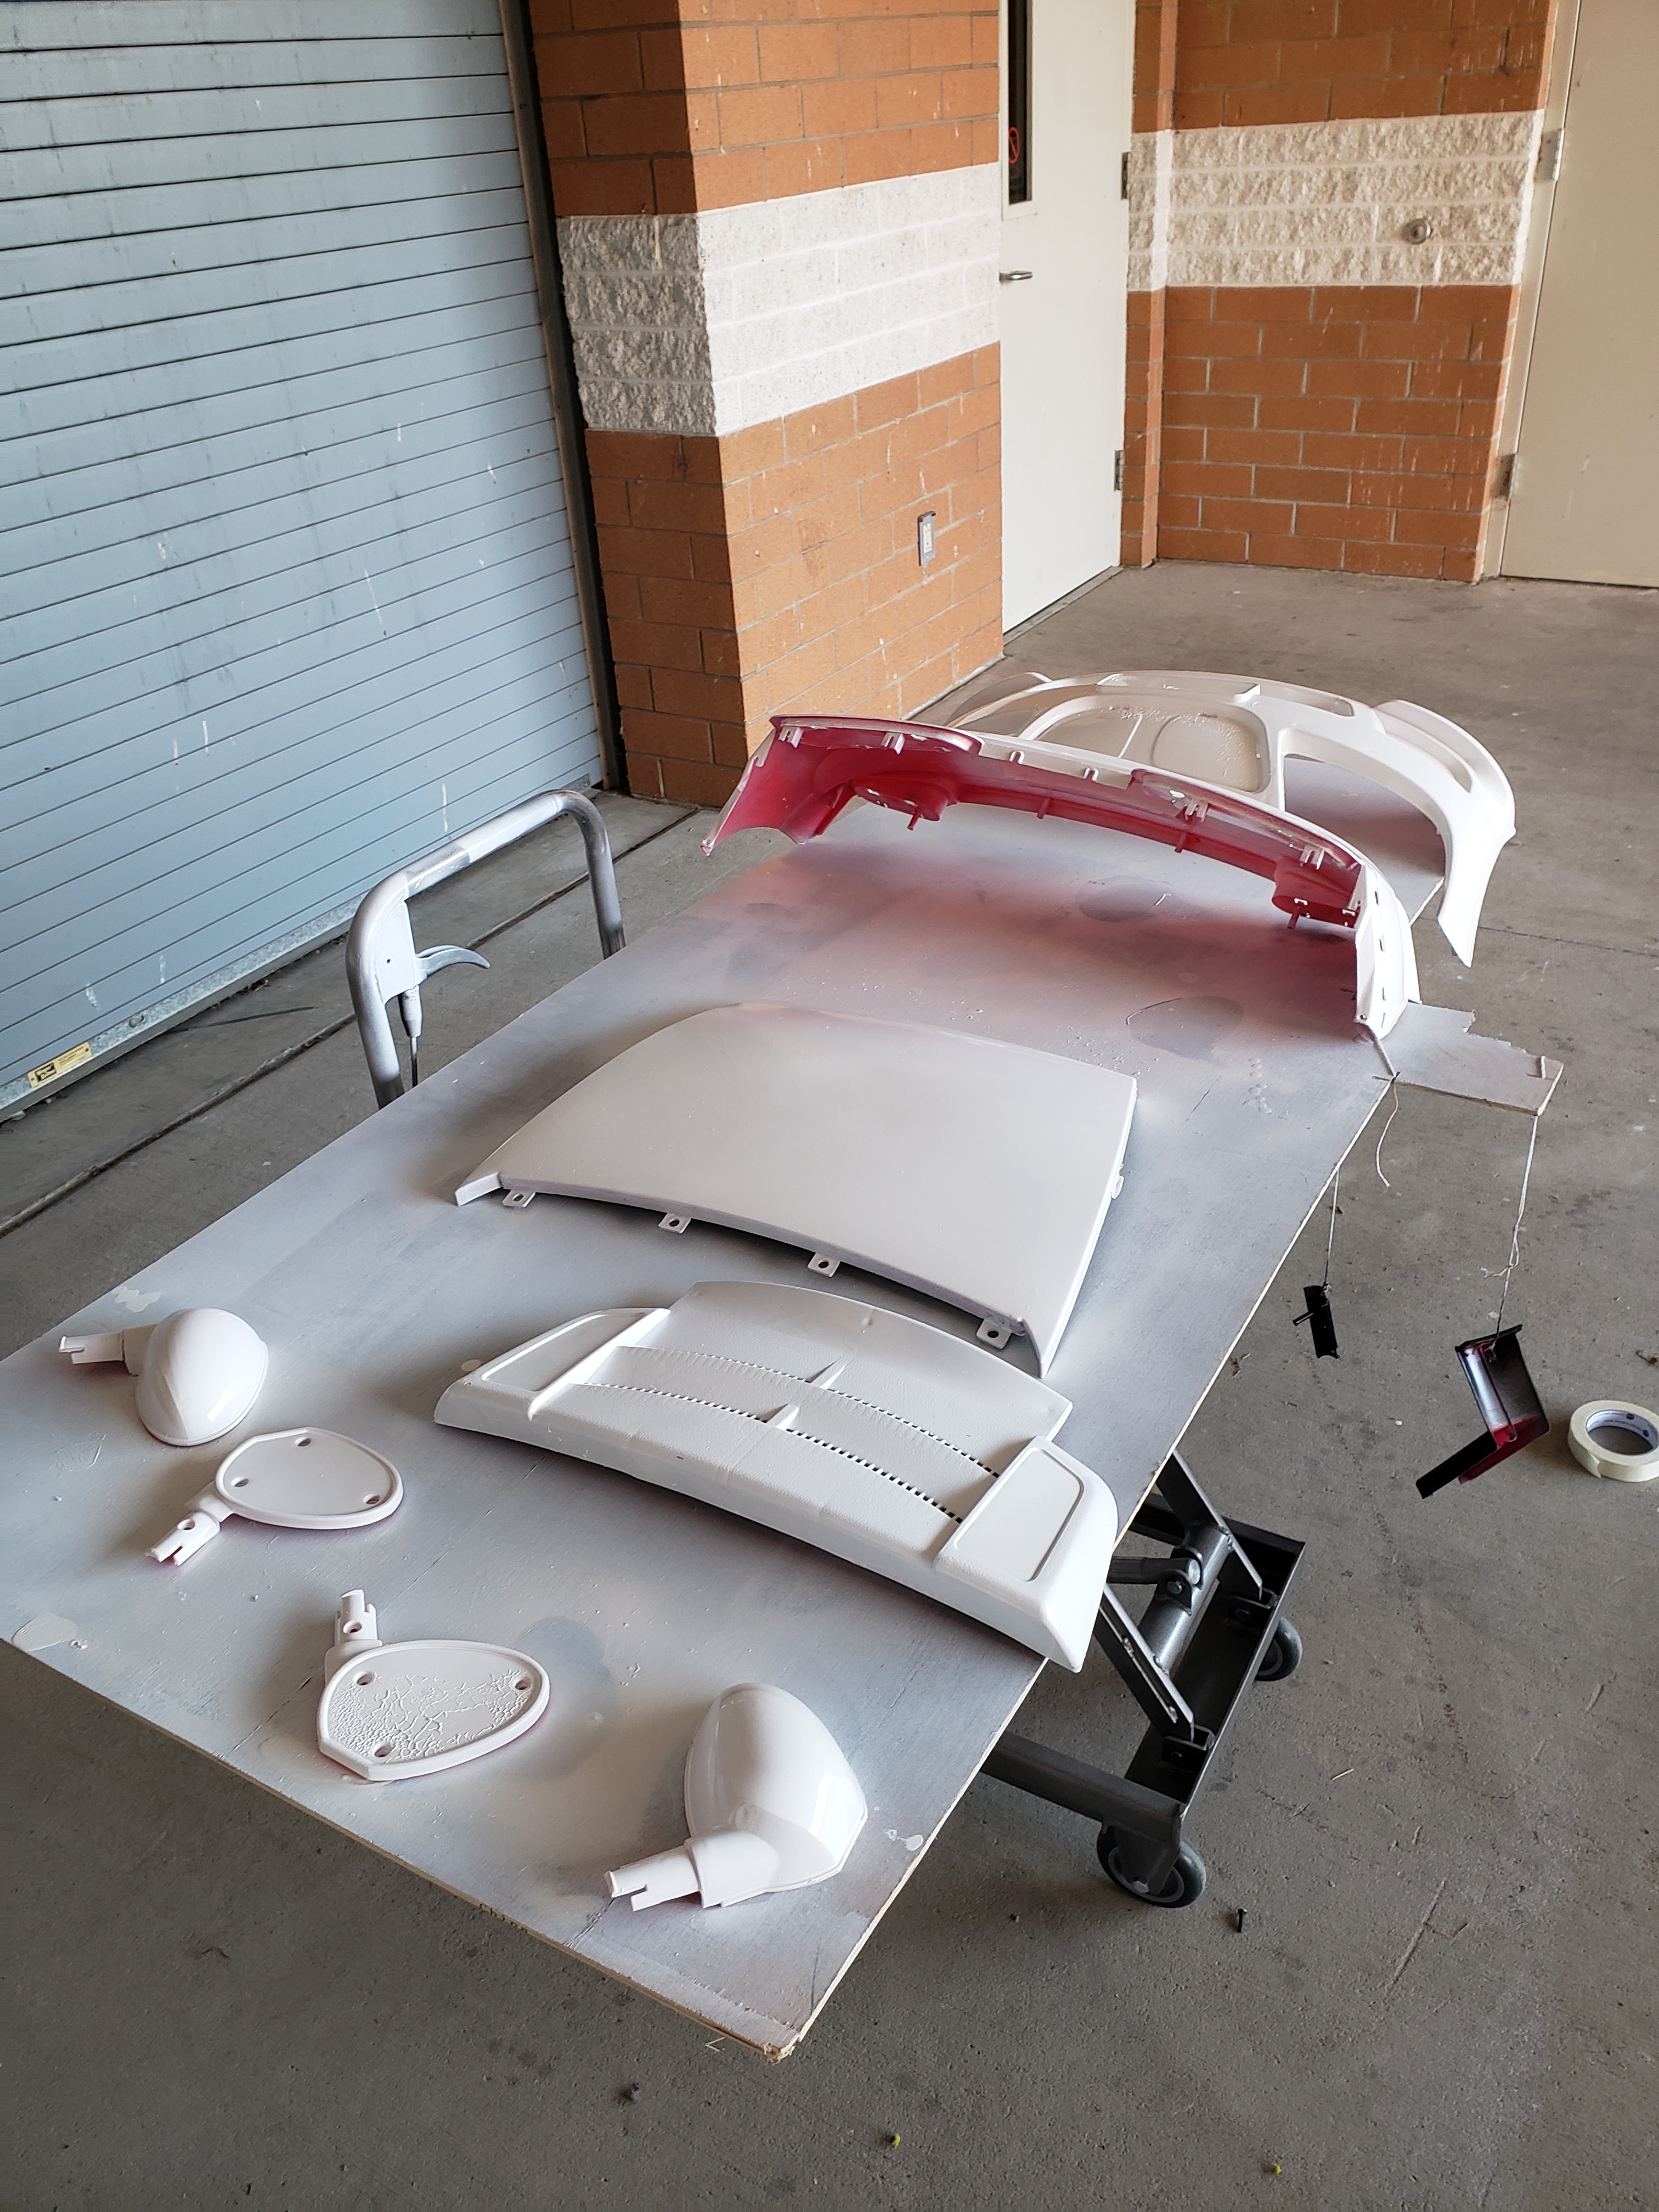
Paint bare car base if desired (optional) with chosen colors.
Optional
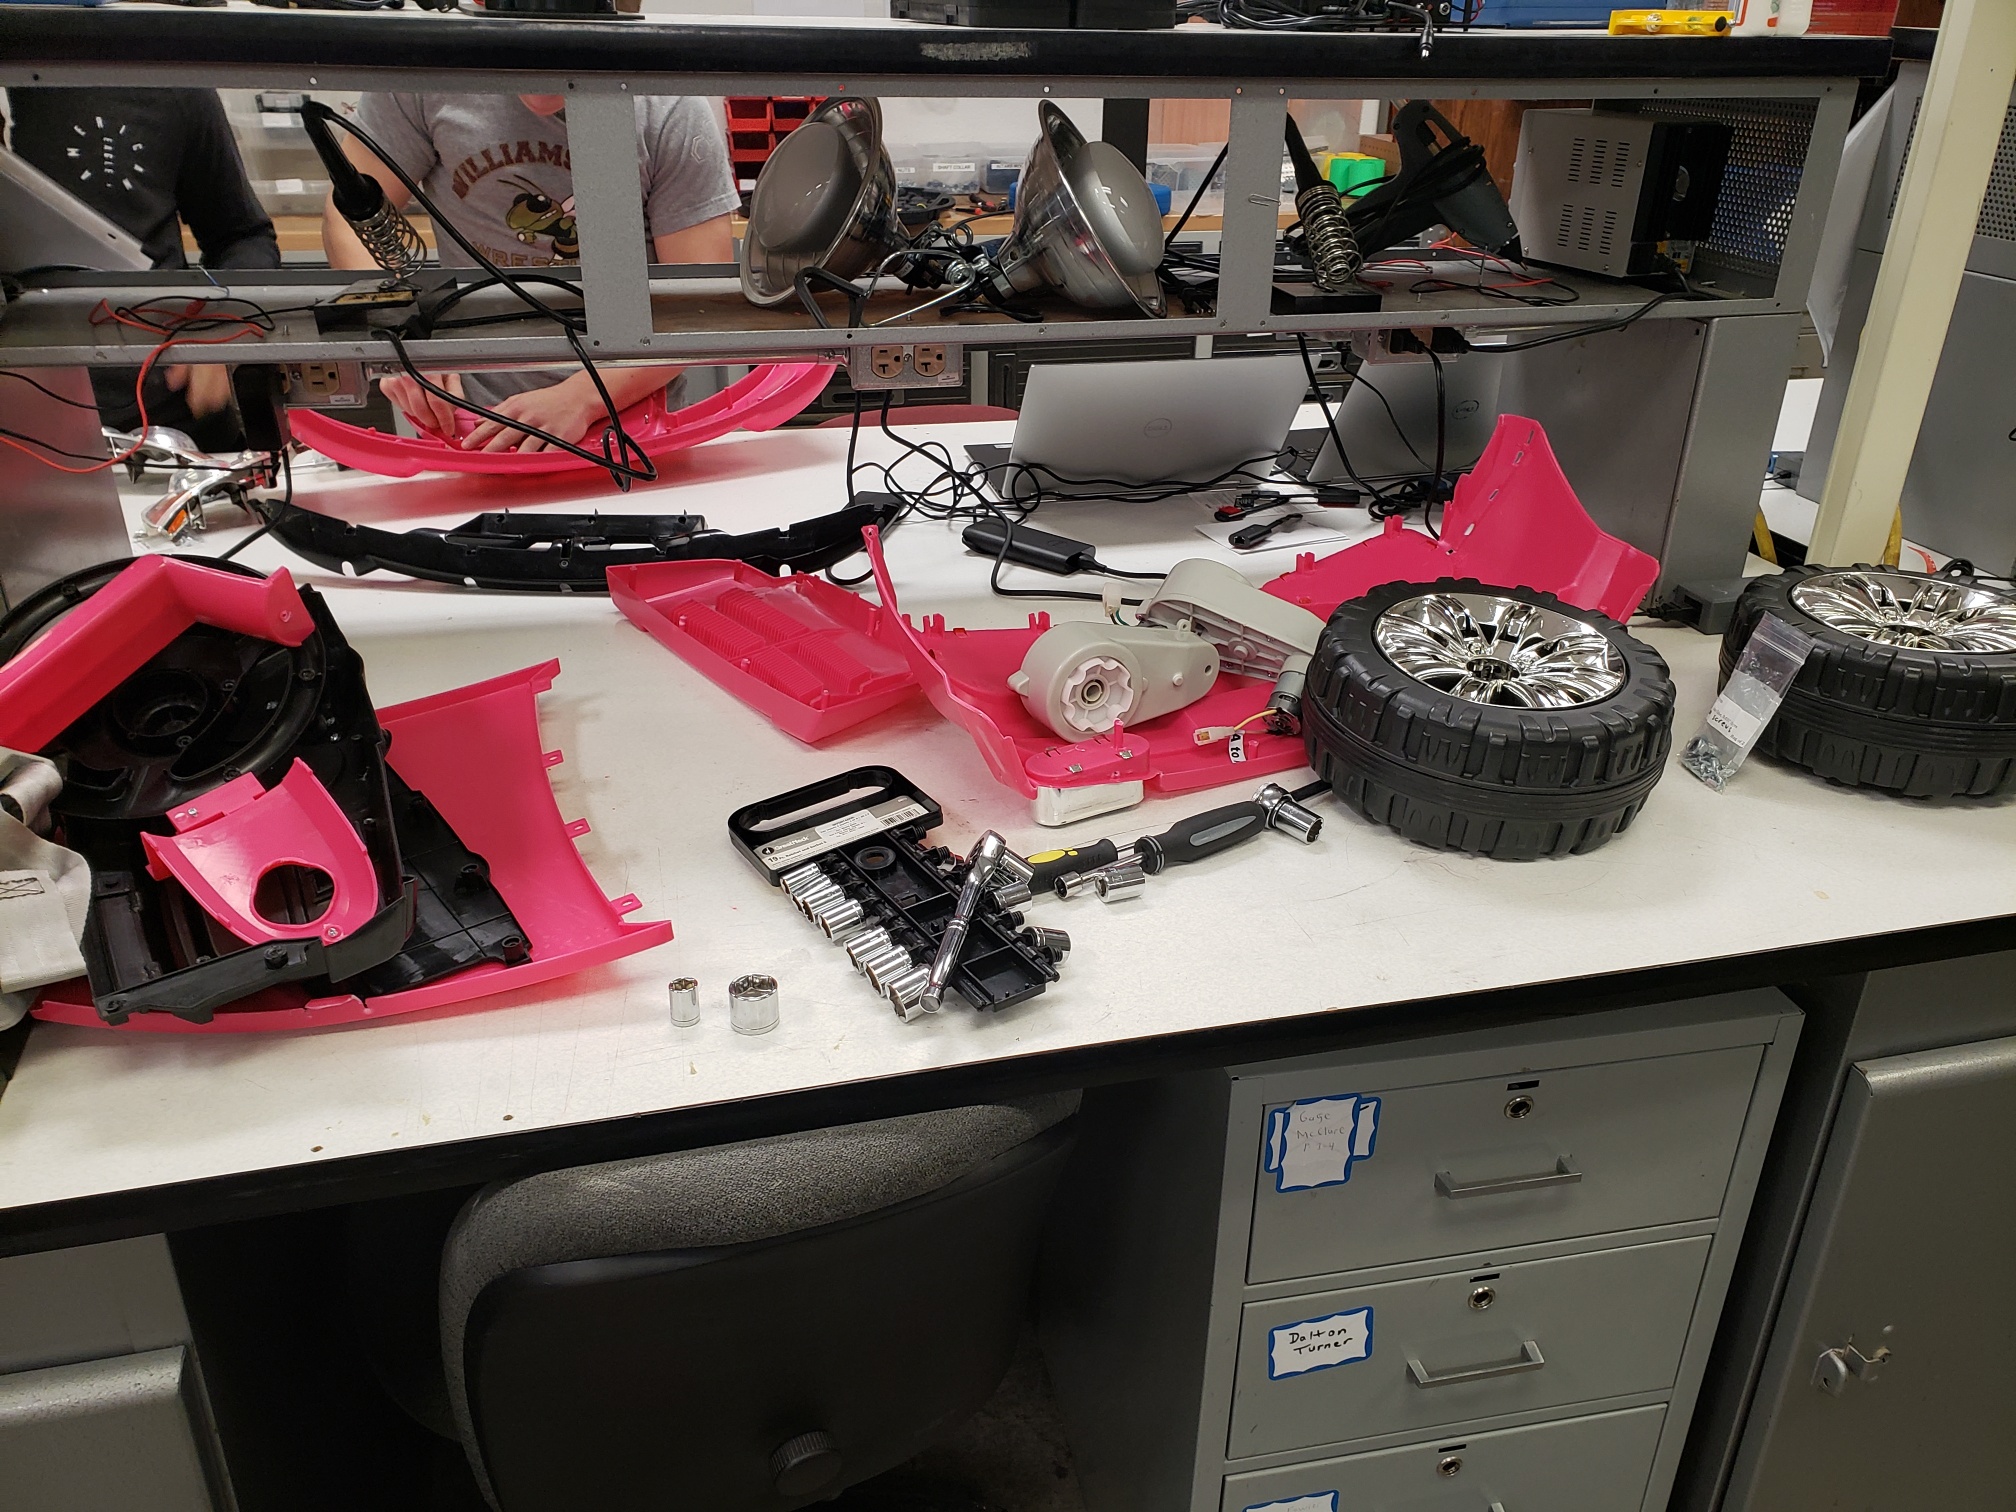
Paint the rest of the car by taking parts separately off and painting then returning them.
Optional Music 1
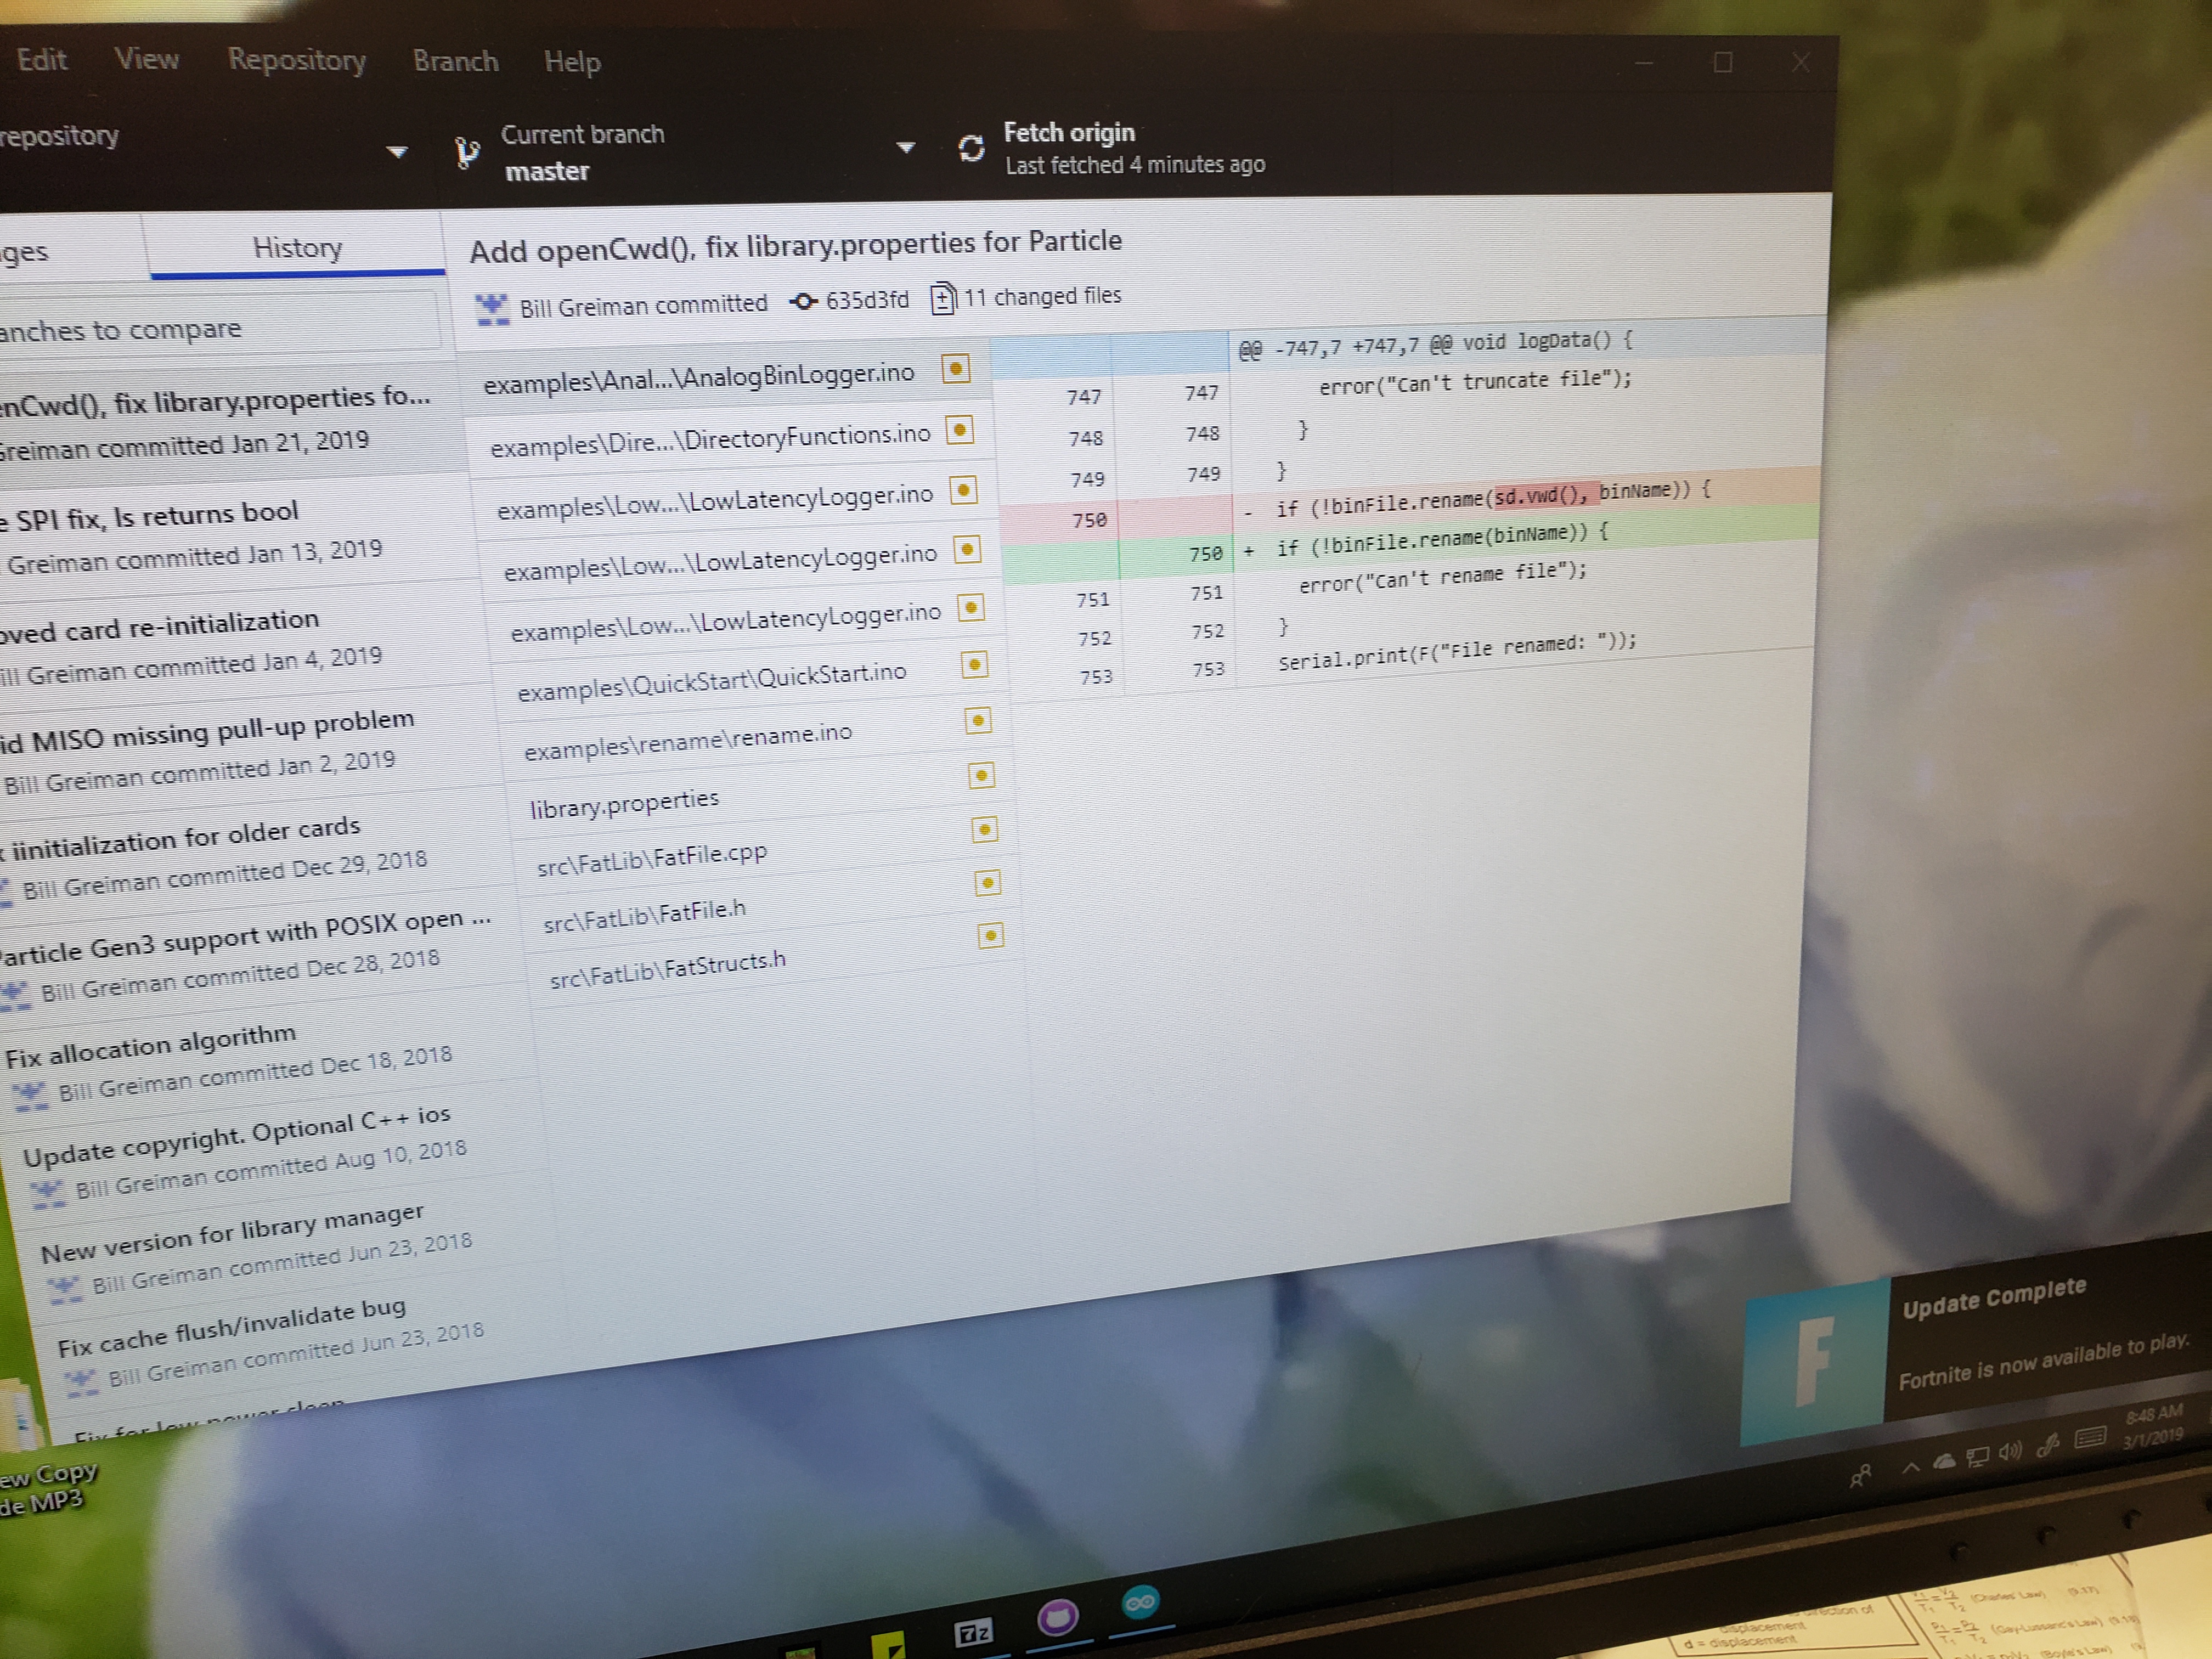
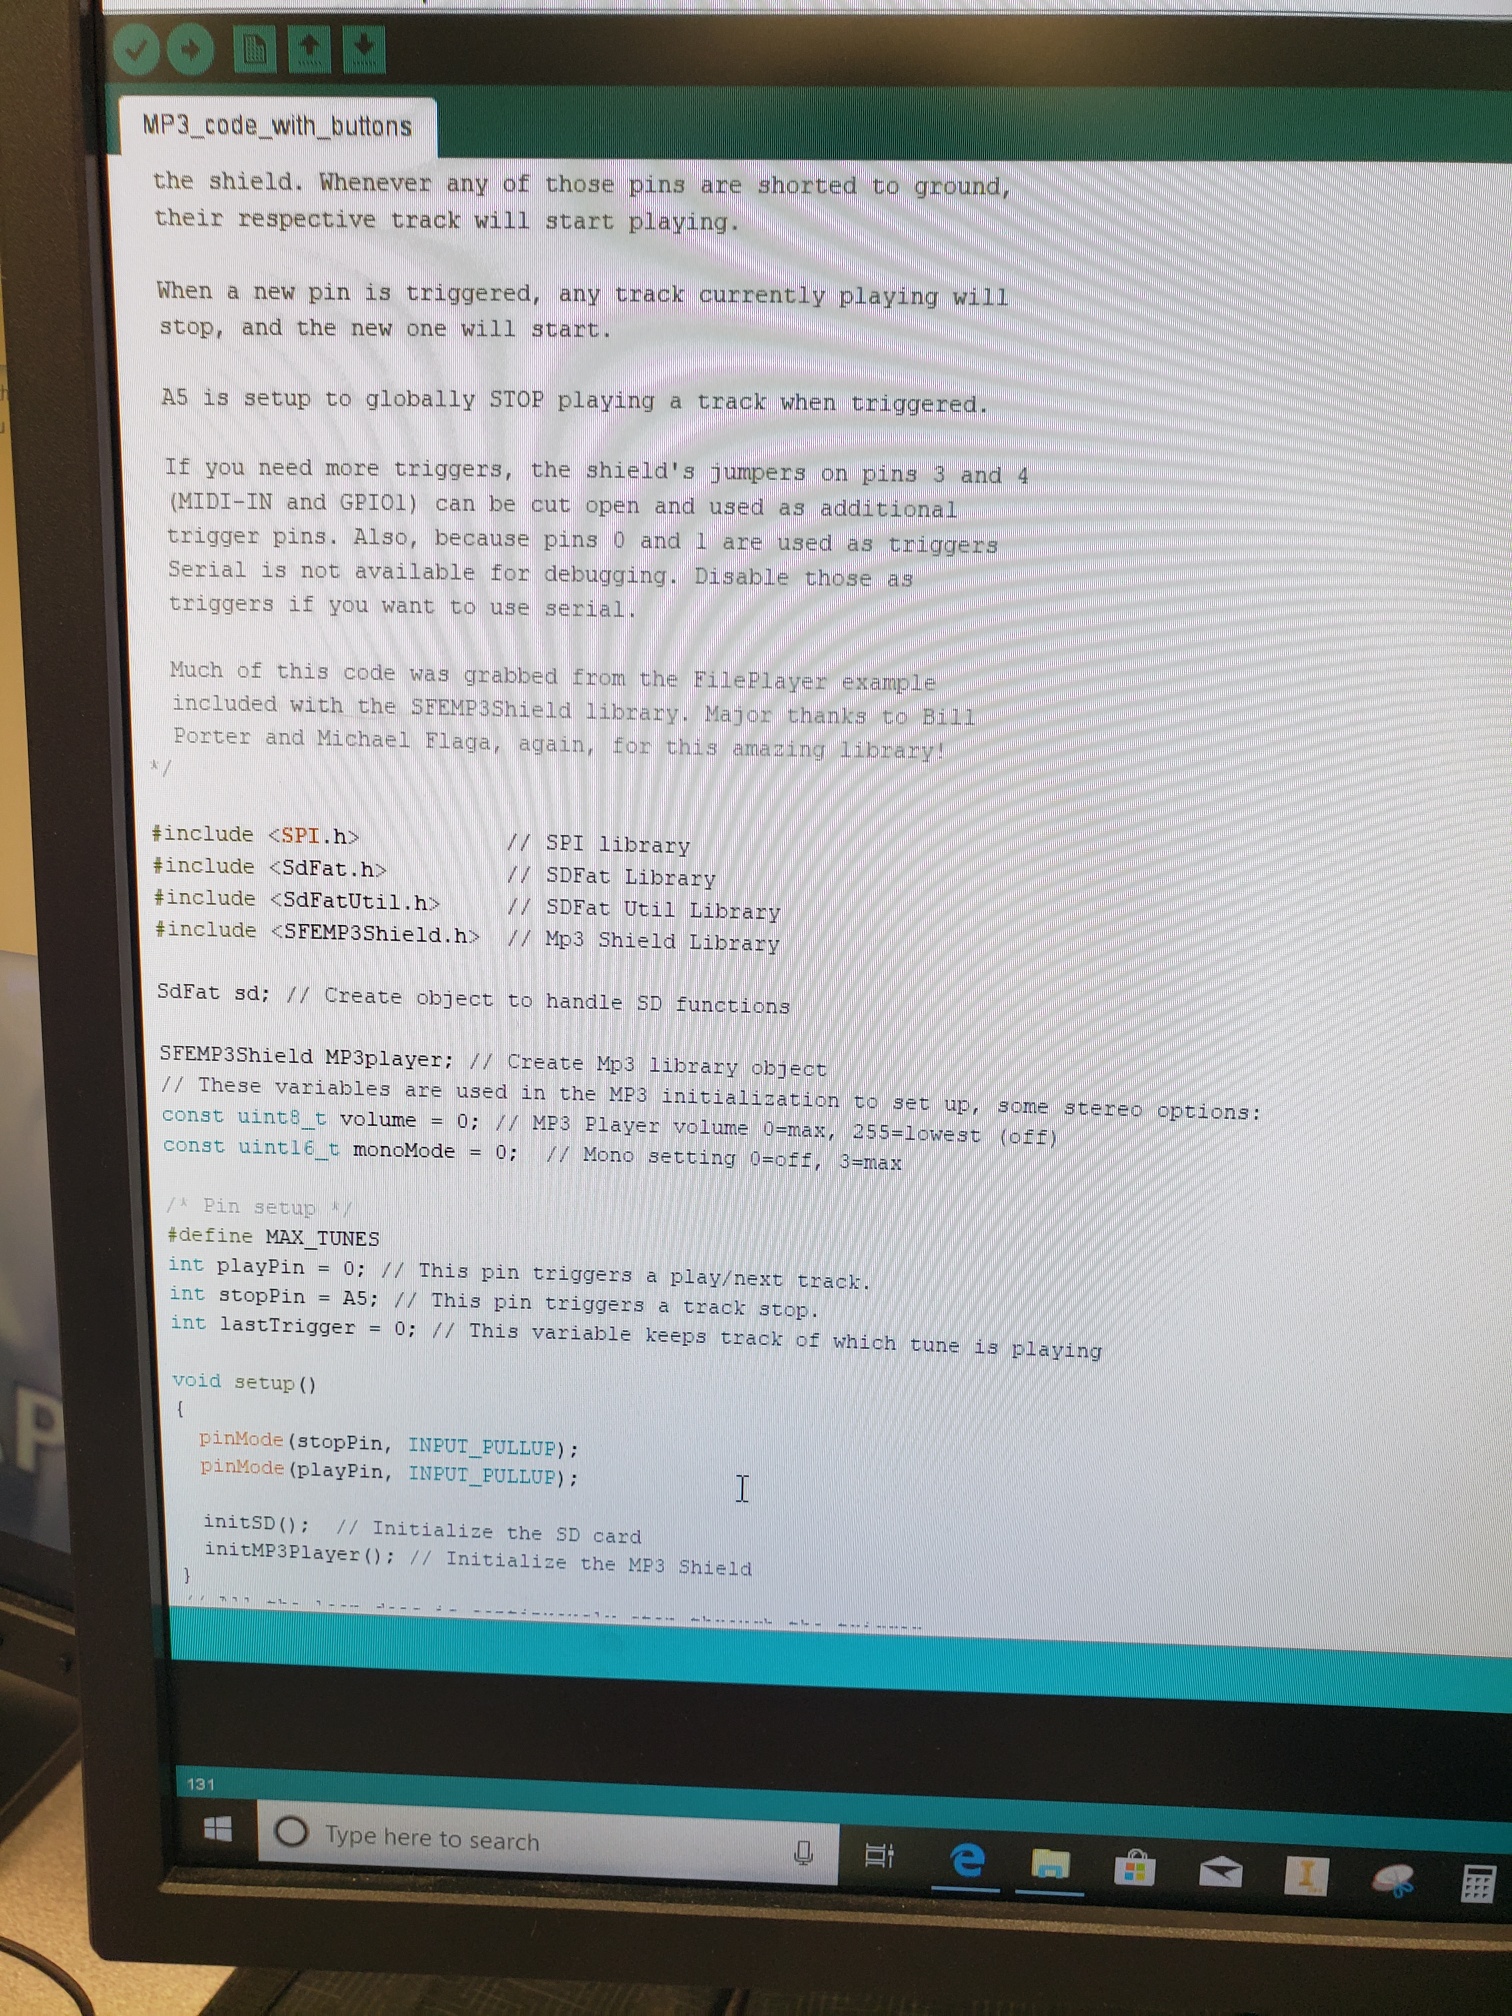
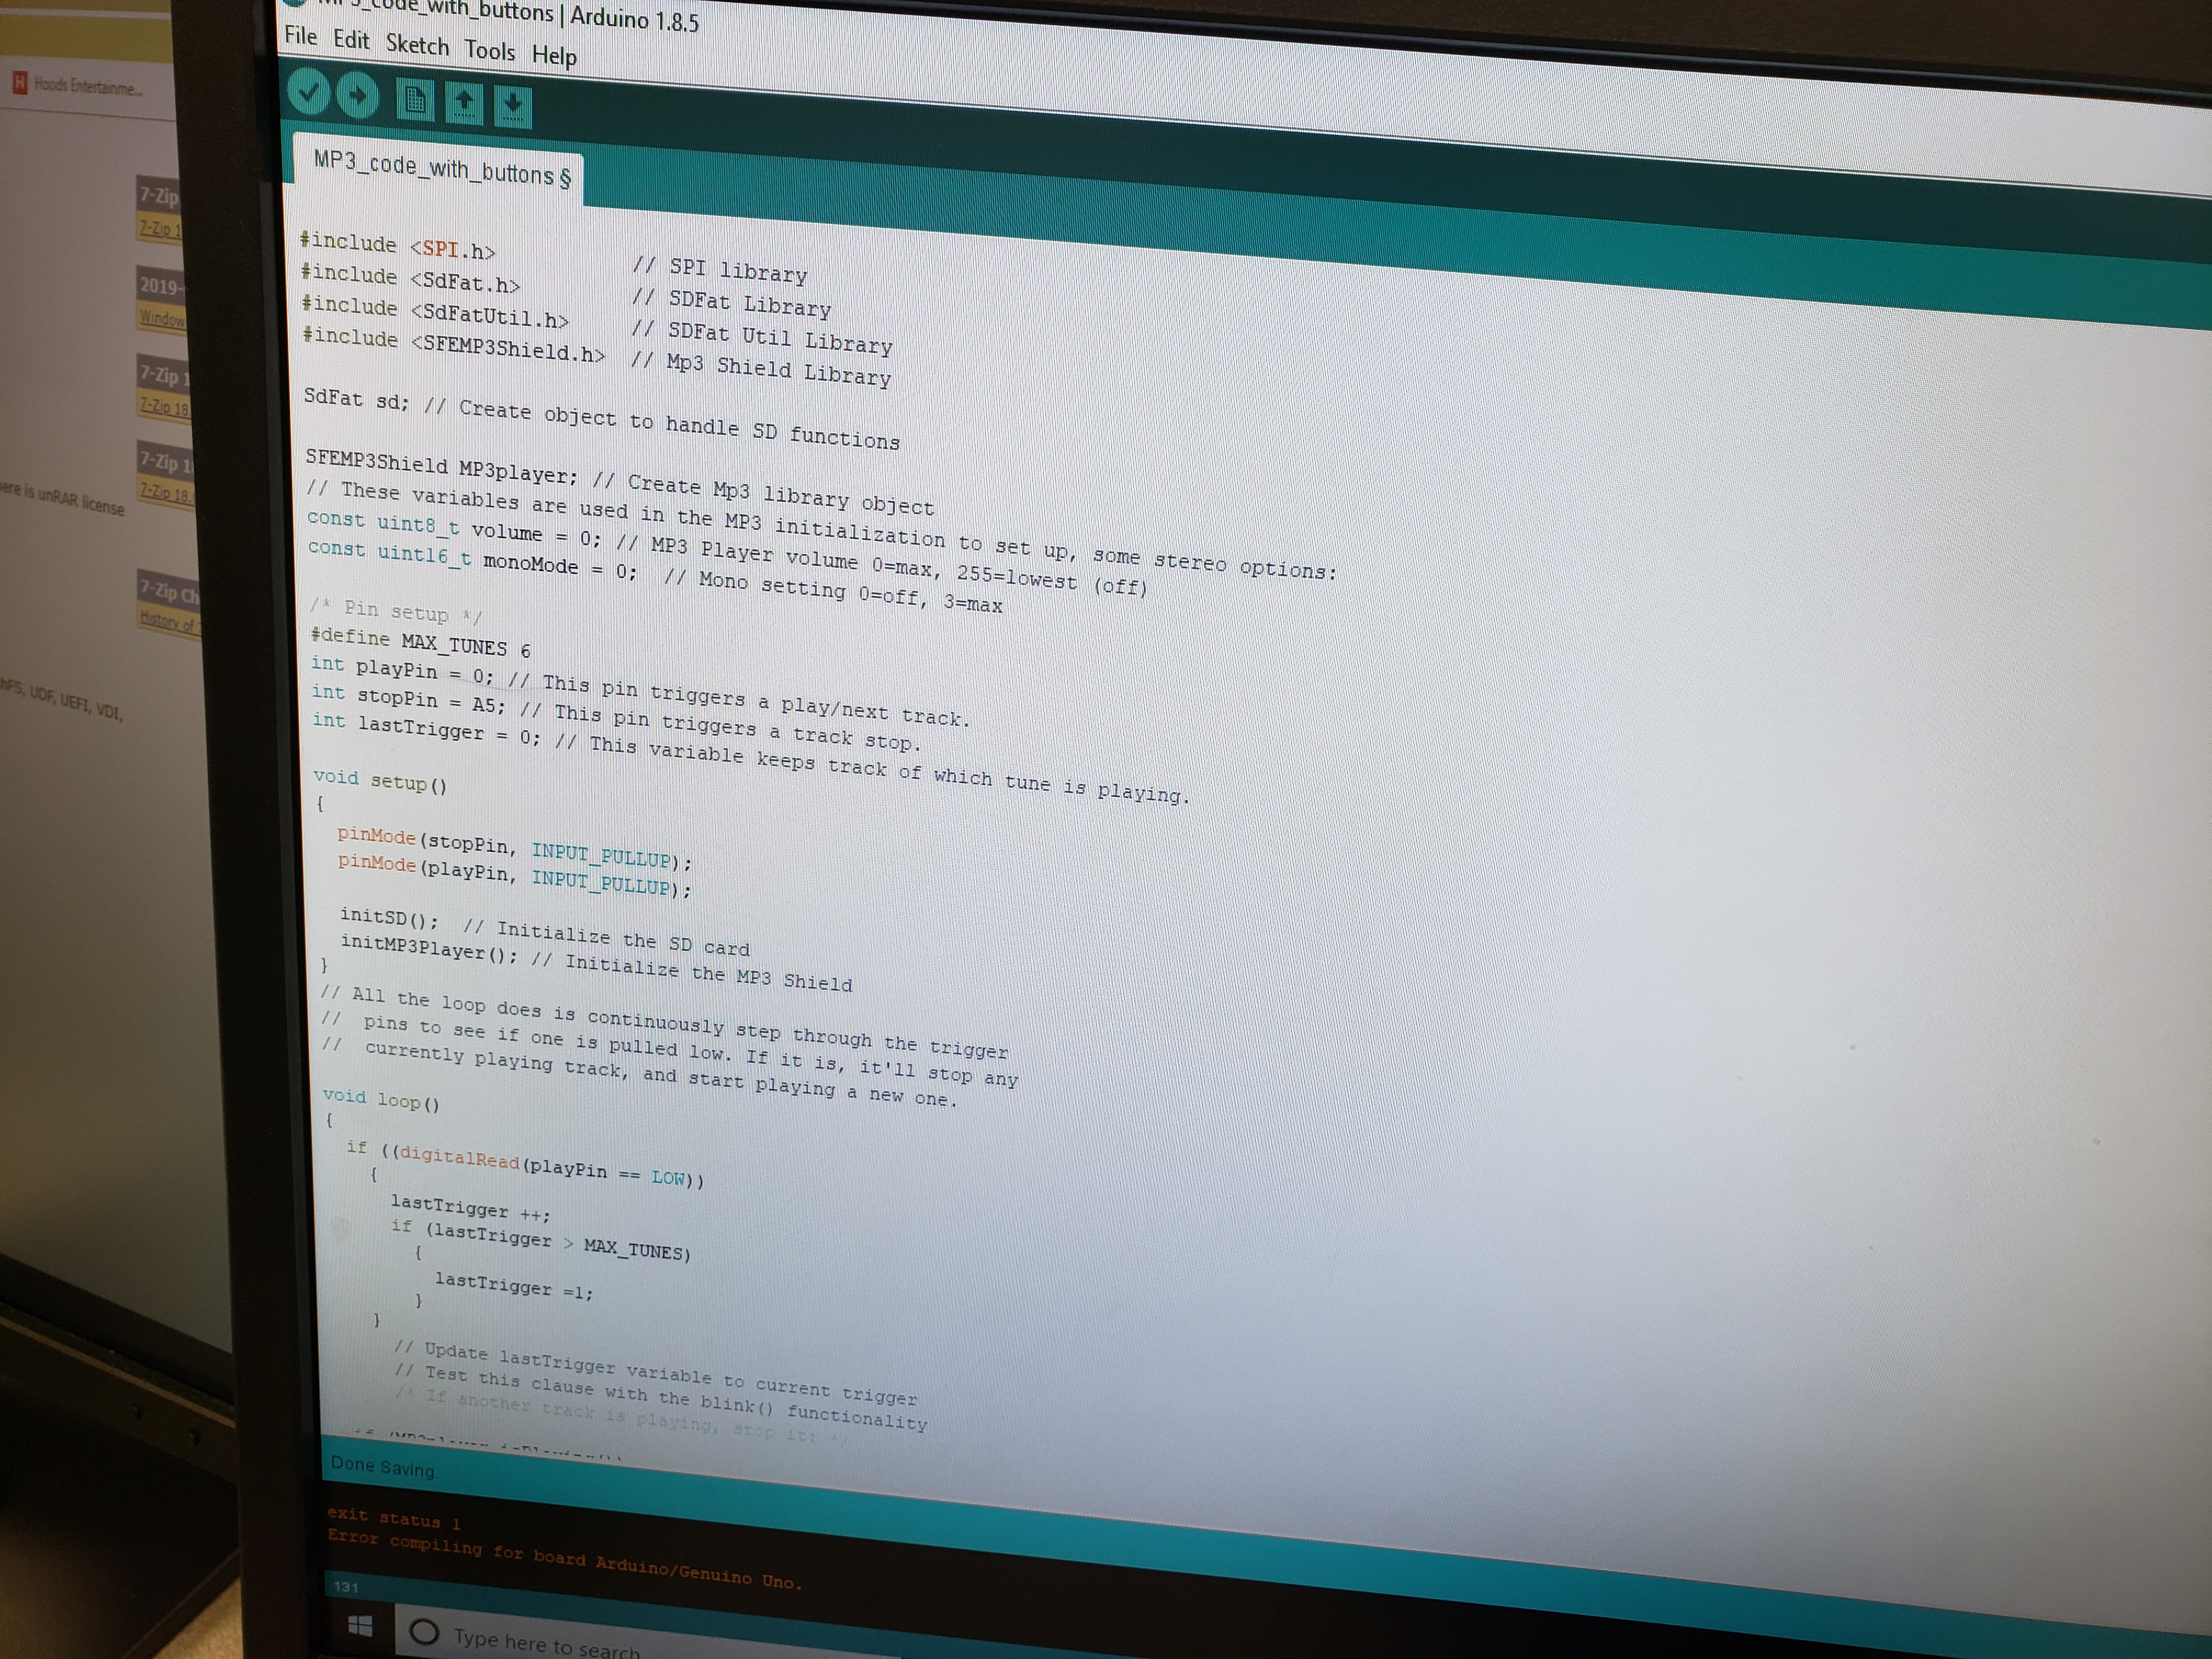
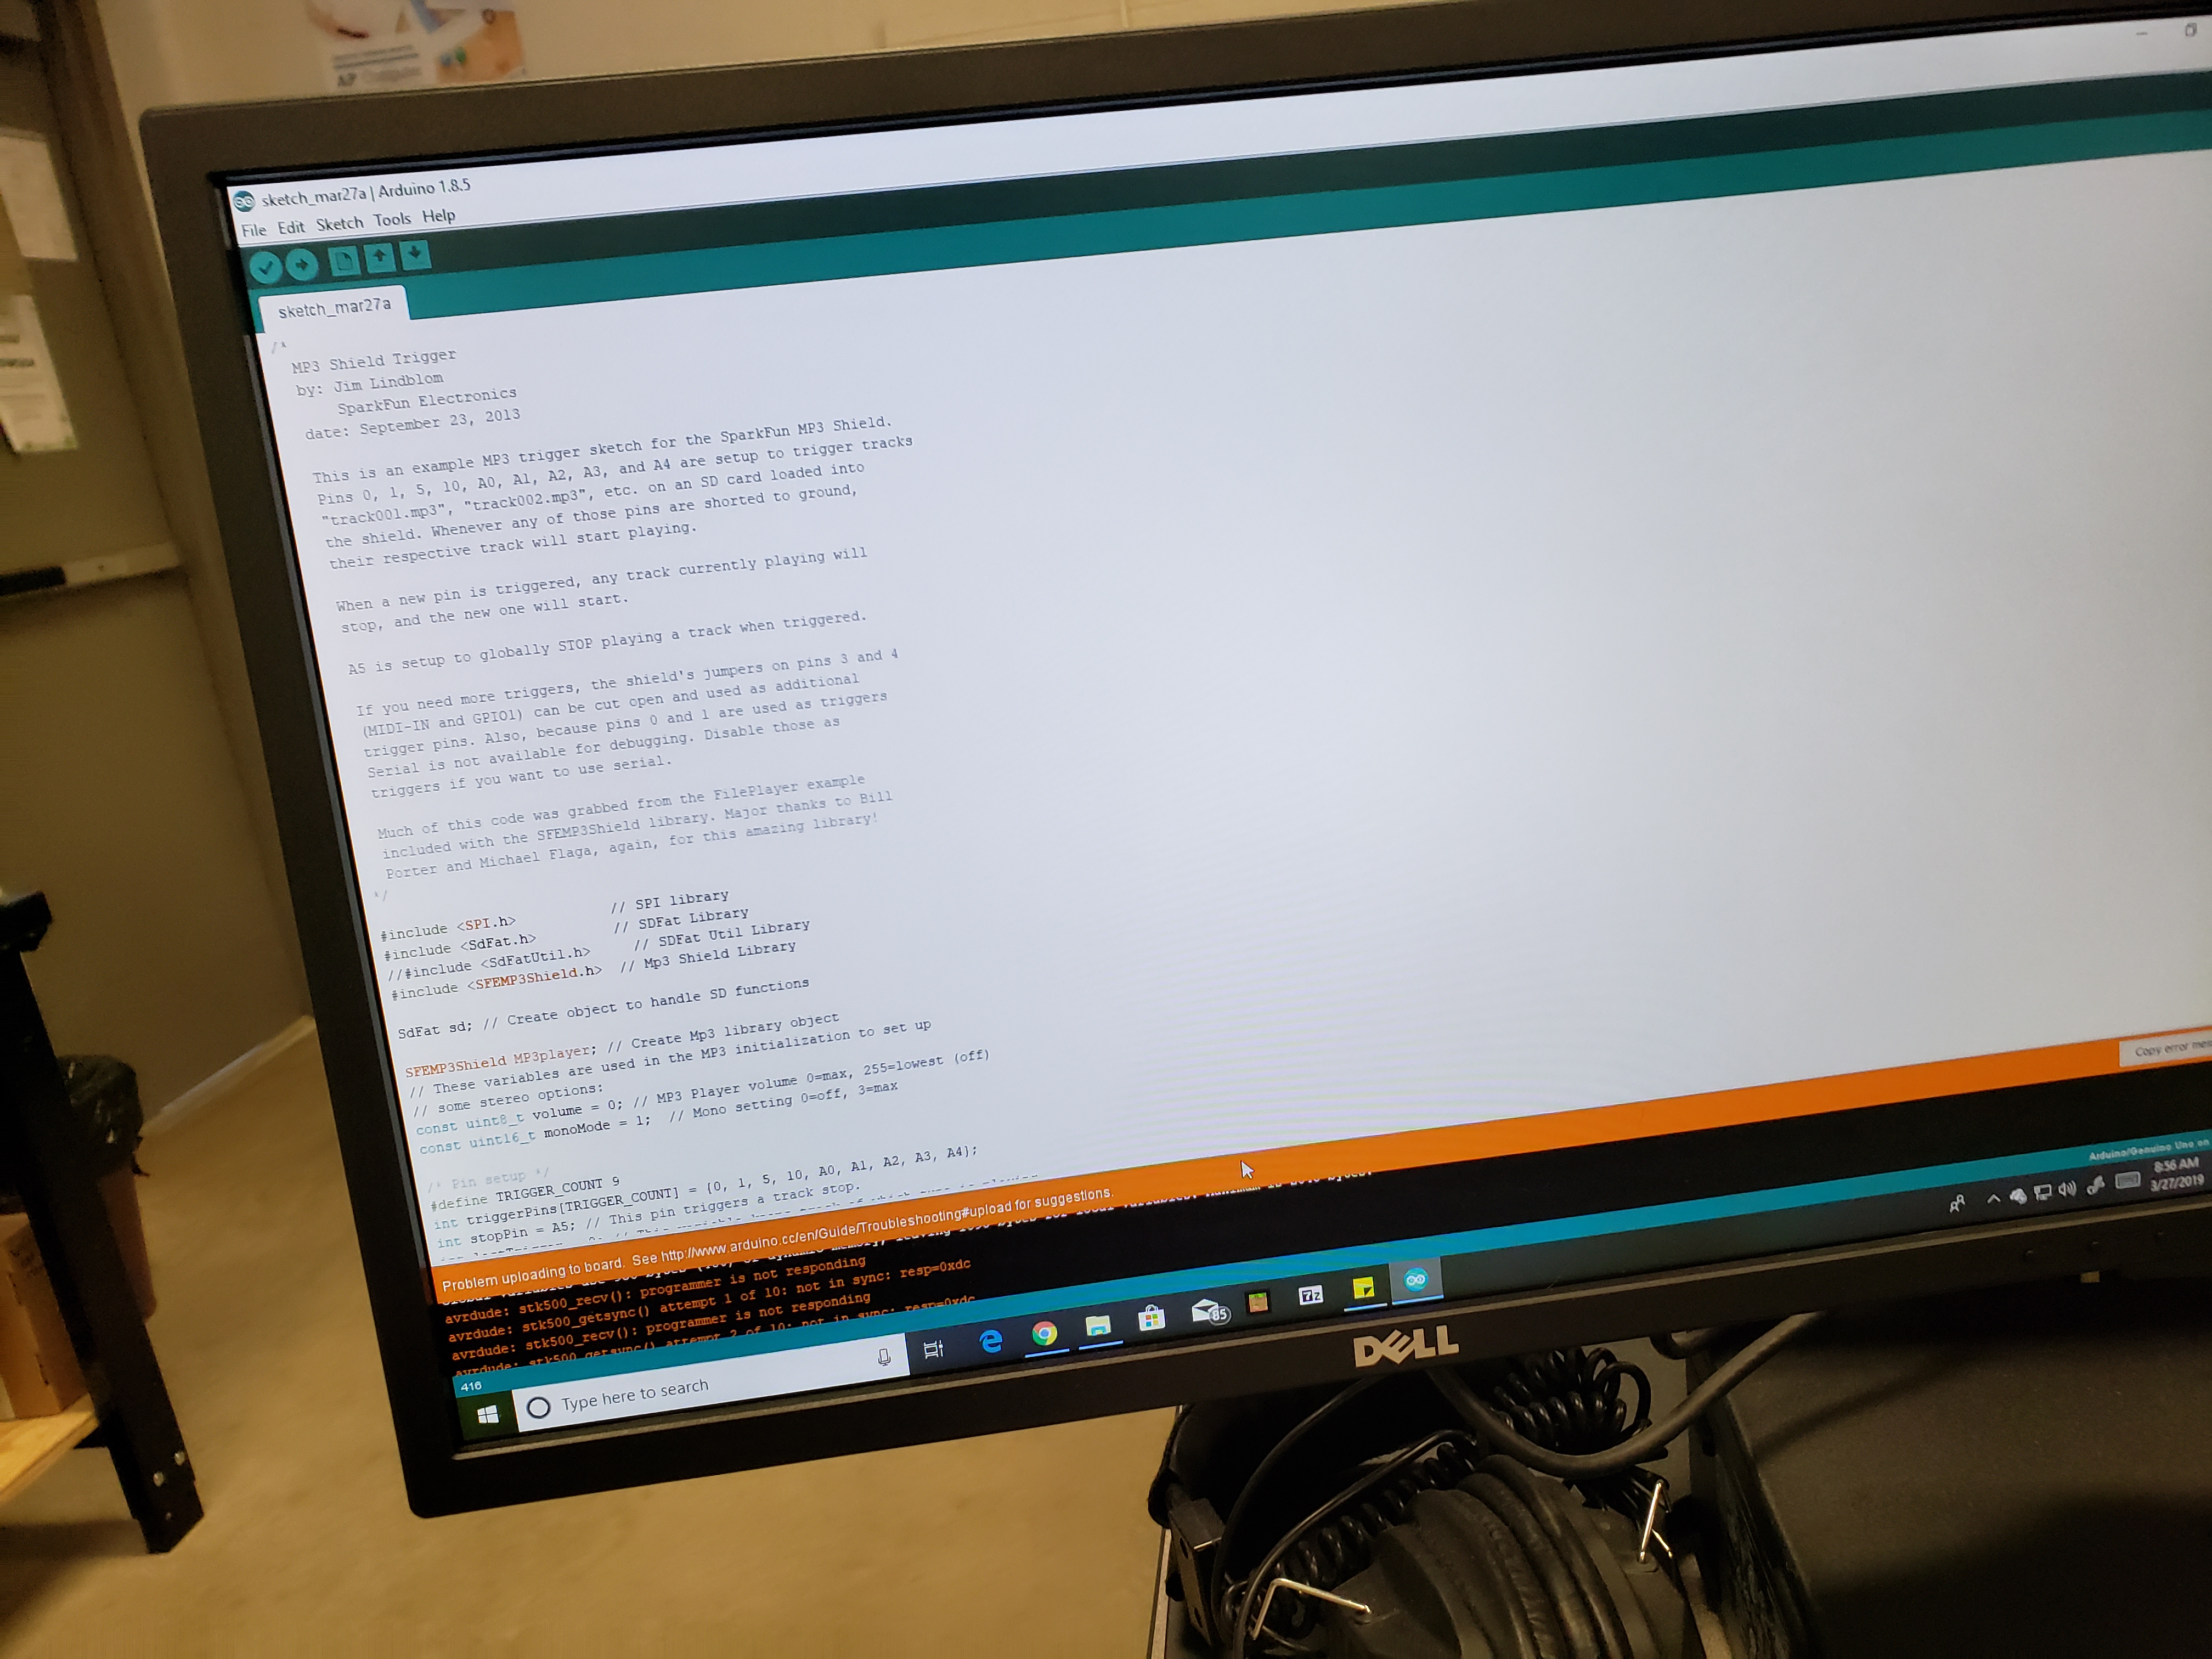
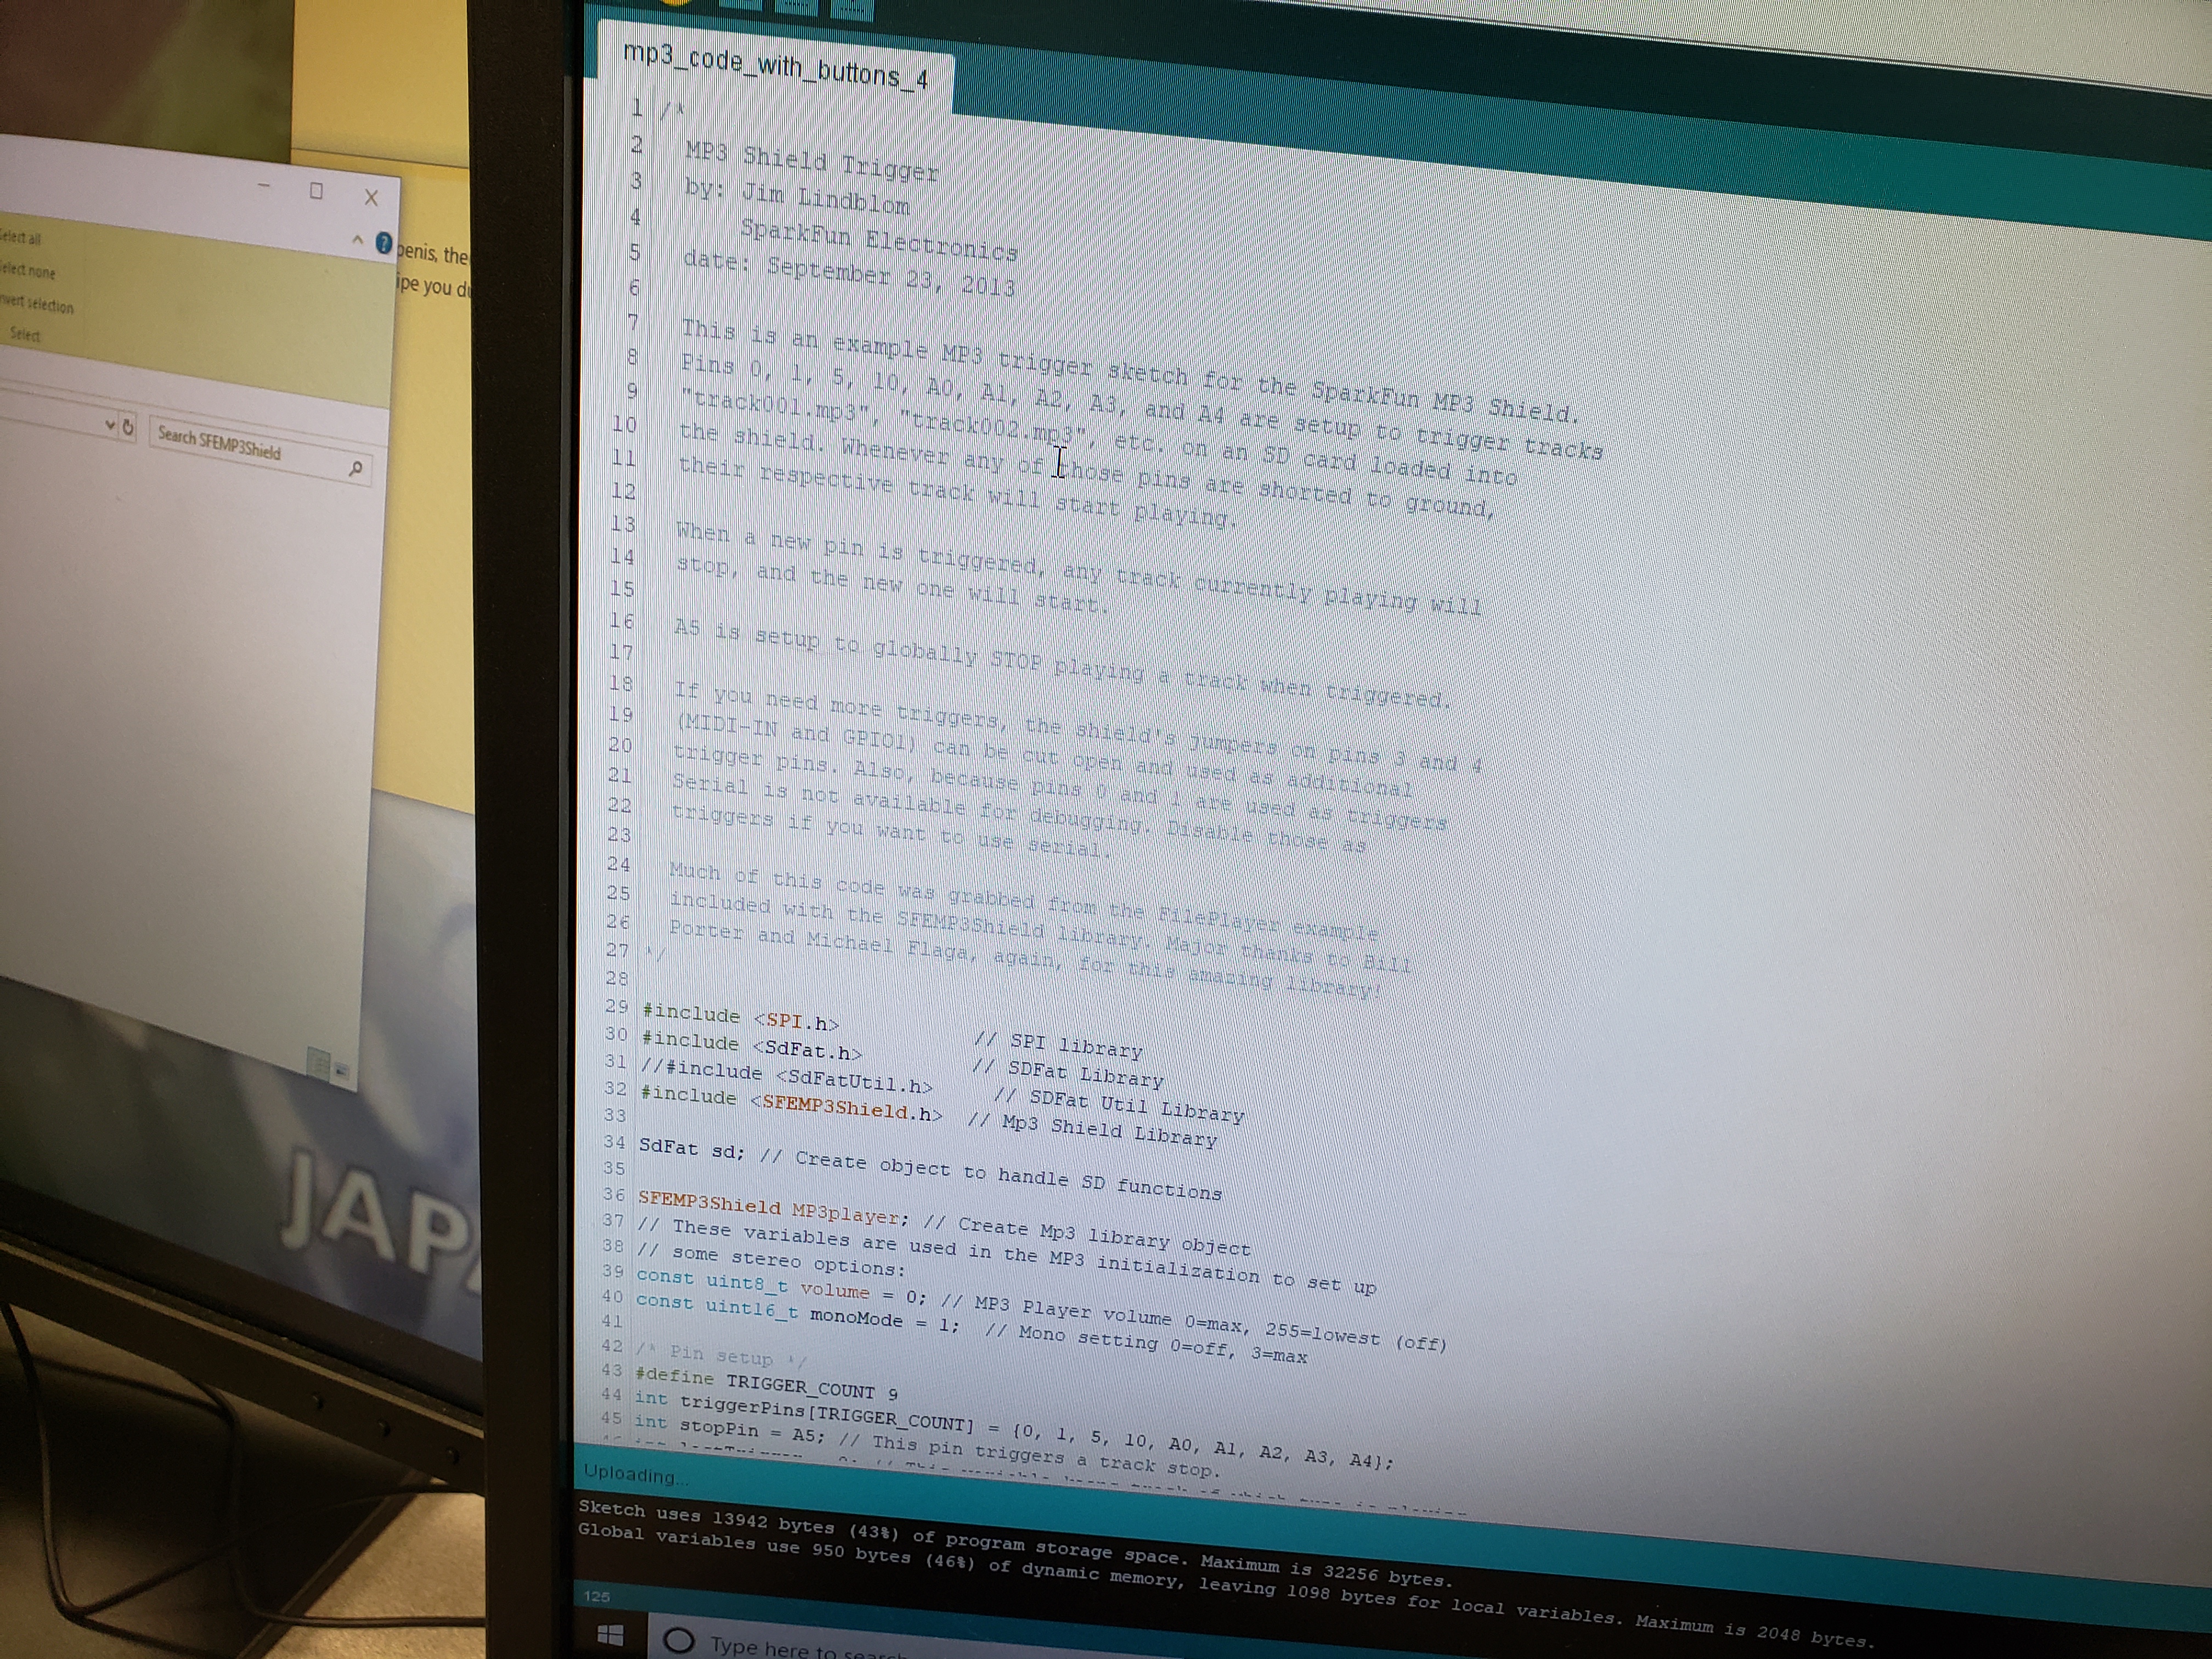
Now install any newly decided parts you wanted to add. For us it is a music player and this is the code for the music player.
Optional Music 2
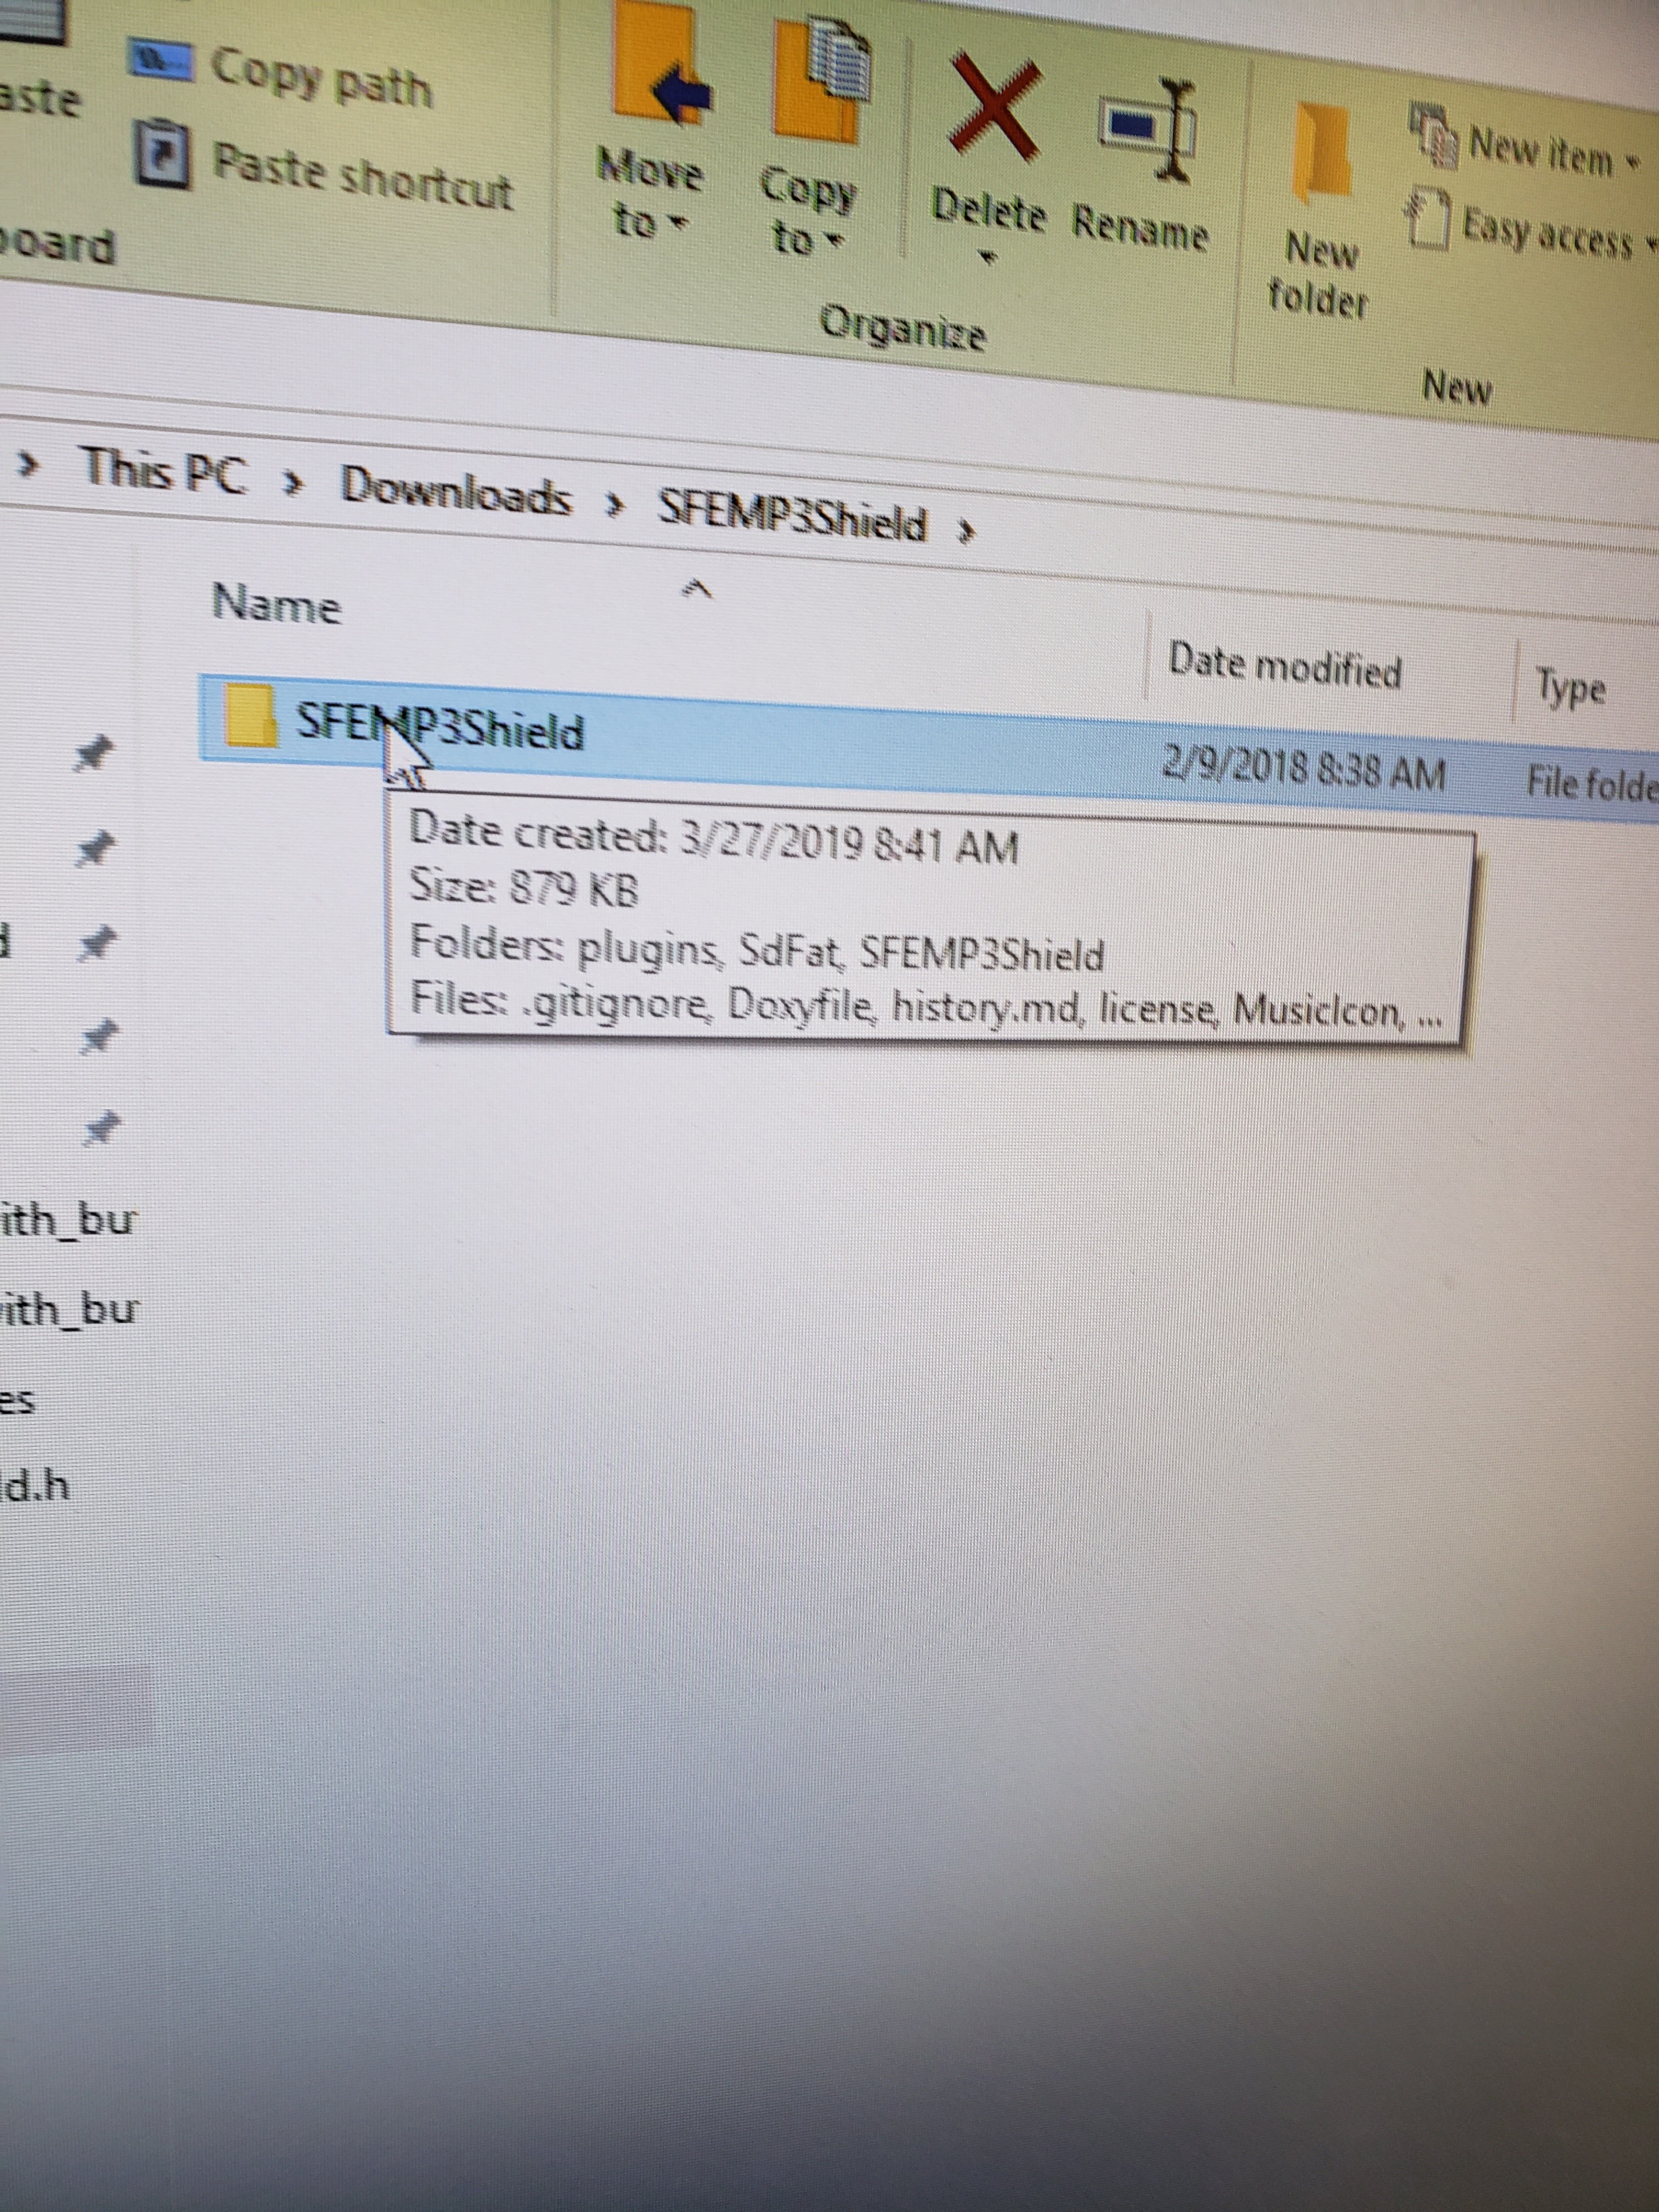
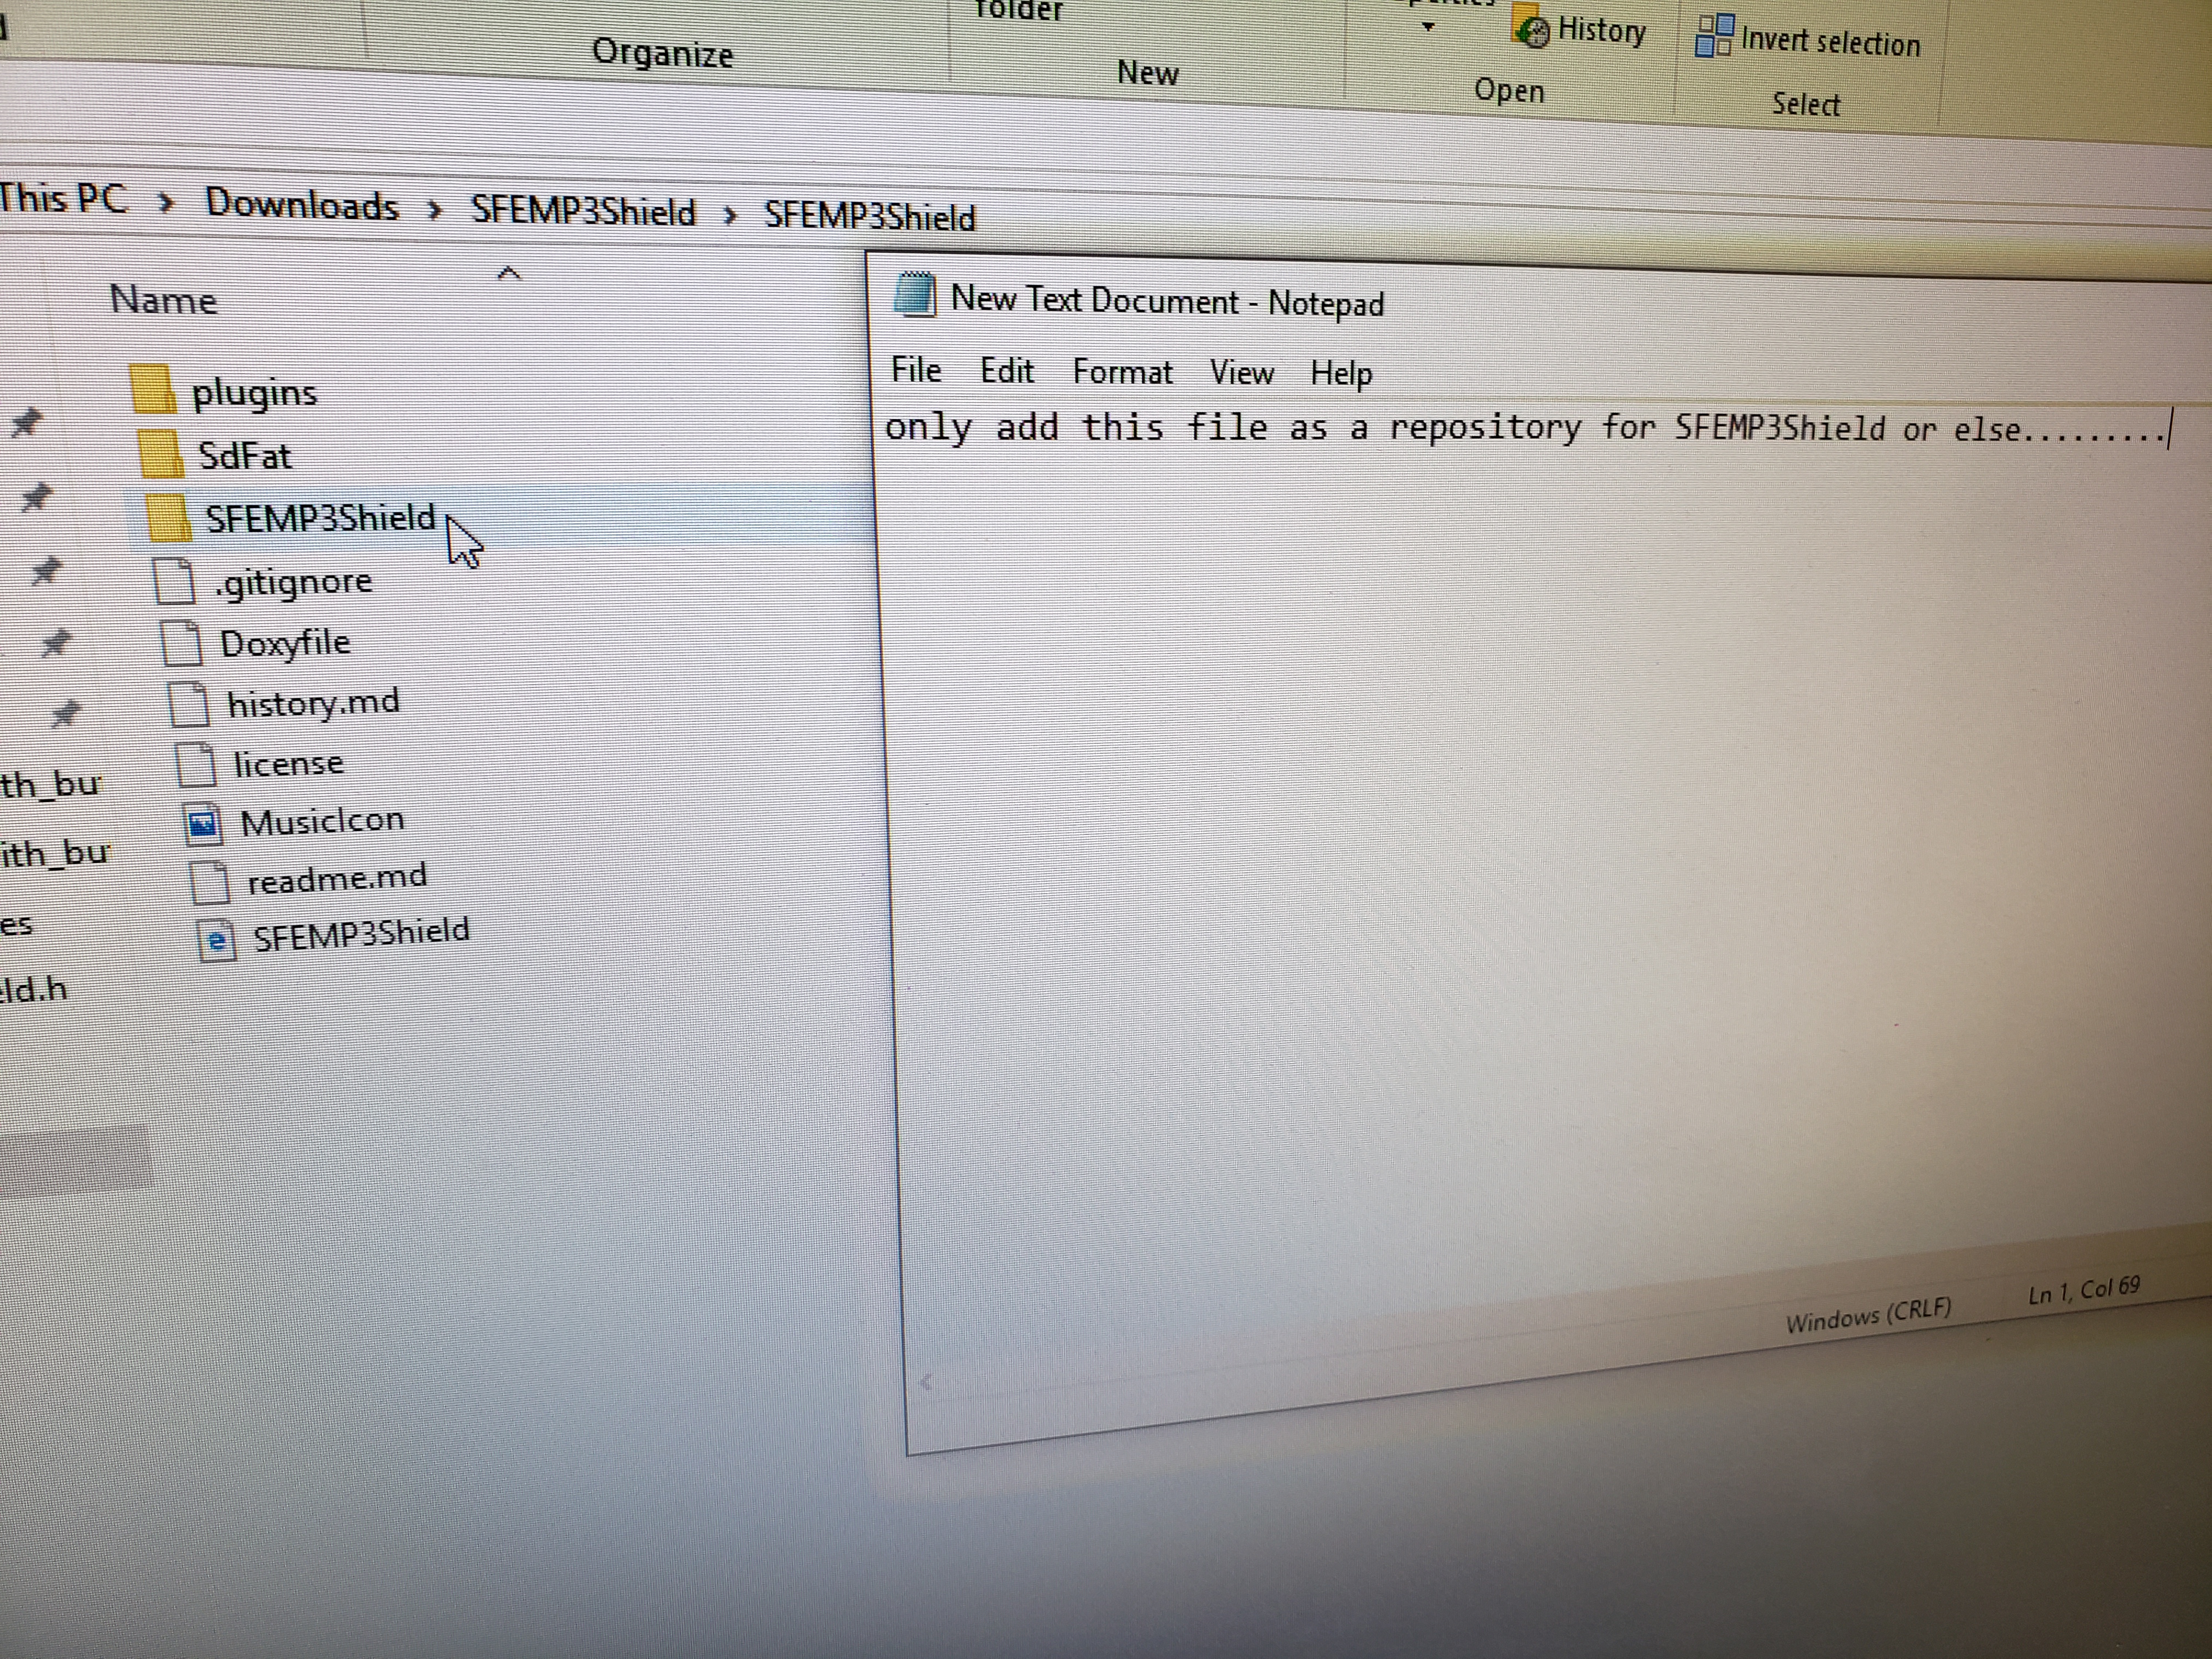
Open up SFEMP3Shield file folder even when it is not seen as a valid library file.
Optional Music 3
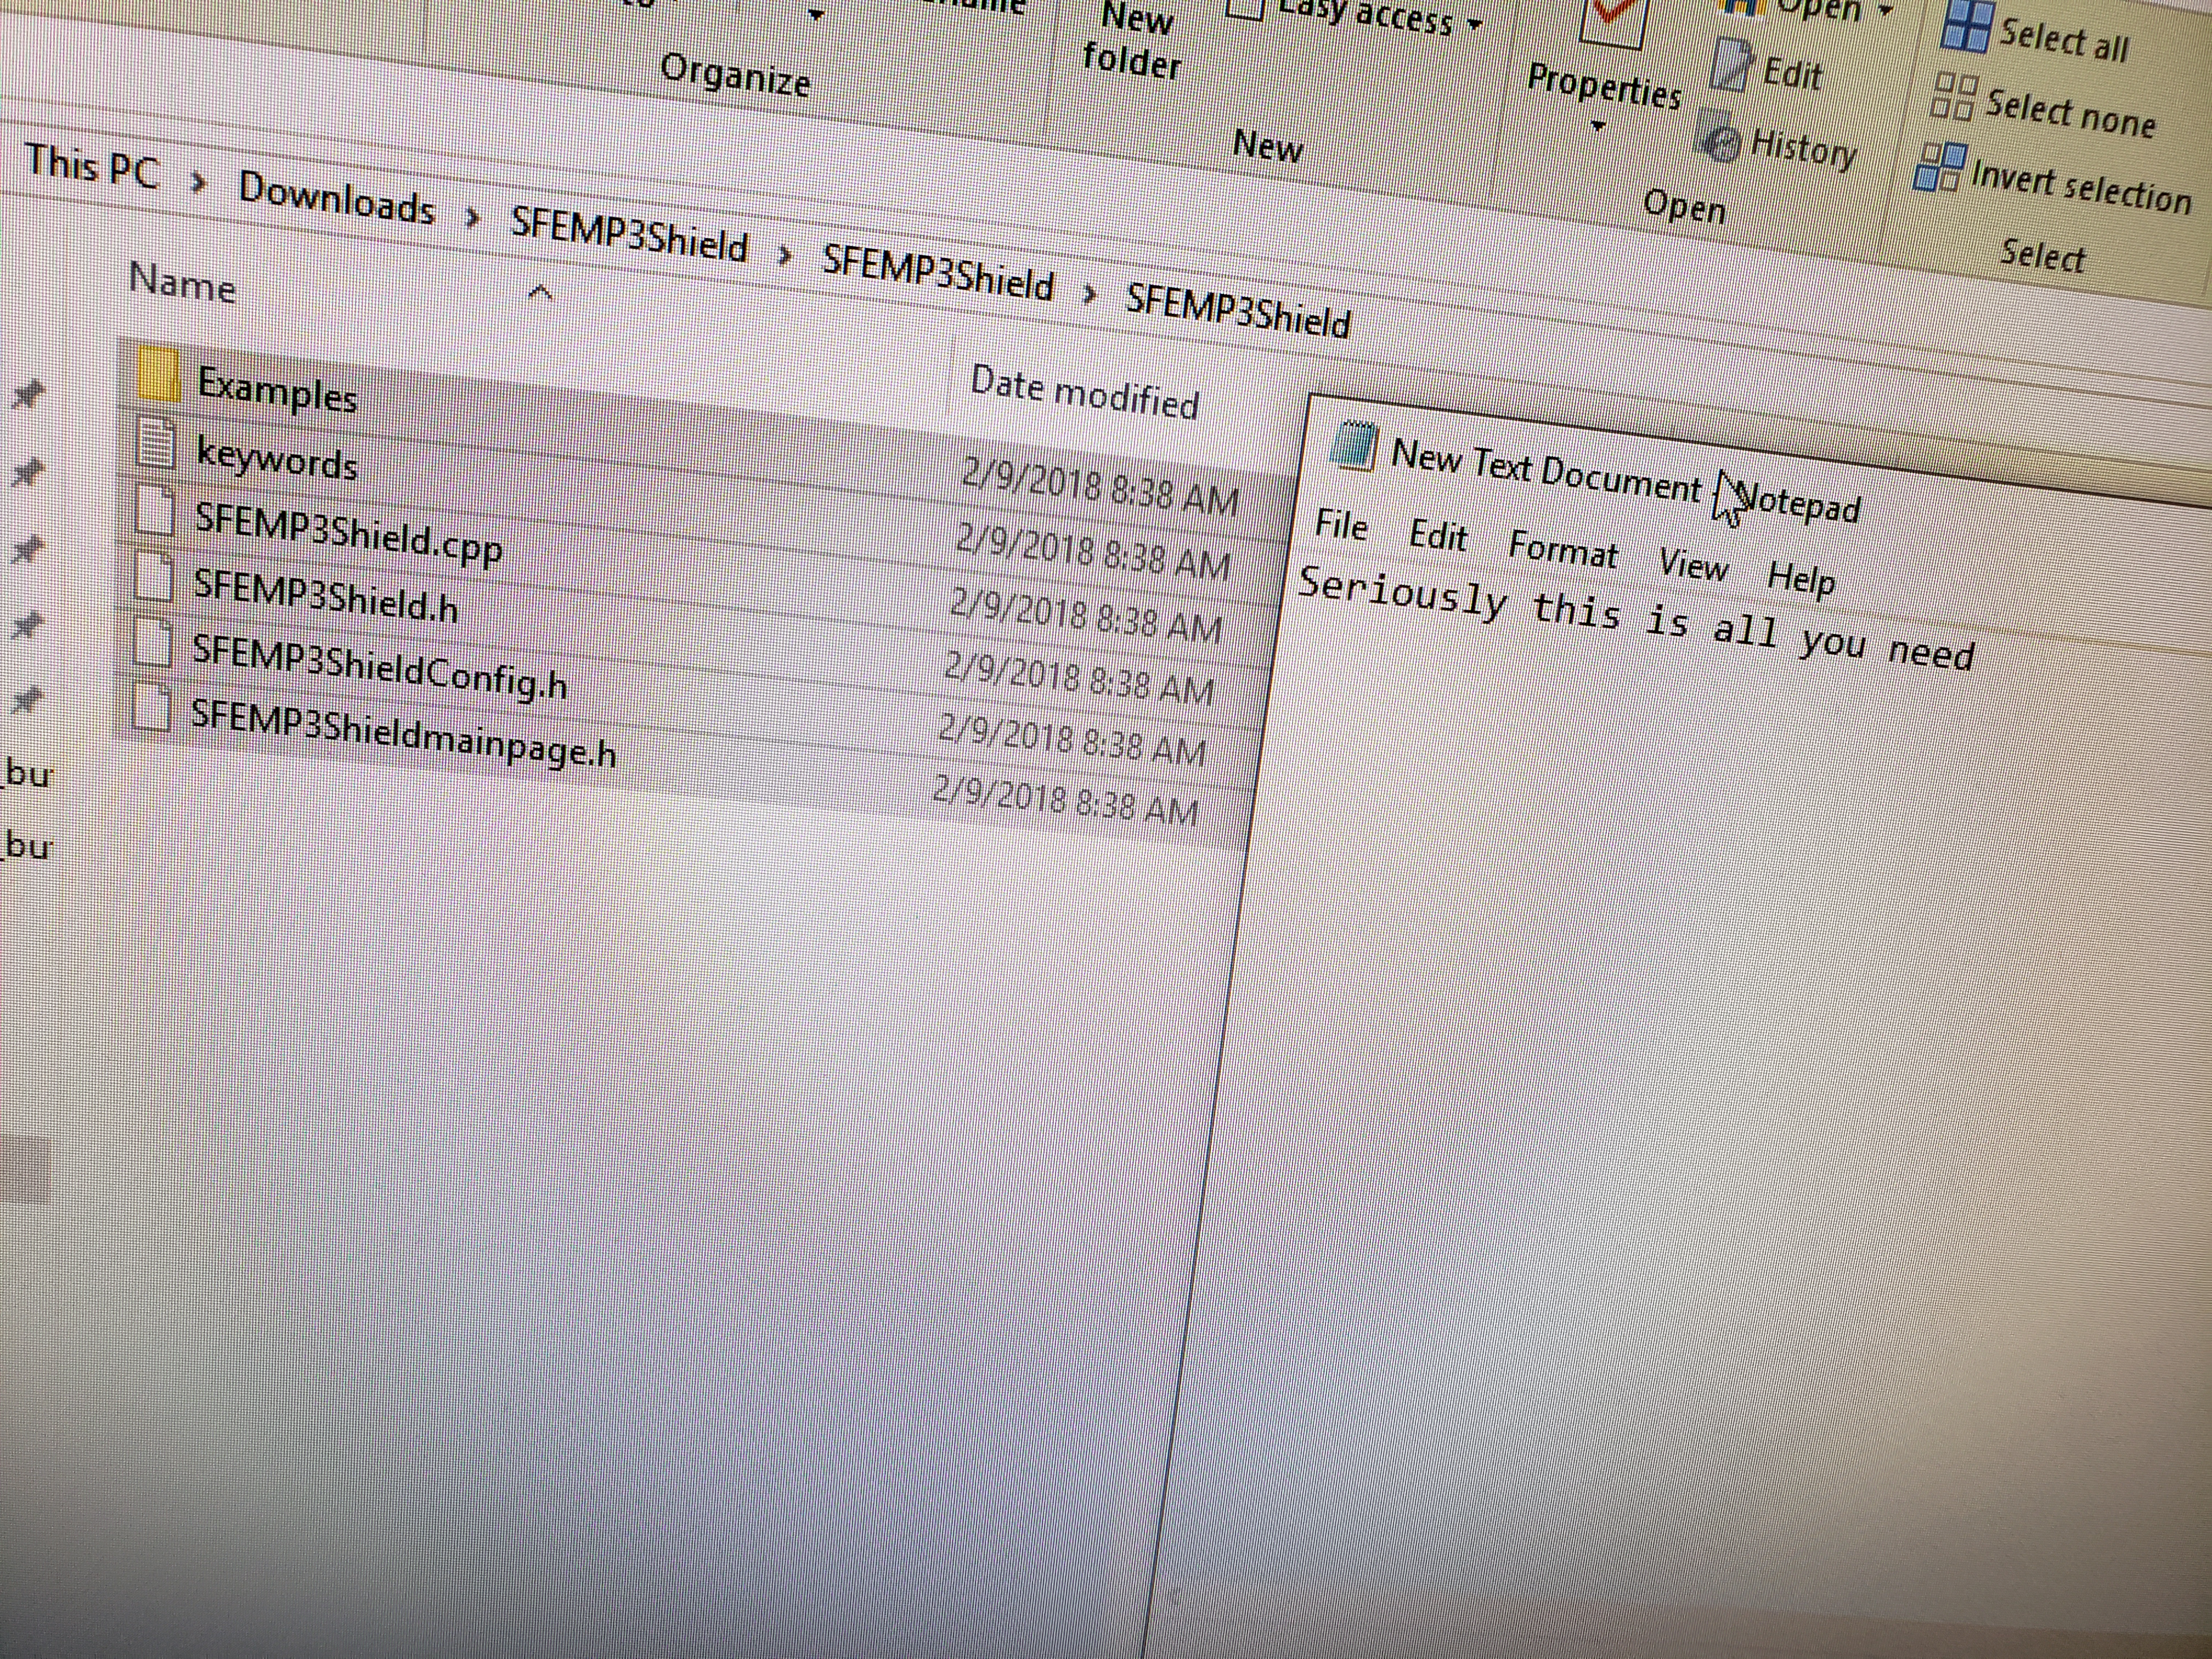
After entering the selected file, click on SFEMP3Shield.cpp to access all your needed files and check that they are all there.
Optional Music 4
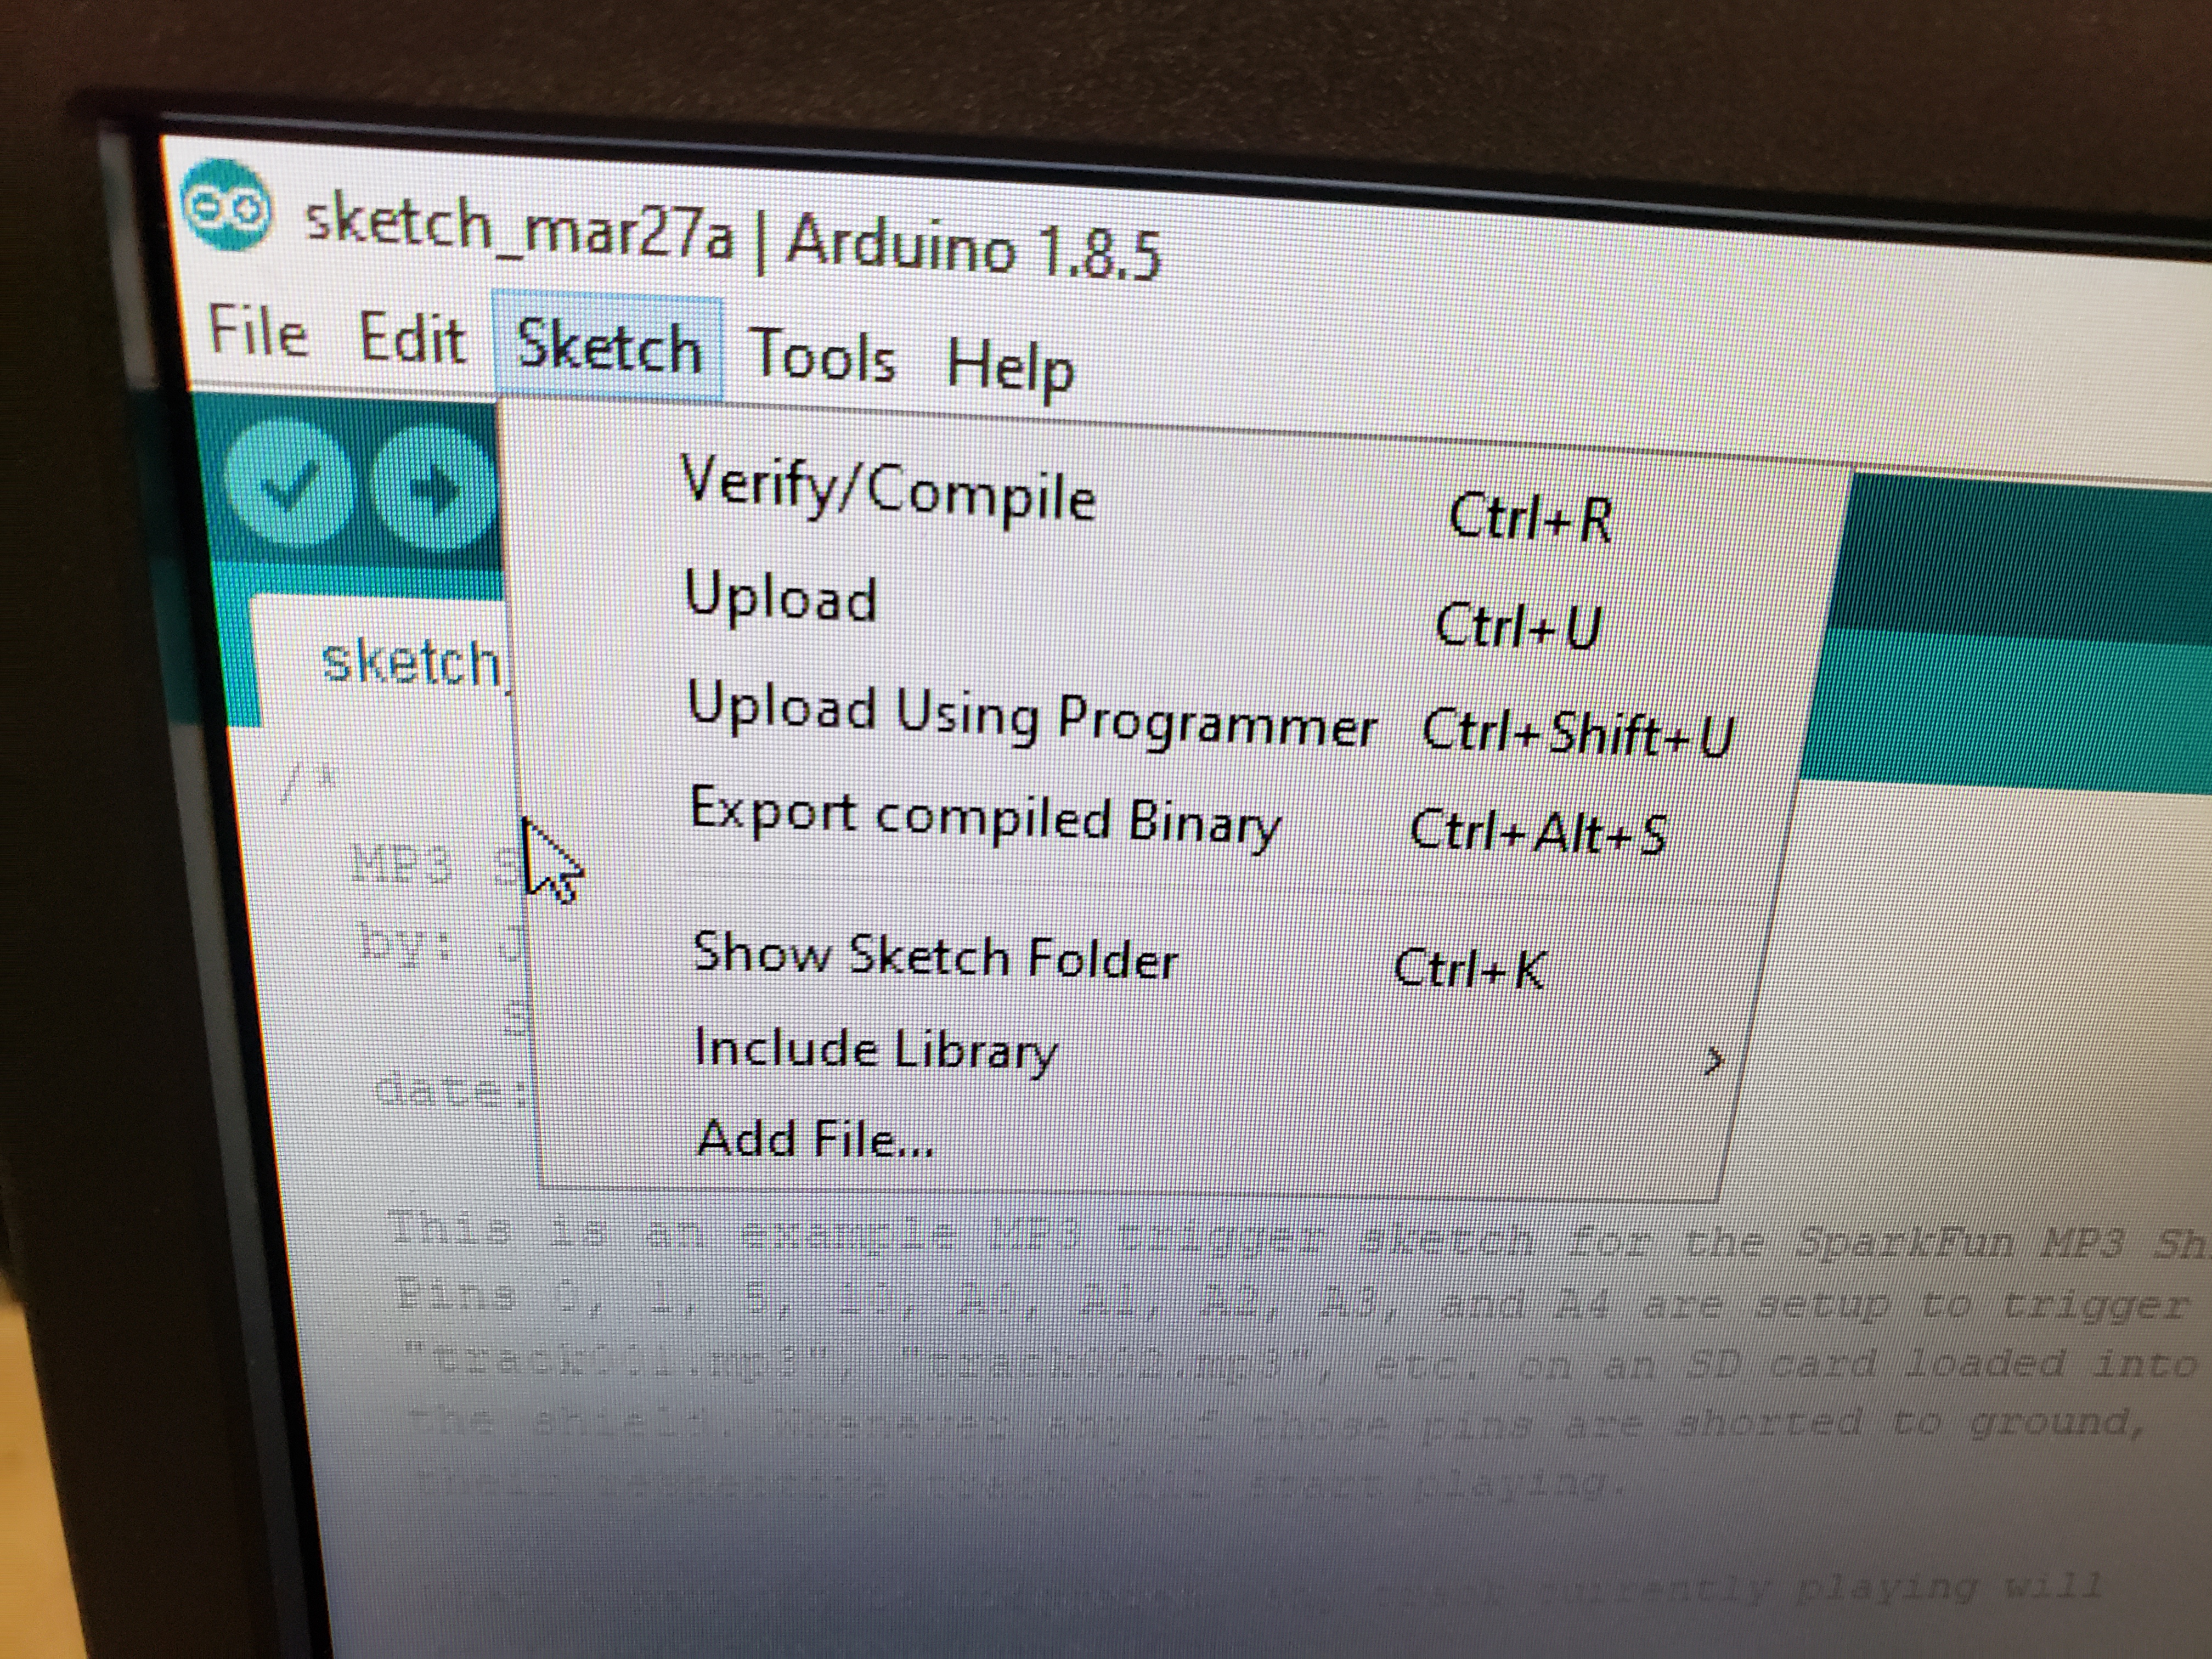
Proceed to click on the folder and go over to your coding sketch and upload them by clicking on manage libraries and finding the folder (remember only the SFEMP3Shield folder is required).
Optional Music 5
After this the folder should be added to the coding sketch, and you should be good to go.
Optional Music 6
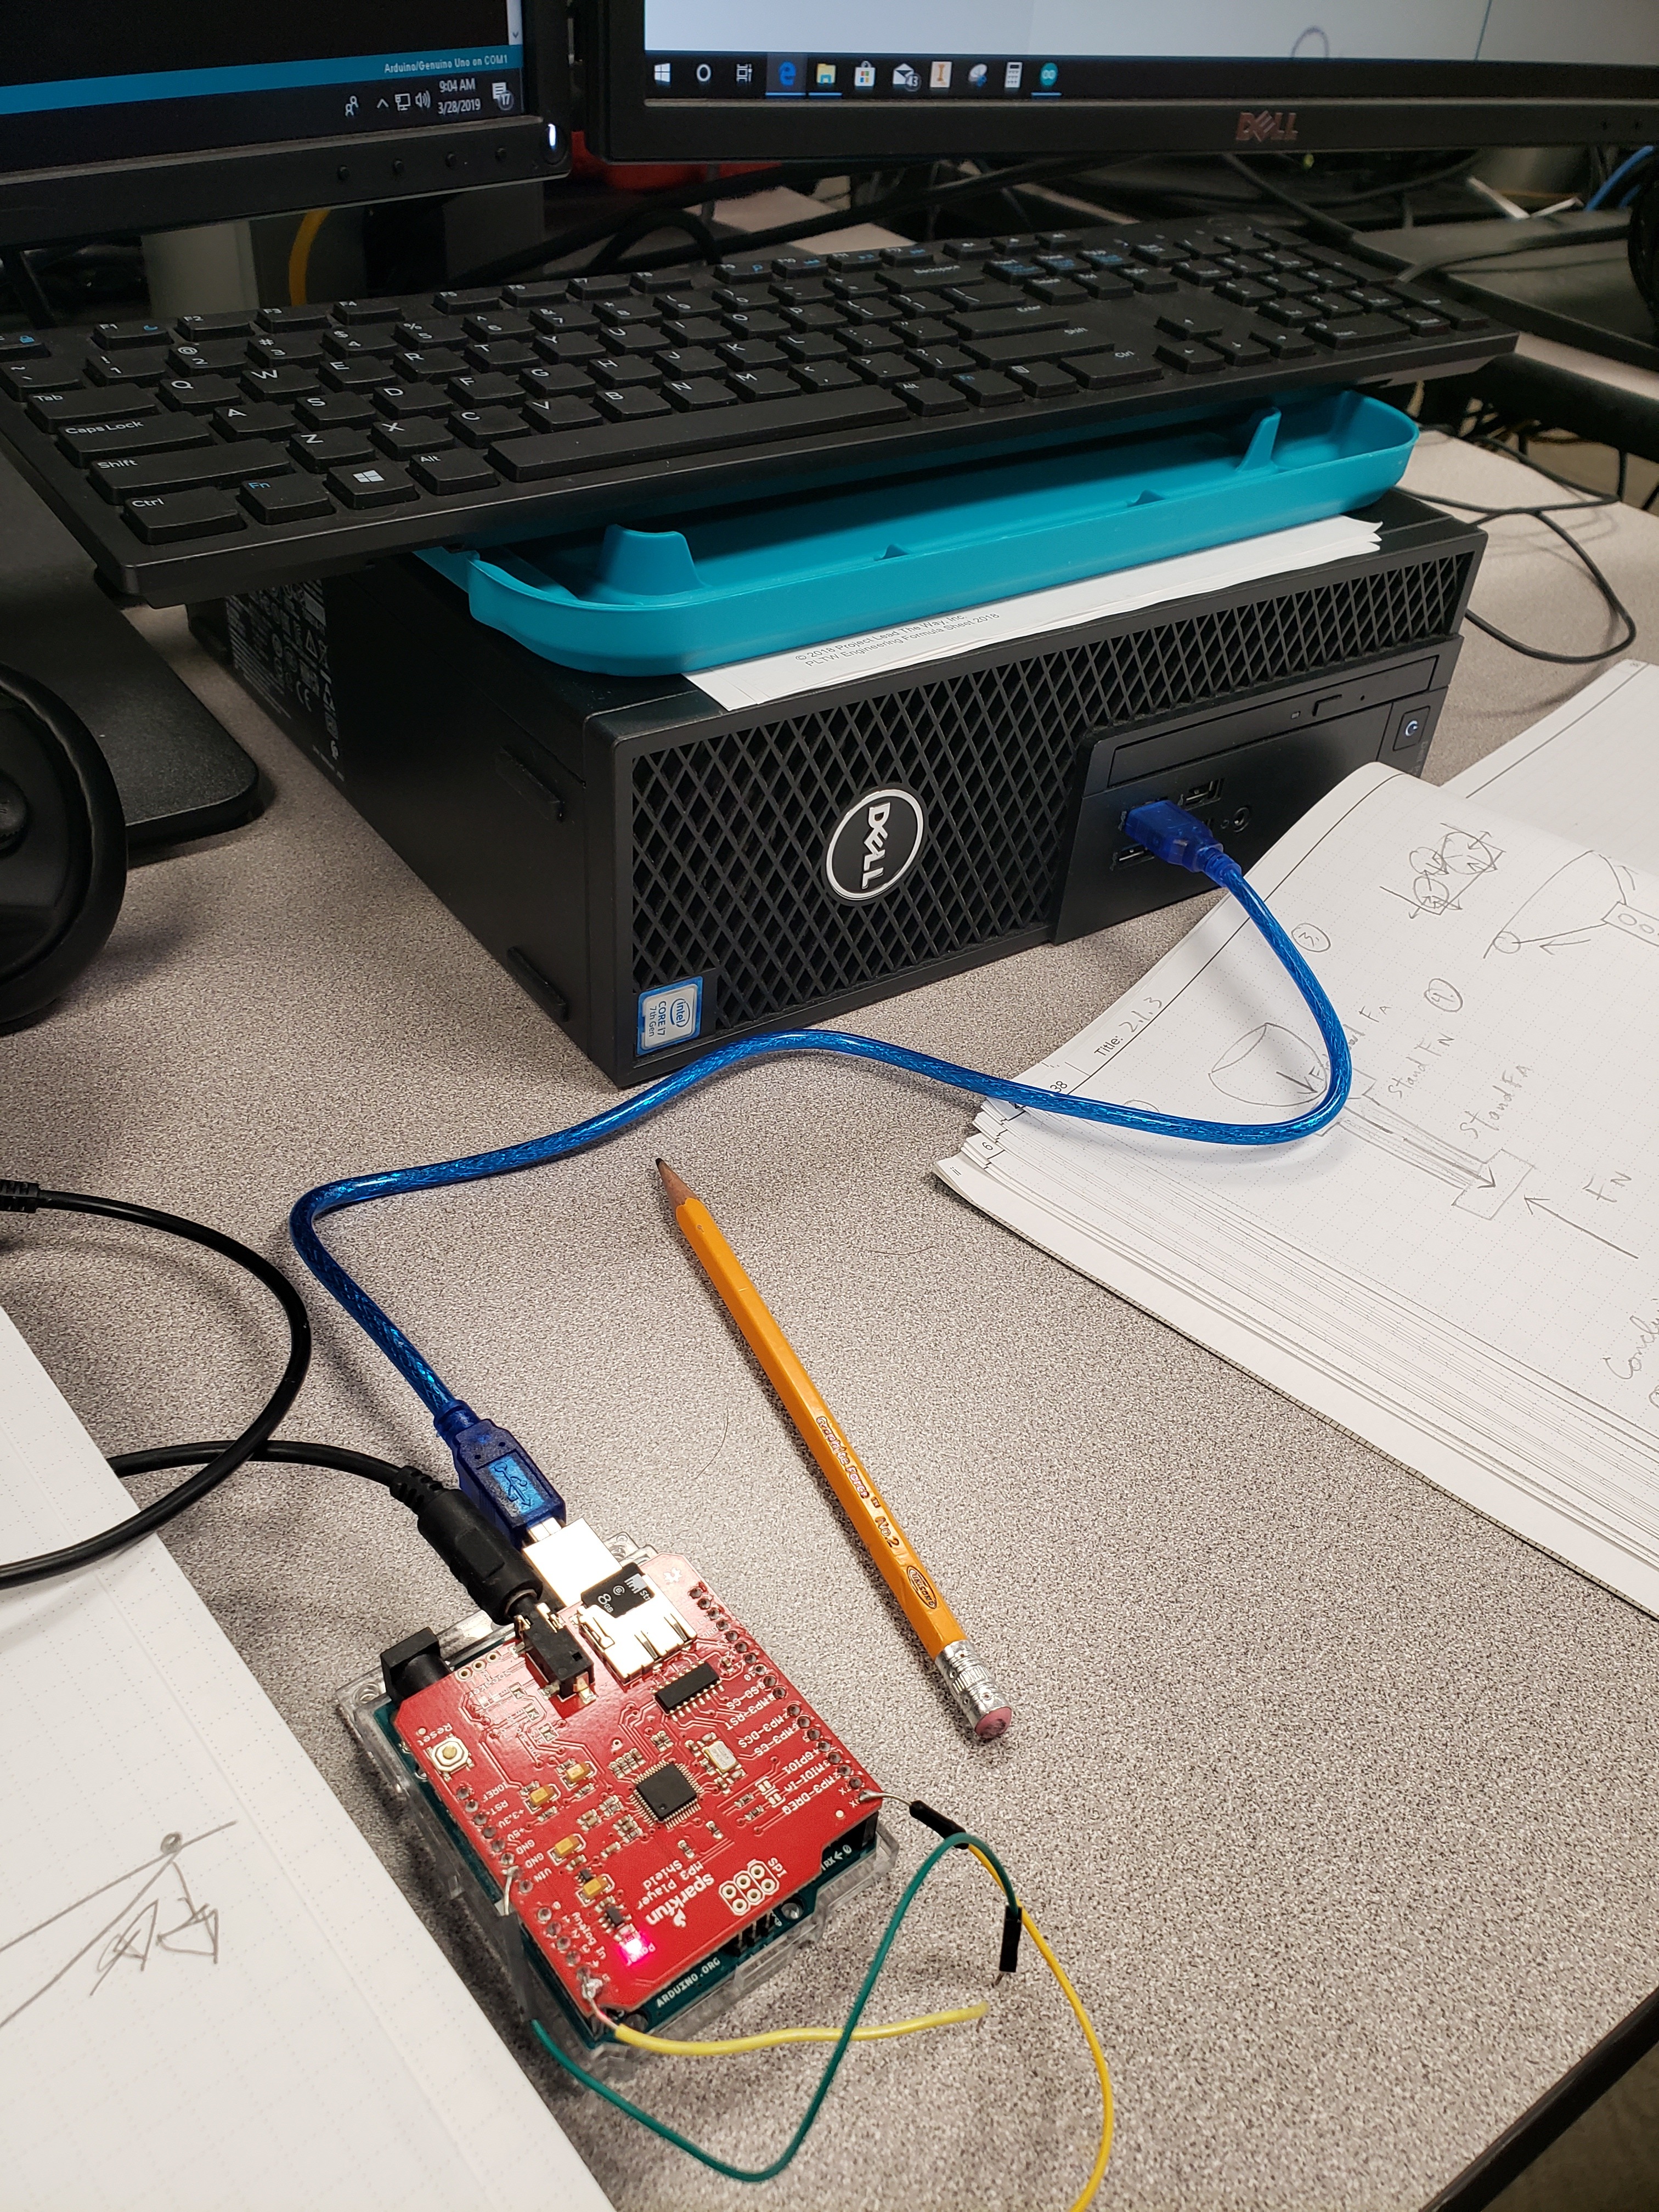
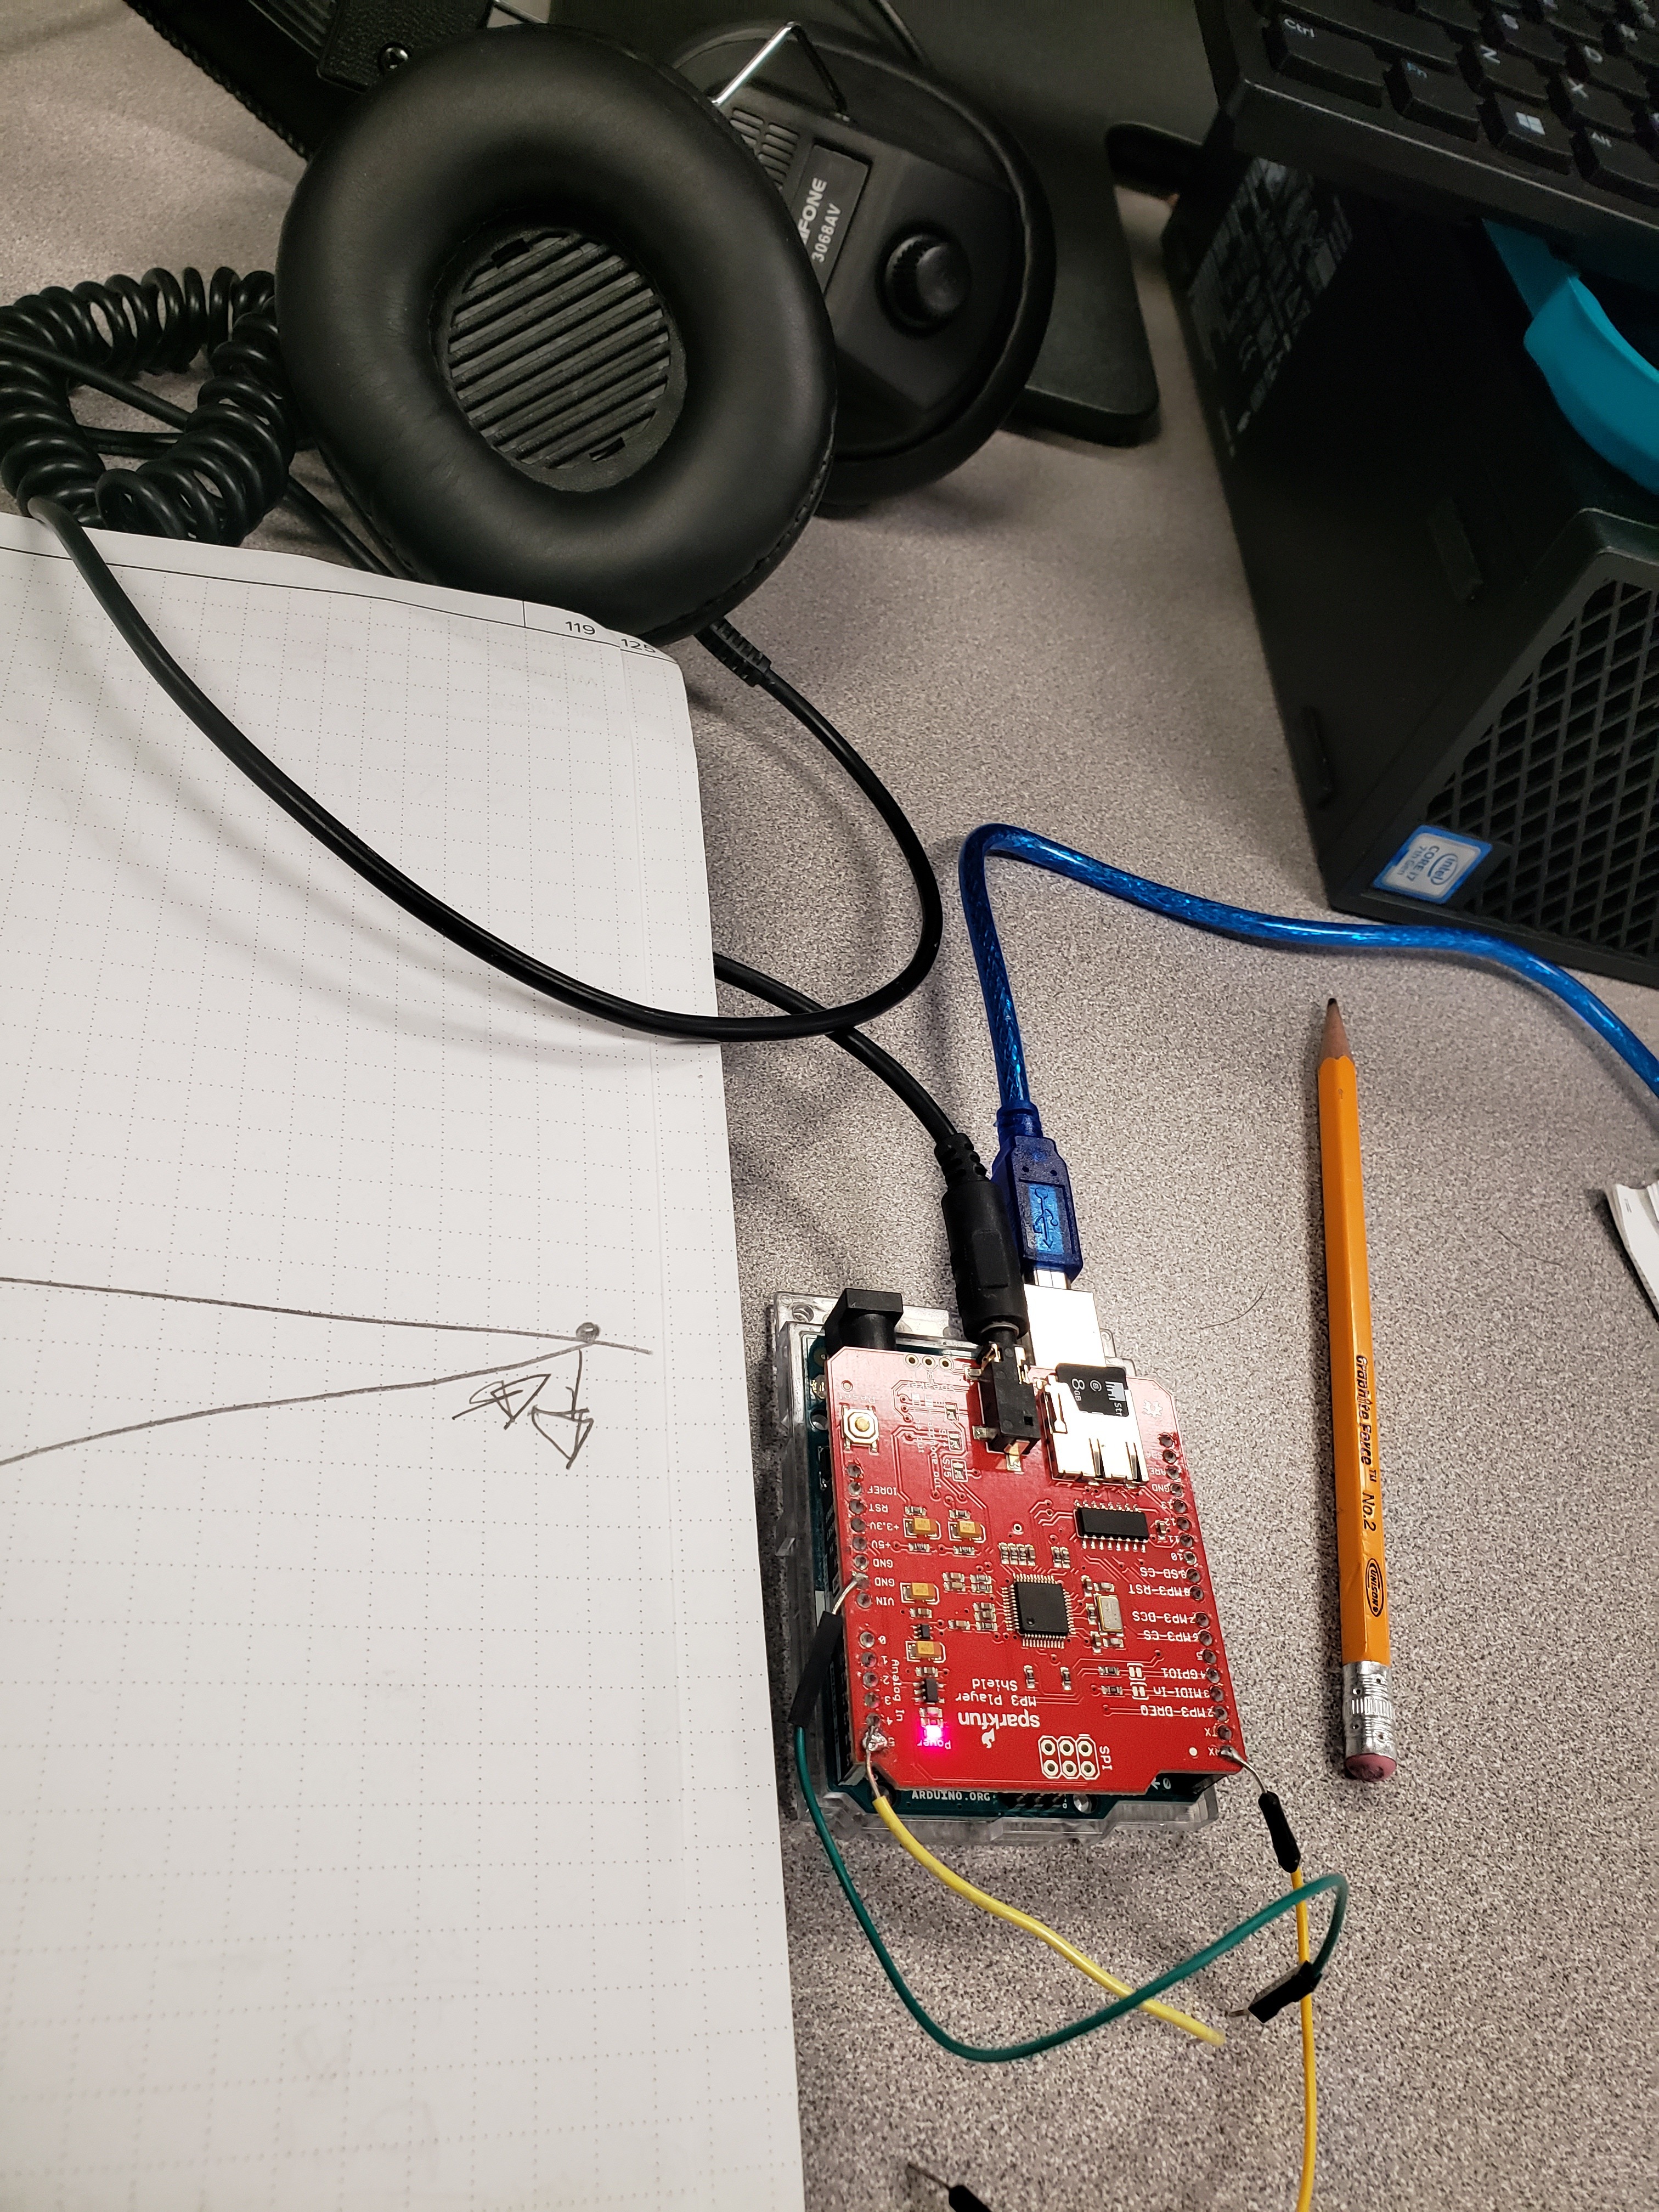
Construct a wiring diagram for the music player to be added to your car.
Optional Music 7
Create a start and skip button for the music player.
Optional Music 9
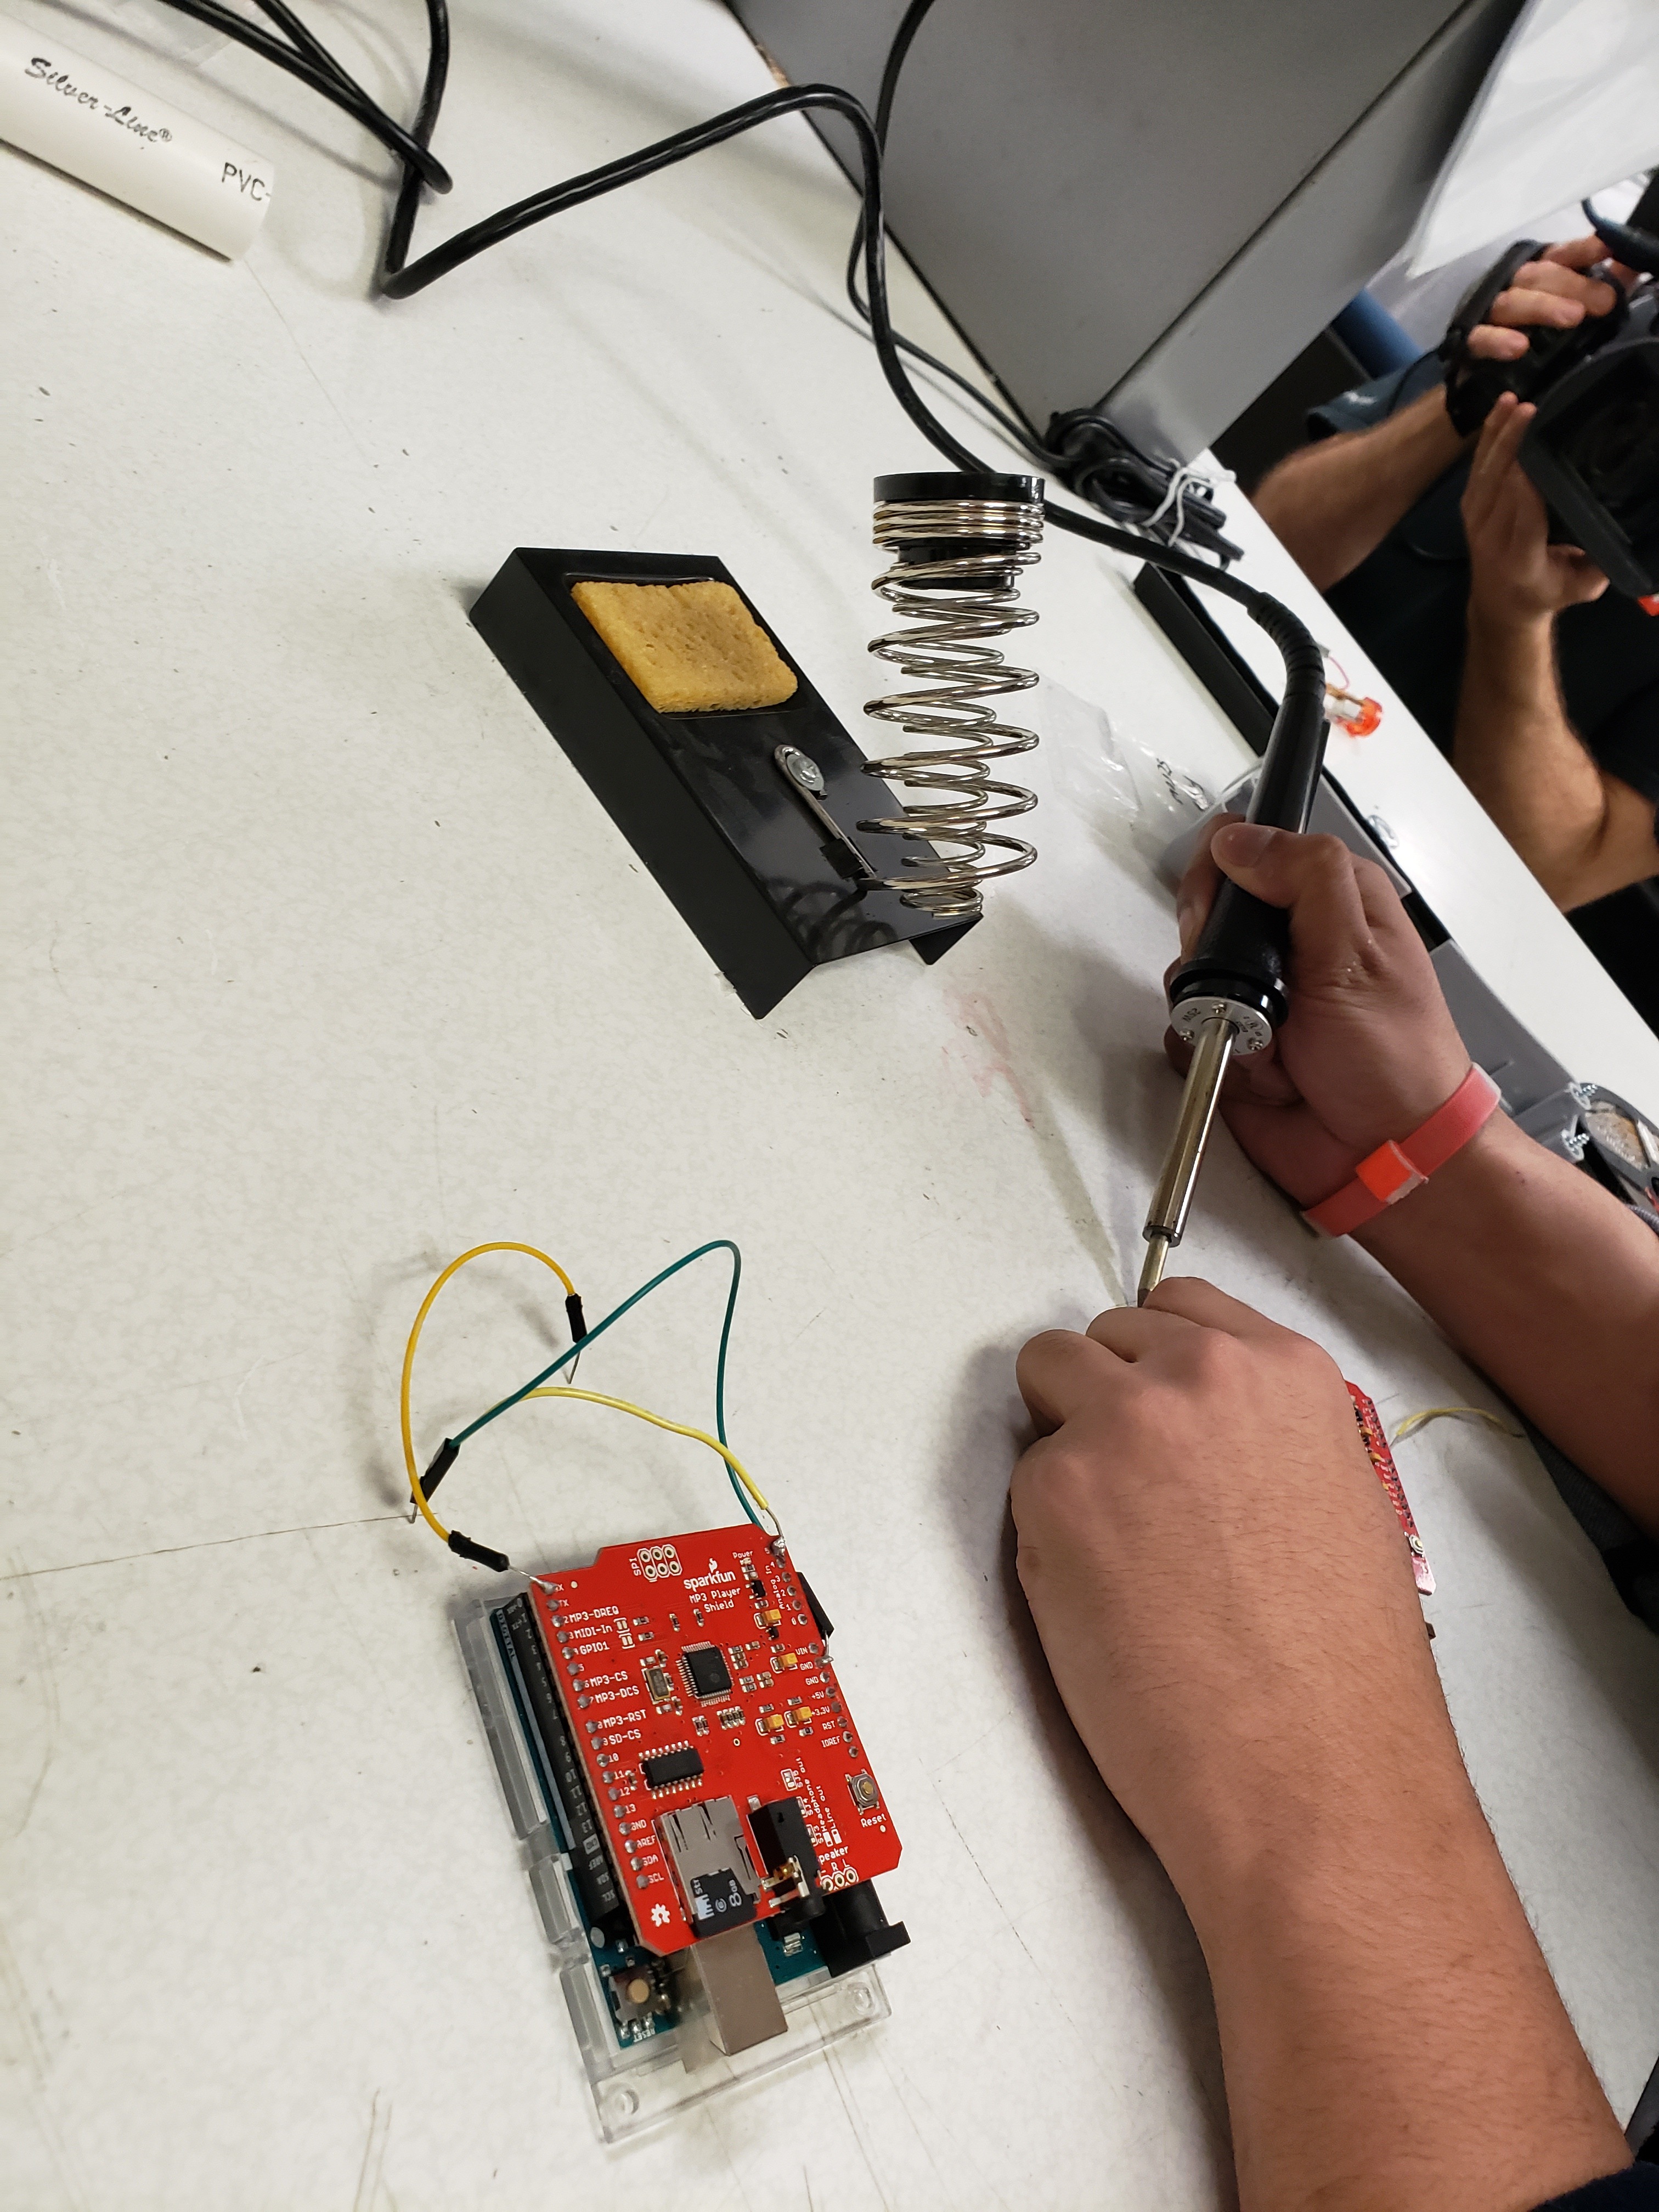
Solder electrical wire and connect with the music player.
Optional Music 9
Purchase and build a selector switch that will be used for the child using the car, to pull on a lever and hit a button to play songs when using it.
Optional 9 Music
Obtain a leftover power cord from somewhere in your class and use it to power your newly created display.
Optional -Underglow
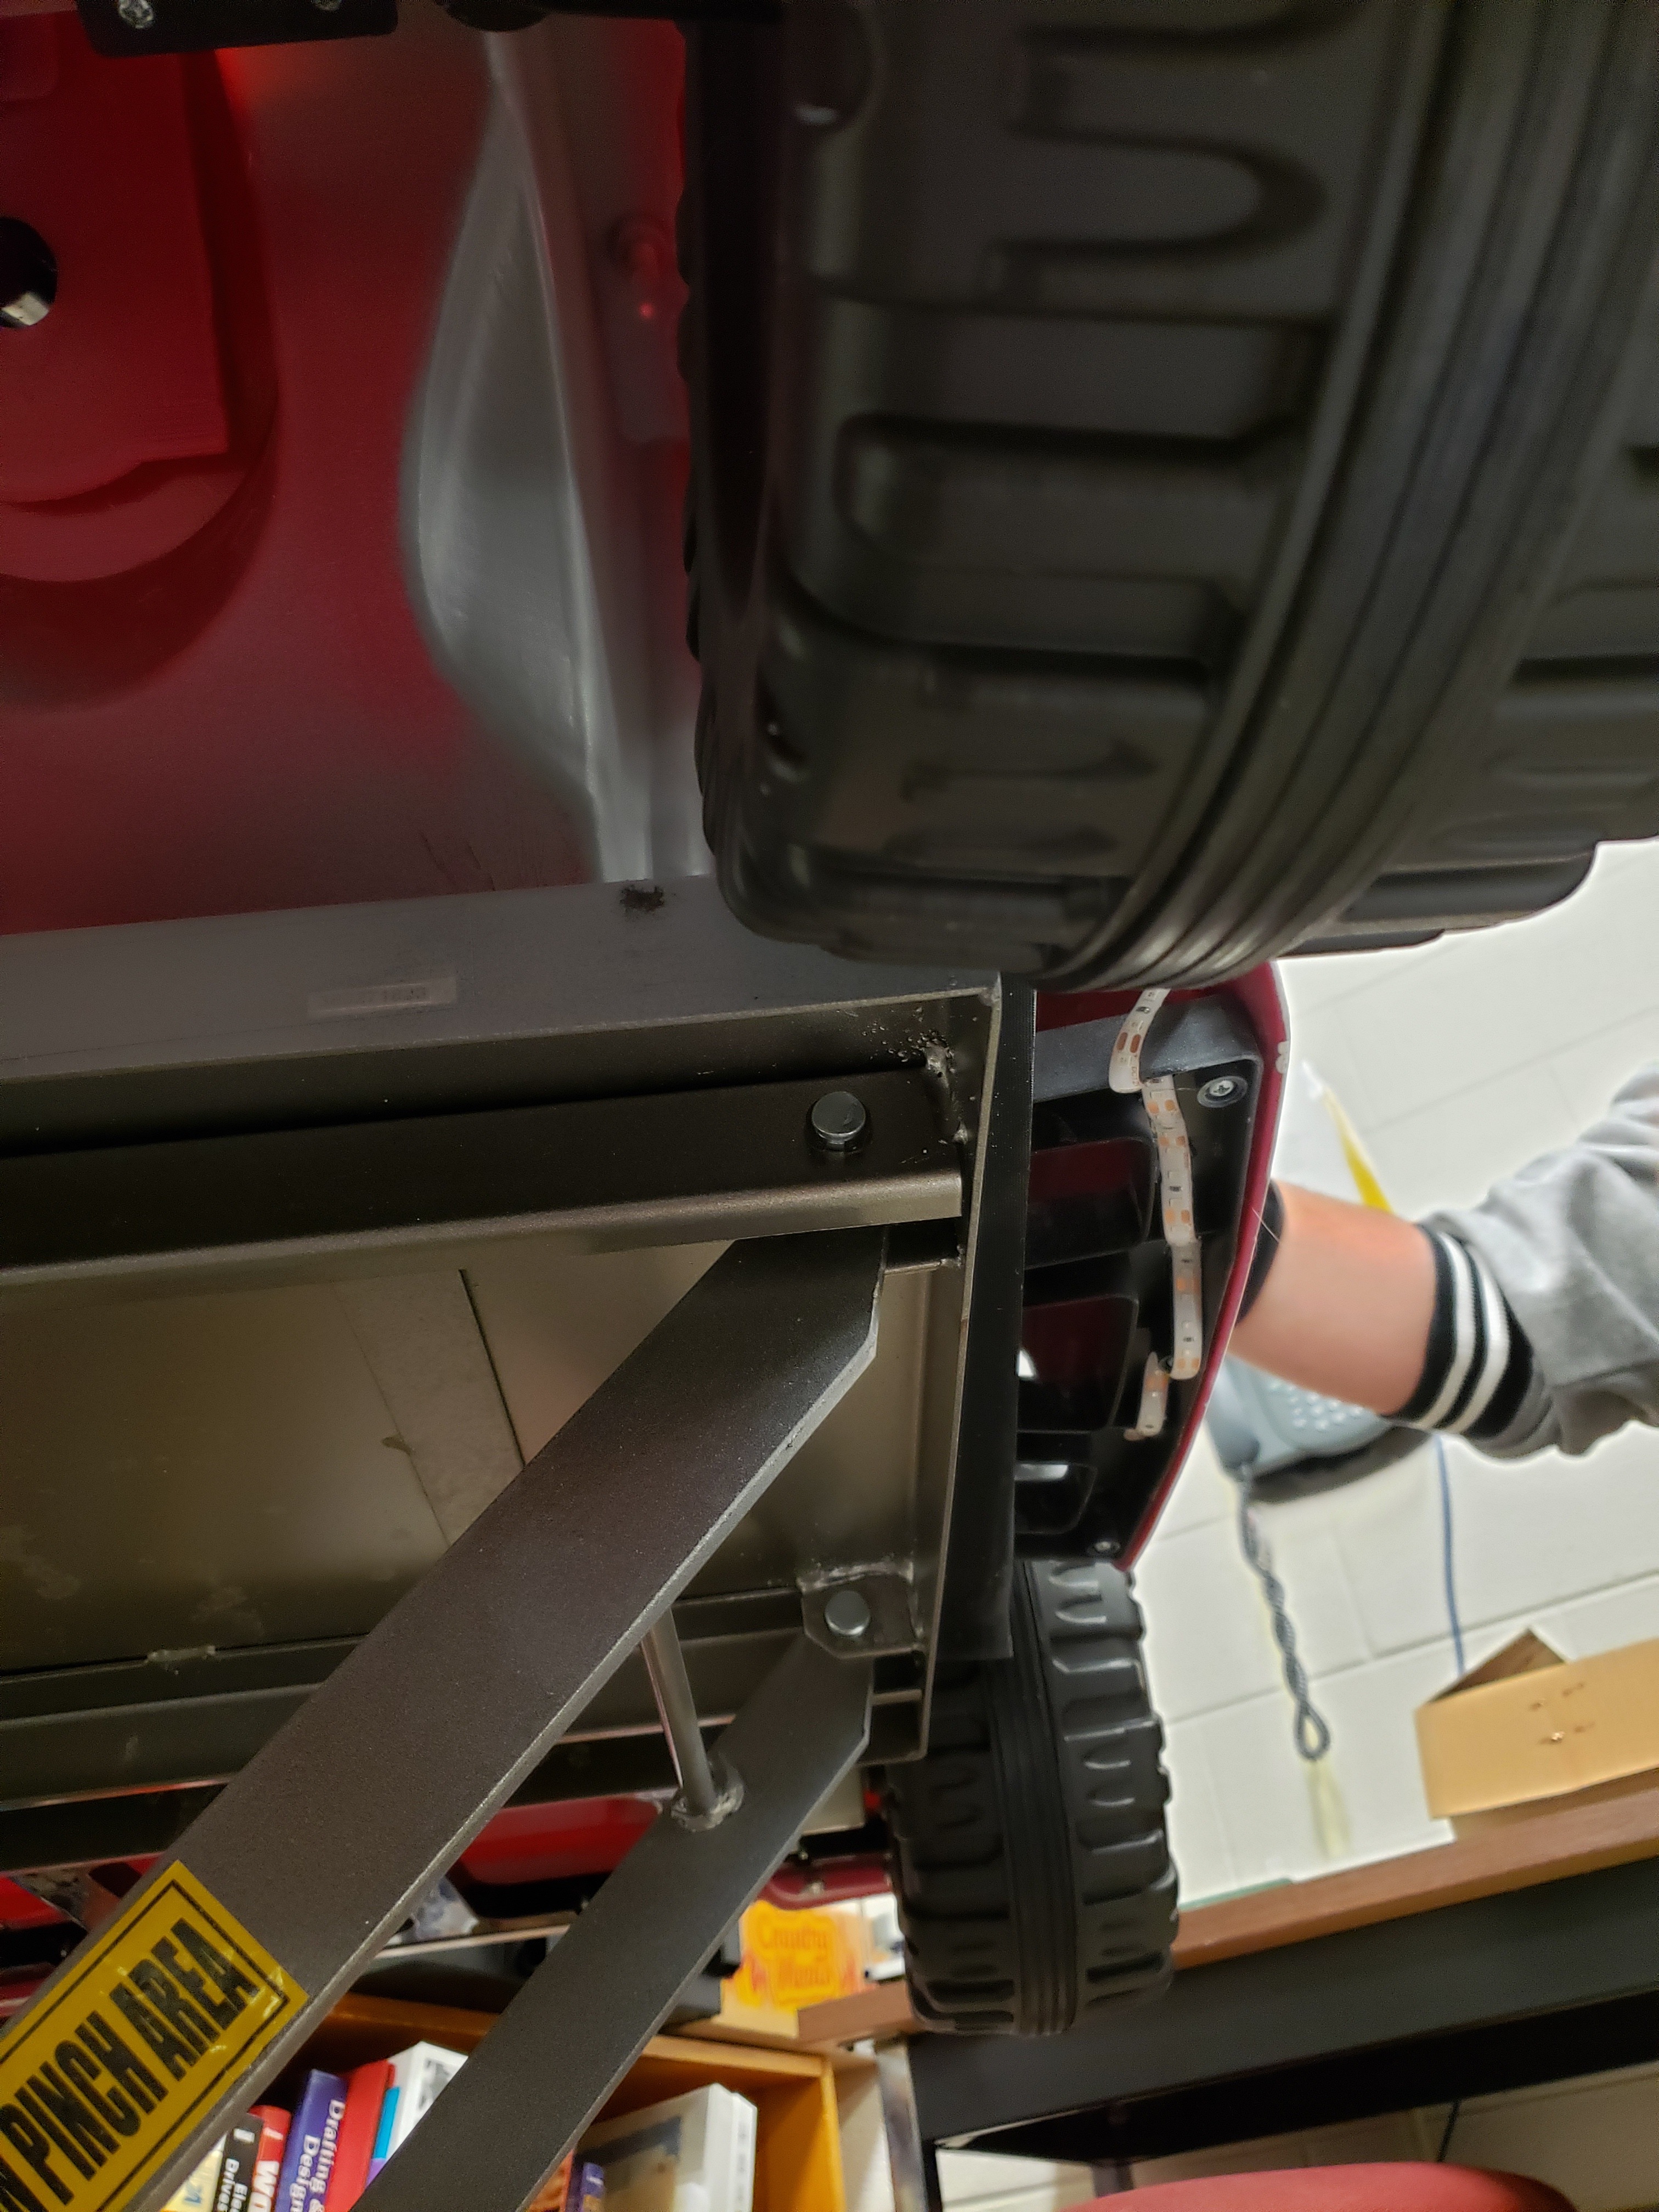
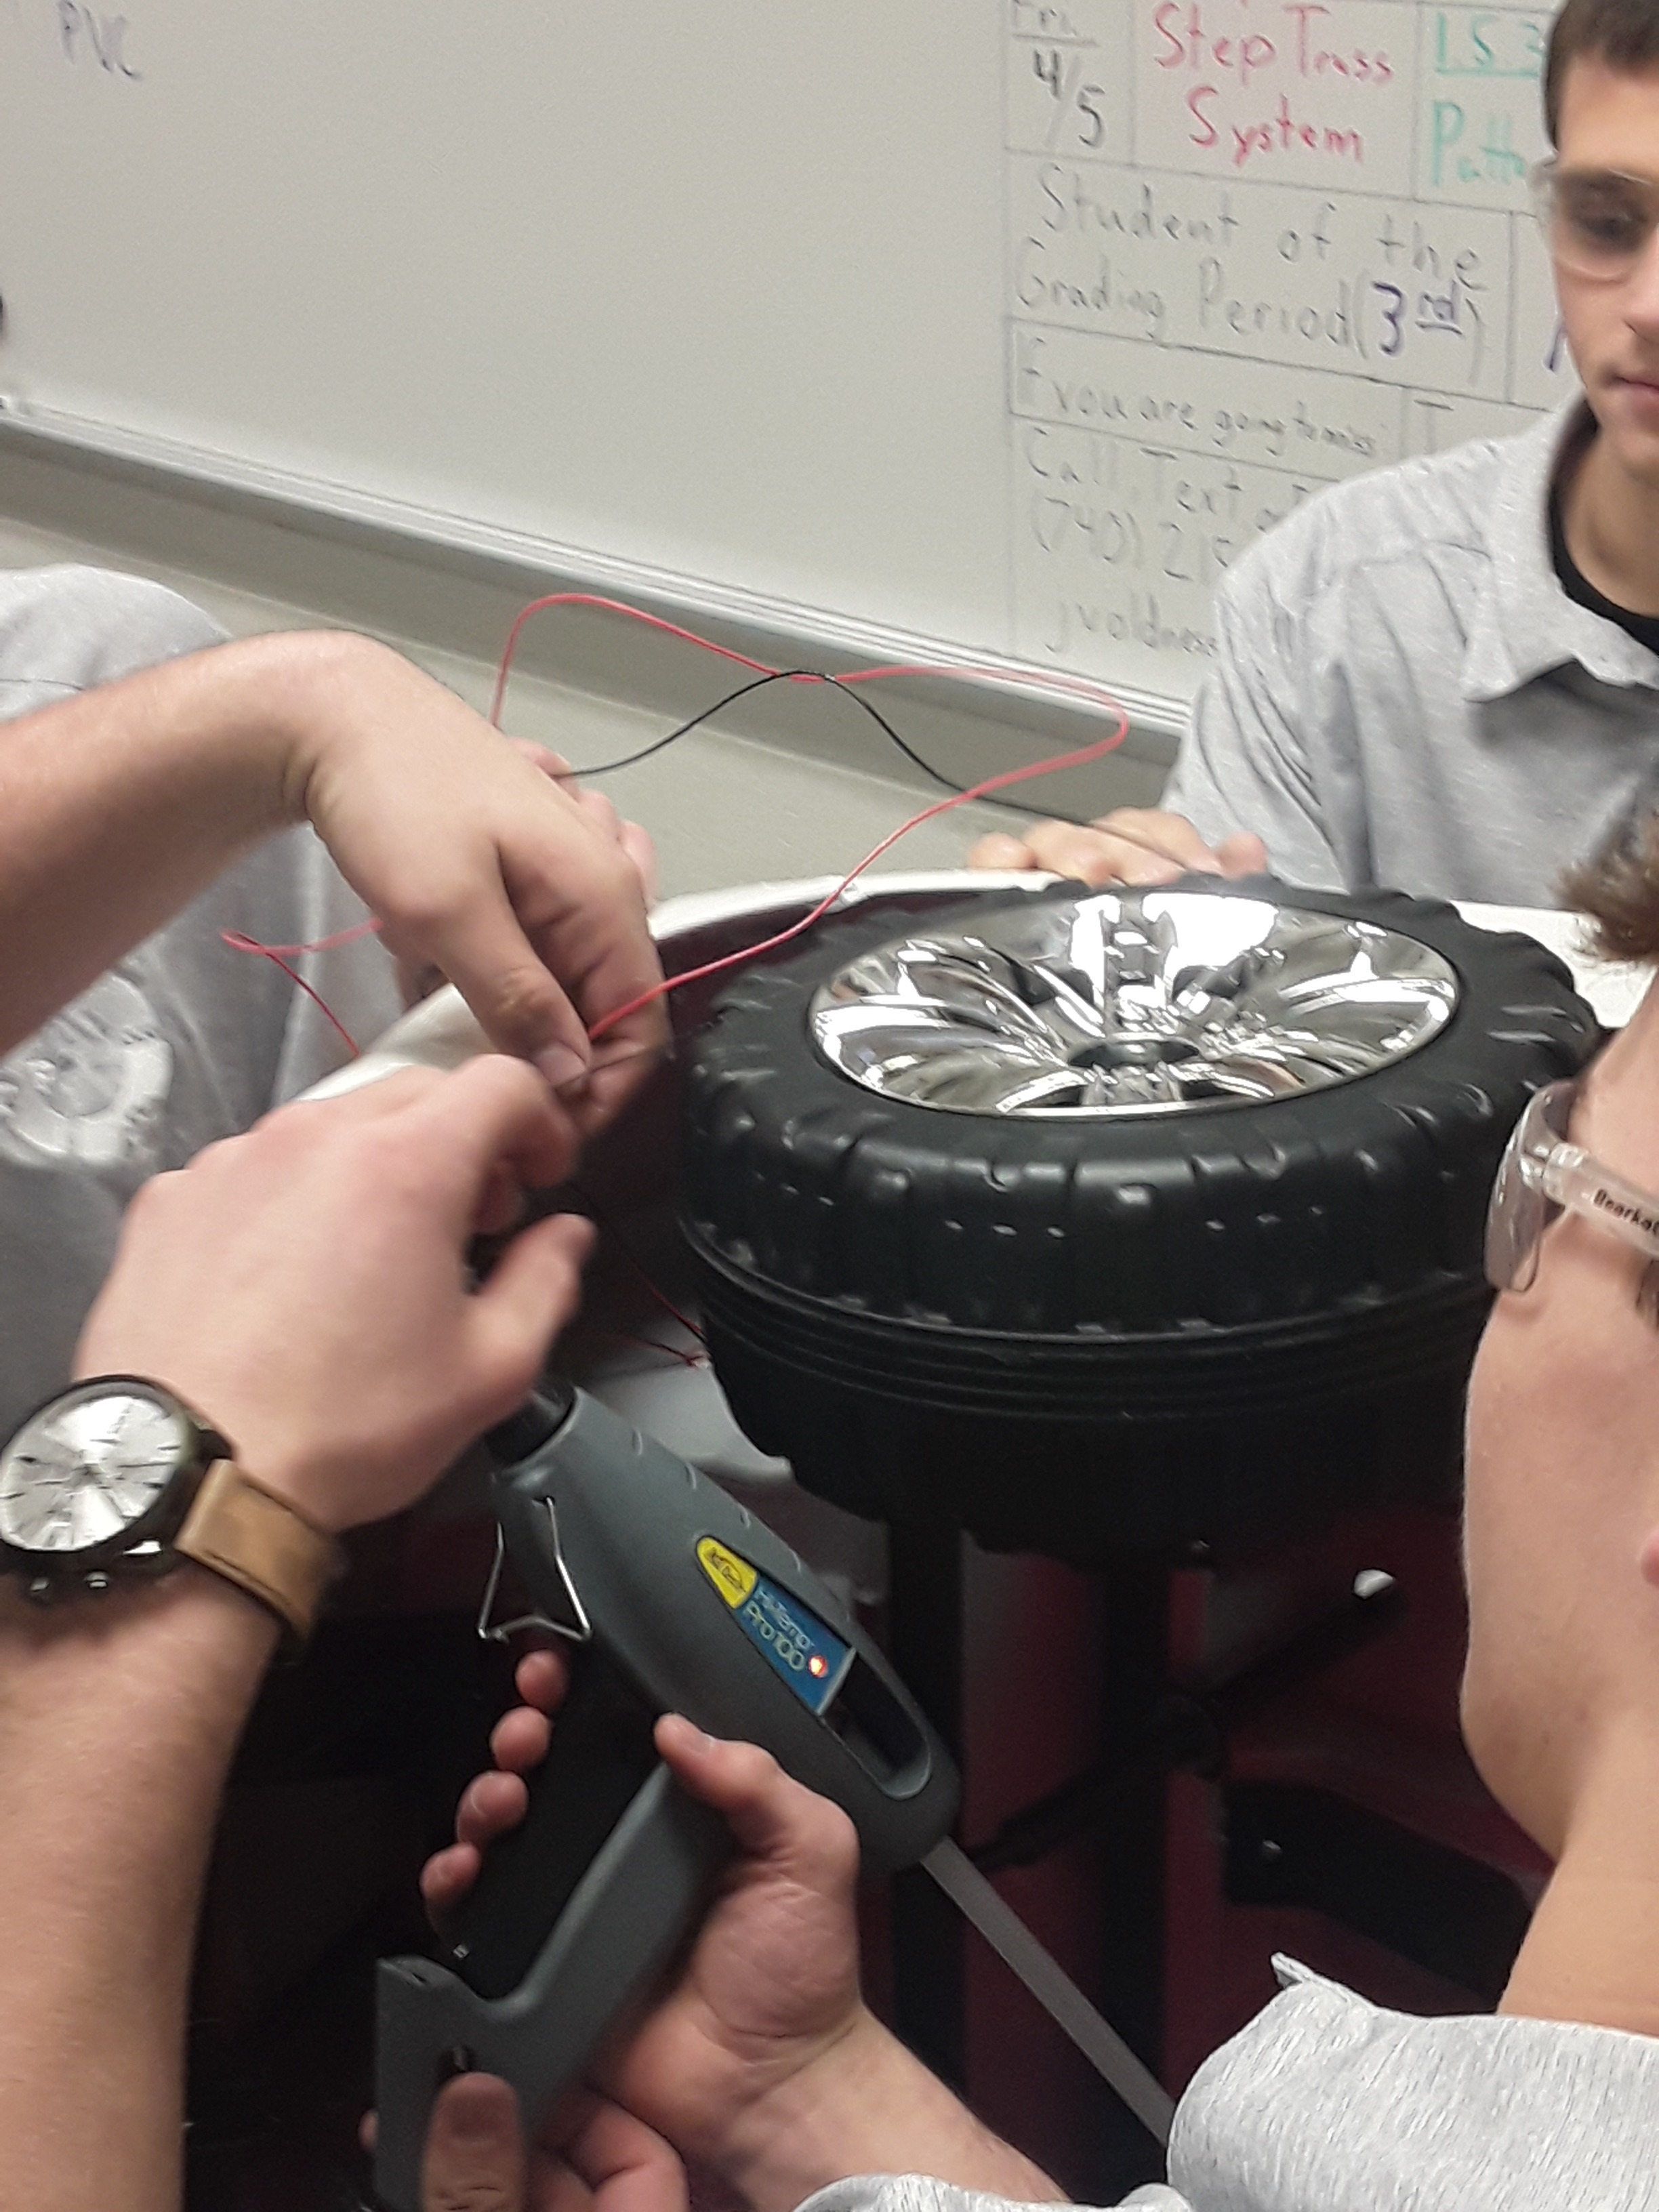
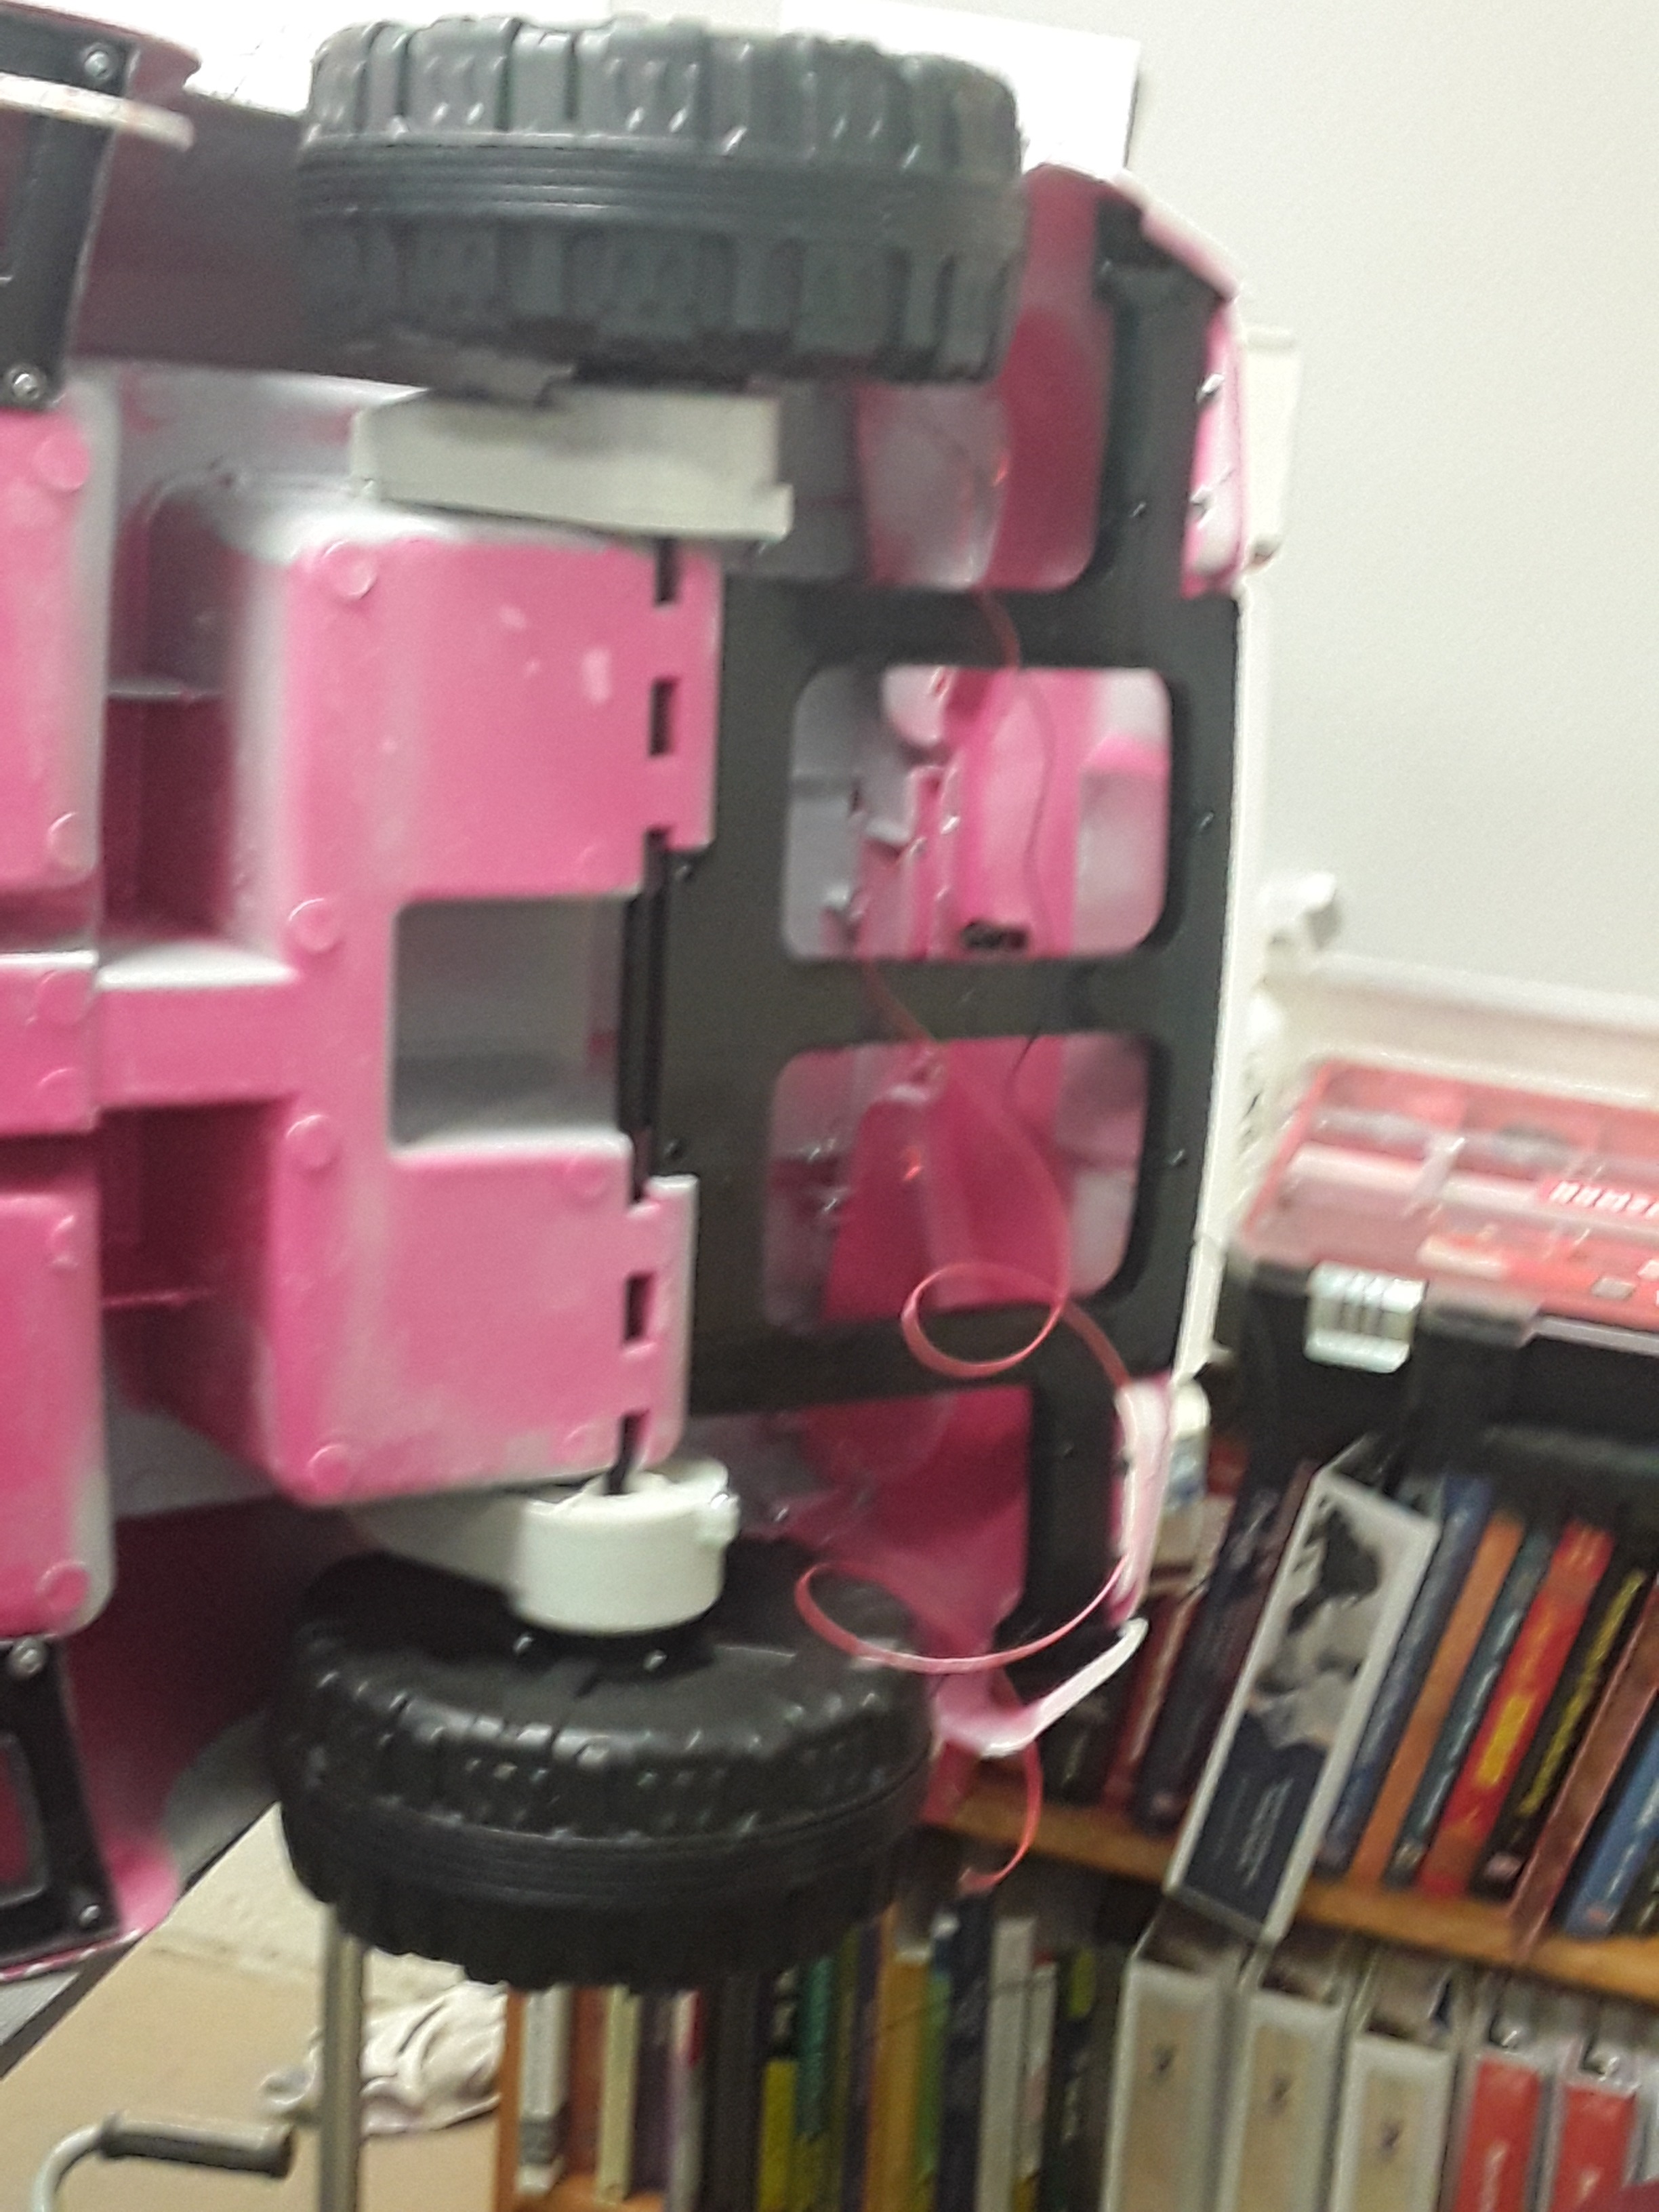
While wiring up your LED headlights, if you wish, run extra electrical LED strips underneath the car on its bottom rims for an under-glow effect, hooking the ends however and wherever you wish.
Optional-Underglow 2
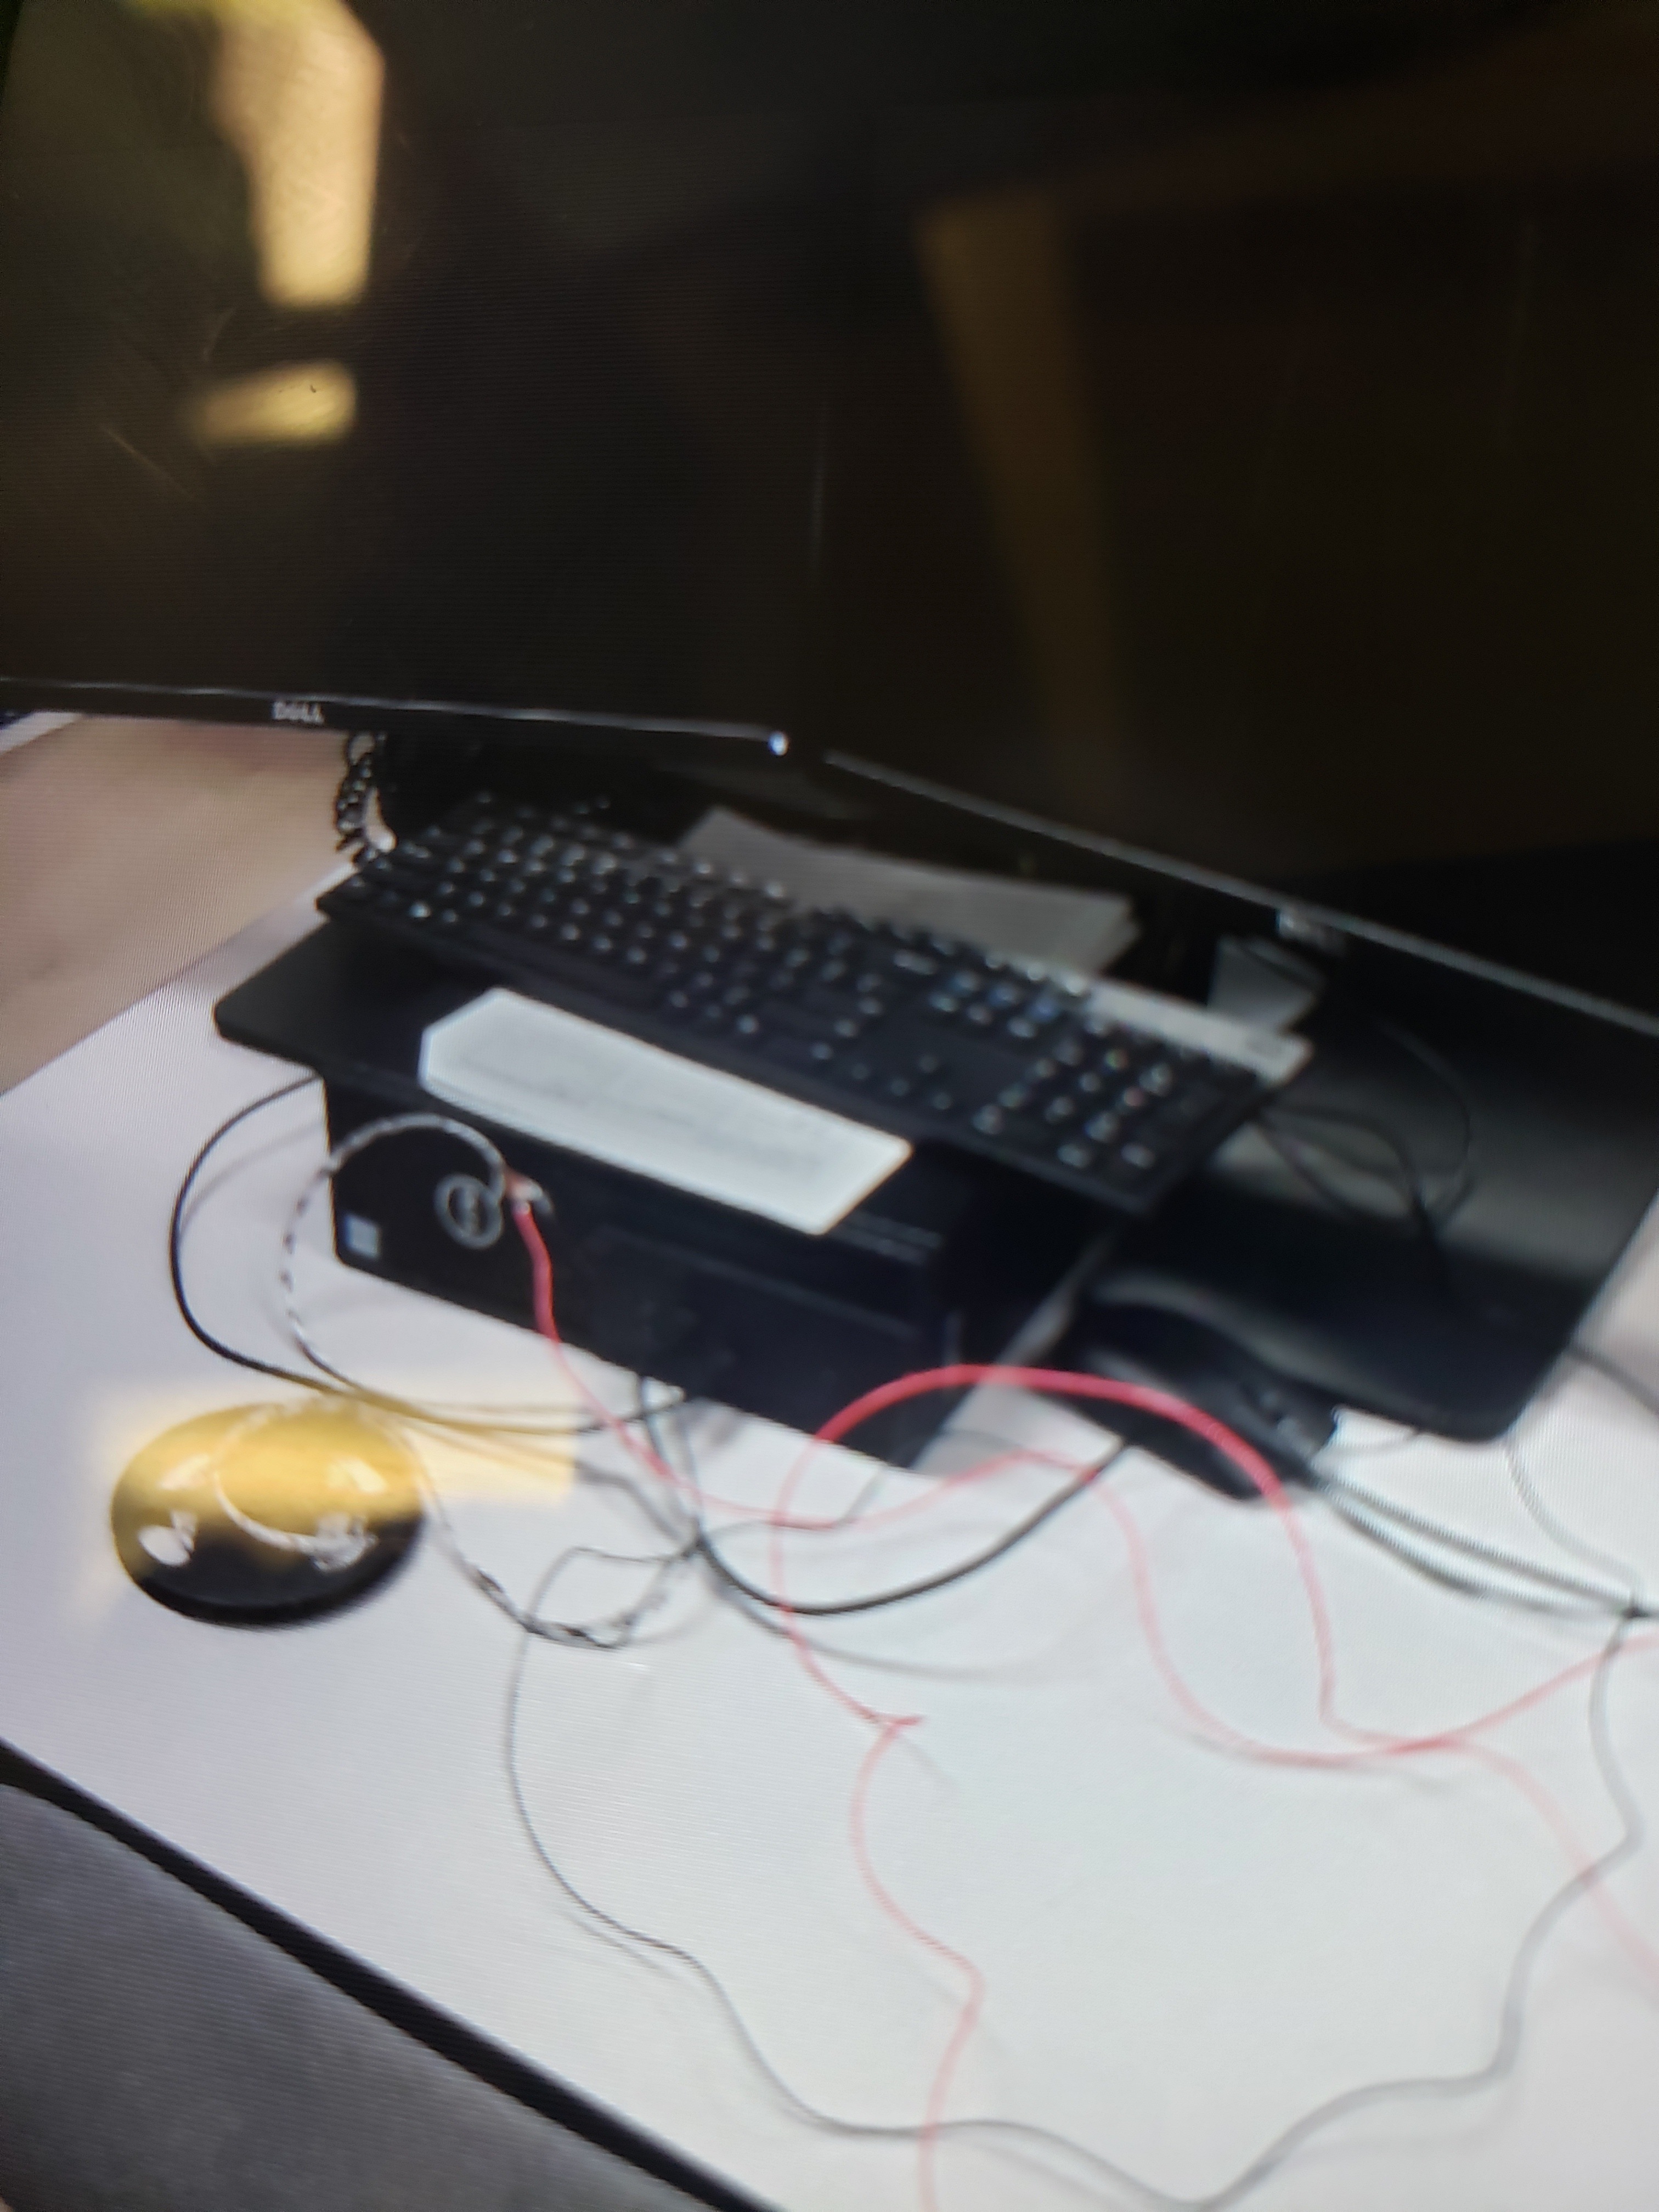
Next, if you are adding the under glow, test out your LED strips while hooked up along the bottom of the car to see if they need fixing.
Optional-Underglow Final
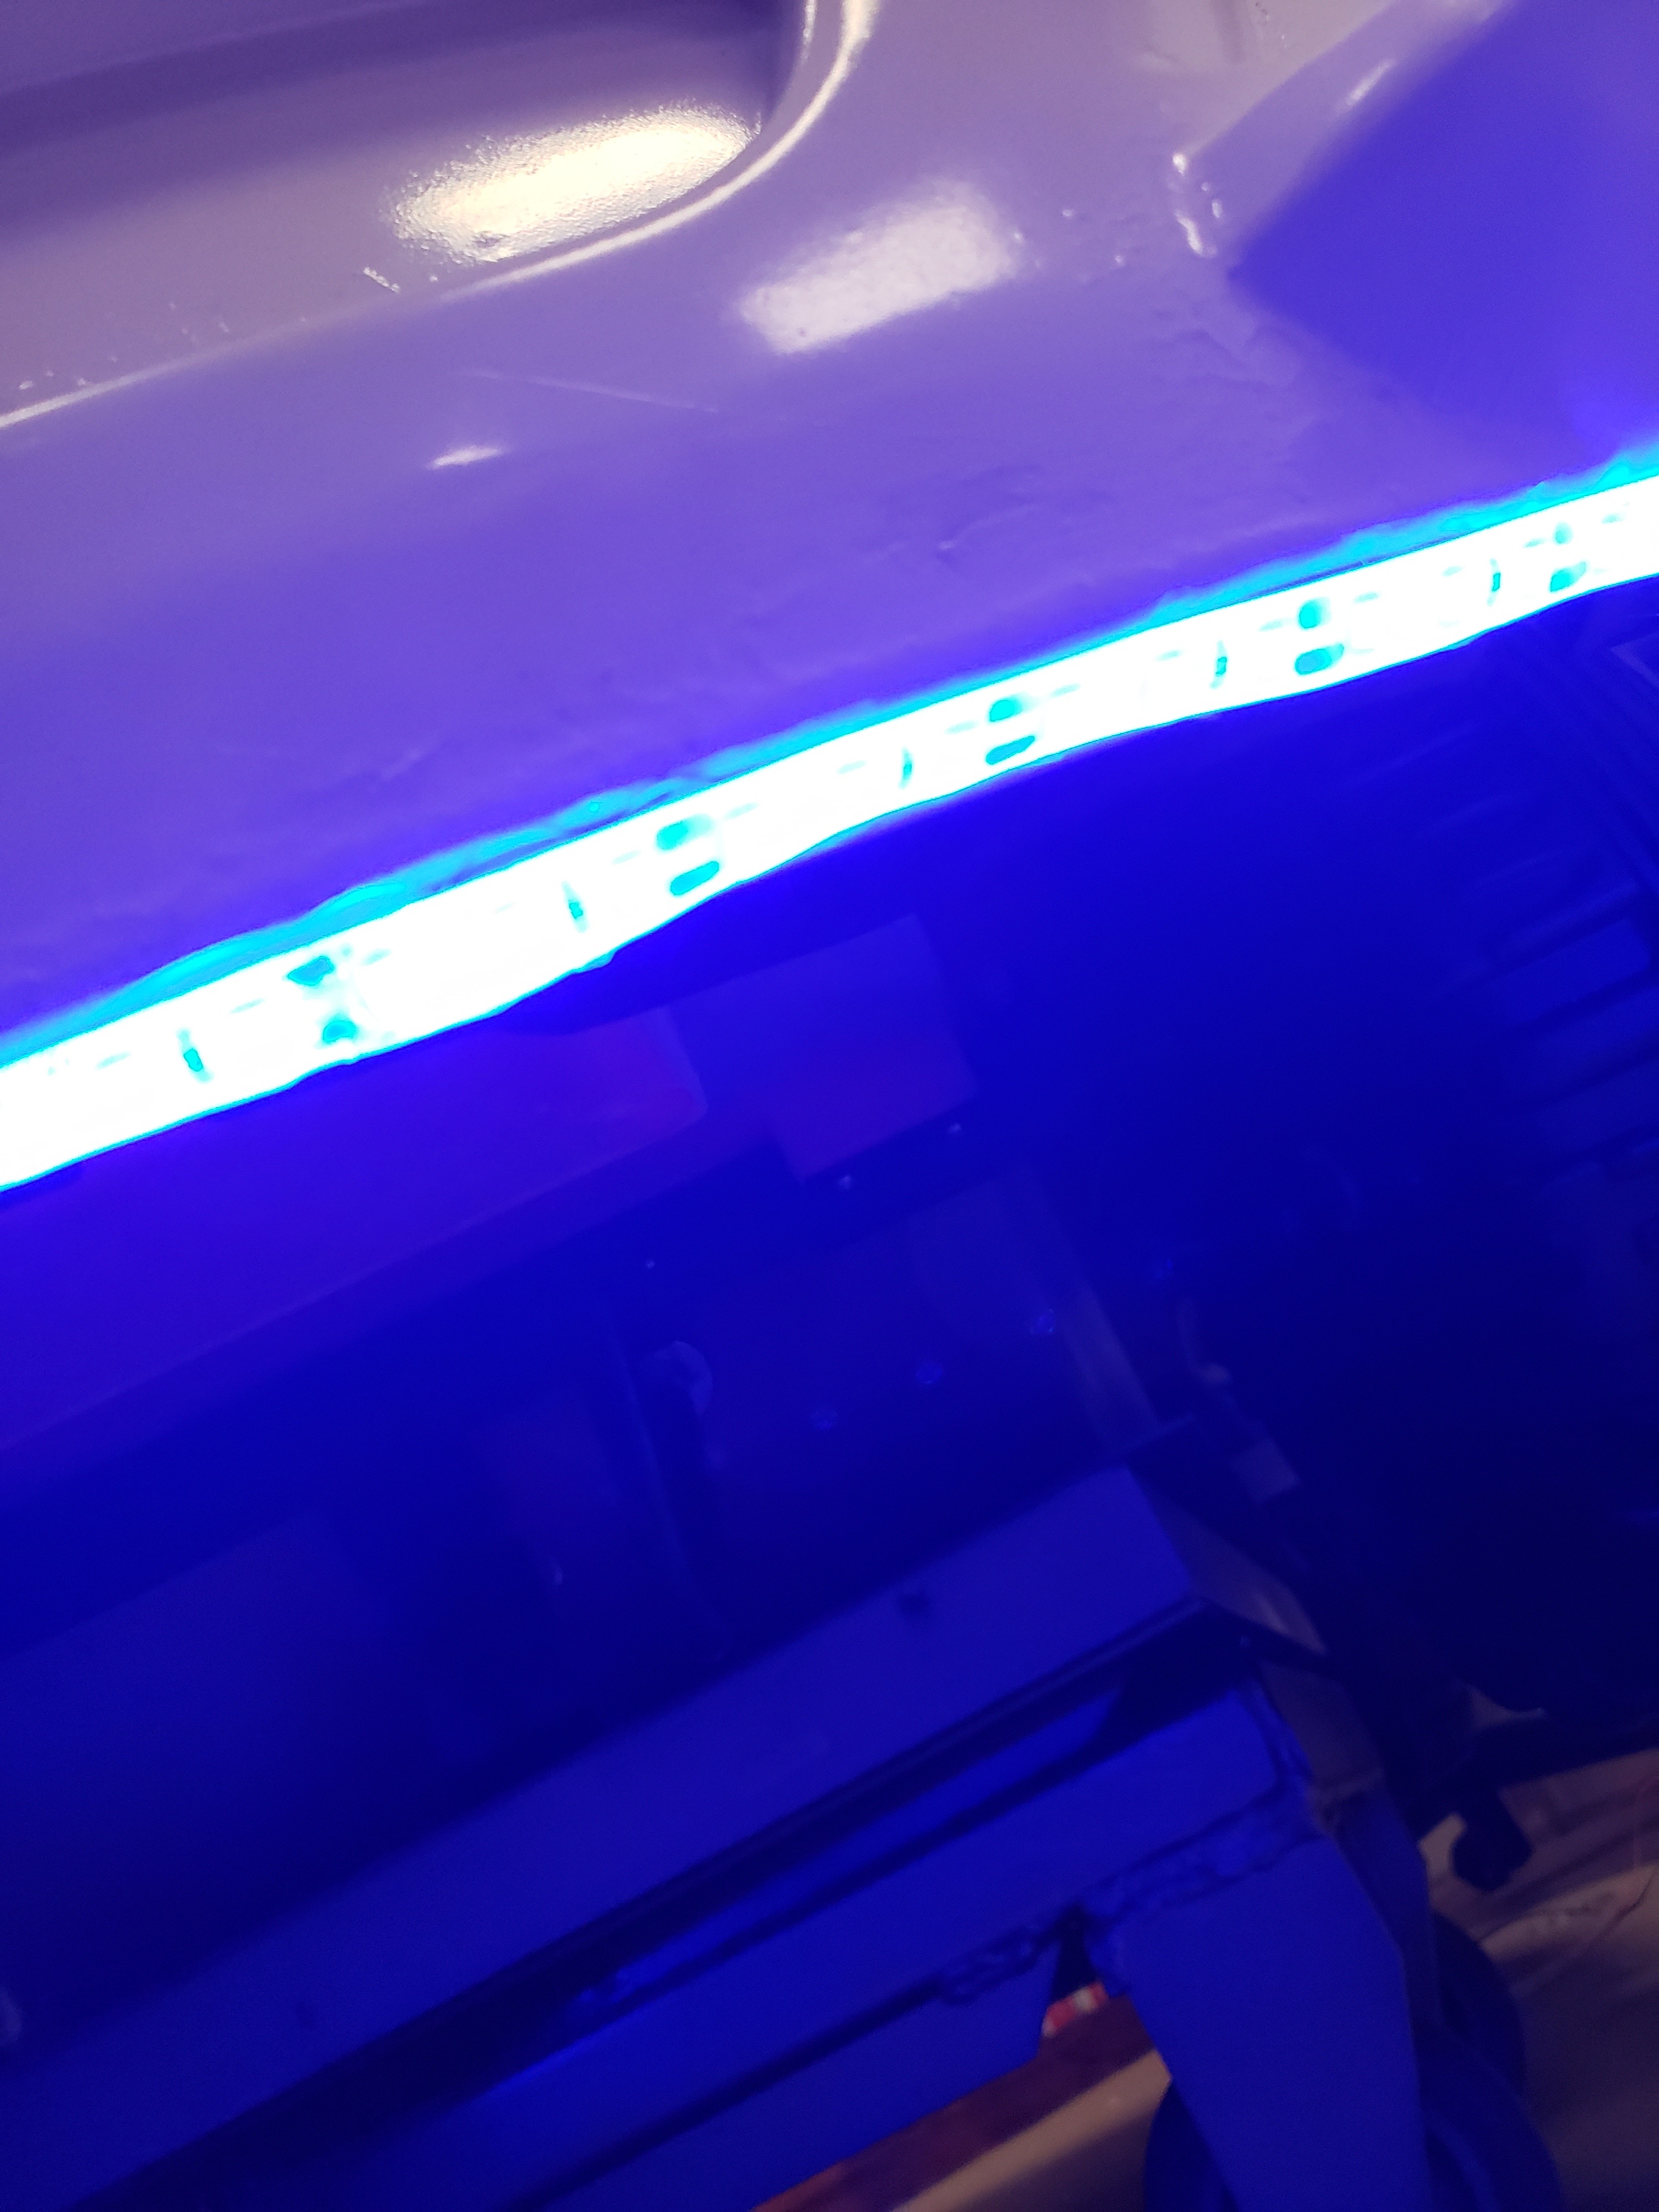
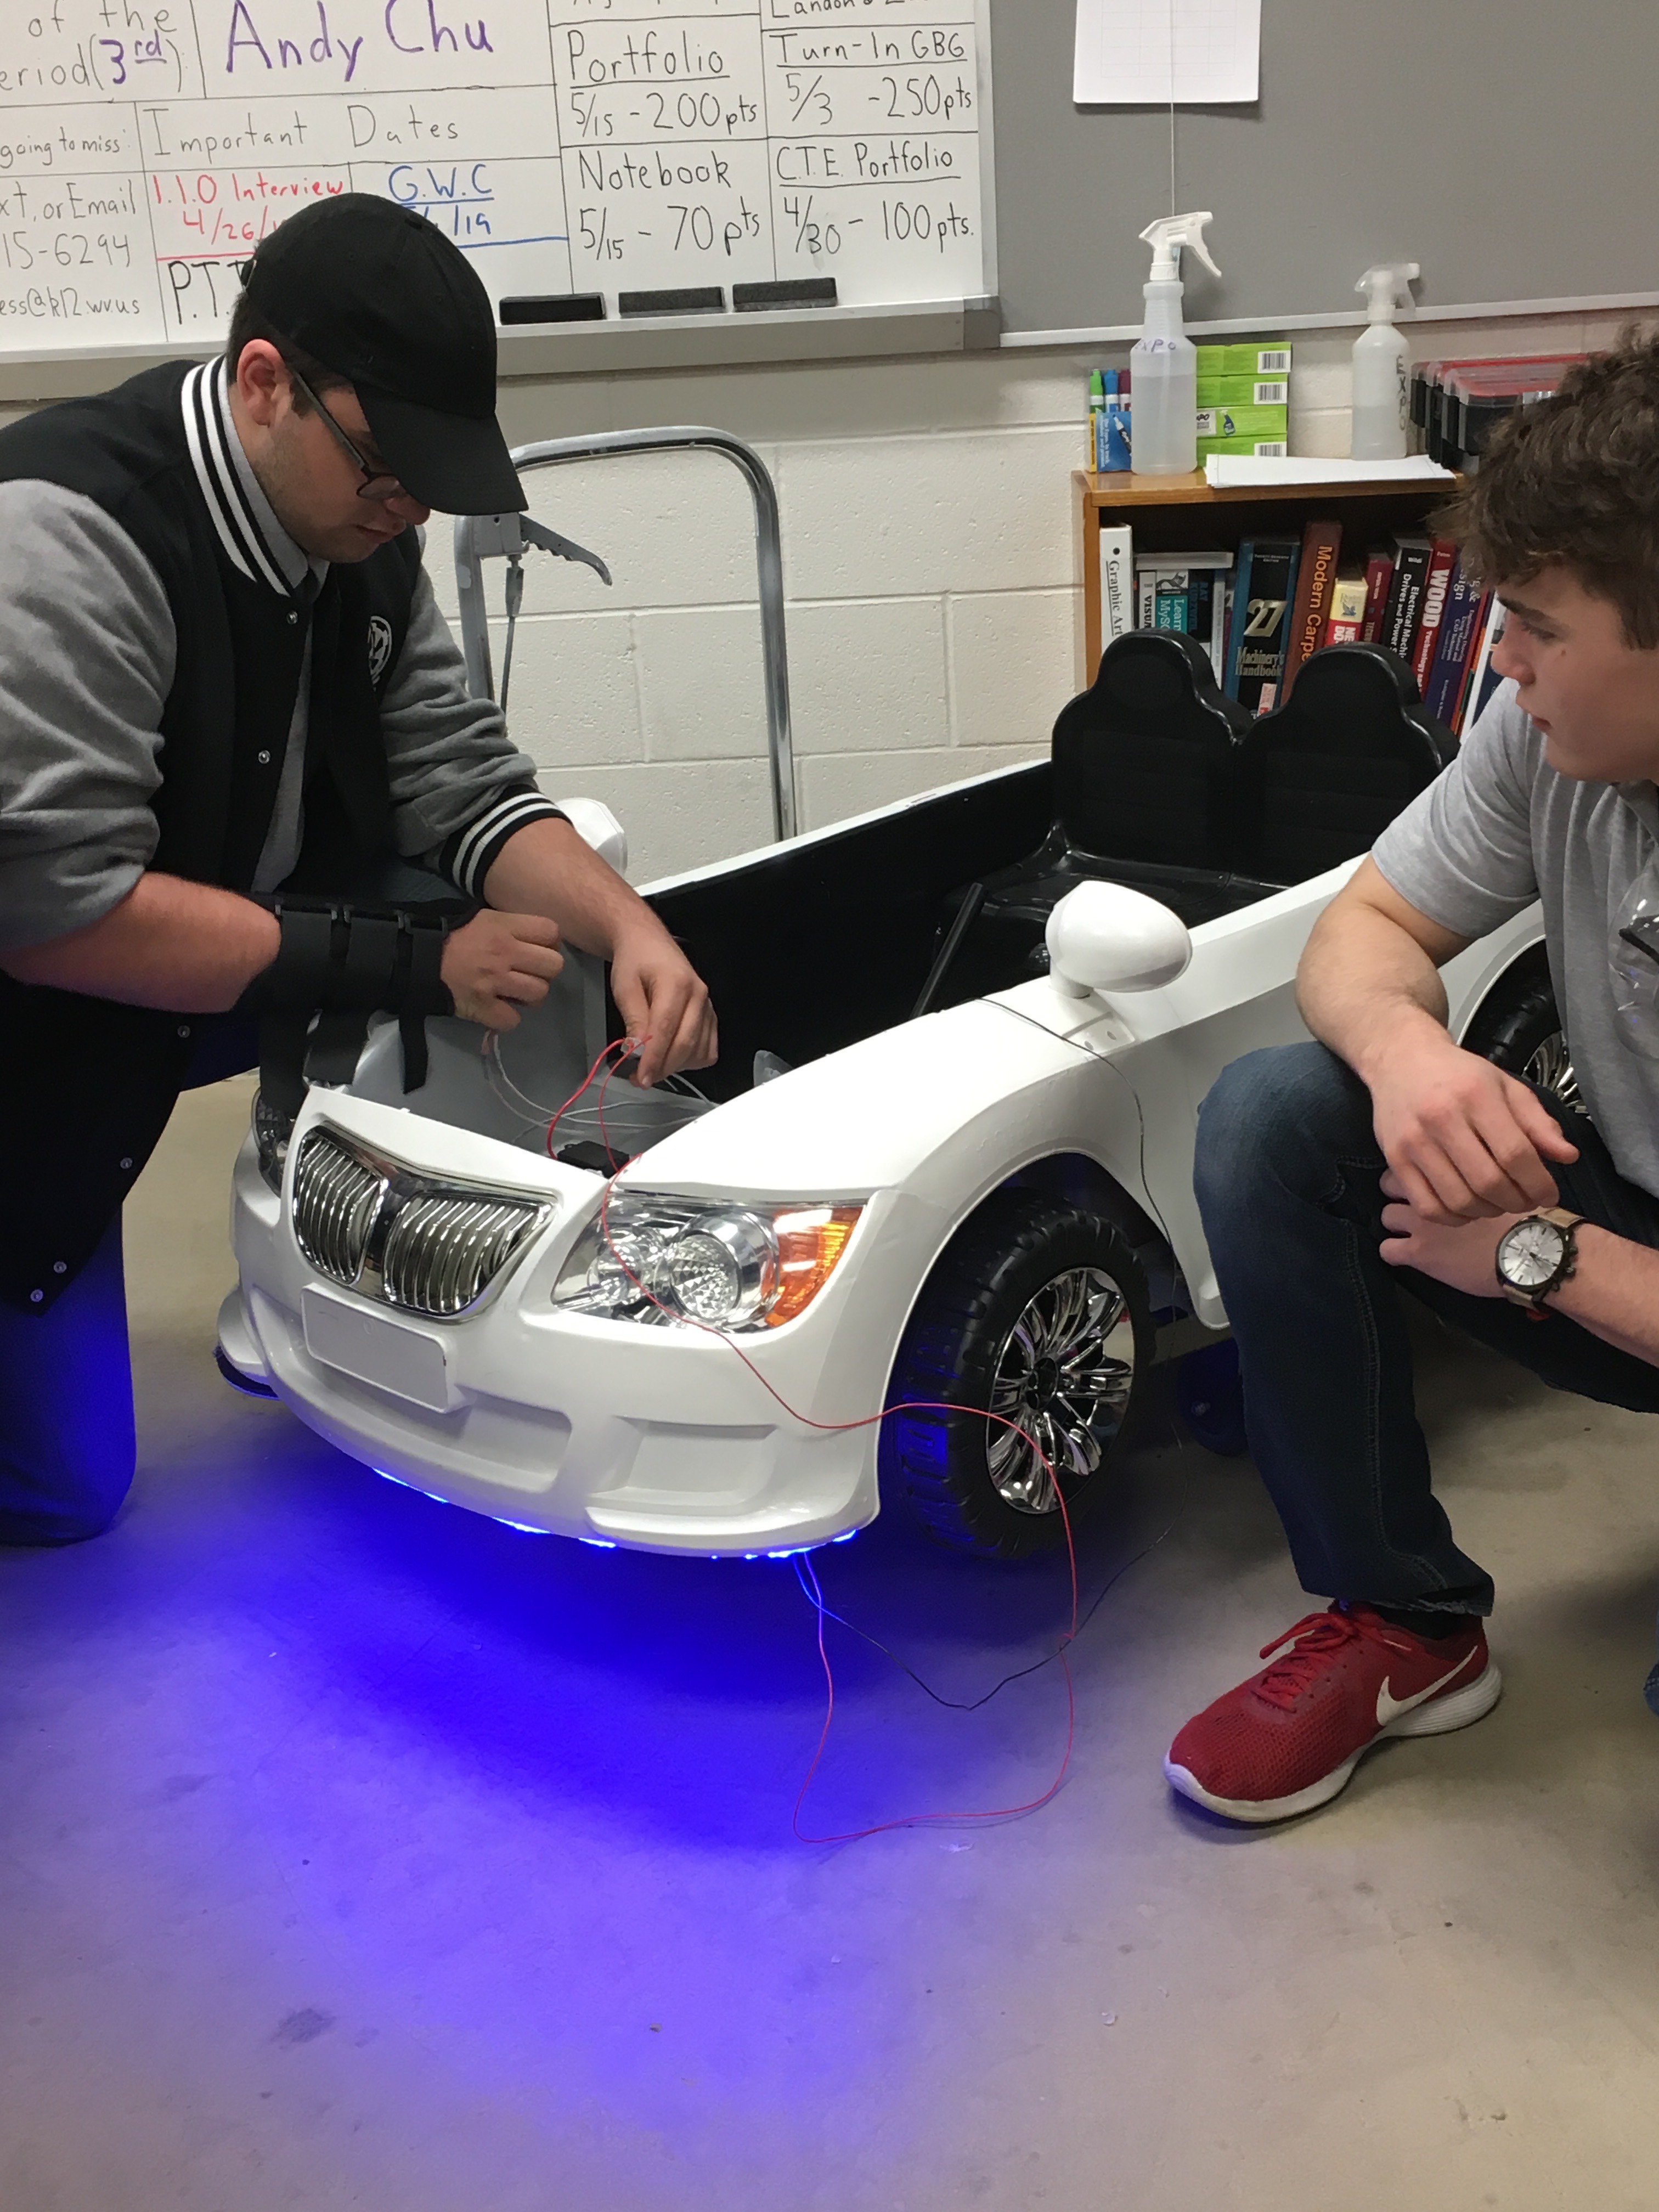
This is what the under glow should look like once completed.
Building Car 1
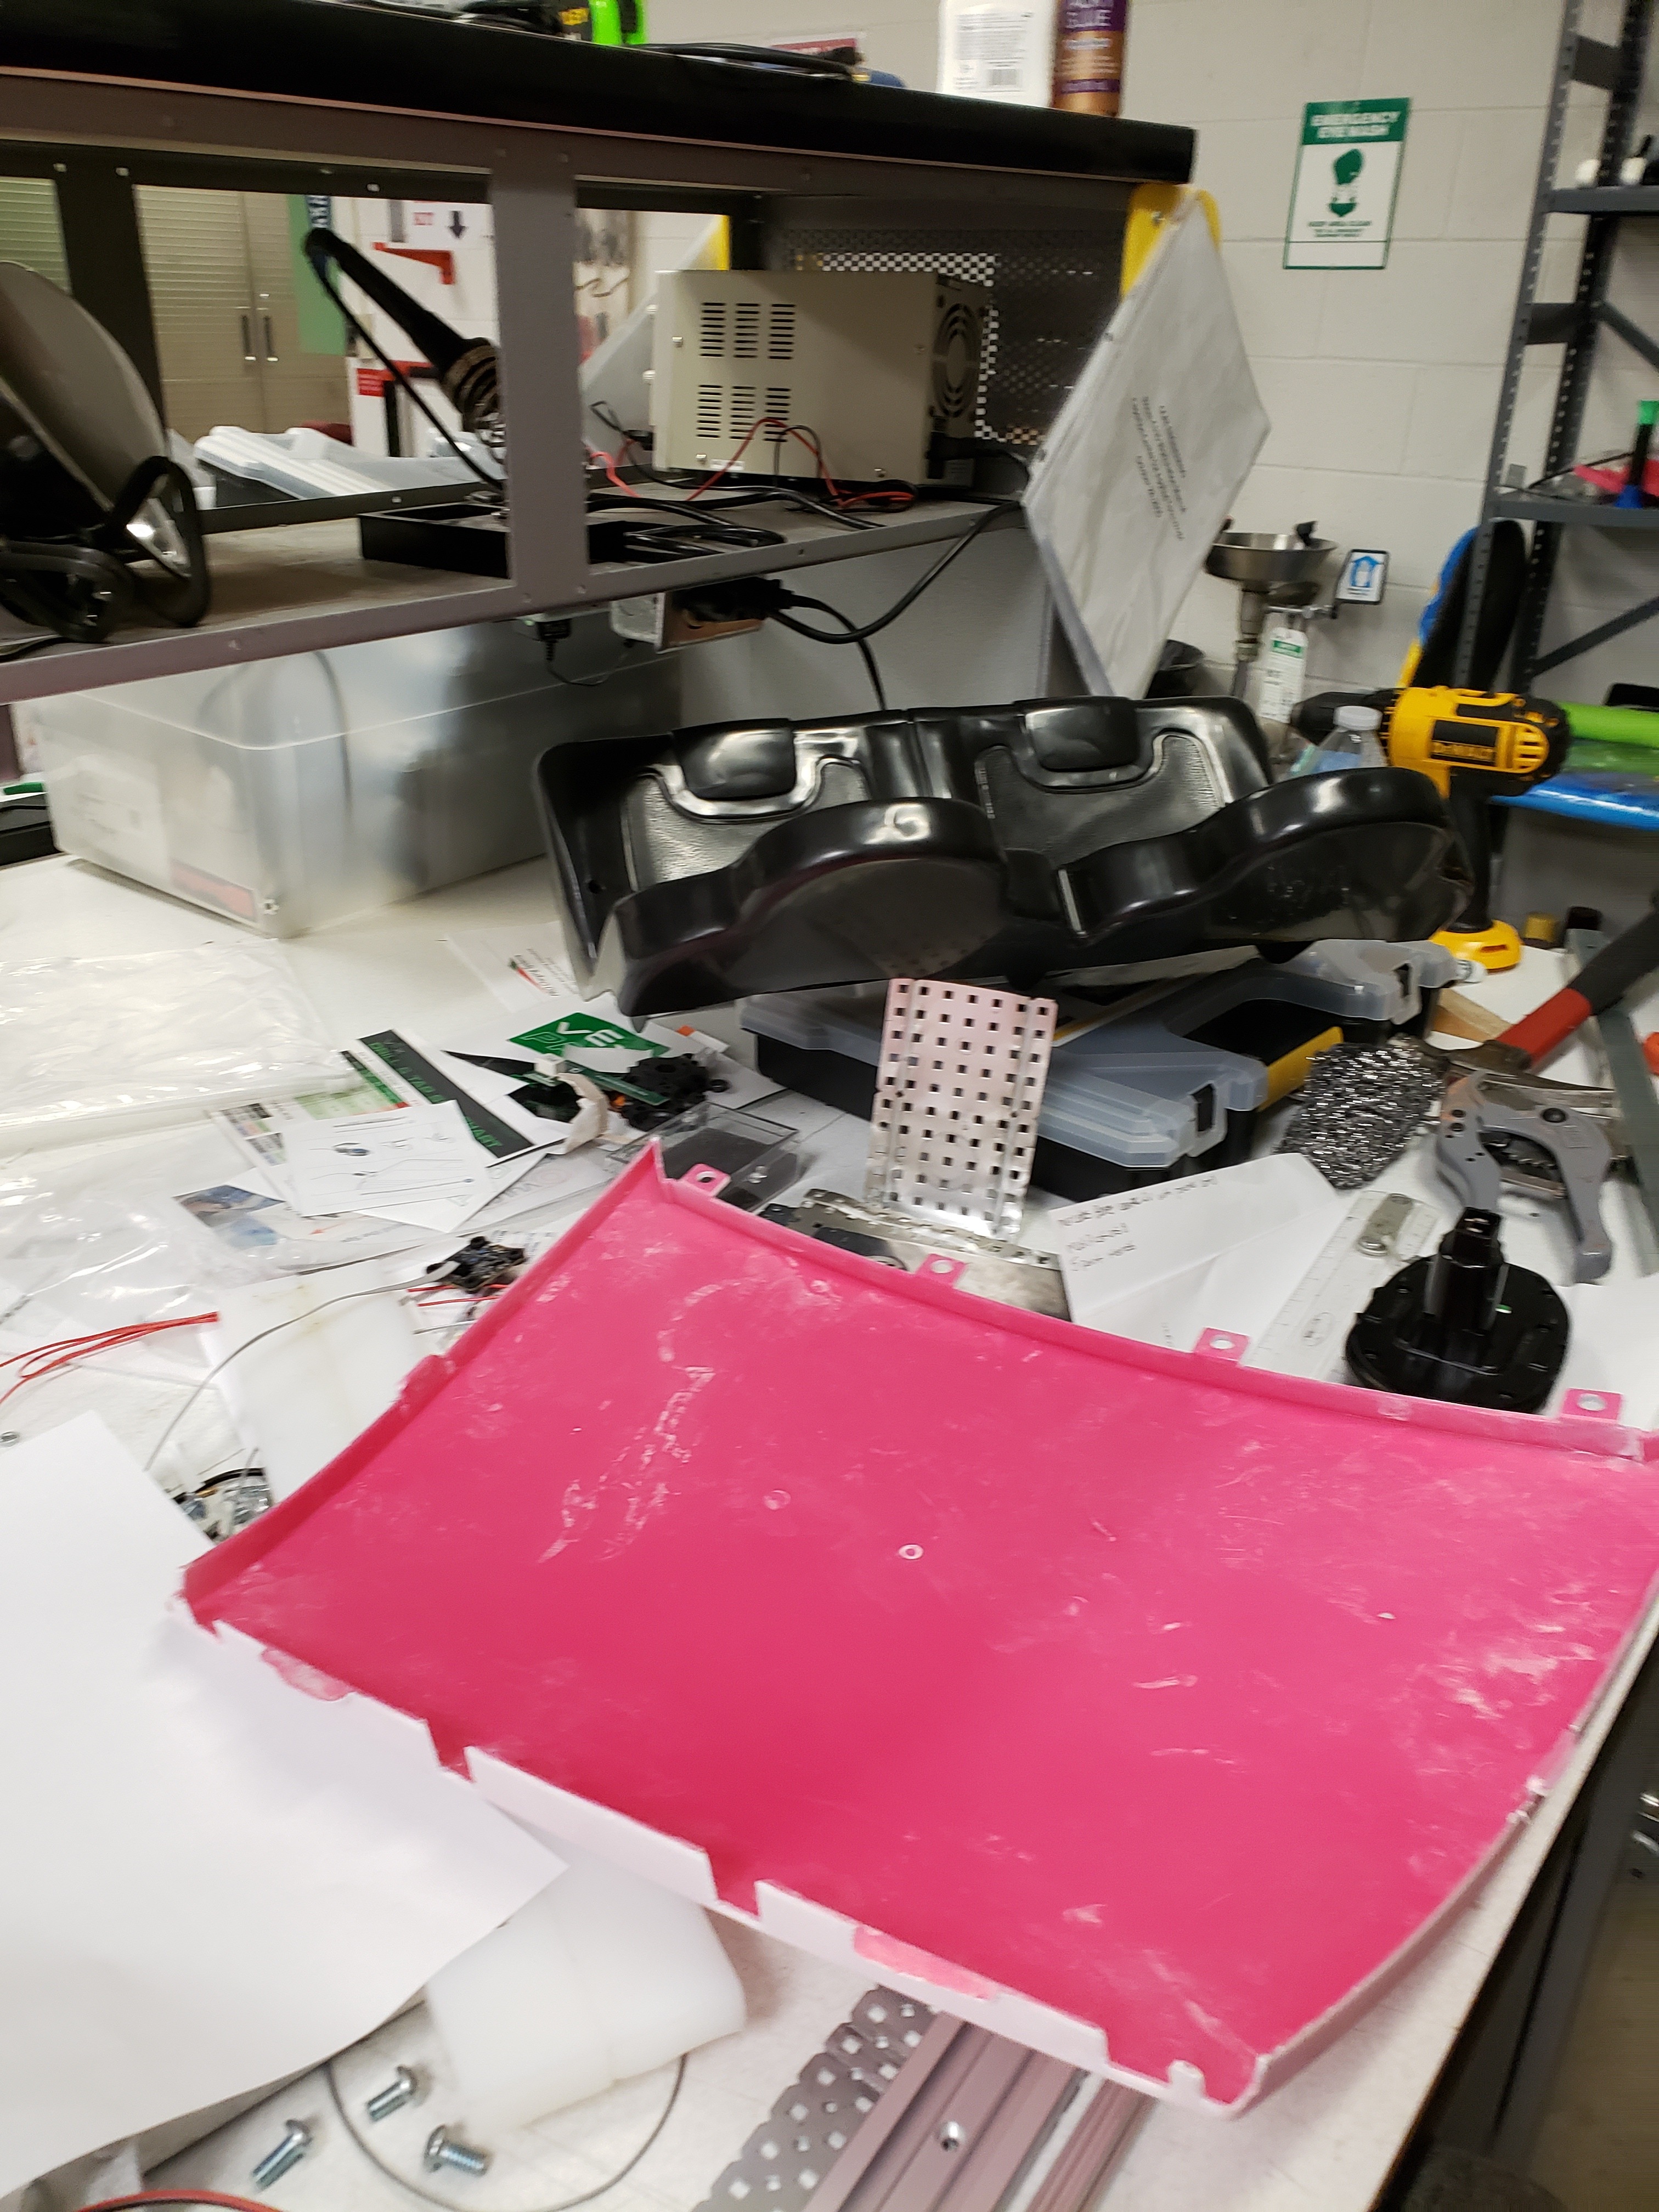
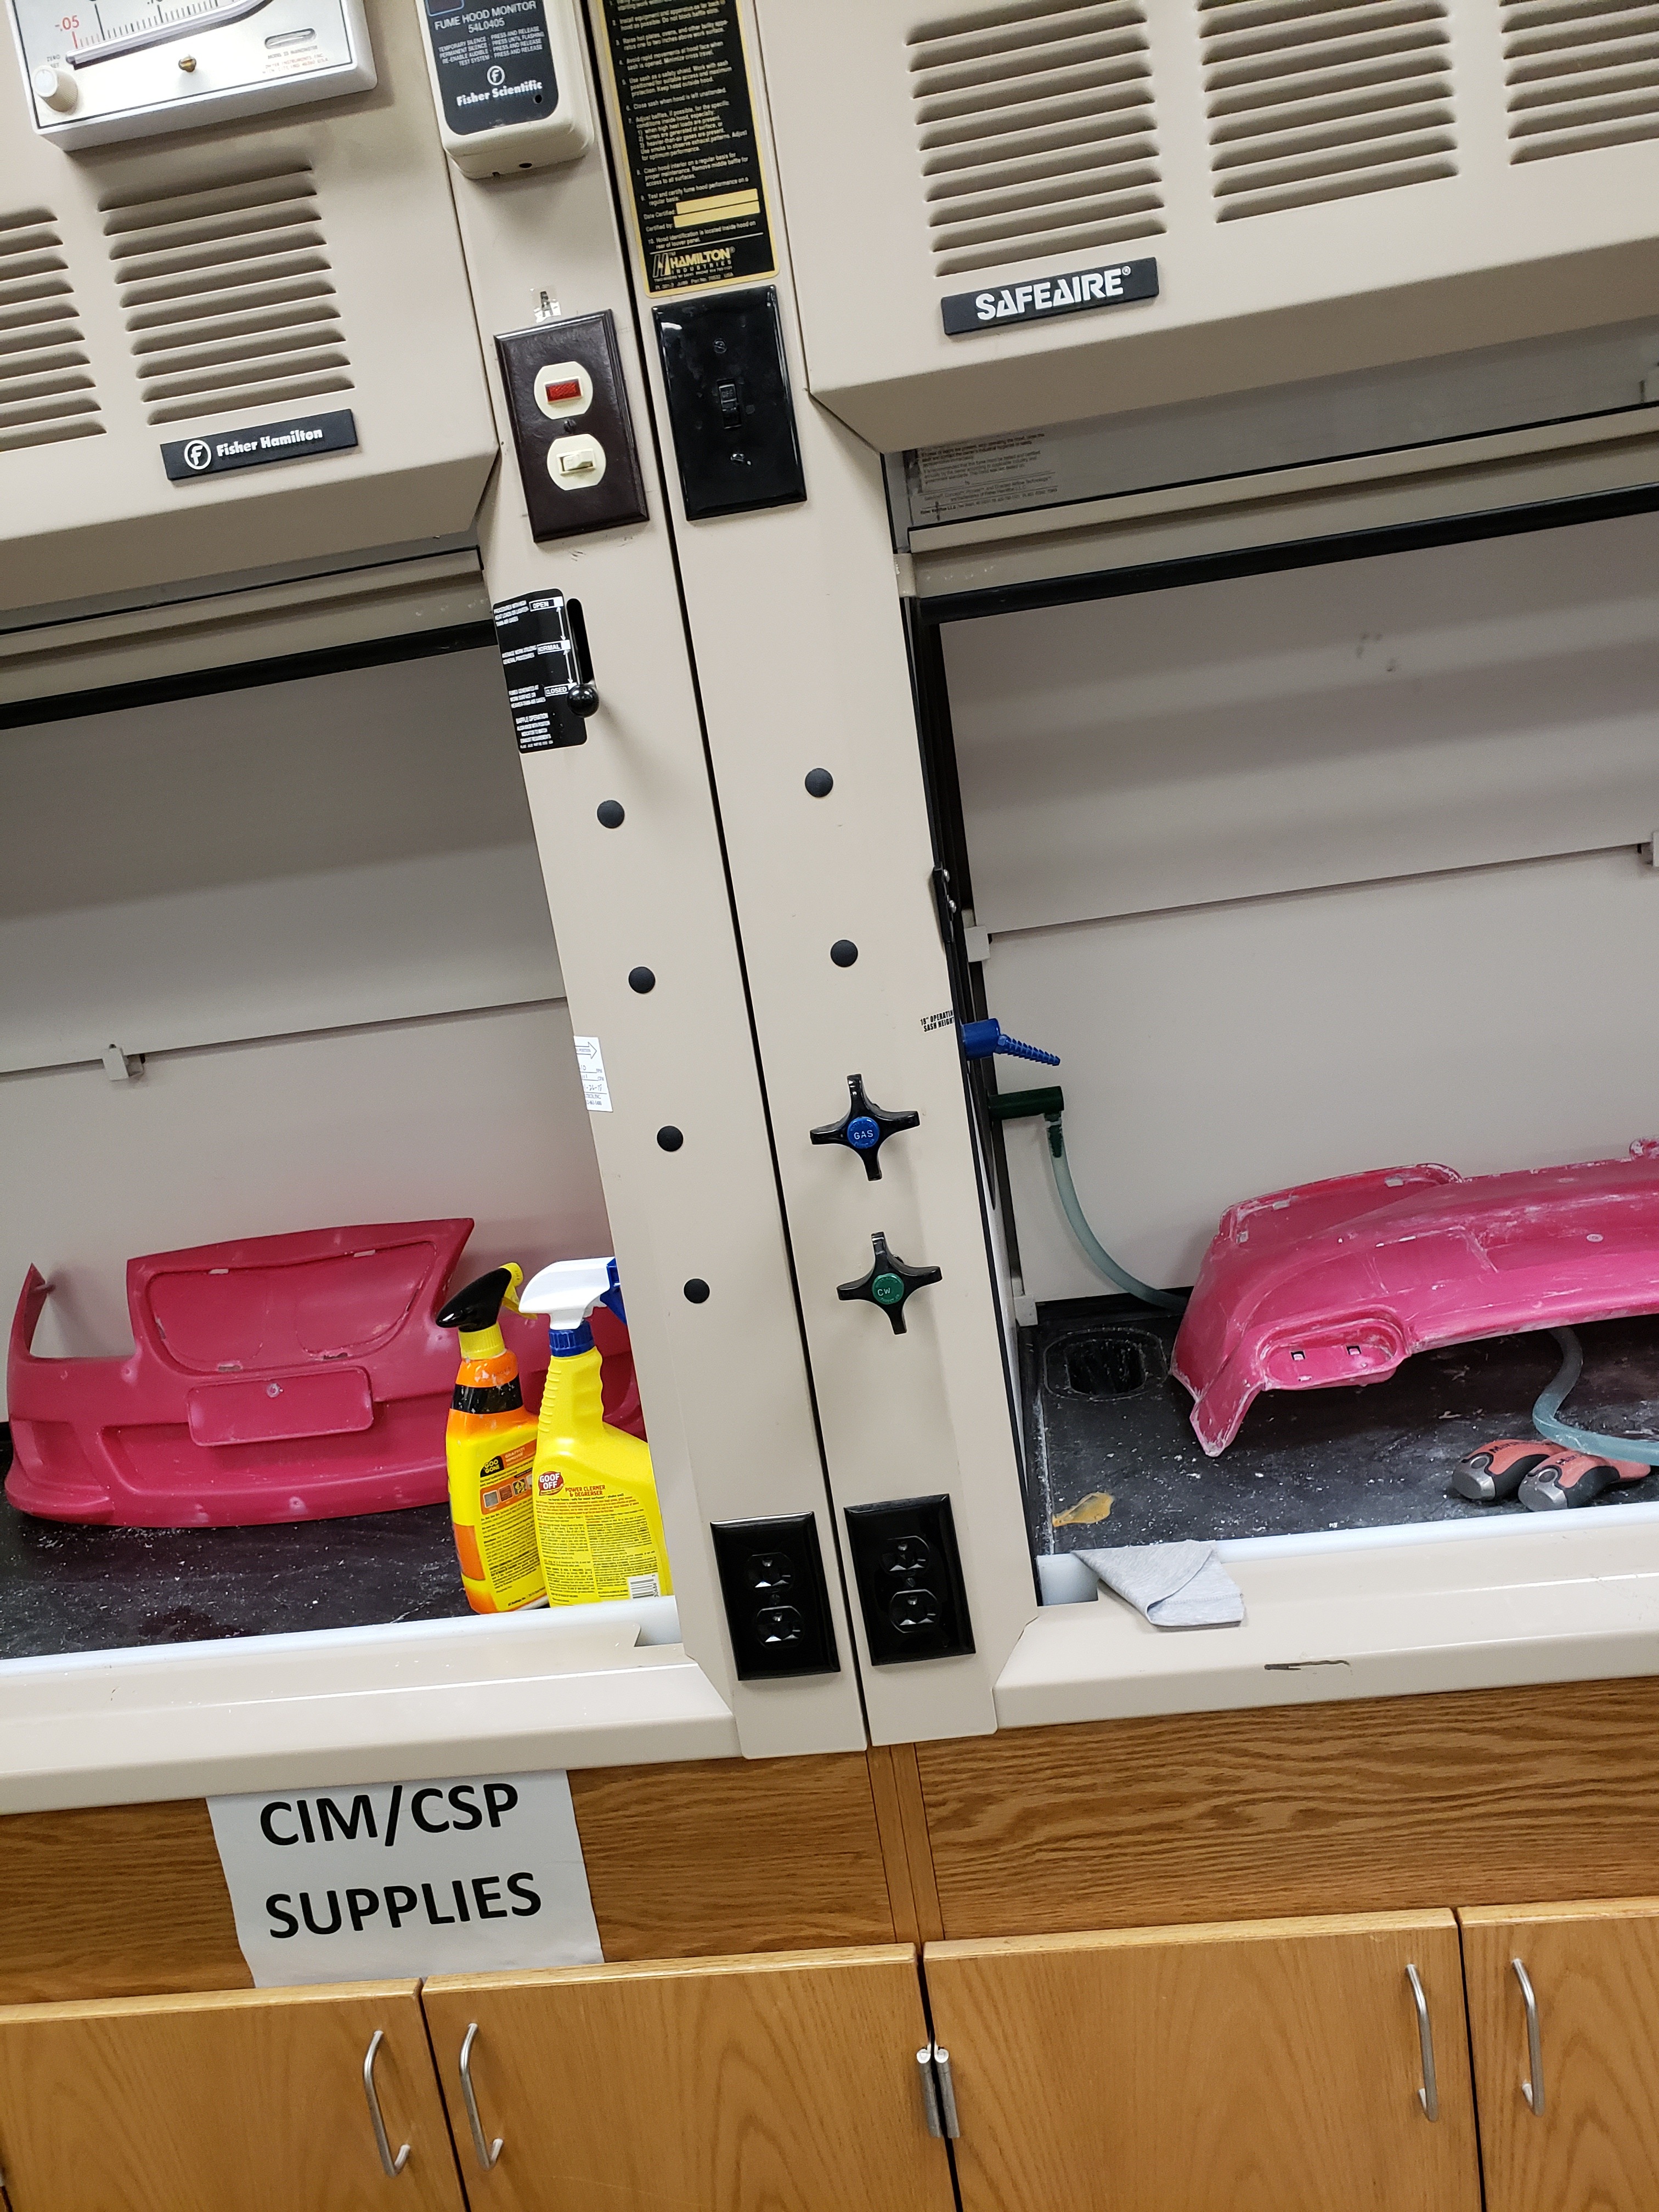
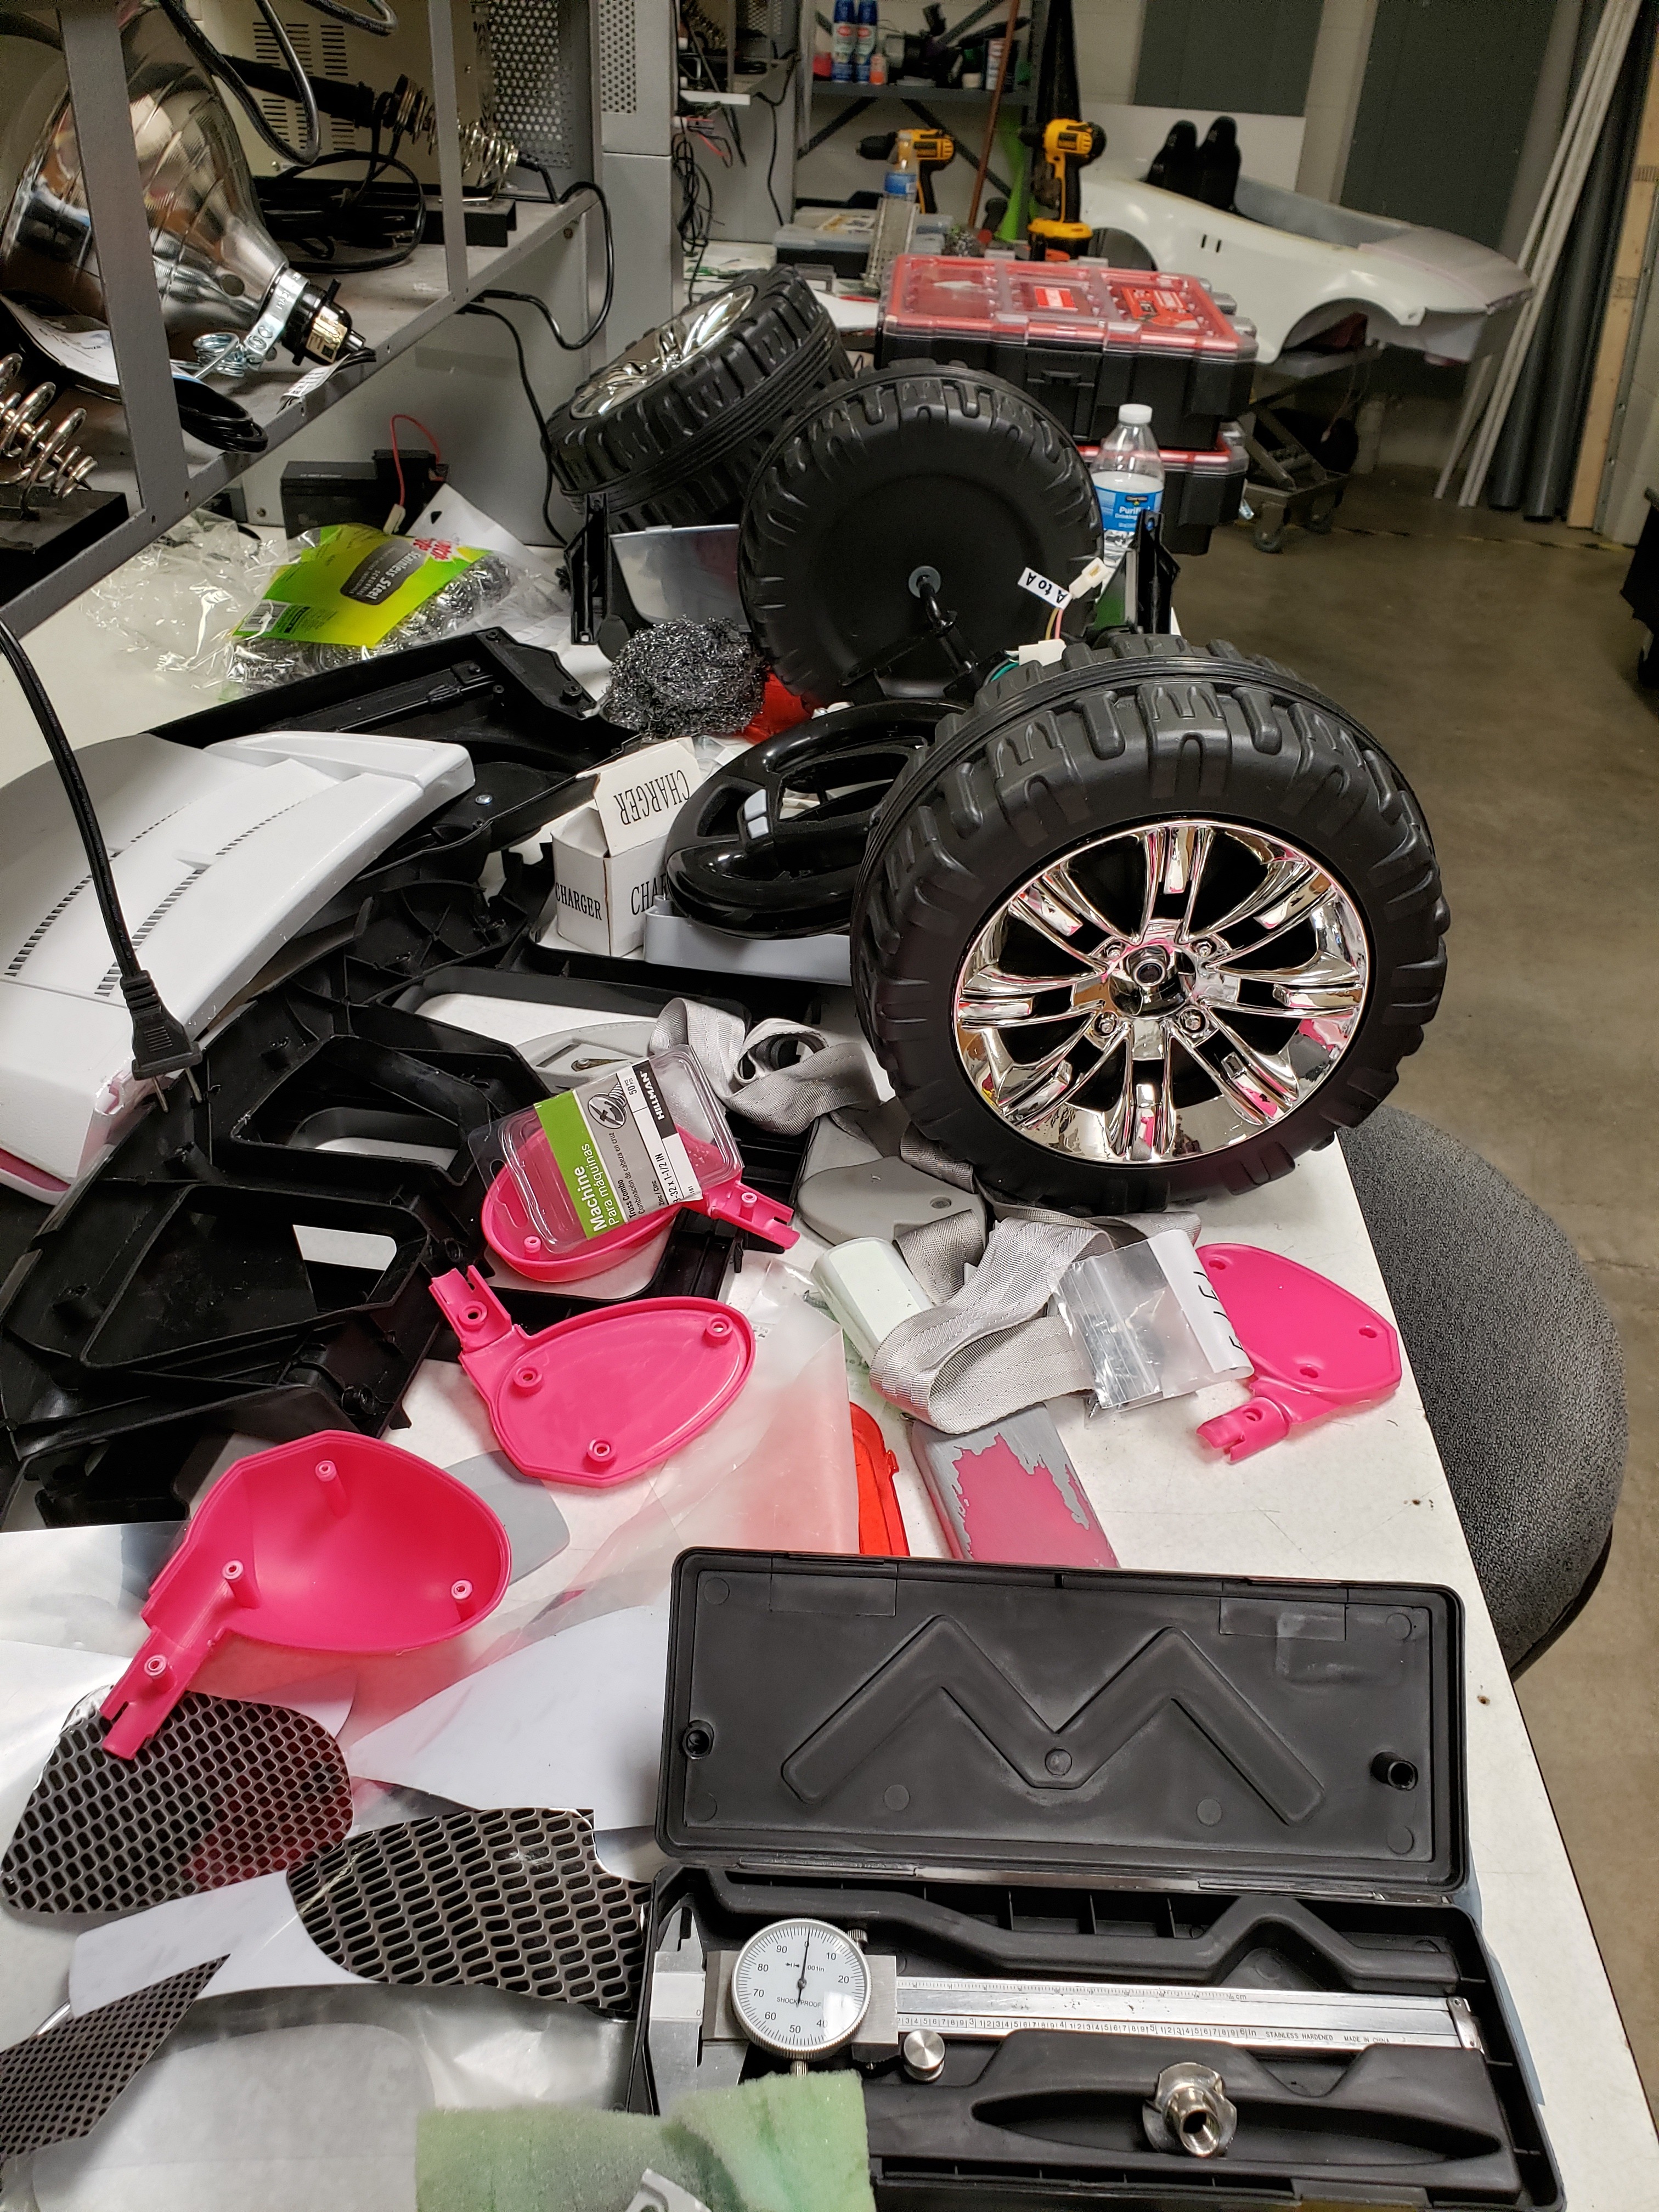
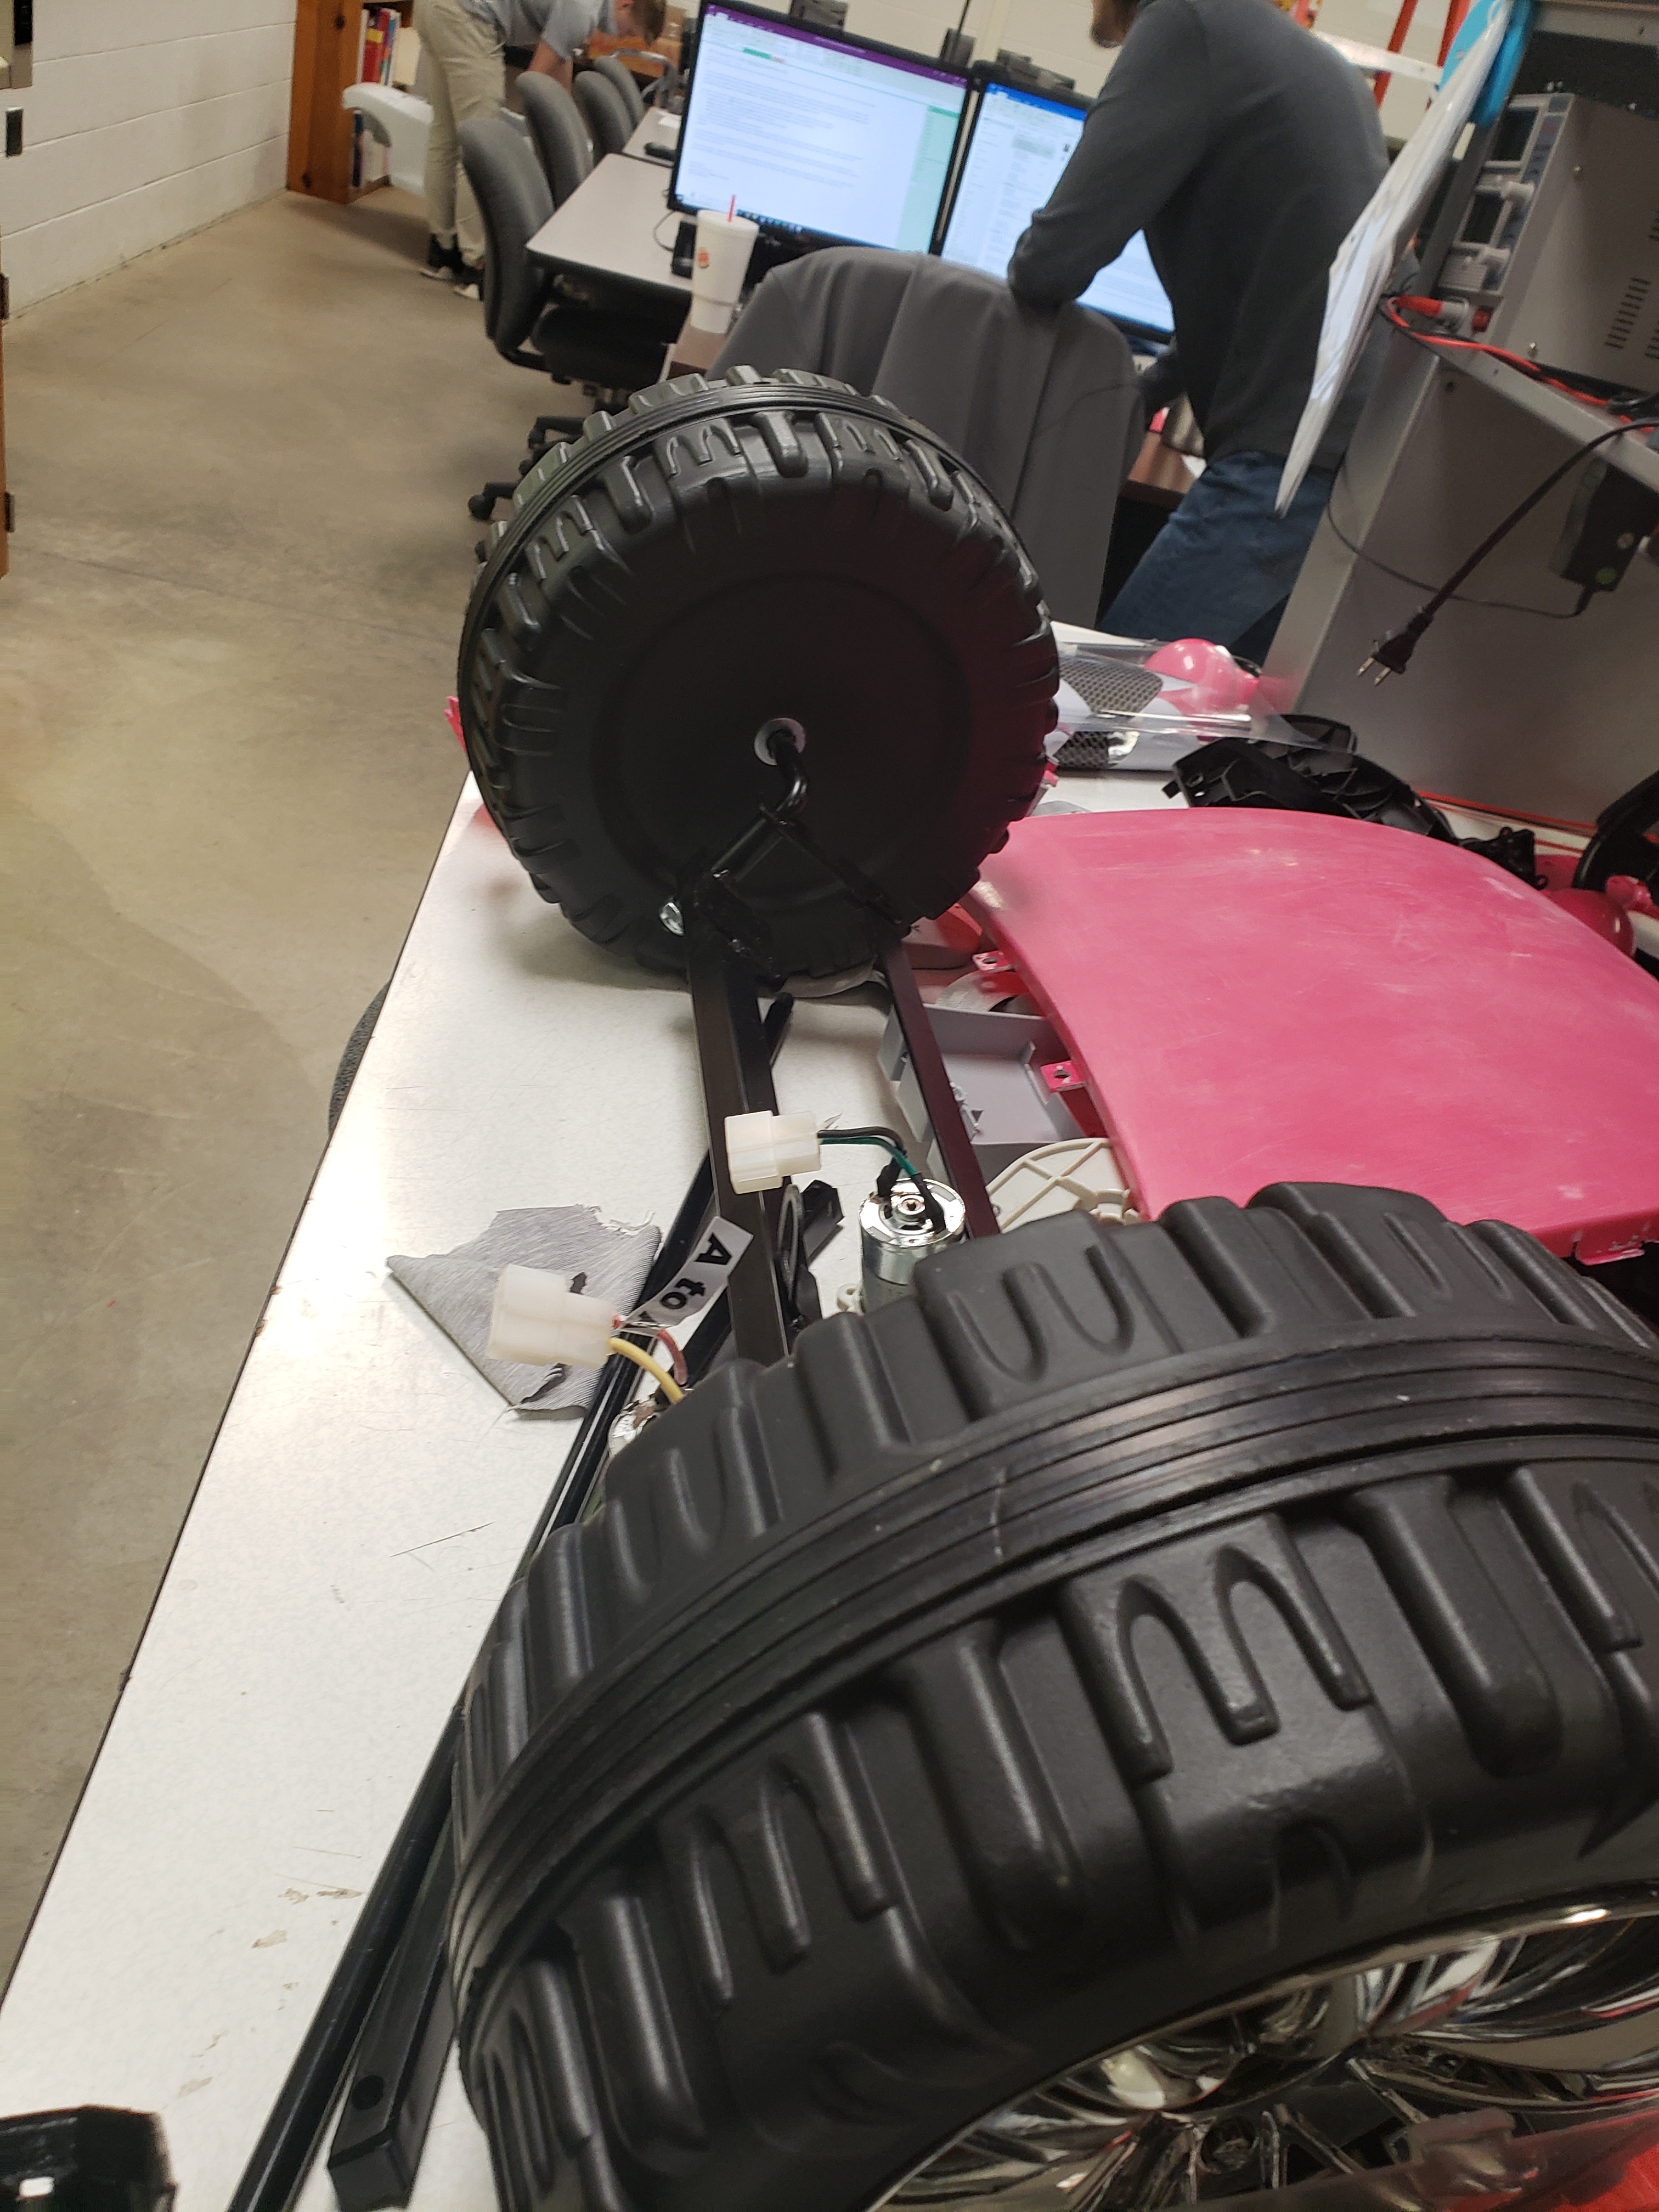
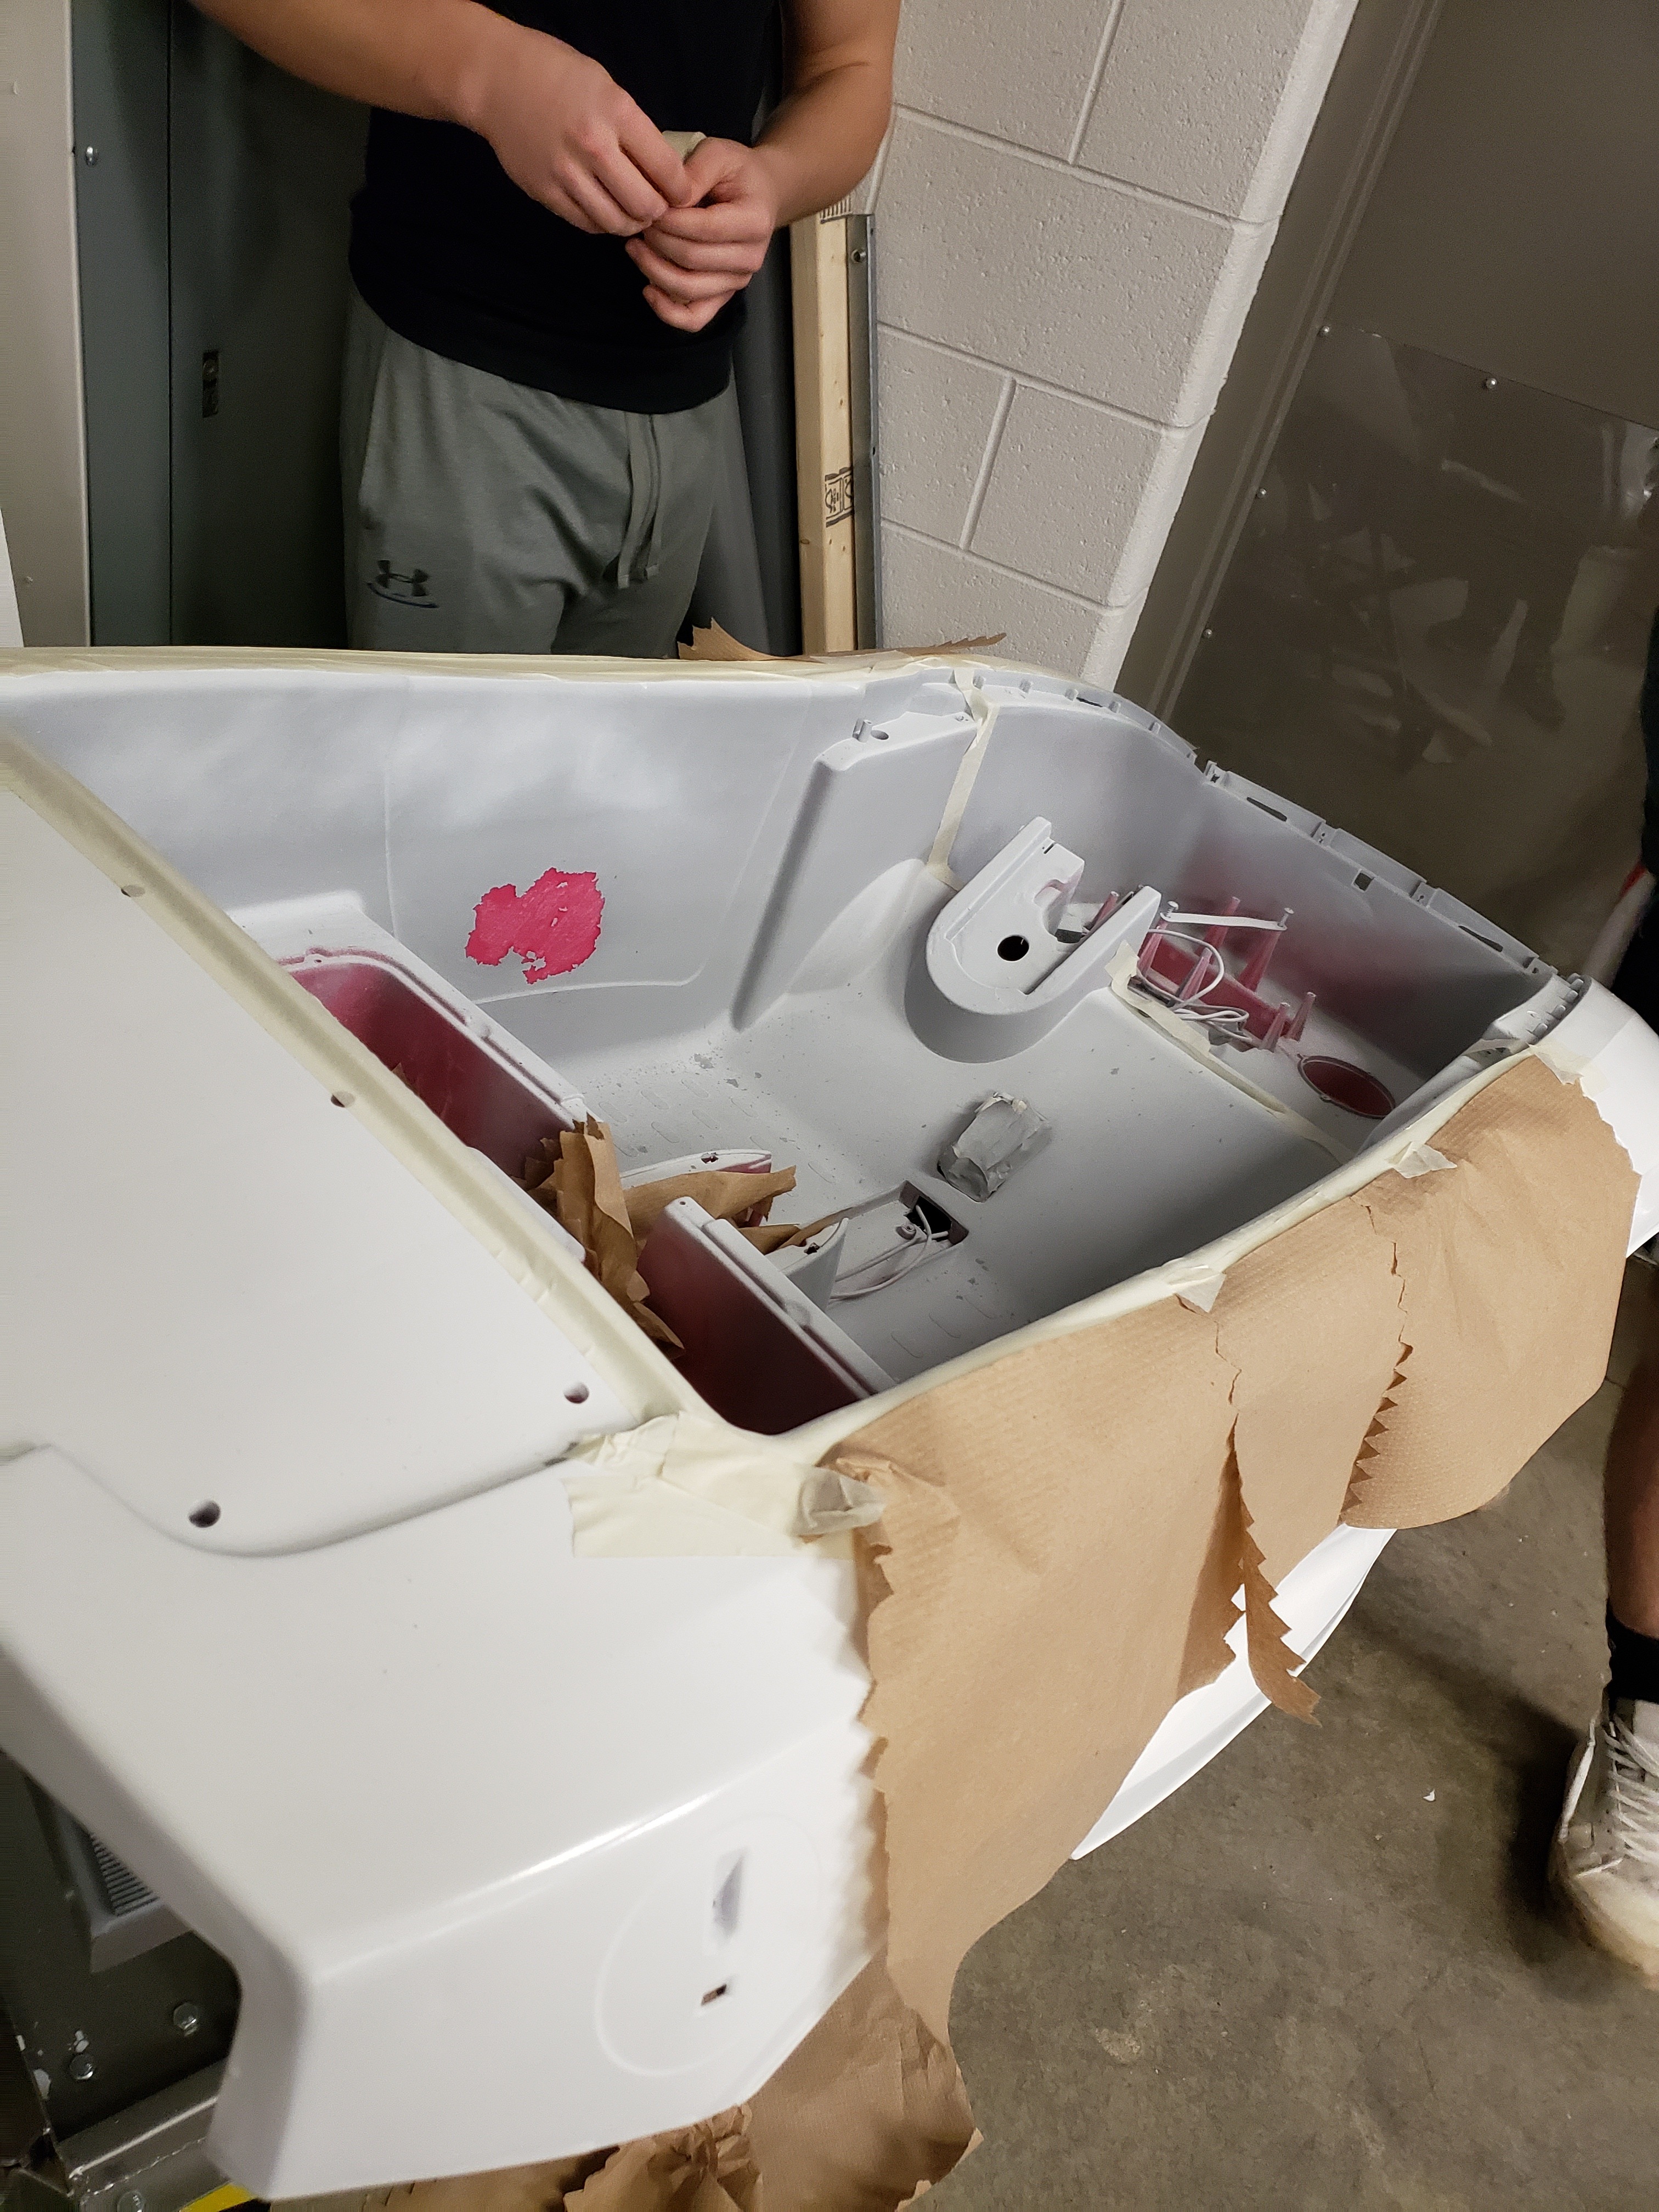
Gather all car parts to be used.
Building Car 2
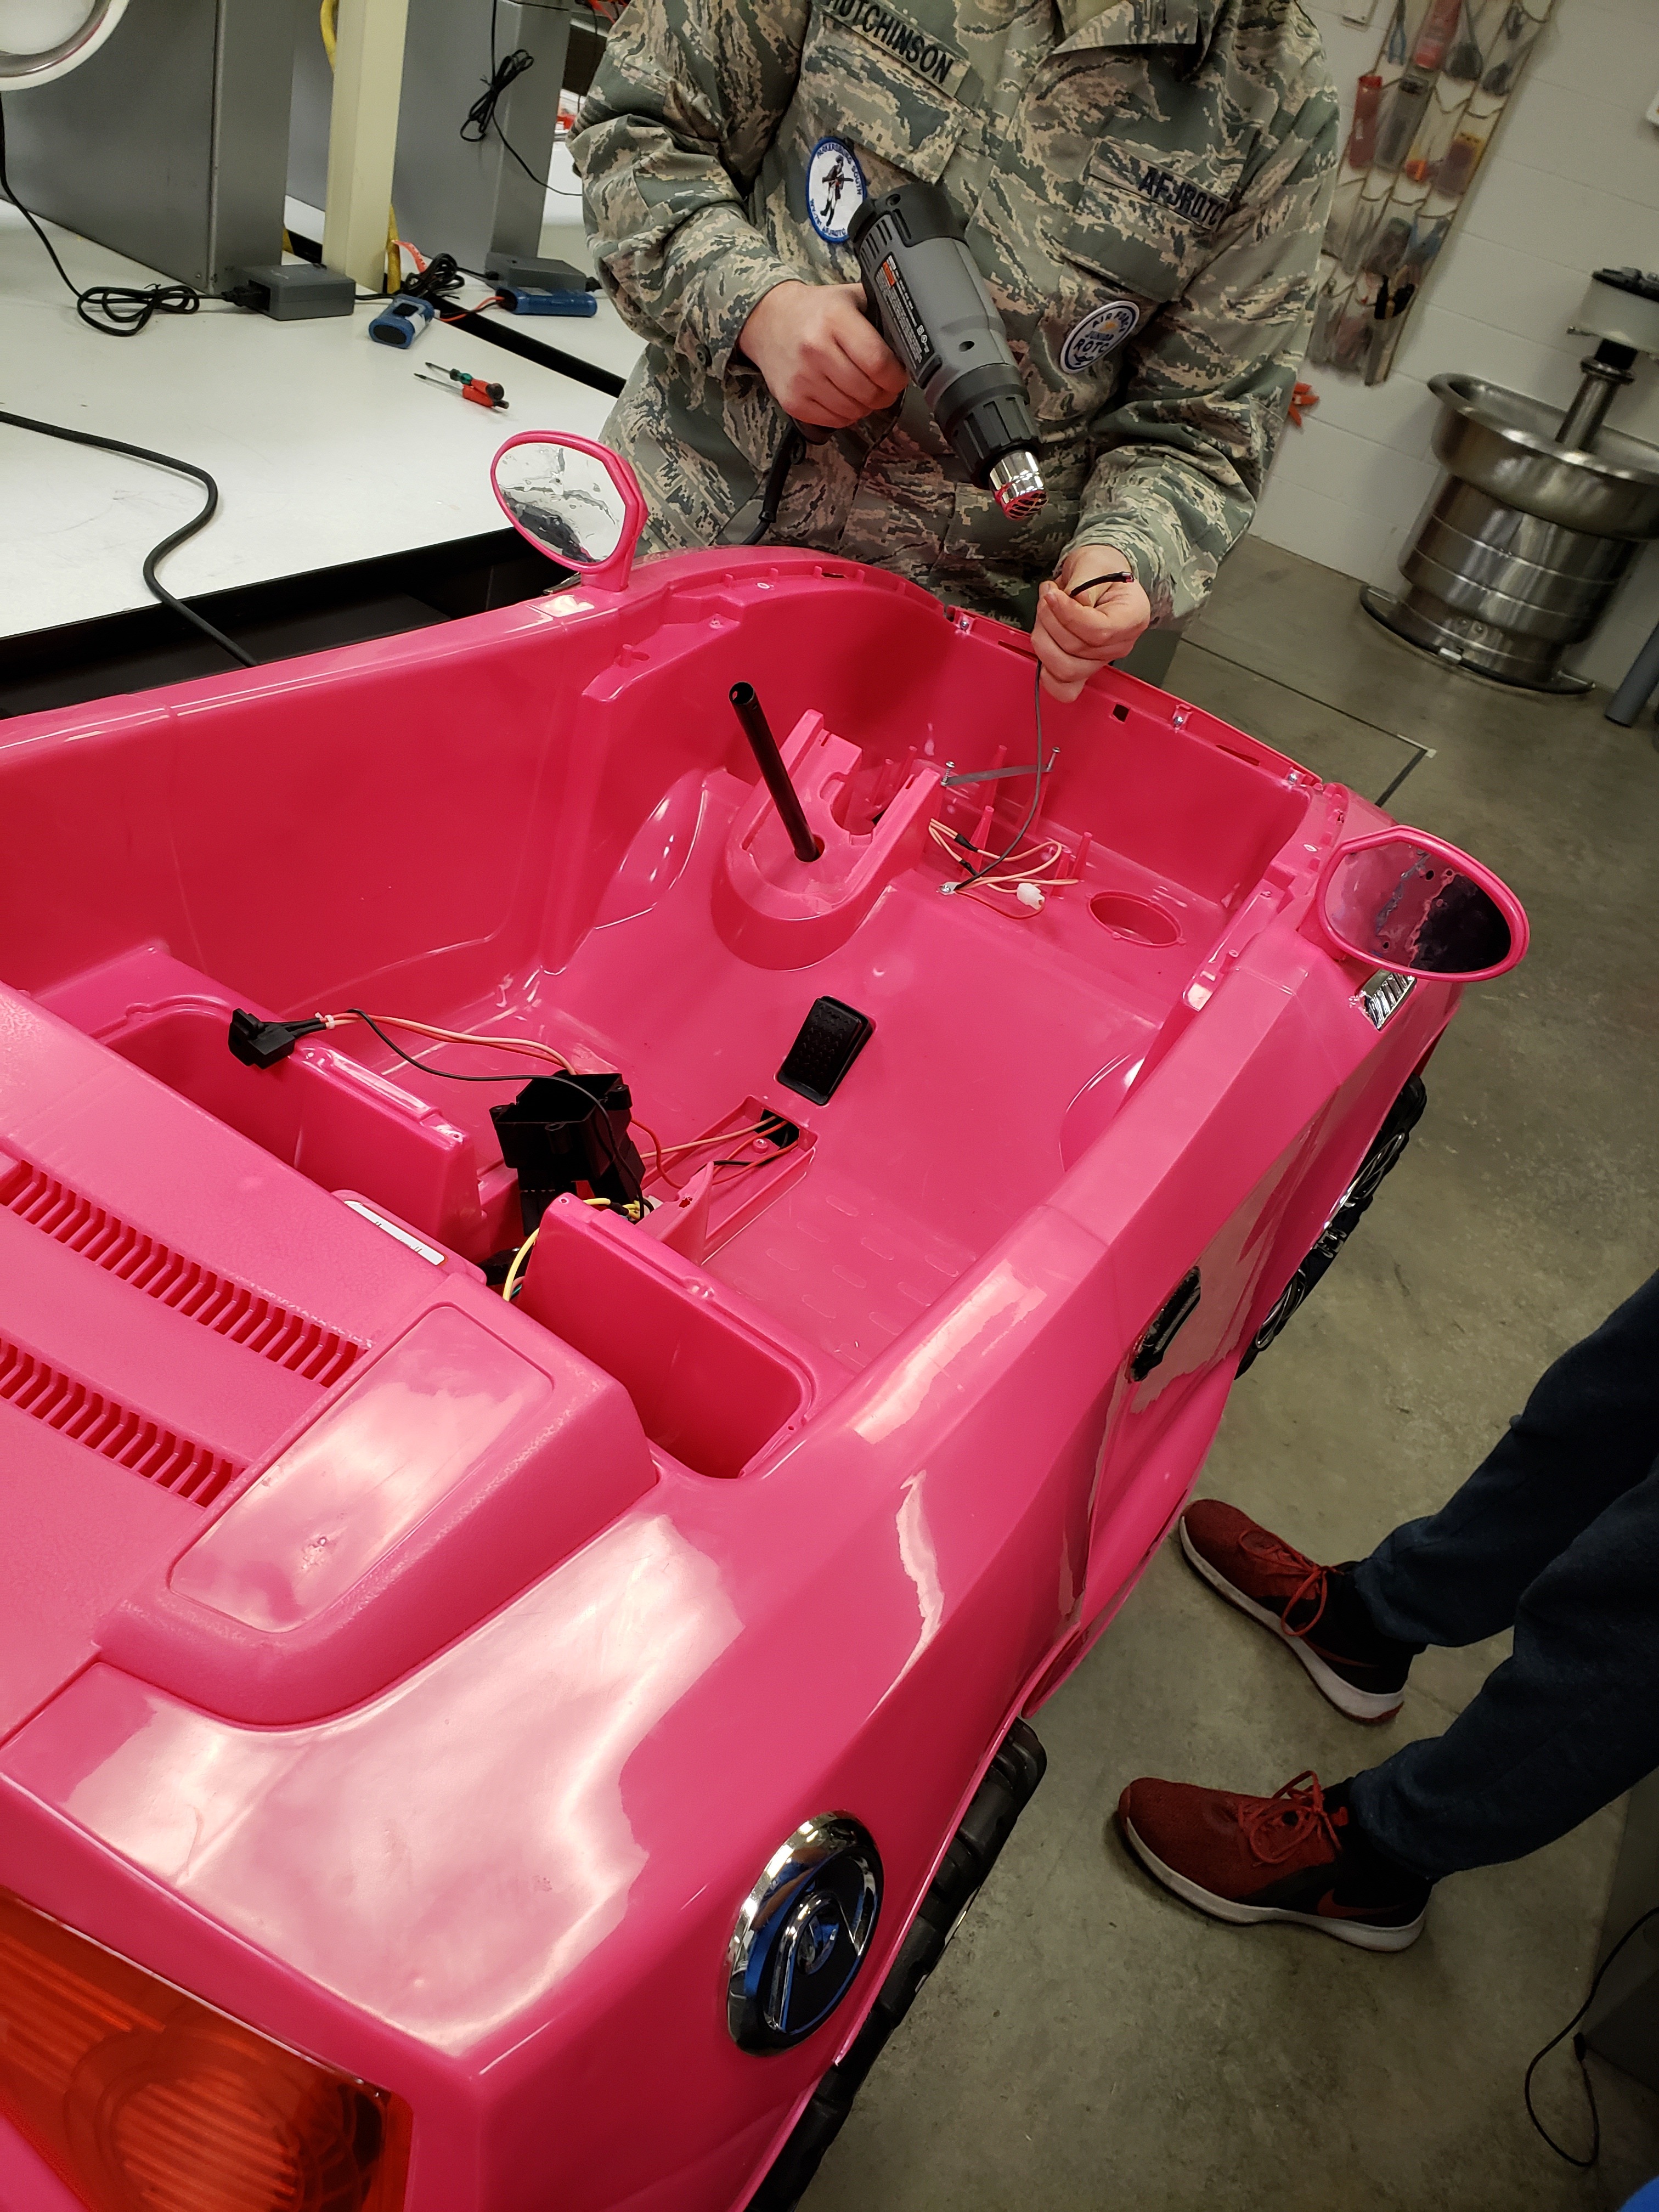
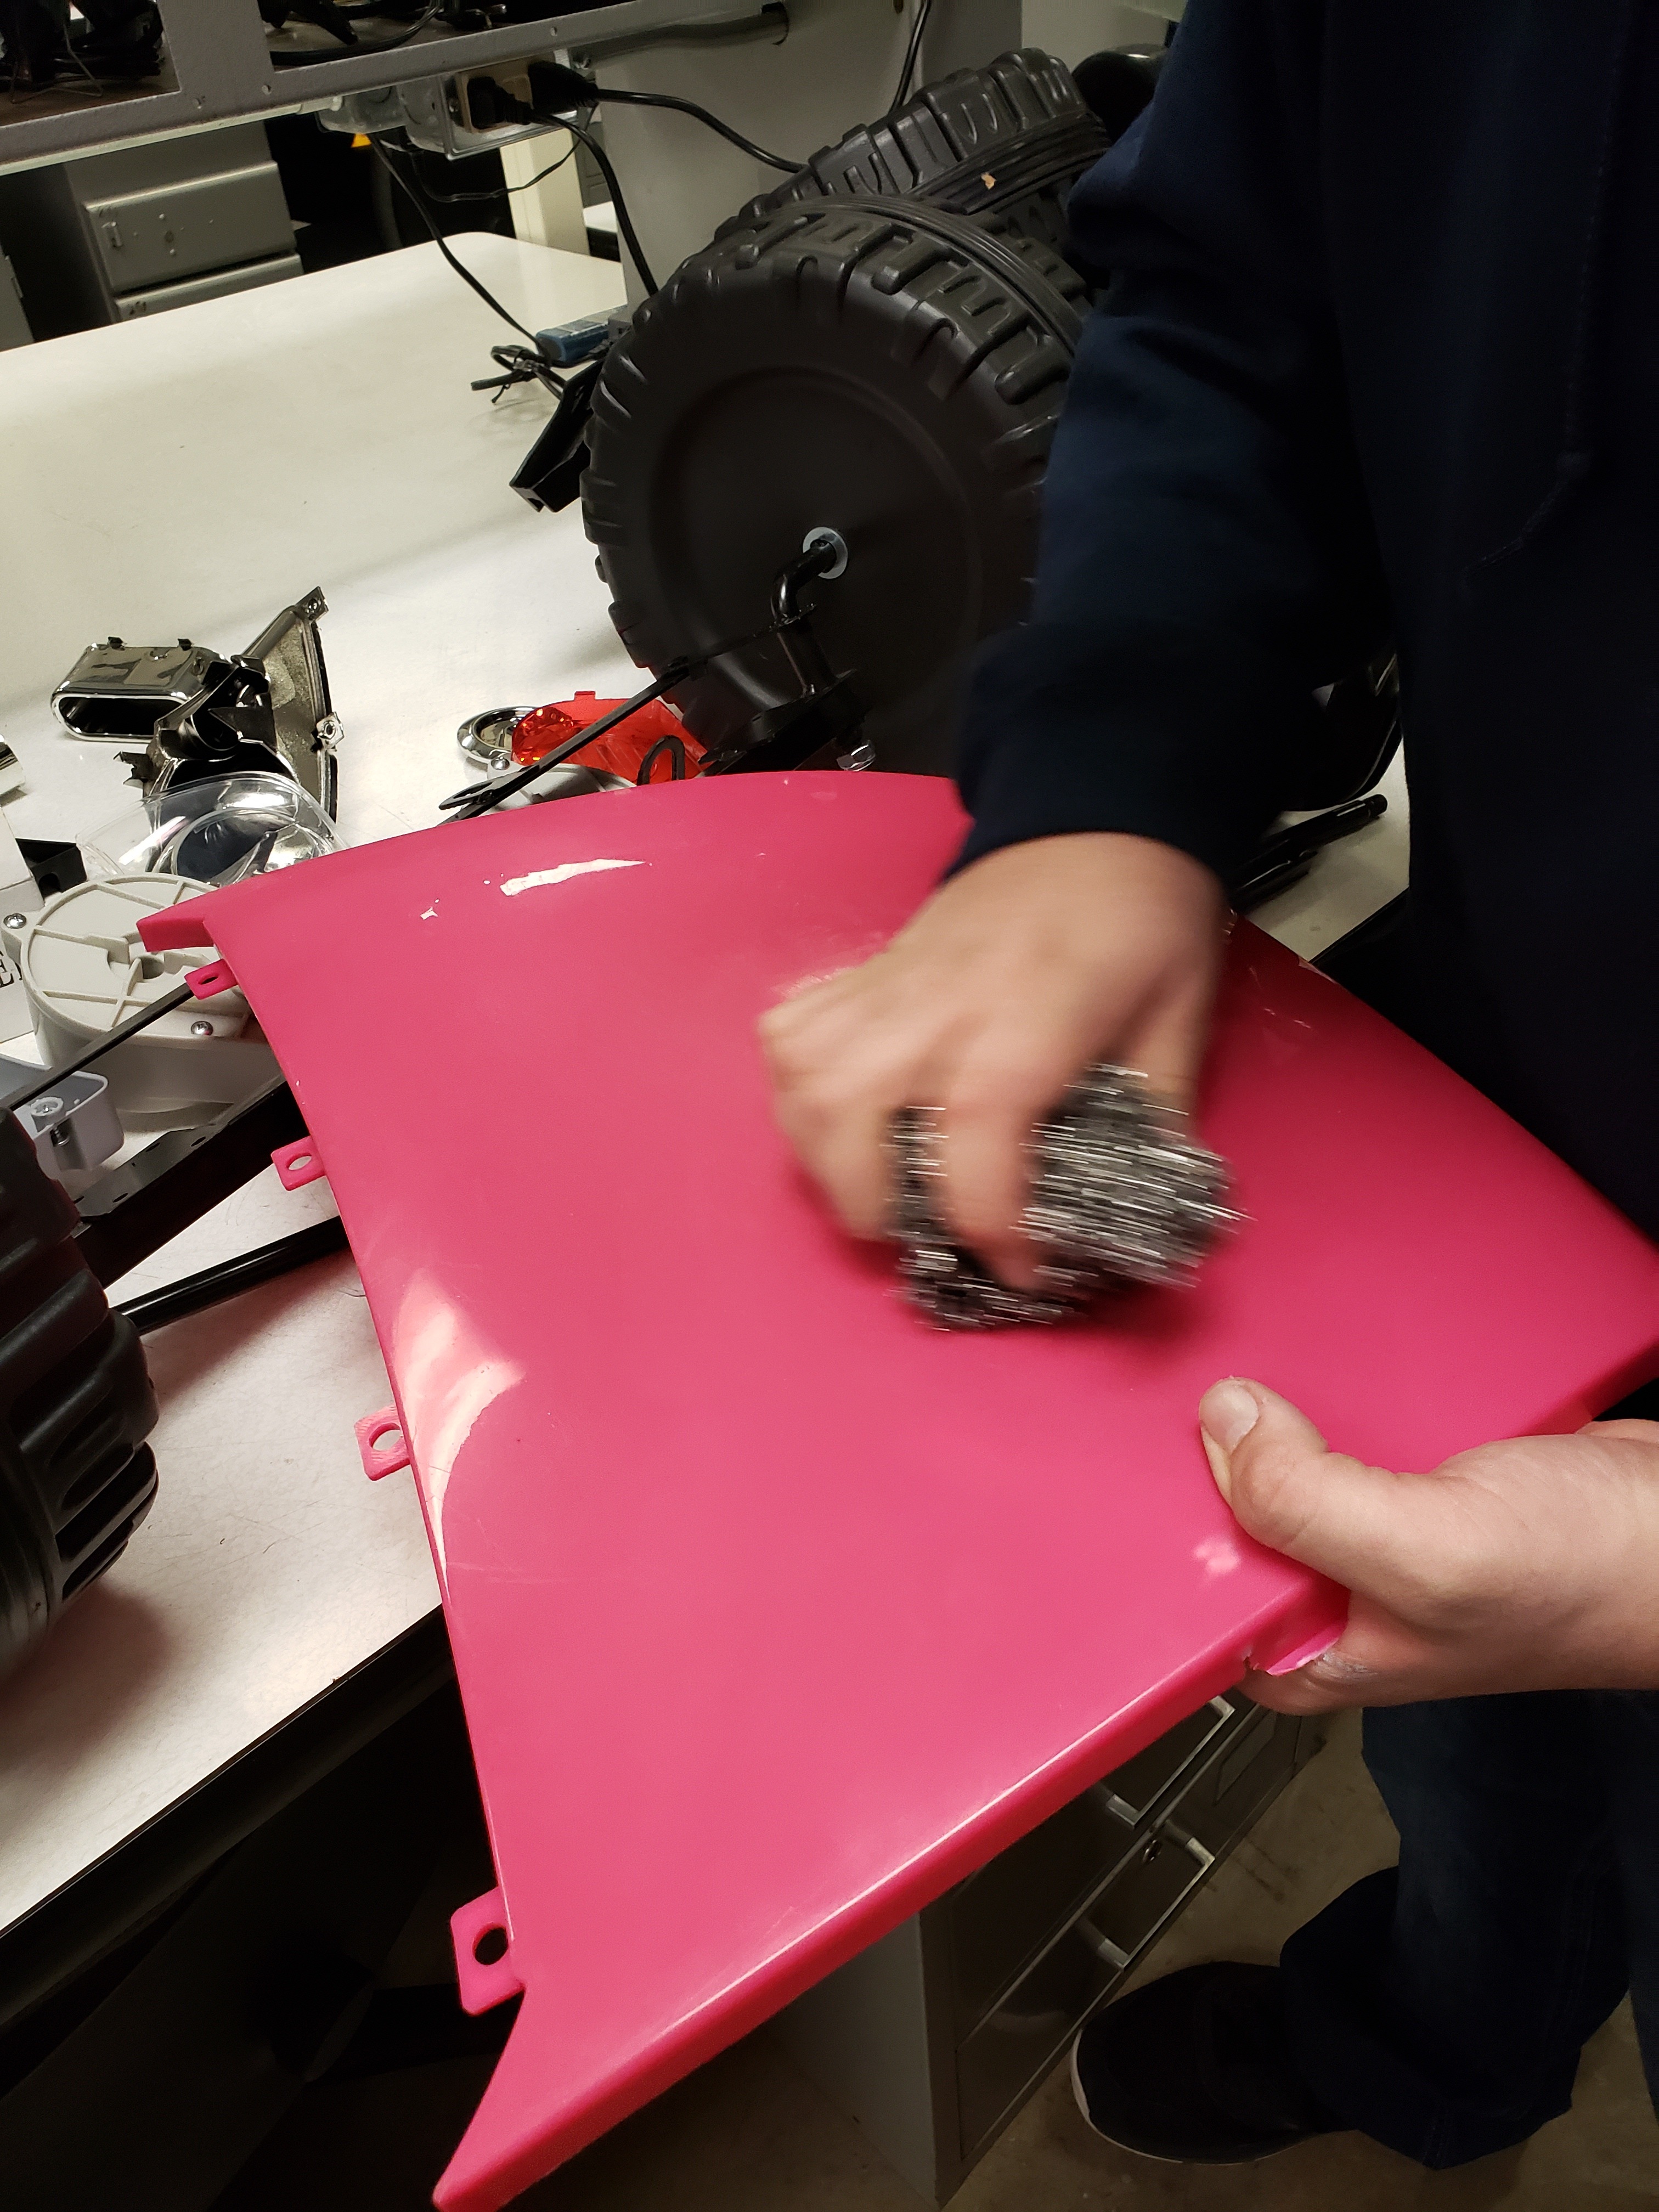
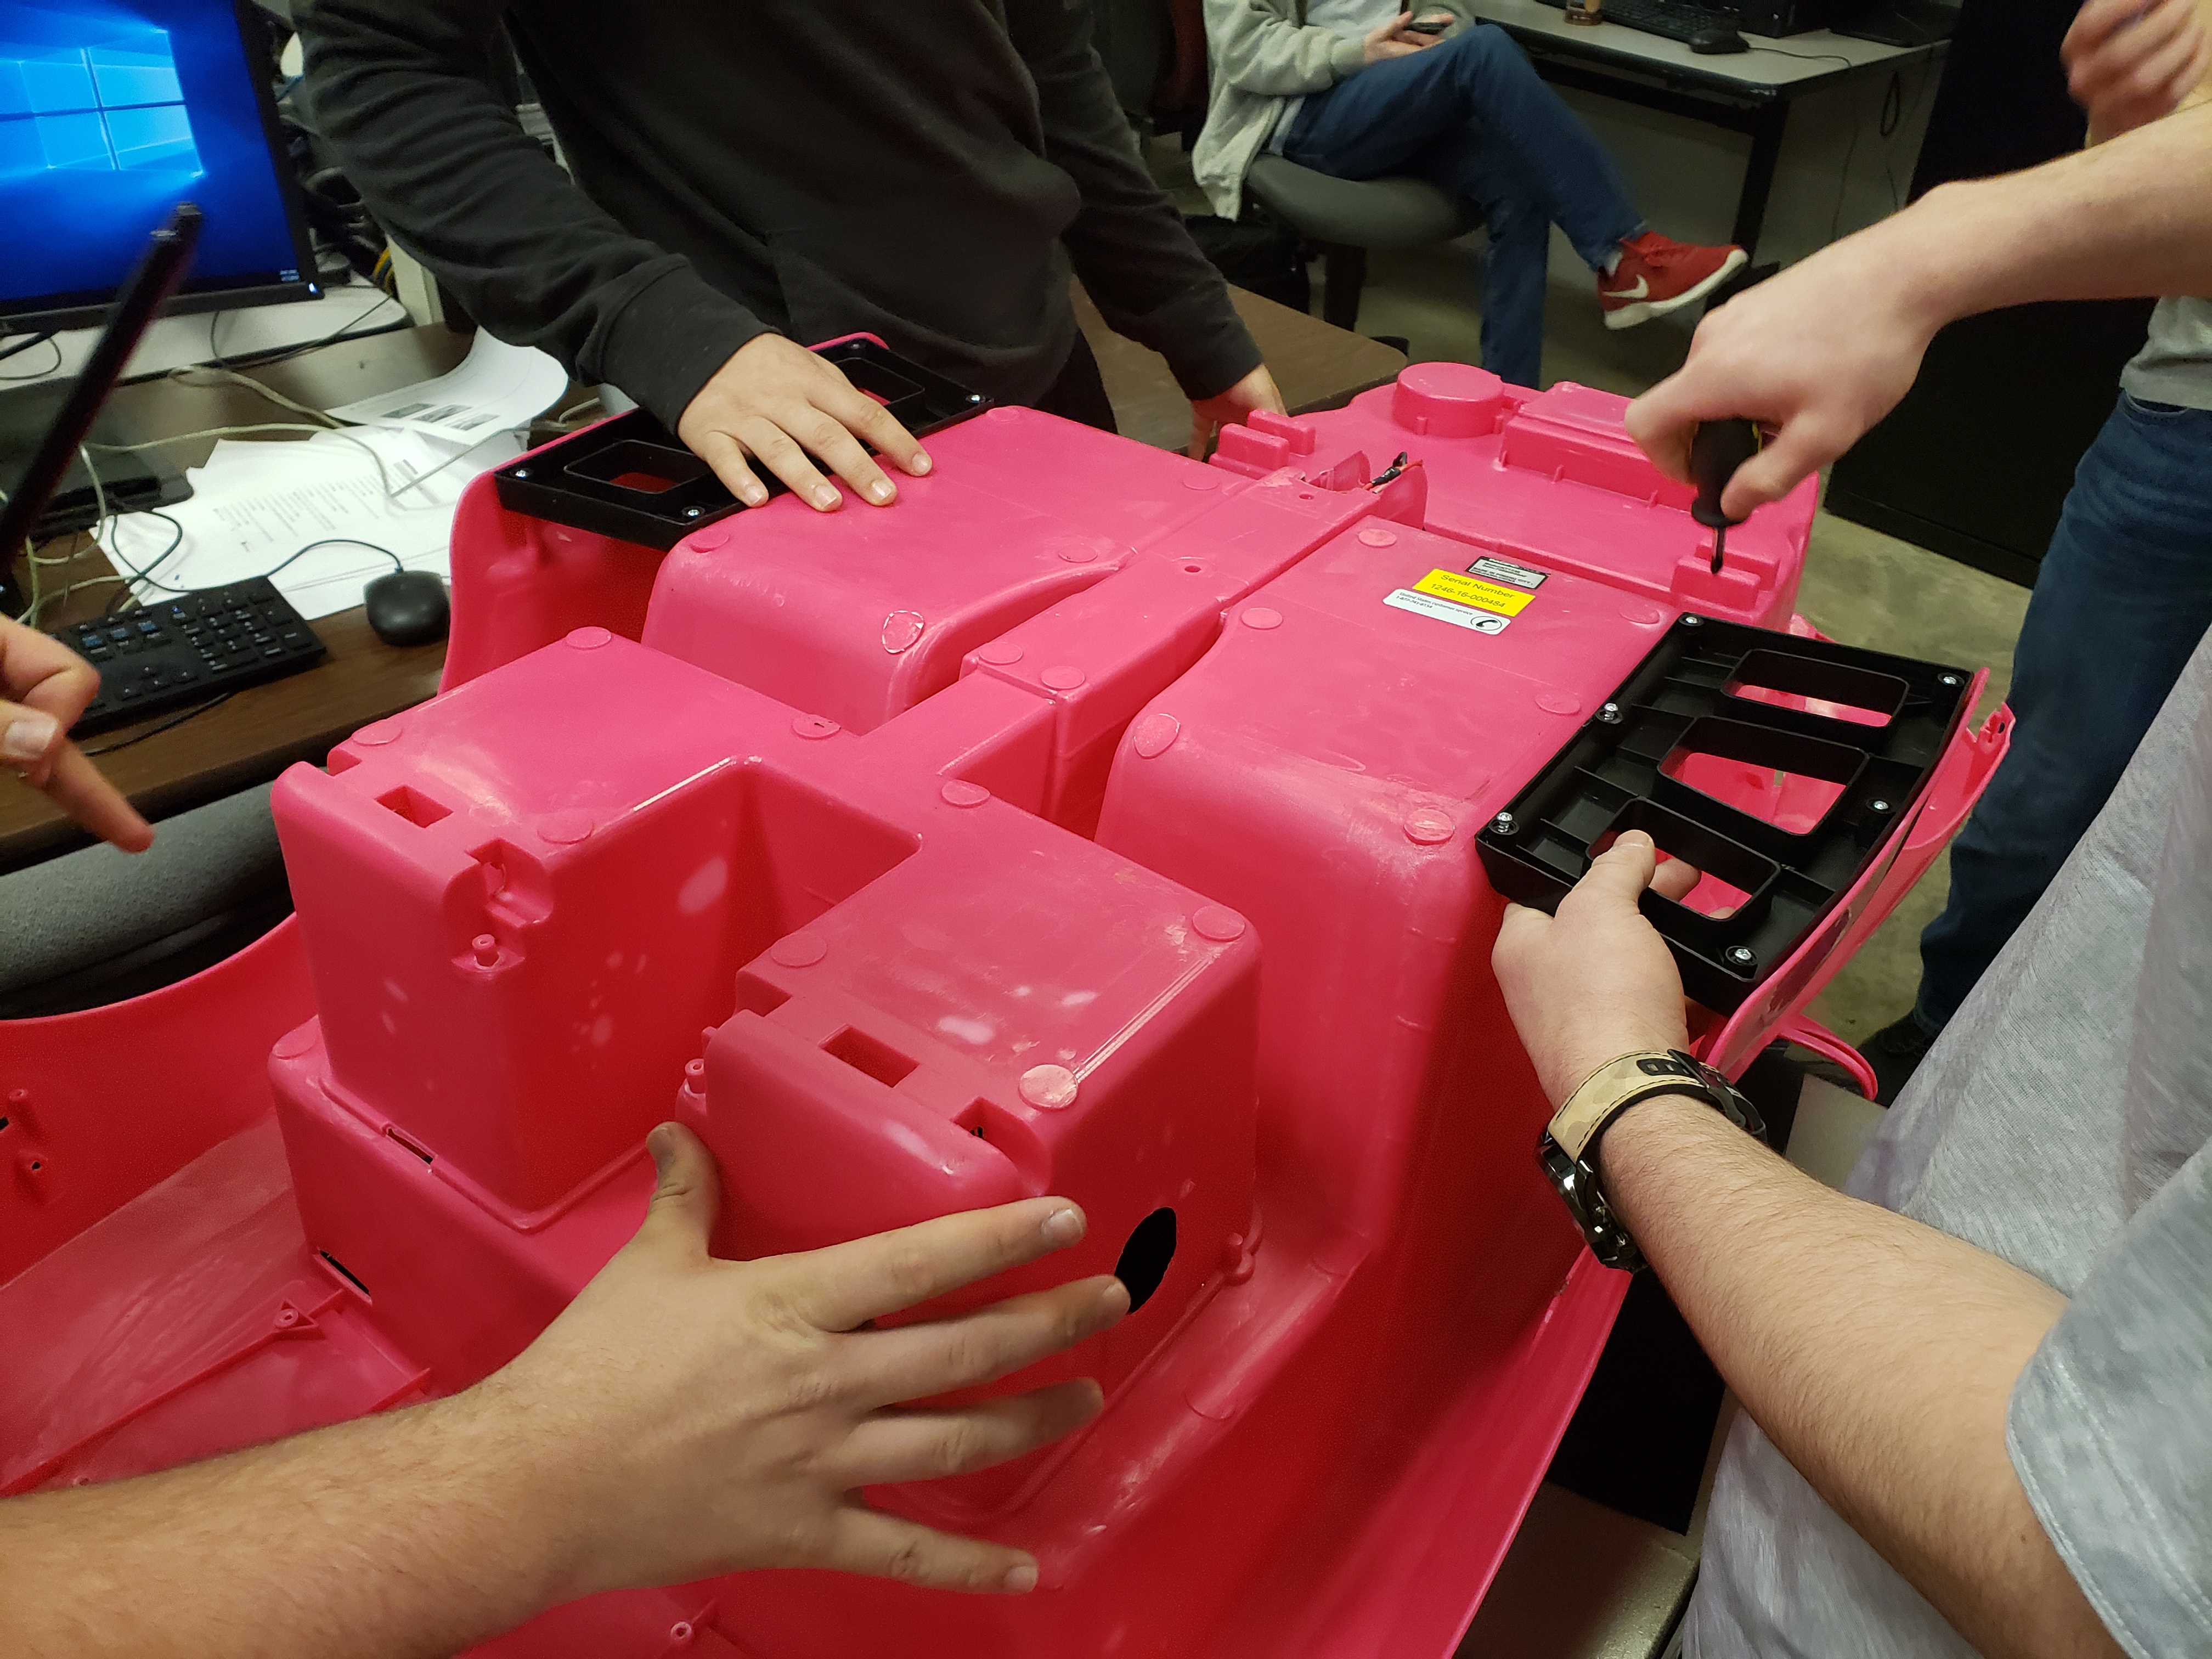
Assemble the basic car base.
Building Car 3
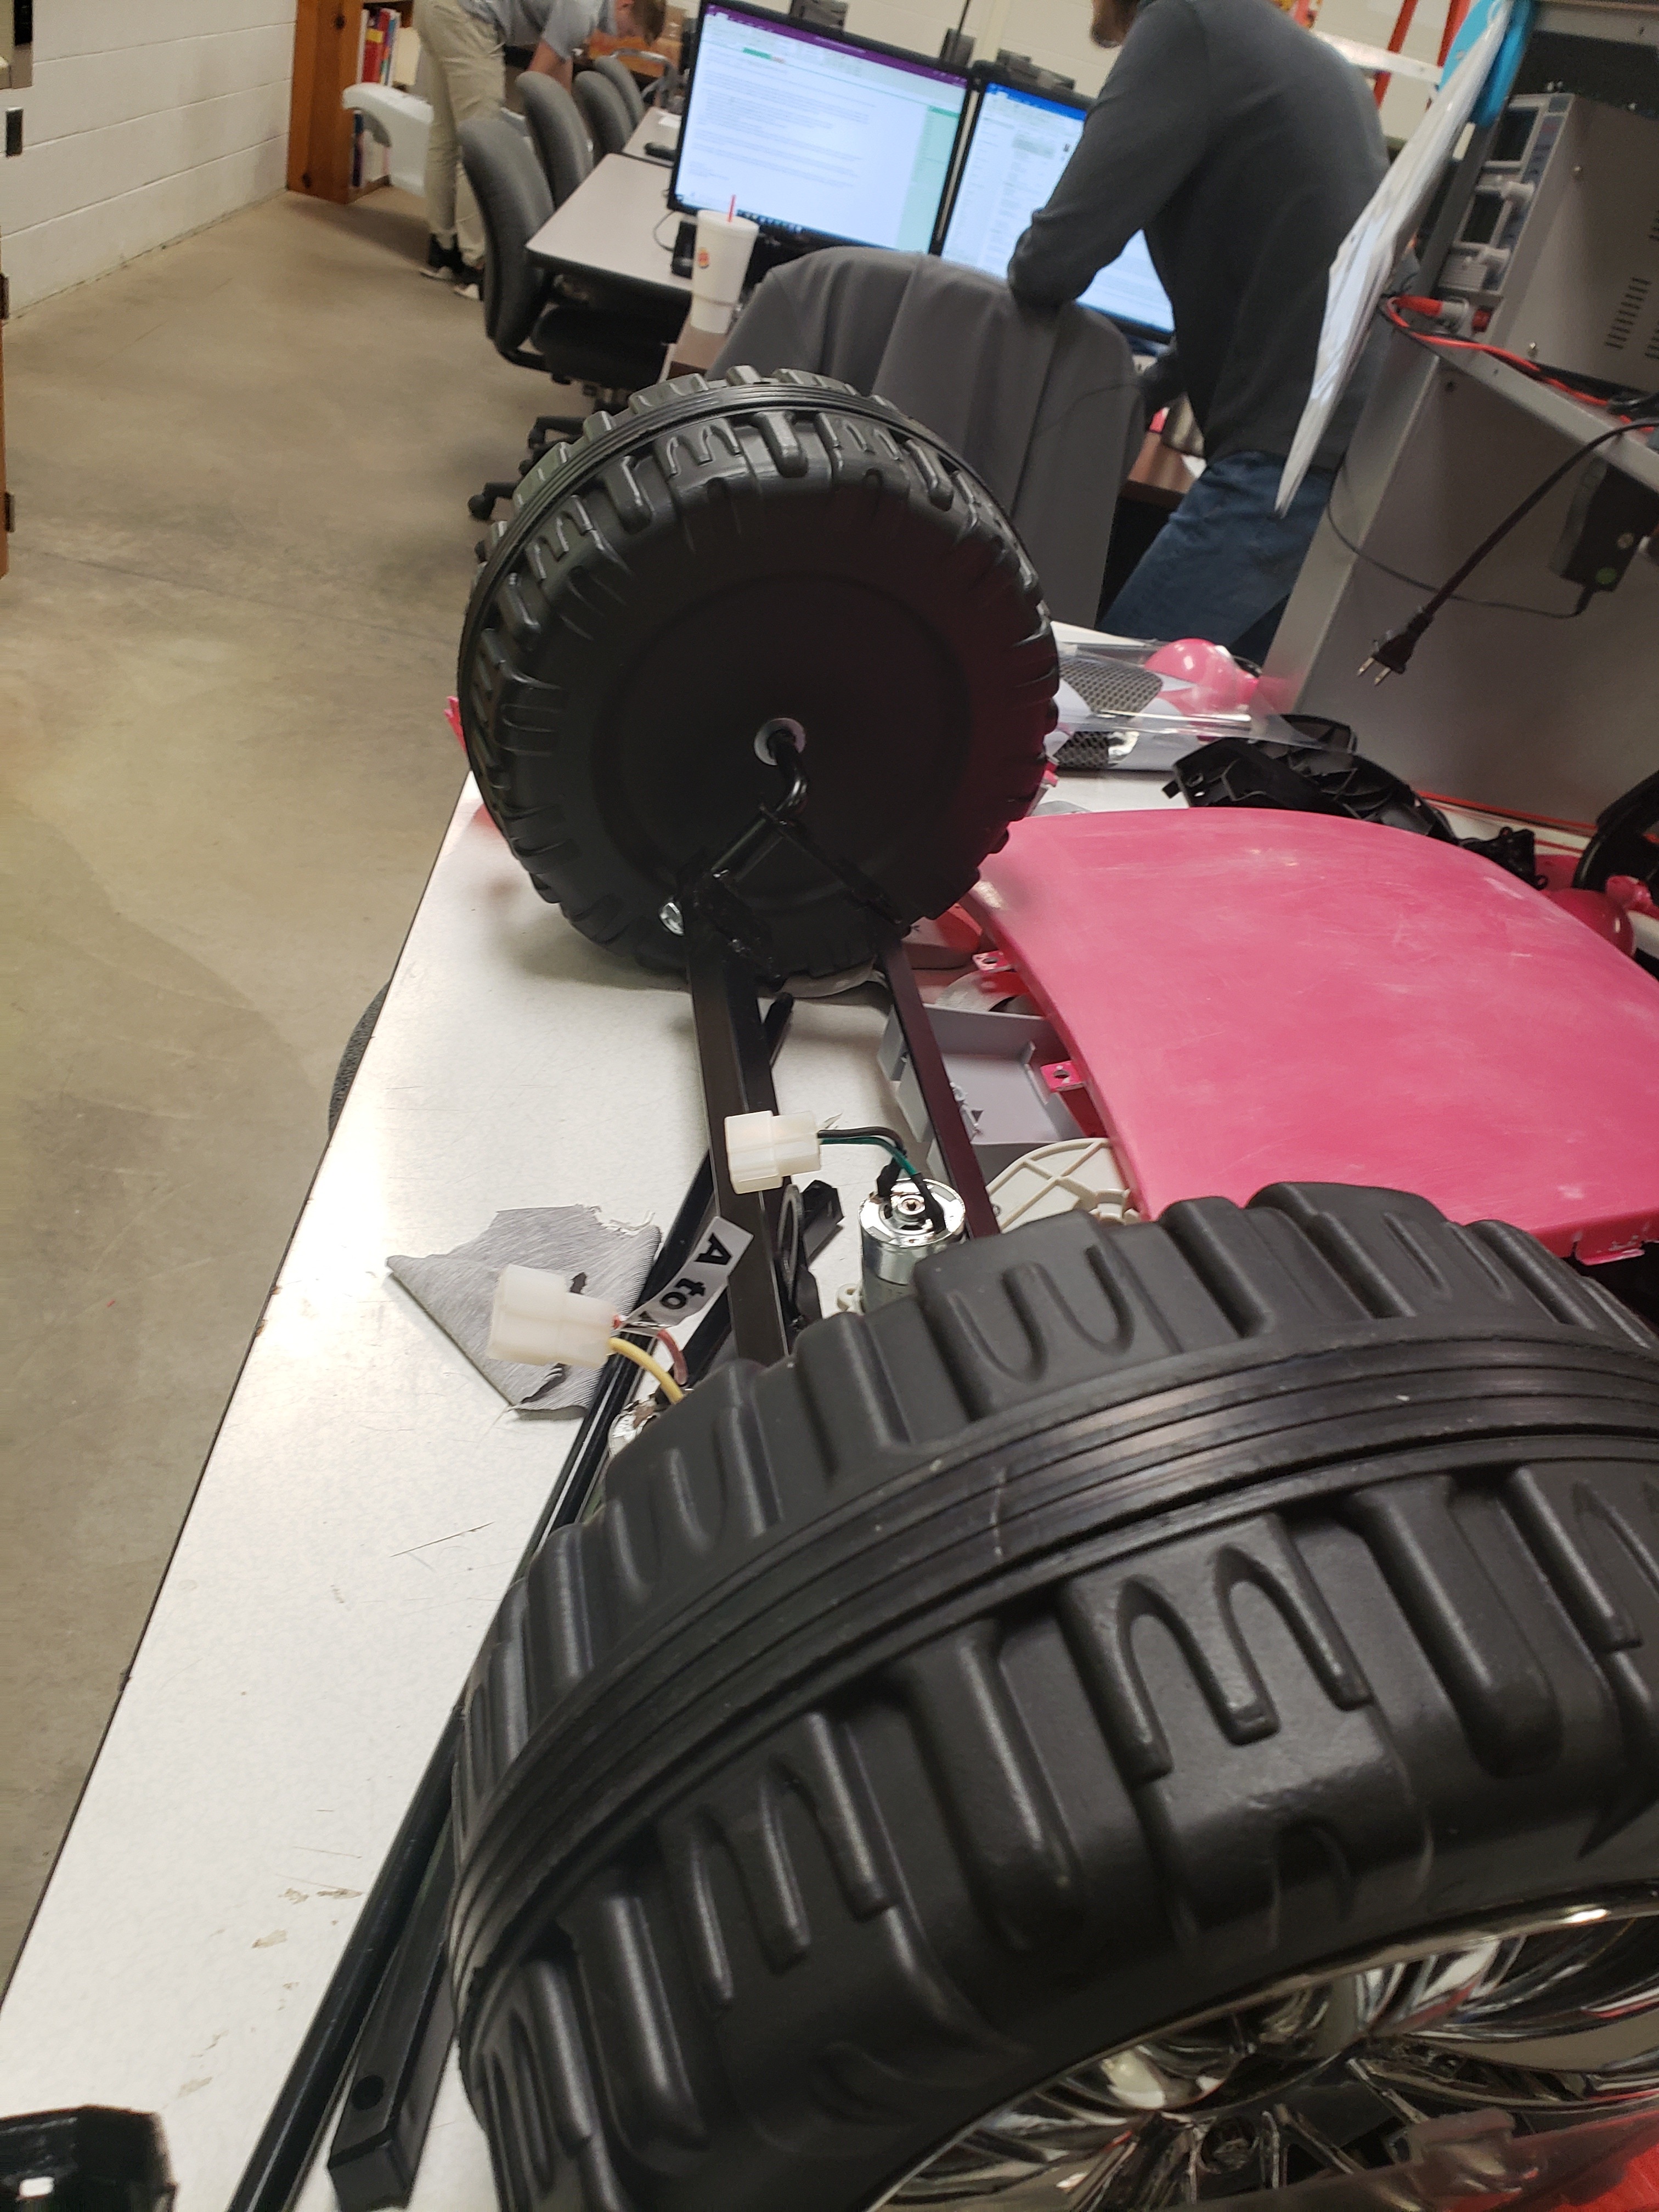
(Leave out the wheels for easier access to the car until the end.)
Building Car 4
Make sure lights can handle available batteries and that lights are installed.
Building Car 5
Decide placement of emergency items and possibly wanted add-ons.
Building Car 6
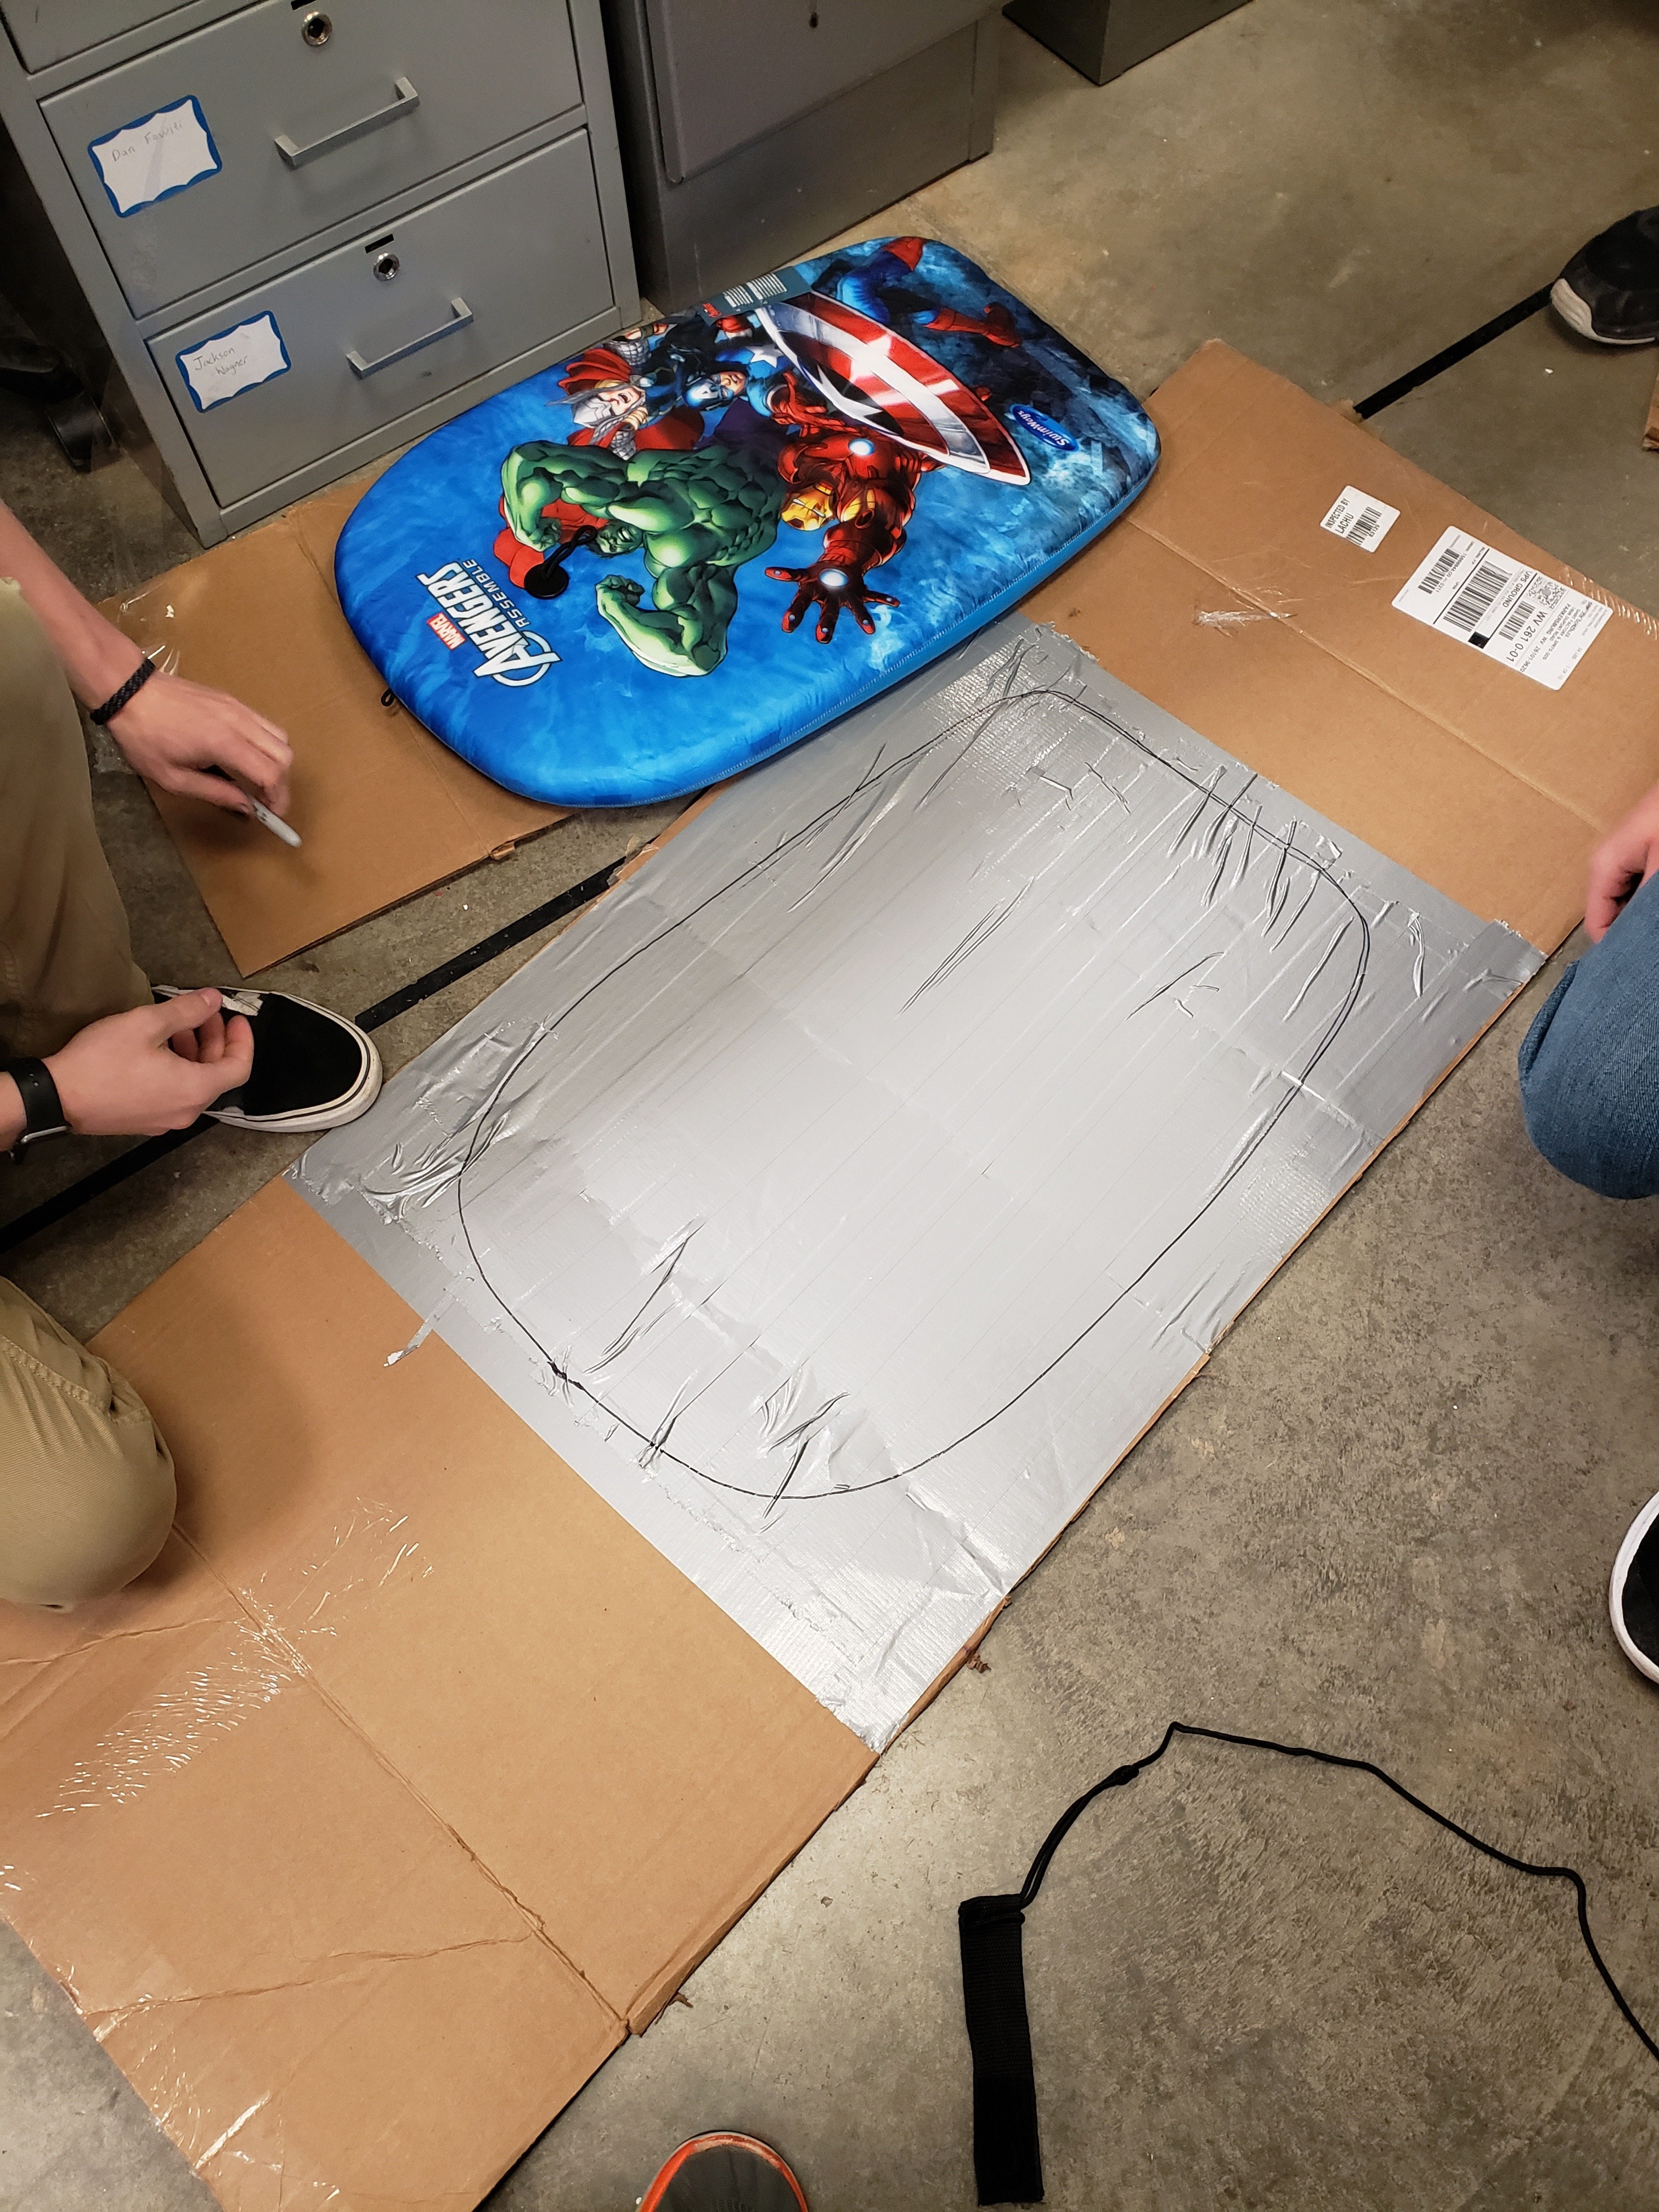
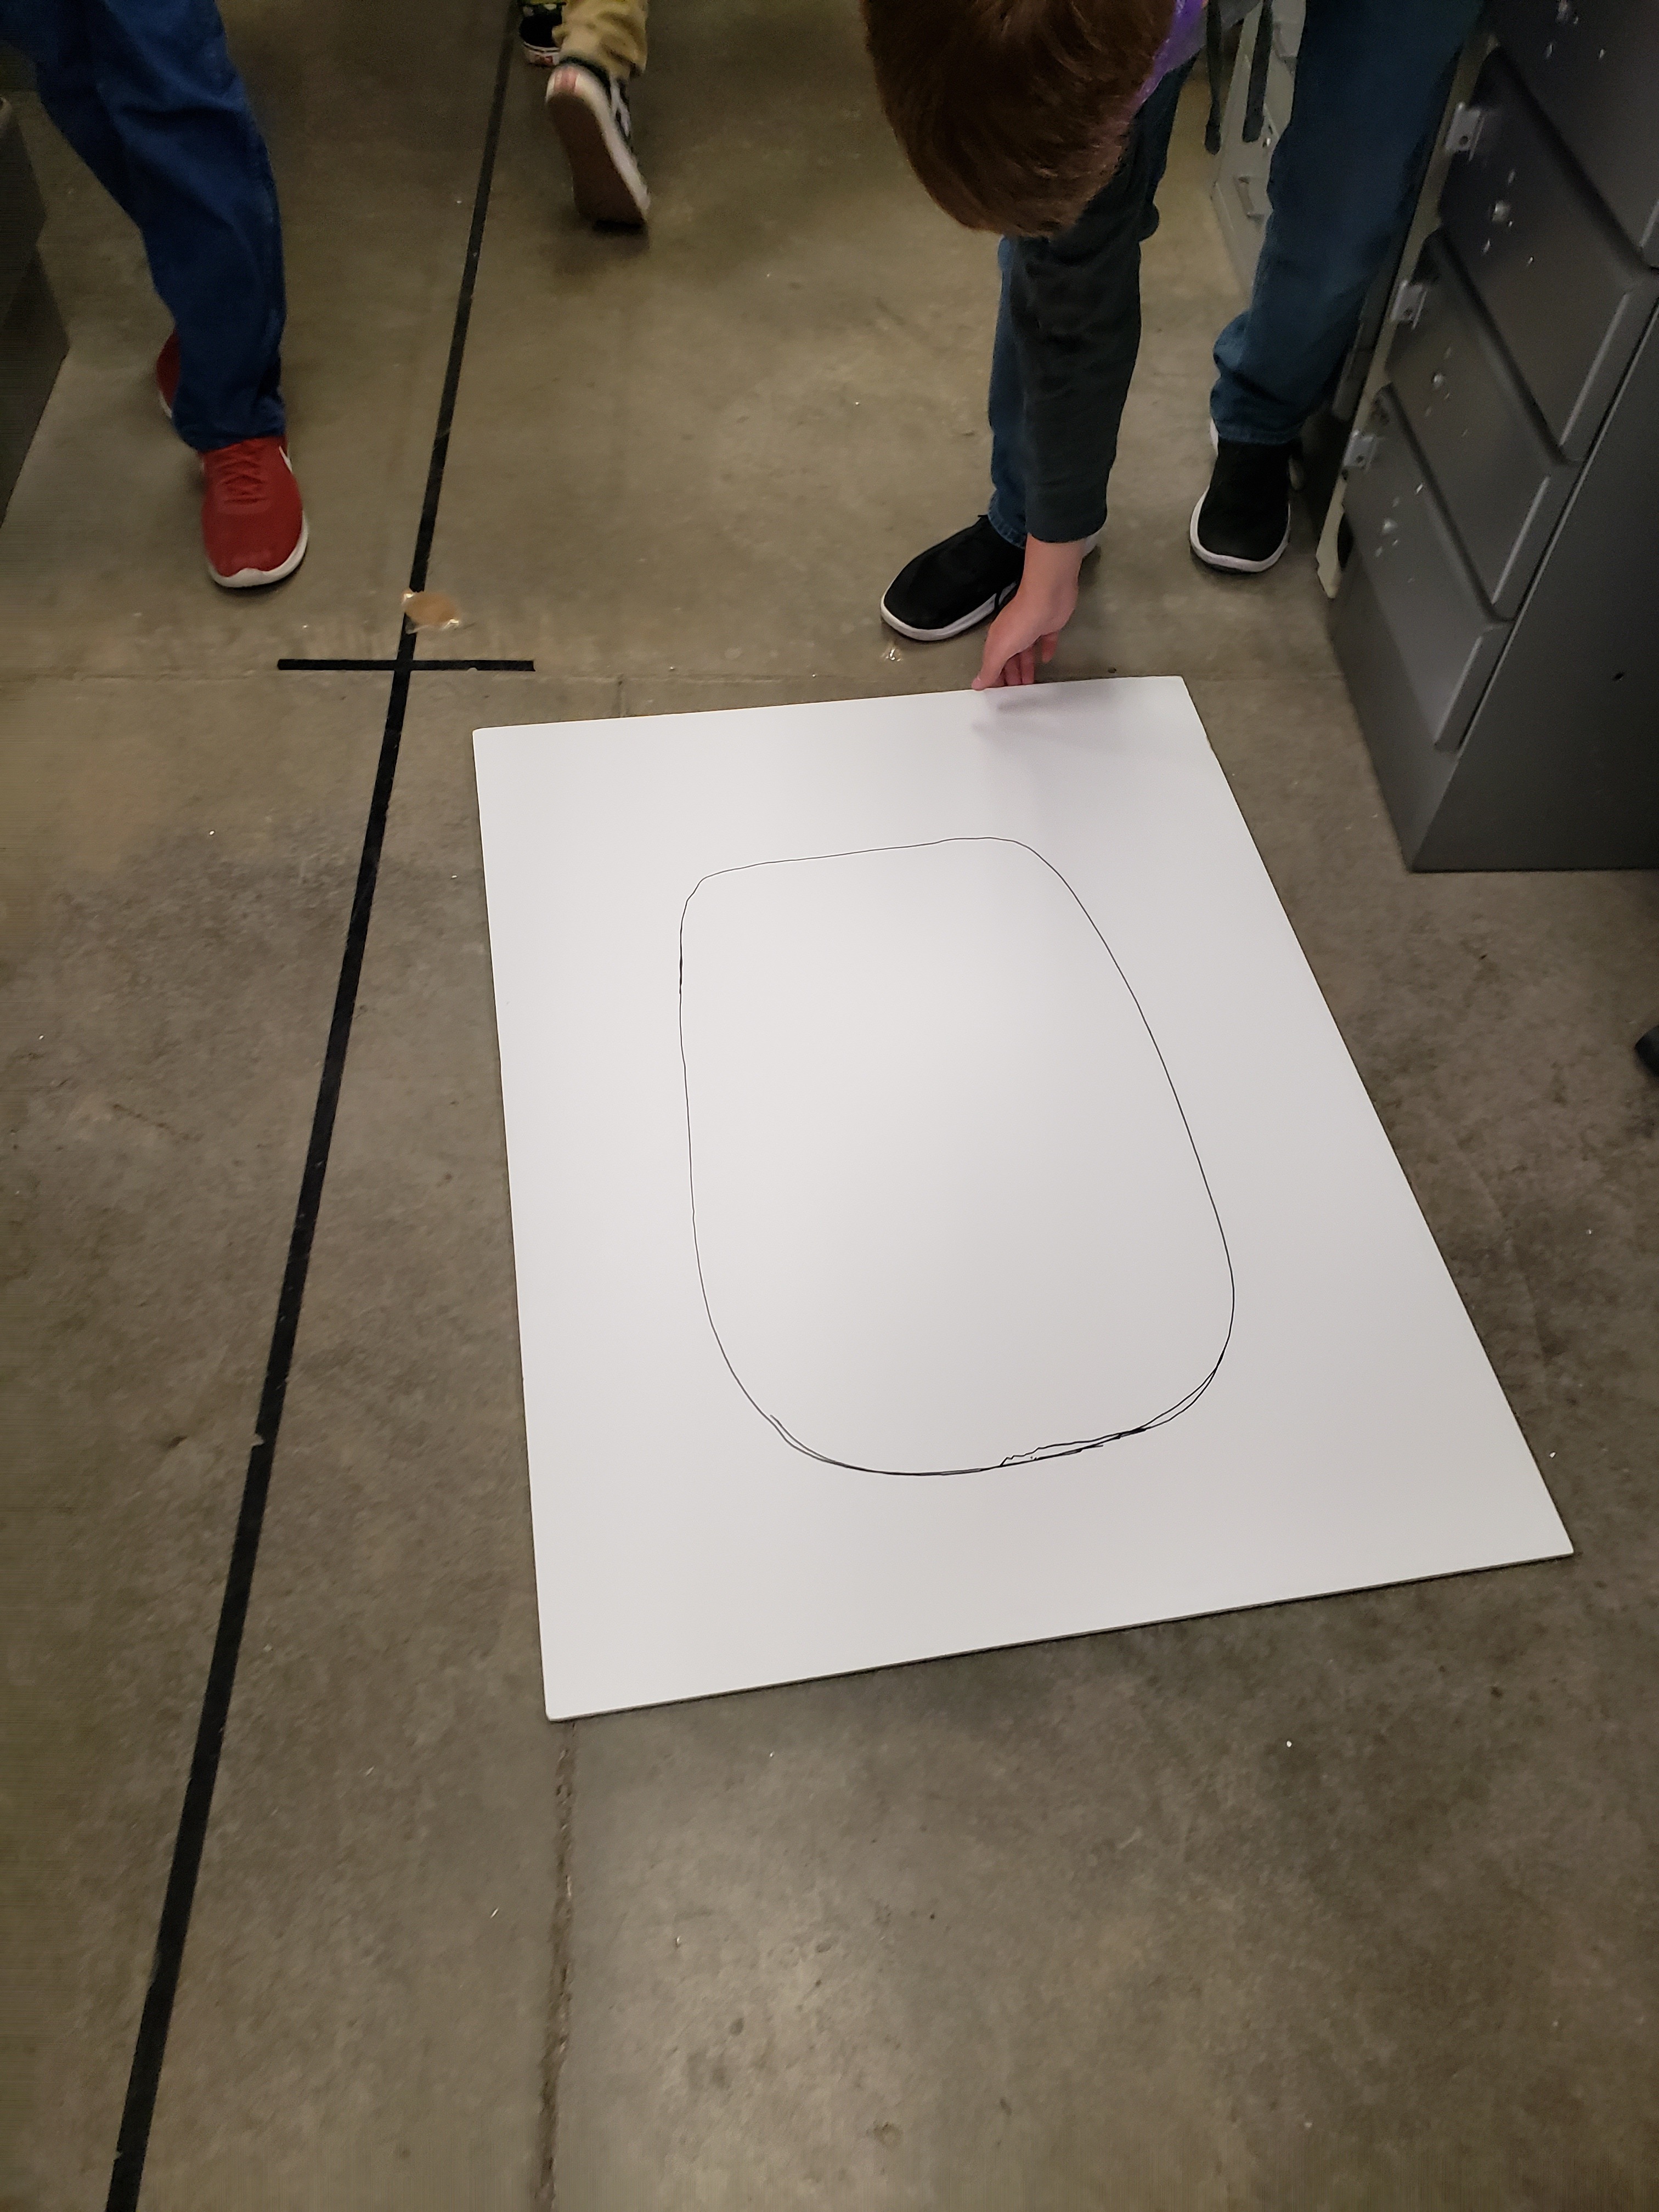
Begin using desired shapes for car seats. On an easy to cut material, cut out diagrams for reference.
Building Car Final
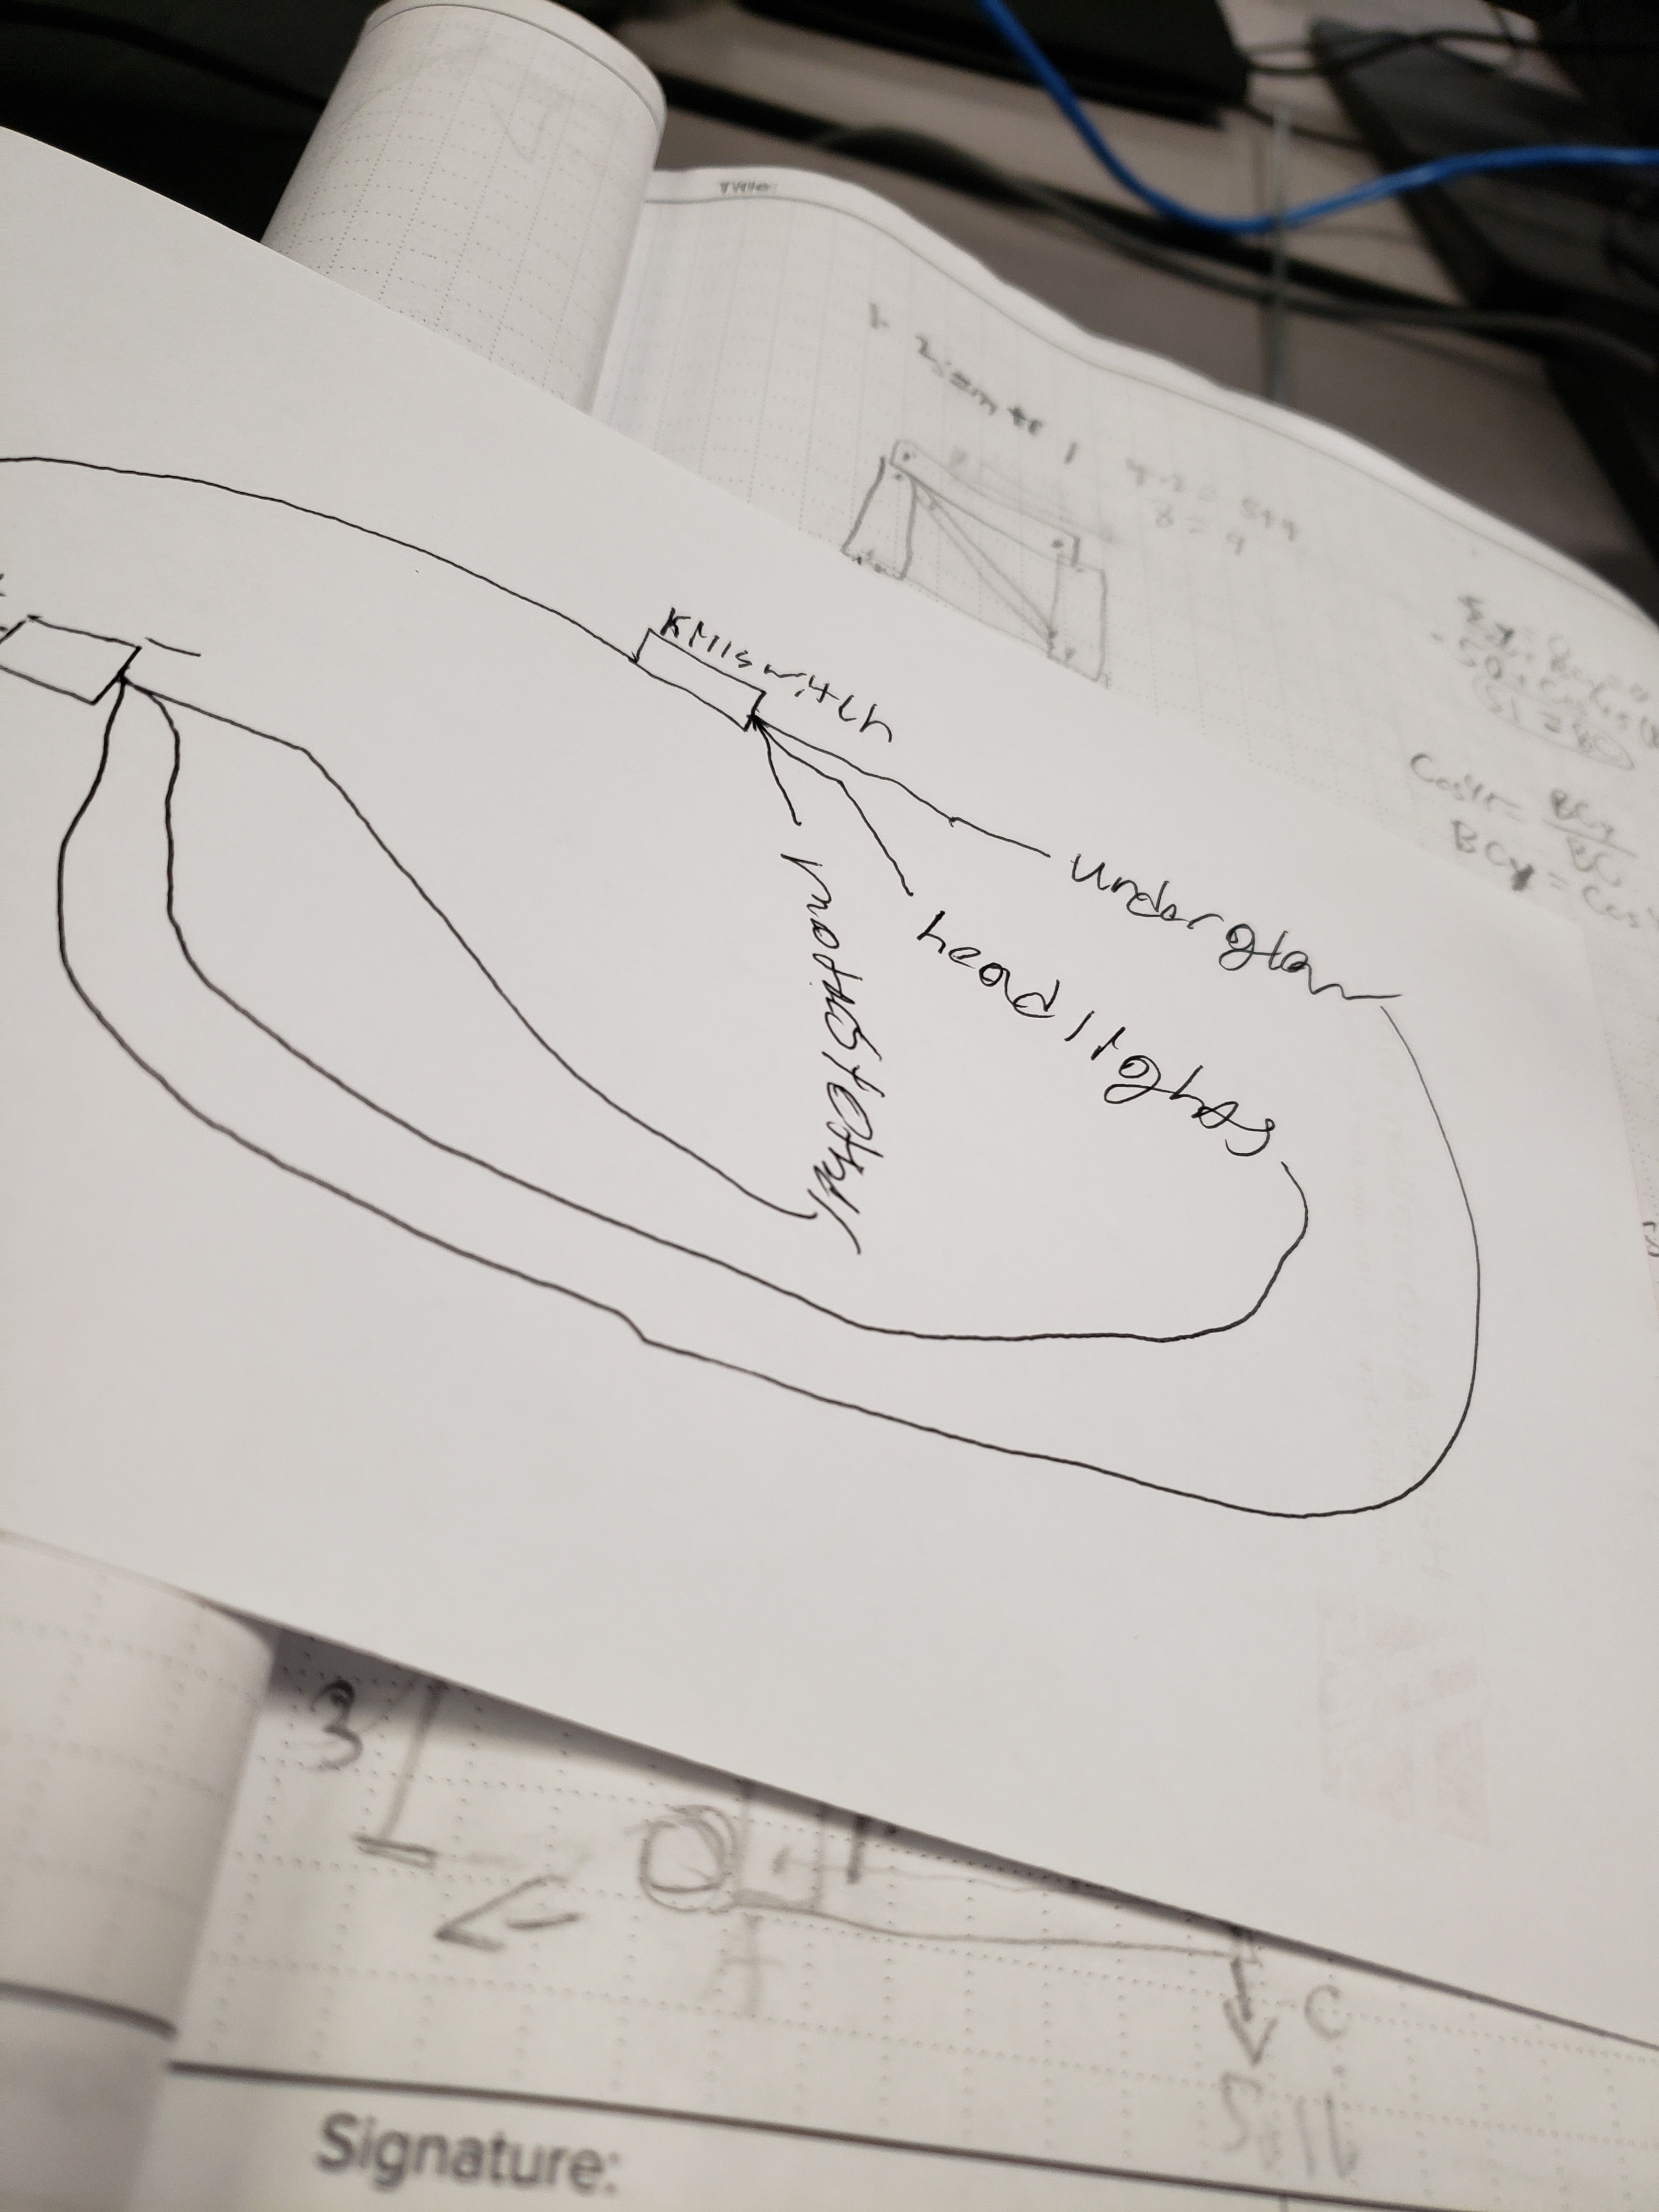
Construct wiring diagrams and plans however you like for lights or other things you want to change.
Wiring- Connecting the Car System
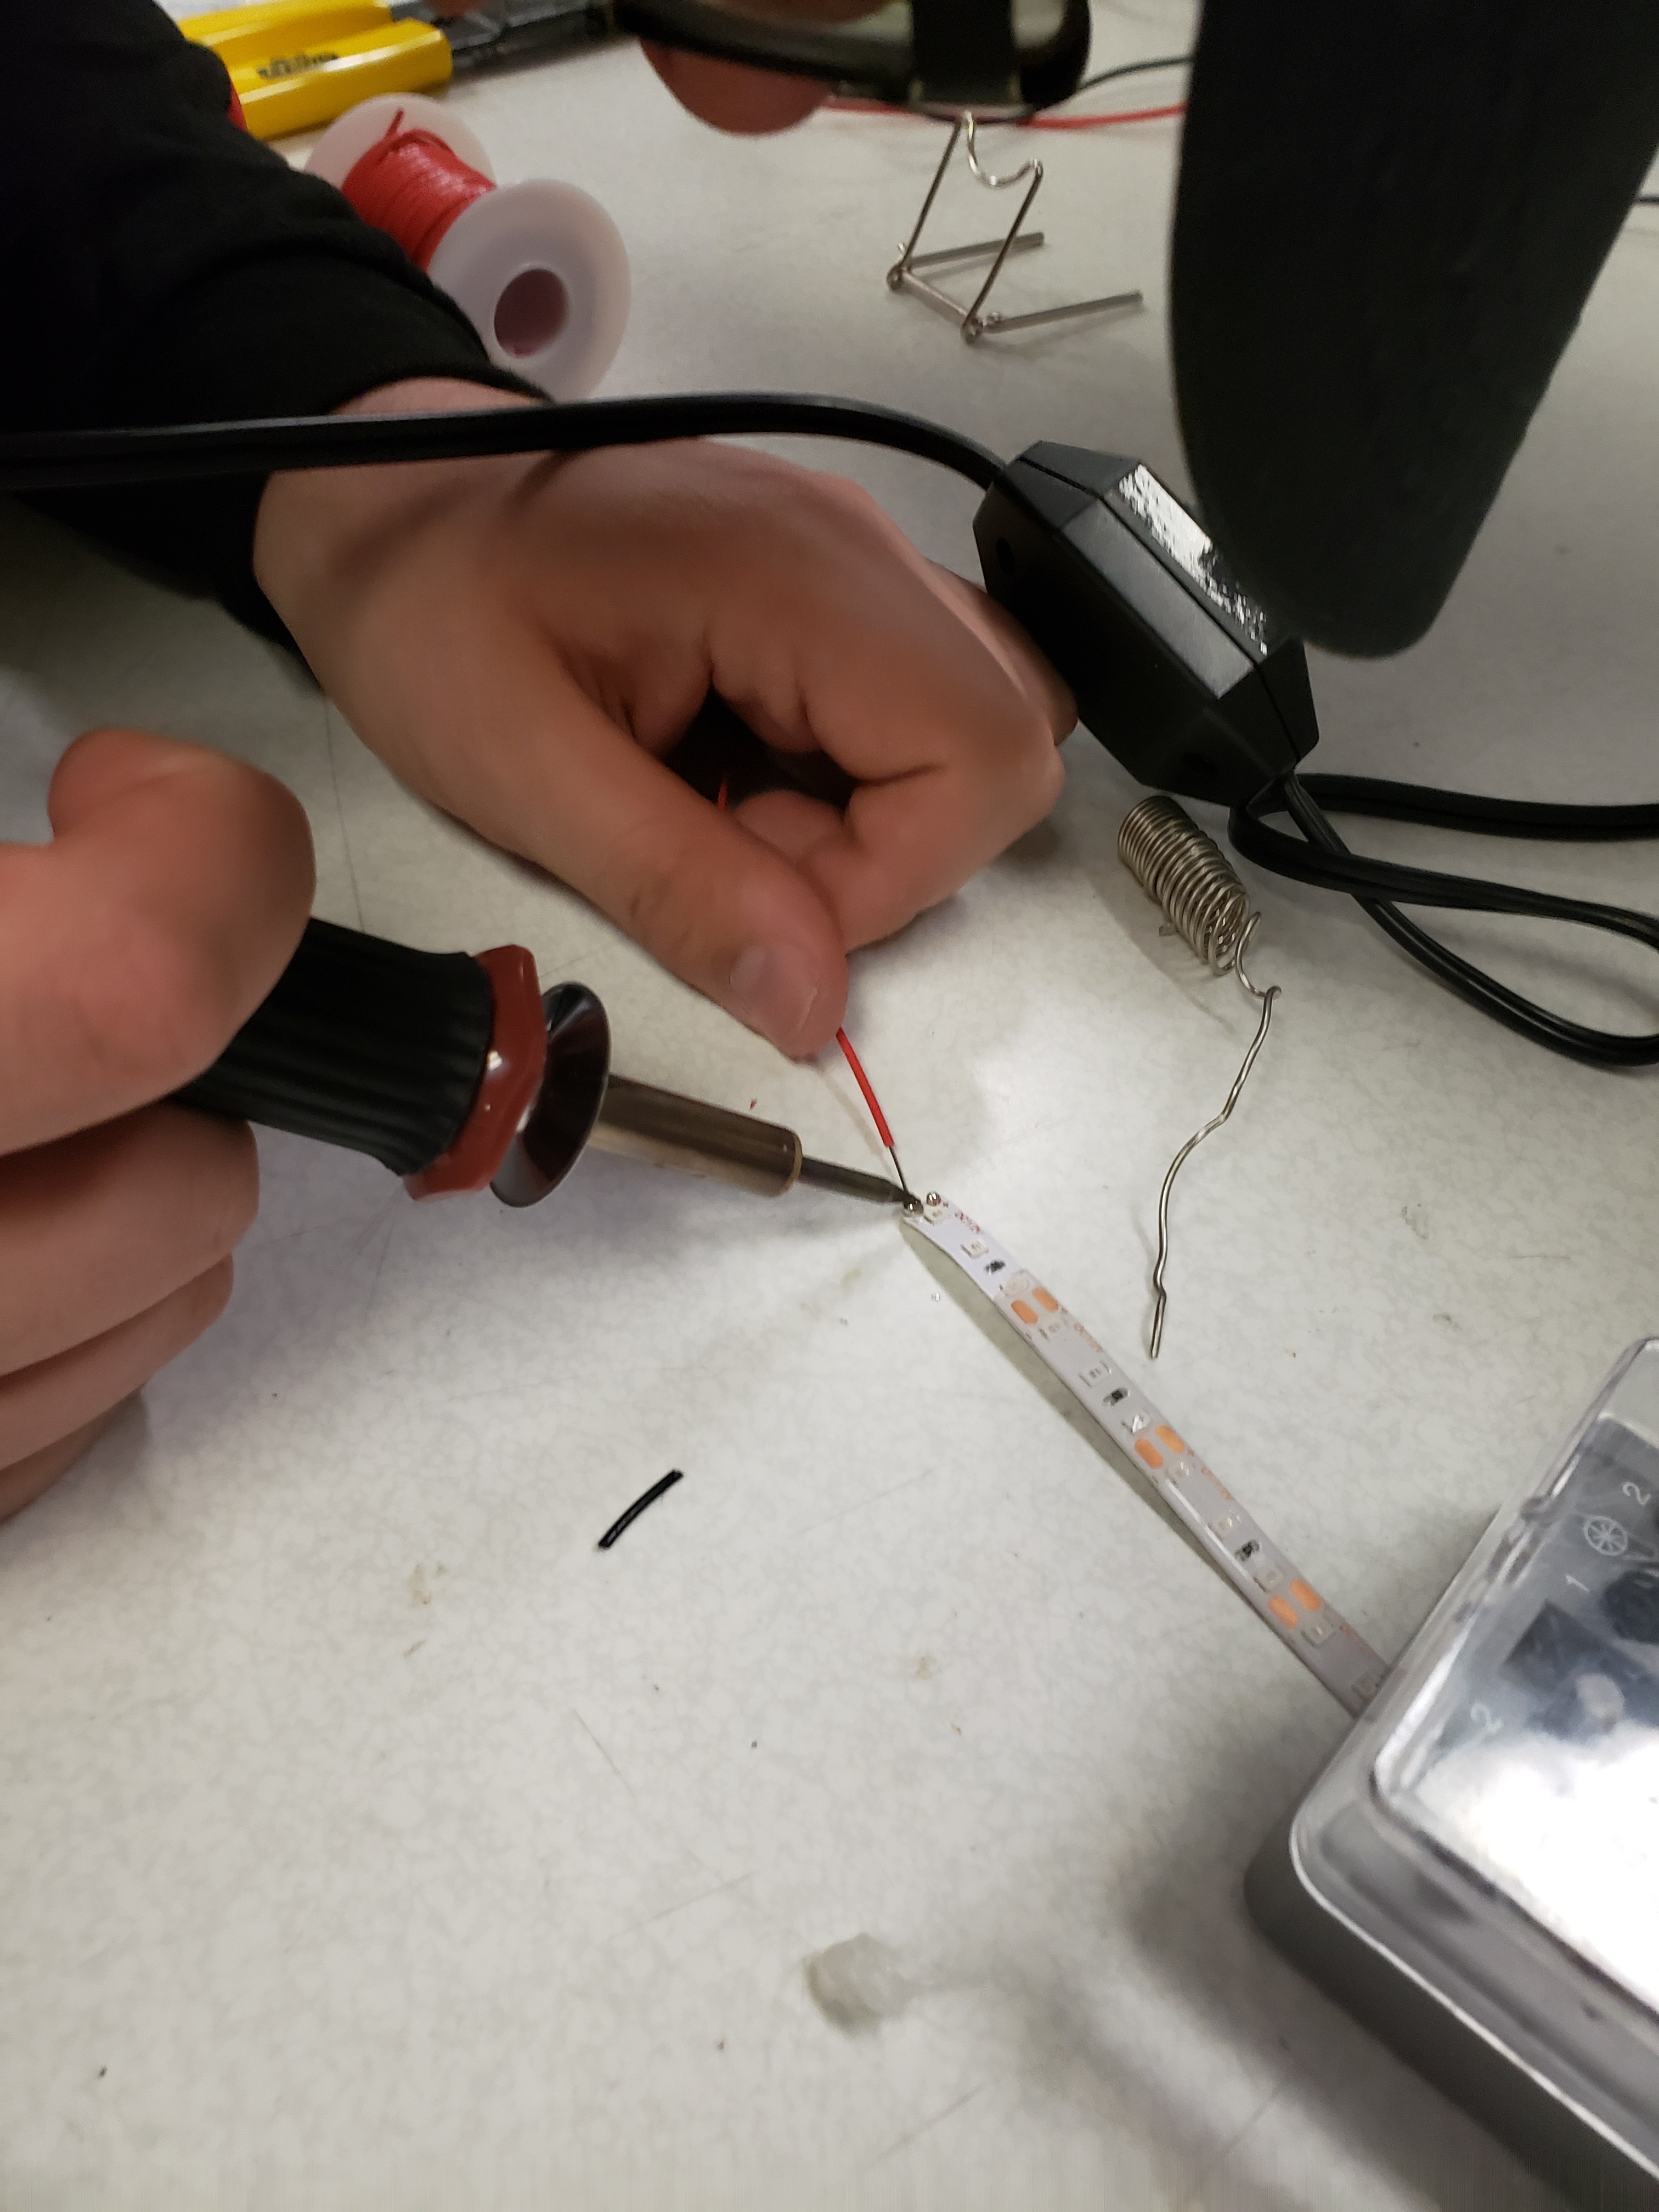
Solder electrical battery terminal wire.
Wiring- Connecting the Car System
Shrink wire sleeve for battery terminal wire.
Wiring- Connecting the Car System
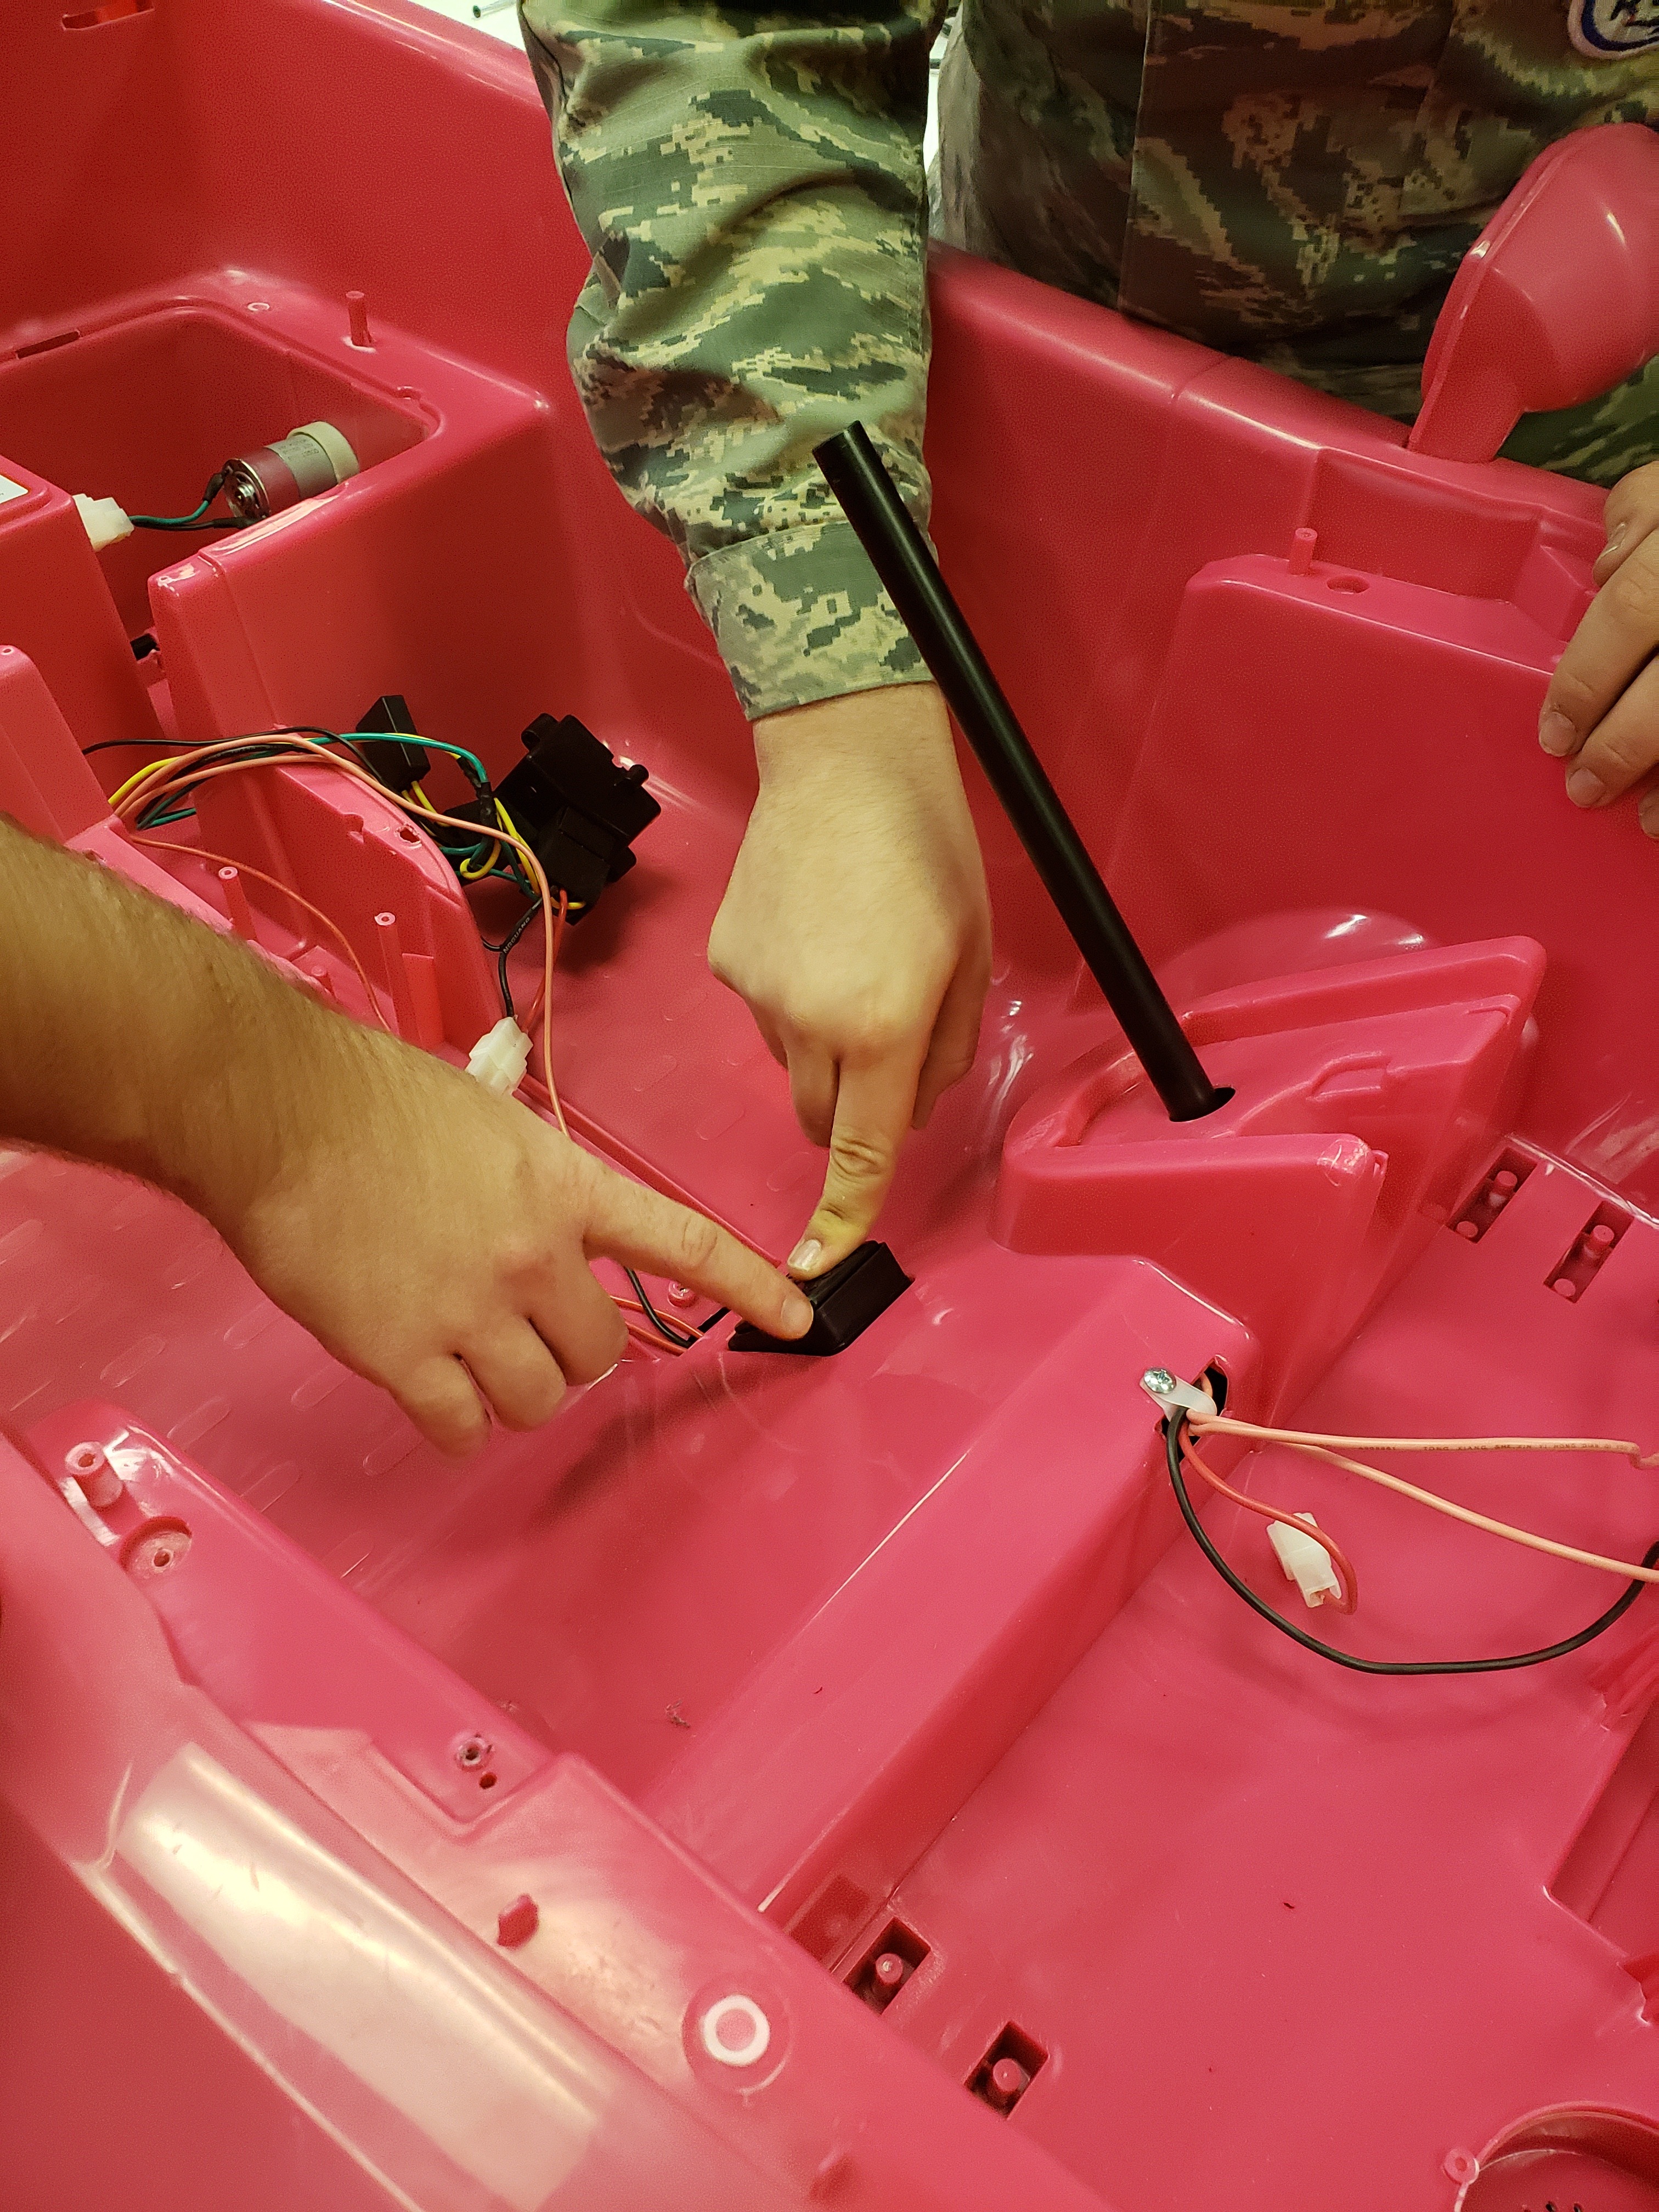
Cut into an early part of the breaking wire to wire in kill switch as a replacement. Use your soldered and shrunk wire for the new wiring.
Wiring- Connecting the Car System
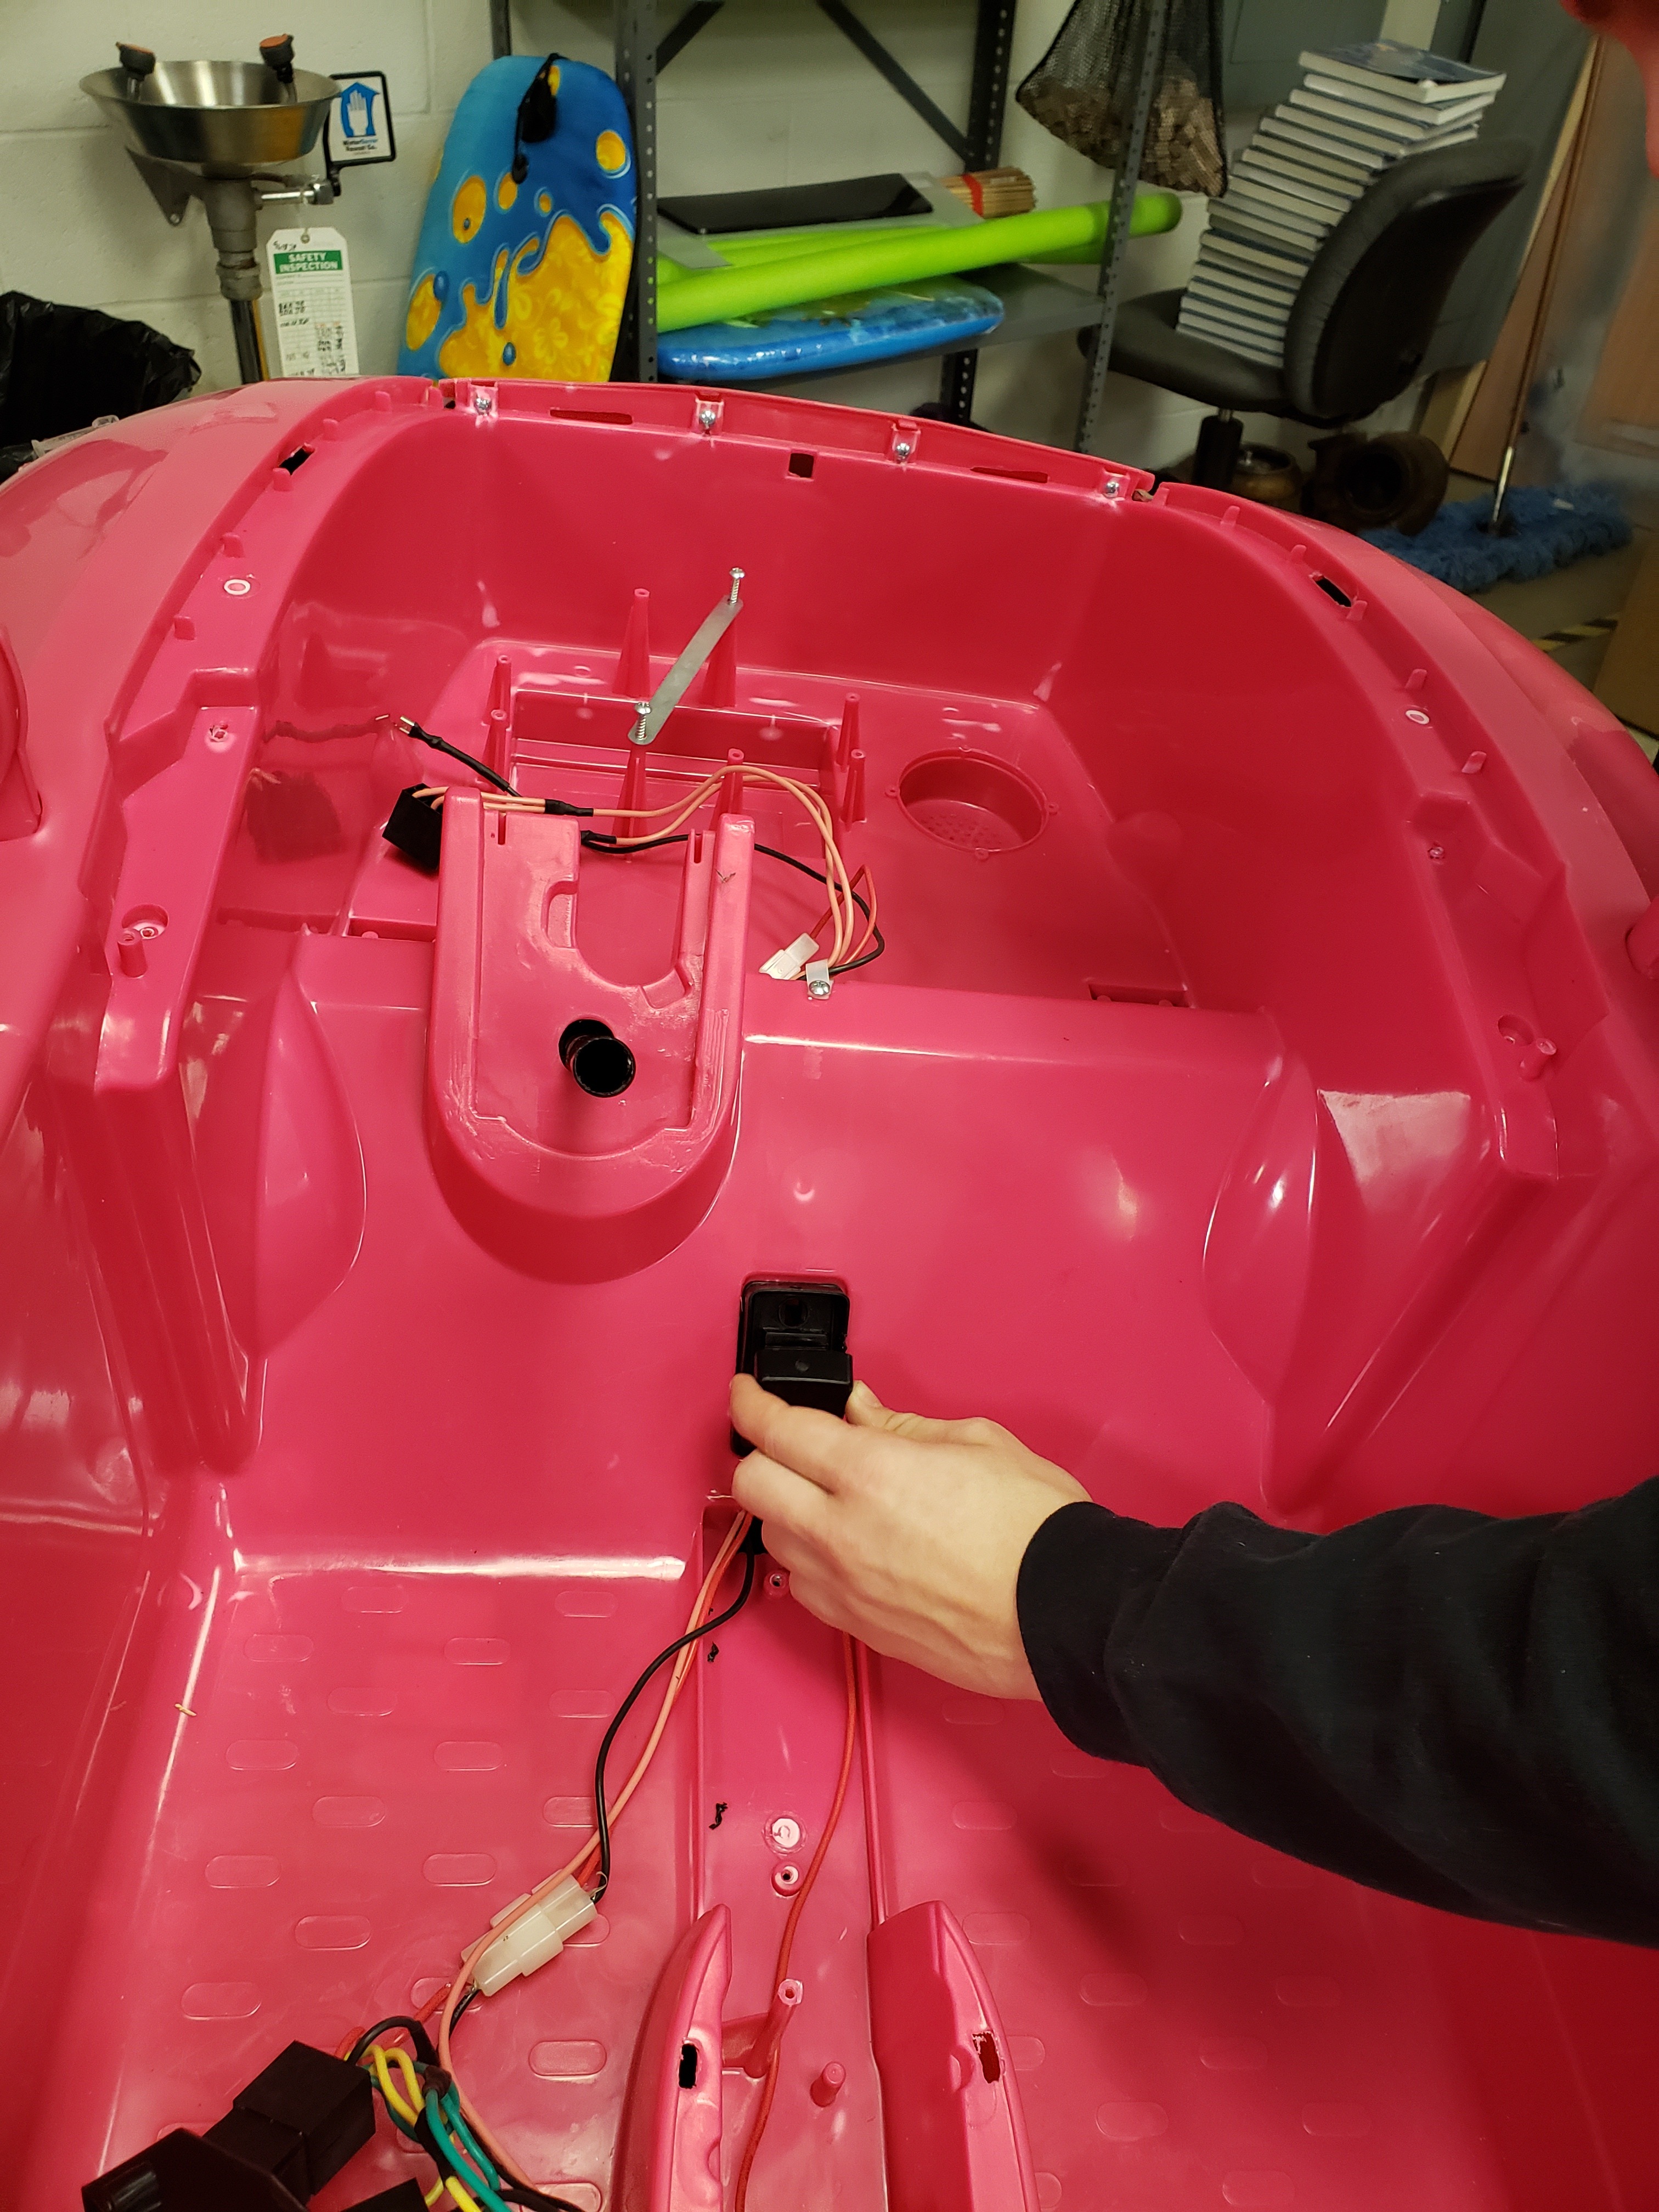
Wire your kill switch to your area of choice.
Wiring- Connecting the Car System
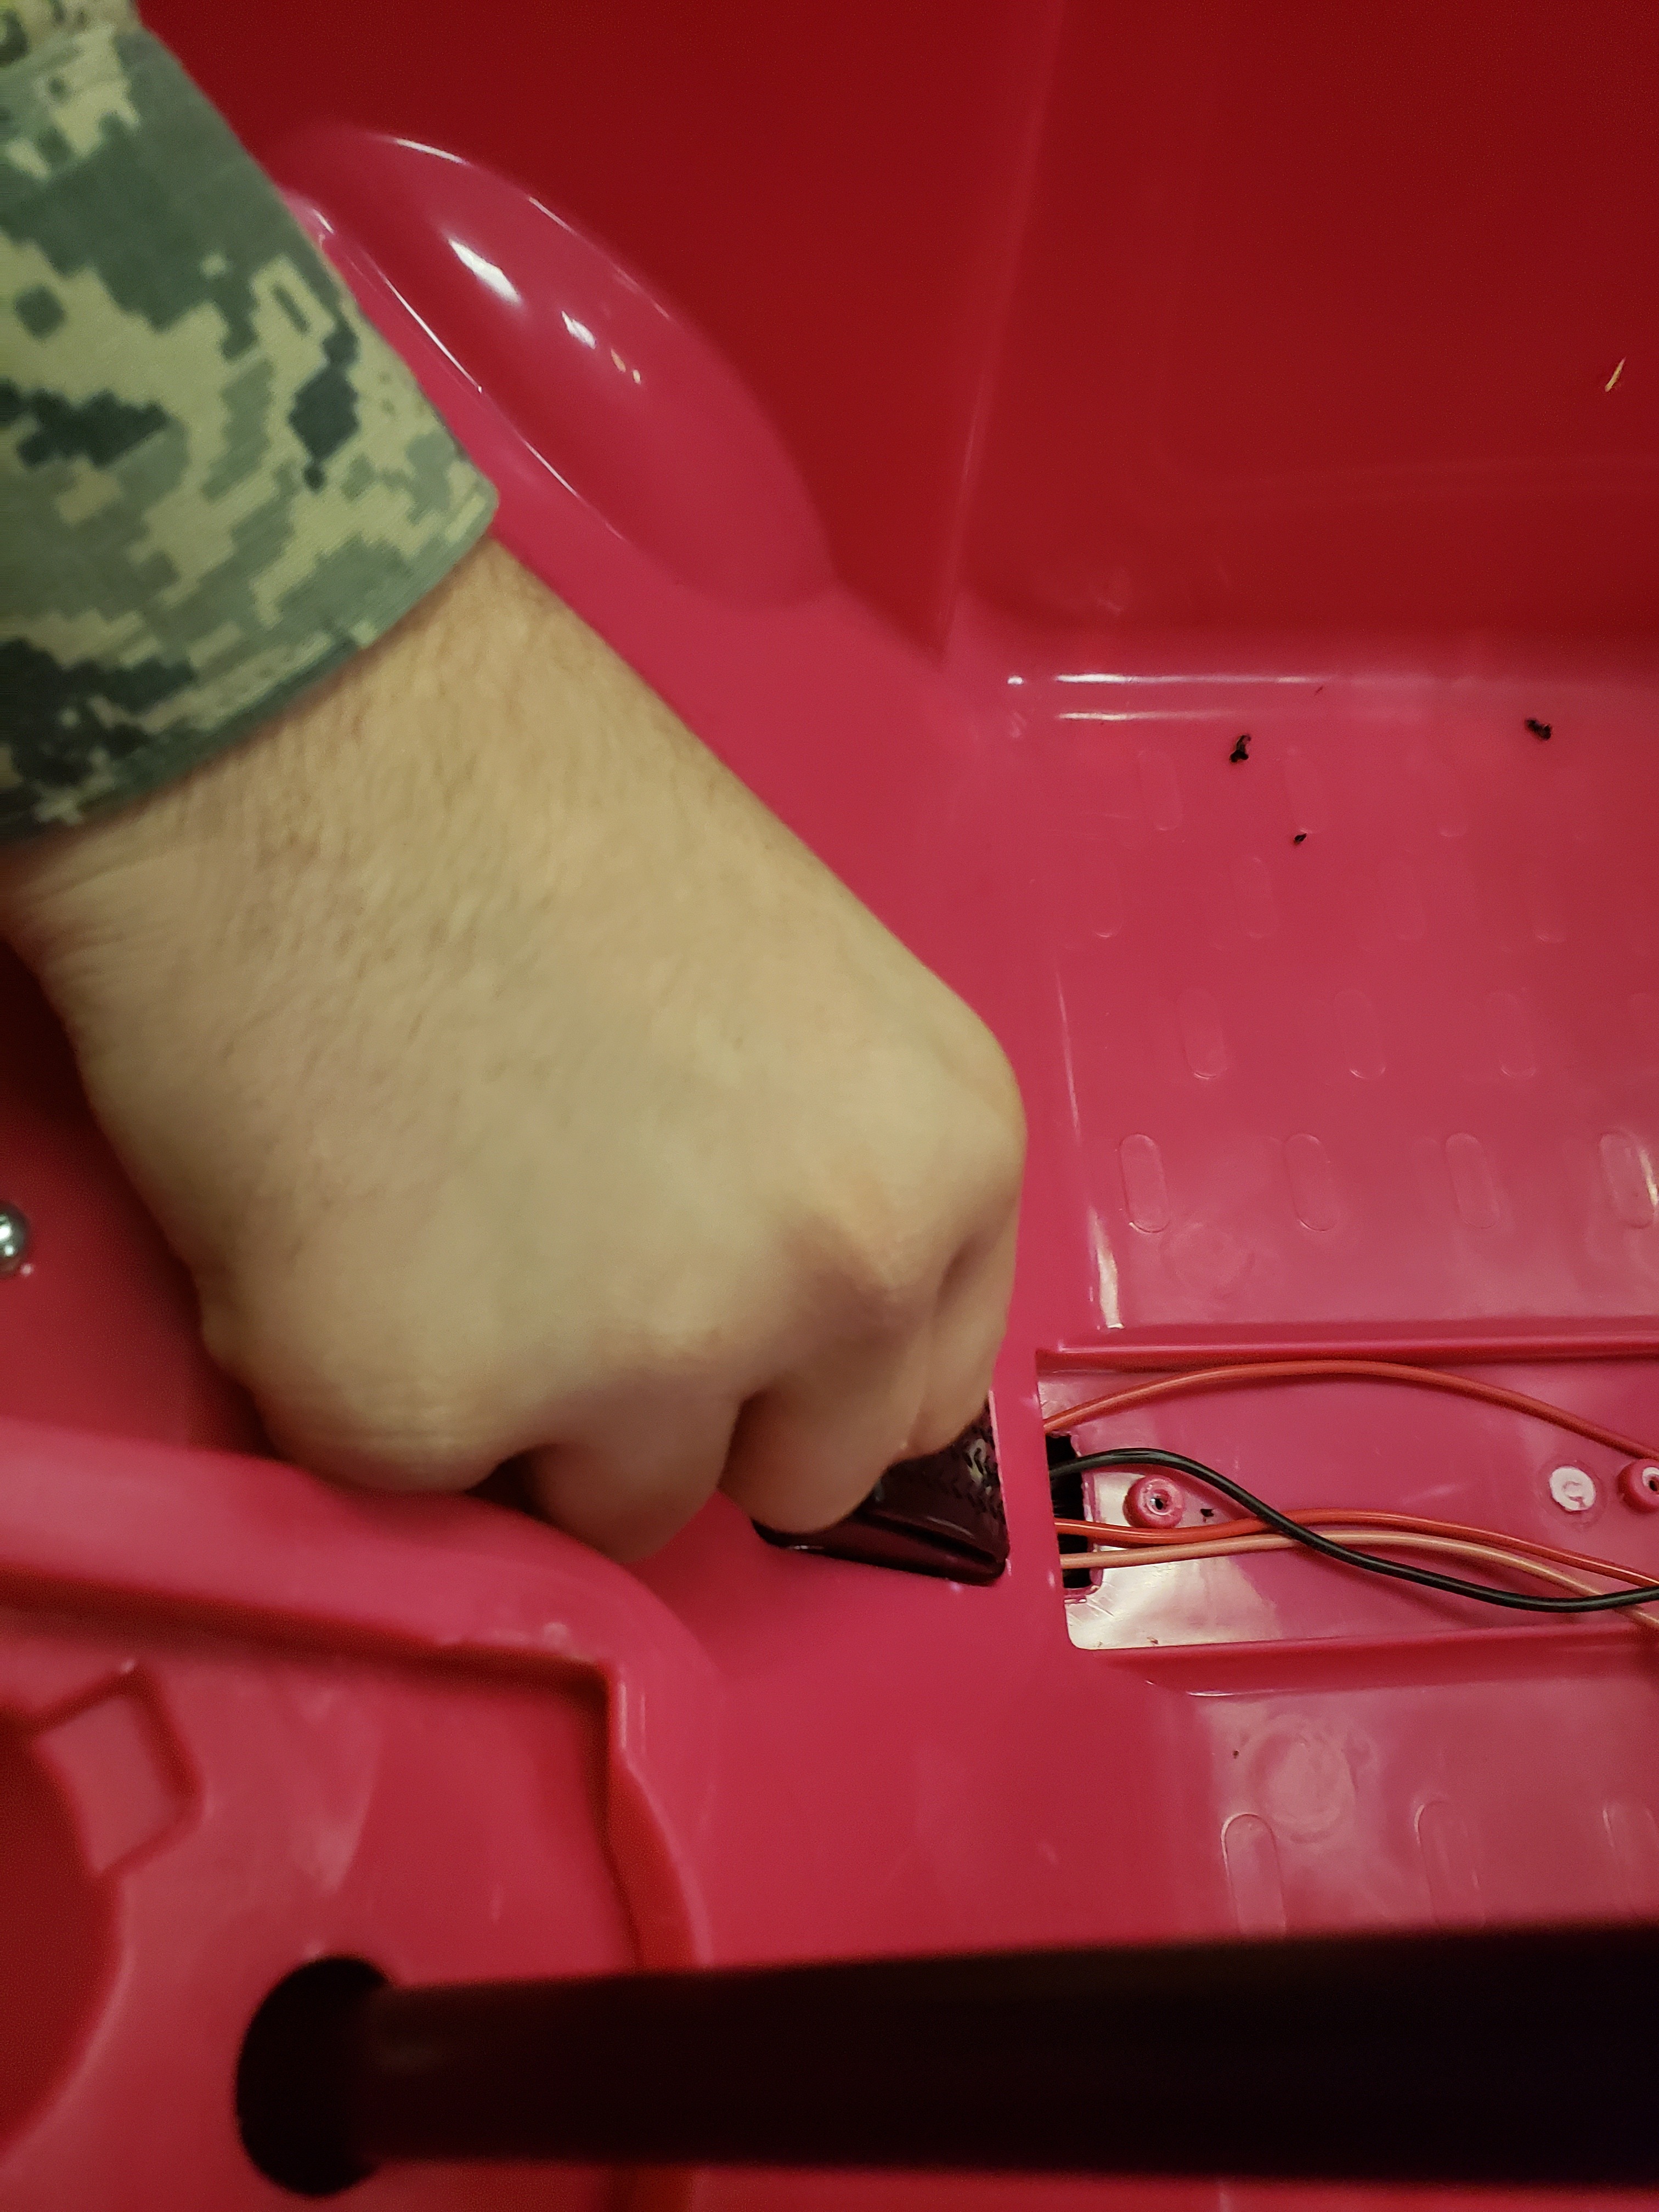
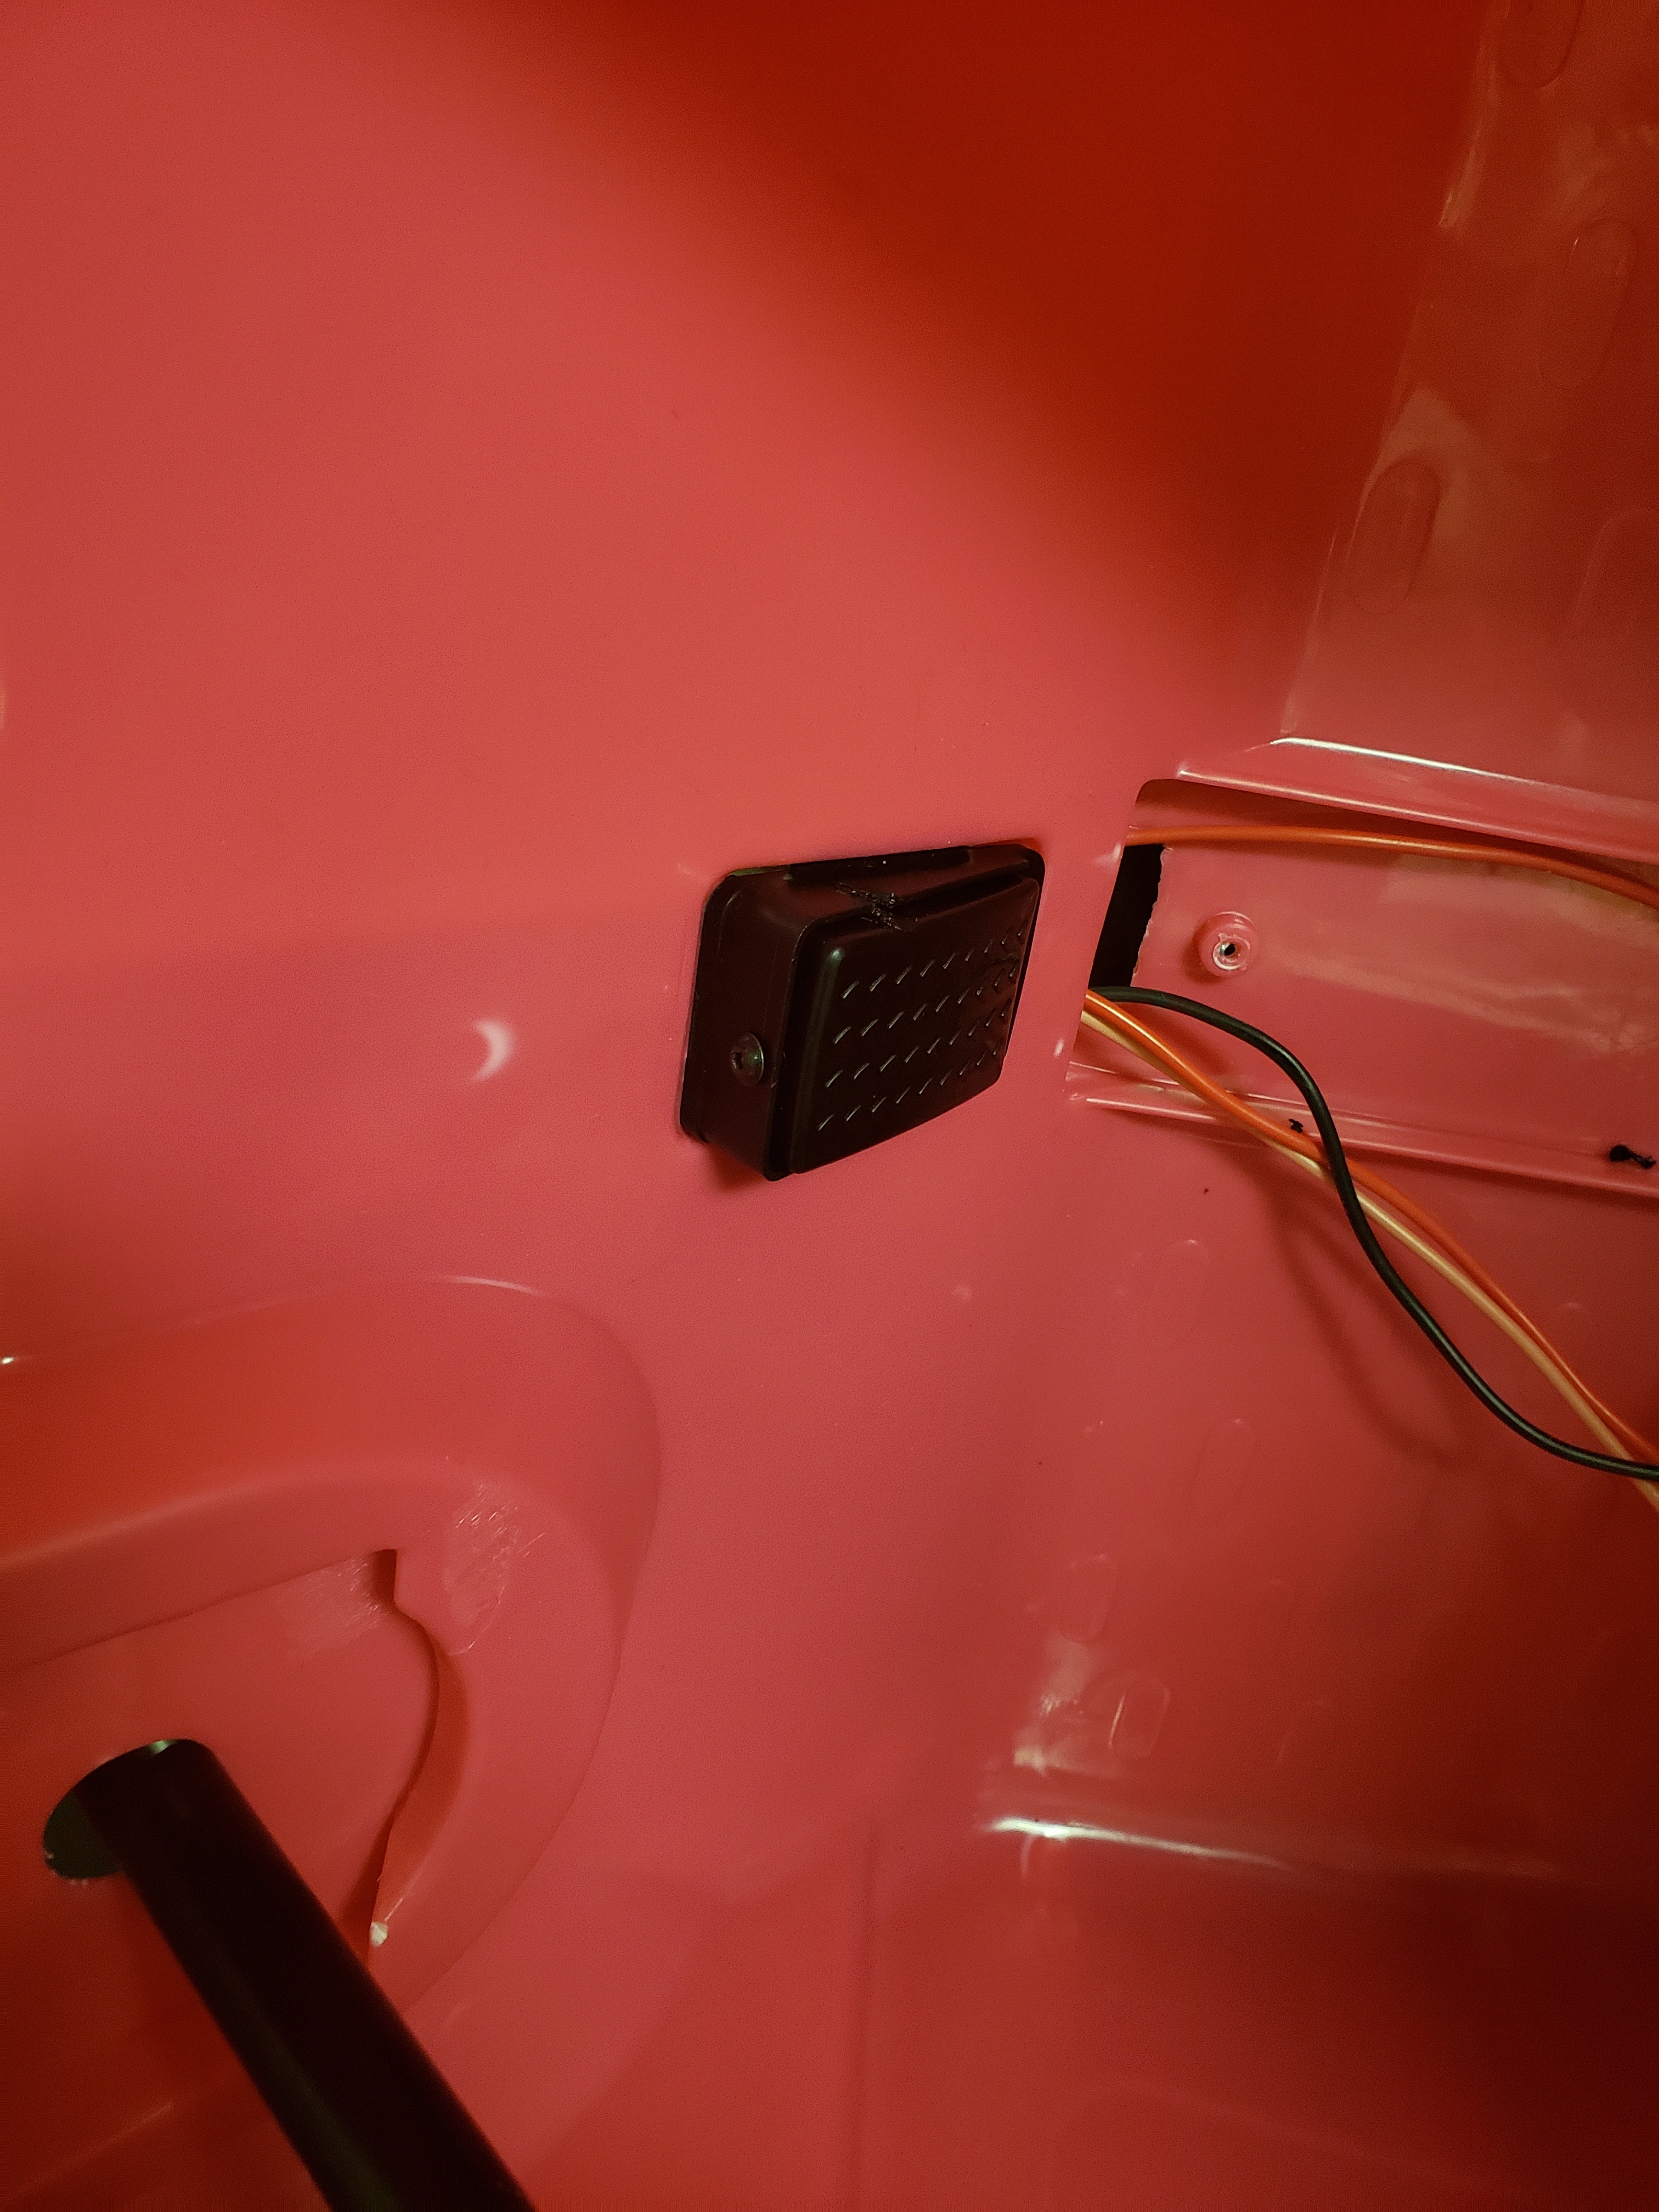
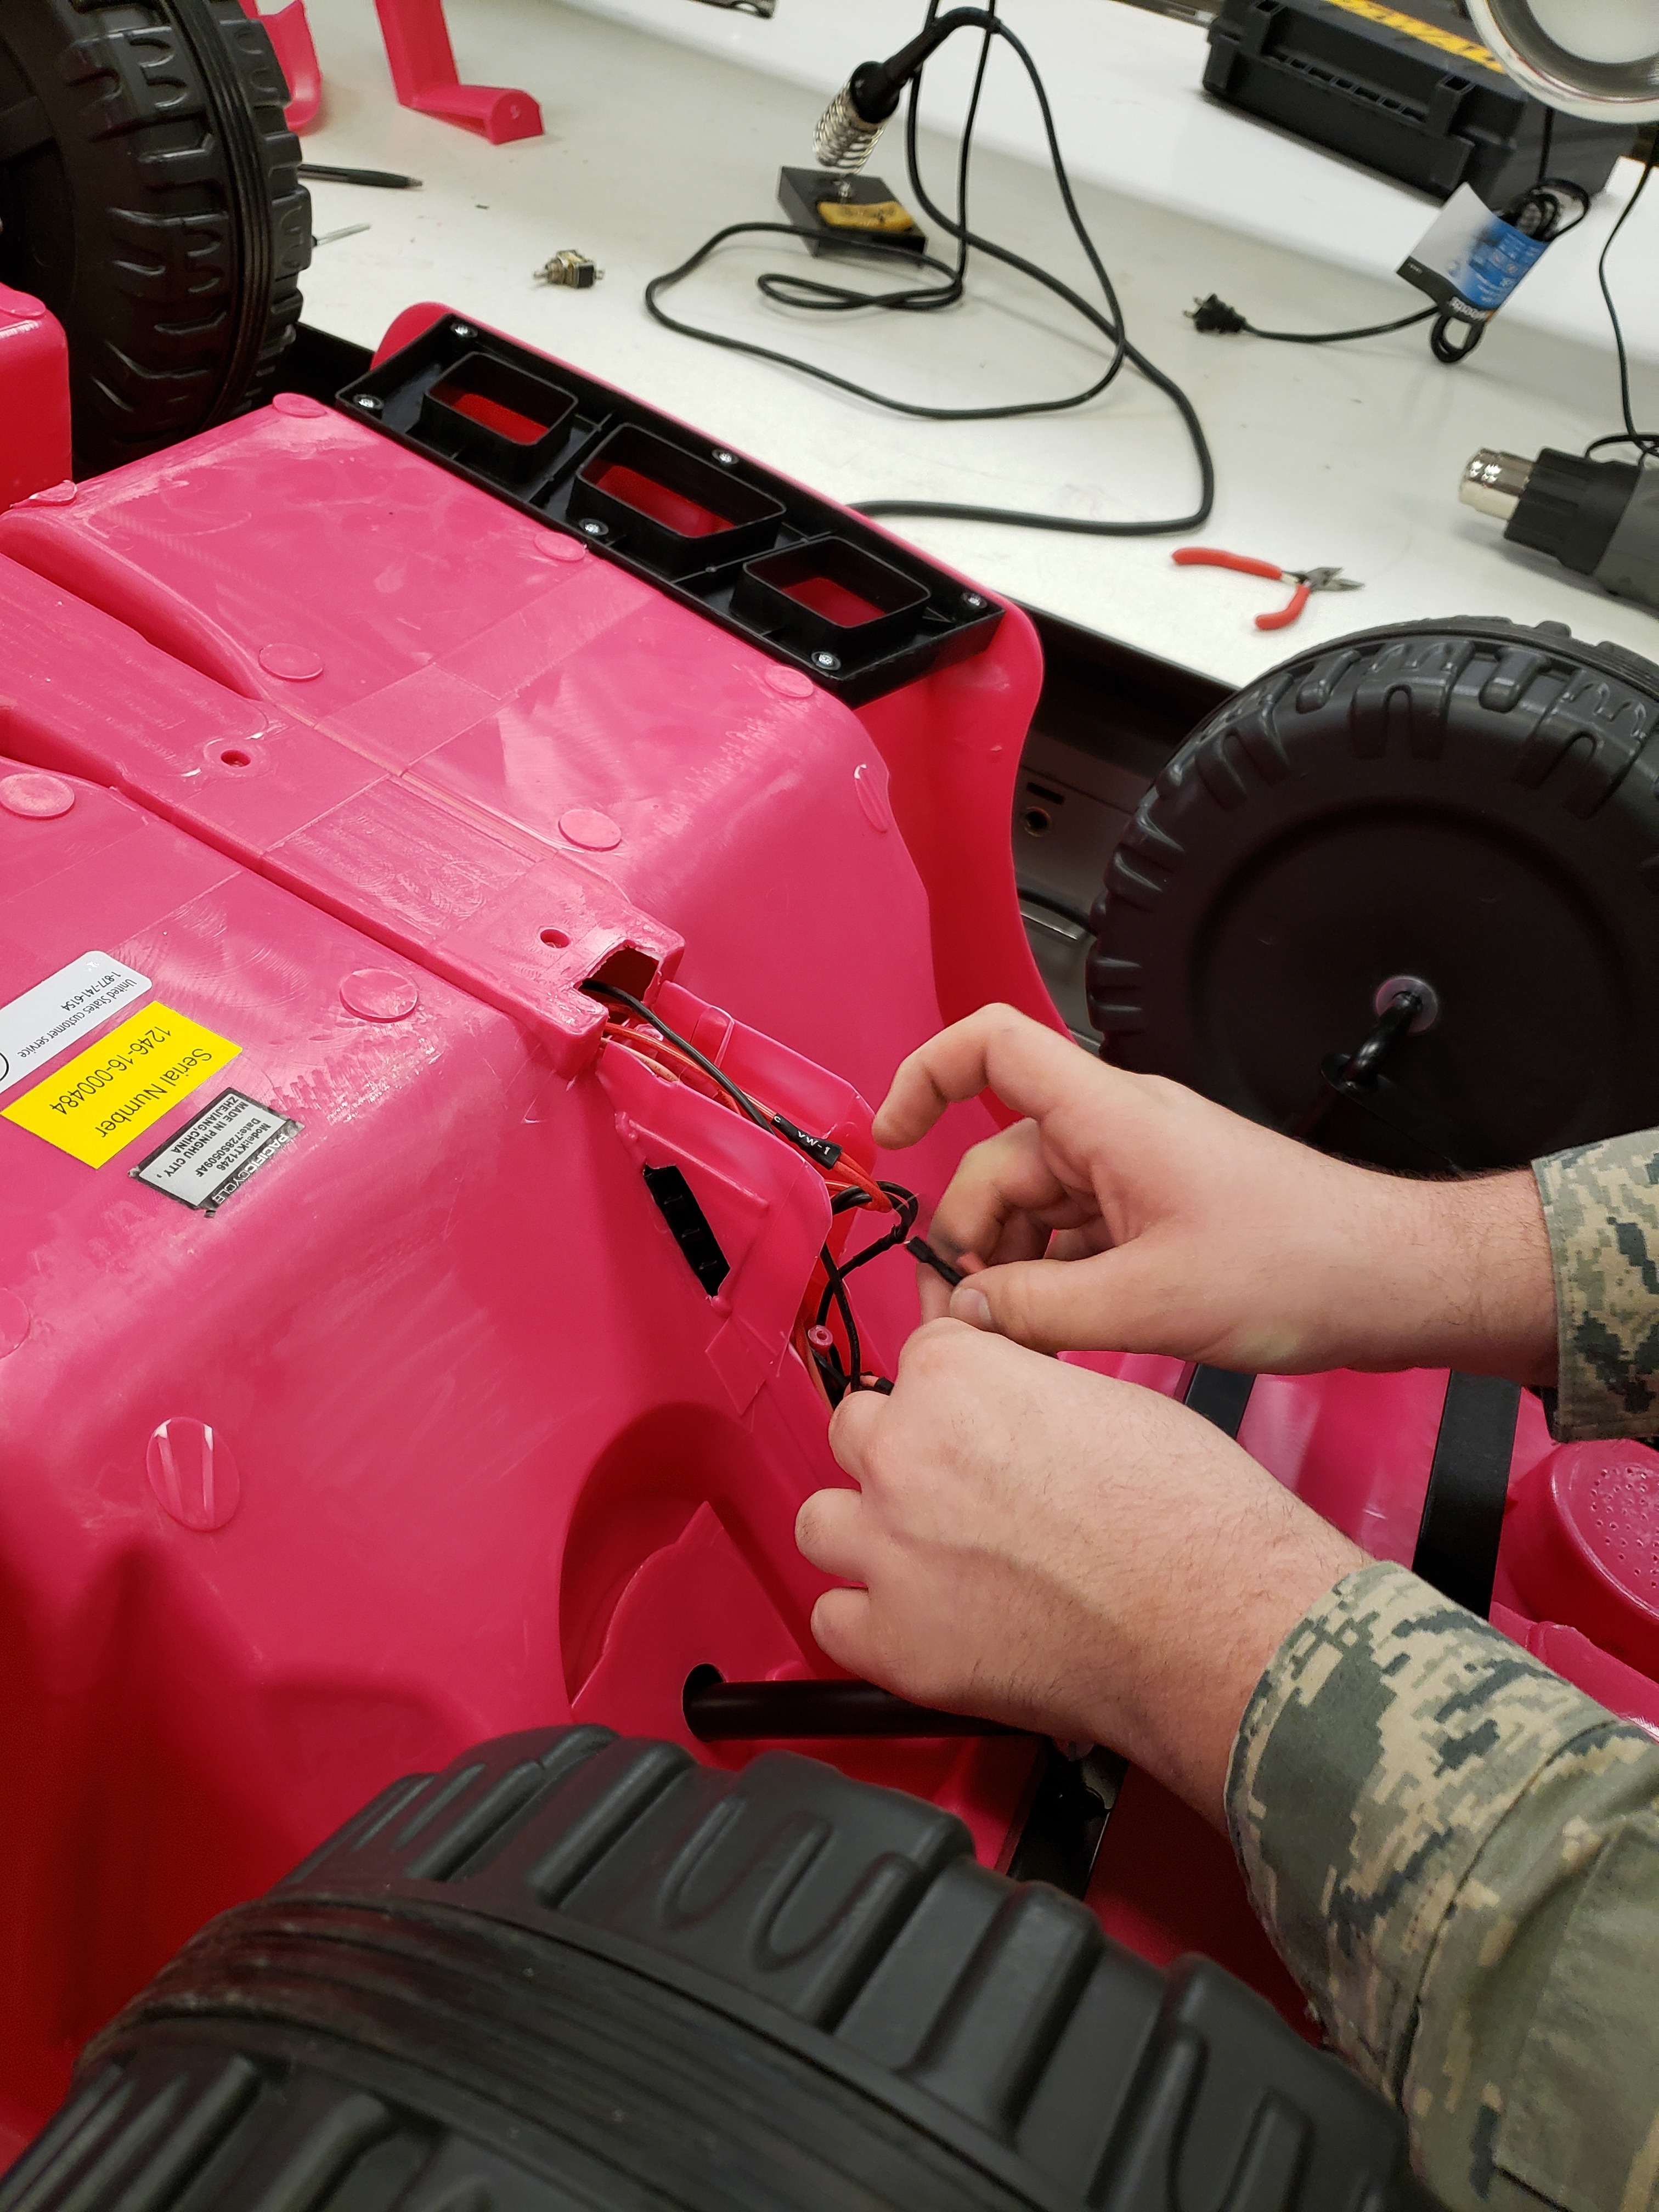.jpg)
Secure kill switch and wire it to the on and off button 3-D printed for car.
Wiring- Connecting the Car System
Attach 3-D printed on and off button to the location of your choice.
Wiring - Connecting the Car System
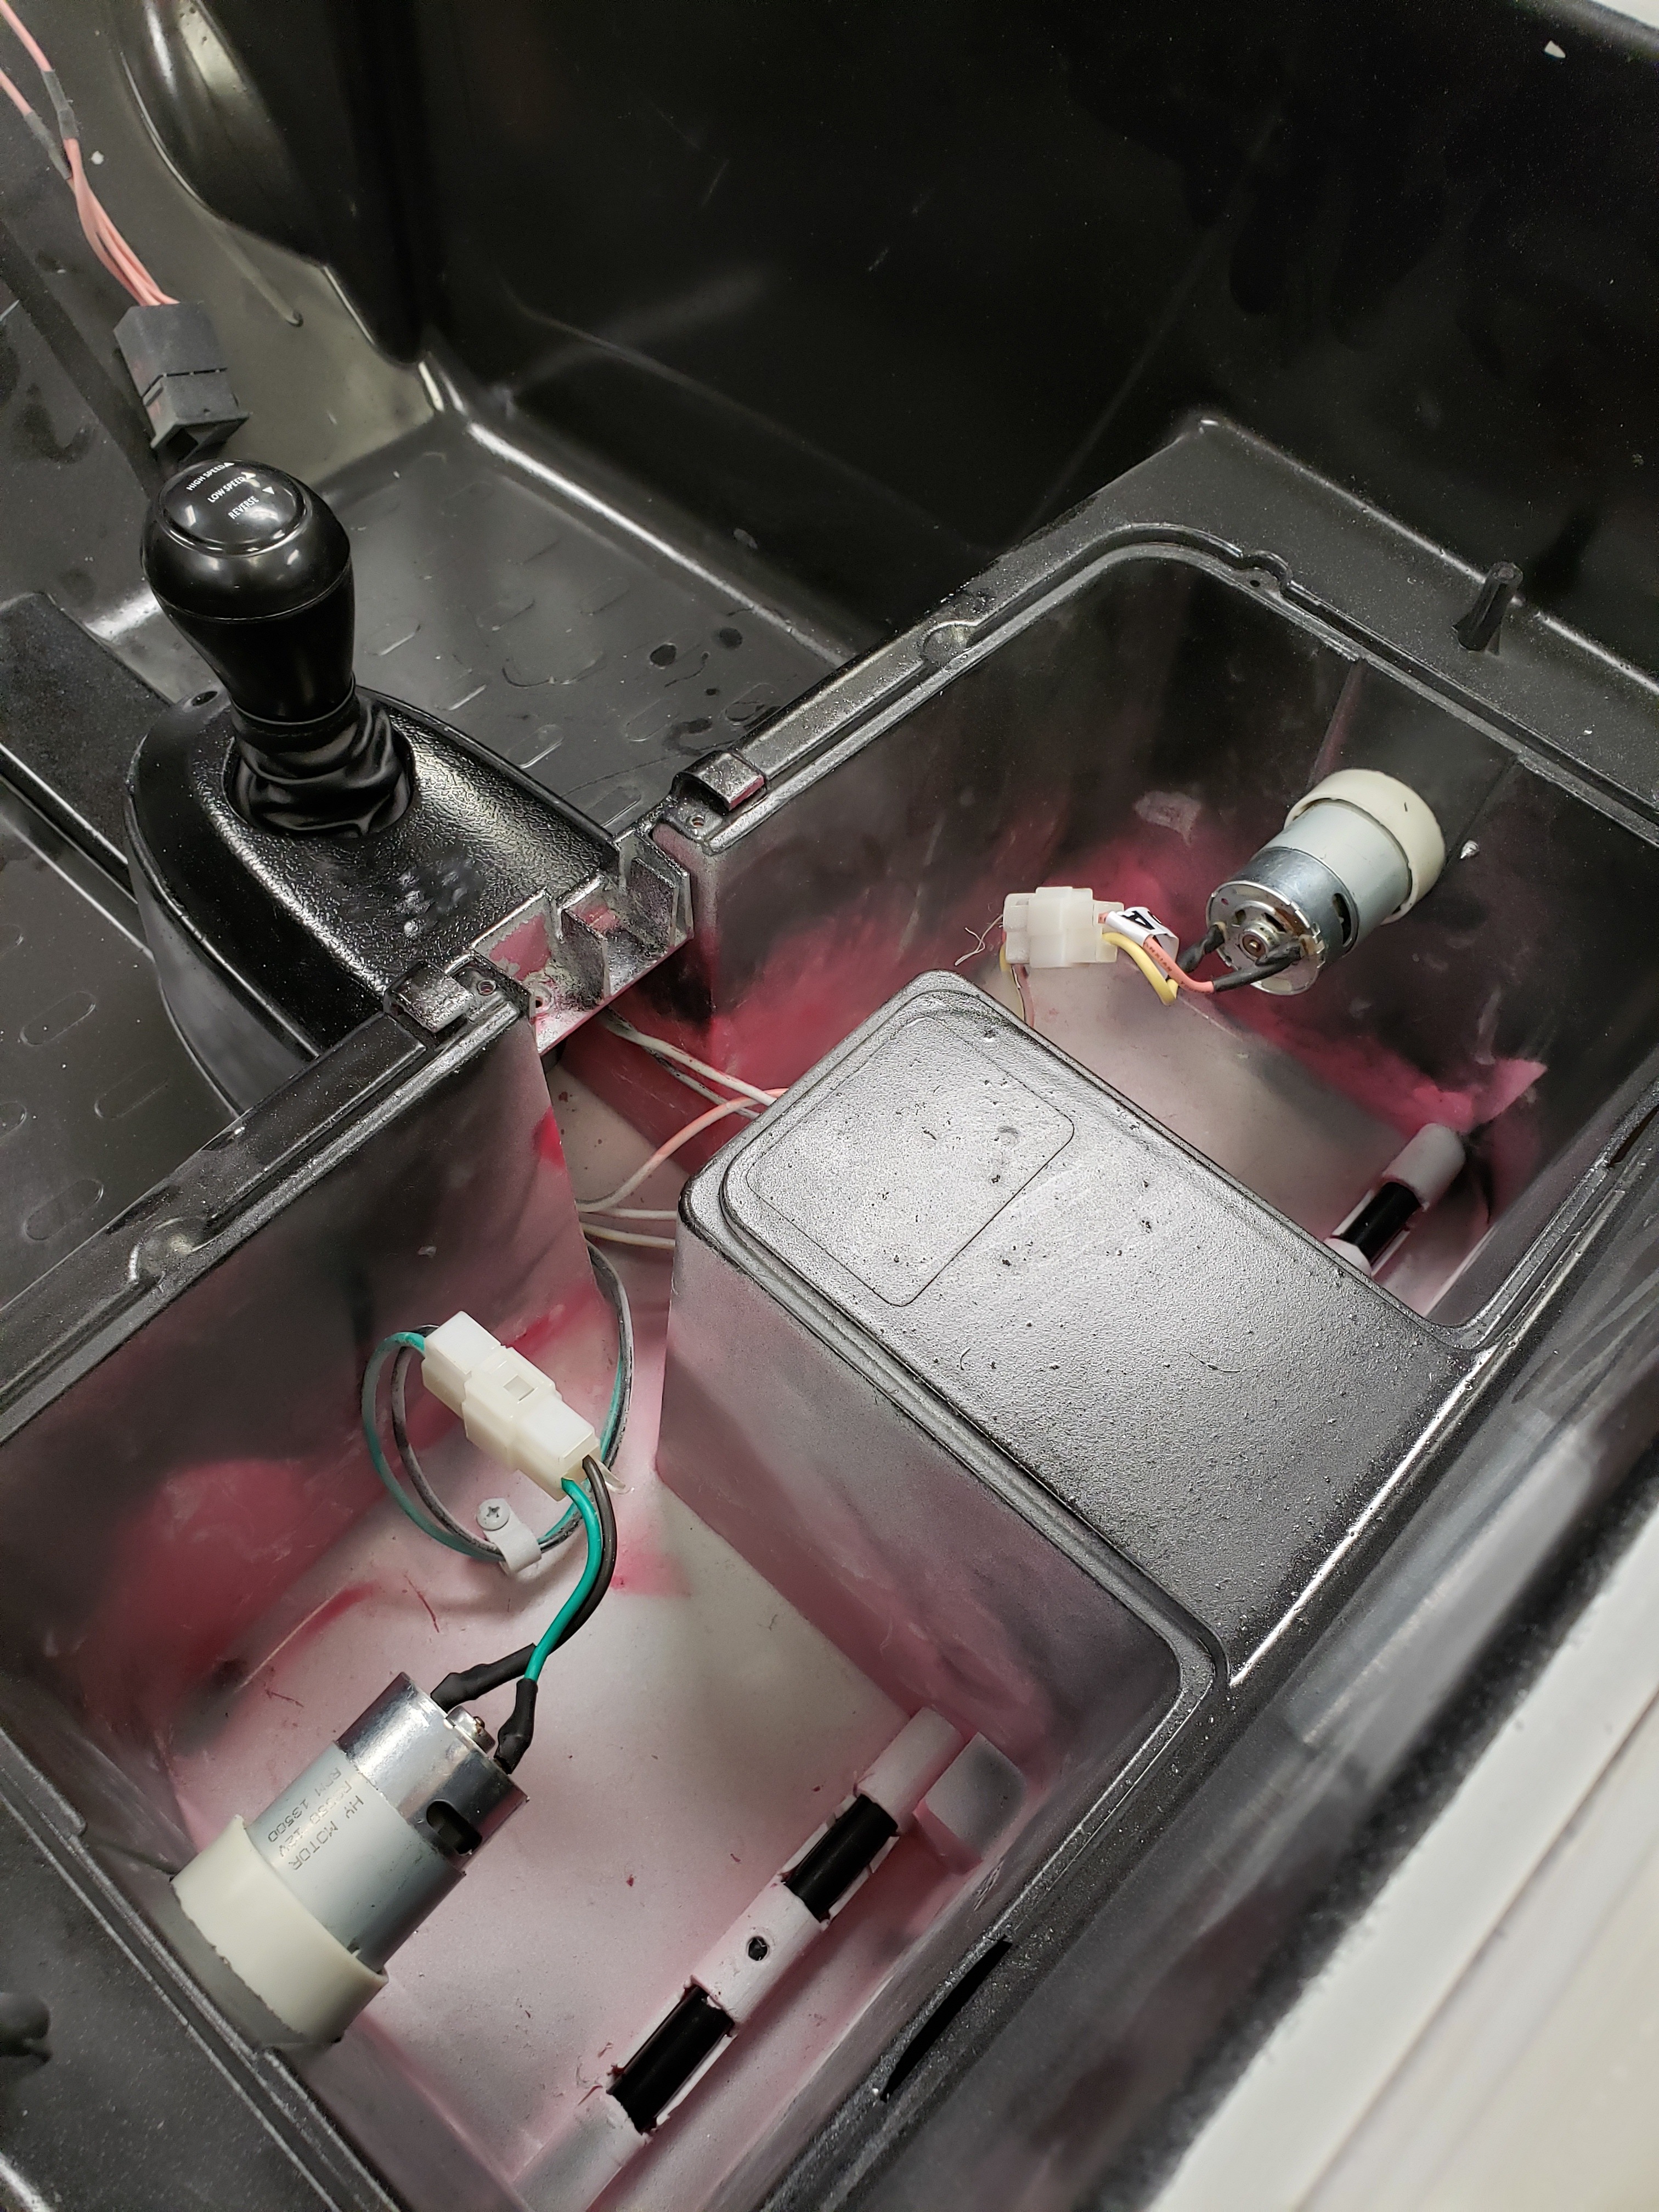
After this, make sure the car runs and that you wired everything to it correctly.
Wiring- Connecting the Car System
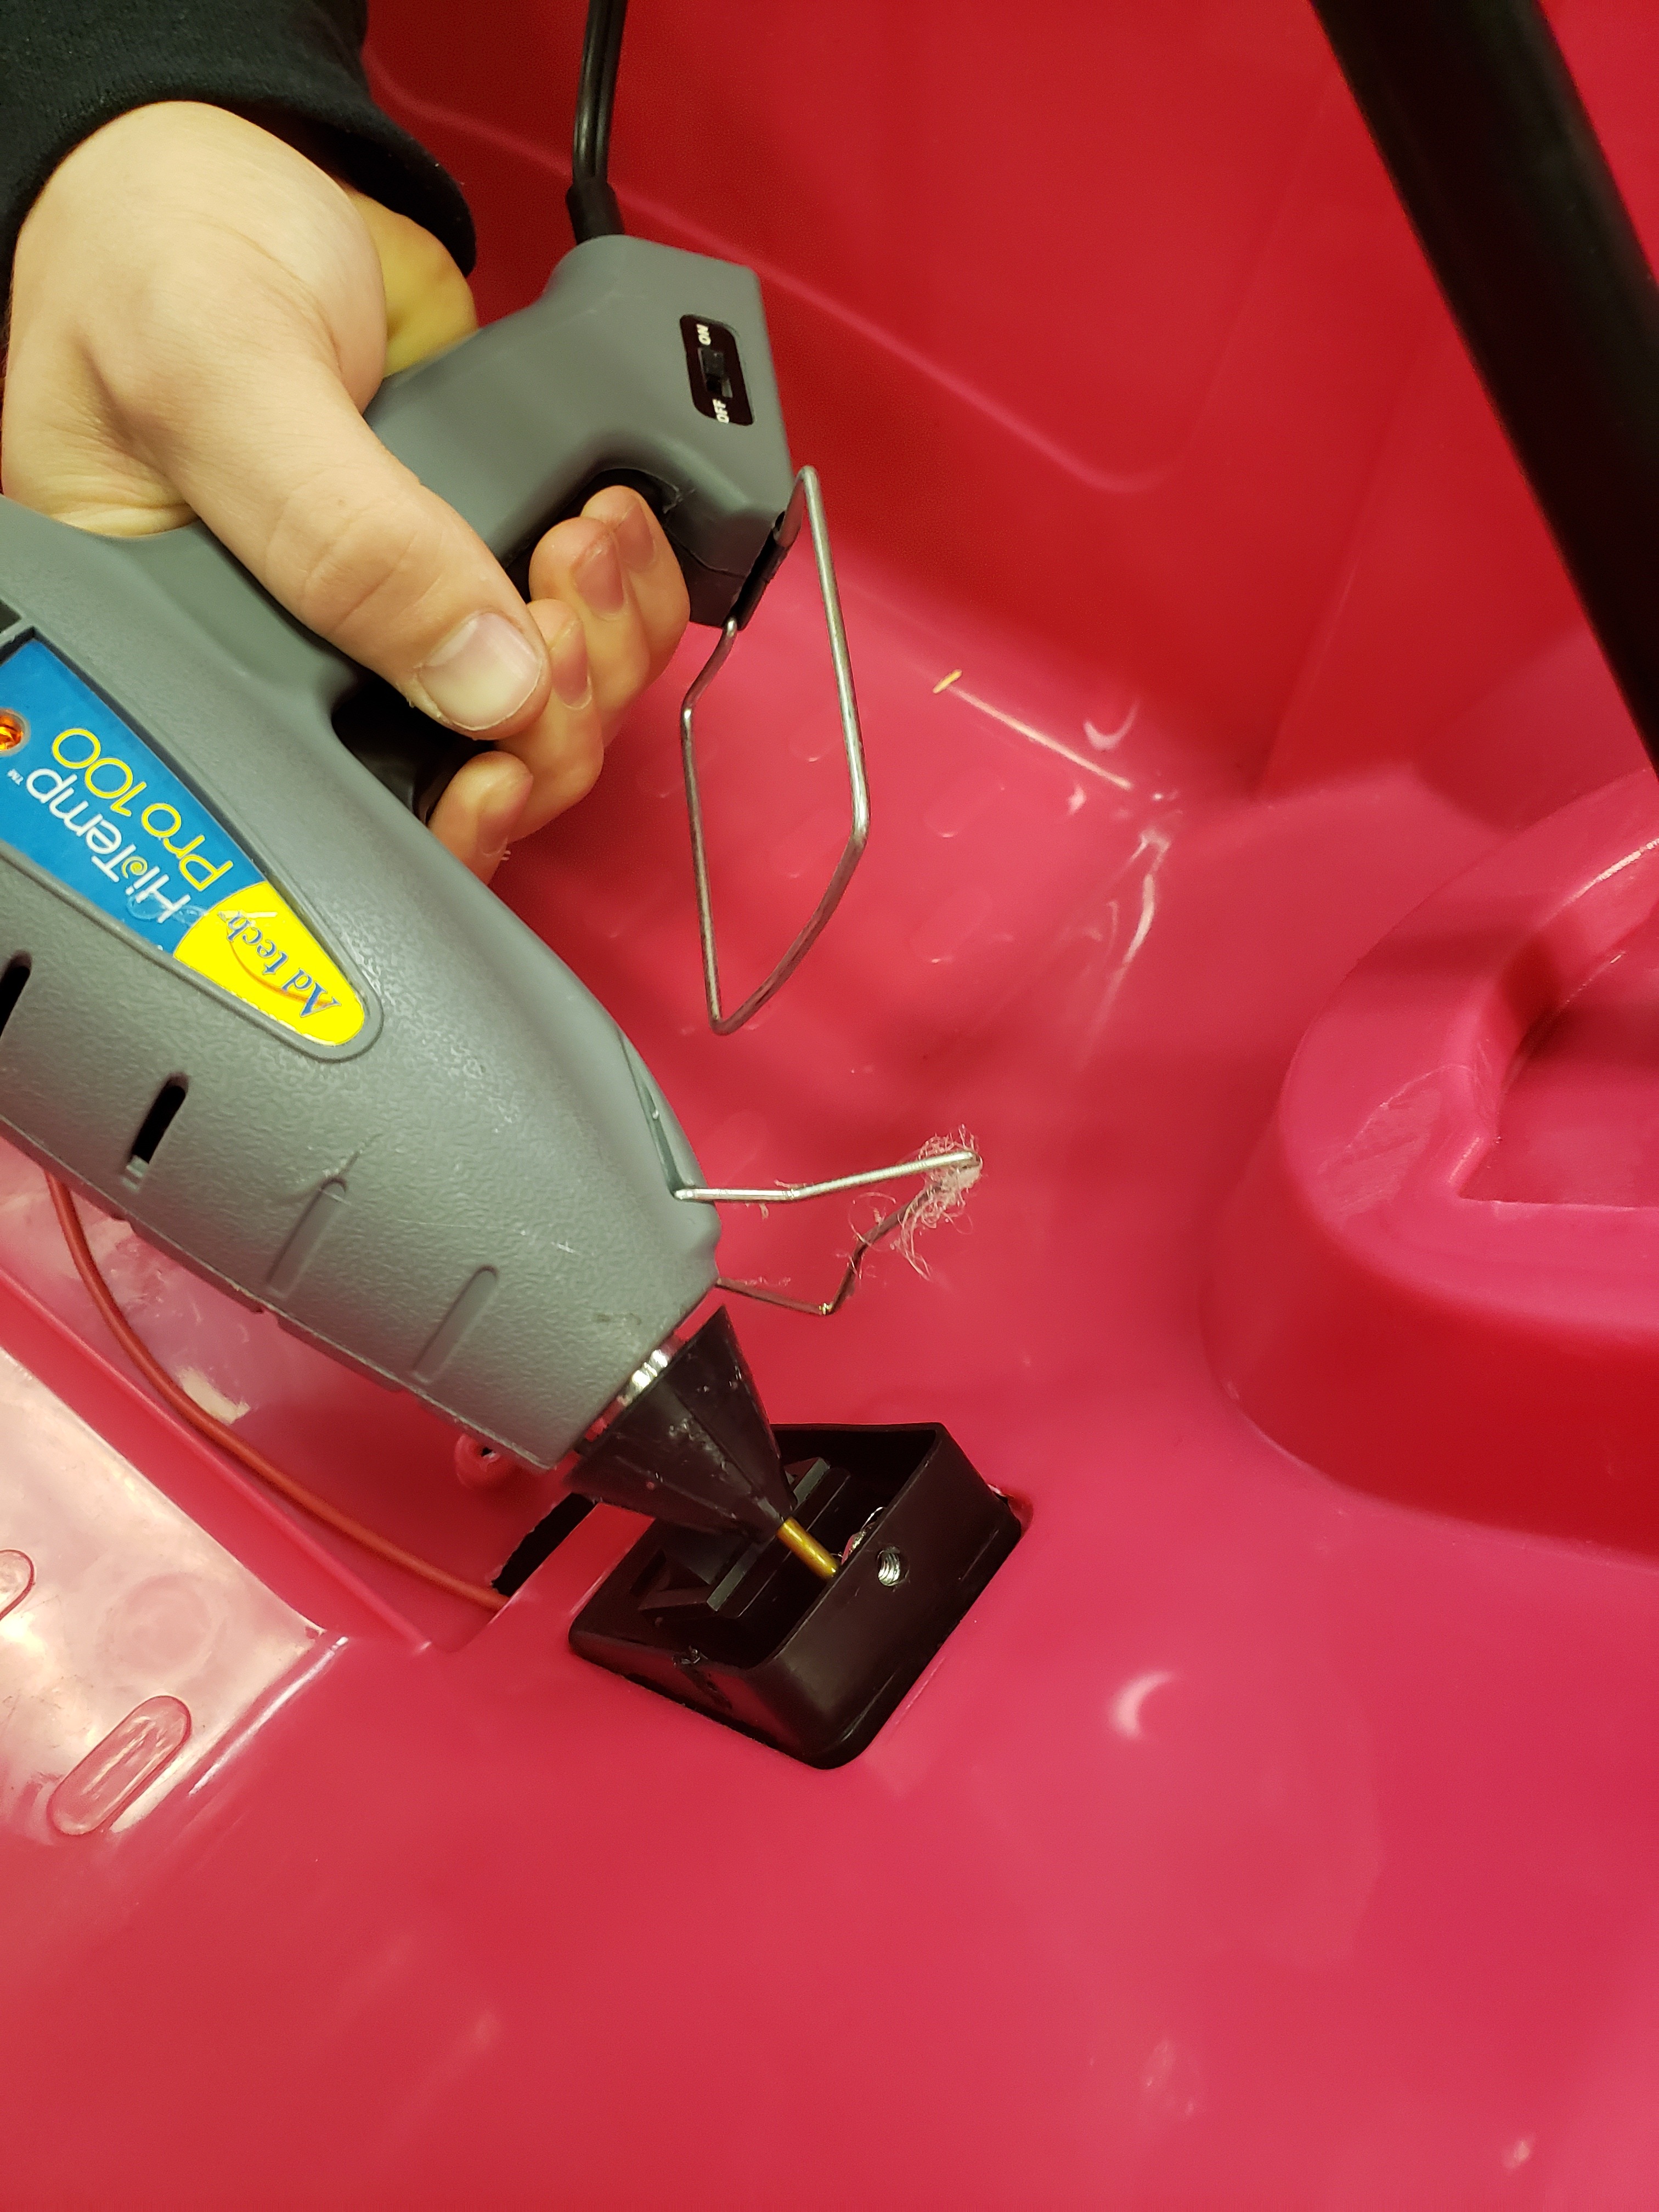
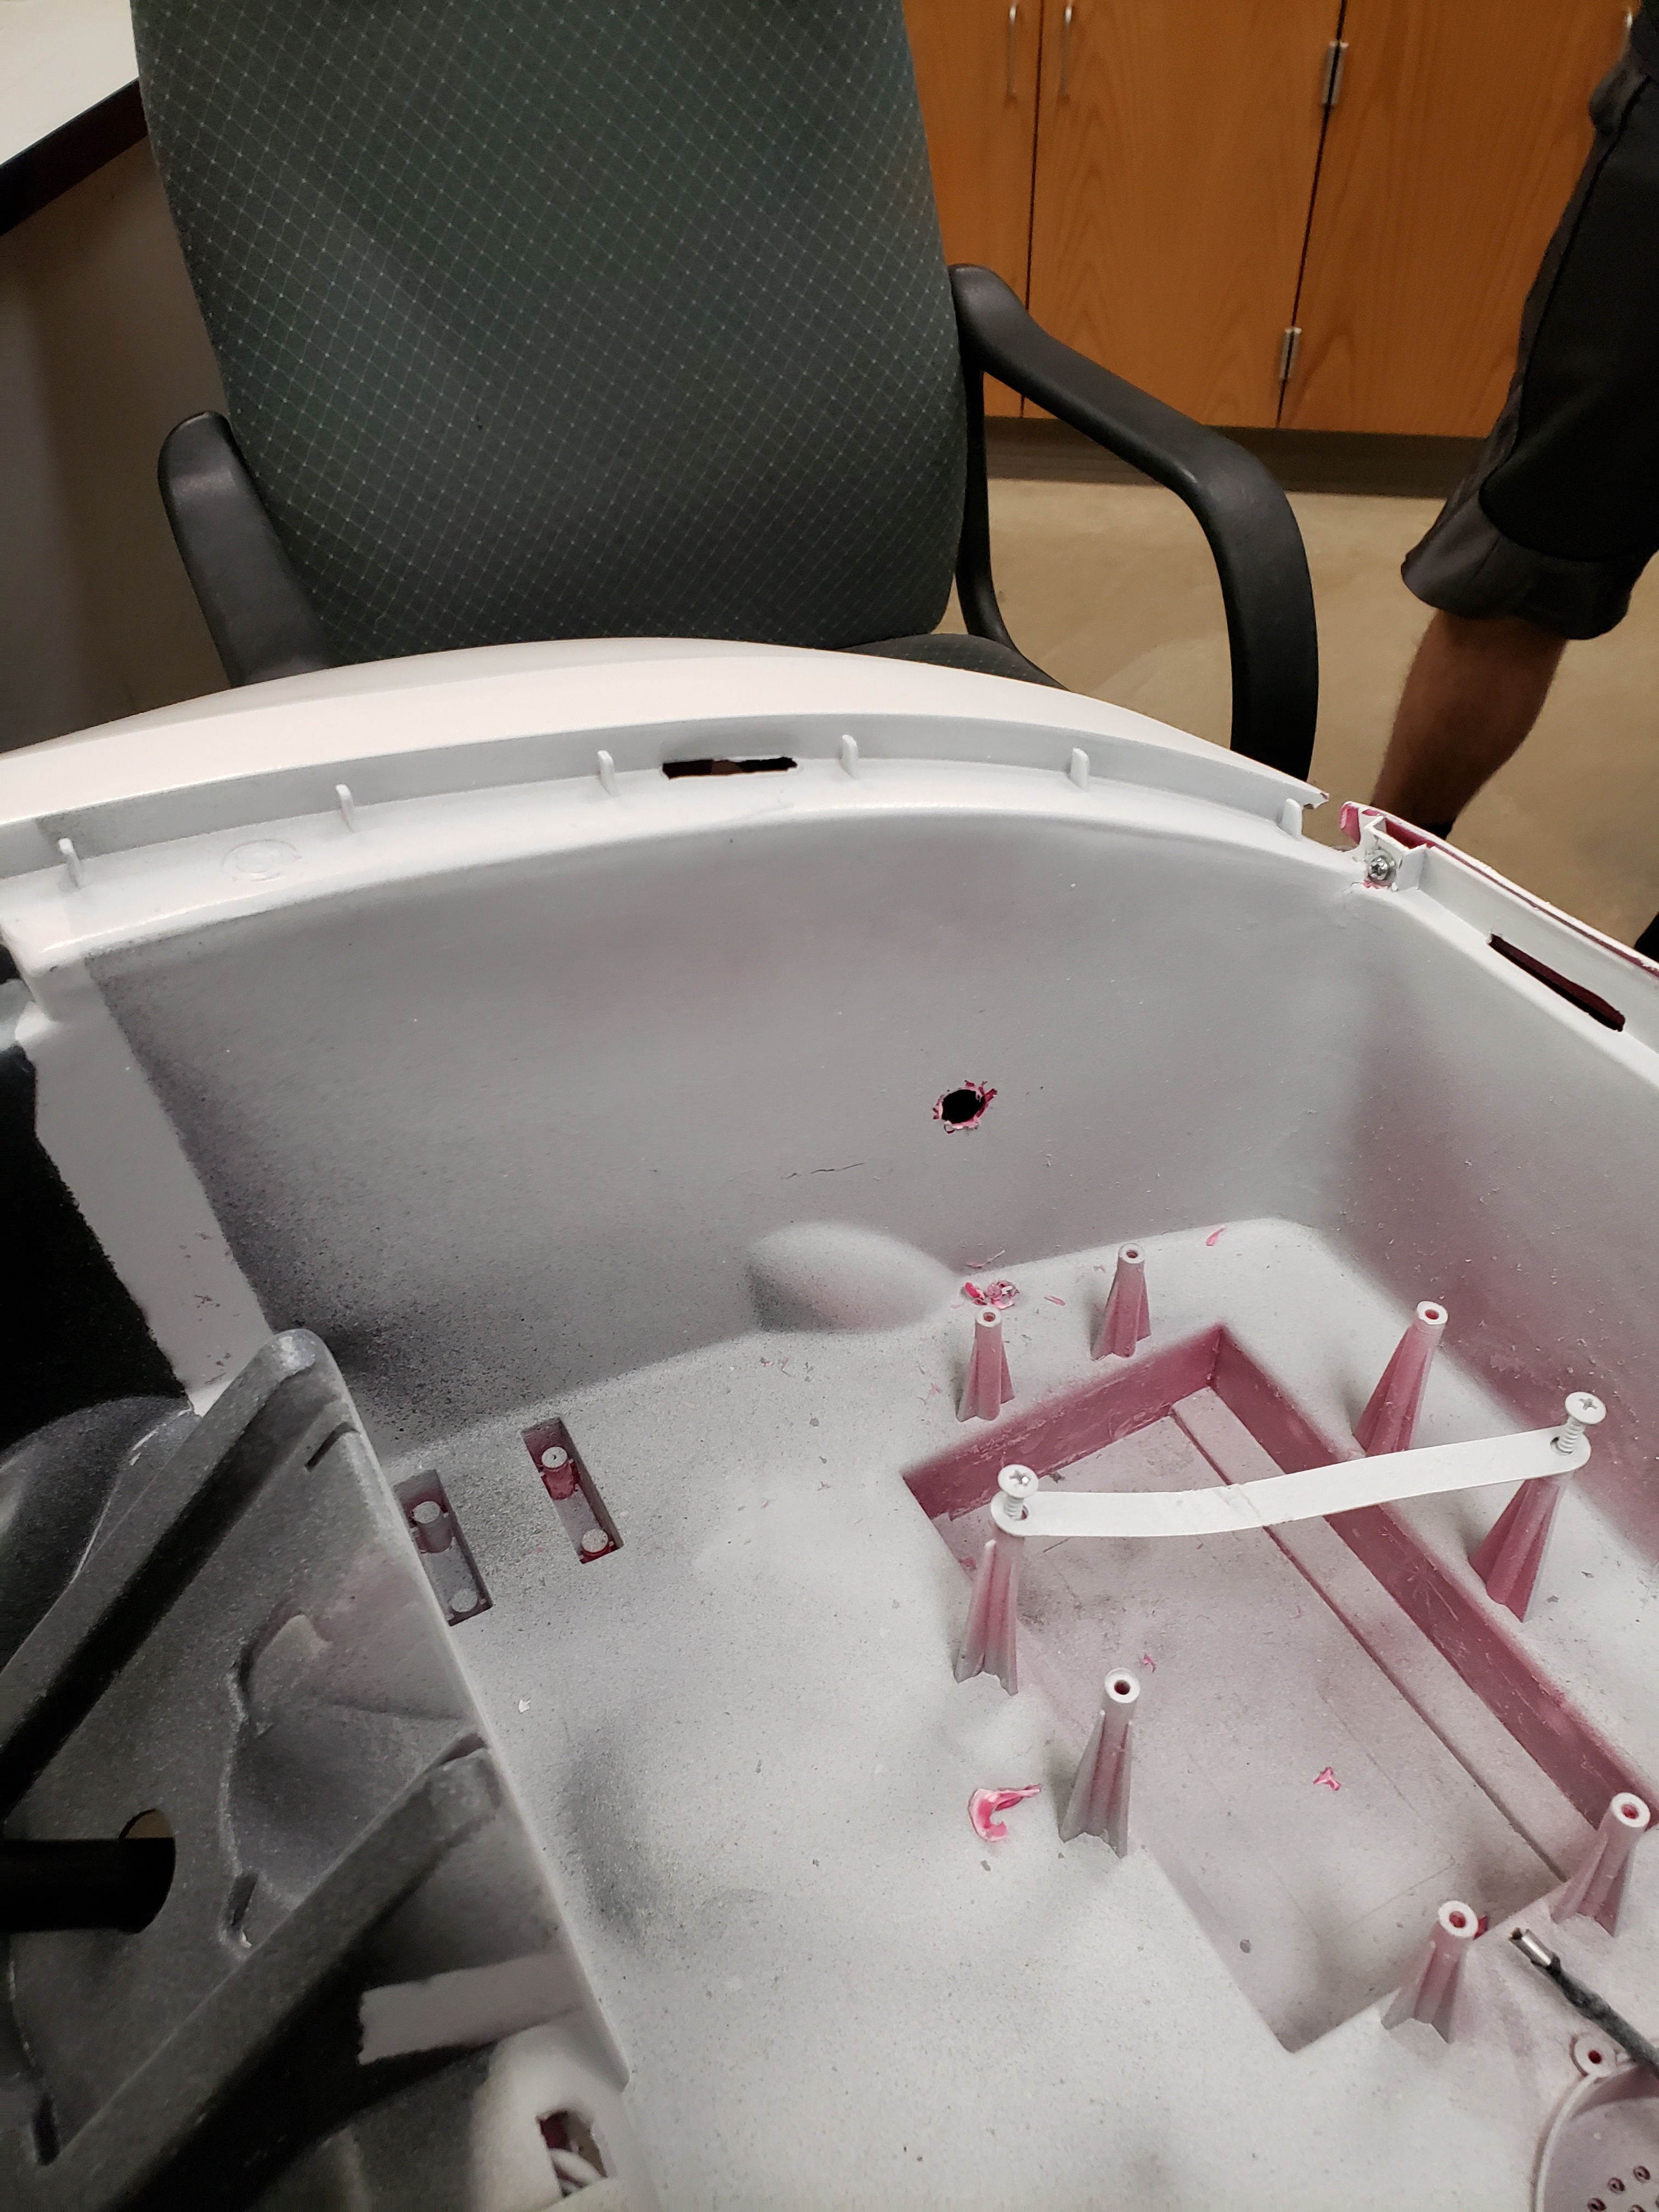.jpg)
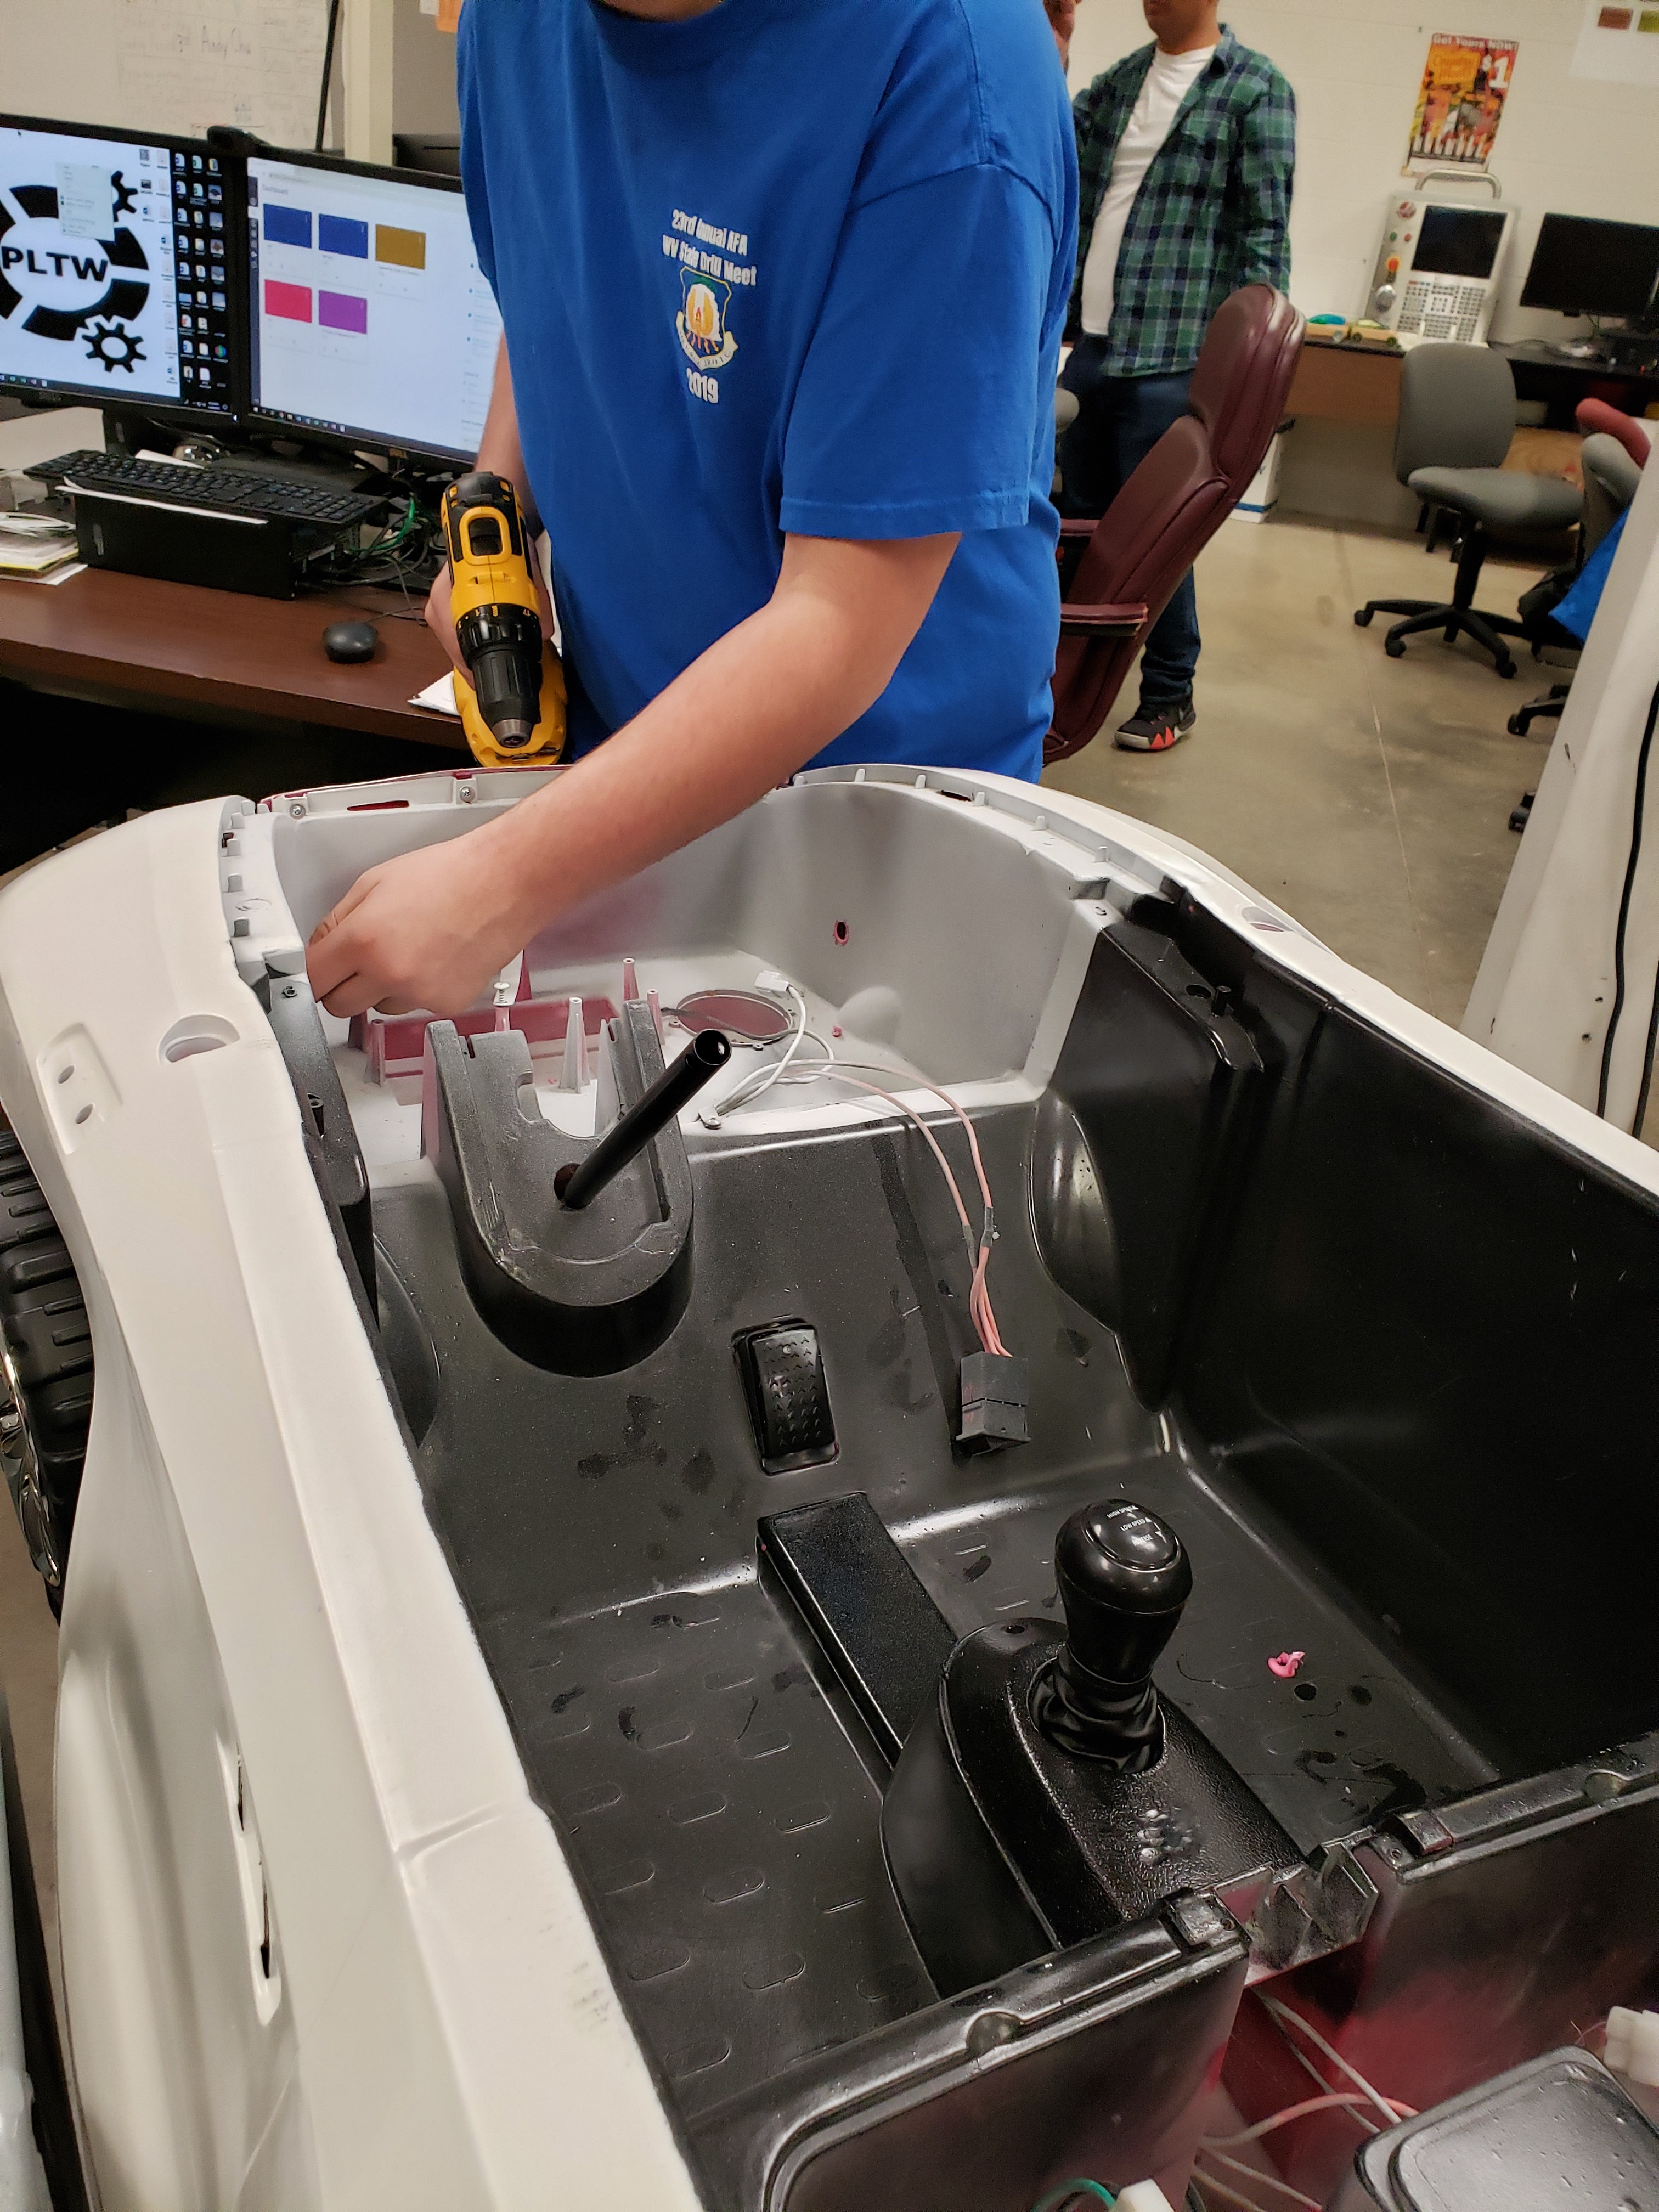
Drill hole for electrical wires to be hooked through for lights.
Wiring- Connecting the Car System
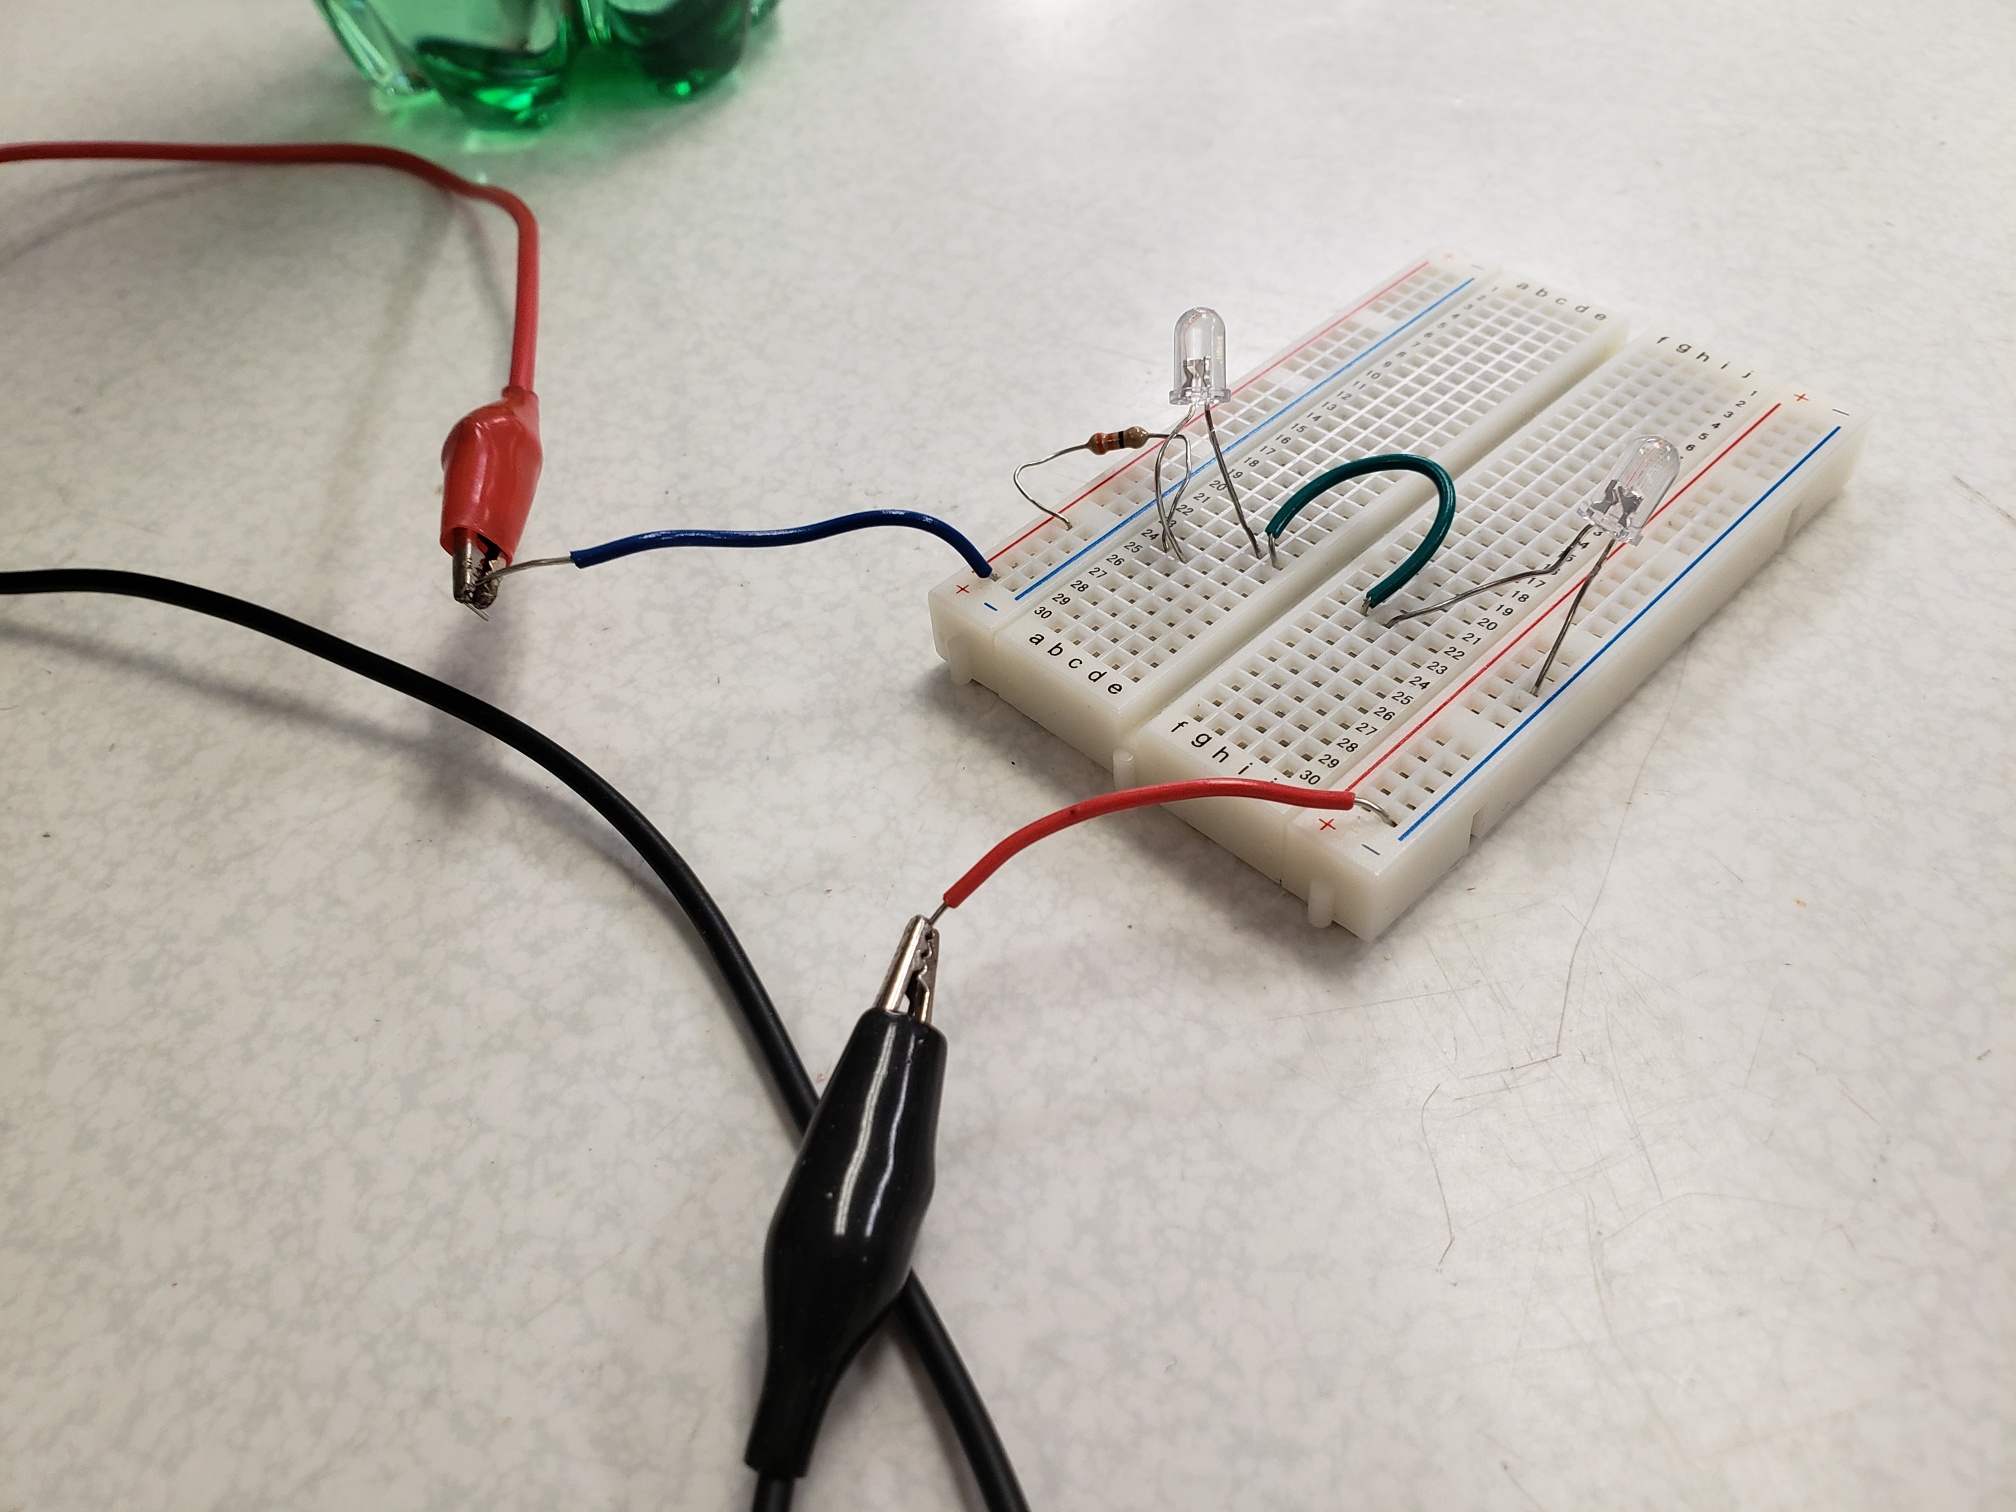
Construct electrical model for the plan to wire the lights.
Wiring Connecting the Car System
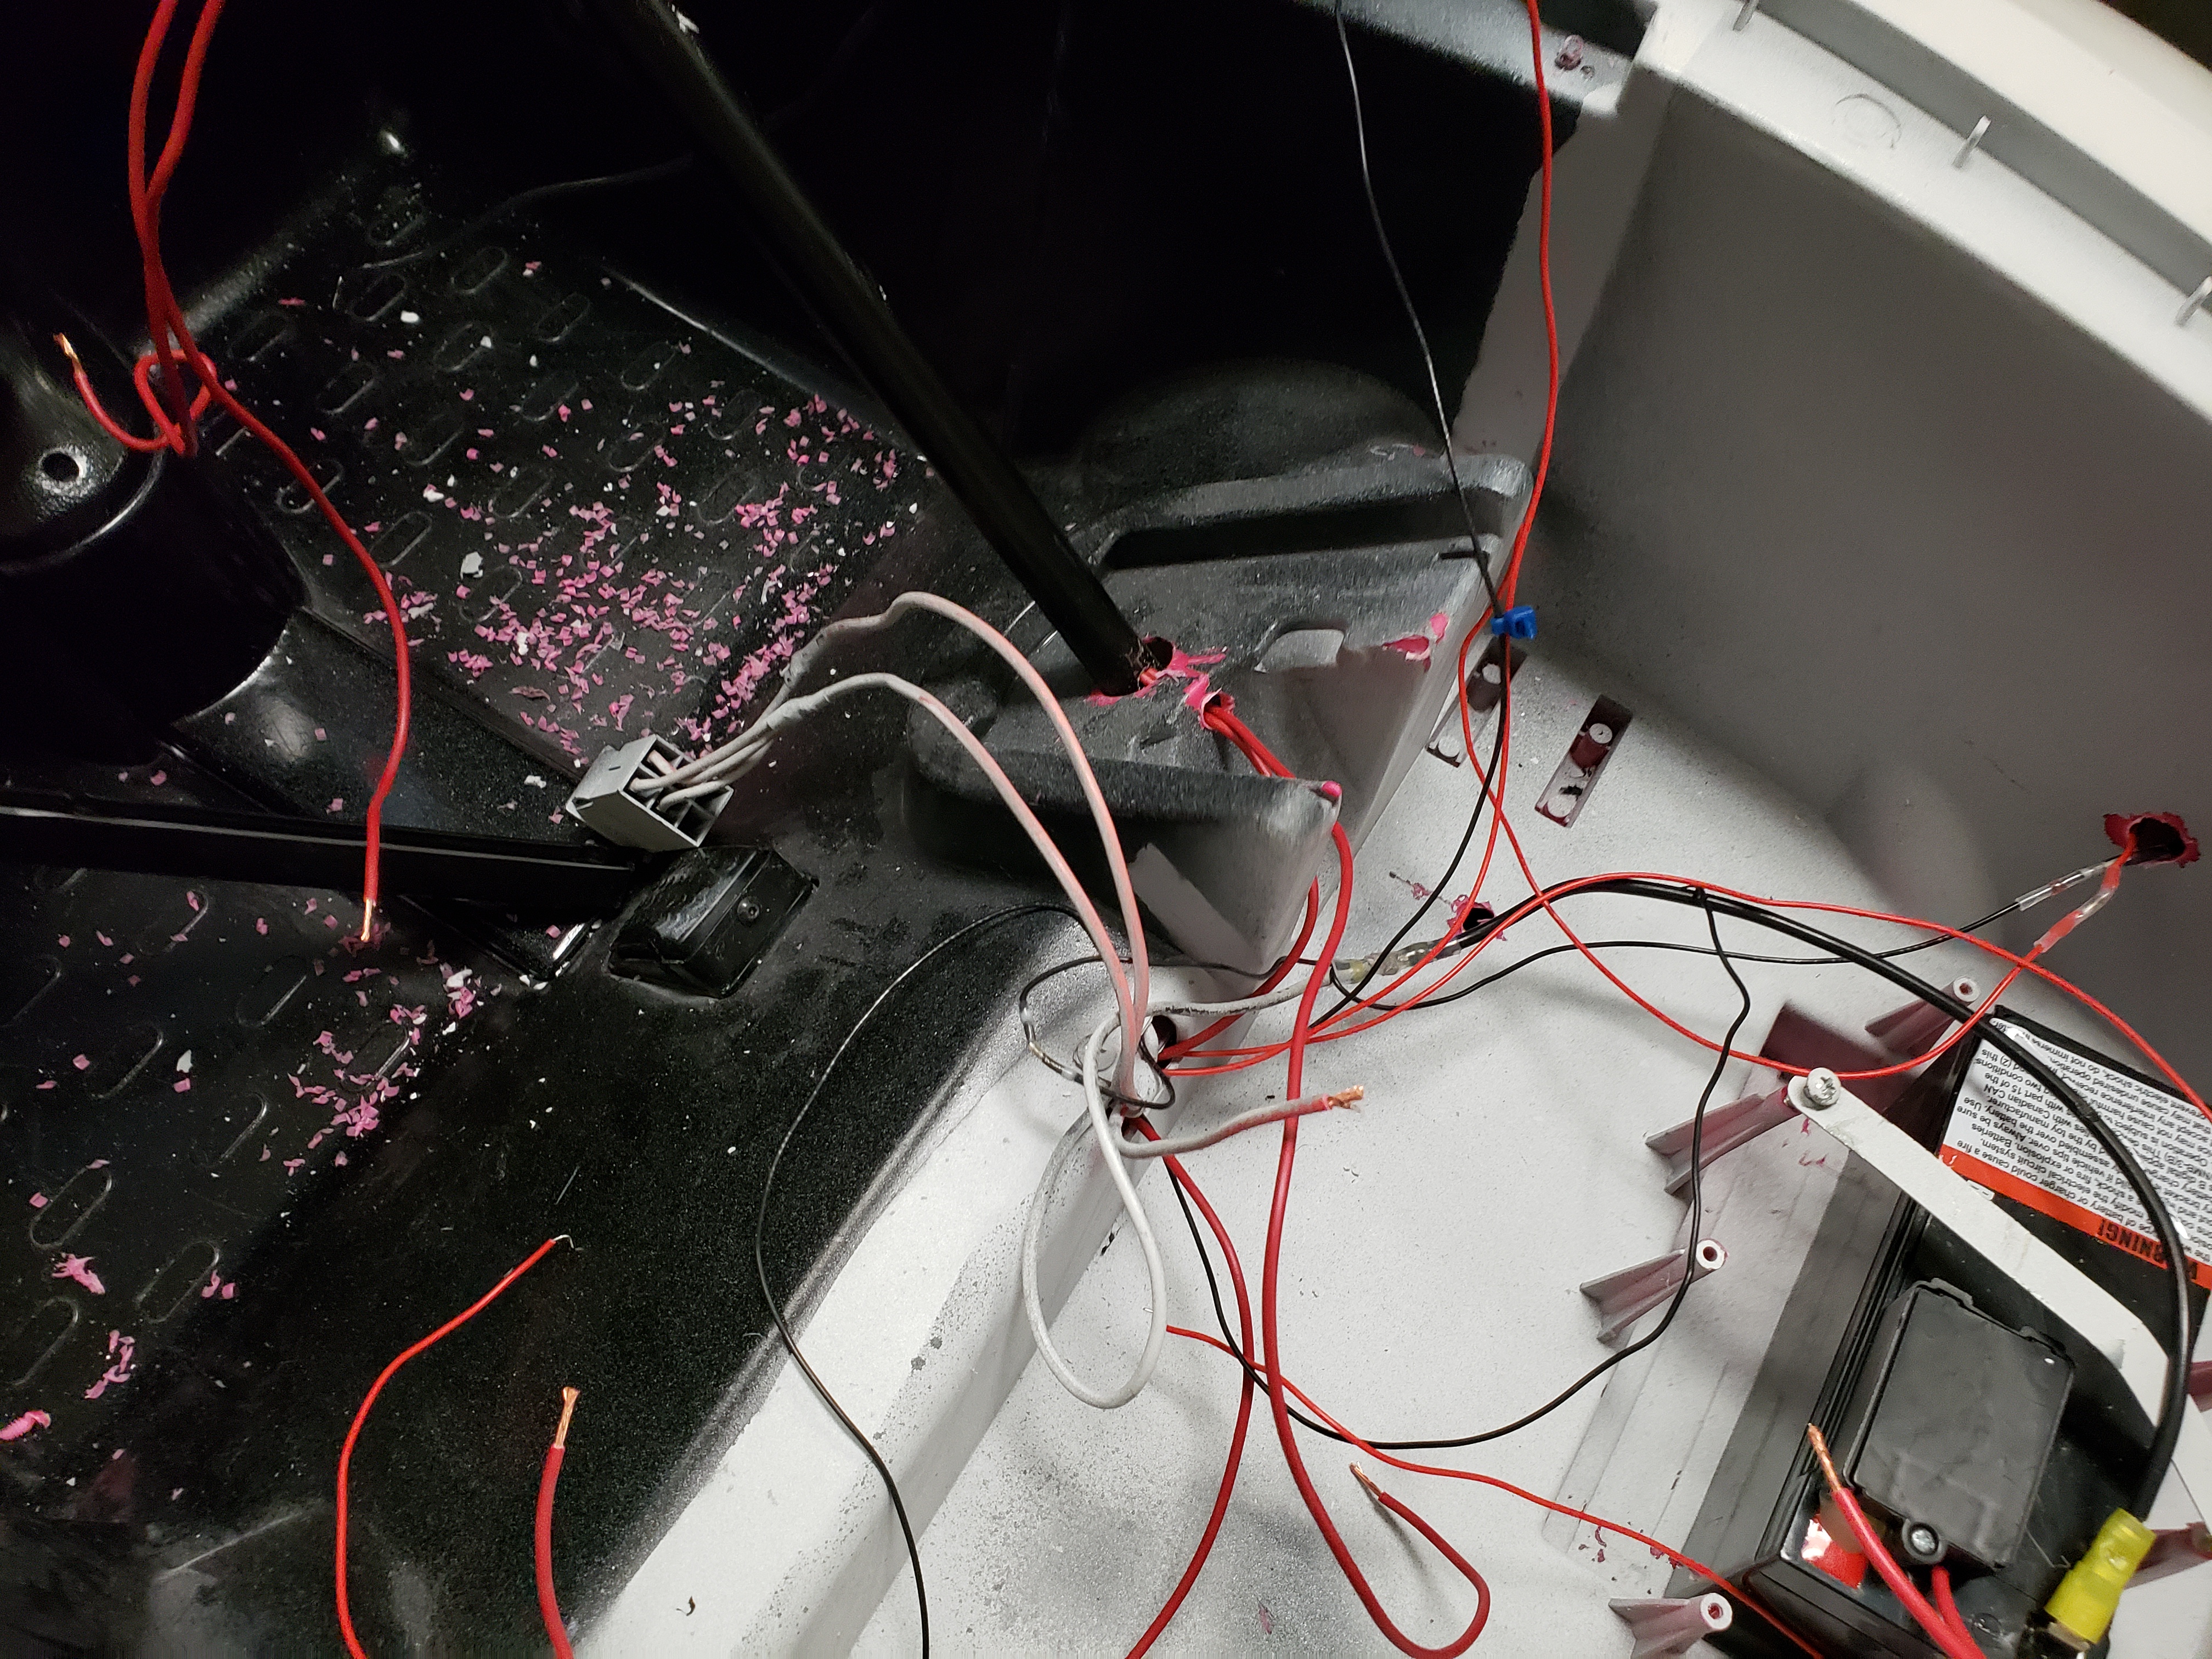
Wire all your needed wires to the kill switch button once it is completed.
Wiring-(Replacement) 1
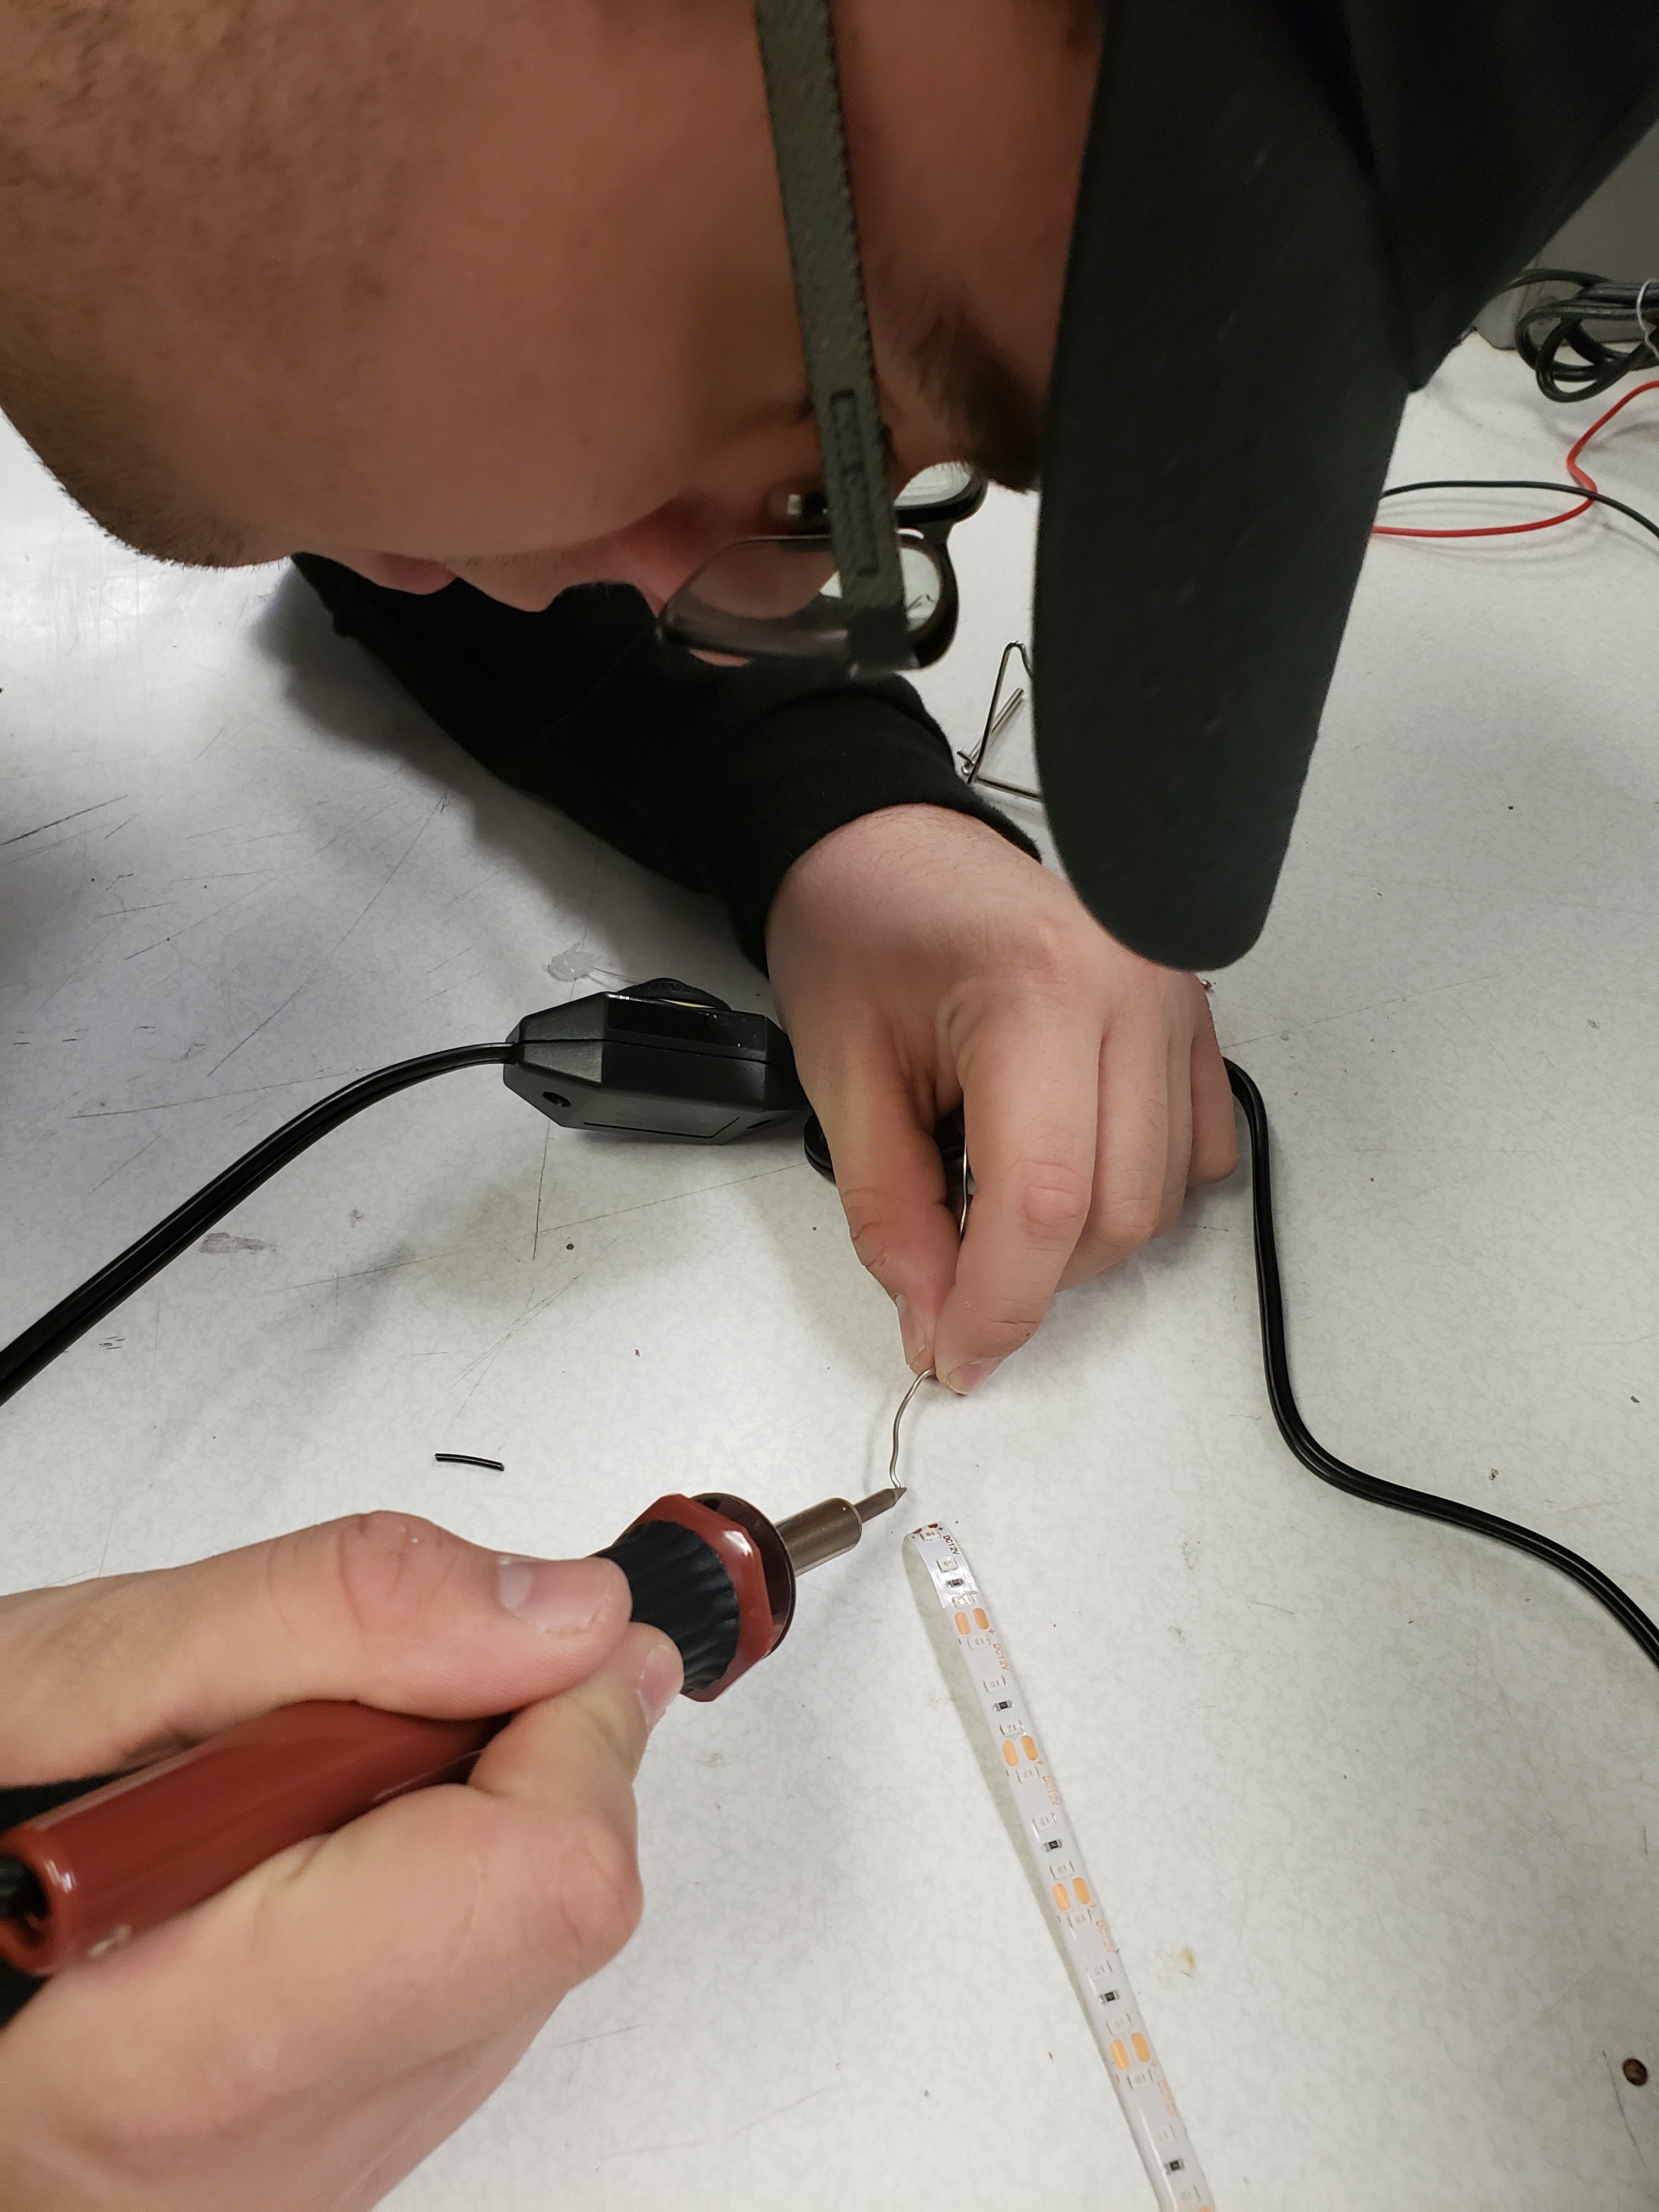
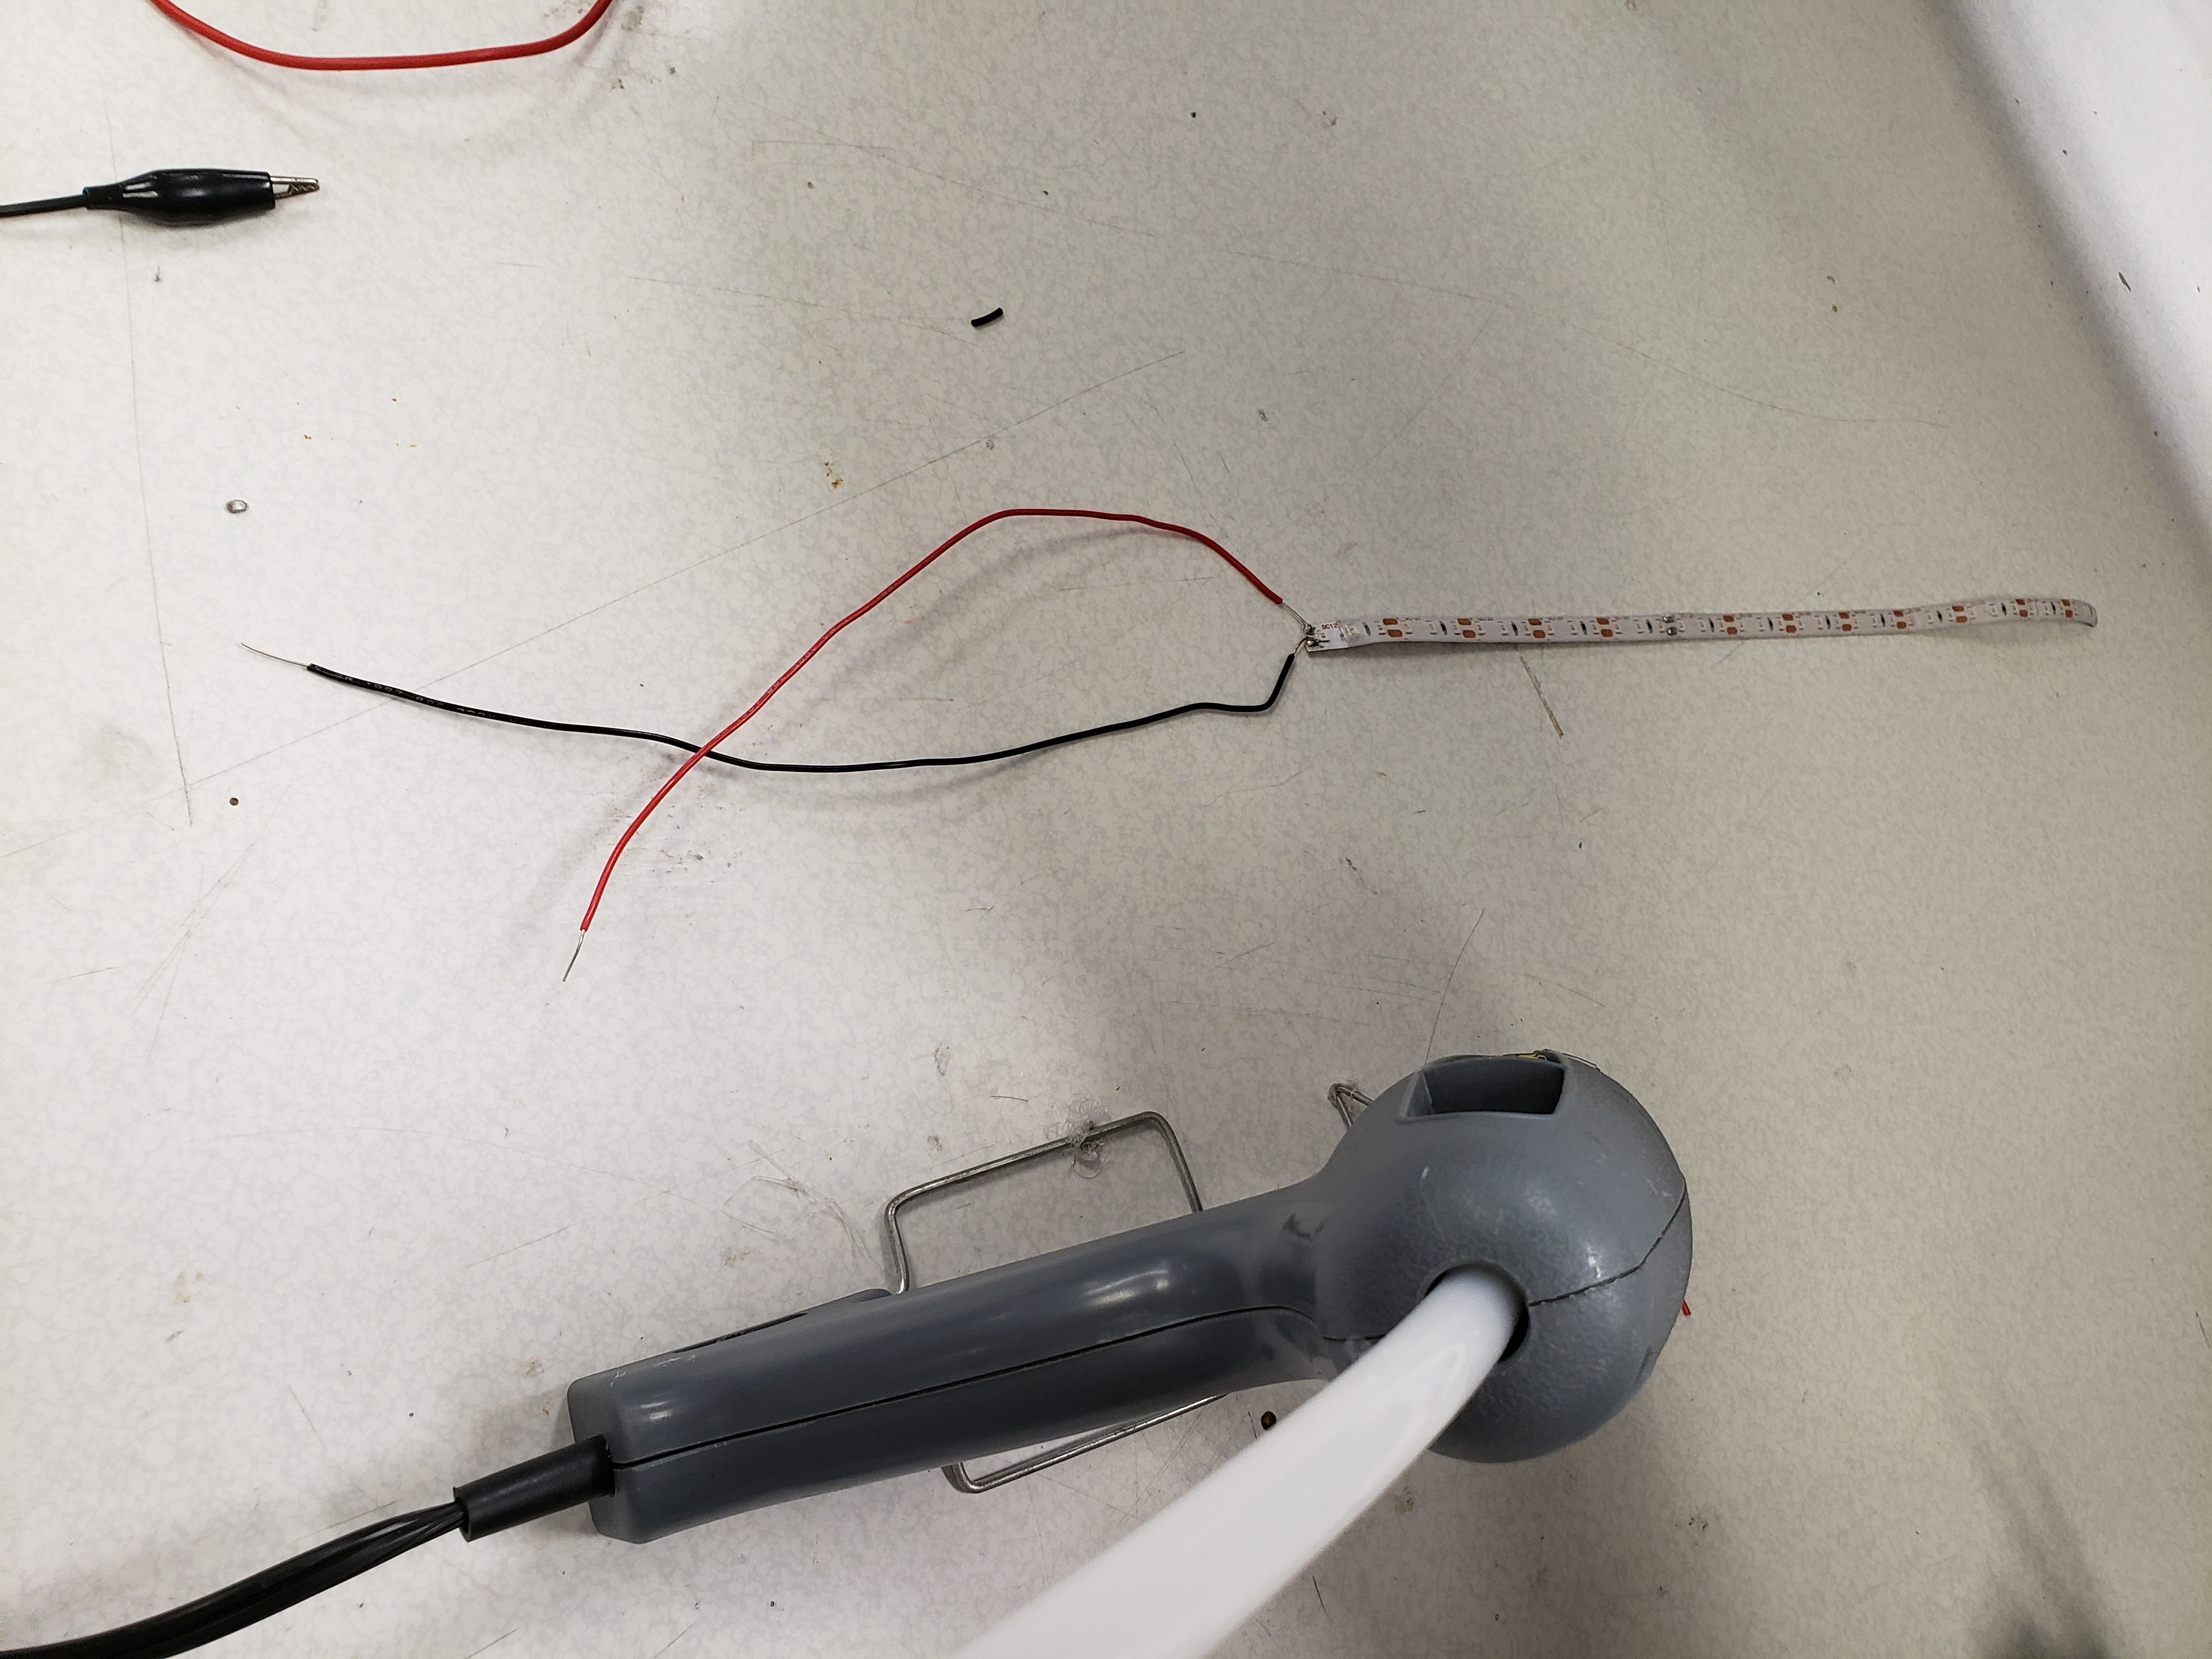
Solder electrical wire for headlight installation if you wish to replace them.
Wiring- (Replacement) 2
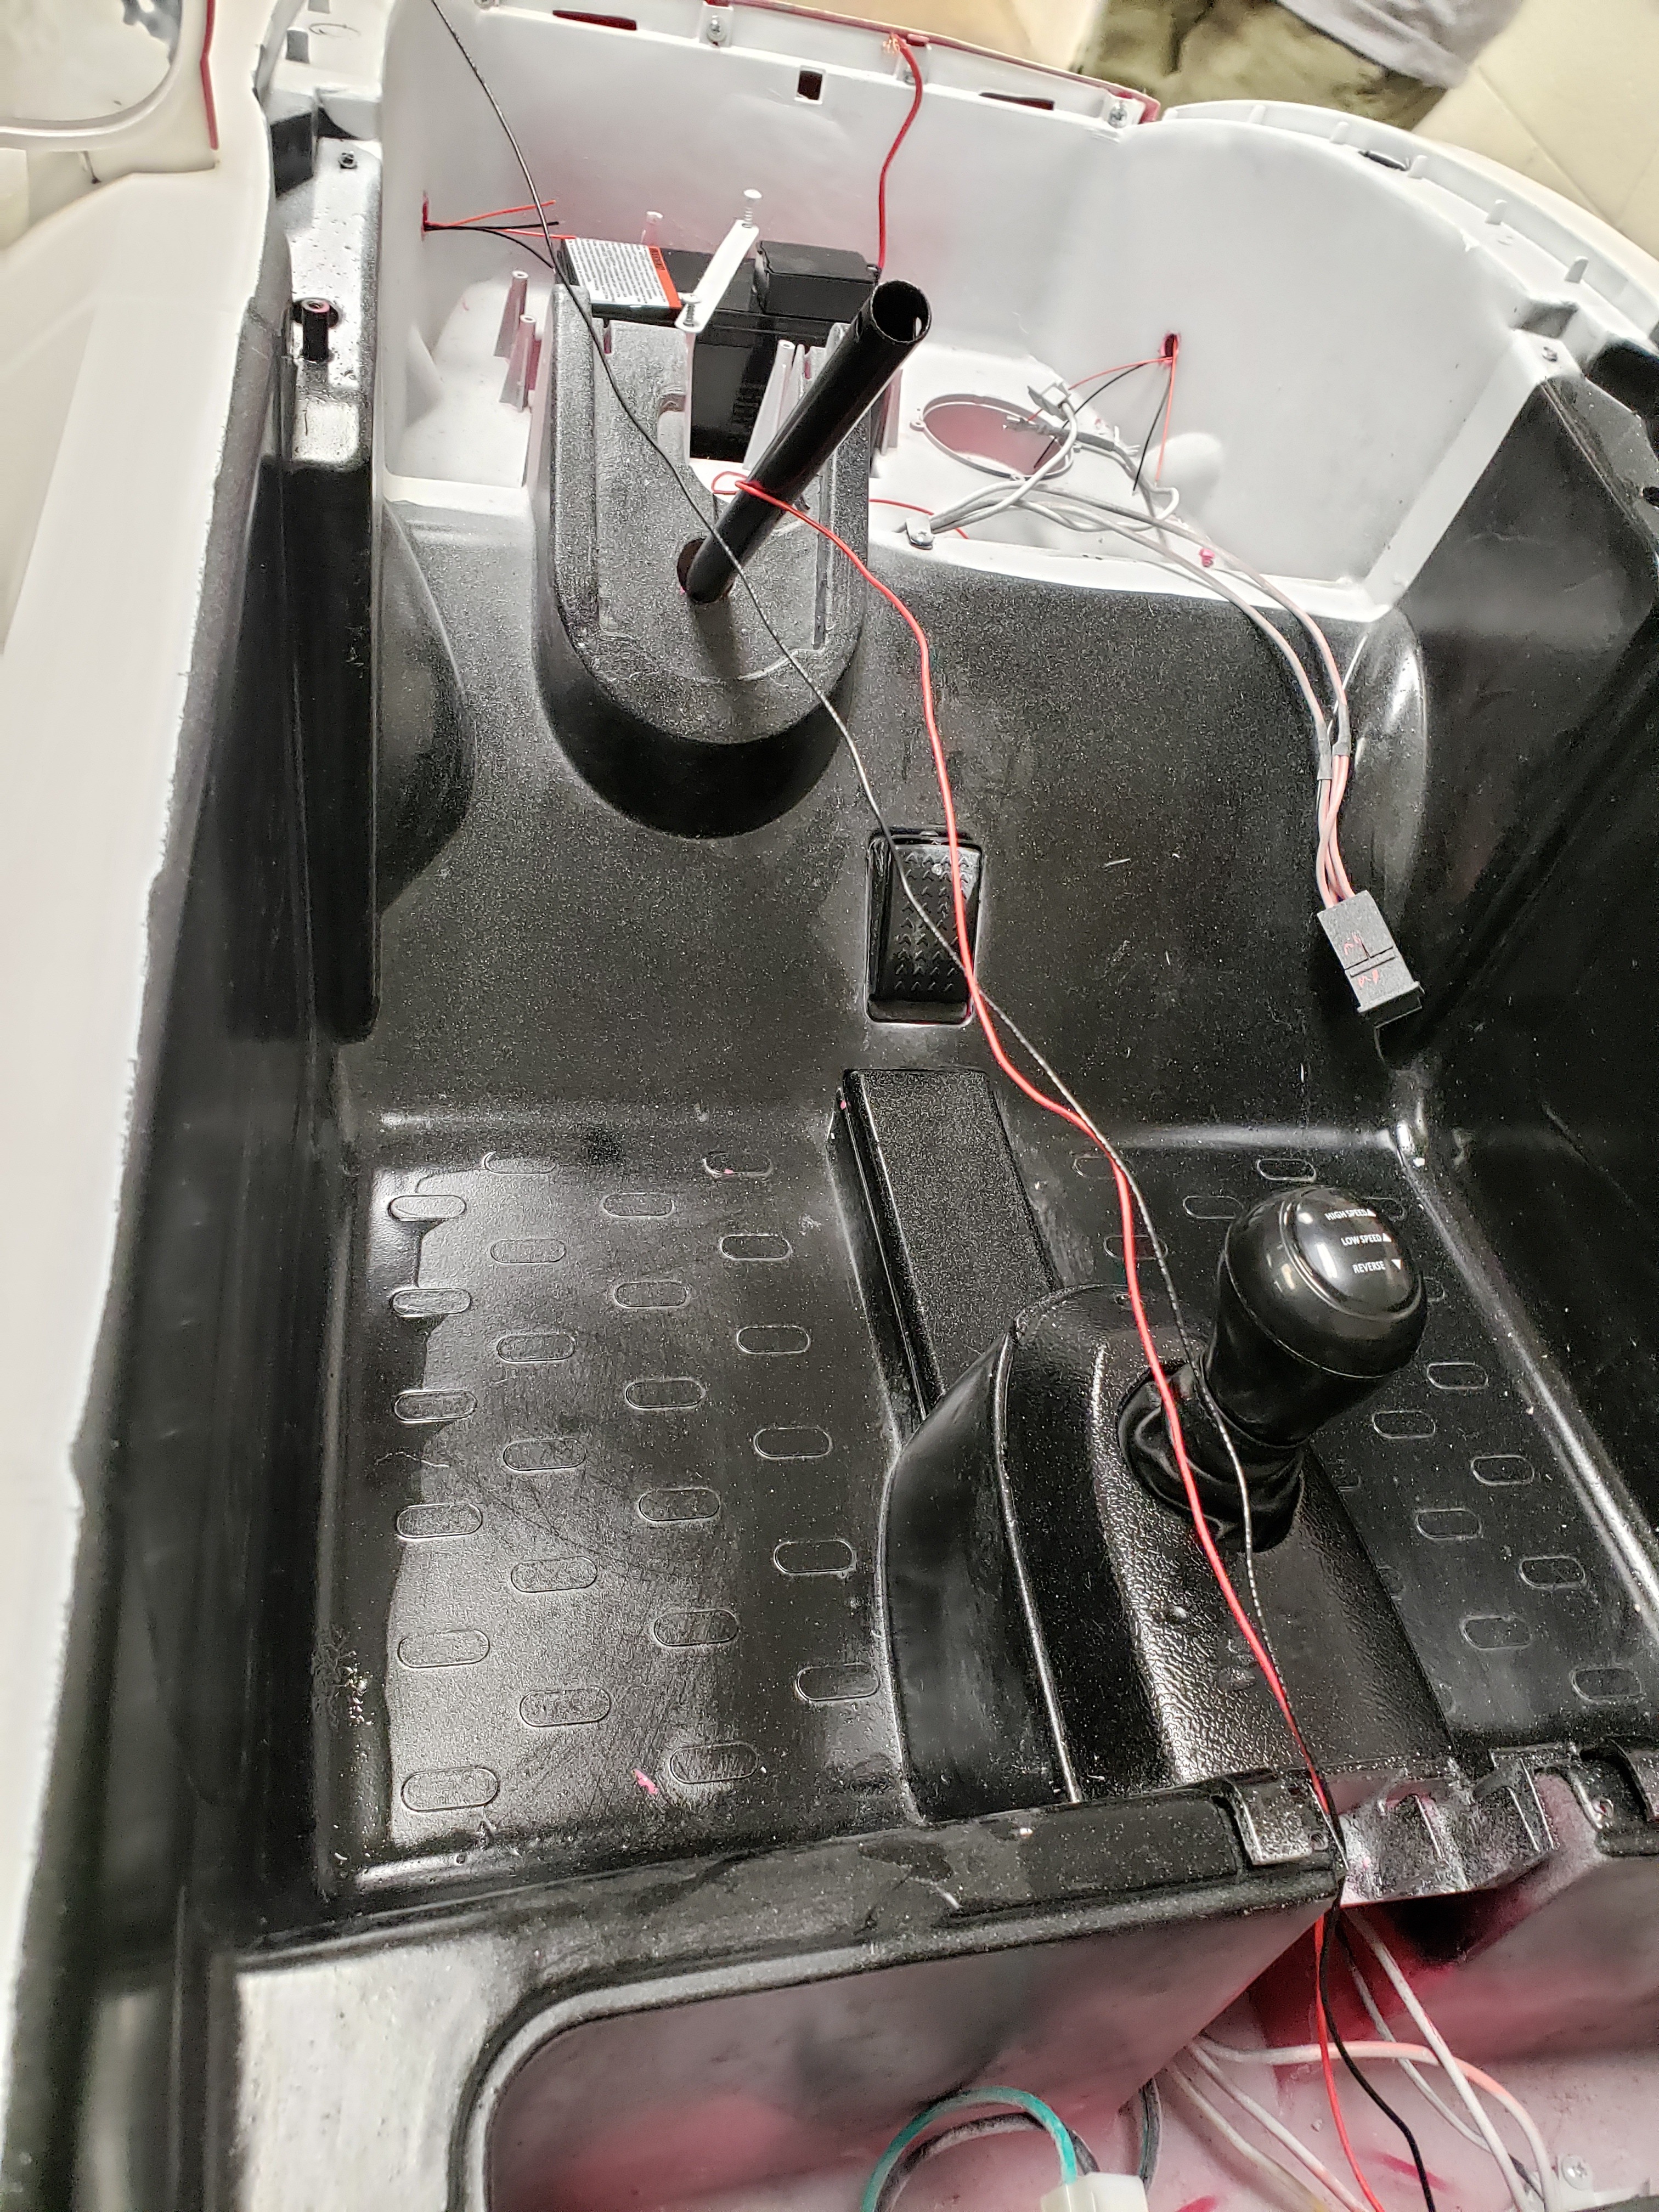
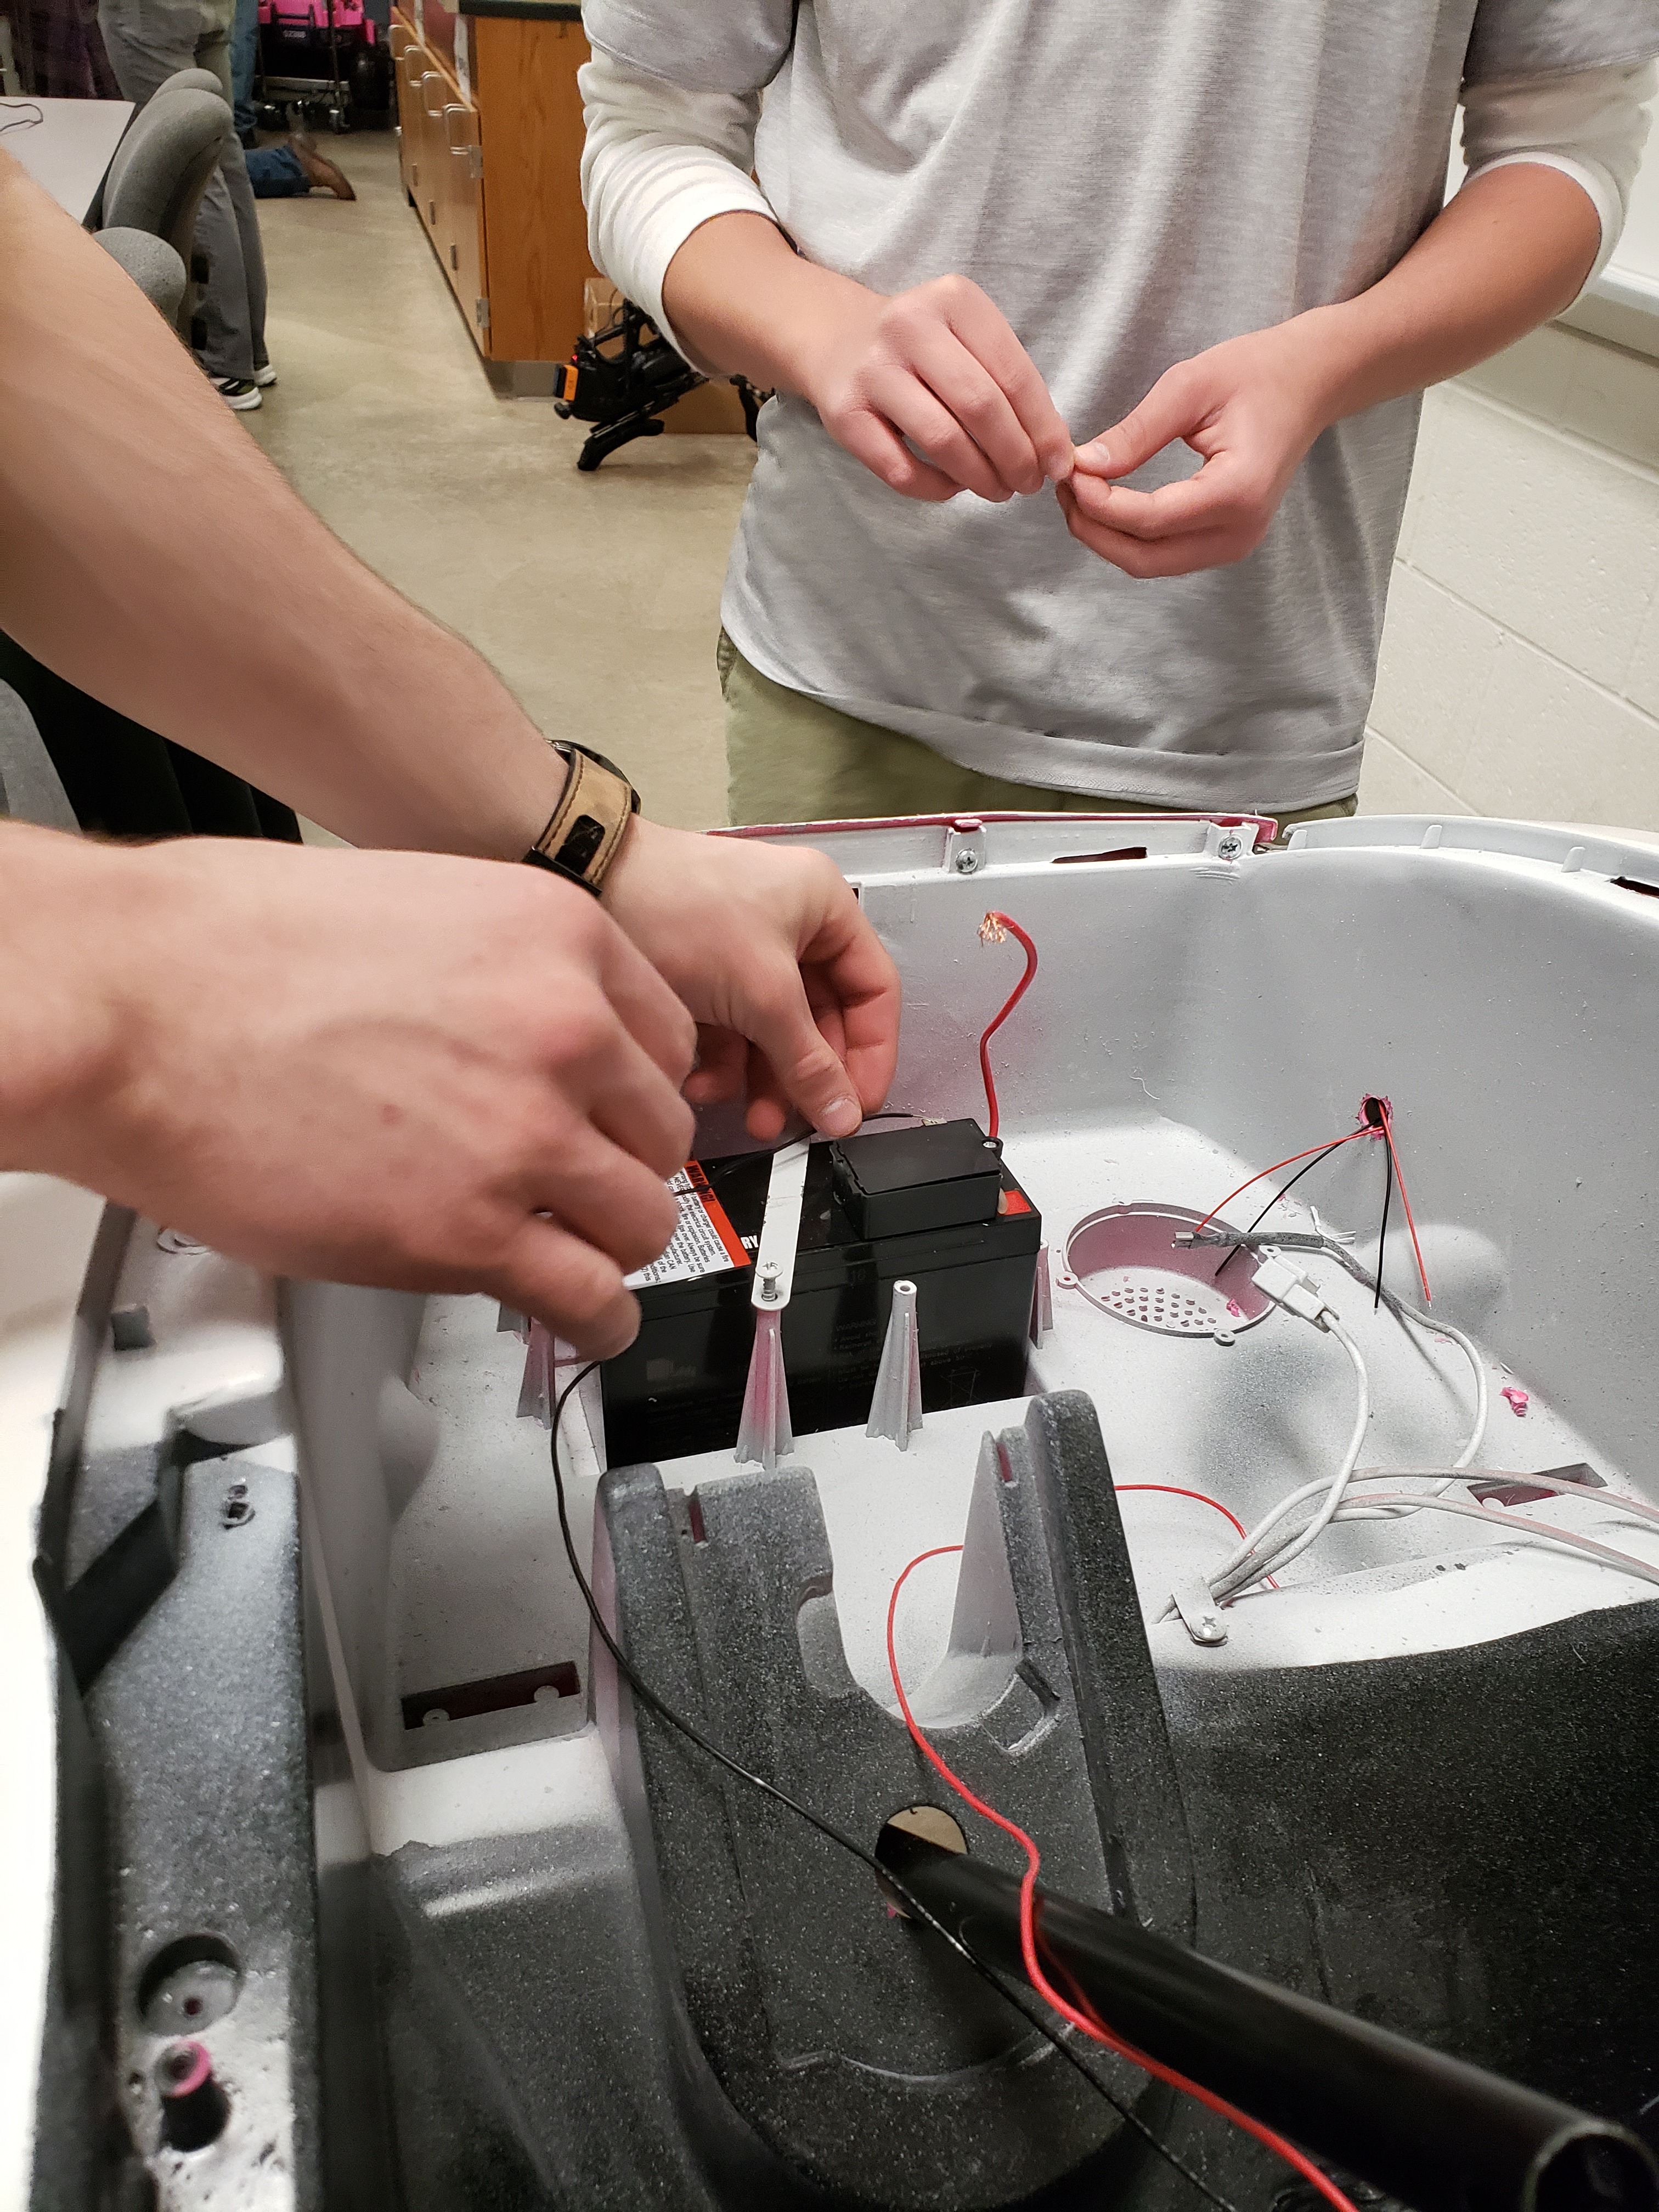
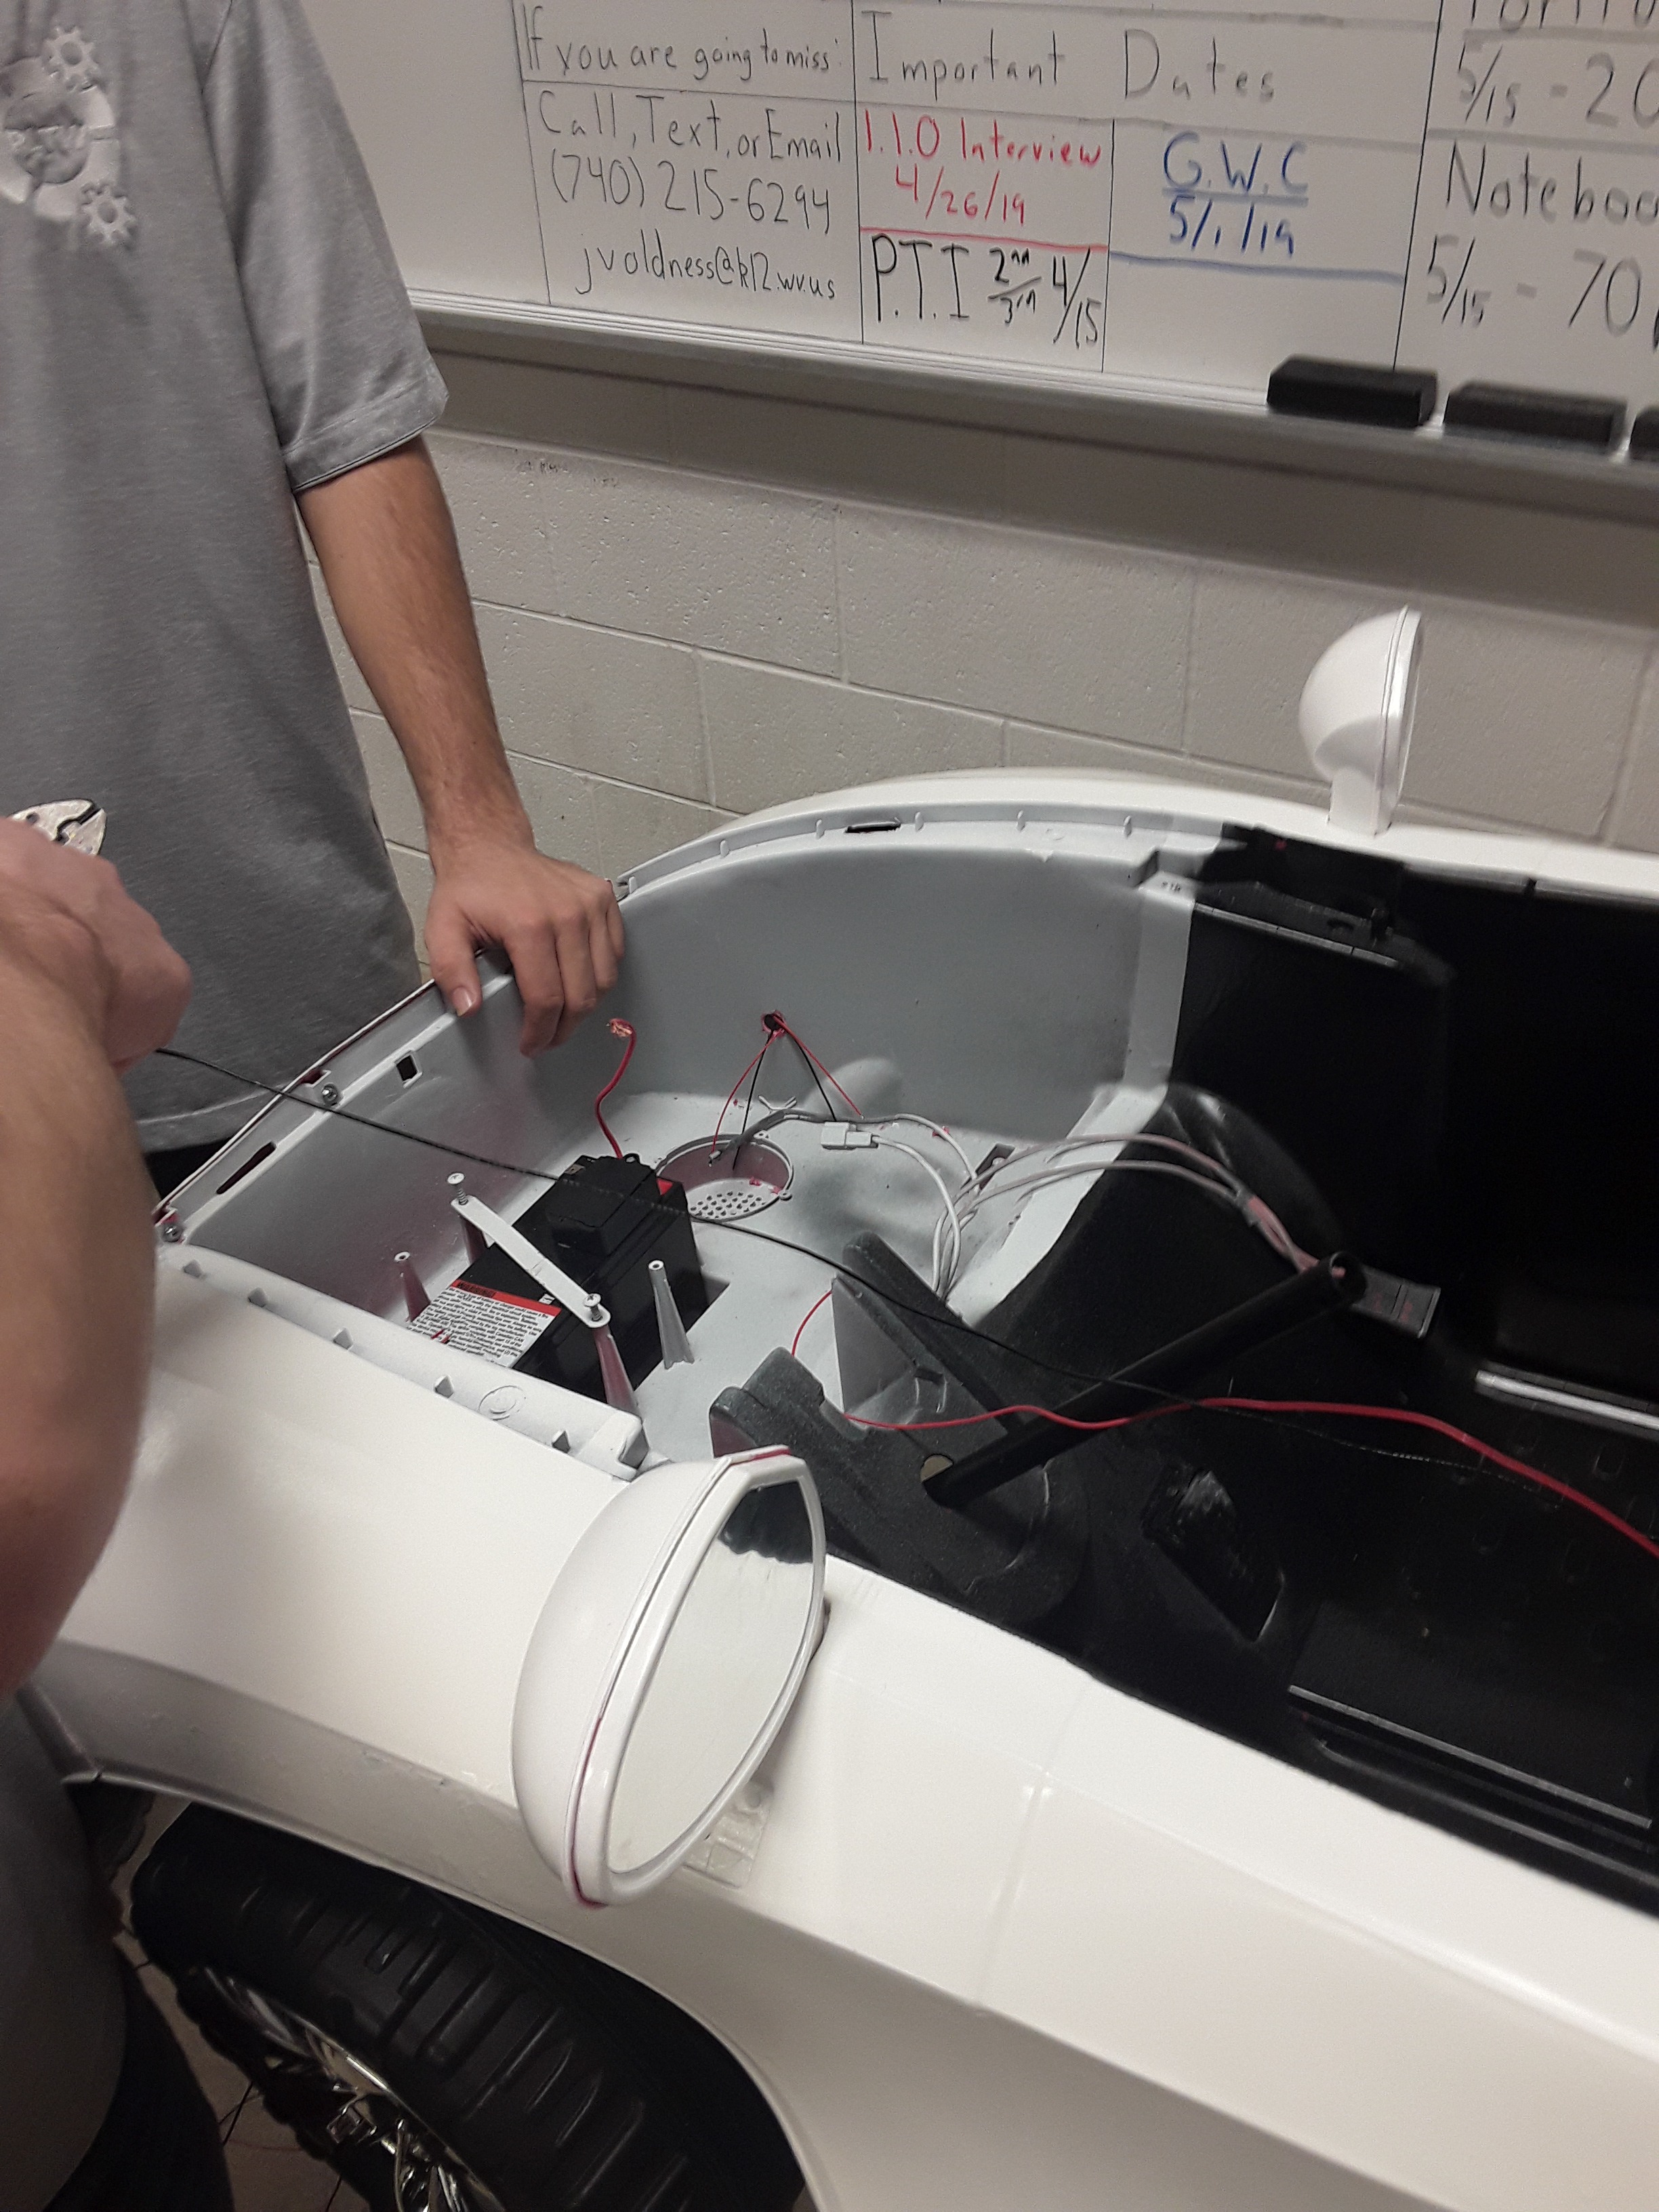
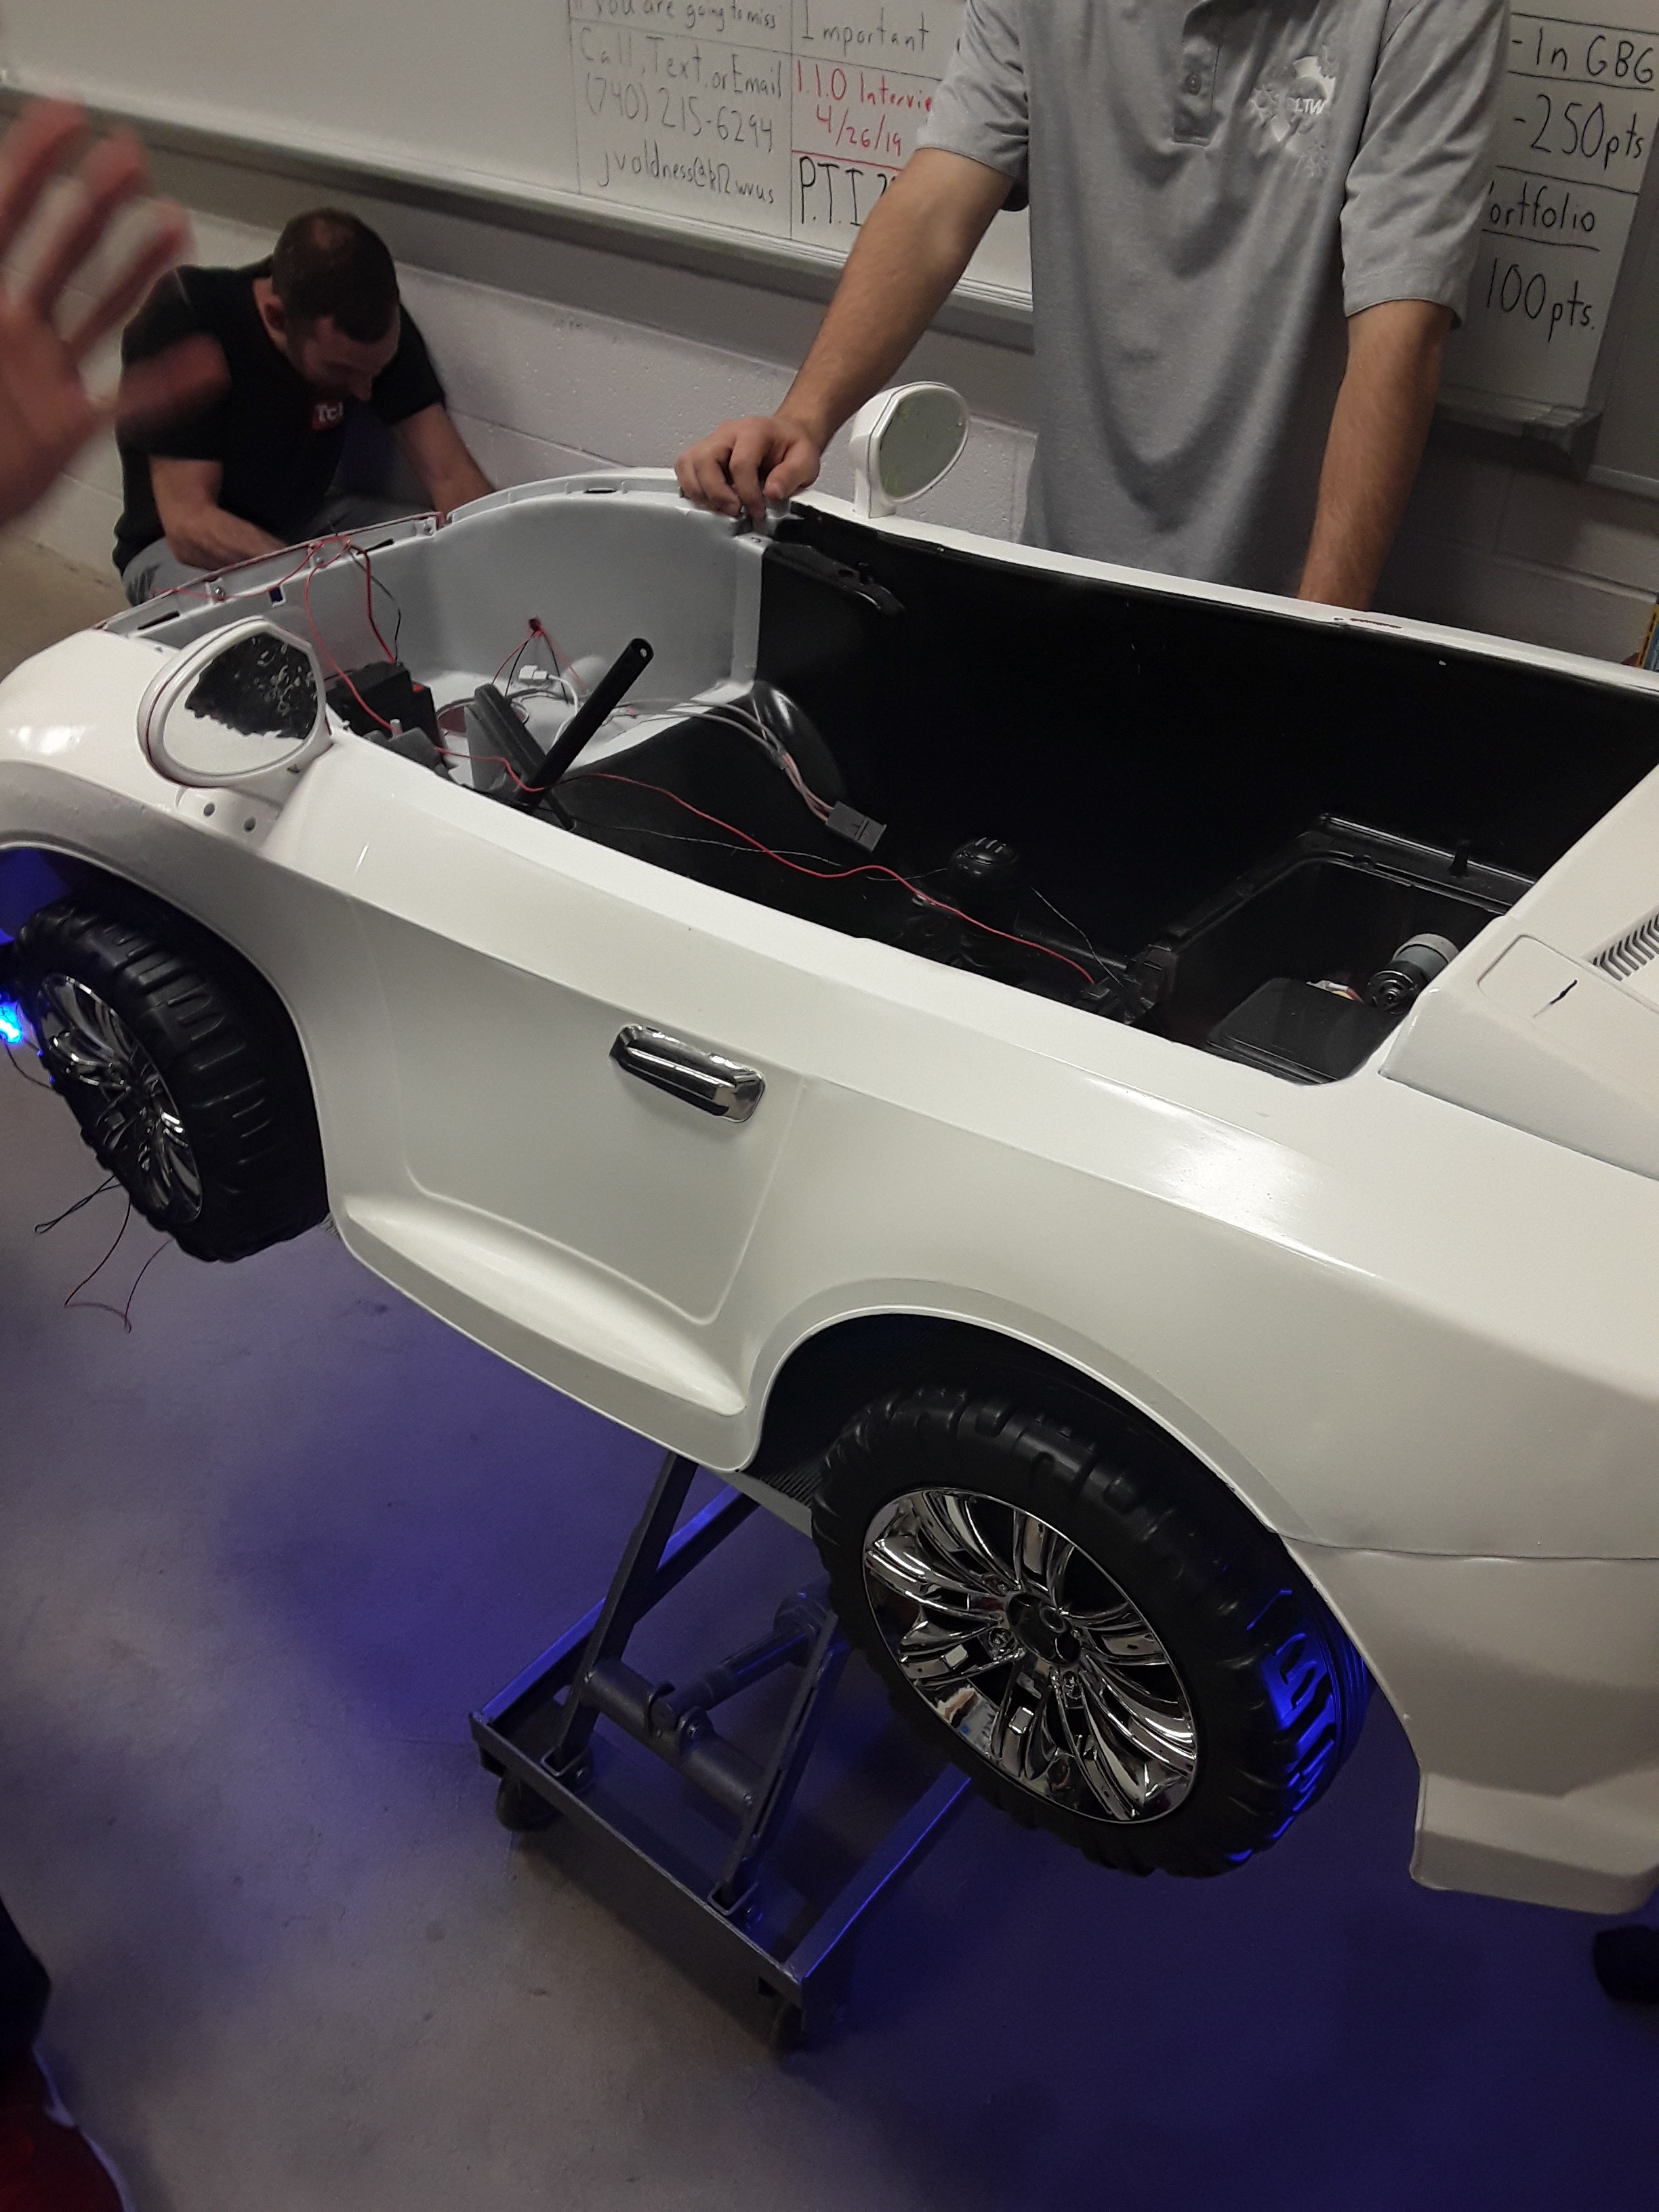
Next, wire up your new LED strips into the headlight and to the wire, soldering on more wire as necessary.
Wiring Replacement 3
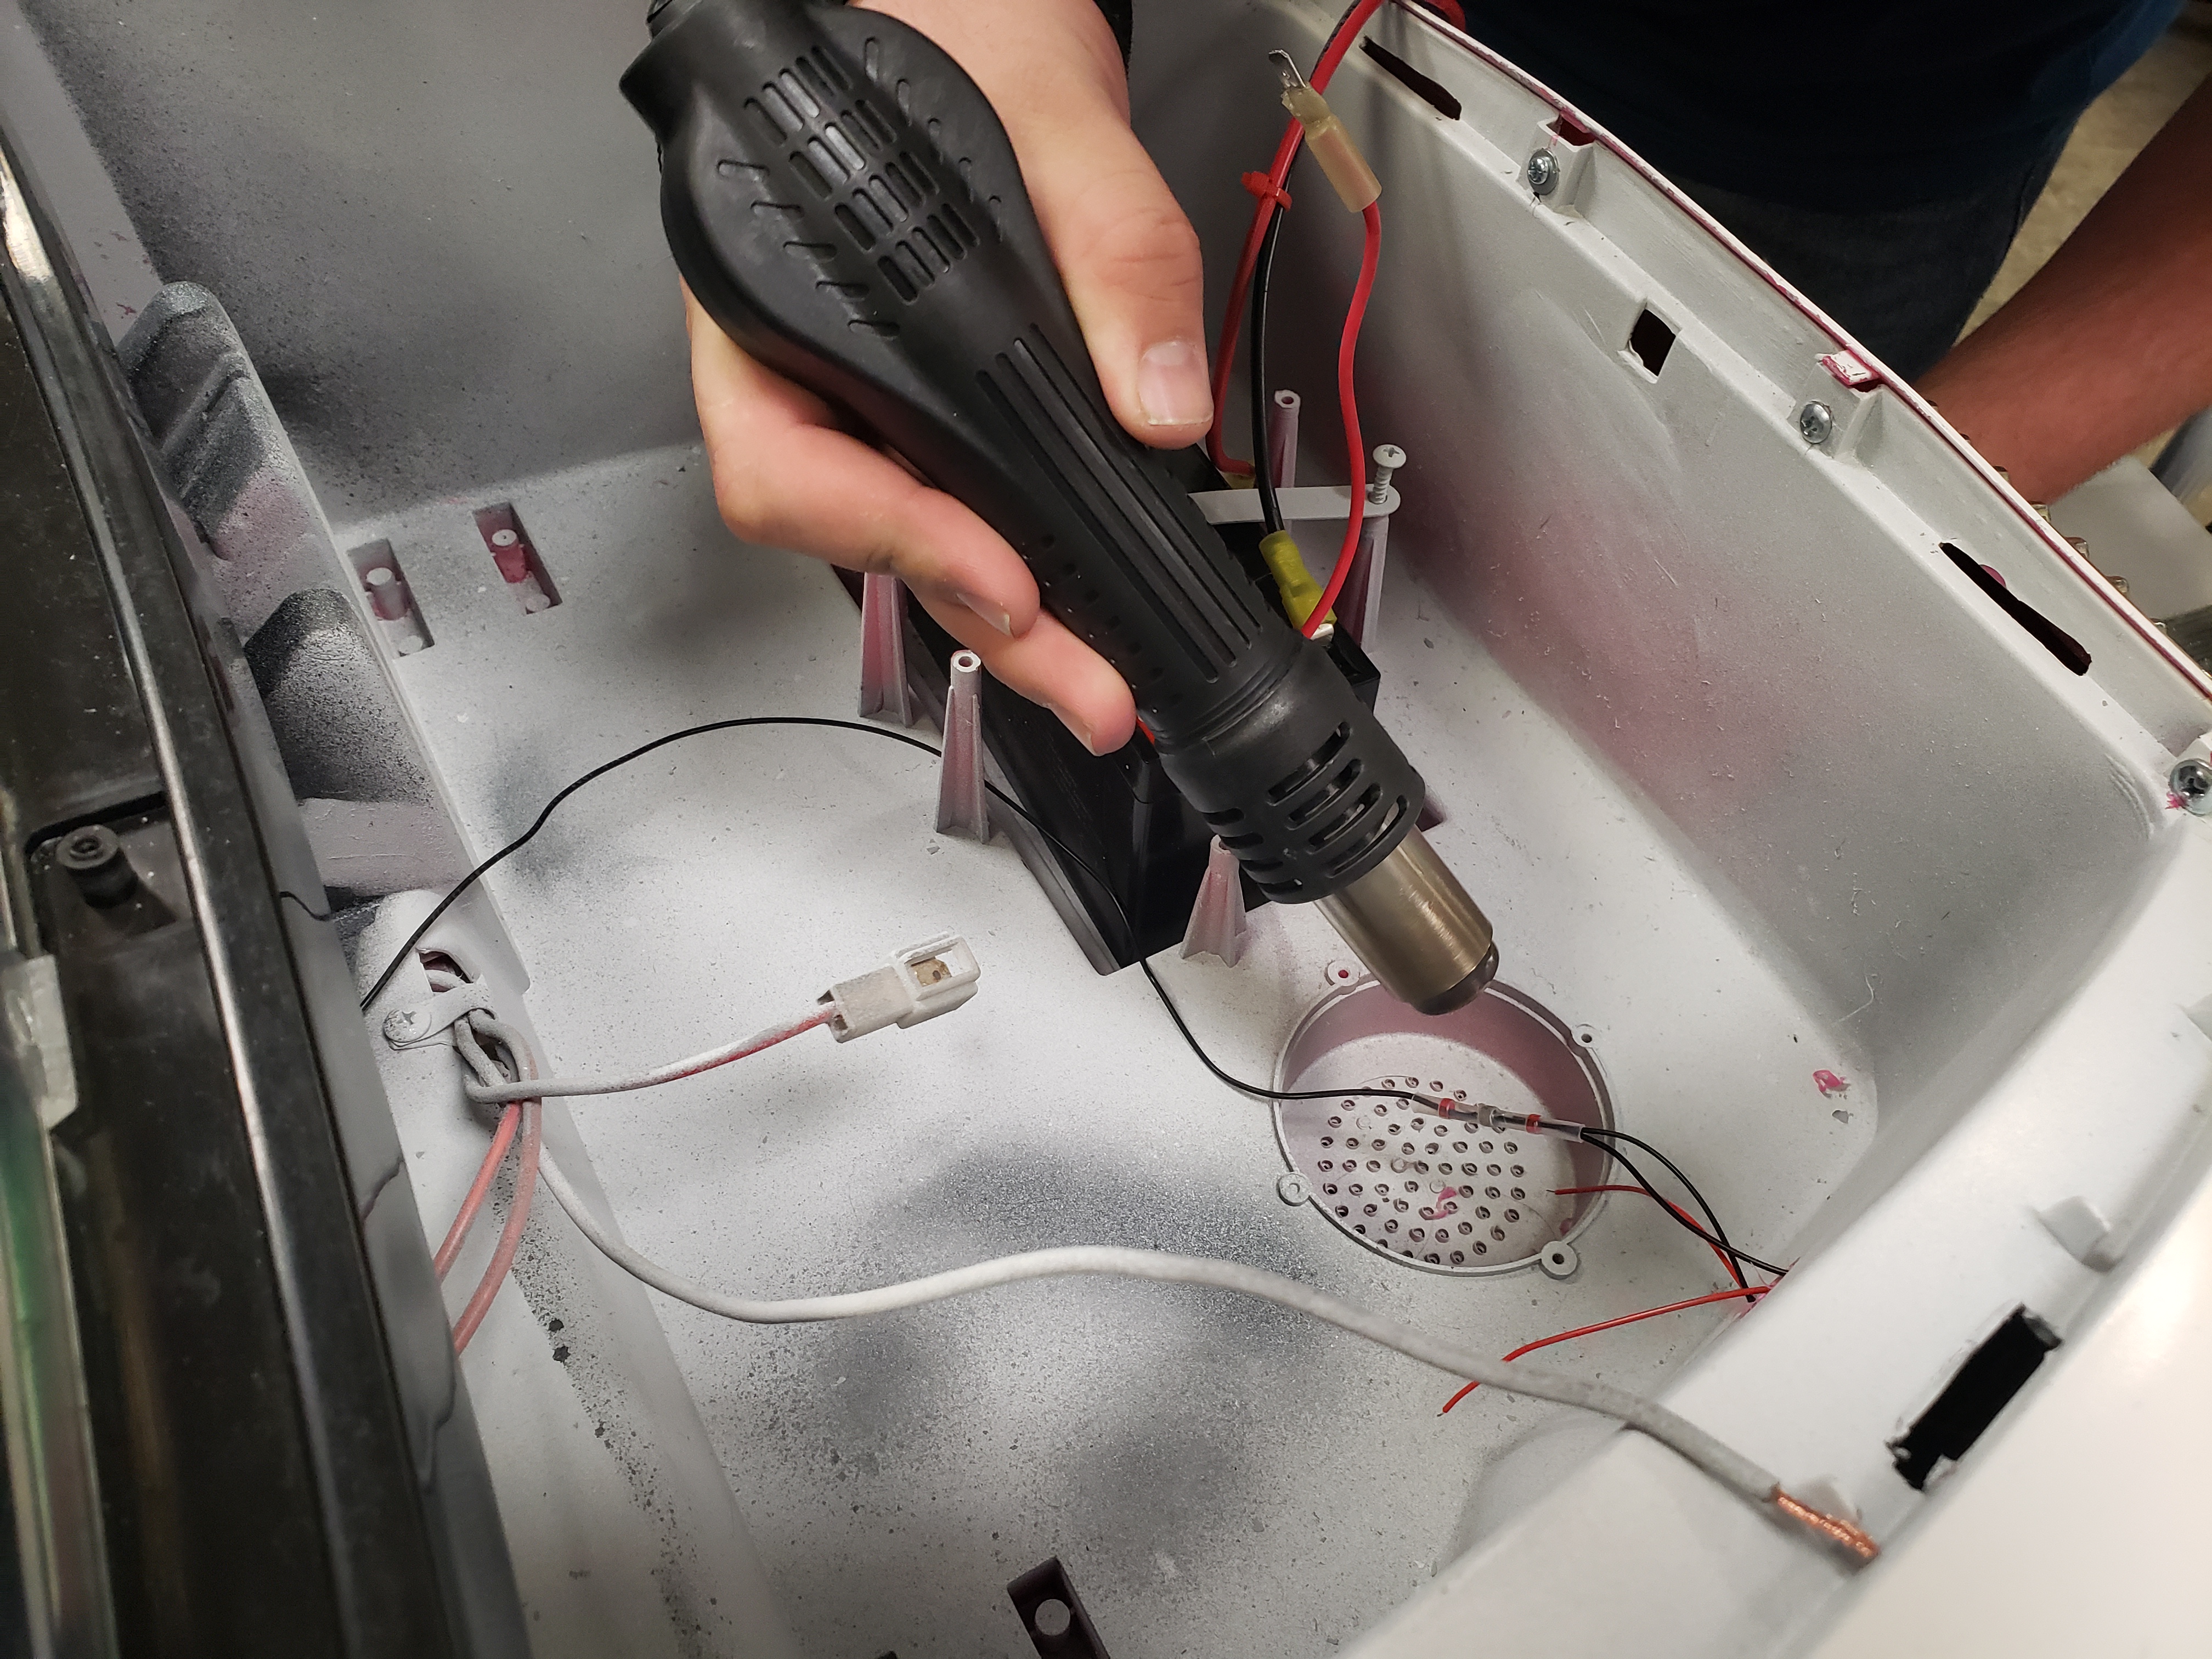
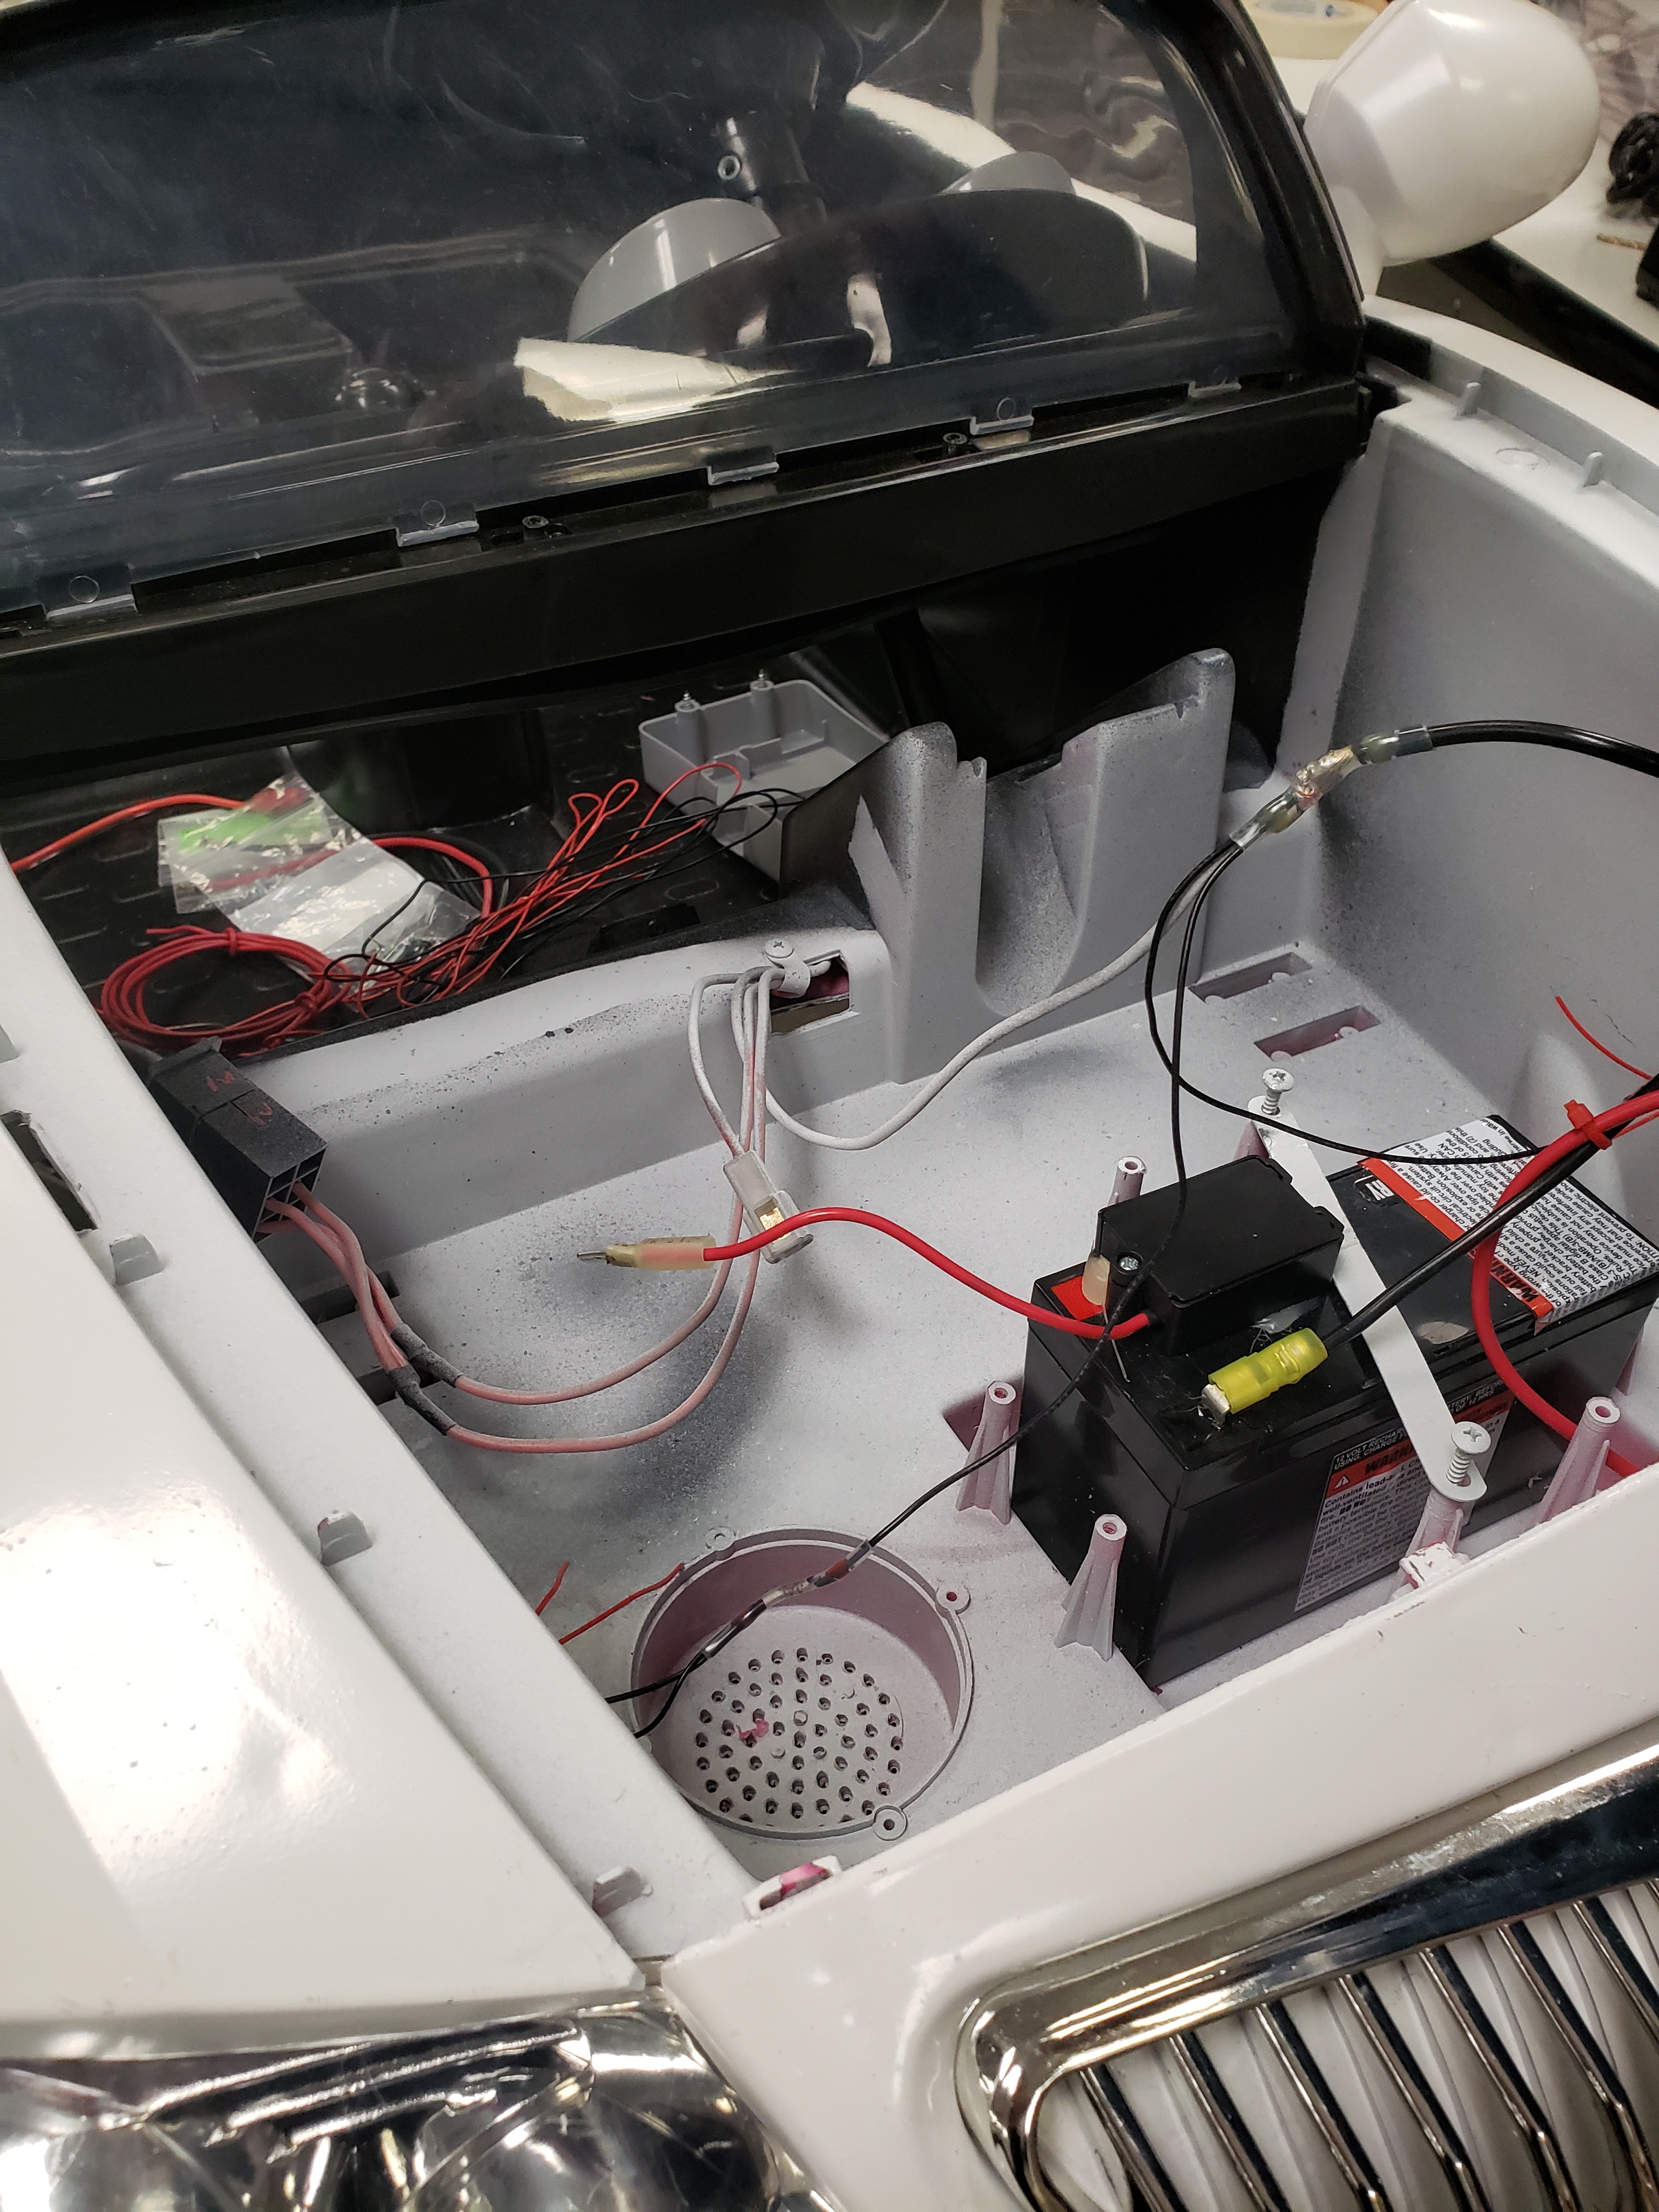
Continue and heat-shrink wire to go together as you finish the lights. Also note to make room for the music player and for the harness.
Wiring-Connecting the Car System
Using your model diagram, finish hooking up your light electrical system.
Reminder
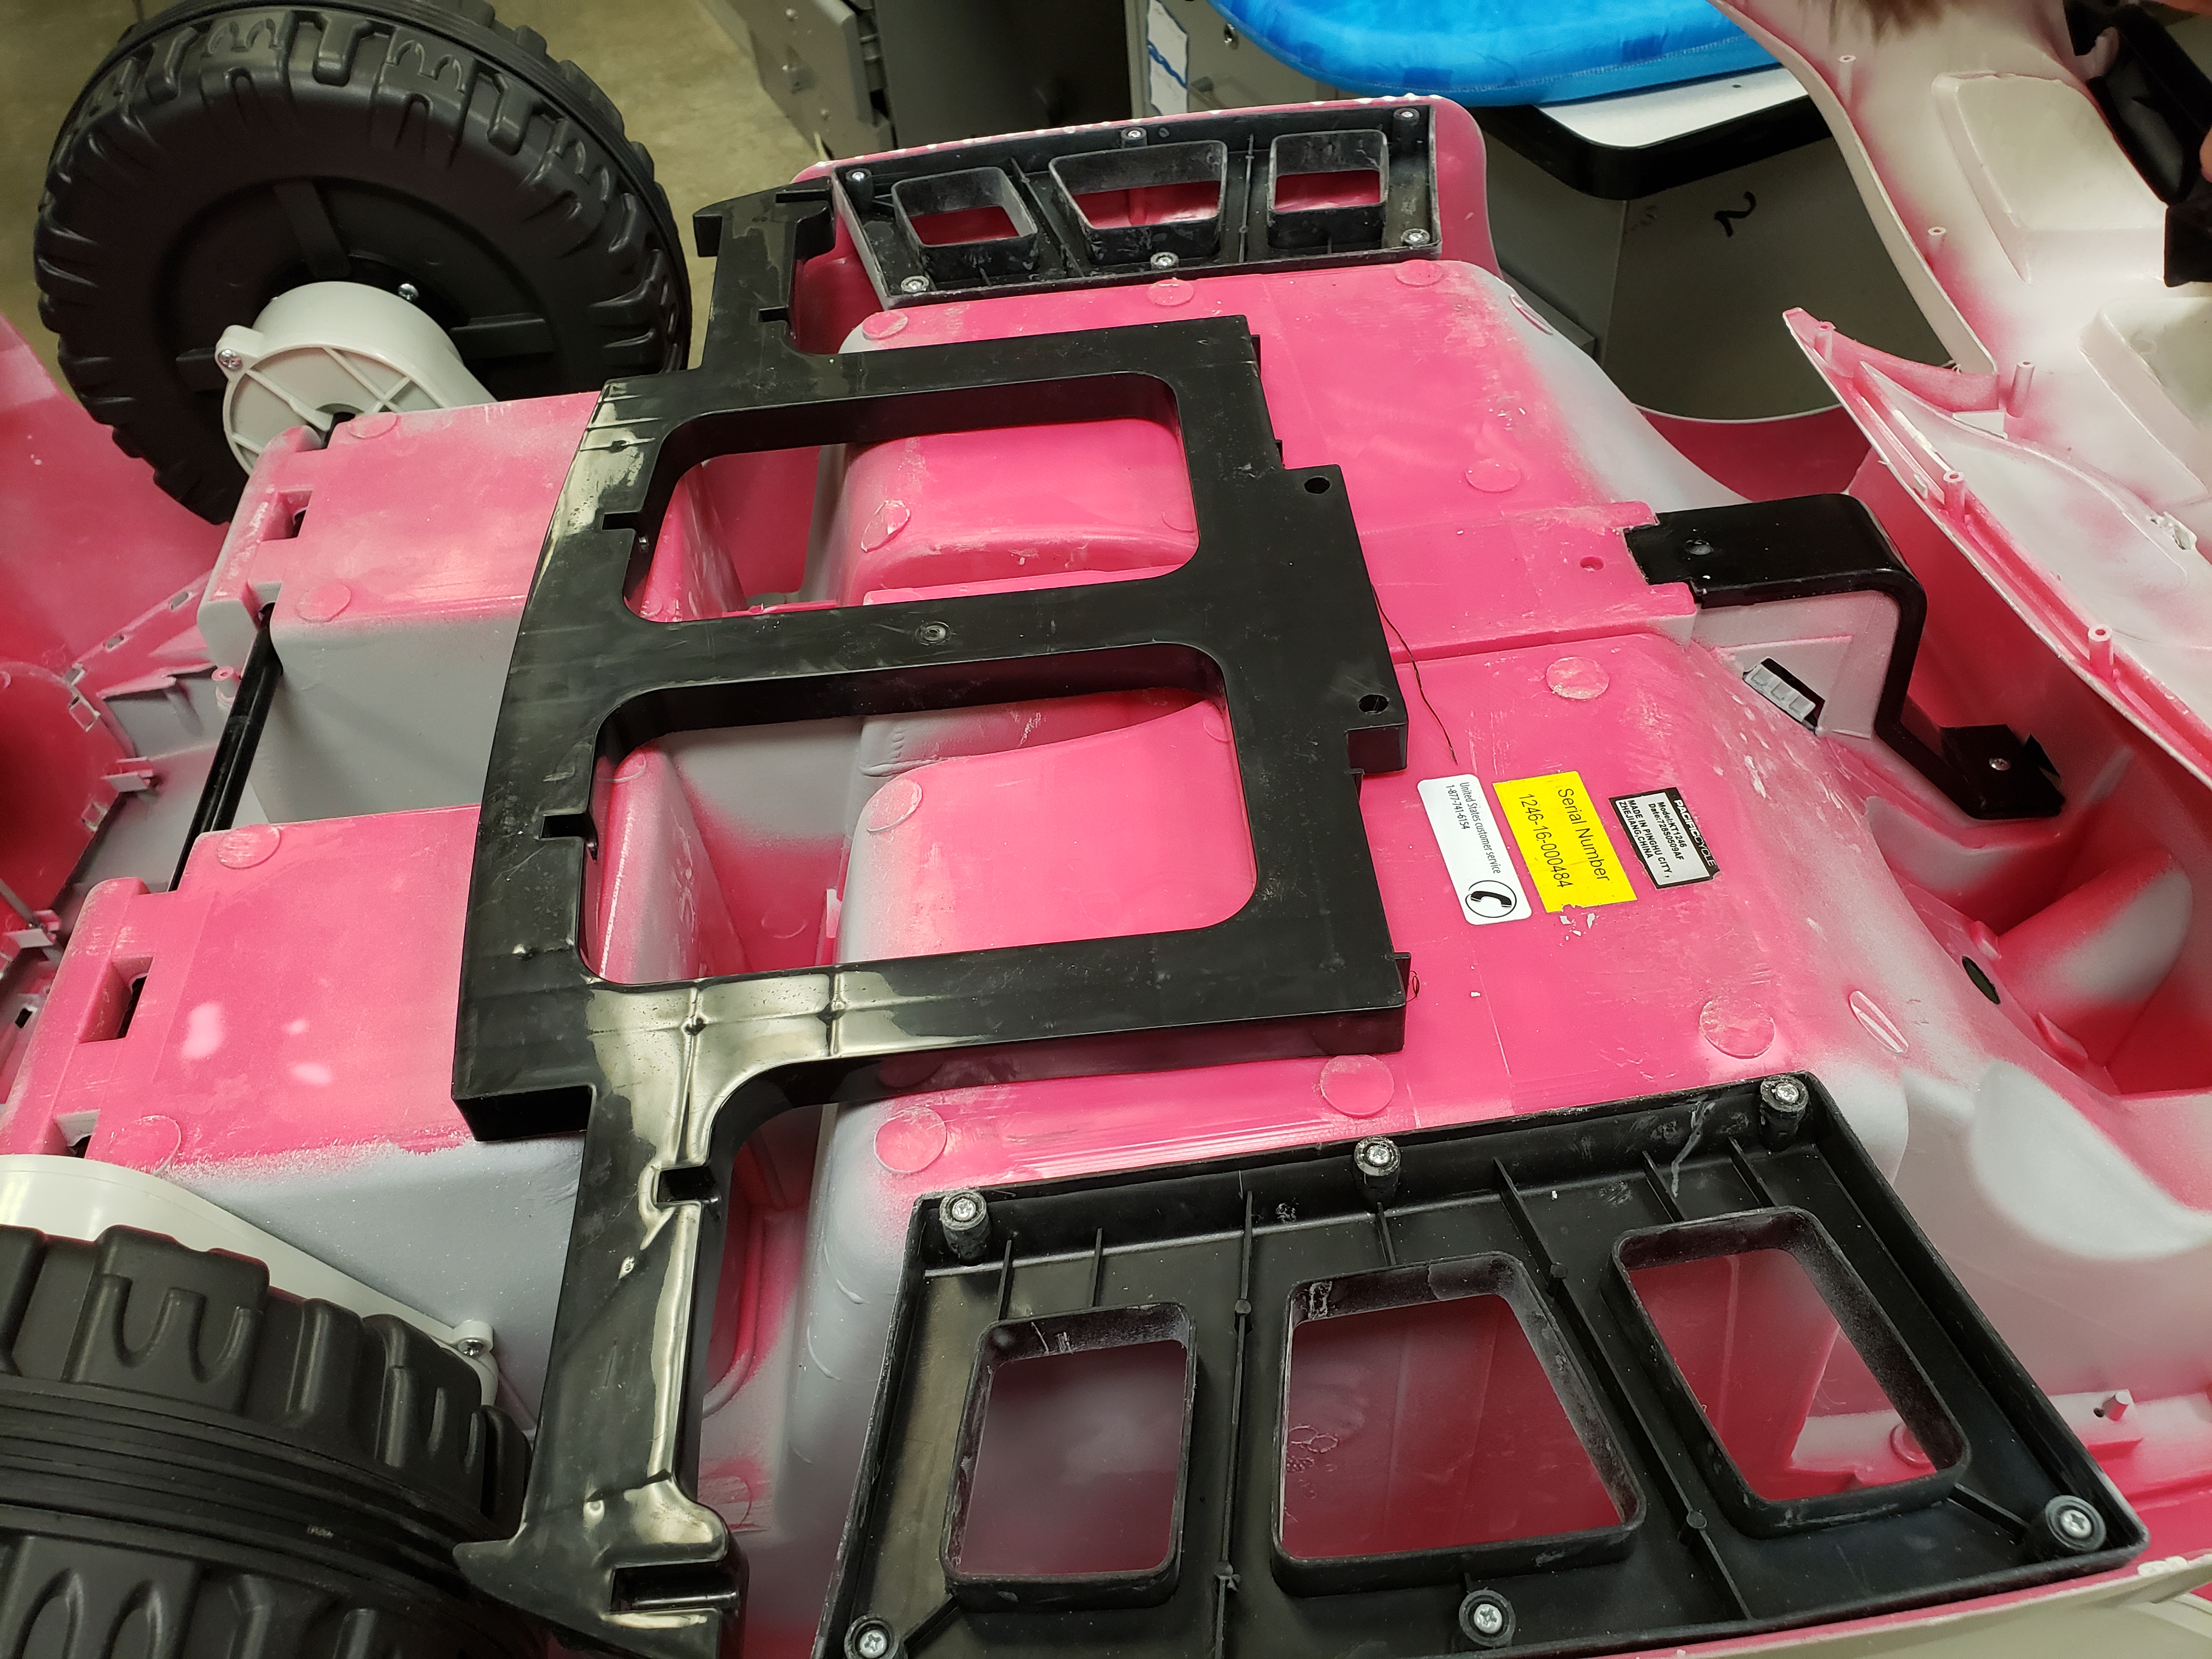
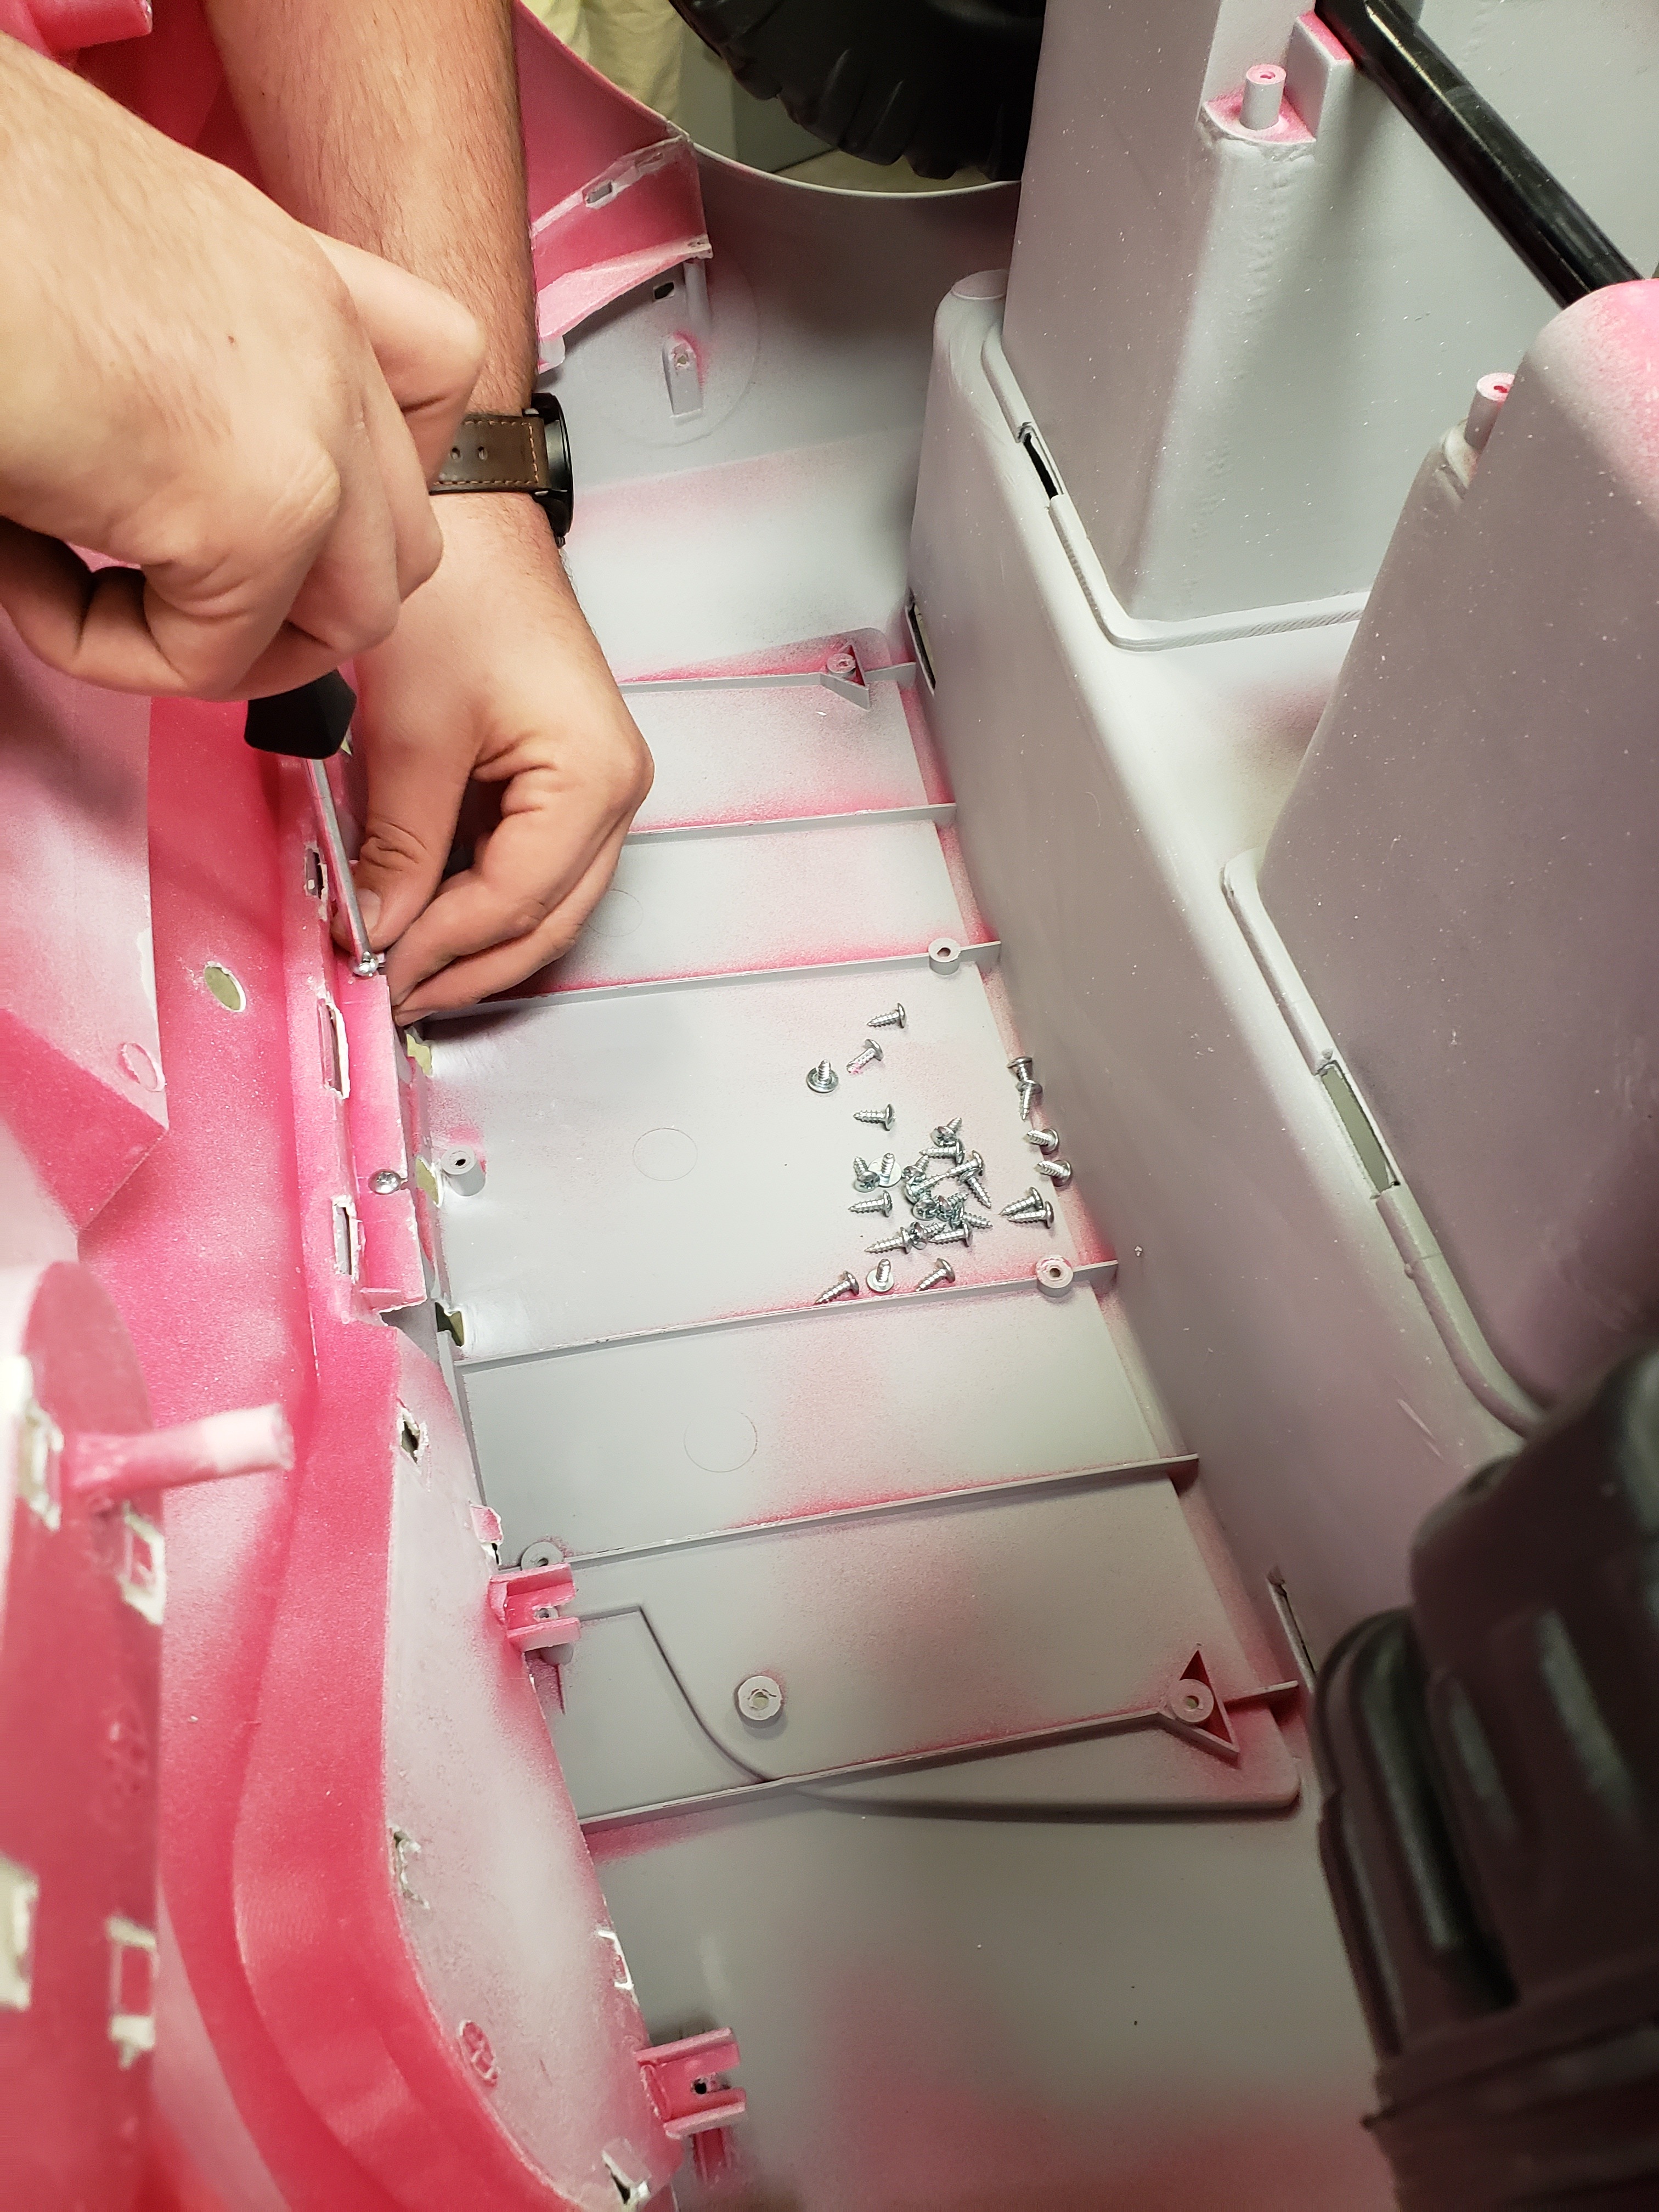
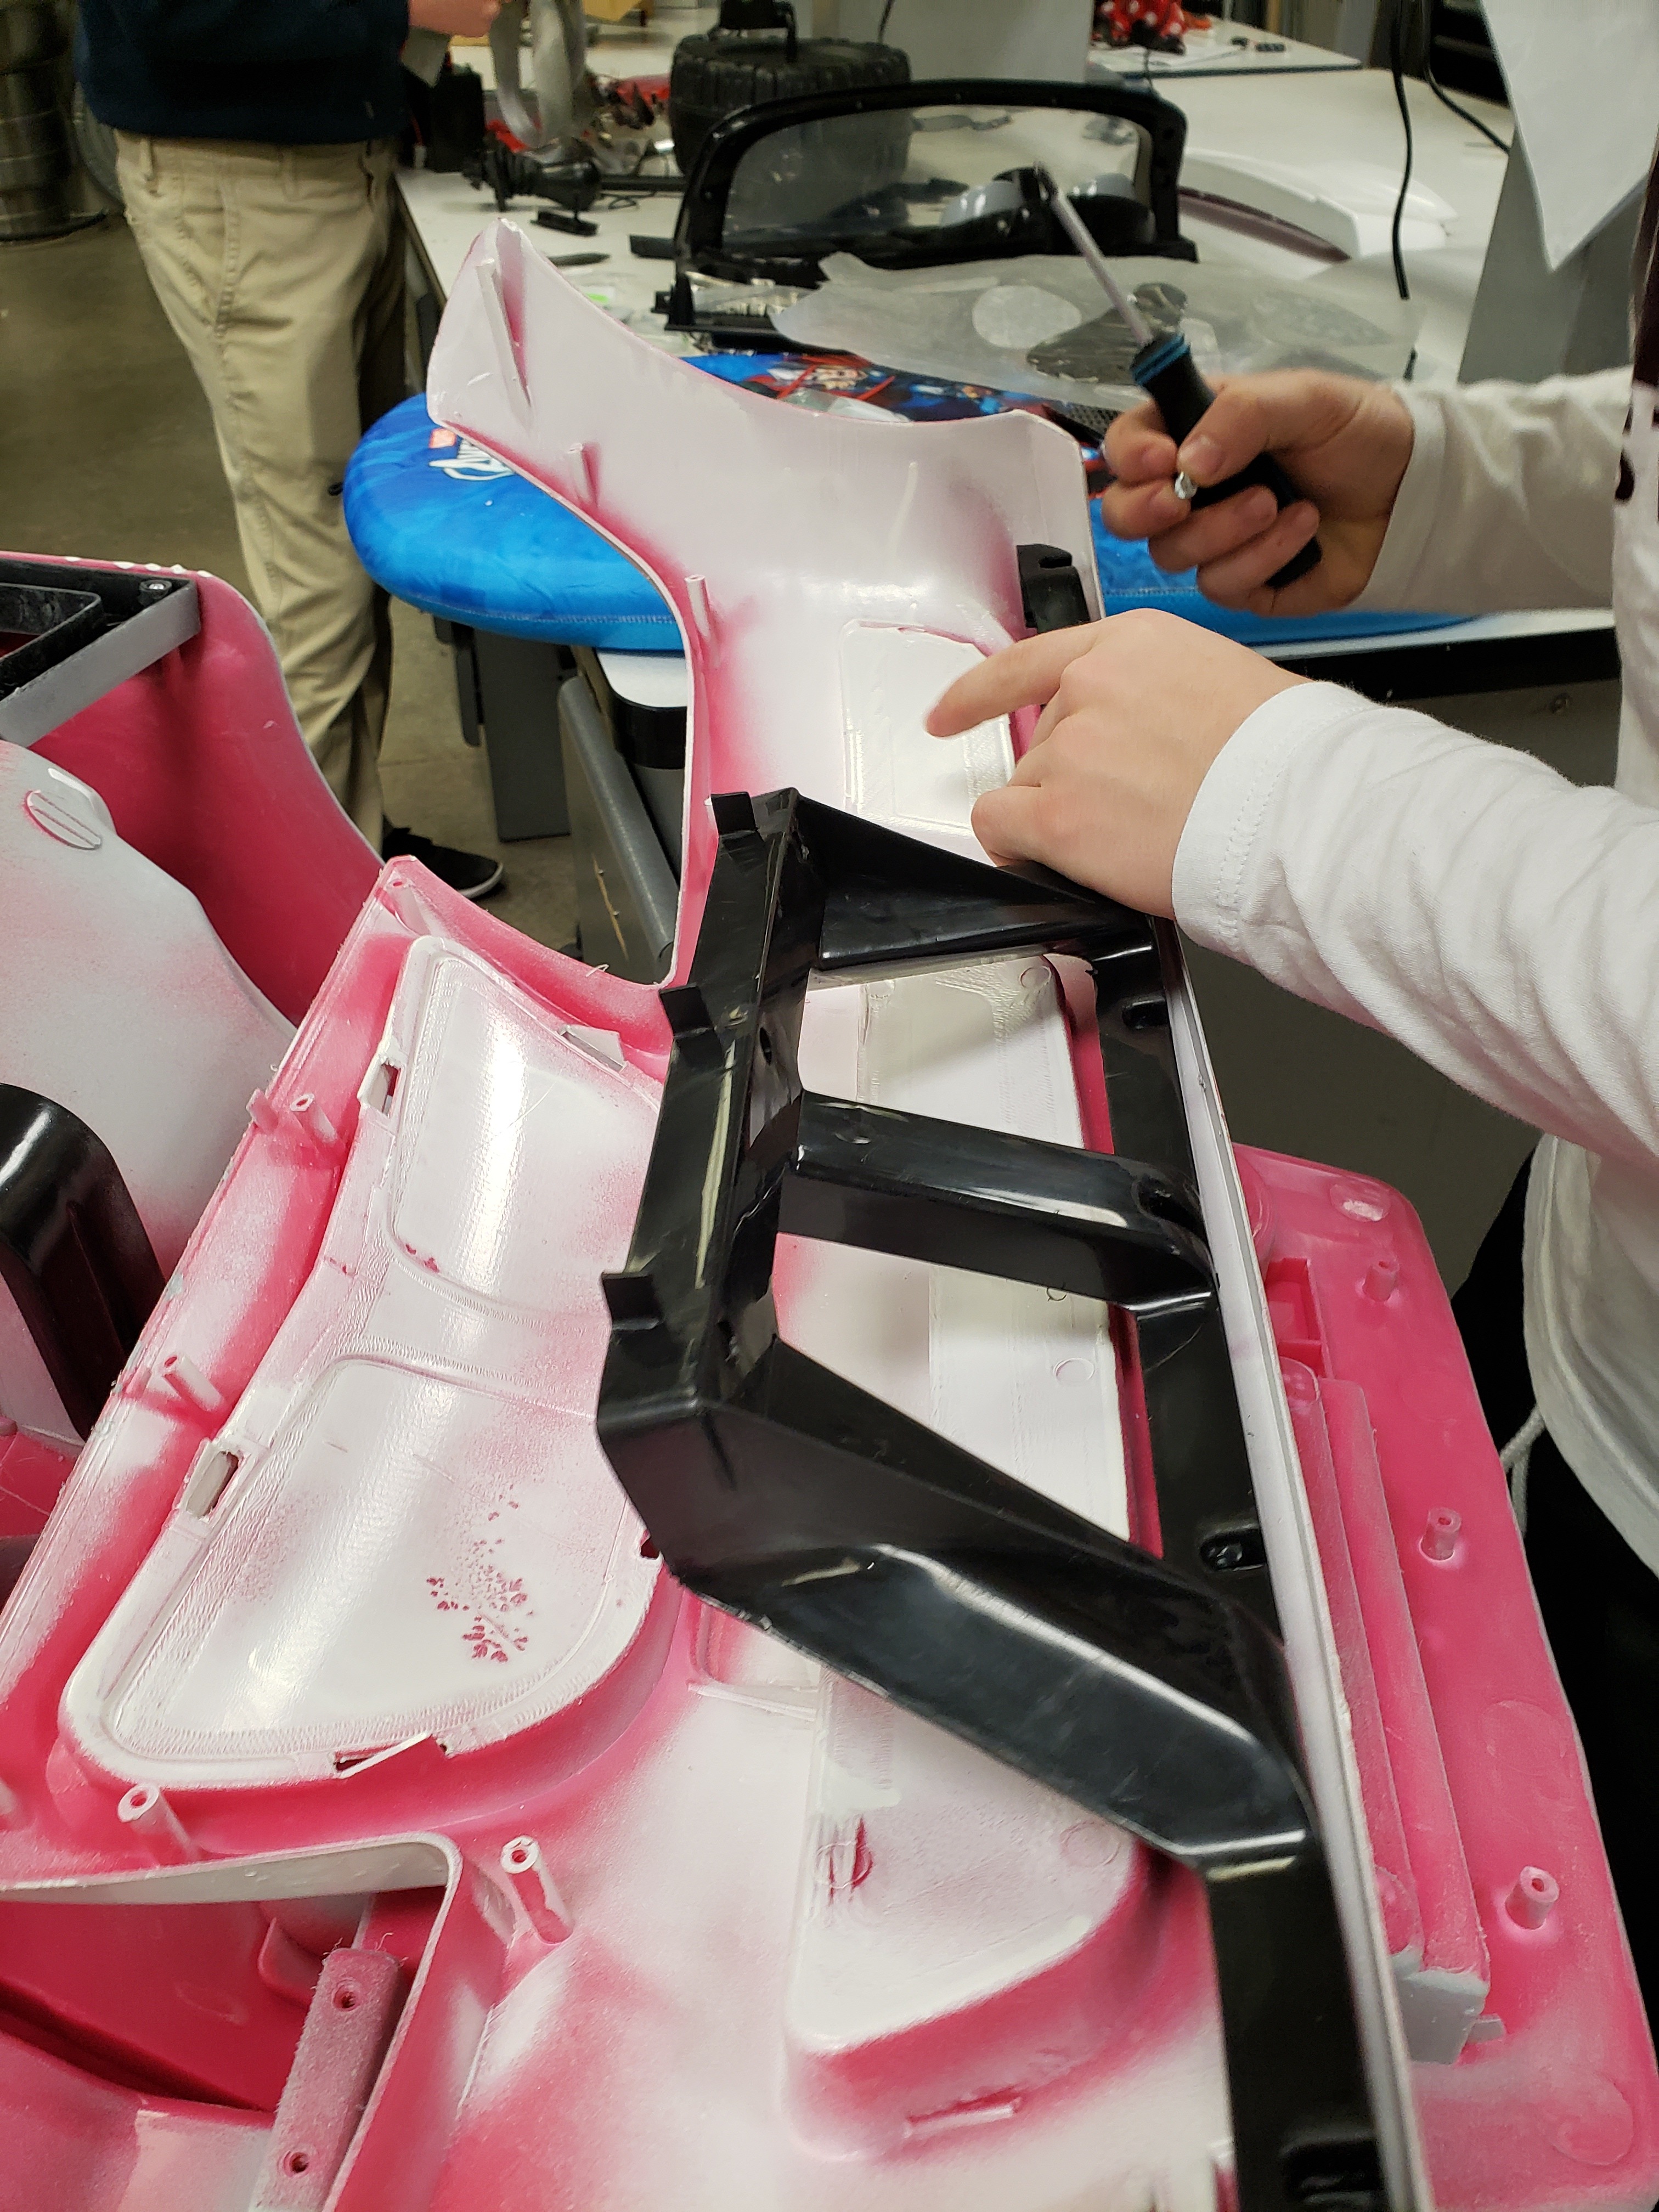
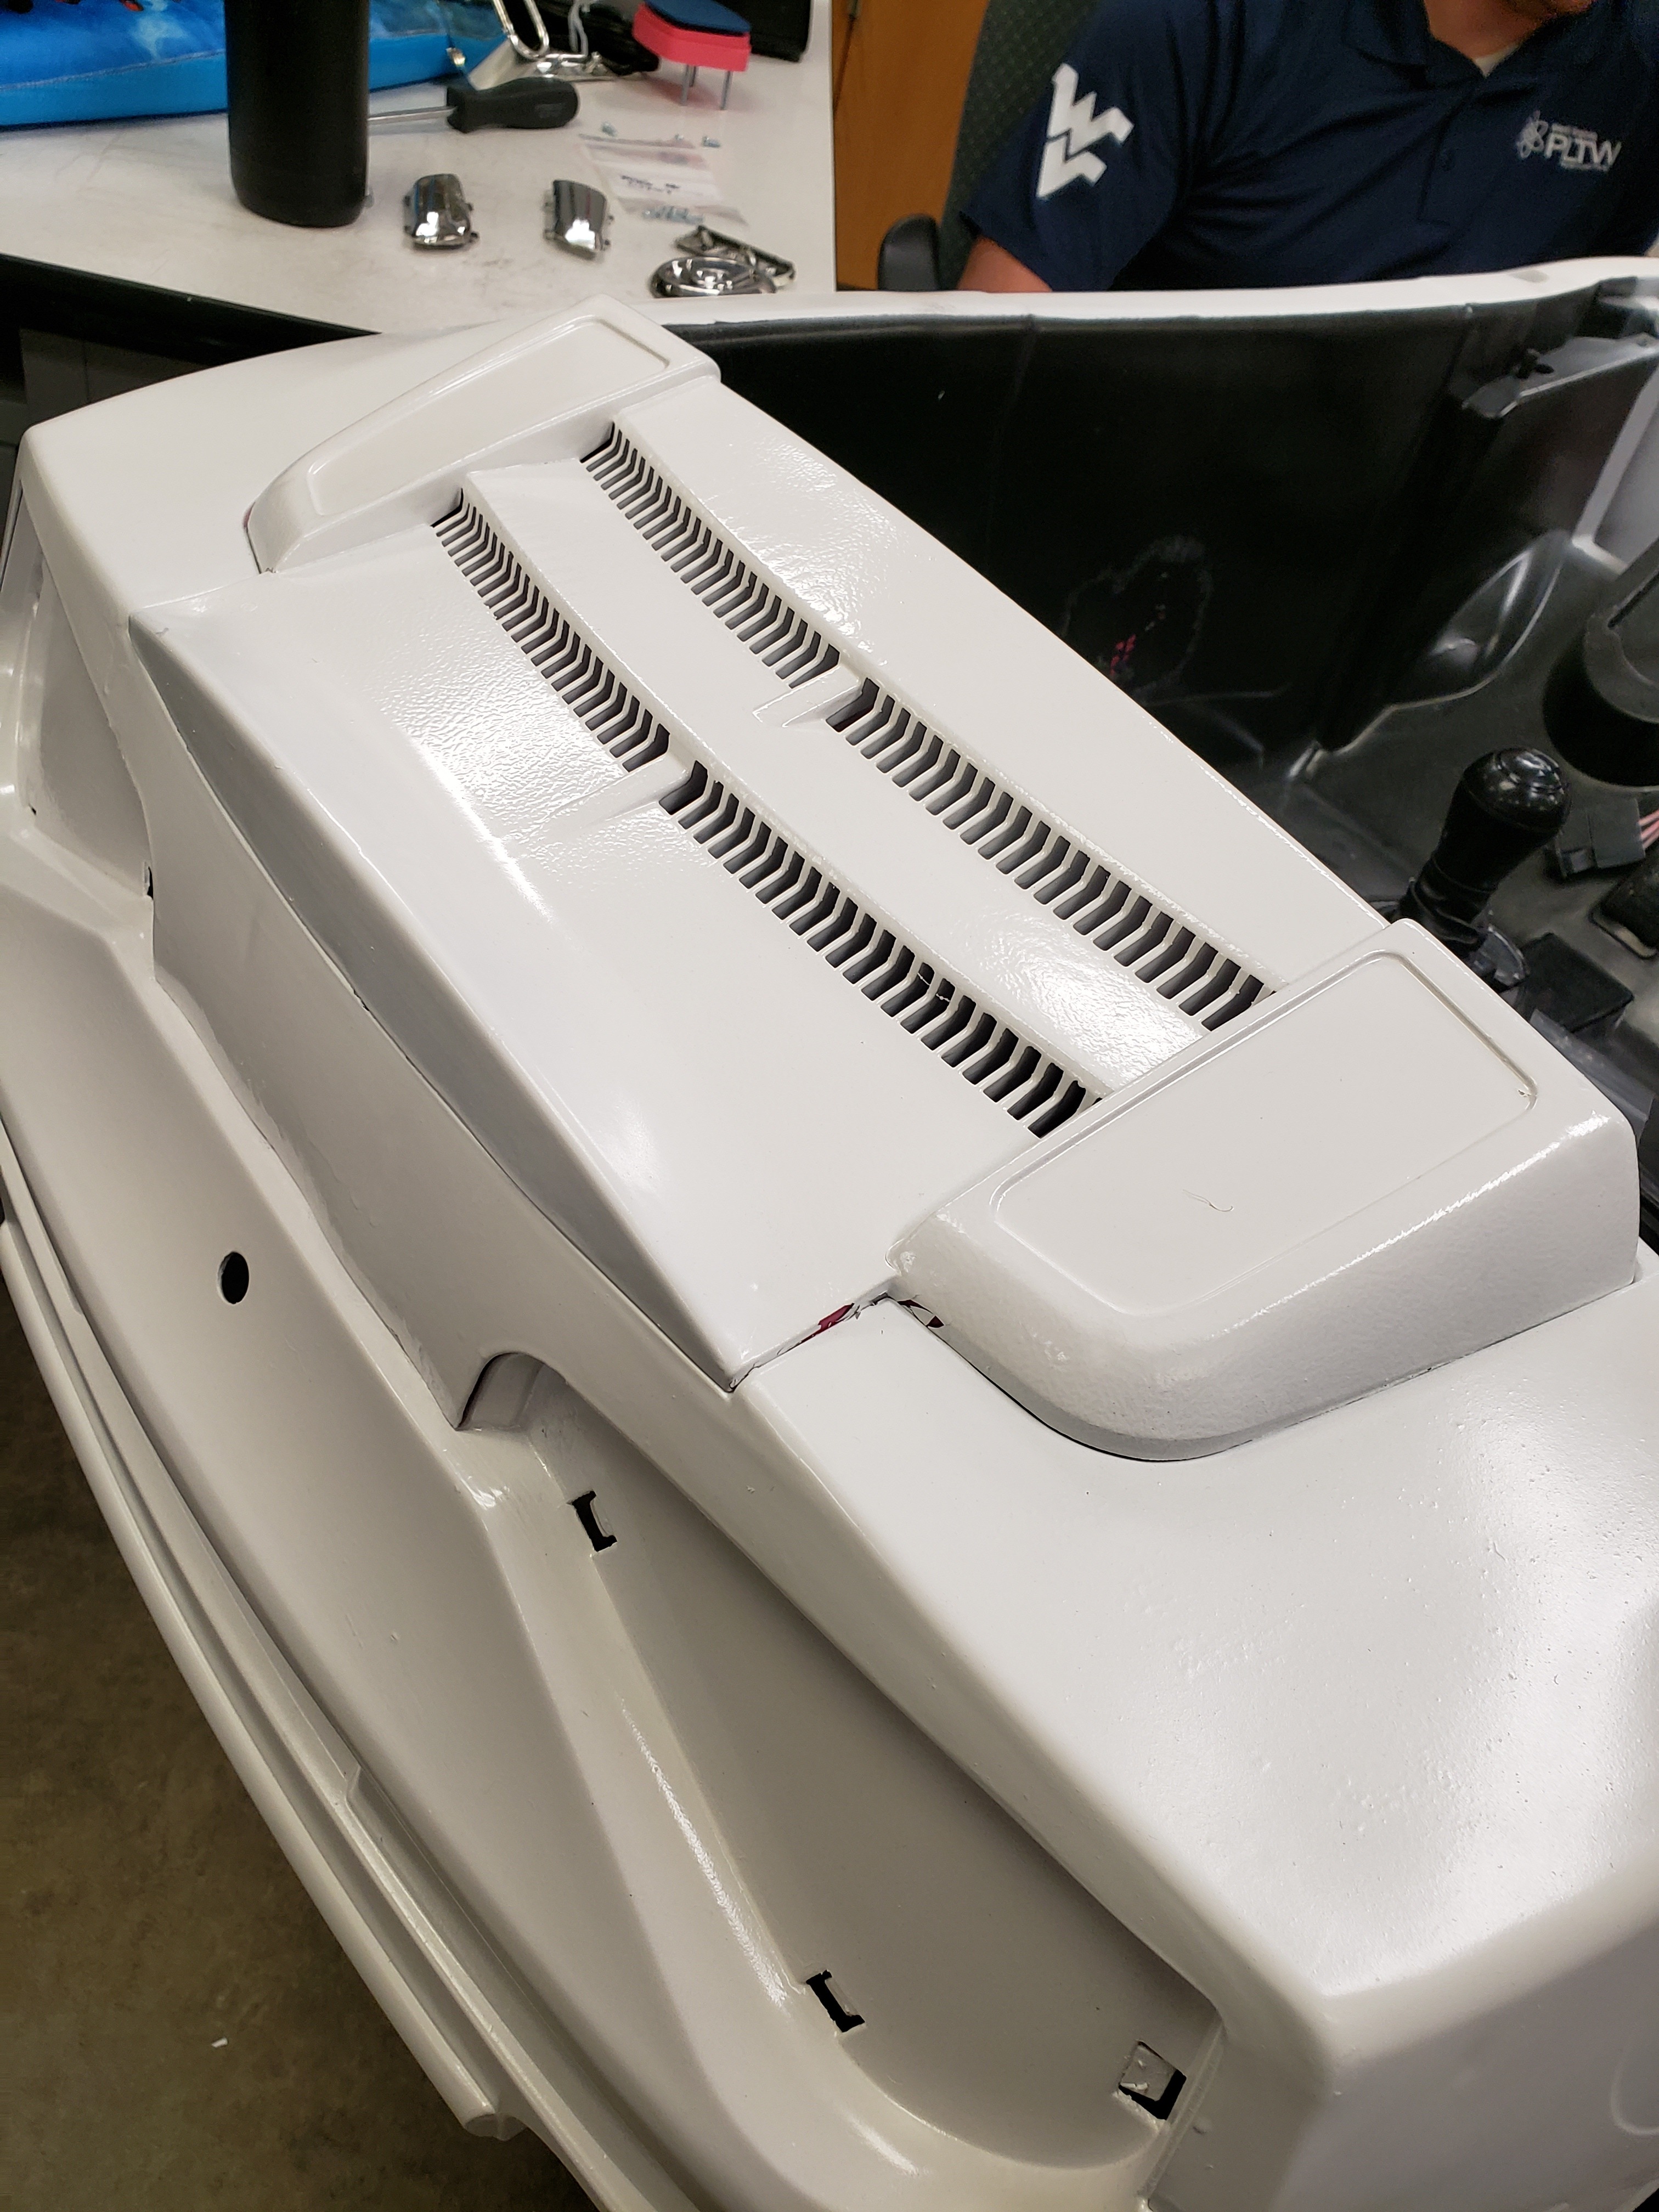
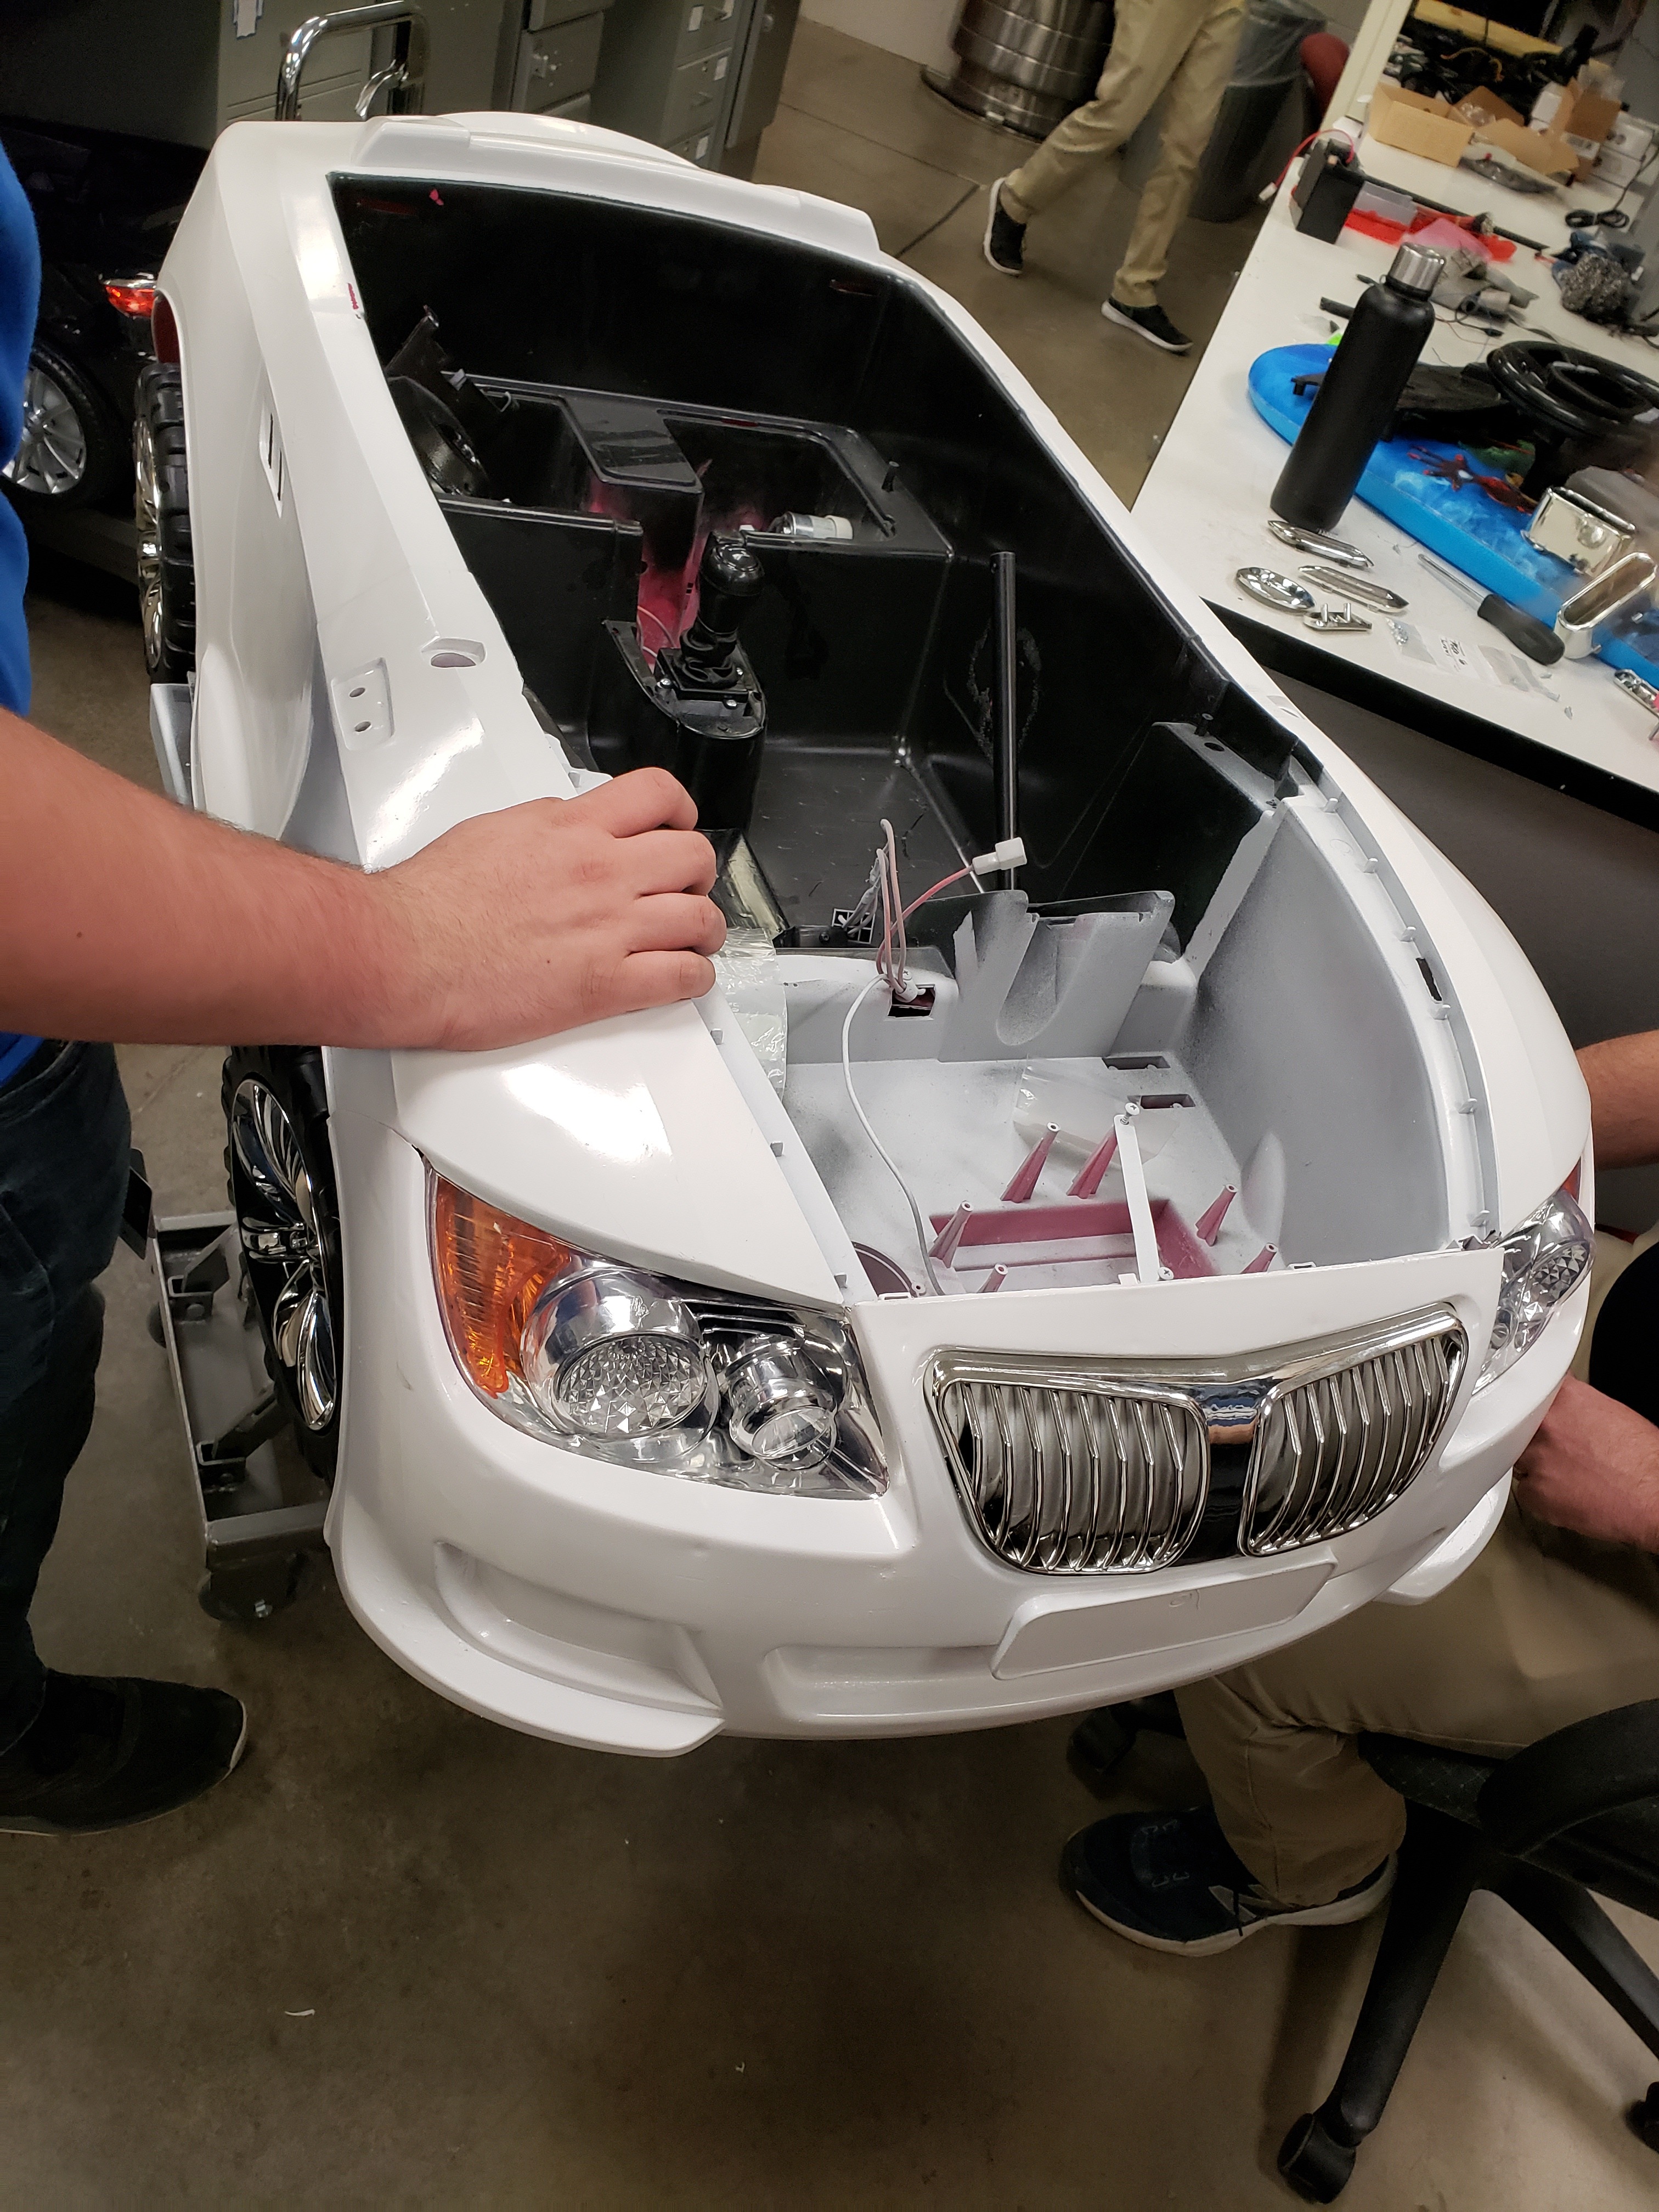
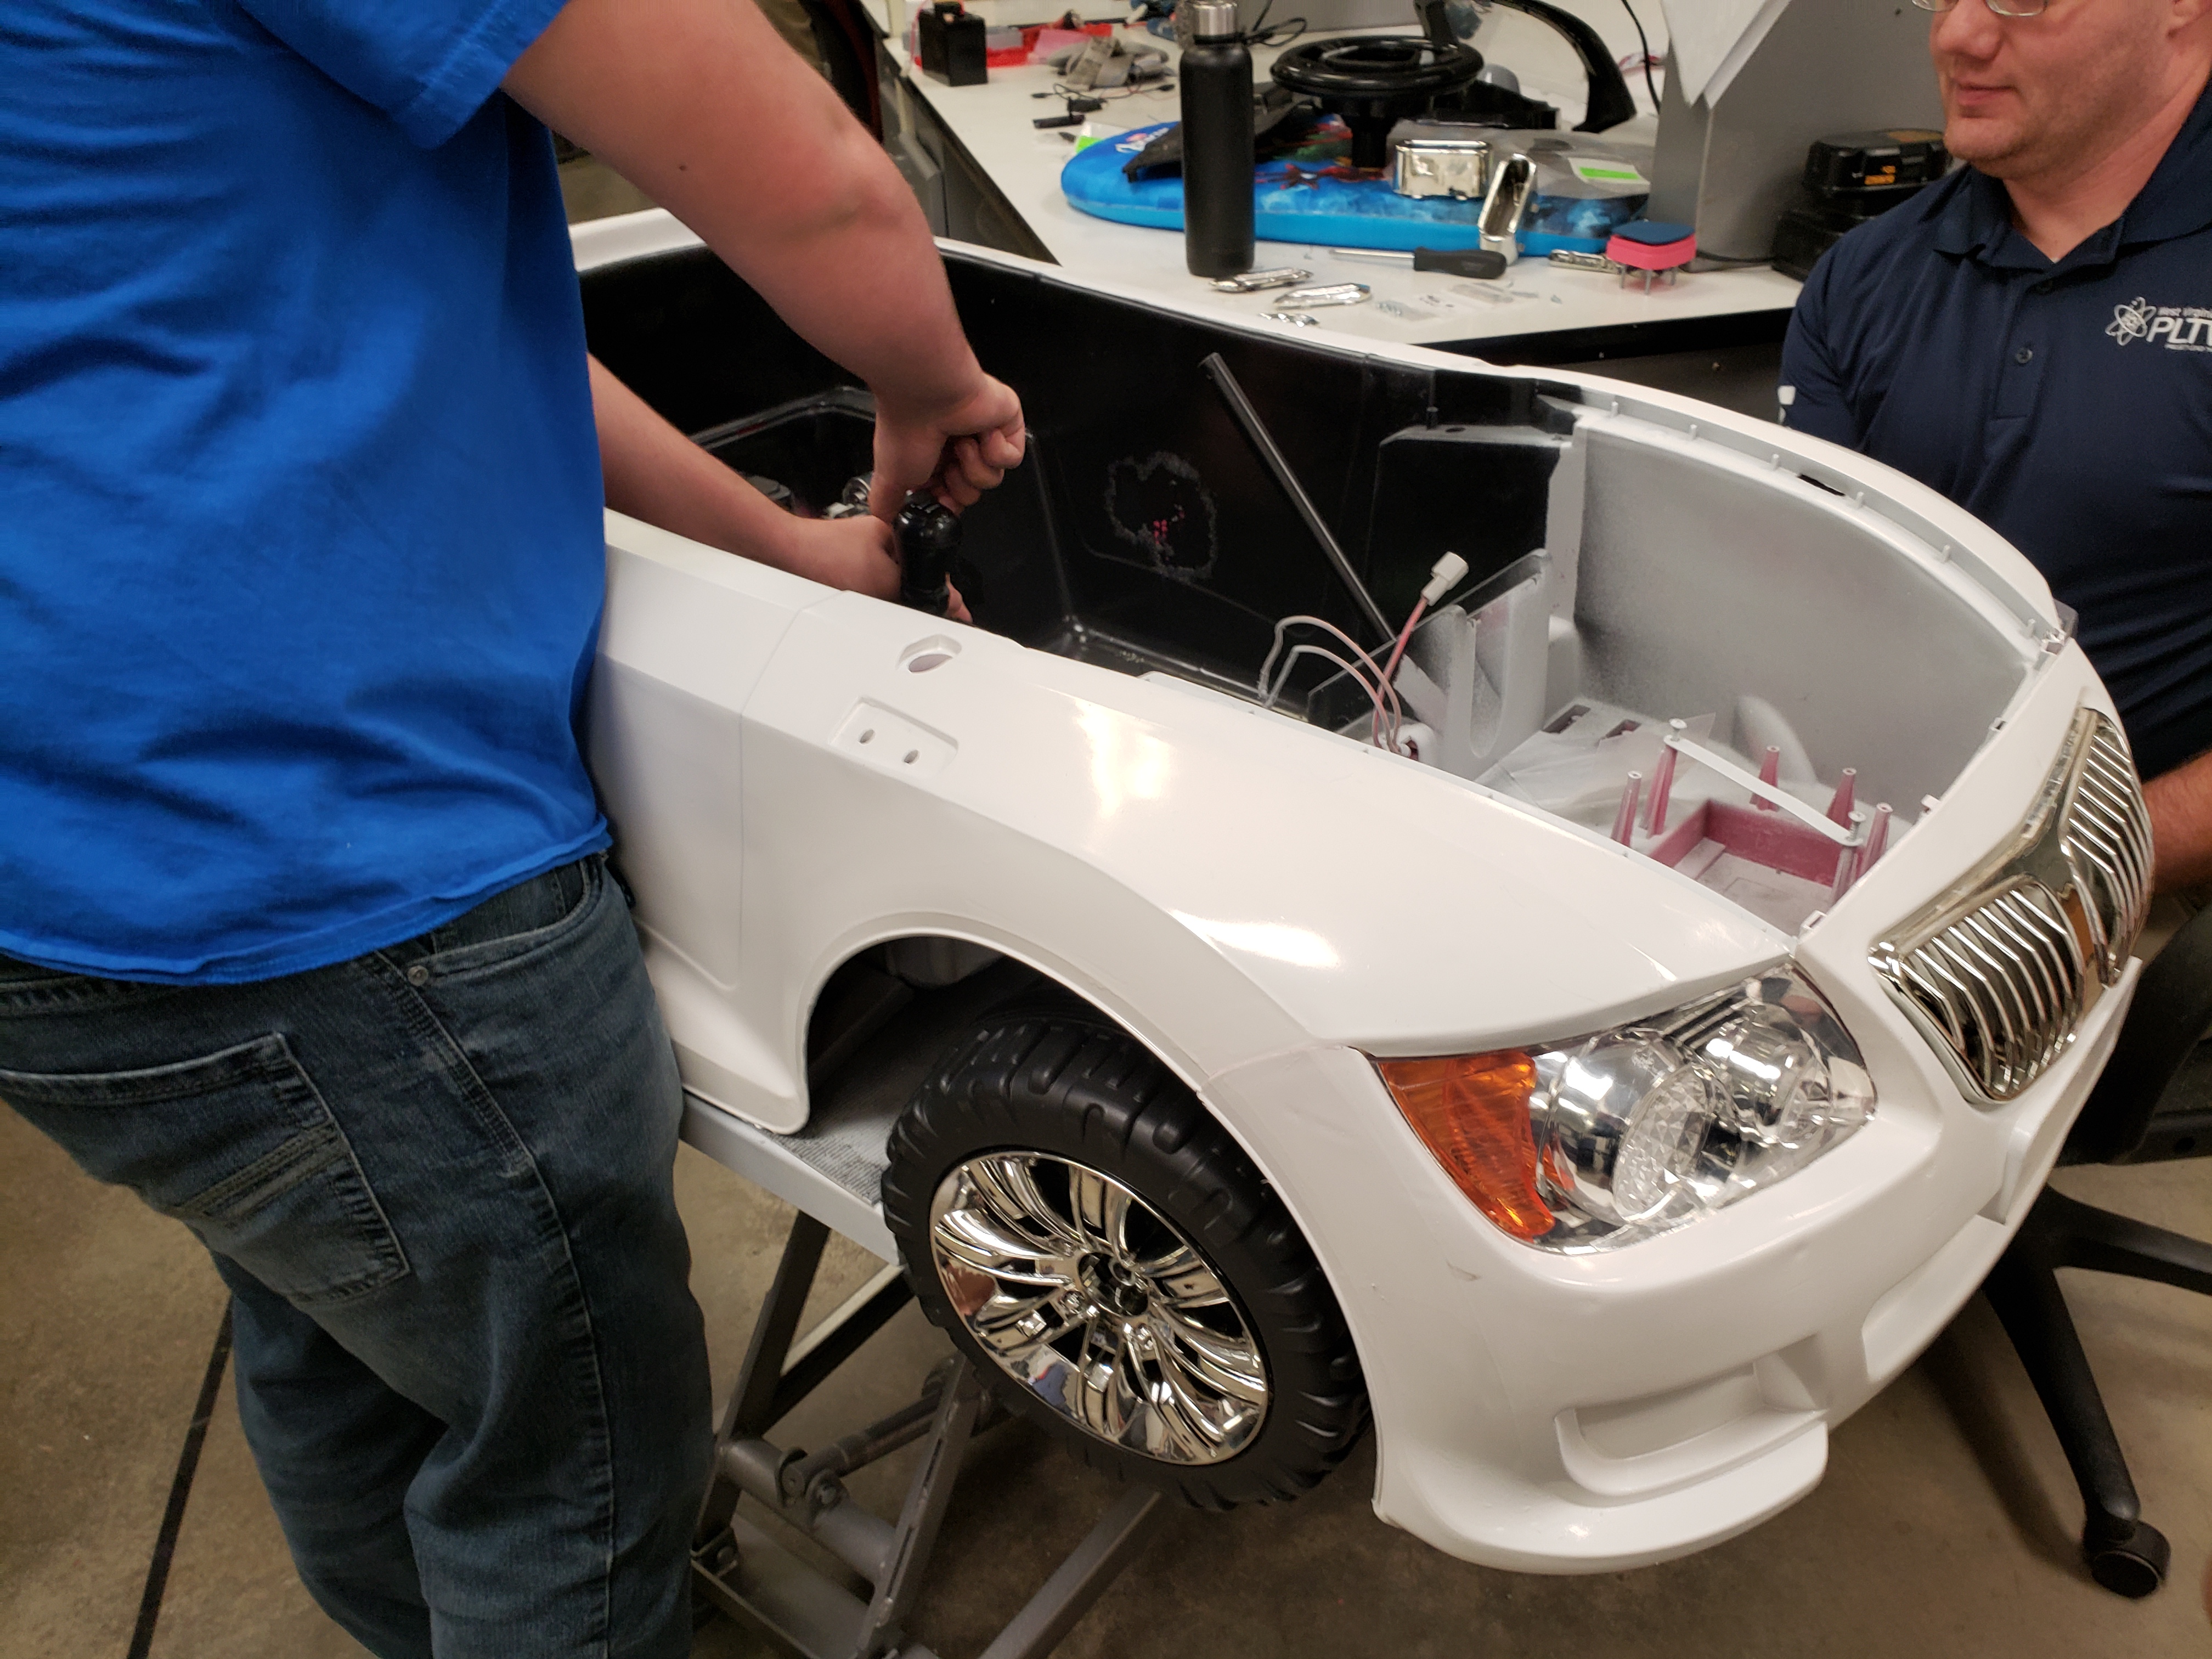
At this point, you can begin to put the car parts back together as you finish areas of it. This allows you to work on parts that need the car to be more fully assembled.
Harness Construction 1
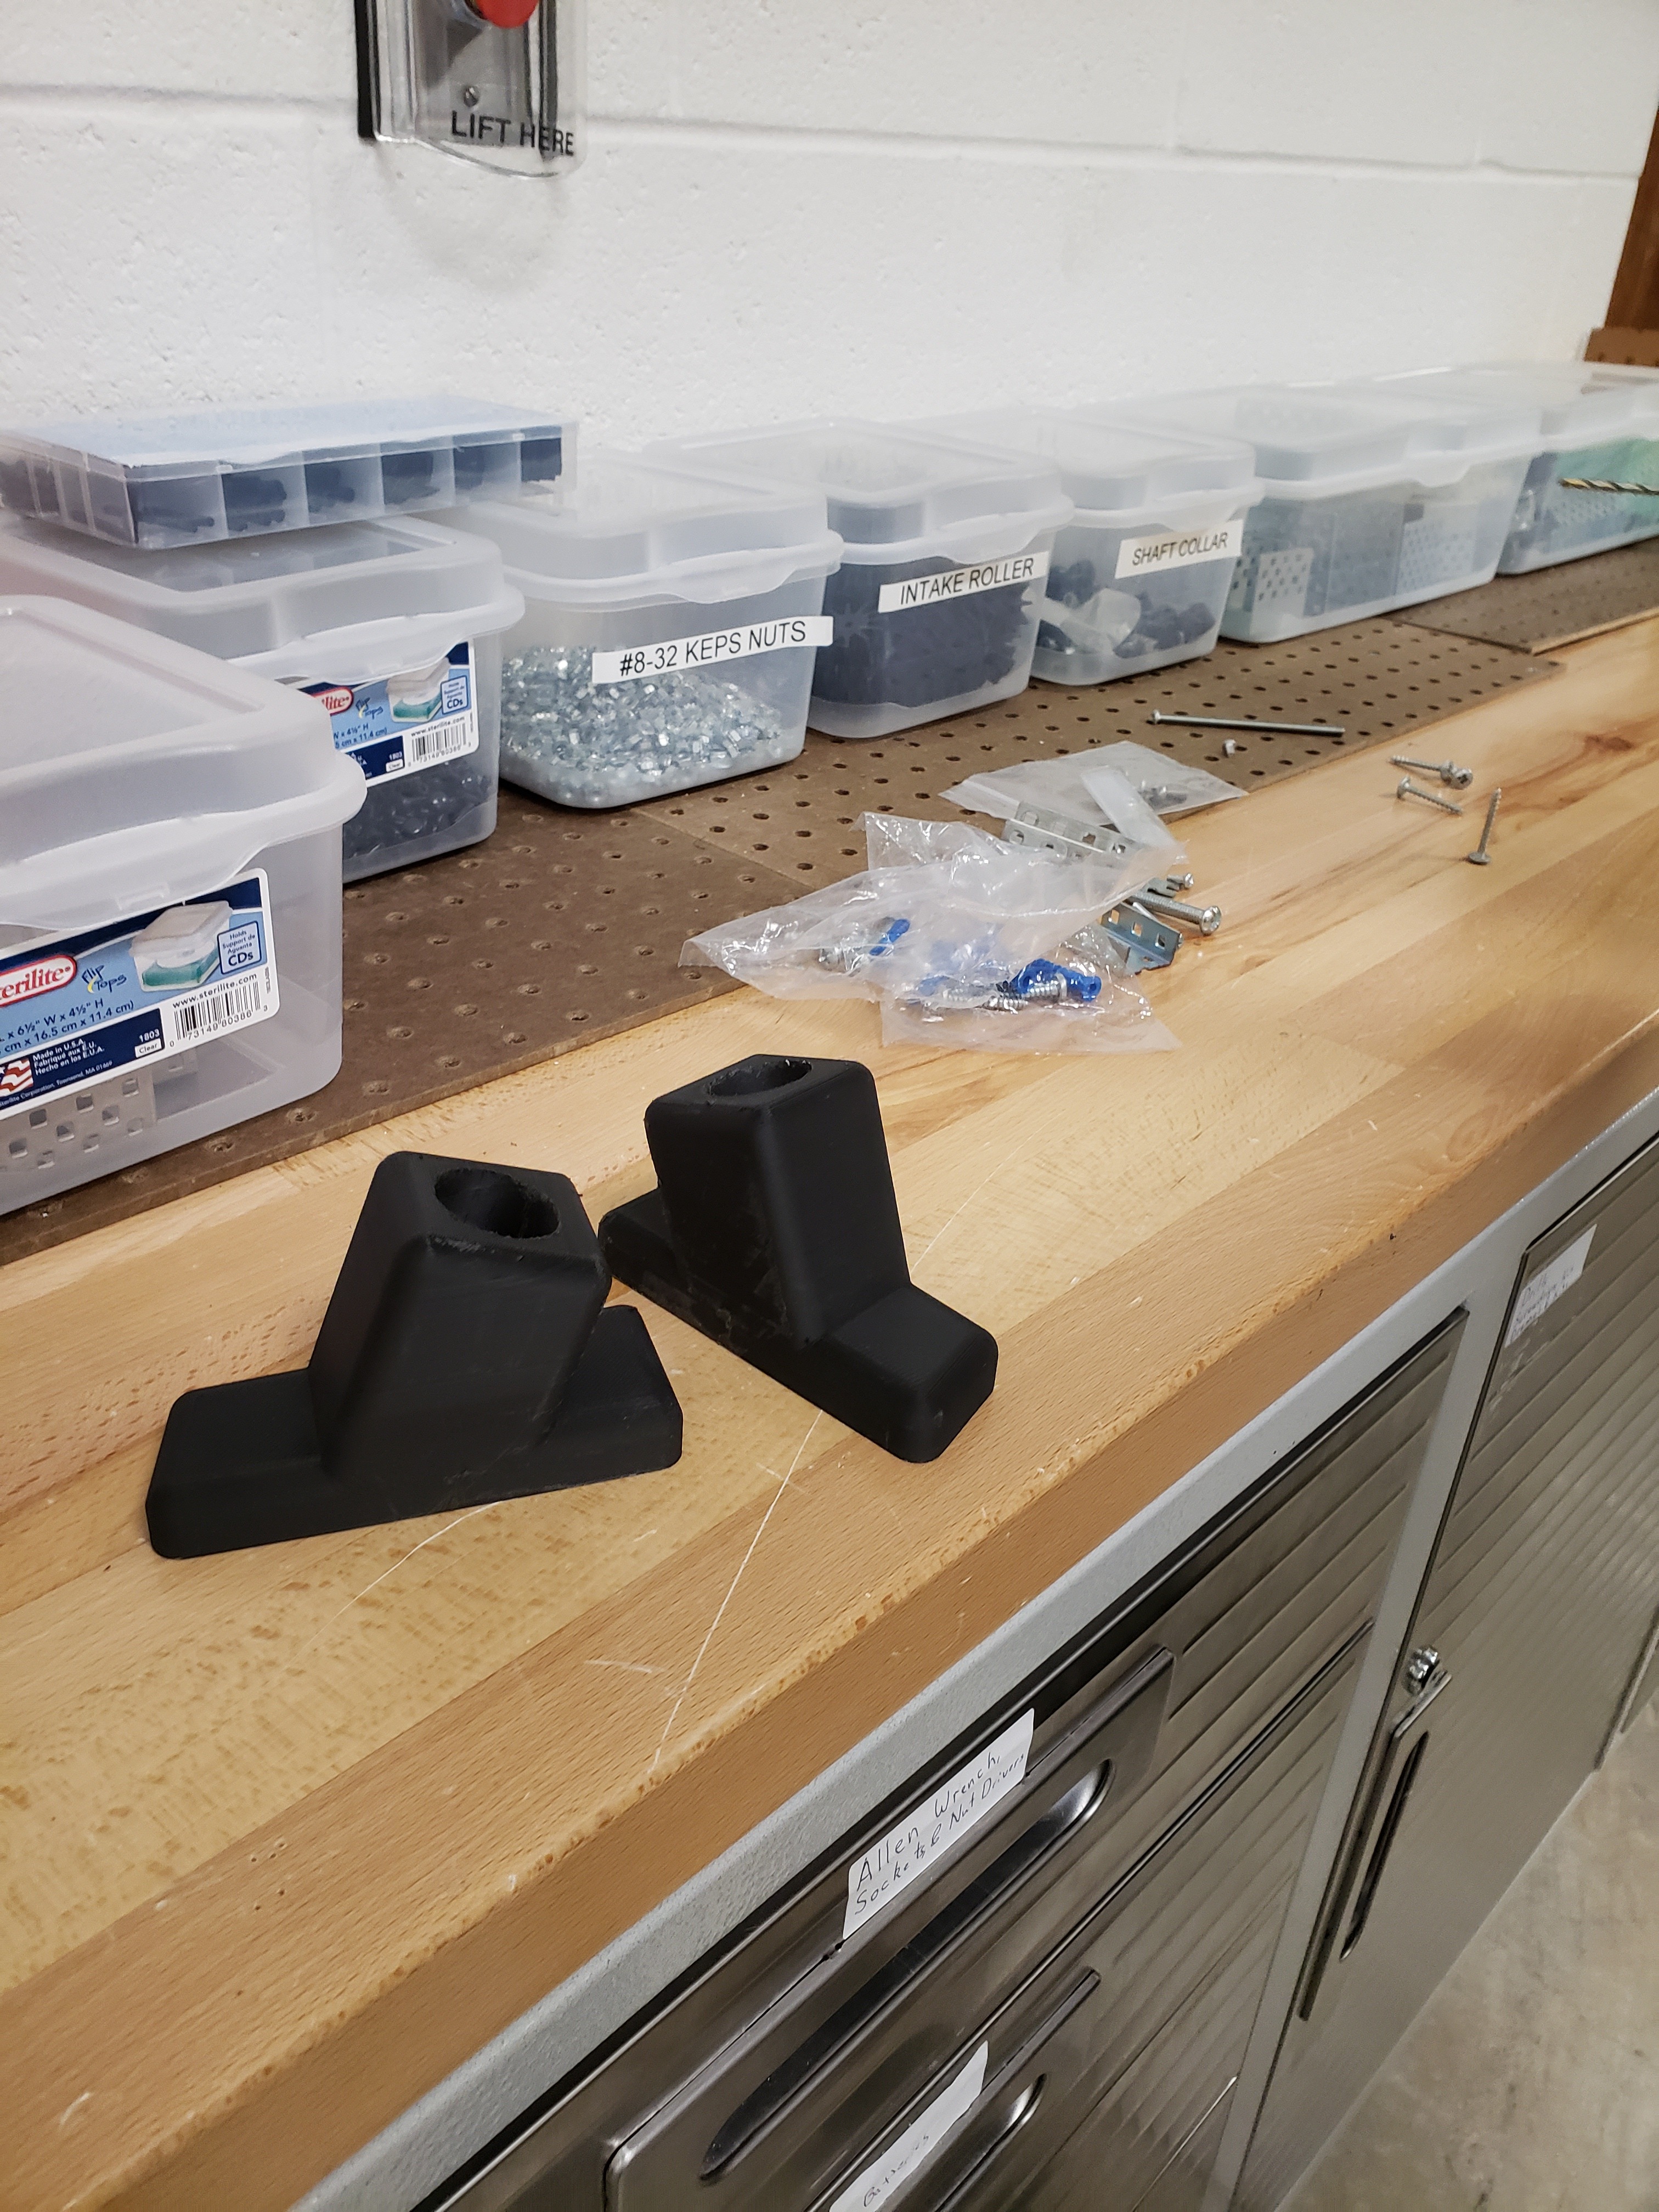
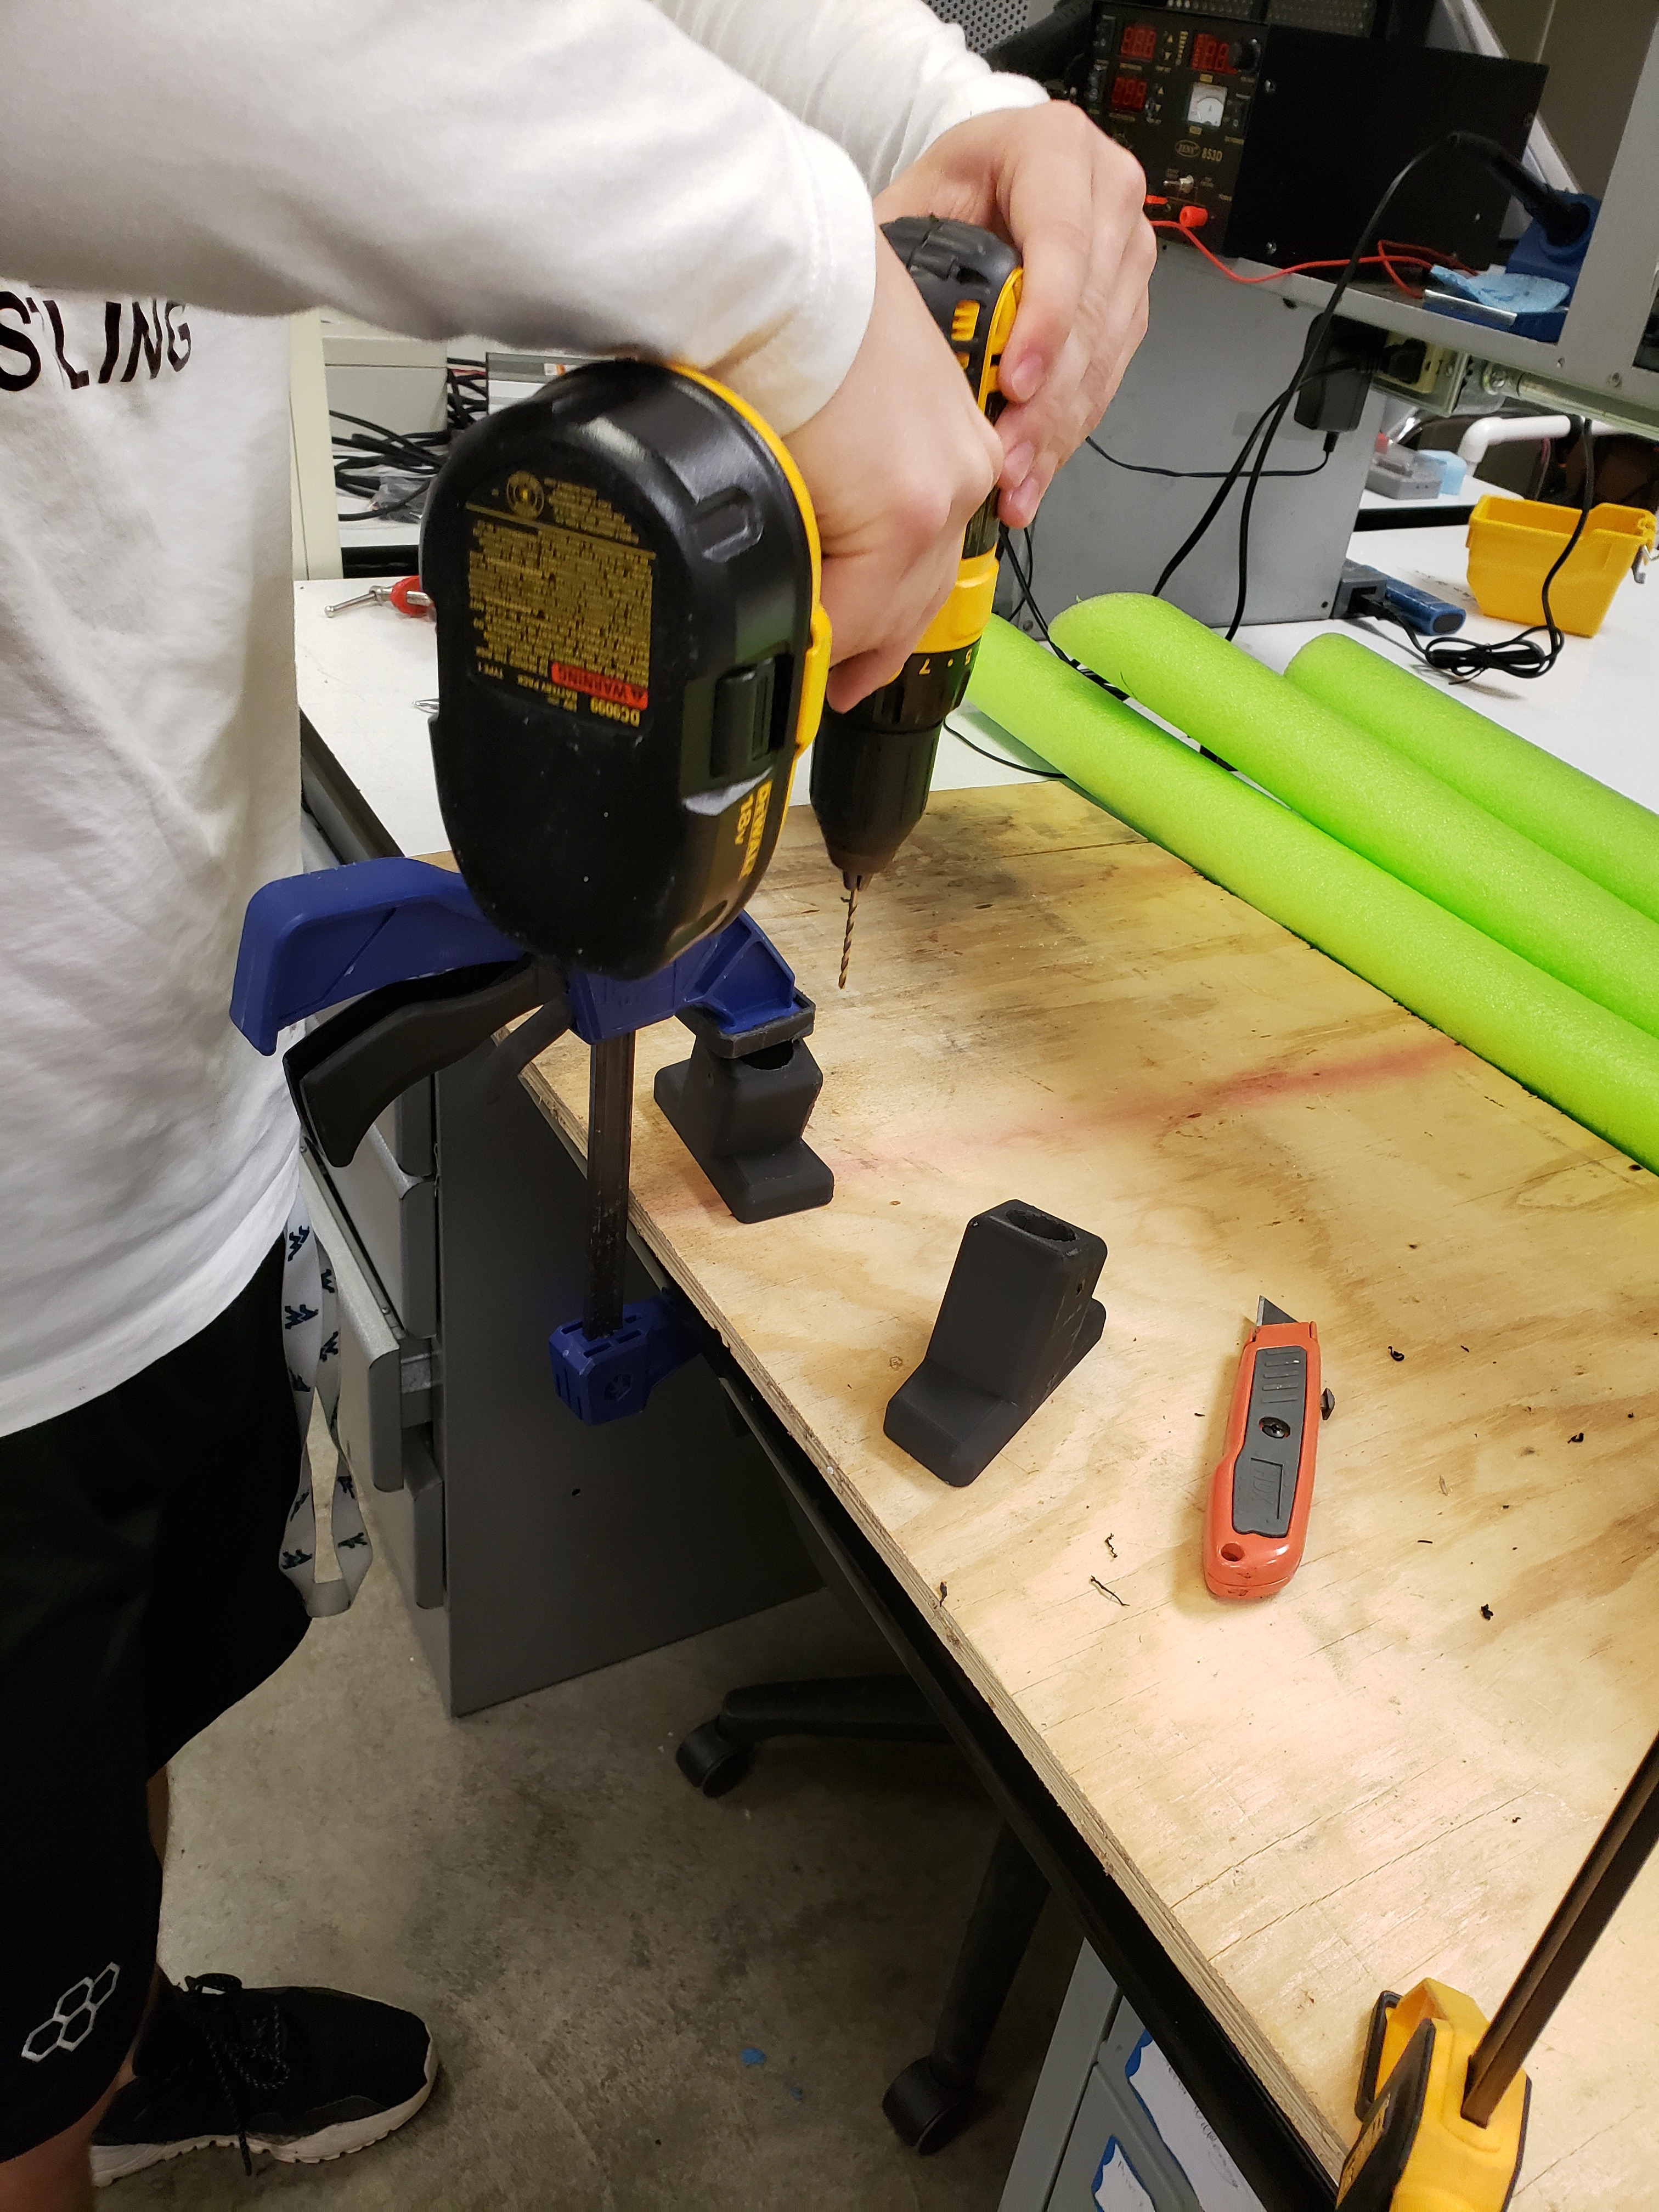
Construct supports into which to drill the harness.
Harness Construction 2
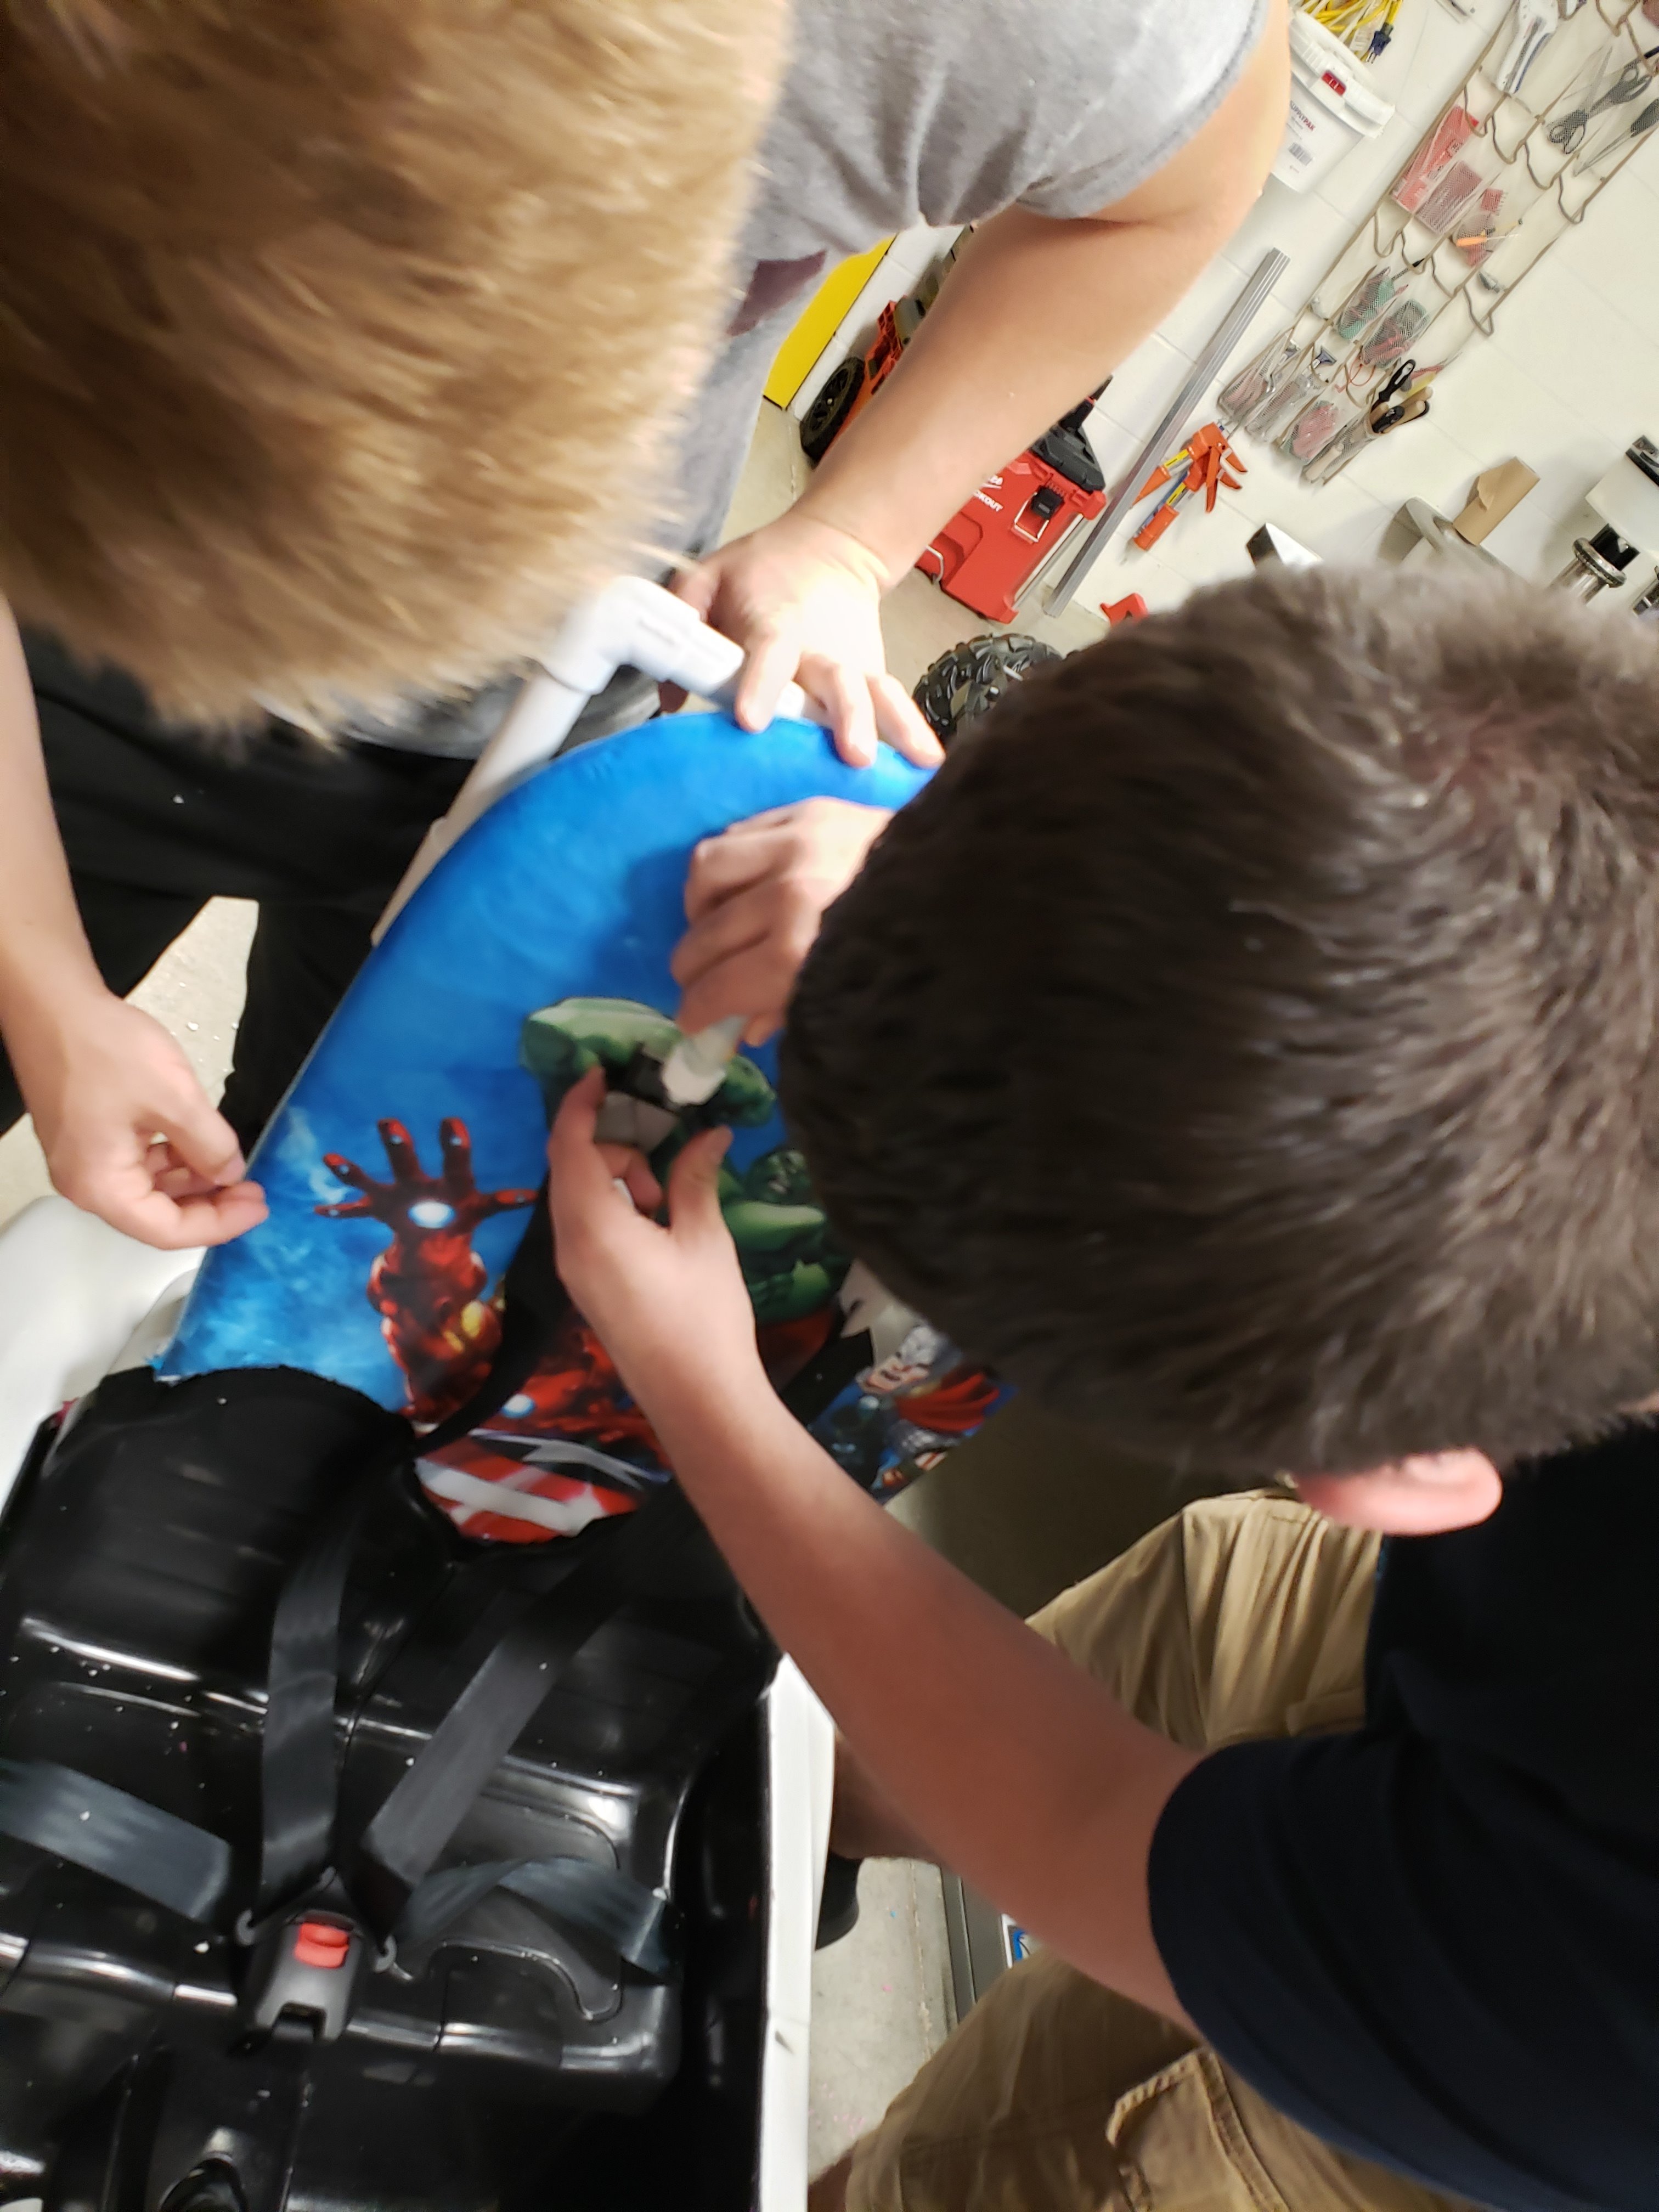
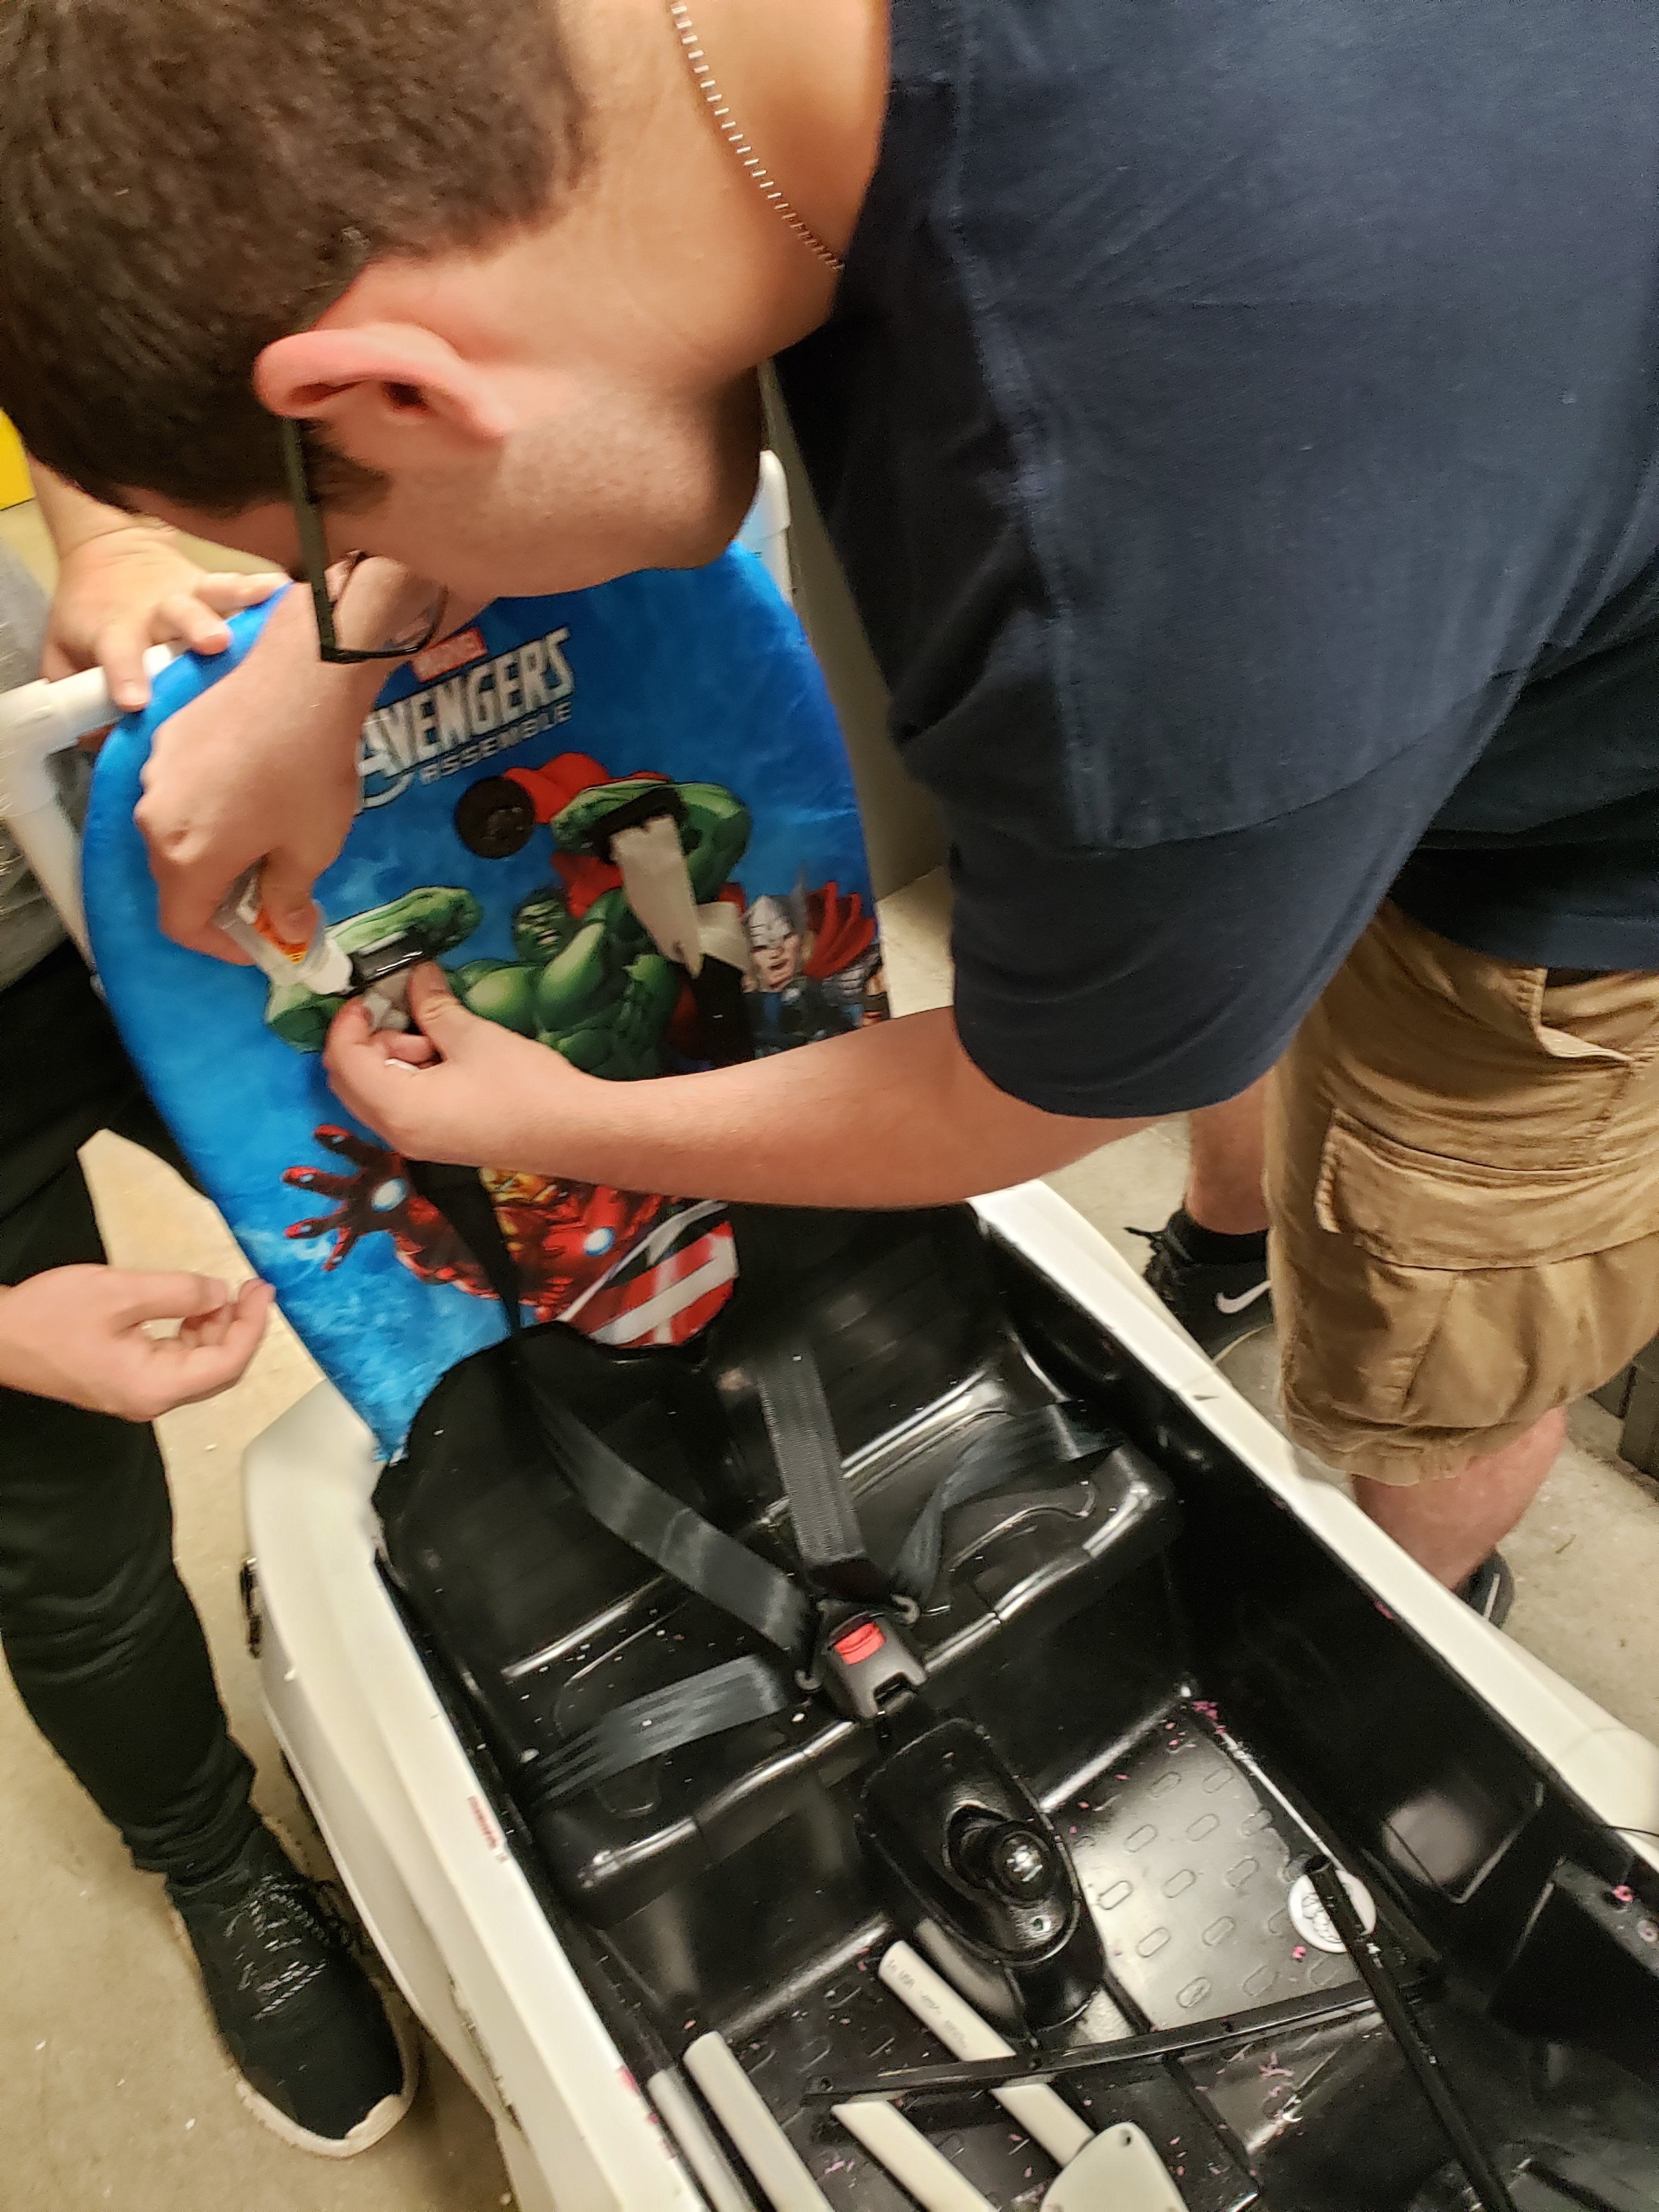
Hook and run the harness around the seat with the drilled supports and holes in the seat back to make it able to secure the child.
Drafting-
Design ideas for a button for an off and off switch for the car.
Drafting-
Make precise measurements for the button so that it will fit in the car.
Drafting-
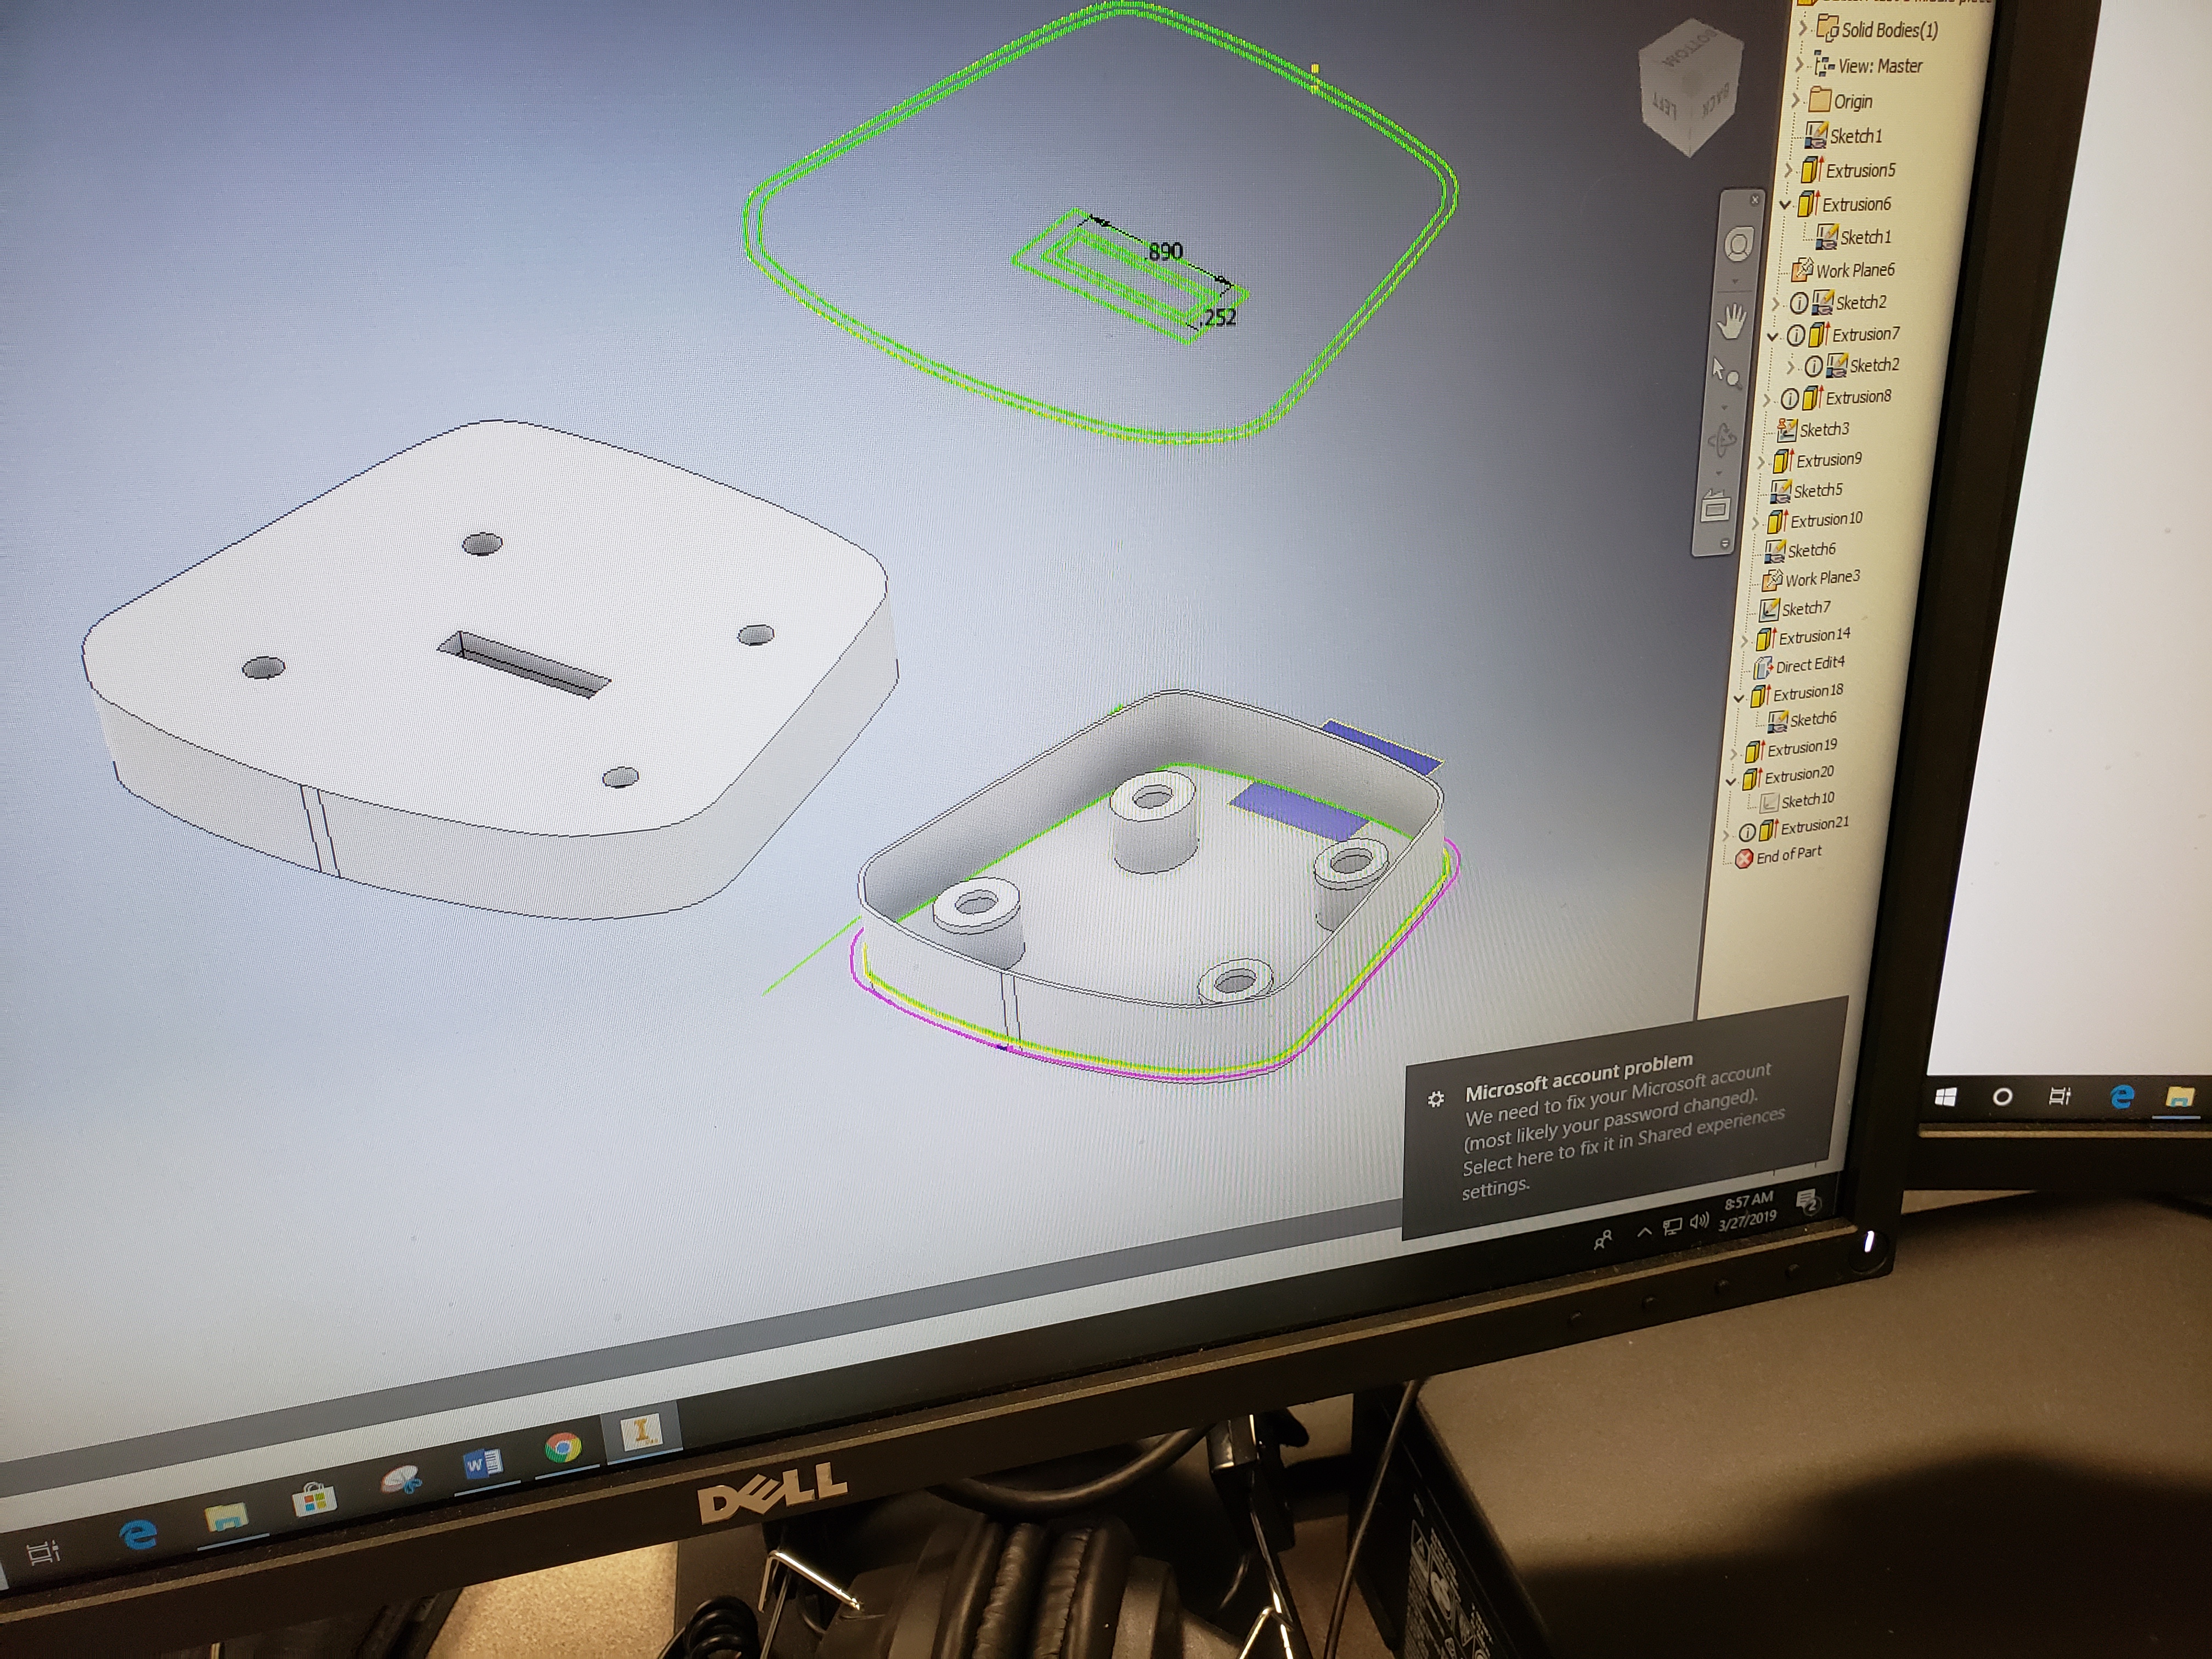
Enter the sketch into Inventor with accurate numbers.
Drafting-
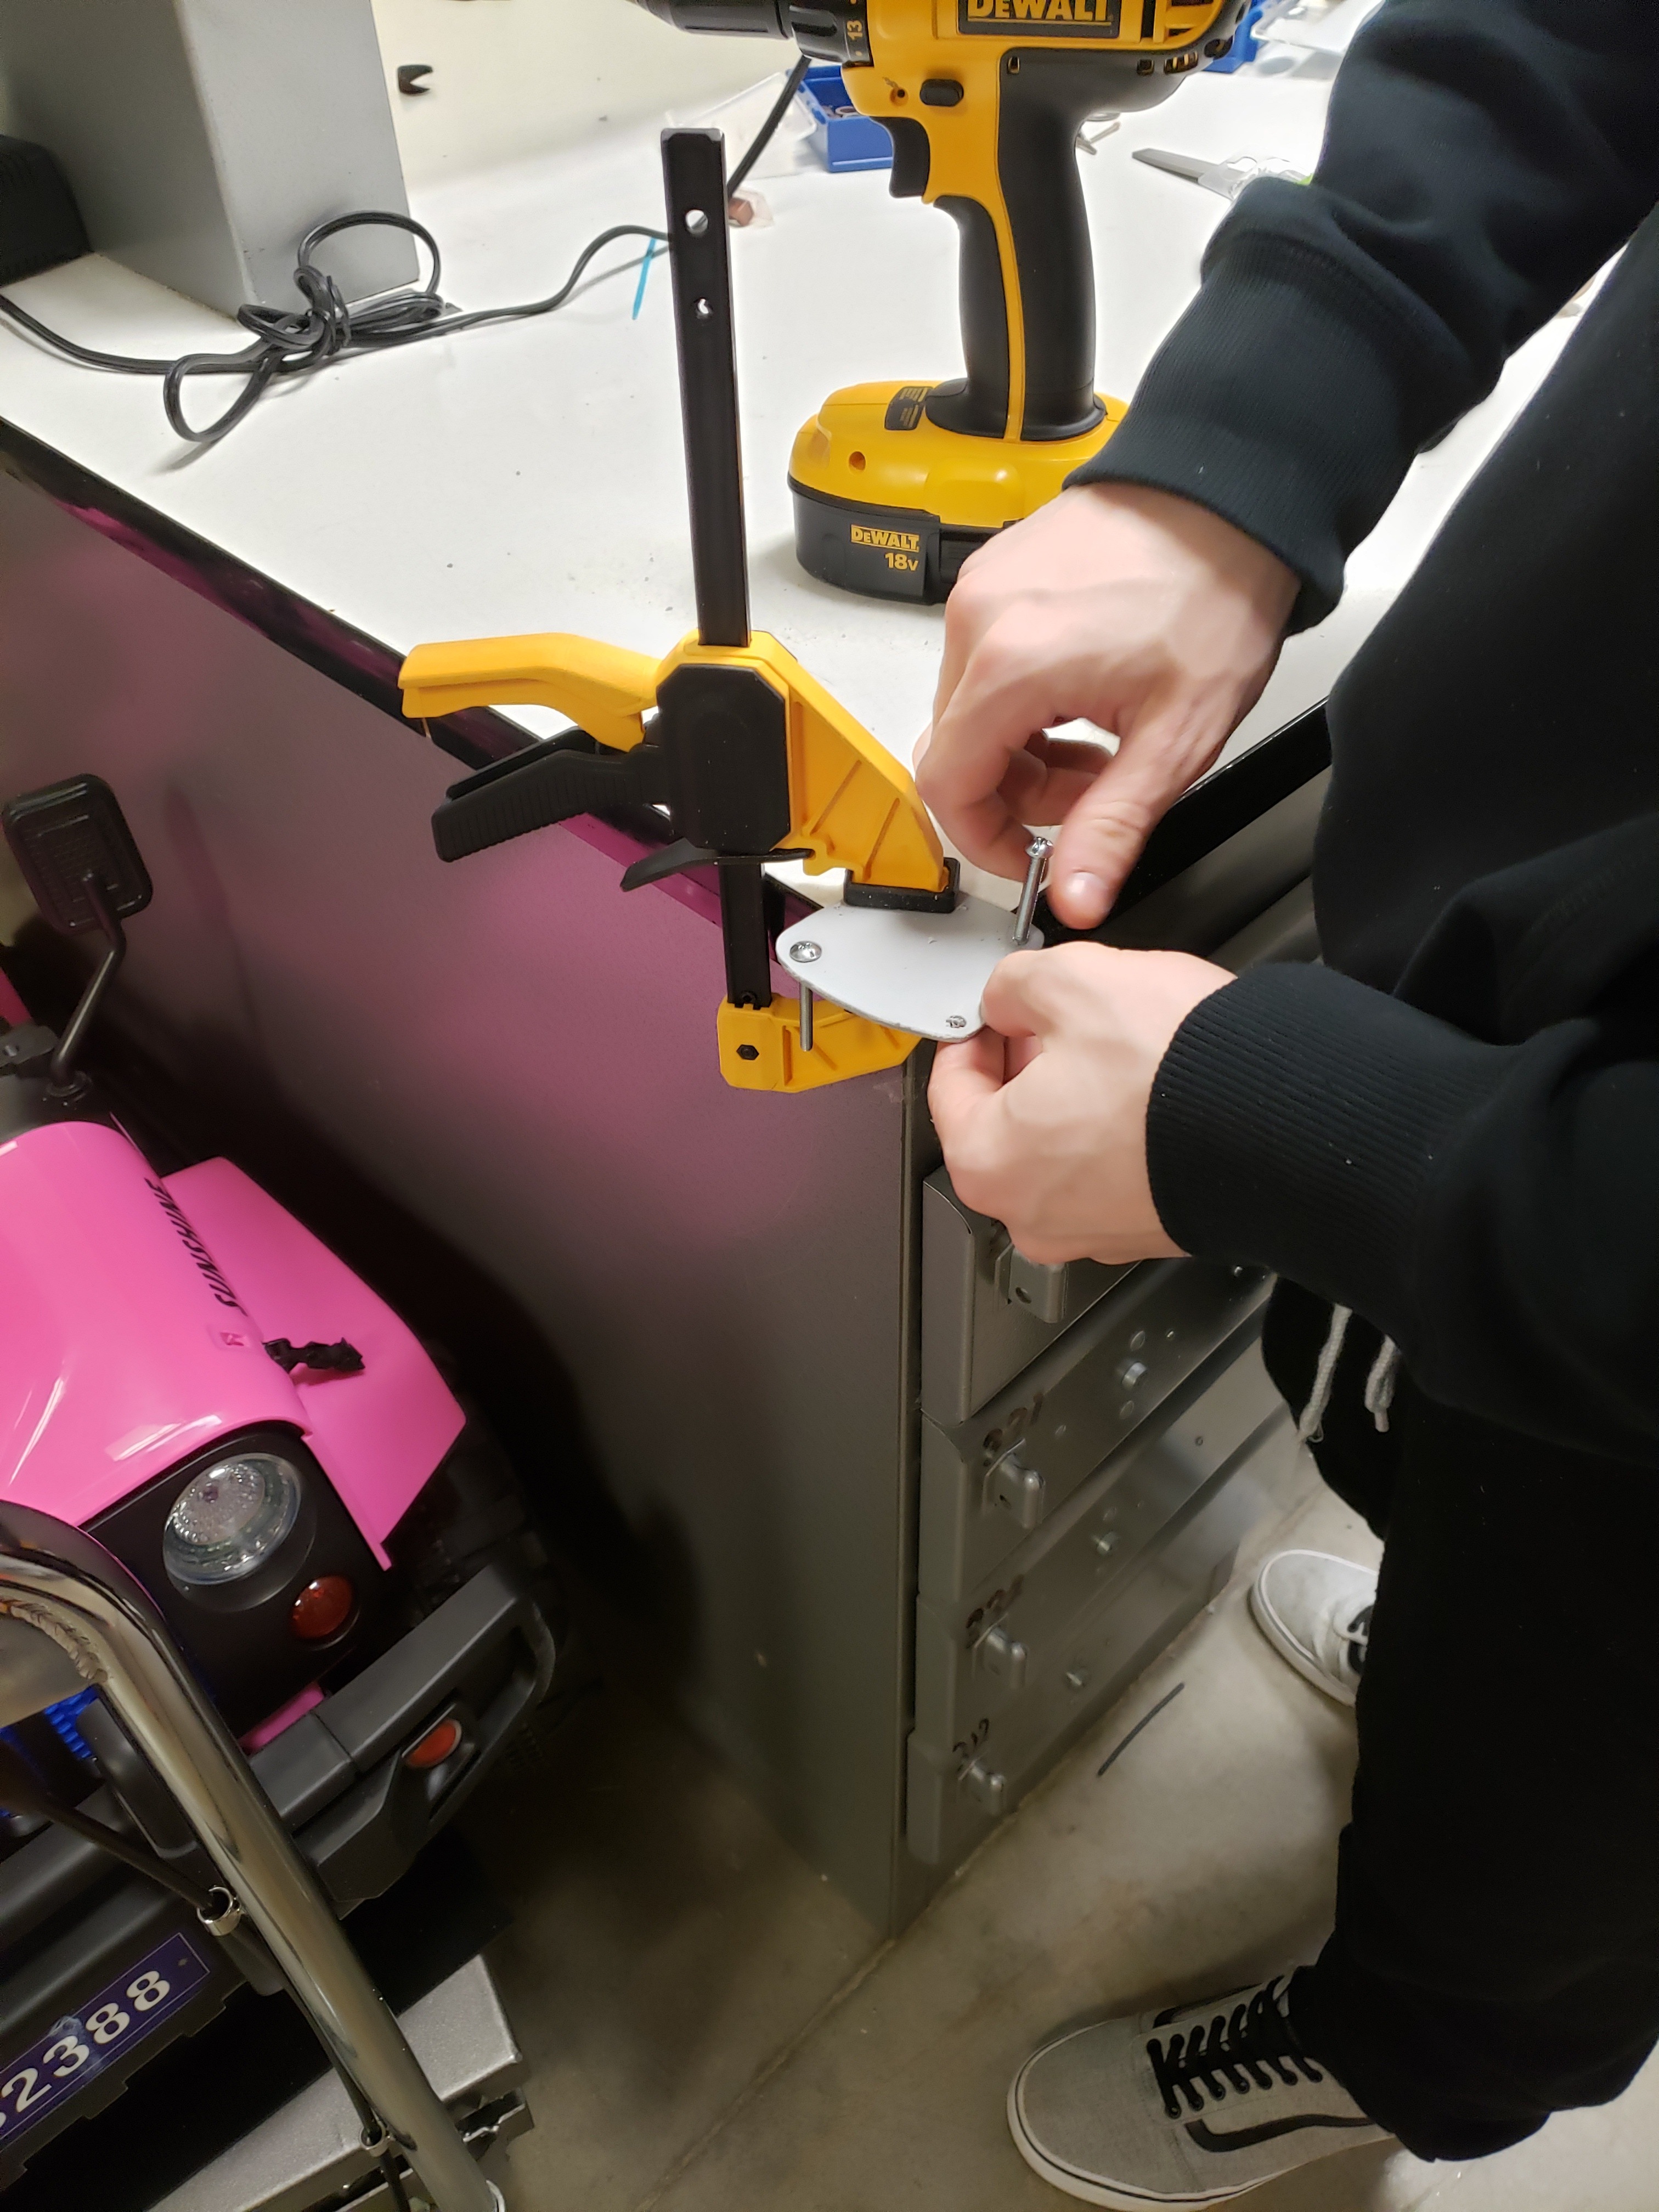
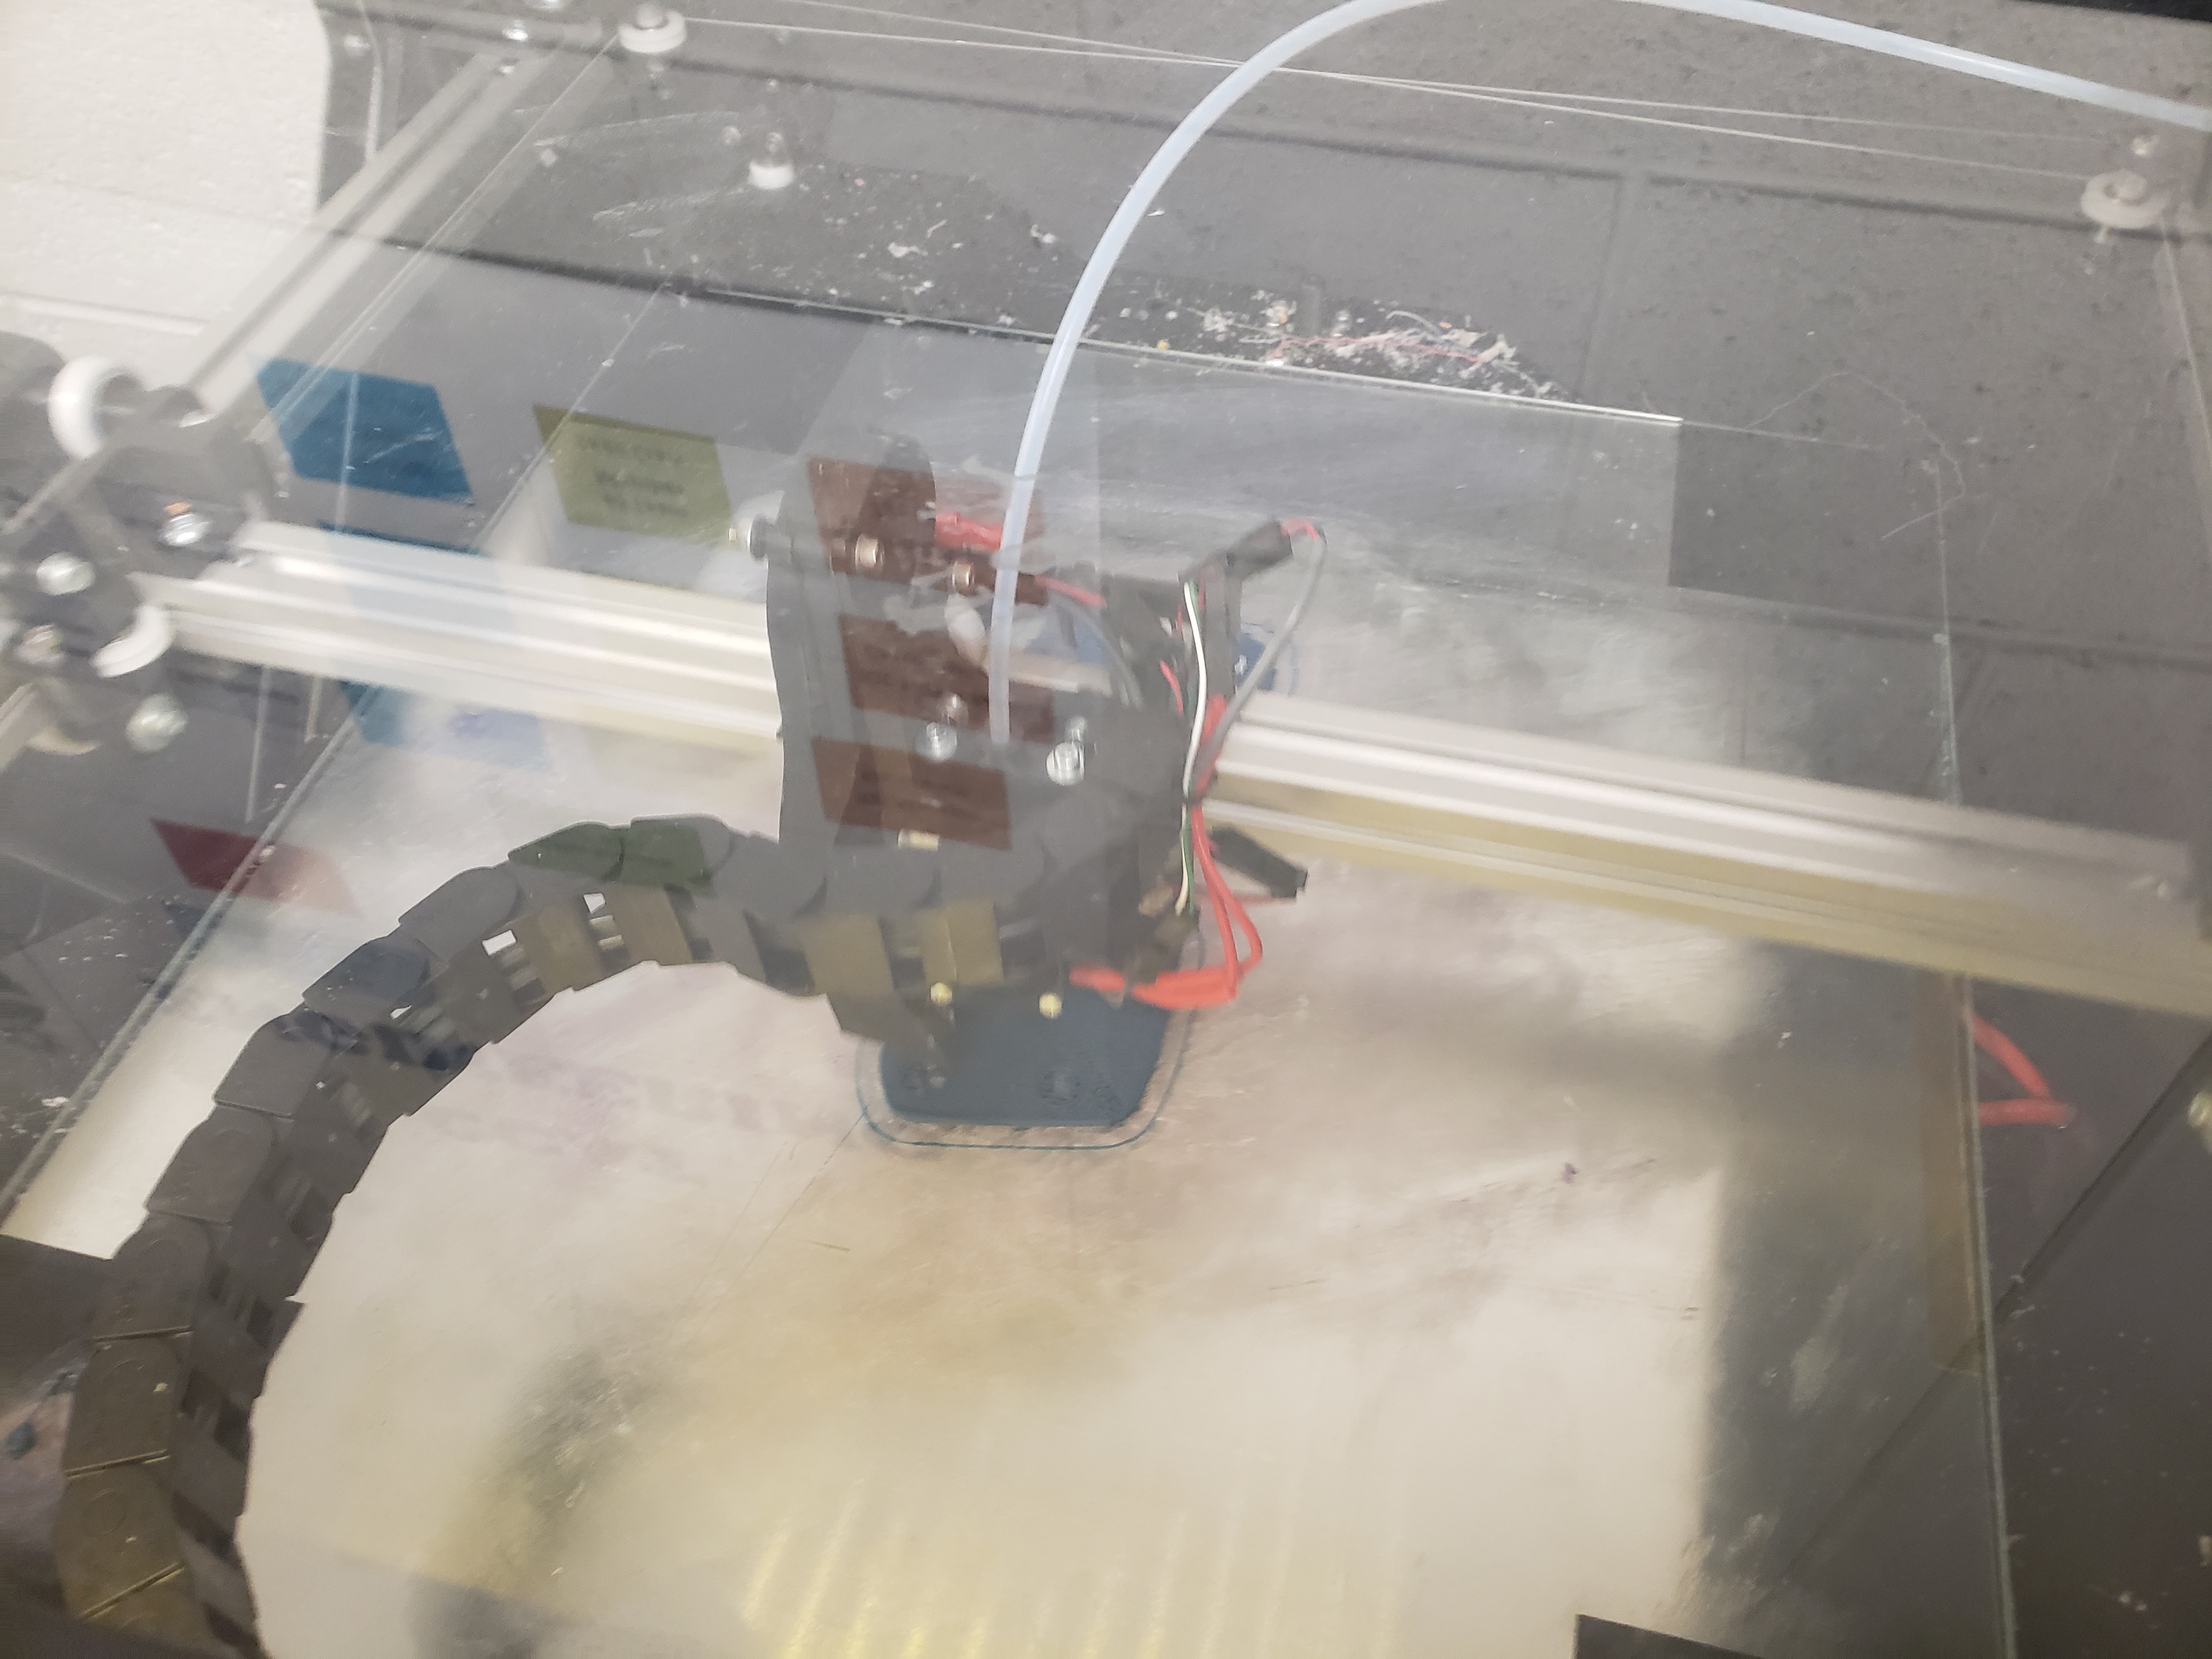
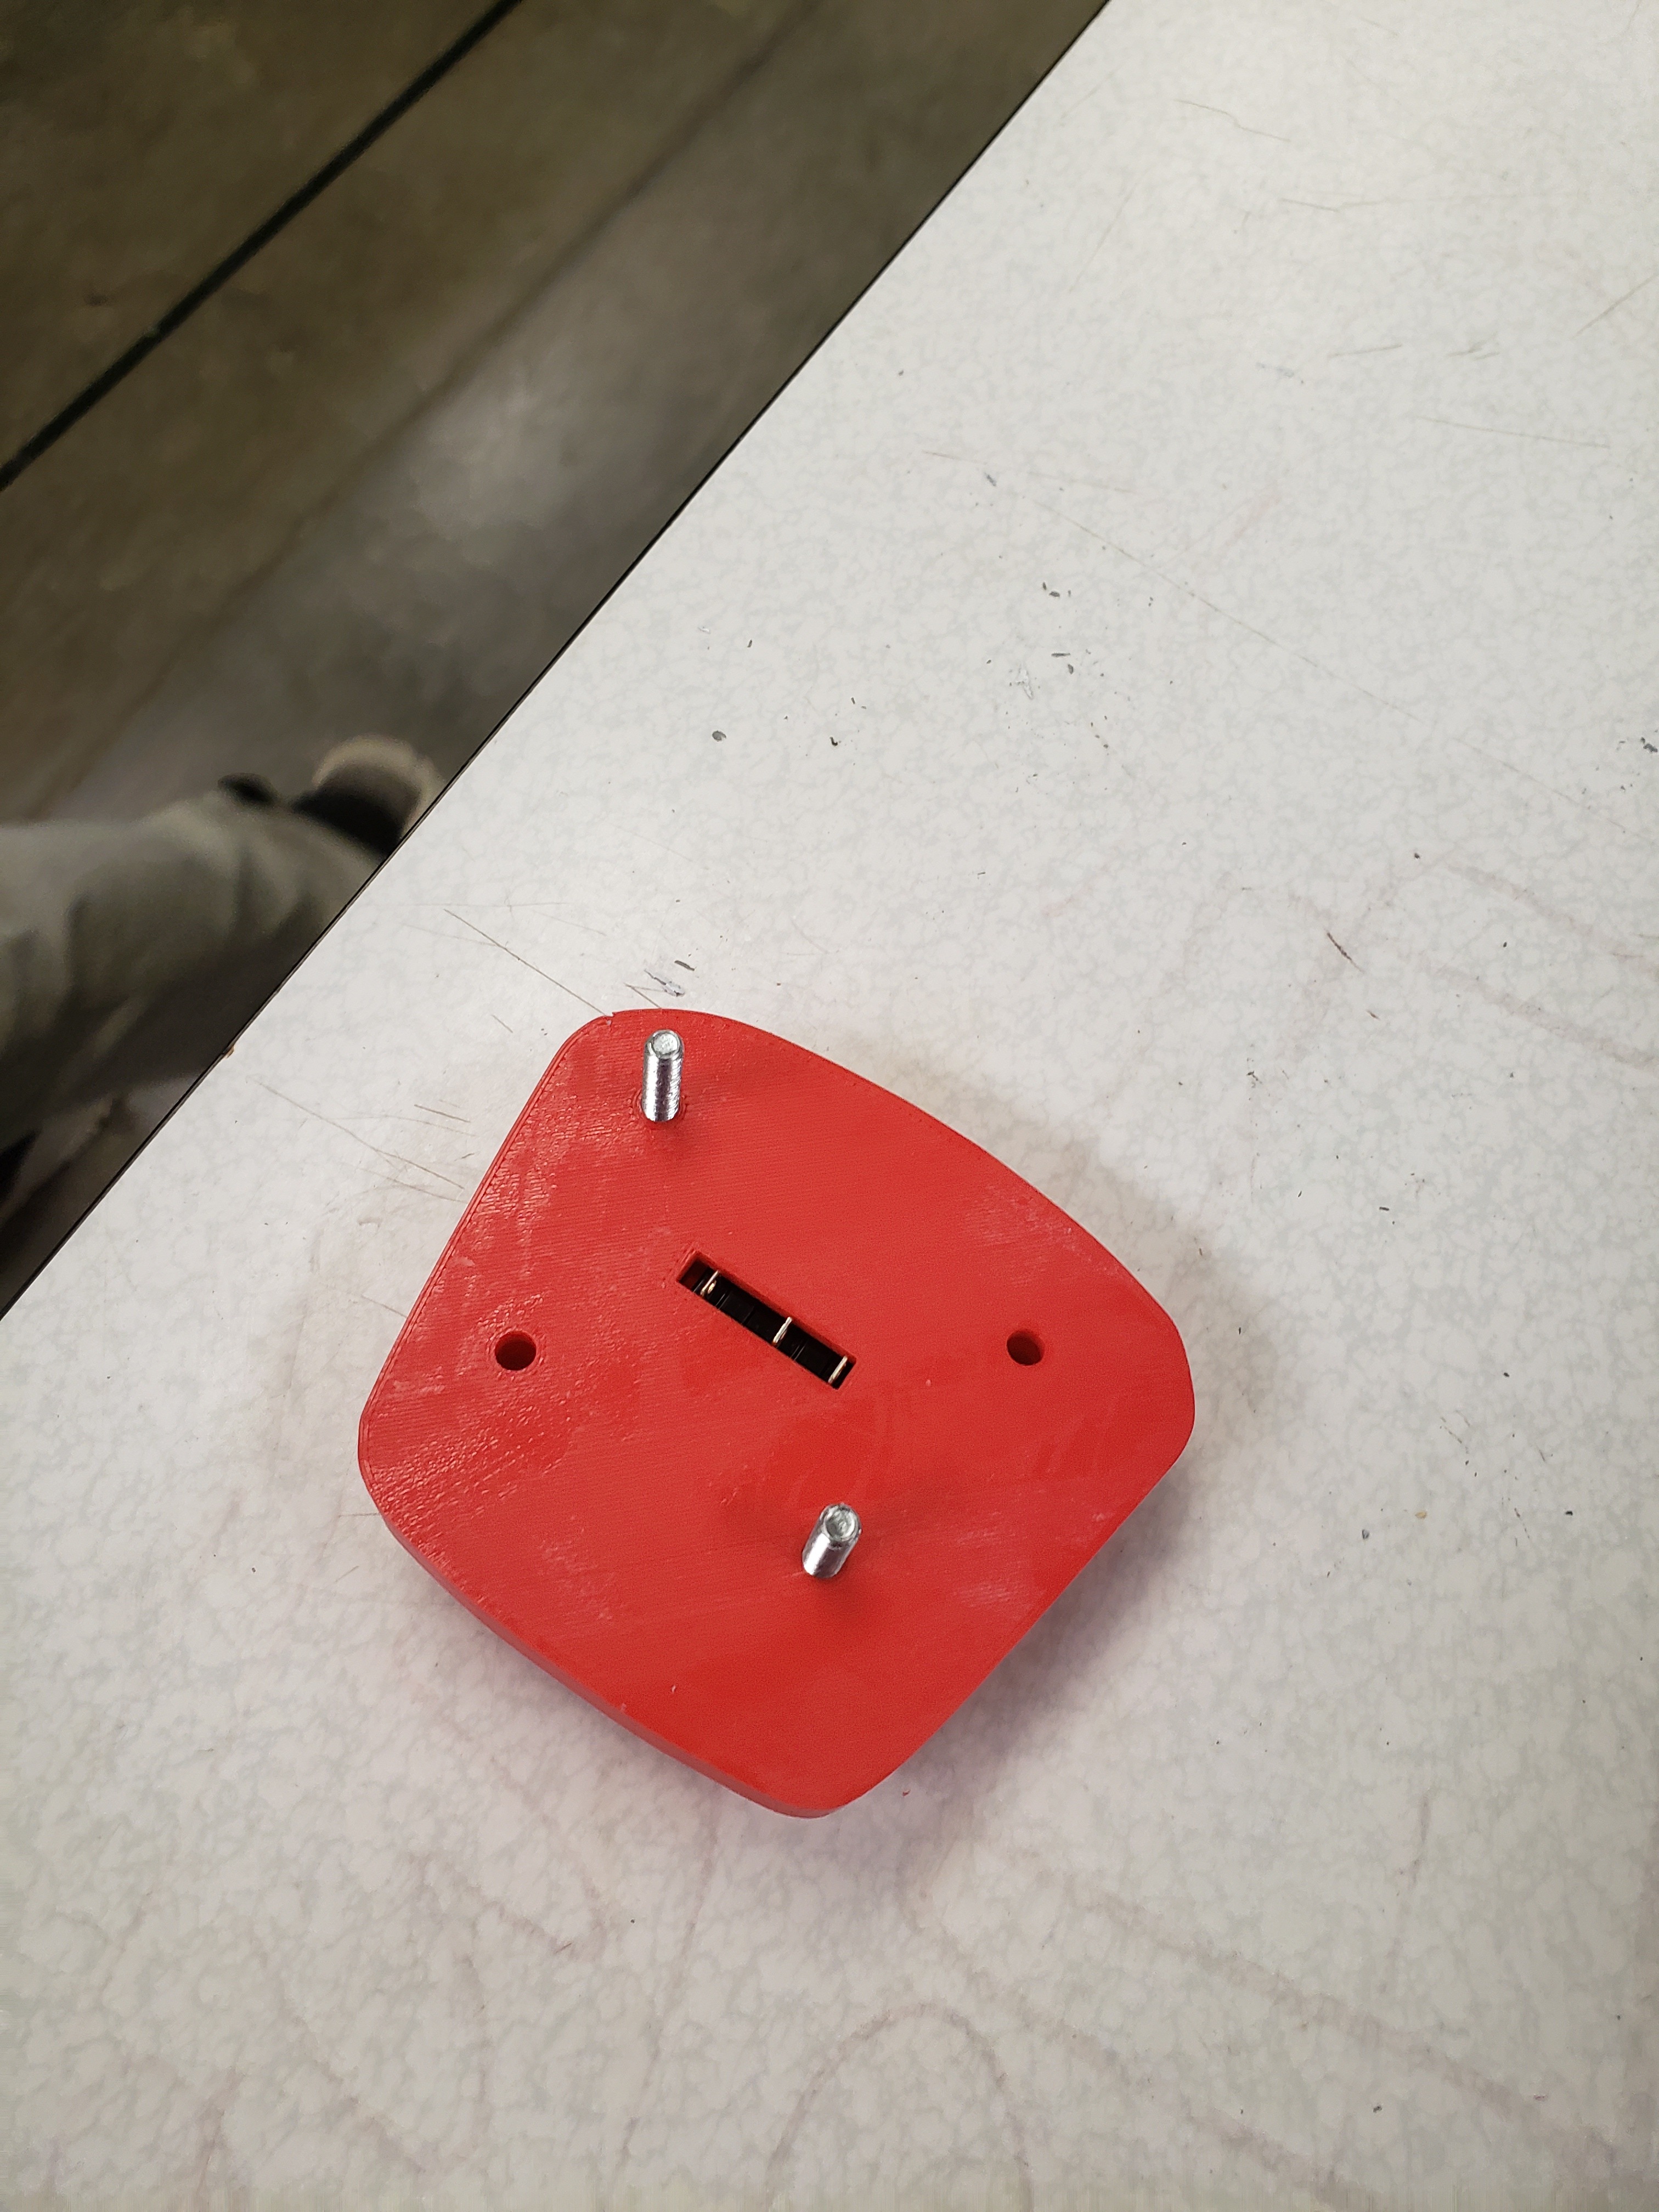
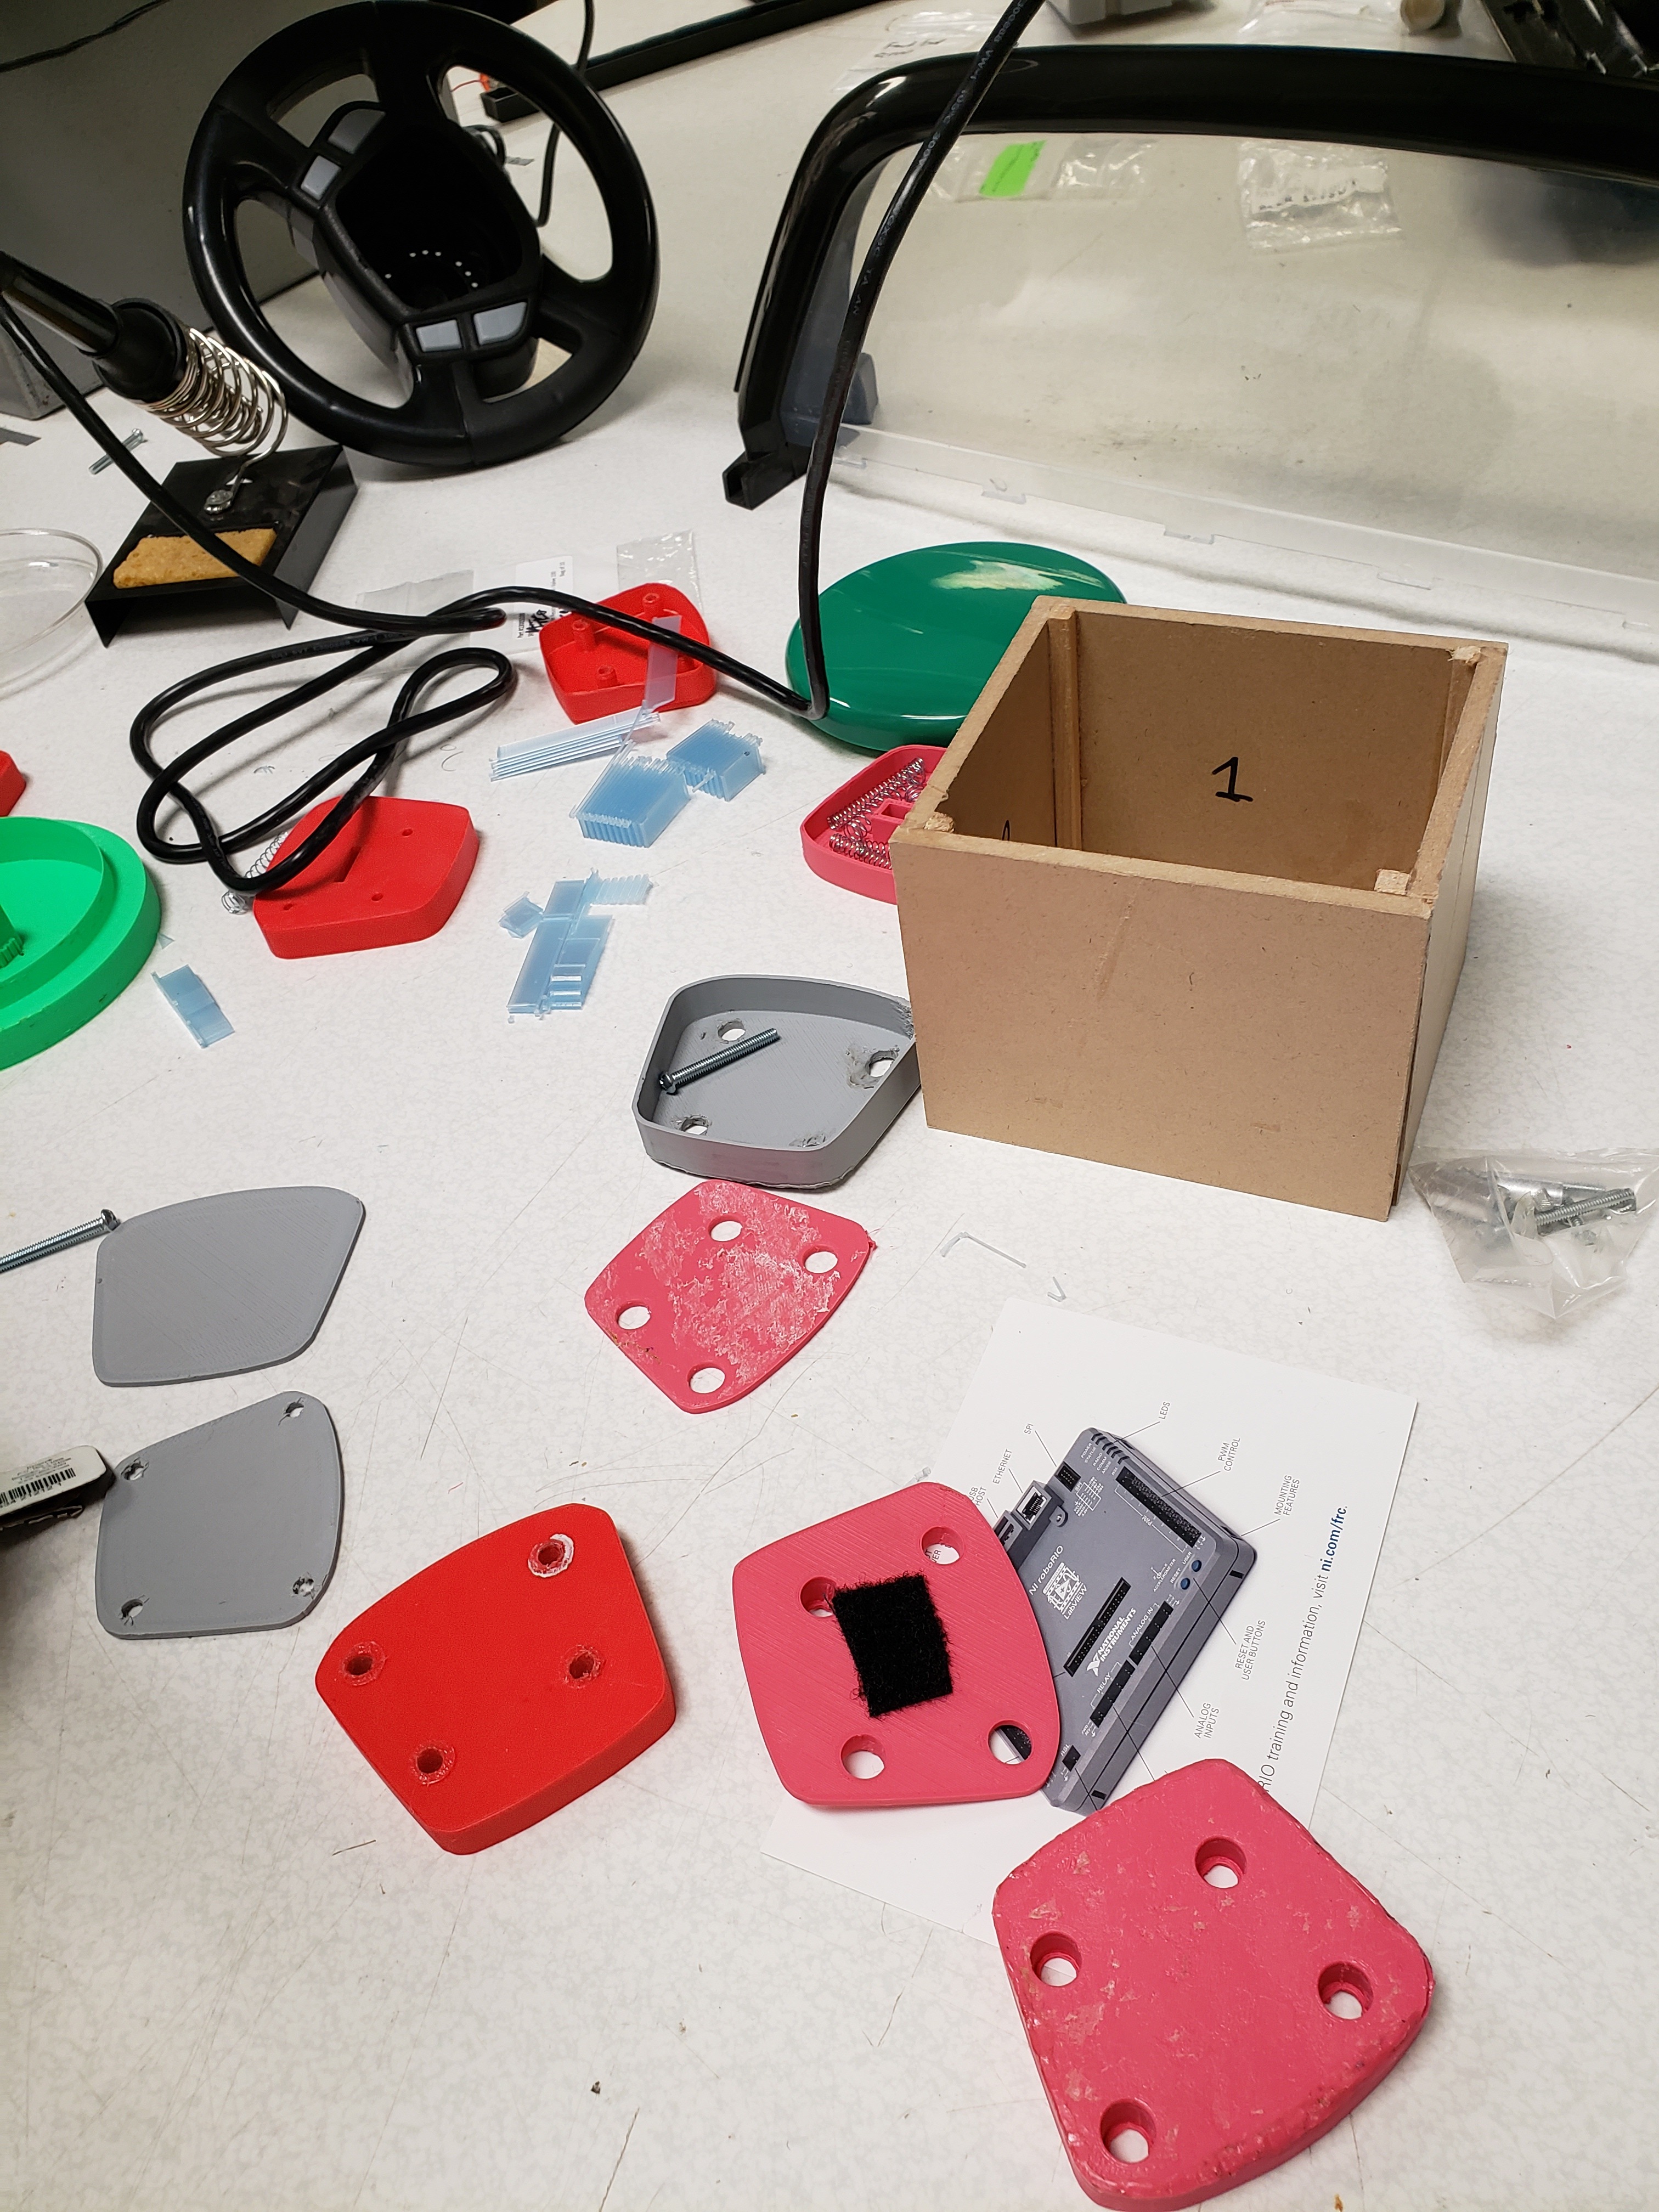
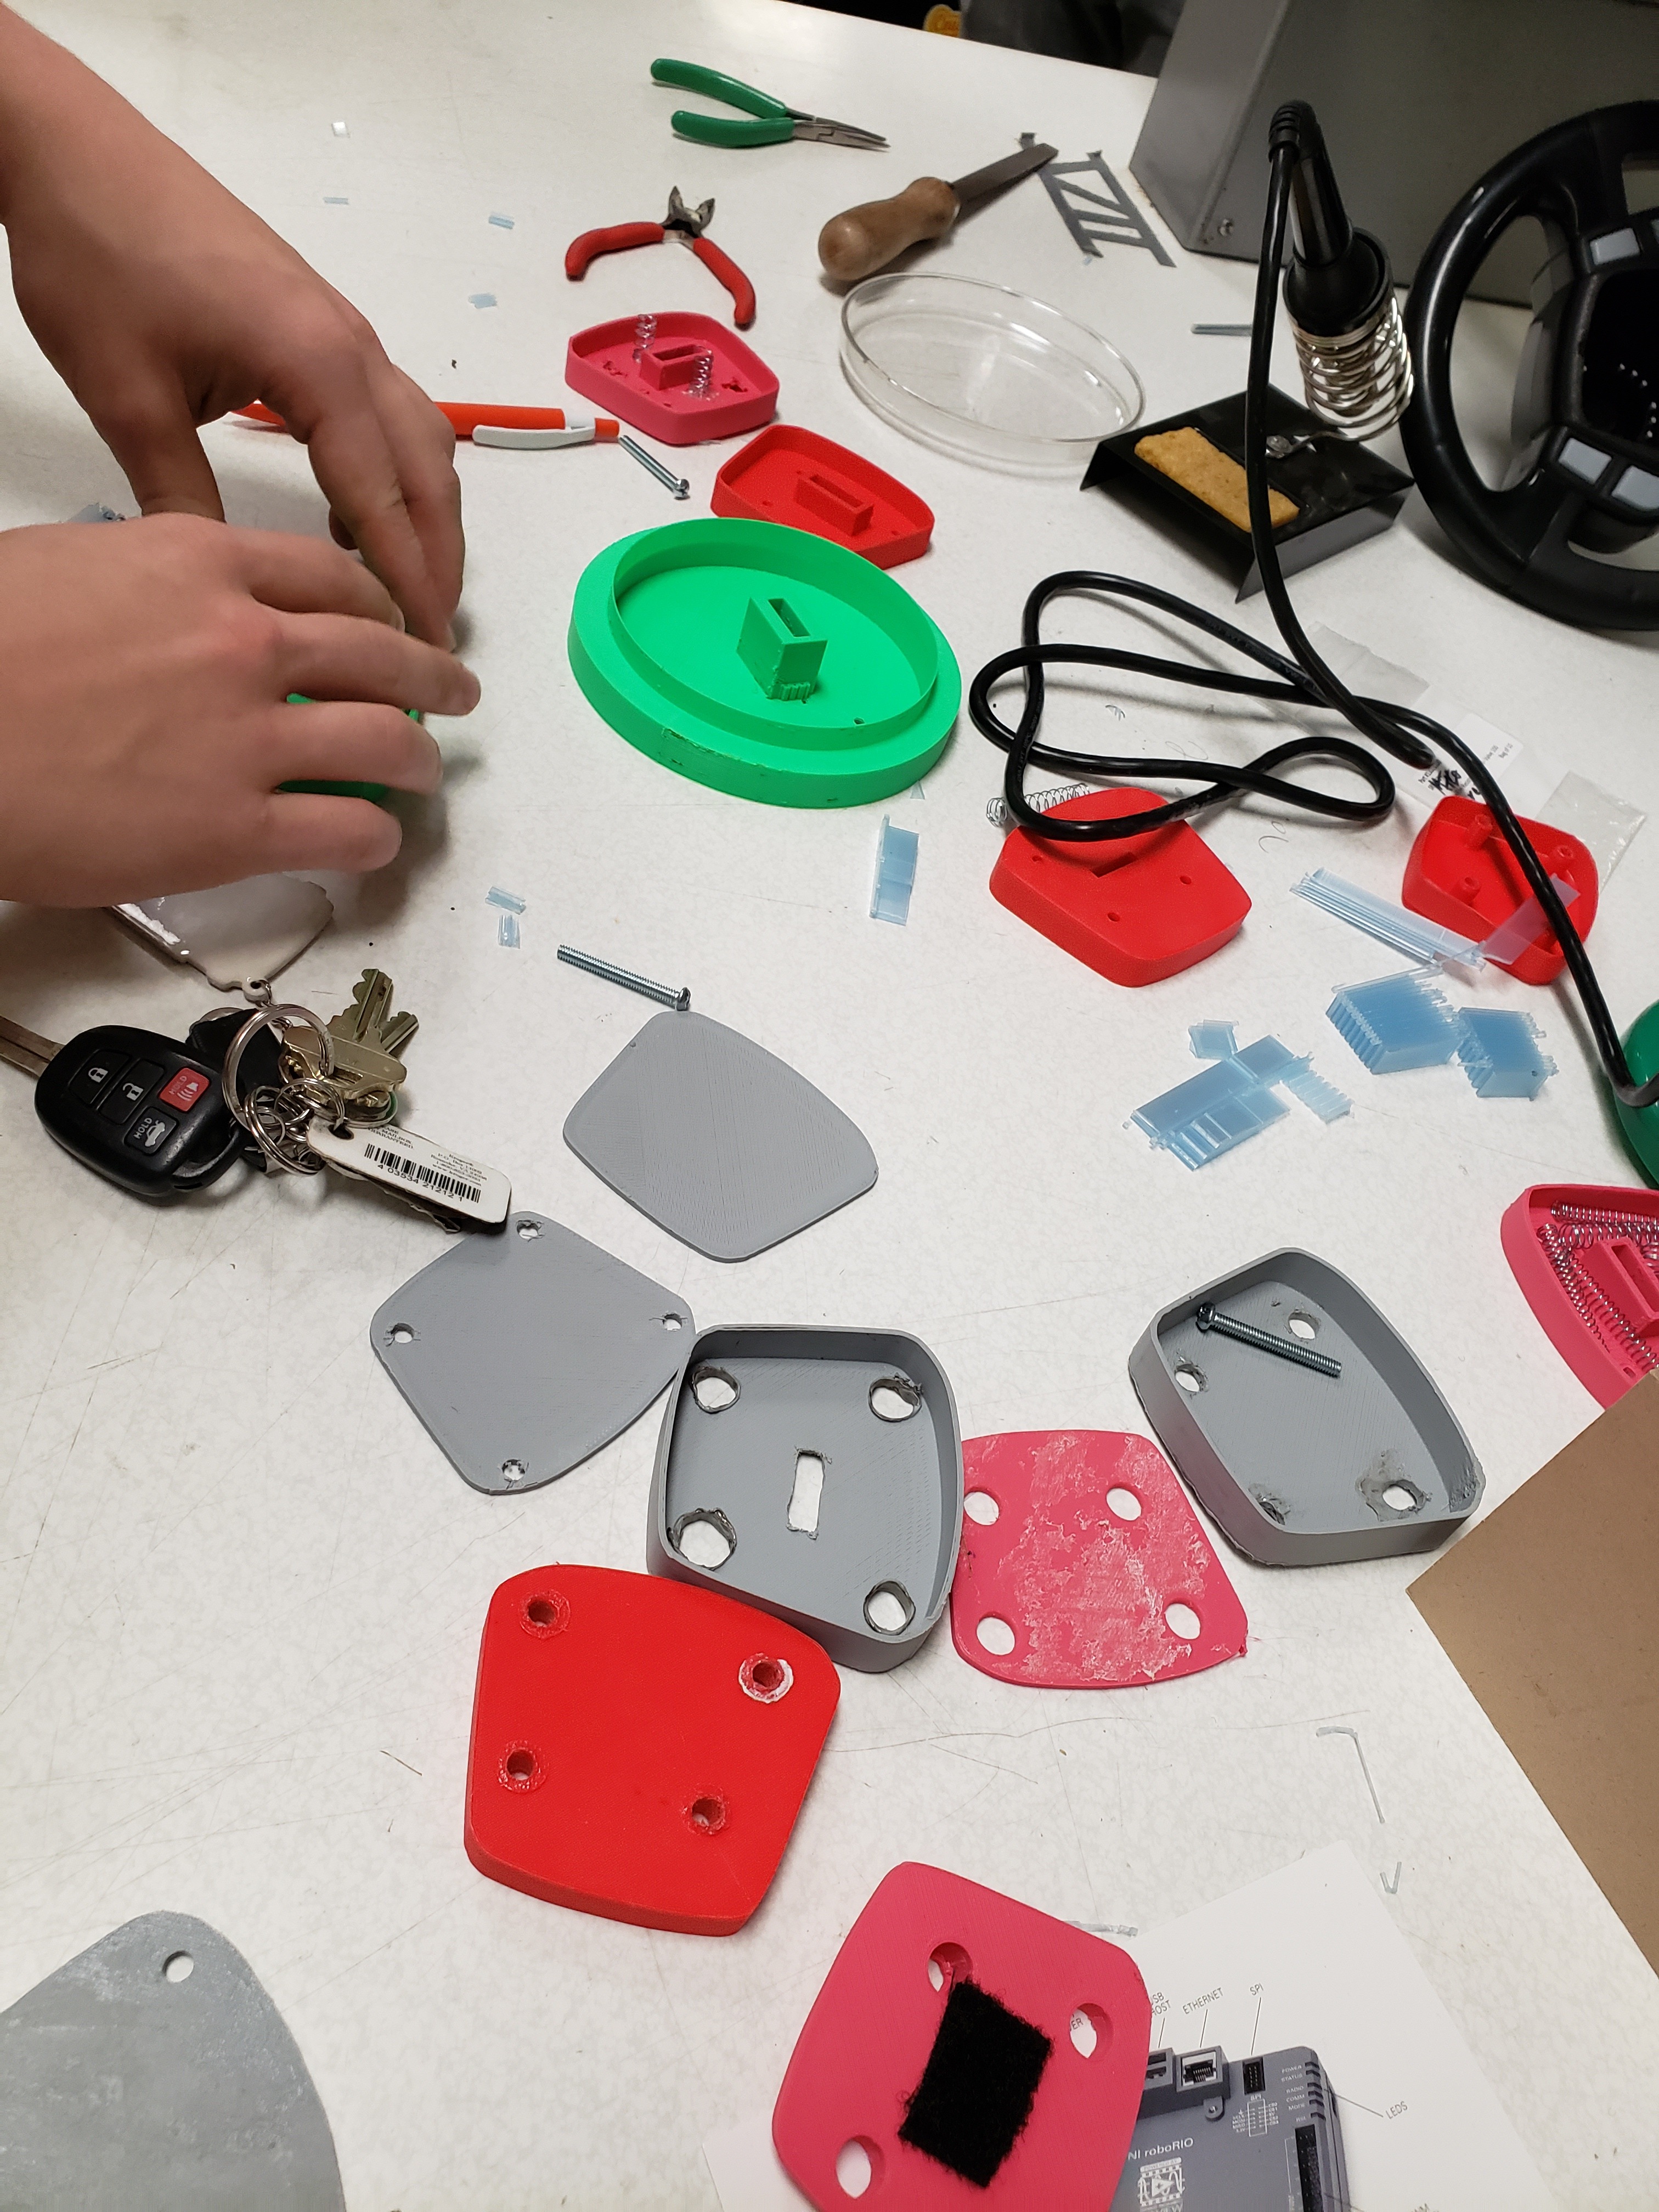
3-D print the design and finish the button. (Draft Buttons included.)
Drafting
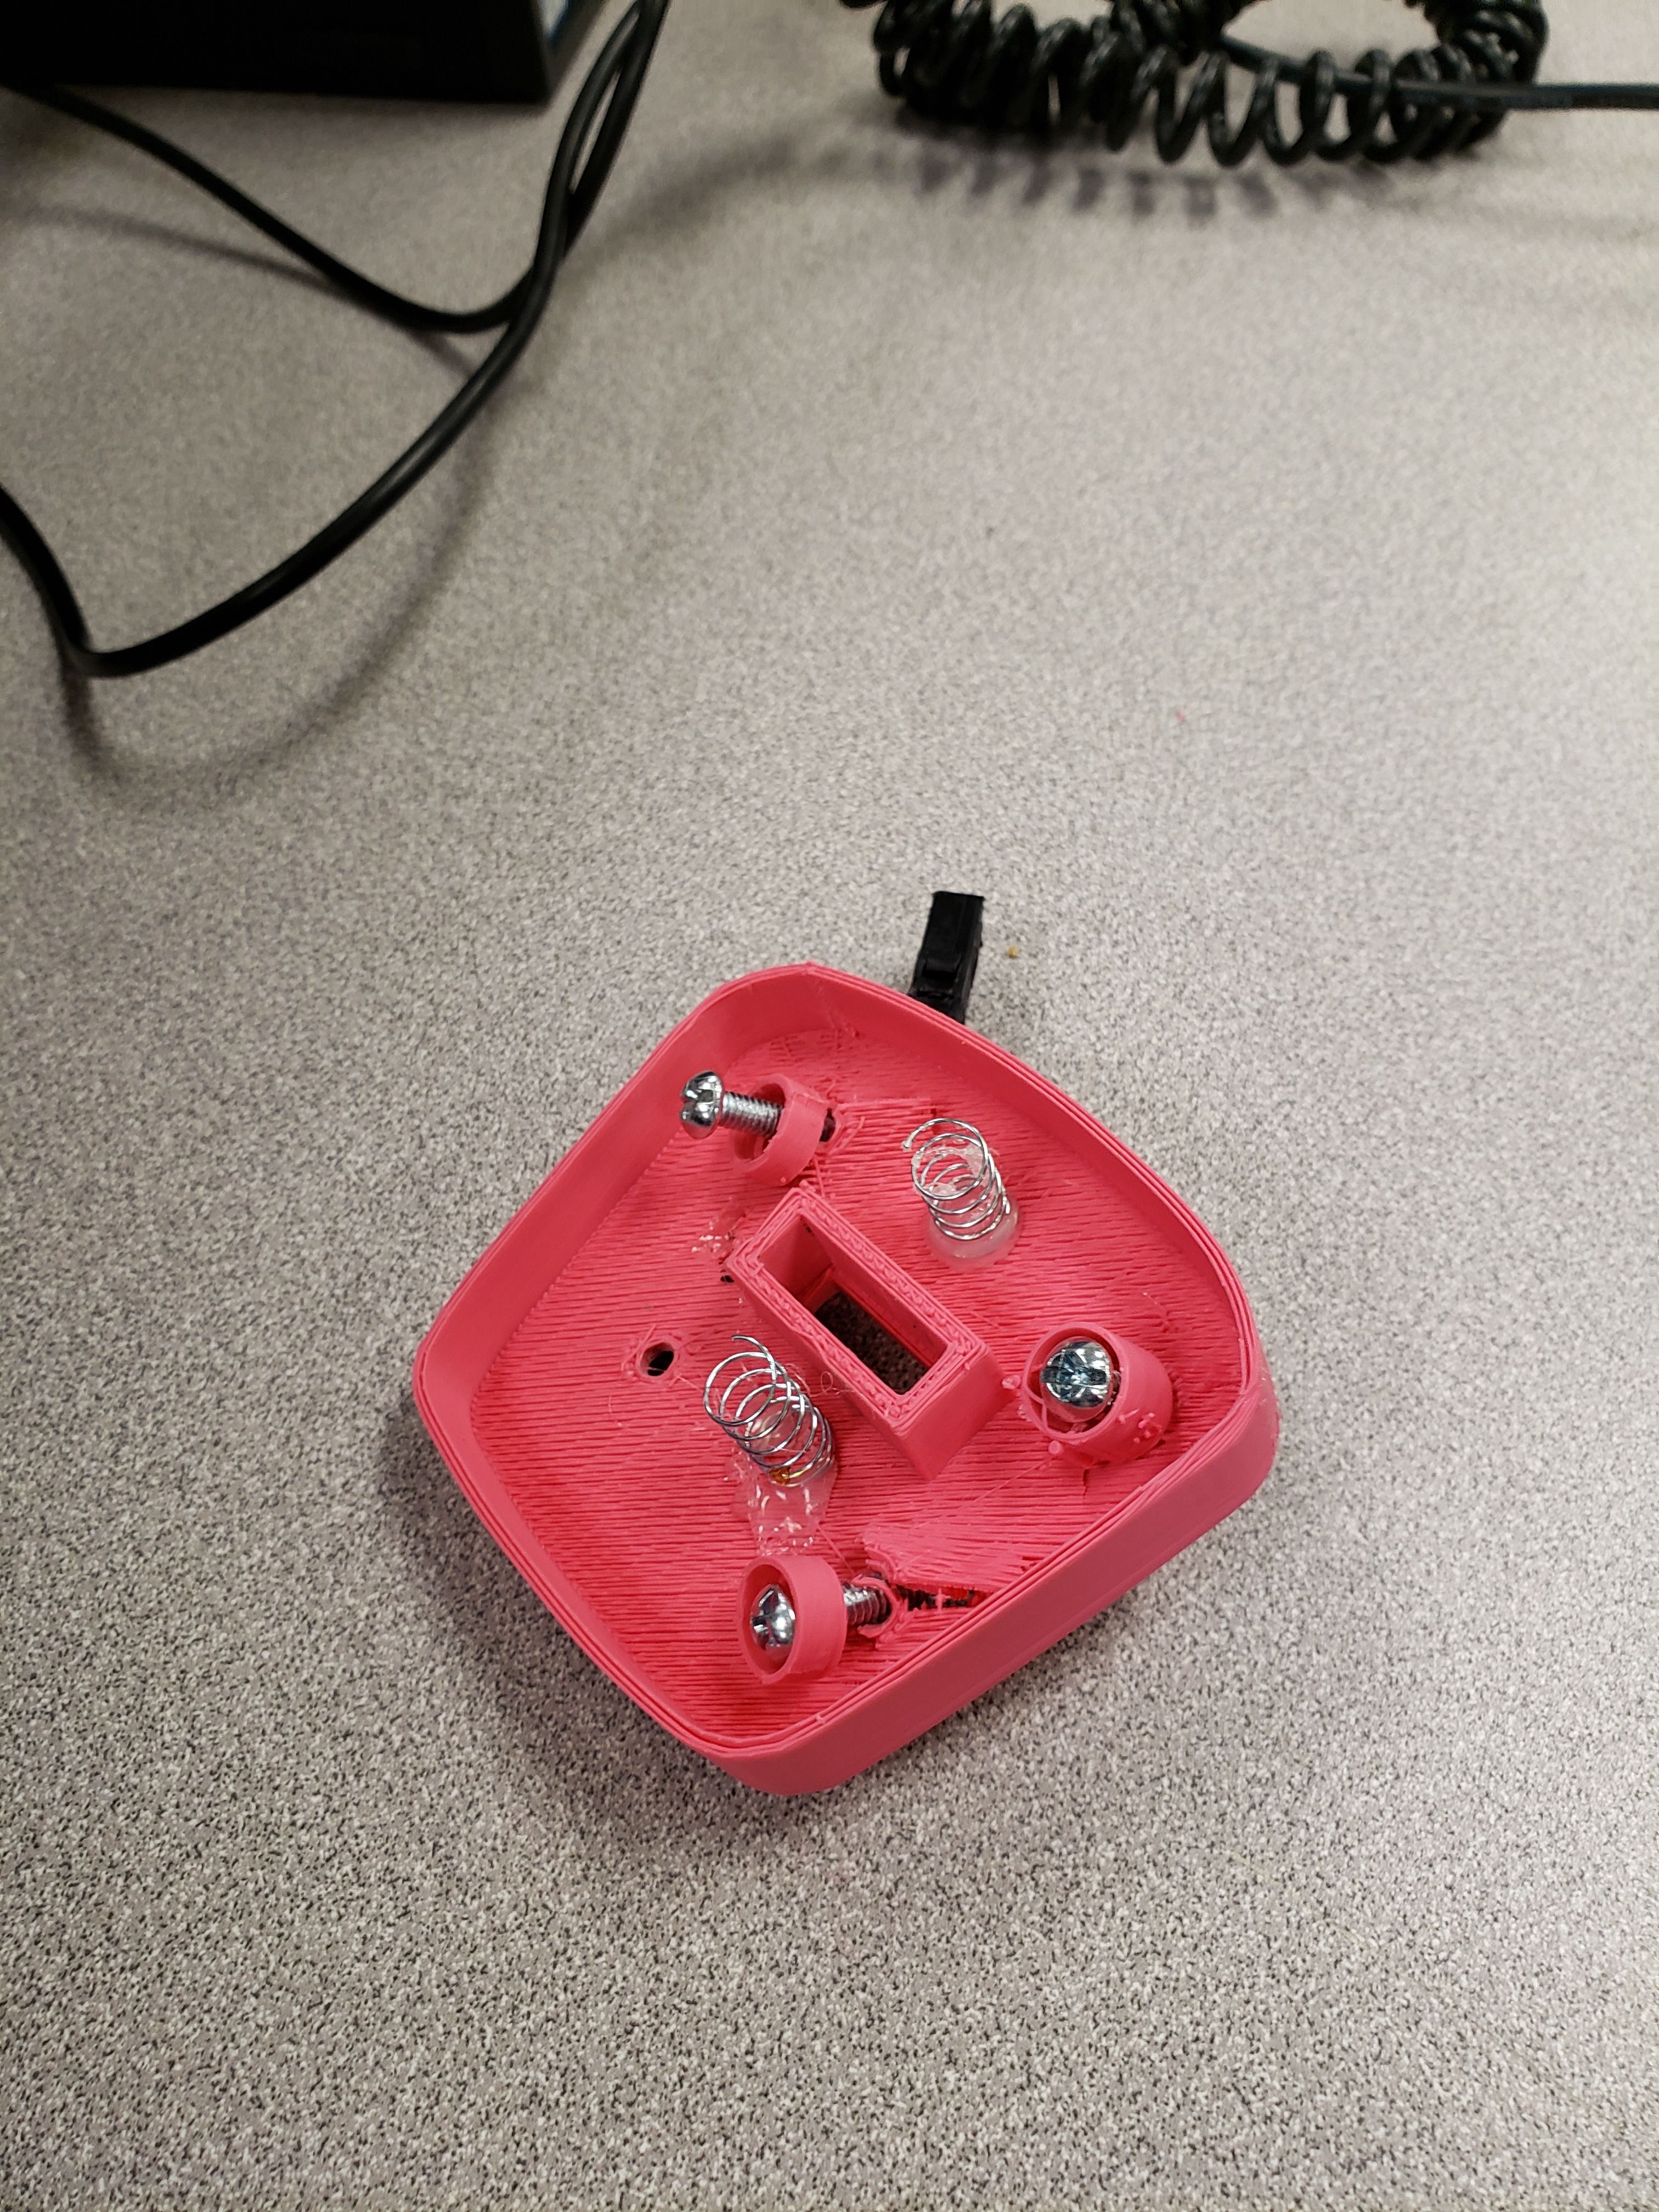
Unscrew button in order to make sure your springs are functional (draft button included).
Drafting
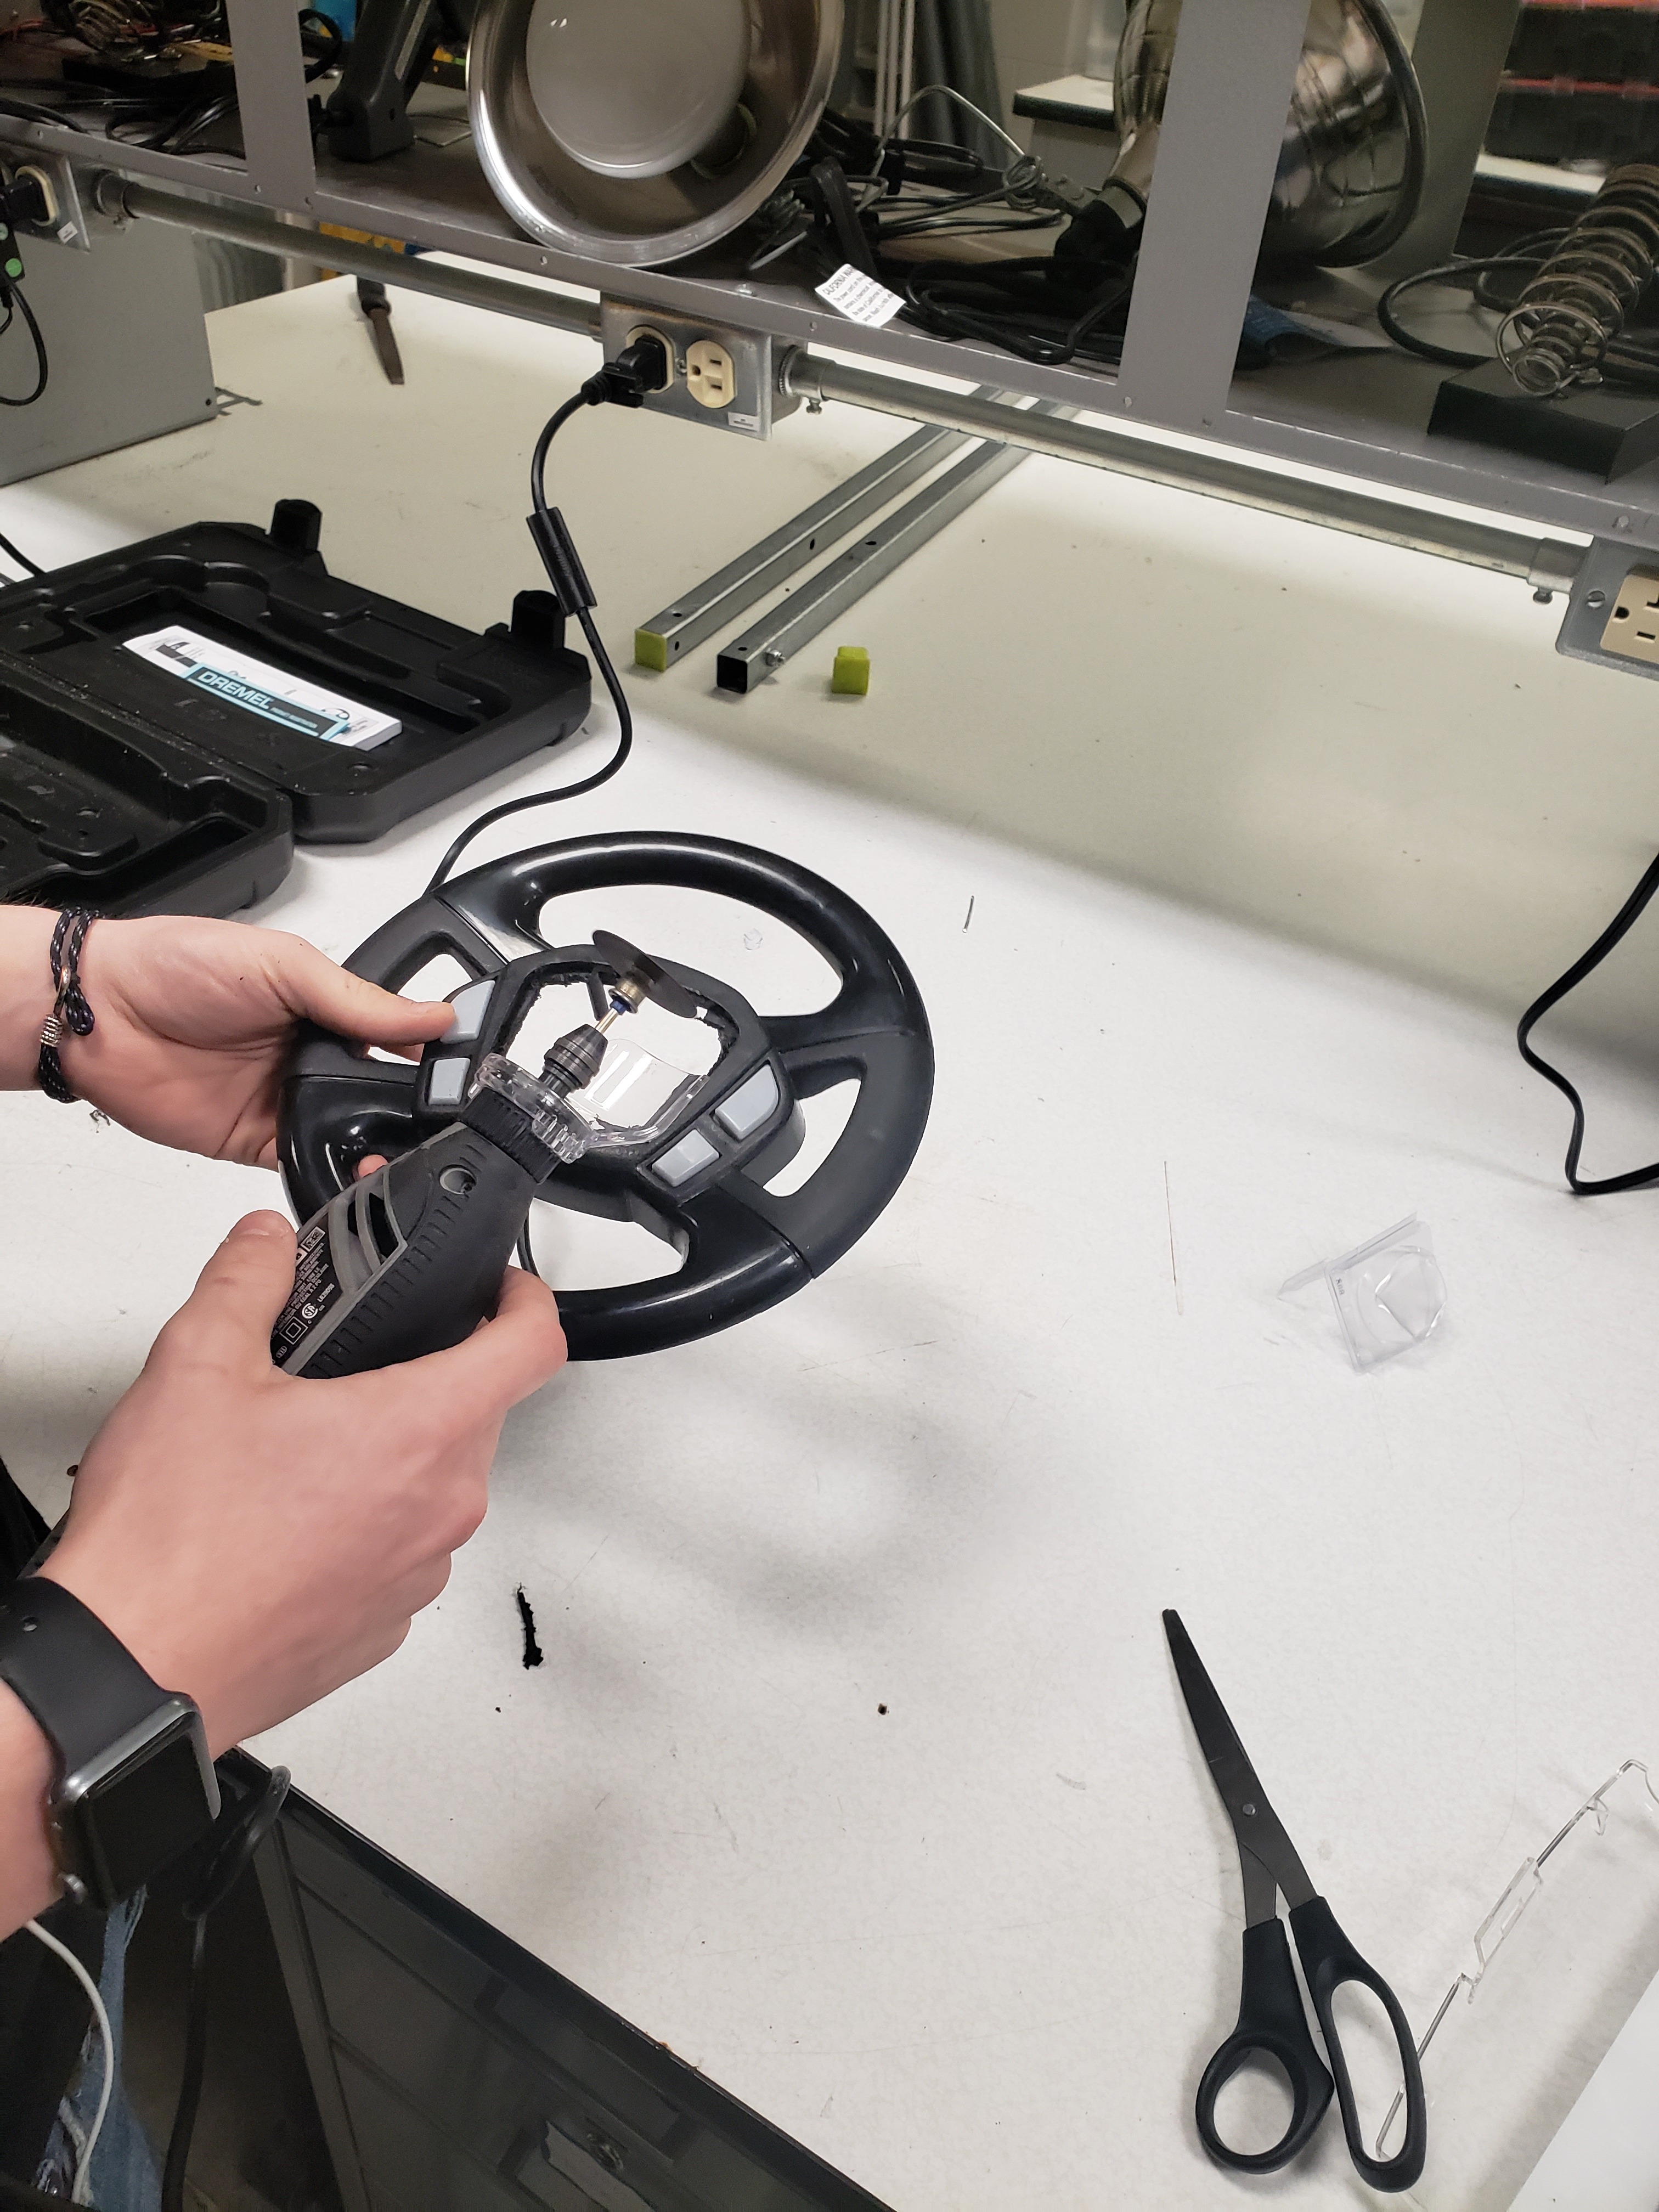
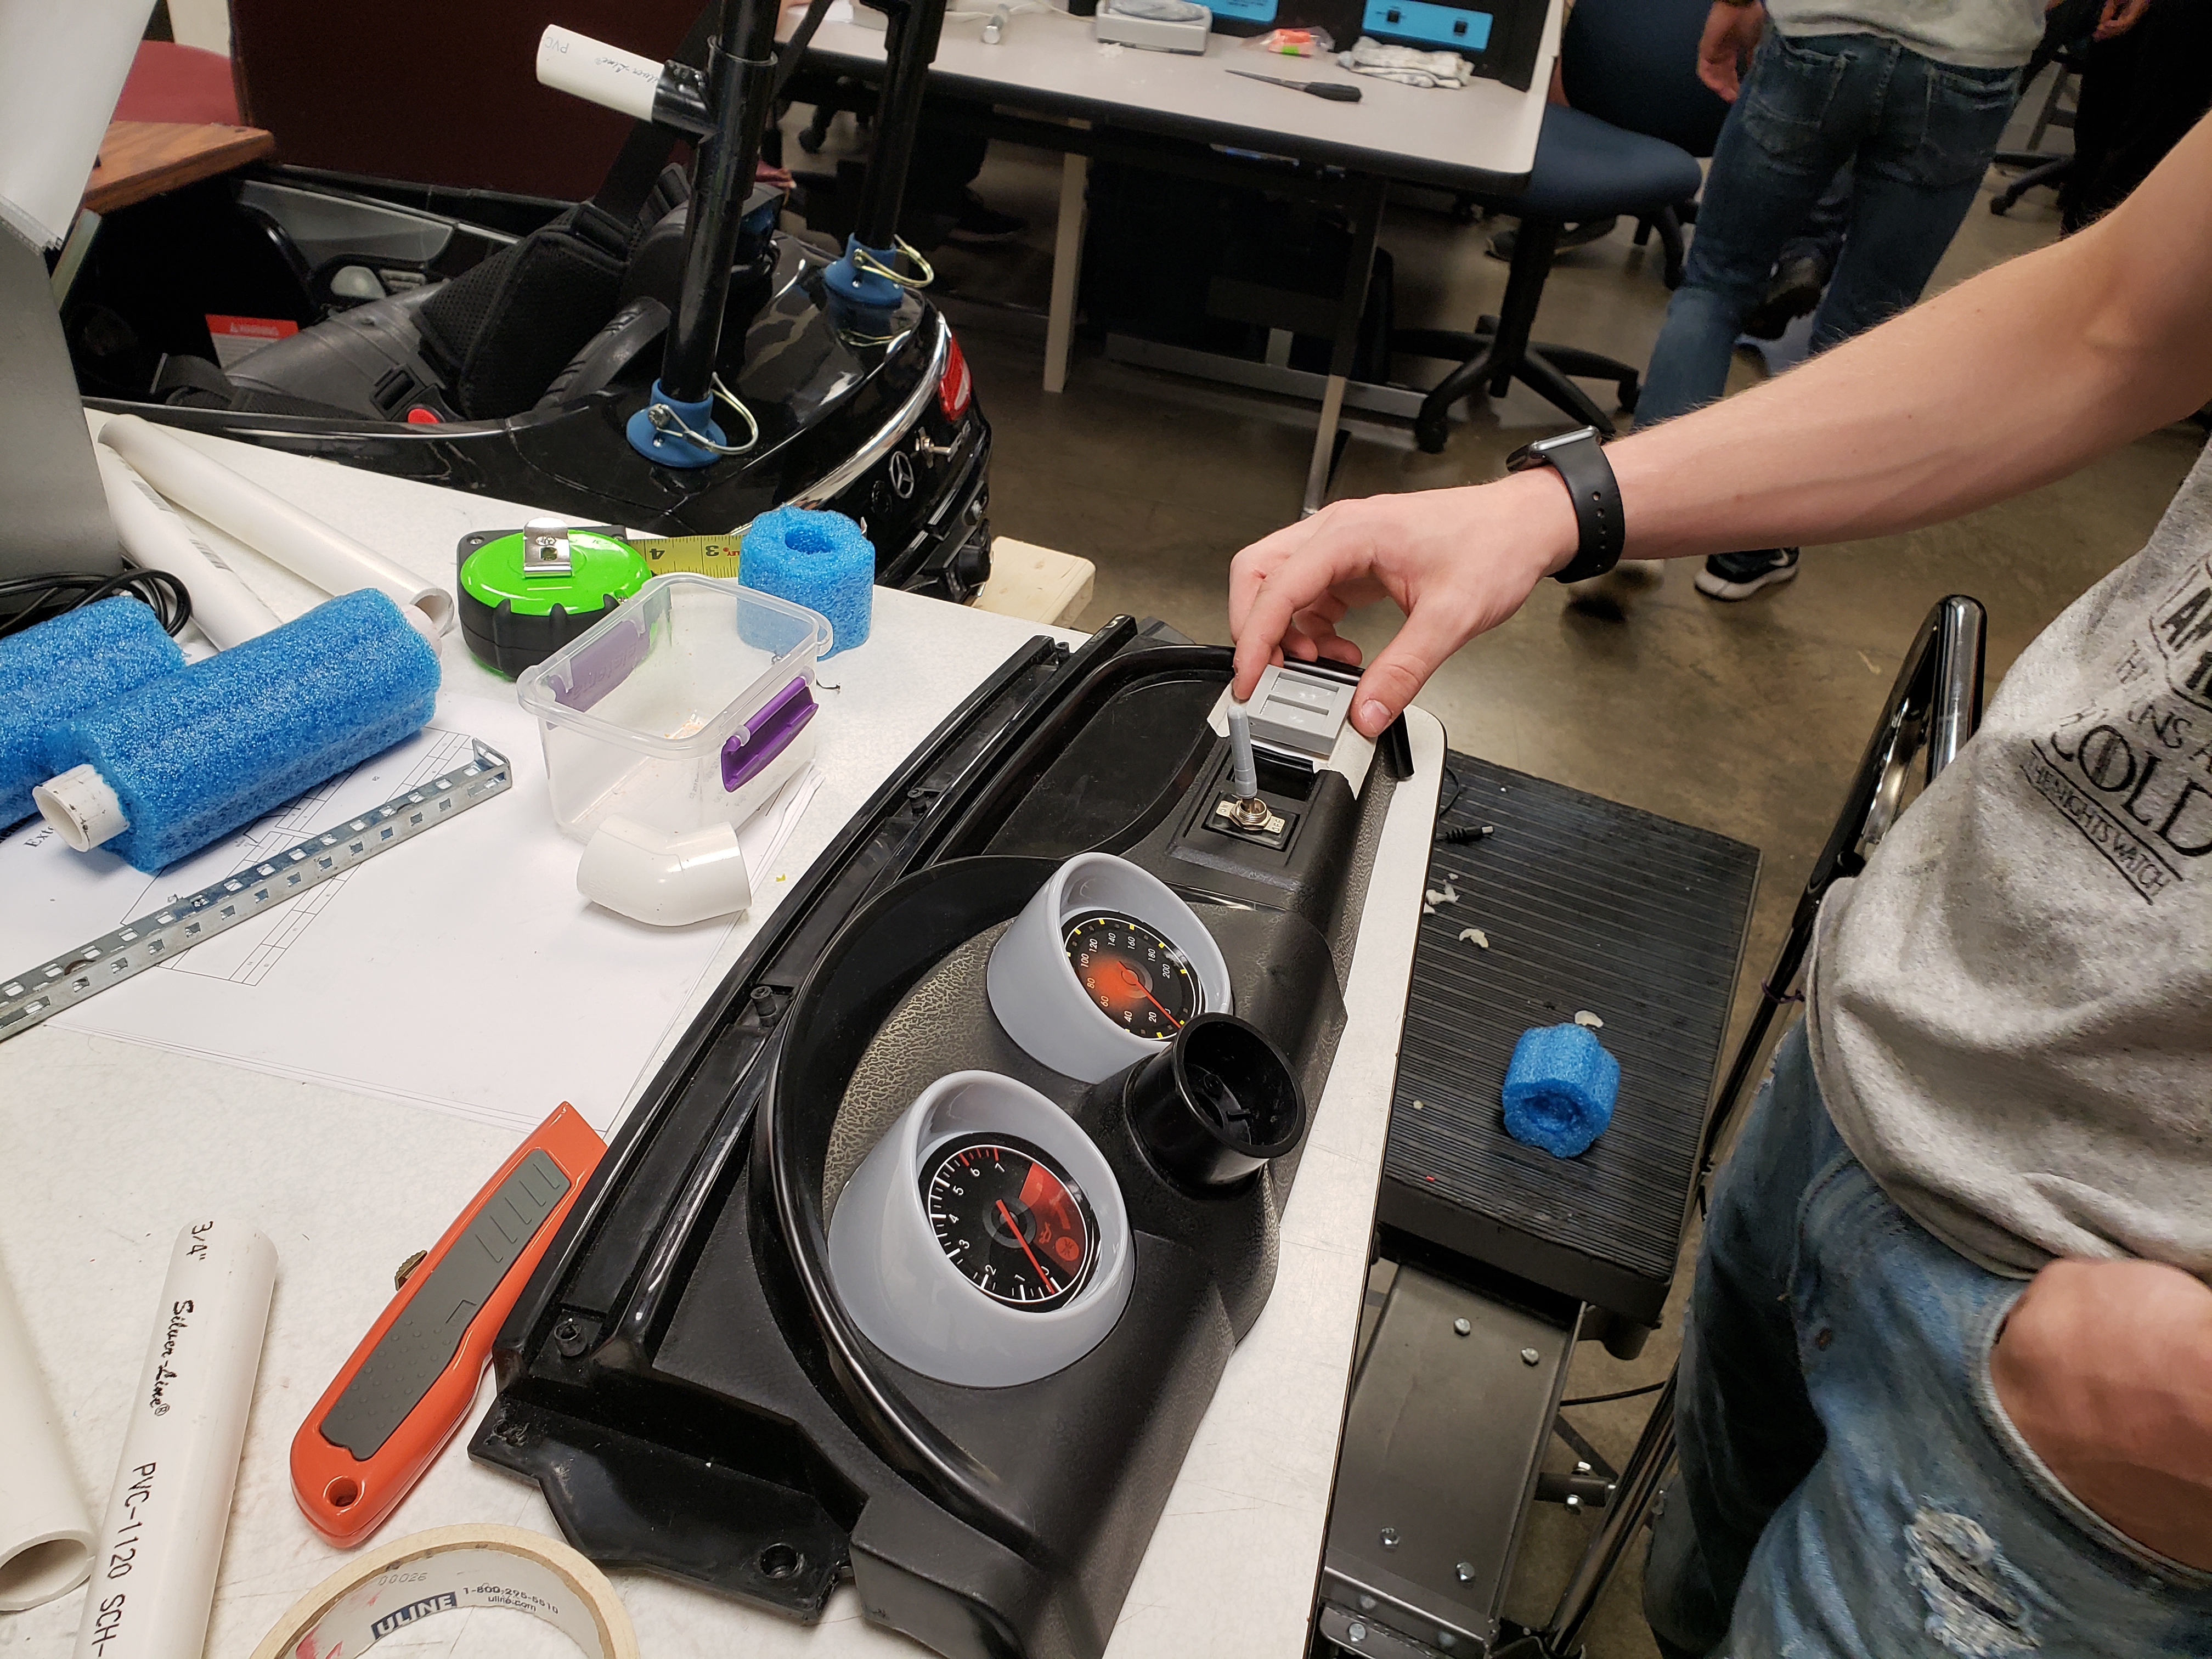
Cut out an area to install the on and off drafted button.
Drafting-
Apply part to the car.
Seat Installation
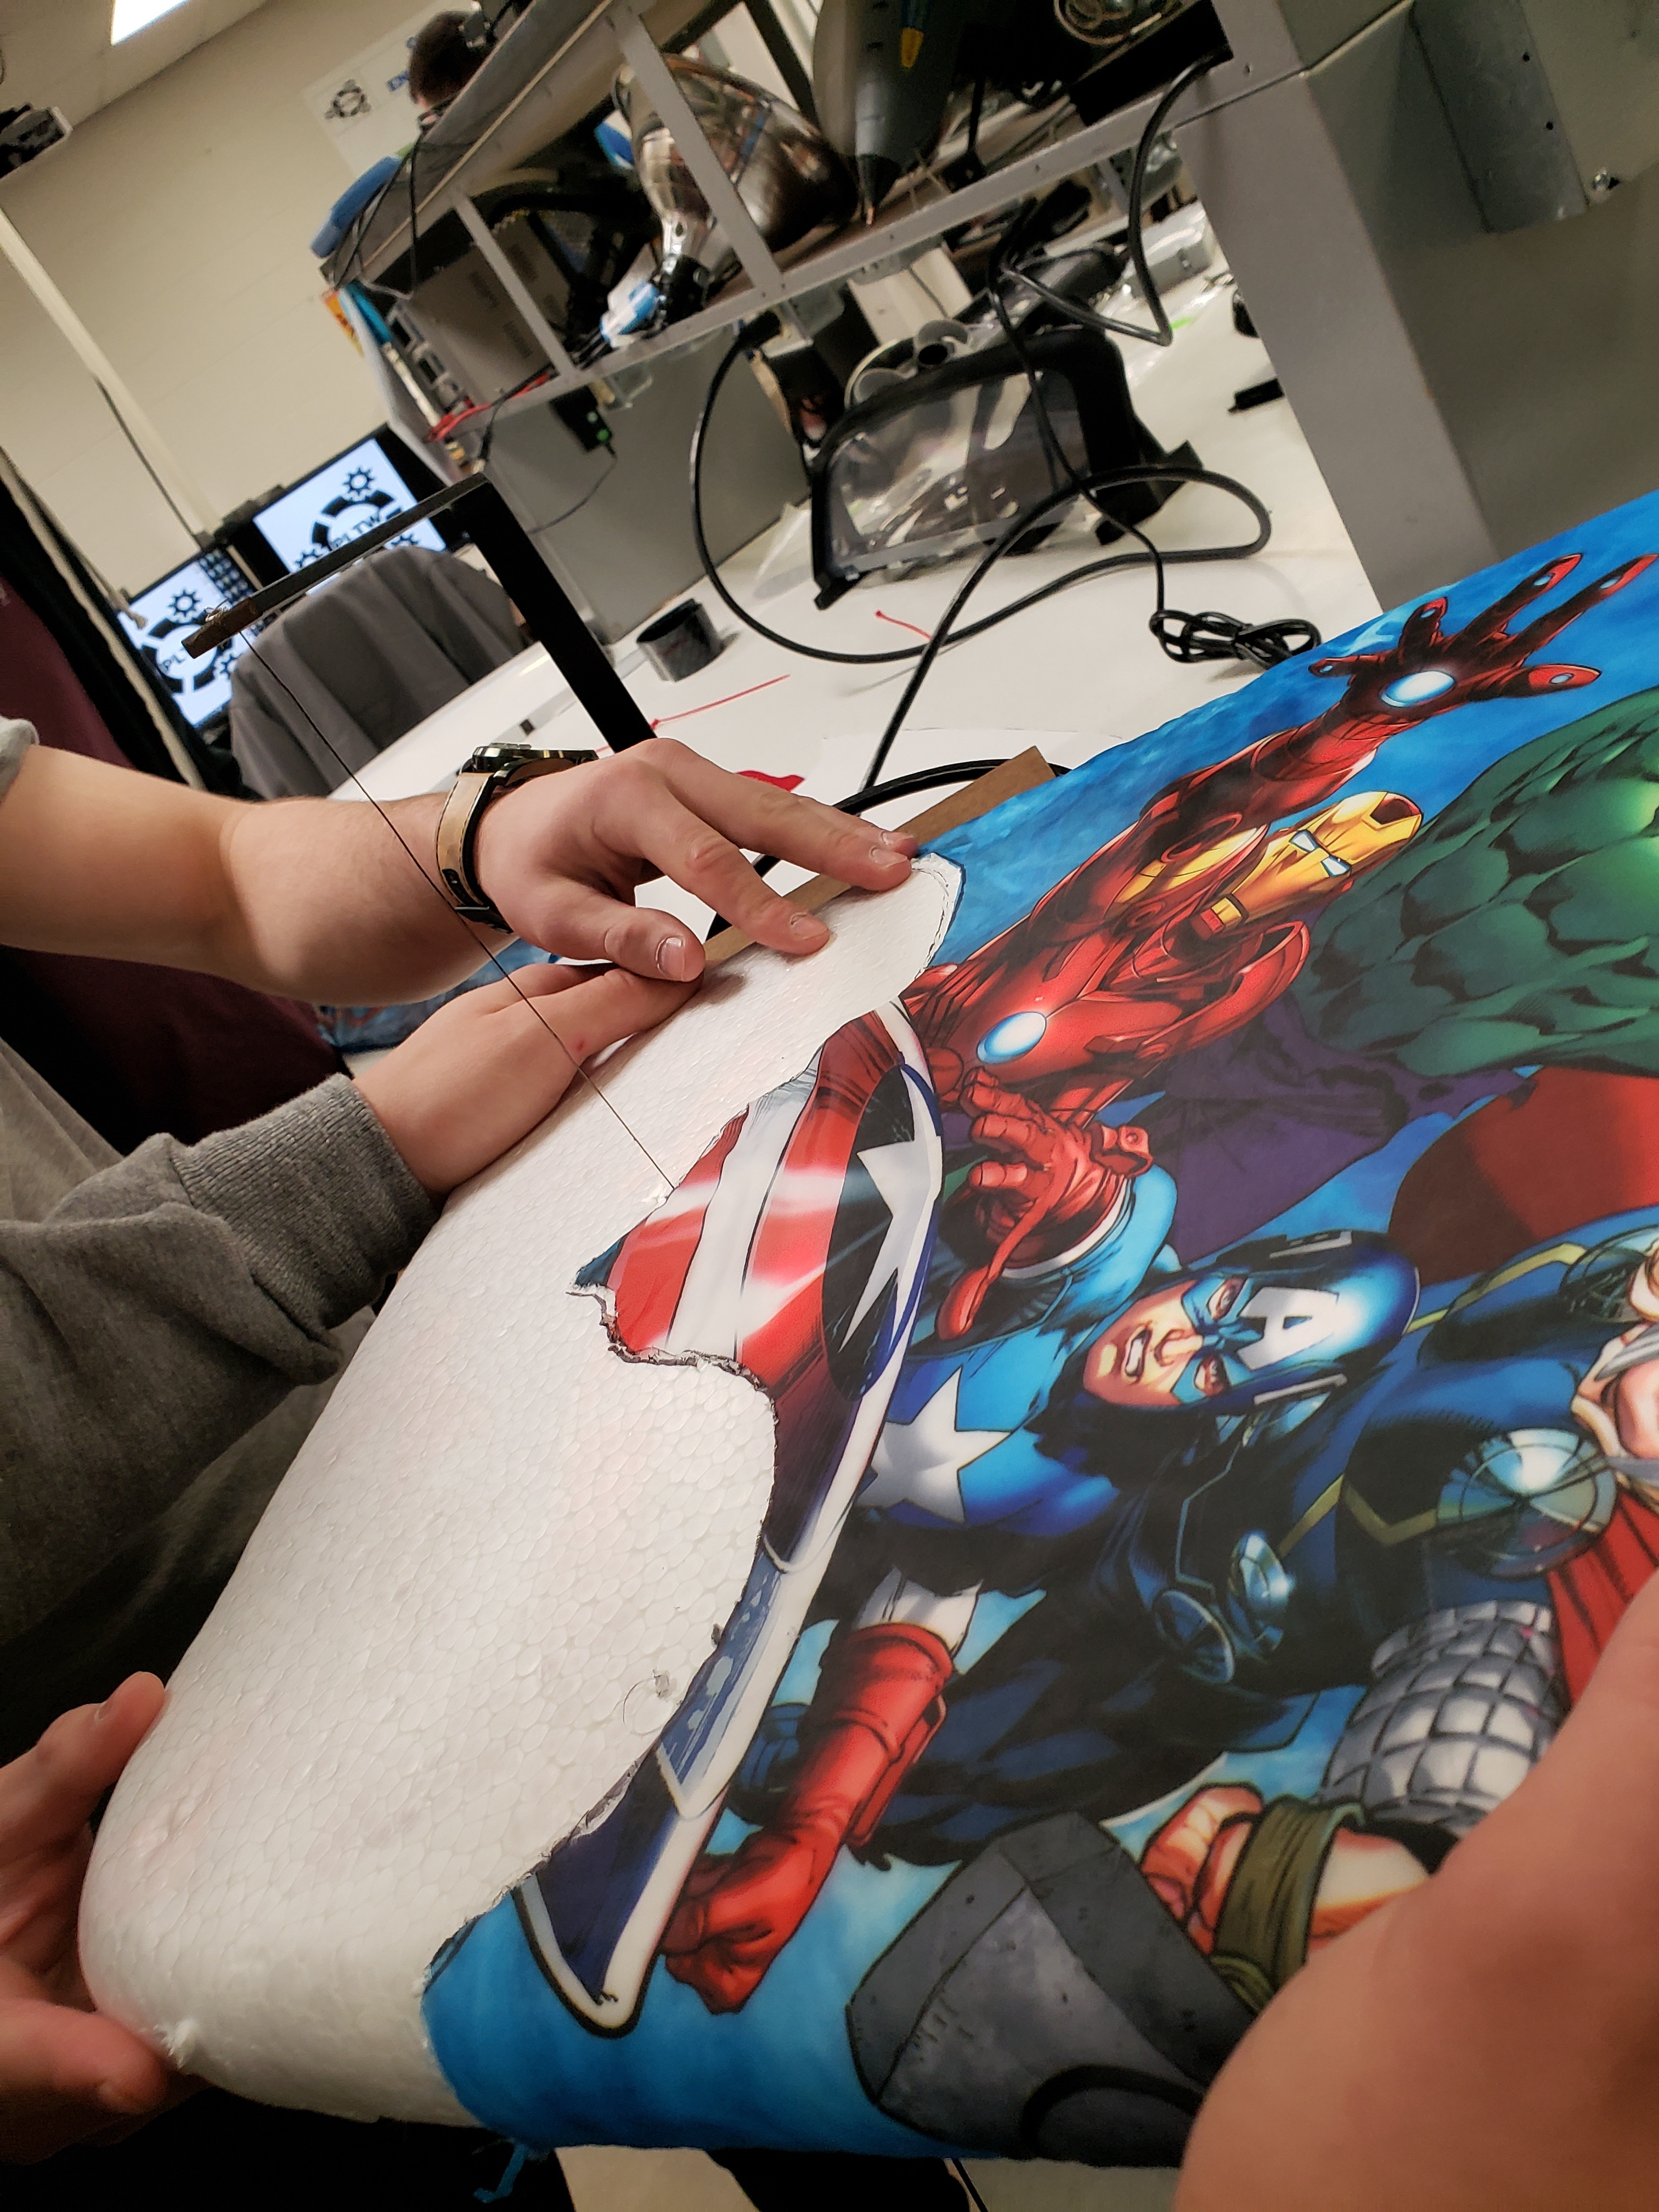
First, cut material with foam cutter in the desired shape and measurements for a seat back.
Seat Installation-2
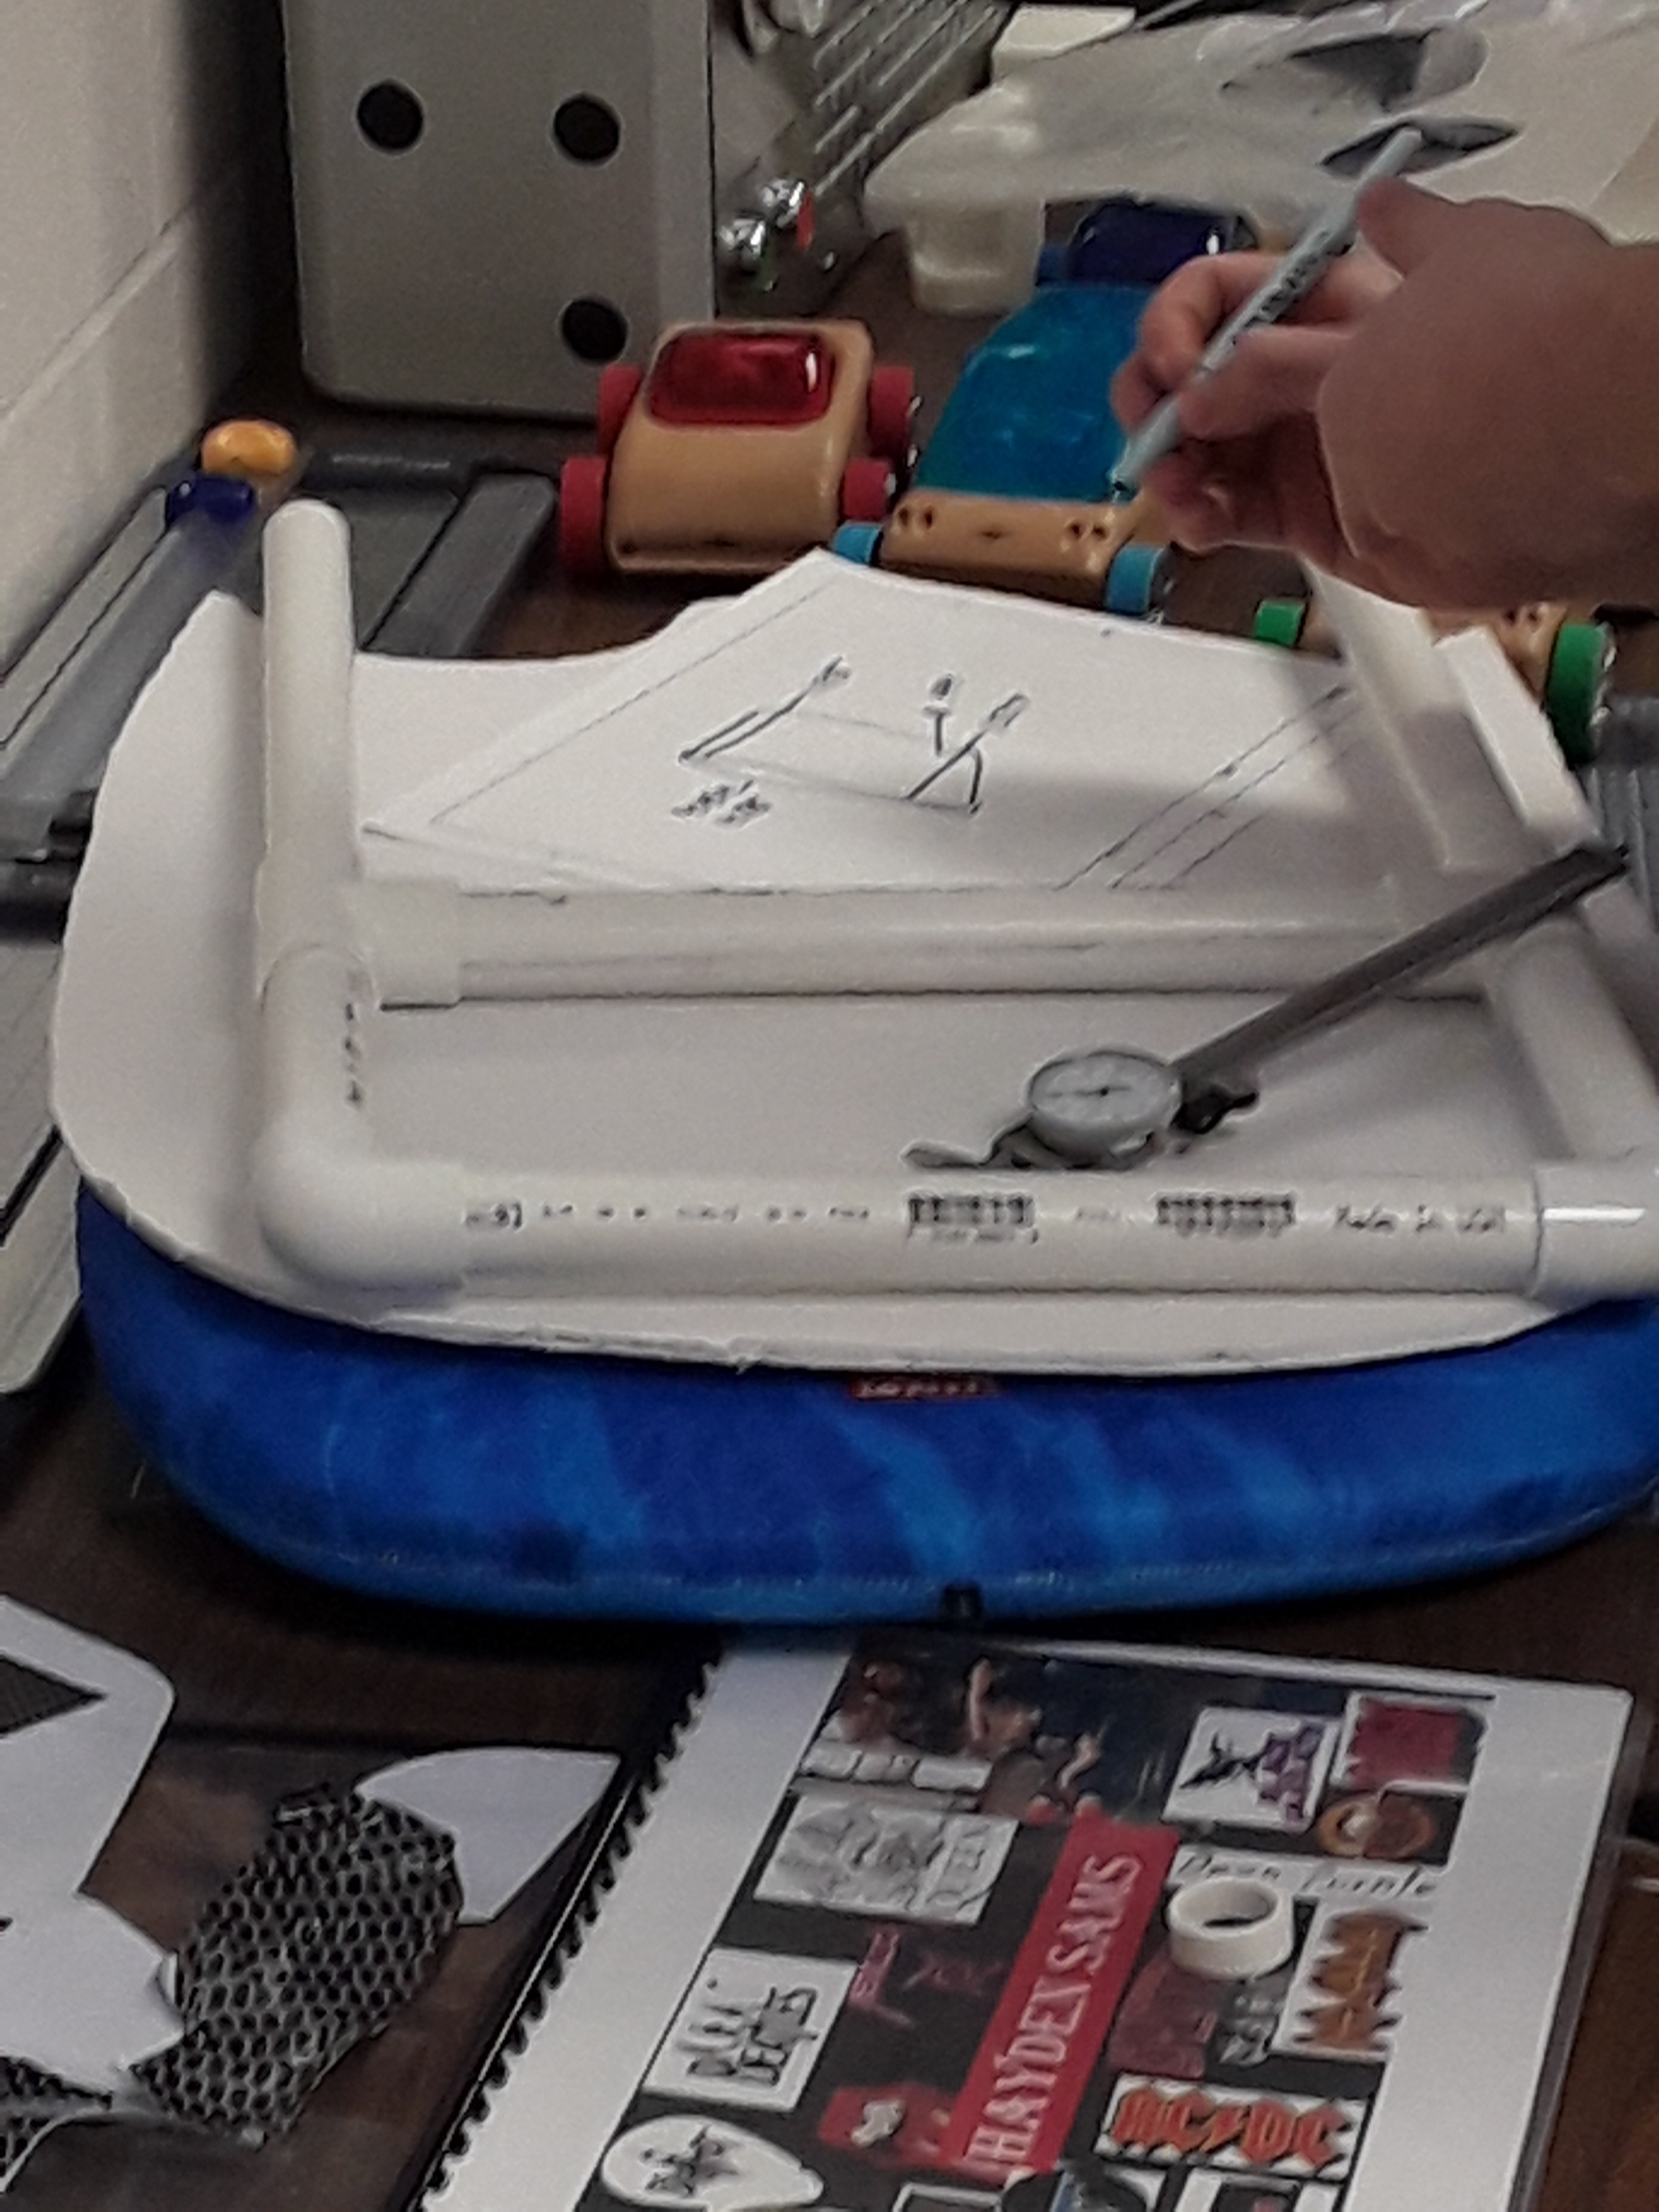
Measure PVC pipe to use with your cut out shape for the back of the car seat (to reinforce it and give it structure).
Seat Installation -3
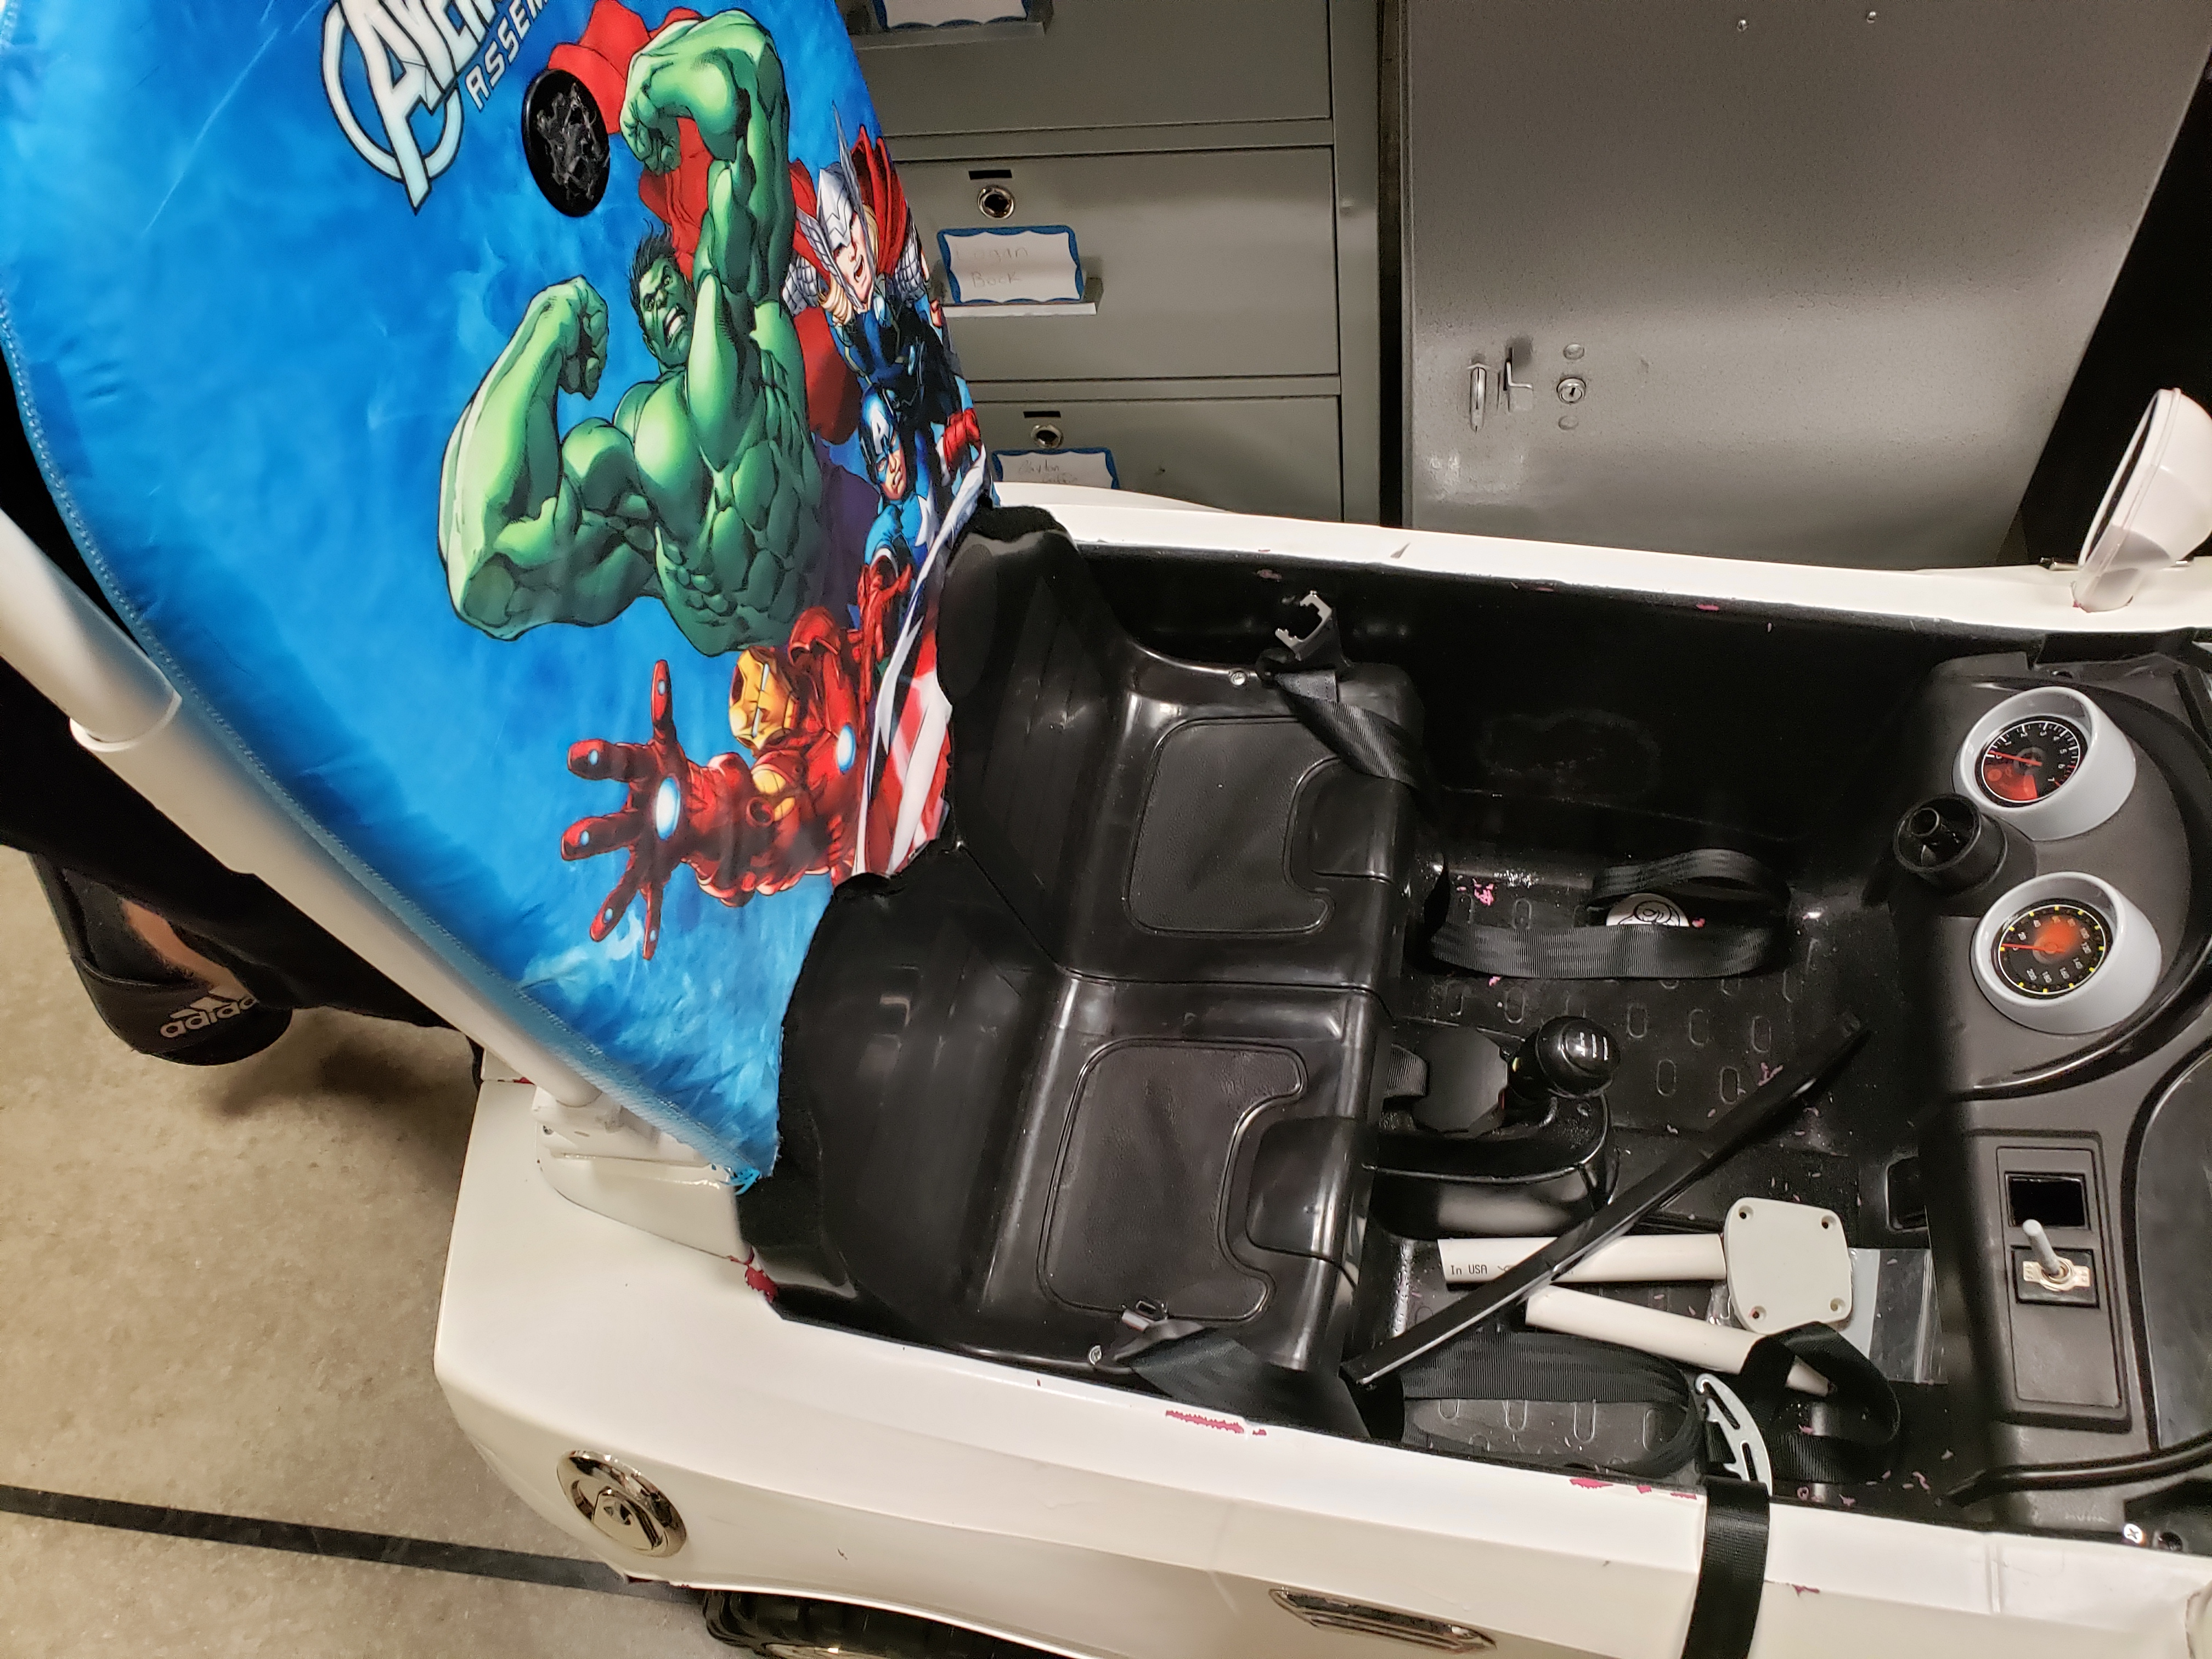
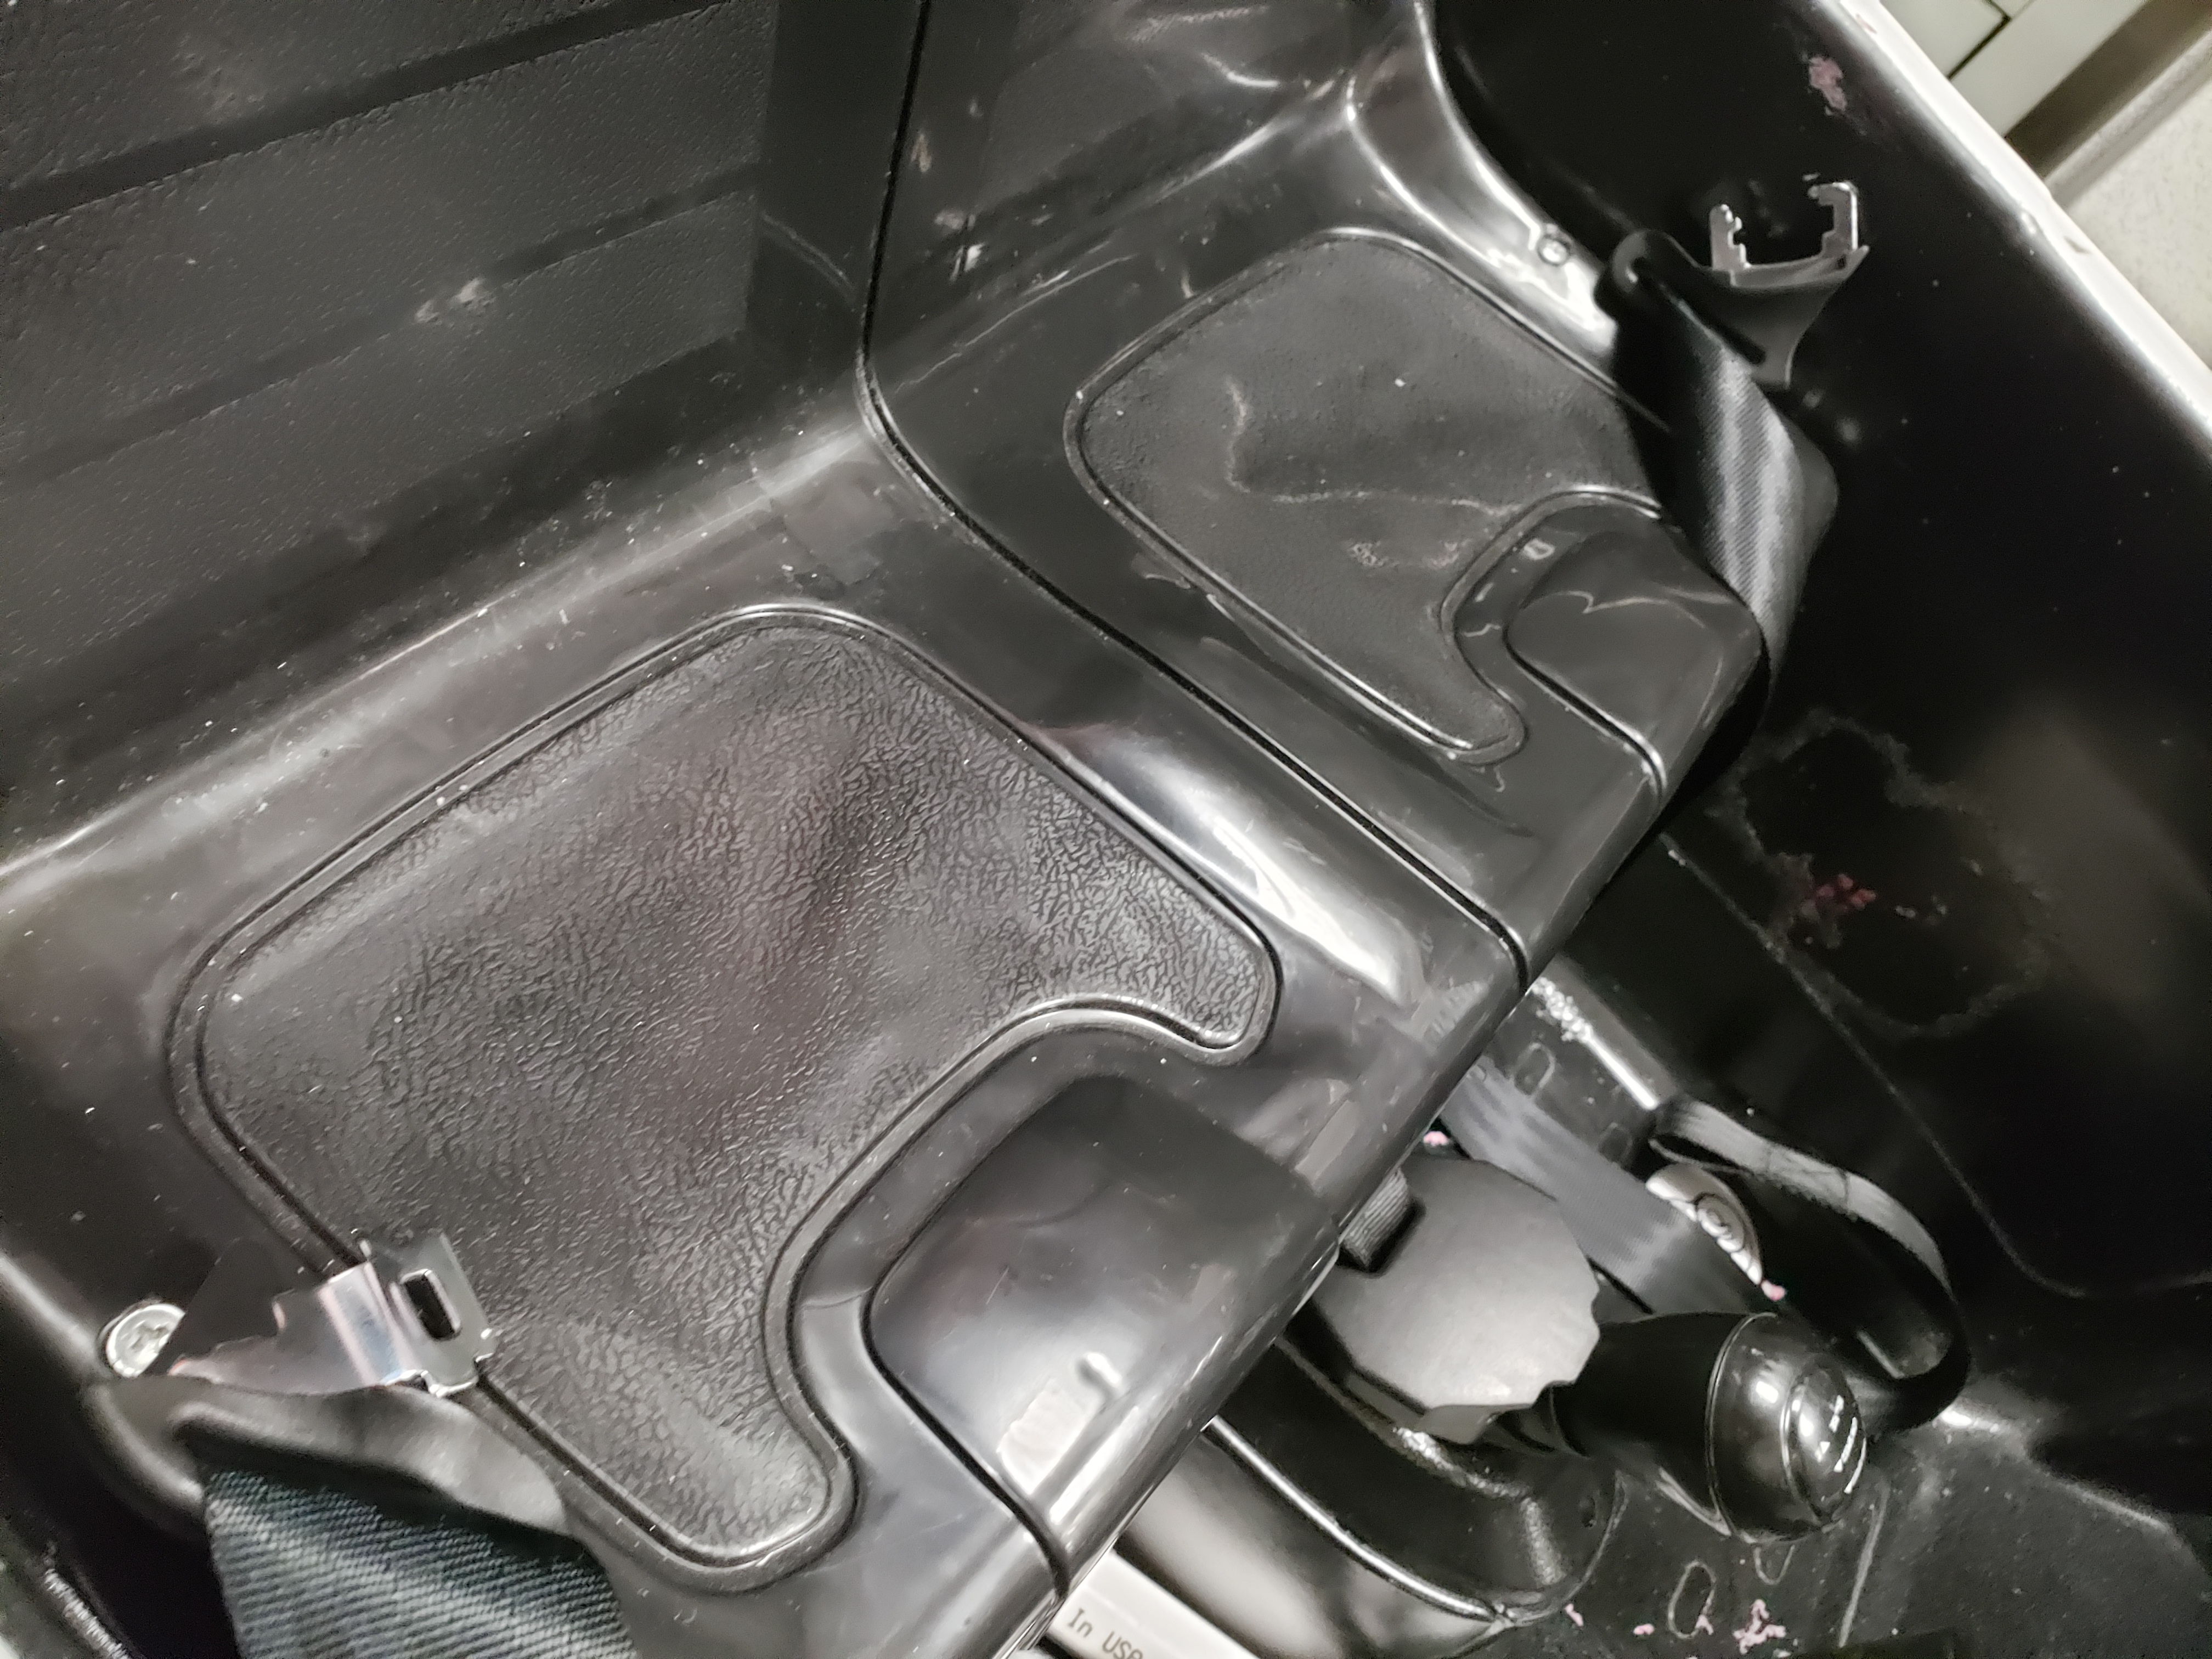
Finally, install it inside the car (by drilling holes and connecting), making sure the seat back is firm with reinforcements and secure it to the car spot chosen for it.