GETTING STARTED WITH THE ARDUINO – CONTROLLING THE LED
by Mudit5246 in Circuits > Arduino
208 Views, 2 Favorites, 0 Comments
GETTING STARTED WITH THE ARDUINO – CONTROLLING THE LED
.png)
In this tutorial, I’ll show you how to use an Arduino to control LEDs. This is a pretty simple project, but you should learn how to do it early on because lots of other sensors and modules are programmed the exact same way.
First I’ll show you how to turn on and off the Arduino’s onboard LED. Then I’ll show you how to turn on and off an LED connected to one of the Arduino’s digital pins. I’ll explain how to change the LEDs flashing rate, and how to change the pin that powers the LED.
Components Required:
.png)
.jpg)
.jpg)
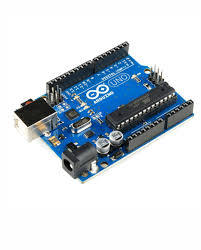
1. Arduino UNO or Nano
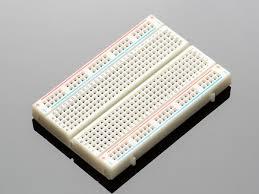
2. Breadboard
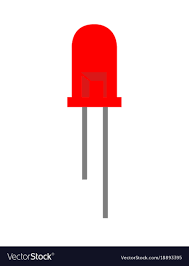
3. Led
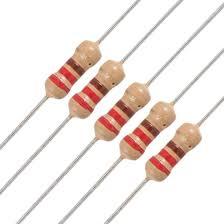
4. Resistor(220 ohms)
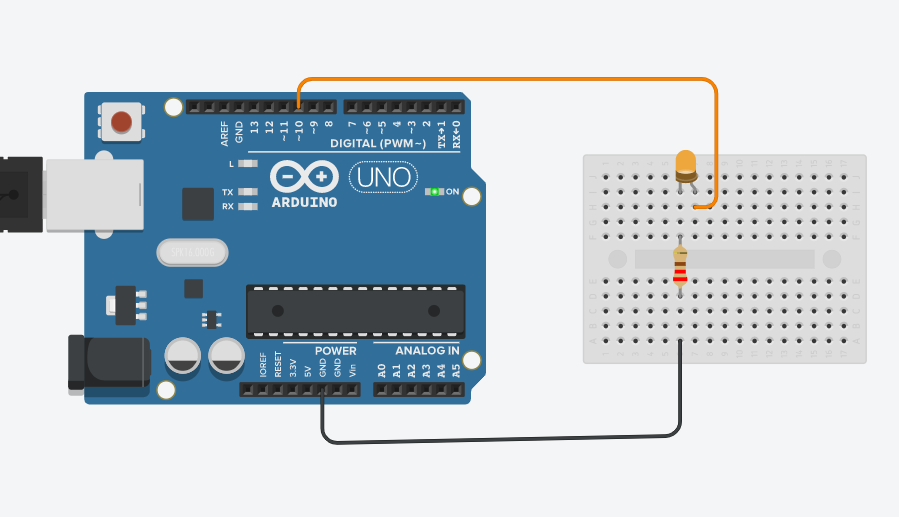
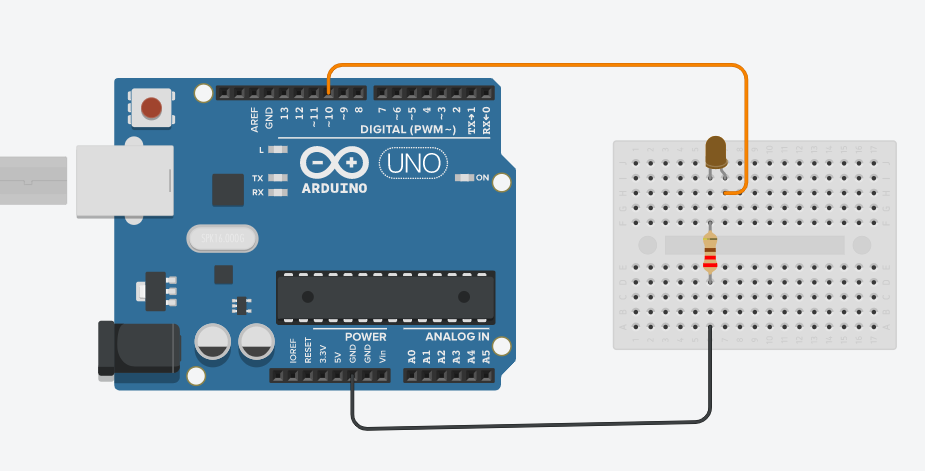
Circuit Diagram:
.png)
To turn on an LED, the Arduino needs to send a HIGH signal to one of it’s pins. To turn off the LED, it needs to send a LOW signal to the pin. You can make the LED flash by changing the length of the HIGH and LOW states.
The Arduino has an onboard surface mount LED that’s hard-wired to digital pin 13. It’s the one with an “L” next to it:
Code:
For more interesting projects connect with me on:
Youtube: https://www.youtube.com/channel/UCTS10_CRYJhT-vb9-...
Facebook page: https://www.facebook.com/techeor1/
Instagram: https://instagram.com/official_techeor?igshid=uc8l10avryni
void setup()

{ pinMode(10, OUTPUT);

}

void loop()
{
  digitalWrite(10, HIGH);
  delay(1000); // Wait for 1000 millisecond(s)
  digitalWrite(10, LOW);
  delay(1000); // Wait for 1000 millisecond(s)
}