Fusion360 Picture Frame
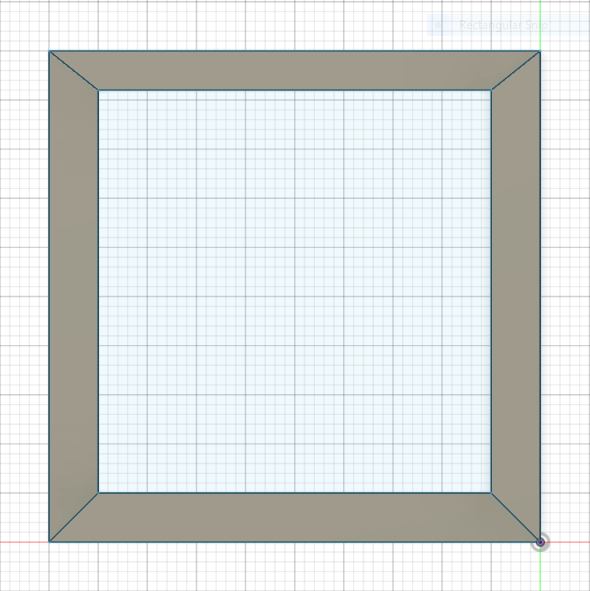
This is a picture frame. It is used to hold pictures.
Supplies
Fusion360 (https://www.autodesk.com/products/fusion-360/personal)
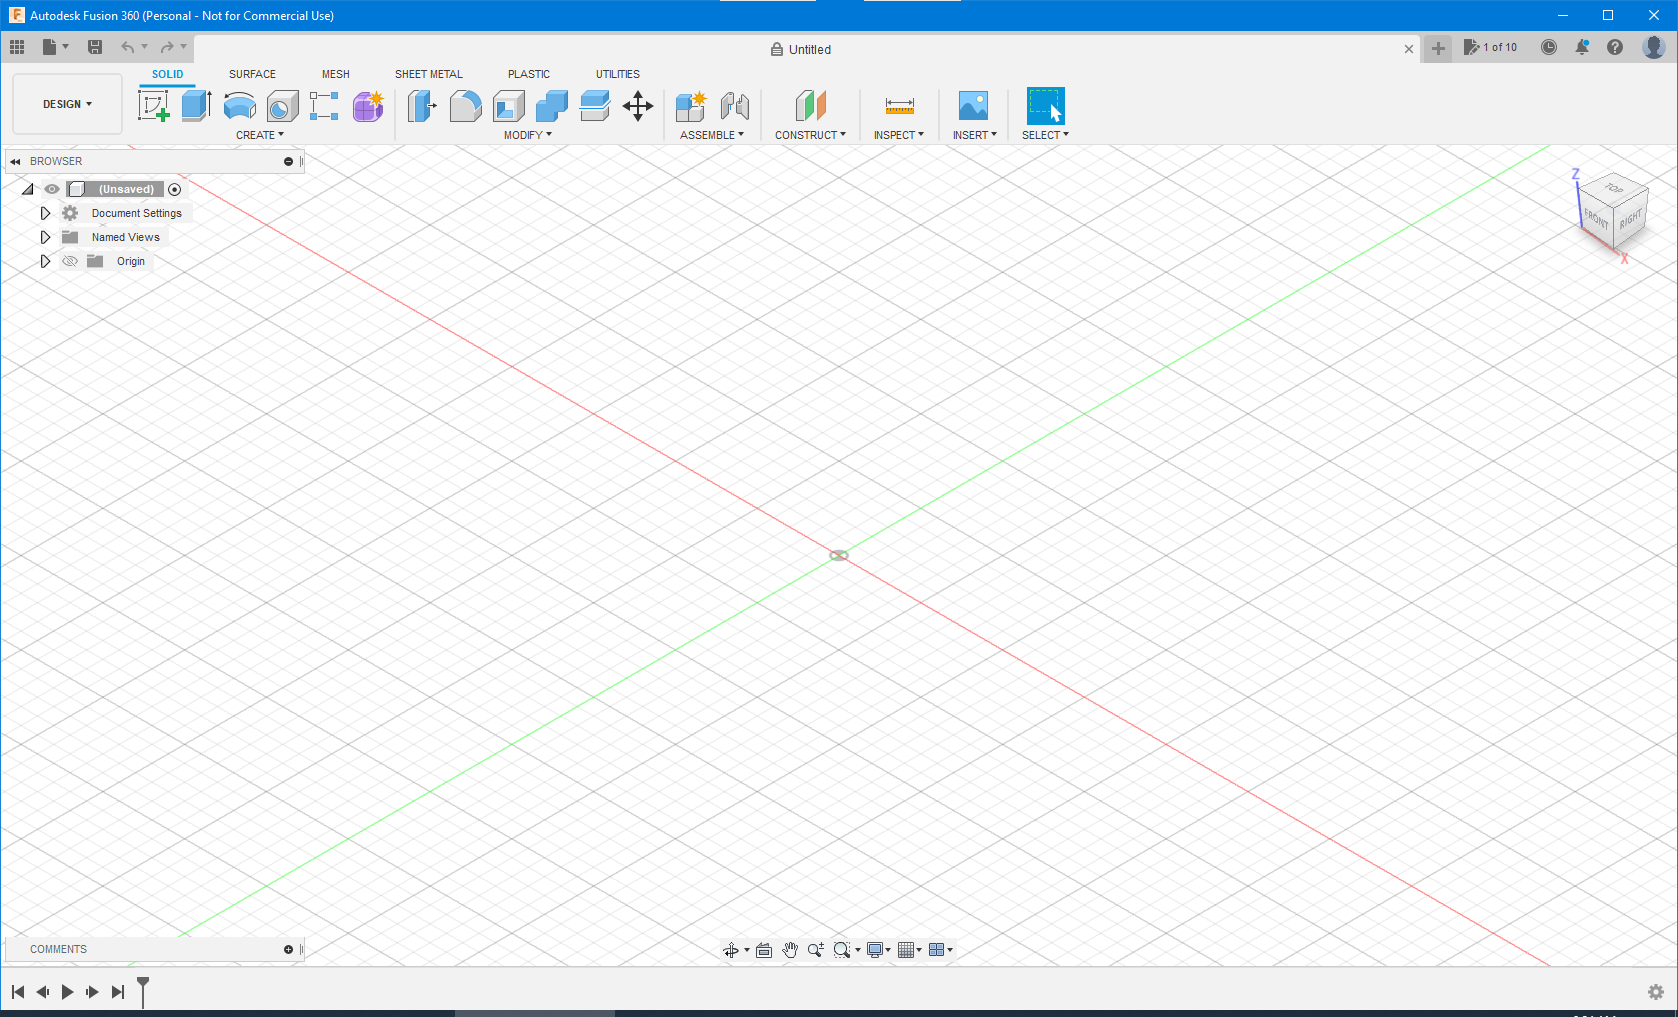
Open Fusion360
I am a student at Canyon Ridge High school, here to teach you how to make a picture frame. Once you have downloaded Fusion360, open it by clicking on the shortcut, or going to the corresponding file path.
Creating a New Design
After setting up your account or signing in, create a new design by pressing CTRL + N.
Enter Sketch Mode
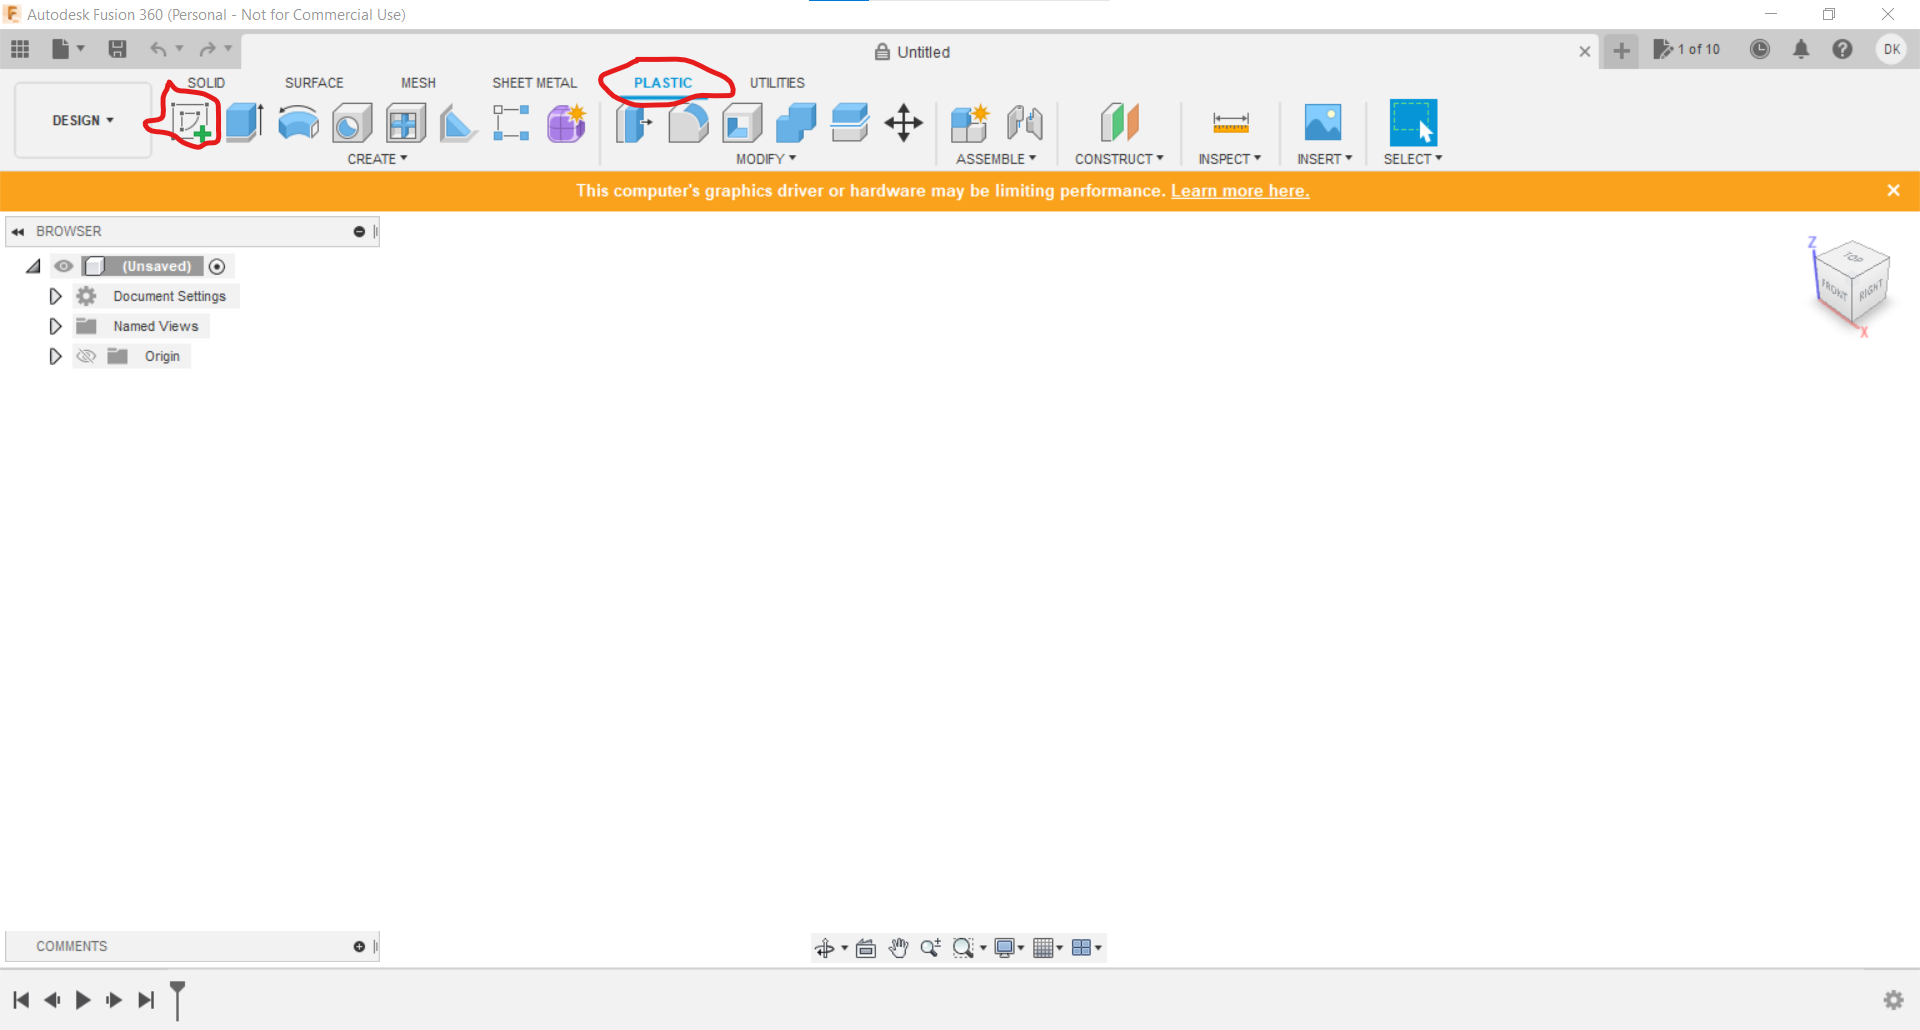
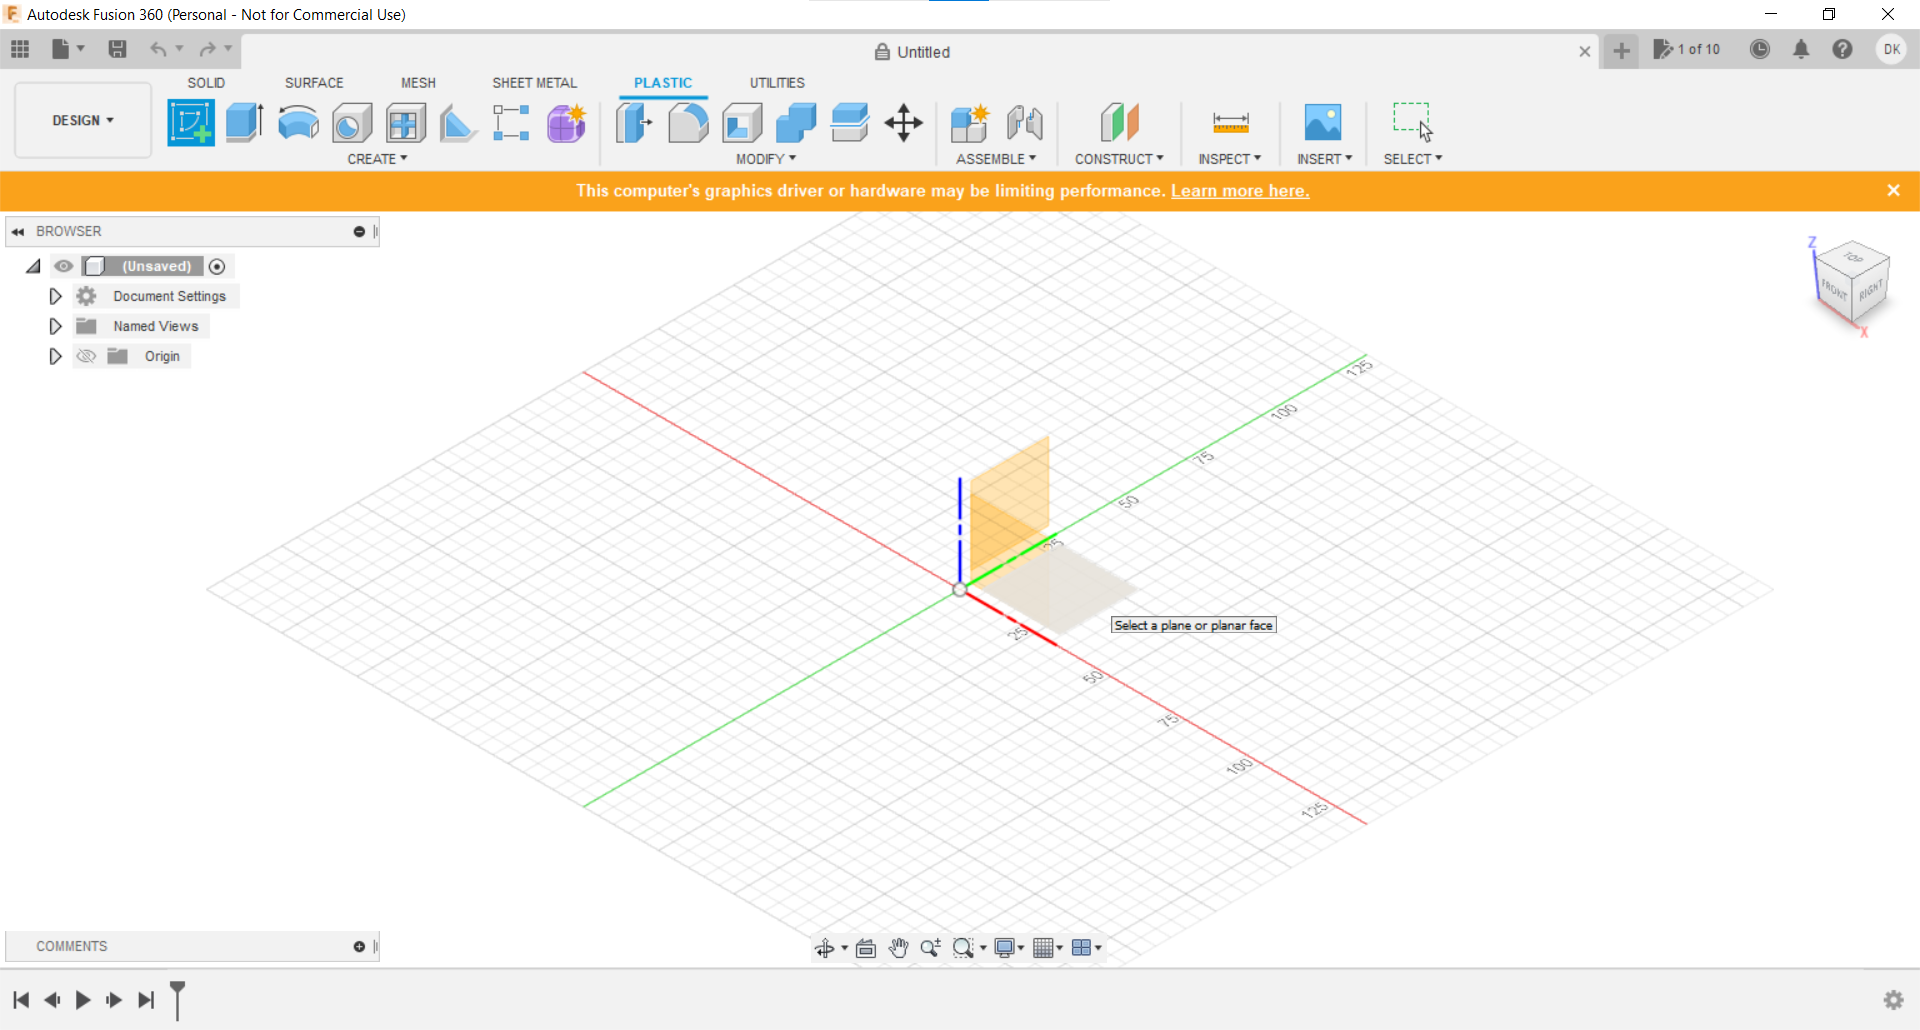
Click on plastic, then on sketch. Select the bottom surface.
Creating the Outline
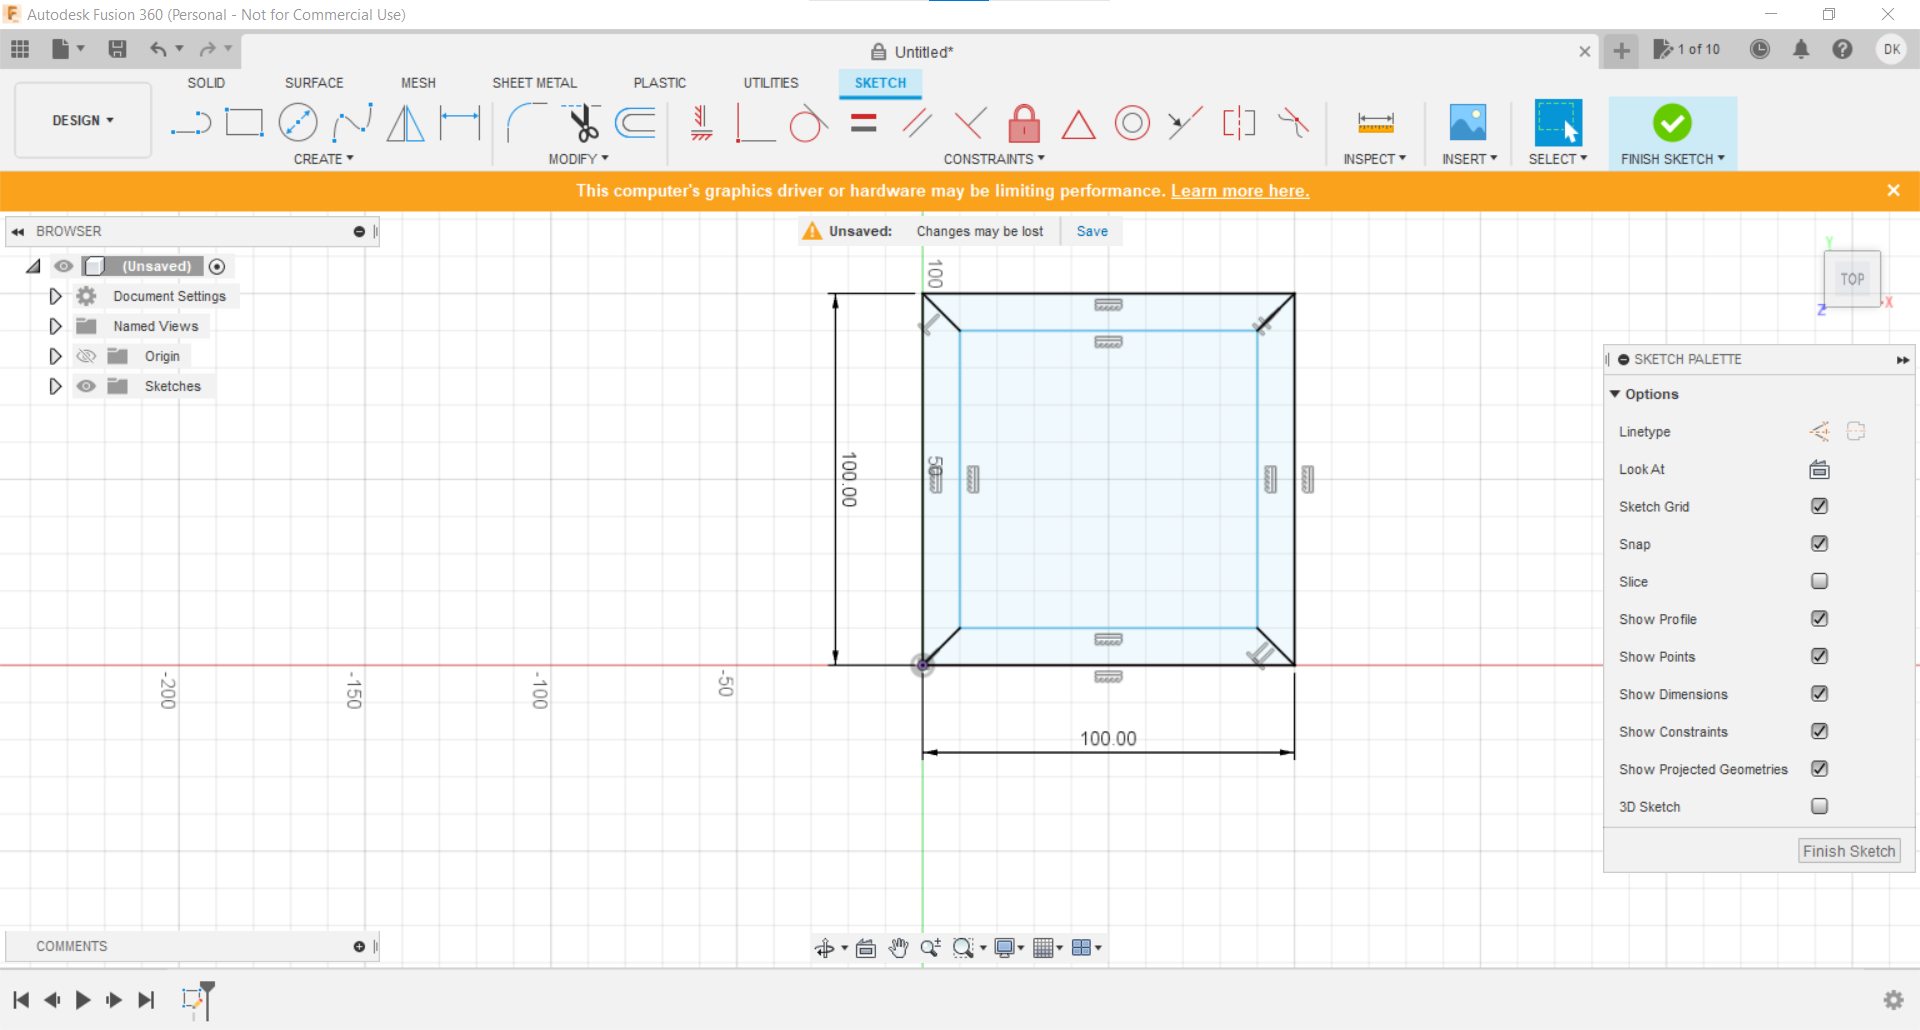
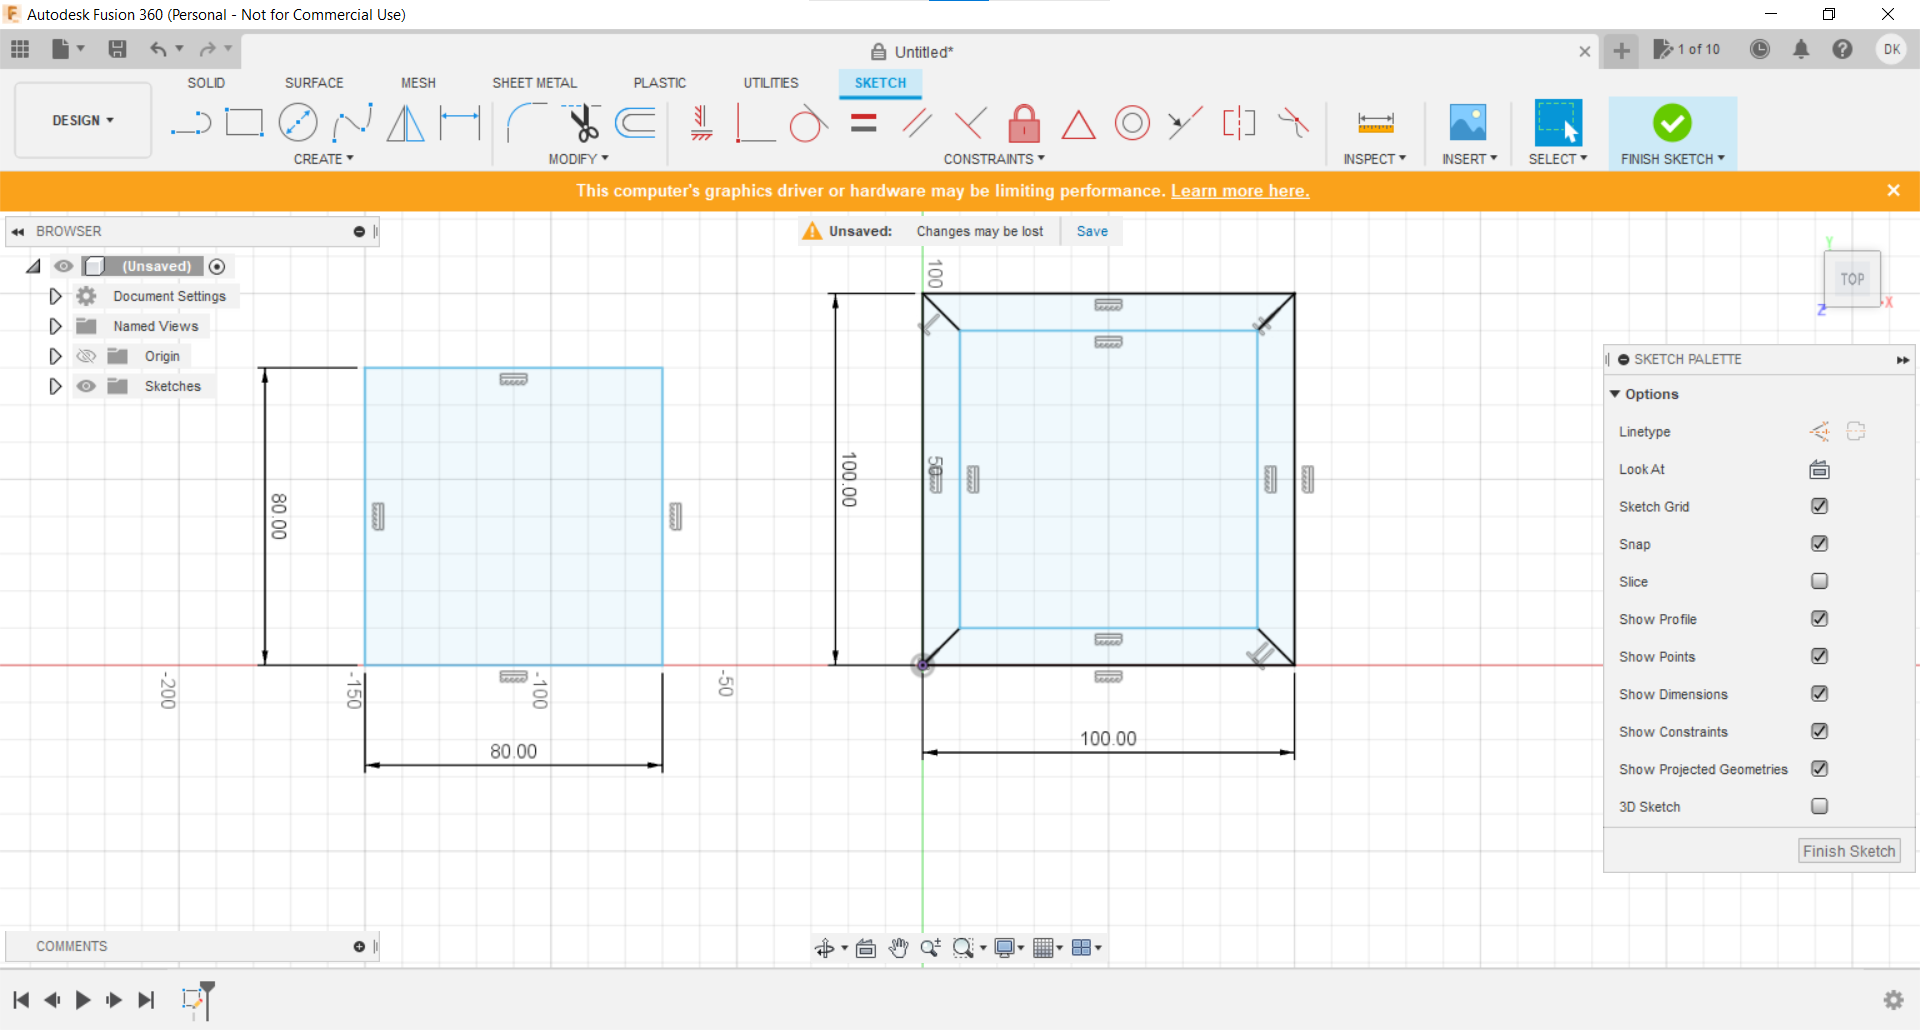
Follow the sketch pattern using the line and rectangle tool. Measure it to fit your needs.
Extruding the Frame
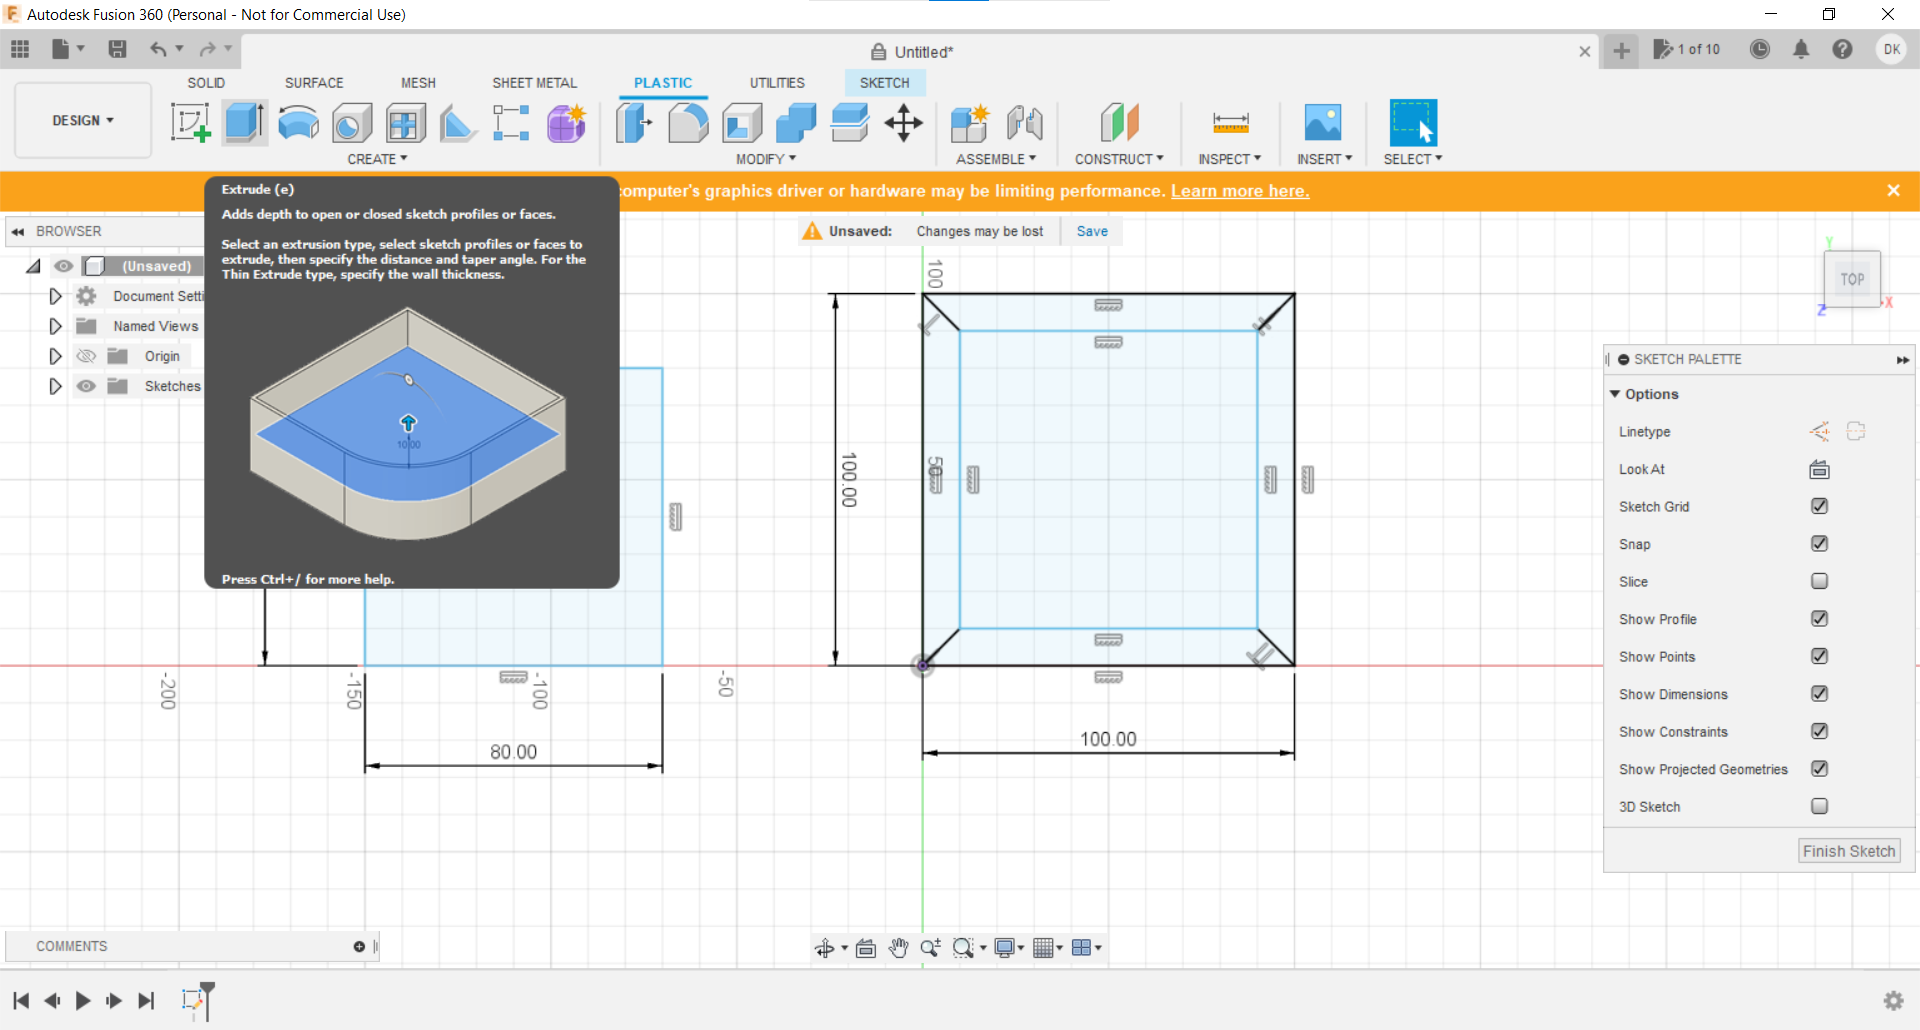
Under the plastic tab, press the extrude option.
Enter the Measurements and Marvel at Your Creation
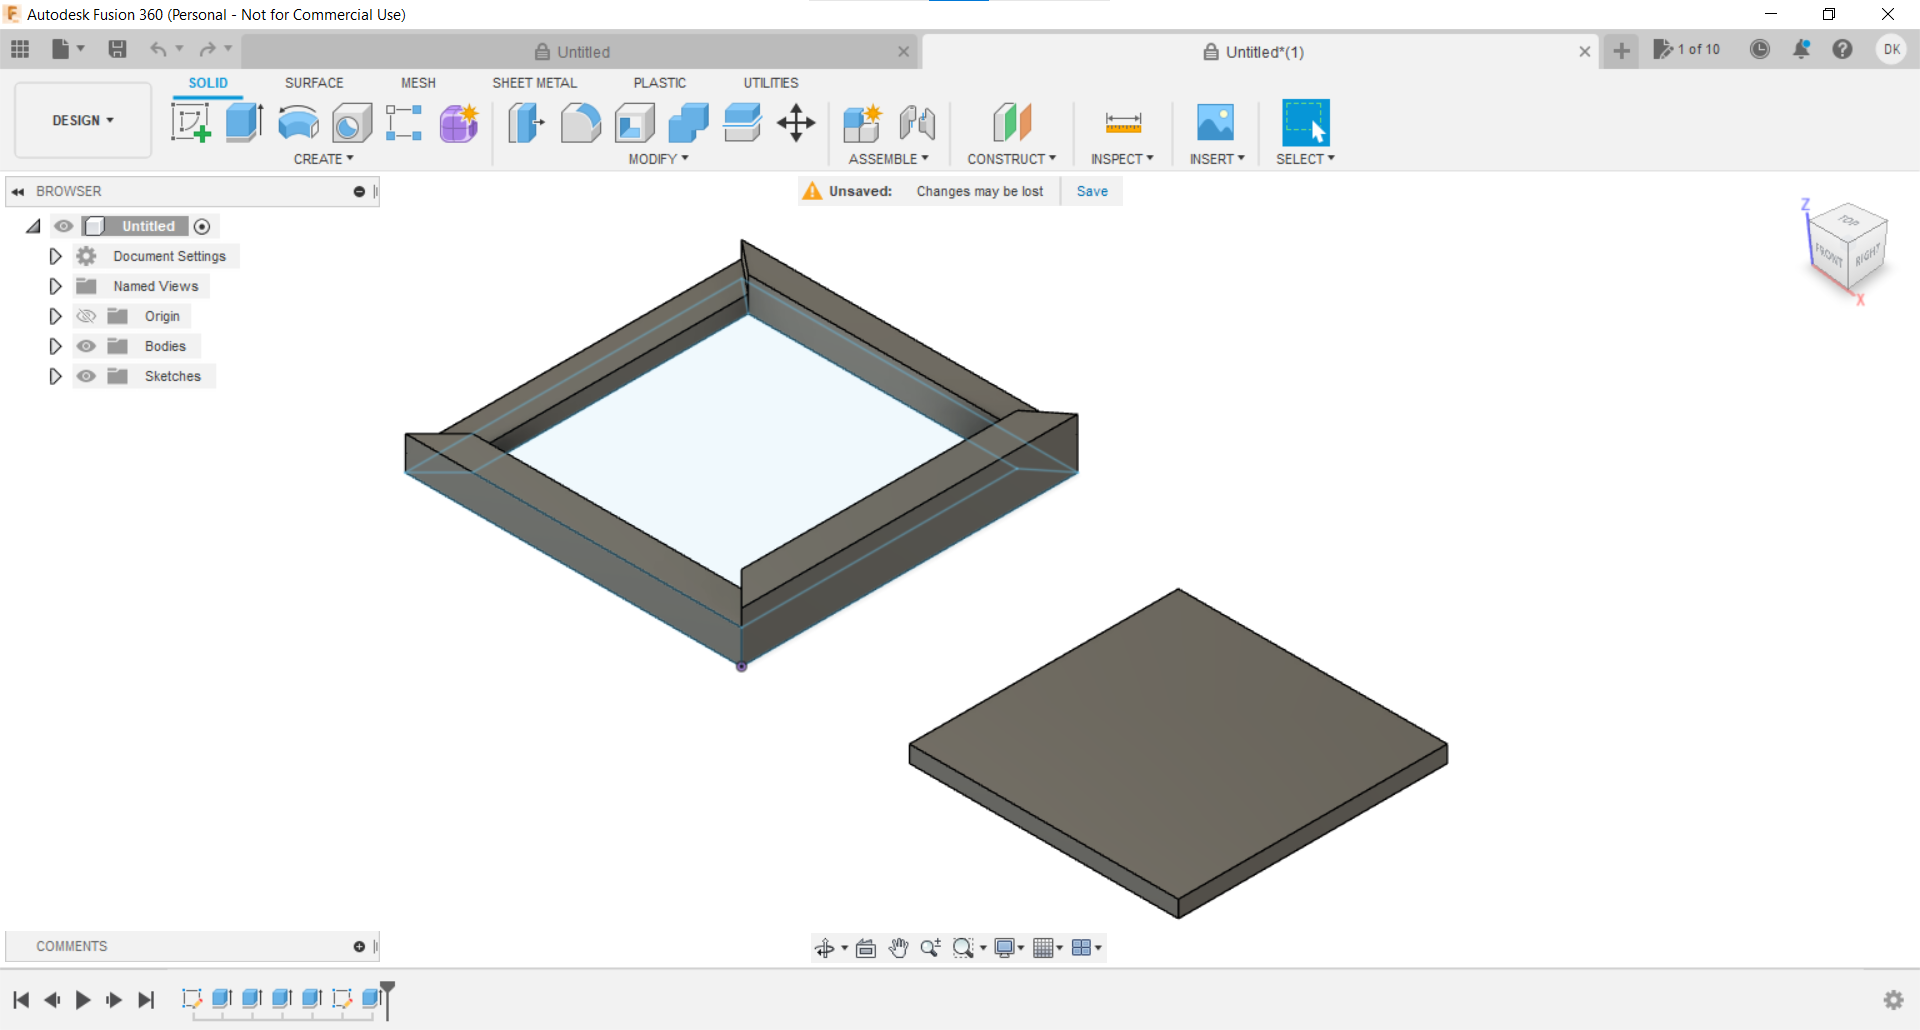
Congratulations! You're done with designing it.
Downloads
What Was Learned
We learned how to make new projects. We learned the basics of sketching and extrusion. This will be a stepping stone to more complex involved projects.