Functional Mac Pro Mini Tower: 3-D Print
by Adobi in Workshop > 3D Printing
7569 Views, 14 Favorites, 0 Comments
Functional Mac Pro Mini Tower: 3-D Print
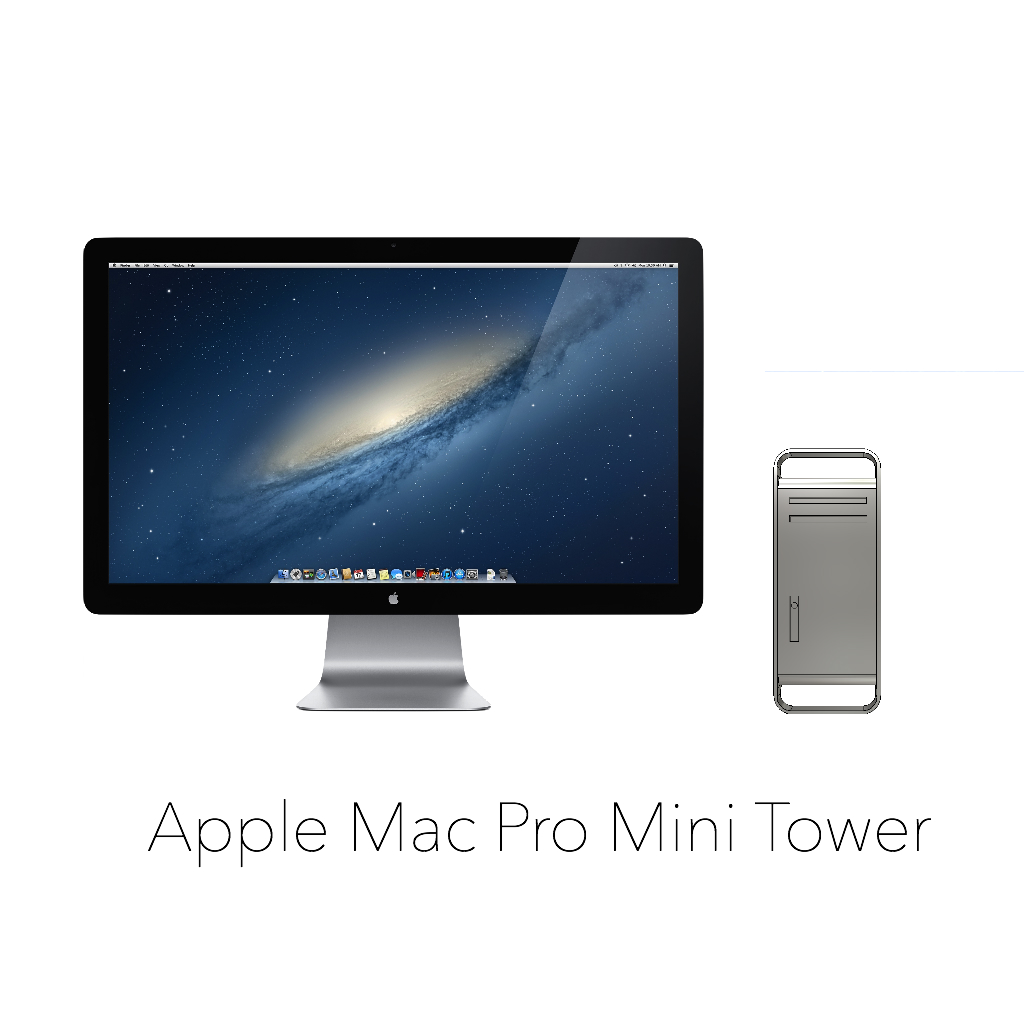
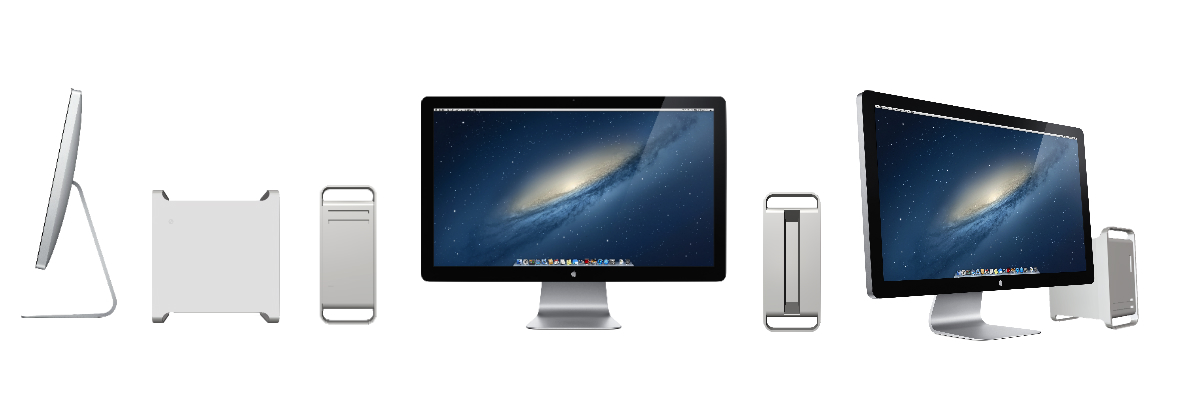
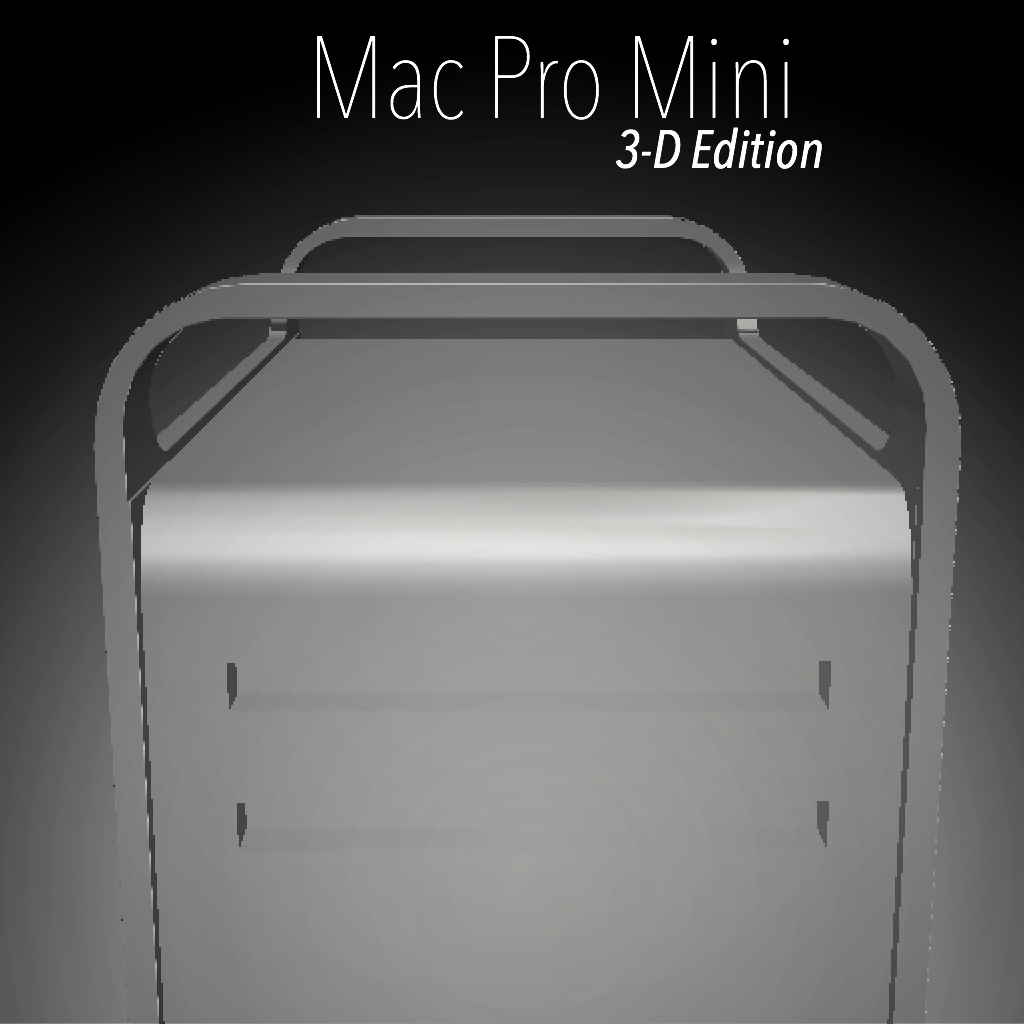
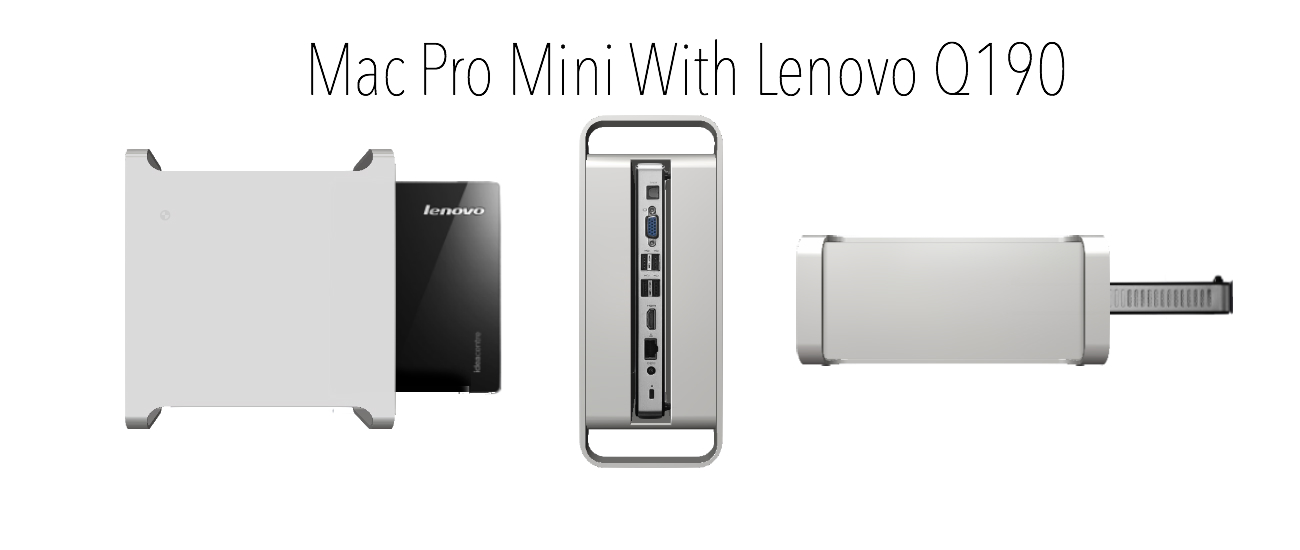
Before I begin, I was in a bit of a competition with my twin brother to see who can create the best Apple inspired product. And I think I have him beat with the following product :).
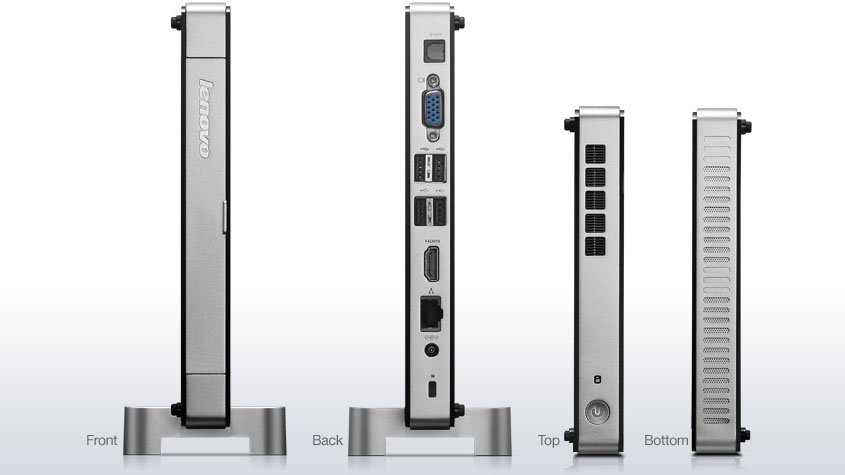
After the release of the redesigned Mac Pro last Spring, I wondered why Apple's design crew hadn't considered simply shrinking their existing Mac Pro design. I understand it would not be the "revolutionary" product they're suppose to churn out, but it would be unique interpretation of a new, even smaller computer. Not until the recent 3-d printer evolution would it have ever been feasible for a amateur like me to actually create my own mini Mac Pro, but with the new 3-D printer technology and the "world's smallest desktop" (Lenevo q190) I decided to design my own new Mac Pro mini. And now you can too with this Instructable!
Hopefully one day with a 3-D printer at my disposal I could actually make this project come to life, but until then the 3-D renderings will have to suffice :). However if you decide to print and make it into a working Mac Pro Mini, this model is designed to fit the Lenovo Q190 , a reasonably priced ($300) desktop computer. Since this is a mac you would also have to hackintosh the PC, but that is for another Instructable.
Please note this instructable is more of a picture-able if you will, it will be easiest if you let the pictures guide you. However, should I see fit, I will provide some "helpful-hints" at the beginning of each step. I have included all the photos on the last step, this way you can simply tap through the photos enlarged.
Also note, all the dimensions besides those of the first box are approximates (not ratios) based on photos of the actual Mac Pro. To help decide on dimensions I would recommend printing a picture of the actual Mac Pro to refer to OR simply rely on the dimensions I provide you.
Downloads
Start With a Box.
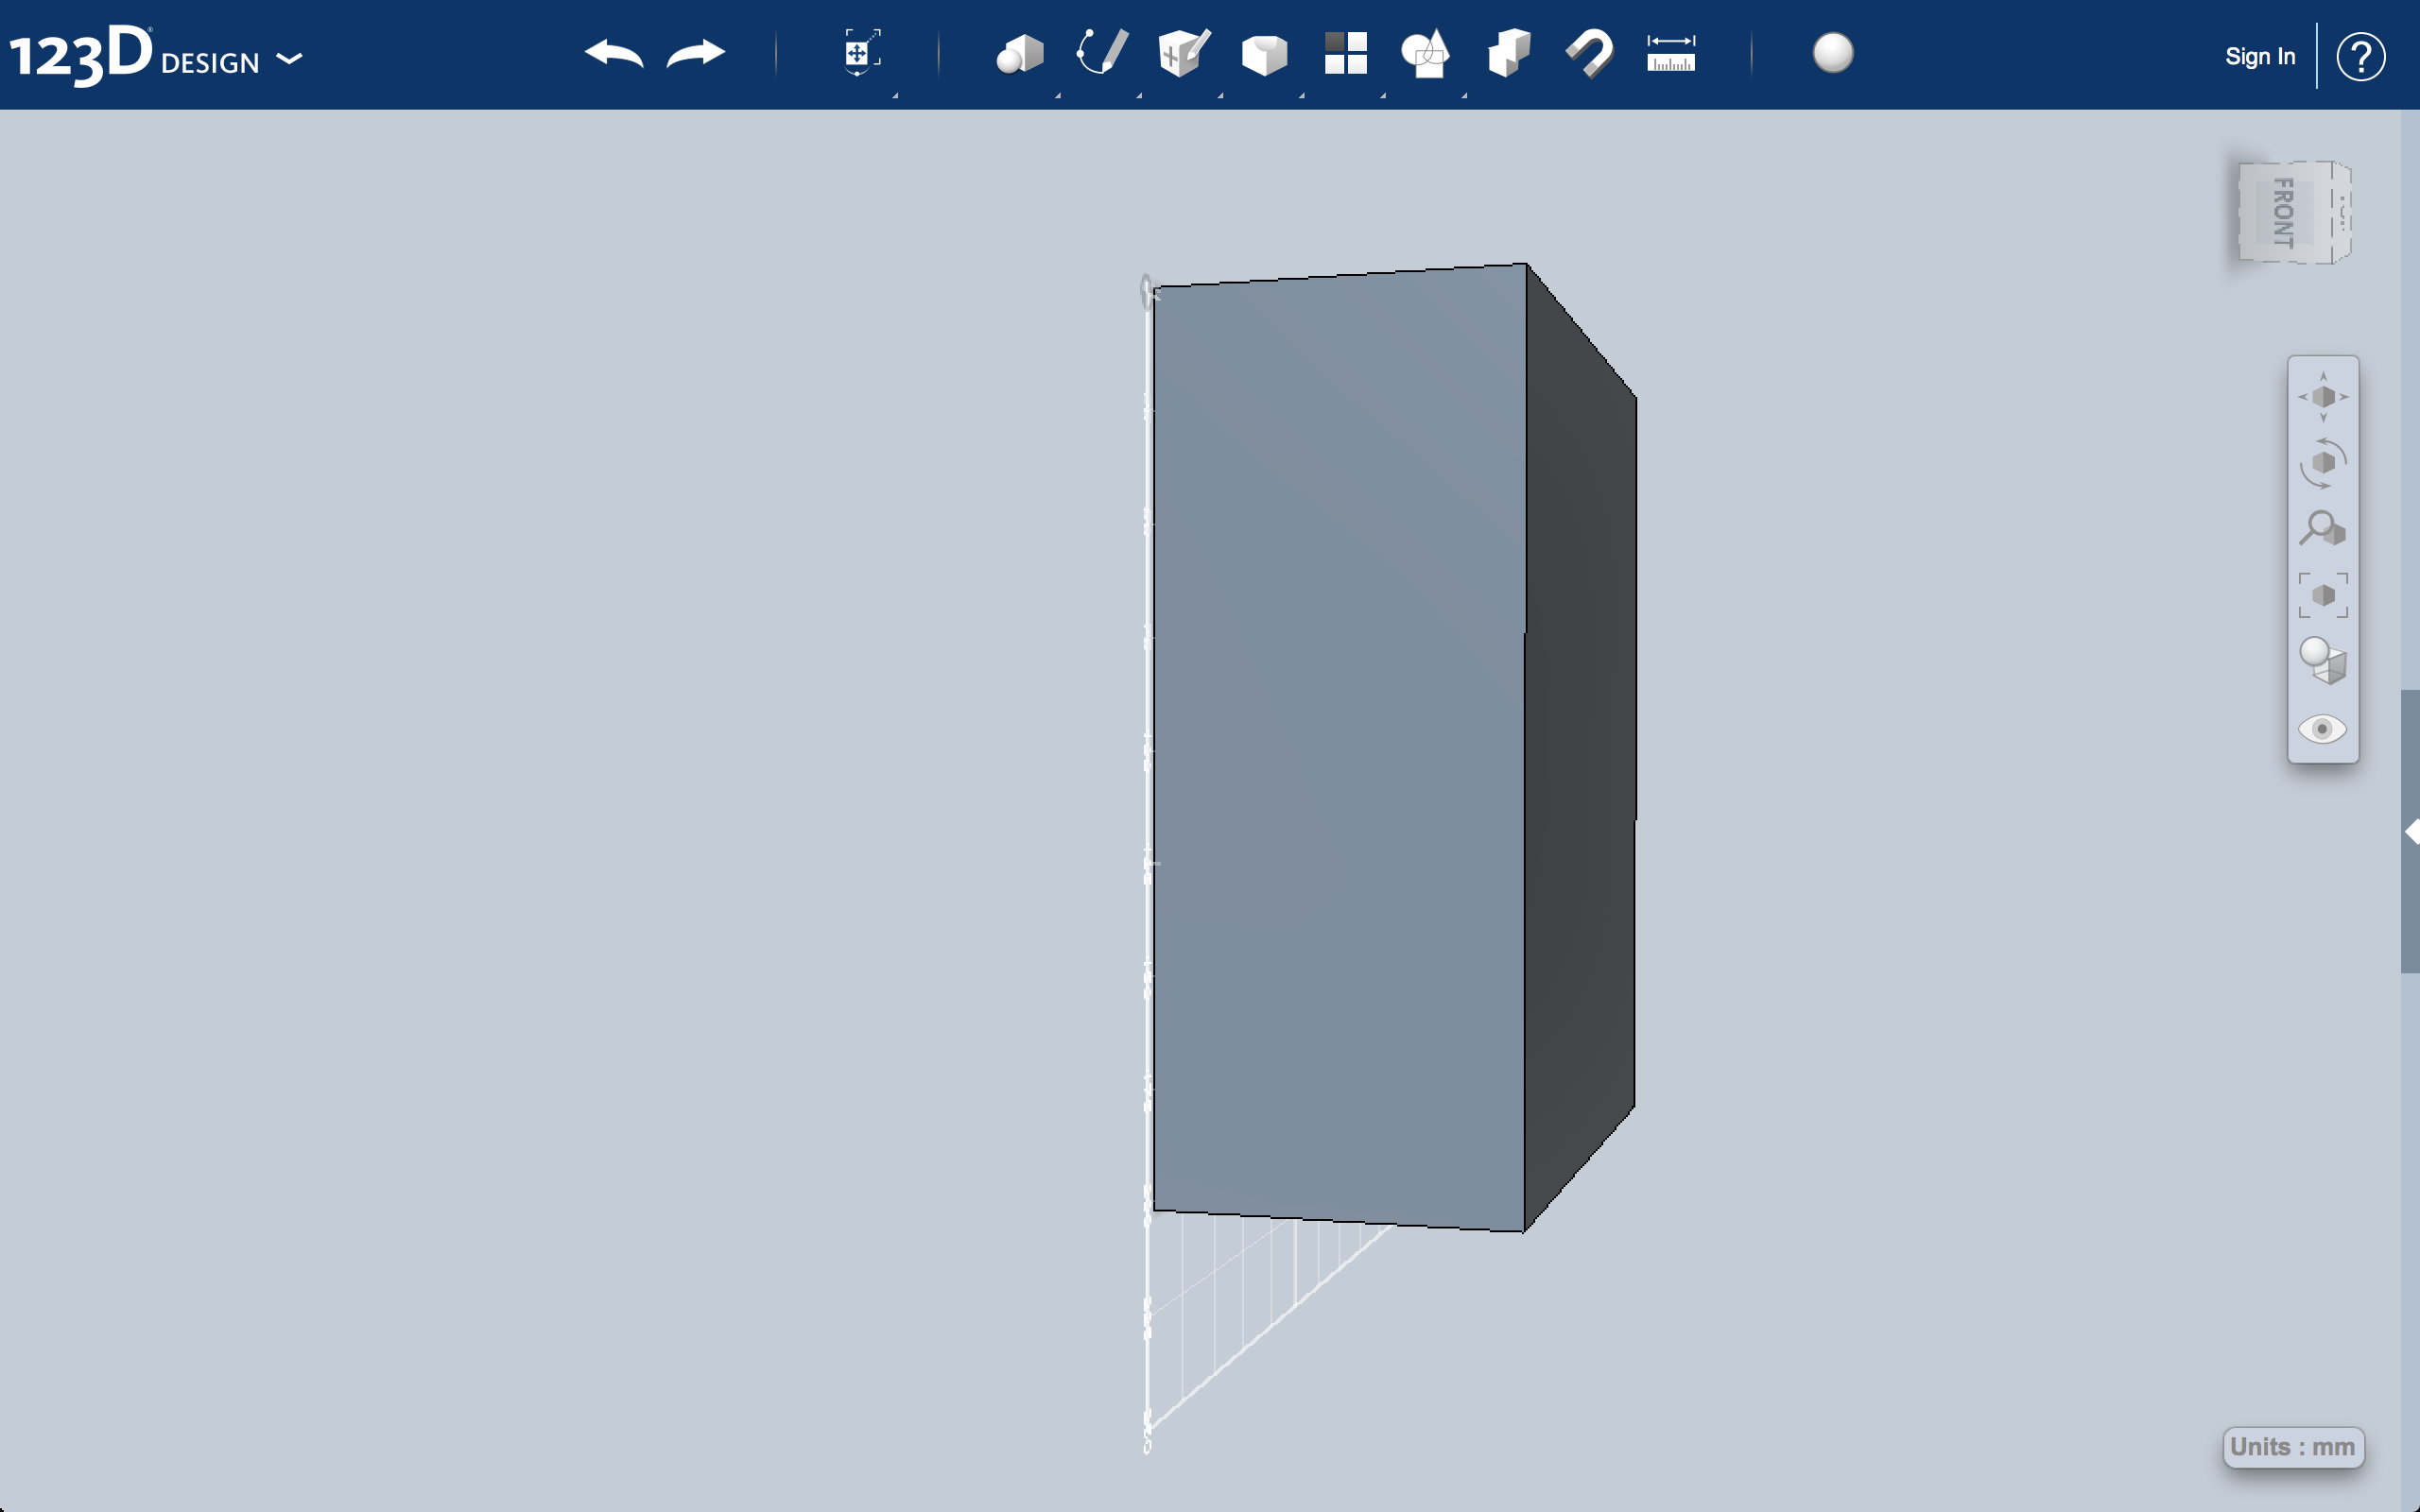
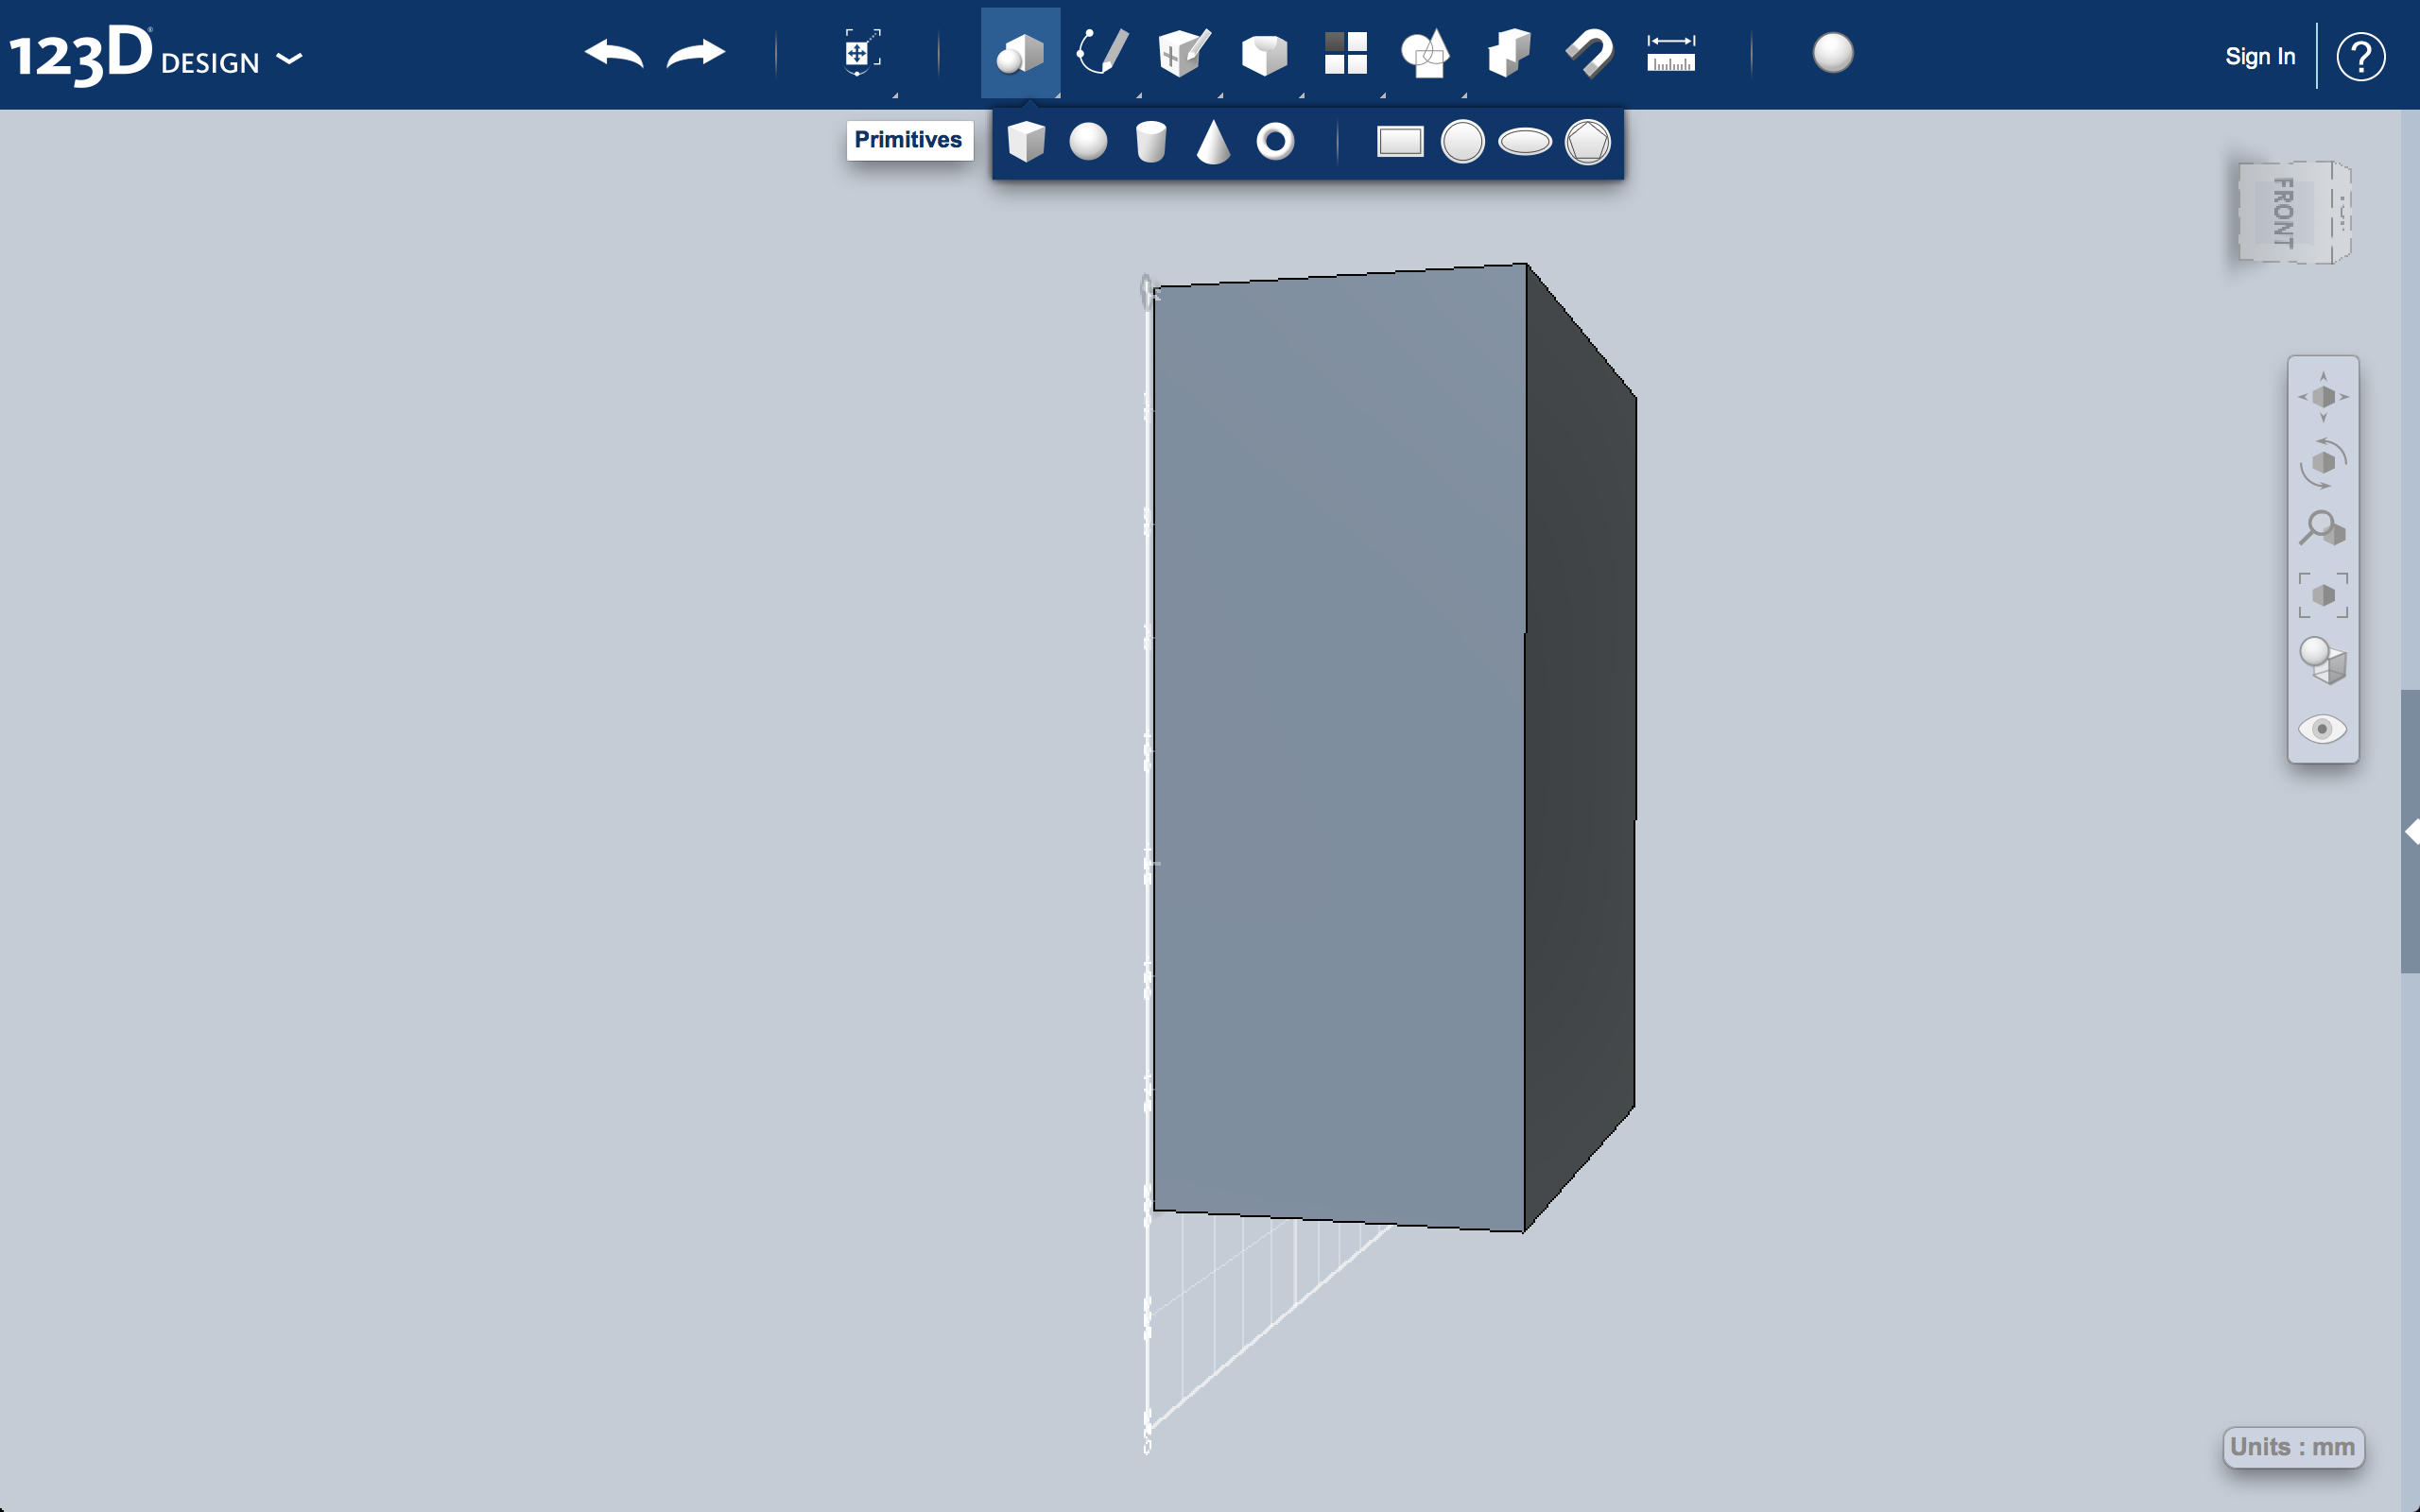
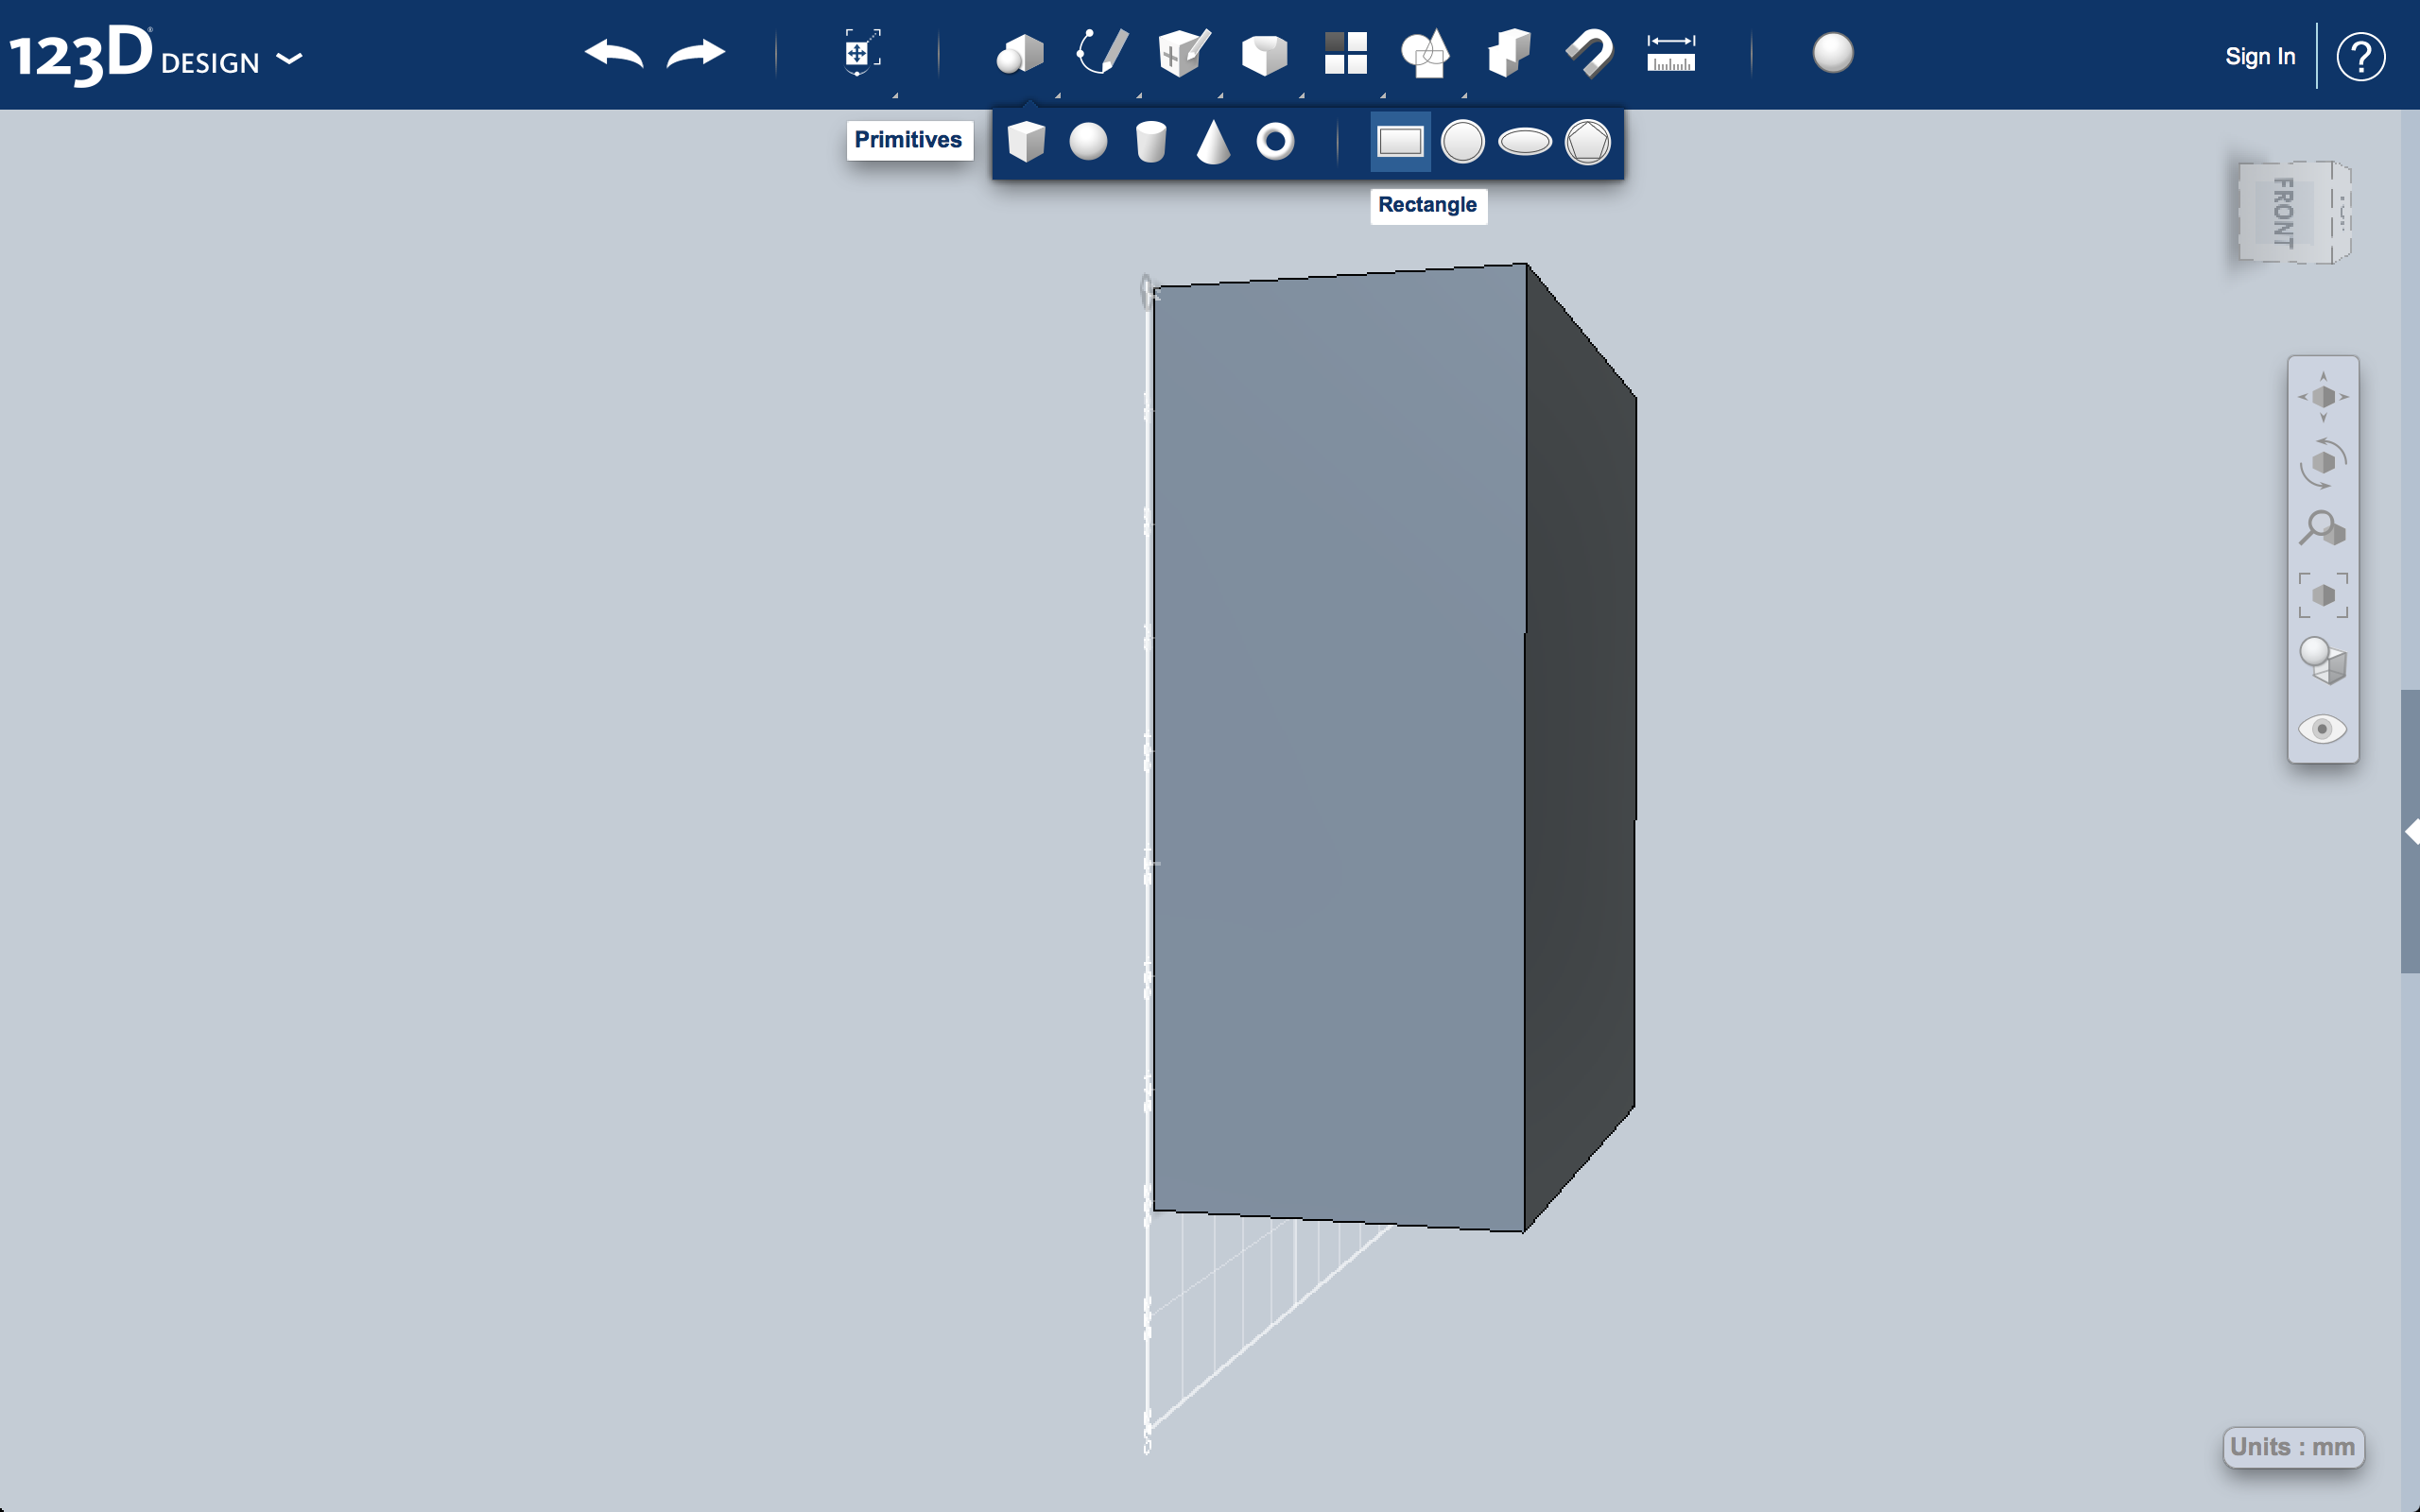
I cross checked all the dimension of the original mac pro and the size of the Lenovo Q190 and decided to make a 4/10 scale size of the old Mac Pro.
The dimension turned out as follows:
204 mm x 82.4 mm x 190 mm (H x W x D)
These are not the dimensions you should enter when creating the box. Most 3-D printers are not 204 mm tall. To get around this I laid the box on its side, so you should enter the following dimensions (notice rearrangement of height, width and depth).
USE these dimensions:
204 mm x 82.4 mm x 190 mm (W x H x D)
Create the Handles
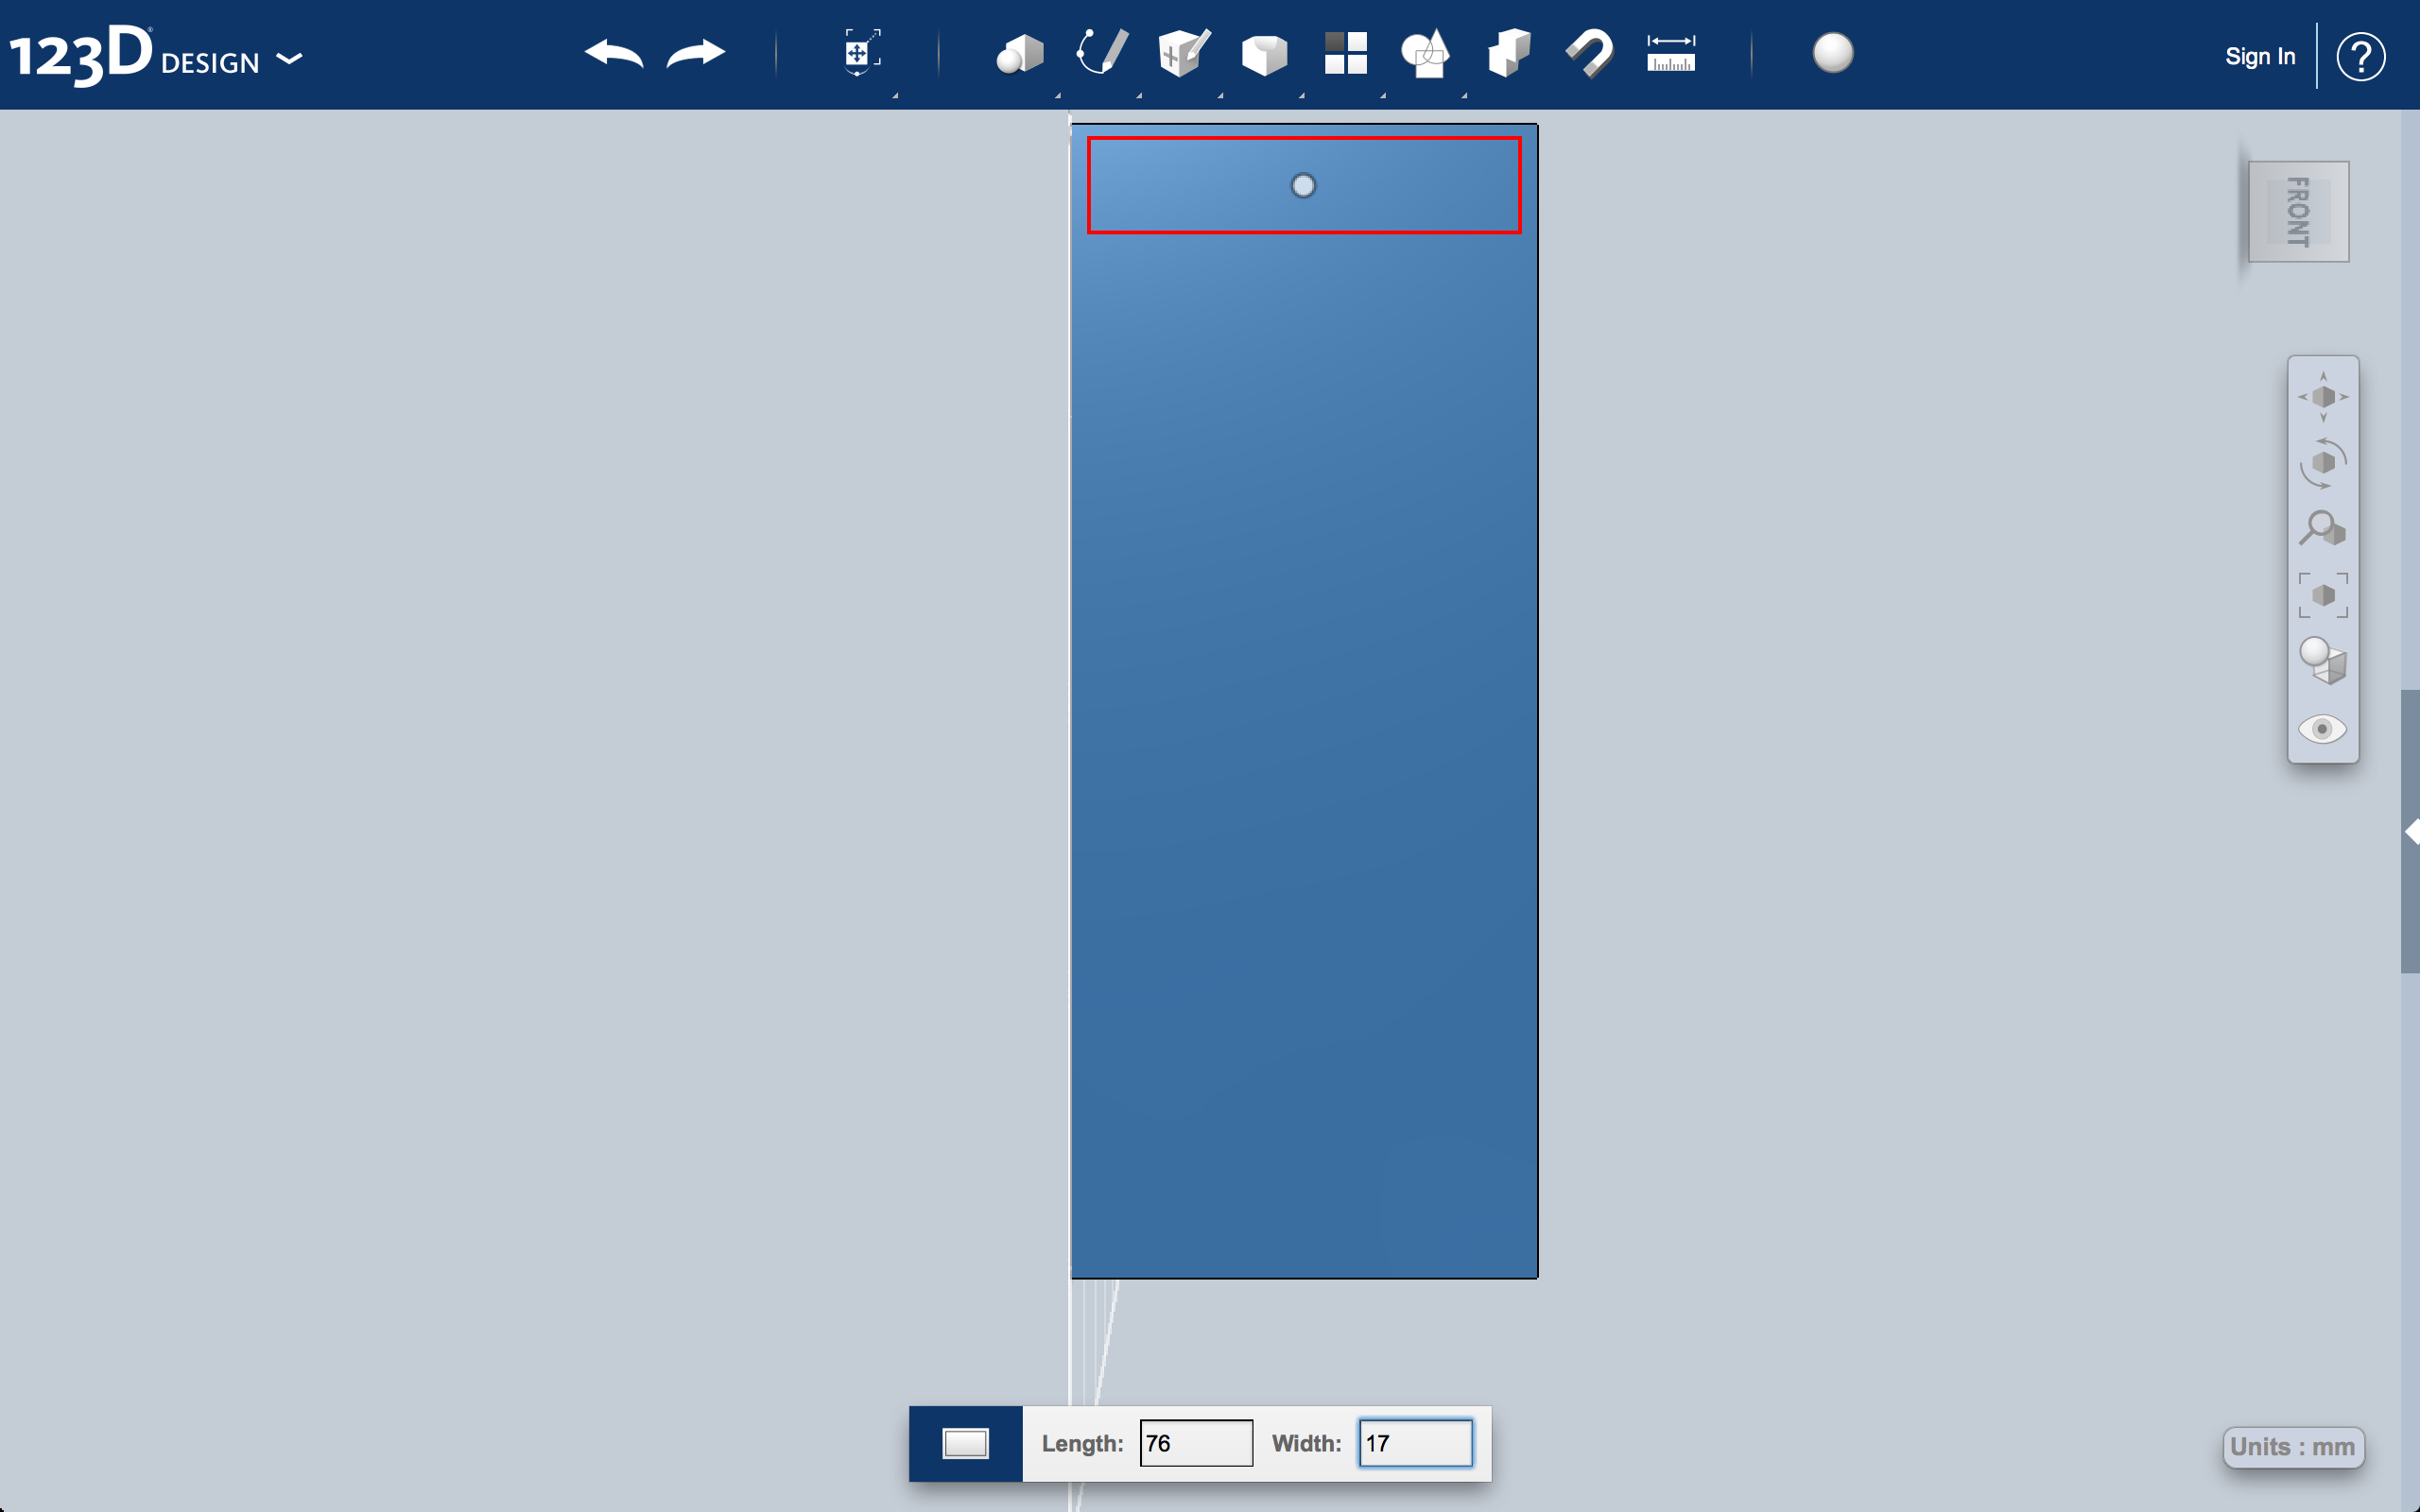
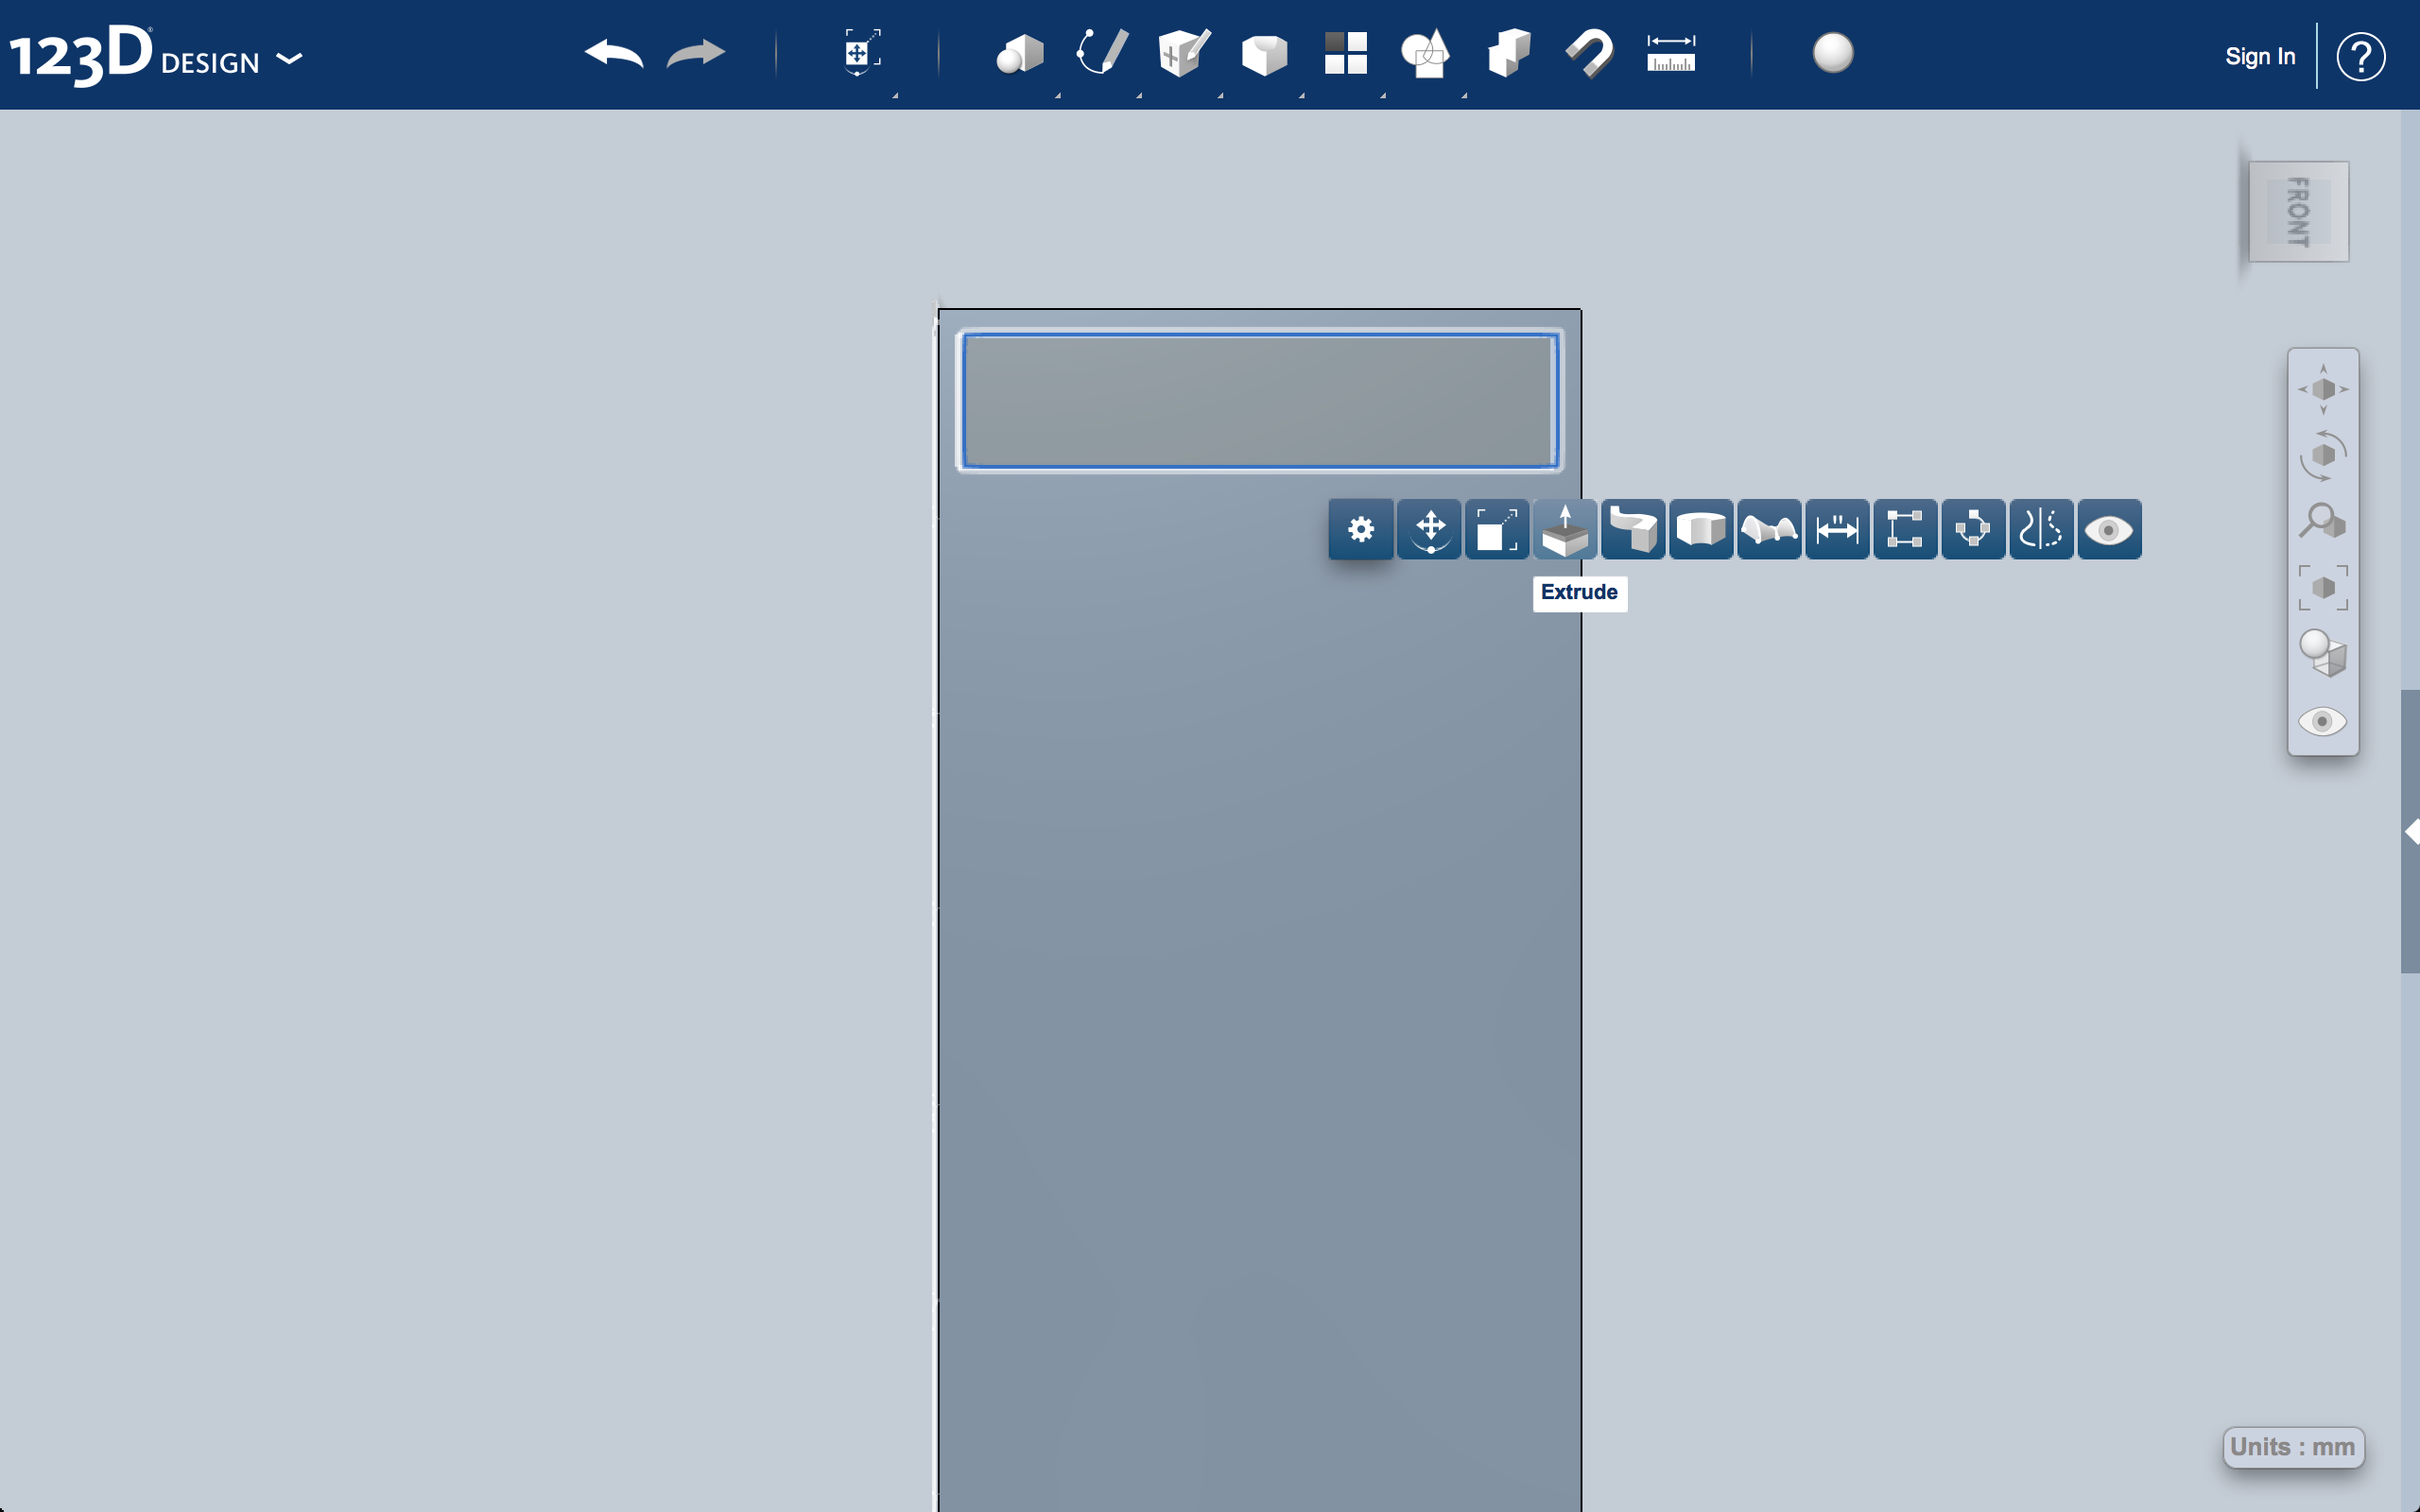
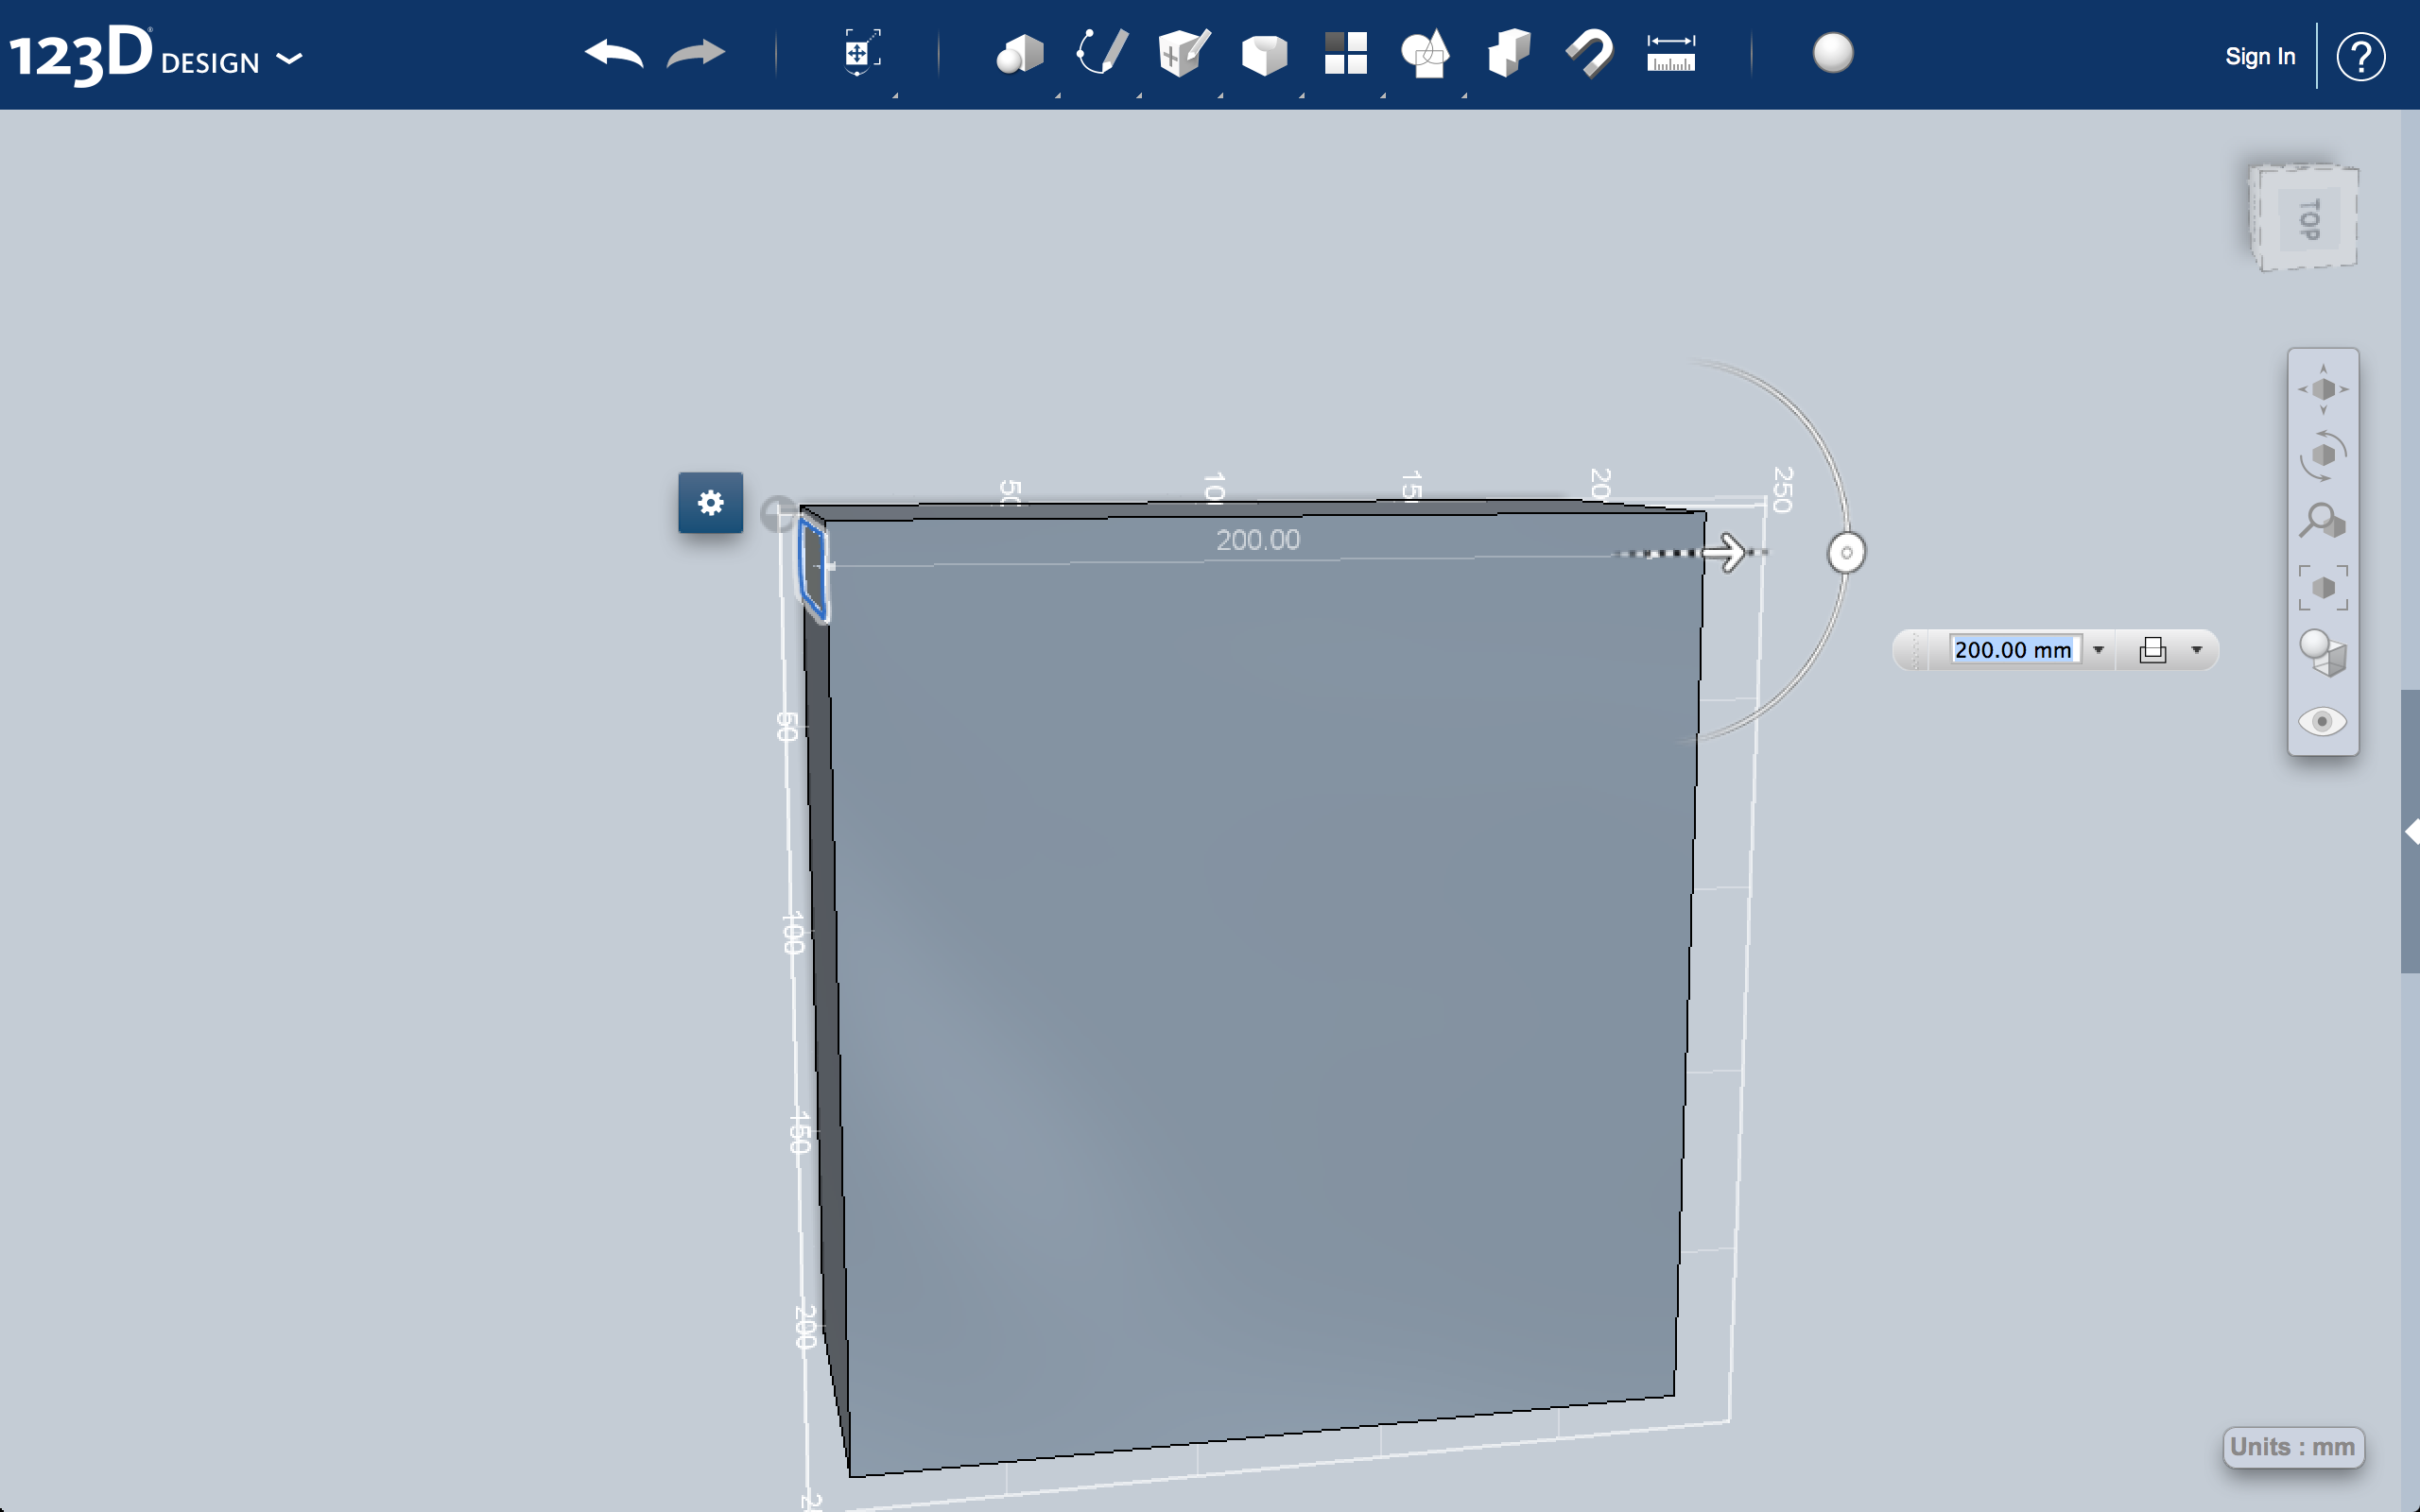
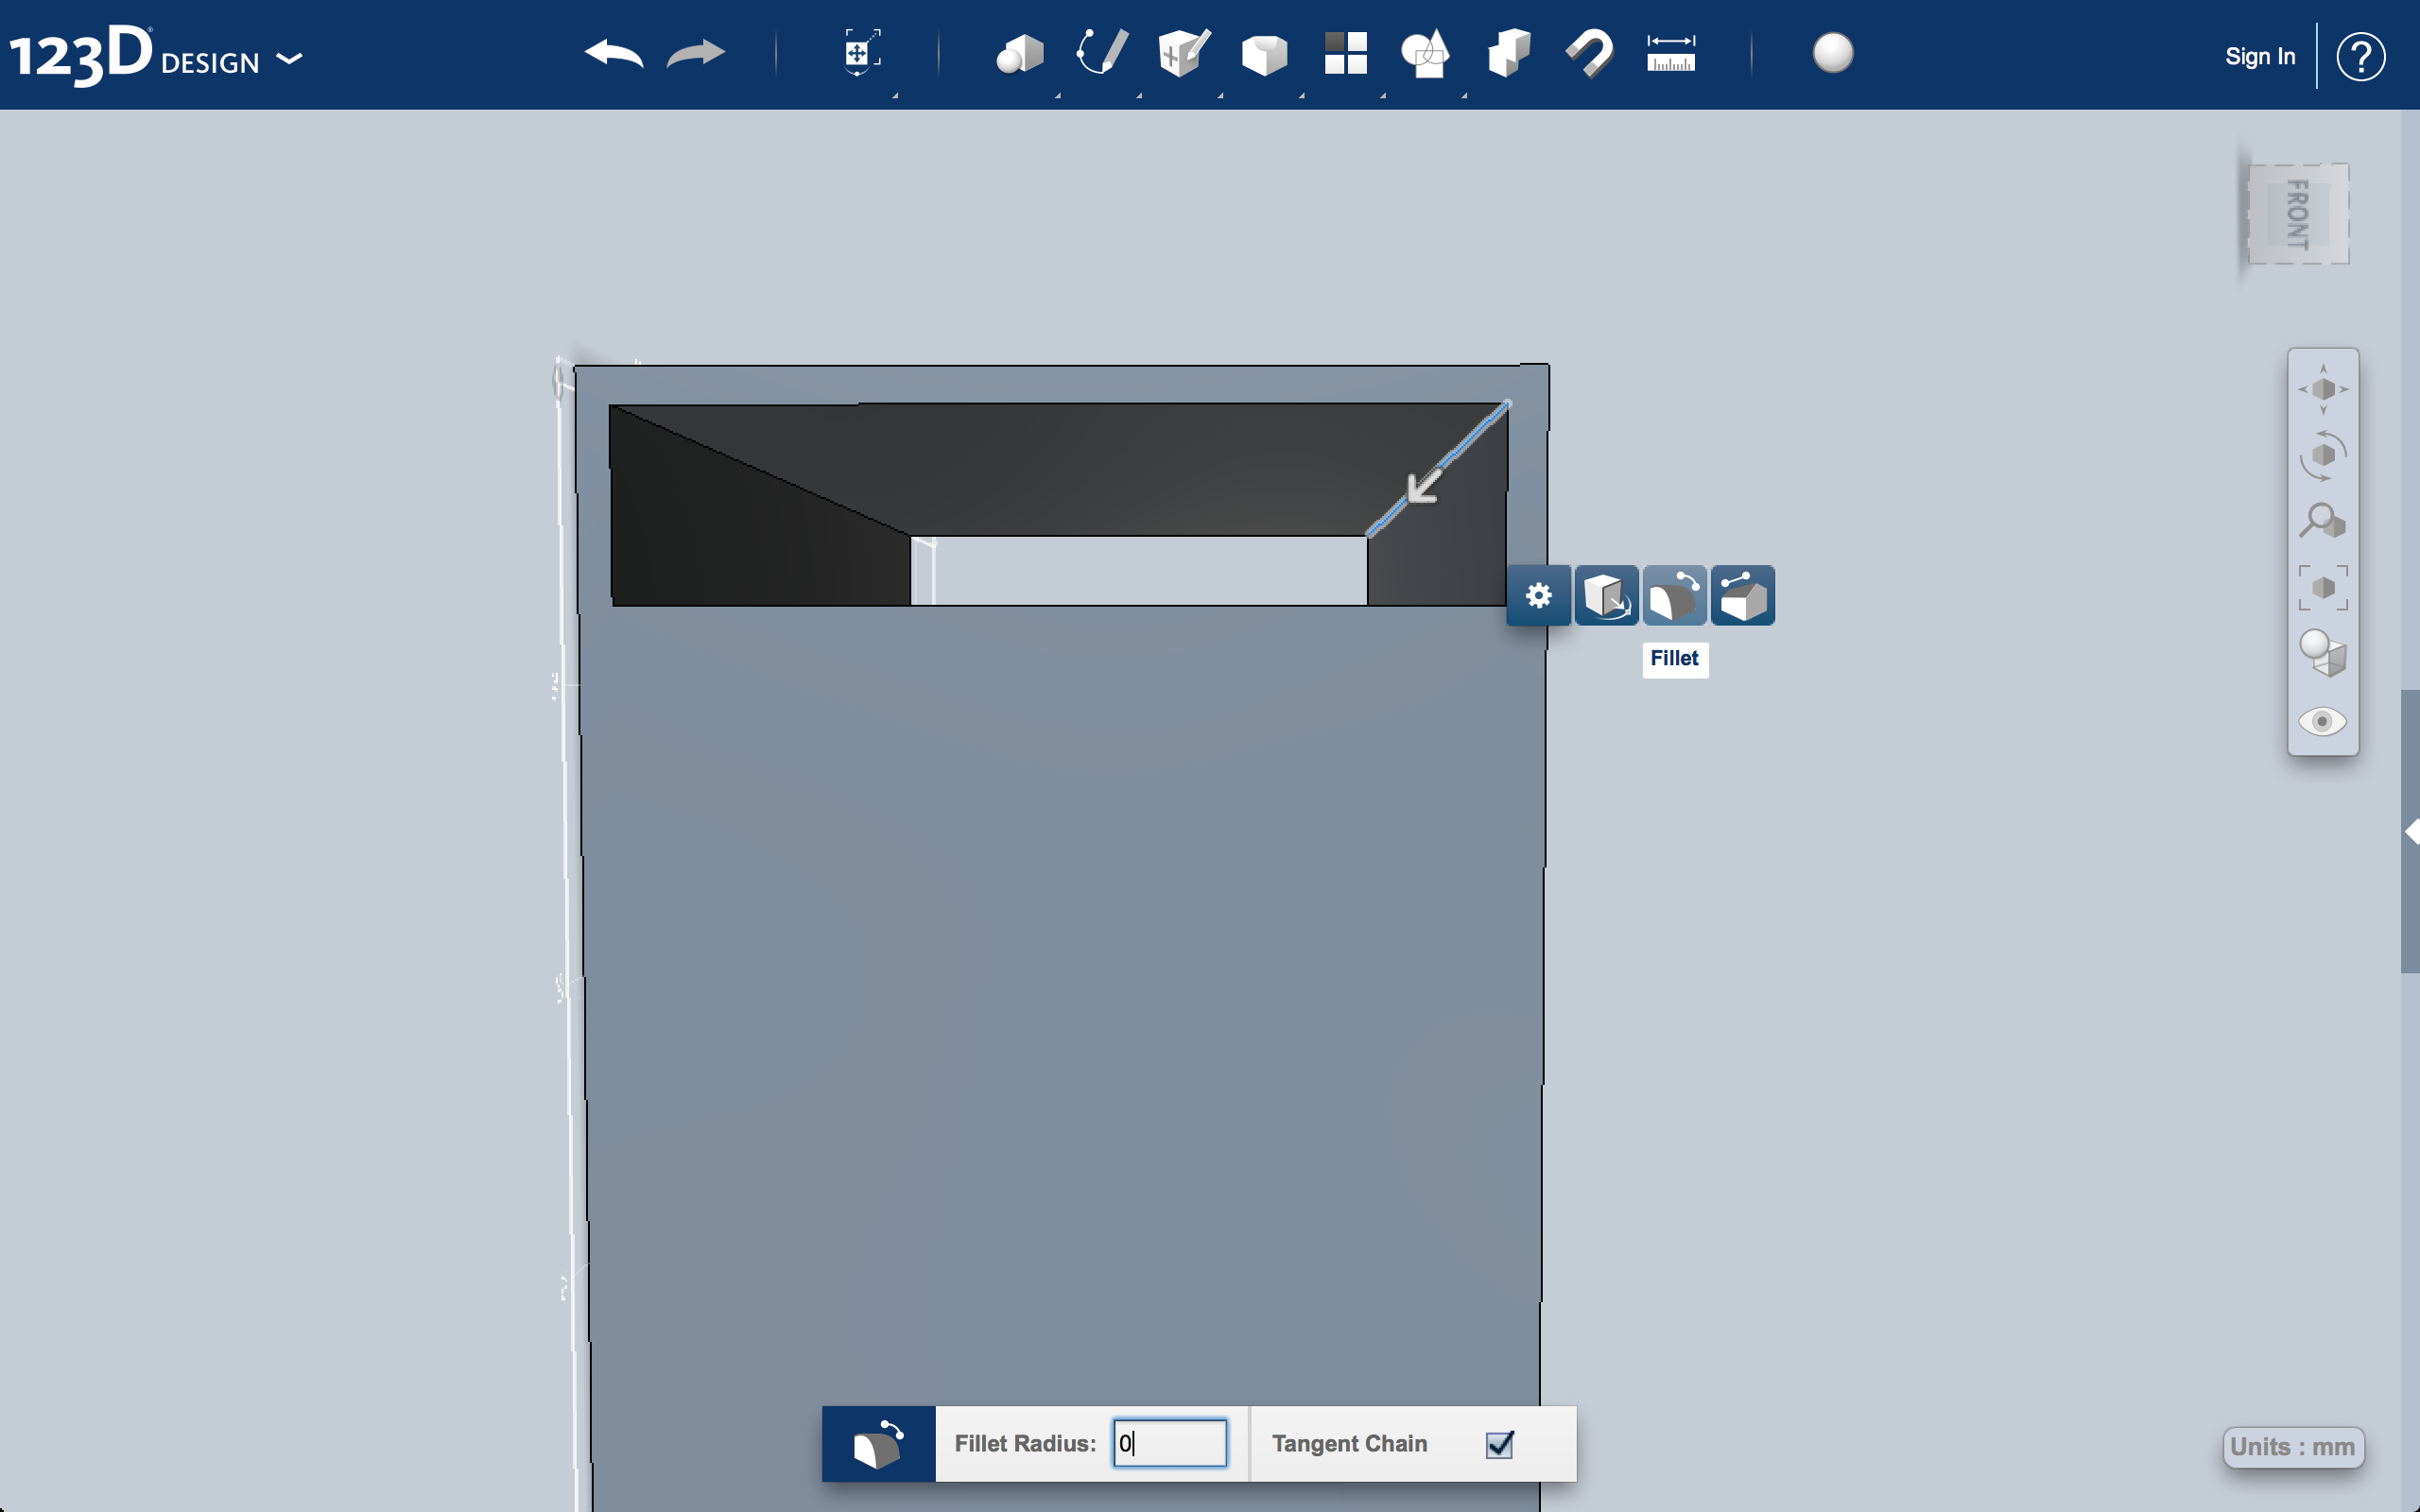
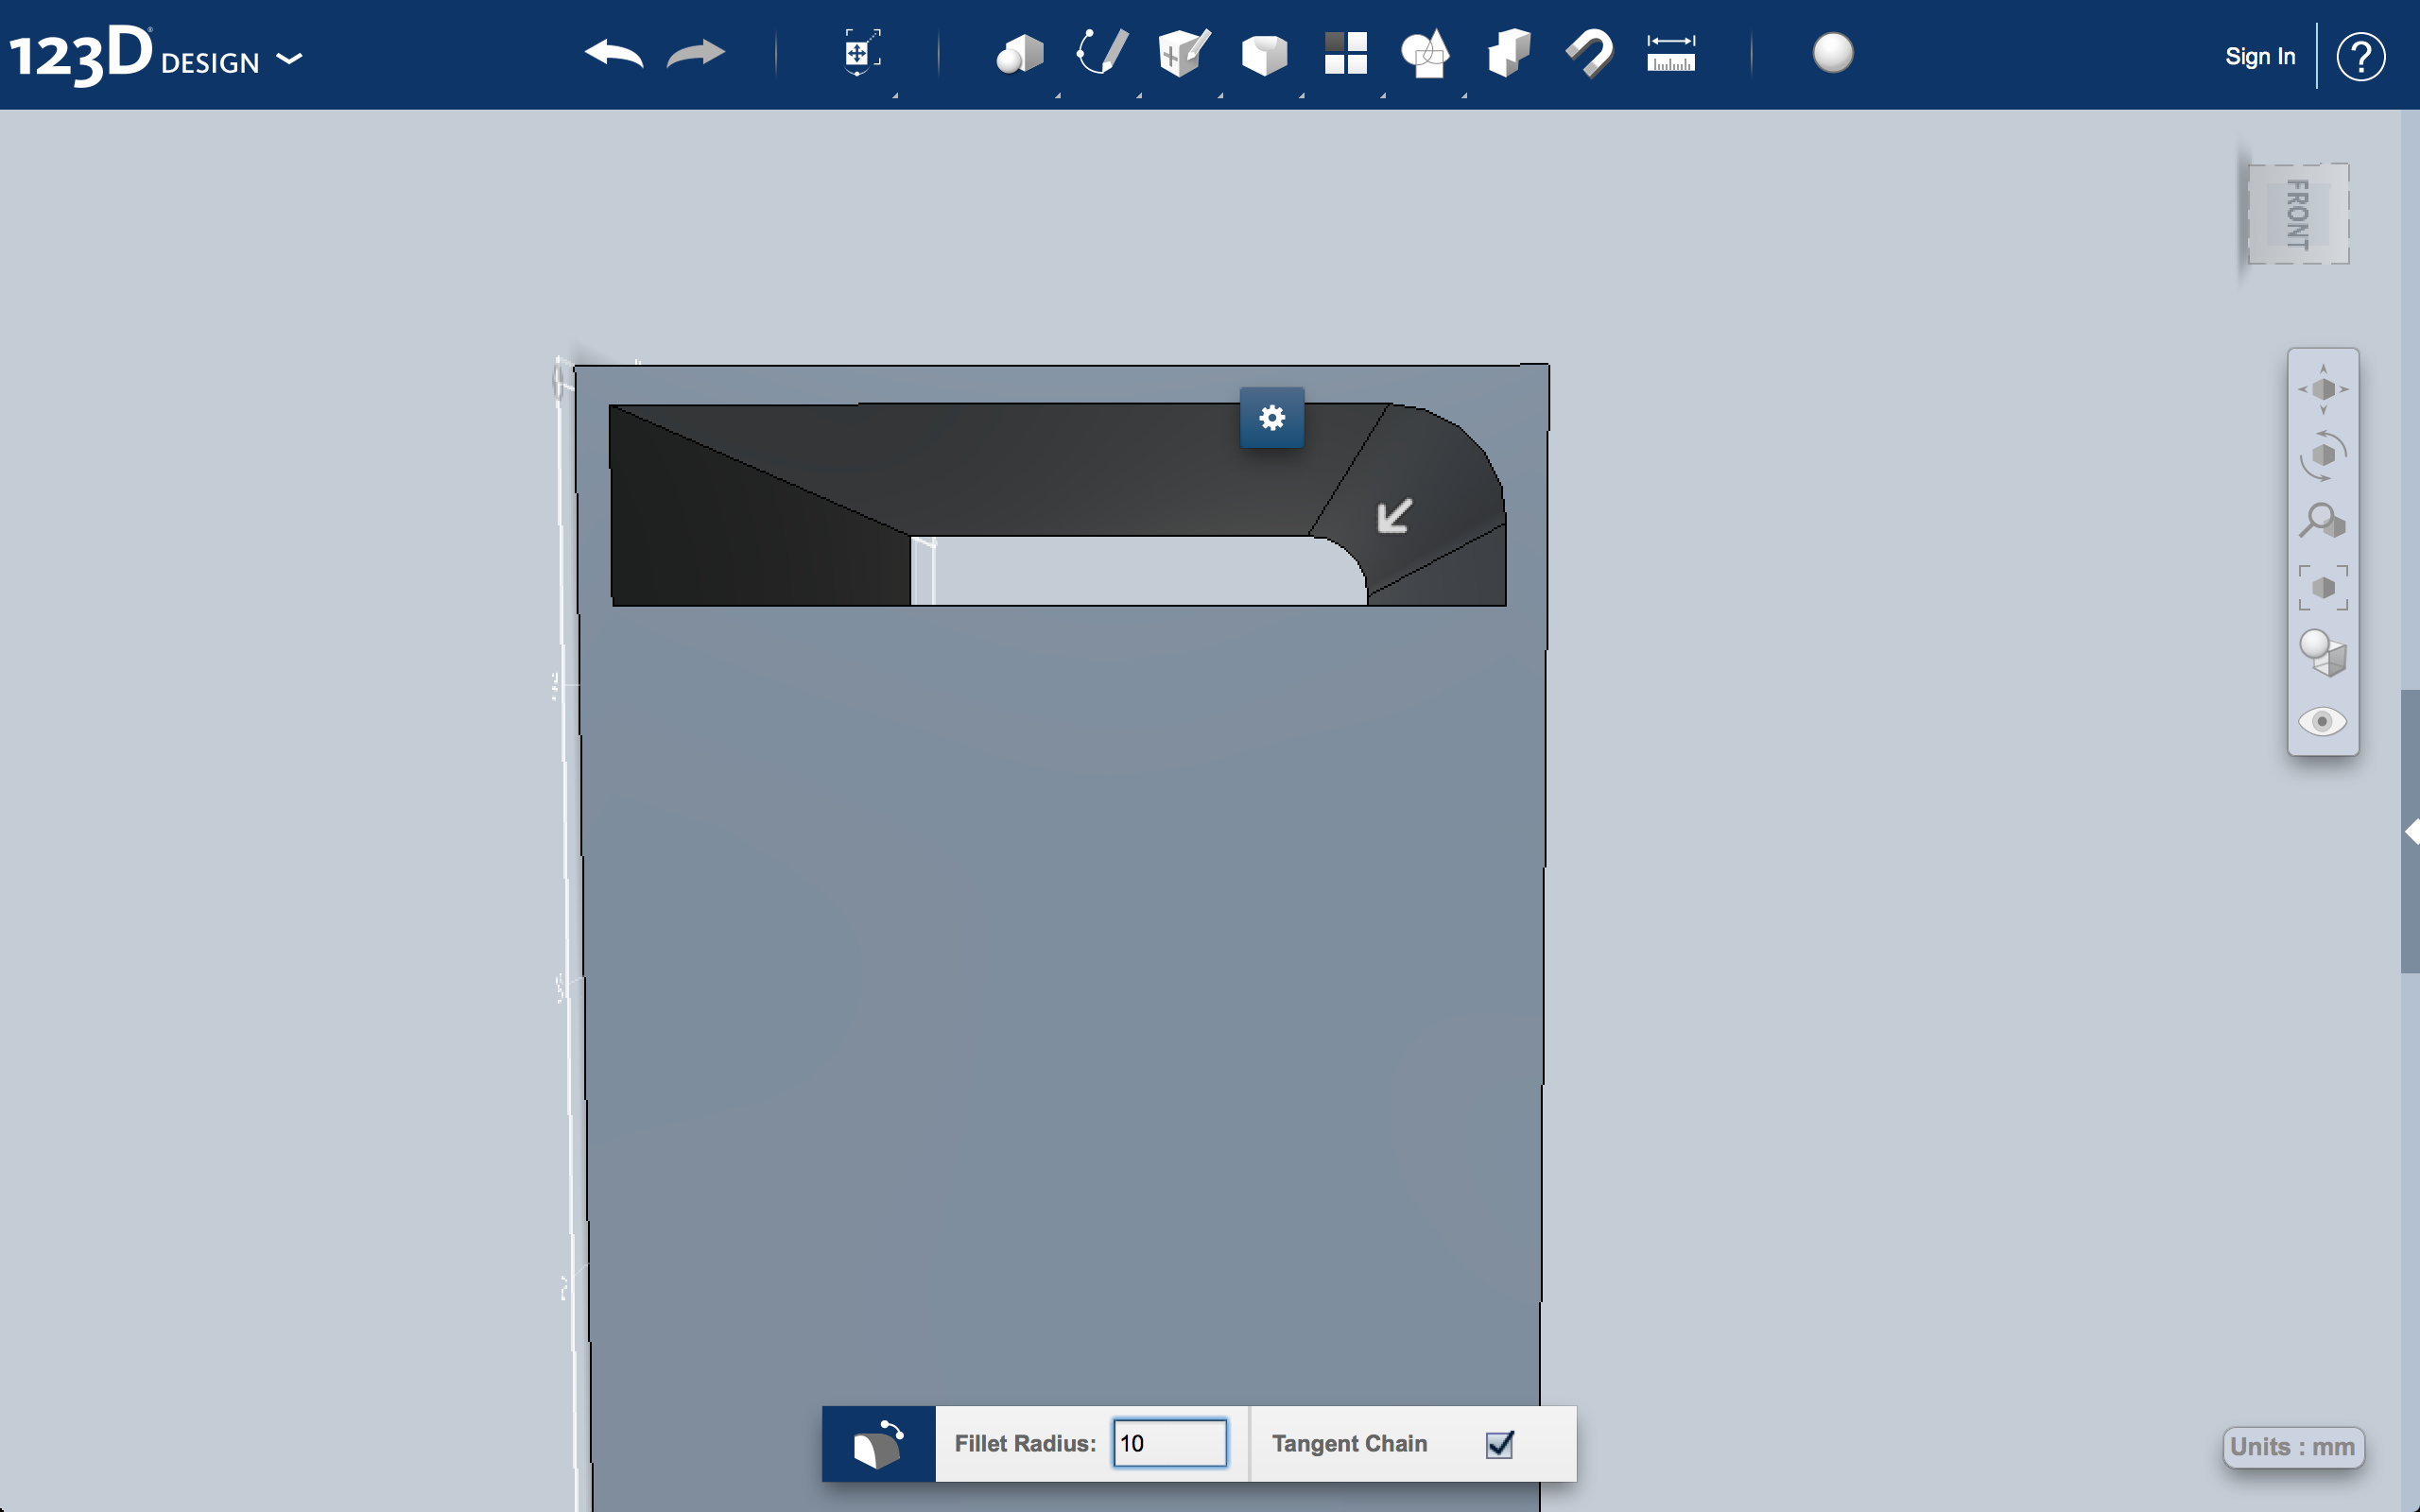
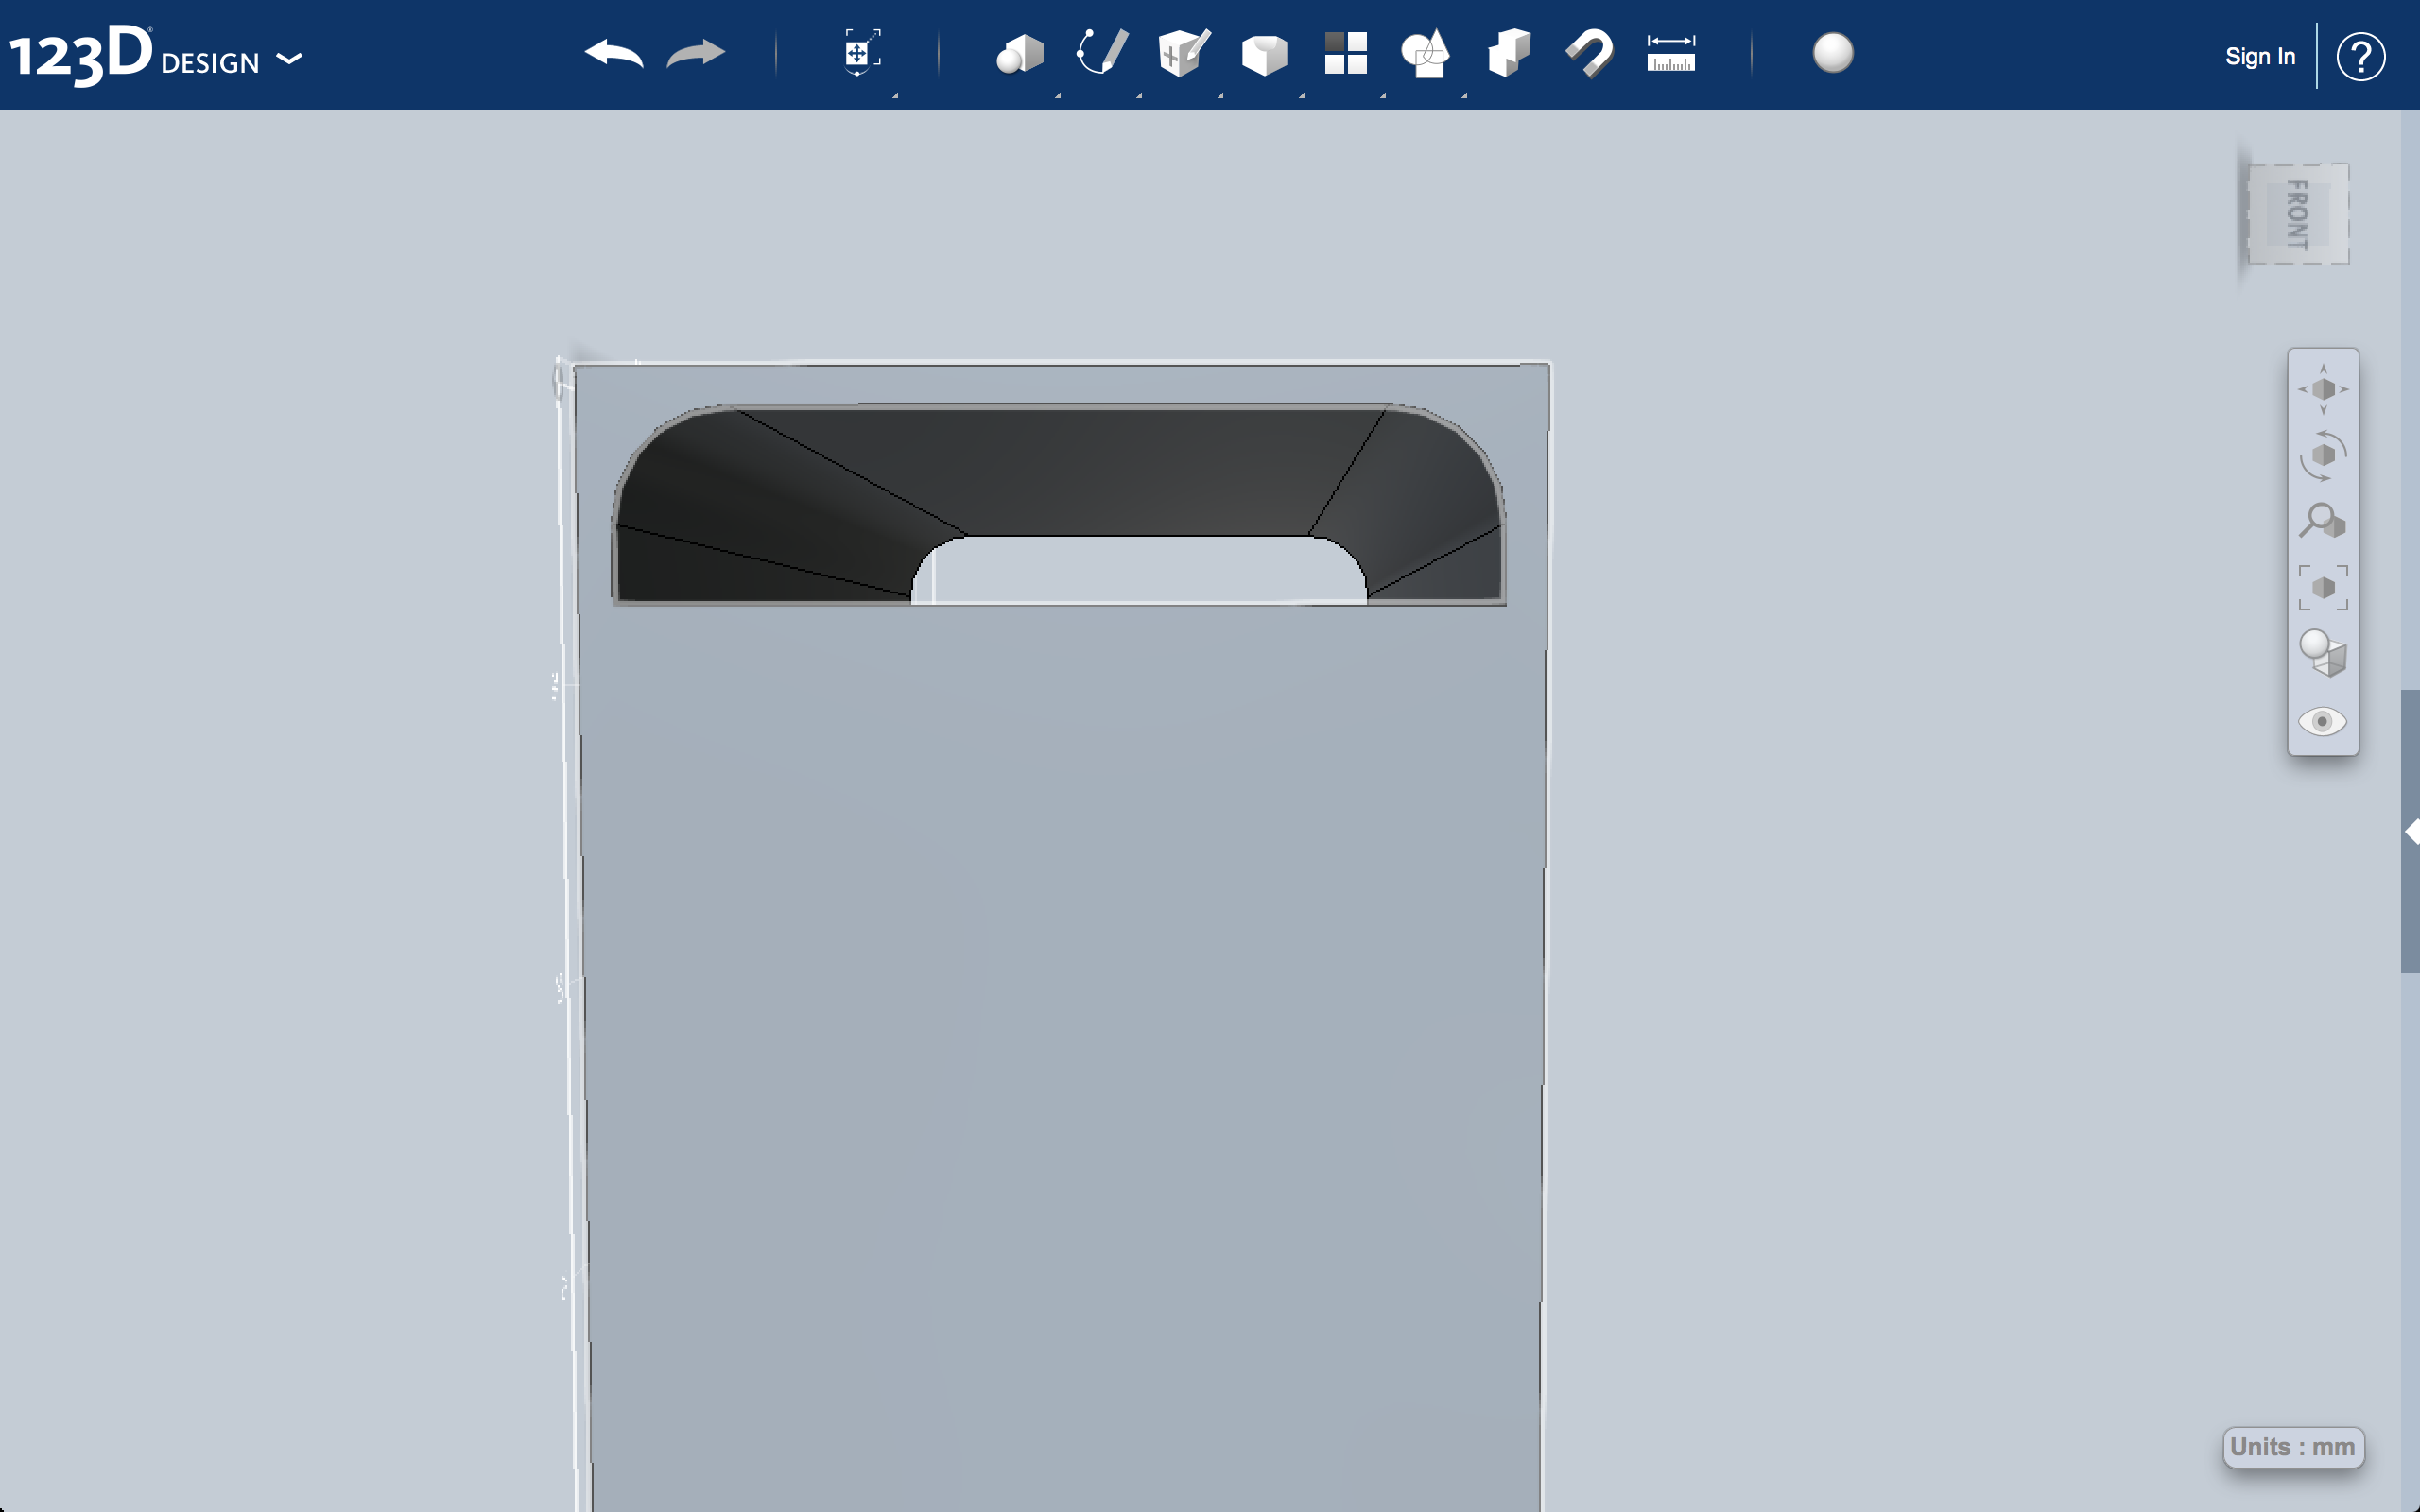
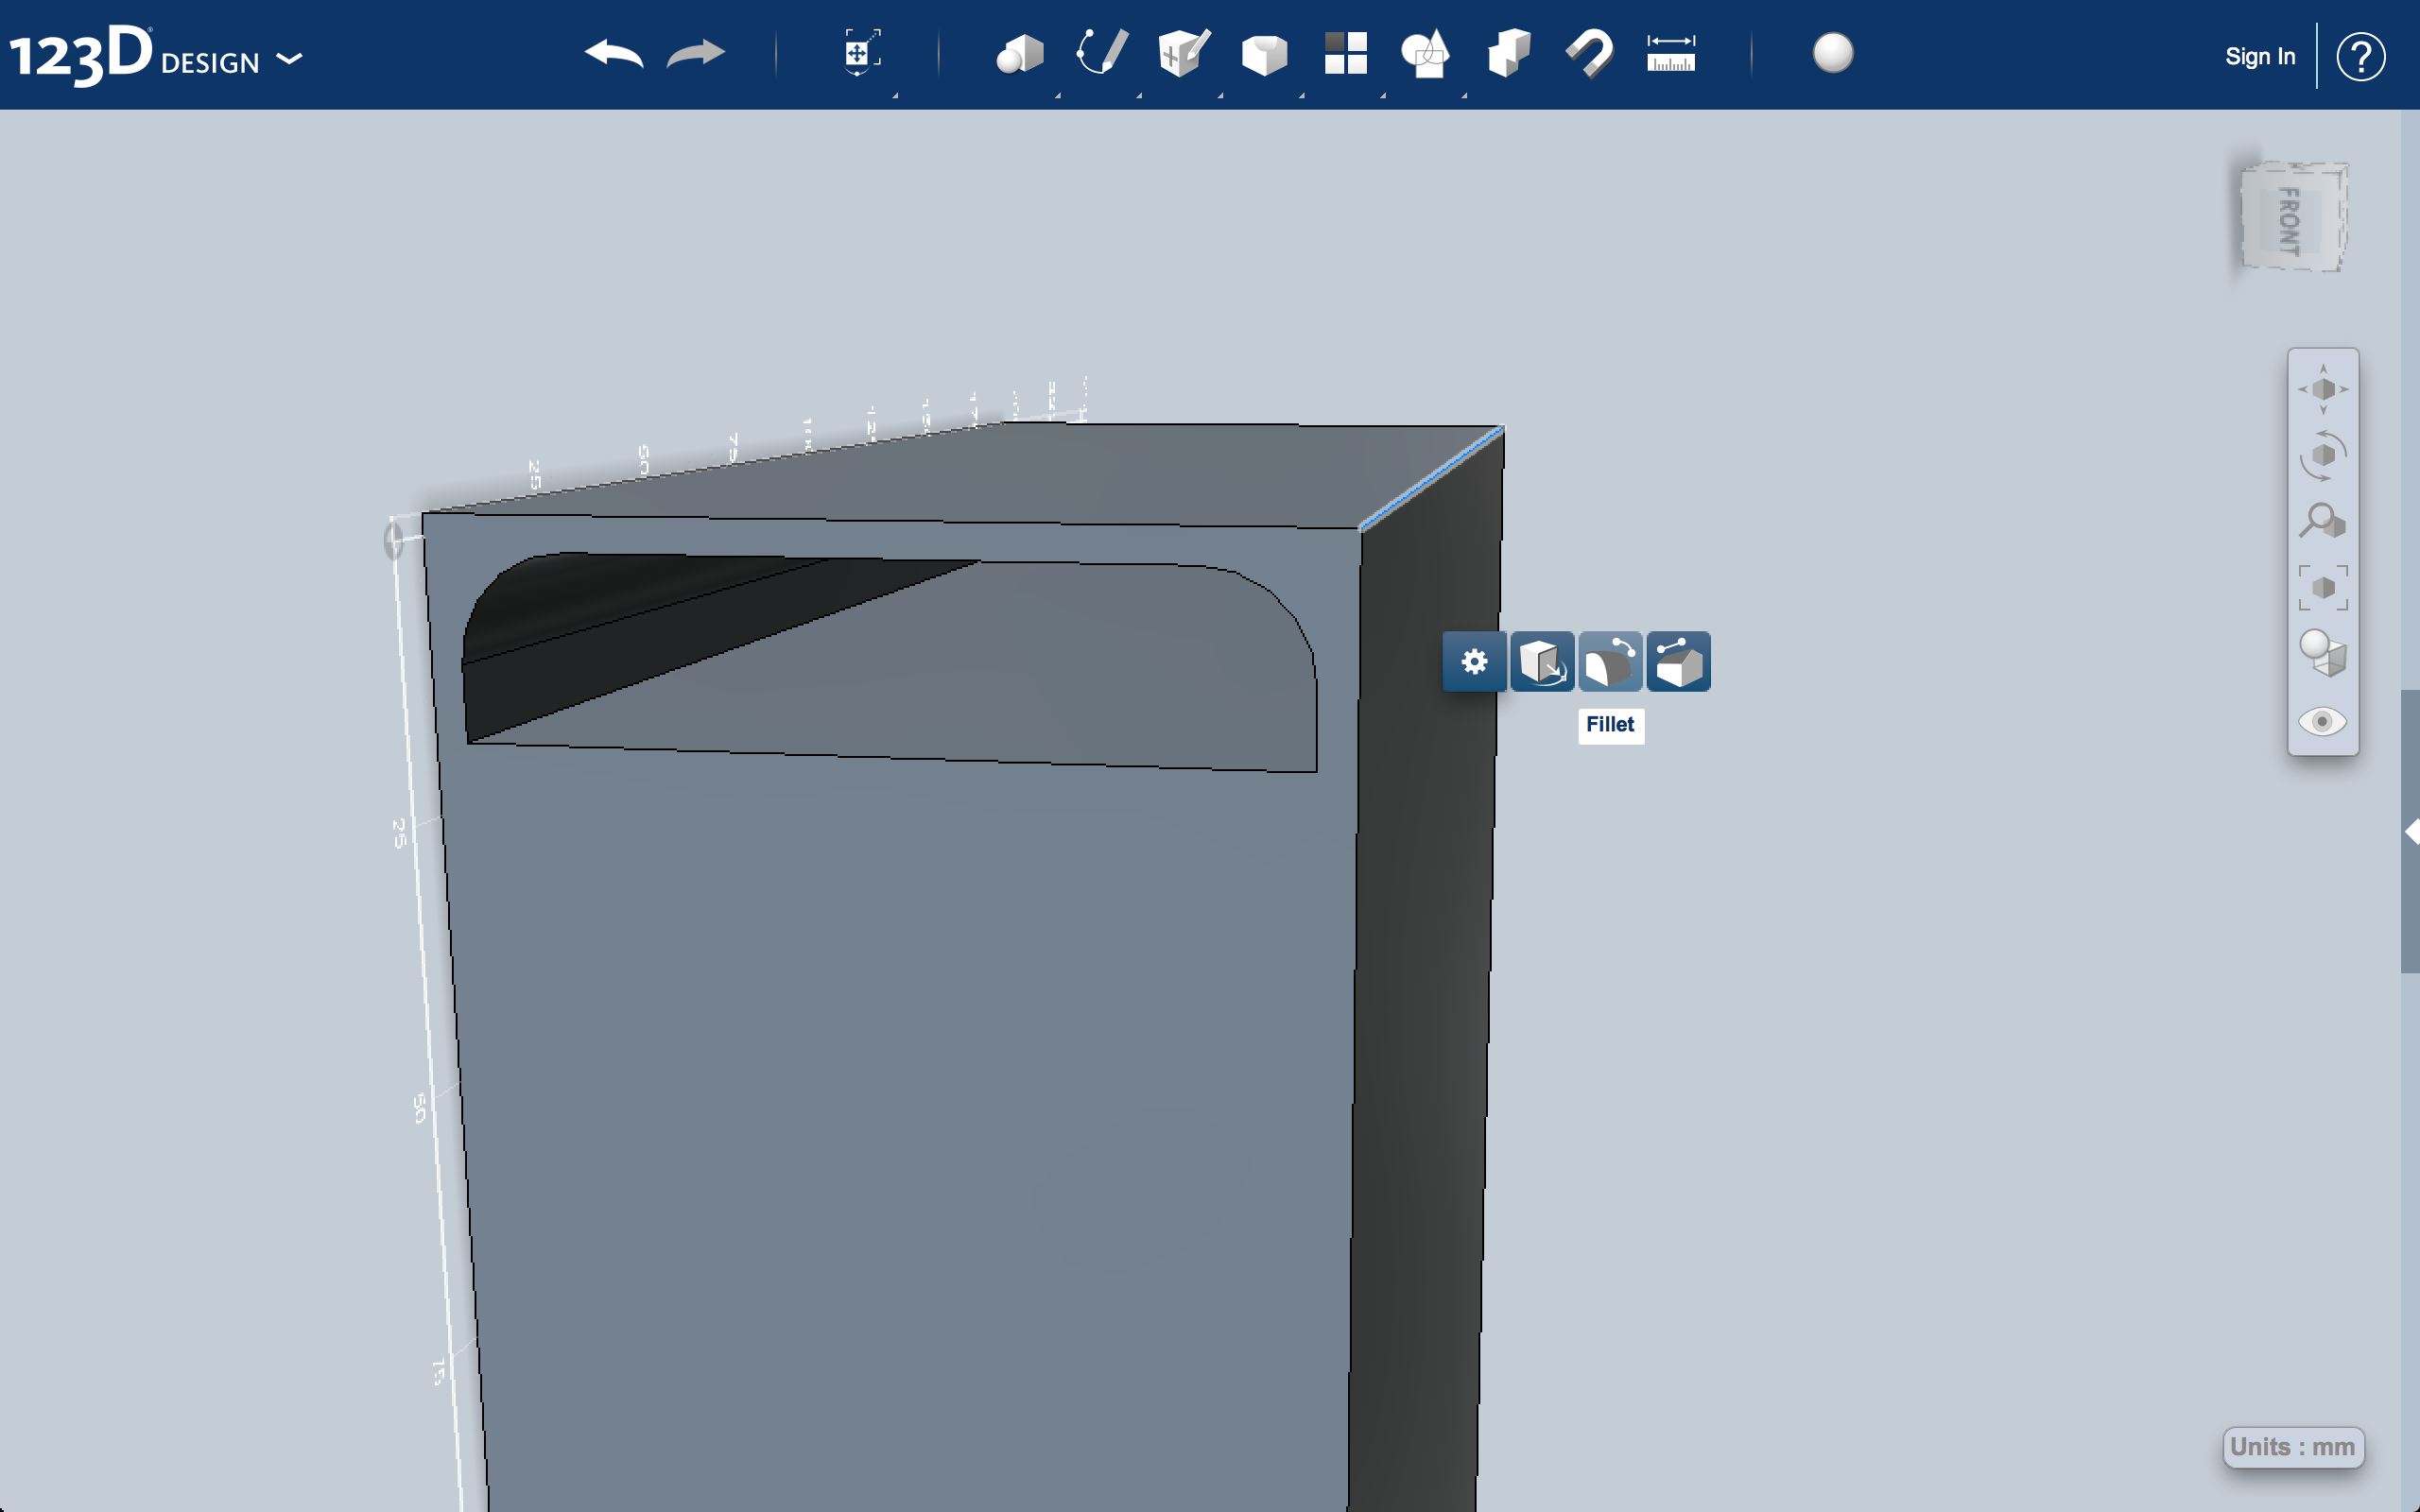
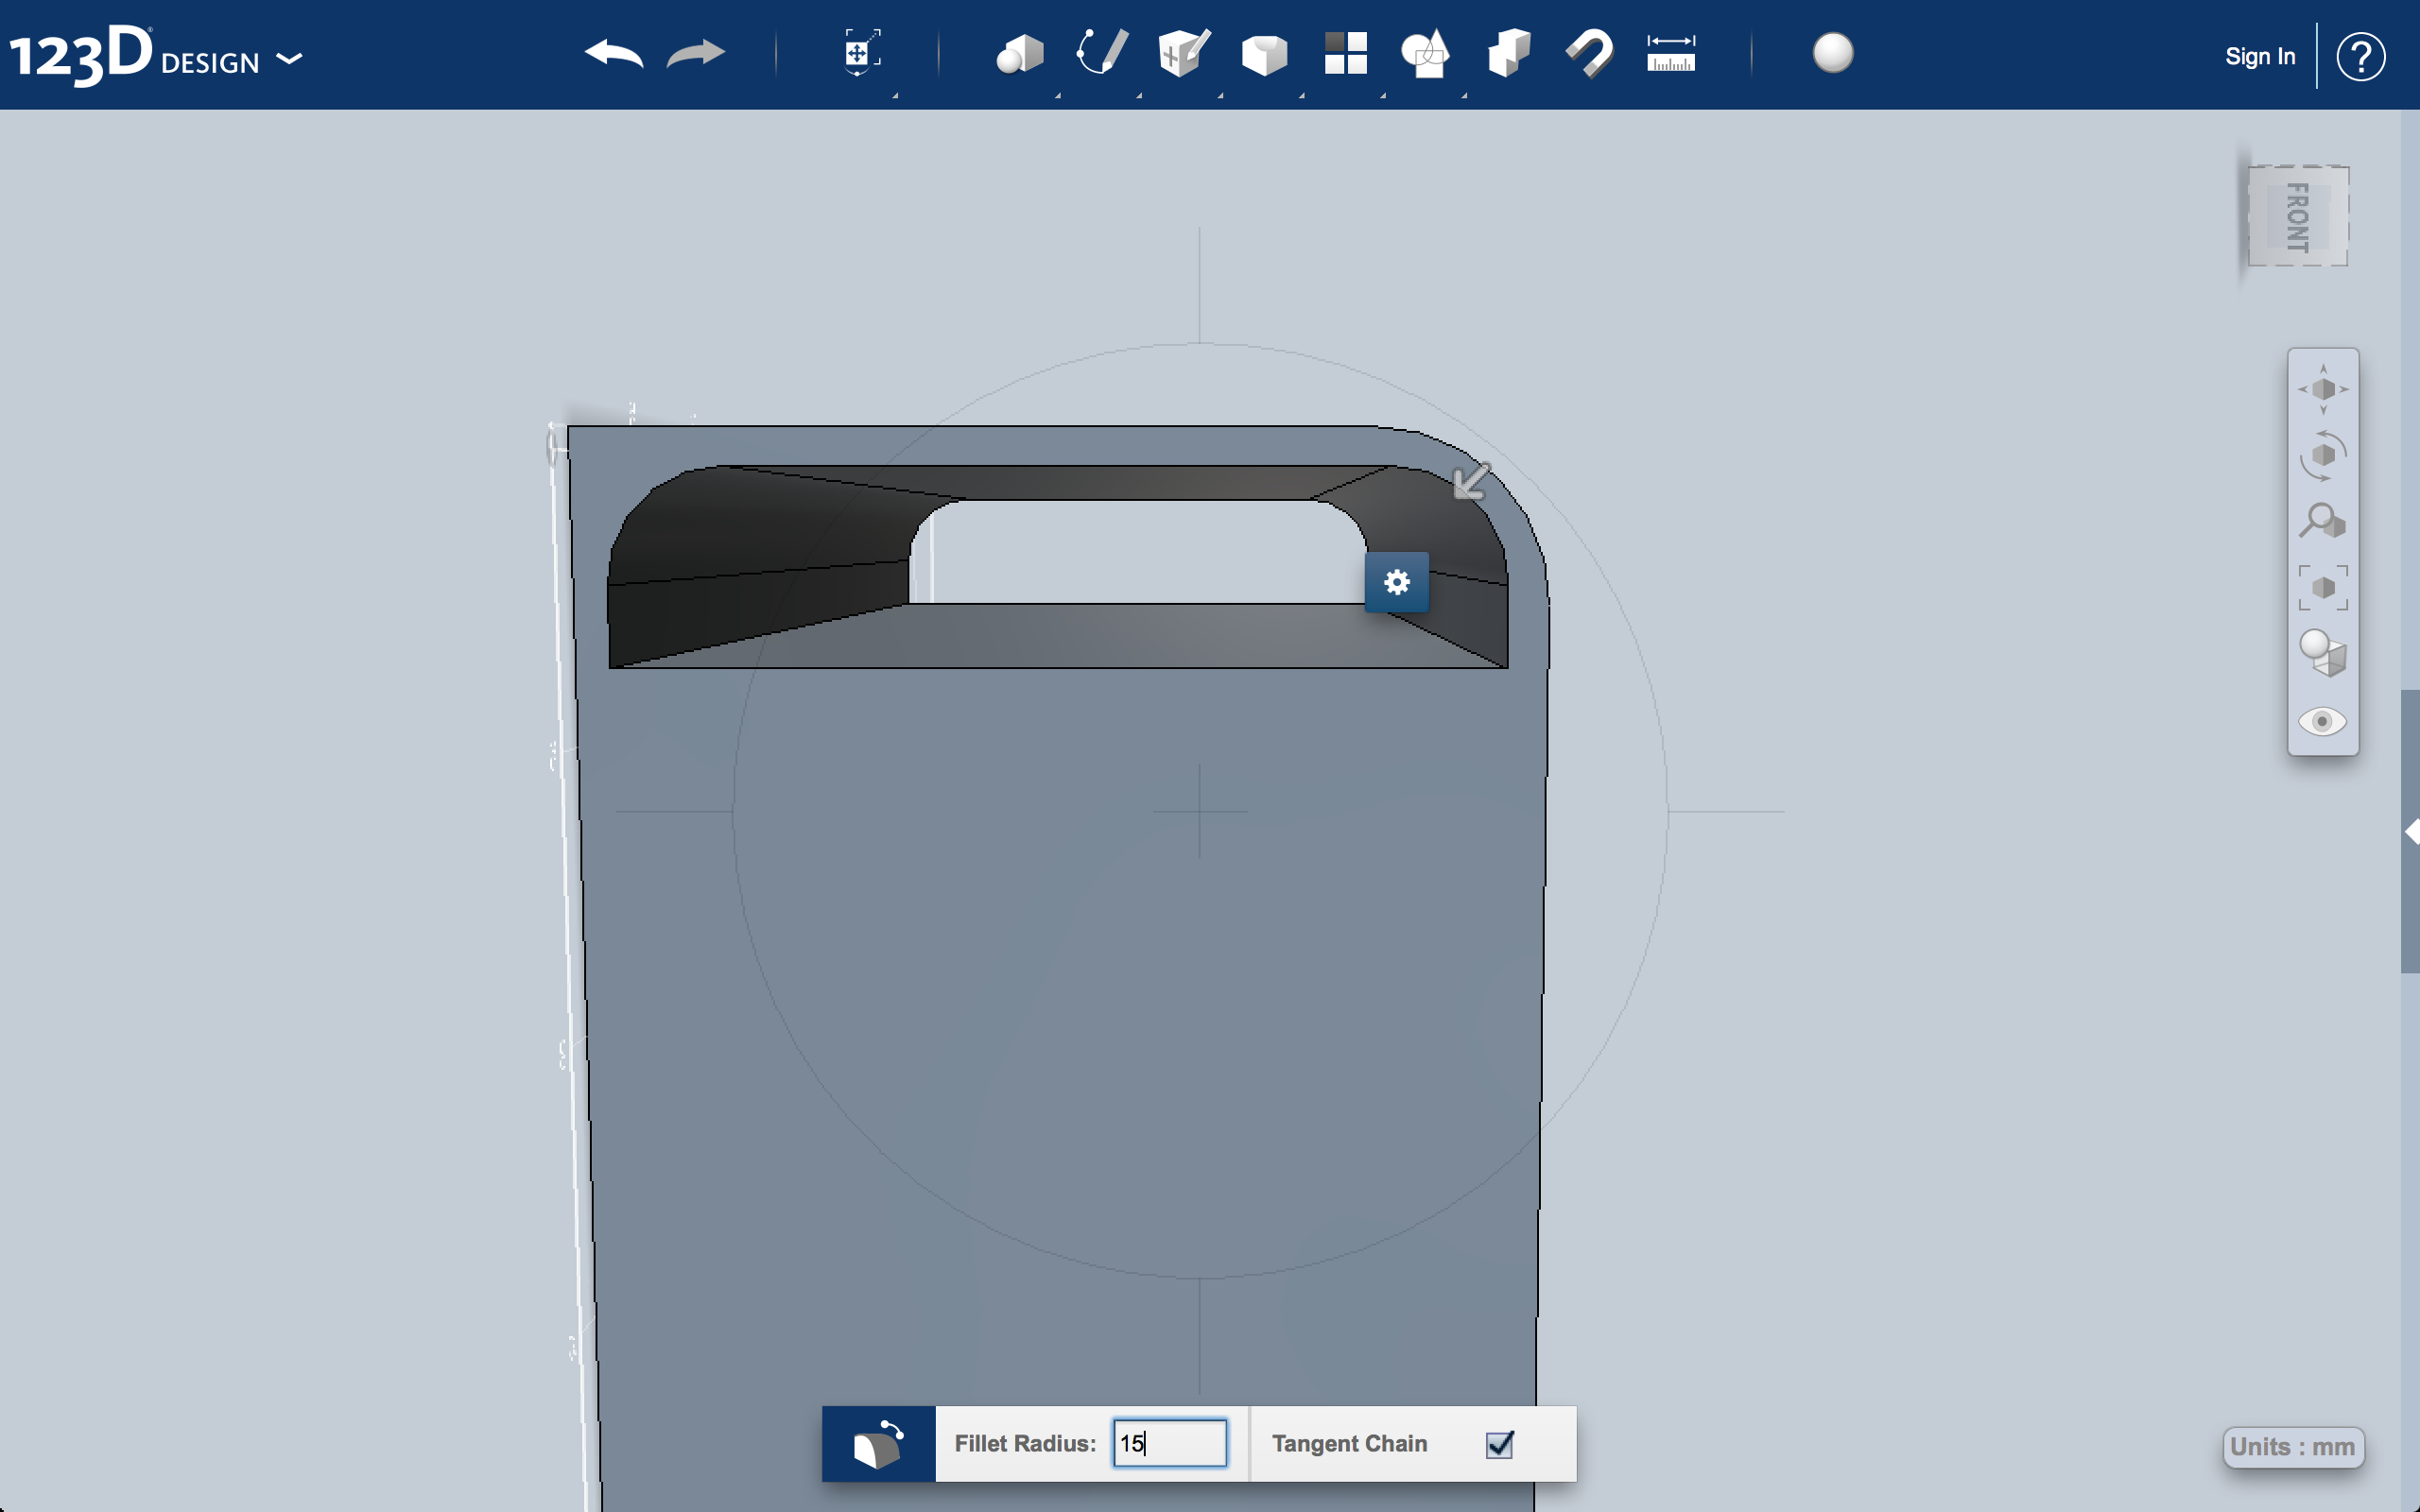
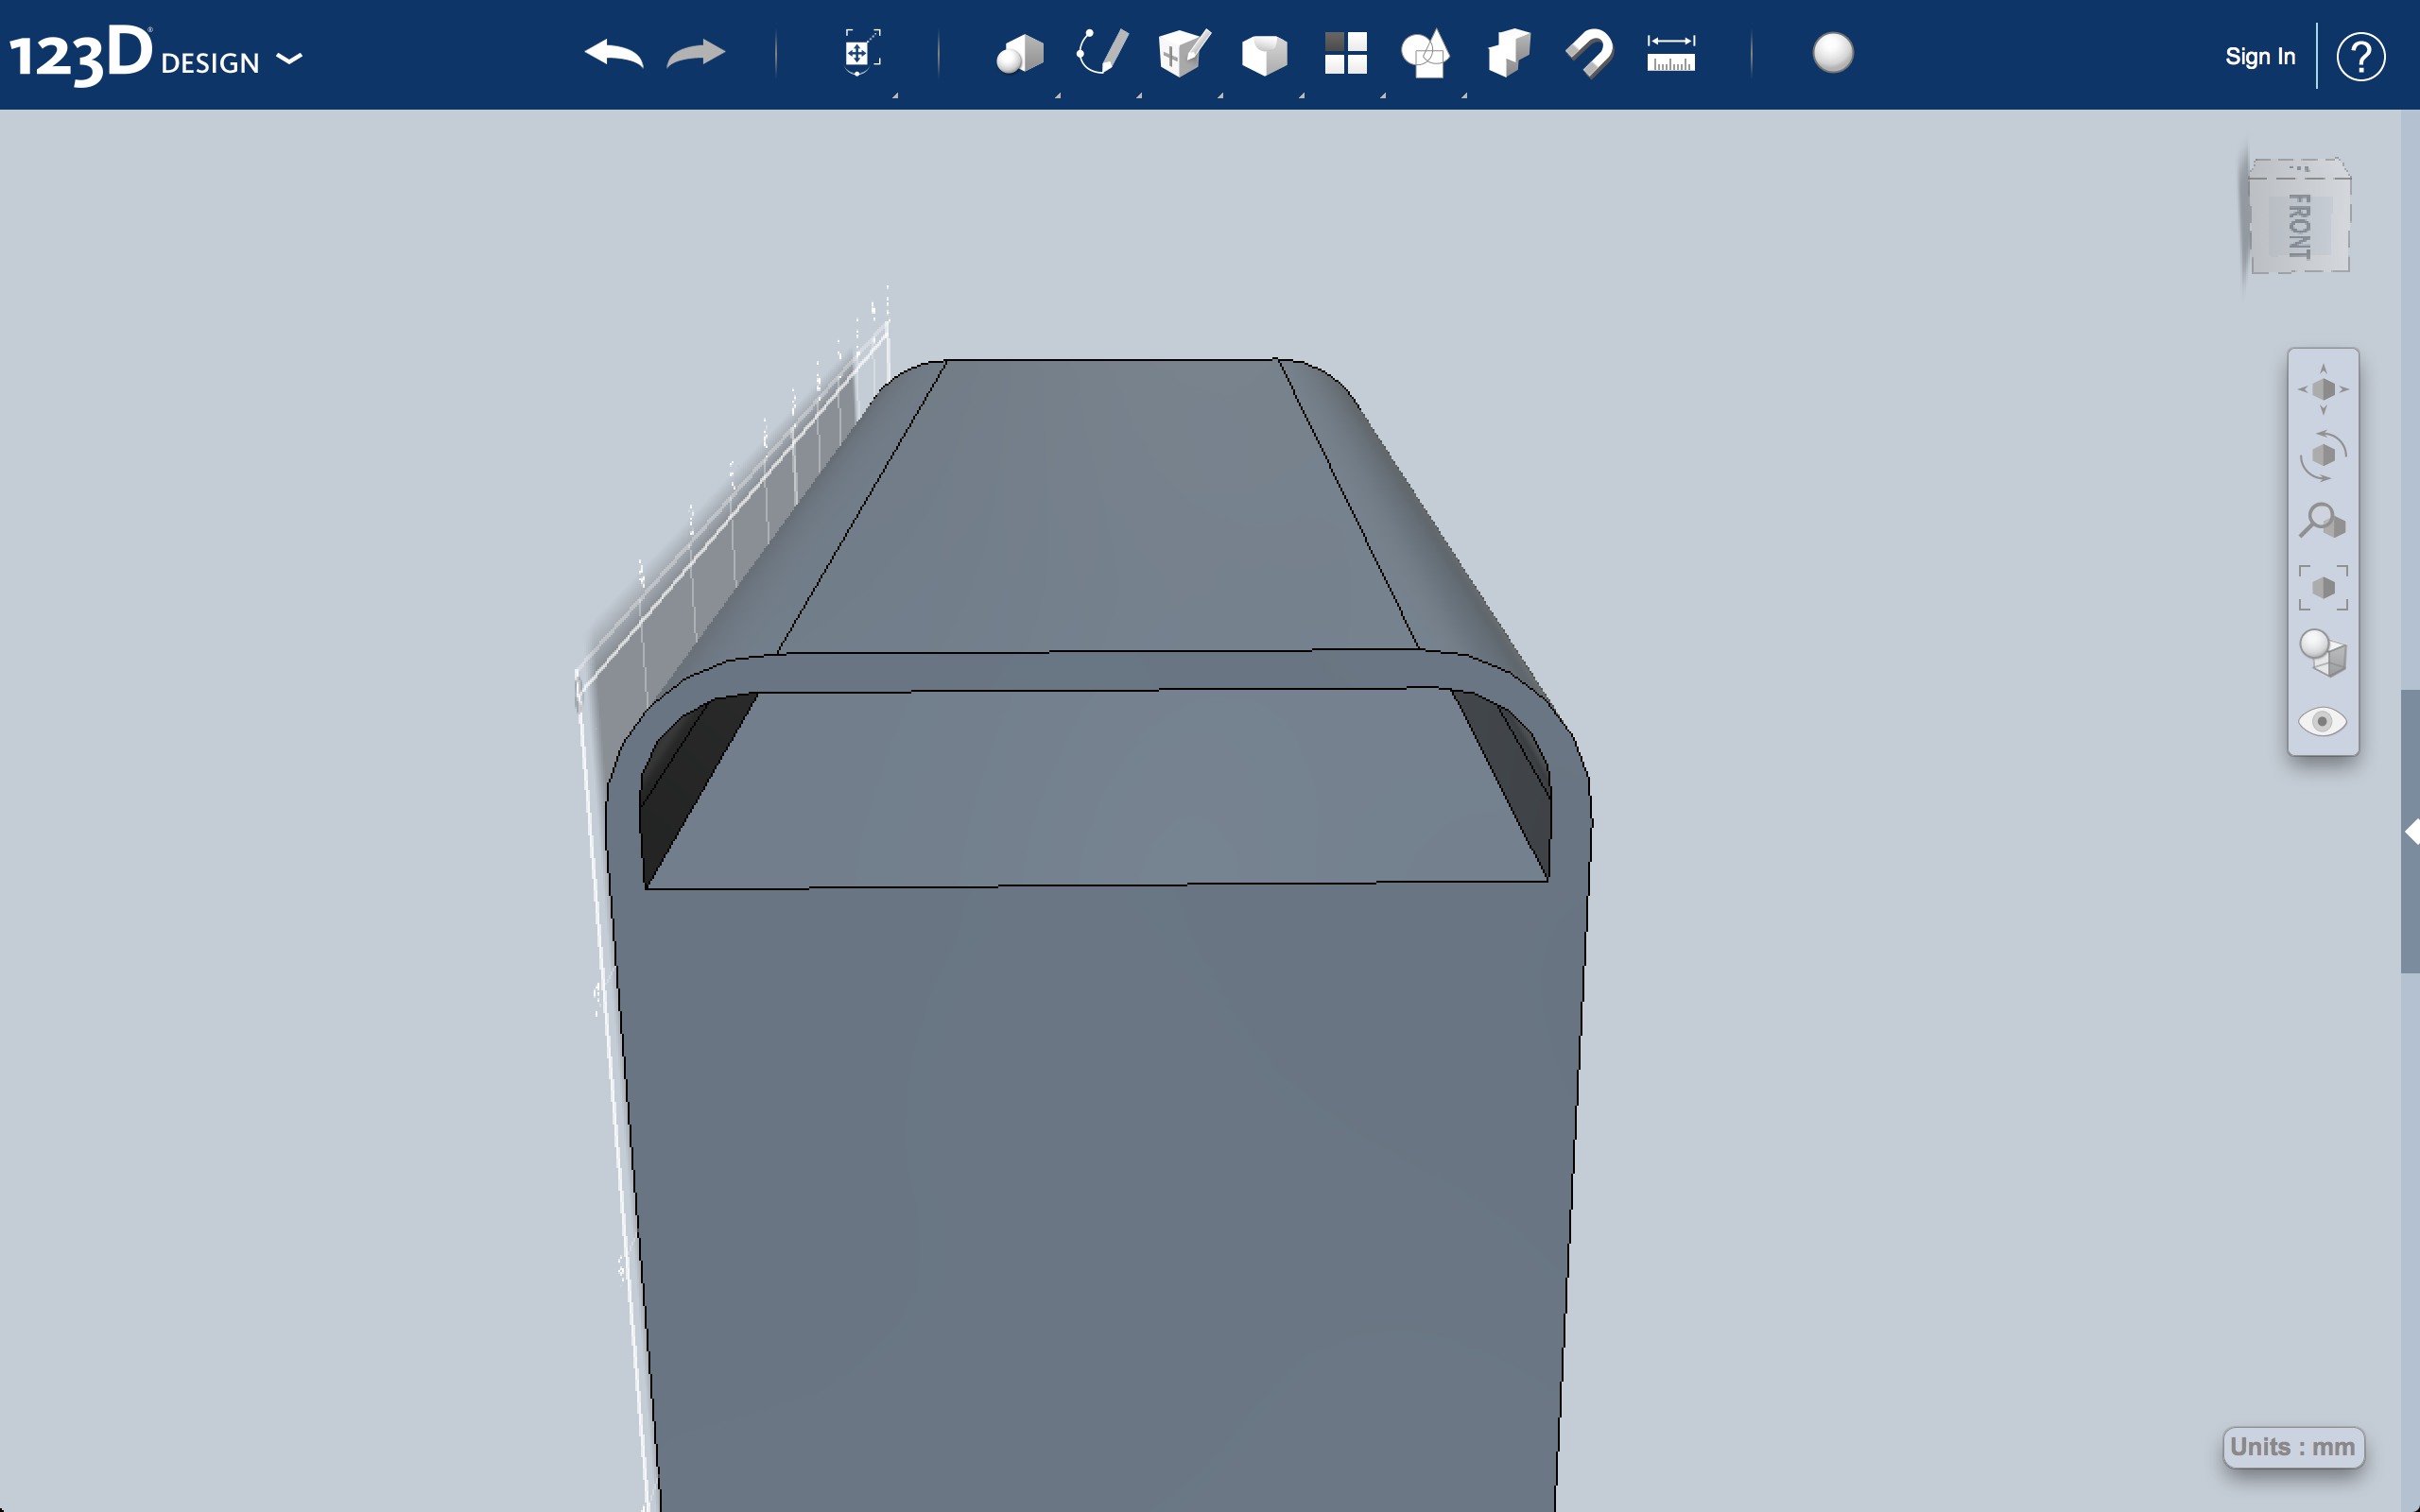
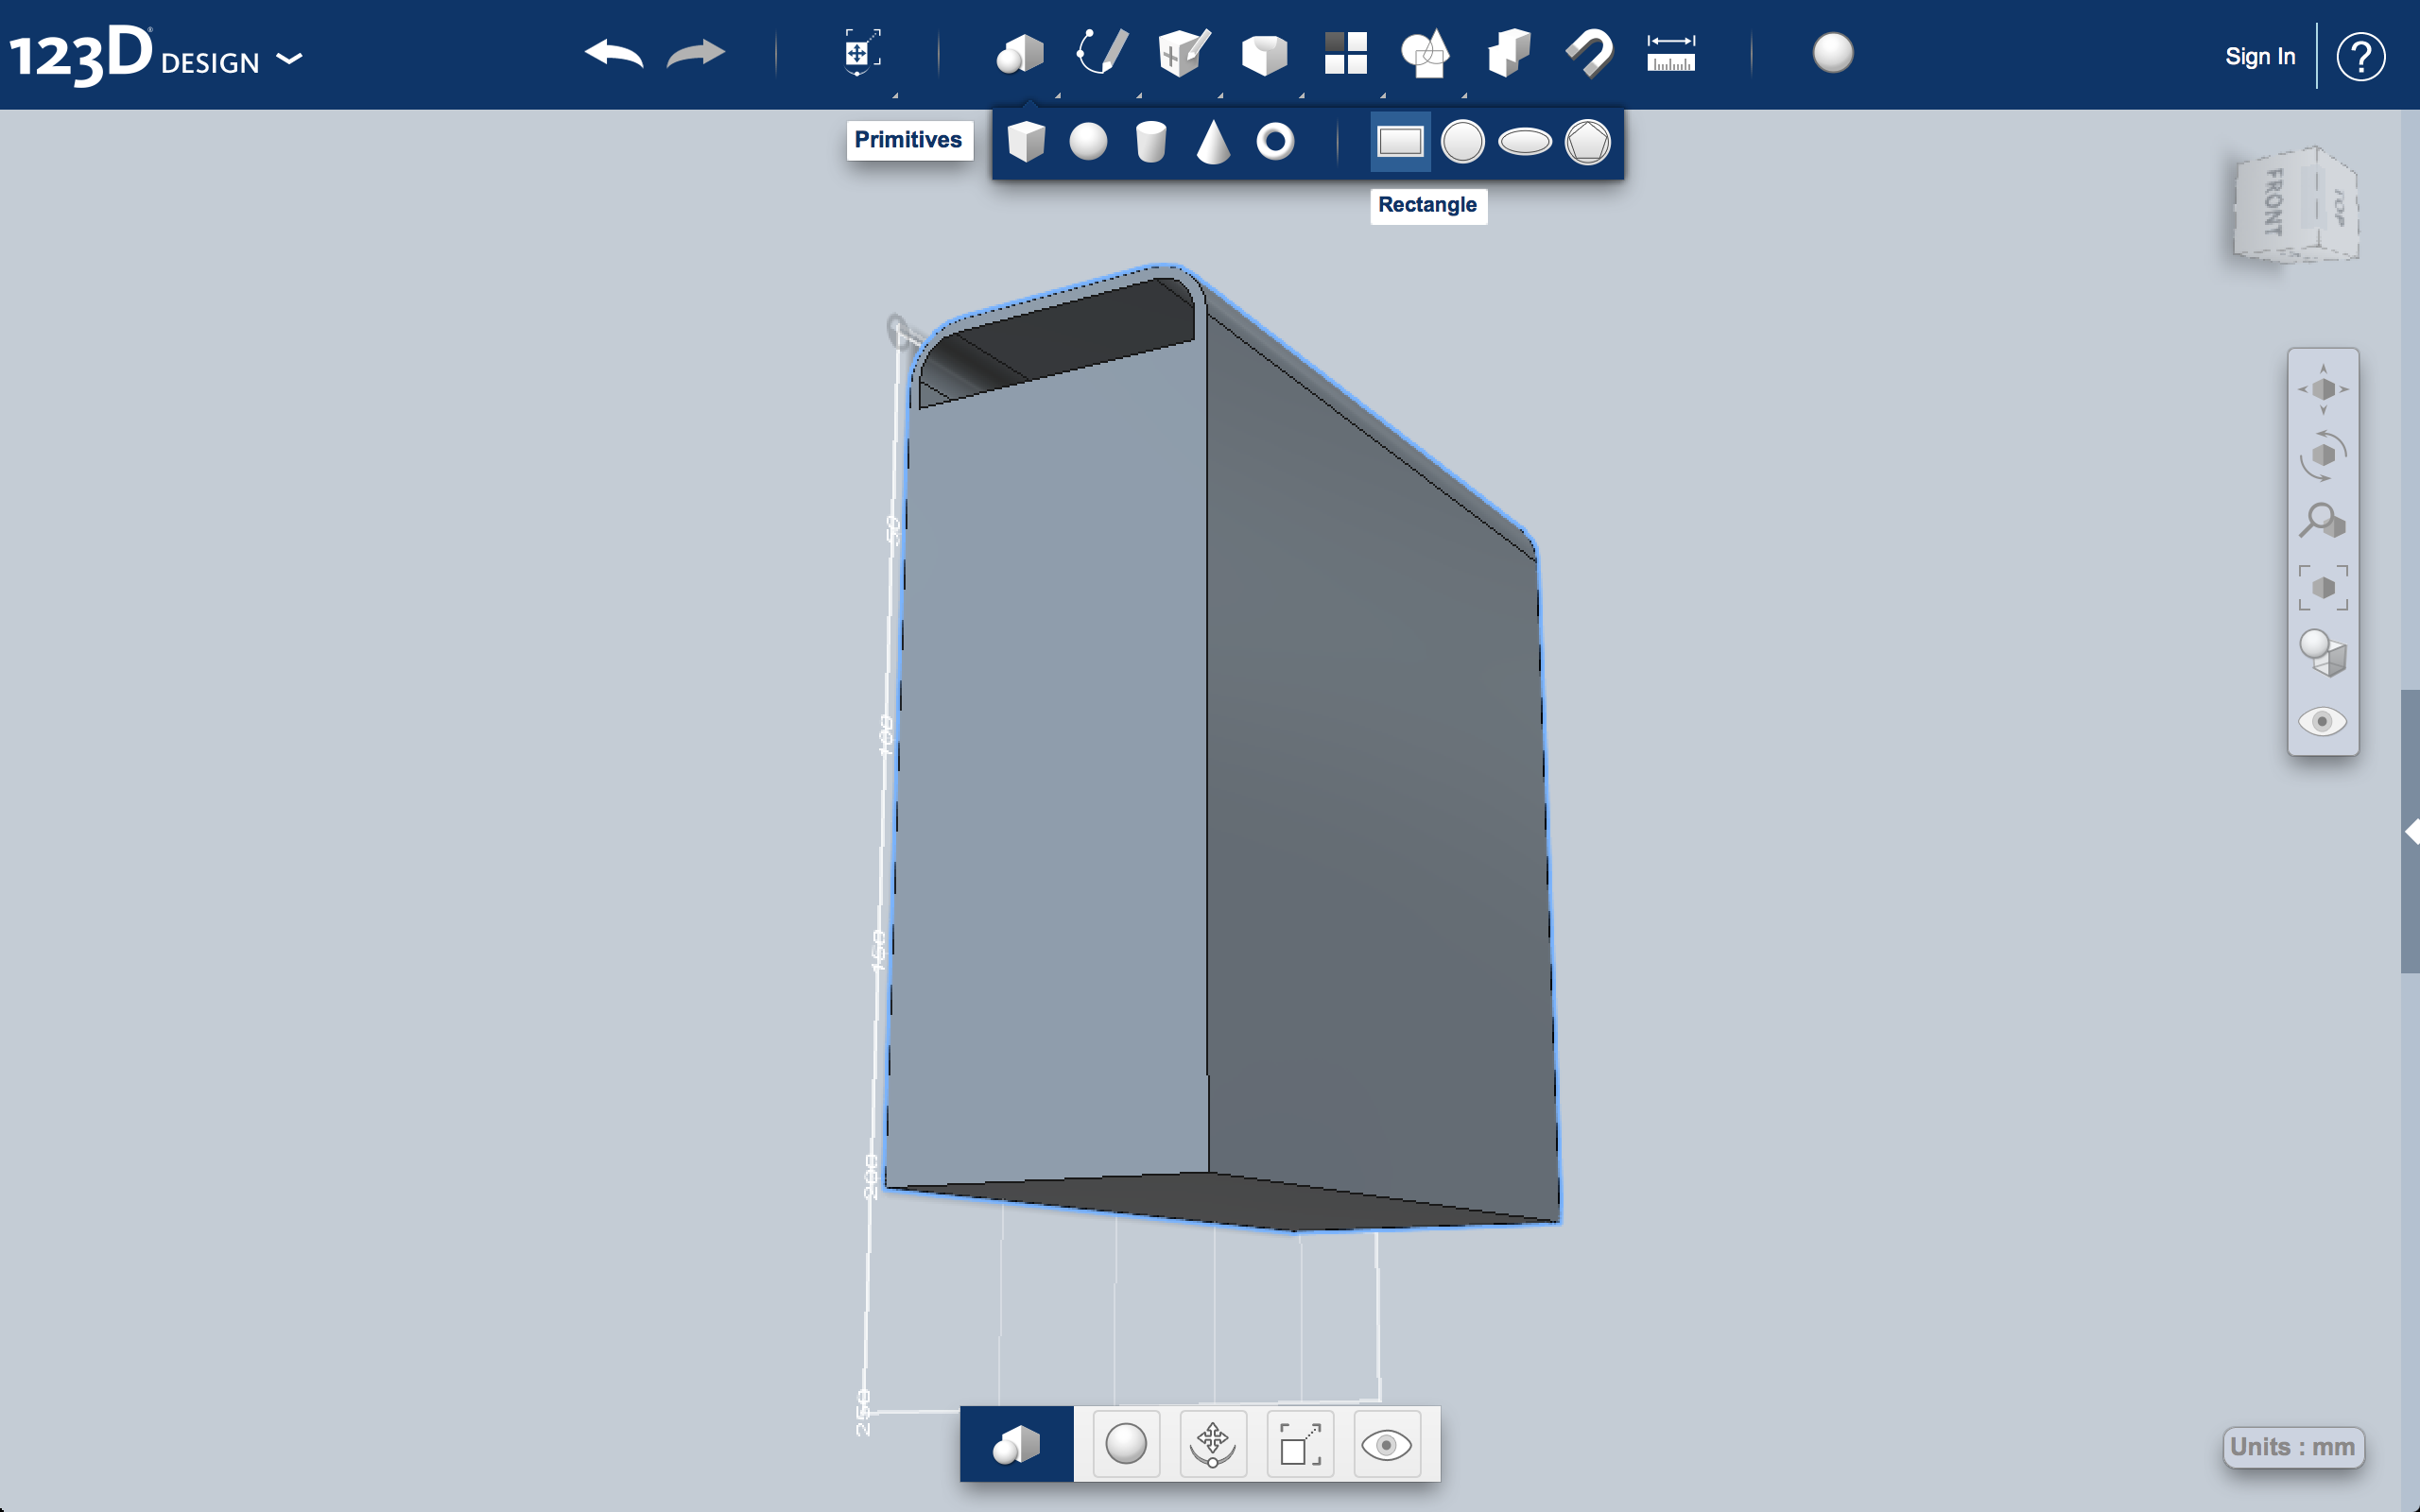
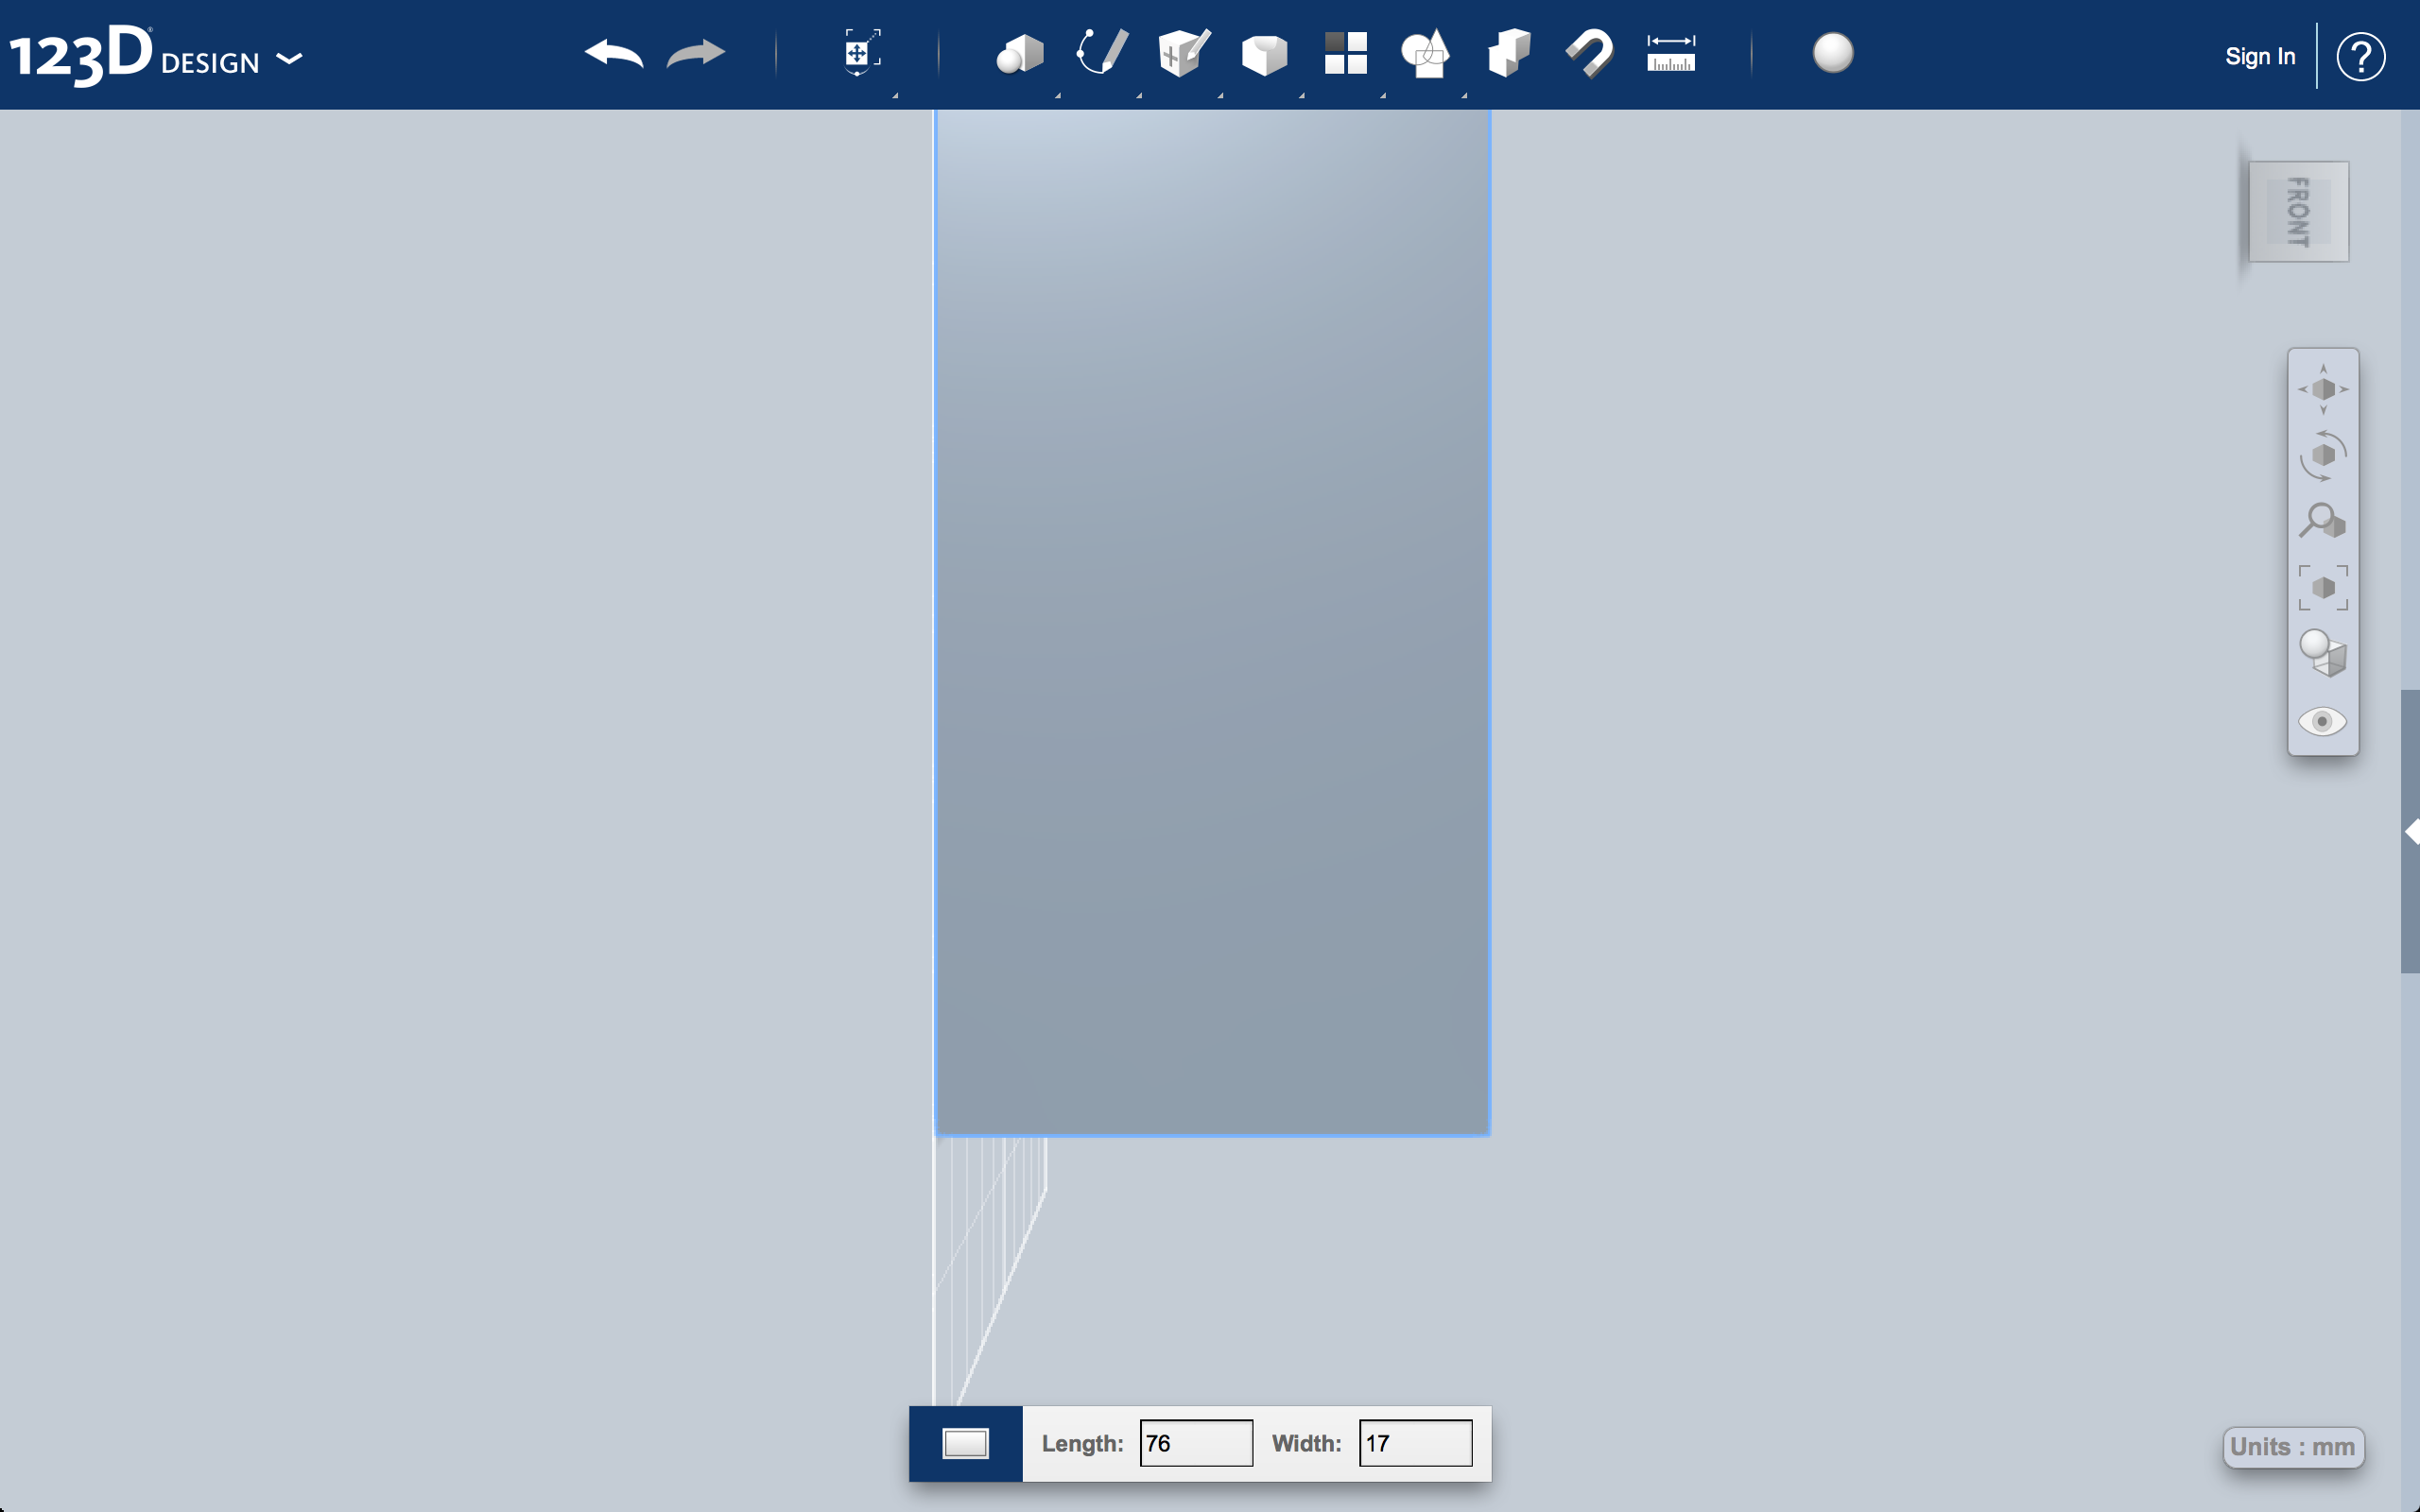
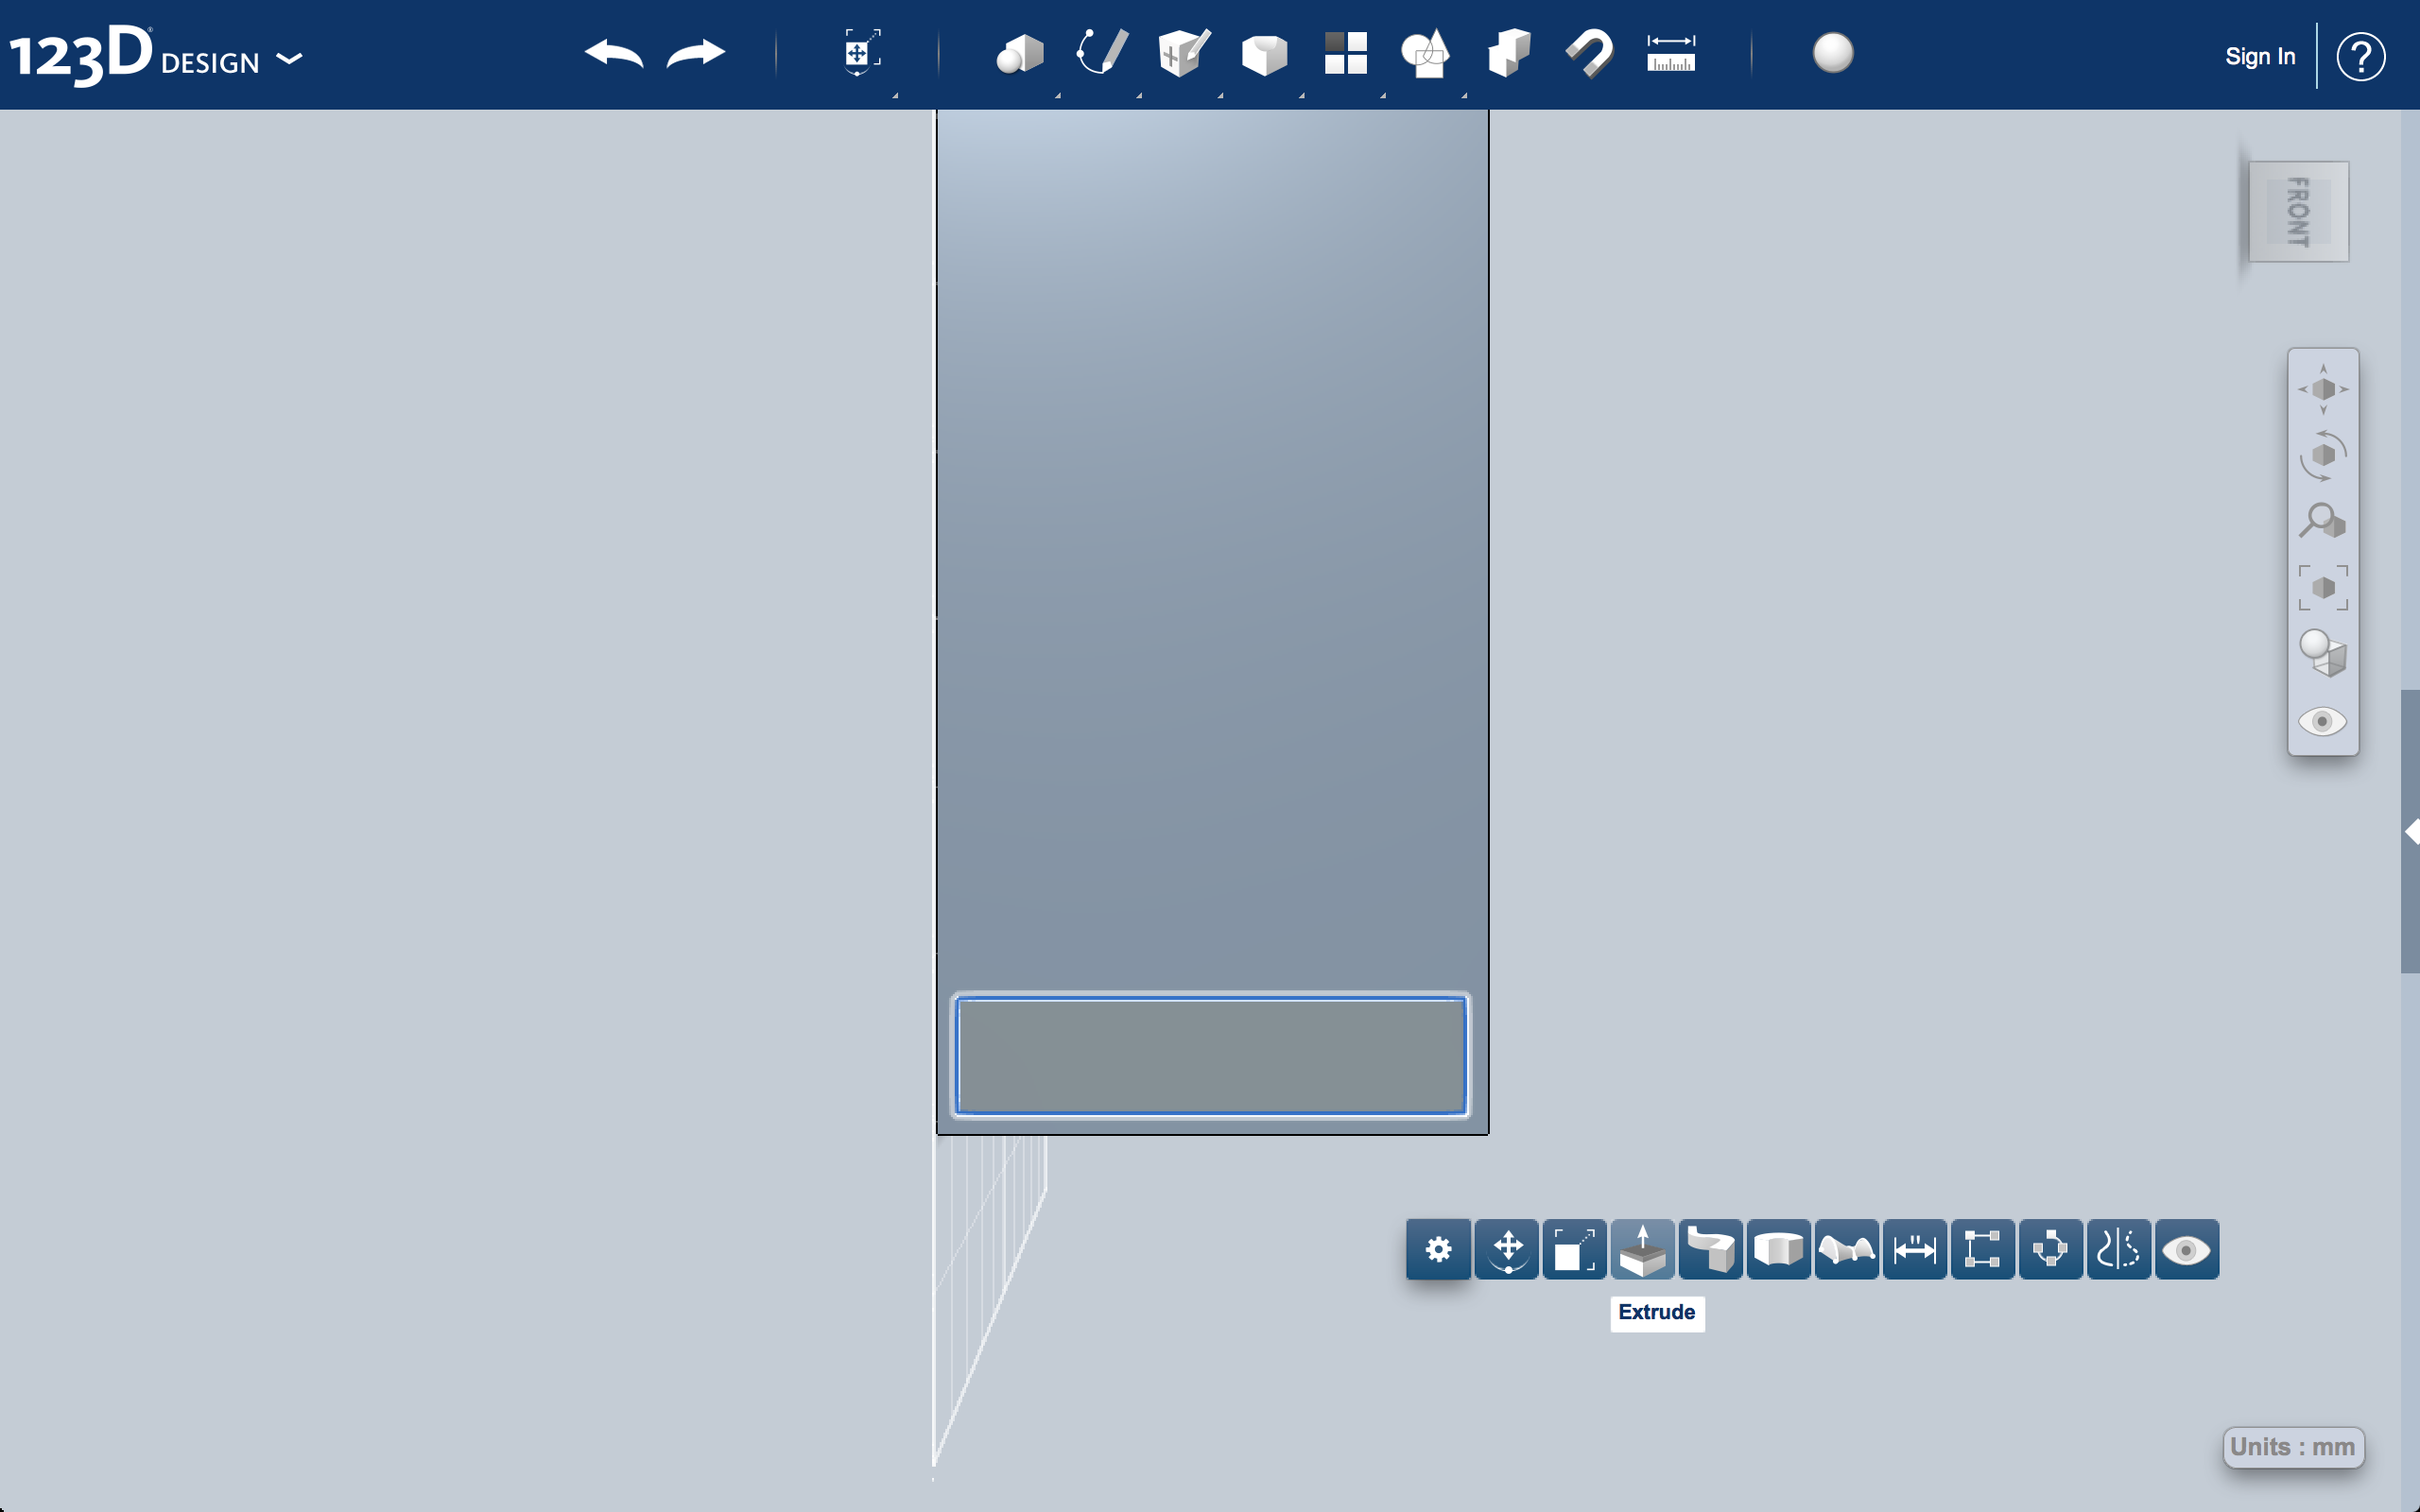
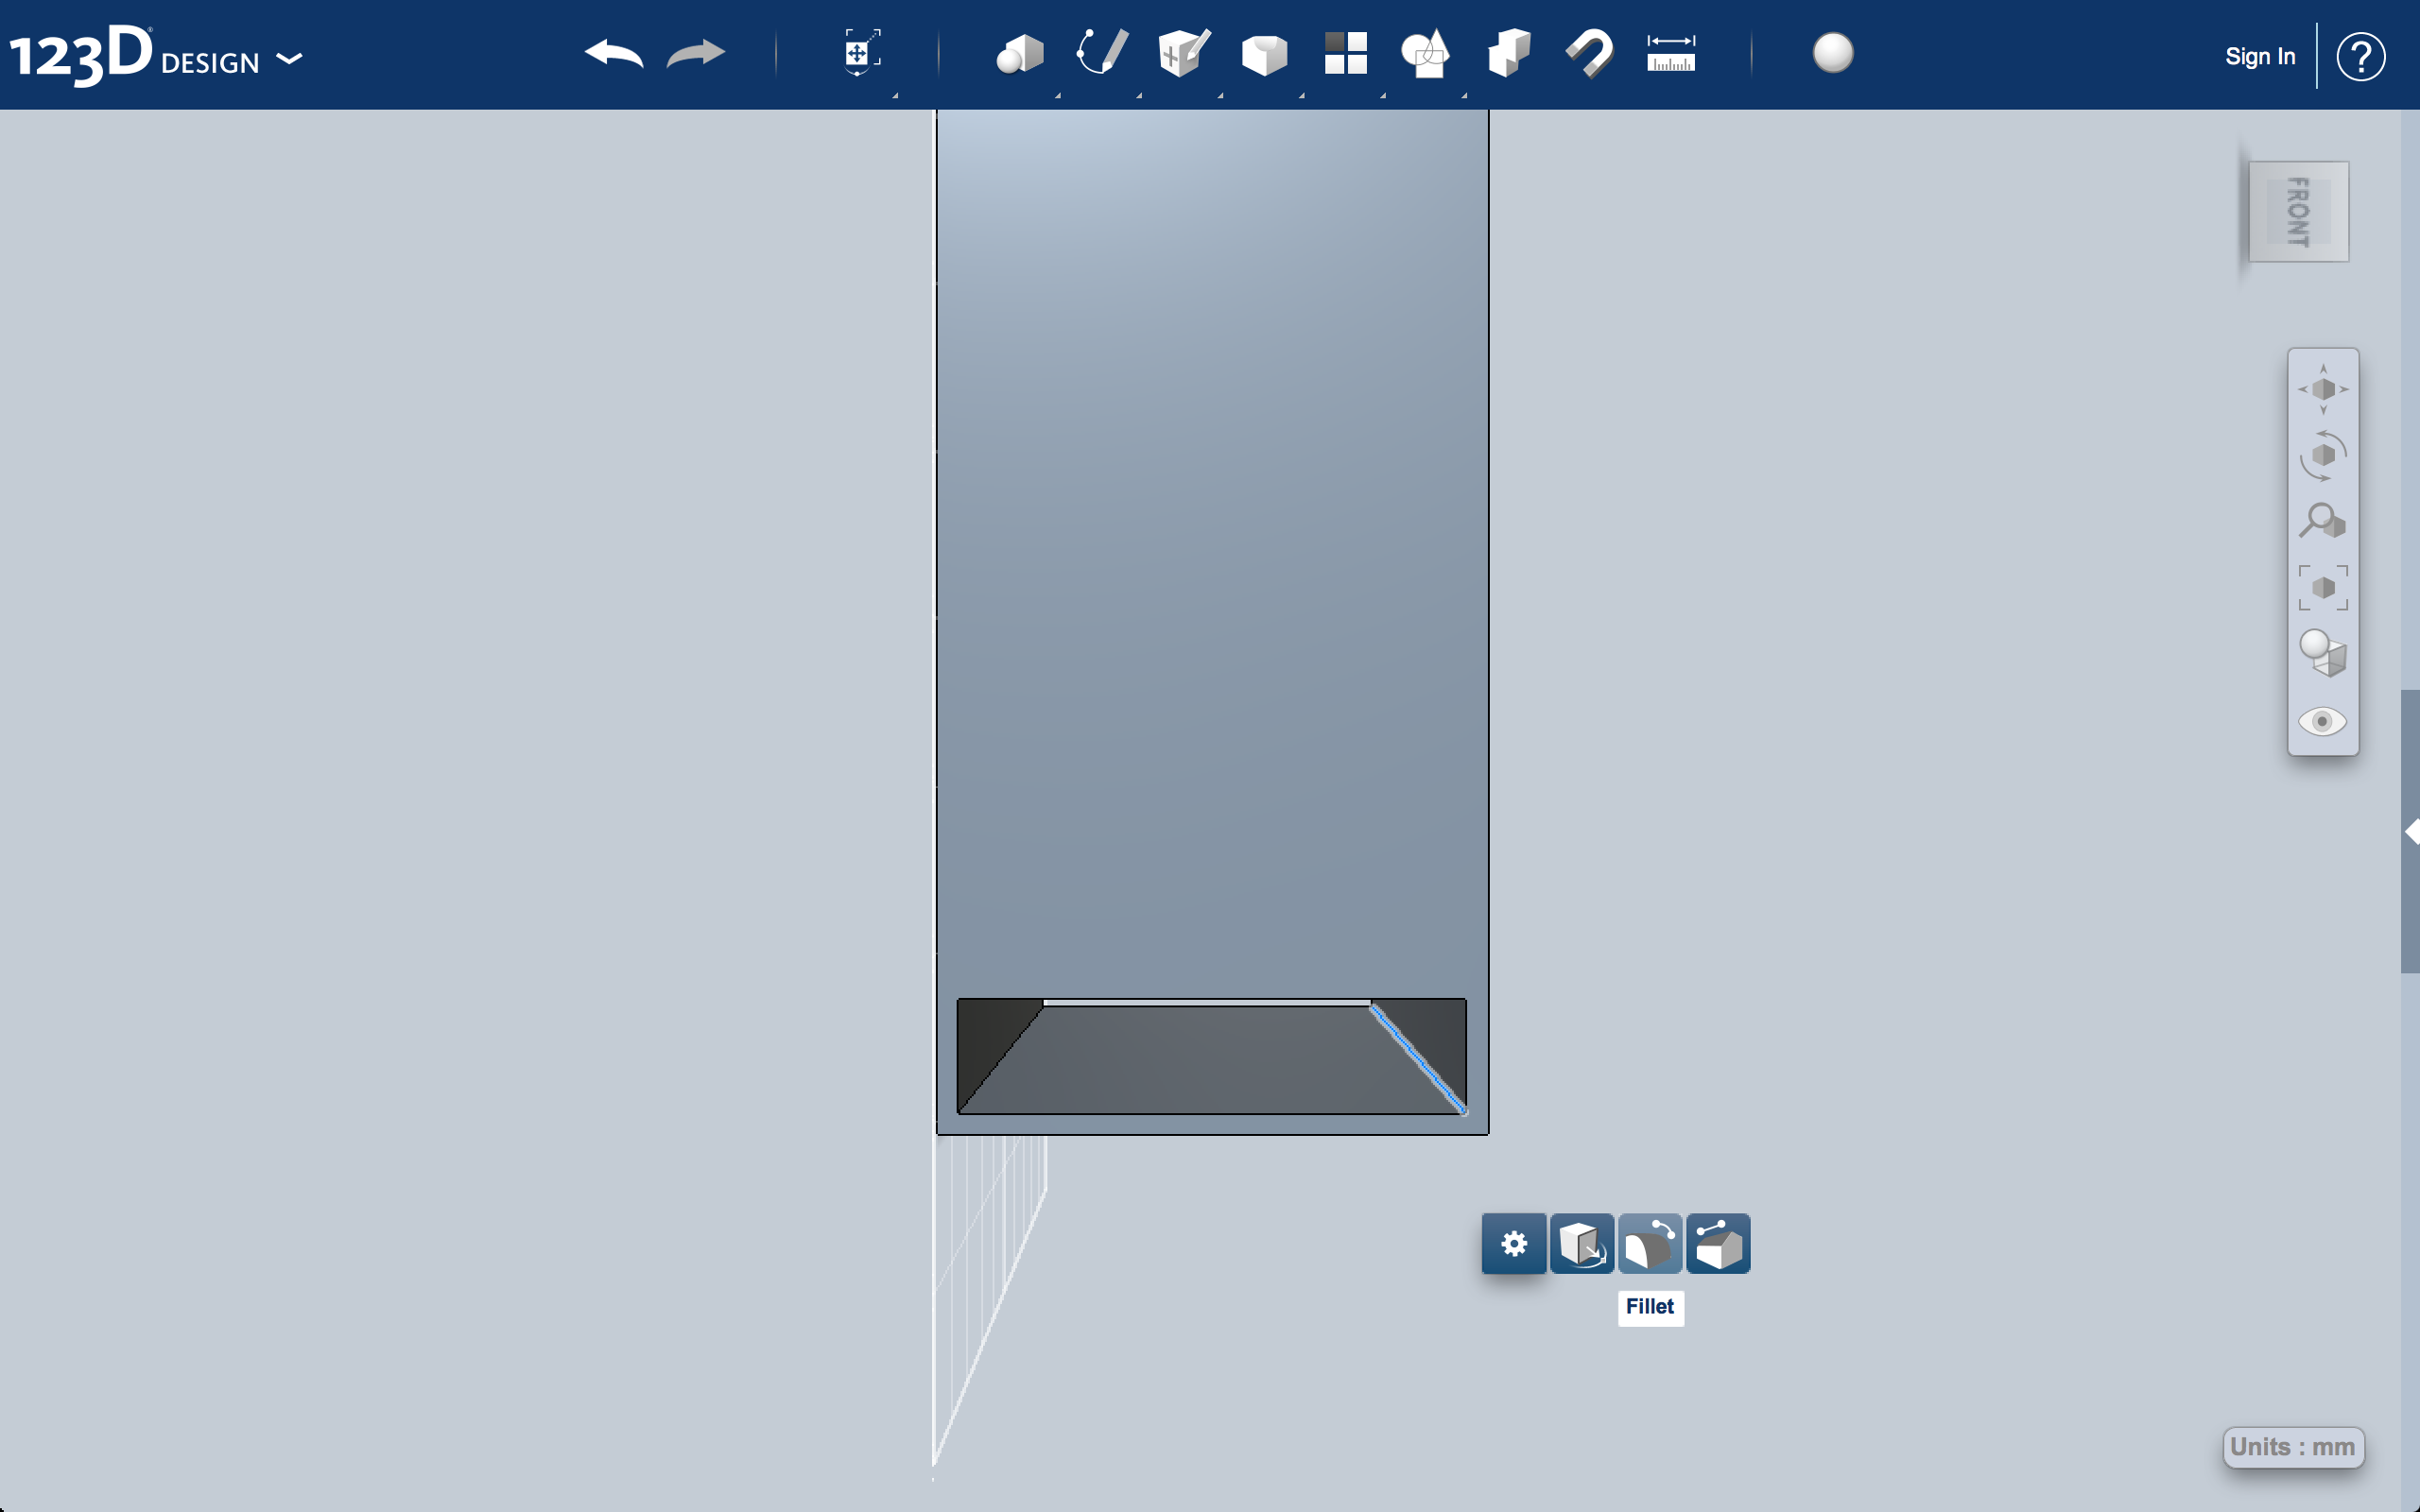
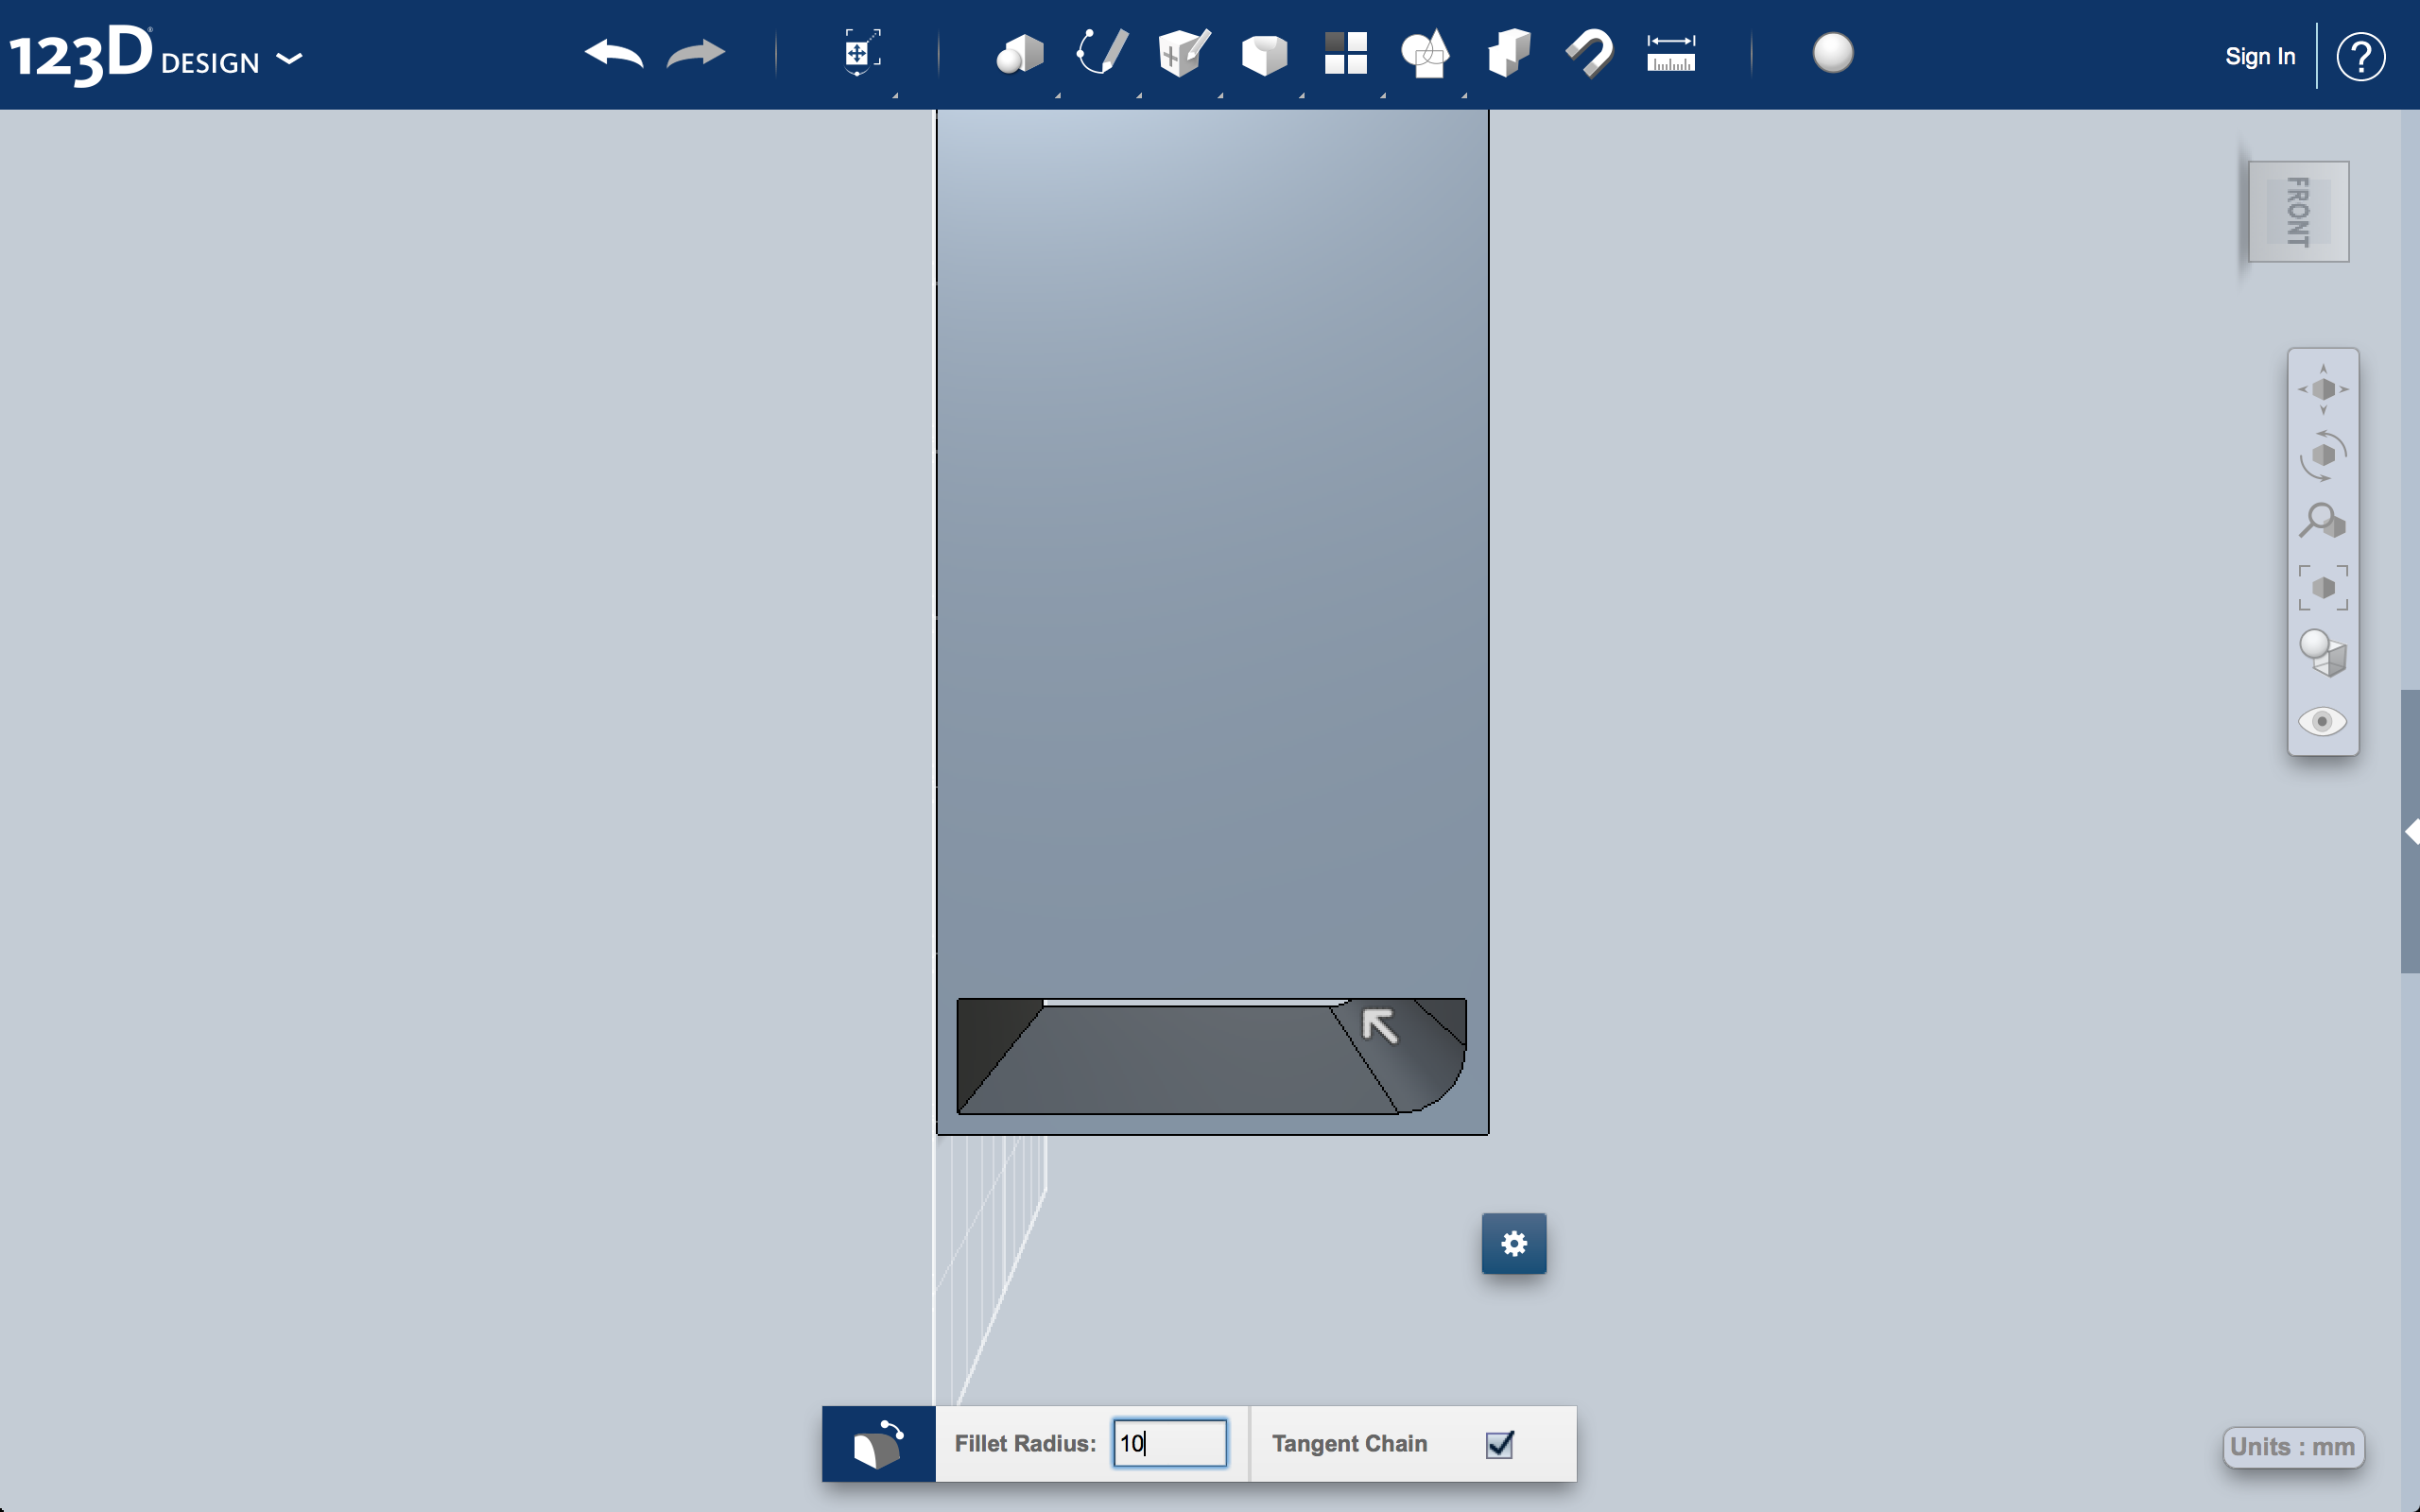
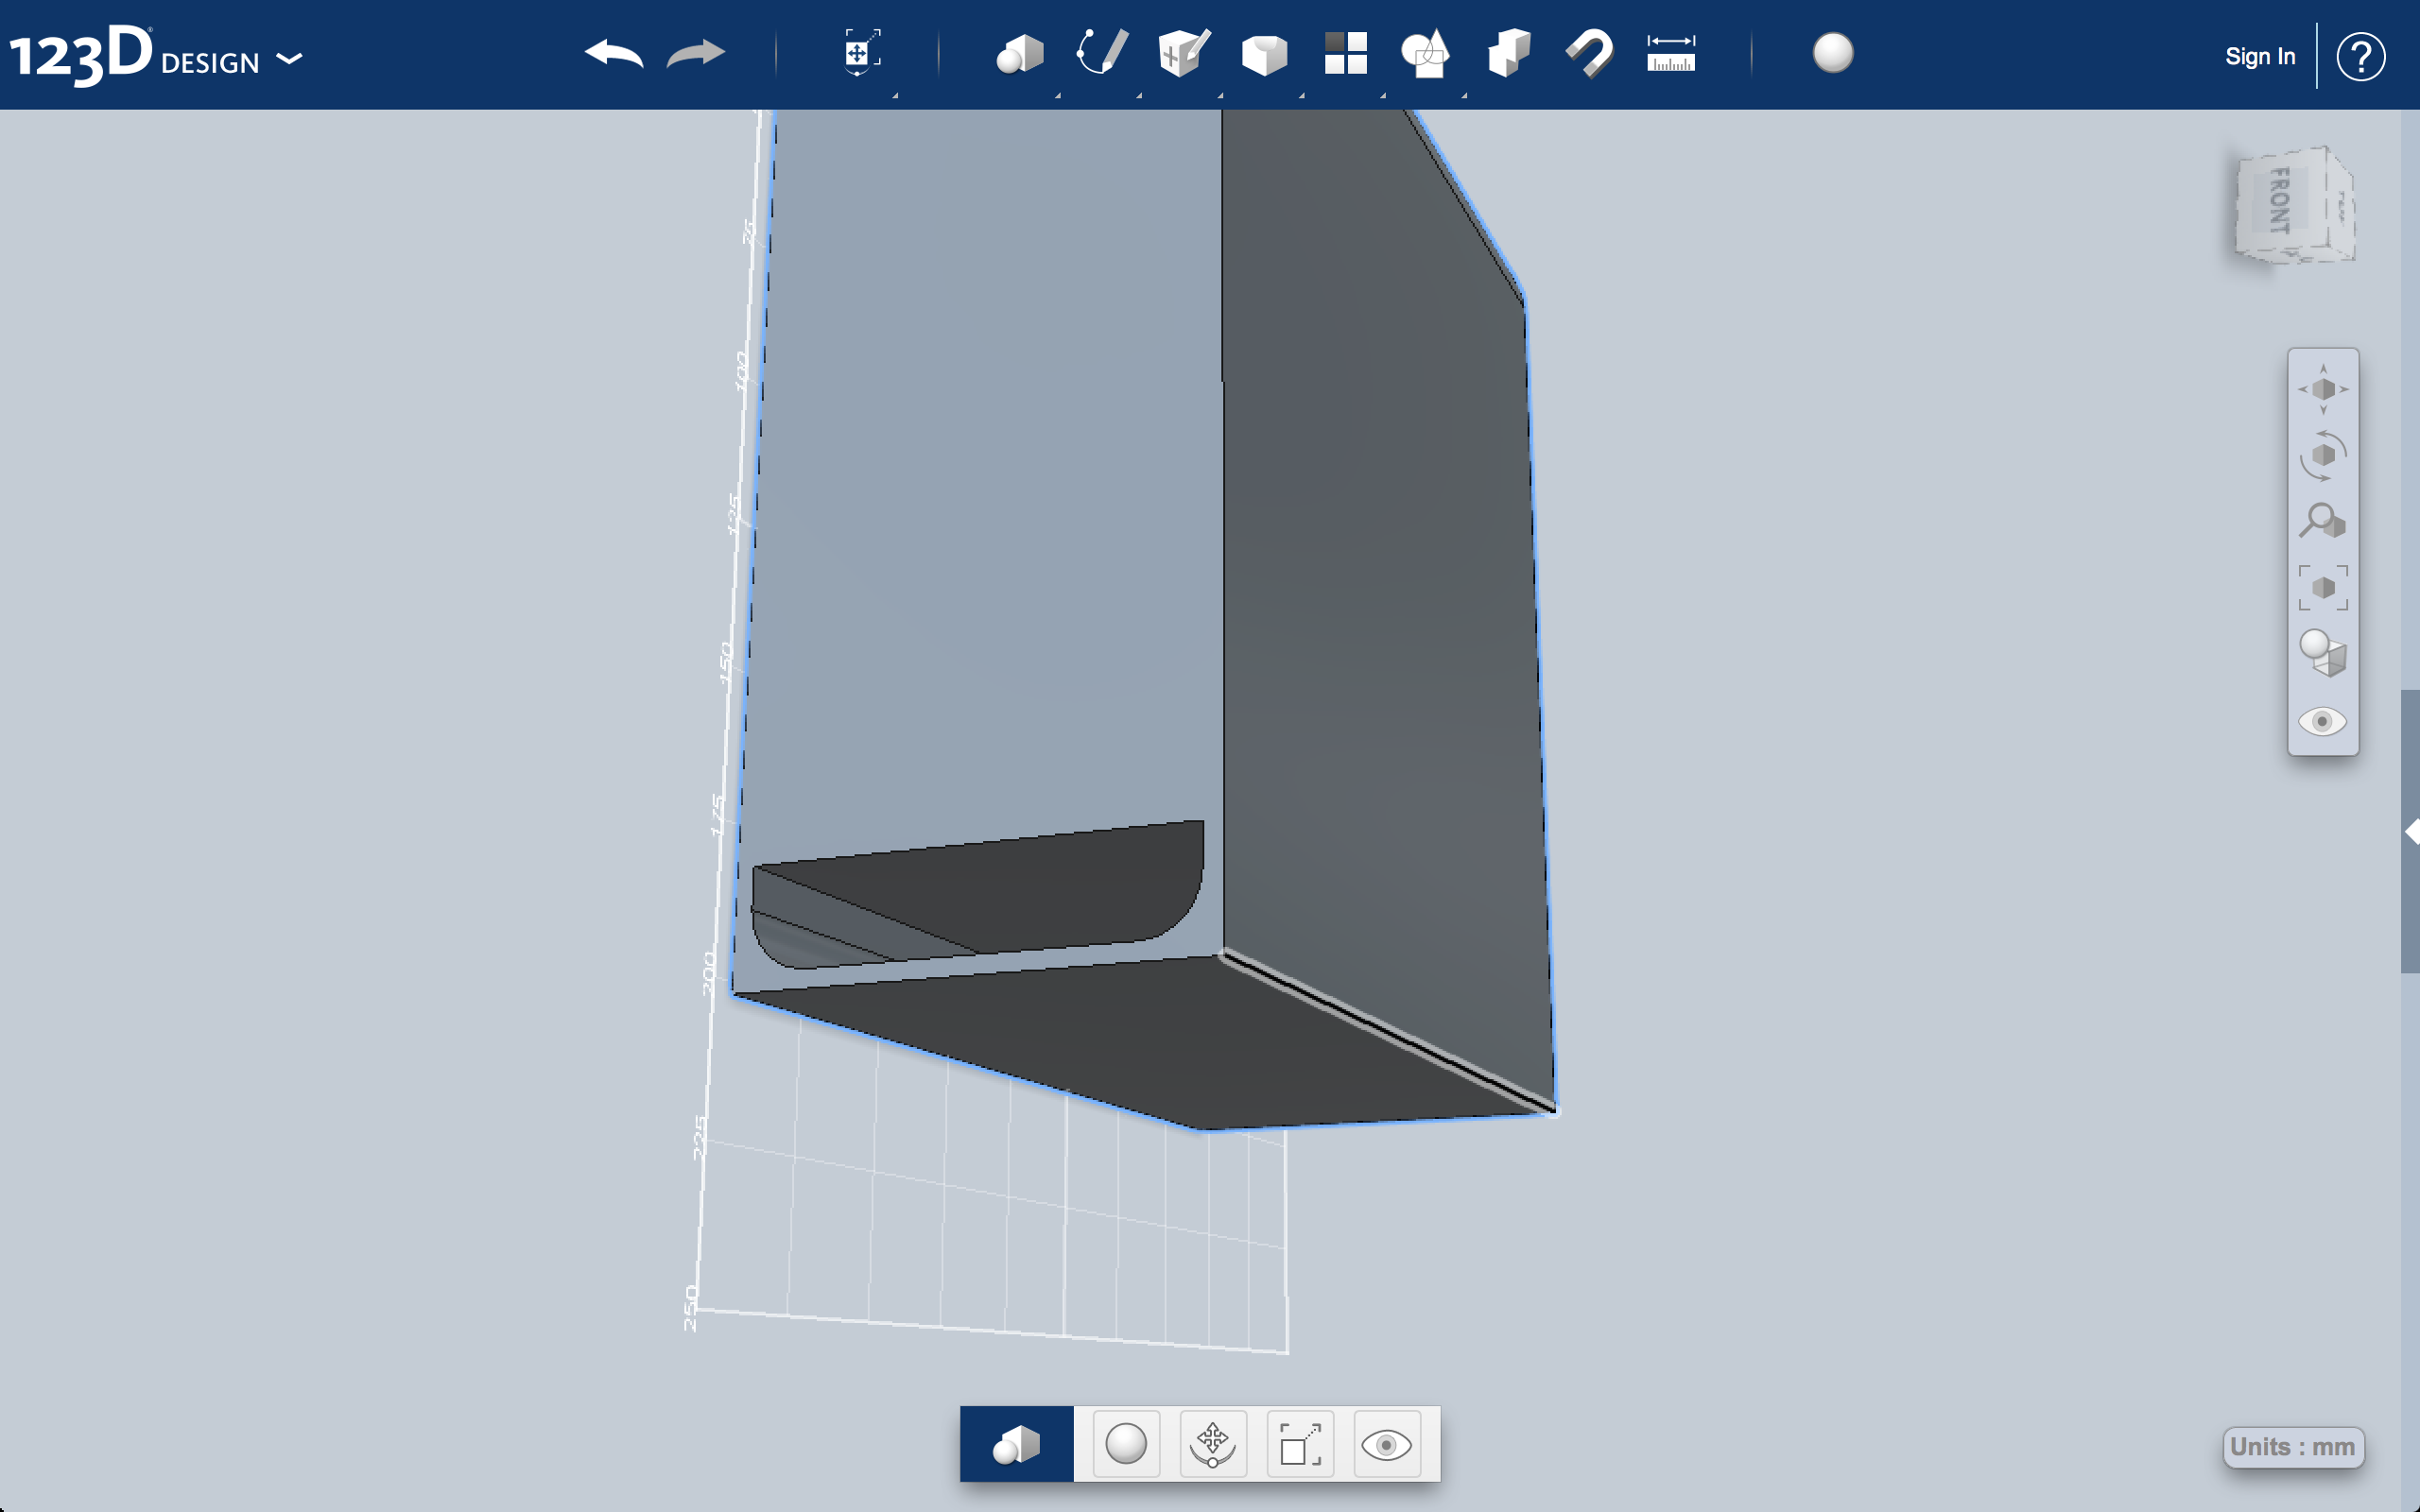
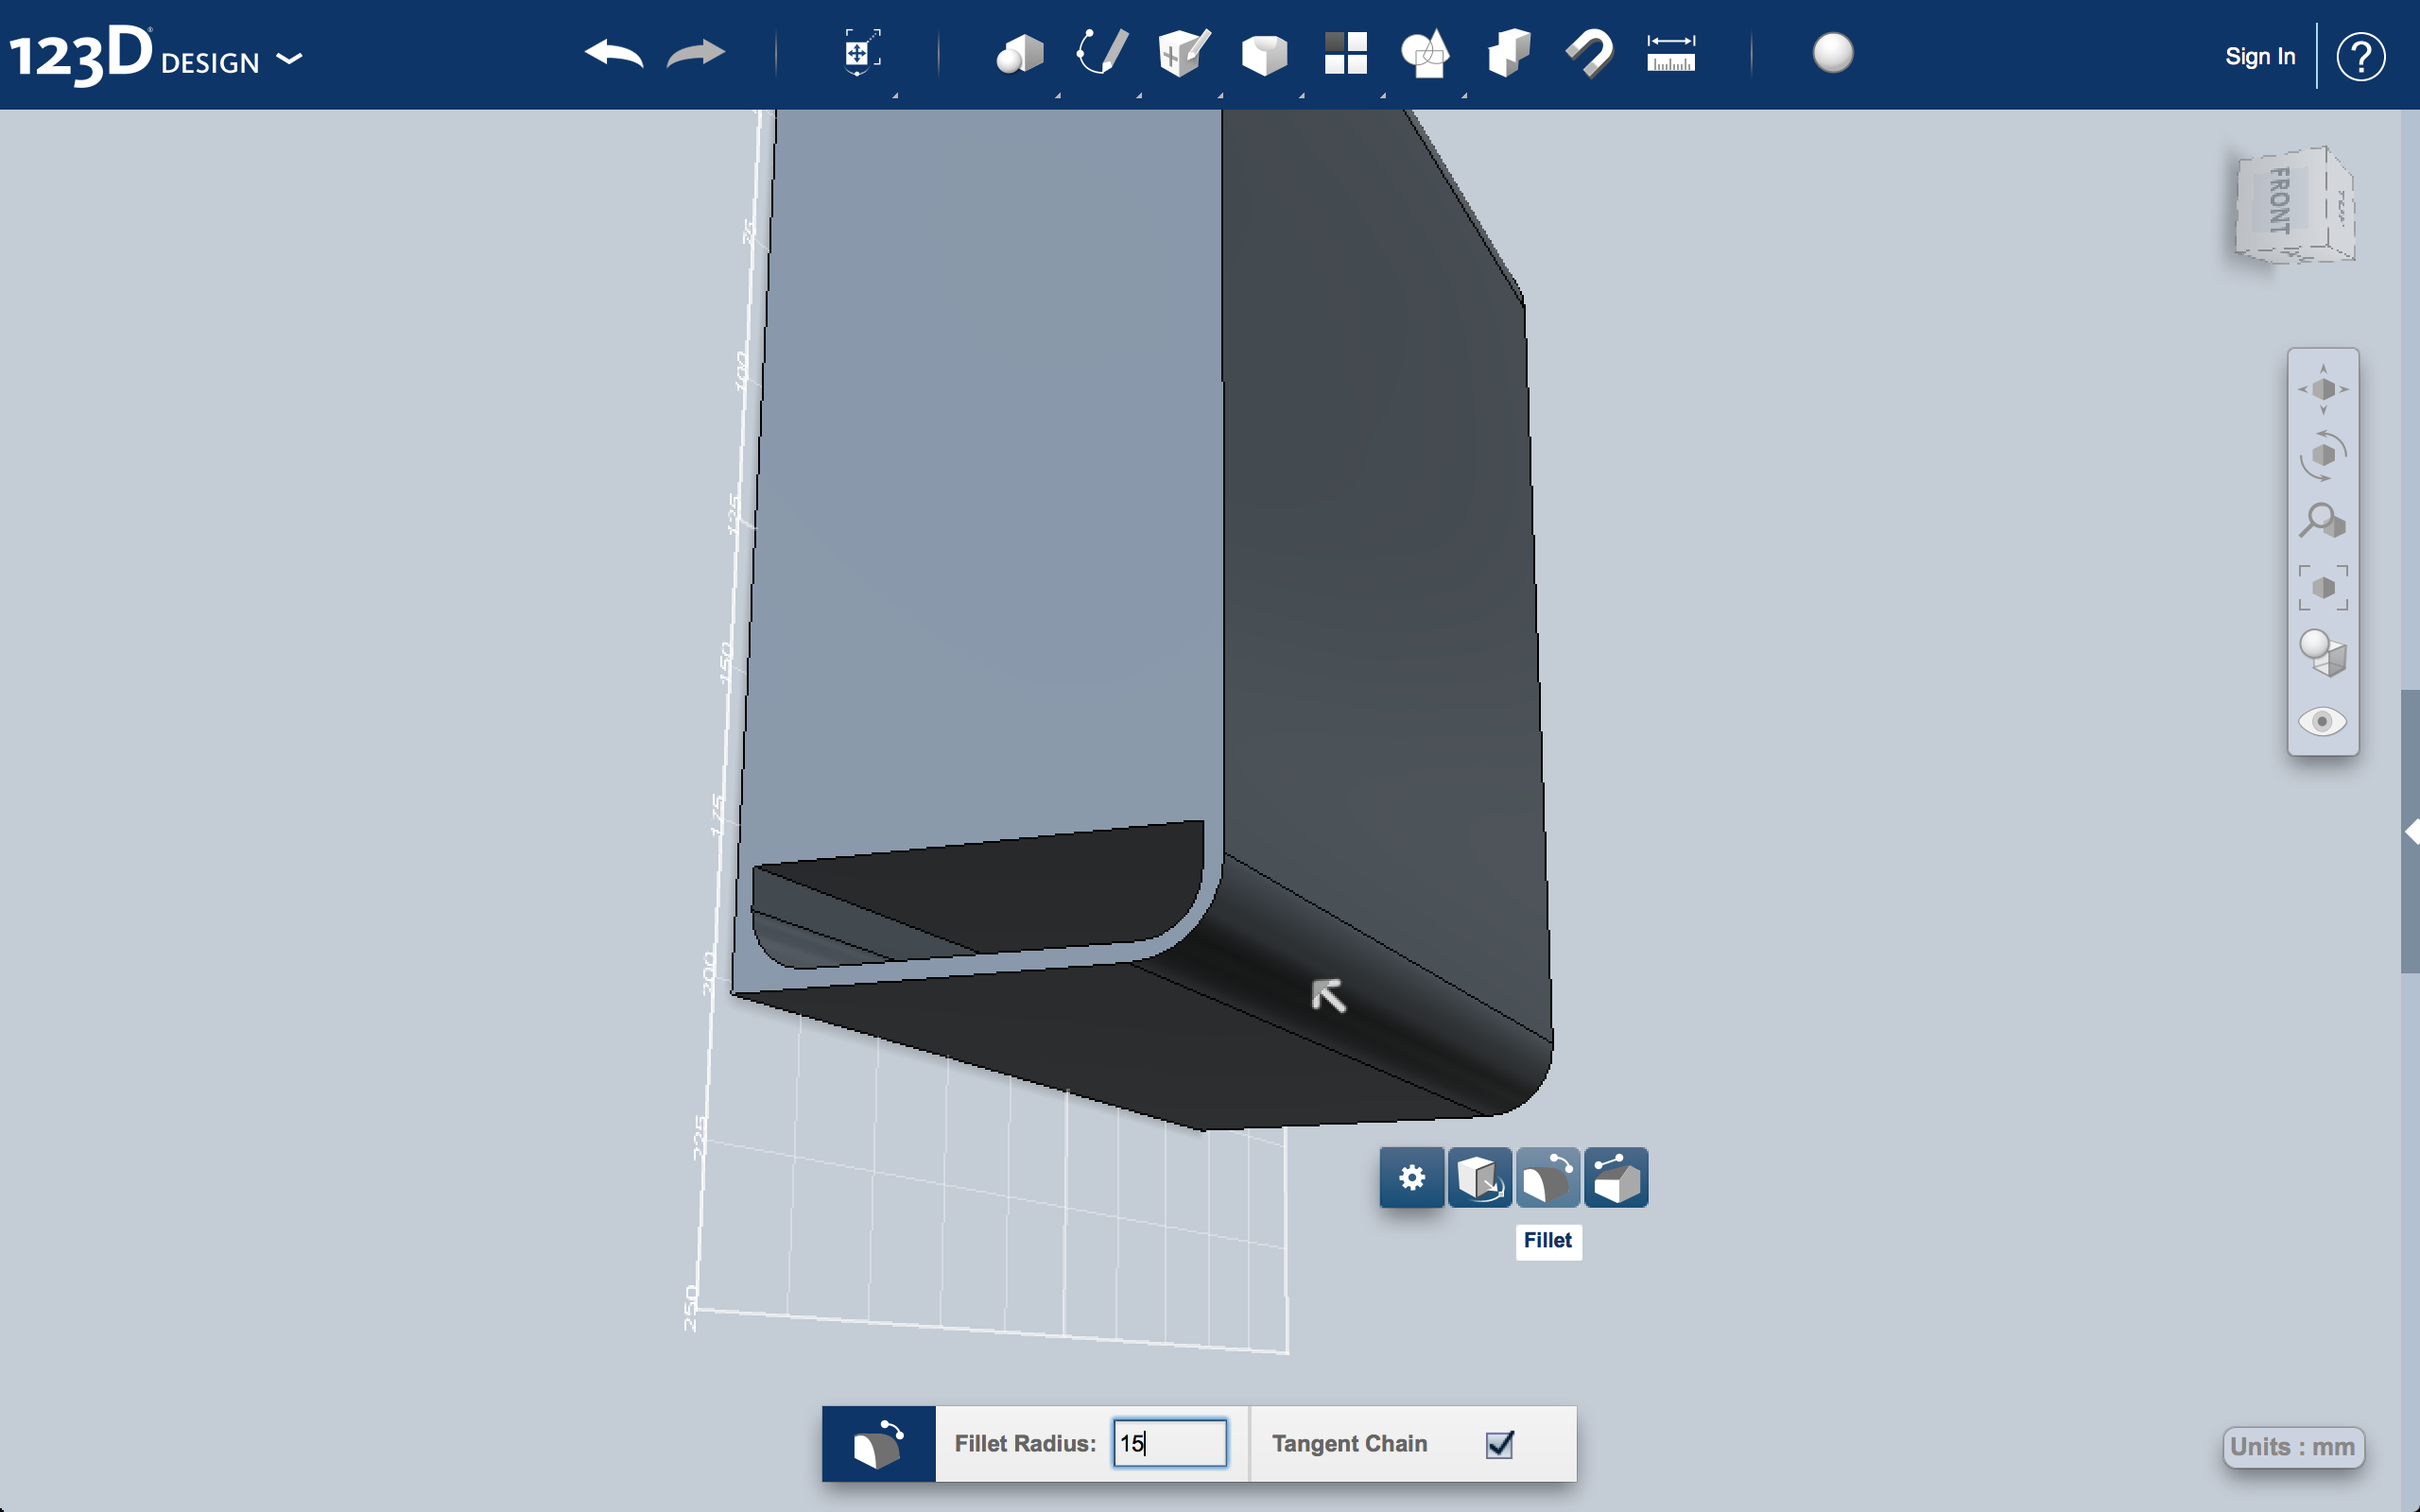
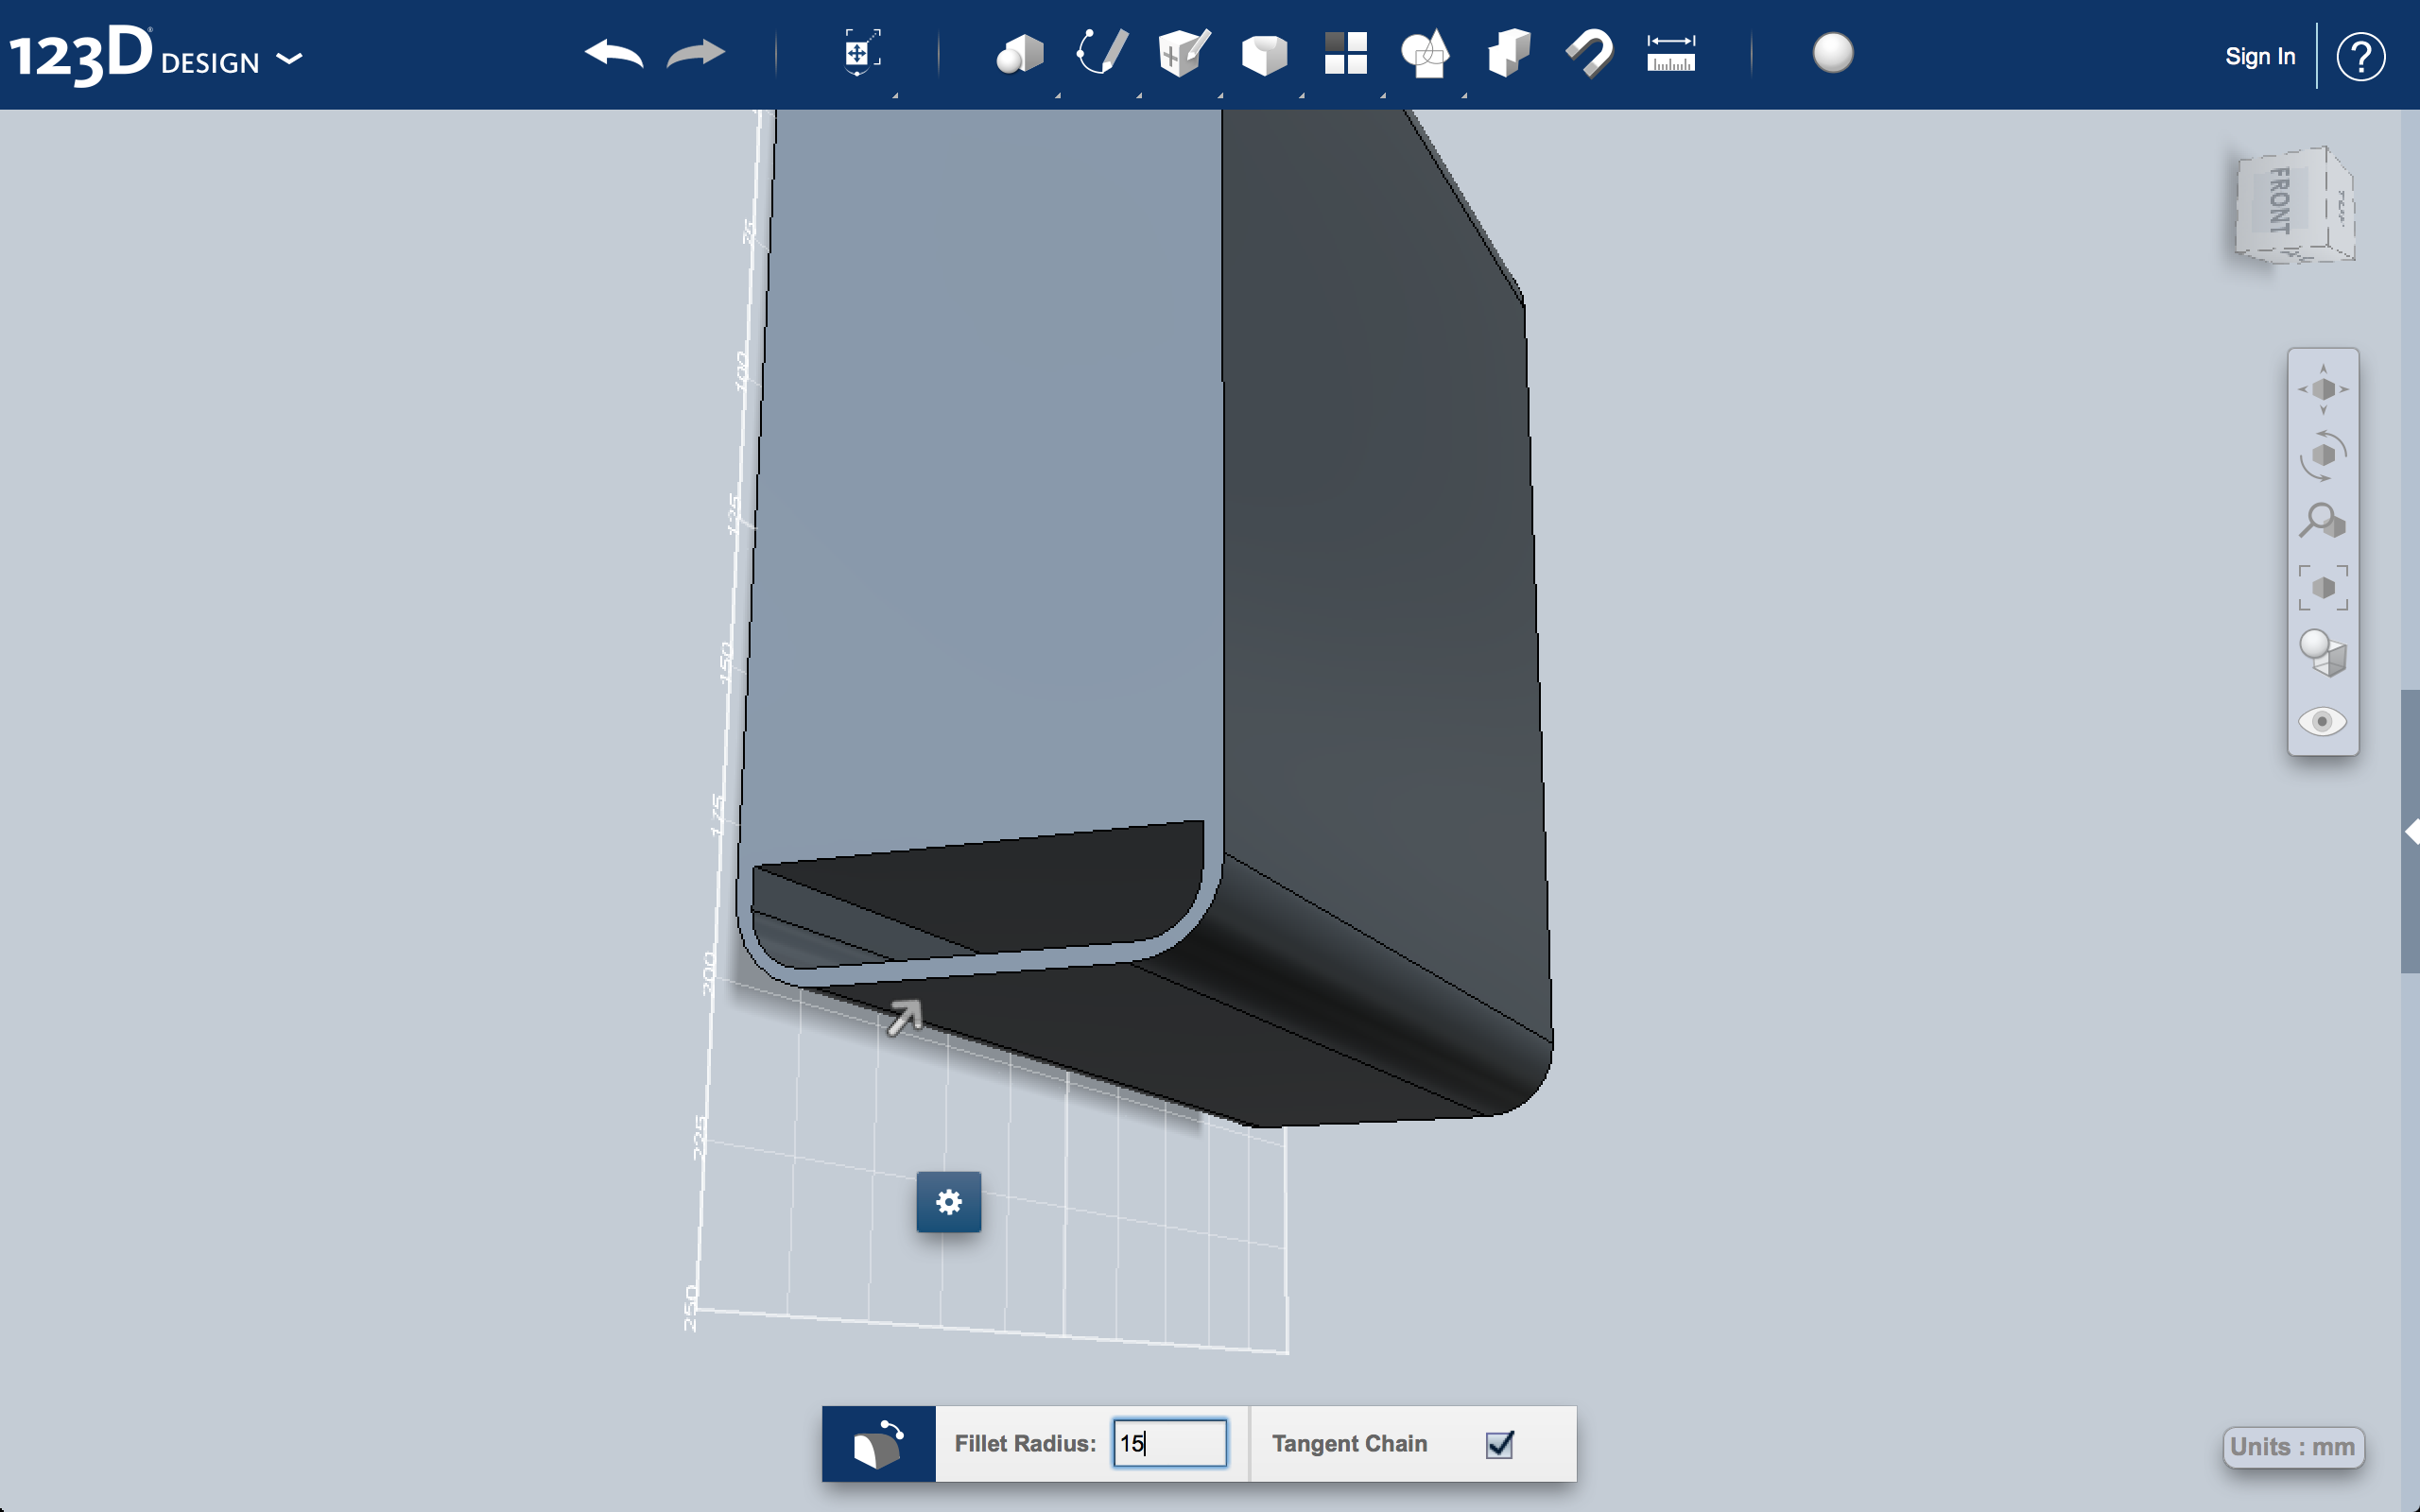
In this step you will be creating the iconic handles of the Mac Pro. Basically you extrude two rectangles on the top and bottom and then round the inside and outside corners. The photos below lend themselves to guiding you through creating the upper hand but you use the same process for the base handles.
Creating the Faceplate.
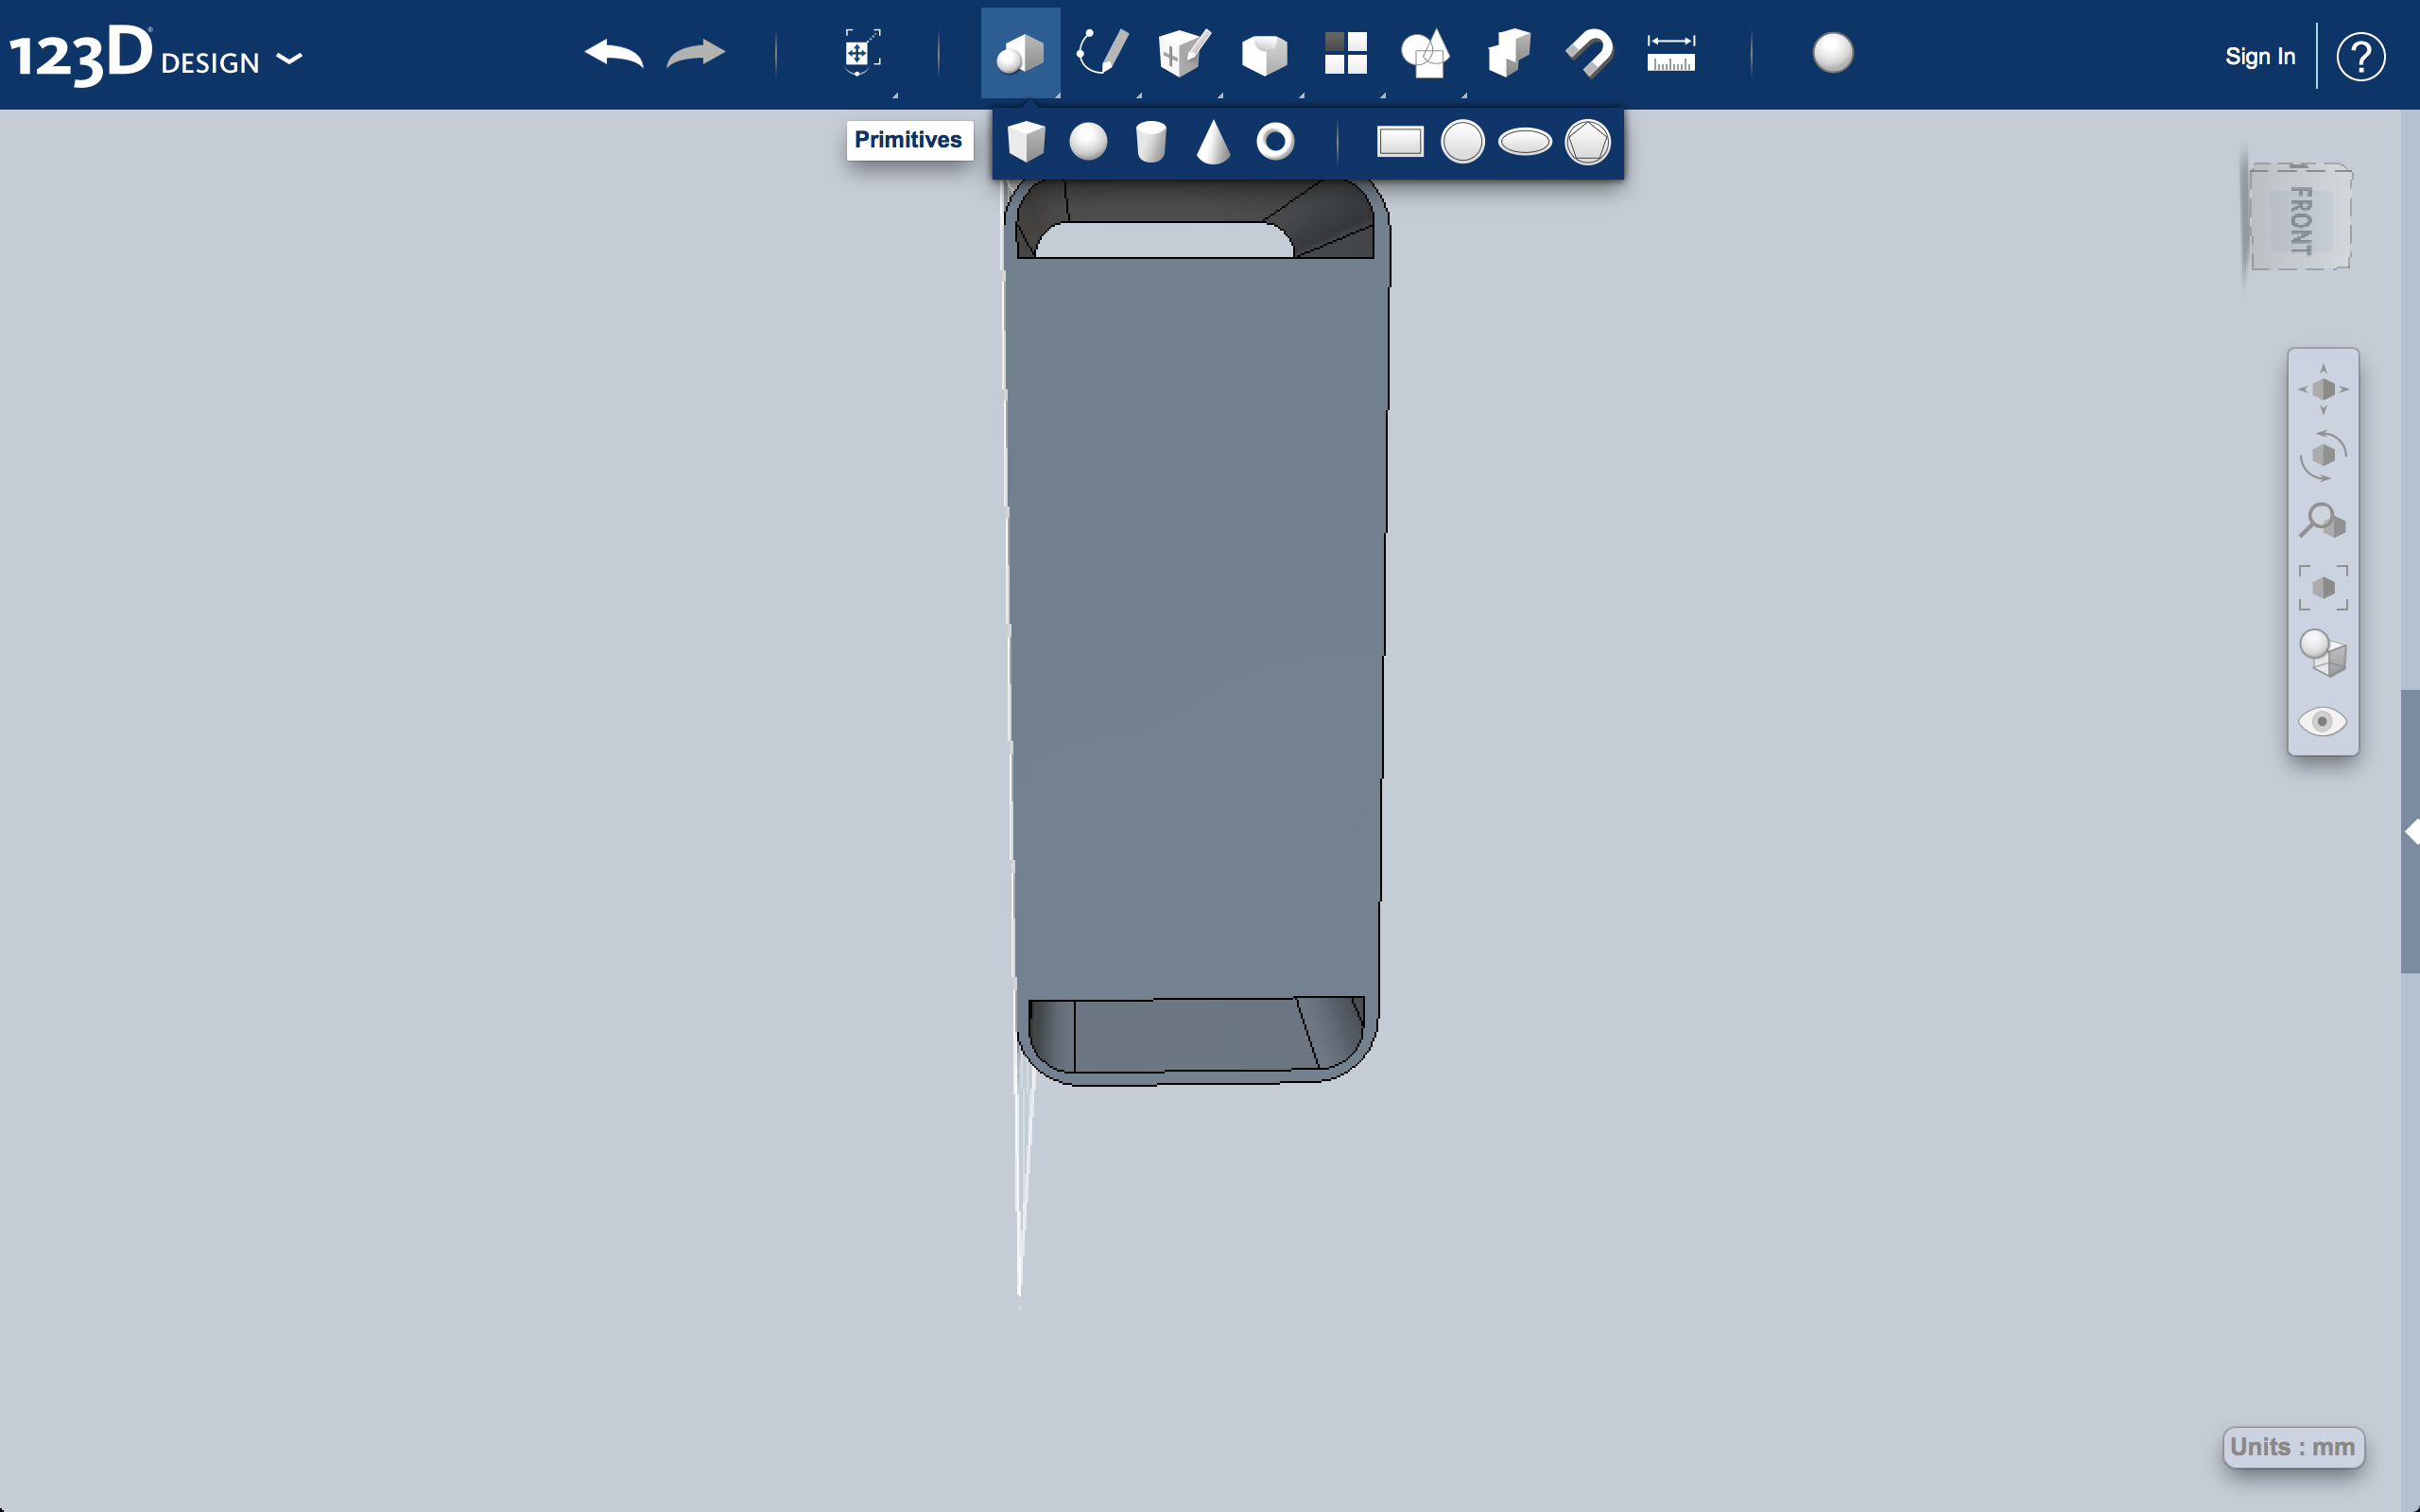
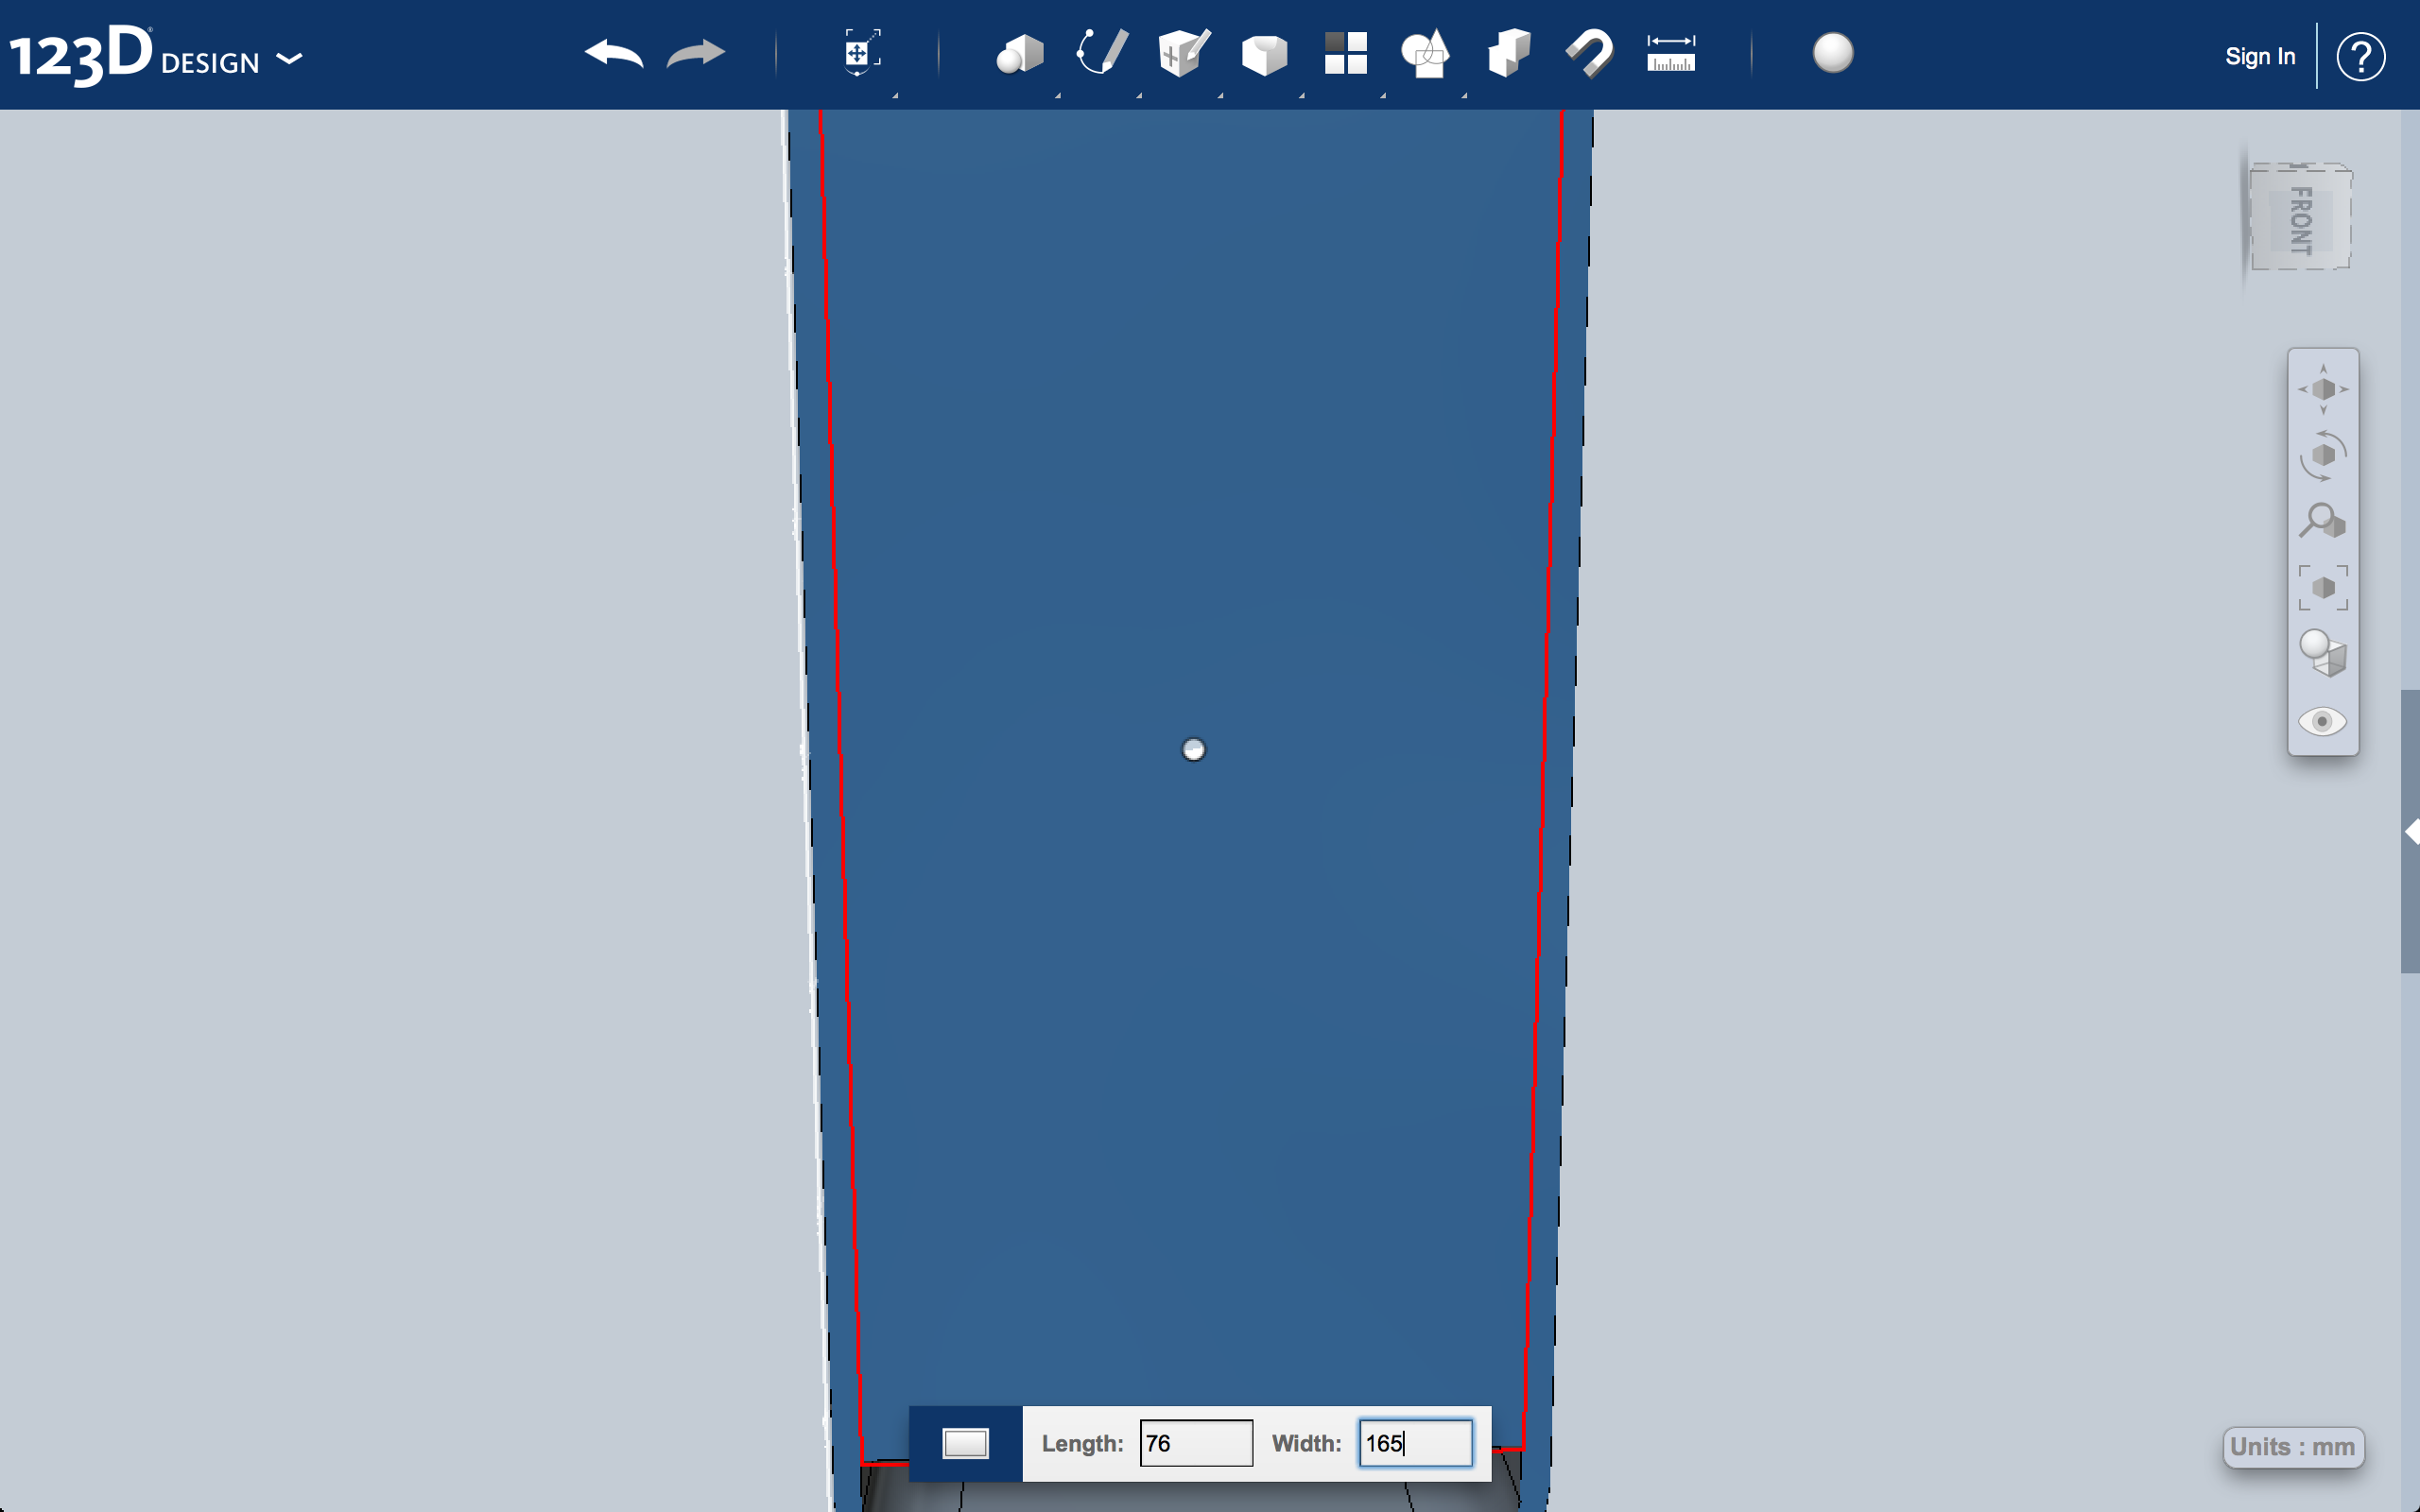
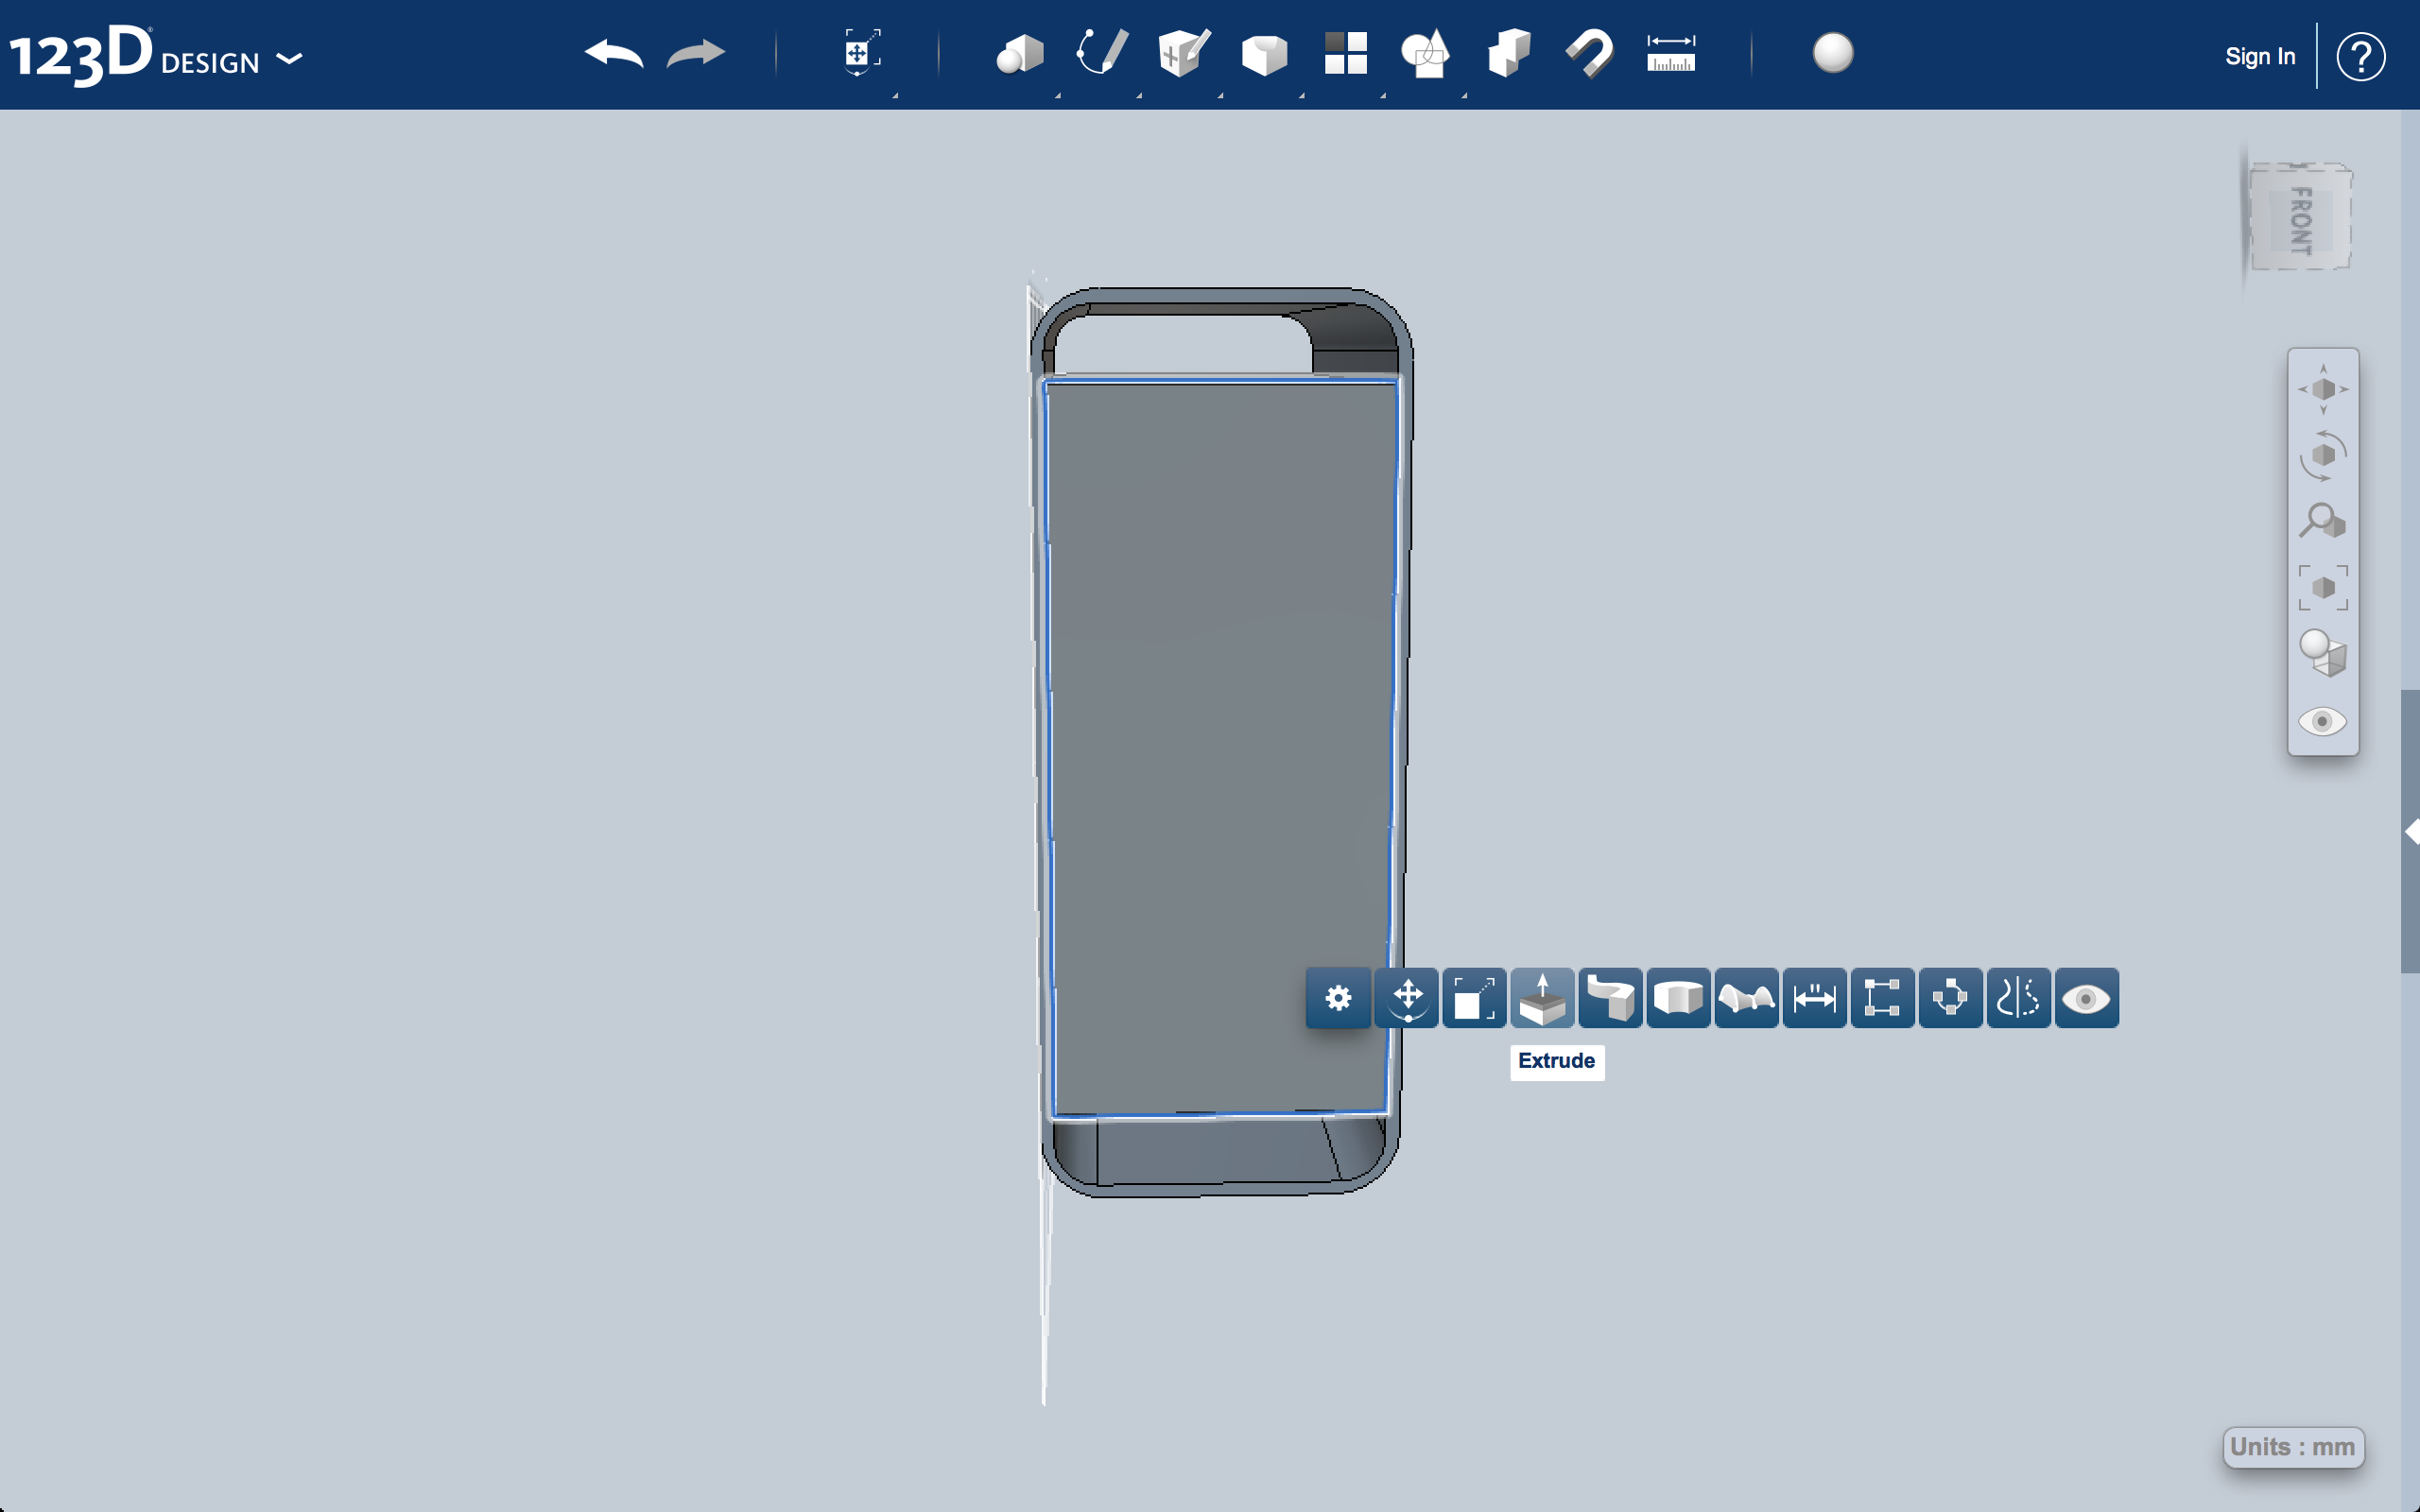
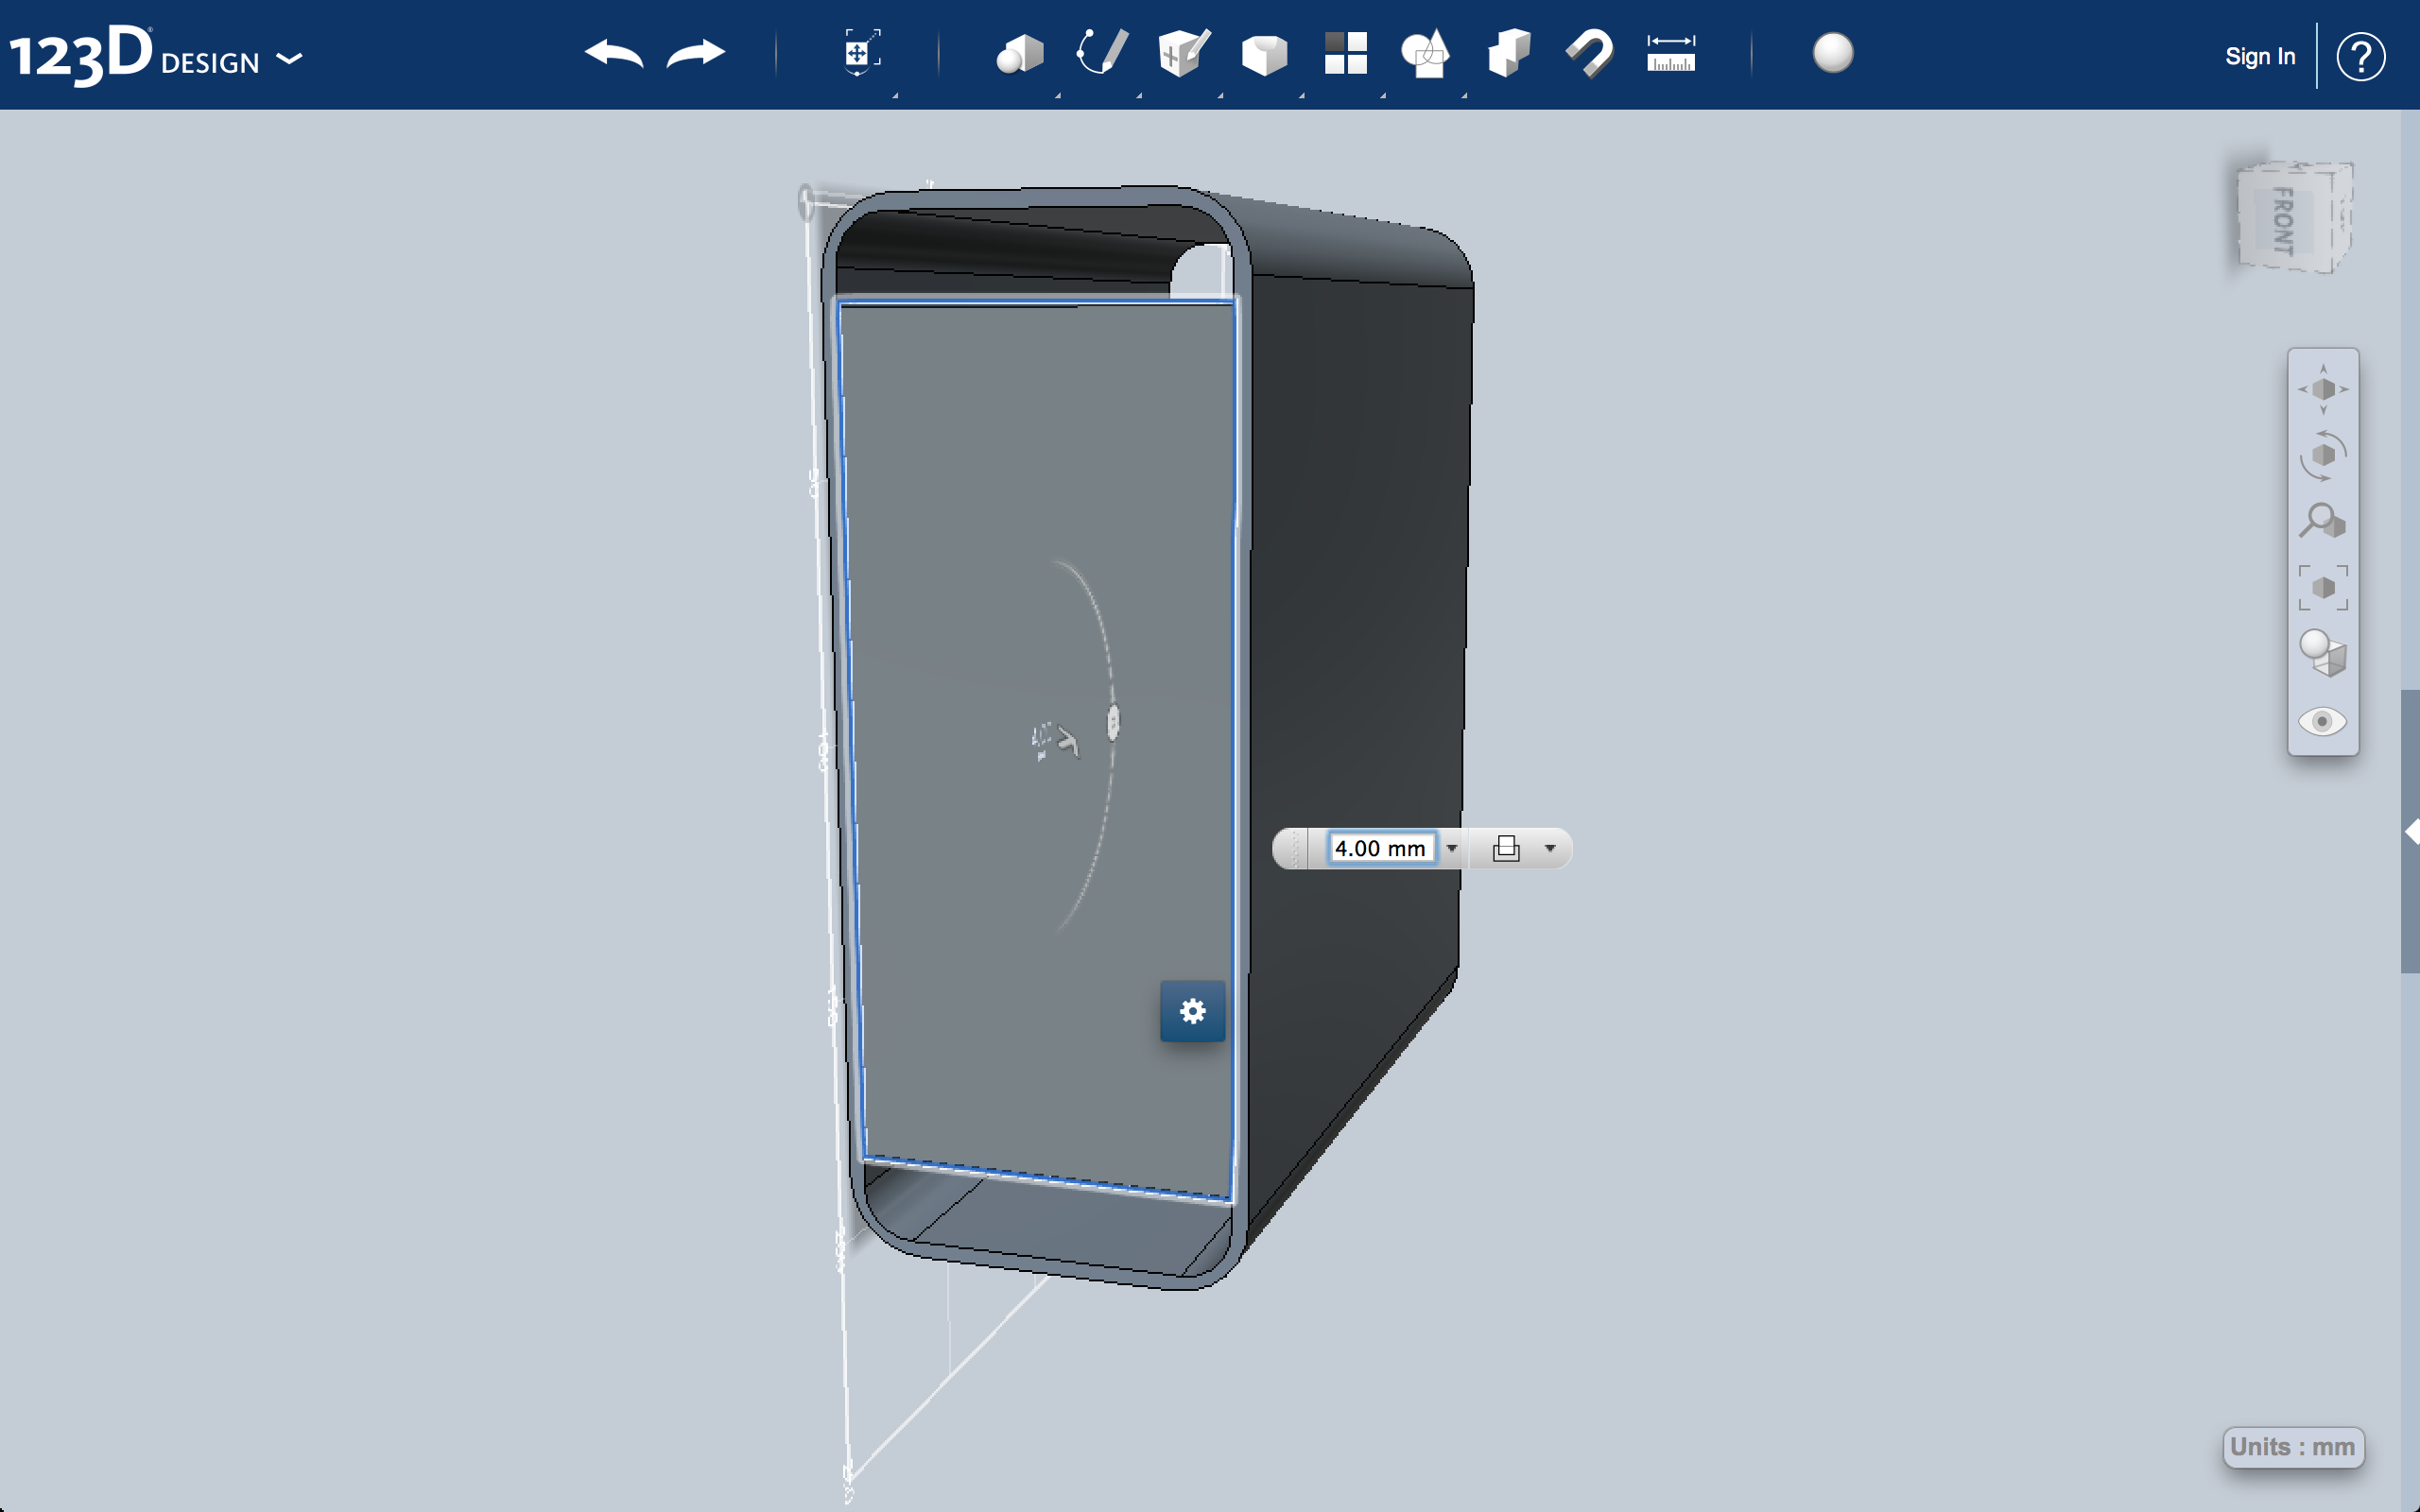
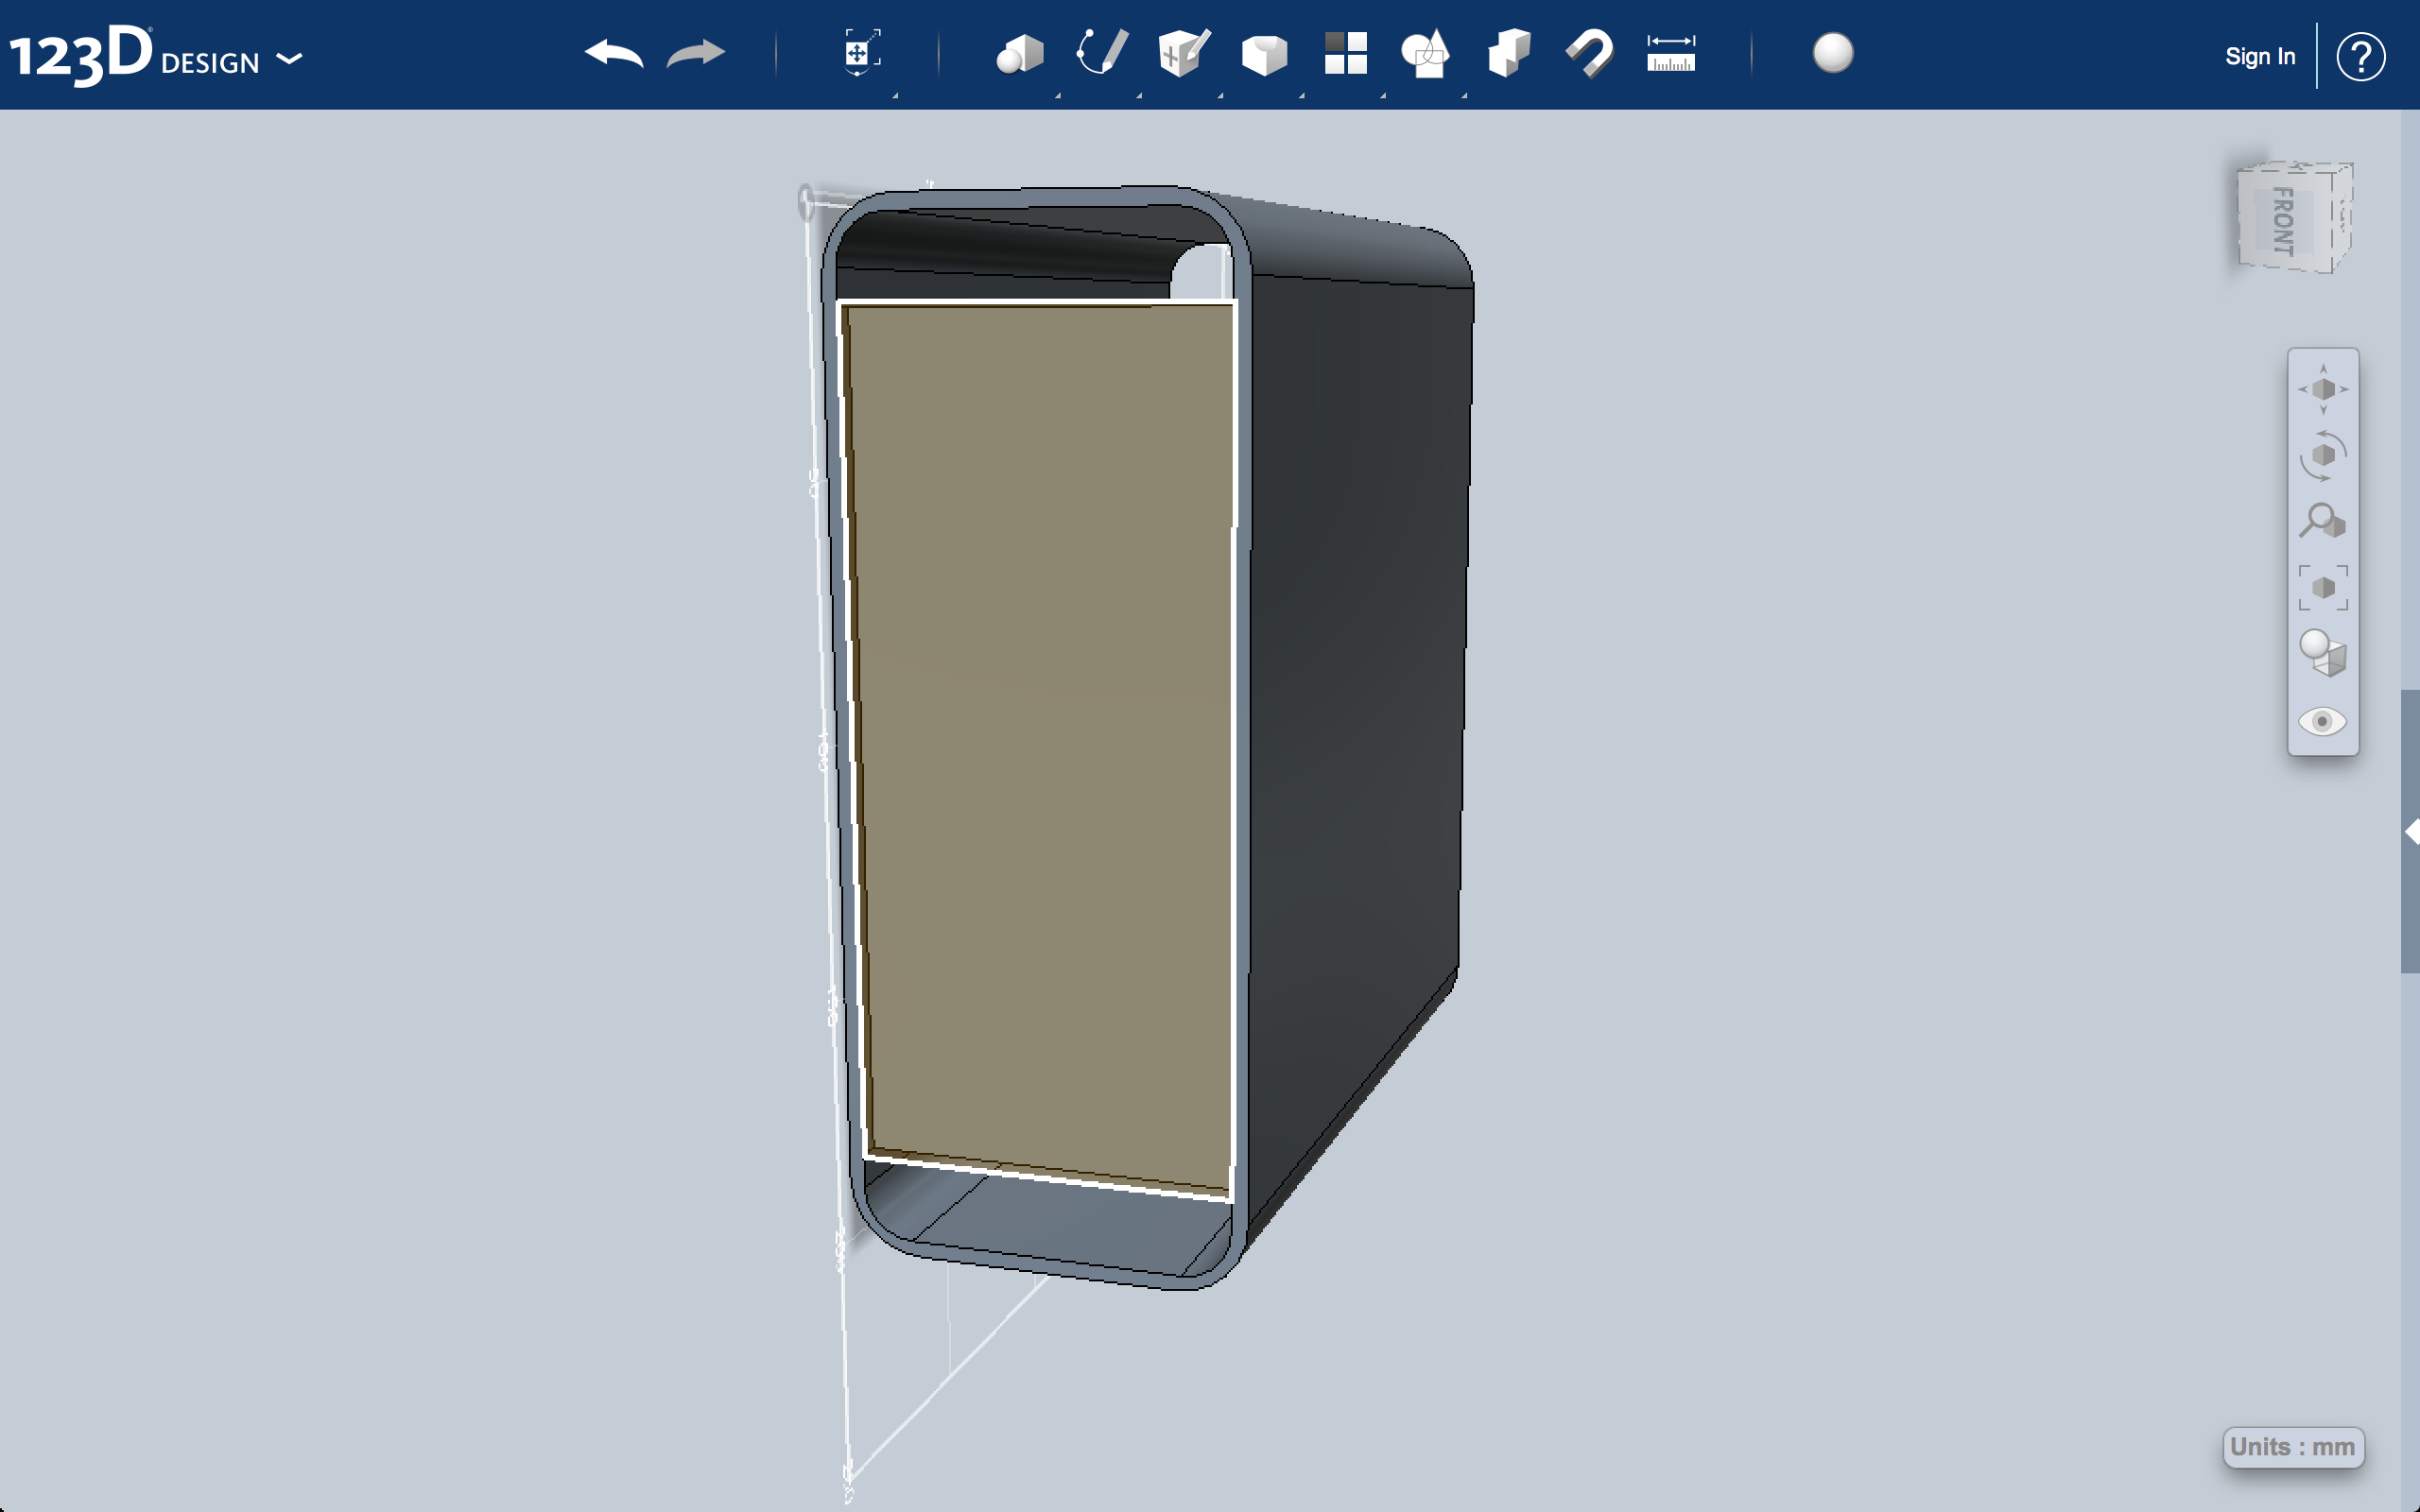
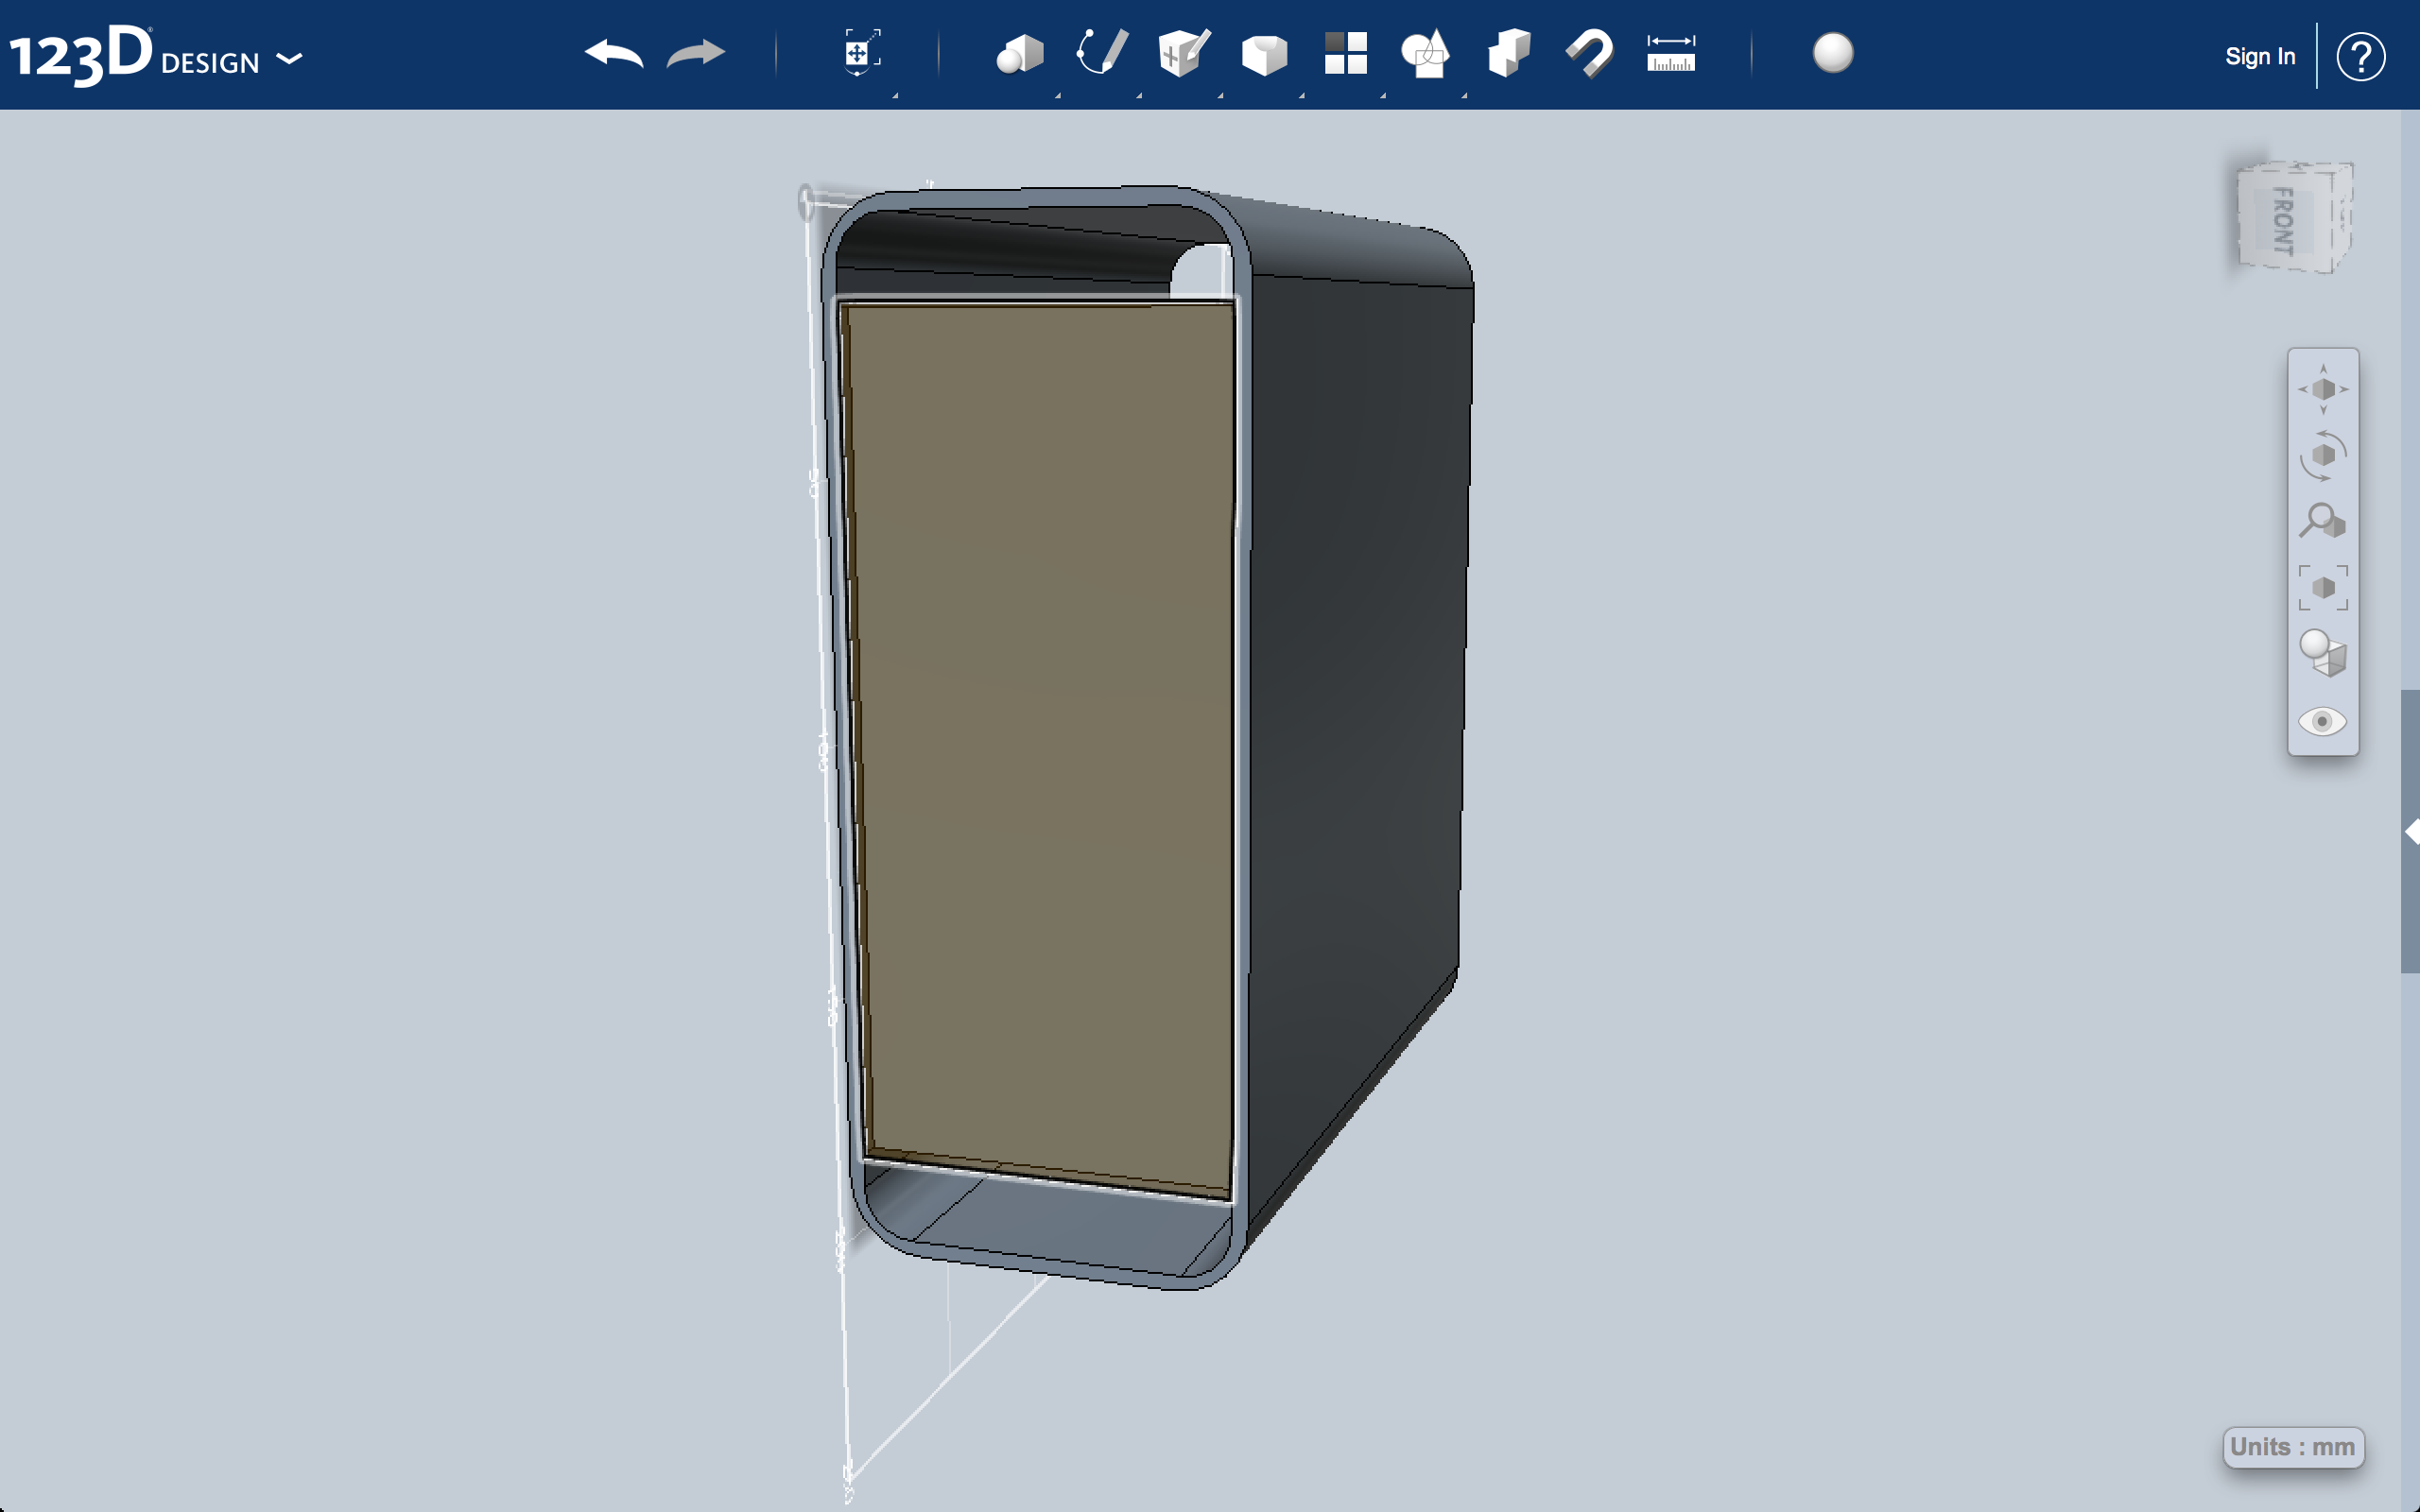
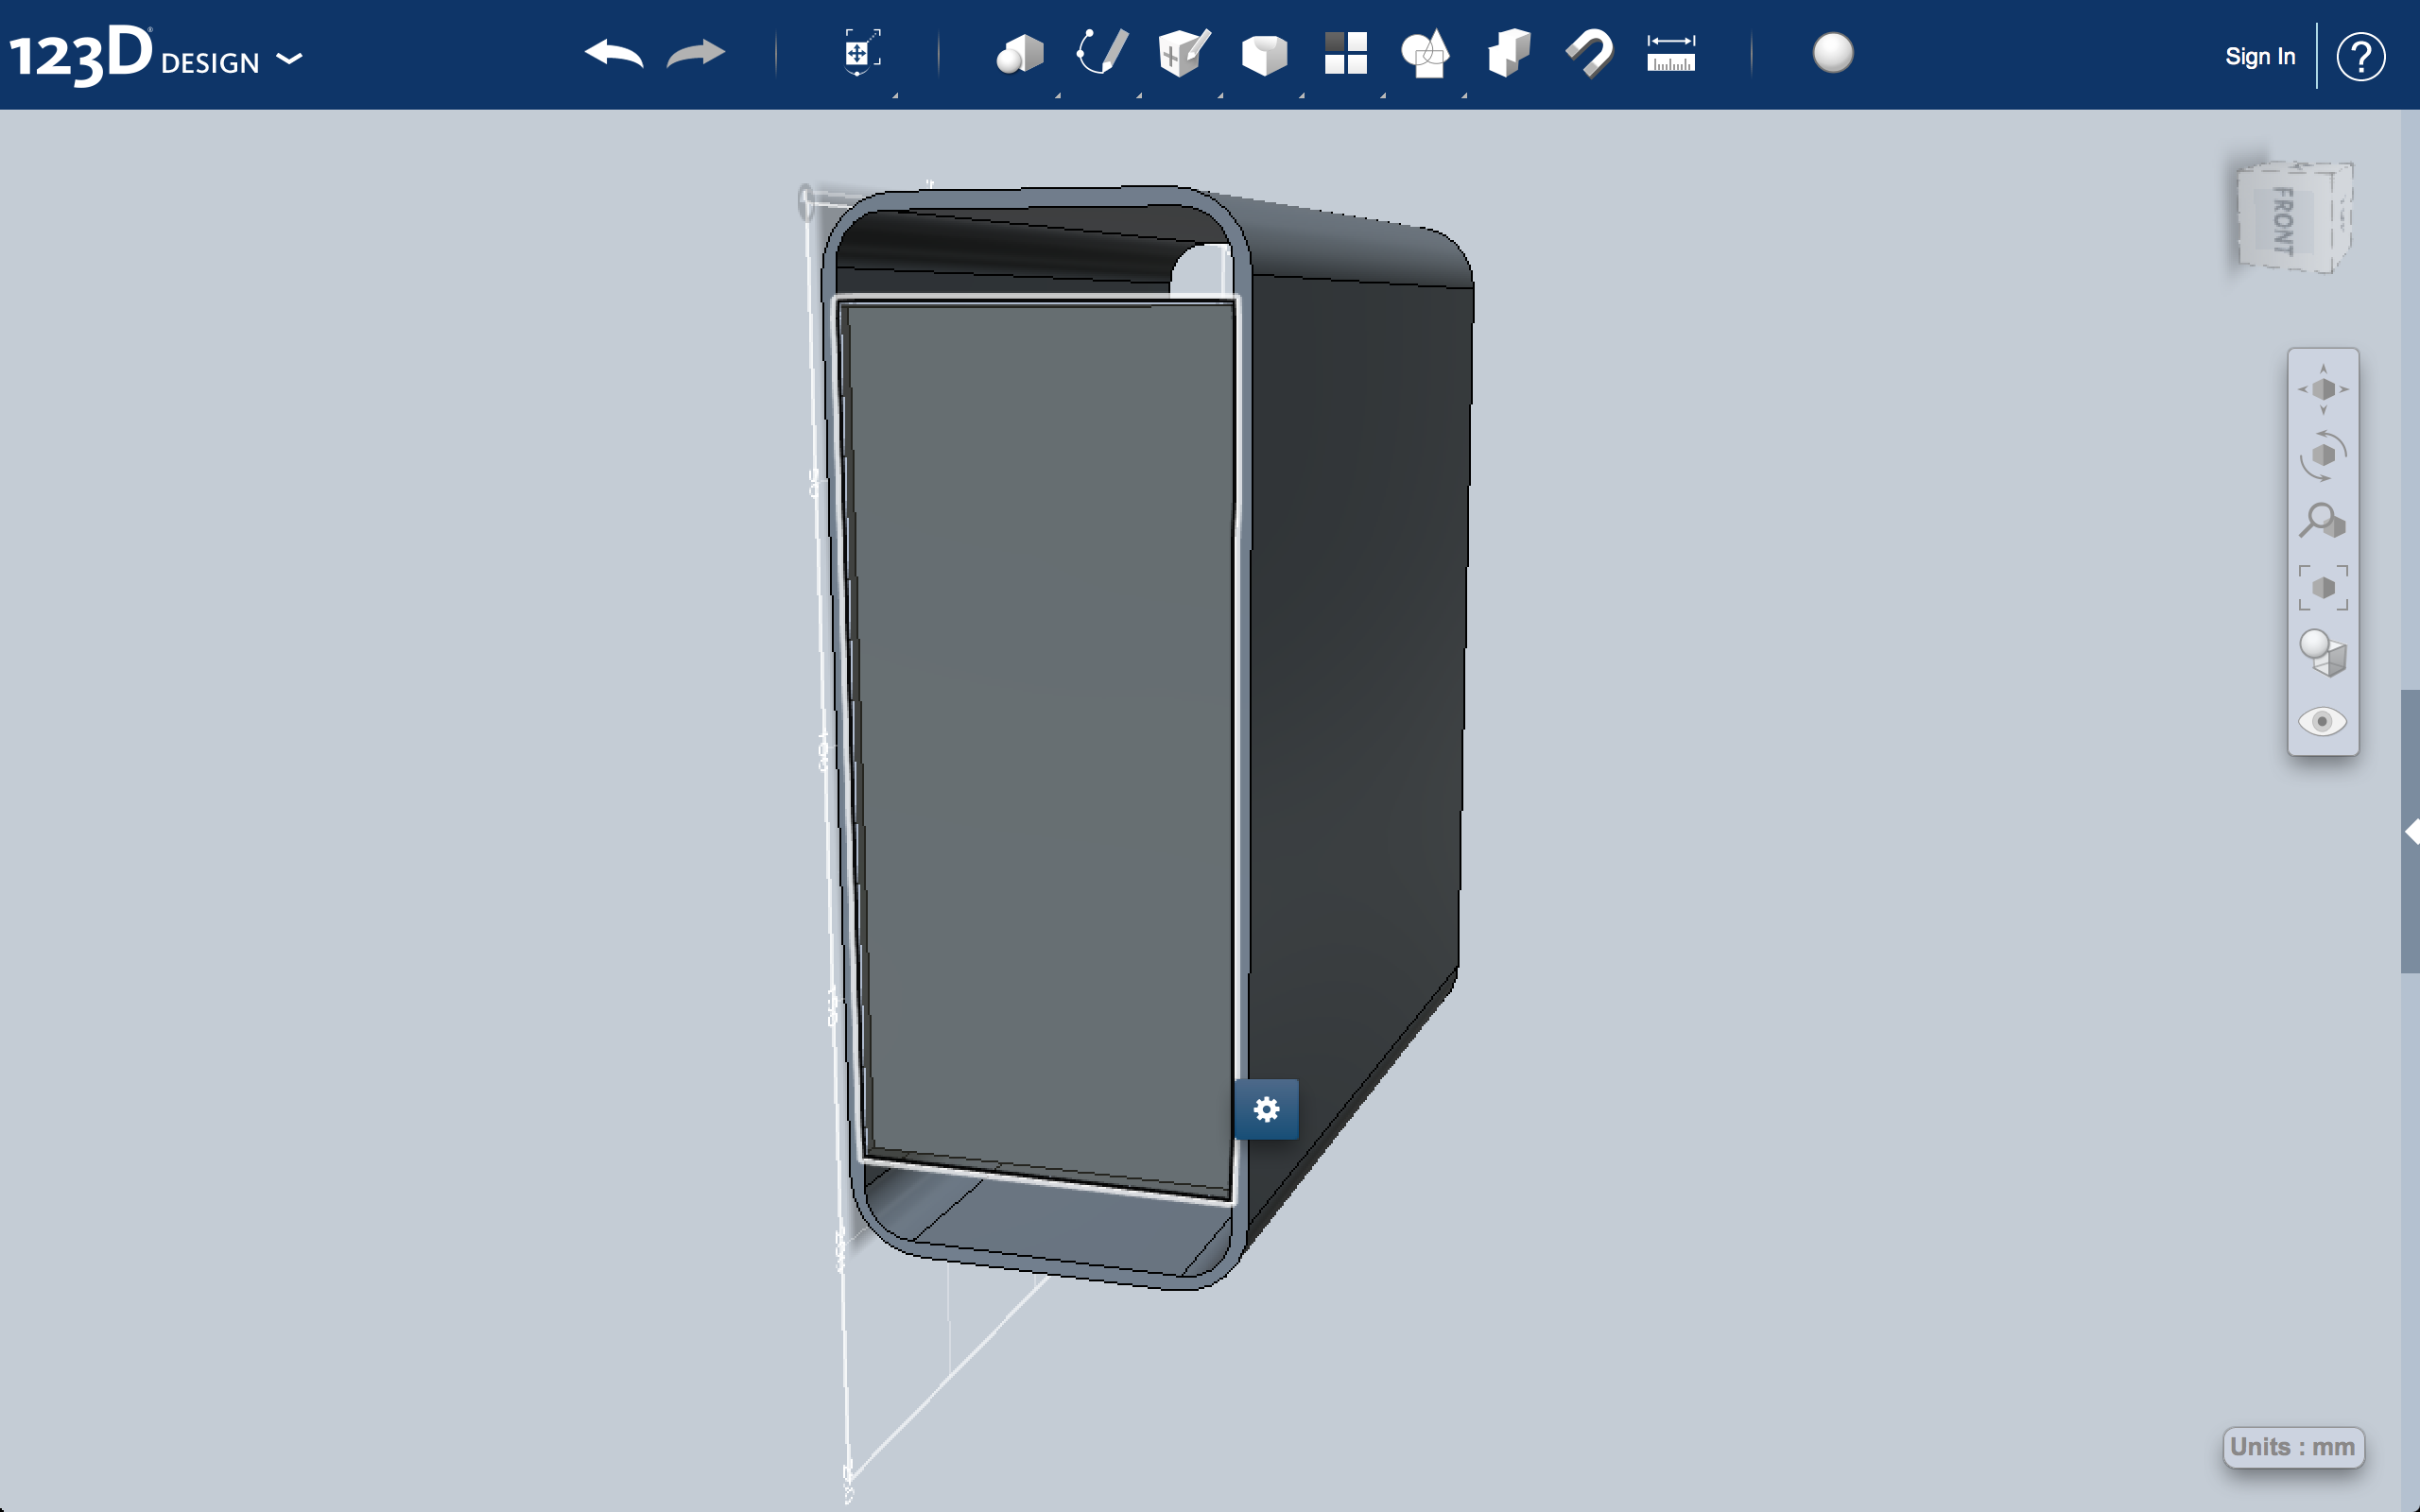
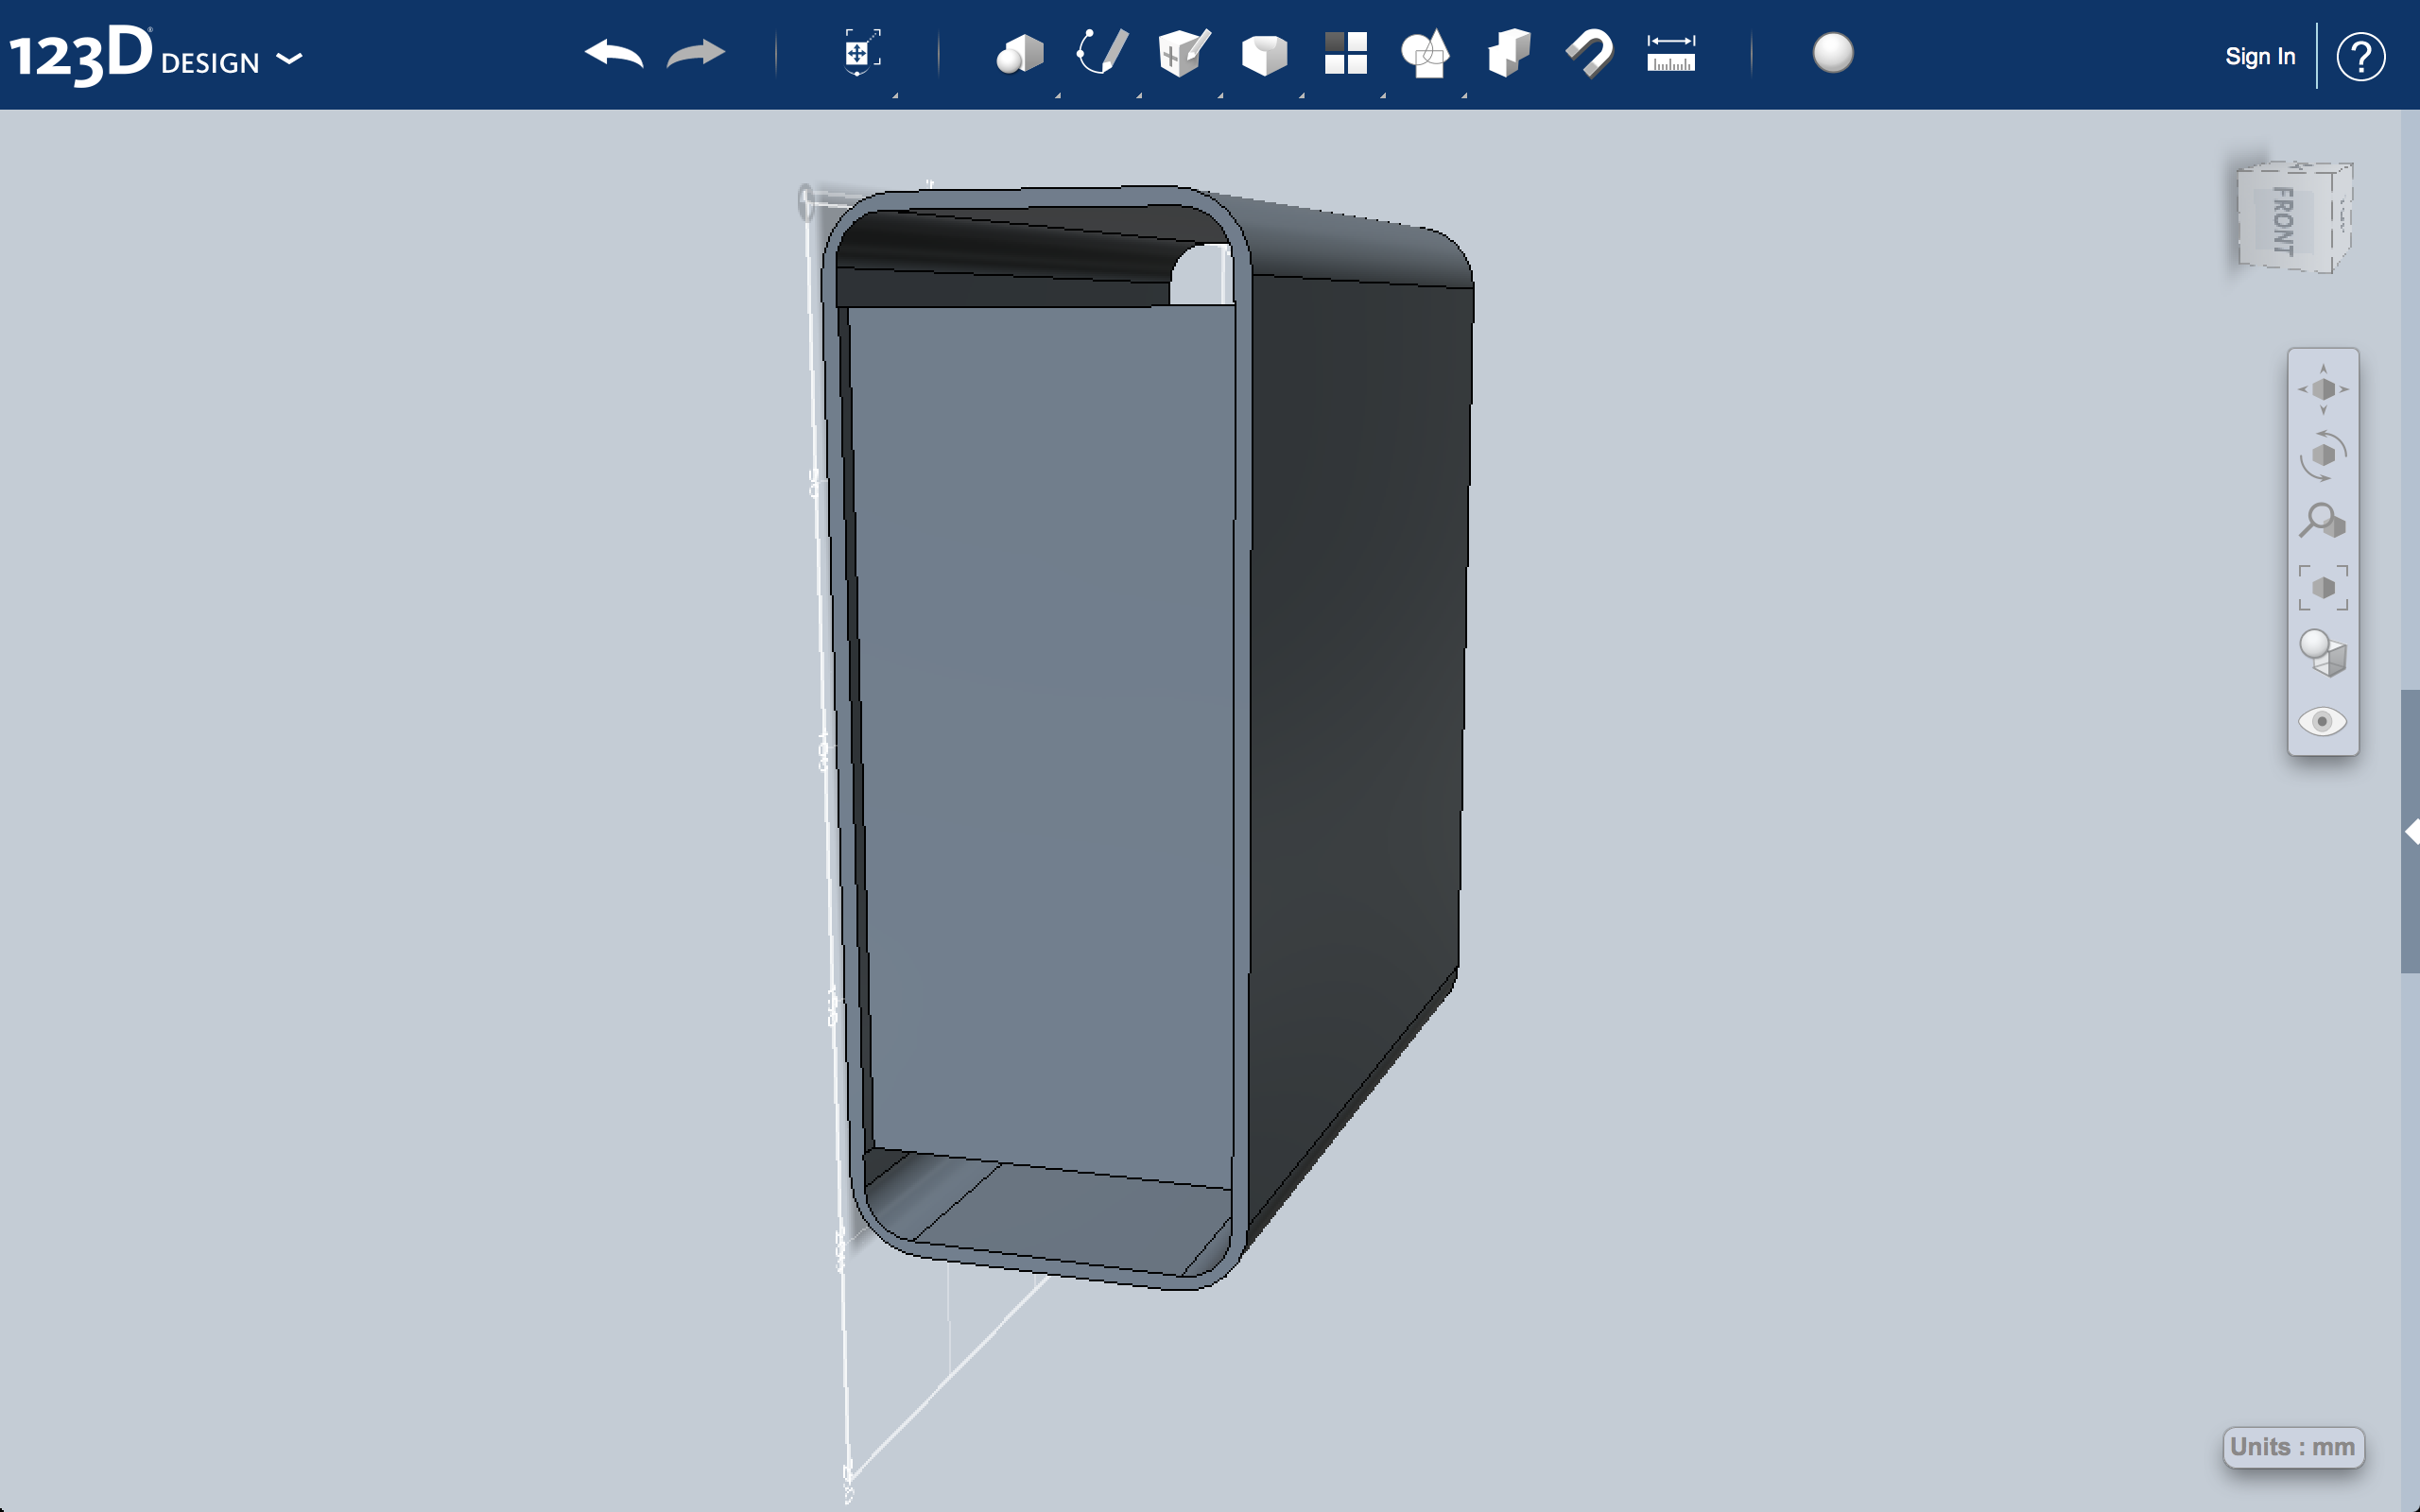
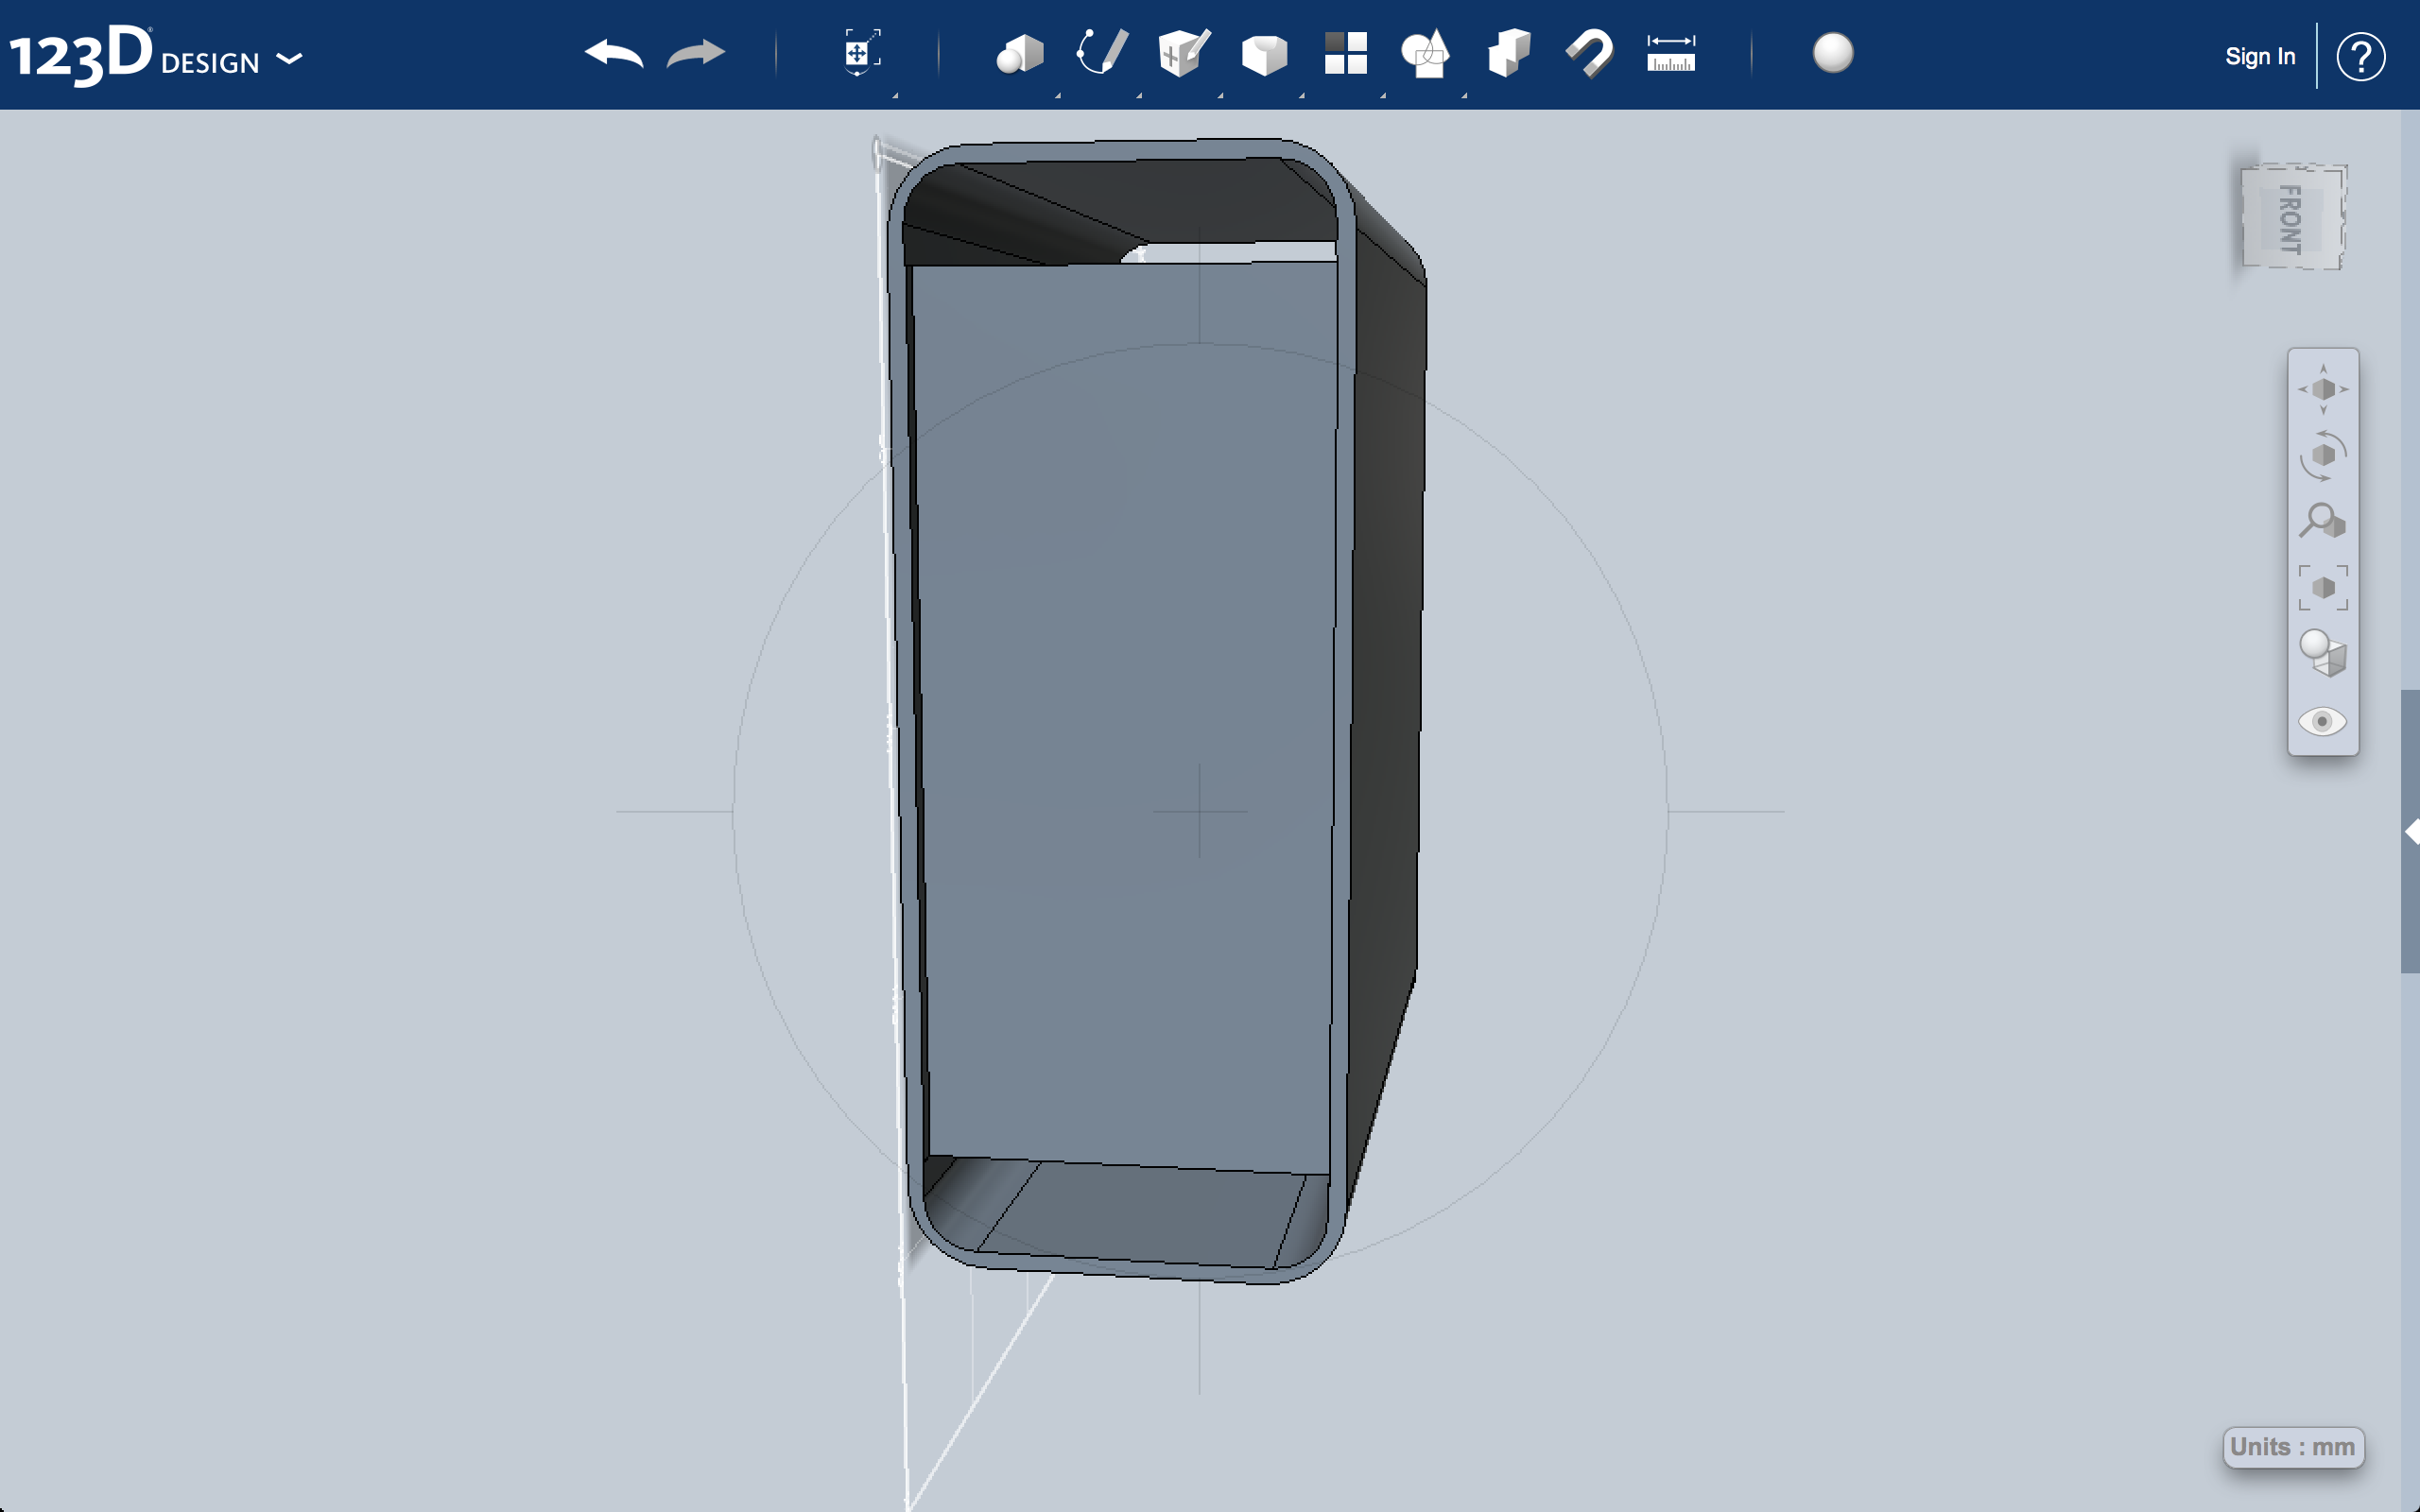
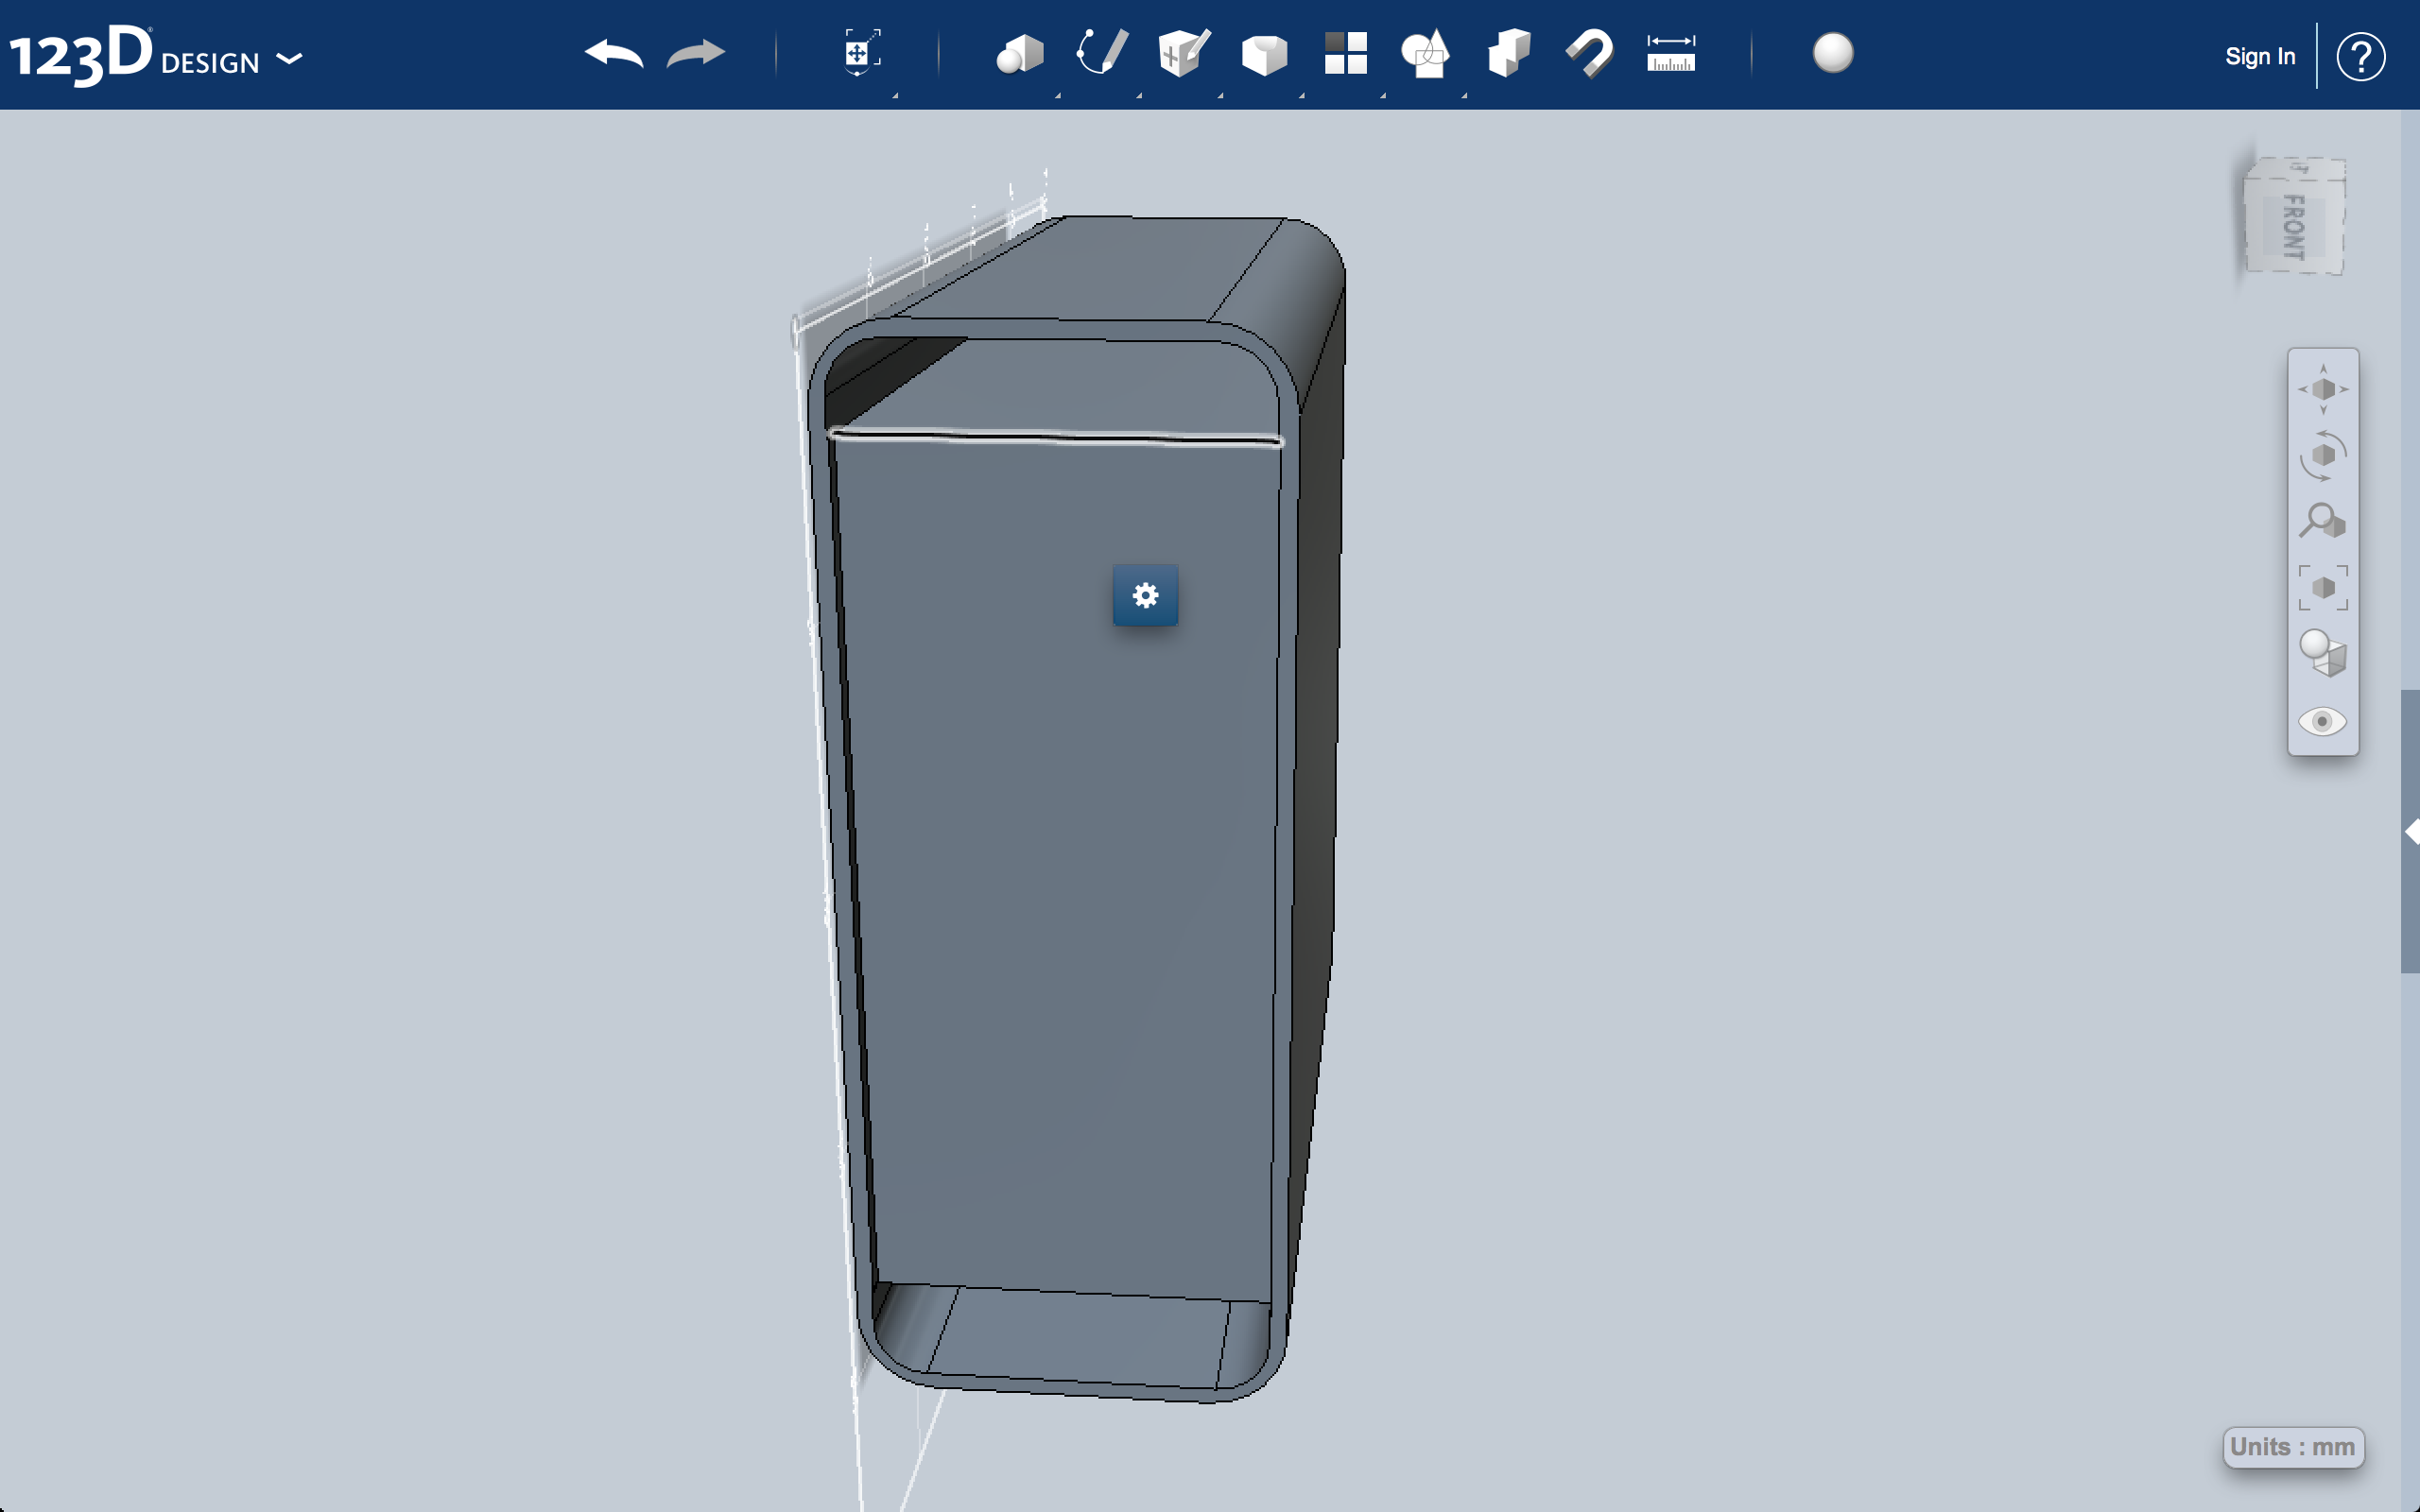
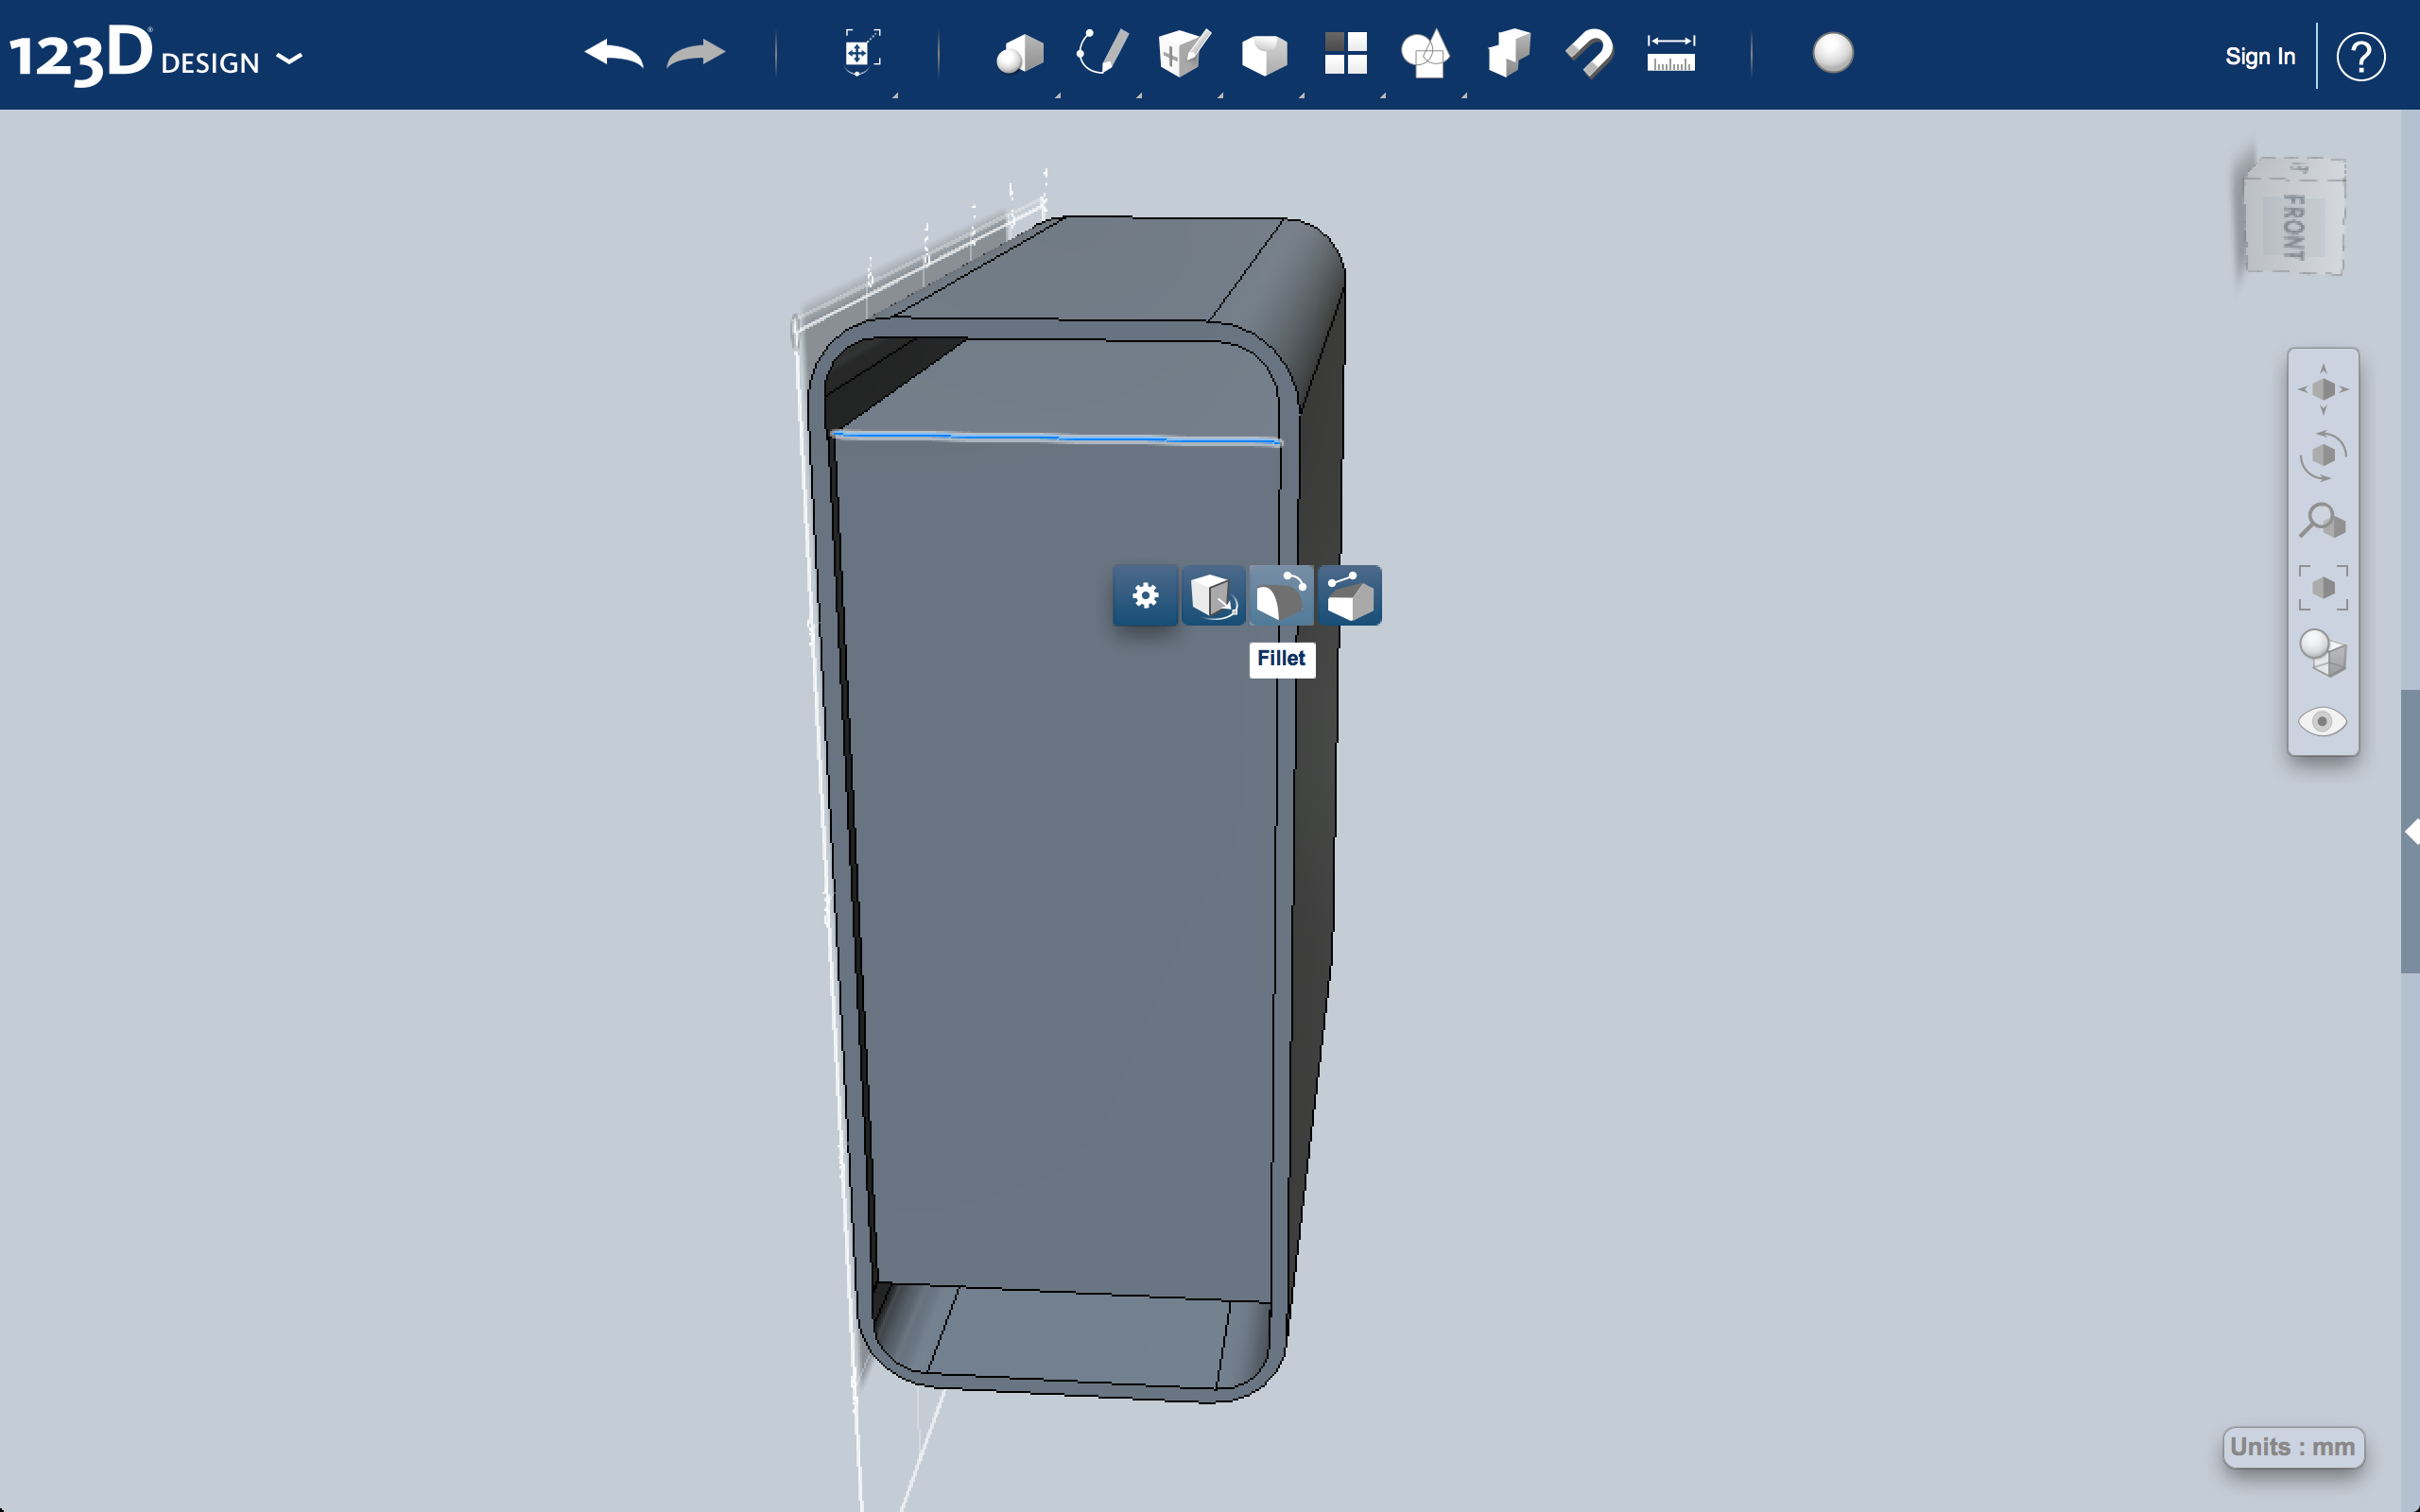
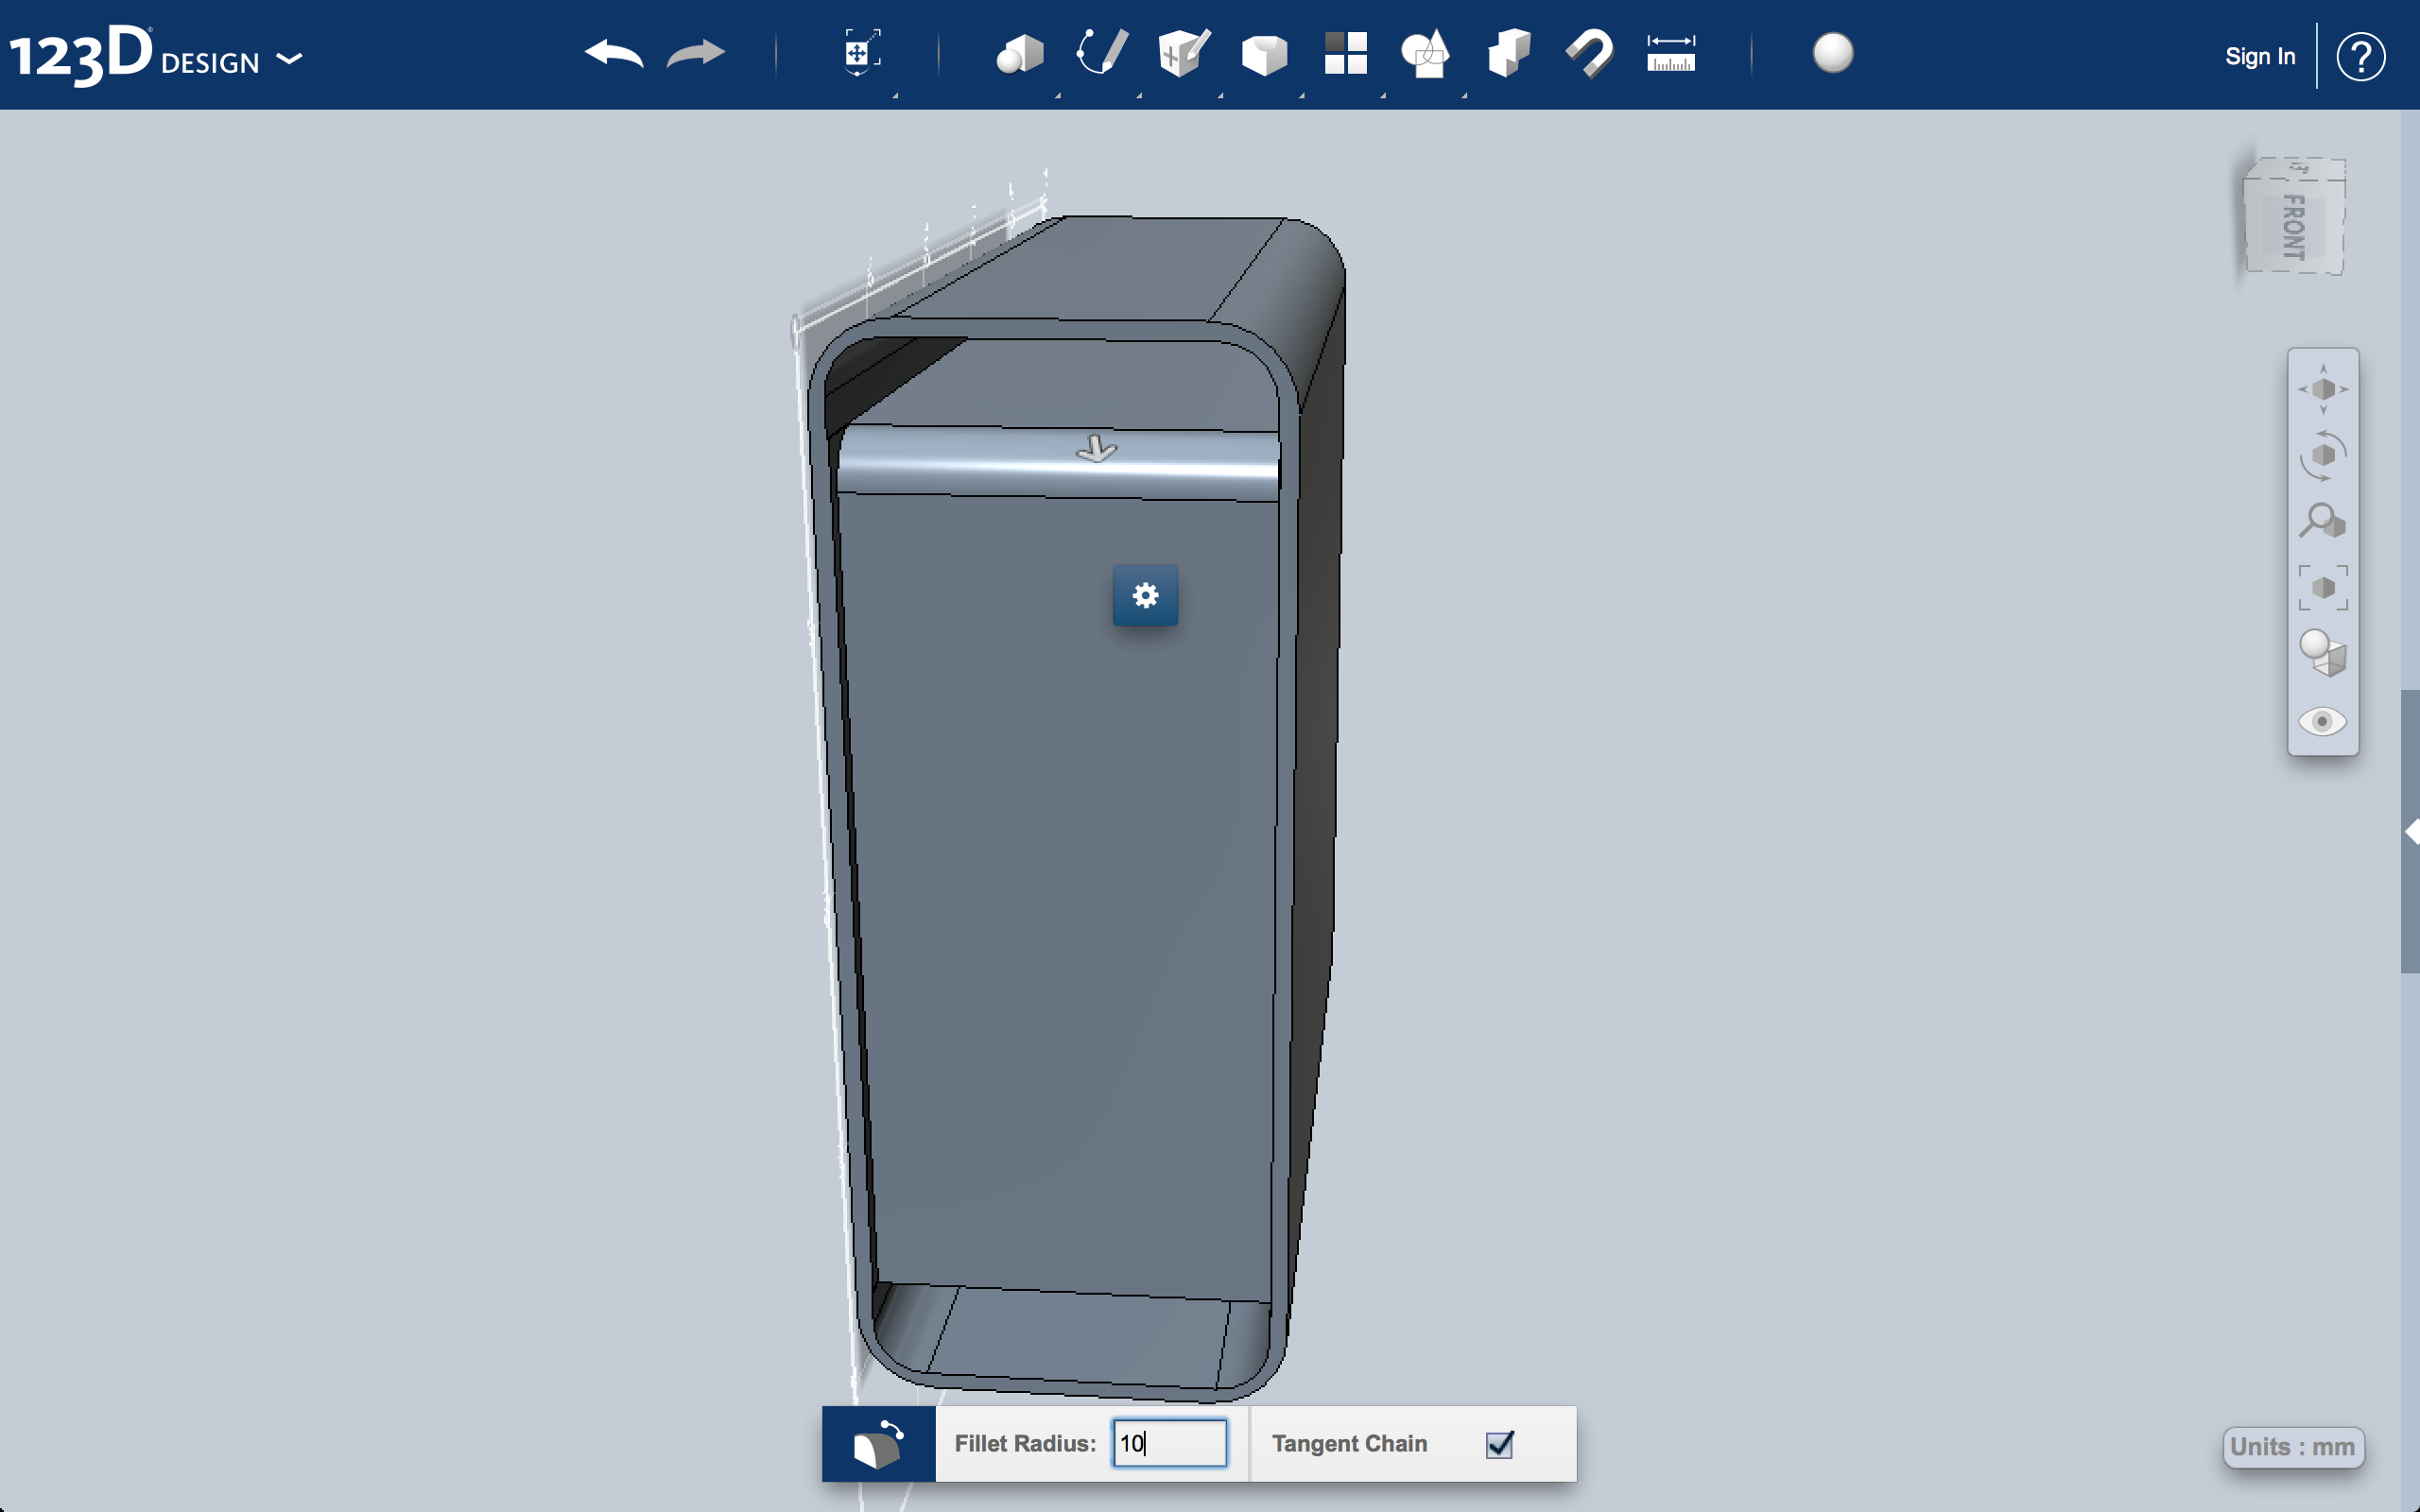
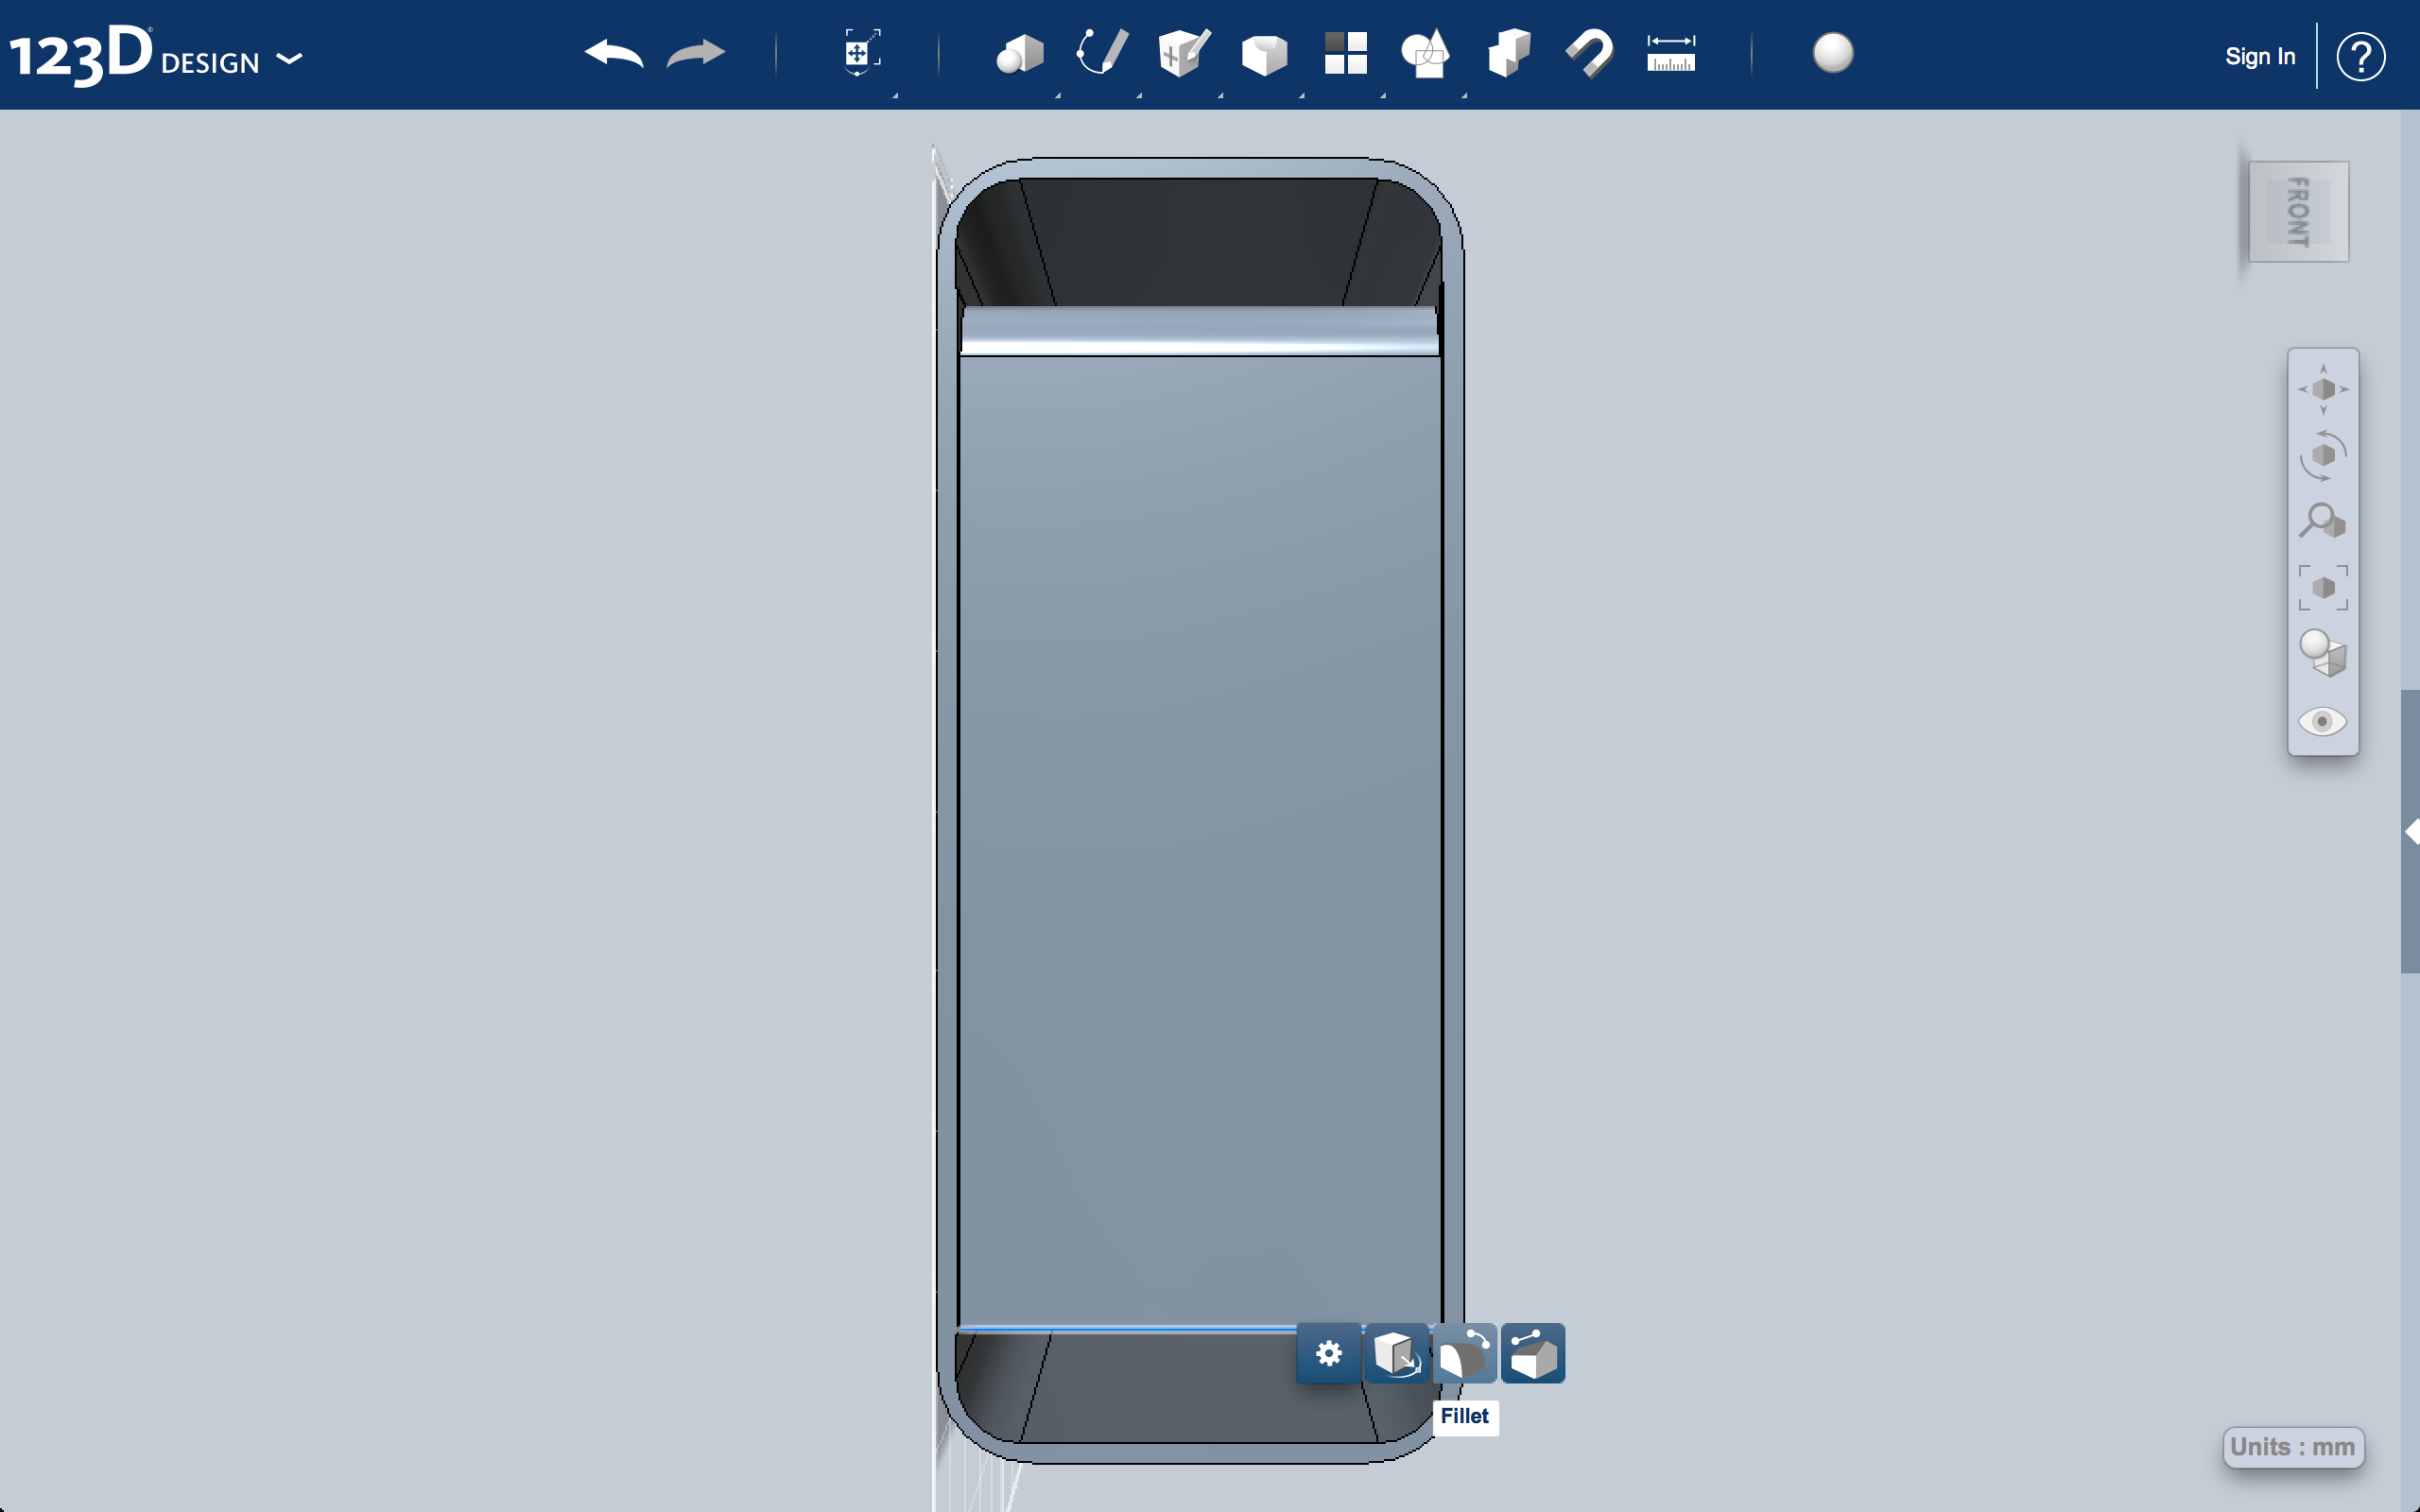
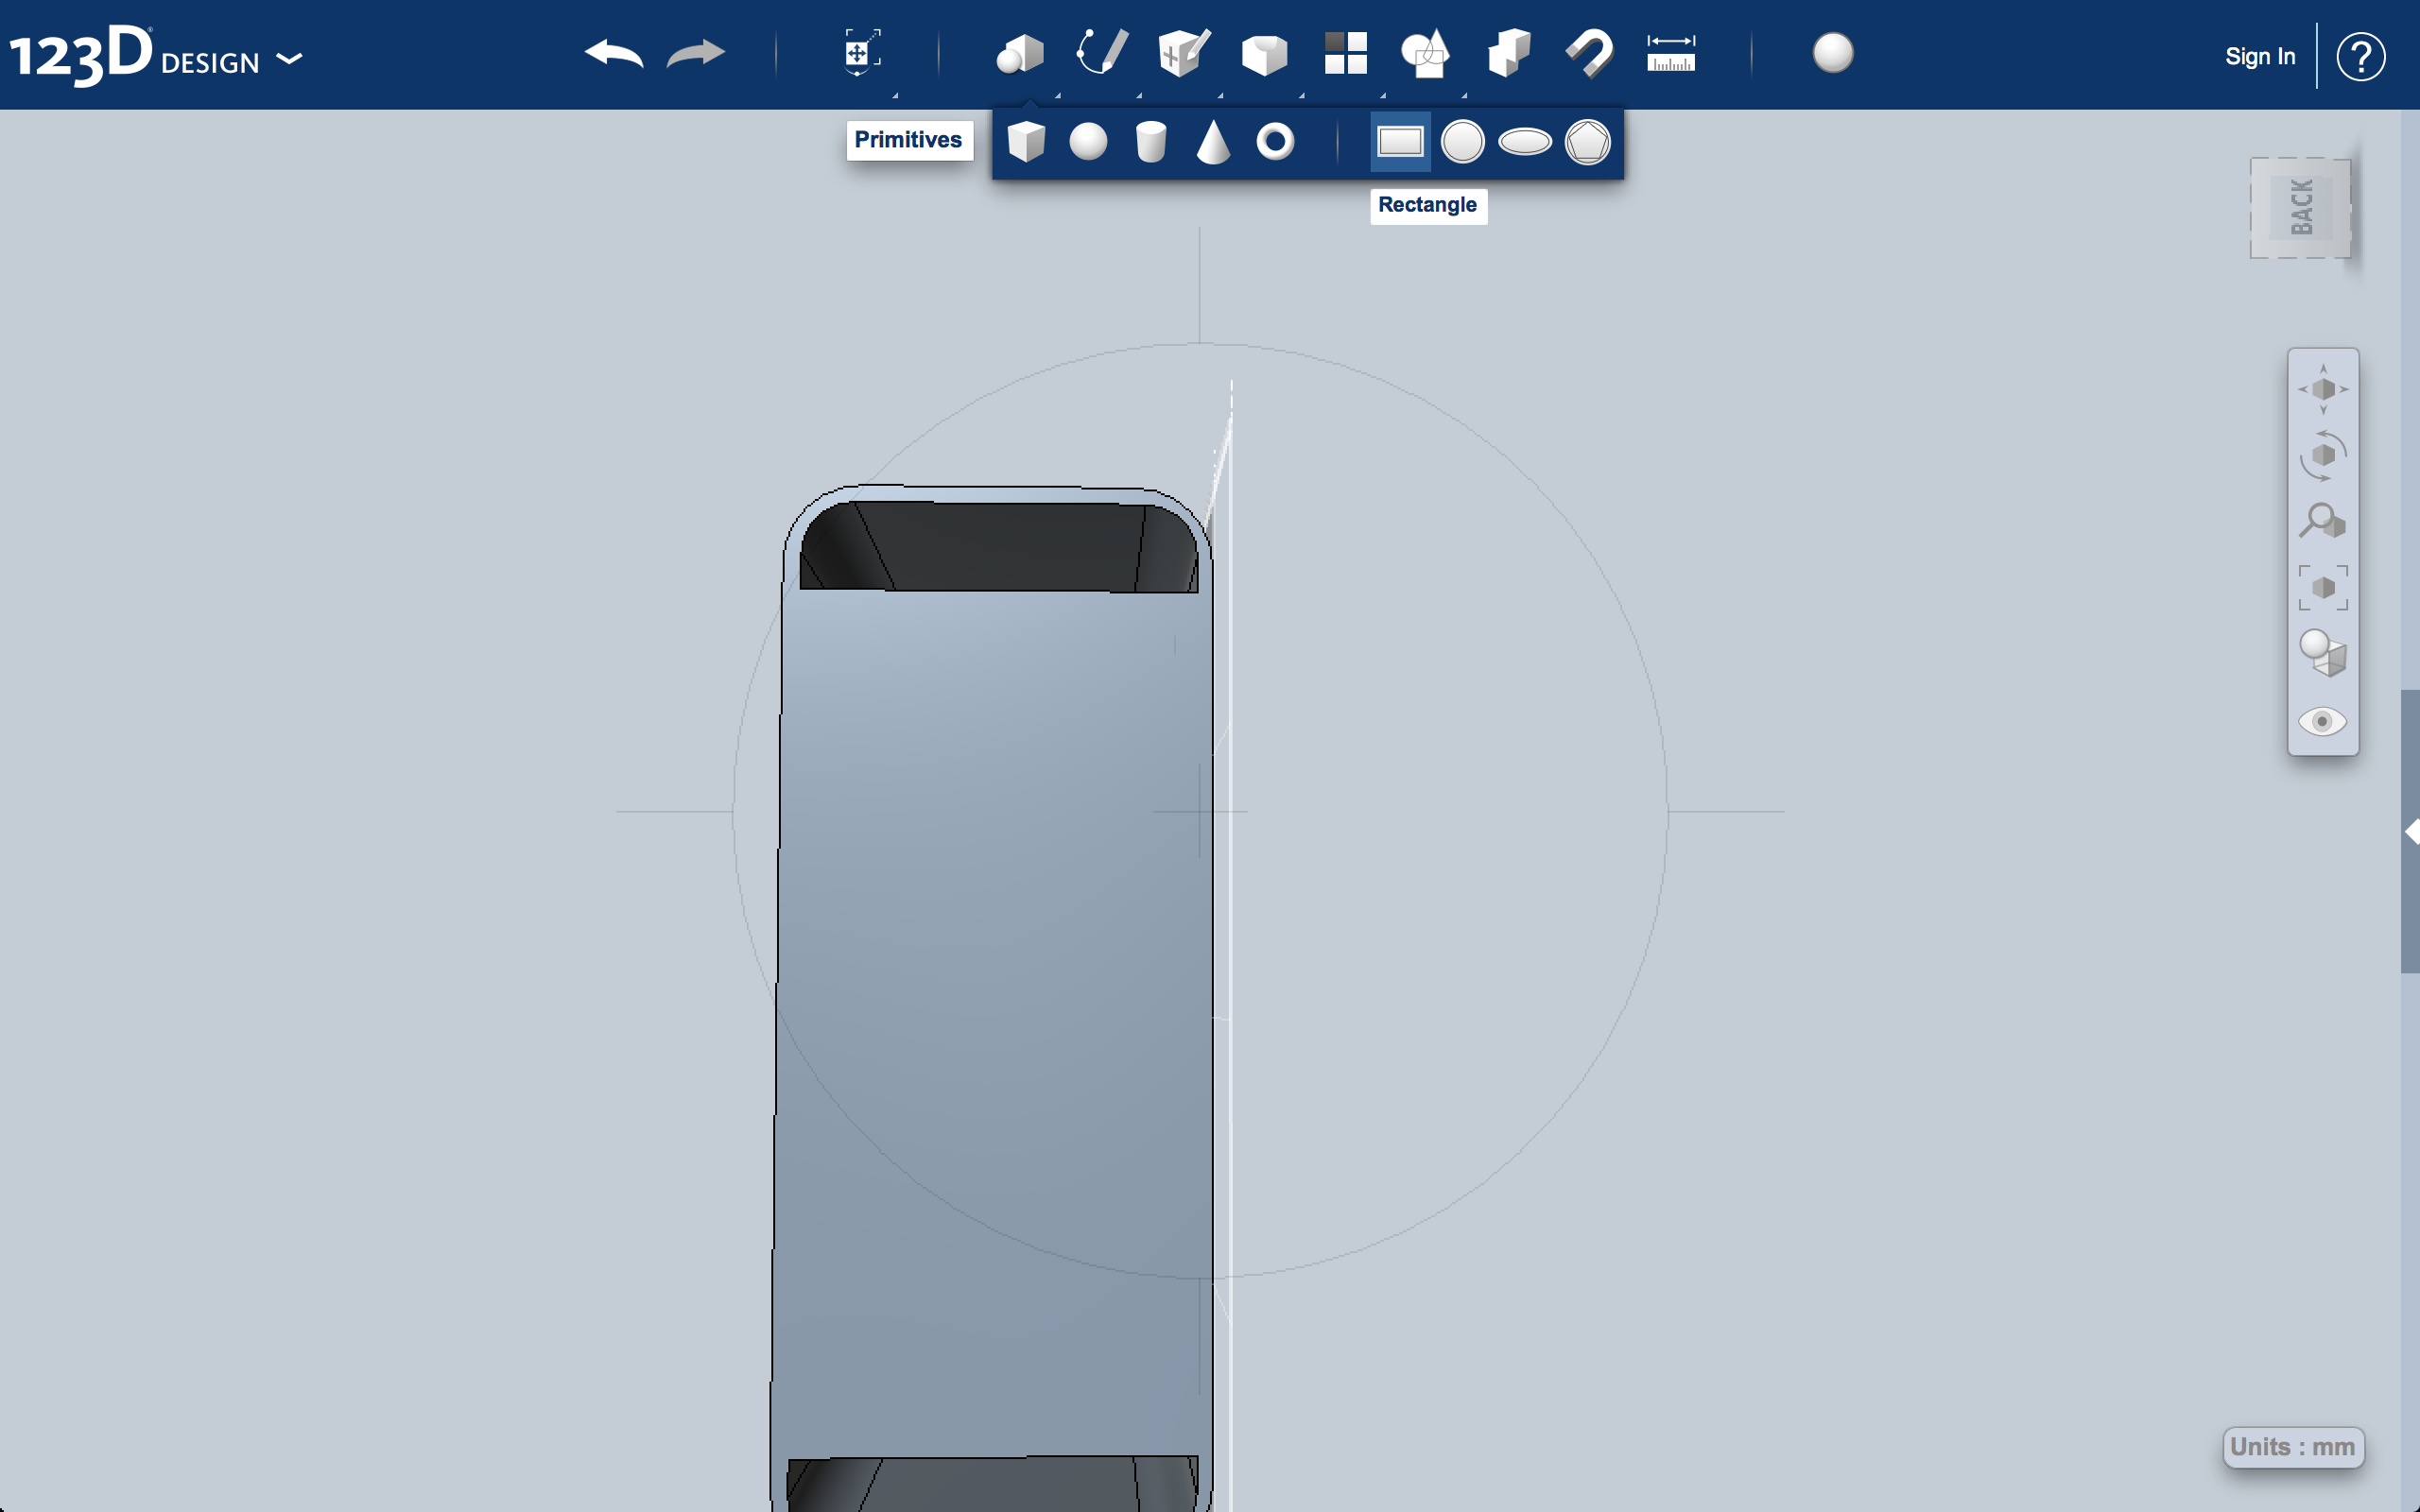
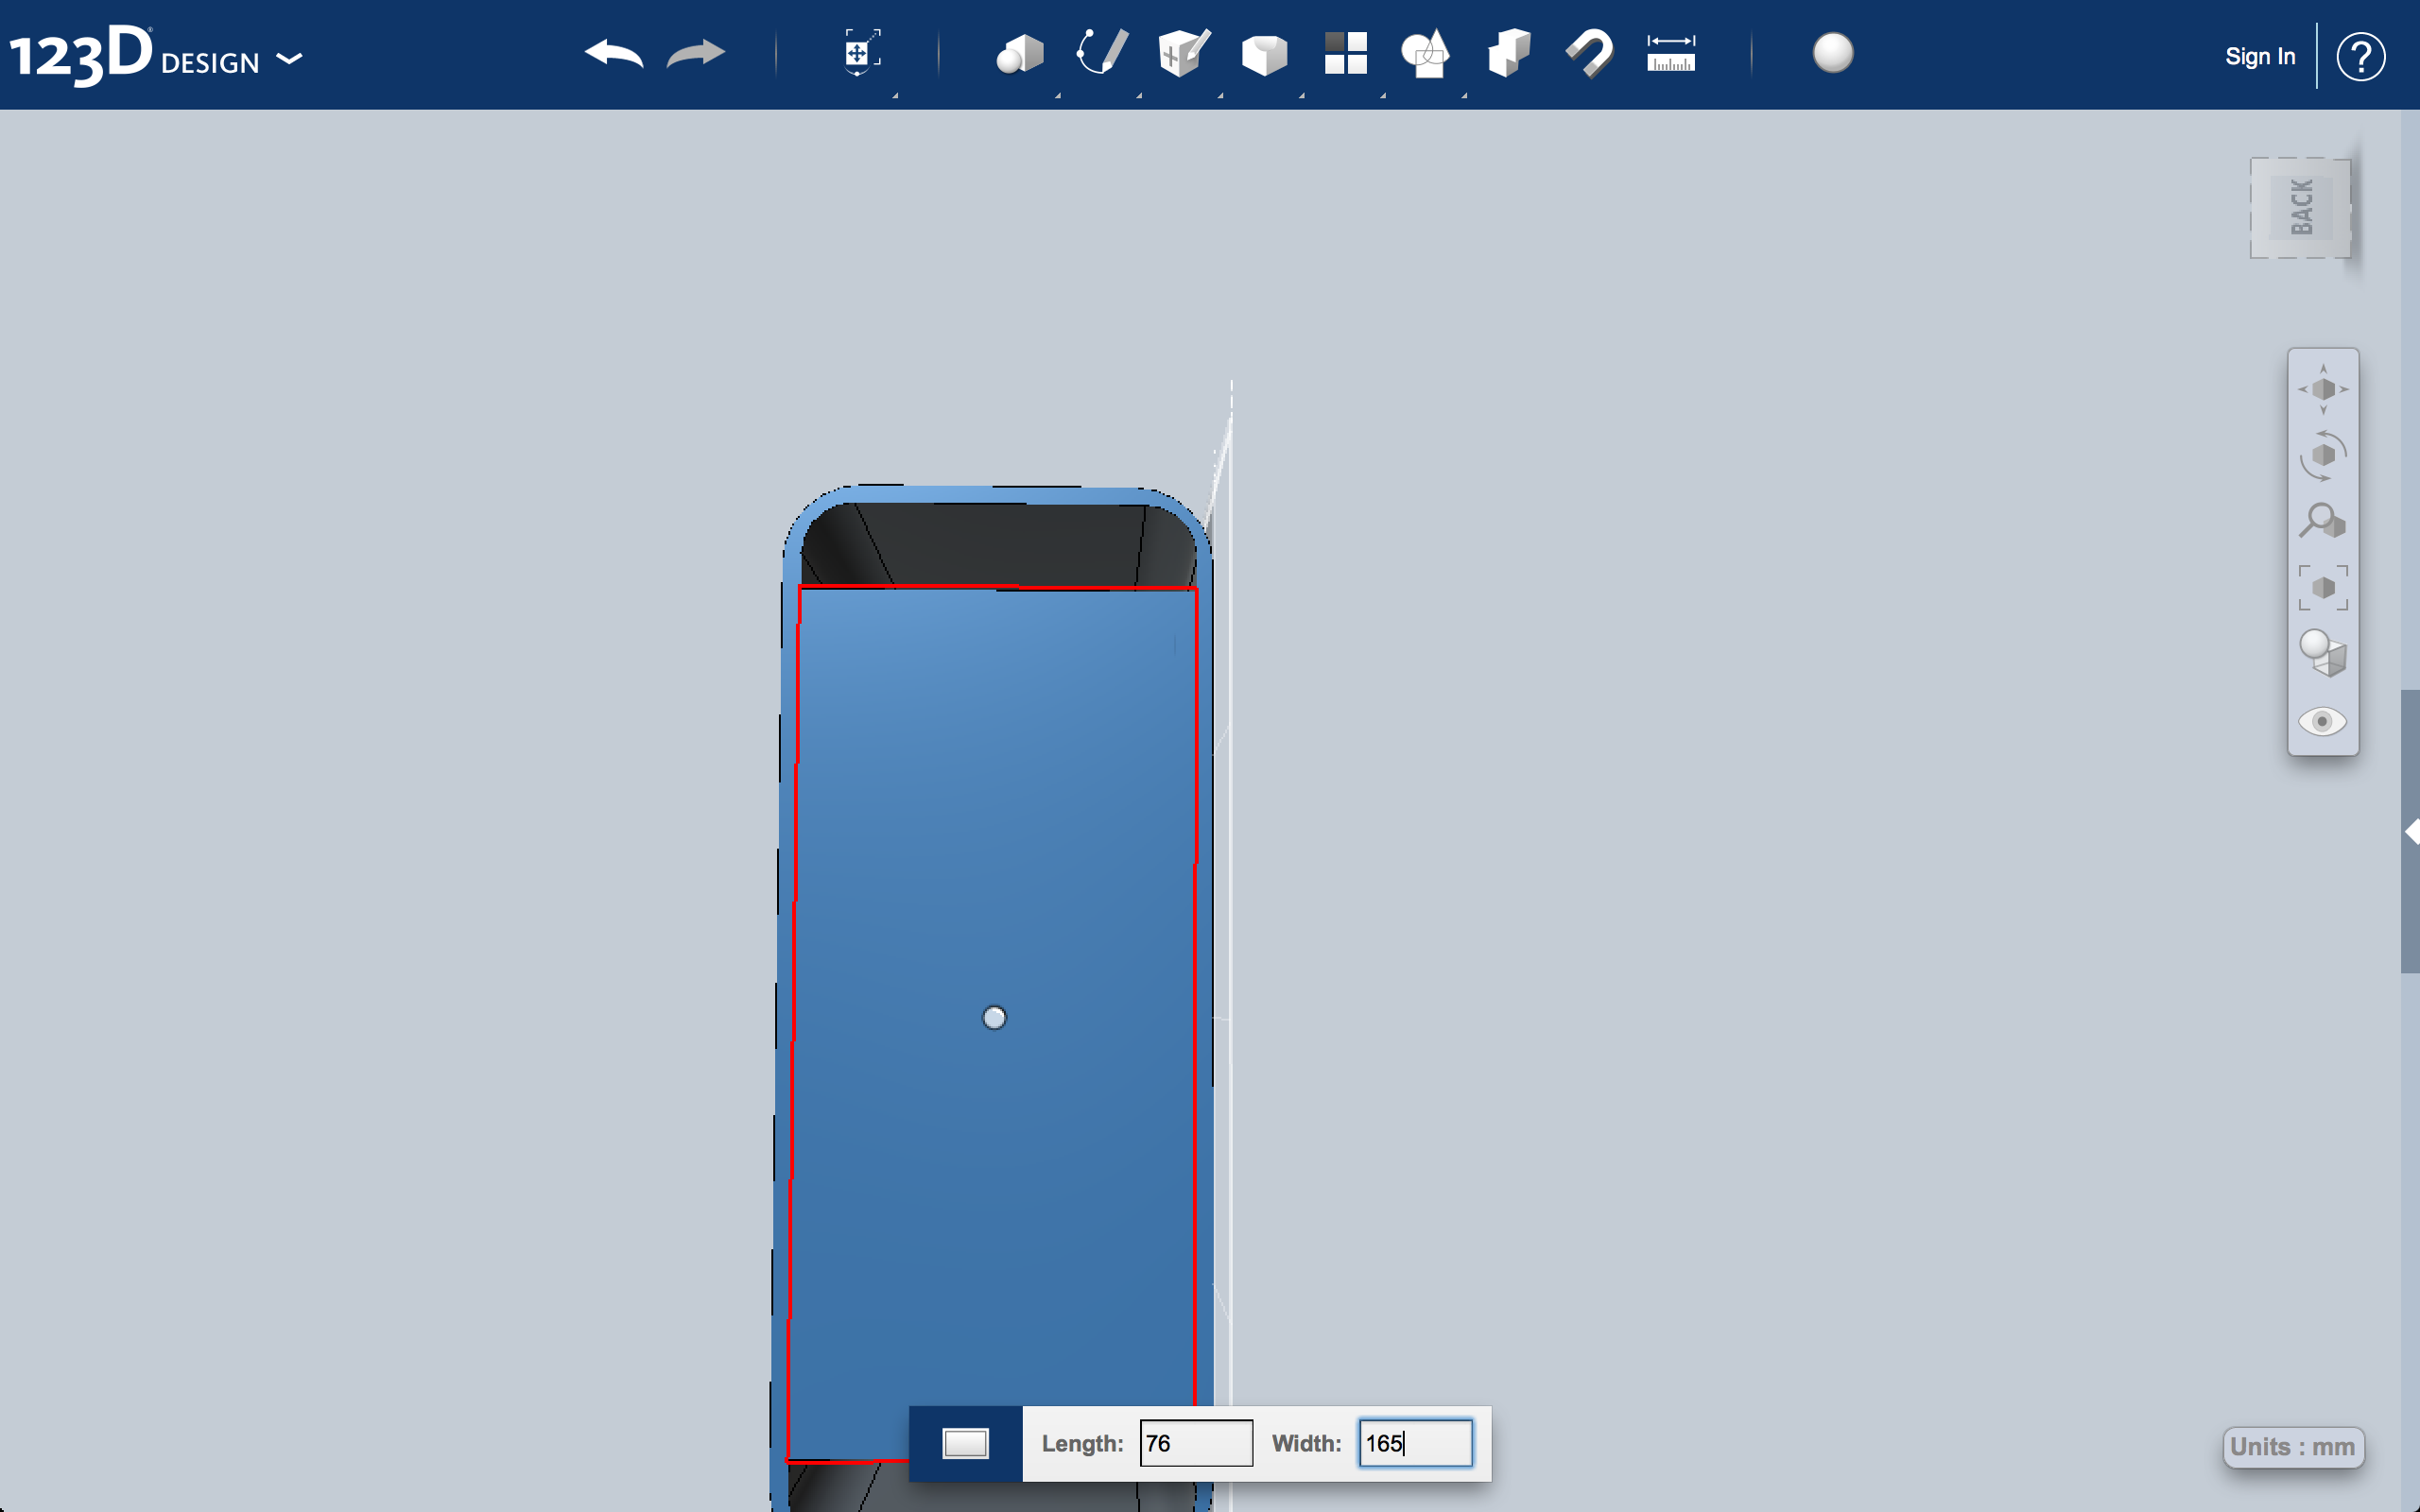
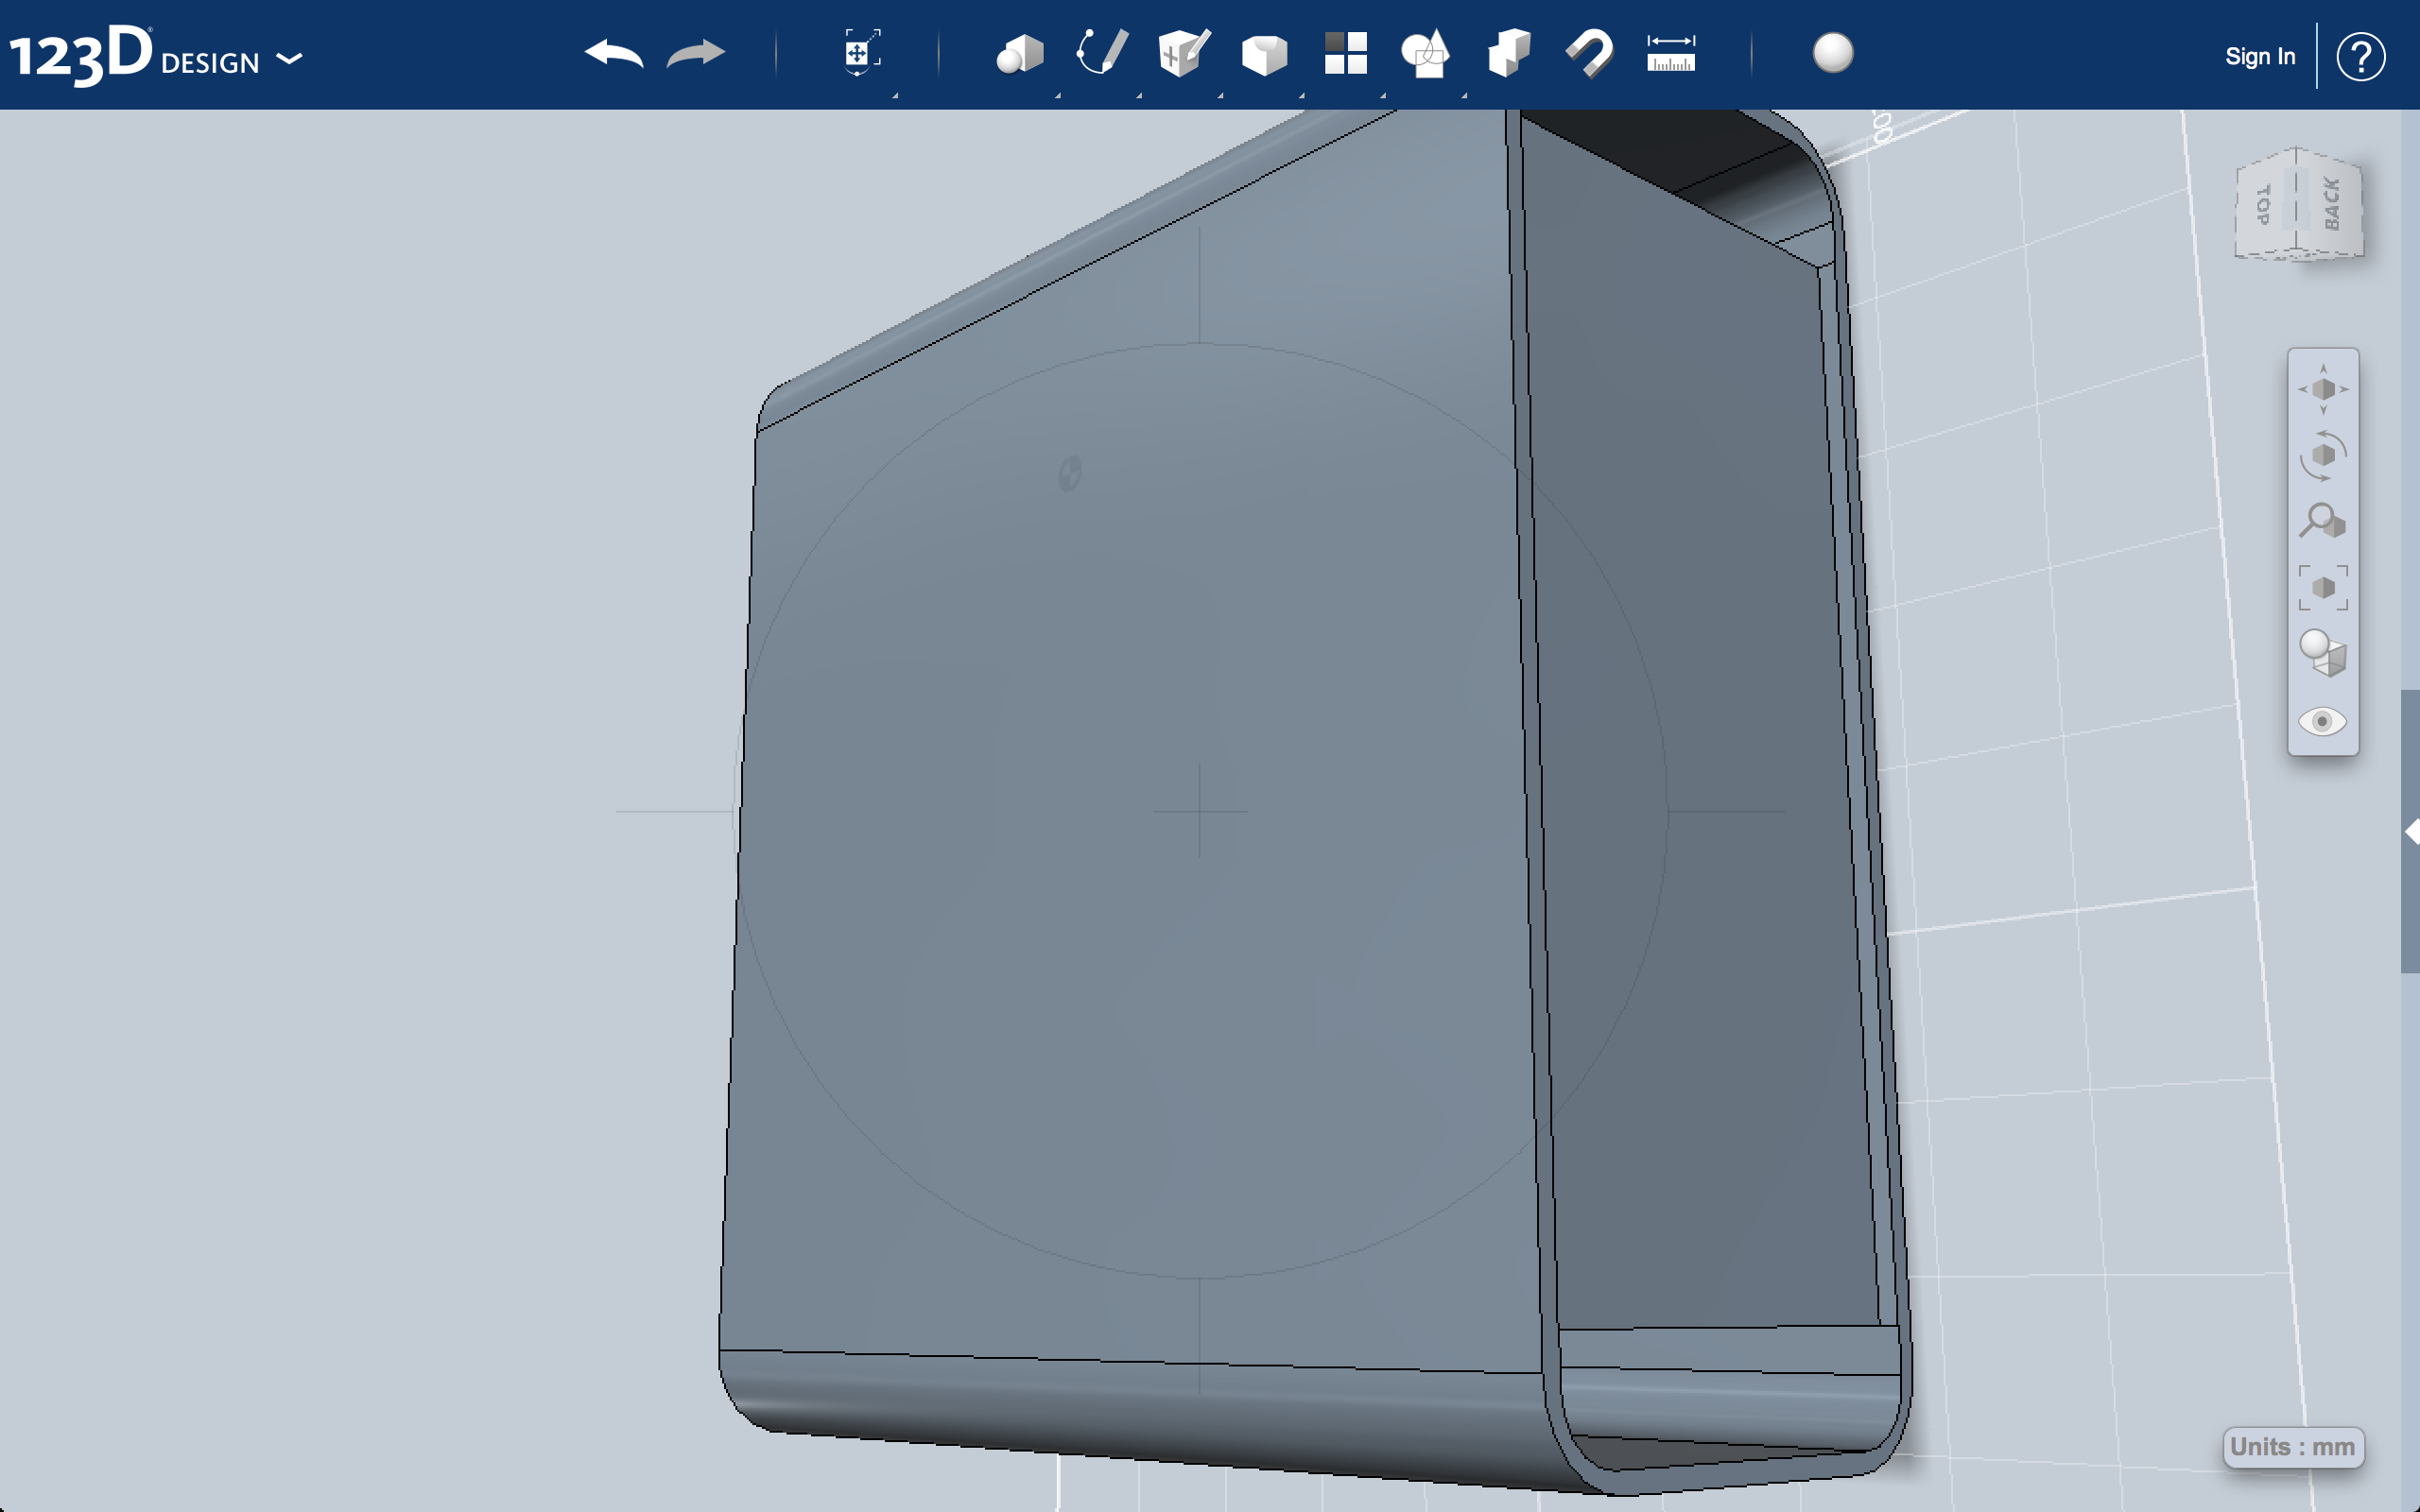
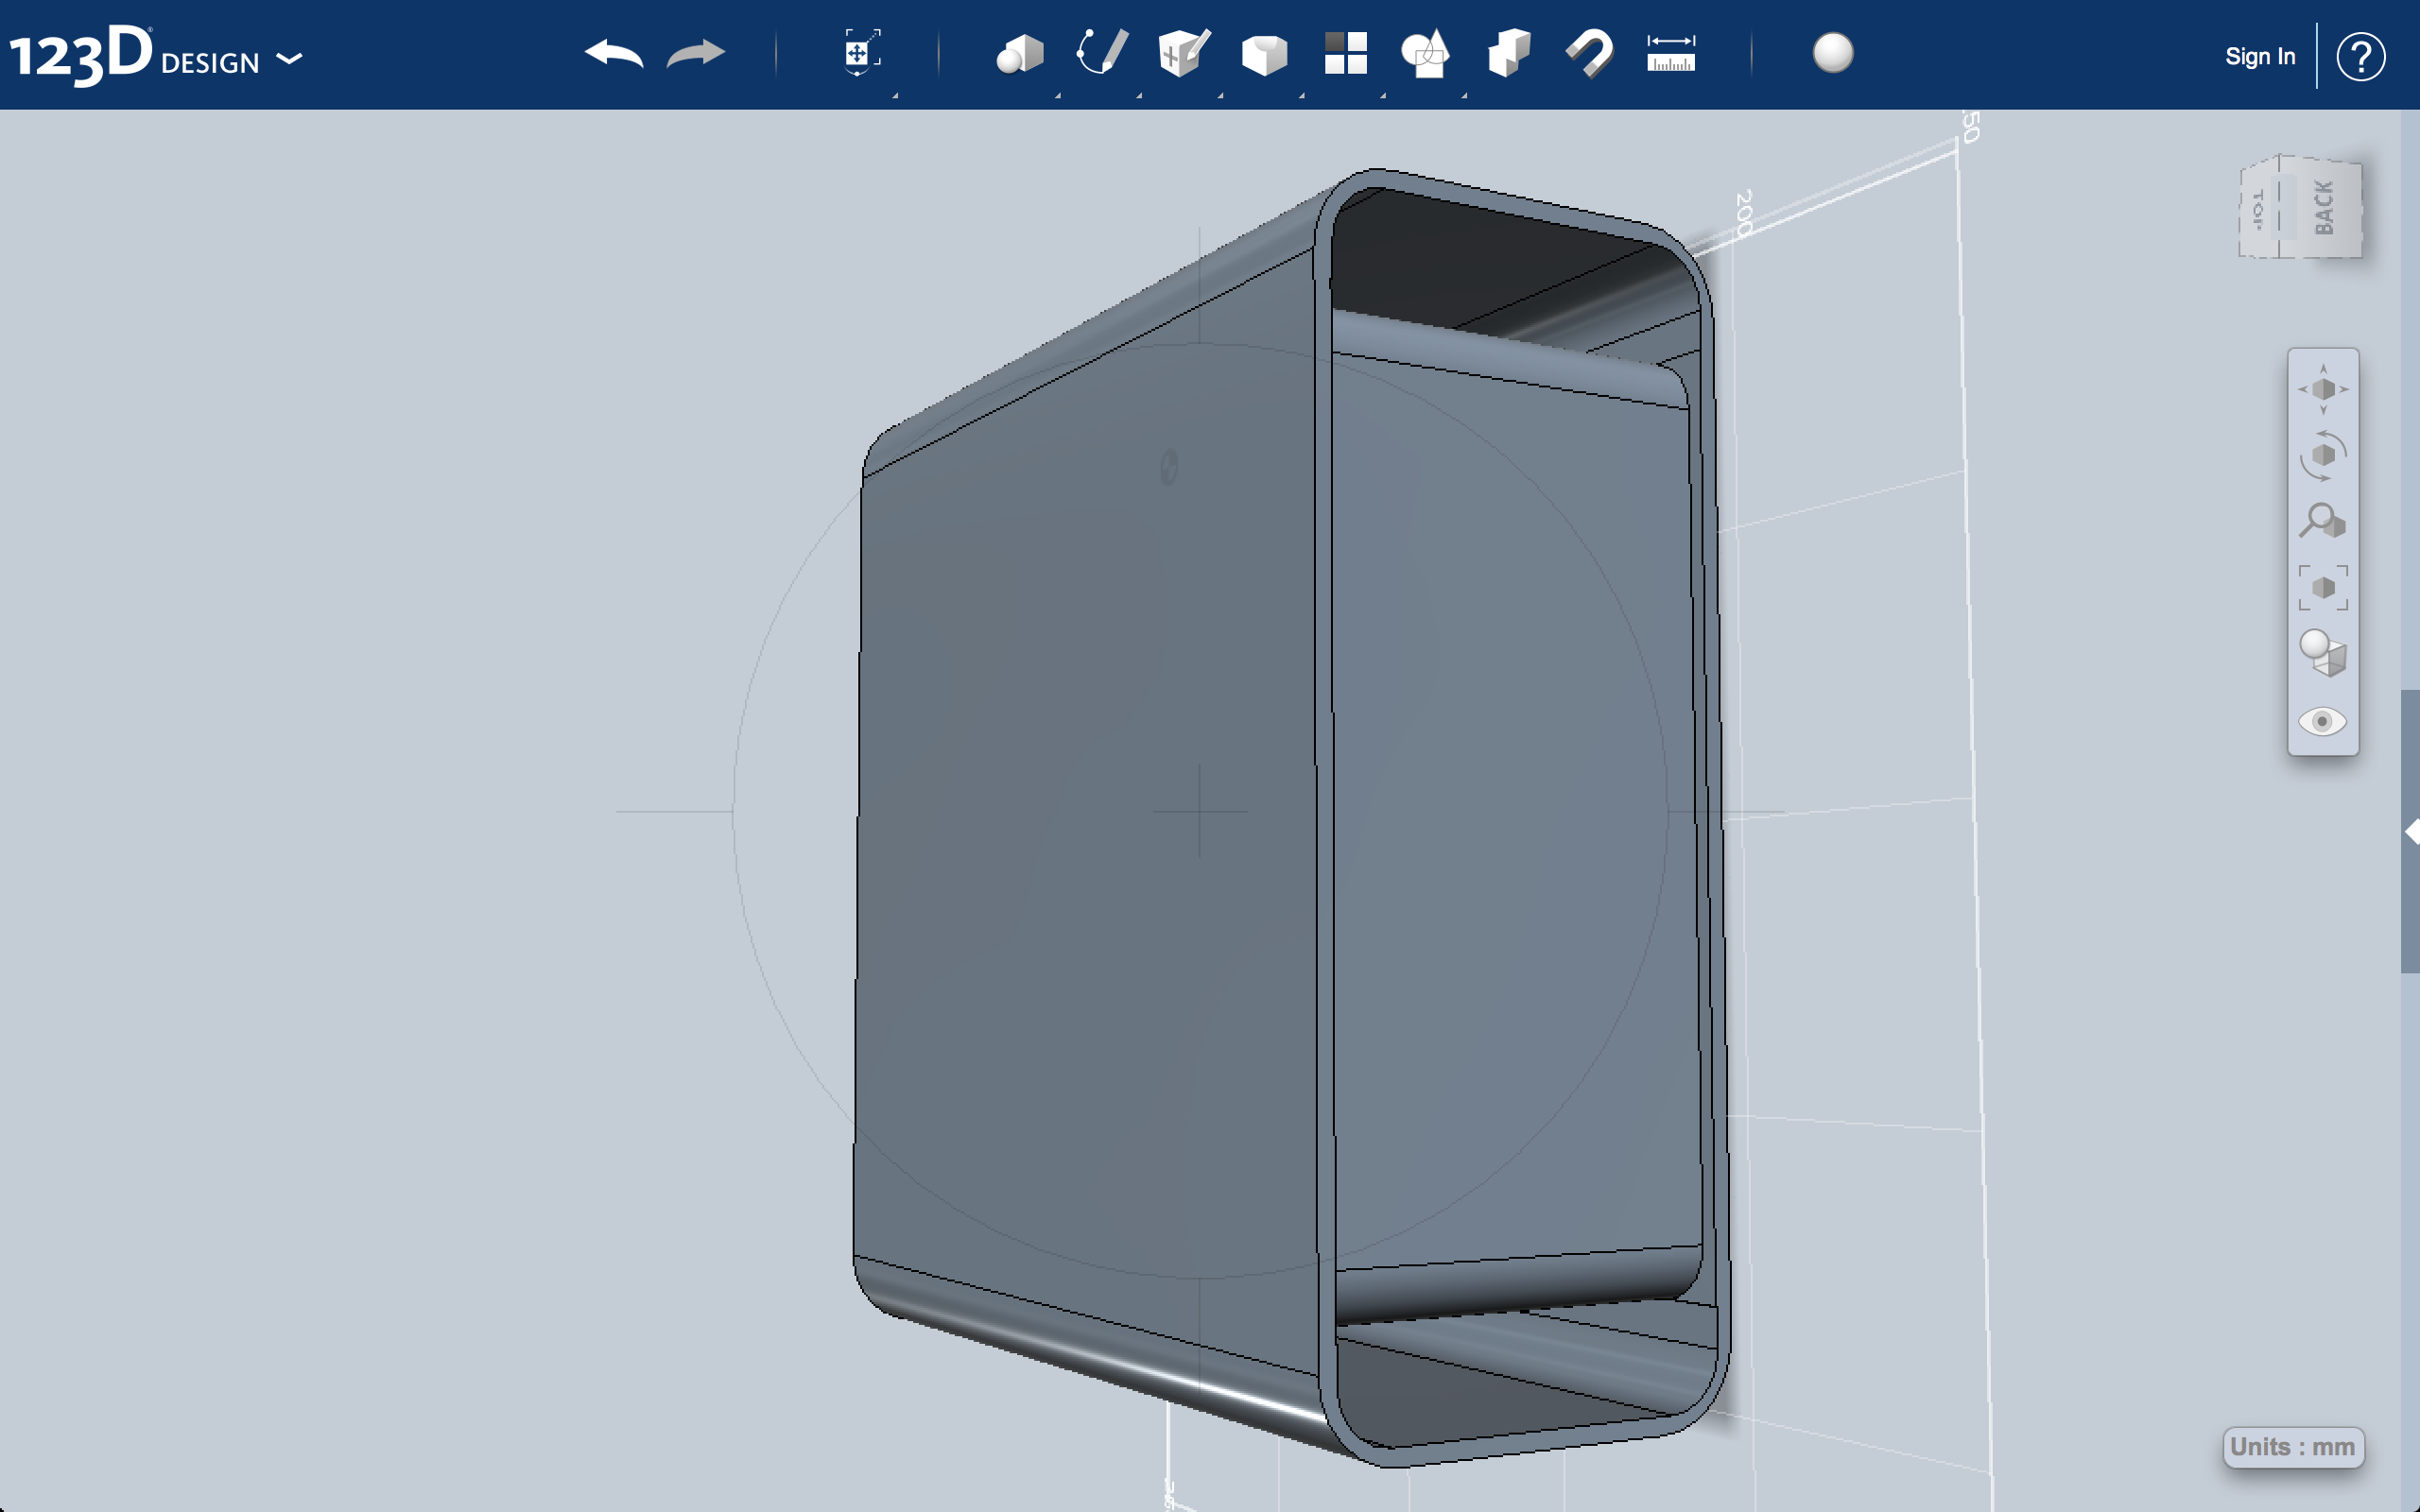
In this step you will be creating the inside body. There's not much to this step, just follow the pictures!
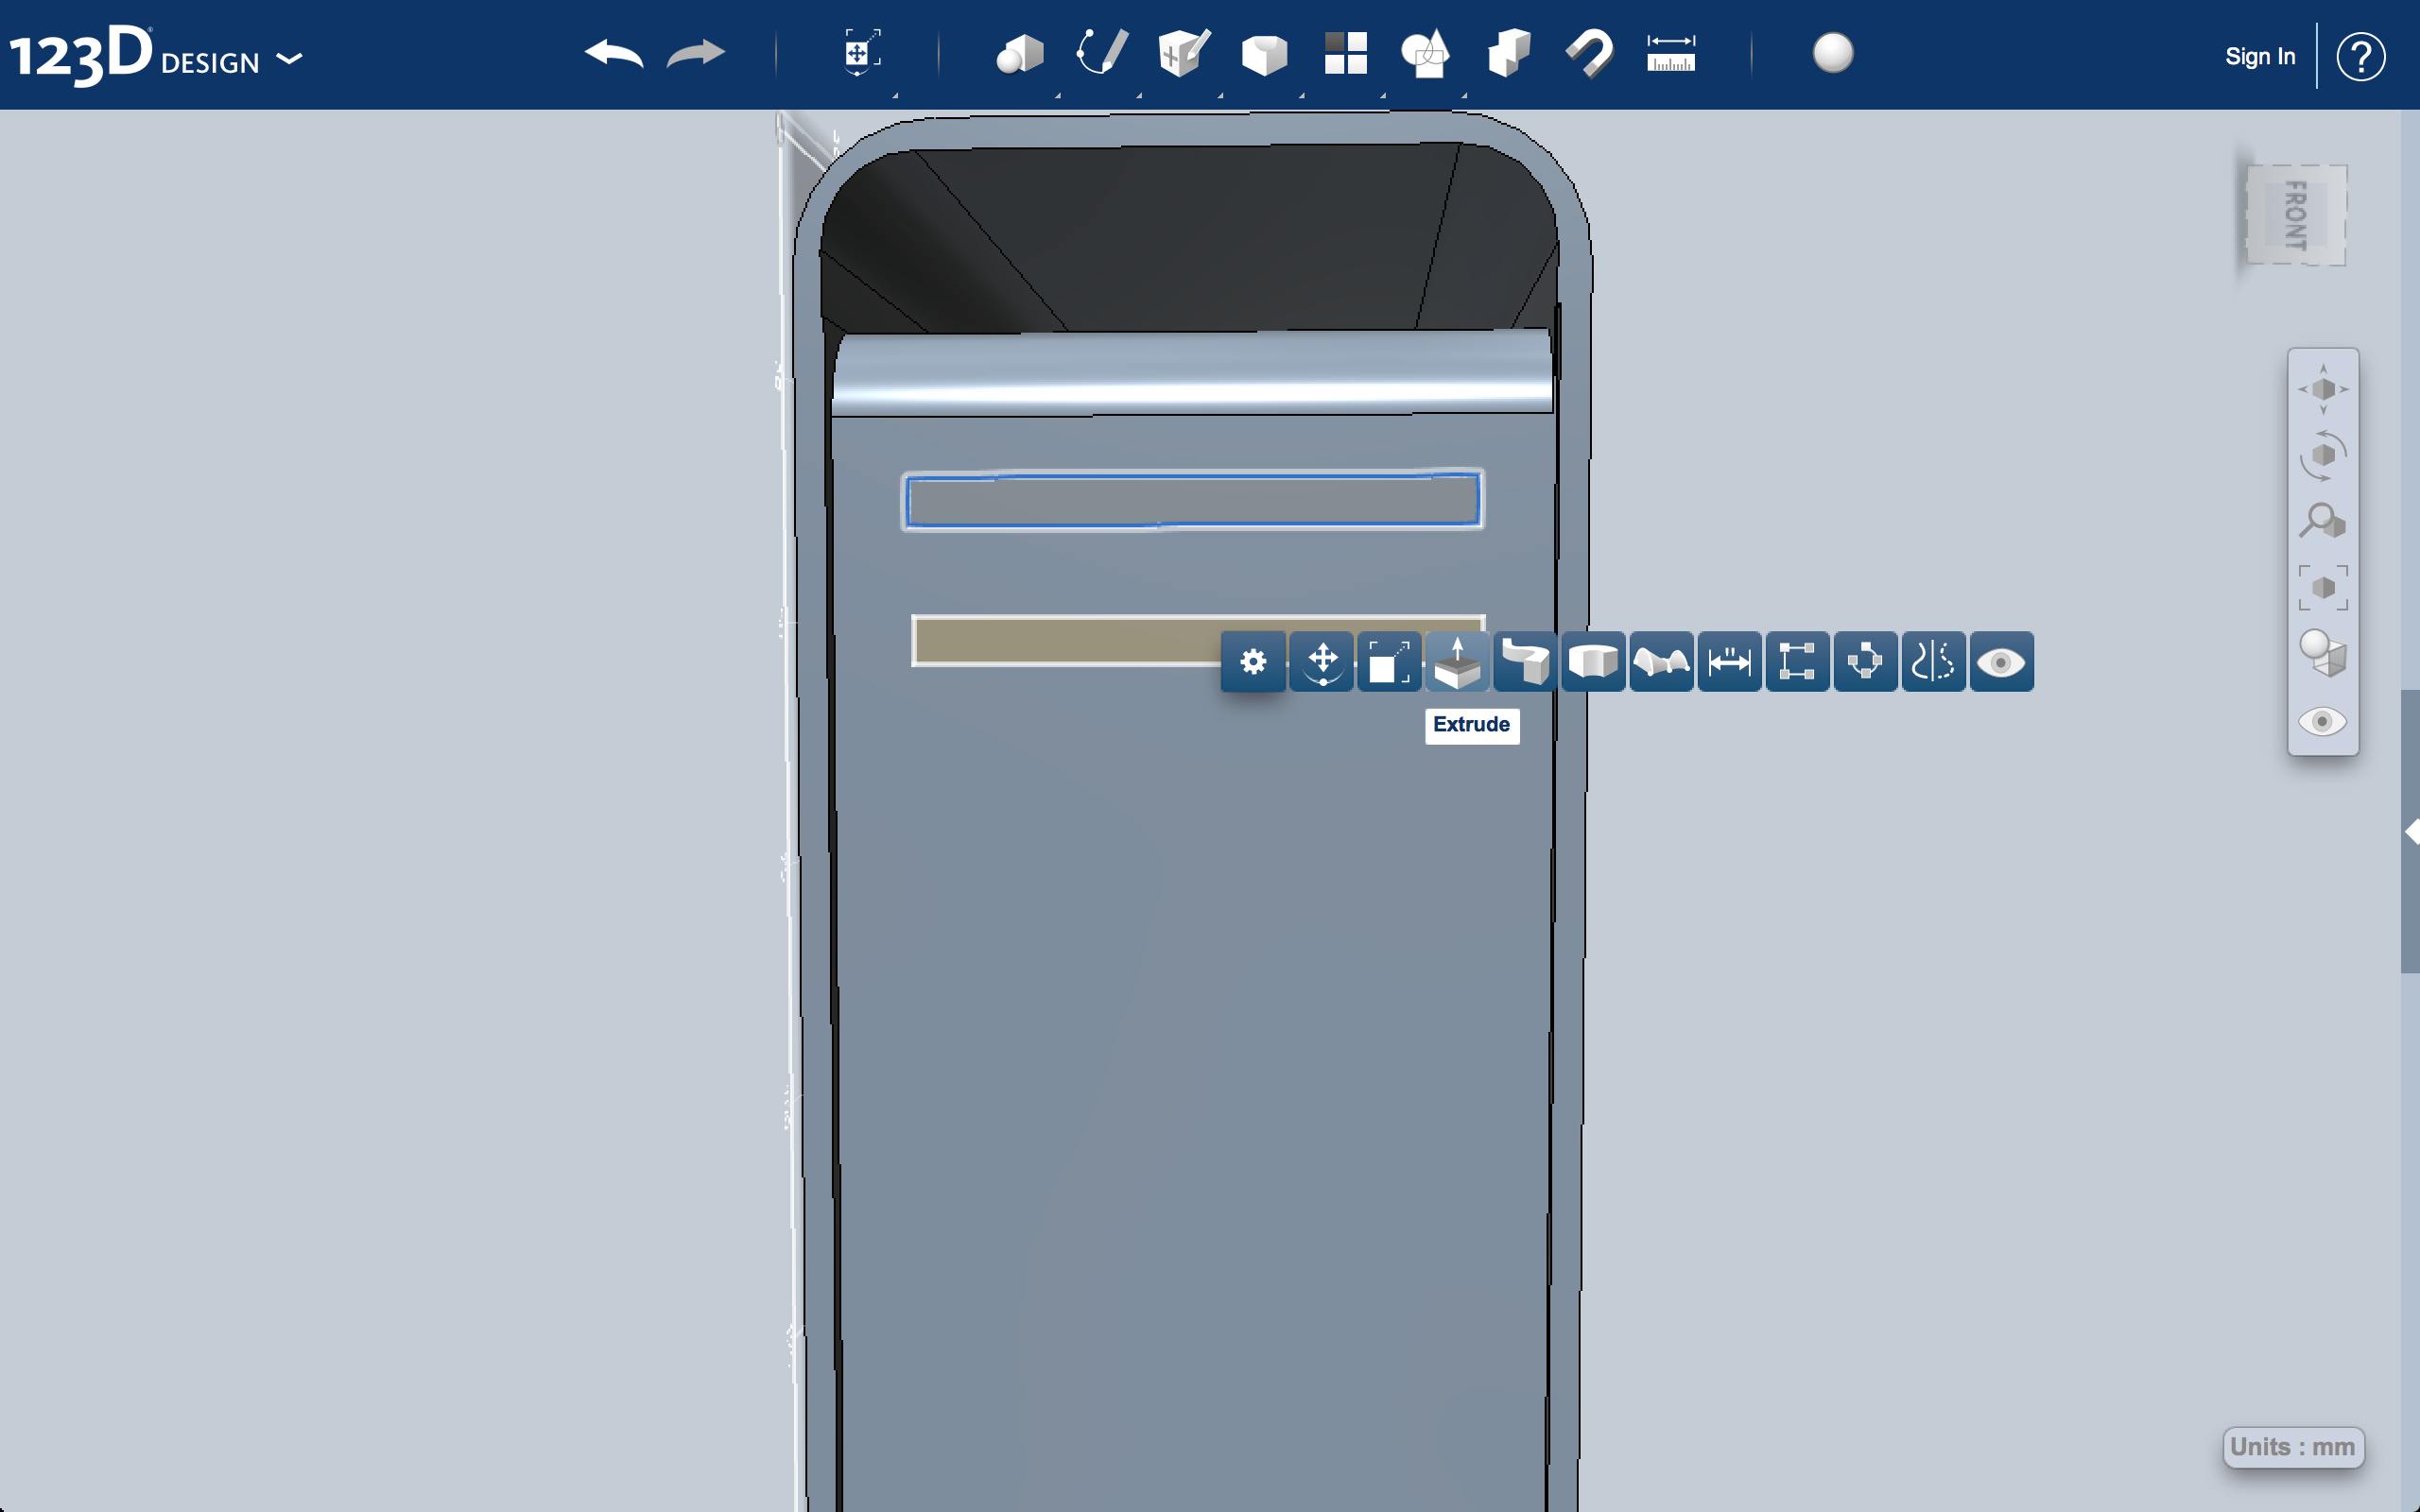
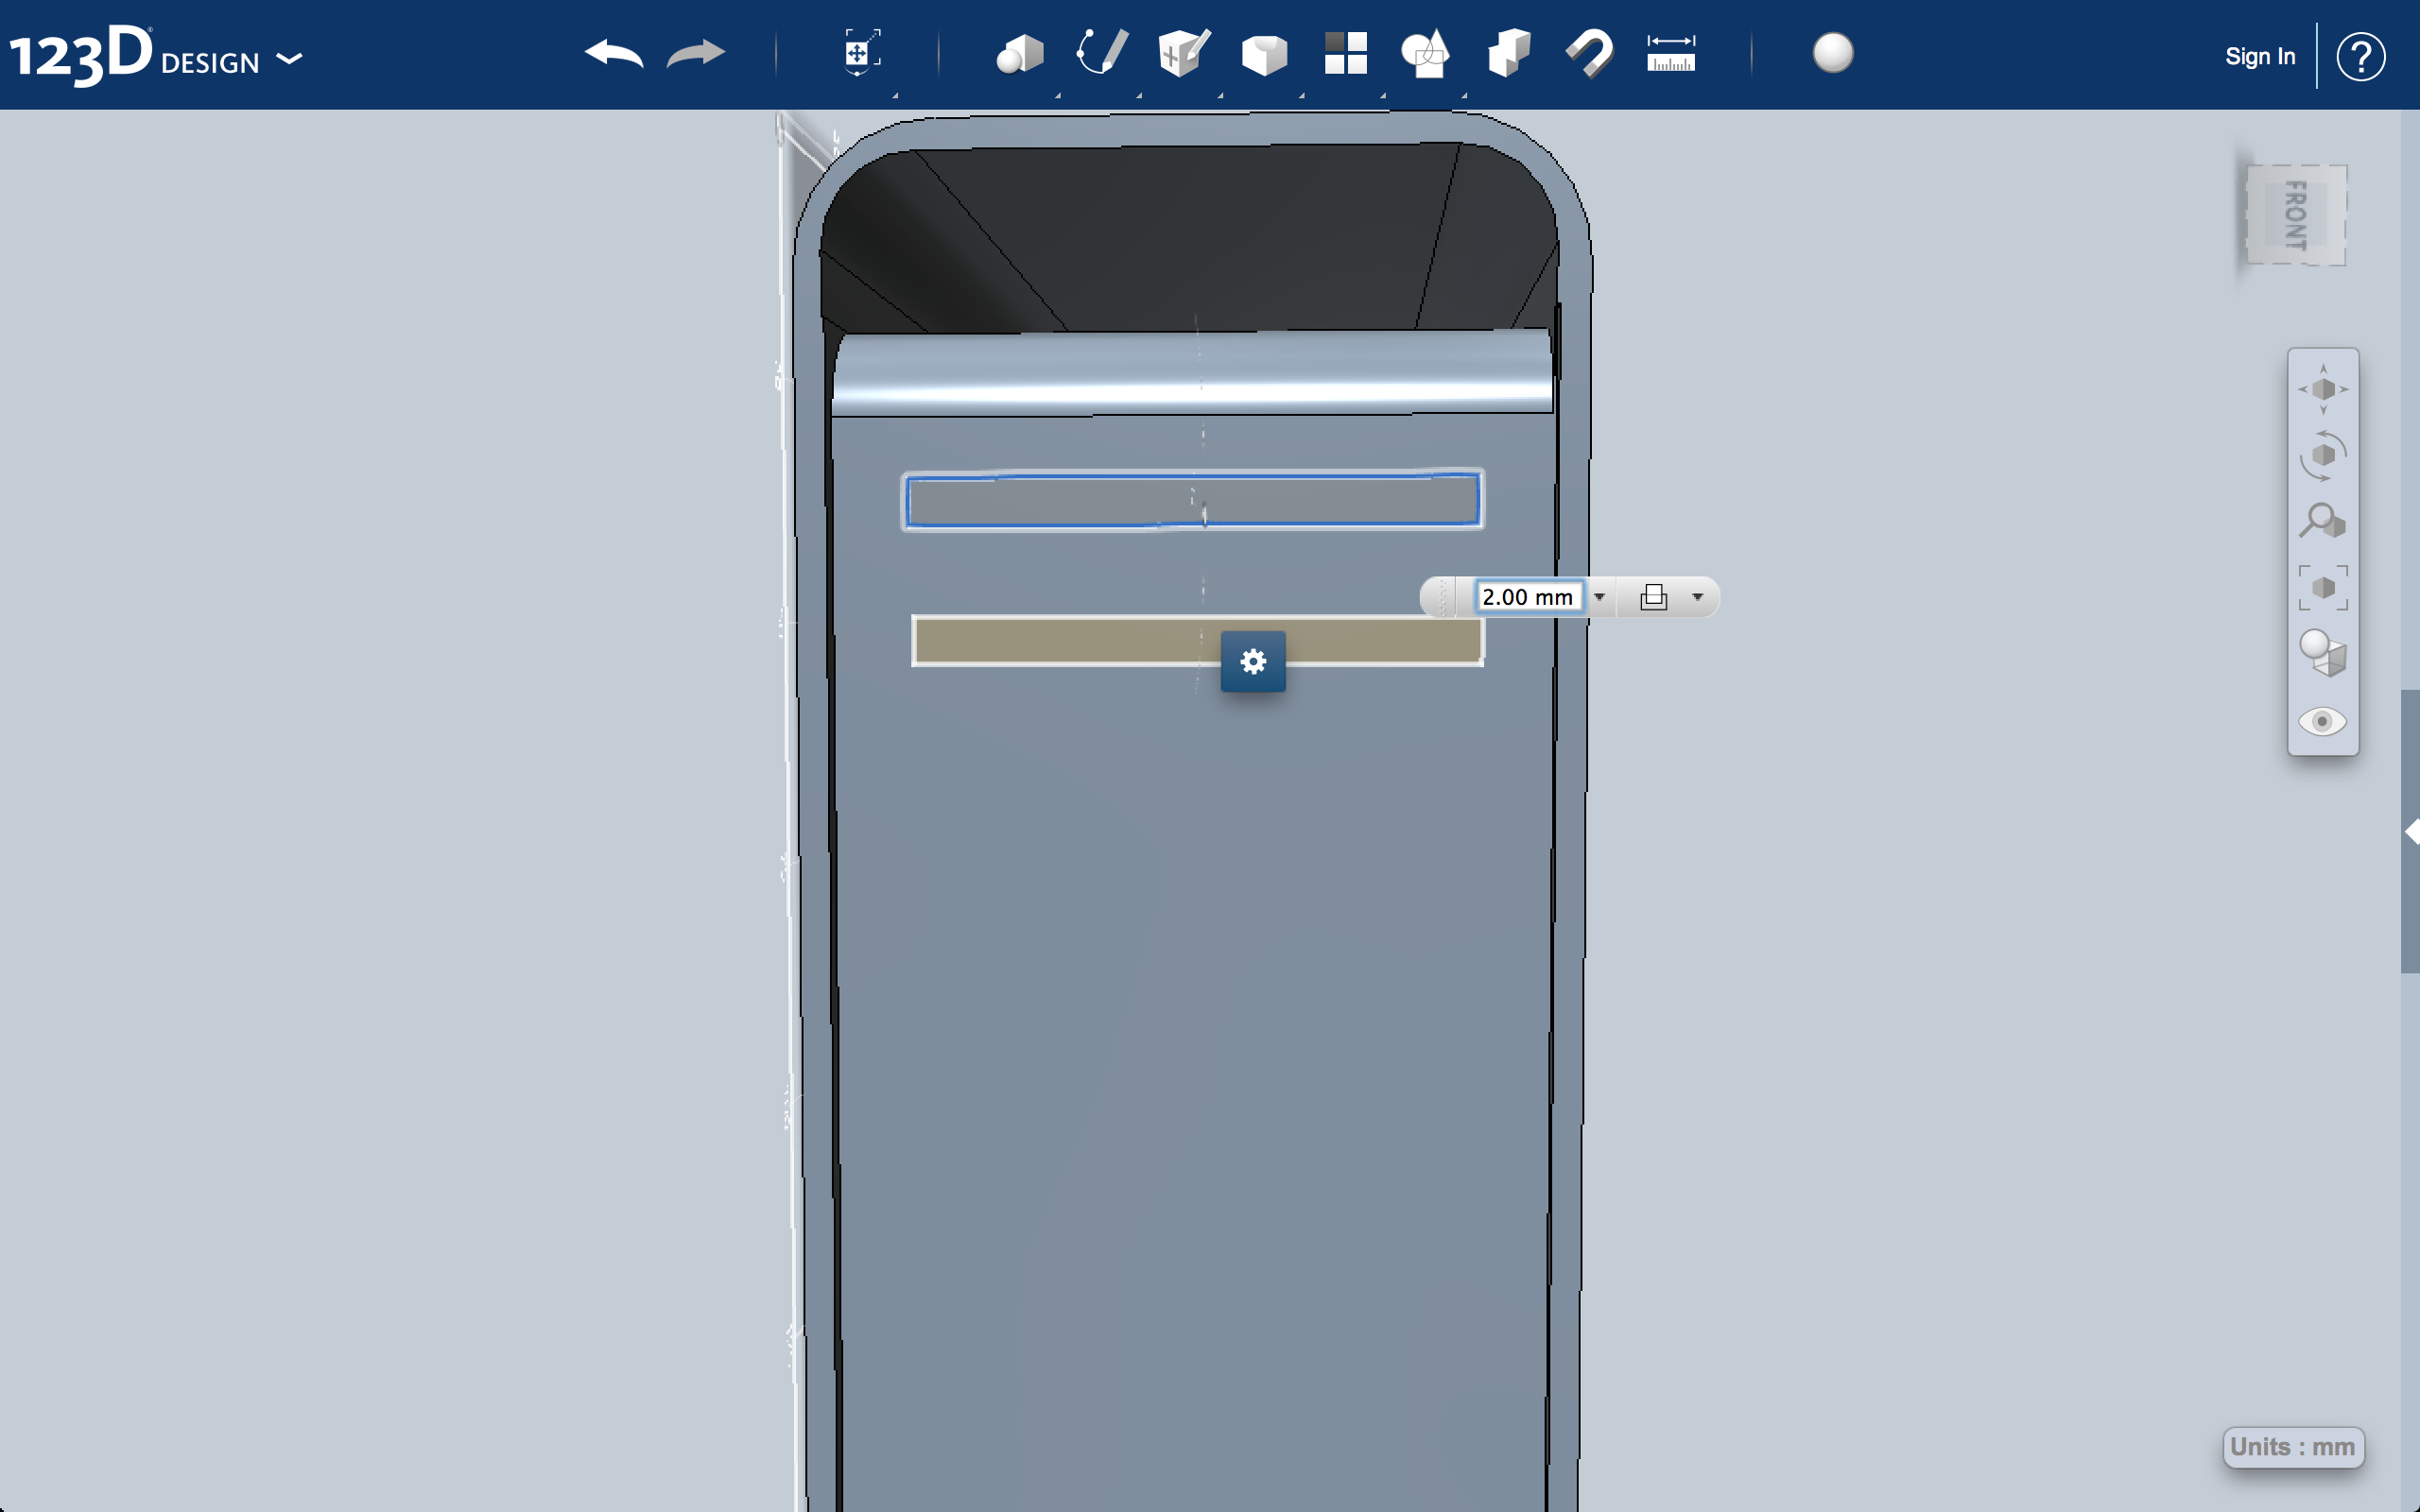
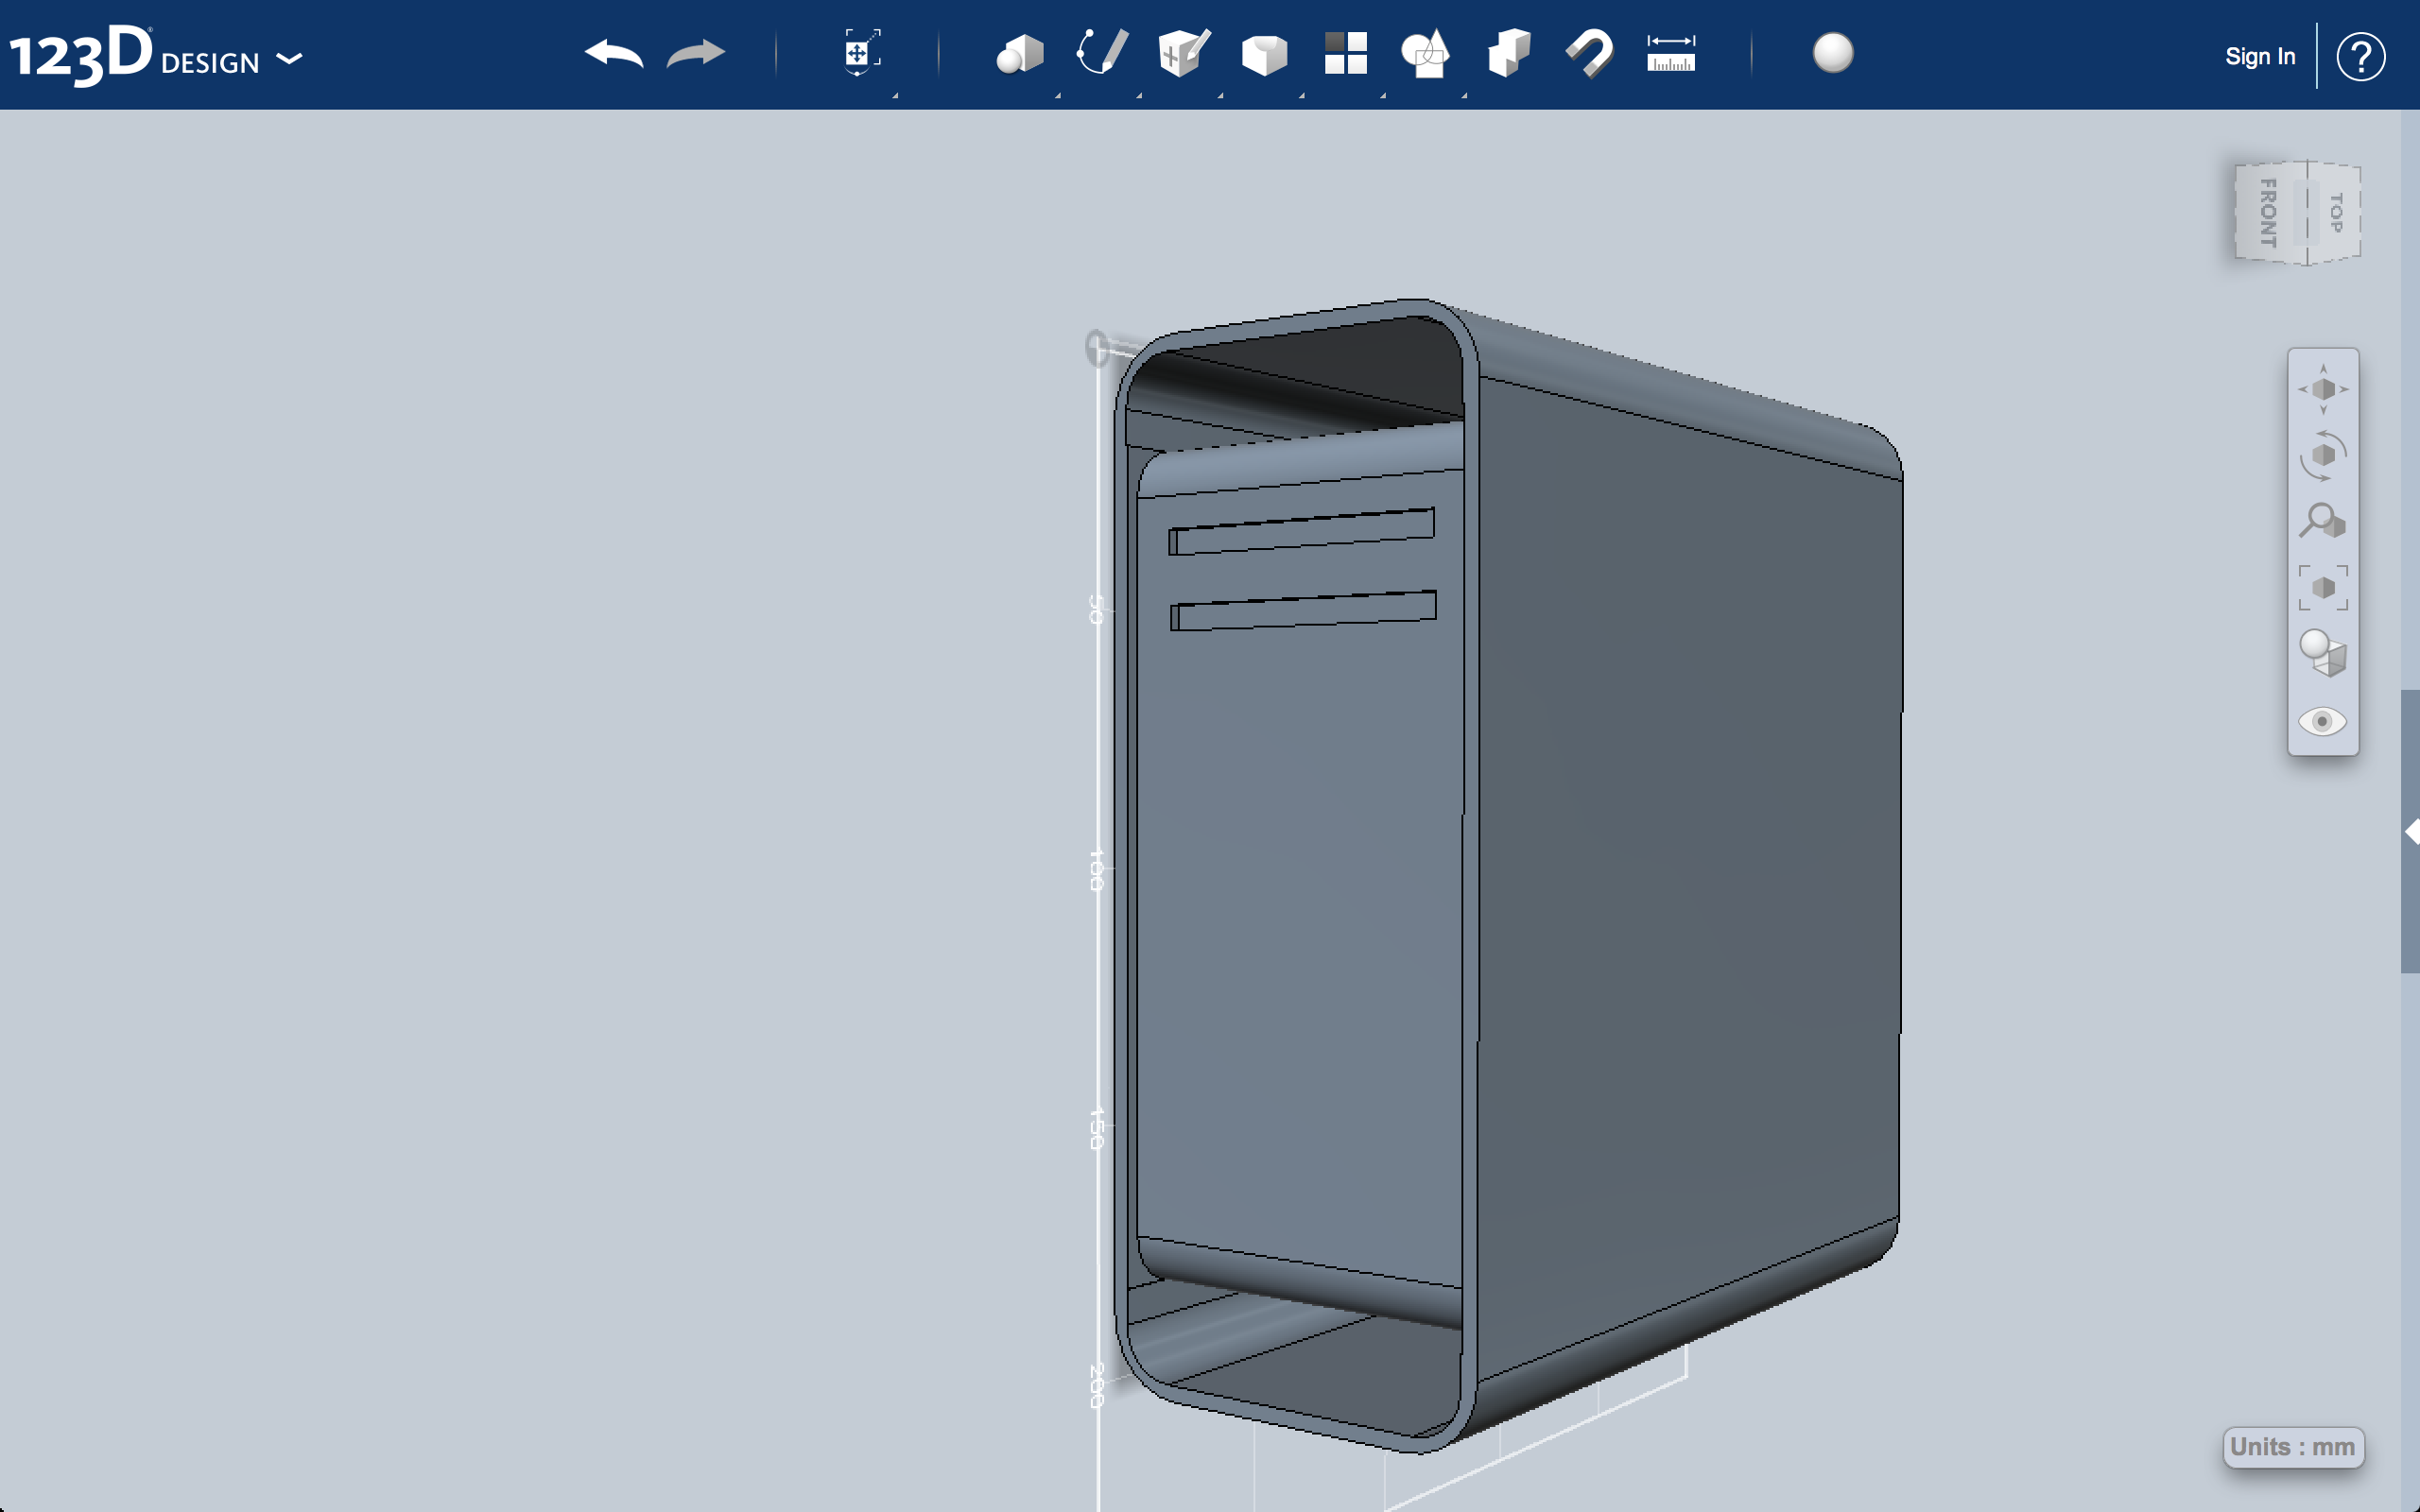
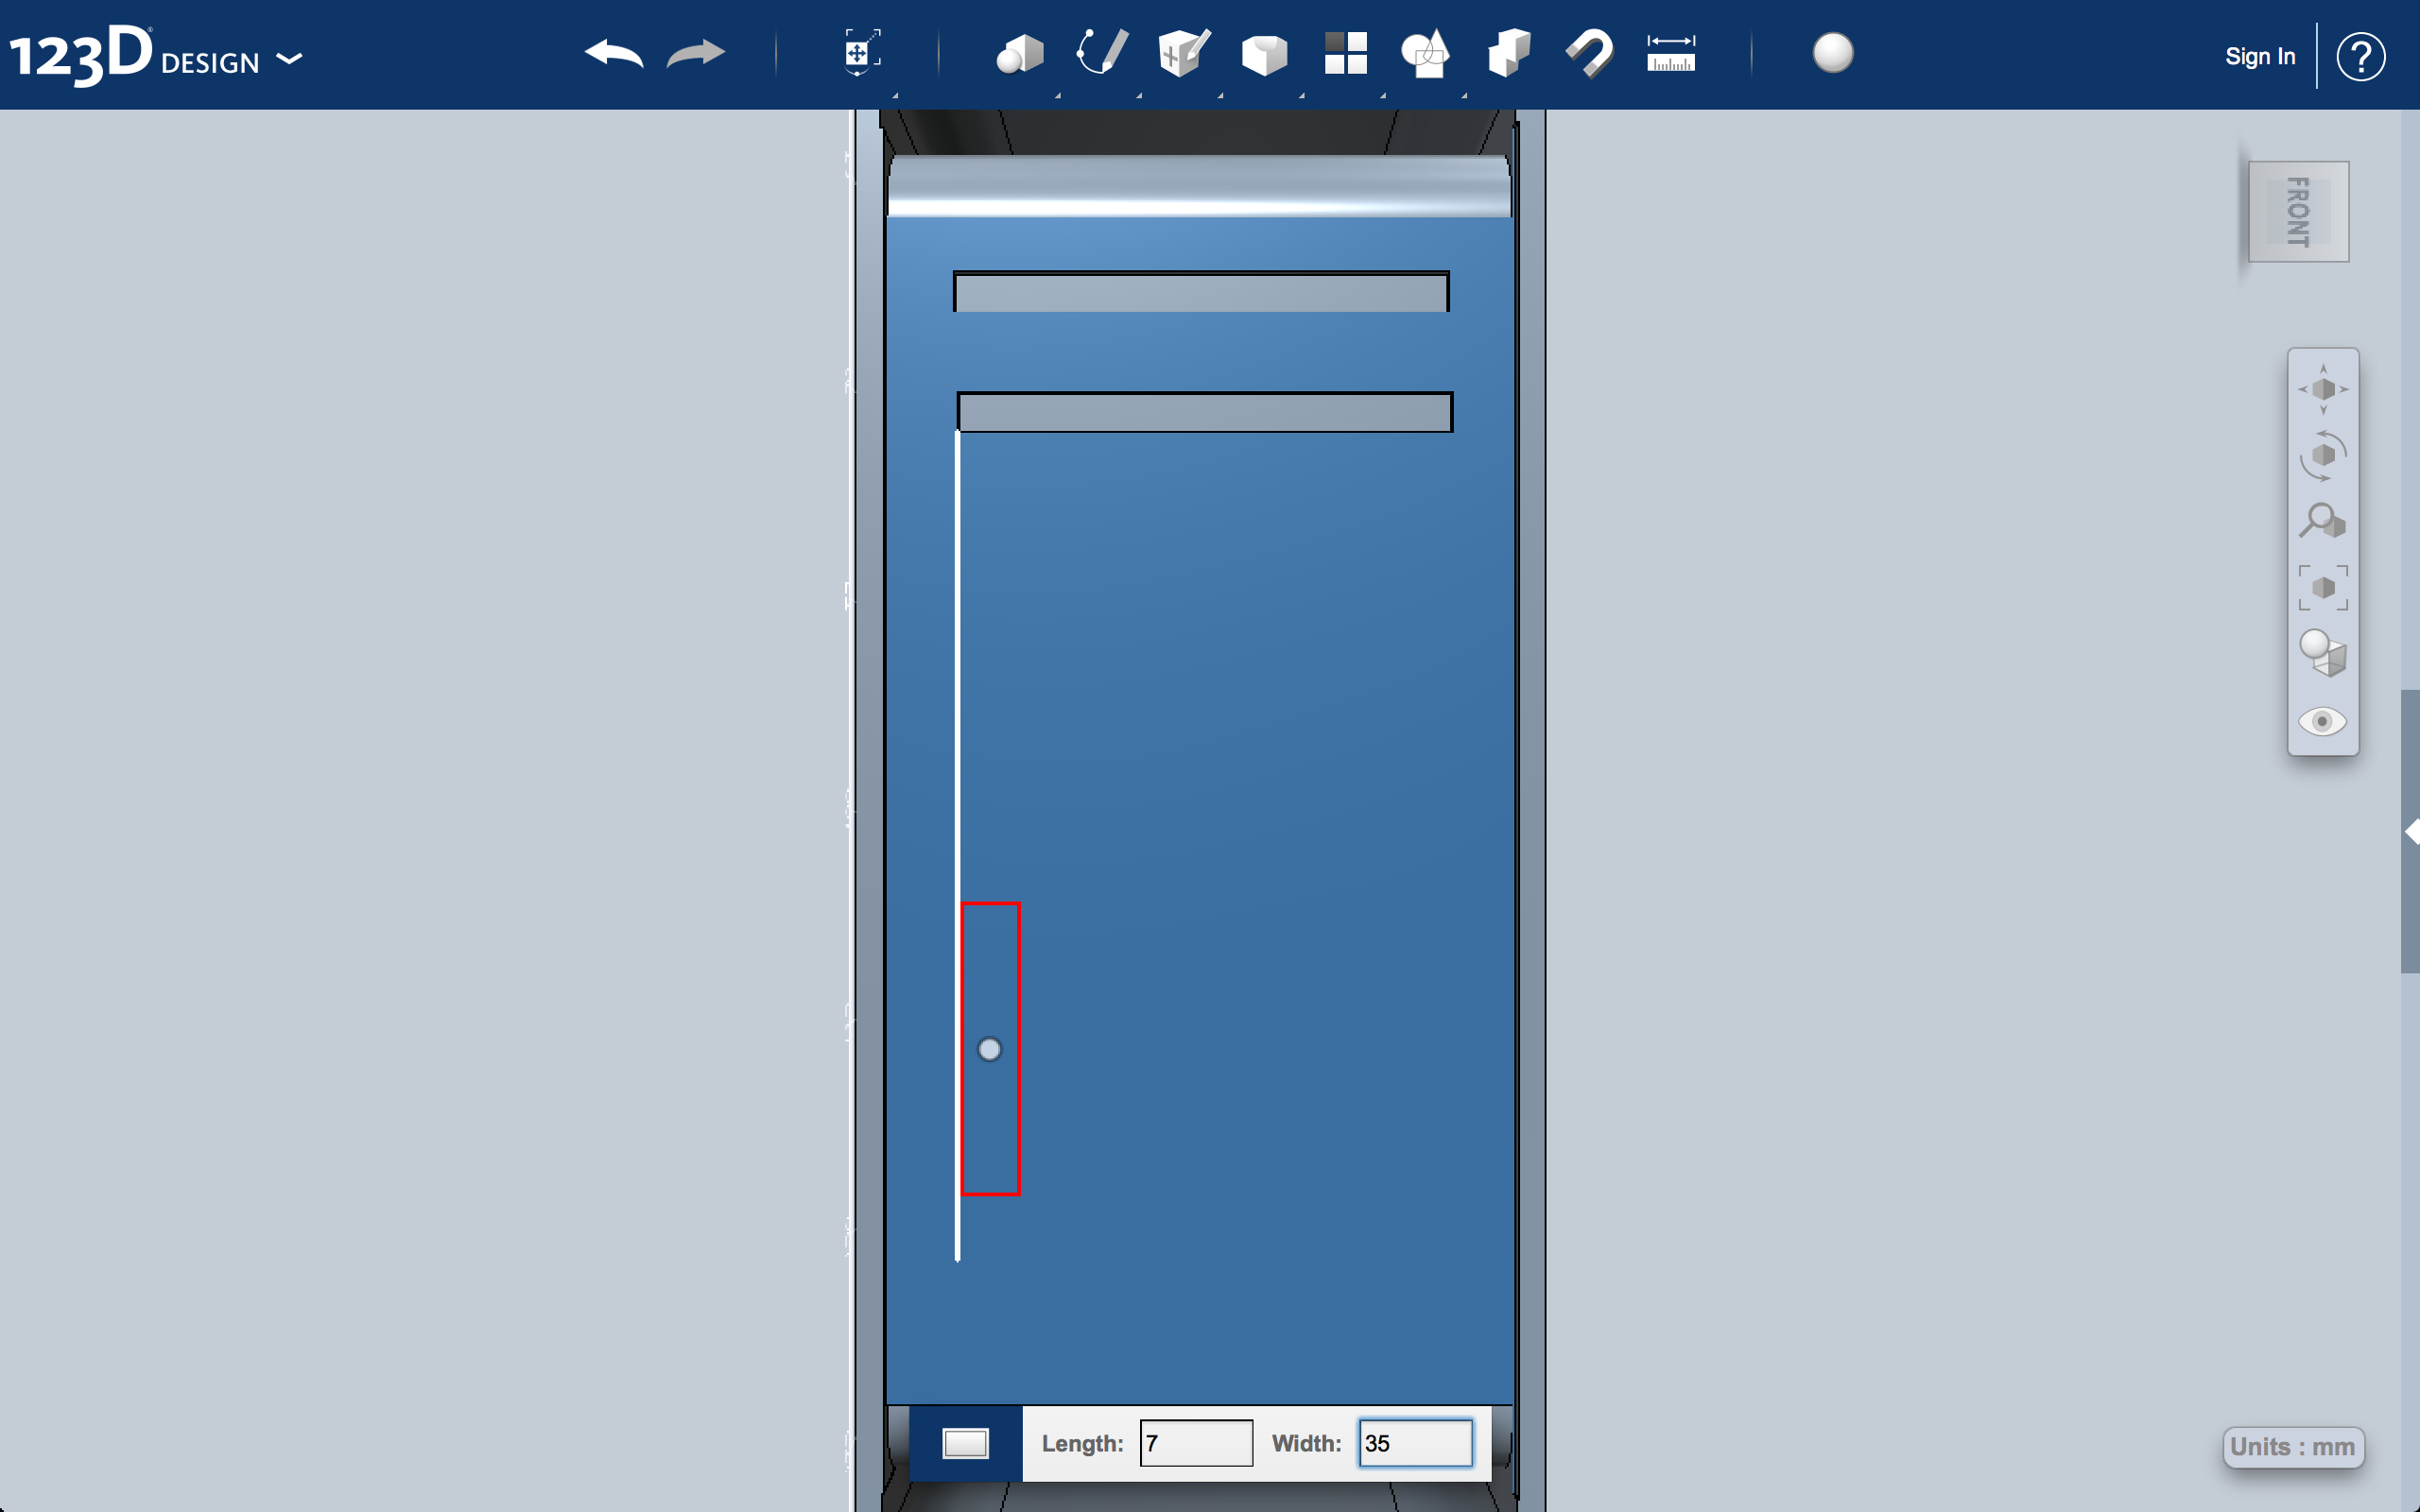
Create the CD-ROM and Power Button
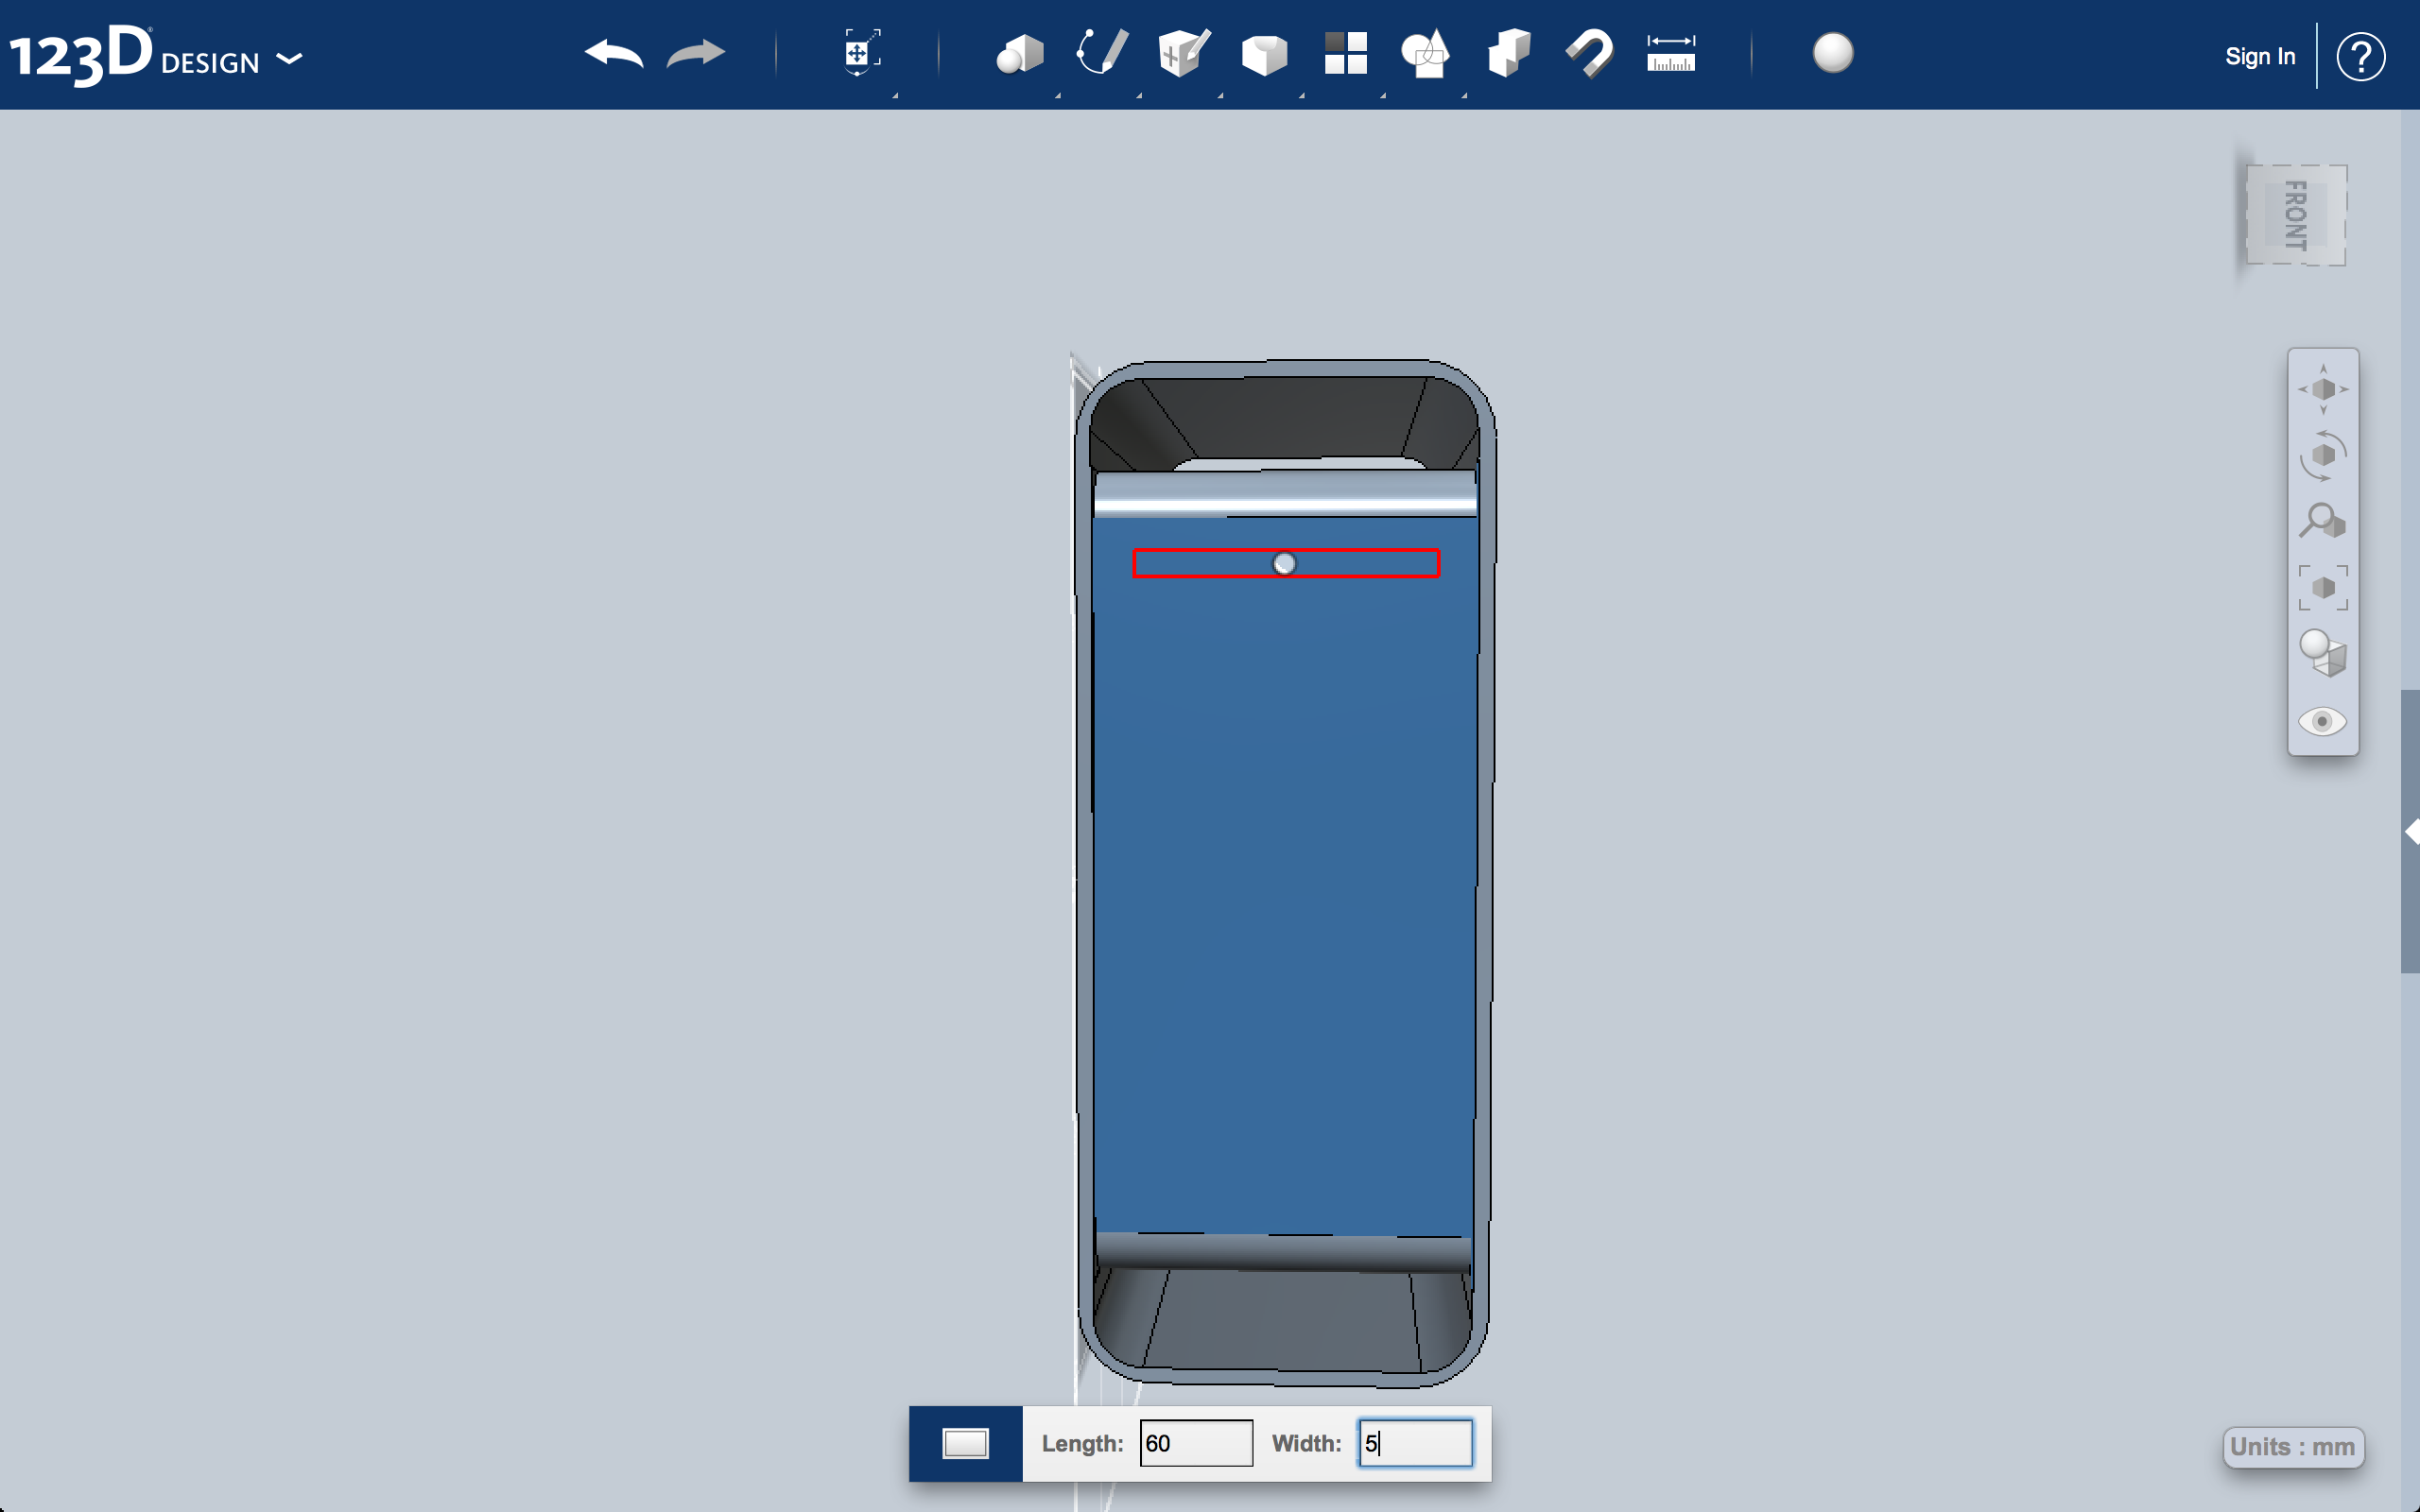
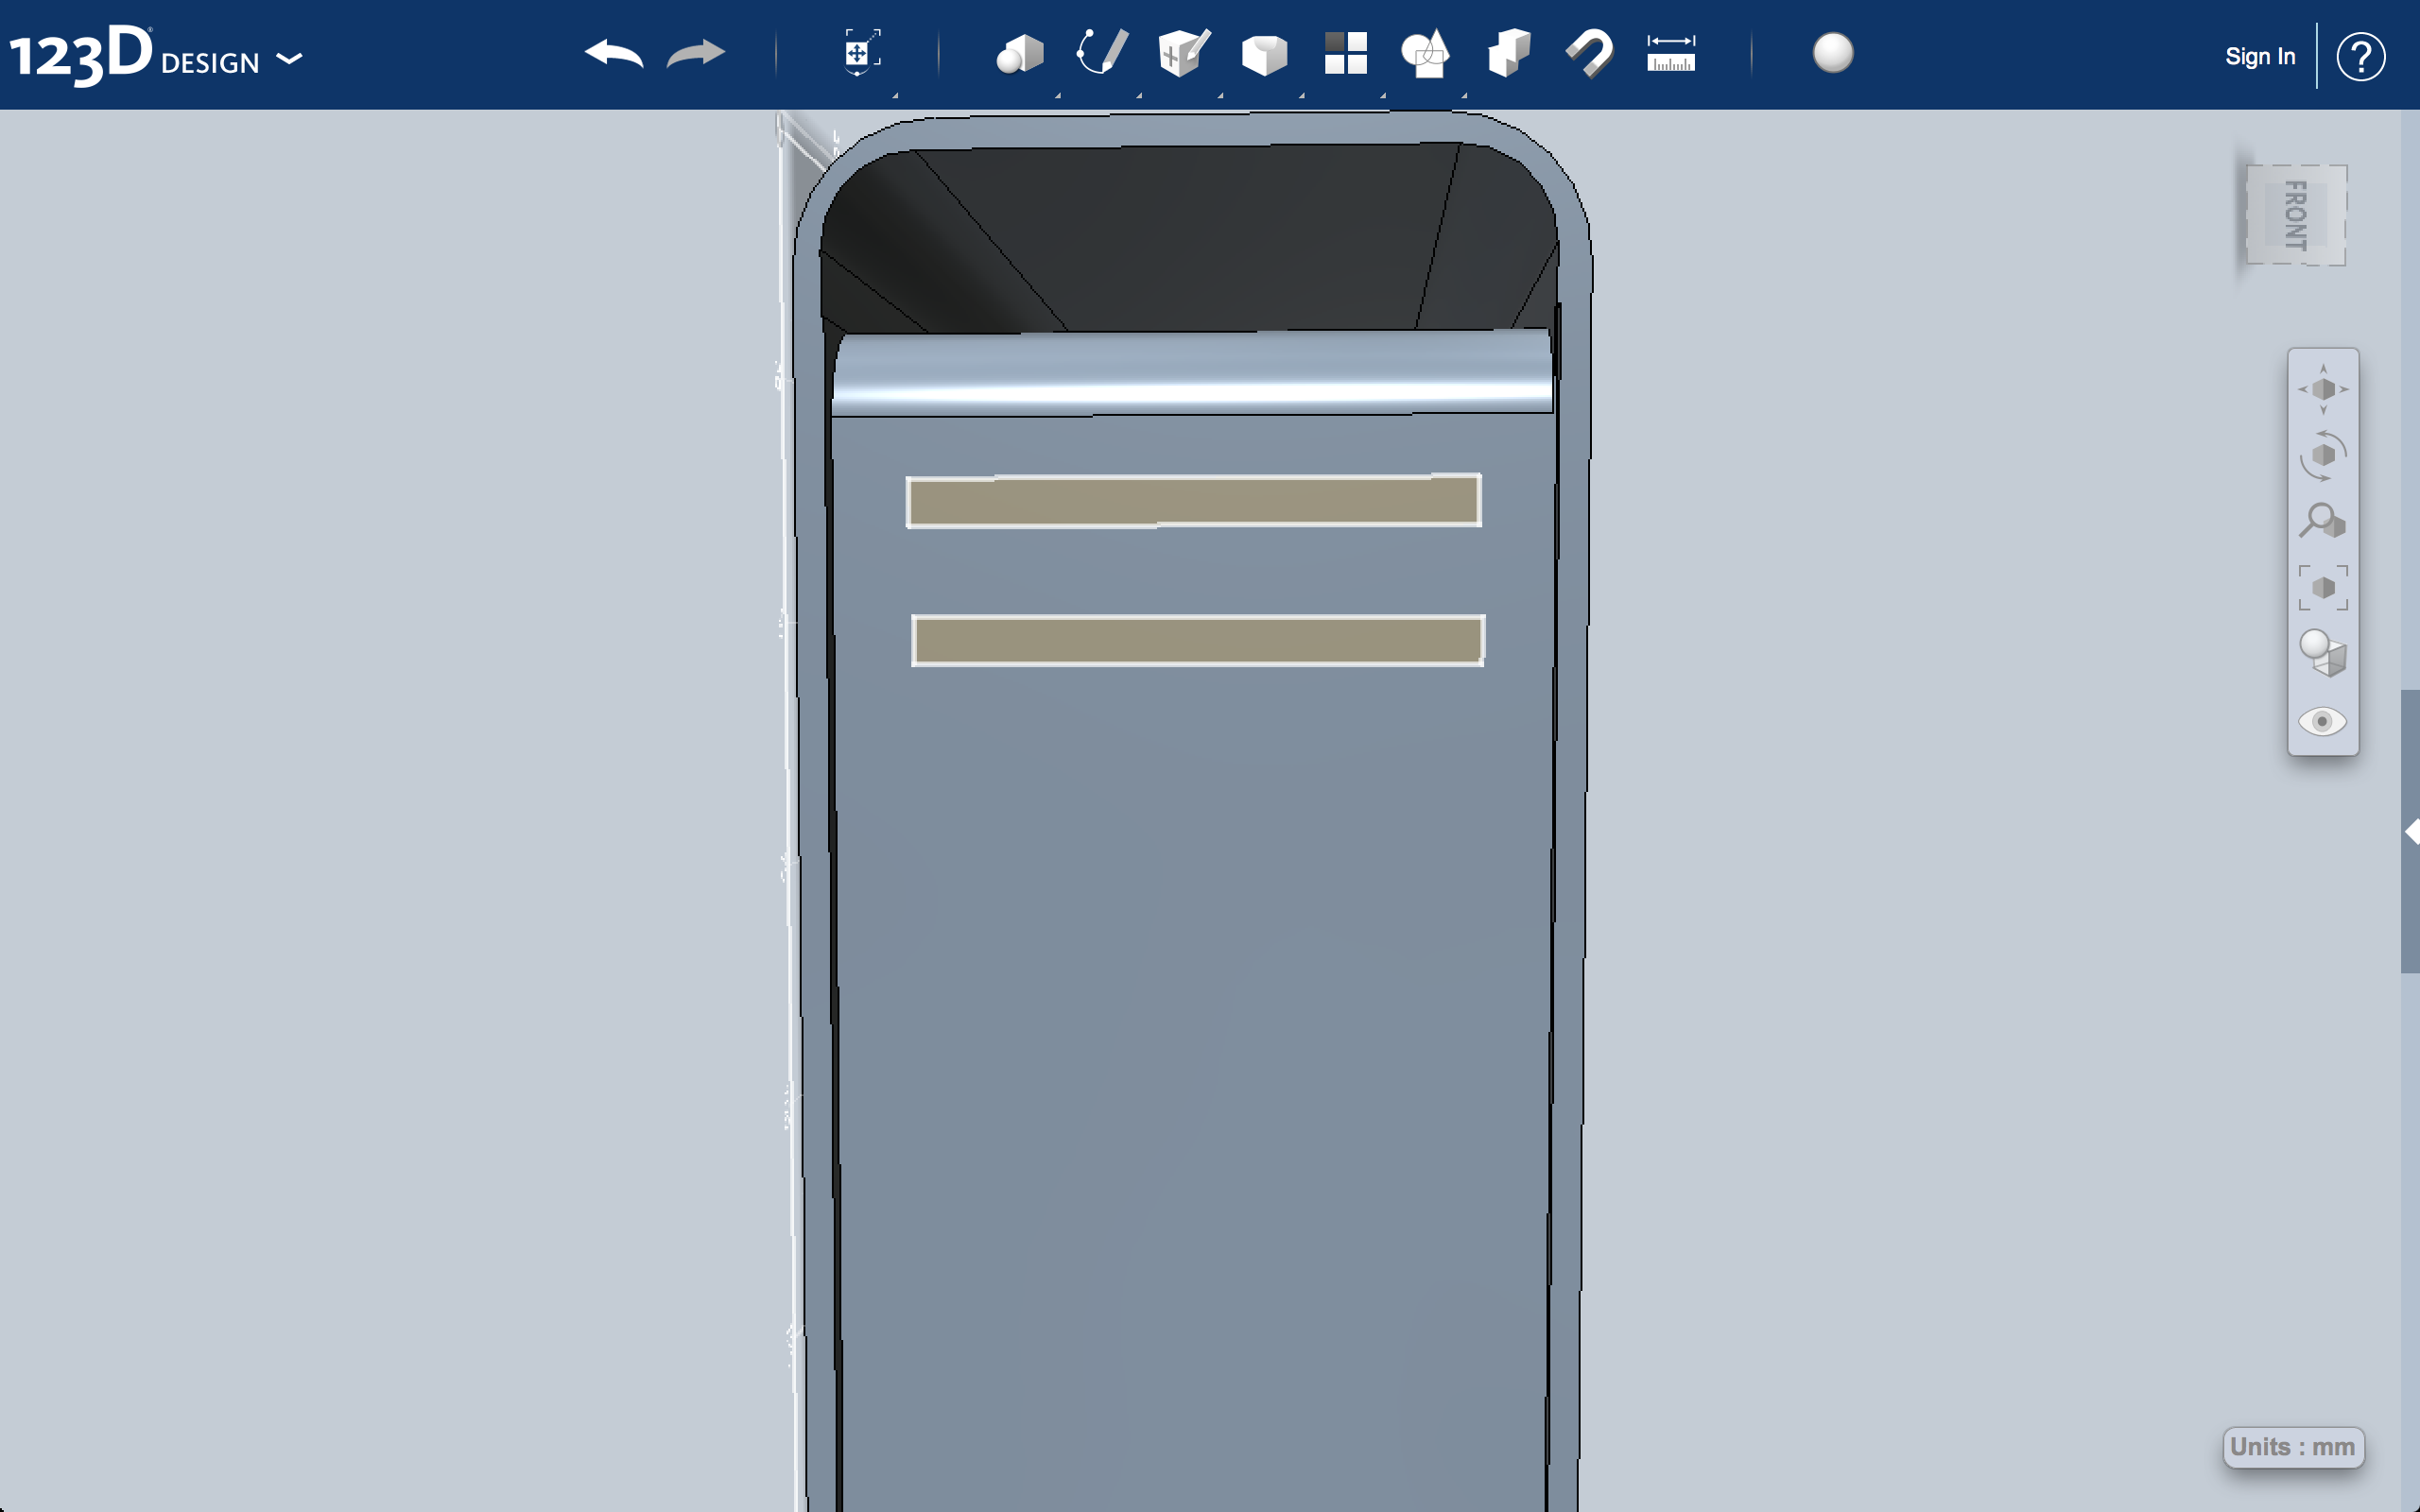
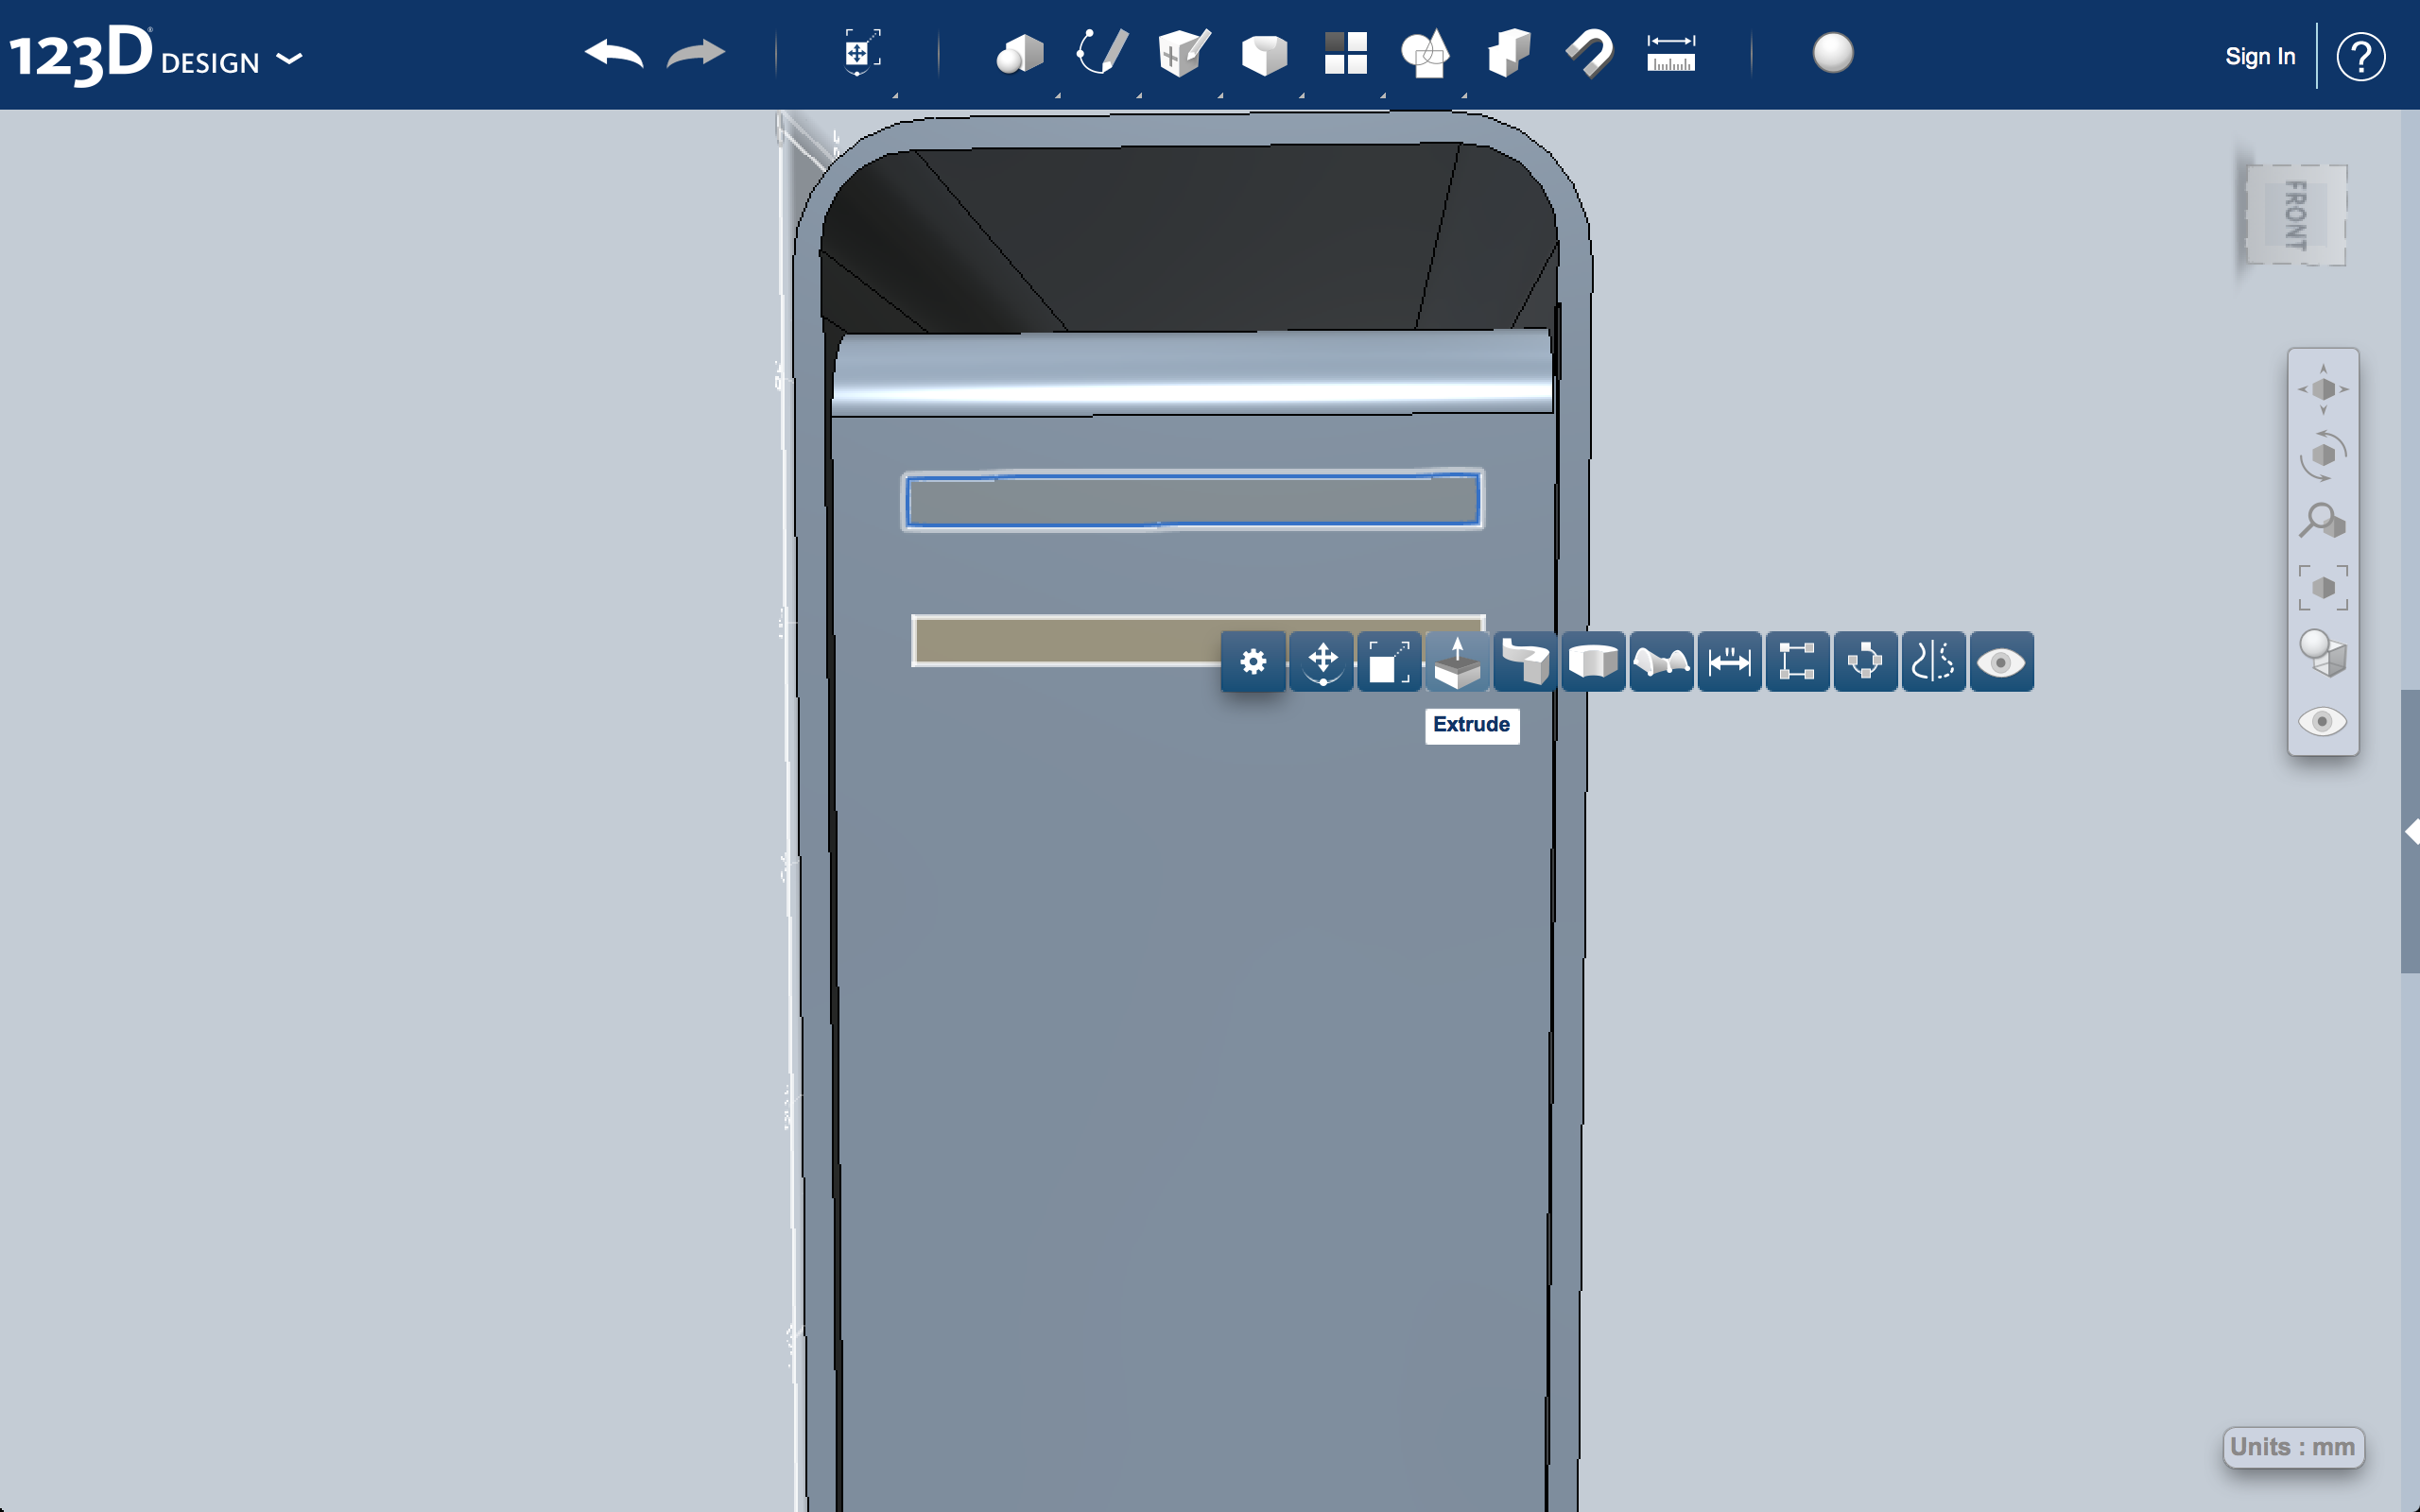
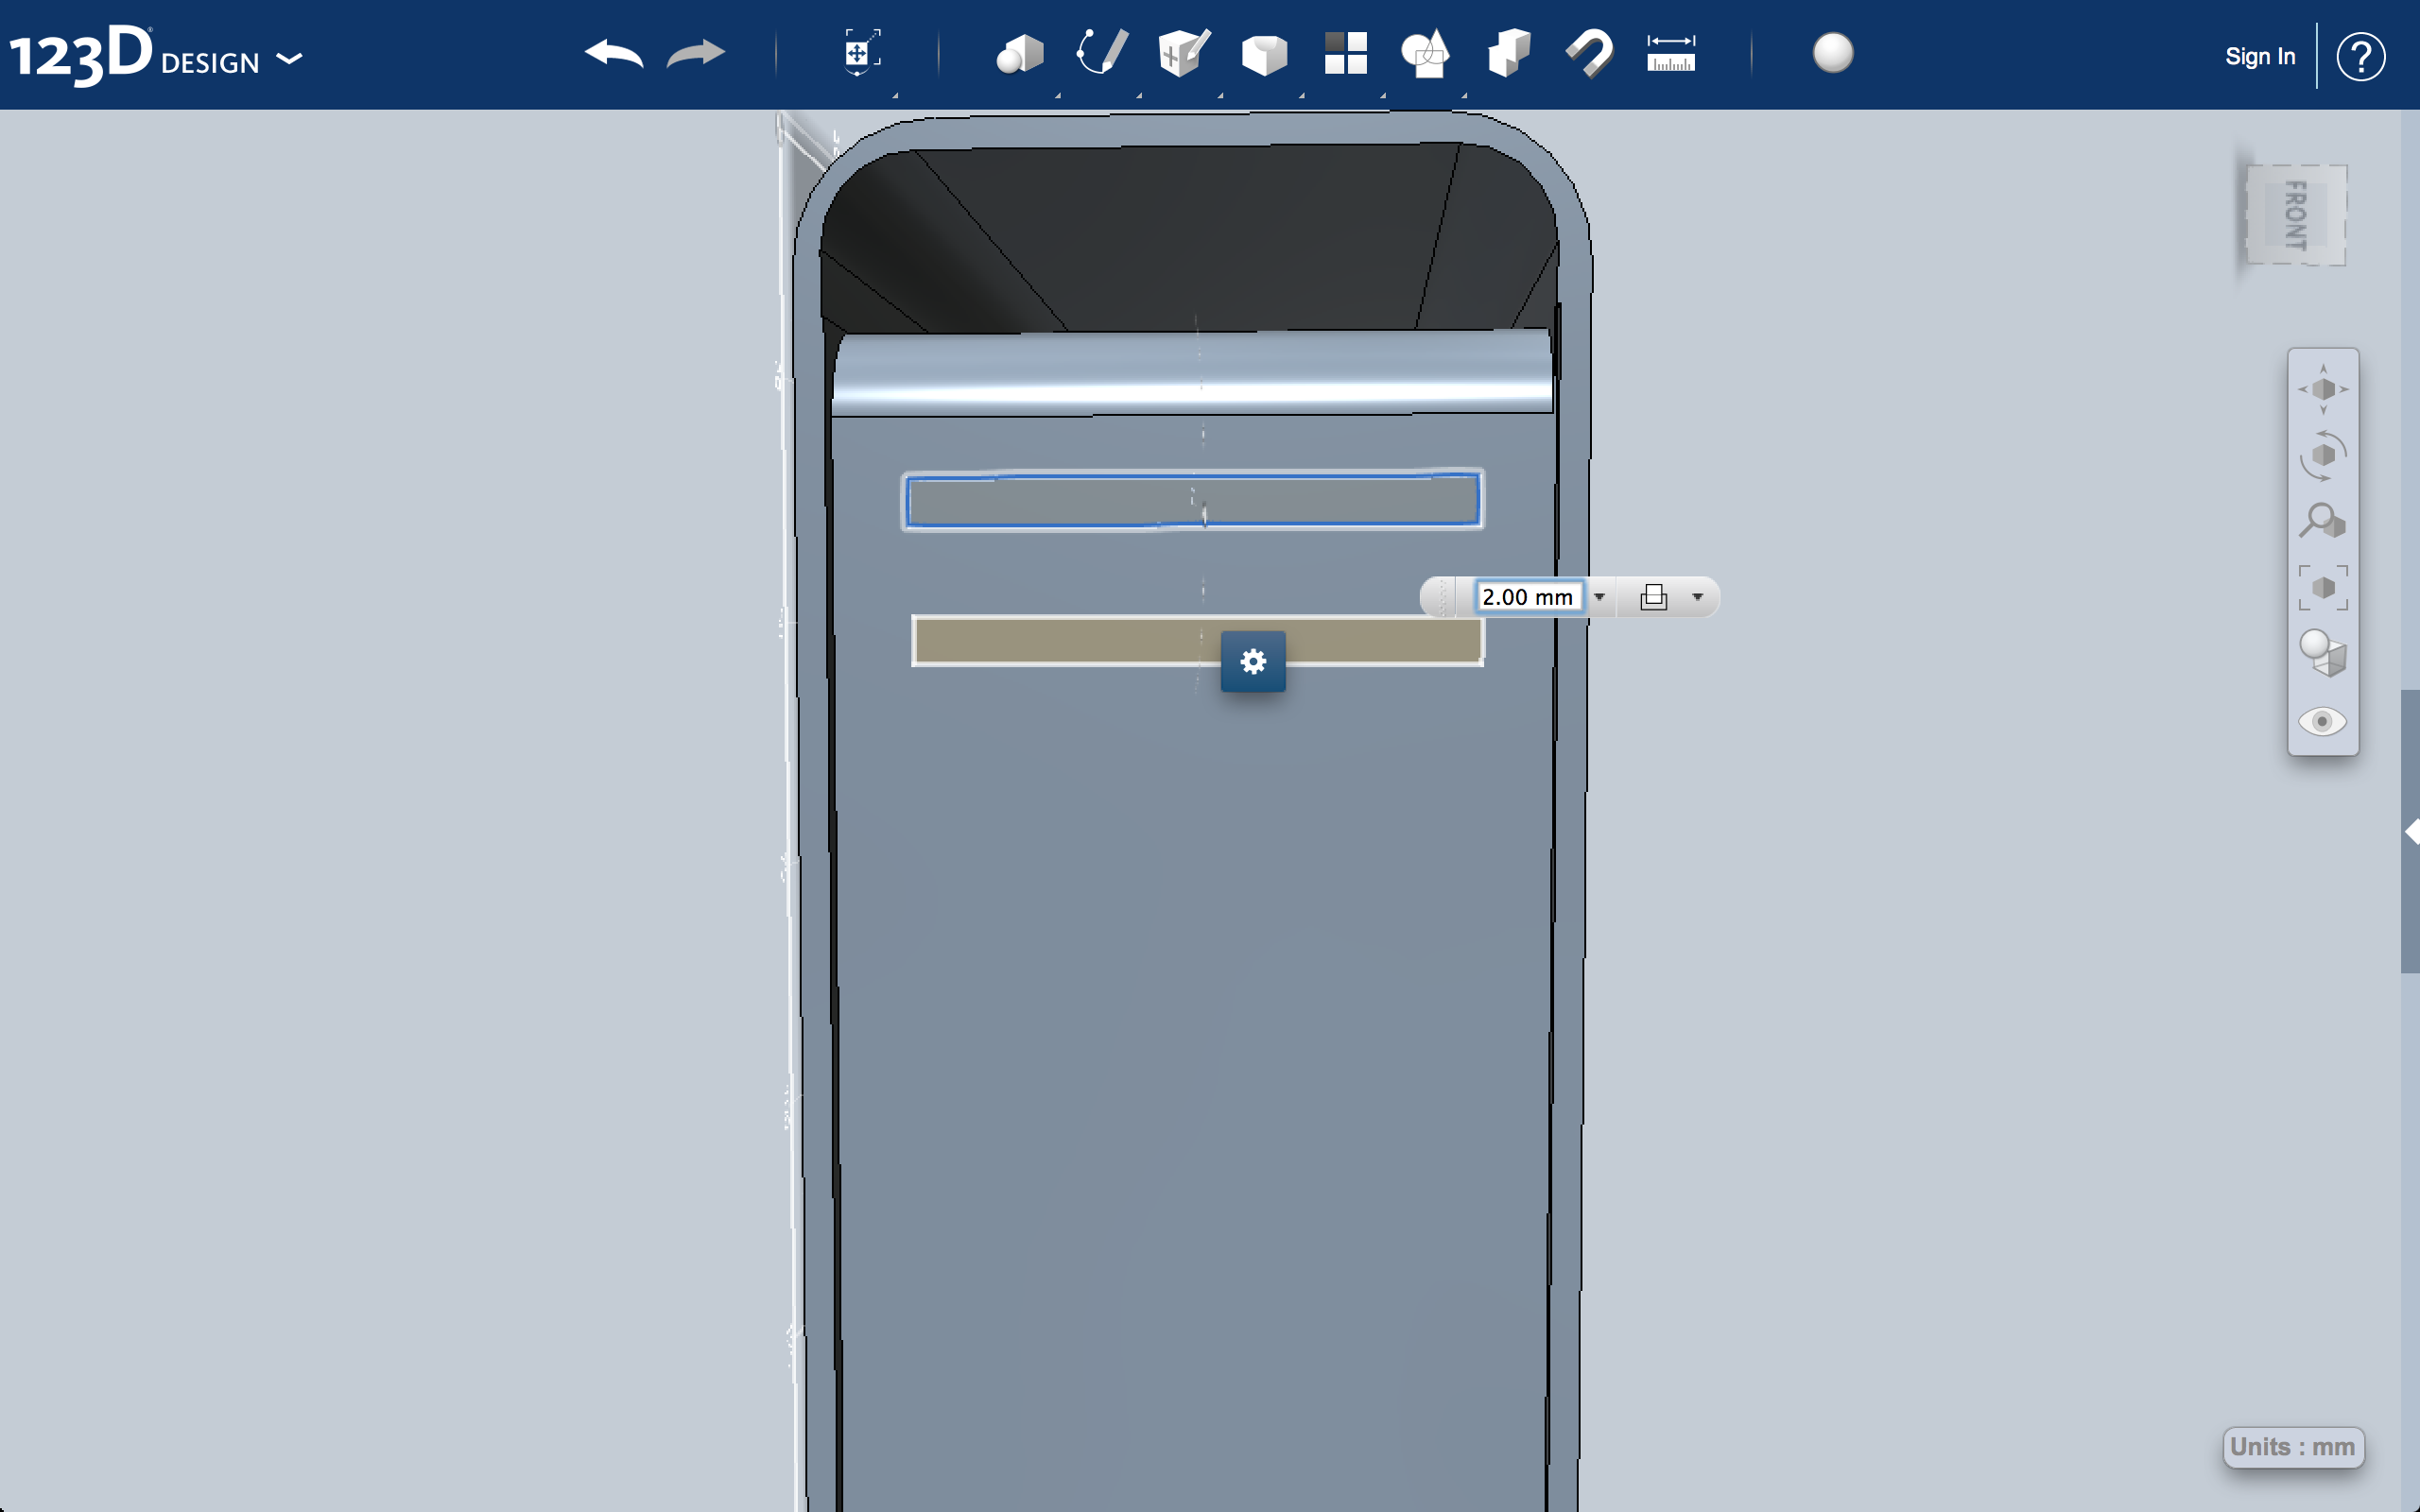
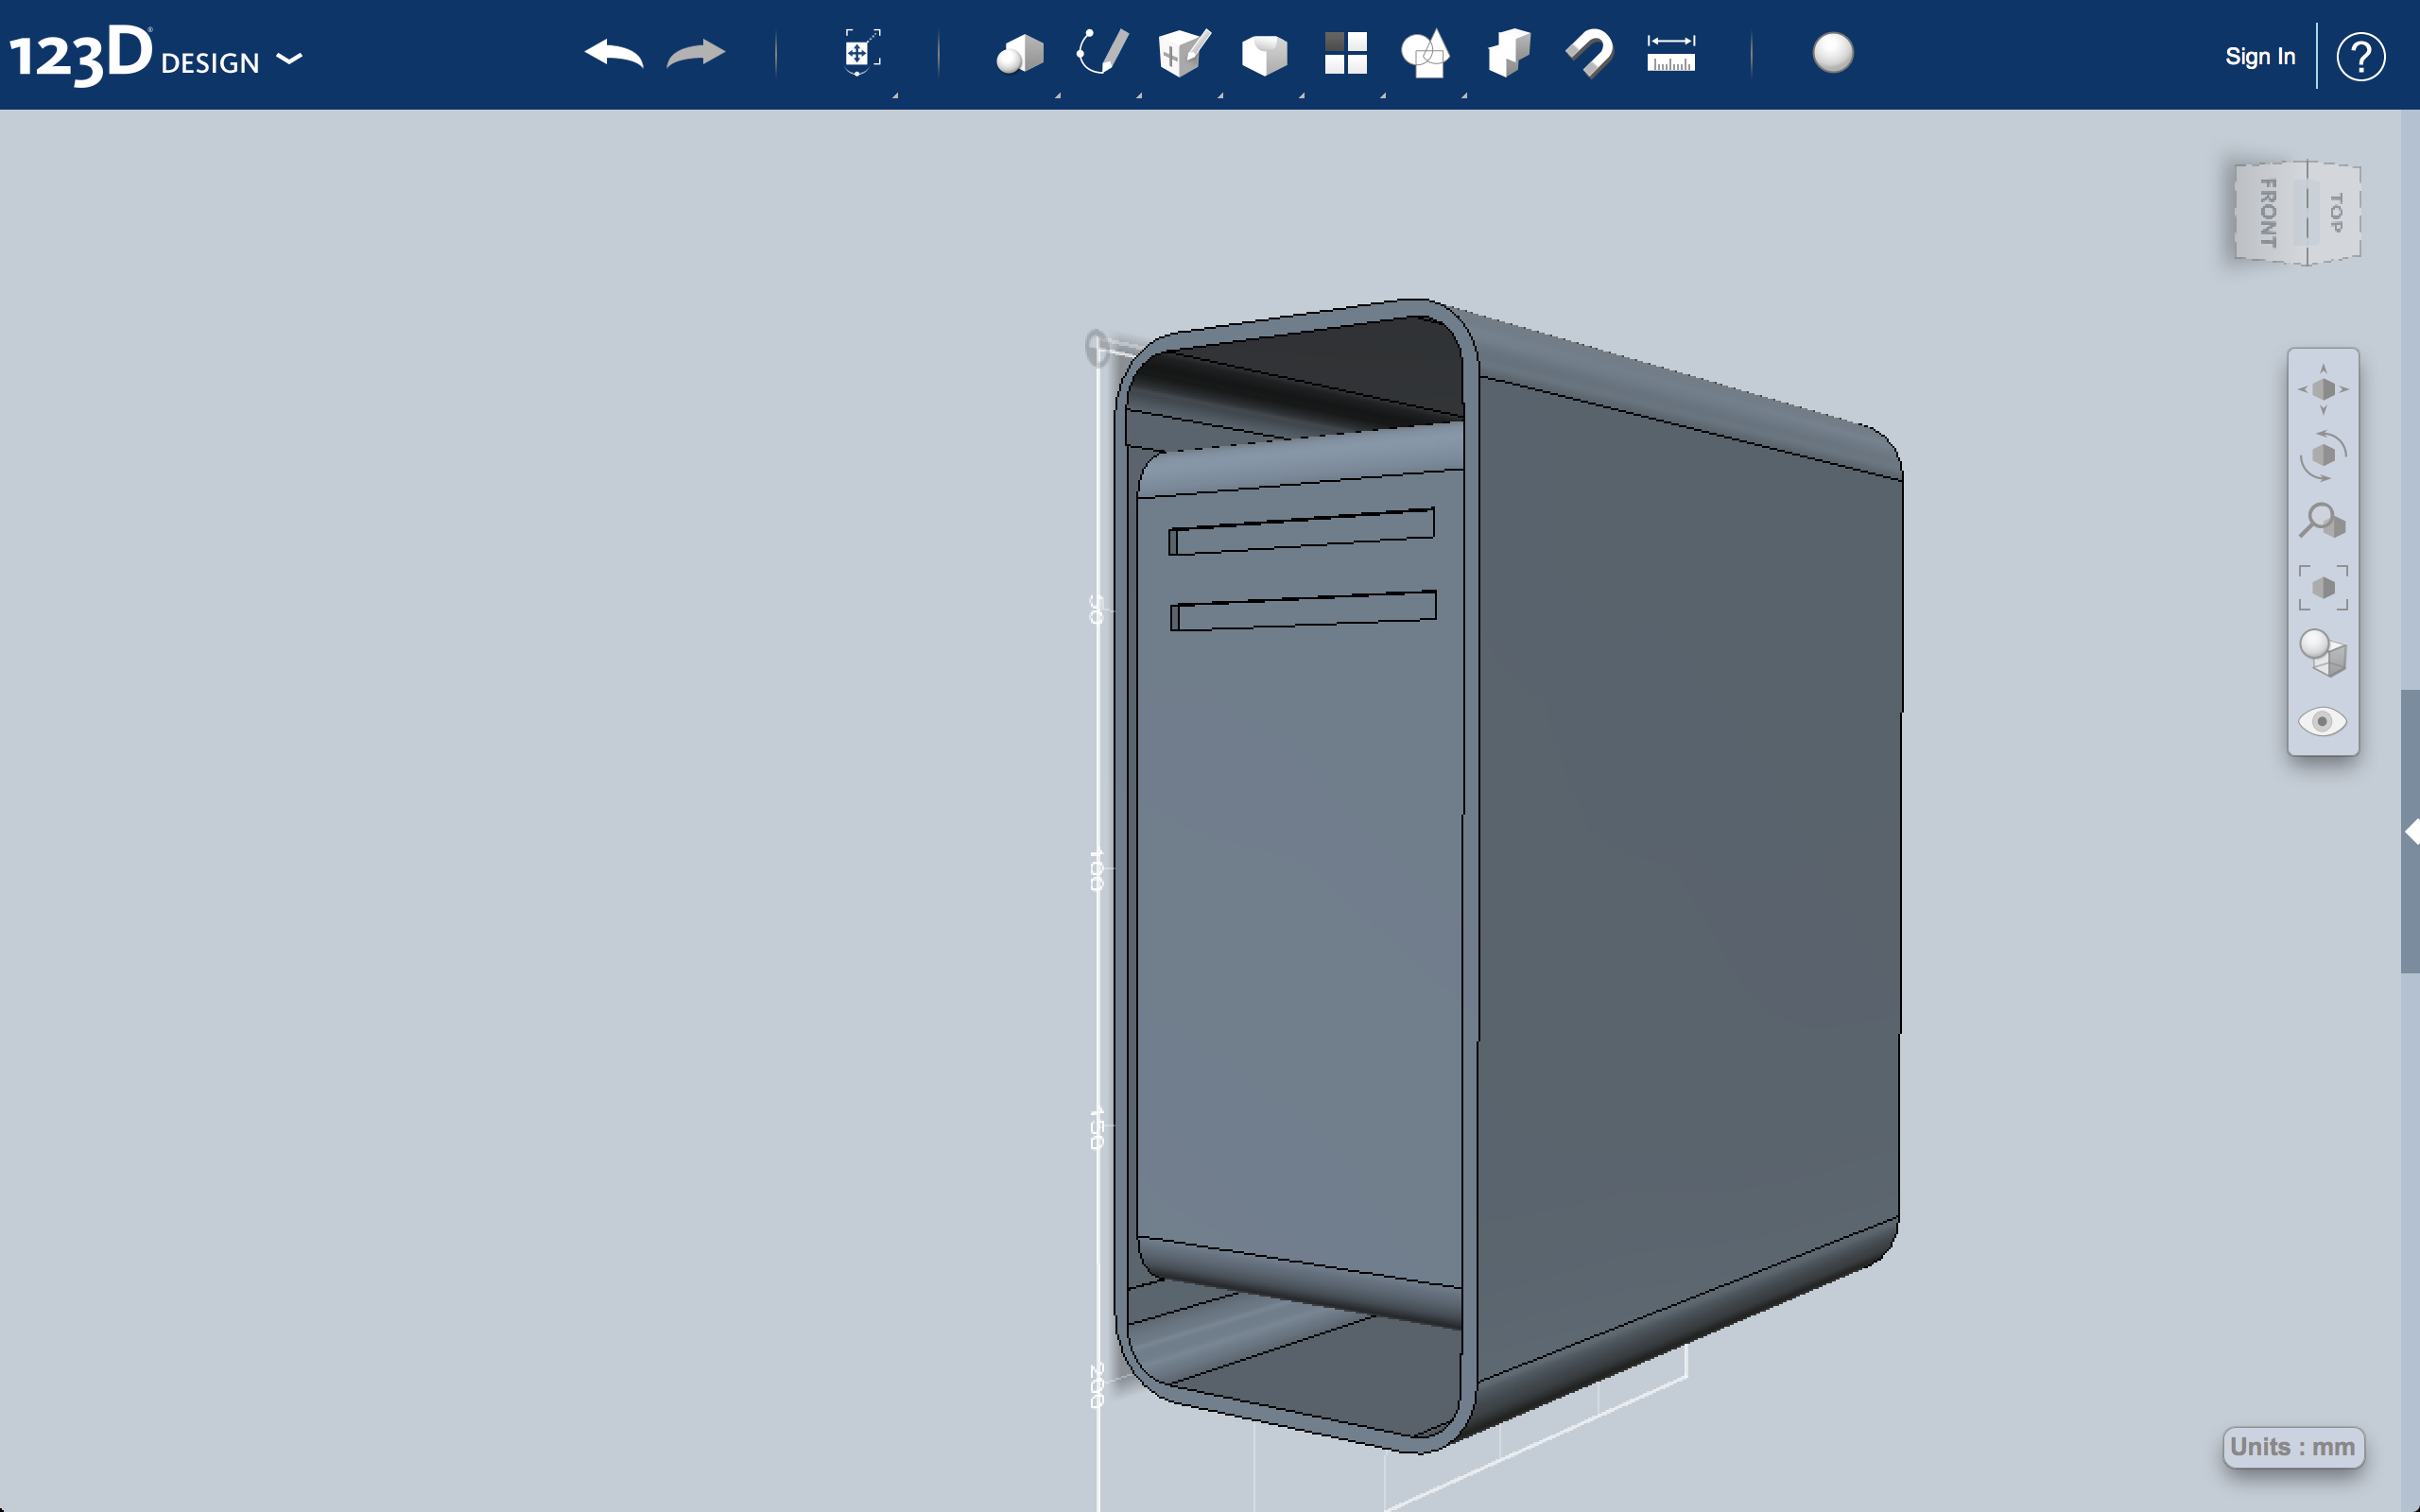
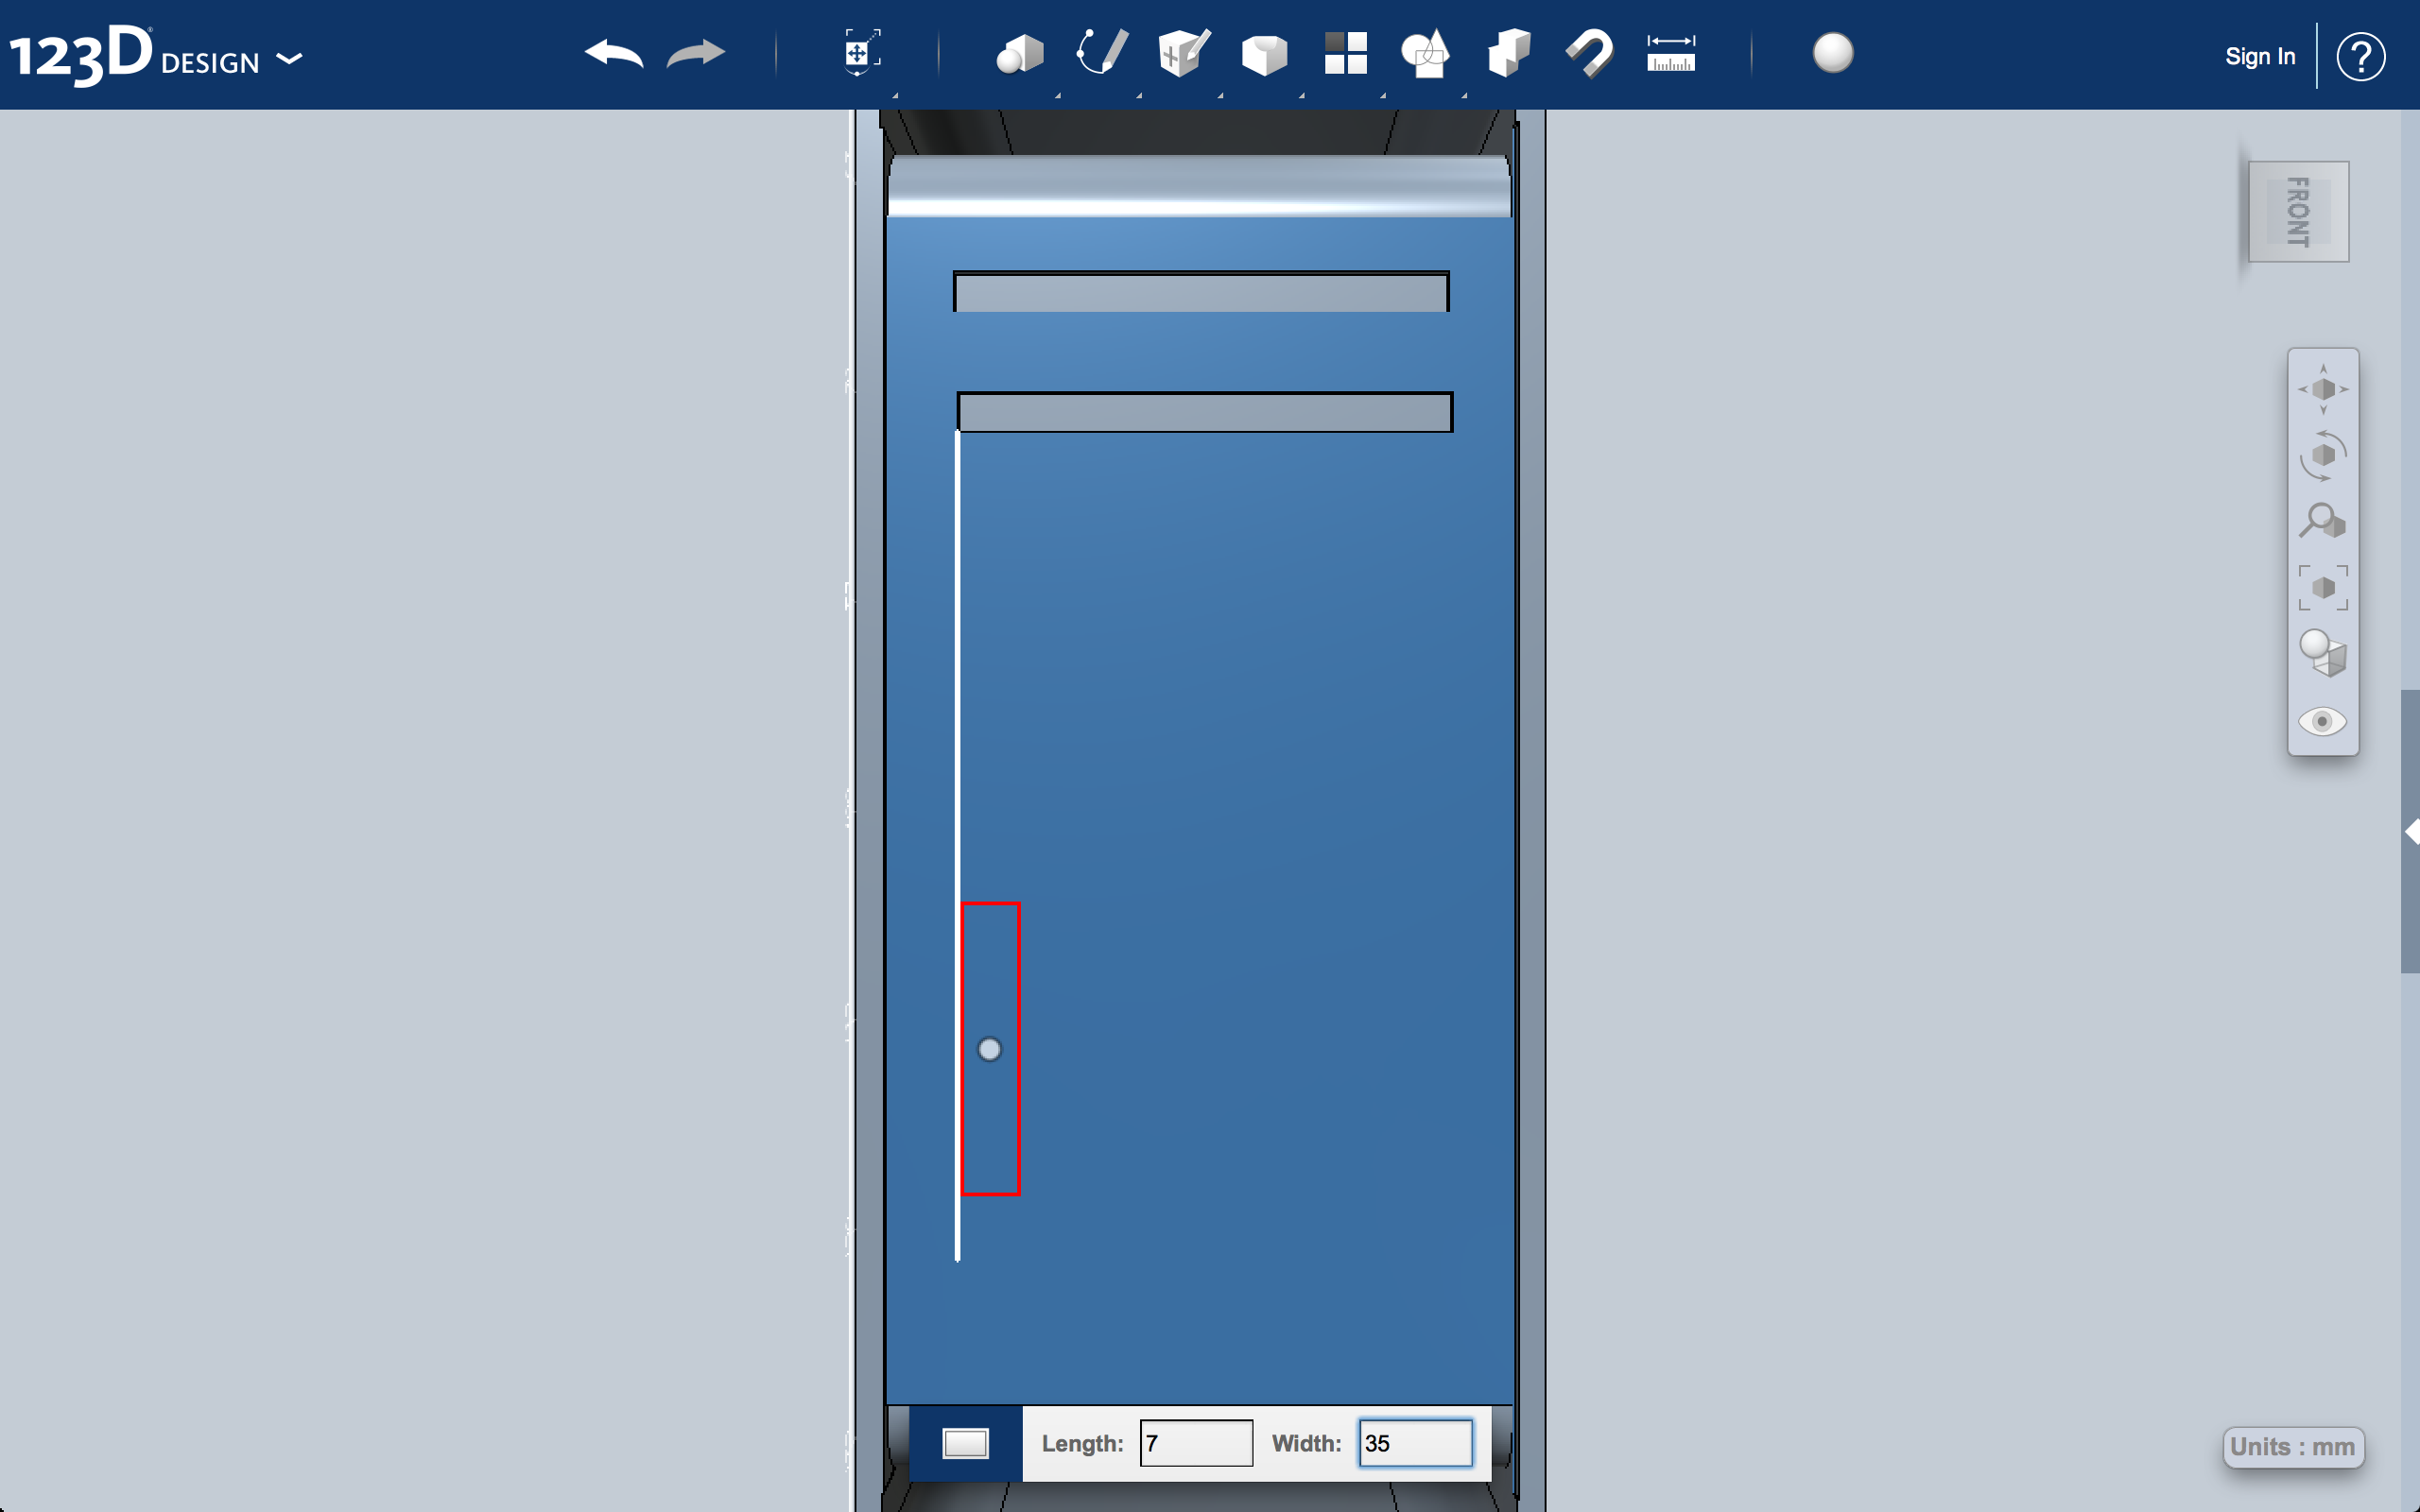
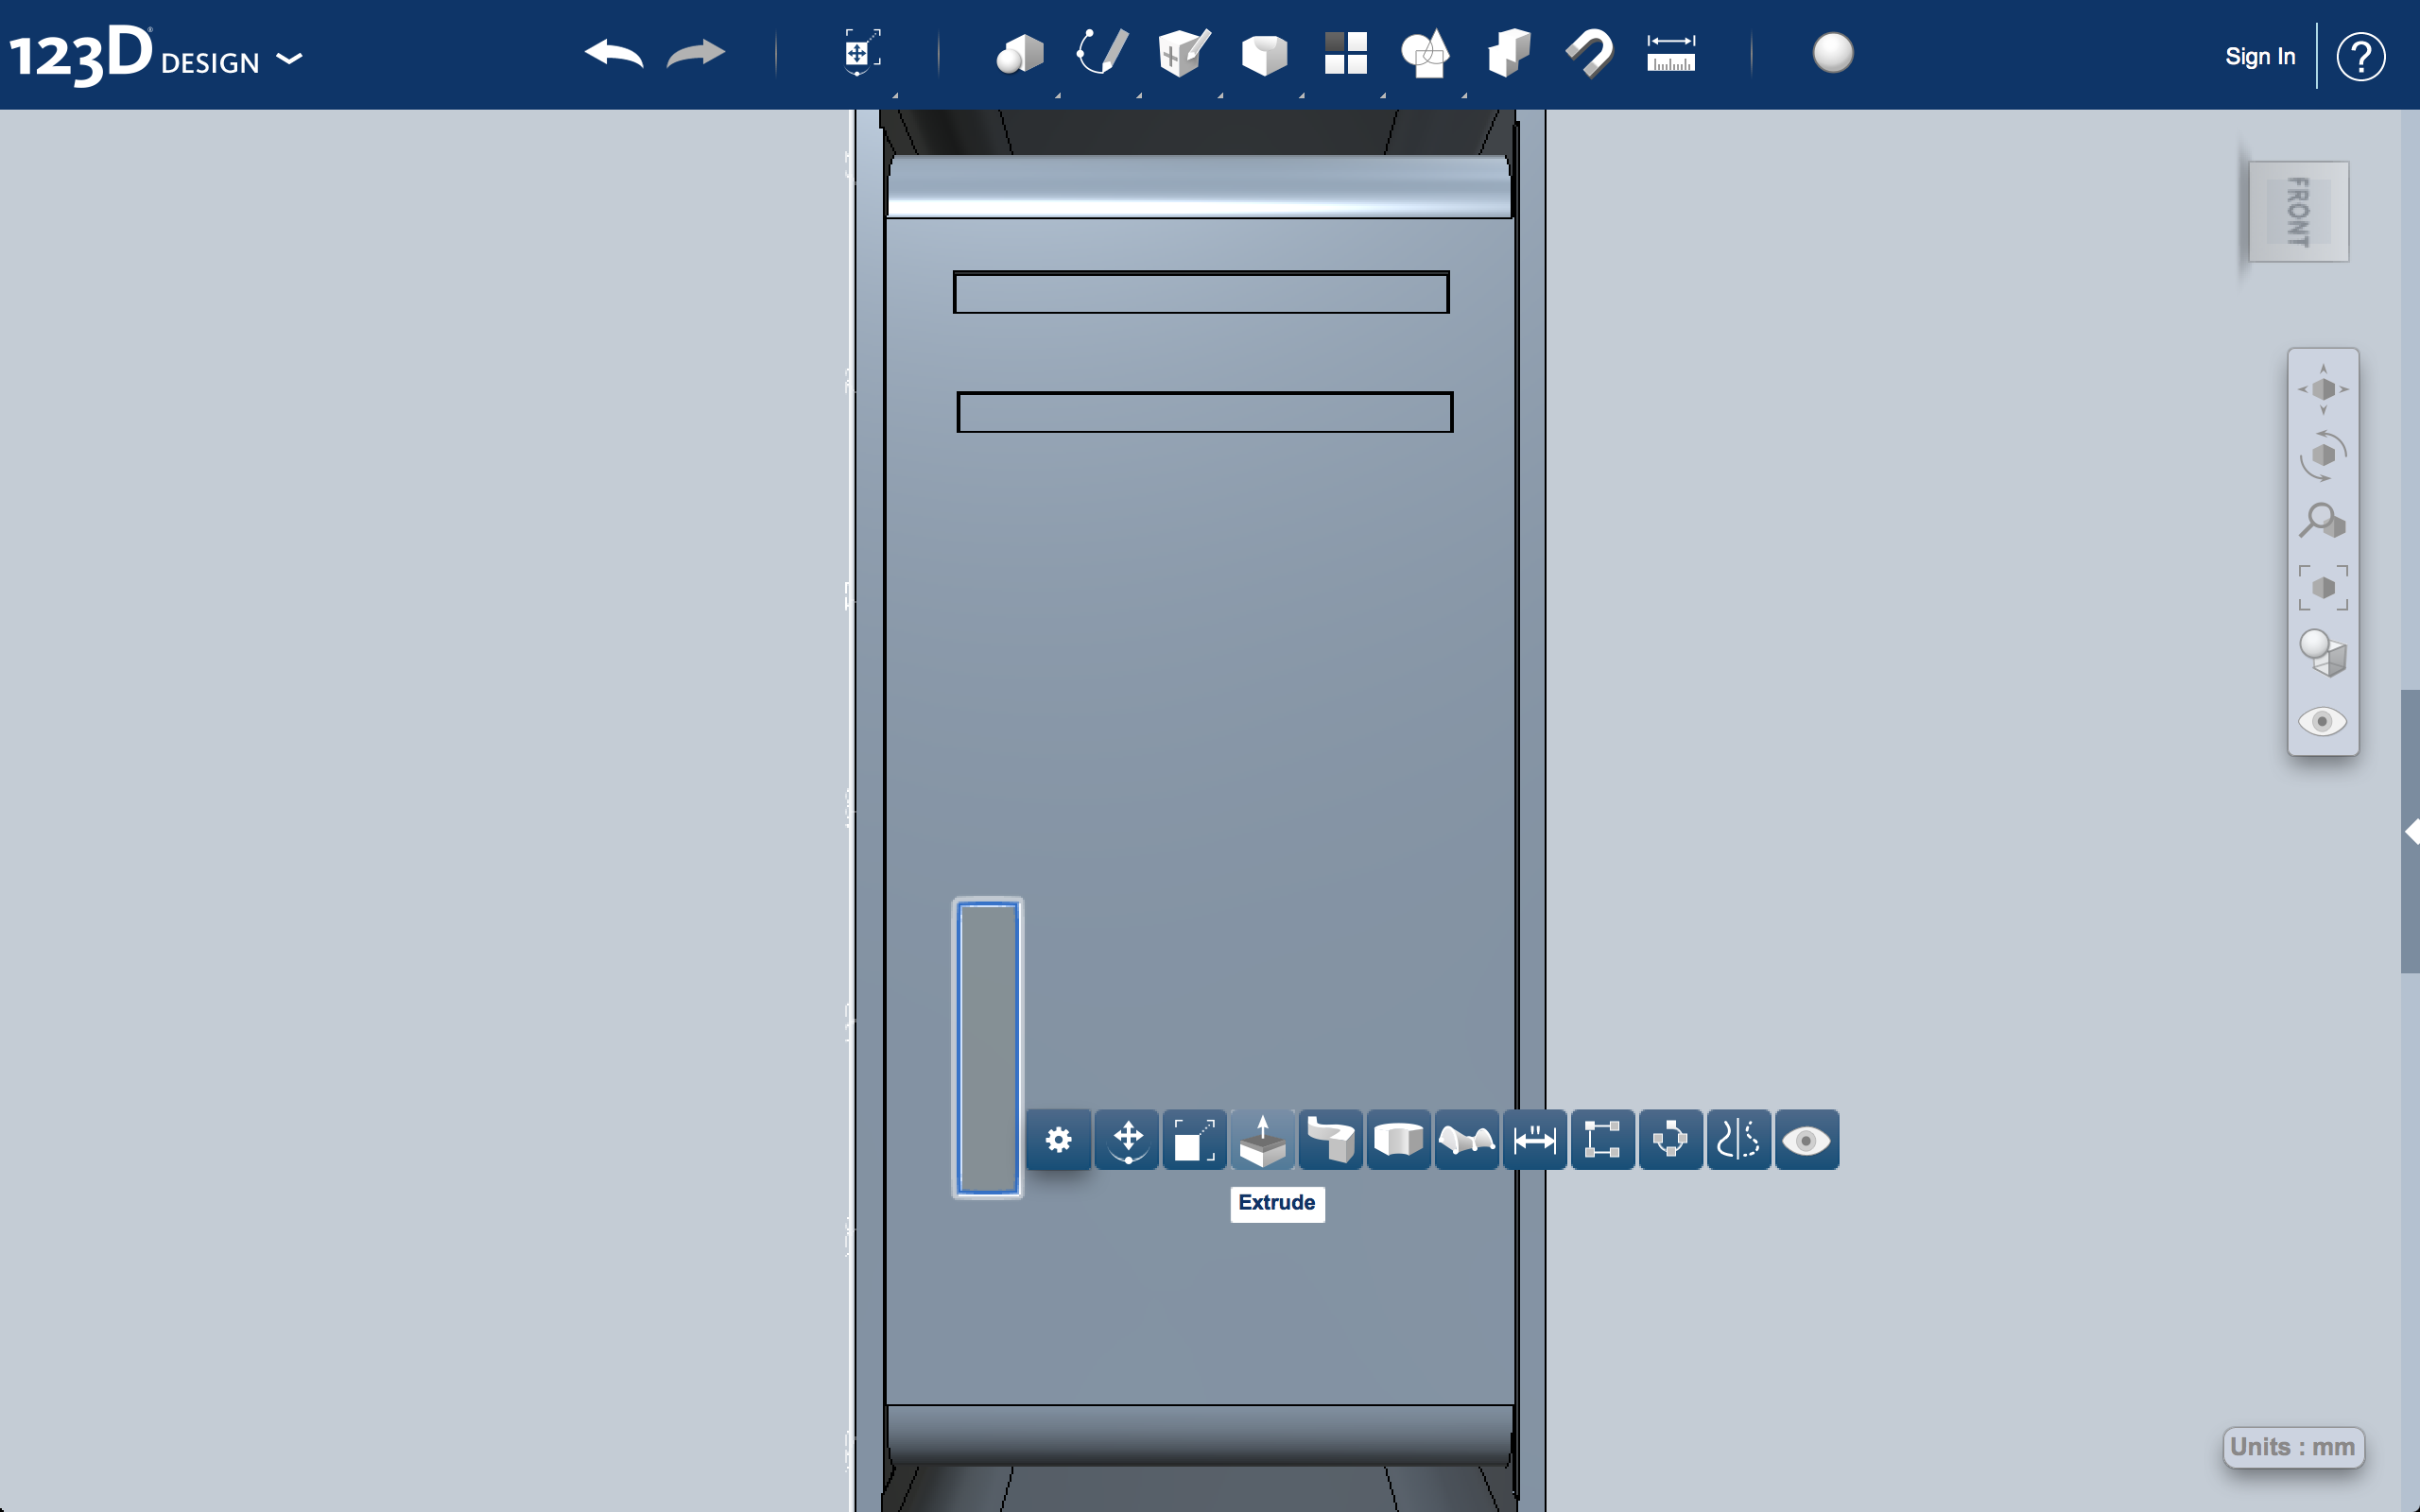
Create and extract rectangles for the pseudo CD-ROM and power button slots.
Cut Out the Handles.
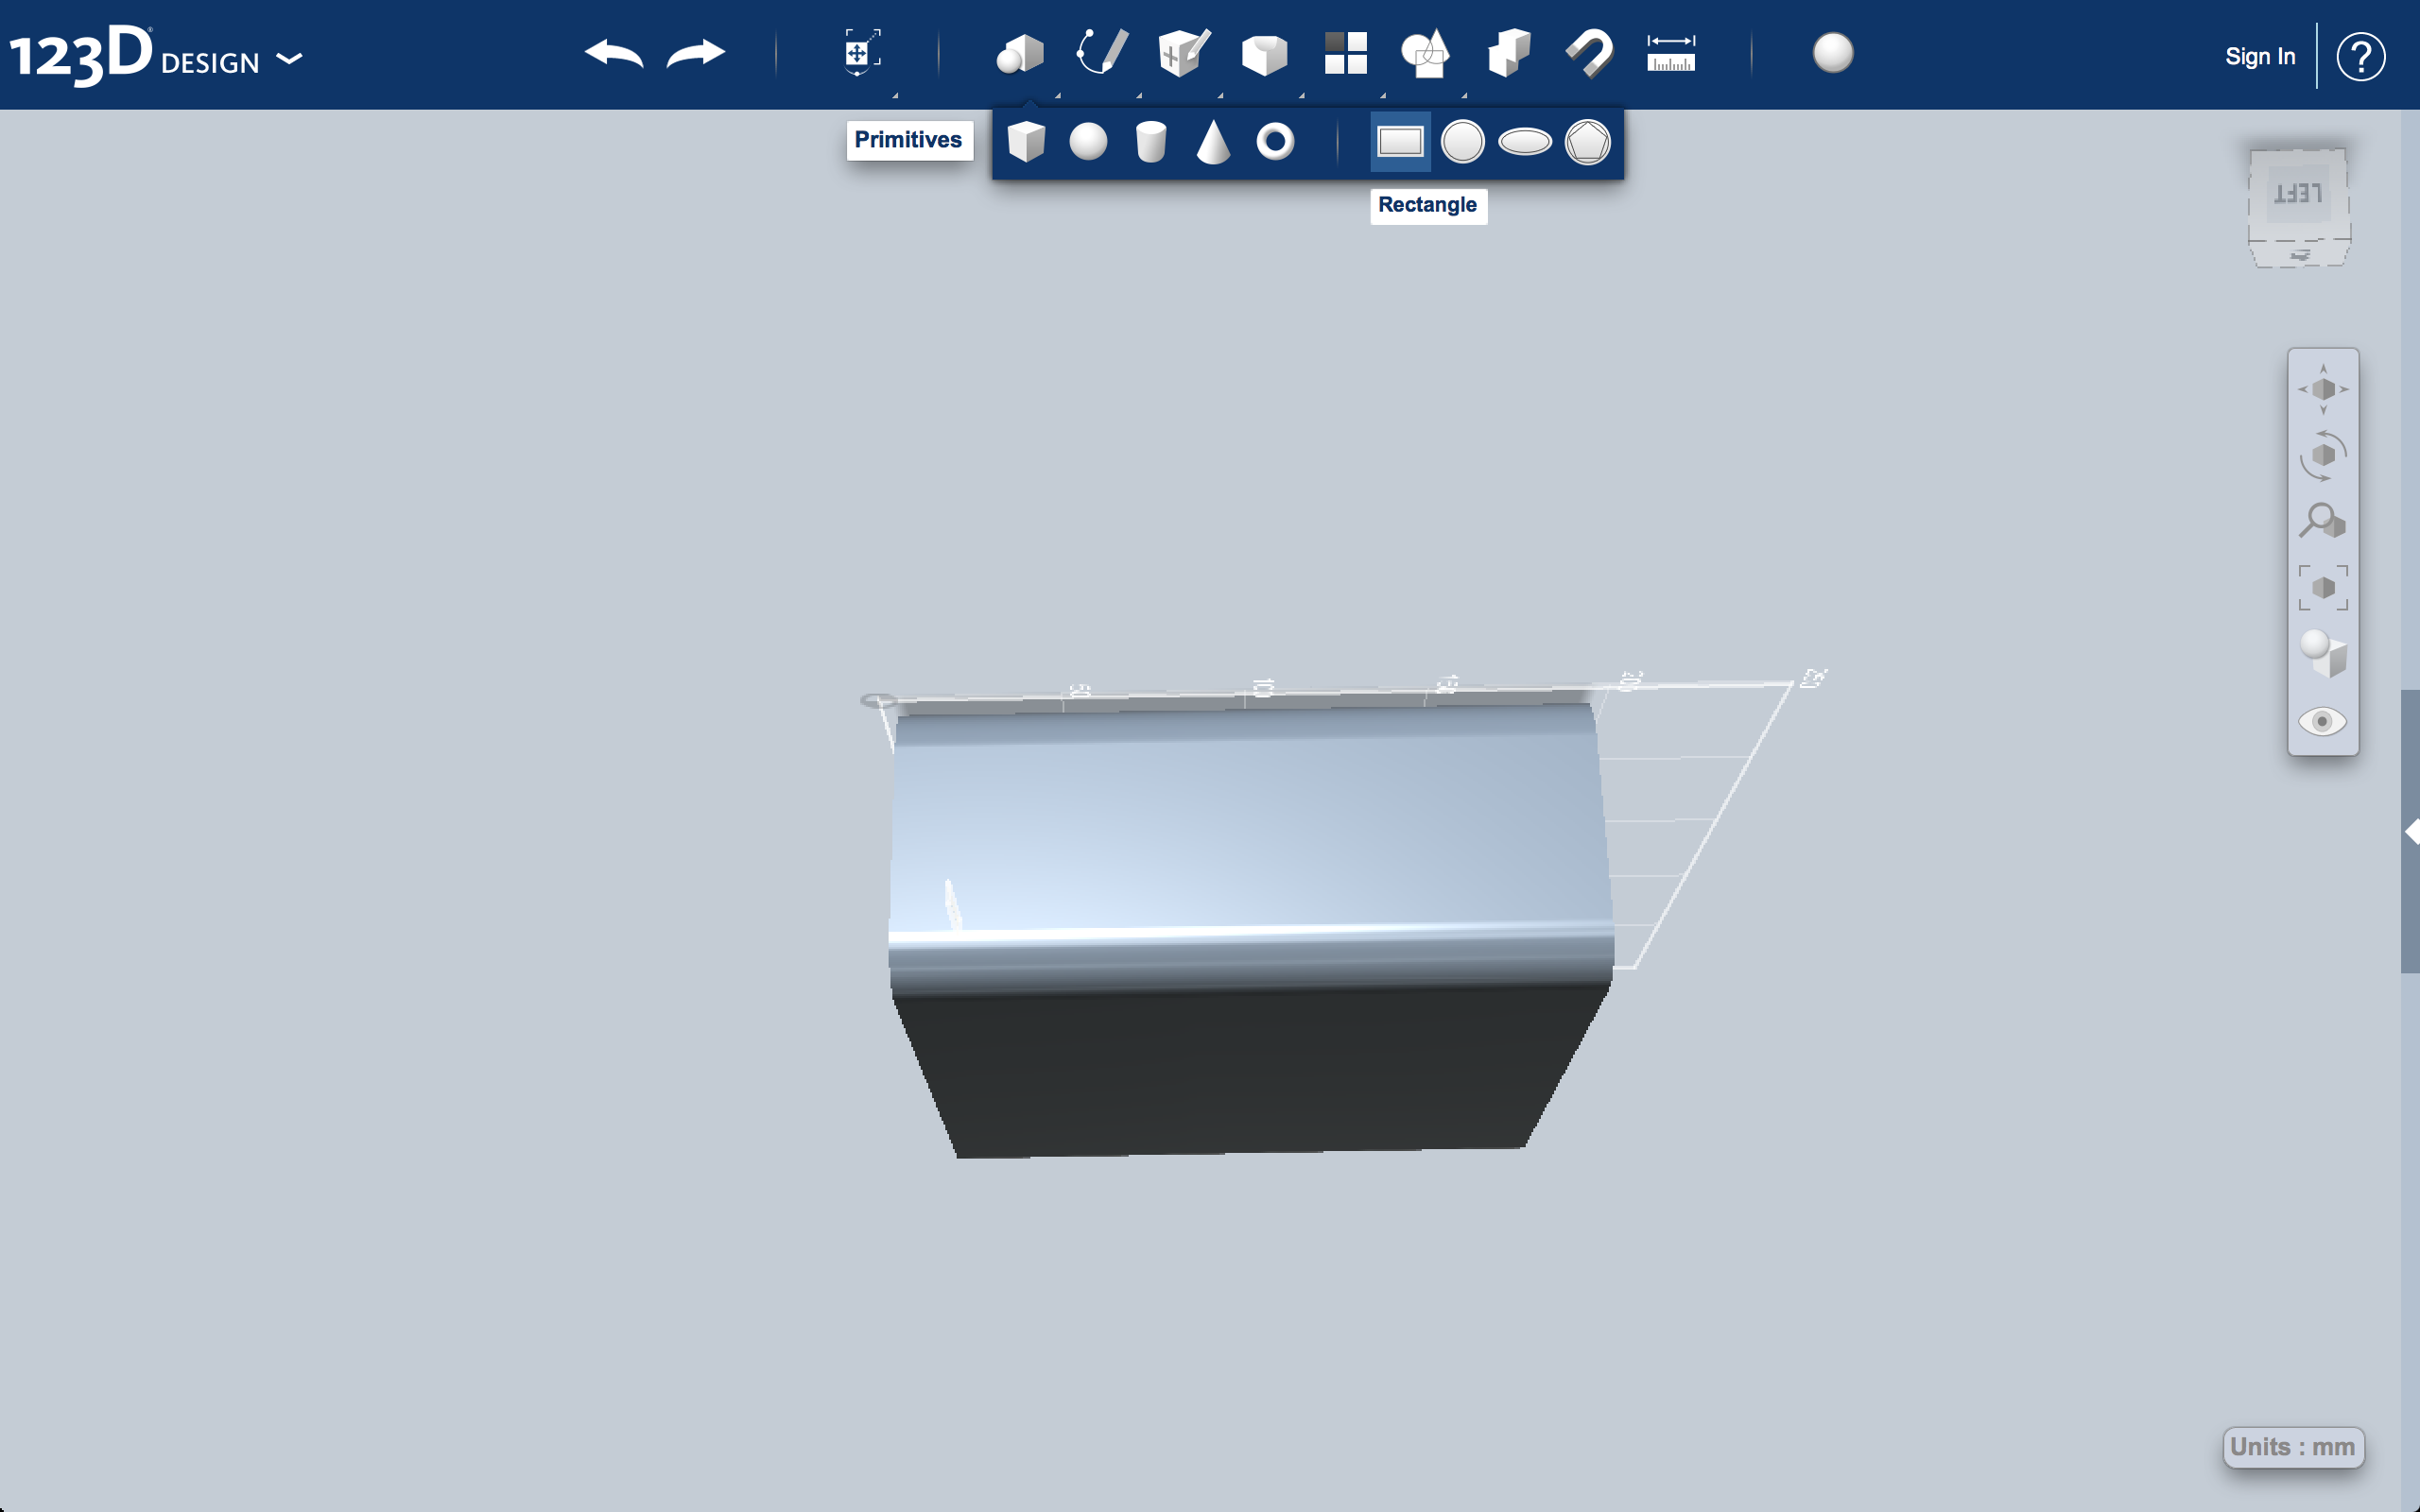
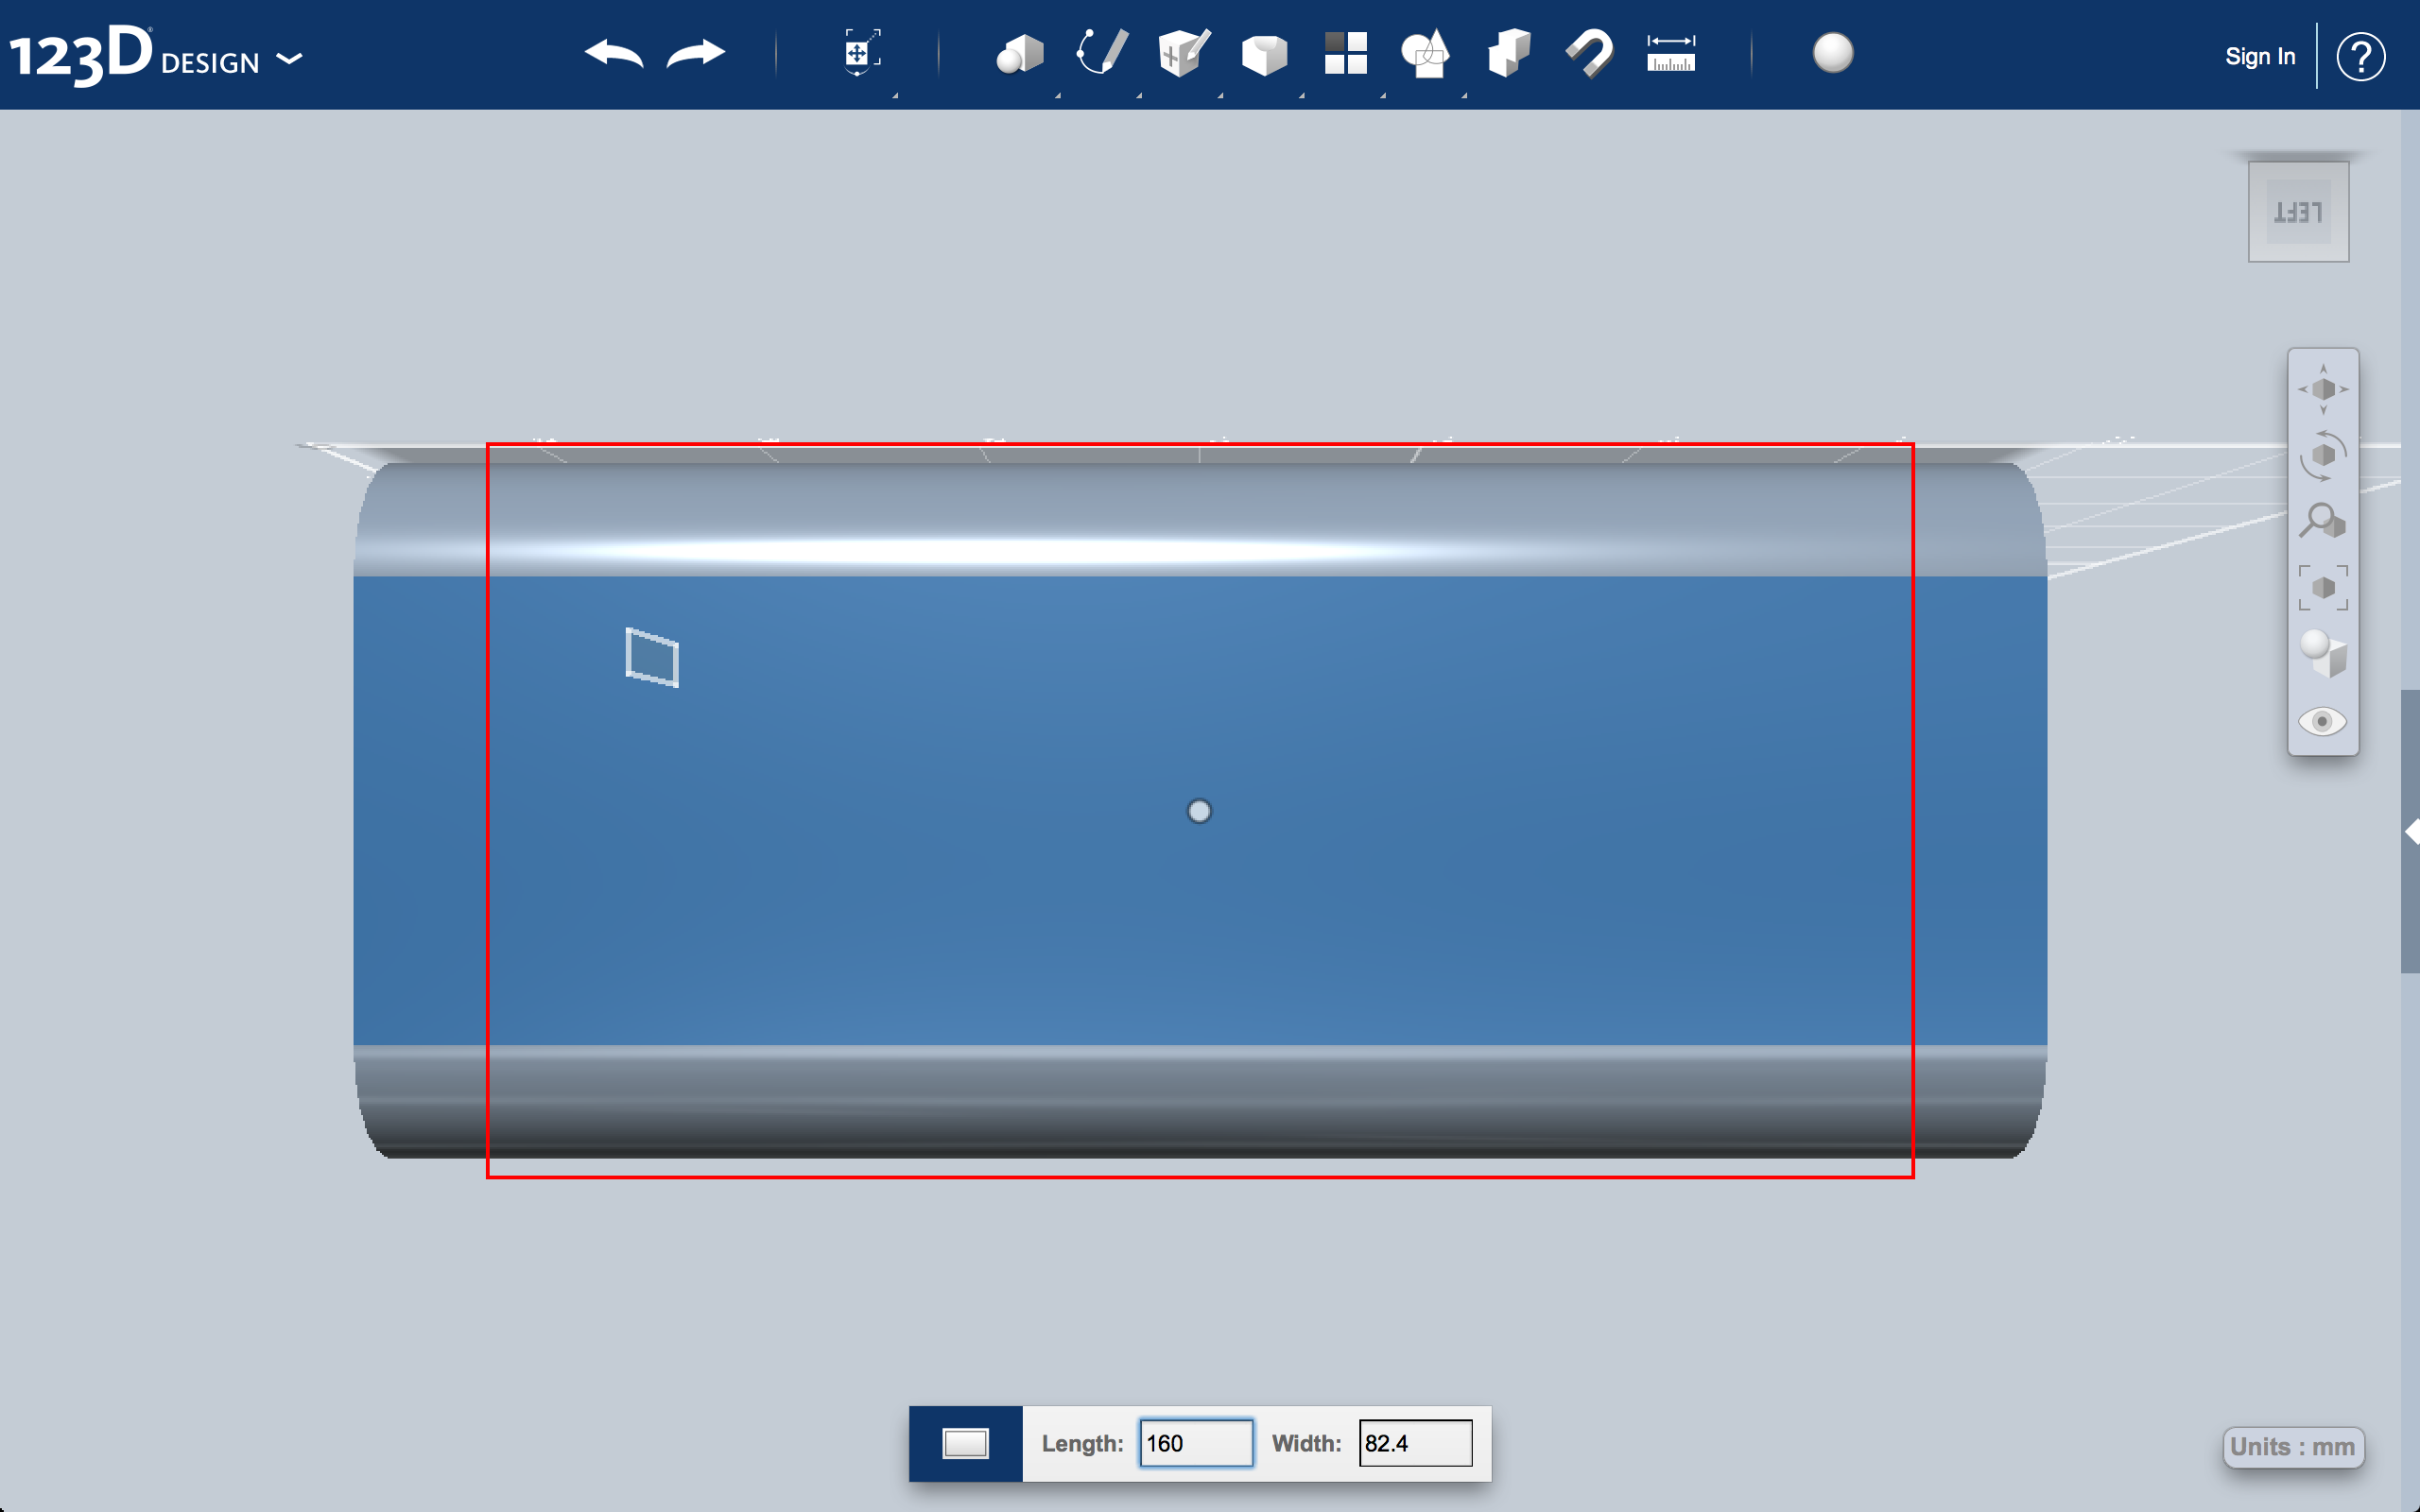
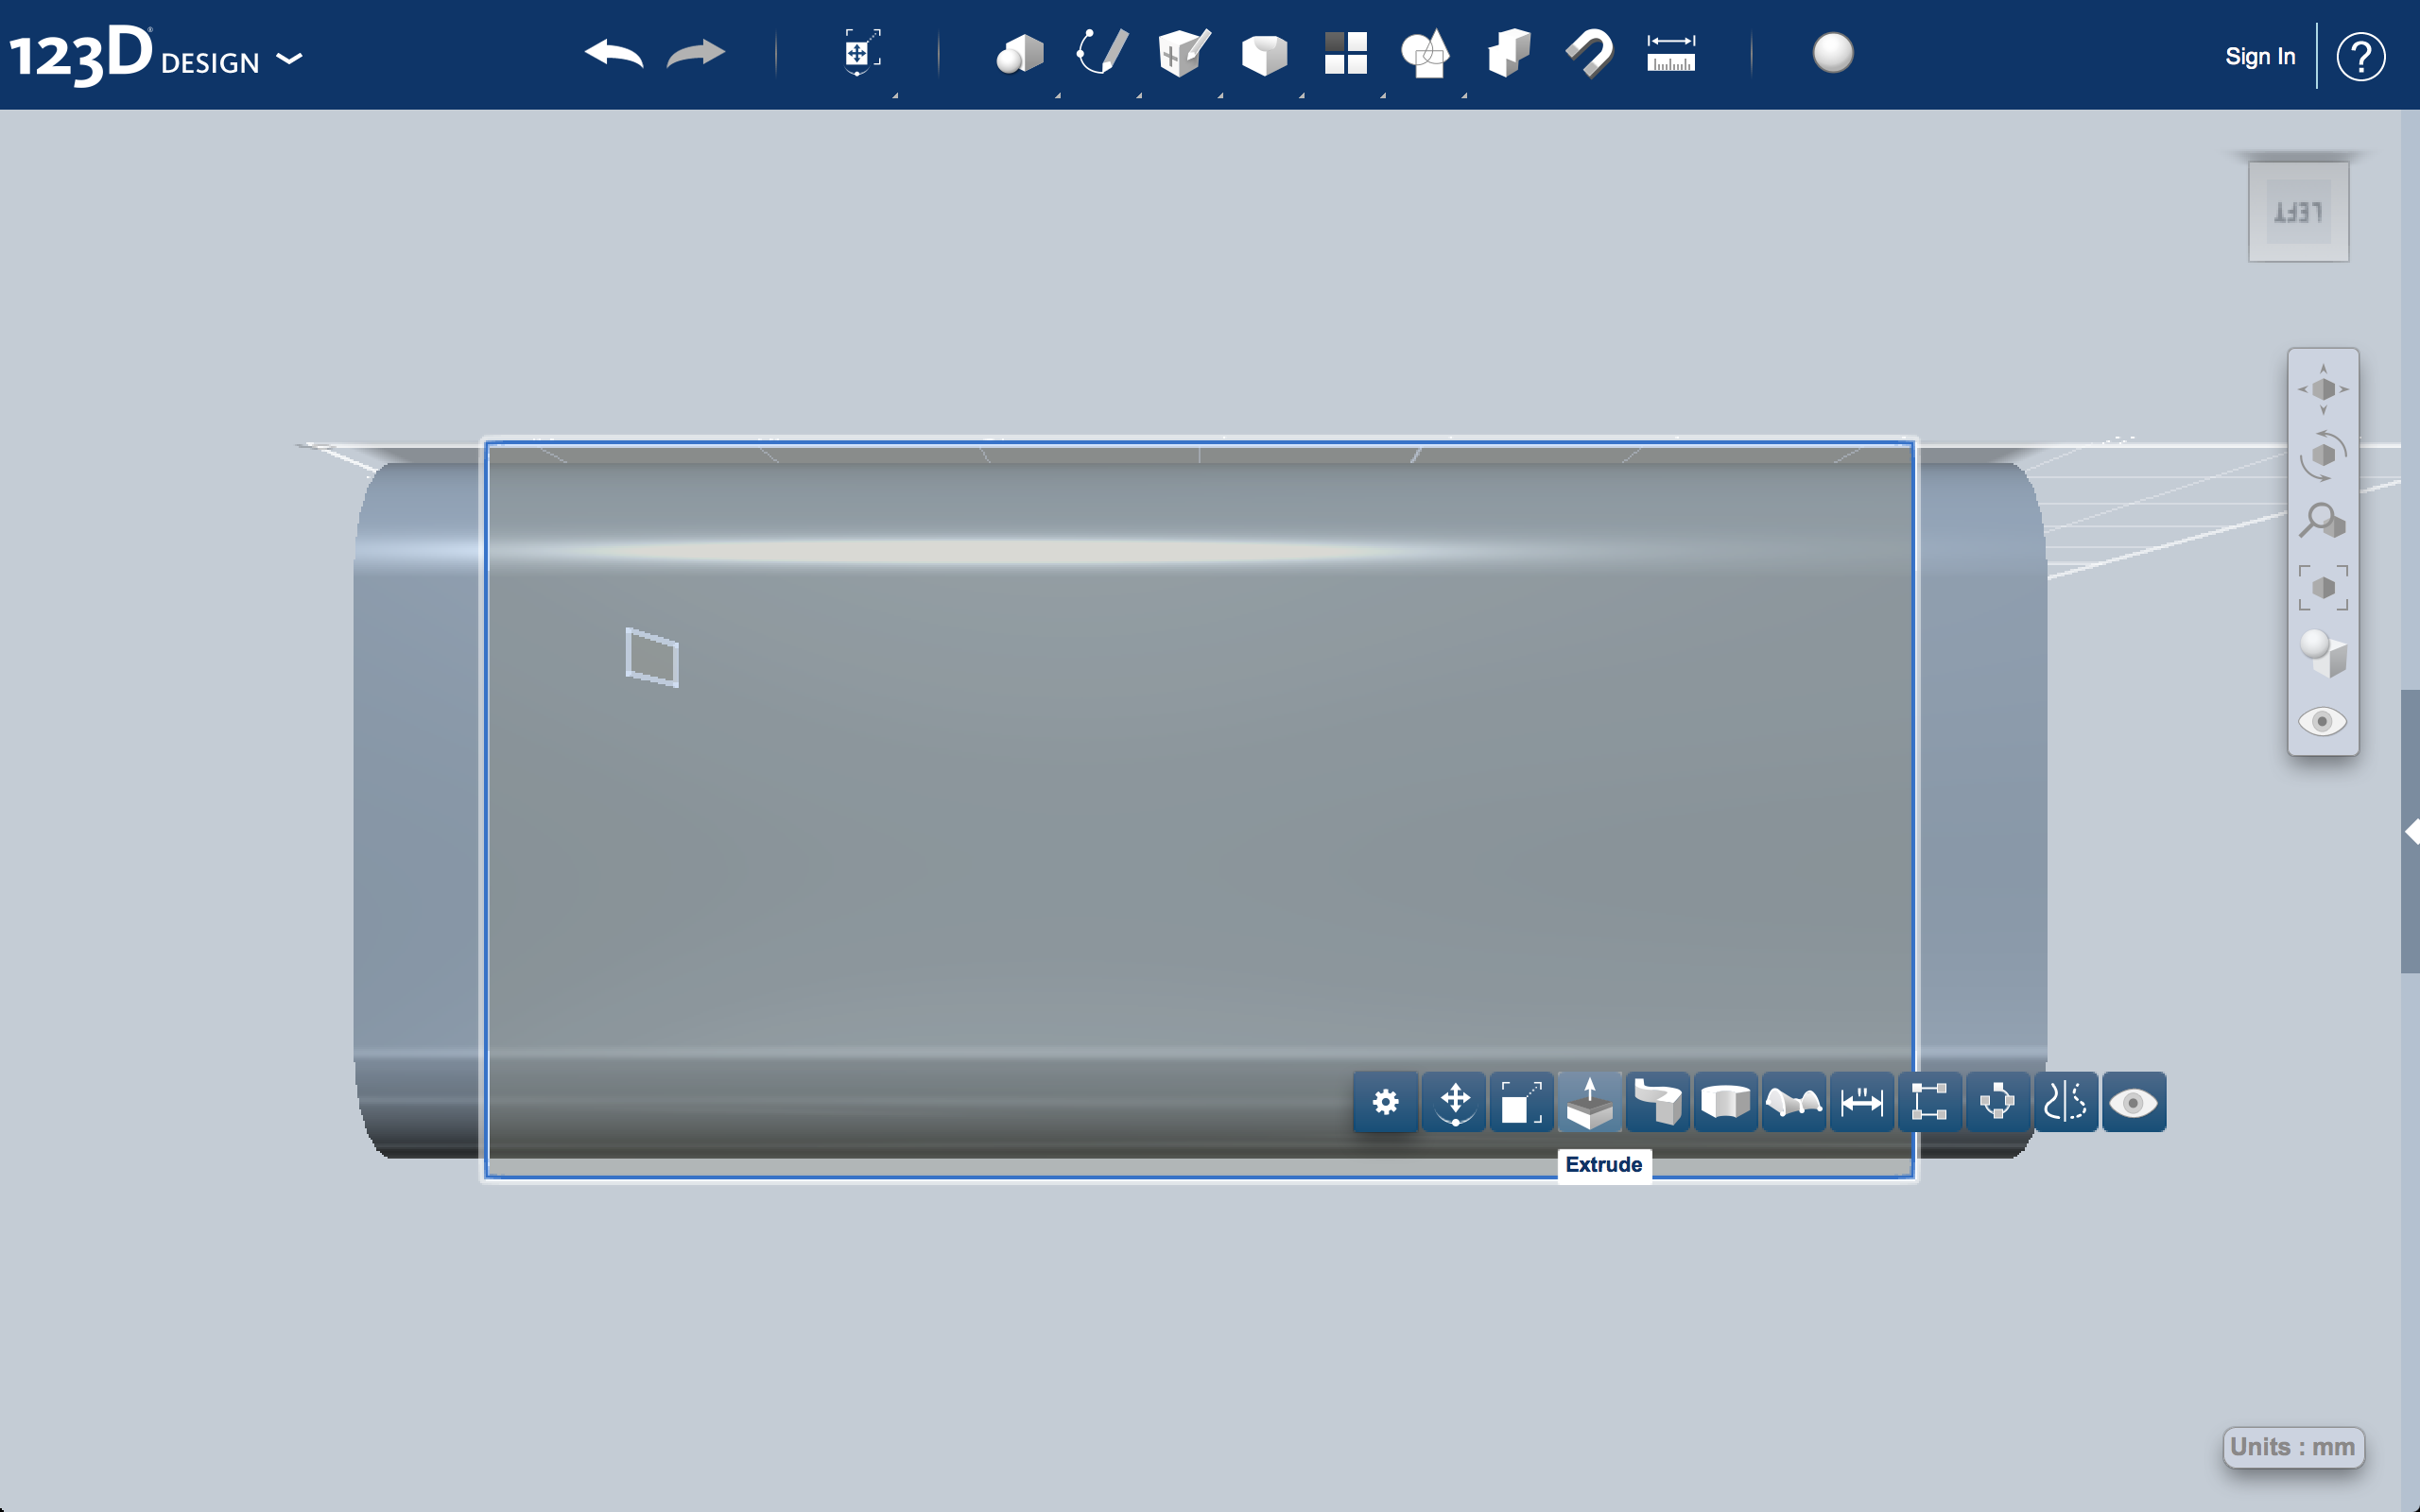
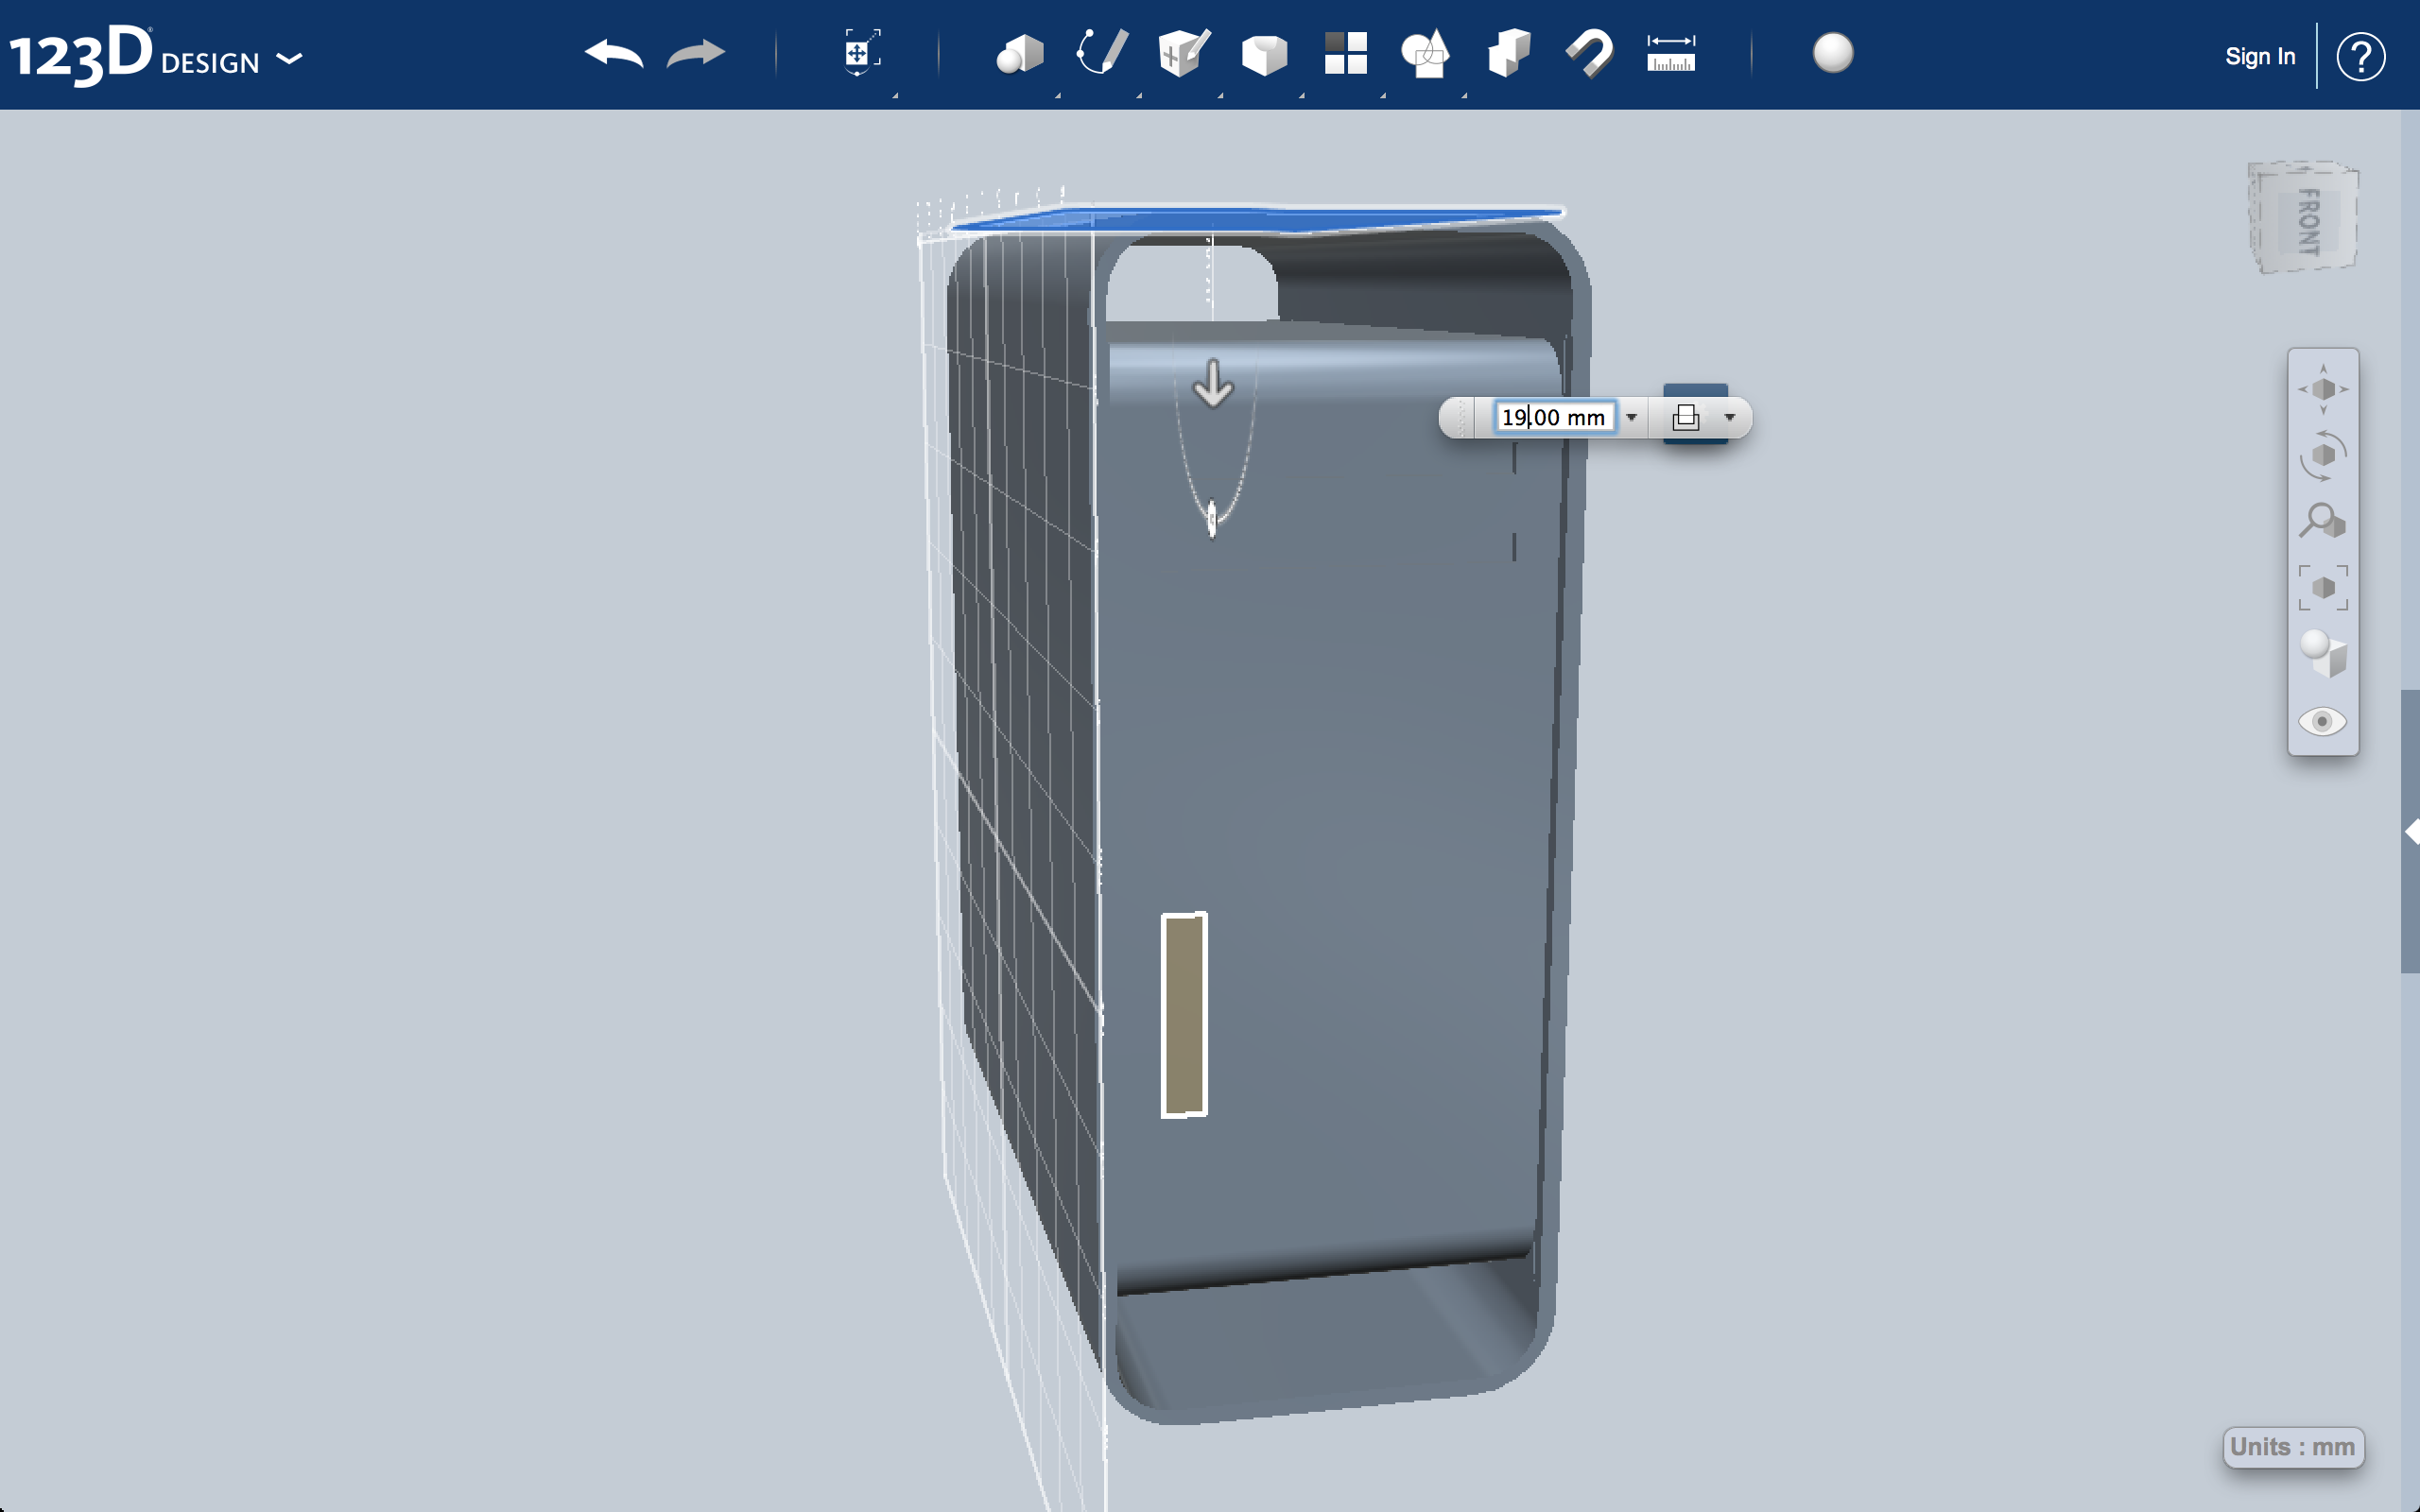
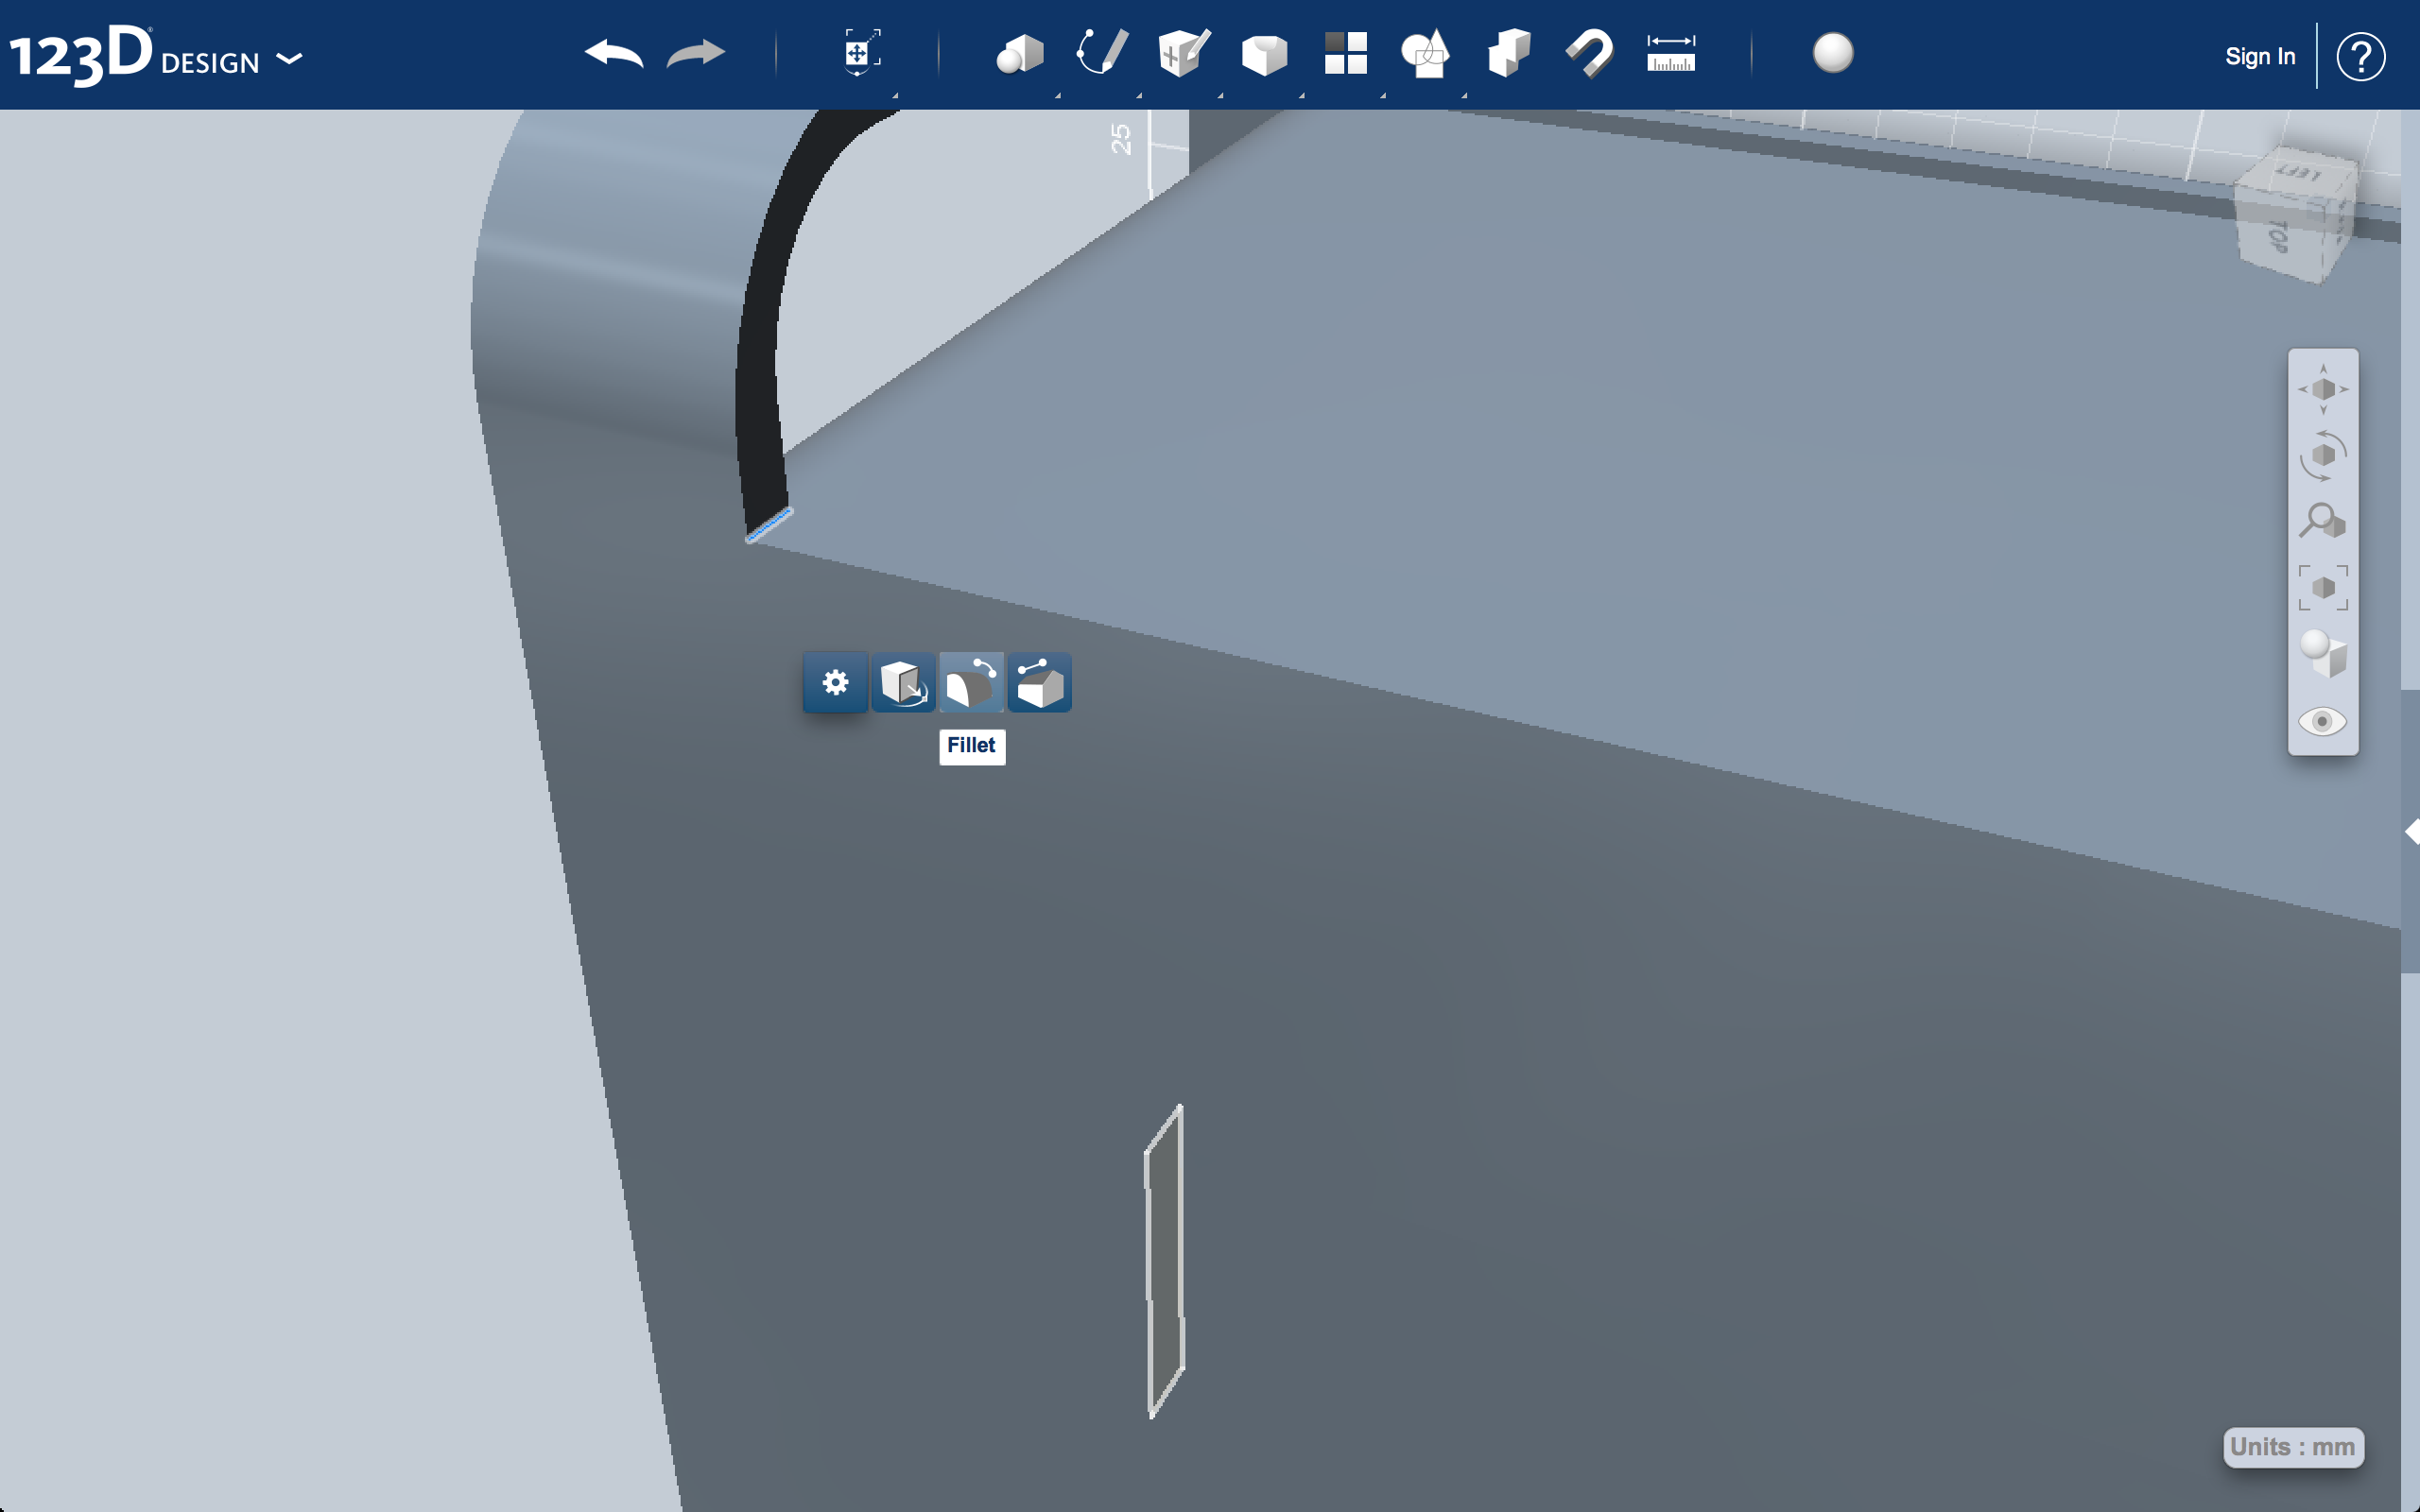
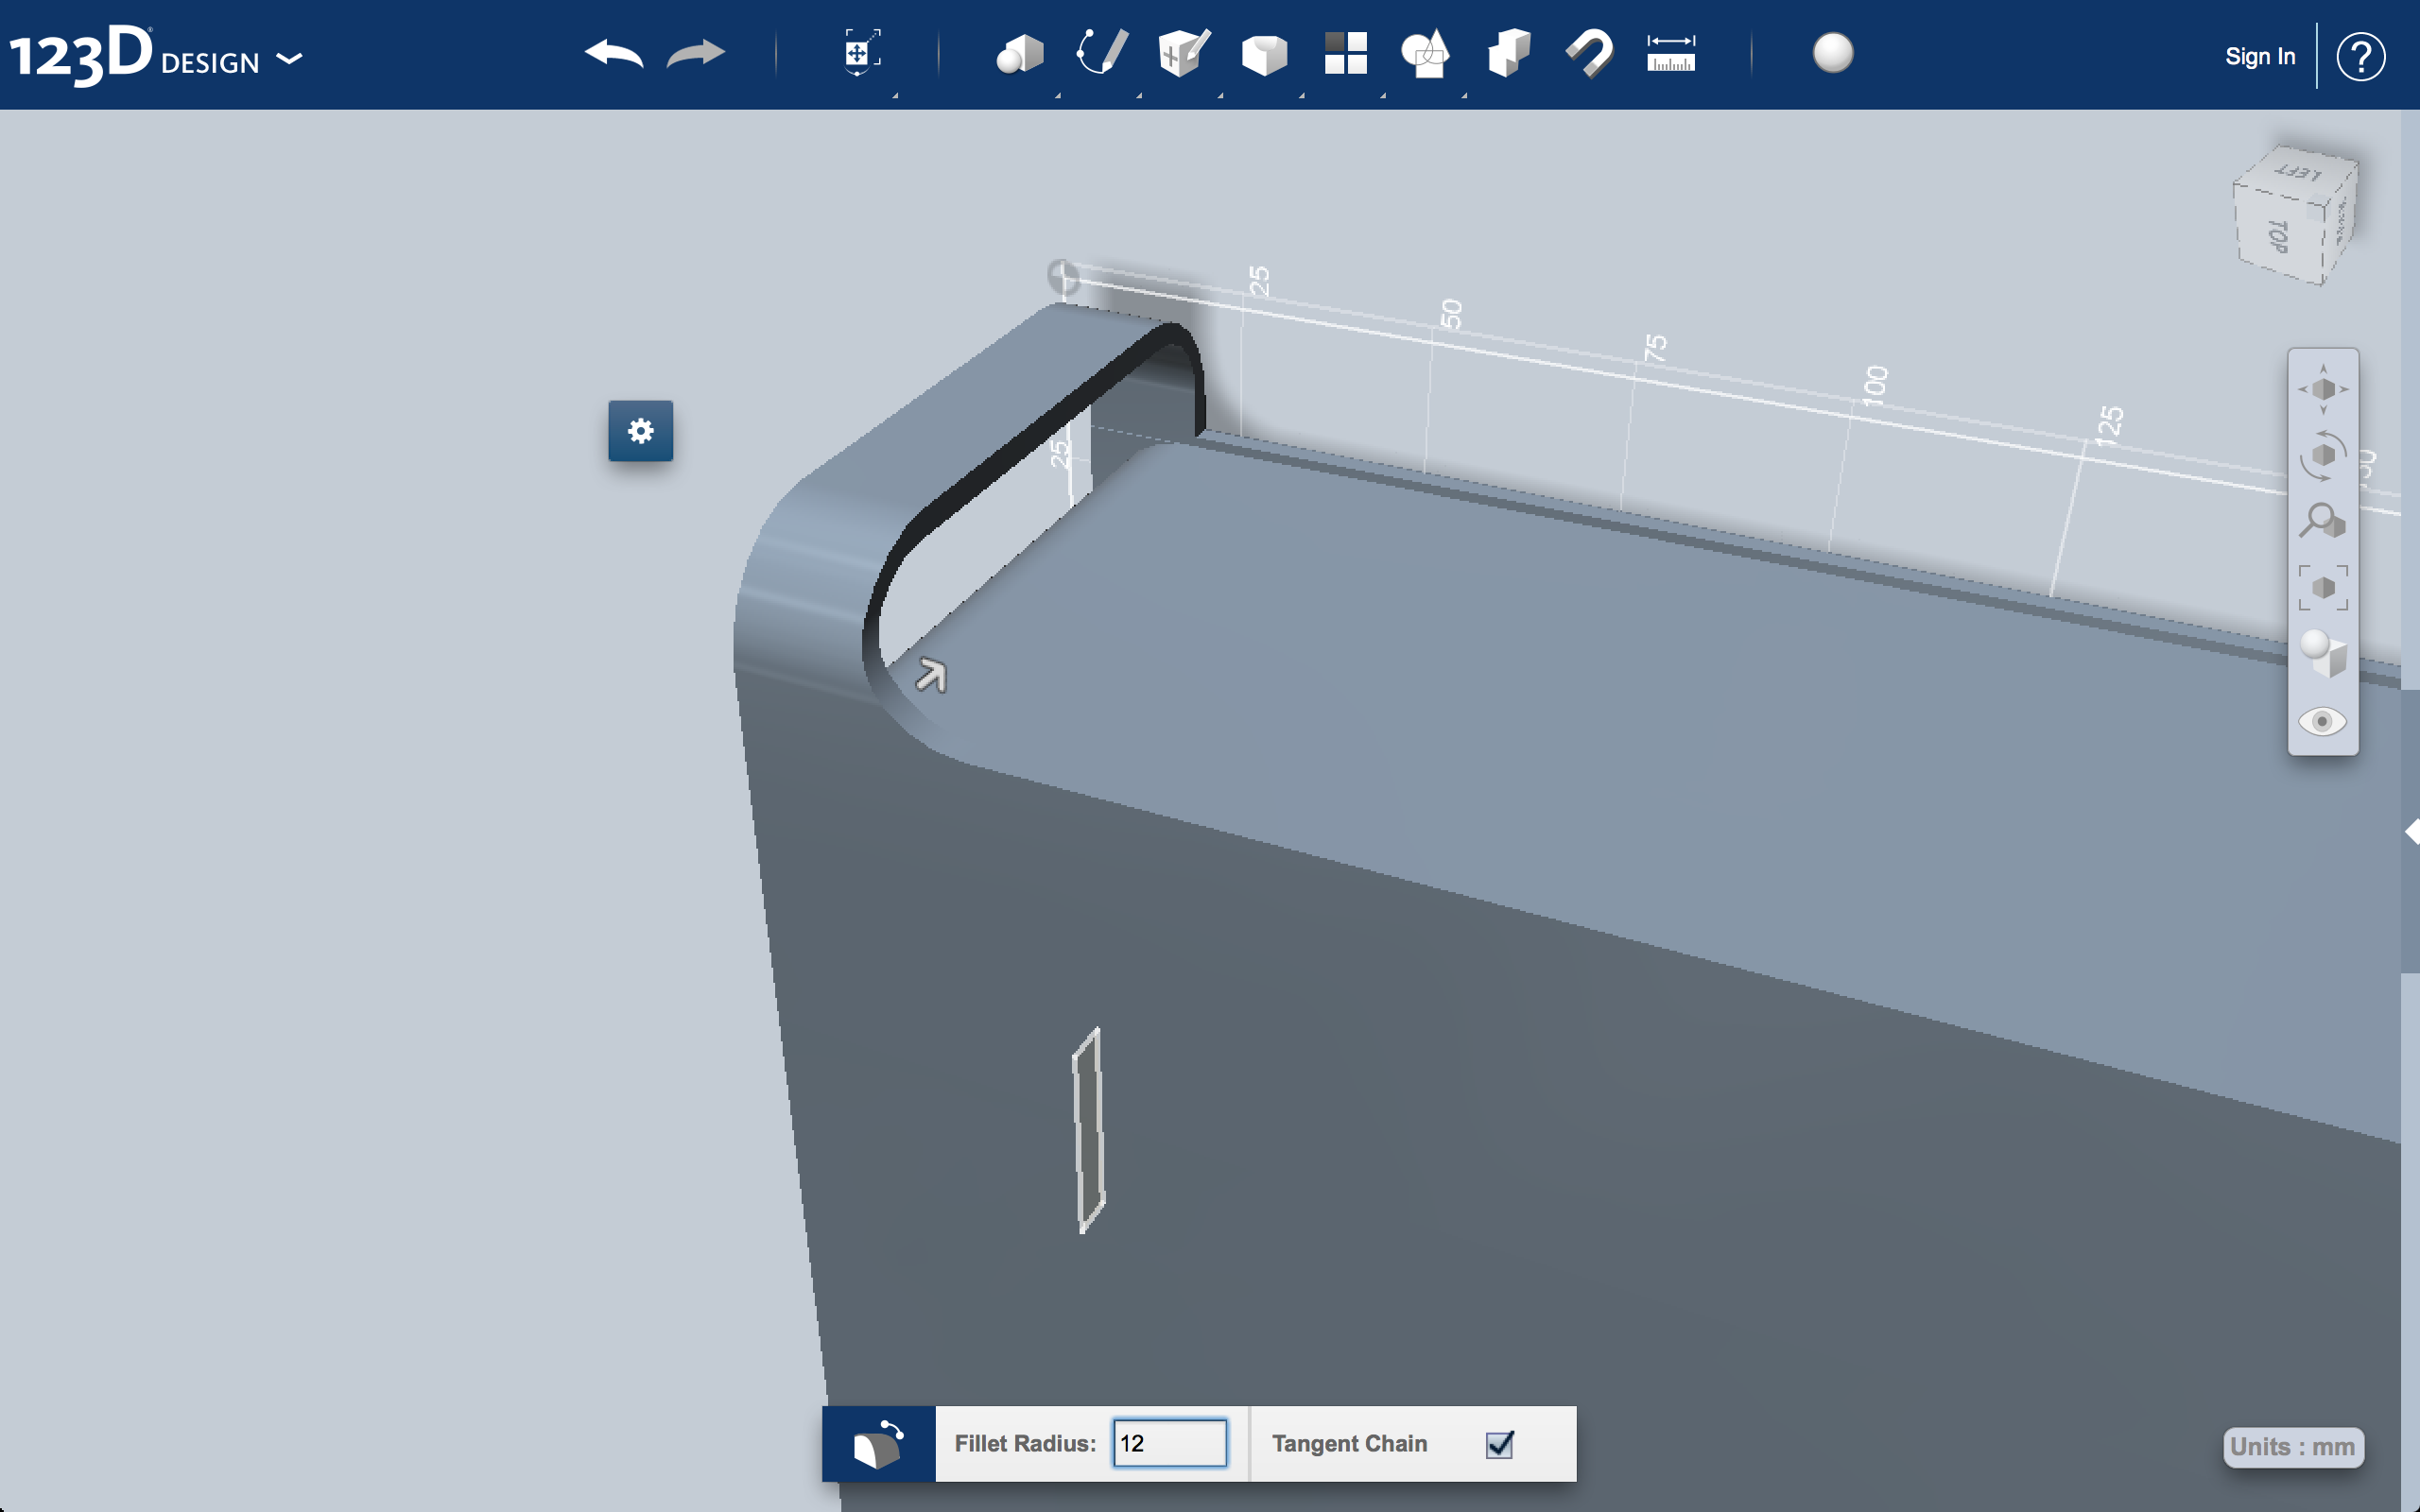
In this step you will be cutting the handles out and then rounding the corners.
Scale Model and Cut Out Area for Lenovo Computer
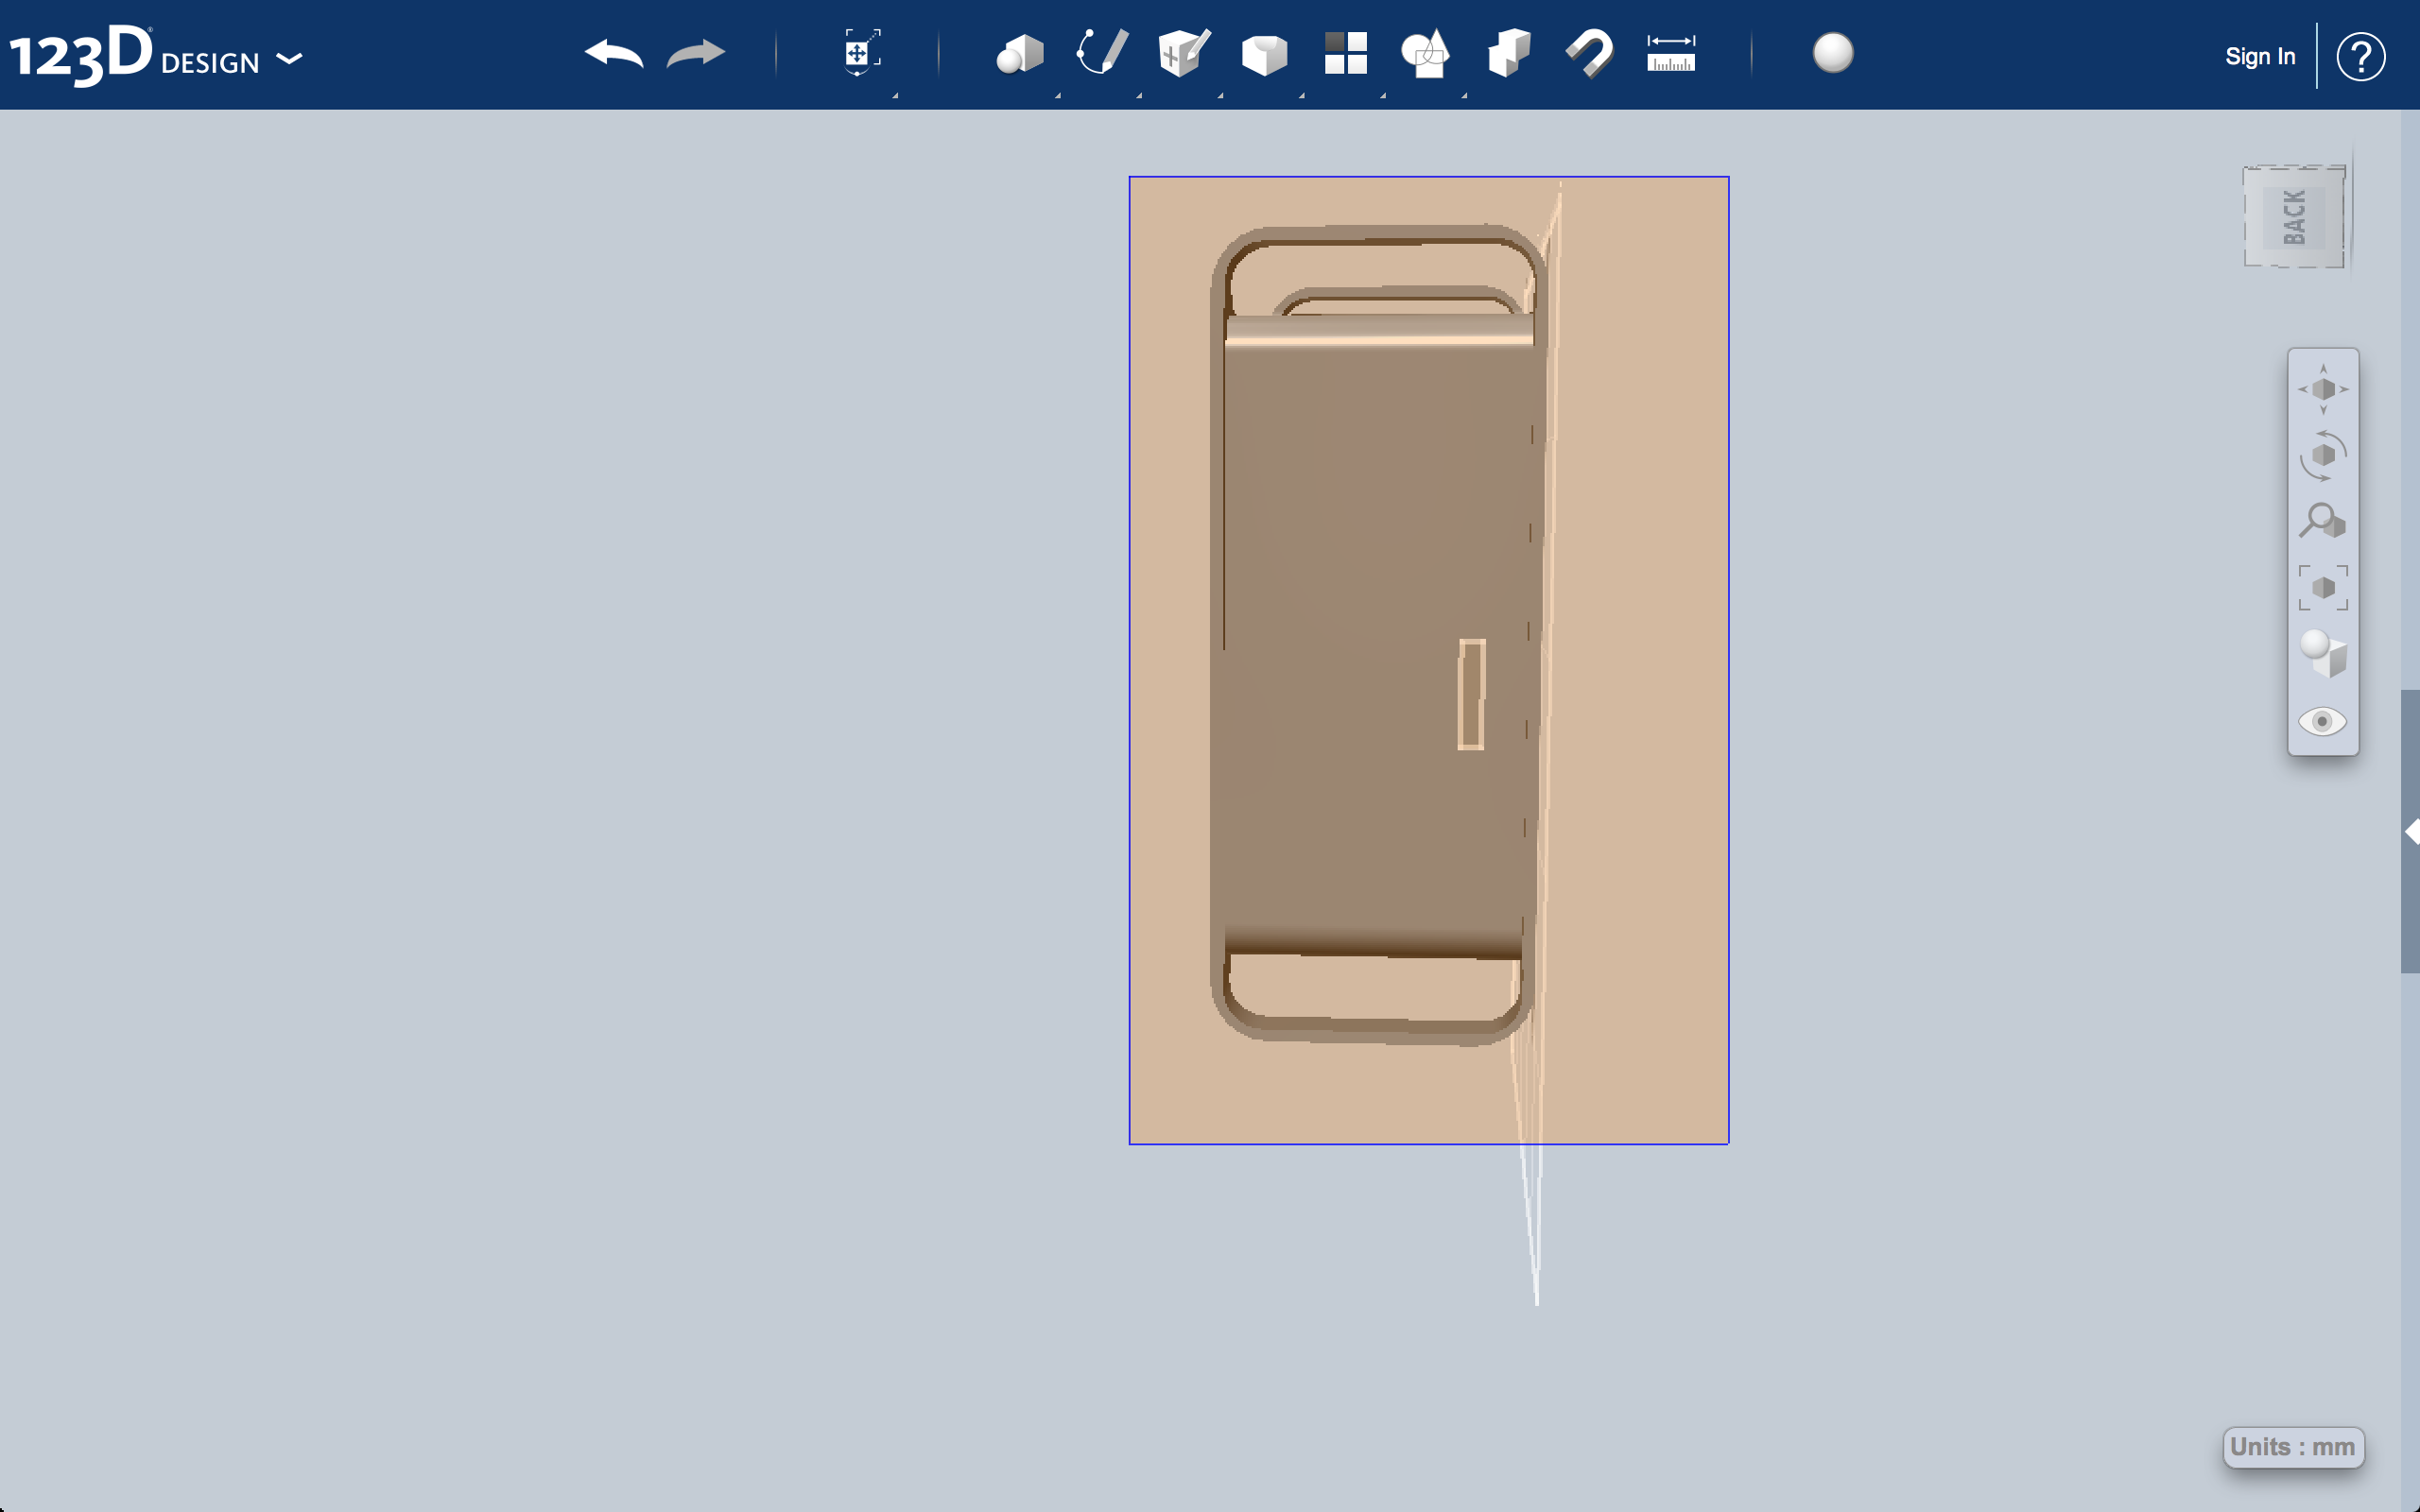
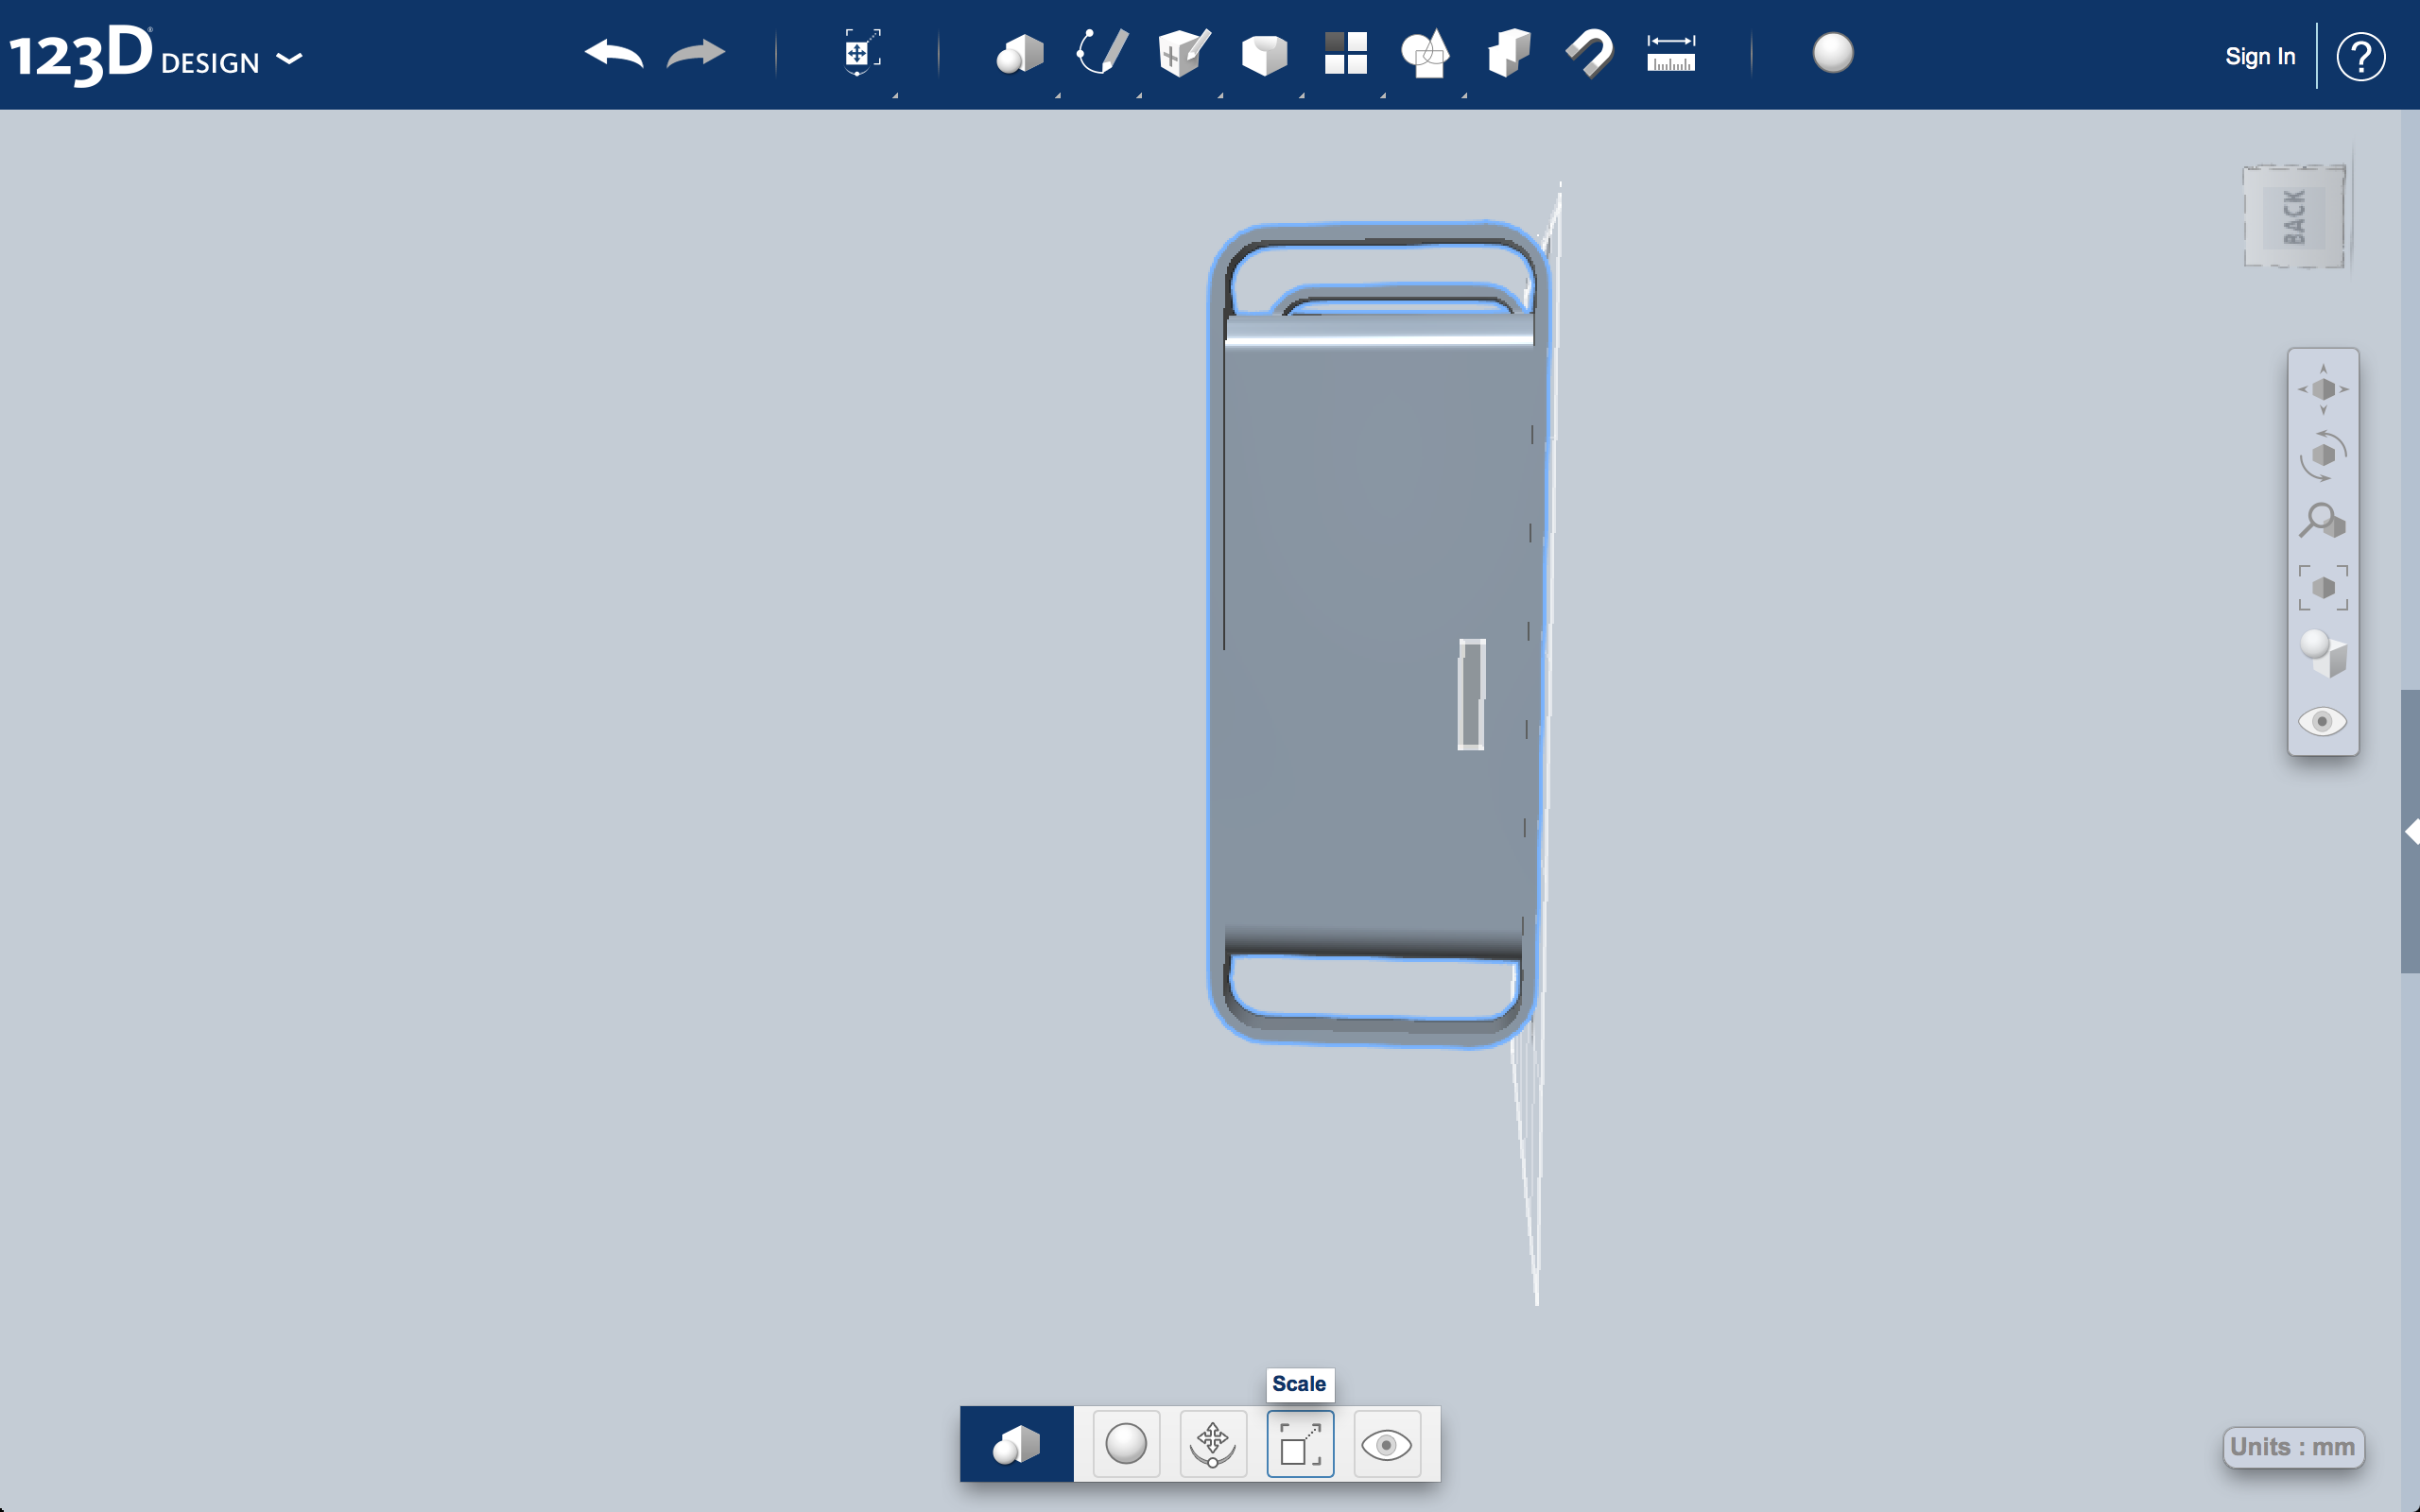
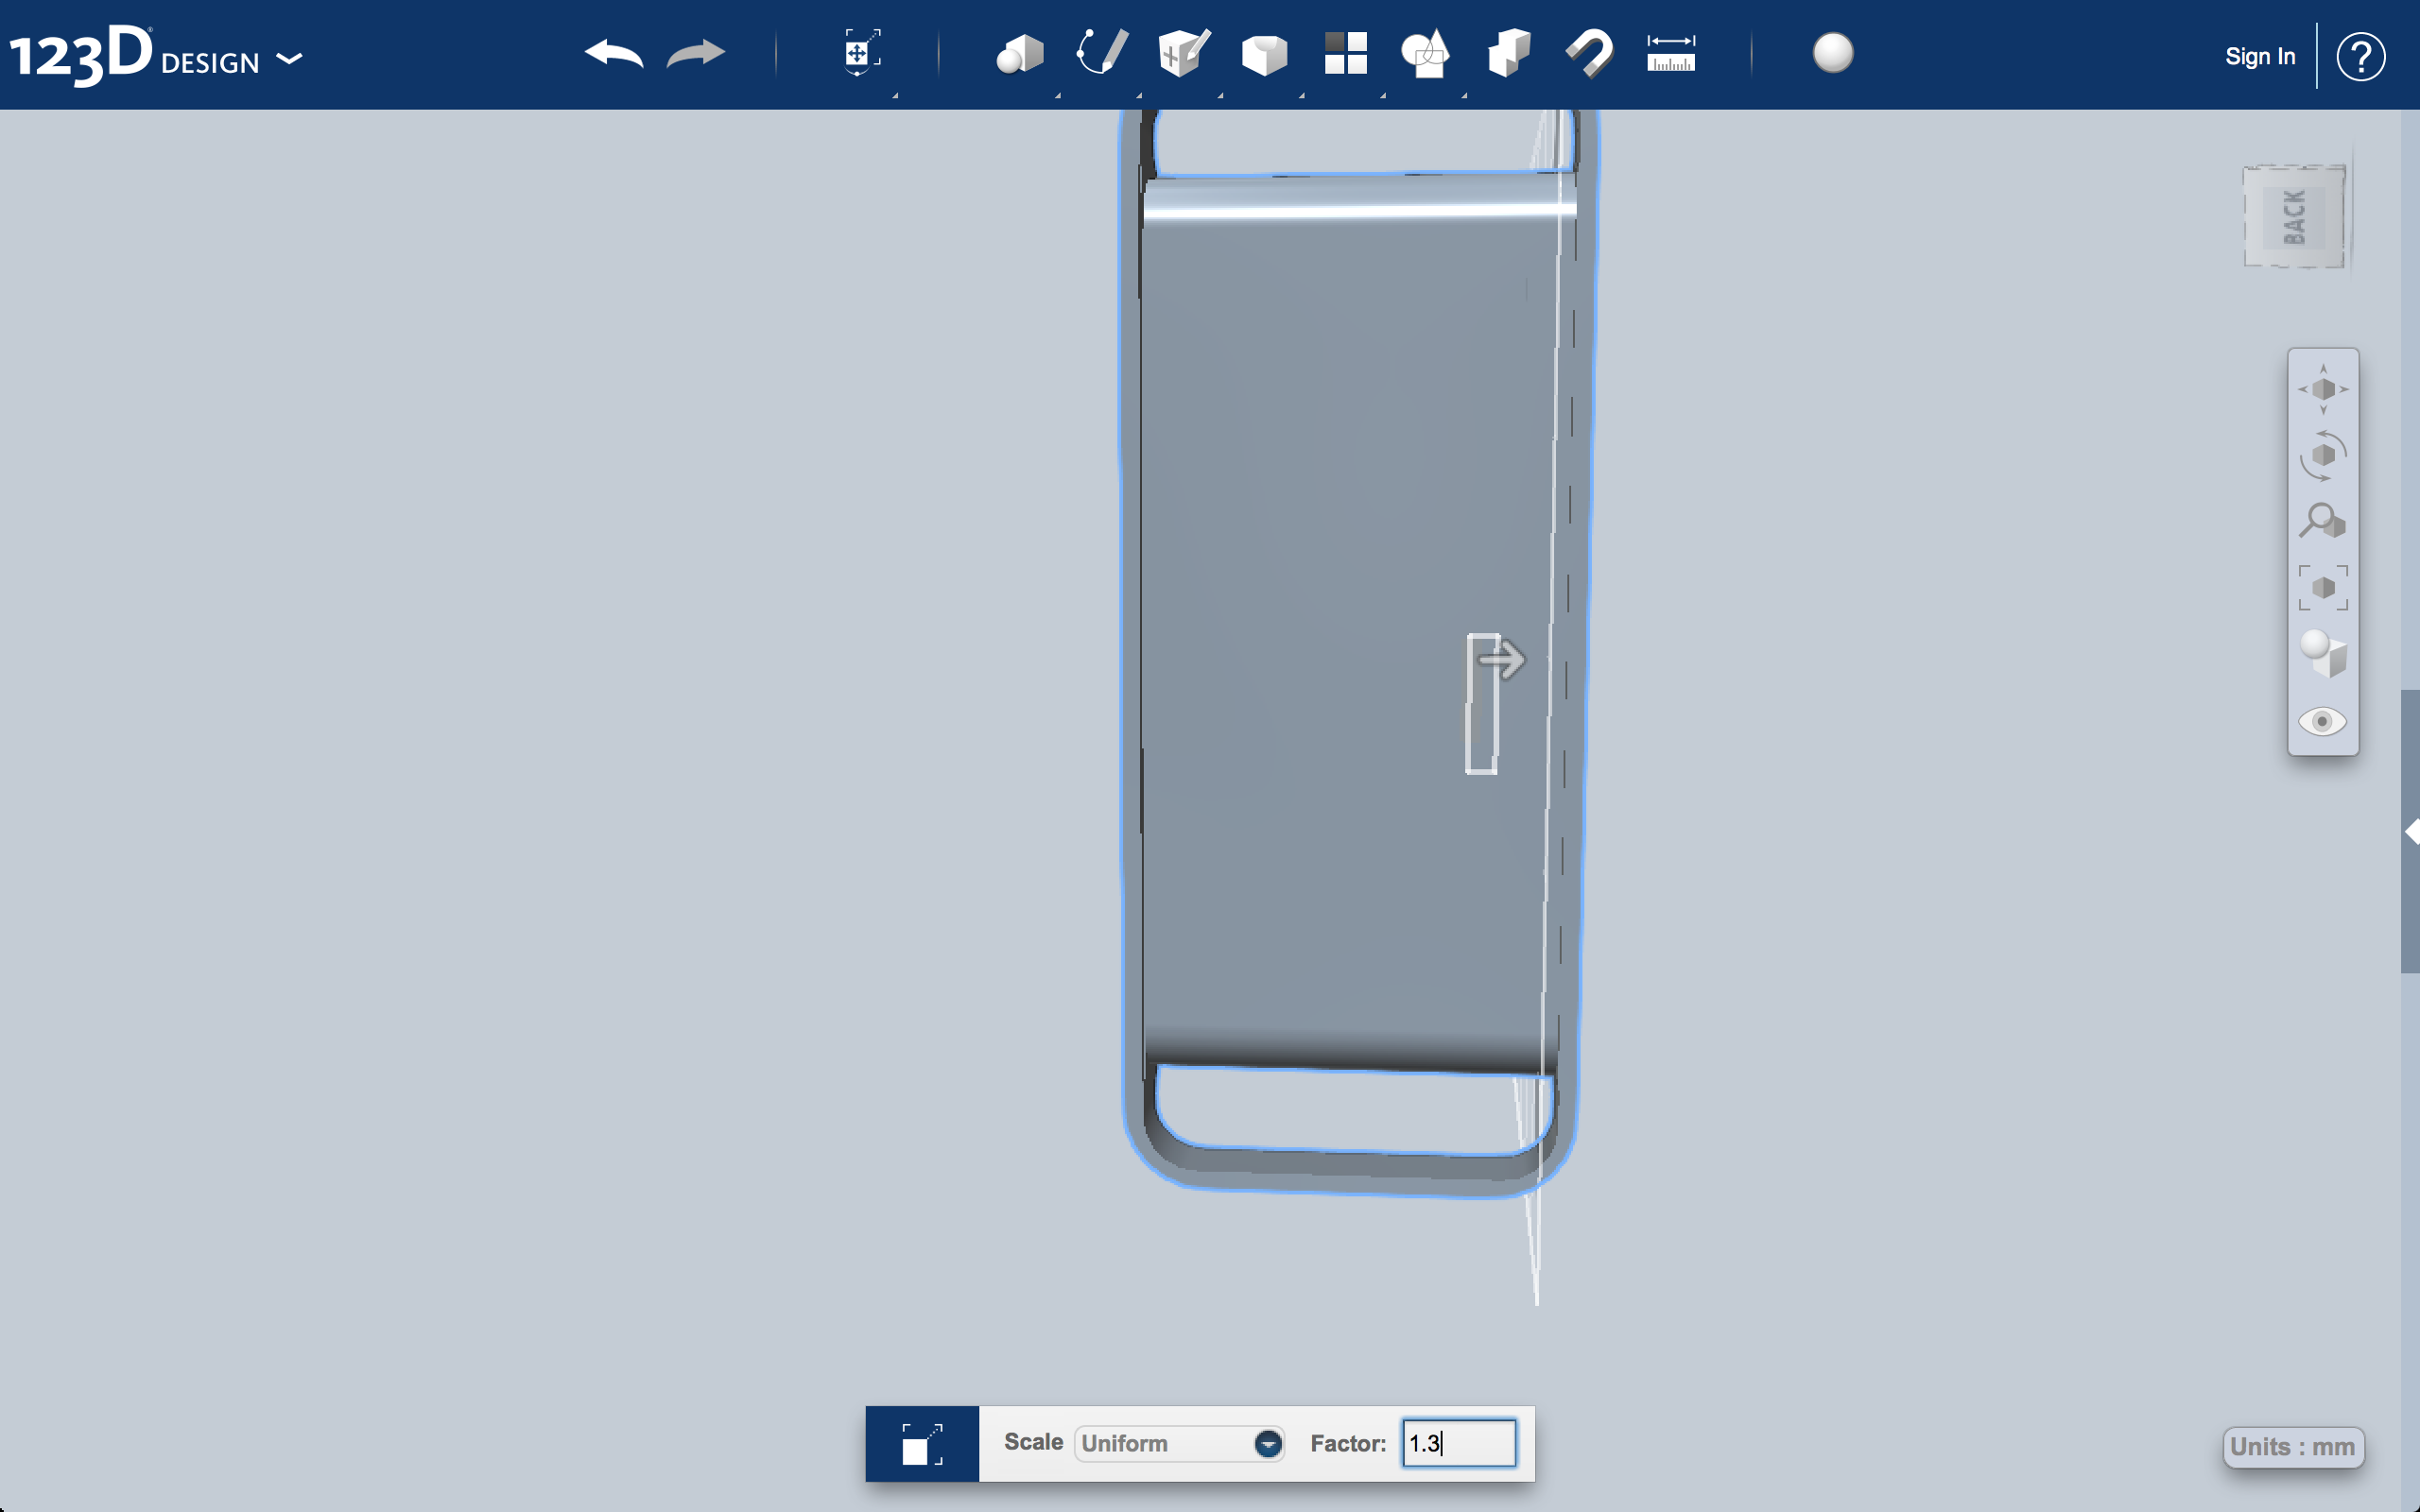
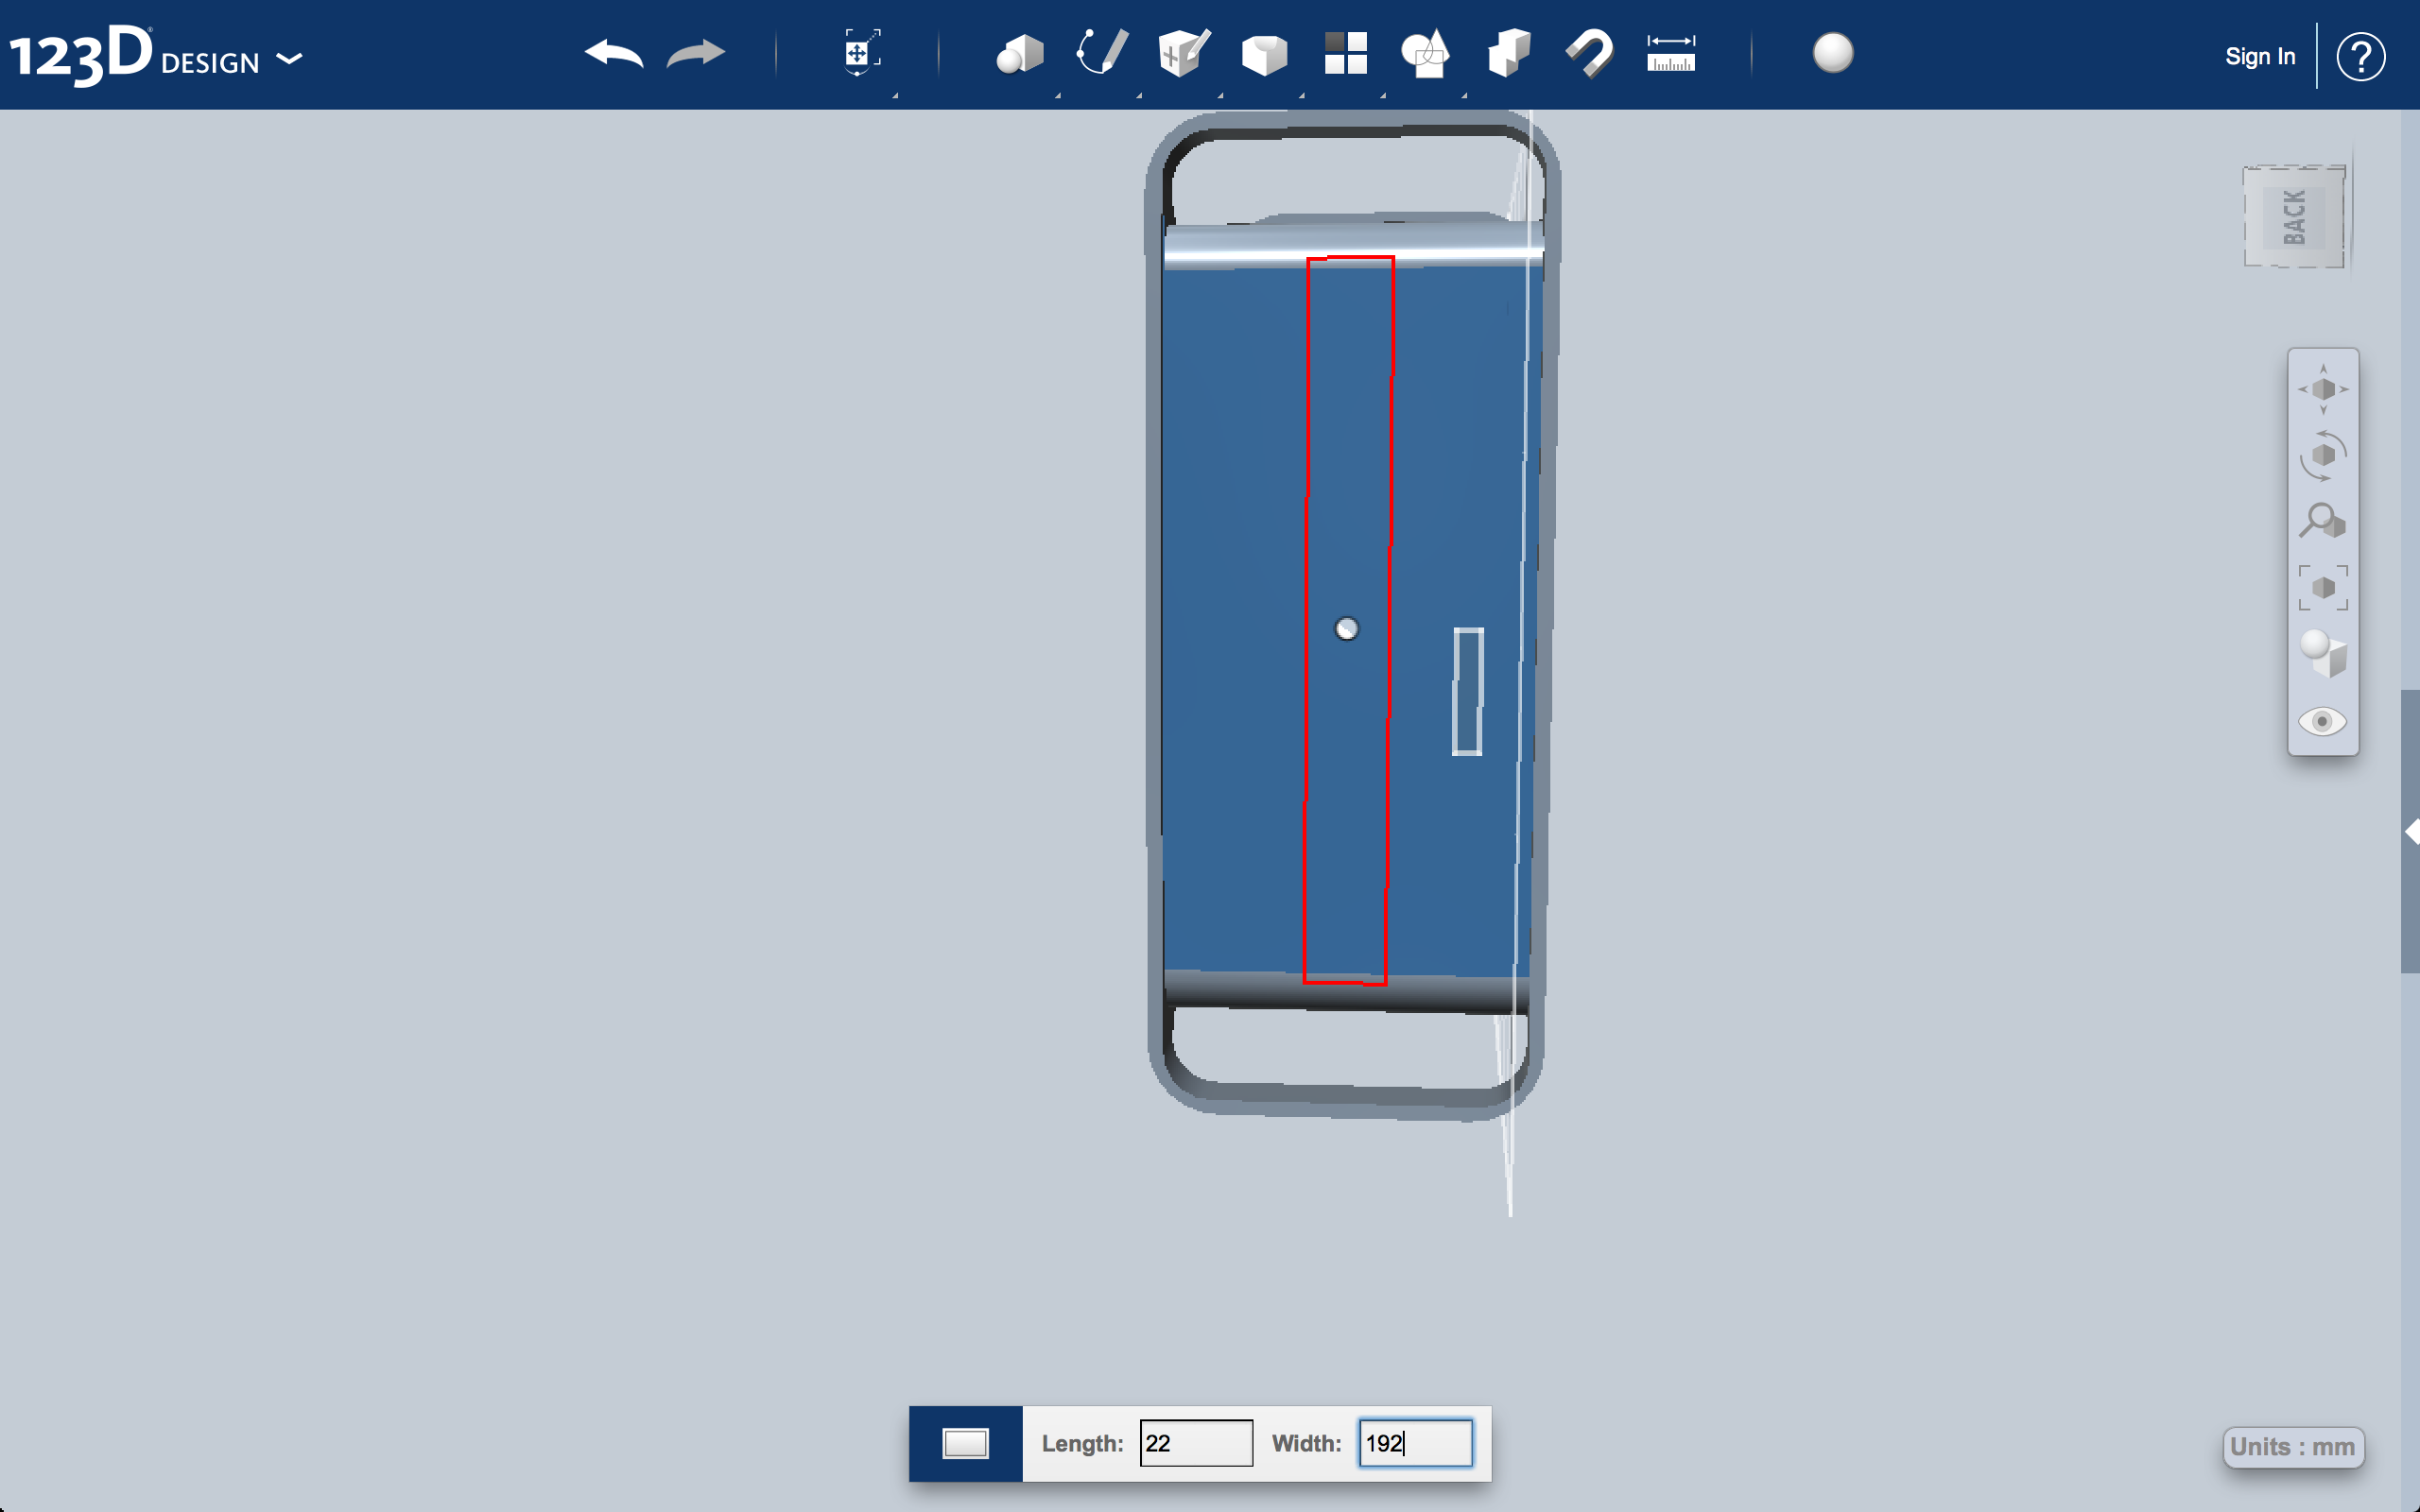
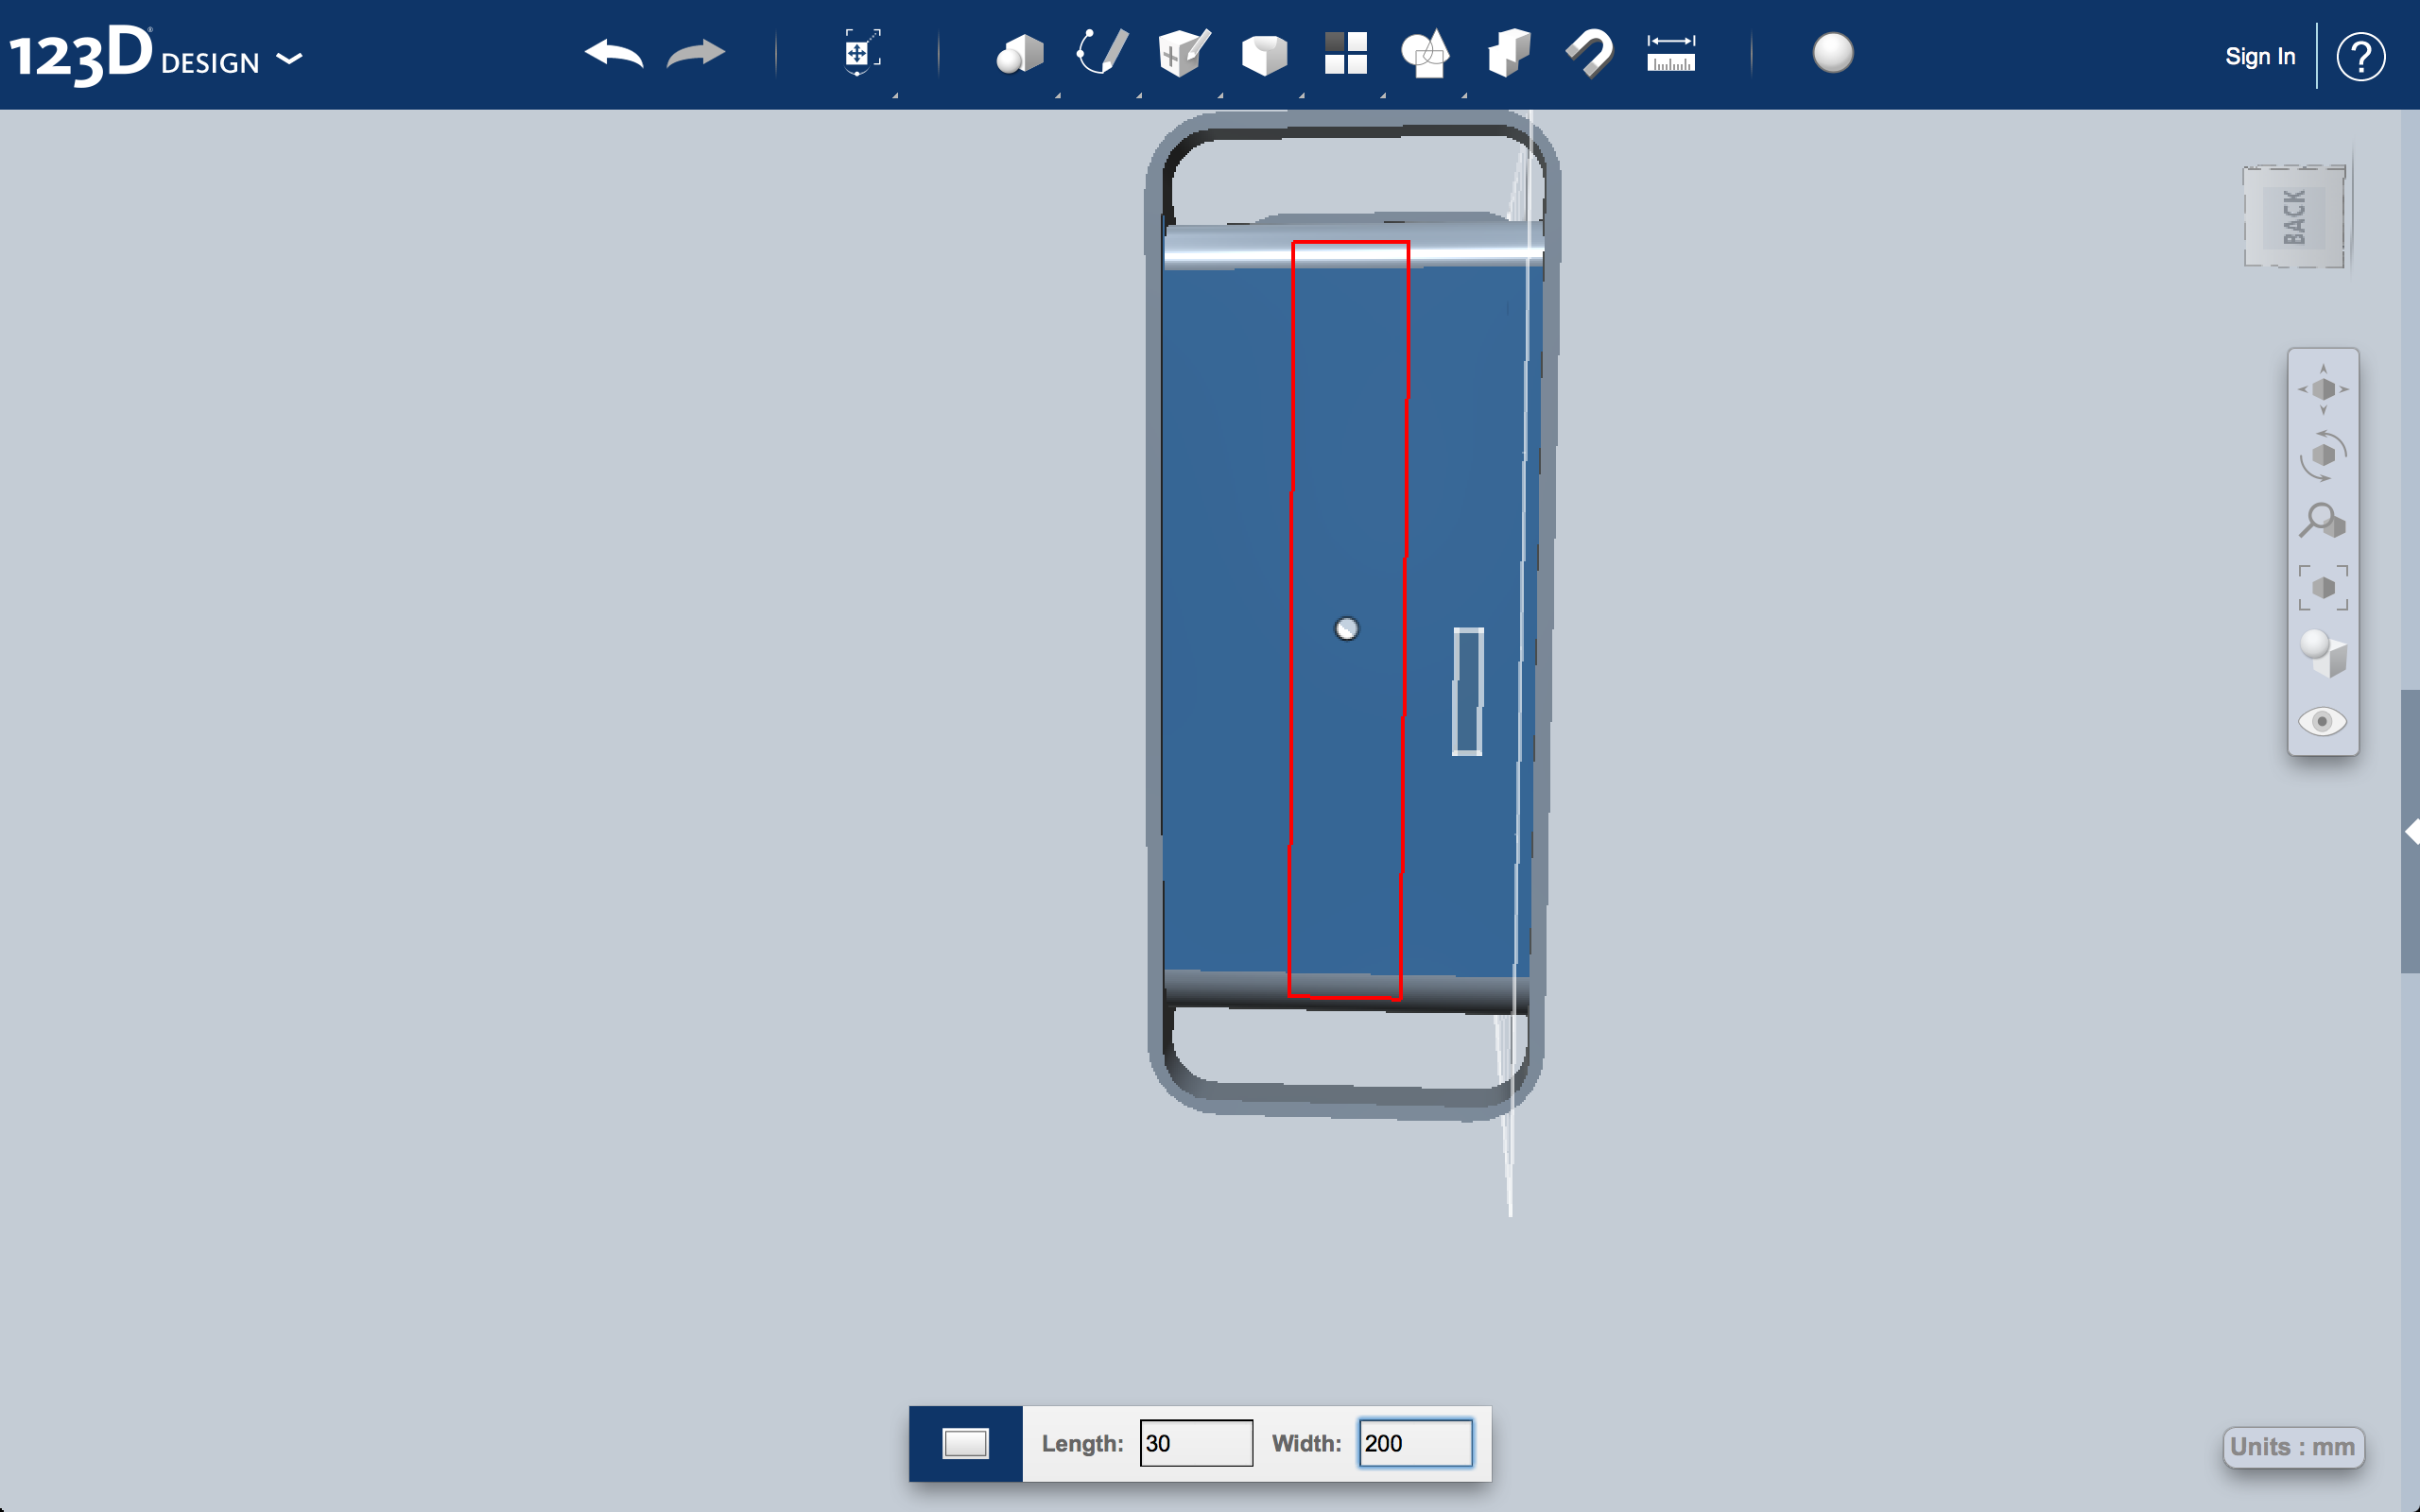
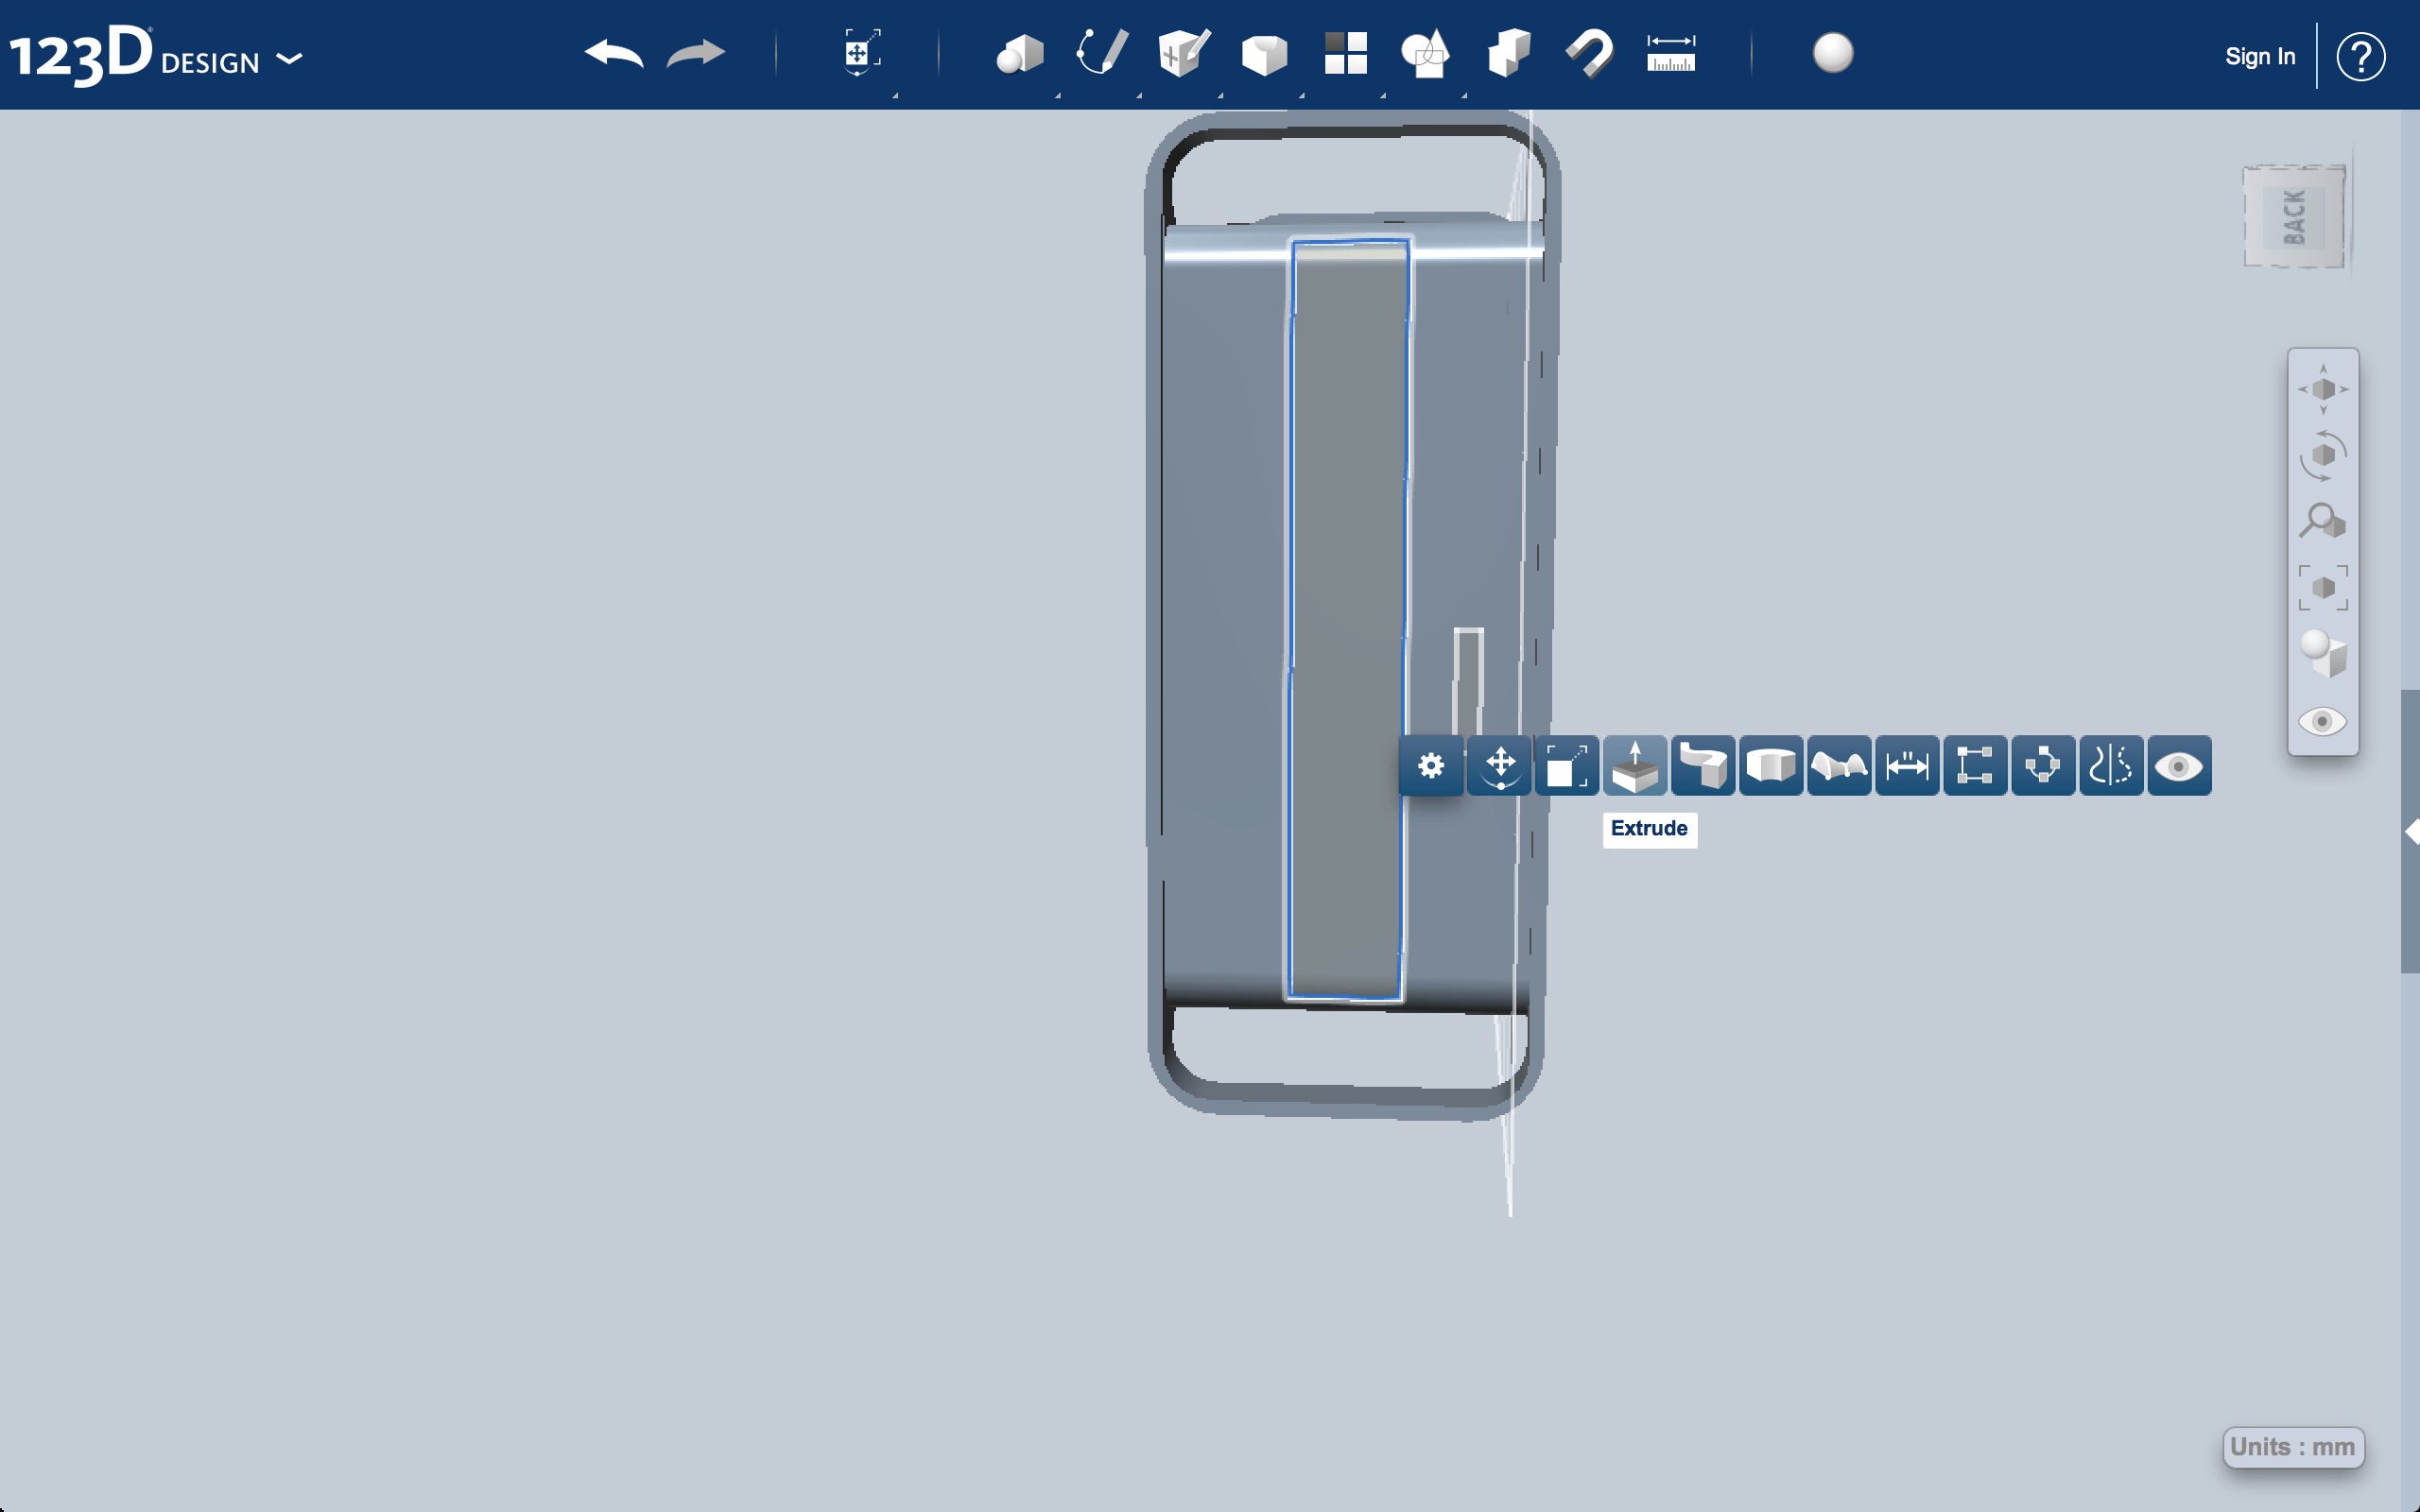
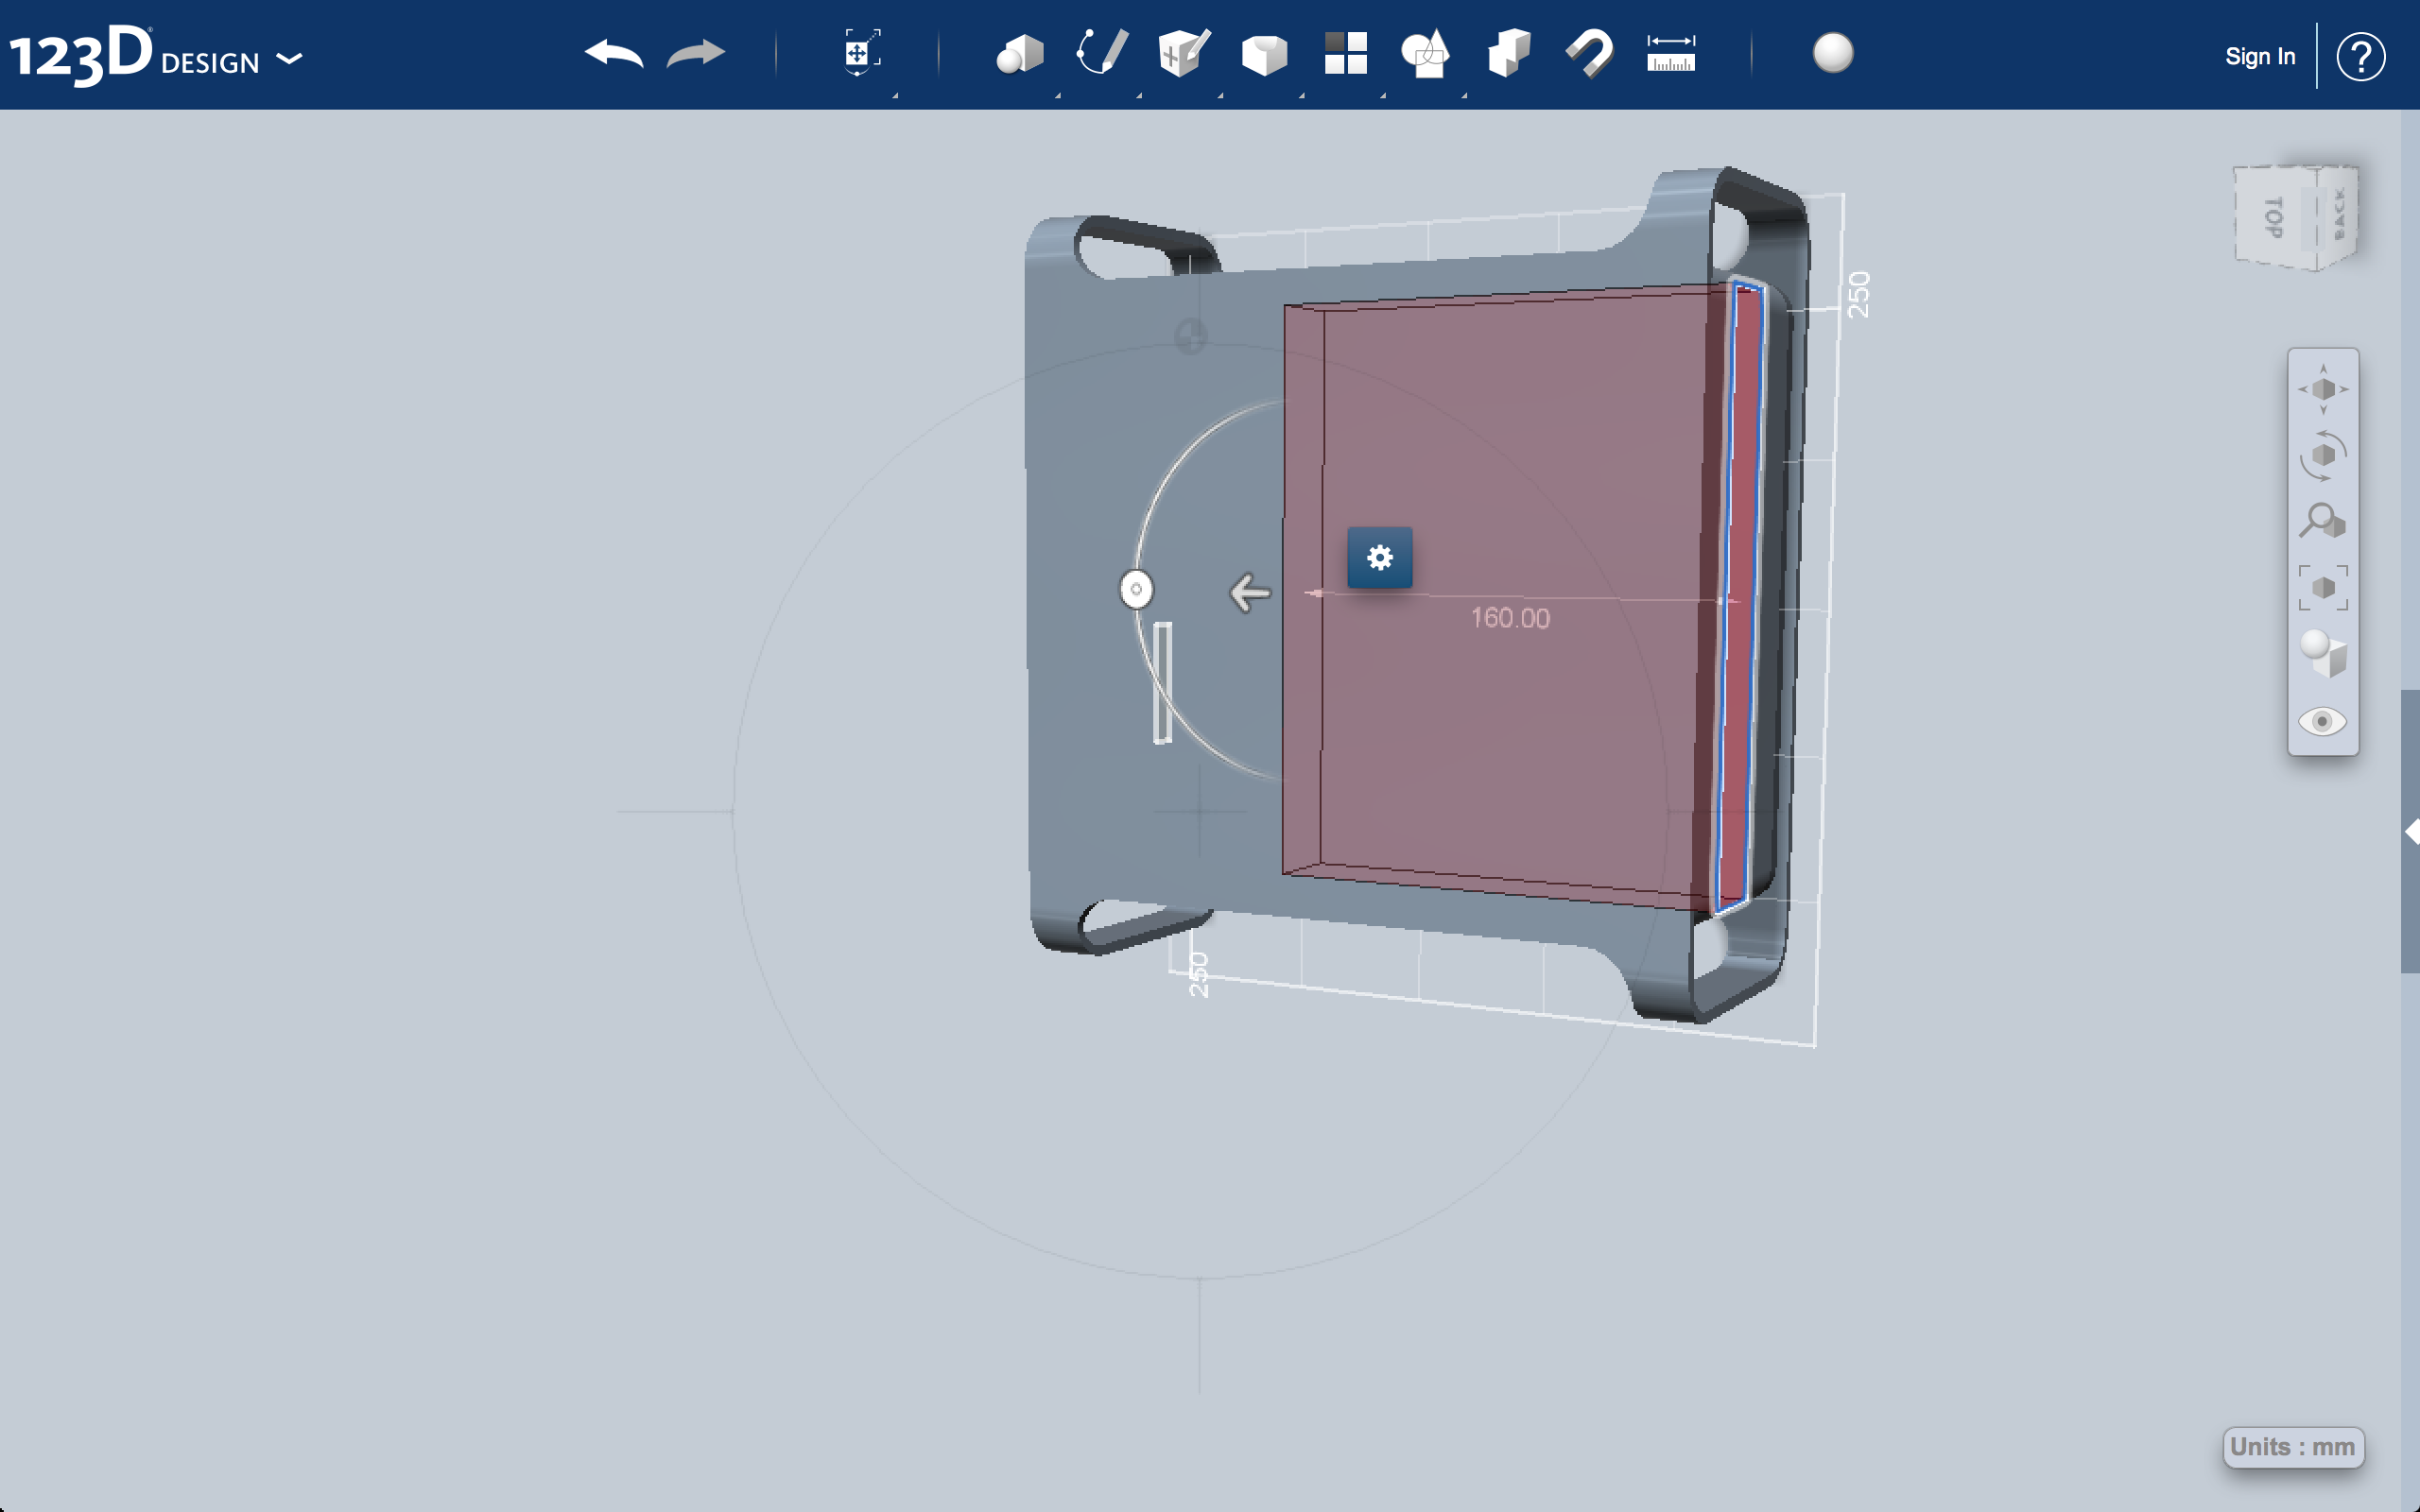
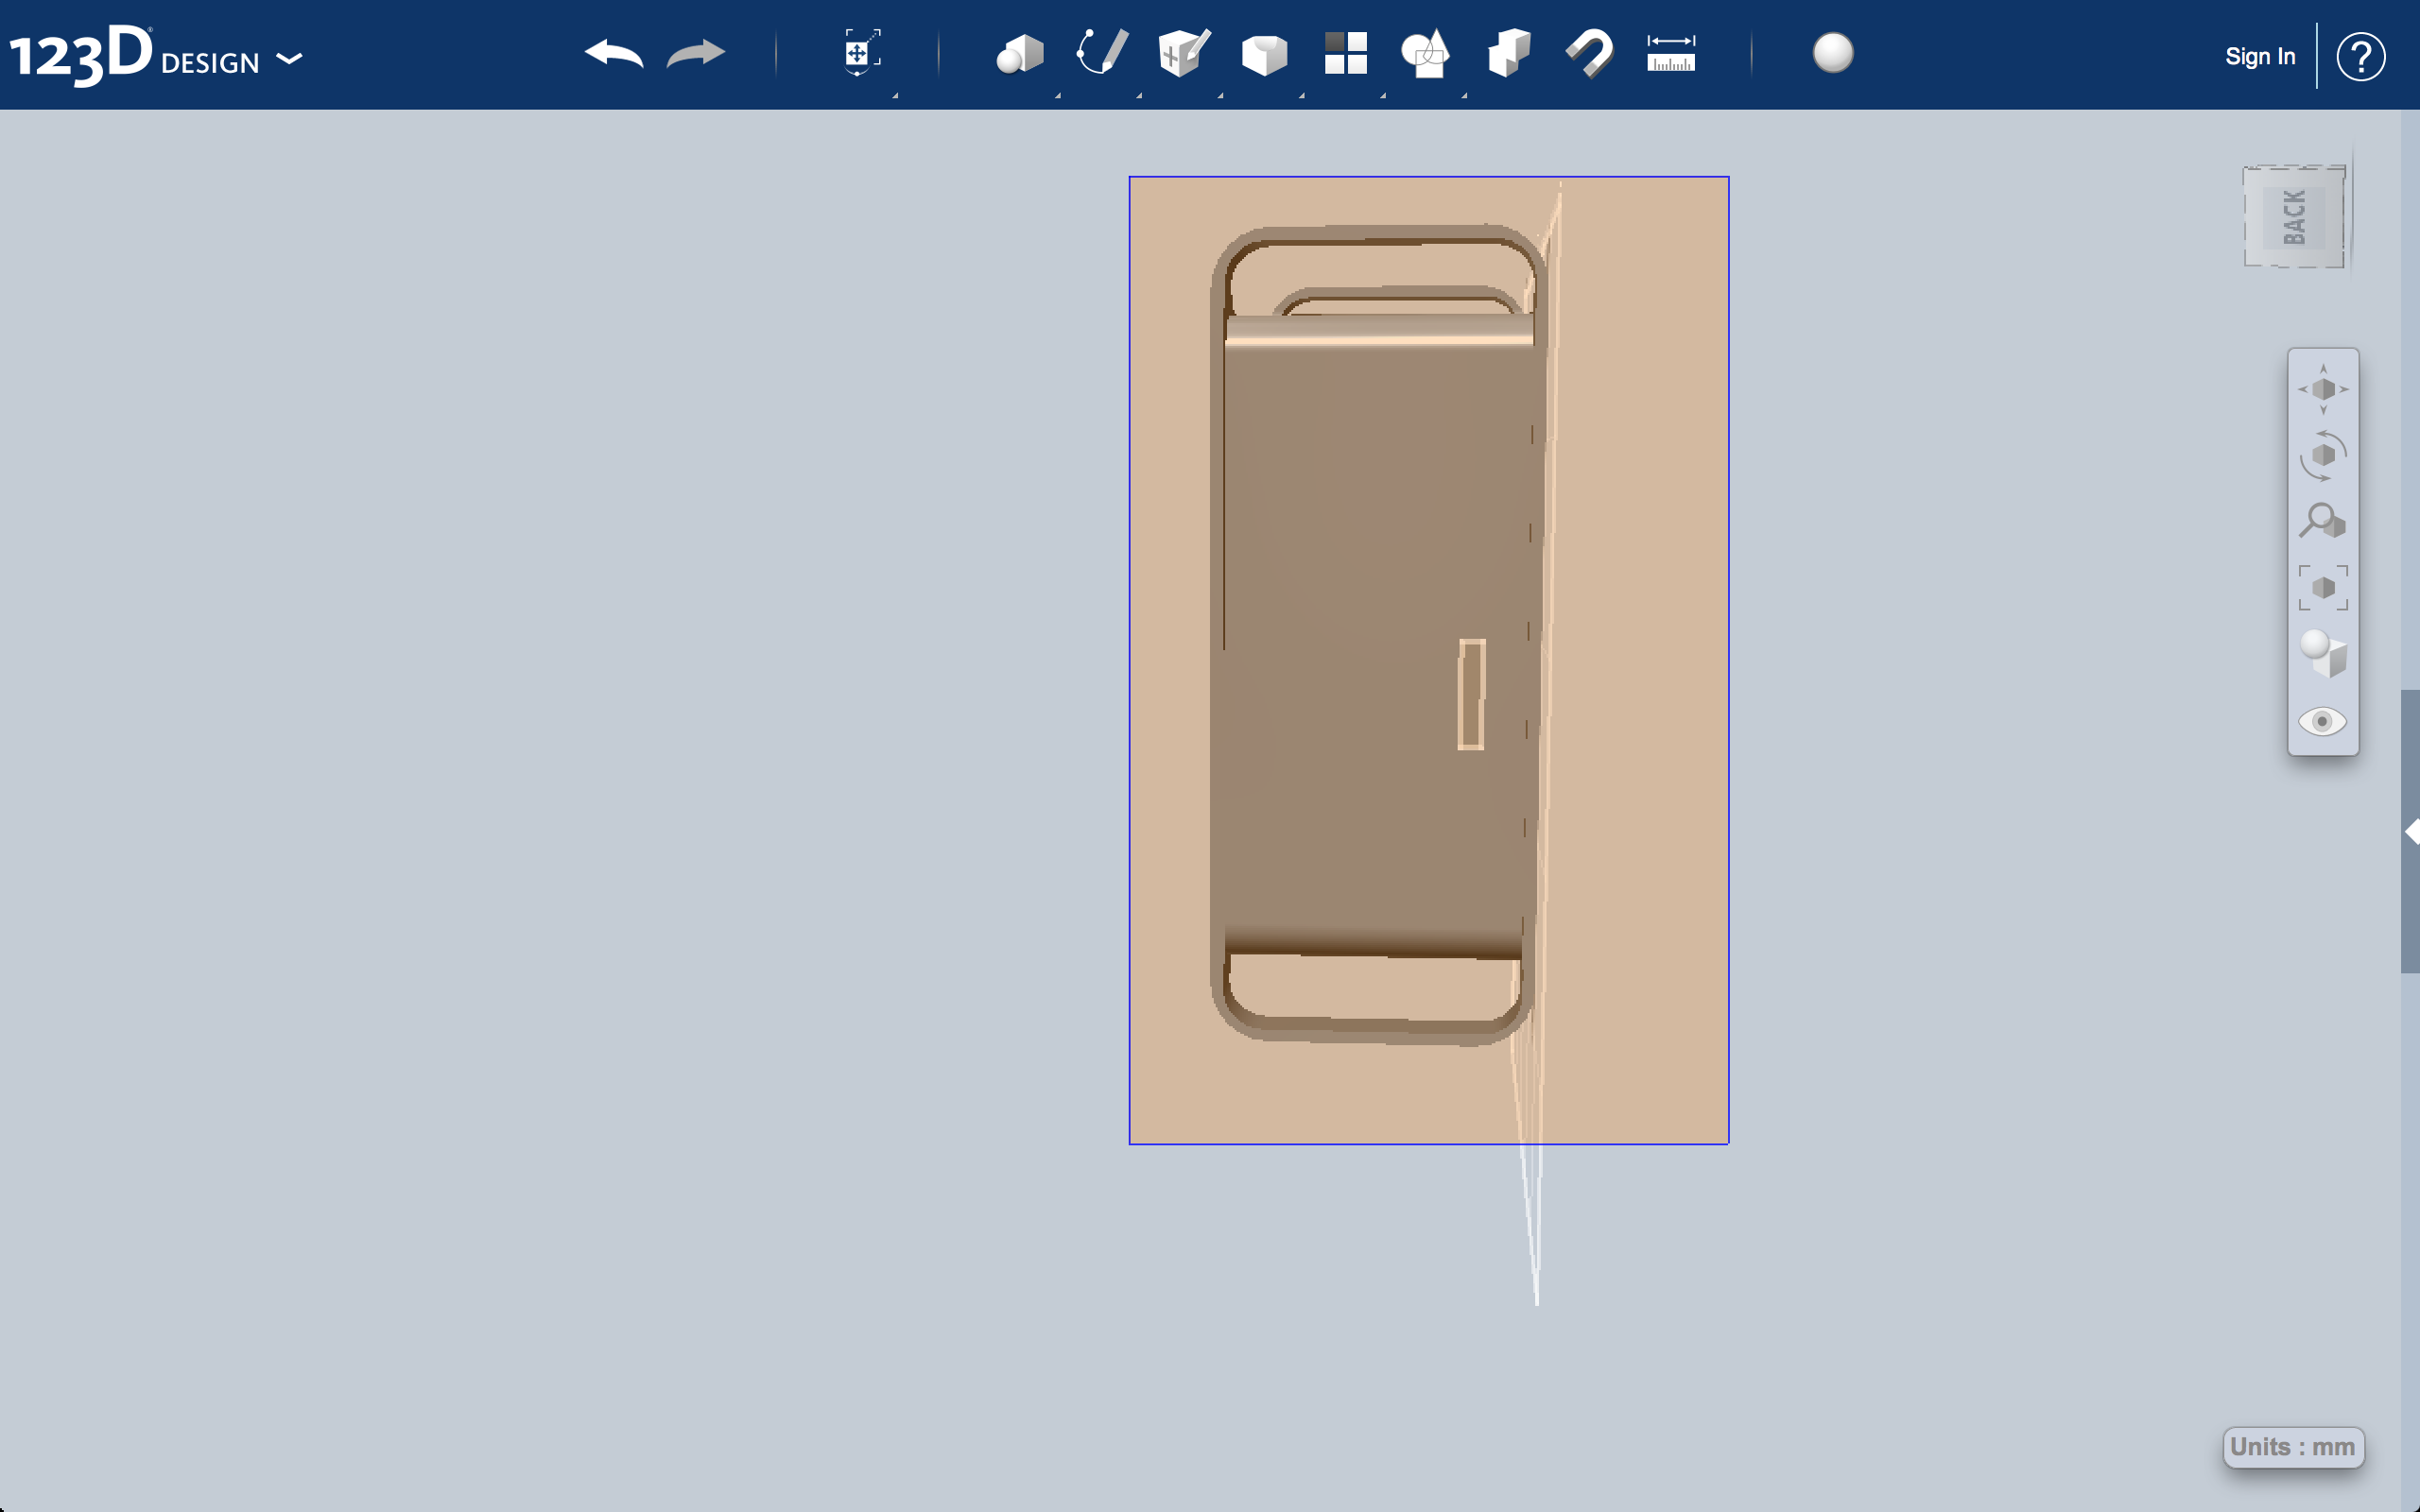
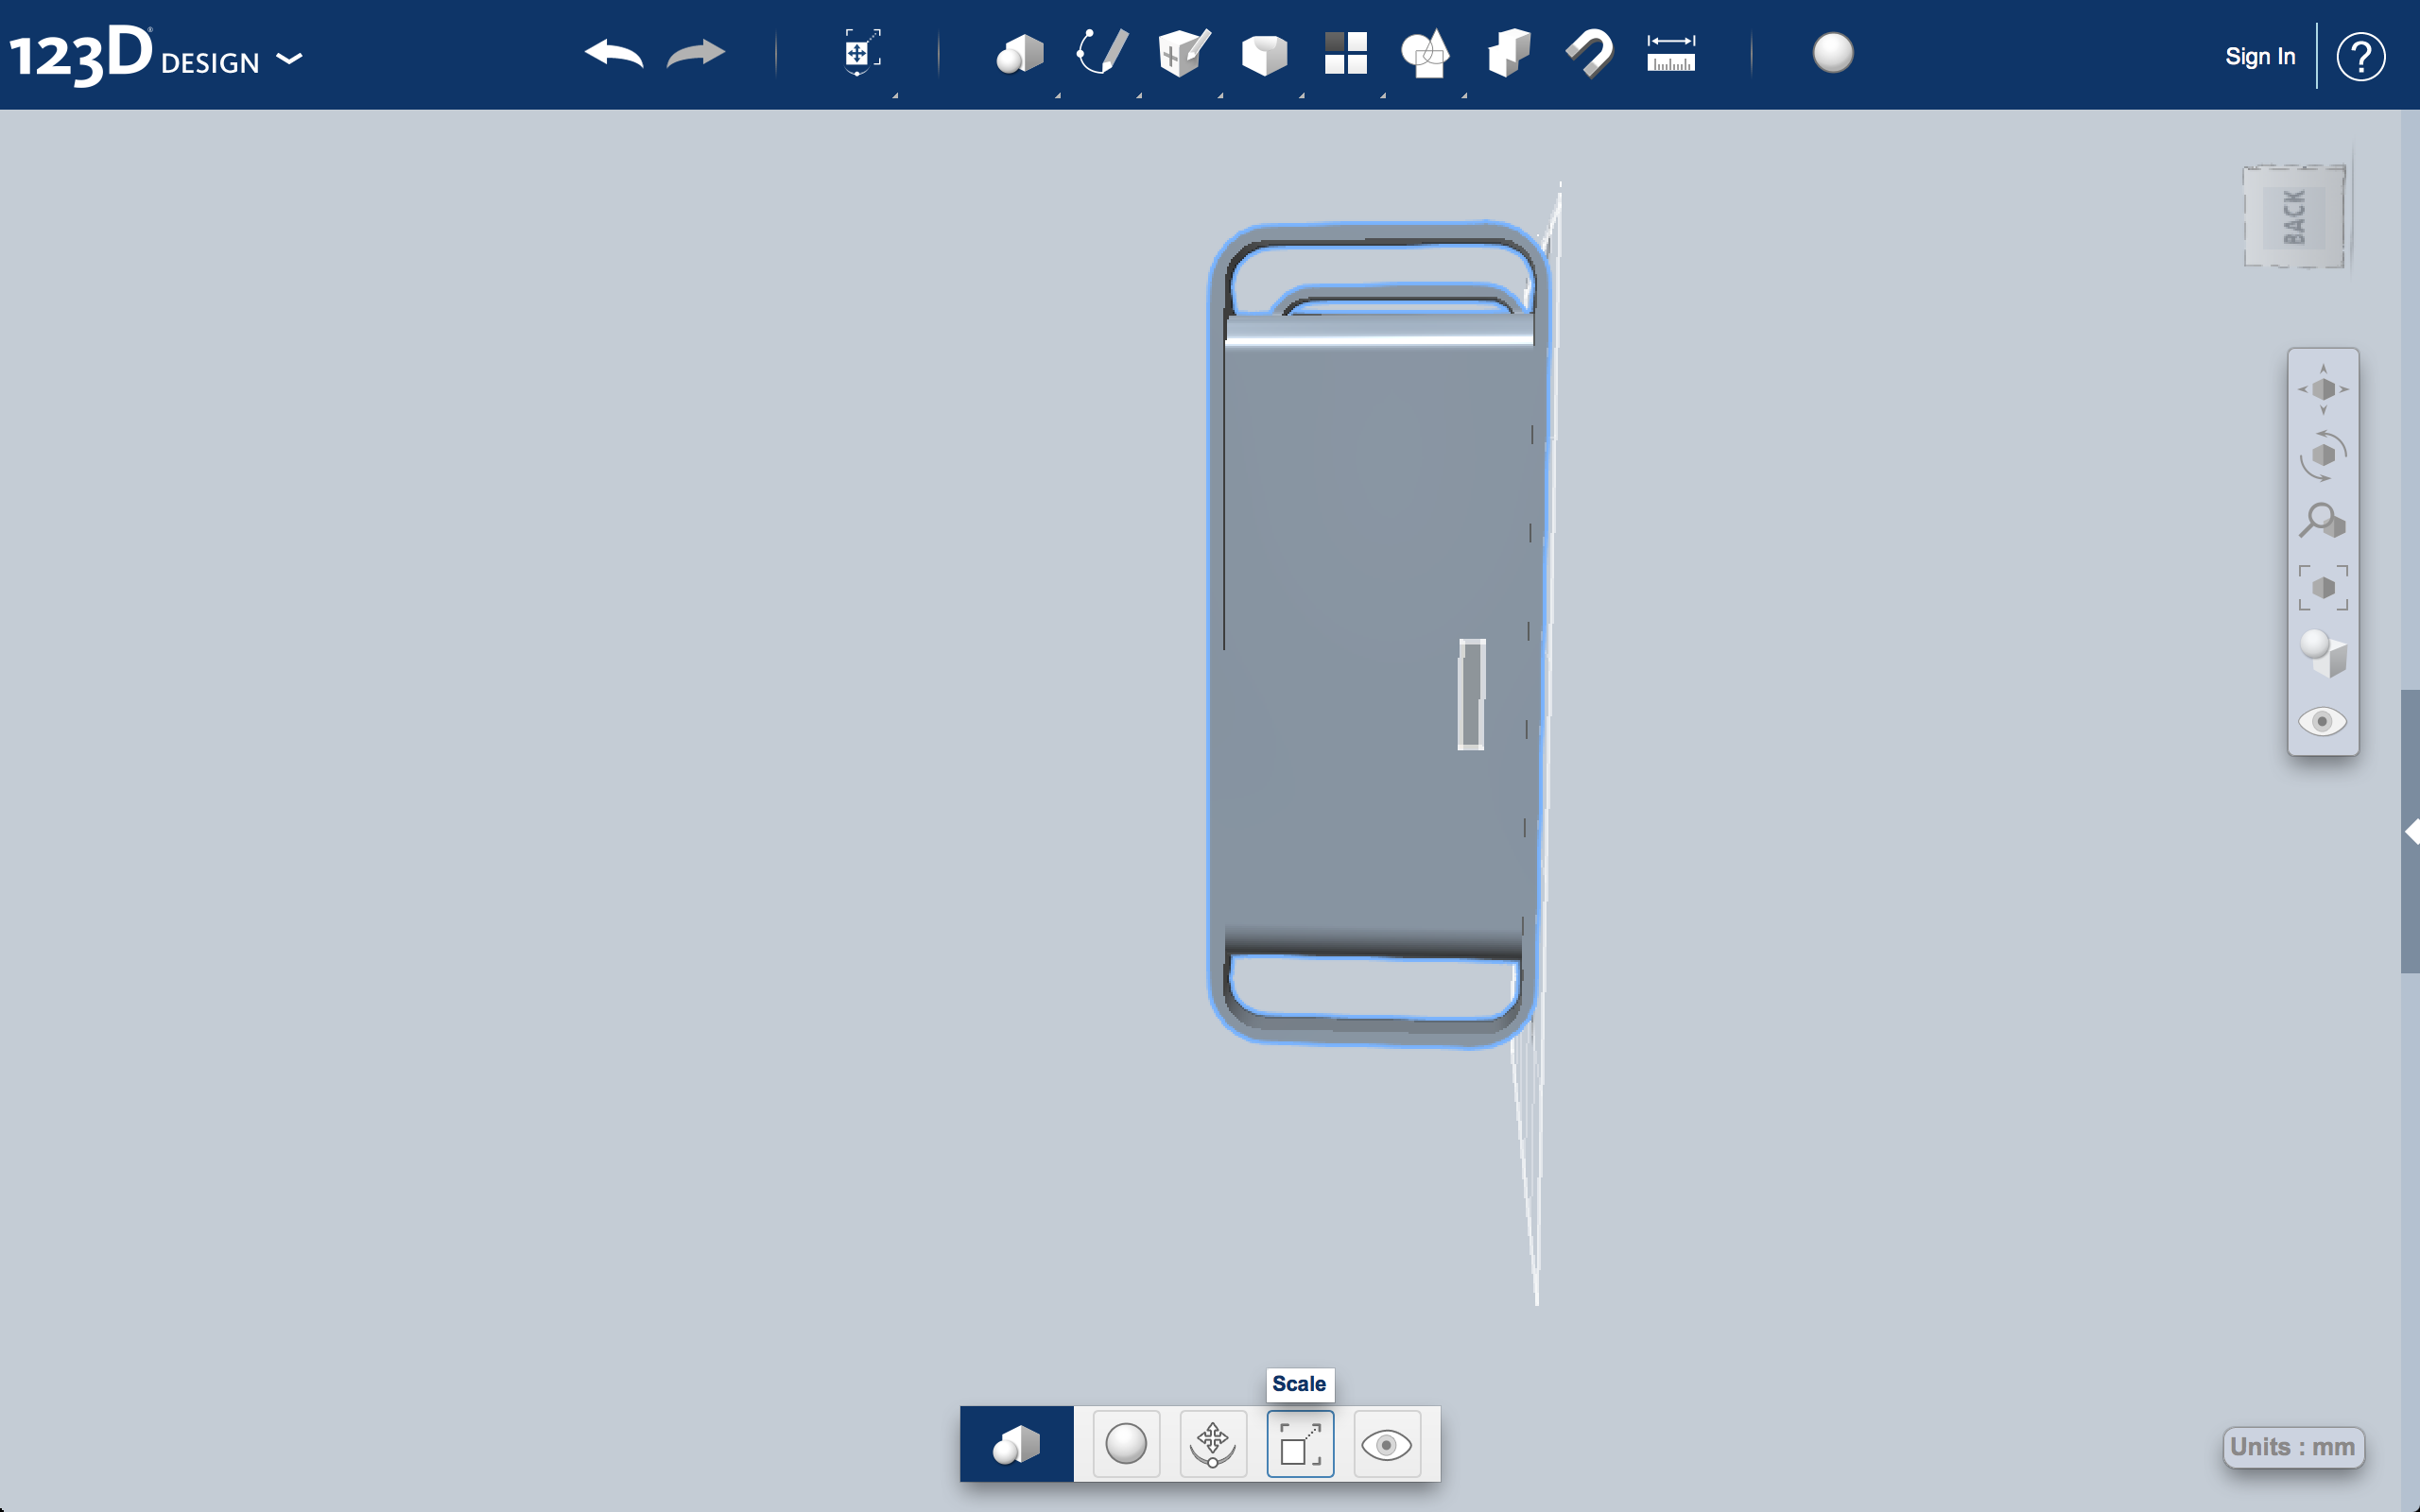
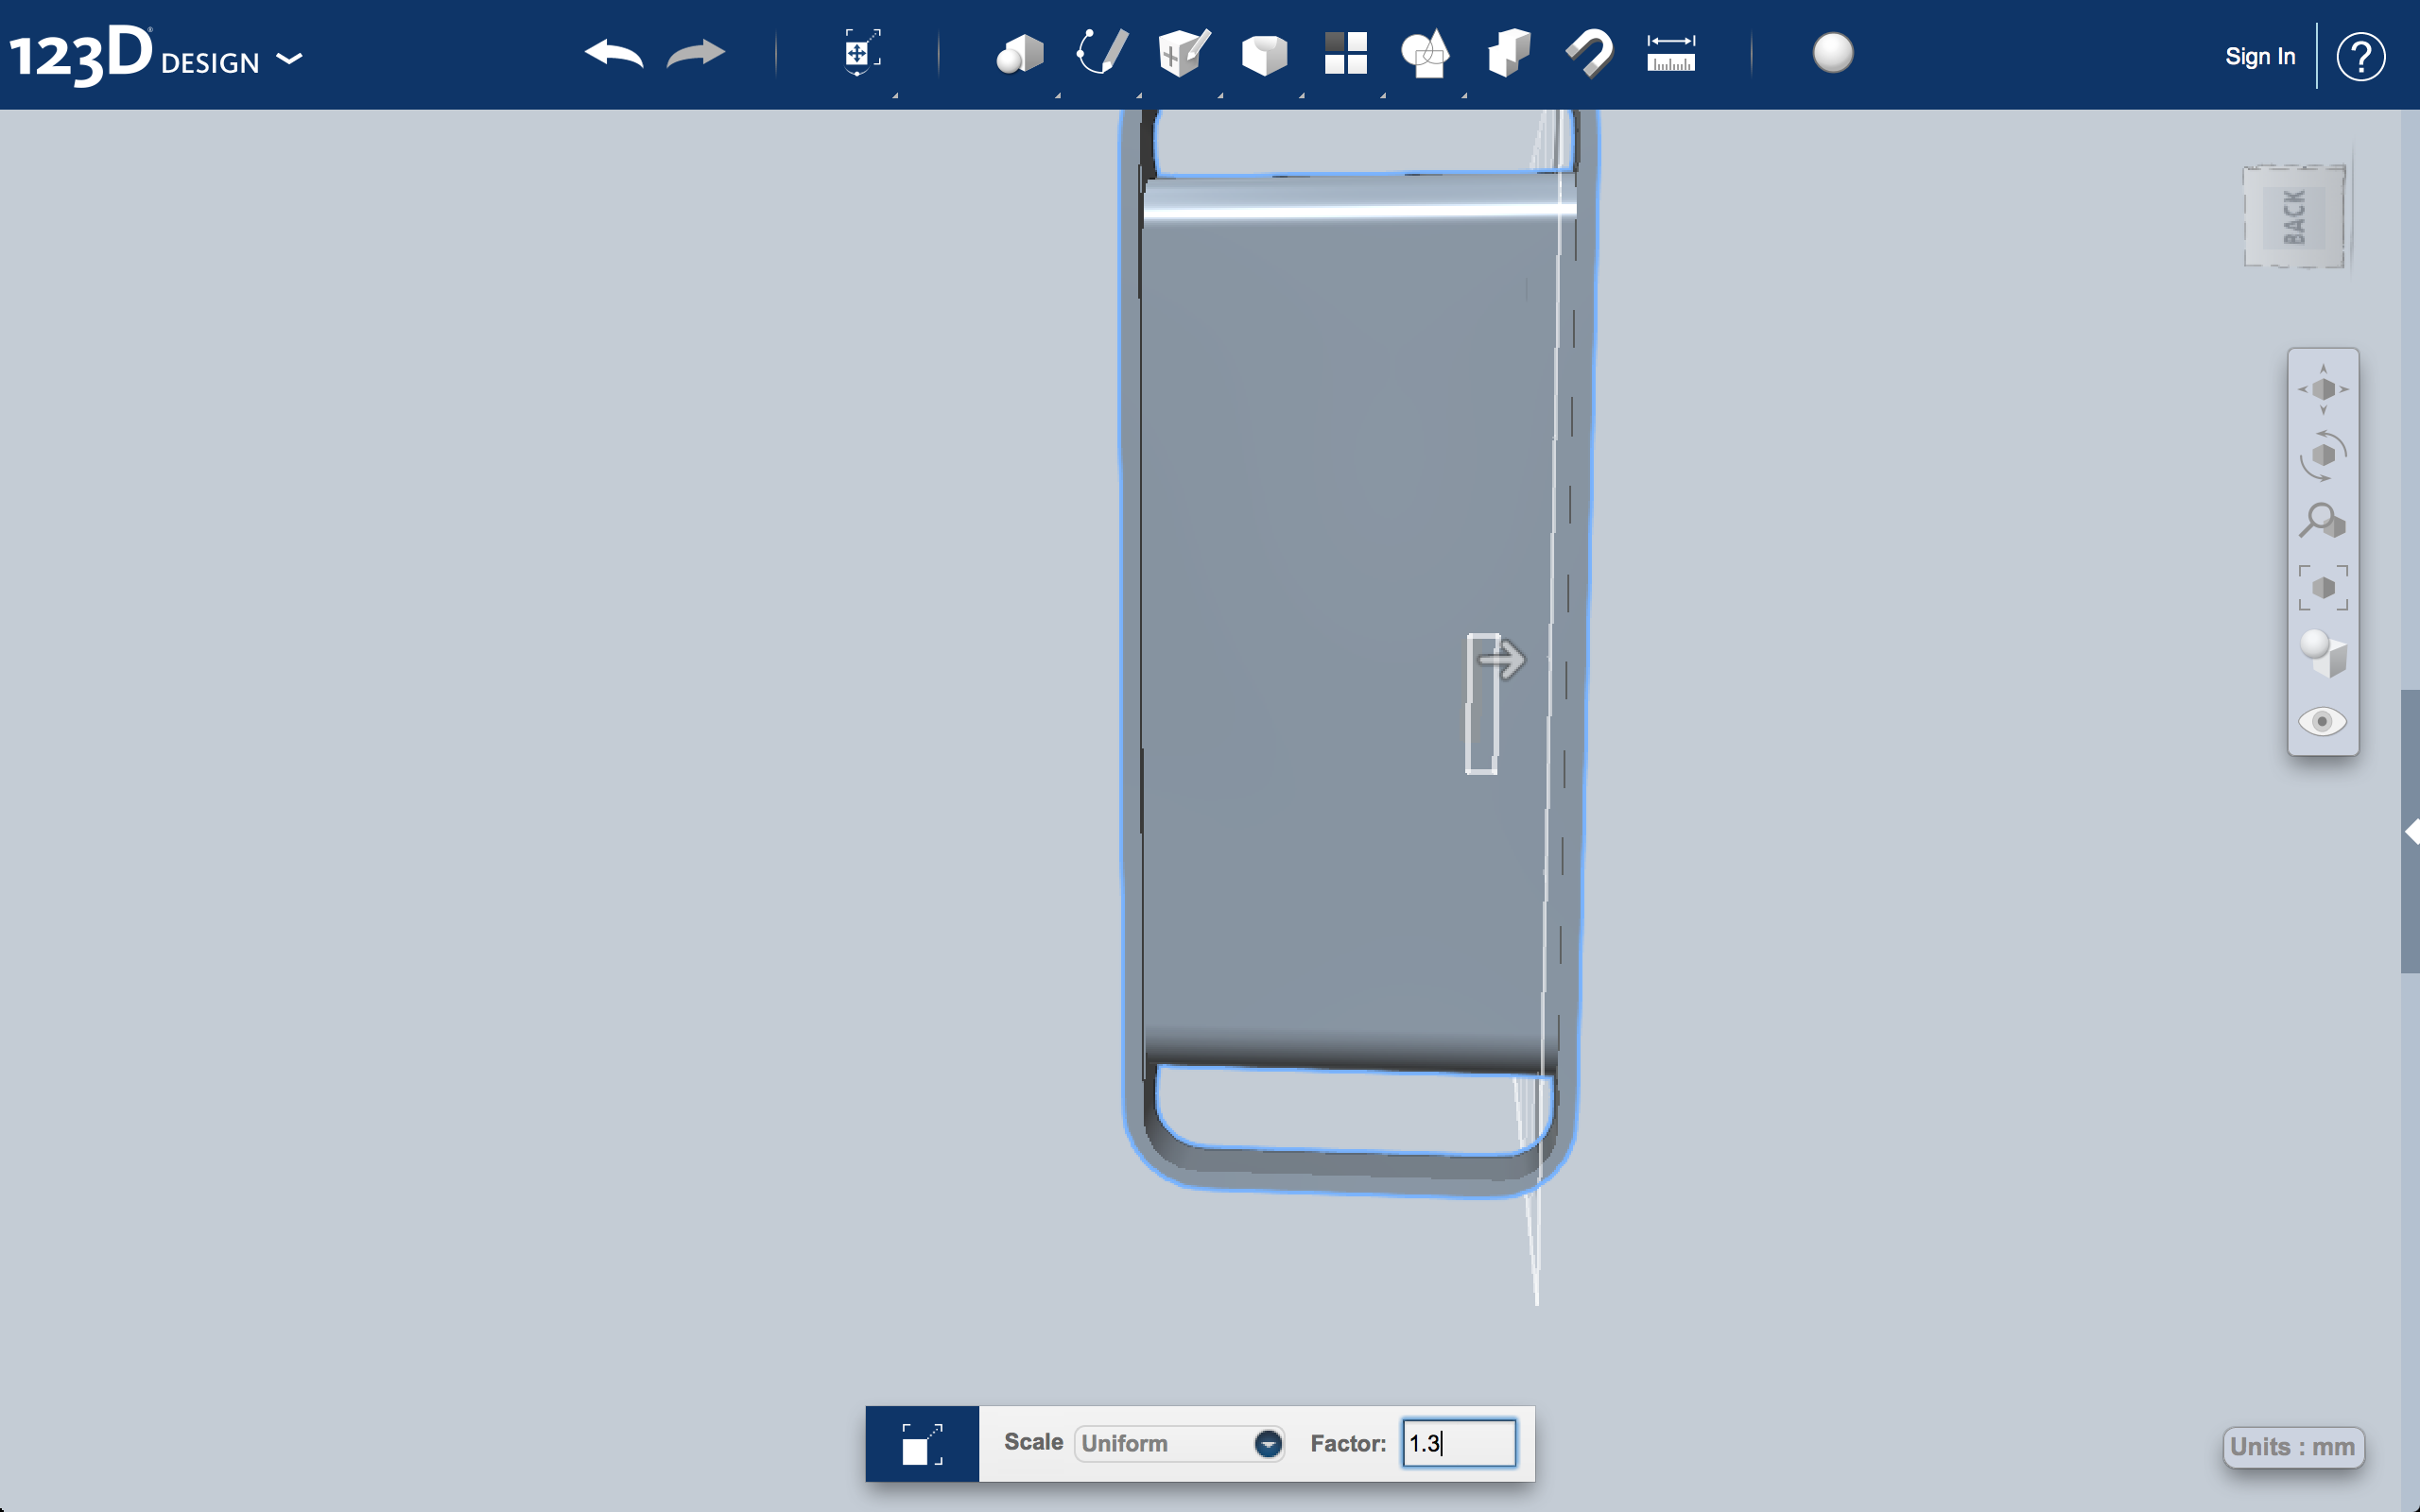
It turns out my dimensions for the computer did not compensate for the the large area consumed by the handles, so the Lenovo wont fit inside. But it's no big deal we simply have to scale the model by 1.3. Picture 2 and 3 below show how to scale the model. Picture 1 shows how you must select the whole model, this way you scale the entire piece and not just a section of the model. After you scale it you can cut a hole in the back for the Lenovo computer (its slightly larger than the computer to account for a any printing error). The hole is also slightly deeper to hide any ugly cables that might protrude from the back of the Lenovo.
* You may also decide to hallow out the entire interior as this will certainly make the model much cheaper to 3D print. To do this go under the modify section of the tool bar and click shell, and then click on the back of the Mac mini for it to be hollow out the interior with a opening at the back.
* You may also decide to hallow out the entire interior as this will certainly make the model much cheaper to 3D print. To do this go under the modify section of the tool bar and click shell, and then click on the back of the Mac mini for it to be hollow out the interior with a opening at the back.
Your Done!
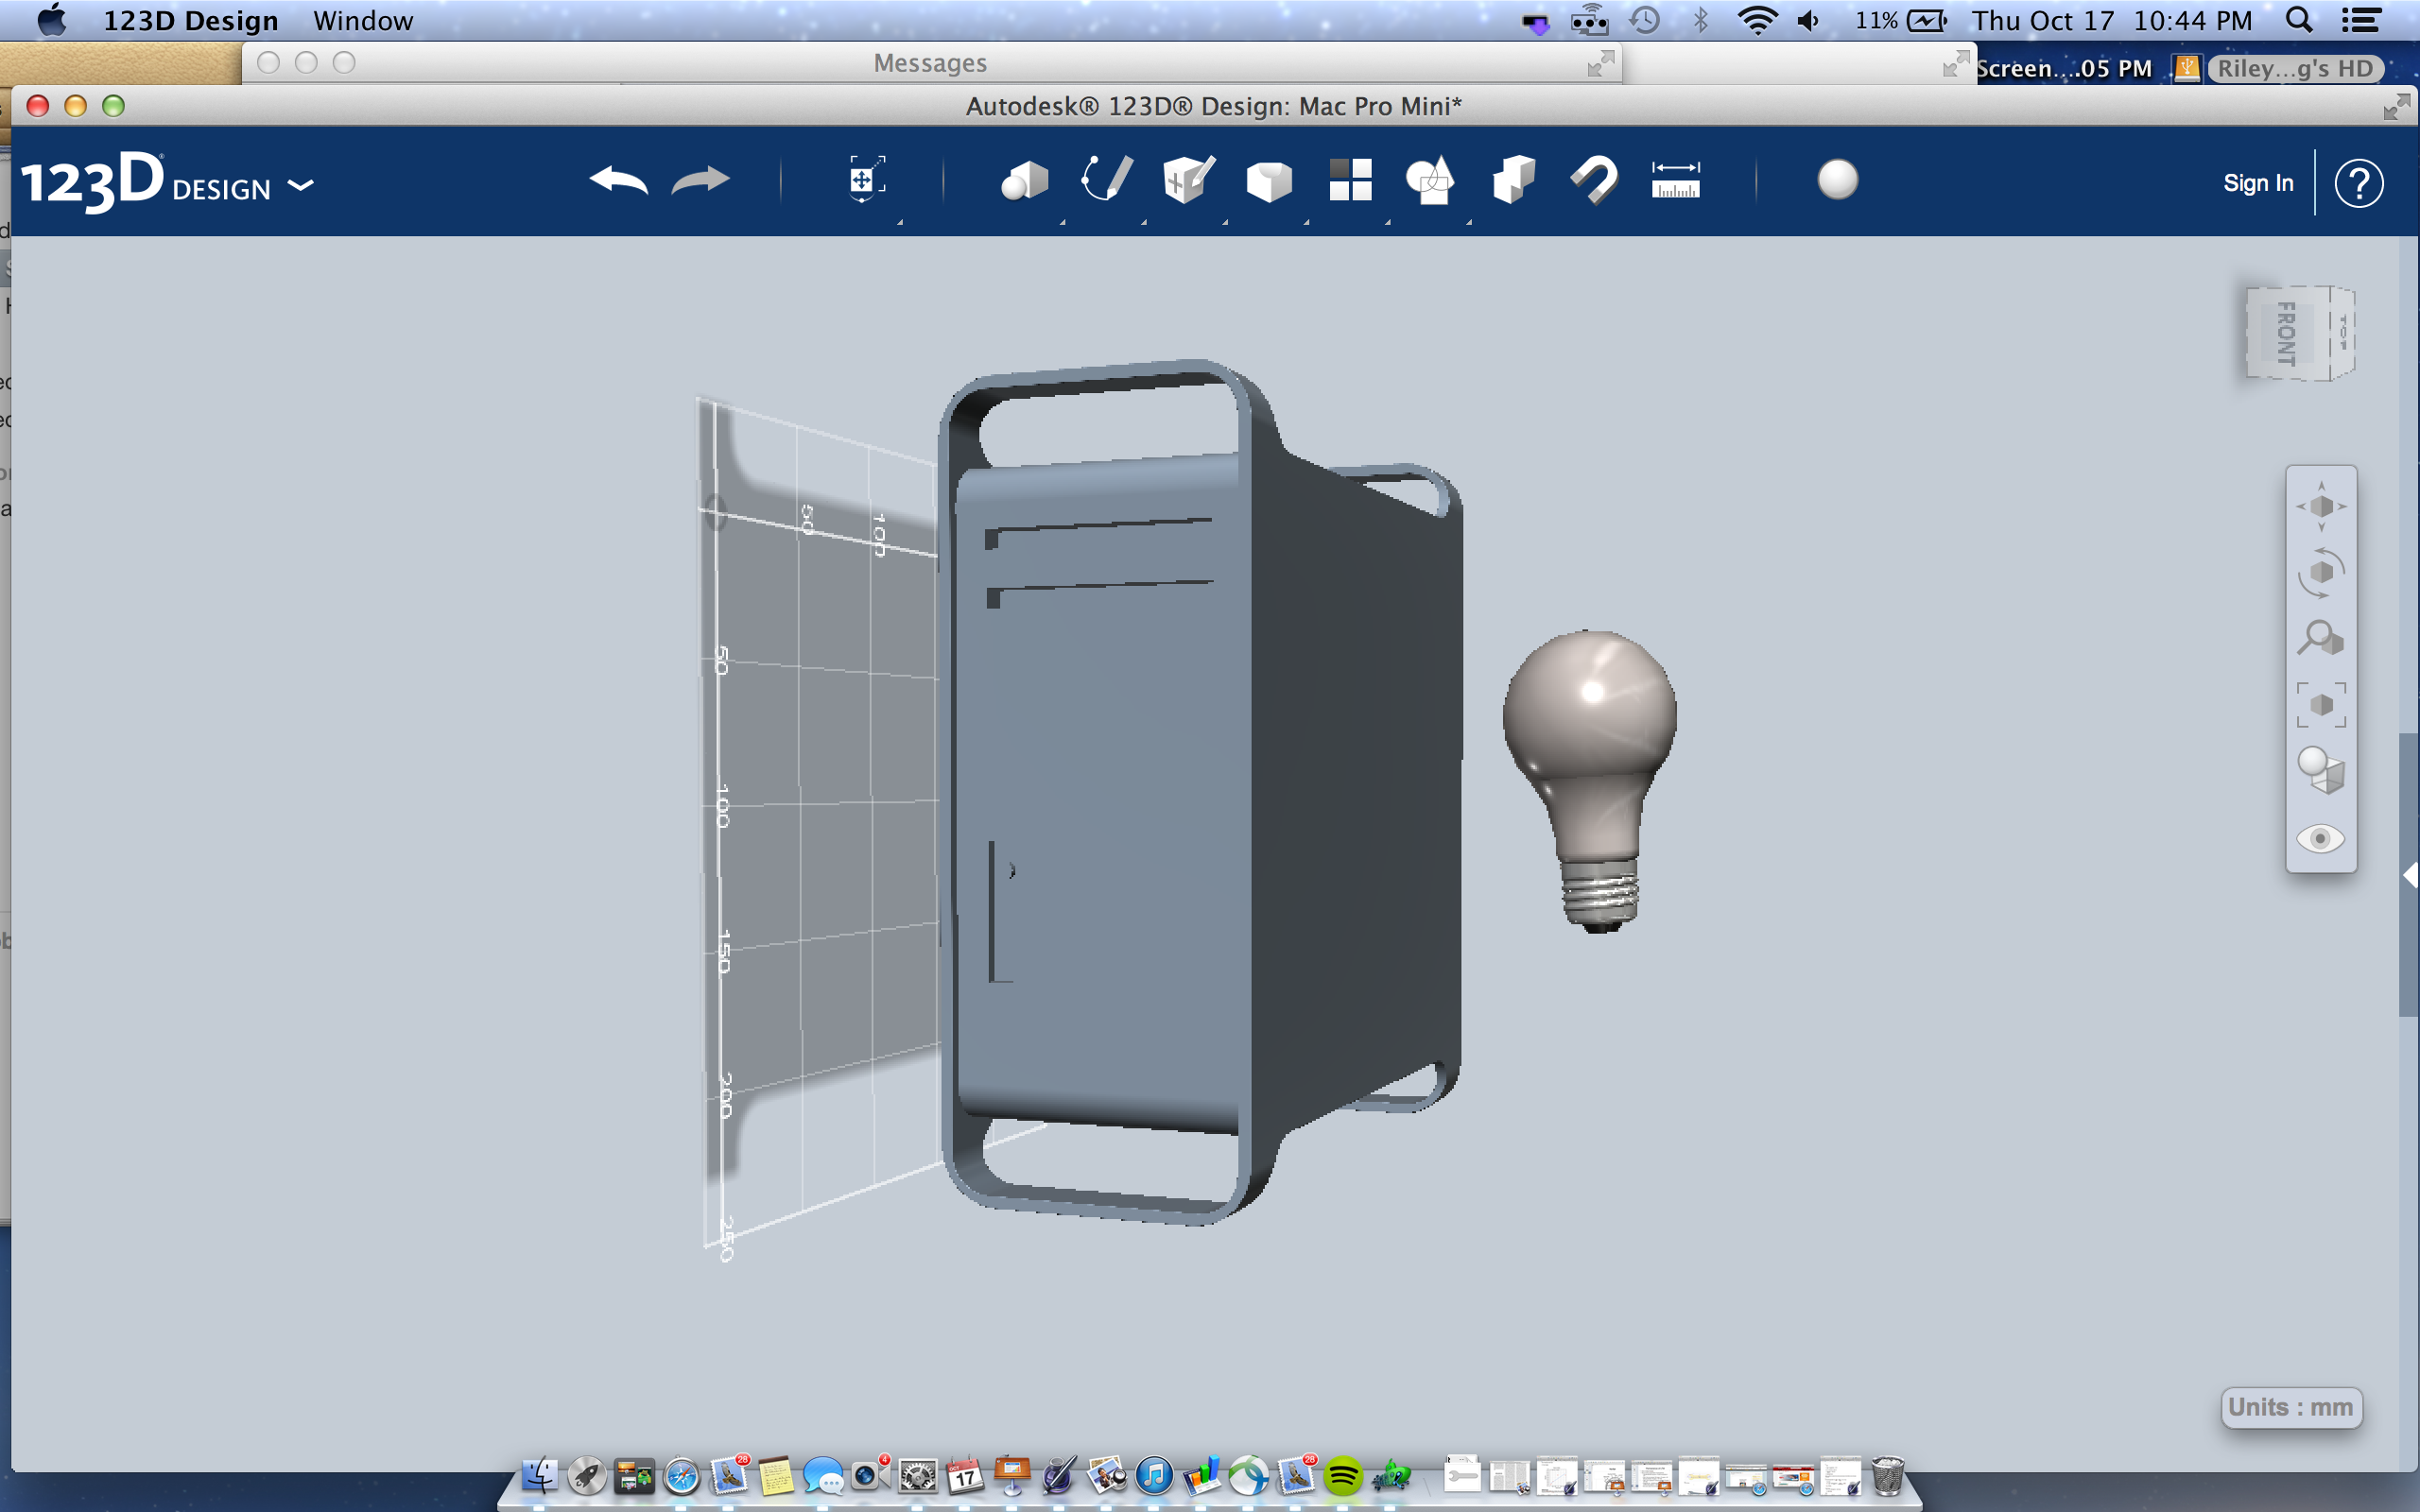
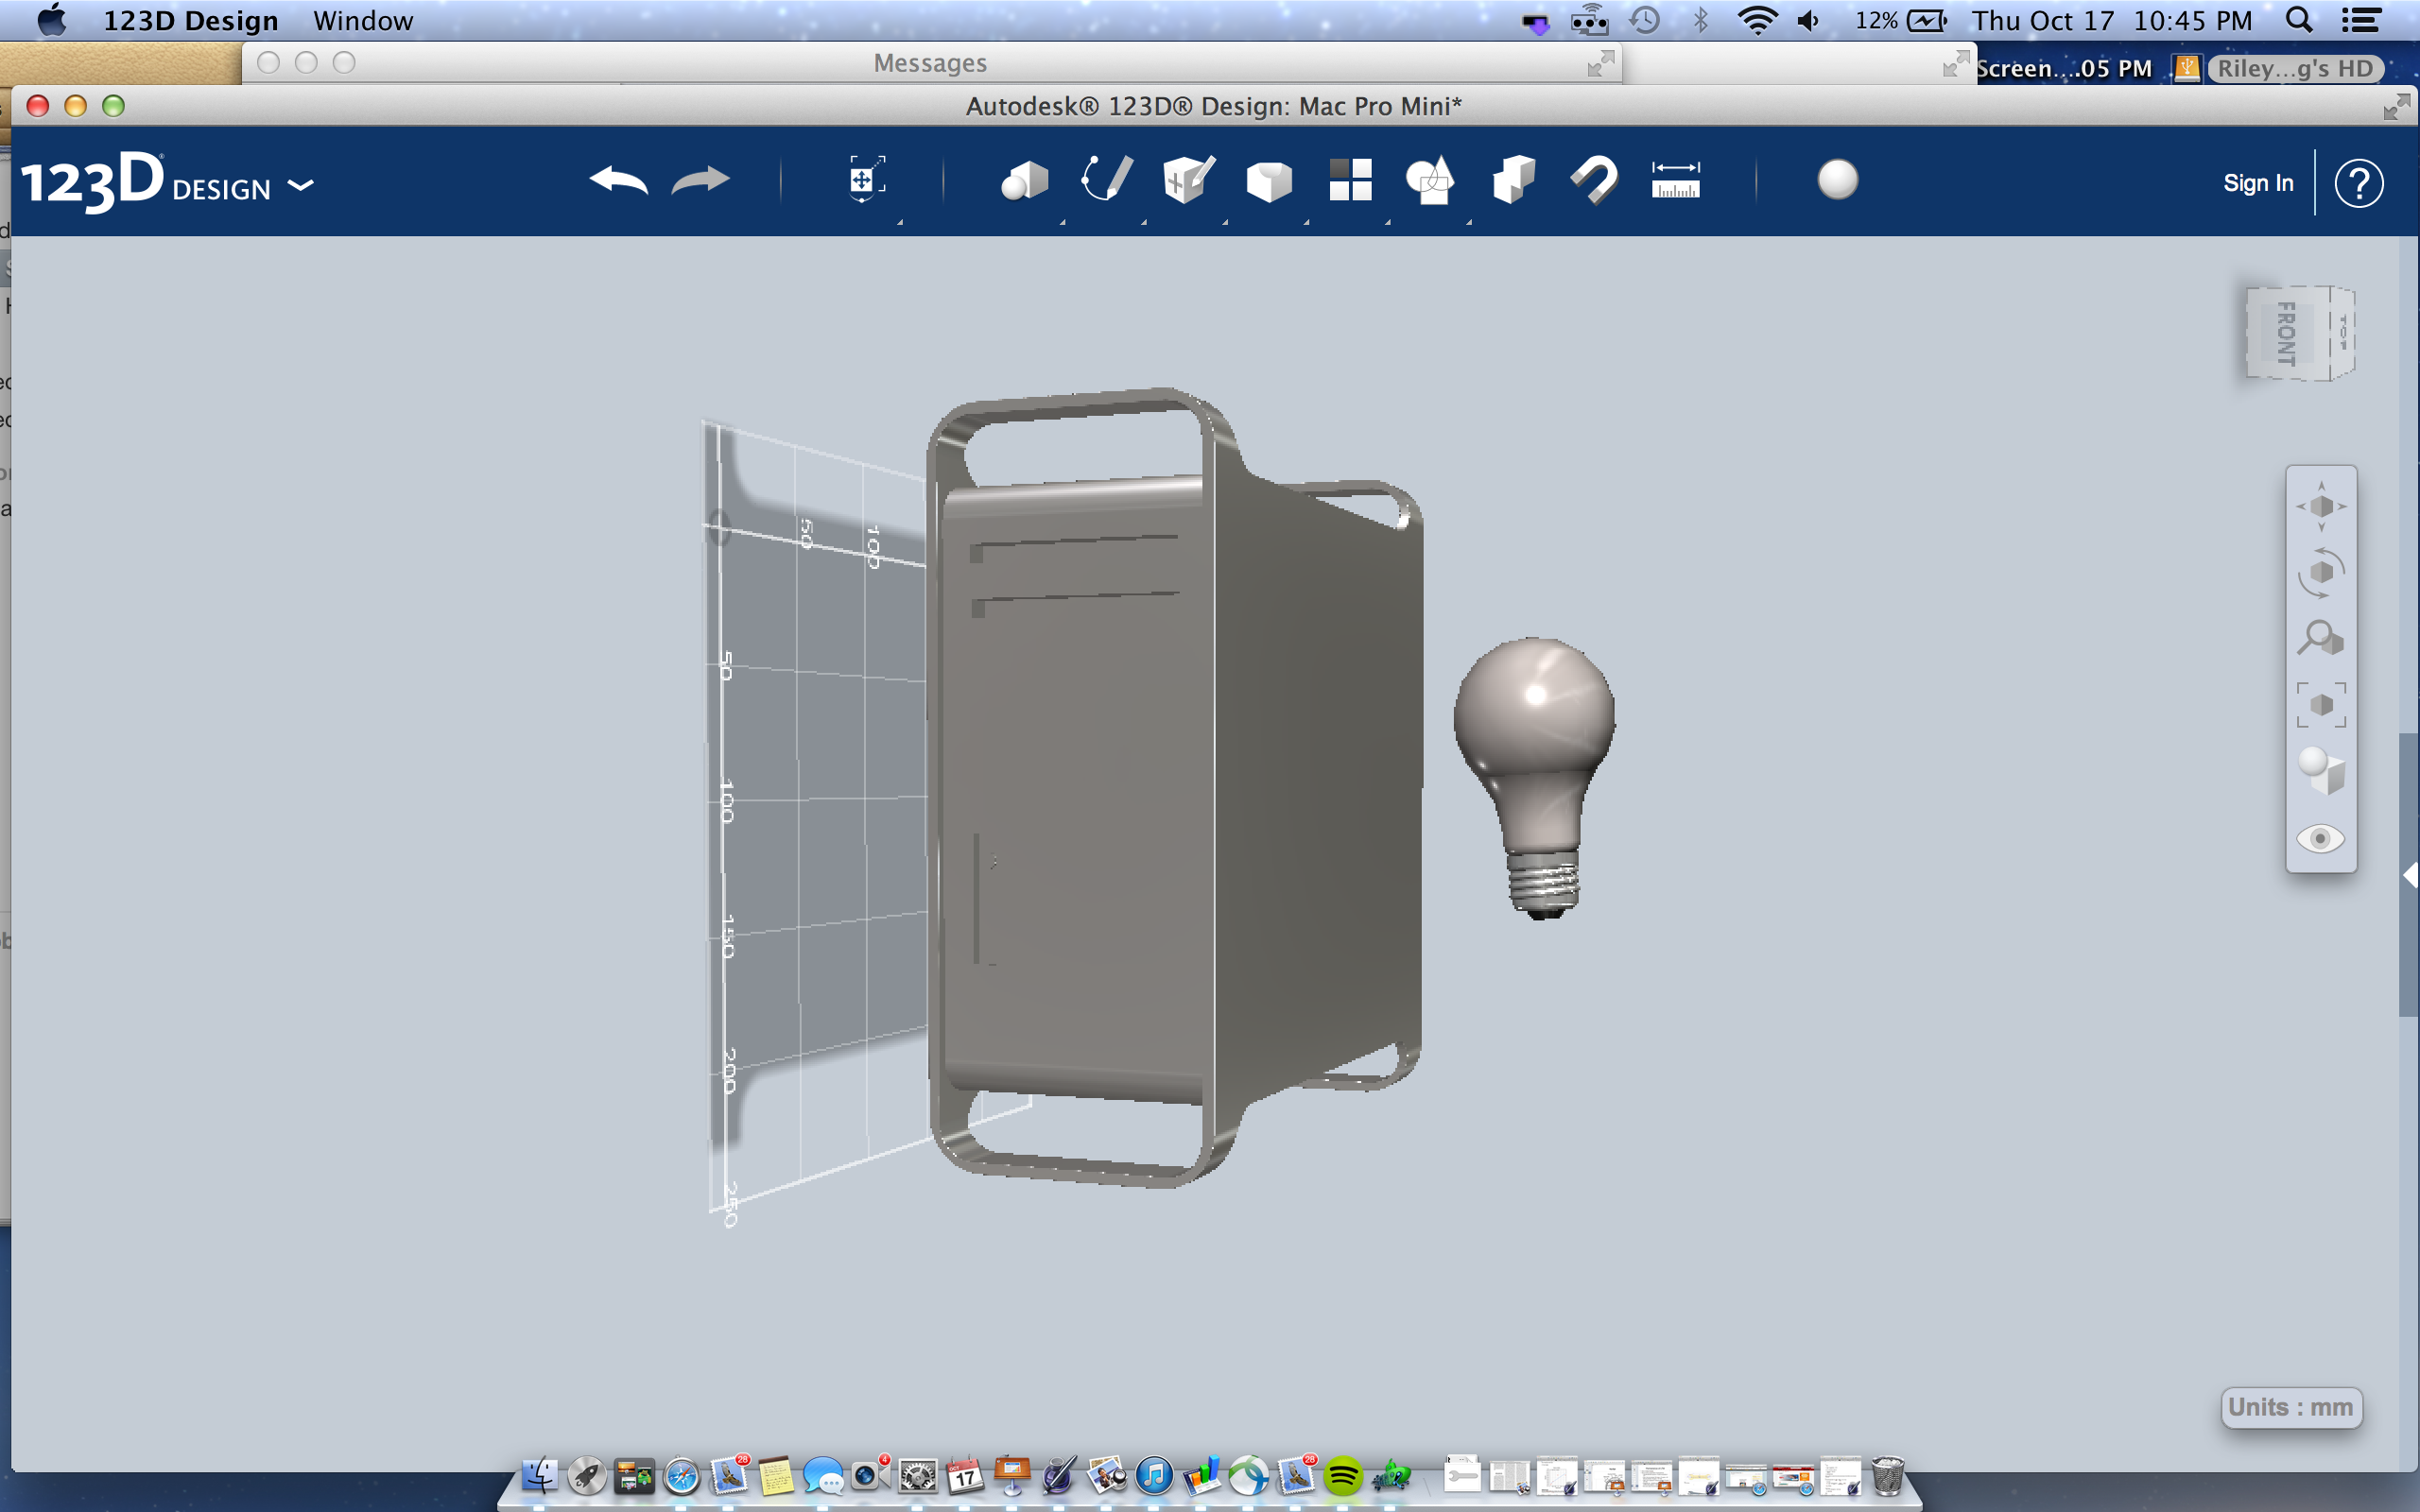
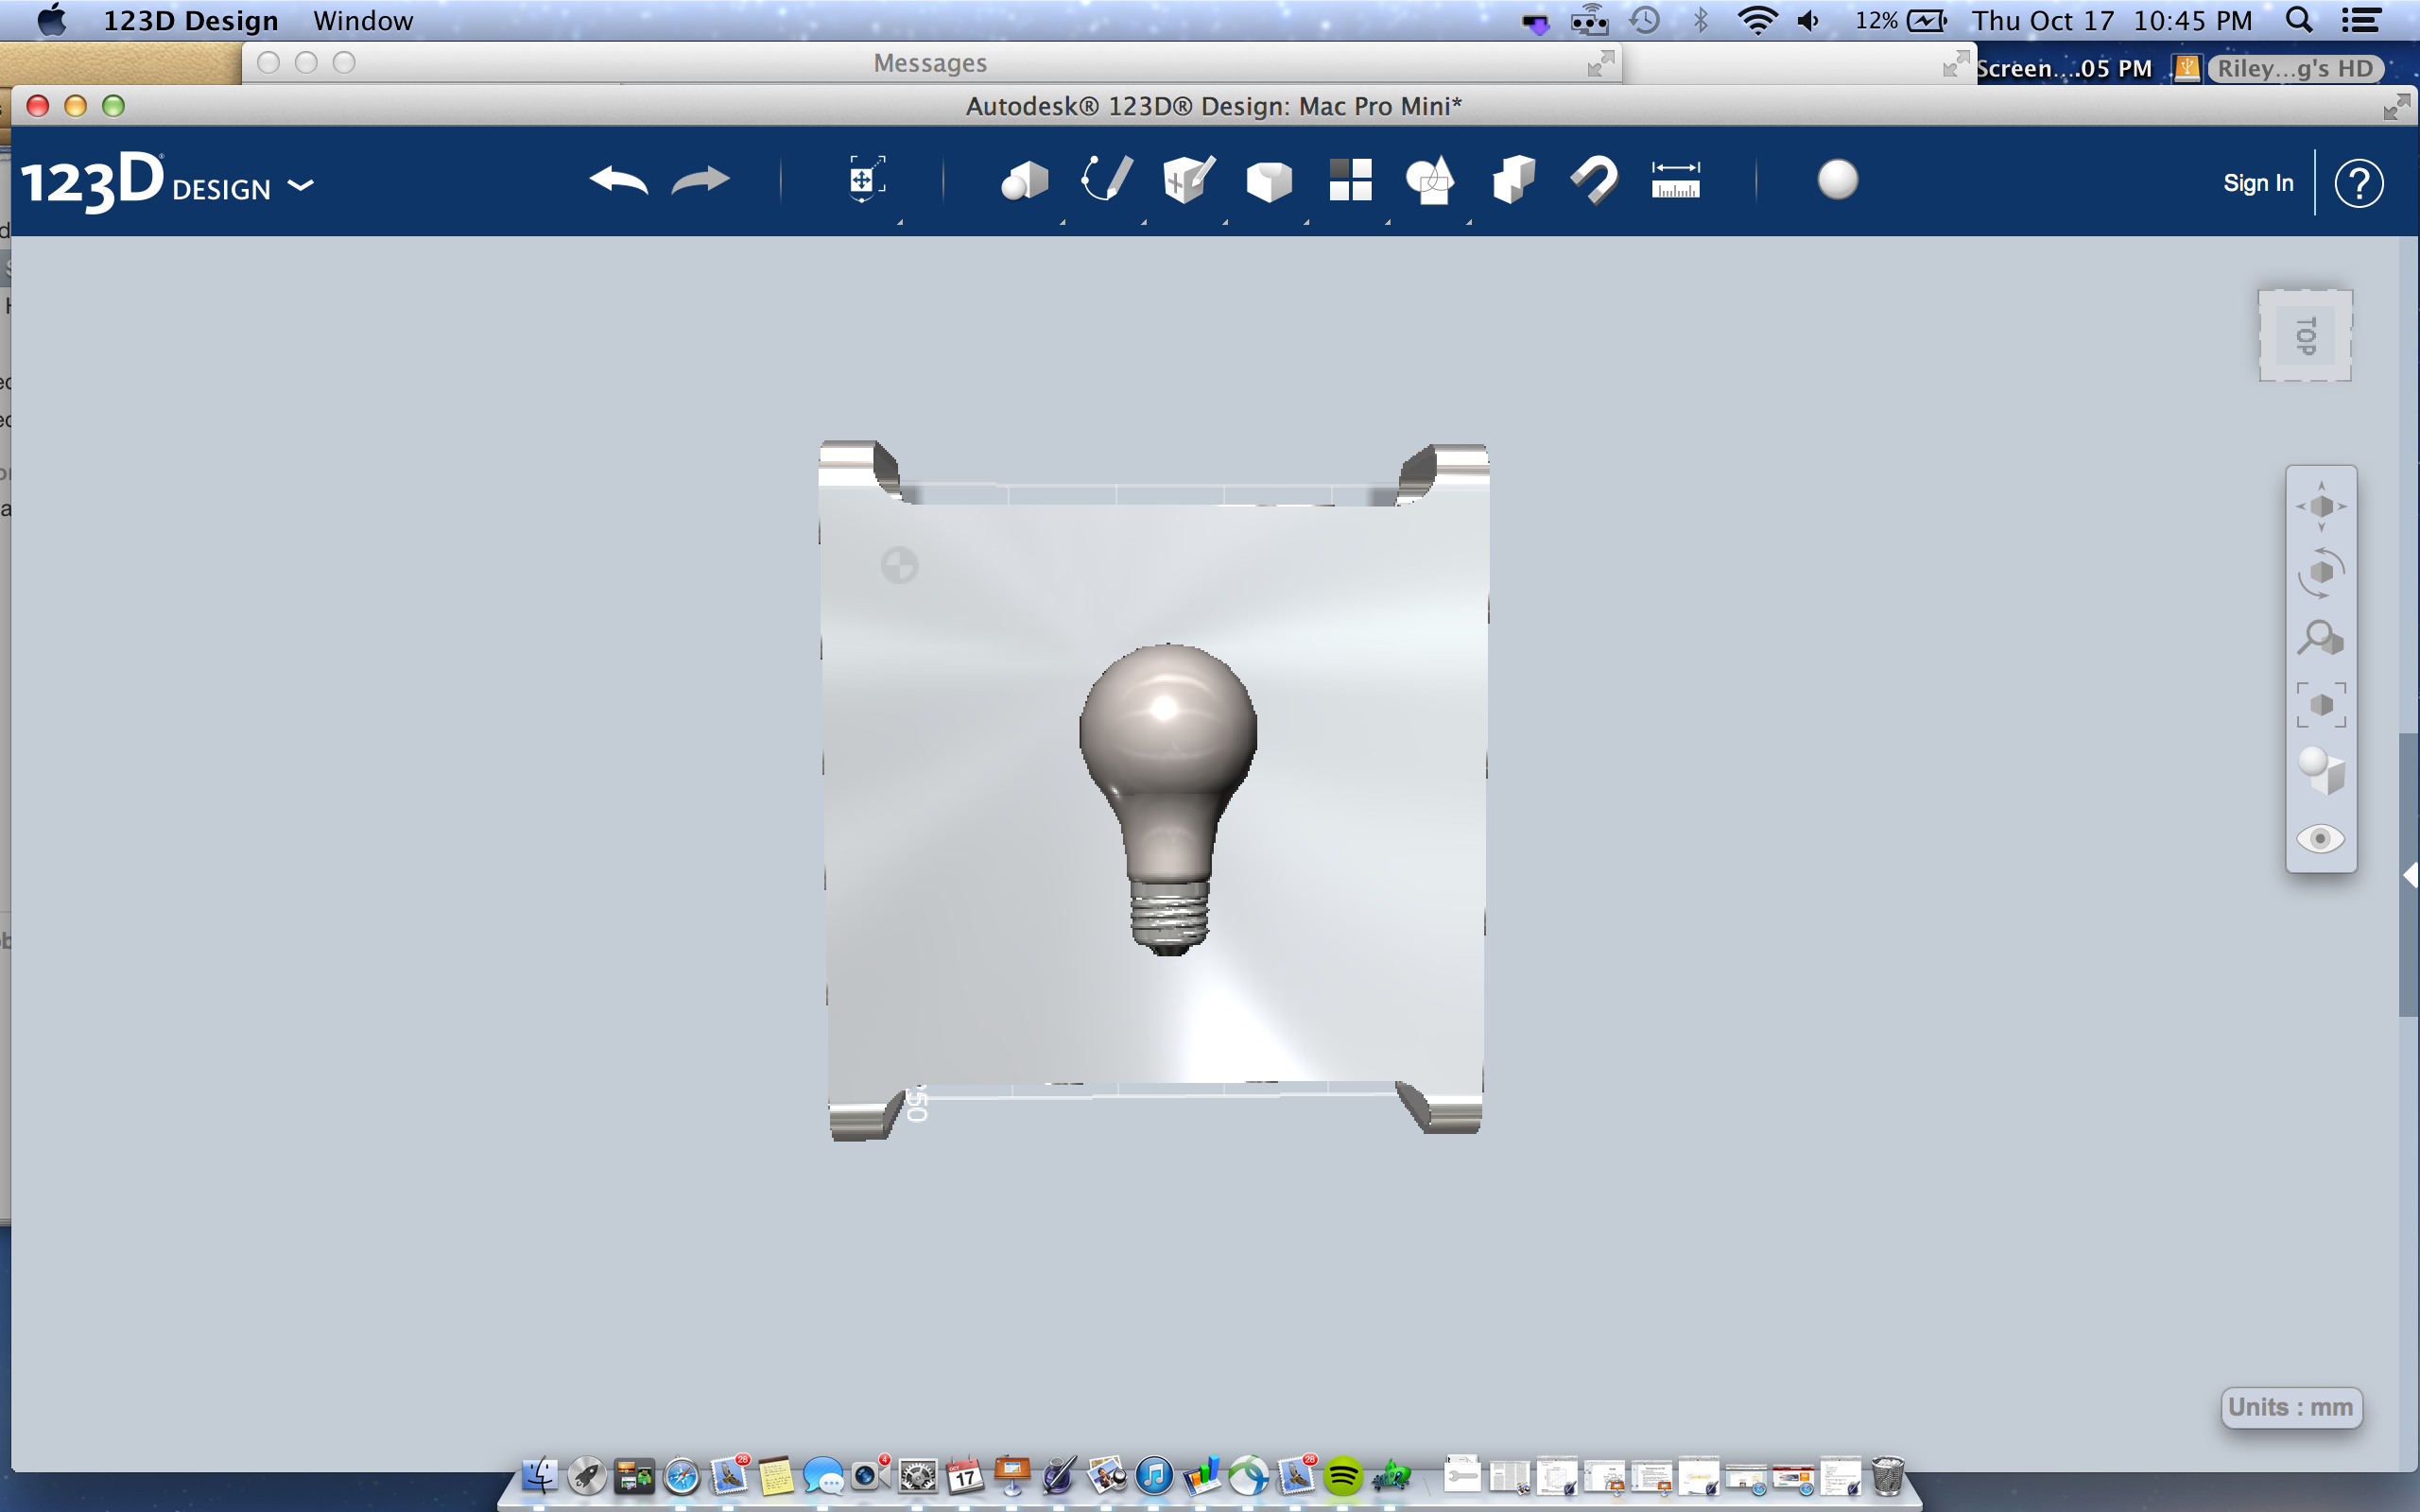
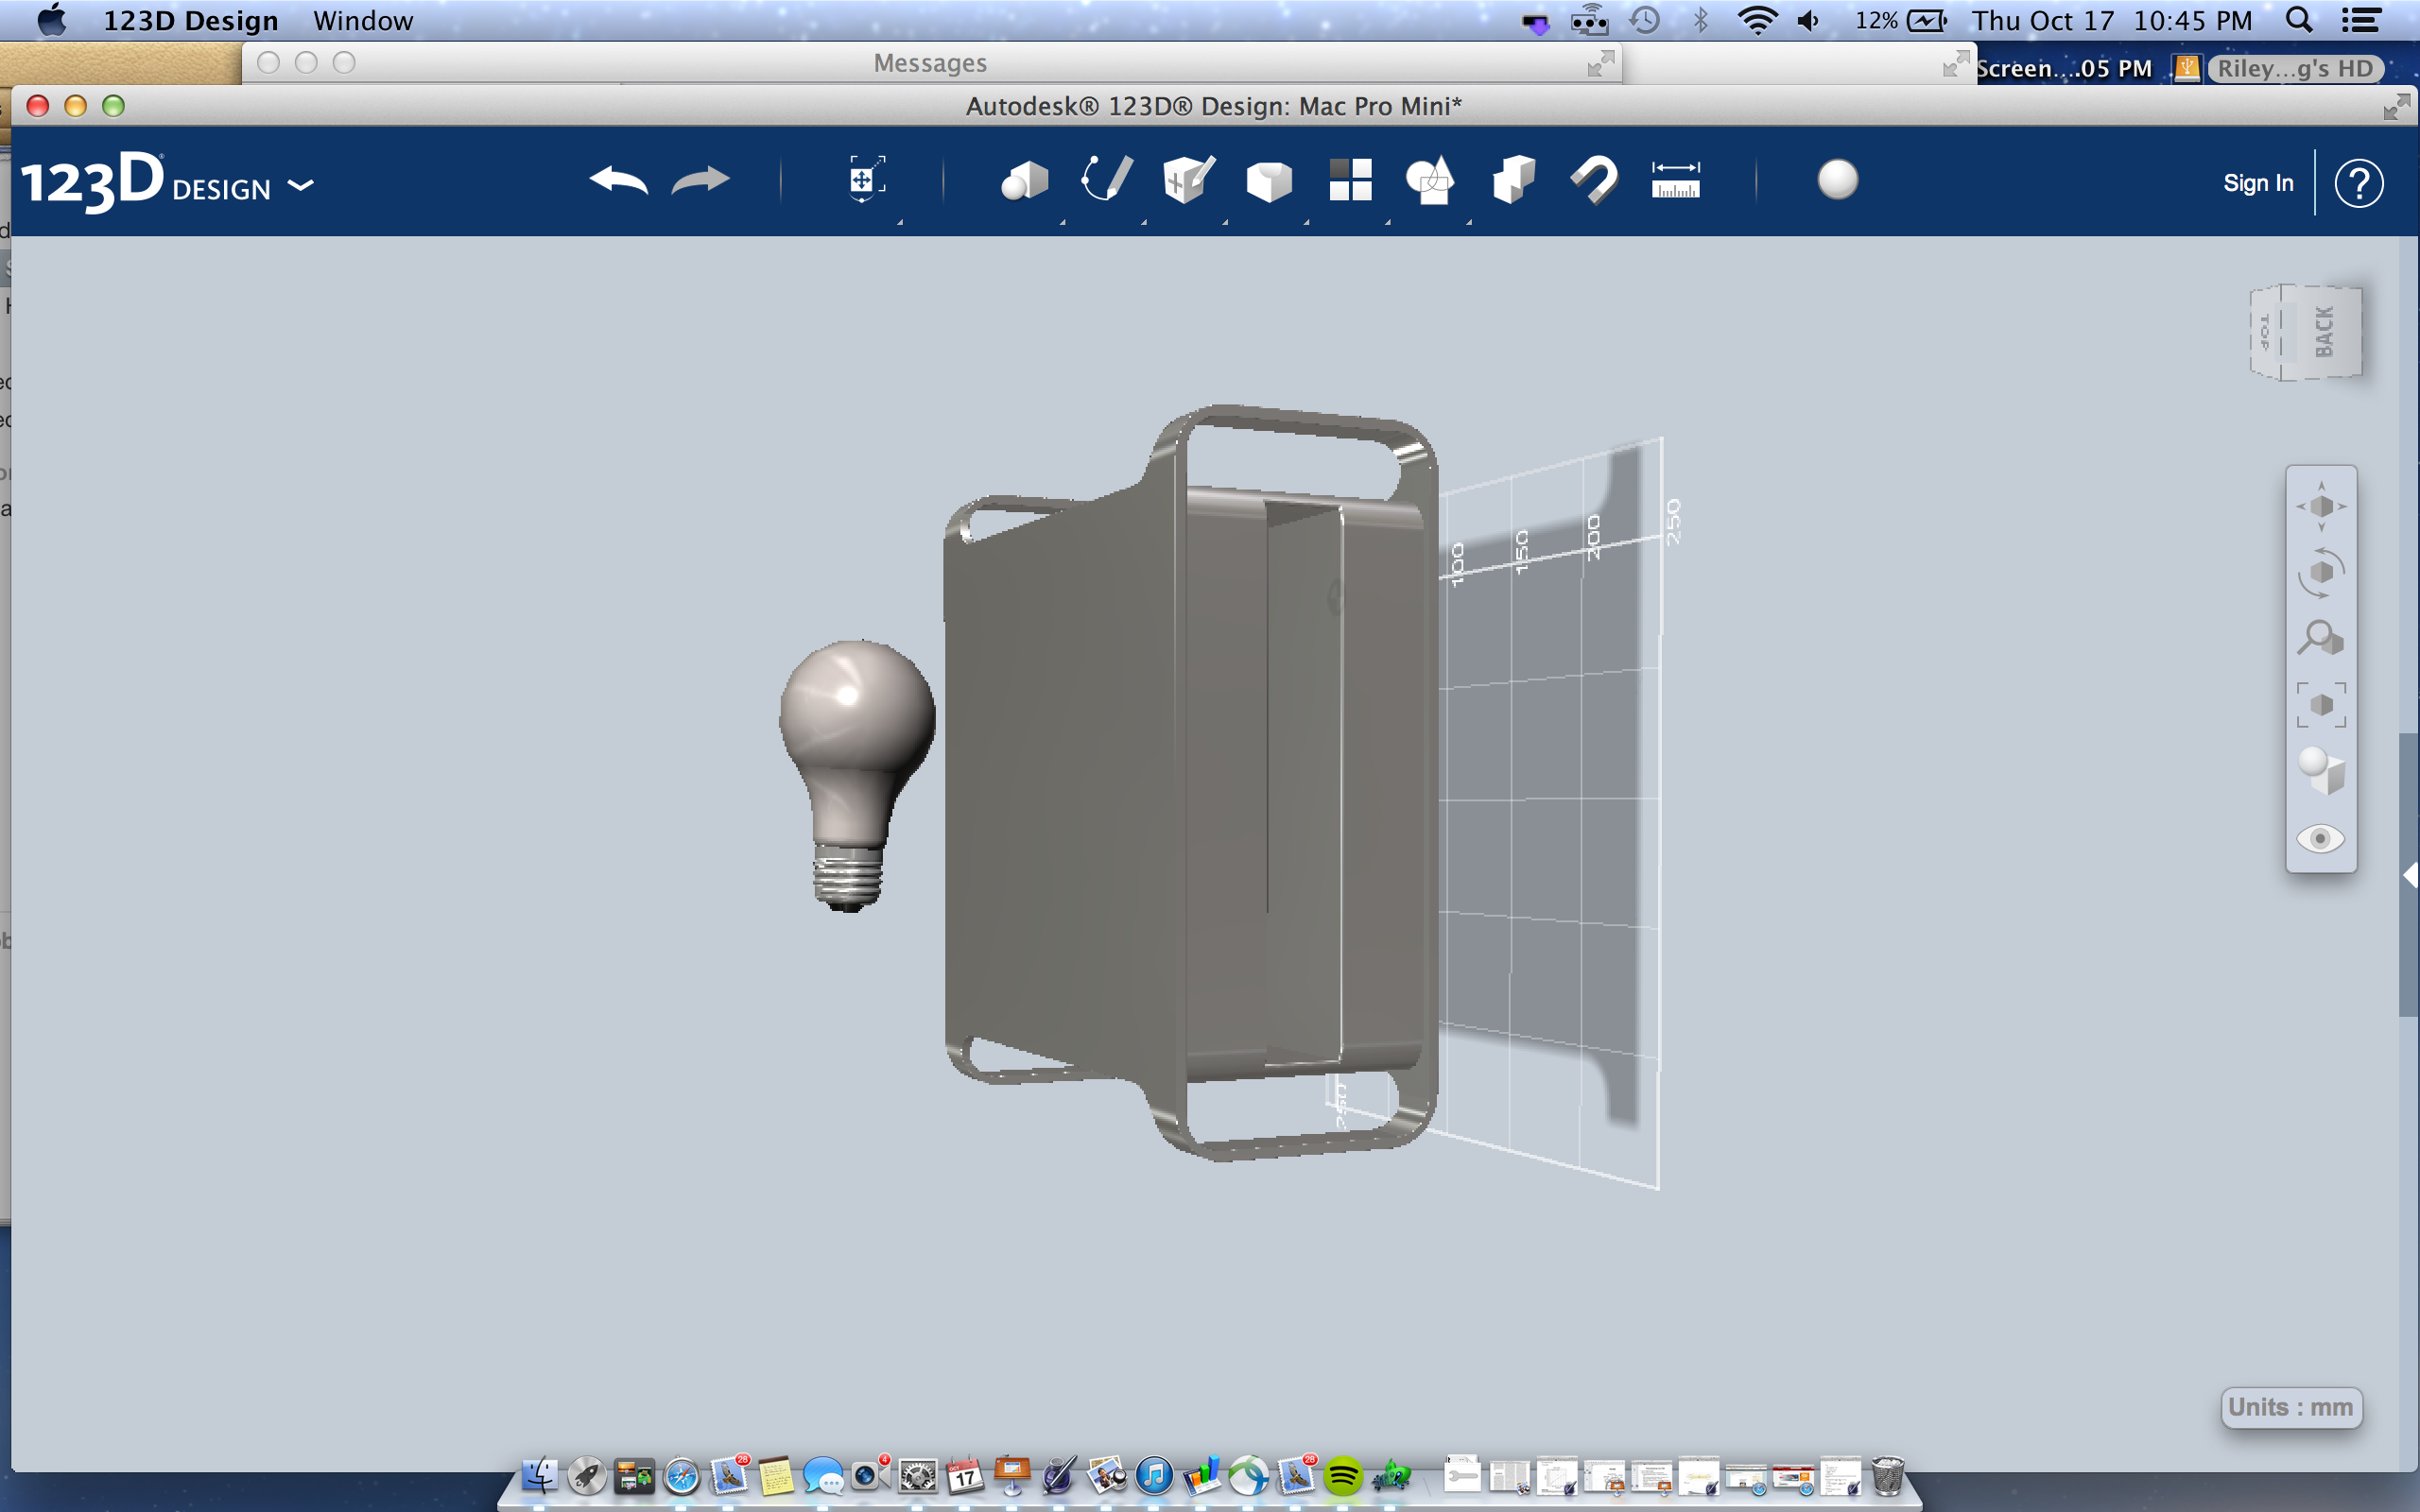
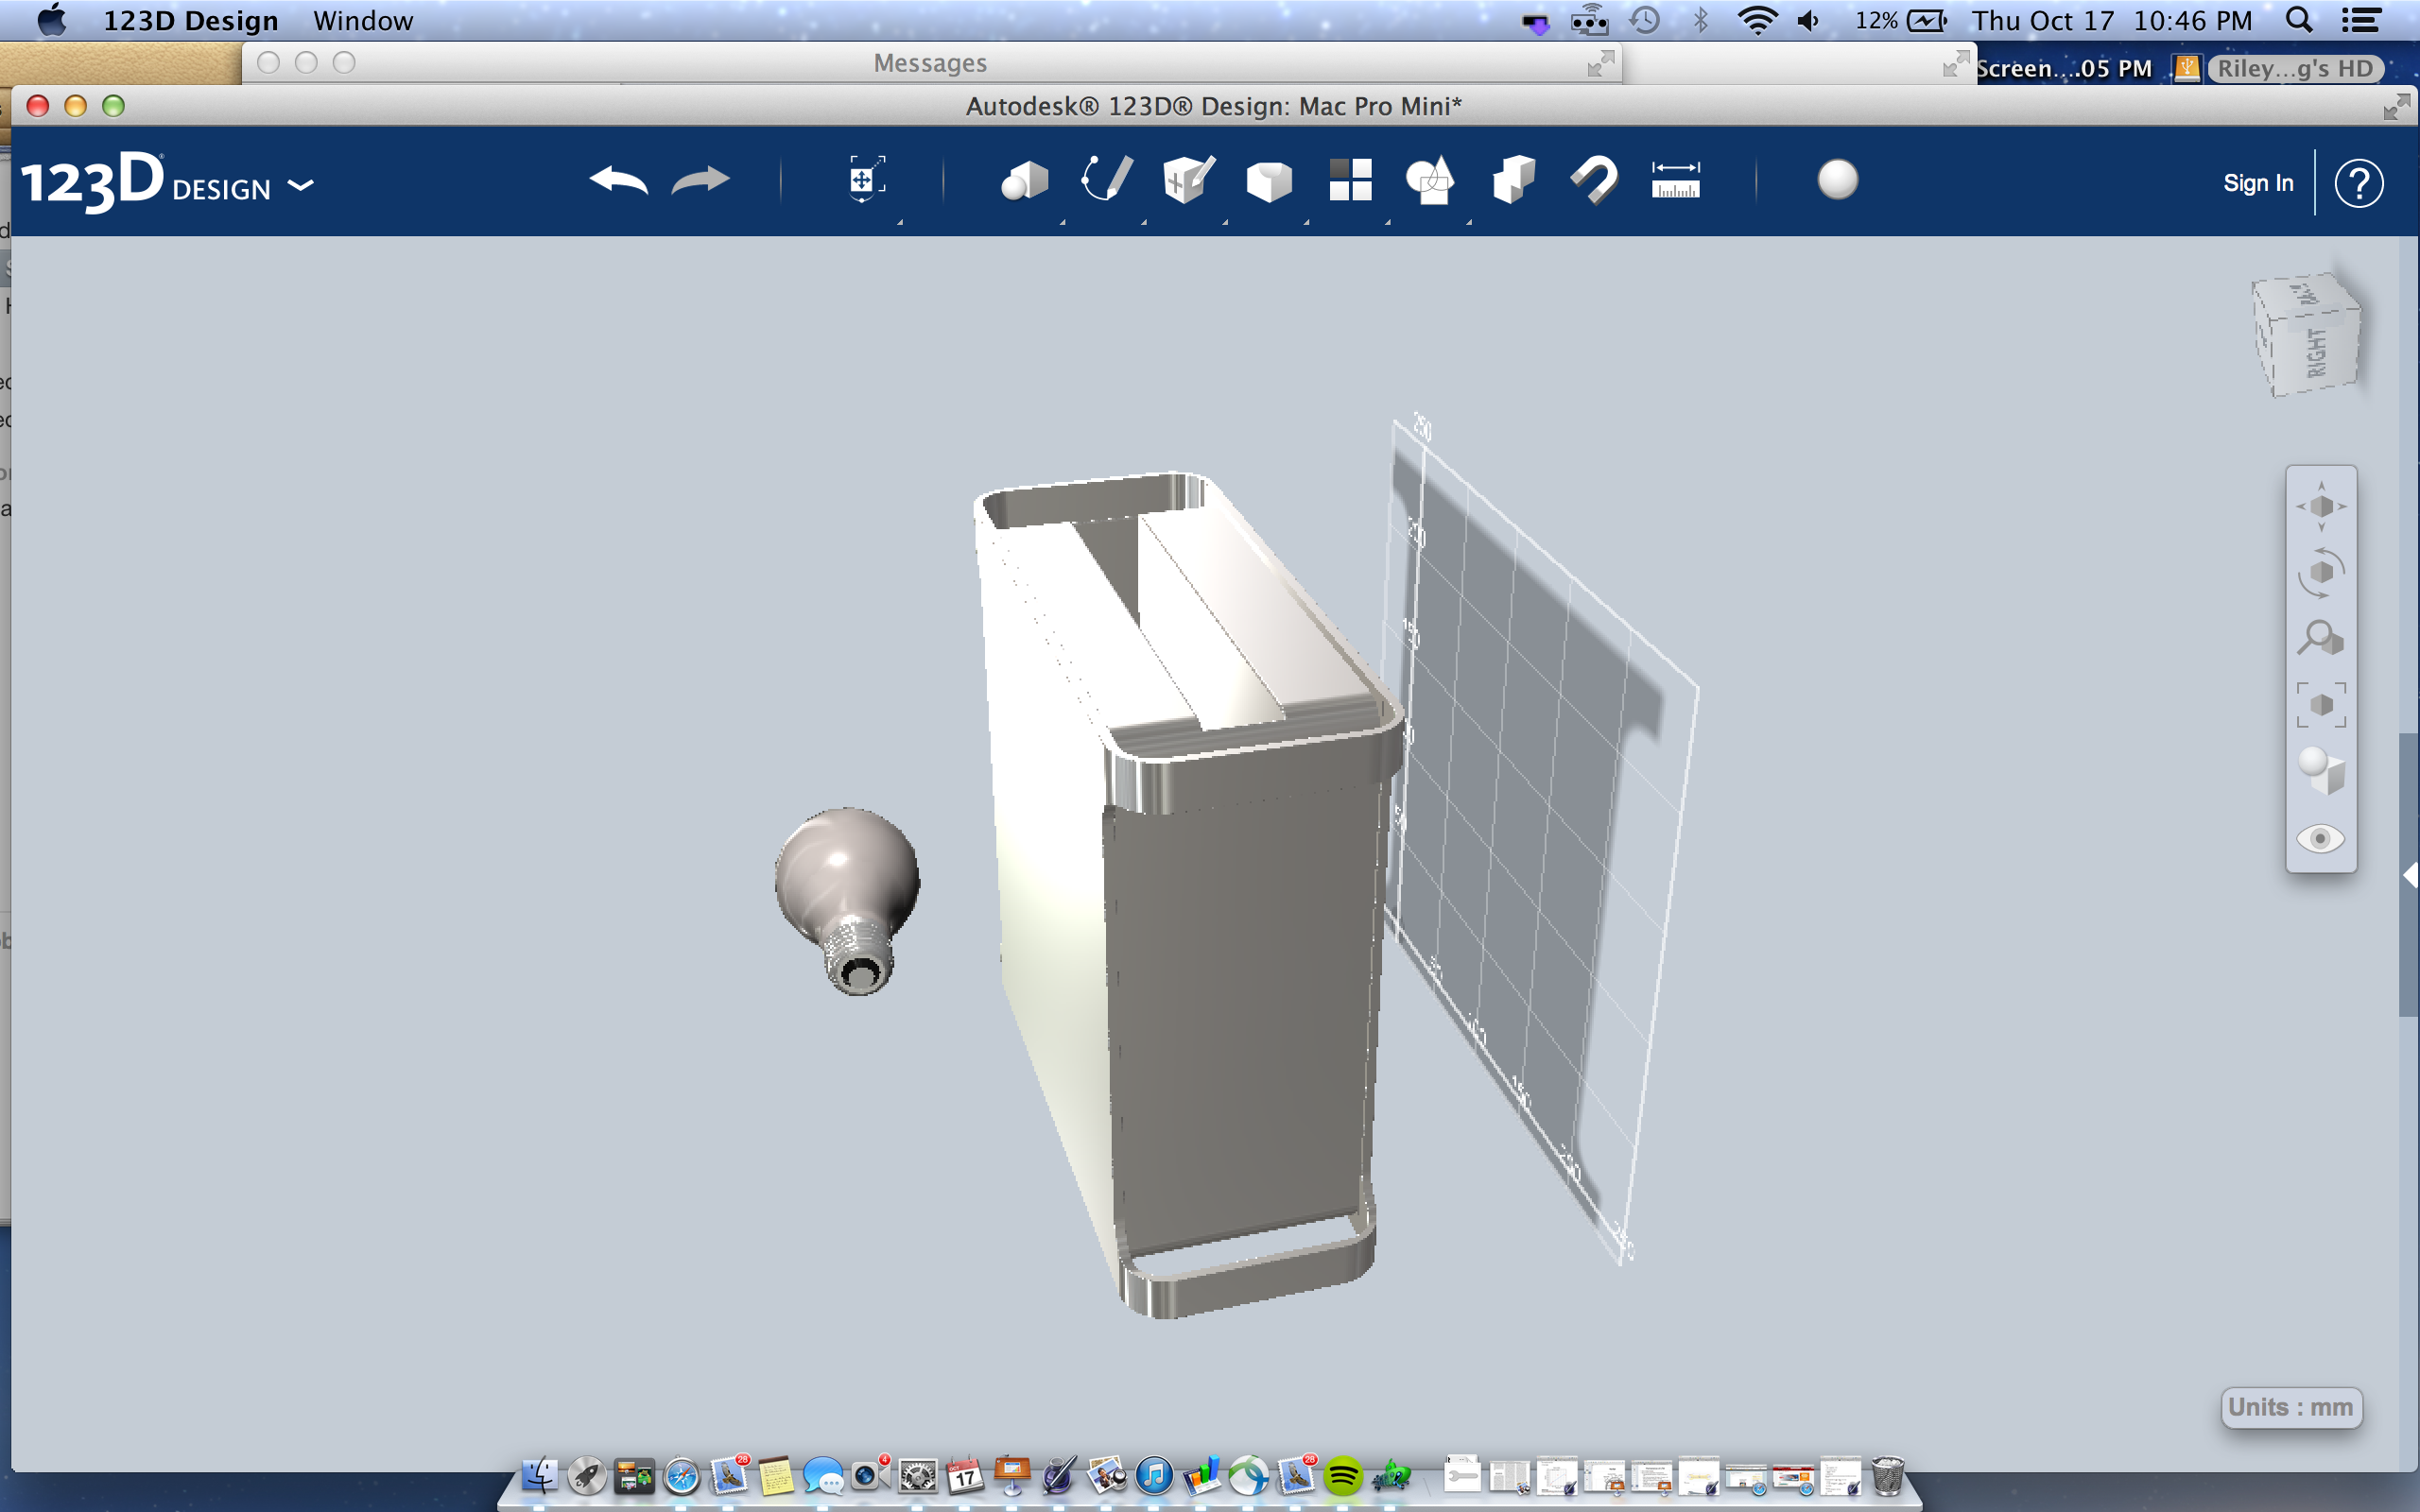
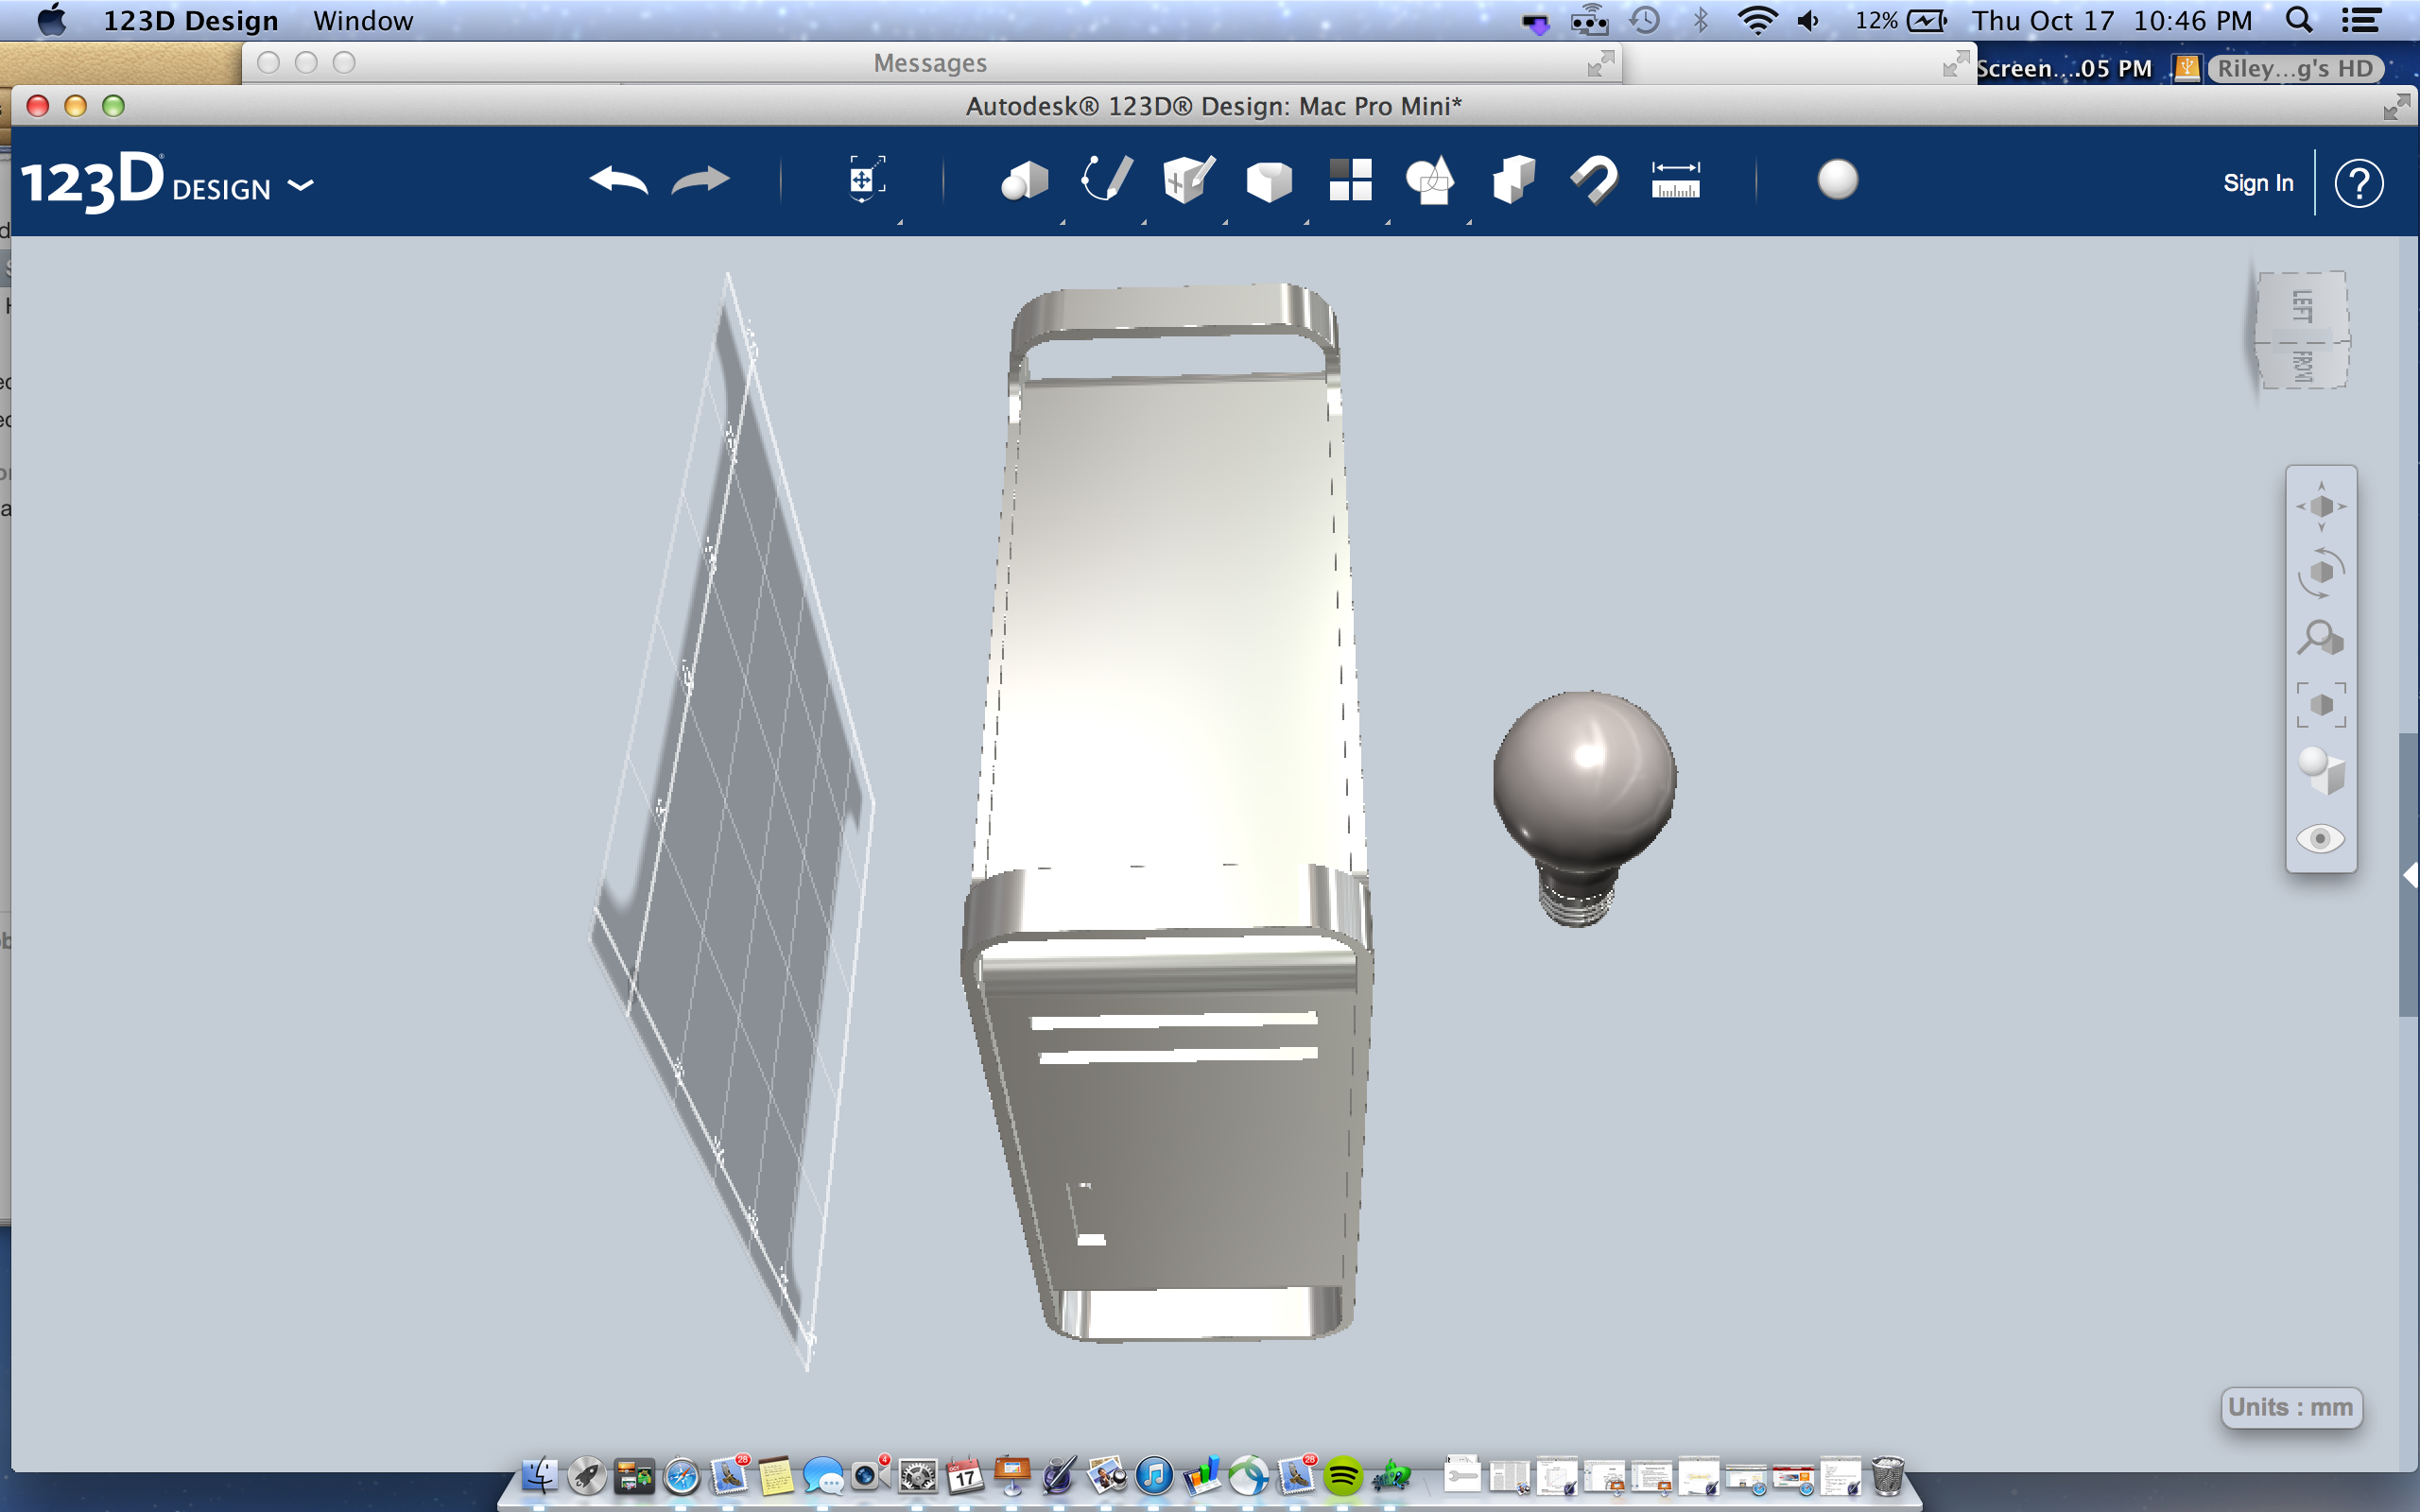
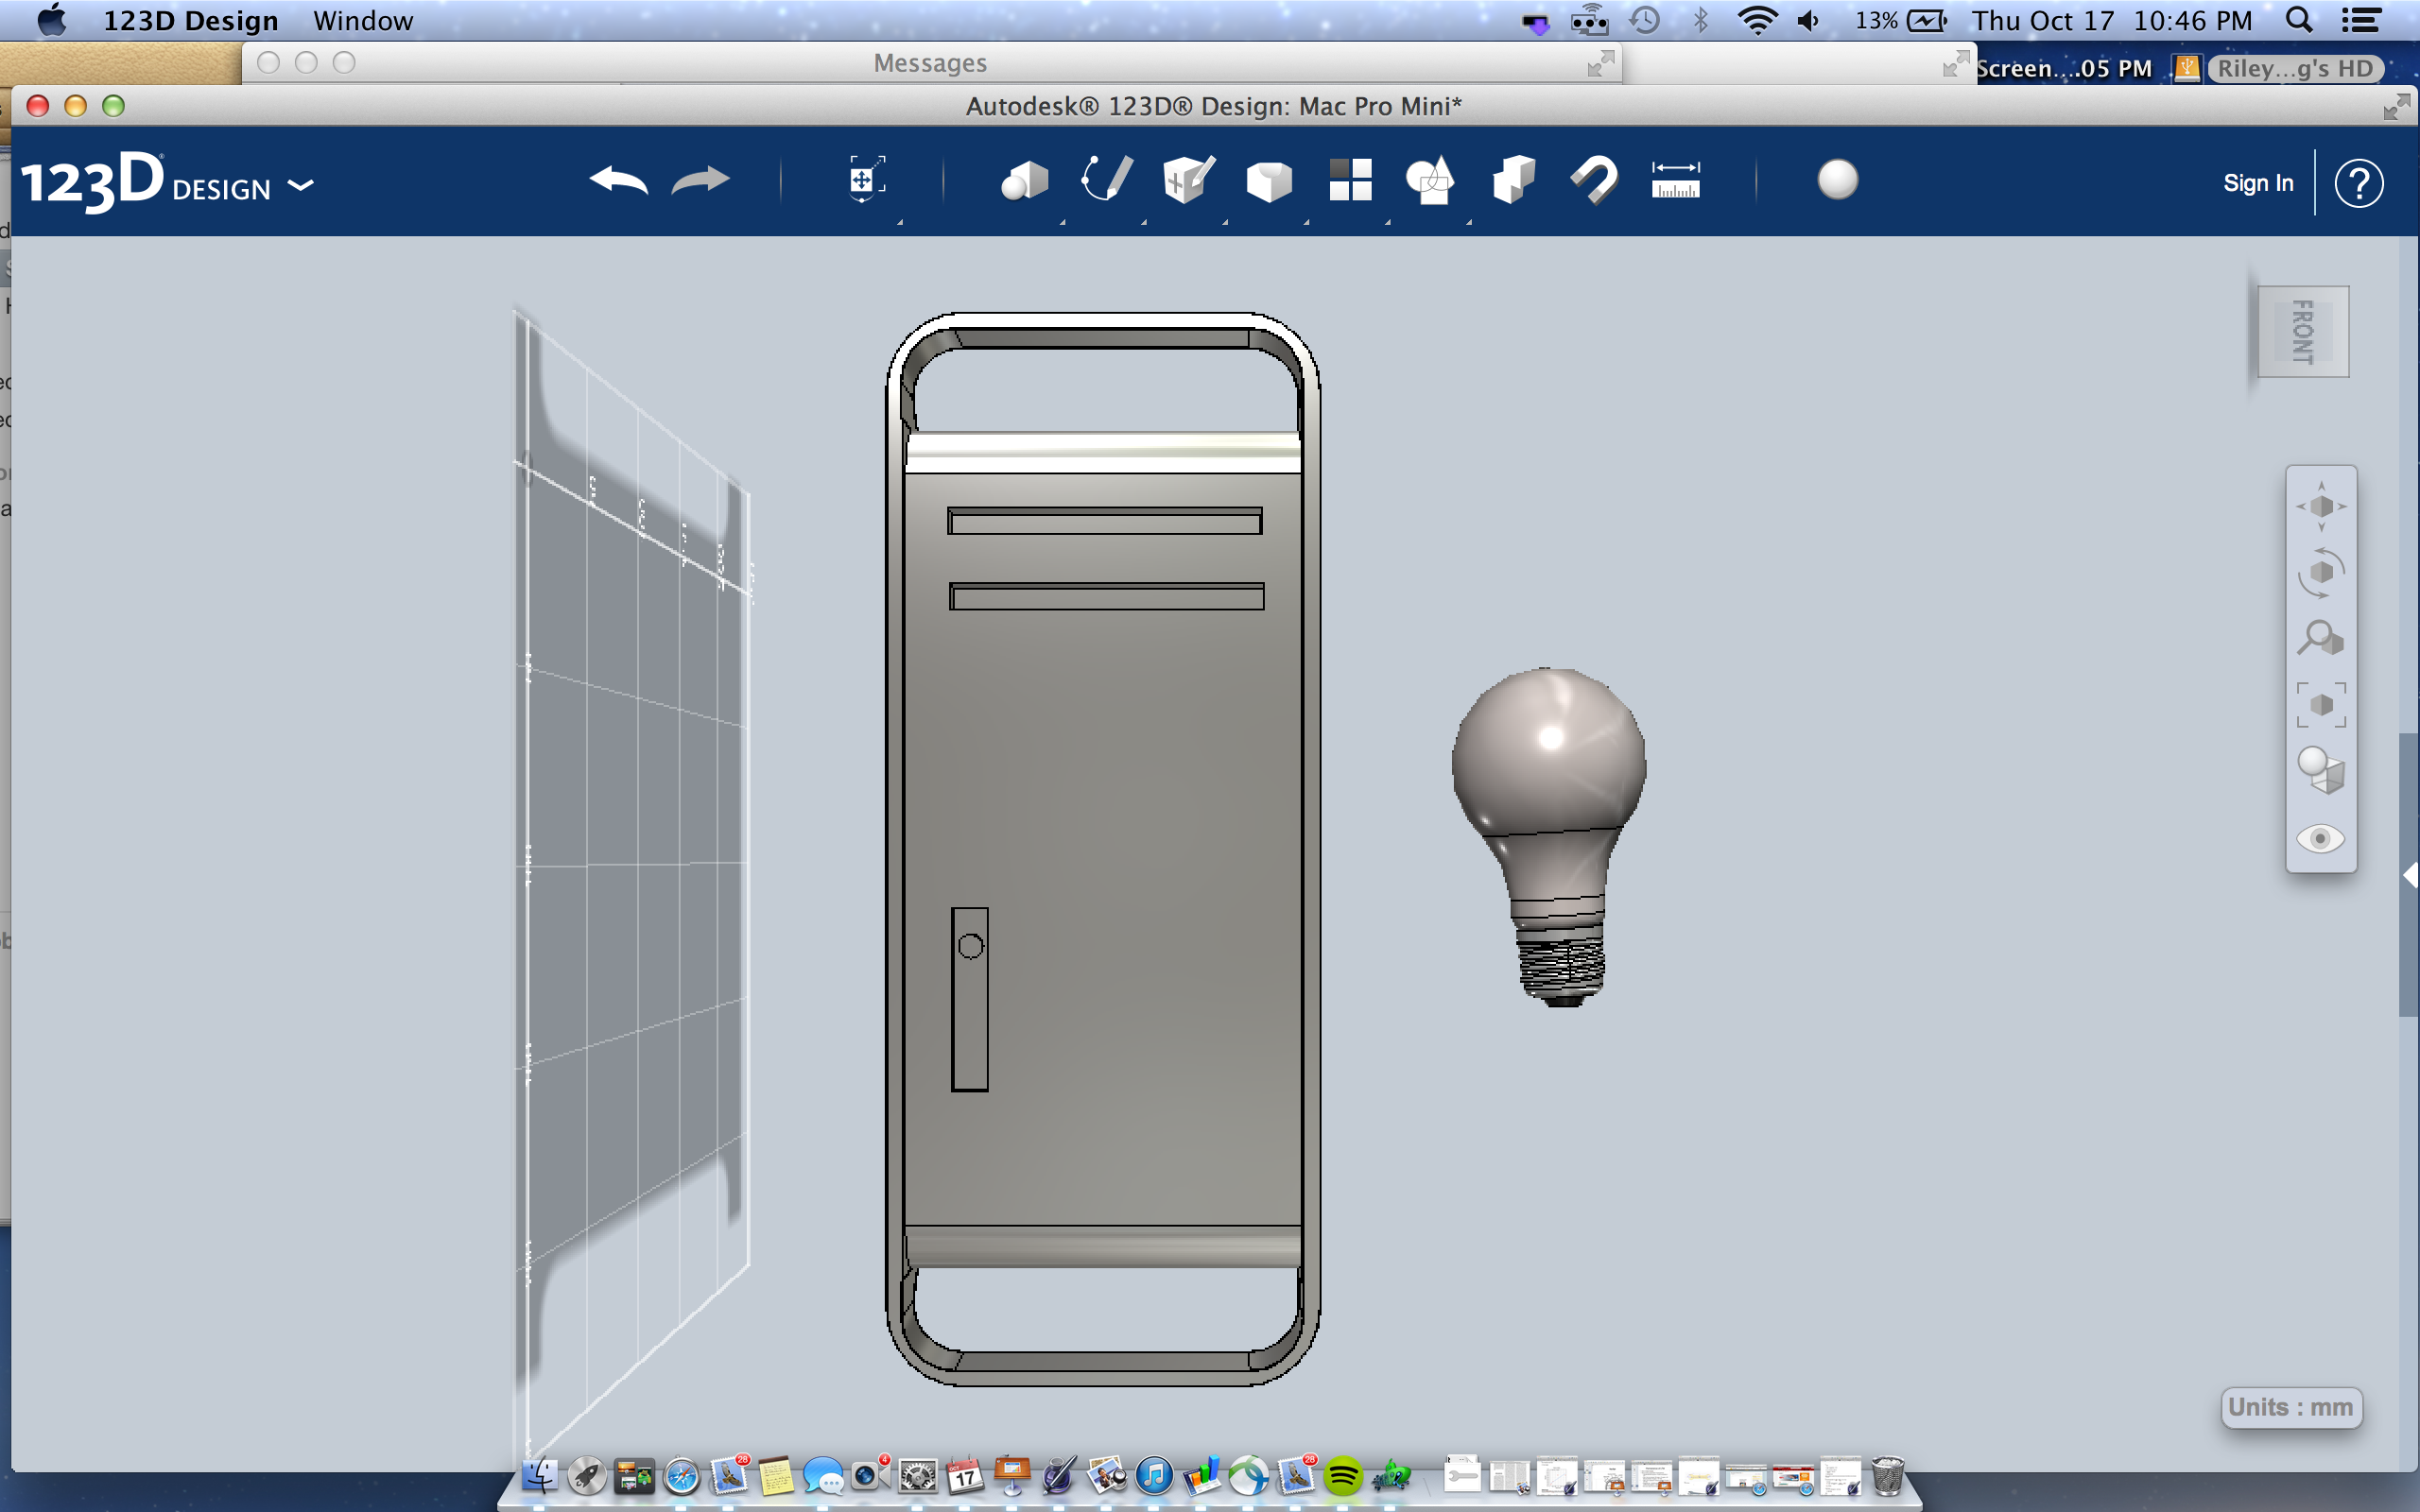
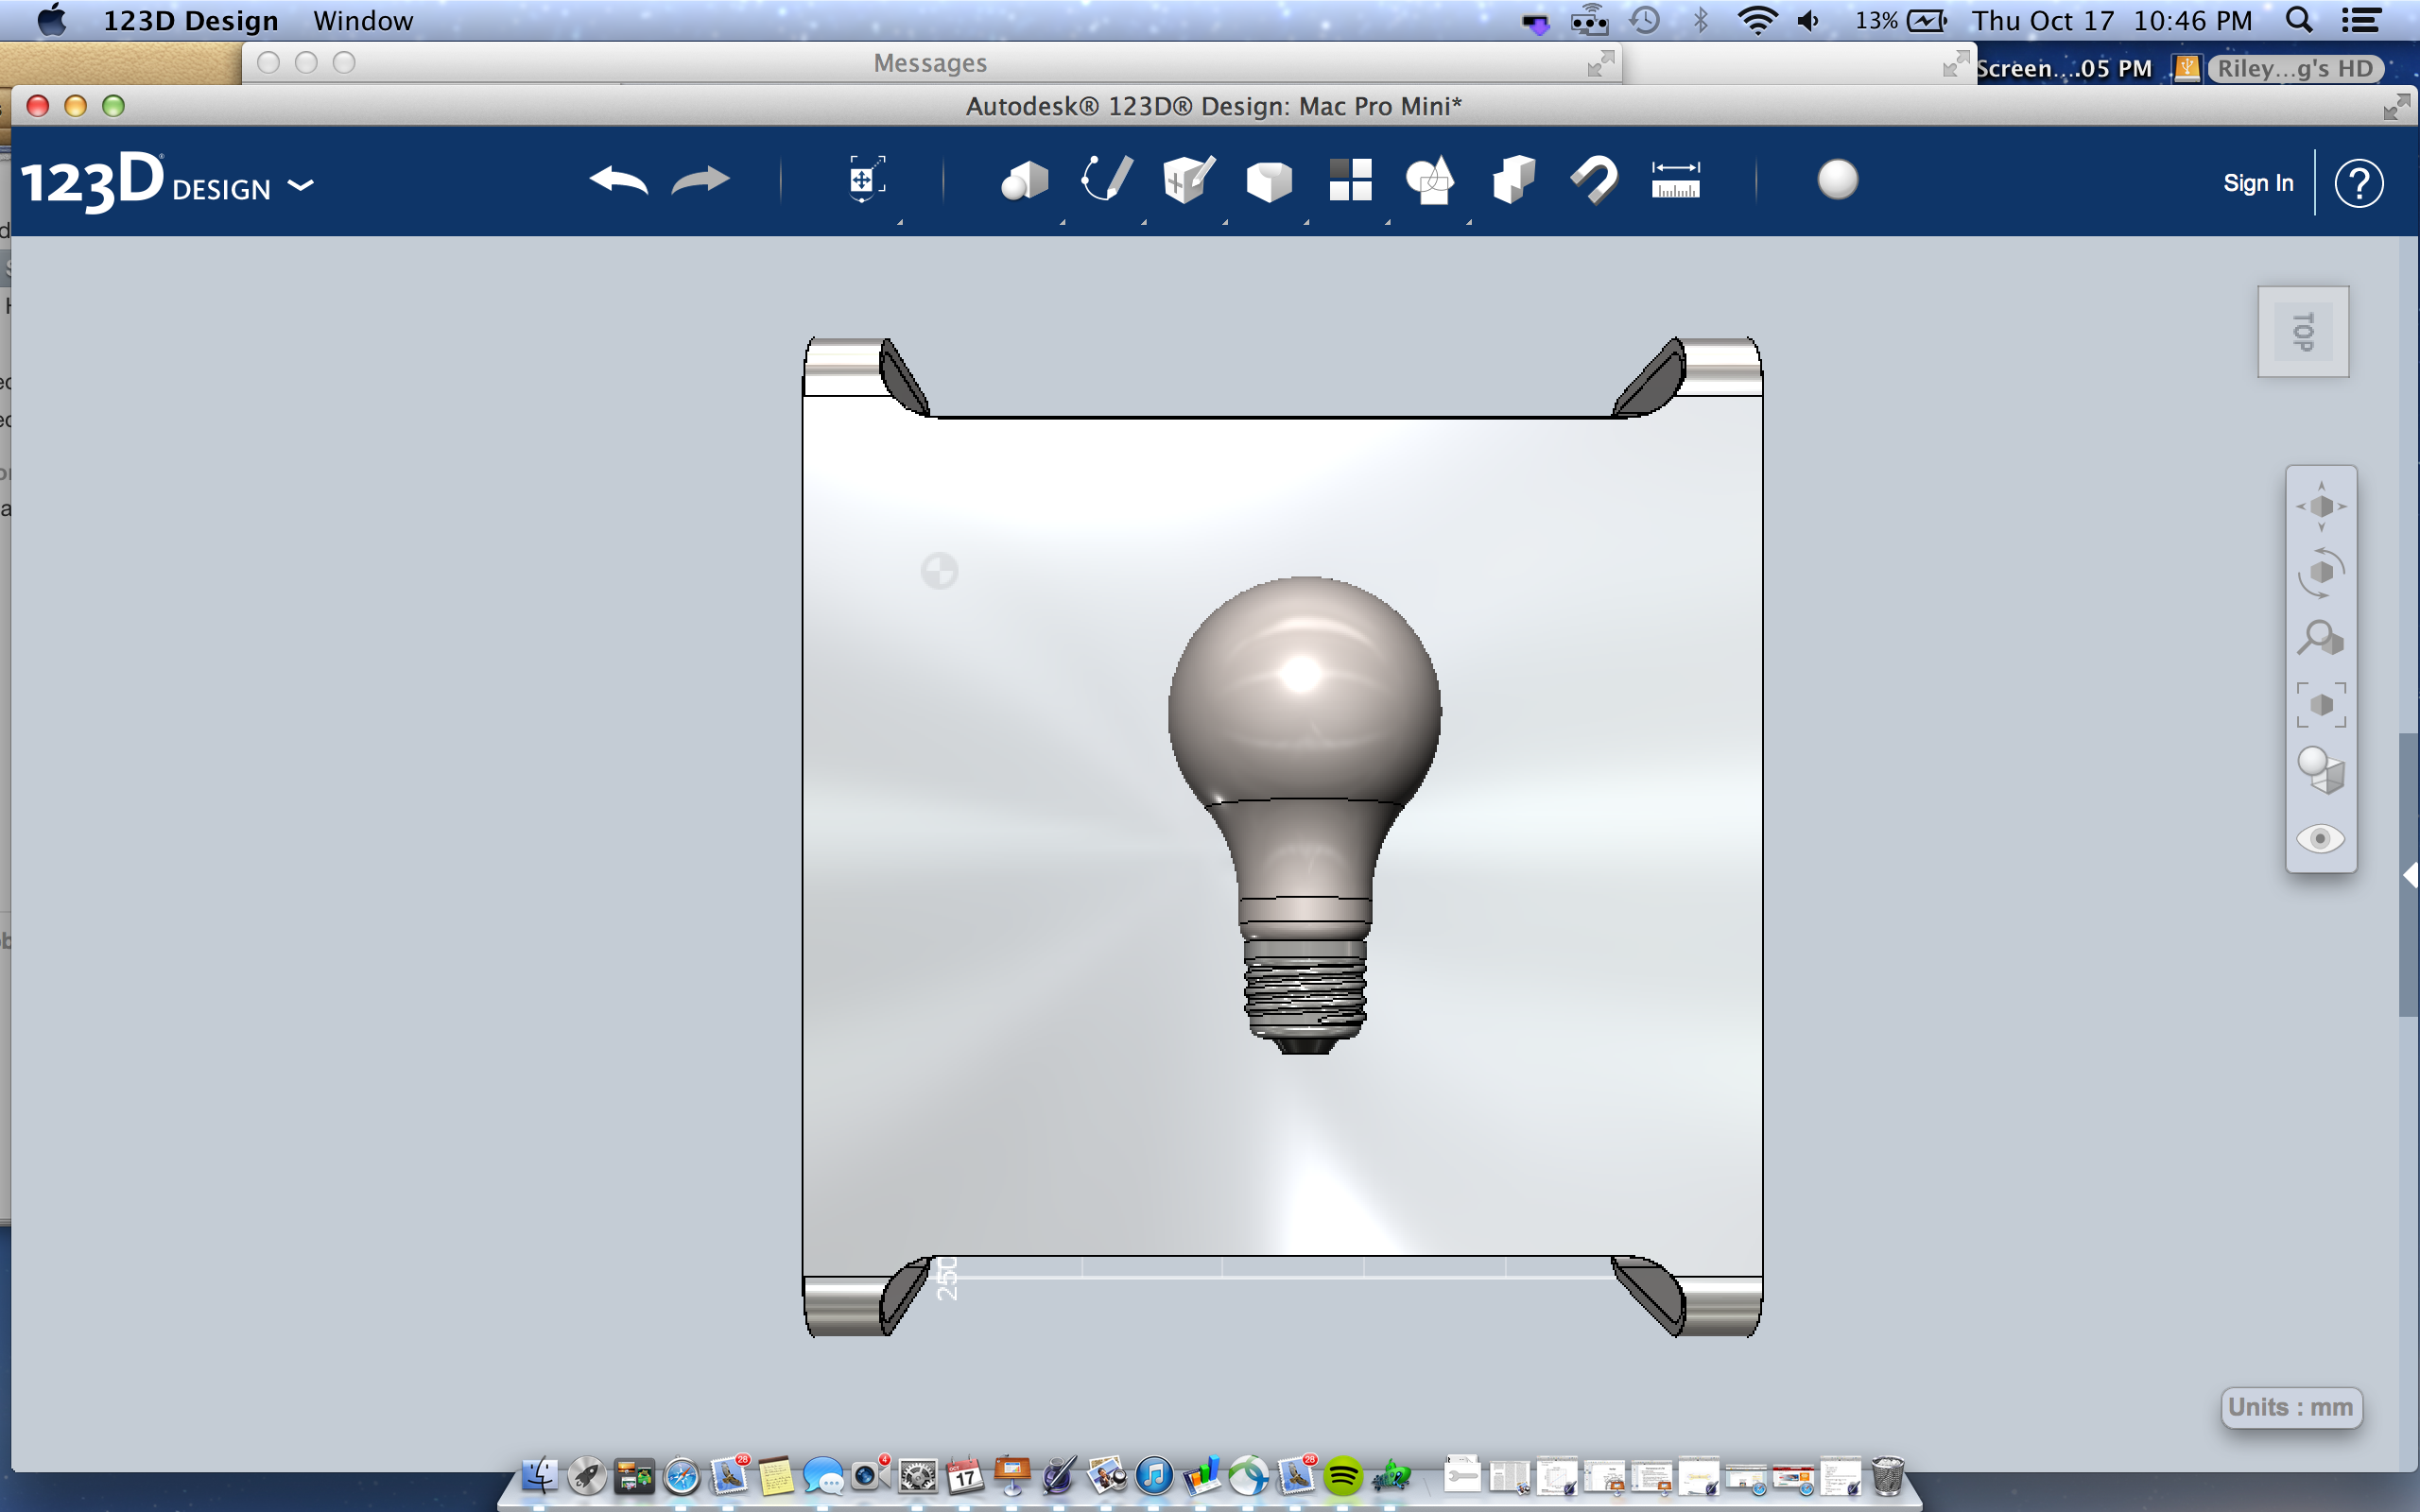
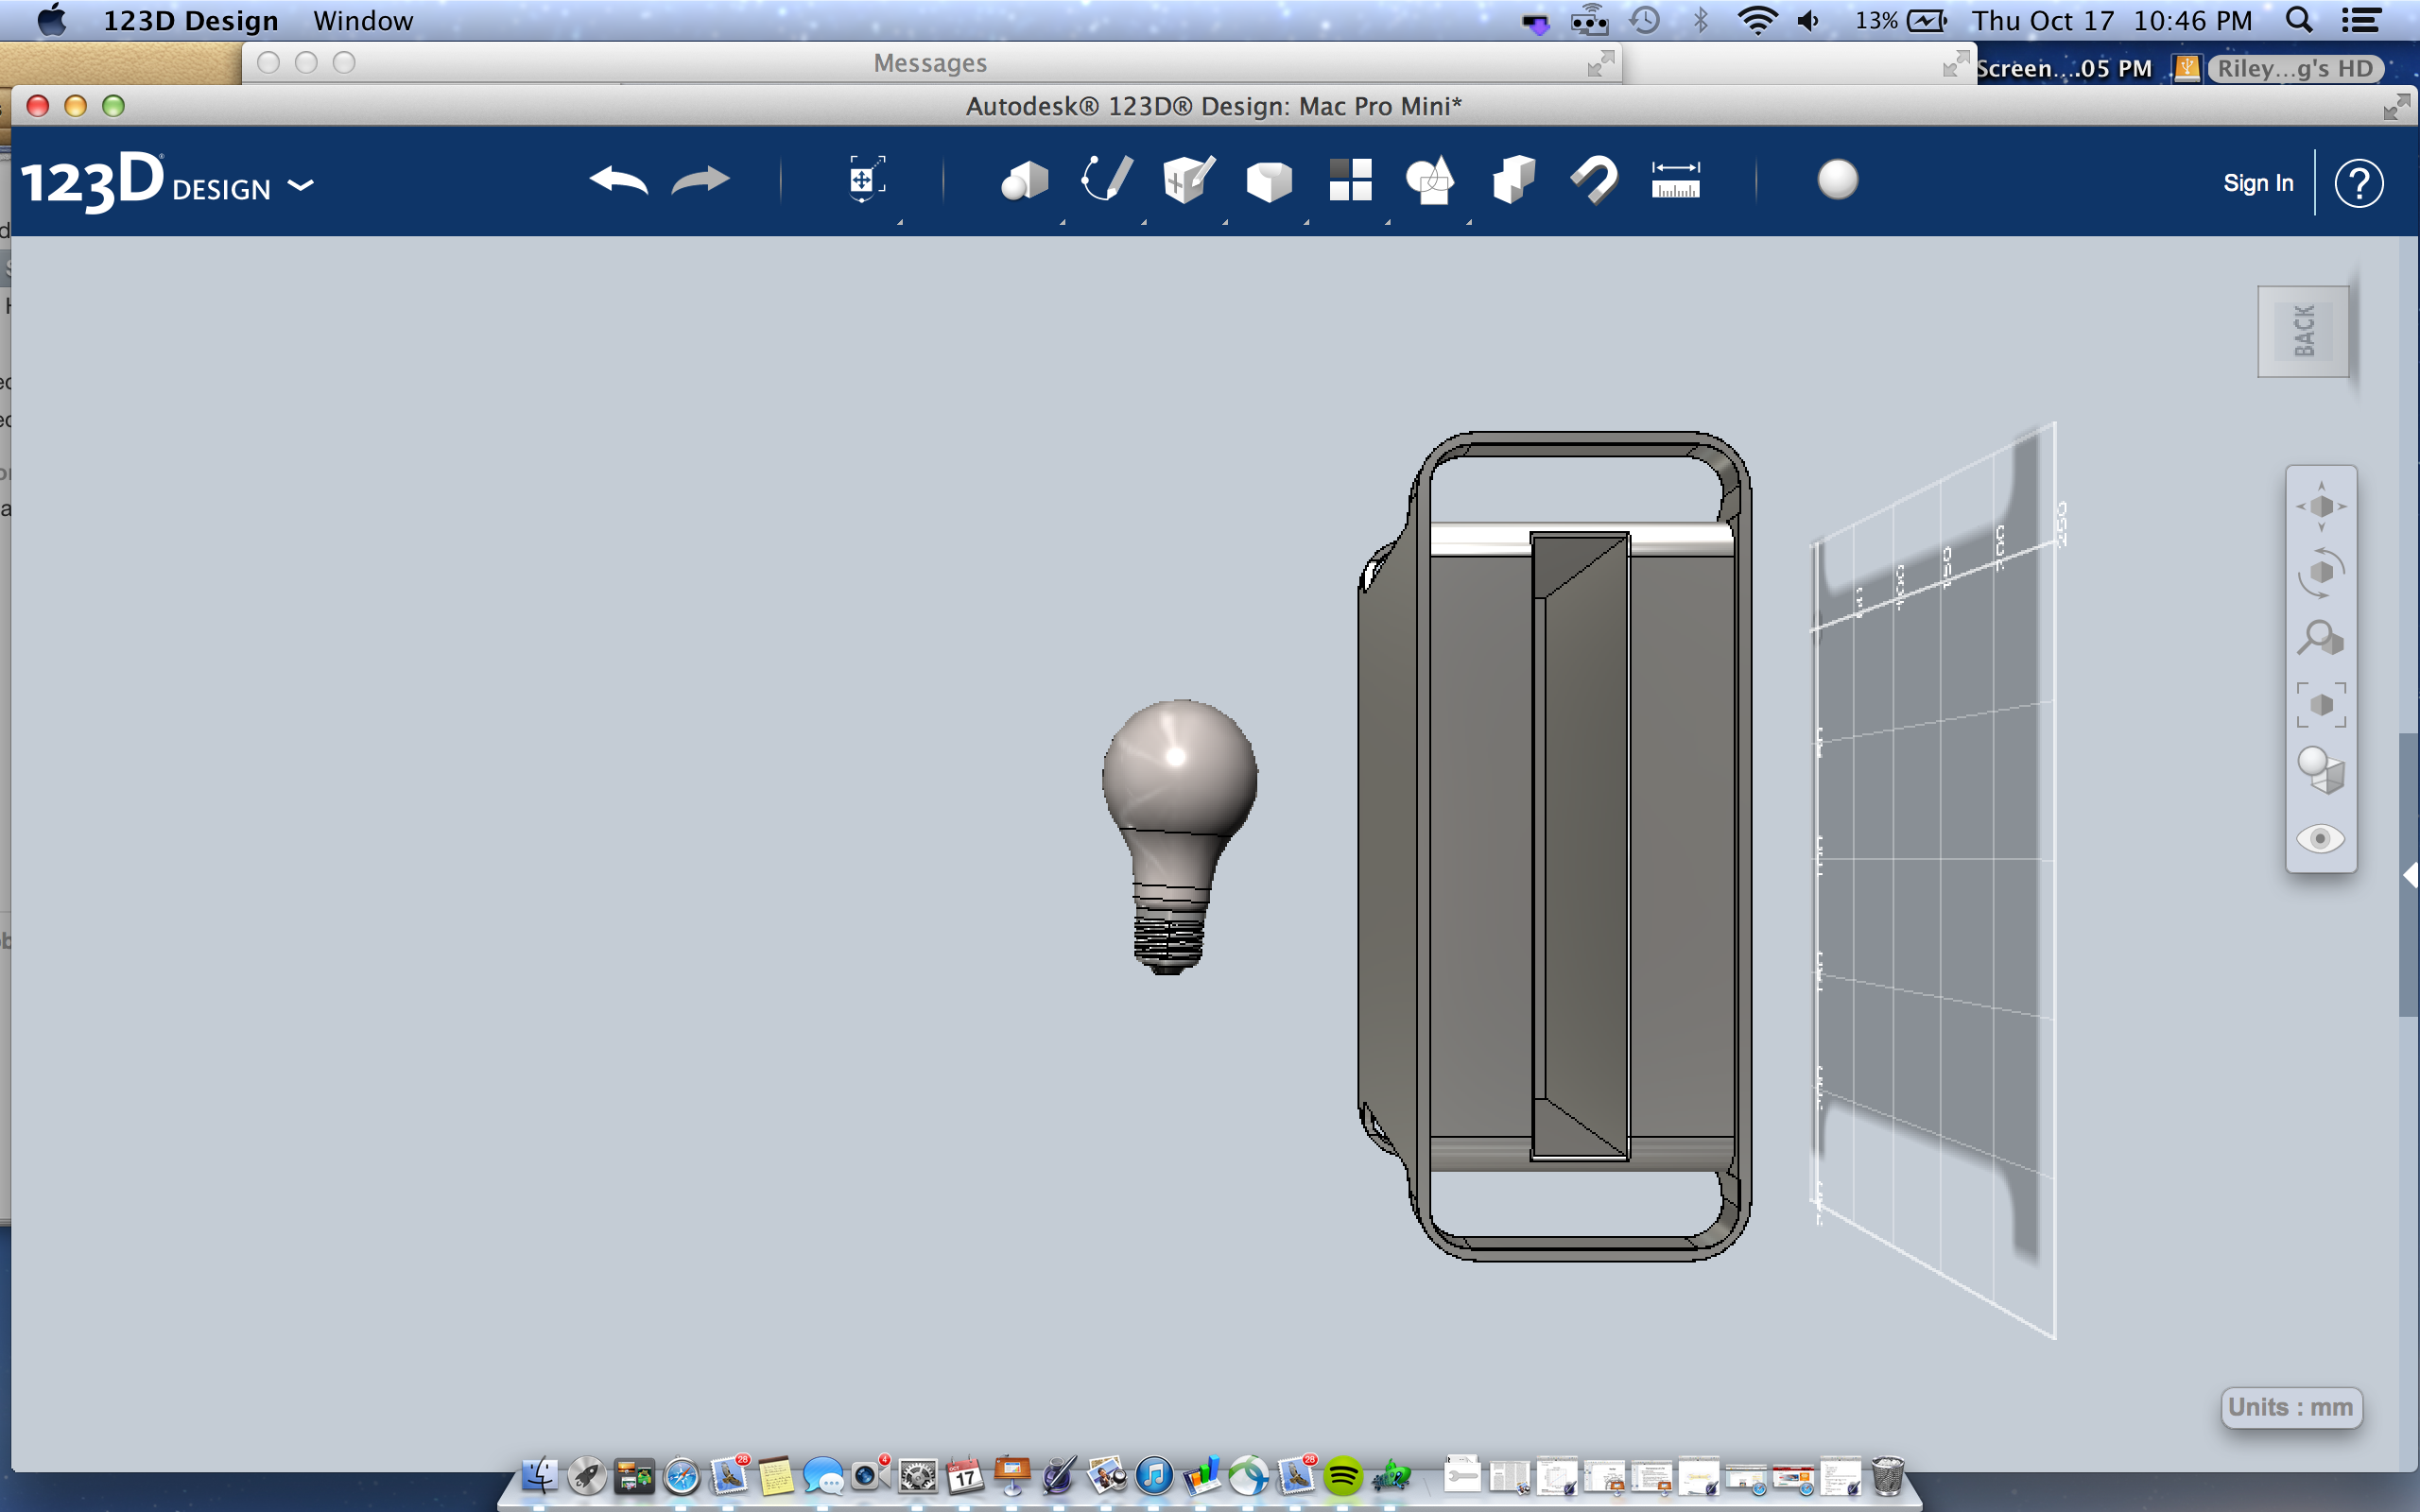
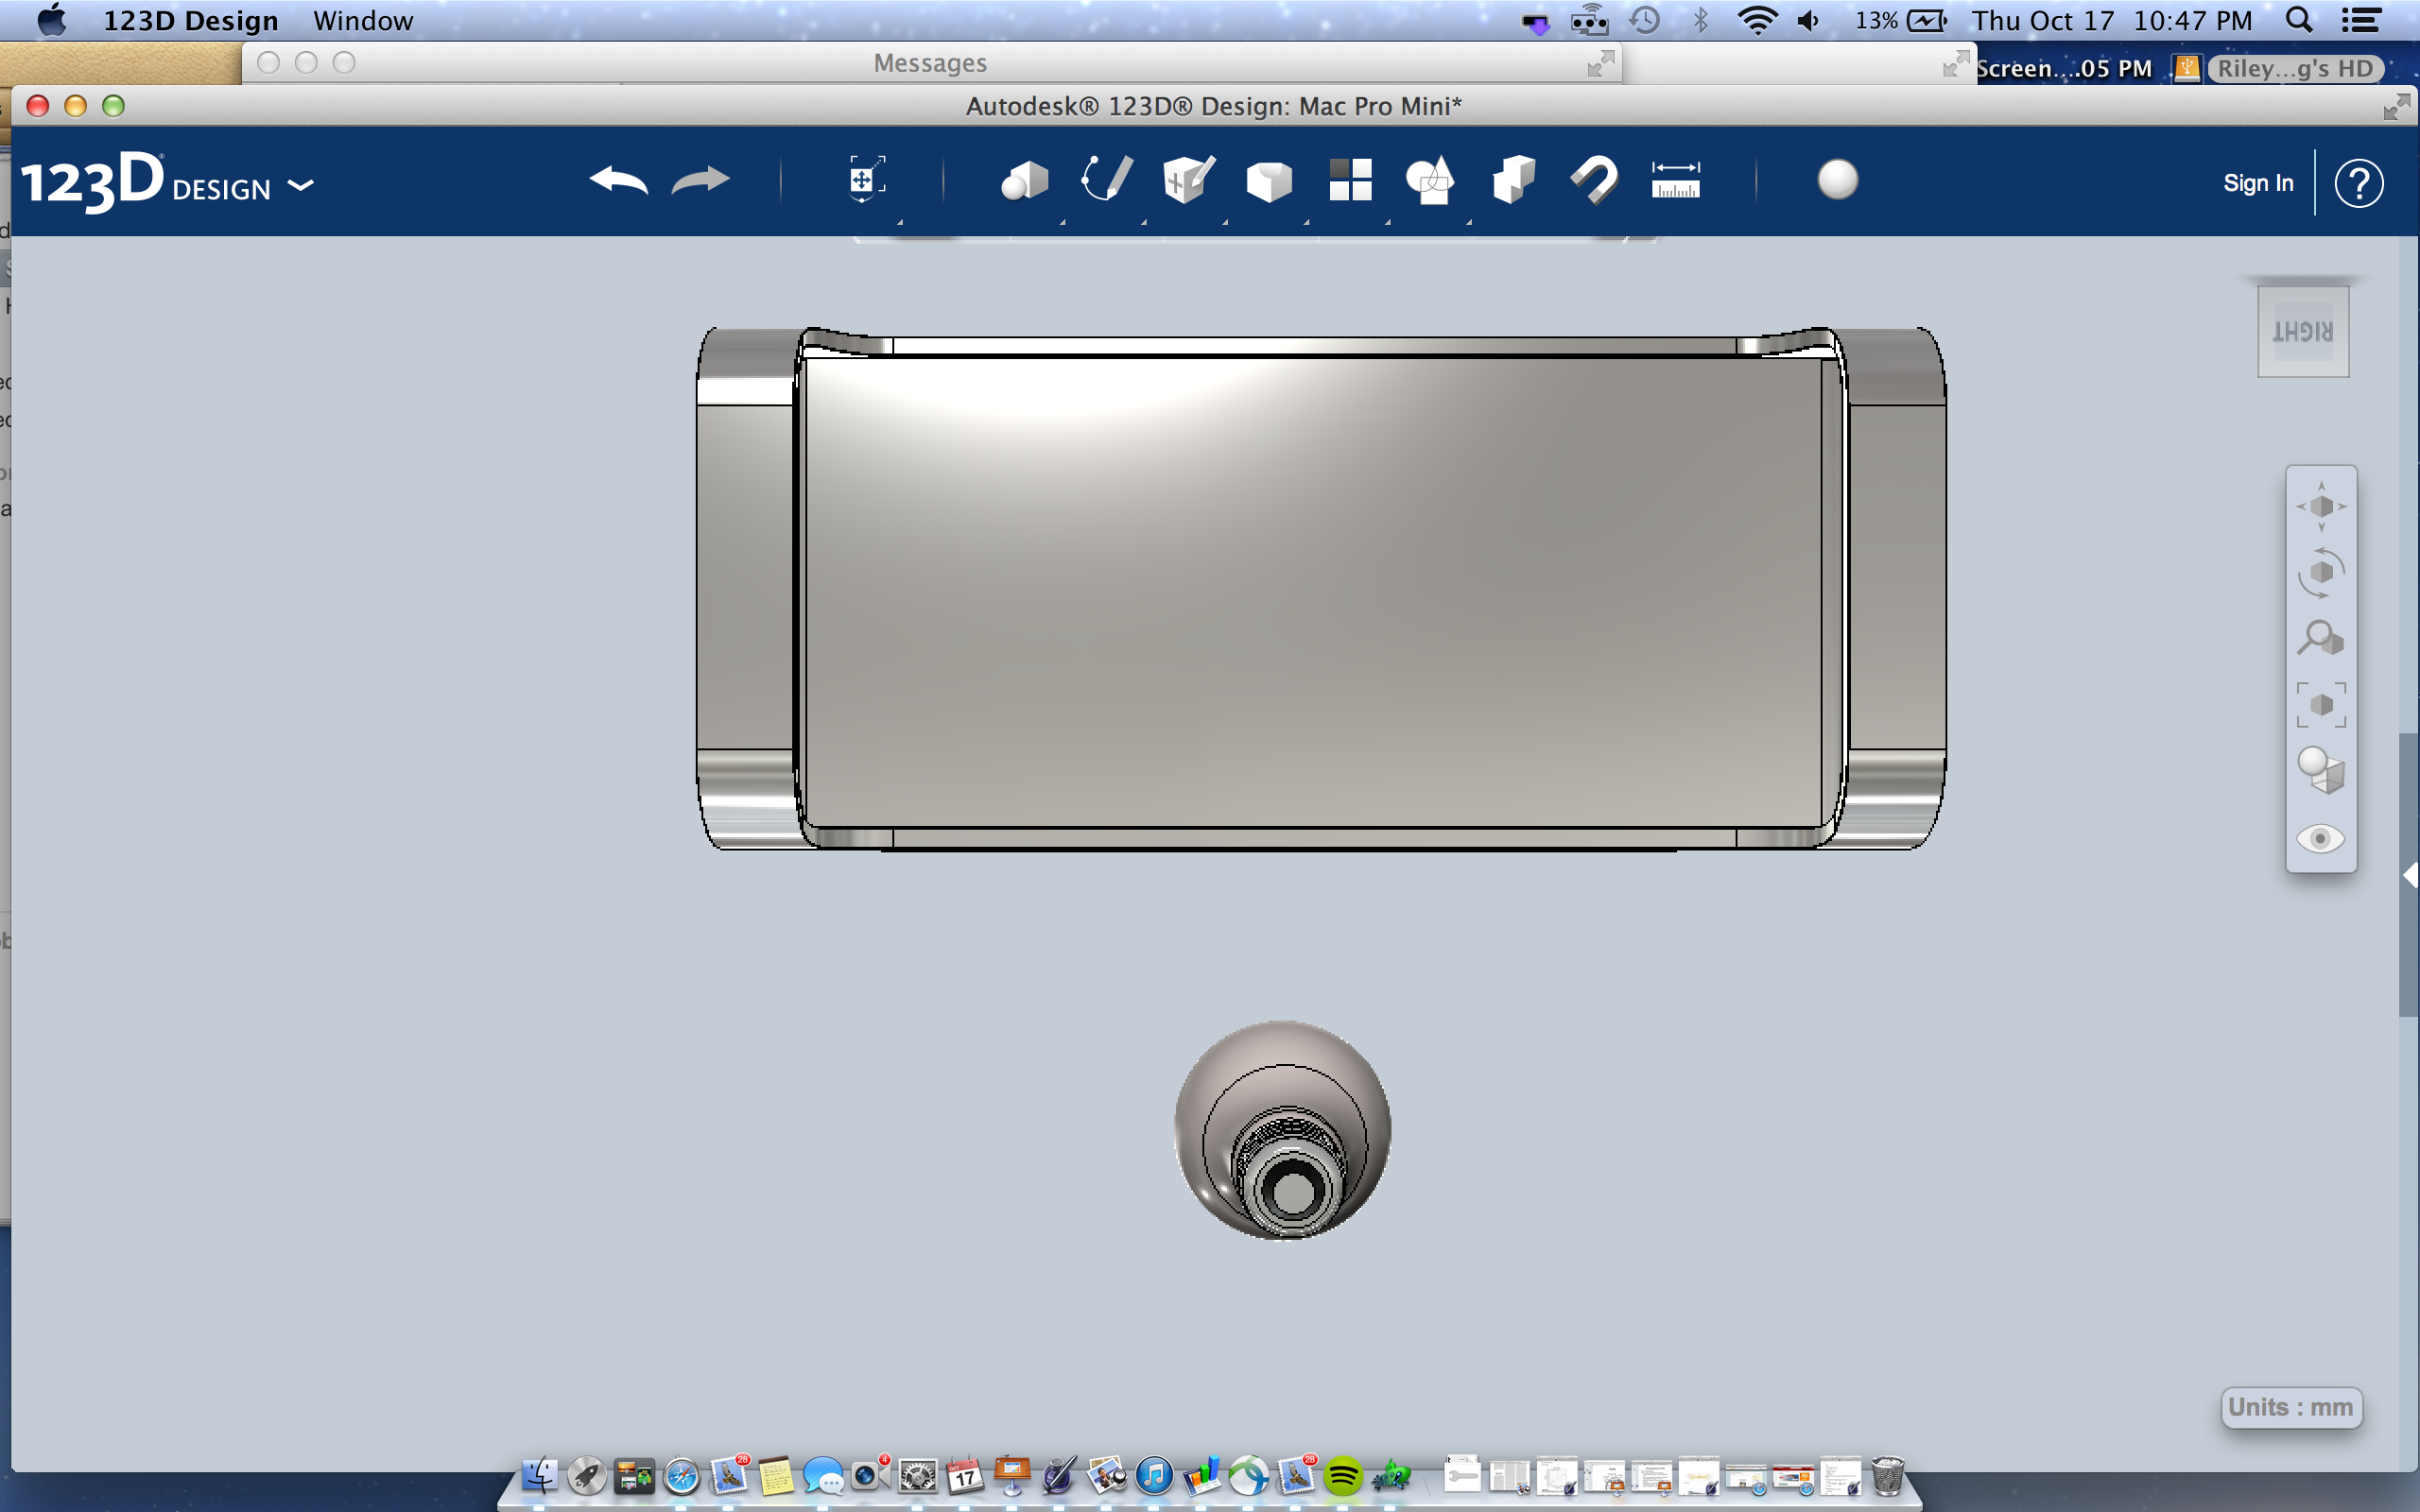
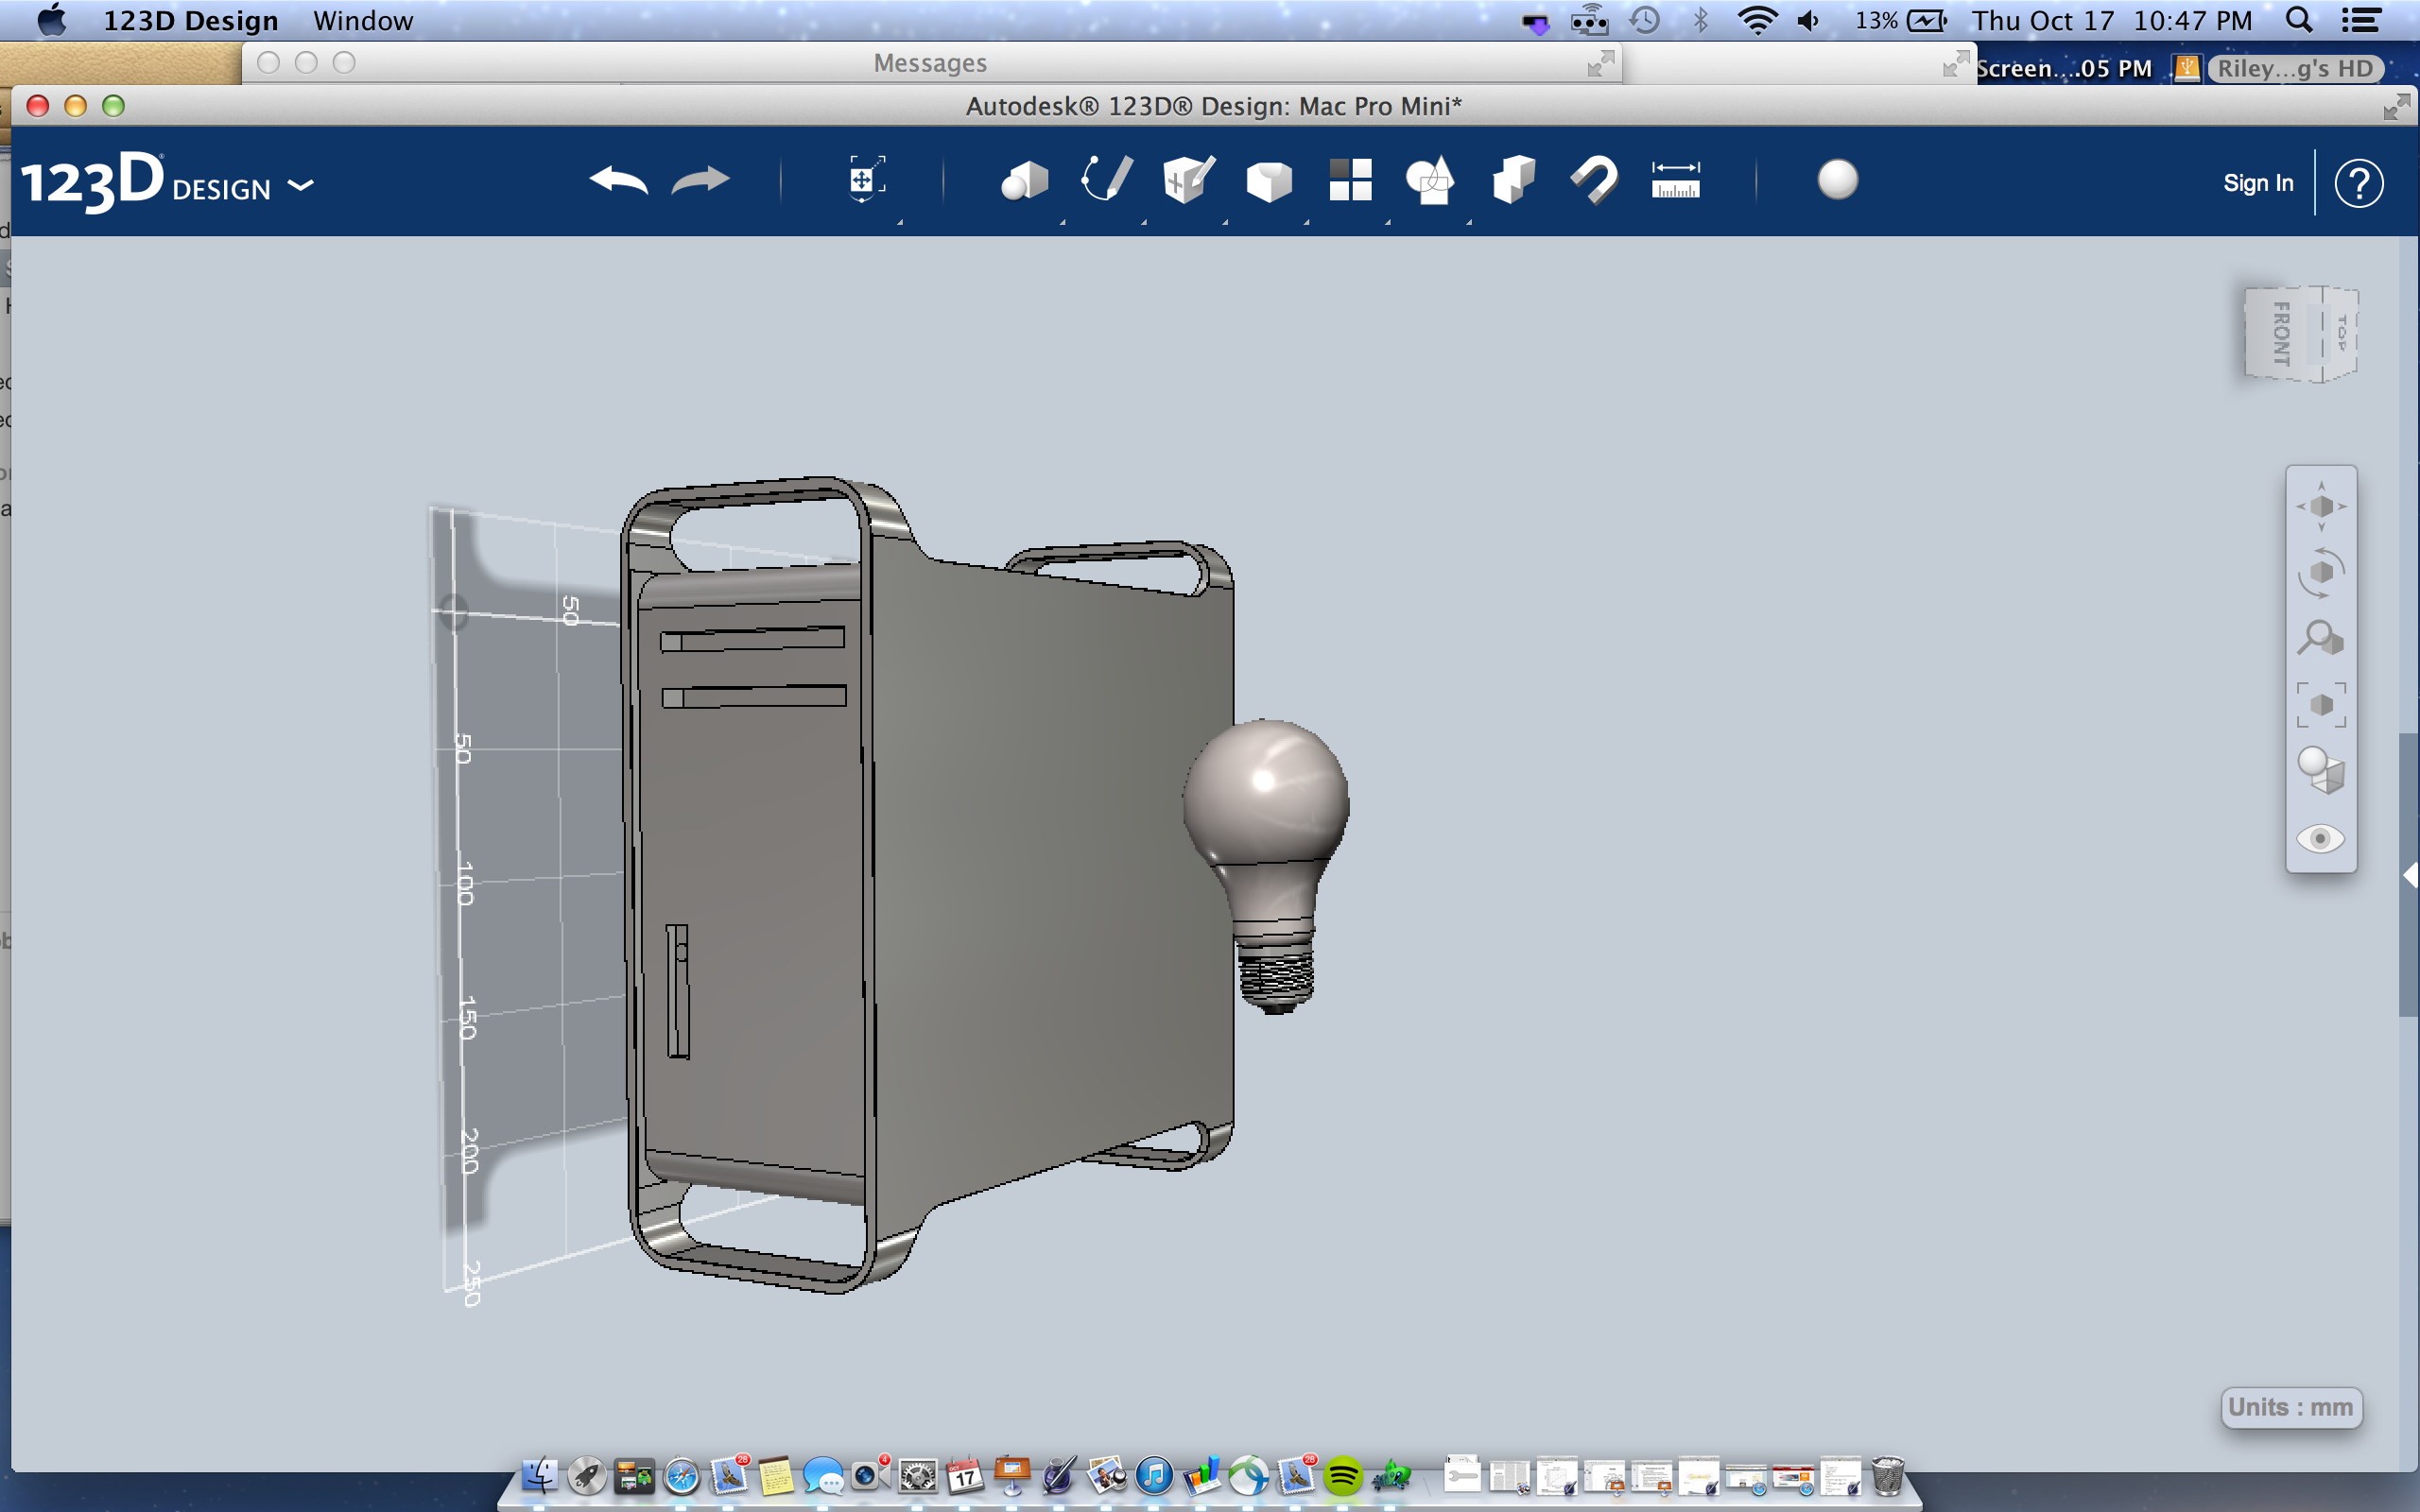
I have attached some photos with a lightbulb next to it to give you a perspective of its size.
If you do choose to print the tower then you can ignore this step. However, if your stopping at the simulation like I did you might as well make it look nice and pretty with some edits of the colors. To do select the entire object and then click on the sphere that should appear on the bottom toolbar. I found the material that looks most like aluminum is oddly the rubber in misc. materials.
Now you have the newest Mac Pro, mini edition!
All the Photos.
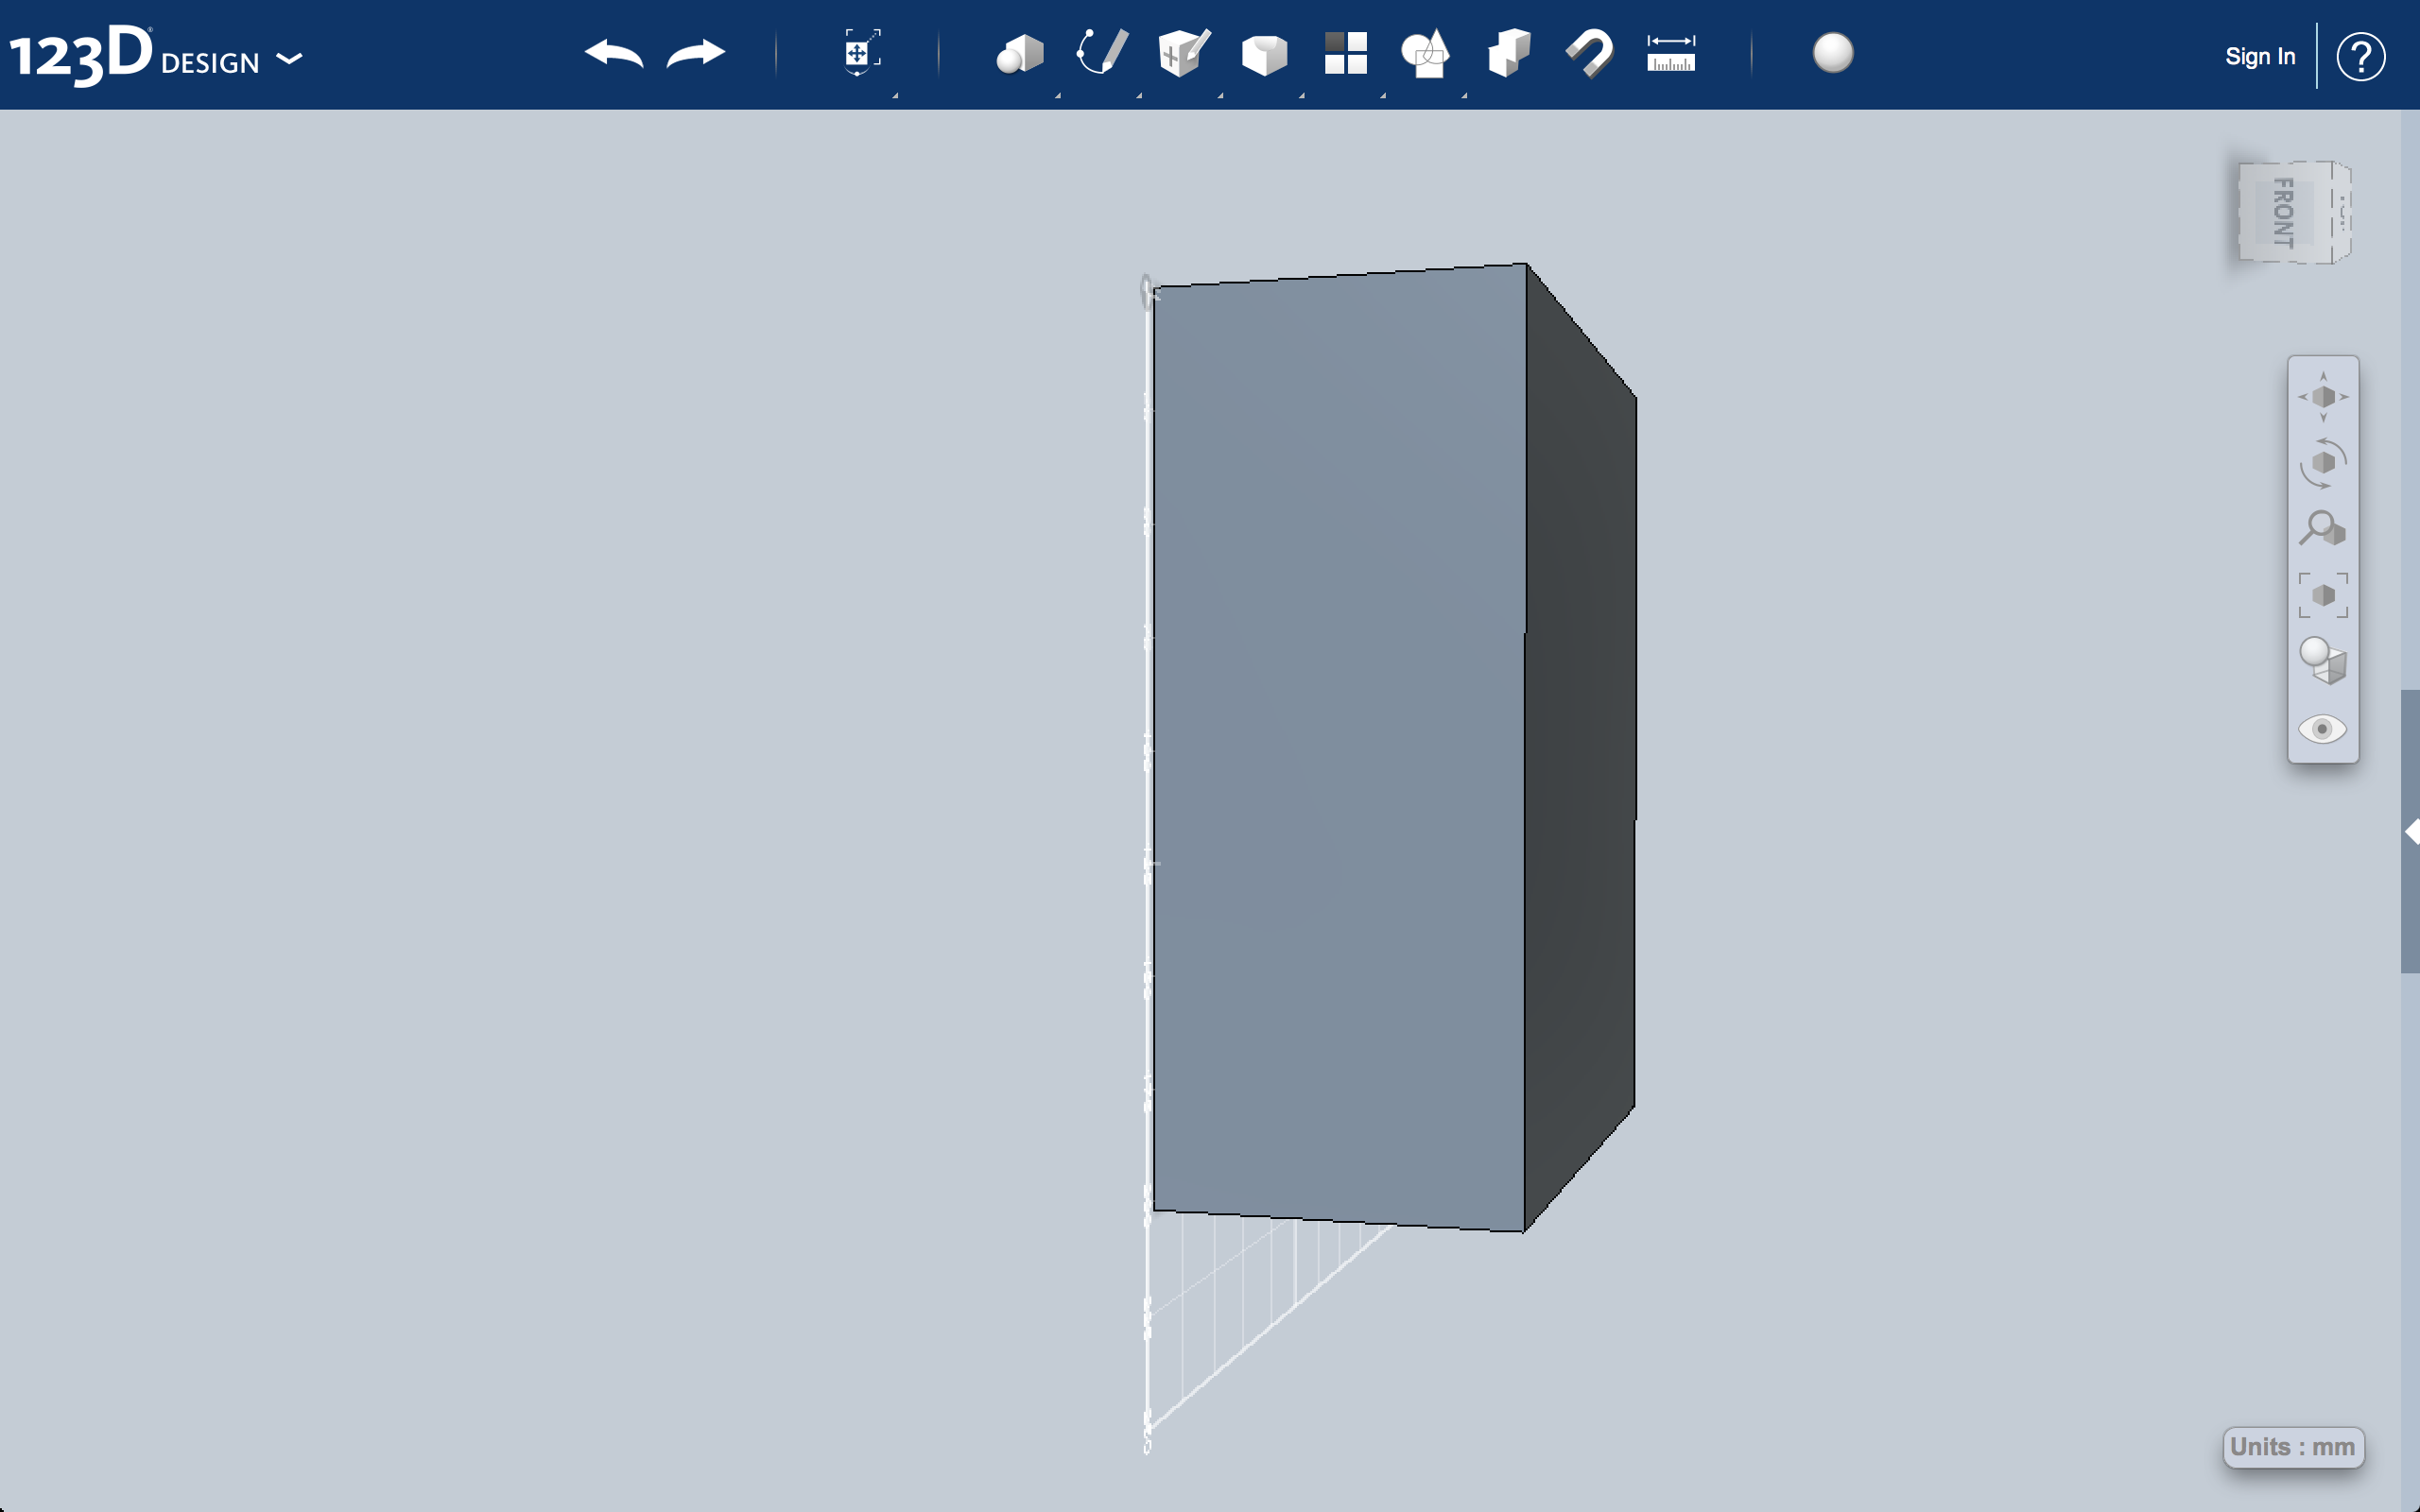
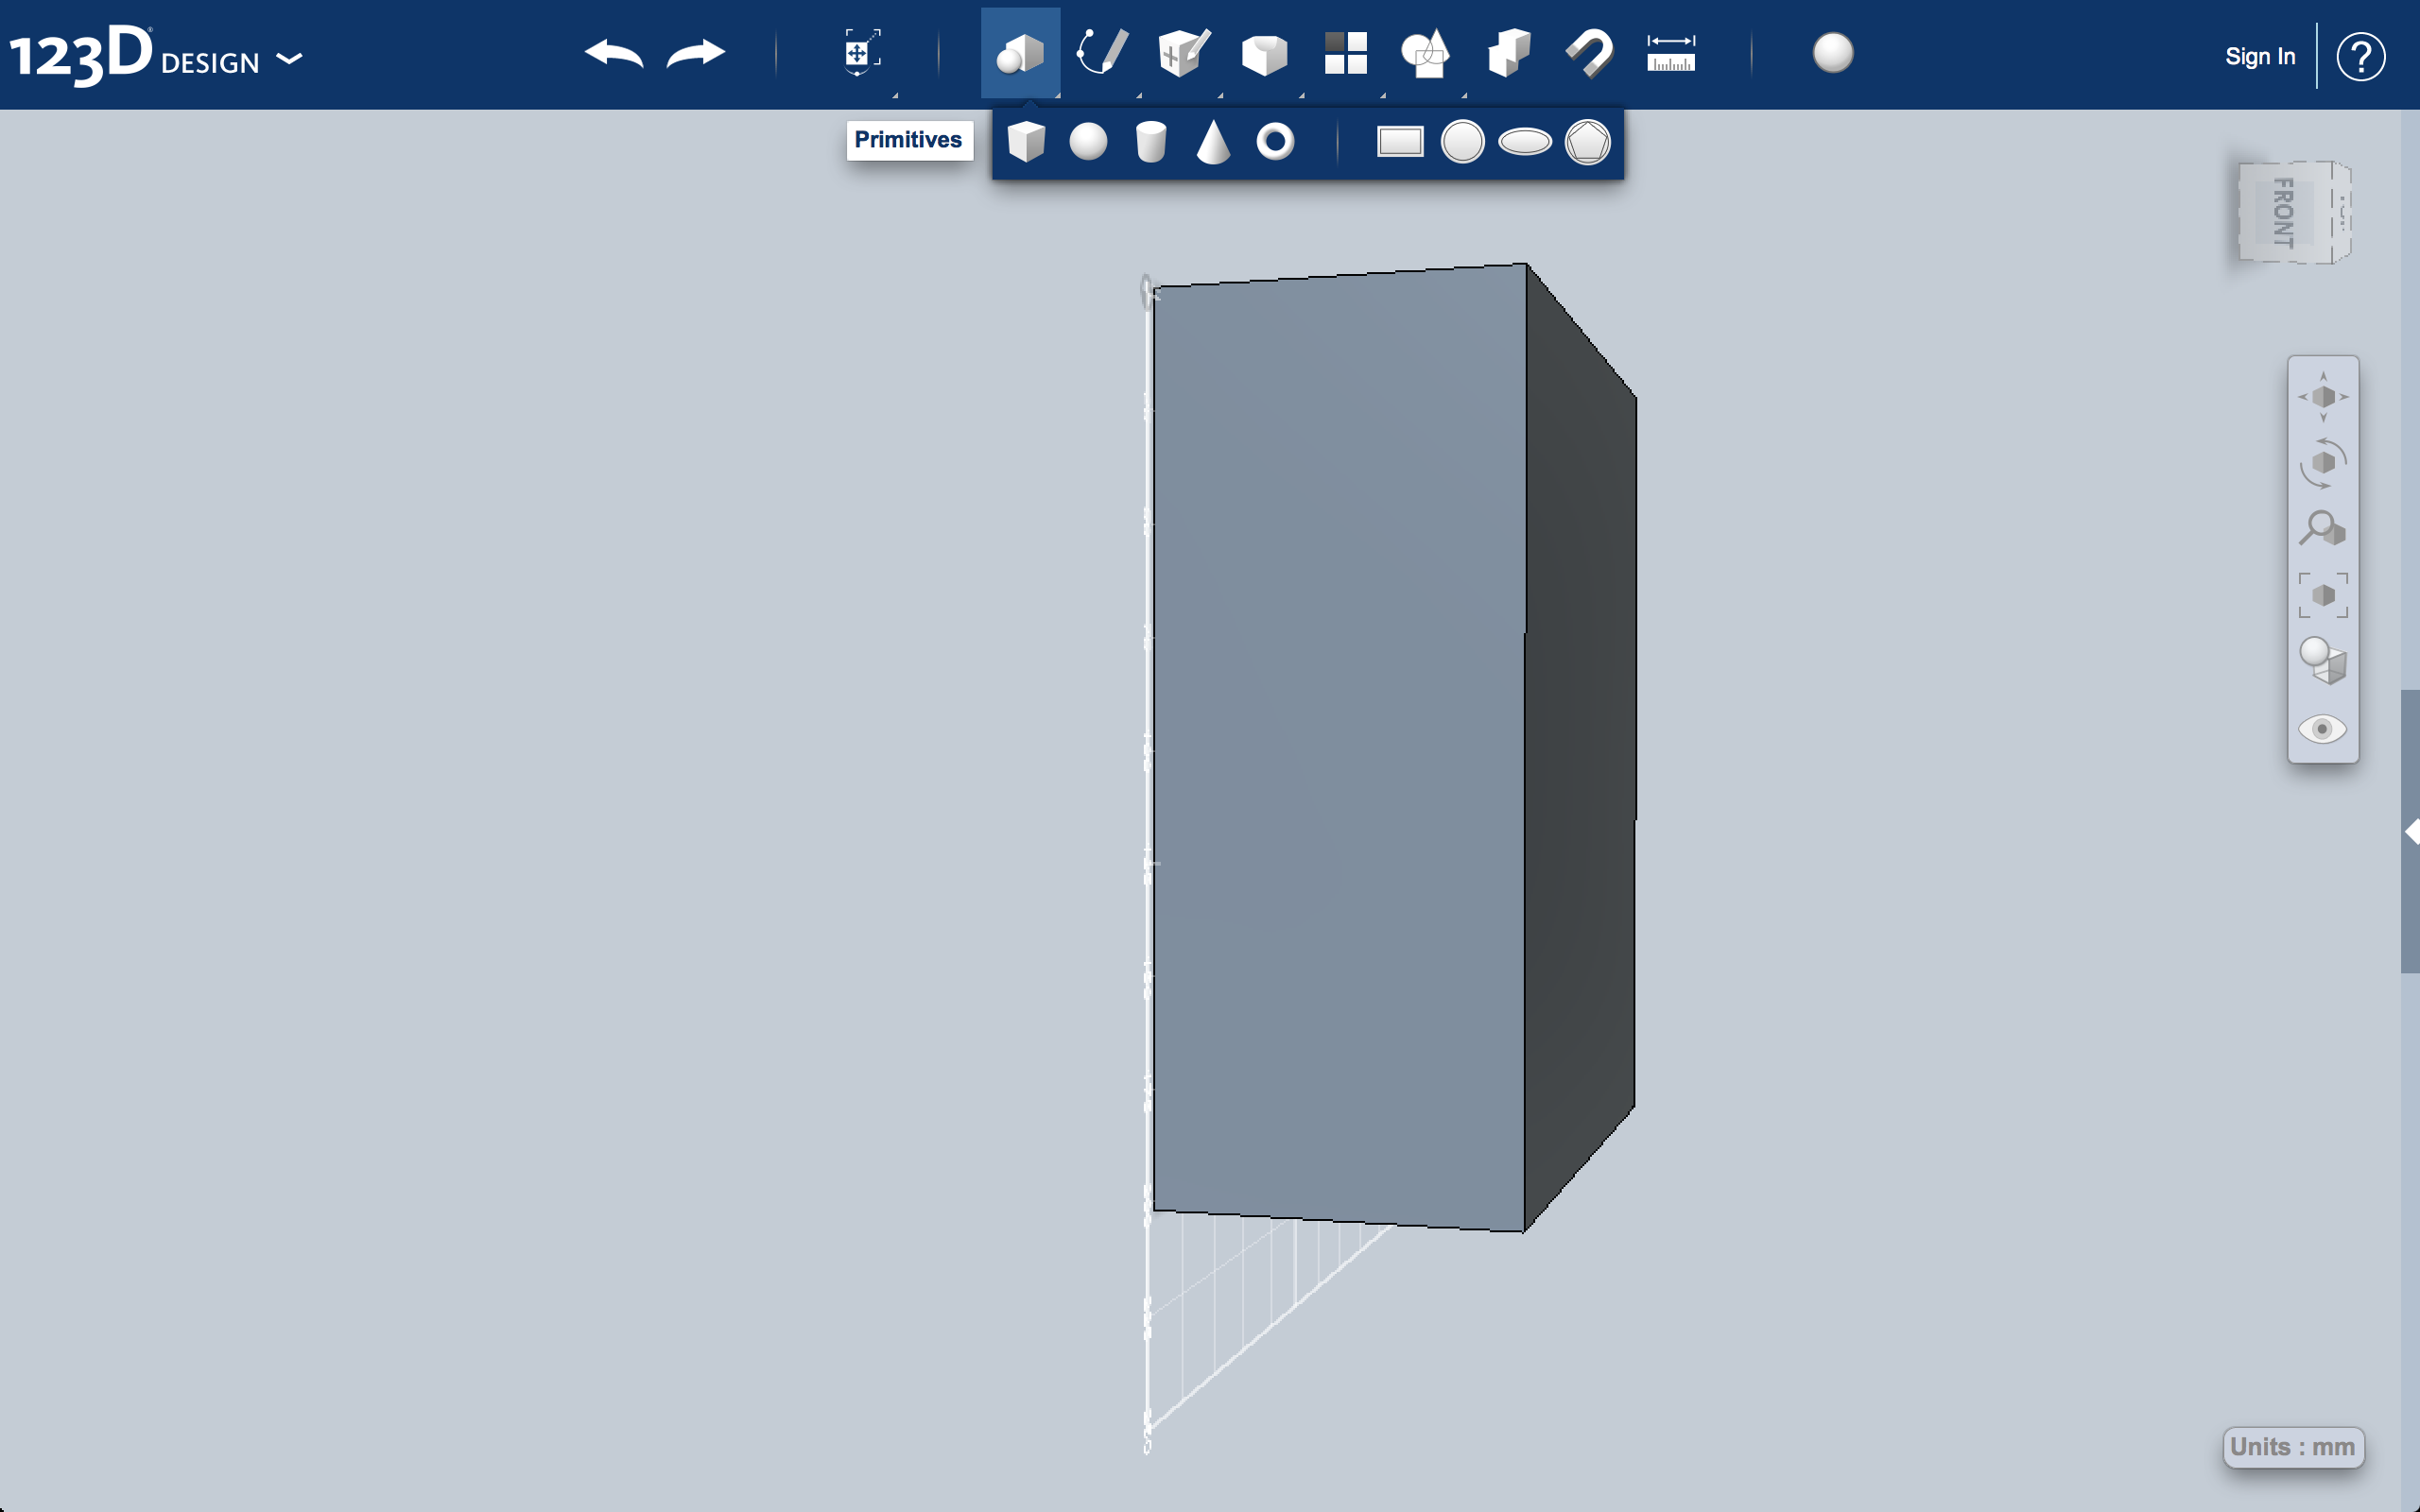
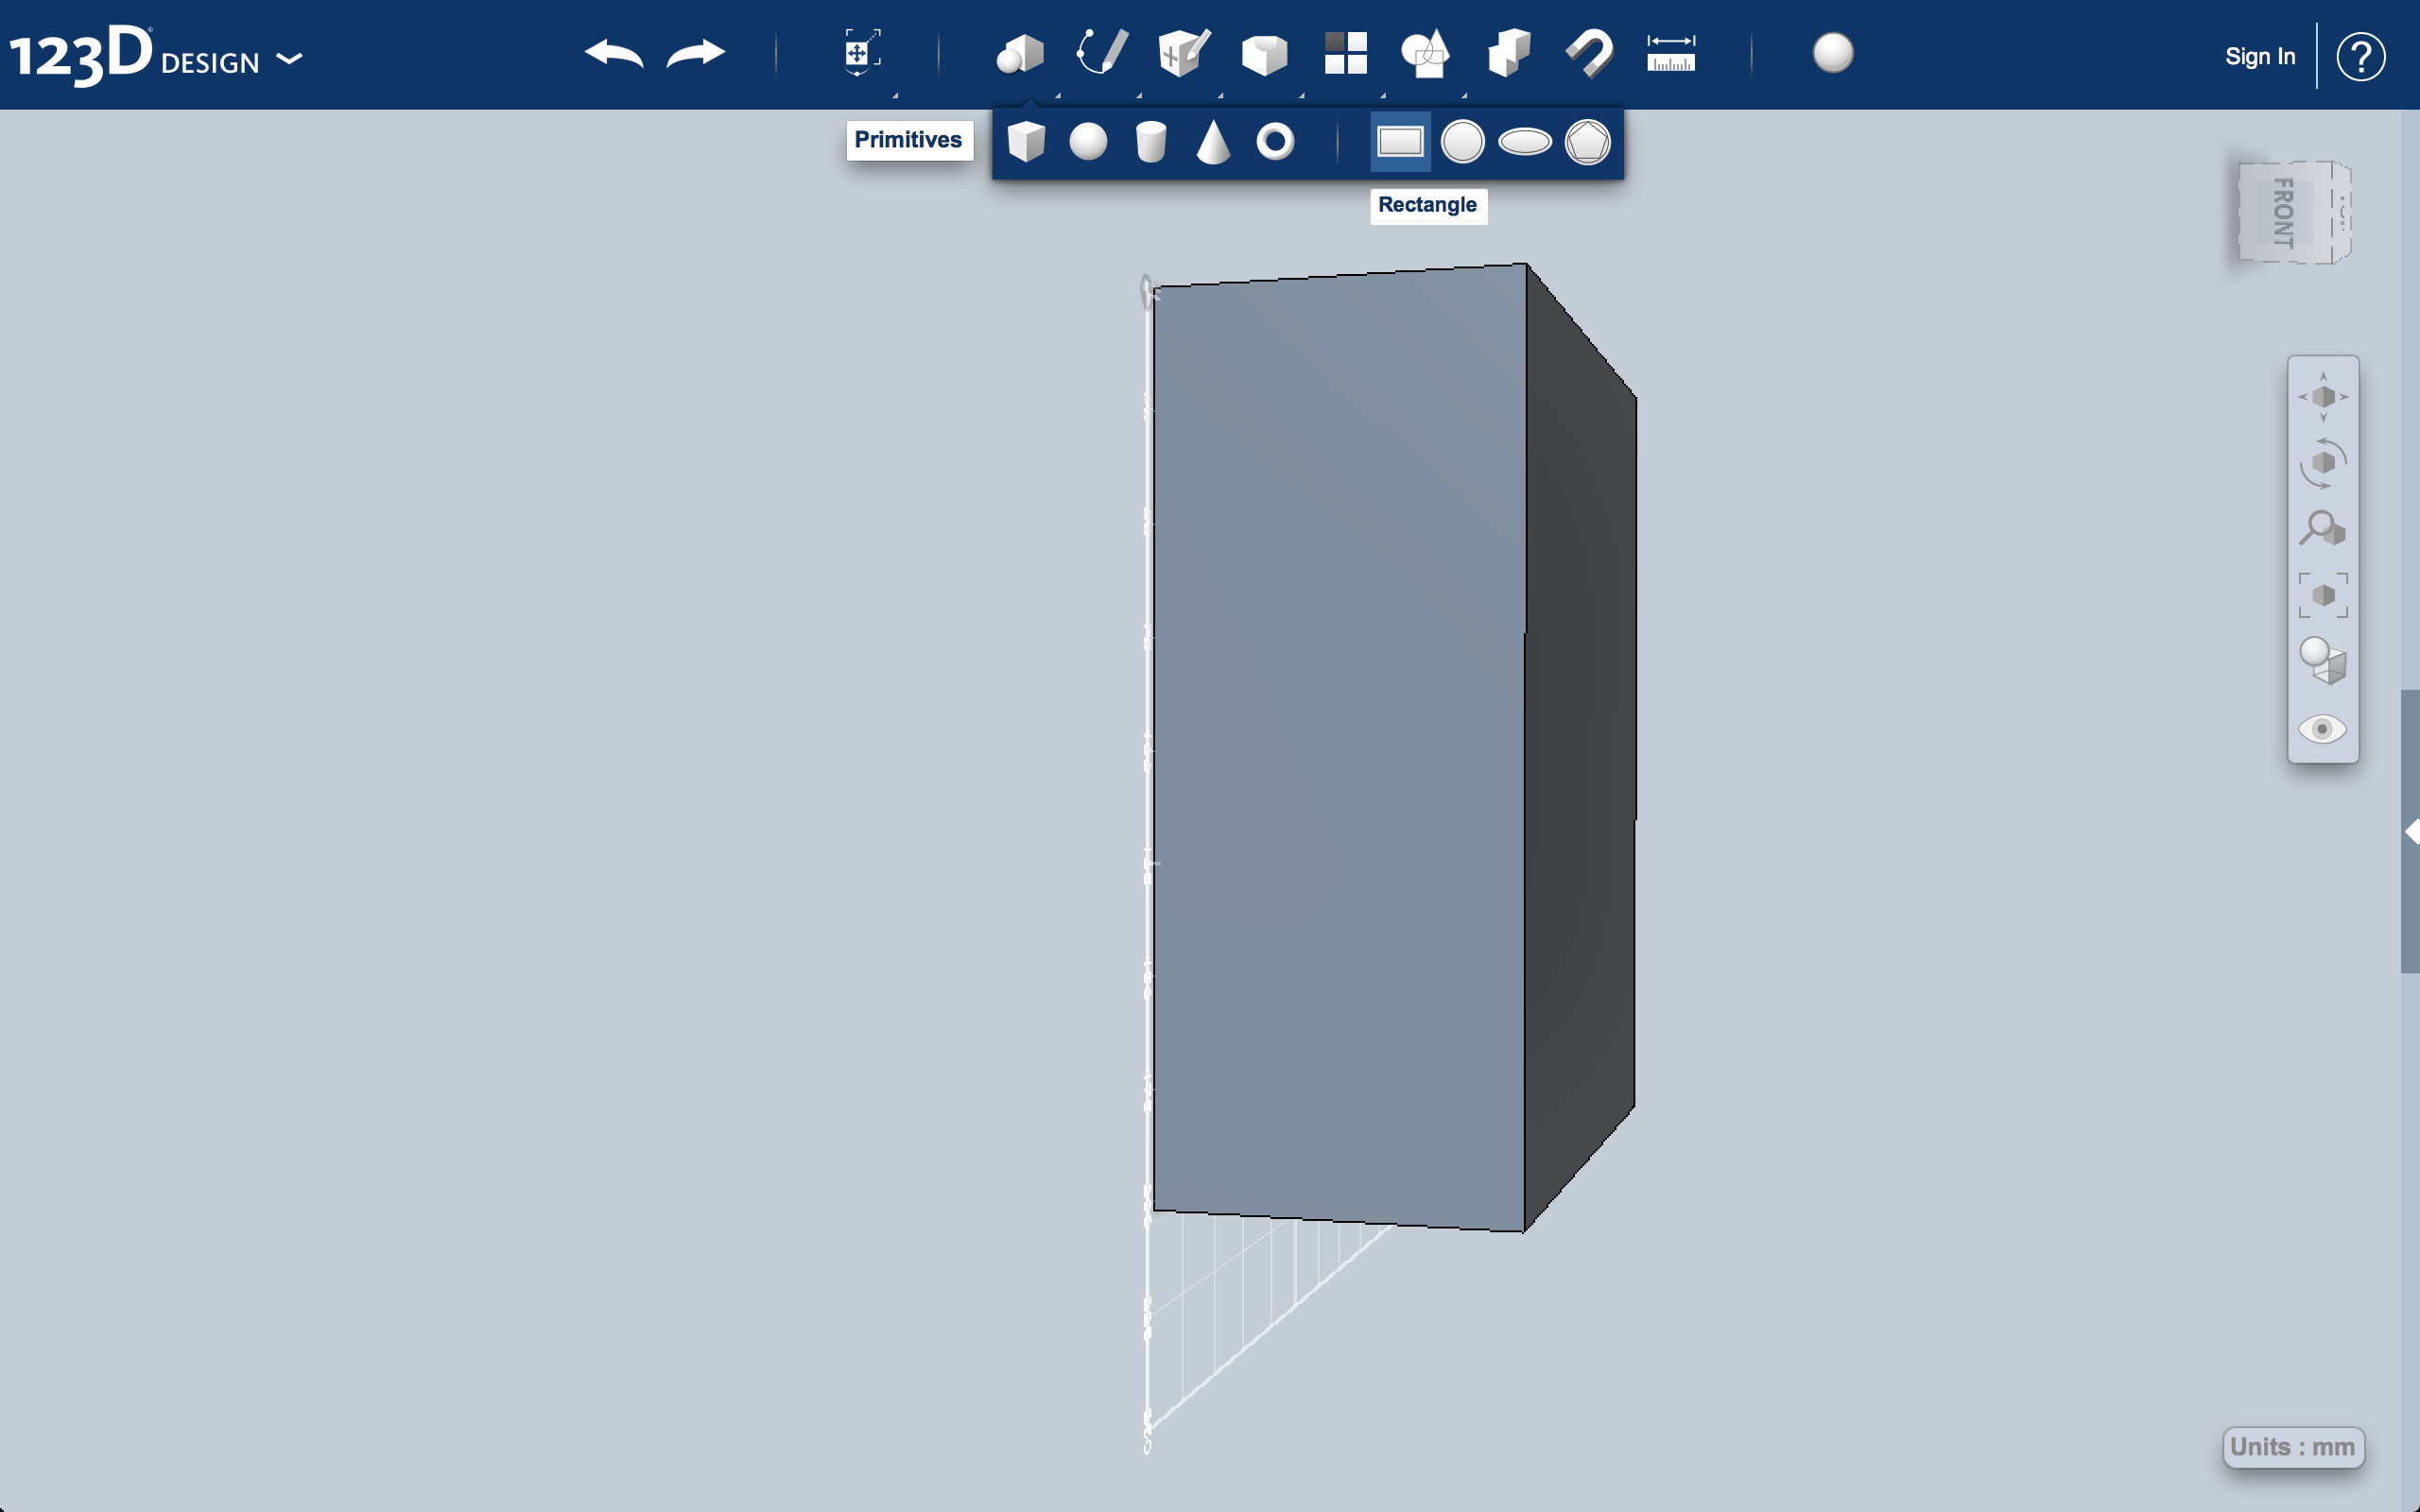
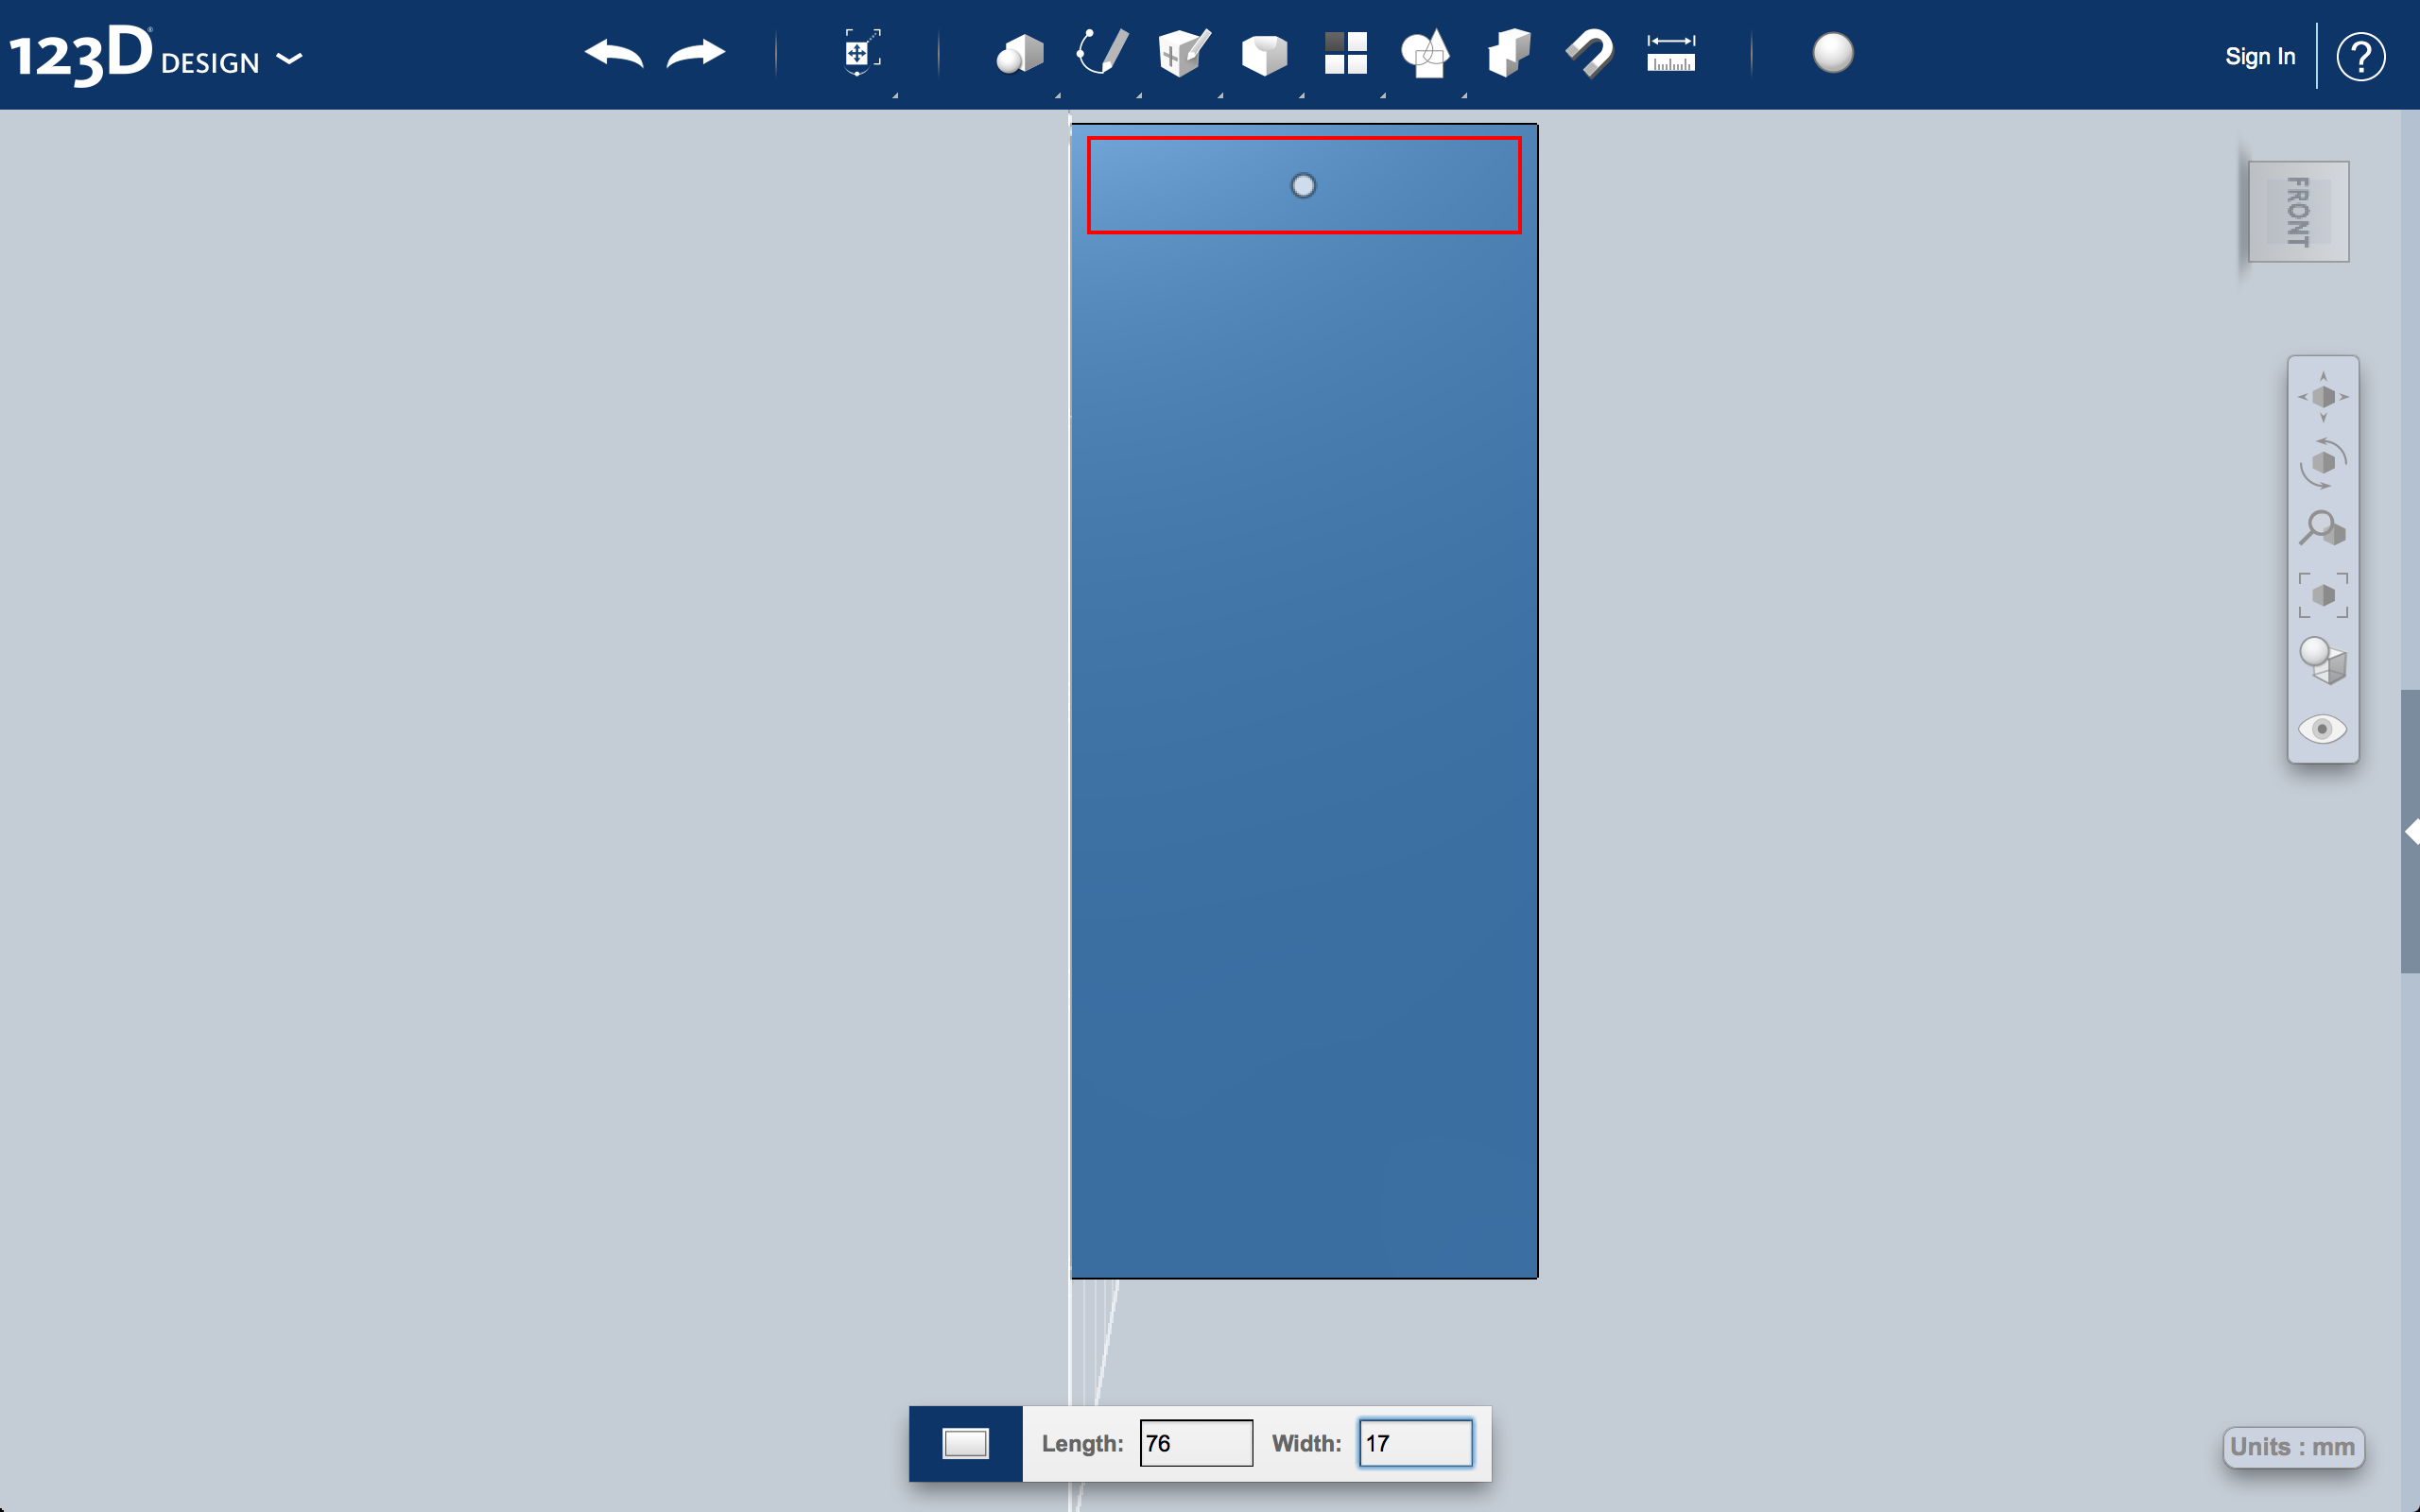
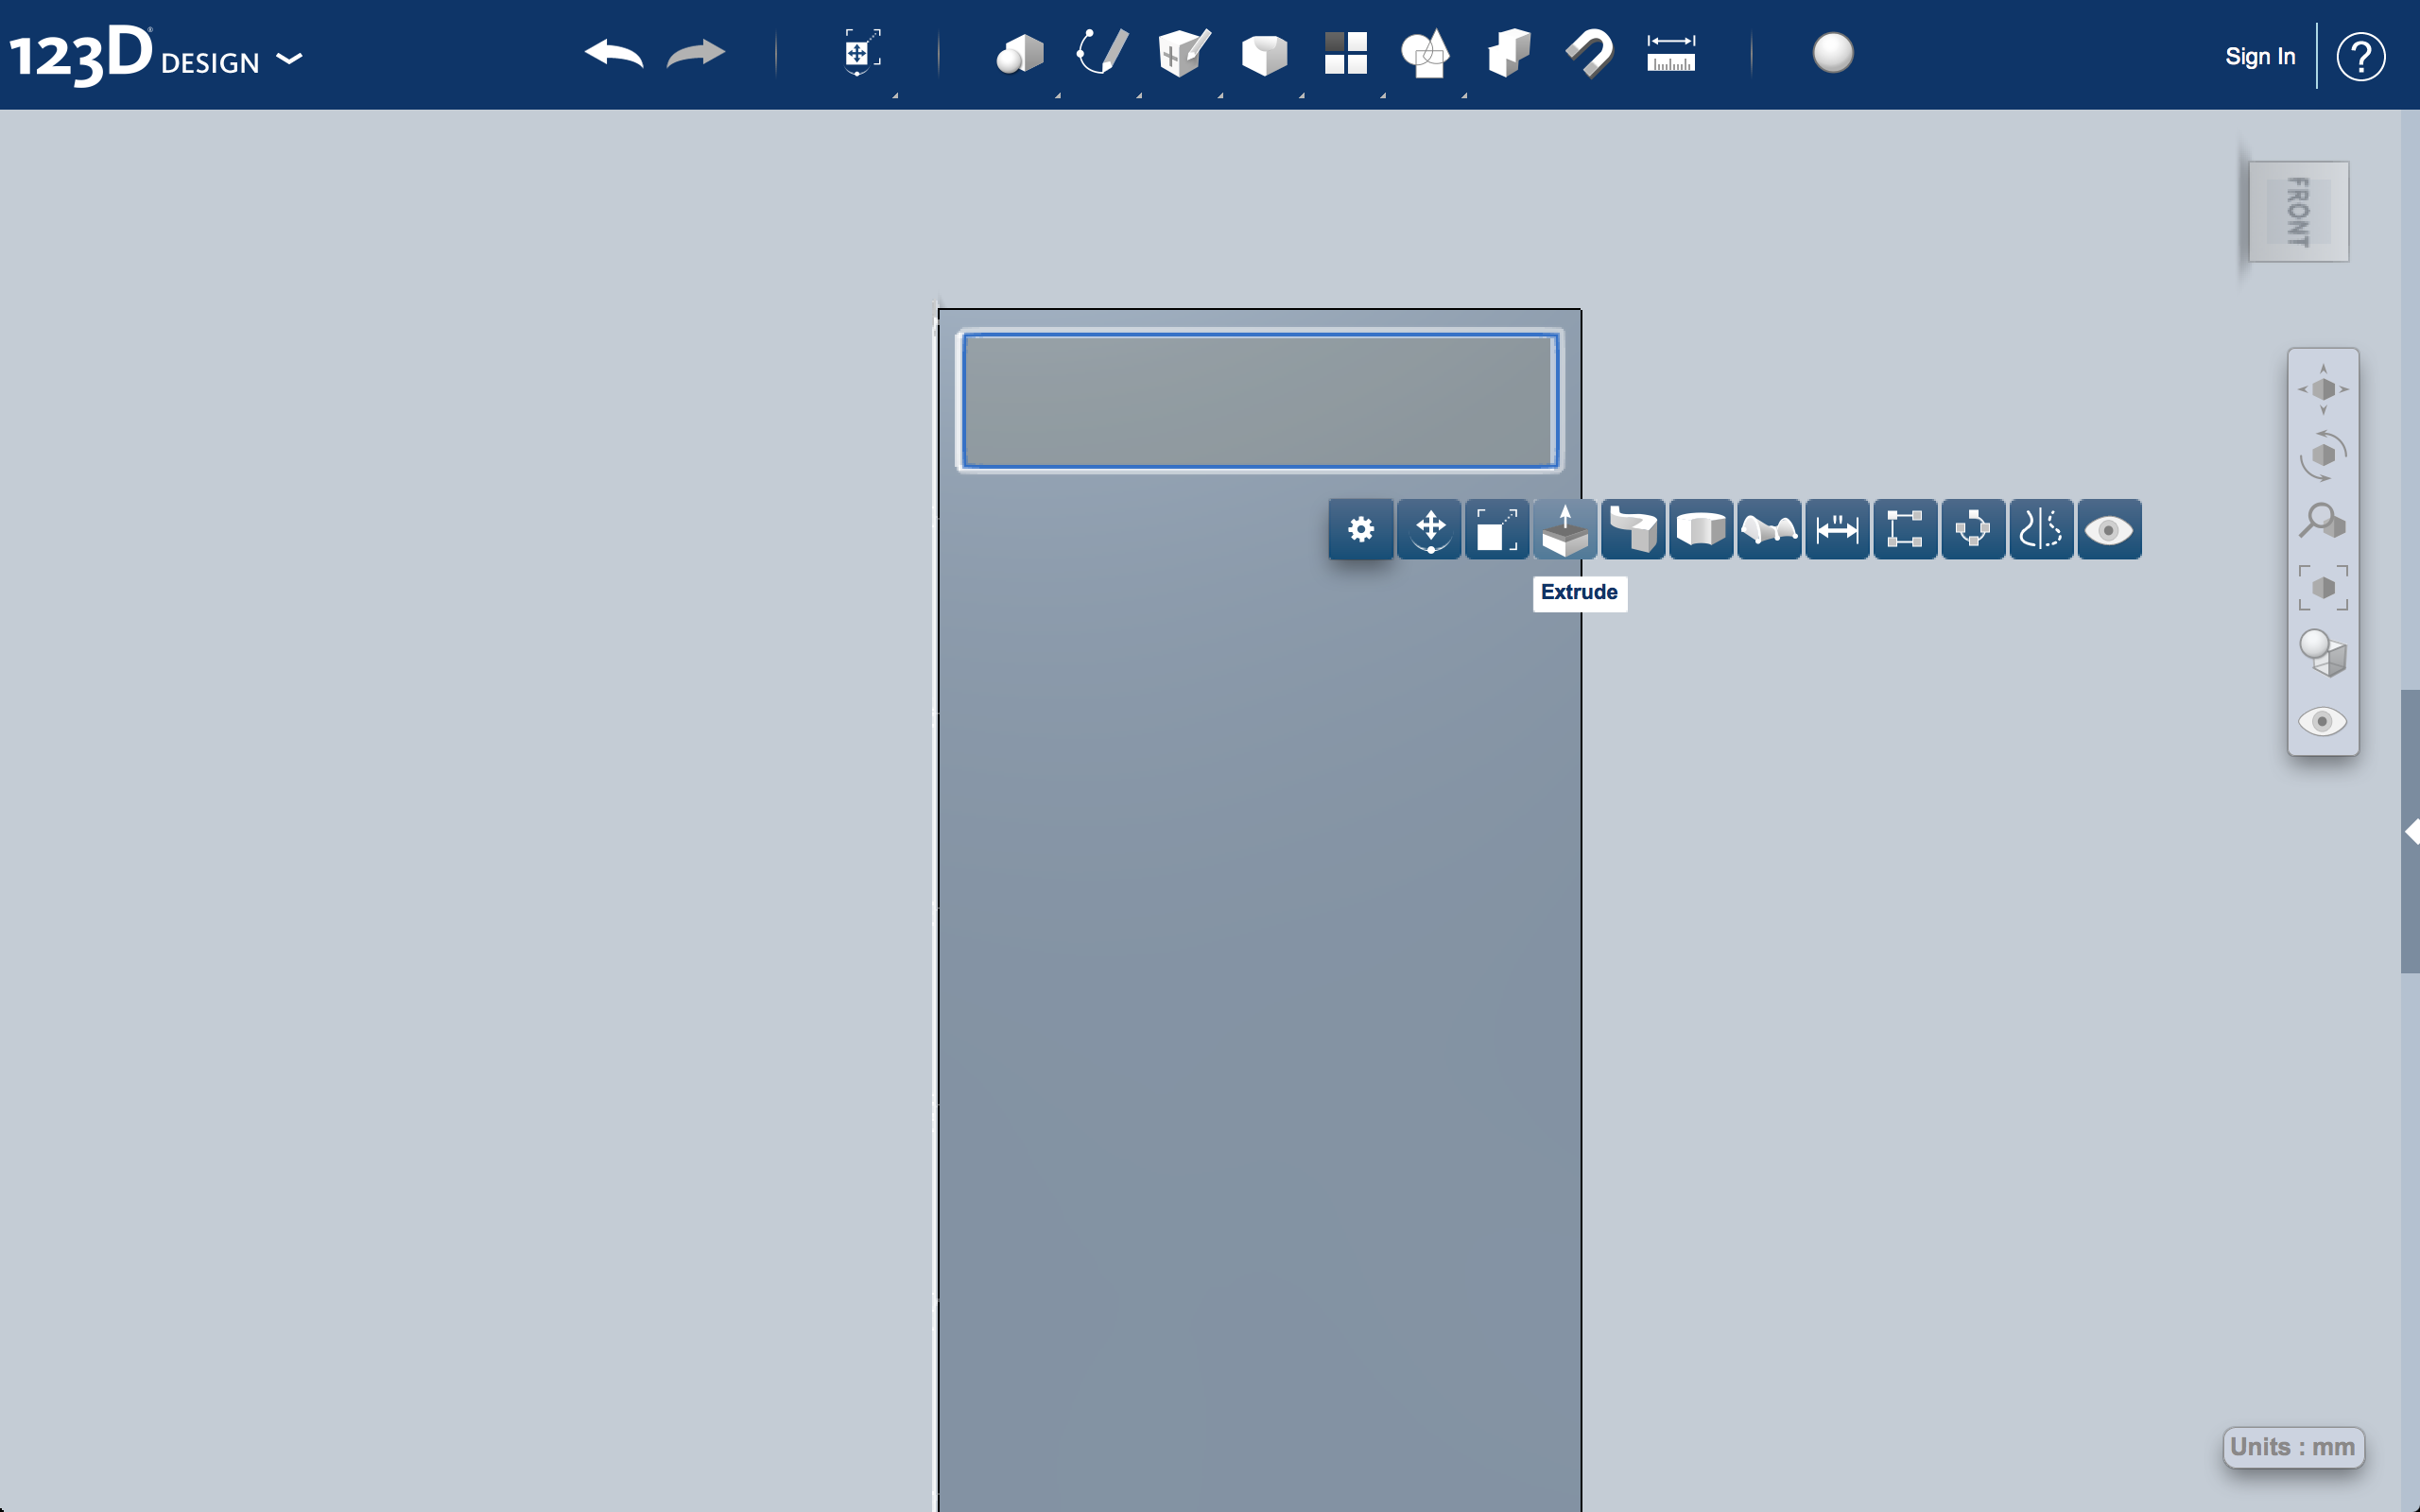
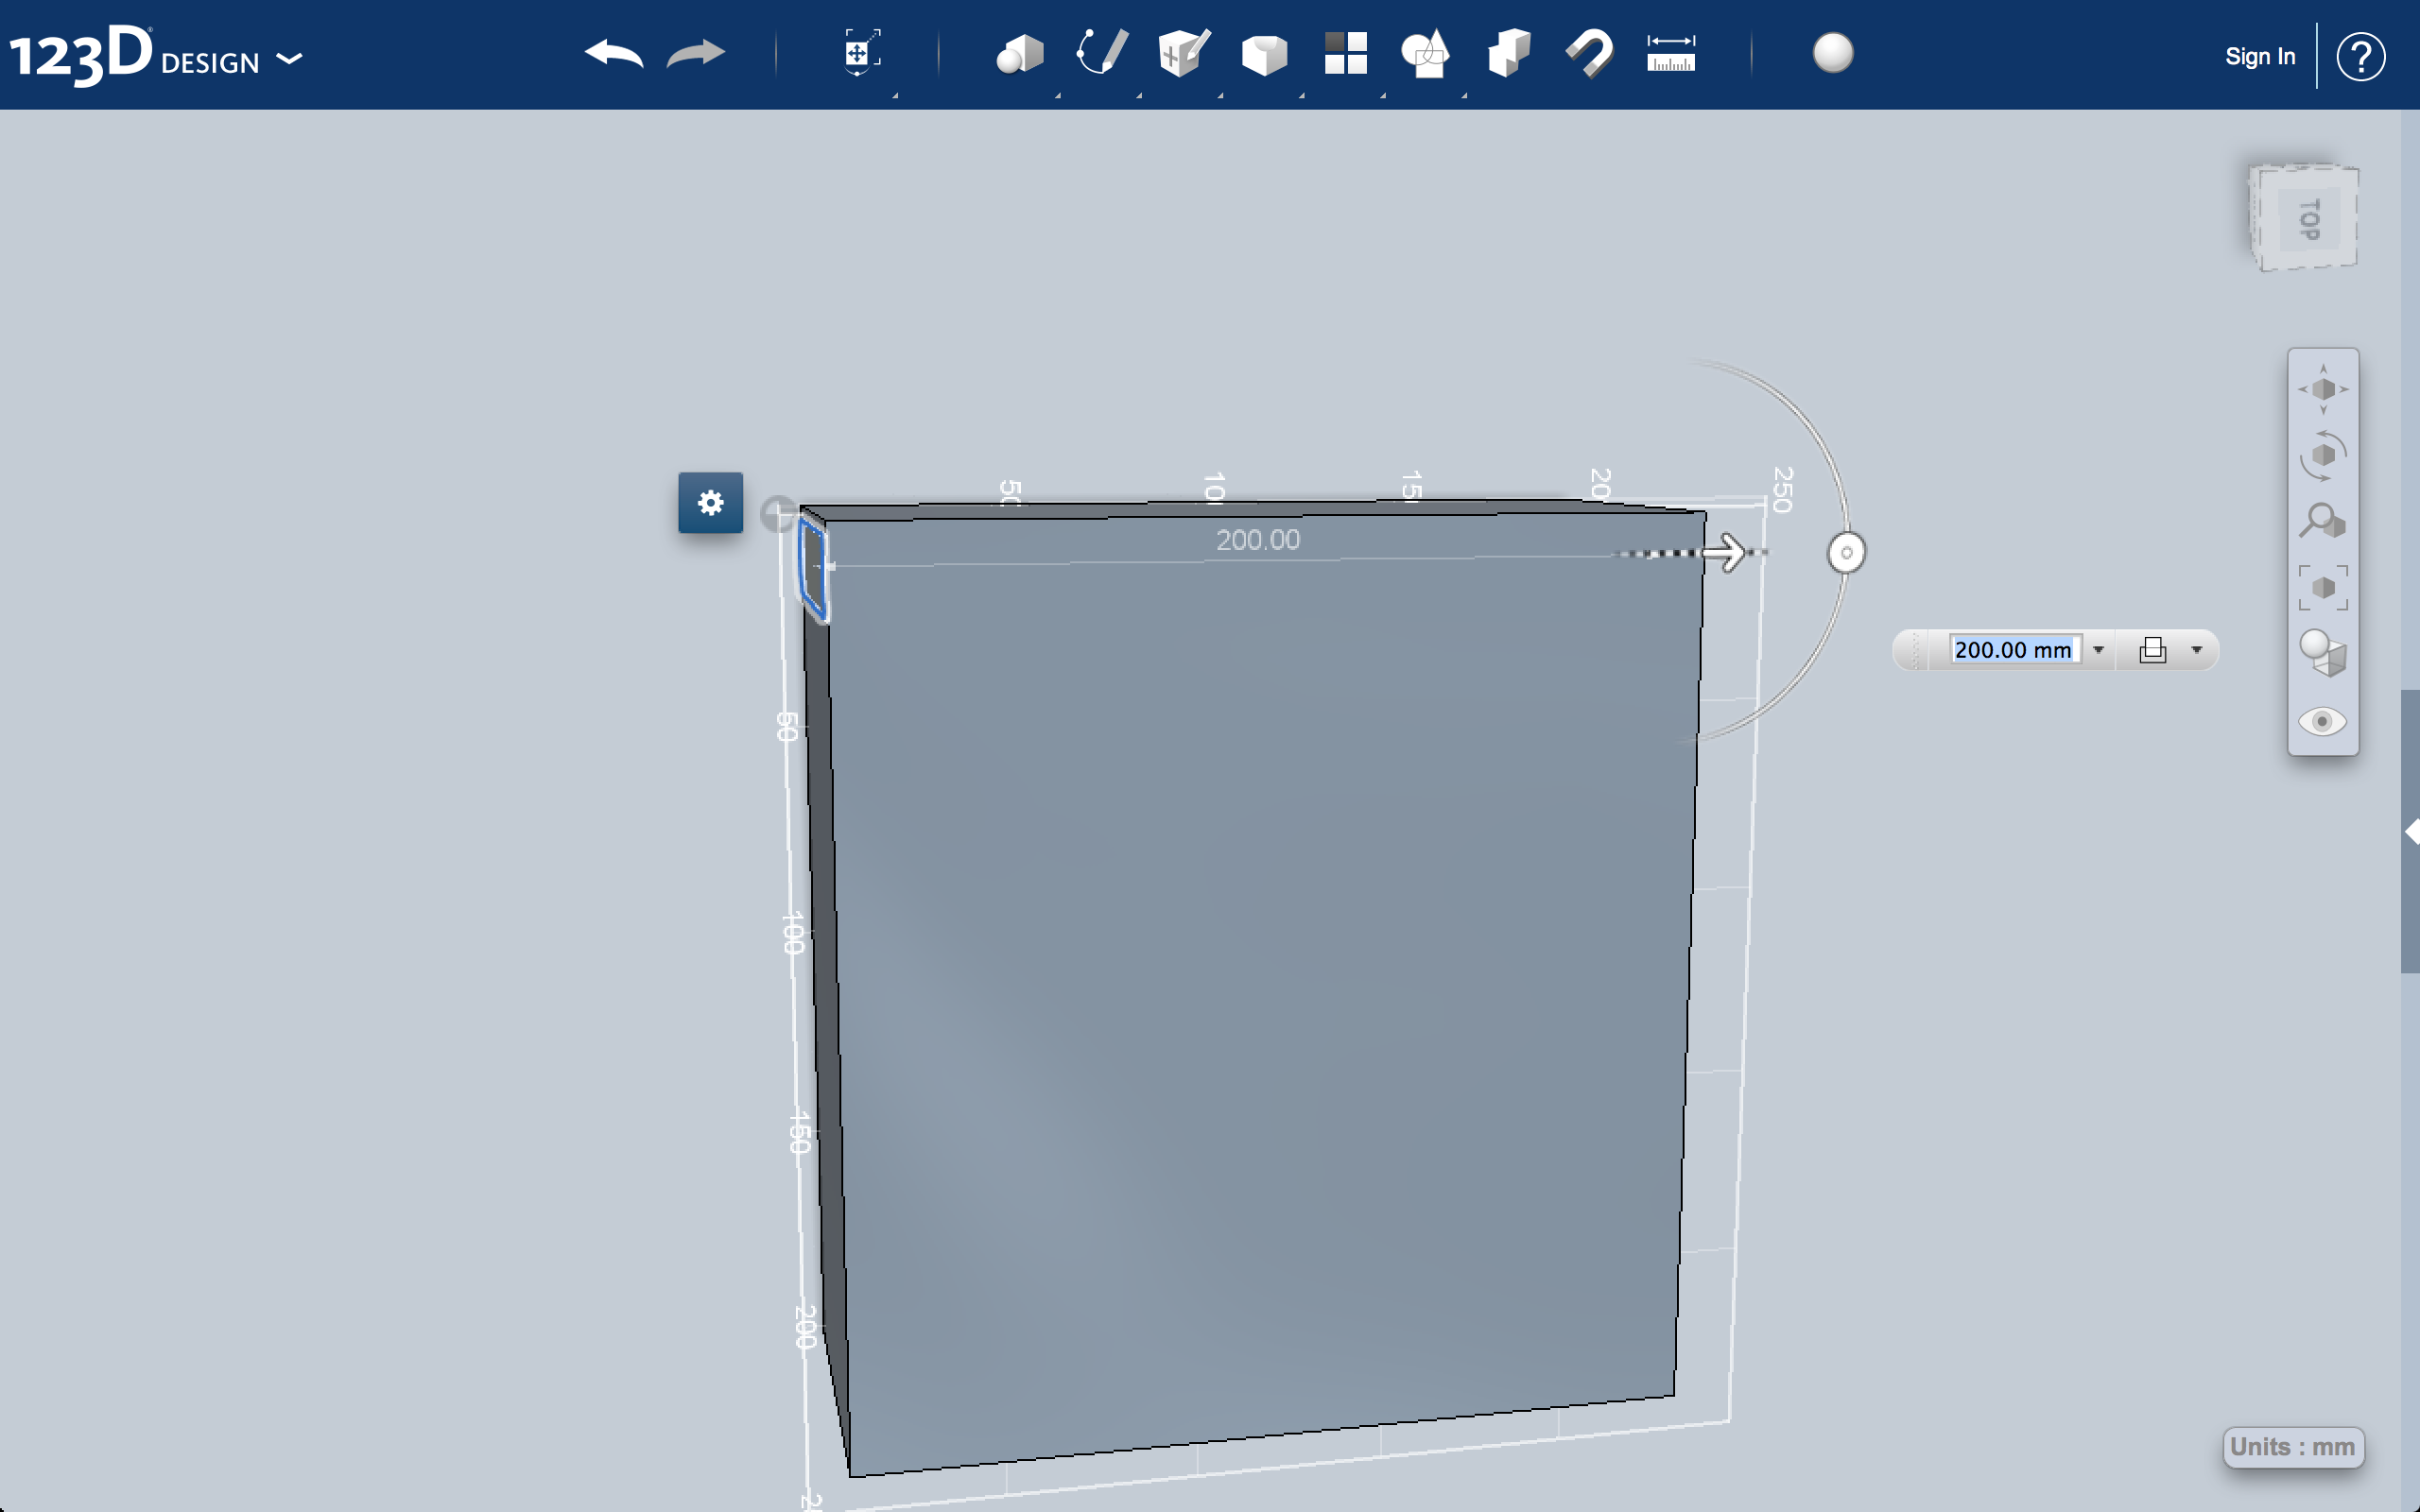
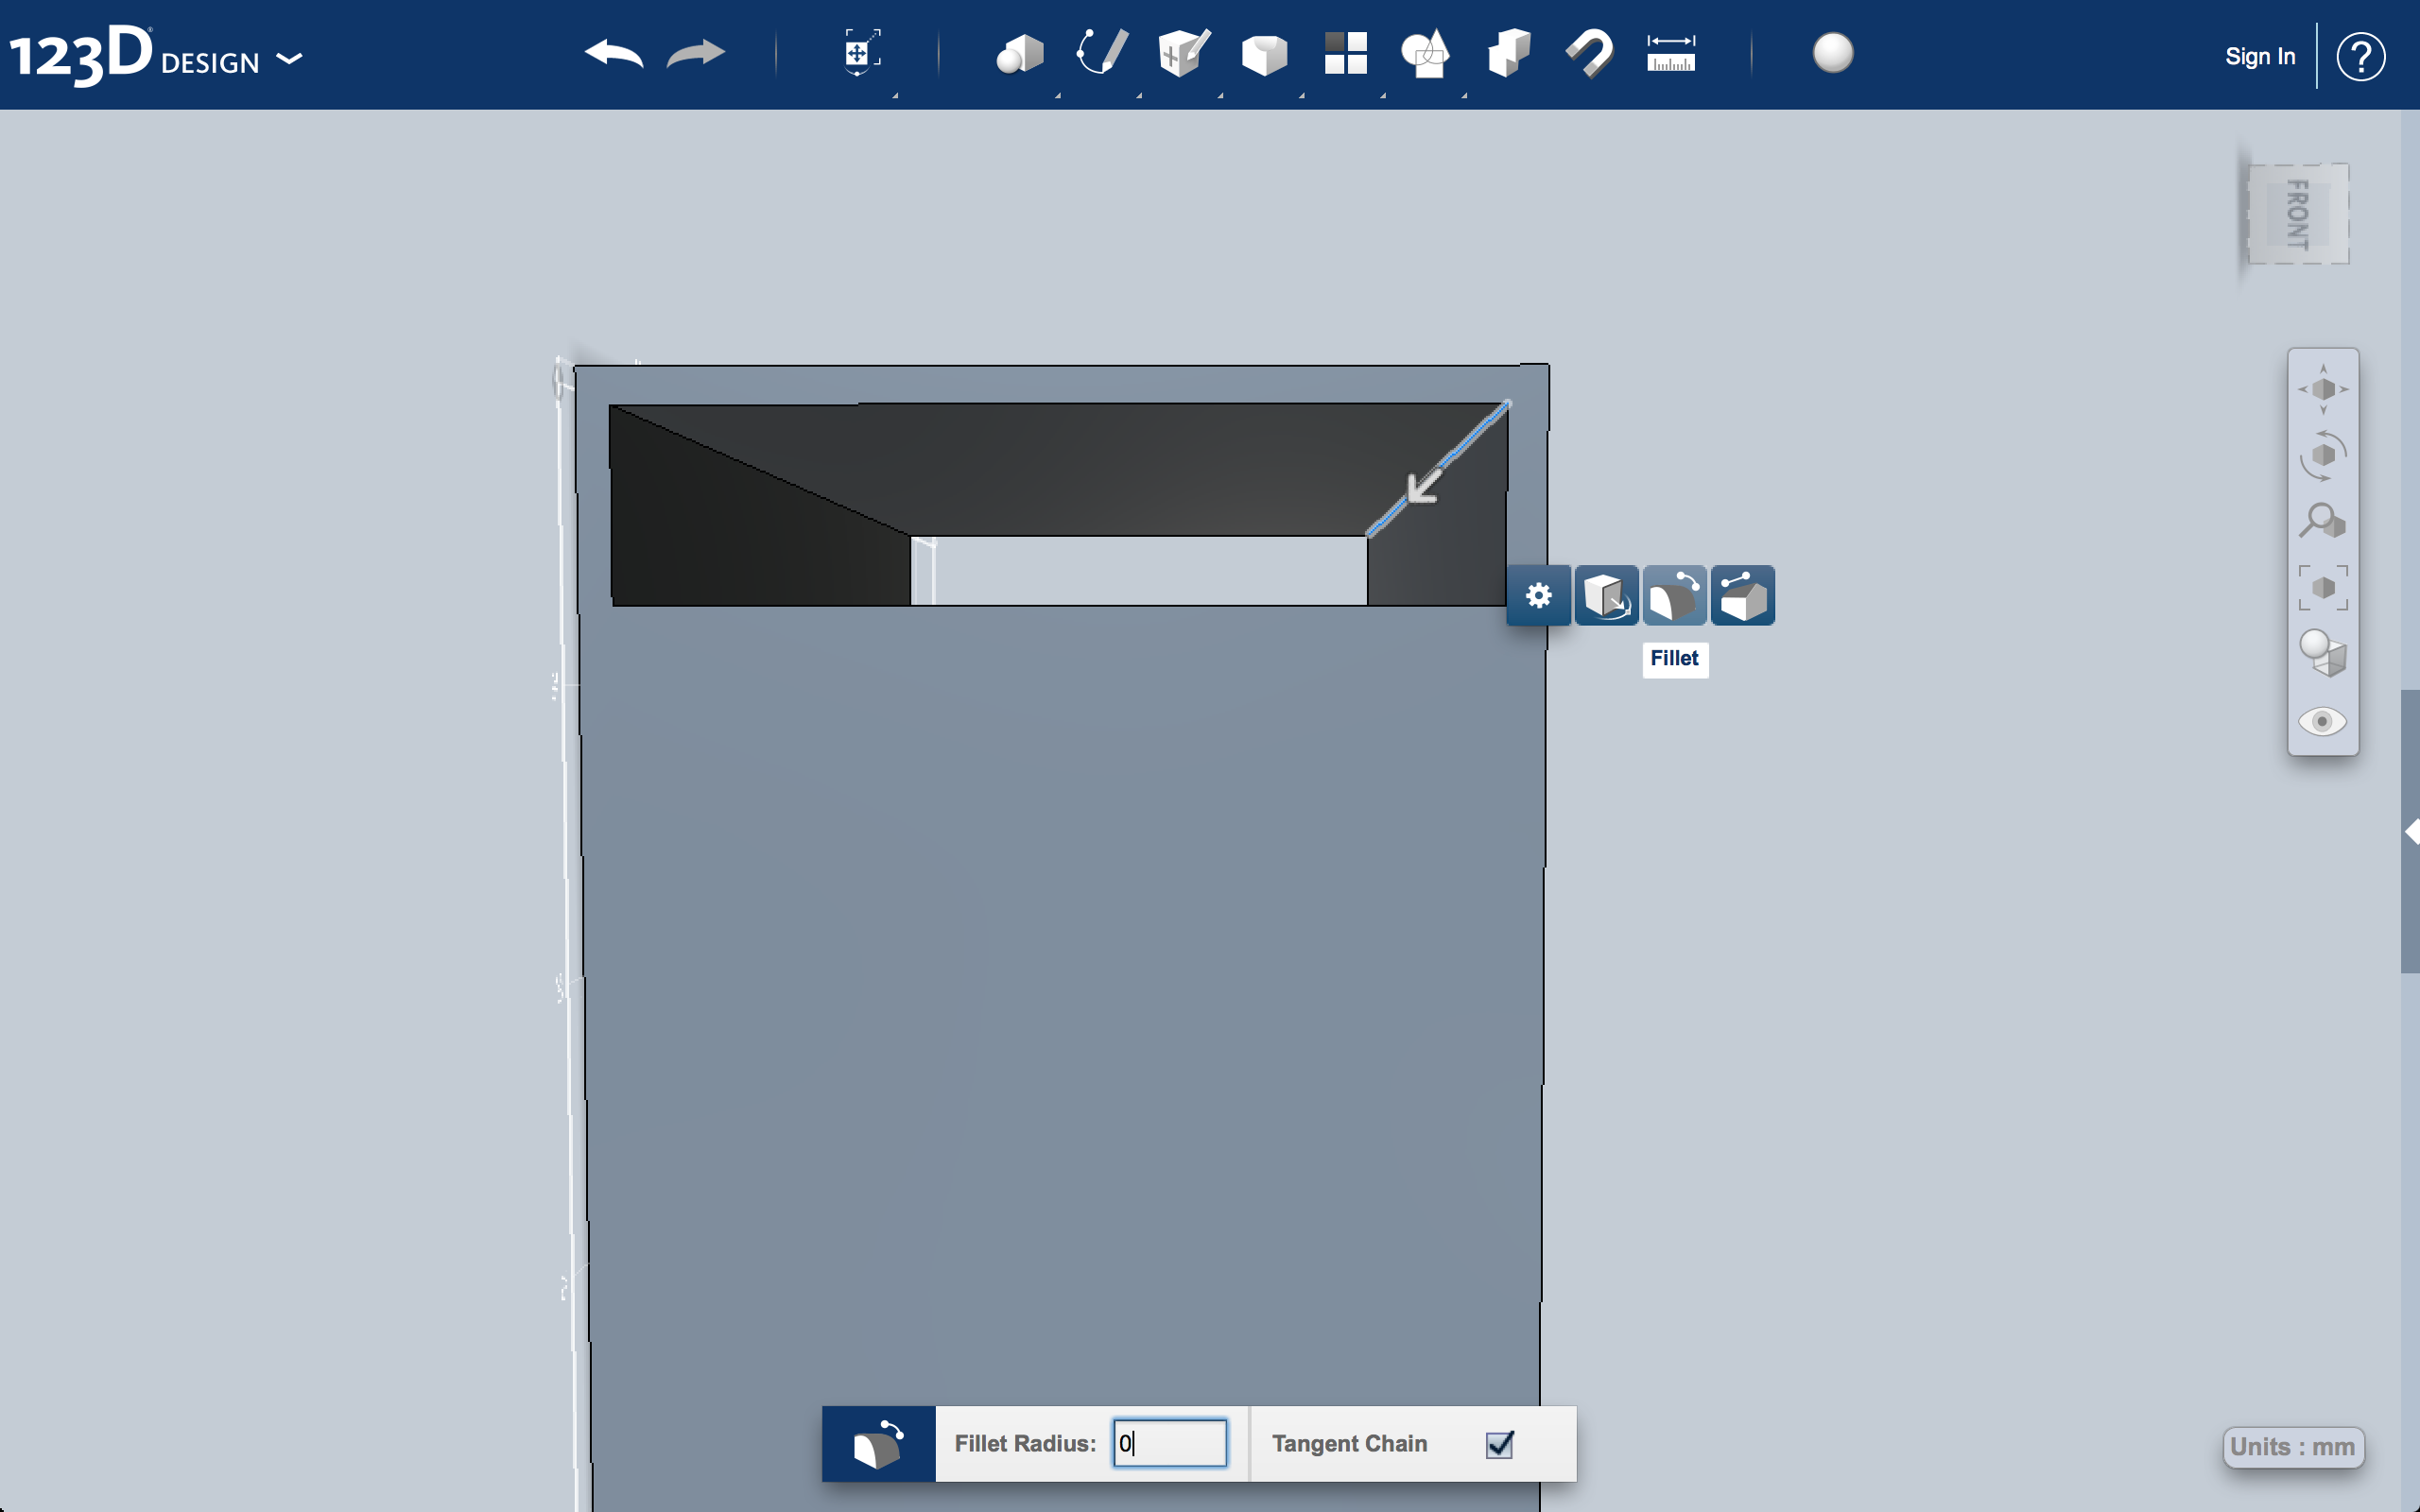
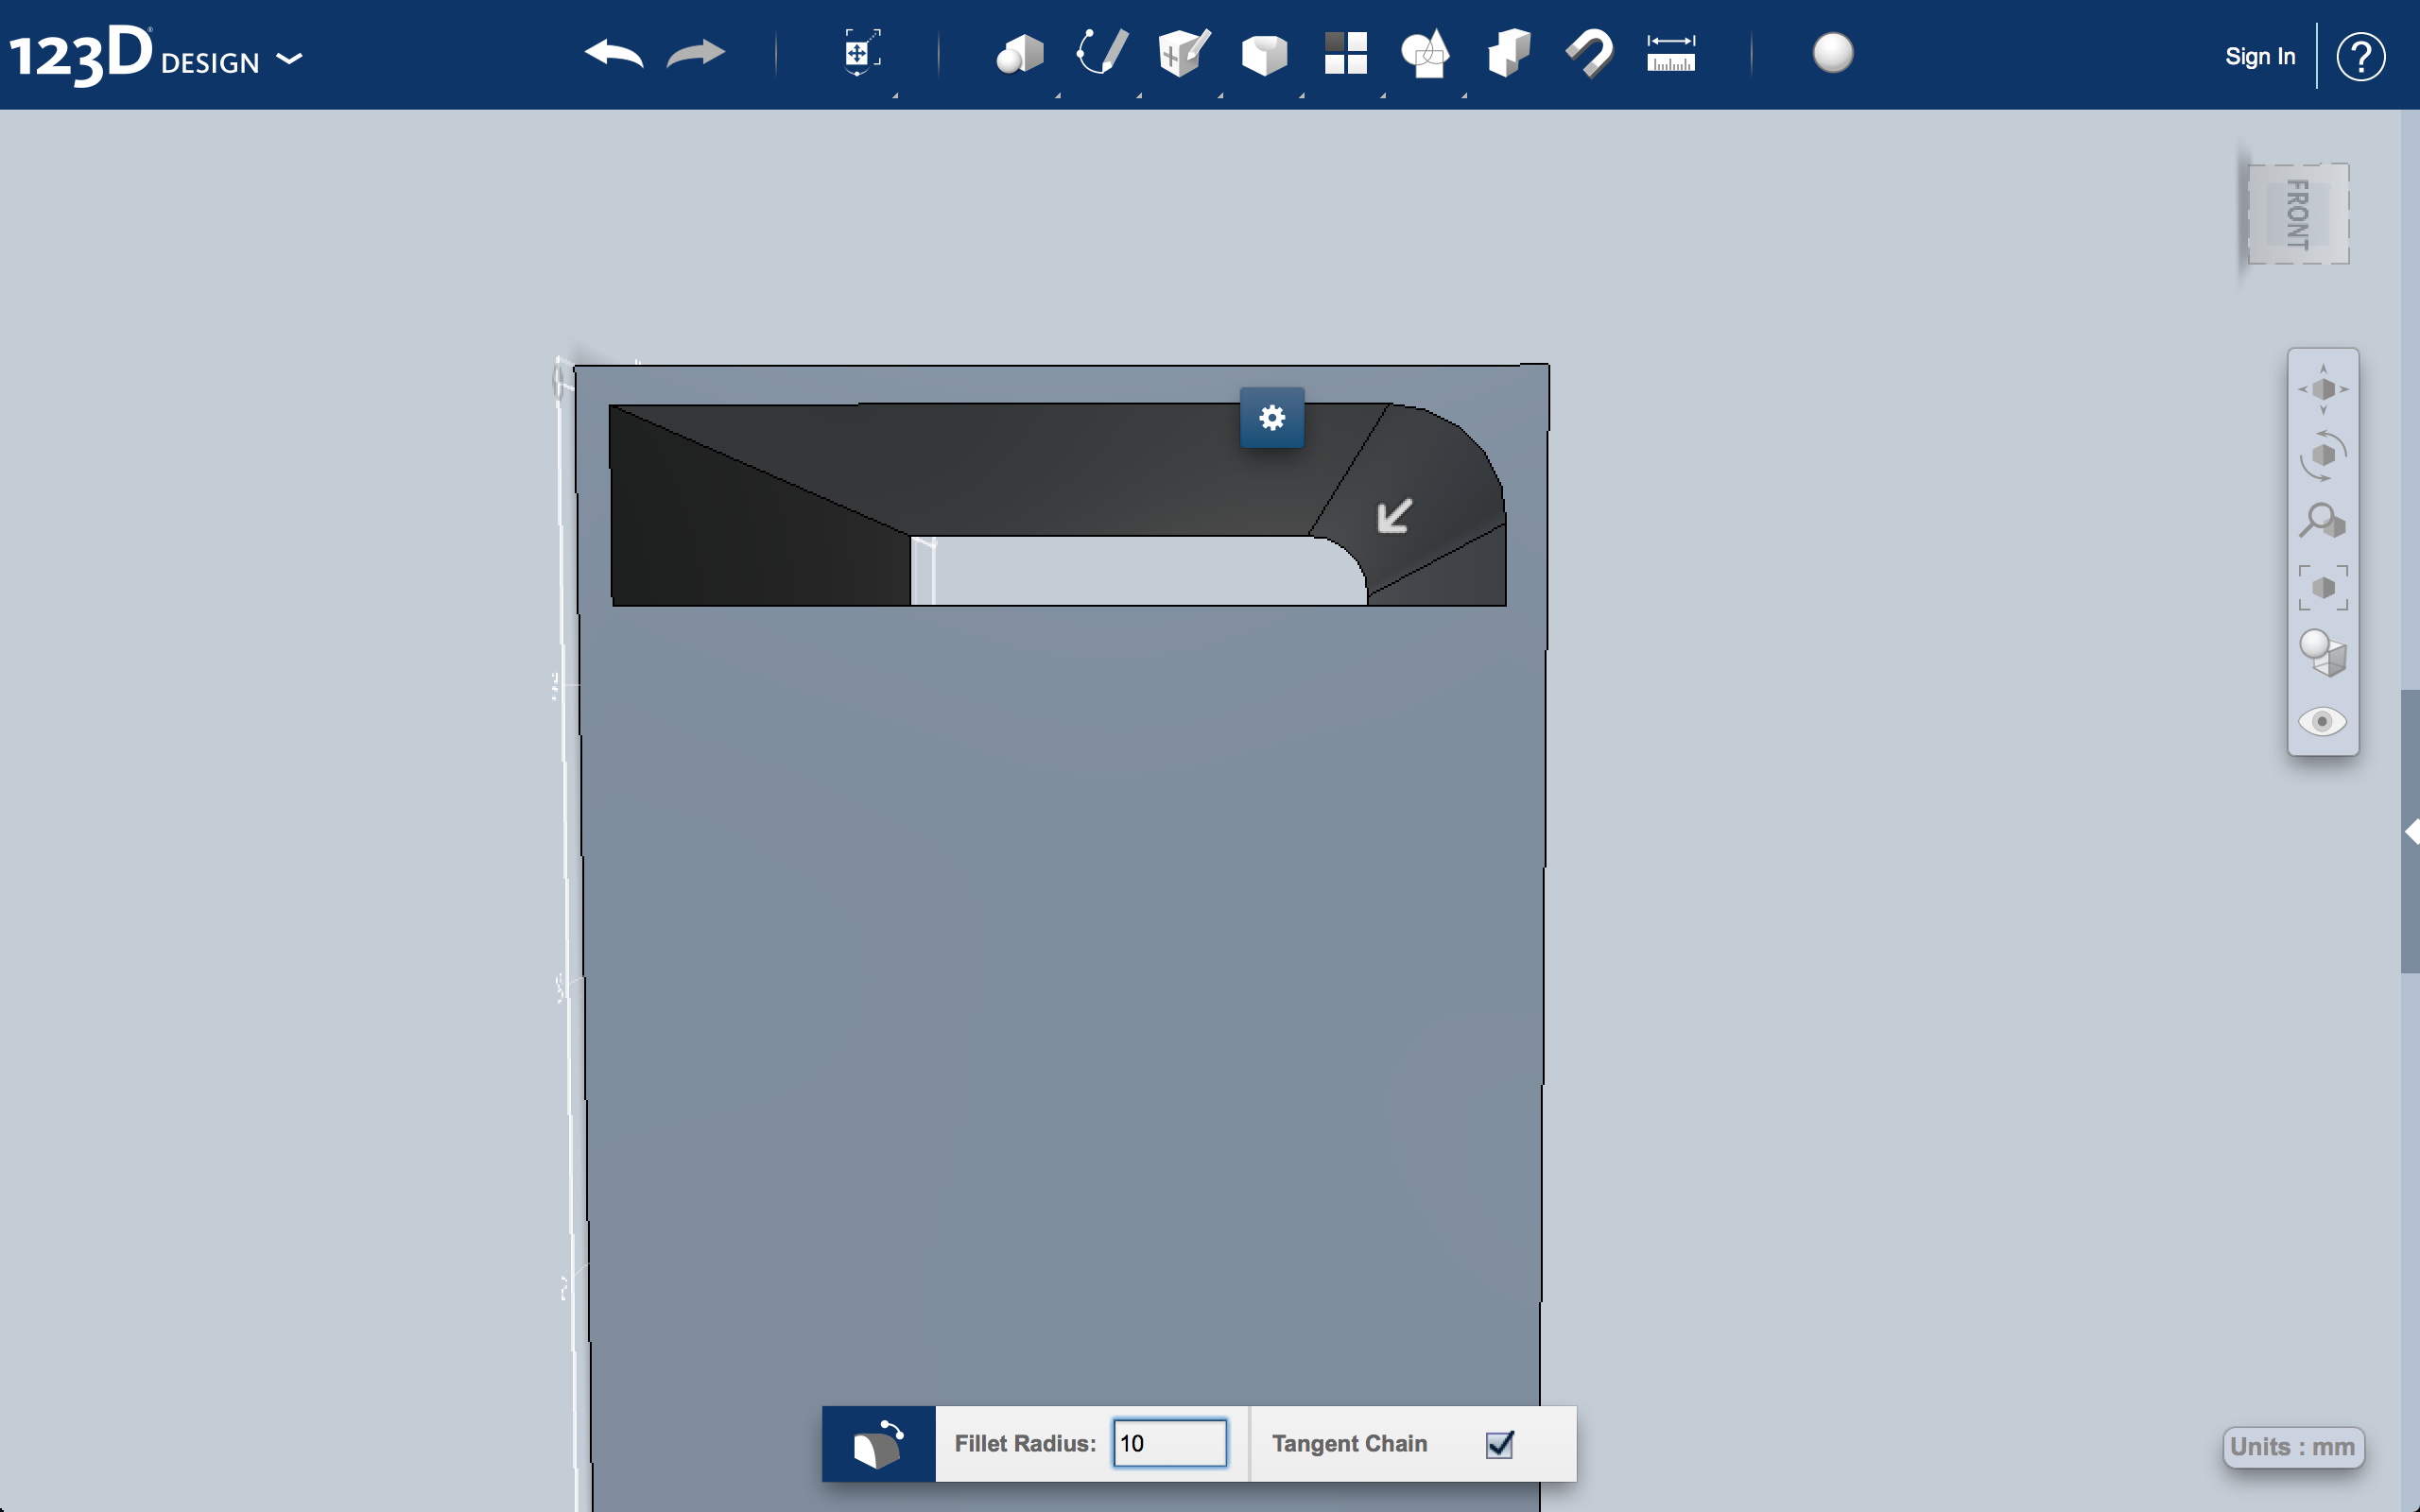
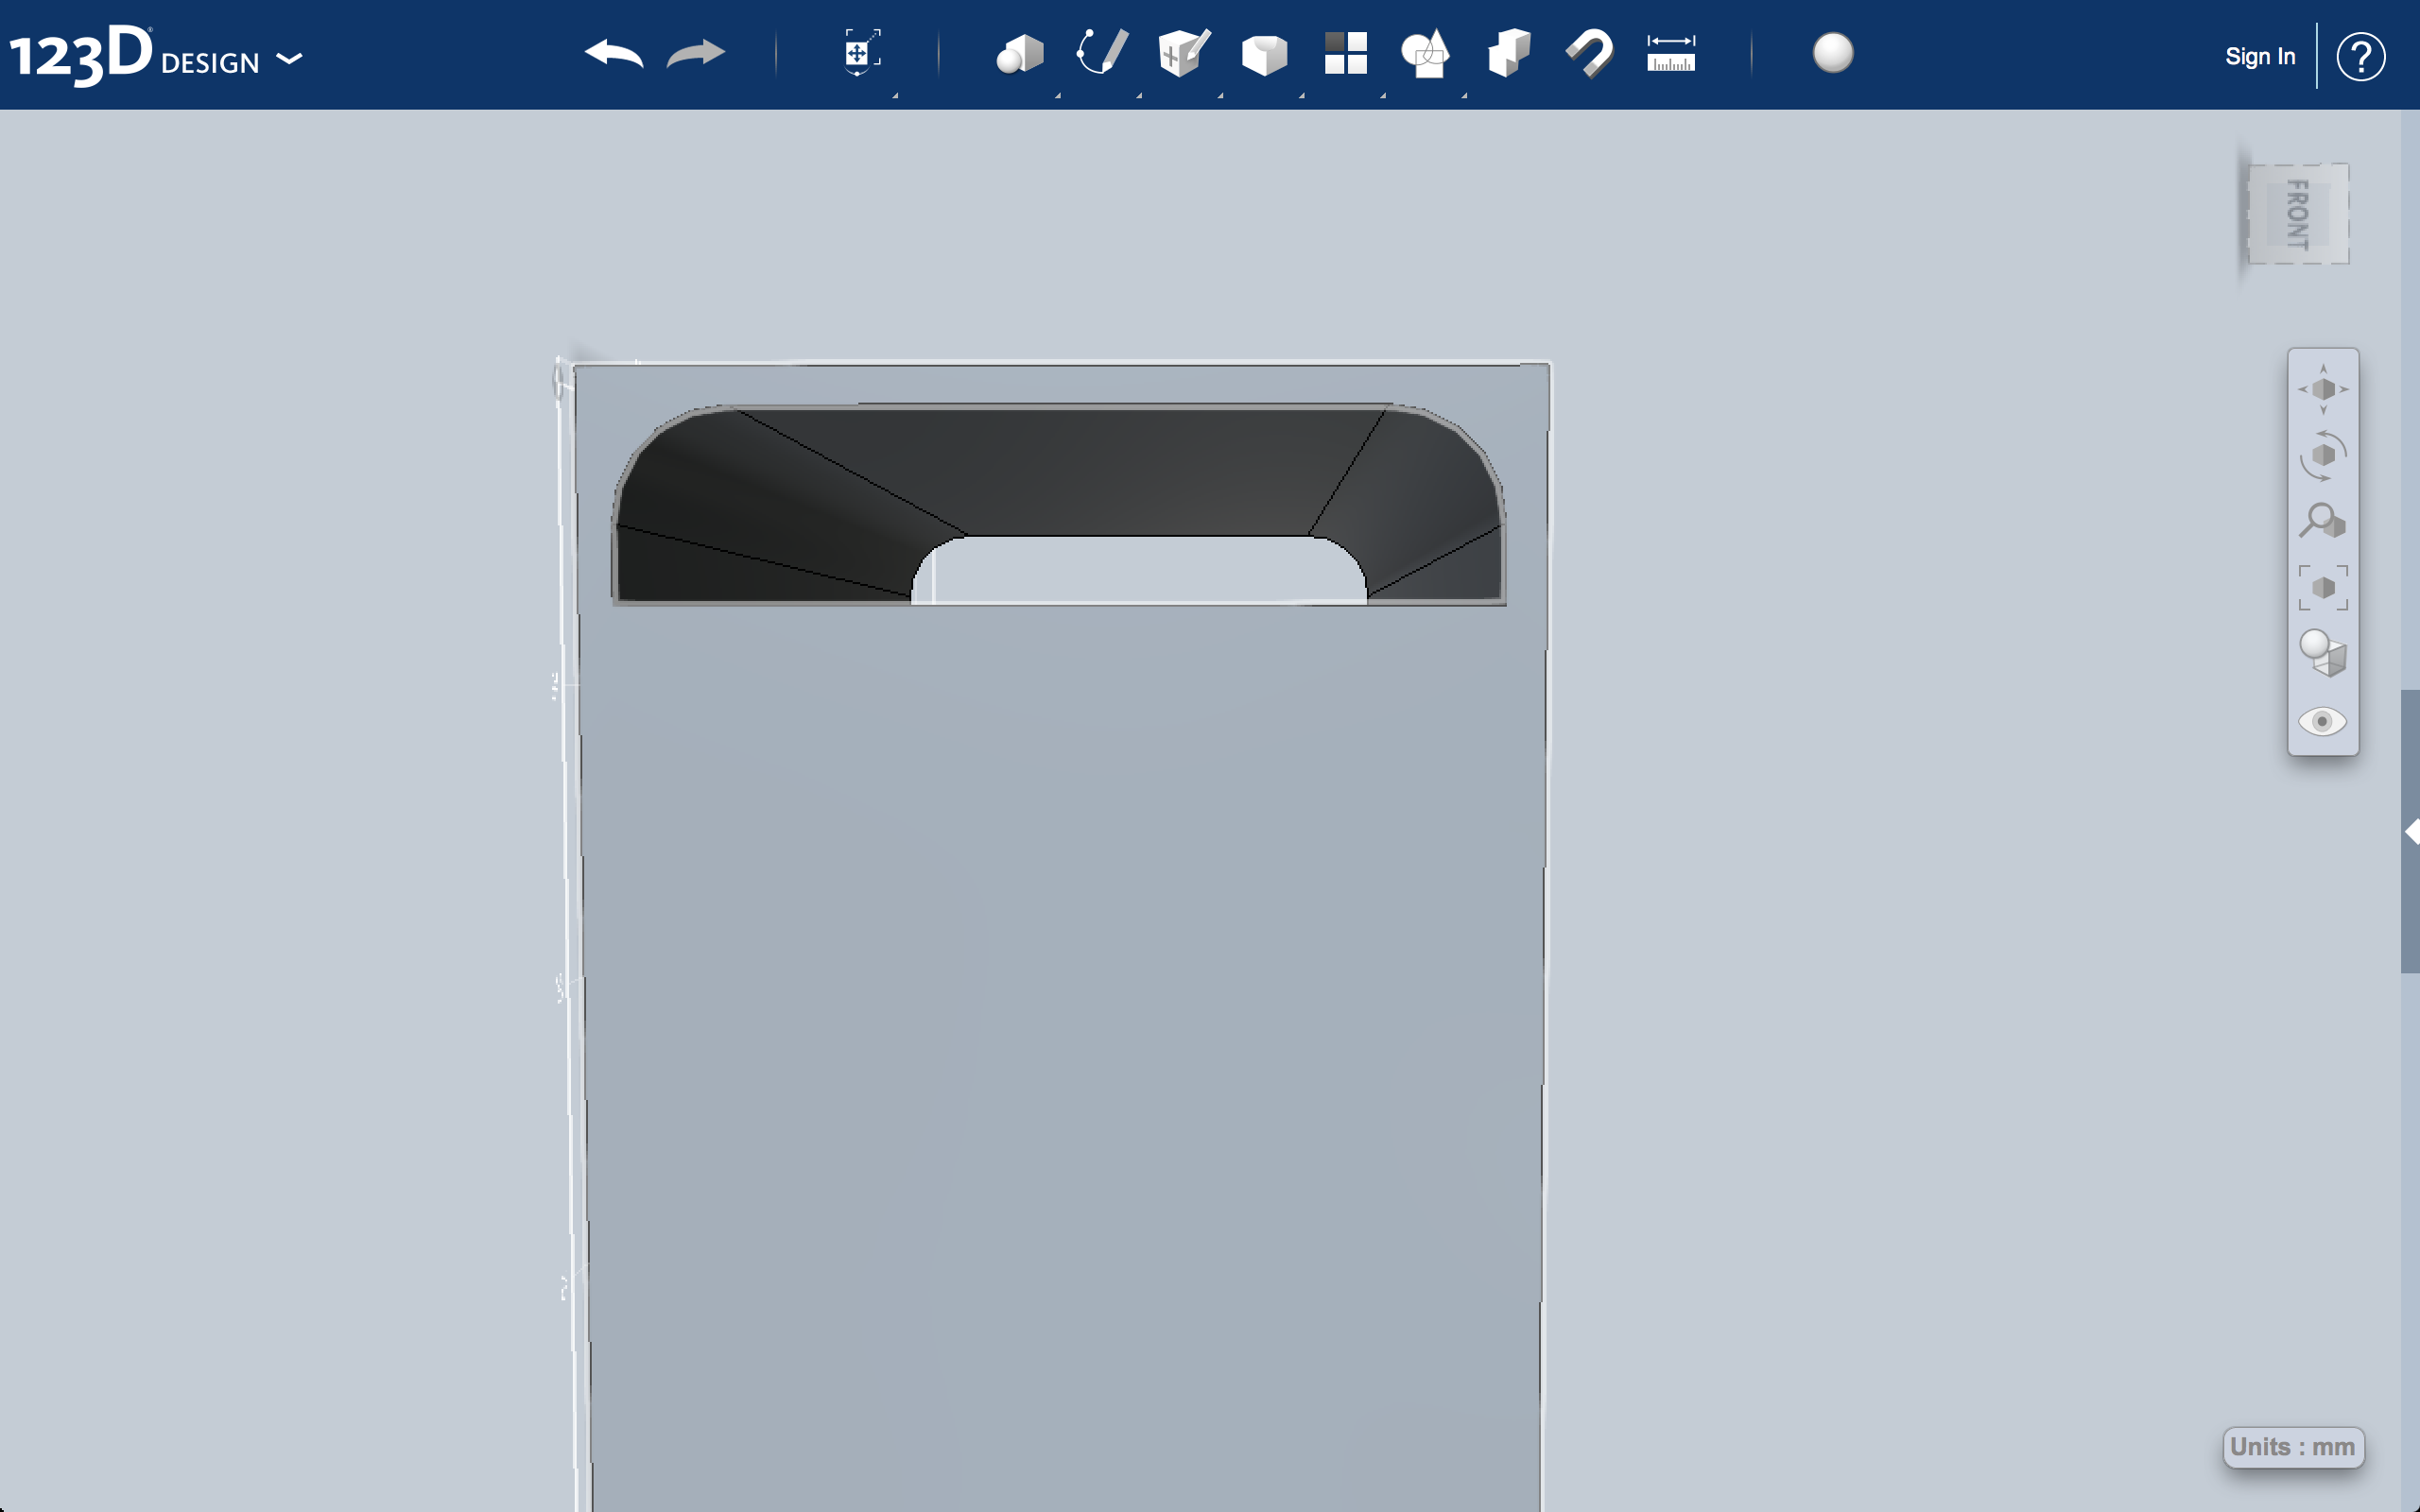
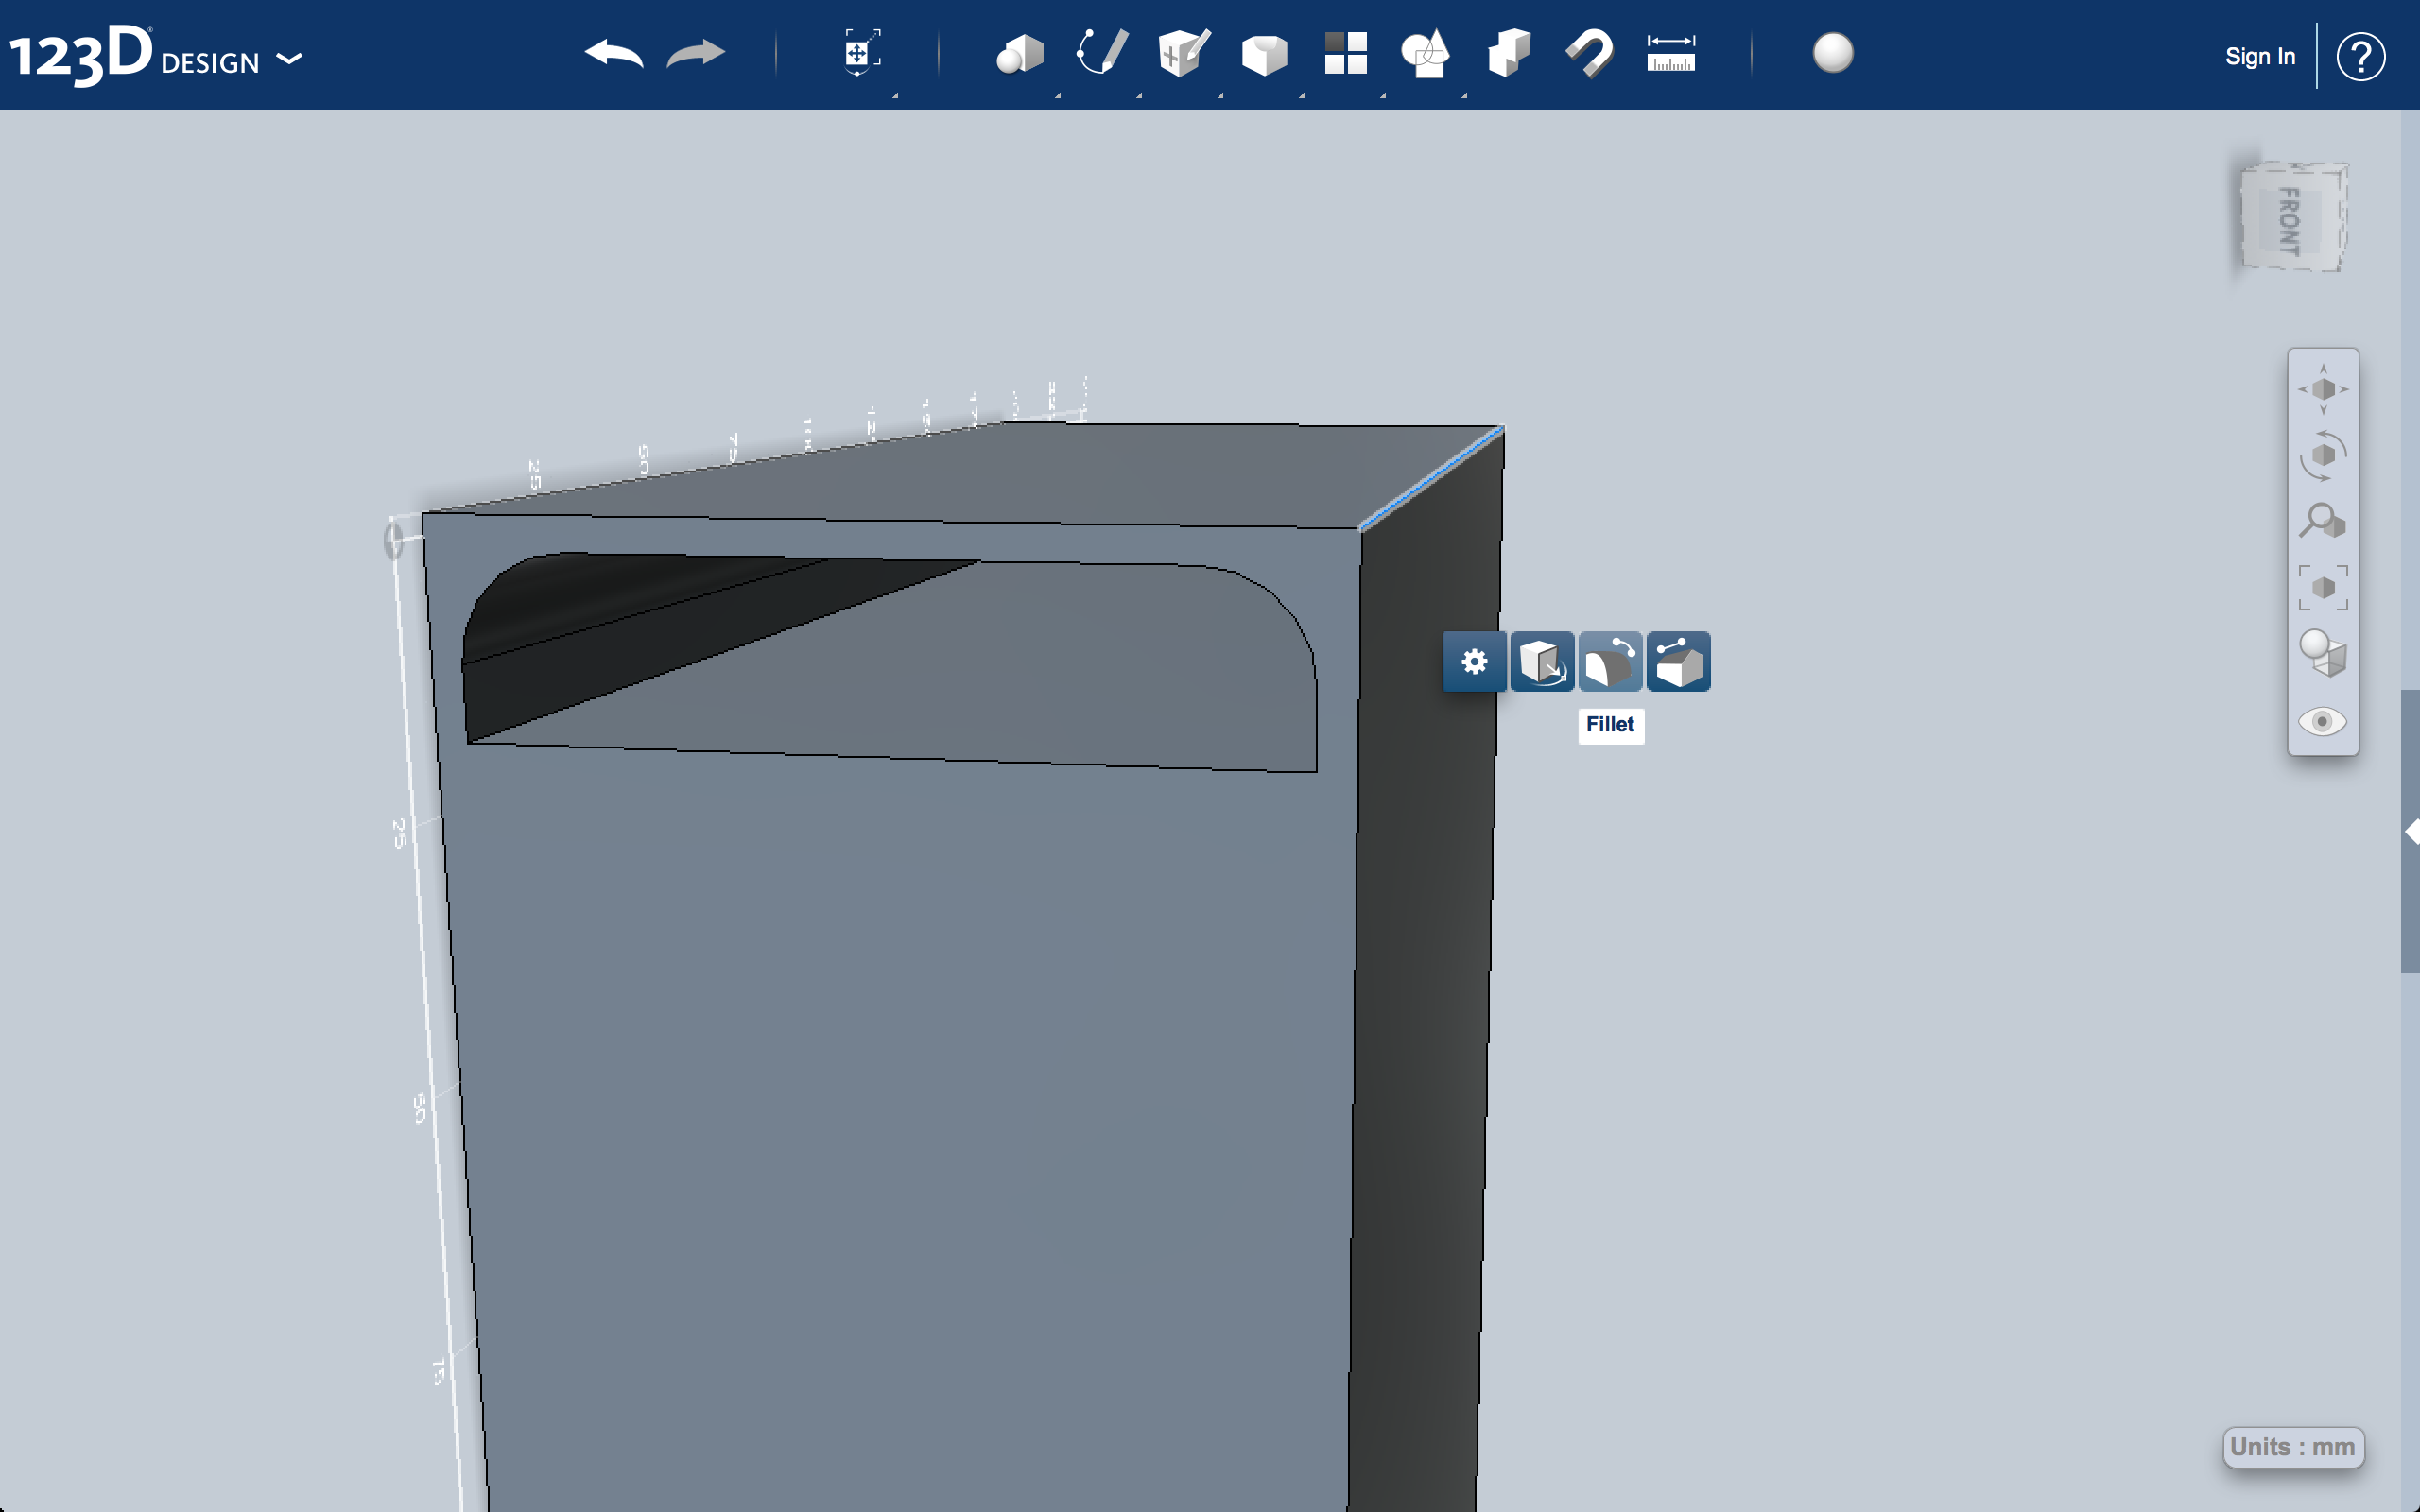
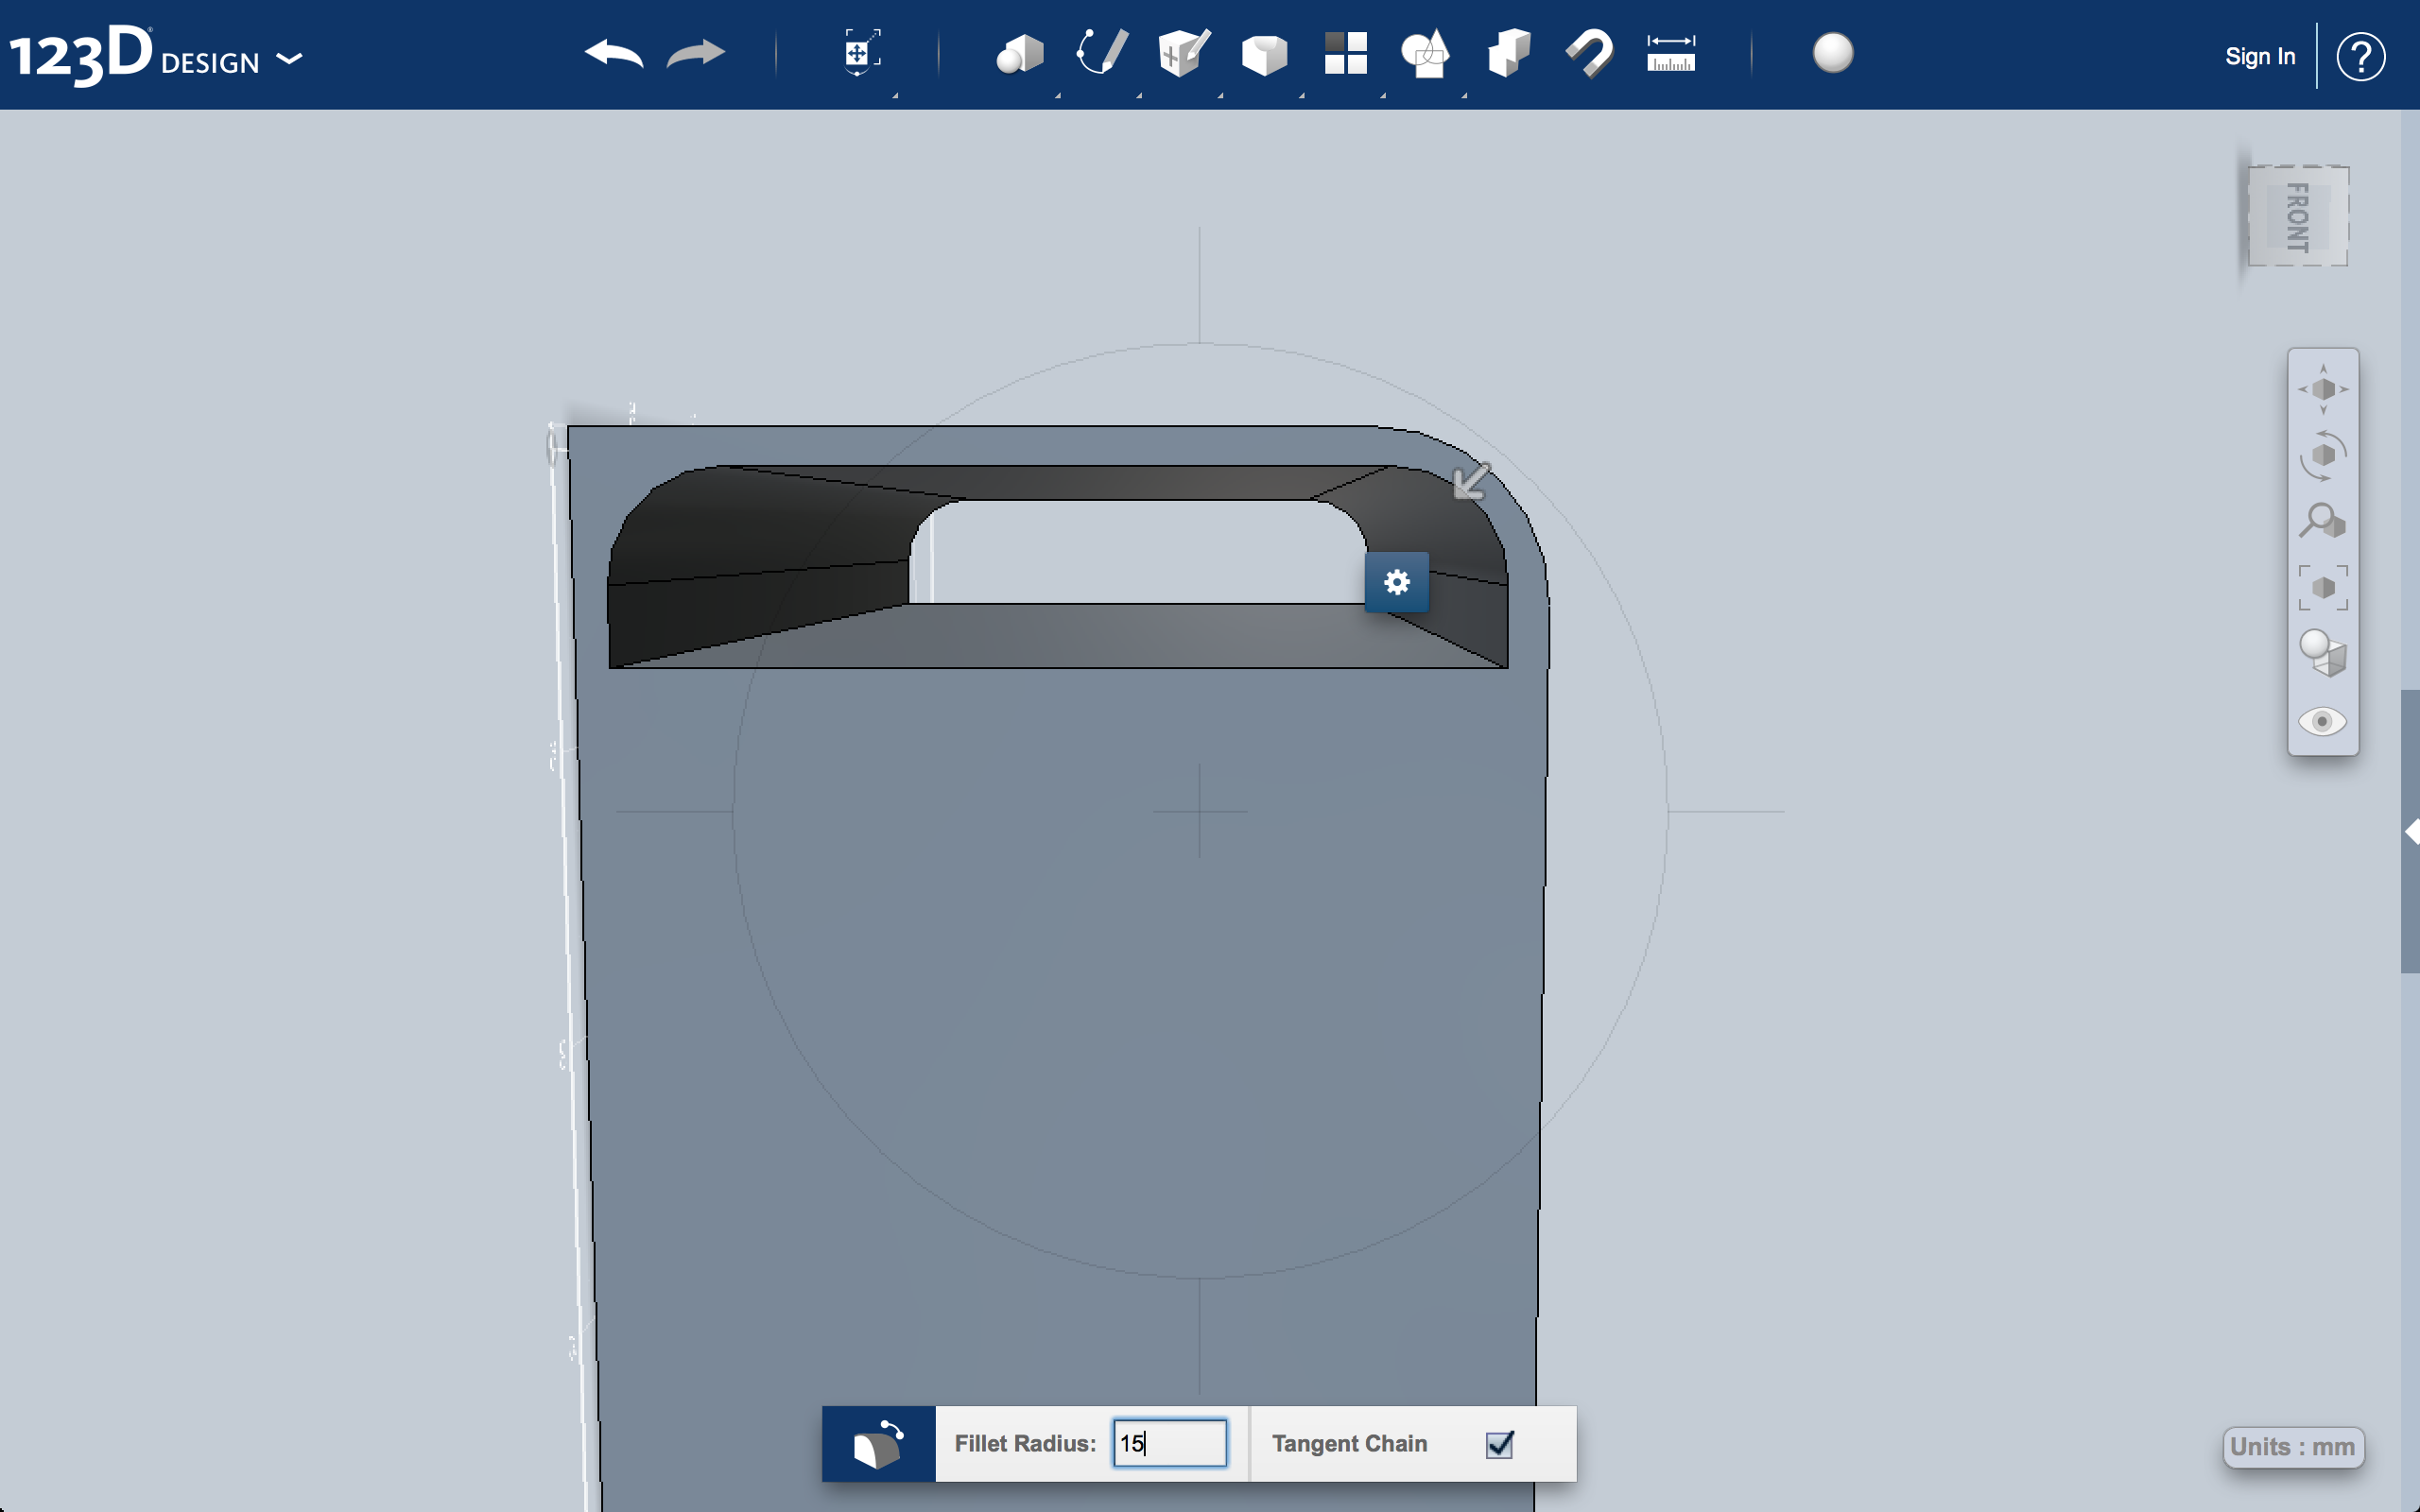
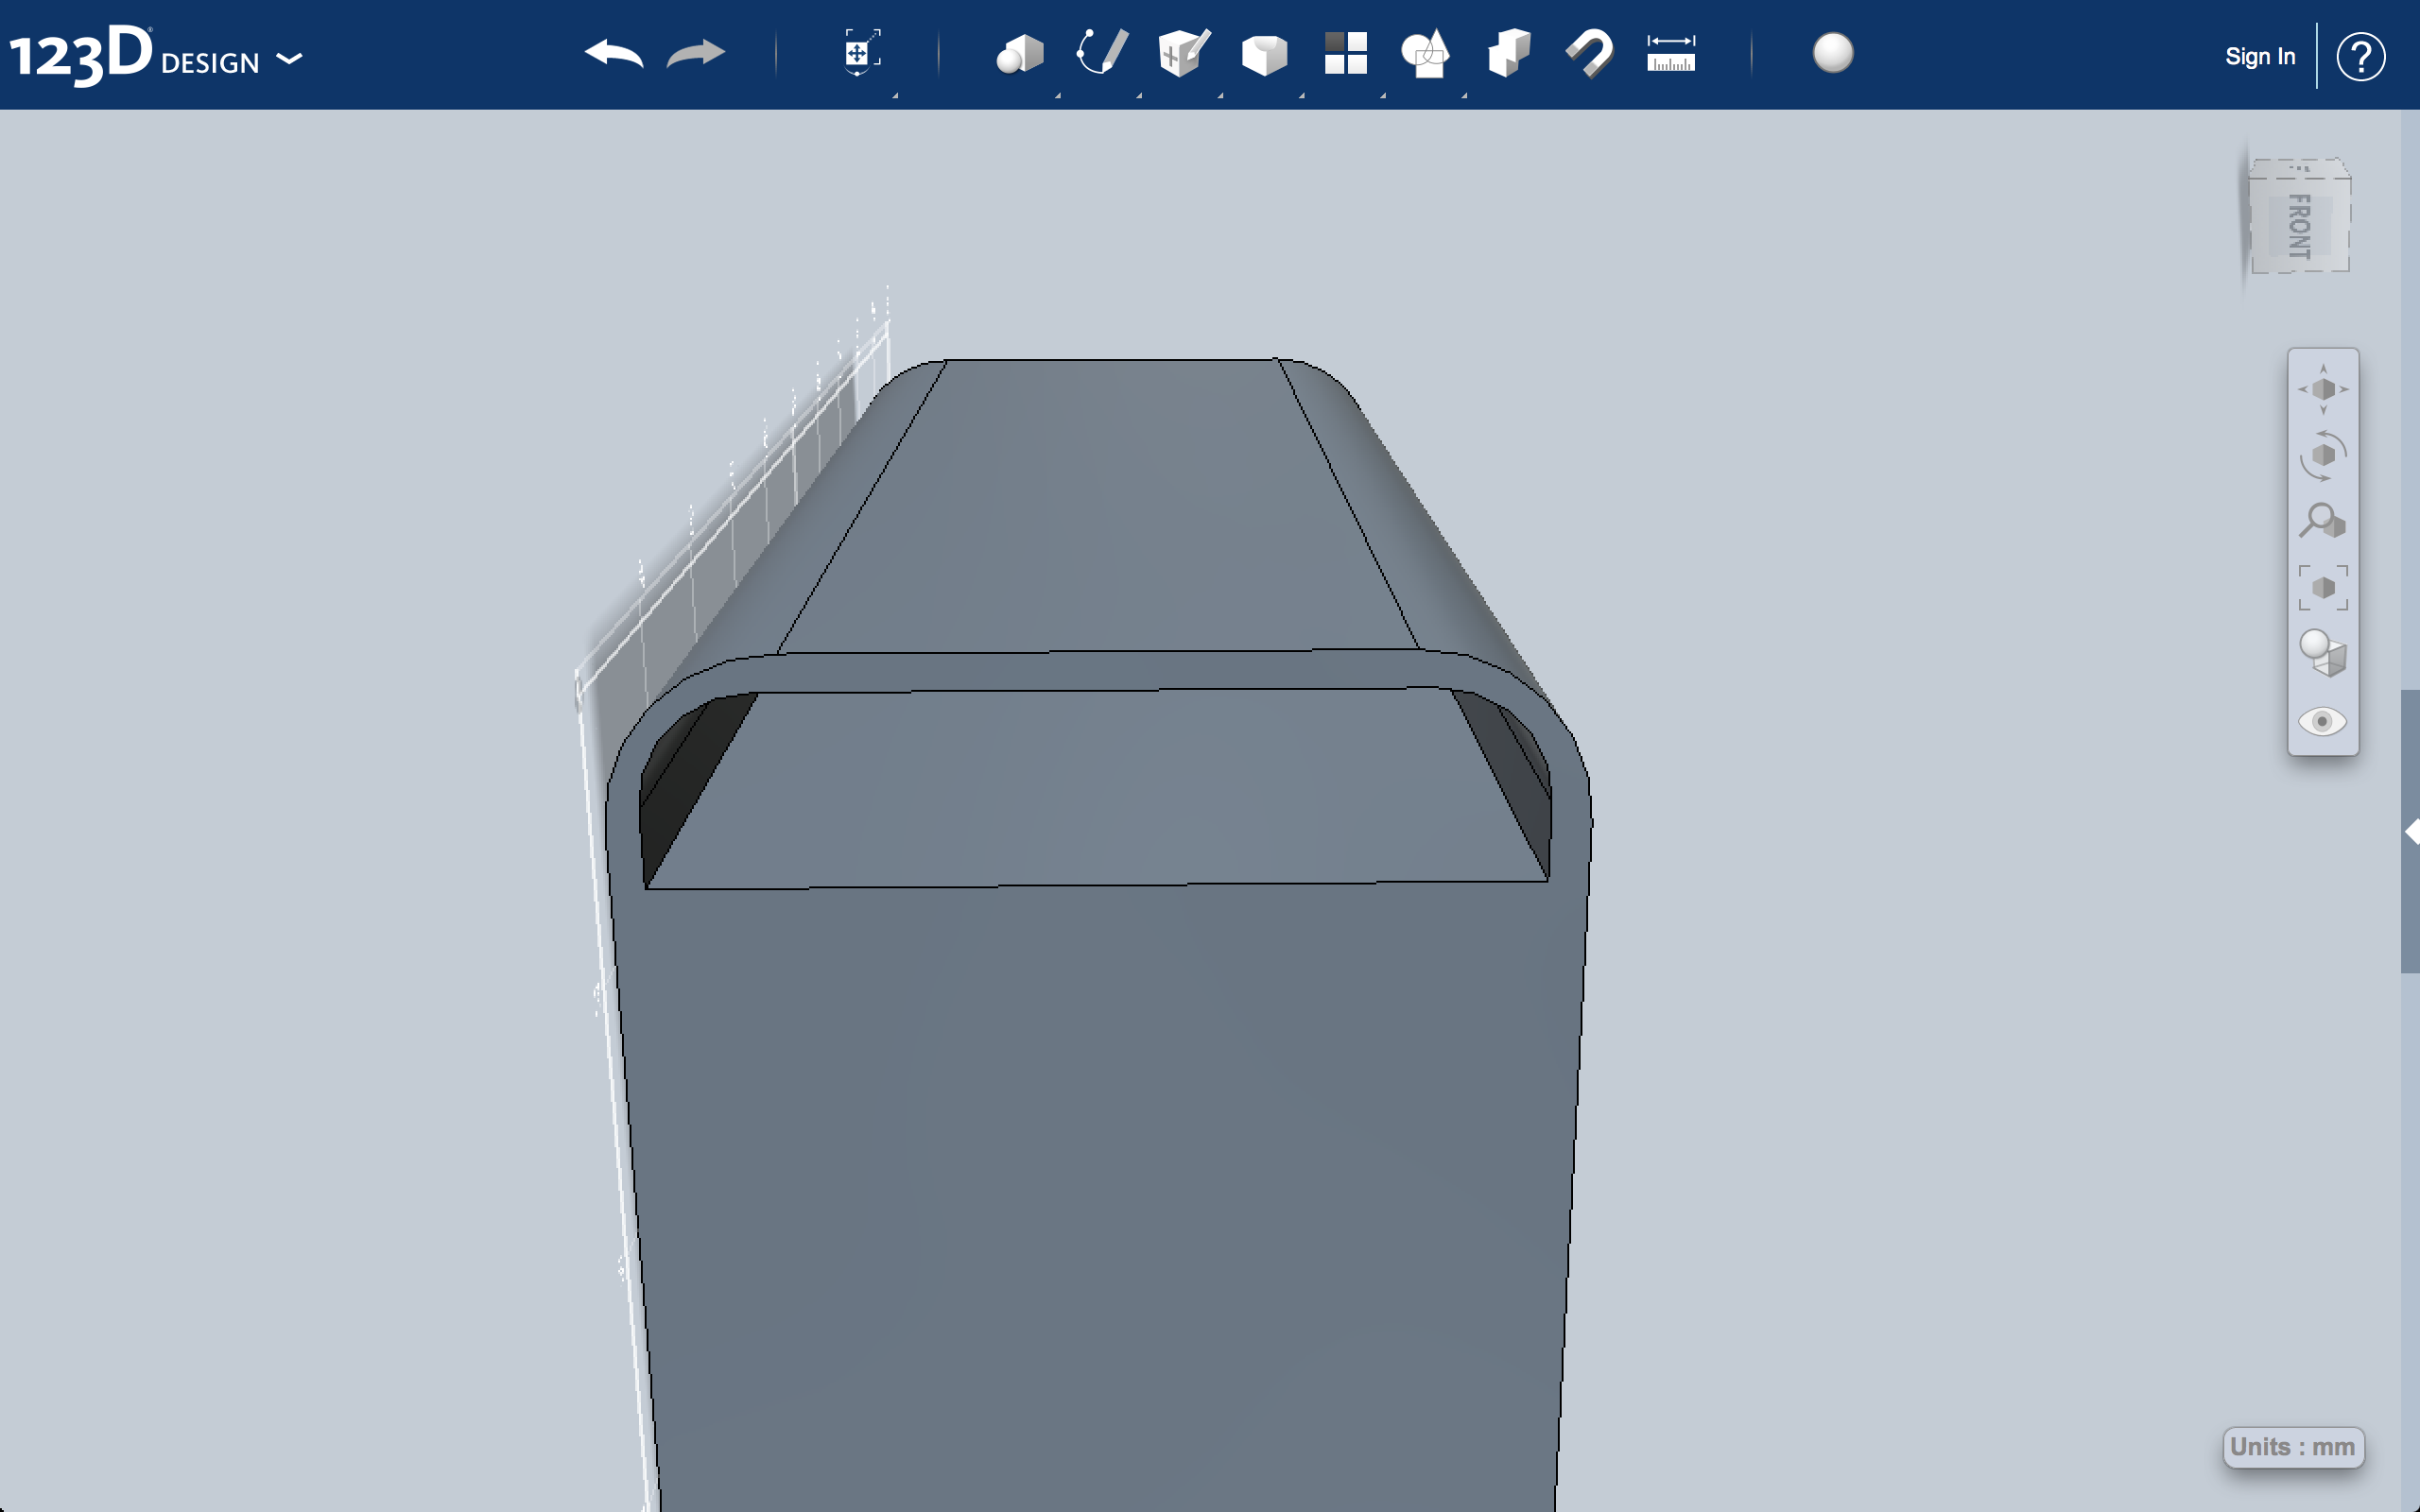
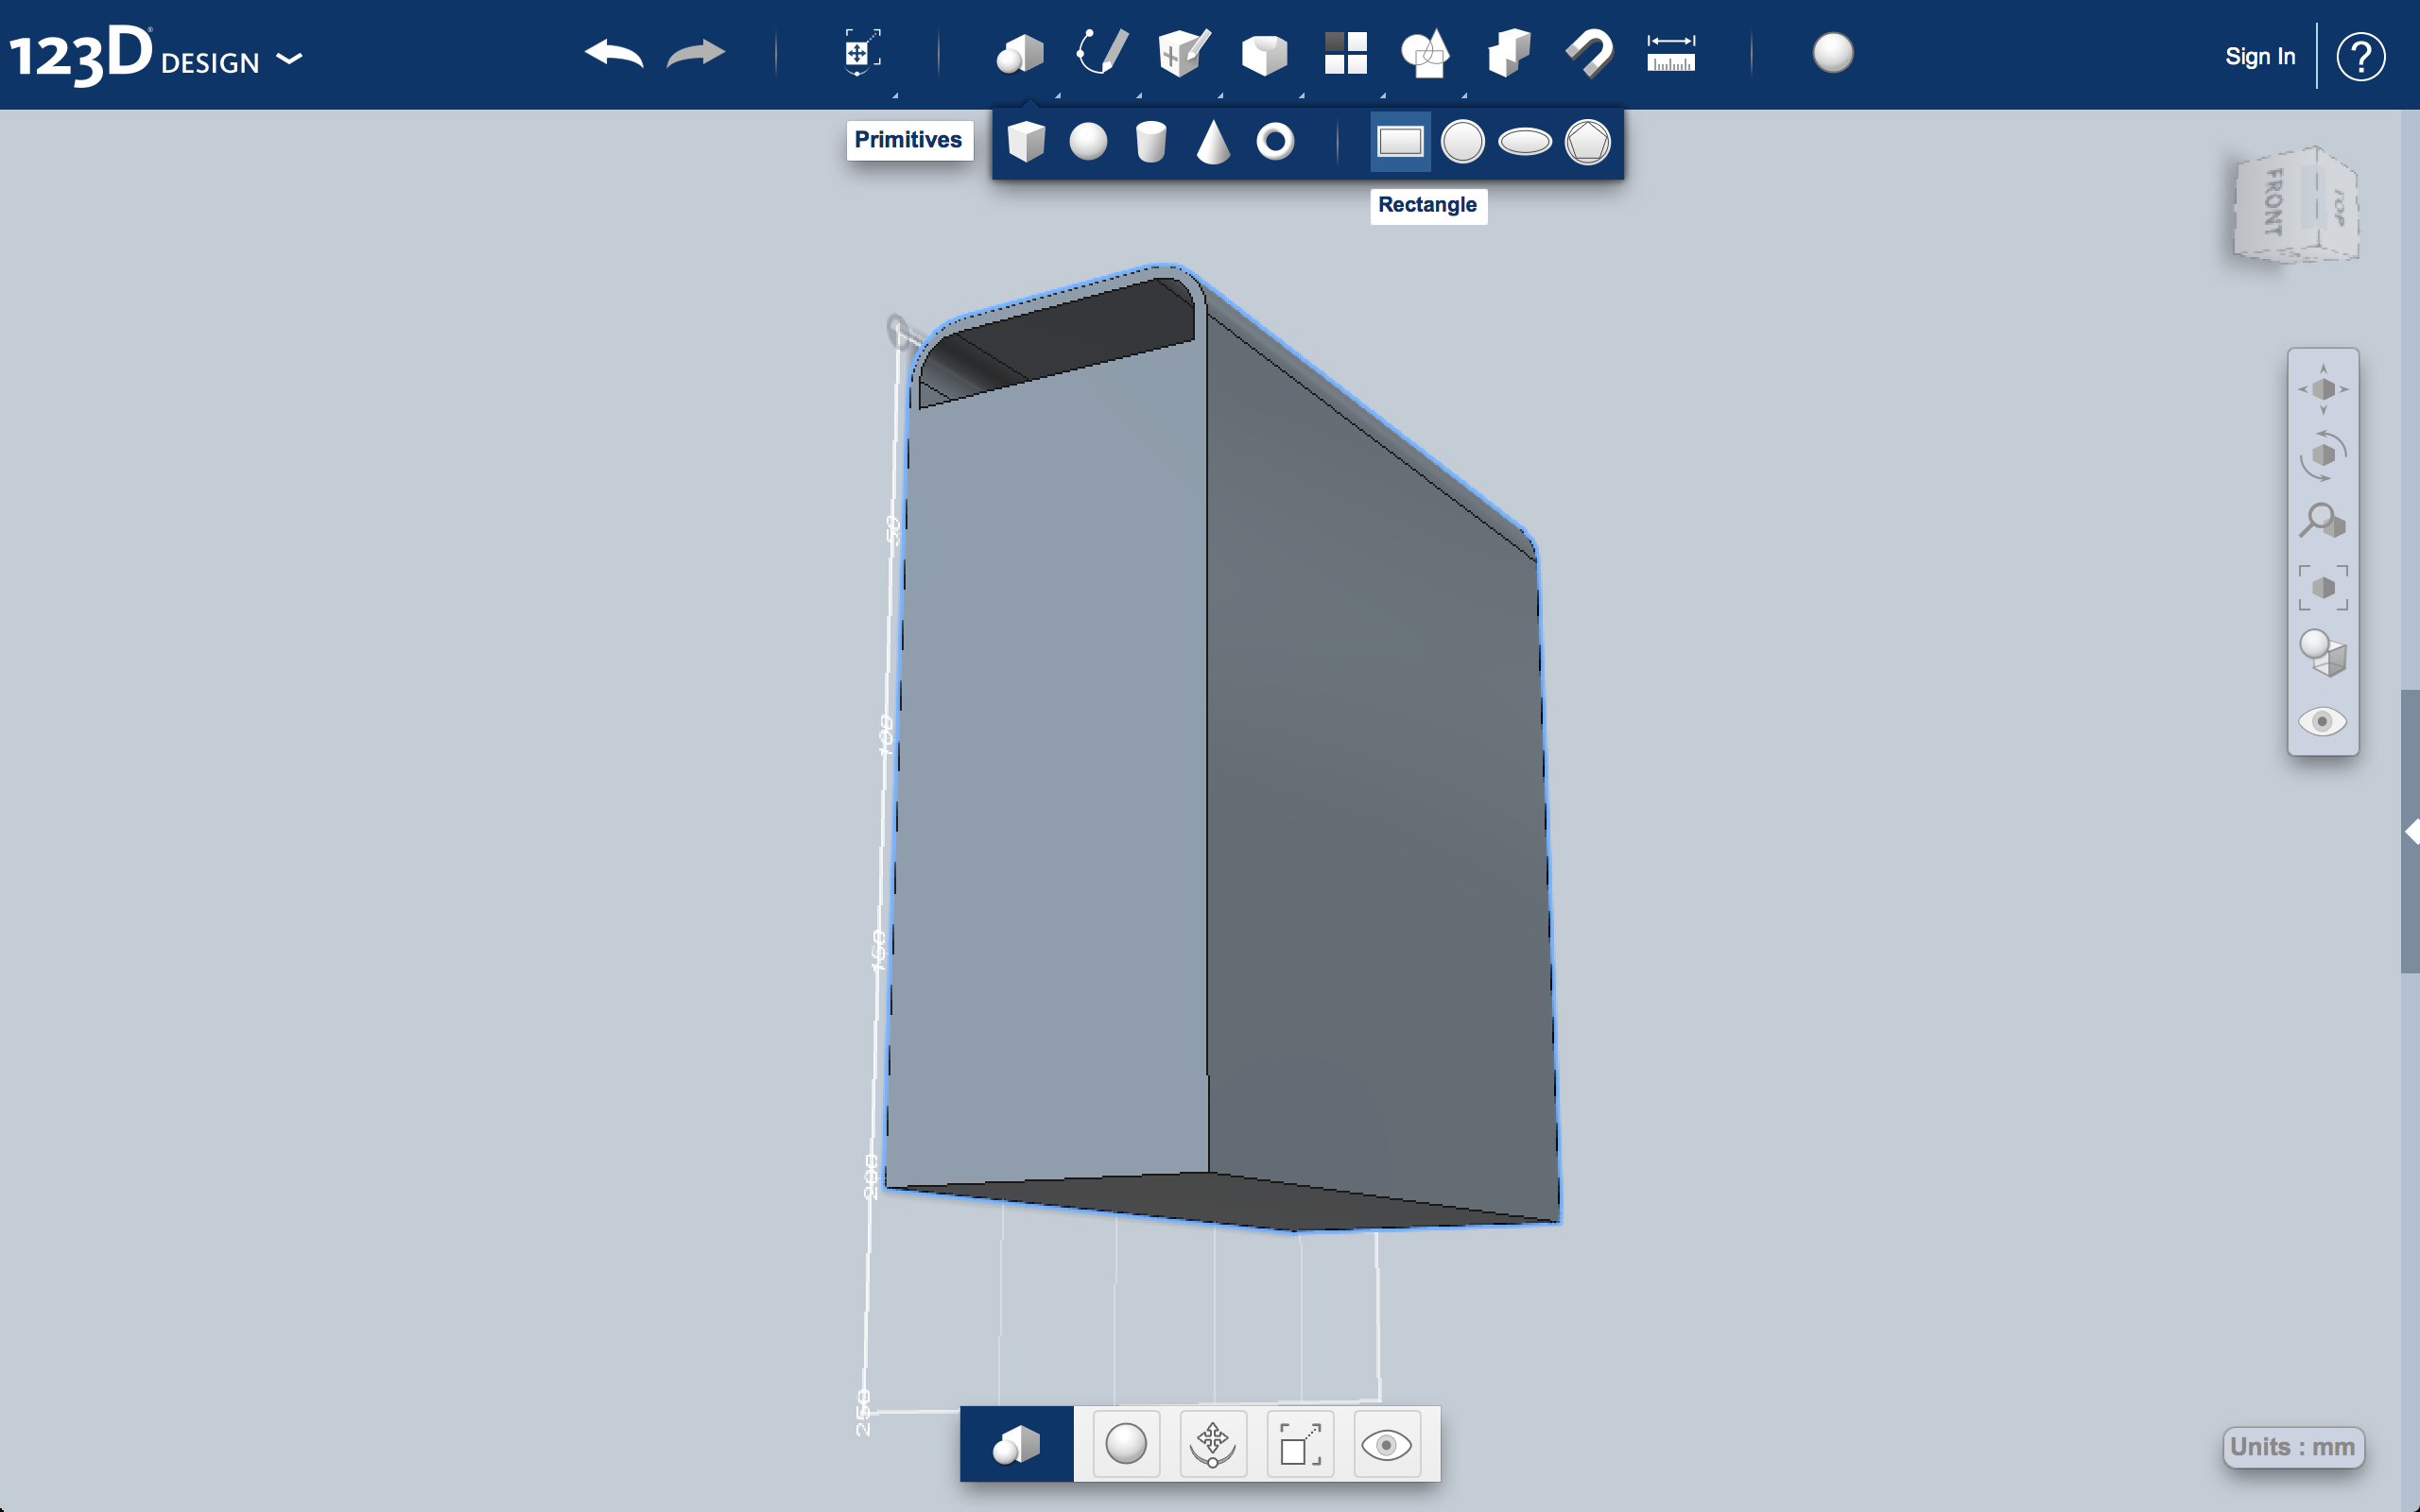
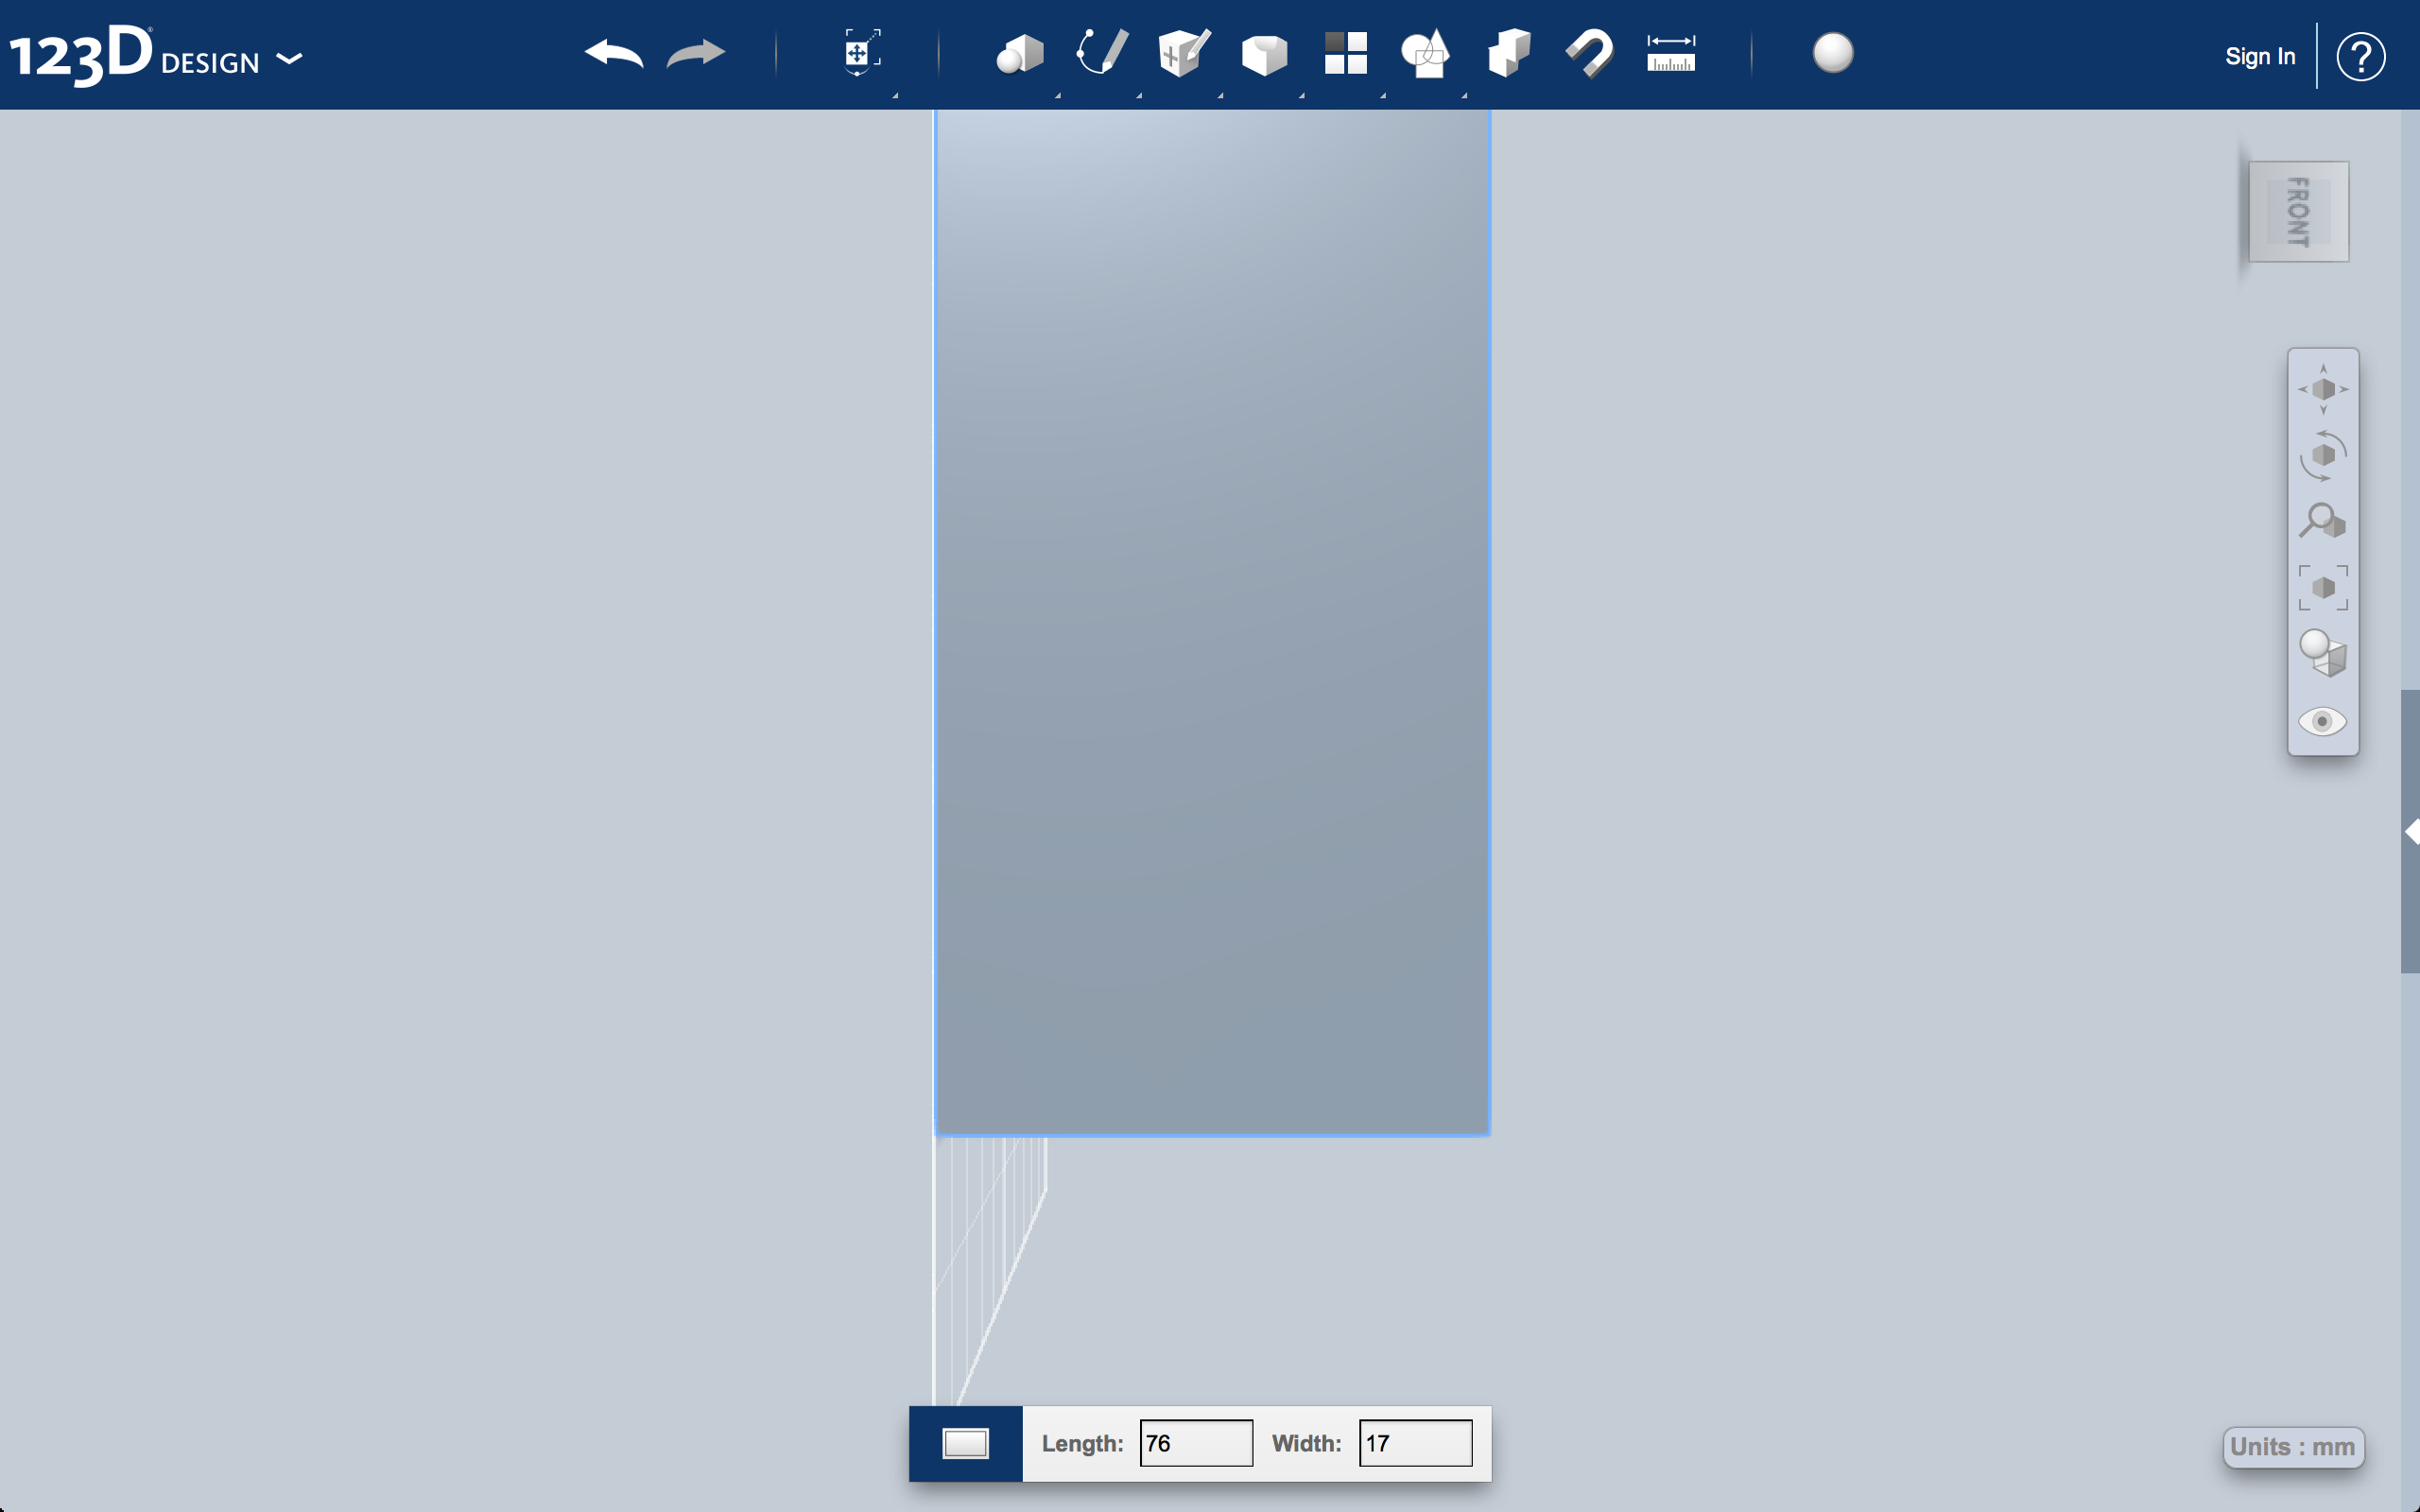
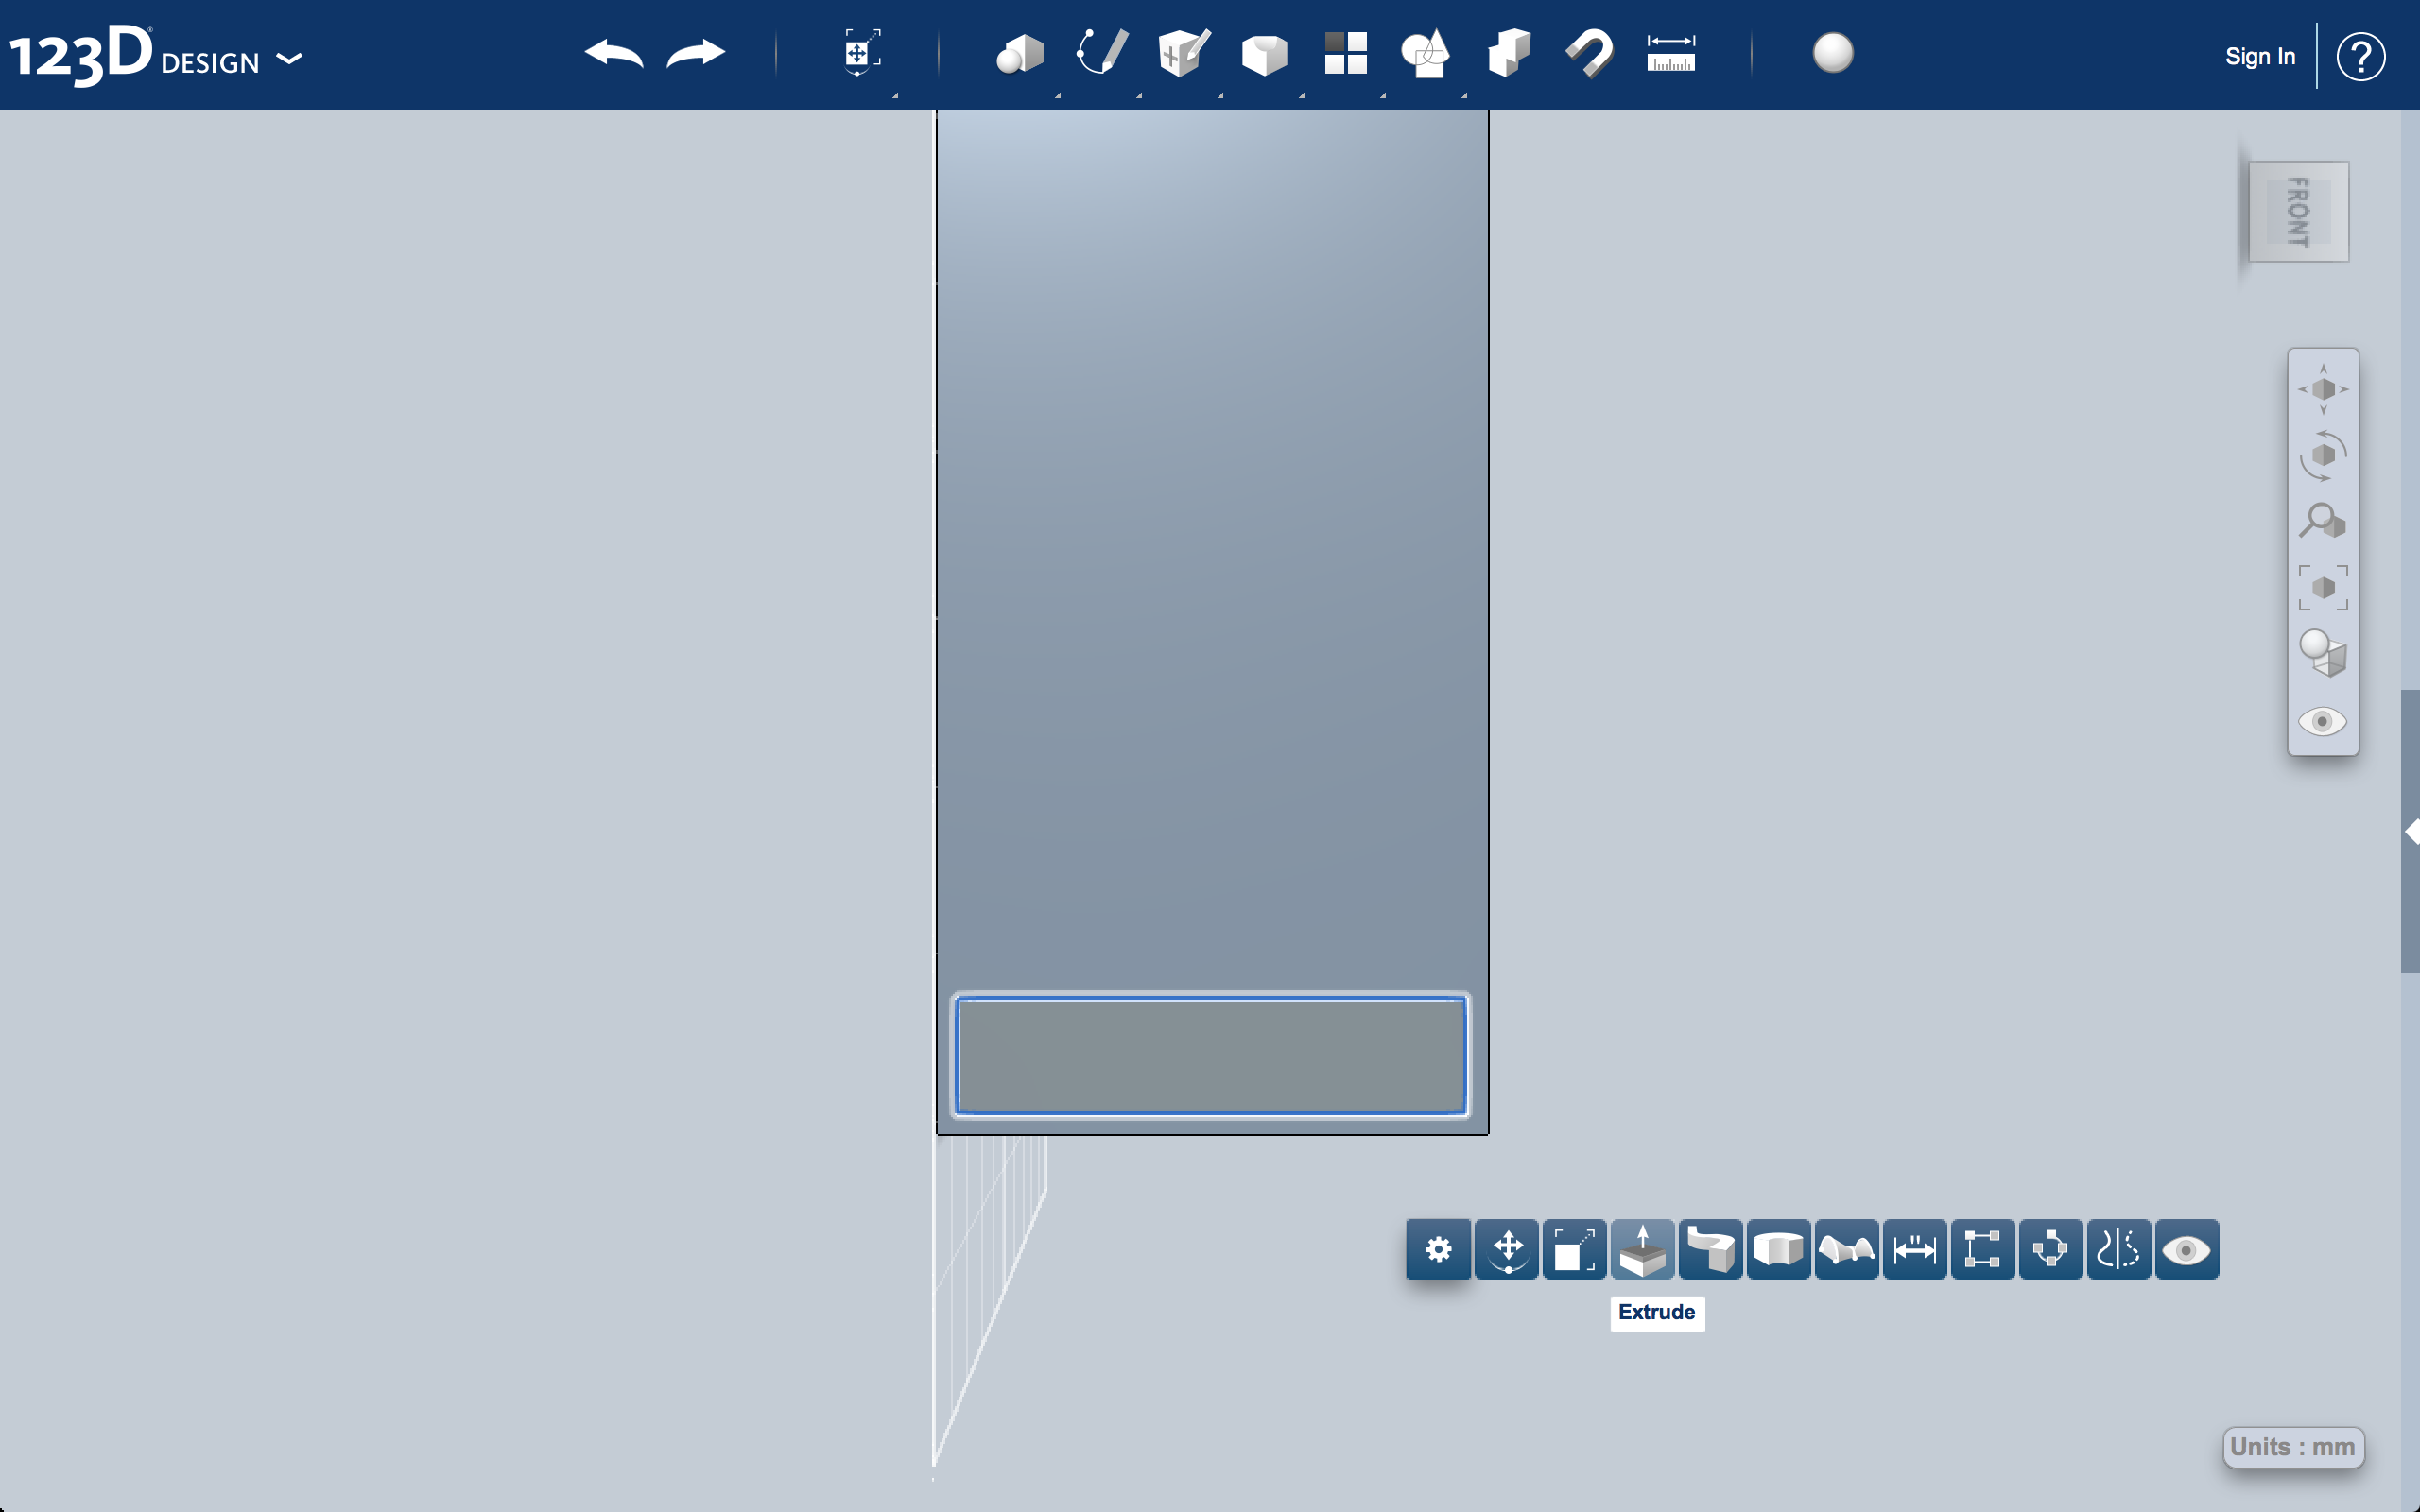
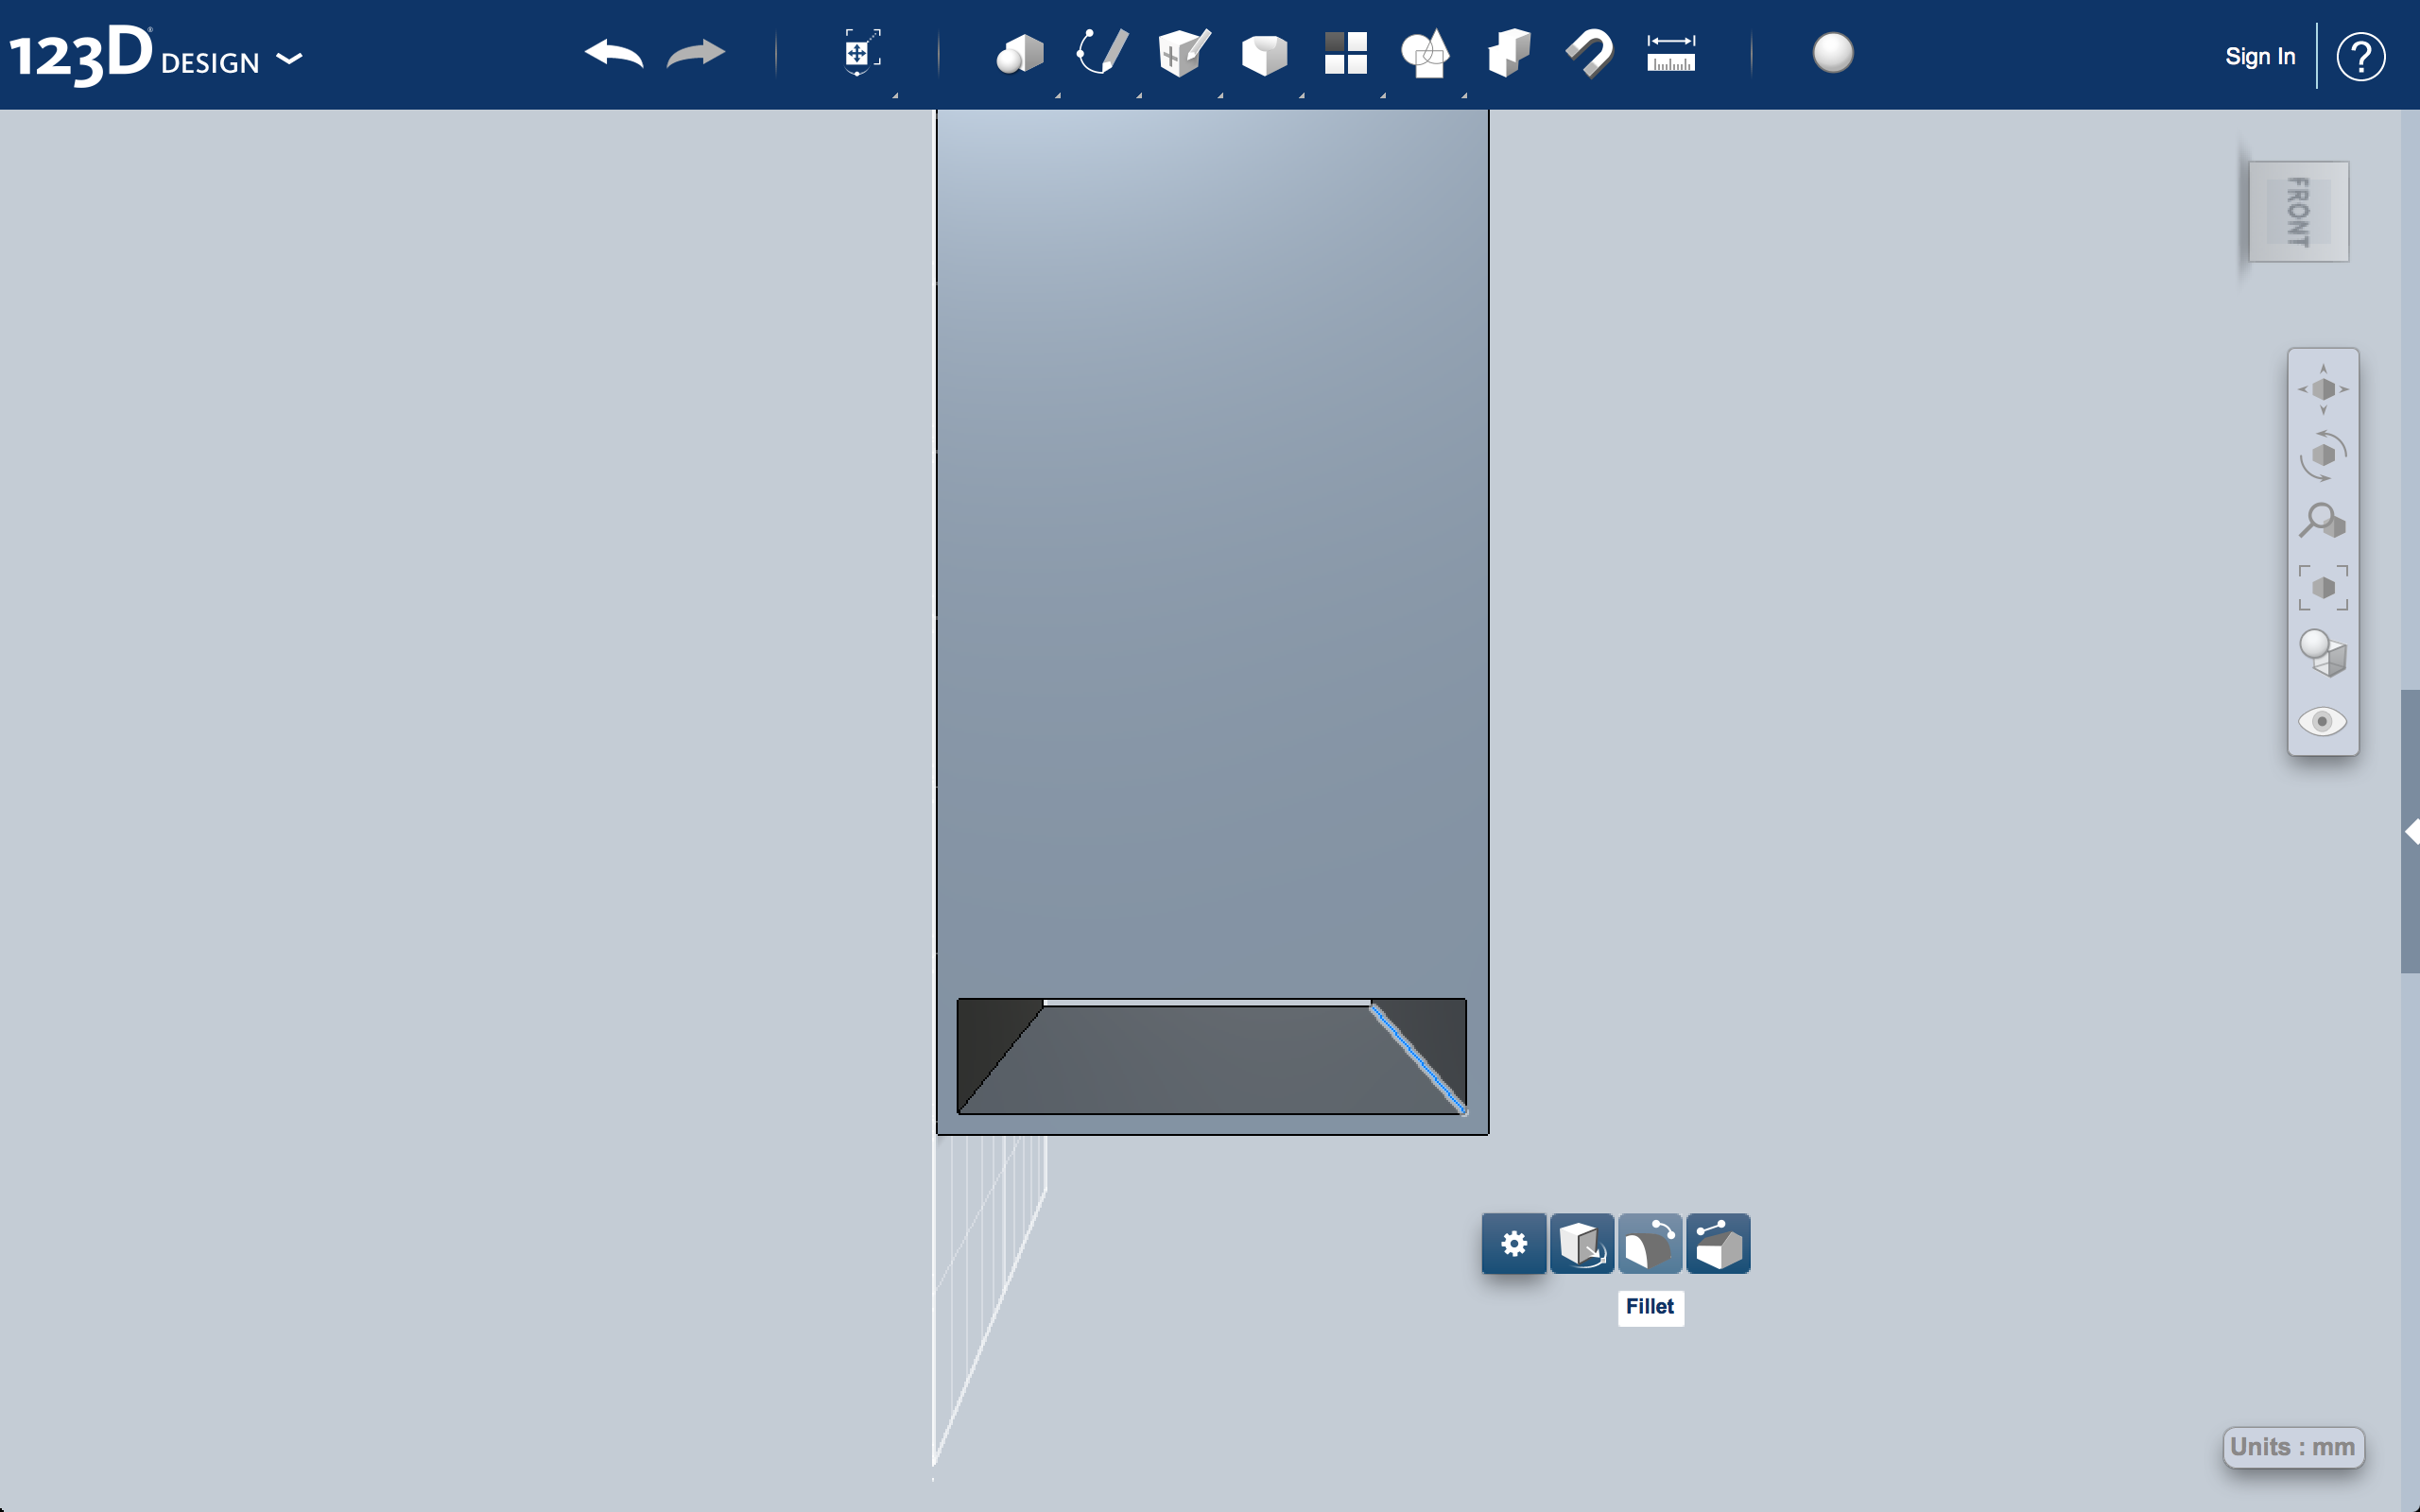
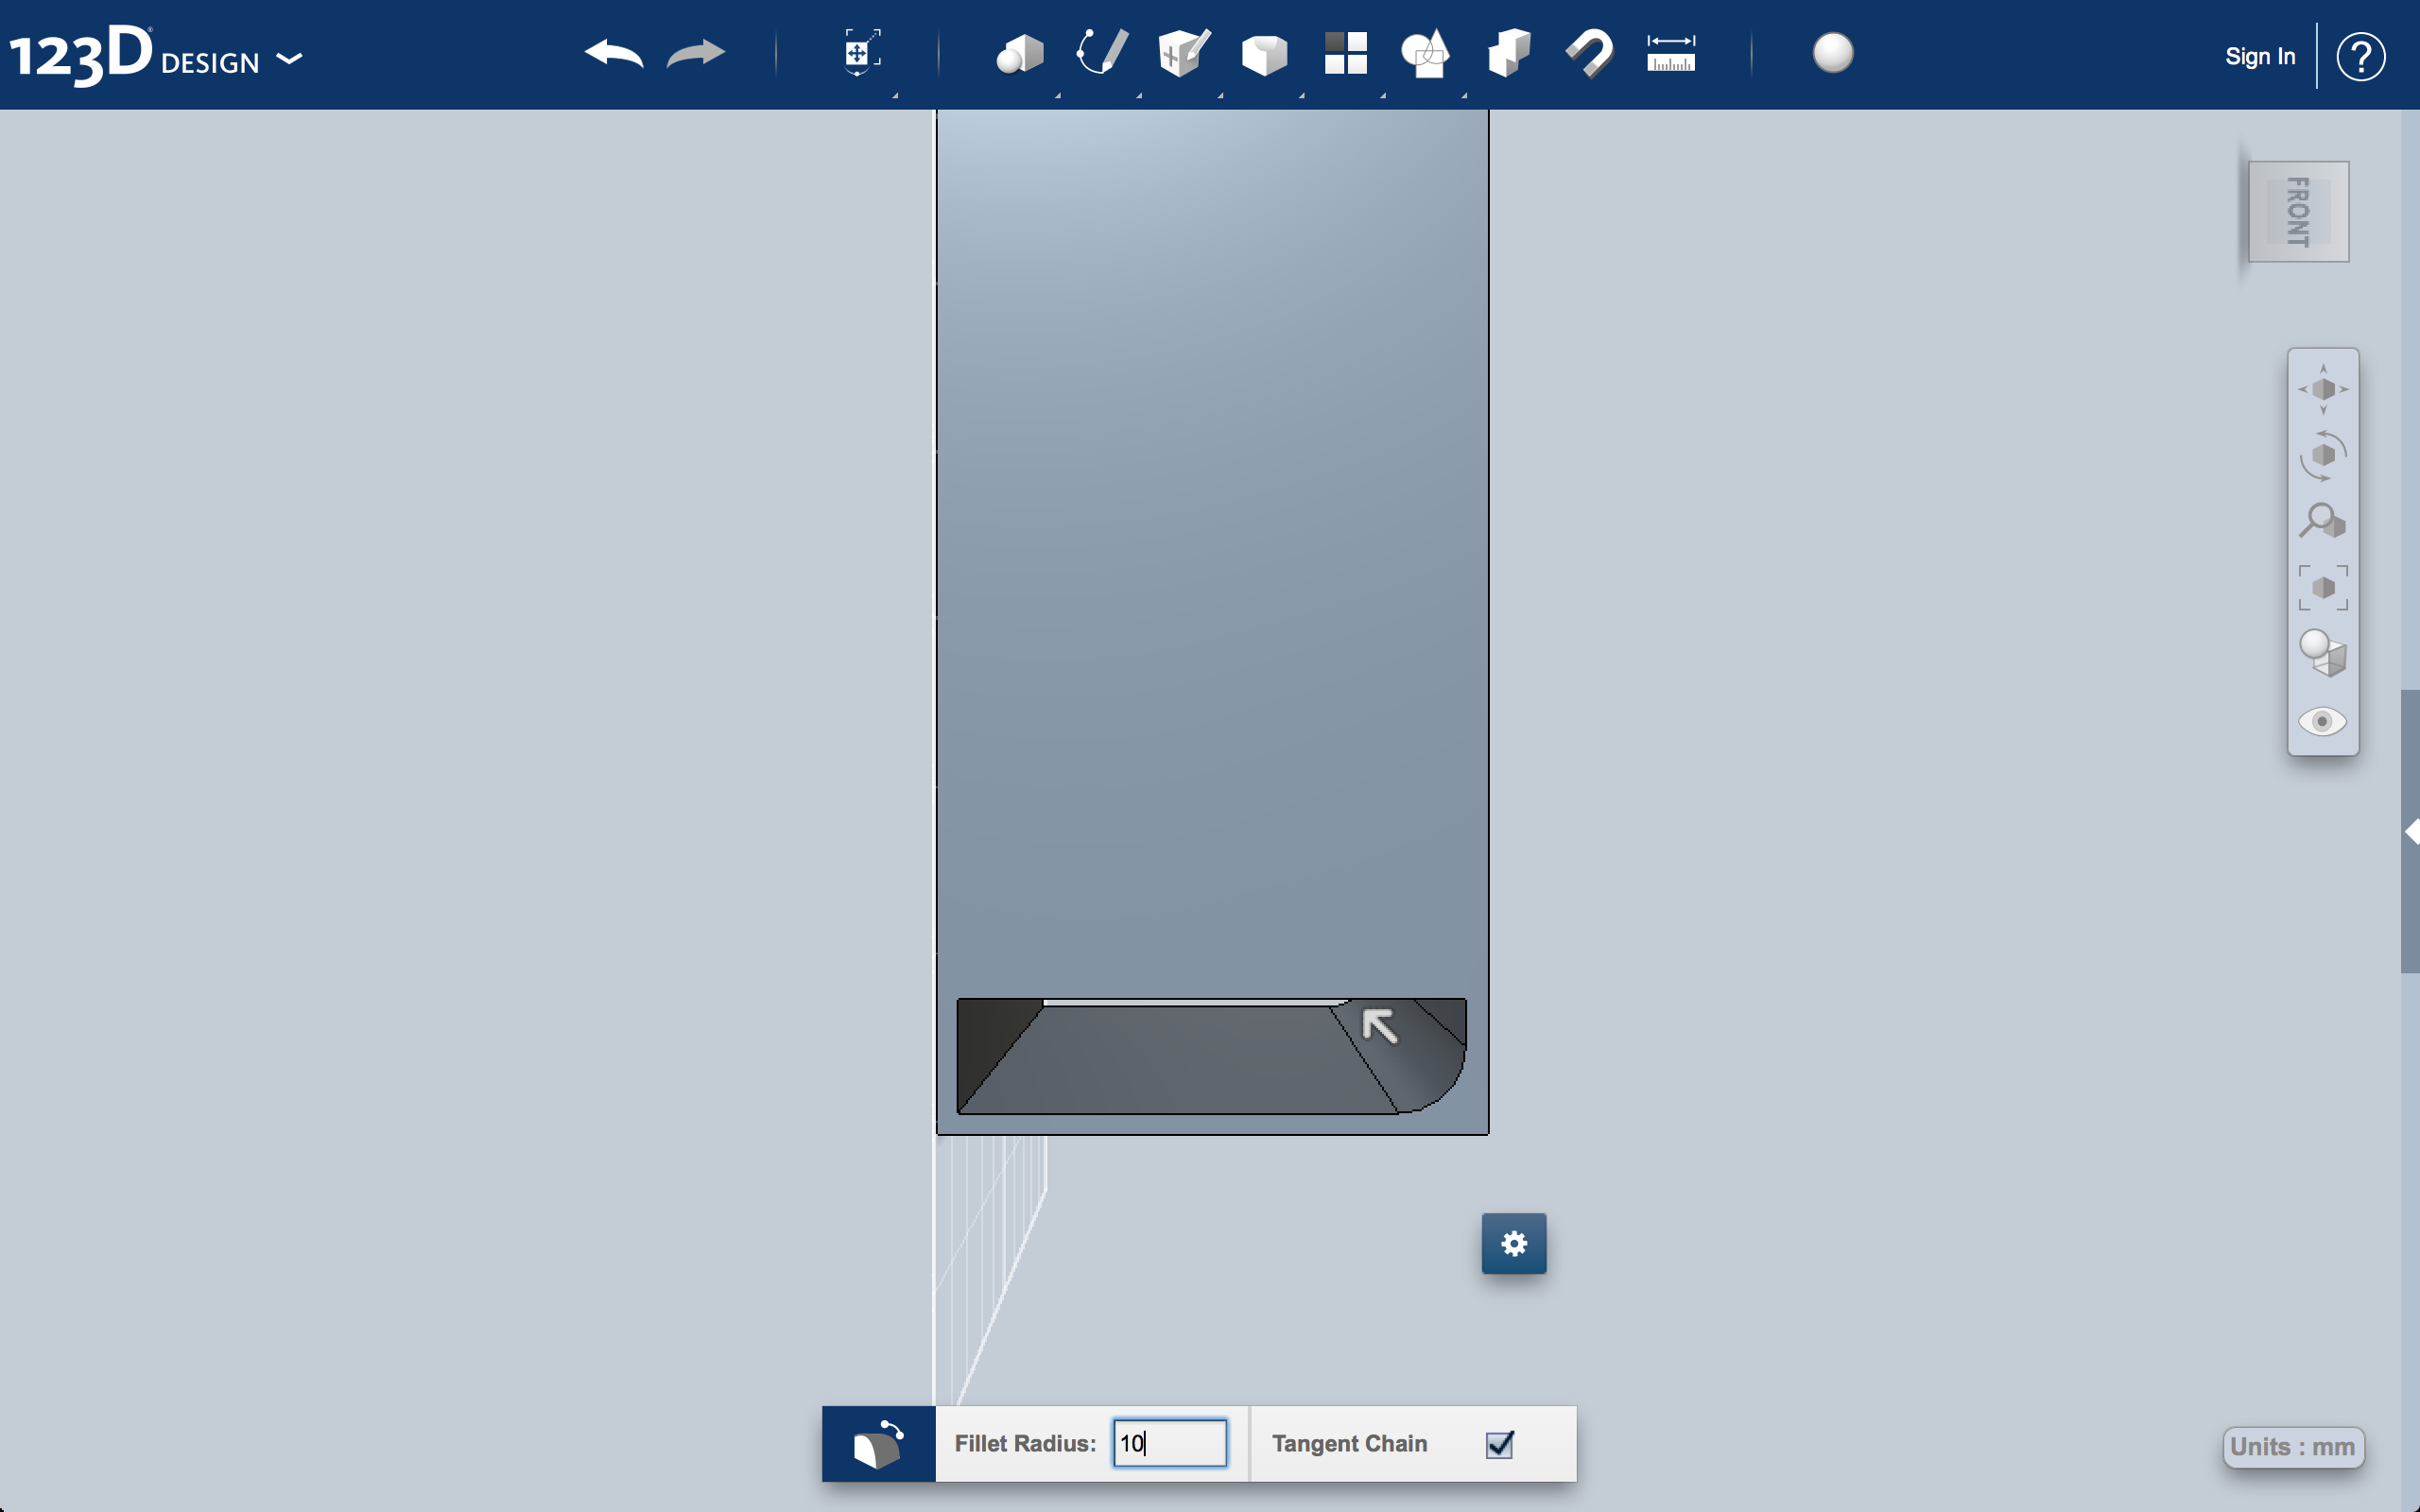
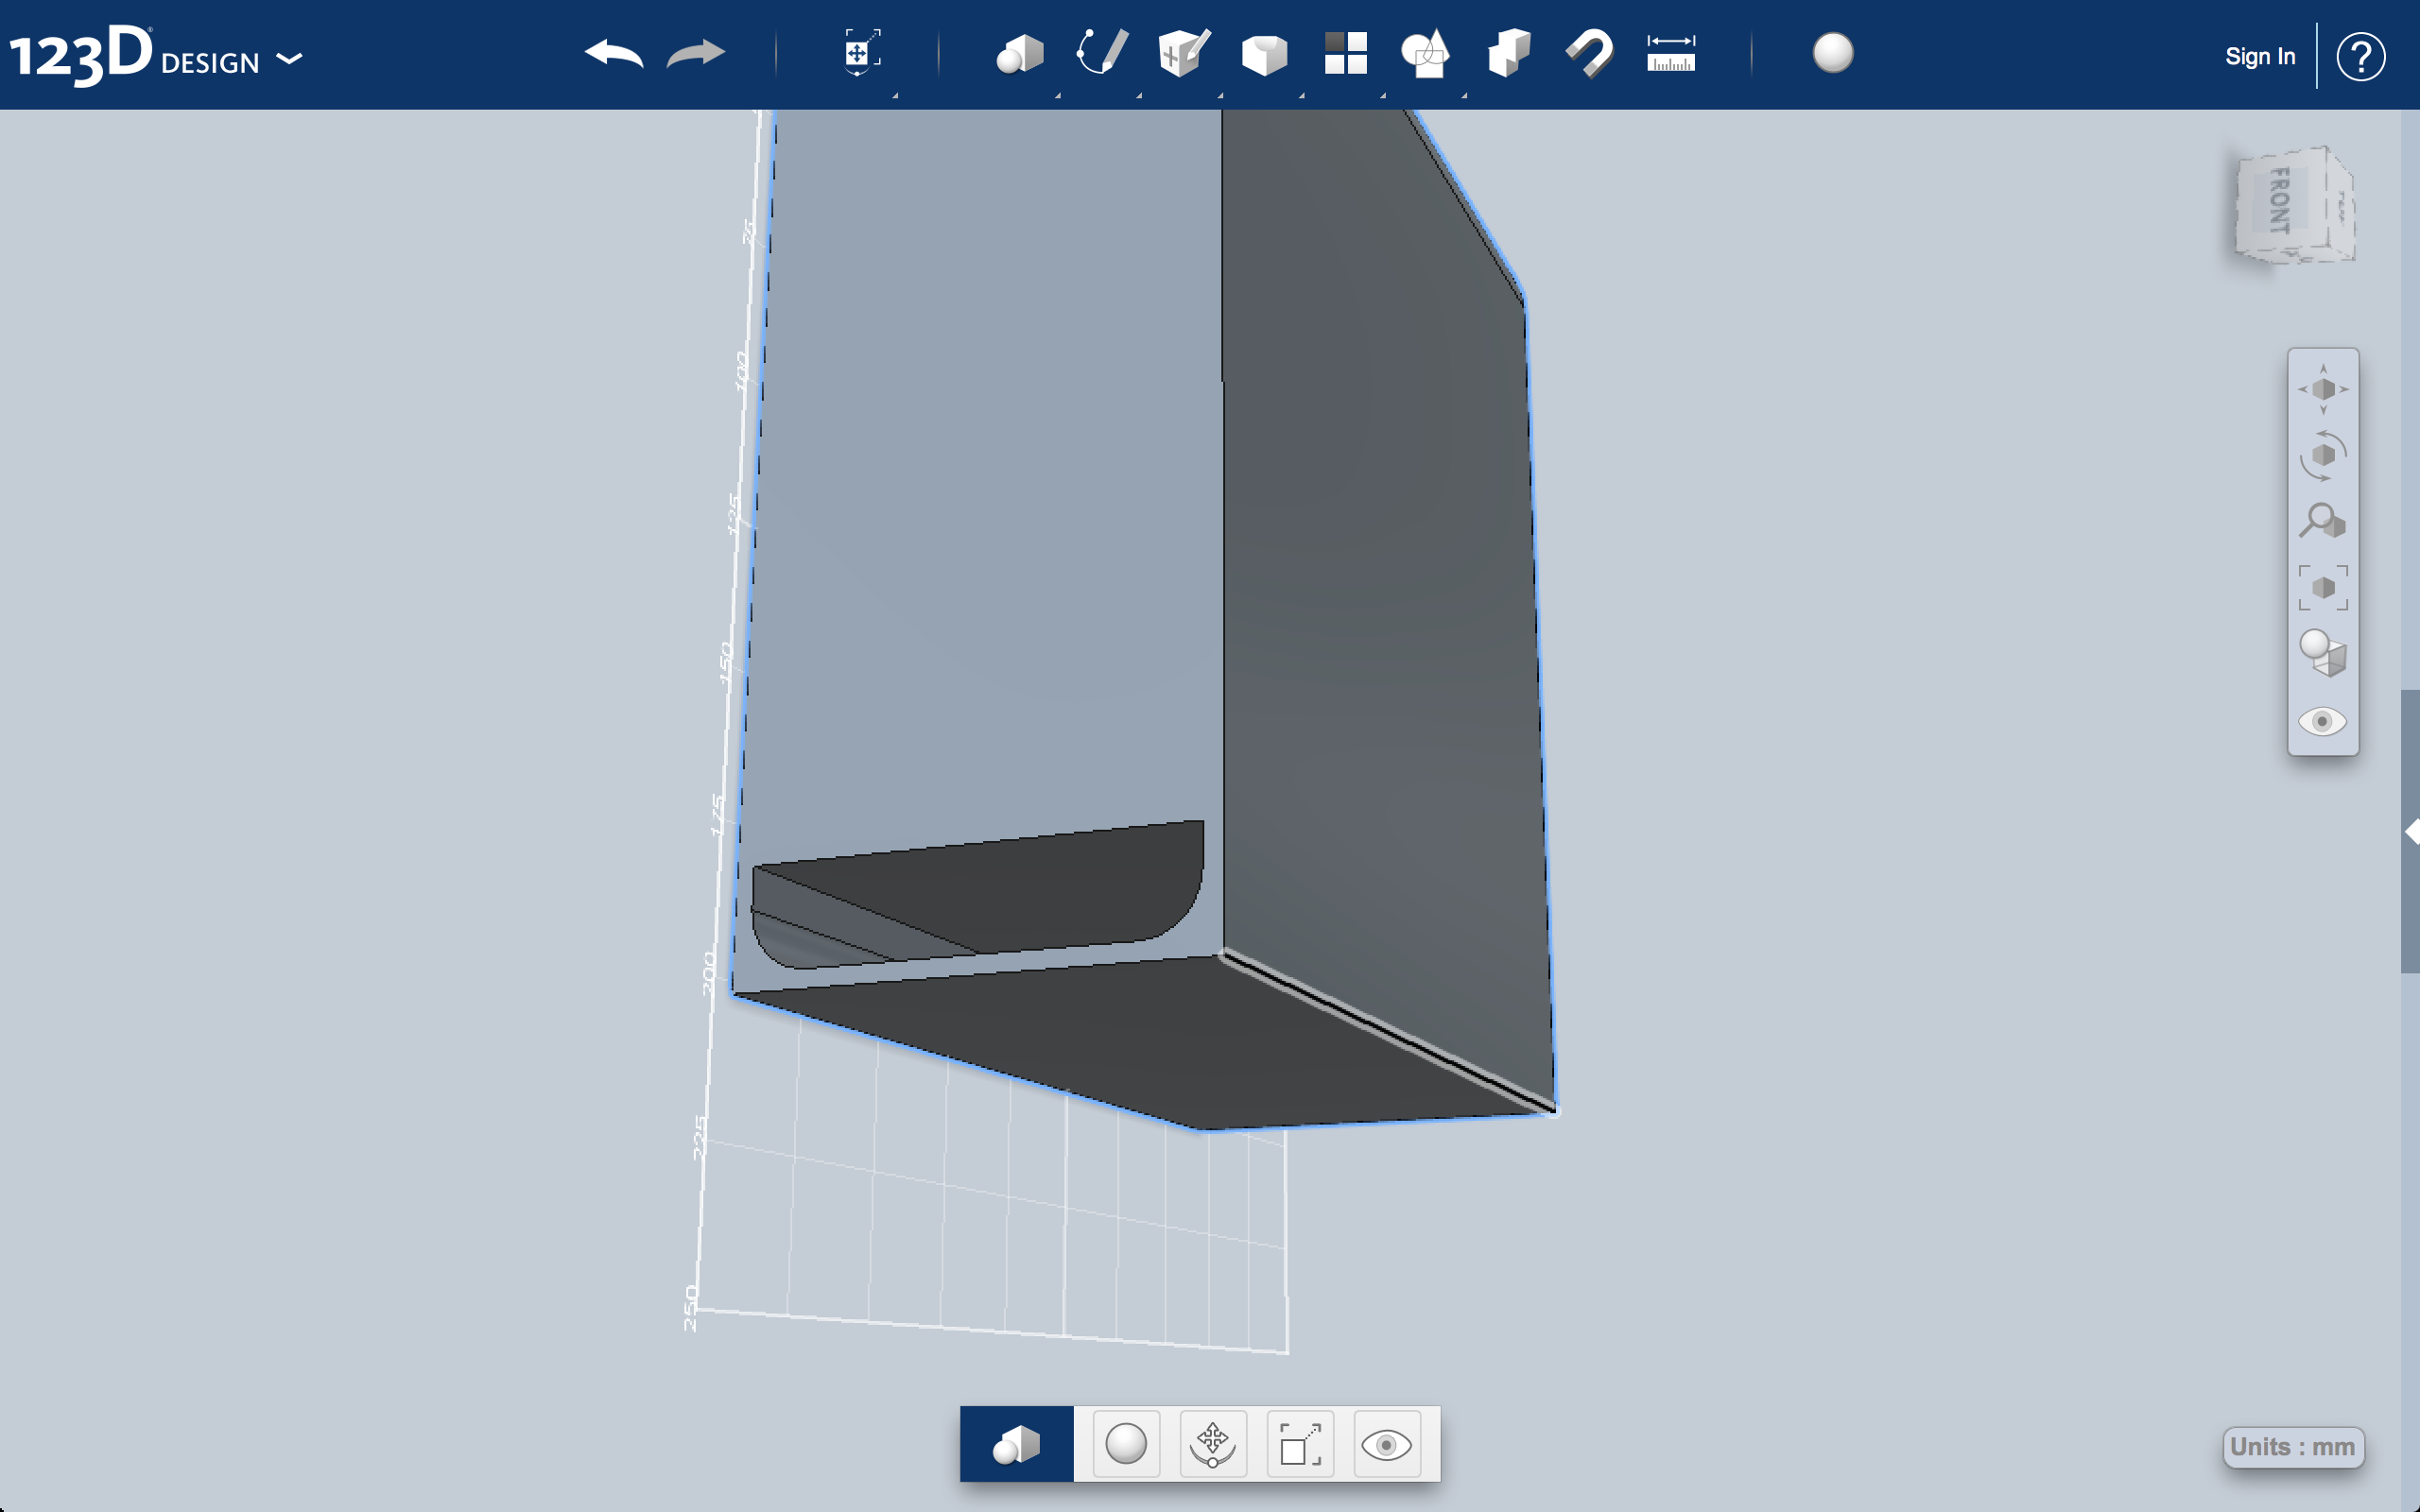
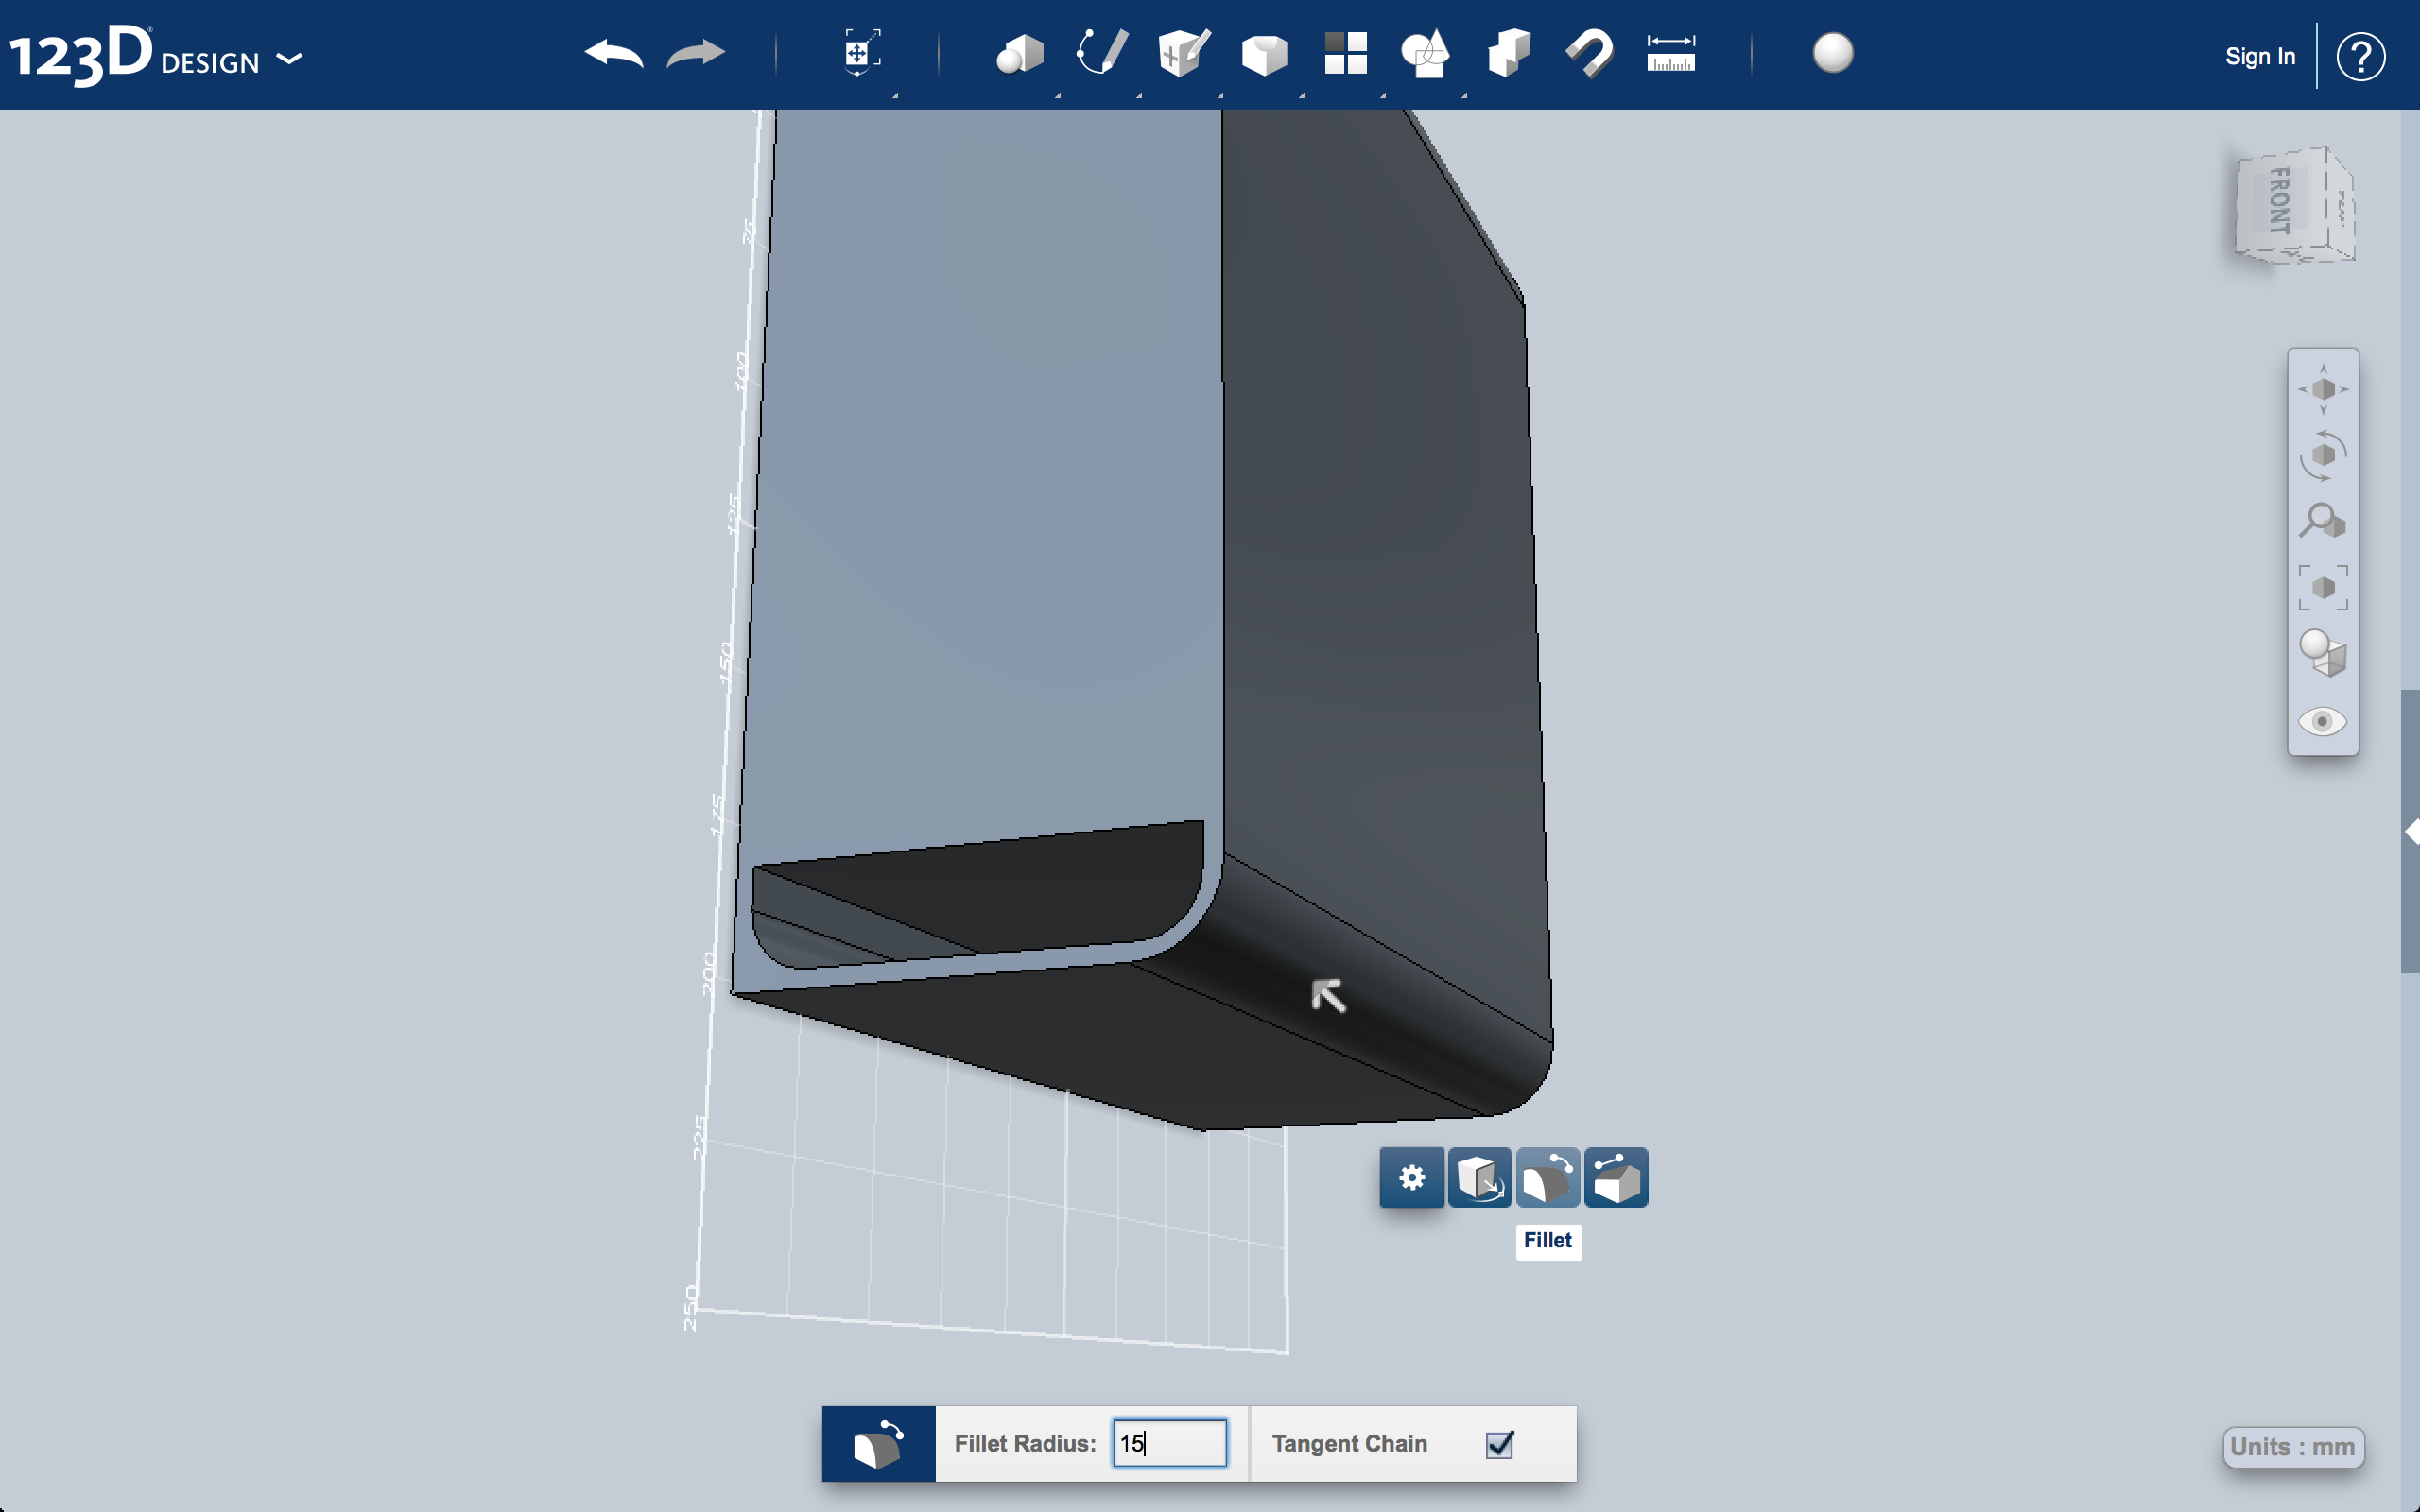
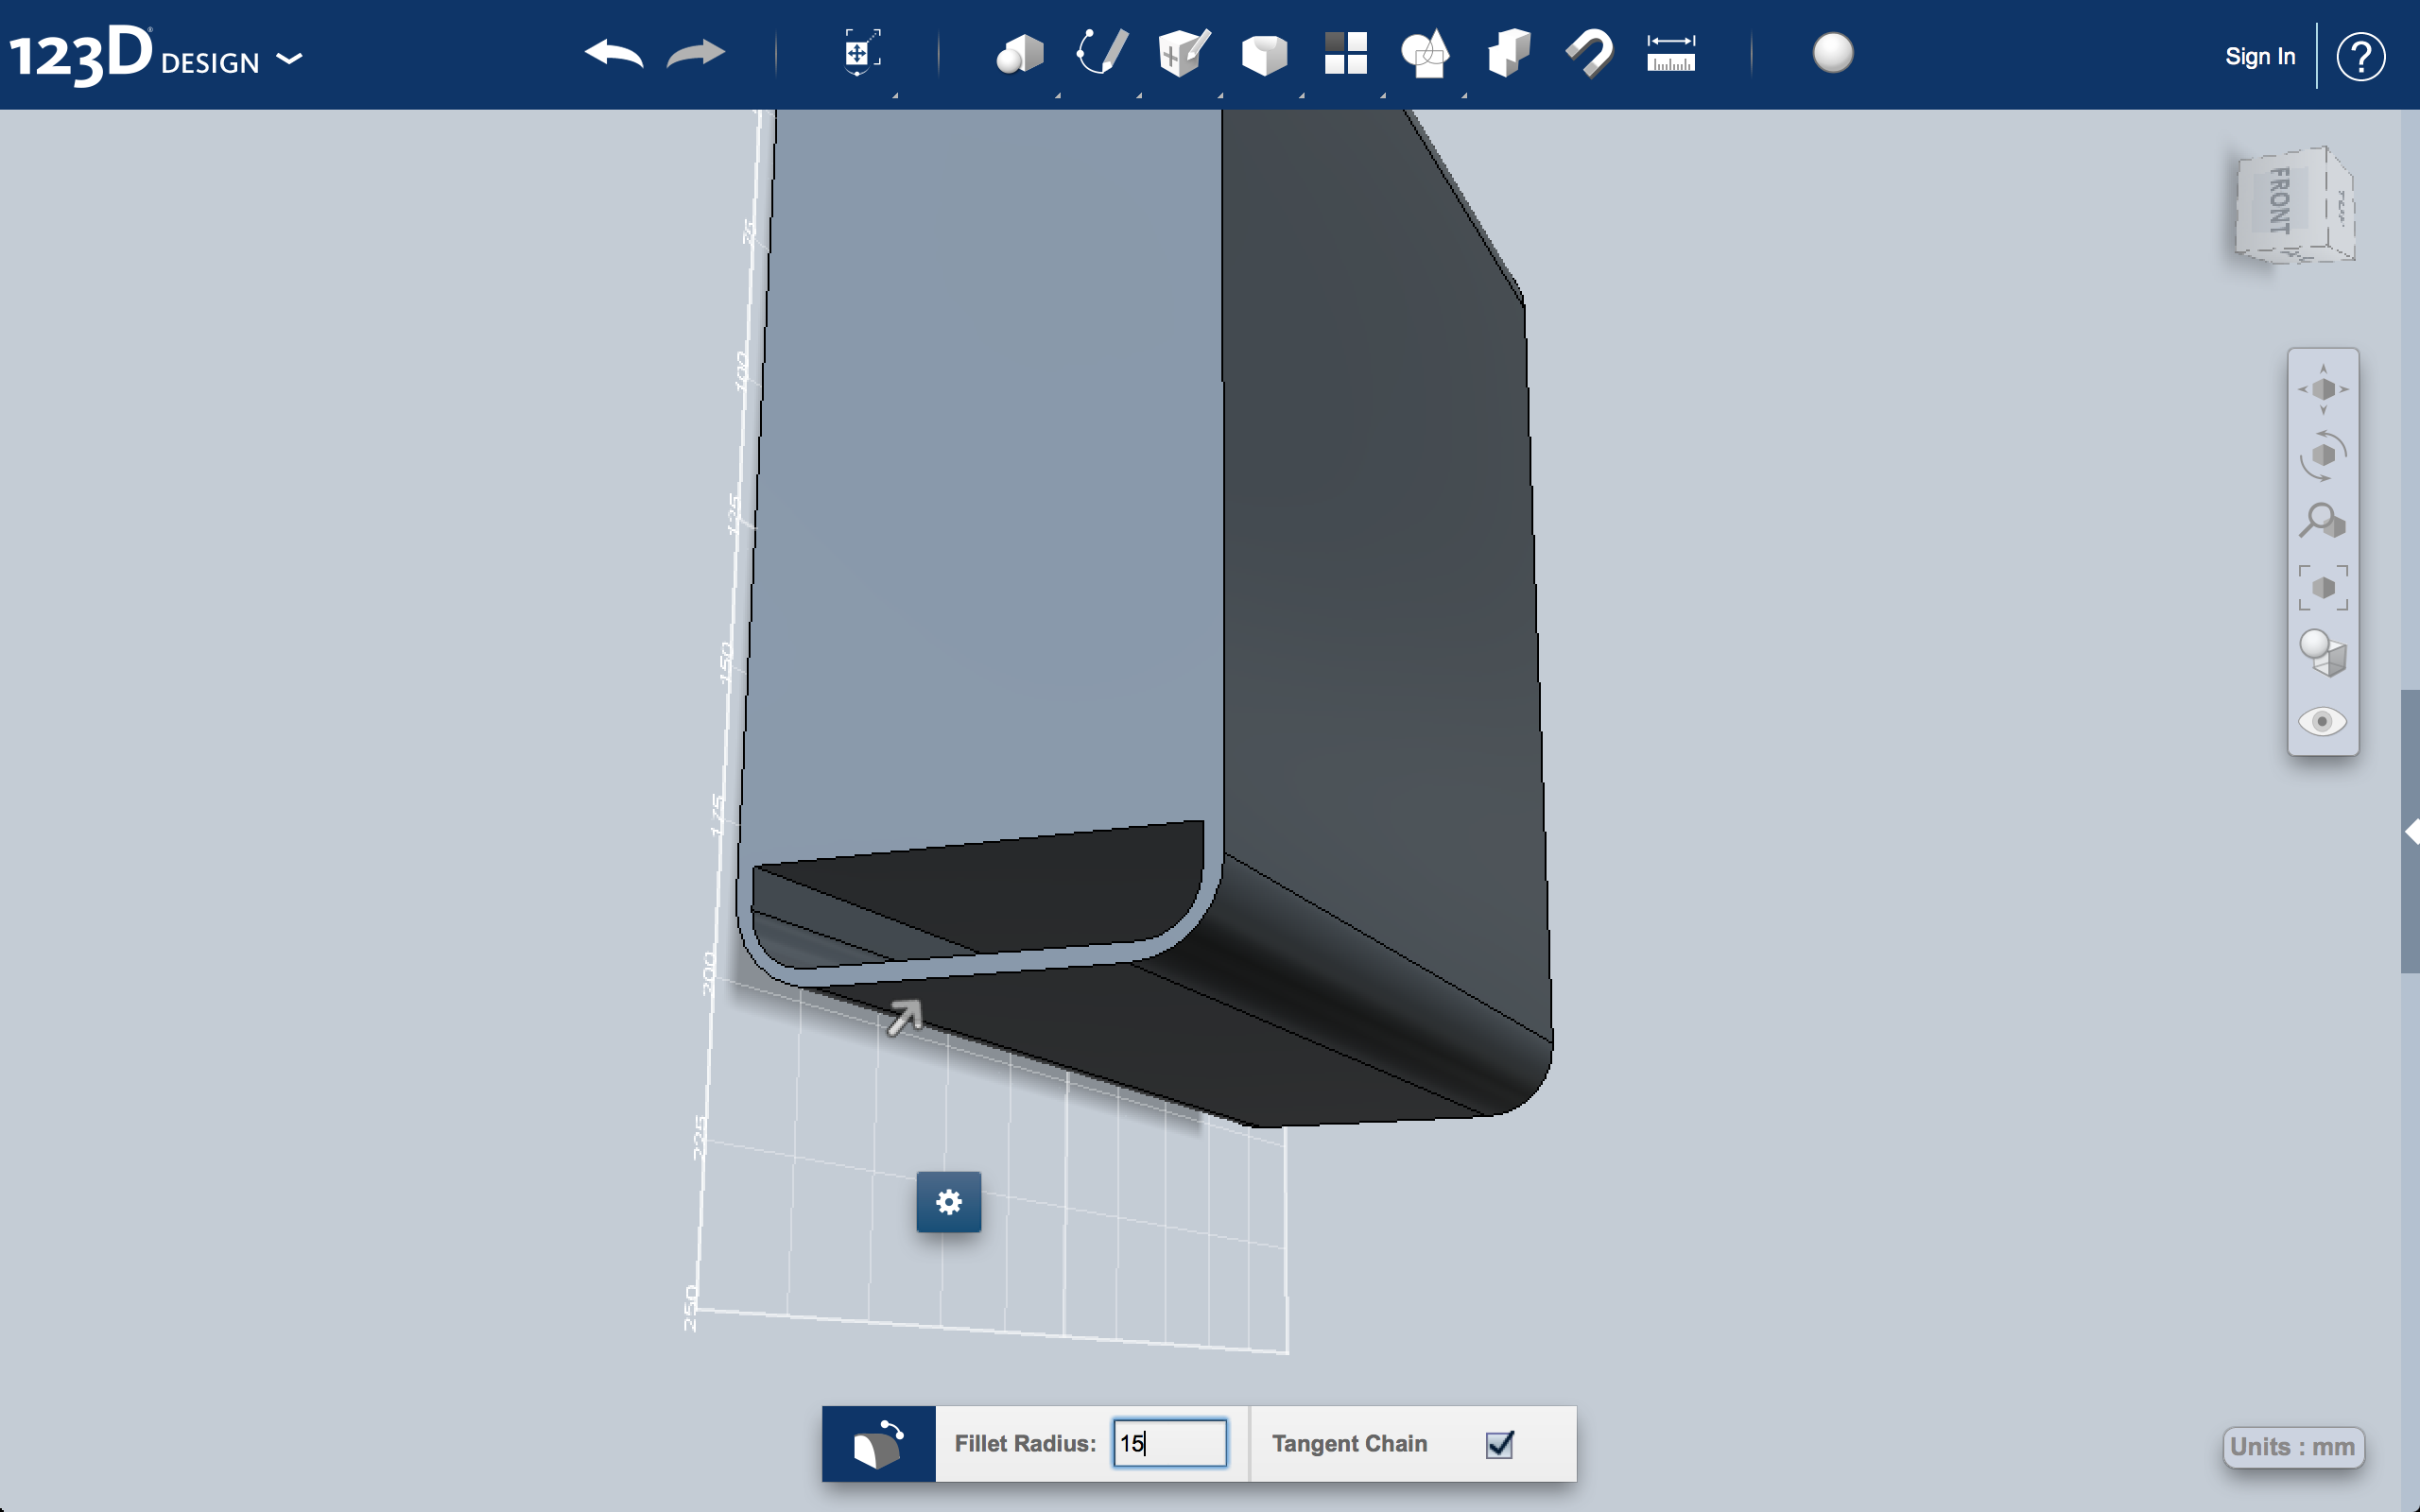
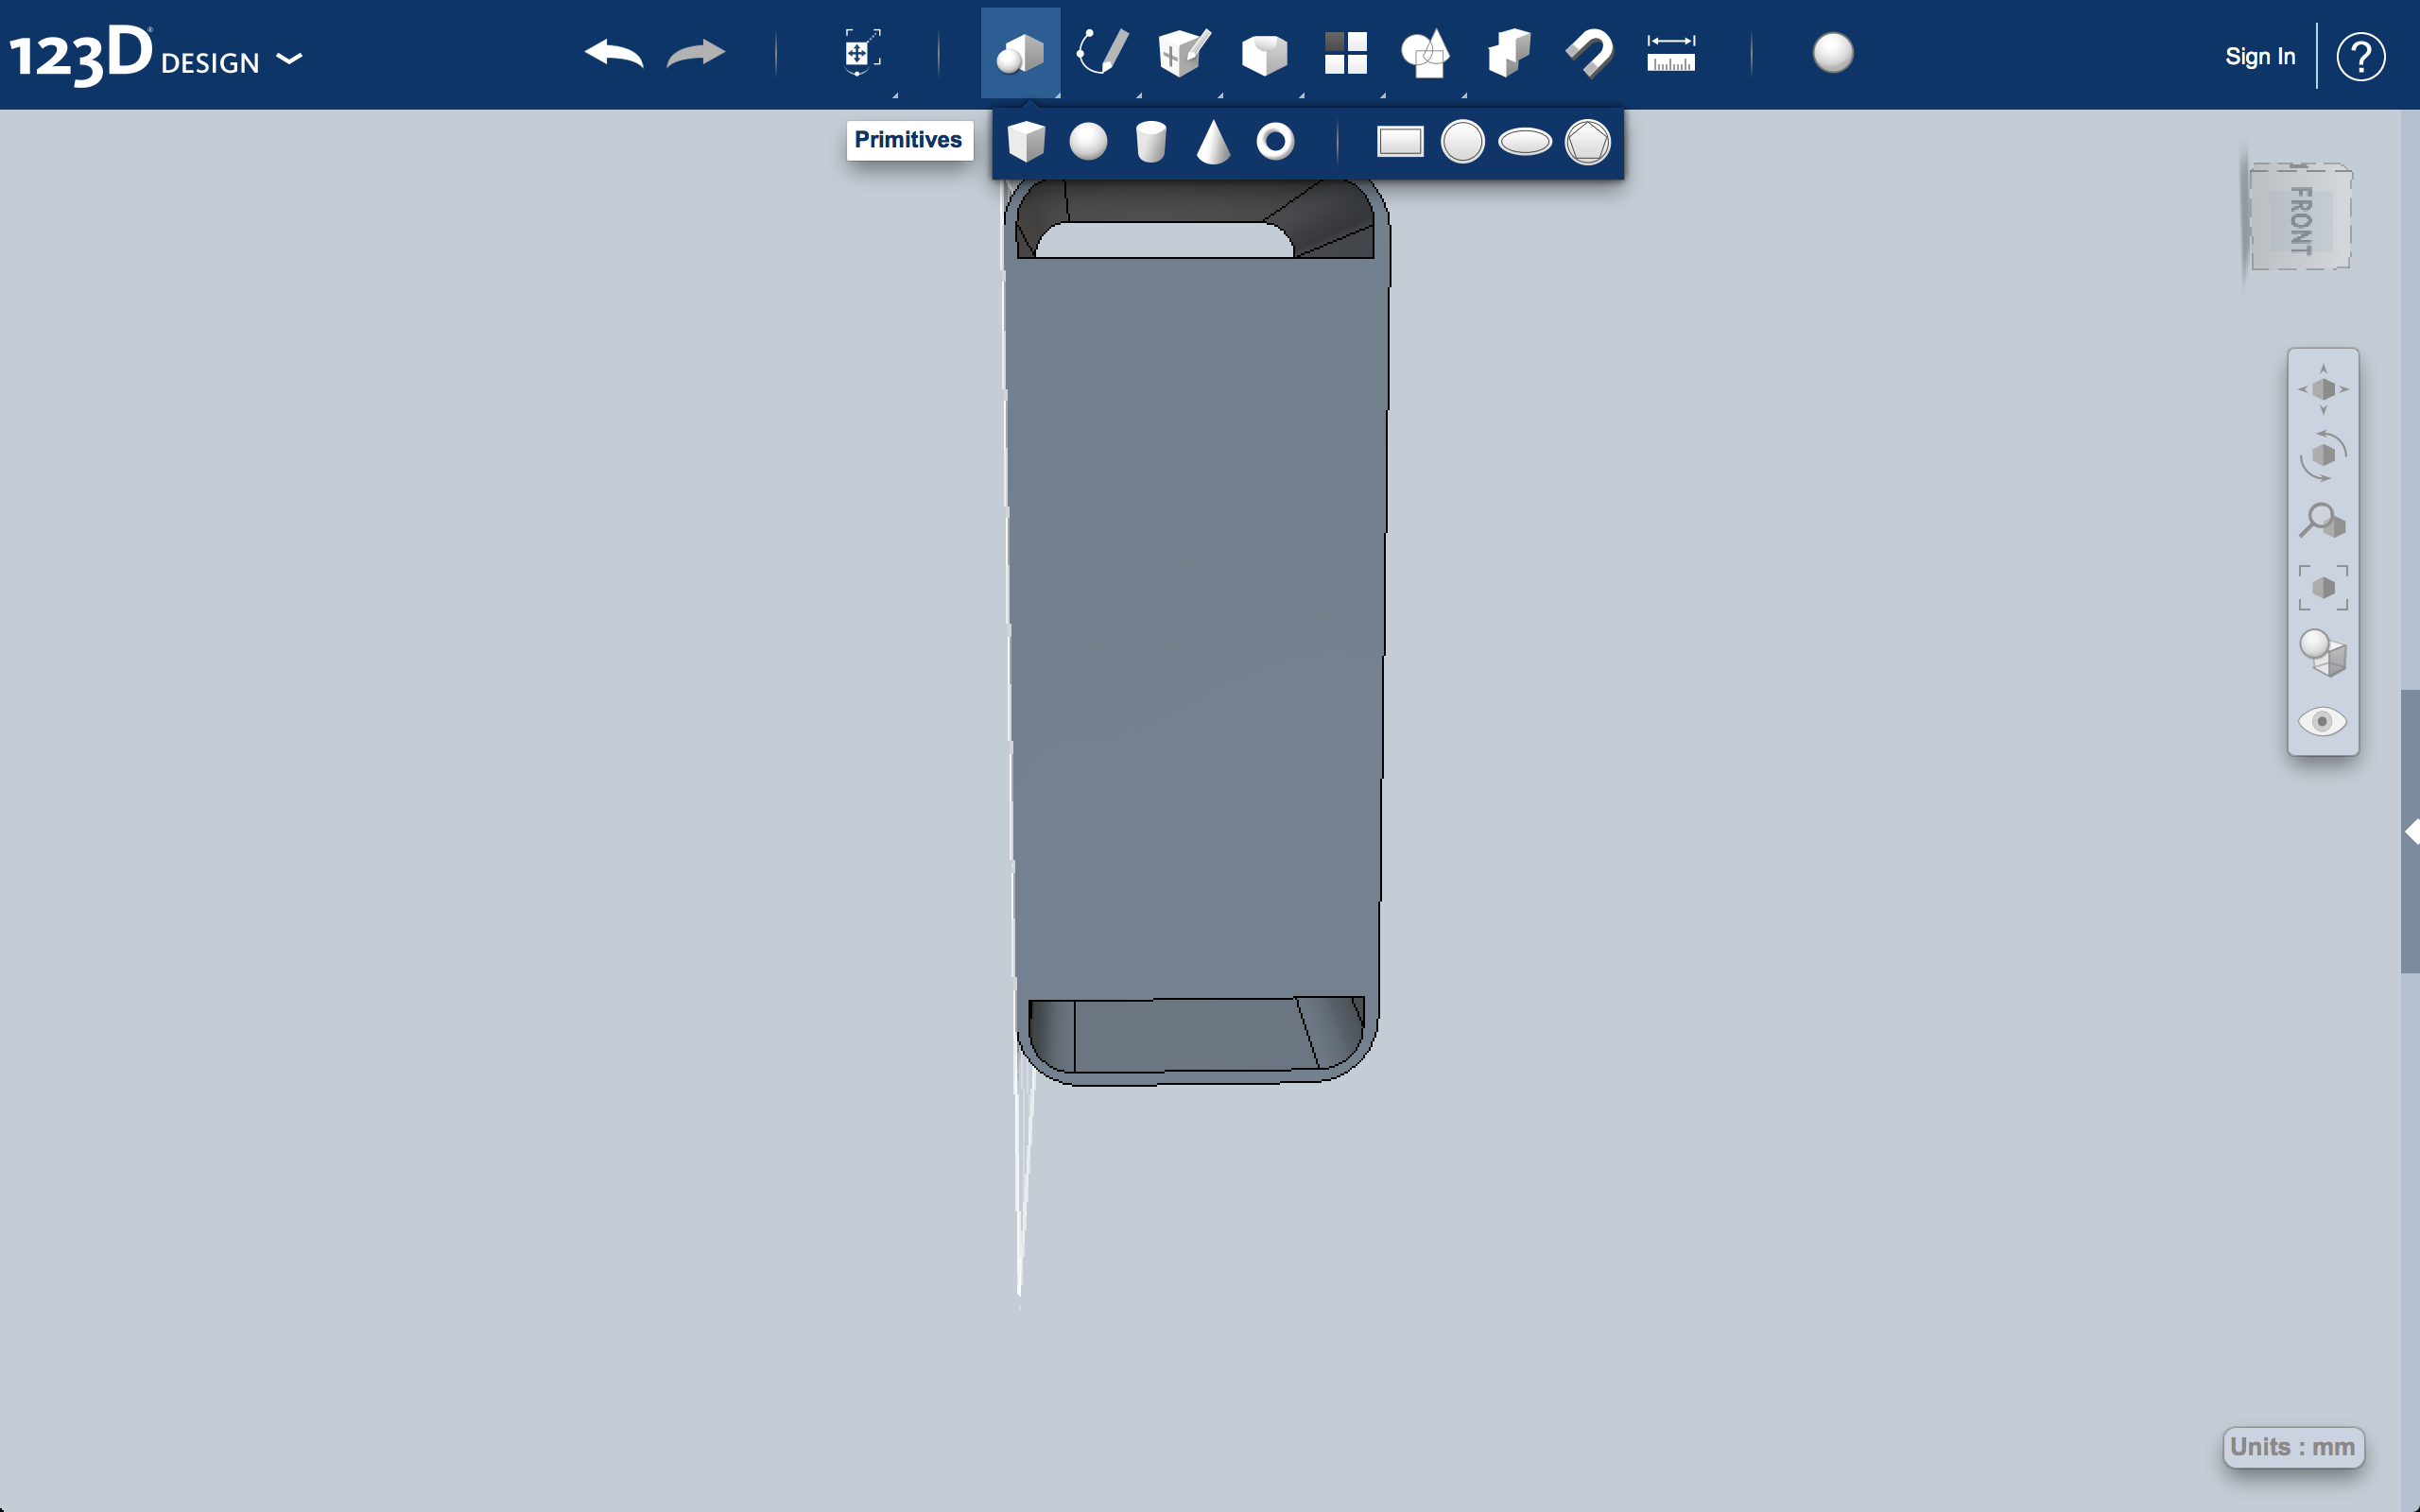
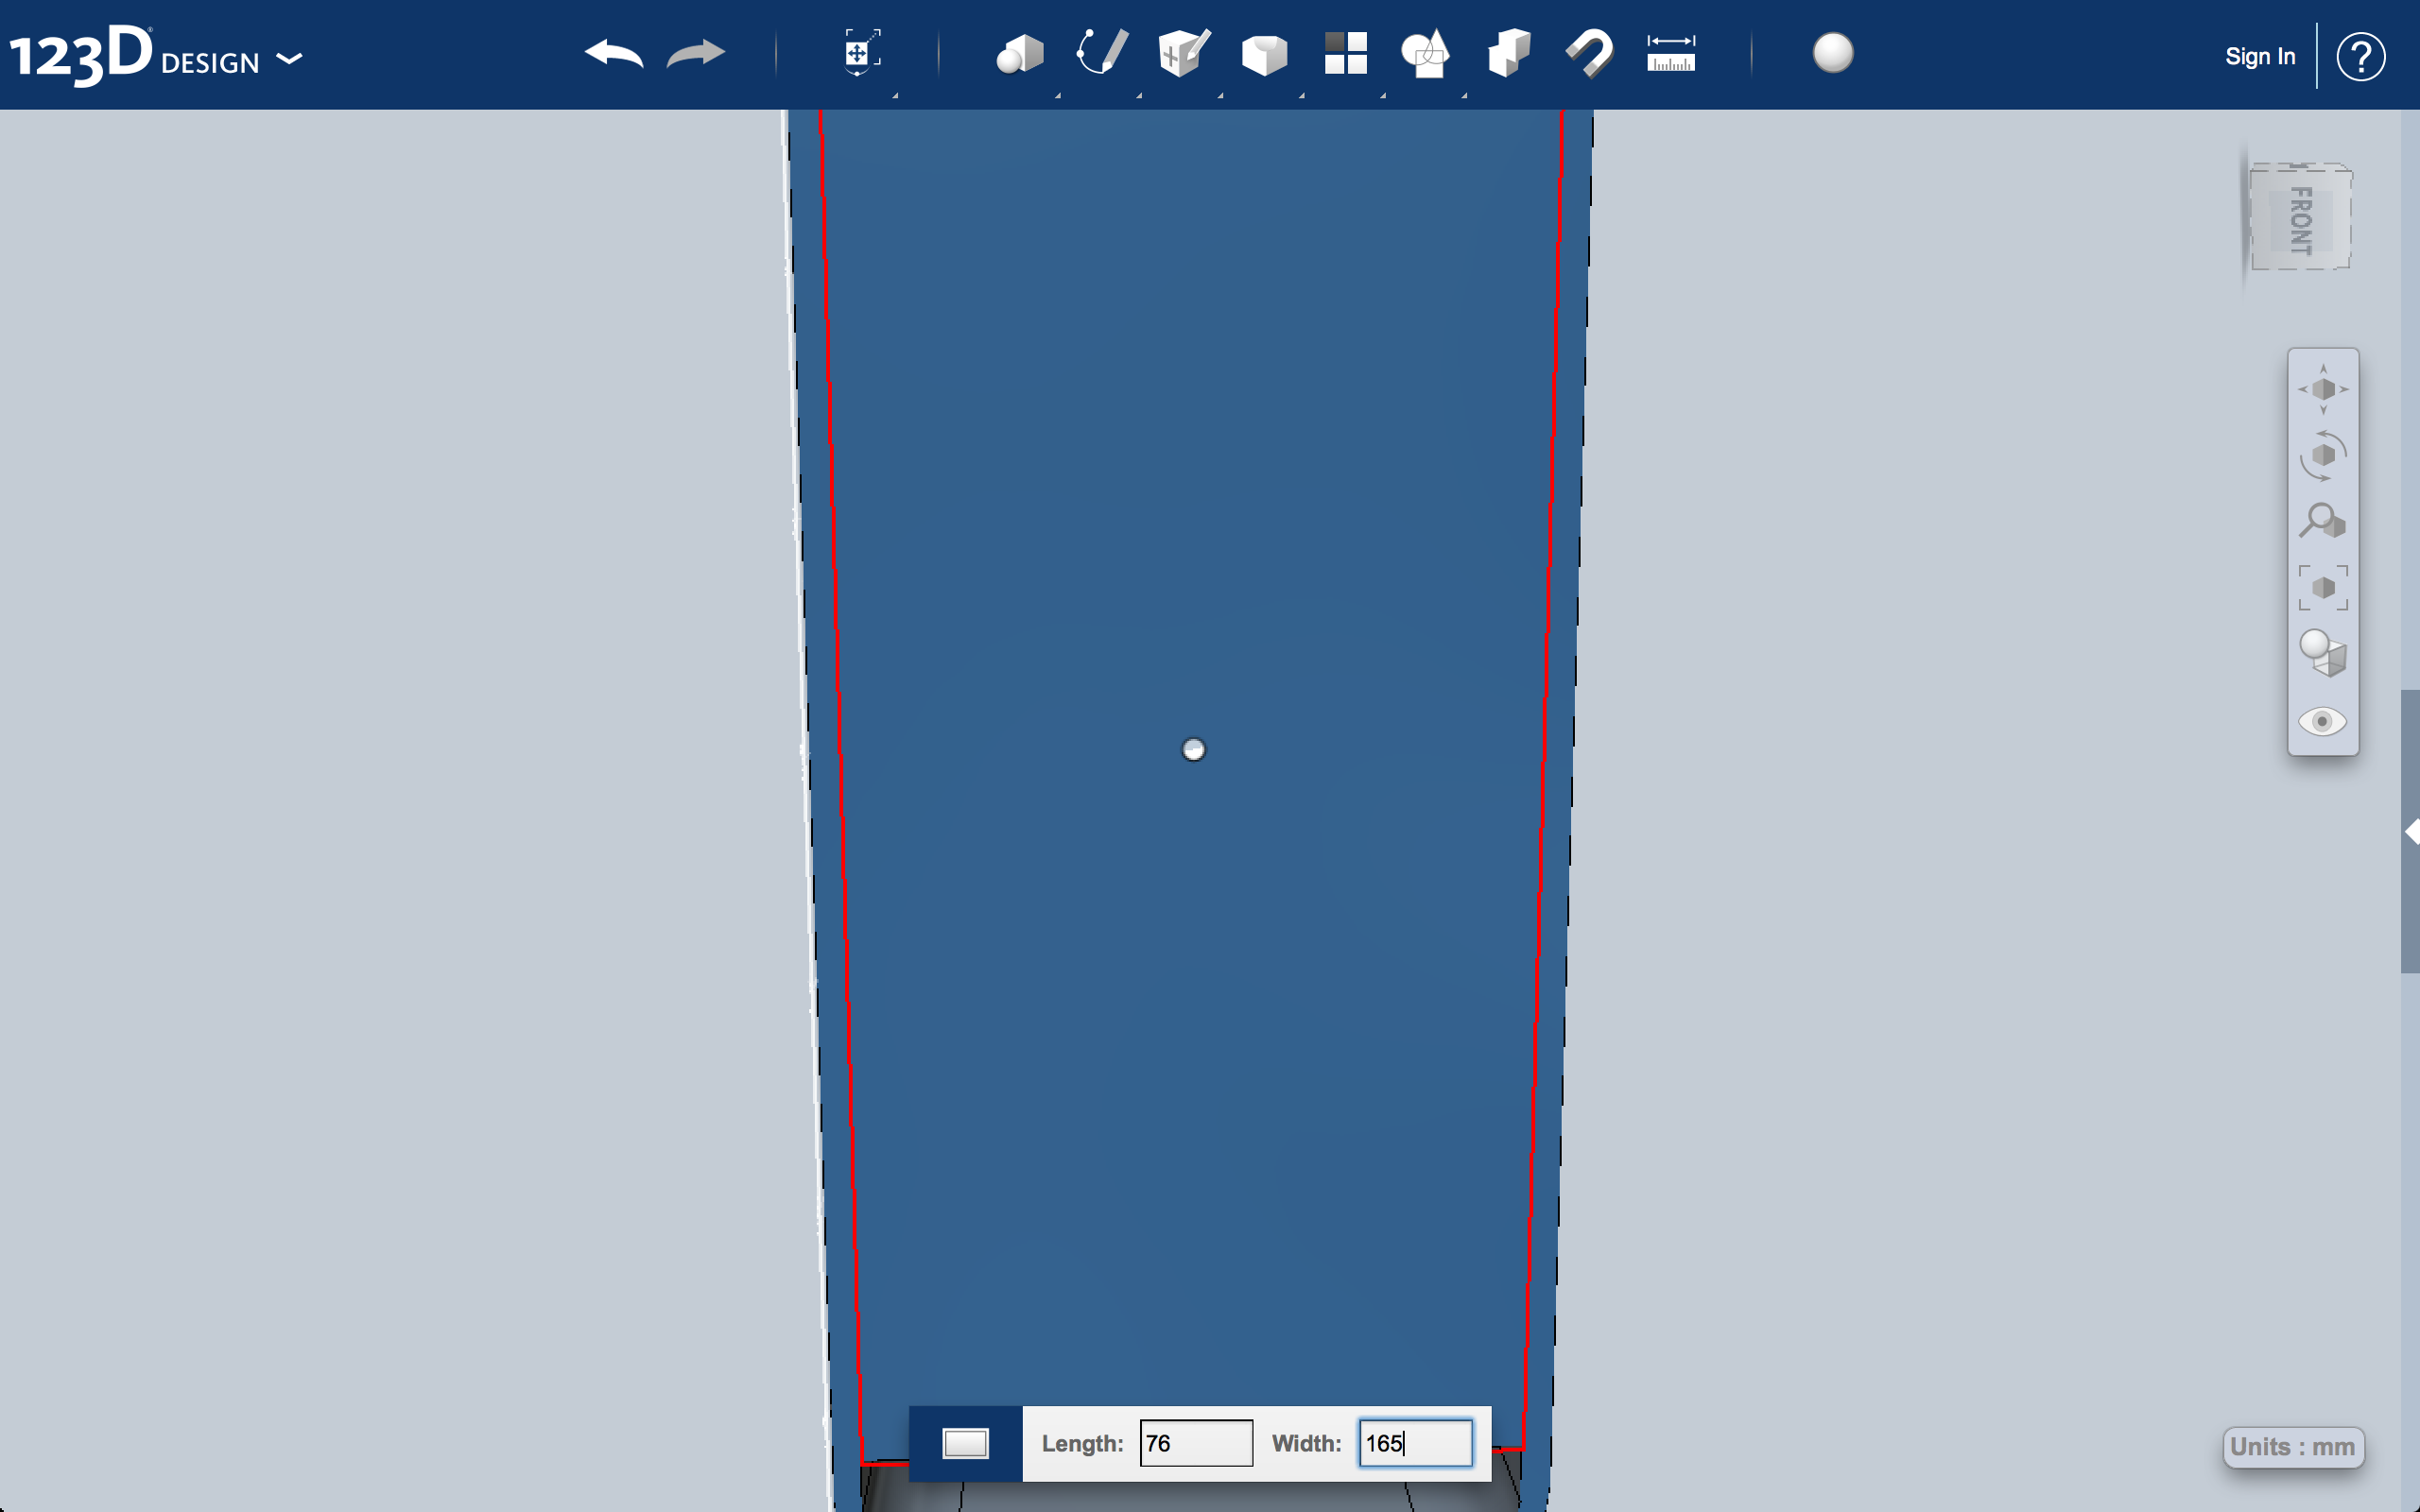
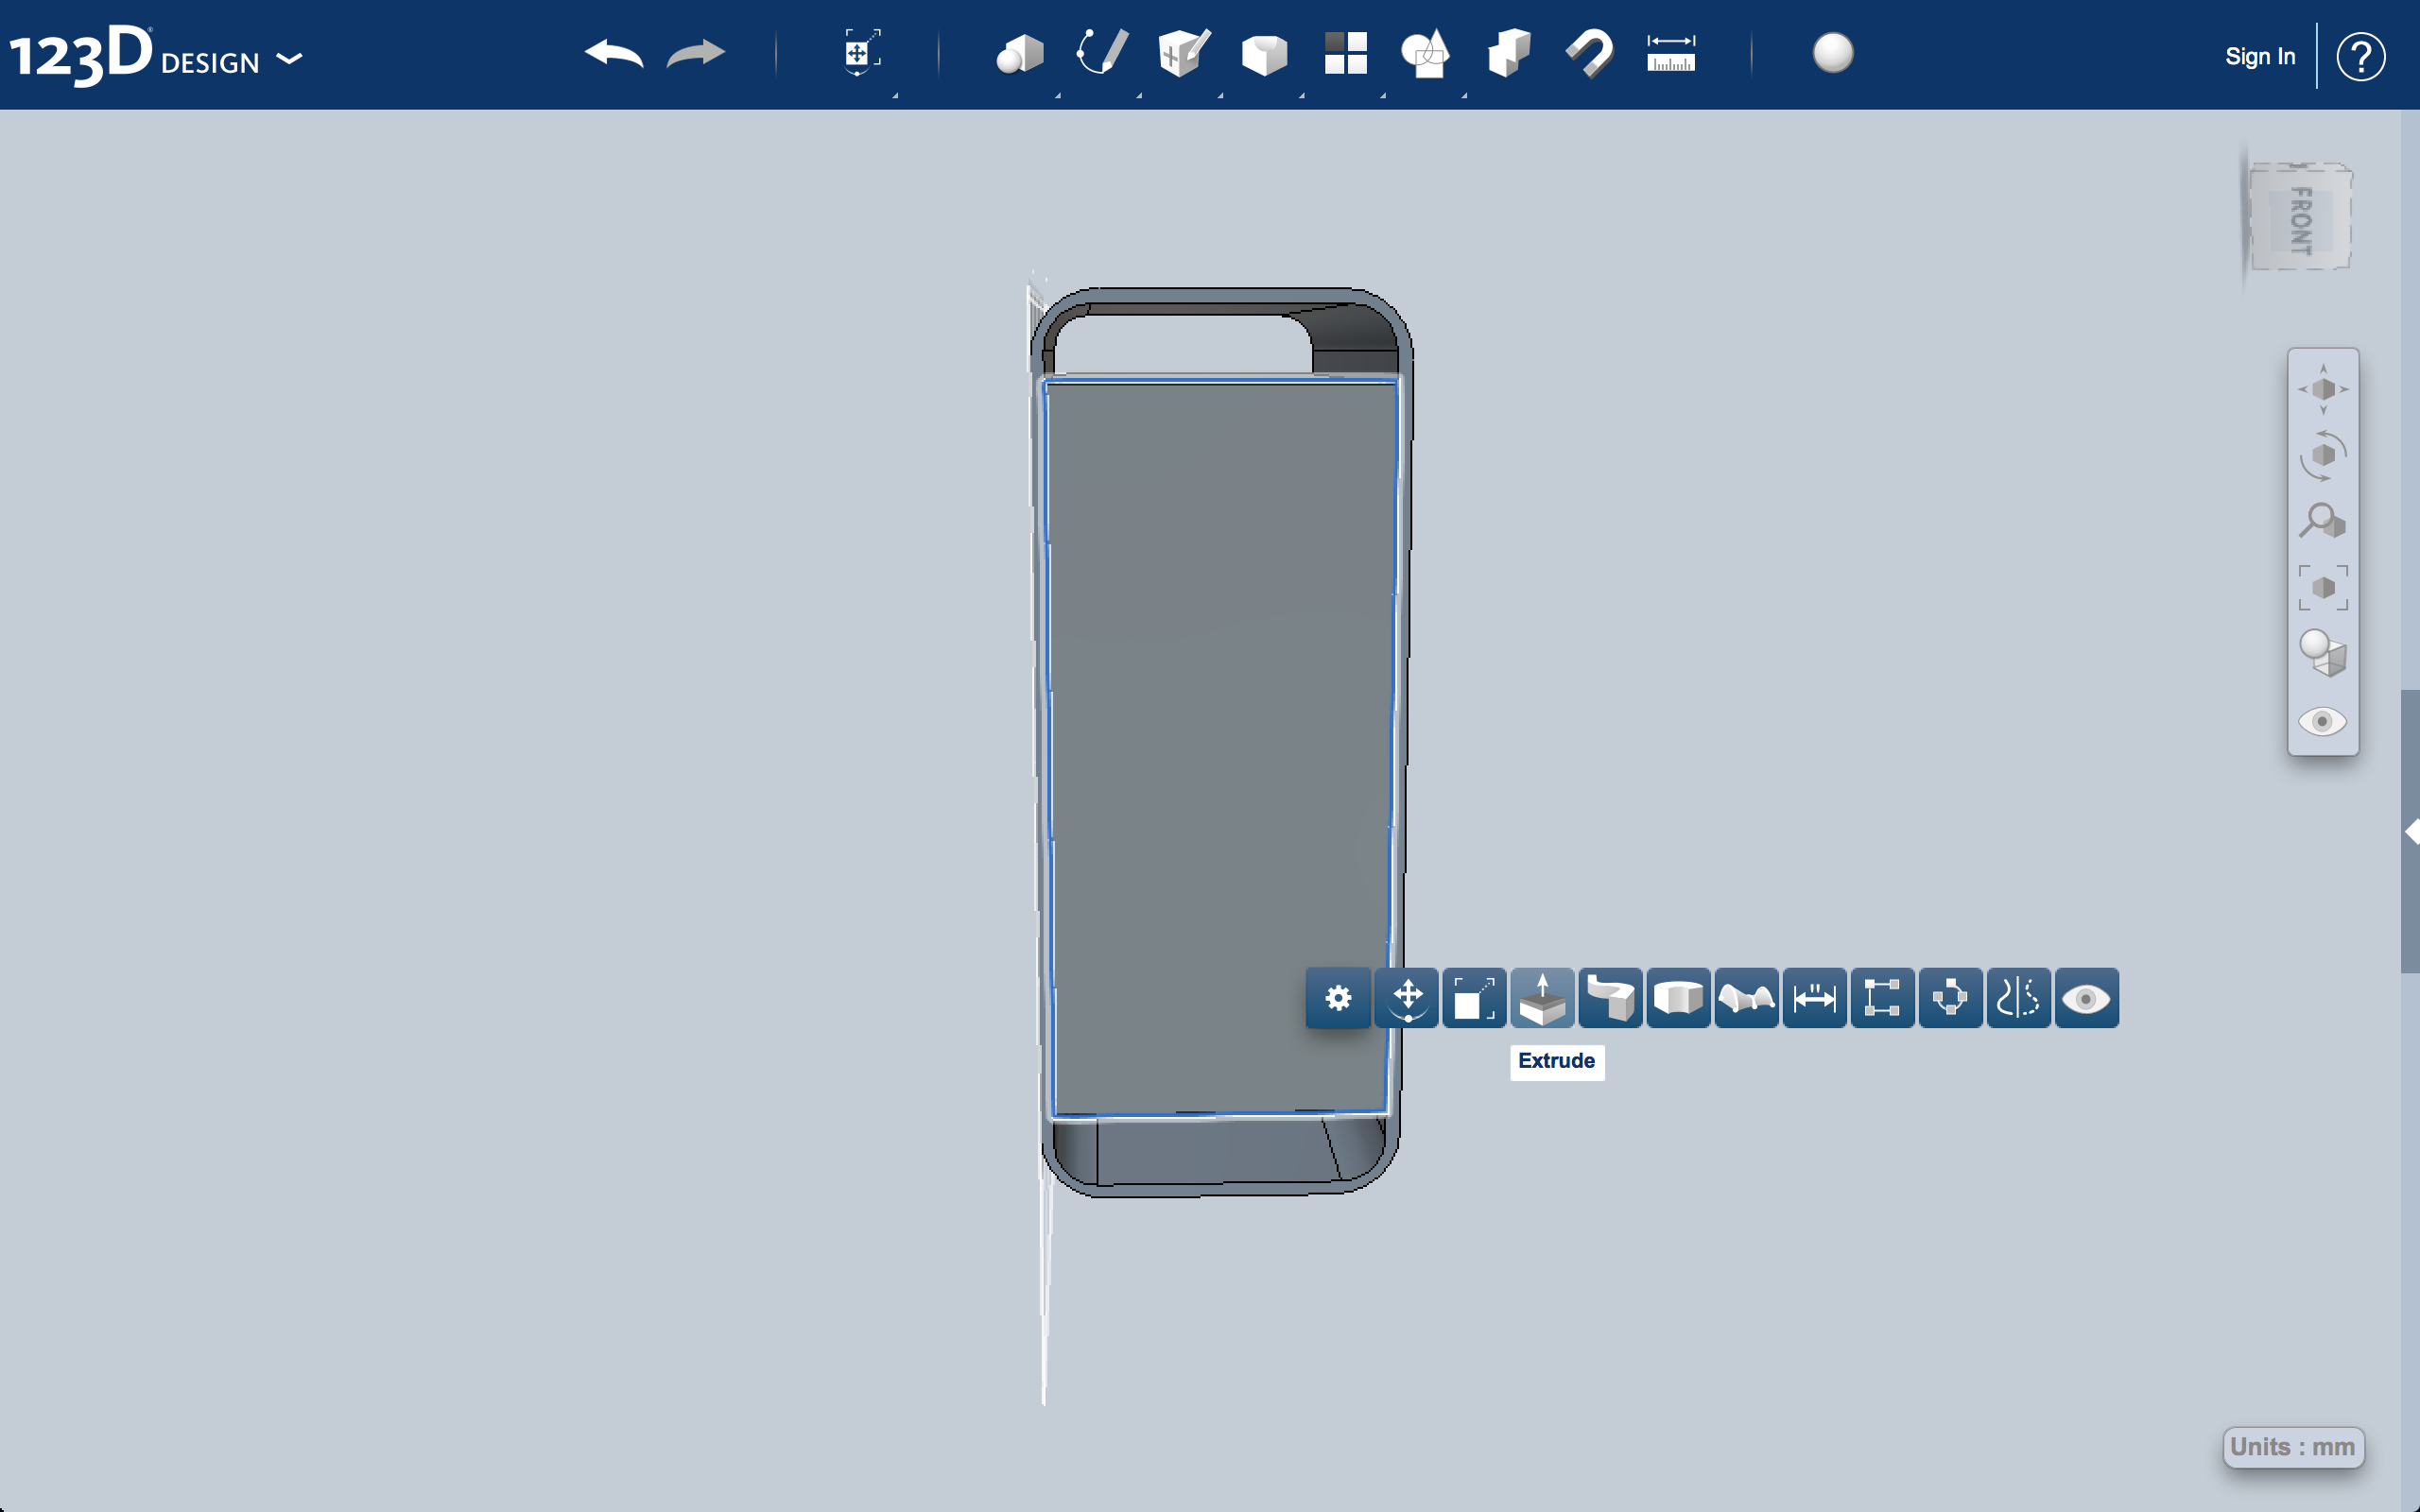
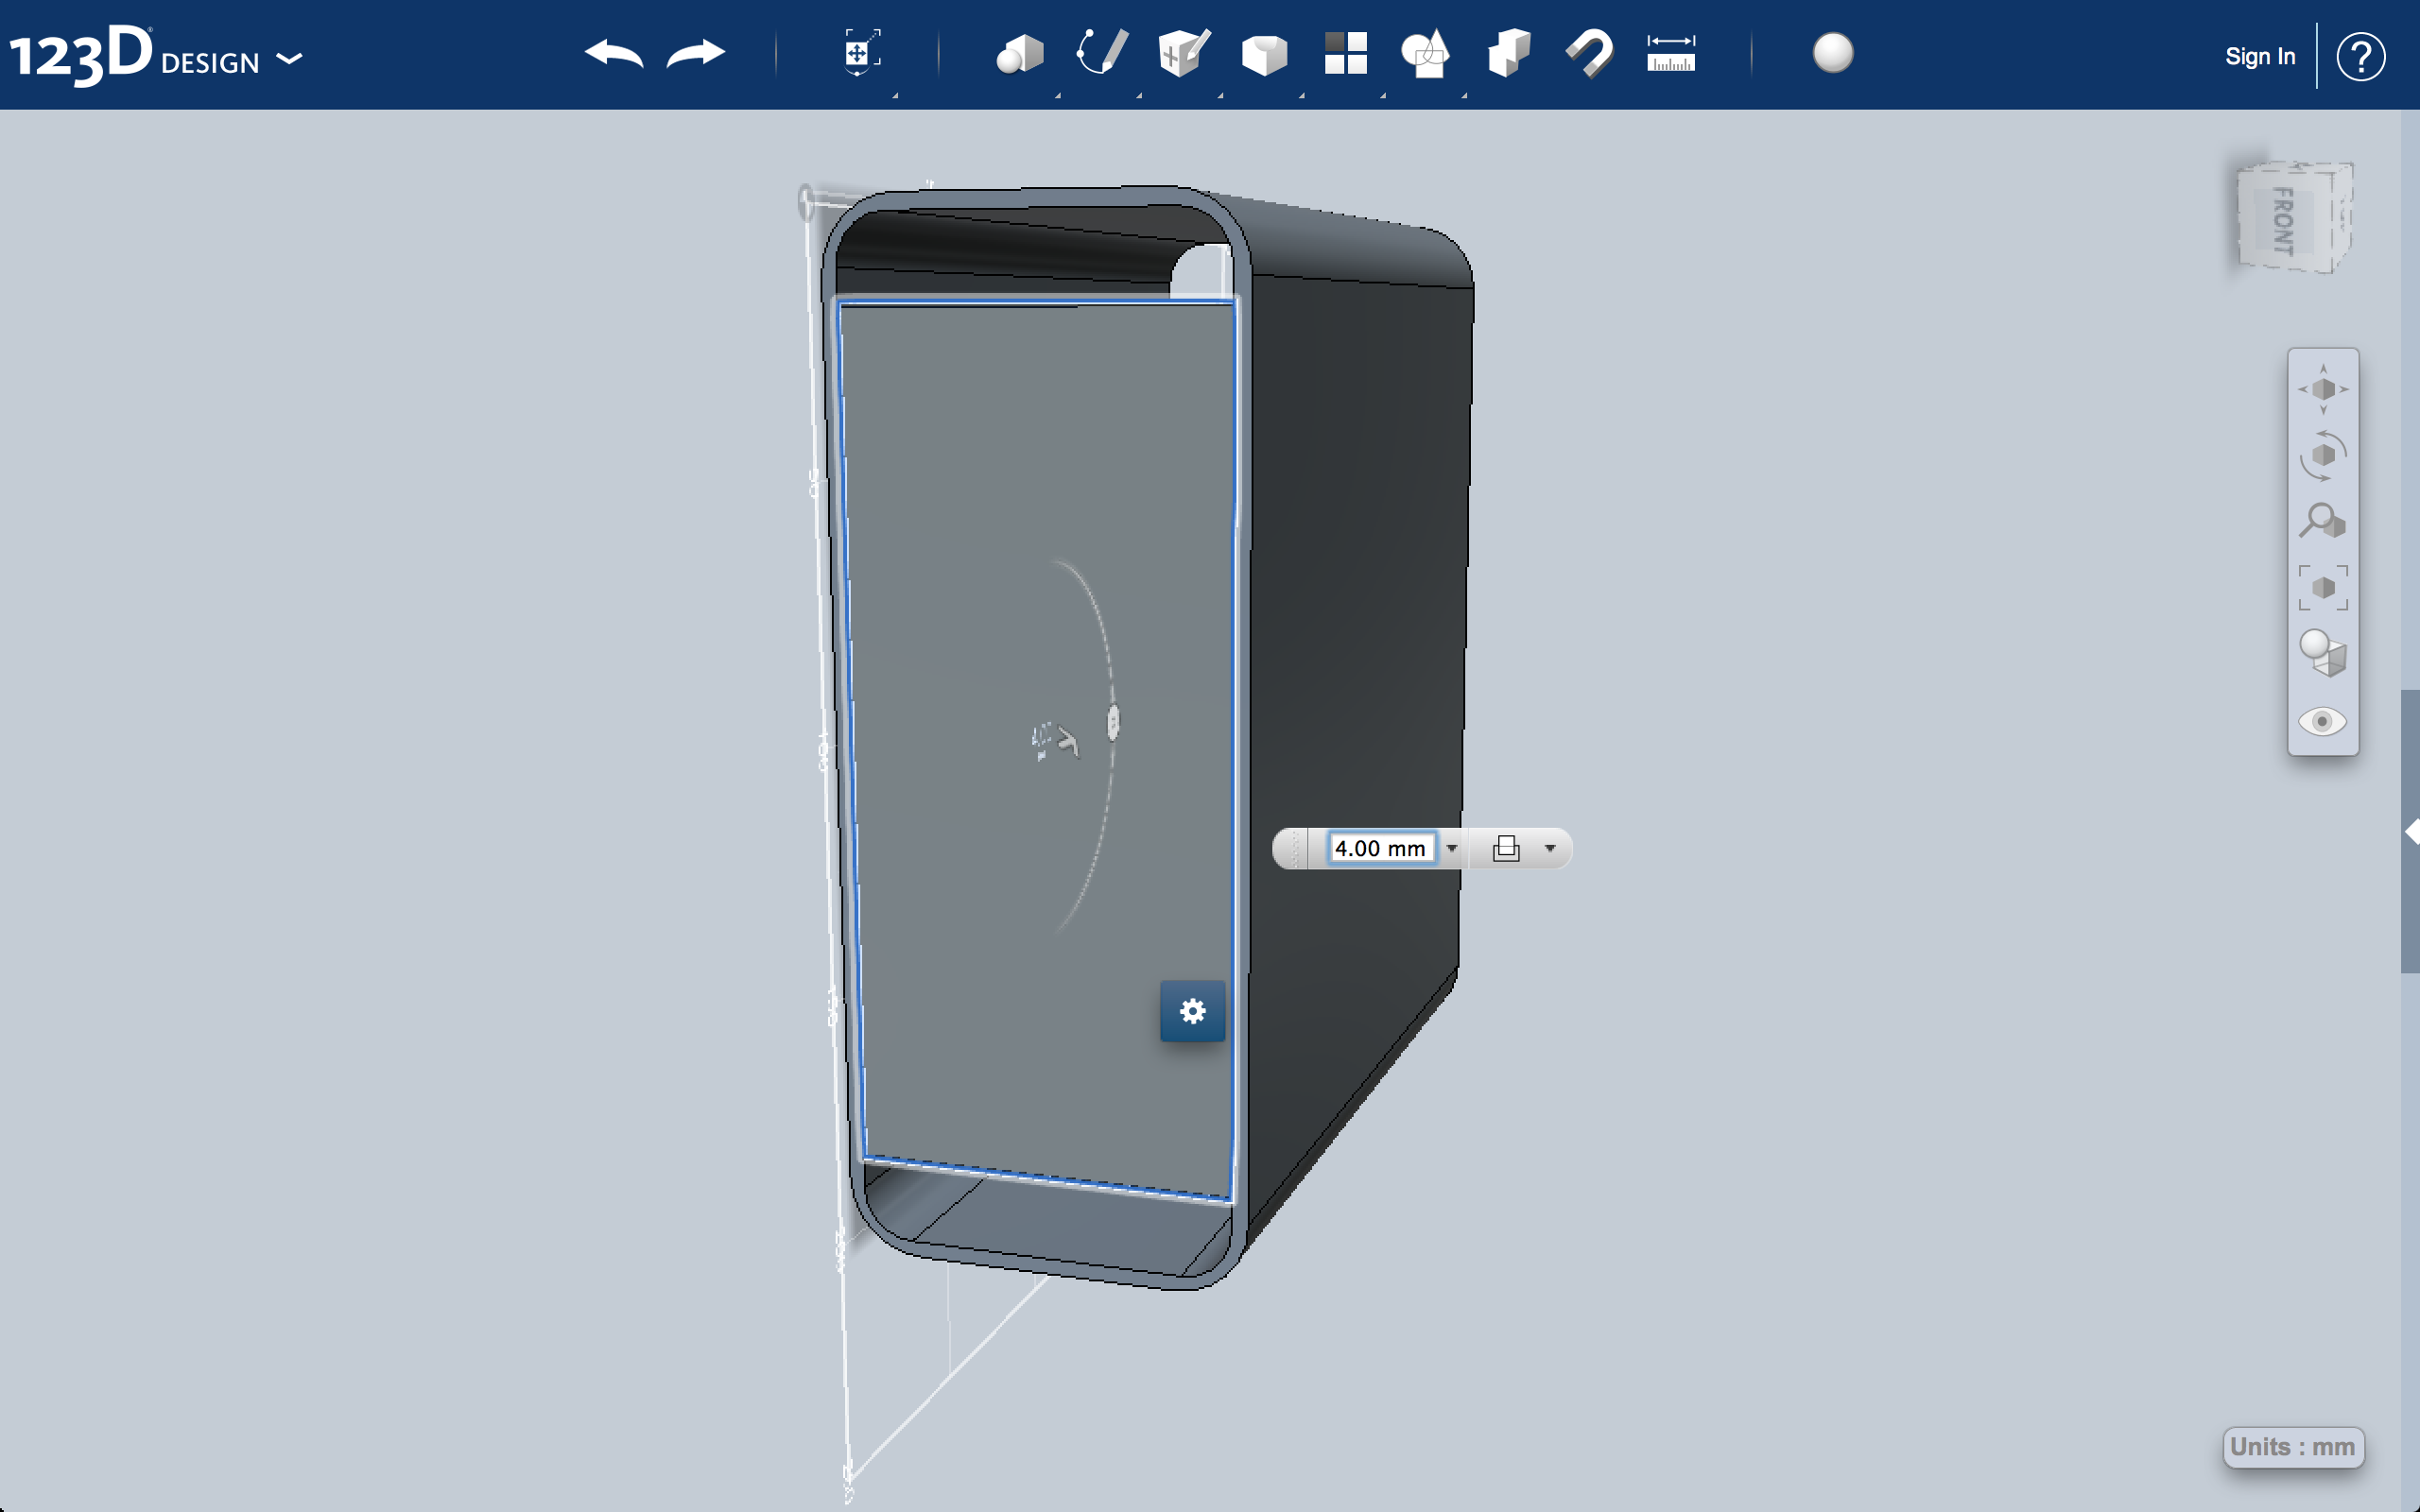
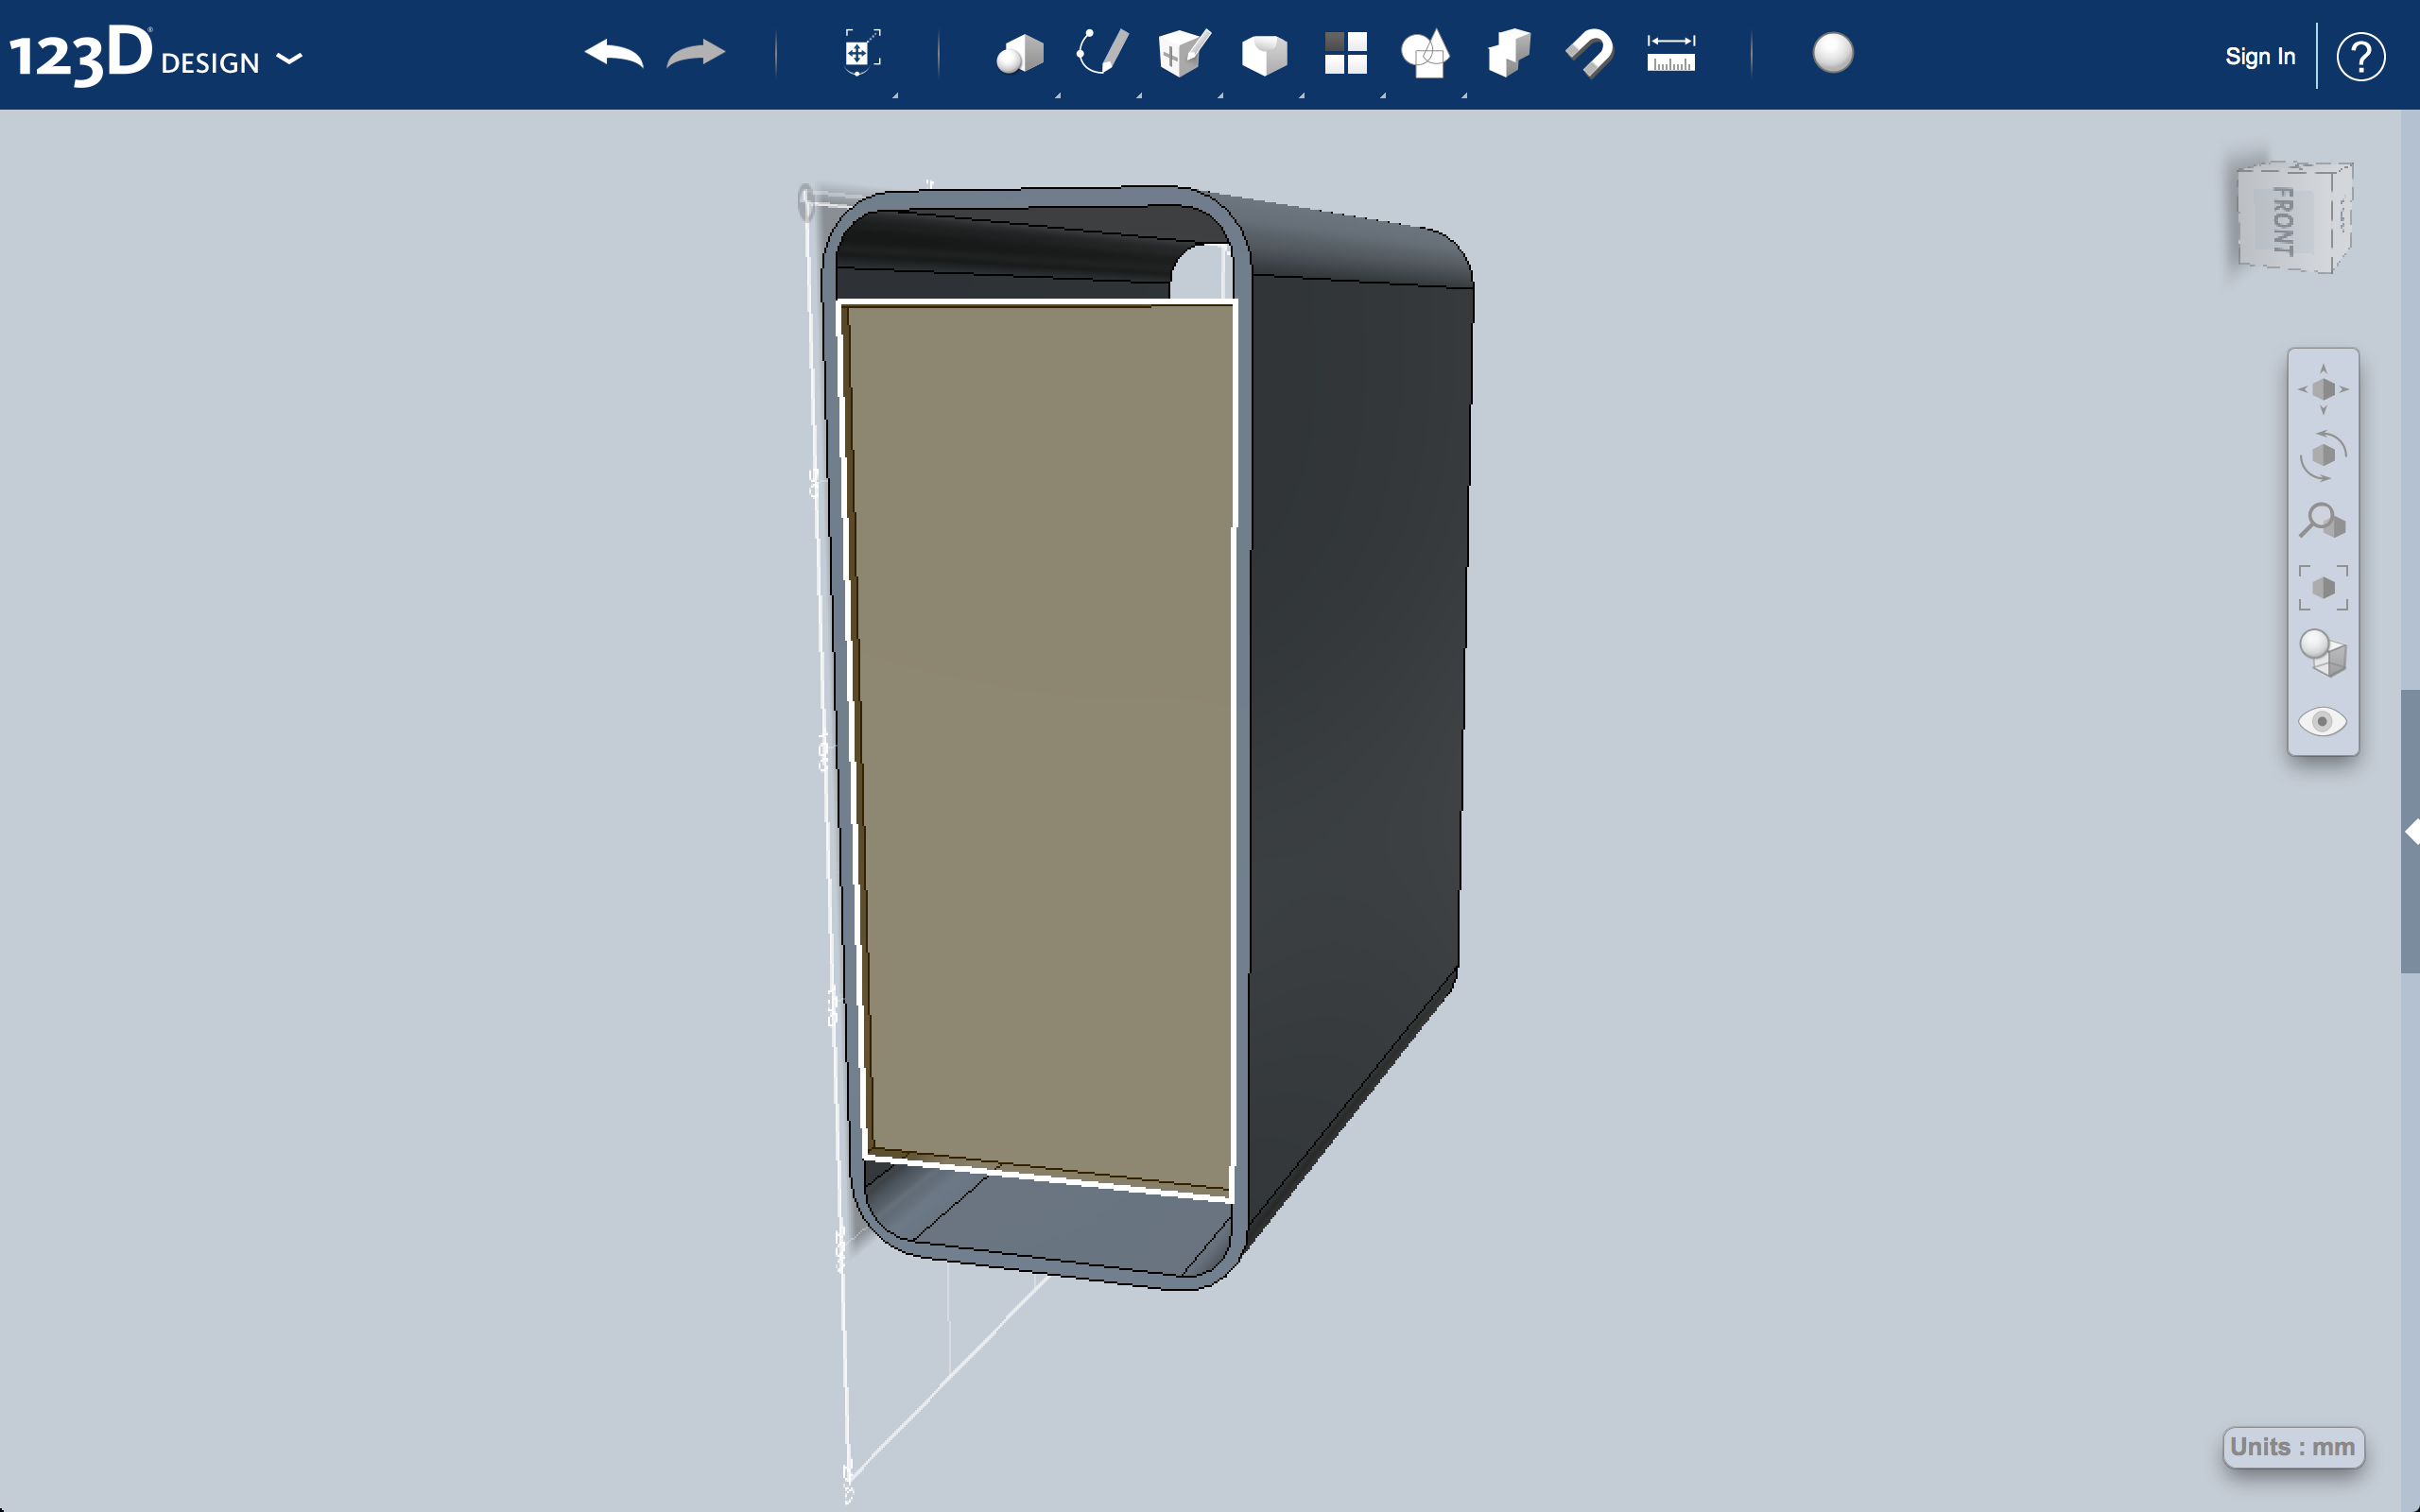
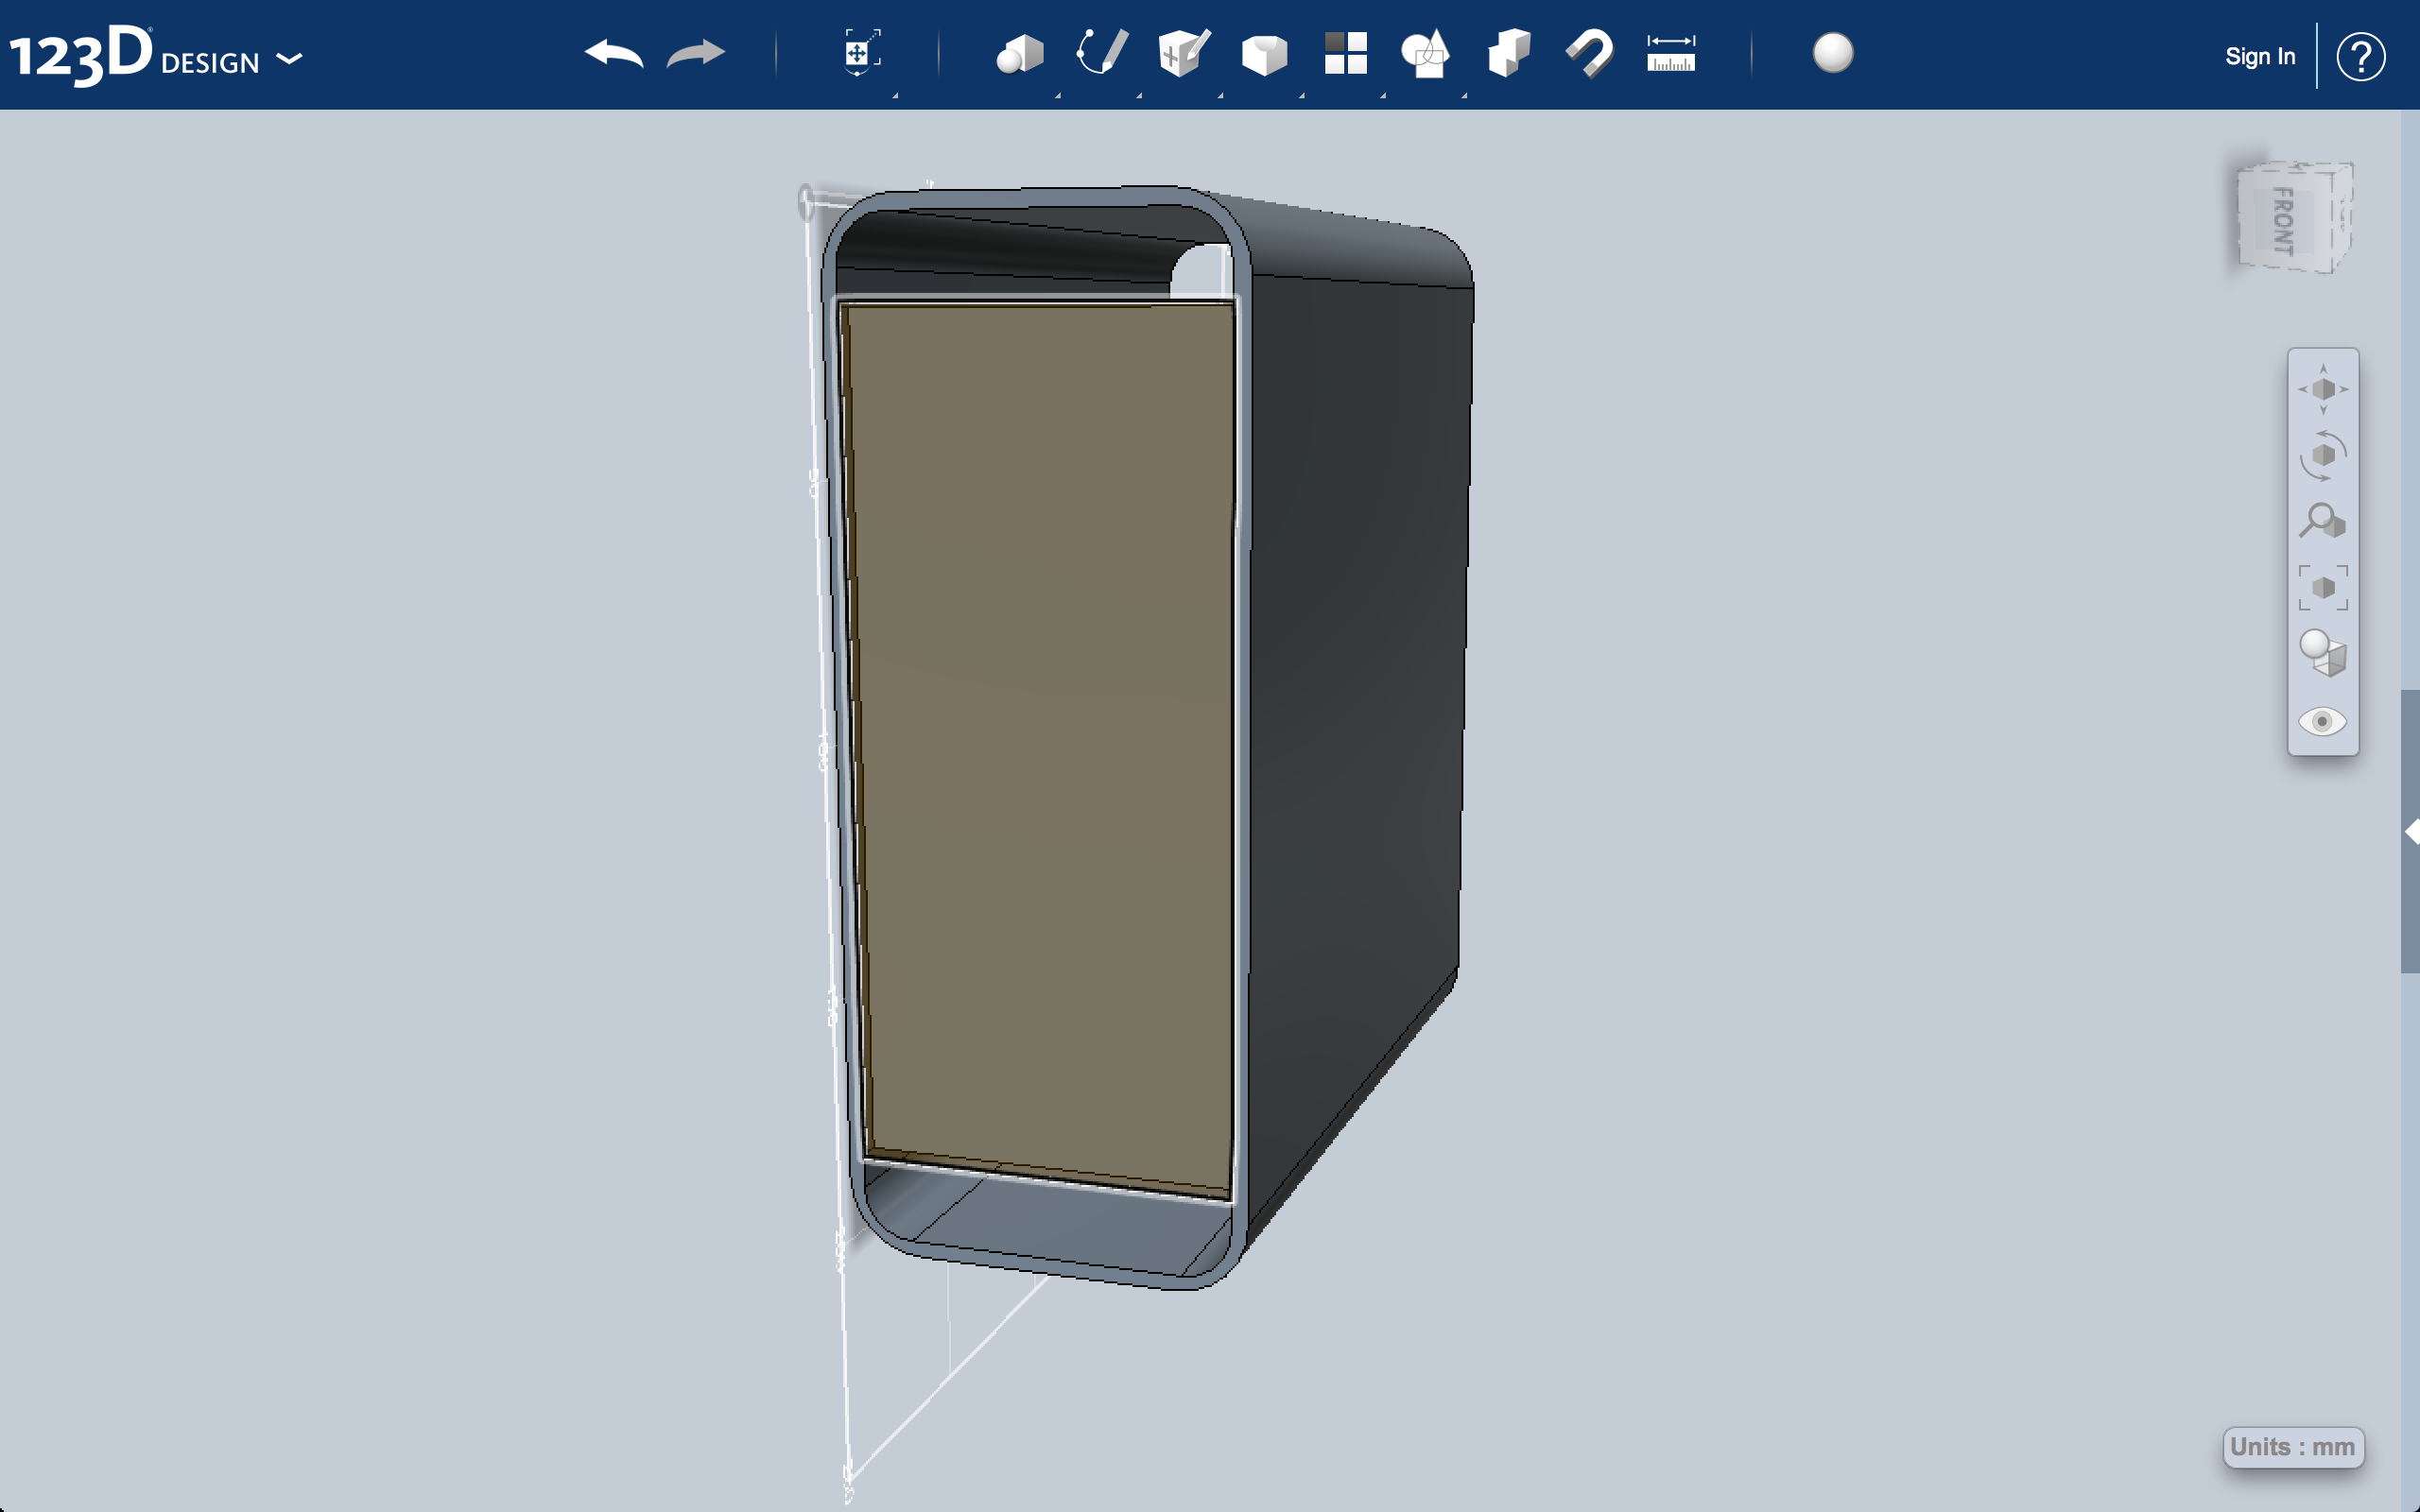
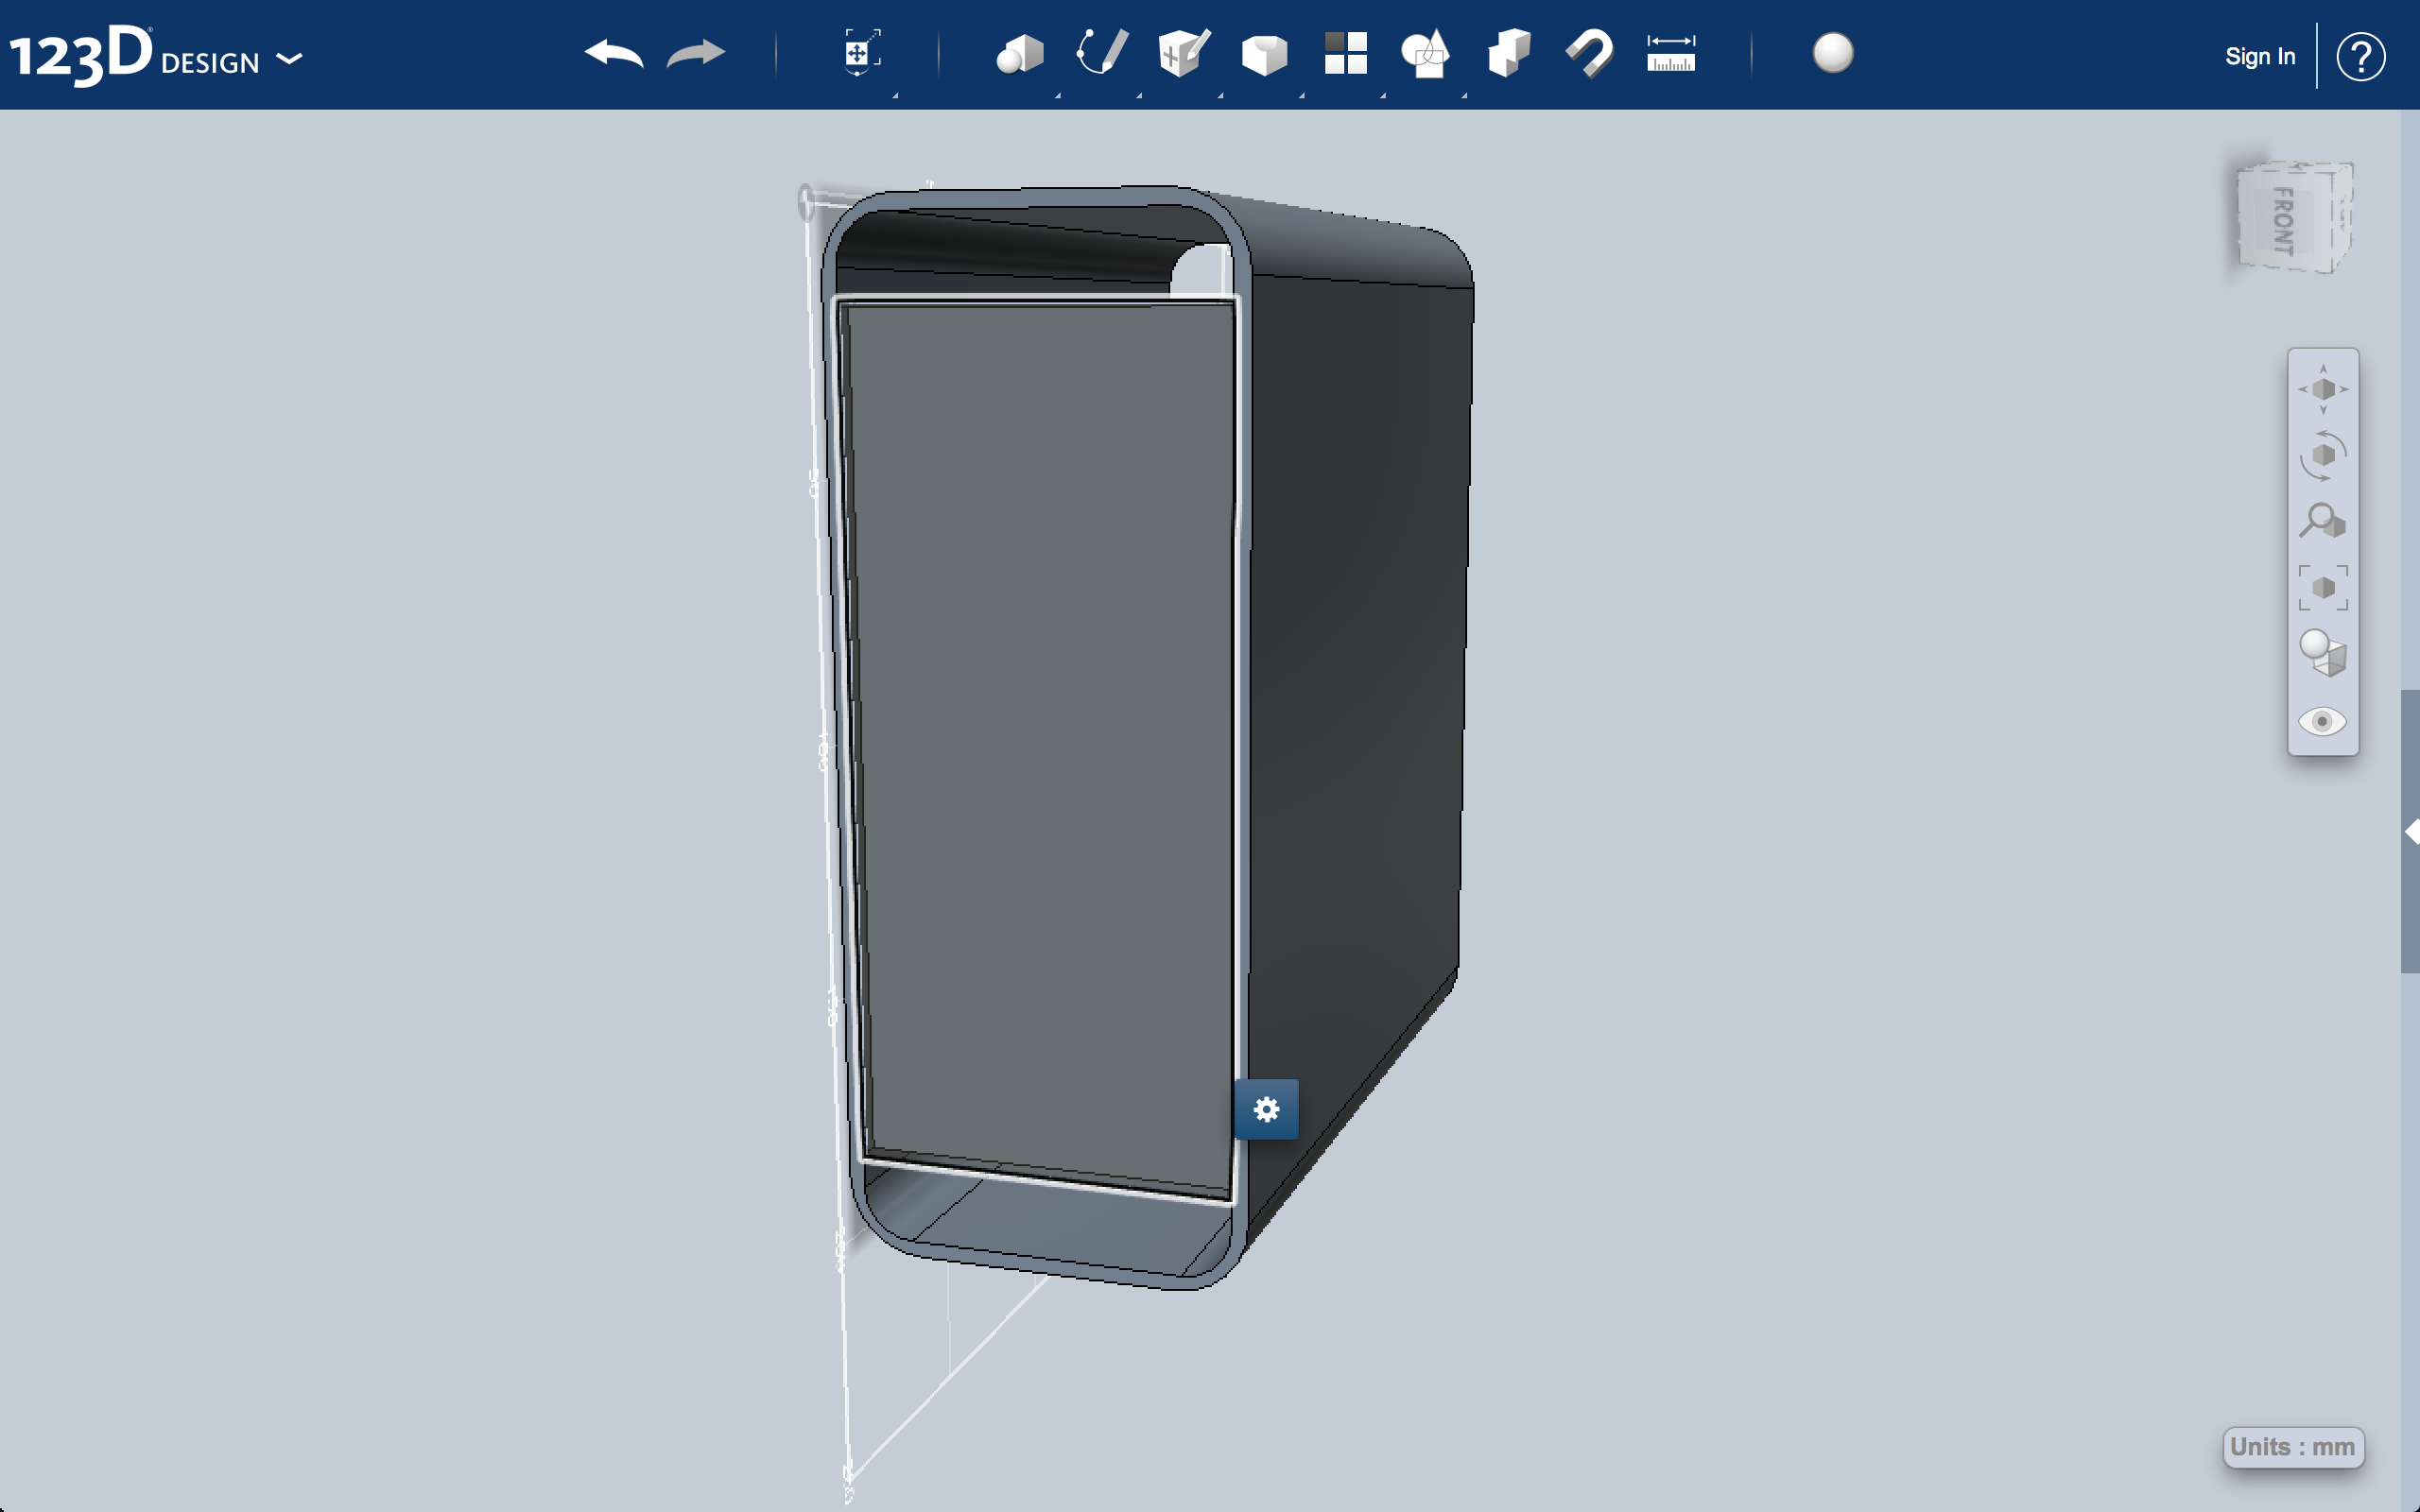
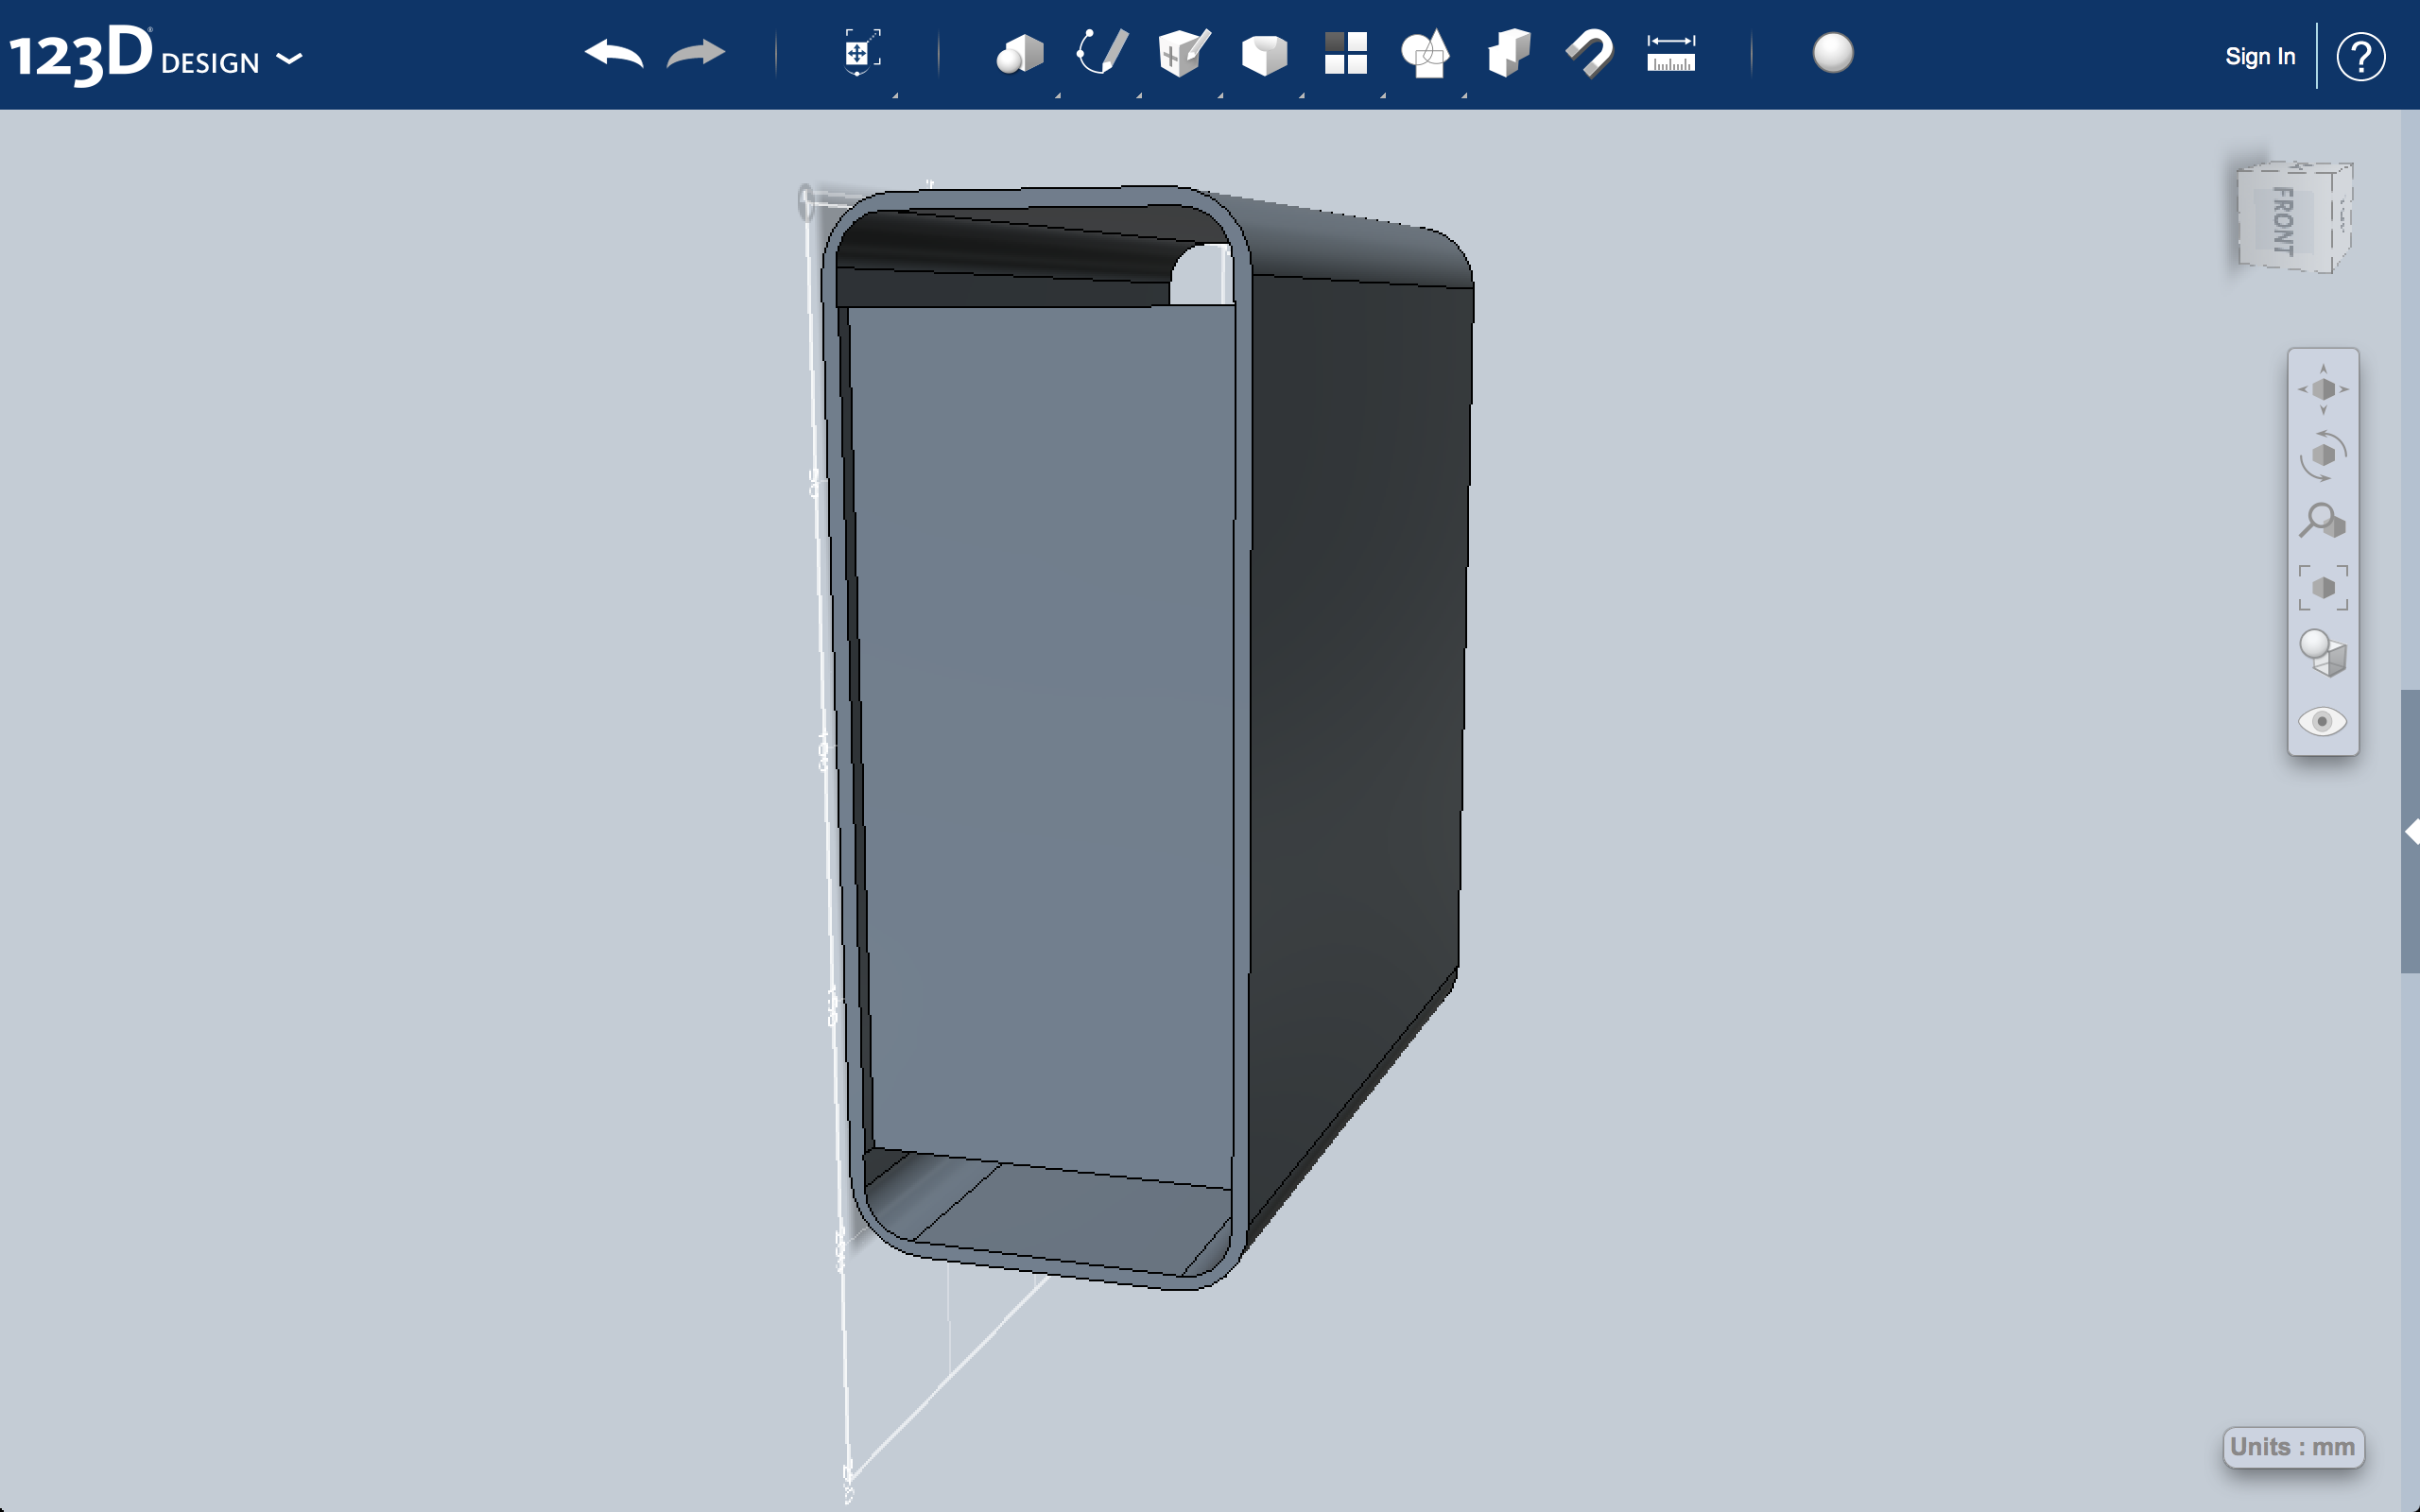
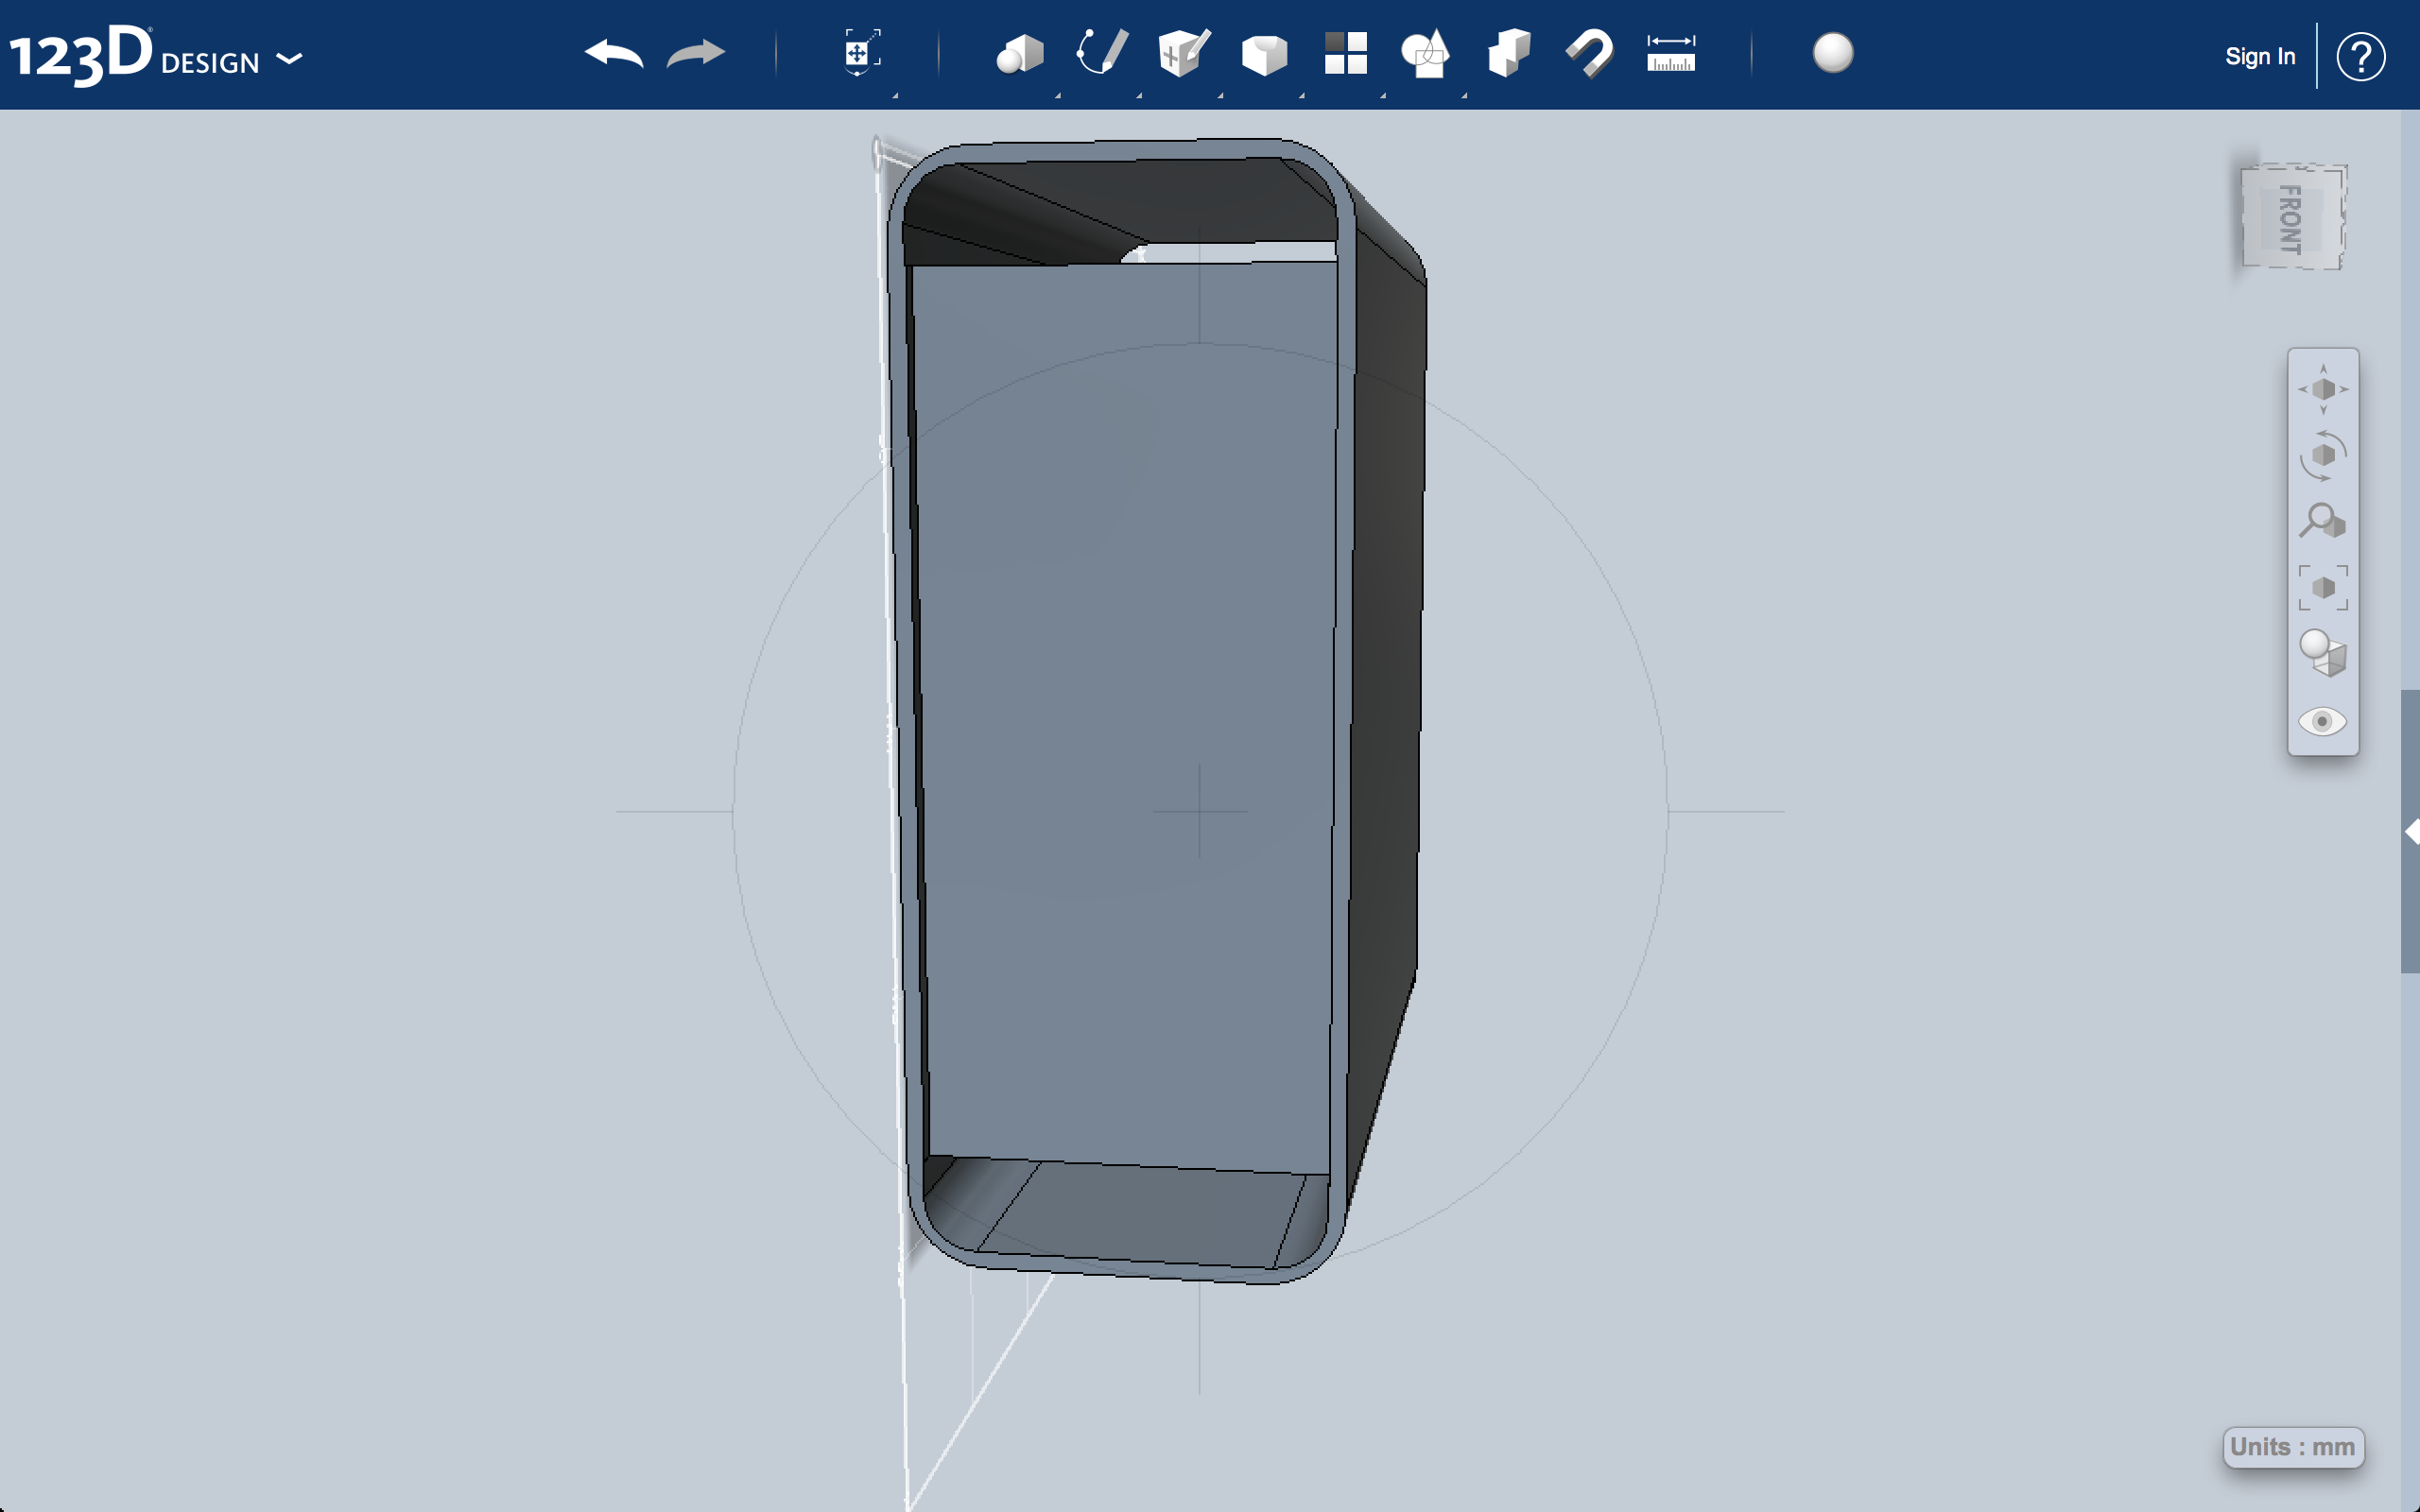
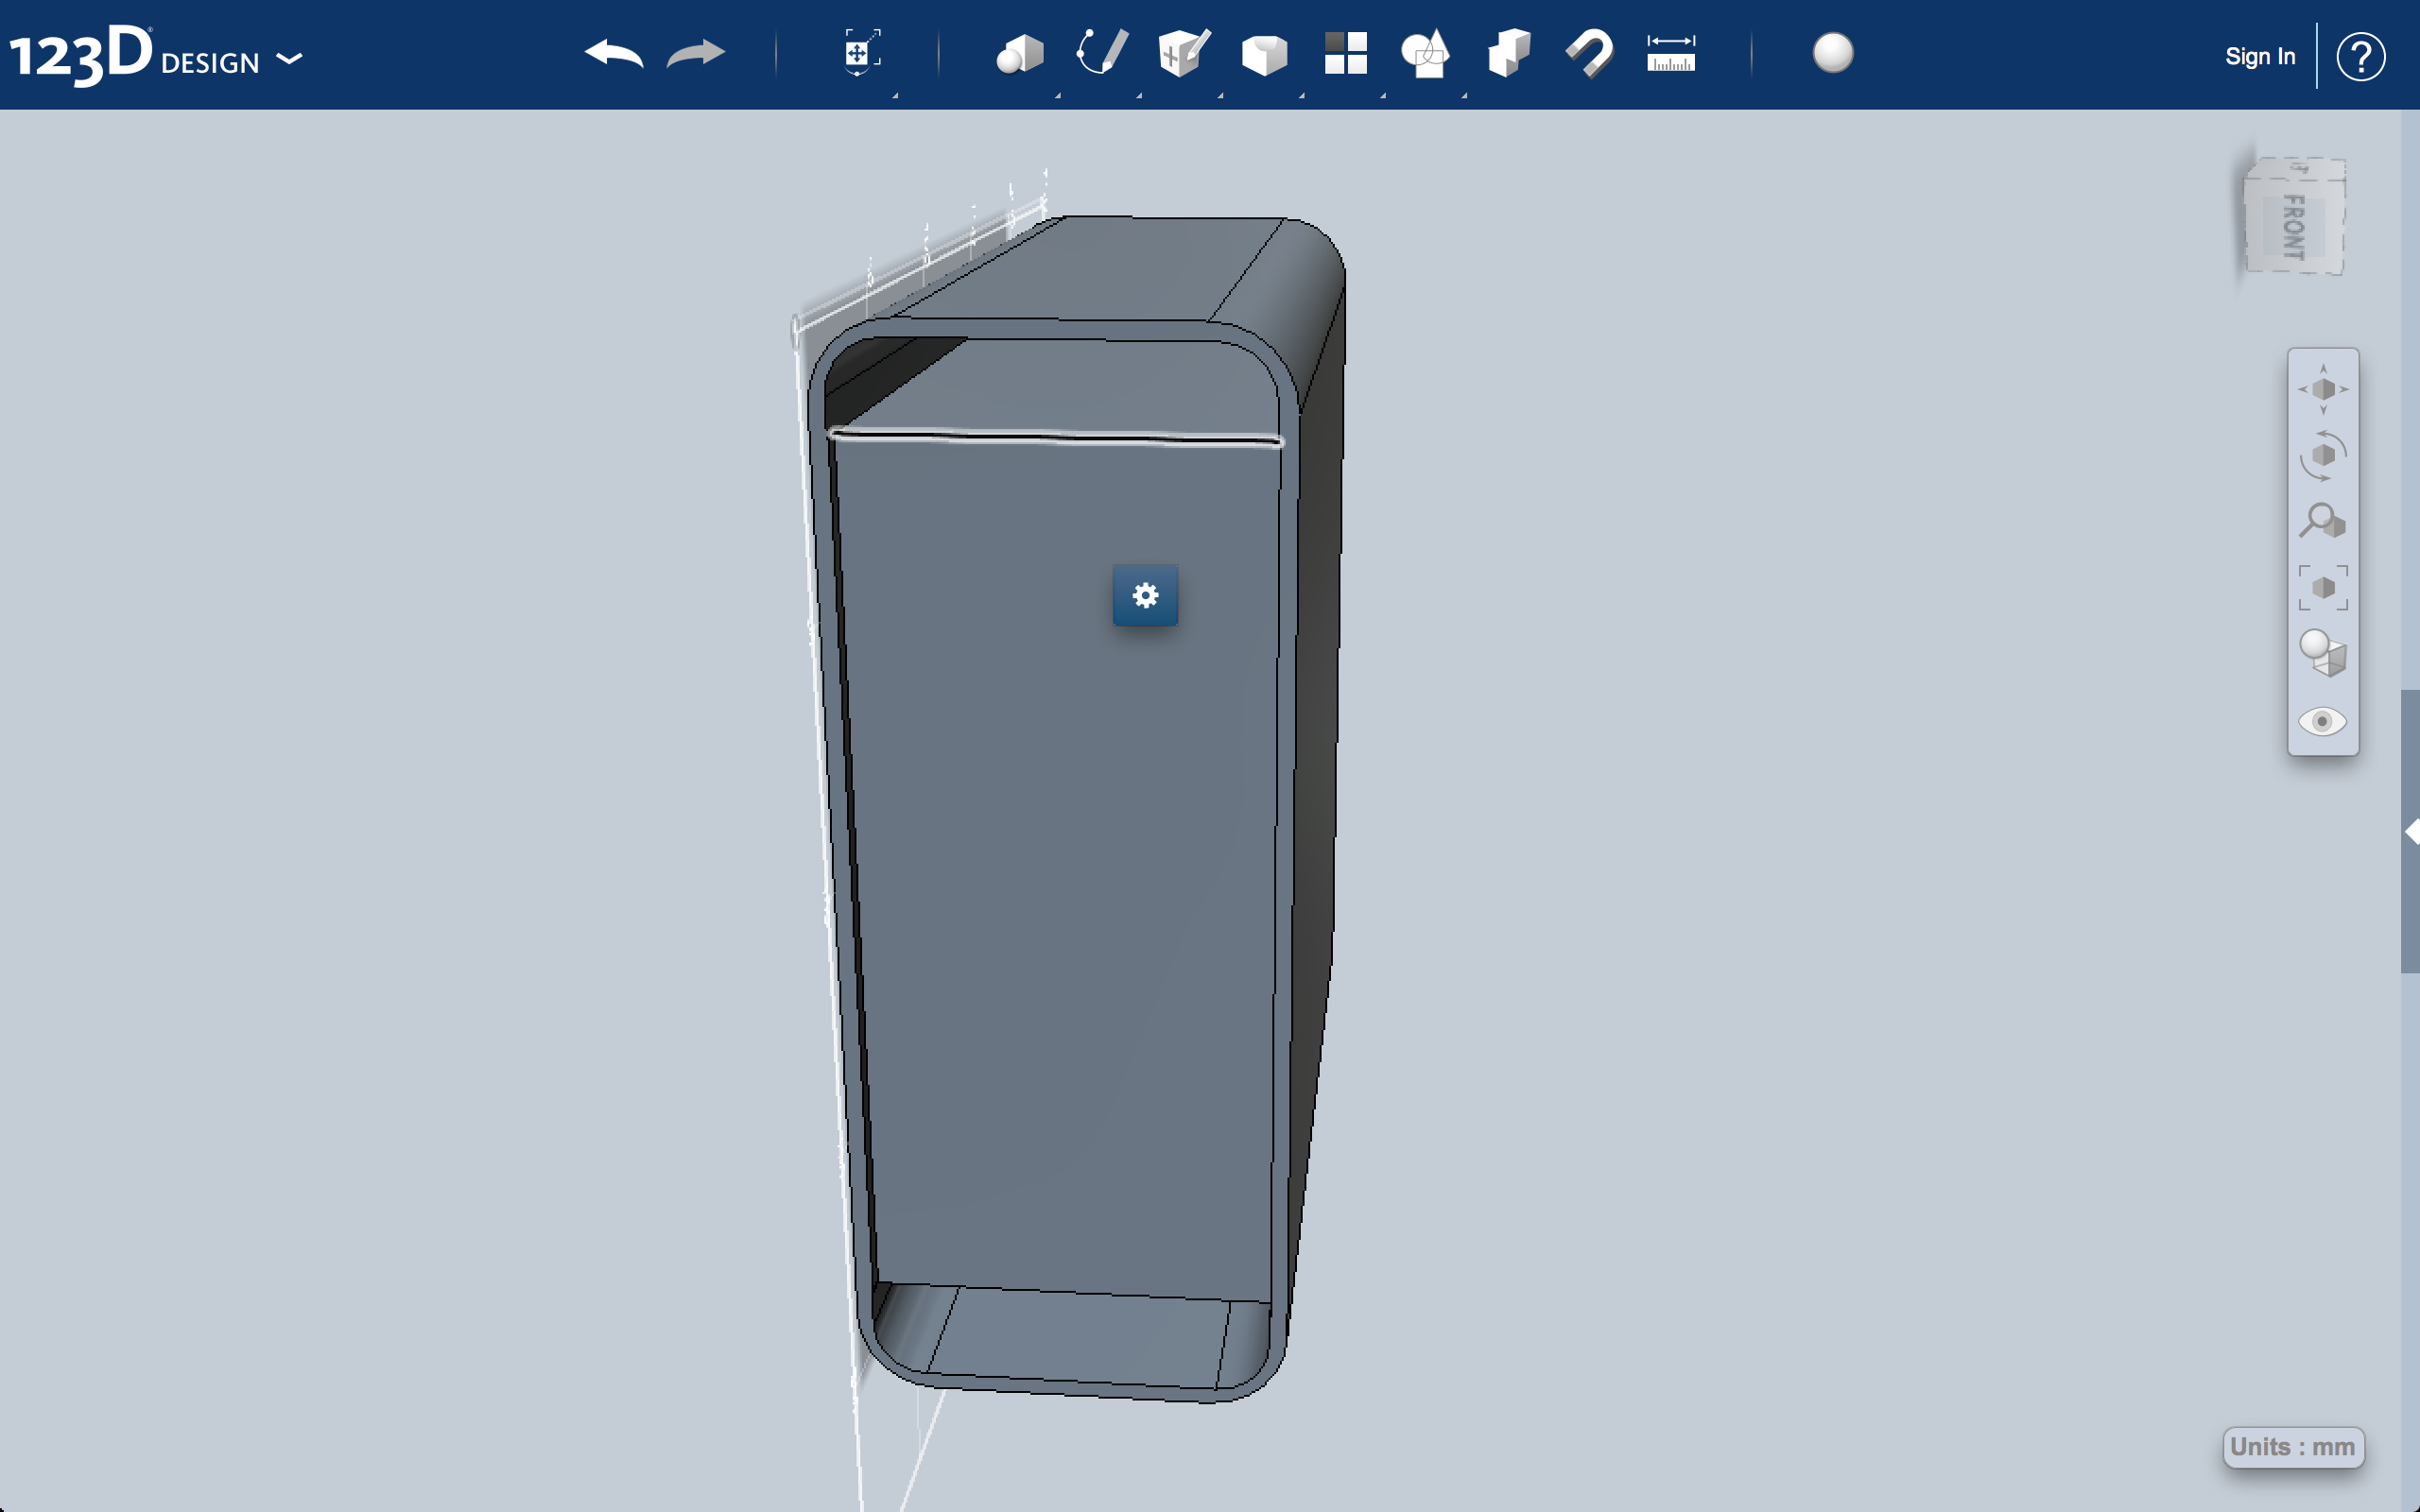
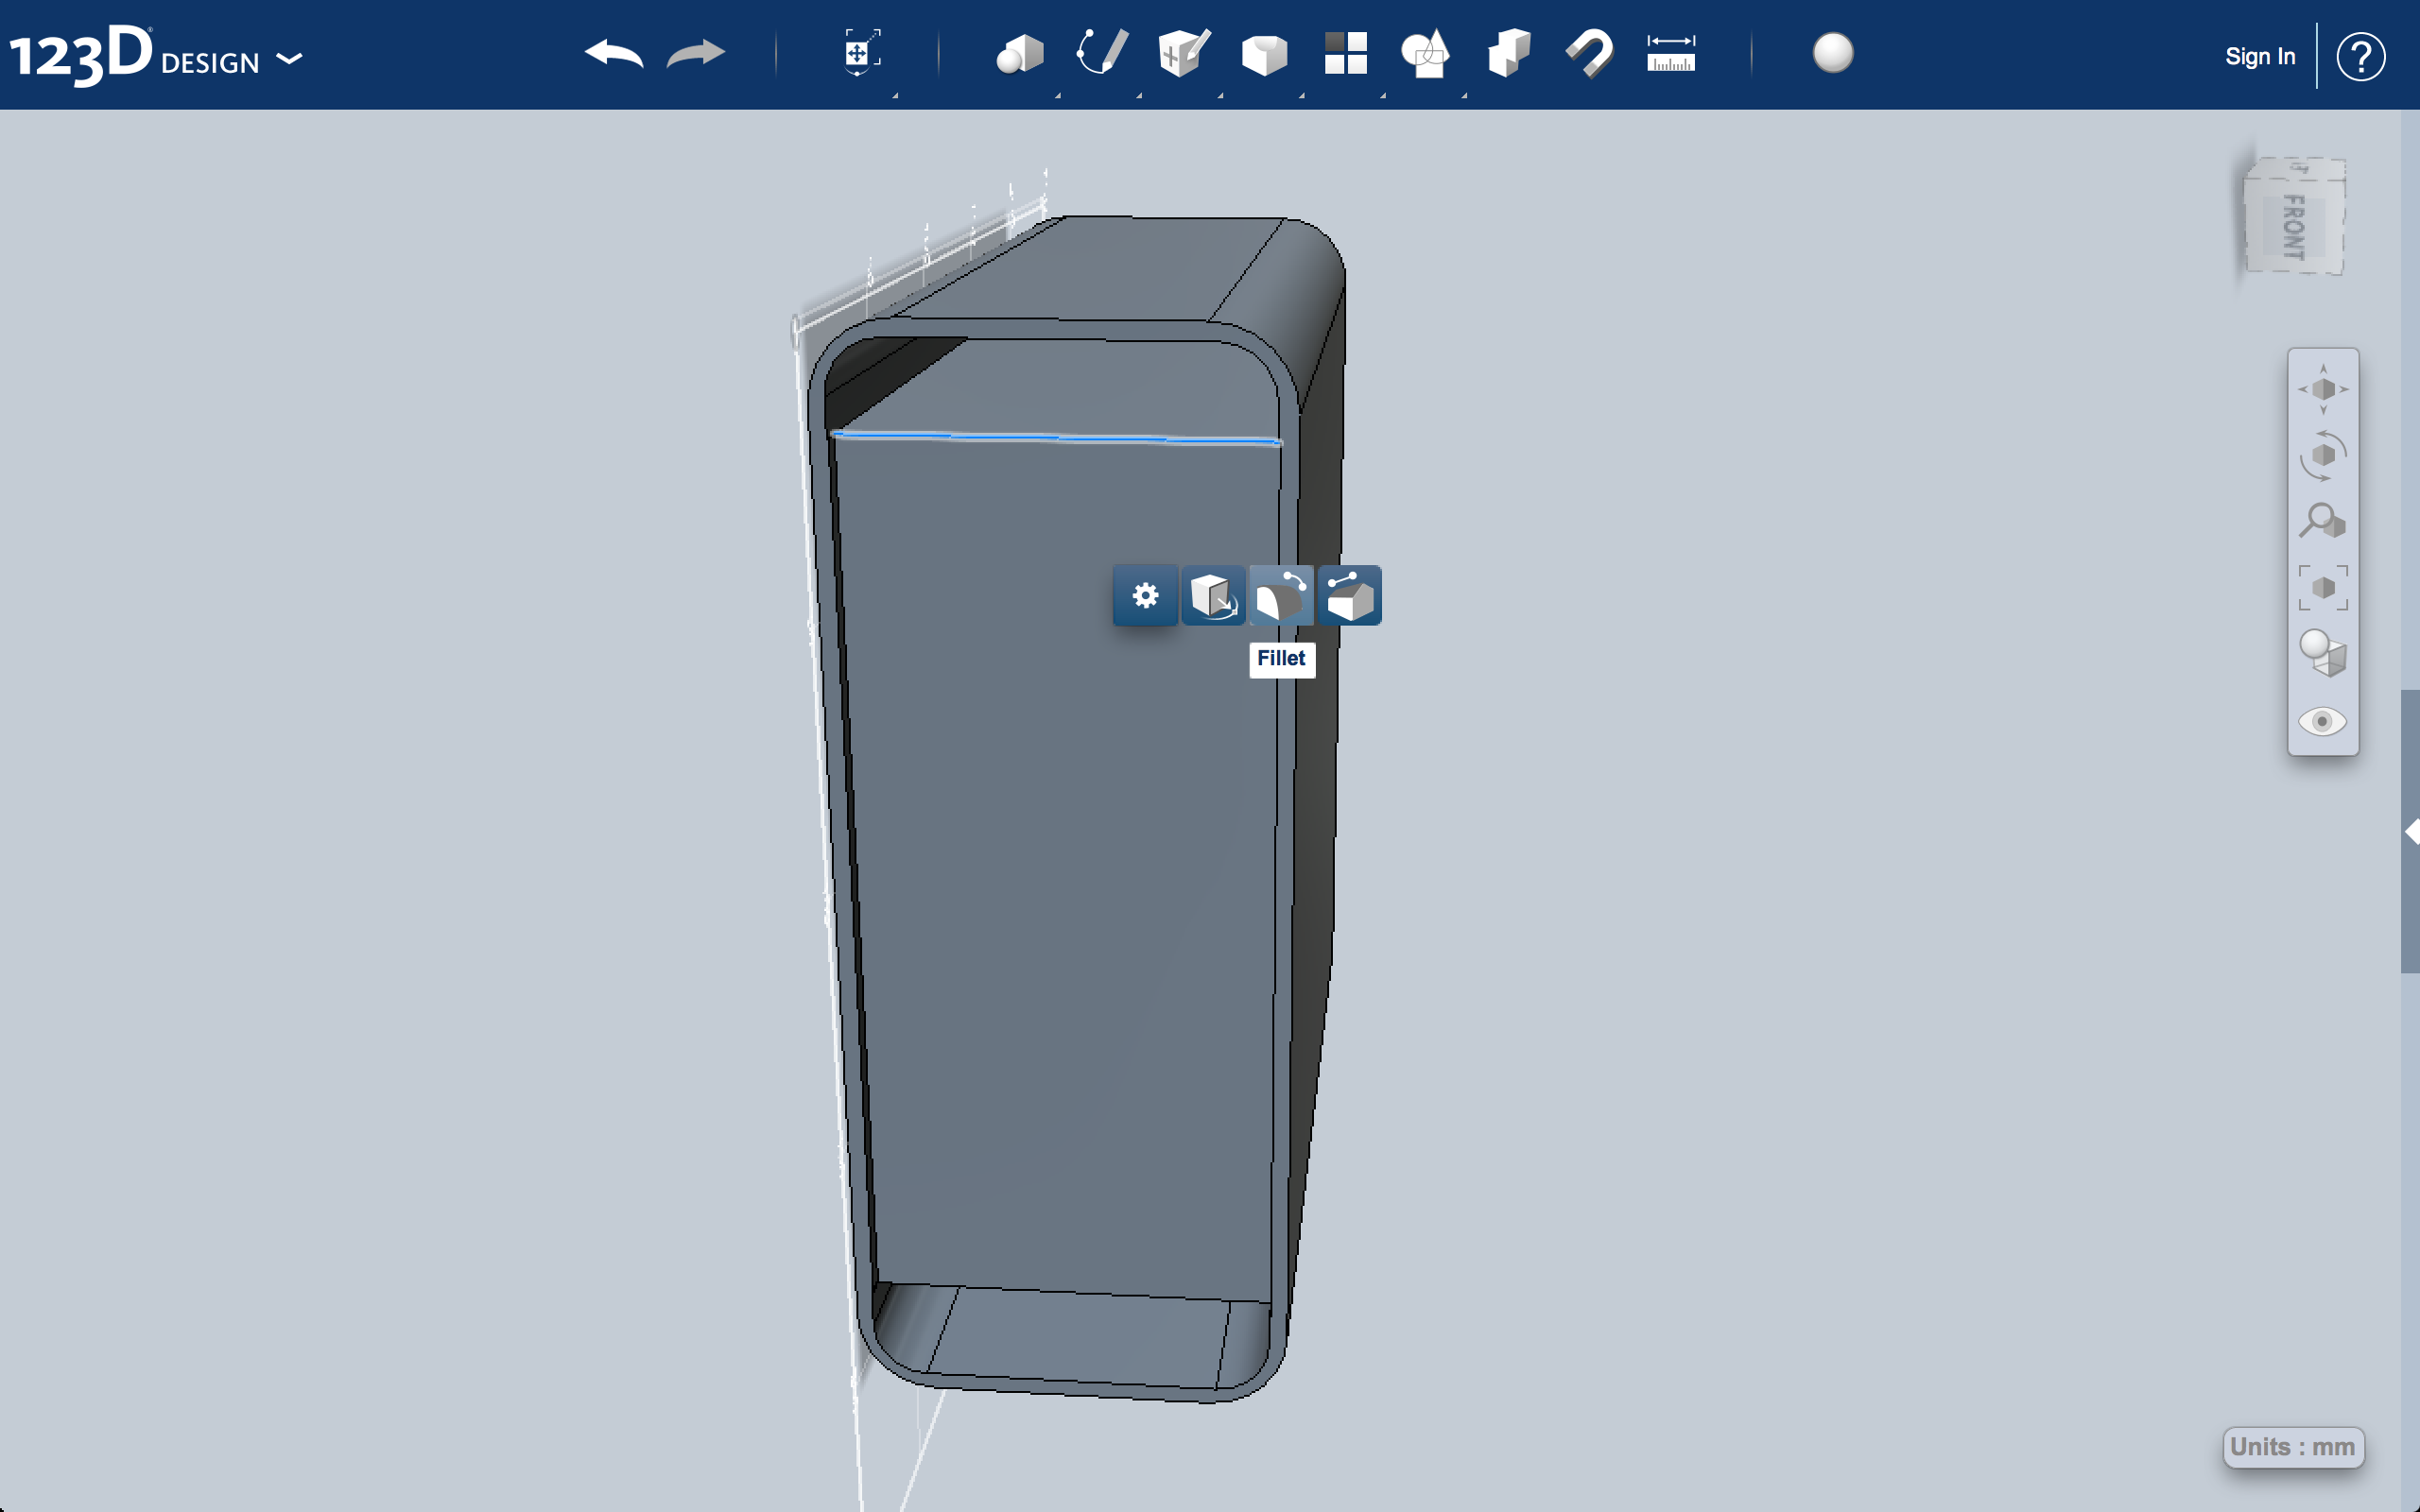
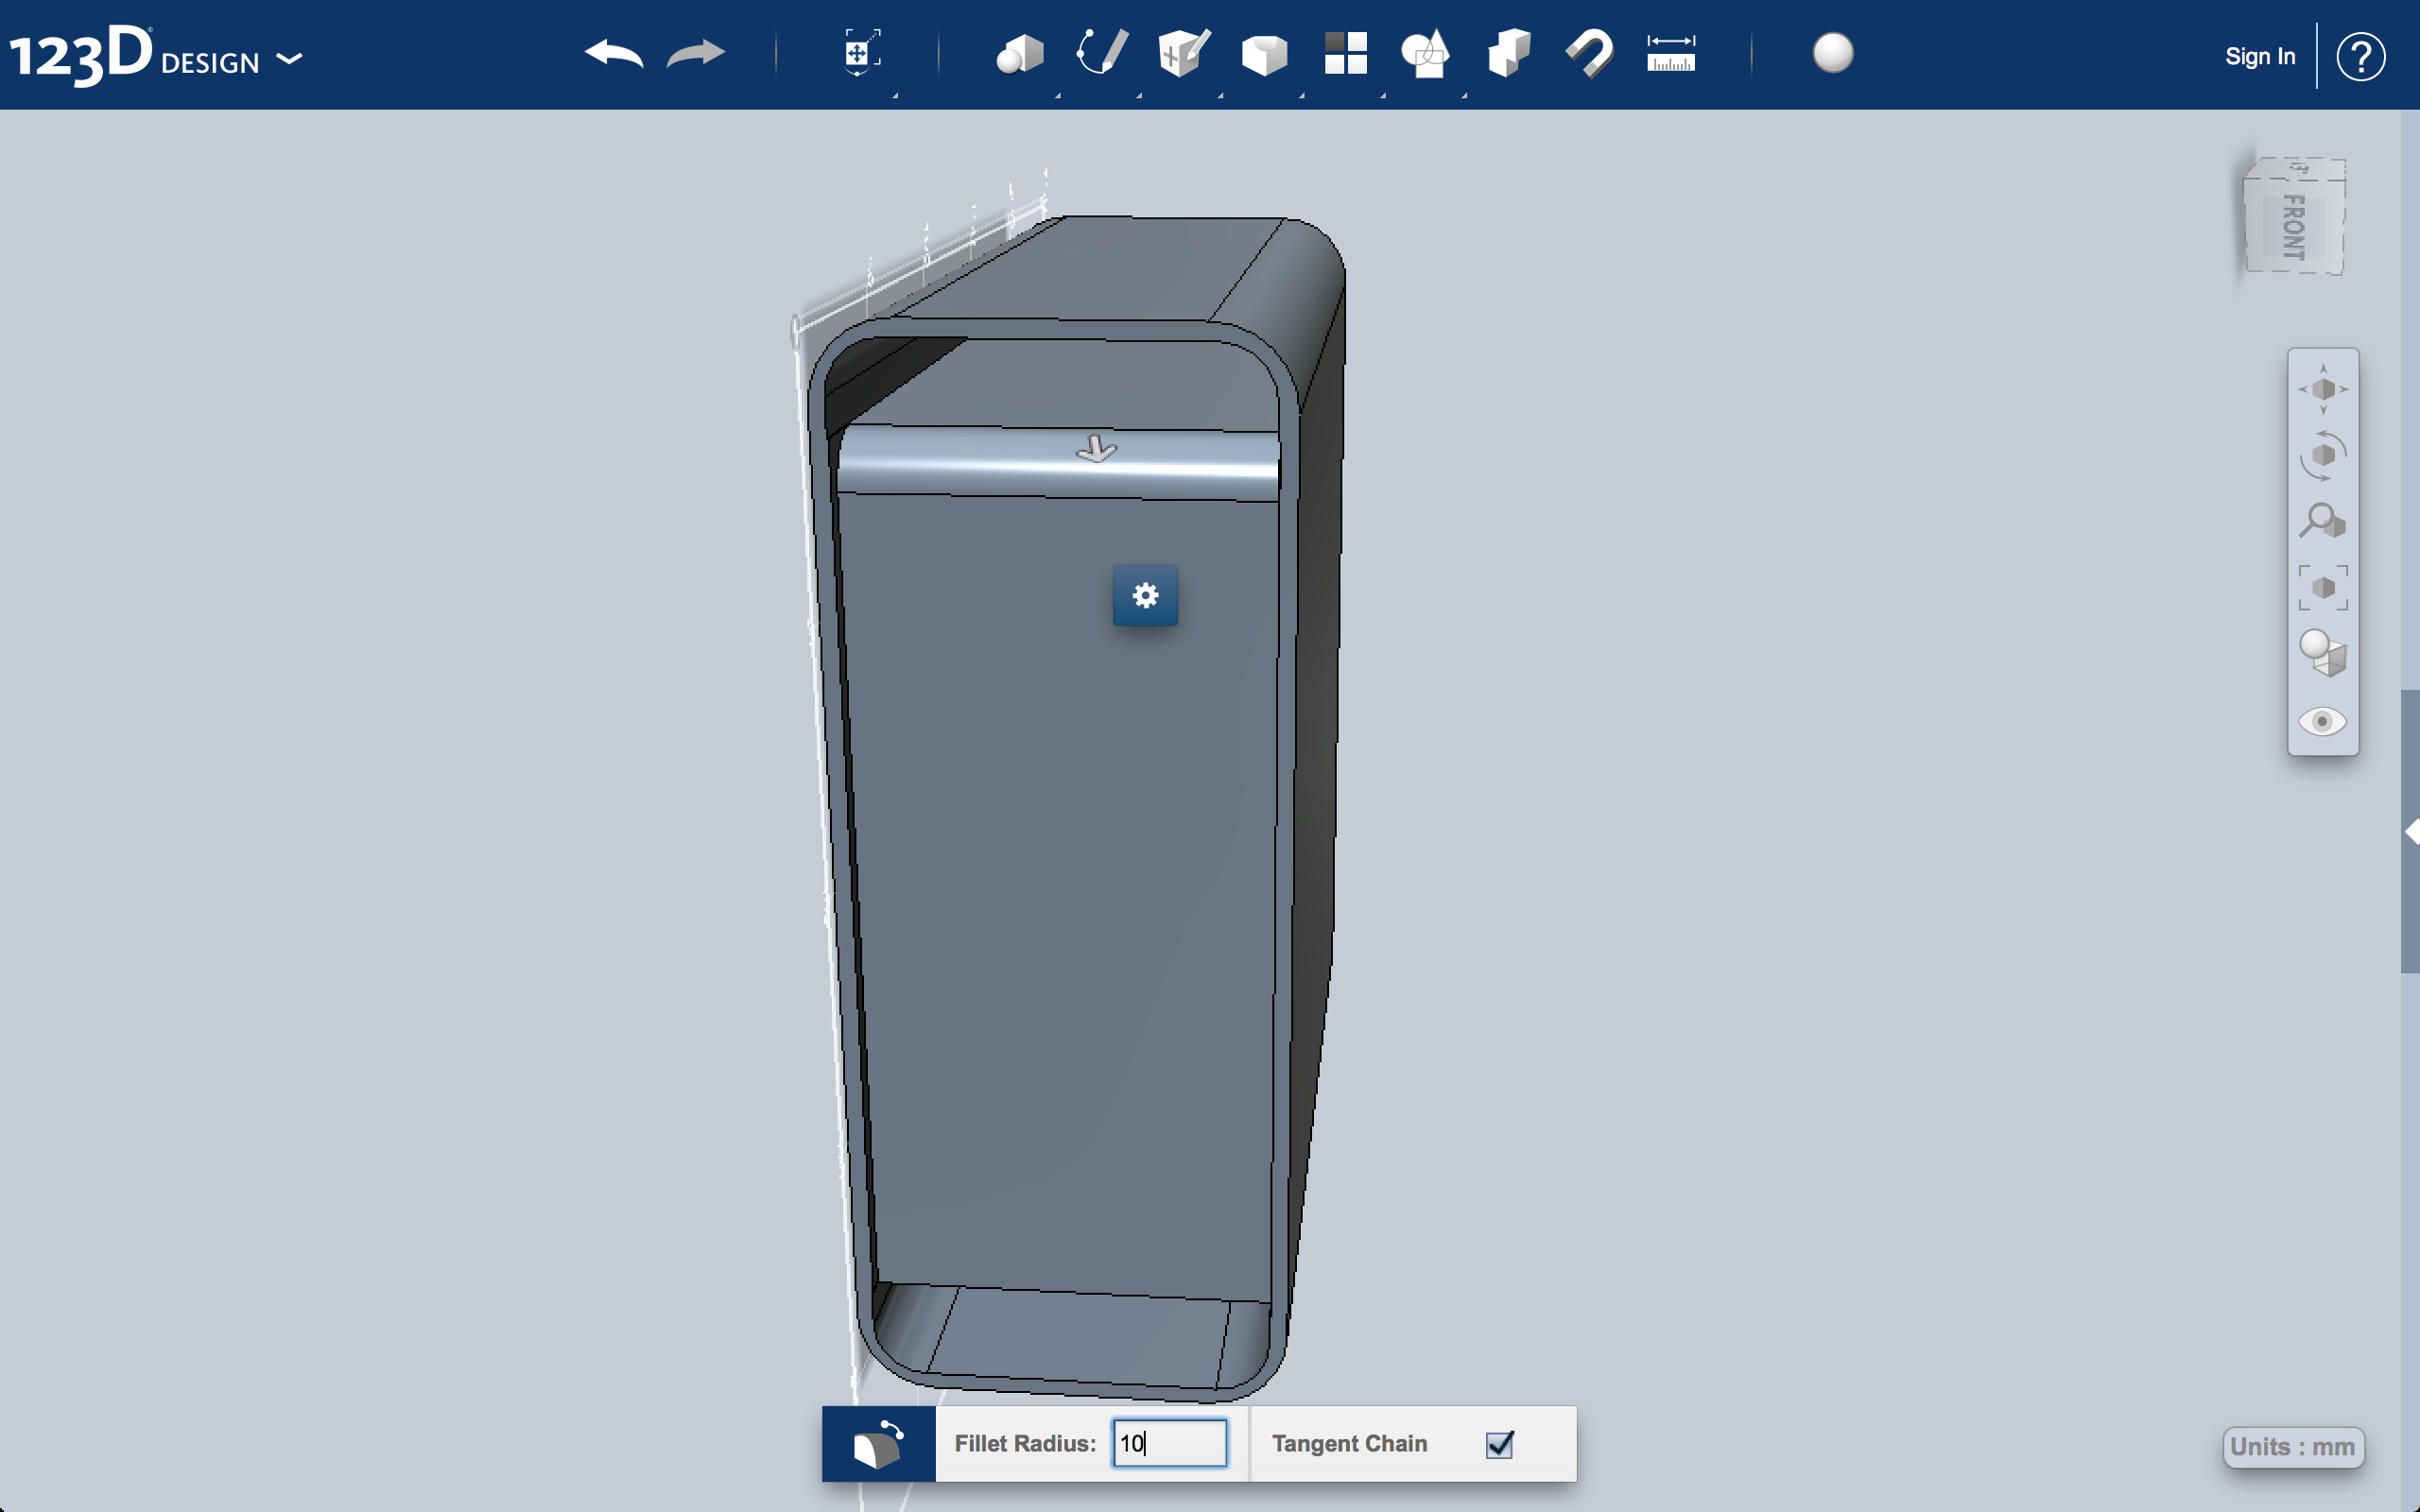
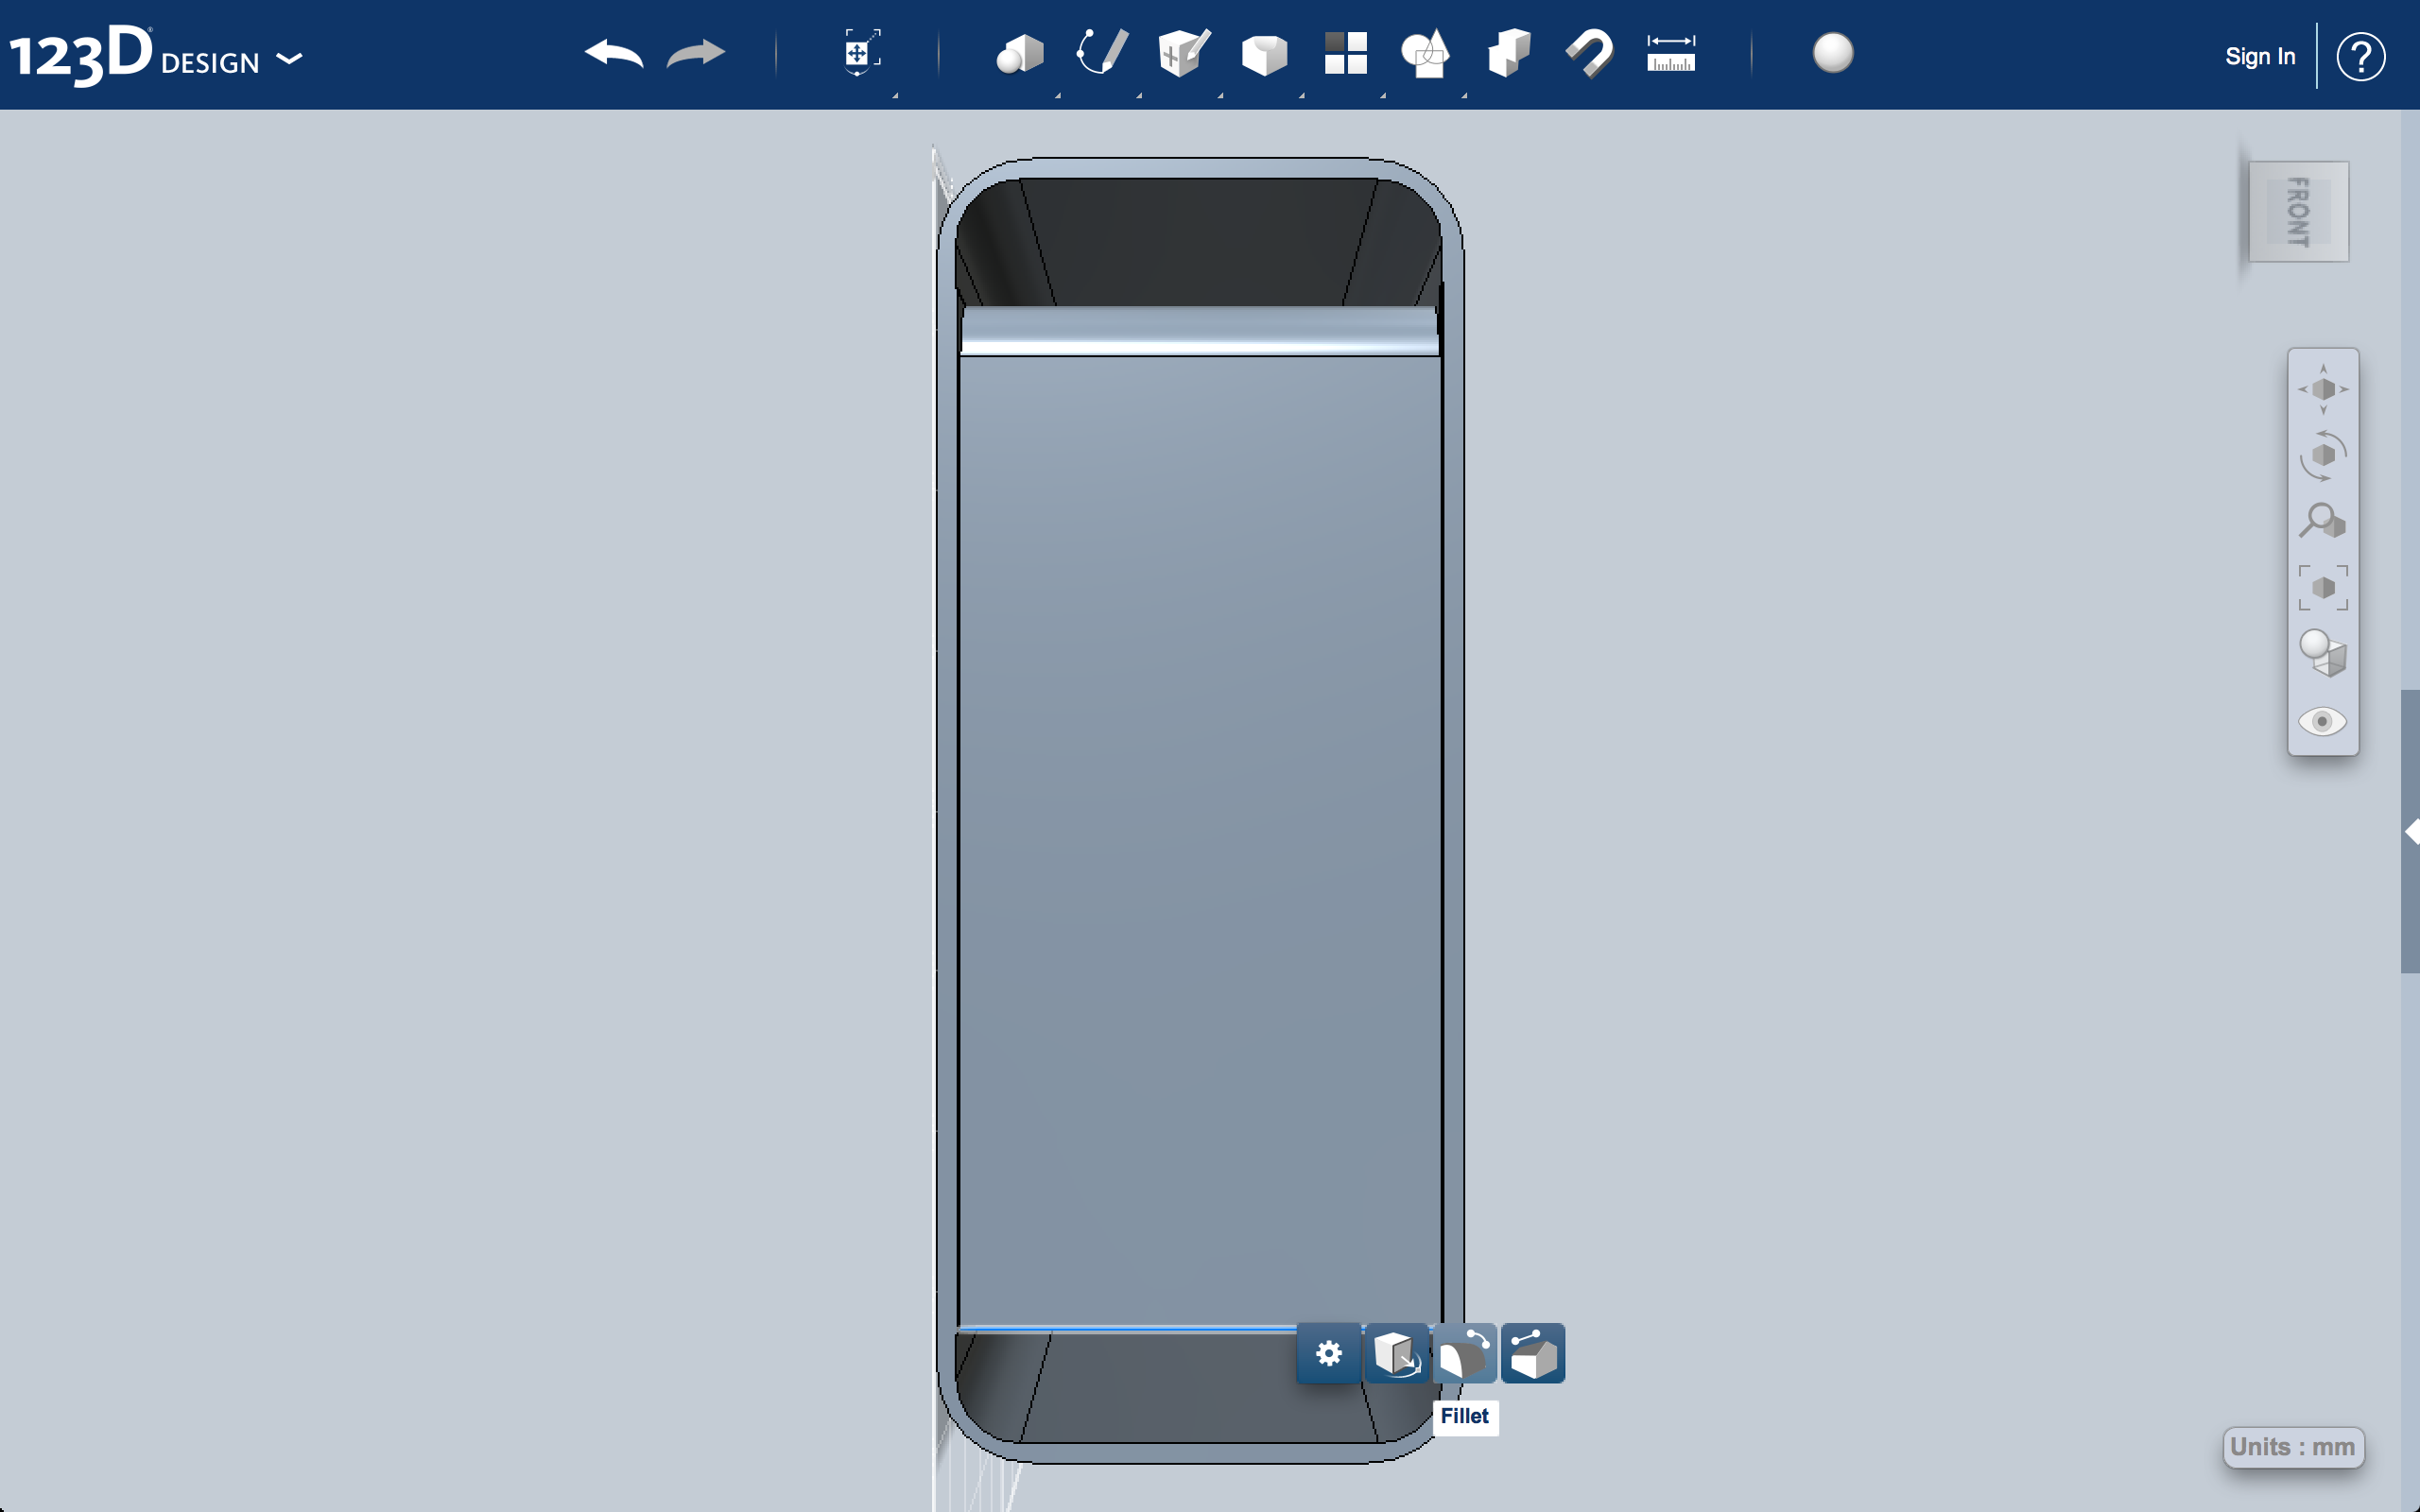
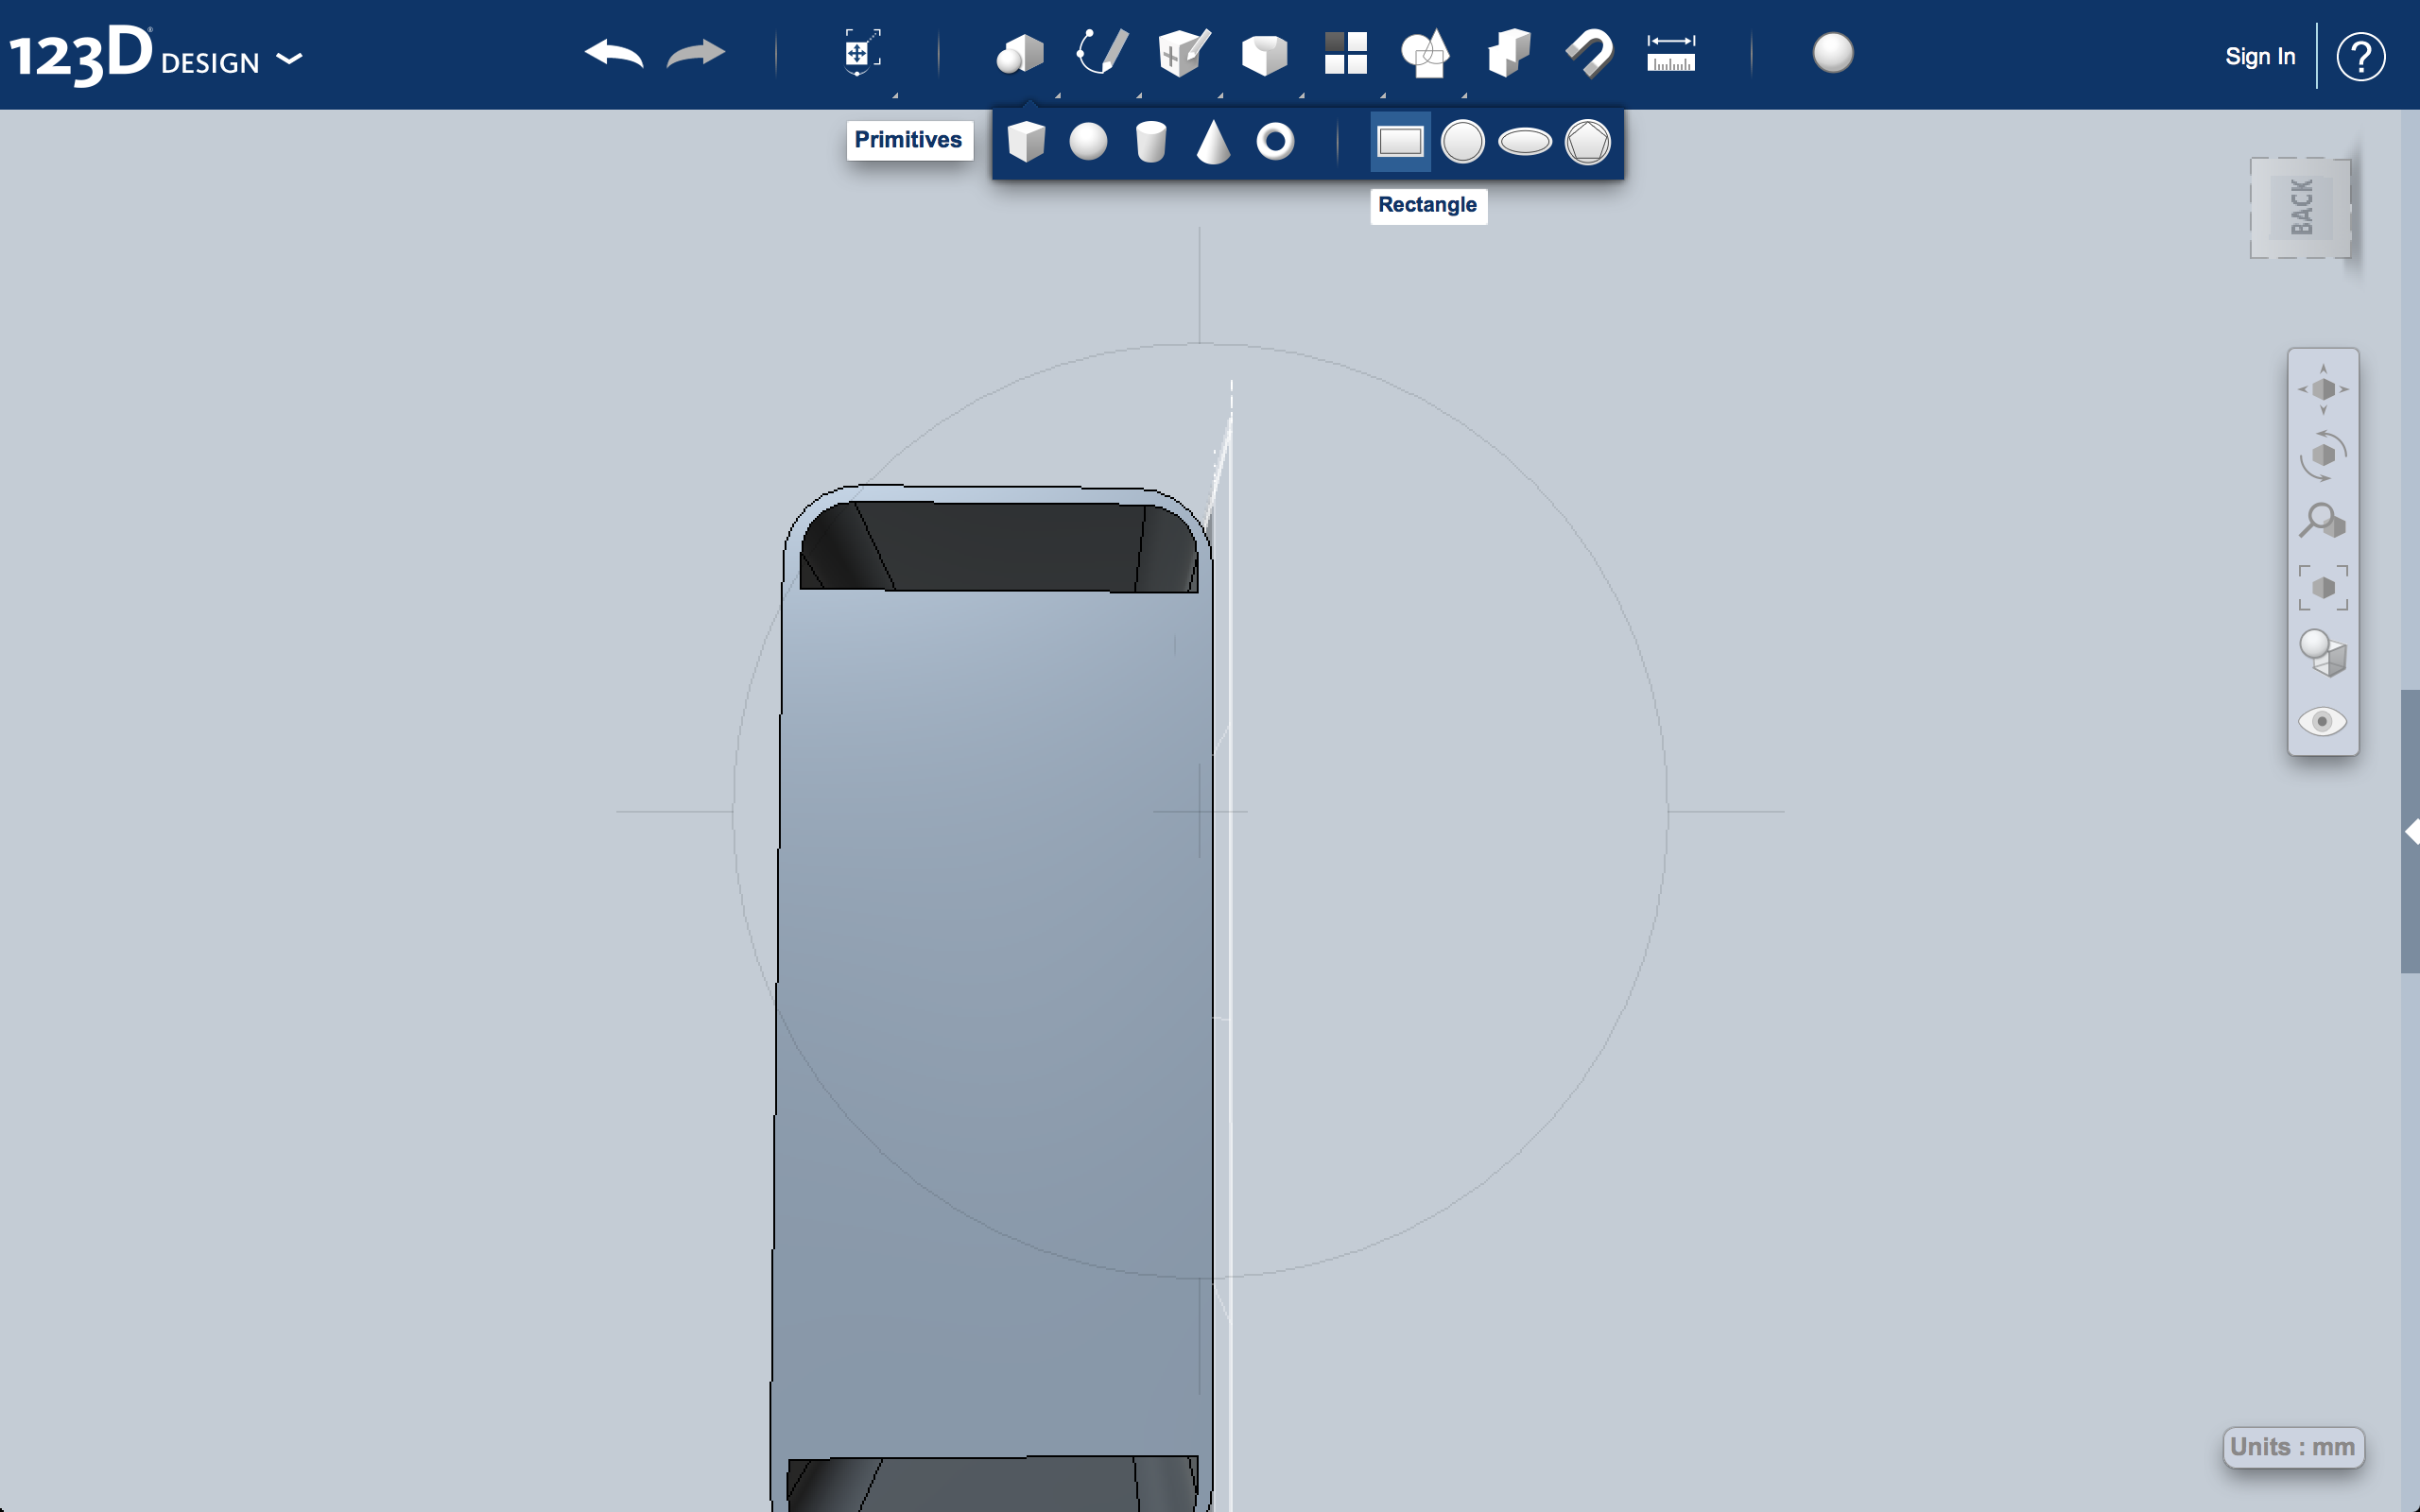
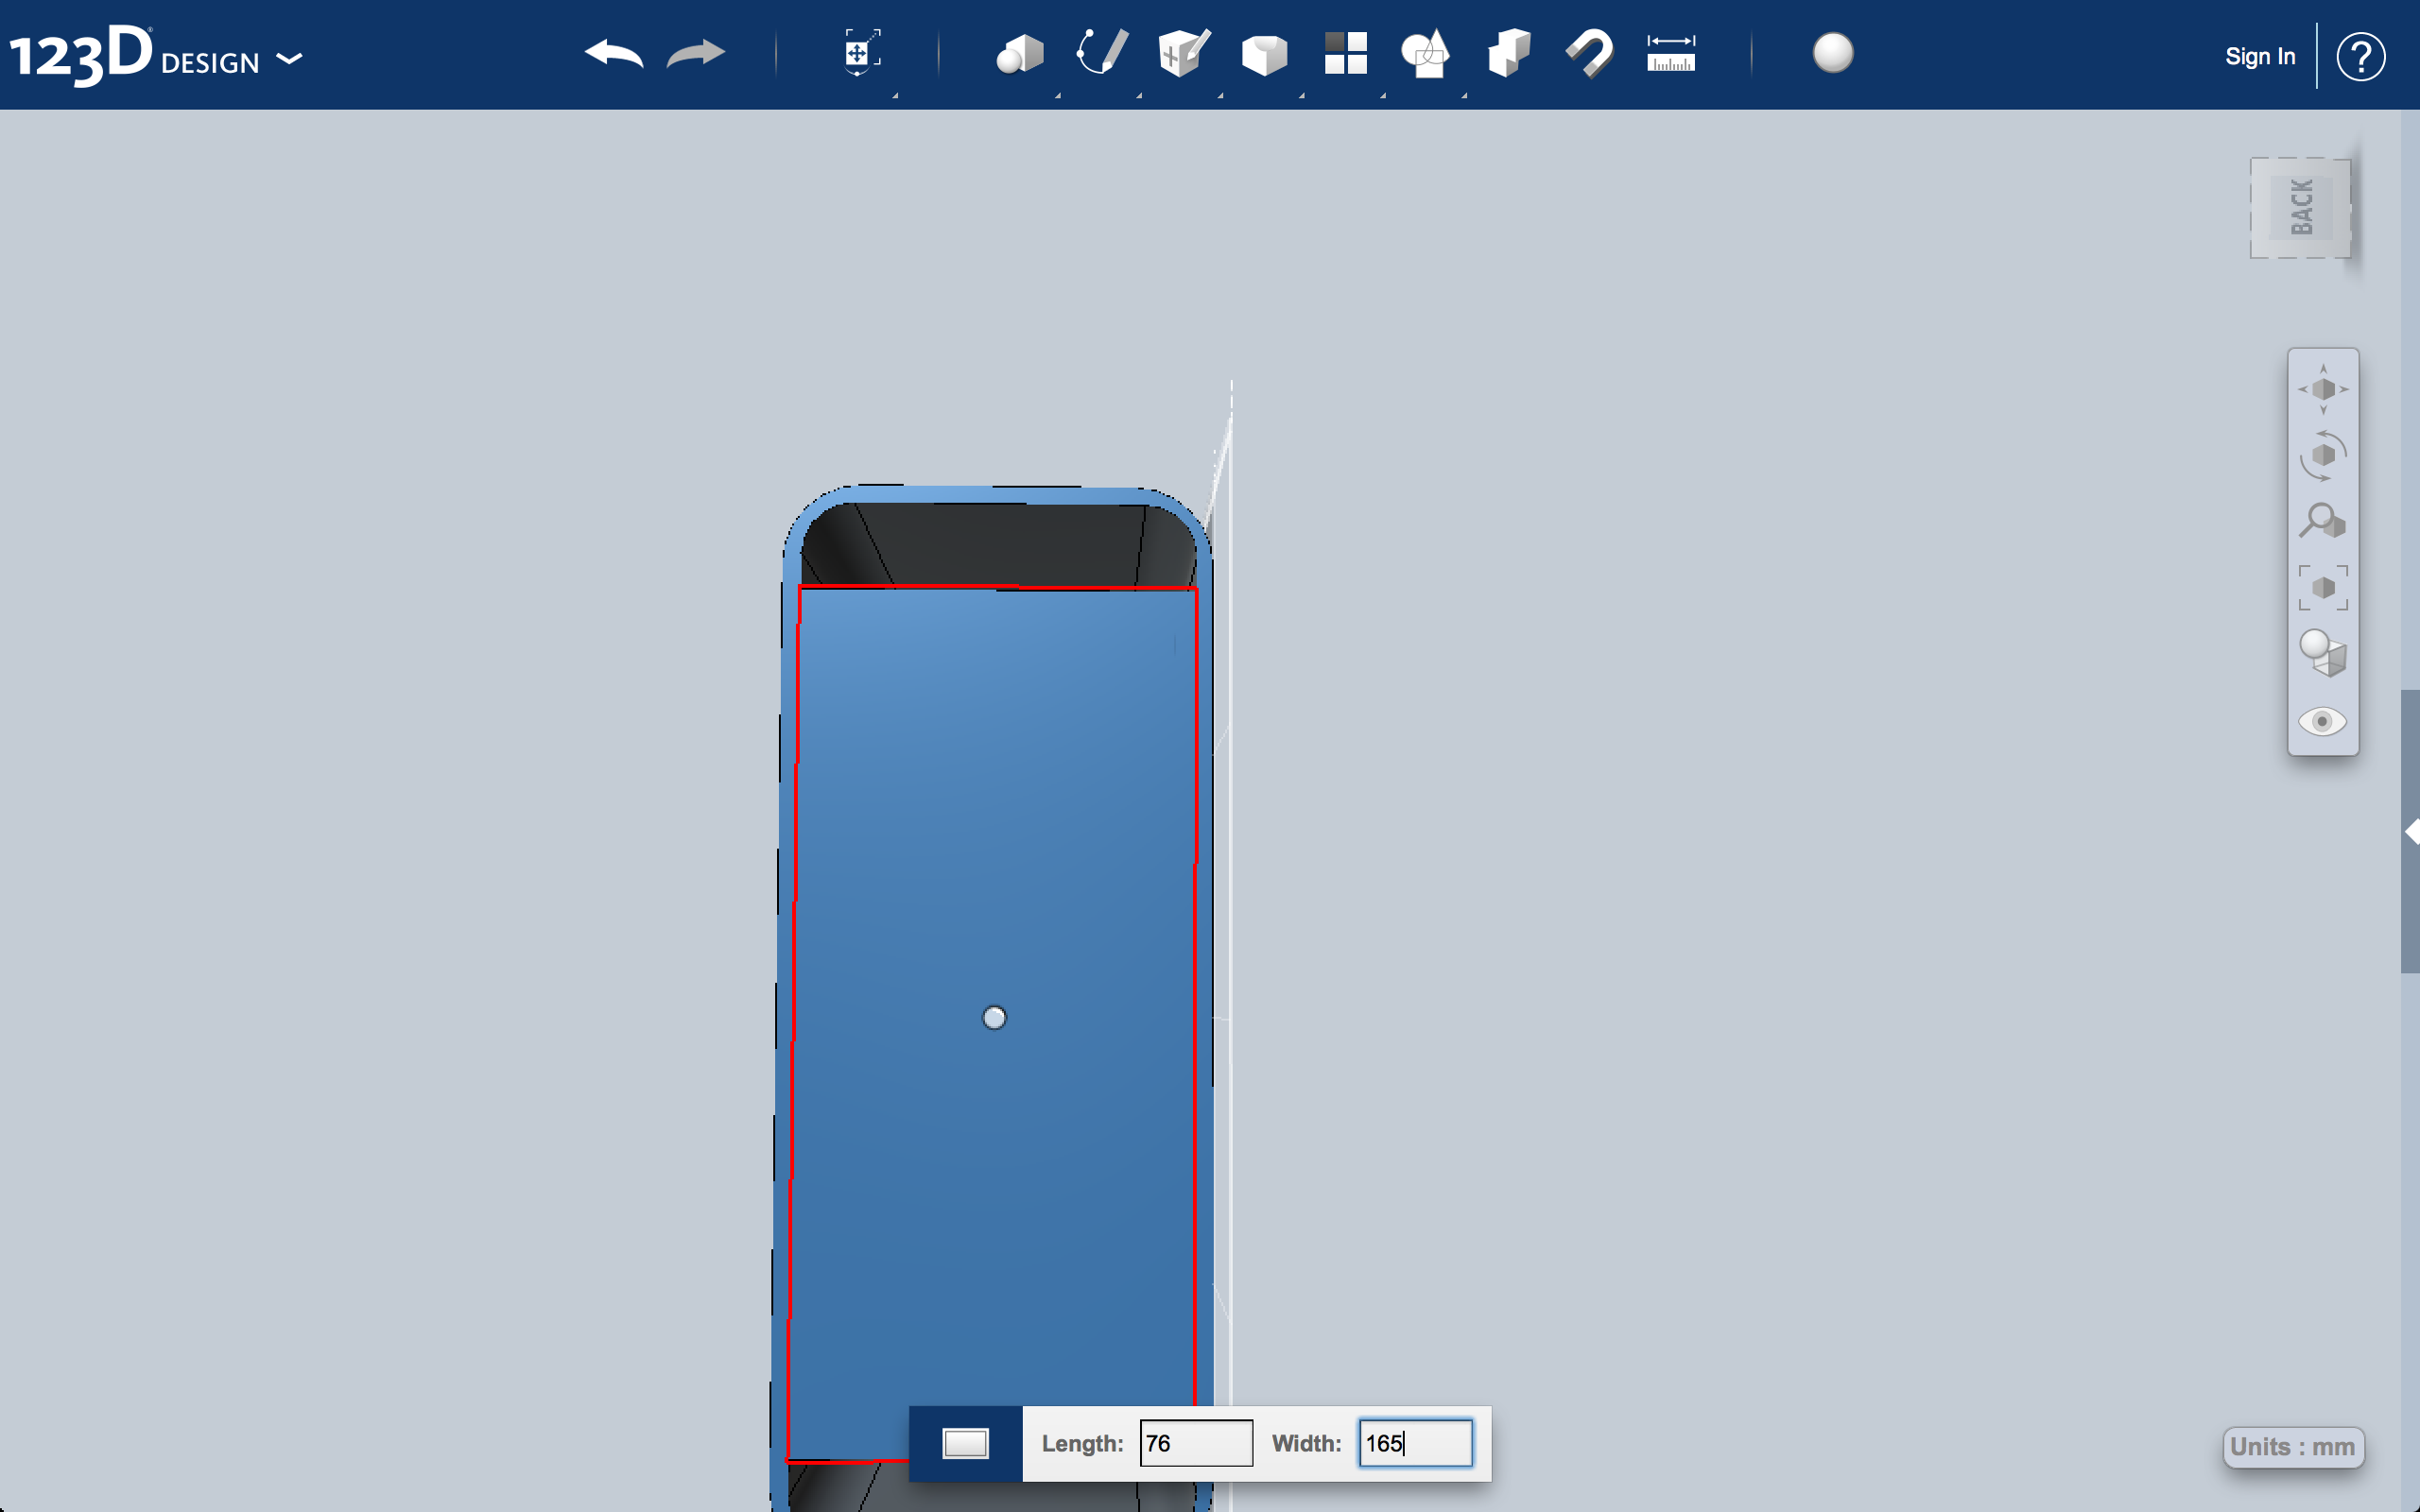
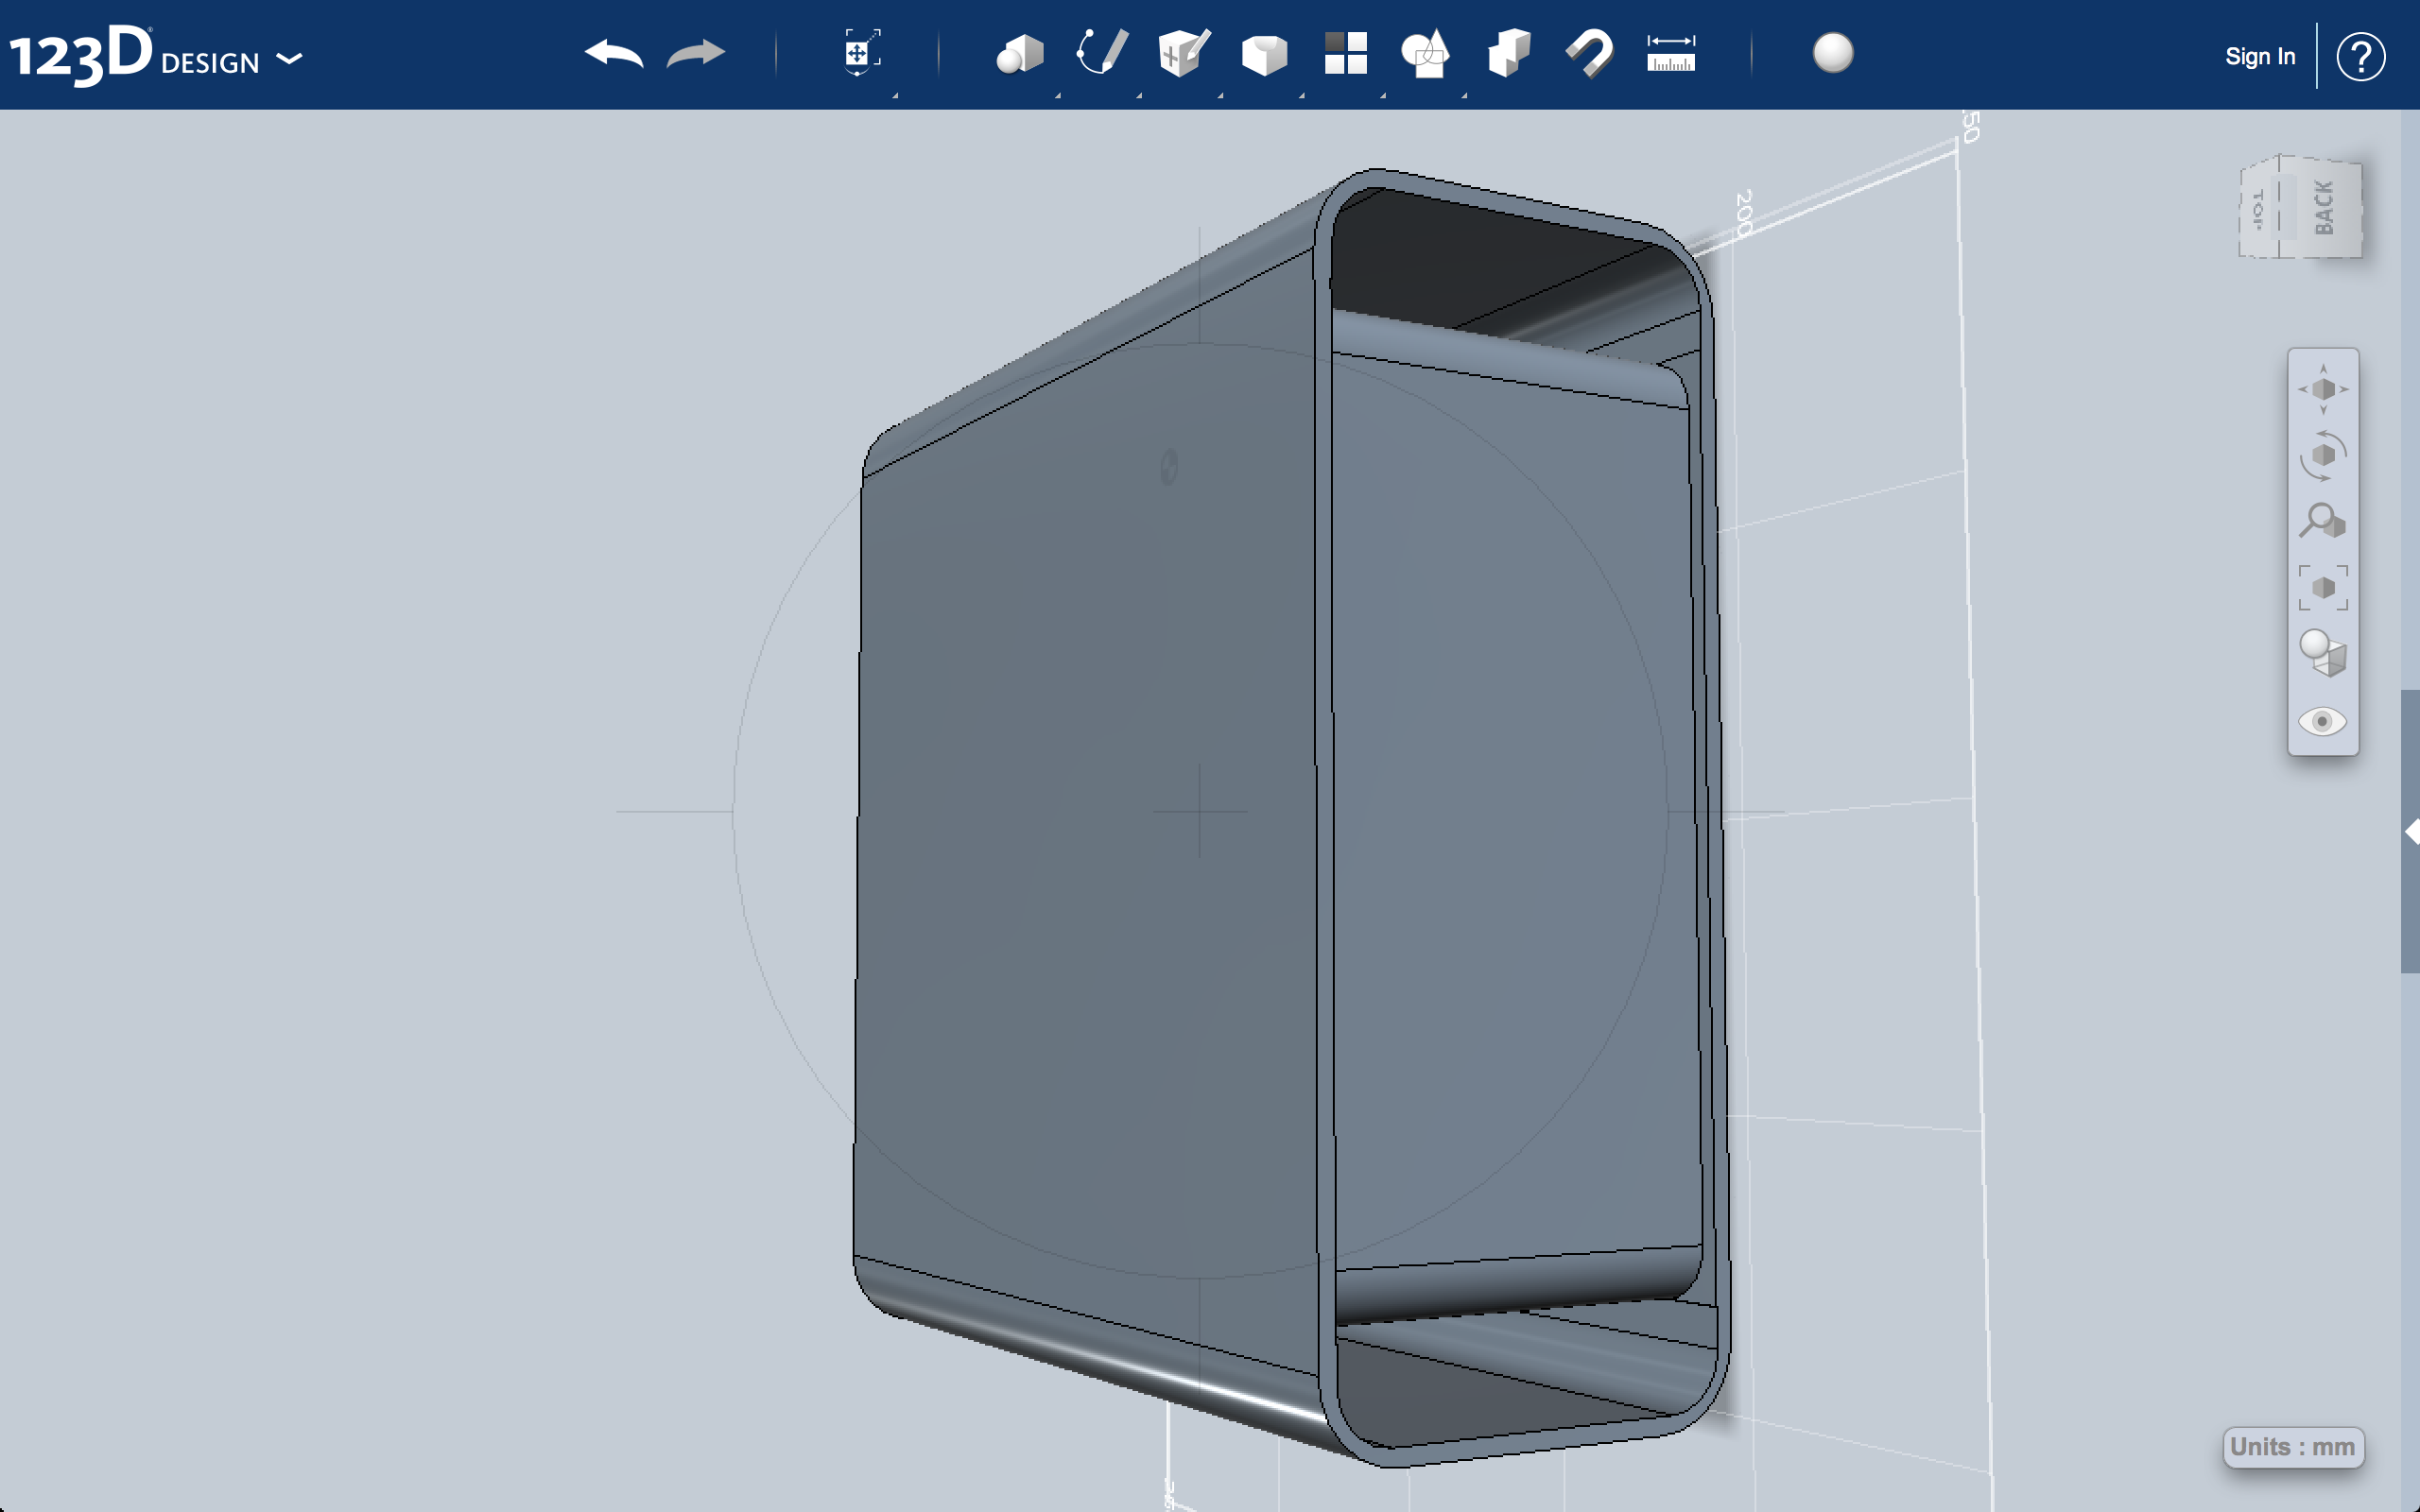
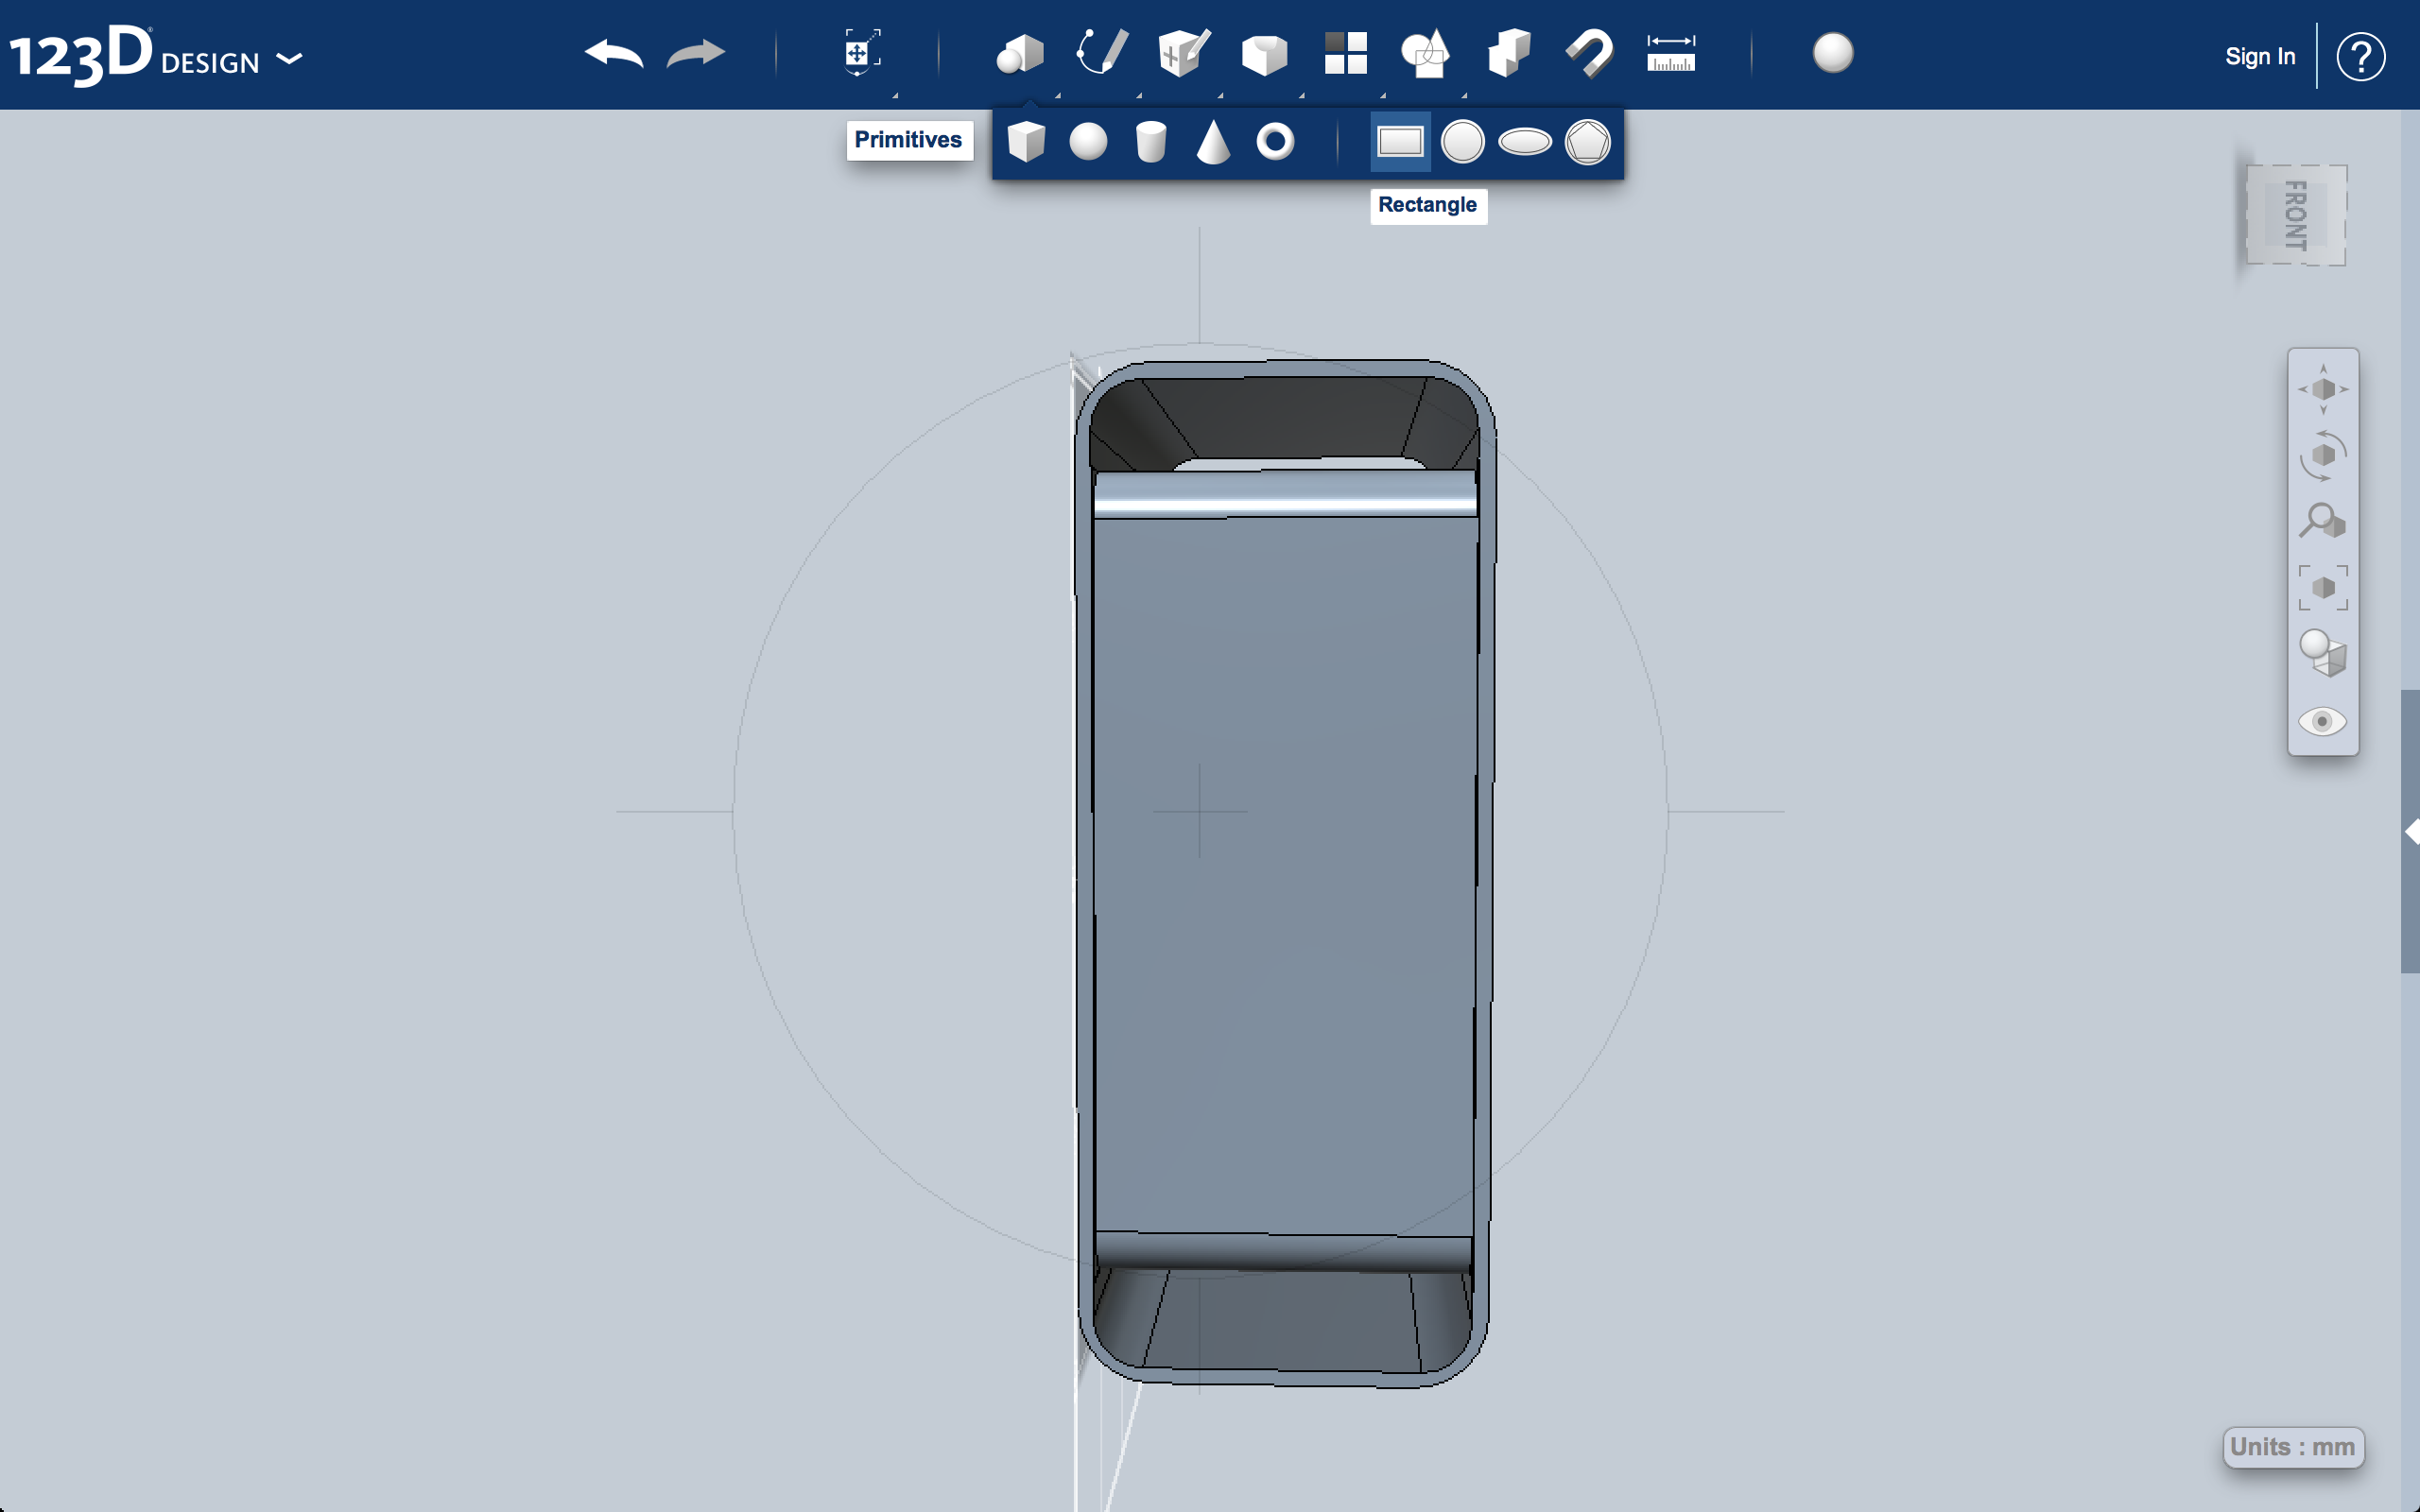
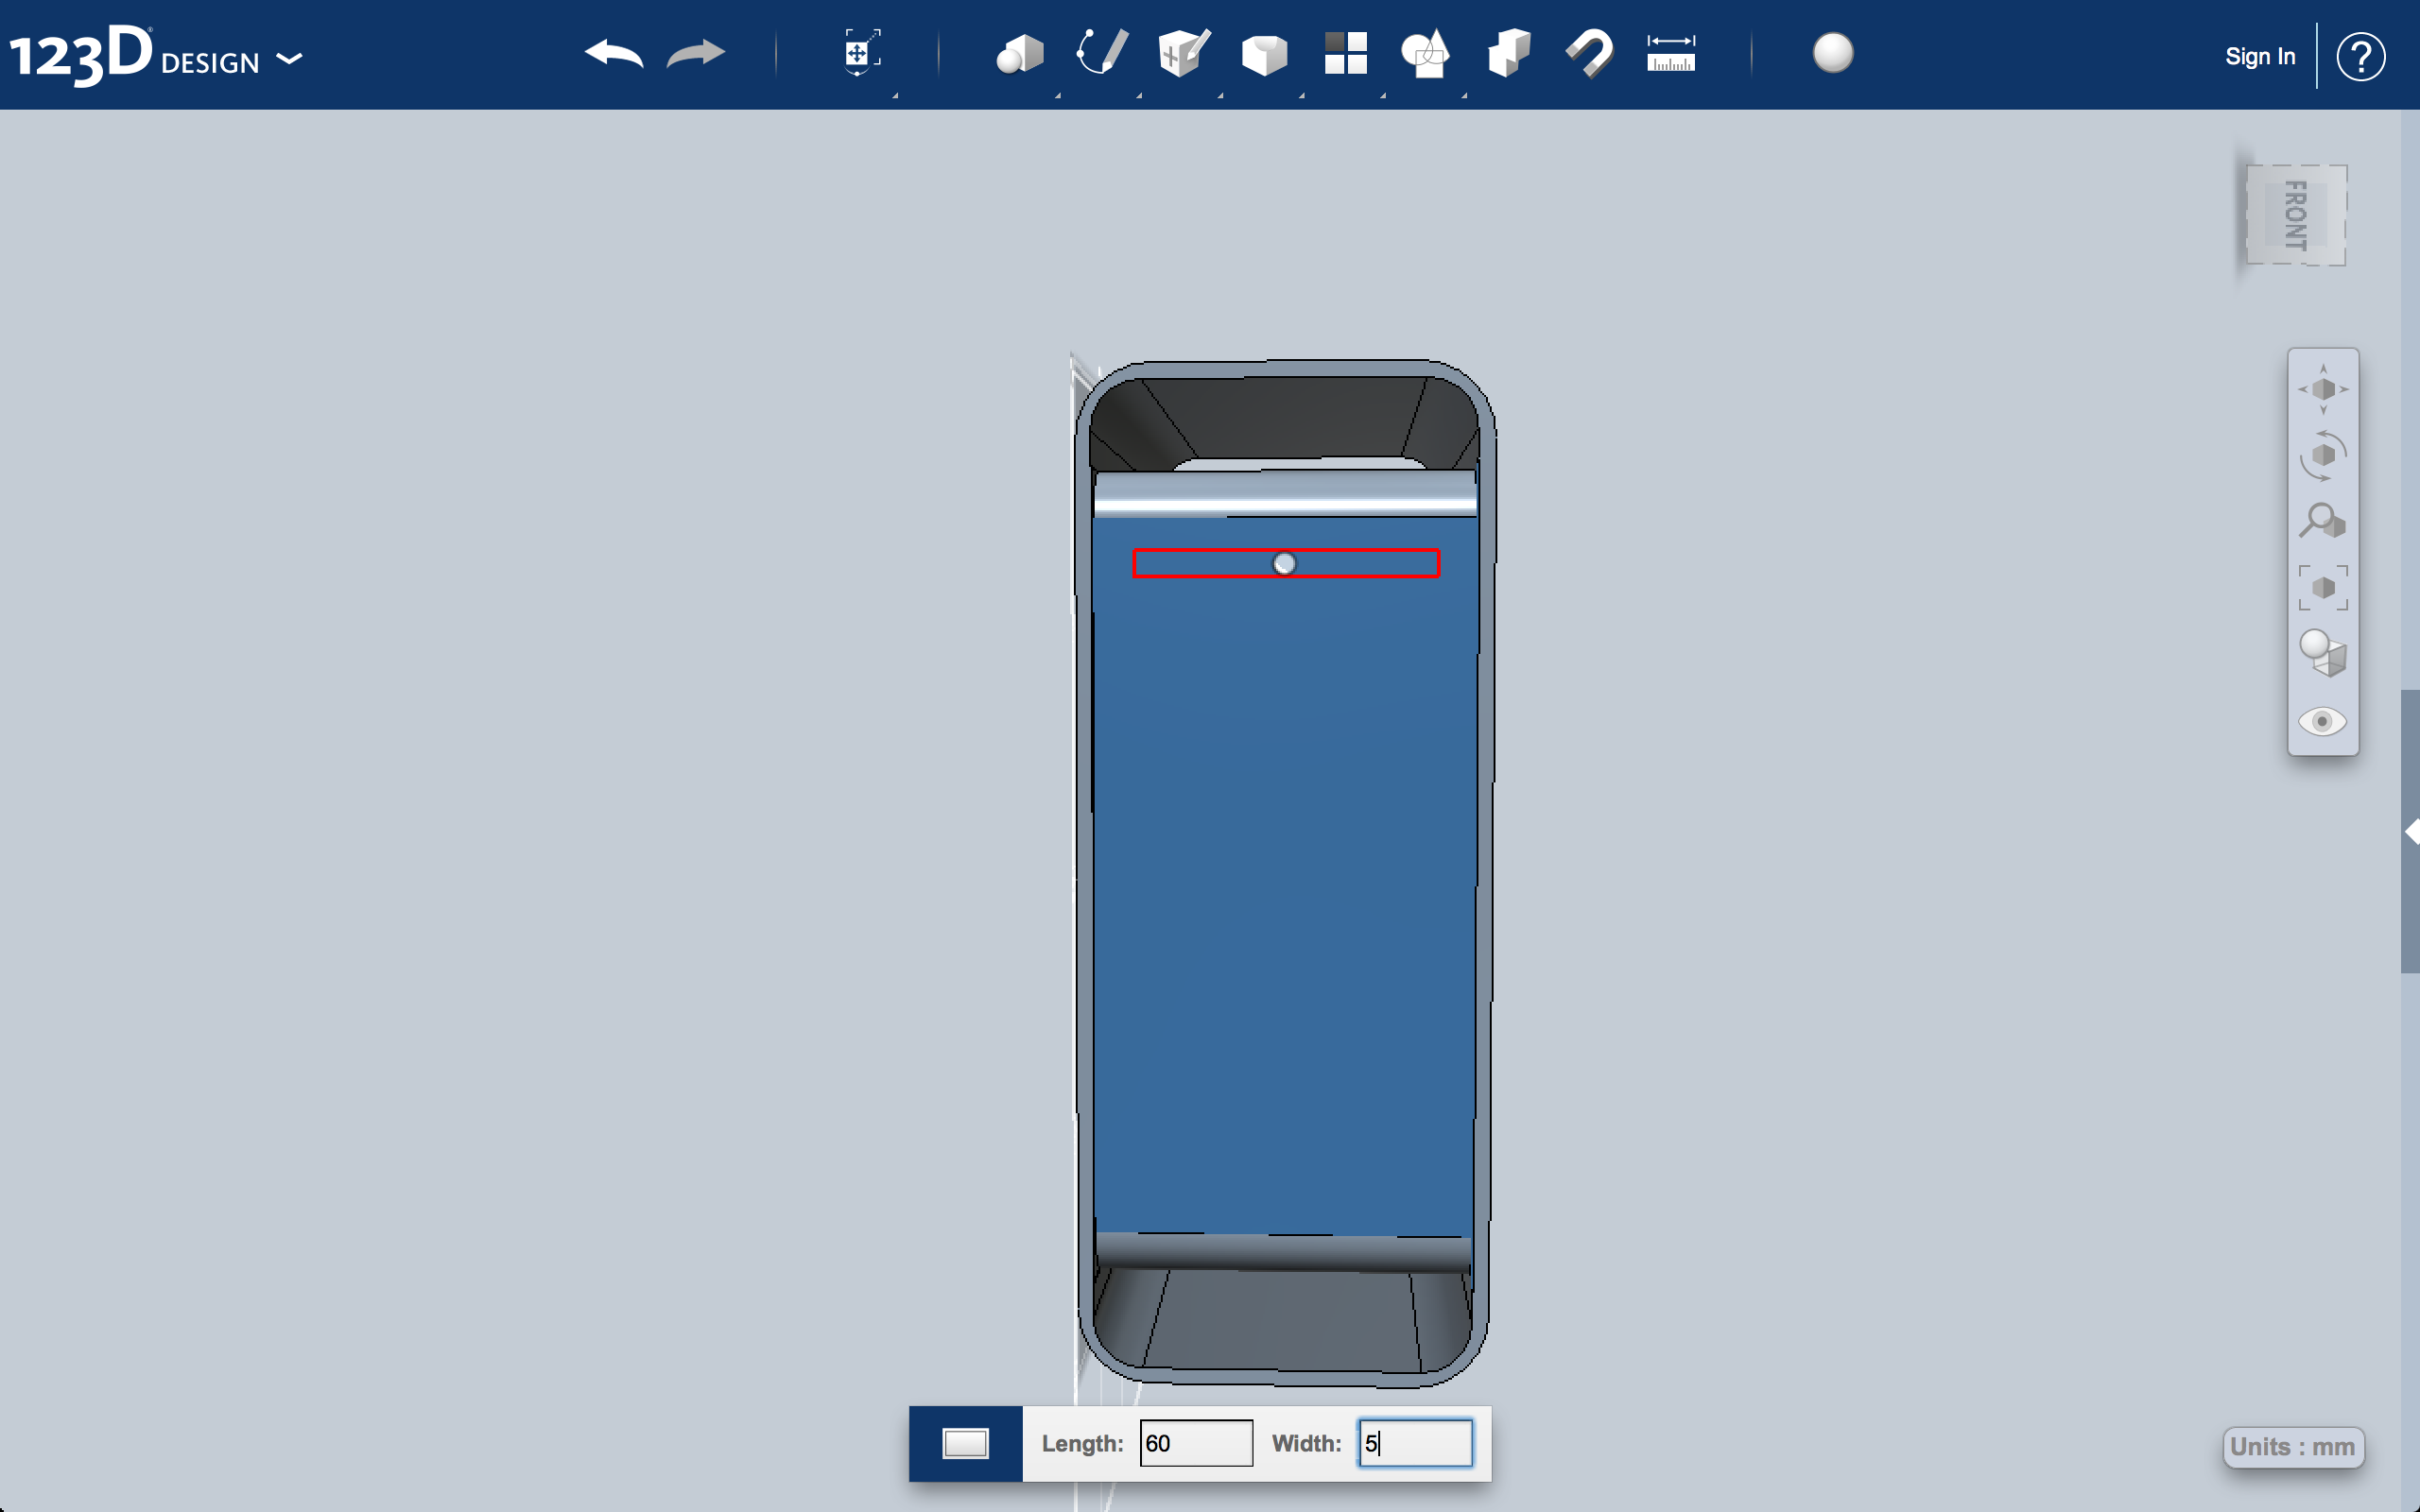
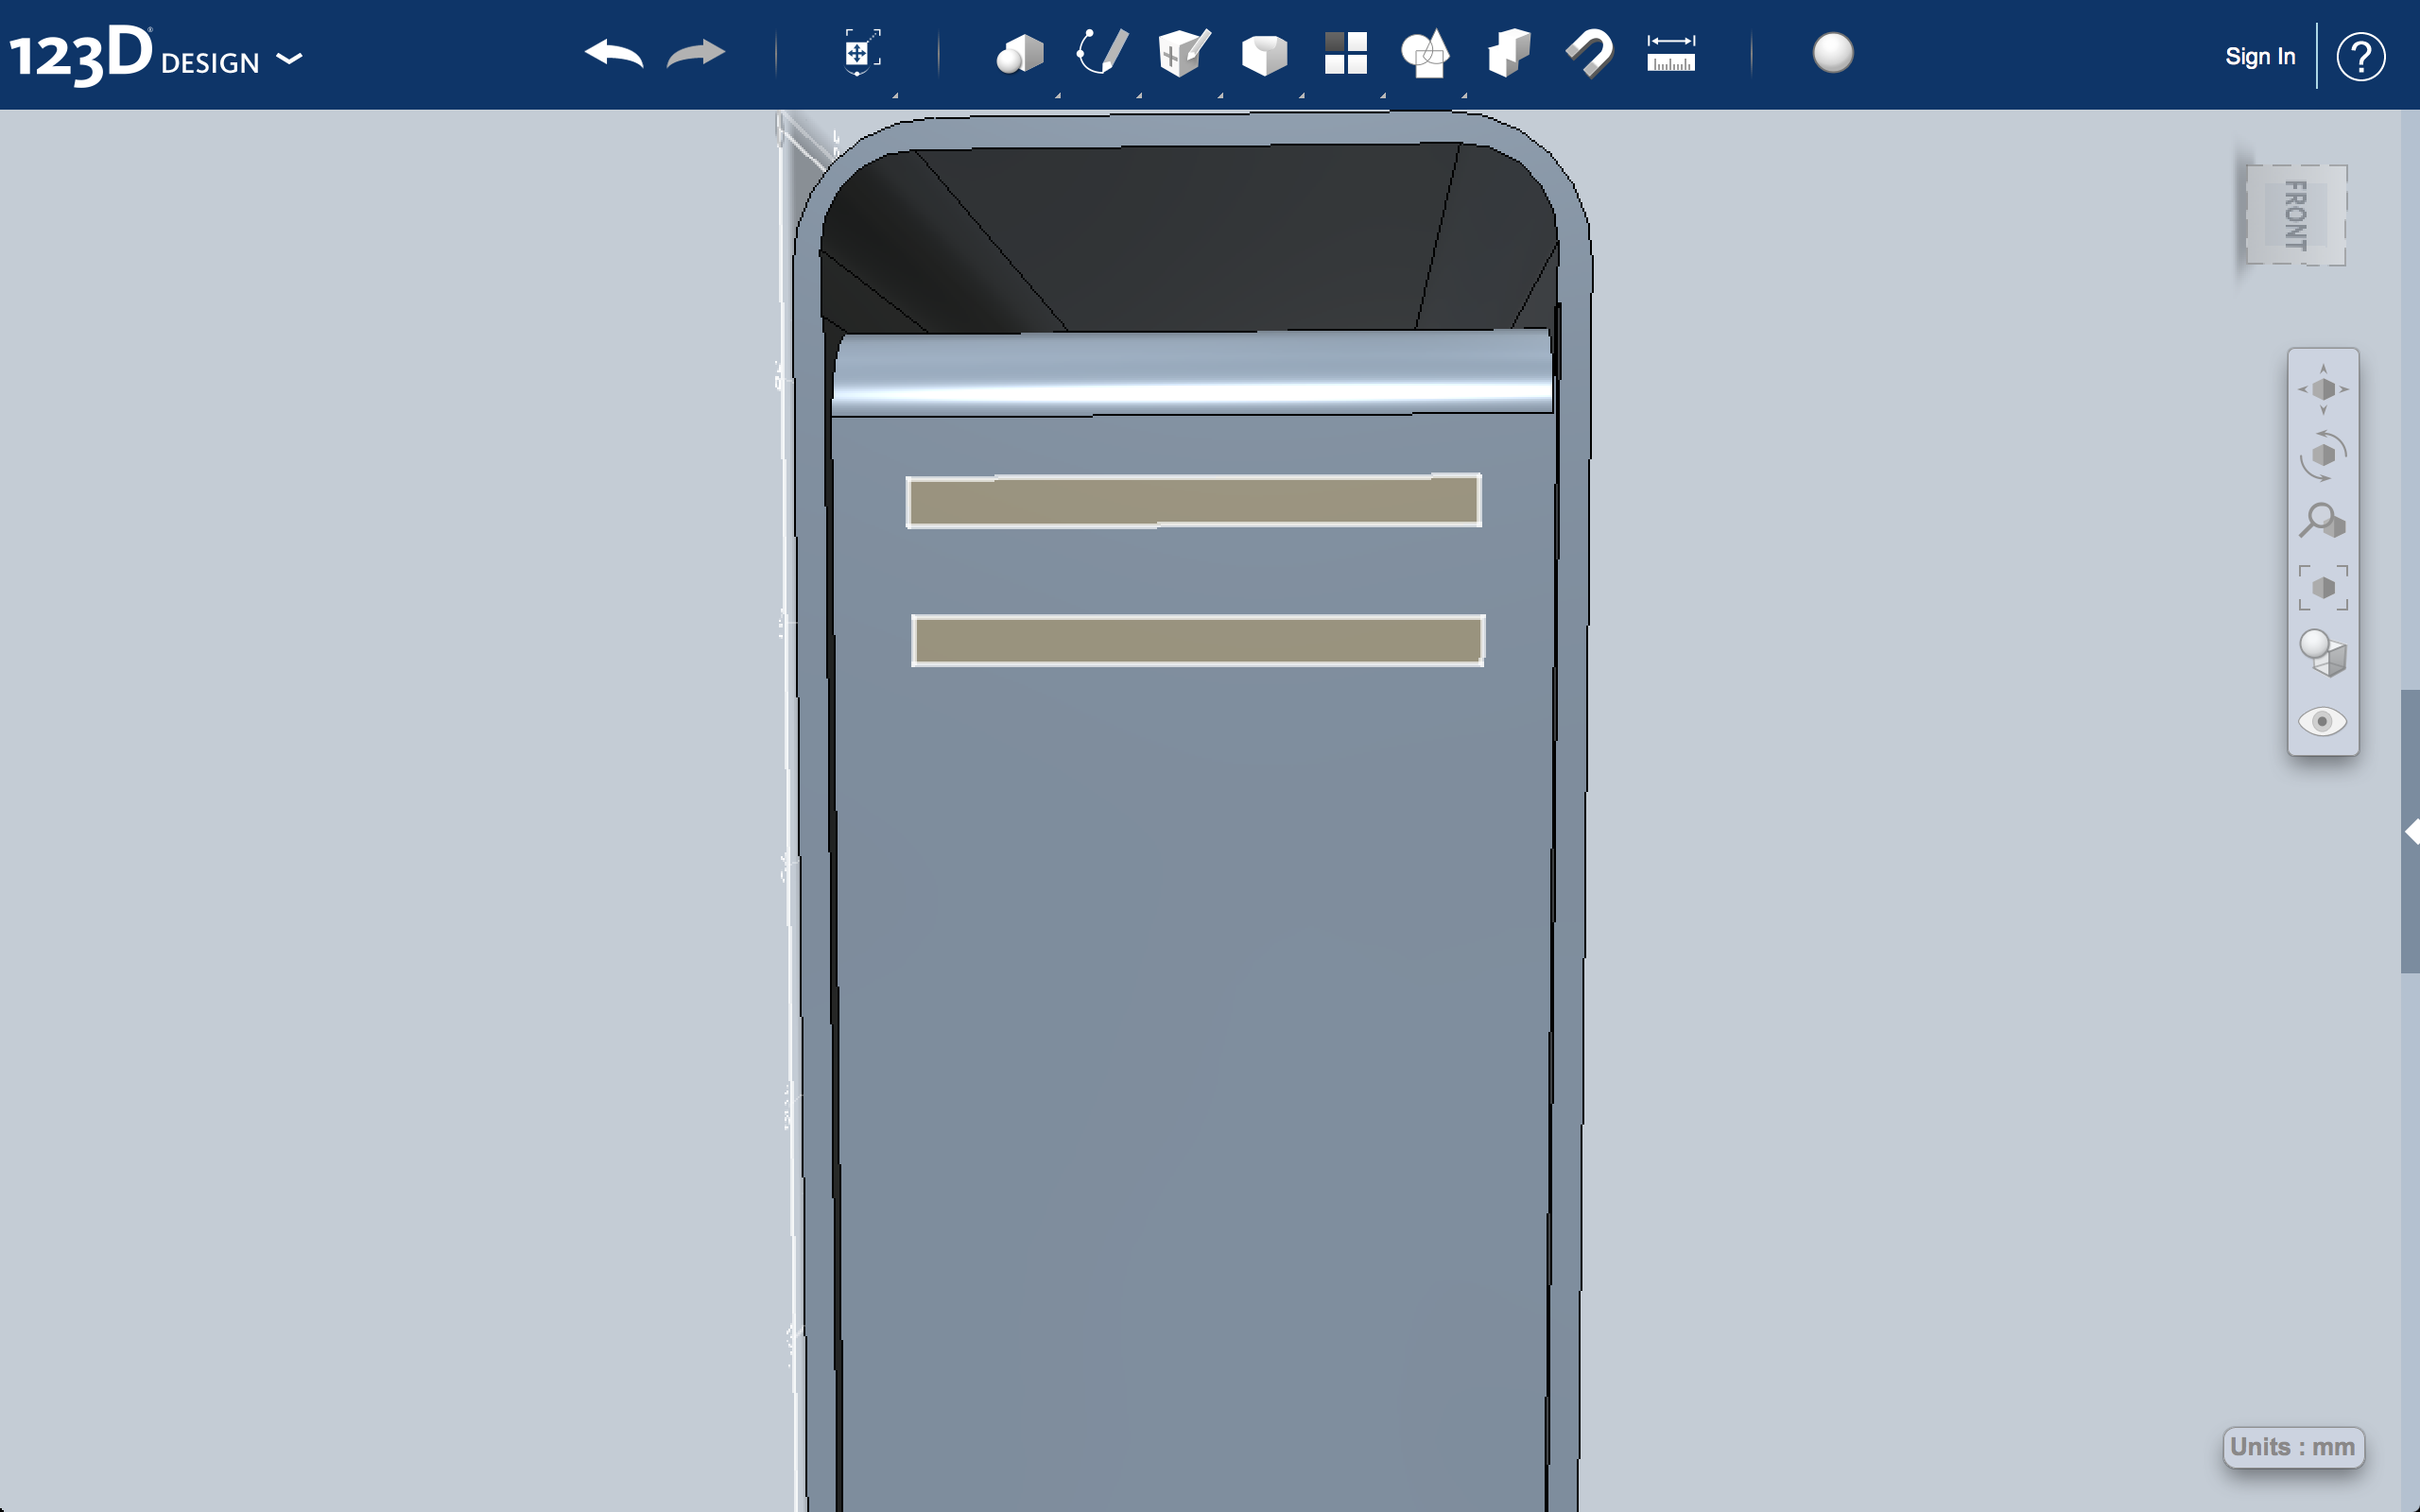
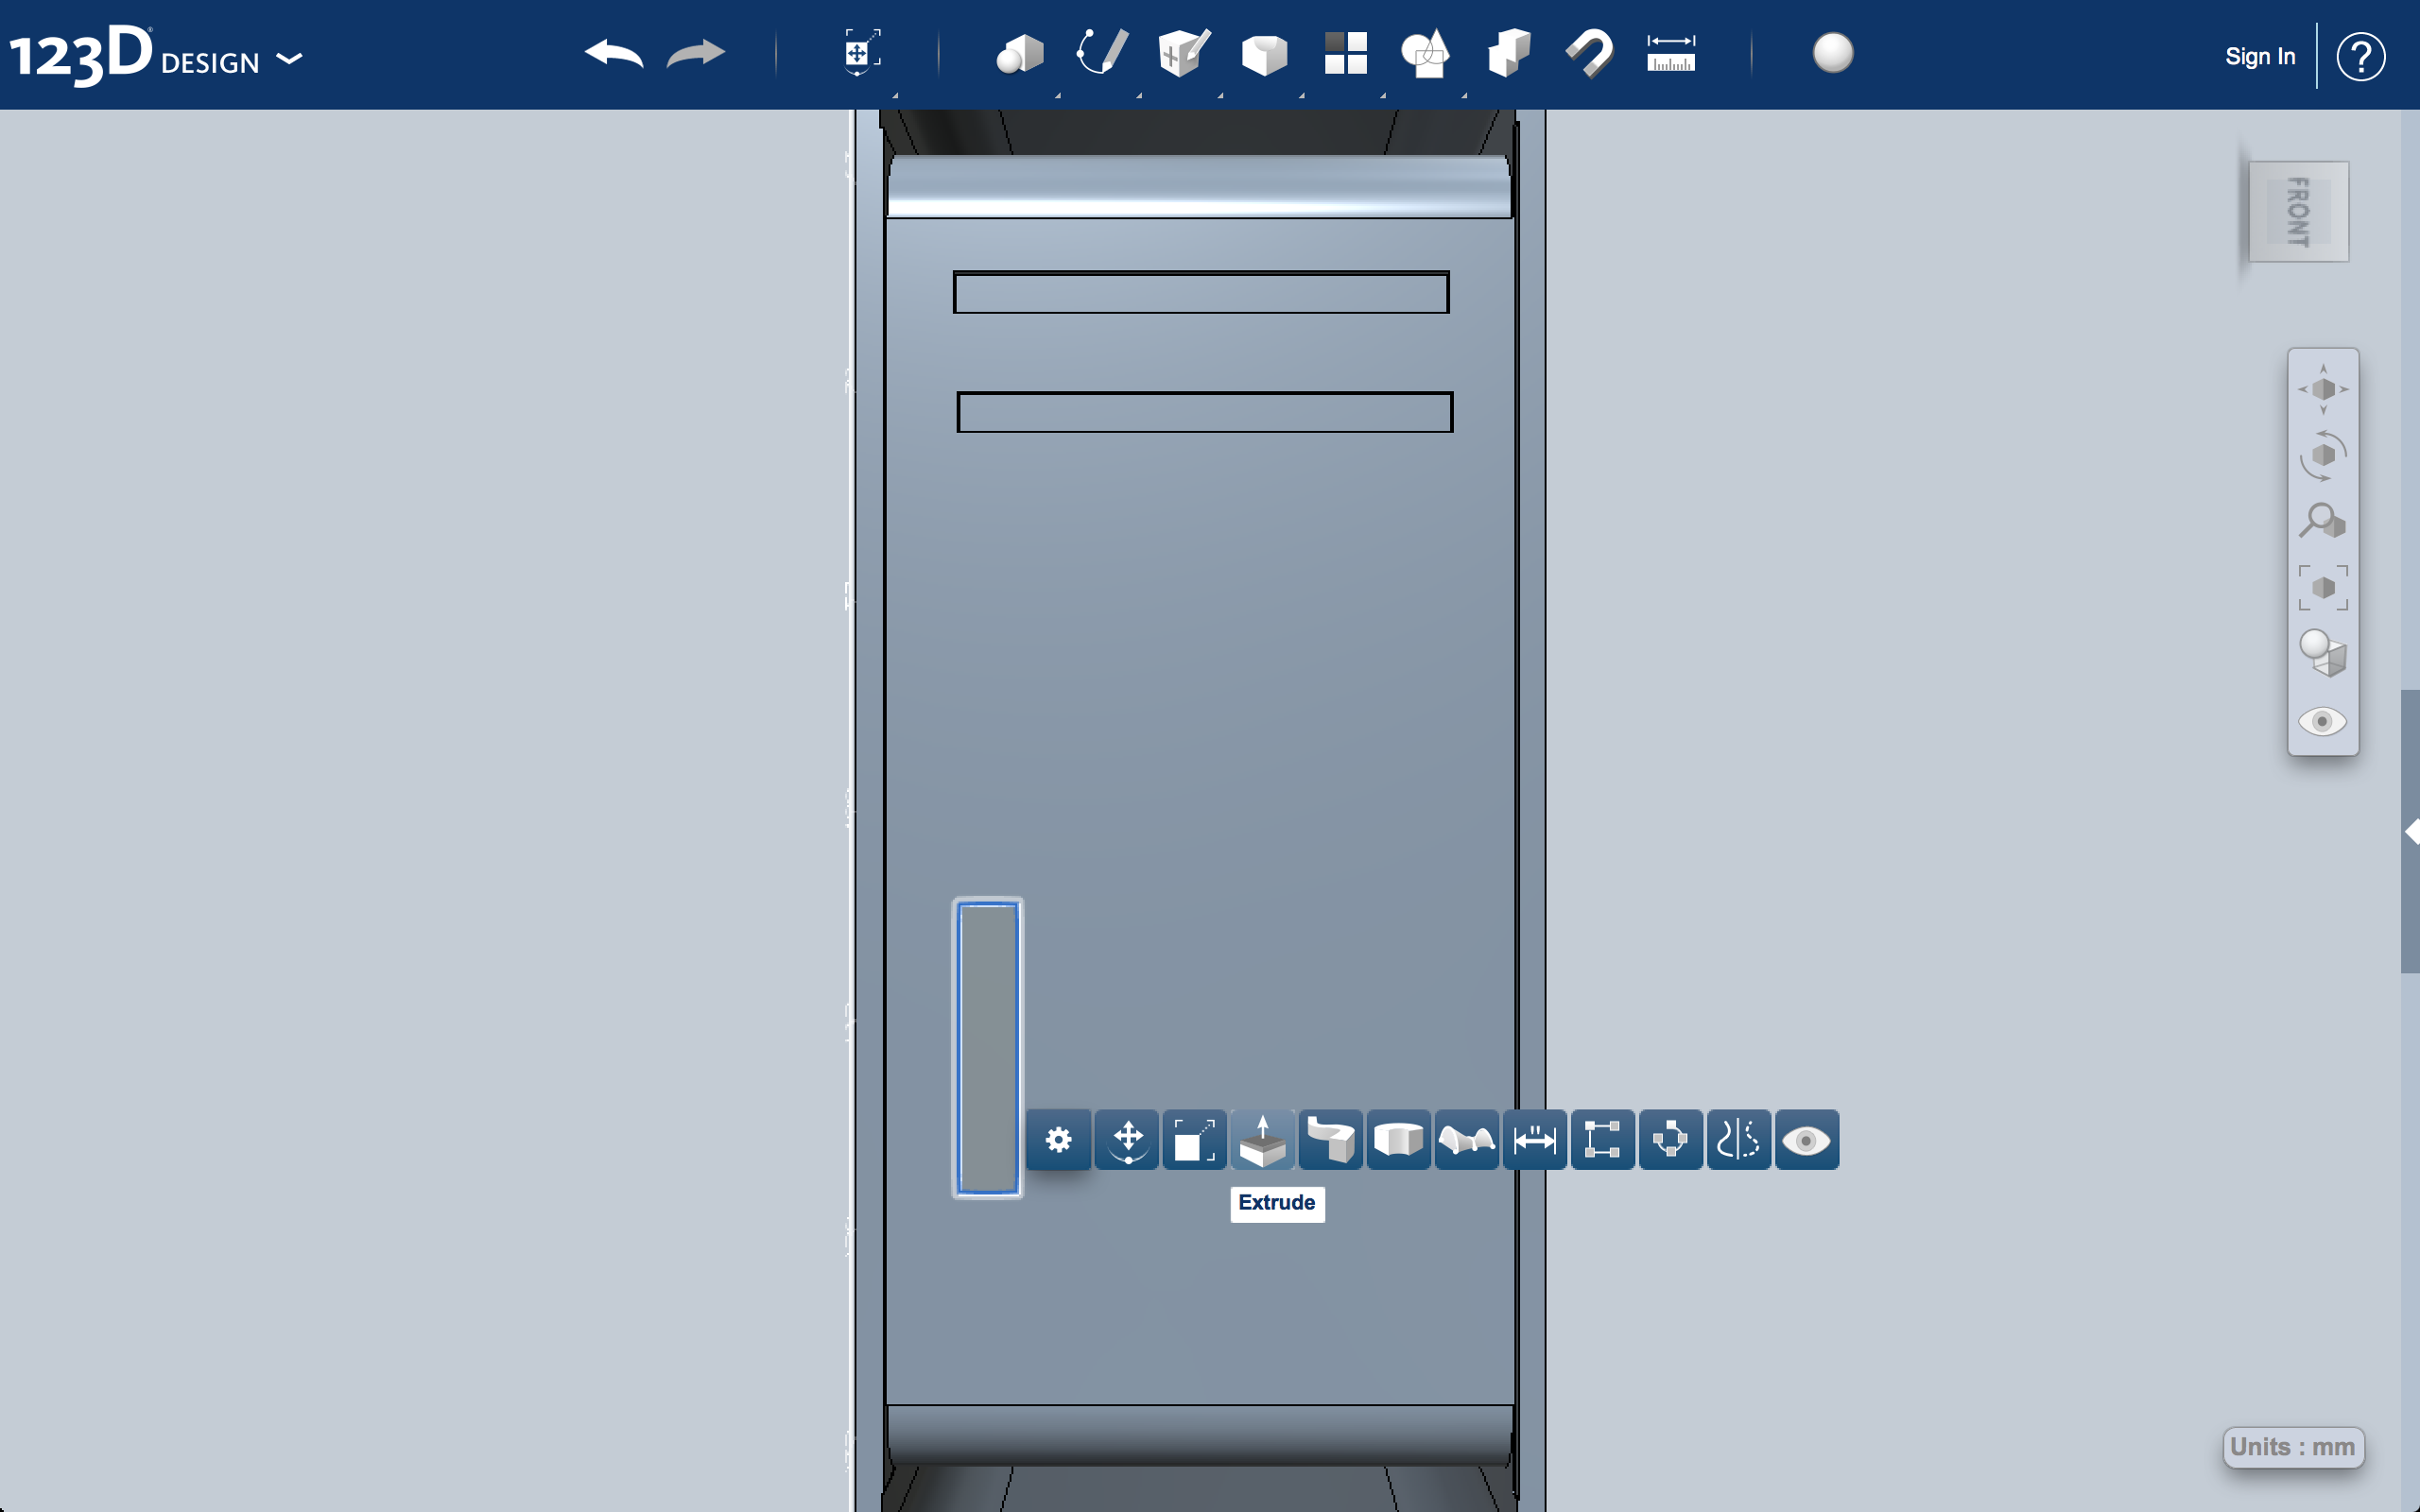
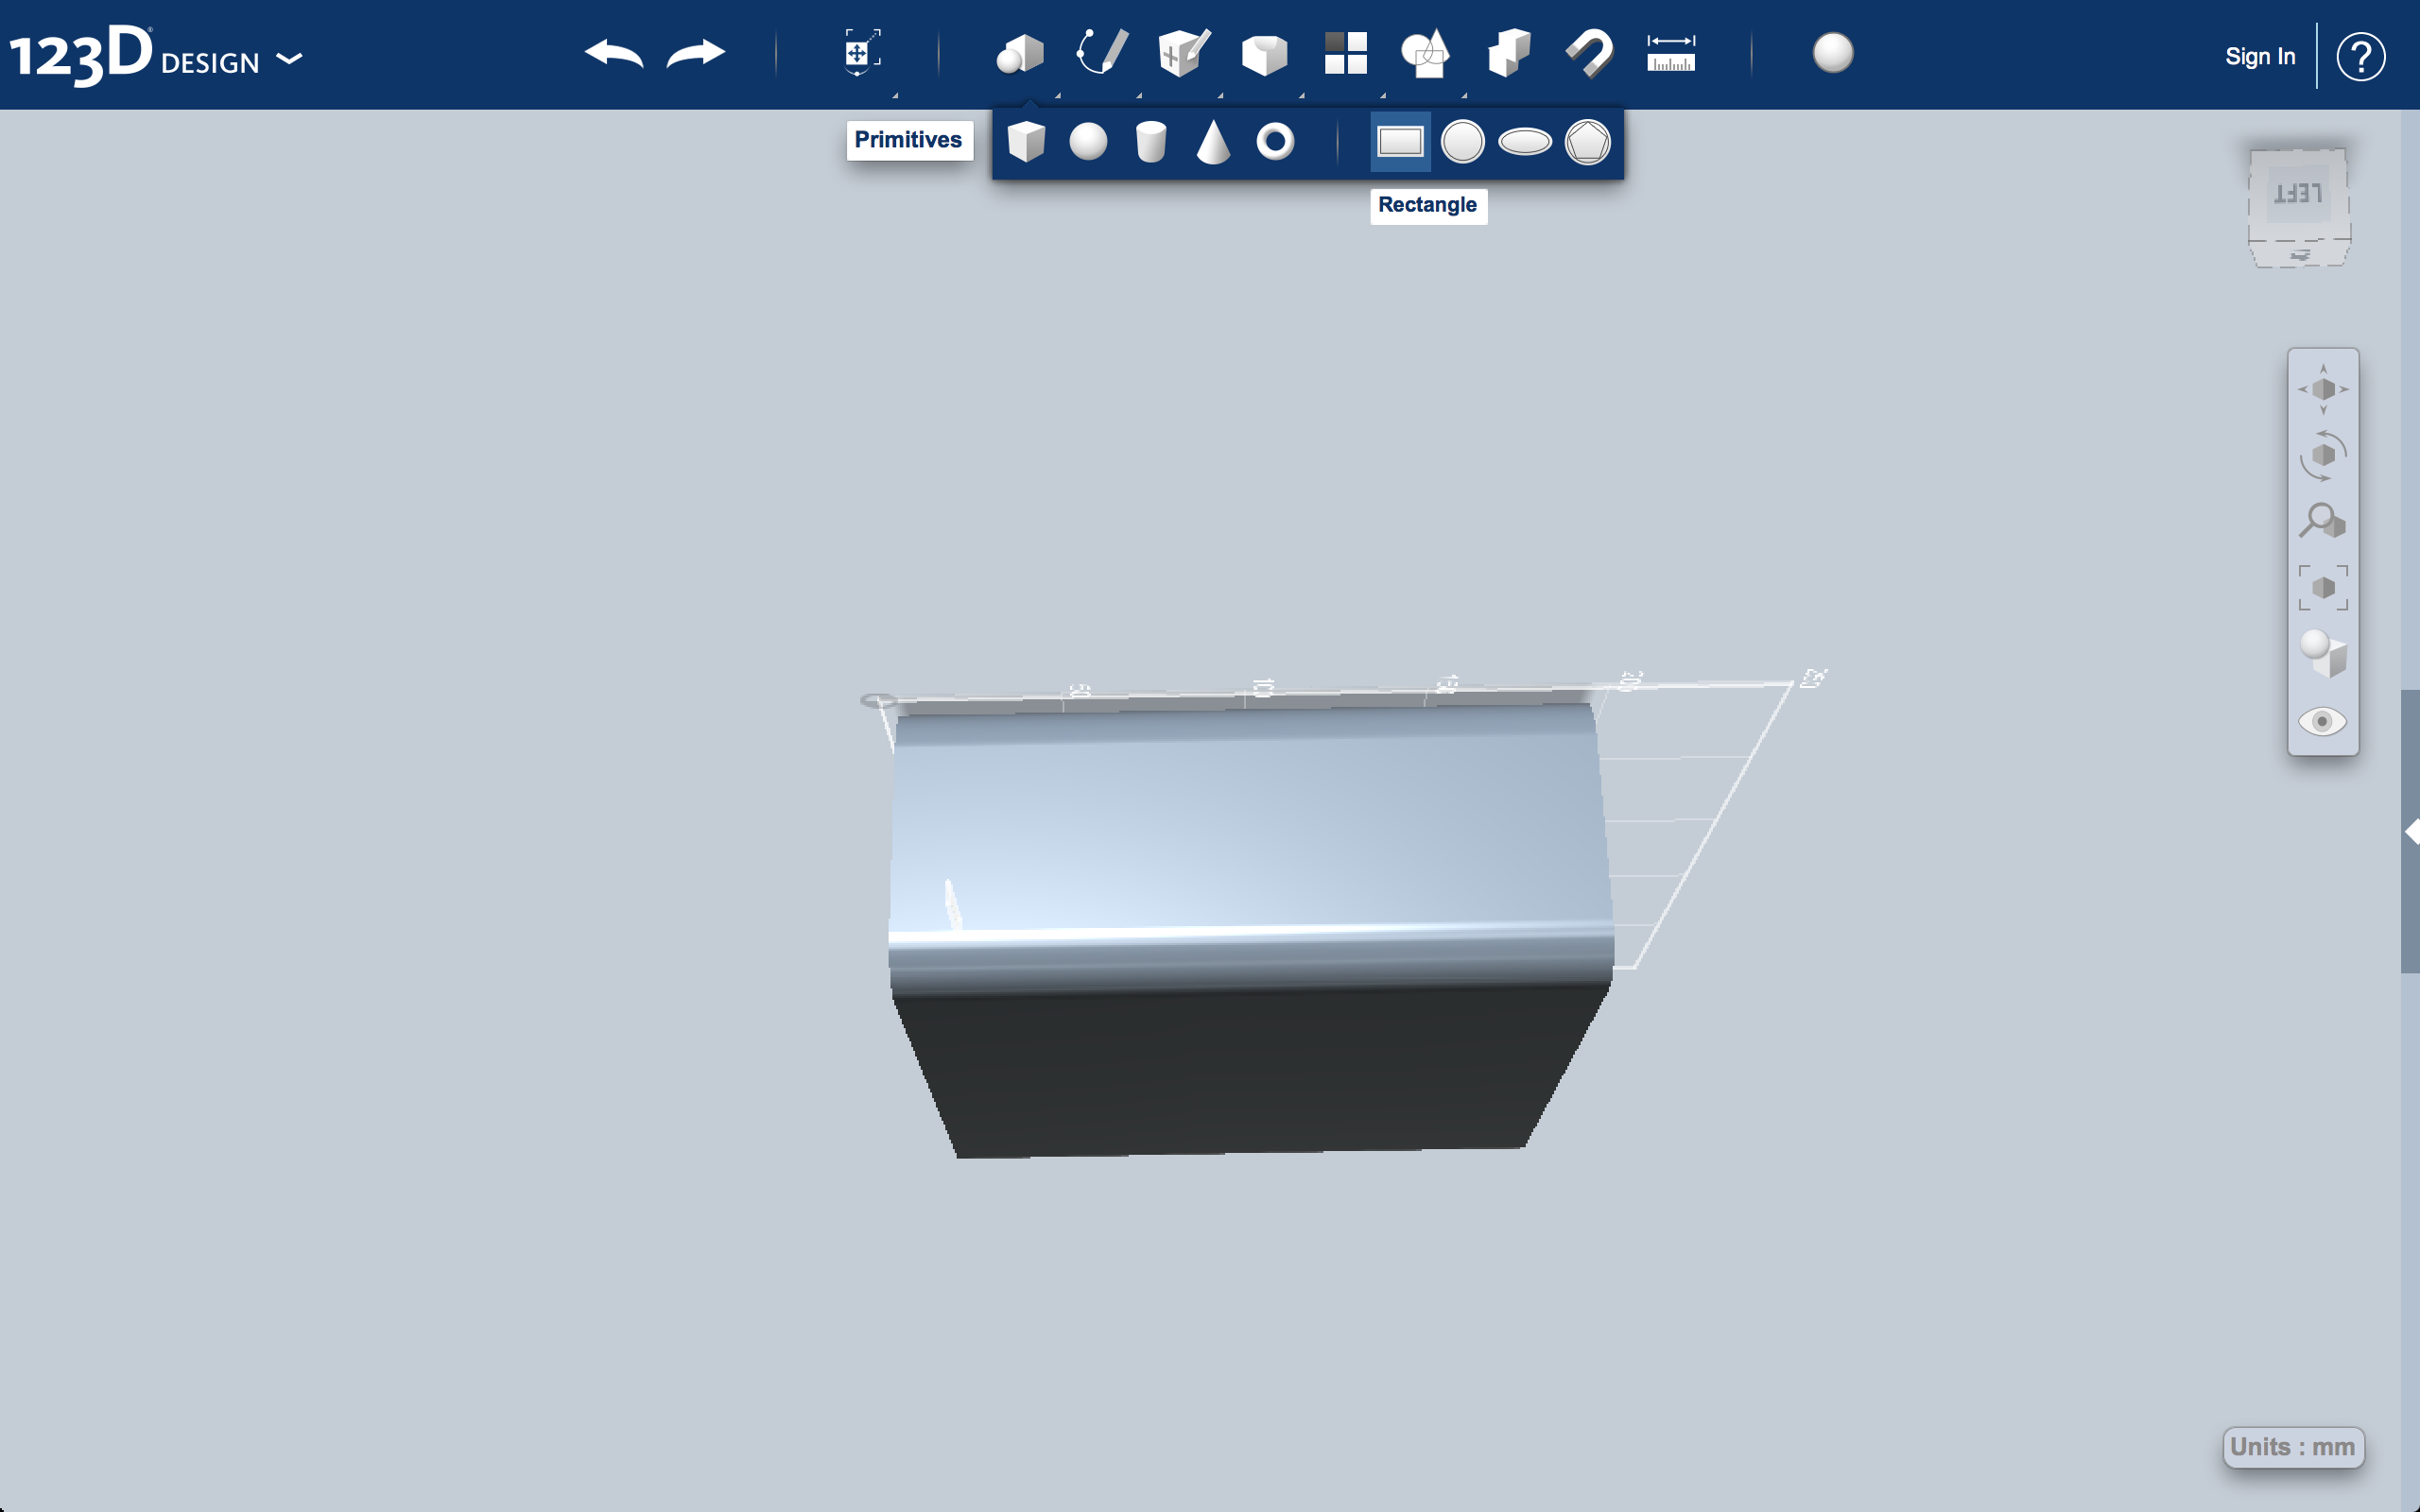
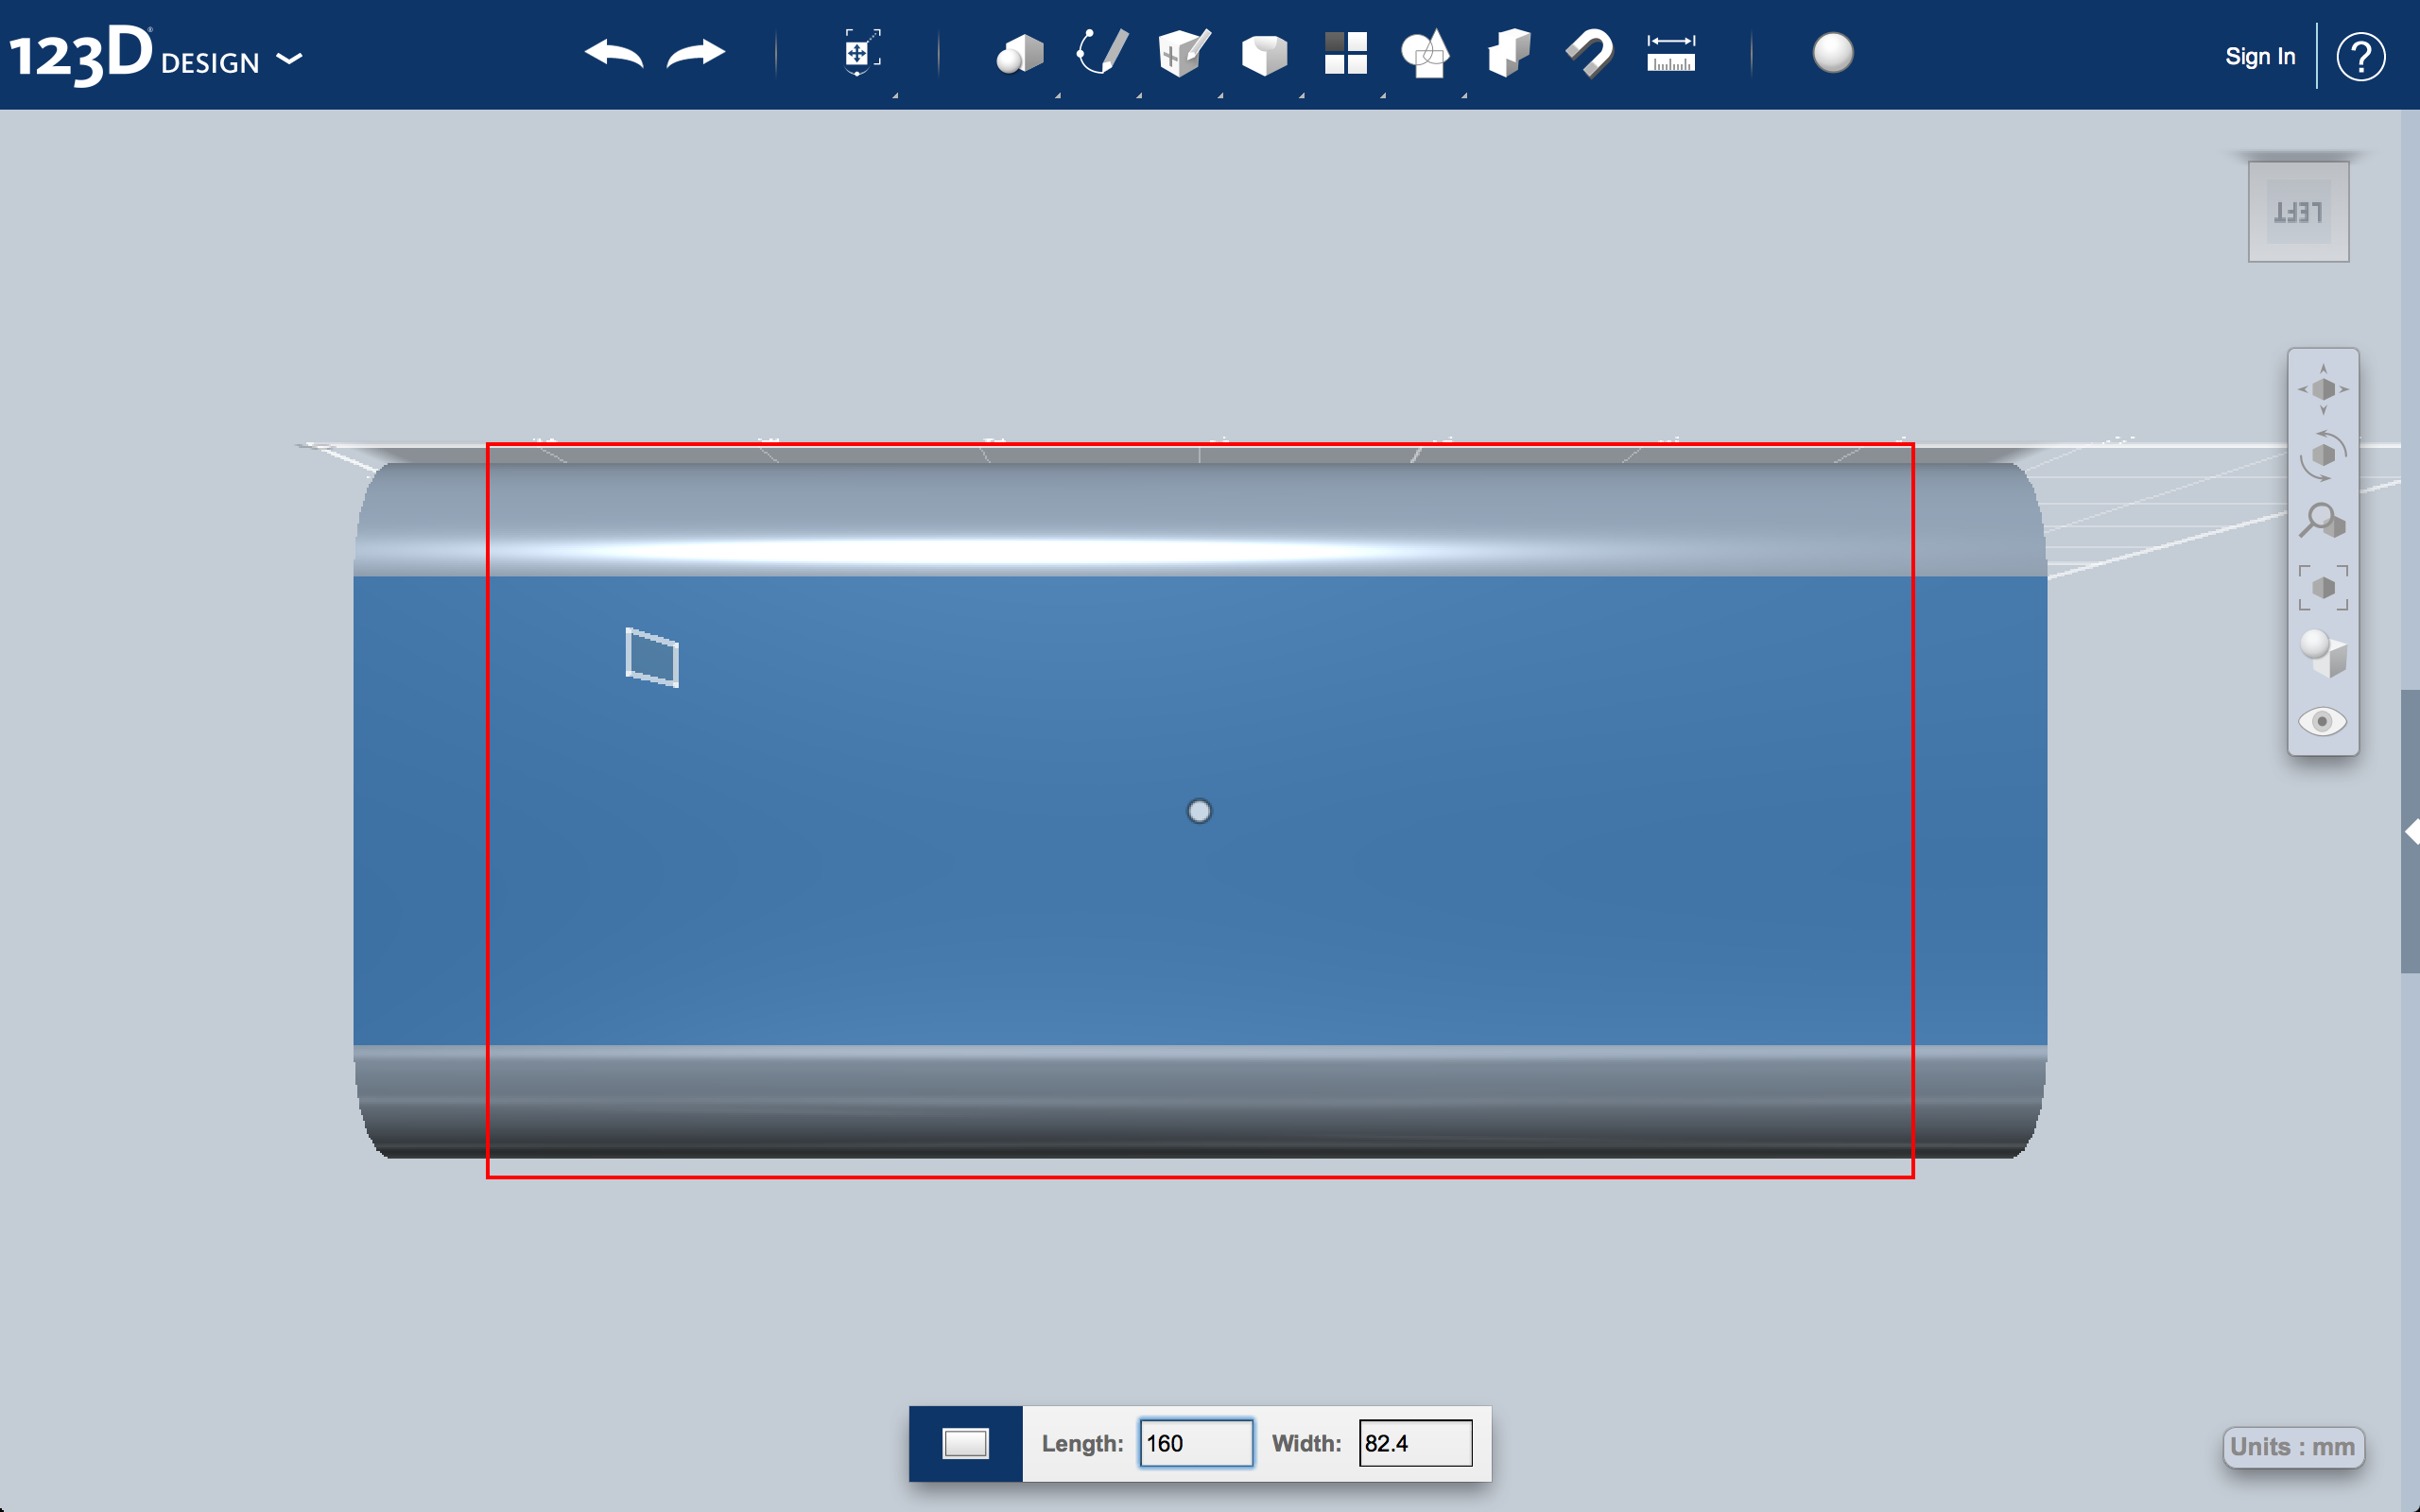
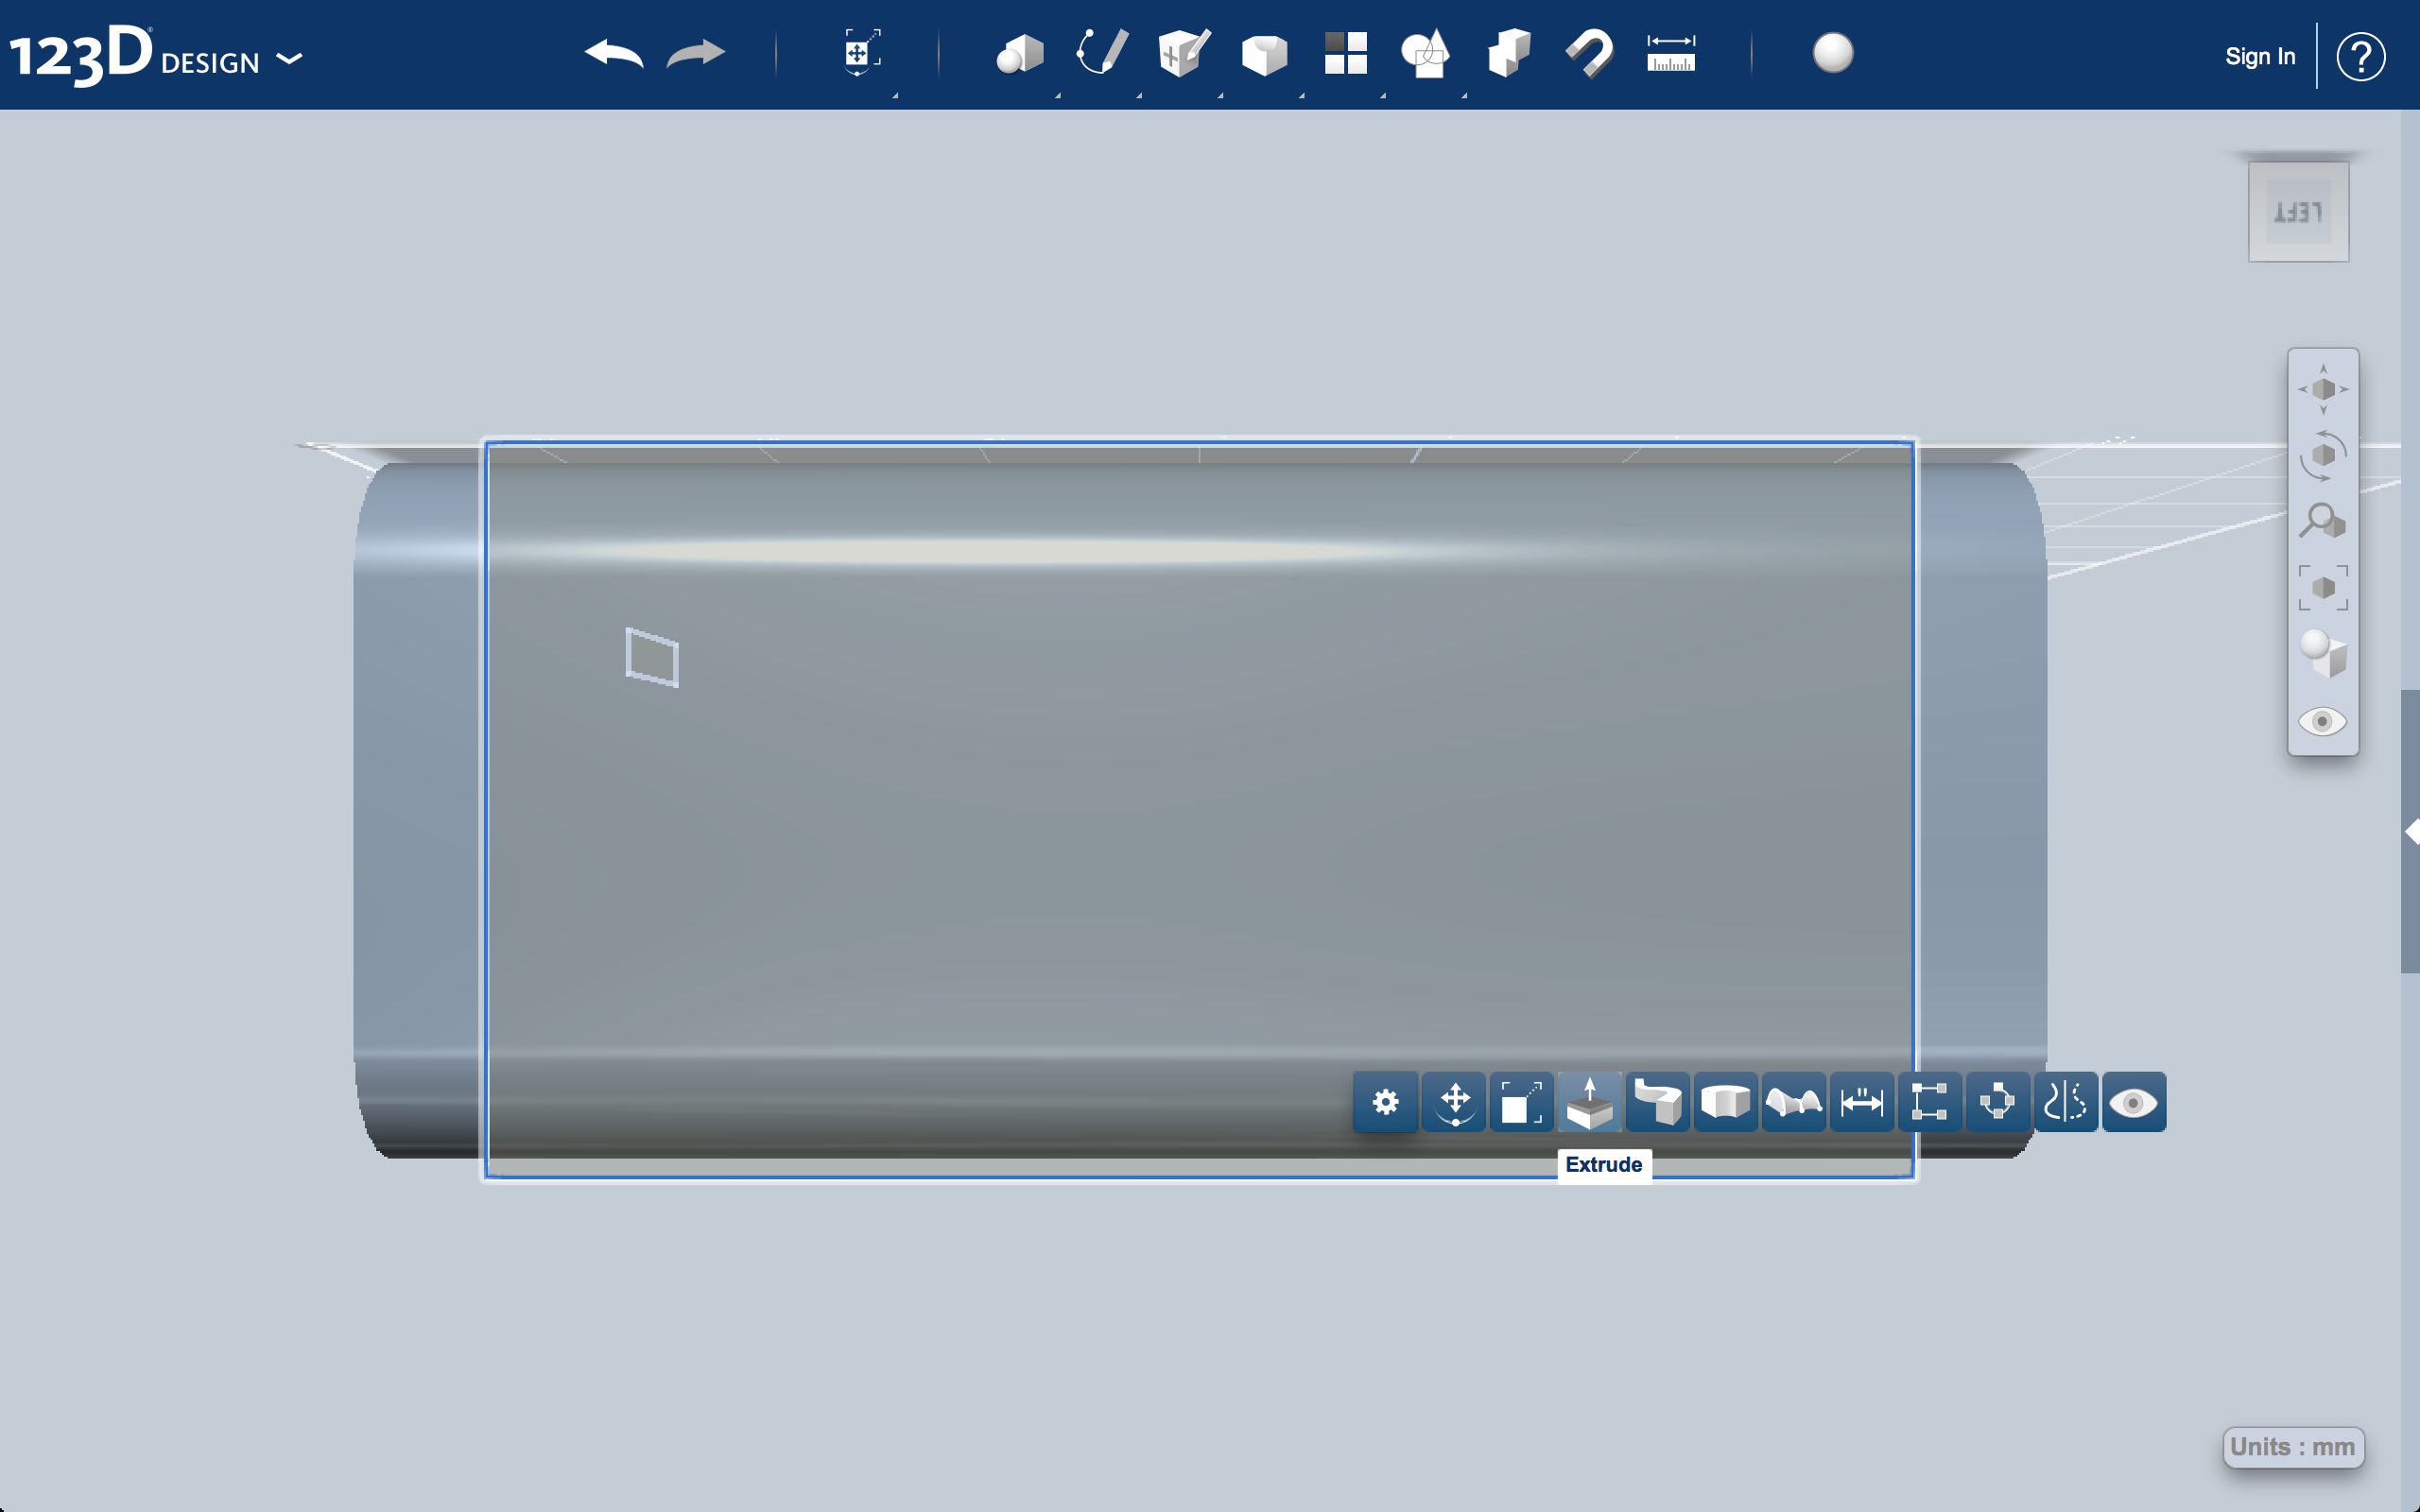
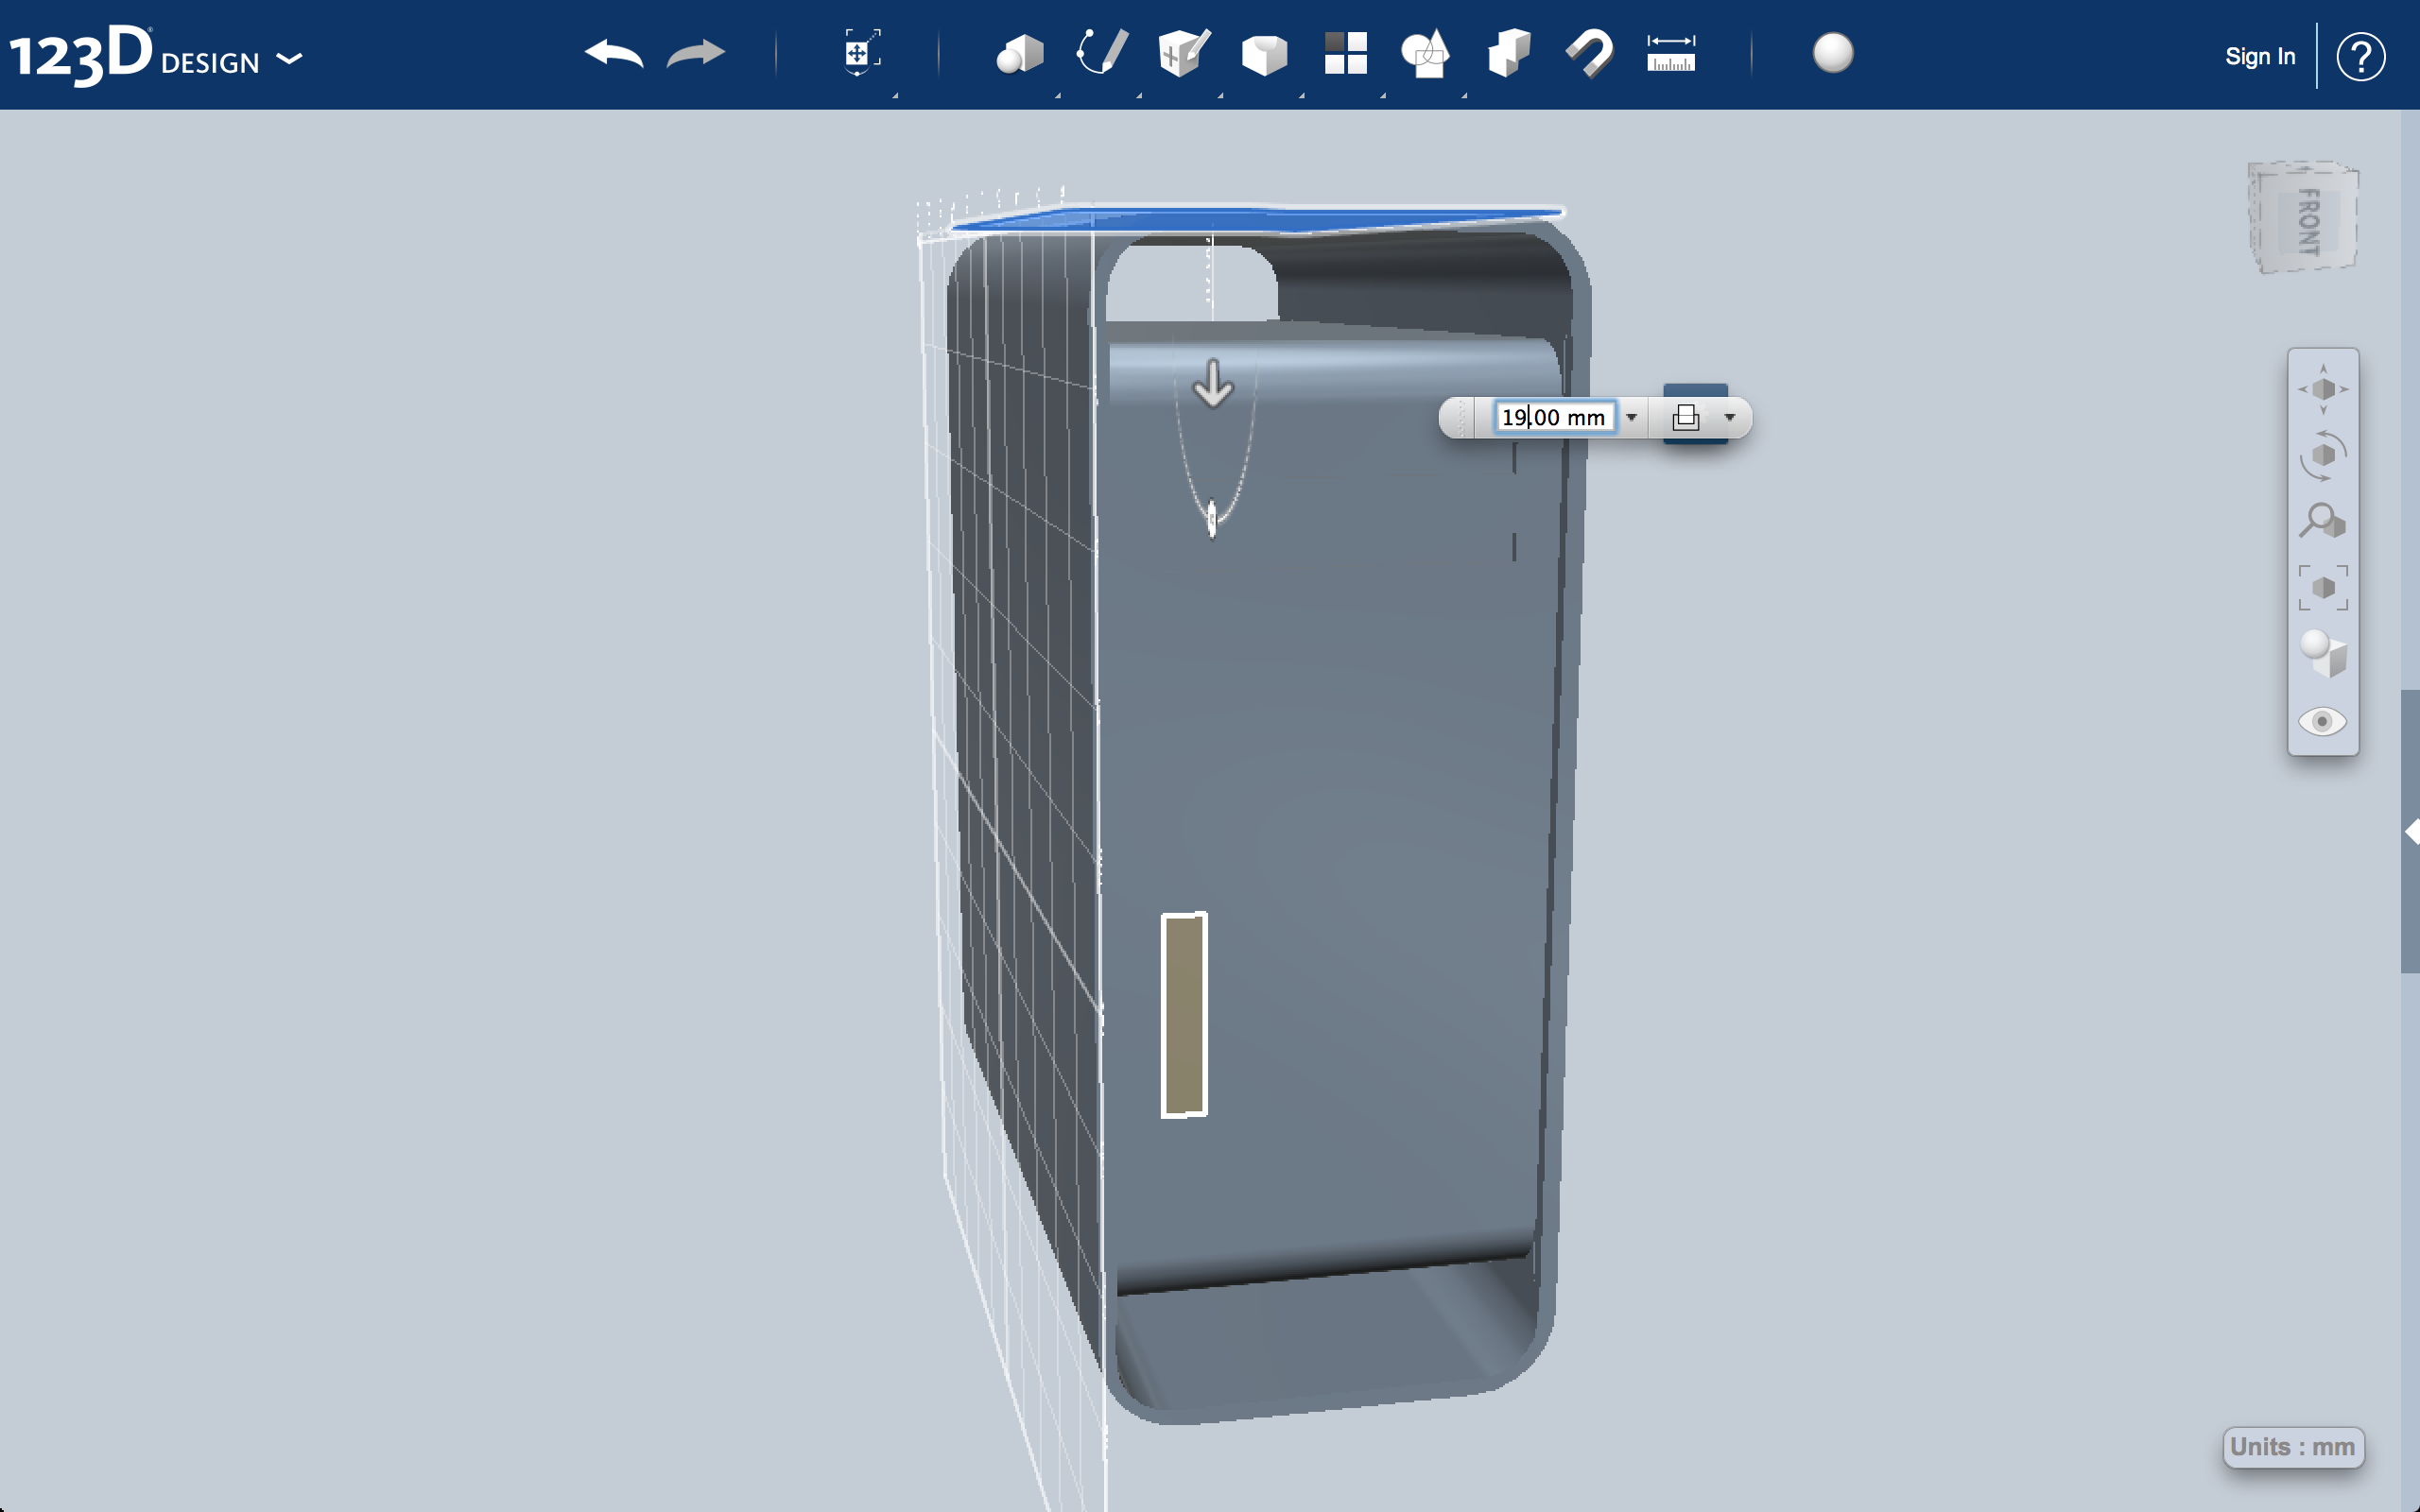
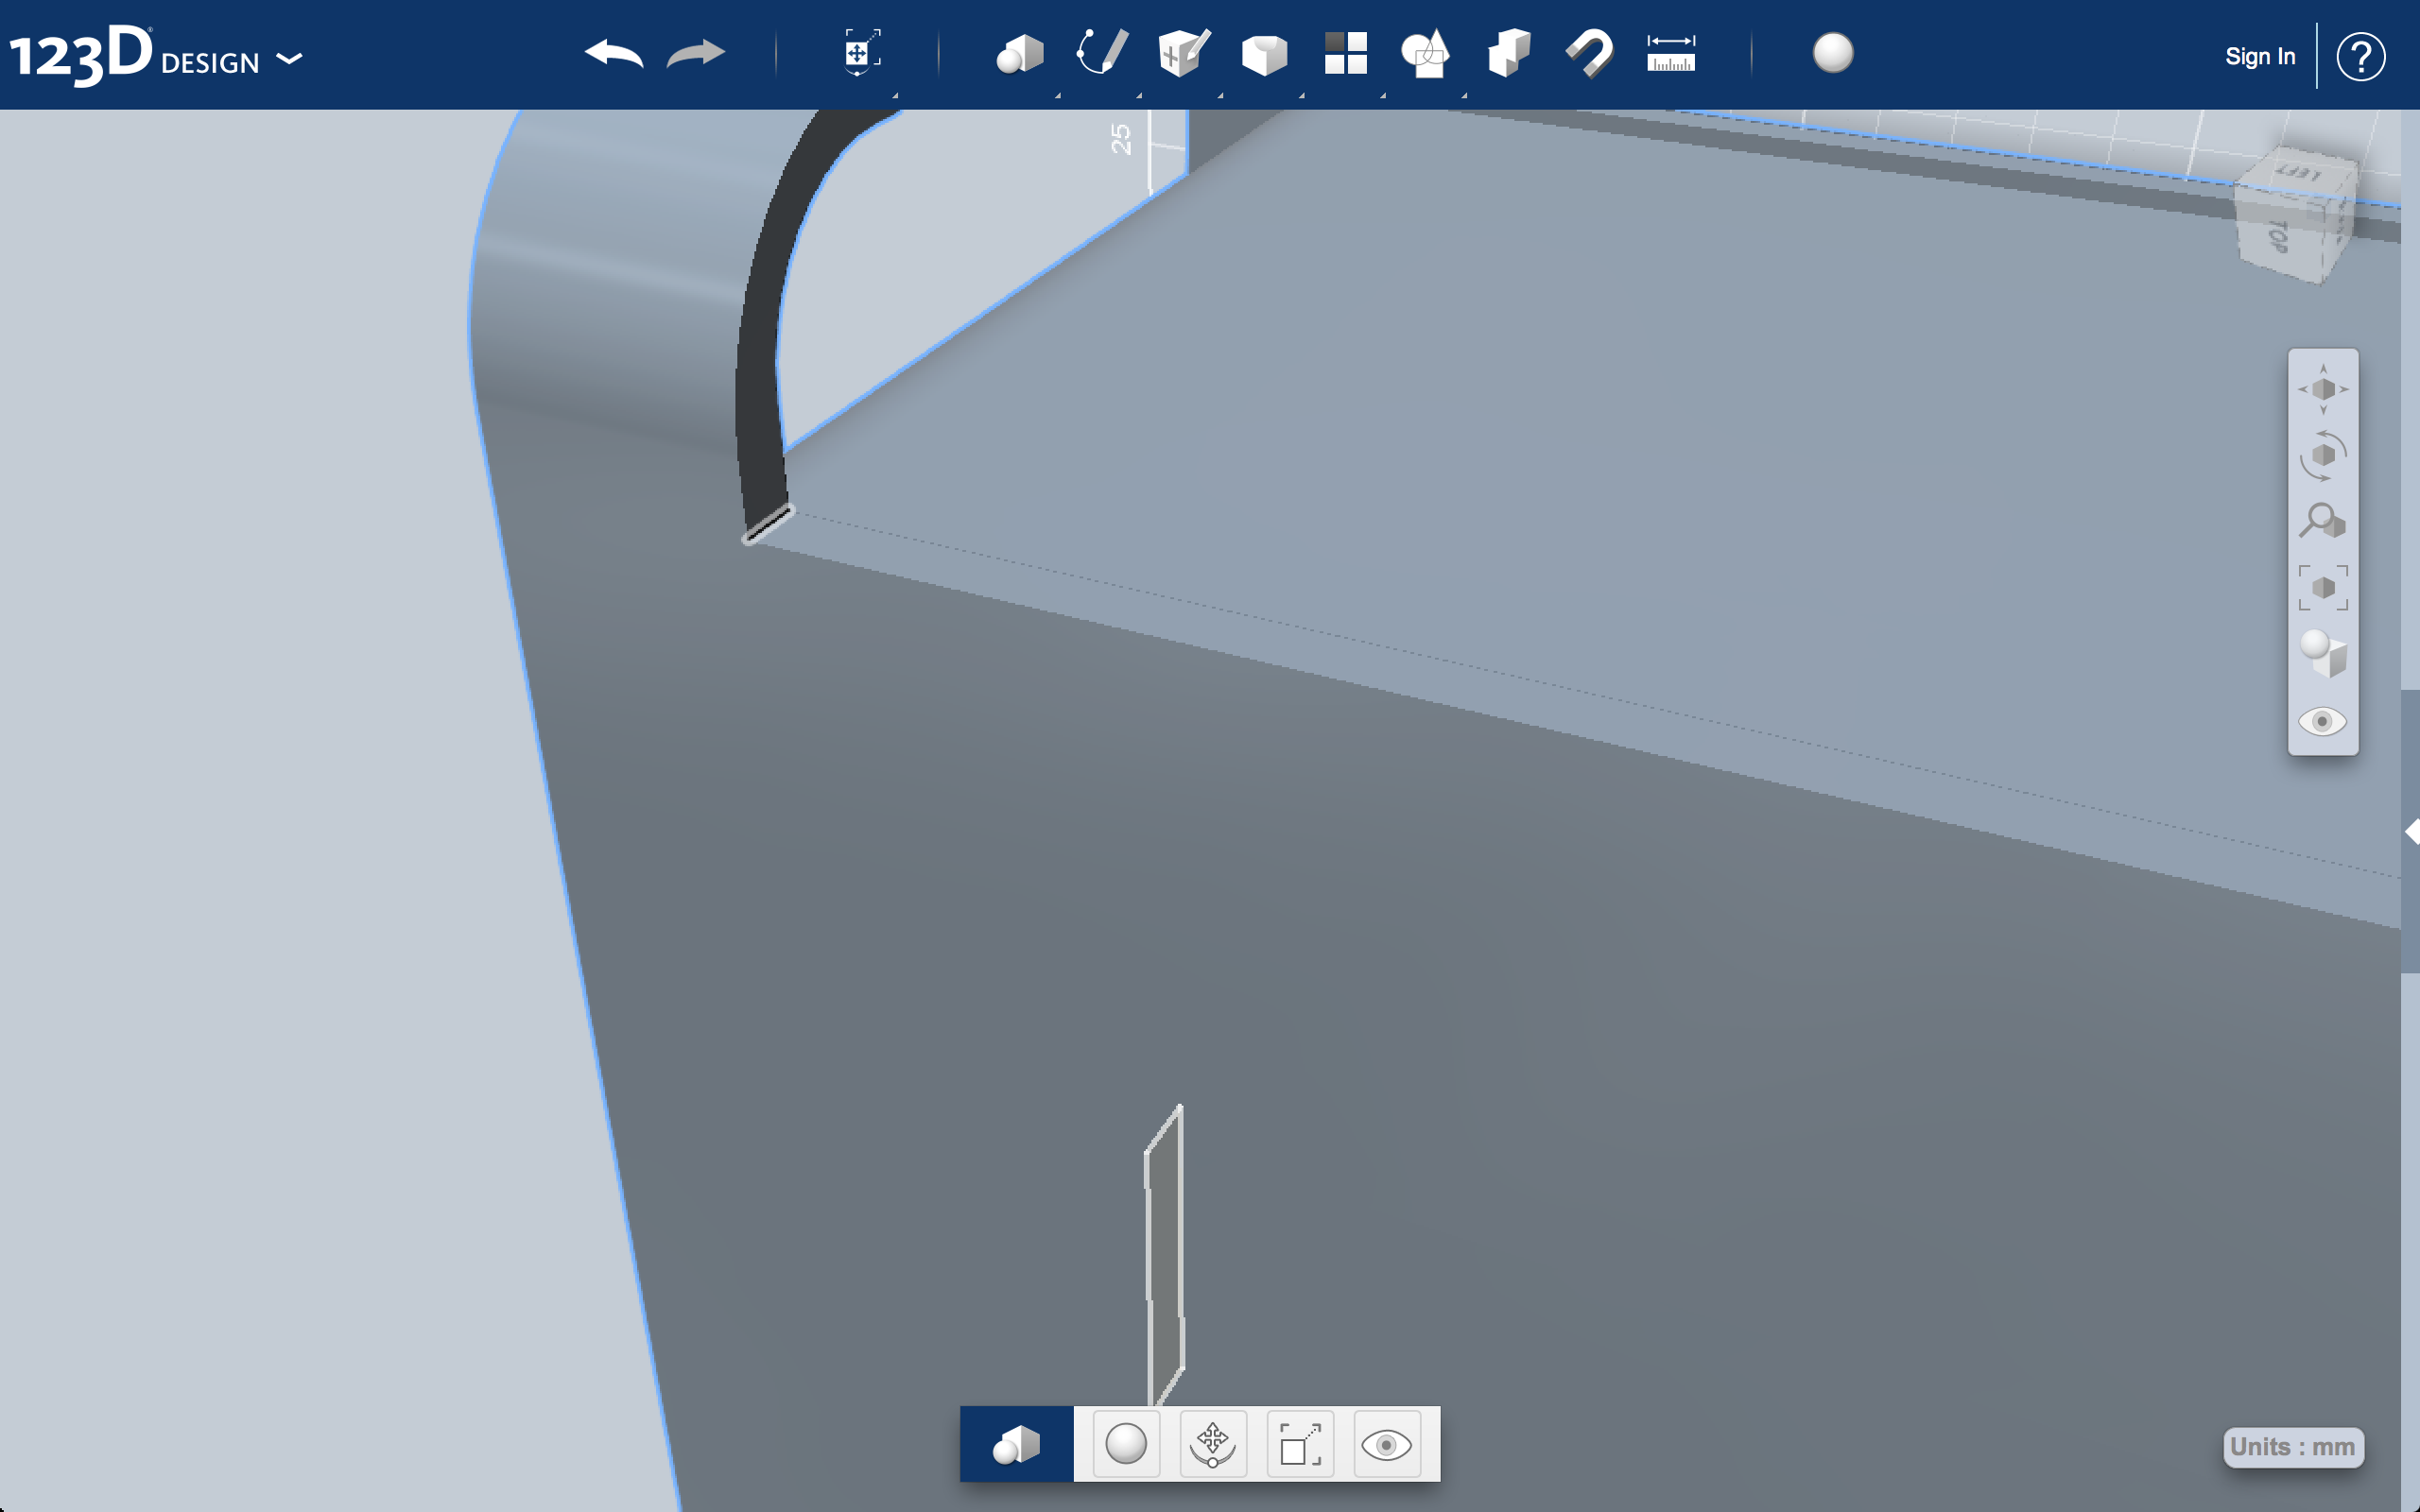
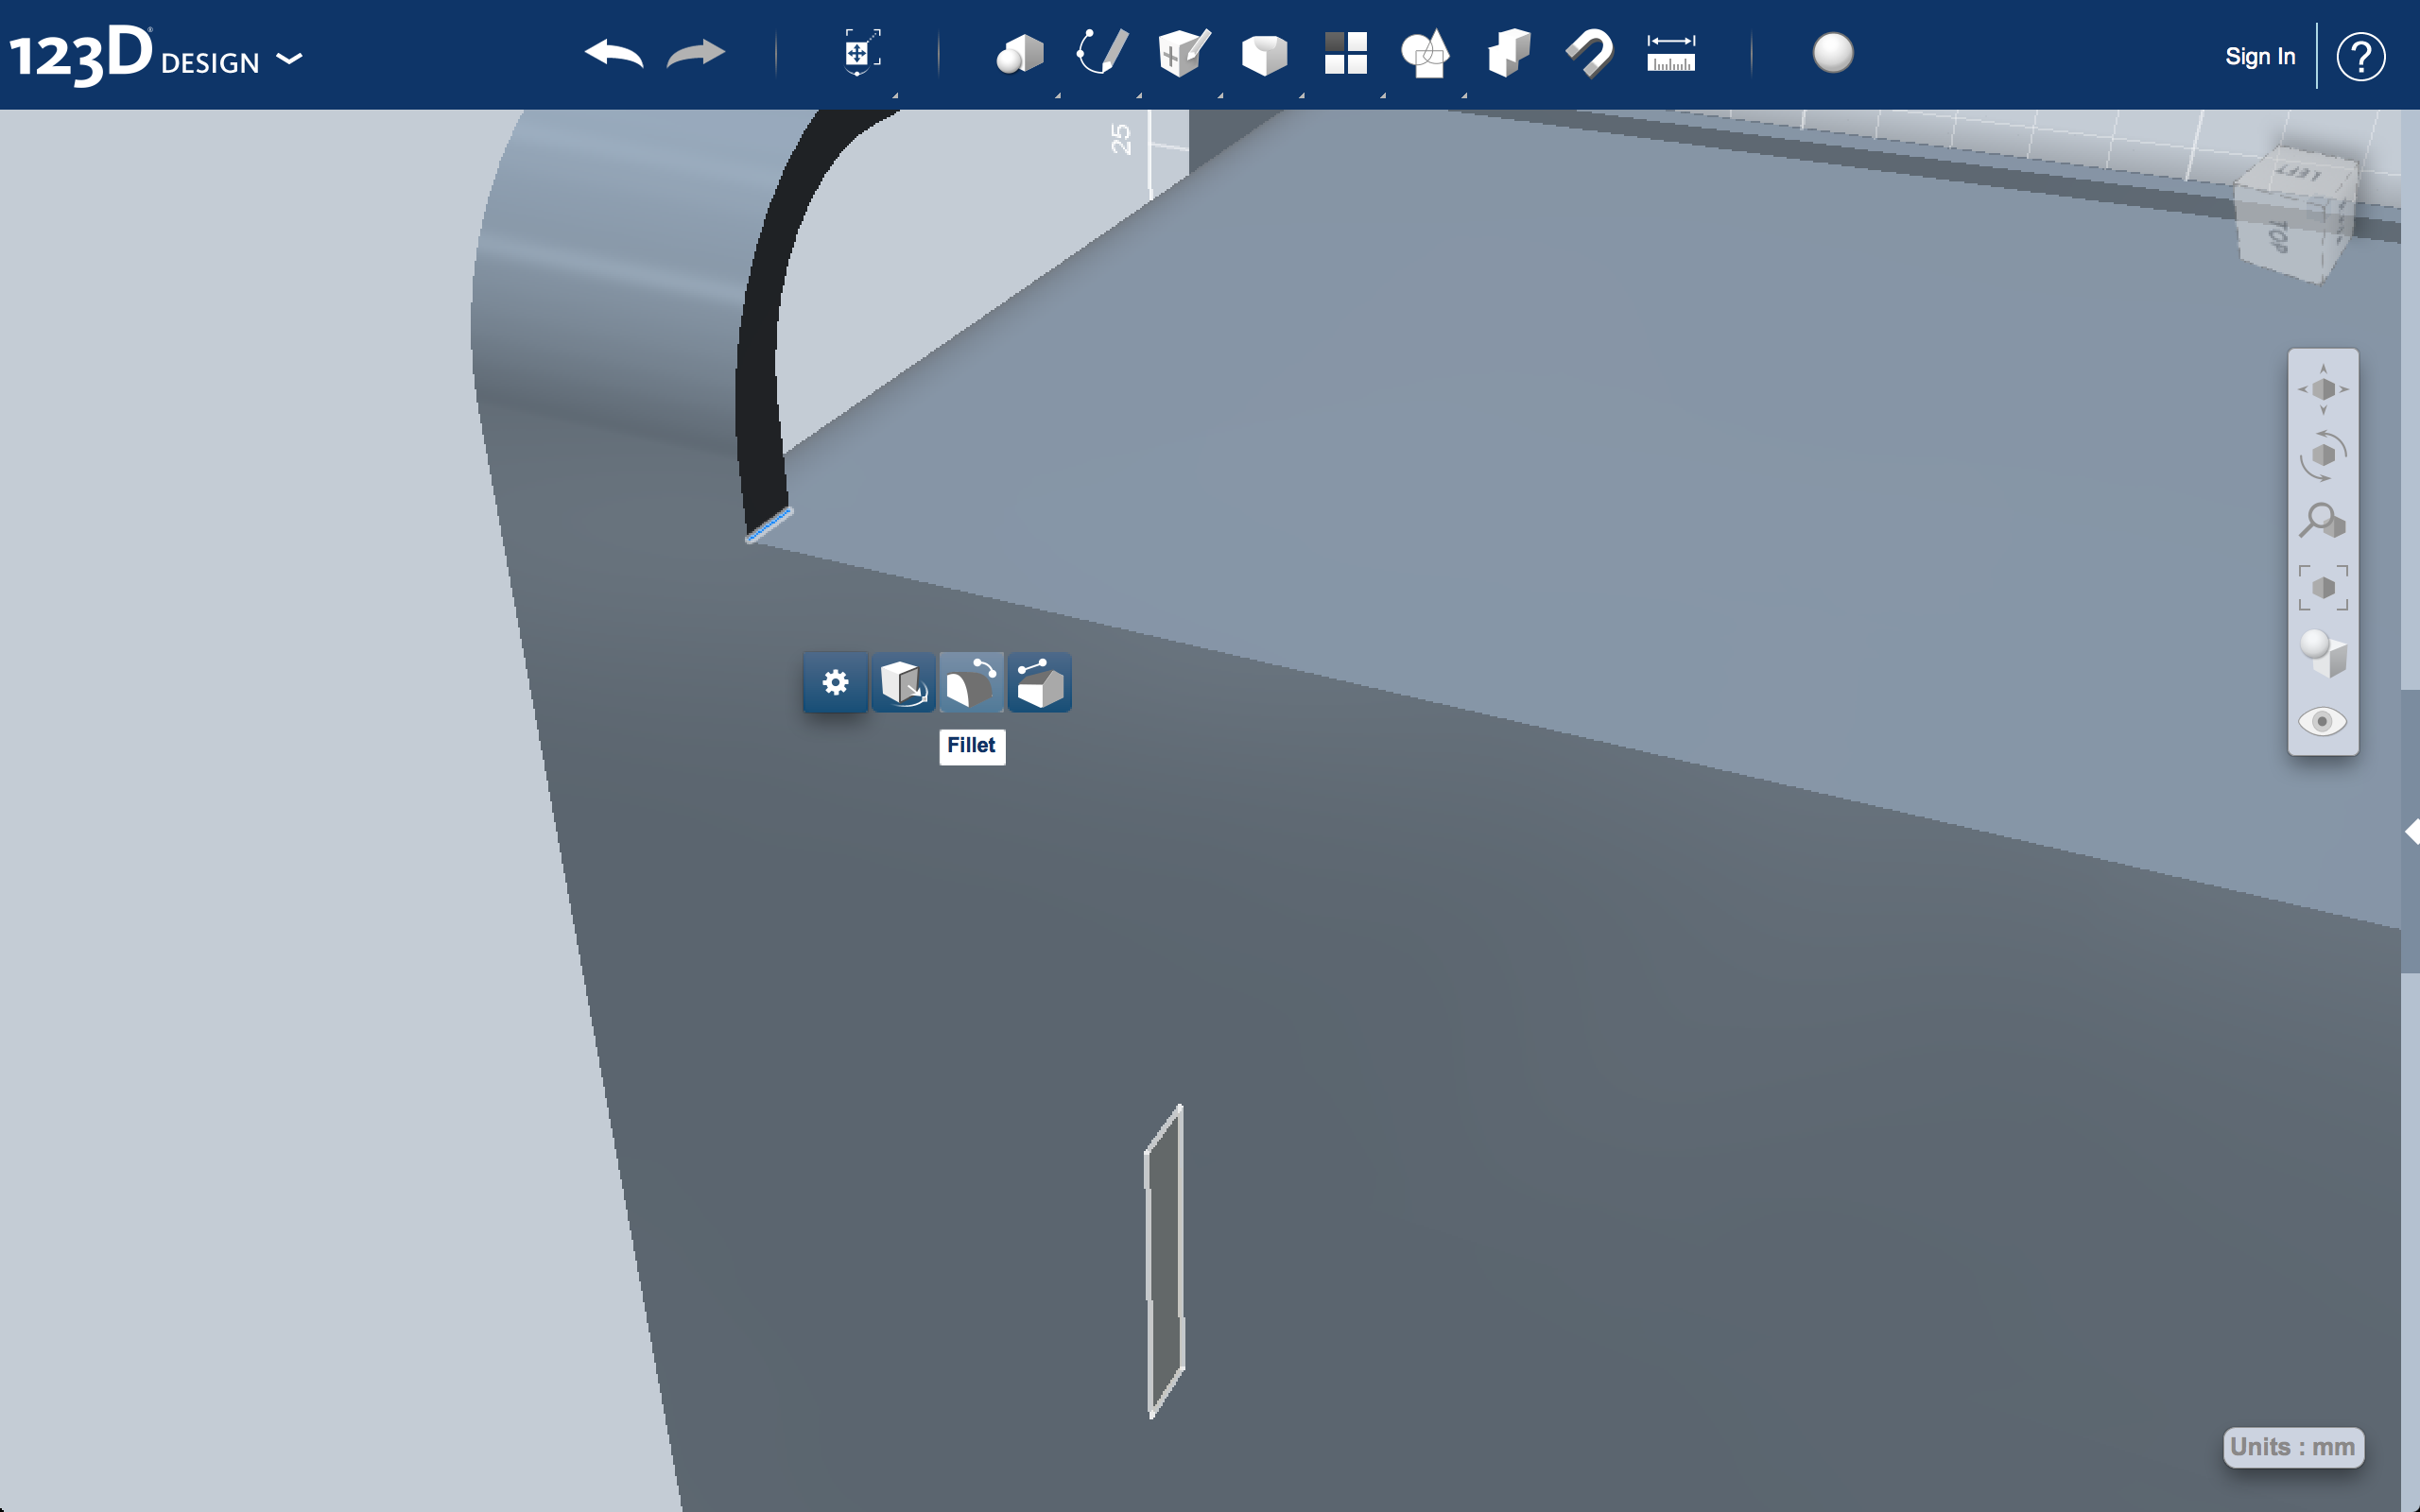
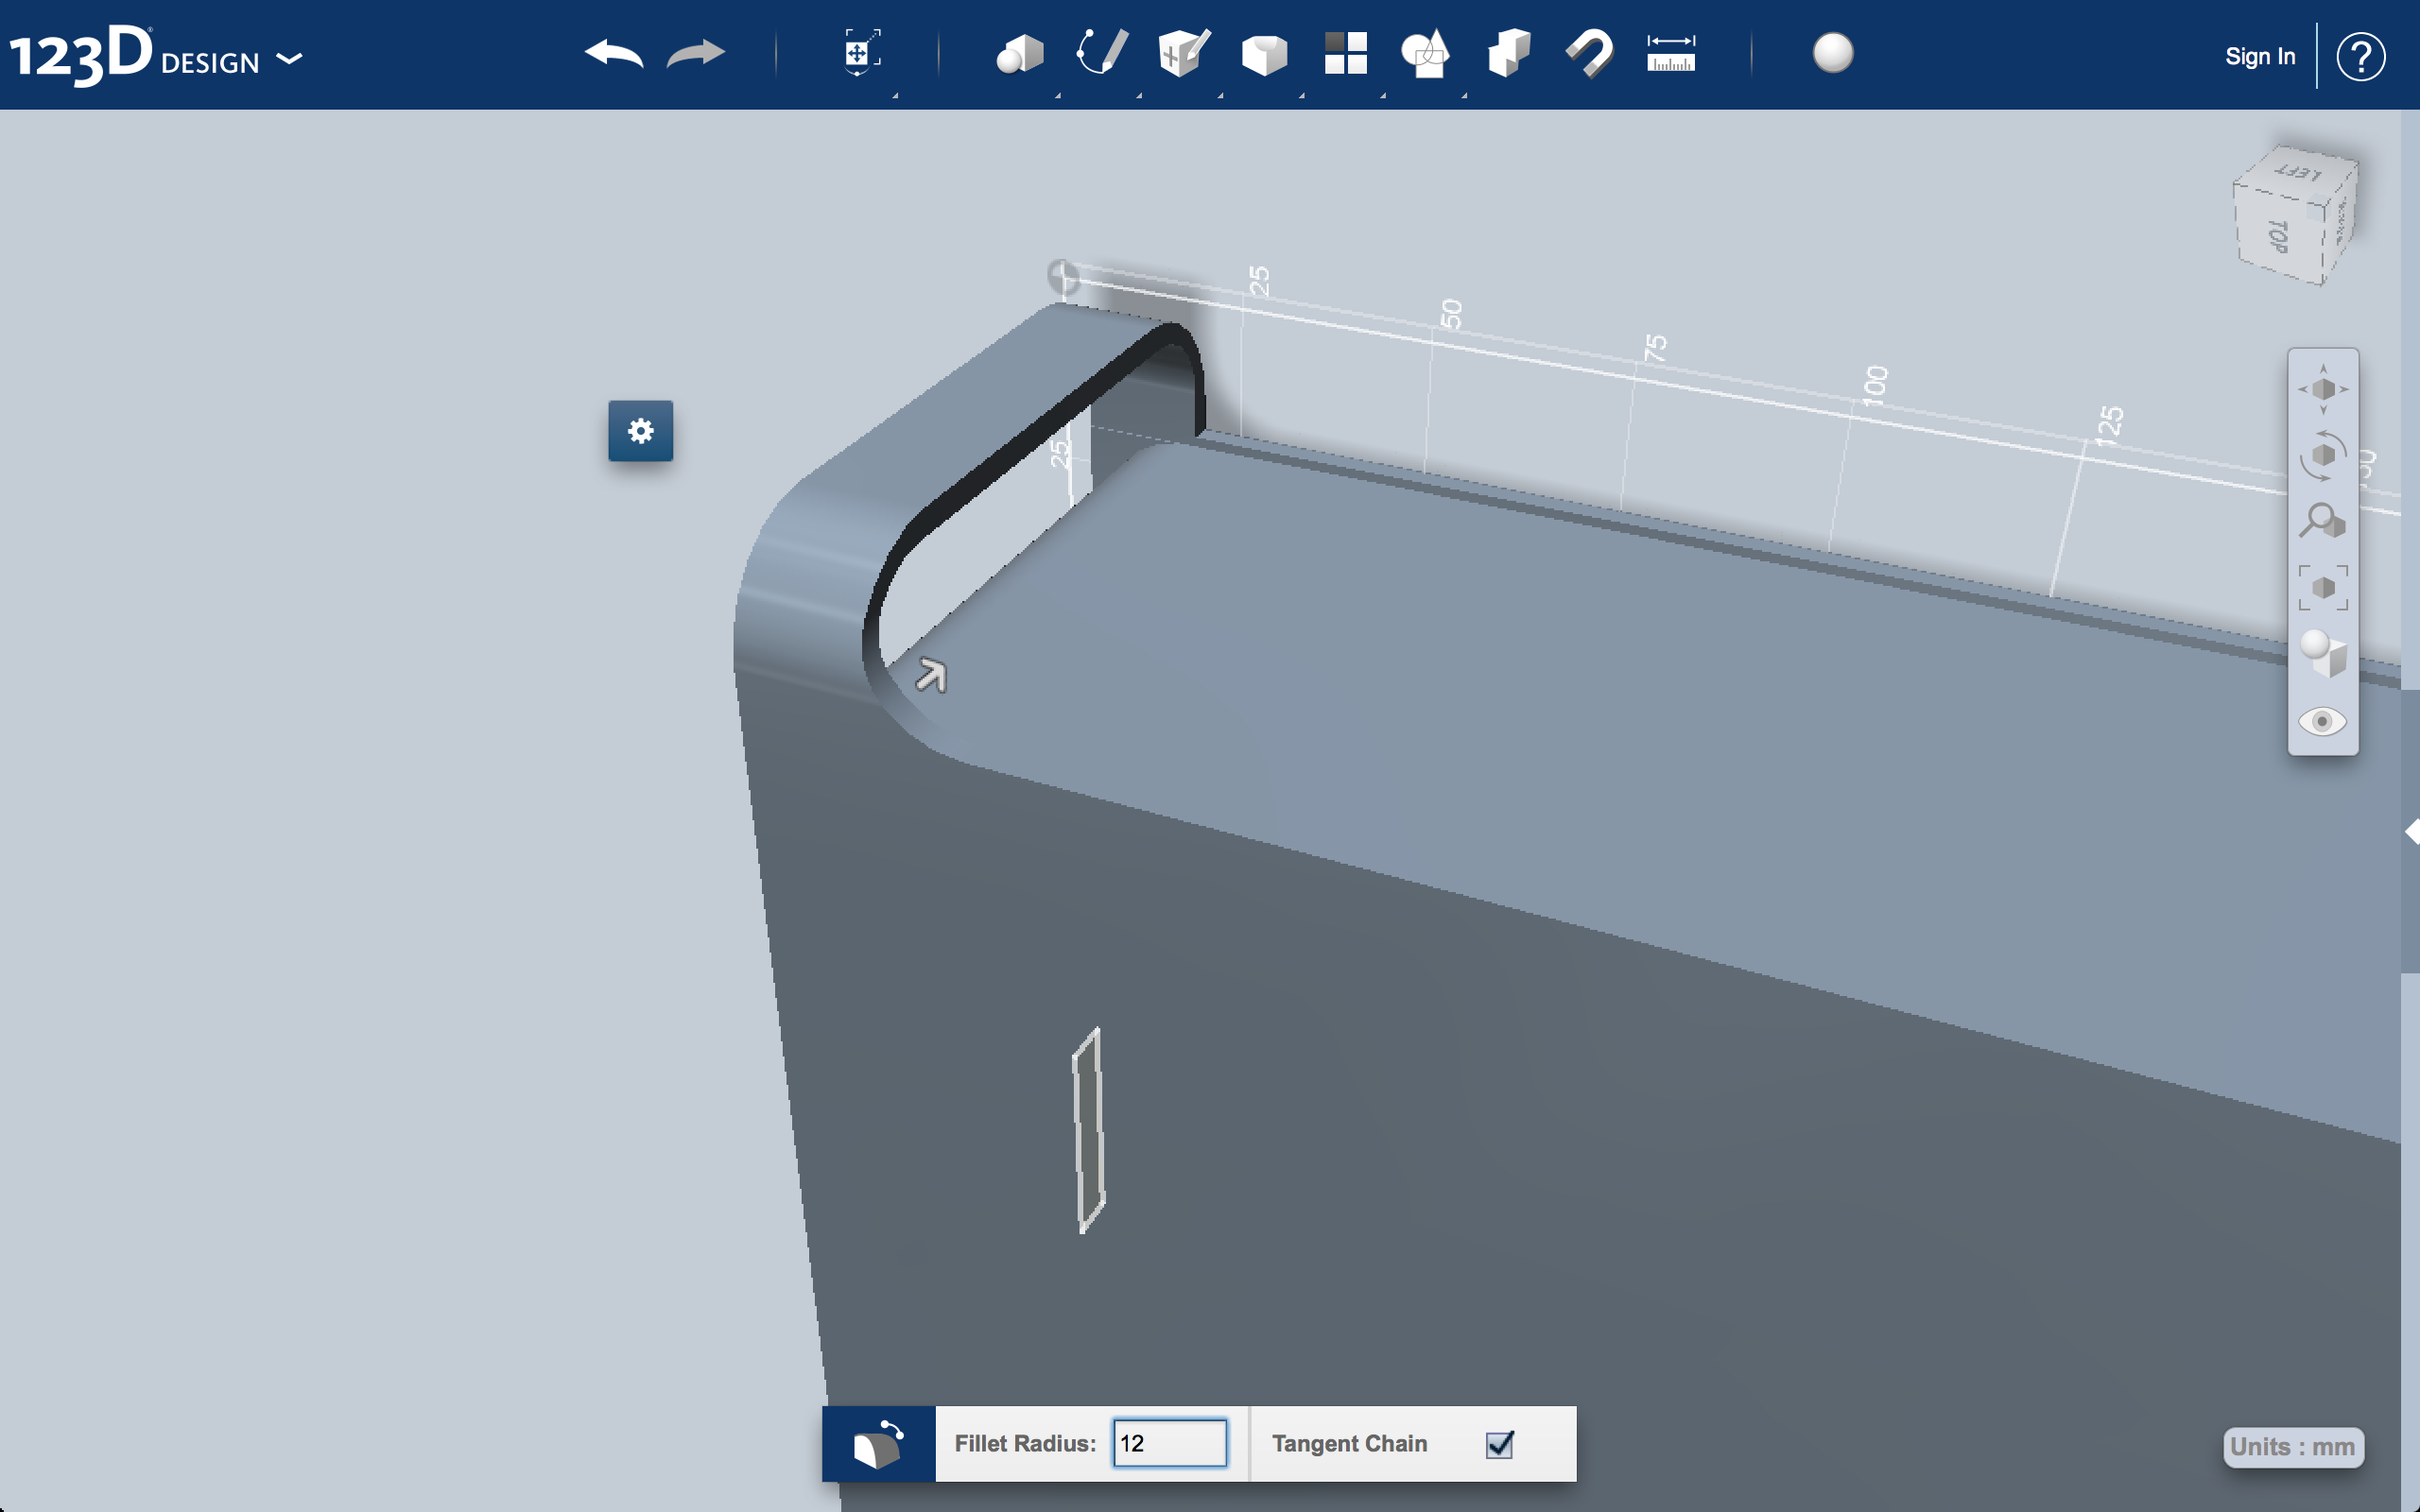
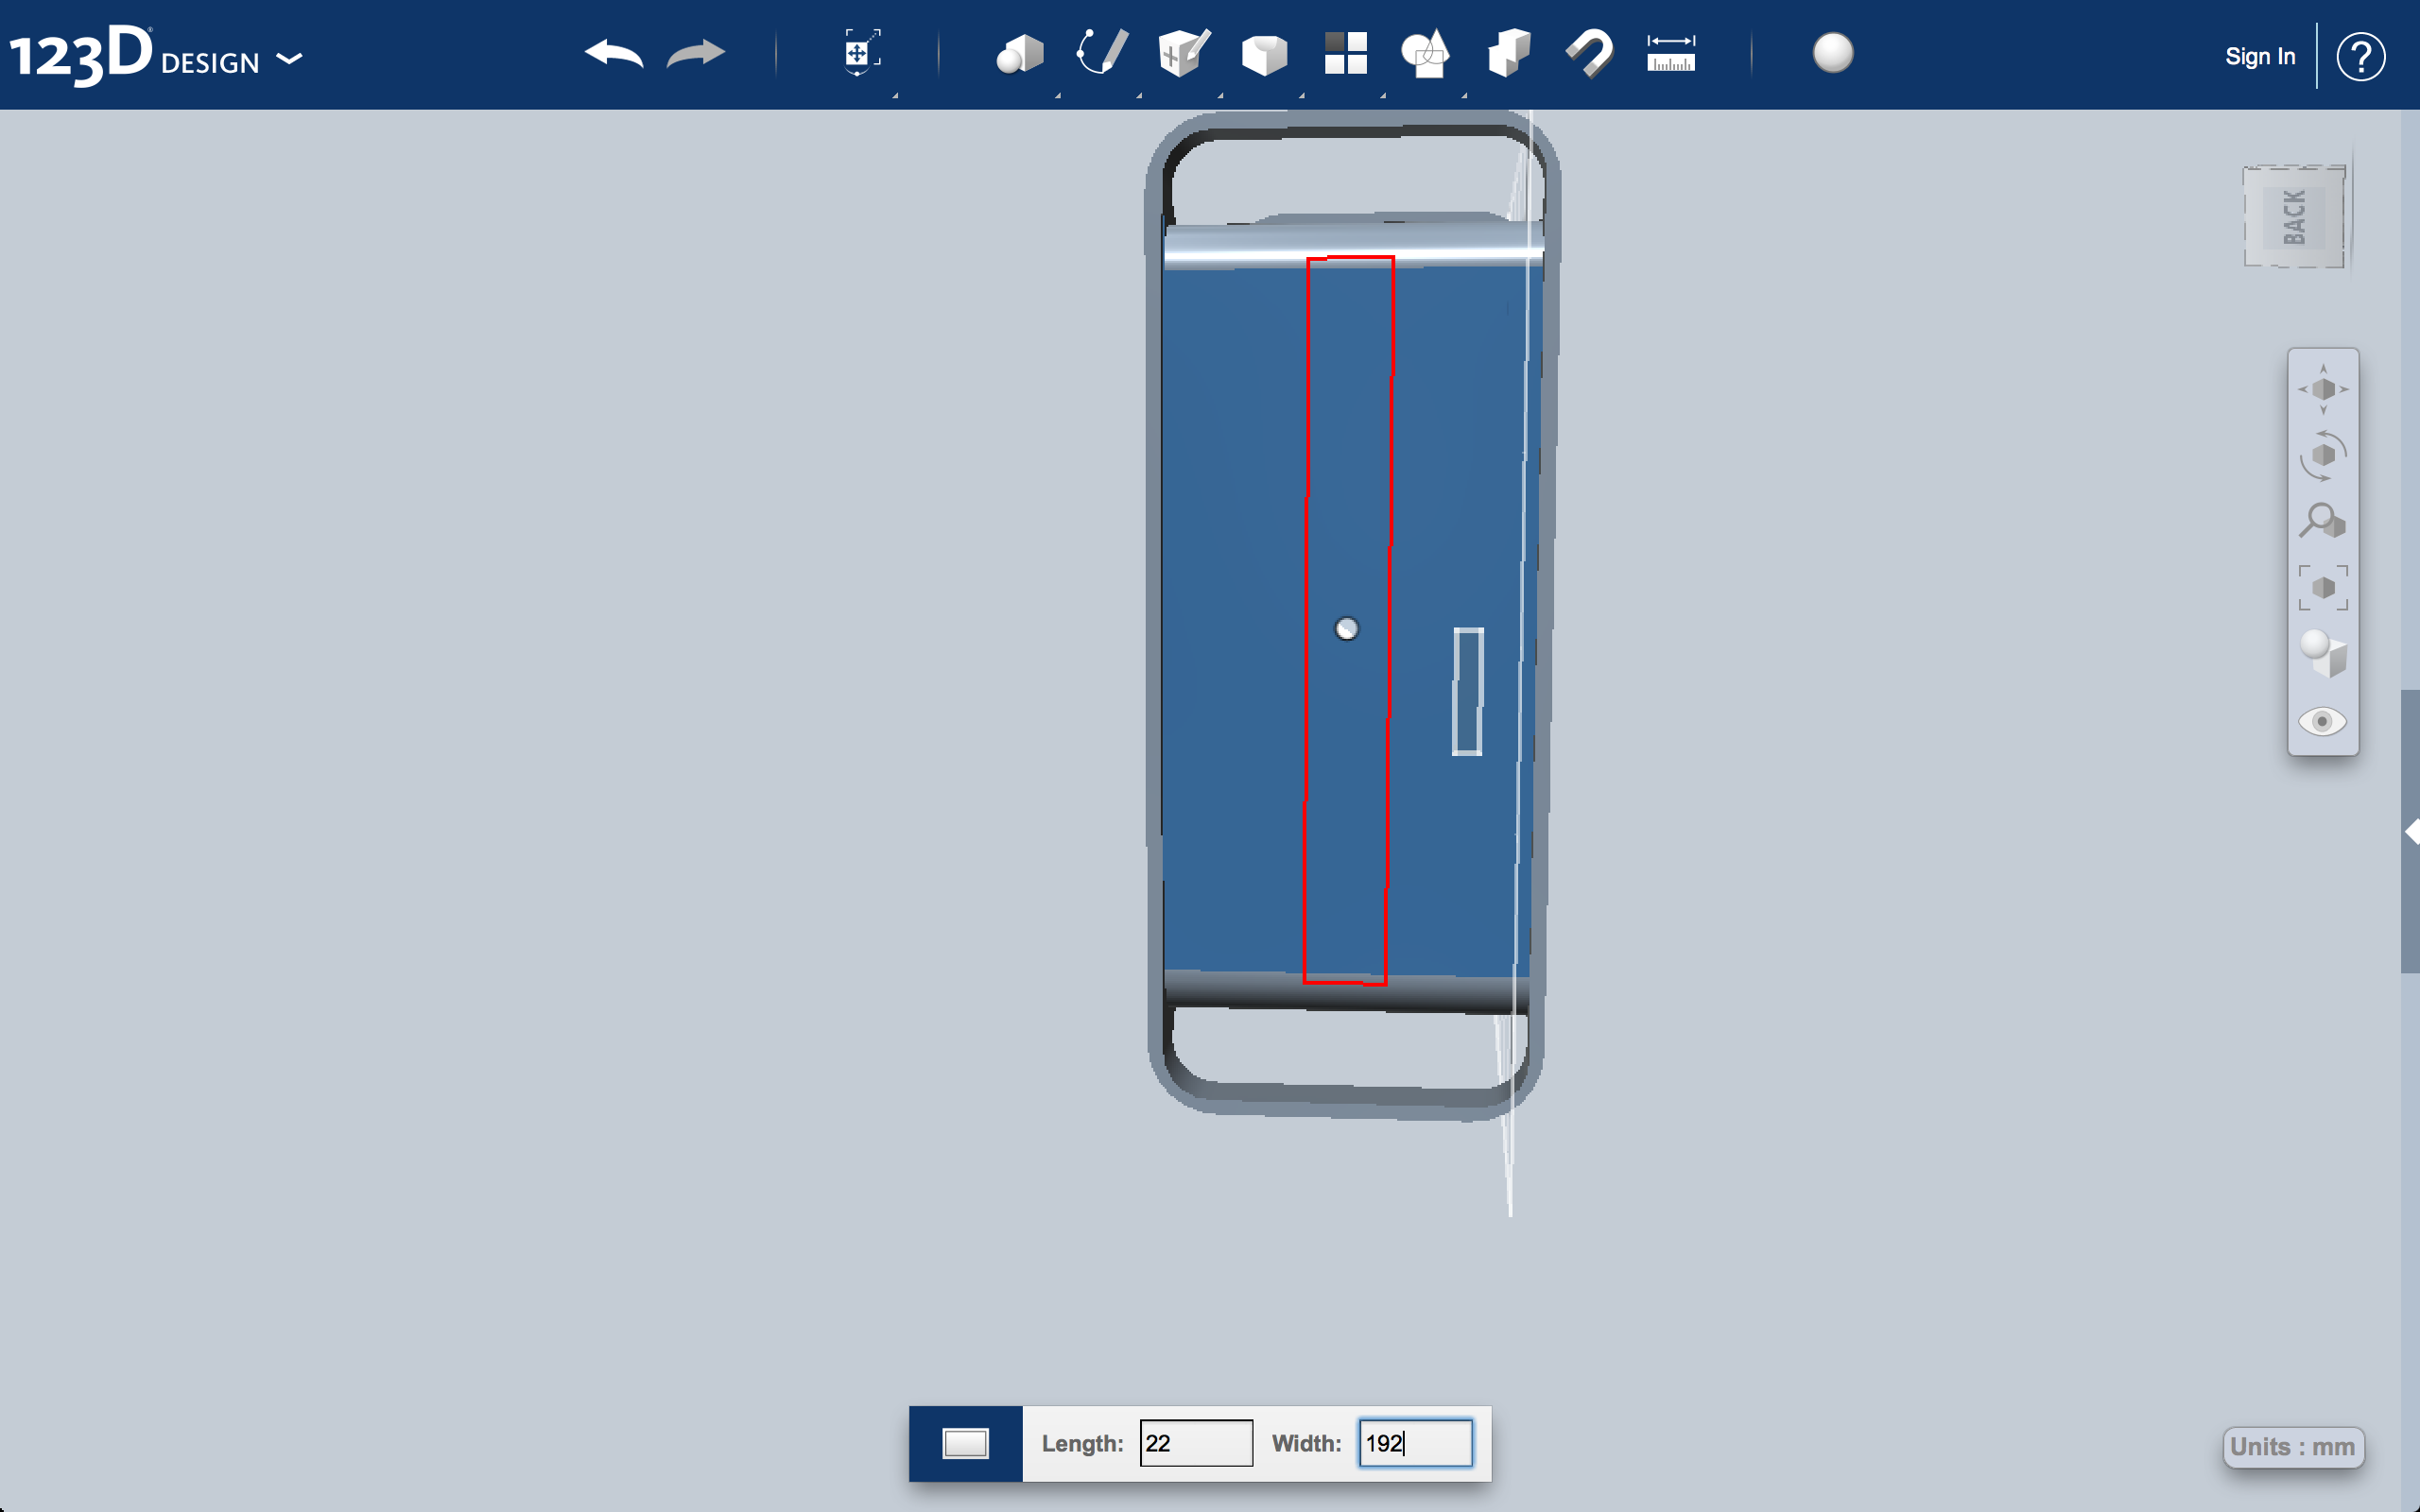
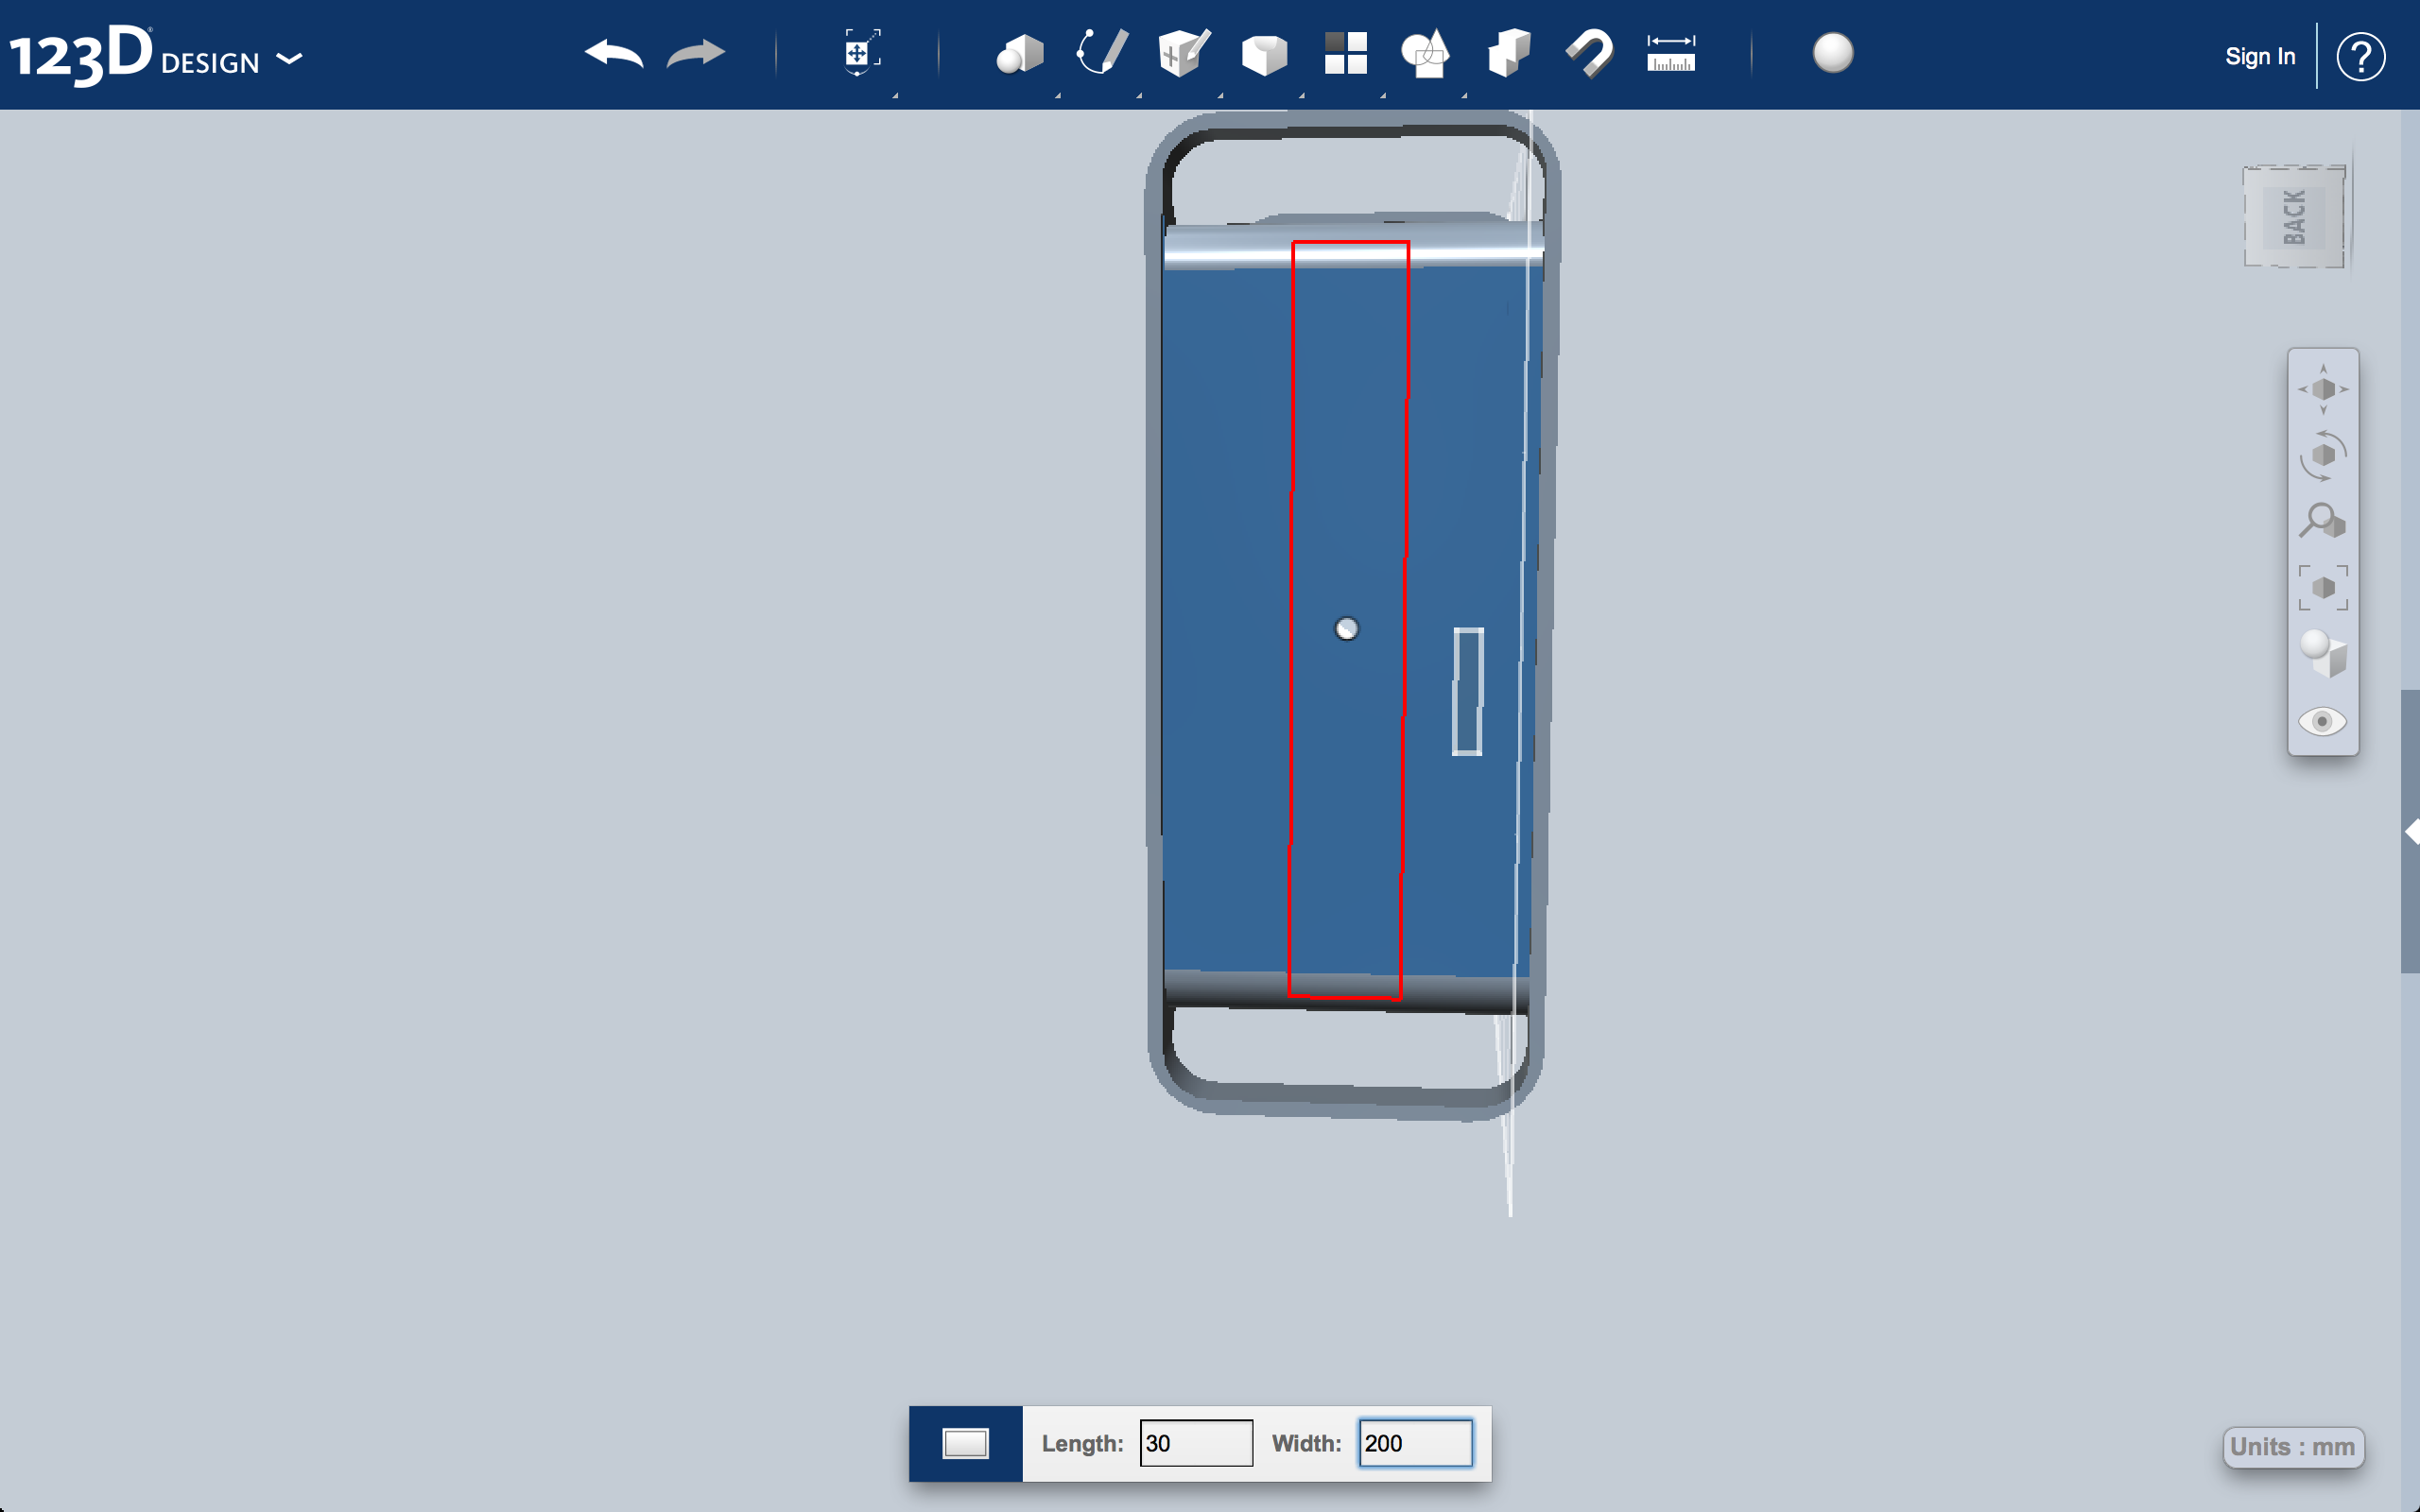
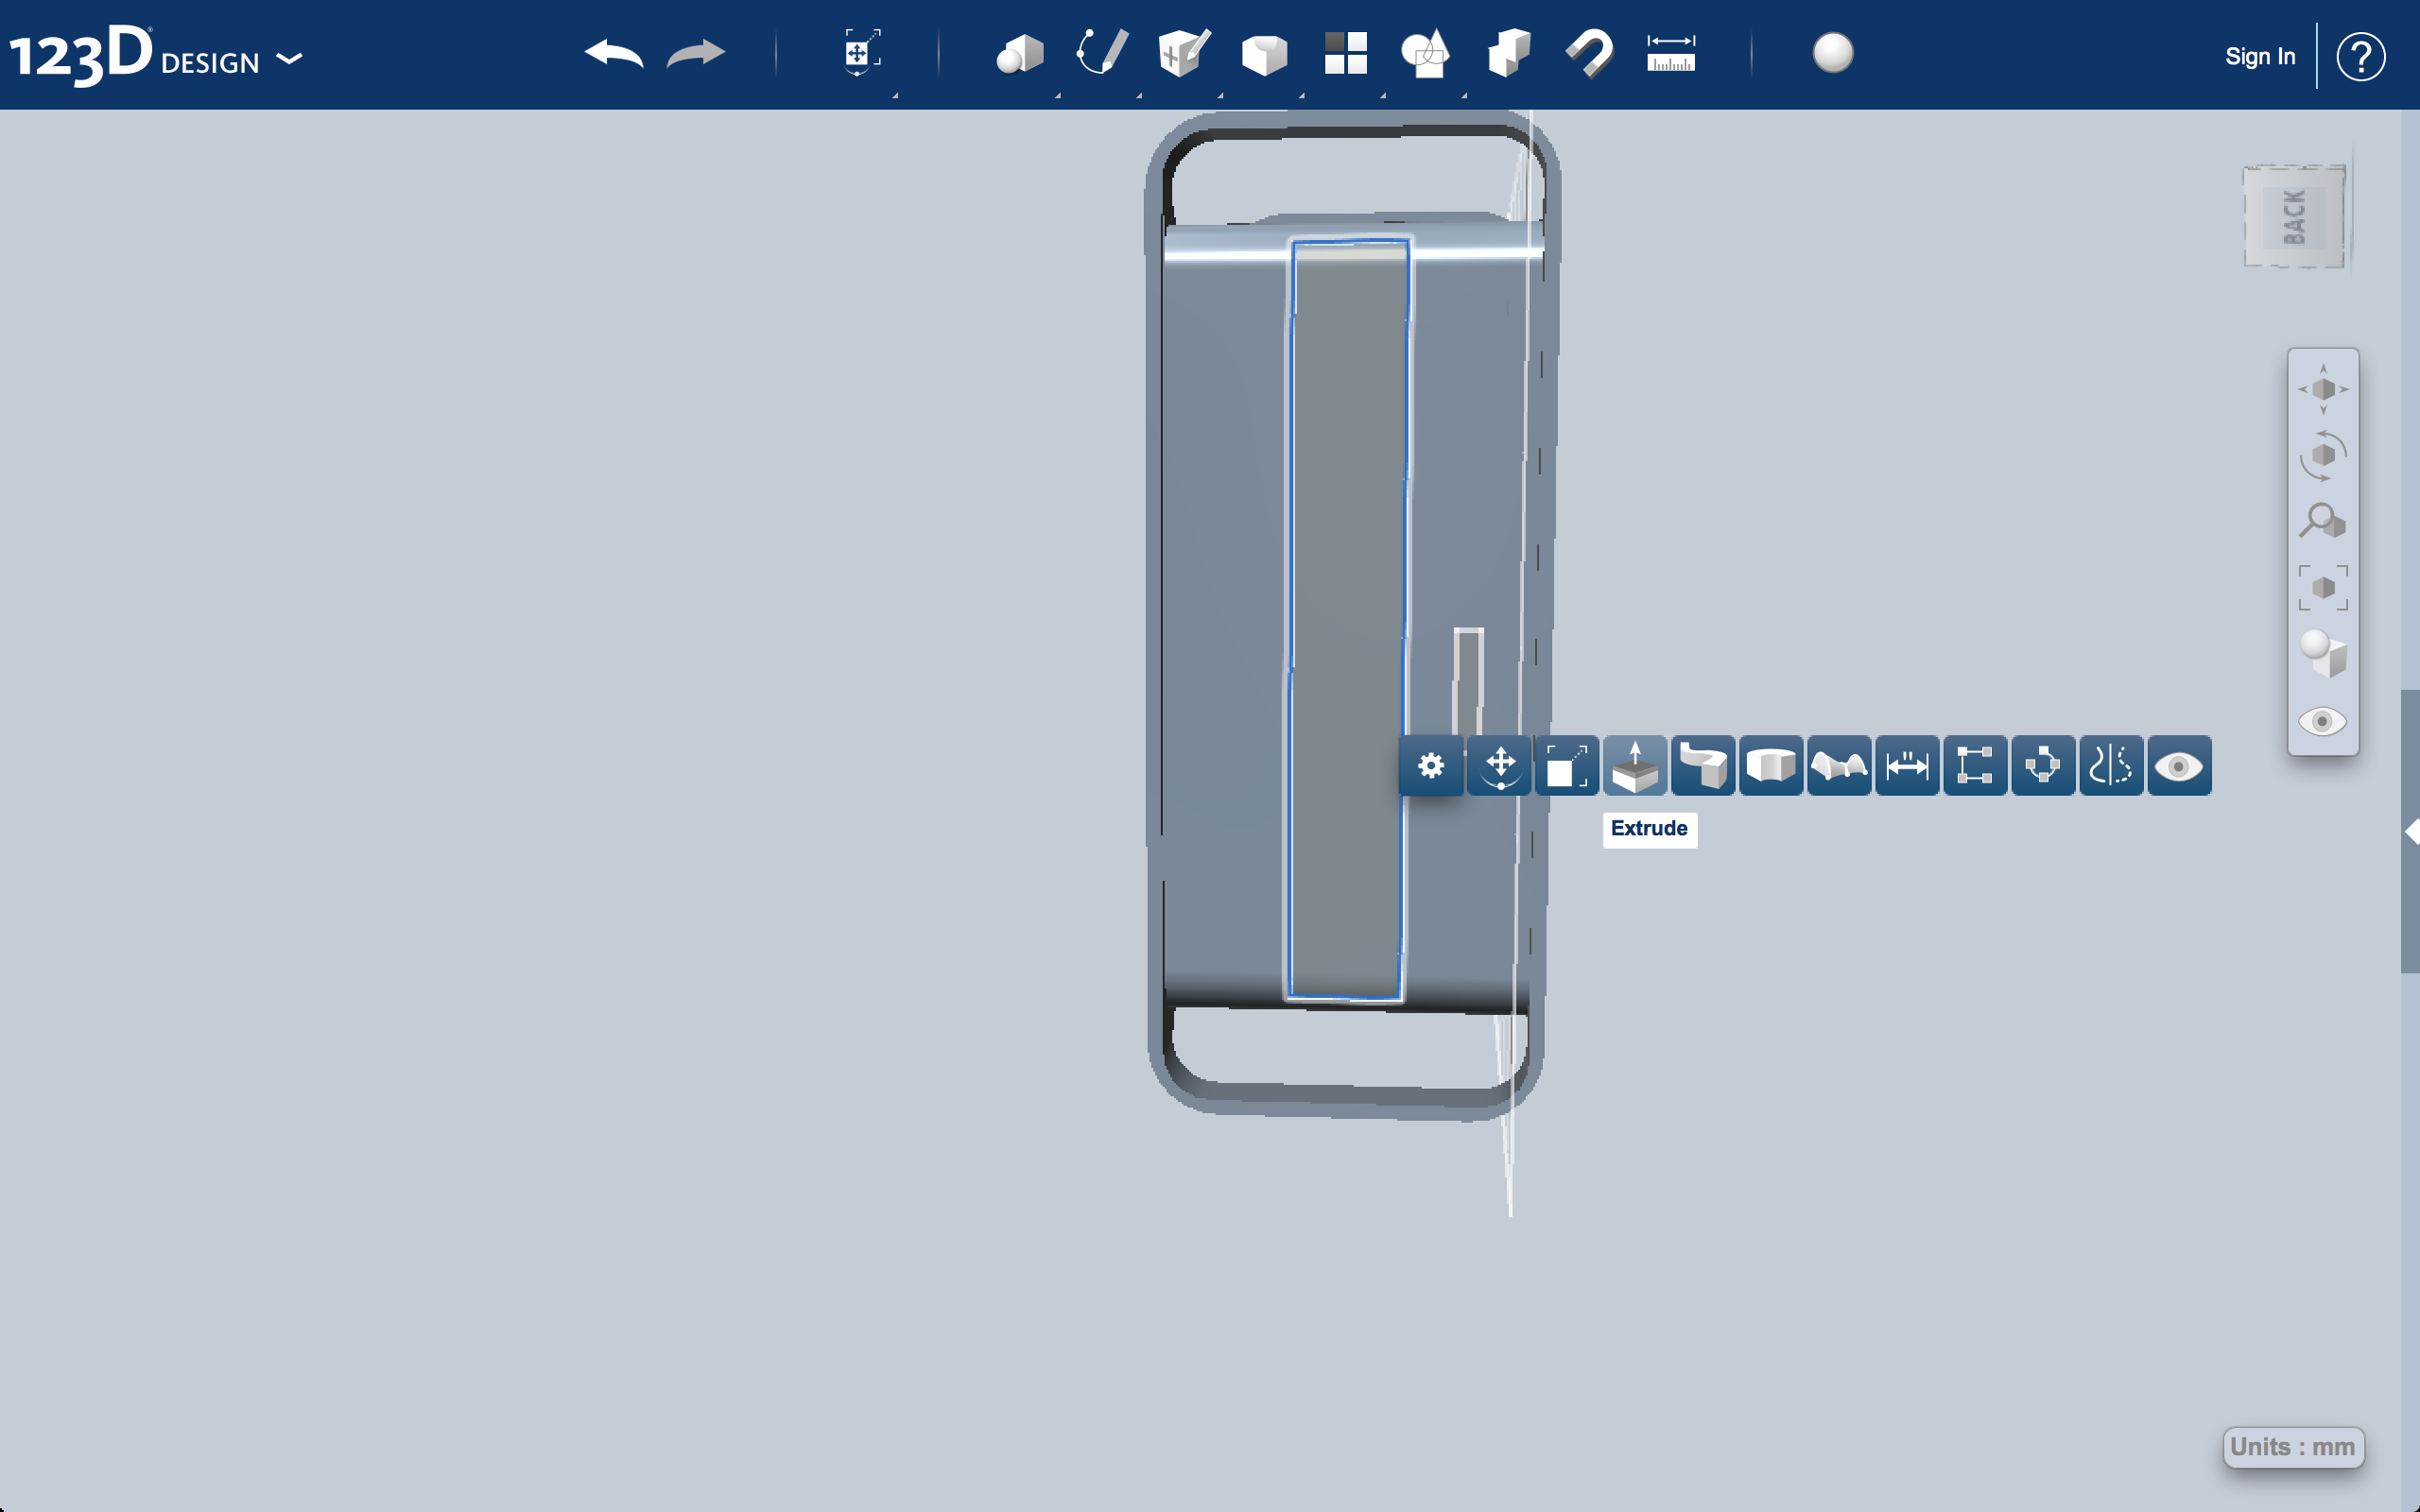
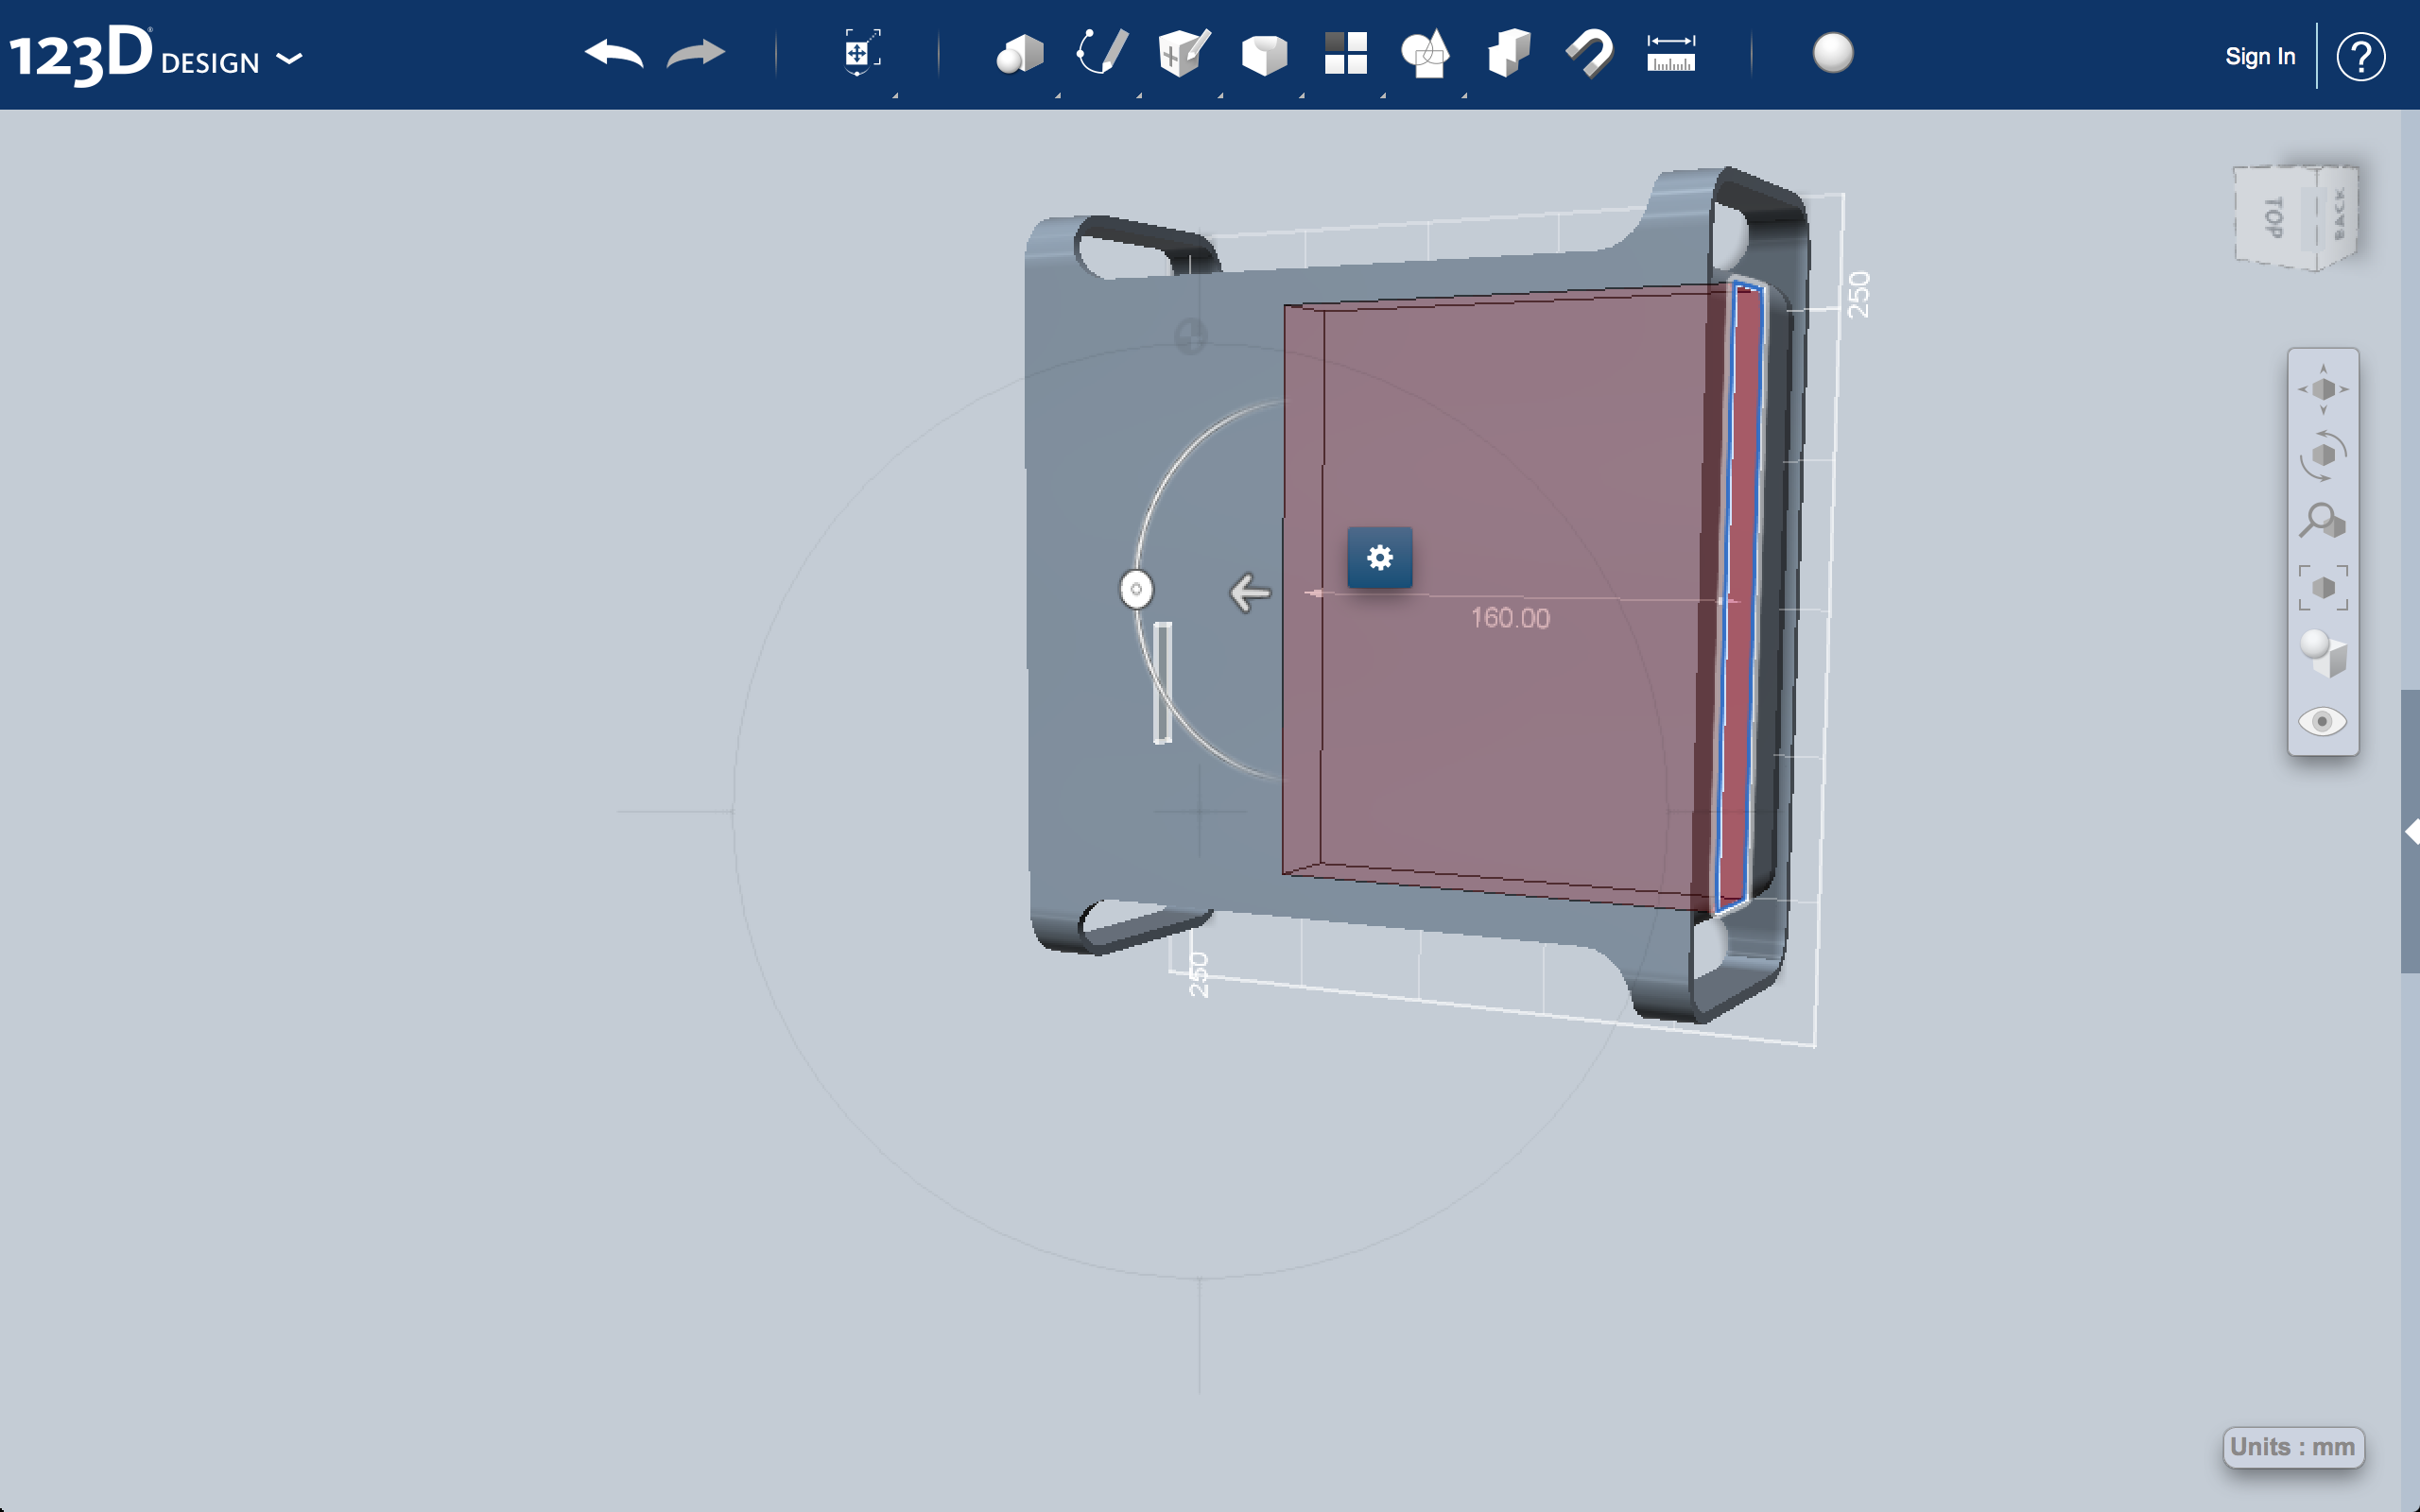
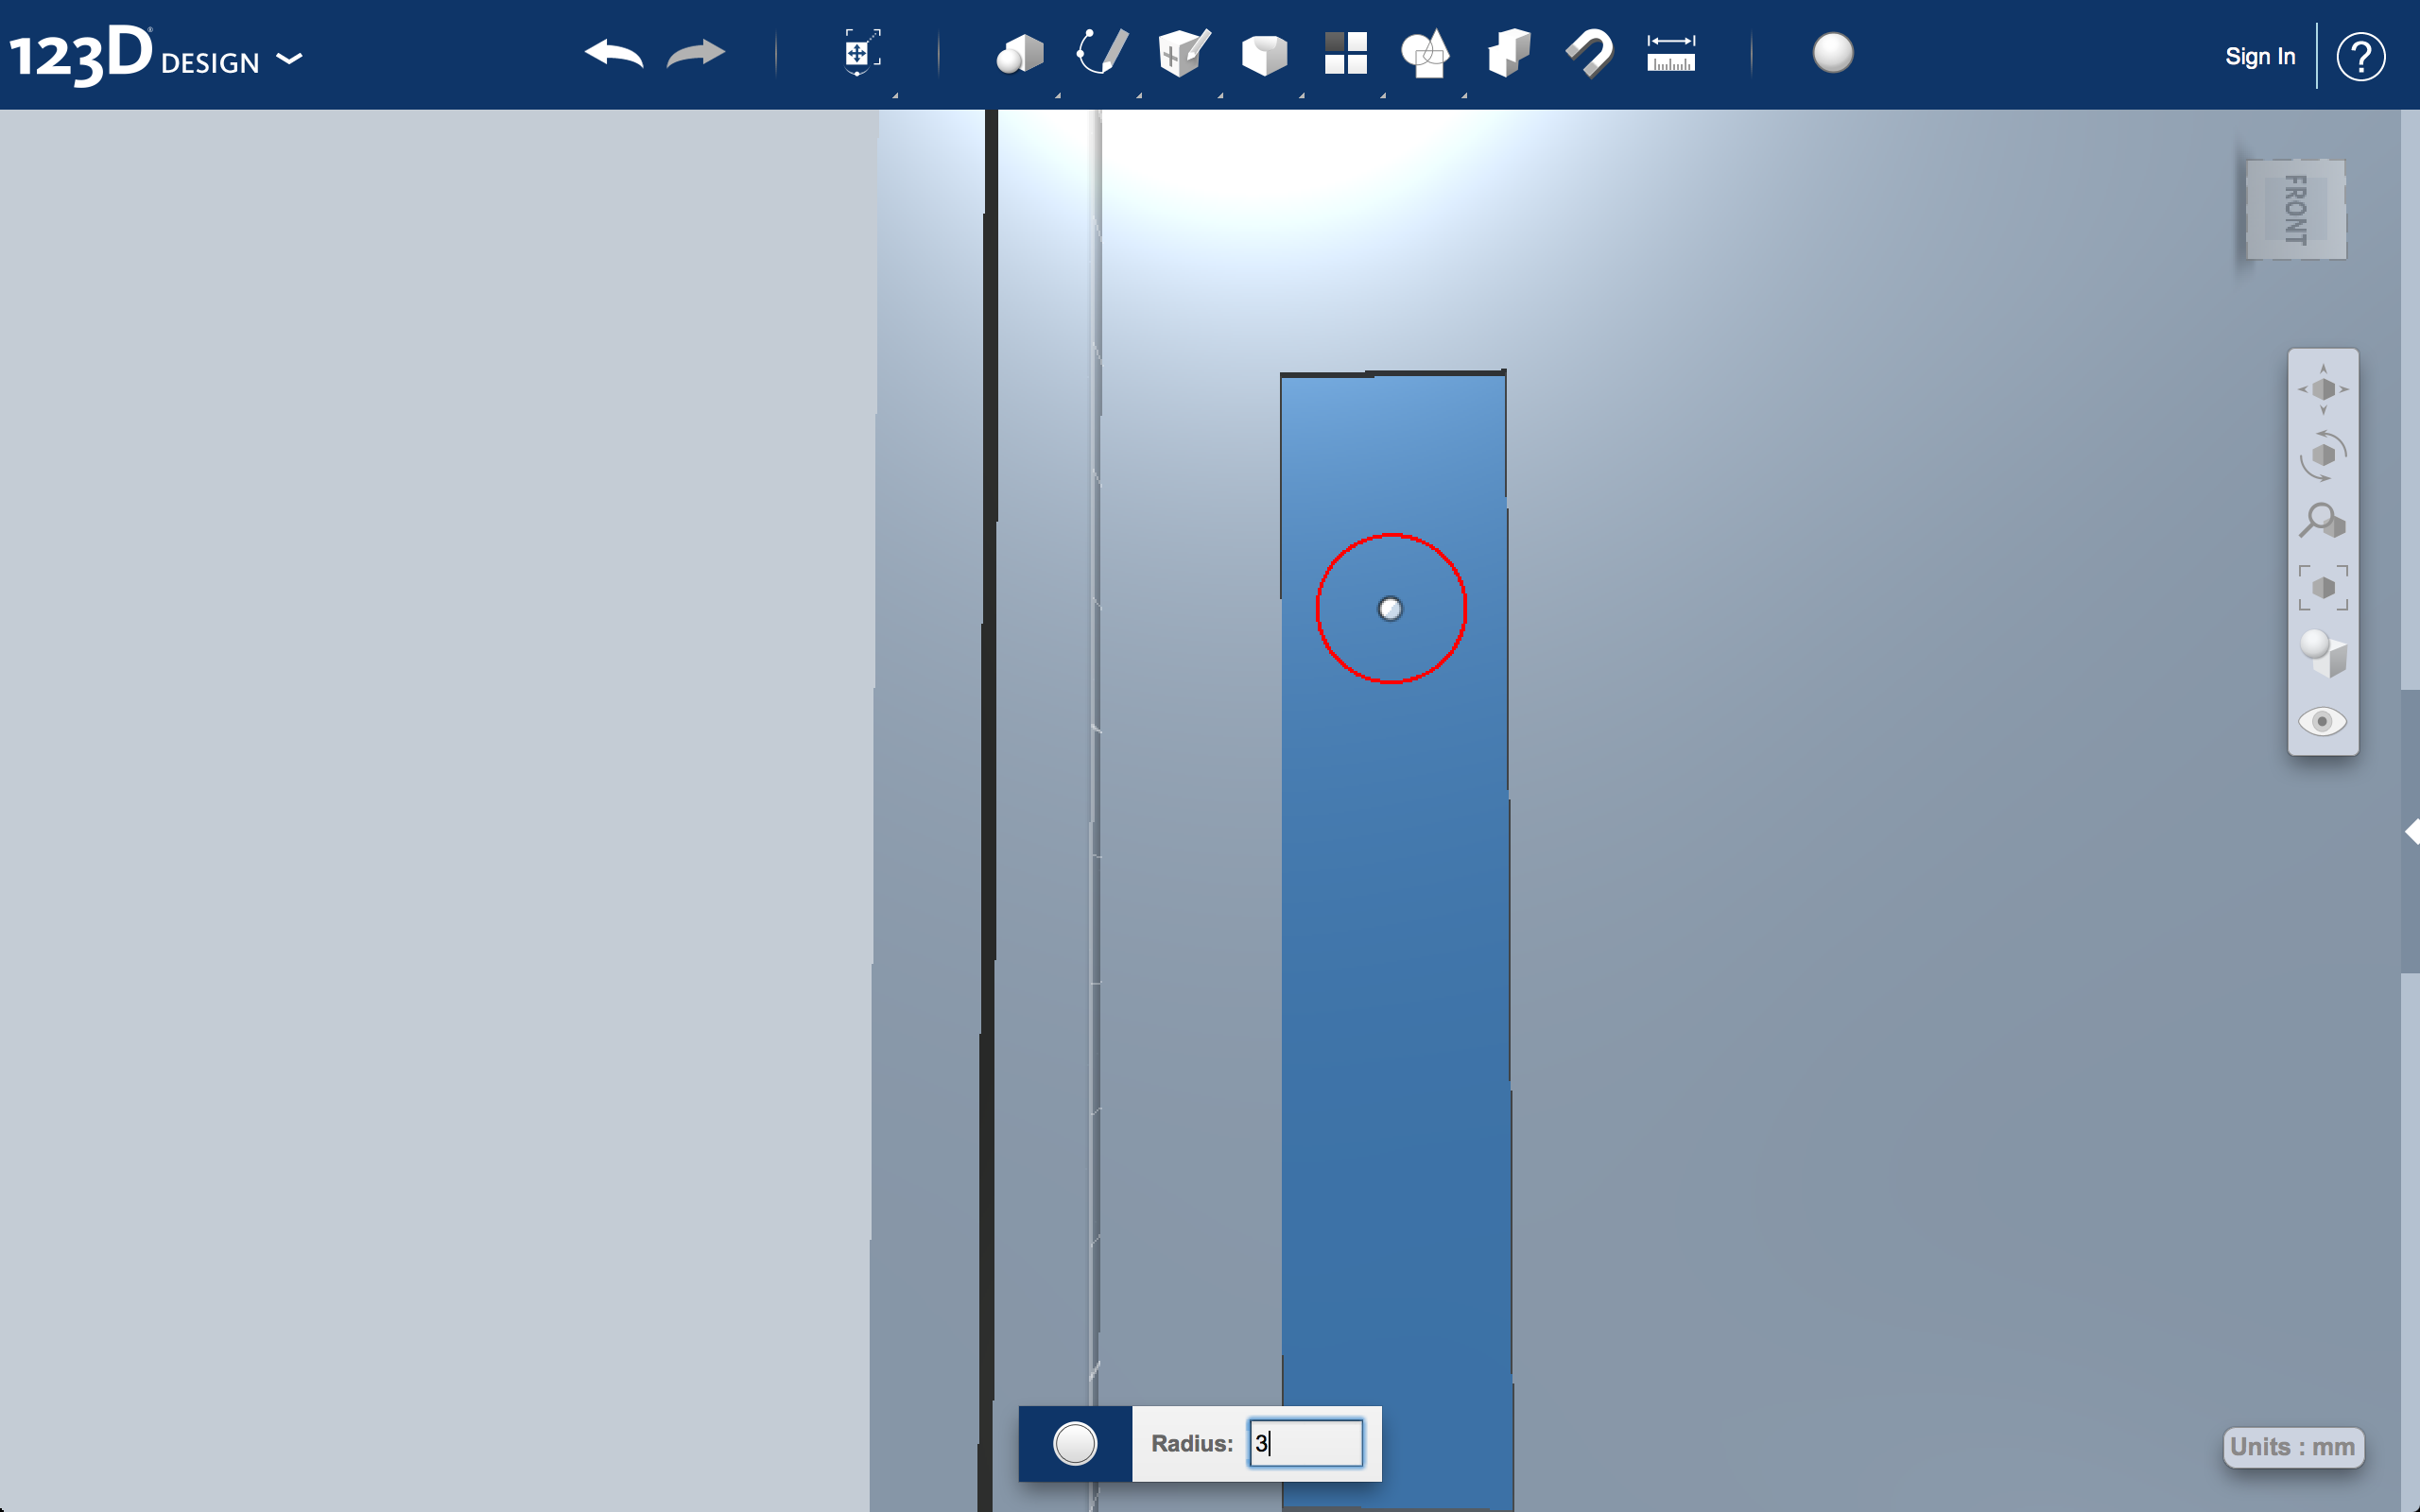
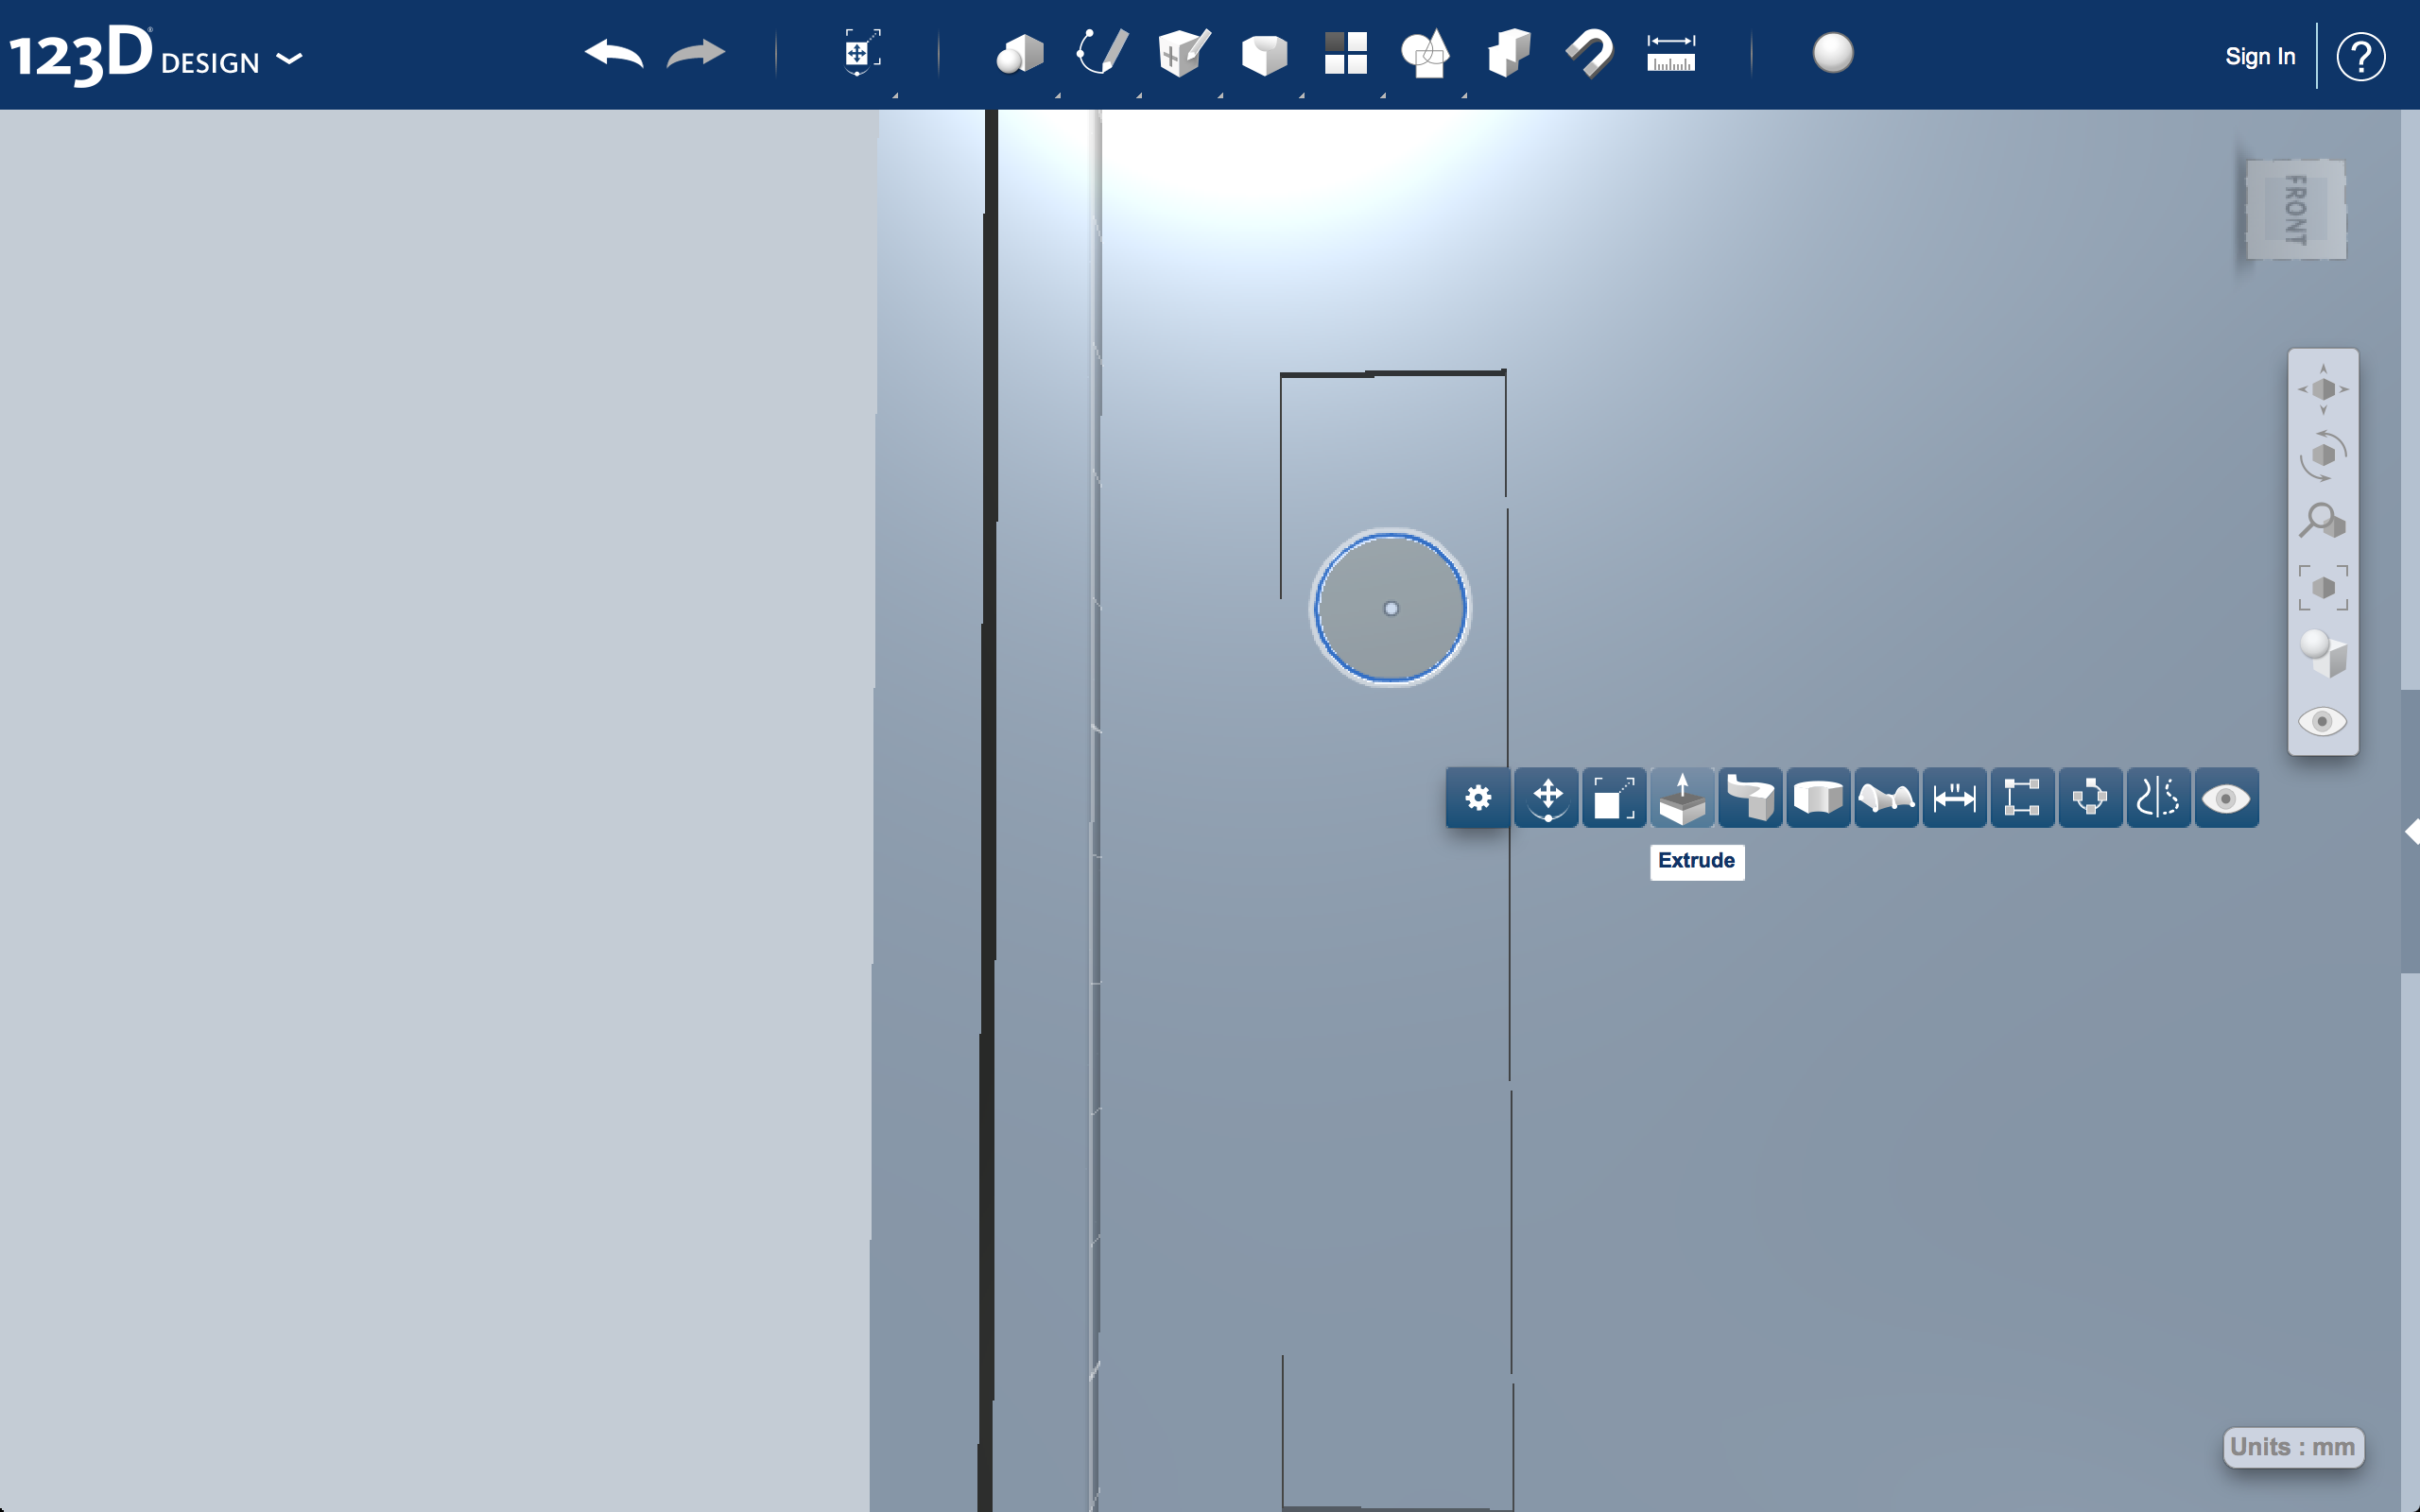
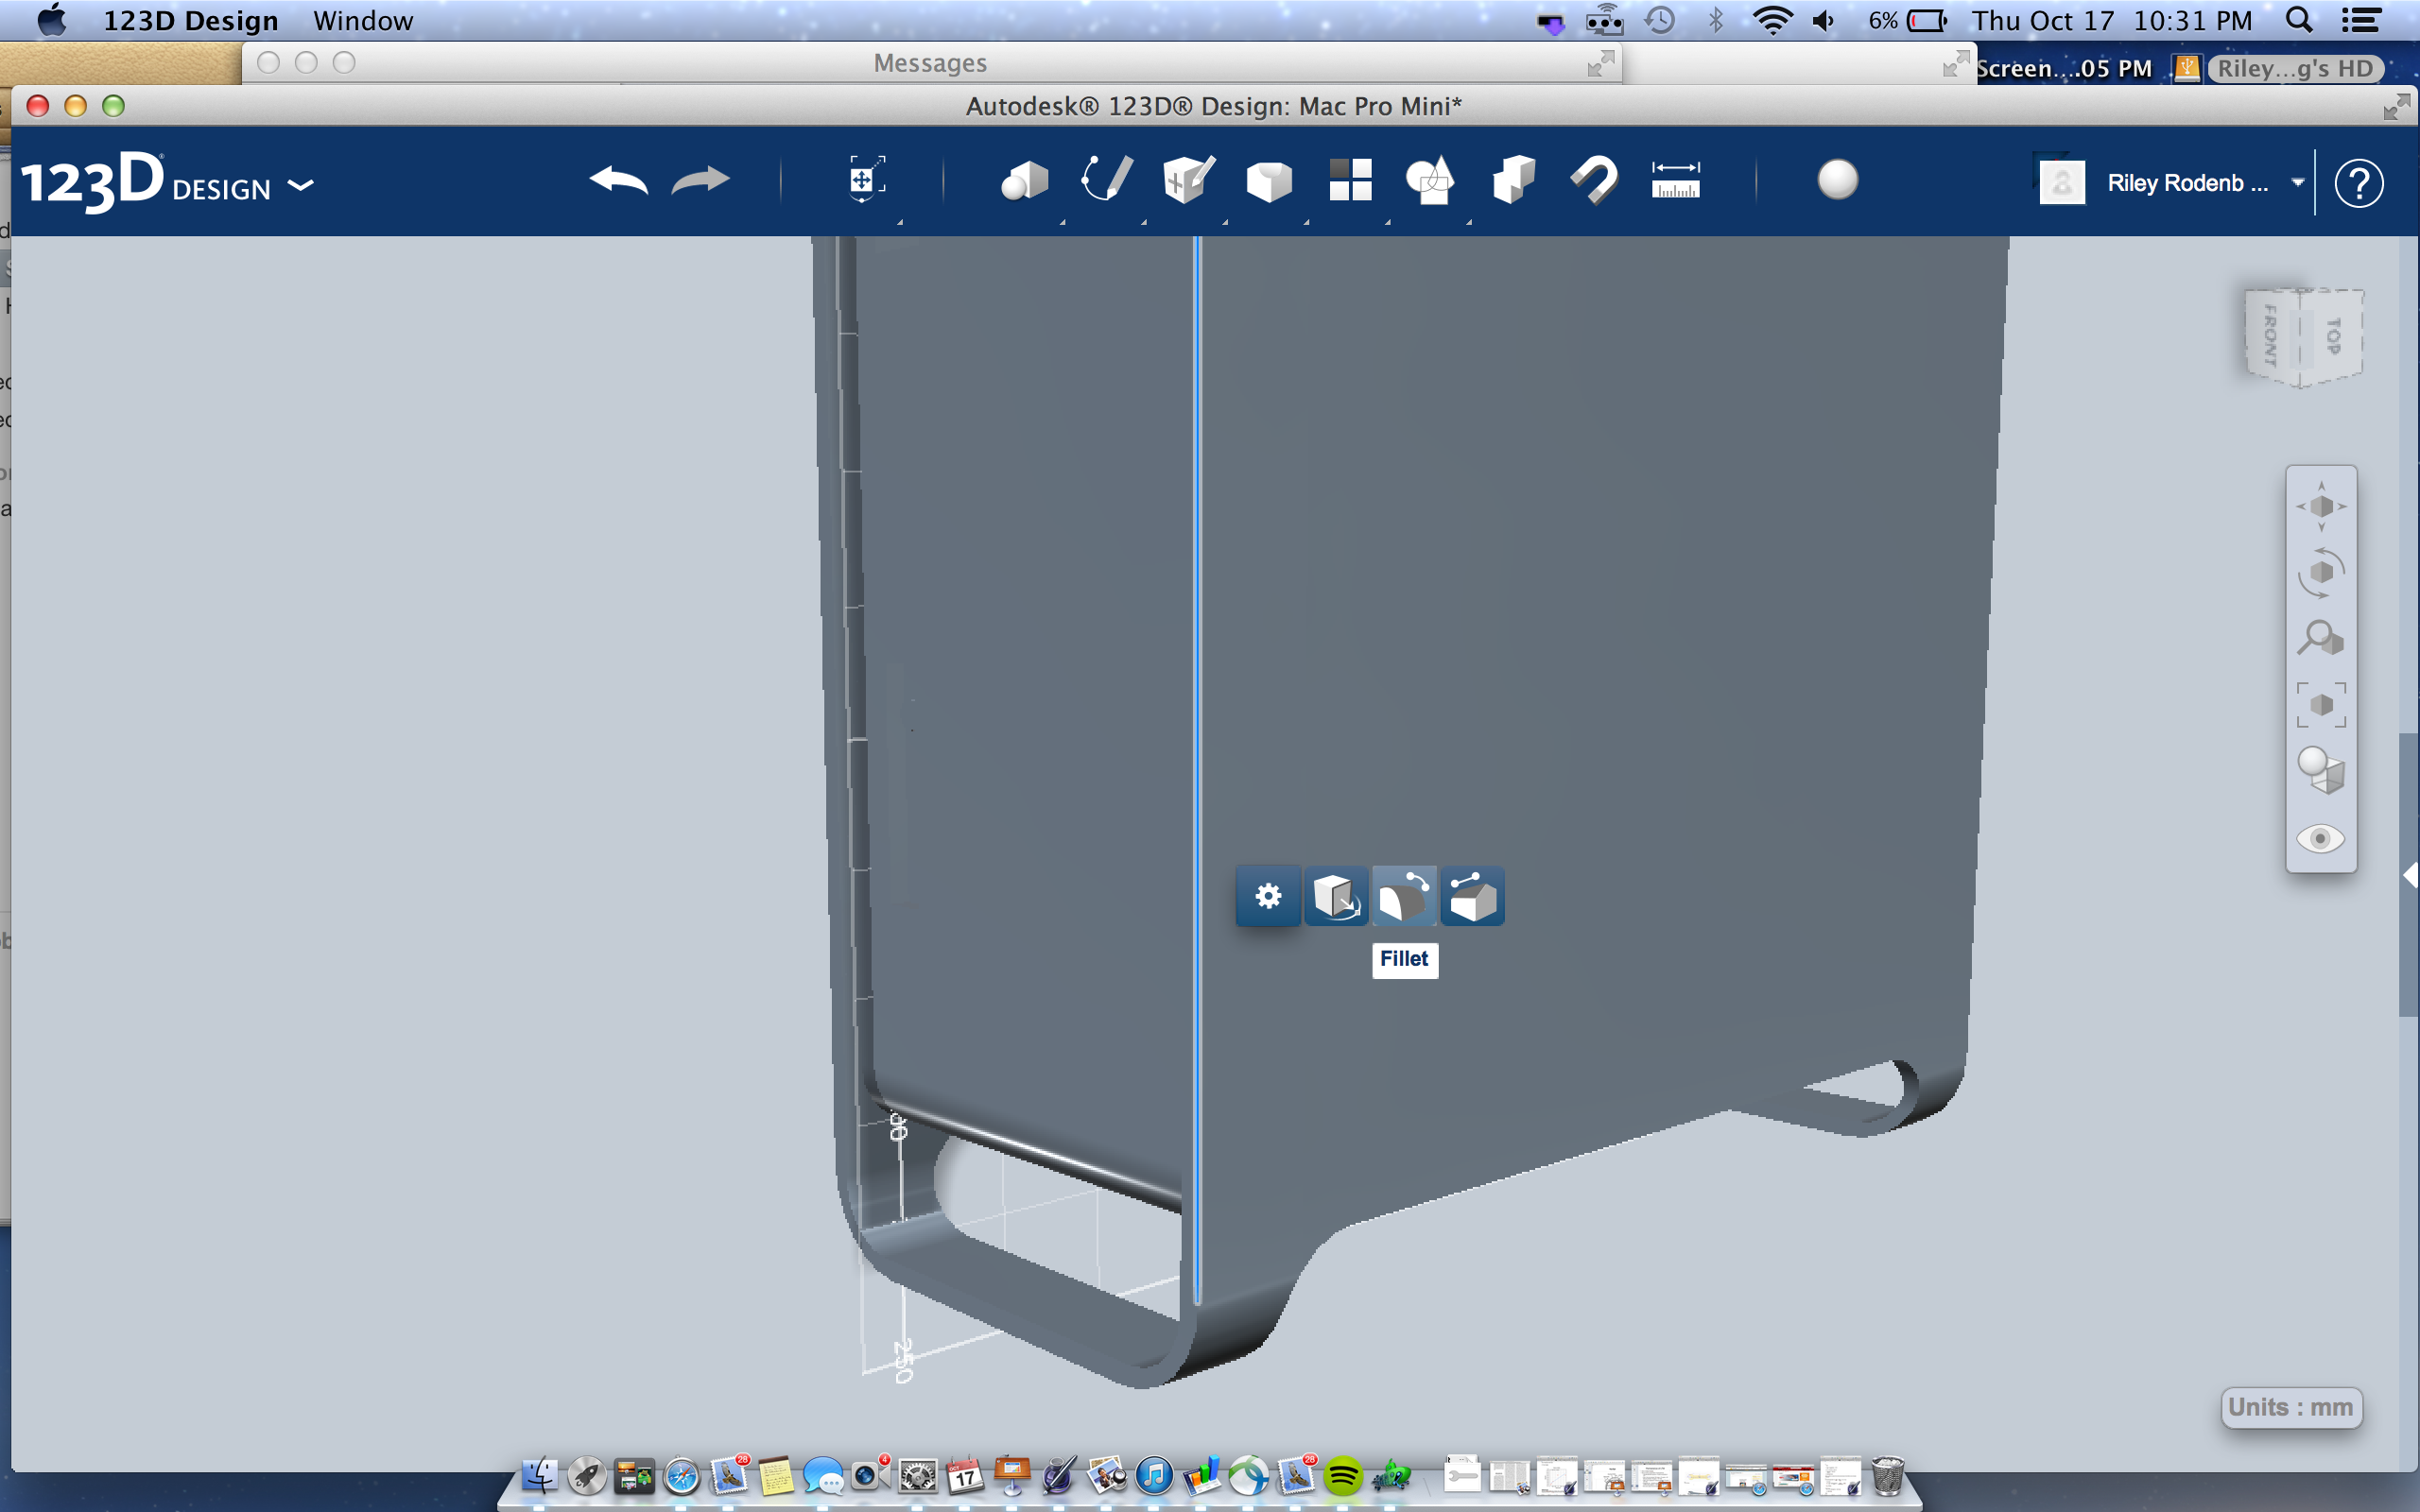
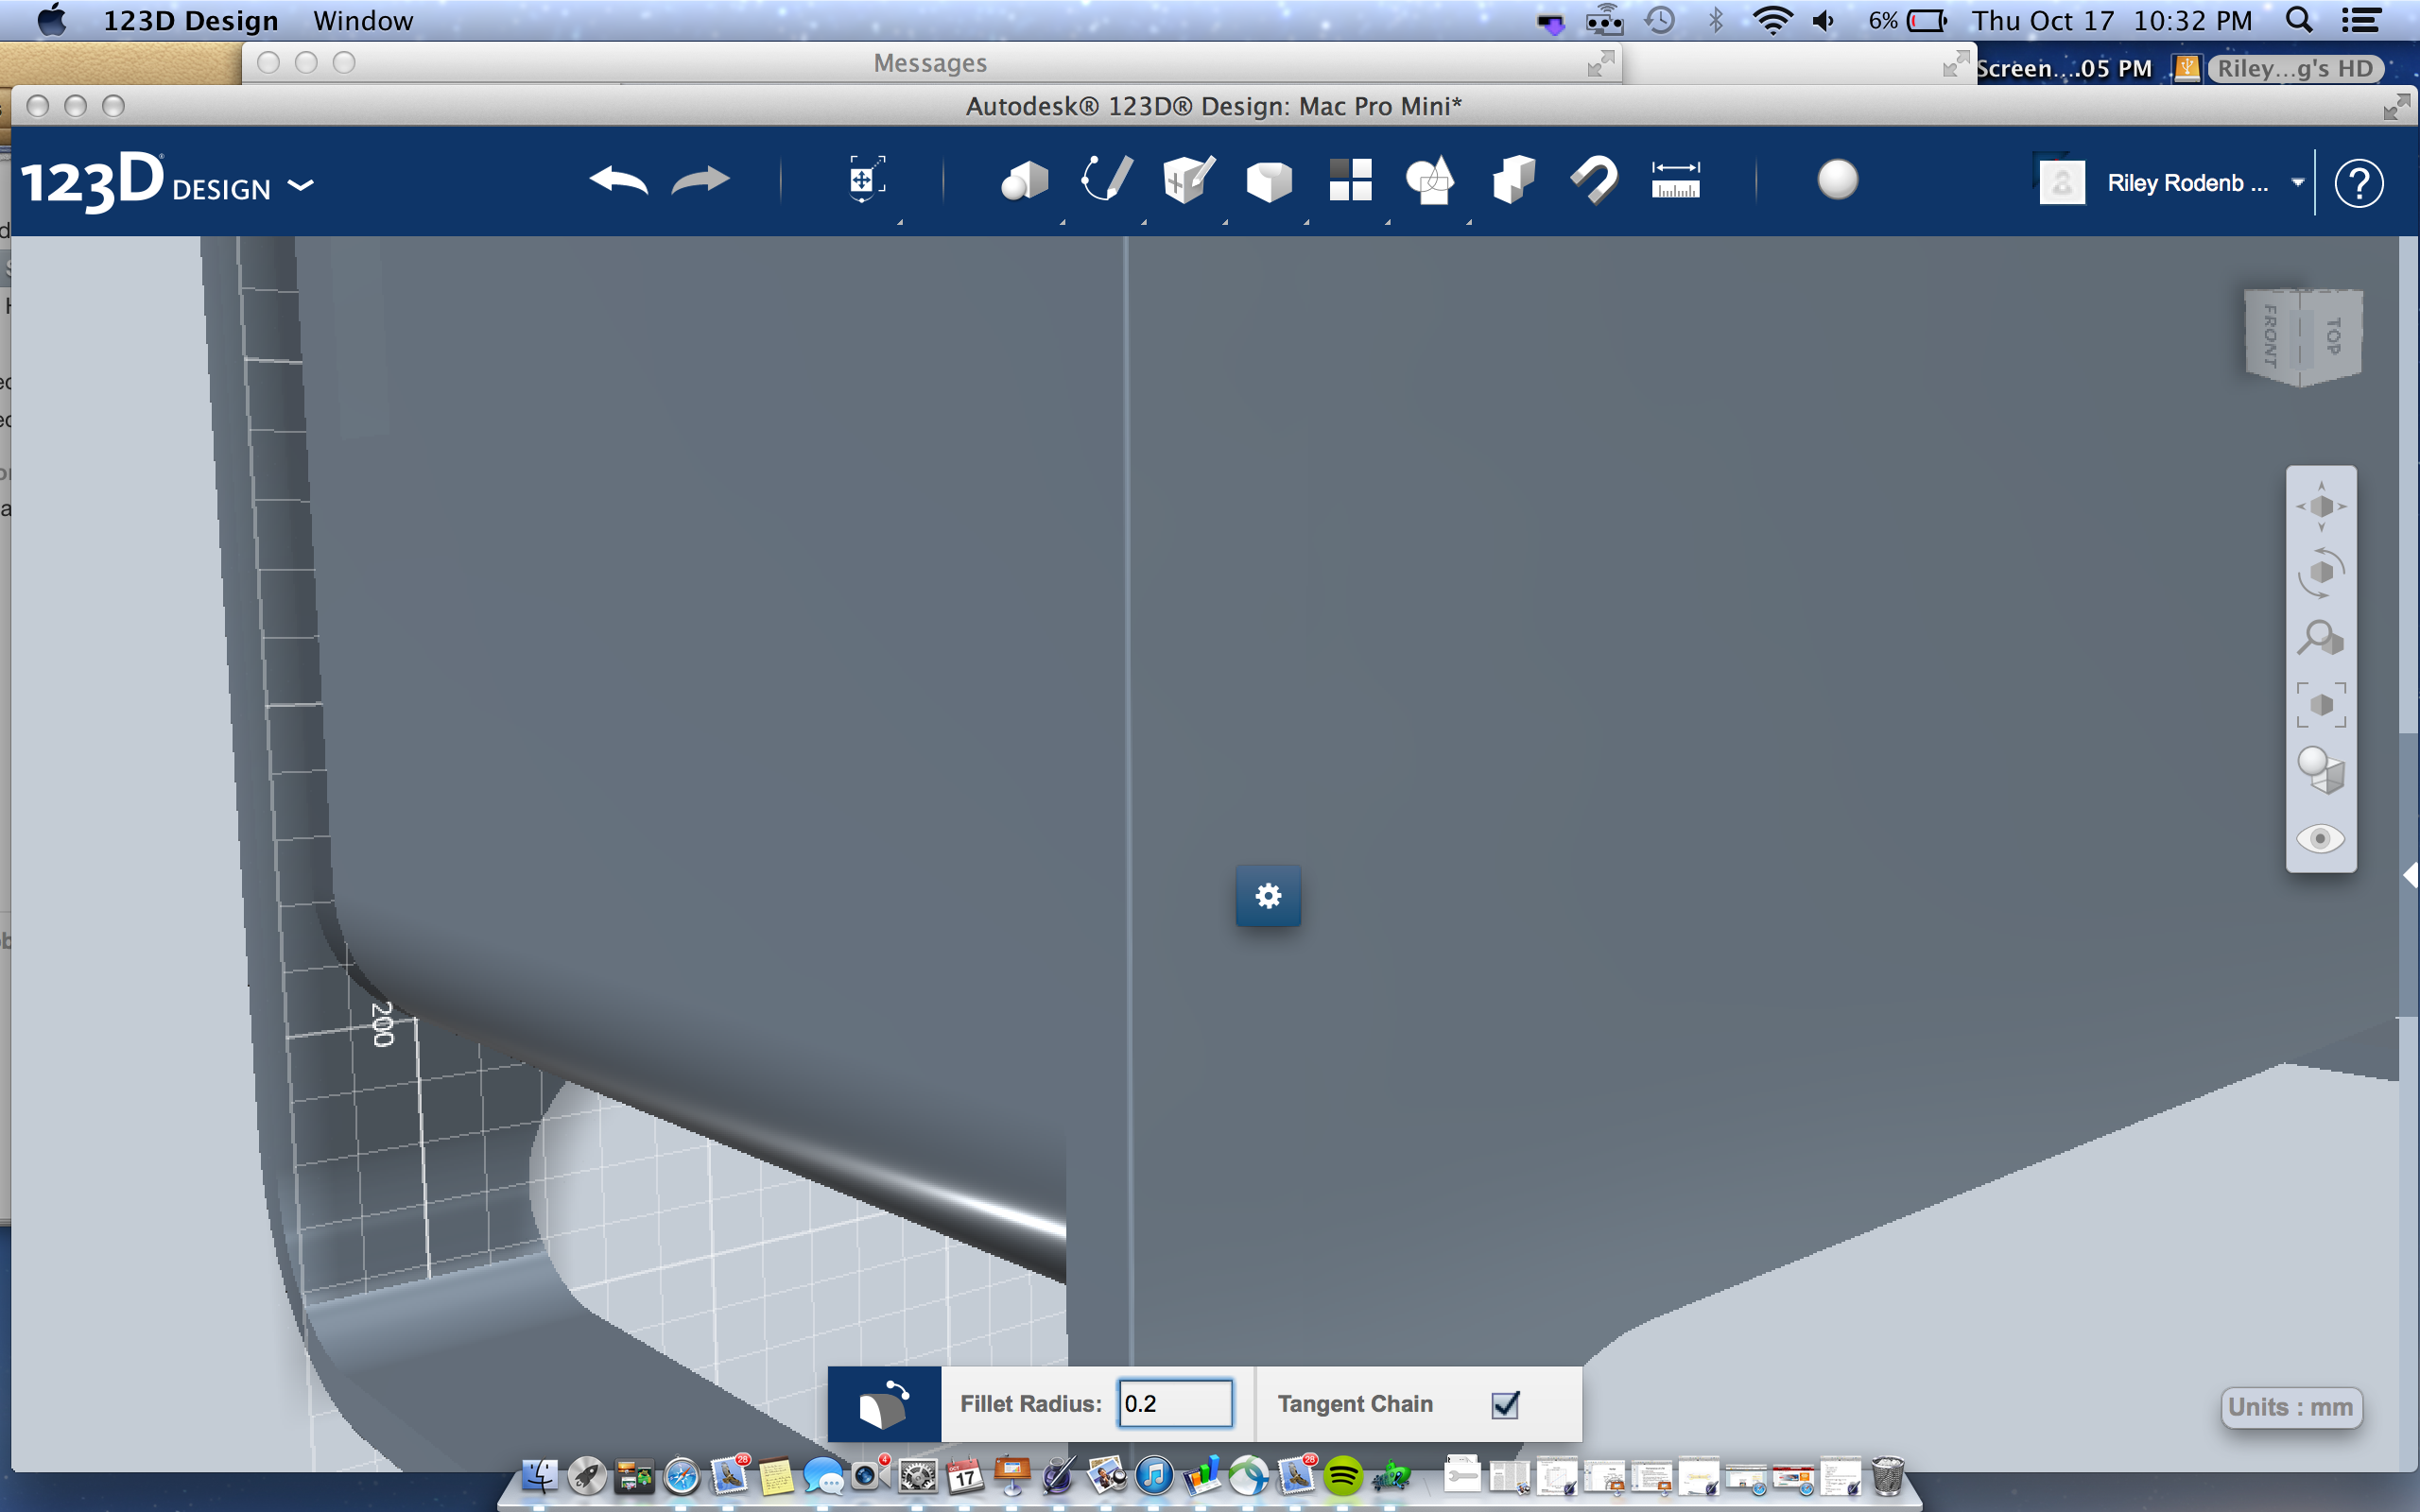
Here are all the photos. This way you can tap your way through the tutorial with enlarged photos. I think this is the best way to go about this Instructable, each photo has exactly what you need including dimensions.