Fun & Easy Jewelry


About a year ago I started learning to make my own jewelry. It's incredibly easy and I need something to go with a specific outfit or for a specific purpose, I can whip it up in a flash. From start to finish it only takes a couple of hours (because of drying times). It's also a lot of fun, makes great conversation starters, and is a skill I bring to the classroom and teach my students to do (and hopefully they build on it and teach me something later). Homemade jewelry also makes great gifts. With the method shown in this instructable, you are not limited only to jewelry. You can make paper-weights, magnets, mosaic pieces, swag for Geocaching and more!
It's relatively inexpensive to get started, I buy the majority of my materials from Sun & Moon Crafts, their prices for pendant pieces, jewelry findings, etc. are better than what I've found in stores. I still have a lot of the materials from my first order, and all of the glazes and adhesives---a little goes a long way and it lasts.
***If you've enjoyed this Instructable, please consider voting for me in the Paper Crafts contest. THANKS!!!***
Tools & Materials
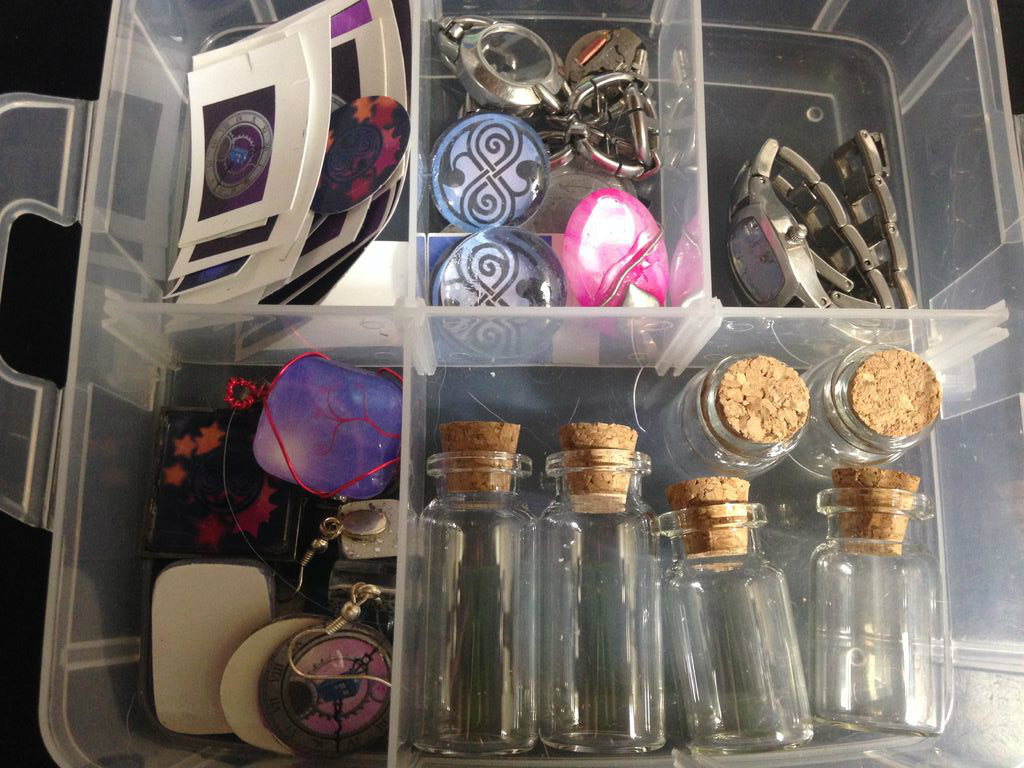


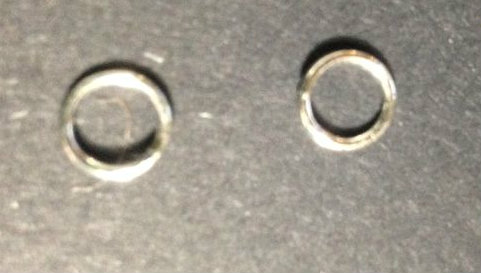
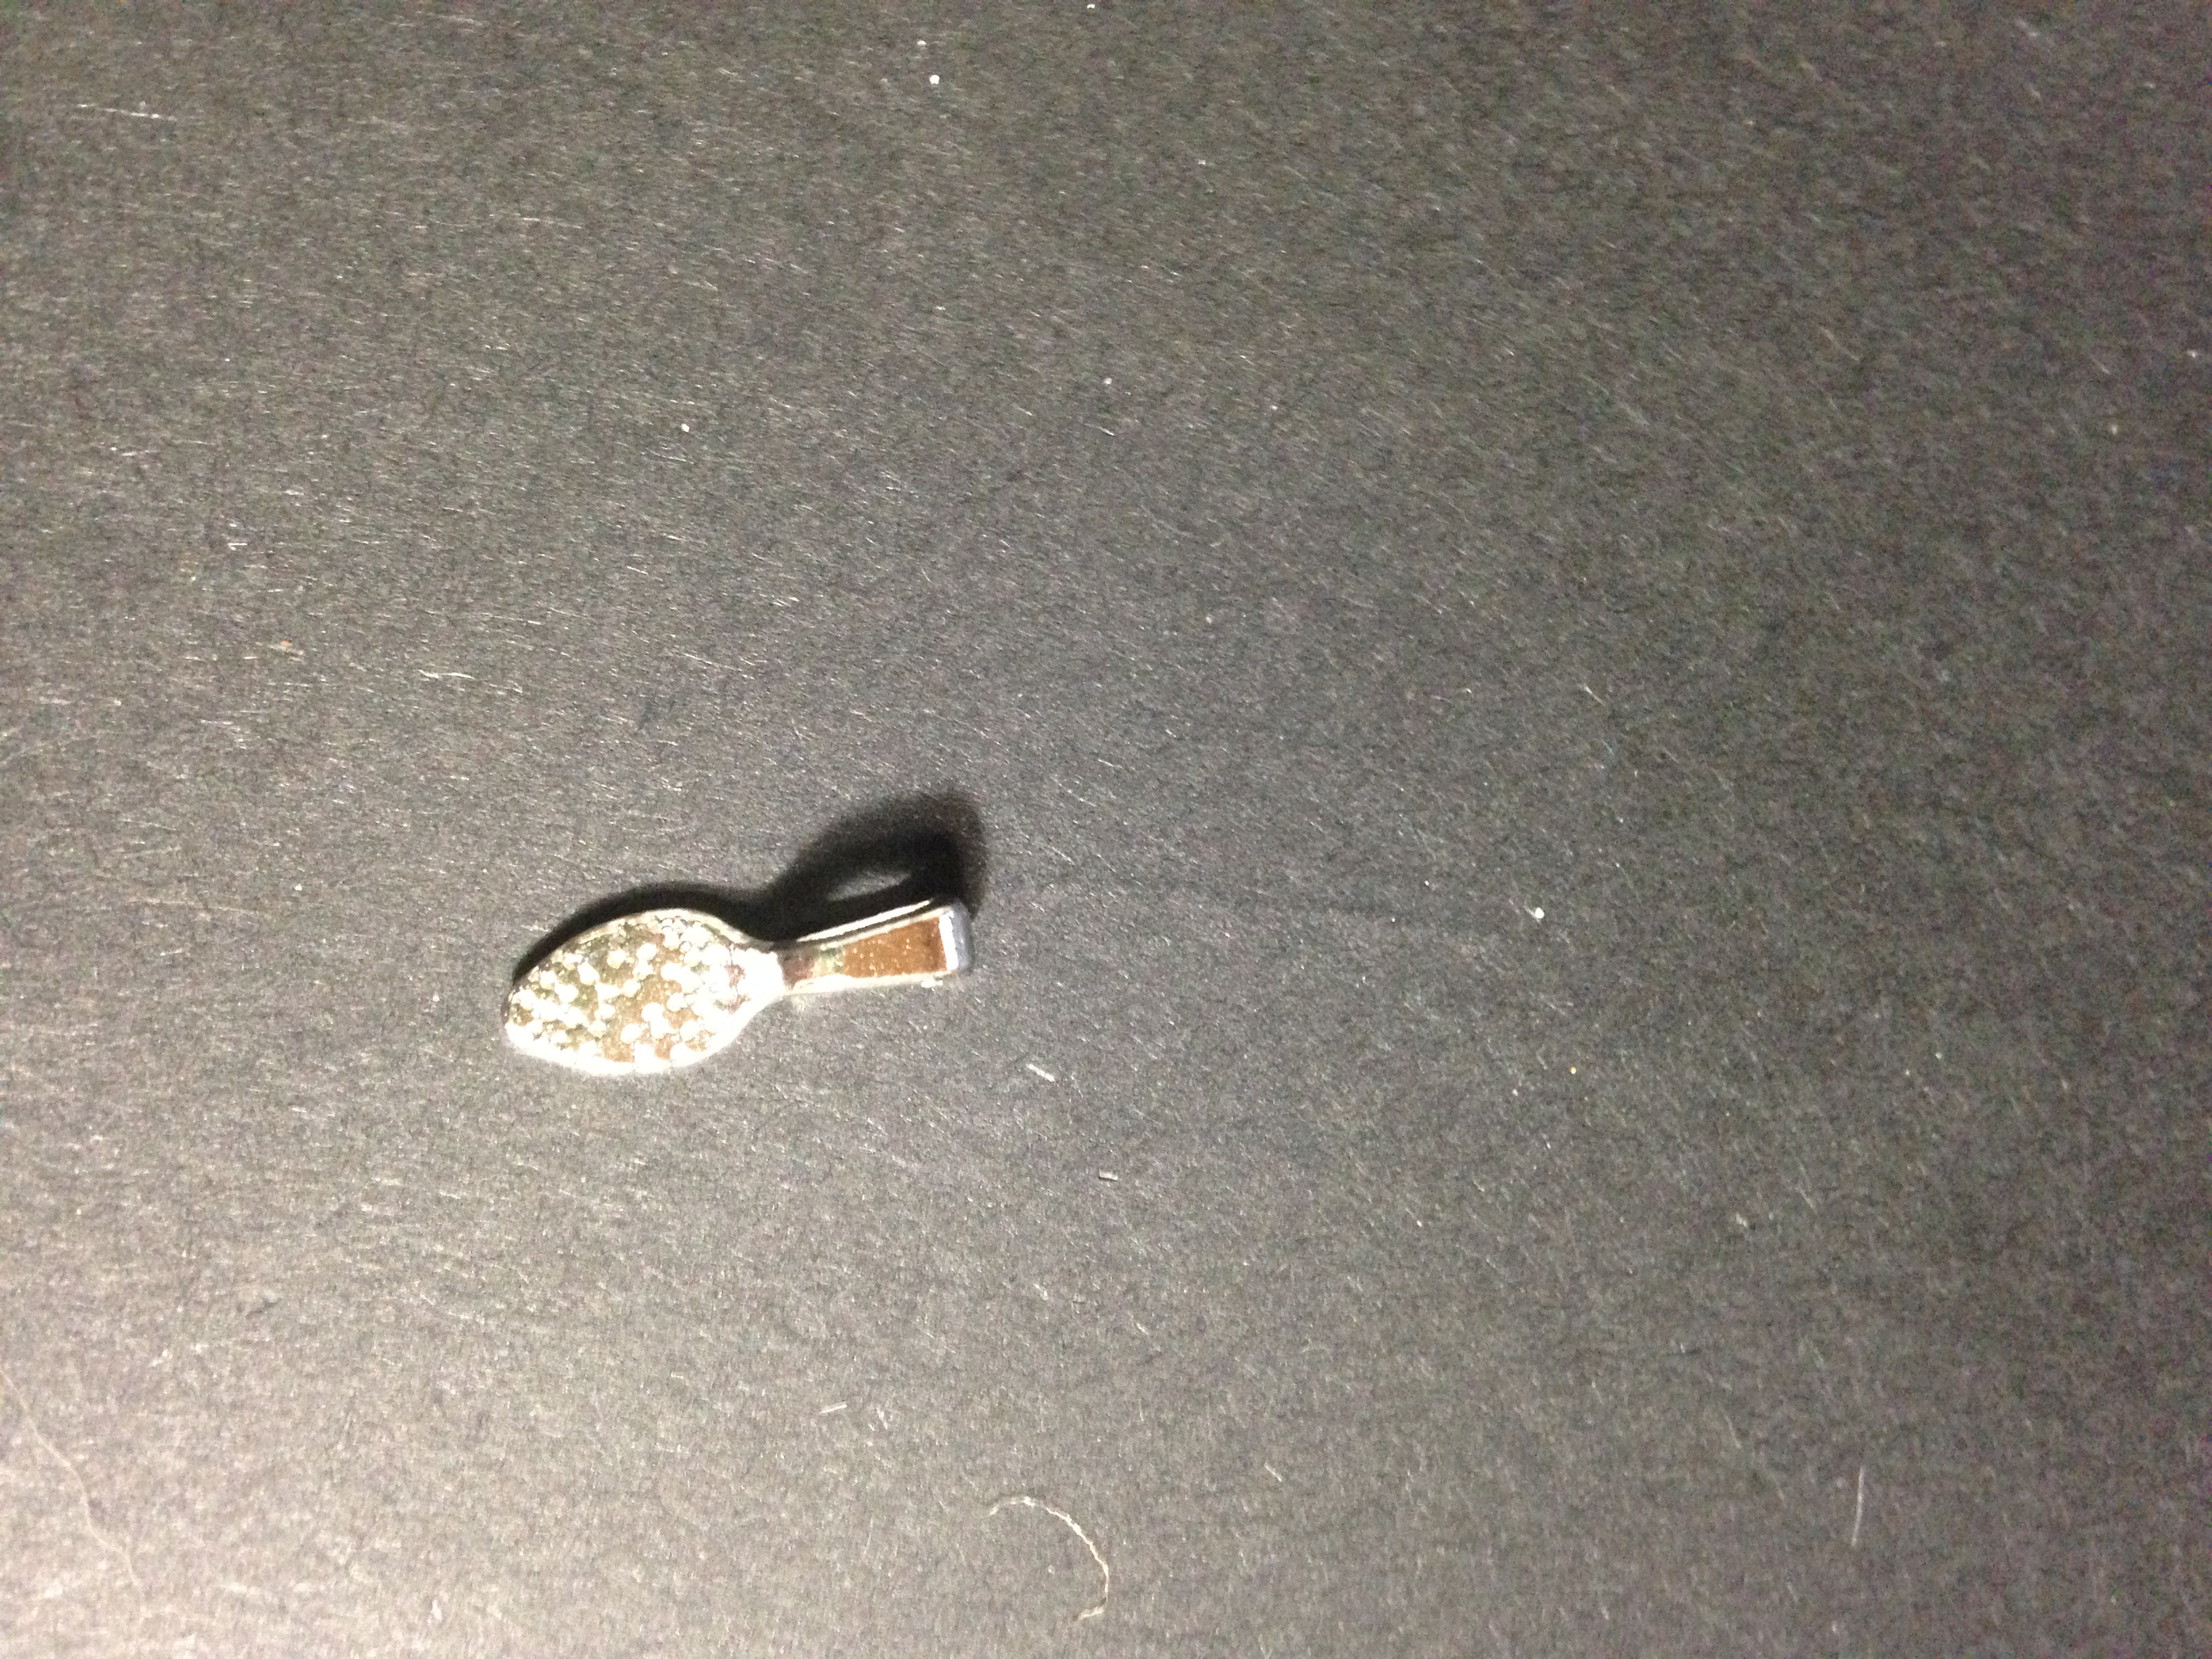


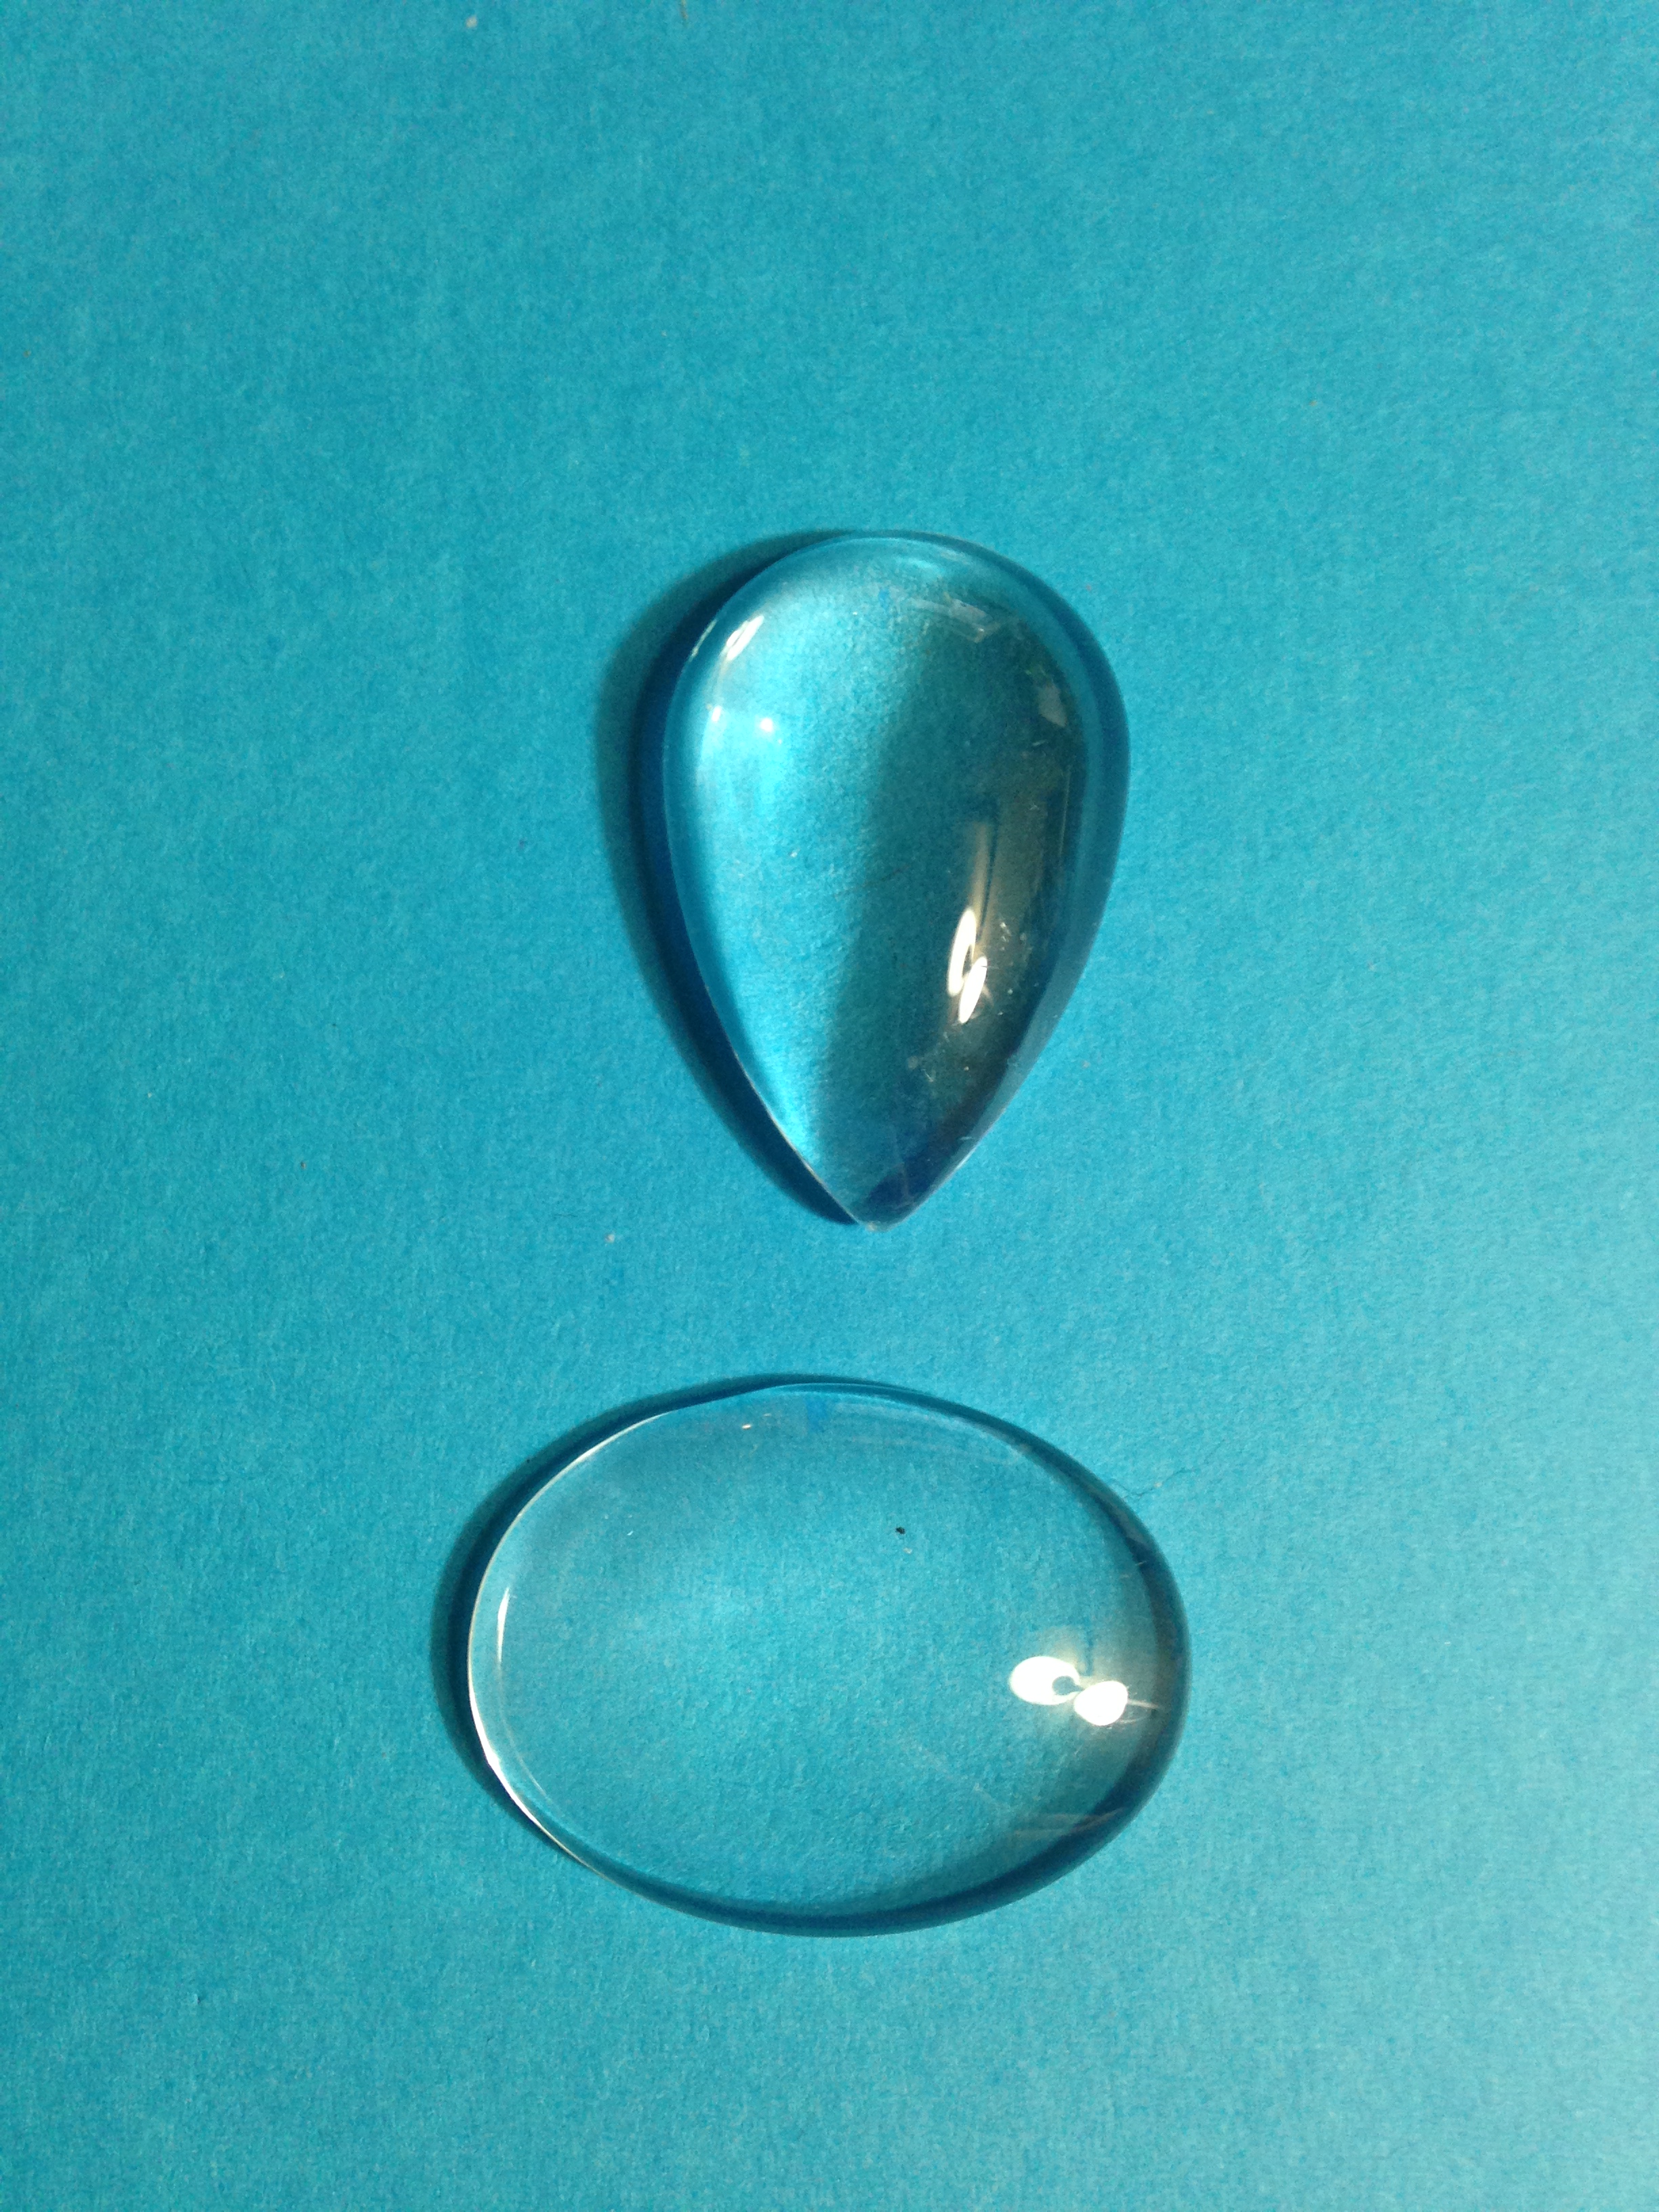

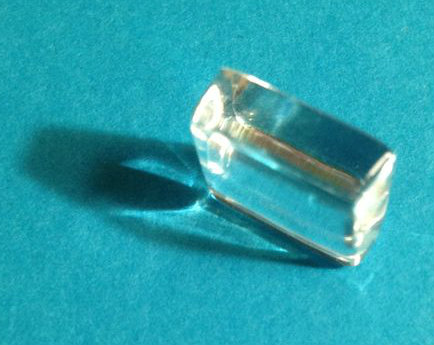
Papers:
-Matte photo paper
-Cardstock
-Scrapbook paper
-Tissue Paper
Tools:
-Jewelry pliers (you can get a back of 3-5 tools for $9.99 at Michaels/A.C. Moore)
Other Materials:
-E6000 adhesive
-Paper glazes (Sun & Moon Glaze, Diamond Glaze, Glossy Accents from Ranger, etc.)
-Jewelry findings (bails, clasps, etc.)
-Pendant trays (bottle caps are great).
-color wires, cords, necklace chains etc.
-Beads
-Cabochon pieces (I tend to order these from eBay. I do a search using keywords such as "agate," "cabochon," "dragons vein," "druzy," "geode," etc. and whatever color I want, which is usually blues, purples, and pinks. If you don't mind waiting for these pieces to ship,you can usually get a pretty decent price. I don't think I've paid more than $3-4 for my larger pieces and they are gorgeous, I haven't been disappointed yet).
Designs



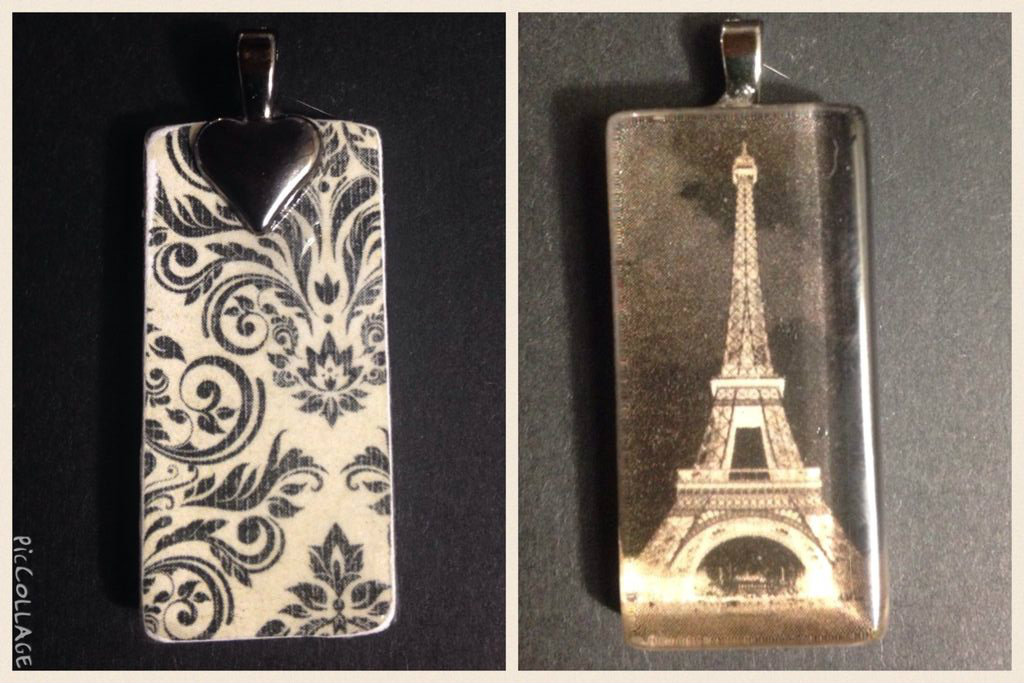
There's a few ways to make your jewelry designs. You can either cut pieces from pre-made papers like scrapbook papers, as shown above with the purple and black halloween scrapbook paper, or you can design your own.
The final double-sided image of the Eiffel Tower came from a scrapbook paper pack, these packs are typically double sided so I didn't have to do anything special to get the design on the back.
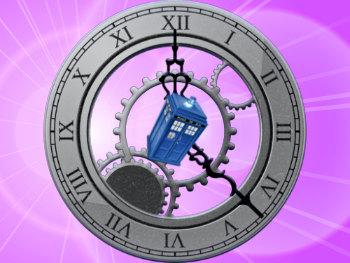
The final image, a TARDIS pendant back and front, is a pendant I made about a year ago and I wear almost every day. The image itself came from a digital file I bought from a shop on Etsy and it came with permissions to use the image for personal use. I love the image so much it's my screensaver, a printed photo on the wall, and a pendant. Digital downloads of pre-made images from other sources, like Etsy, are also great for turning into jewelry.
I usually design my own using the Photoshop Touch app on my iPad. When I have a design idea in mind, I'll go to Creative Commons and look for free to use/reuse/remix png icons and images. I'll import the images into Photoshop and edit the backgrounds and the icons as needed until I have a design I'm satisfied with. I usually make a few copies of the same icons in different colors.
When I'm done, I print the images on matte photo paper. After the print has dried a bit, I put a thin layer of Micro Glaze over the image and let it dry for 15-20 minutes. Micro Glaze protects the ink from being damaged.
Putting Pieces Together


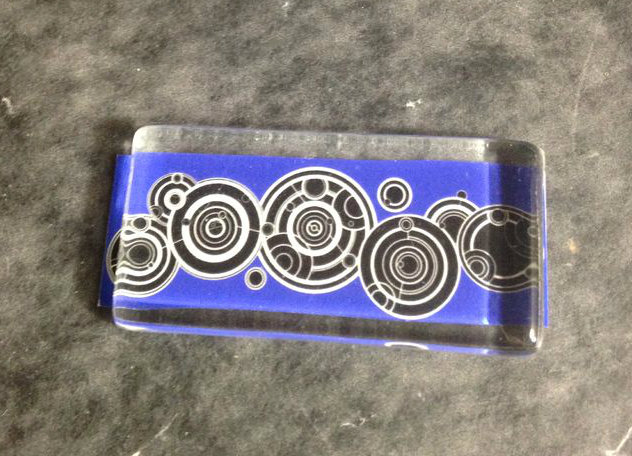


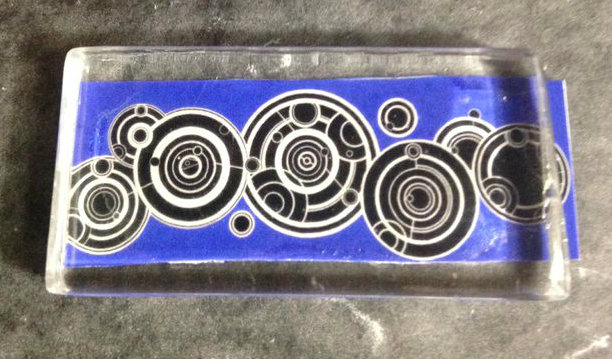


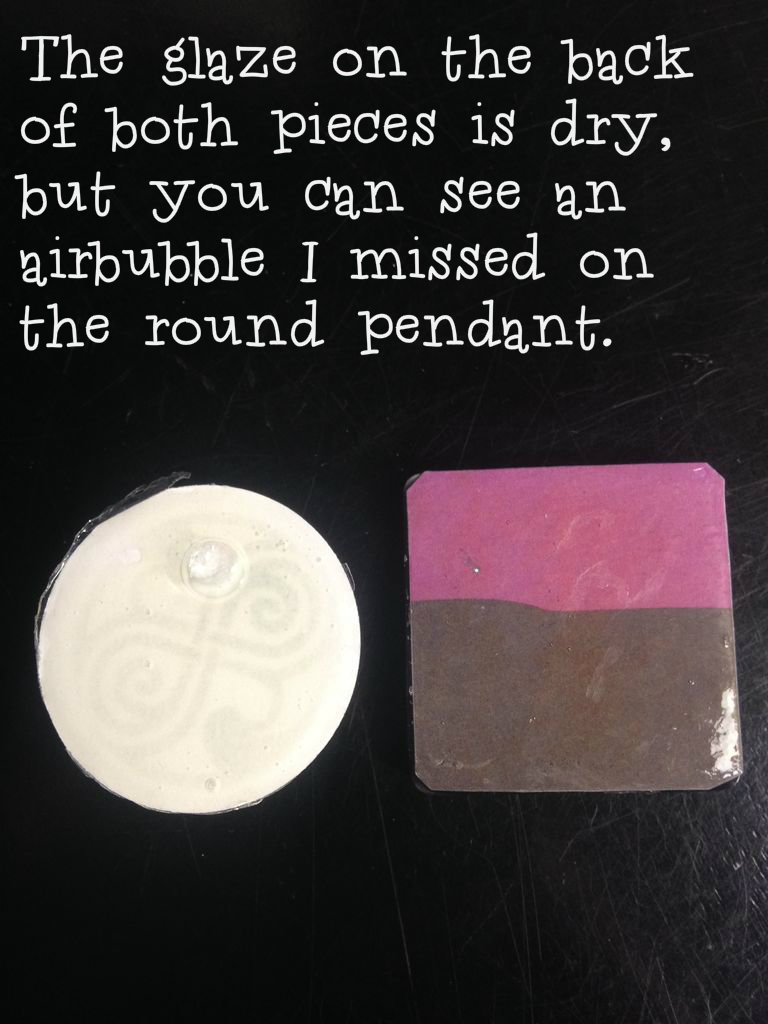


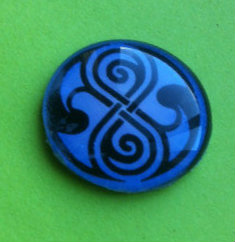
After my images are printed and Micro glazed, I typically use a craft punch to cut the image out. Using a craft punch that is the same size as the glass pendant piece saves a lot of time and frustration later because you won't need to cut the image to size of your piece or worry about getting straight edges.
Once the image is cut I use either Diamond Glaze, Sun & Moon Glaze, Glossy Accents from Ranger, to adhere the image to the glass. You want to add a very small amount on your image or the glass and then press the two together, tightly and making sure the glaze covers the entire image. You'll feel the need to add more glaze, resist that need or you'll be sanding it off later. Also make sure you smooth out any air bubbles.
After you've got your pieces together, you can go ahead and add more glaze to the back. This seals and protects the ink. Again, make sure you pop any air bubbles or you'll have to fix it later.
I also like to run a bit of the glaze along the edges of the pendant to seal it better. You can use your finger for this, just be very careful.
***I do NOT recommend taking showers etc with your pendants on, I don't know any of these glazes to be water proof. They'll survive a splash, rain, etc. but I wouldn't test soak them.***
I like to wait for sales at Michaels/A.C. Moore before I buy craft punches, they can get a bit pricey. I have noticed that the ones at Michaels are significantly cheaper than A.C. Moore. Both stores carry almost the exact same products, sometimes packaged a bit differently, and usually the difference in prices is only a dollar or so---however this isn't always true.
Finishing Touches

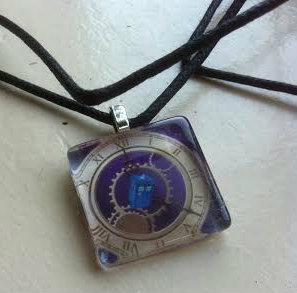


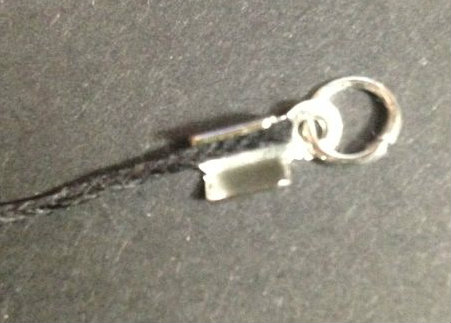


You'll use different jewelry bails depending on what you are making, a necklace, keychain, earrings, etc.
I use E6000 to glue jewelry bails to my pendants. E6000 is a great multi-purpose adhesive, it dries clear, and it is very strong. A little goes a long way so be very careful when squeezing the tube, it doesn't need much pressure at all. It's also pretty inexpensive if you buy the big tube, the smaller tubes are more expensive but you're also likely to have less issues.
I also like to add nail polish or glitter paint/glue to the back of plain pendants, just to give them a little something extra.
If you're making a necklace, once your pendant is dry, you can select your chain/cord and slide it through the jewelry bail. I typically use black leather cord. To finish the piece I add cord end caps to each end and use a jewelry clamp tool to clamp the end caps together.