Fun, Cute, and Easy Lesson Plan With Canva!
by giannawilliams in Teachers > Pre-K
522 Views, 1 Favorites, 0 Comments
Fun, Cute, and Easy Lesson Plan With Canva!
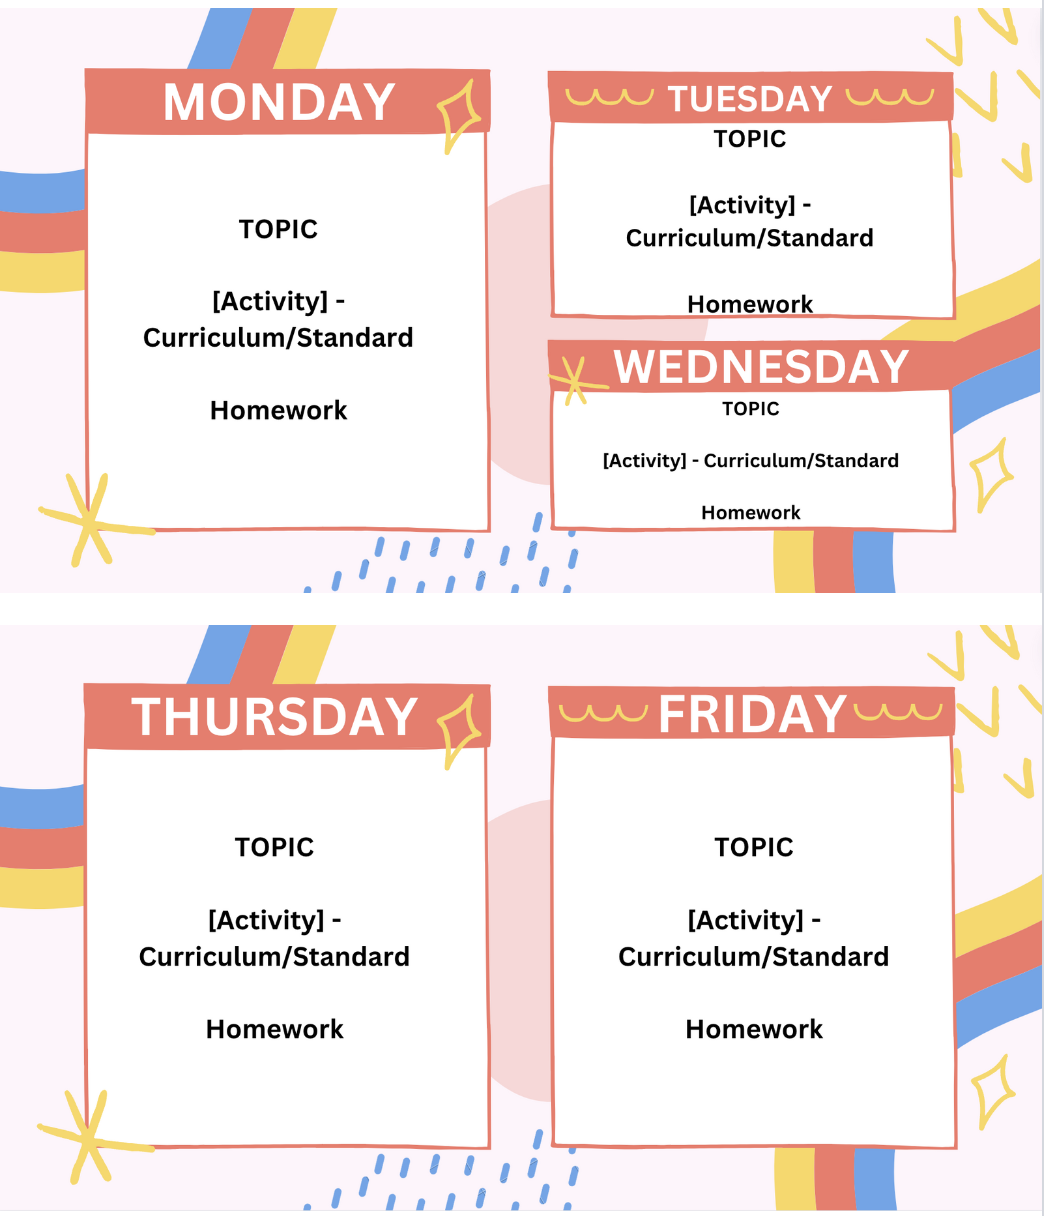
A lot of teachers claim that the worst part of being a teacher is creating the lesson plans. While lesson plans can be boring and bland, creating a colorful, fun lesson plan in Canva makes the teacher more motivated for this process. Instead of basic black and white text, Canva has thousands of fun, creative styles and layouts free for anyone to choose from. These cute and fun templates make the process of creating a lesson plan exciting for not only the teacher, but also the students!
Supplies
Create an account for canva.com (Payment for Canva Pro optional)
Account Creation & Document Type
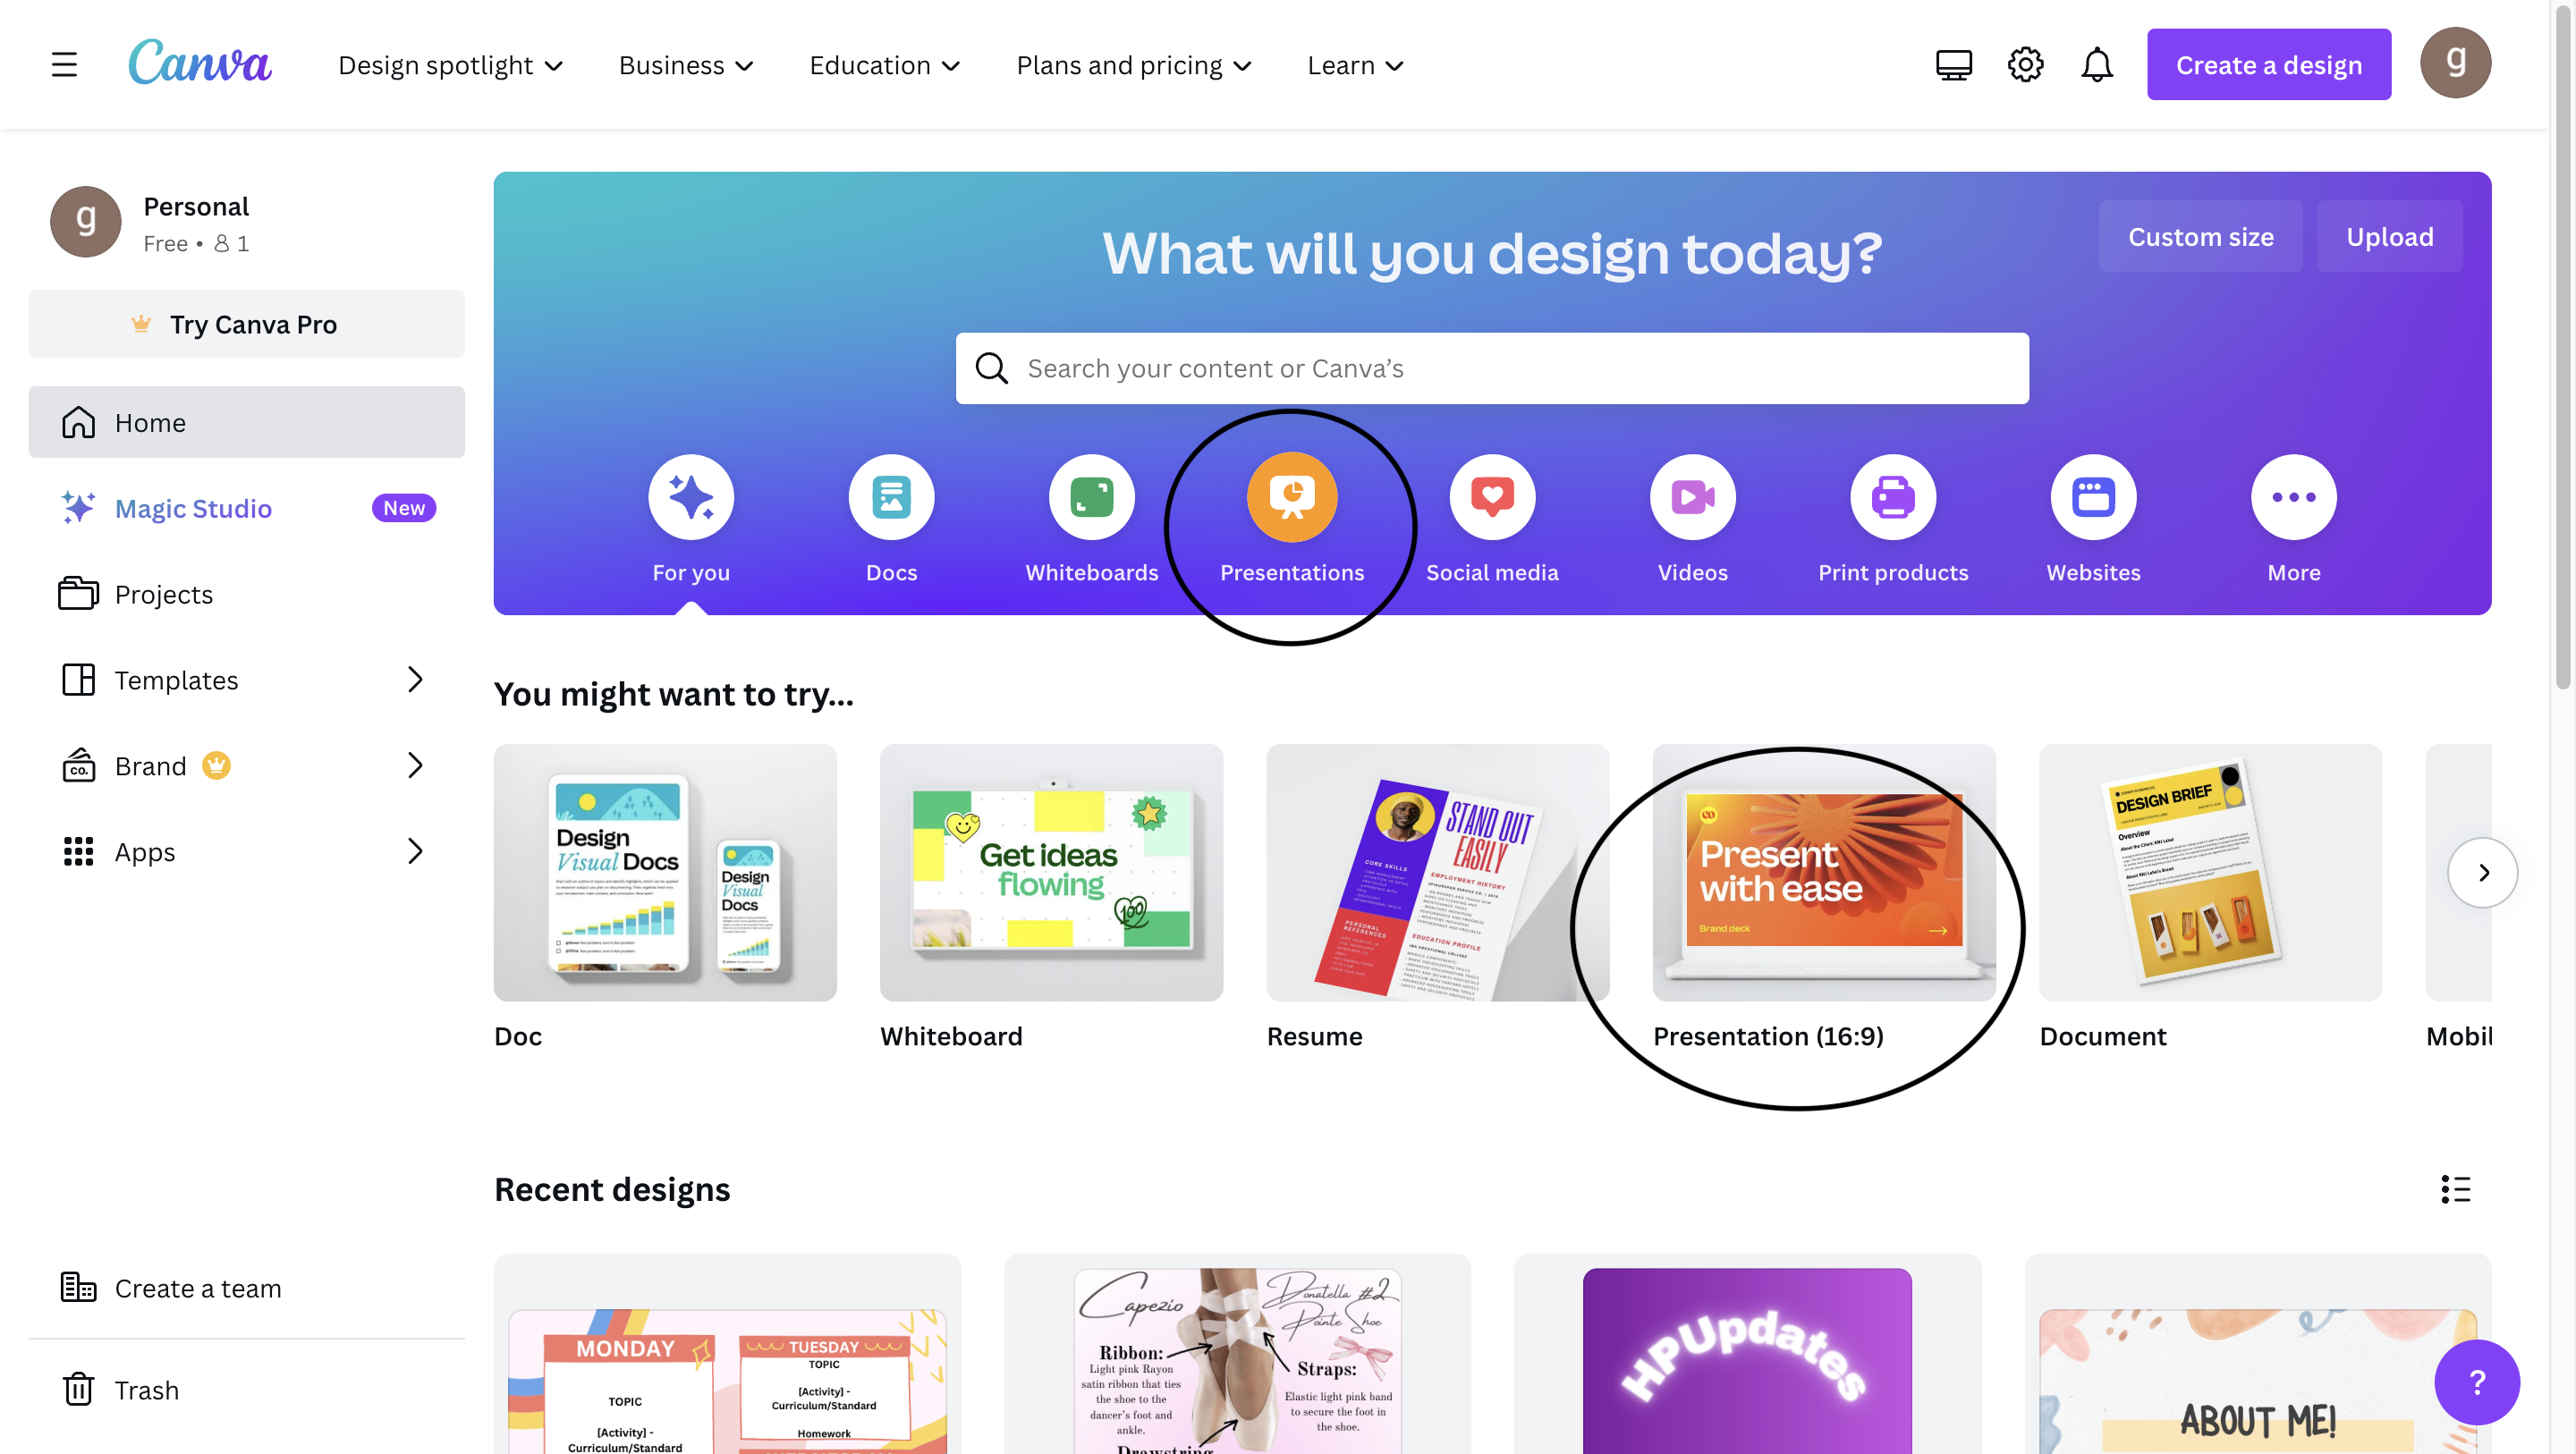
First, go to canva.com and create an account.
- I am using Cavna because it has a huge variety of templates, suitable for any user.
After you have your free (or paid subscription), click on “Presentations” then specifically click on “Presentation (16:9)” if you would like to share this on a smart board.
- If you would like to print this, you should select “Docs”.
Choose a Template
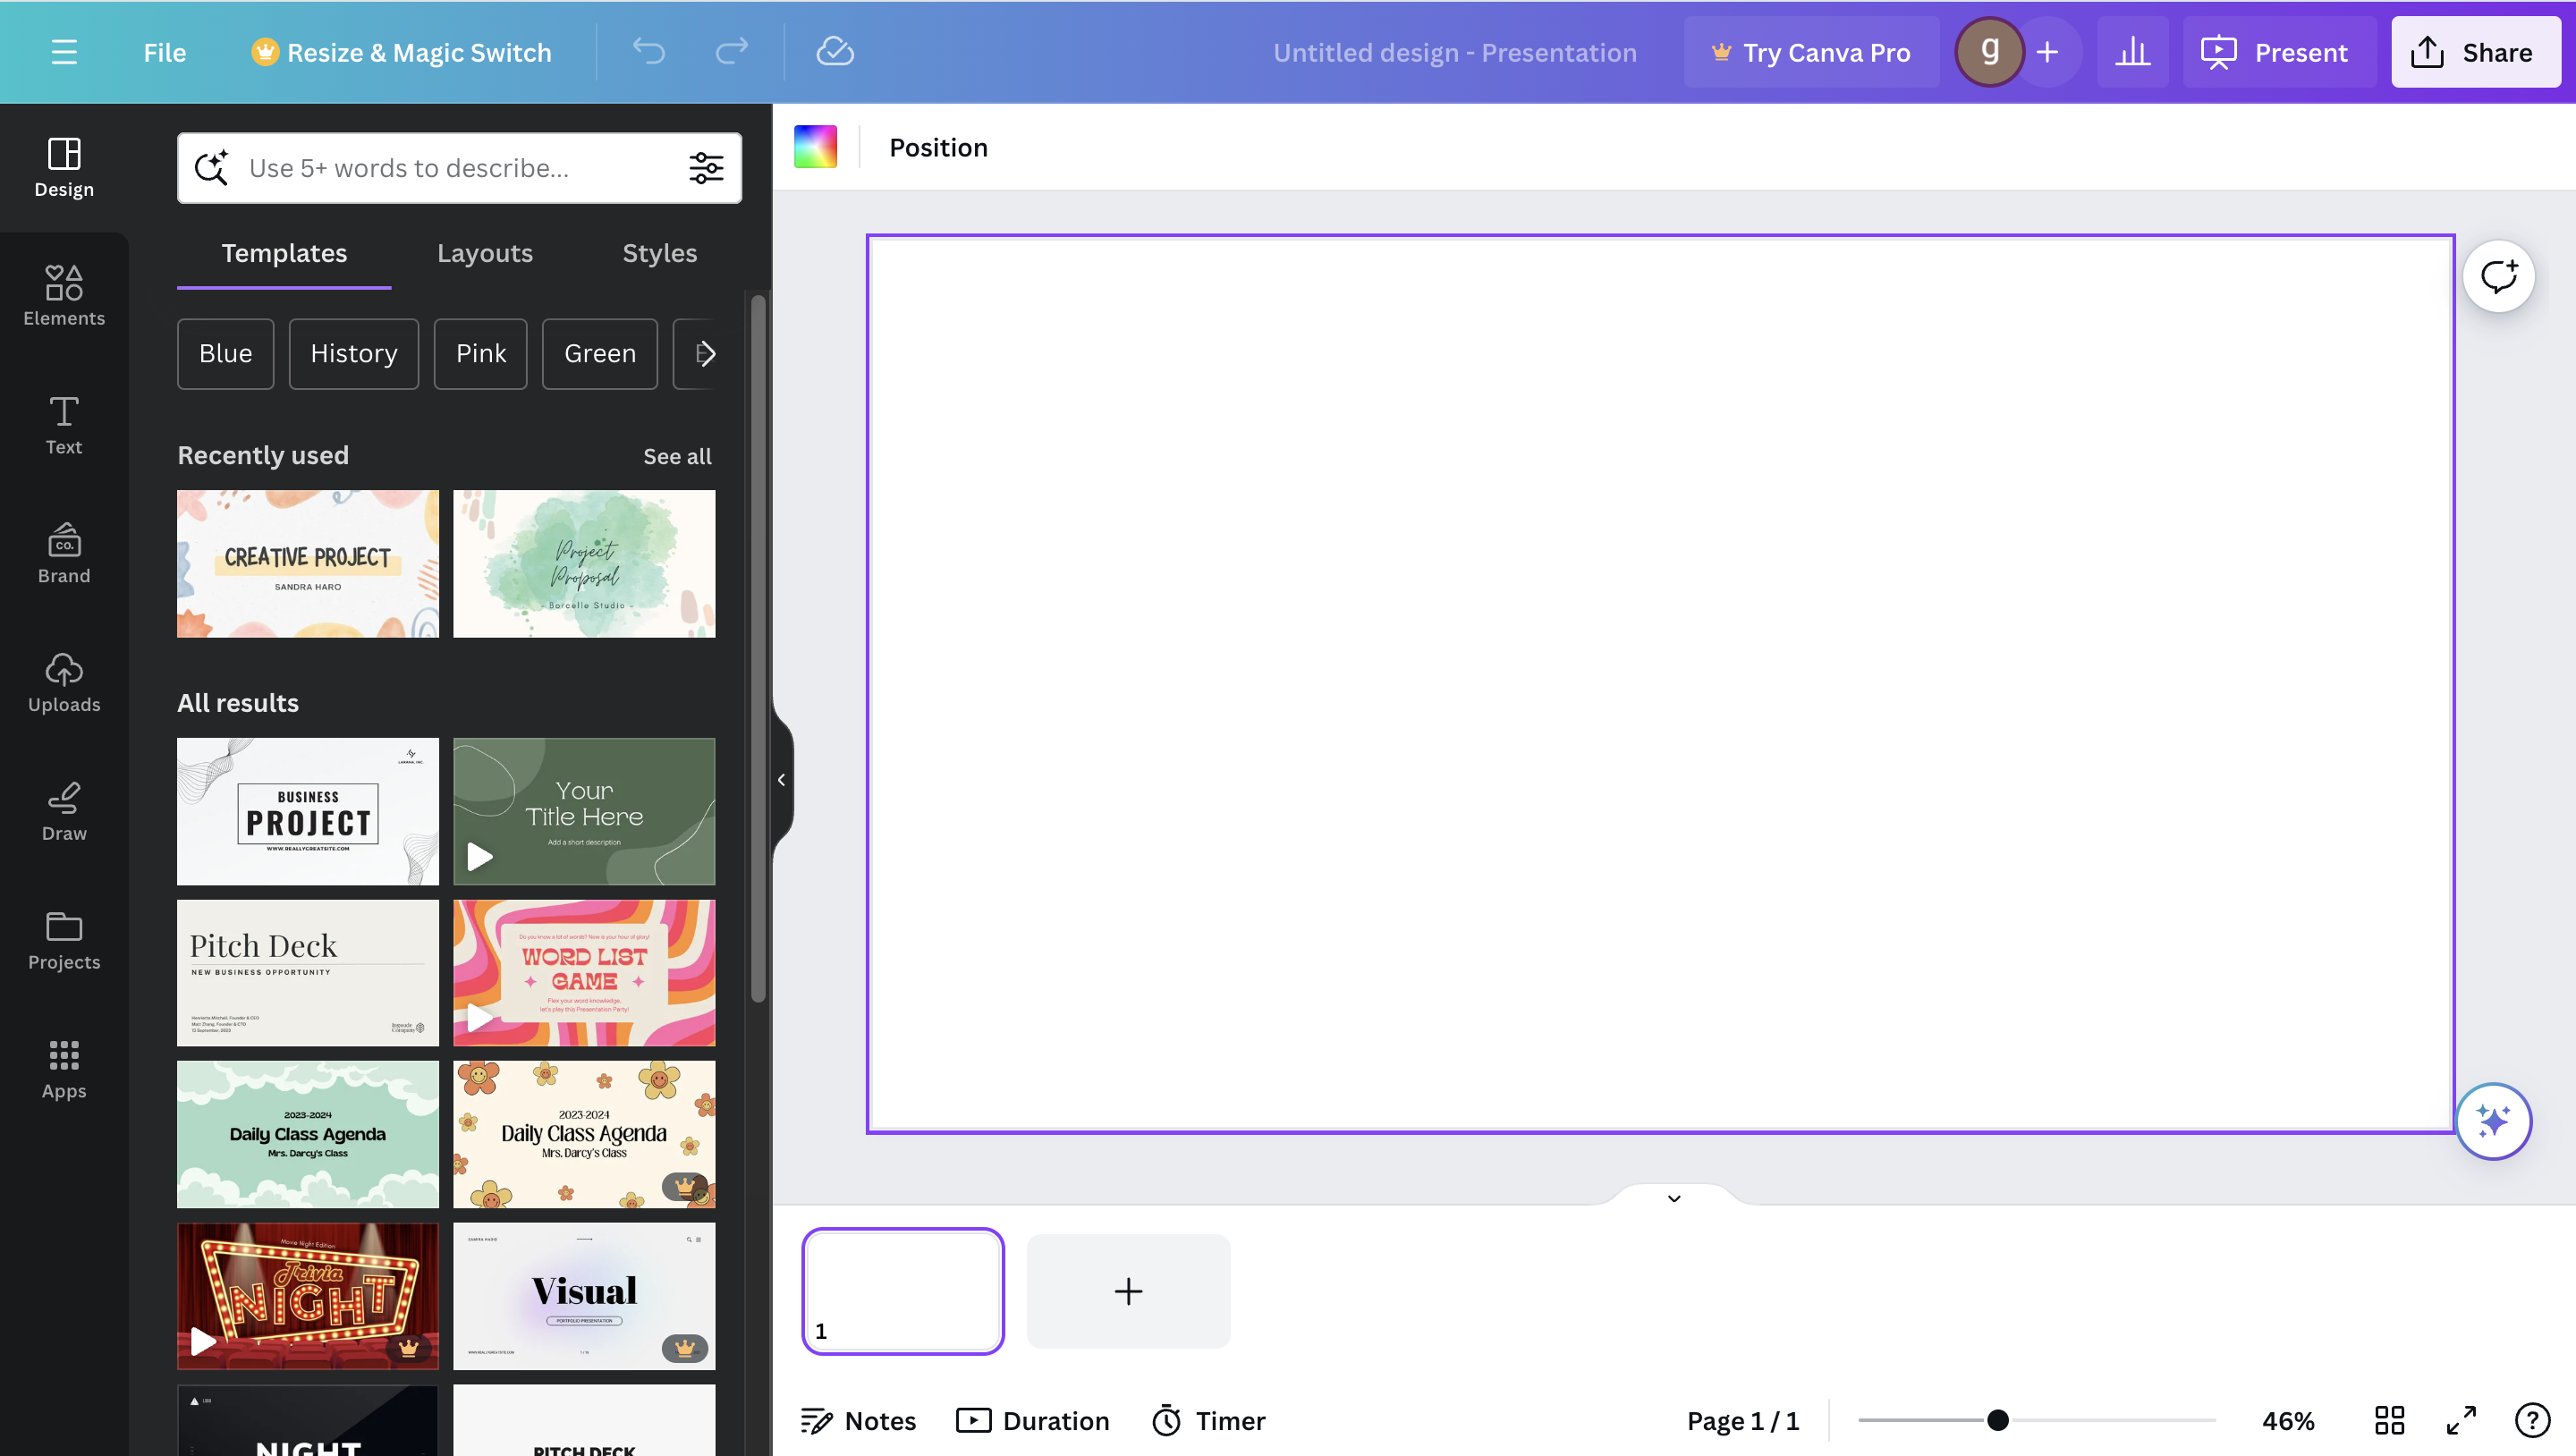
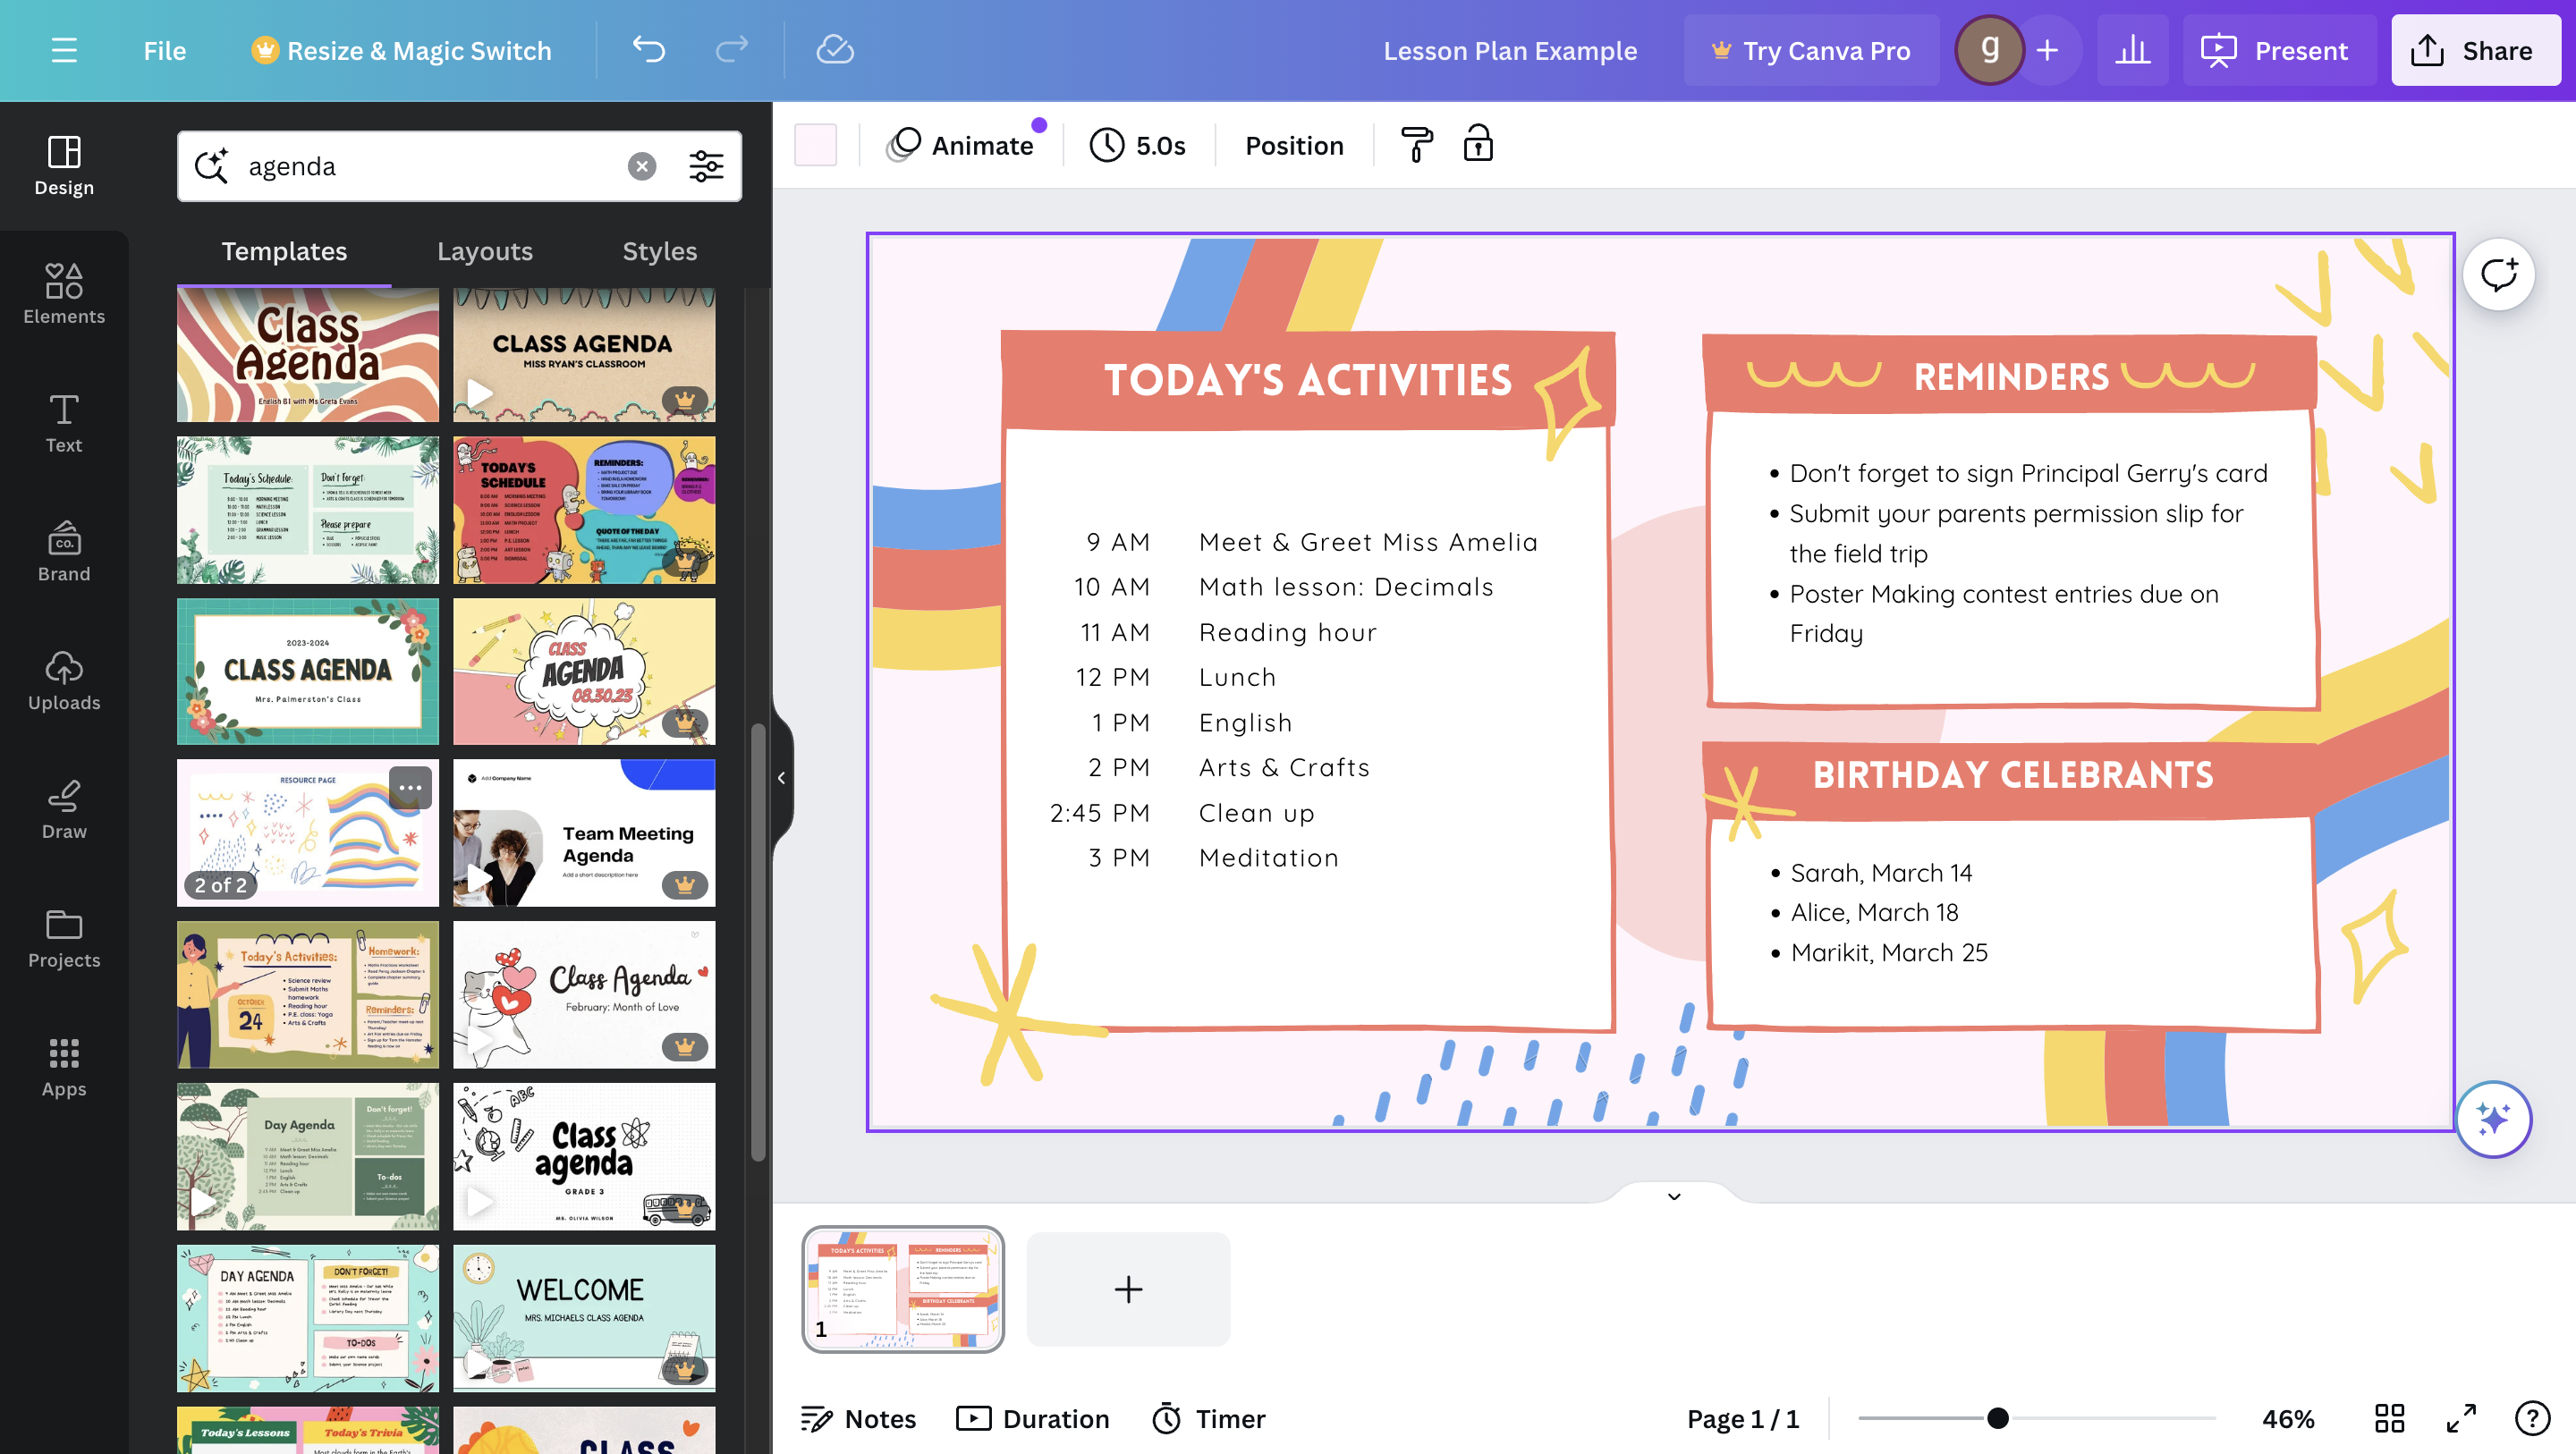
Once you have a blank 16:9 document (or your preferred document) open, on the left side of the screen, click design and search "agenda".
- Choose any template that speaks to you and keep in mind that the template you choose will already be filled out. You will clear it later.
Extra Tip:
There are thousands of templates, so choose one that you enjoy! If you have a paid subscription, there will be even more unlocked templates to choose from.
Clear the Template
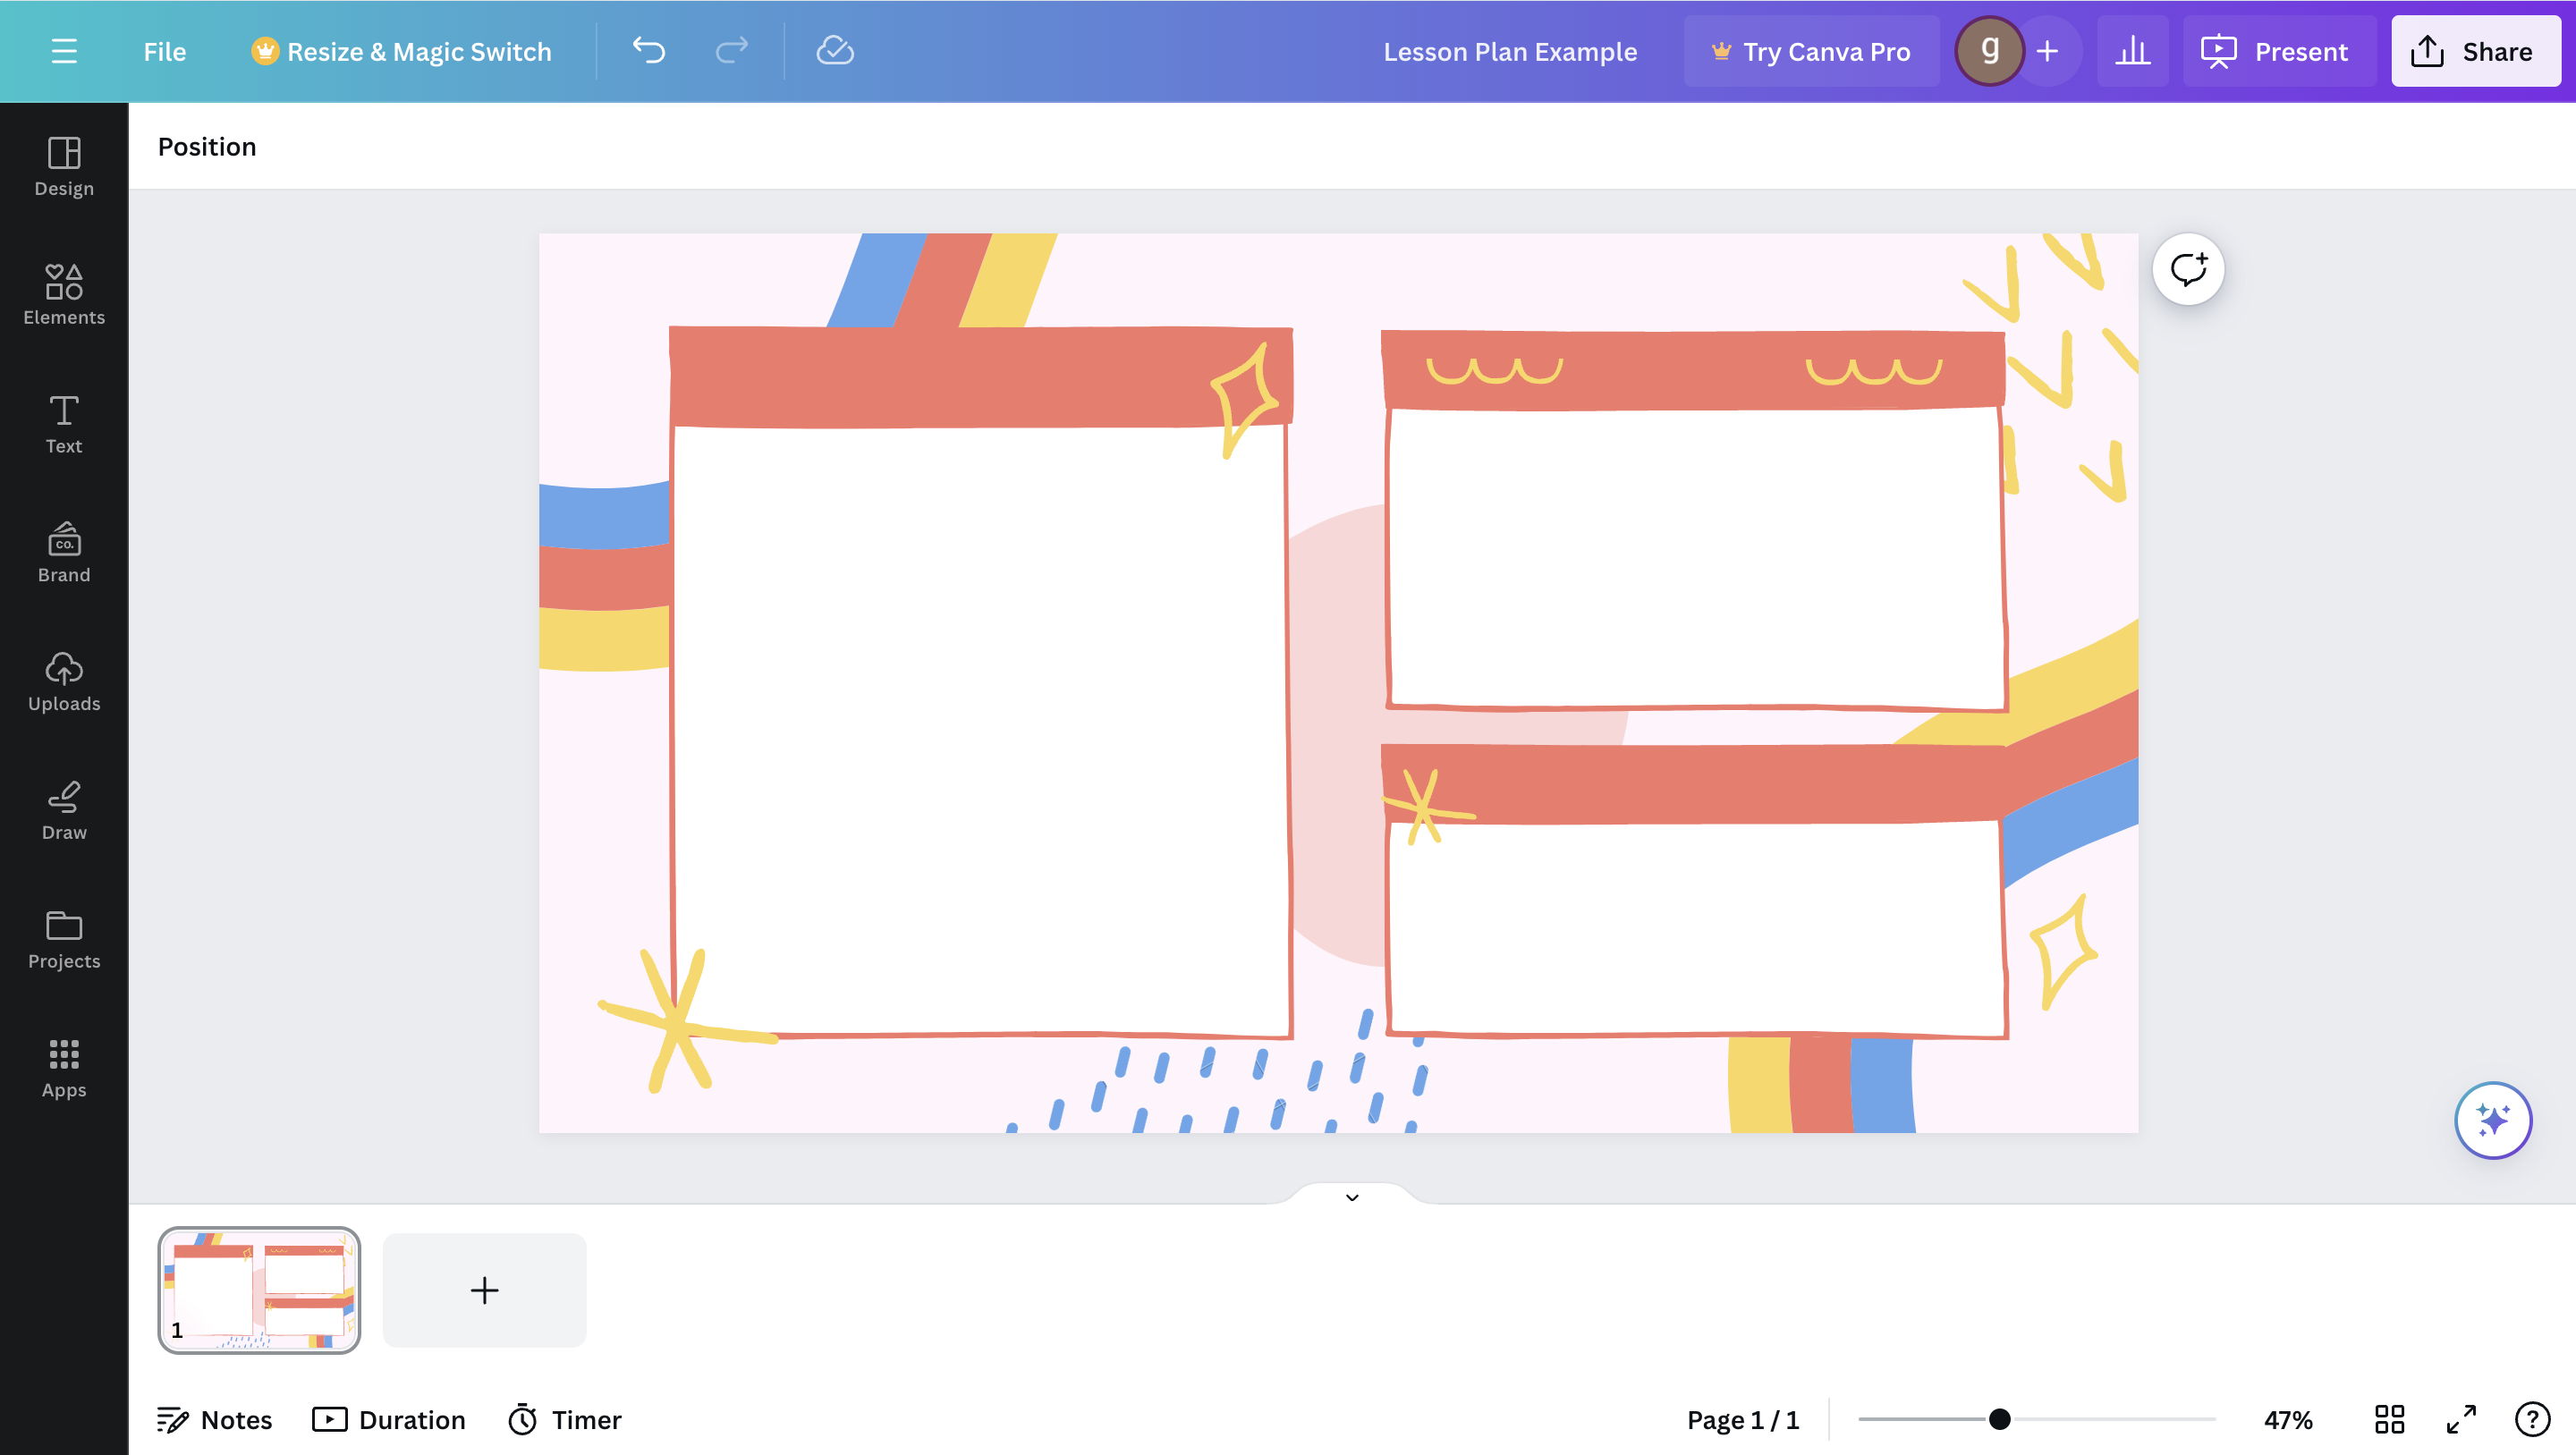
Time to clear your chosen template.
- To delete a section, click on the section you want to delete and hit “delete”. You should do this for any of the titles, headers, text boxes, etc.
Extra Tip:
Clearing the template gives you the opportunity to let your creativity flow!
Customization
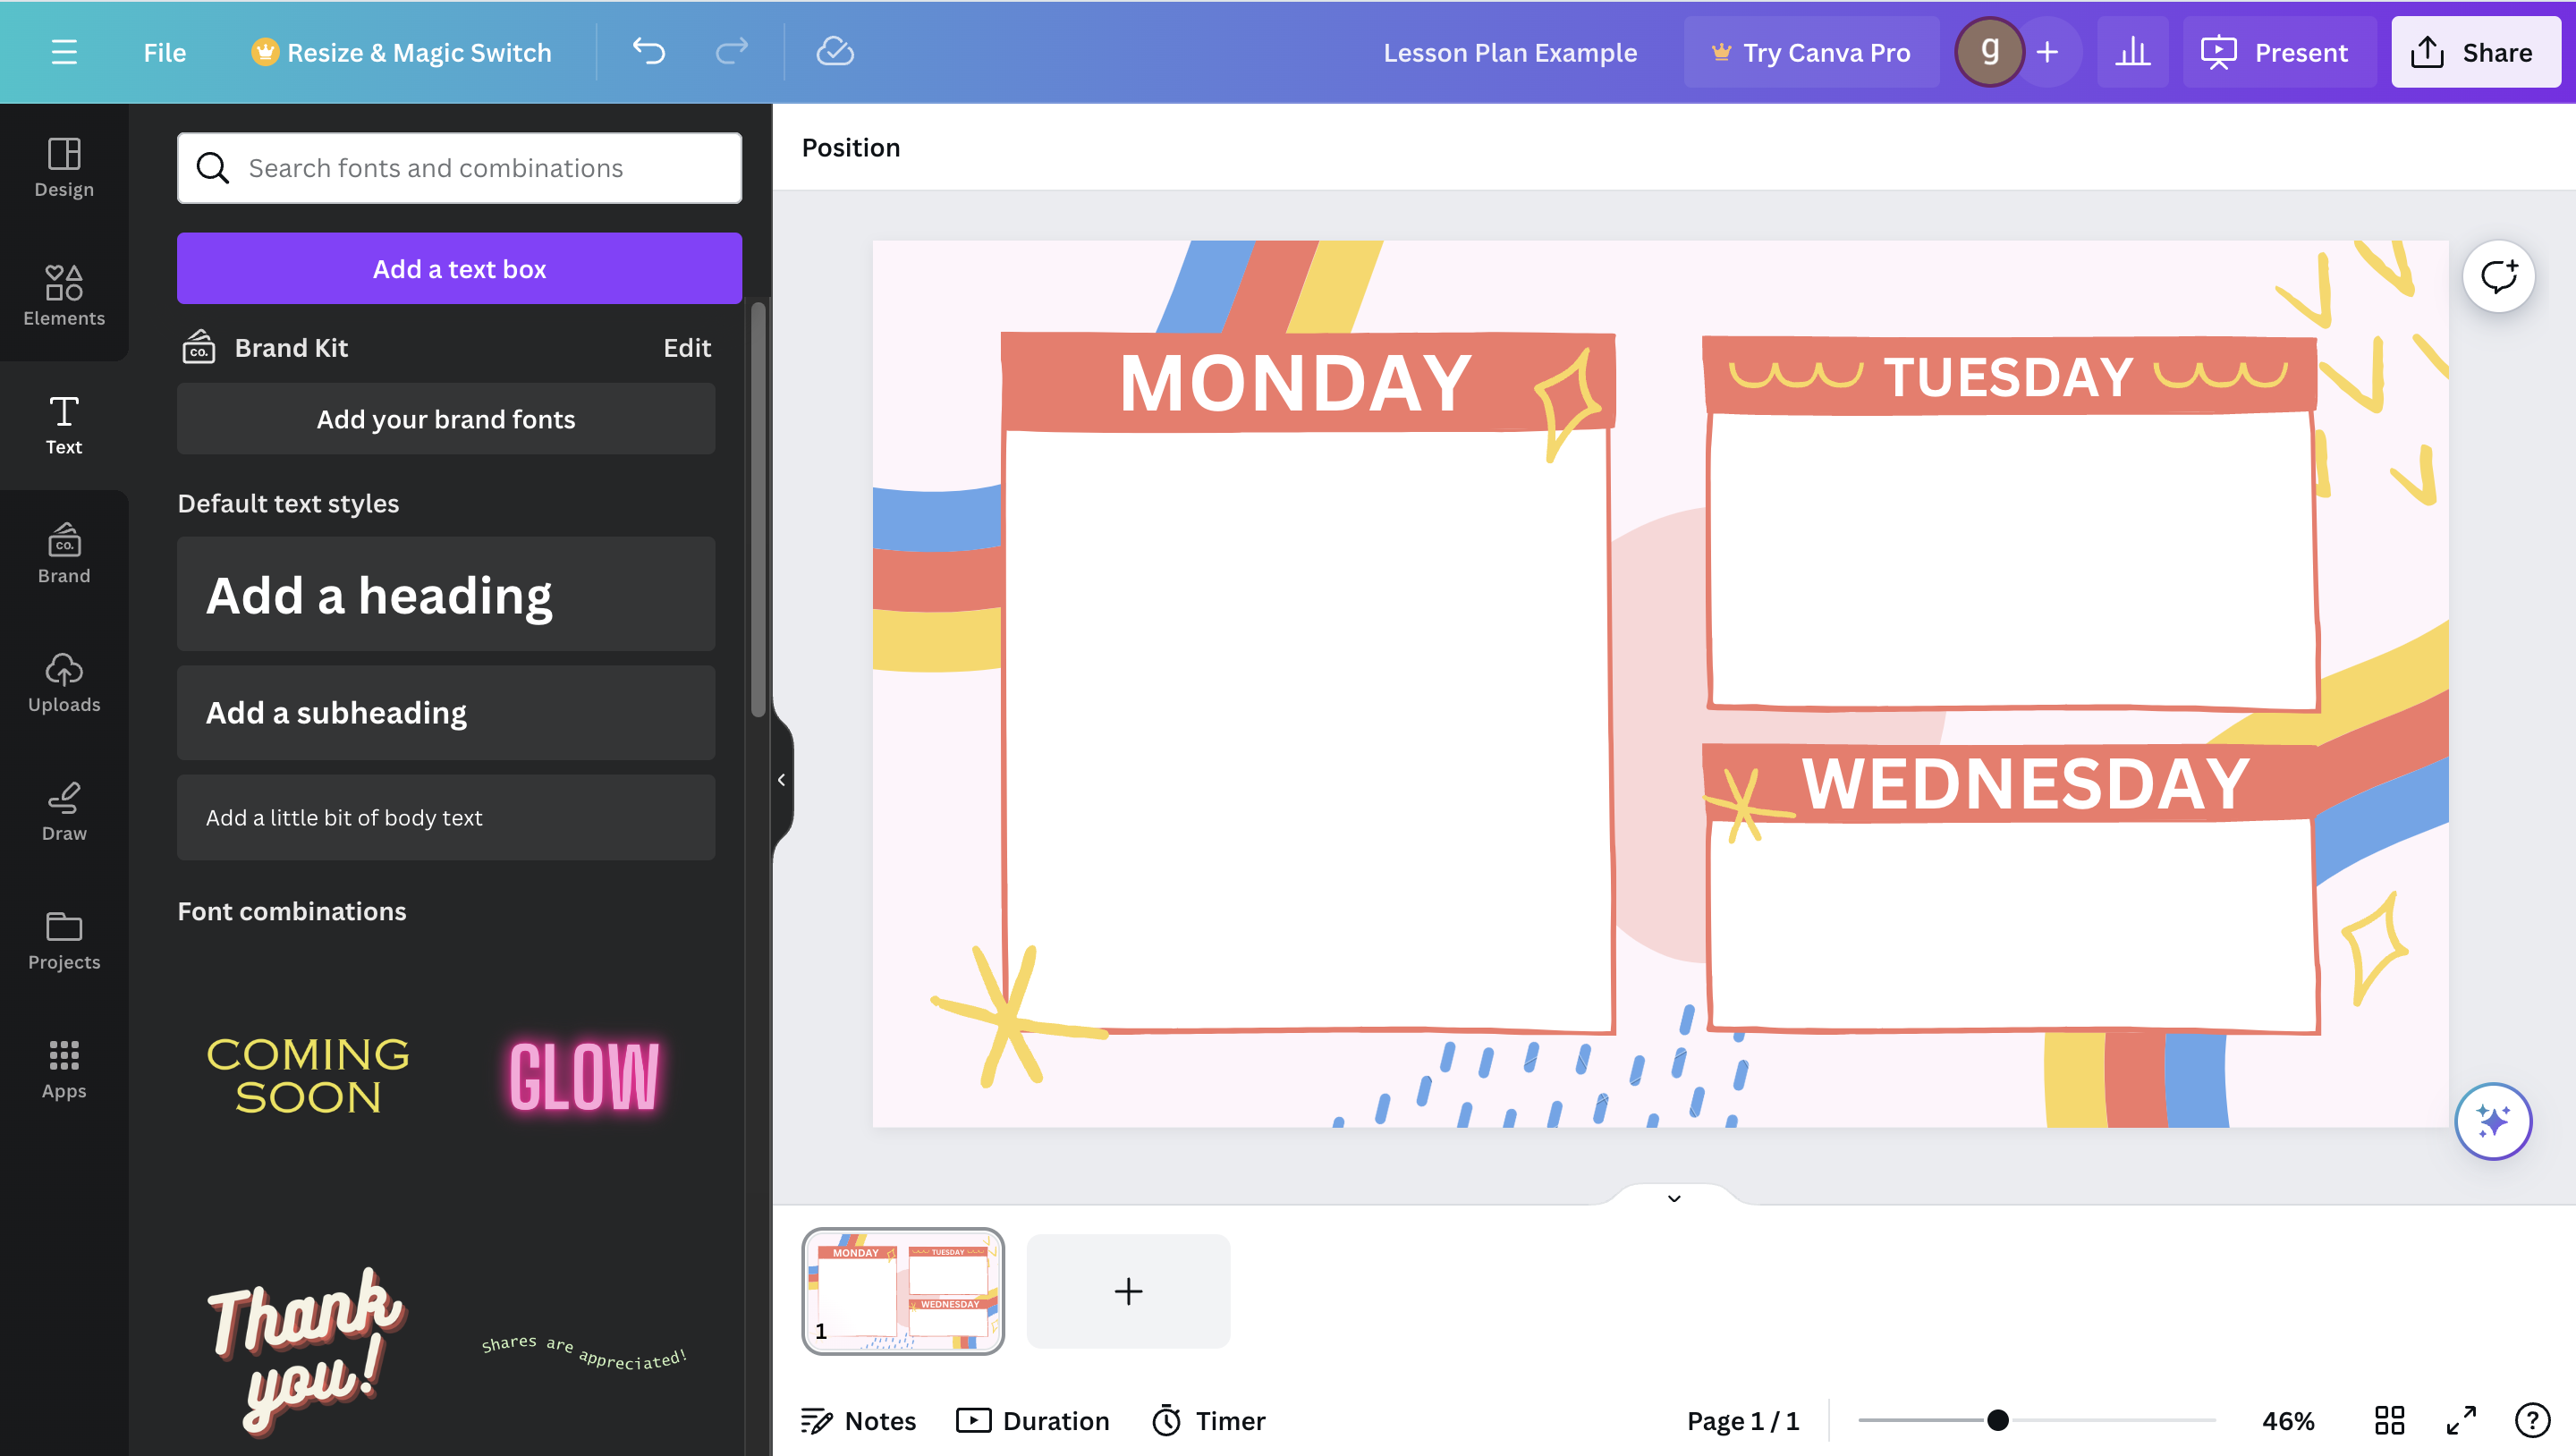
Once everything is deleted, now you can add in your own titles and headers.
On the left of the screen, there is a “text” section under “elements”. Use that to enter your title and header.
- To change the font, text size, and color, click on the selected text and at the top you will find where to customize the text.
Extra Tip:
Canva has so many font options, including a "font combinations" section. Canva also recommends some font options to fit specifically to your own project.
Enter the Lesson Plan
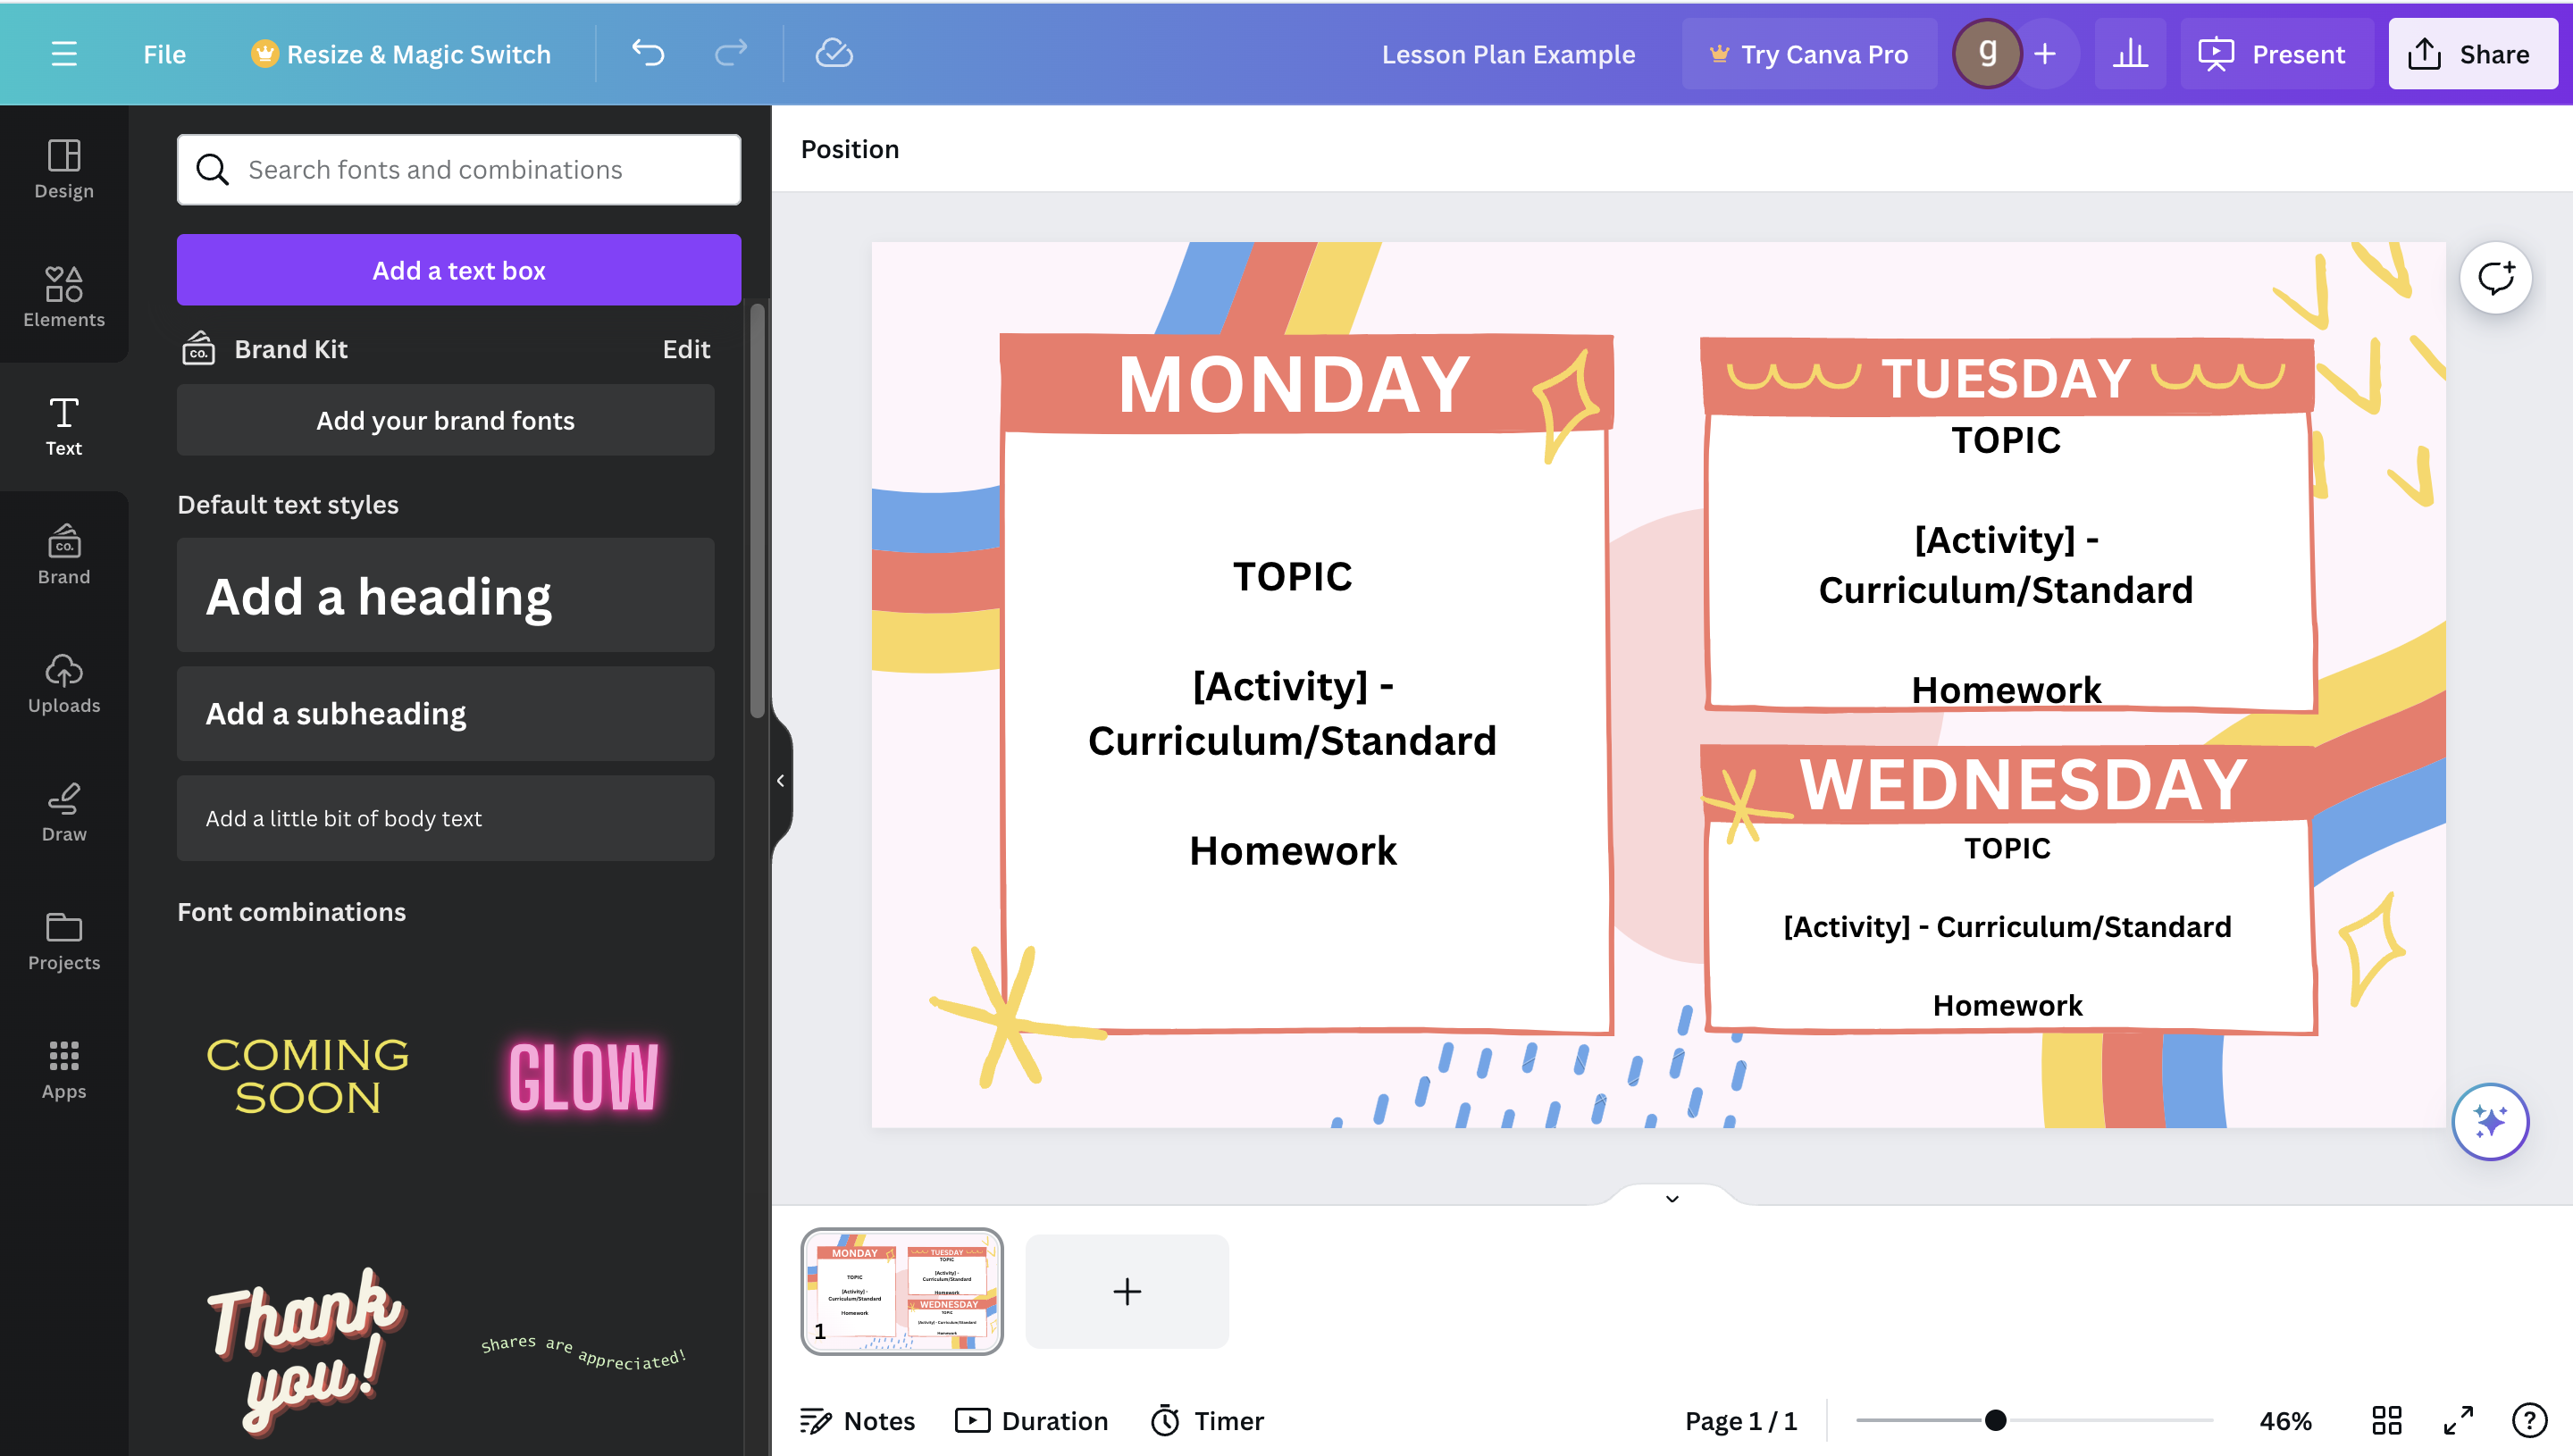
After inserting your titles and headers, go back to the “text” section and select “text box”.
- Within your text box, you should add the topic of your lesson, the specific activity the class will be doing, the curriculum/standard the activity will follow, and finally any work that will need to be completed outside of the classroom.
Follow this step as many times as needed.
Extra Tip:
Make sure you include any of the Board of Education requirements.
Add New Slide
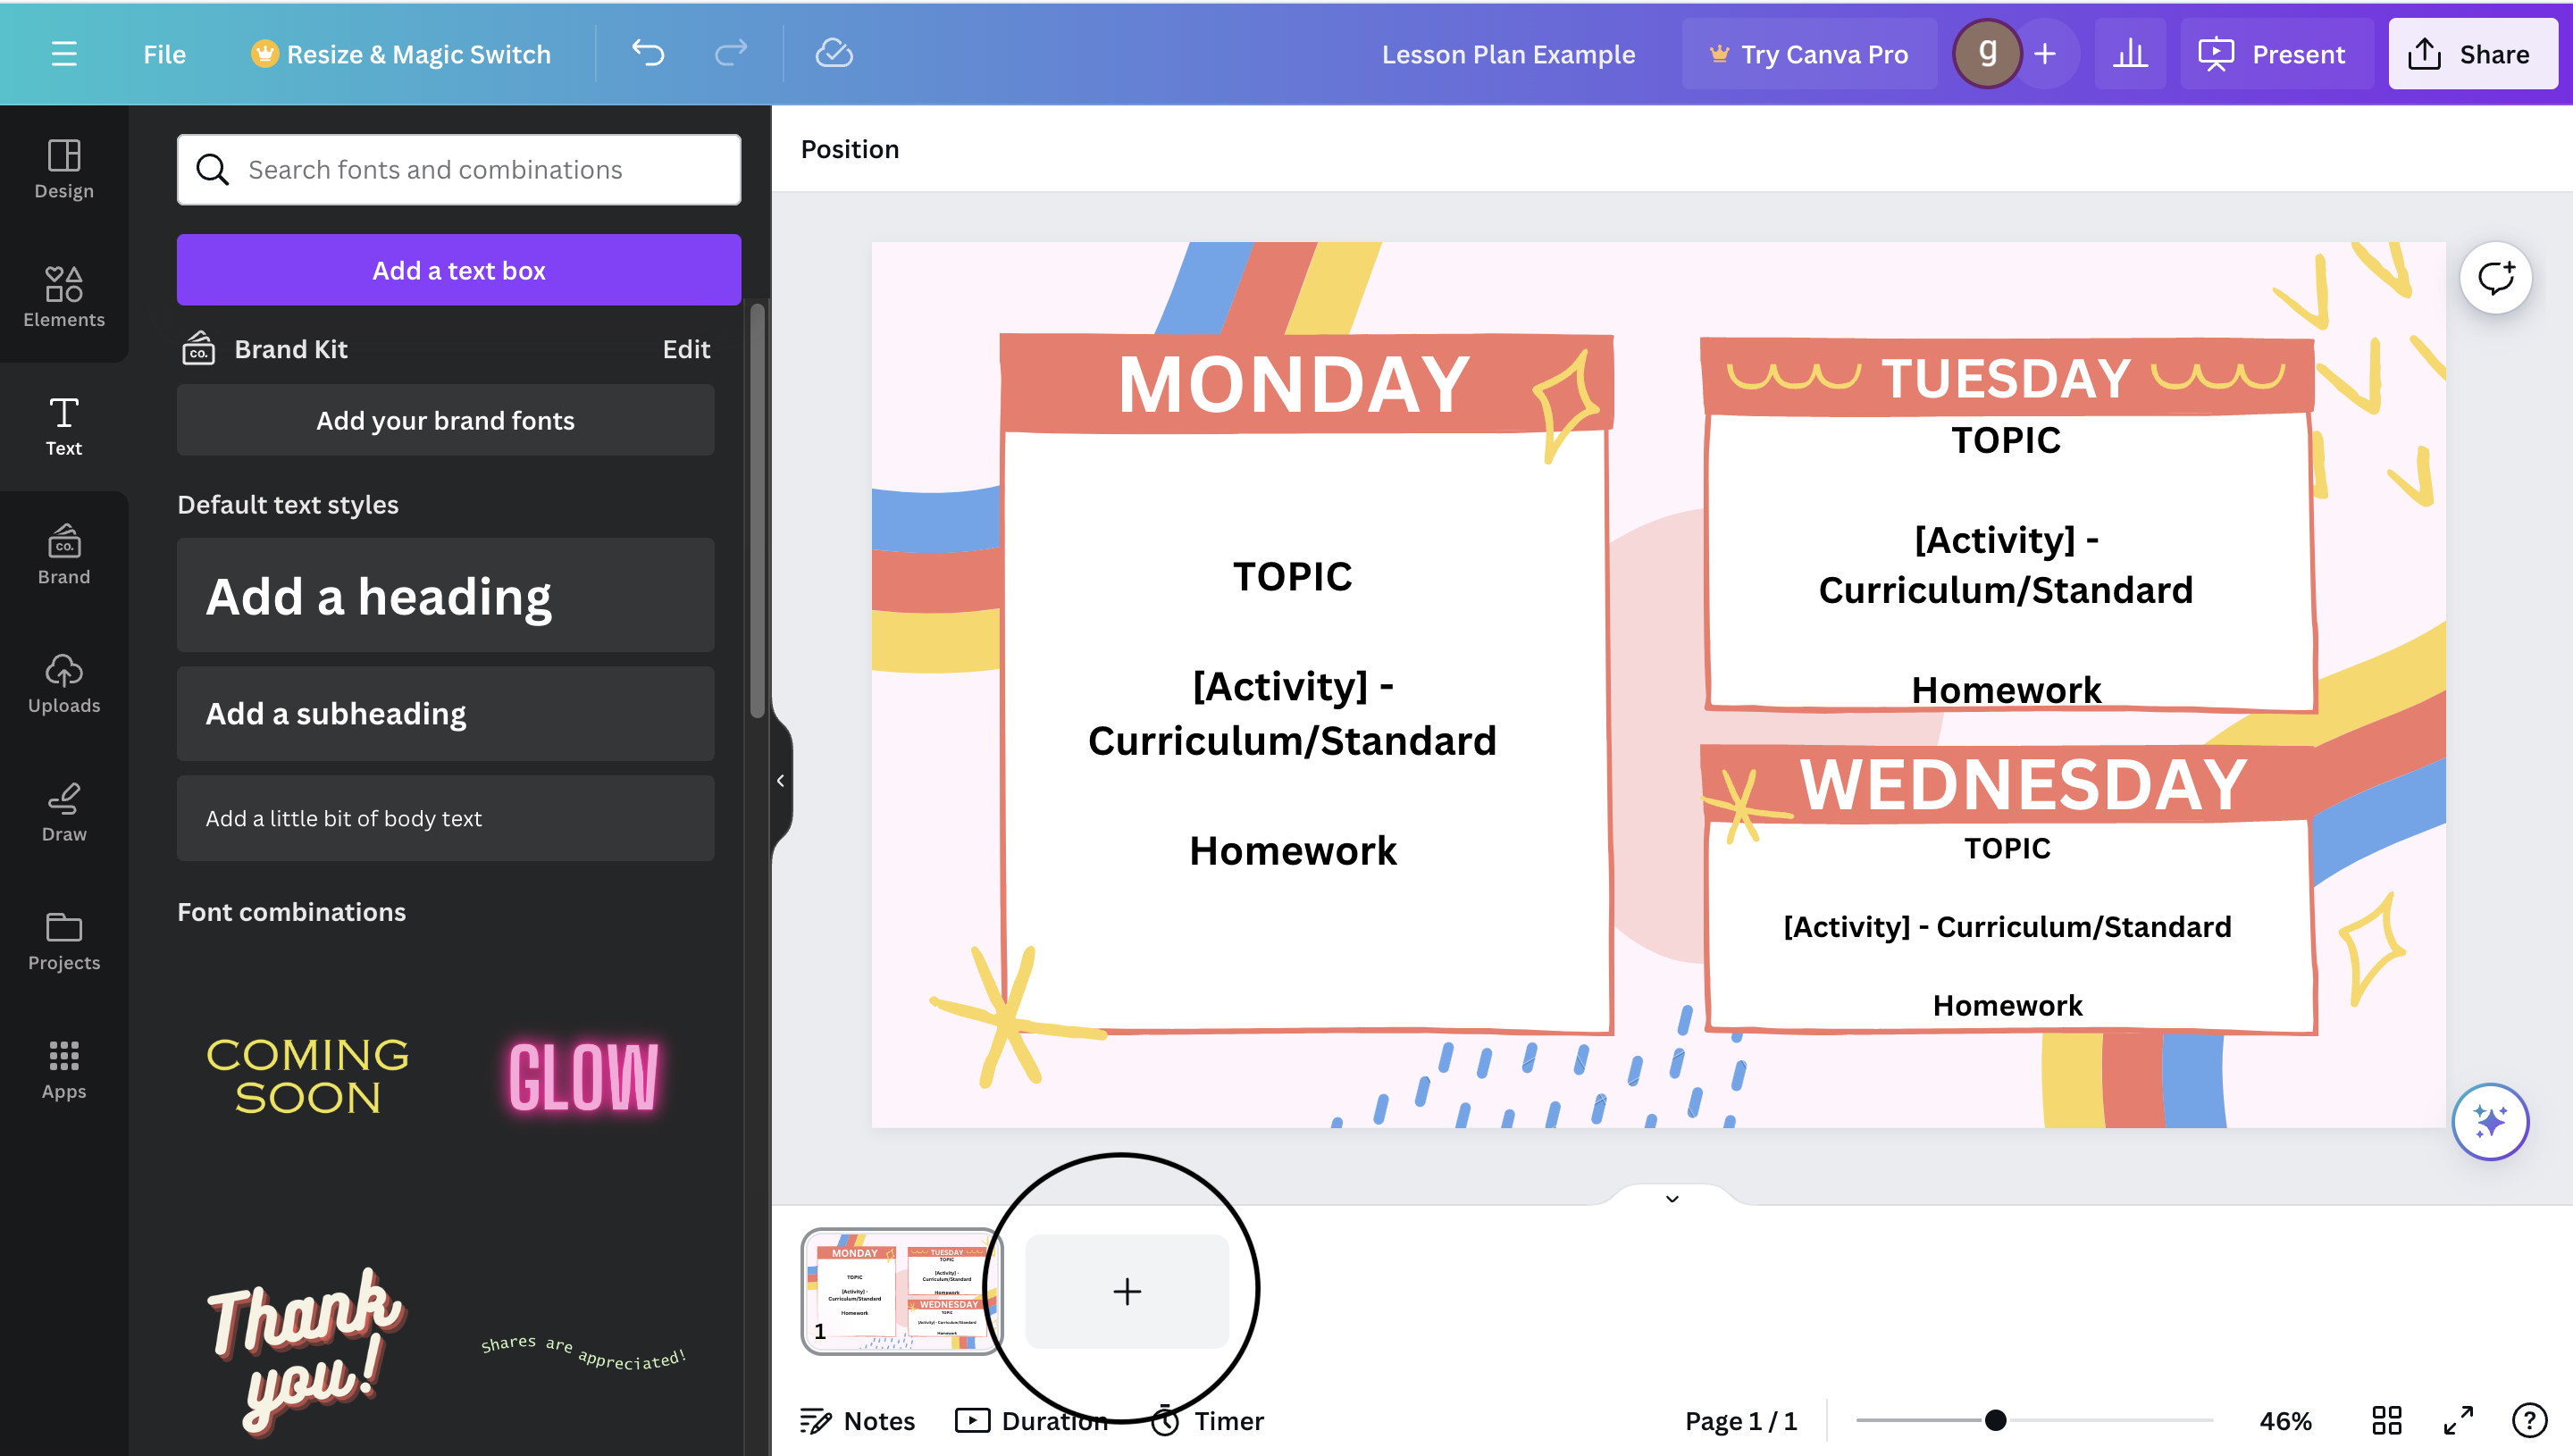
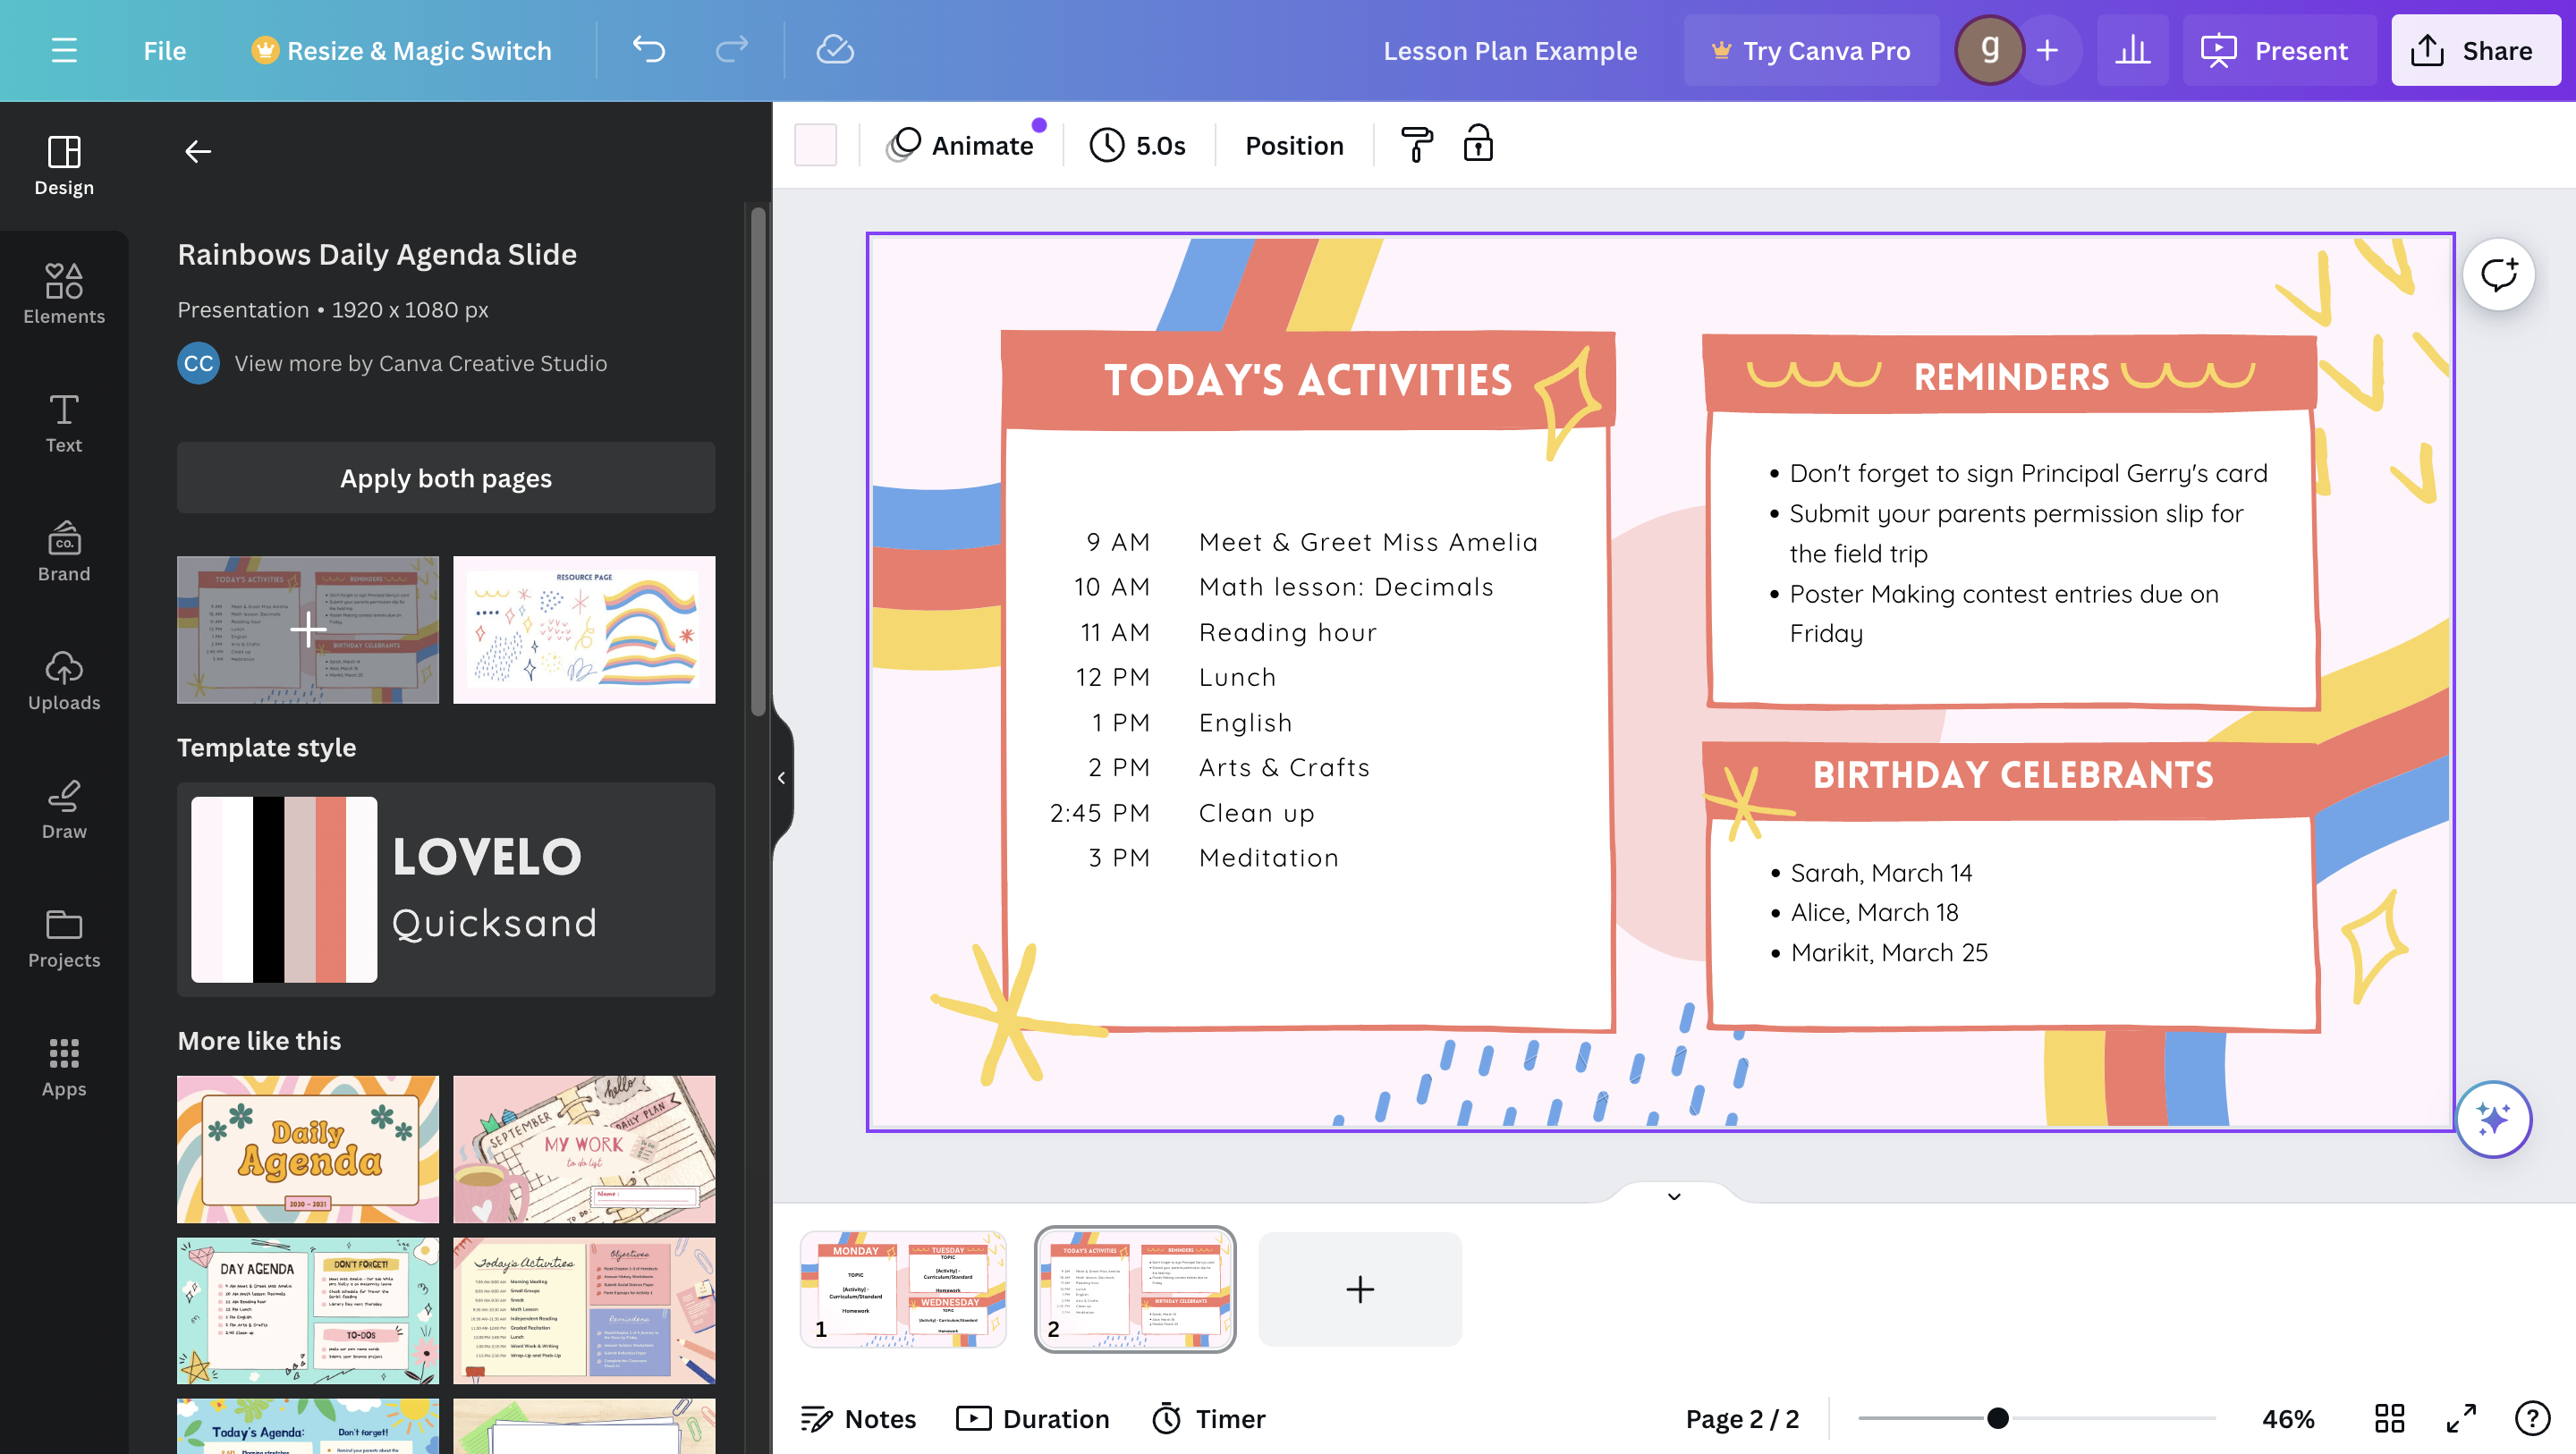
Once you are done with your plans for Monday, Tuesday, and Wednesday, you should add another page.
- To do this, go to the bottom of the page and click on the “+” to add a new page.
Extra Tip:
If you are choosing to present this project, you can add in transitions between the slides. To do this, click the "animate" box at the top of the page.
Choose Same Template Layout
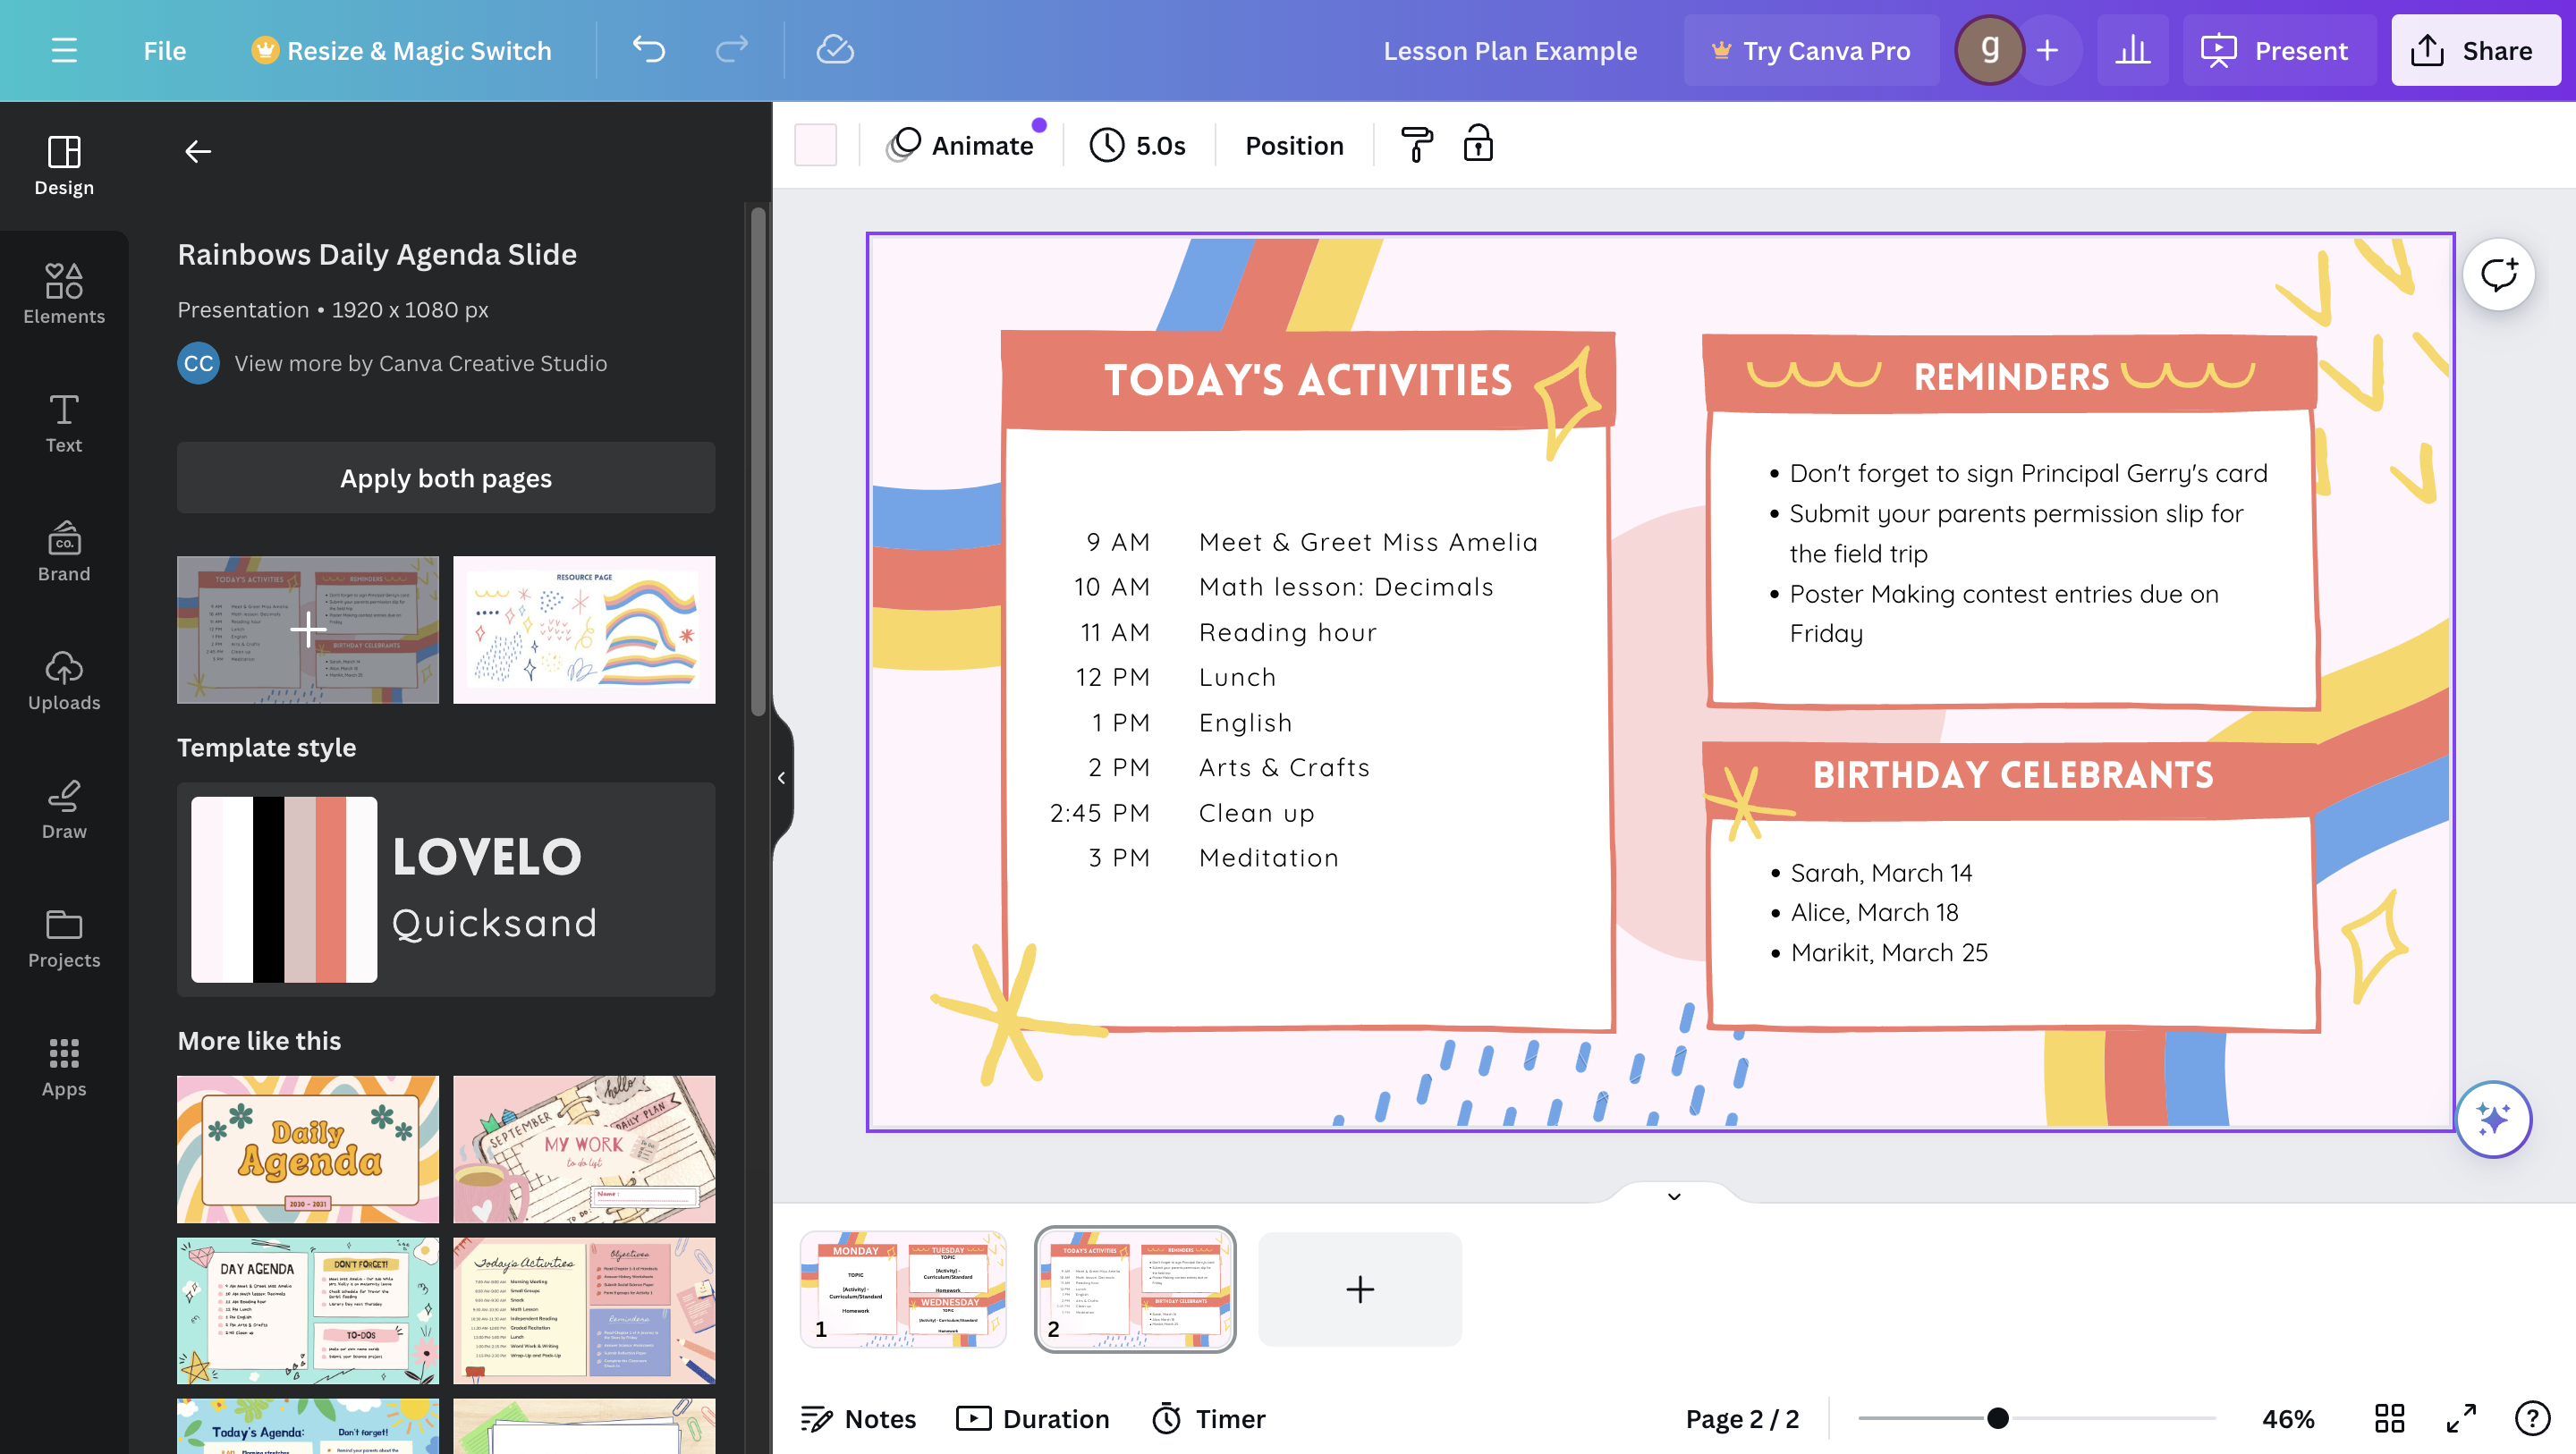
To add the same layout of your template, go to the “design” section on the left side of the screen and choose your frequently used template. You should have the original filled out template opened.
Extra Tip:
It is important to use the same template to make sure the lesson plan is easy to understand, and aesthetically pleasing.
Clear the Template
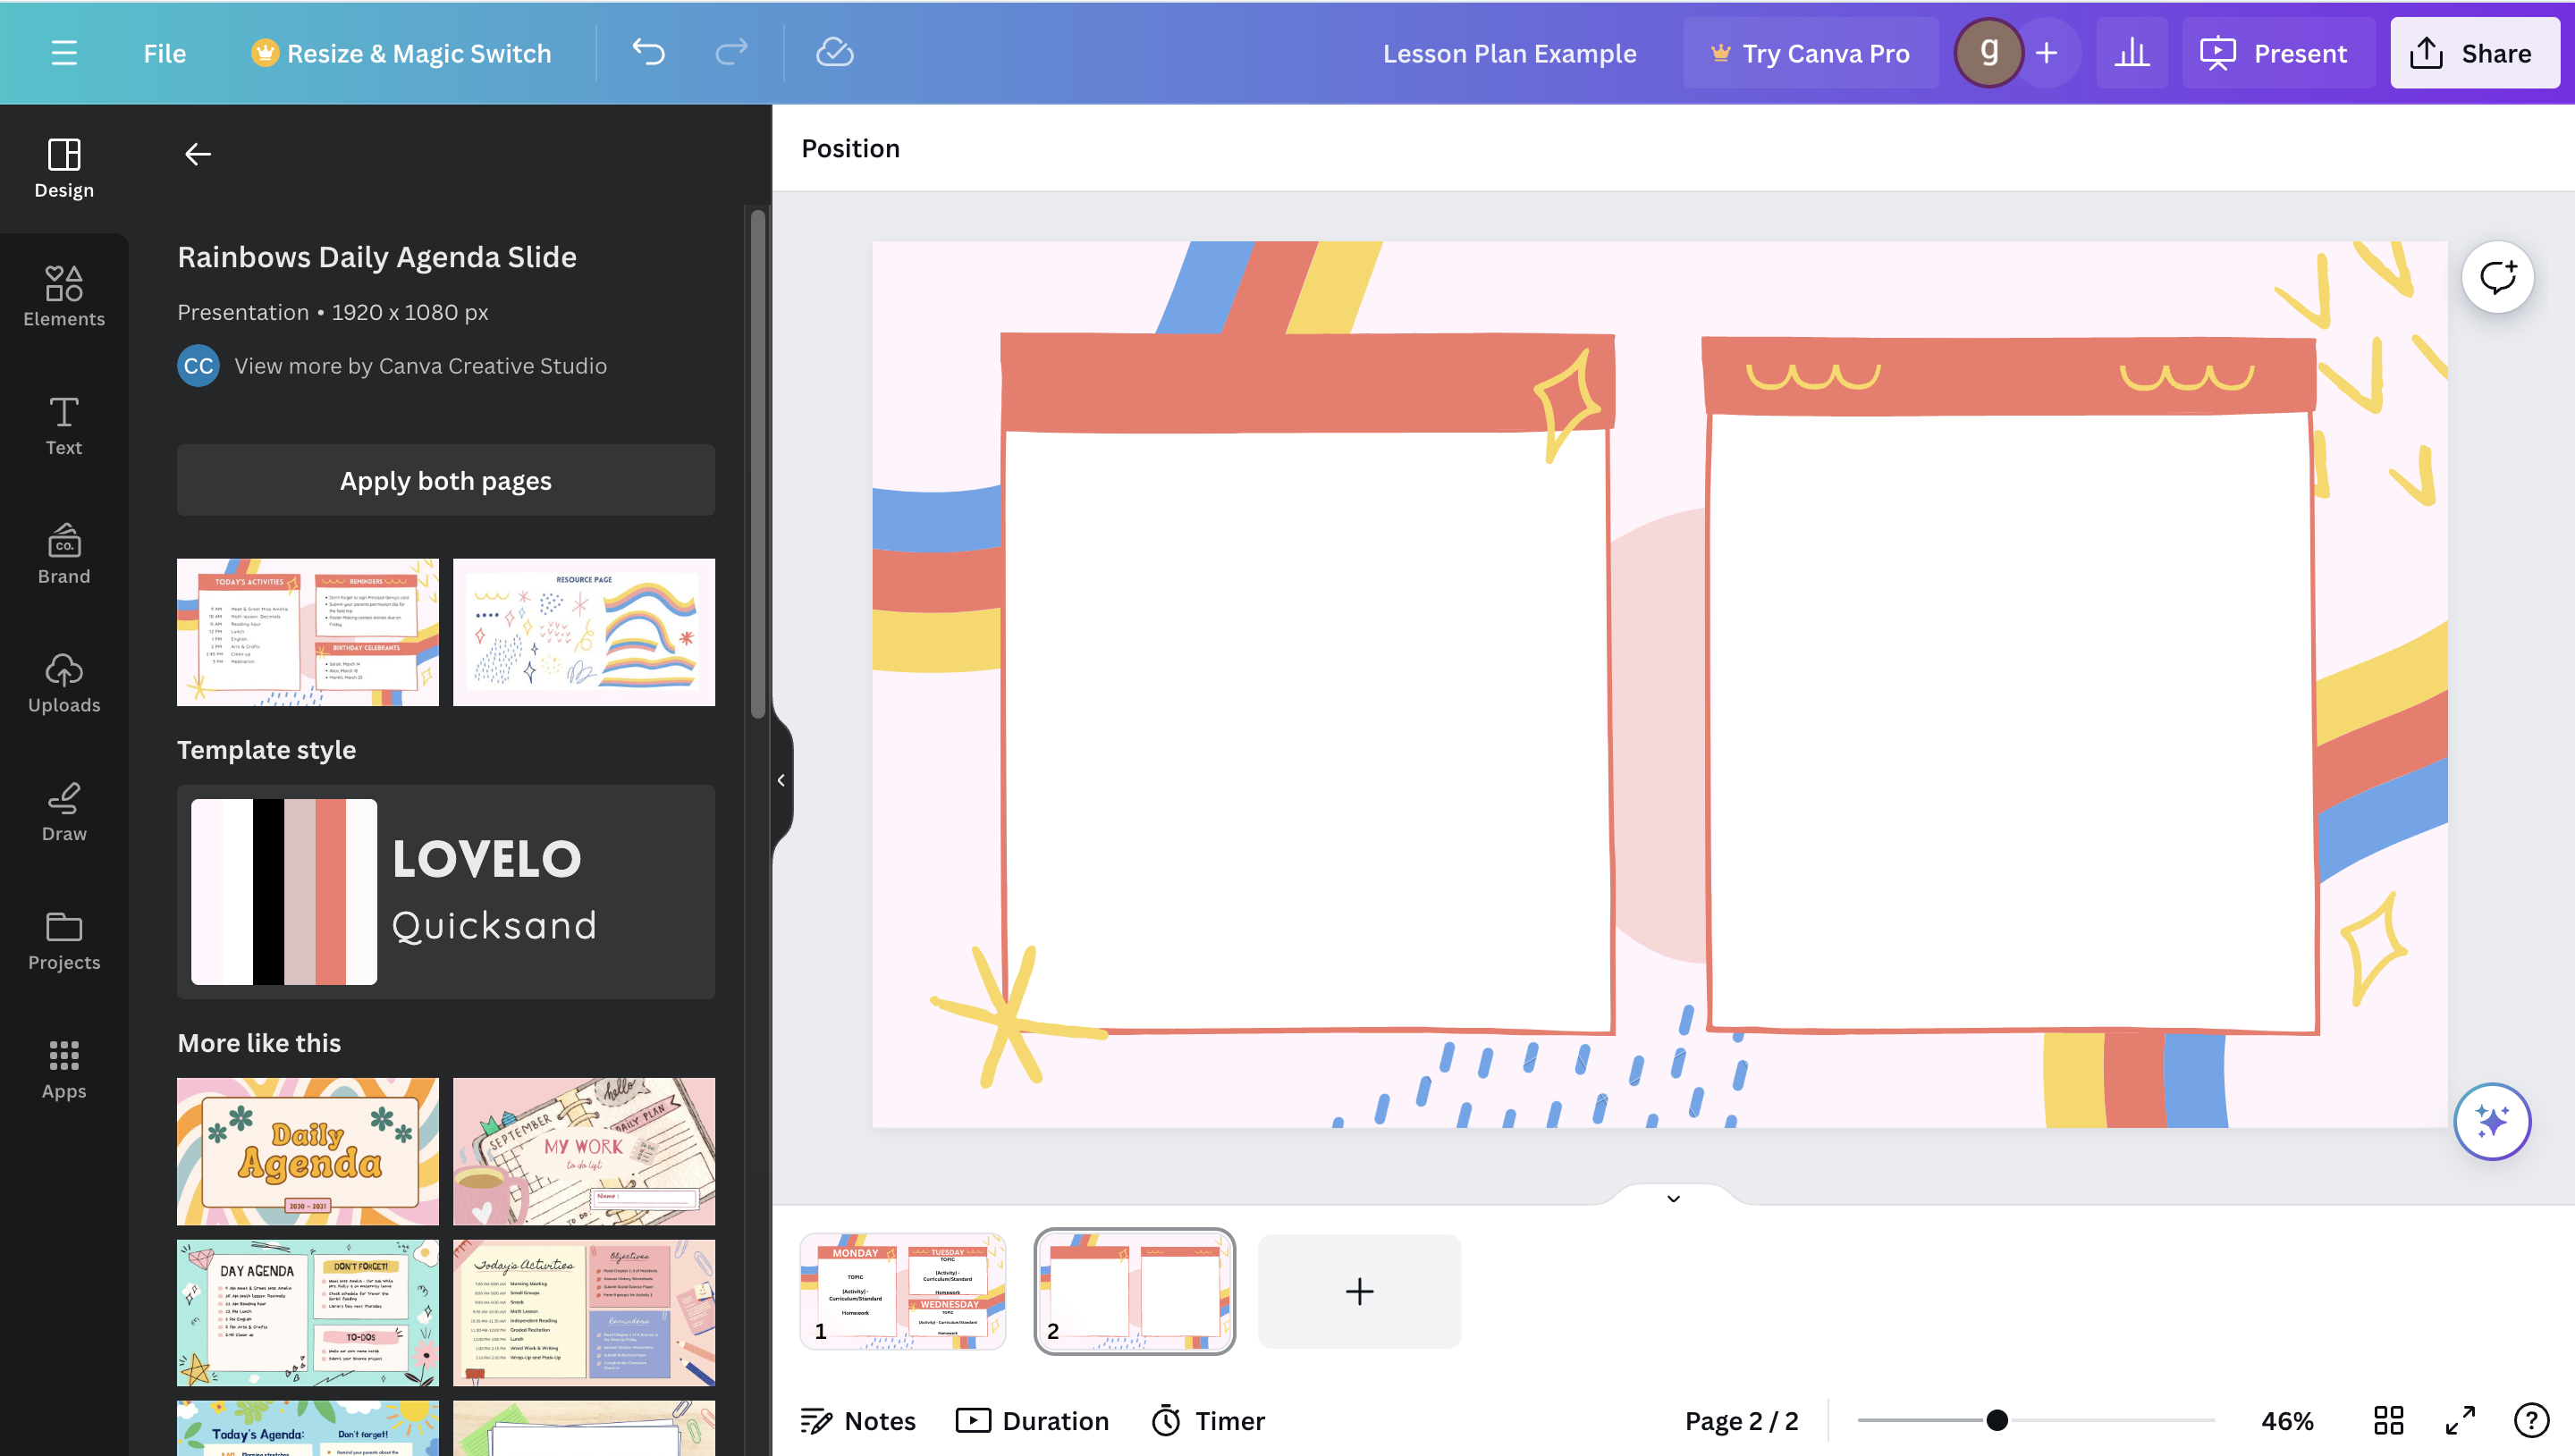
Go ahead and delete the original text like you did before. (Refer to Step 3)
- If you chose a design with 3 or more sections like I did, make sure you delete unnecessary sections.
To make the layout more aesthetically pleasing, I resized my second section to match the first section.
- To resize, click on the section you want, and drag the outline to your choosing.
Extra Tip:
During this step, you can also add in little designs, or stickers. To do this, go the the "design" section on the left side of the screen. You can search for anything you would like to add into your project.
Customization
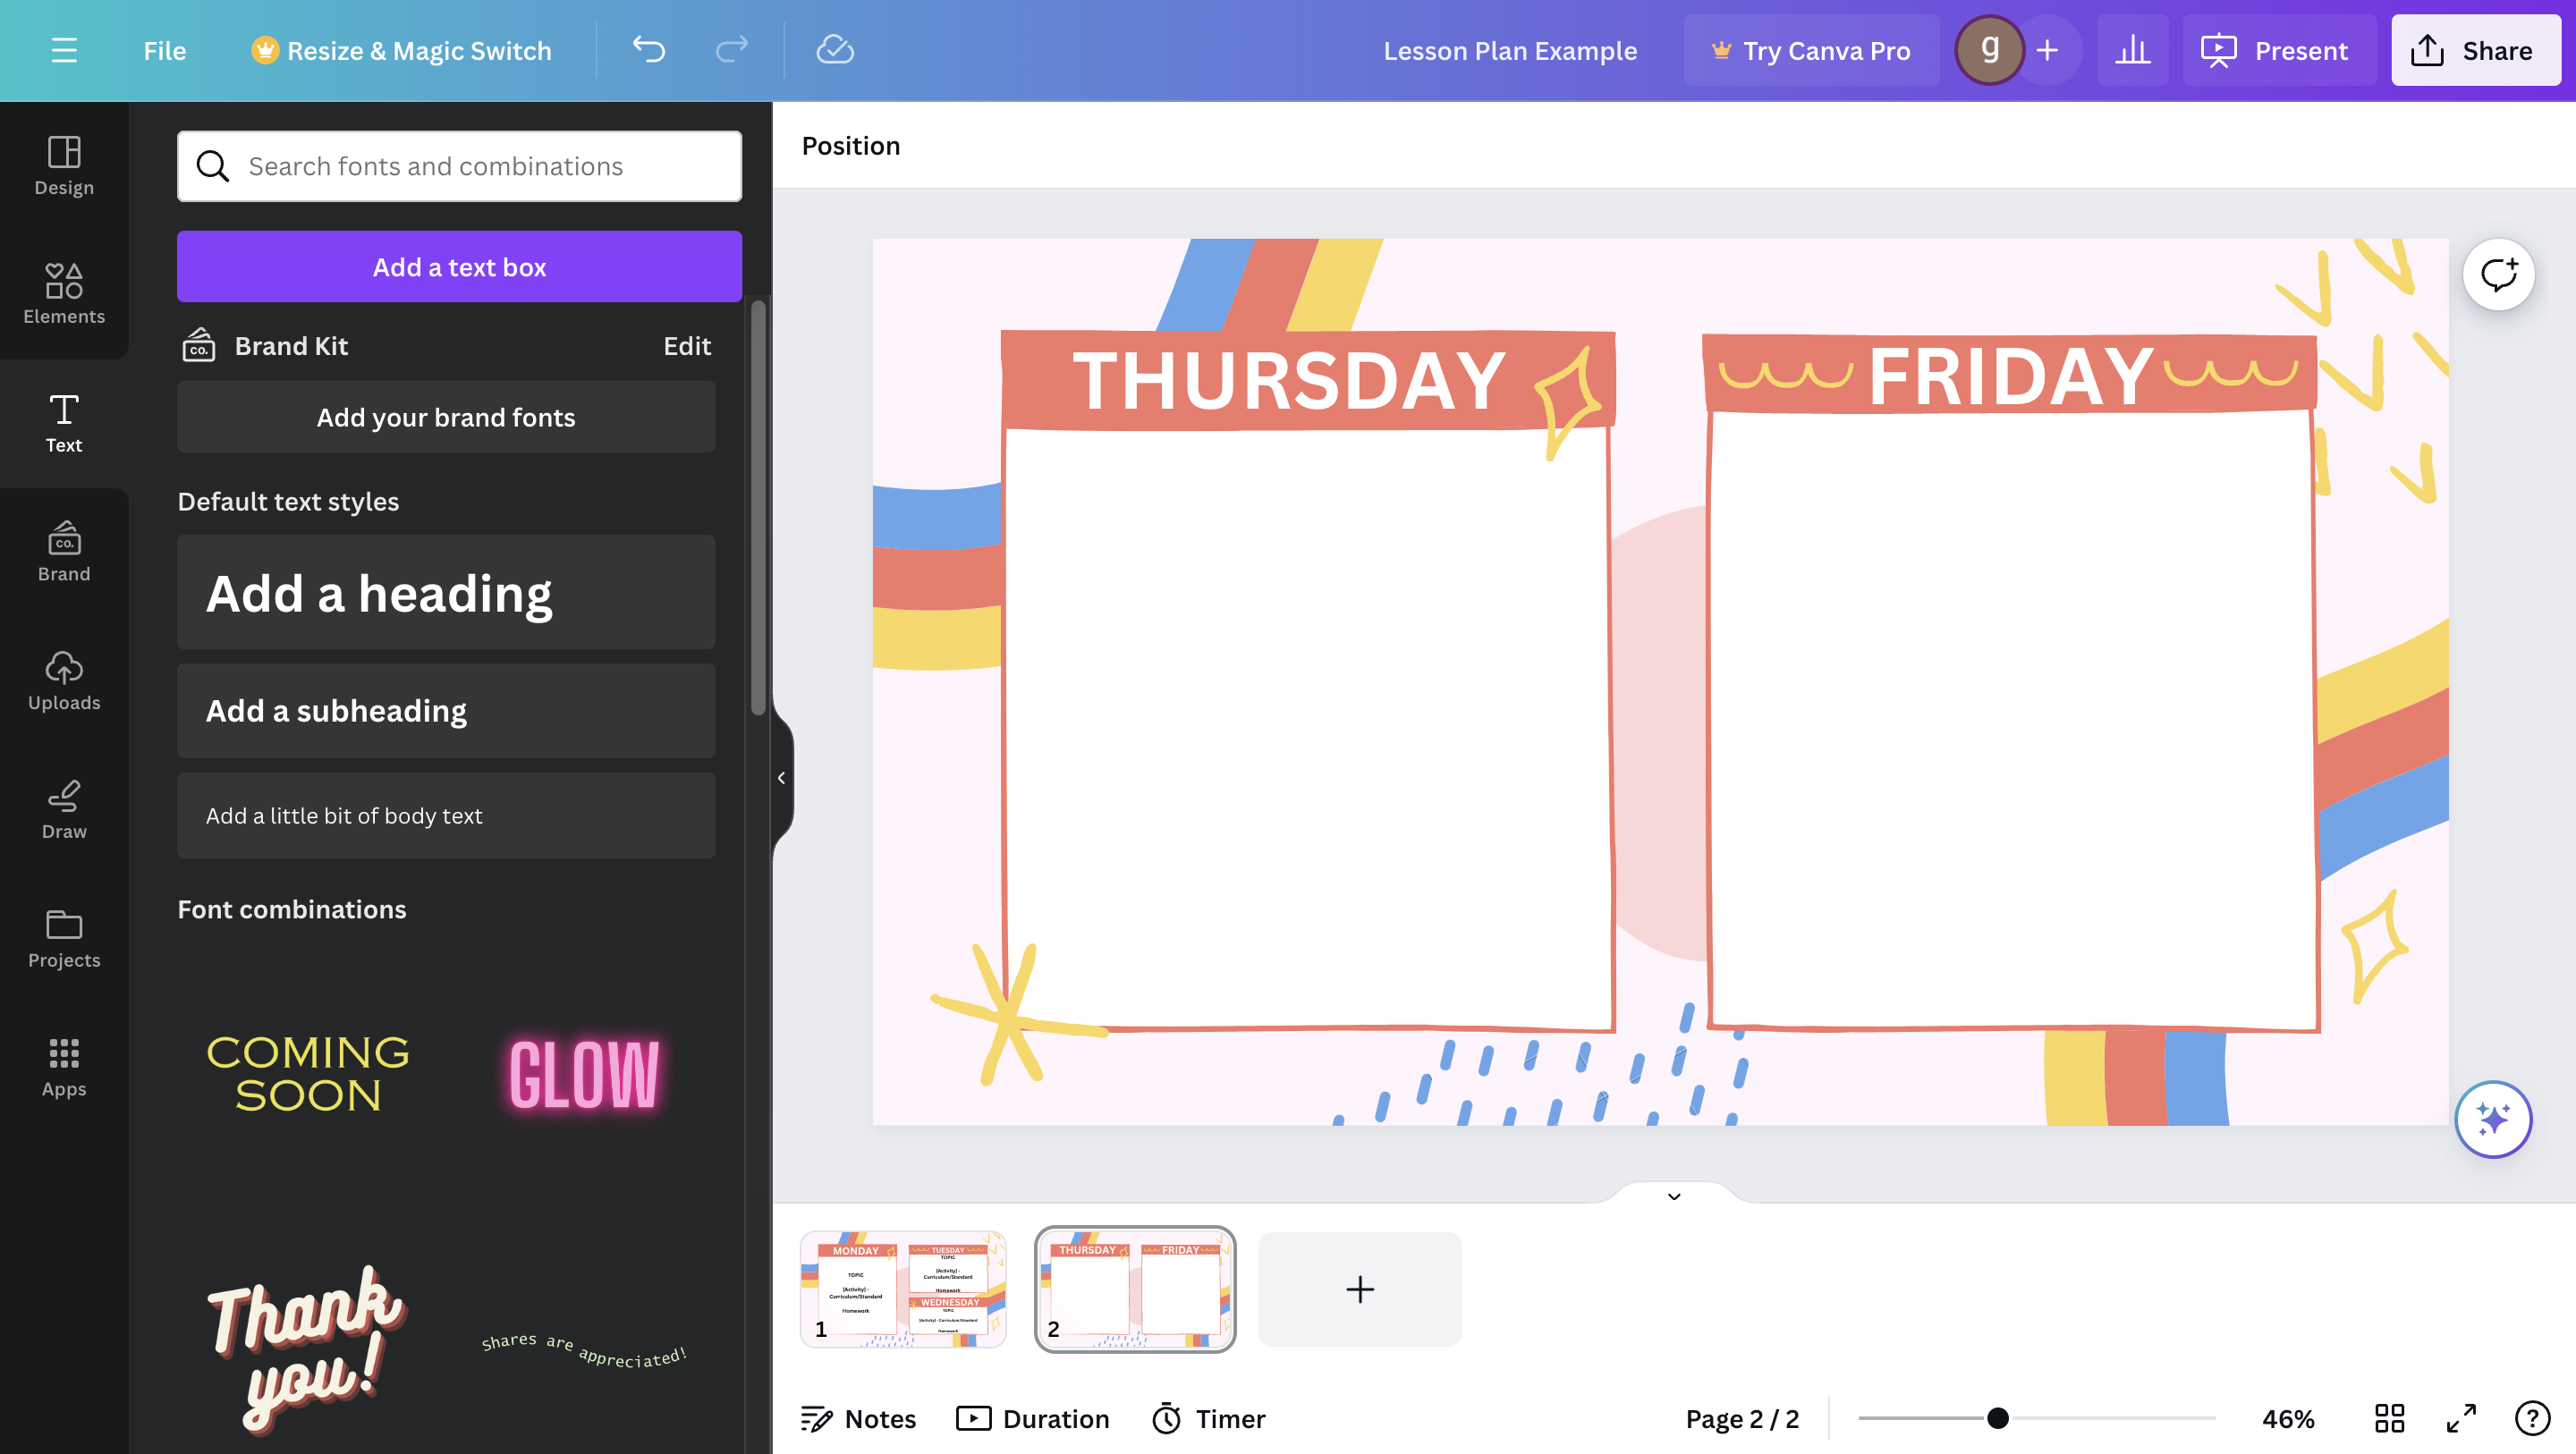
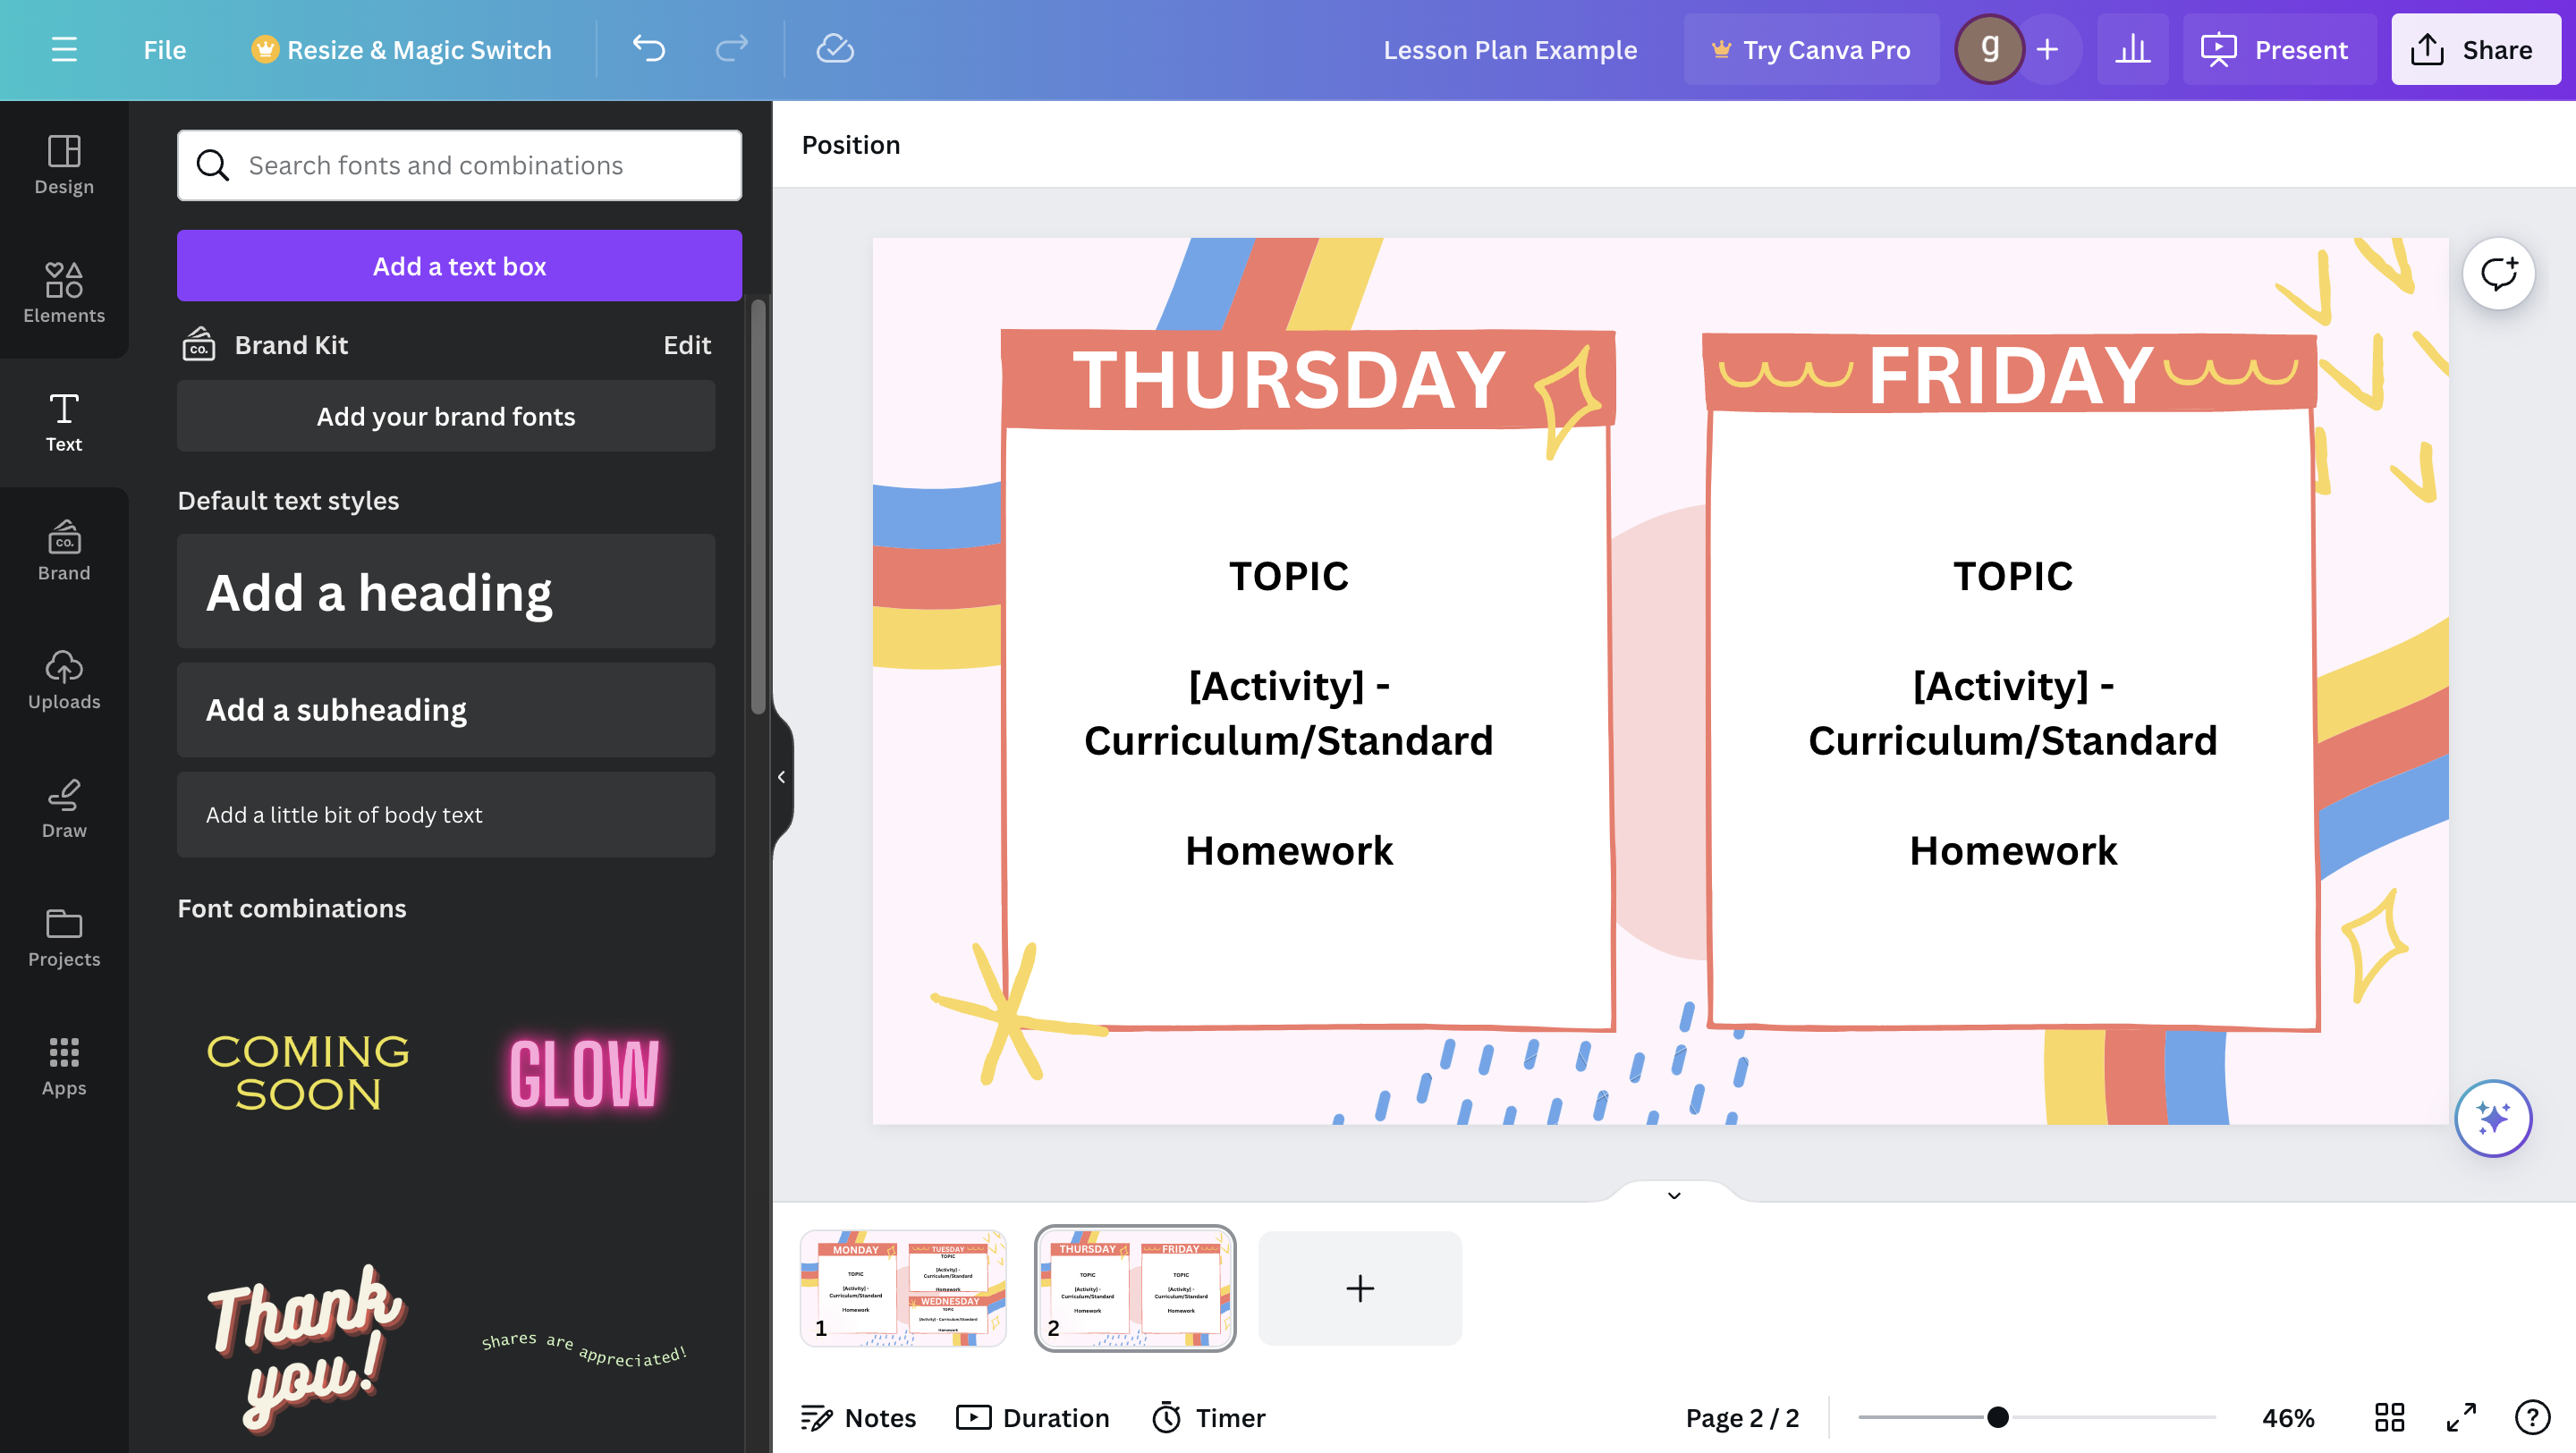
Now that your design is fit for the remainder of your lesson plan, it is time to add in your titles and headers. (Refer to Step 4)
After your titles and headers are inserted, add in your text boxes with the assignment, curriculum/standard, and homework information. (Refer to Step 5)
Extra Tip:
Make sure your lesson plan follows your state curriculum standards.
Save & Share
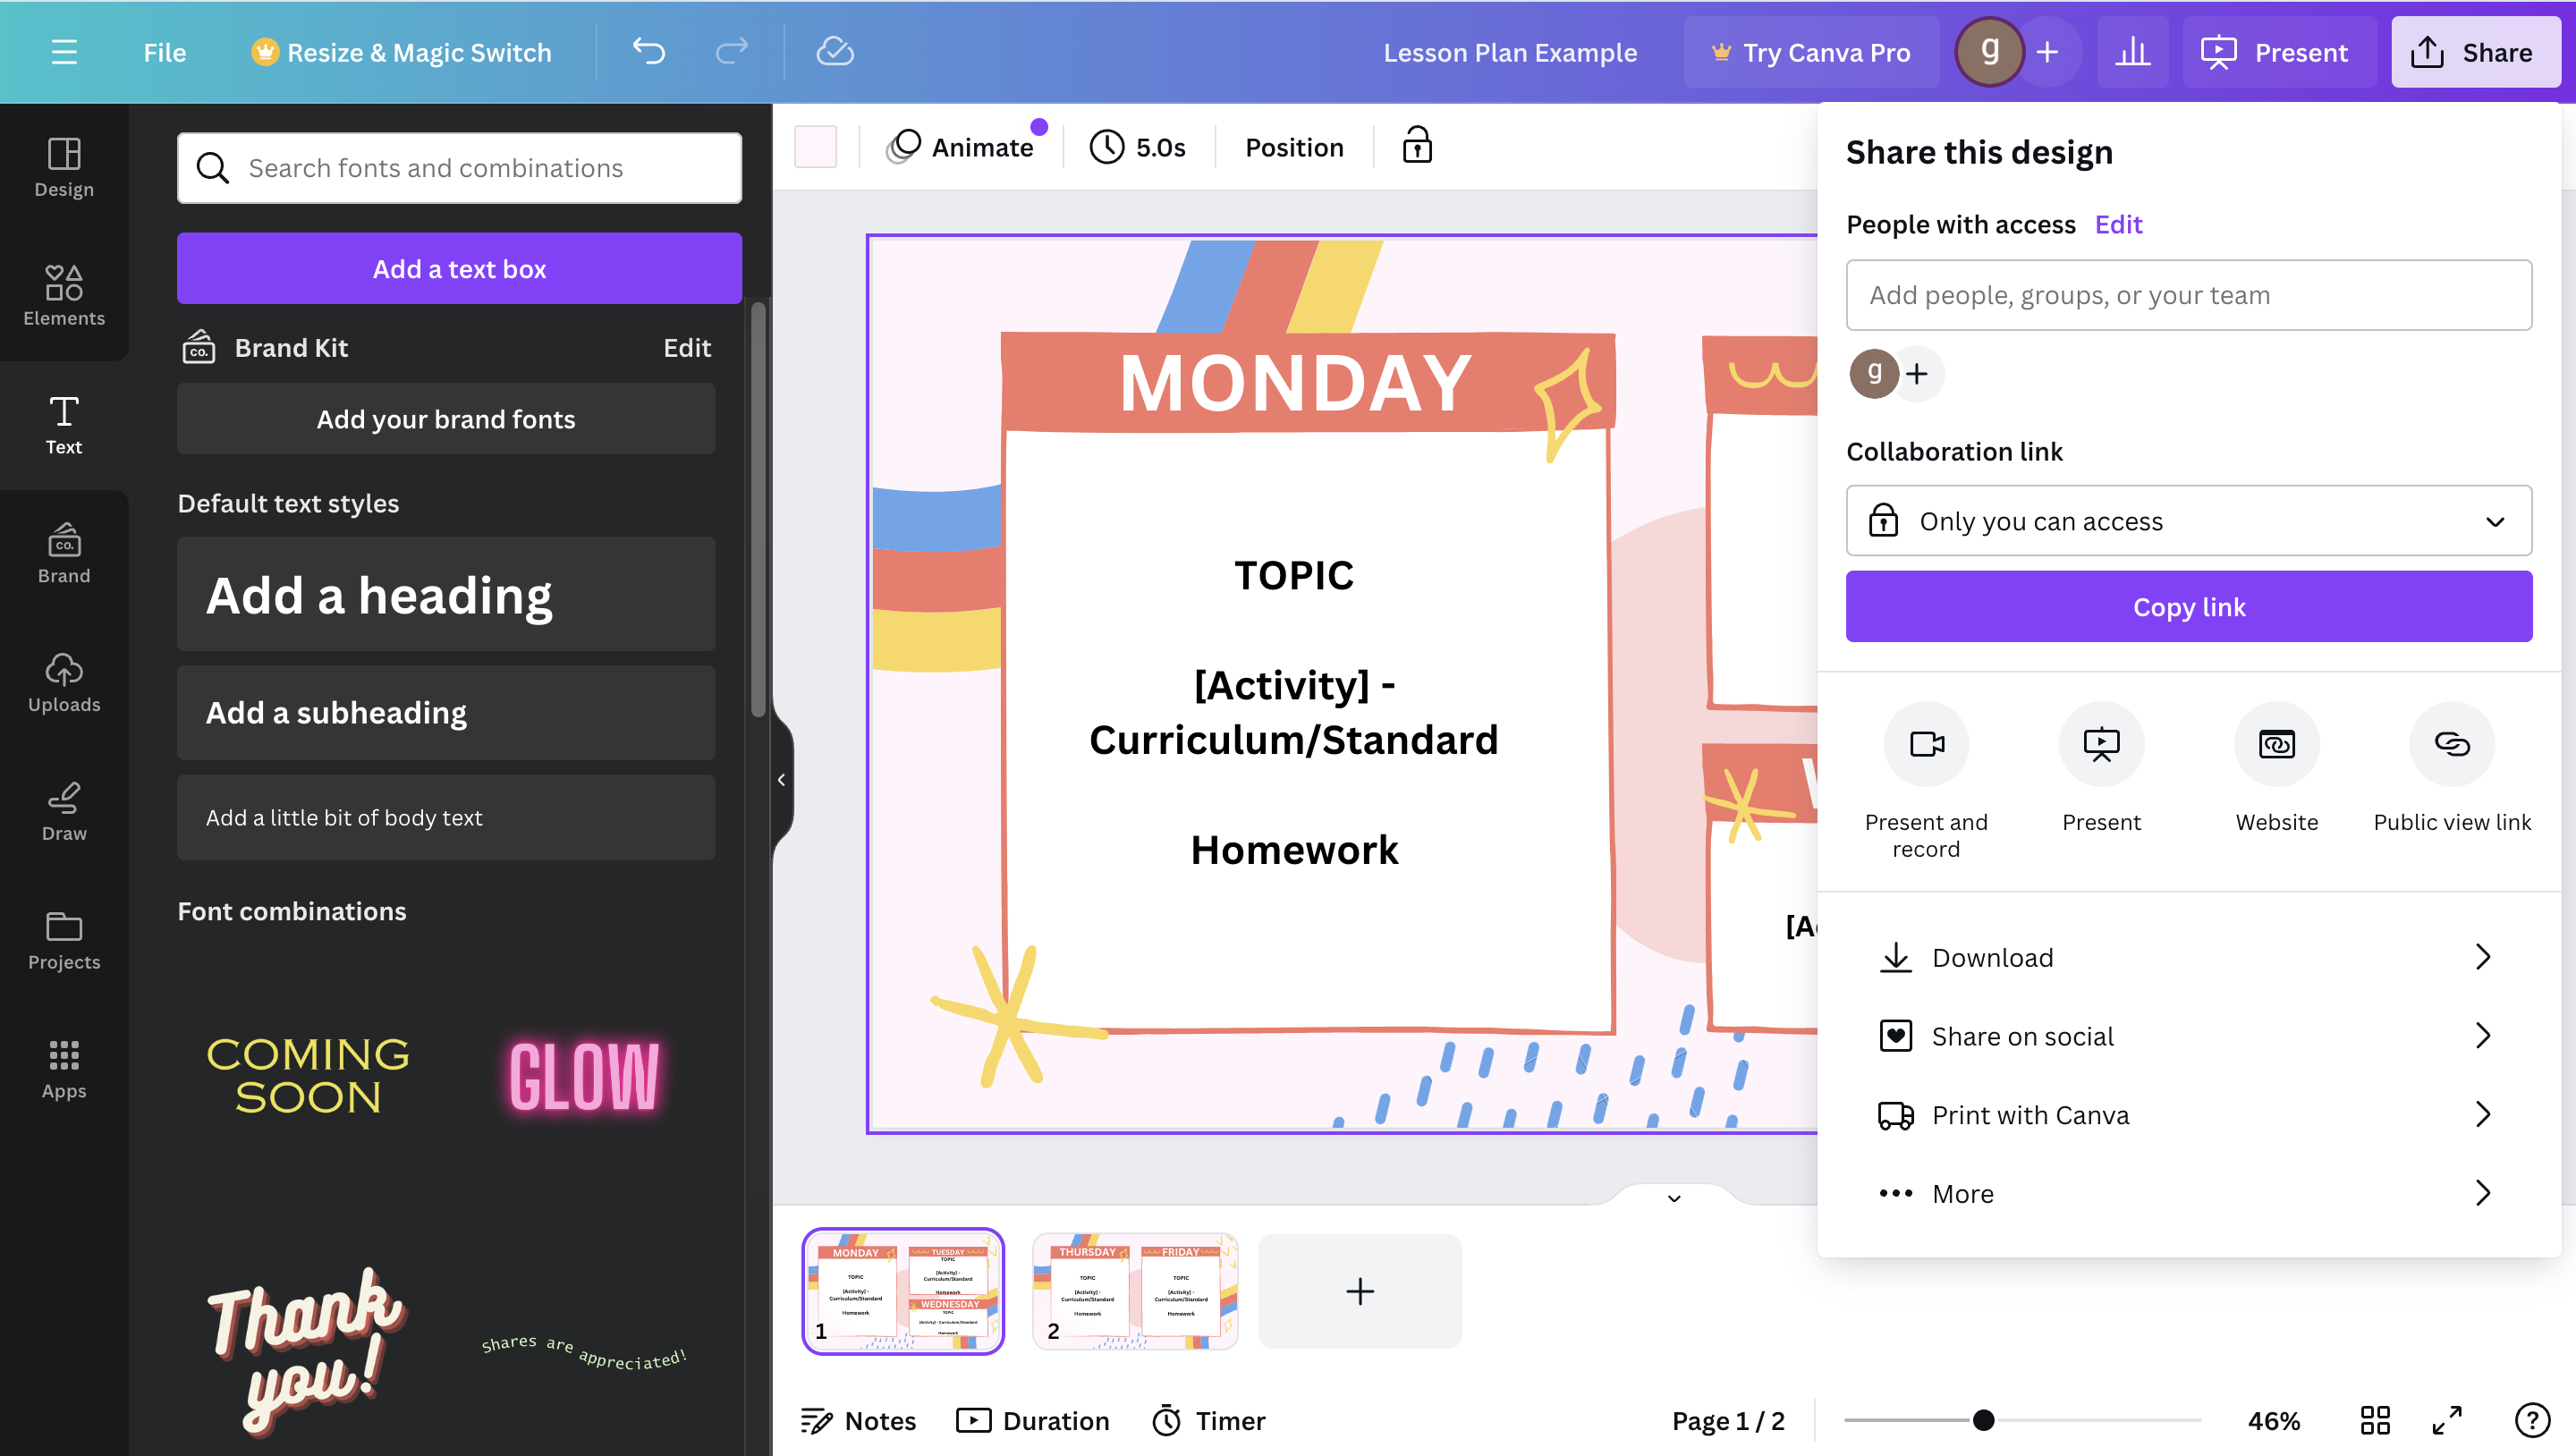
You officially have an aesthetically pleasing lesson plan!
Save the presentation by clicking “Share” in the top right corner. From there, you can download, send, or present.
Extra Tip:
For more options to share, click share, then go to the bottom where it says "more". This will bring up many options to share your project from sending it to a phone, to multiple other platforms.