Fumage 101: Drawing With Fire
Applying carbon to a surface is one of the oldest forms of art in the human world. Right back before we had smart phones and the interweb, folks were picking bits and pieces out of their fires and graffitiing their local rock hangouts.
Fast forward a year or seven and I'm sitting at home fiddling about on the net when I come across a Canadian artist named Steven Spazuk who specialises in 'fumage' or paint with fire. Surrealist painters such as Salvador Dali used the technique in their work, but this guy really goes for it. Here is his website if you are interested!
After browsing through his absolutely gorgeous work for a while I decided to give it a go myself. After all... how hard can it be???.......
This instructable will take you through the basics as I found from googling and exploring myself. OBVIOUSLY to be able to do this well, you need to work at it! Try different things, and keep trying till you find your groove :). So. Fumage 101 - not 'How to Create Gallery Quality Fumage Art'
Supplies
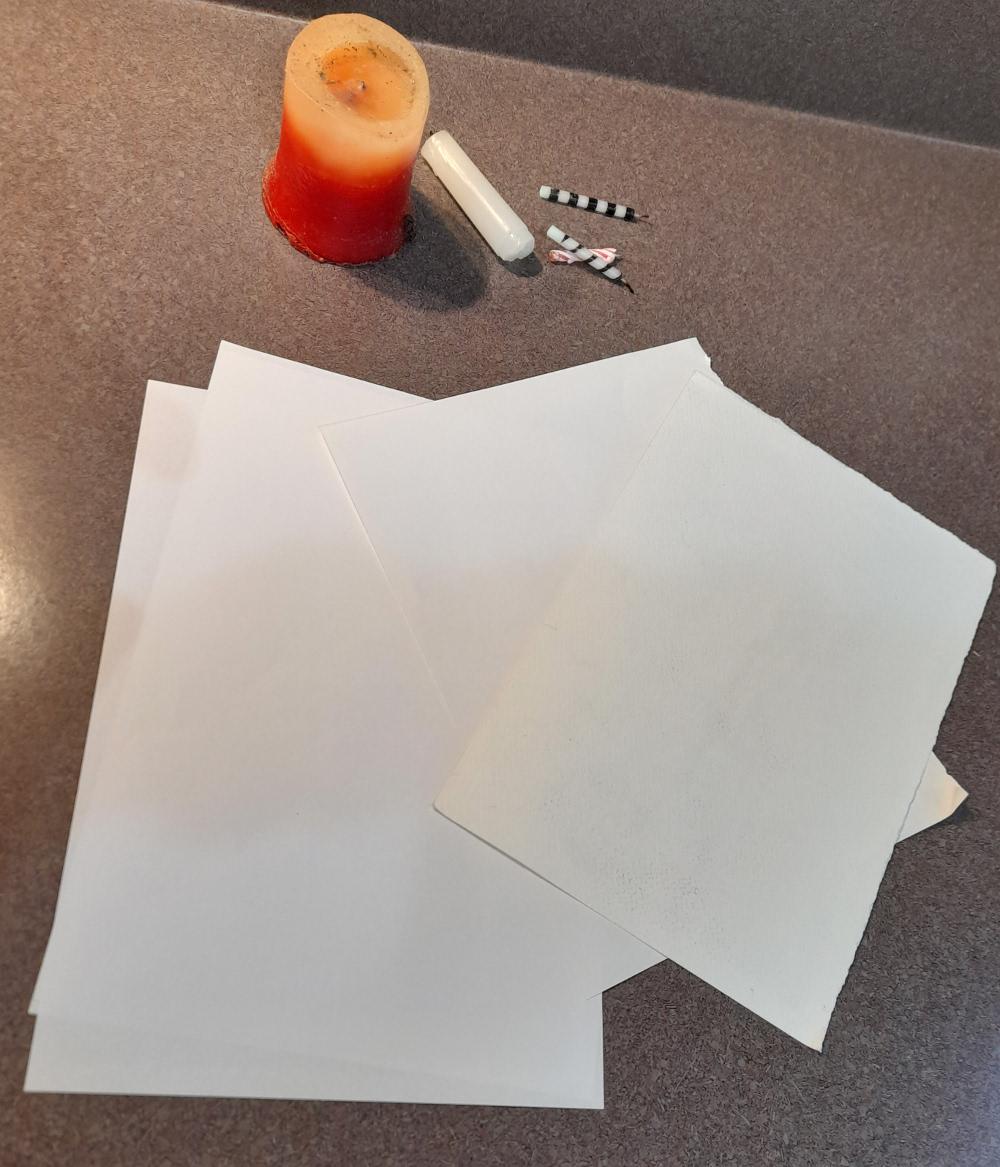
Paper (various types/weights recommended for experimentation)
Candles (various sizes recommended for experimentation)
Paint brushes/feathers/toothpicks/whatever else you think might make good marks
Paint (I used water colours)
Hairspray or other fixative
Getting Set Up.
For this adventure you need:
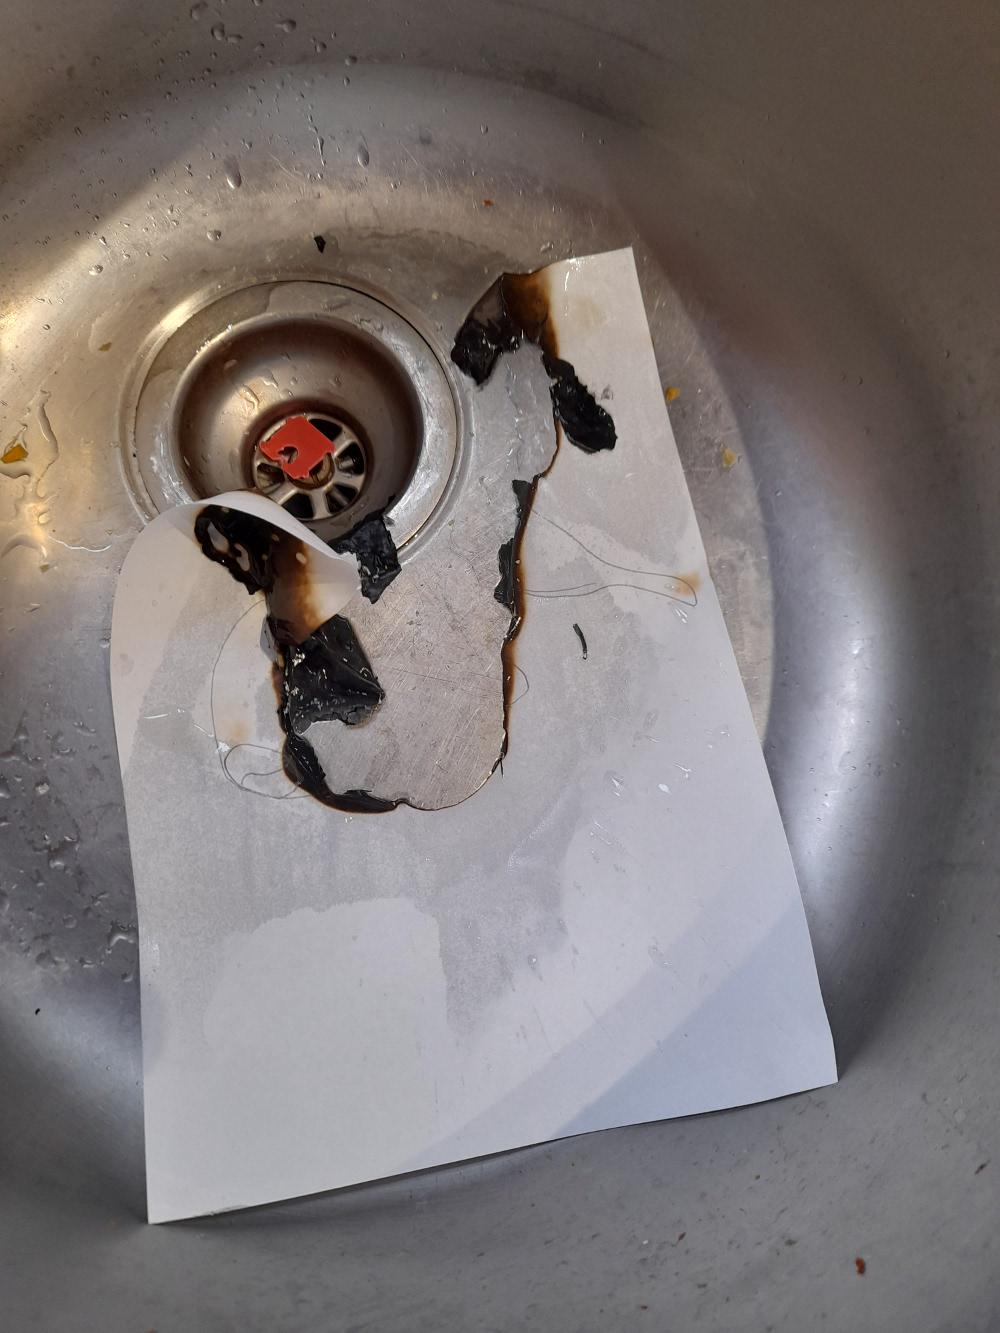
- A good open workspace, with access to water (fires are inevitable!) or some other sort of extinguisher.
- Bench coverings - Hot wax is also inevitable, so cover your workspace if you do not want to be cleaning up splots of wax everywhere.
- Plenty of paper and different sorts of candles. I started with birthday cake candles and found they made a good amount of soot. The videos I have seen show kerosene lamps to be awesome for lots of black soot. It is also good to have a big pillar candle that you can leave lit, so you are not using a lighter or match every time!
Fumage 101
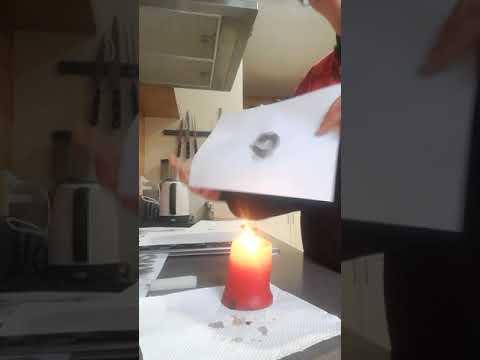
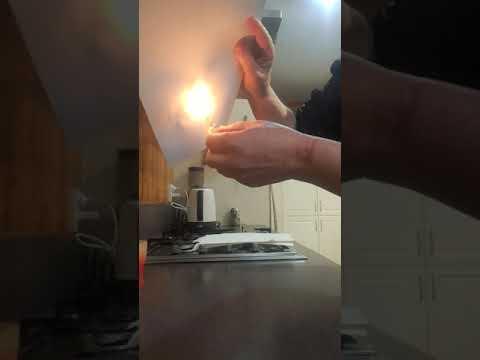
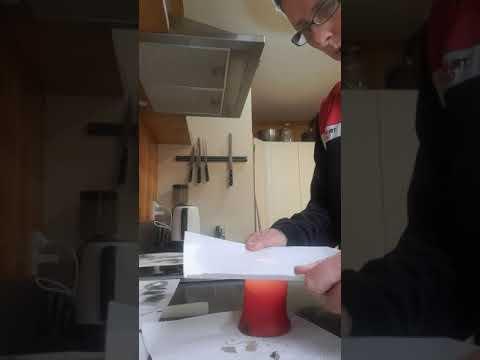
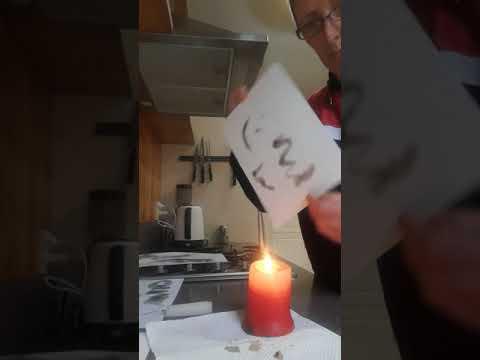
Once you have covered your workspace and made sure you have access to water (I used the kitchen bench with the sink beside me) you are ready to start. Light your candle. Take your paper in your non dominant hand. Flames work upwards, so the paper needs to be above the flame.
Start off by dragging the flame underneath the paper. You may need to vary the angle, speed and distance from the paper - too slow and close will inevitably result to fire however! The closer you are, the more soot will stick.
When you are happy with your pattern, blow out the candle and place to one side. If you are finished and wish to keep your art, you will need to fix it before any of your kids put their hands on it... Spray with a fixative such as hairspray or varnish to hold and preserve your work.
Practise and experimentation are going to get you better results so keep trying. I found sometimes I'd step up to do some work and I wouldn't be able to get the candle to make any marks whatsoever! Here are some of my tips:
- vary the angle of the candle. You will find holding it at right angles to the paper will make a circle, and sideways will sort of lick at the paper.
- short wicked candles are good for filling in areas, with longer ones good for making designs.
- holding paper over a standing pillar candle (see the last clip above) is kinda like using a big fat marker pen!
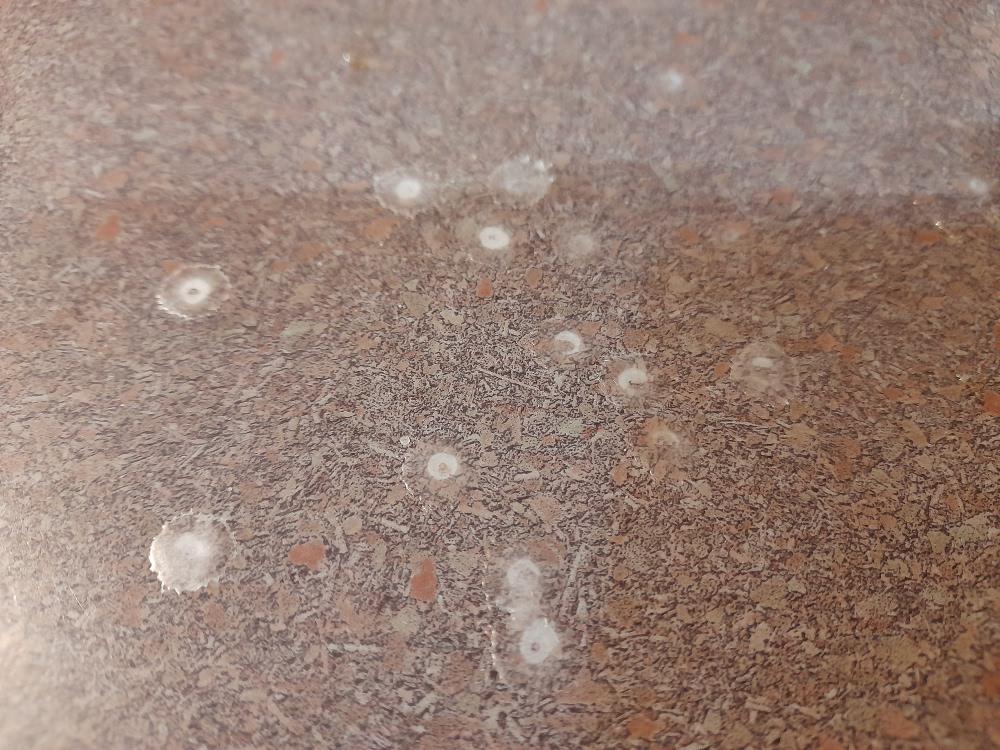
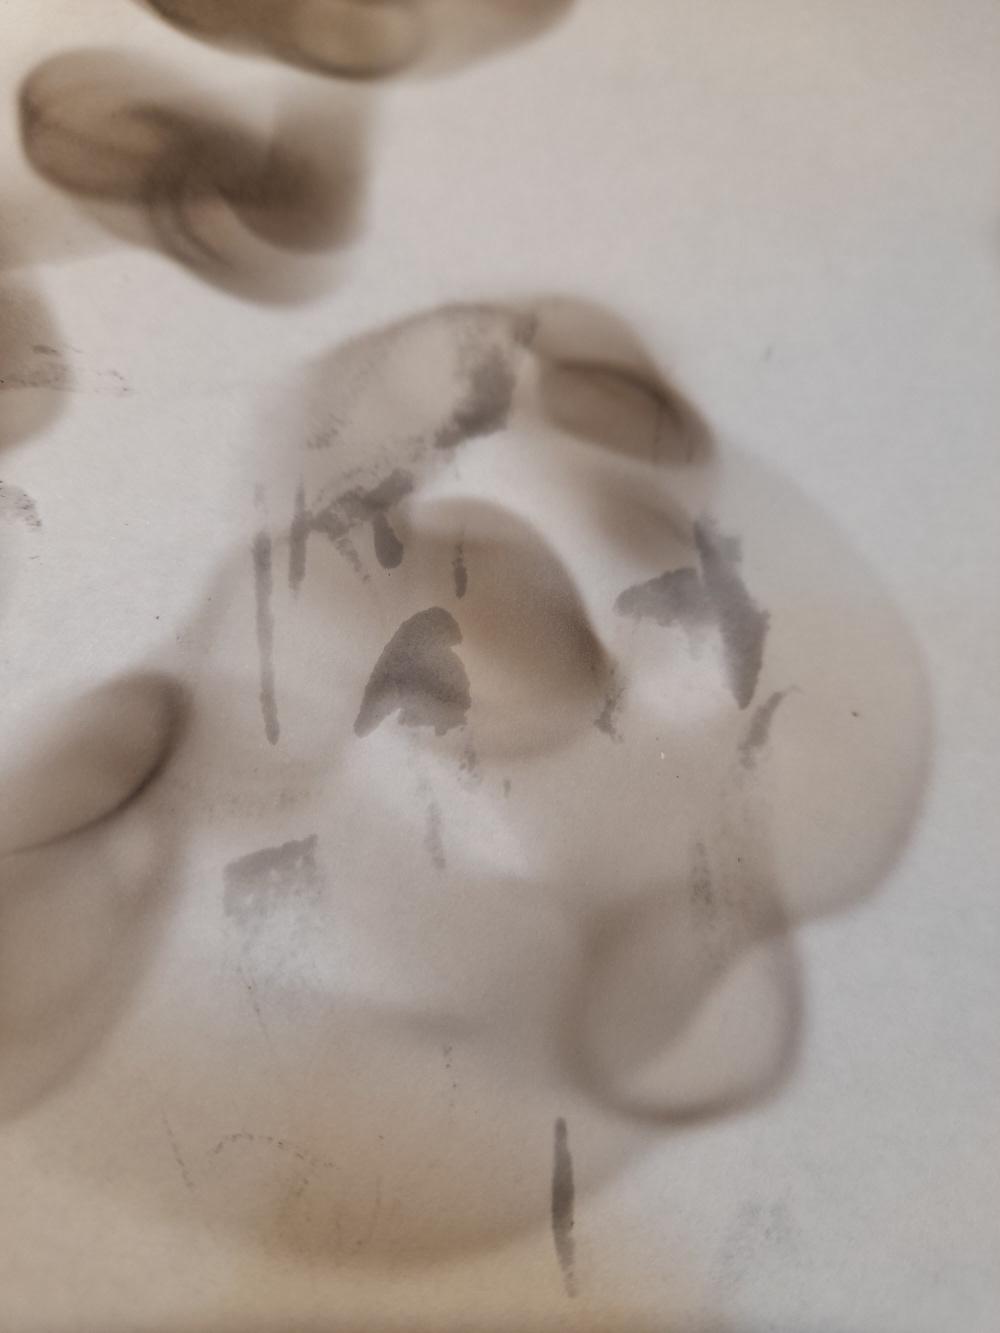
- don't get toooo close - you will end up with wax on your paper!! (see photo)
What If I'm Not Ready to Apply a Fixative?
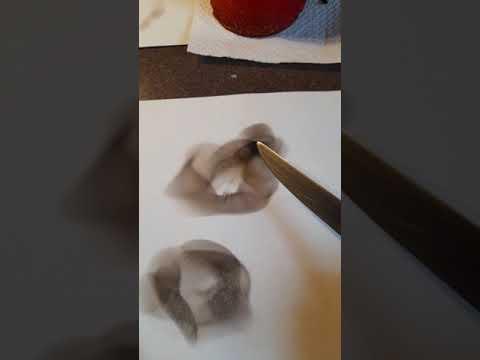
Once you have soot on the paper, you have any number of options for enhancing or altering your picture. This is where you need your paint brushes, feathers, pencils, fingers and anything else you think might help!
Start by experimenting. The short clip above shows the different textures/marks made by your finger, a brush and a knife. You will find the soot to be very fragile - it does not take much to mark or move it, but that it does shade the paper beneath it, so when when you brush it off, the paper will still be darker. If you want to take spots back to white (or as close to it as you will get!) use an eraser.
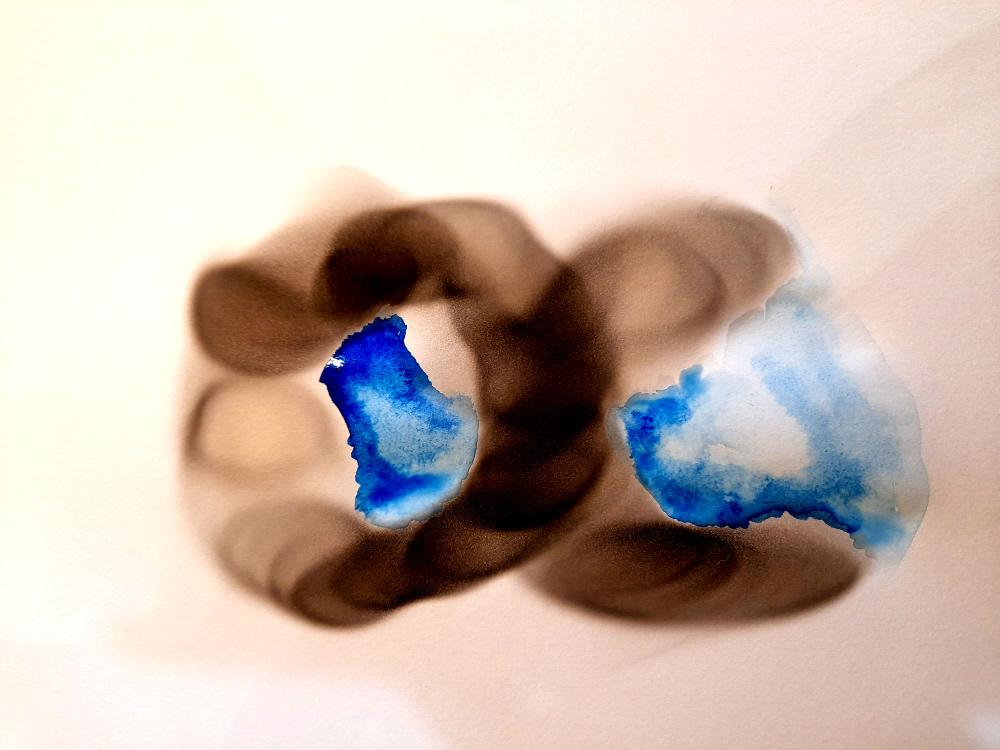
The other thing you can do is add colour. I tried water colours, and found I could paint in the spaces where the carbon was not thick, but the colour would not take to the carbon itself (unsurprisingly).
The next few slides show some of my adventures and things you might want to try/avoid....
The Jellyfish
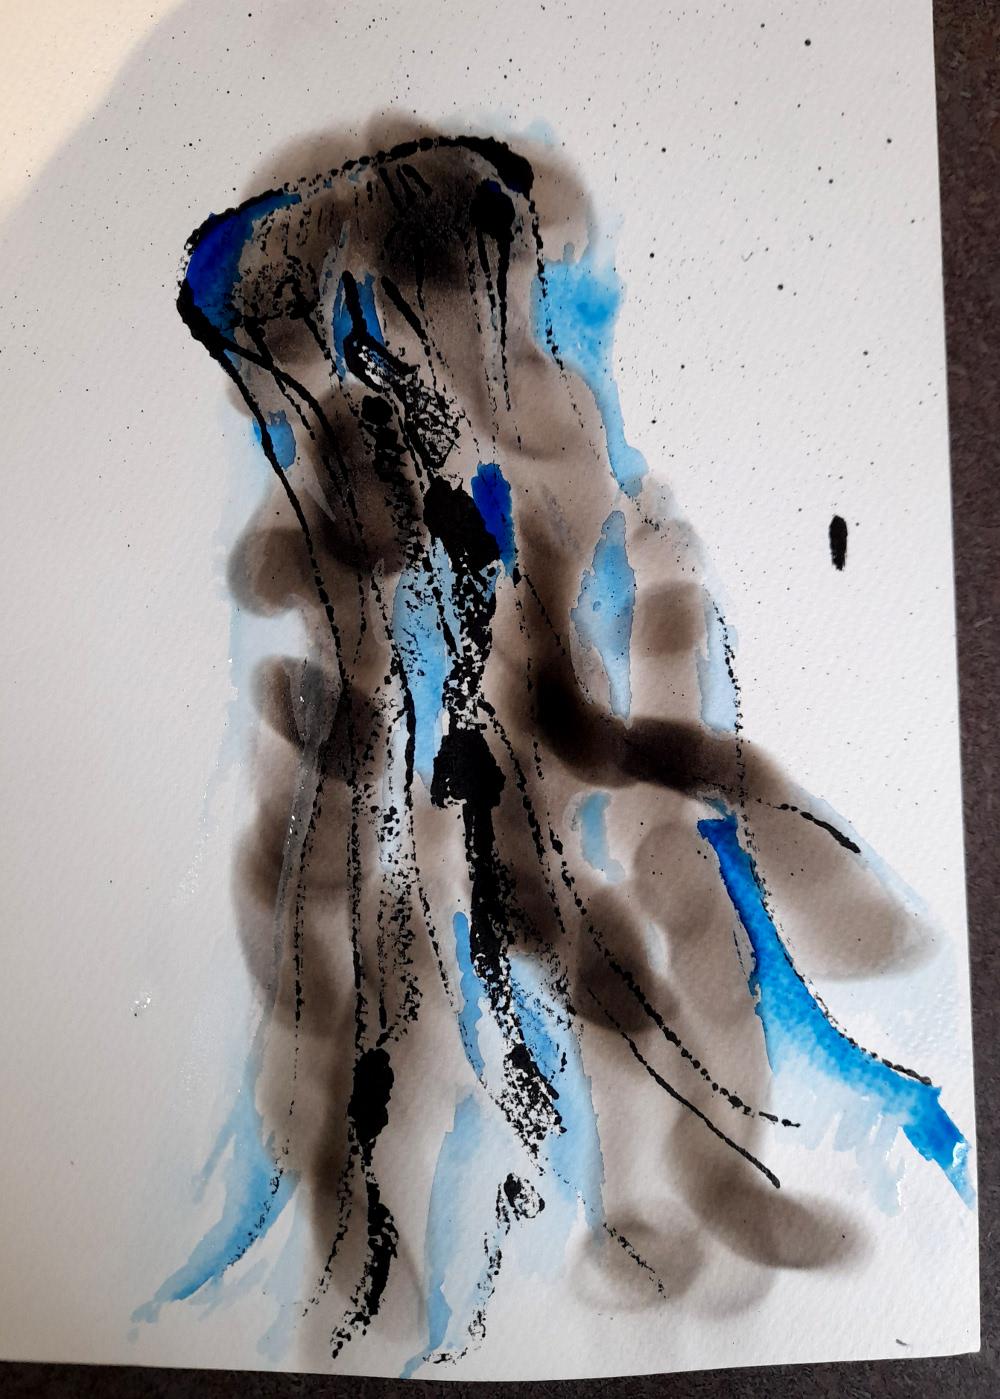
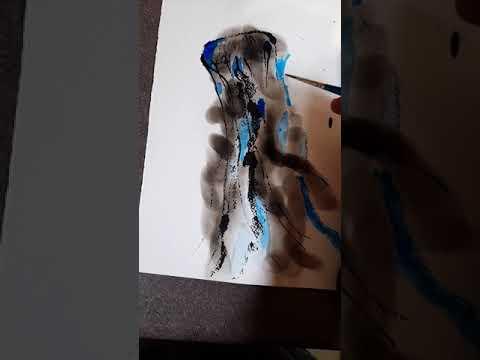
The jellyfish is actually an ink print on watercolour paper that I did a while ago. I was experimenting with fumage on water colour paper on the back of it, and flipped it over to see what I could get over the top. For this piece I used a larger pillar candle so I could hold the paper over the top with two hands. Obviously the down side of that is the lack fo ability to tilt the paper very far, and you can't actually see what is happening on the paper till you lift it away from the candle. You can see where you are on the paper, because the flame shows through, and I found I could follow the ink lines quite well! This is shown above in the first clip.
I went back and added more soot several times after the end of the clip, and when I was done decided to experiment with some colour. This is shown in the second clip.
The Raven
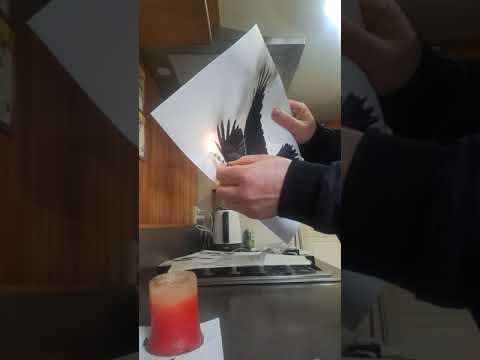
I wondered if I'd be able to enhance a printed picture, so I printed off a picture of a raven from a free to use site, and gave it a shot.
It was working OK and probably would have produced a good result (this technique does seem to lend itself to atmospheric skies, flying birds and swimming fish), but as you can see, the areas with the printer ink on them seemd quite resistant to soot. I should have adjusted the angle of the paper/candle to get soot on the paper below the raven, but I didn't.....
The Hummingbird
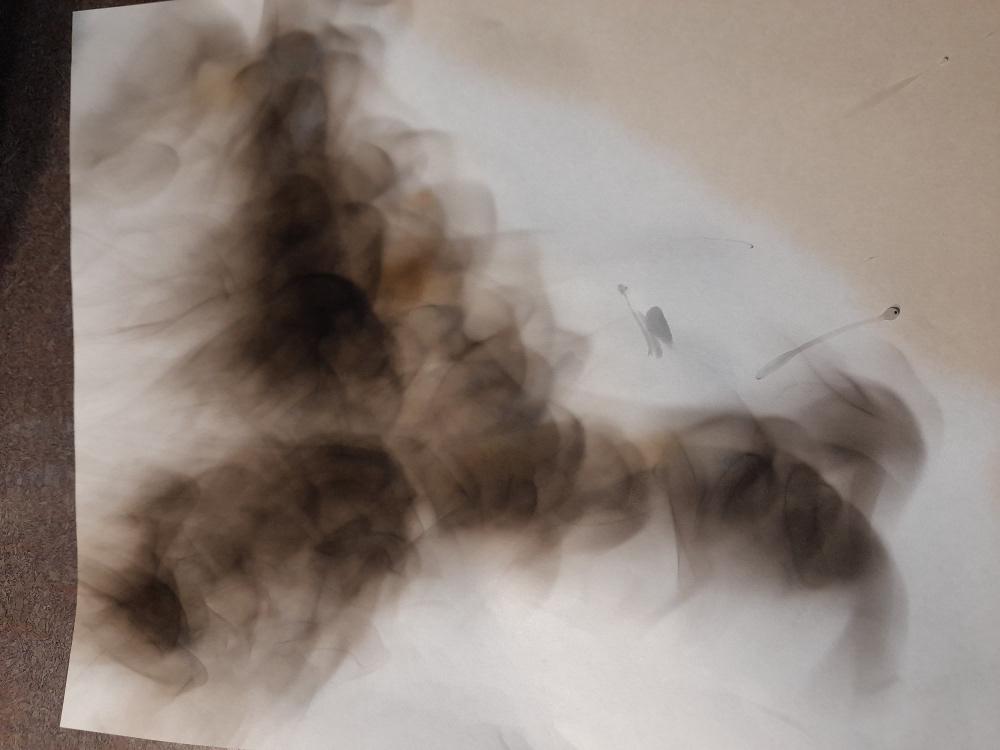
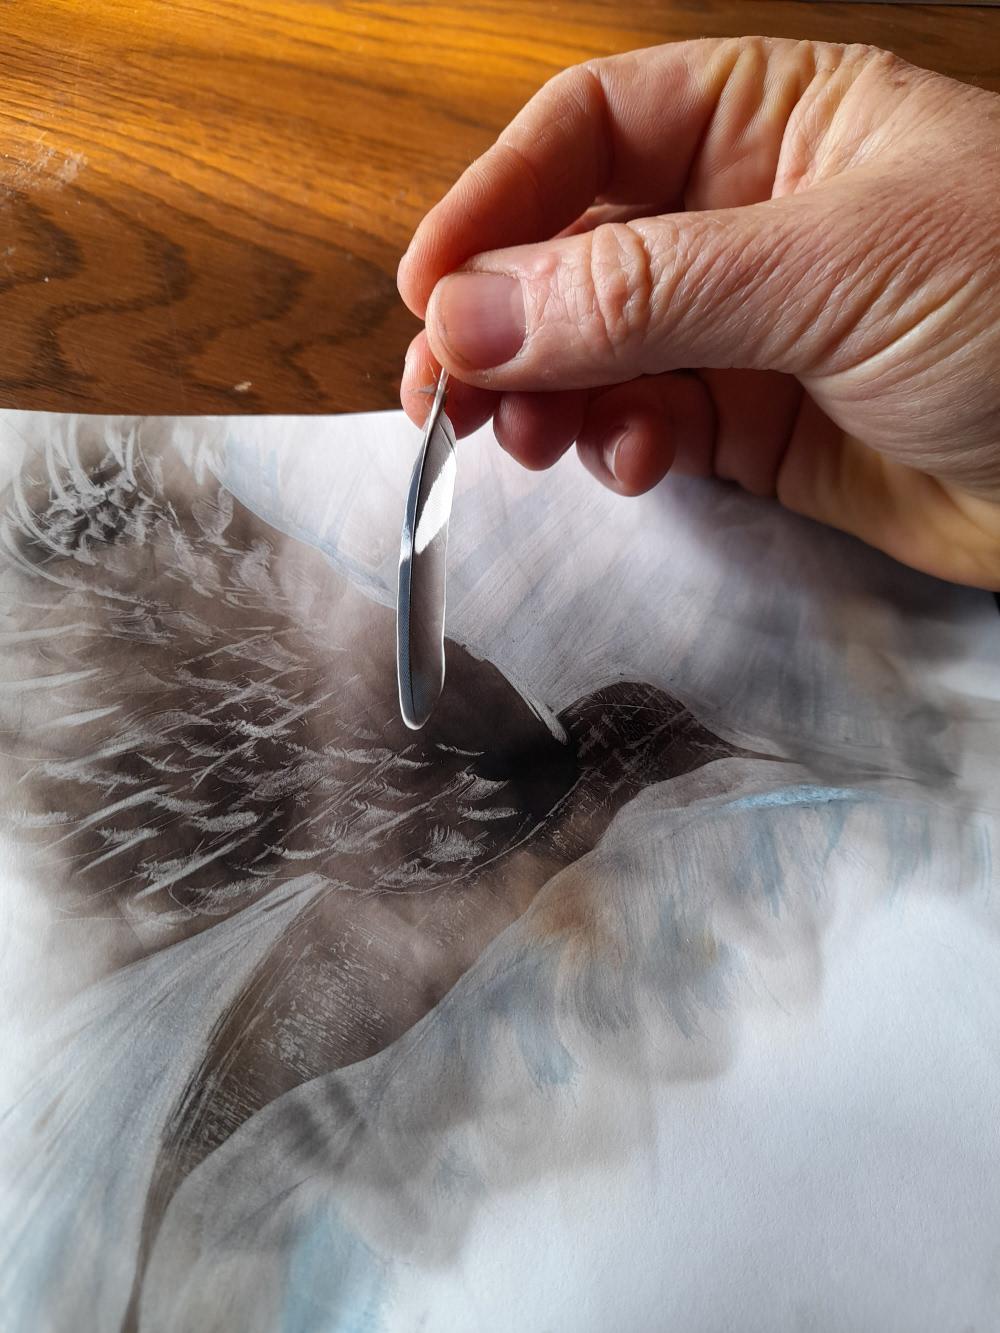
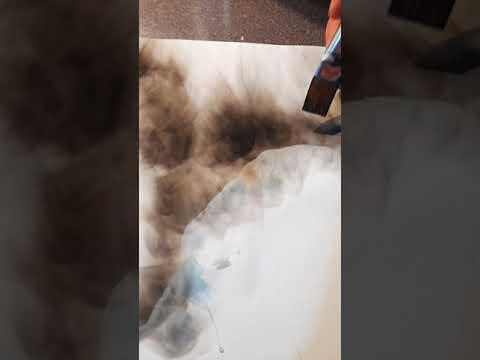
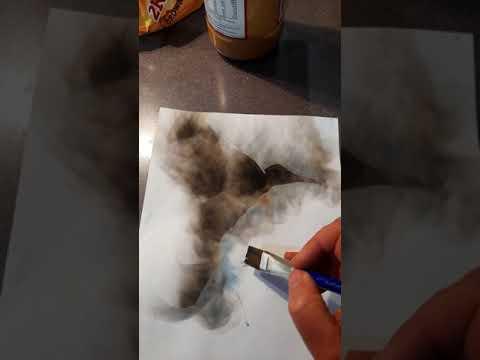
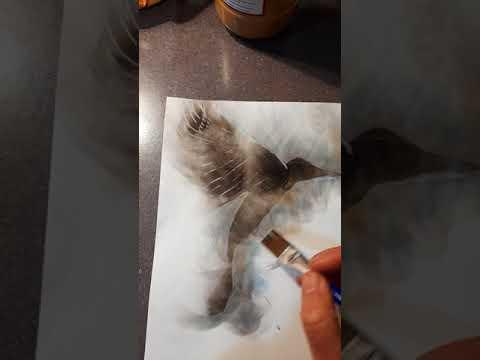
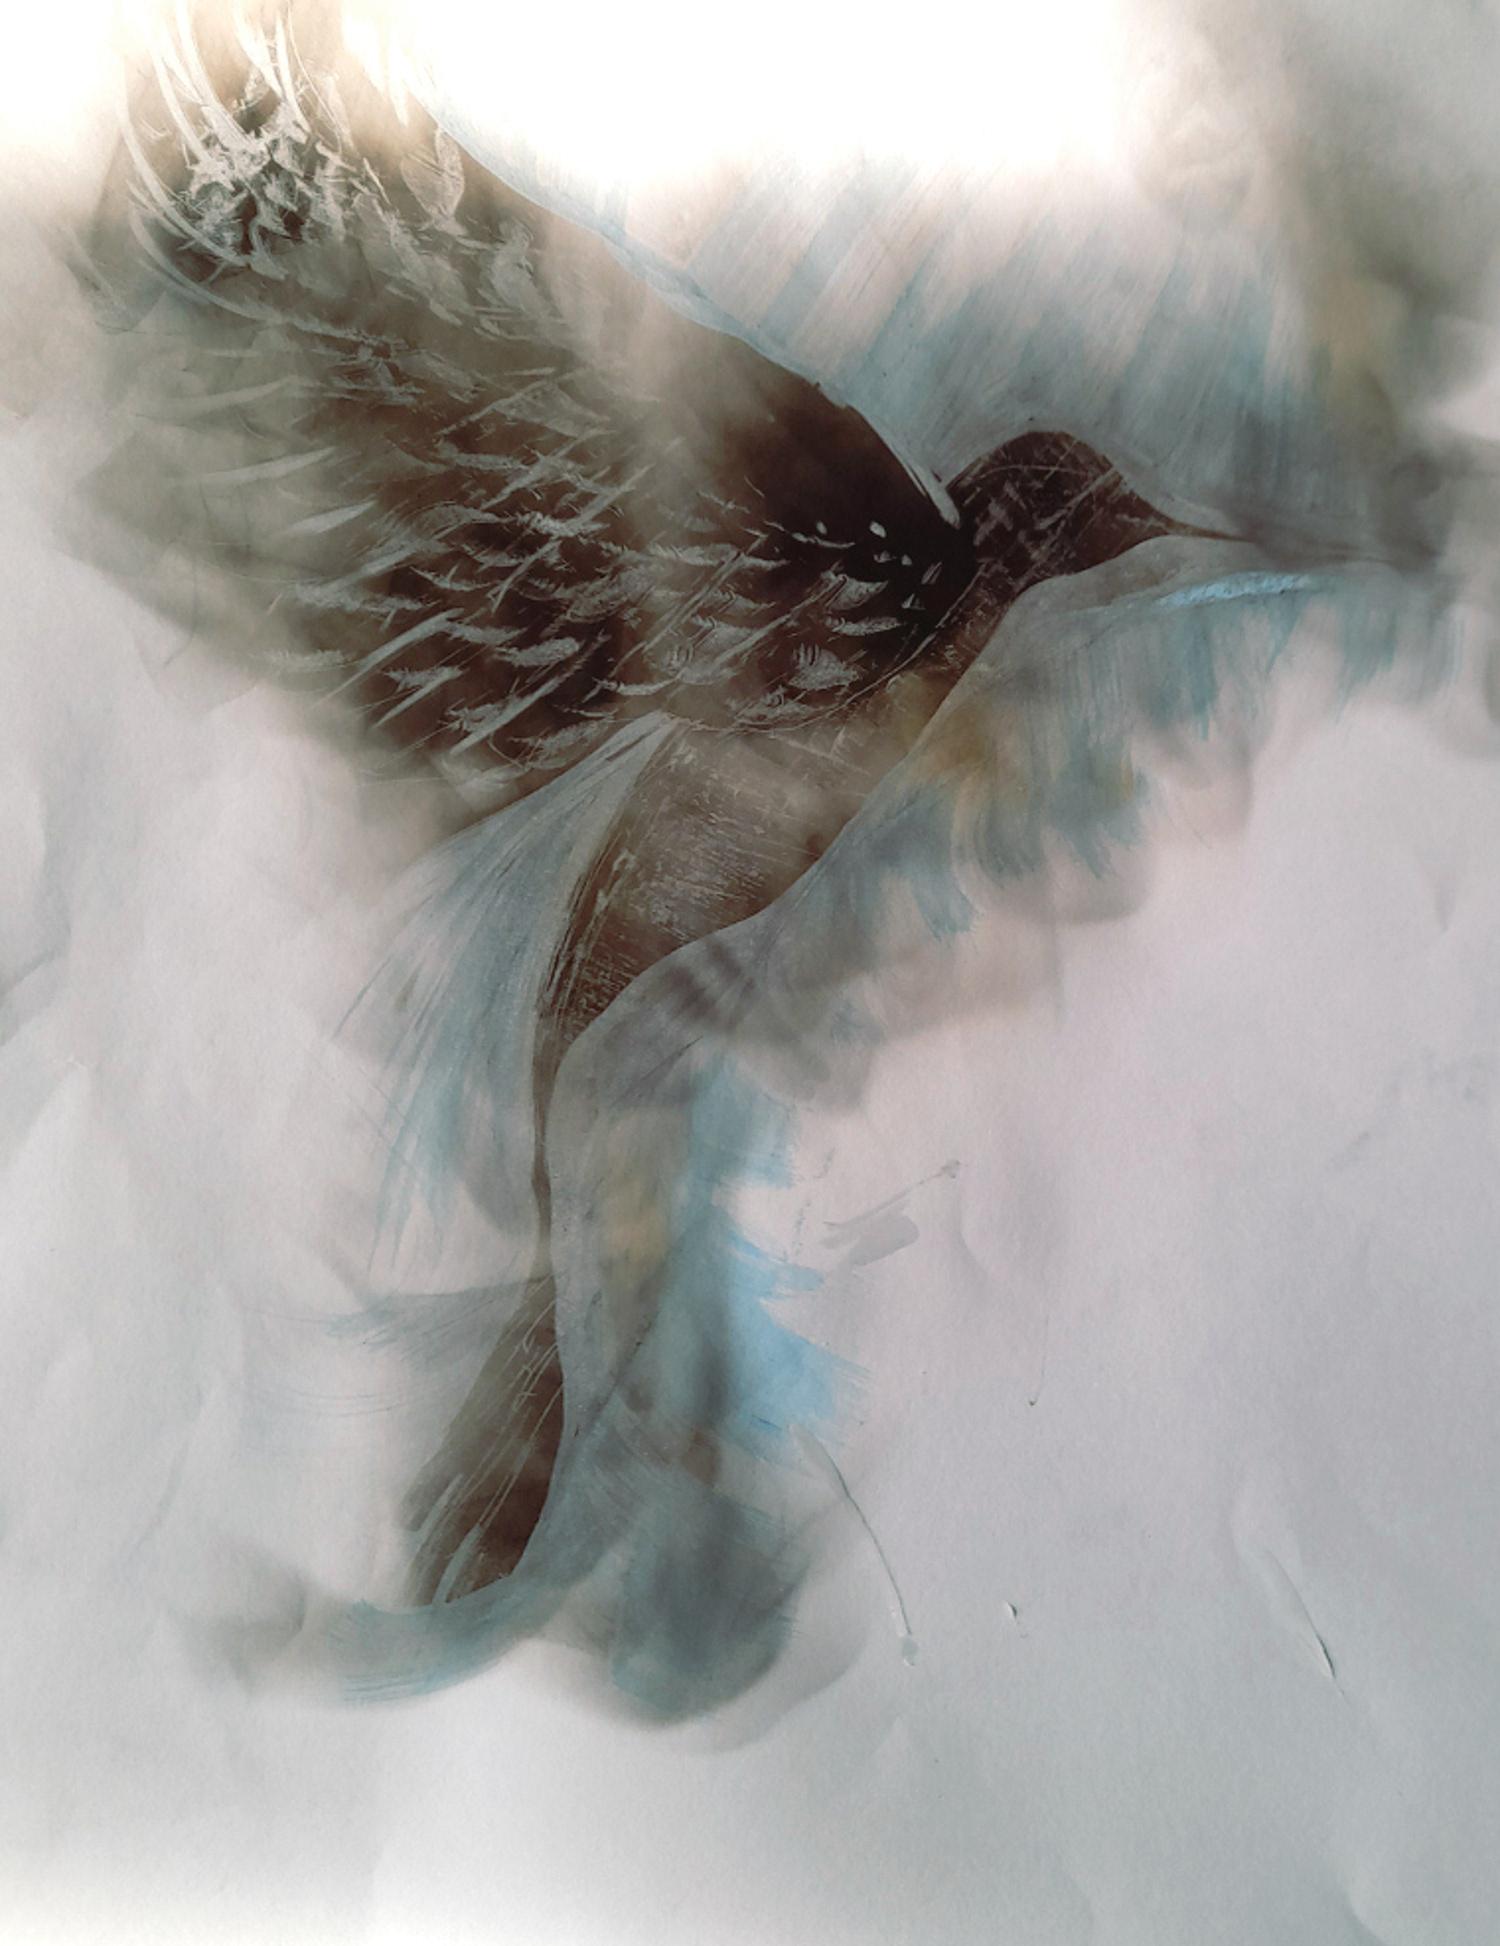
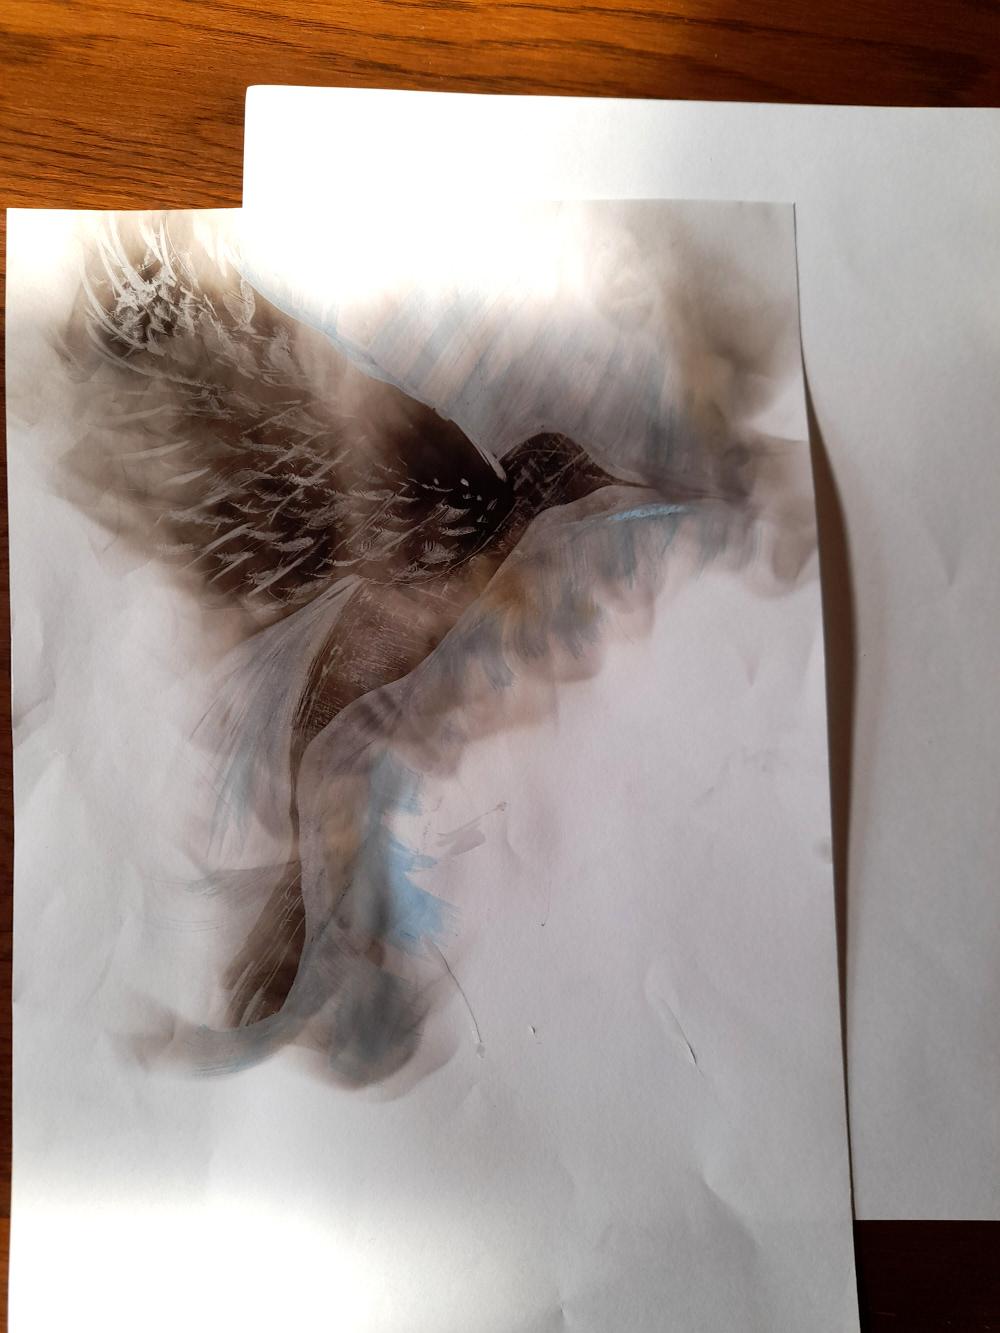
This is me trying to bring everything together a bit.. I decided to try and make a purposeful shape, that I could them work into a wee flying bird. It worked pretty well and I was able to go back several times to get more soot where I wanted it. The result was a big 'Y' shaped smudge on the paper.
I then worked around this 'Y' with a slightly damp (and with a happy accident wee bit of pthalo blue water colour still in it!) to shape the bird. I drew around the edge with a pencil on the upper side, and used a brush to clear away the soot. I used a finer brush to do more shaping and finally a feather to make feather marks on the wing and body.
Keep Working at It :)
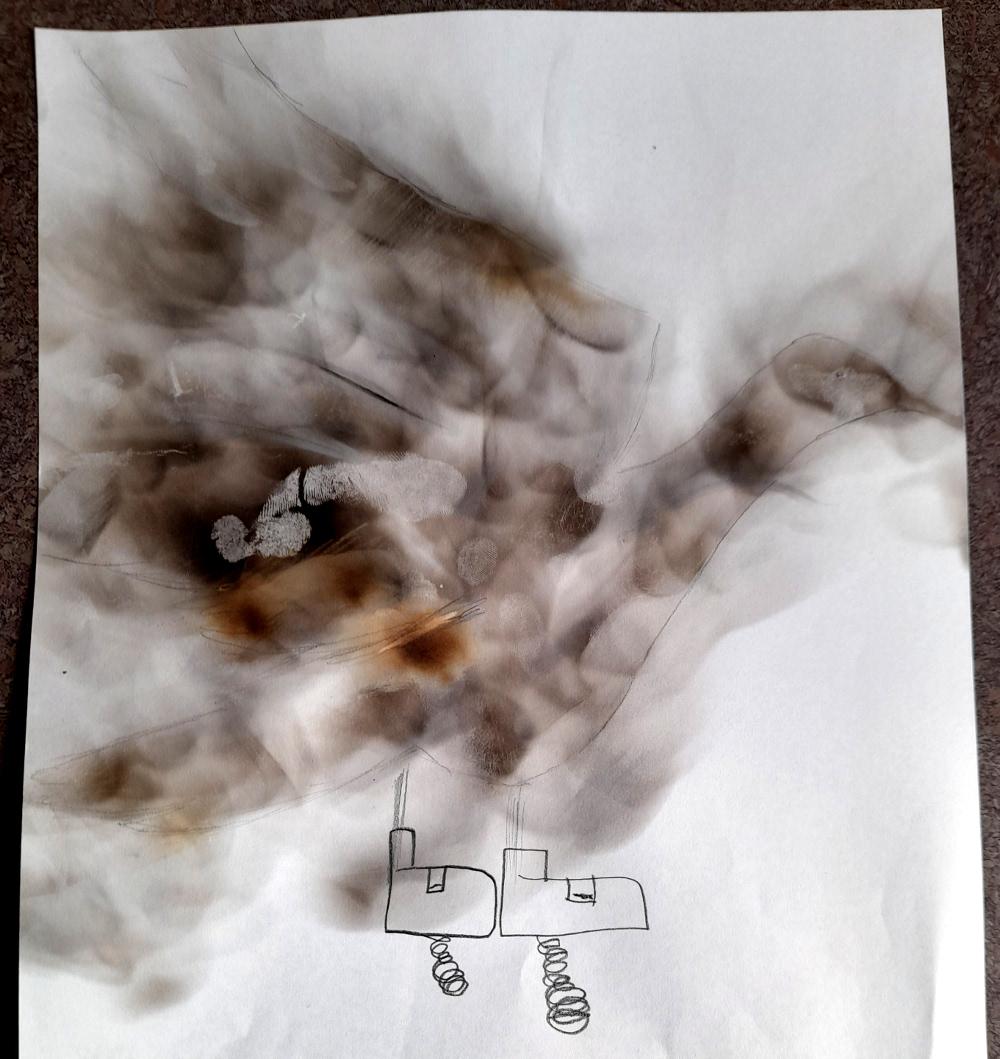
The more you do, the more comfortable you feel with it, and the better your results, so don't give up and the first conflagration!
Please also be careful with those candles - particularly if you have little people around, and never leave a lit candle unsupervised.
Remember to fix your work, or you will end up like mine above -my daughter got to it (hence the trampoline shoes) before I had fixed it and left her hand print right in the middle!
Have fun!