Fully Loaded Macbook Pro
by ForeBrainPorn in Circuits > Computers
1469 Views, 10 Favorites, 0 Comments
Fully Loaded Macbook Pro
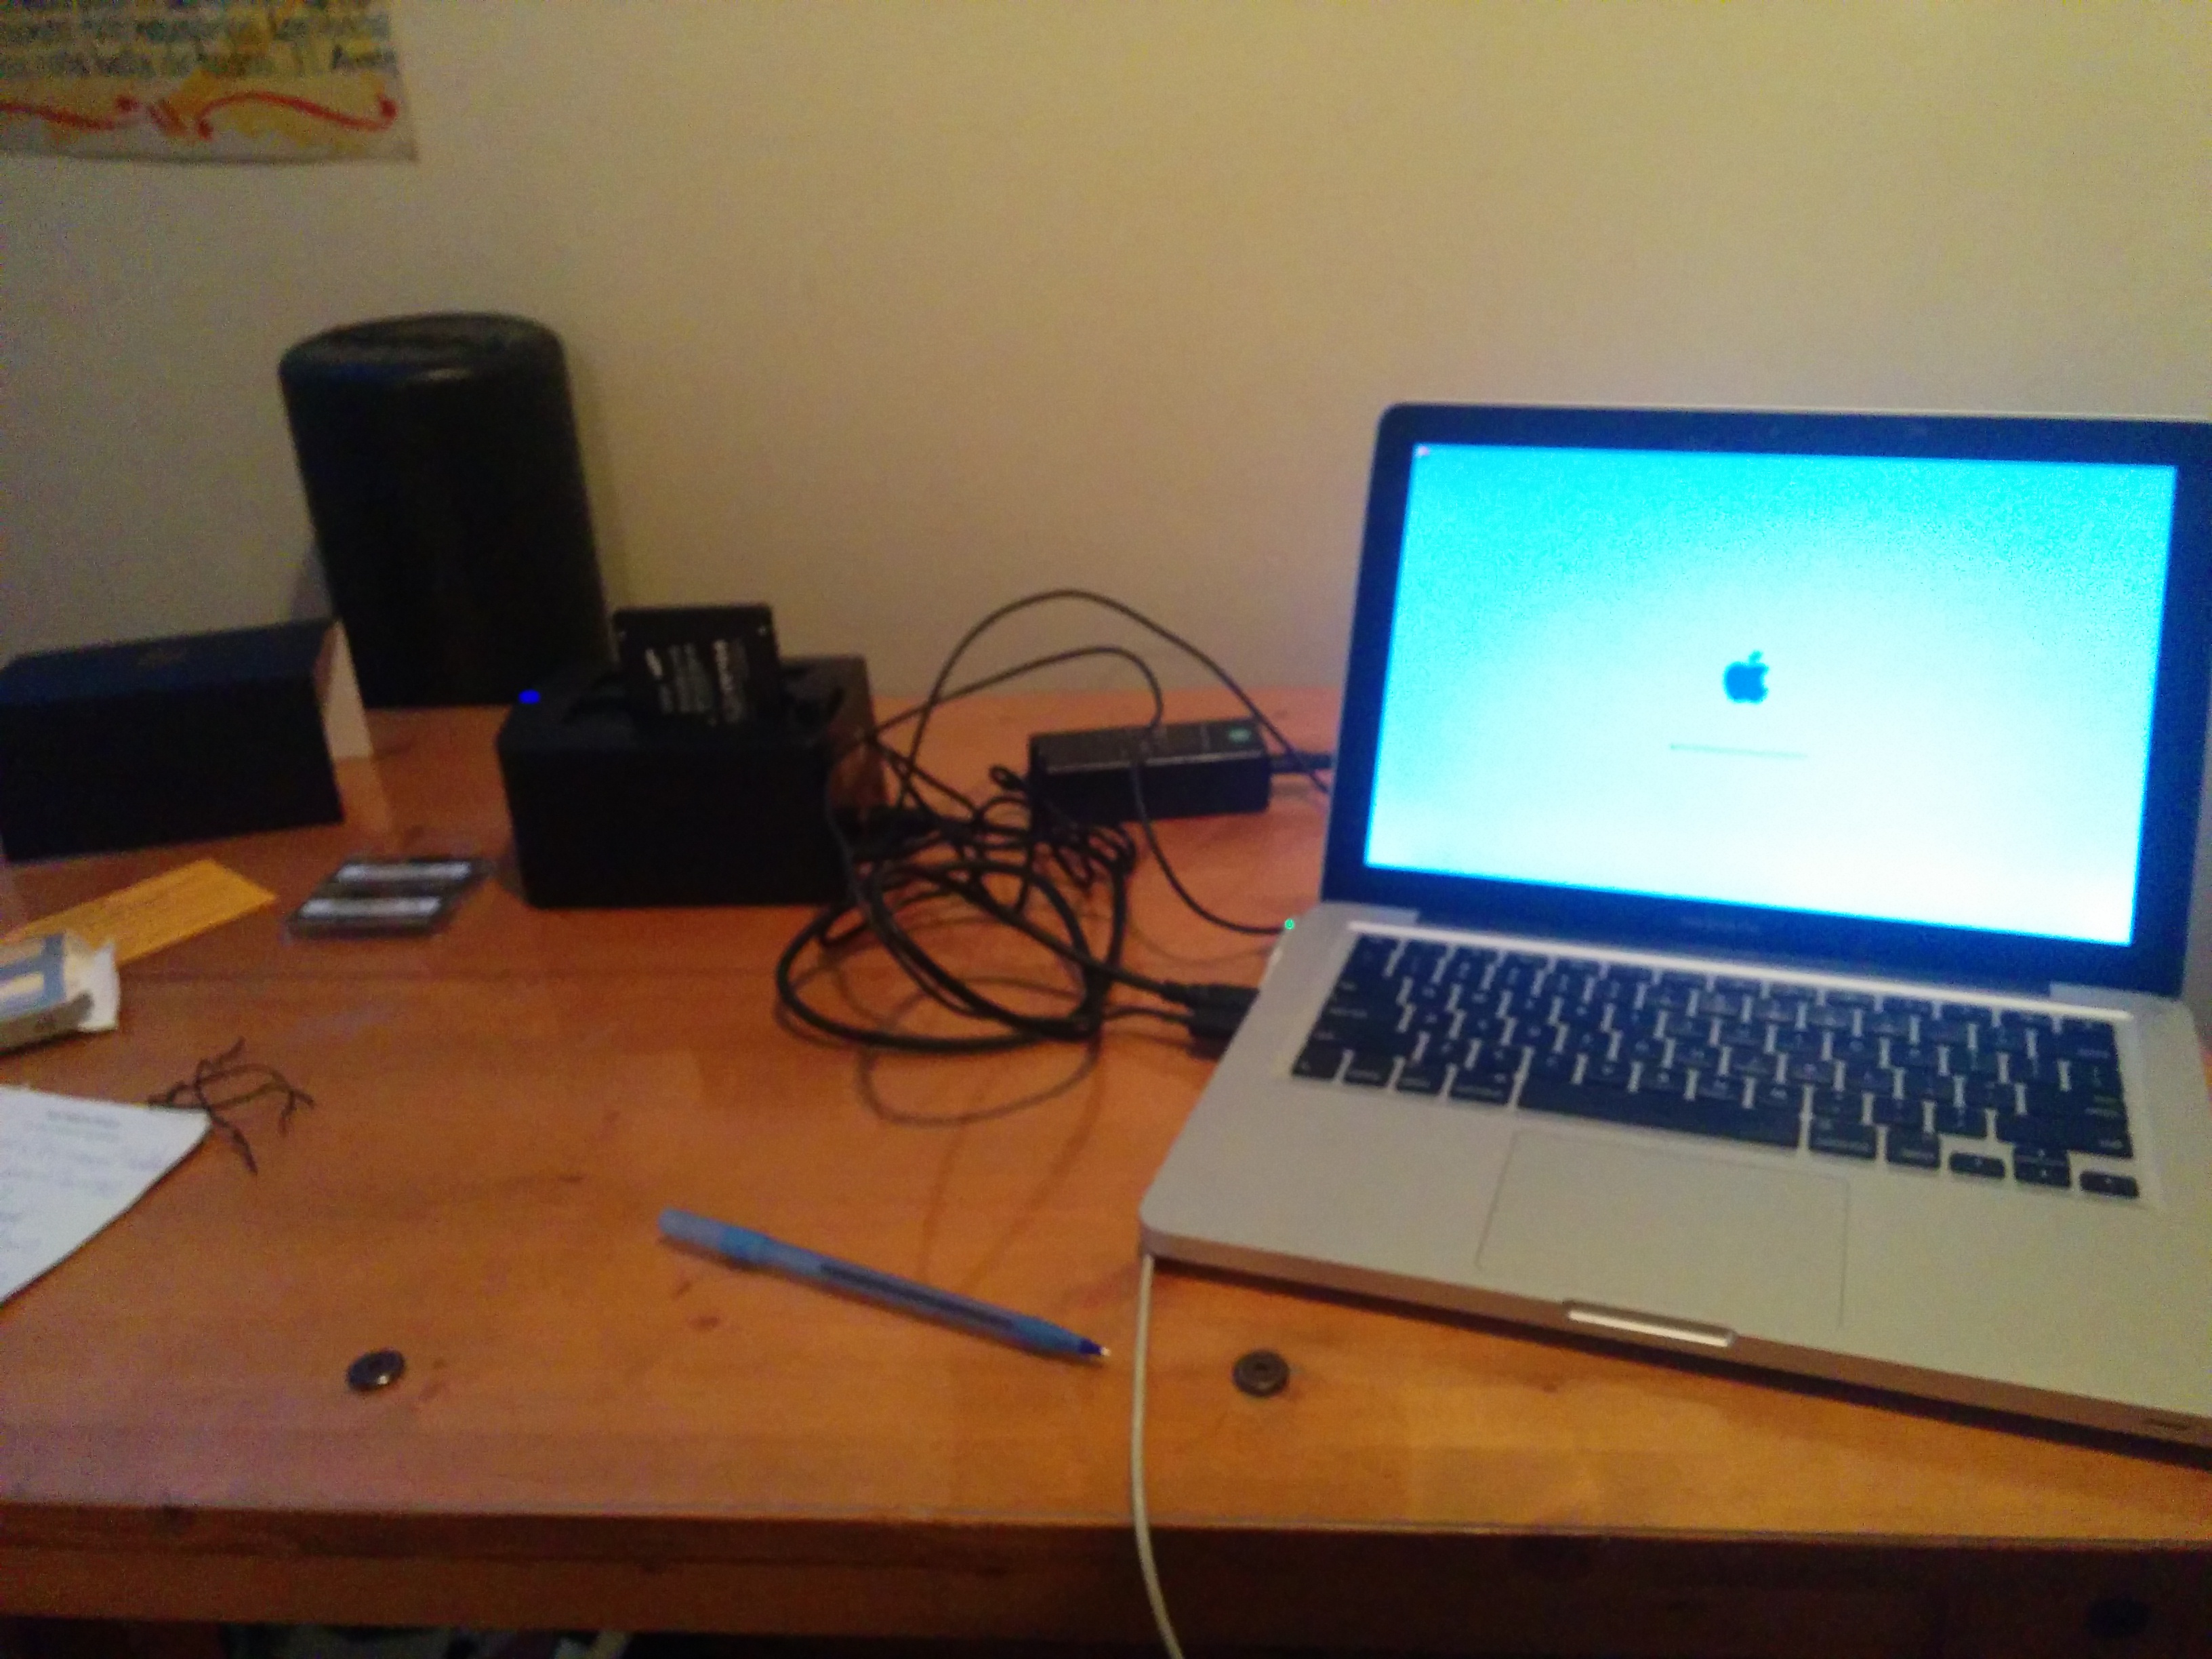
One day I got the idea that I was tired with my slow Macbook Pro (MBP), and it needed to be sooped up!
So I decided to get a new SSD, new RAM, and replace the Optical drive with a second Hard Drive (HD).
Tools:
Small screw drivers
Lifters
Materials:
Optibay HD compartment
New SSD
New RAM
For the last 2 check what best suits your needs!
Let's get this going!
Making a FrankenMac!
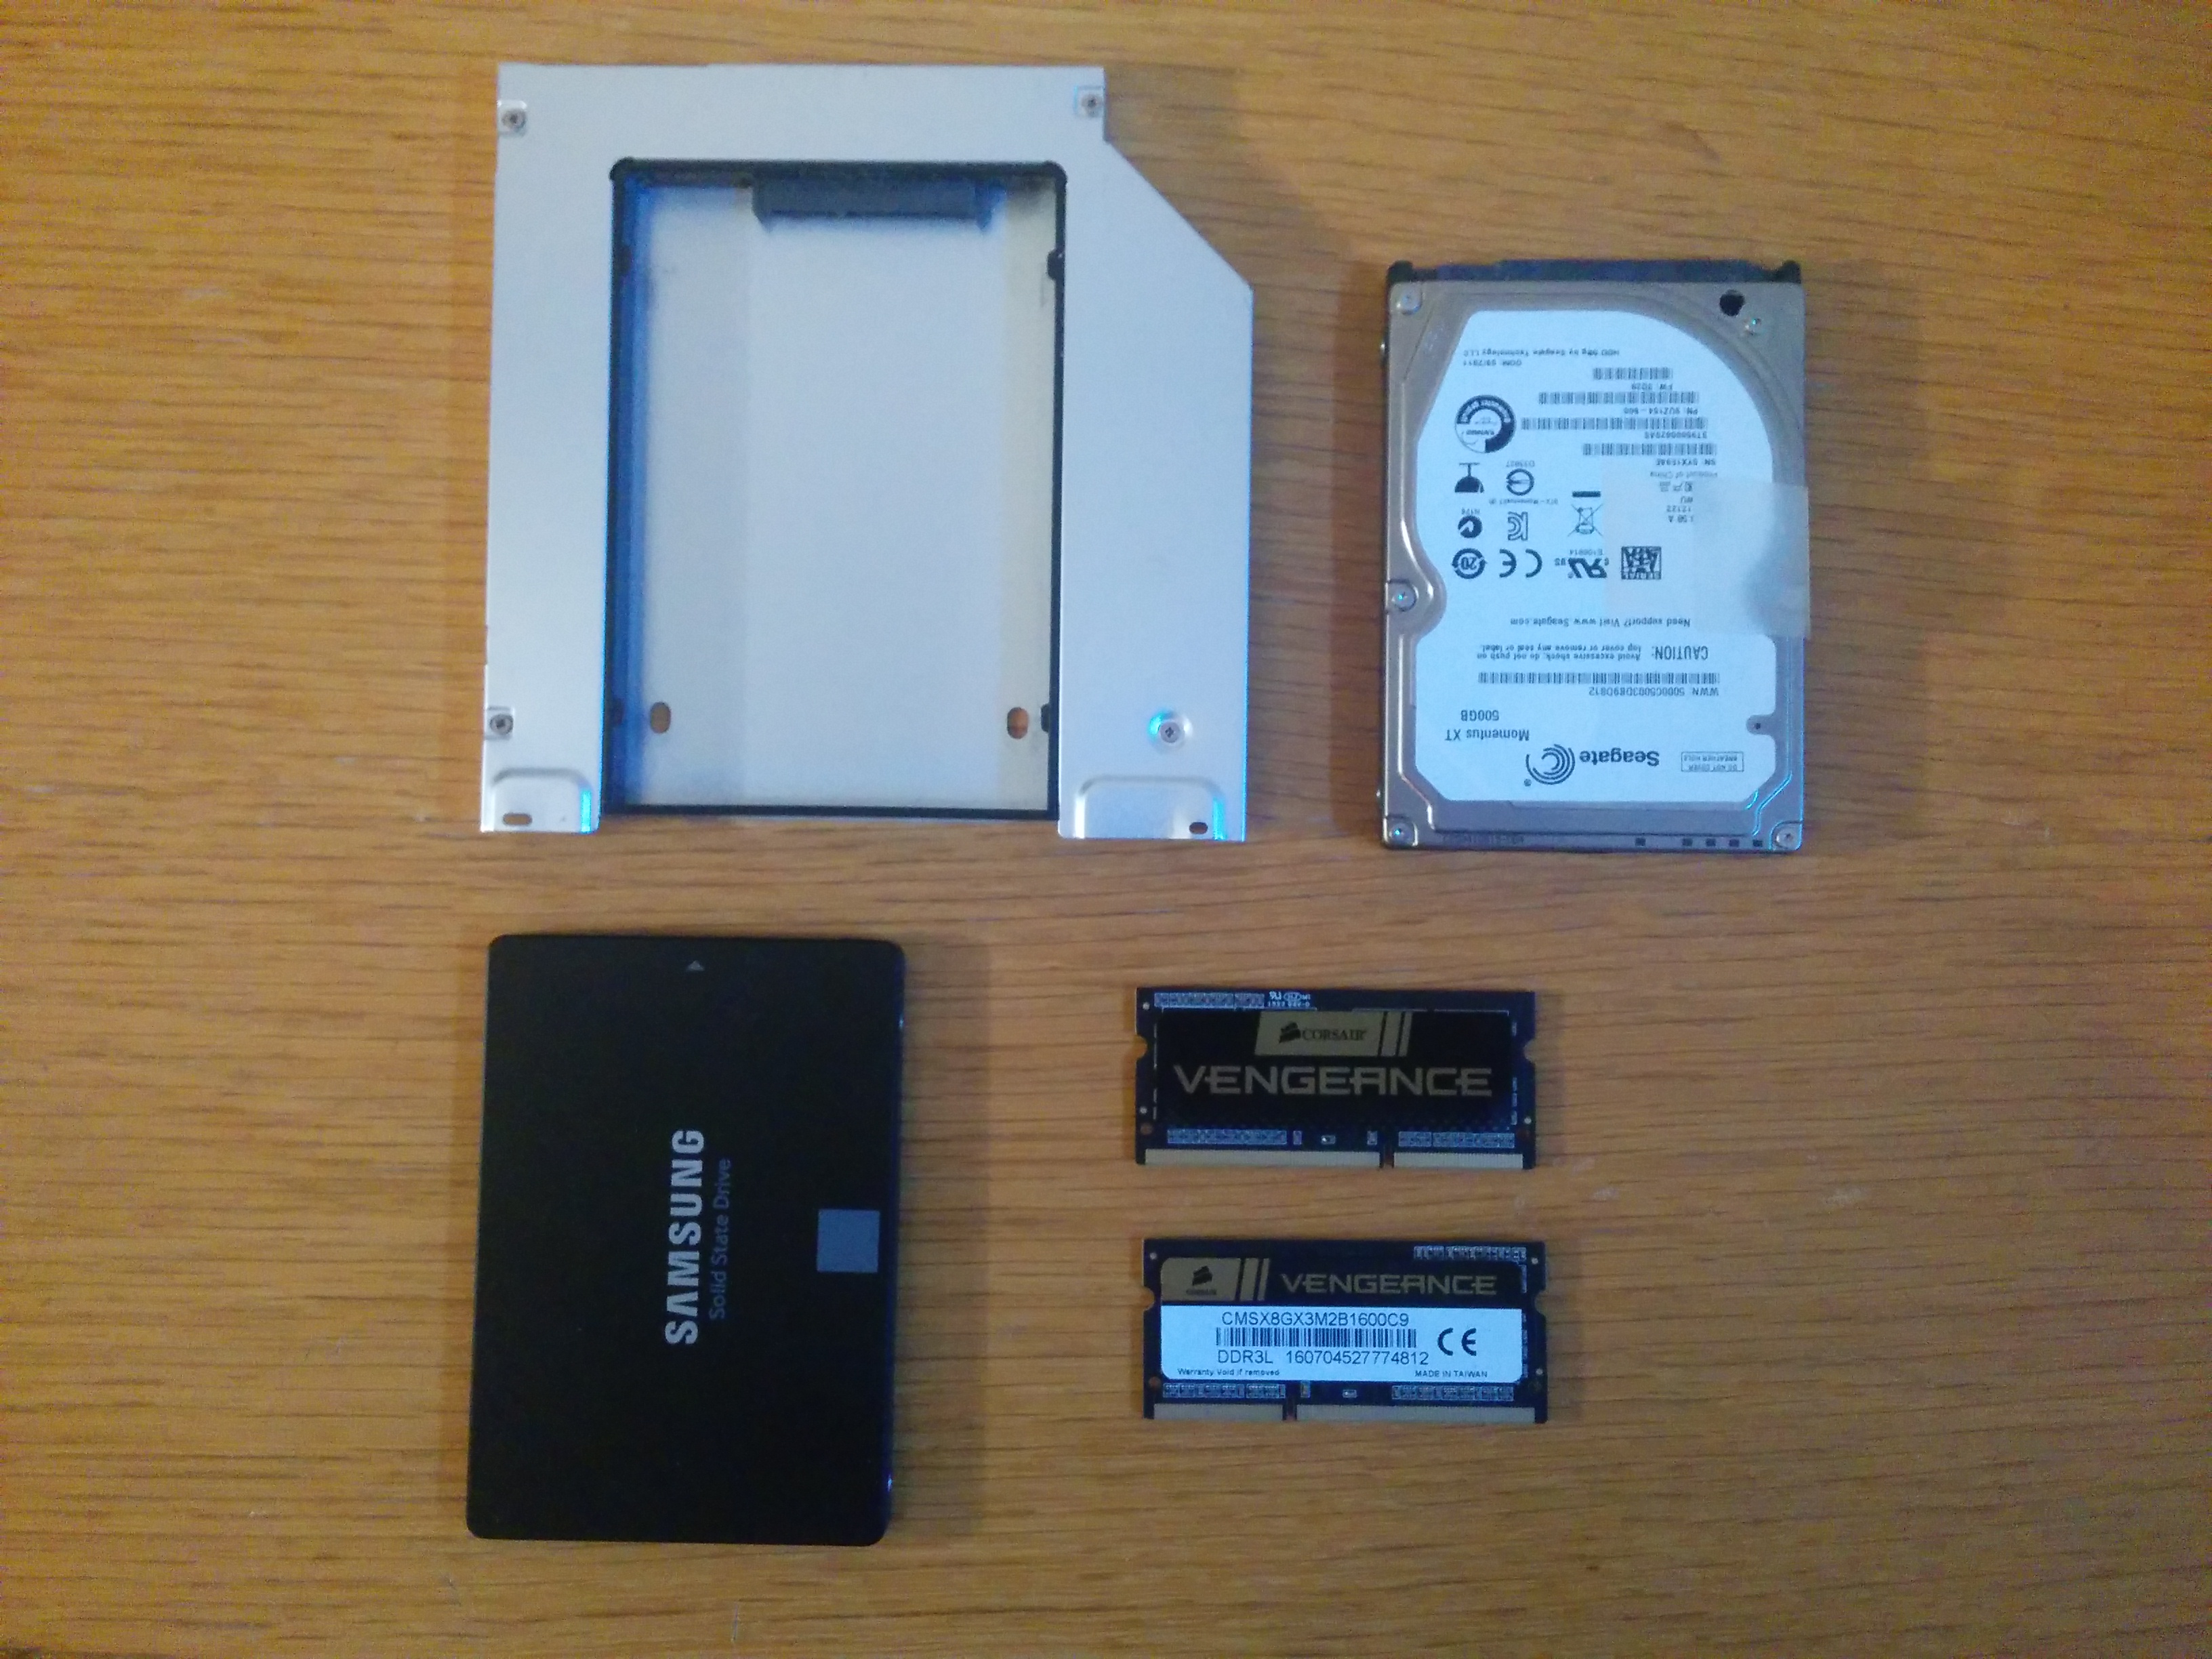
I have had a few Macbook Pros (MBPs) over the years, and have travelled with them all over the world.
To make these computers more travel worthy, I have often modified them.
I have not, however, modified them to this extreme.
In this instructable, I will show you, not only how to change a MBP hard drive, and RAM, but also how to add a second hard drive using an Optibay enclosure, and getting a separate CD/DVD drive along side your laptop.
What you'll need:
- A MBP;
- Carbon Copy Cloner (CCC) - Hard drive copying software for Apple computers;
- An SSD HD;
- A second HD;
- New RAM;
- An Optibay enclosure;
- Computer/telephone sized screw drivers. I have a similar kit to that sold on Ifixit.com;
- A carefree attitude towards warranty voiding.
Let's get started!
Open Up!
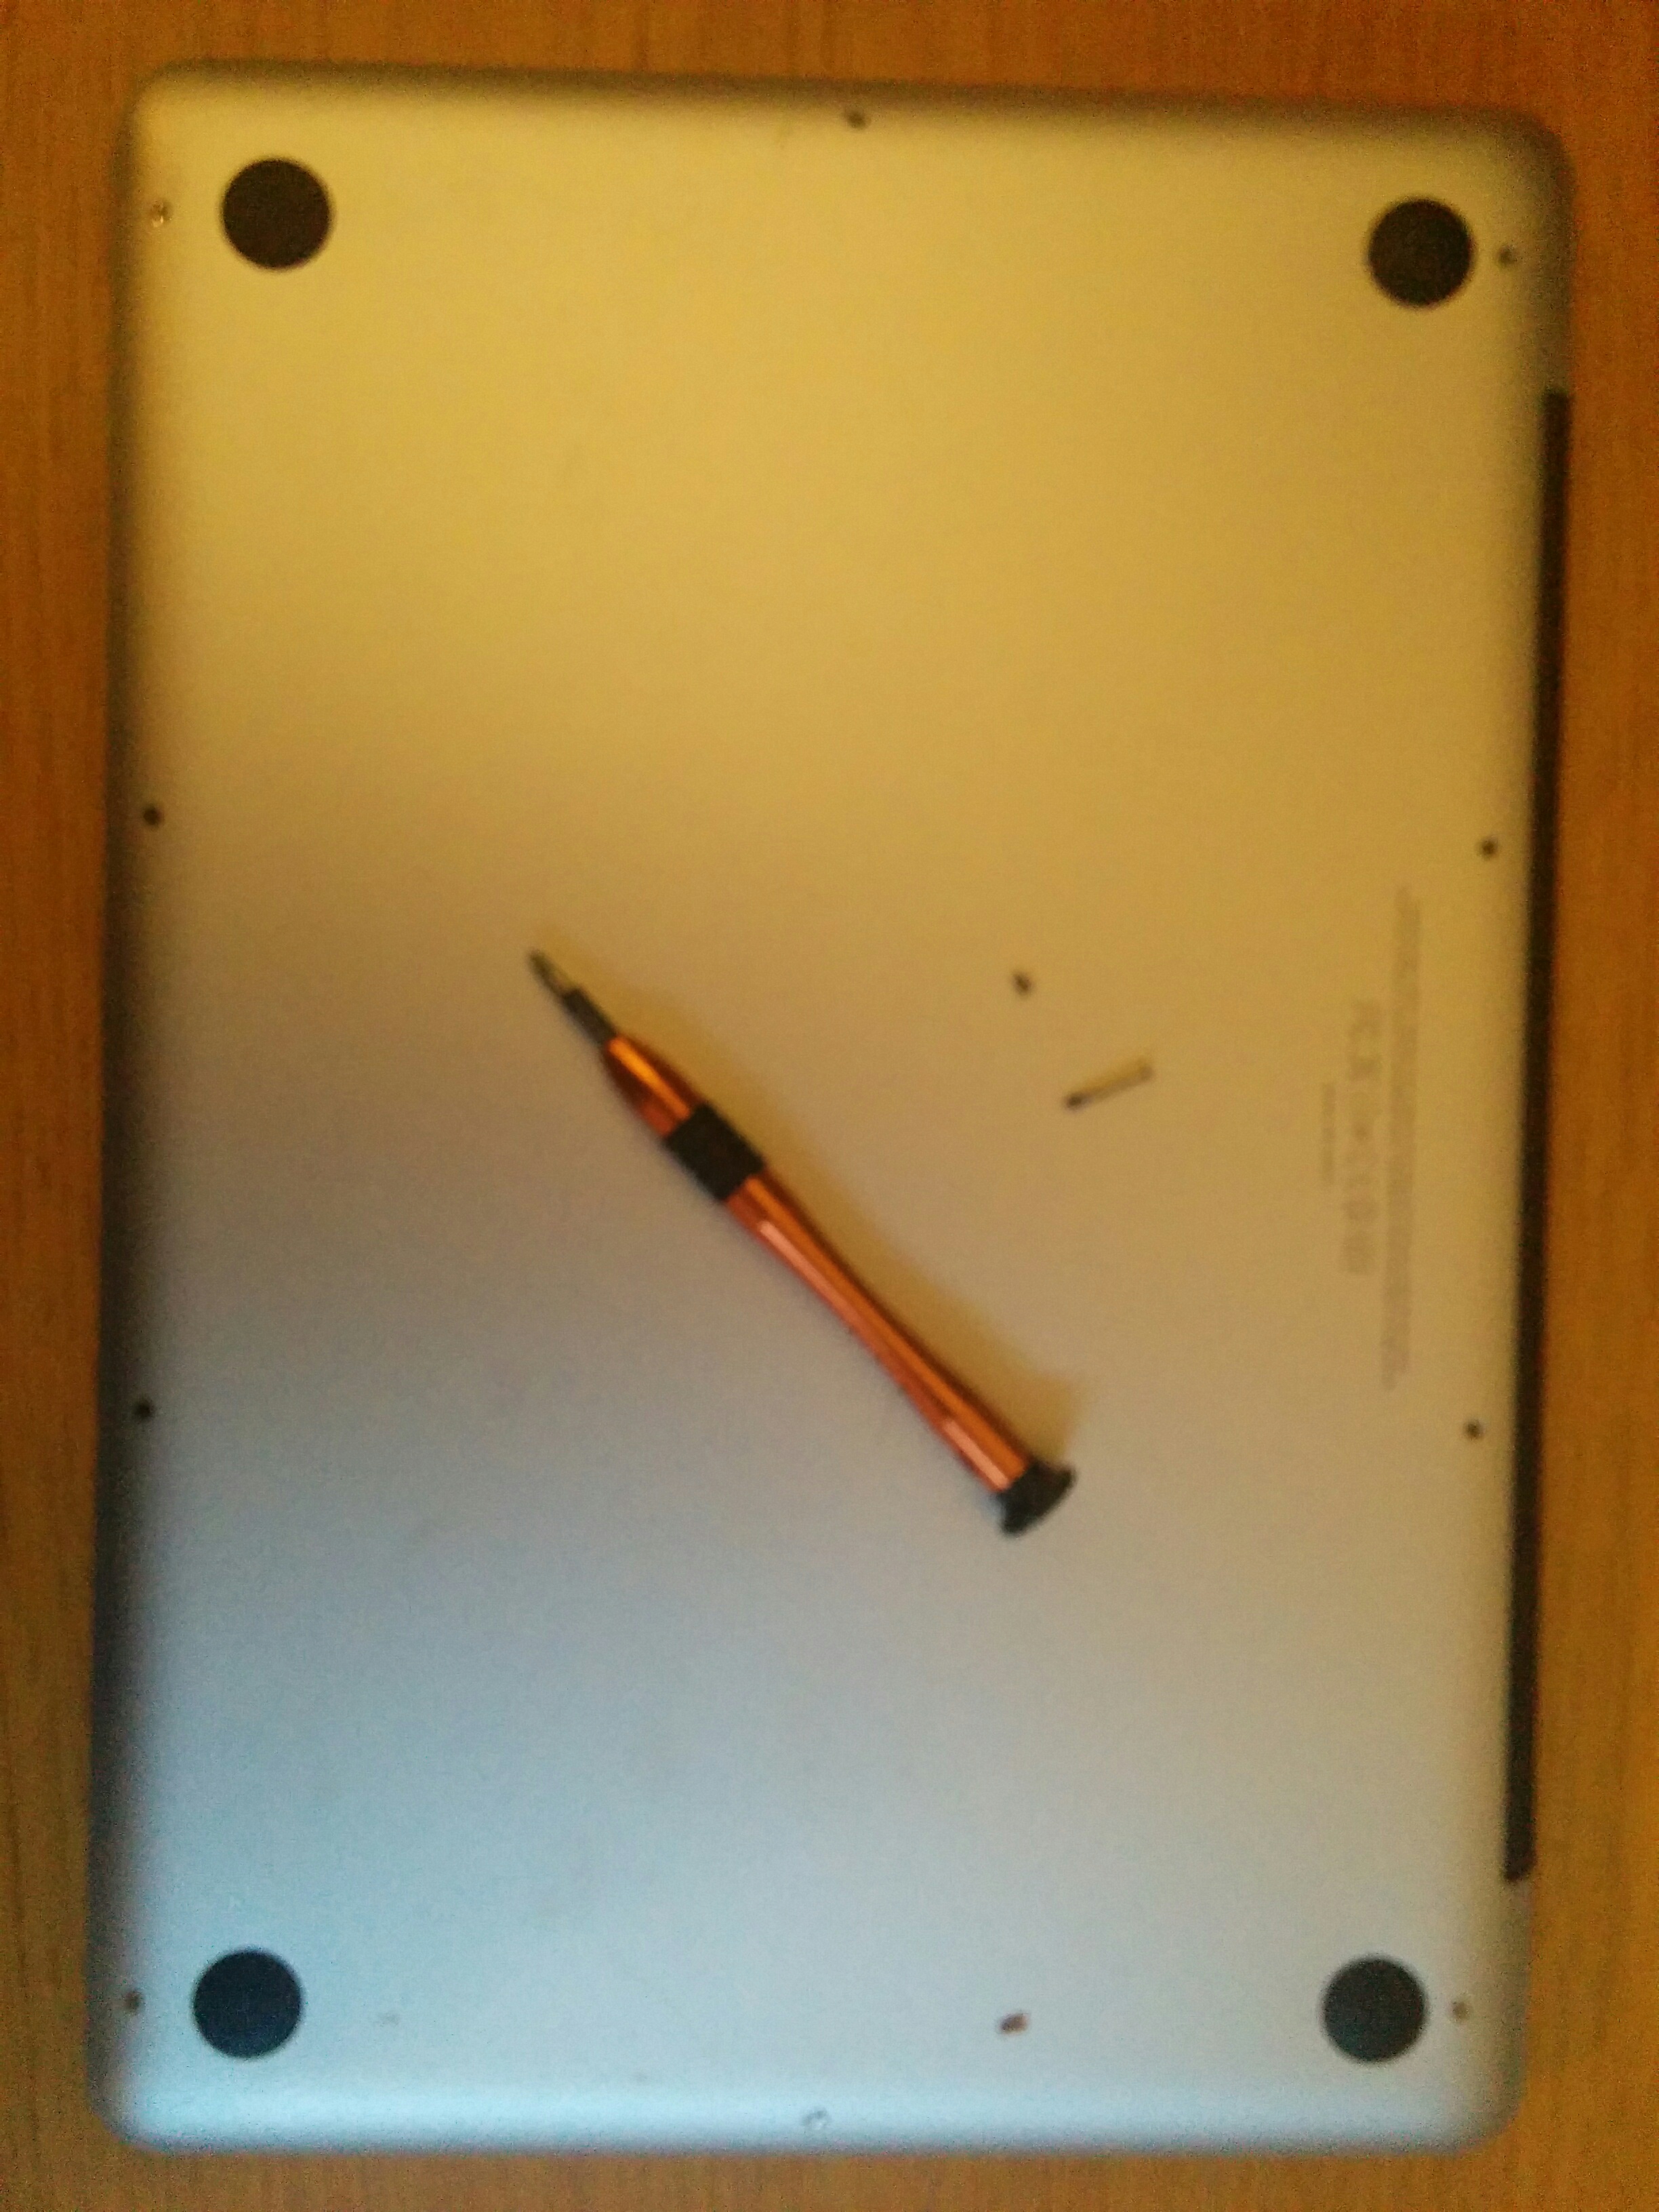
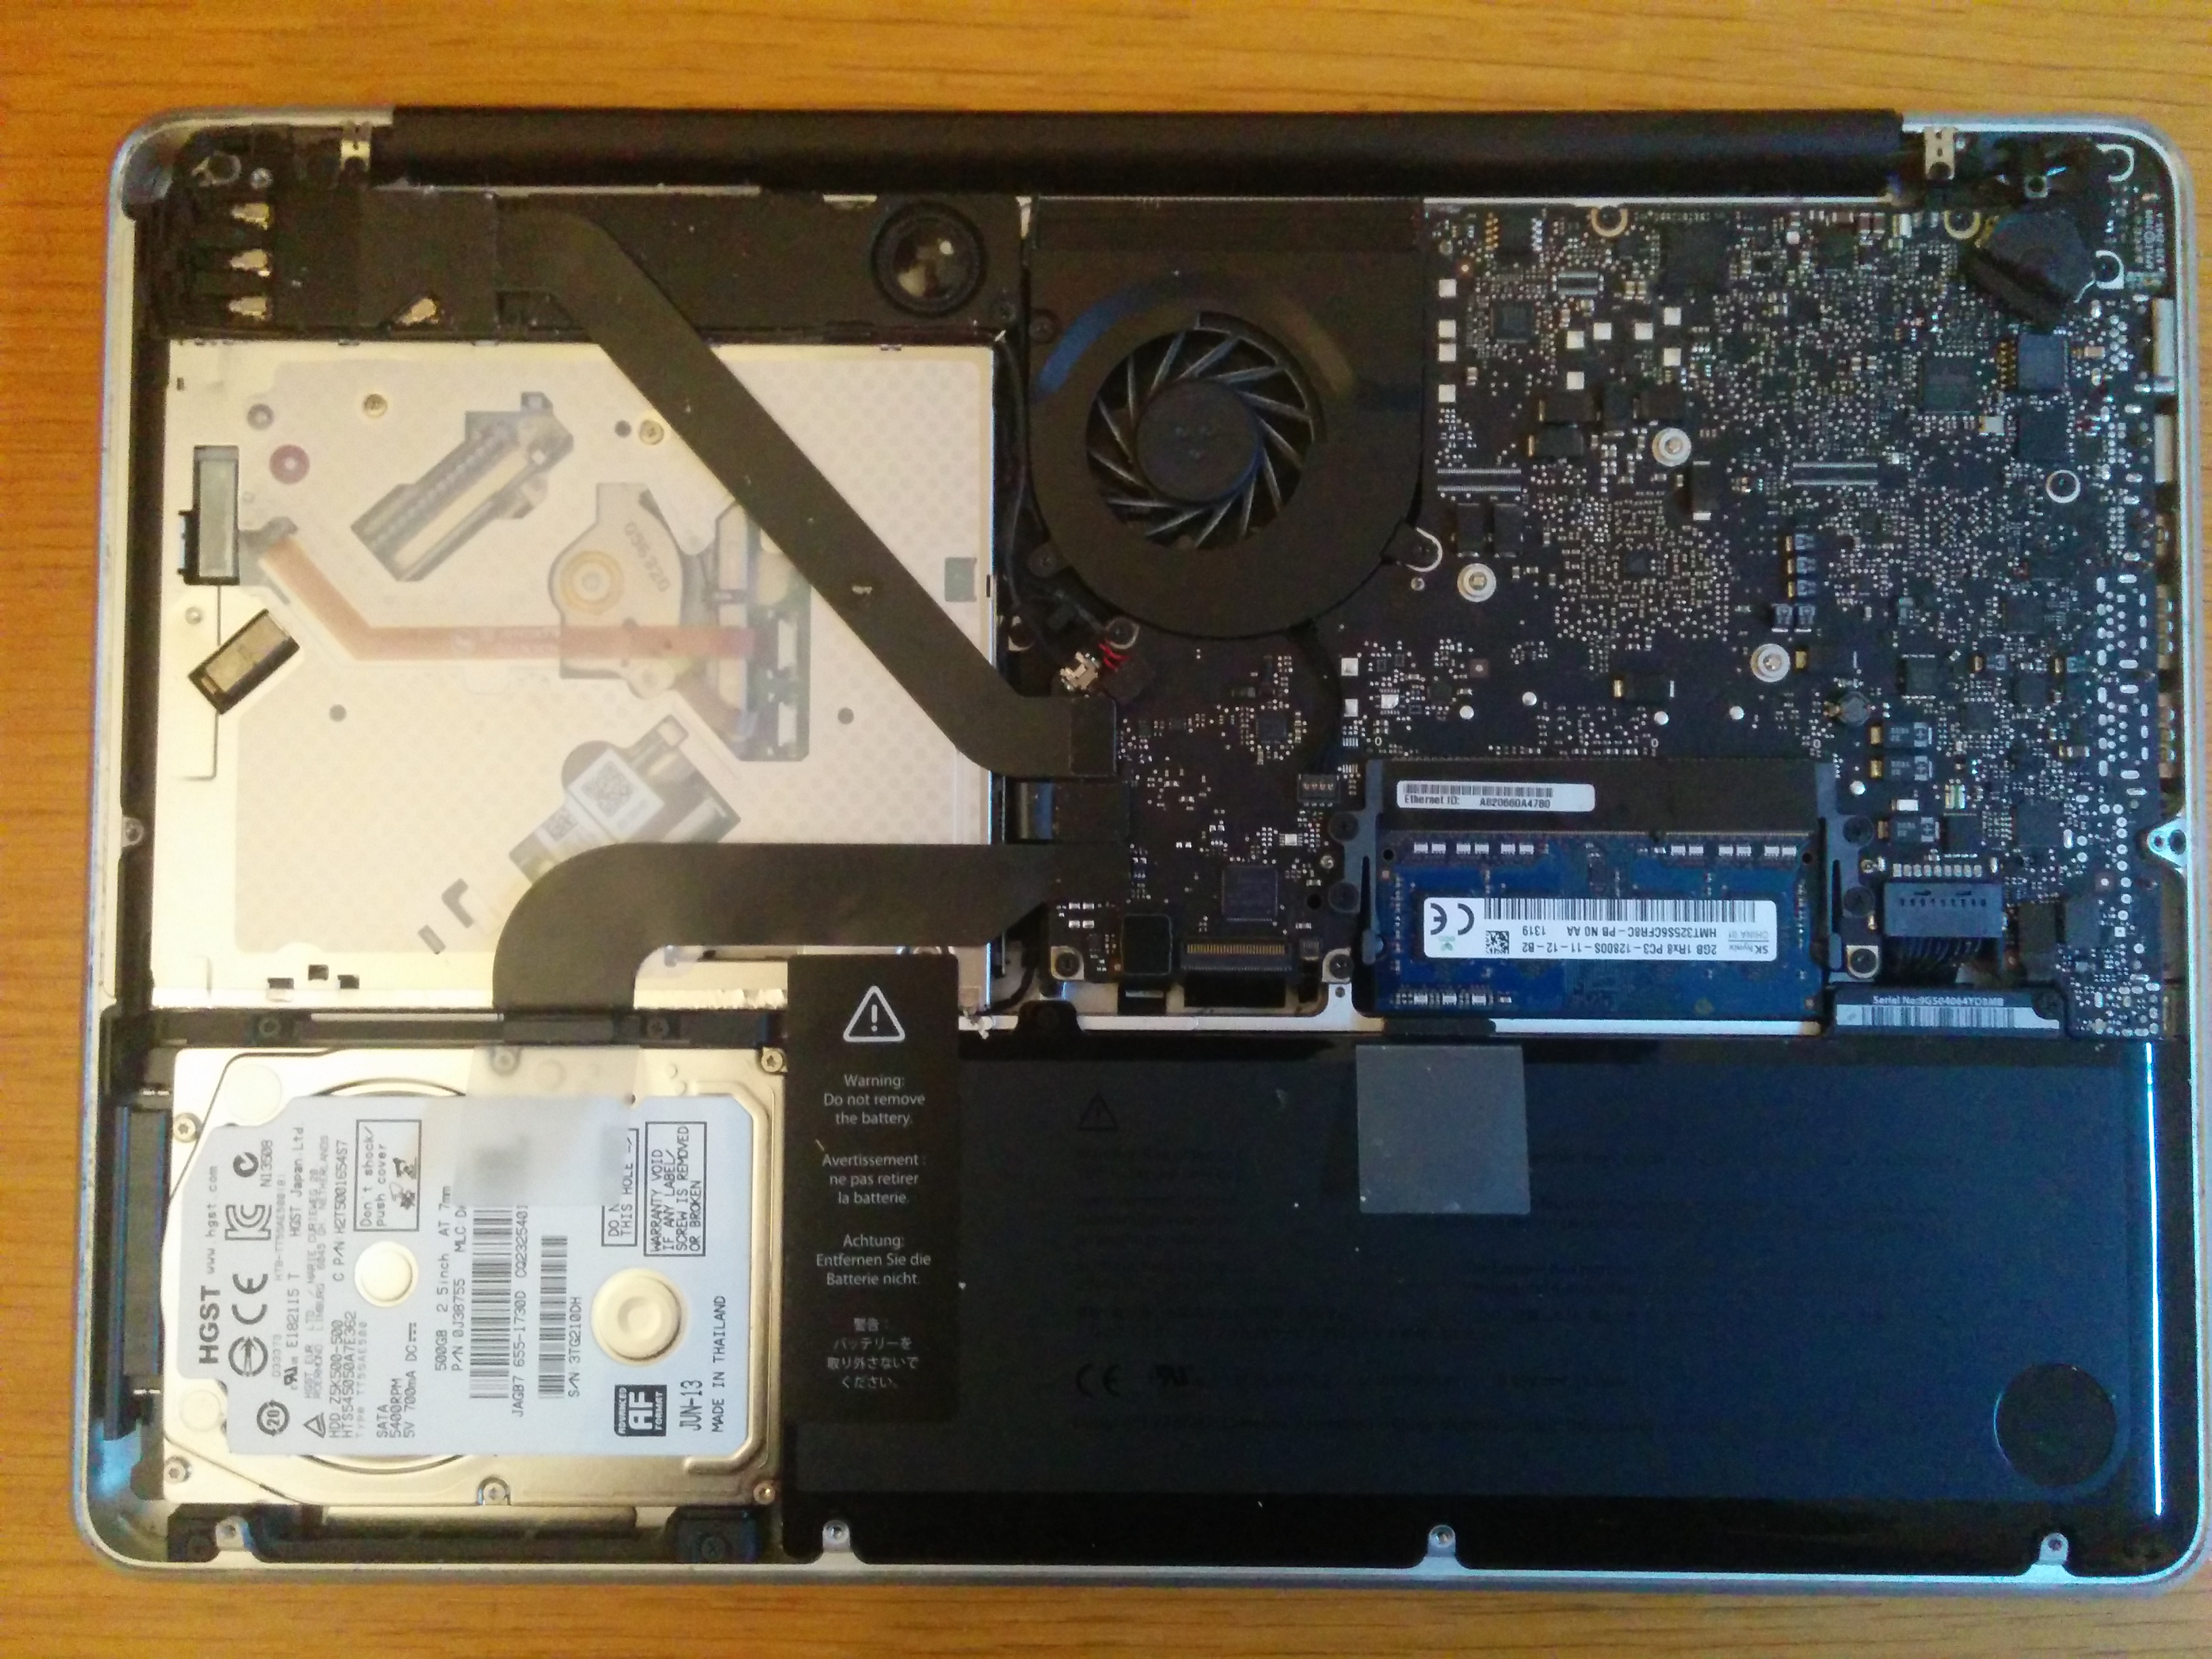
After using Carbon Copy Cloner, to make an exact replica of my HD structure, and have a backup with a recovery partition, I opened up my MBP.
In the first picture, it shows a screw driver with a philips bit. With the computer upside down, and the front facing you, the first three screws from the top right to the left are long screws, and all of the other ones are short.
You need to remove all of the screws from the back panel to access what is underneath.
Underneath you will find, everything! And more precisely:
The HD in the bottom left;
The optical drive in the middle to top left;
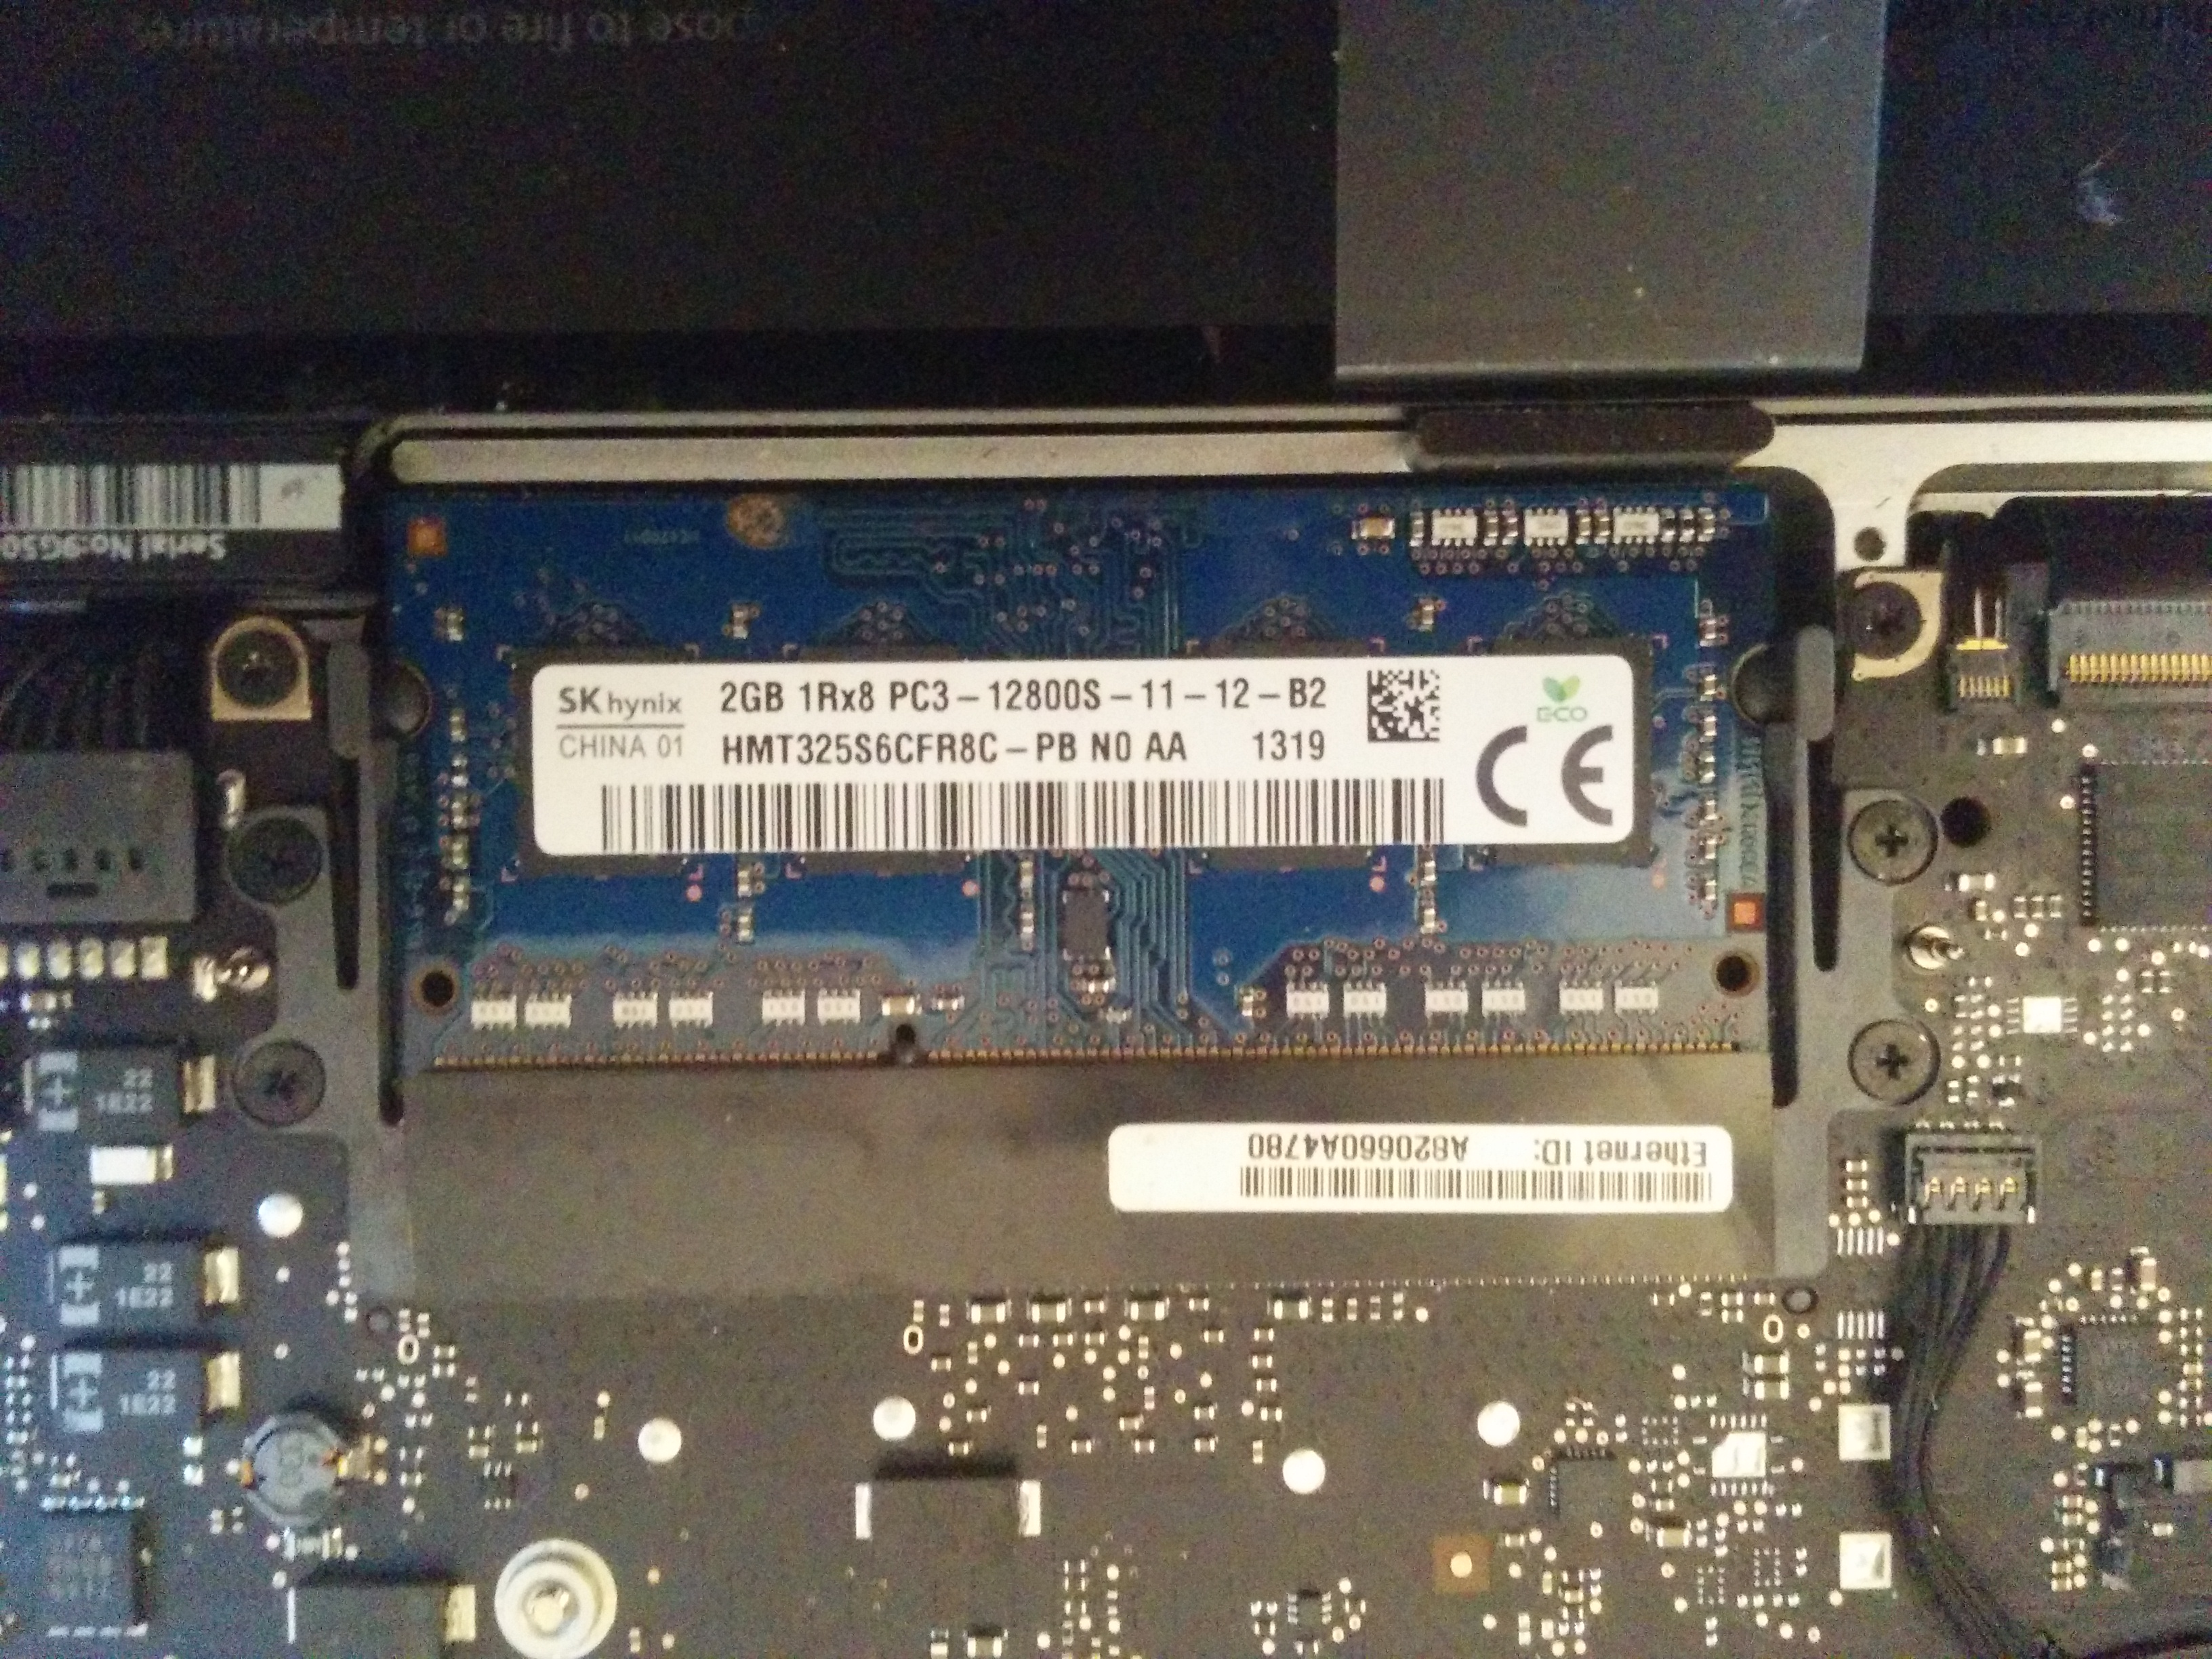
and the RAM right above the battery towards the right.
Un-slot the RAM
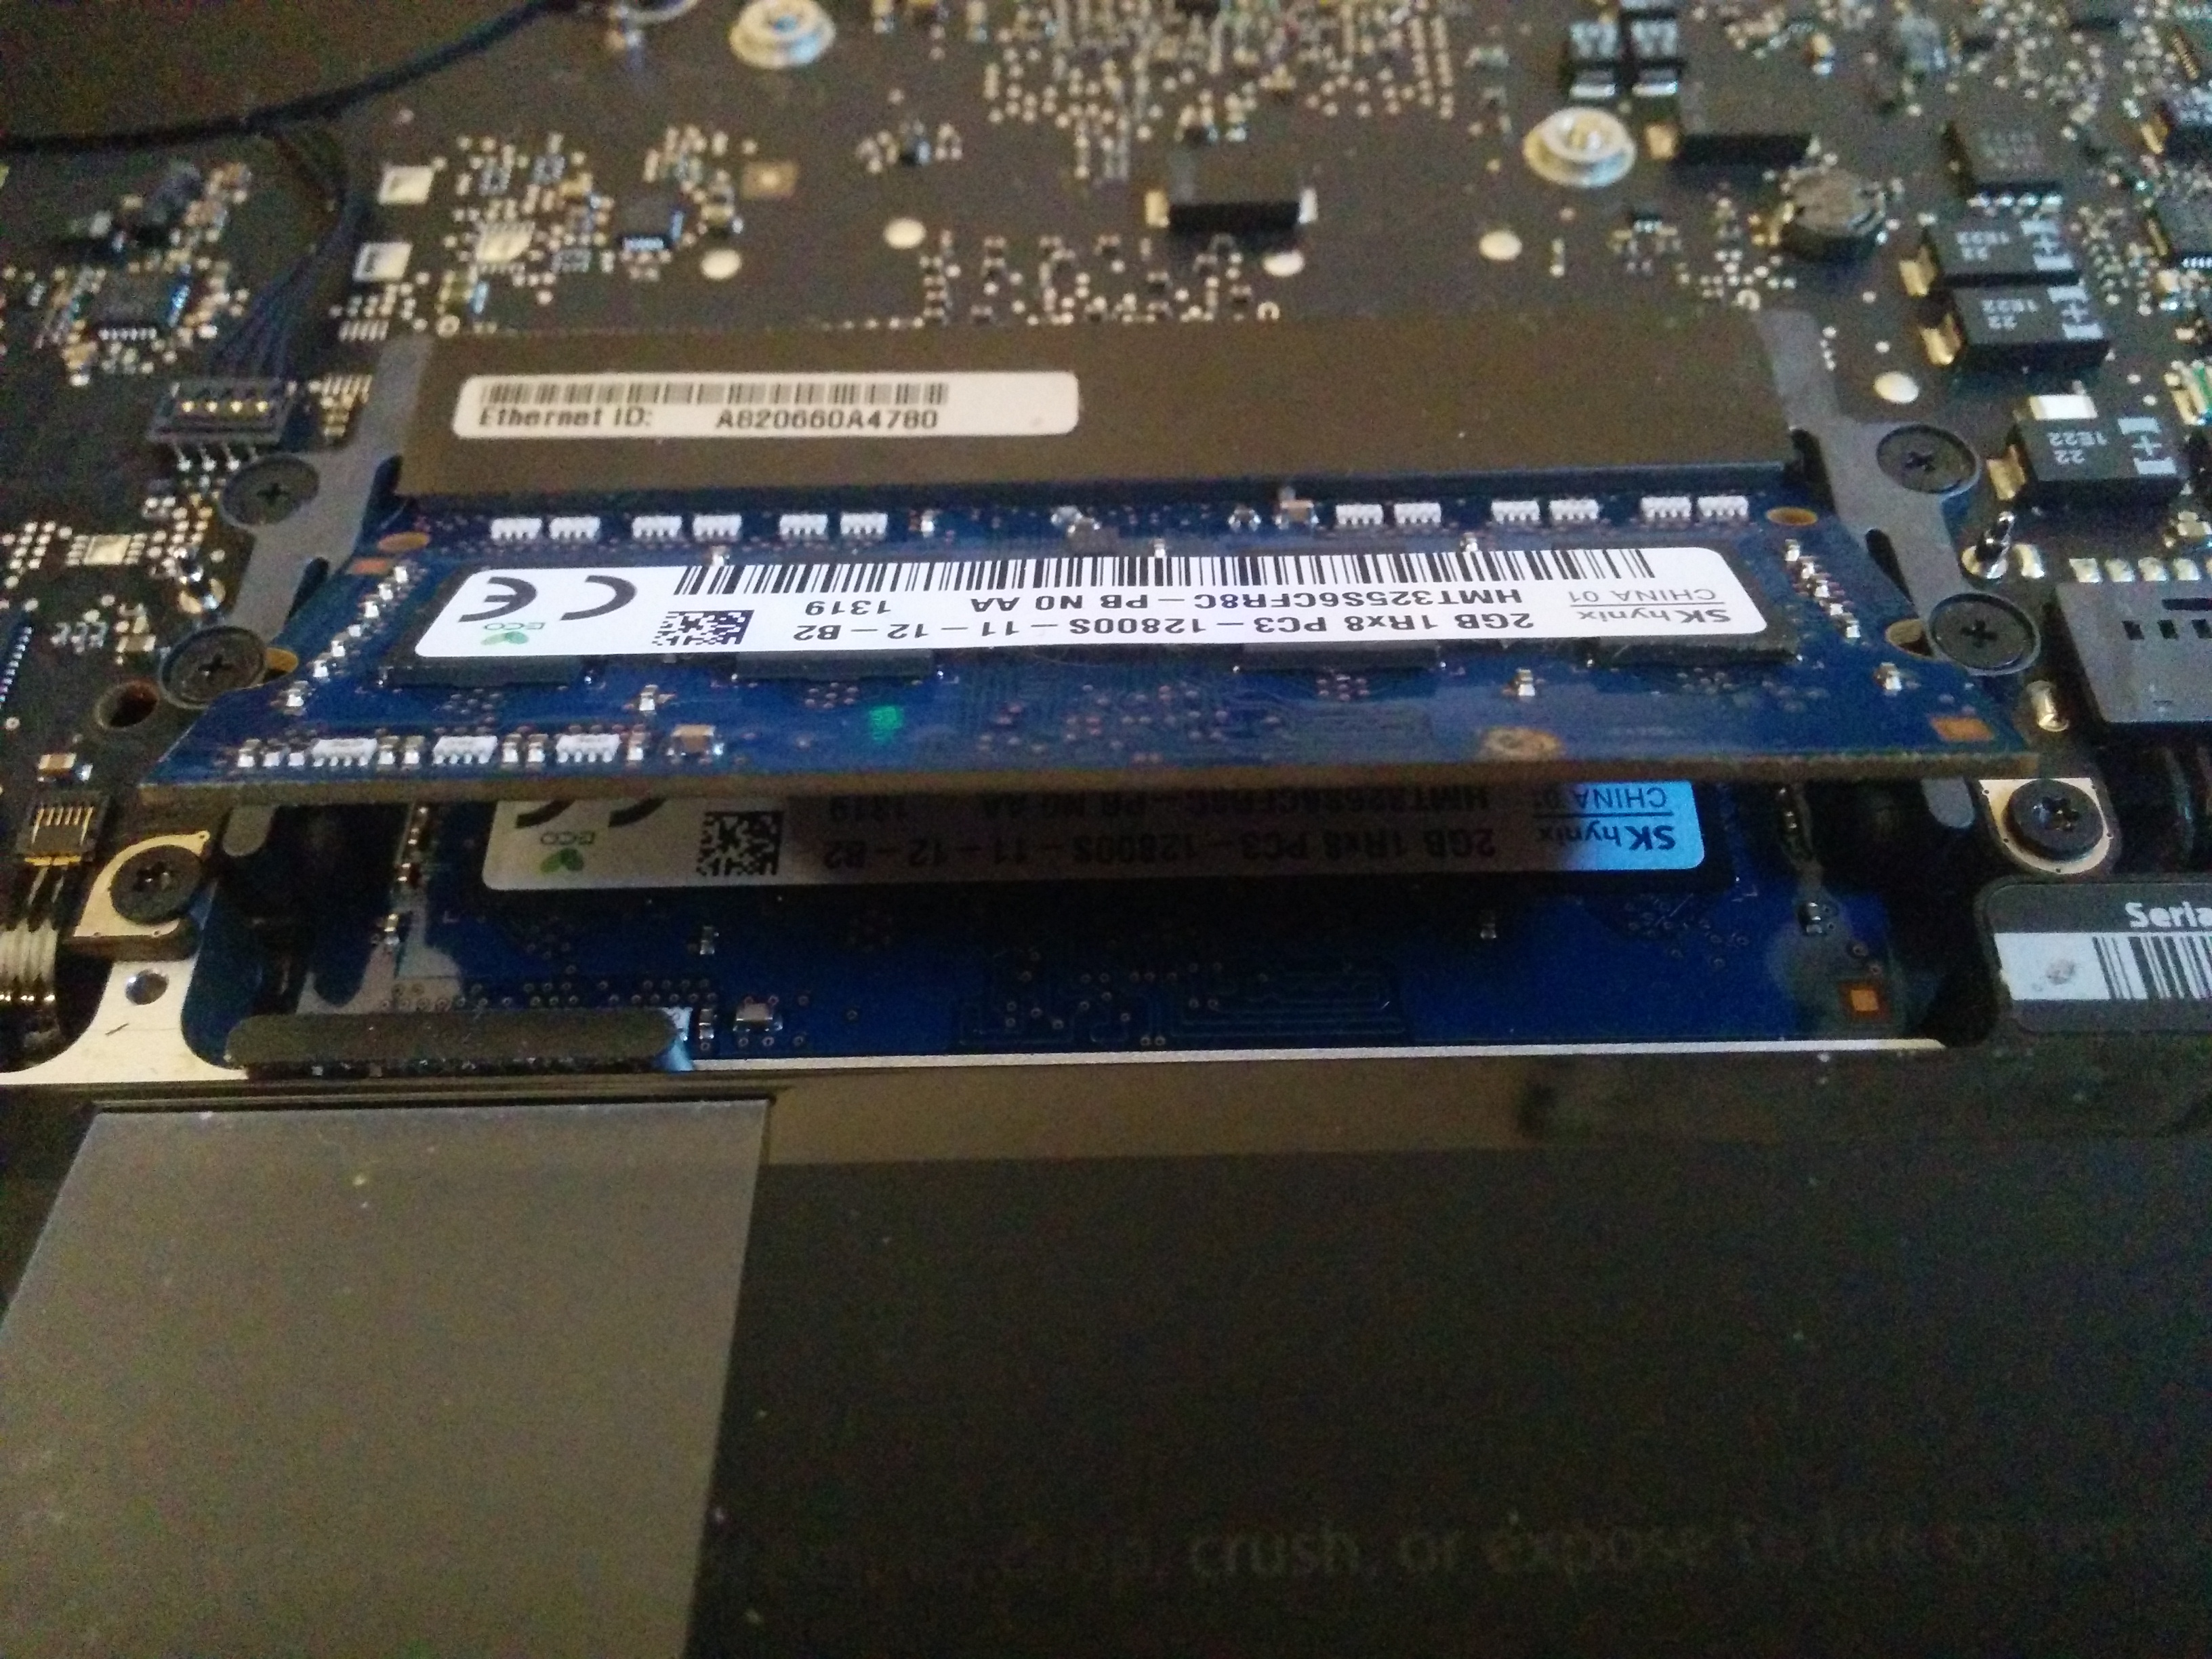
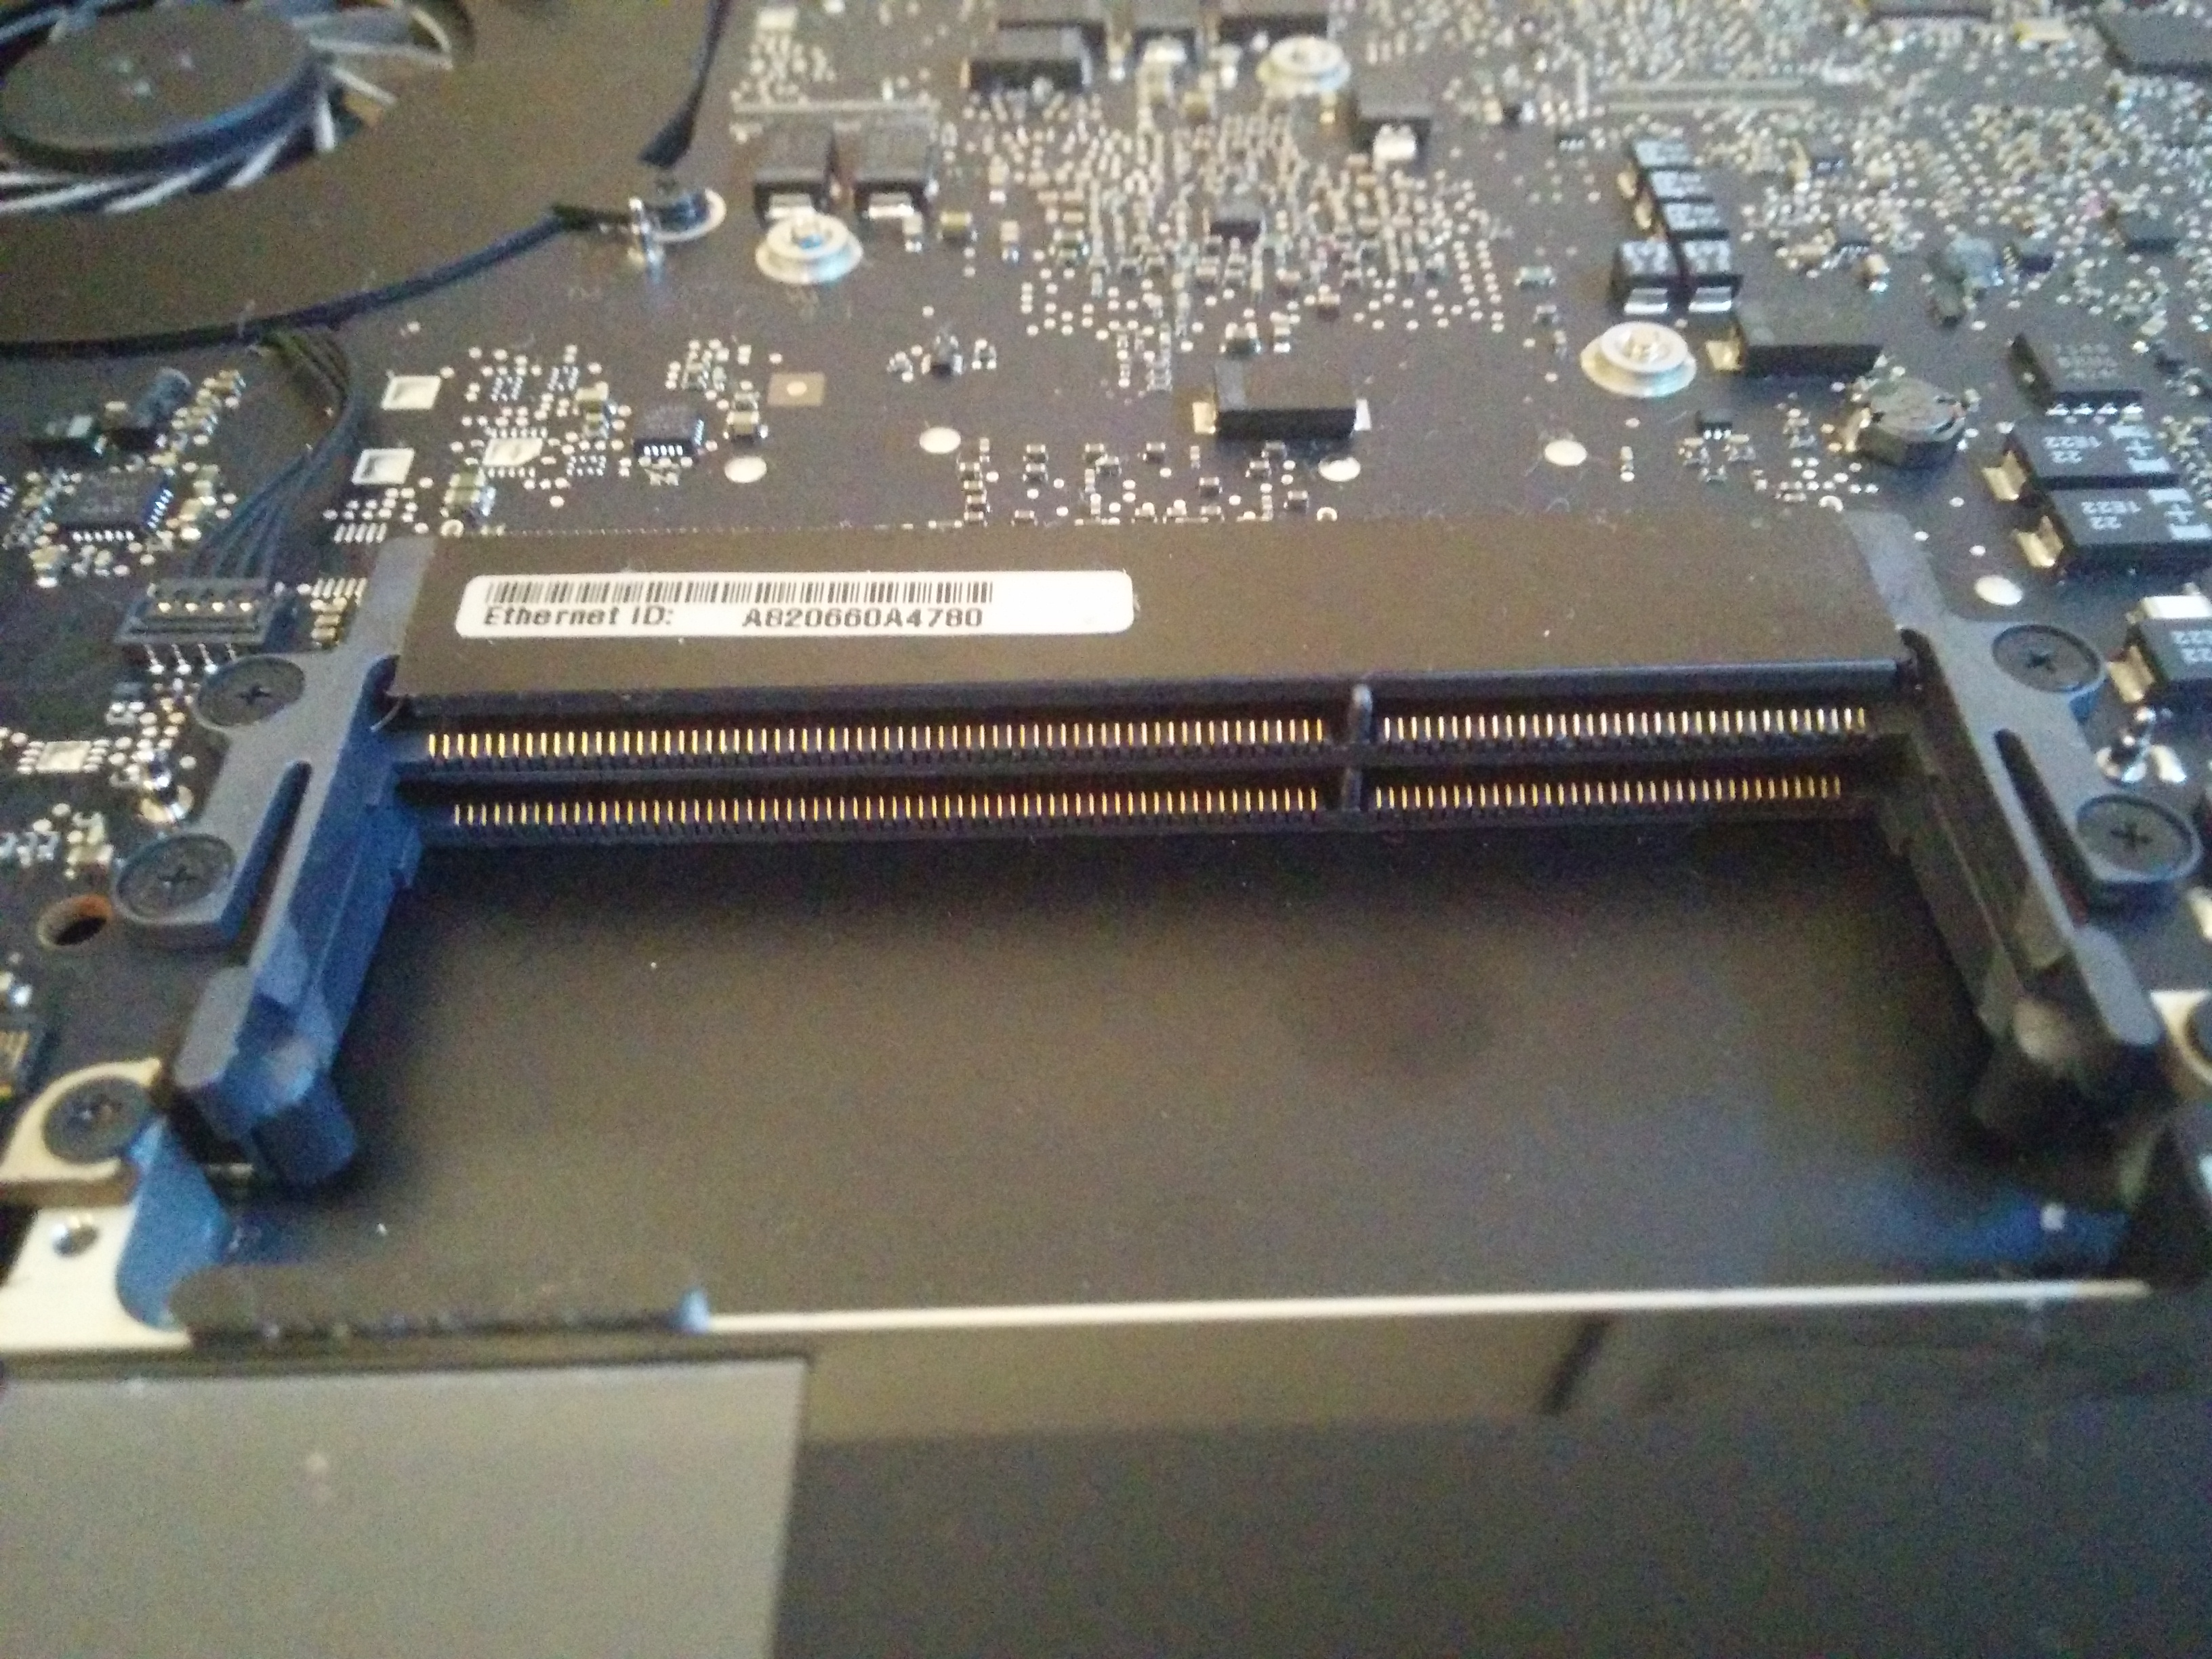
To get at the RAM, you need to pull the levers apart, and activate the spring that is holding both of the bars down.
One after the other they will pop up. Remove them, clean up with some air-spray, and replace the RAM with the new bars.
I took everything apart before putting anything back in place to avoid damaging anything.
Remove the Hard Drive
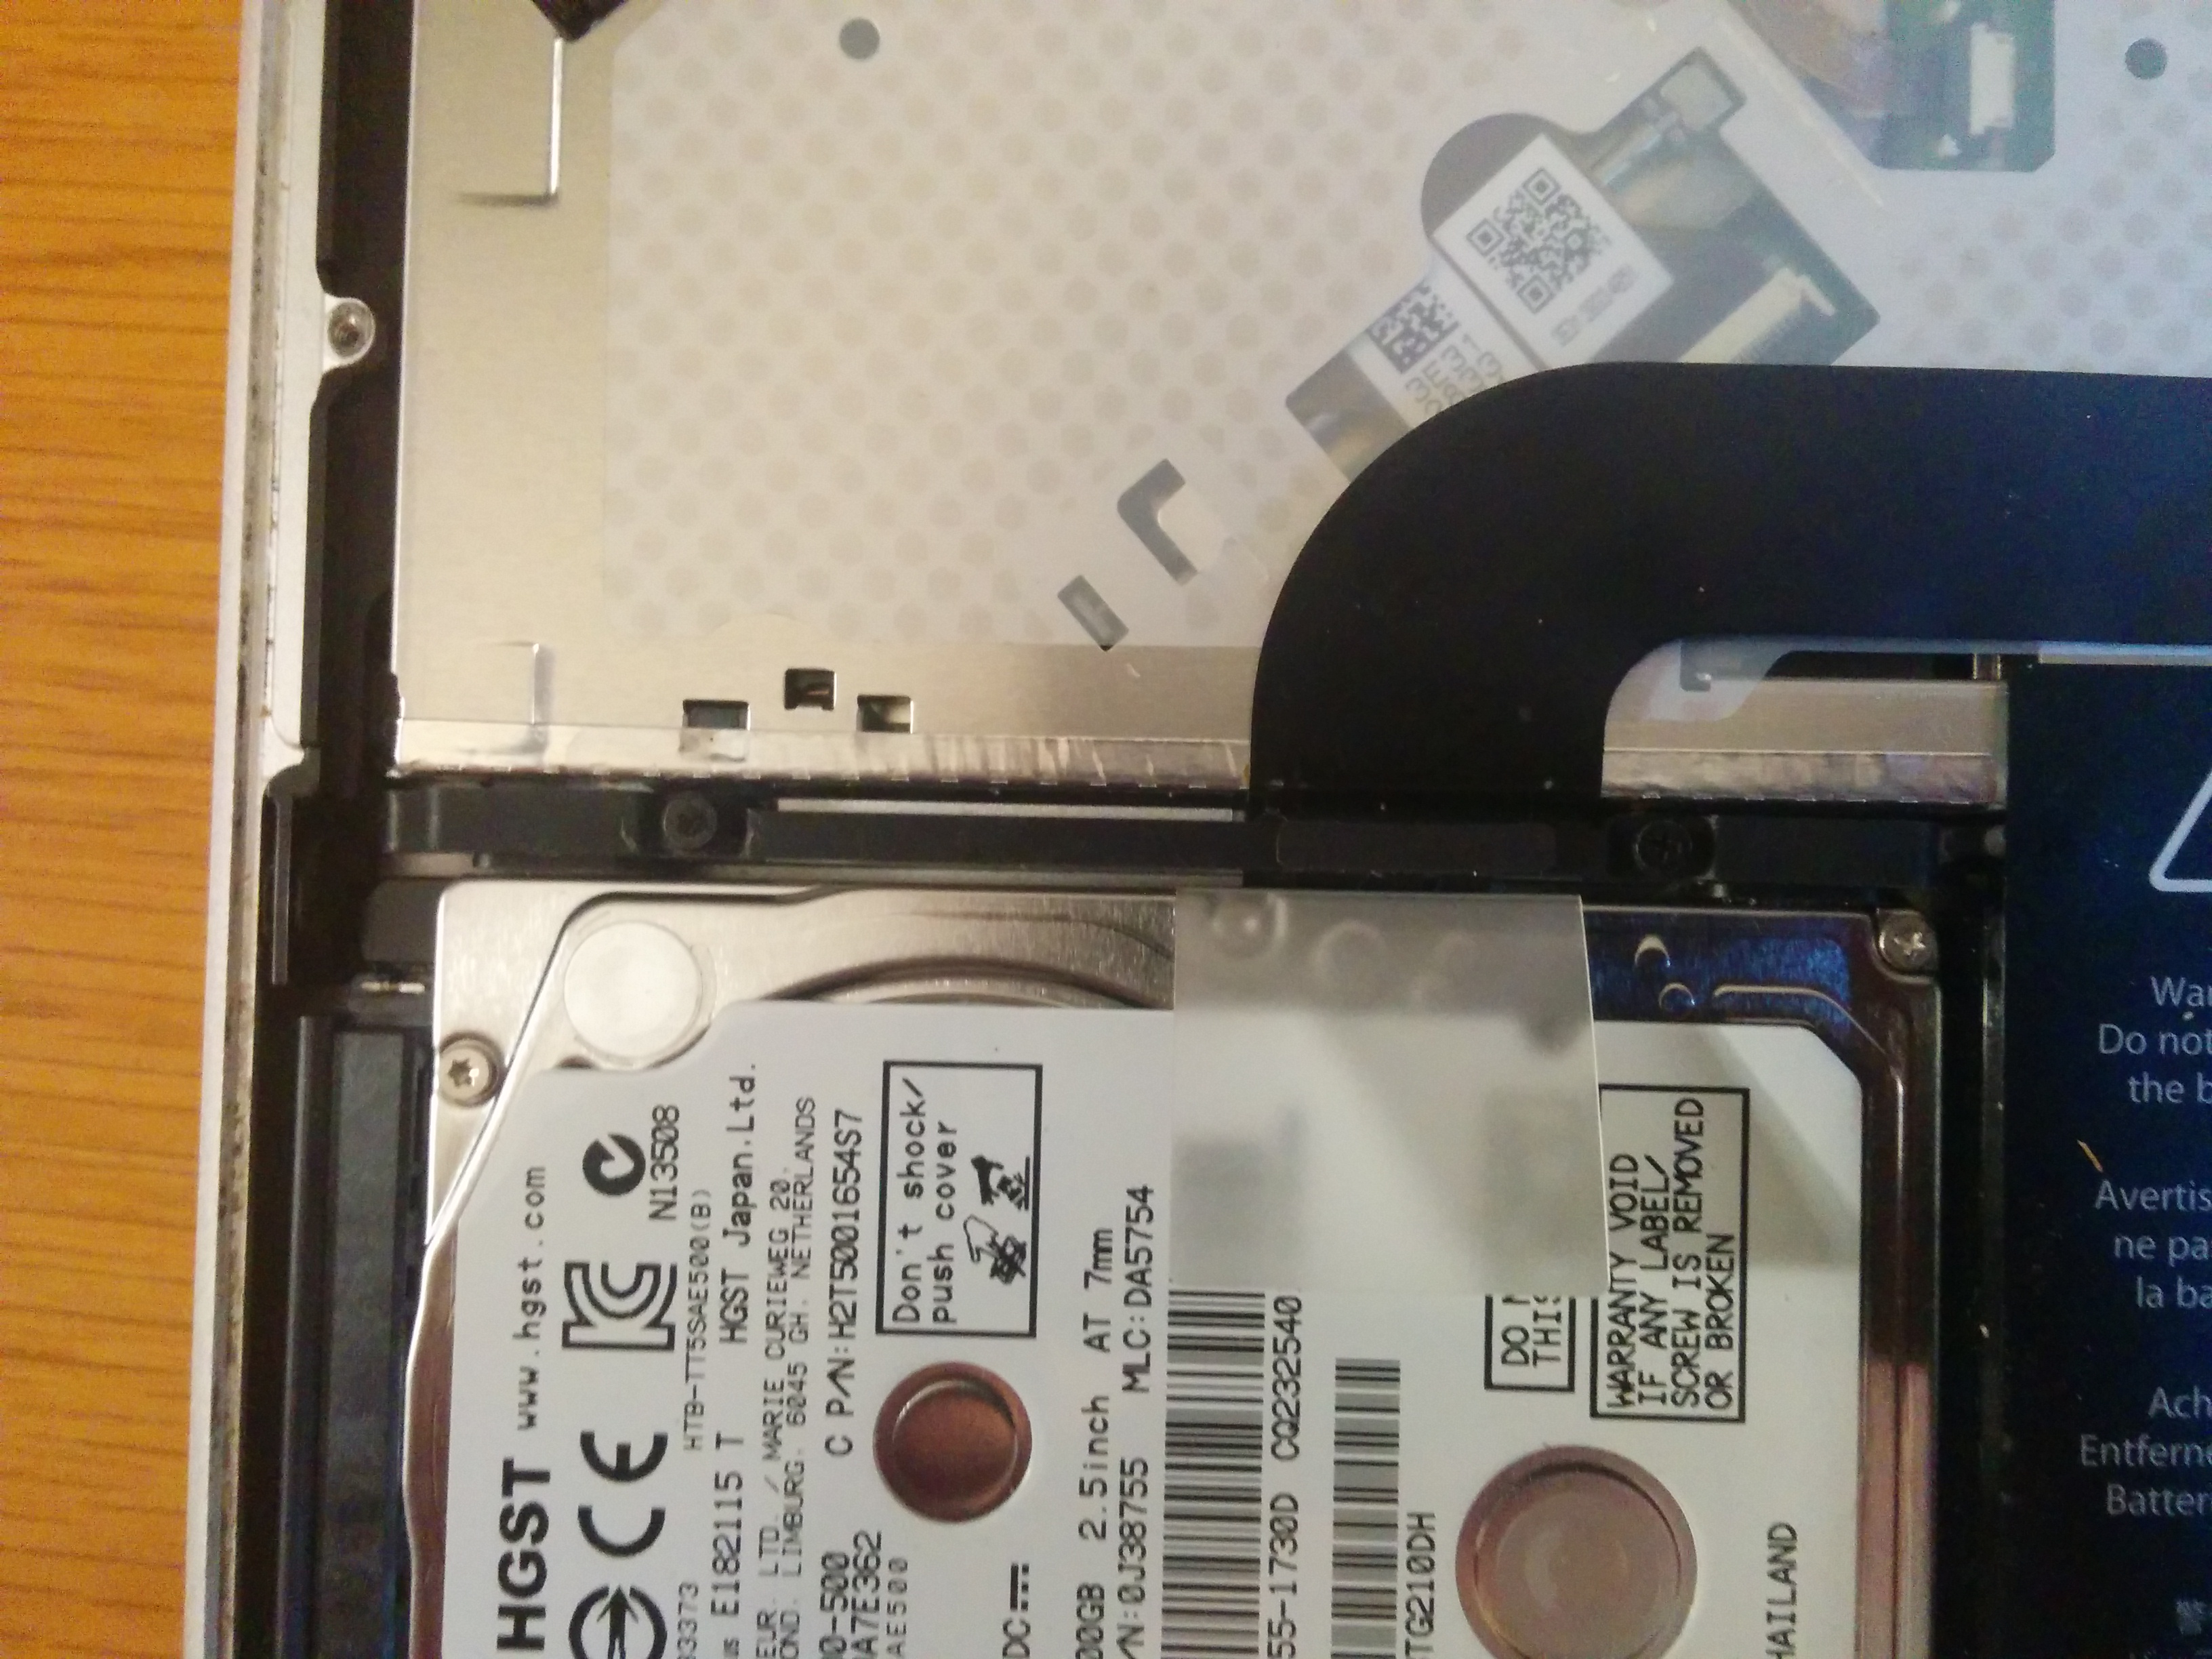
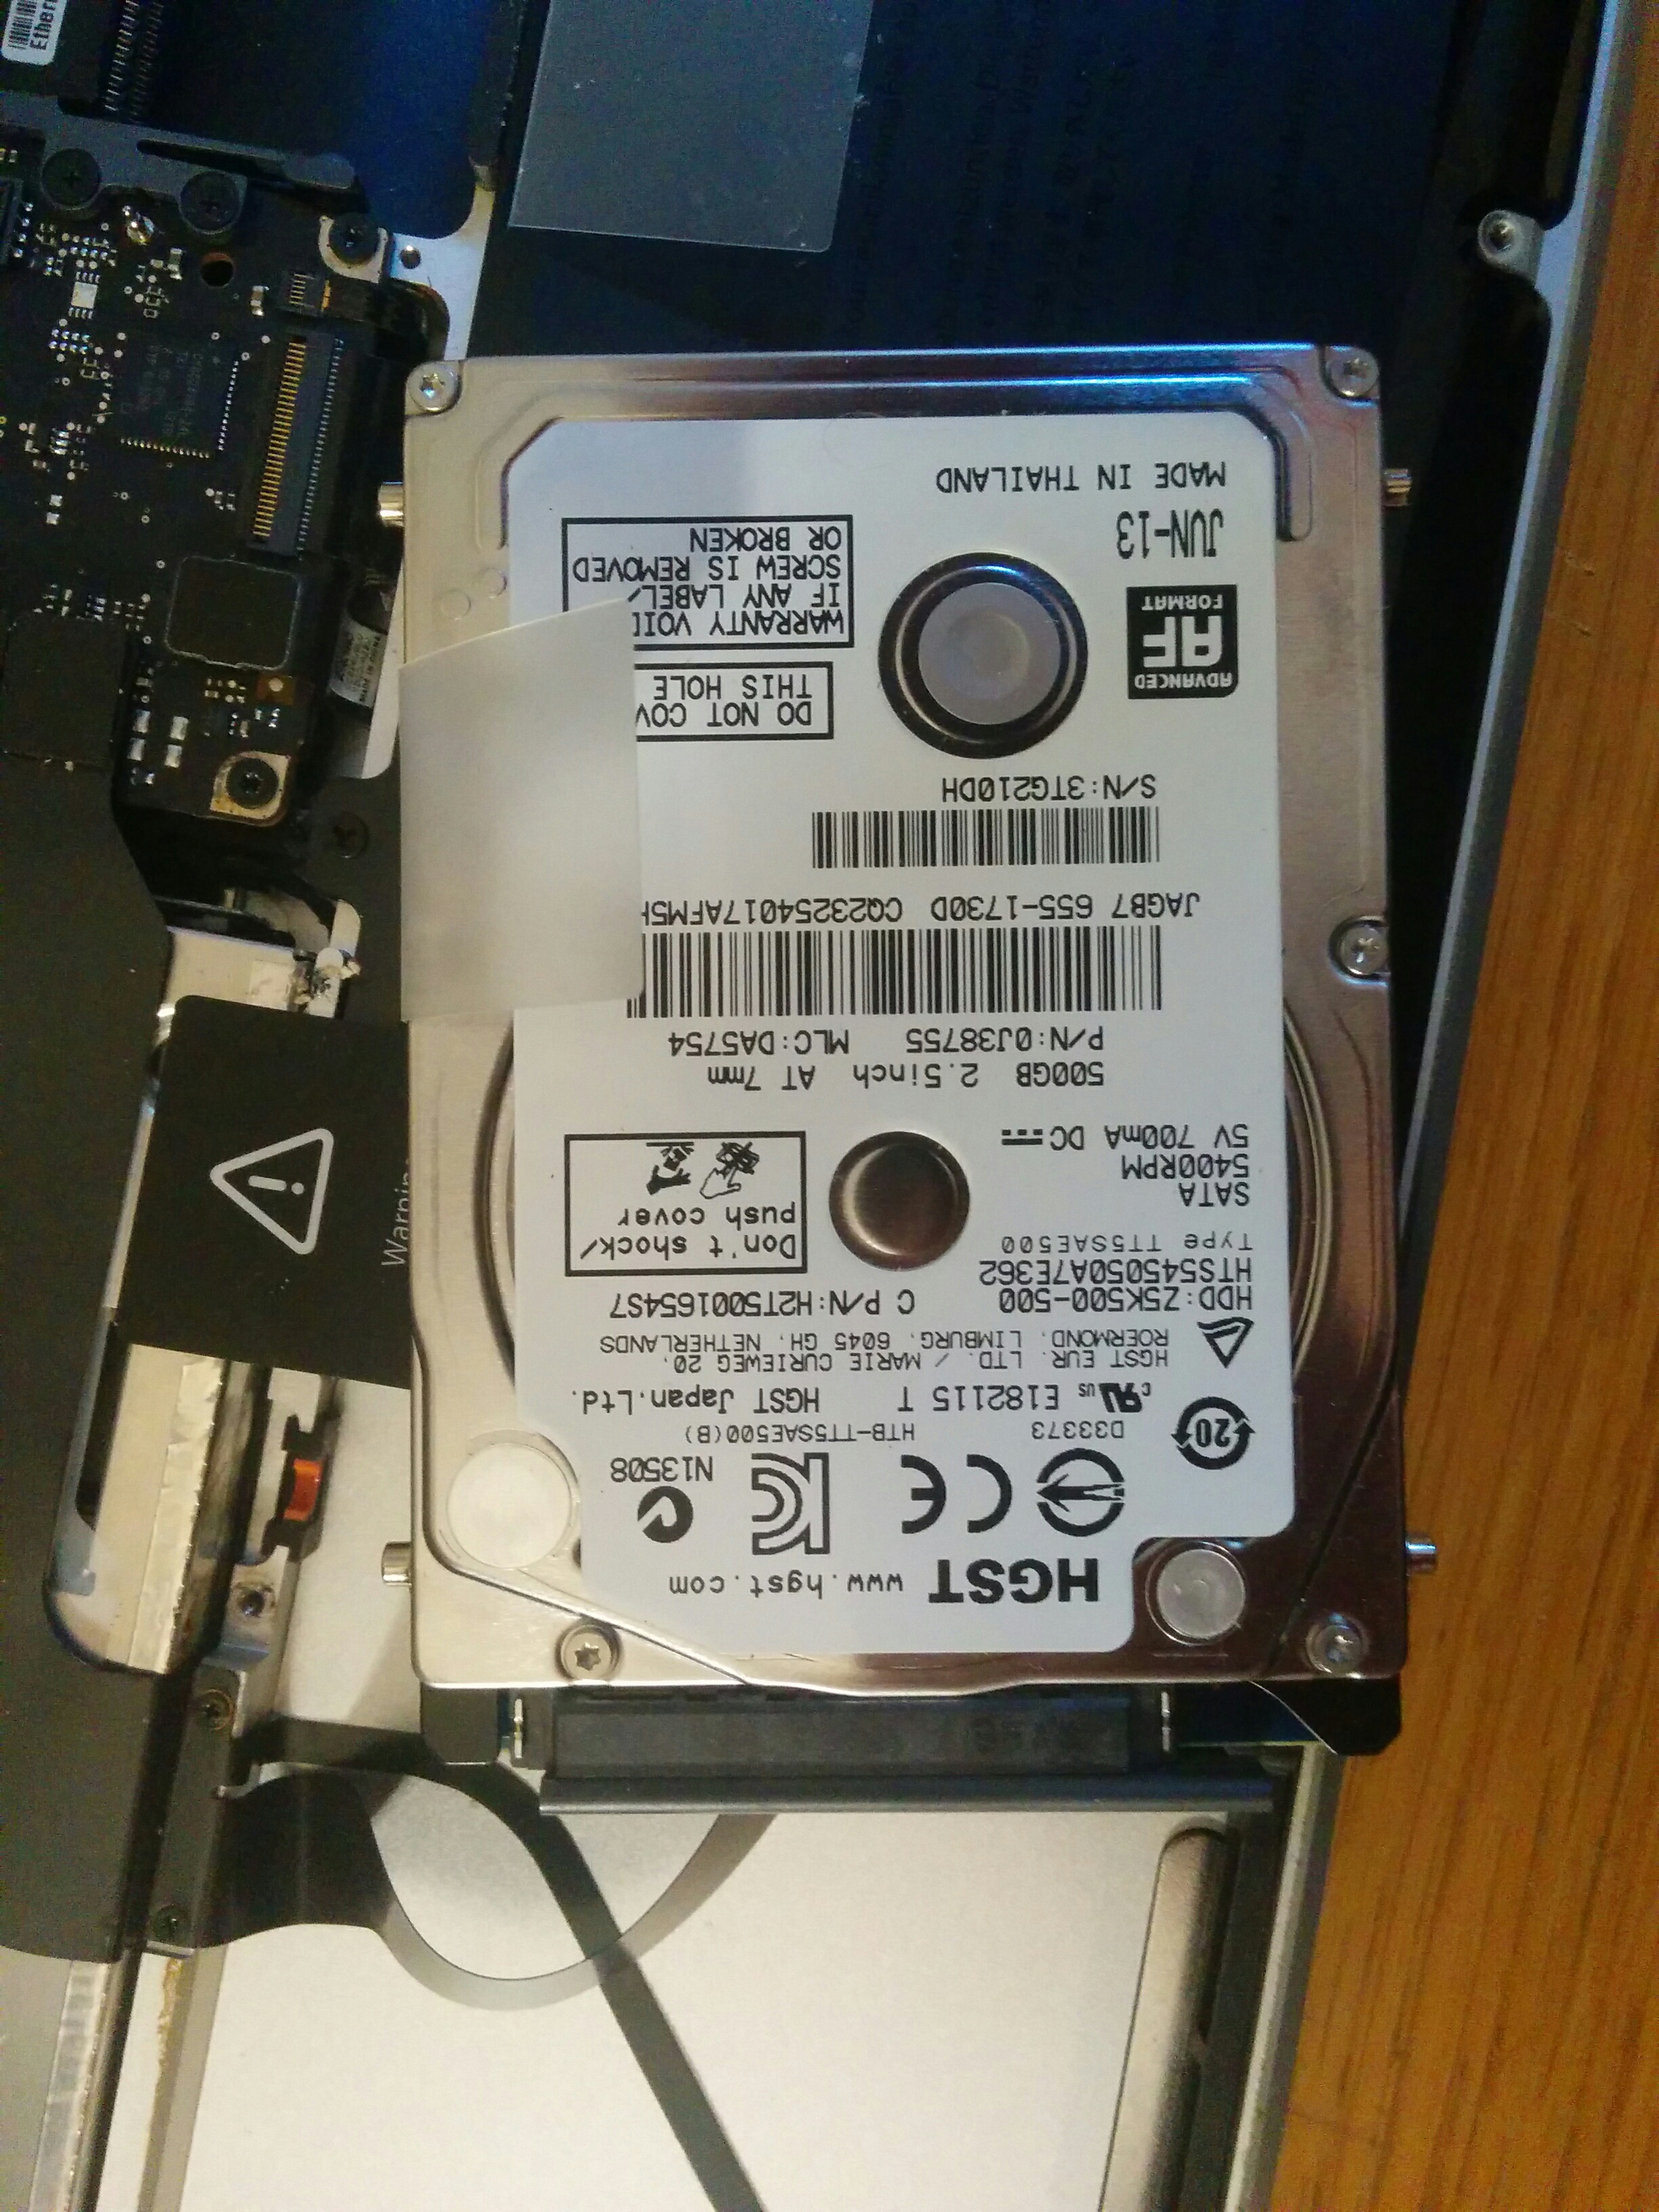
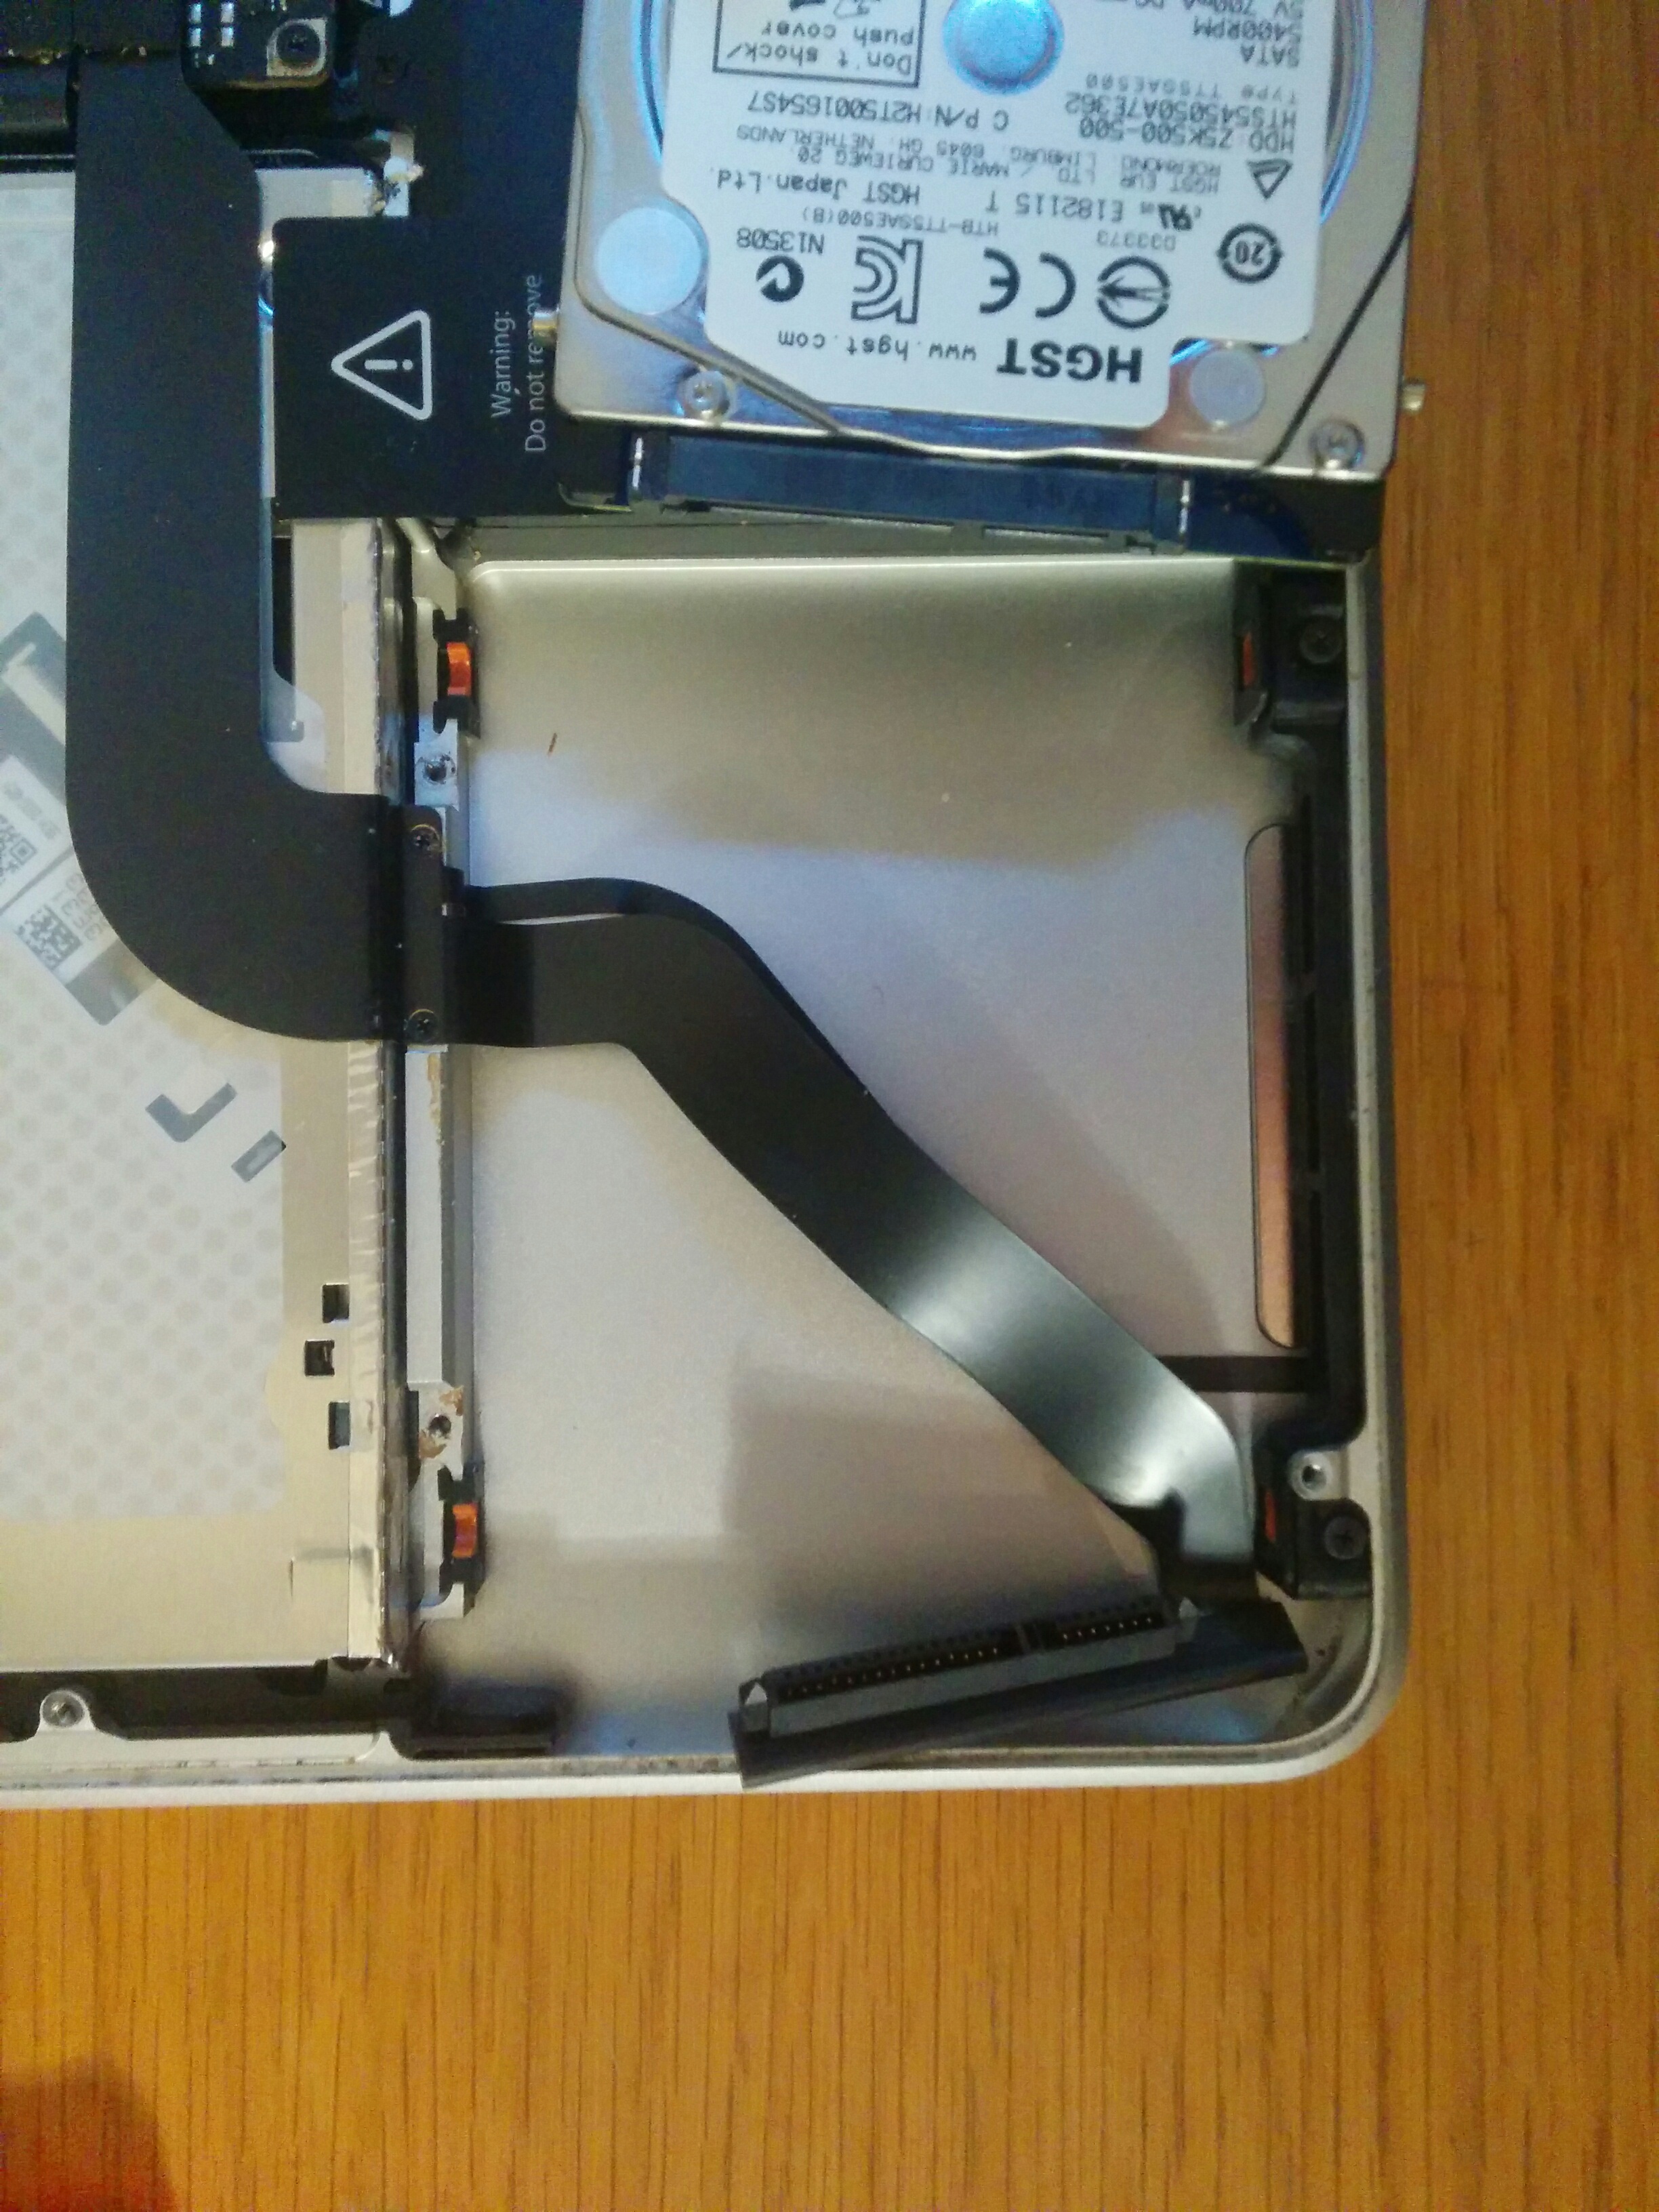
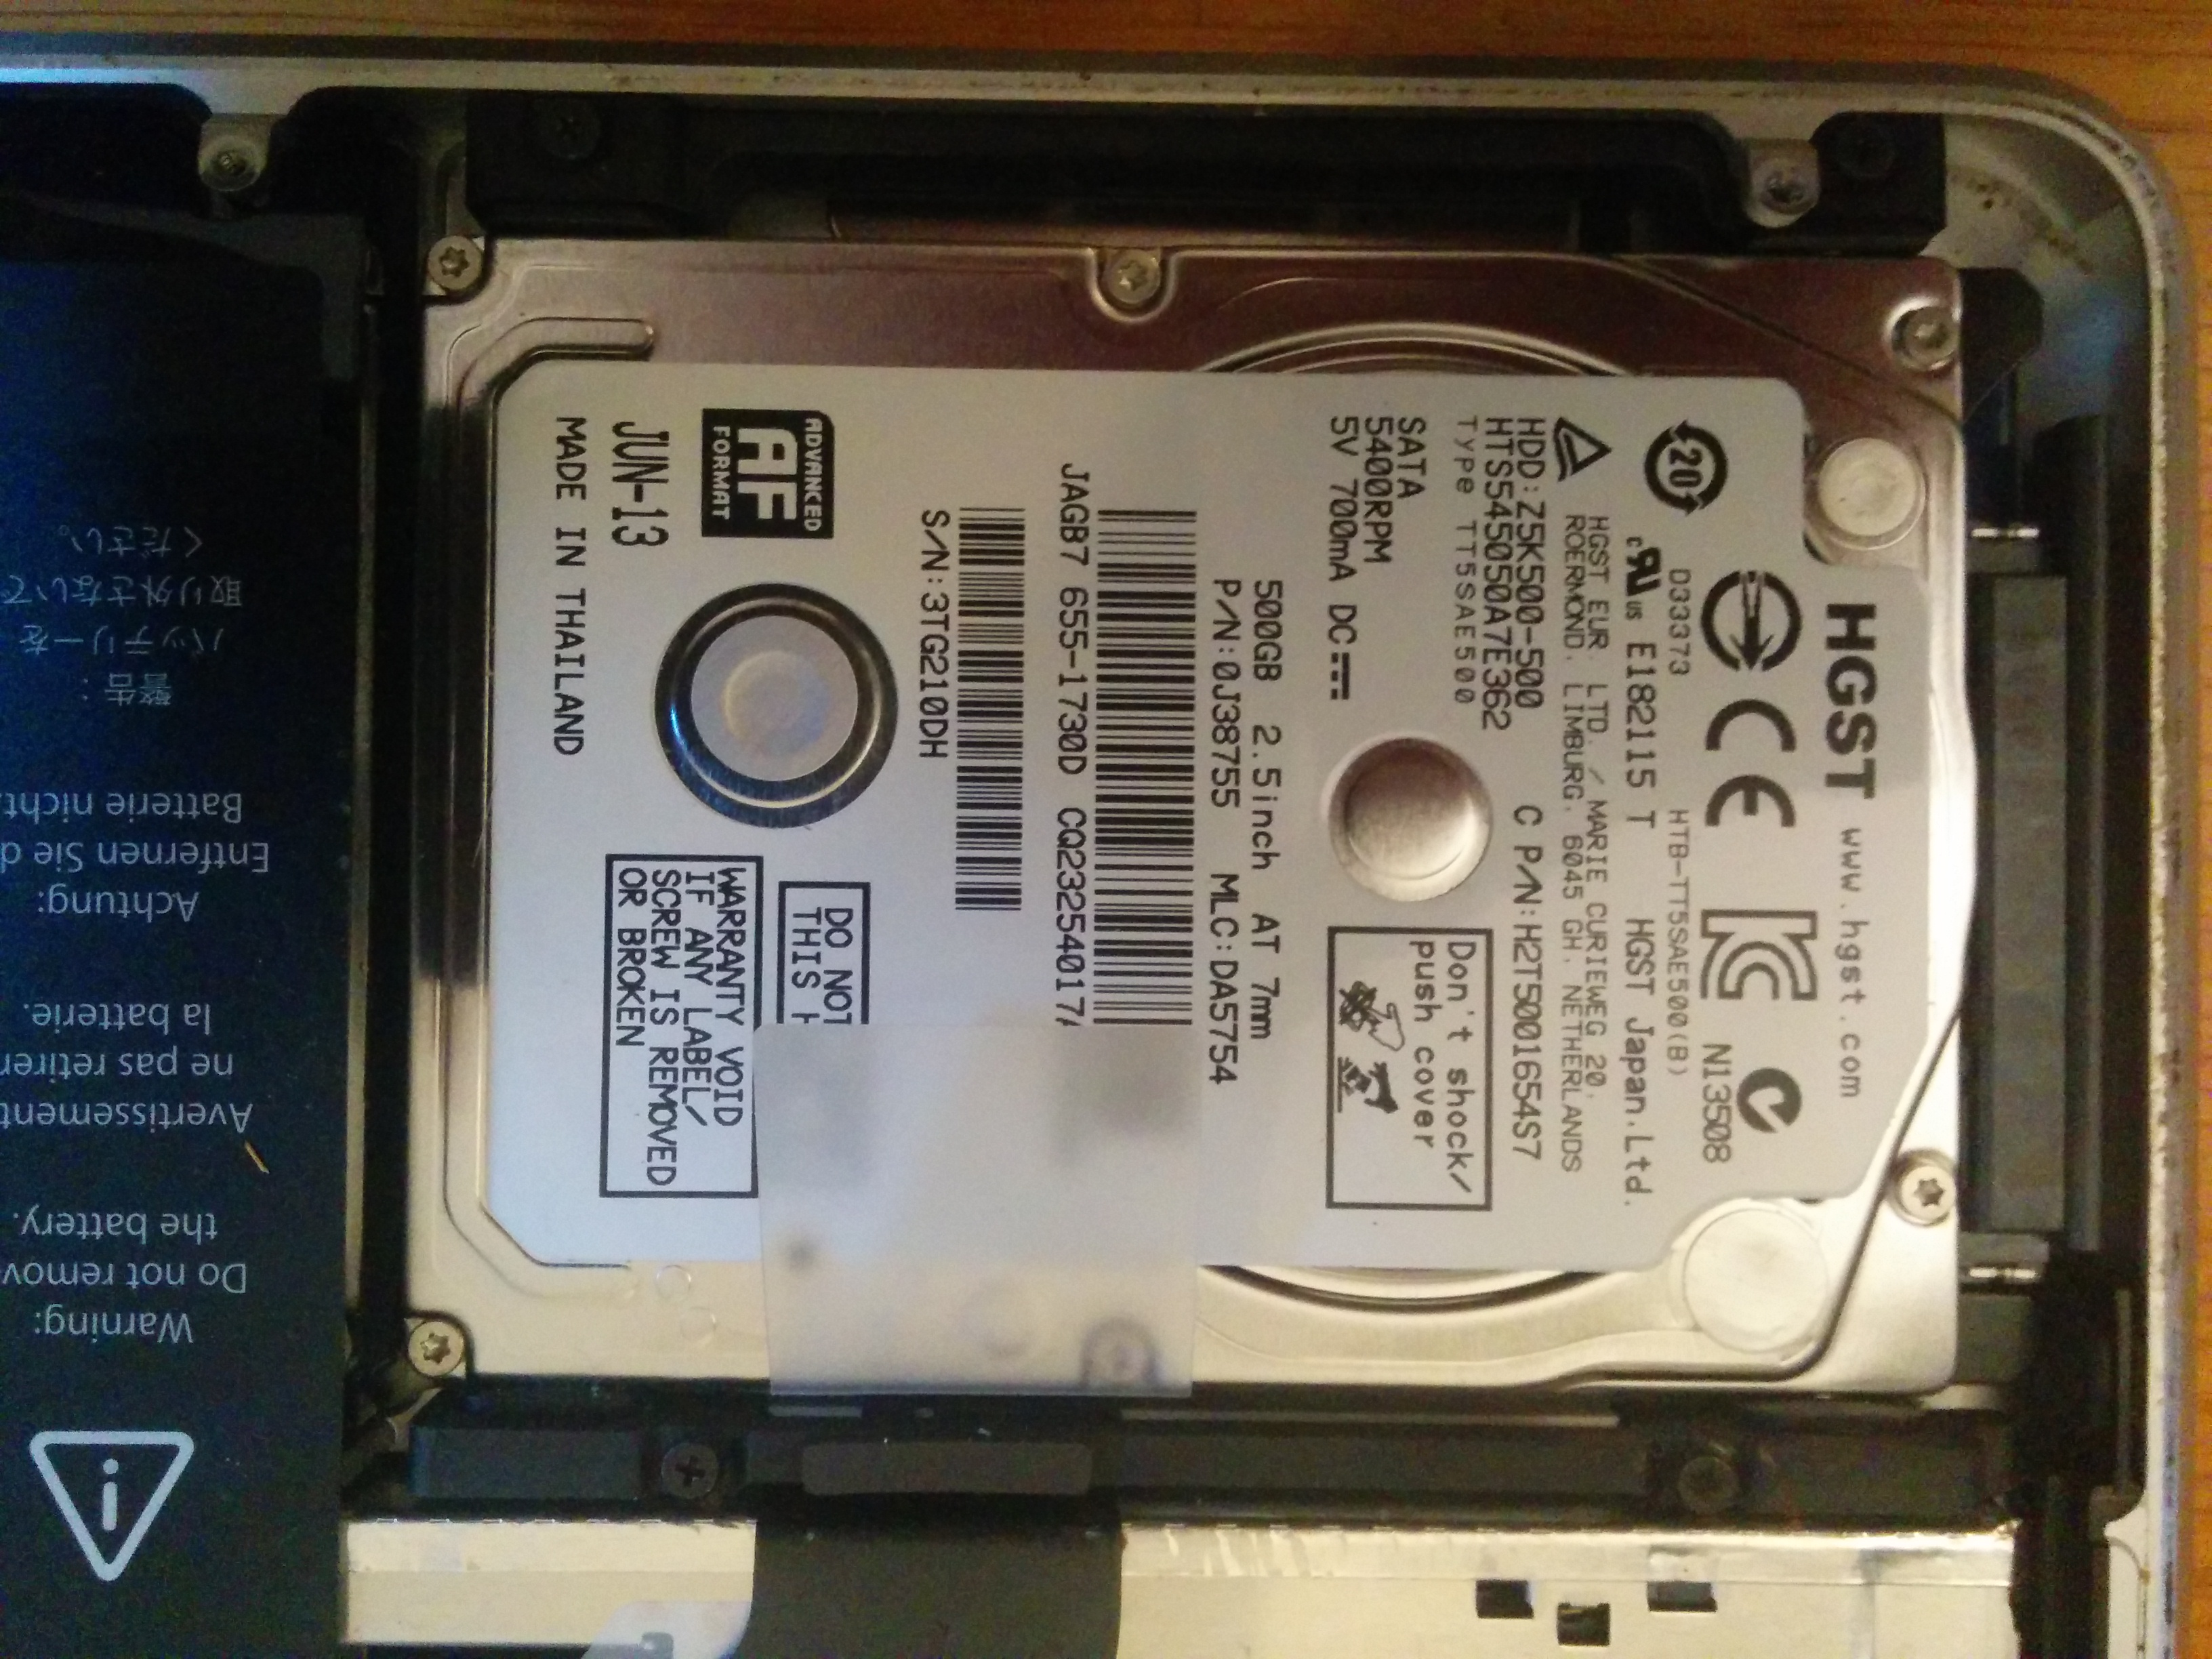
In the bottom left of the overturned MBP there is the Hard Drive (HD).
It is held in place by 4 screws that clamp down 4 other screws that are directly in the side of the HD.
Remove to screws that clamp the HD screws with a plastic bar in between the HD and the optical drive. These are the 2 black screws that are at either side of the SATA connection wire.
Once those screws and the bar are removed, you can remove the SATA connection and free the HD.
You now need to remove the "Star-headed" screws that are attached to the HD sides.
Removing the Optical Drive
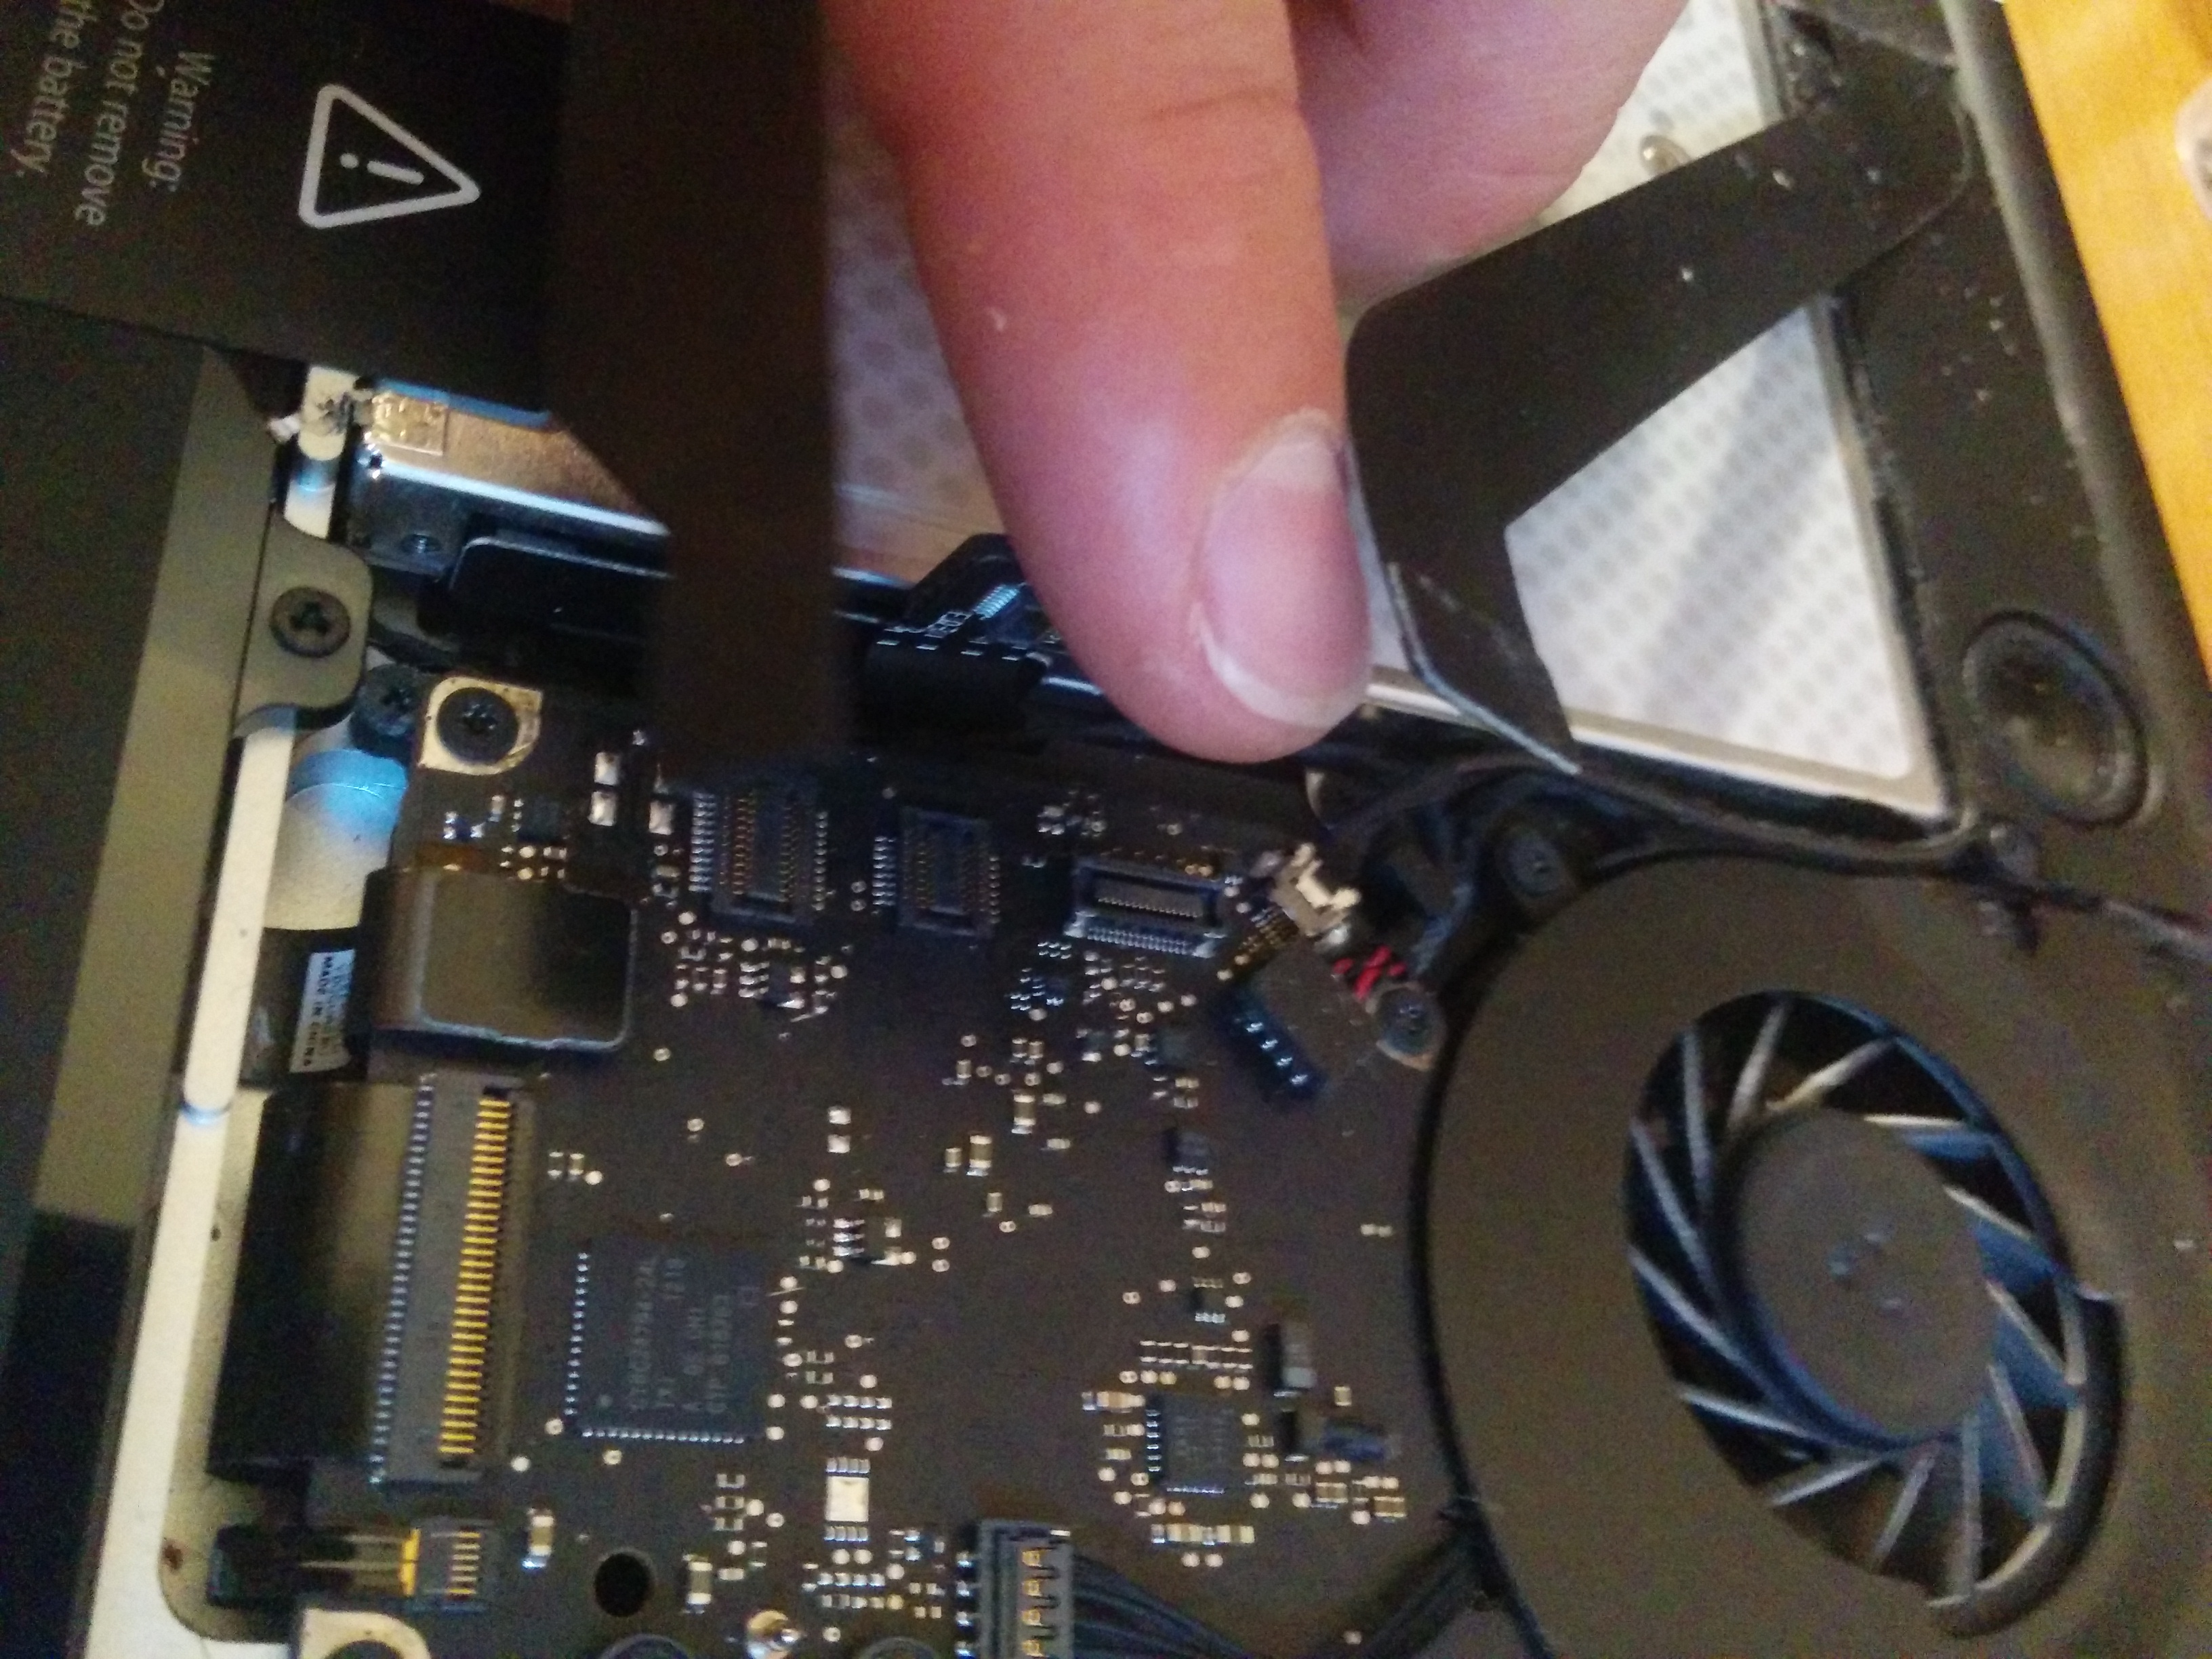
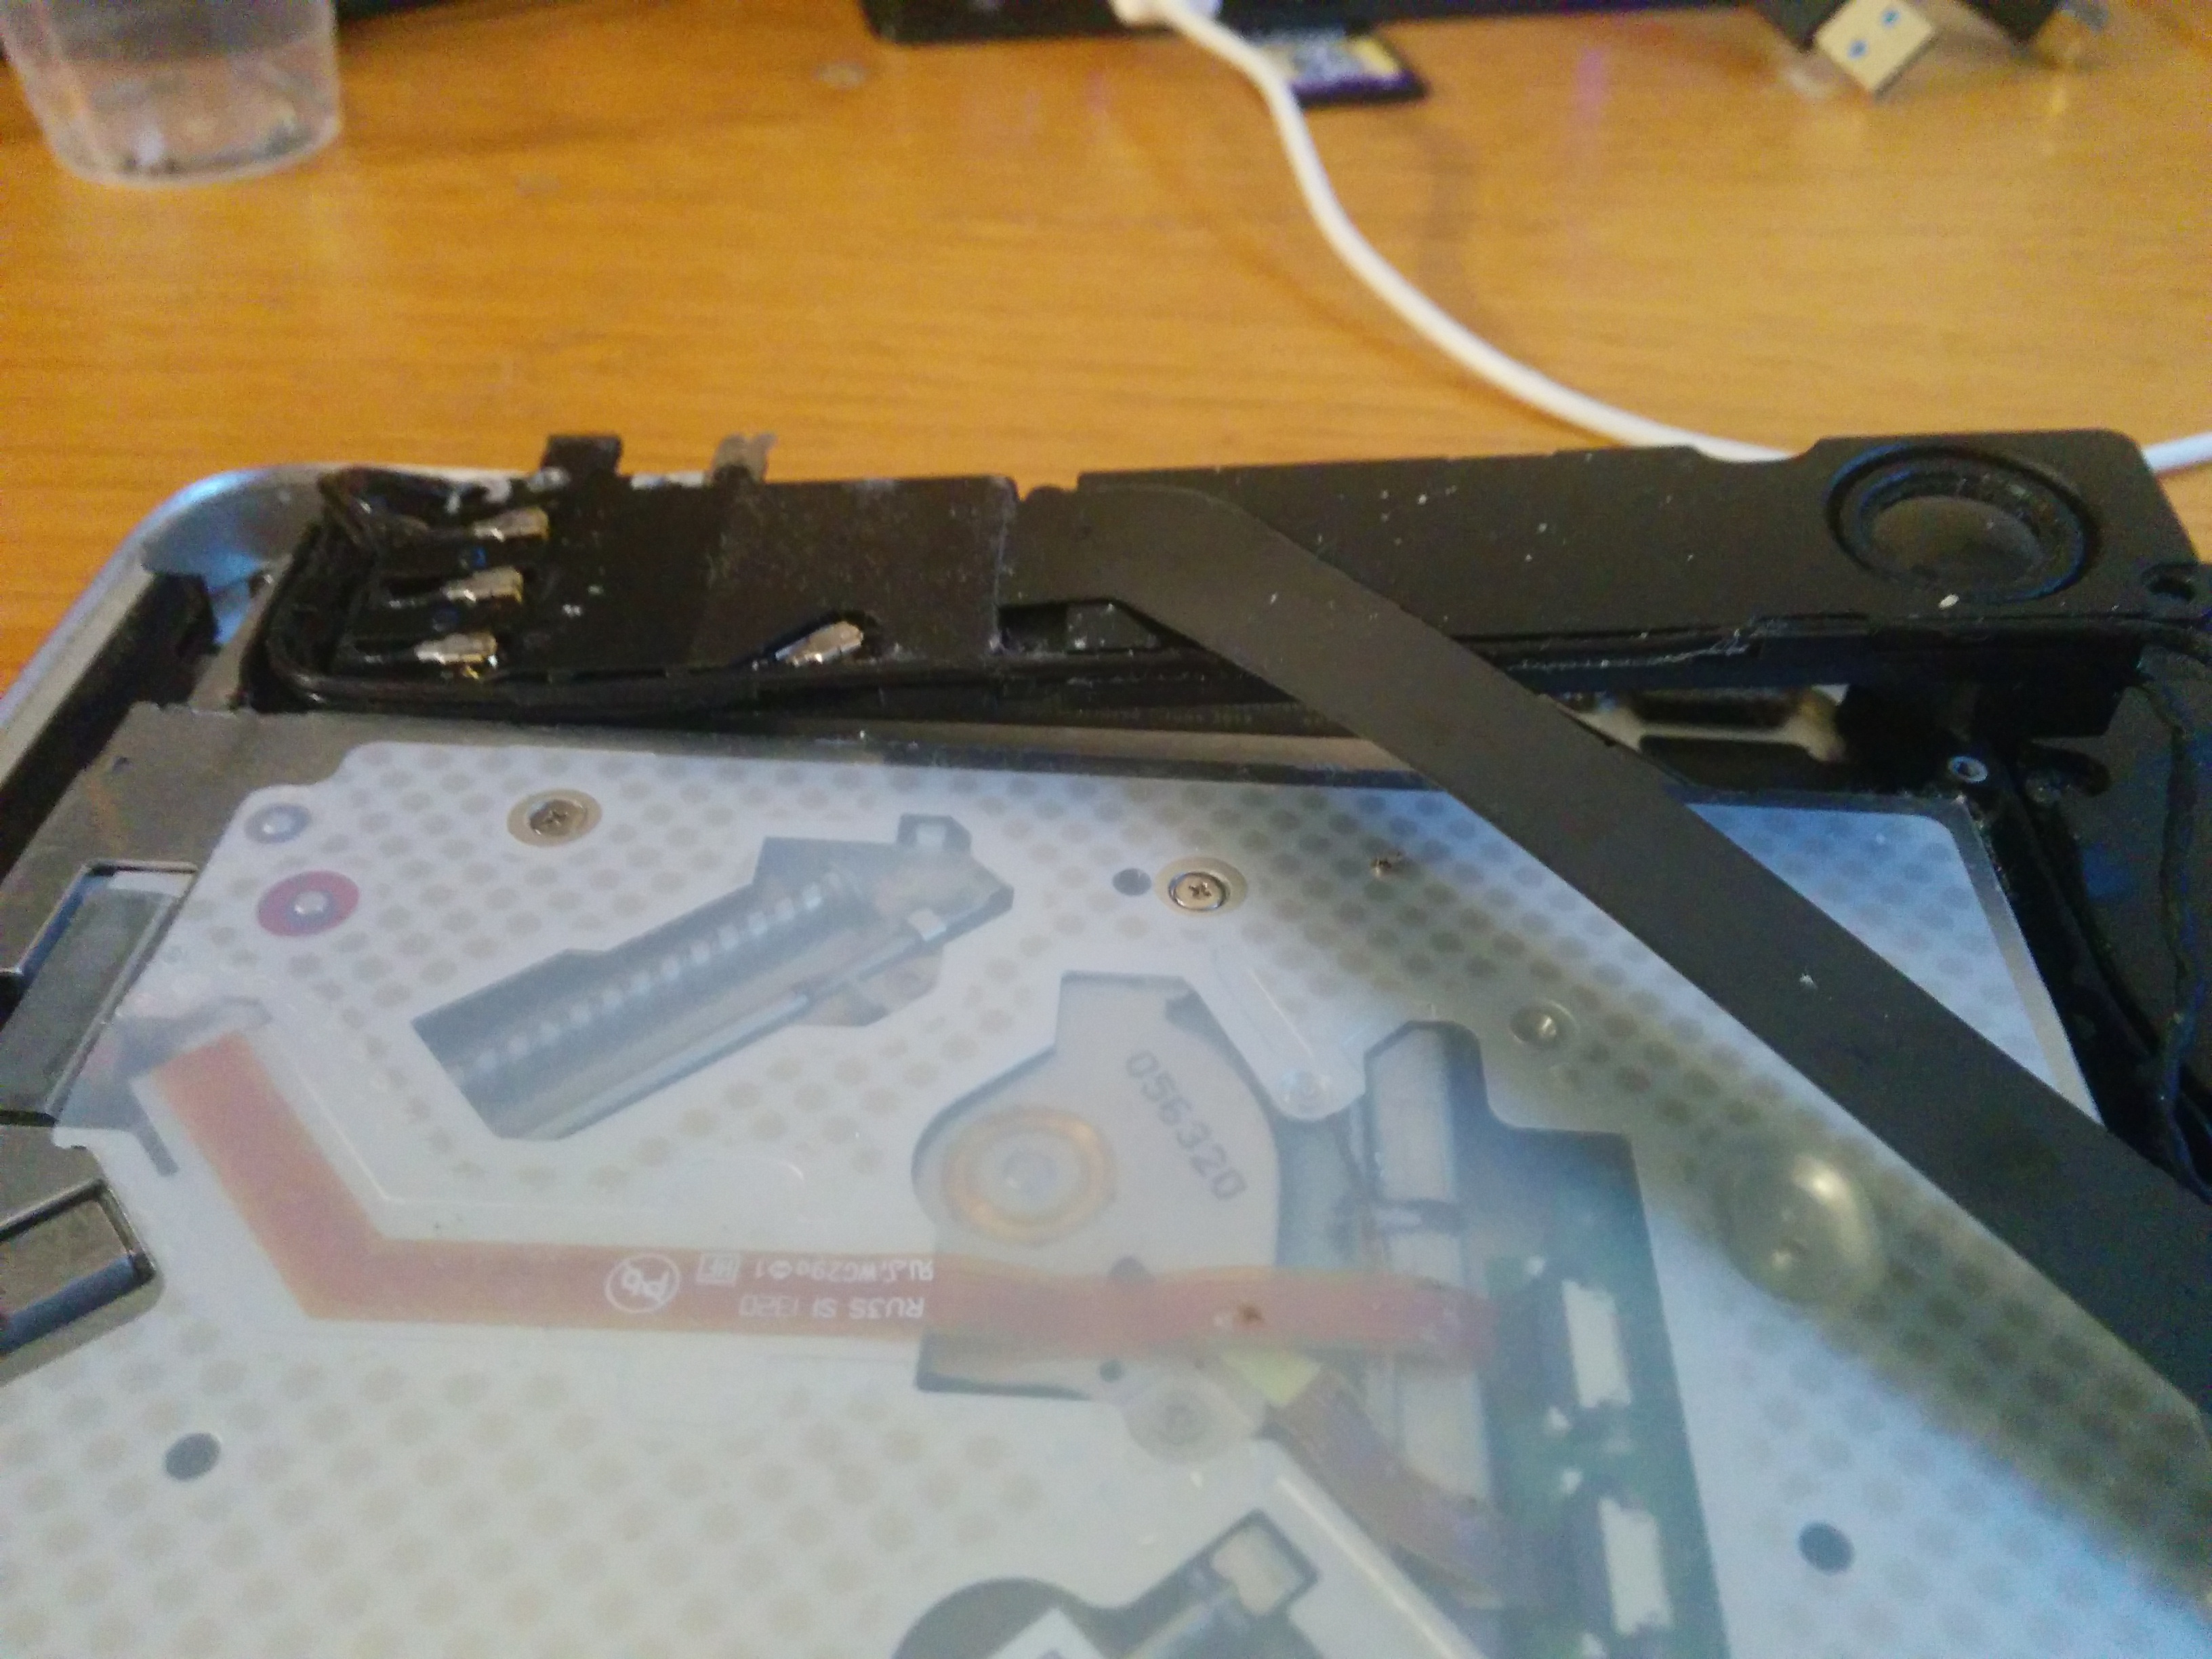
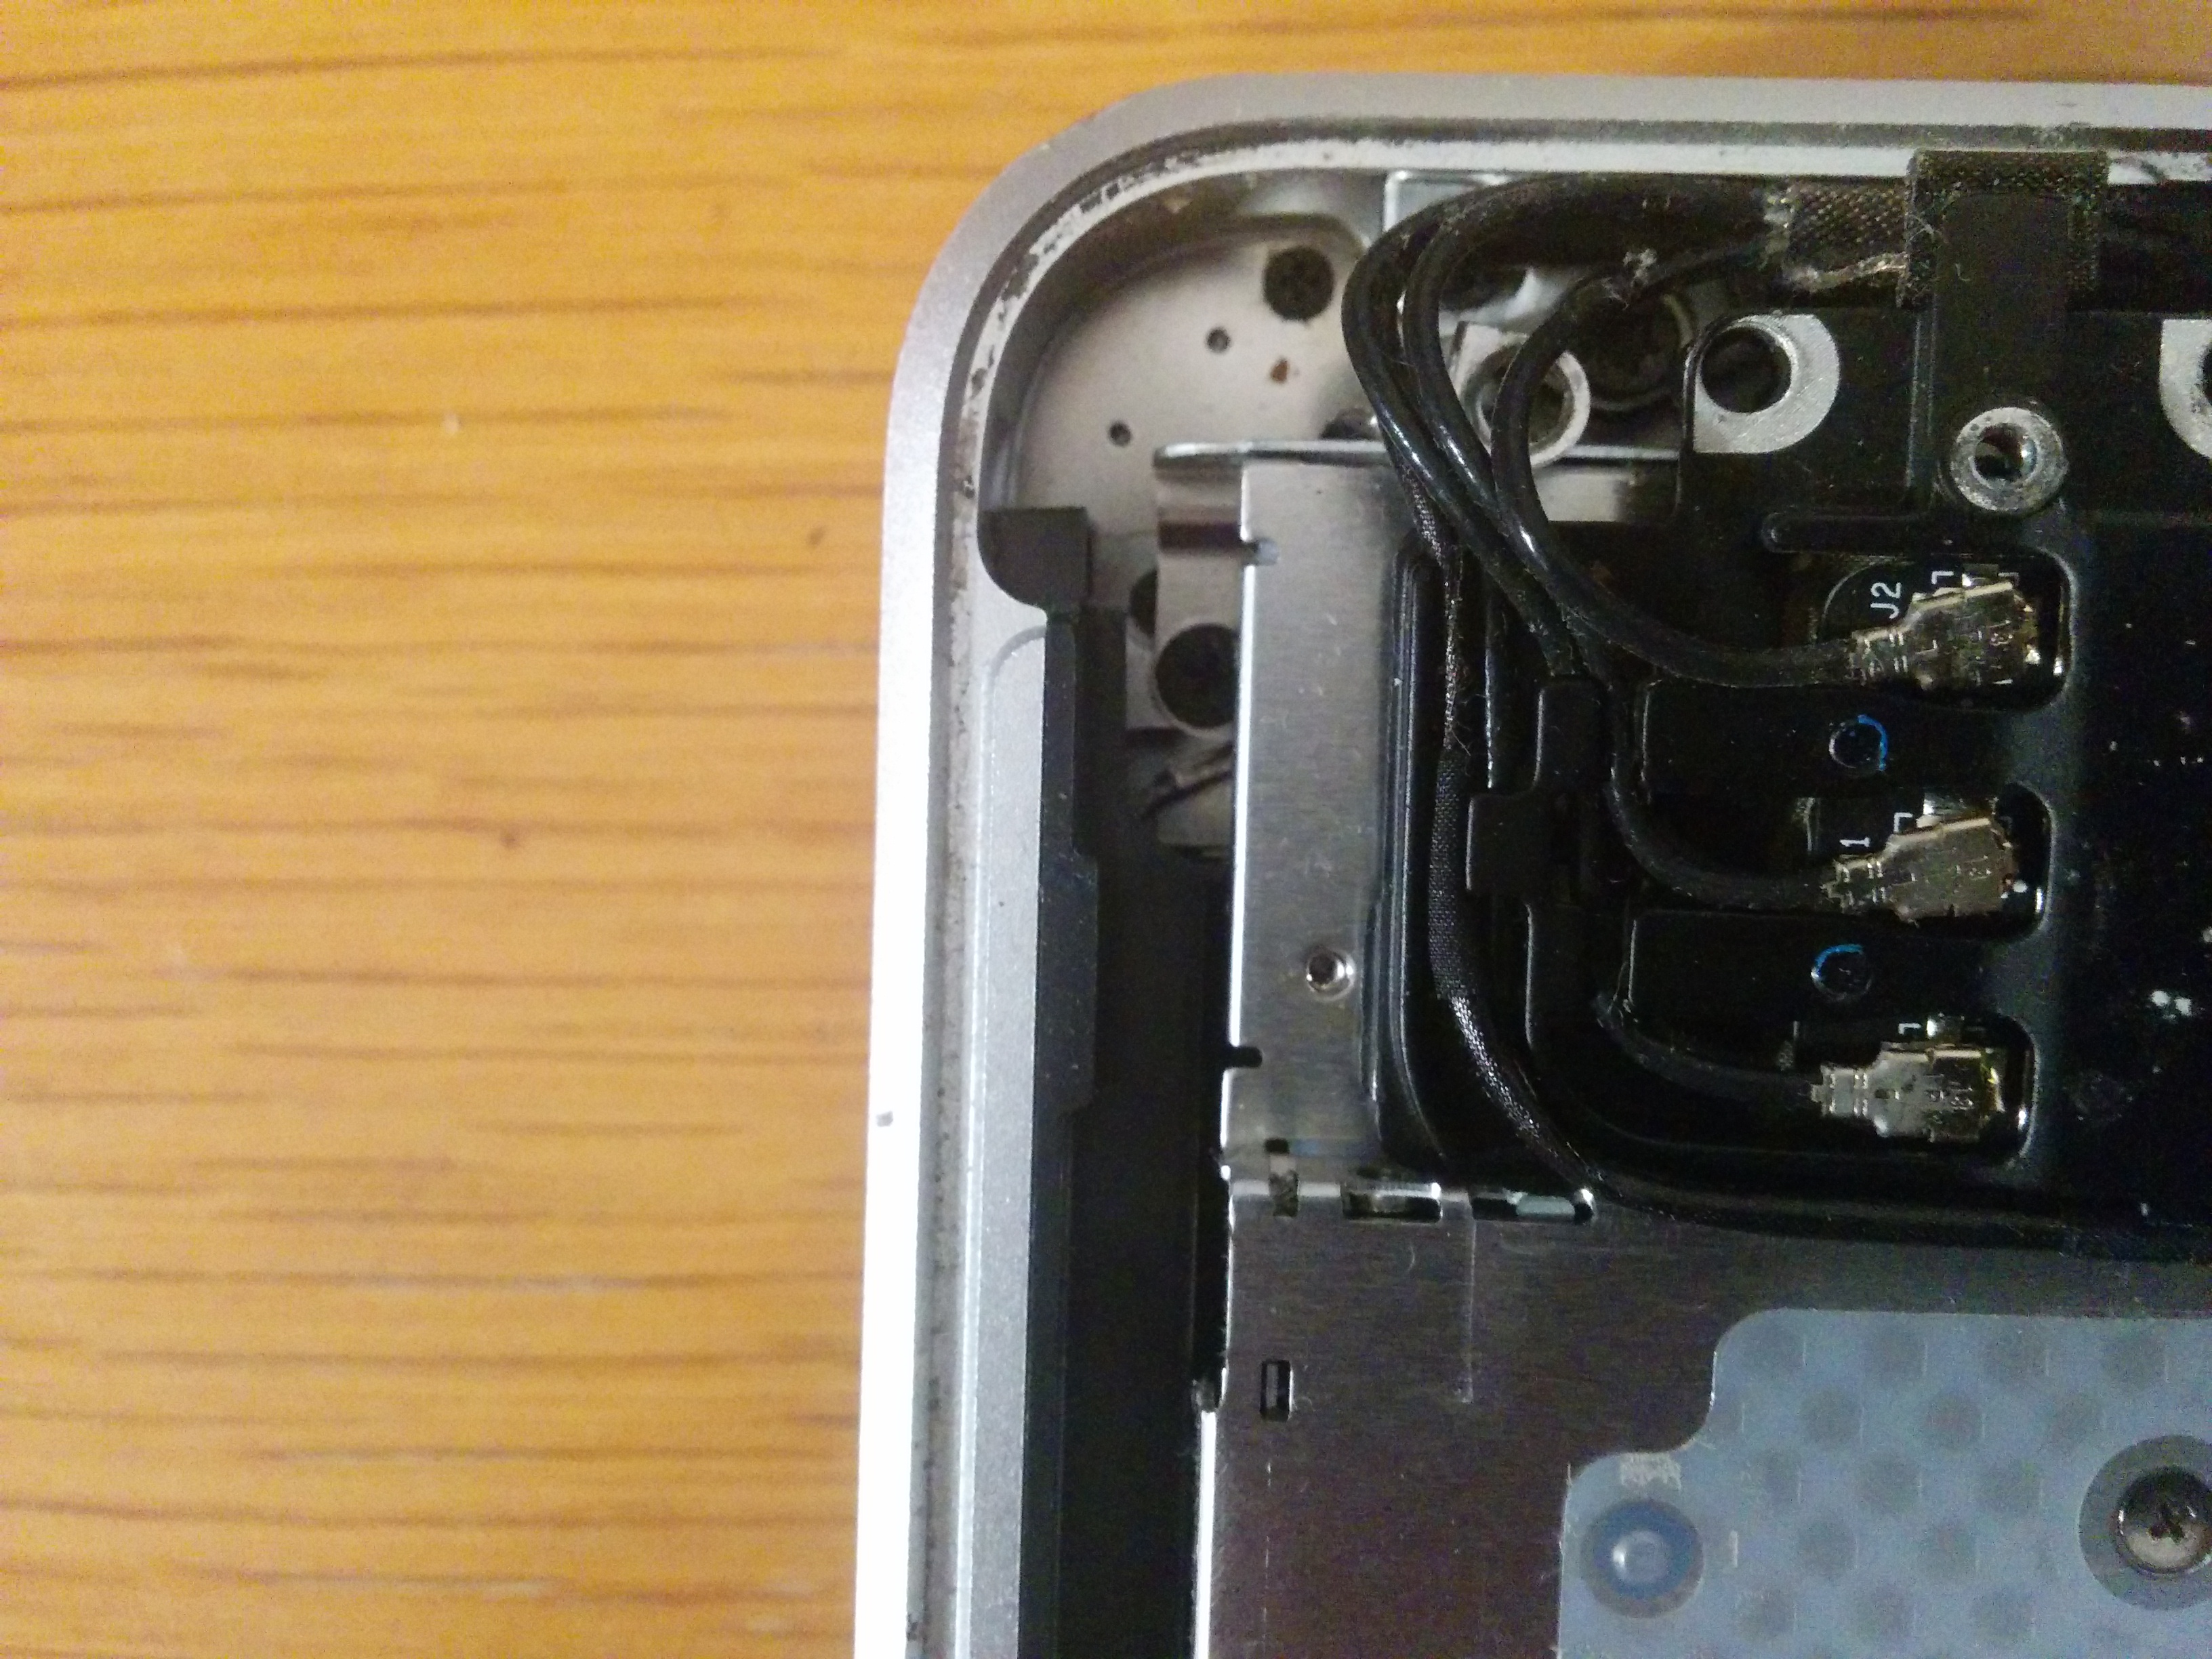
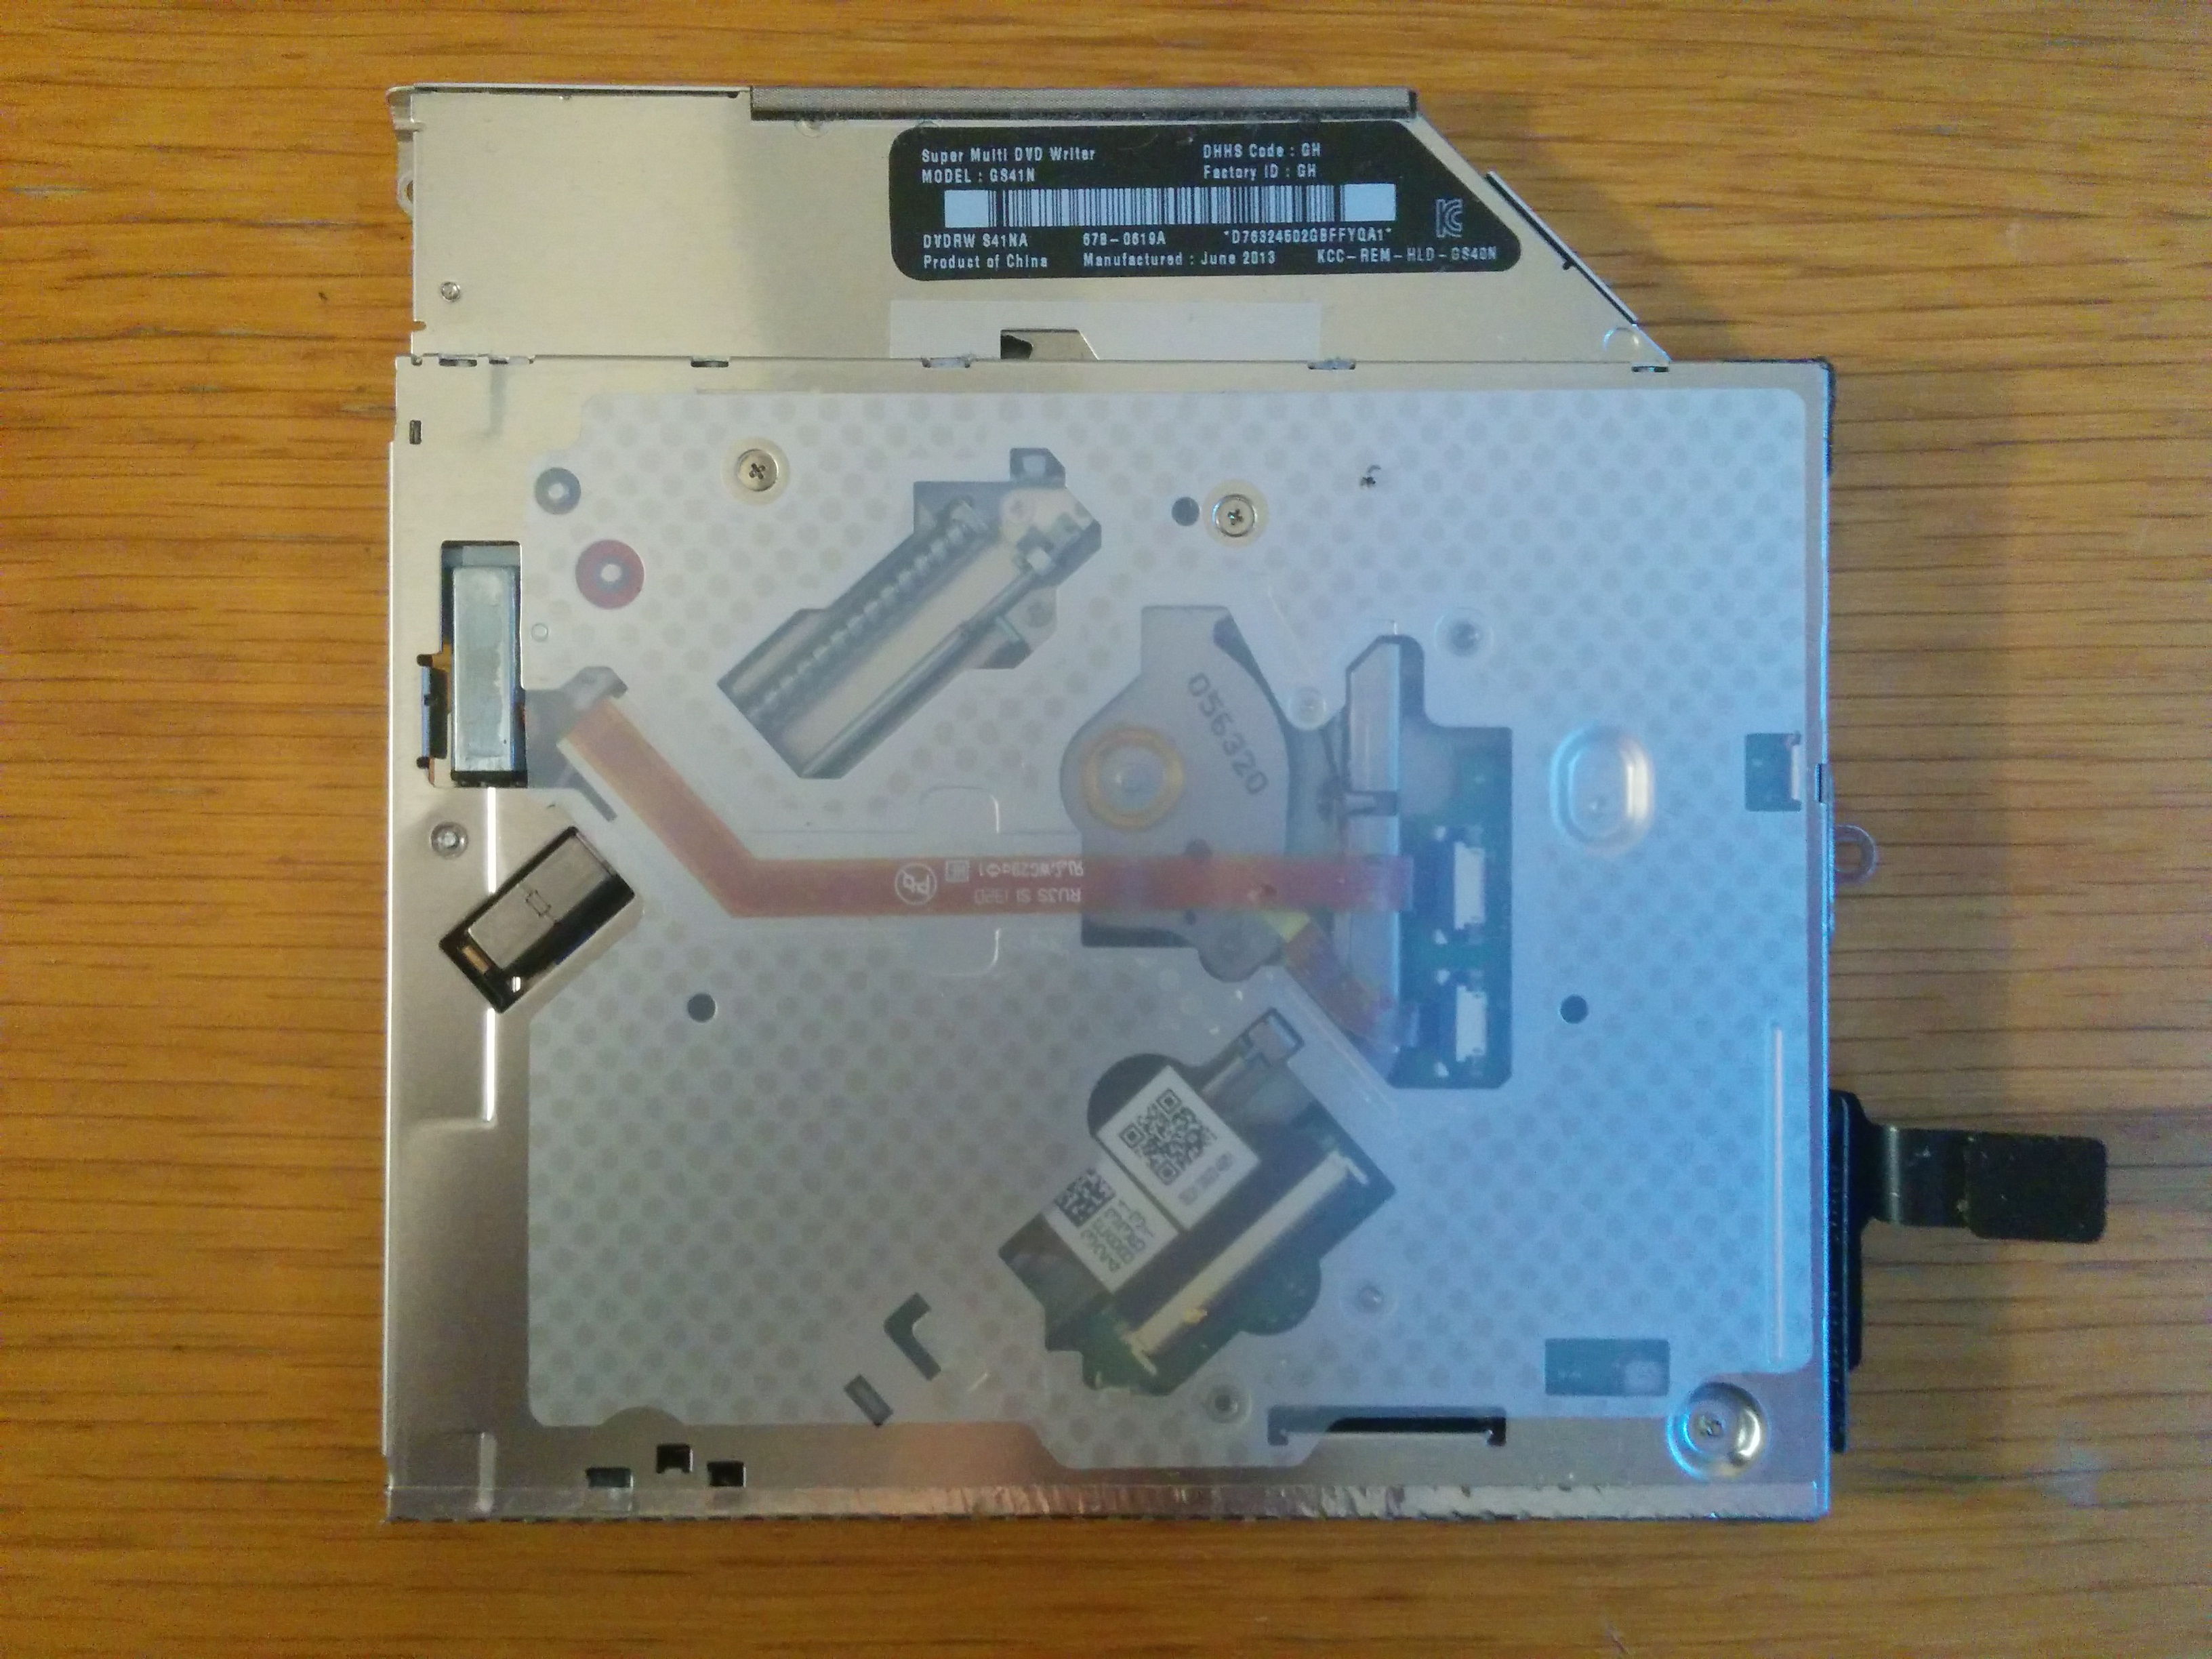
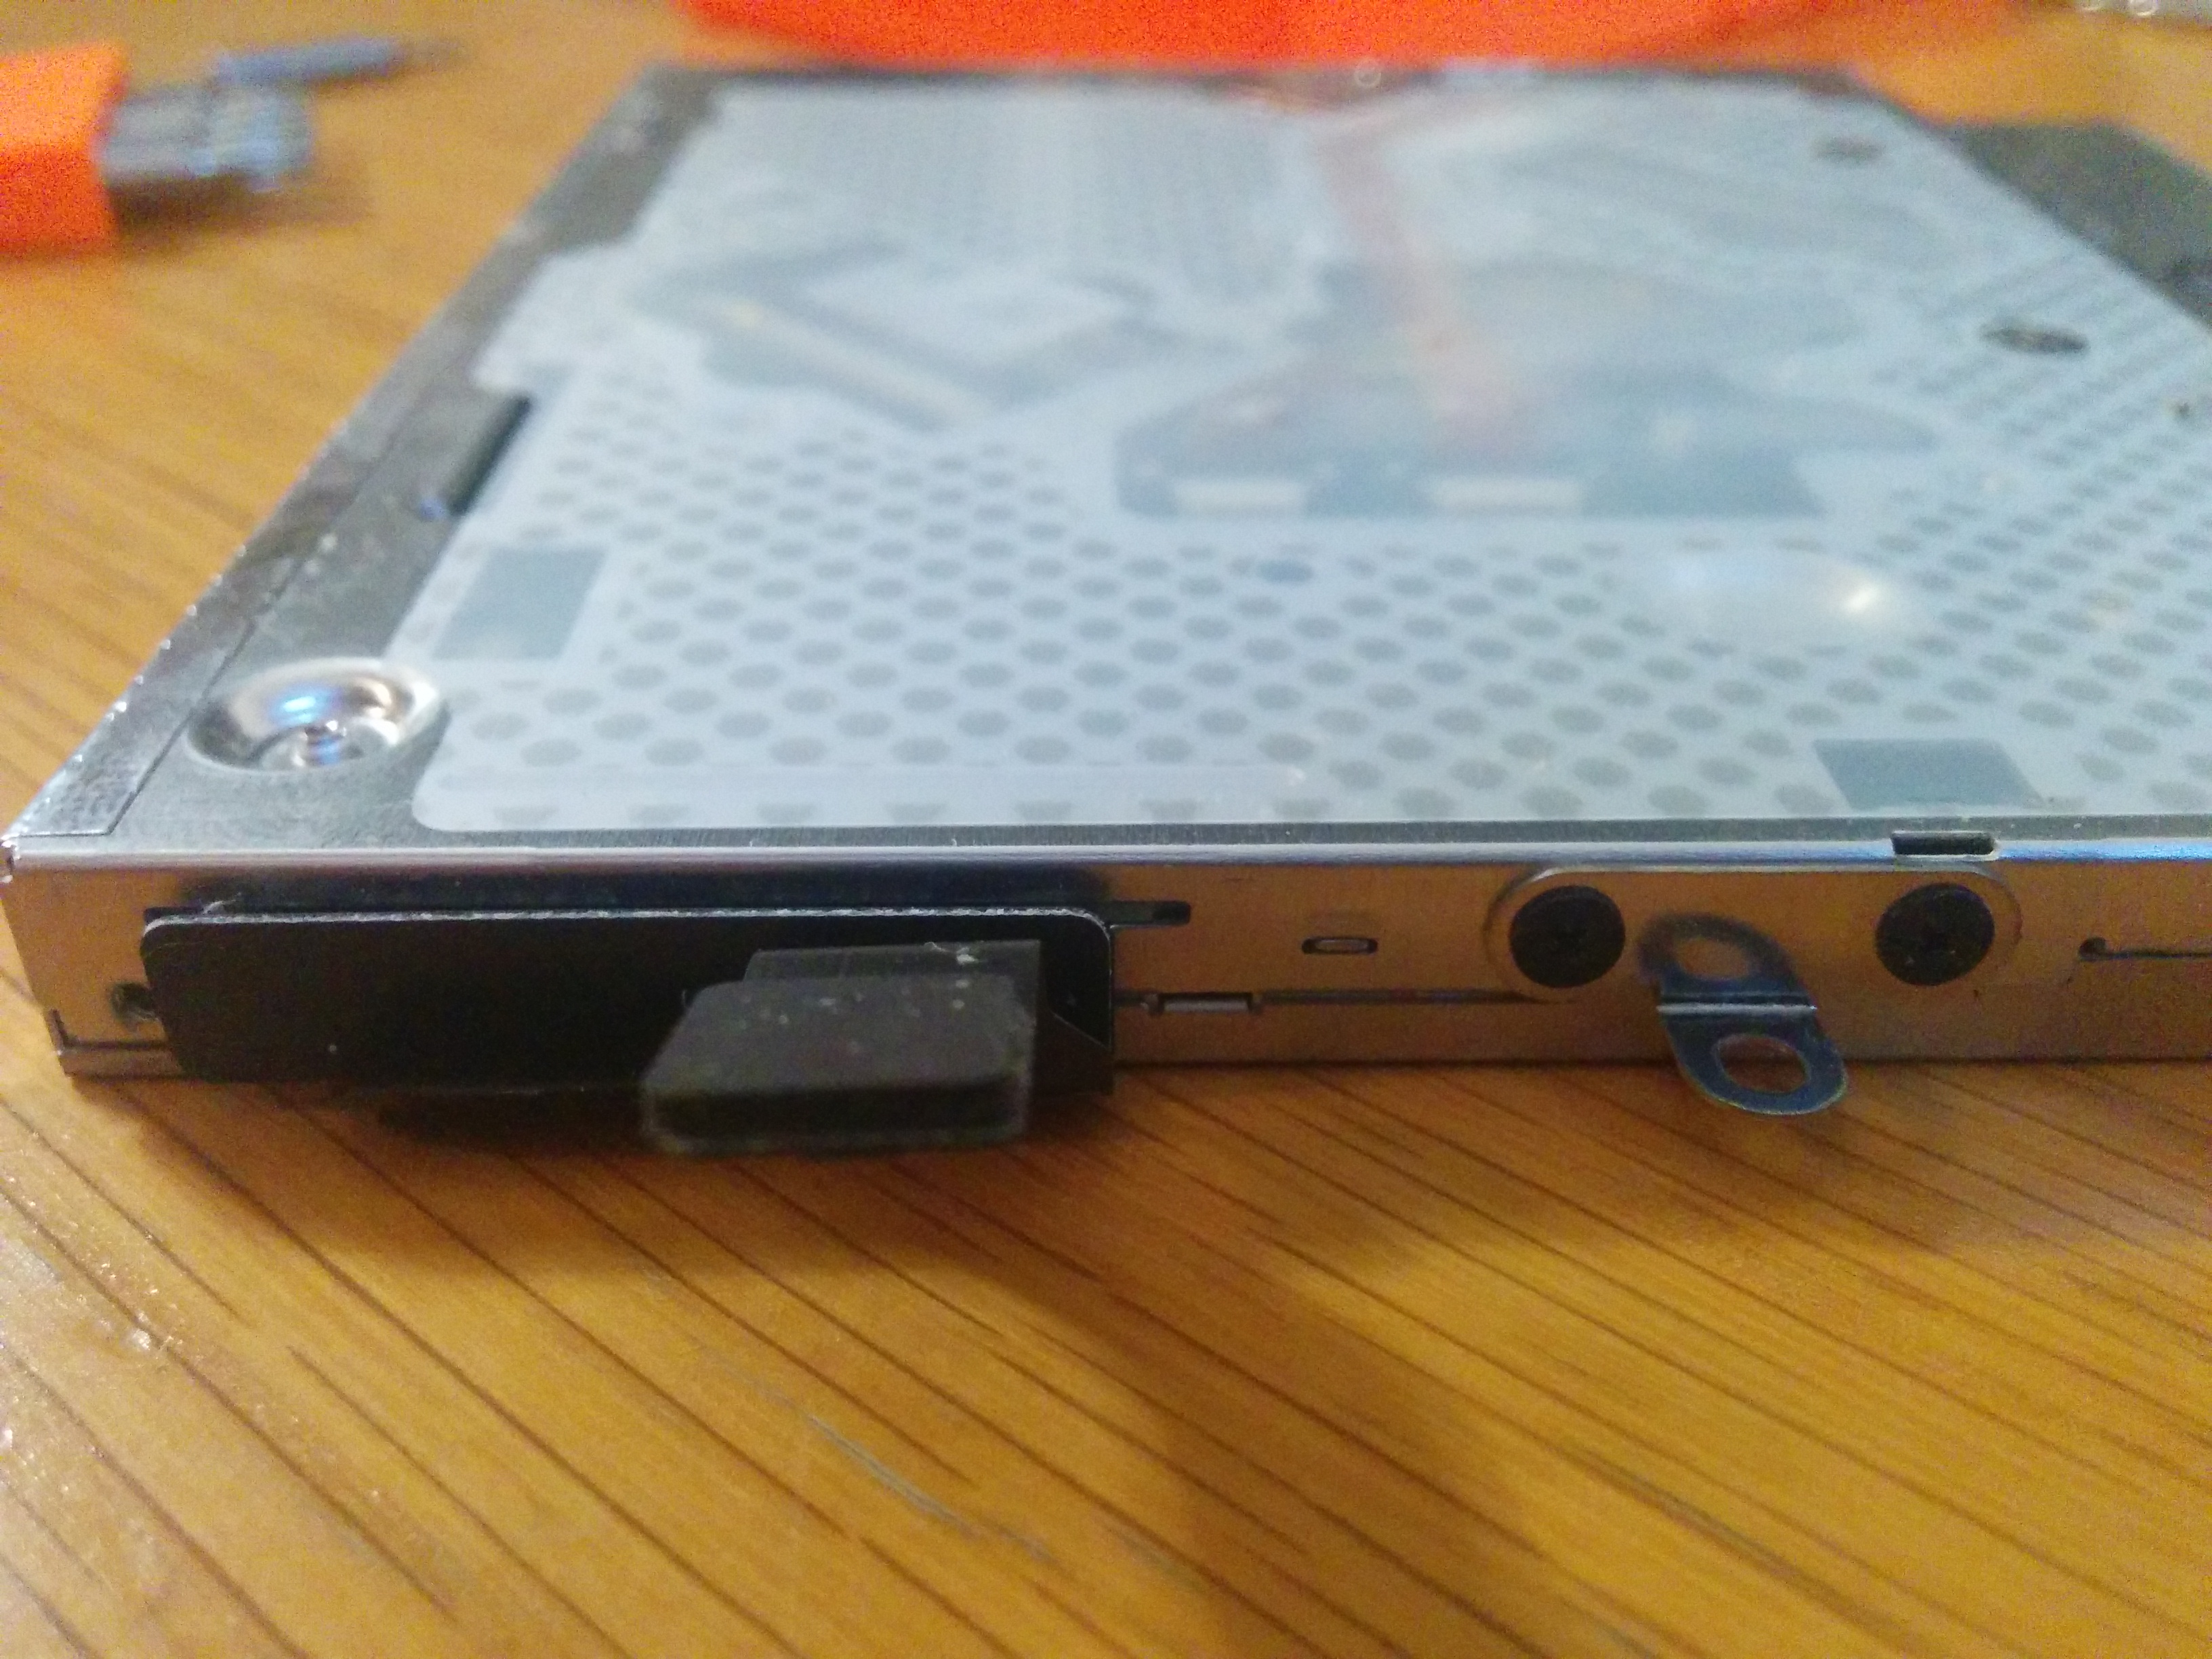
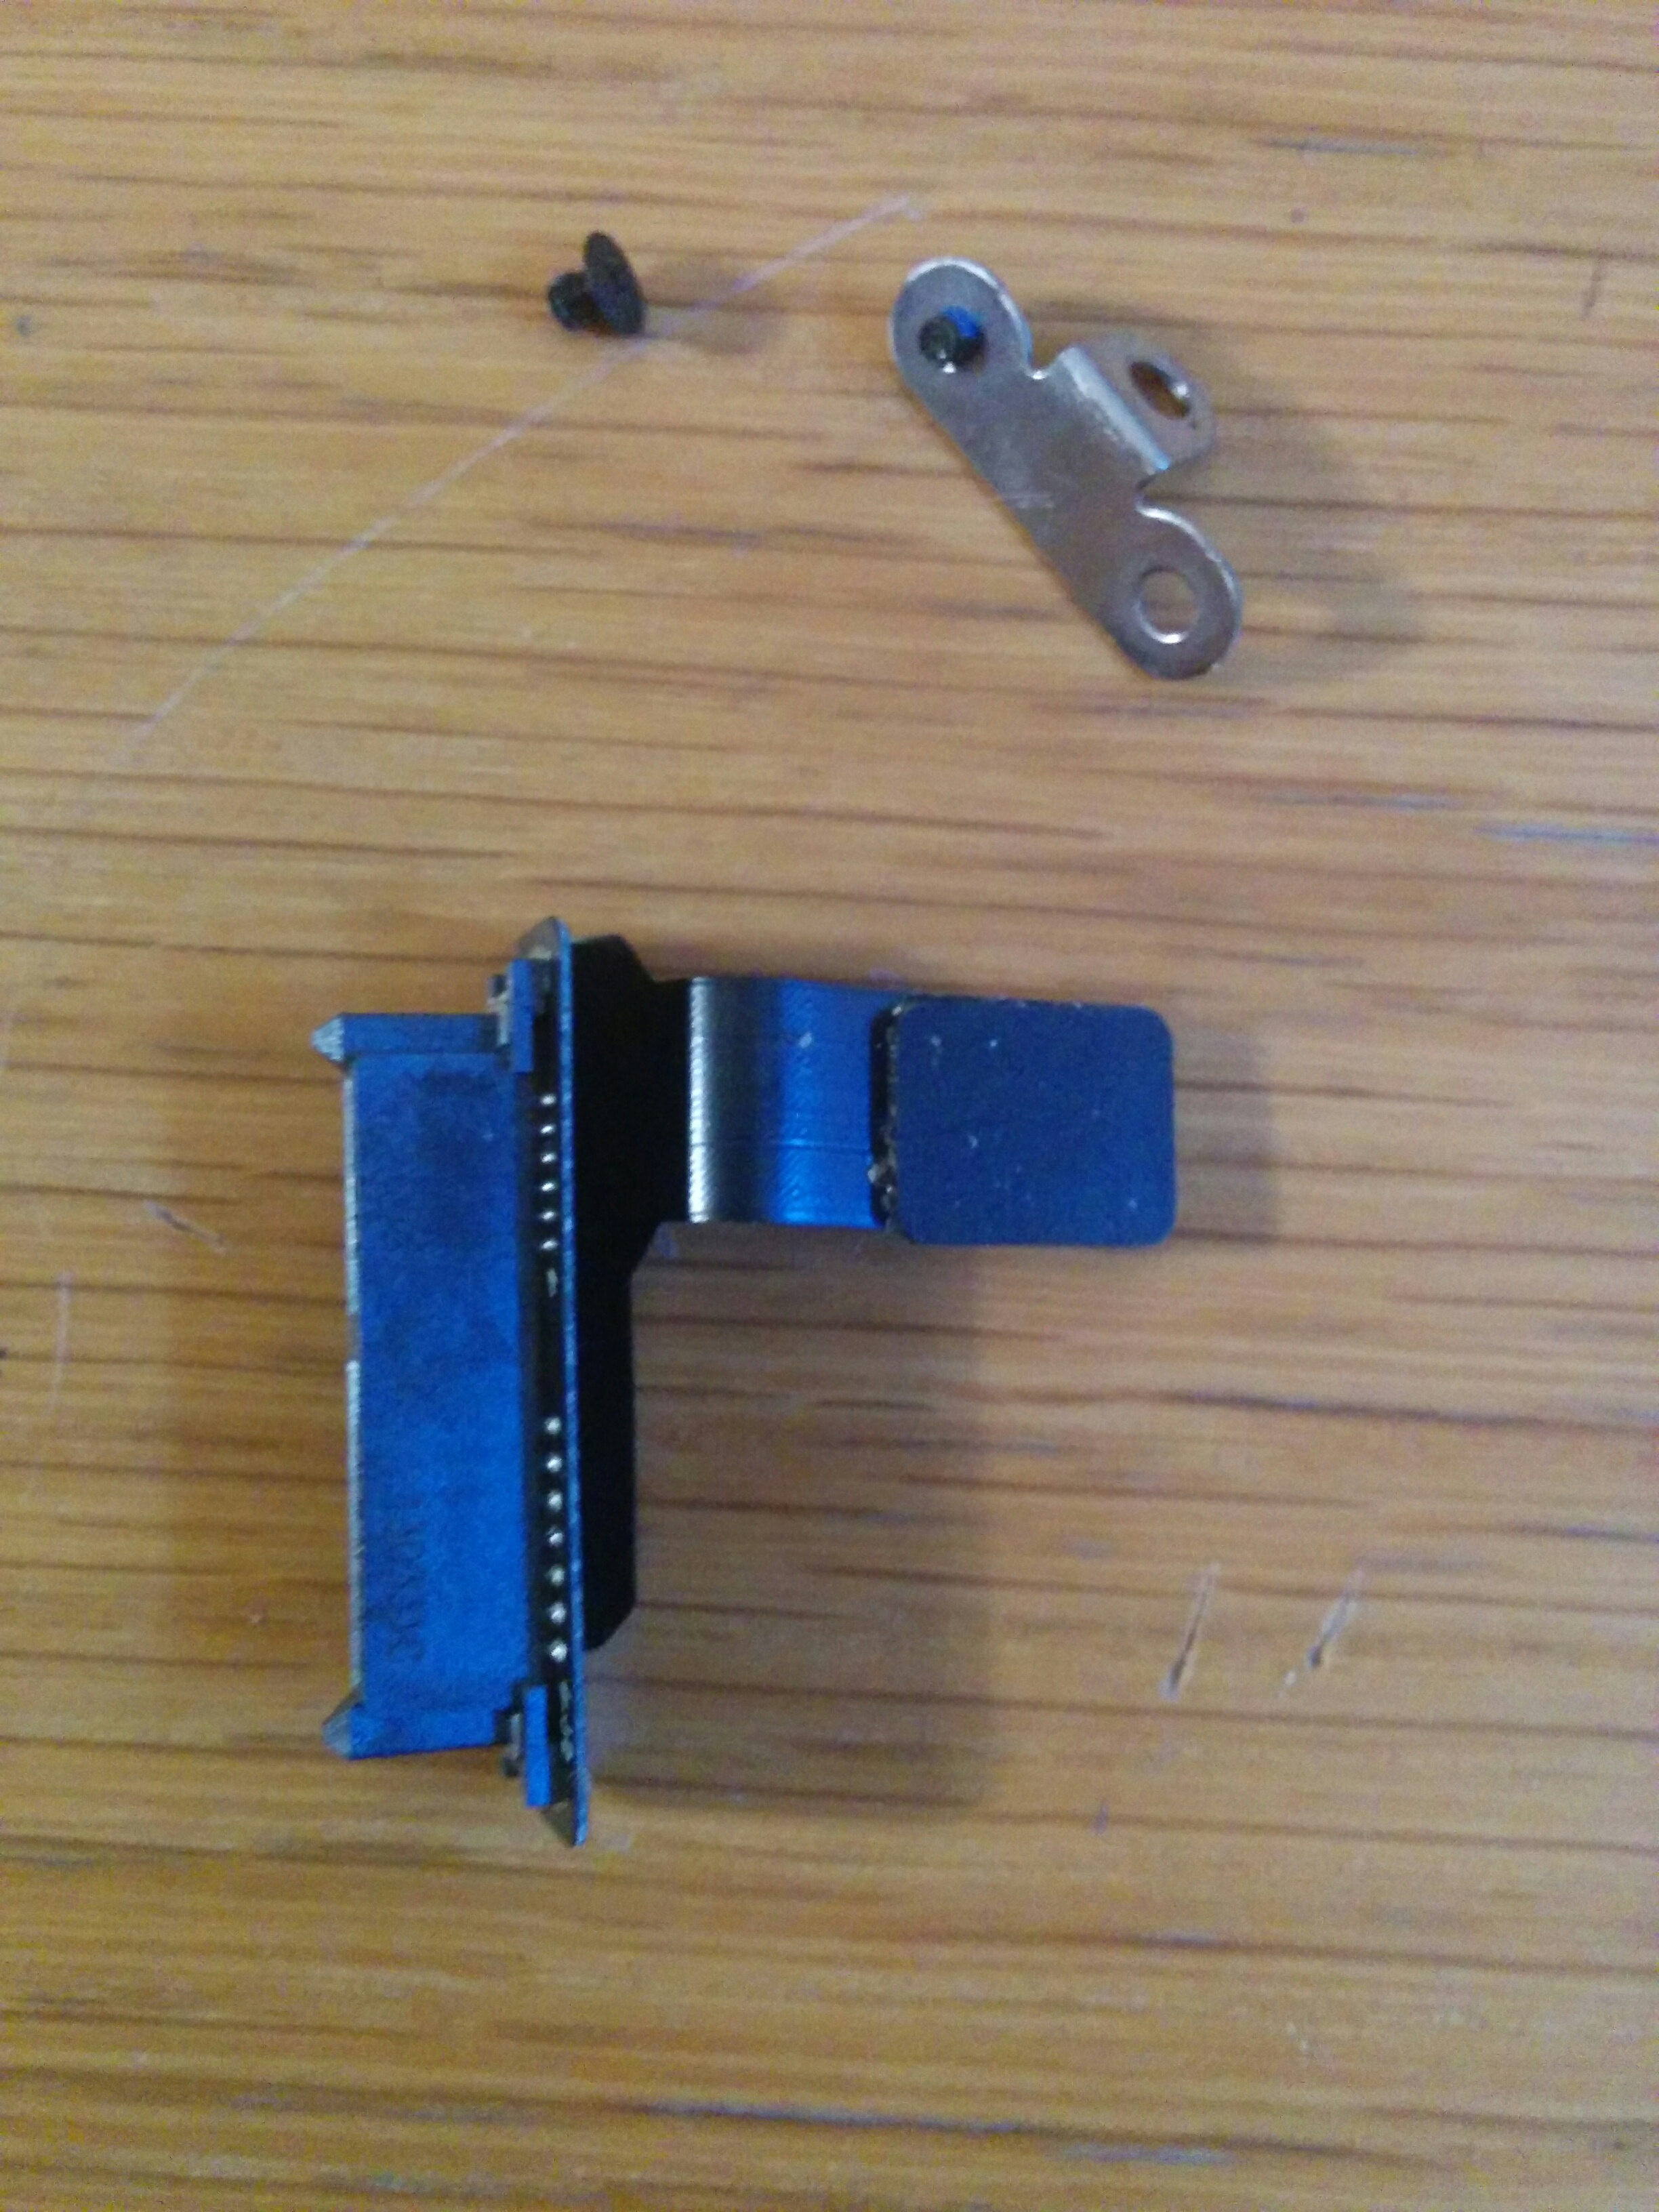
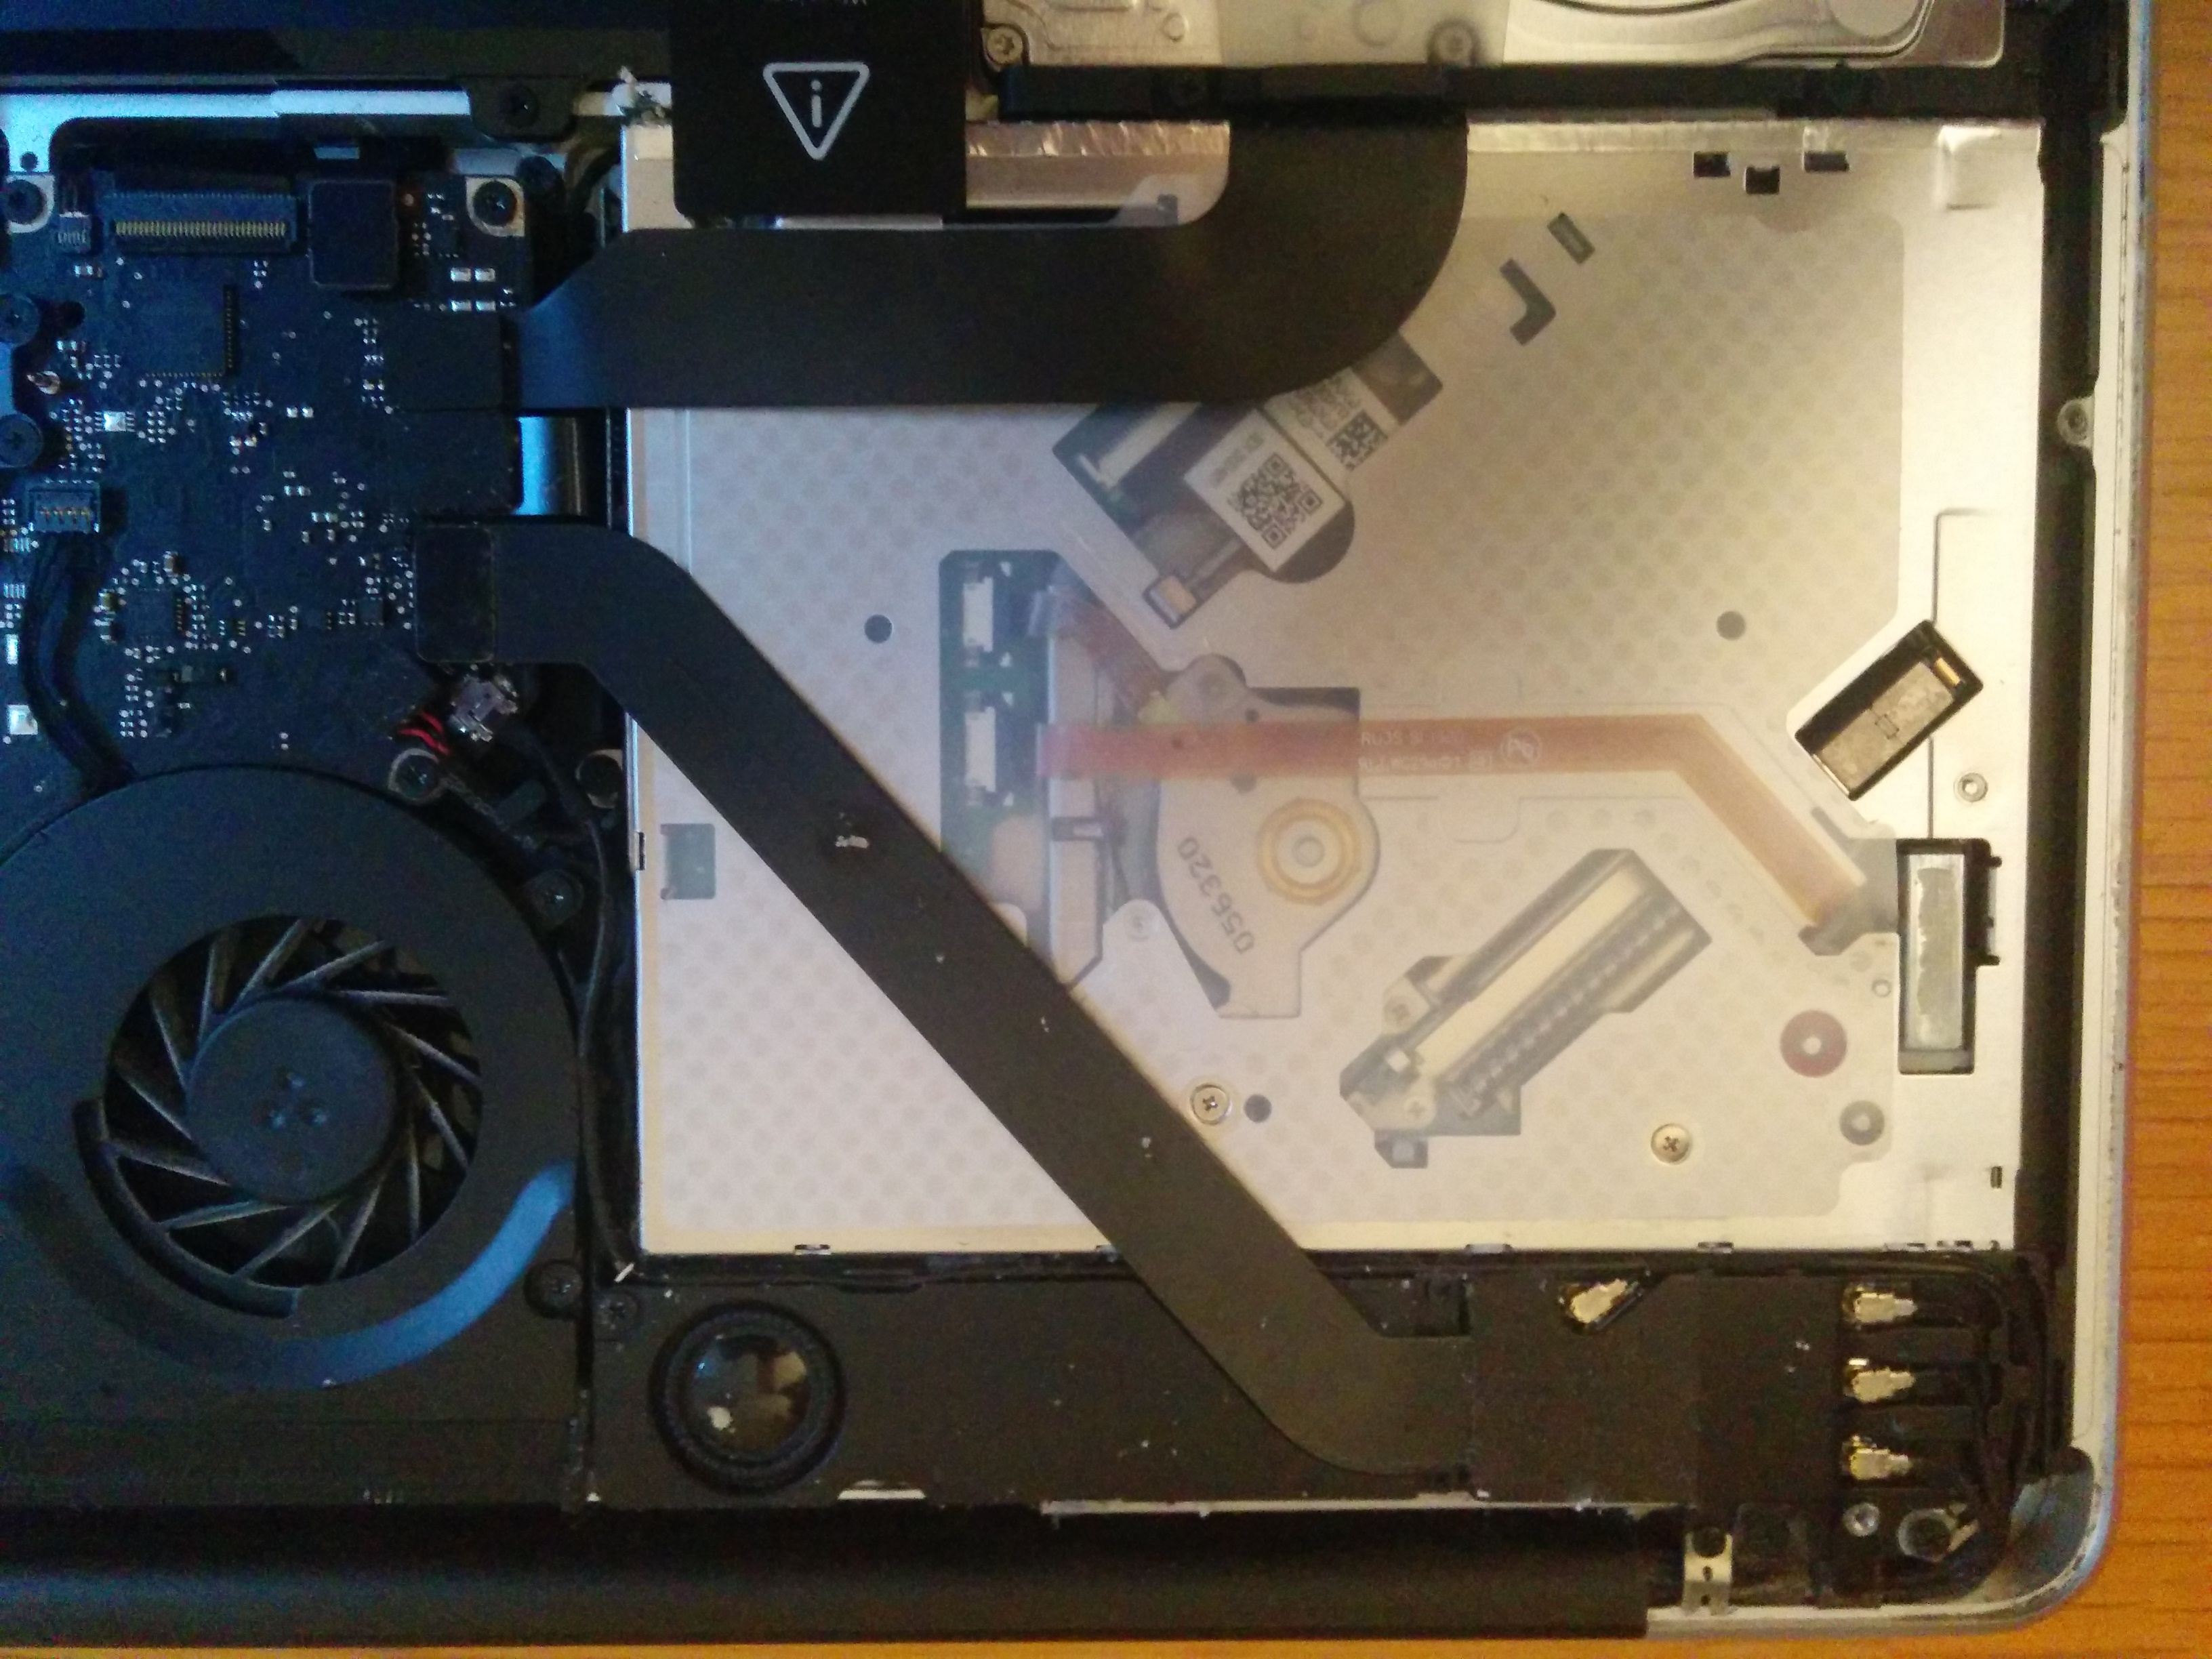
The Optical drive, CD/DVD drive, whatever you want to call it is tough to get out. Not only are there screws everywhere, but there are other things in its way like the speakers, and other SATA cables.
The last time I did this was on an older MBP and the screws, speakers, as well as other things were not in the same place this time. It doesn't really change much so I didn't look it up. A good place to look all of this up is Ifixit.com, they have teardowns, tools, a bunch of other things that are cool to look at.
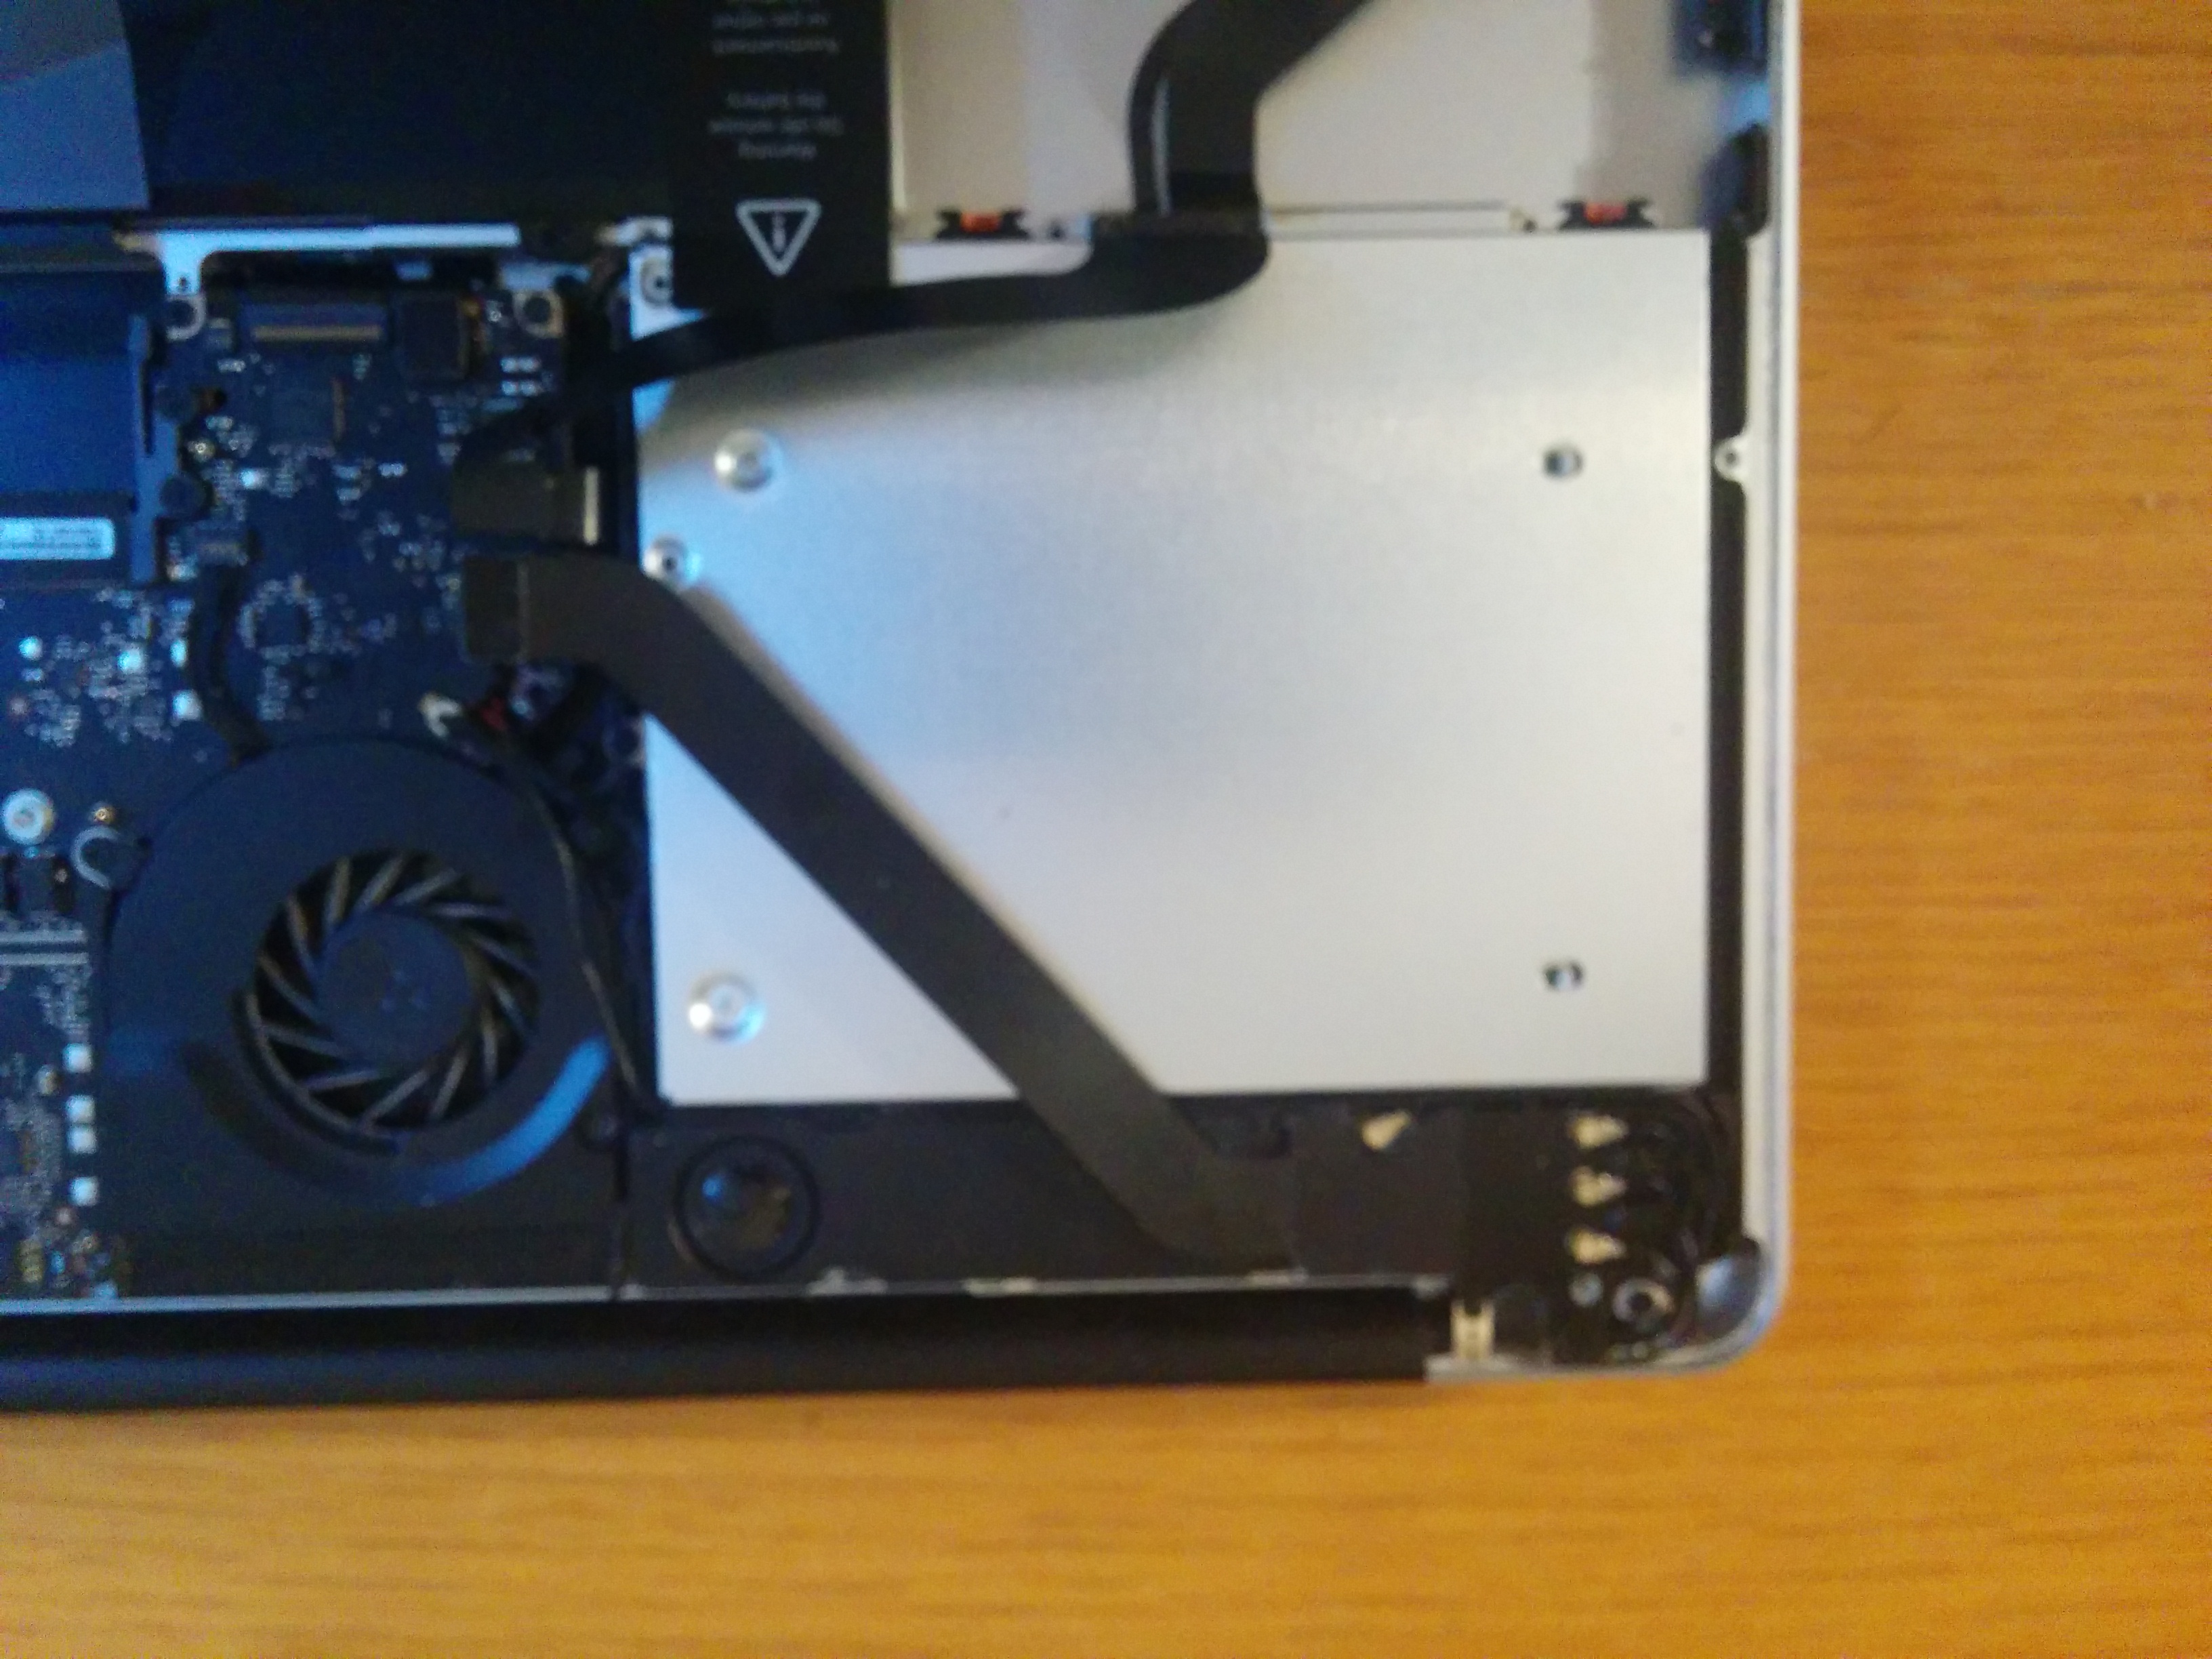
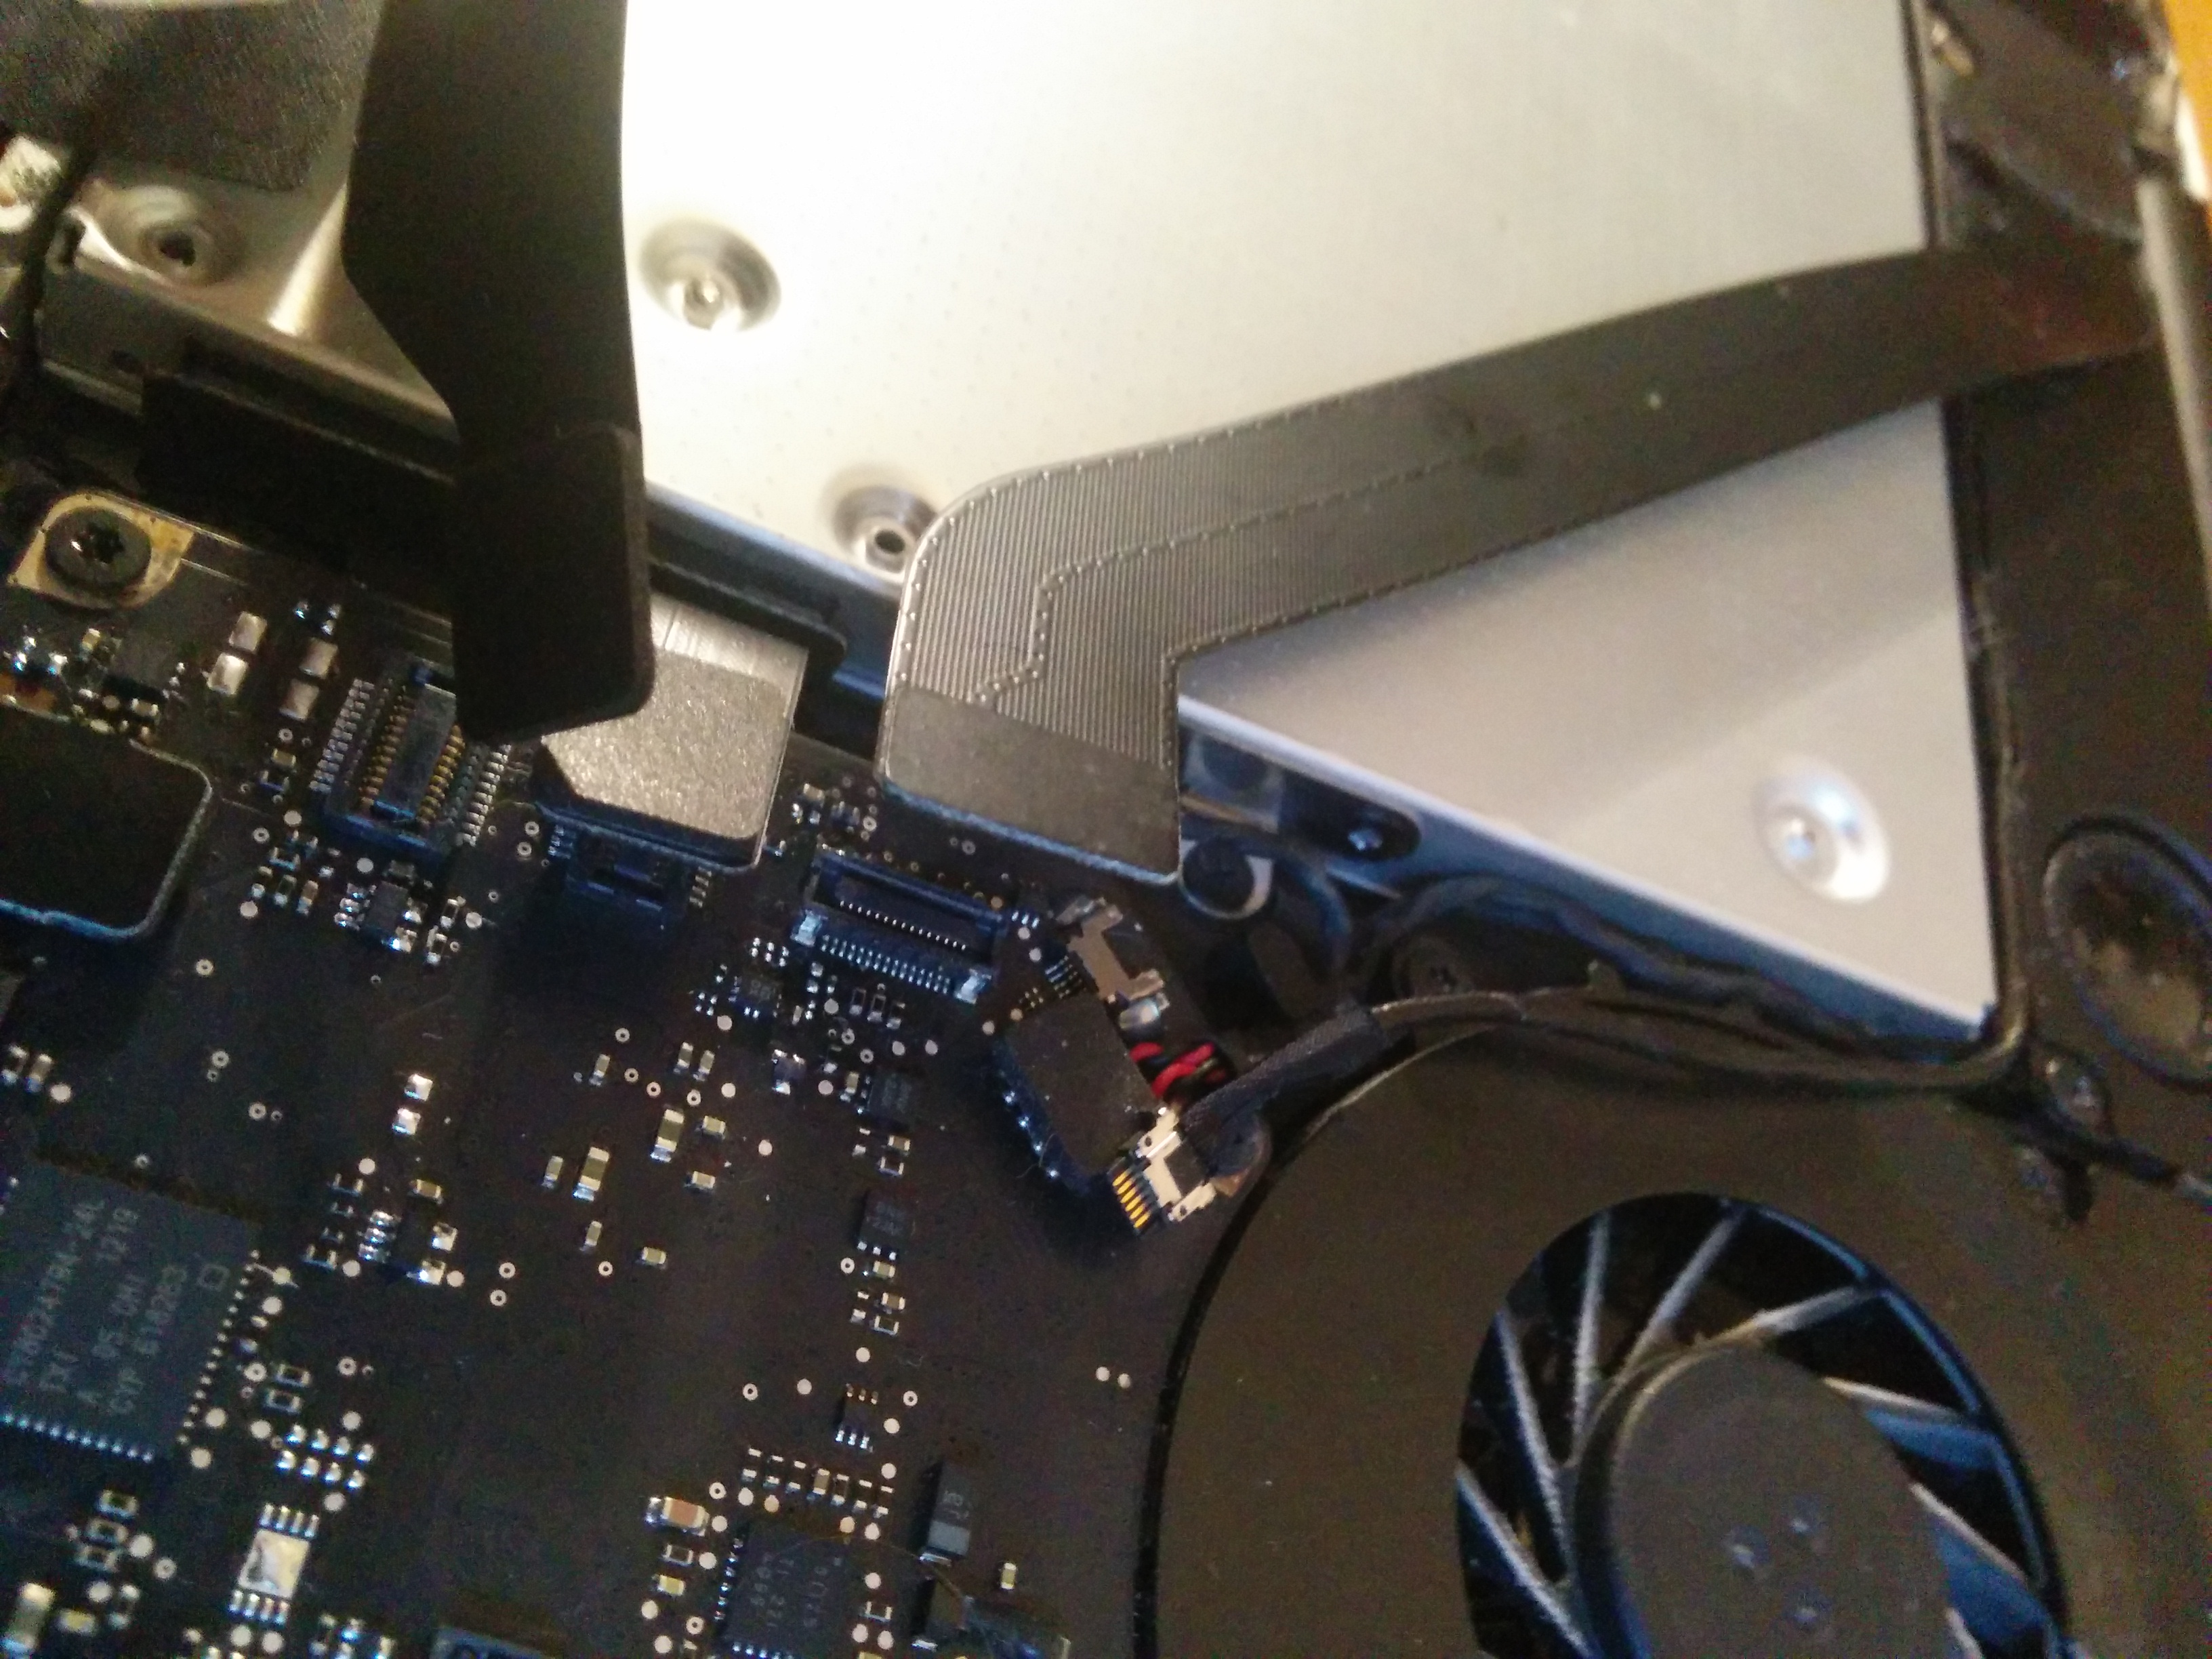
The pictures show where the screws are, and how to get to them.
The first picture shows the connections that need to be unhooked to free the optical drive.
Then the screws have to be found and taken off.
To find the last screws, you need to remove the speakers, or at least lift it up (Second picture - black bar).
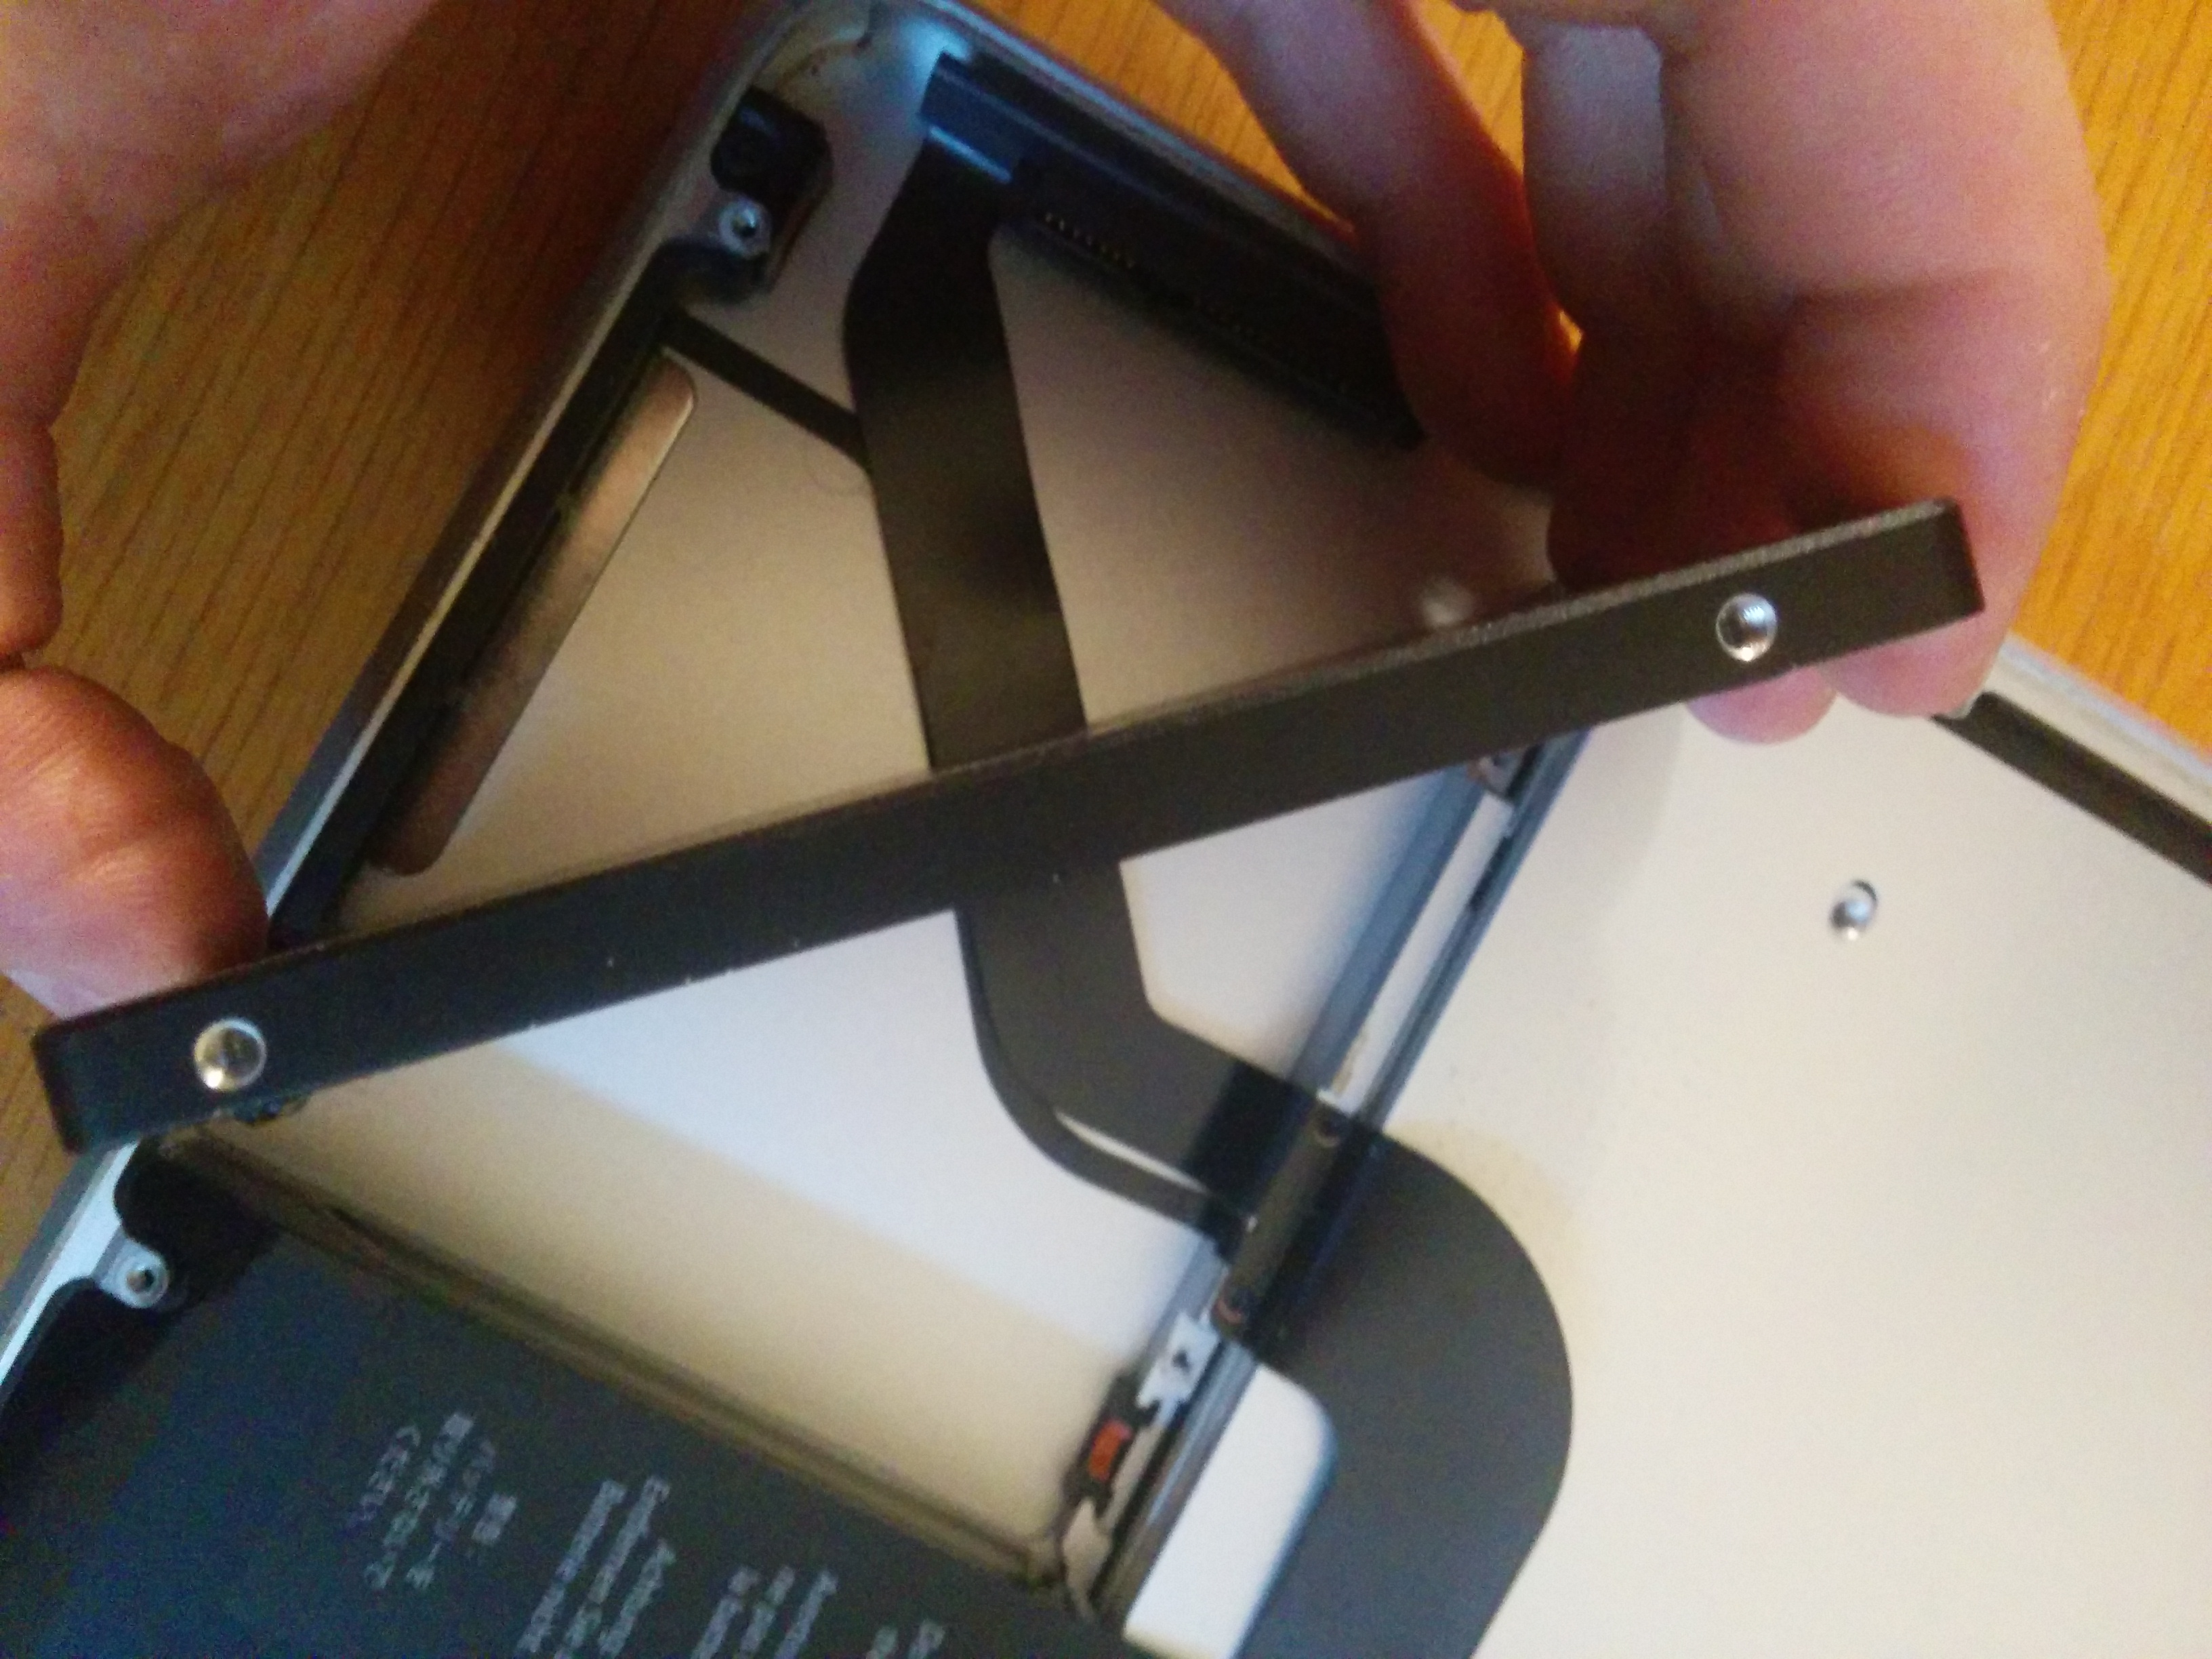
Then the drive can be shimmied out of it's location and its connections and hook (Last picture) need to be removed so they can be placed on the Optibay compartment in the next step.
Placing the Optibay Compartment
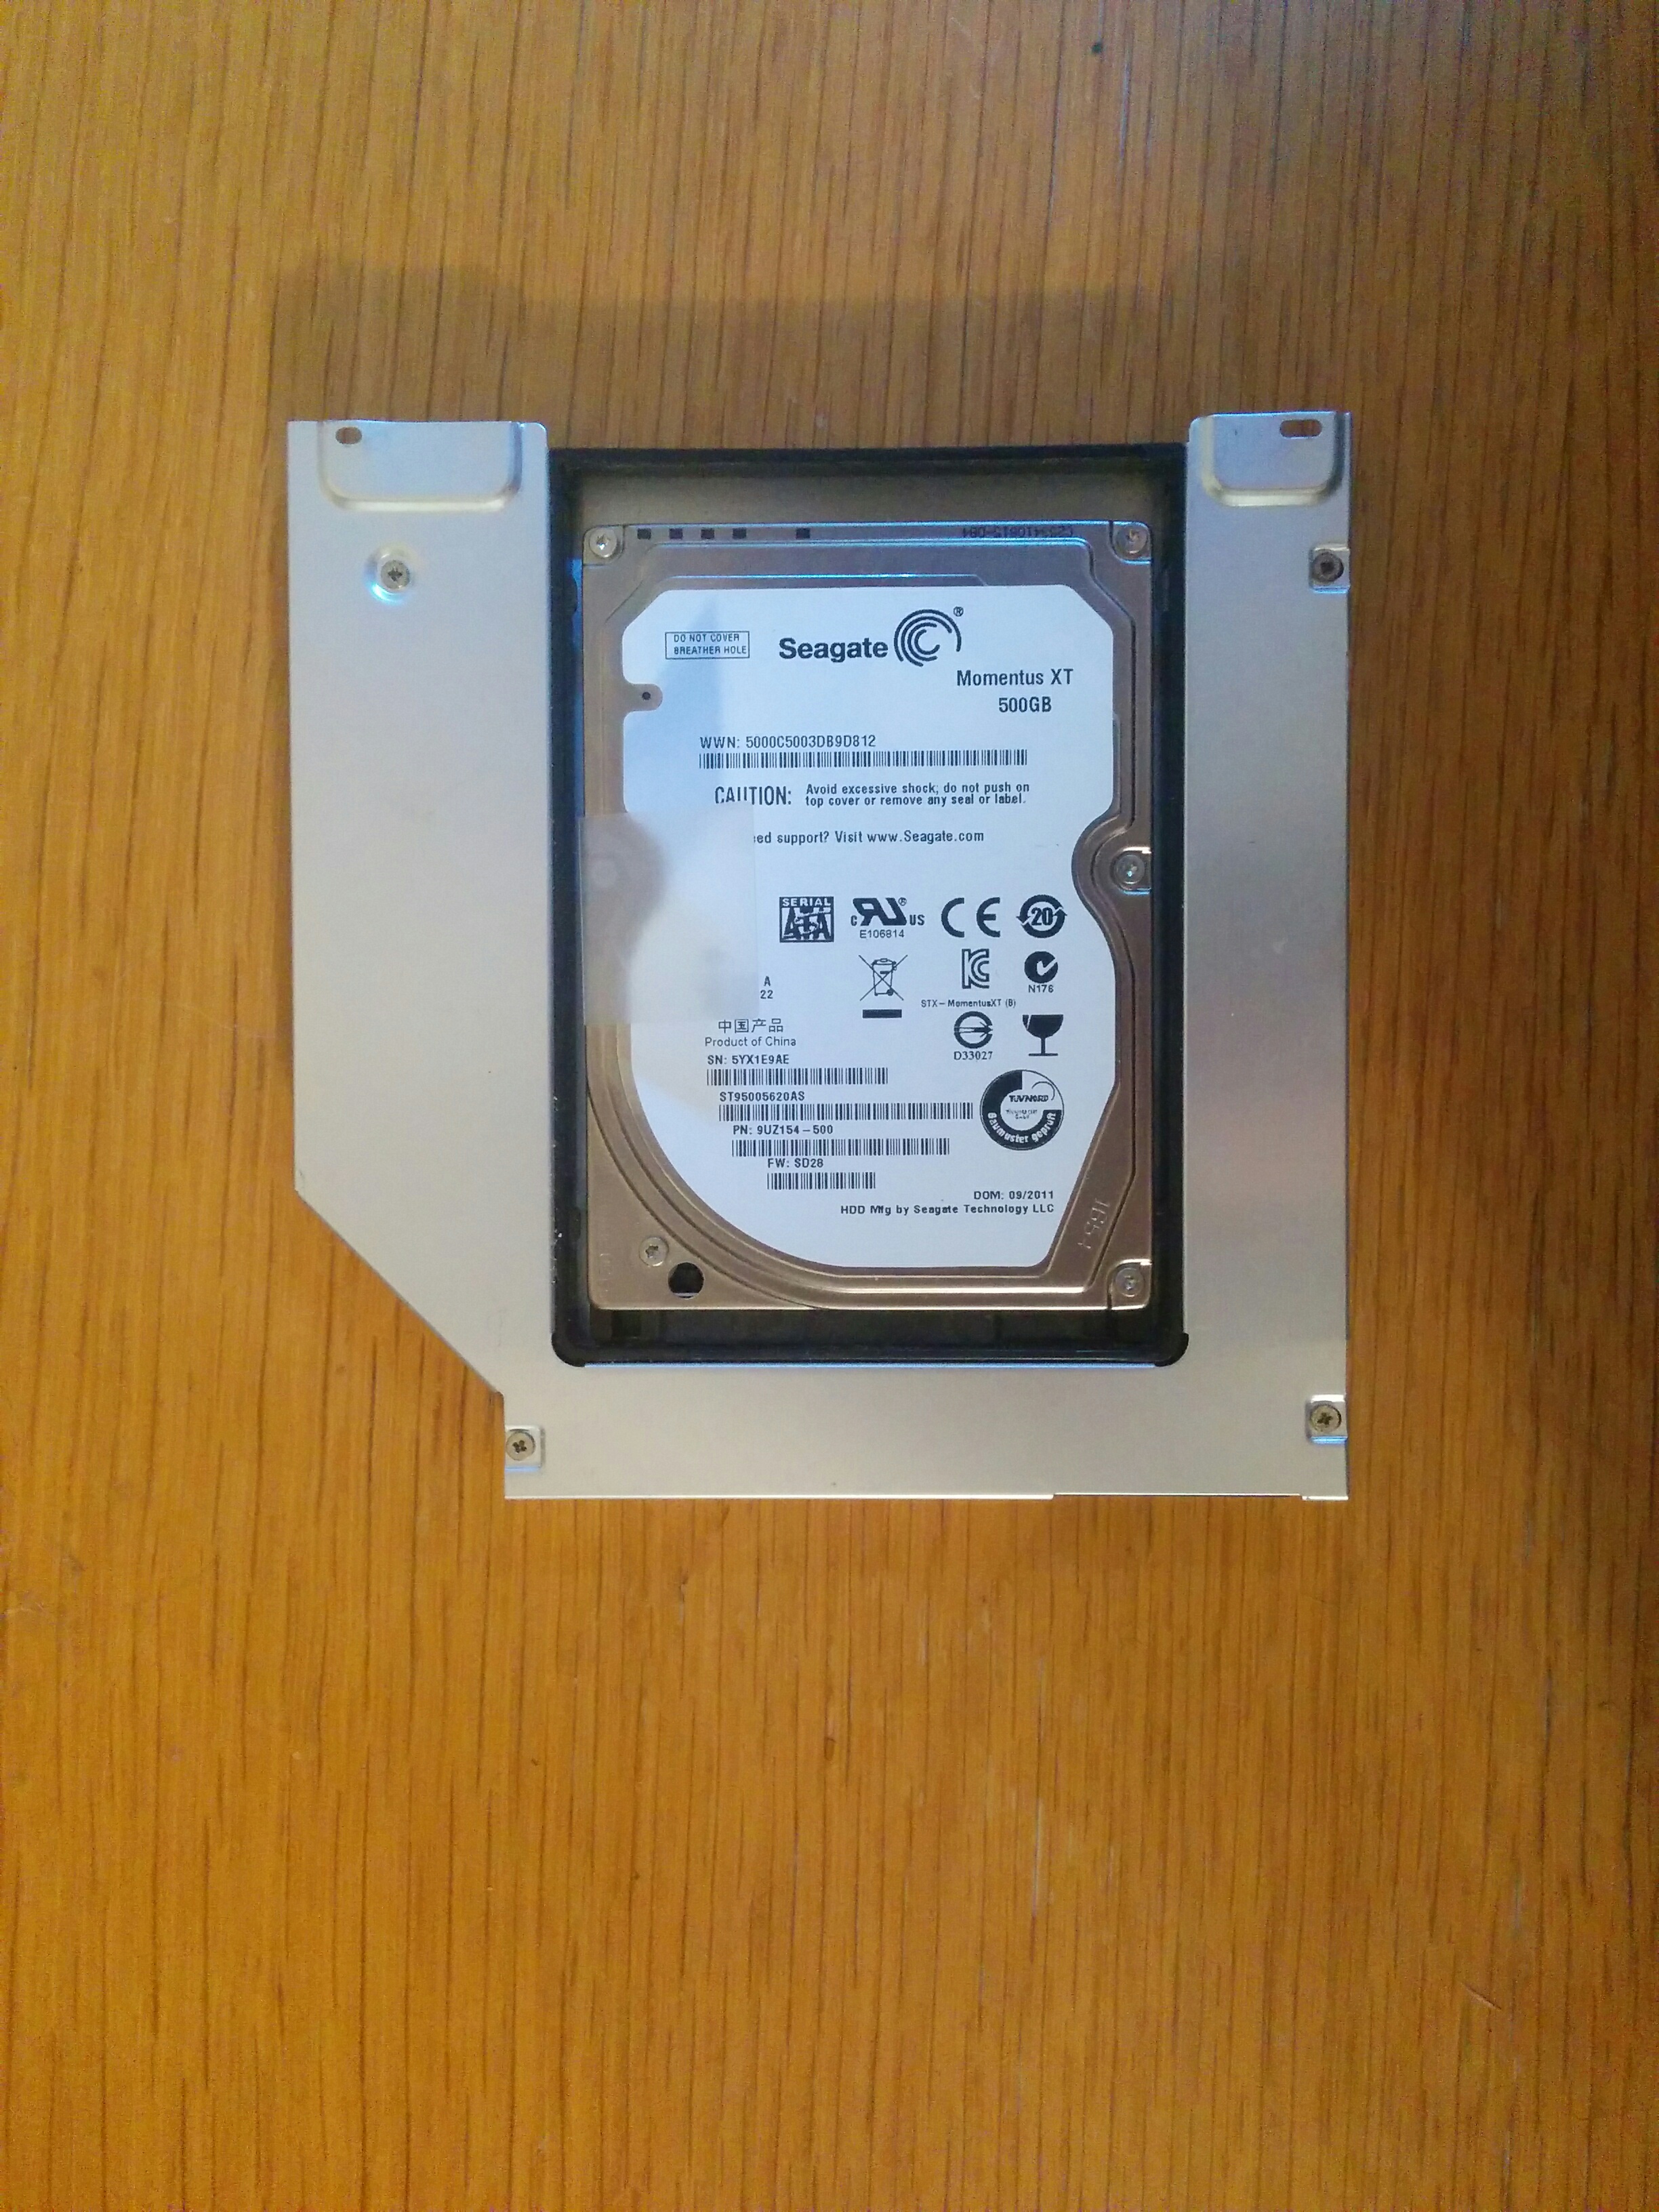
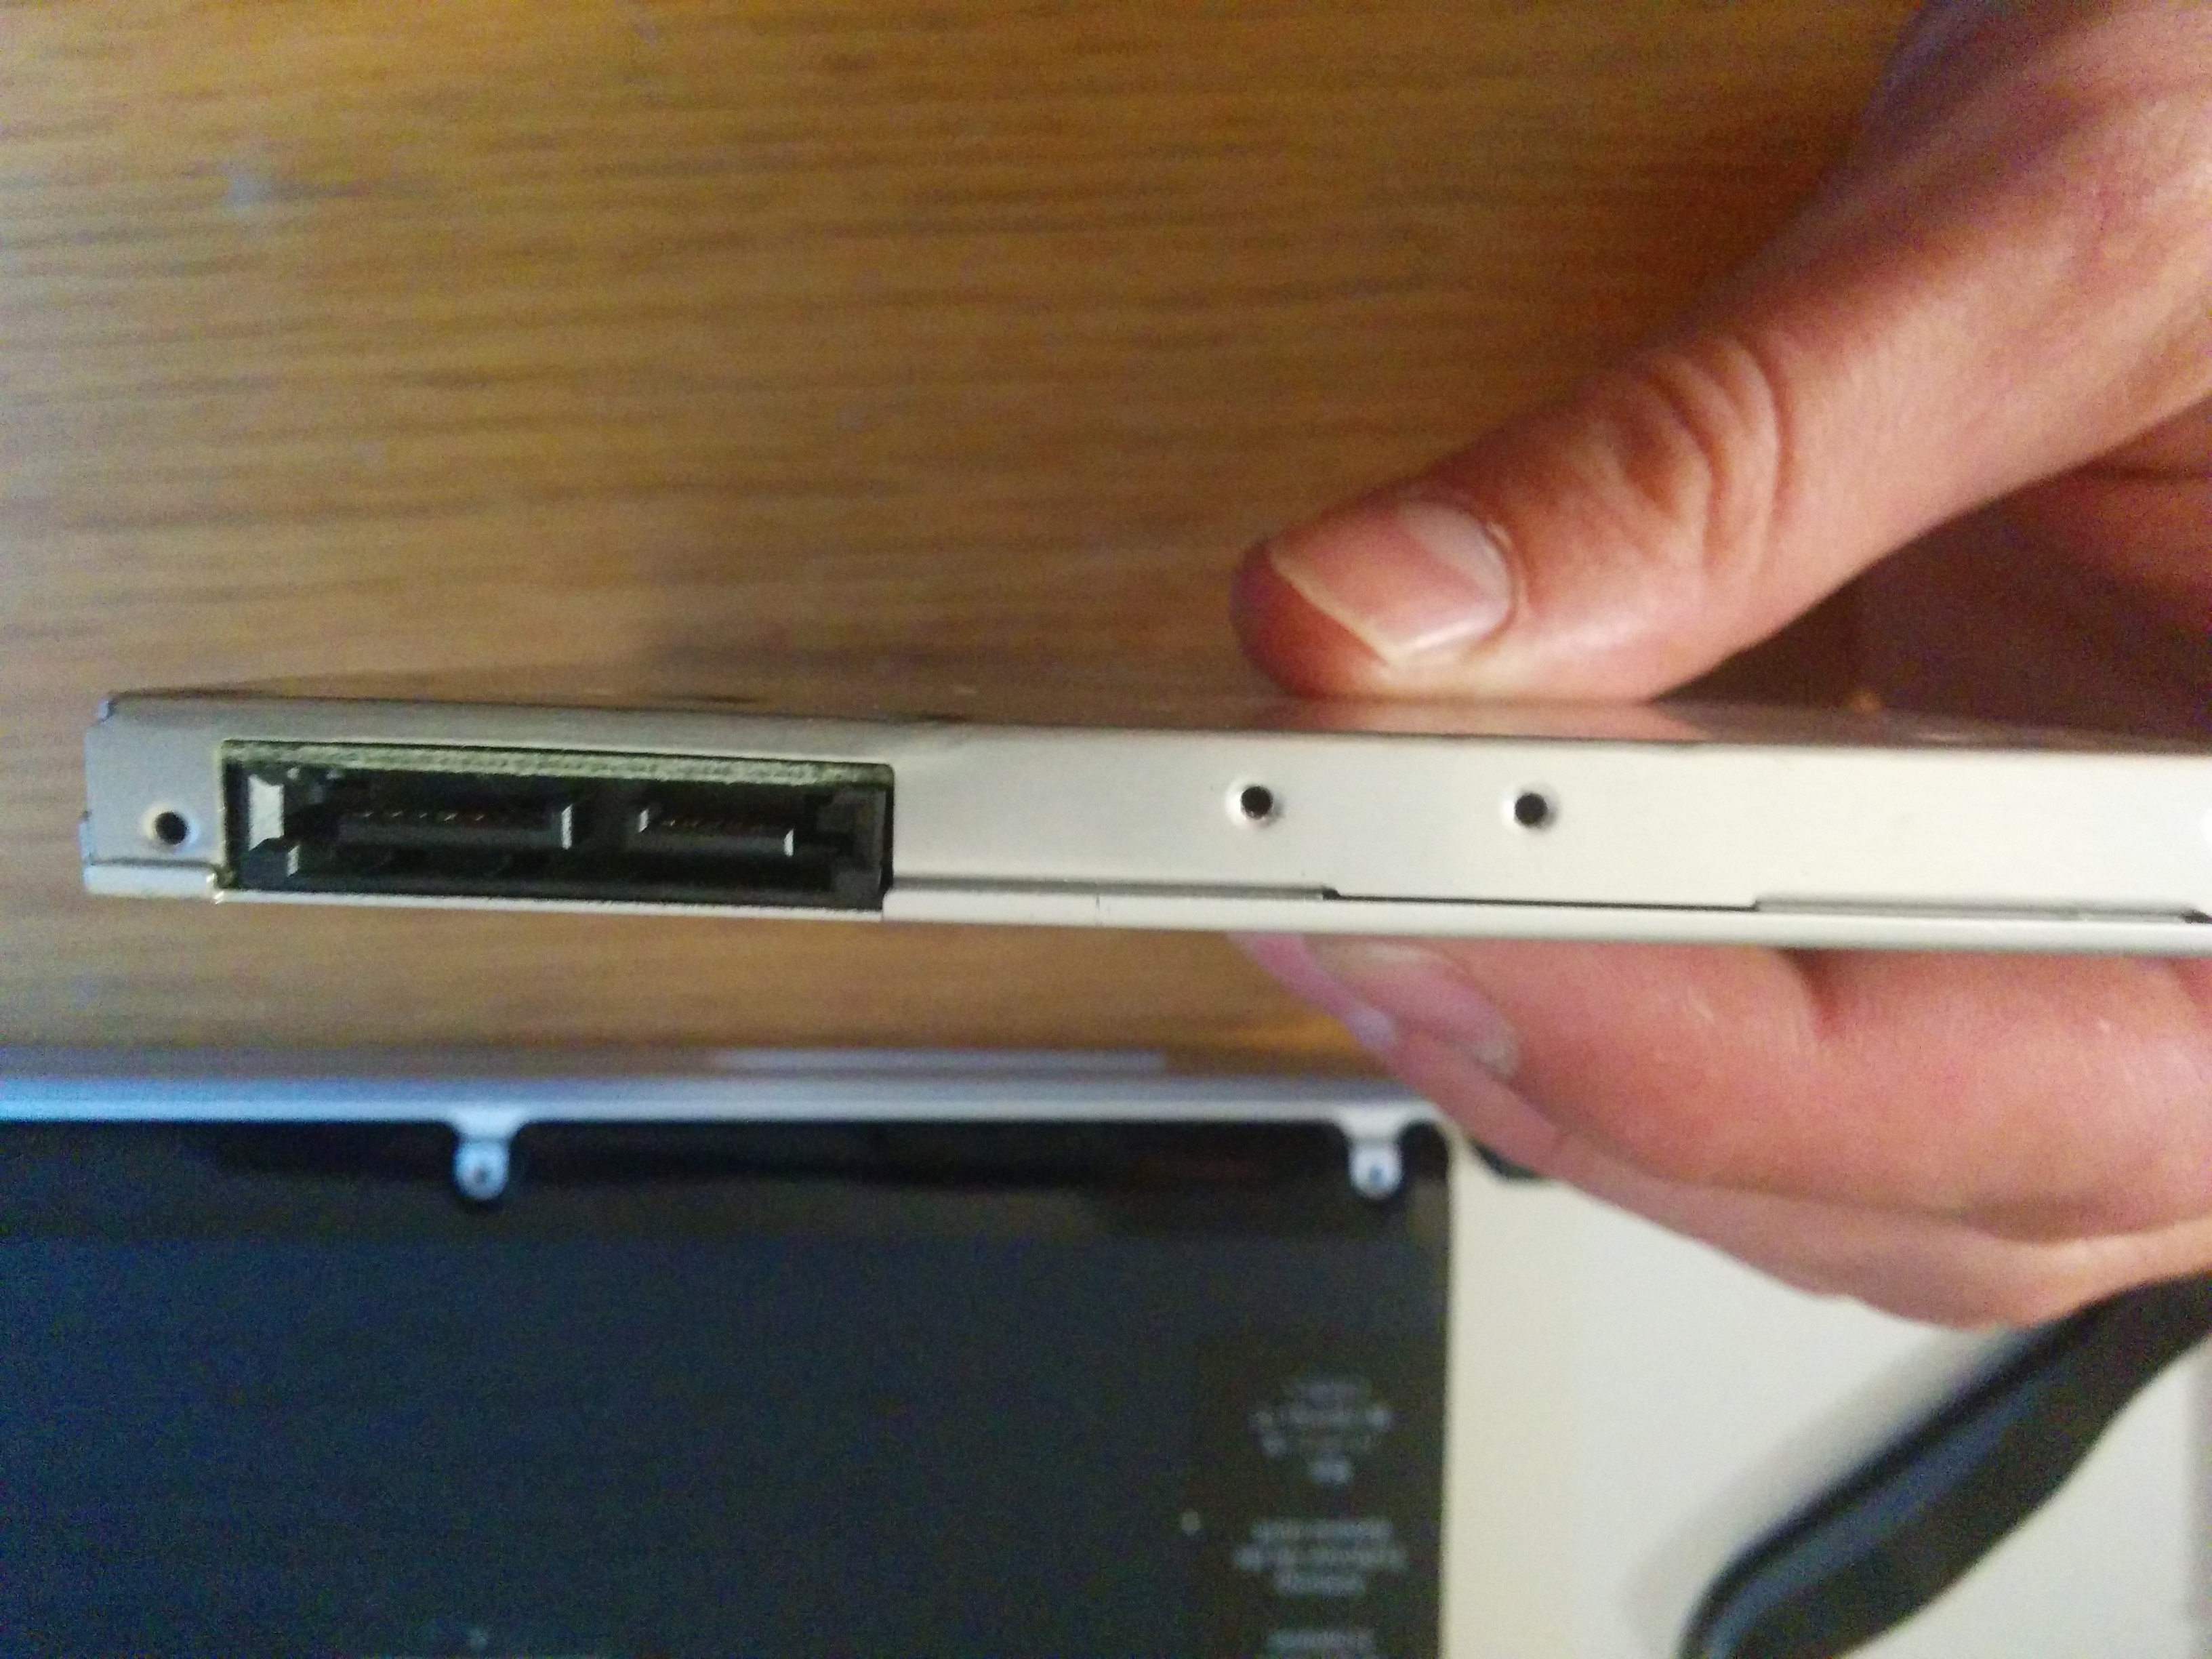
After the Optibay compartment has been fitted with the new secondary hard drive, you have to reattach the SATA connector and the hook.
As the Optibay was an older model, the screw holes did not match up with the new screws from the optical drive hook I just removed.
I grabbed a small hammer and a hole punch. Hit the punch lightly with the hammer, and made the screws fit. Remove the Hard Drive from the compartment before hitting it with a hammer! They are sensitive beasts...
The reverse of the optical drive removal needs to be done. This means that you need to:
- Shimmy the drive back into place;
- Put all the screws back;
- Put the speaker bar back in place and screw it in;
- Reattach the connections and cables;
-Move on to the next step!
Inserting the New SSD
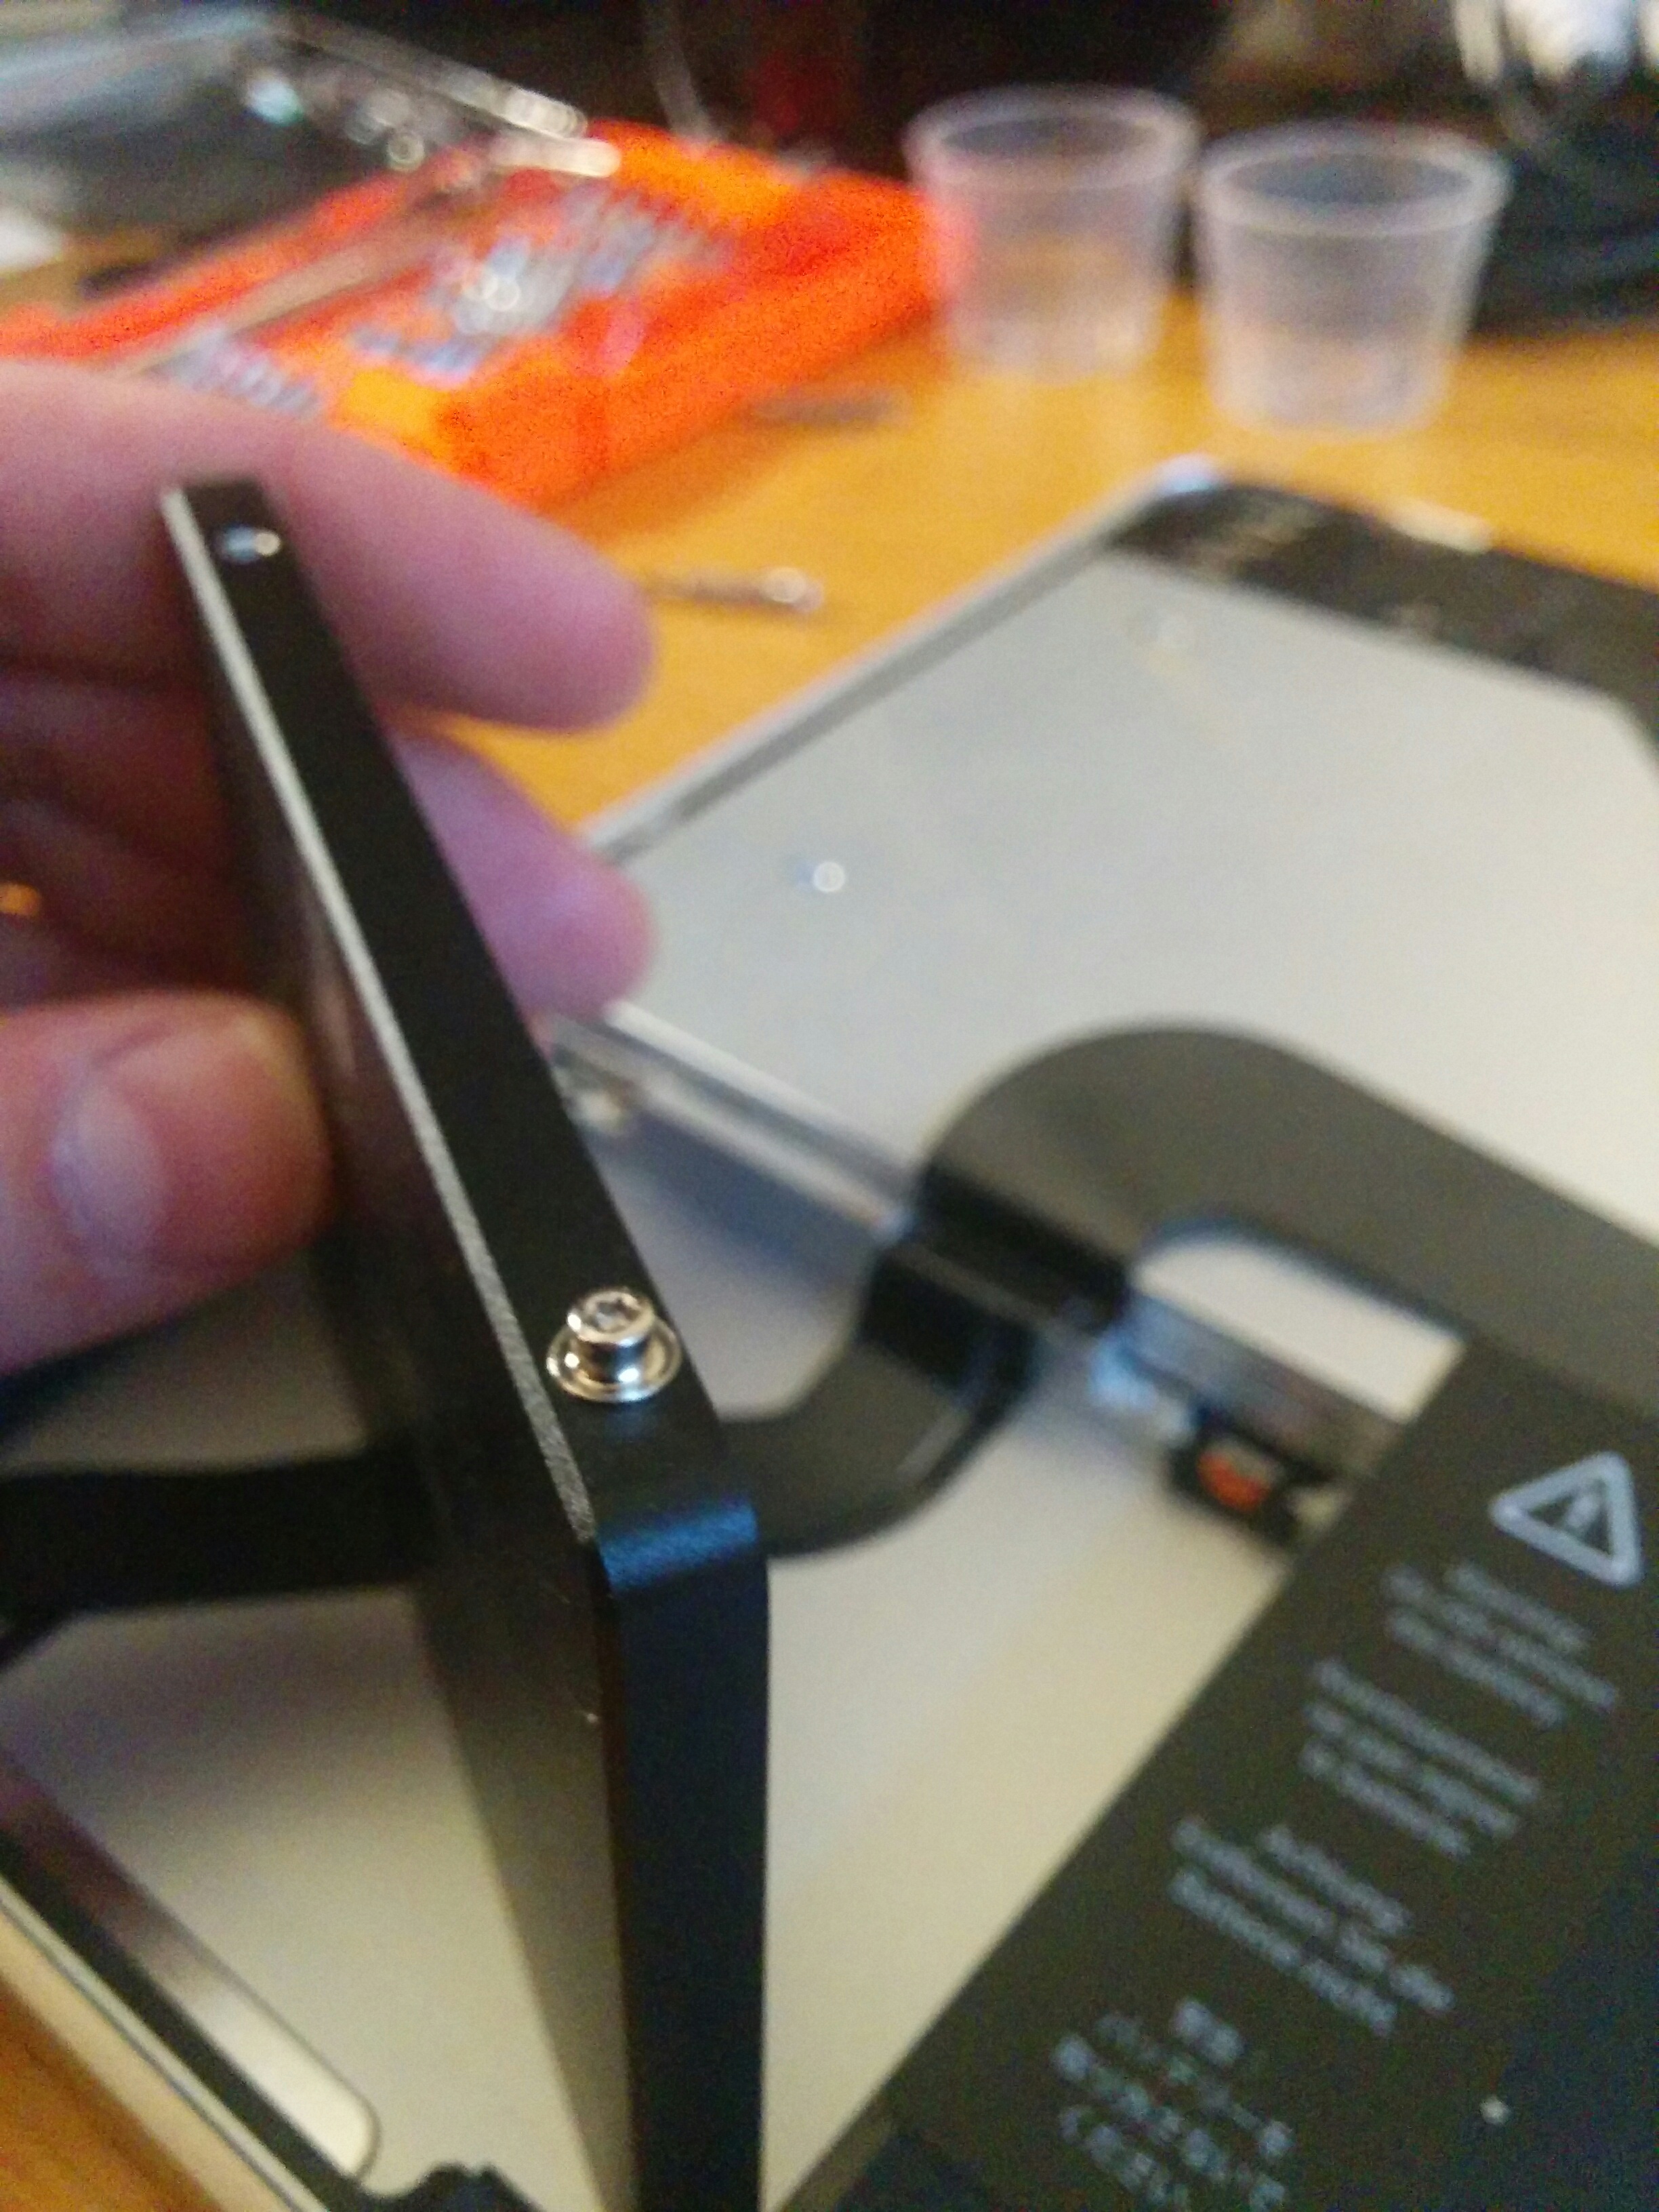
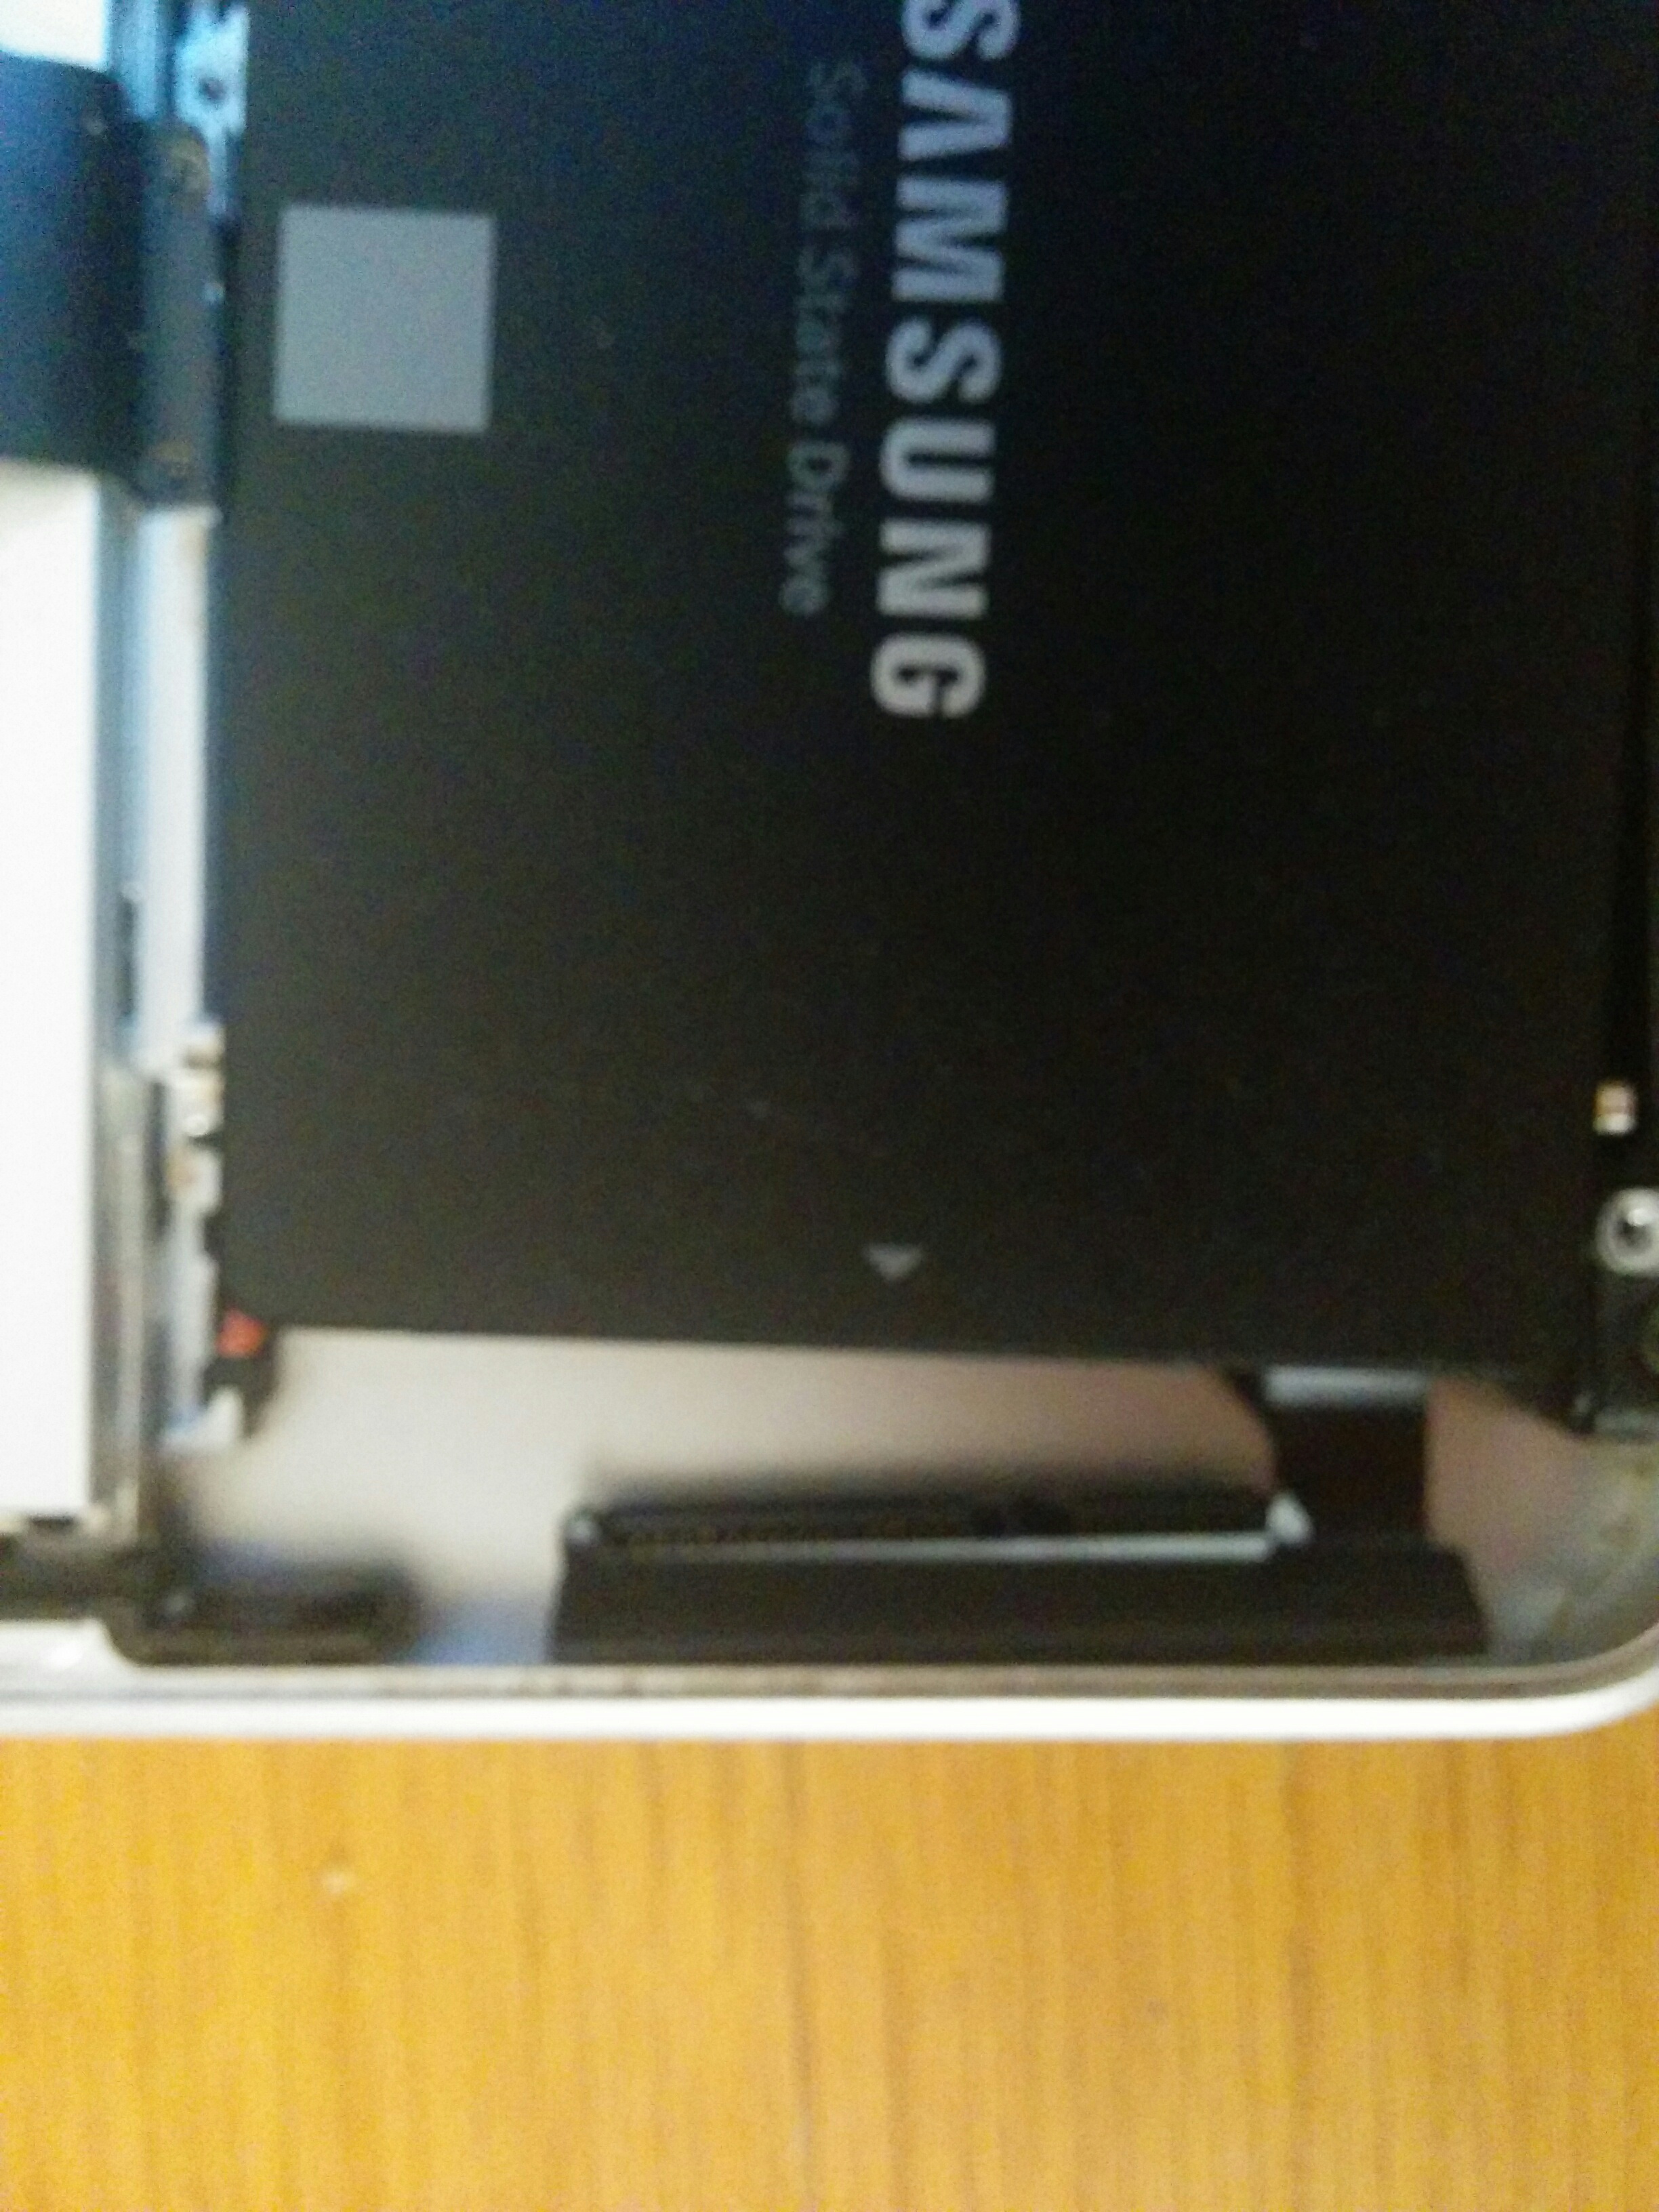
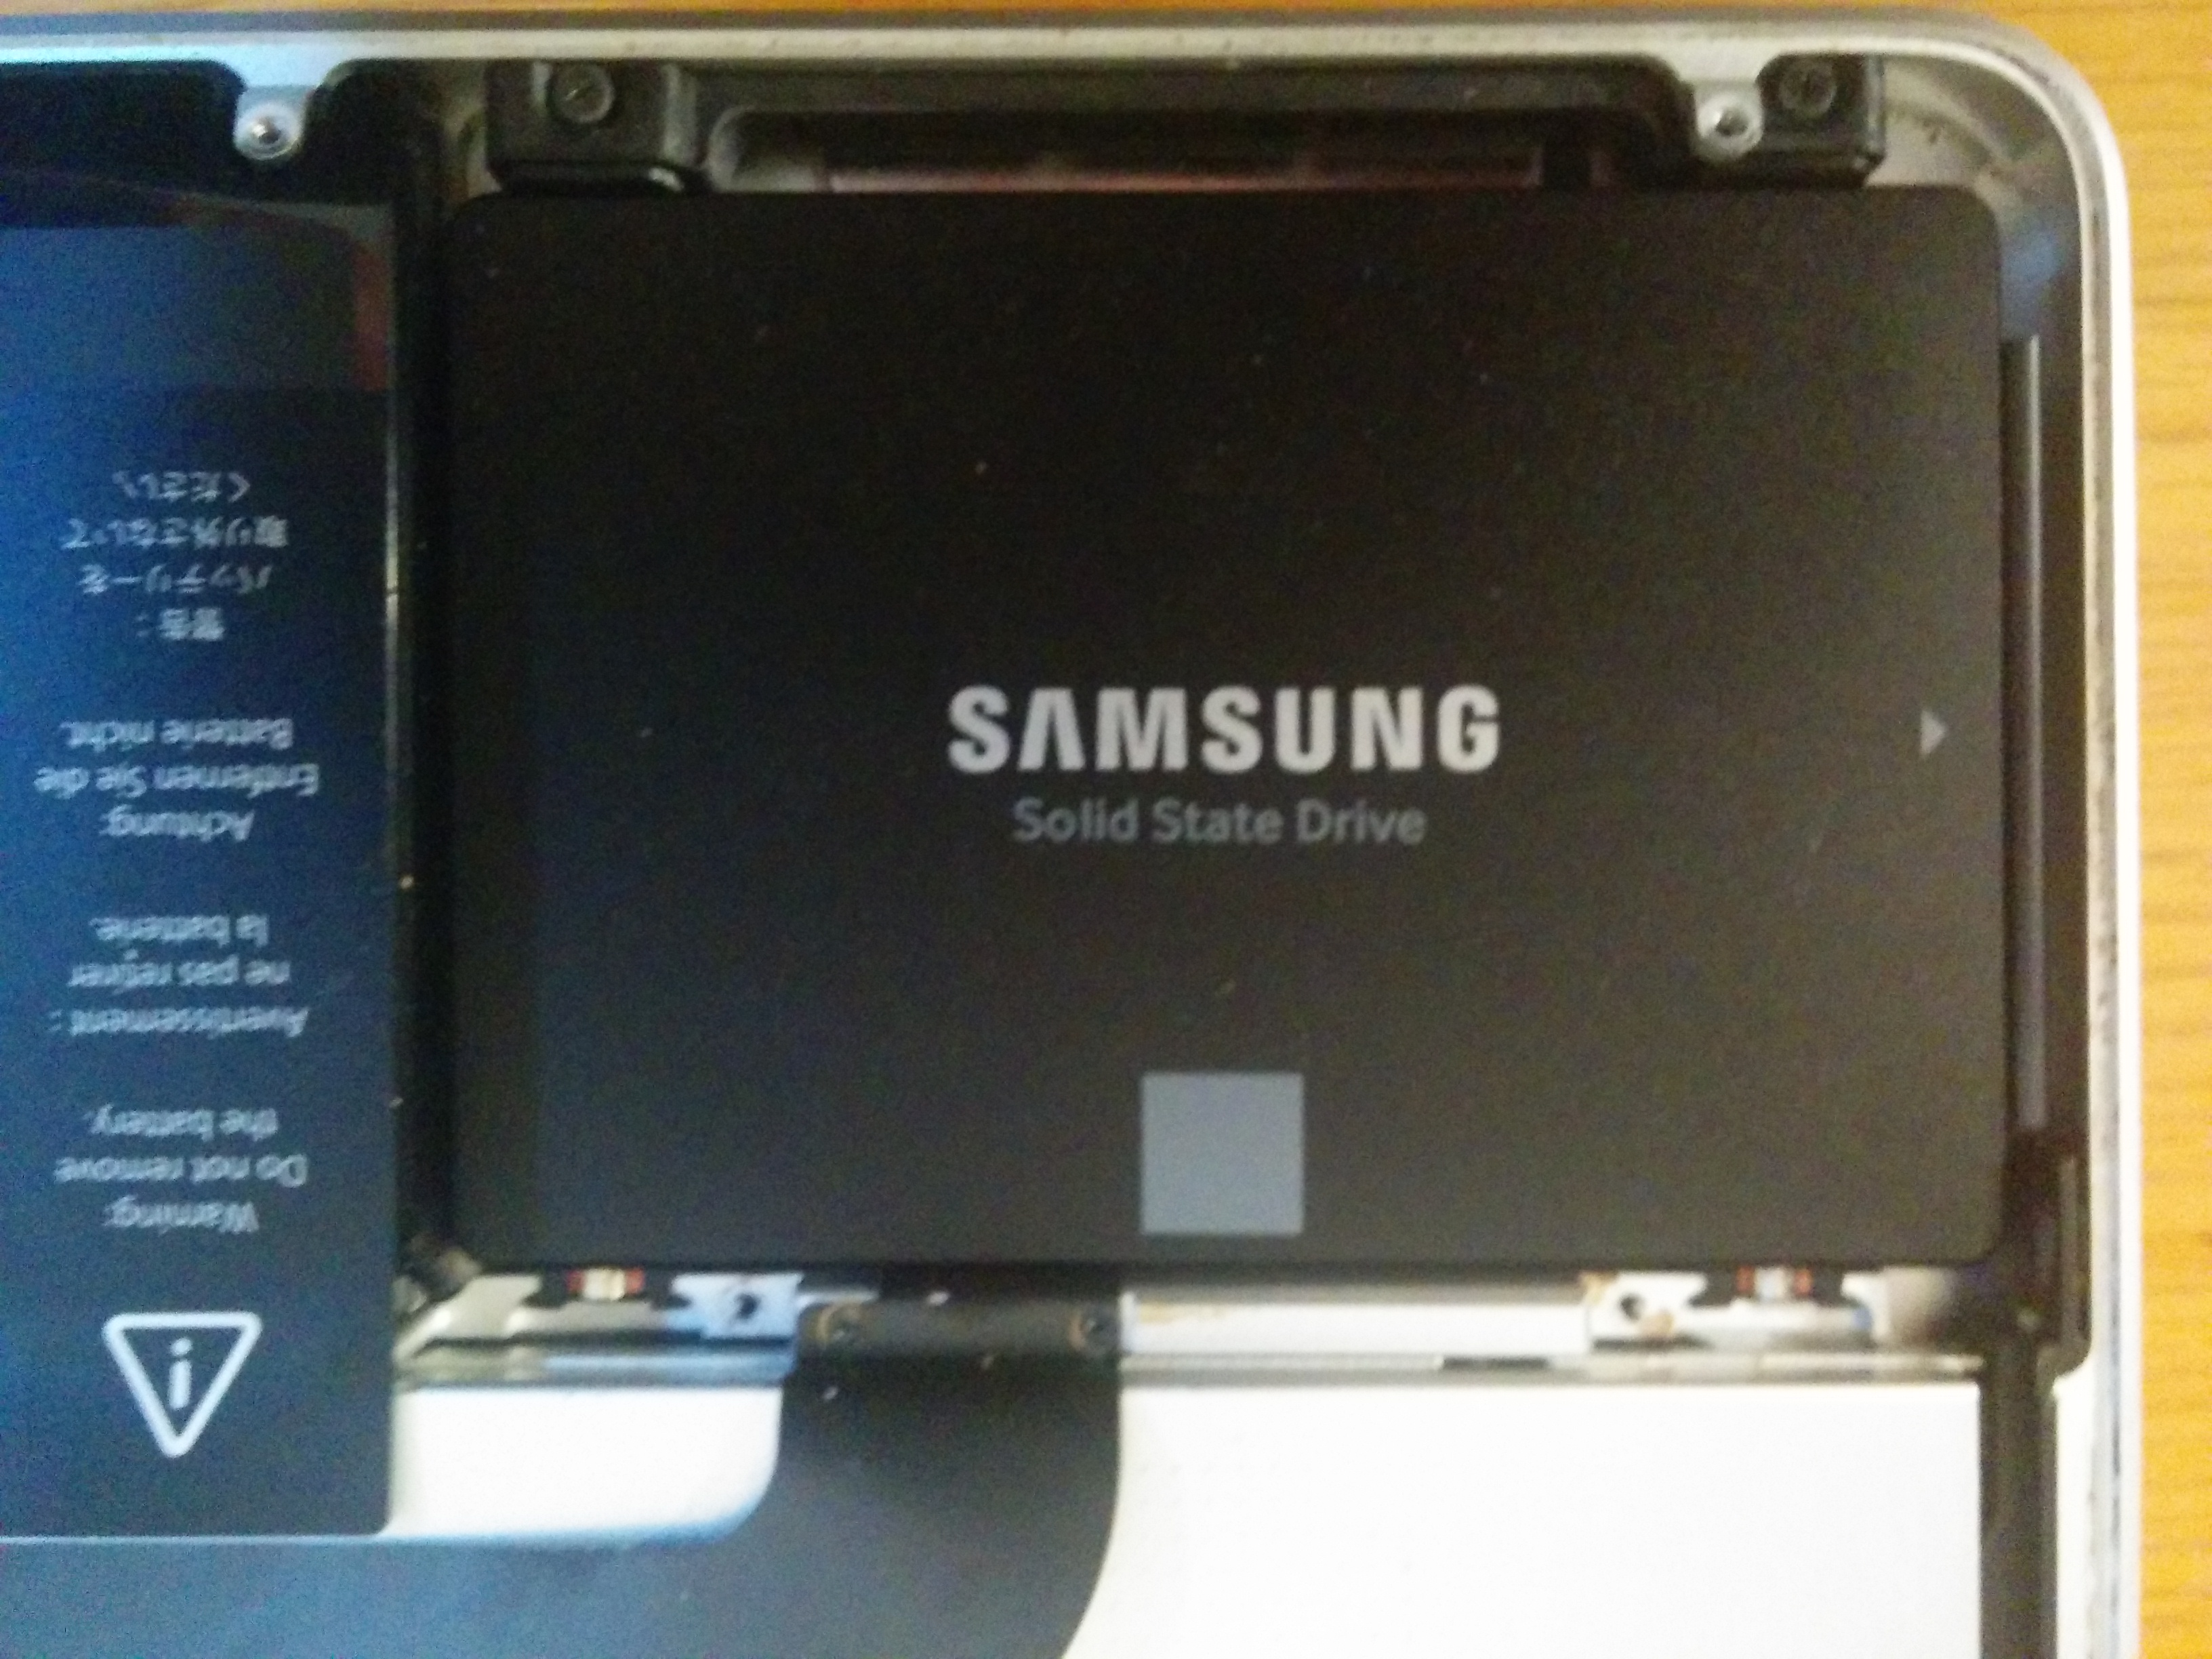
All hard drives come with little screw holes on their sides. 4 to be more specific.
The 4 star headed screws that were removed from the original drive on Step (NUMBER) will be screwed into the holes of the new SSD.
After that is done, the SATA cable can be plugged back in, and the SSD put in its place.
Before doing anything else, I did not want to completely close everything in the eventuality something went wrong. So I didn't place the holding bar back in place until after I tried everything out (See Step 9).
Putting the RAM Back In
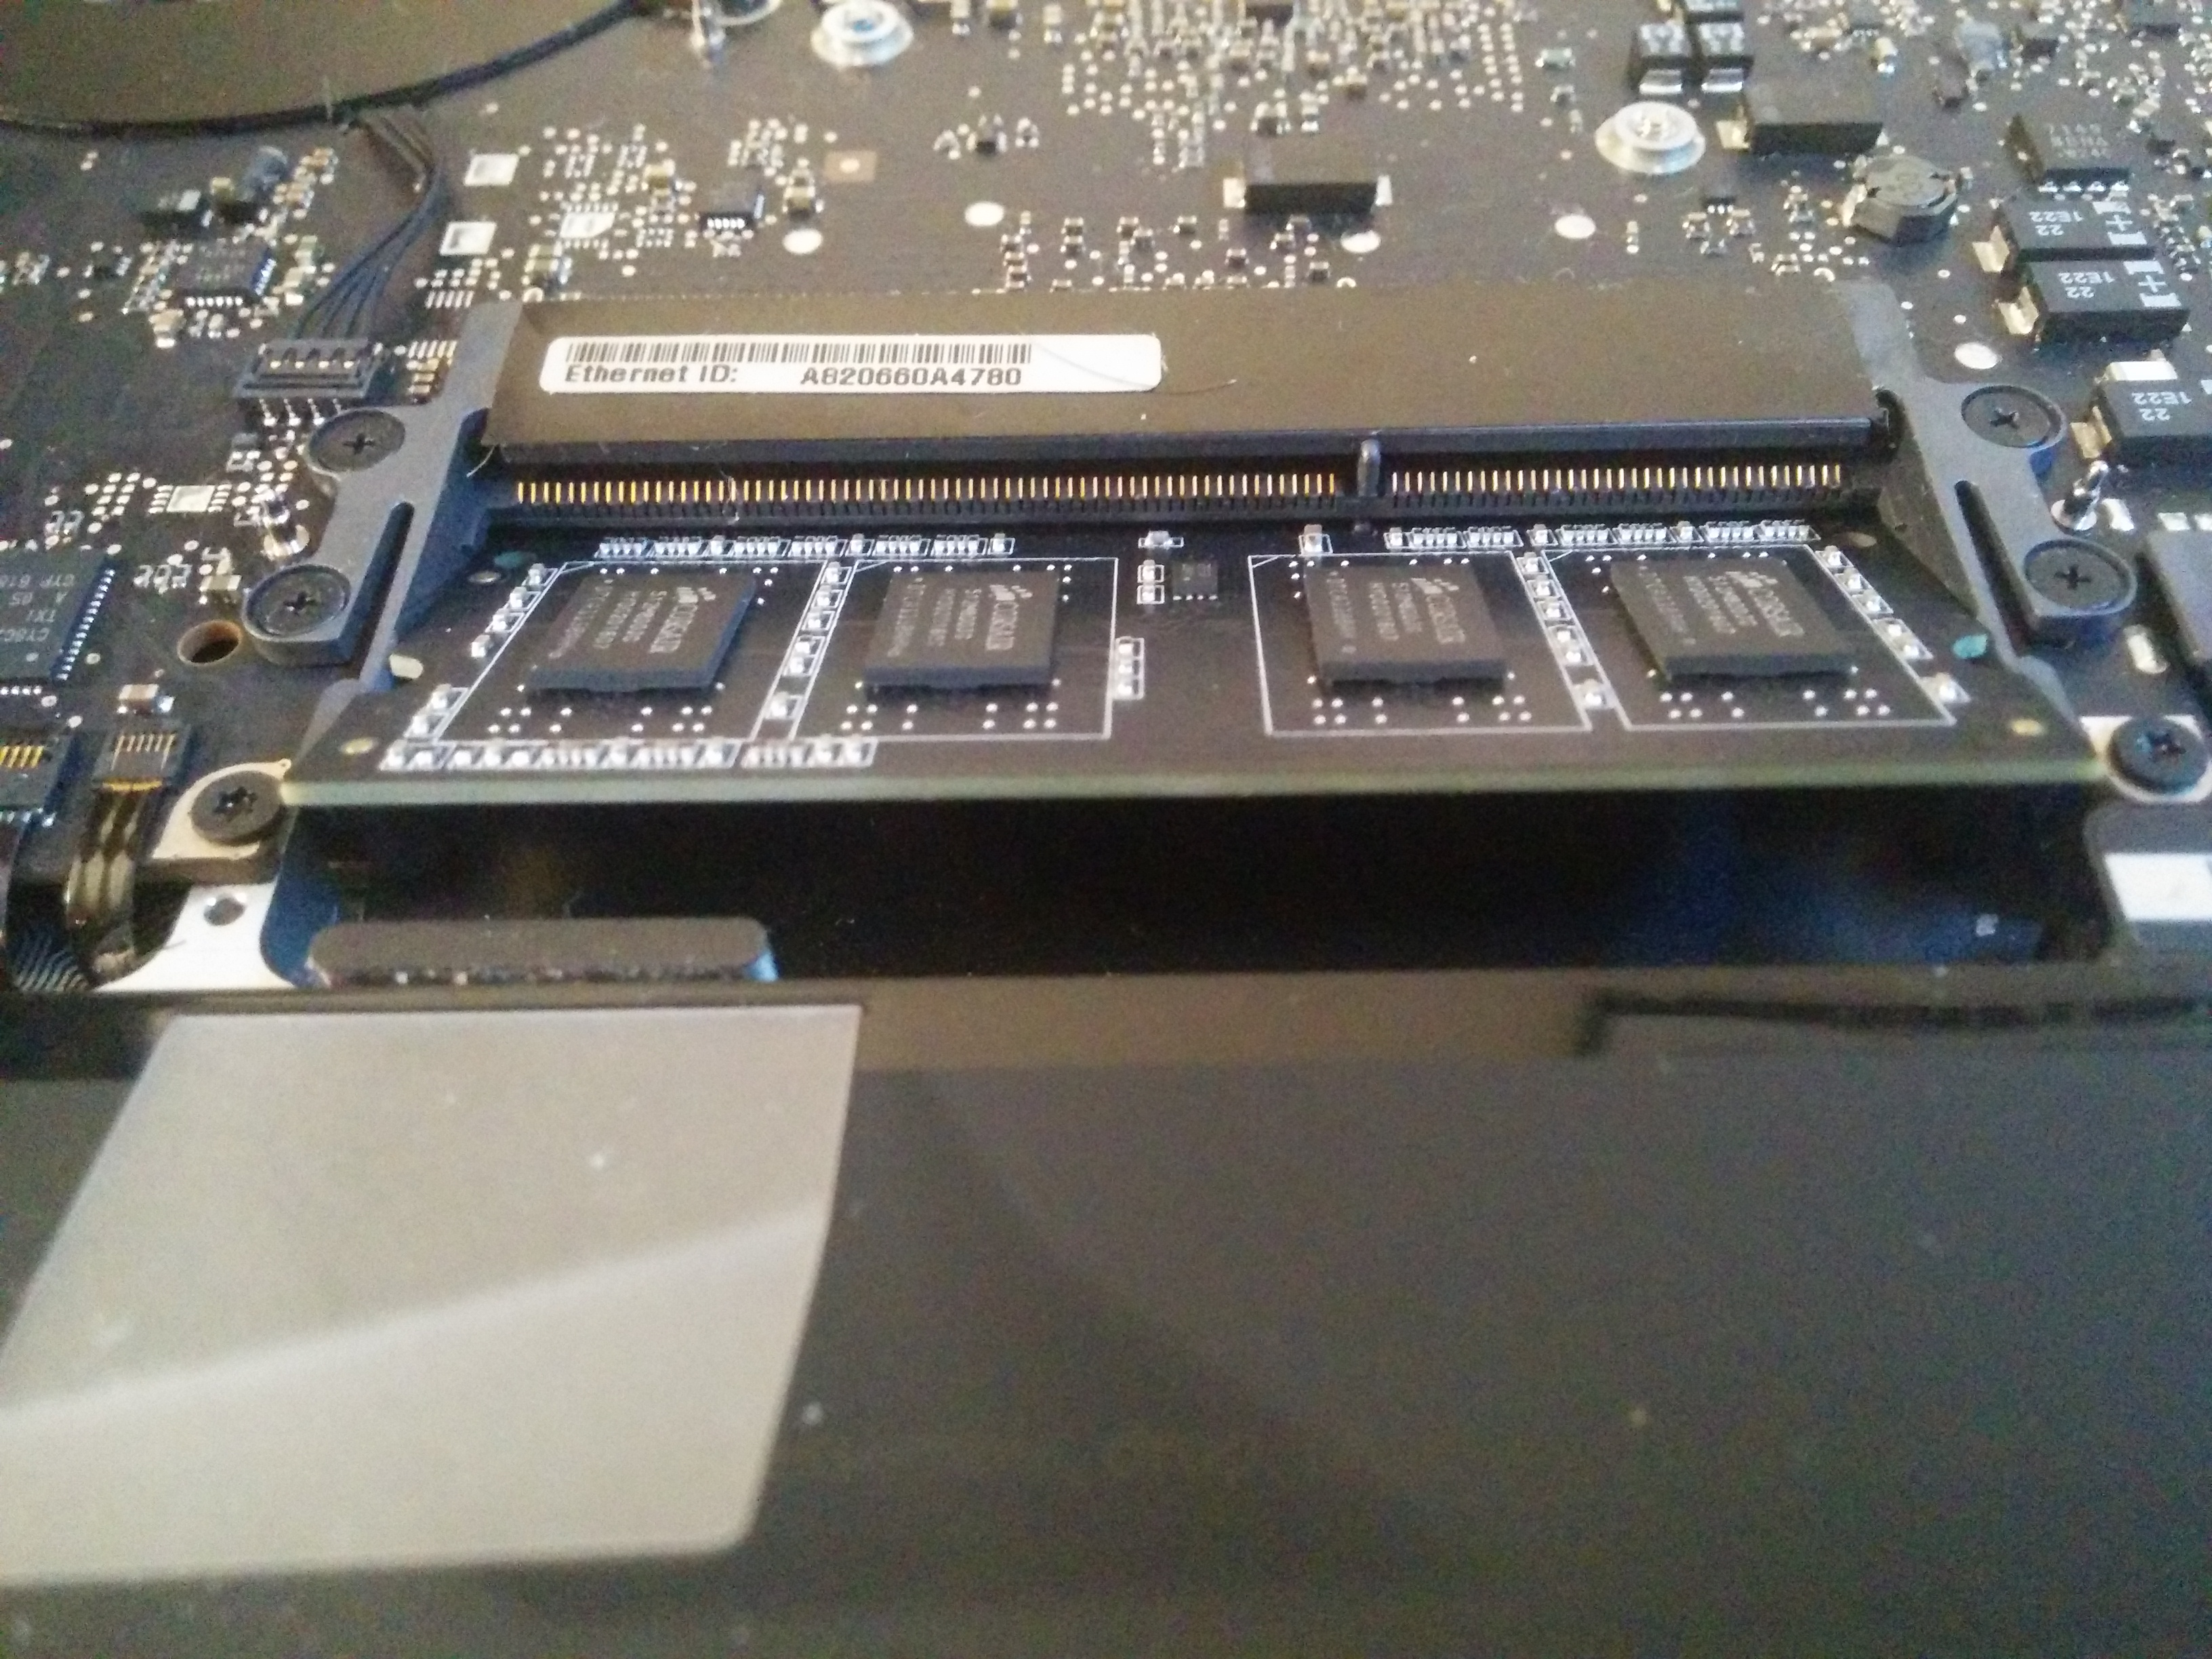
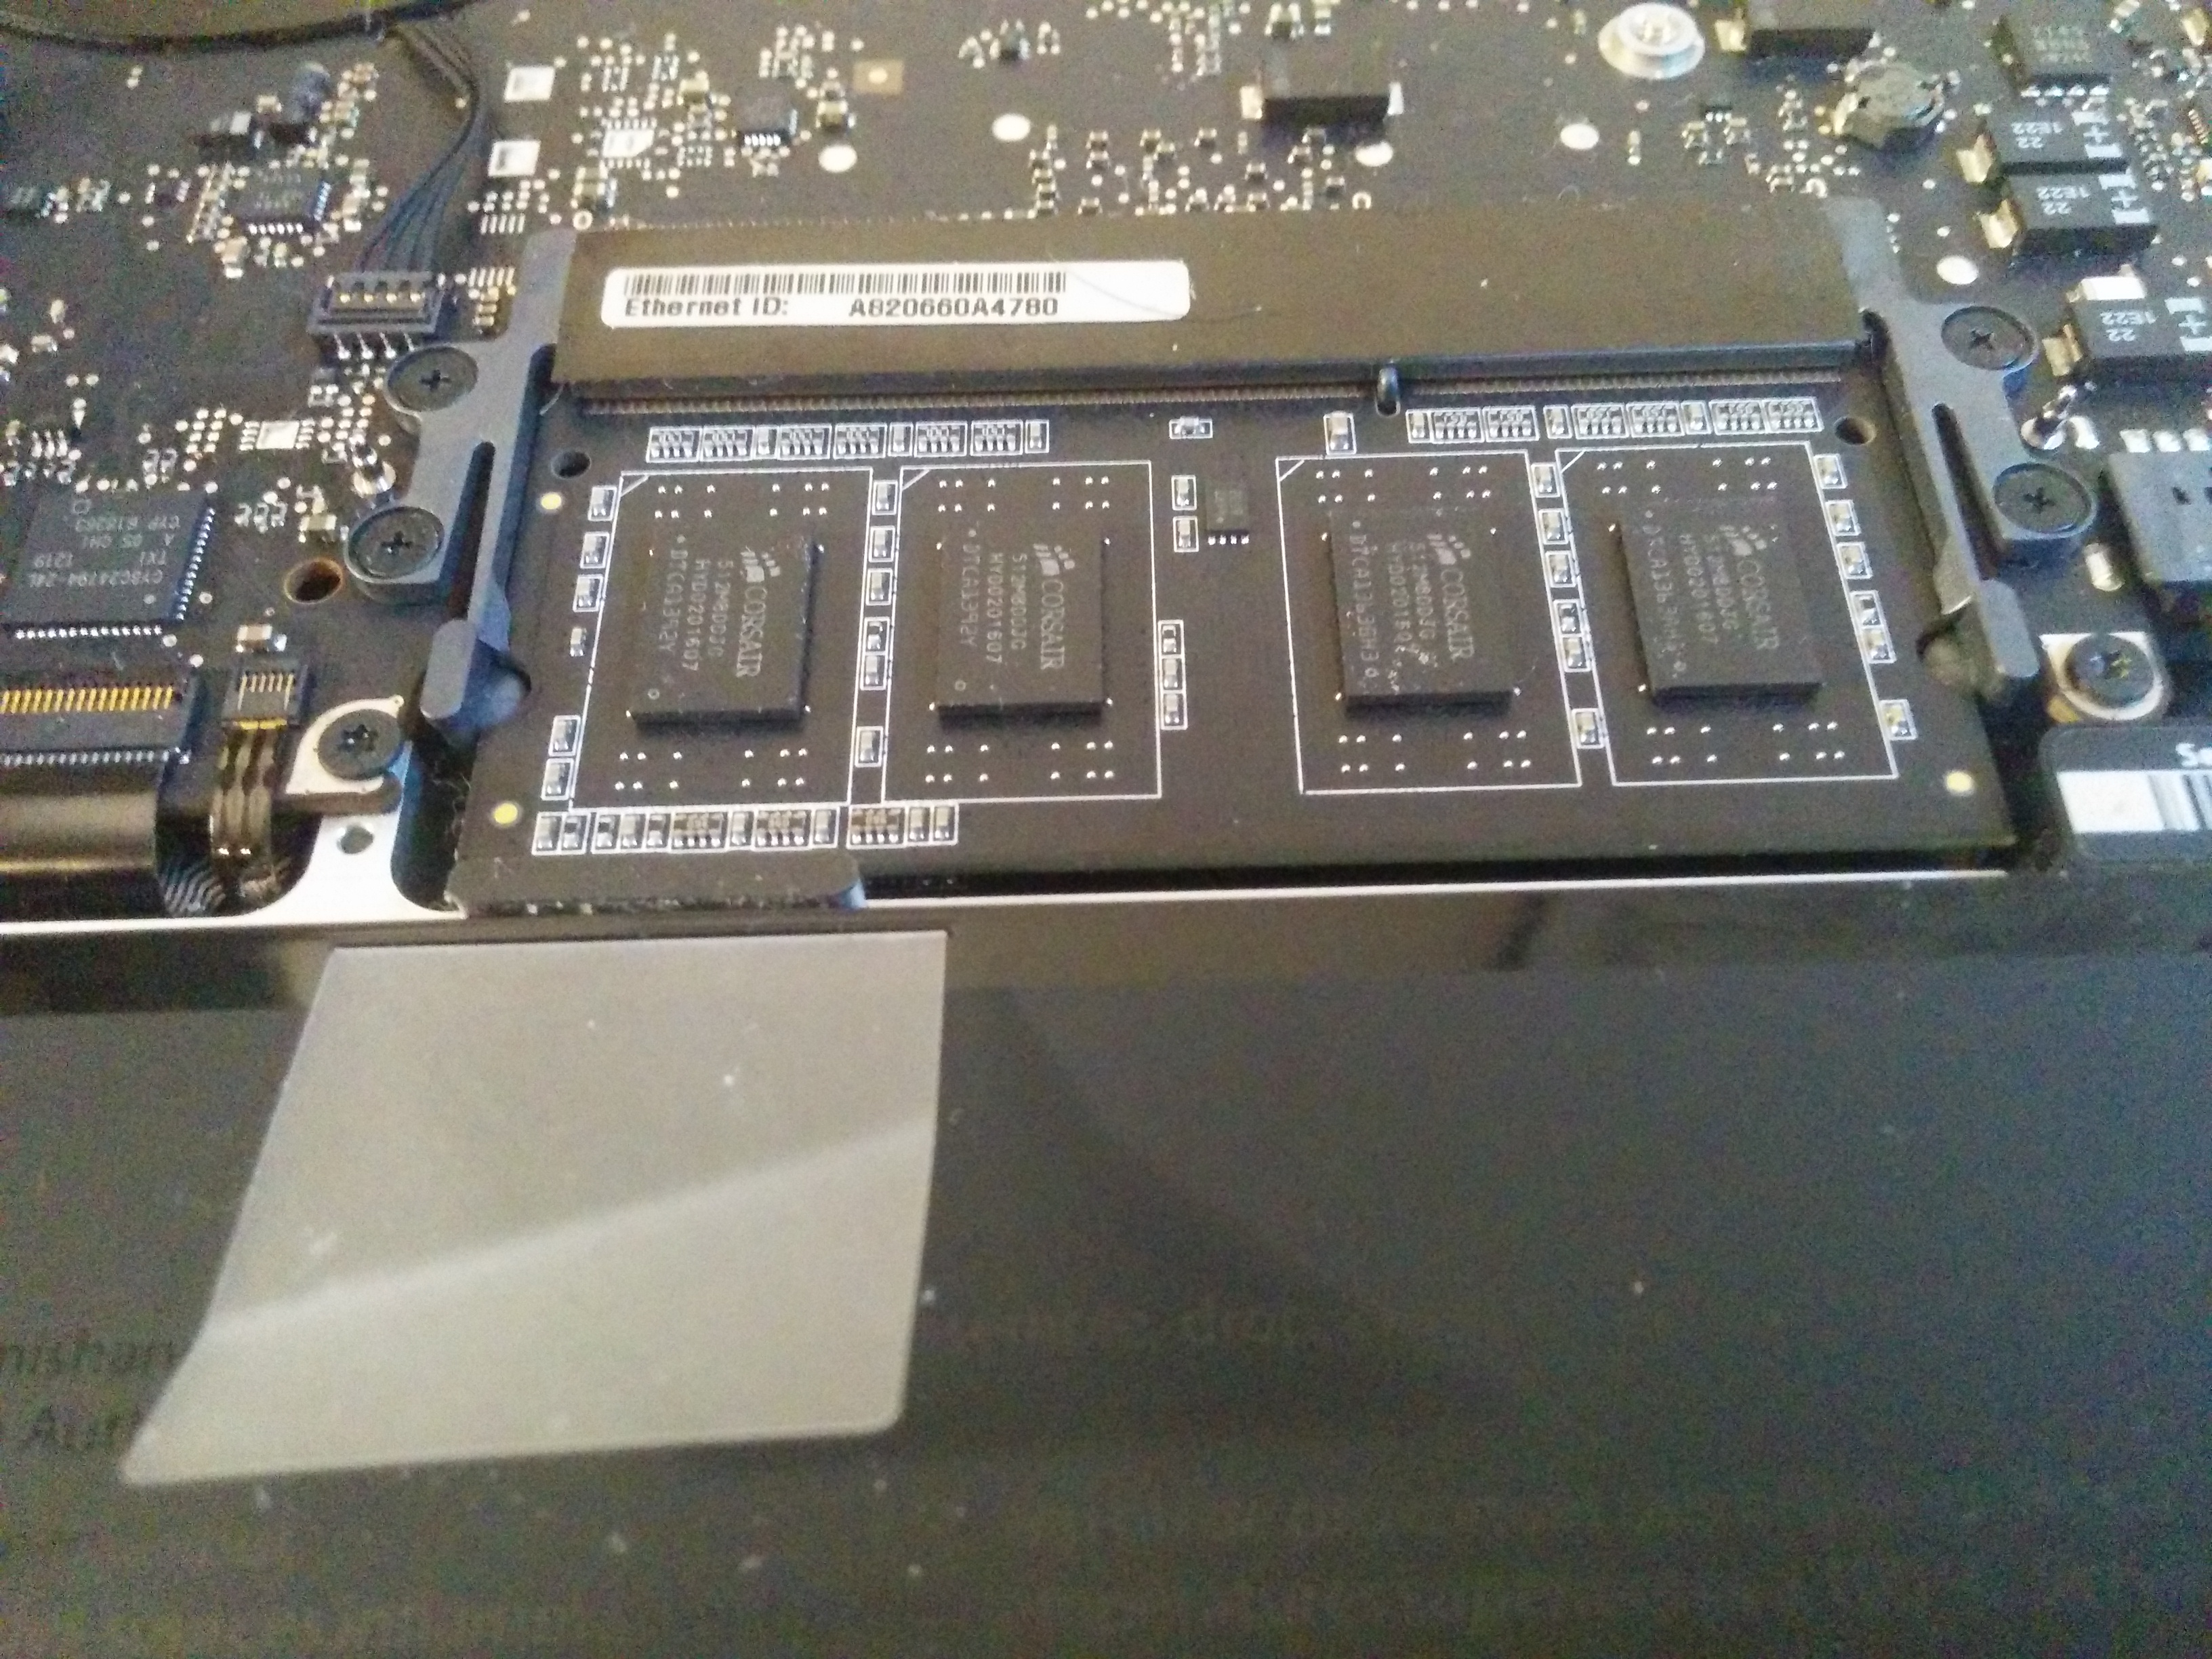
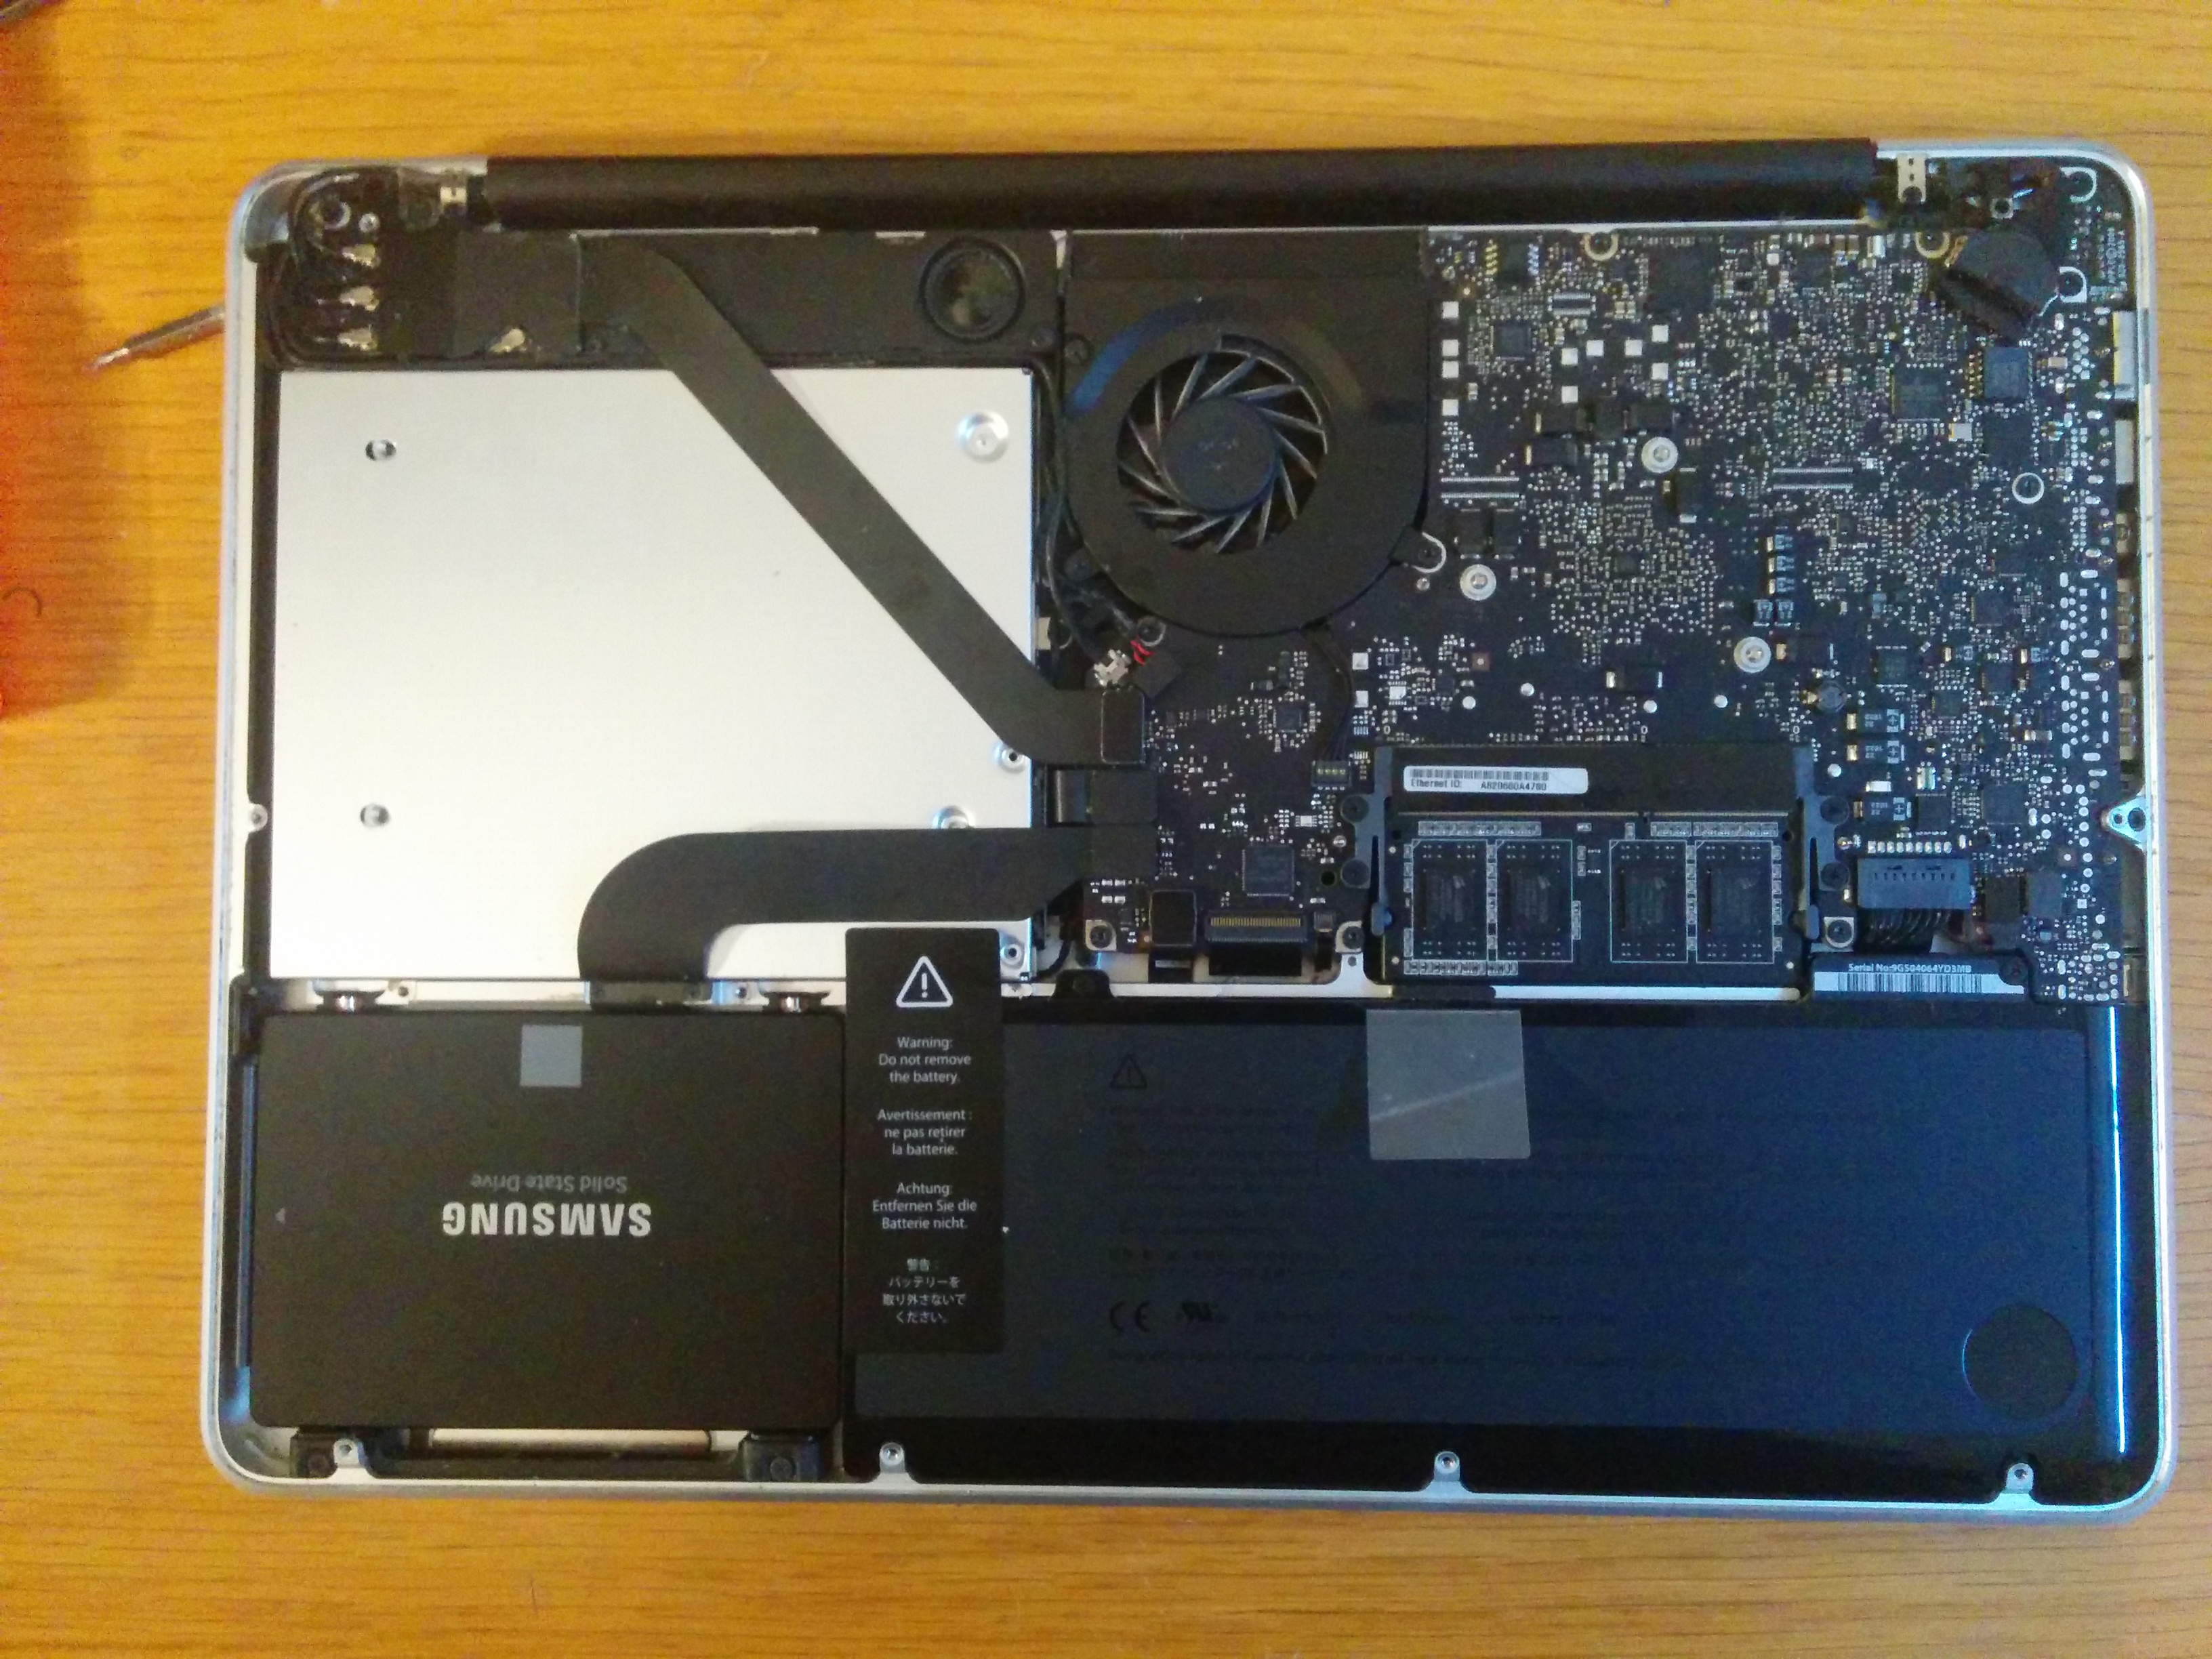
Putting the RAM back in is an extremely difficult taks that involves:
- Taking the new ram;
- Blowing in the slots like you would for old Nintendo cartridges;
- Aligning the Ram in the bottom slot, and pushing it into place;
- Doing the same for the top slot;
And knowing you did it right, yet still thinking you messed up your whole entire laptop.
Check Specks, Close It Up, and Hope for the Best!
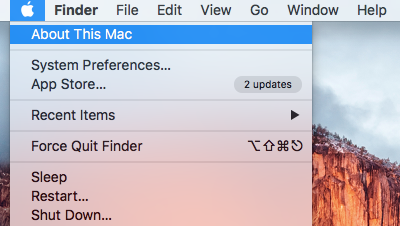
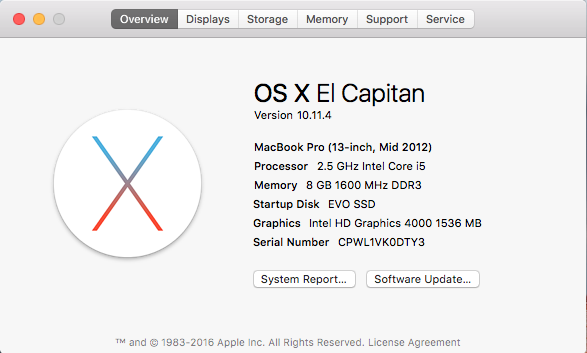
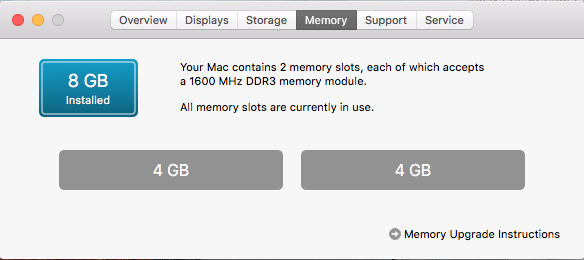
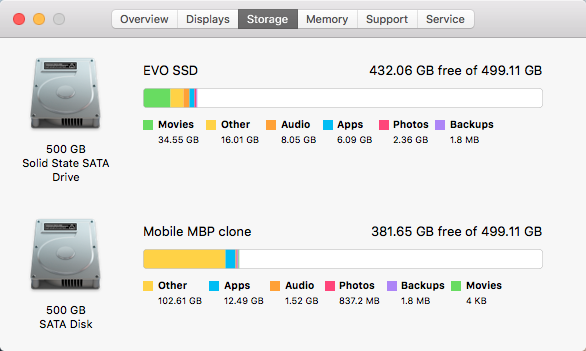
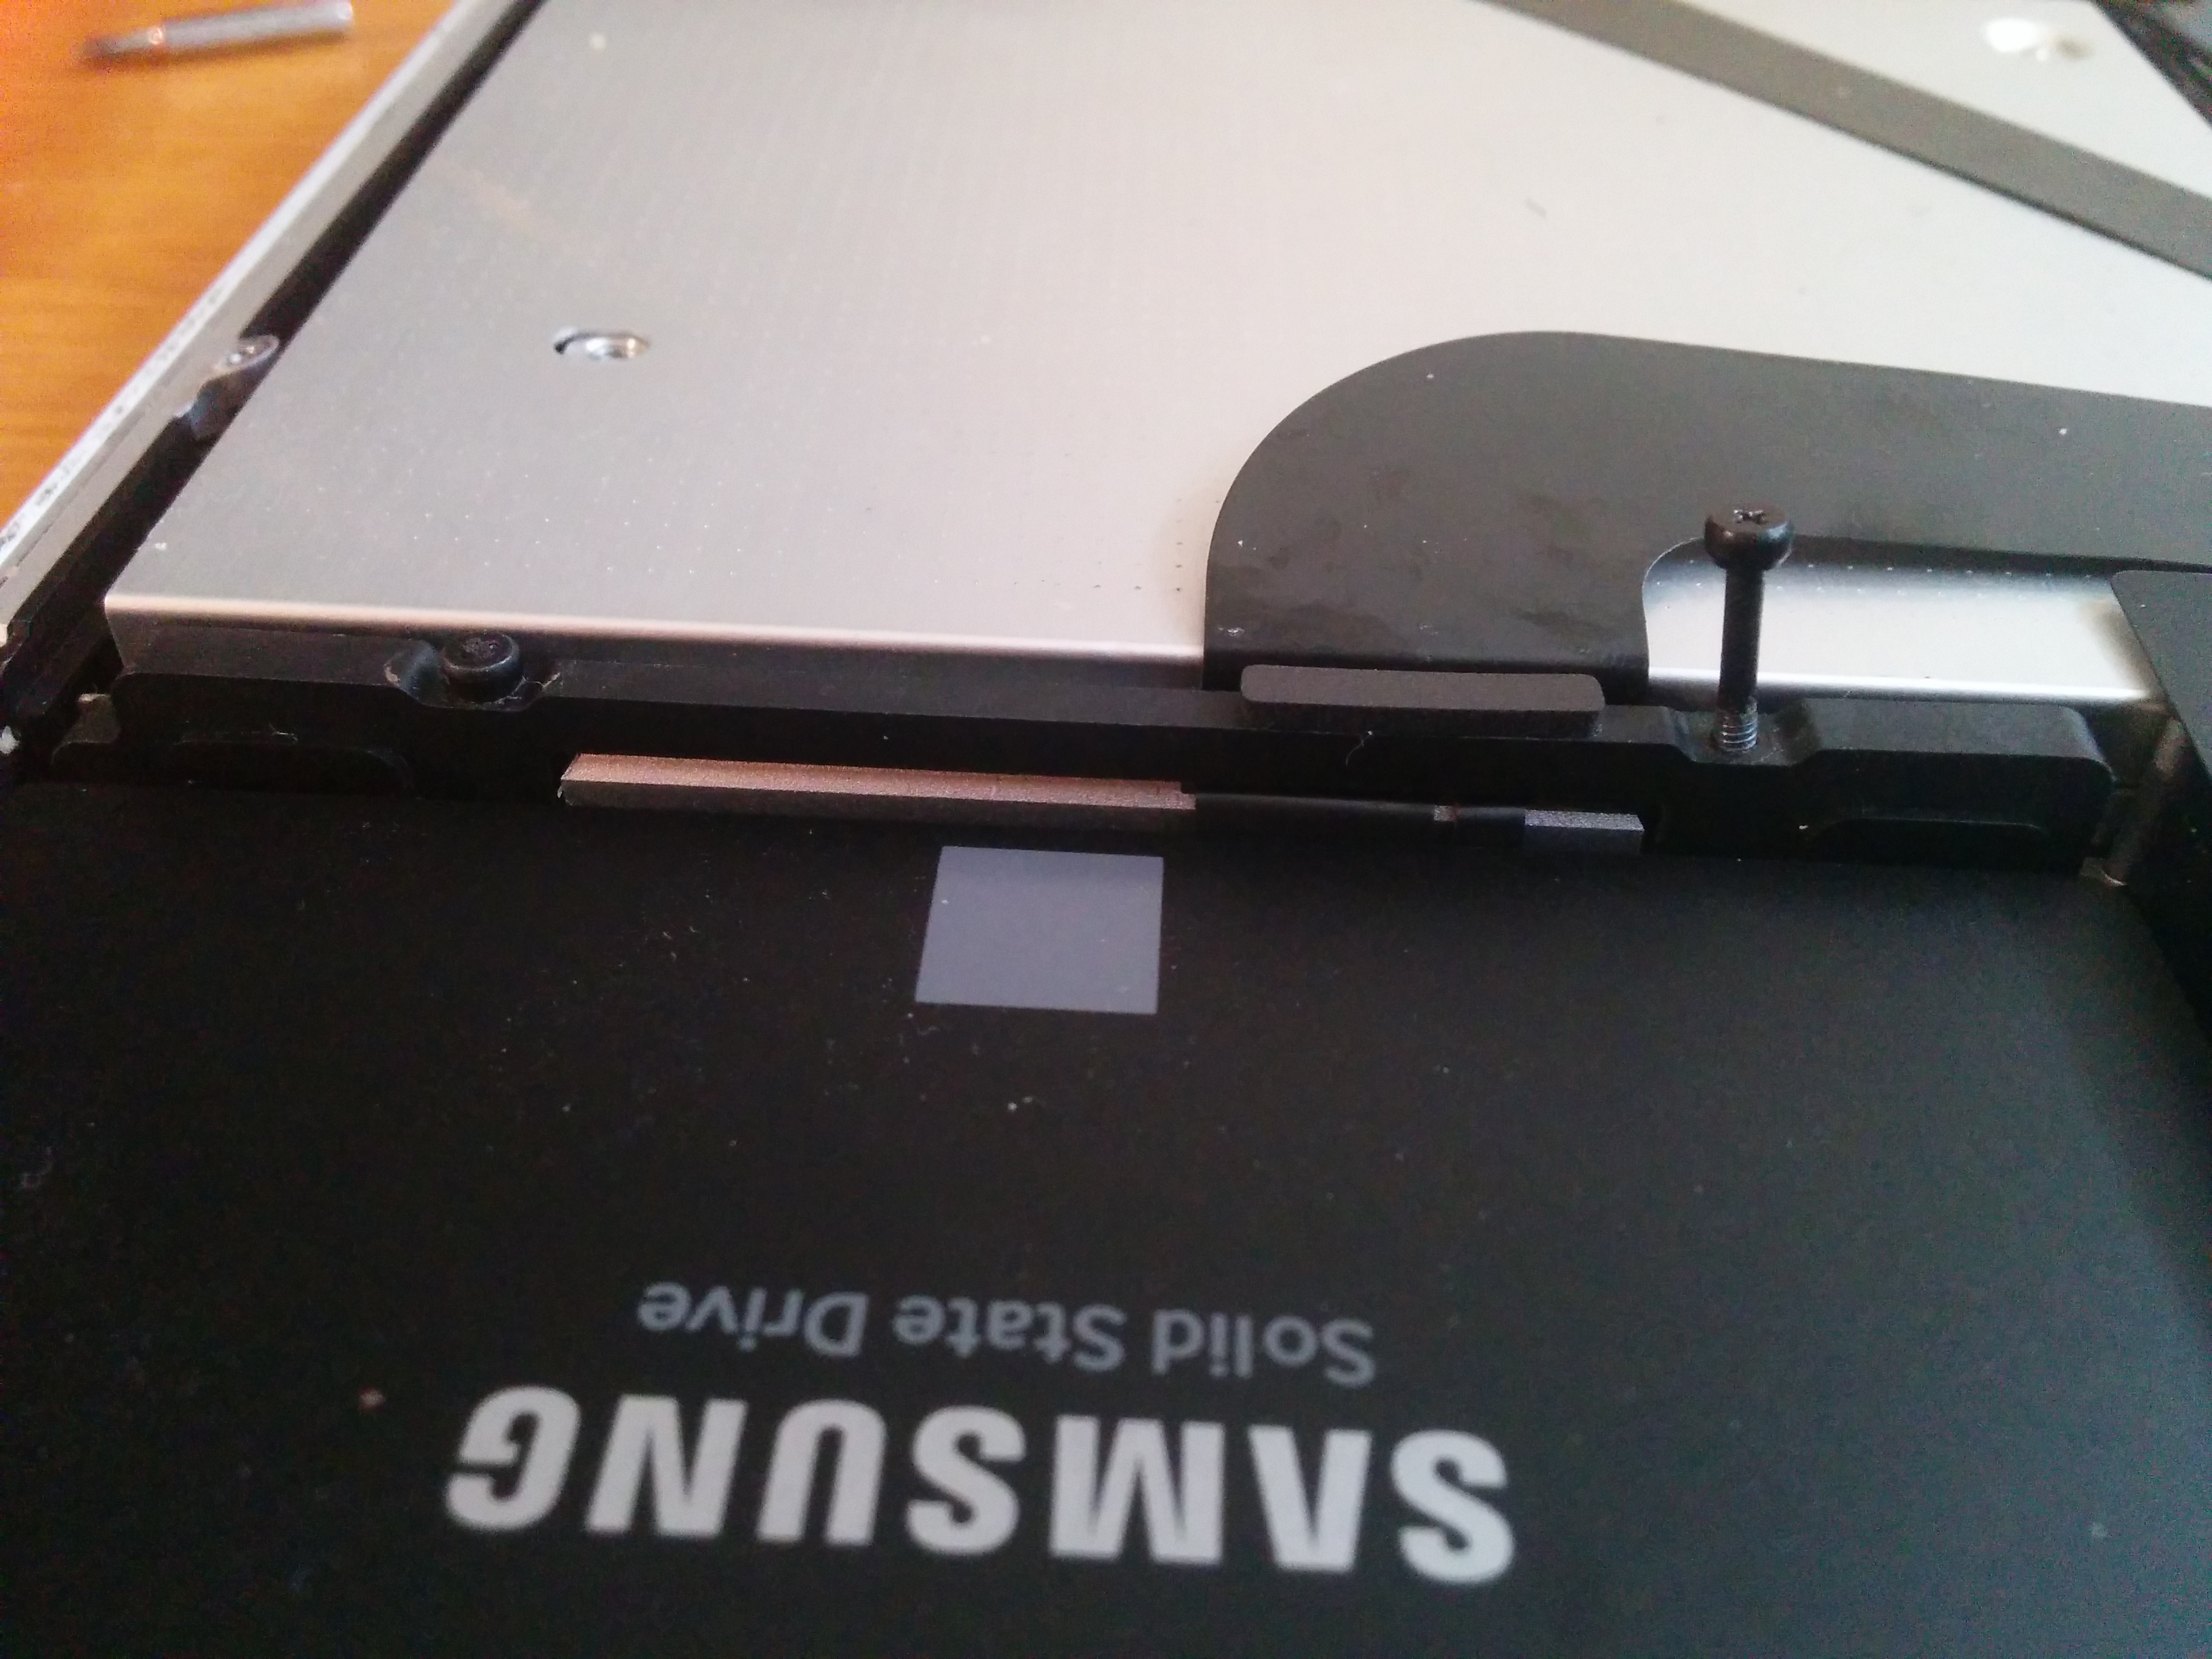
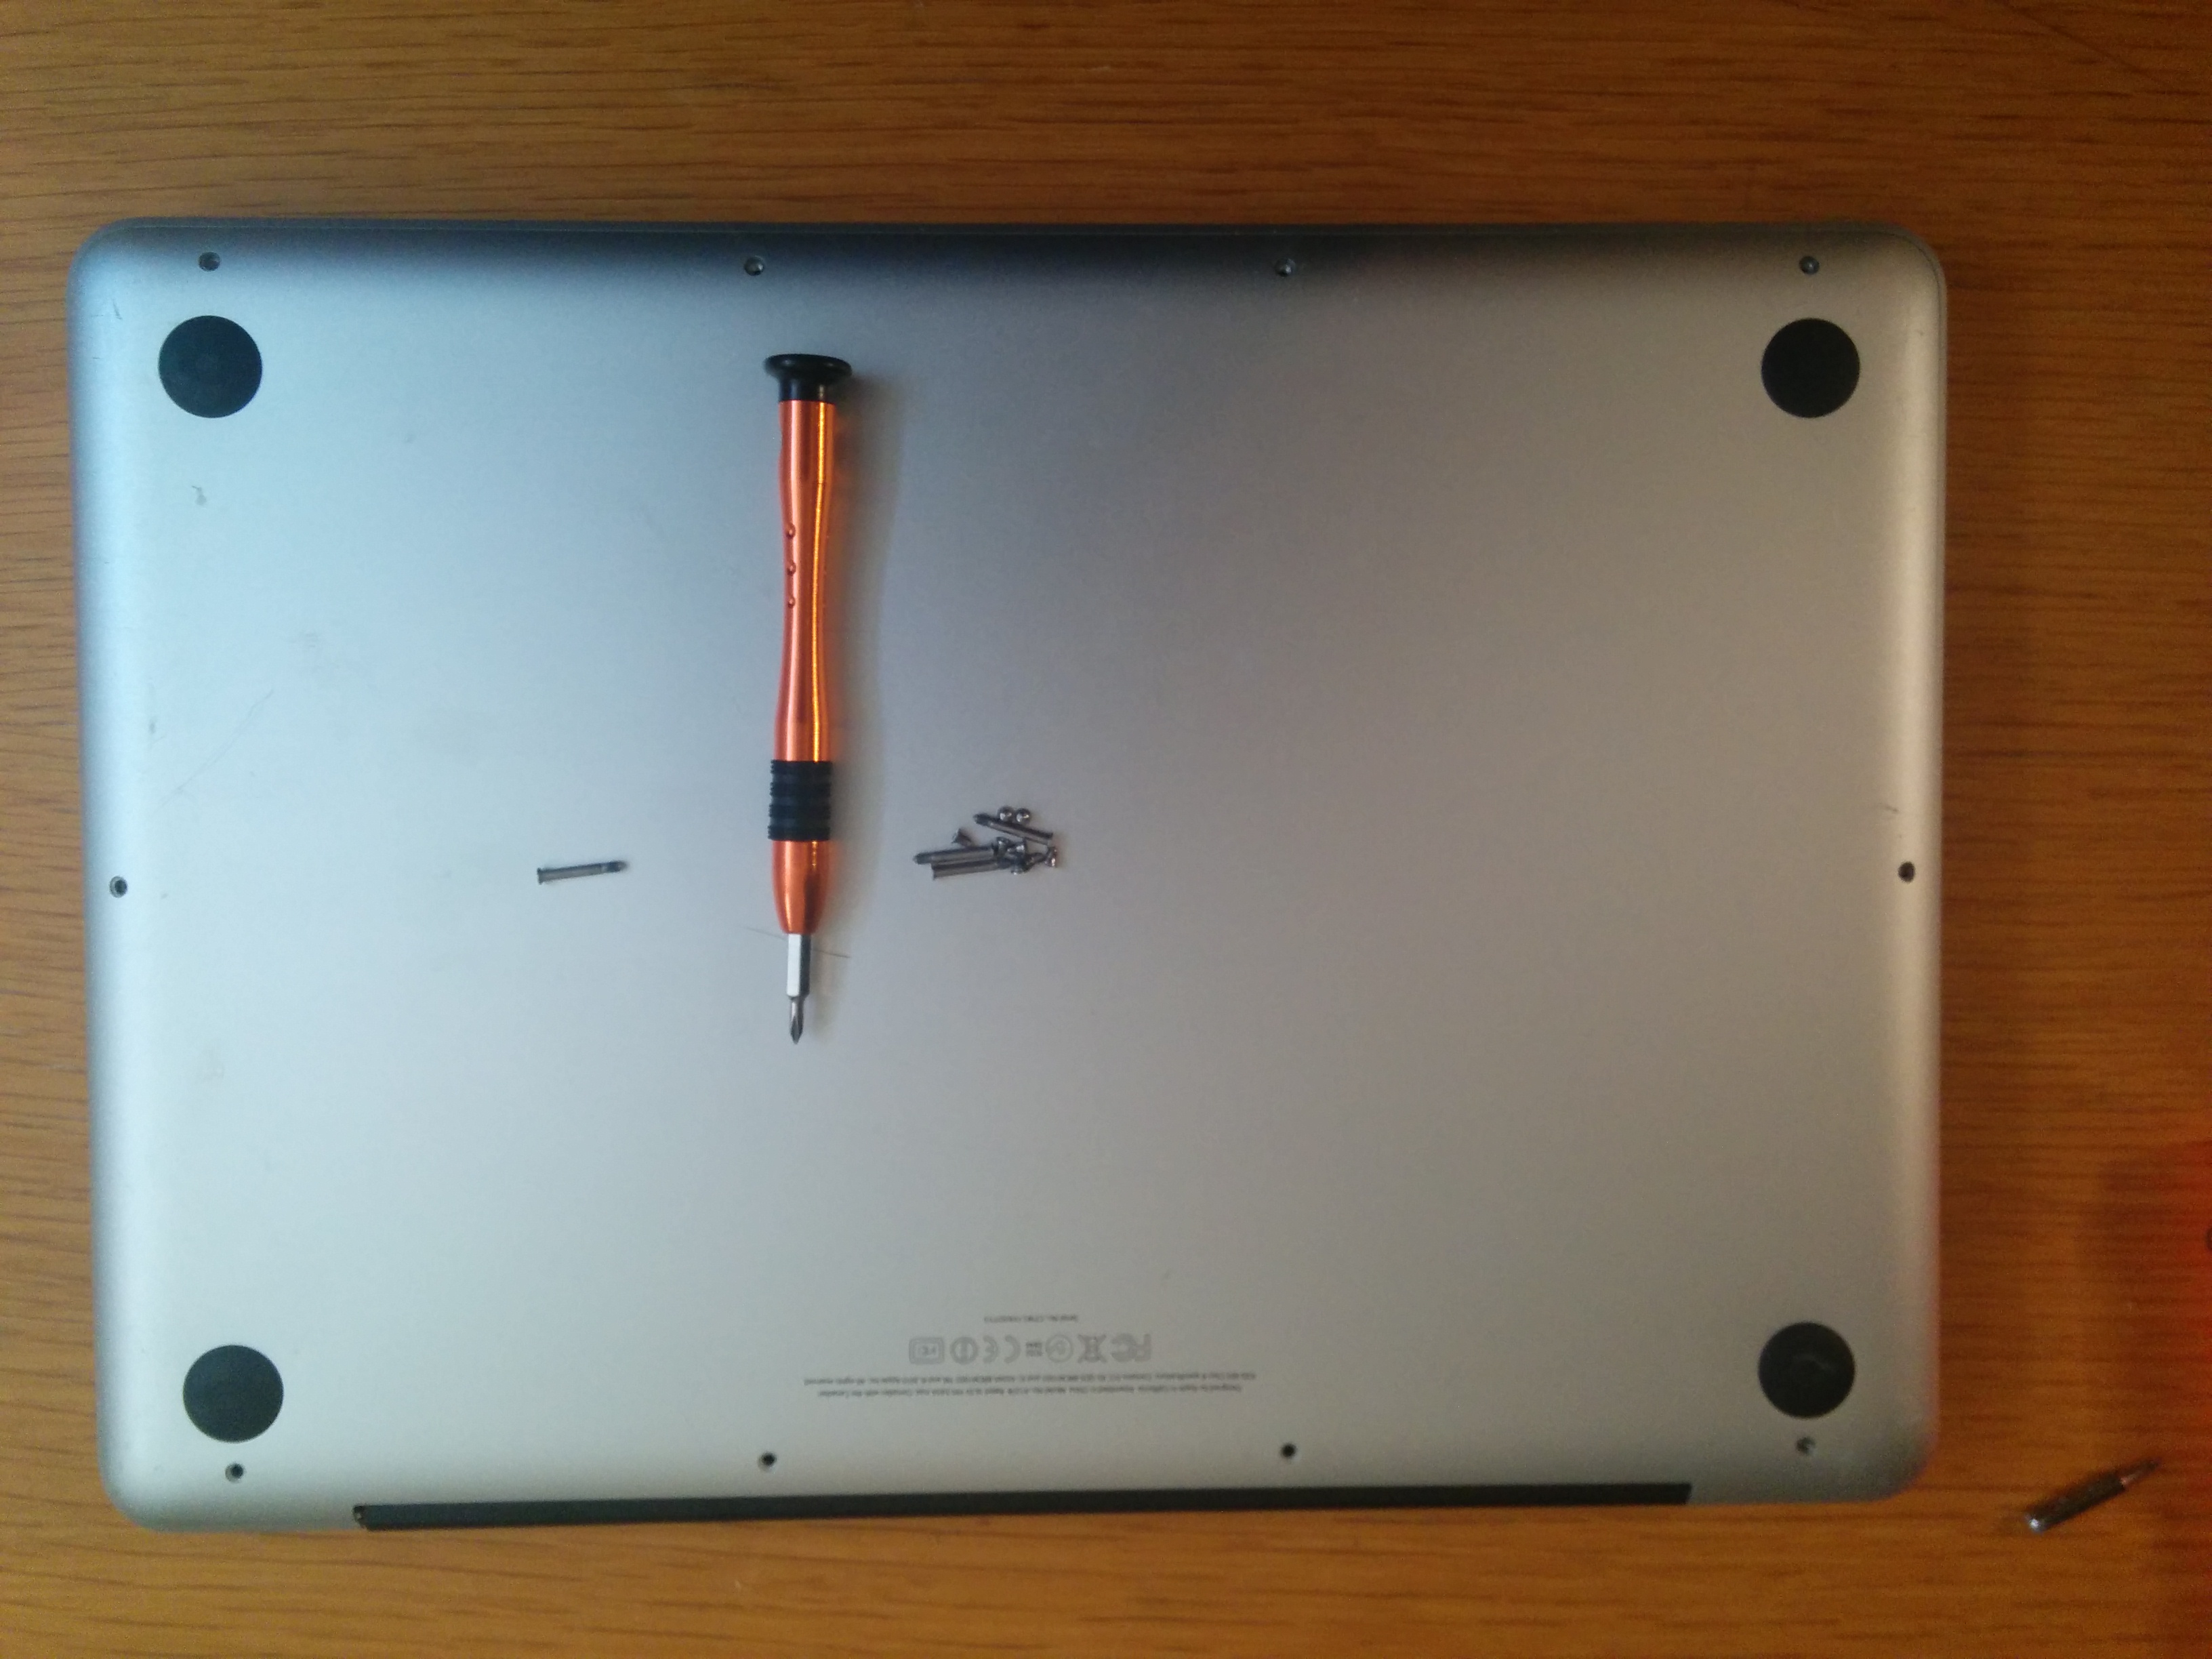
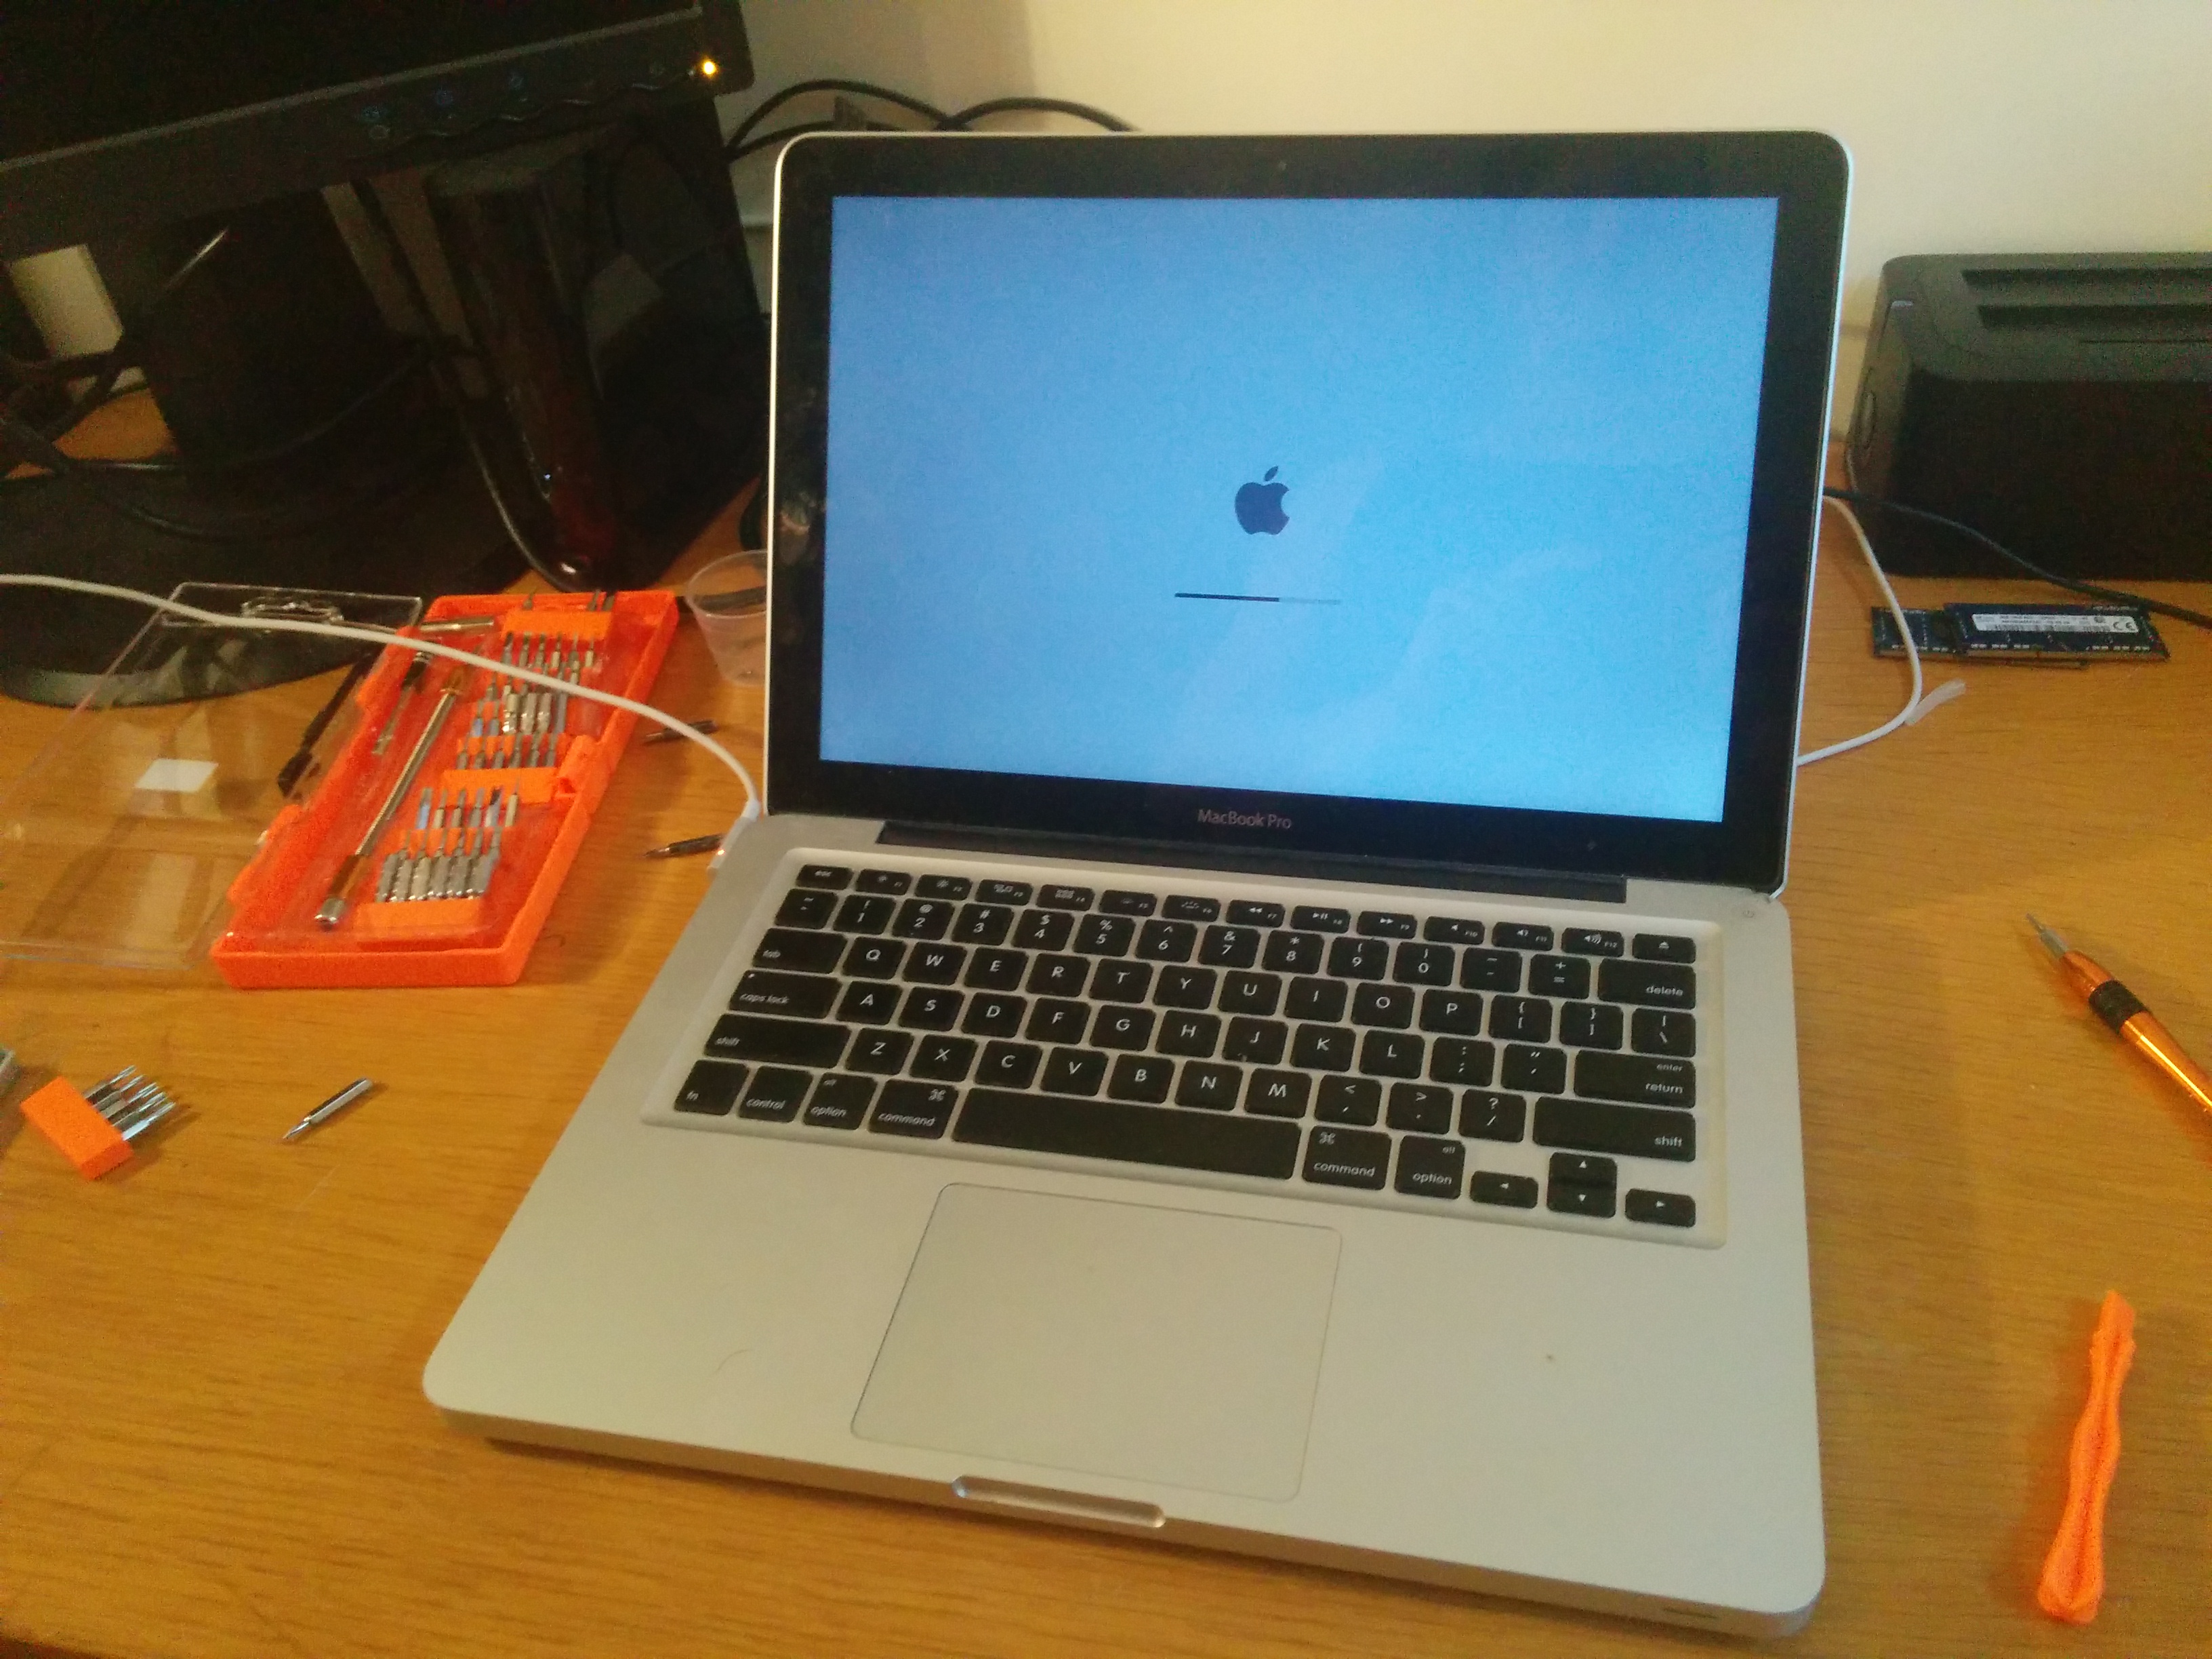
Before I turned of the laptop and closed it up for good, I mean the next mod... I checked the specs, made sure the computer recognized the new RAM, the new HDs and whether everything ran smoothly.
It has been 5 days now, and I haven't had a problem except trying to figure out what to do with all the time I've saved!
Piecing Together the External Optical Drive
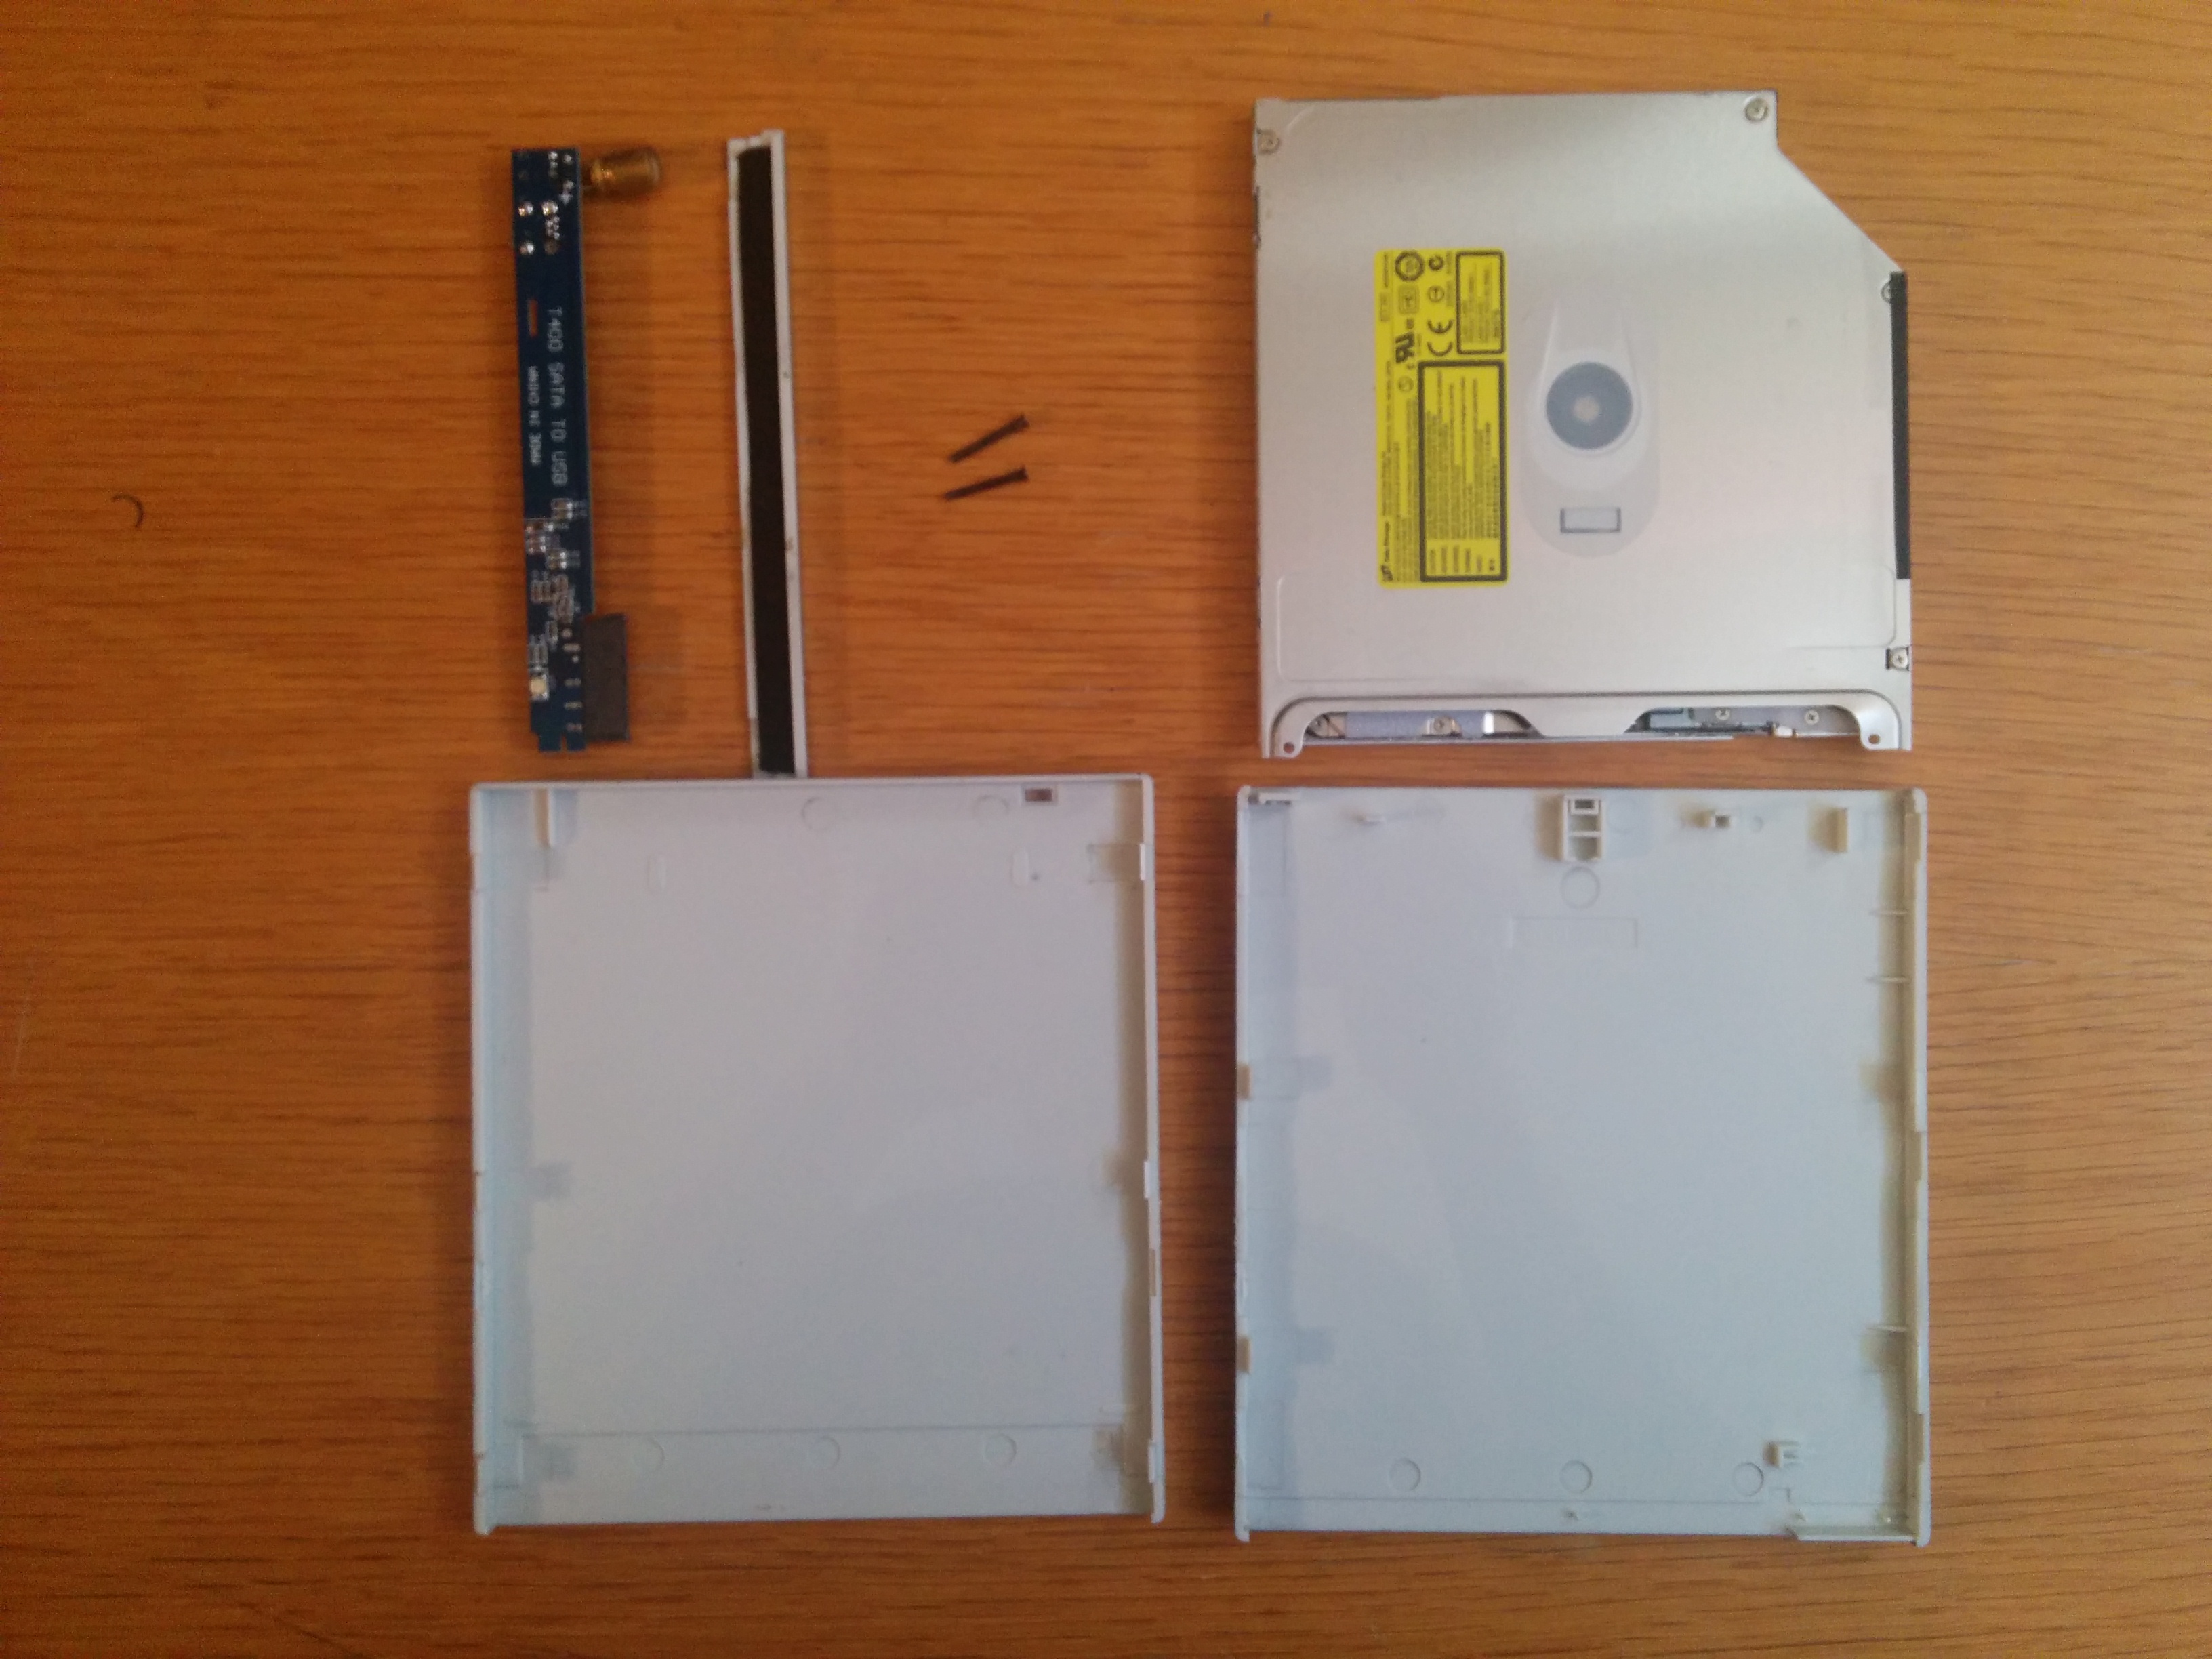
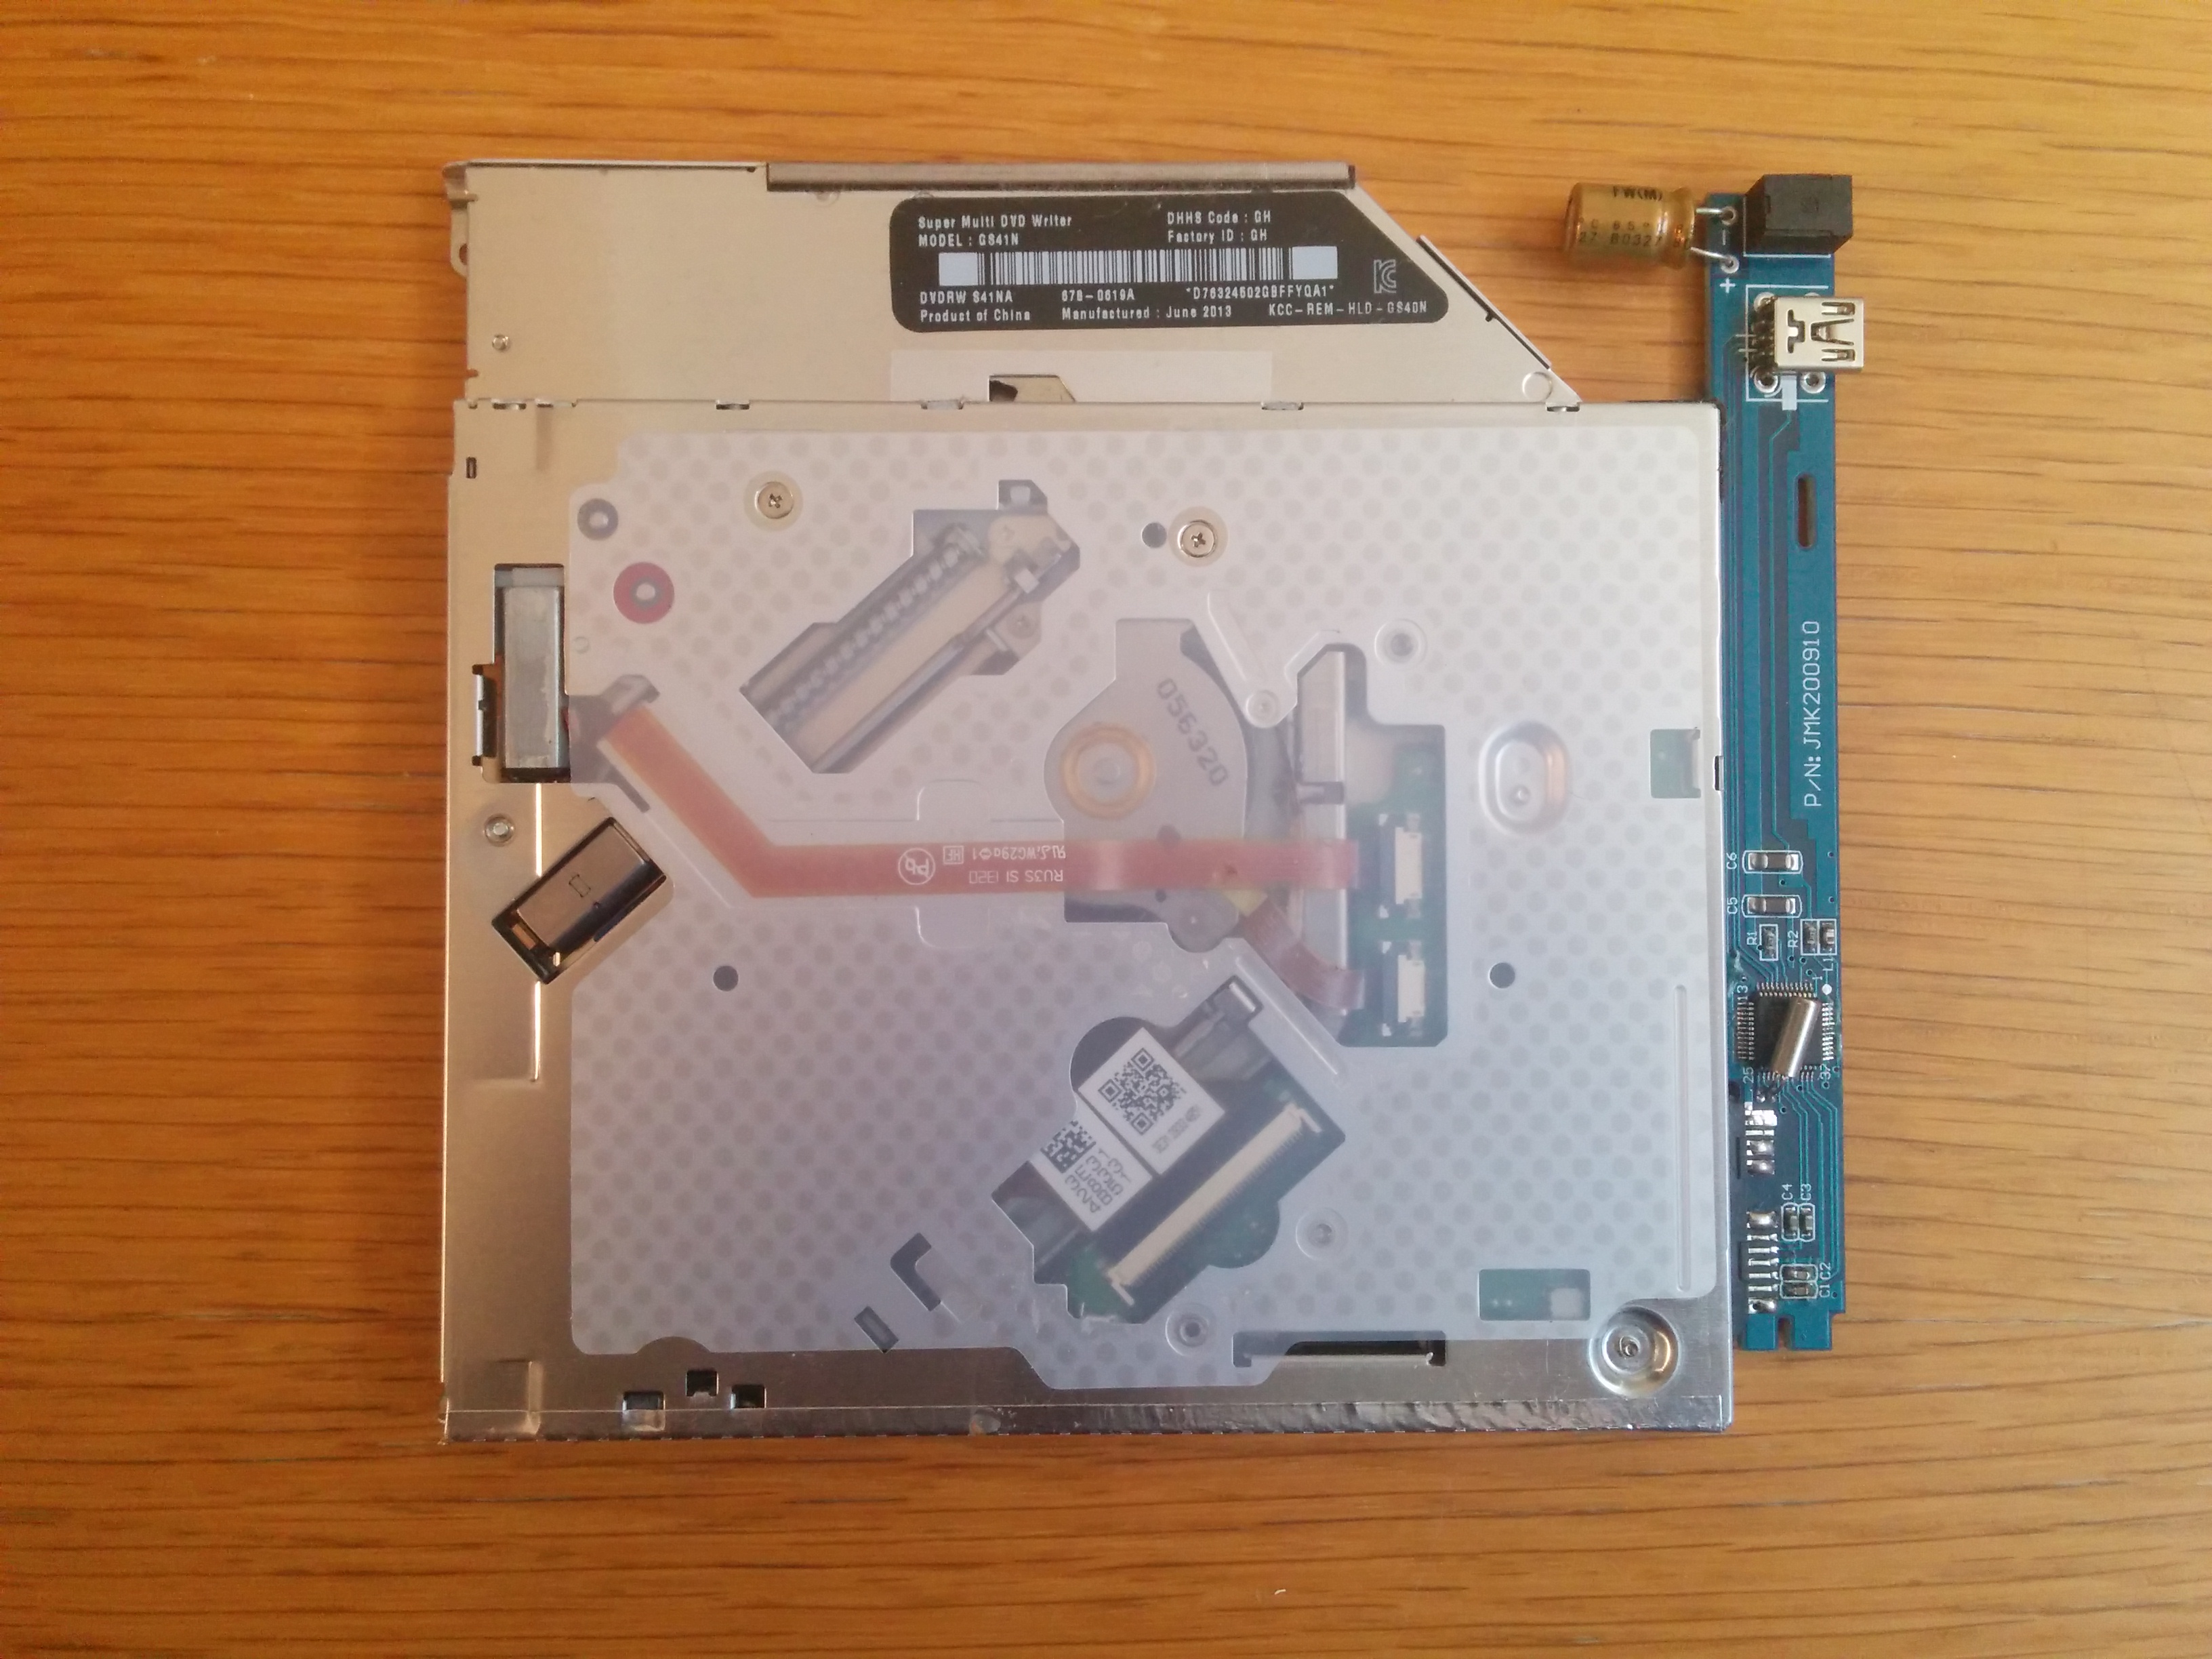
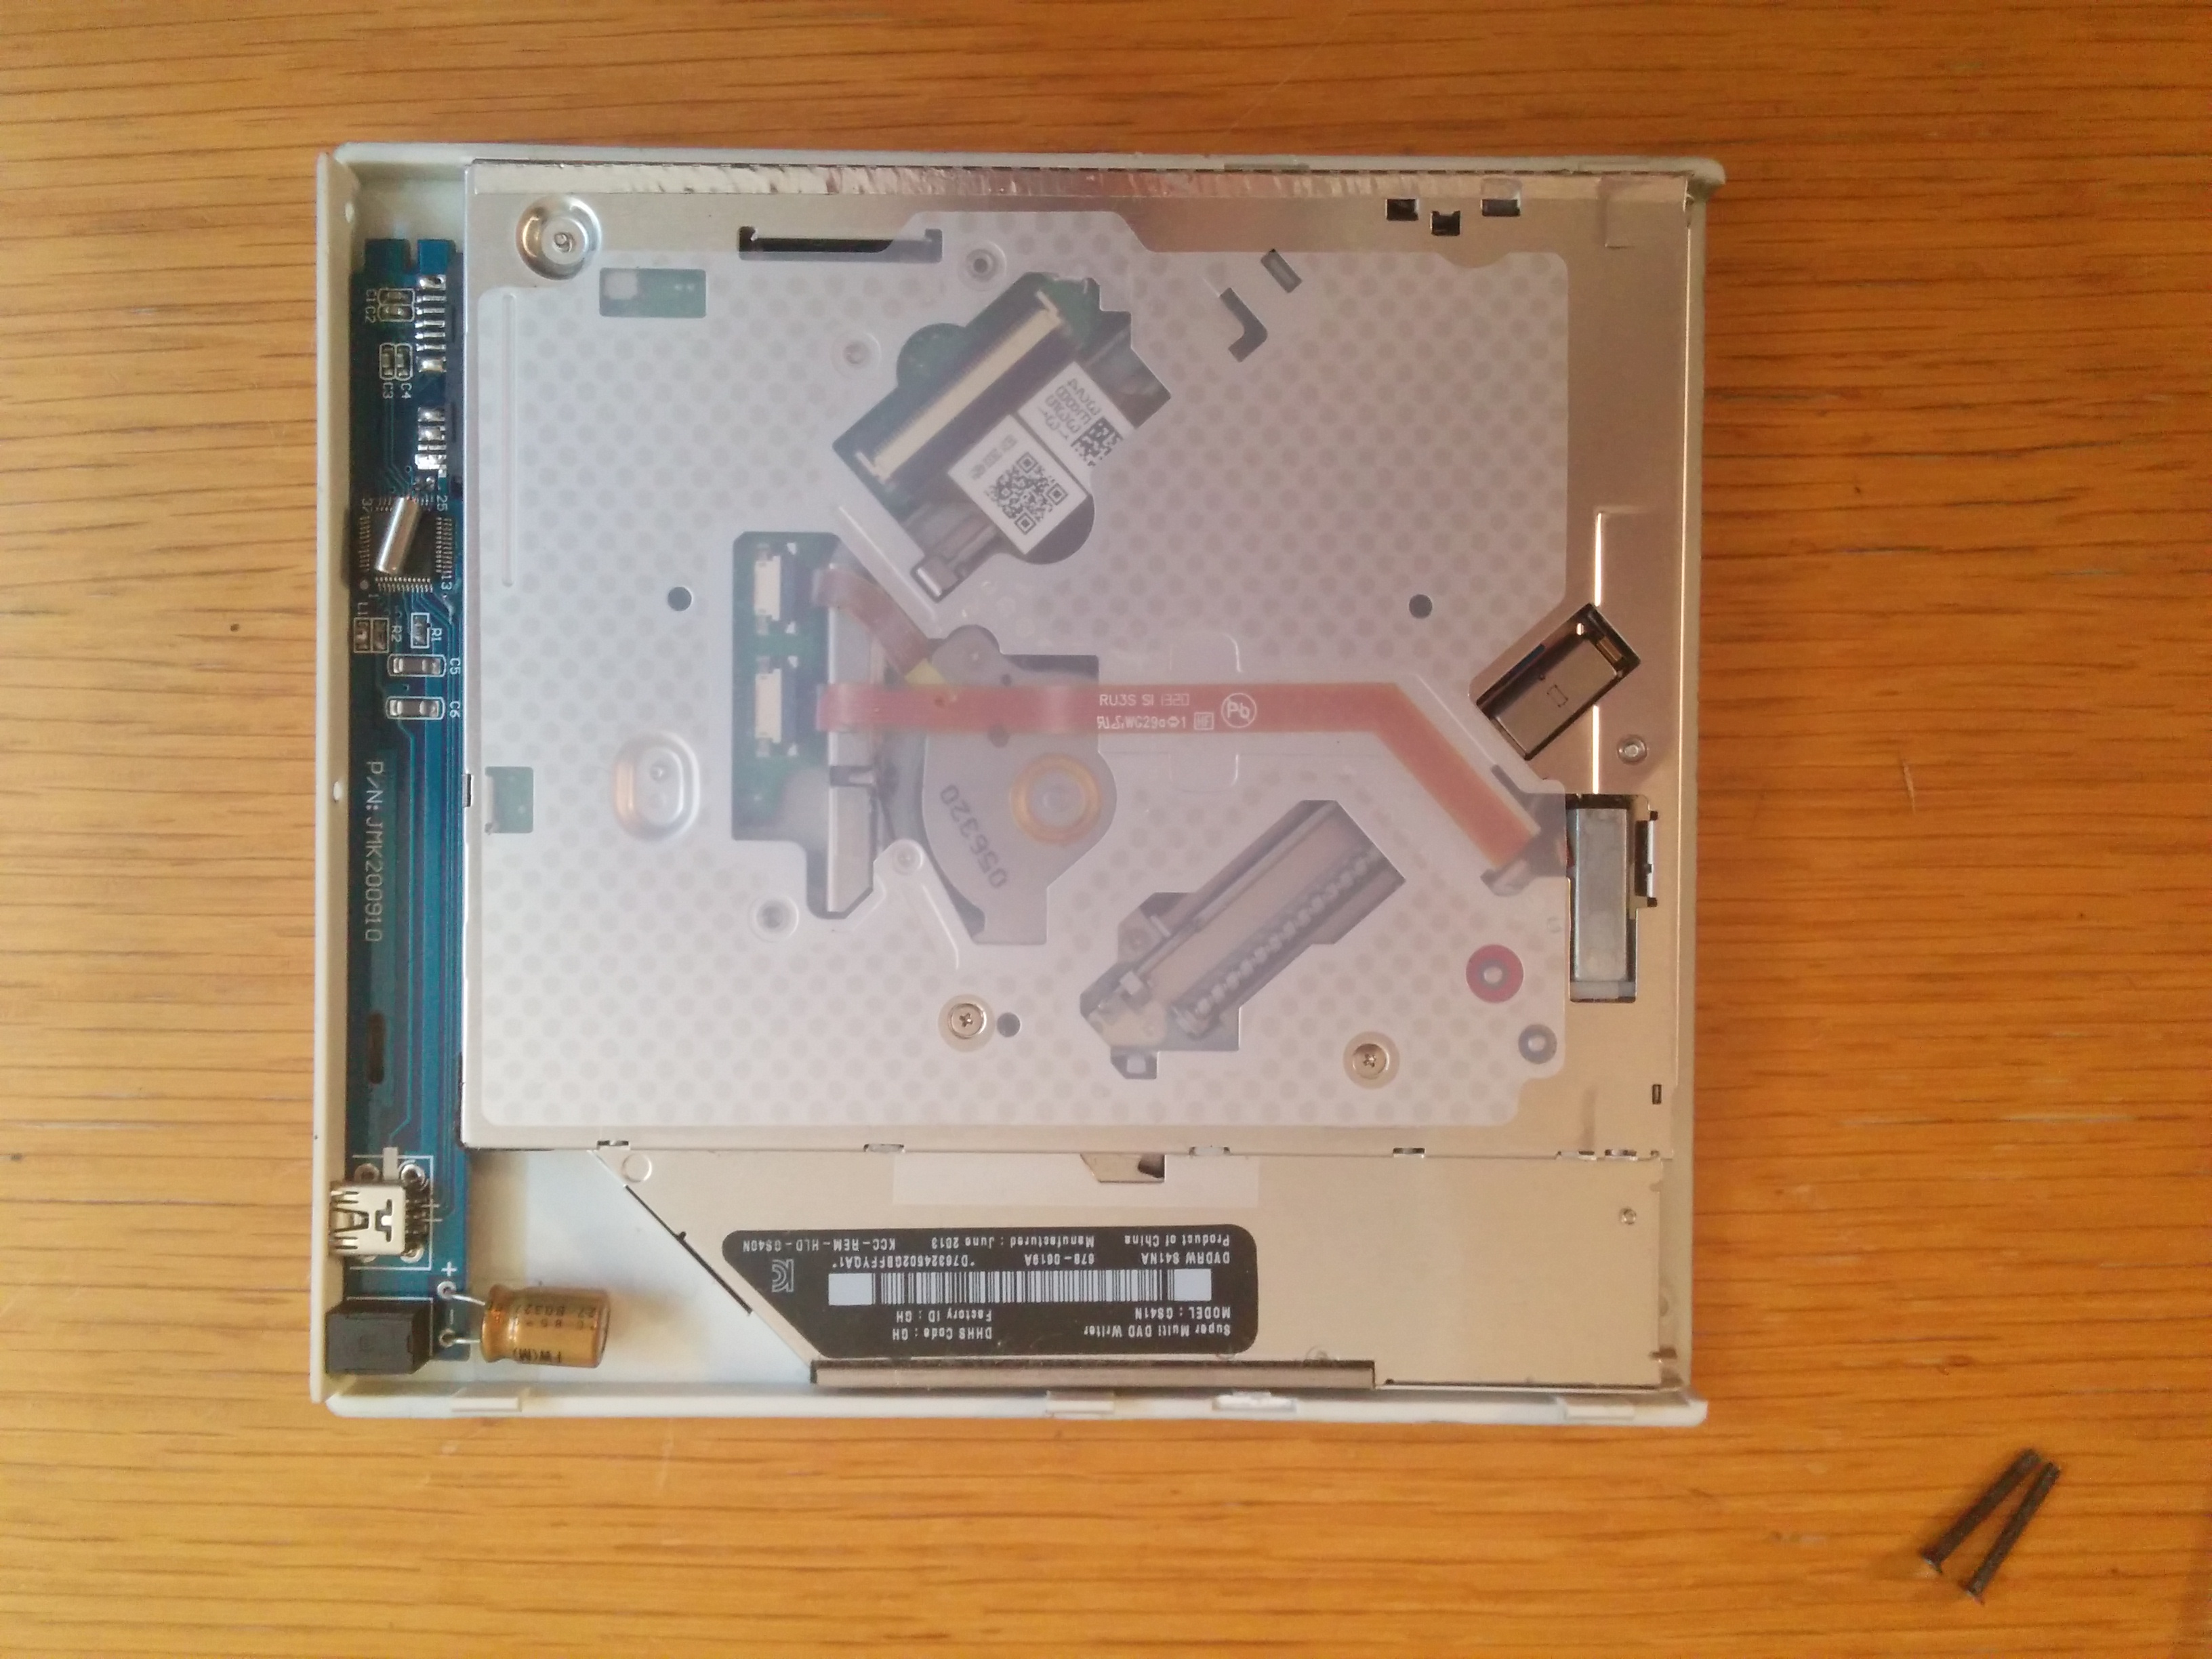
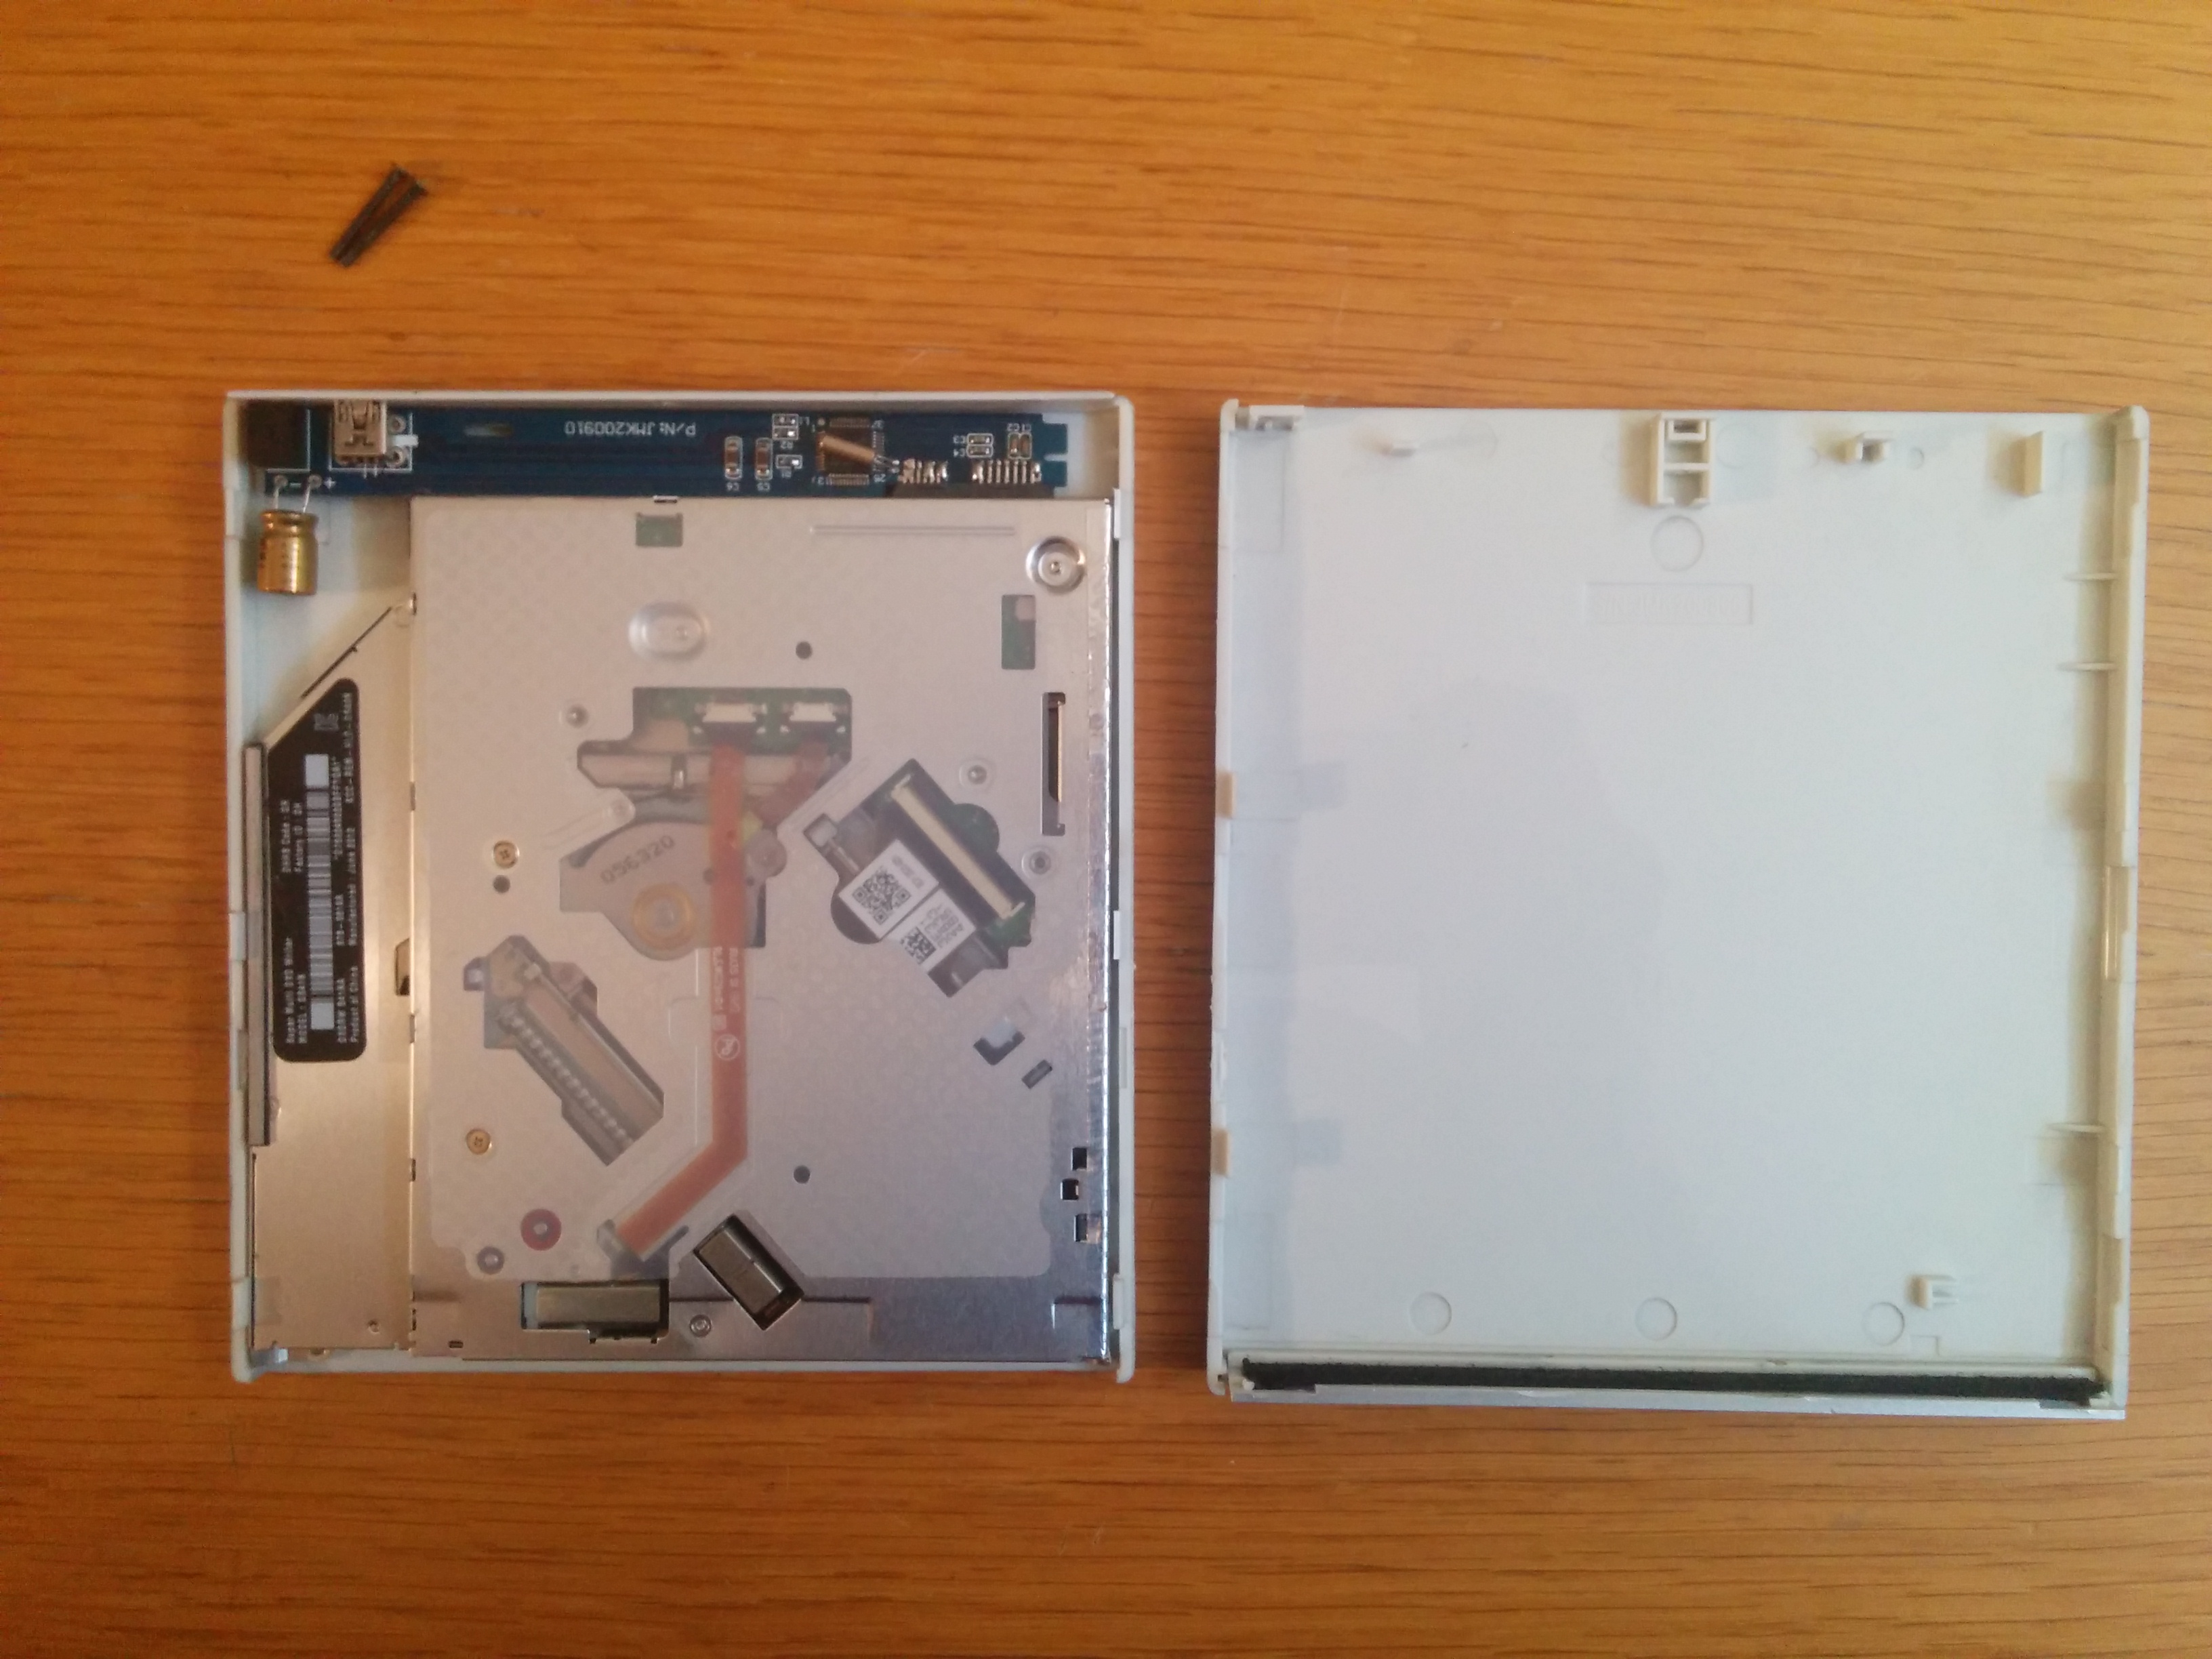
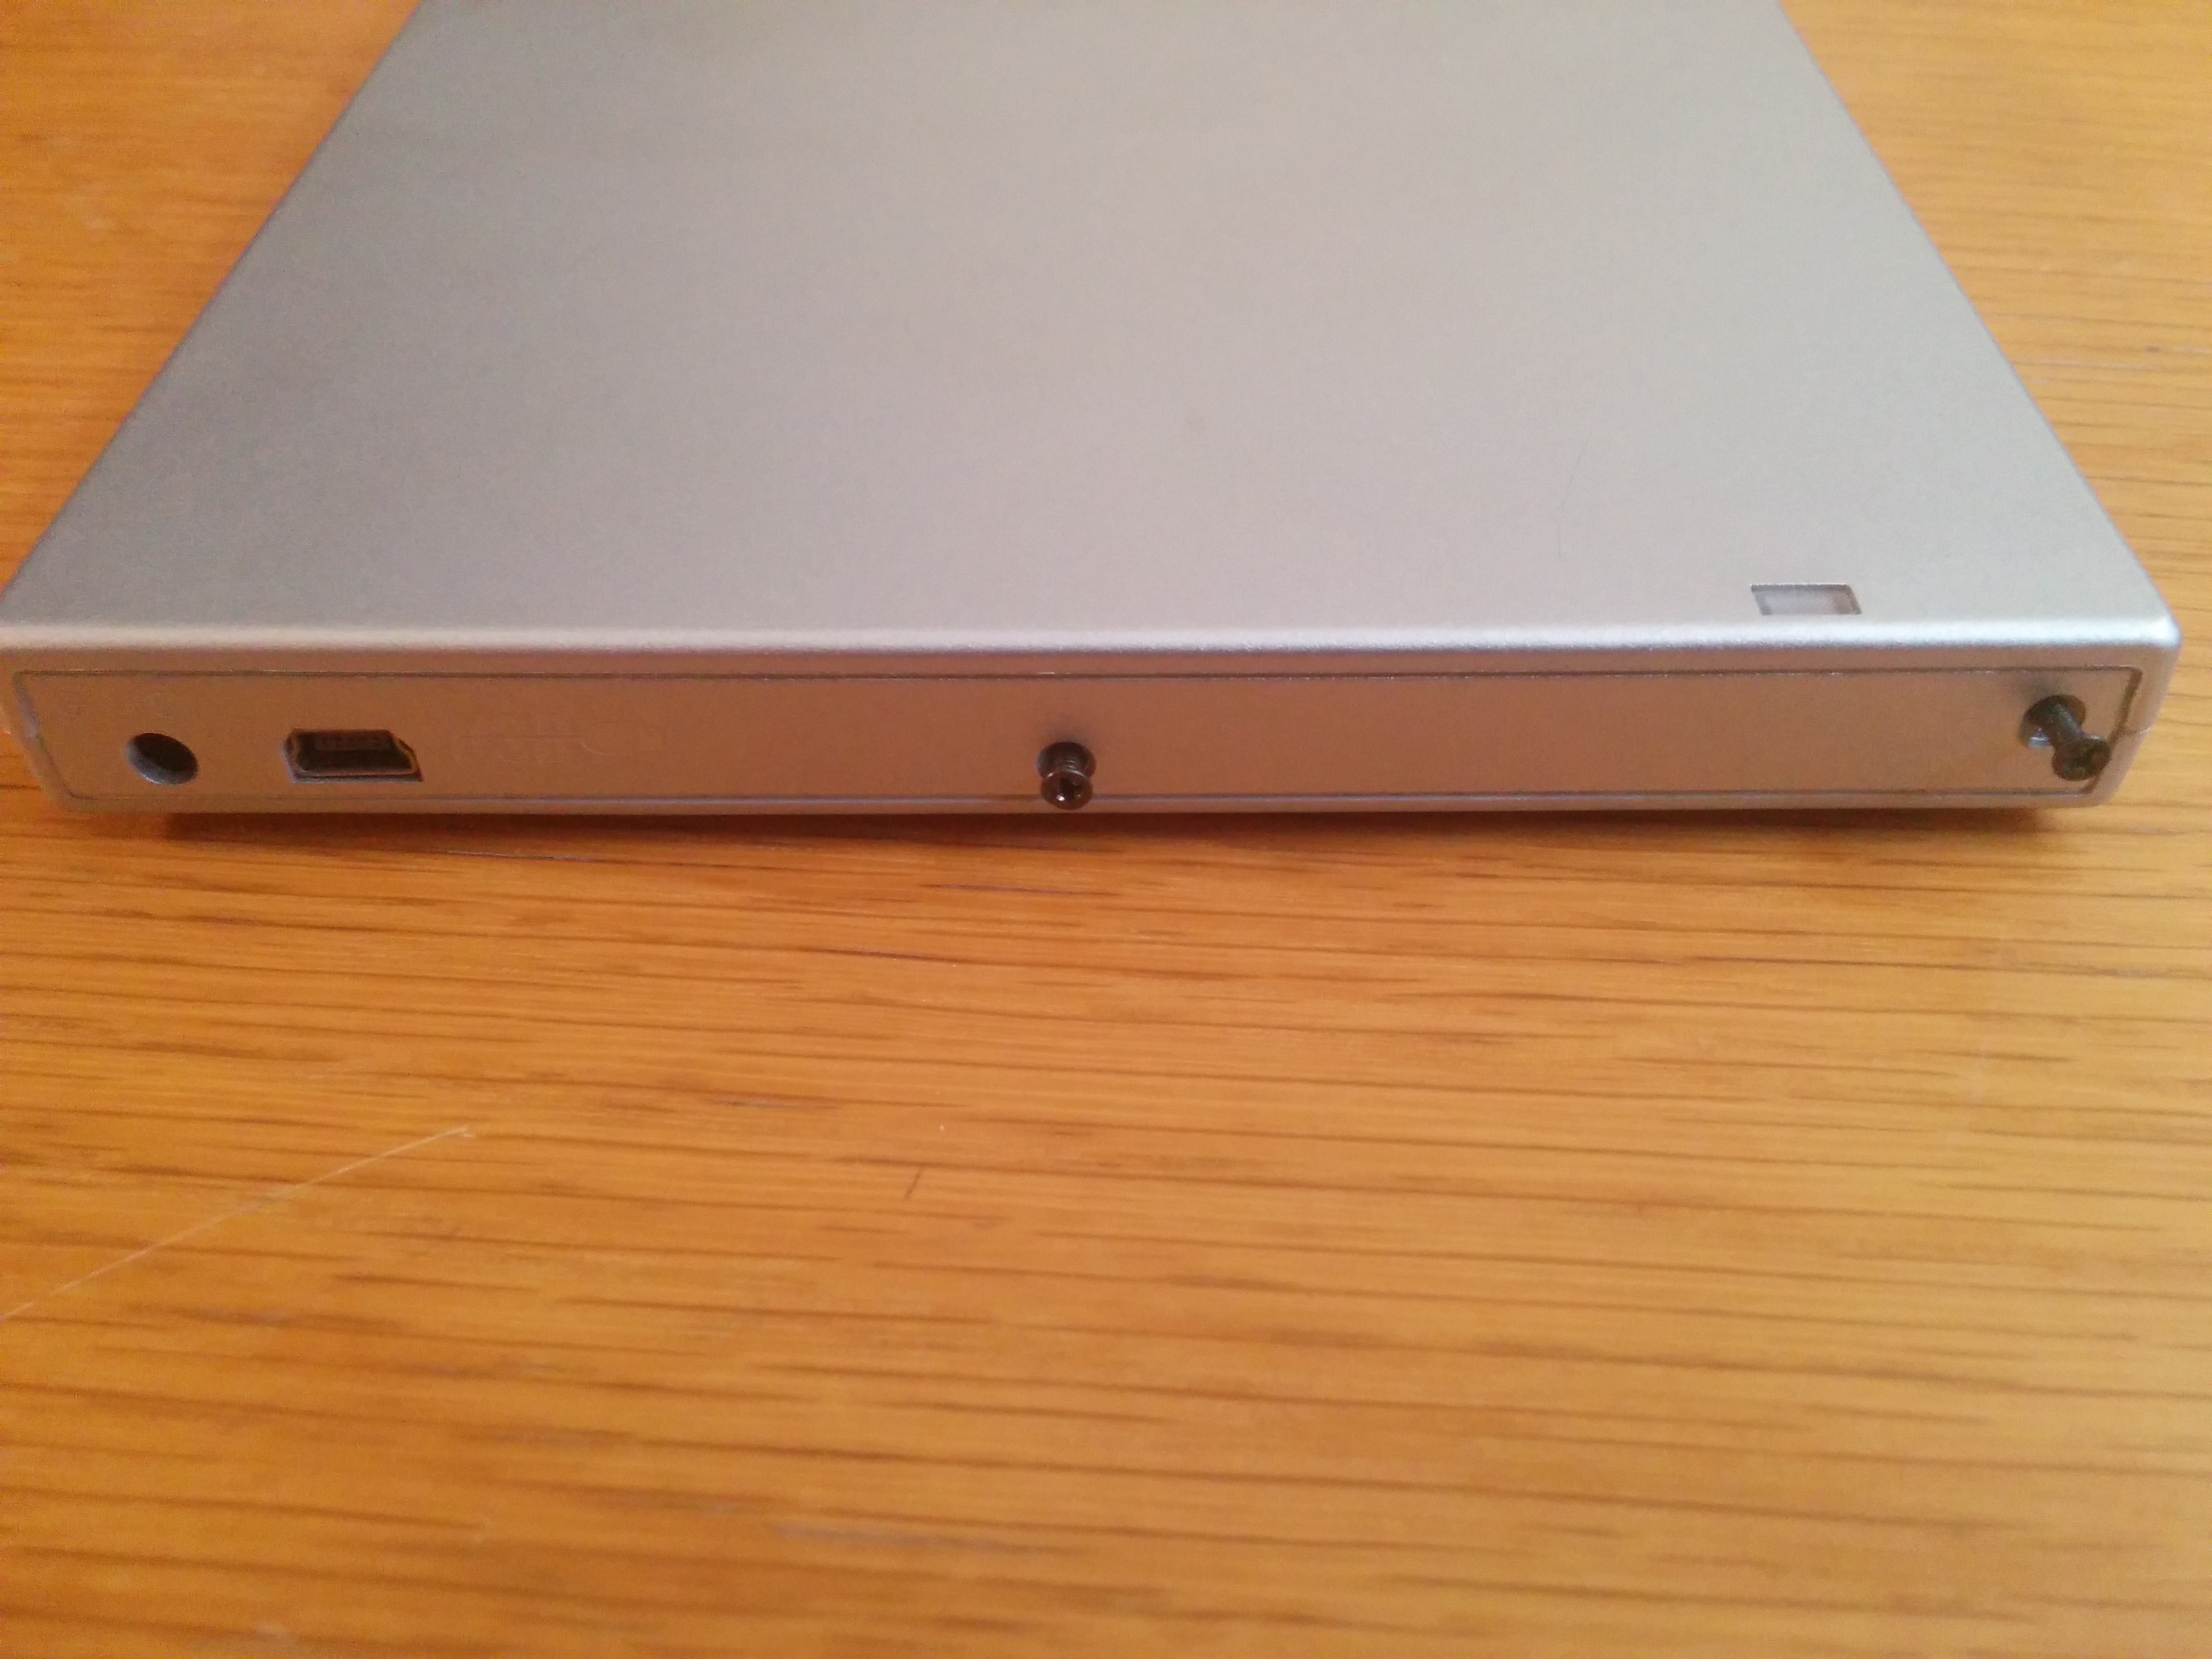
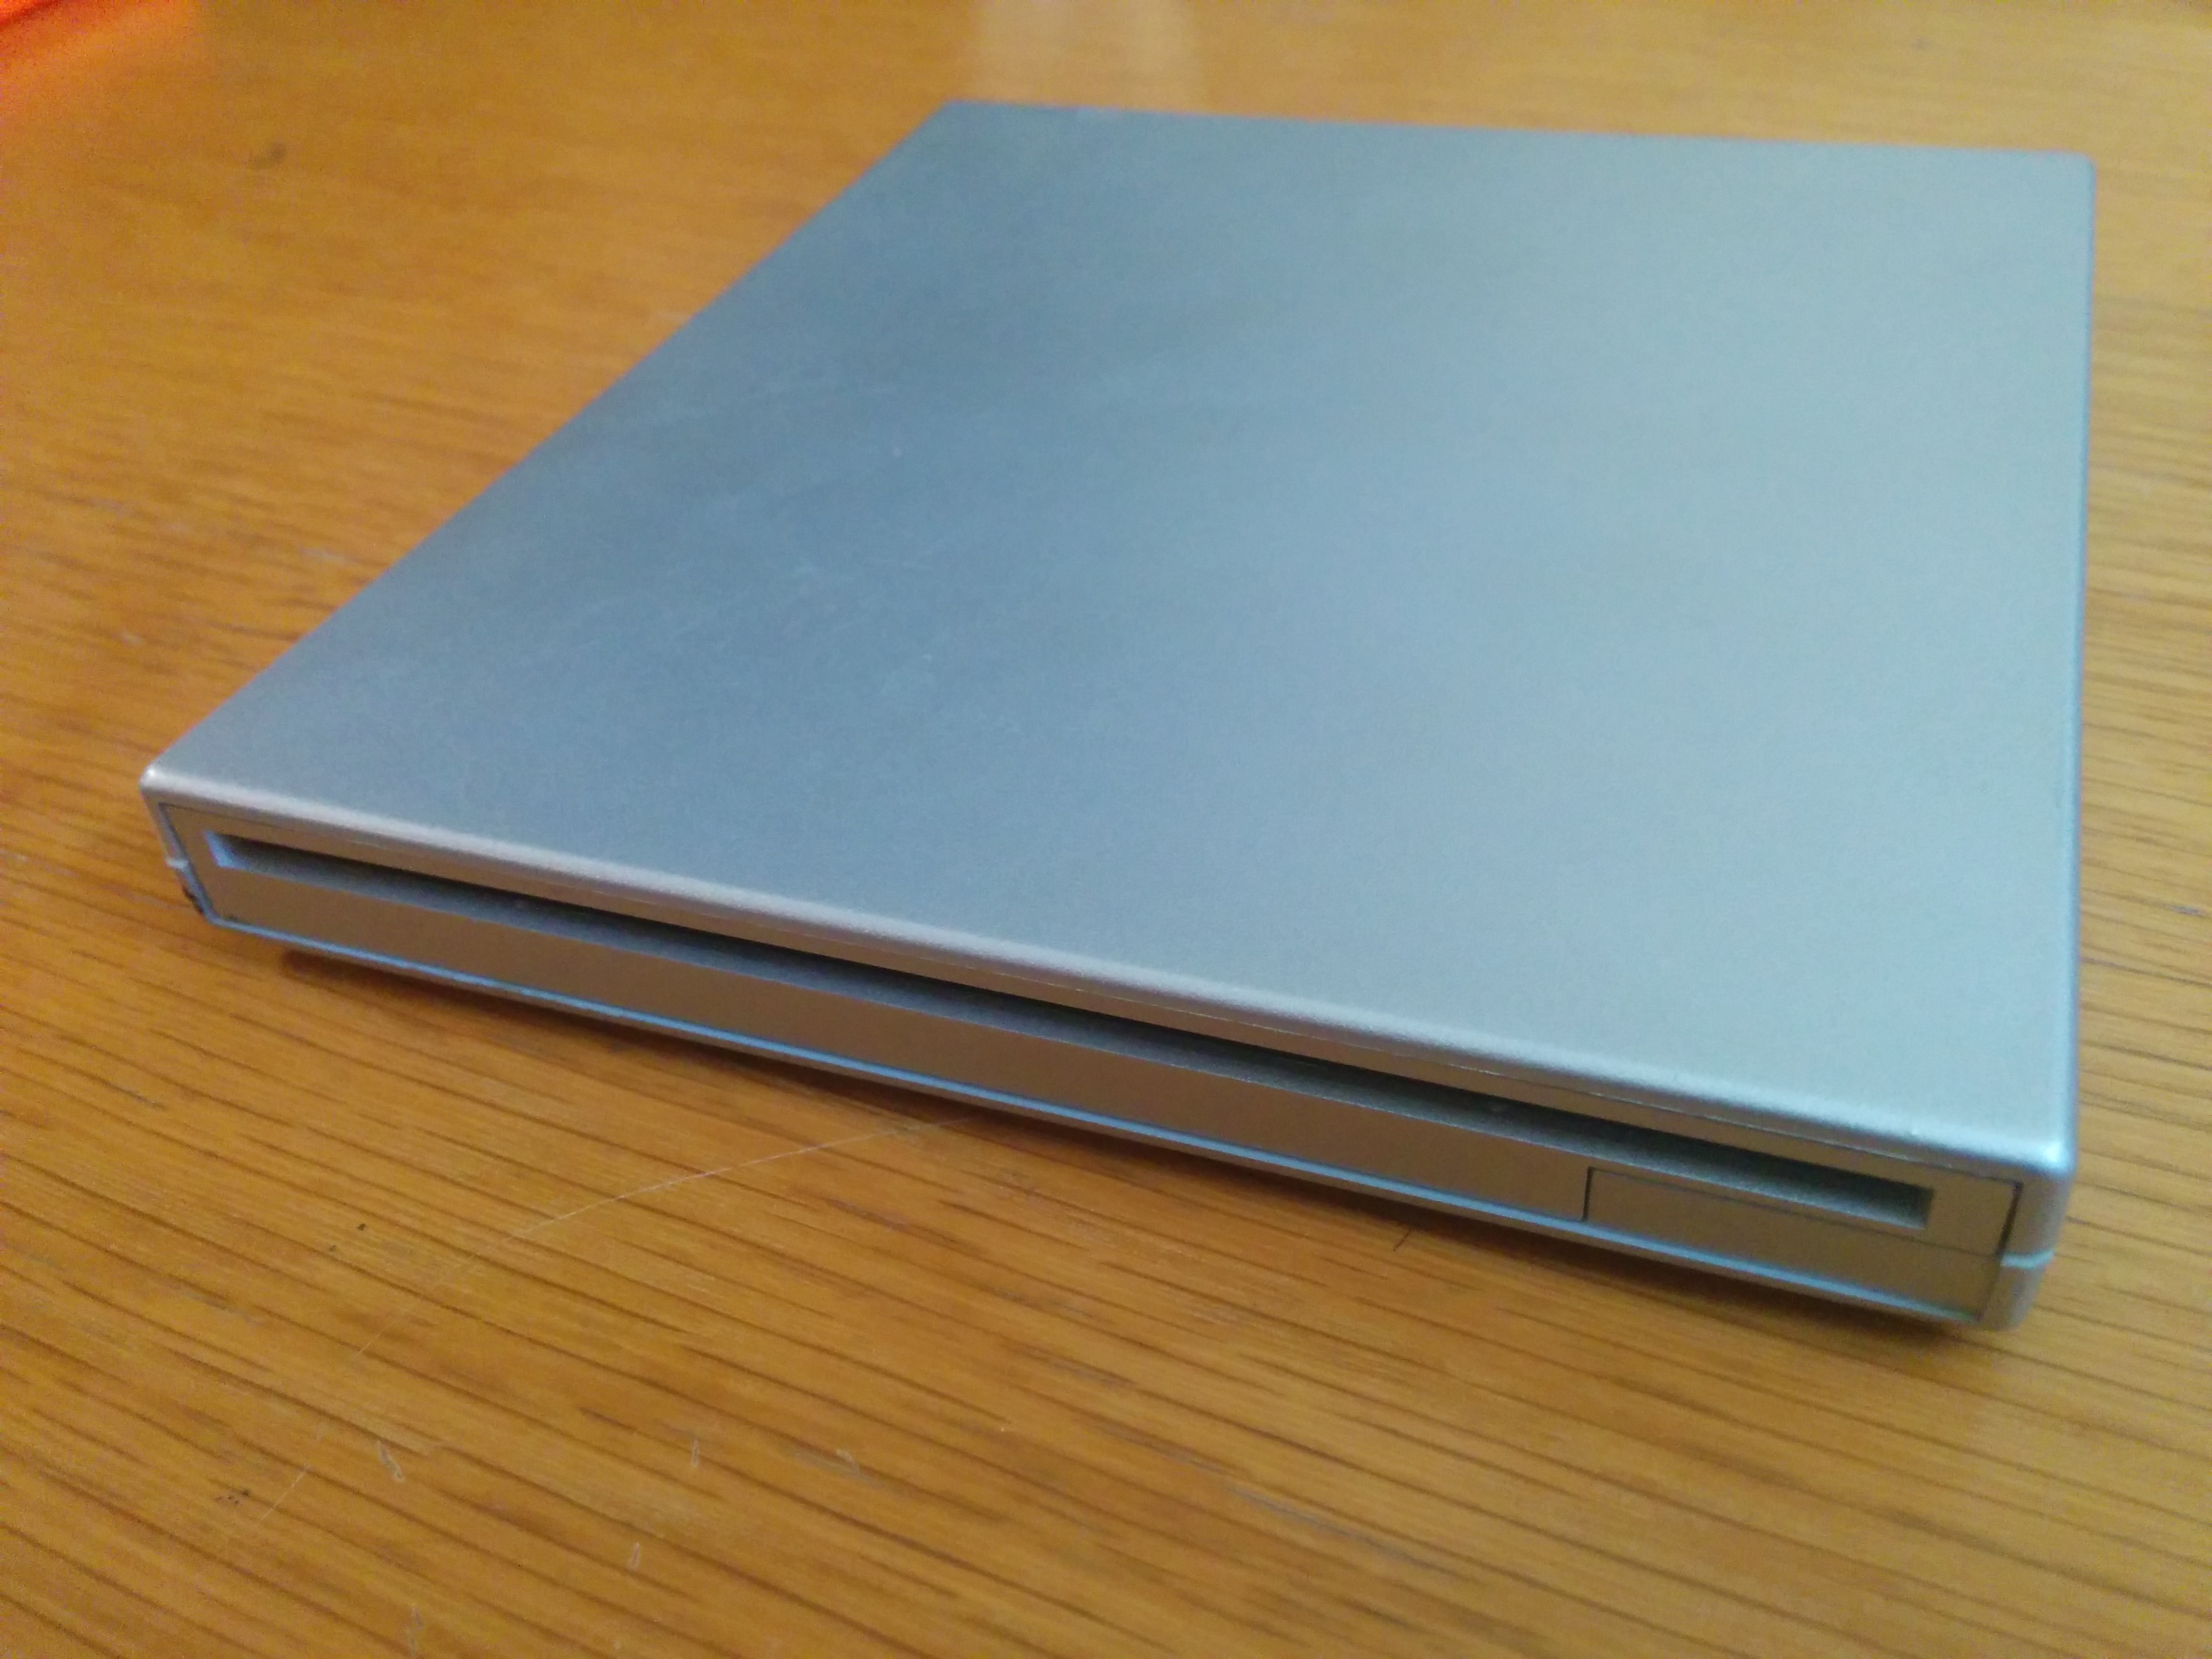
The Optibay compartment, when you order it, comes with a case to put your old optical drive in and use it as an external drive. This is super handy, and easy to do.
Instead of making its own Instructable, here is an integrated one as it pertains to the whole build.
Grab parts from optical drive, PCB, screws, and plastic enclosure;
Slot the PCB into the drive;
Place the drive into the bottom of the enclosure ;
Put the disk opening plastic bit into the other half of the enclosure (facing the right way...);
Close the 2 halves together, ensuring that everything fits into place;
Screw in the 2 screws to the back panel;
Enjoy the extra hard drive space and external optical drive when you need it!