From Plain White to EPIC! Hallway Makeover
by Mimikry in Living > Decorating
2011 Views, 23 Favorites, 0 Comments
From Plain White to EPIC! Hallway Makeover
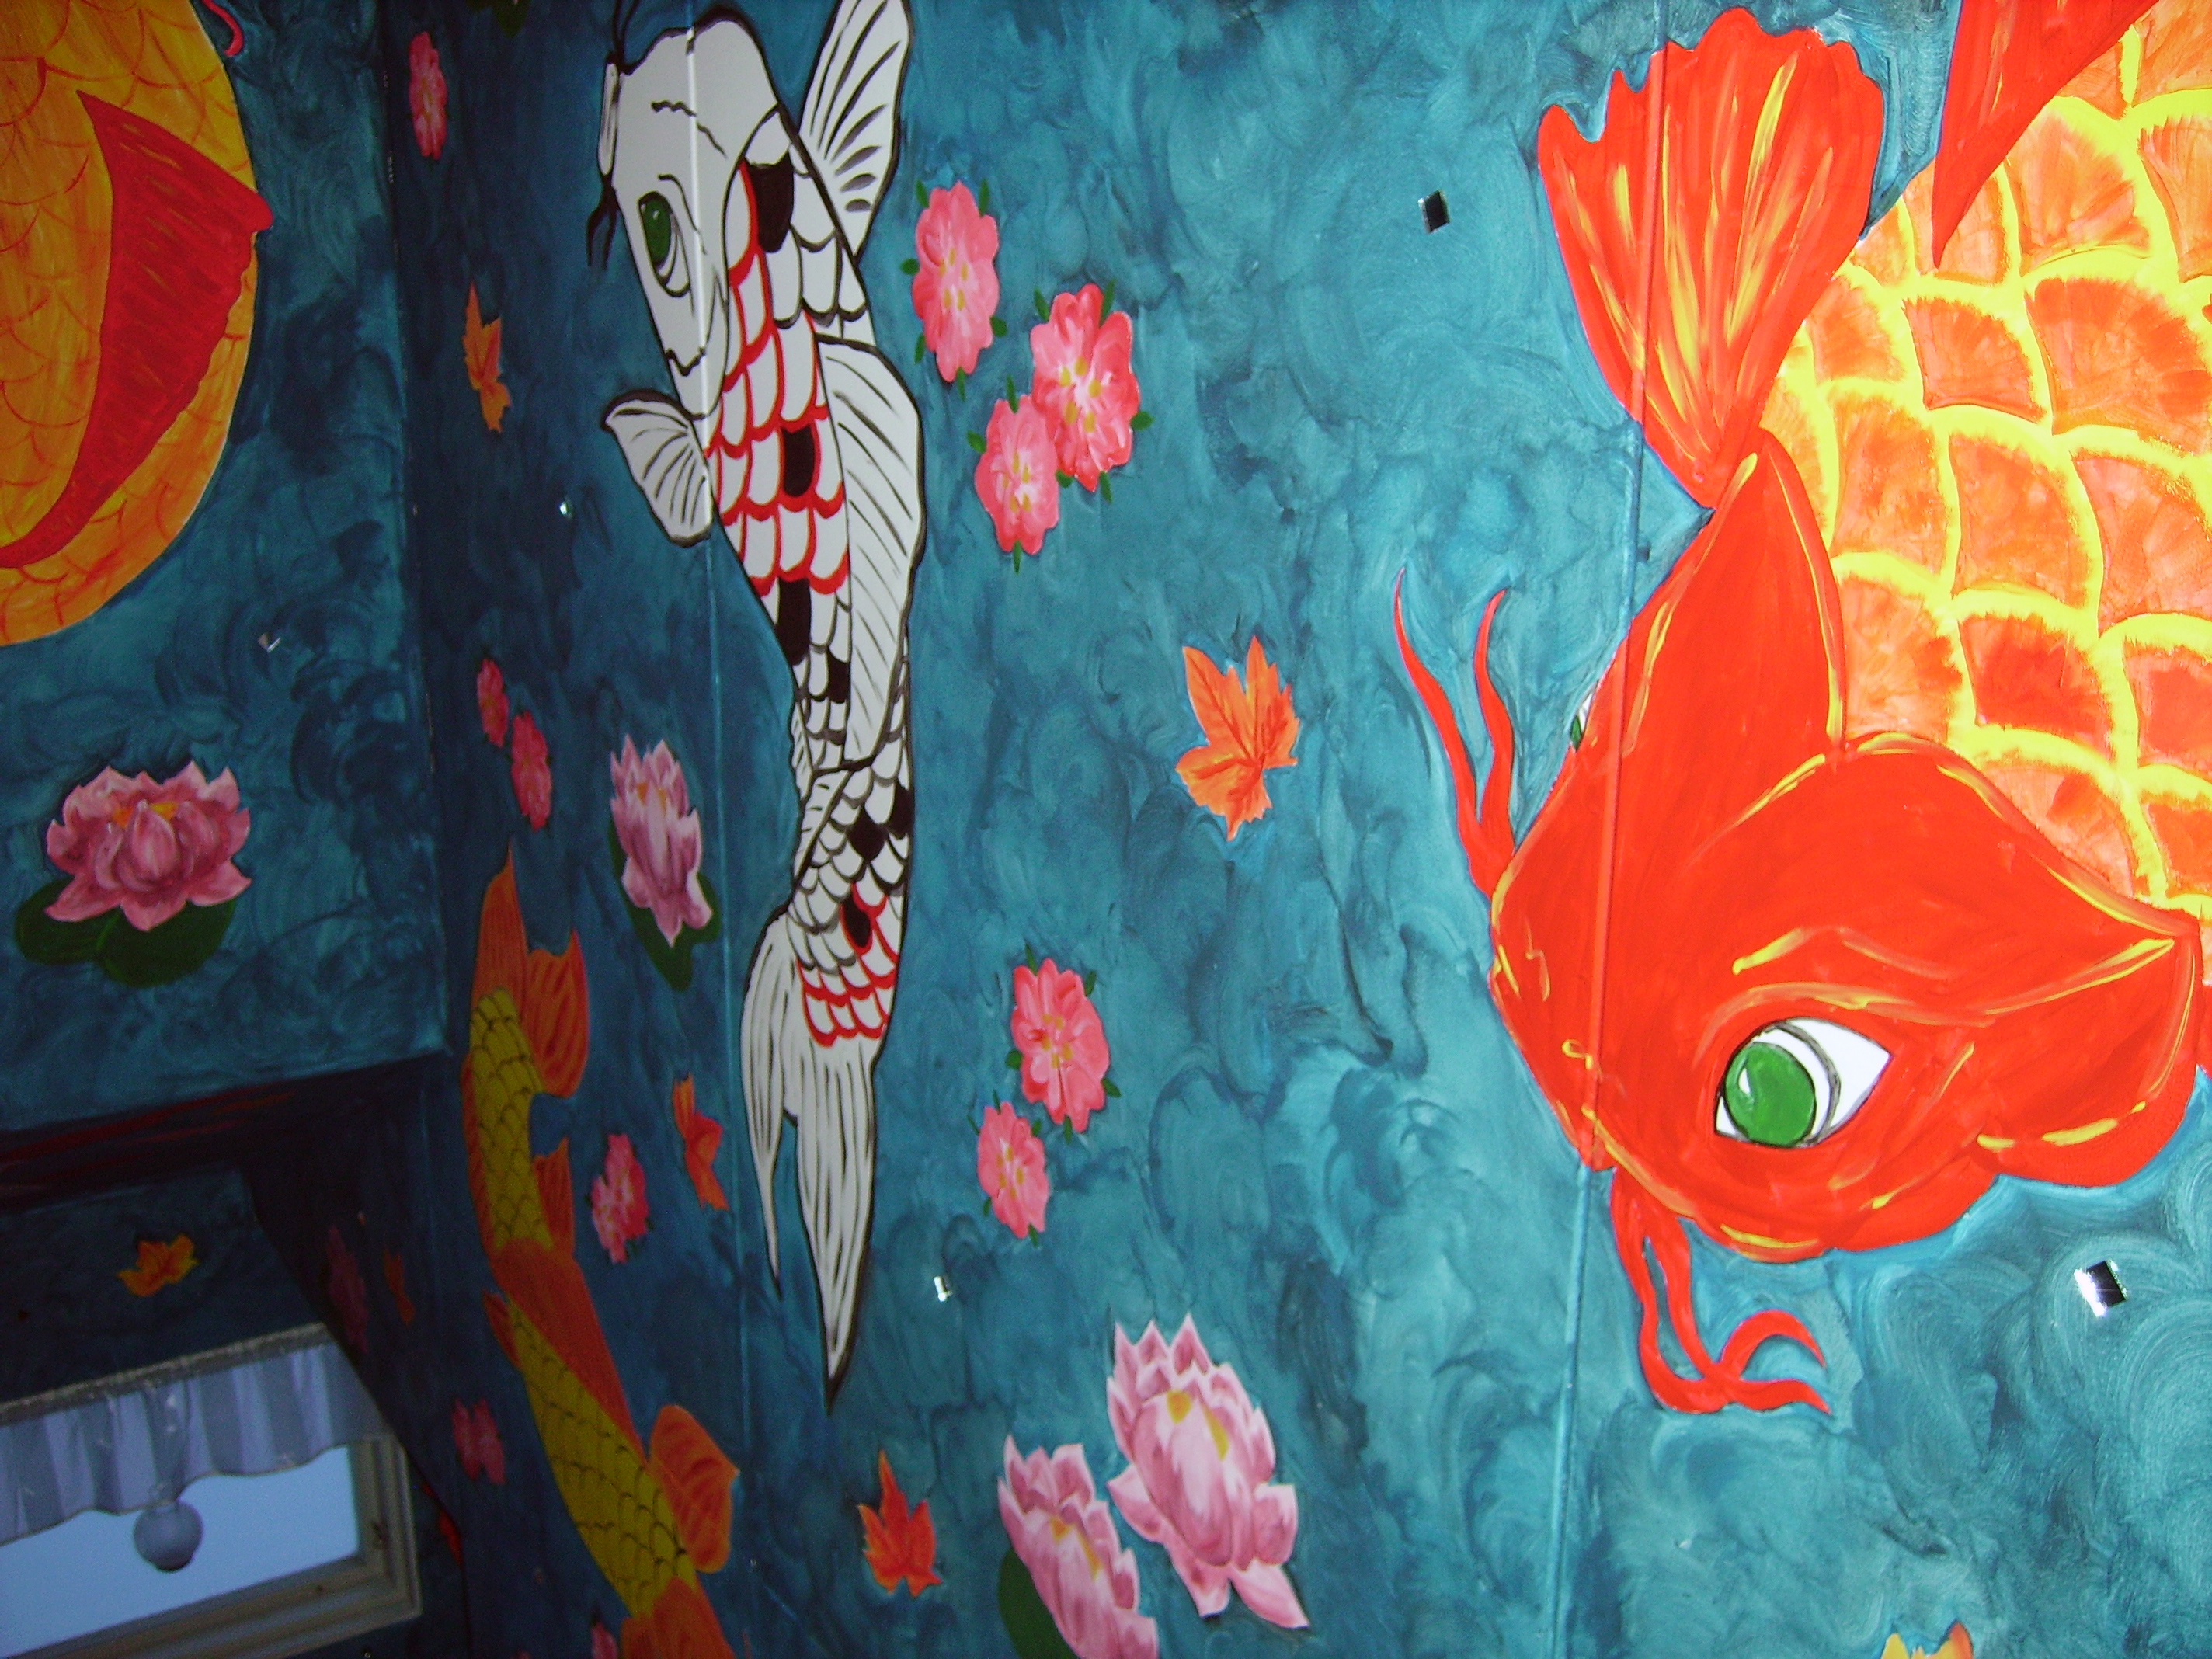
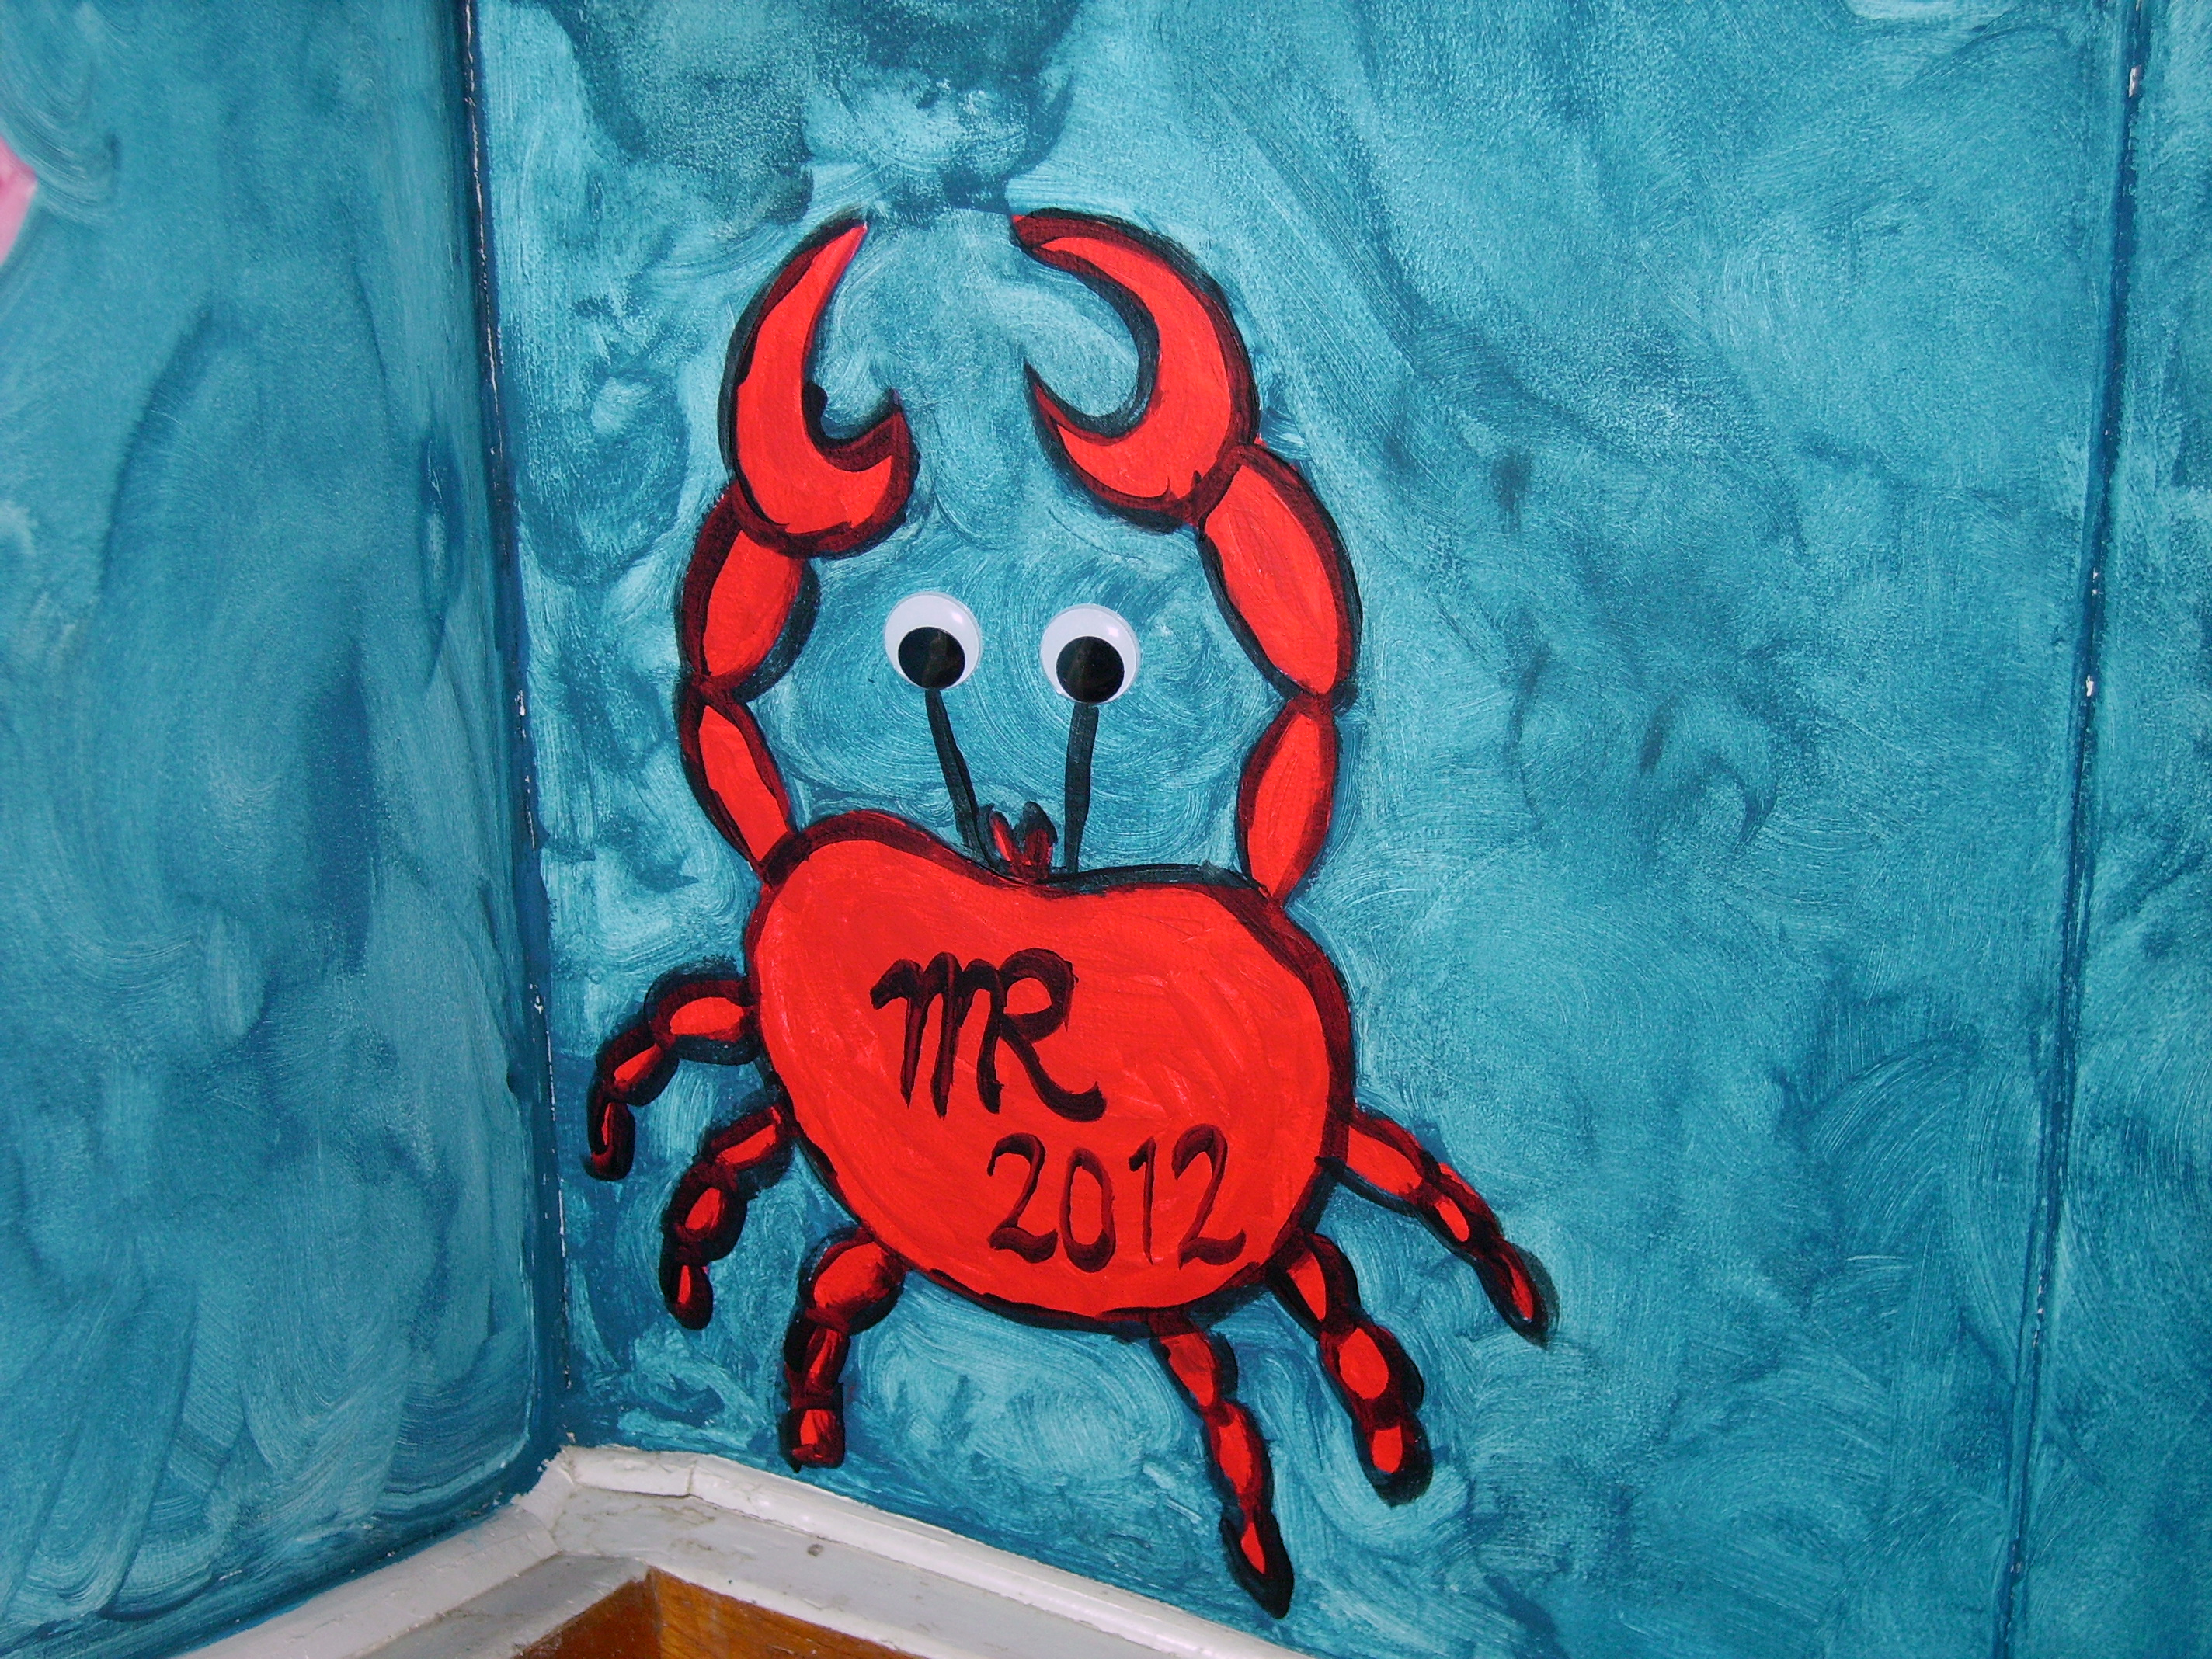
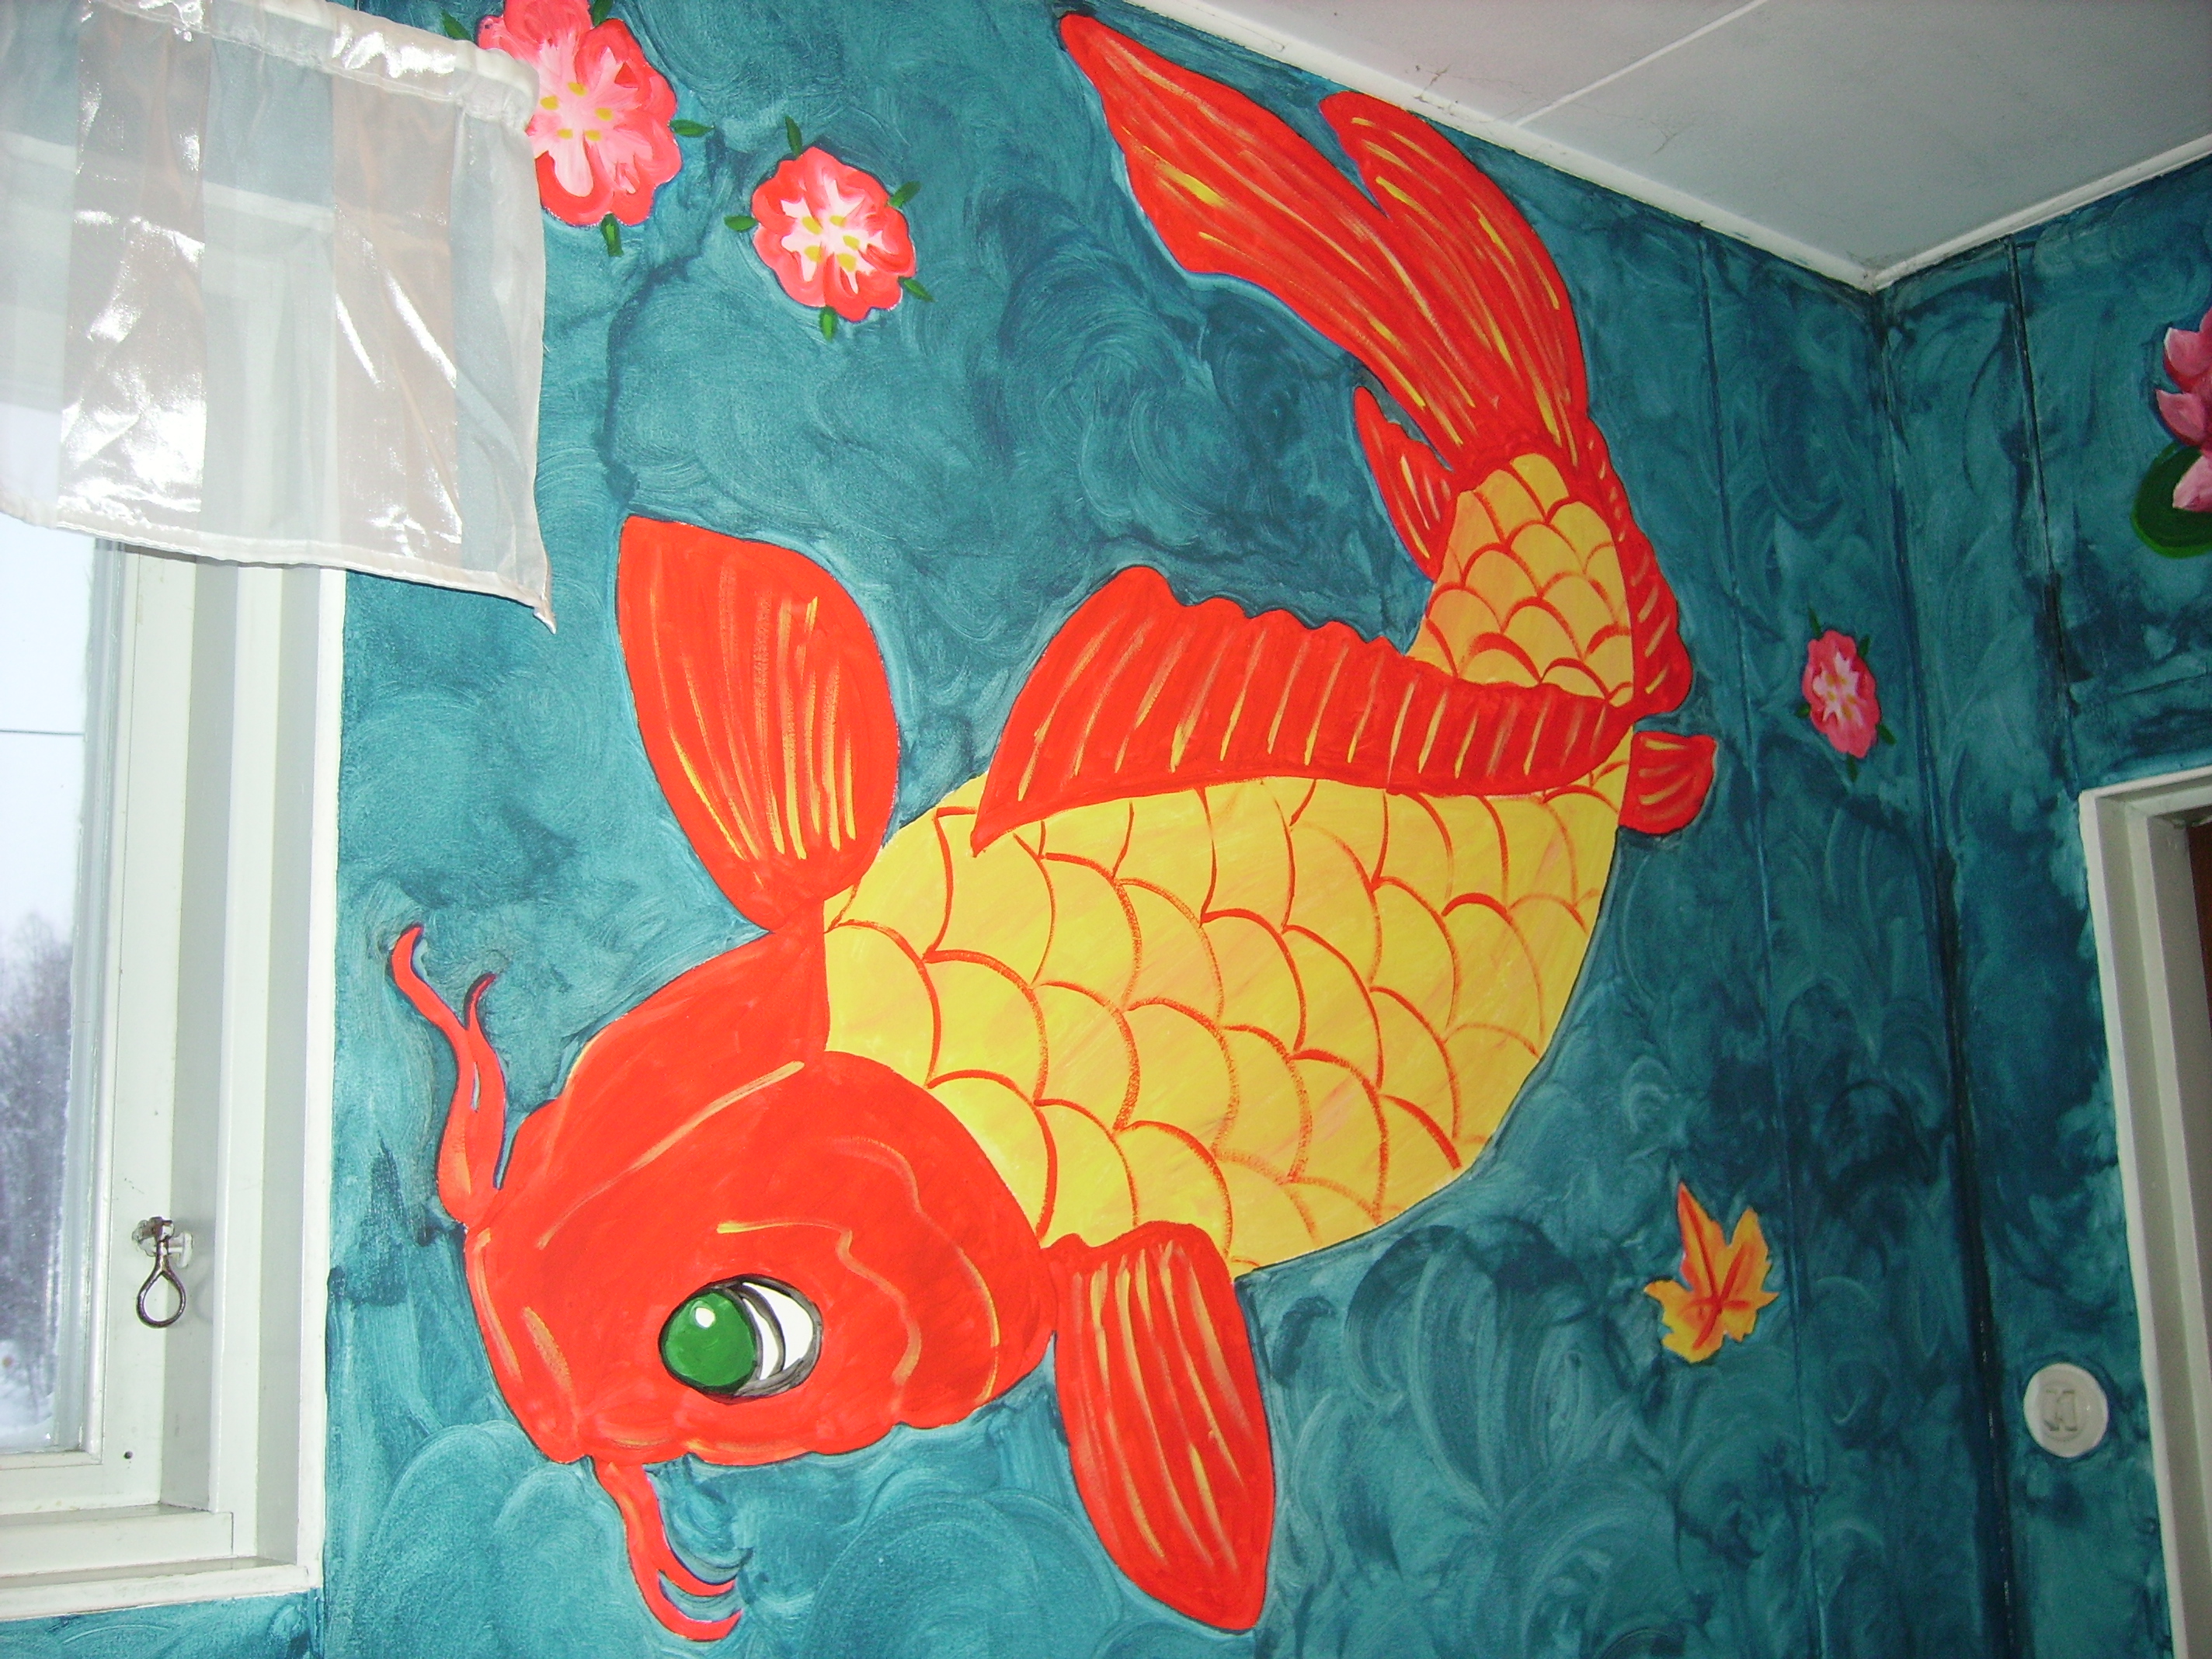
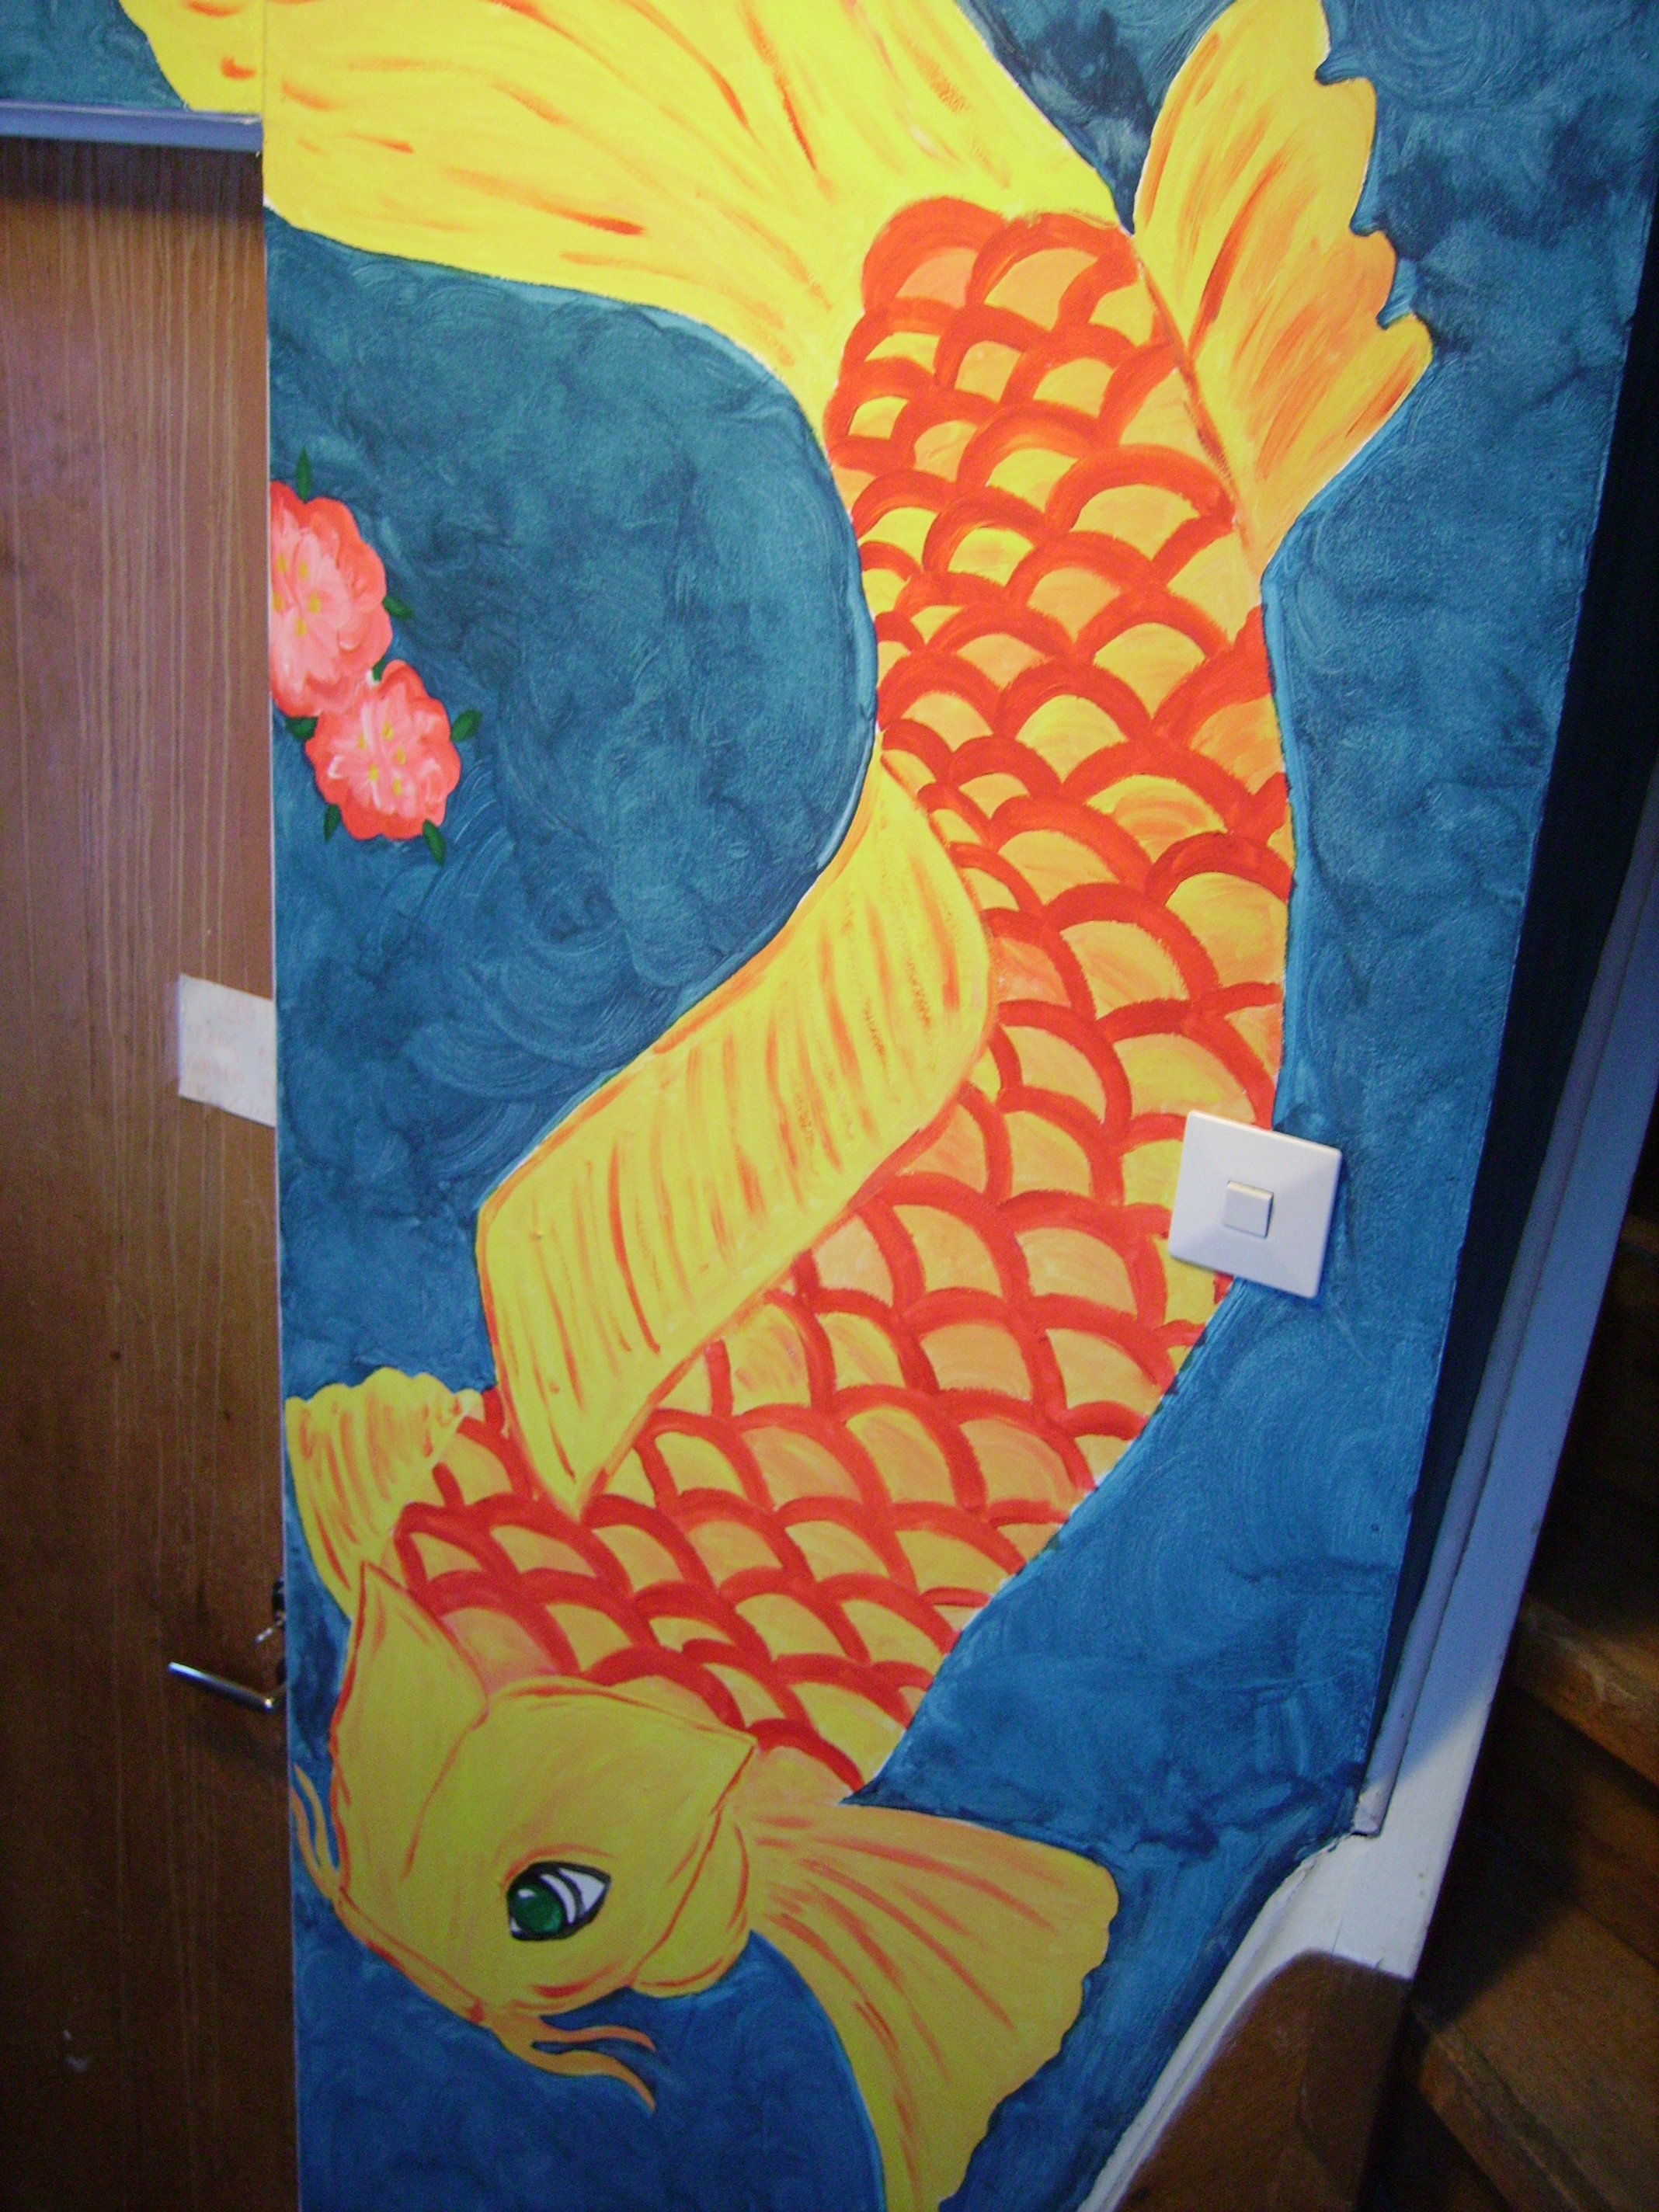
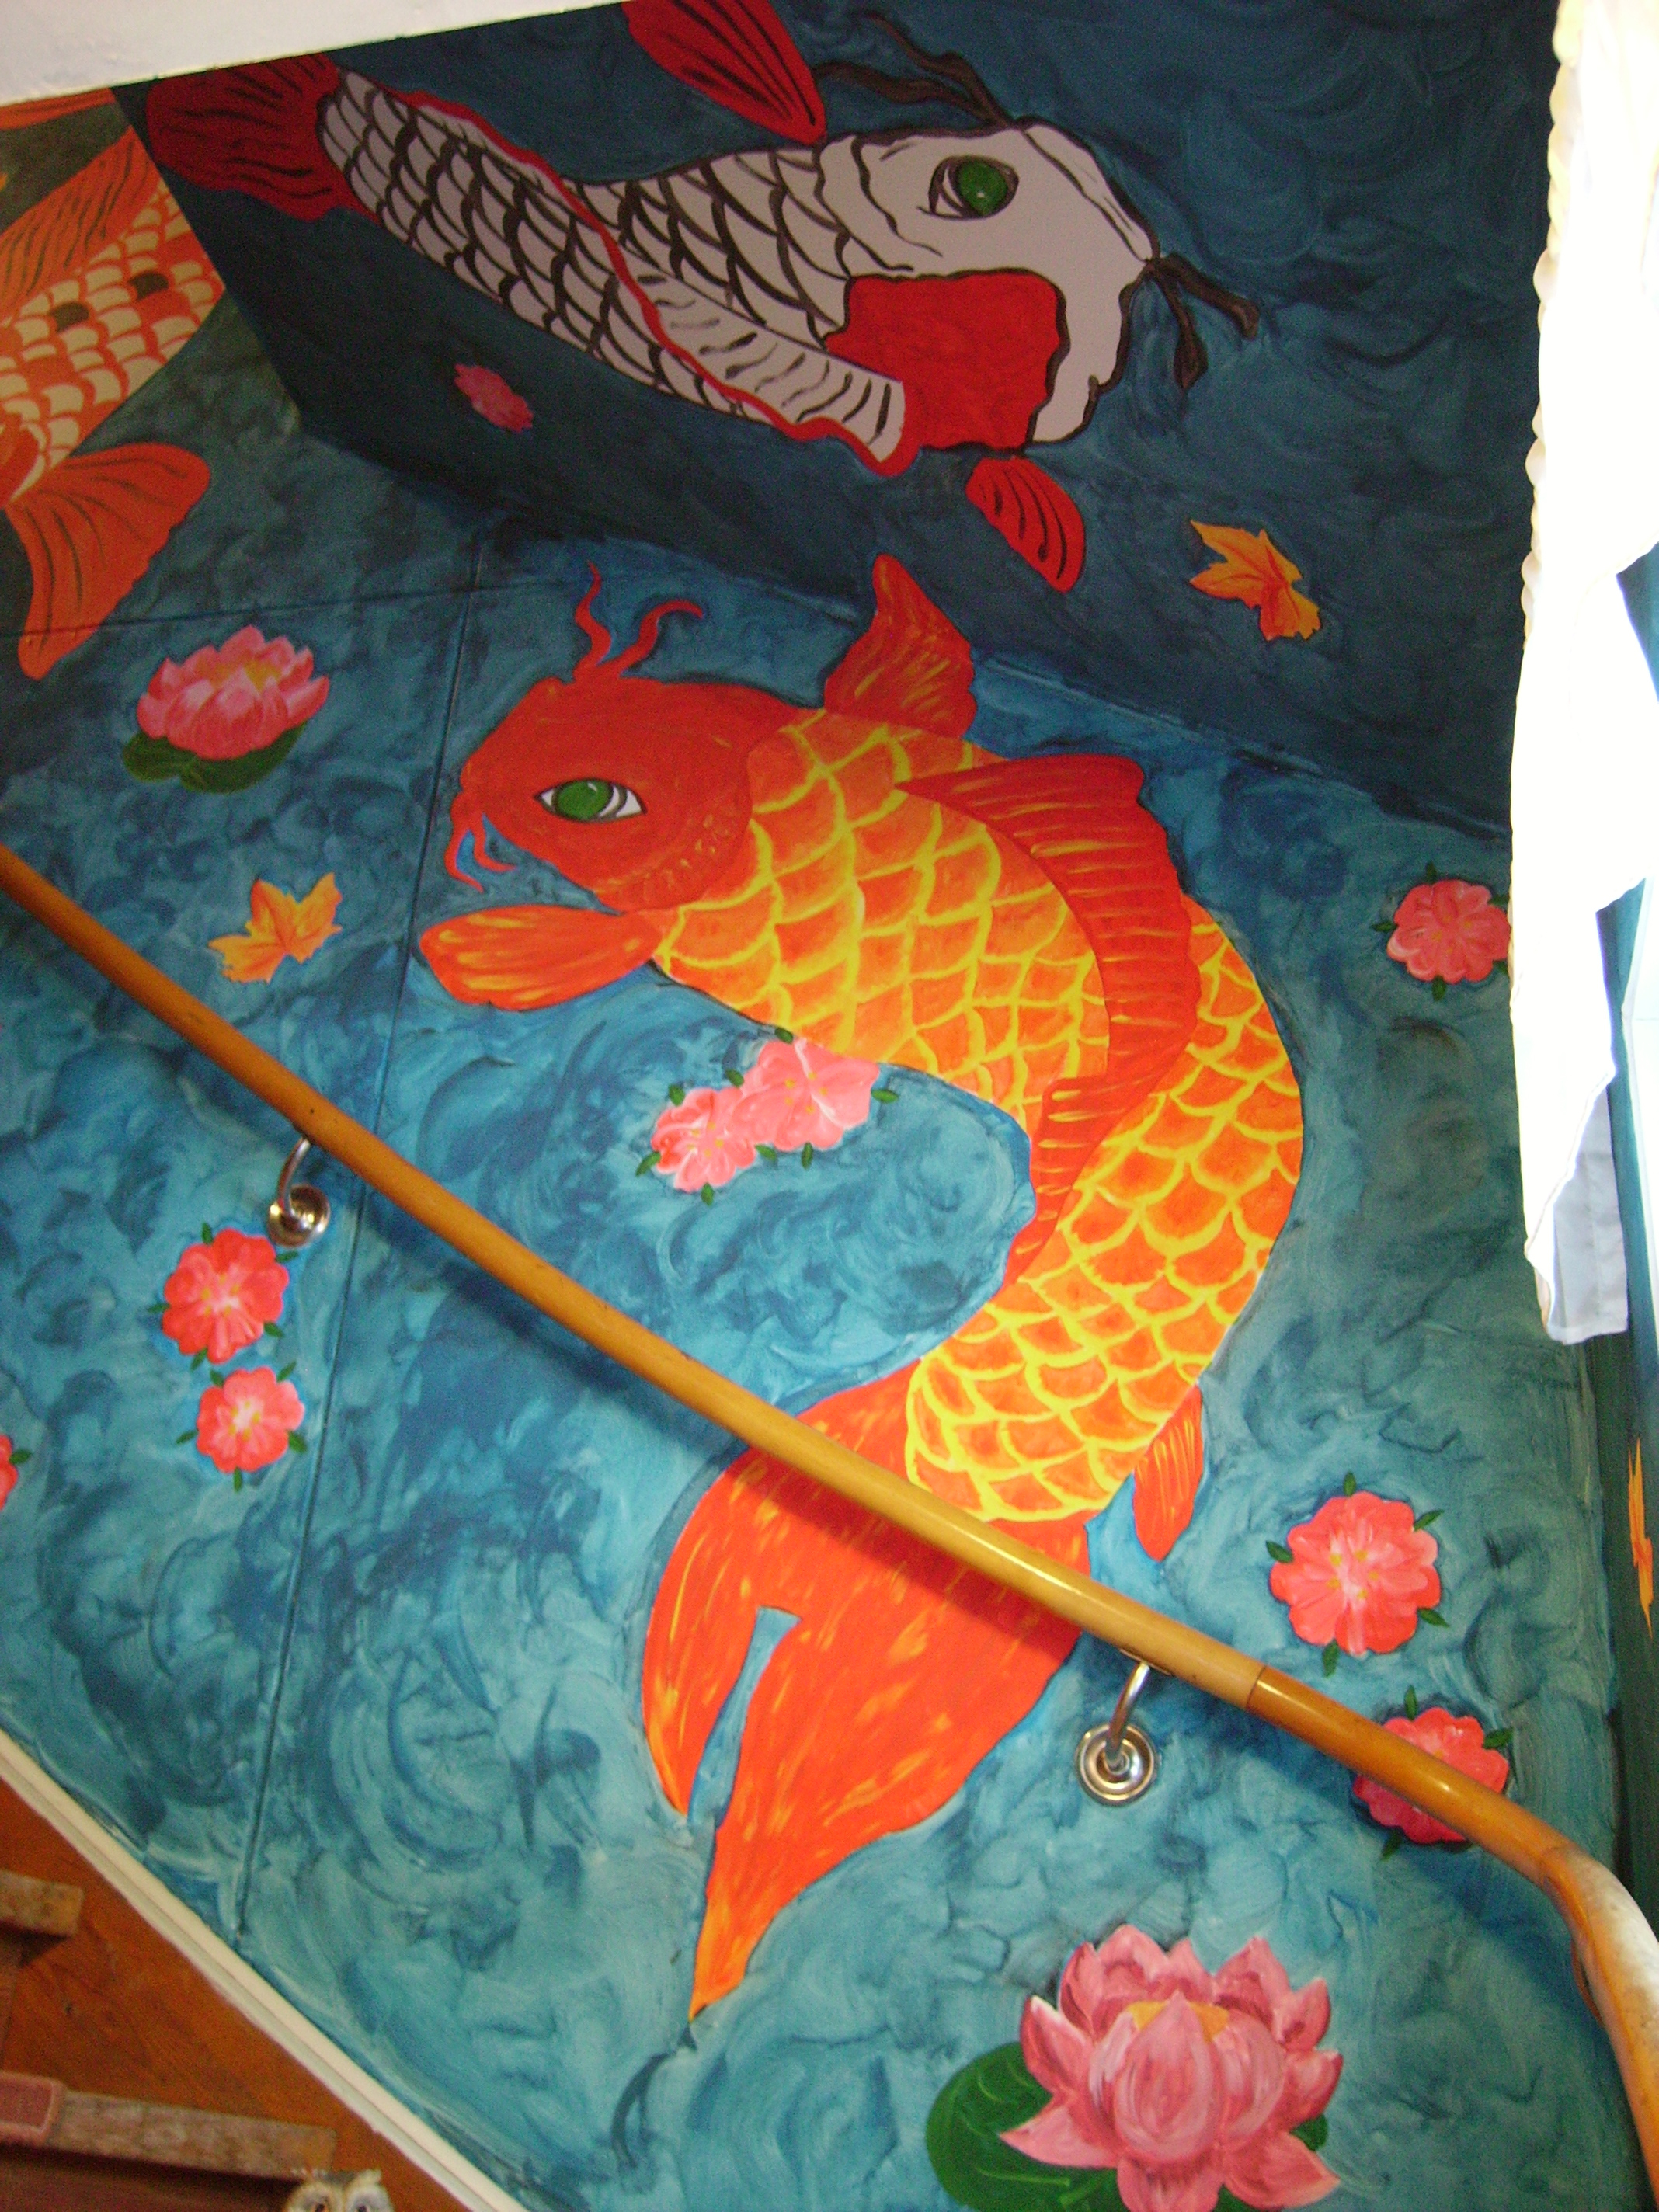
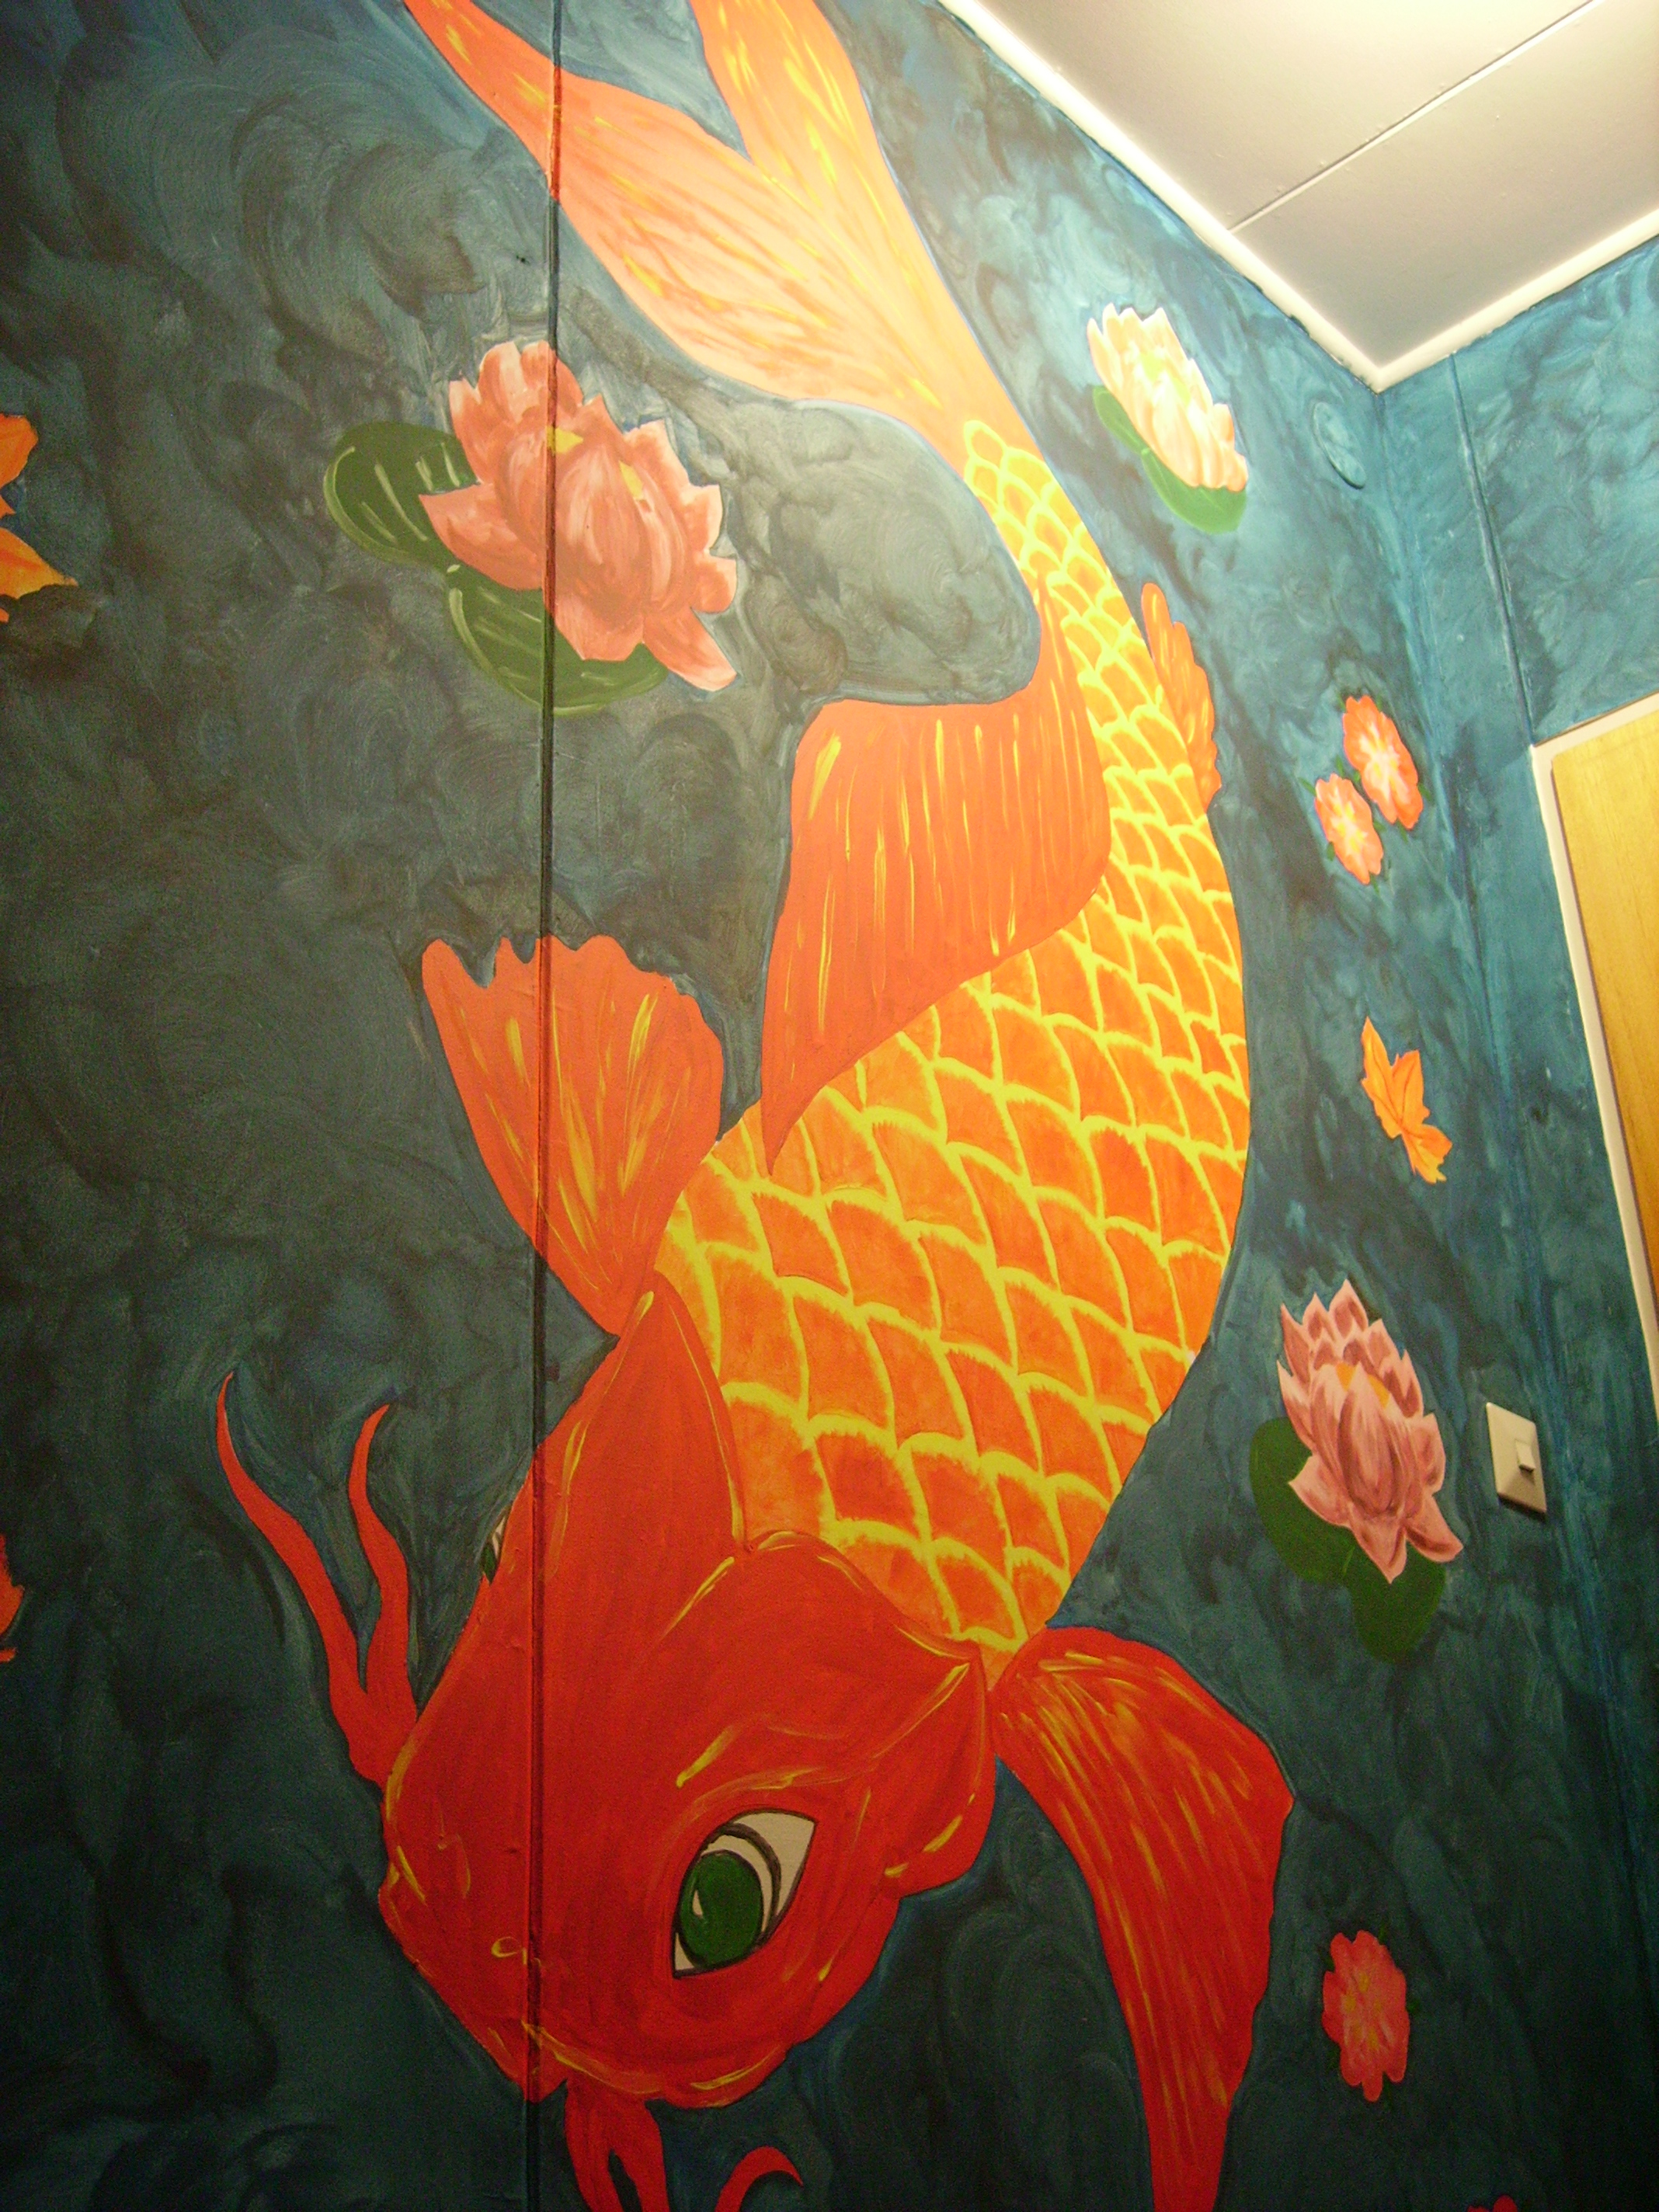
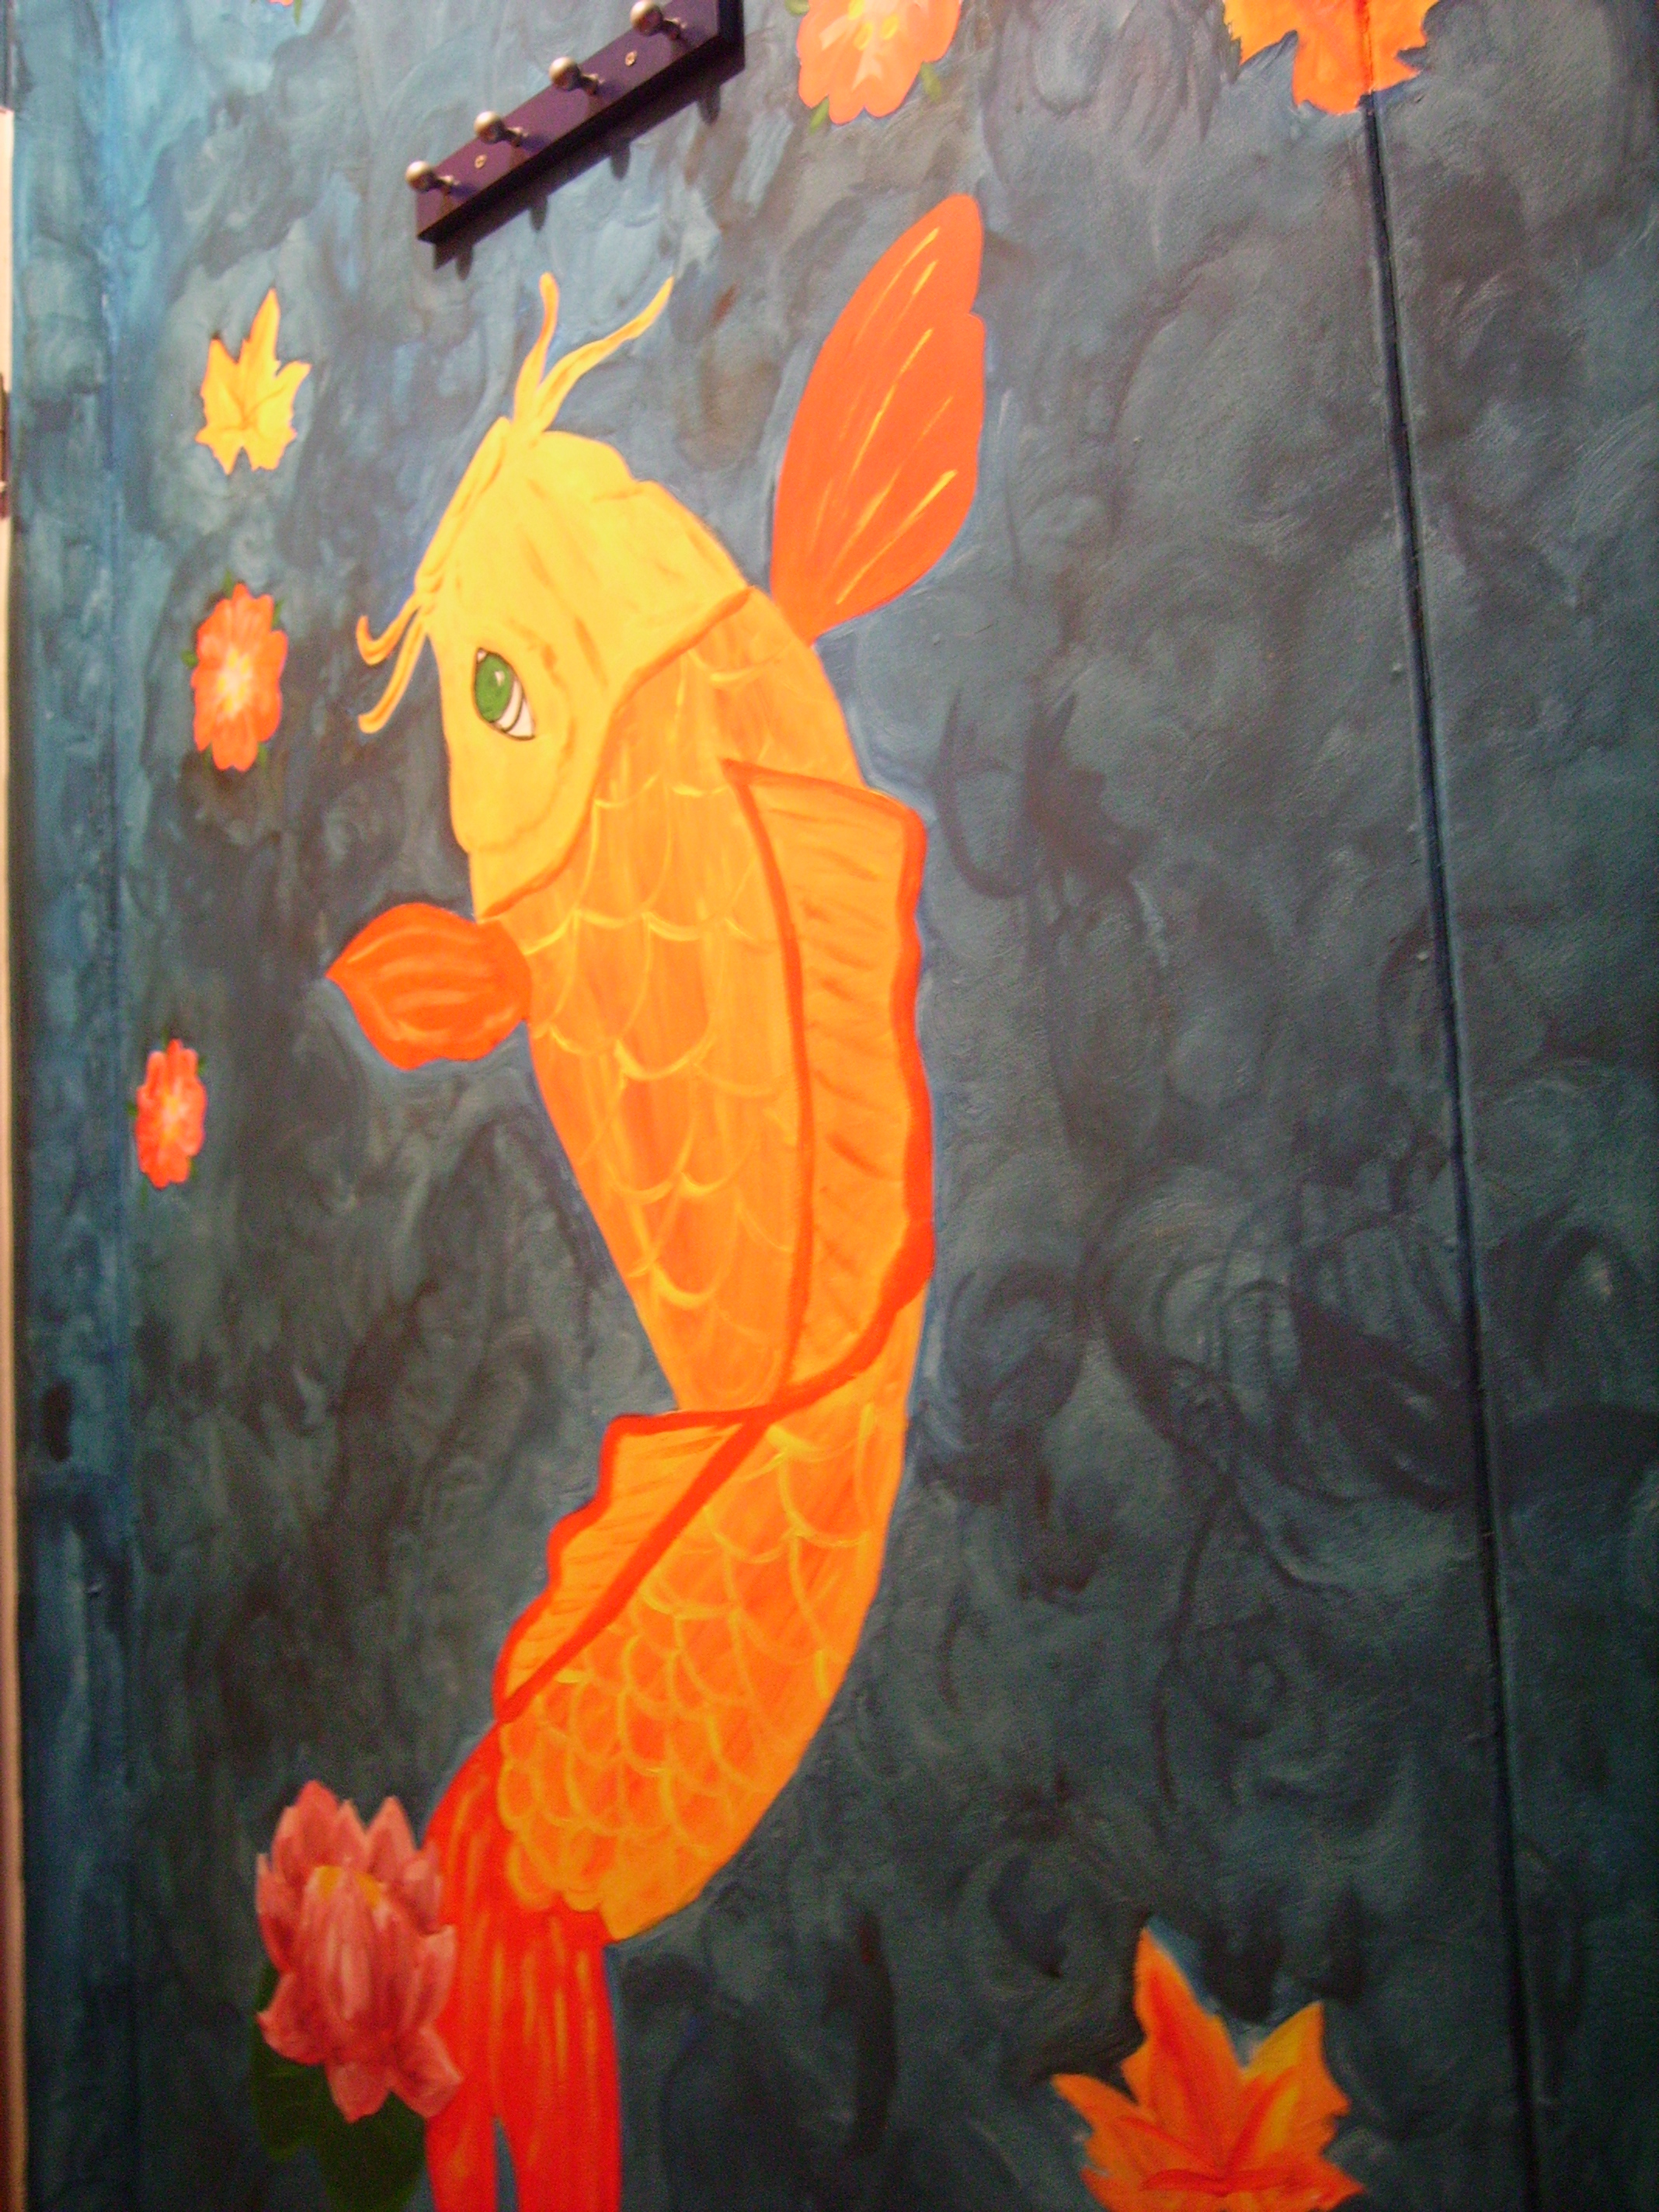
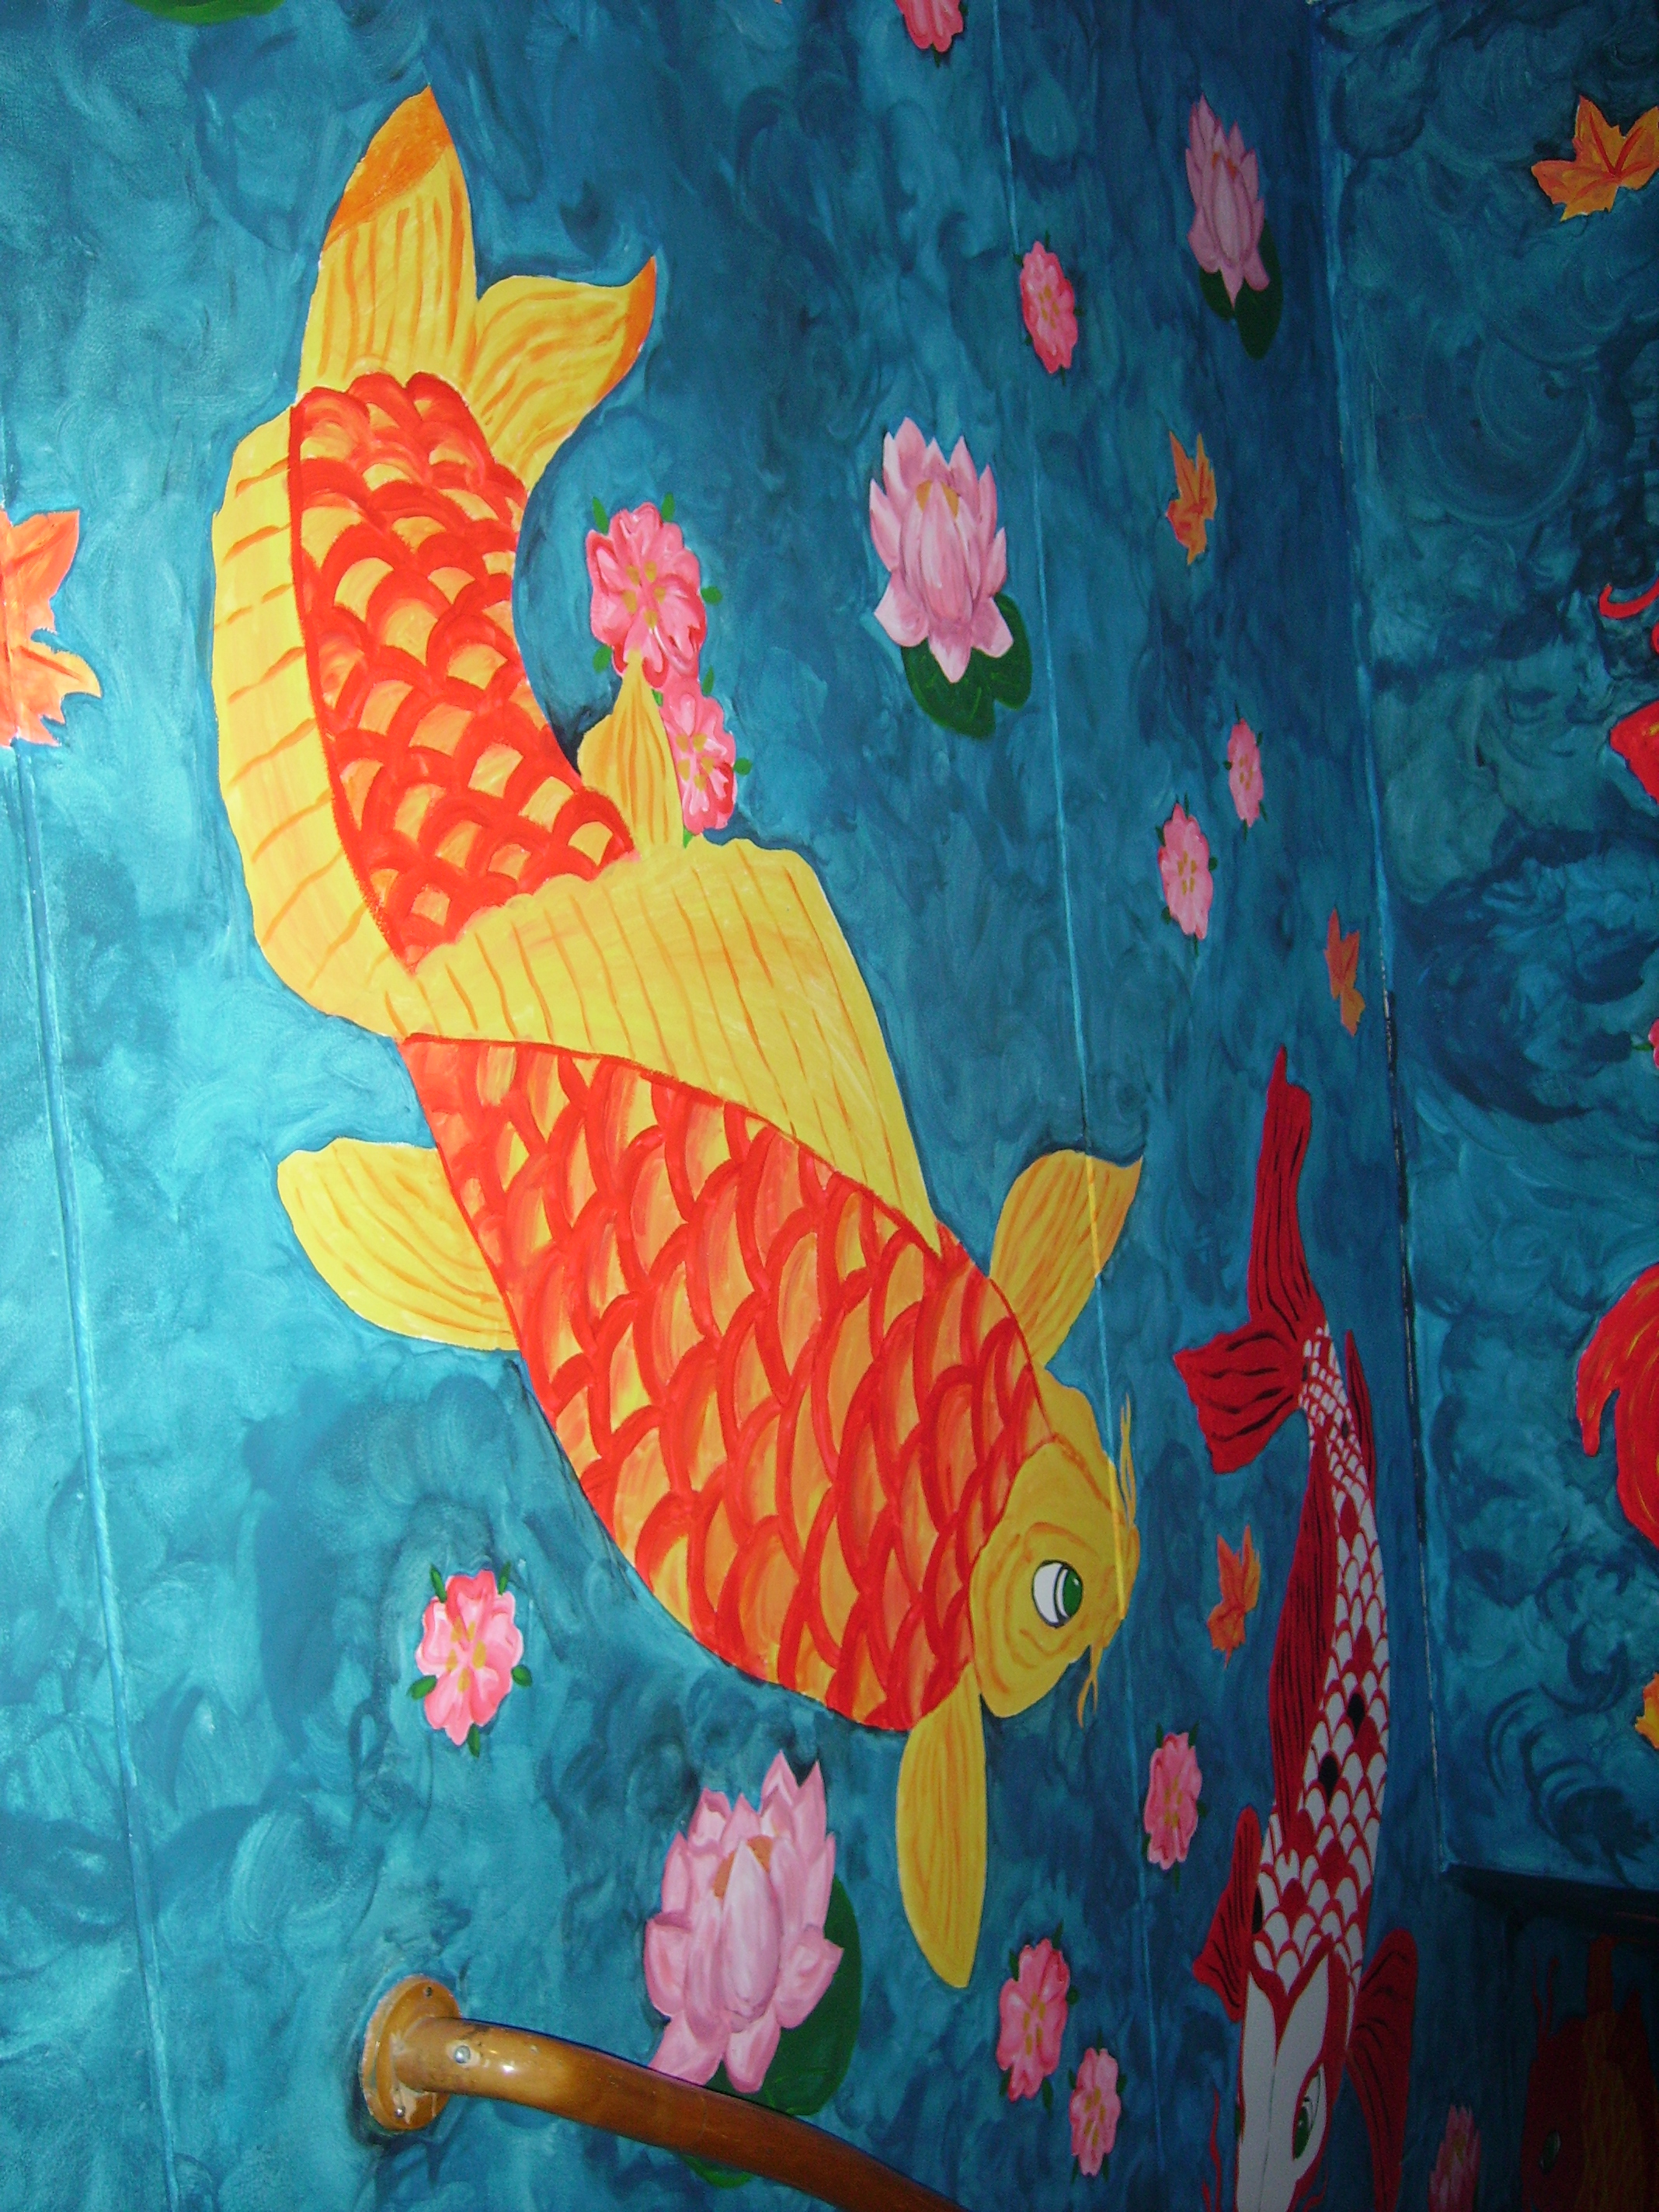
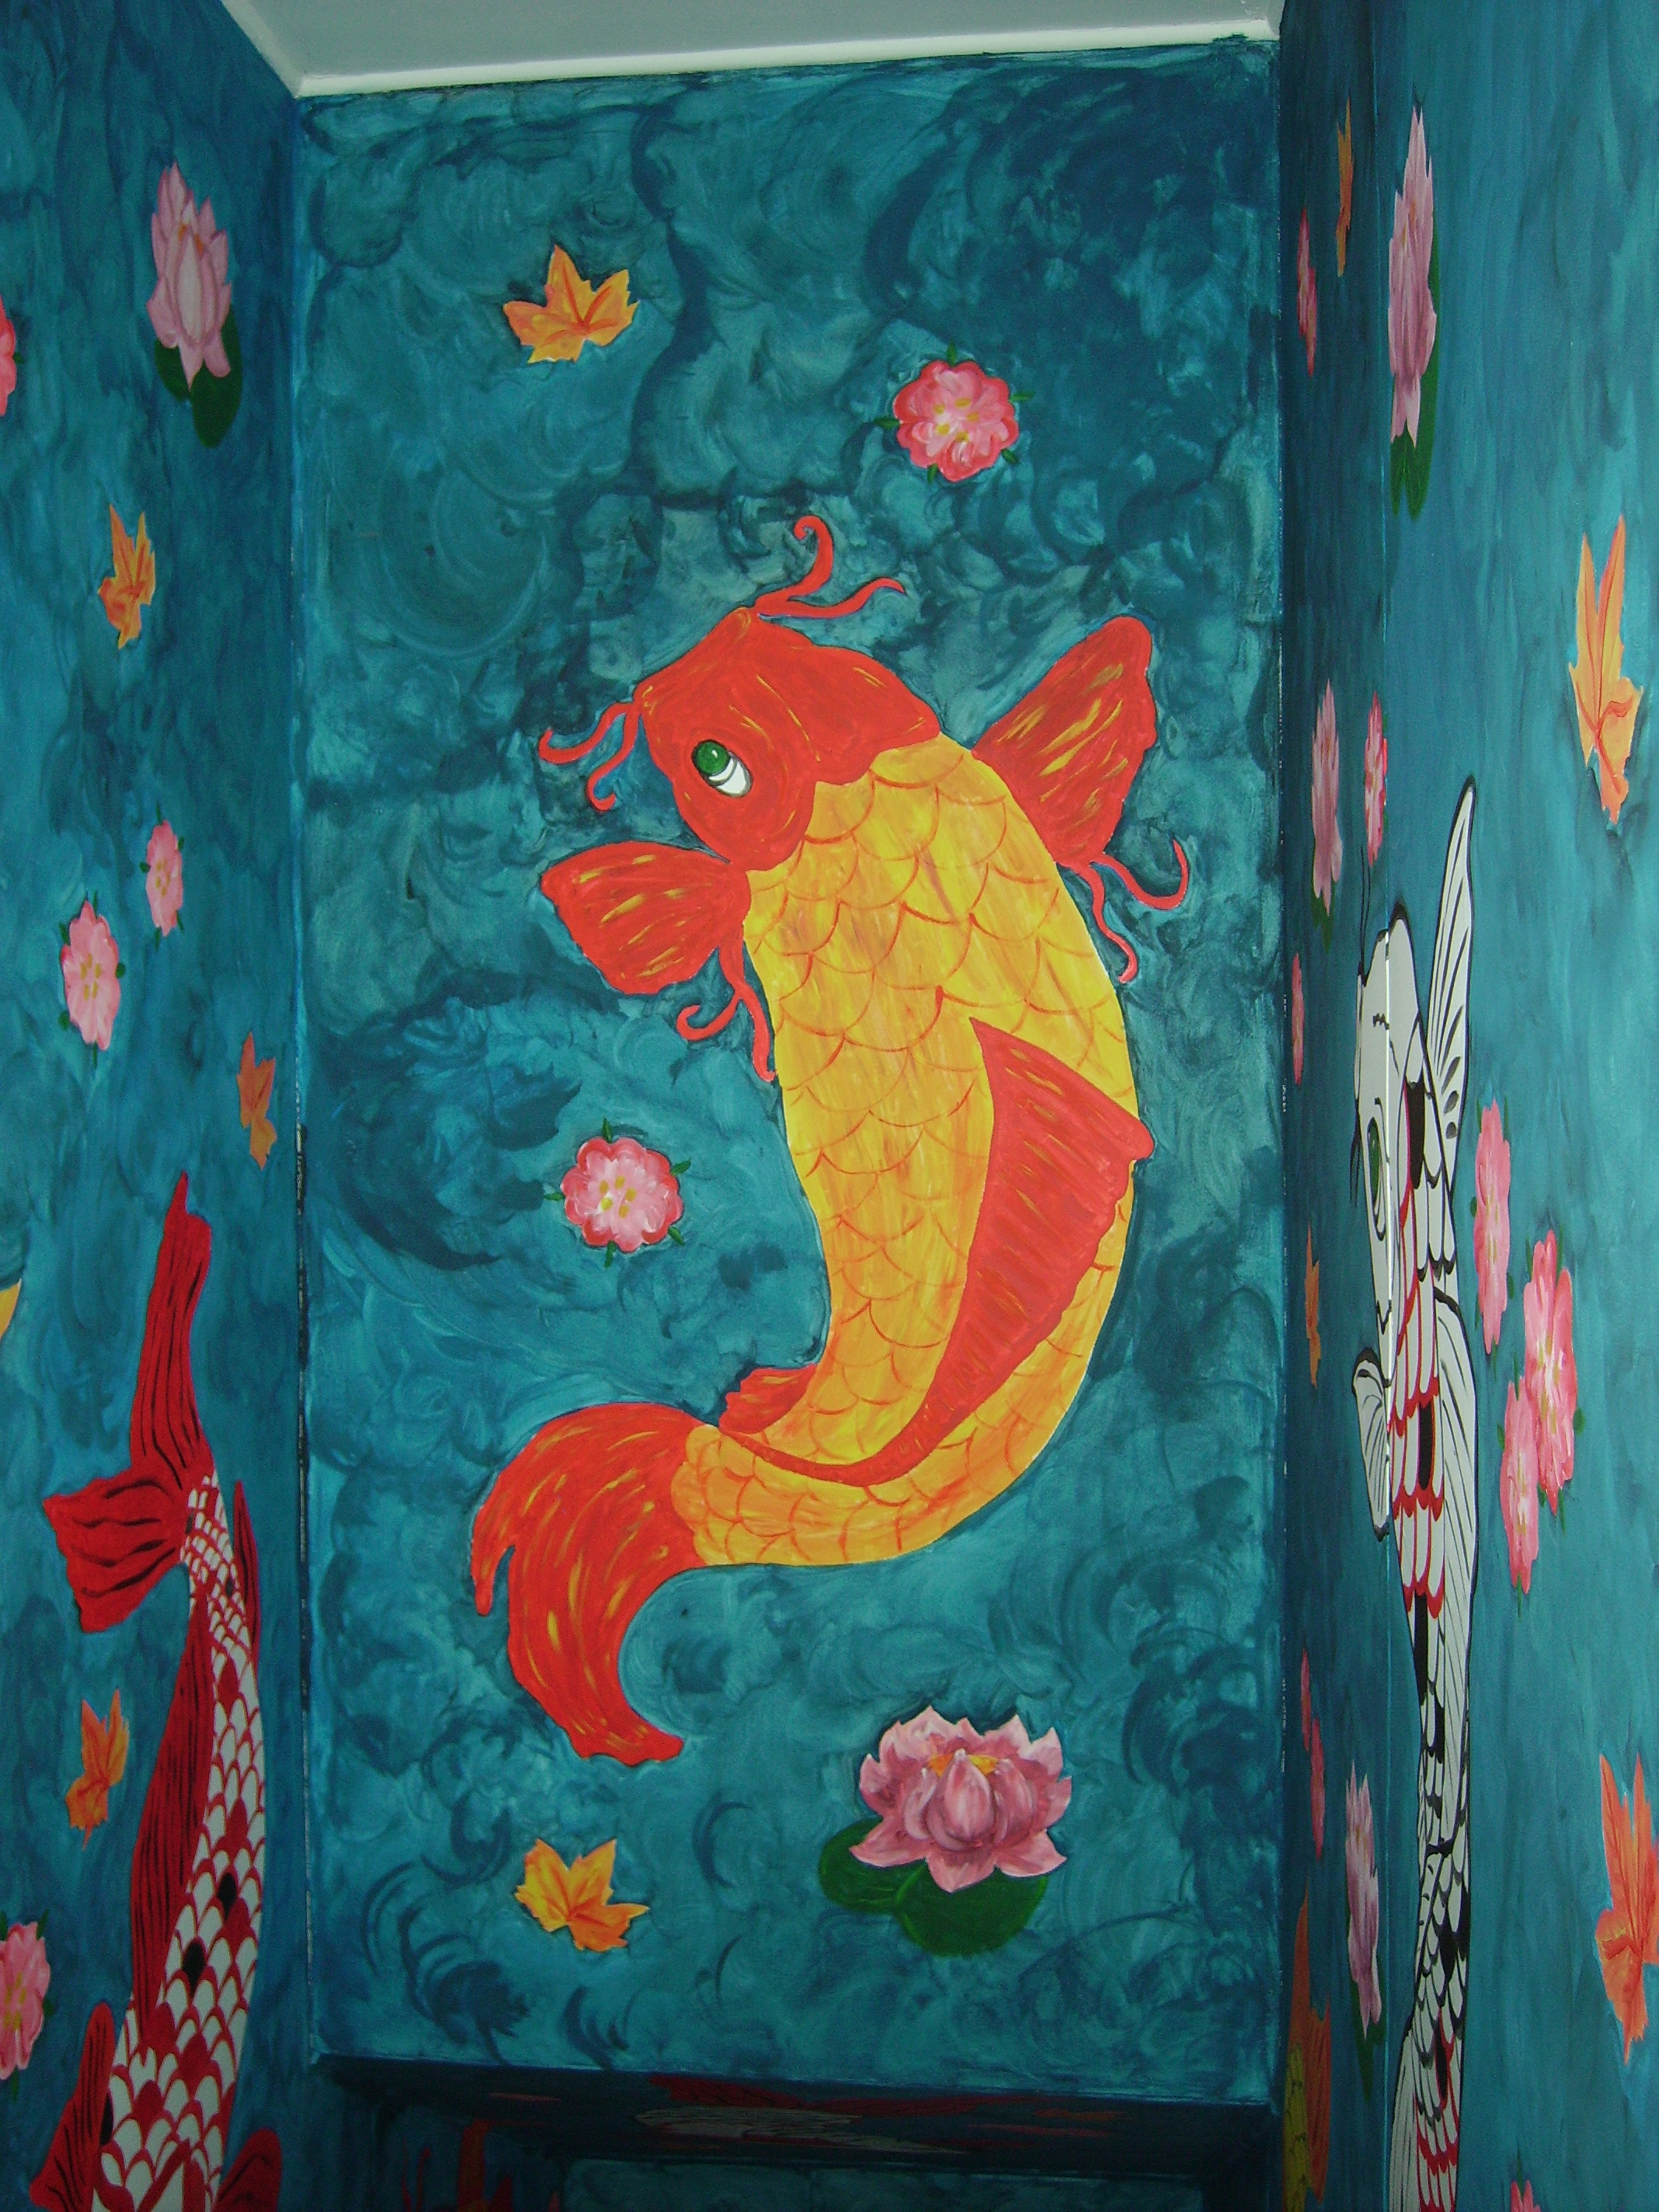
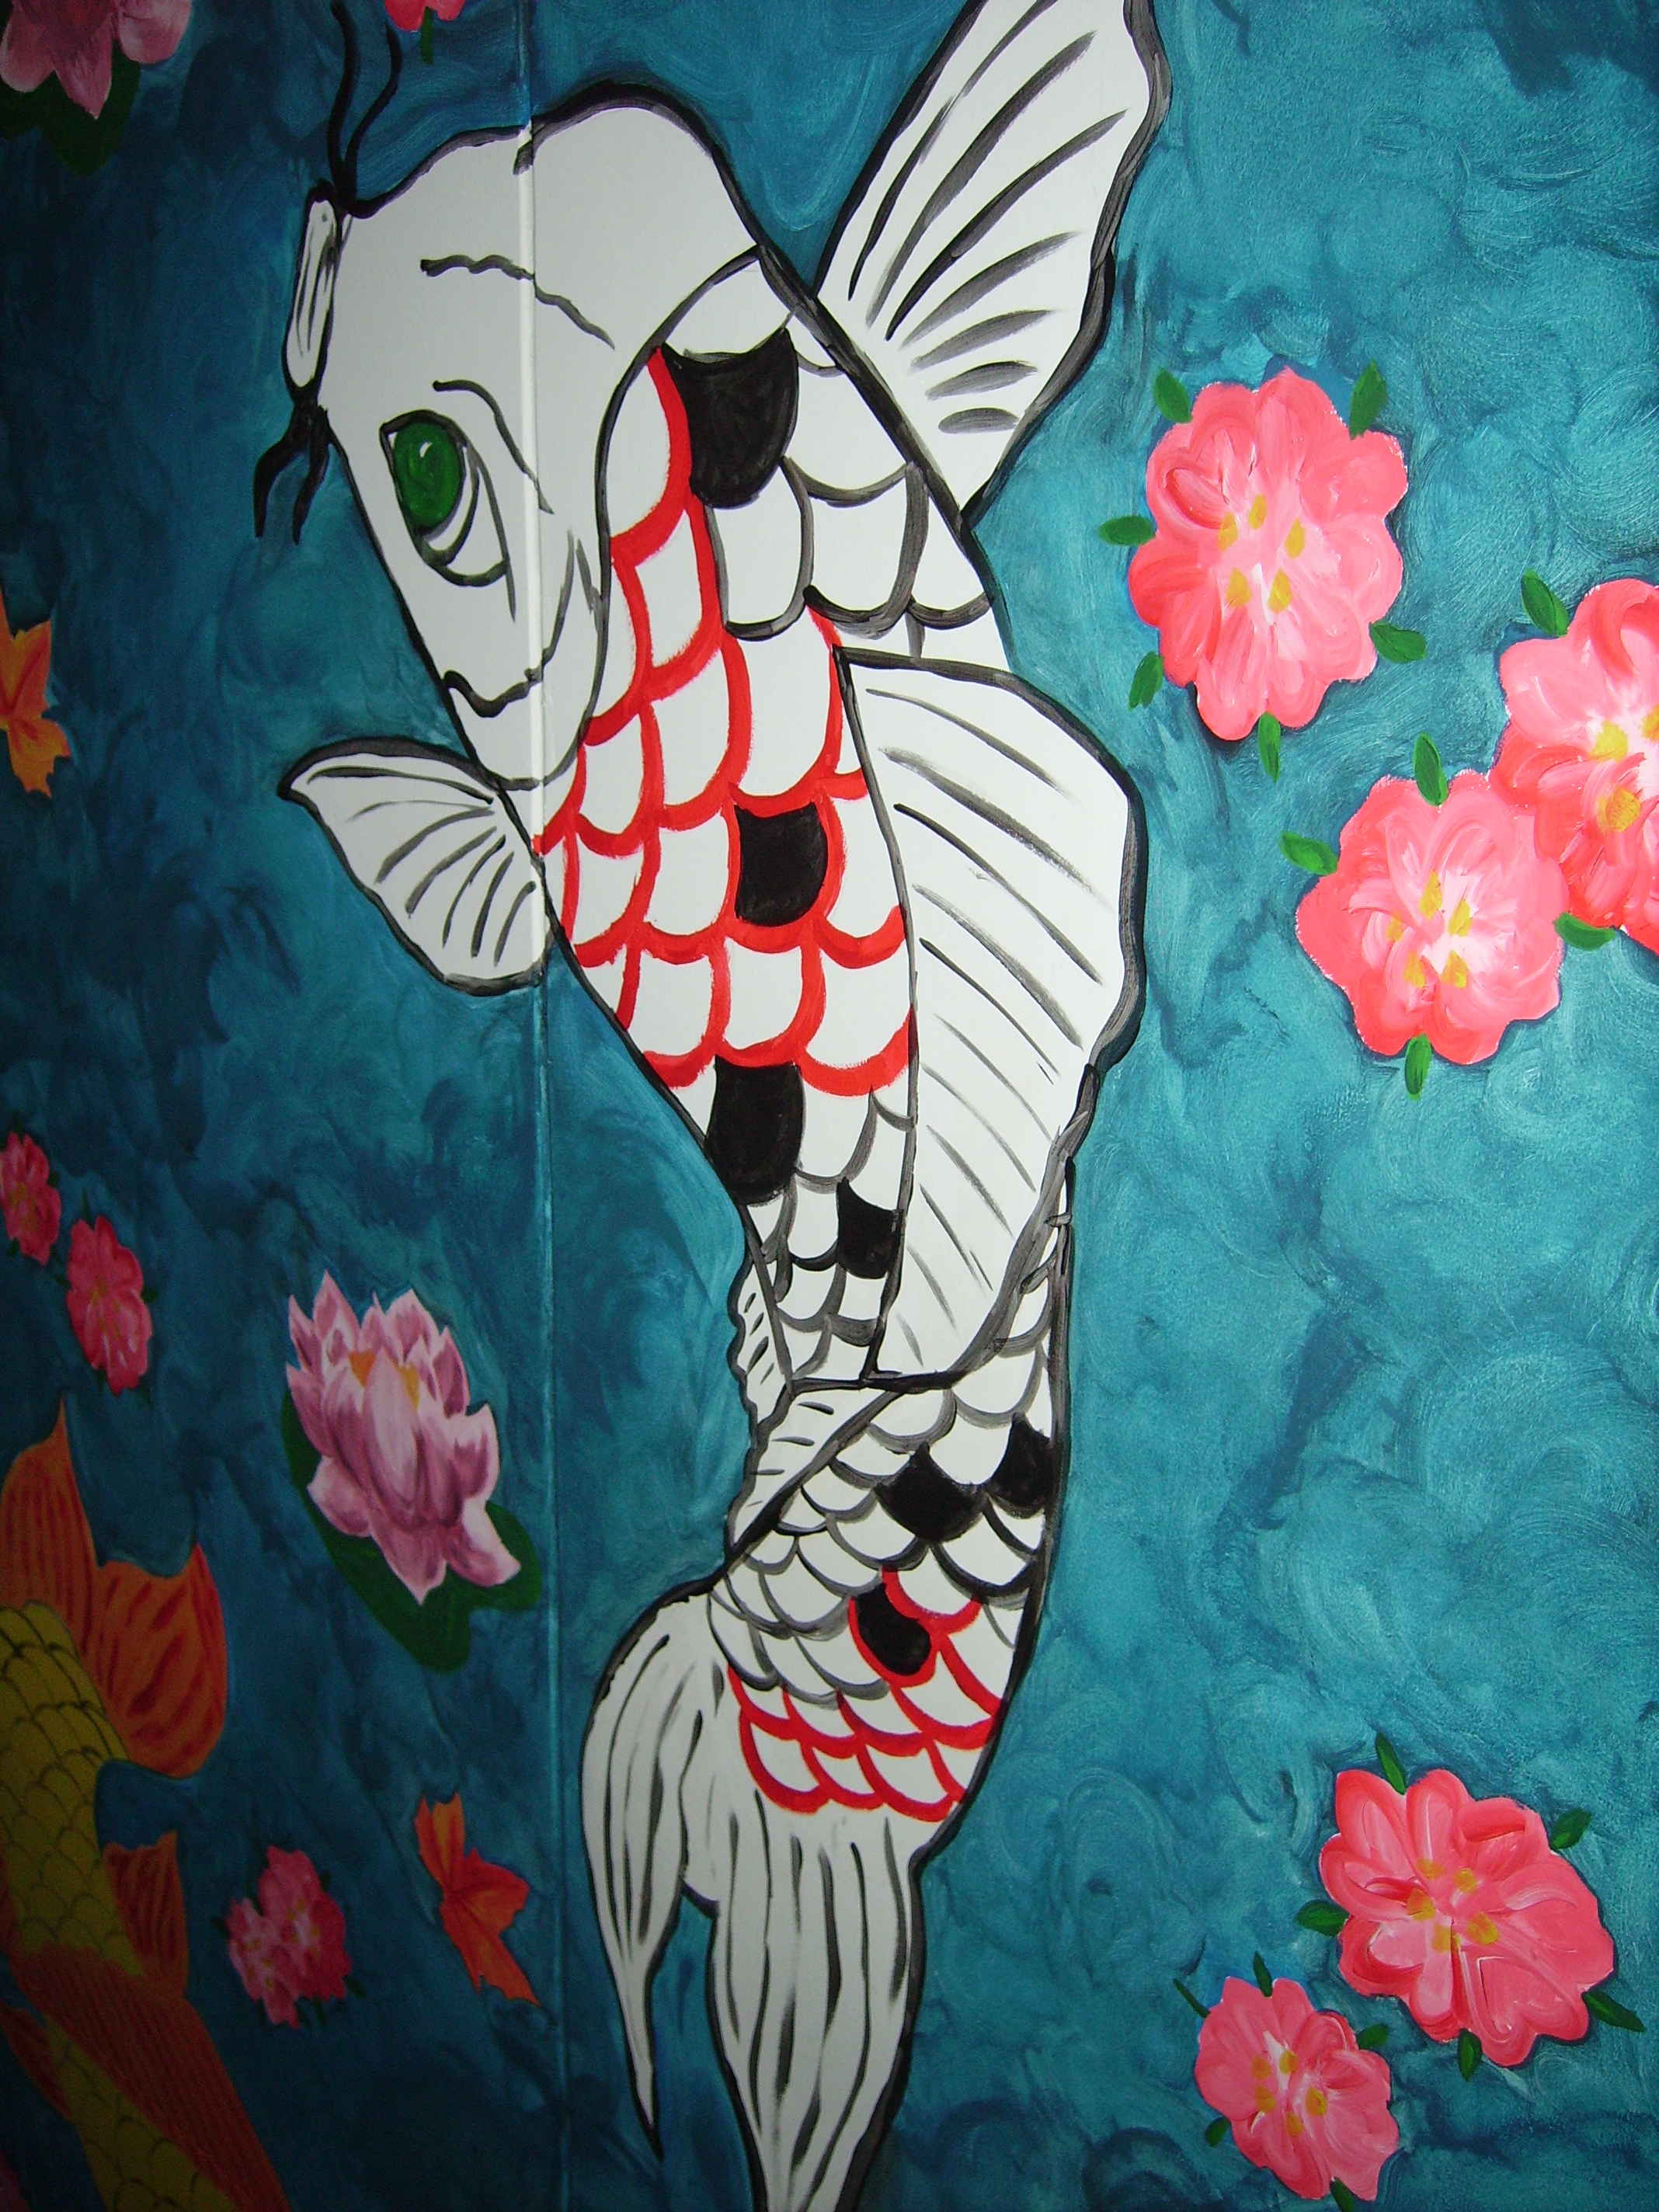
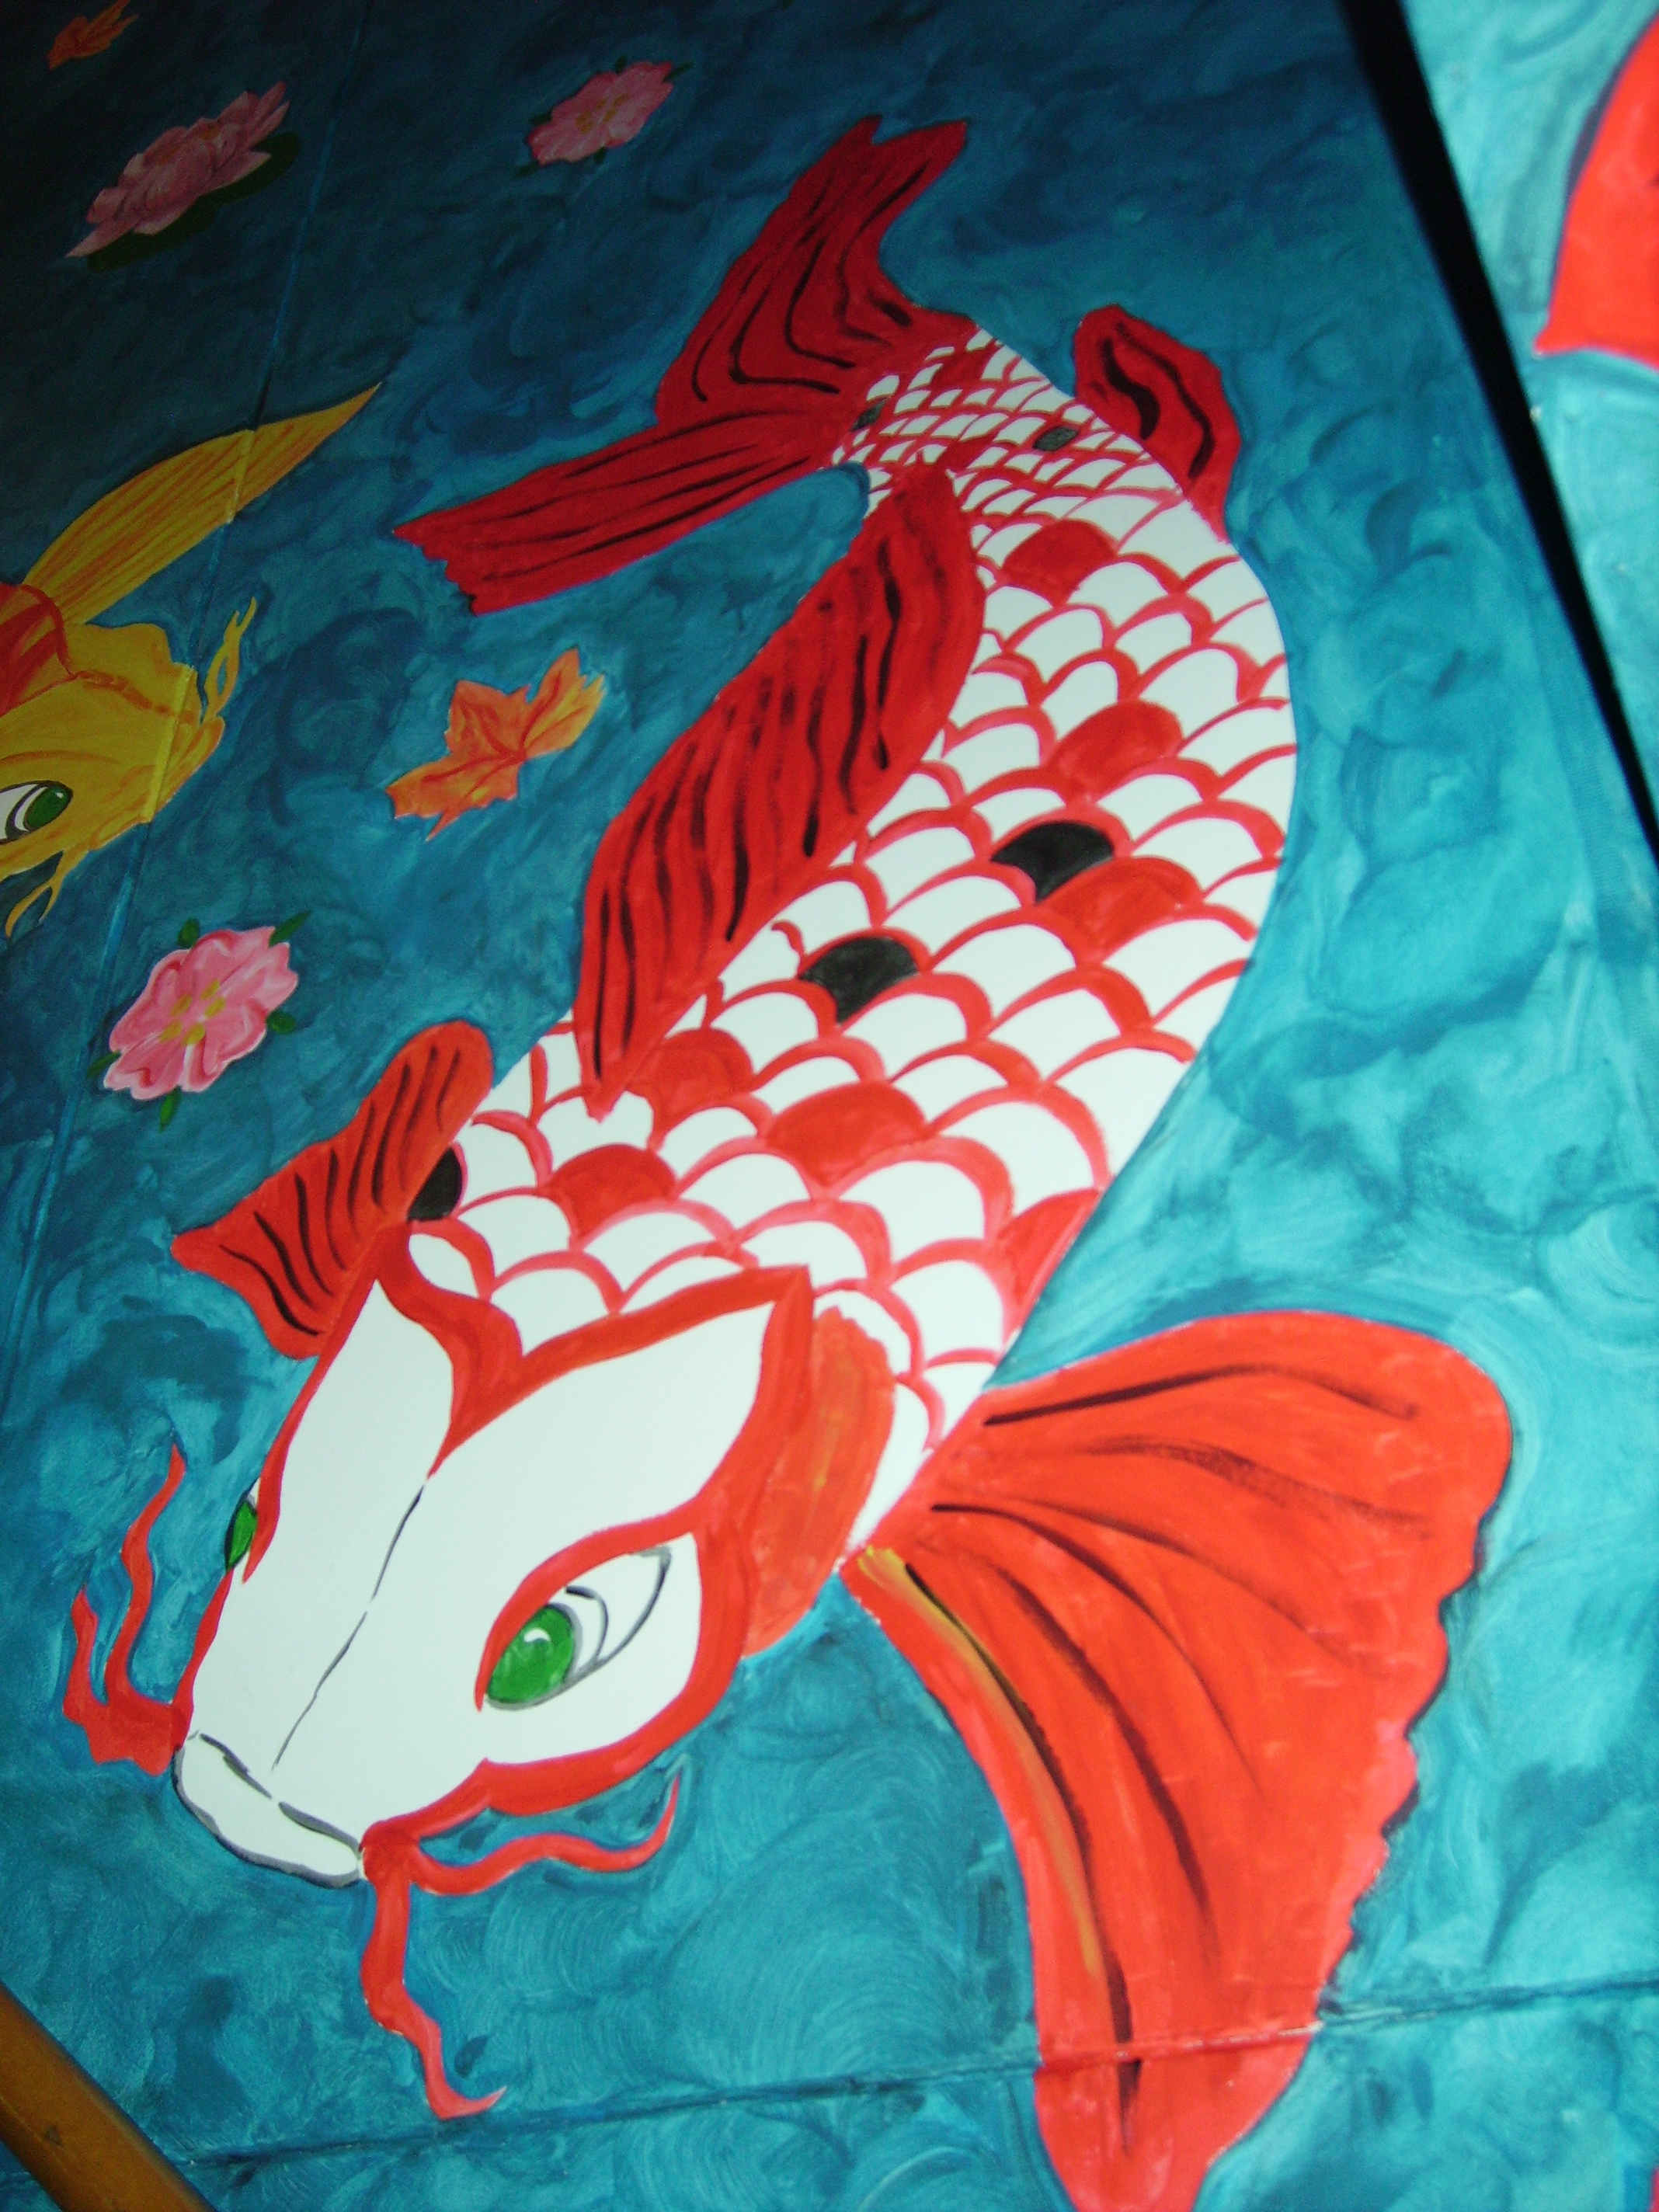
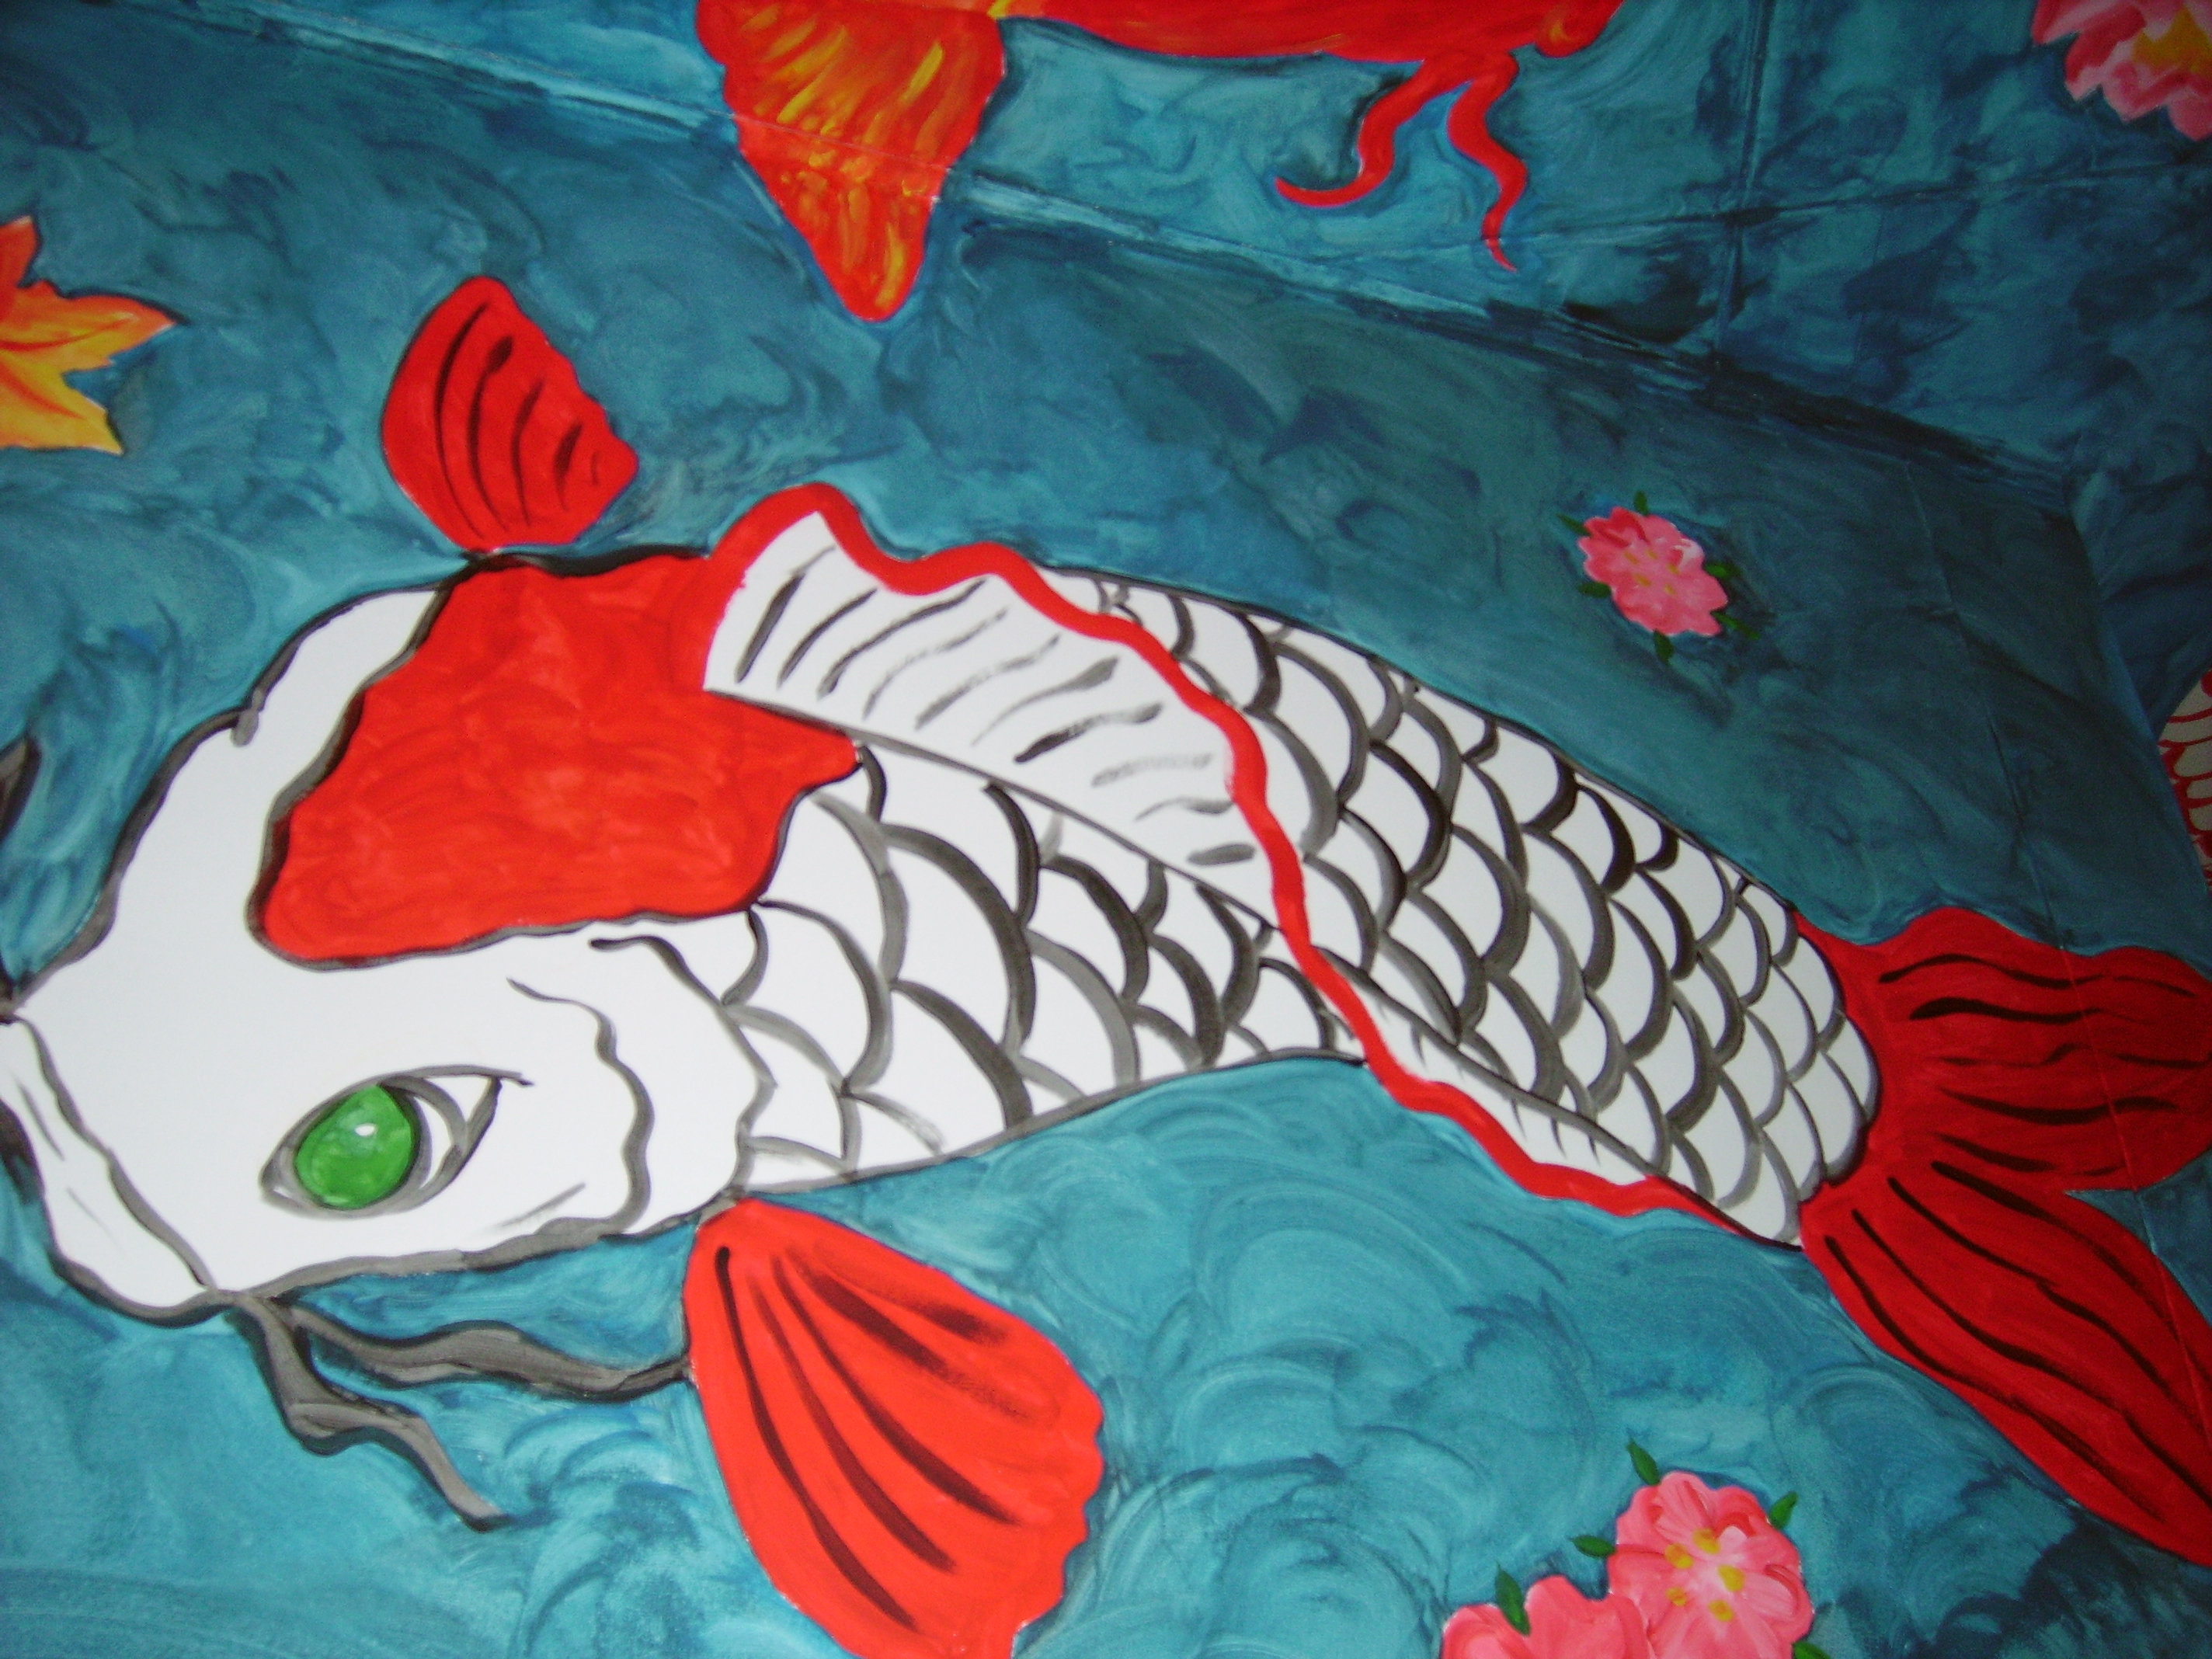
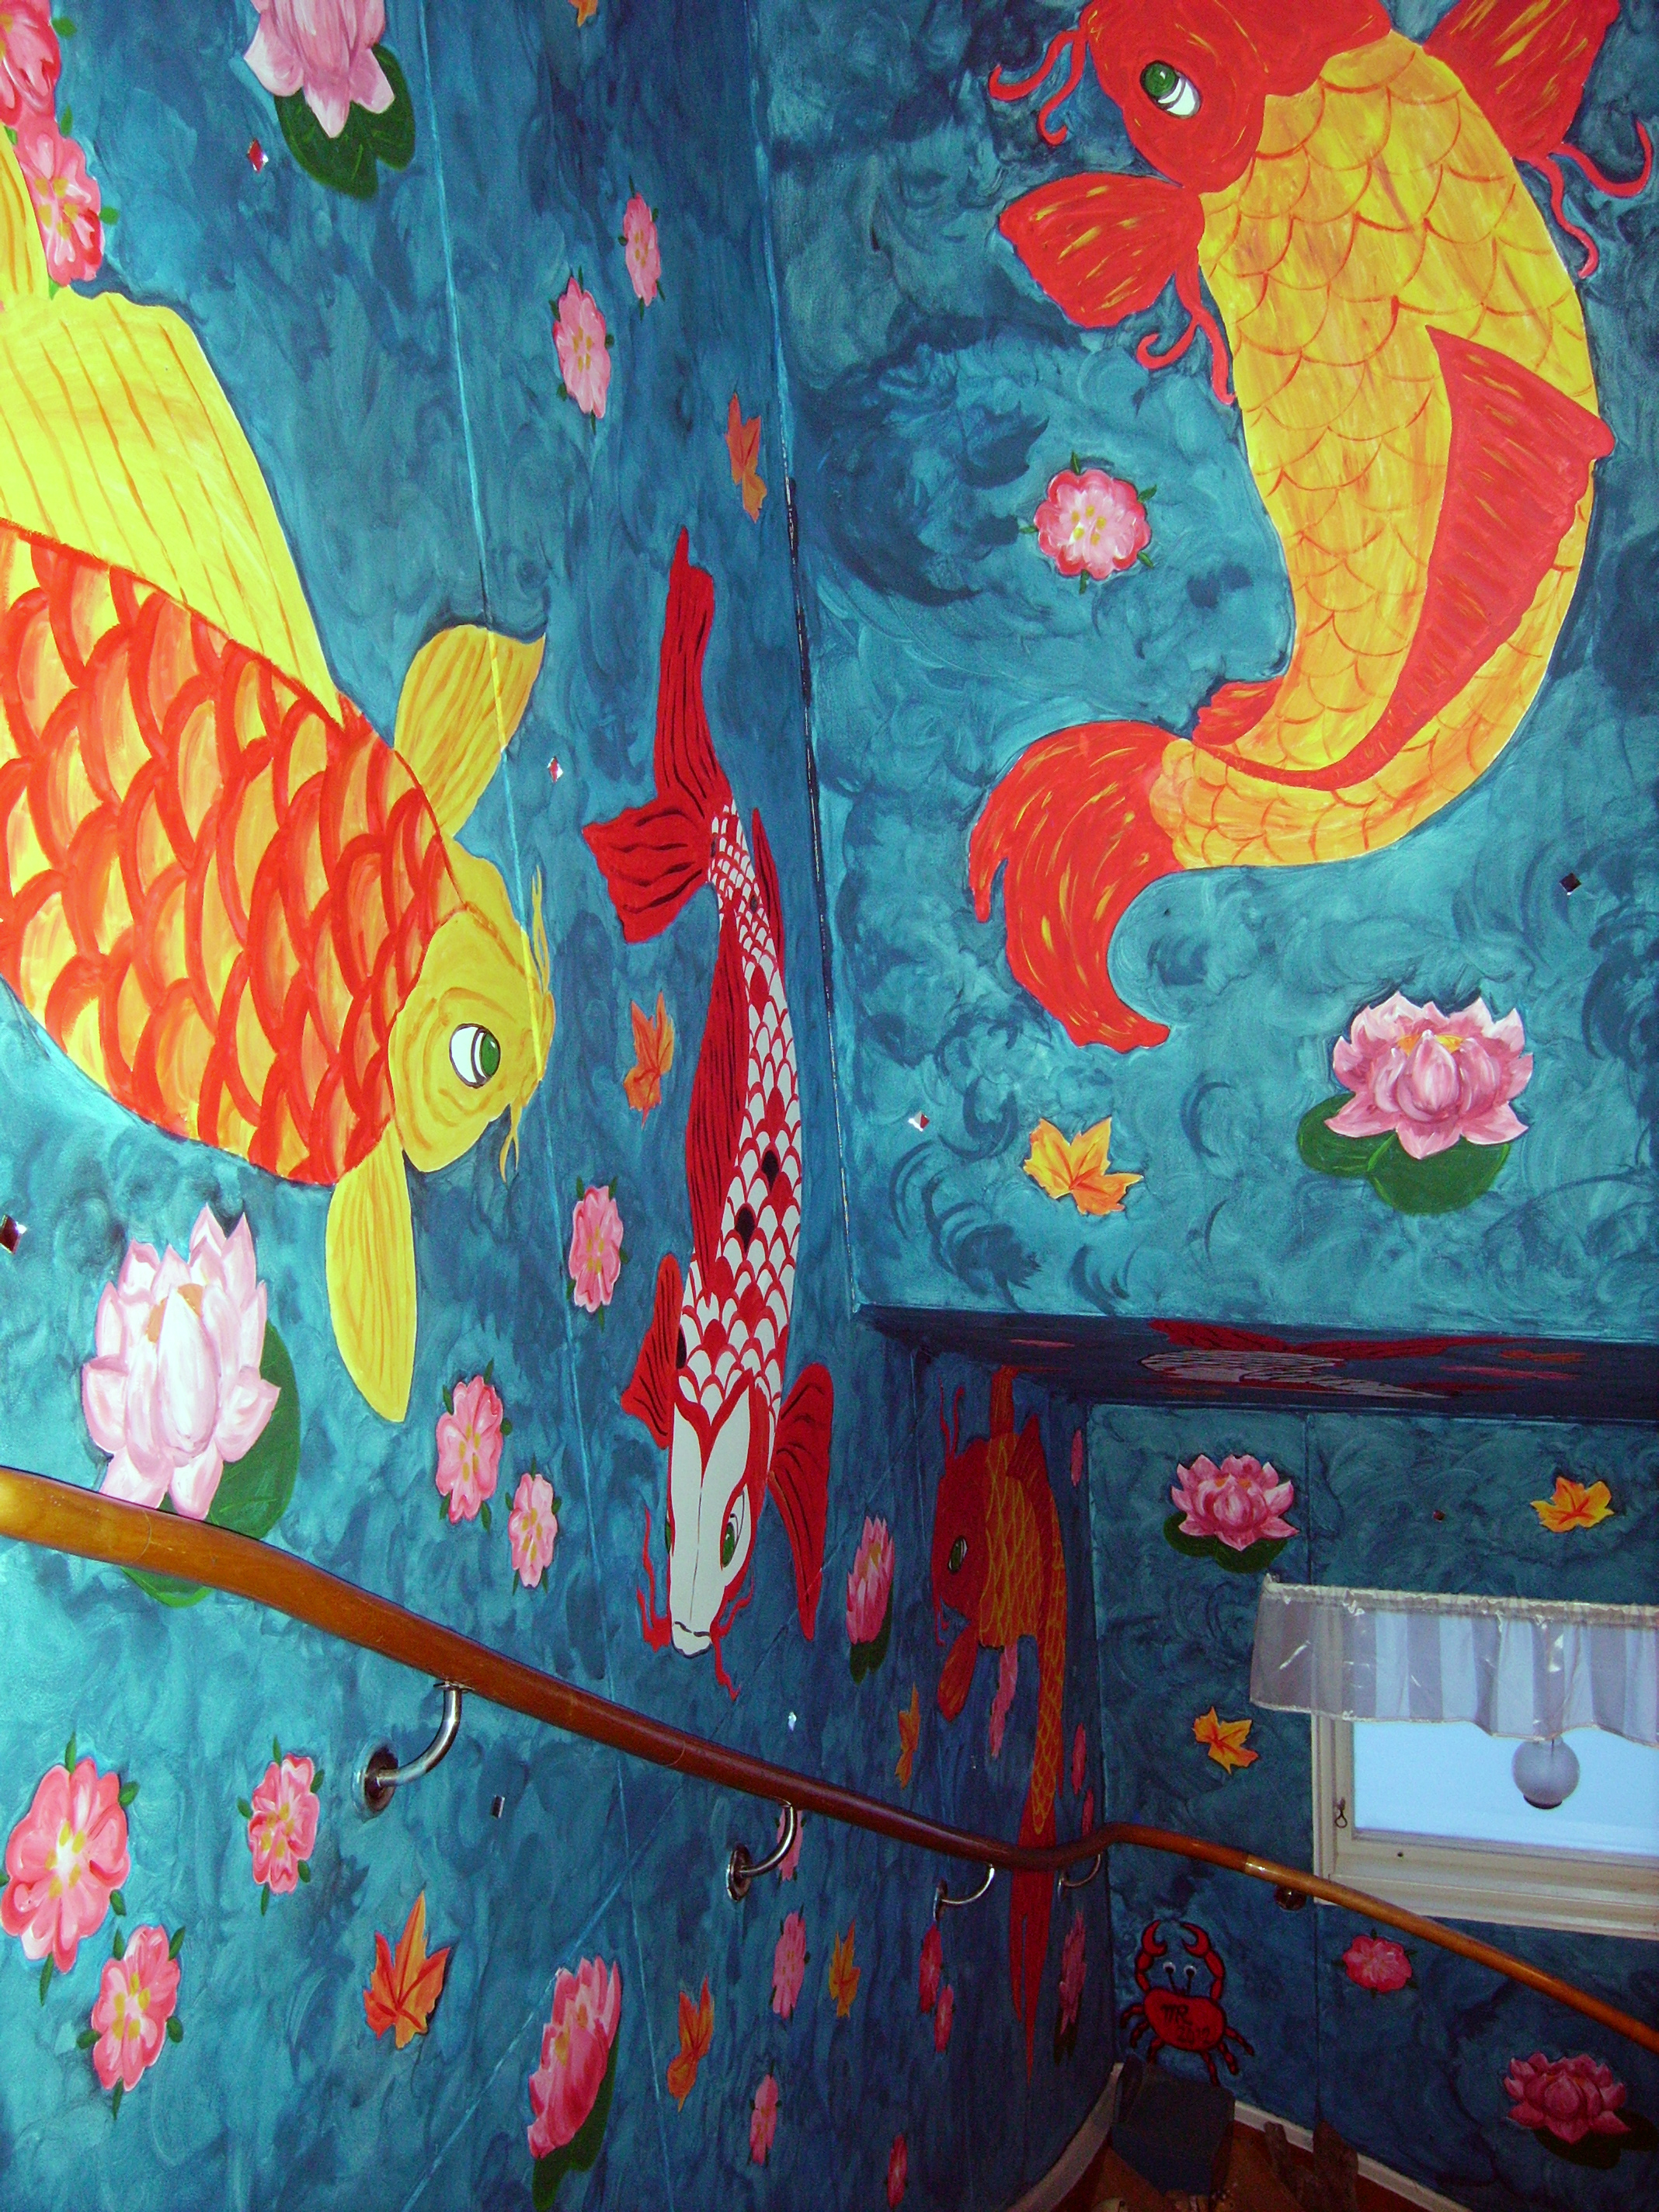
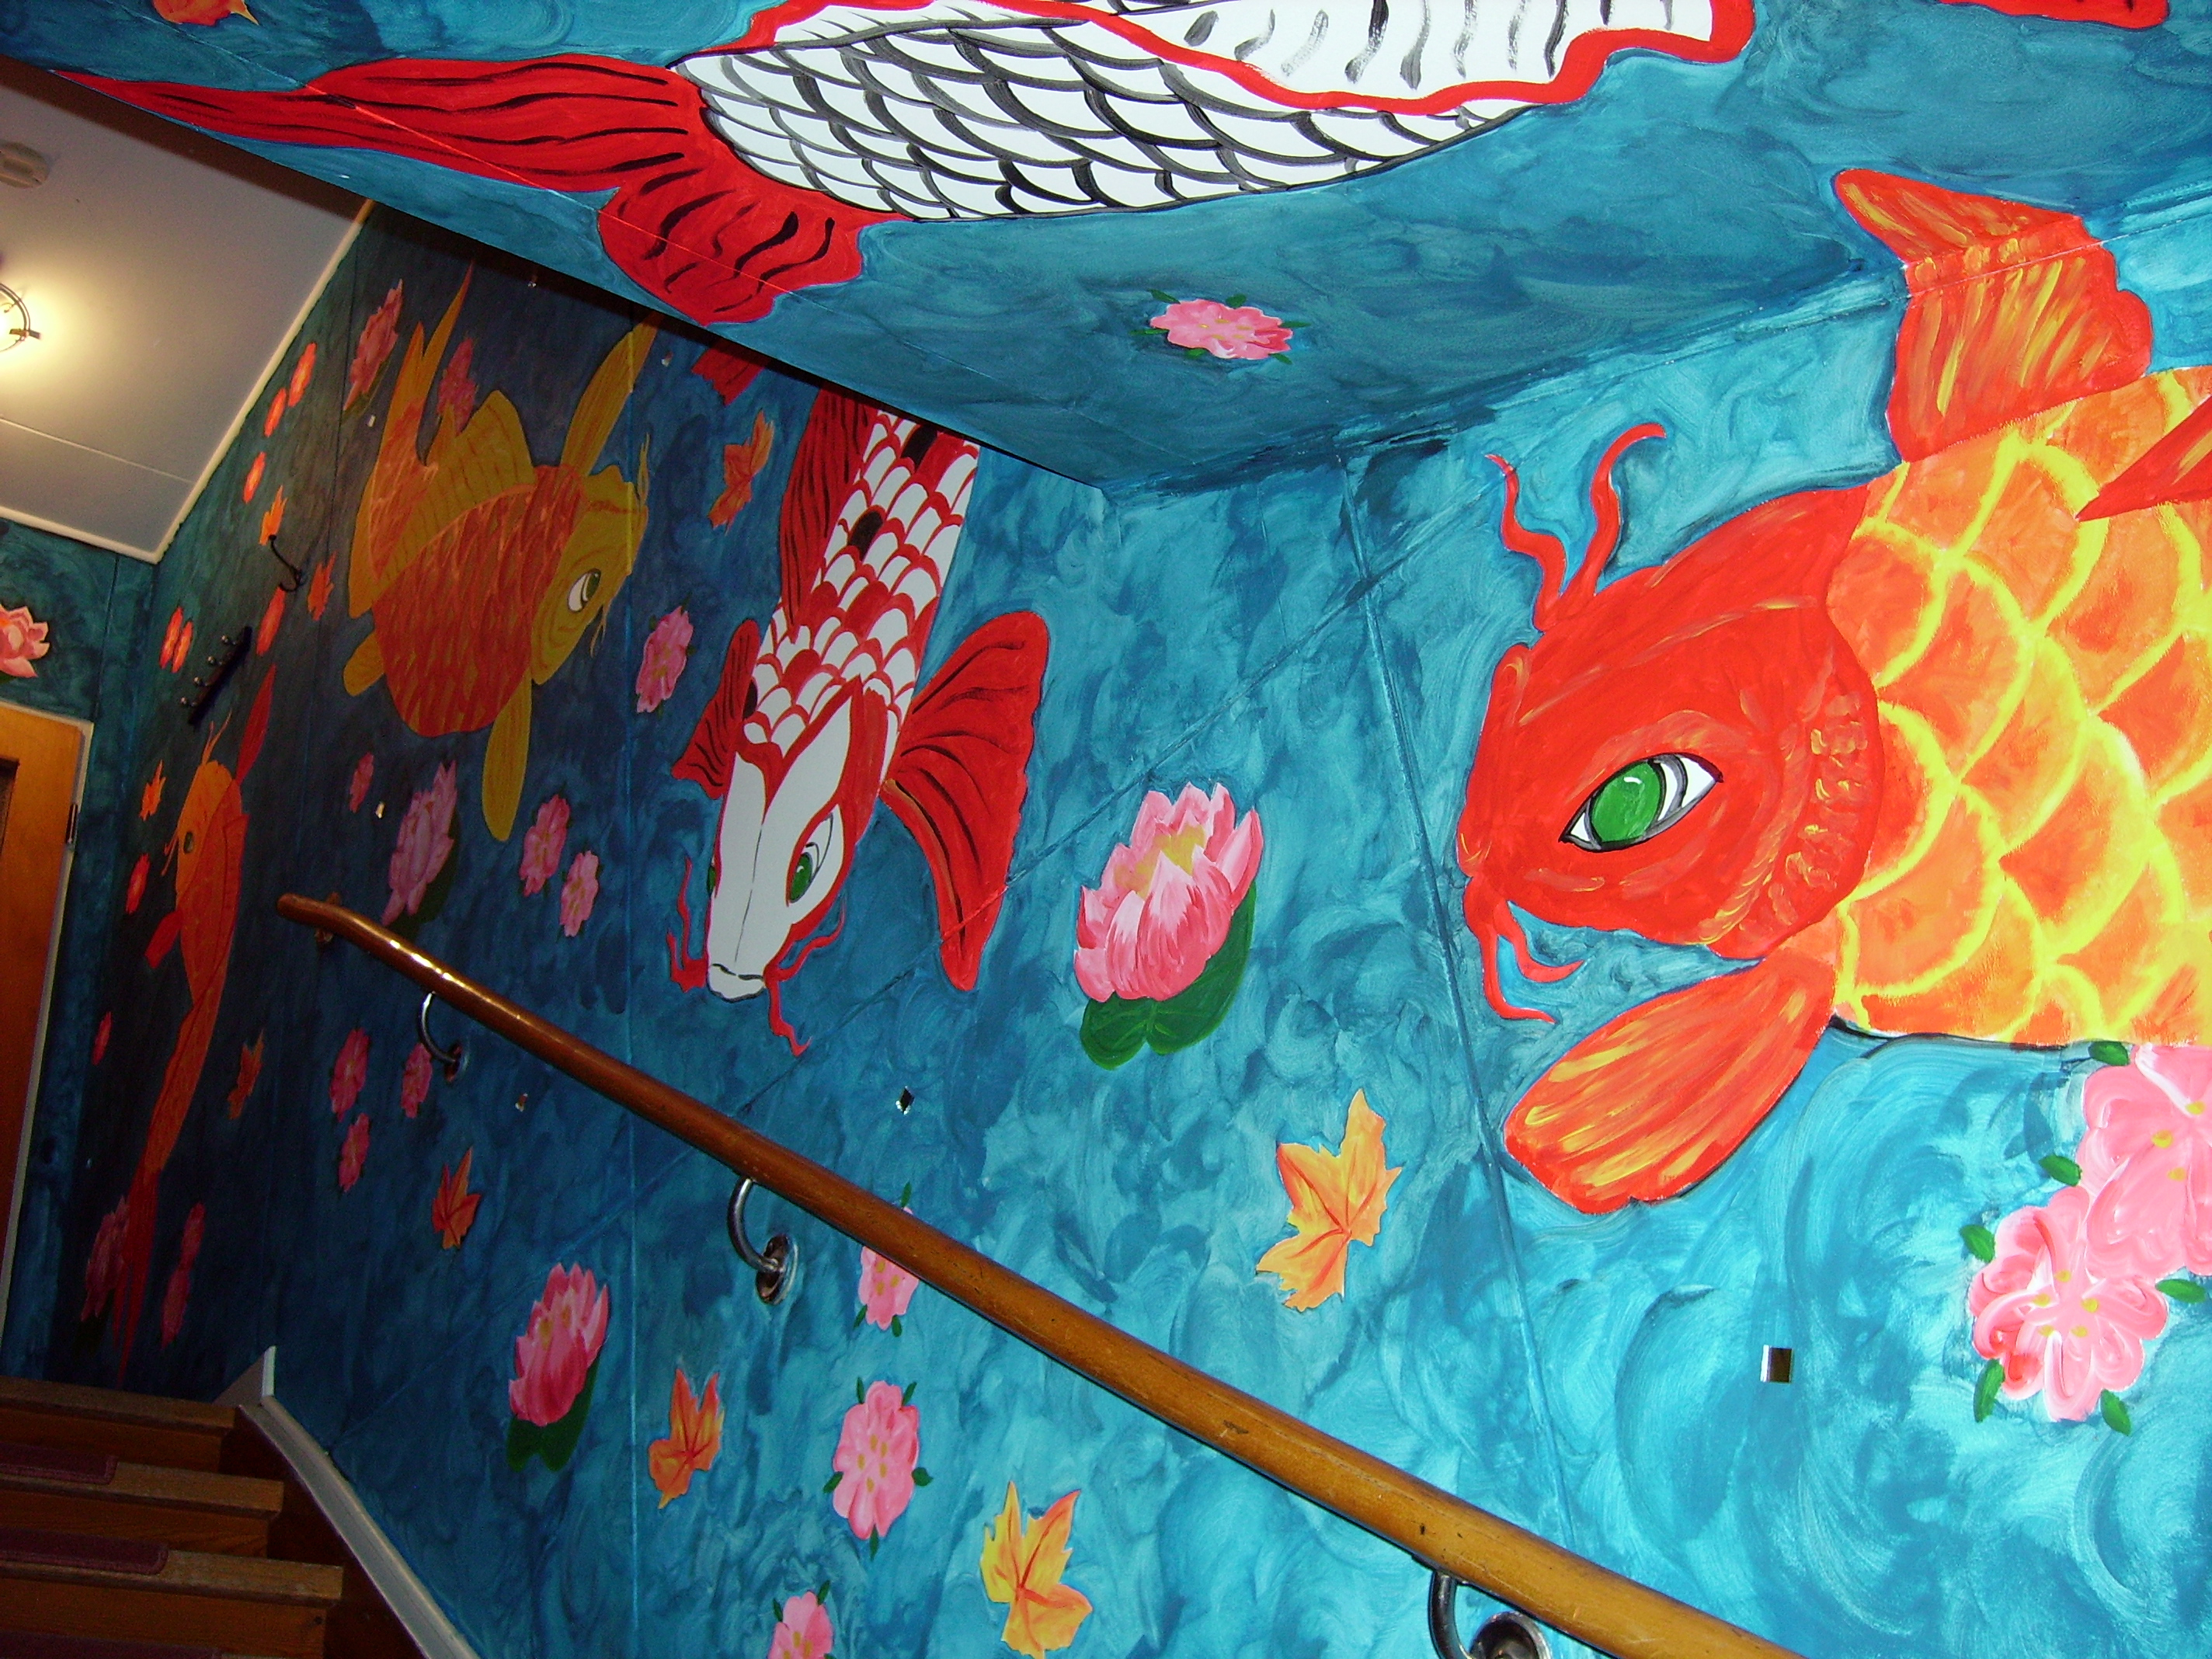
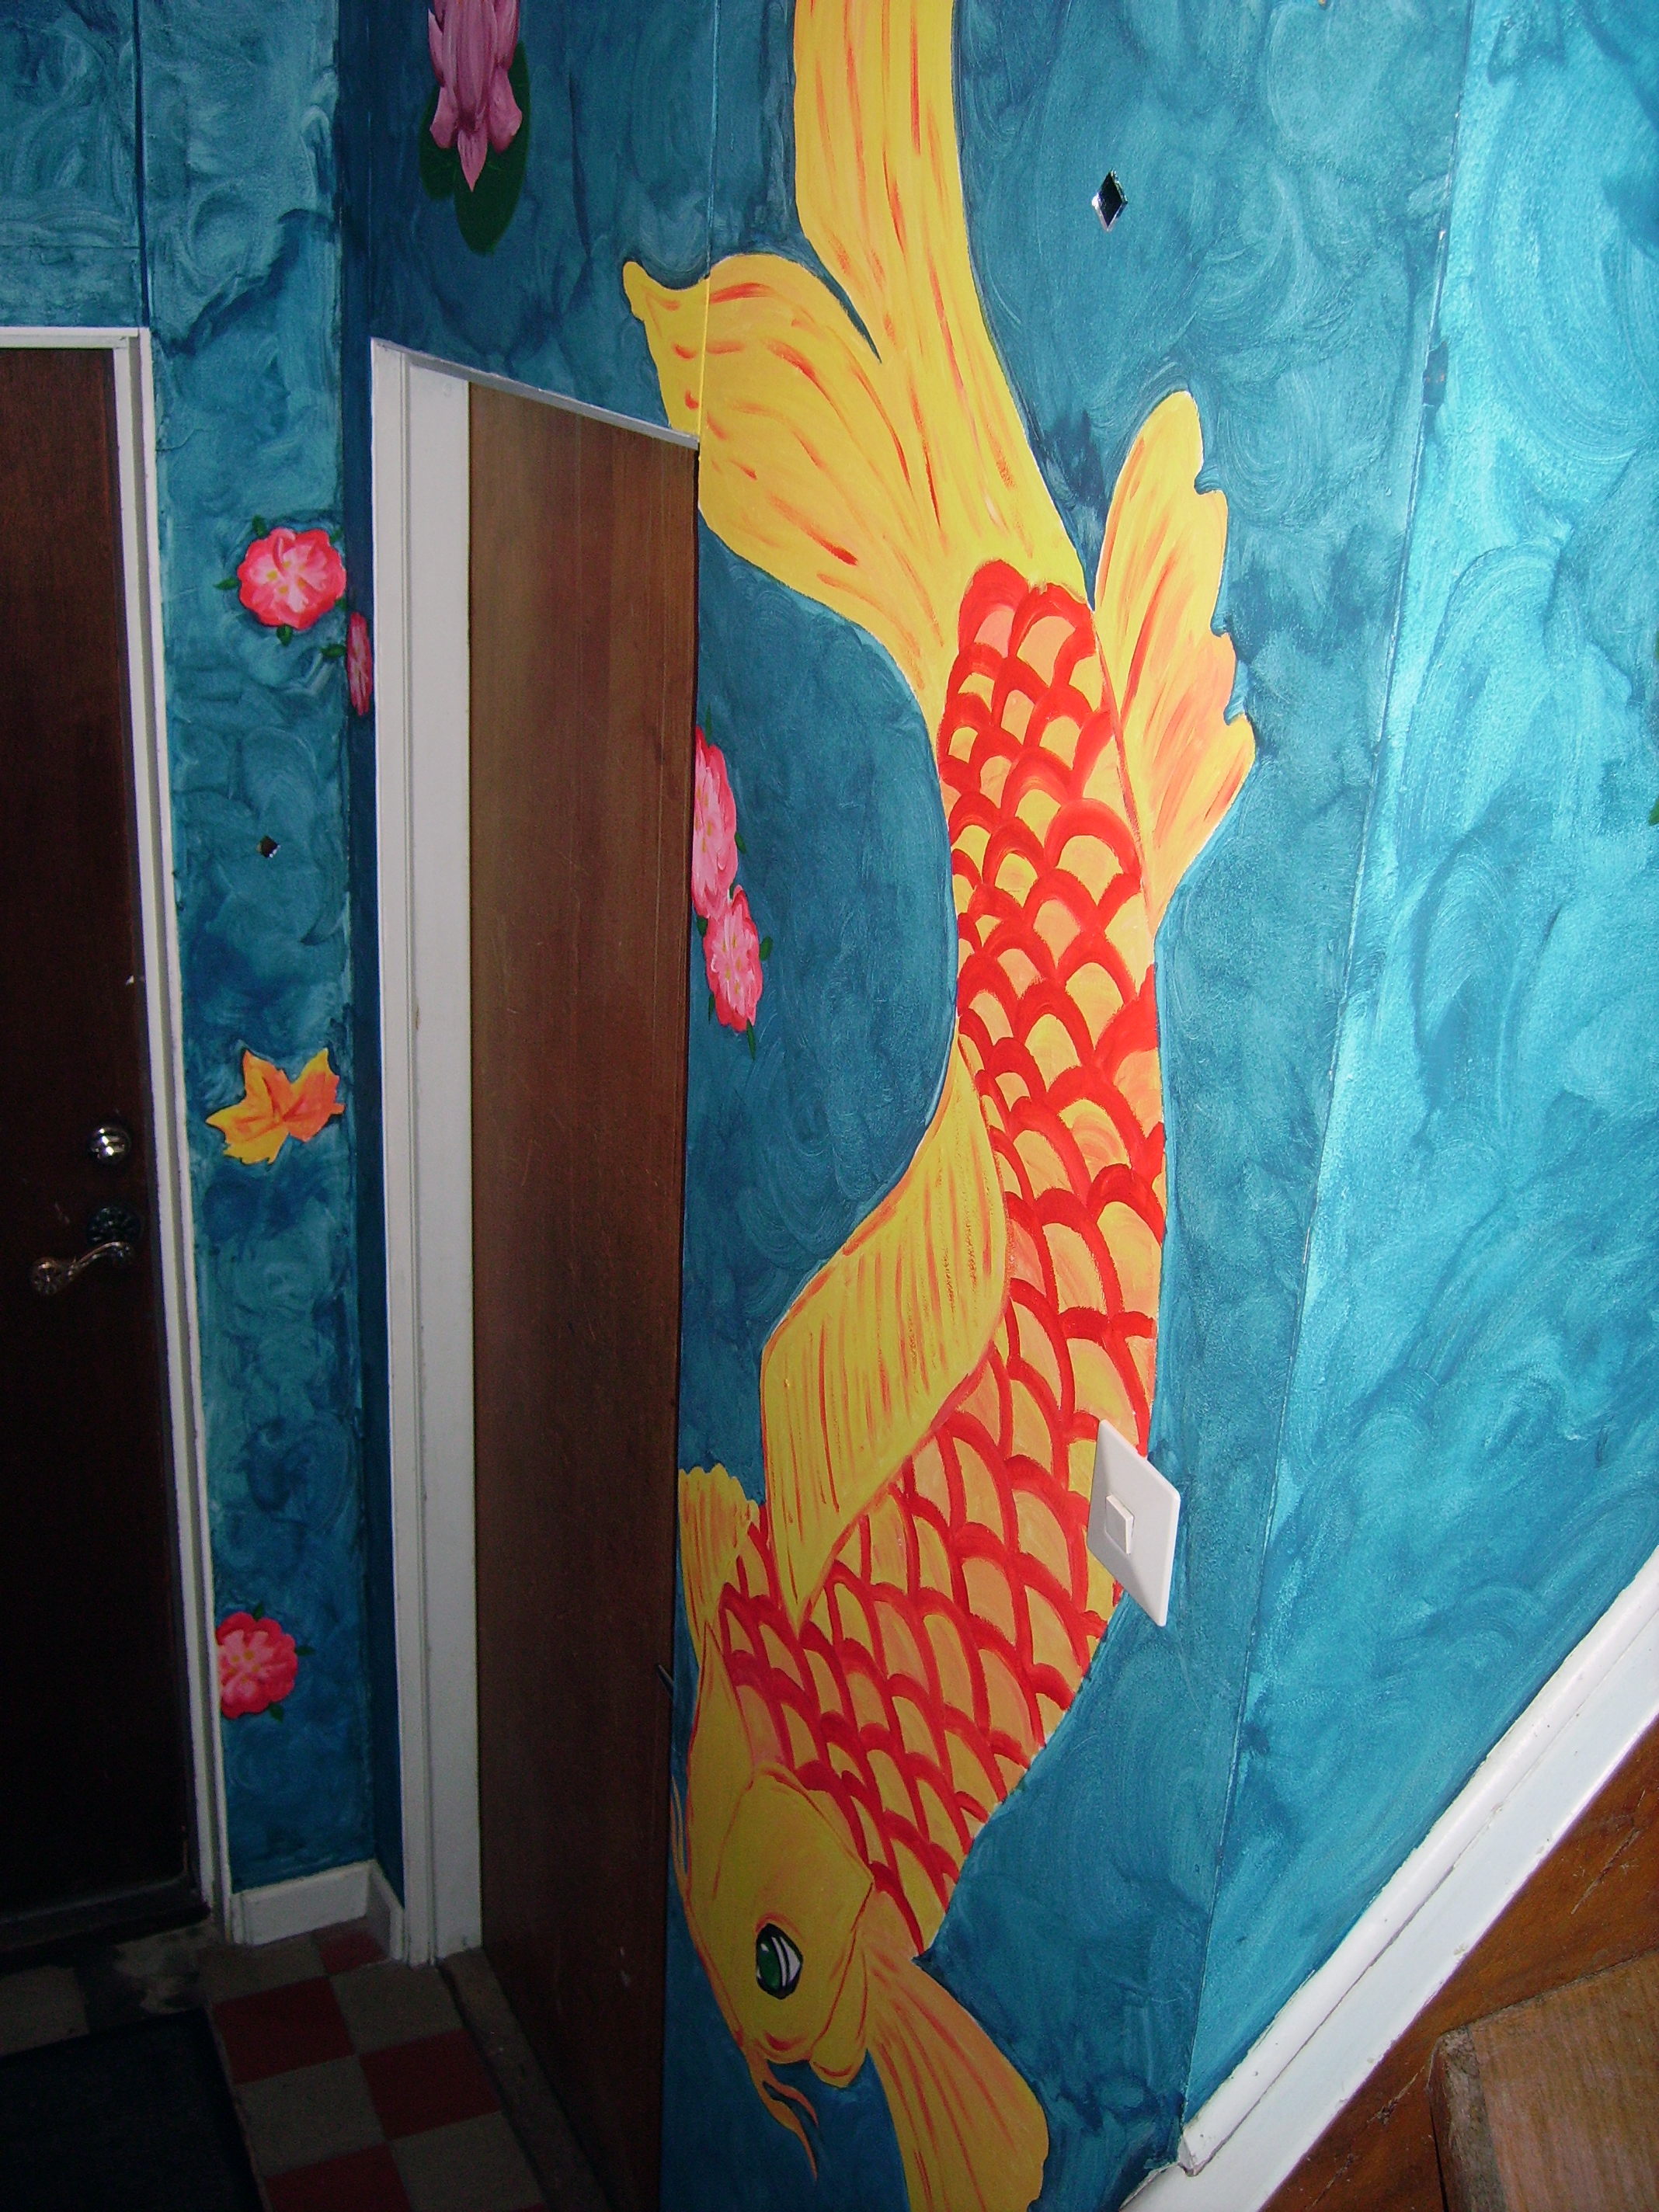
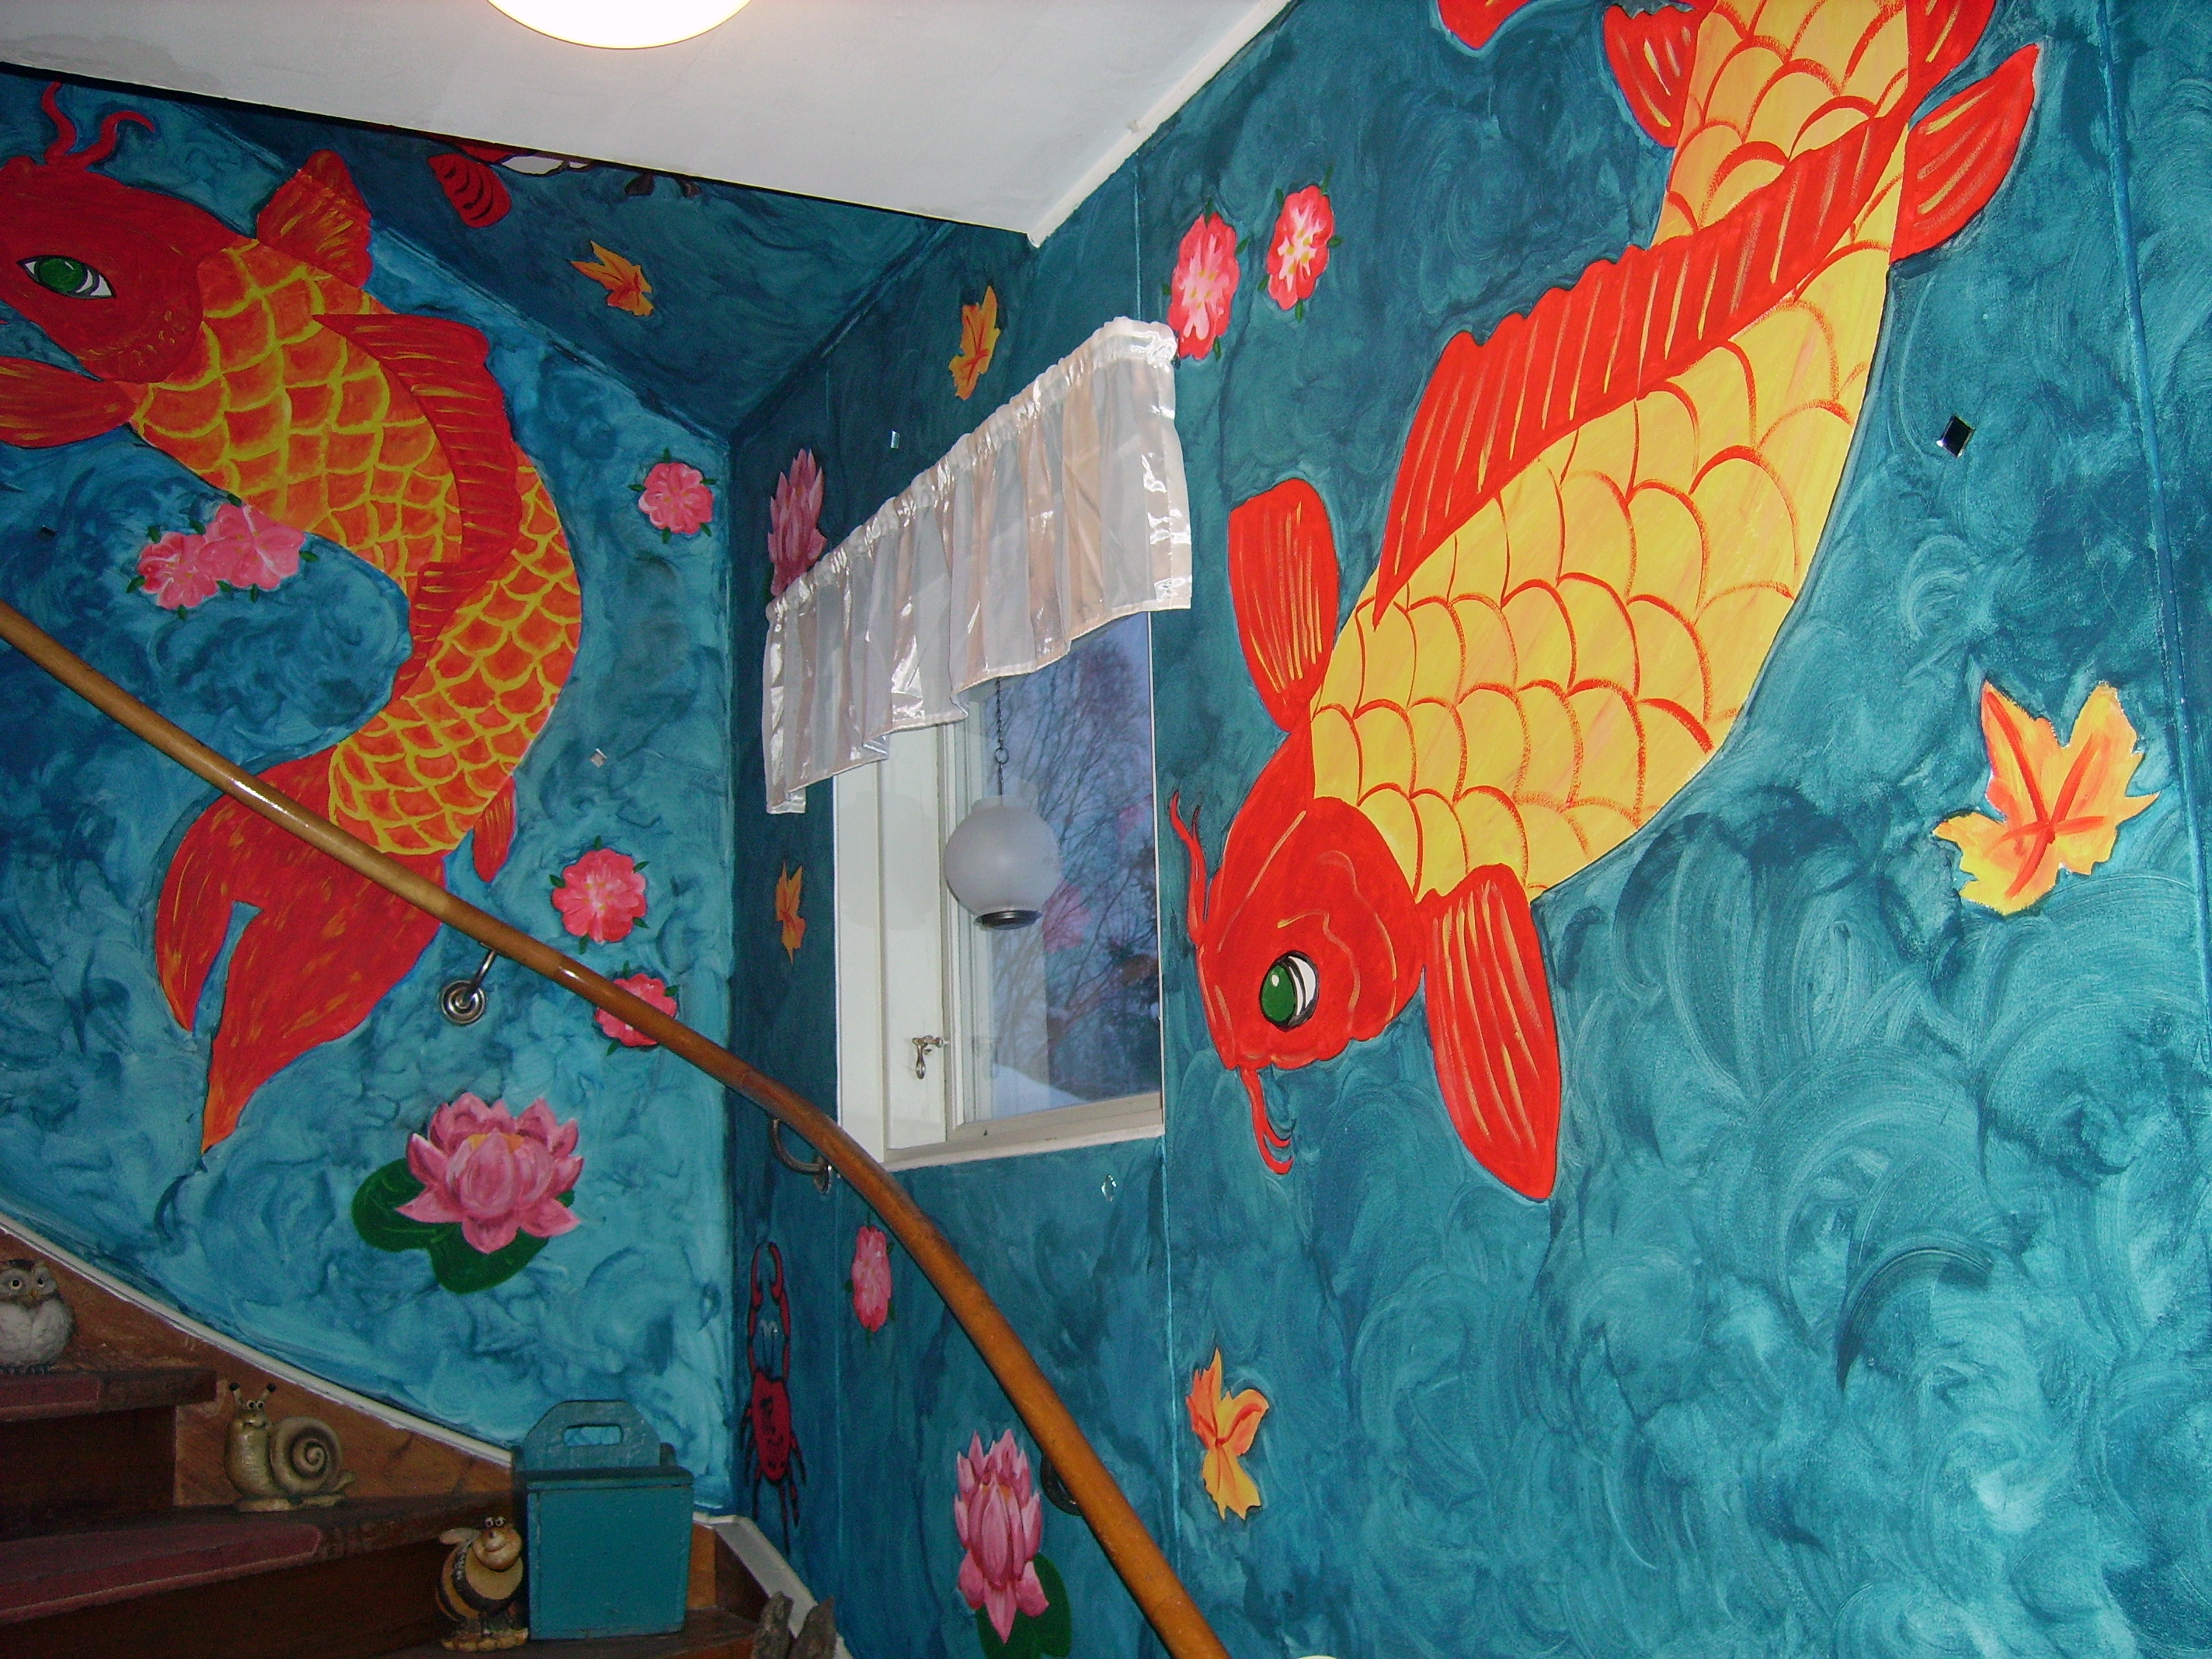
Want to do something EPIC? - paint your hallway!
Now you might think: "Uhm...?"
read along
I wanted to do something with our boring white hallway,
first i thought:
"Maybe a unusual colour or panels..."
- well that sounded boring too!
So I decided to go for a little more X-TREME paintjob!
the walls I painted measure about 42 sq yd - sounds more in square feet: 377 :D ( for the metric- ones: 35m² )
I have to admit, that i am a little cheap - or should i say X-TREME cheap :D so the whole project was under 50$
You'll Need

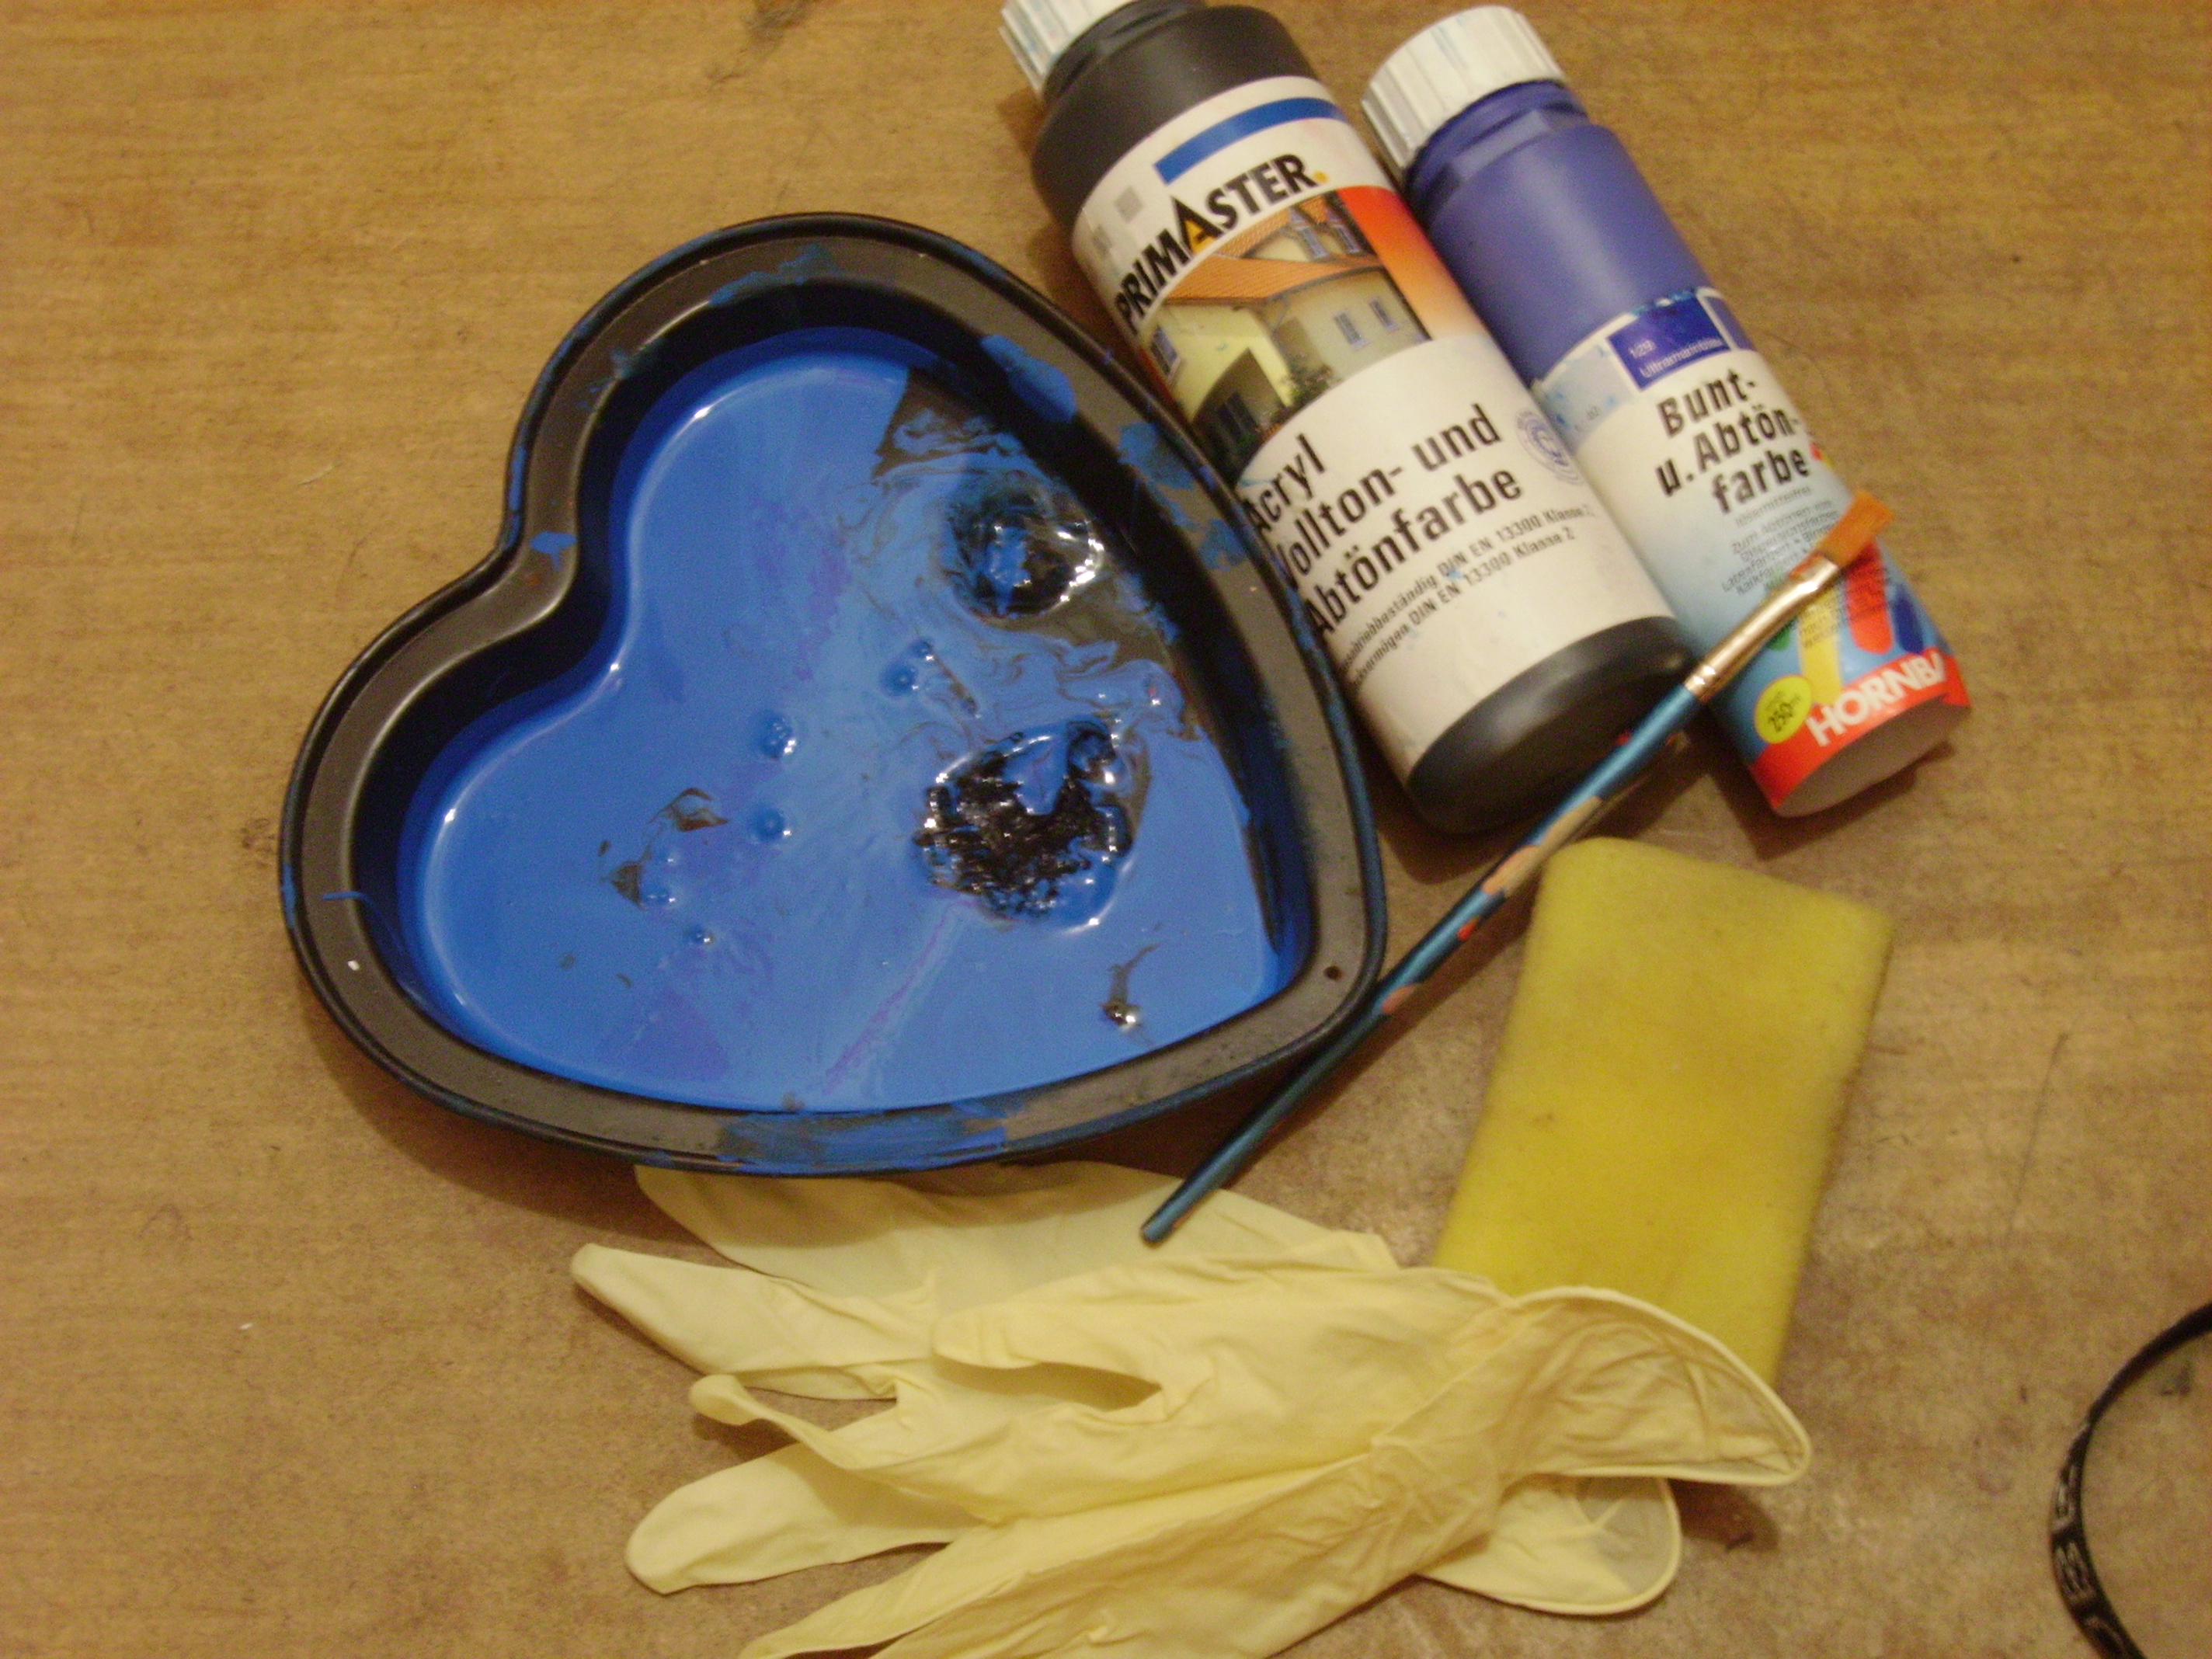
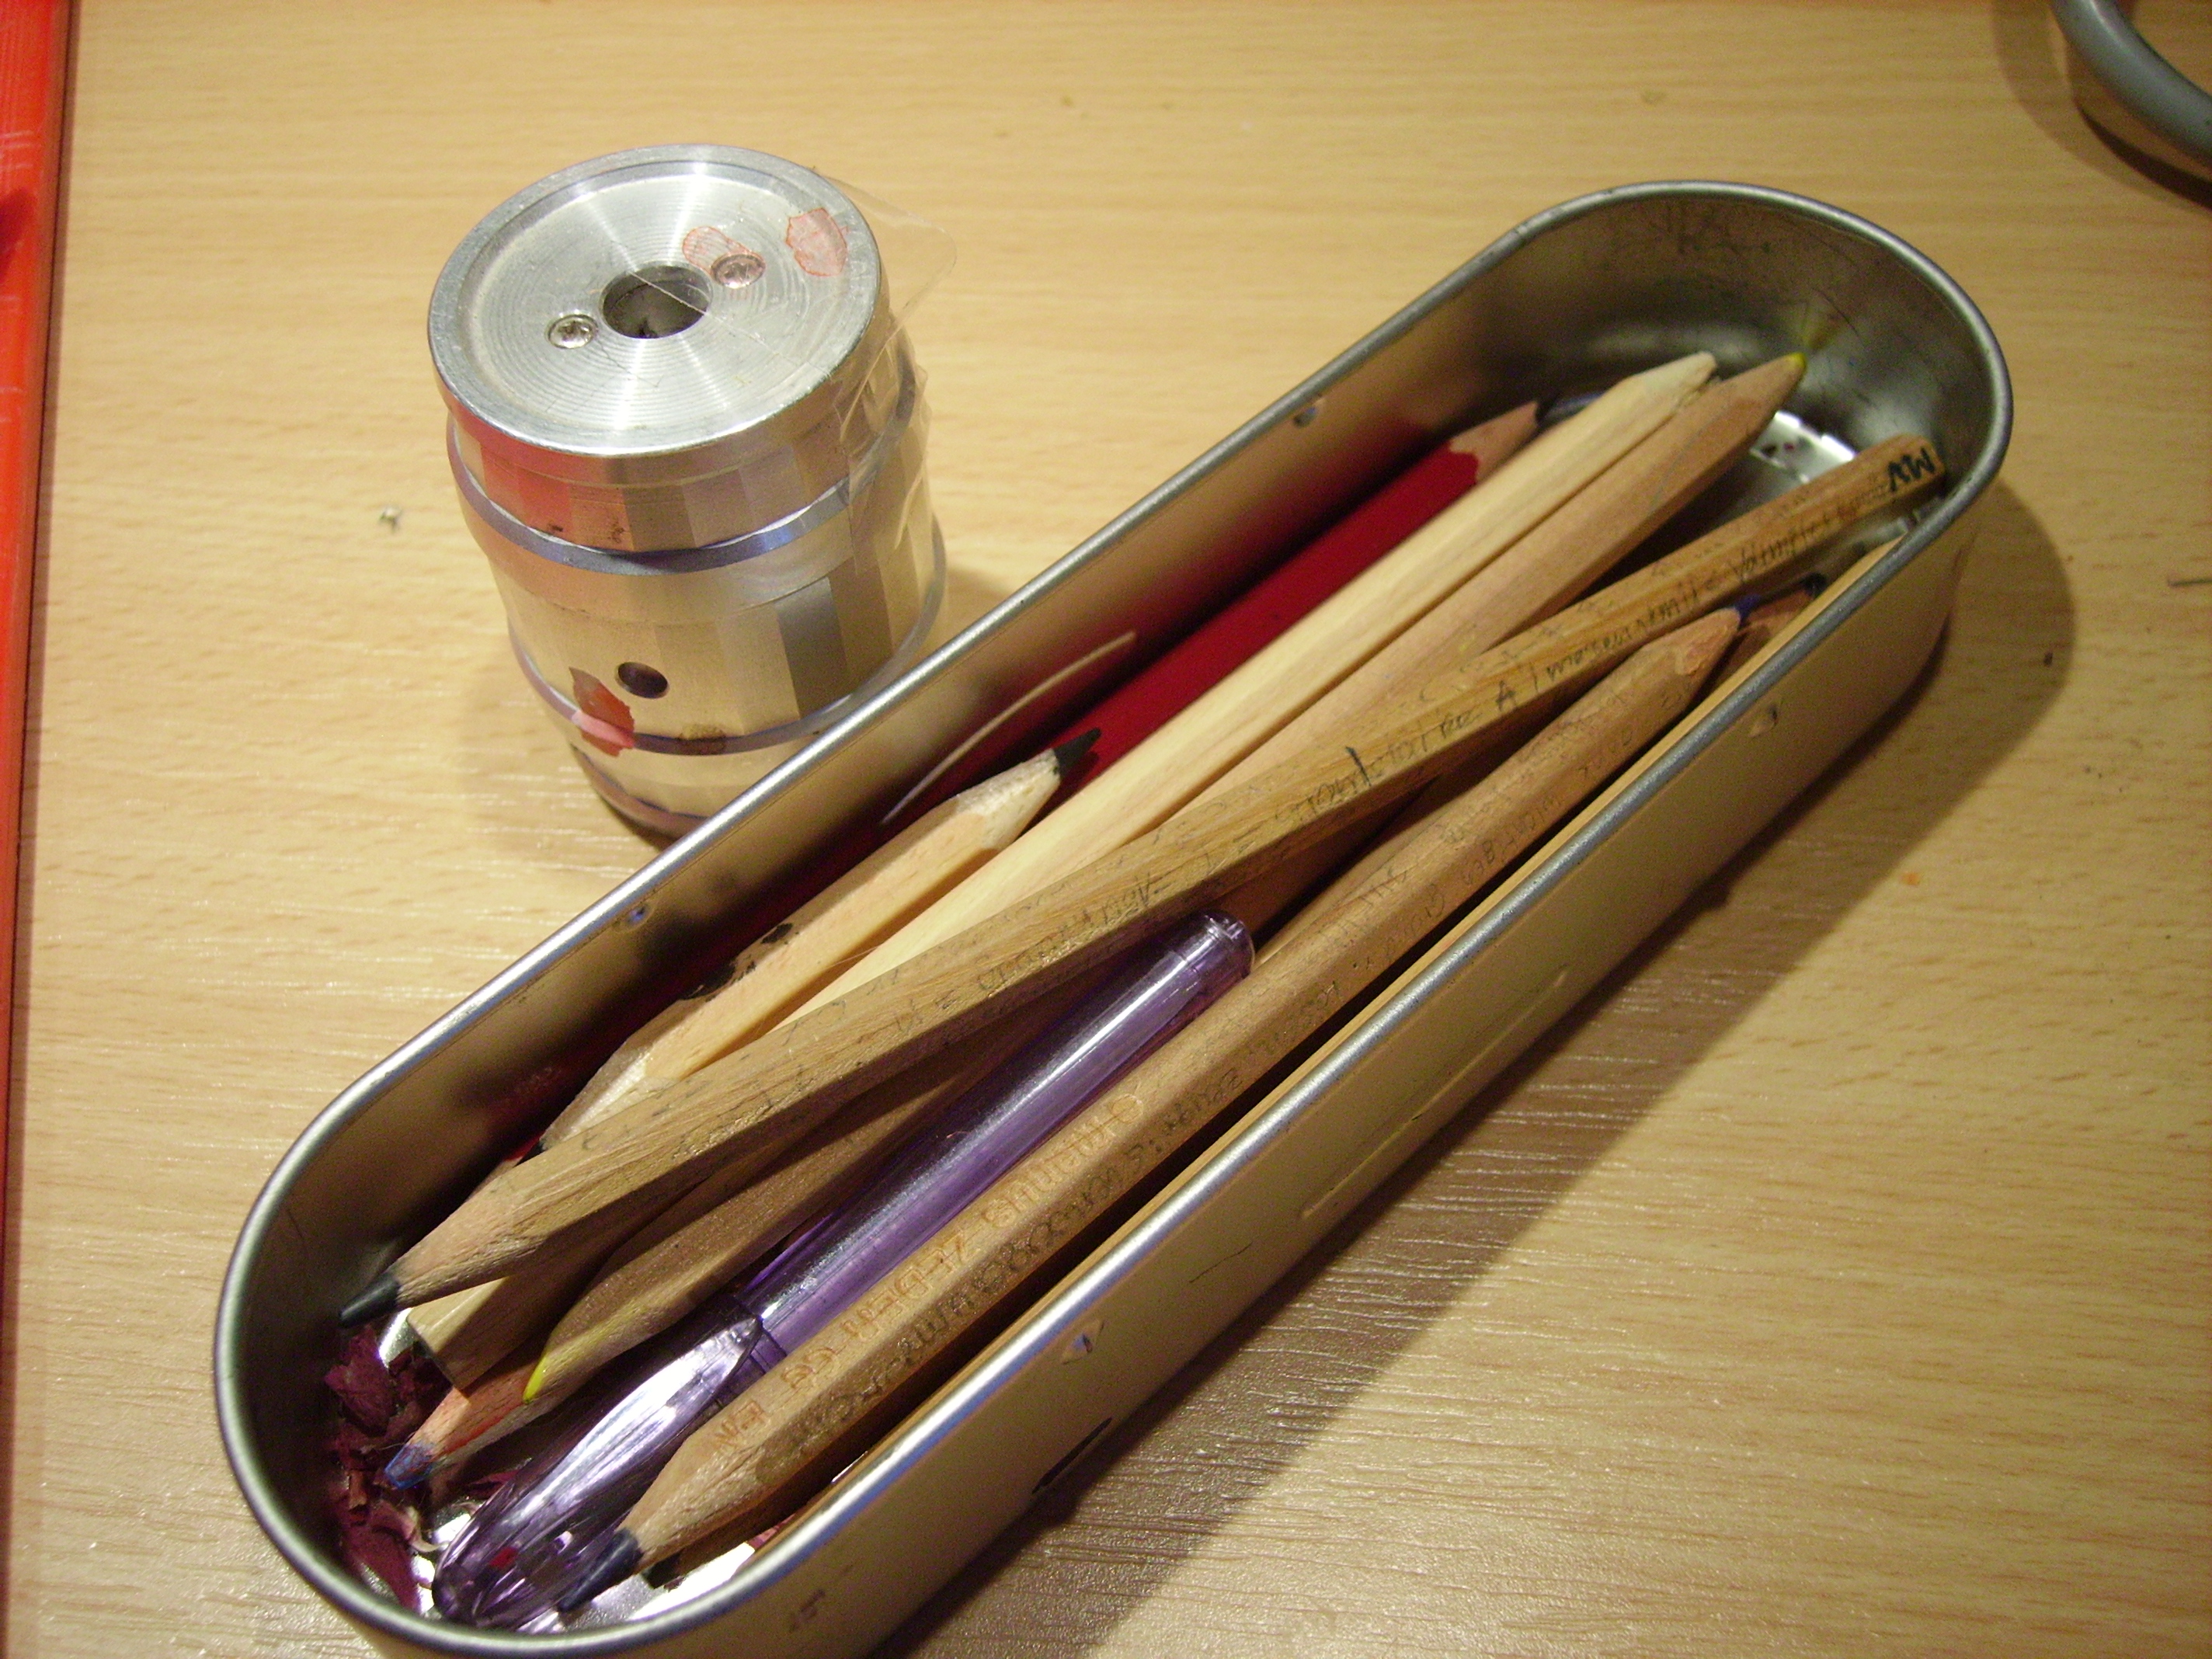
- white walls - loads of them :D
- paintbrushes - suitable for fine lines
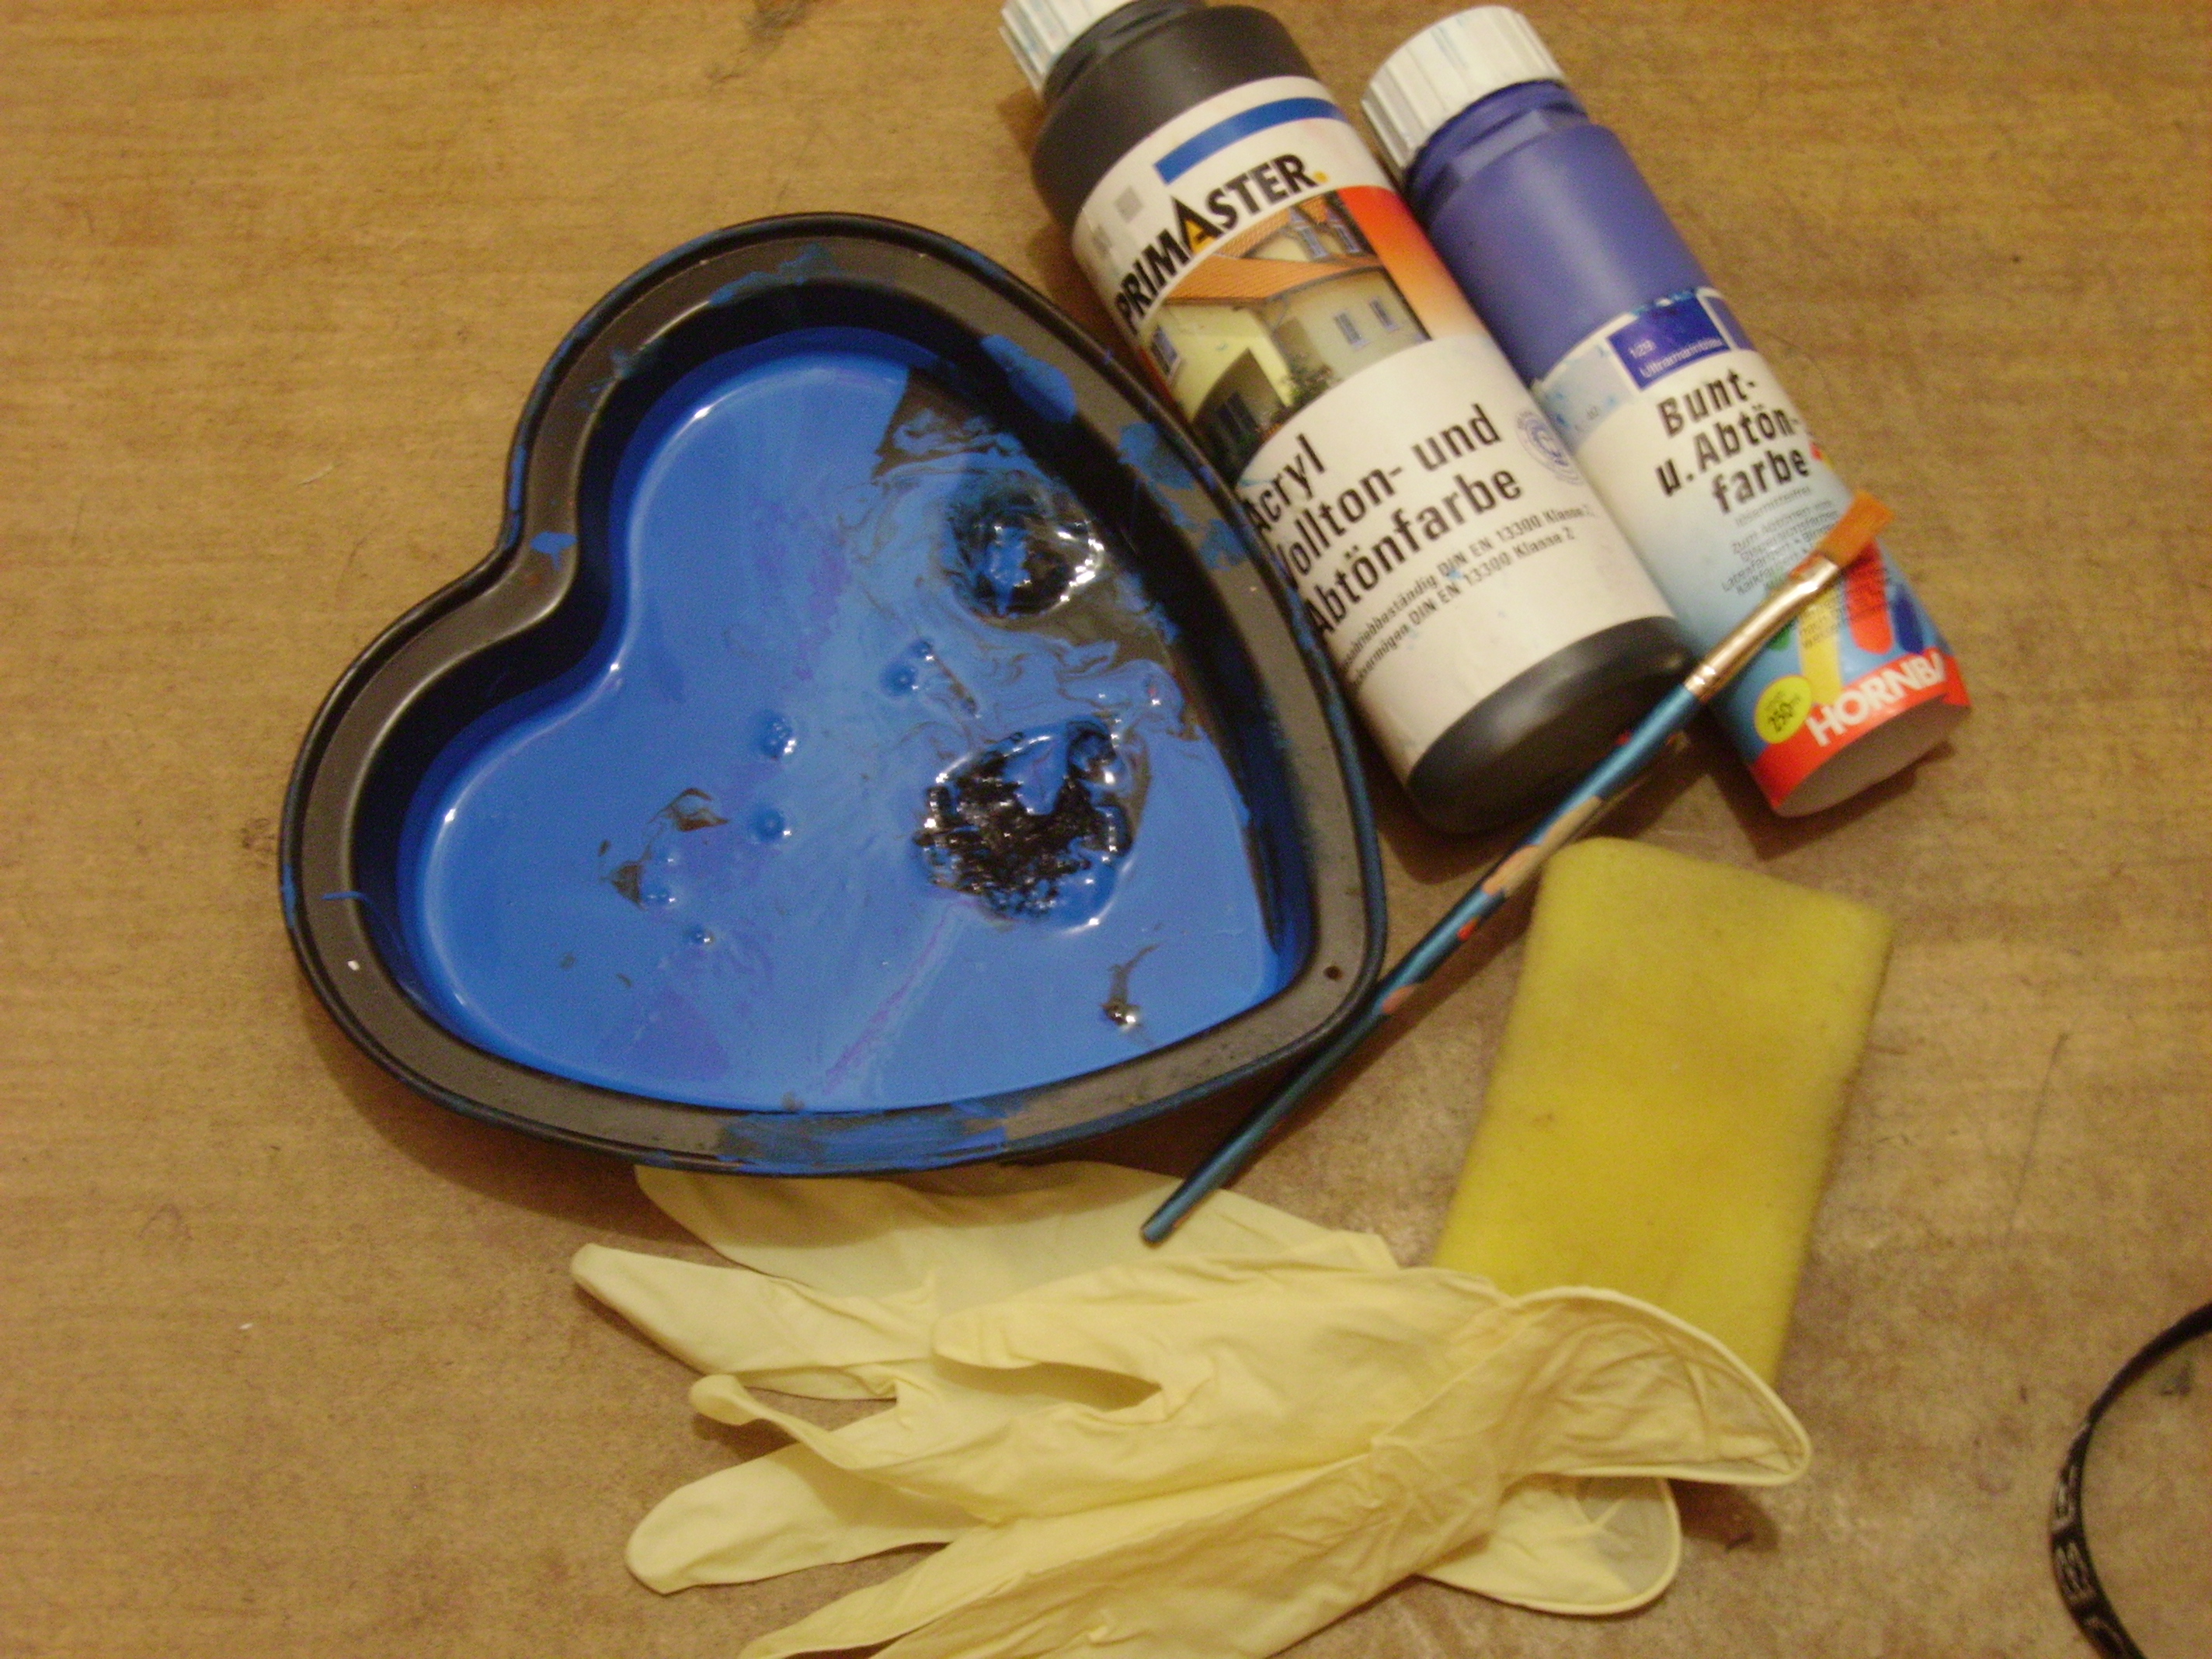
- Different colours of wallpaint - the cheapest ones will do
- a sponge
- latex gloves
- colored pencils
- an eraser
- some thin cardboard for templates
- some mirror-mosaic-thingies and glue for cool effects
- MP3-player with your favorite working-musik
- and finally TIME - LOADS OF IT!
Templates
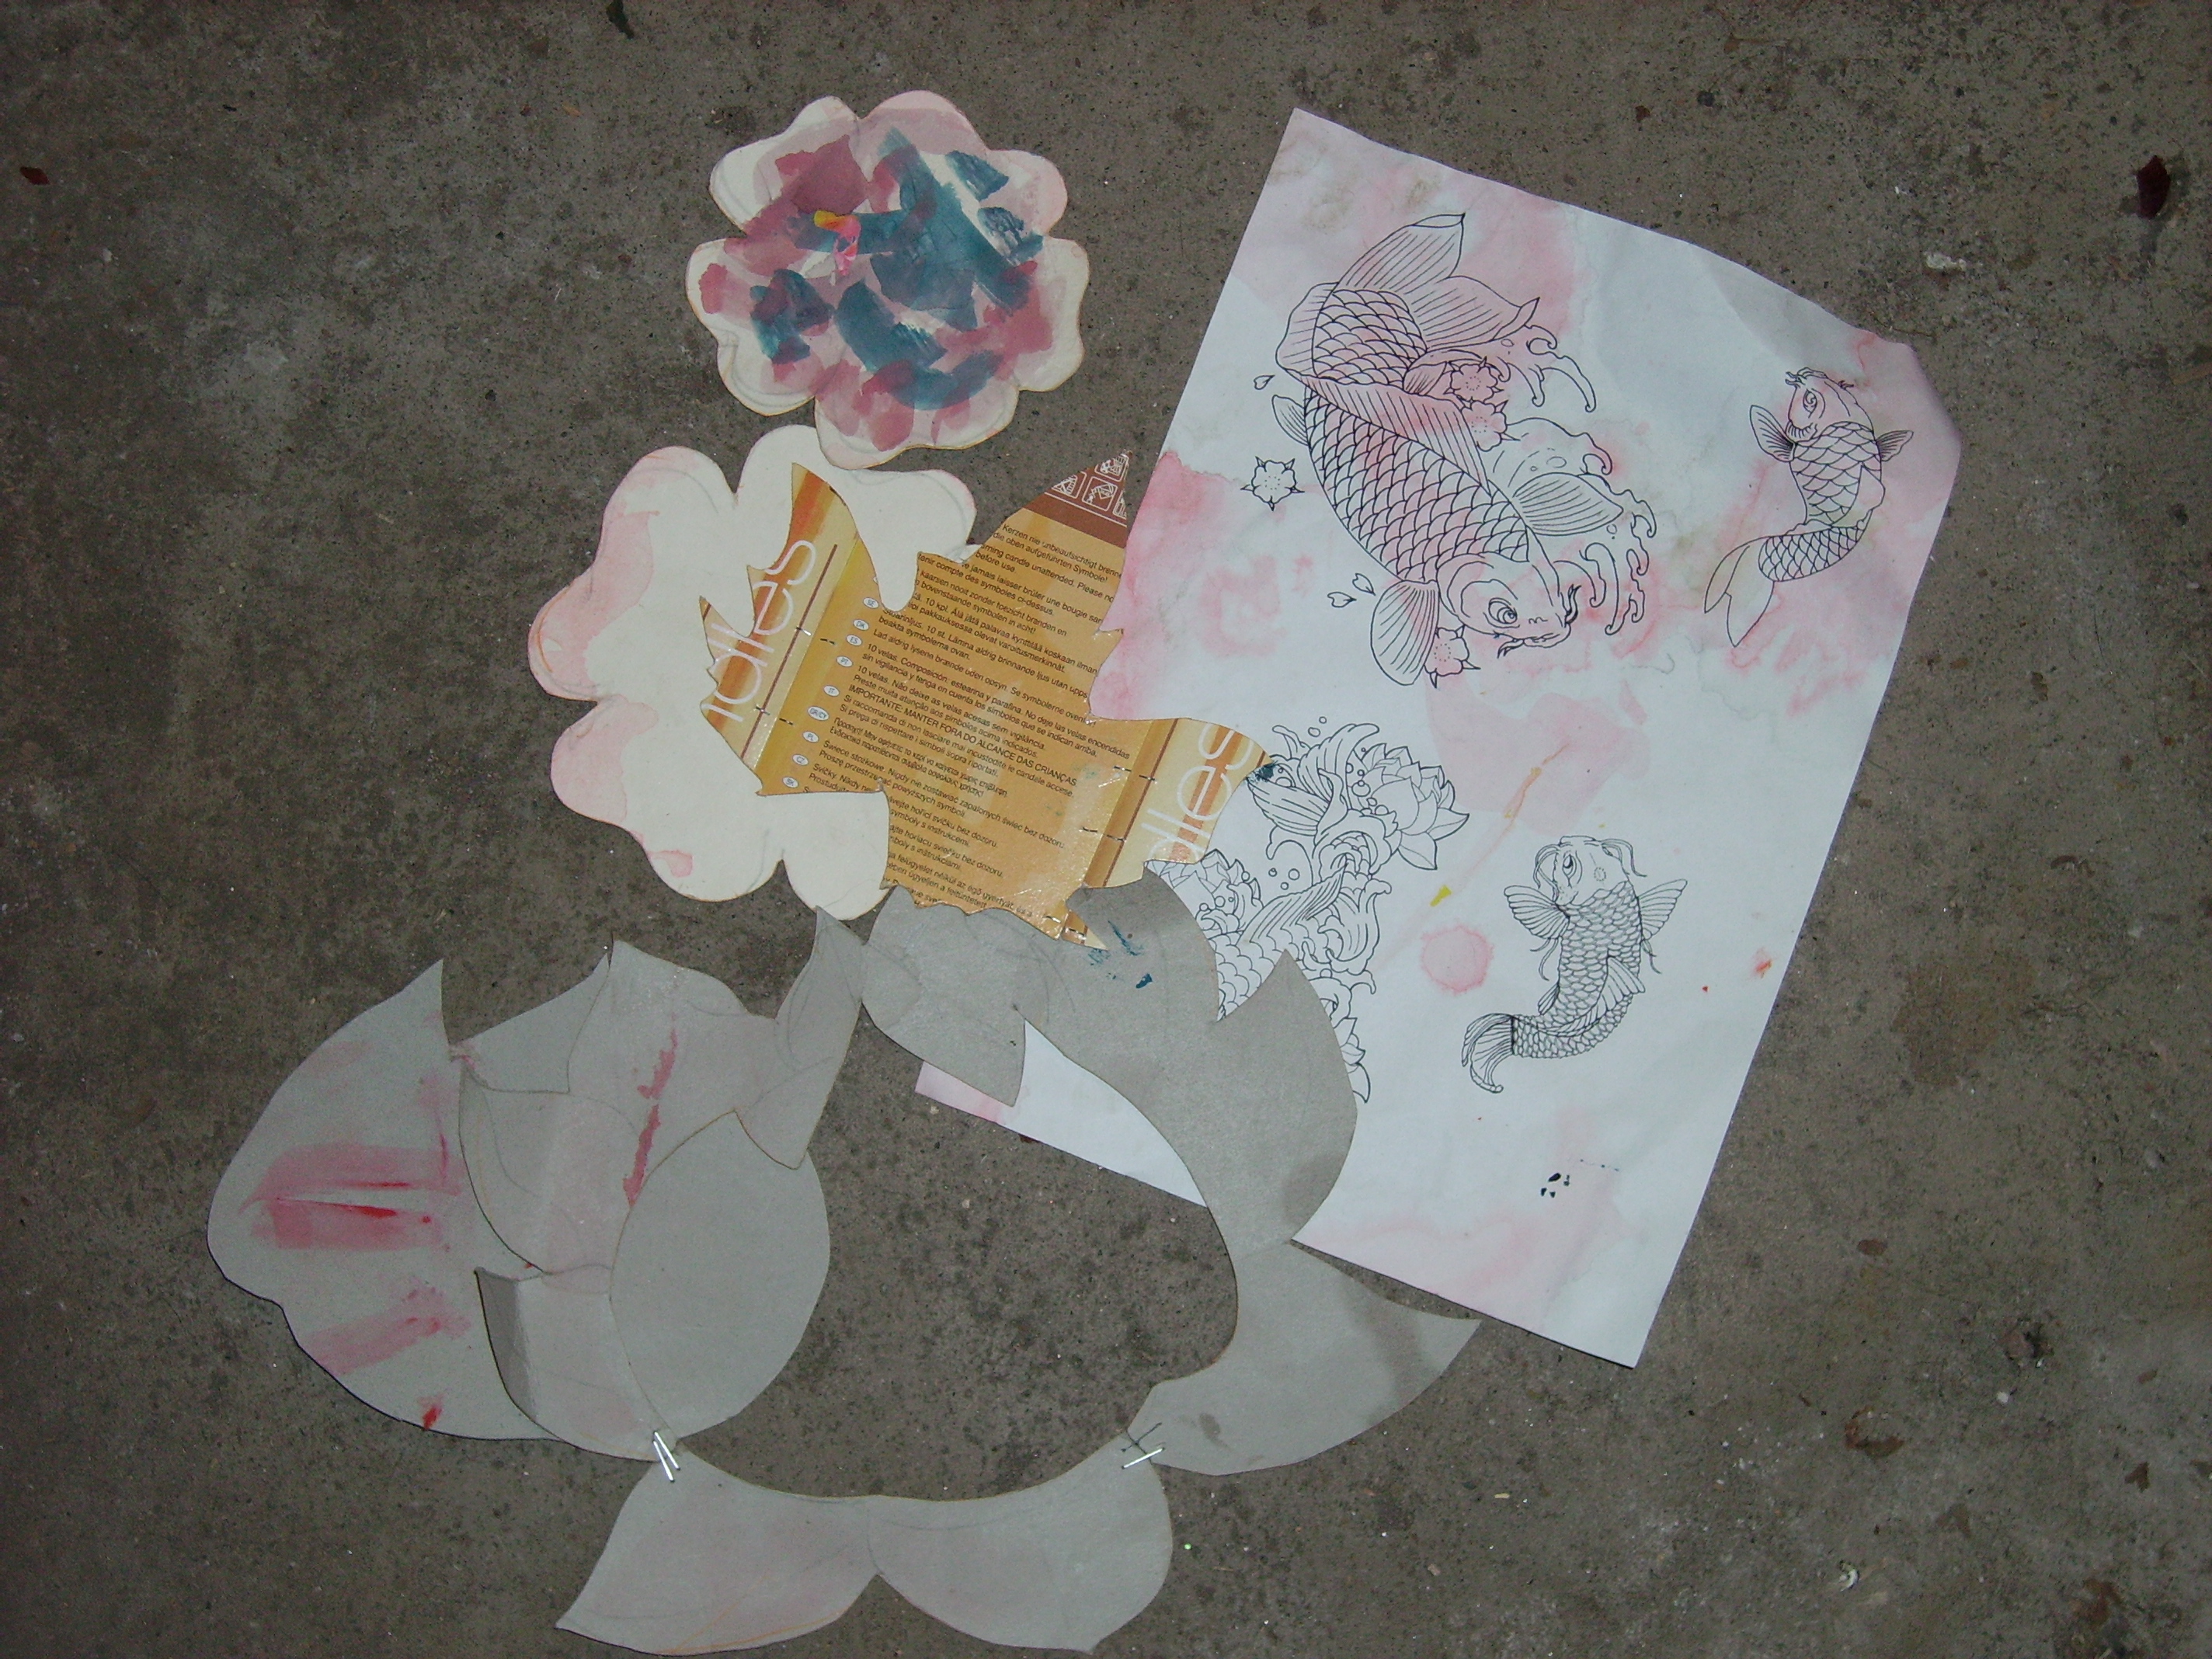
Make templates for the repetitive motivs such as fillers -in my case it were cherryblossom, maple leafes and lotusflowers.
You'll thank me for that when you draw more than 100 flowers :)
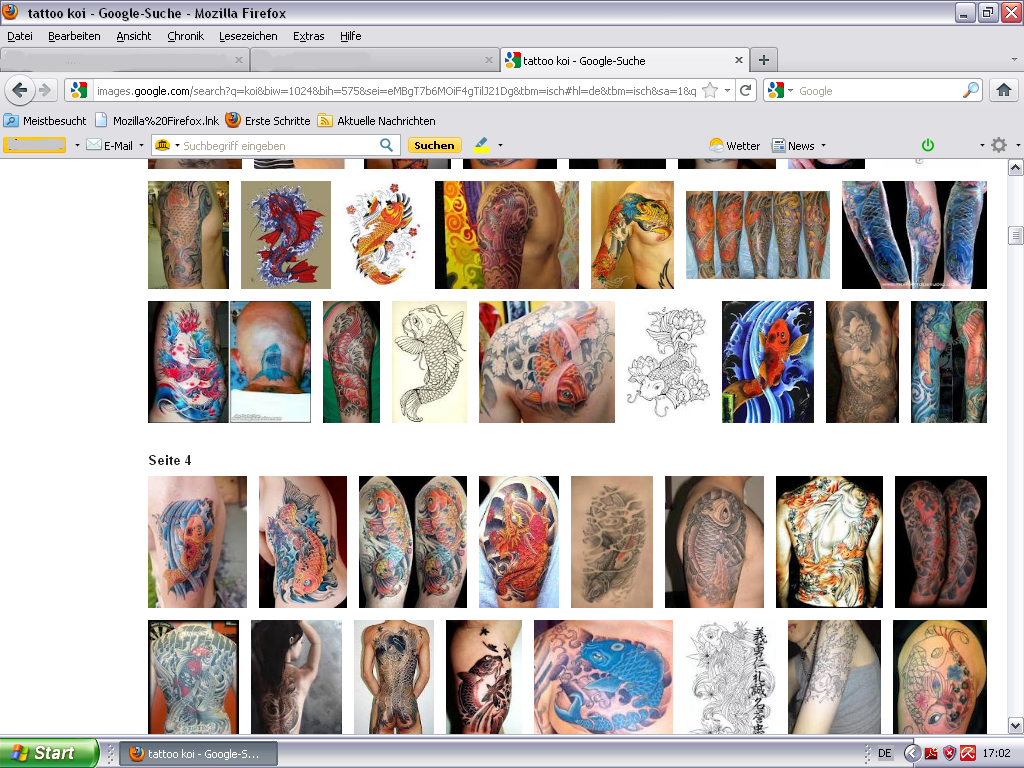
furthermore you have to decide what motive you want, the Web is a good source for that, print some examples as a working guide.
I'm no artist so i decided to stay with 2-dimensional Koi,
but if you are an artist go ahead with 3-D effects!
Prepare the Wall

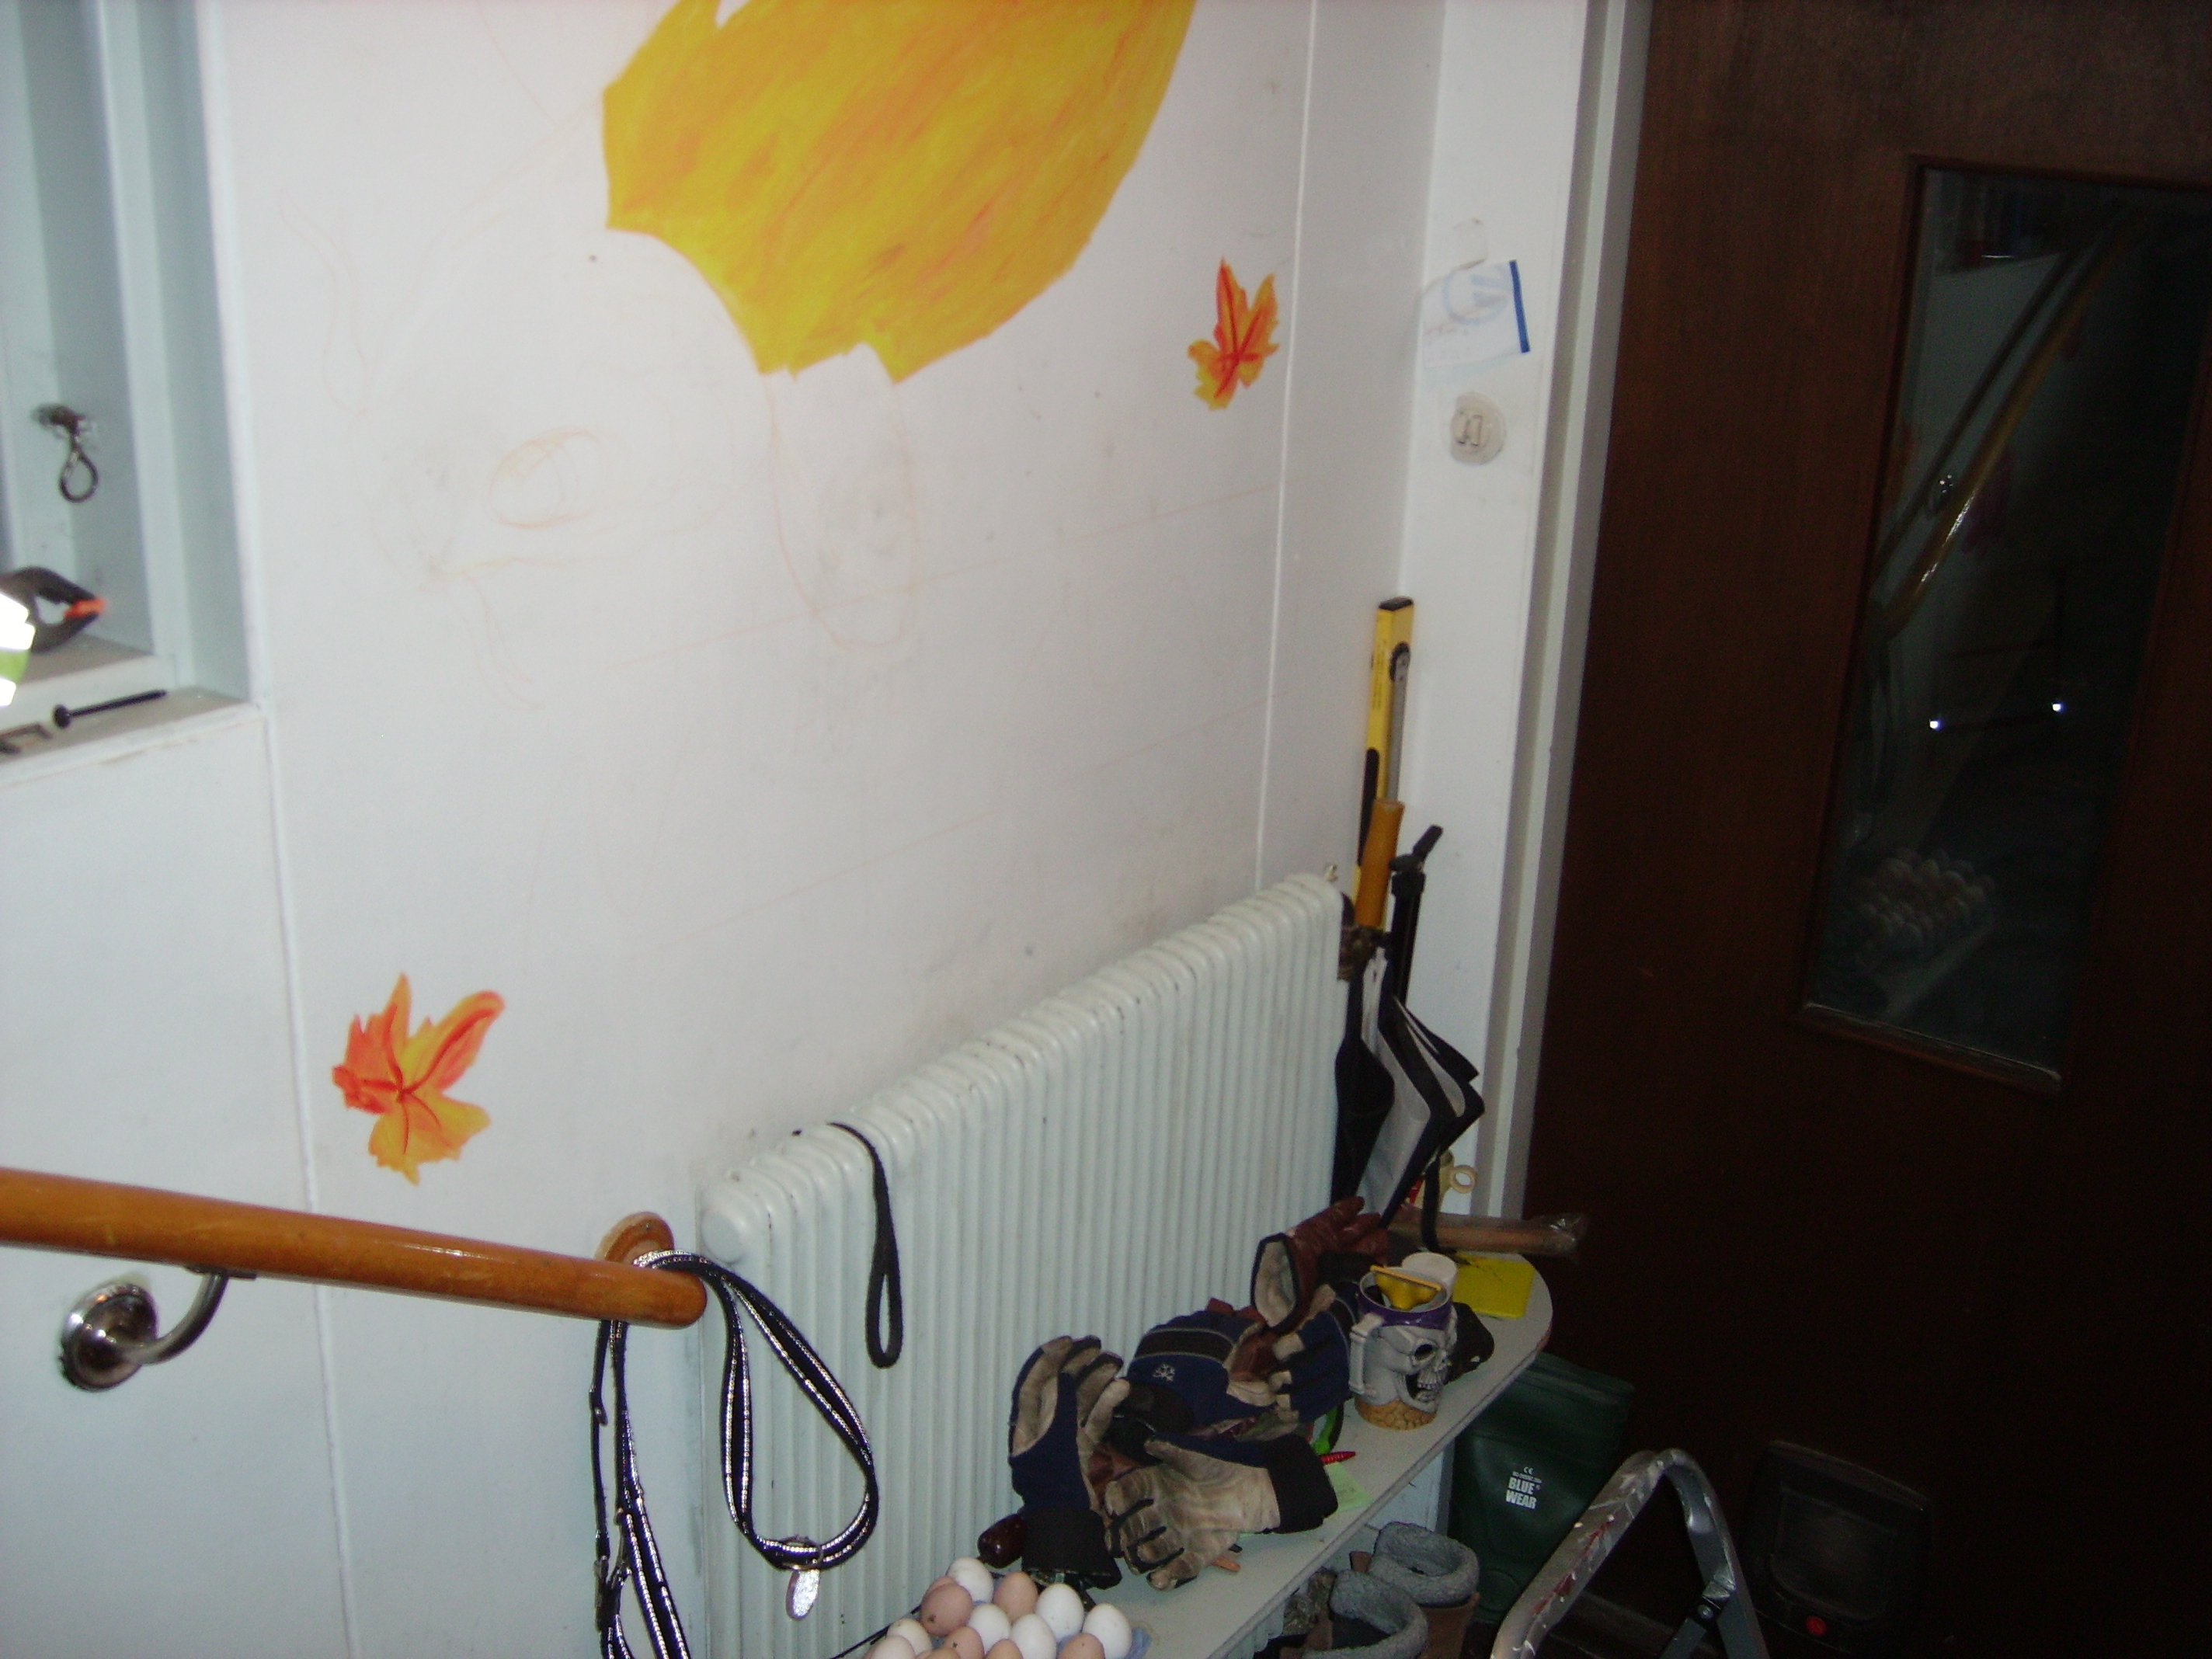
now take your colored pencils ( I used orange) and draw the big motives directly on the wall.
choose a colour that matches the later wall-paint, you can use a normal pencil,
but you'll getting problems to cover up the lines - trust me I've been there :D
Use the eraser if your not pleades with the result.
after drawing the big motives ( the koi or whatever you've chosen) it's time for the helpful templates you made.
spread your filling motives all around the wall - tracing them with the colored pencils
The Paint Job

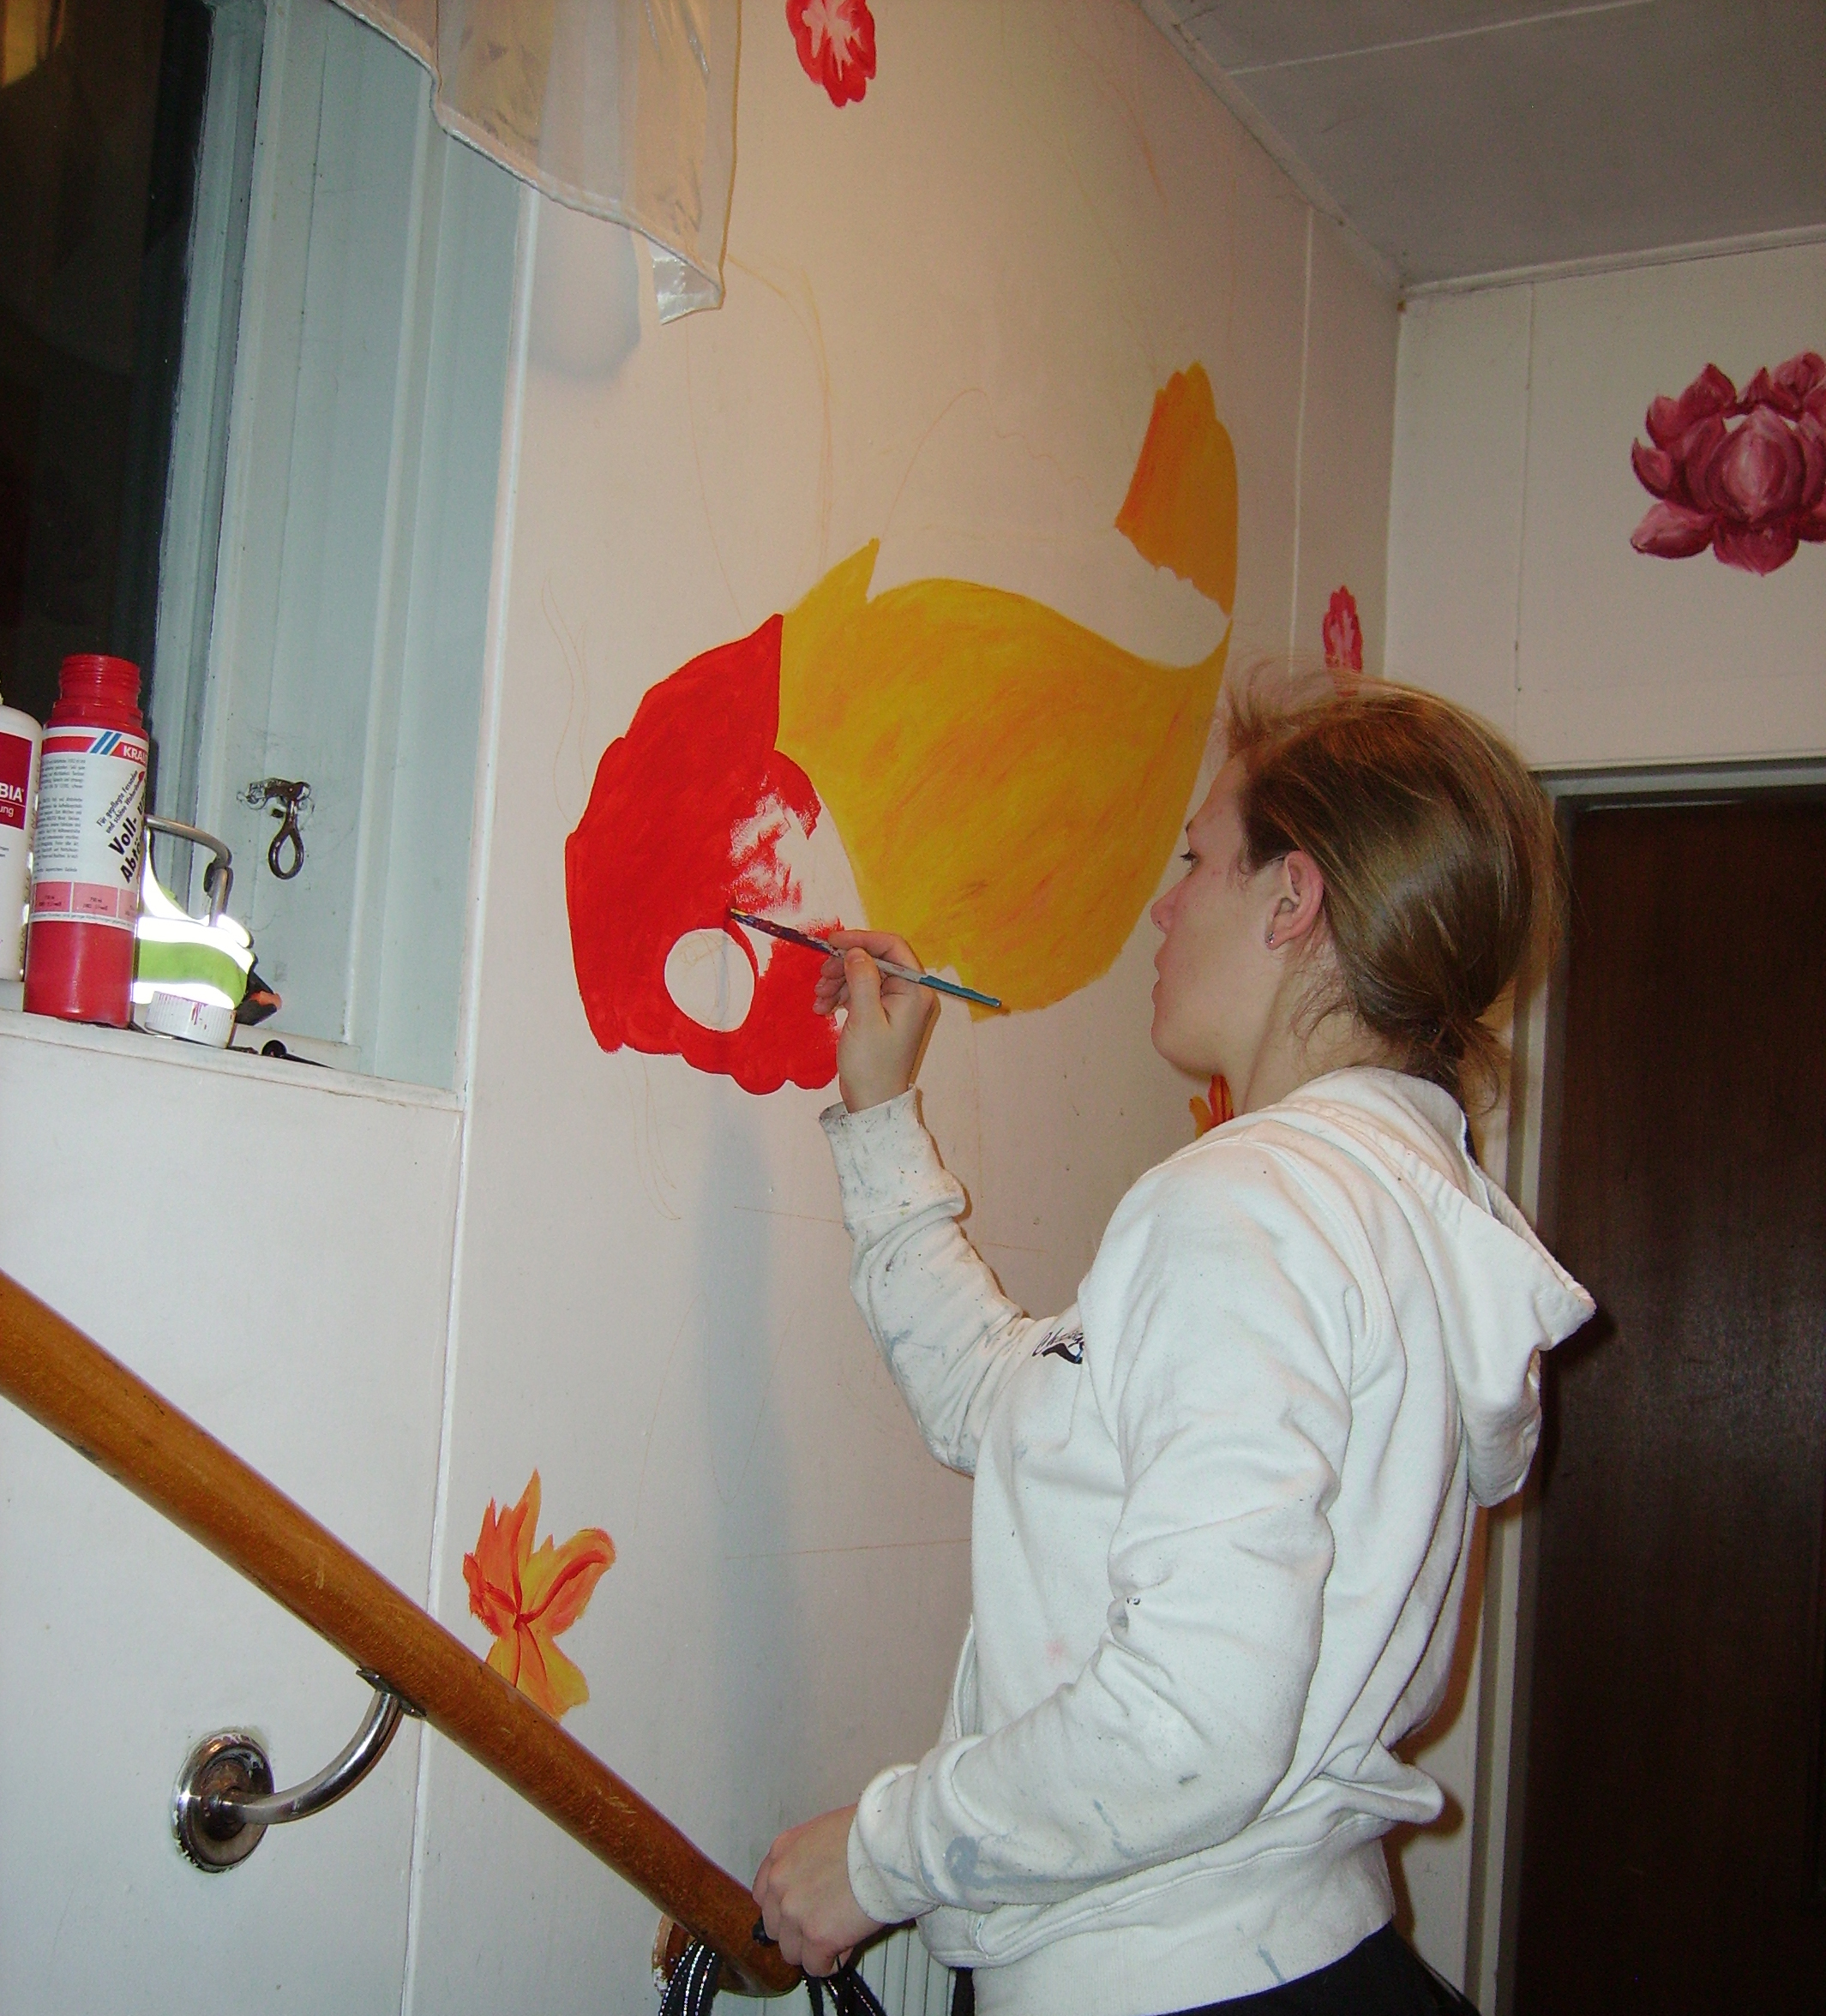
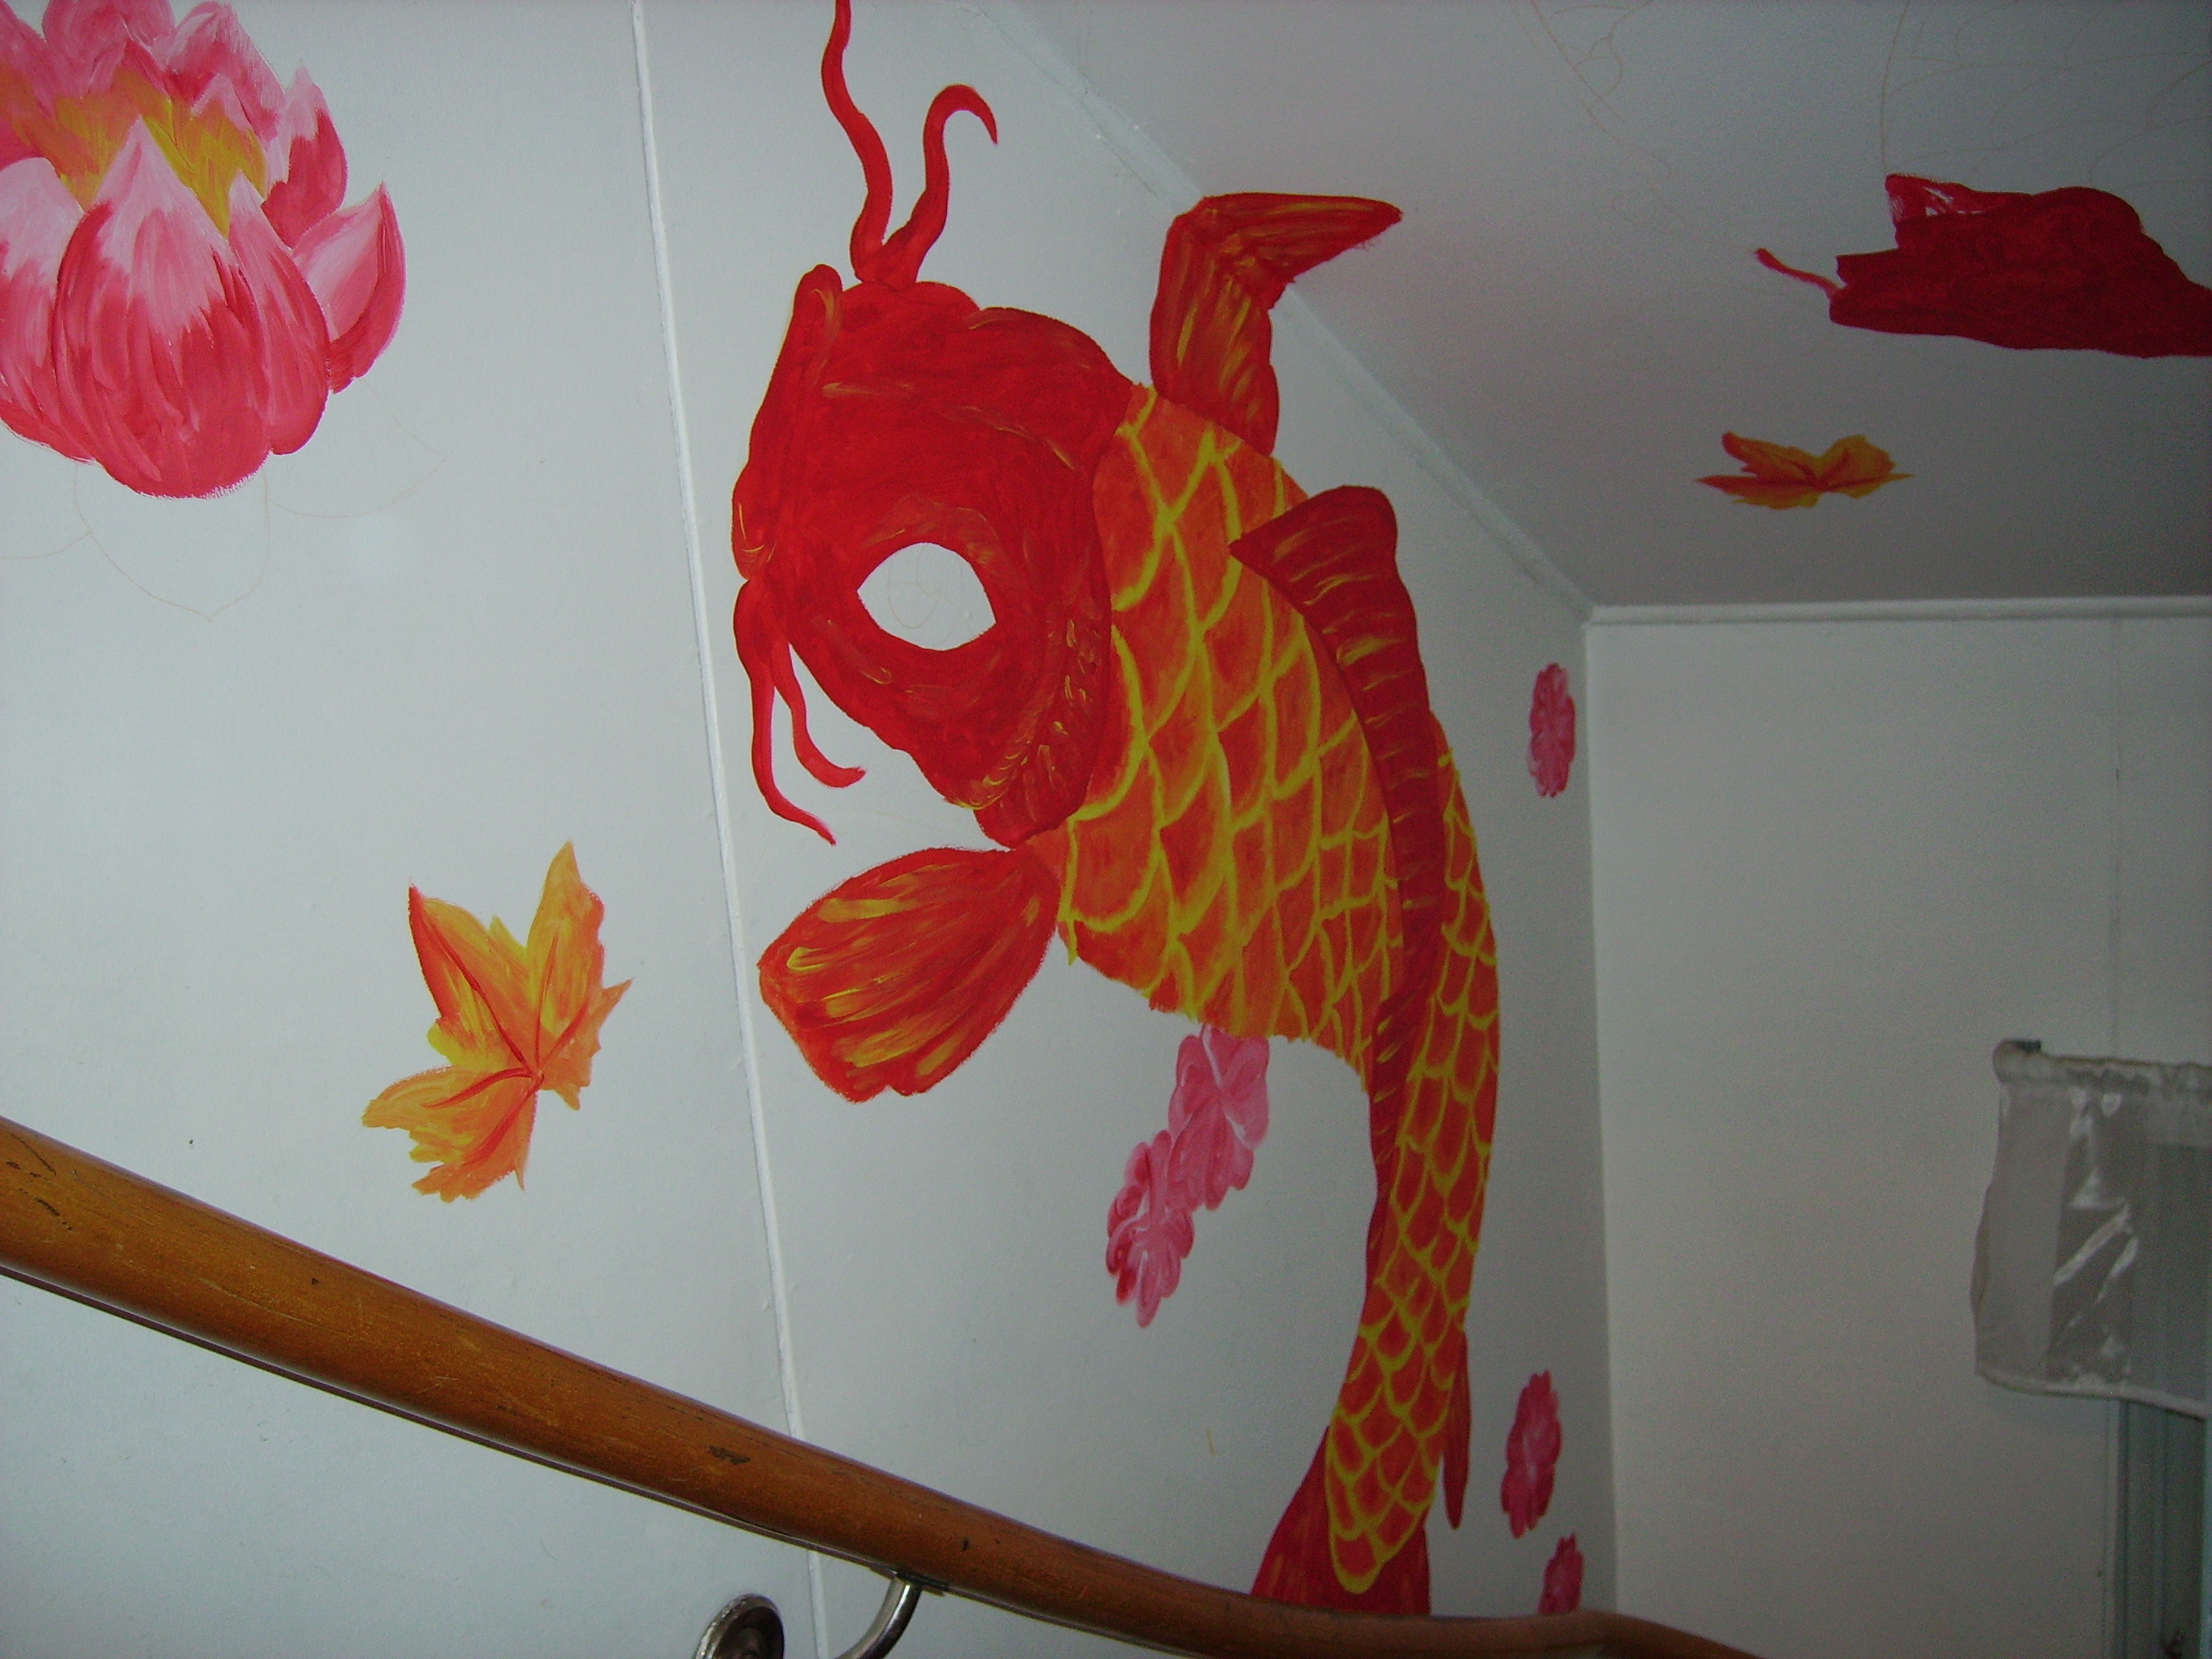
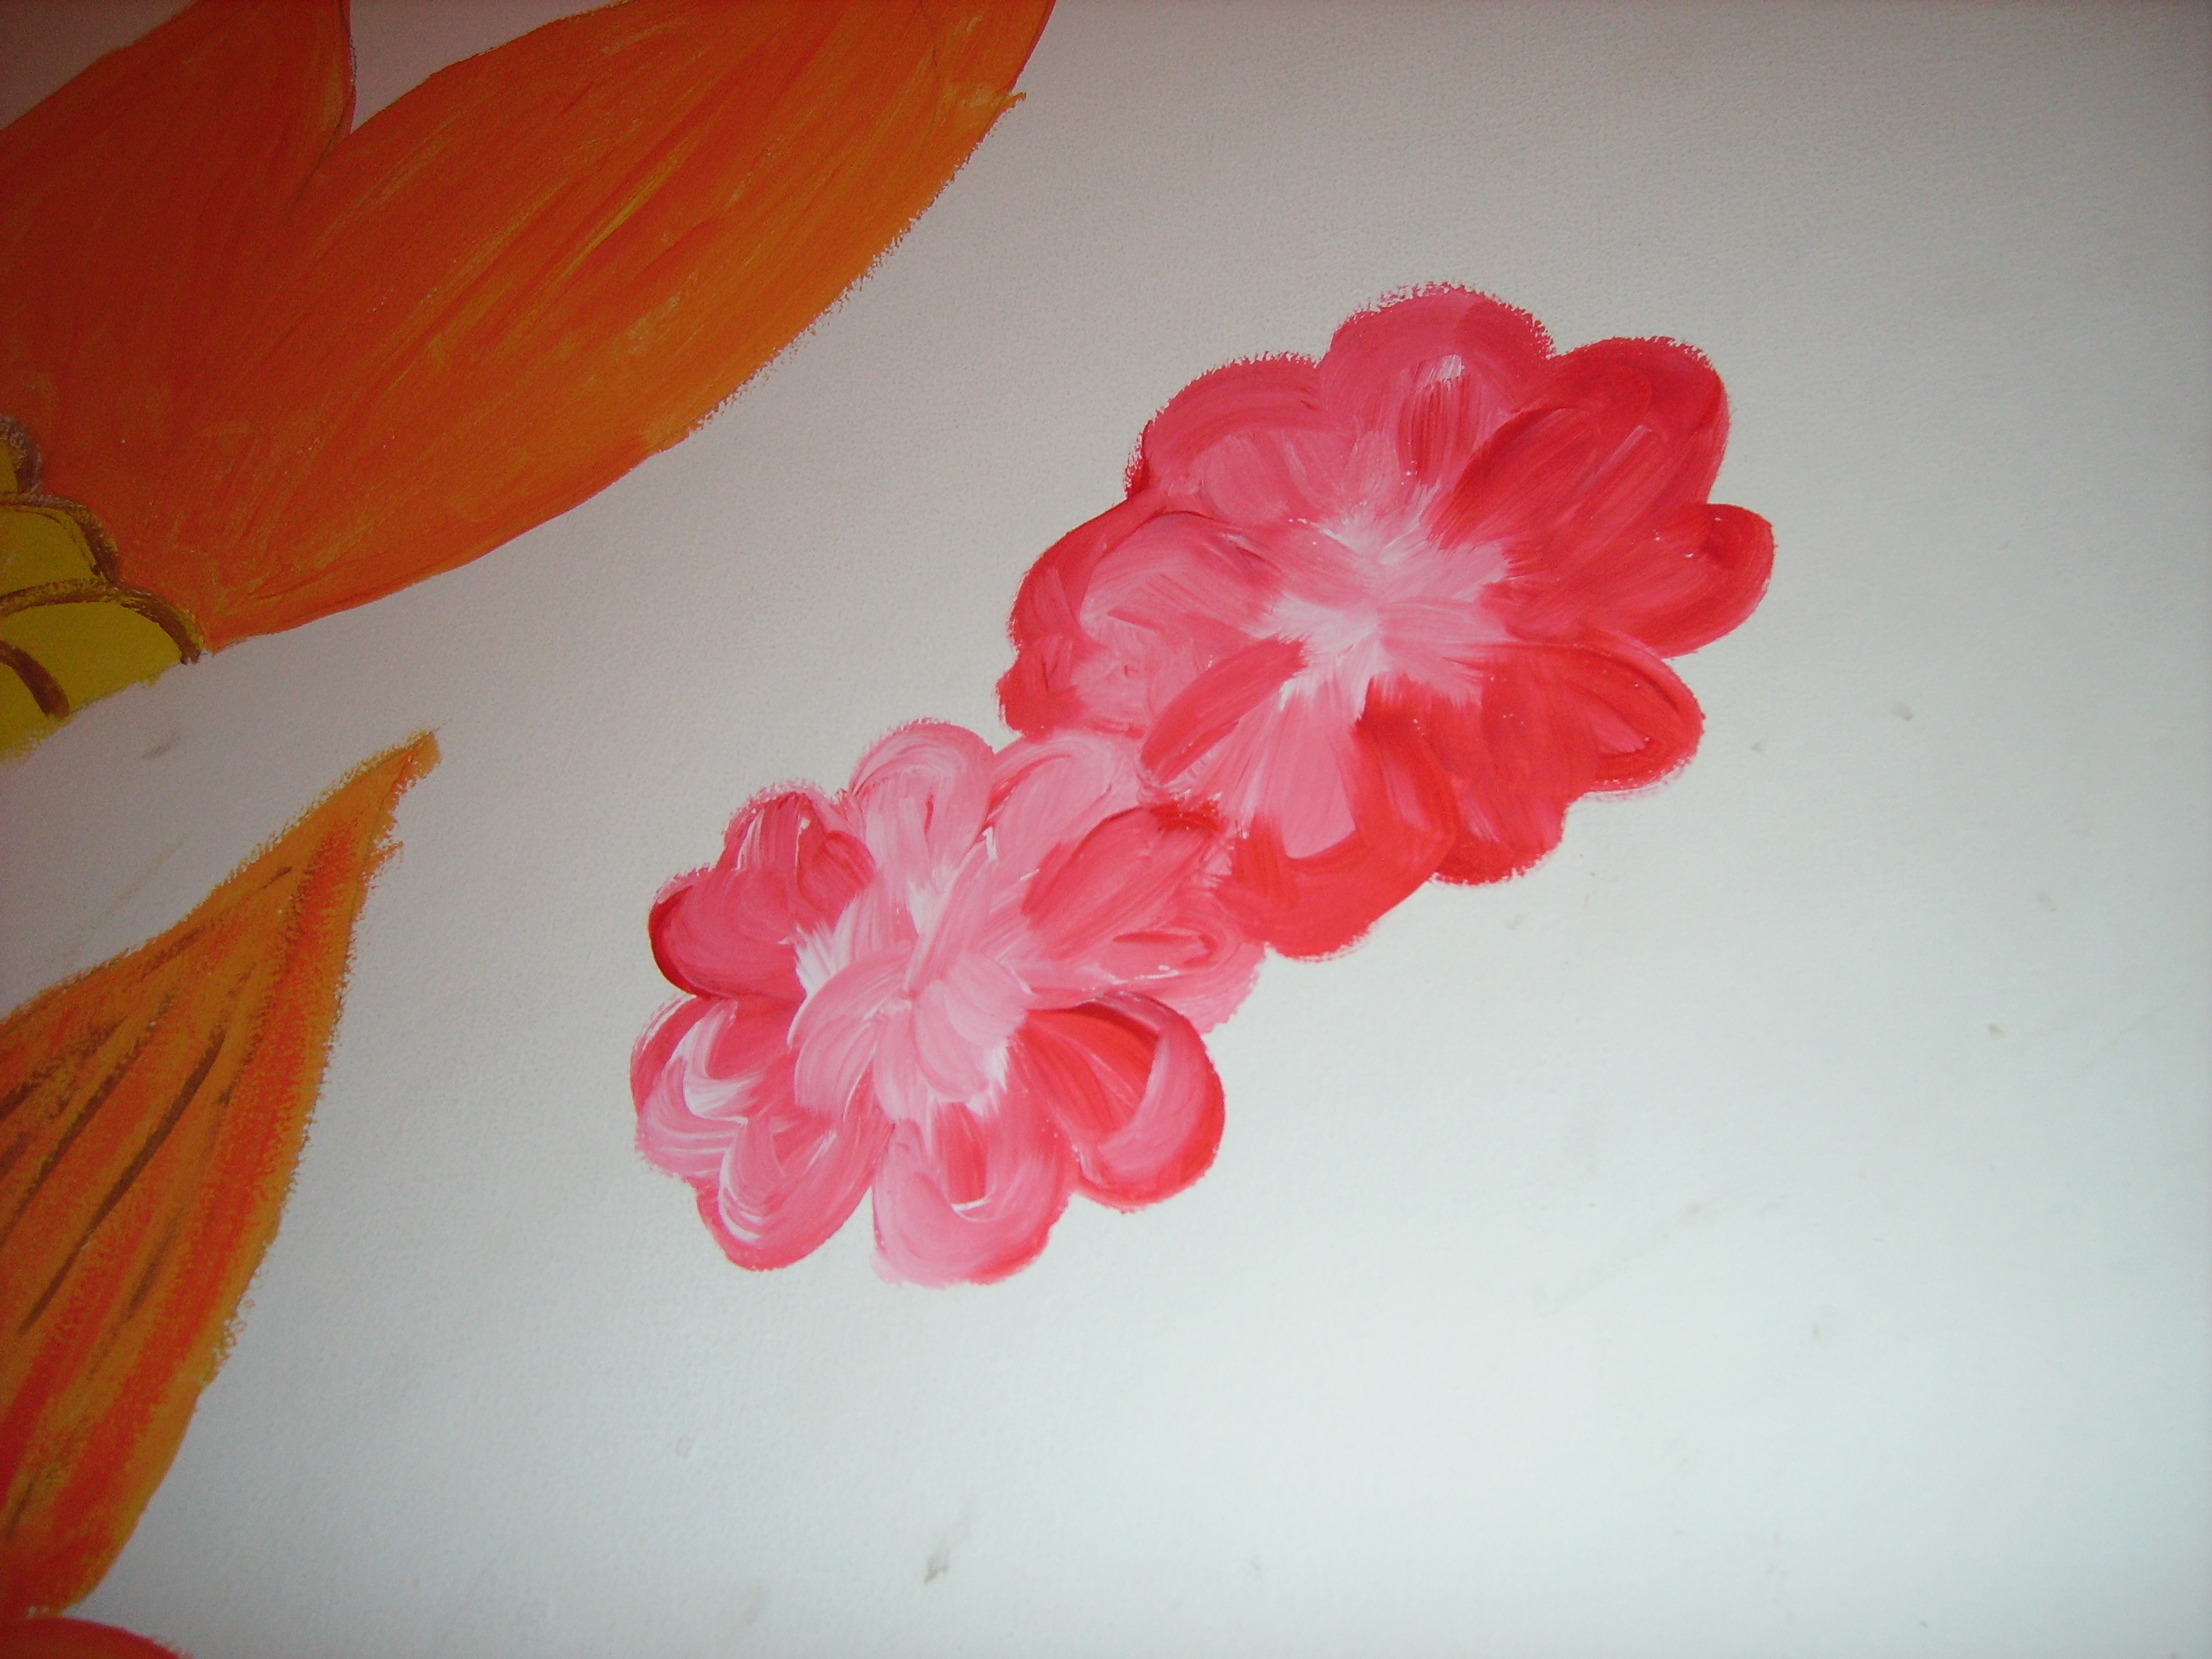
Now grab the wall paint and a paintbrush and go ahead!
start with the lighter colors such as yellow or pastel-colors
you may want to mix them - use a plastic plate or something like that.
take just small amounts of the paint, you won't need that much.
start with the lighter colors such as yellow or pastel-colors
you may want to mix them - use a plastic plate or something like that.
take just small amounts of the paint, you won't need that much.
Background Work
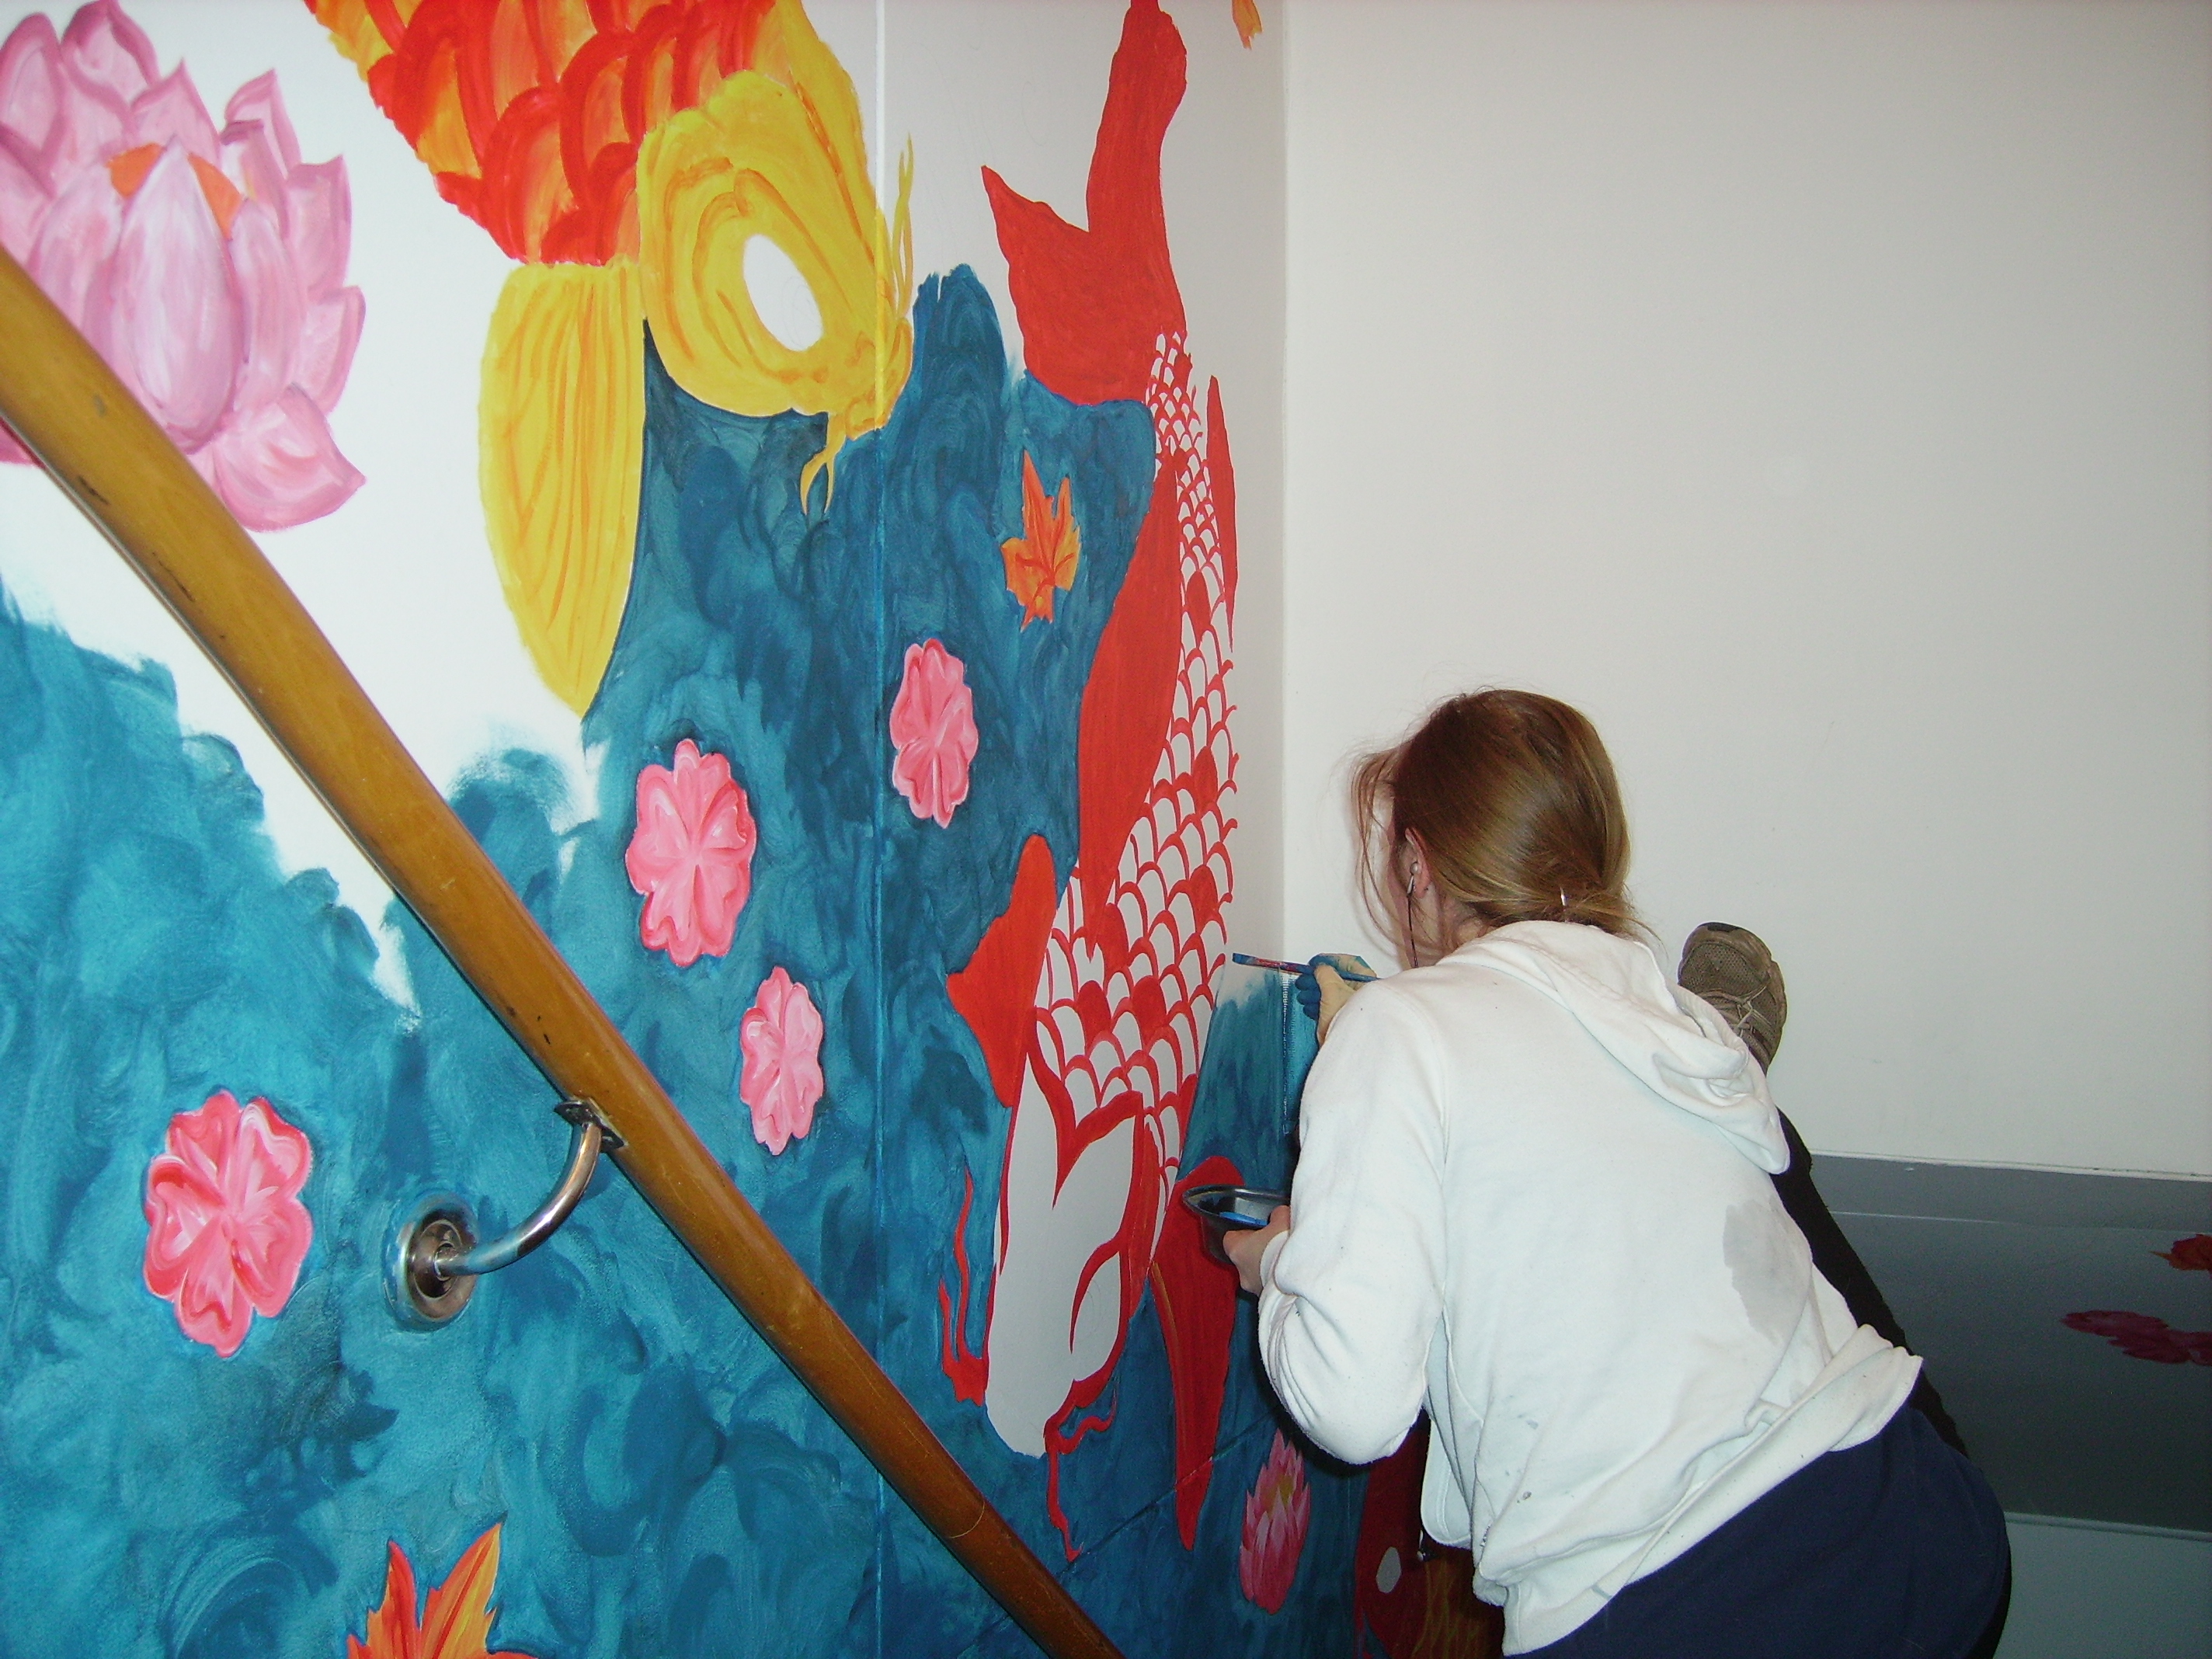
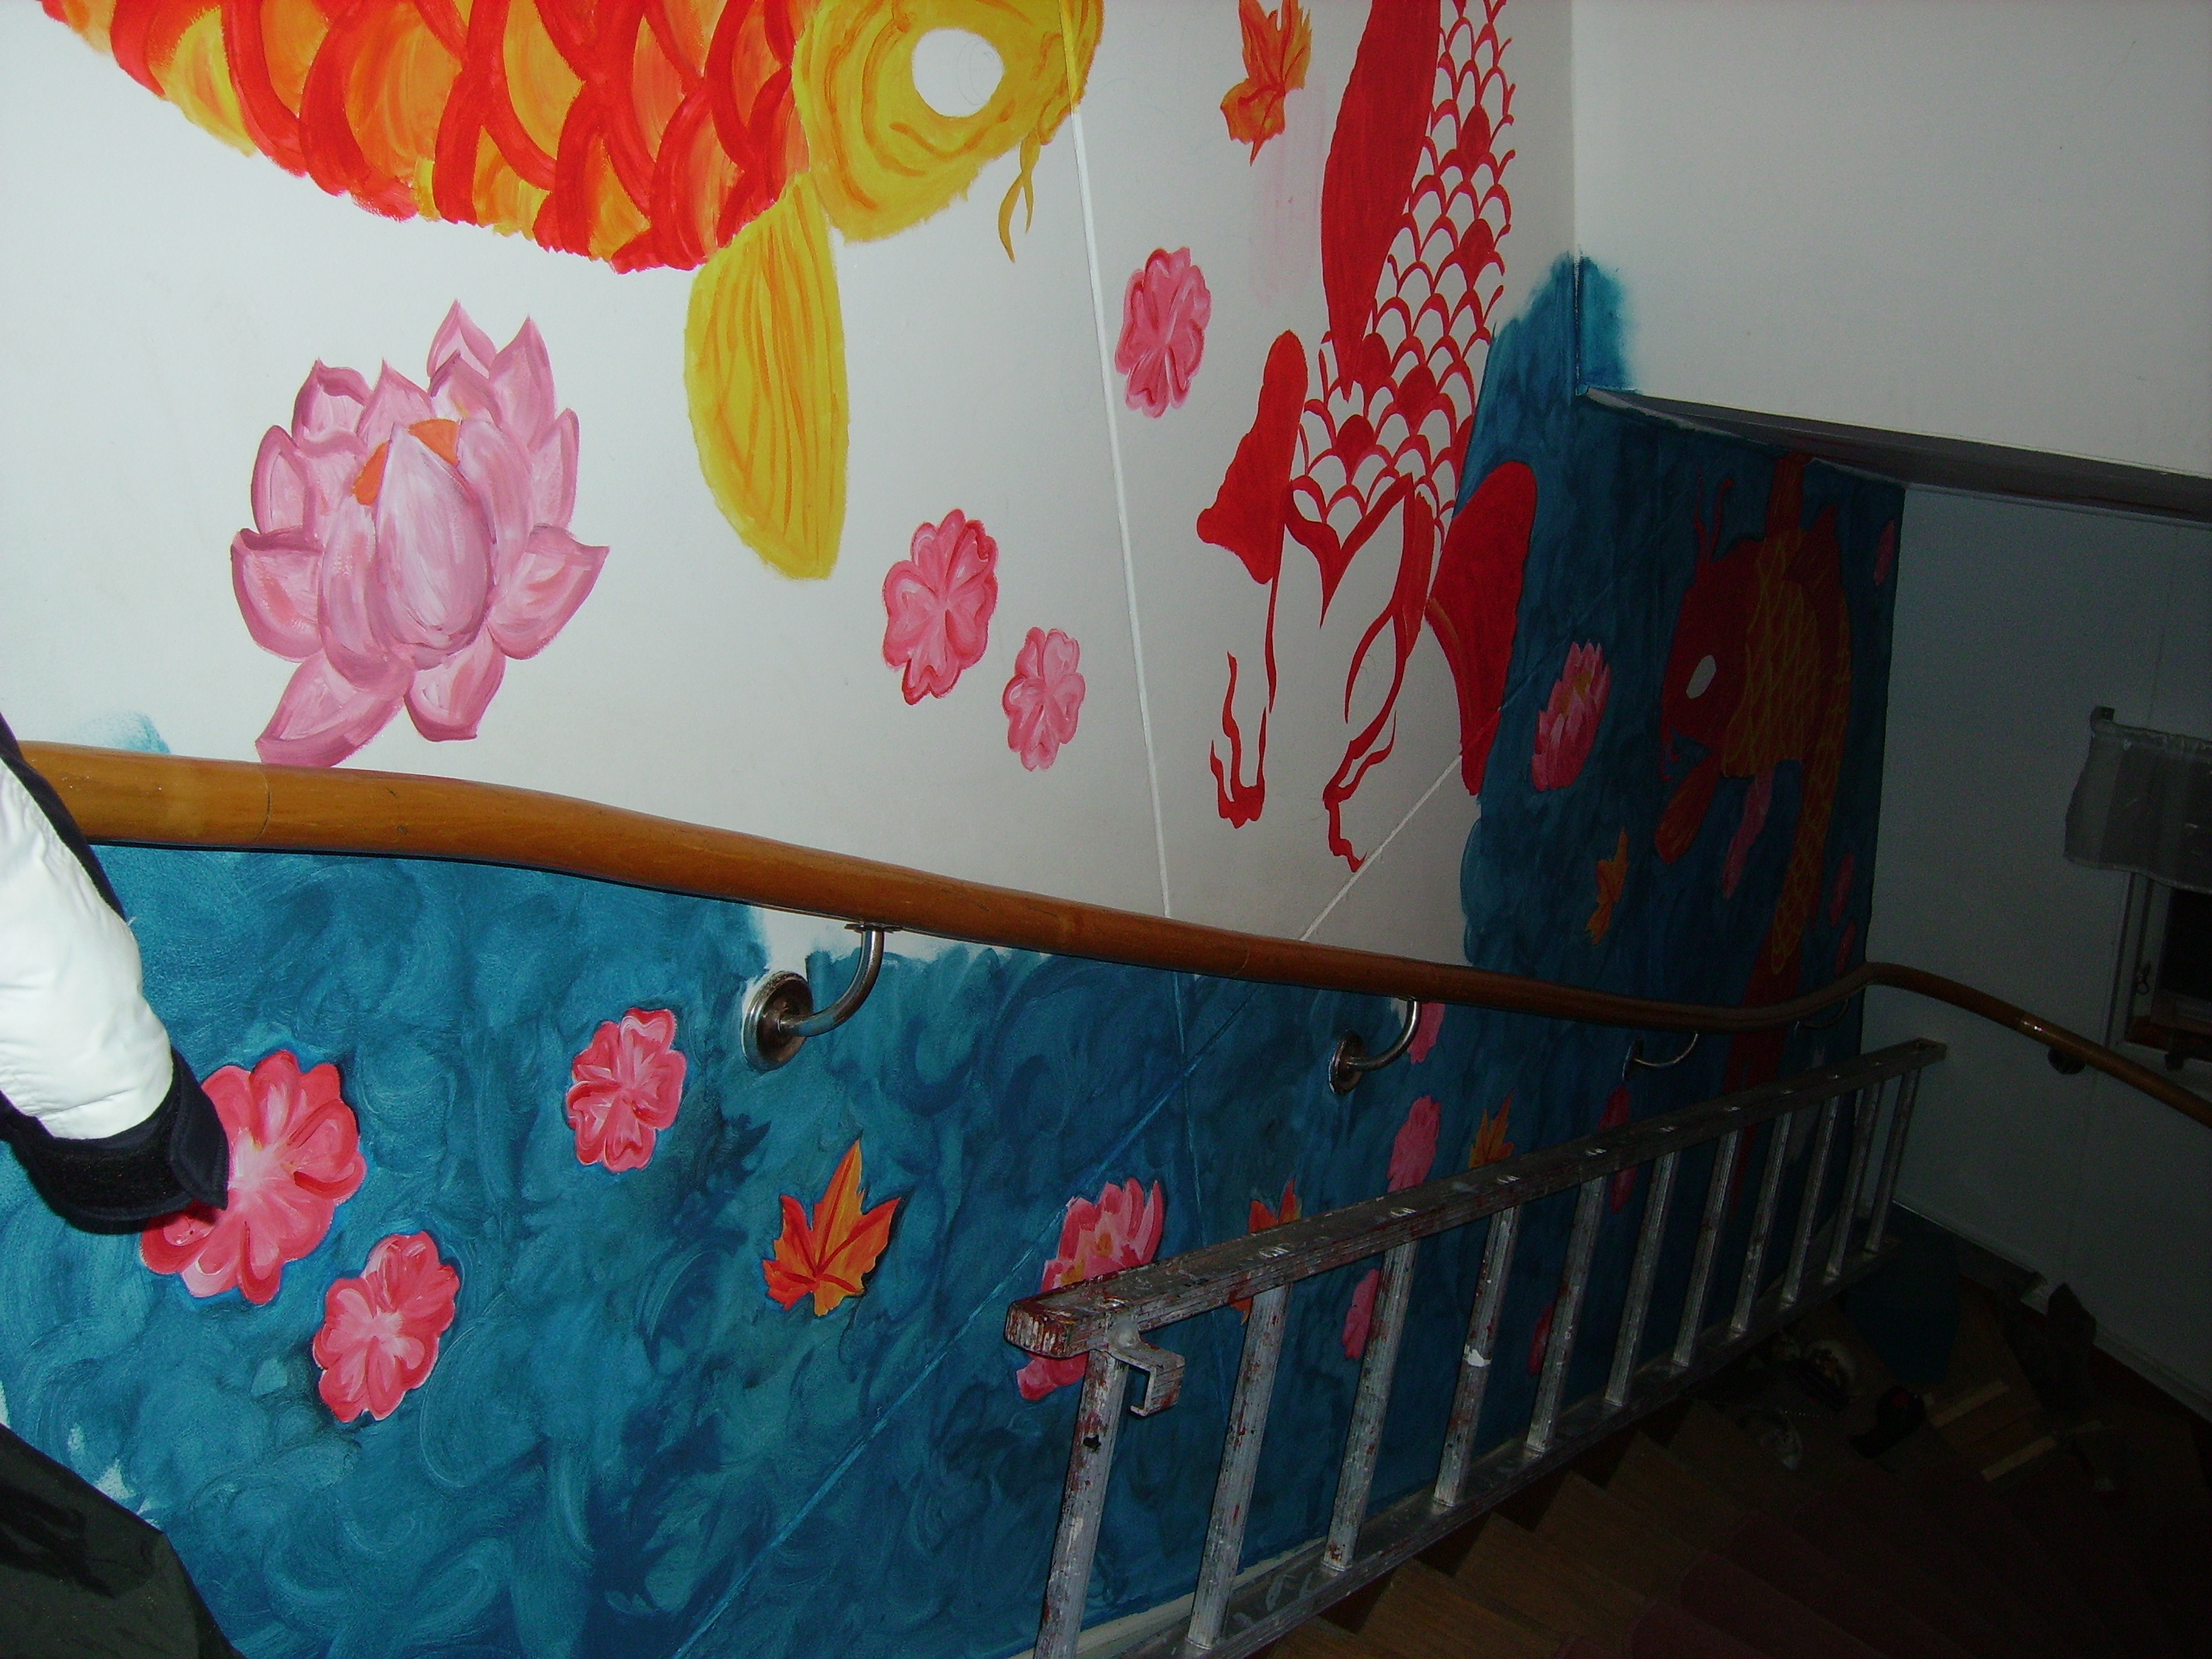
Sponge - time!
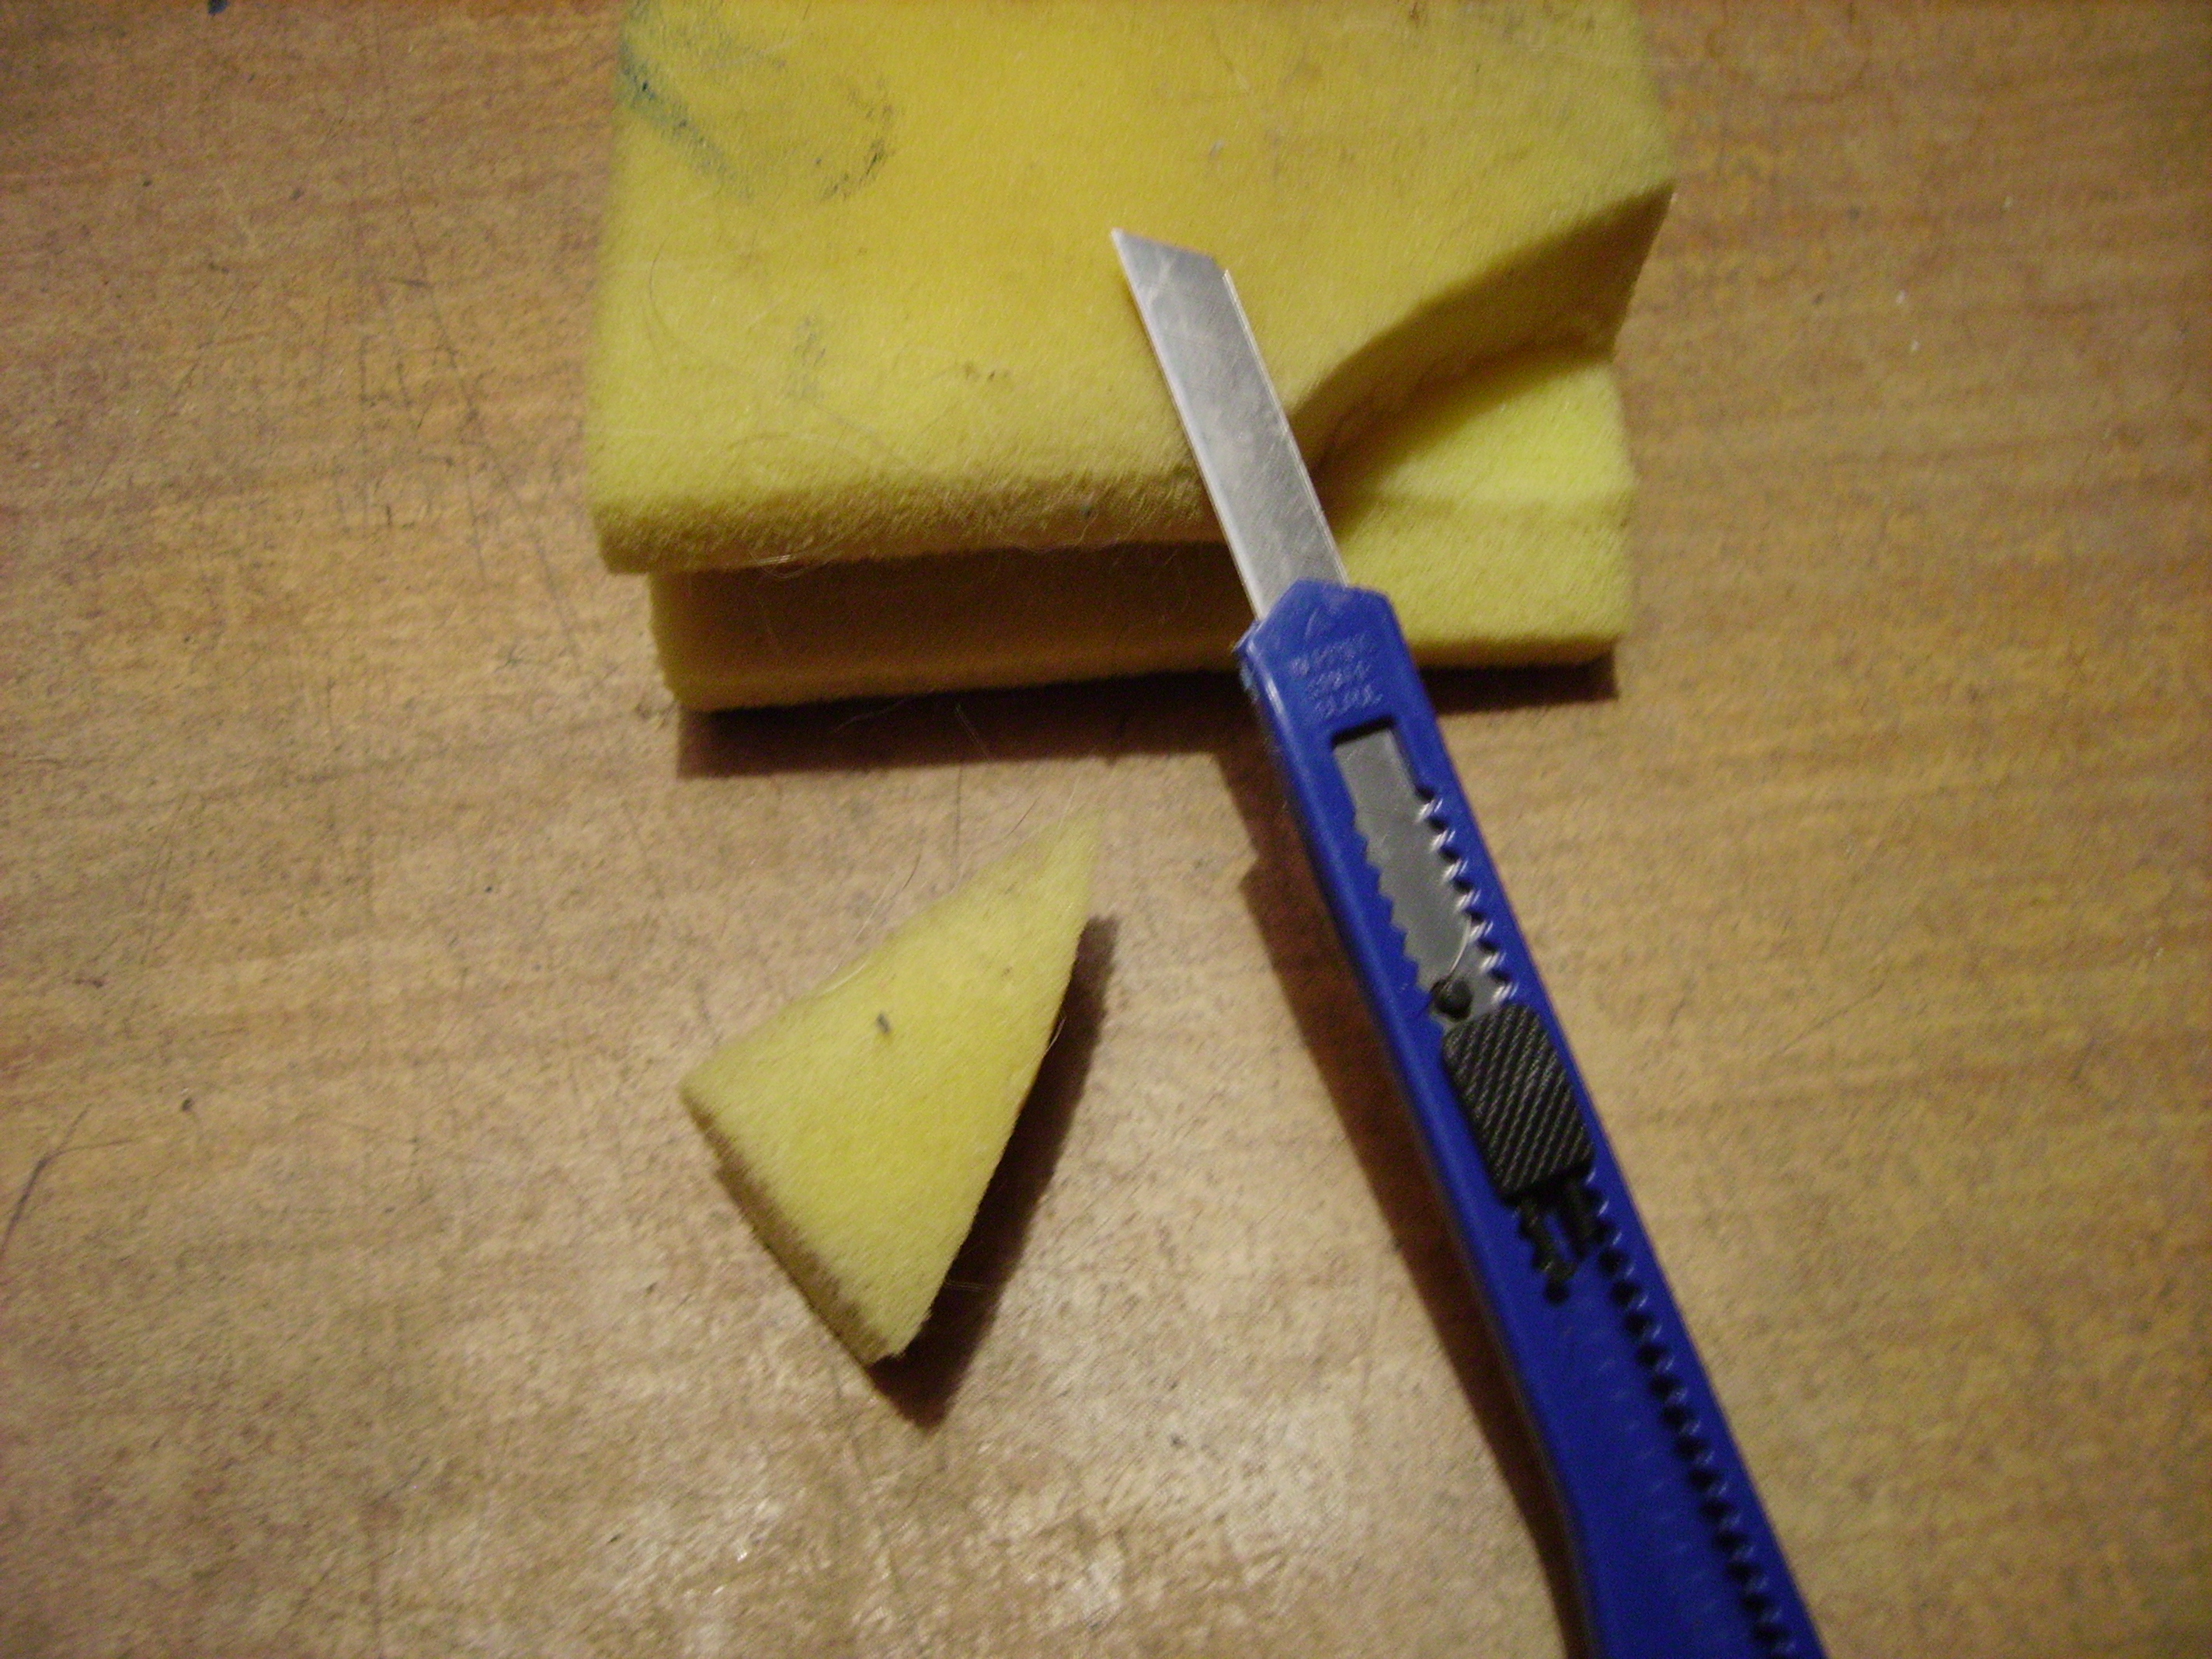
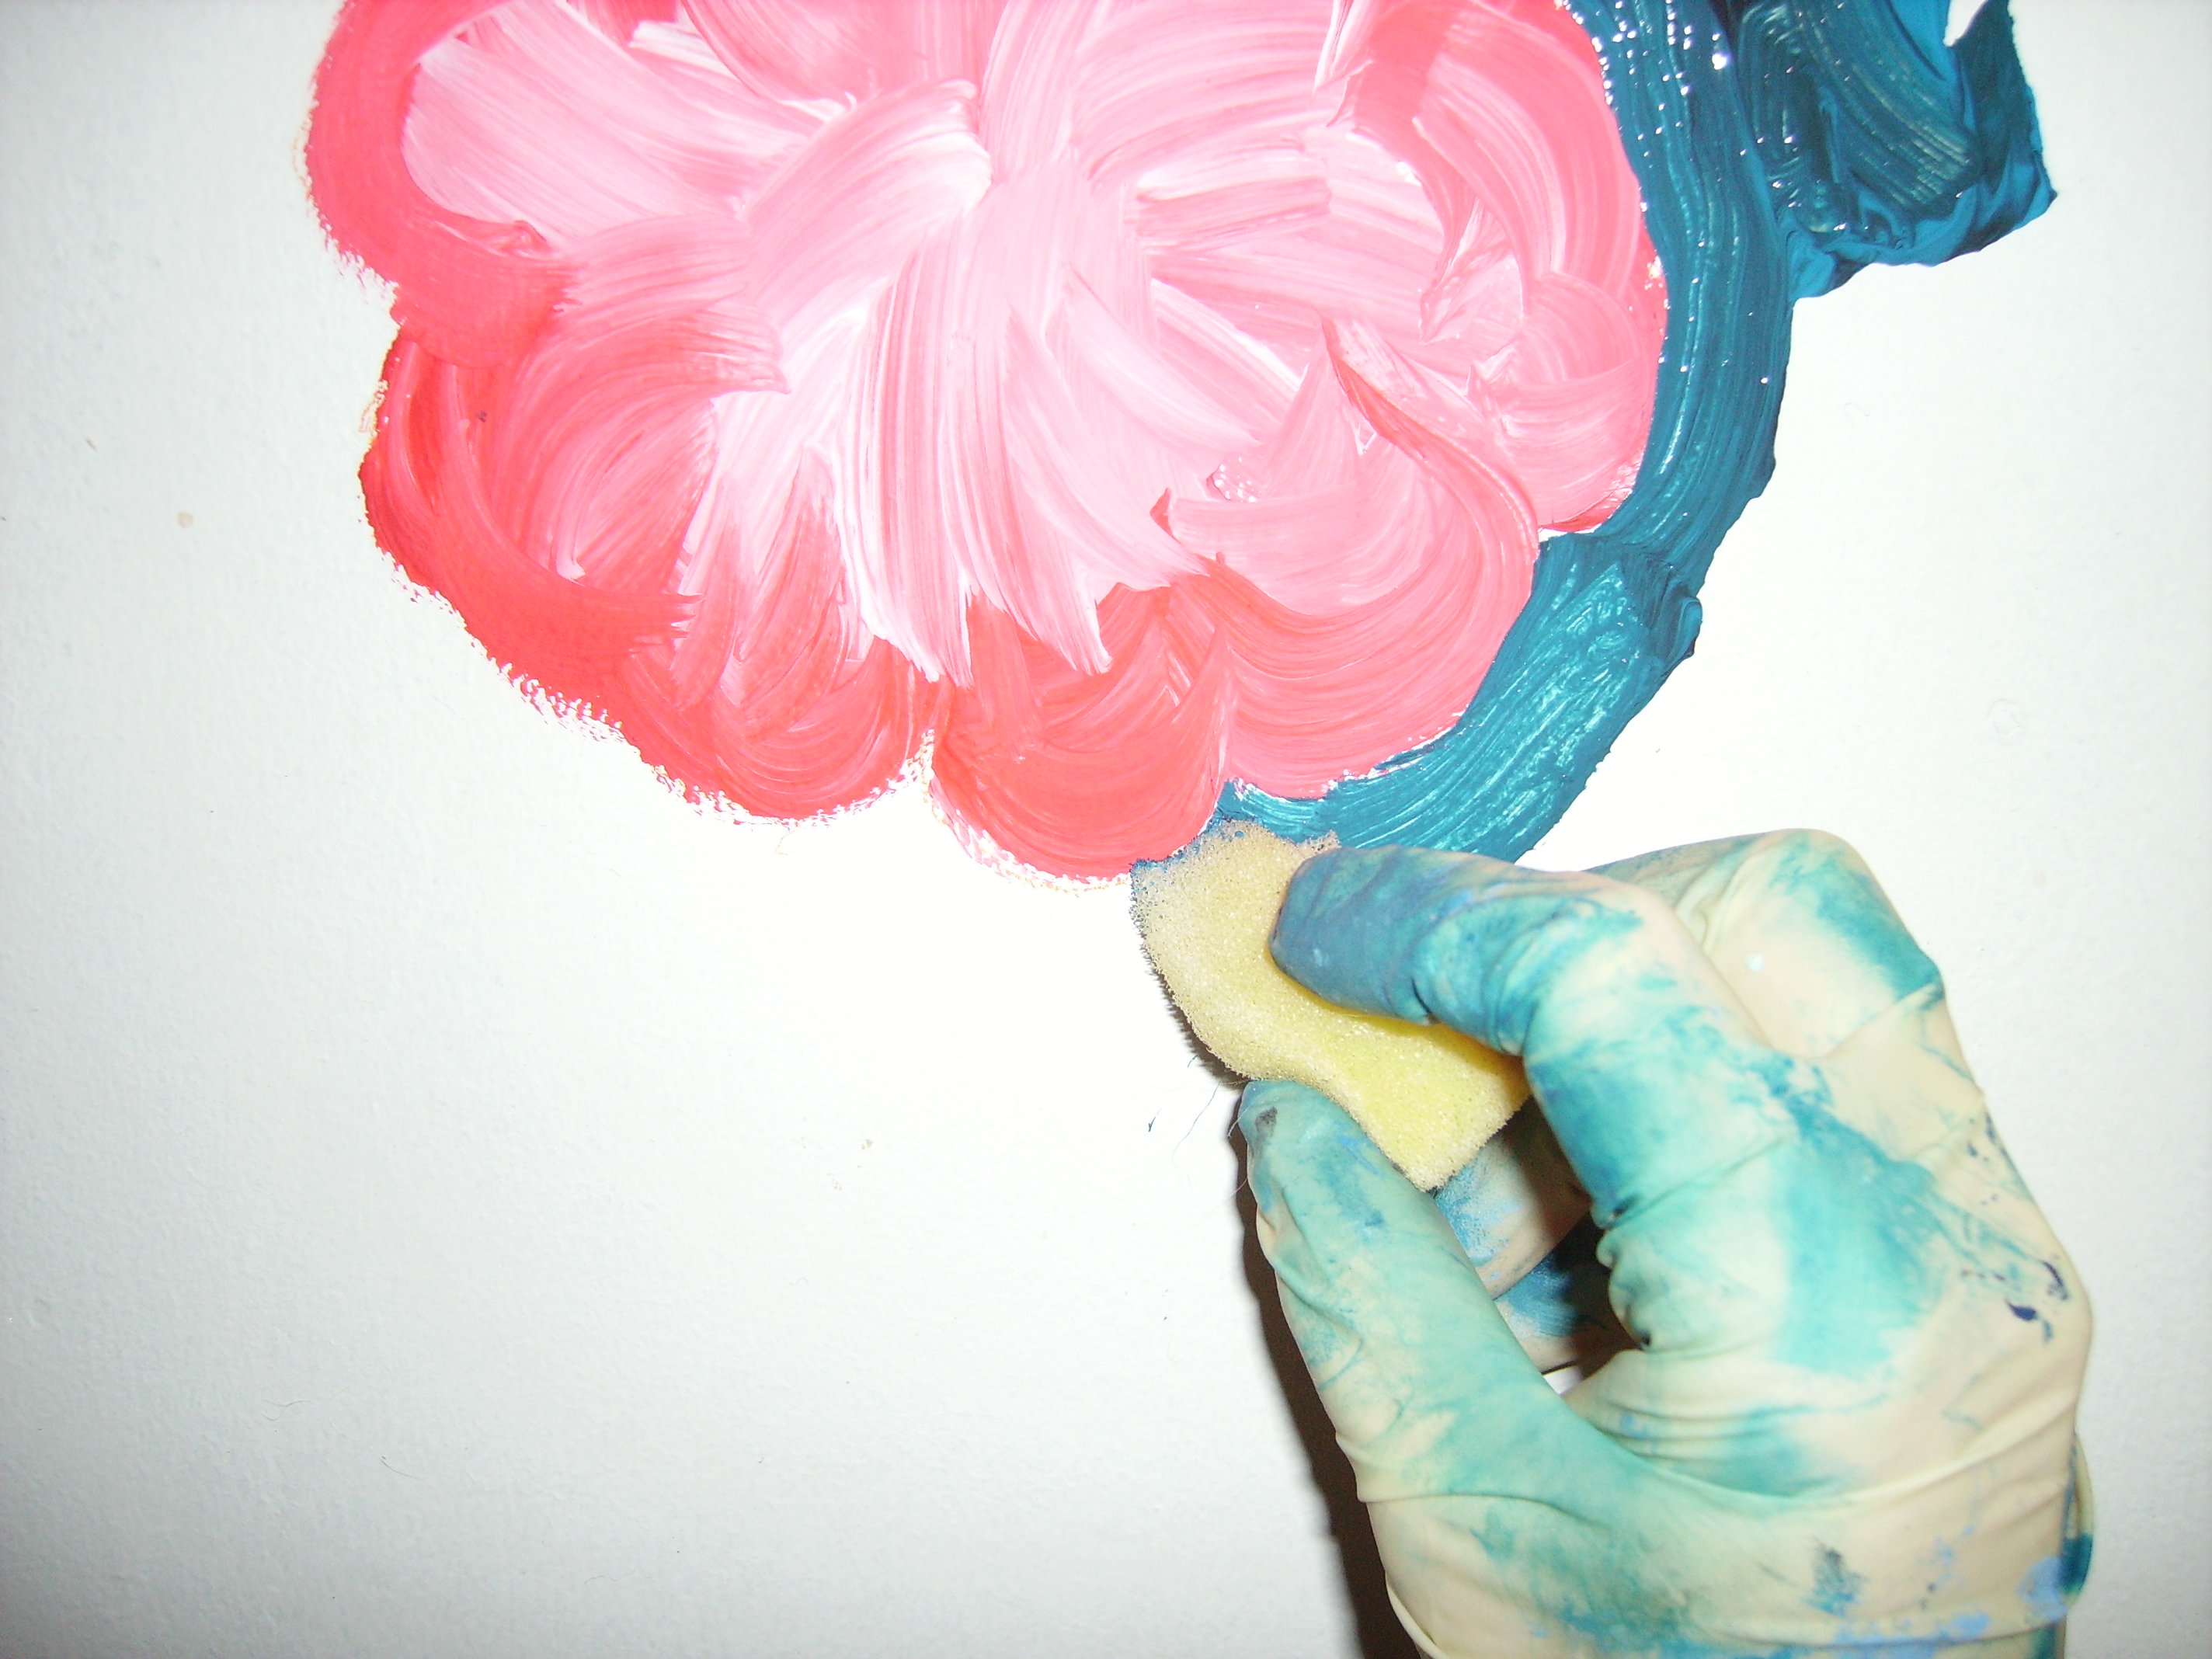
get those gloves on, cut a small piece of the sponge and get started,
i had two colors in my working-pan - UNMIXED, mix it direct on the wall, for cool effects and shades.
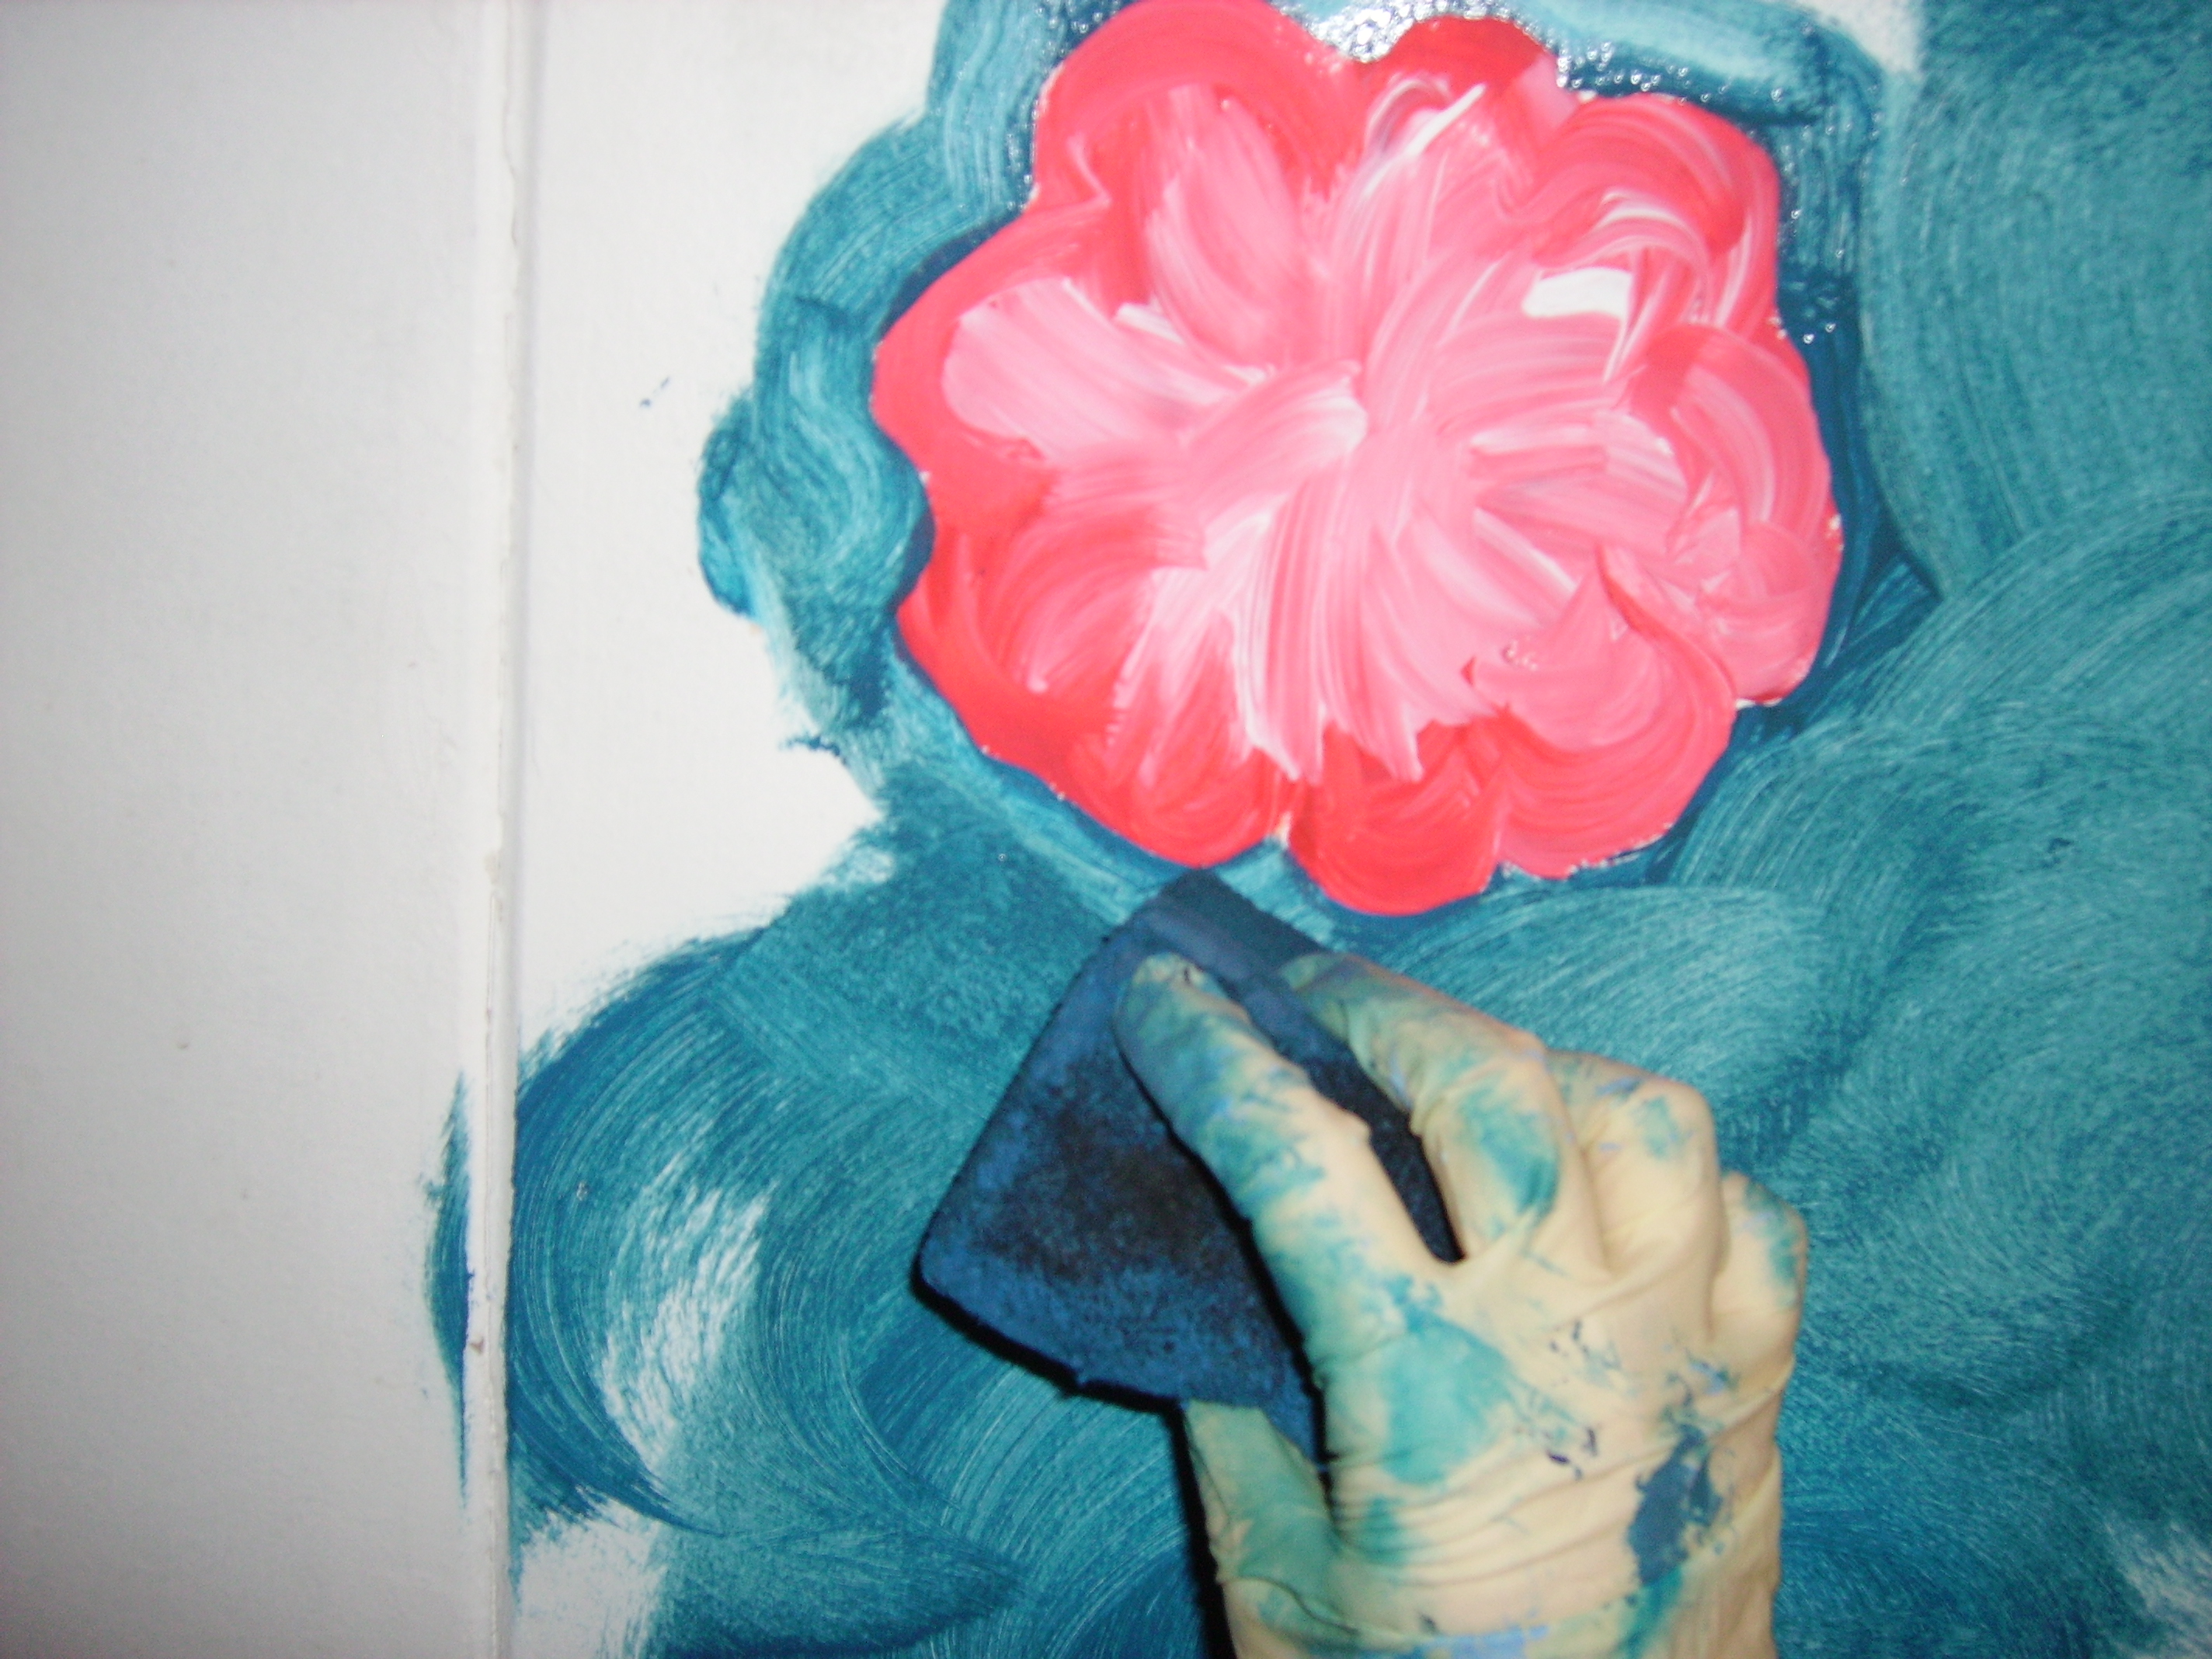
first paint the details around your motives, and then instantly with the bigger sponge all the rest
- DON'T wait until the paint dries for the best result always paint wet in wet.
Detailing
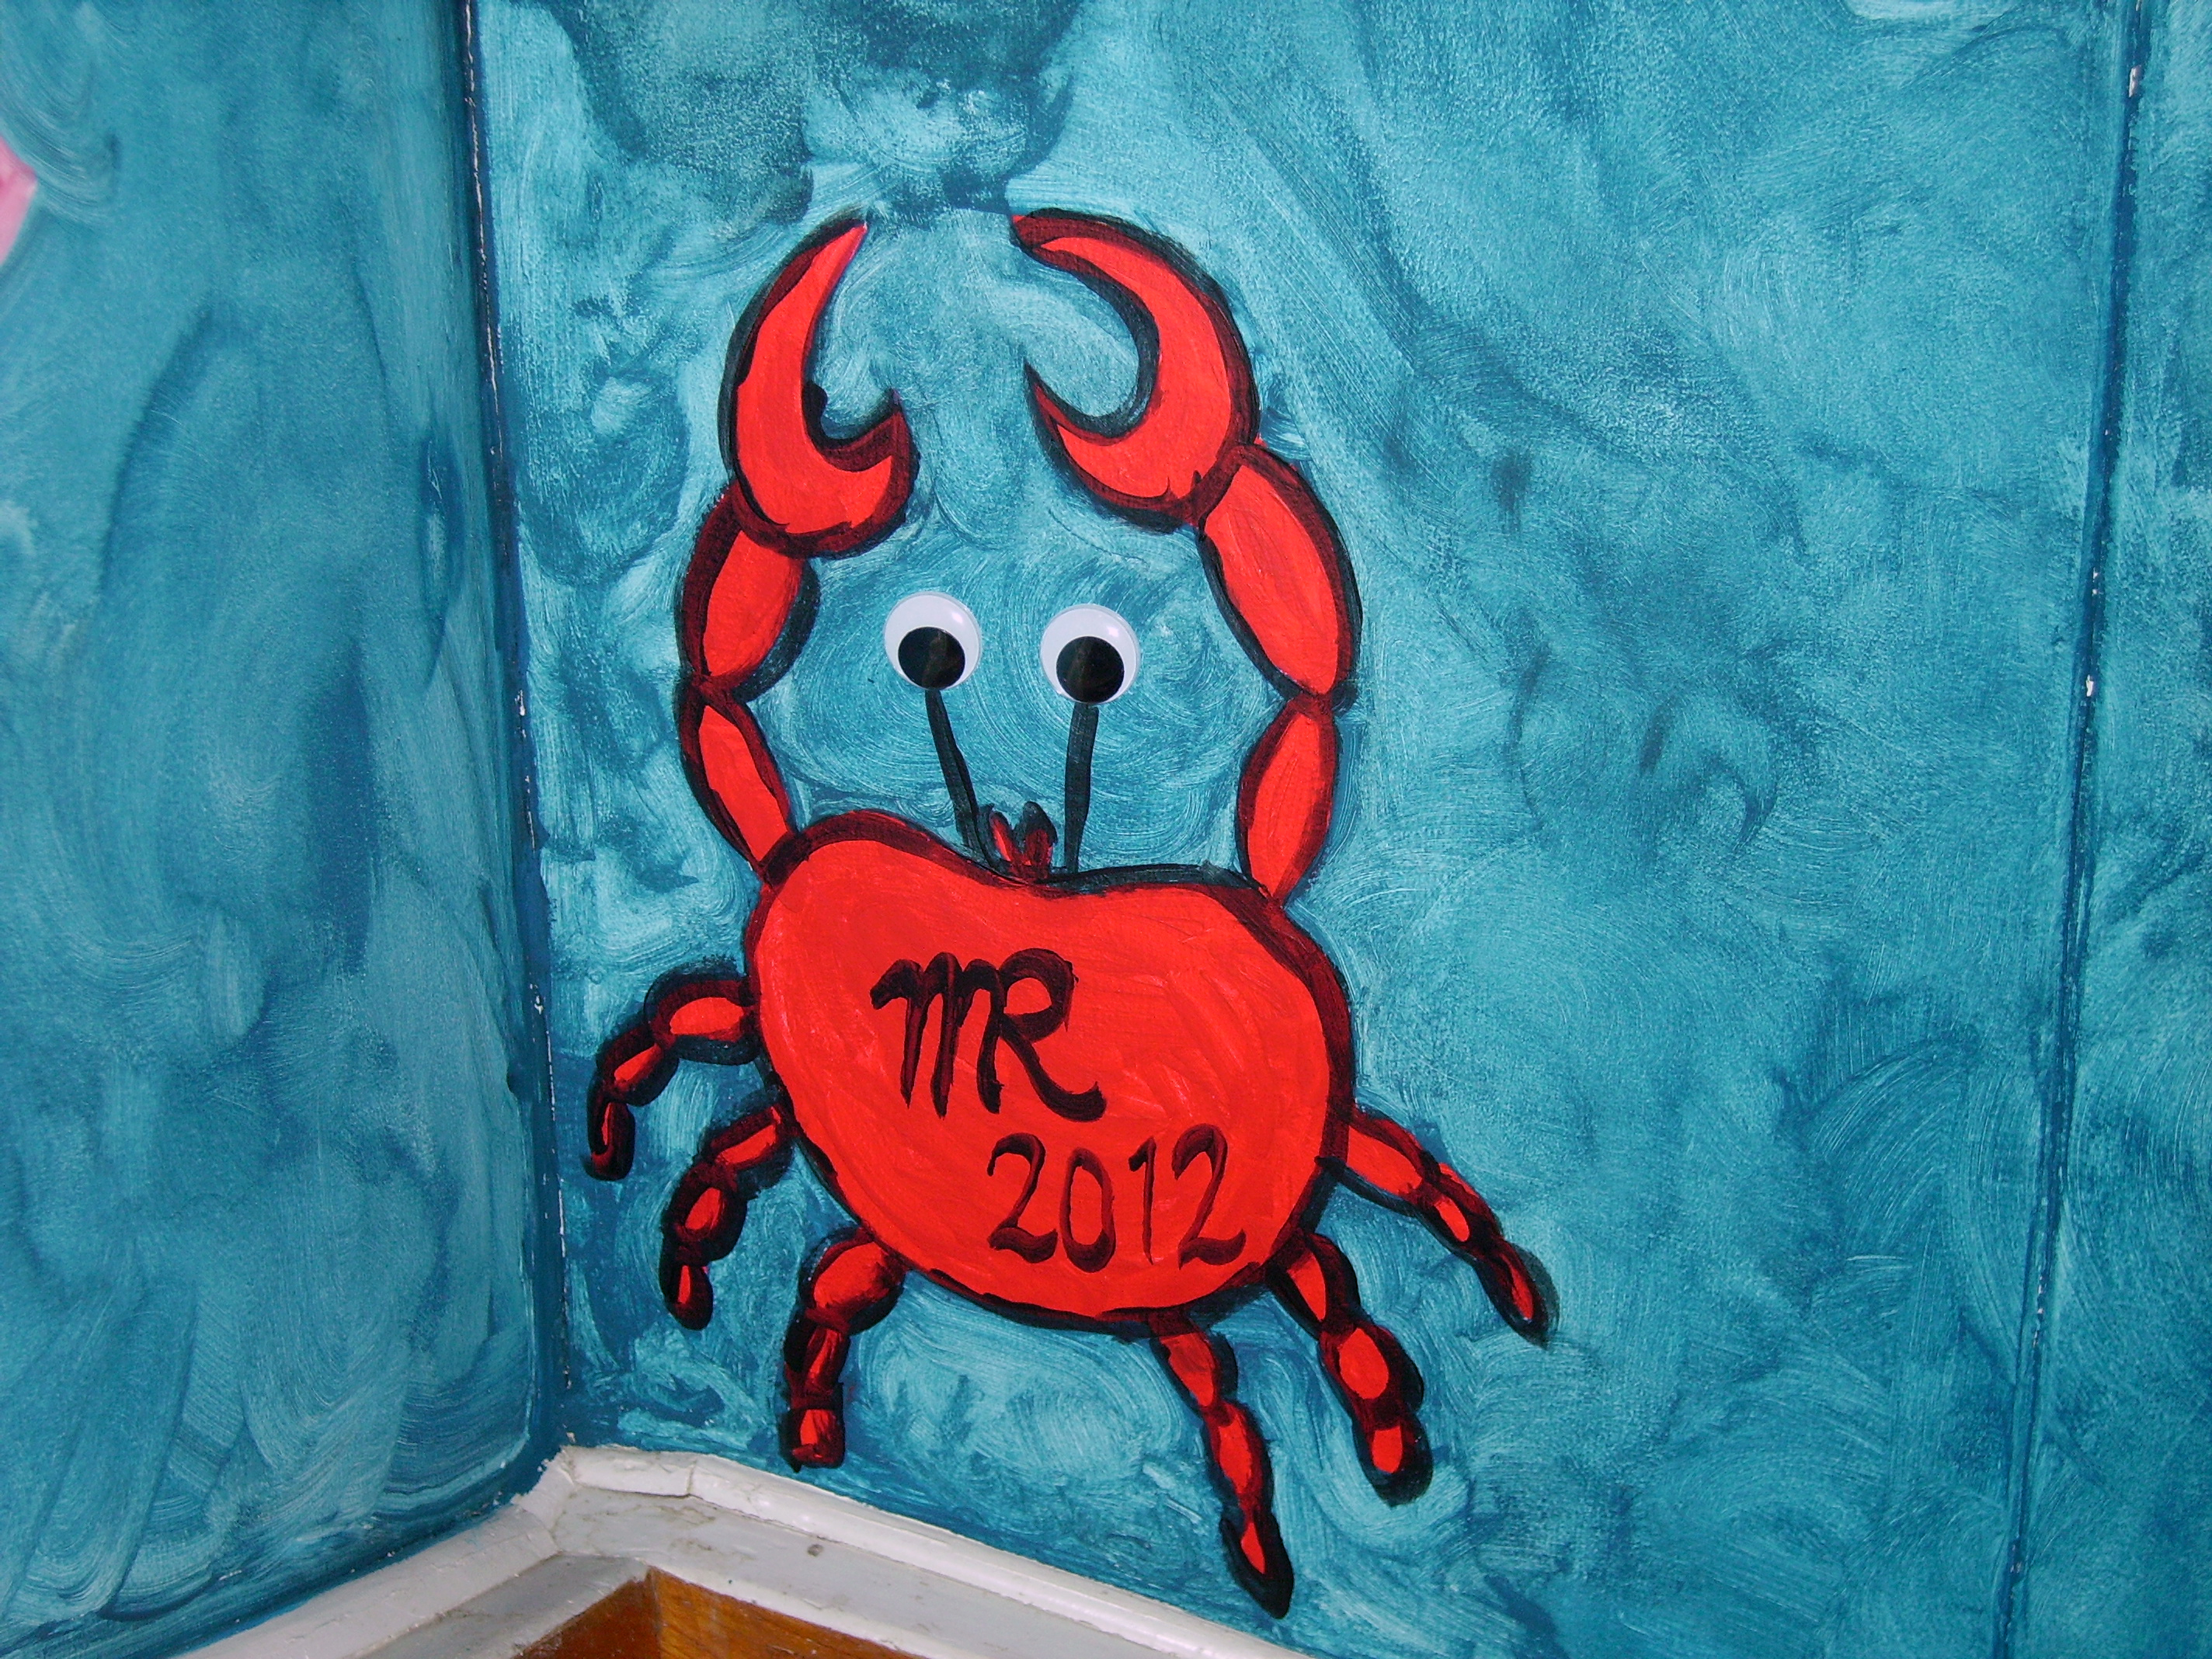
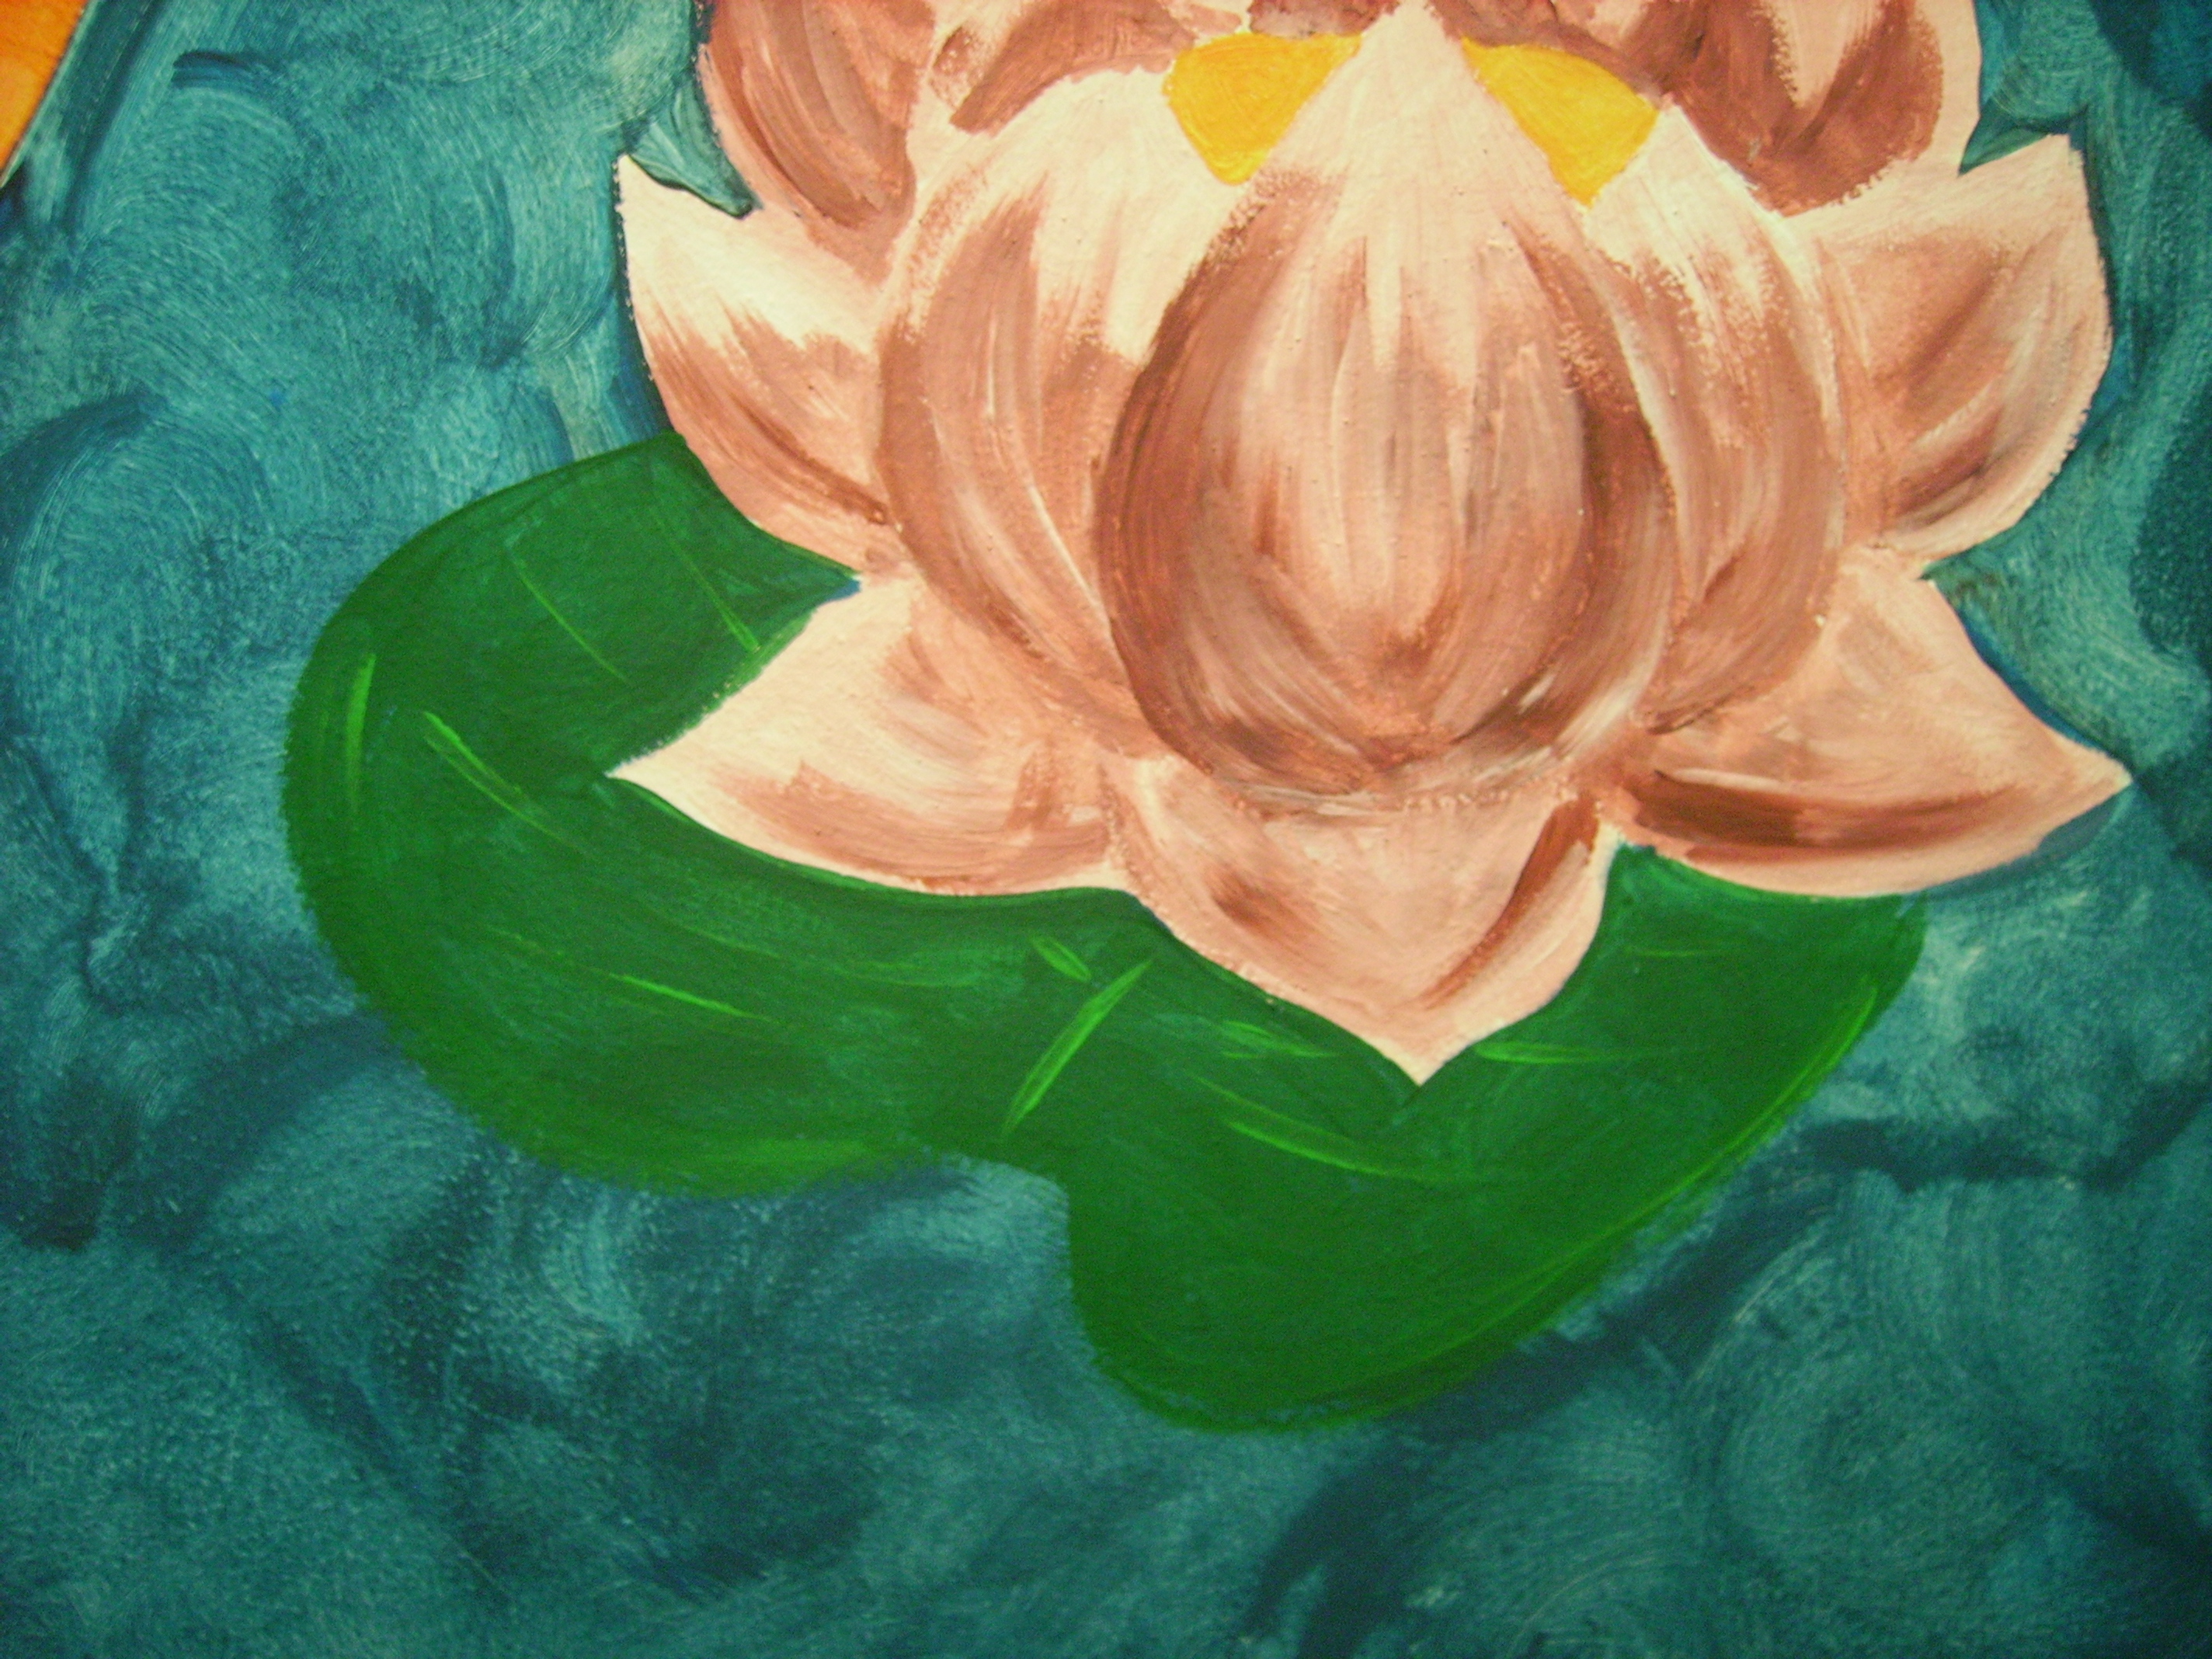
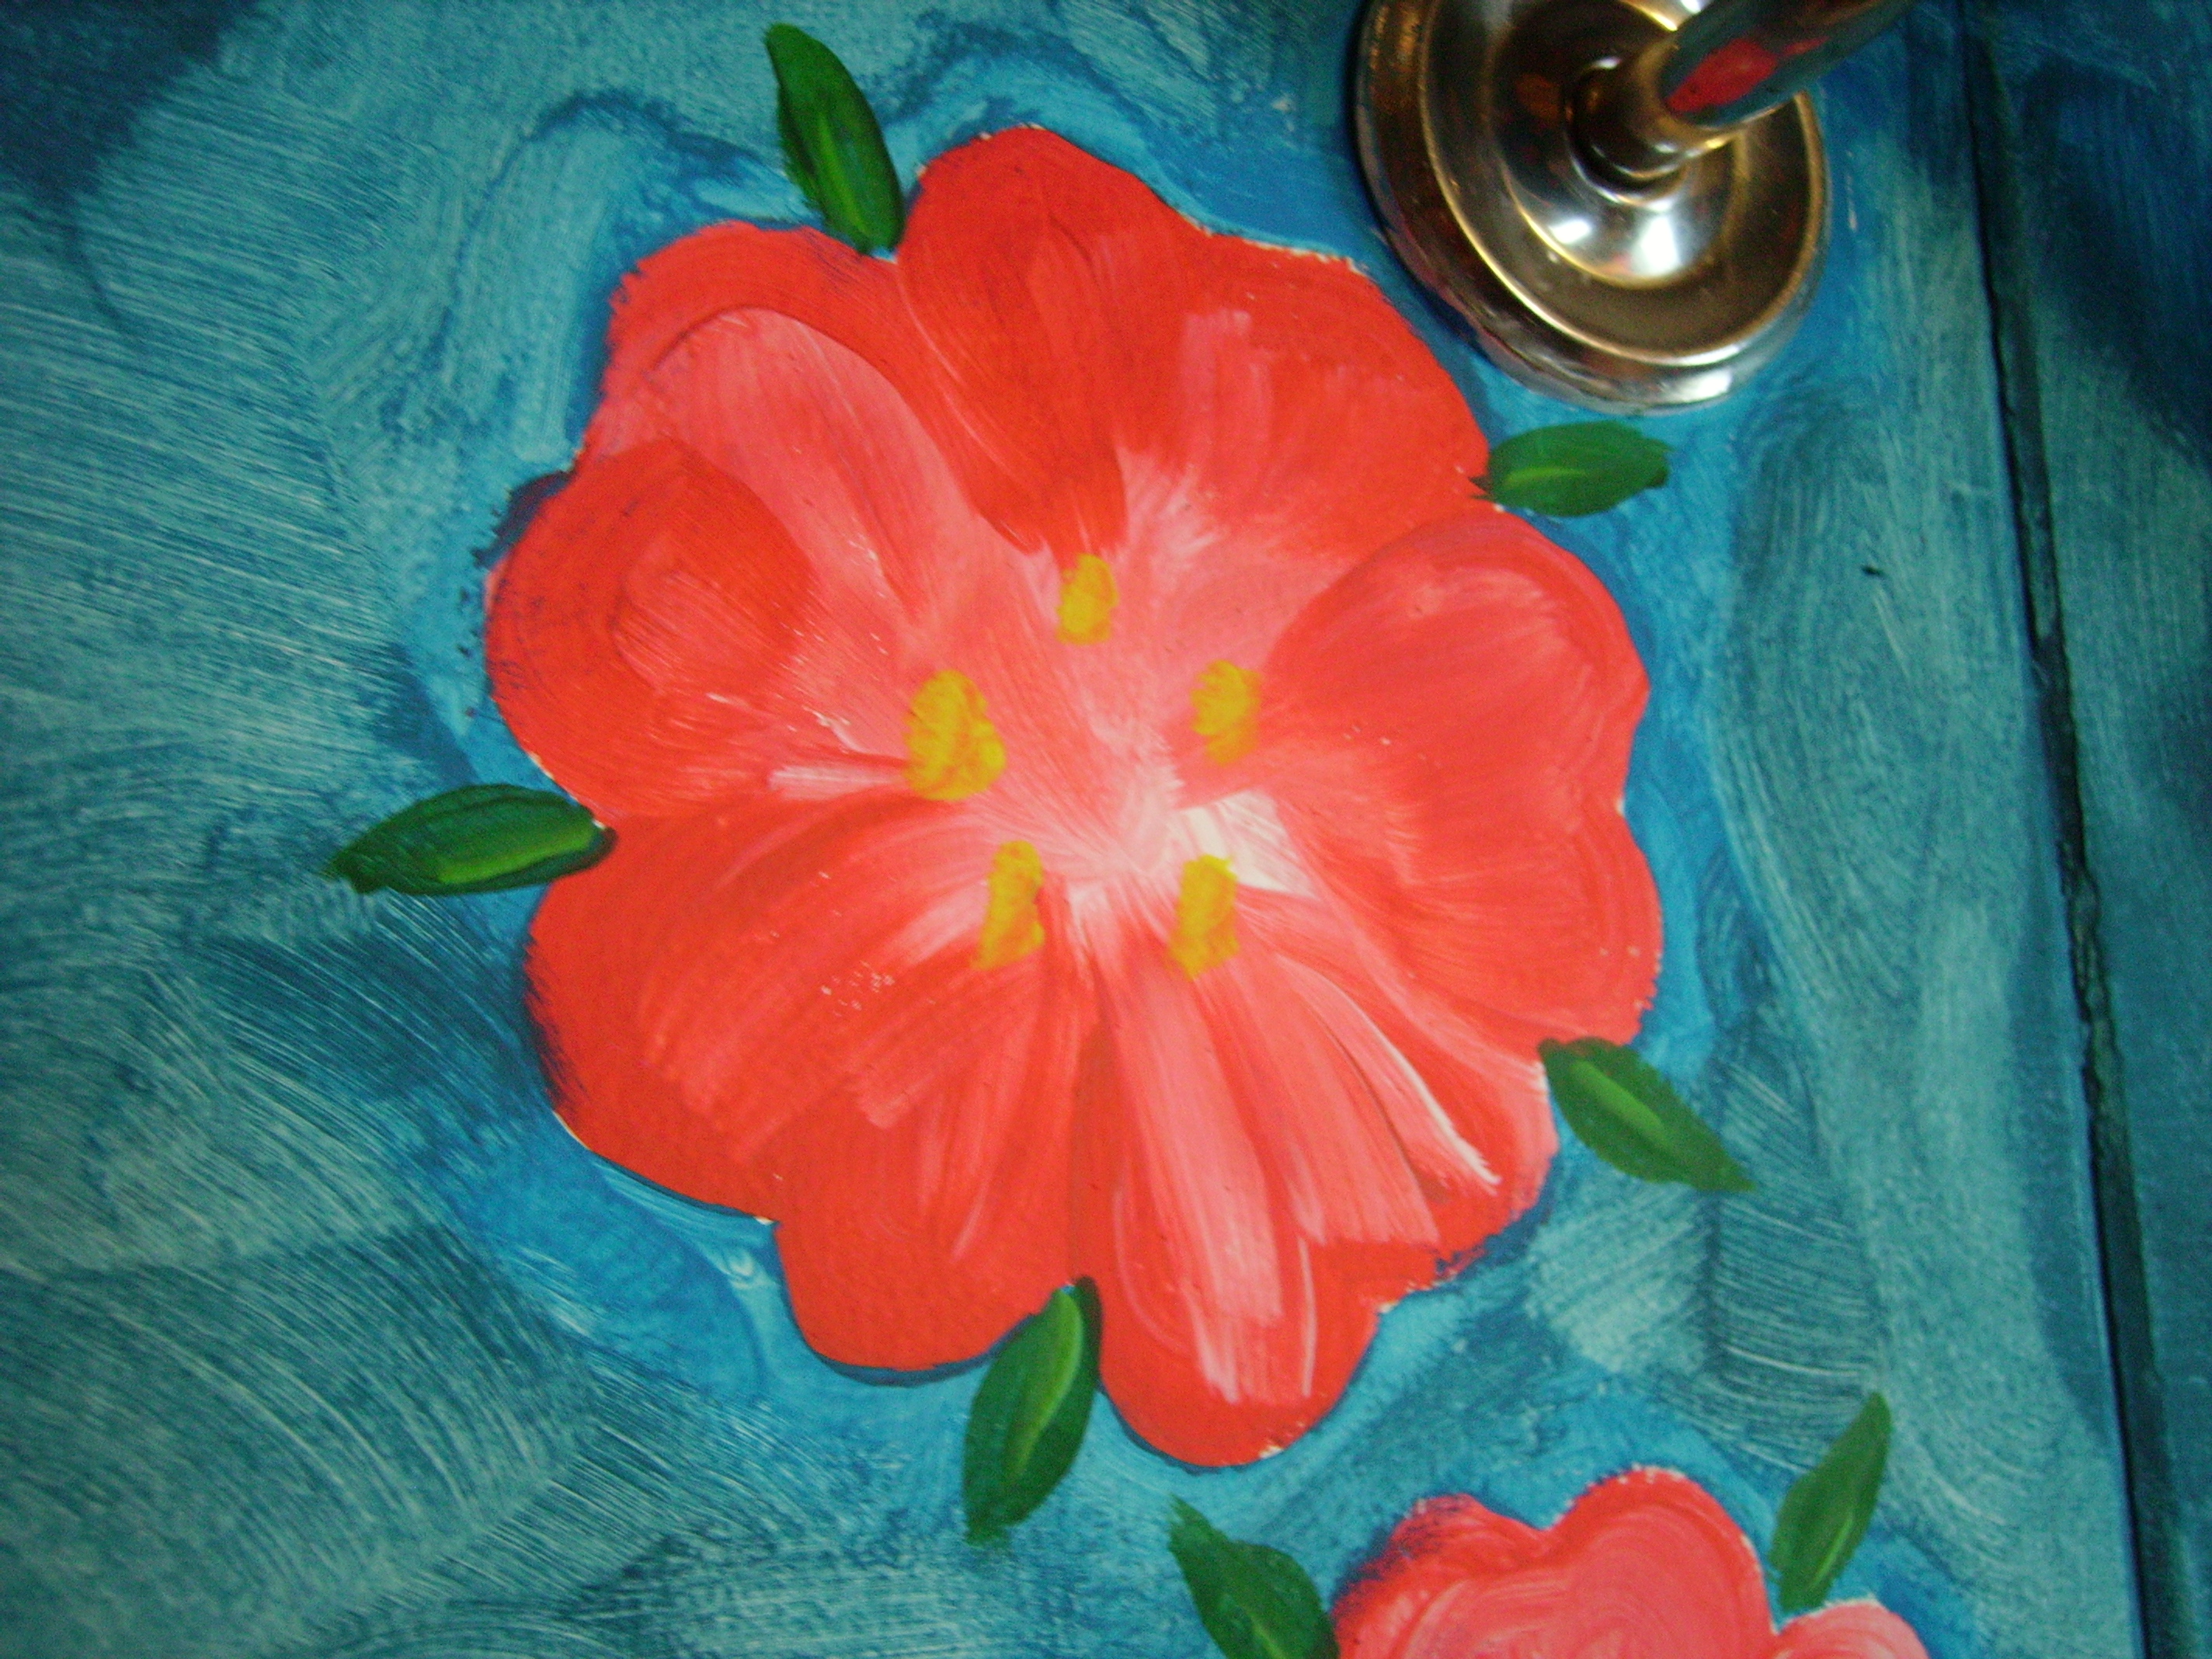
Now every spot is painted,
time for details,
add small leafes, contours
paint a crab ....
almost done :)
time for details,
add small leafes, contours
paint a crab ....
almost done :)
Mirror, Mirror on the Wall
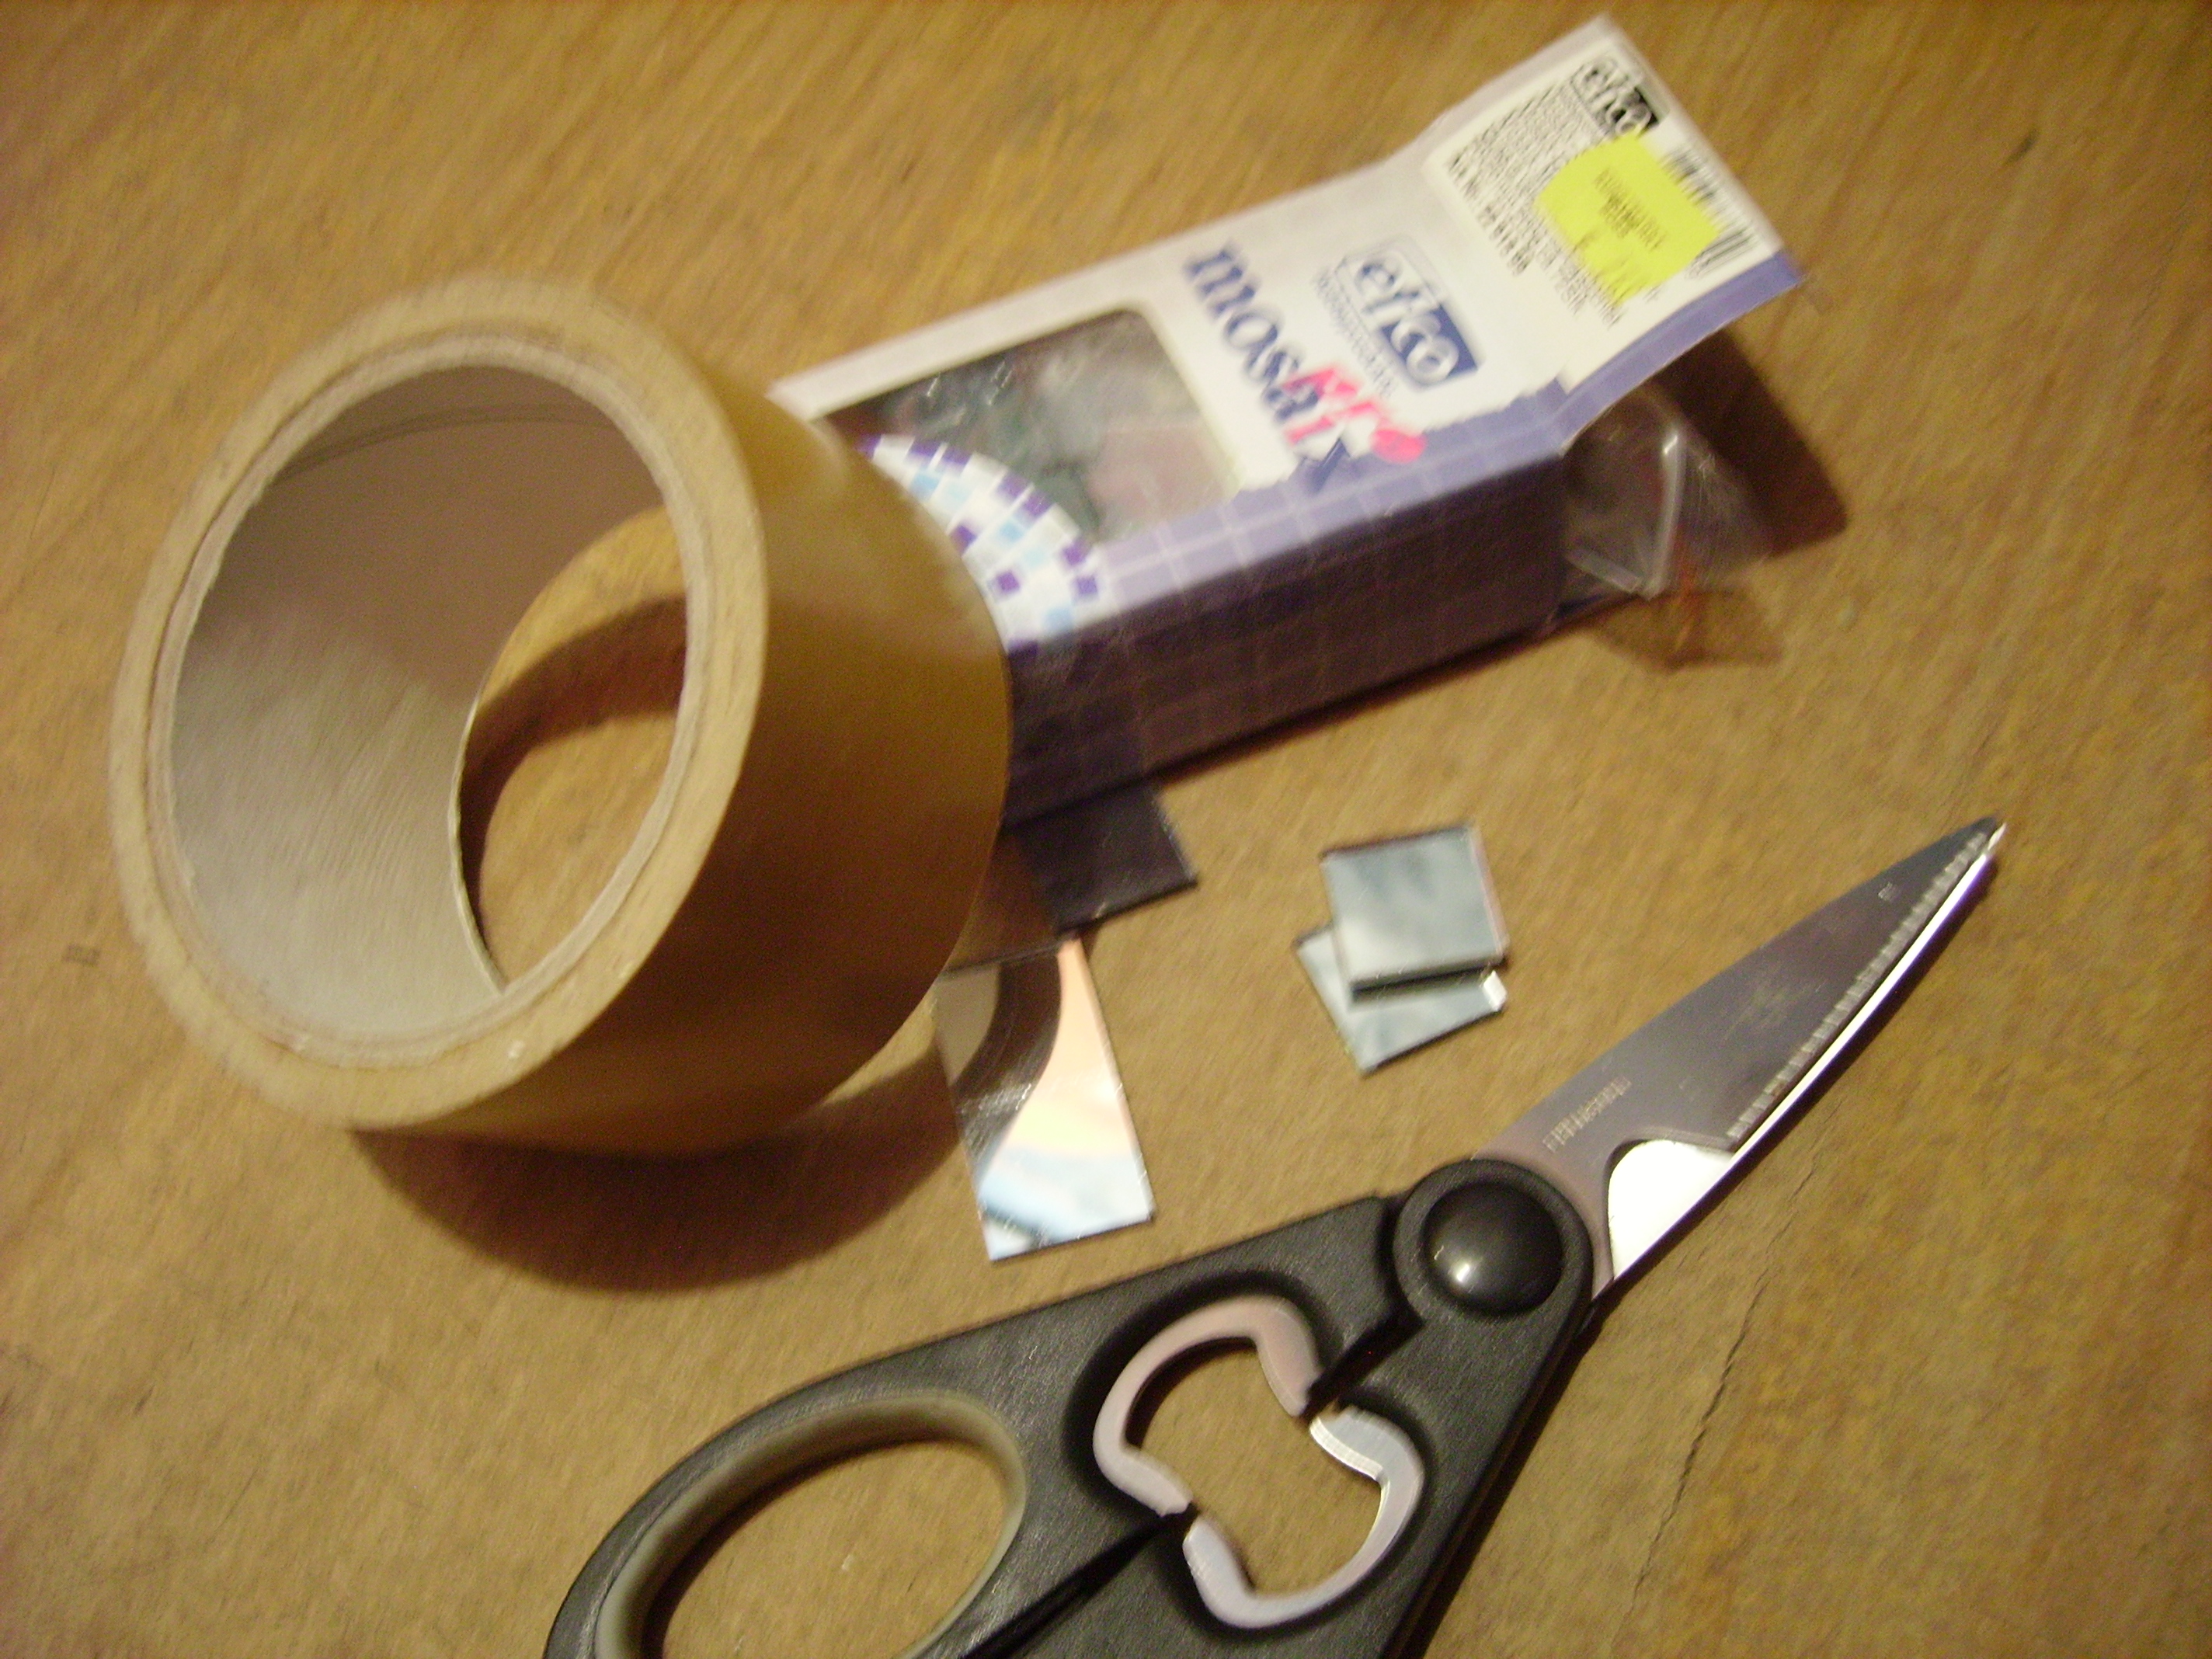
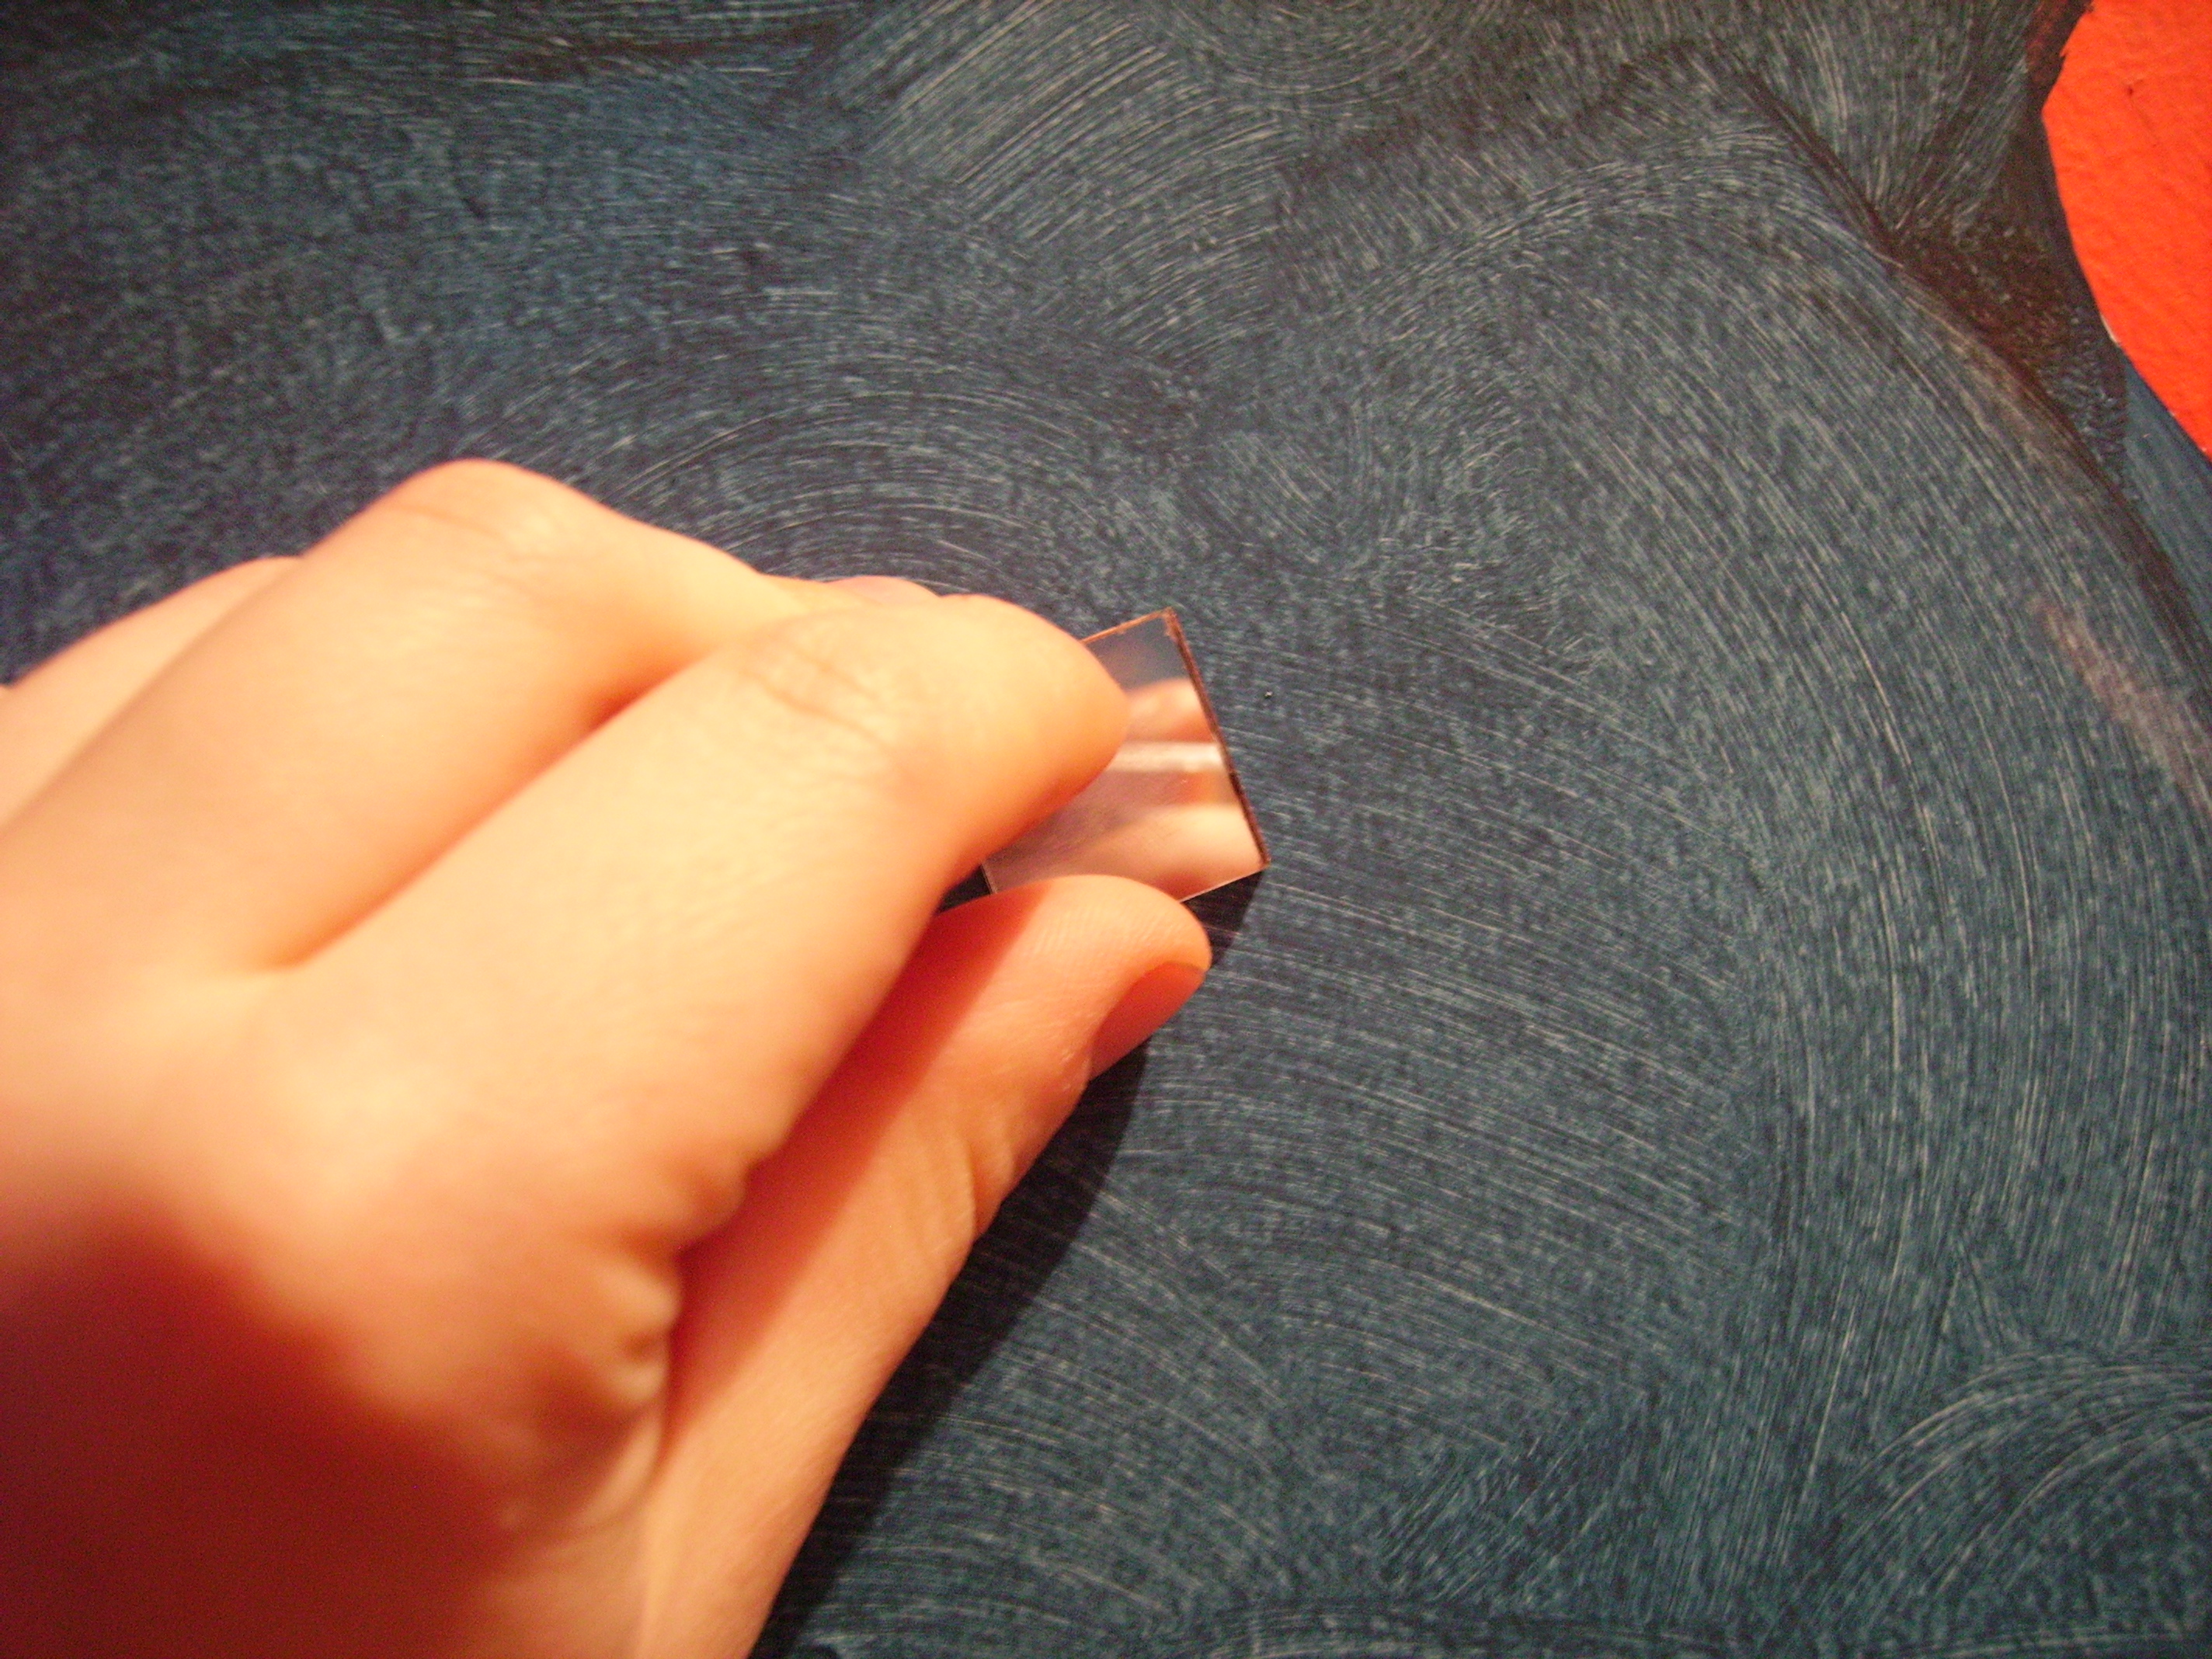
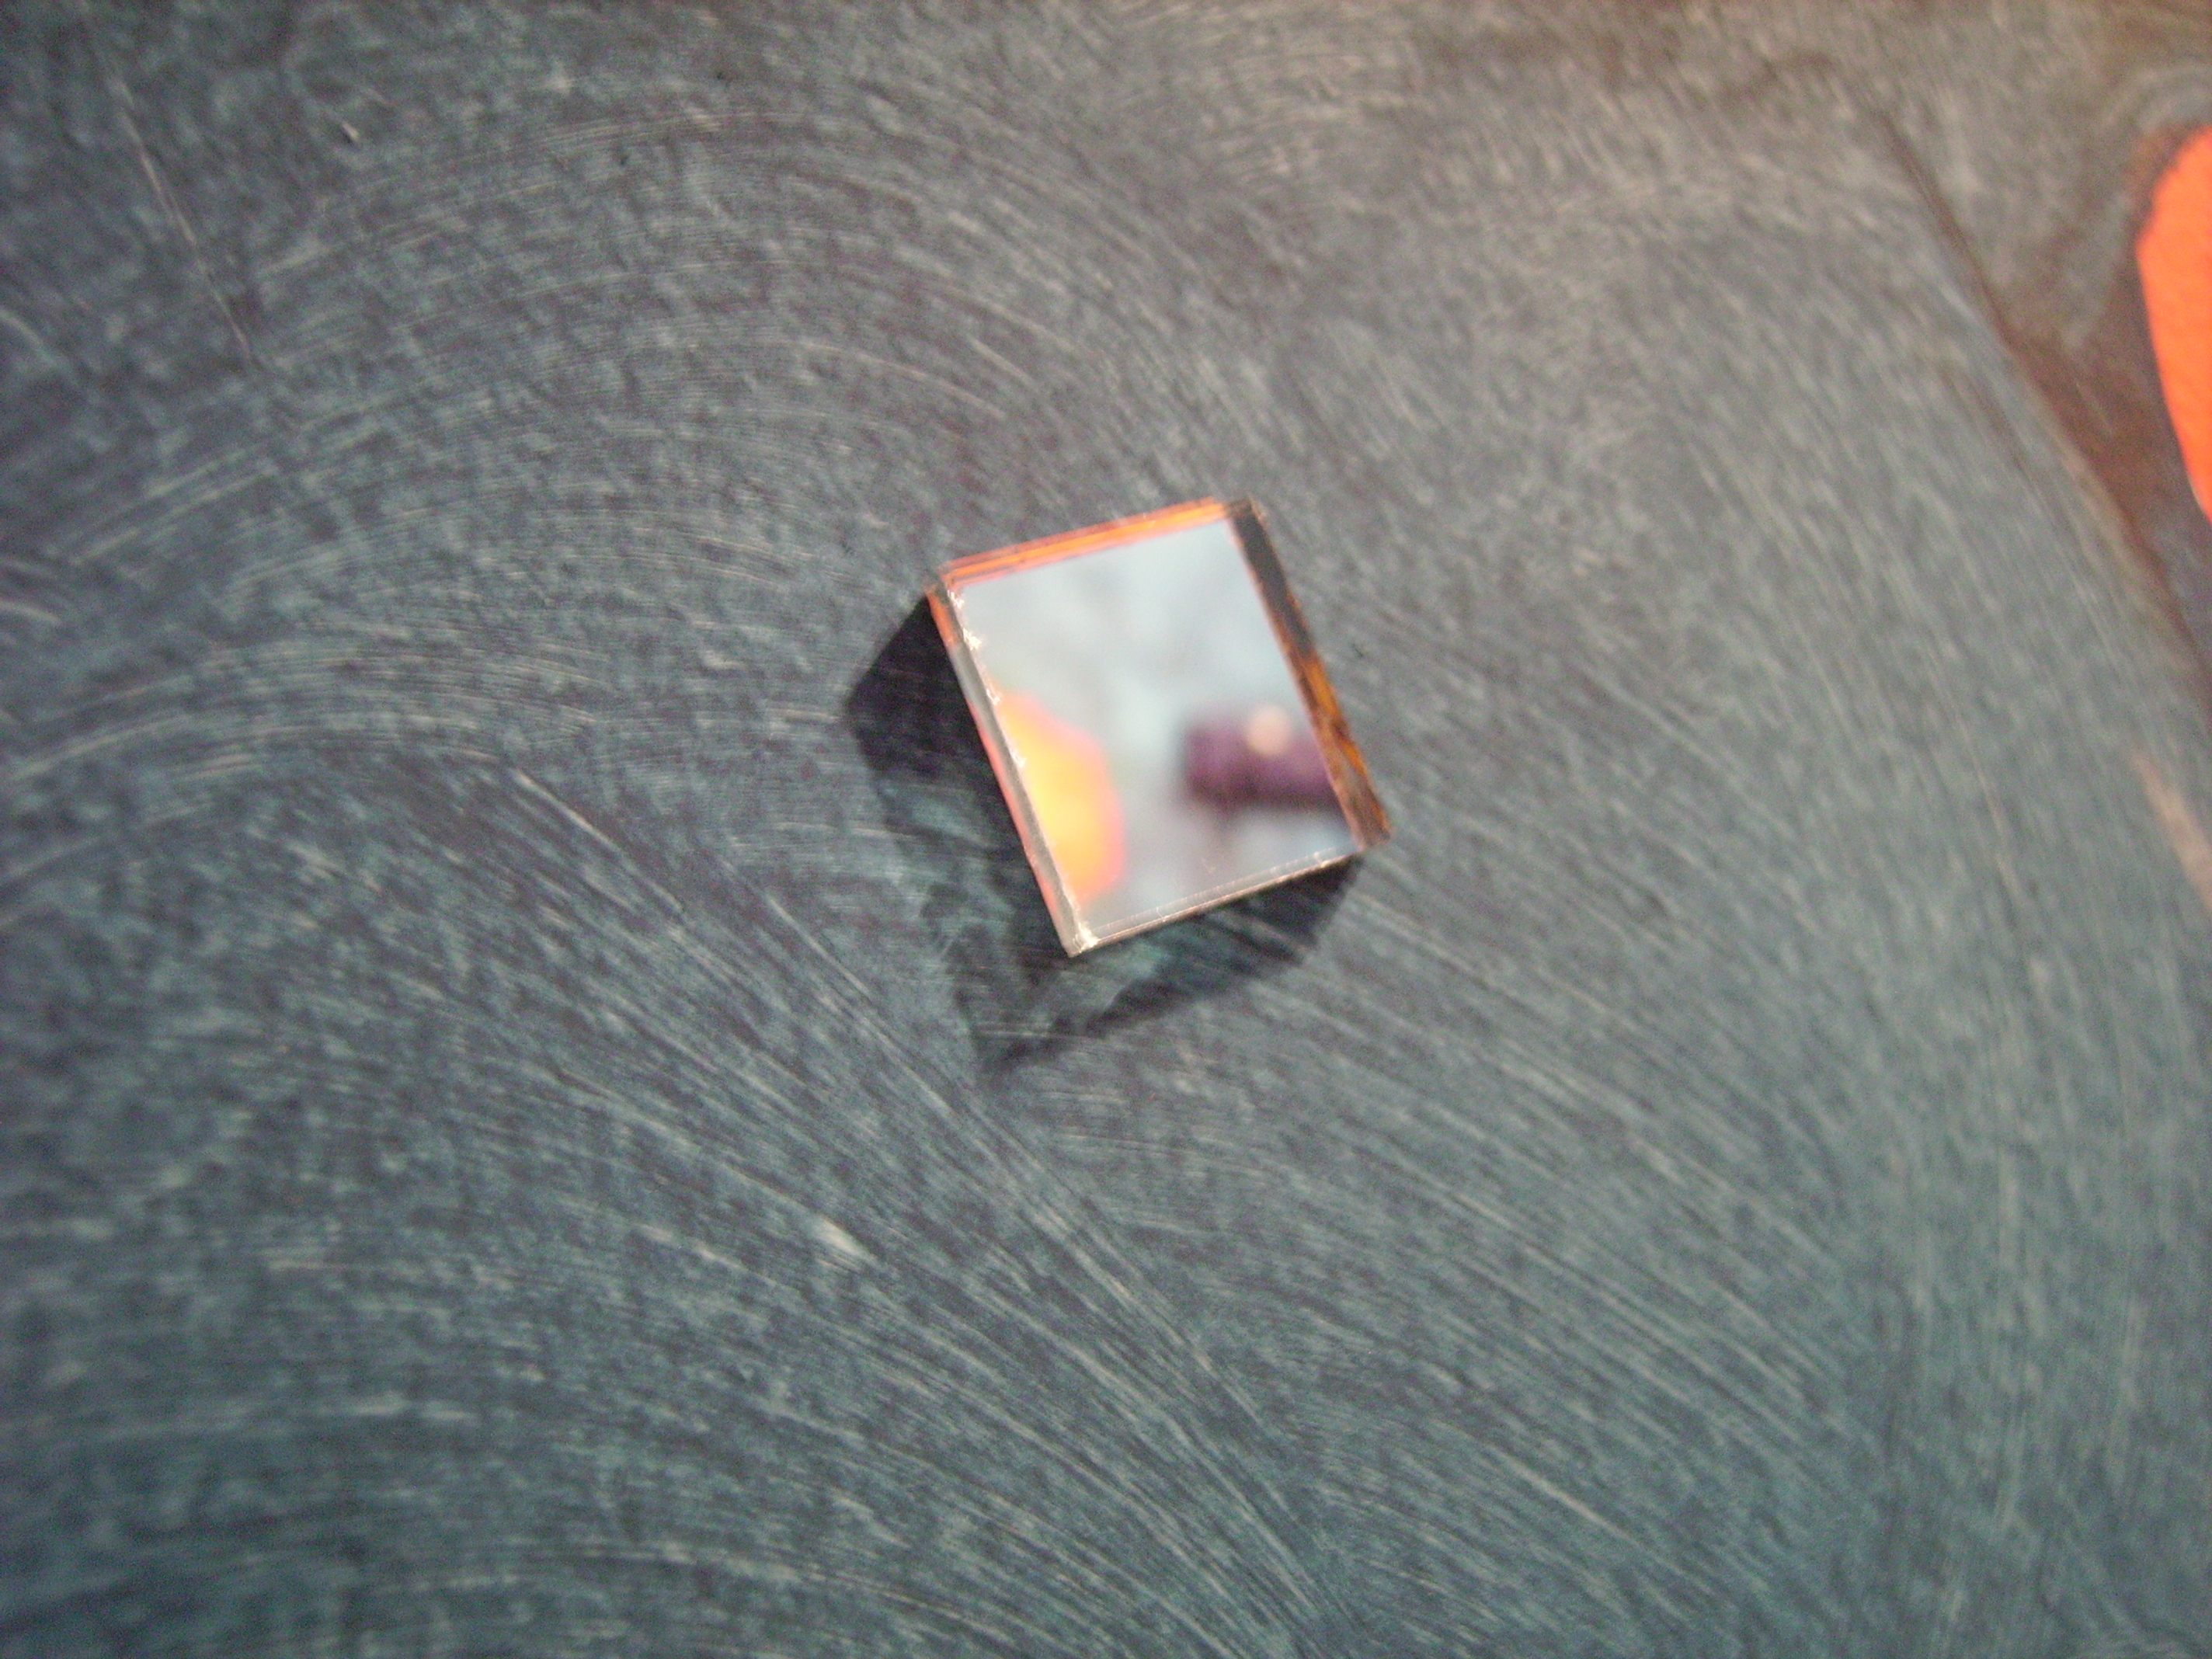
for cool effects glue some mini mirror mosaic tiles on the painted walls.
Looks very nice in daylight and even cooler with lights on.
Looks very nice in daylight and even cooler with lights on.
Admire!
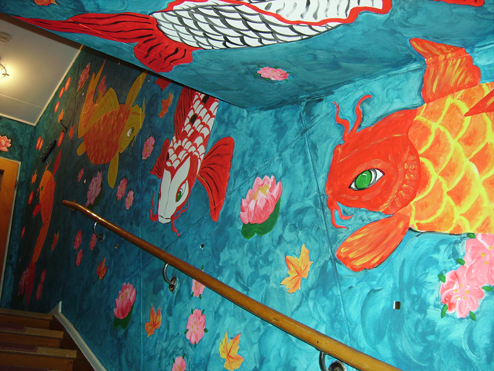
Admire your hard work,
call it EPIC,
open a bottle of beer,
get slightly angry if visitors don't realize that this is a paint job and not a bought wallpaper...
Skål ! ( Cheers in swedish )
call it EPIC,
open a bottle of beer,
get slightly angry if visitors don't realize that this is a paint job and not a bought wallpaper...
Skål ! ( Cheers in swedish )