From Inkscape ( Vector ) to 3D Printed Geometric Coaster.
by Charlotte_J in Design > 3D Design
7053 Views, 8 Favorites, 0 Comments
From Inkscape ( Vector ) to 3D Printed Geometric Coaster.
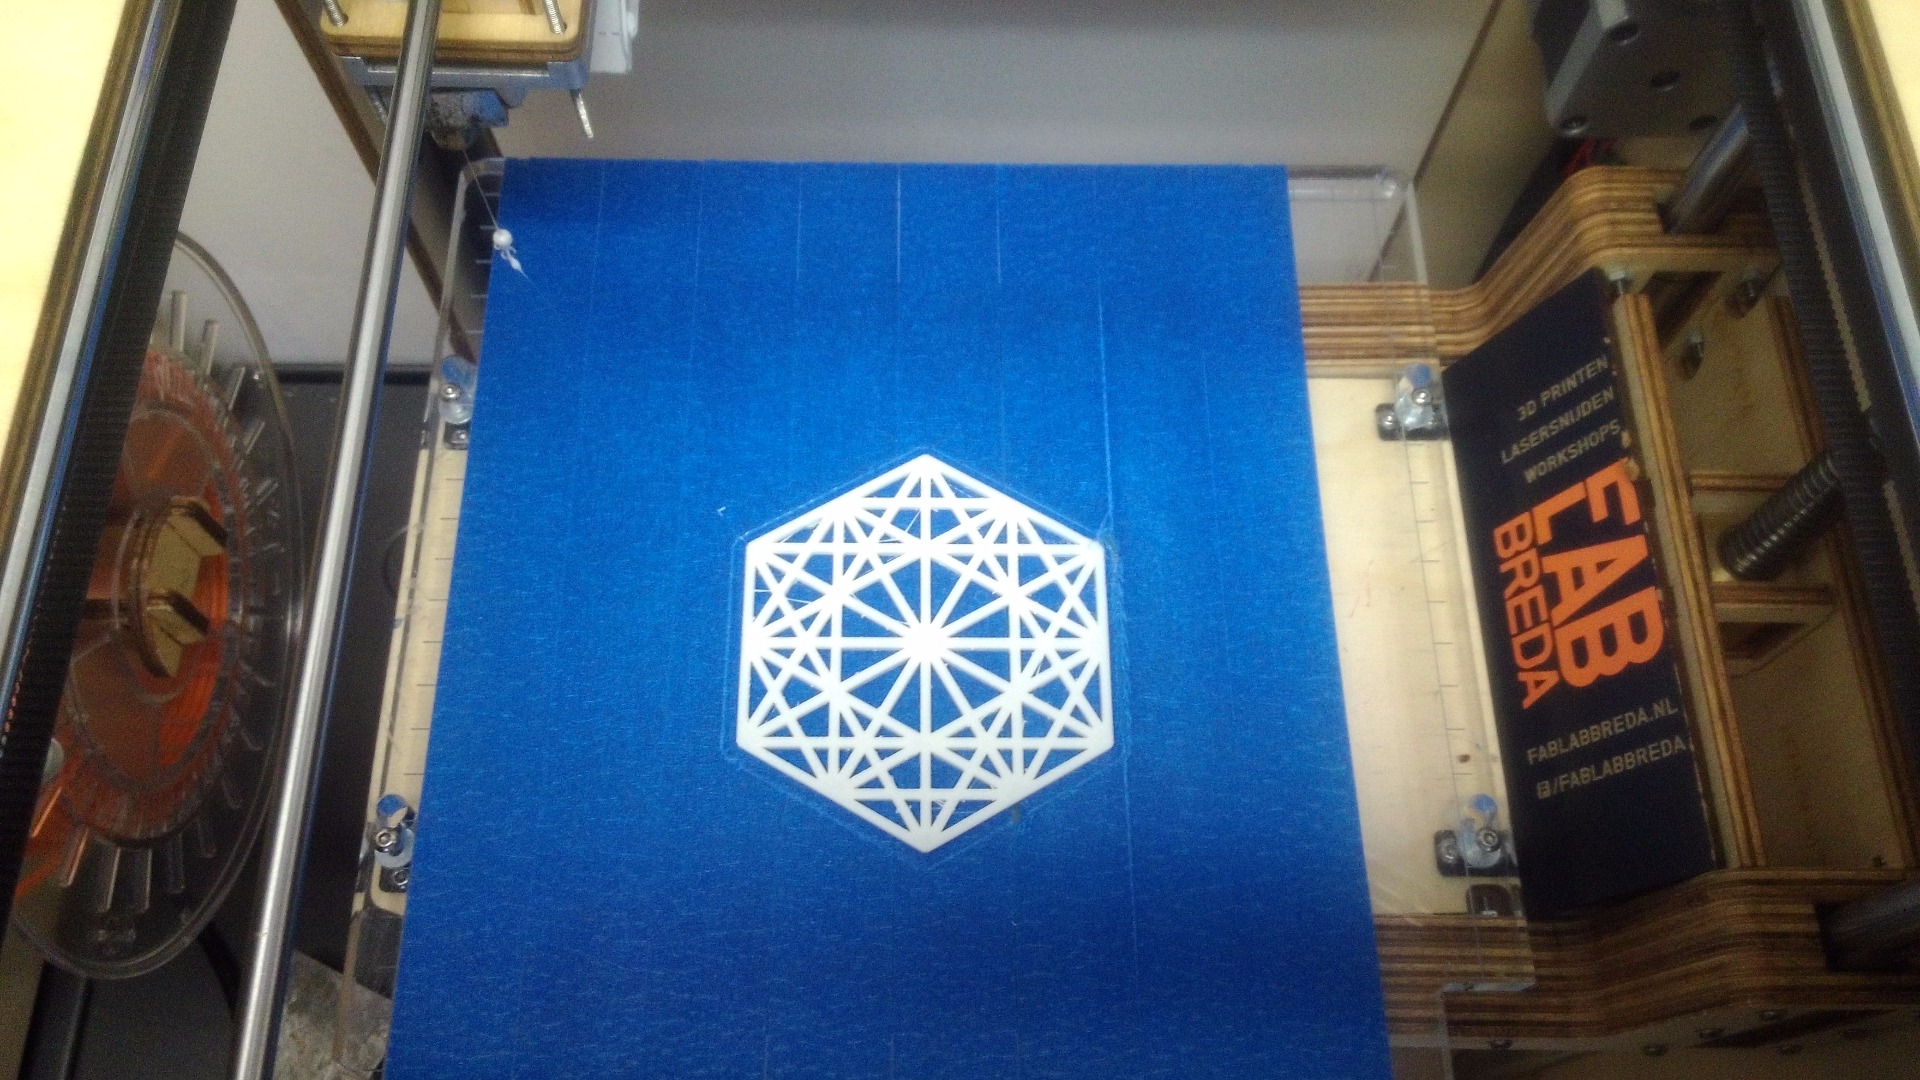
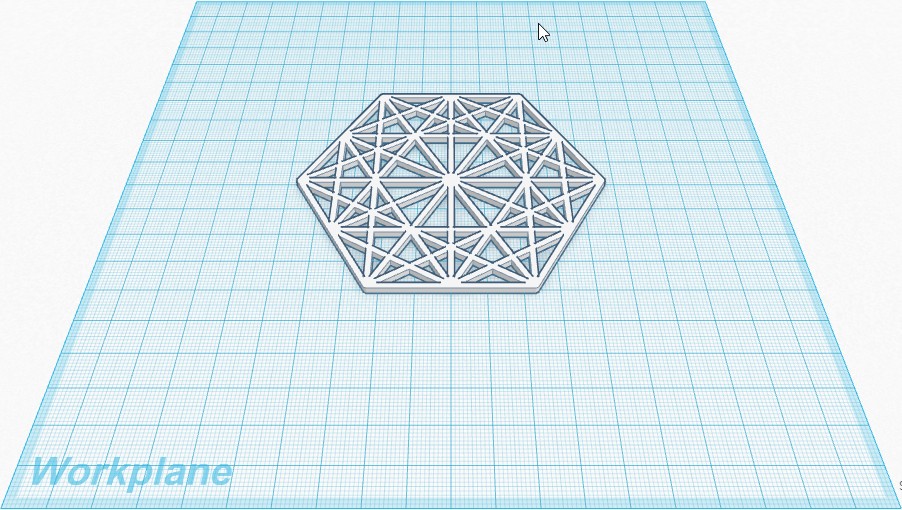
During my internship at FABLAB Breda I found out something usefully. So I just found out that you can use a vector drawing programs to create 3D models by using two programs. I started with the program Inkscape . From there I used different tools to create a 2D coaster. Then I exported the 2D drawing to a .SVG file. After that I imported the .svg file to Tinkercad with a size of 27% and a height of 2mm. When the model appeared on the work plane area, it was ready to be printed.
-----------------------------------------------------------------------------------------------------------
All programs are open source so you can download them for free! Here are the links:
-----------------------------------------------------------------------------------------------------------
Make a Hexagon in Inkscape.
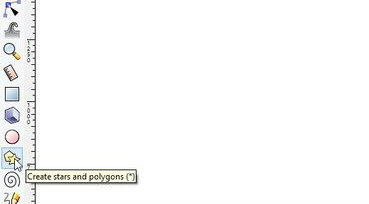
The first step that you take is clicking on the "Create stars and polygon tool".
Polygon Settings.
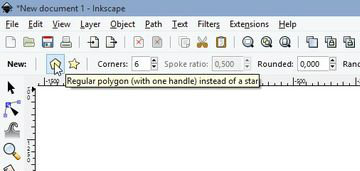
After that you are going to change the settings to polygons instead of stars.
Corners Settings.
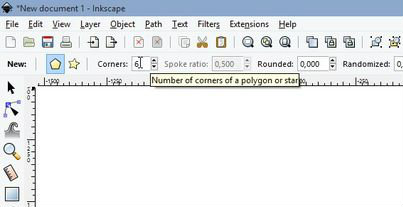
After that make sure that you use 6 corners instead of 5 corners ( Standard settings ). You can change the number of corners left above.
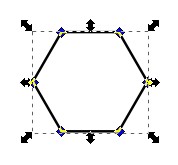
Draw a Hexagon.

Now you're ready to create a hexagon in Inkscape. Drag a hexagon with you left mouse button + ctrl. Right after you have done this, select the hexagon. it is important that you first turn on the lock. Now you can adjust the size to: 80mm height to get the right proportion.
Fill and Stroke.
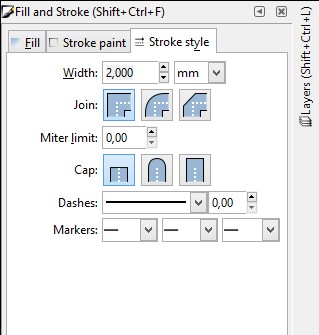
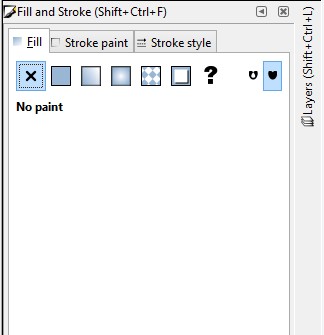
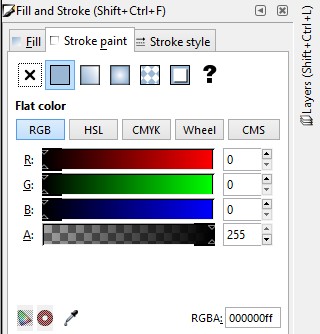
You can change the fill to stroke by going to the Fill and Stroke tab. If you can not find this tab, you can press shift + ctrl + F. Change the "fill" to no fill. And change the stroke to 2mm.
Edit Paths by Nodes

Select the hexagon with the selection tool.
Then you go to the button 'edit path by nodes' (left on your screen the second arrow). Keep in mind that your hexagon still is selected. You can verify this when there is a dotted line around the hexagon. Click 'Convert selected object to path'. After you have converted the line to a path, you can select the hexagon with the same tool.
Then select each point of the hexagon by holding shift and left mouse button. Make sure that the points are blue instead of black. The important thing is that you have selected all six points otherwise it will not work.
Path Effects
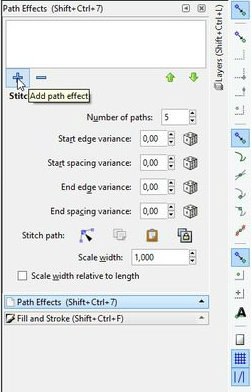
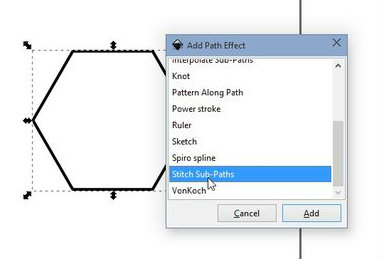

The first thing you do is go to the Path effect tab. If you can not find this tab, you can always press shift + ctrl + 7.
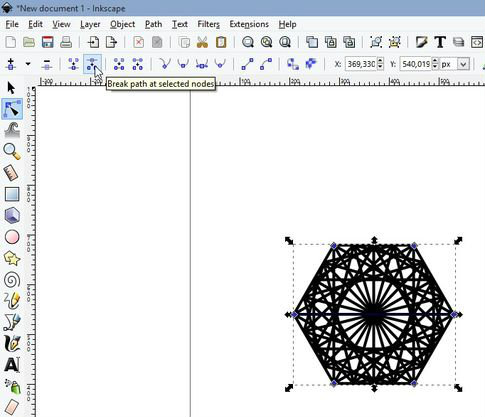
Press the blue plus. And after that you scroll down till you see "Stitch sub paths", click add. Make sure that you have selected your hexagon with the path by nodes tool. Press the button "break paths at selected nodes".
Stroke to Path
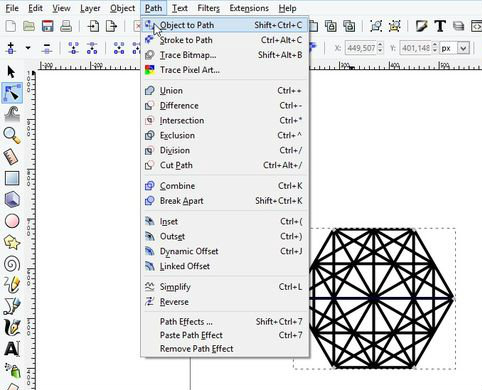
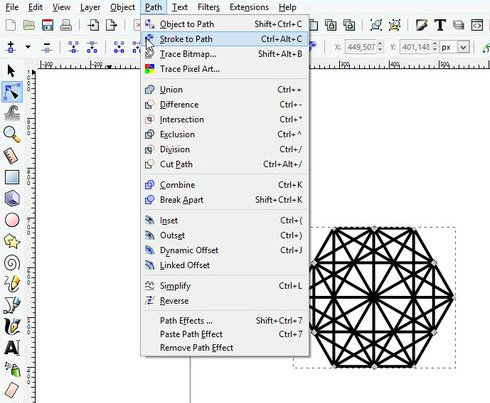
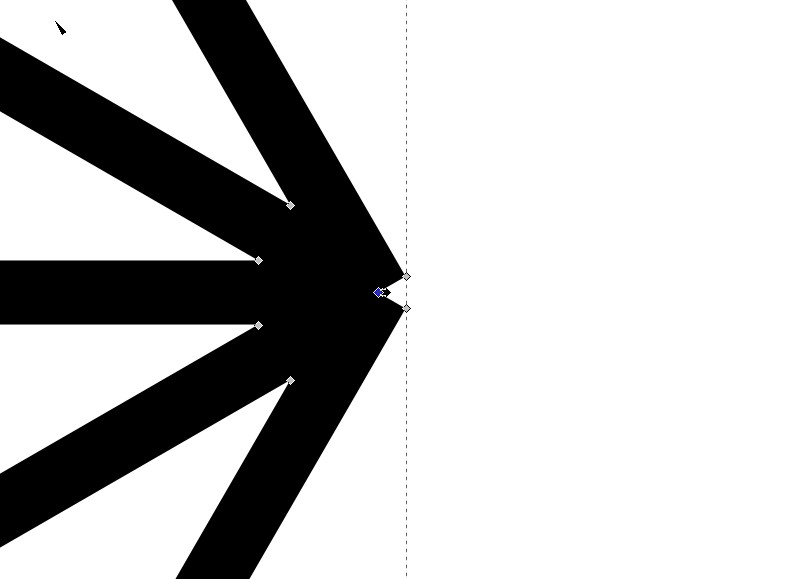
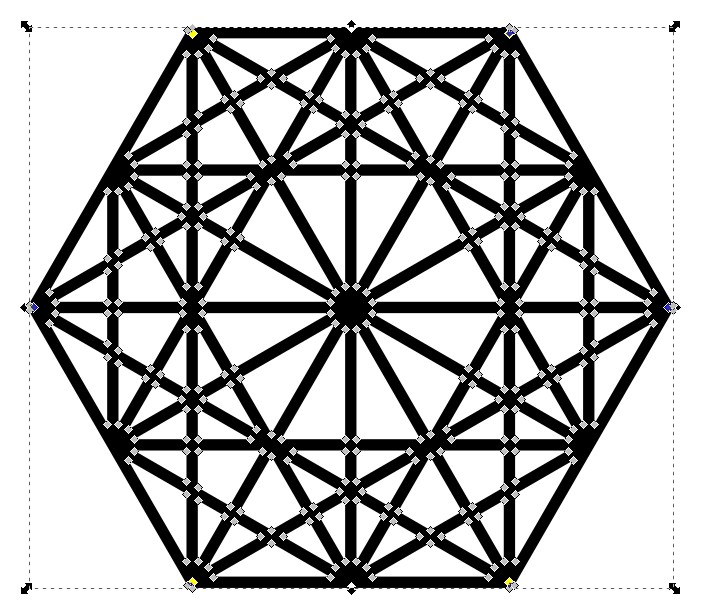

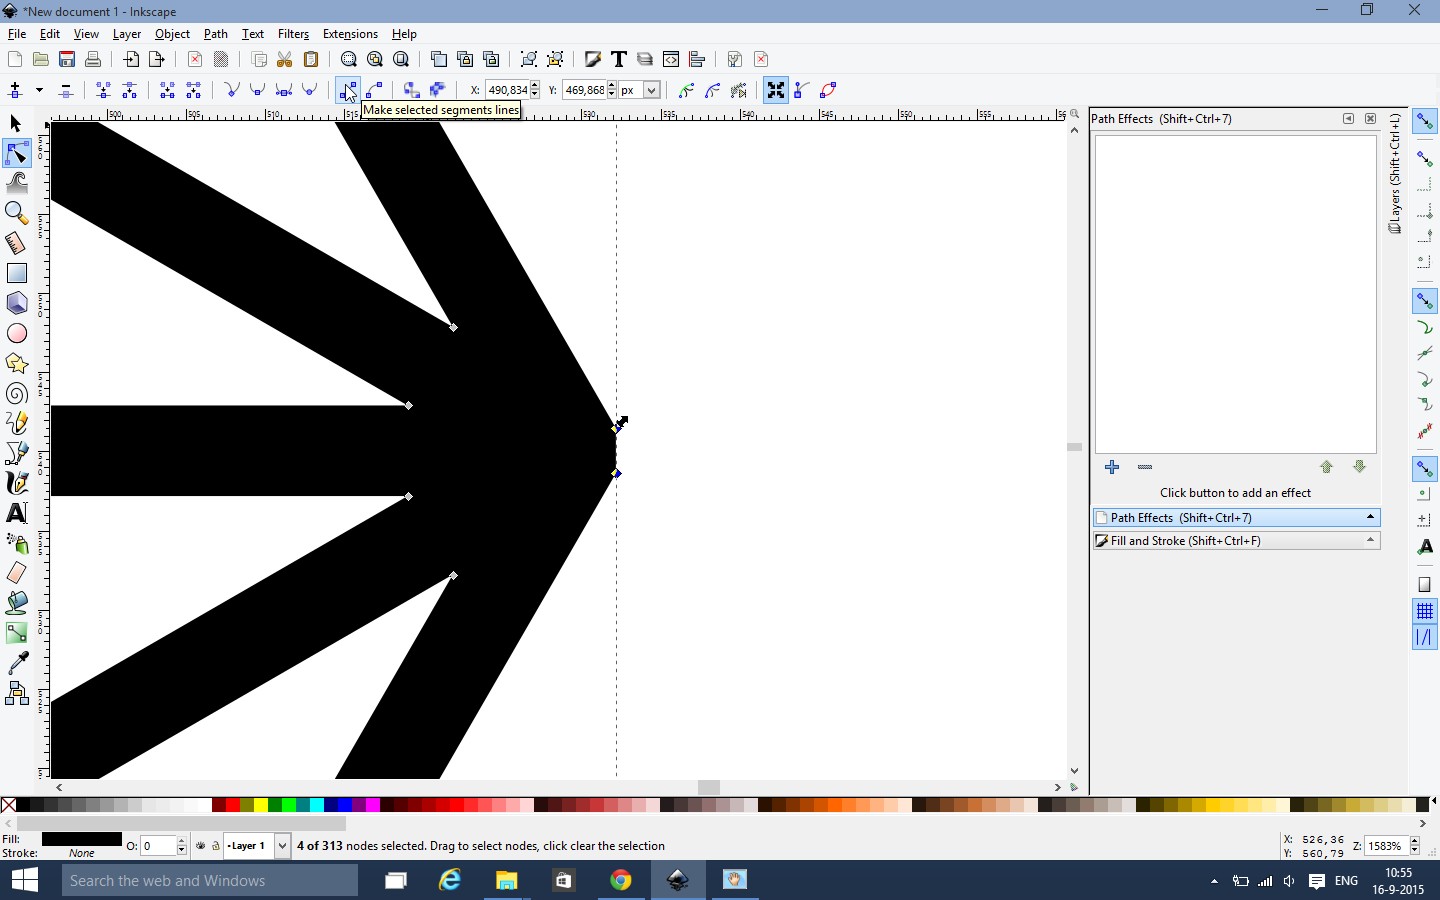
Go to the tab "path" right above and press "Object to path". Go back to the same tab to press the "Stroke to path" button. So what you are going to do now is removing each middle point in every corner of the hexagon. You can get the angles straight to press the "Make selected segments line" button.
When you're done straightening out every corner we can save it as a .svg file. Just go to the tab "File" and then "Save as". The save as type must be a .svg.
How to Import a .svg File Into Tinkercad
Startup Tinkercad (you may need to make an account when you don't have one yet).
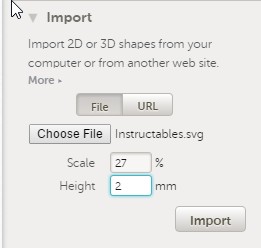
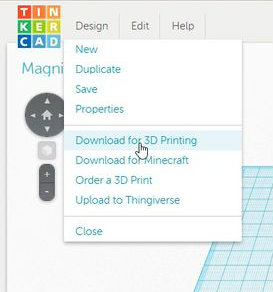
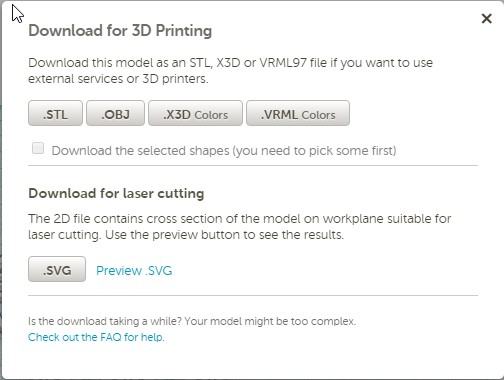
Click on "Design" and then on "New". After that you go to the tab "Import", Click on the arrow. Choose you file and give the model a size of 27% instead of 100%, give it a height of 2mm. After that you go to the tab "Design" and click on "Download for 3D printing". Choose to save the model as a .STL .
That's it! You're ready to print it on your printer!
Don't own a 3D printer? Maybe your neighbor has one, or somebody else nearby! You can easily order your coaster by following the next steps:
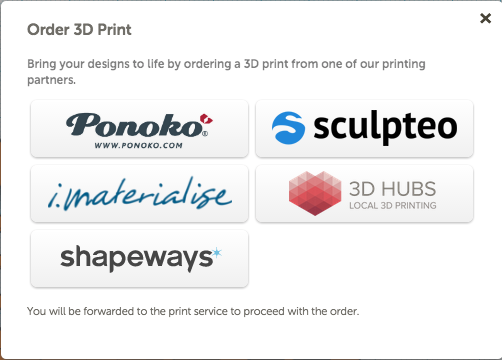
Click Design -> Order a 3D print
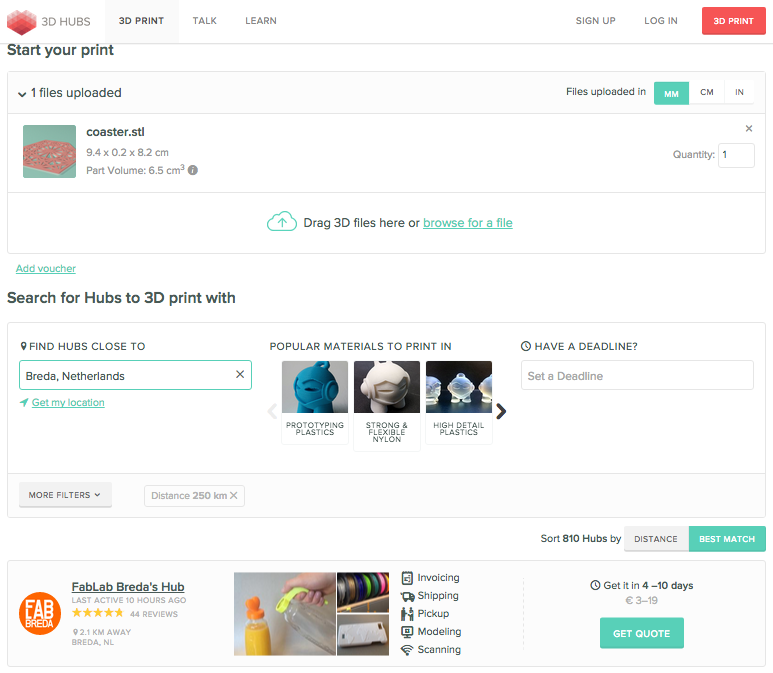
Pick 3D Hubs as the printing partner, after clicking the button 'Continue Printing' you will be directed to the 3DHubs website. Pick a Hub nearby, order and wait for your coaster to be printed.
Lazy?
Like the coaster but don't like the hassle? Here is the STL.
Our printer settings:
This 3D model is printed with an Ultimaker Original.
Quality:
Layer height (mm): 0.1
Shell thickness (mm): 0.8
Enable retraction
Fill:
Bottum/Top thickness (mm): 0.5
Fill density (%): 15
Speed and Temperature:
Print speed (mm/s): 100
Printing temperature (C): 210 Model size: X: 91mm Y: 80mm Z: 2mm