From Witch Hat to Styly Witch Hat, Using Only Basic Shapes.
by tristanfeissli in Teachers > 4
1787 Views, 3 Favorites, 0 Comments
From Witch Hat to Styly Witch Hat, Using Only Basic Shapes.
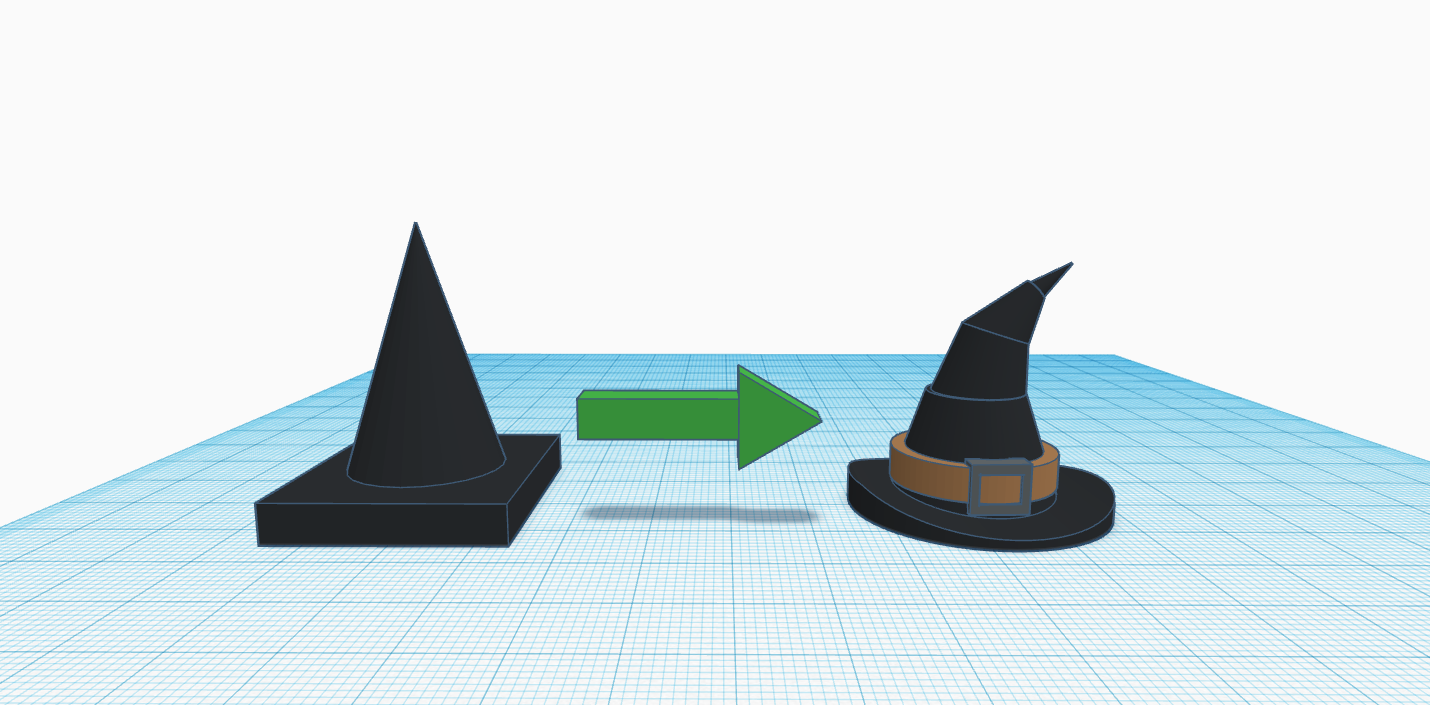
Here is a tutorial to create a styly witch hat in just a few minutes using only simple shapes.
This project started when: as we were working on a project, some of my students said: "Mr Feissli, how come your designs always look so cool?"
I answered: A design is only as good as the time your are willing to put into it... So, I did the demonstration live to my students in the class.
As the result turned out cool I though it could be useful to someone else.
Supplies
just a computer and Tinker Cad
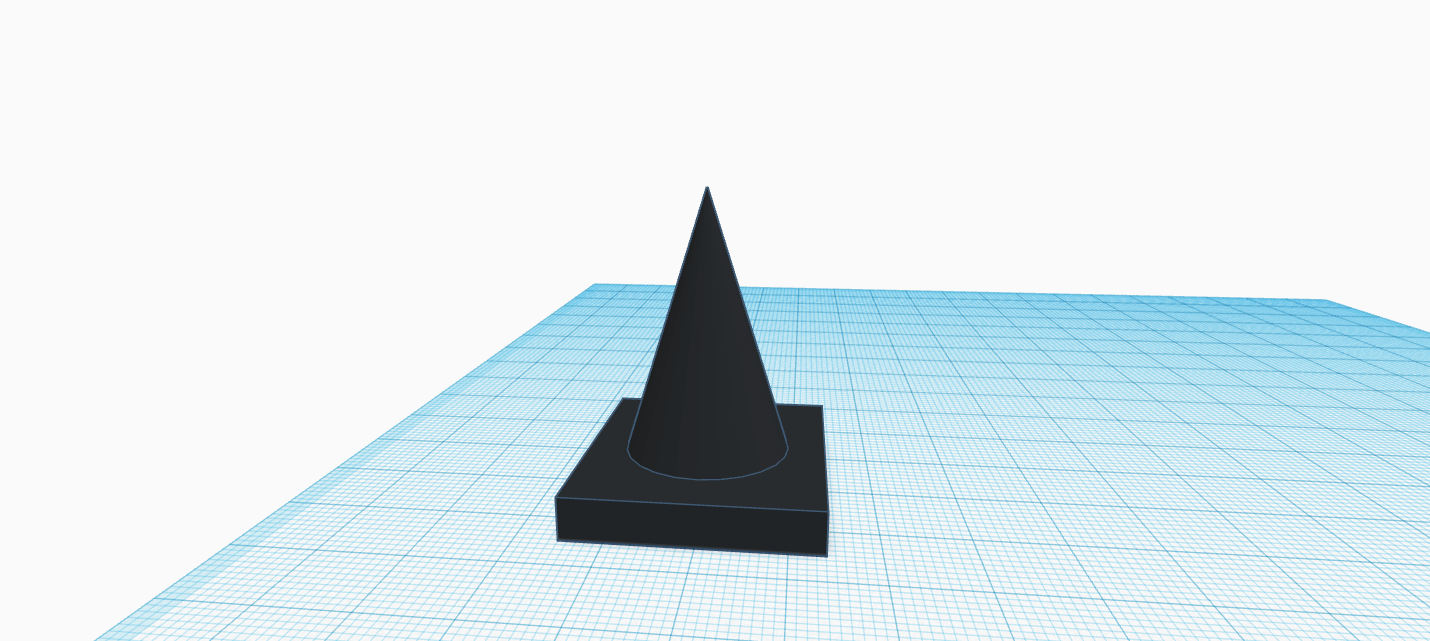
The Most Basic of Them All

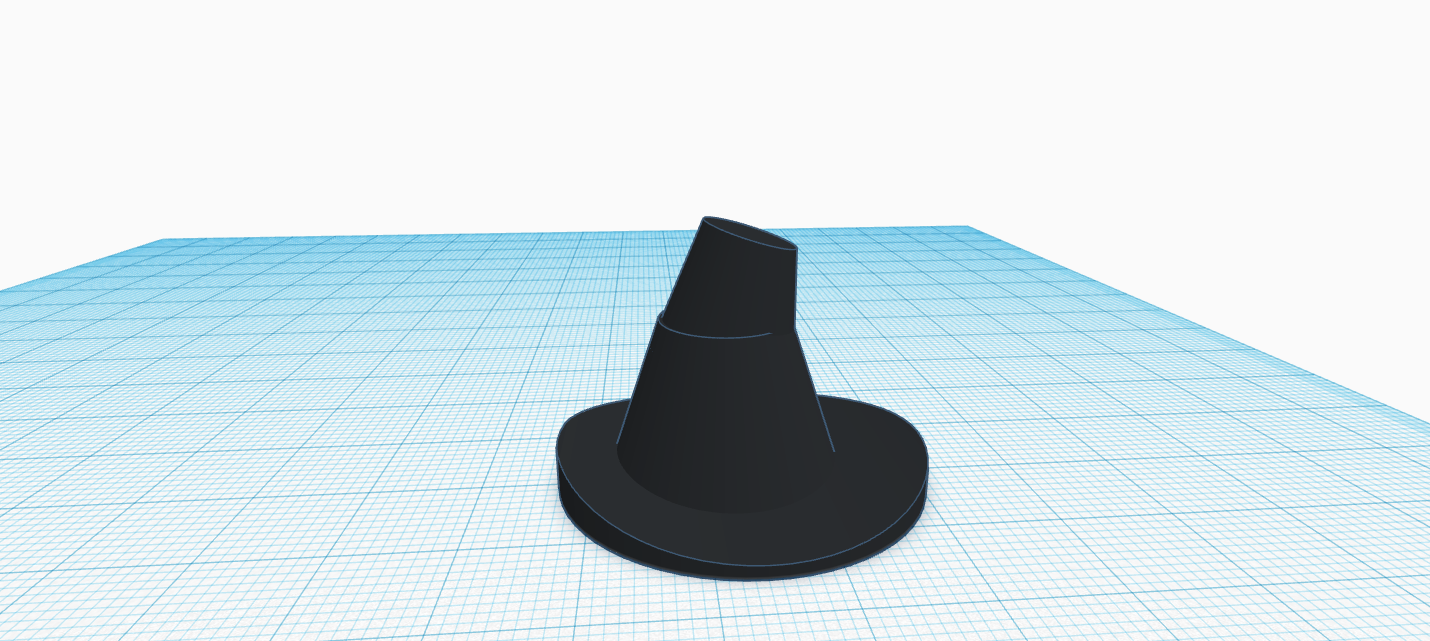
I chose the witch hat because we were working on a Halloween pumpkin project and 5 of my students wanted to make a witch hat and ended up with something like on the picture.
While a cone on a thin box sells out the main idea of a witch hat, some of my students were kind of frustrated. So, I turned on the projector and decomposed the steps 1 by 1.
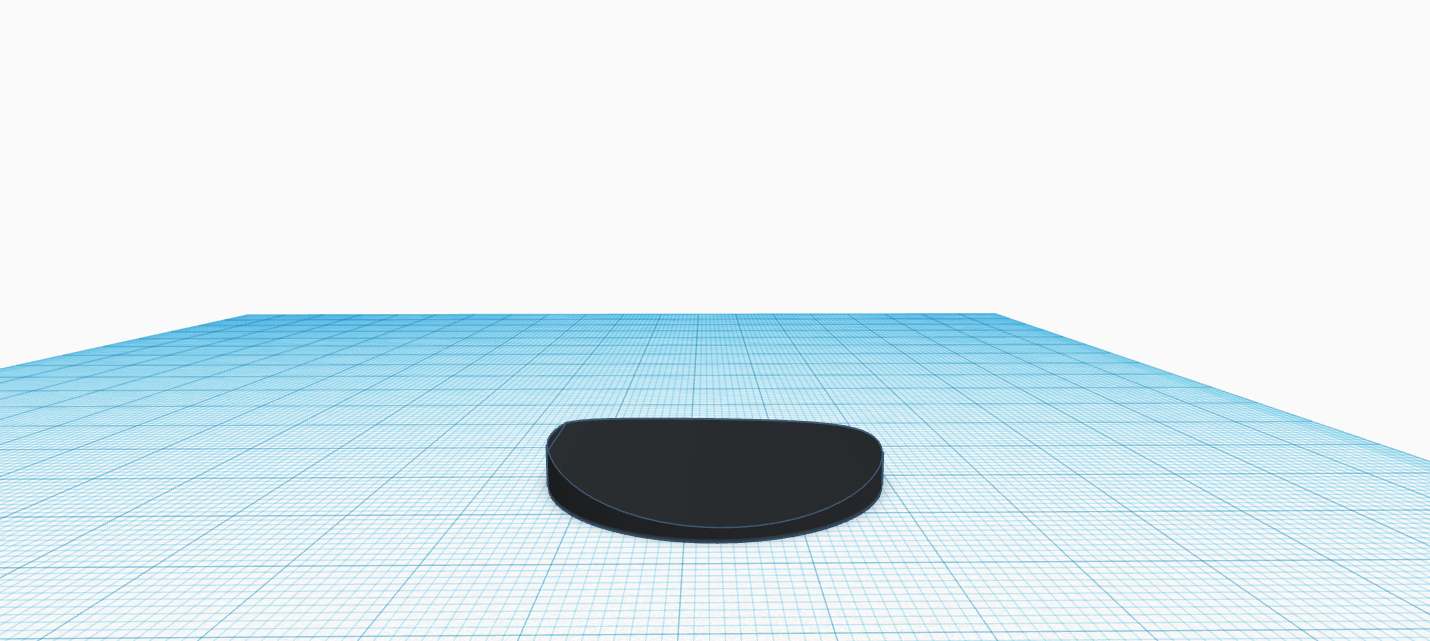
A Styly Base
Here after, I will give you some measurements as an indication. You do not have to follow them, but if you don't results might slightly vary.
While using the rectangle base of the basic hat was only 2 actions (bring the box and resize) having a styly base is a few more steps but should not take more than 2 to 5 minutes.
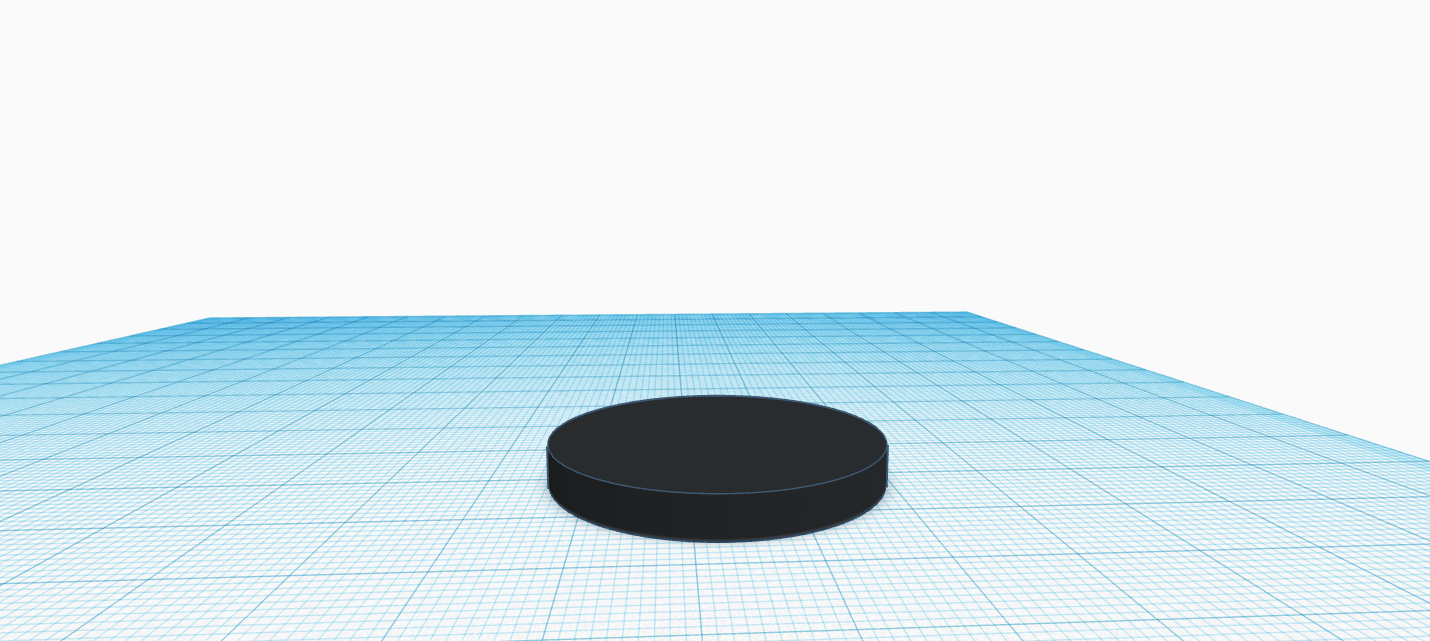
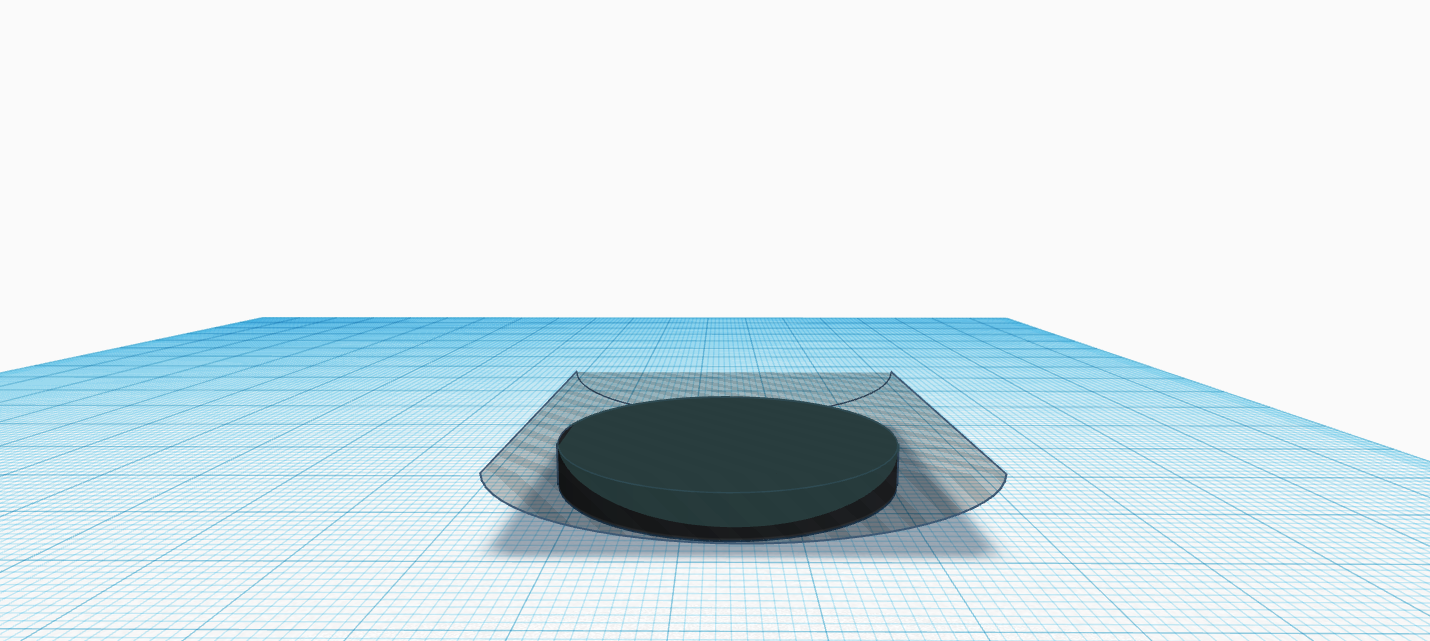
- As a first step. Bring a "Cylinder" on the plane and change it's measurements for 34 x 34 mm and 4mm height and increase the amount of sides to the max (64) to increase resolution.
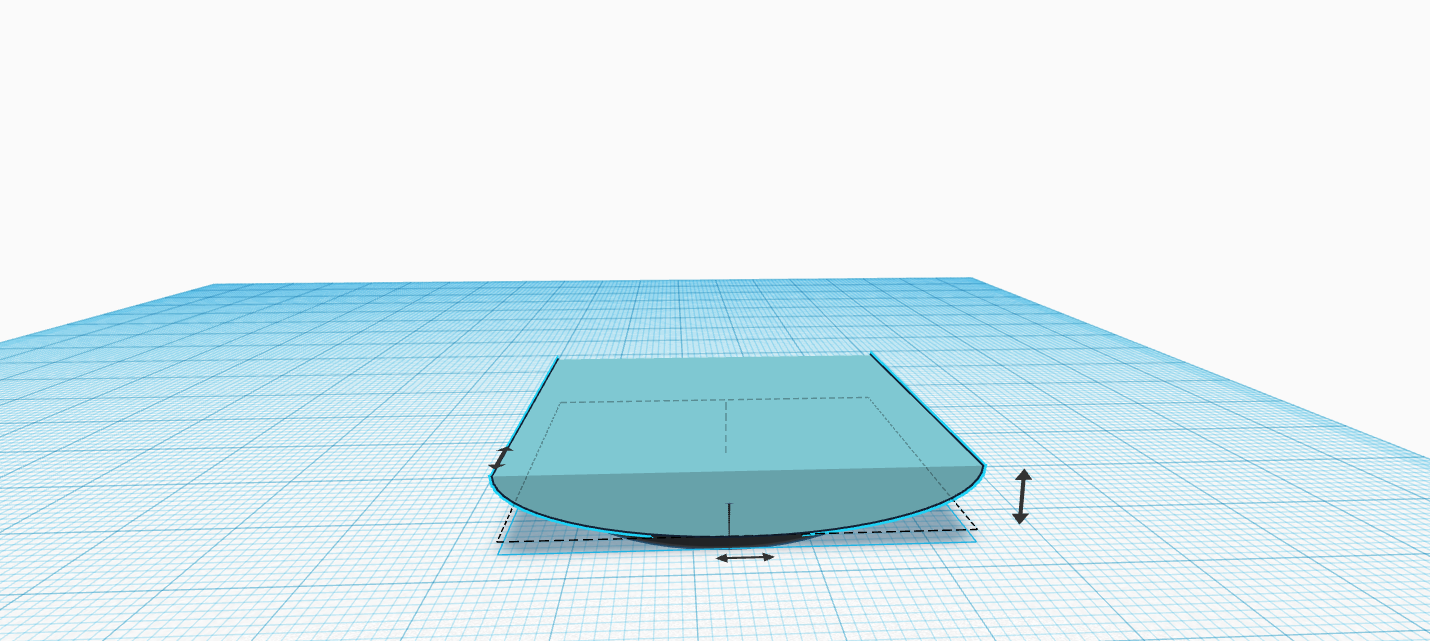
- Then bring in a "Round Roof" make it 40 x 40 mm and 5.5 mm height.
- Flip that round roof upside down using the mirror button (or use "M" key on your keyboard).
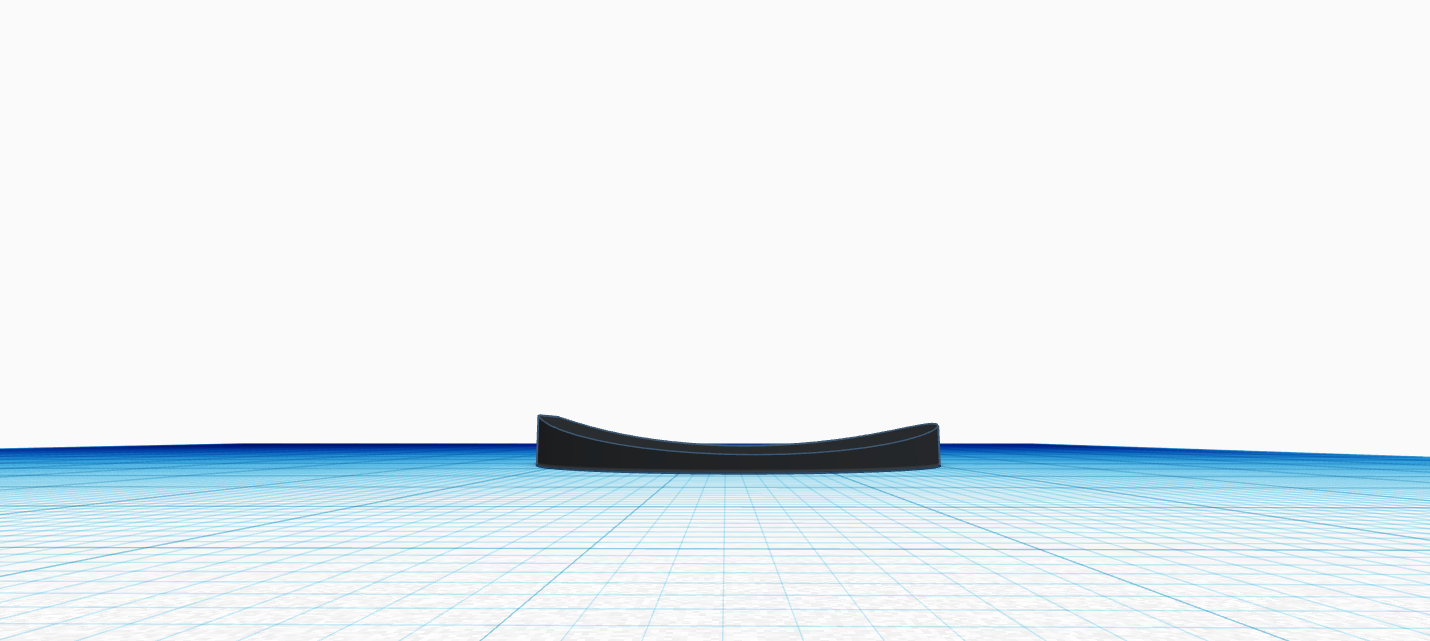
- Turn the the round roof as "Hole" and group it with the "Cylinder" to get a wavy base for your witch hat.
Tip: note that on my example the "Round Roof" is not centered on the "Cylinder" on purpose. Giving the the base a slightly asymmetrical wave can look cool too.
The Body of the Hat
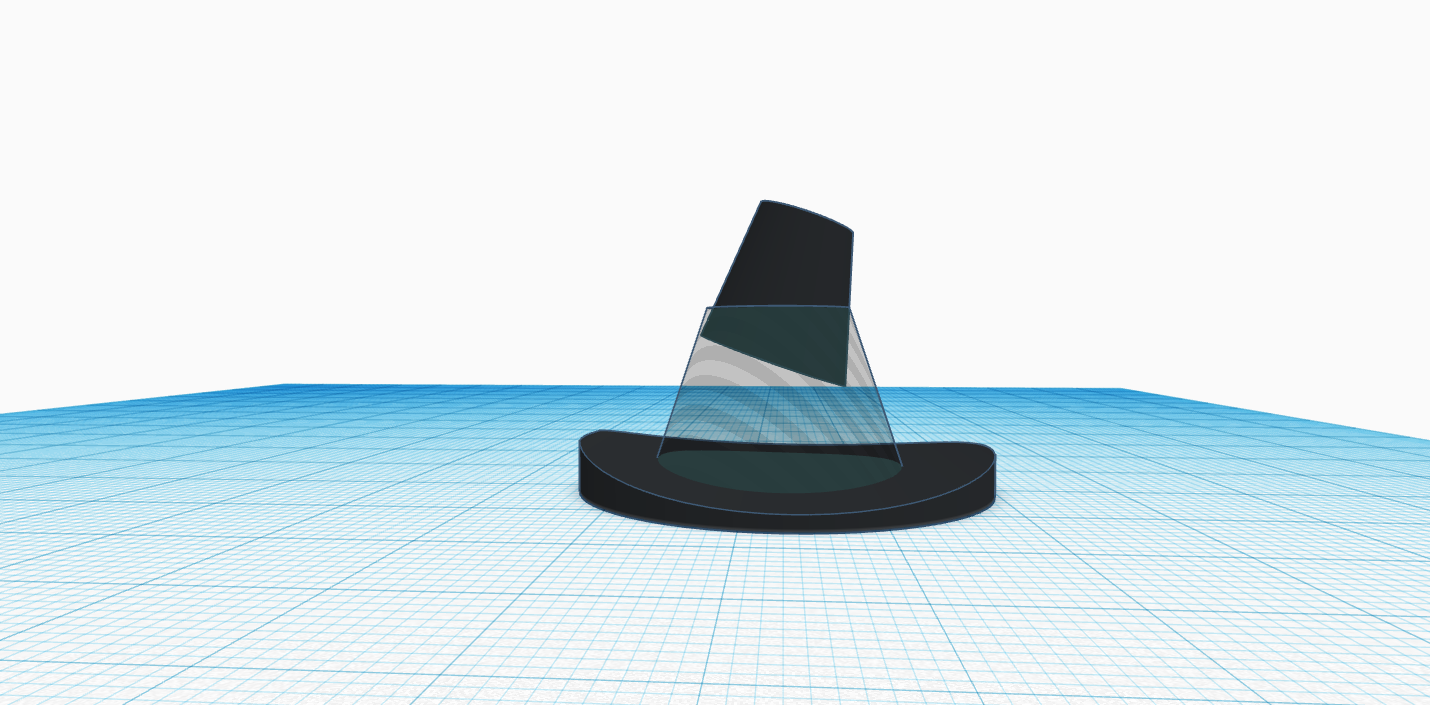
That is the trickiest part, specially if you do not master the "Duplicate" function yet. However it is also a good way to practice. That part can take 2 to 10 minutes.
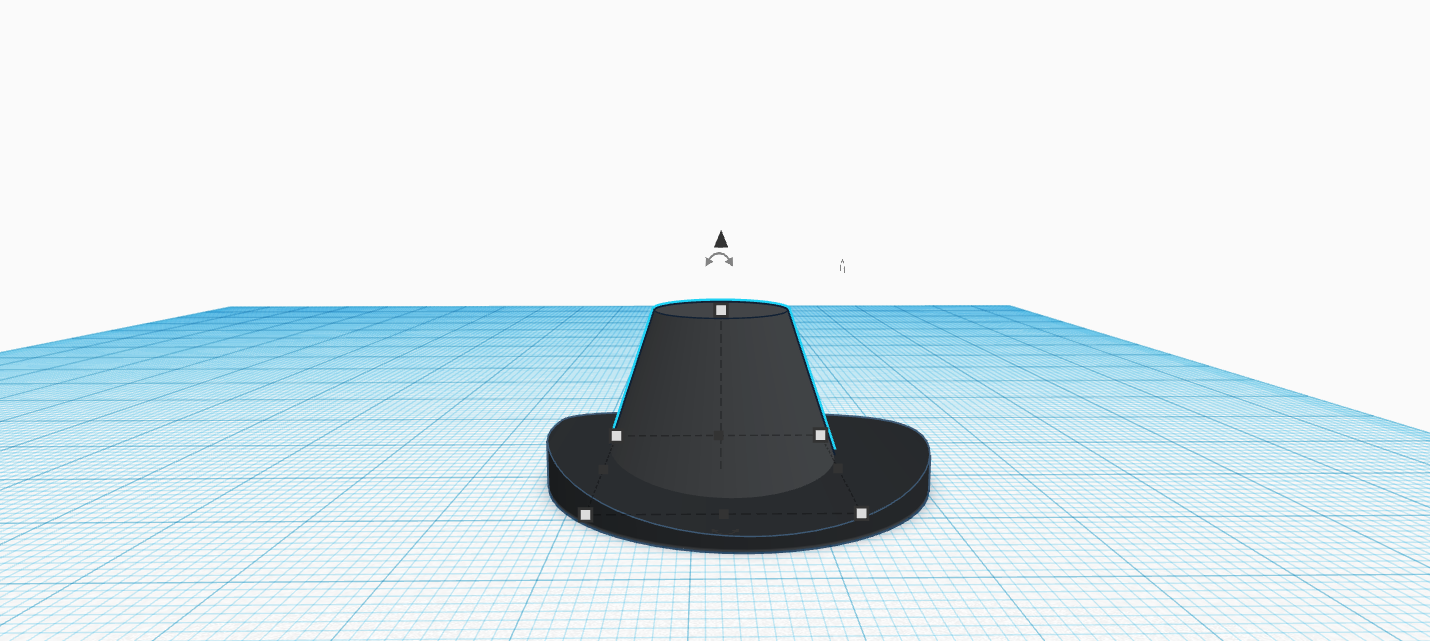
- Start by bringing a "Cone" on the workplan and in the window size it to: top radius 6, base radius 11, height 15 and sides to 64.
- Center the "Cone" on the base.
- Now selecting the "Cone" use the duplicate button or Ctrl+D which will make your screen glitch ones. It means the cone has been copied.
- Without clicking anywhere else, hold "Shift" on your keyboard, Grab the top white handle of the selected "Cone" and bring it down from 15 to 10 mm. (this move will resize the shape keeping all proportions.)
- Still not clicking anywhere else, lift the "Cone" up about 8mm using the black cone arrow at the top.
- Then tilt it 15°on the right using the curved arrow at the top.
- Once tilted you might want to stretch the 2nd "Cone" up to adjust on the first one and make the 2 fit.
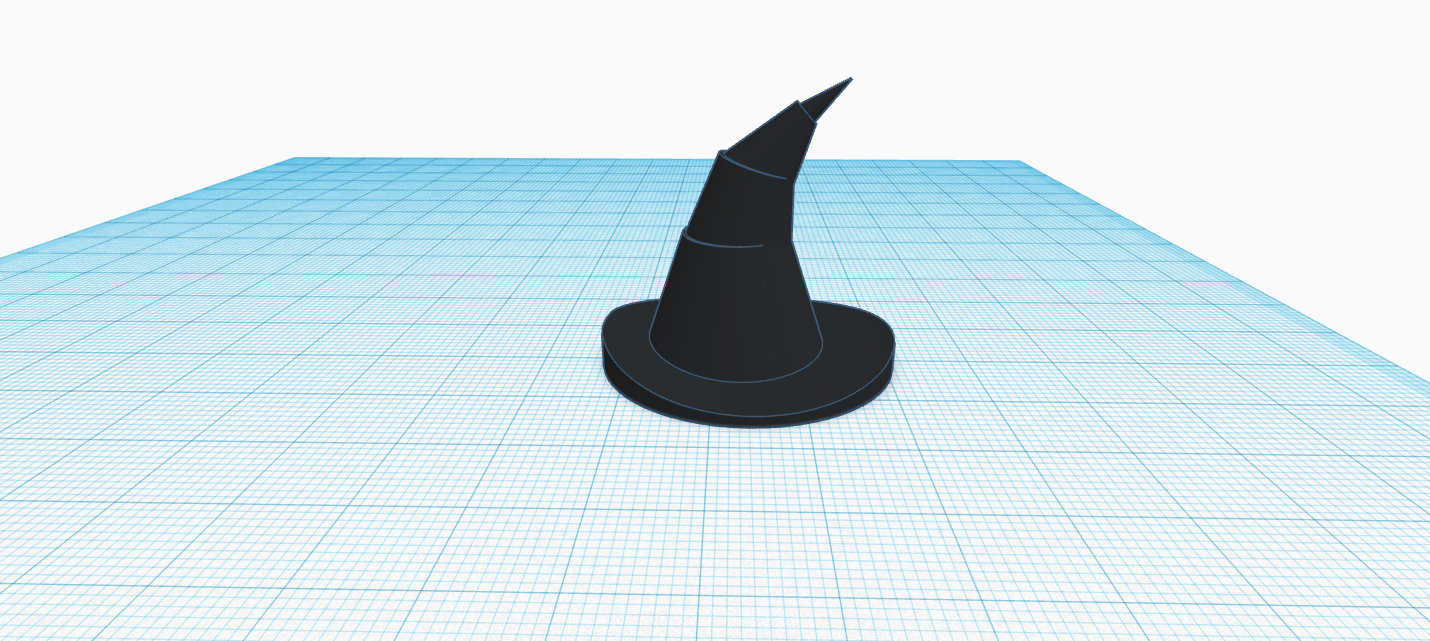
- Now, with your small cone still selected, press Ctrl+D 2 more times. (that final move should create 2 more cones)
- Finally, change the tip "Cone" top radius to 0, then apply some small adjustments of sizes and tilting to have the whole body homogenous.
Beauty Lies in the Details
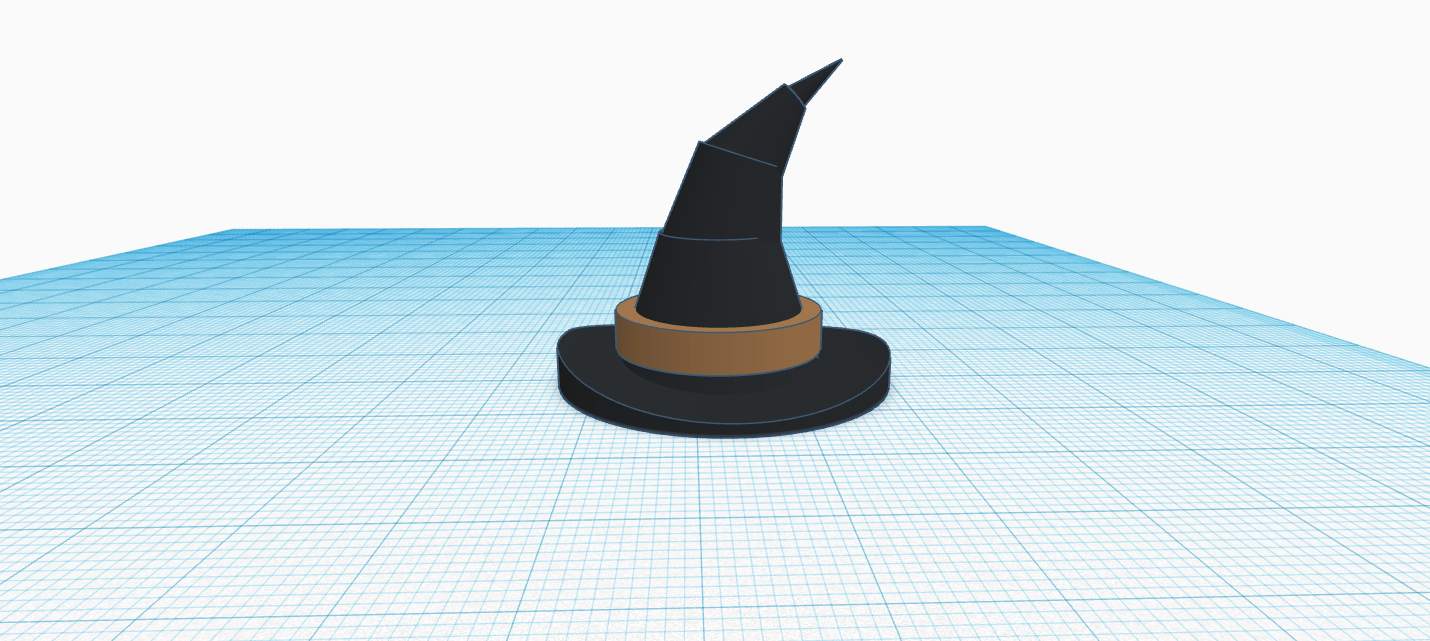
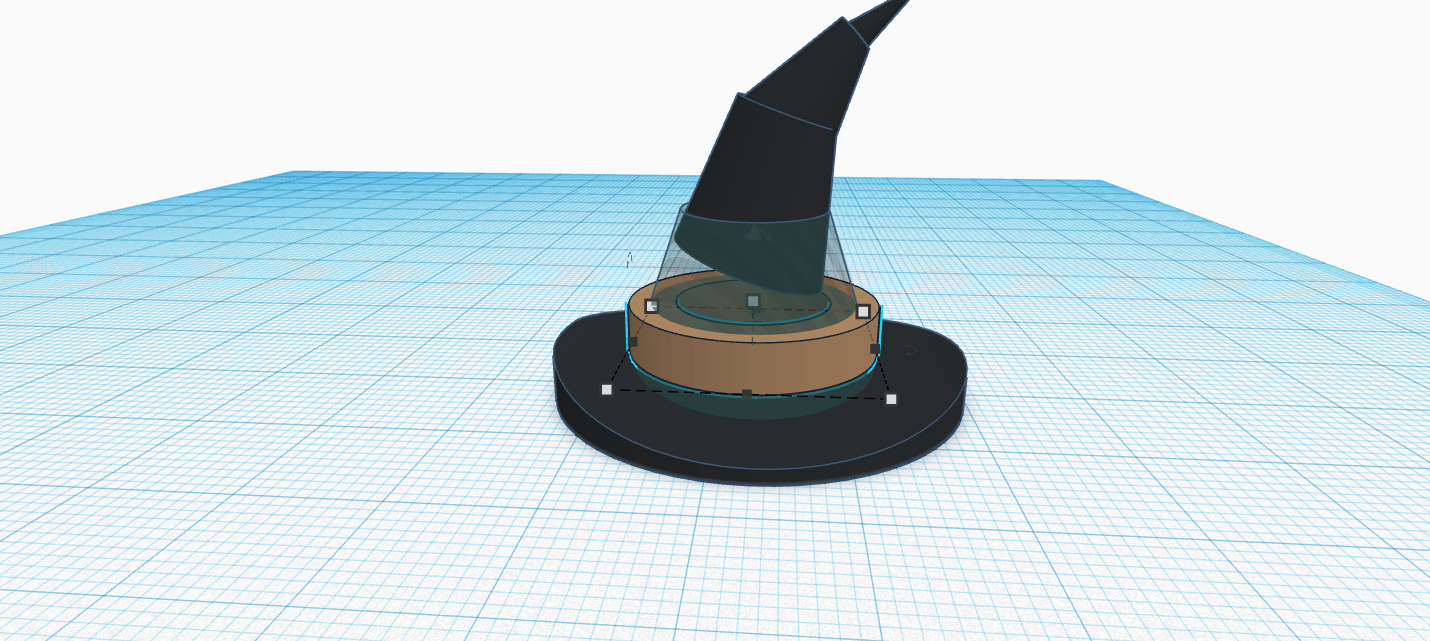
The details are what makes the design realistic.
- Bring a "Tube" on the workplan.
- Size the "Tube" 21 x 21 mm and 4mm height.
- In the shape window, make sure the "Wall Thickness" is enough to get inside of the body "Cone" and increase the sides to 64.
- For having a good placement, lift the "Tube" to rise a bit higher than the top surface of the base.
Final Touch
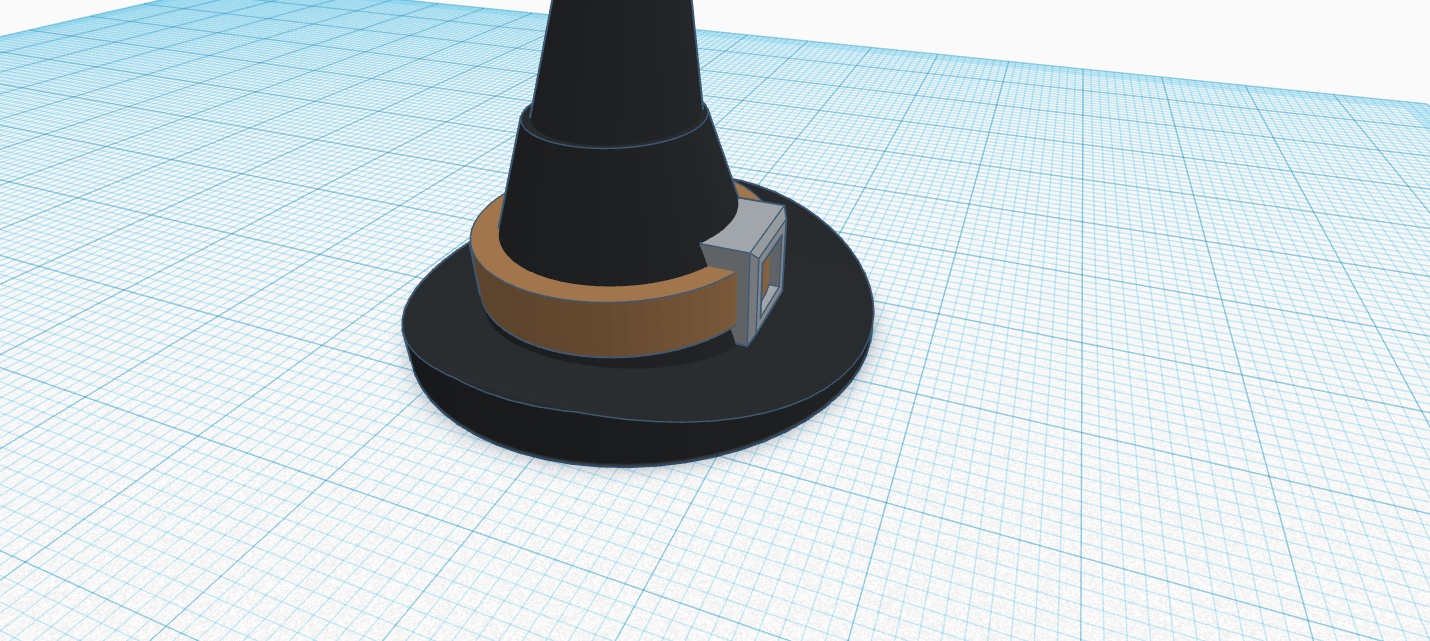
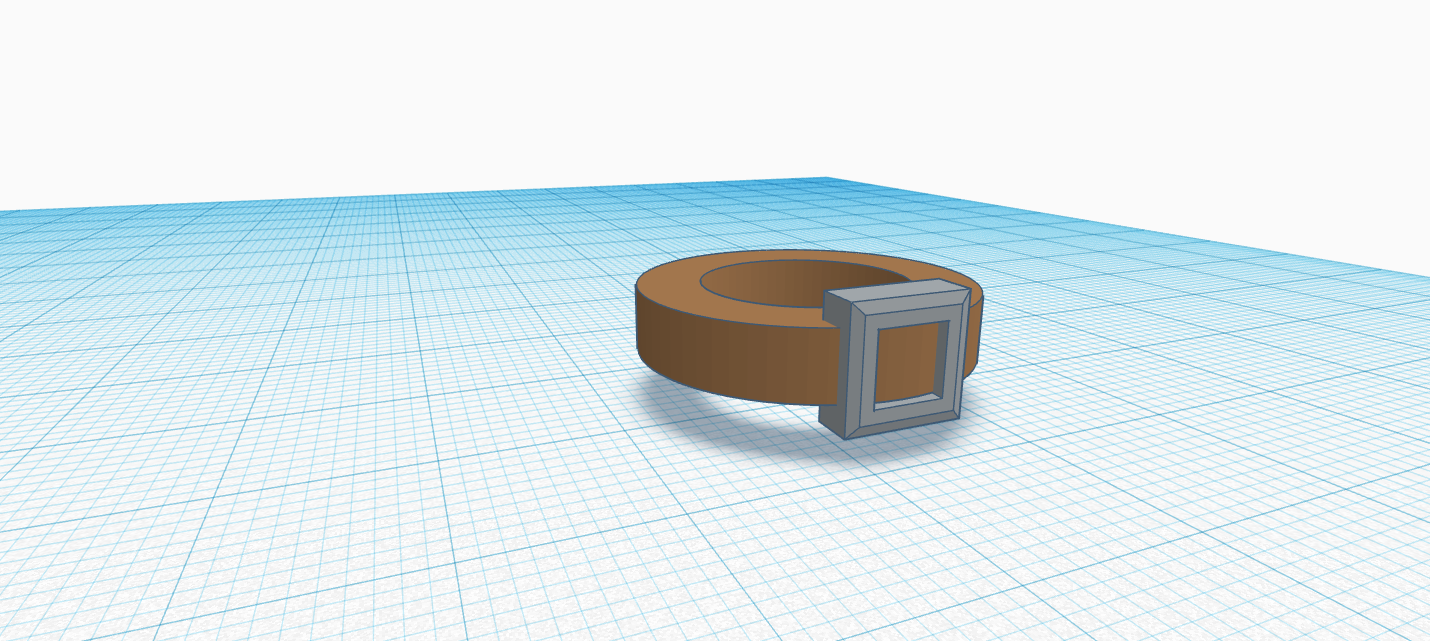
To get the belt buckle there is 2 ways.
- you can use a box and pierce a rectangular hole in it with a hole box and group both together then adjust the size of it.
Or
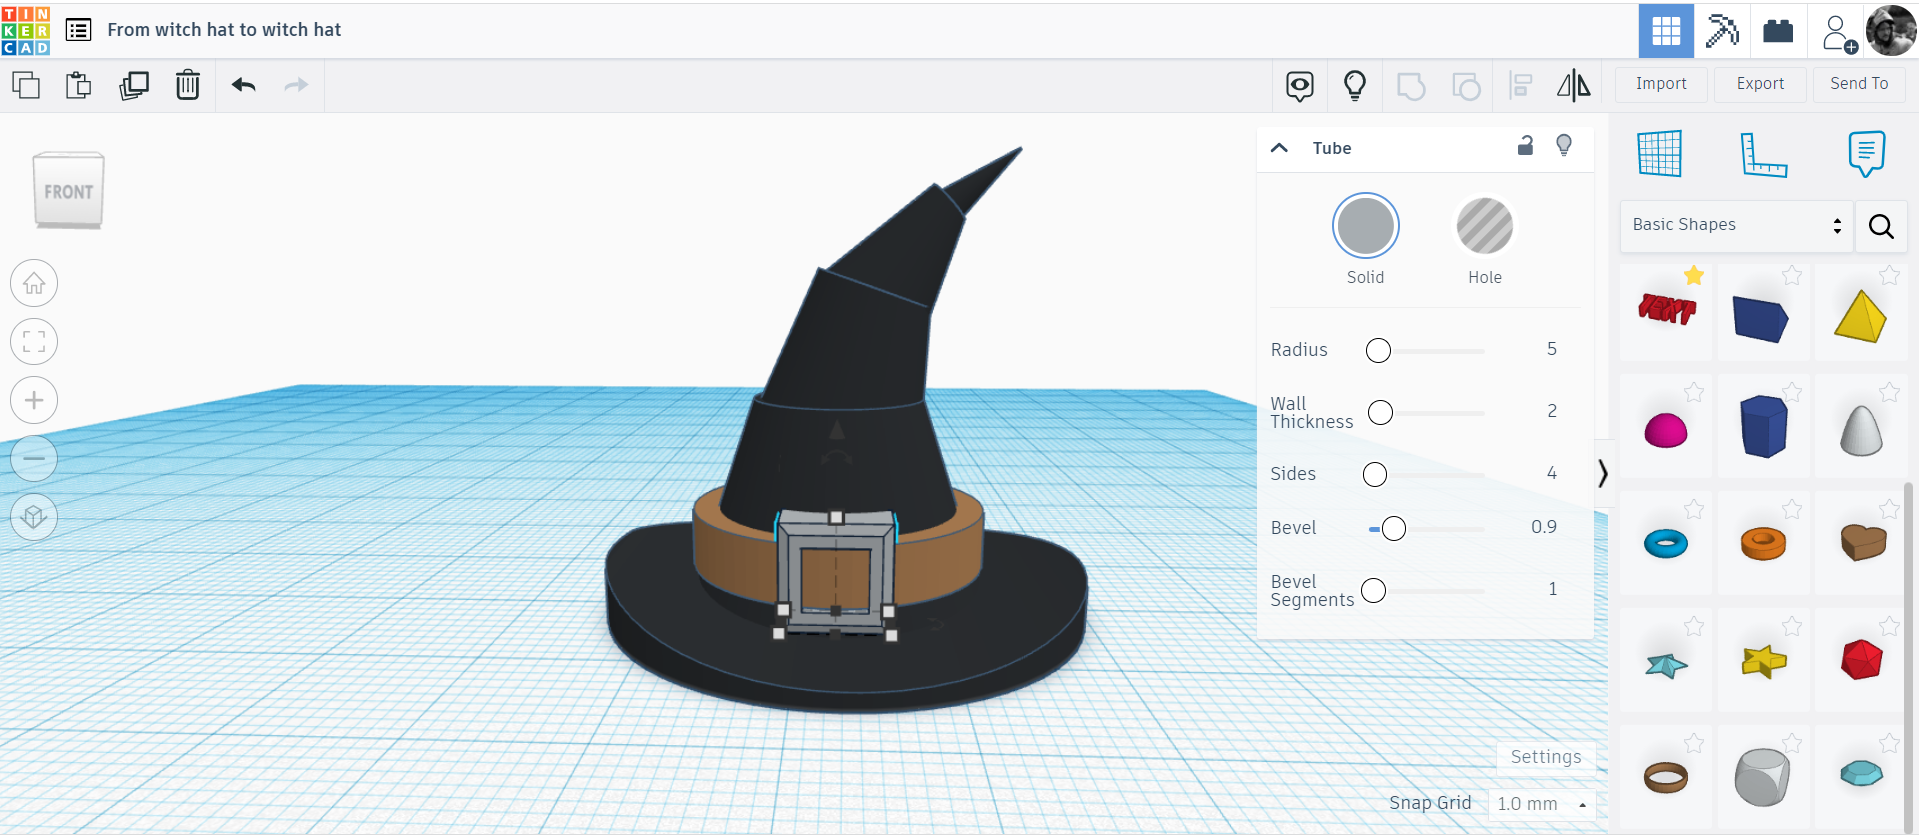
- You can use a tube and reduce the sides of it to 4 that way you will get a emptied frame without grouping. (so you use less shapes... on a design like this, it is not so important but on bigger challenges, reducing the amount of shapes and grouping can become a huge deal...)
- On the pictures enclose you can see my shape settings and then apply some adjustments with the size handles.
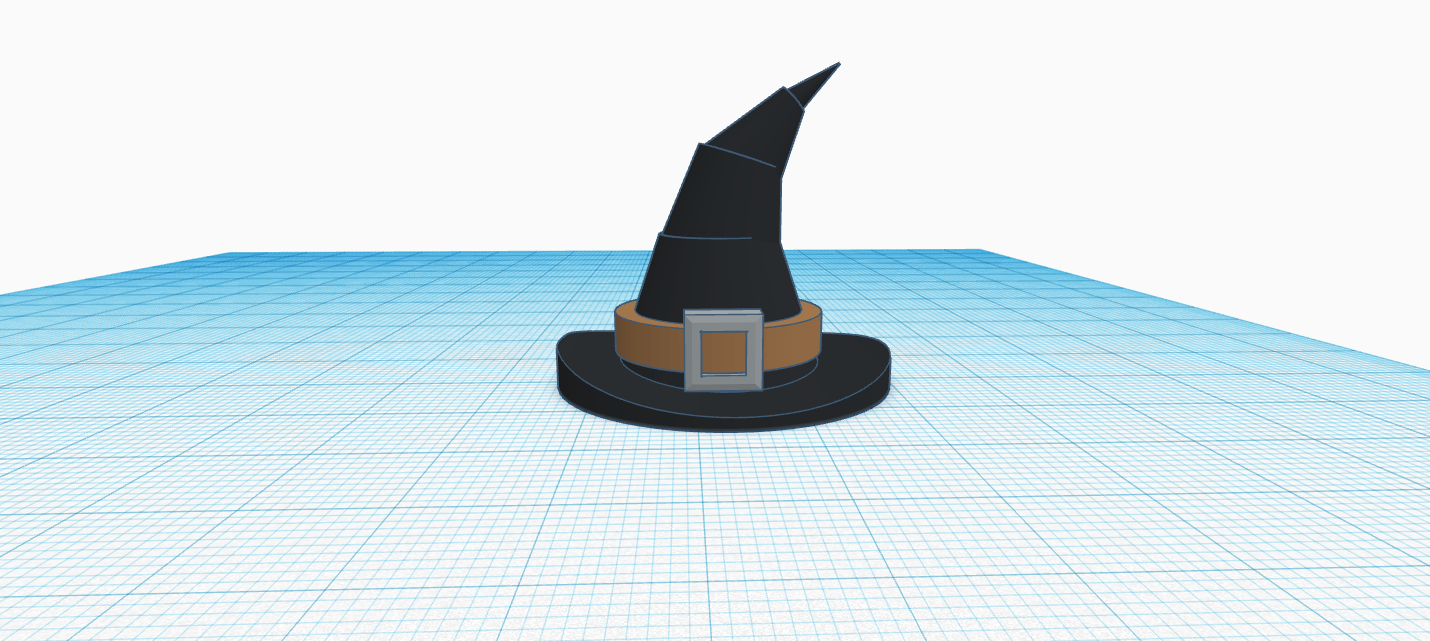
Congratulation, You Are Done.
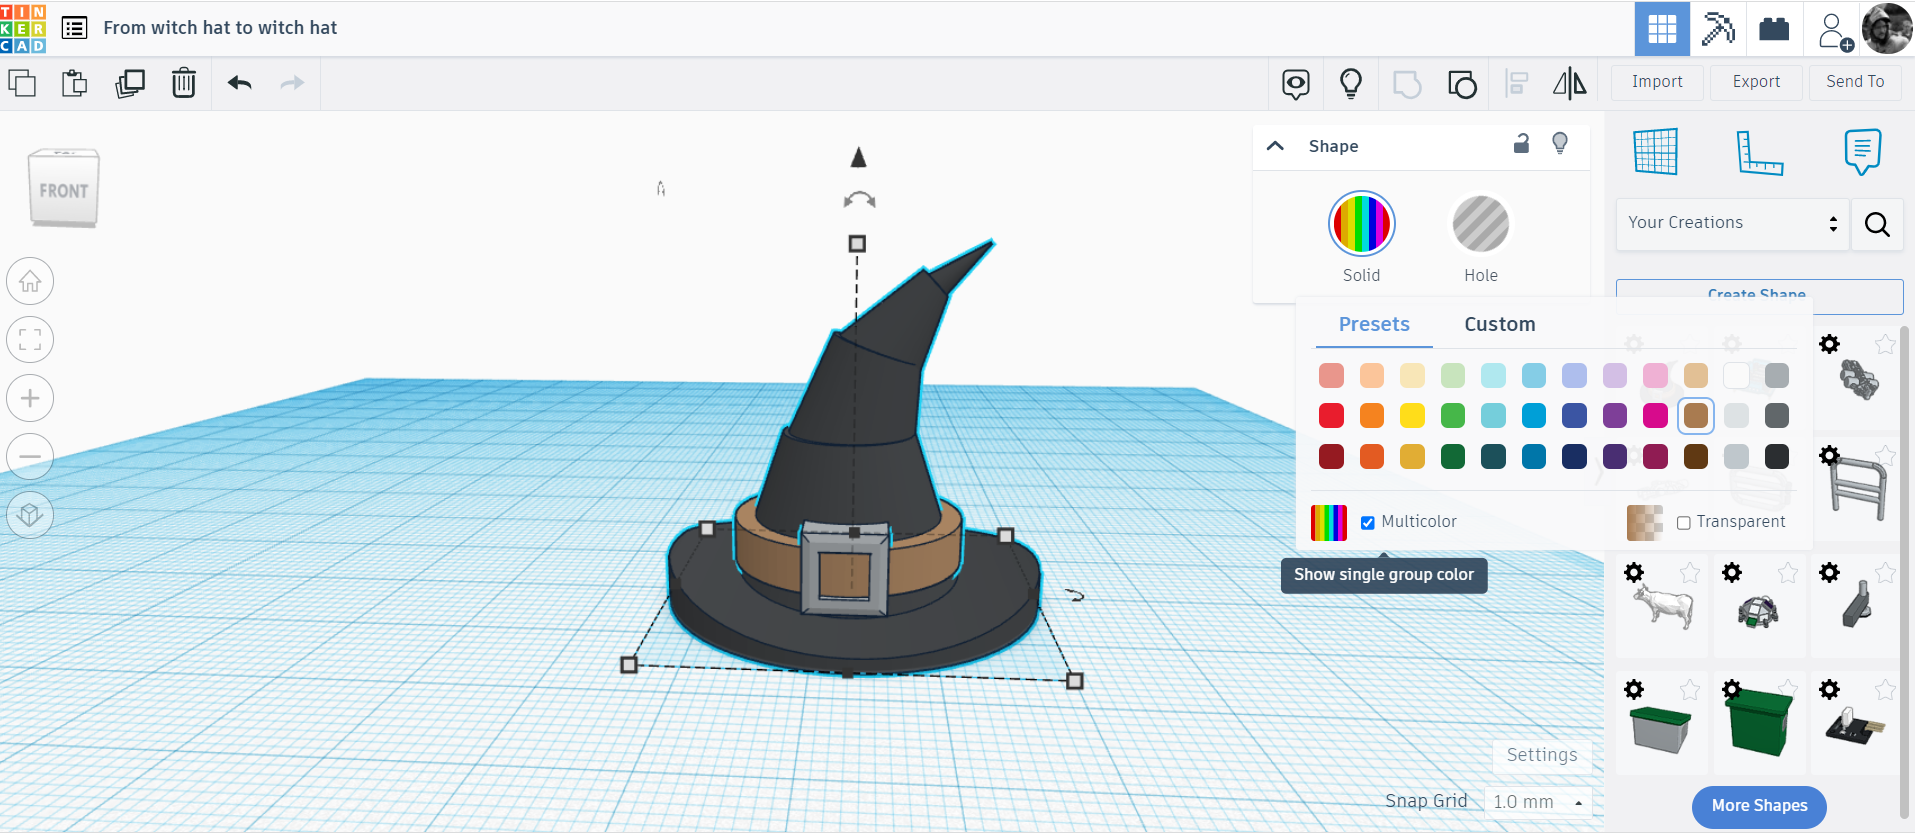
Now that you are done and you have your witch hat, you can group it all together. Make sure to click in the color and tick the multicolor option to keep the original colors of your design.
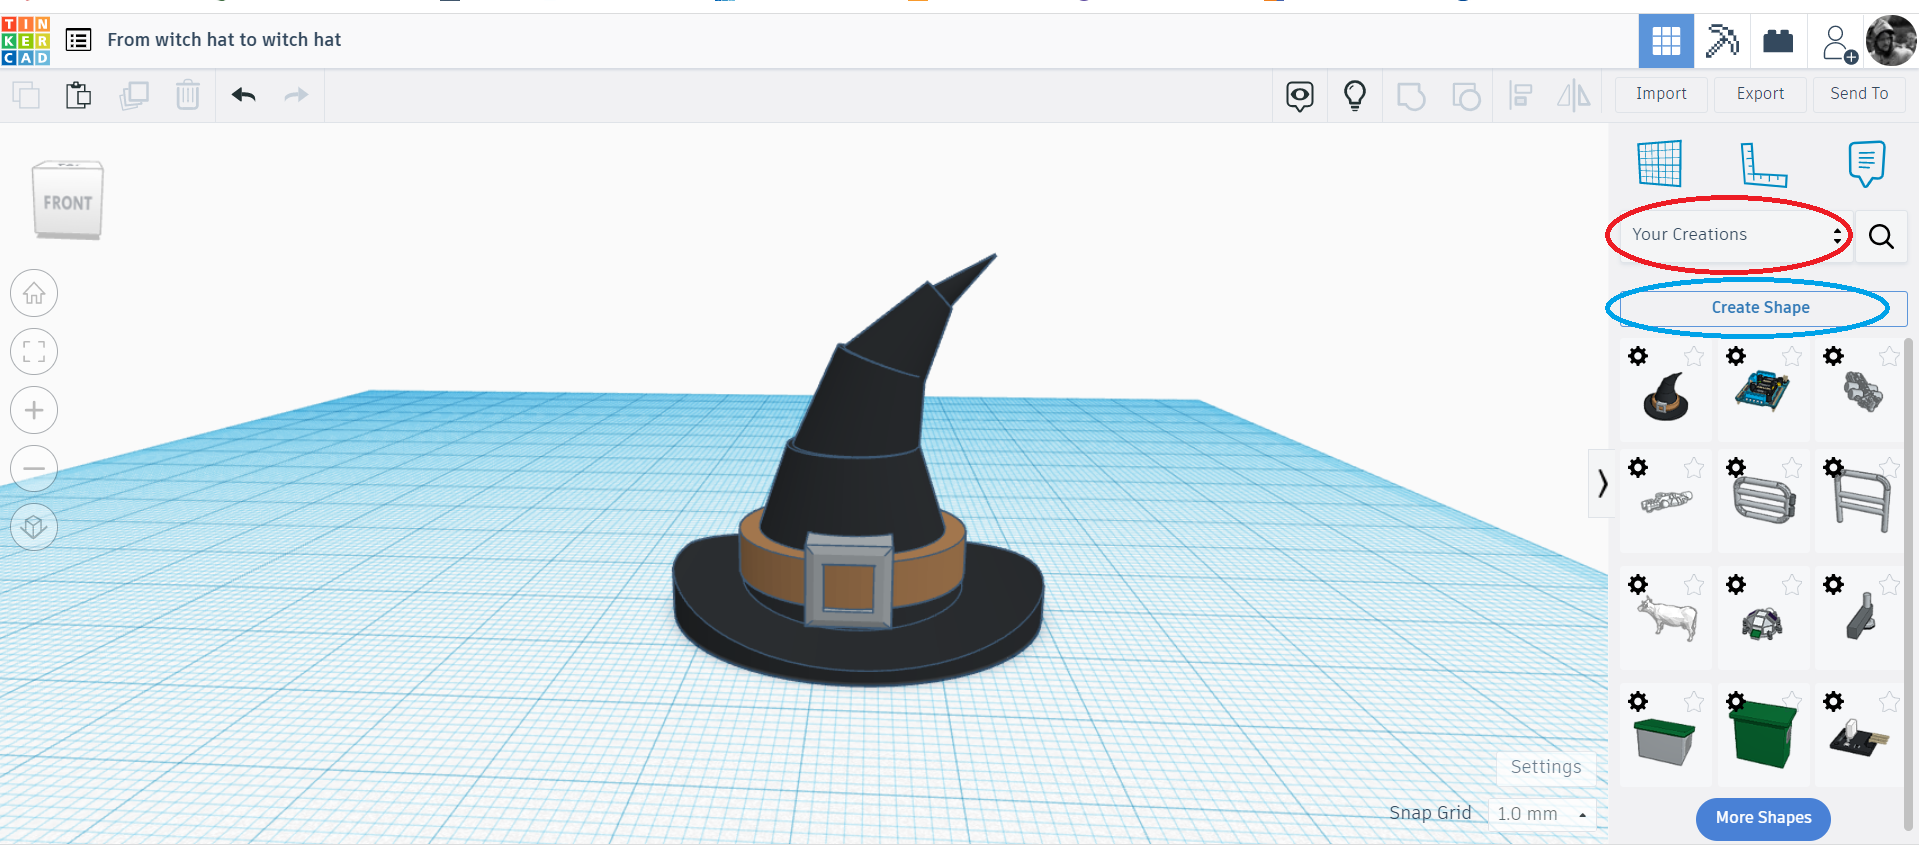
As you did a great job creating that item, you might want to save it in your creations to reuse it later.
- Just select your hat.
- Choose "Your Creations" from the shape type.
- while the hat is selected, click "Create a Shape"
Just like that, you can turn your coolest objects into time savers for your next Halloween craft.
Have fun and keep Tinkering!