From Sketch to Design - 150ft.² Tiny House
by obsidianfire7 in Design > 3D Design
154 Views, 1 Favorites, 0 Comments
From Sketch to Design - 150ft.² Tiny House


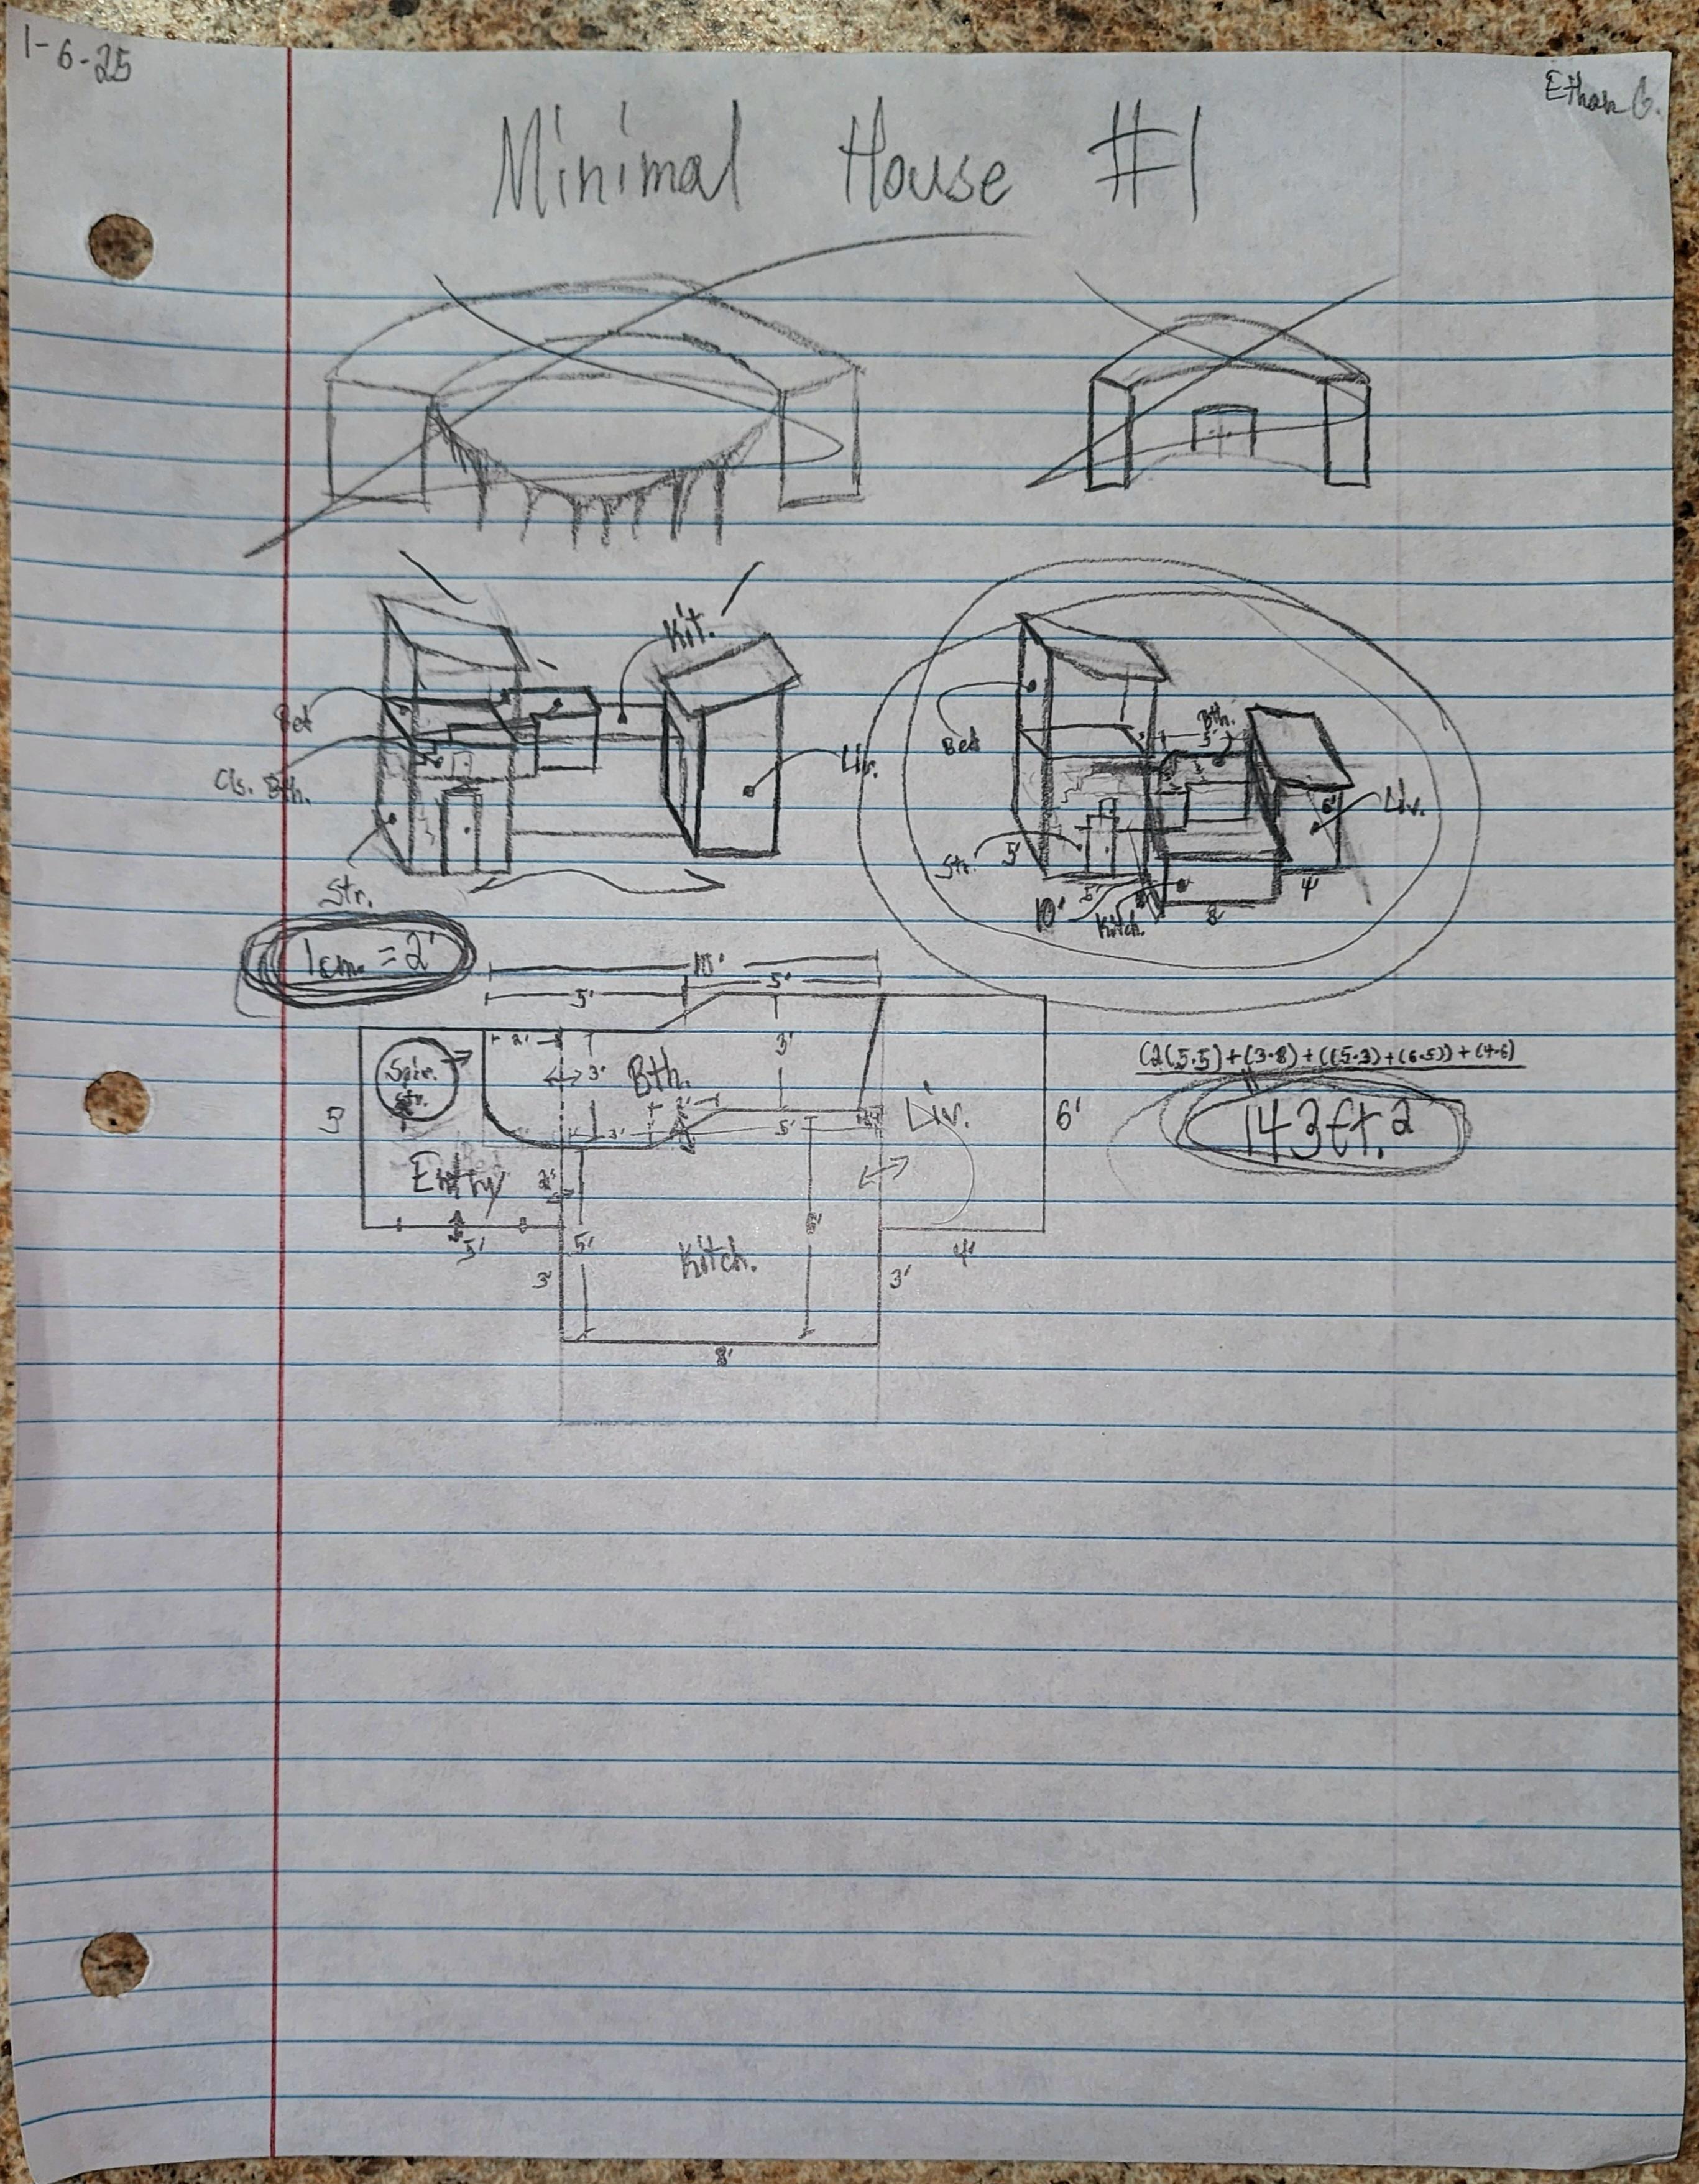
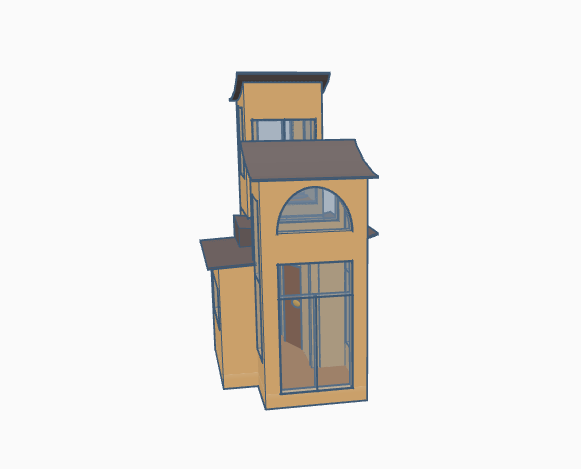
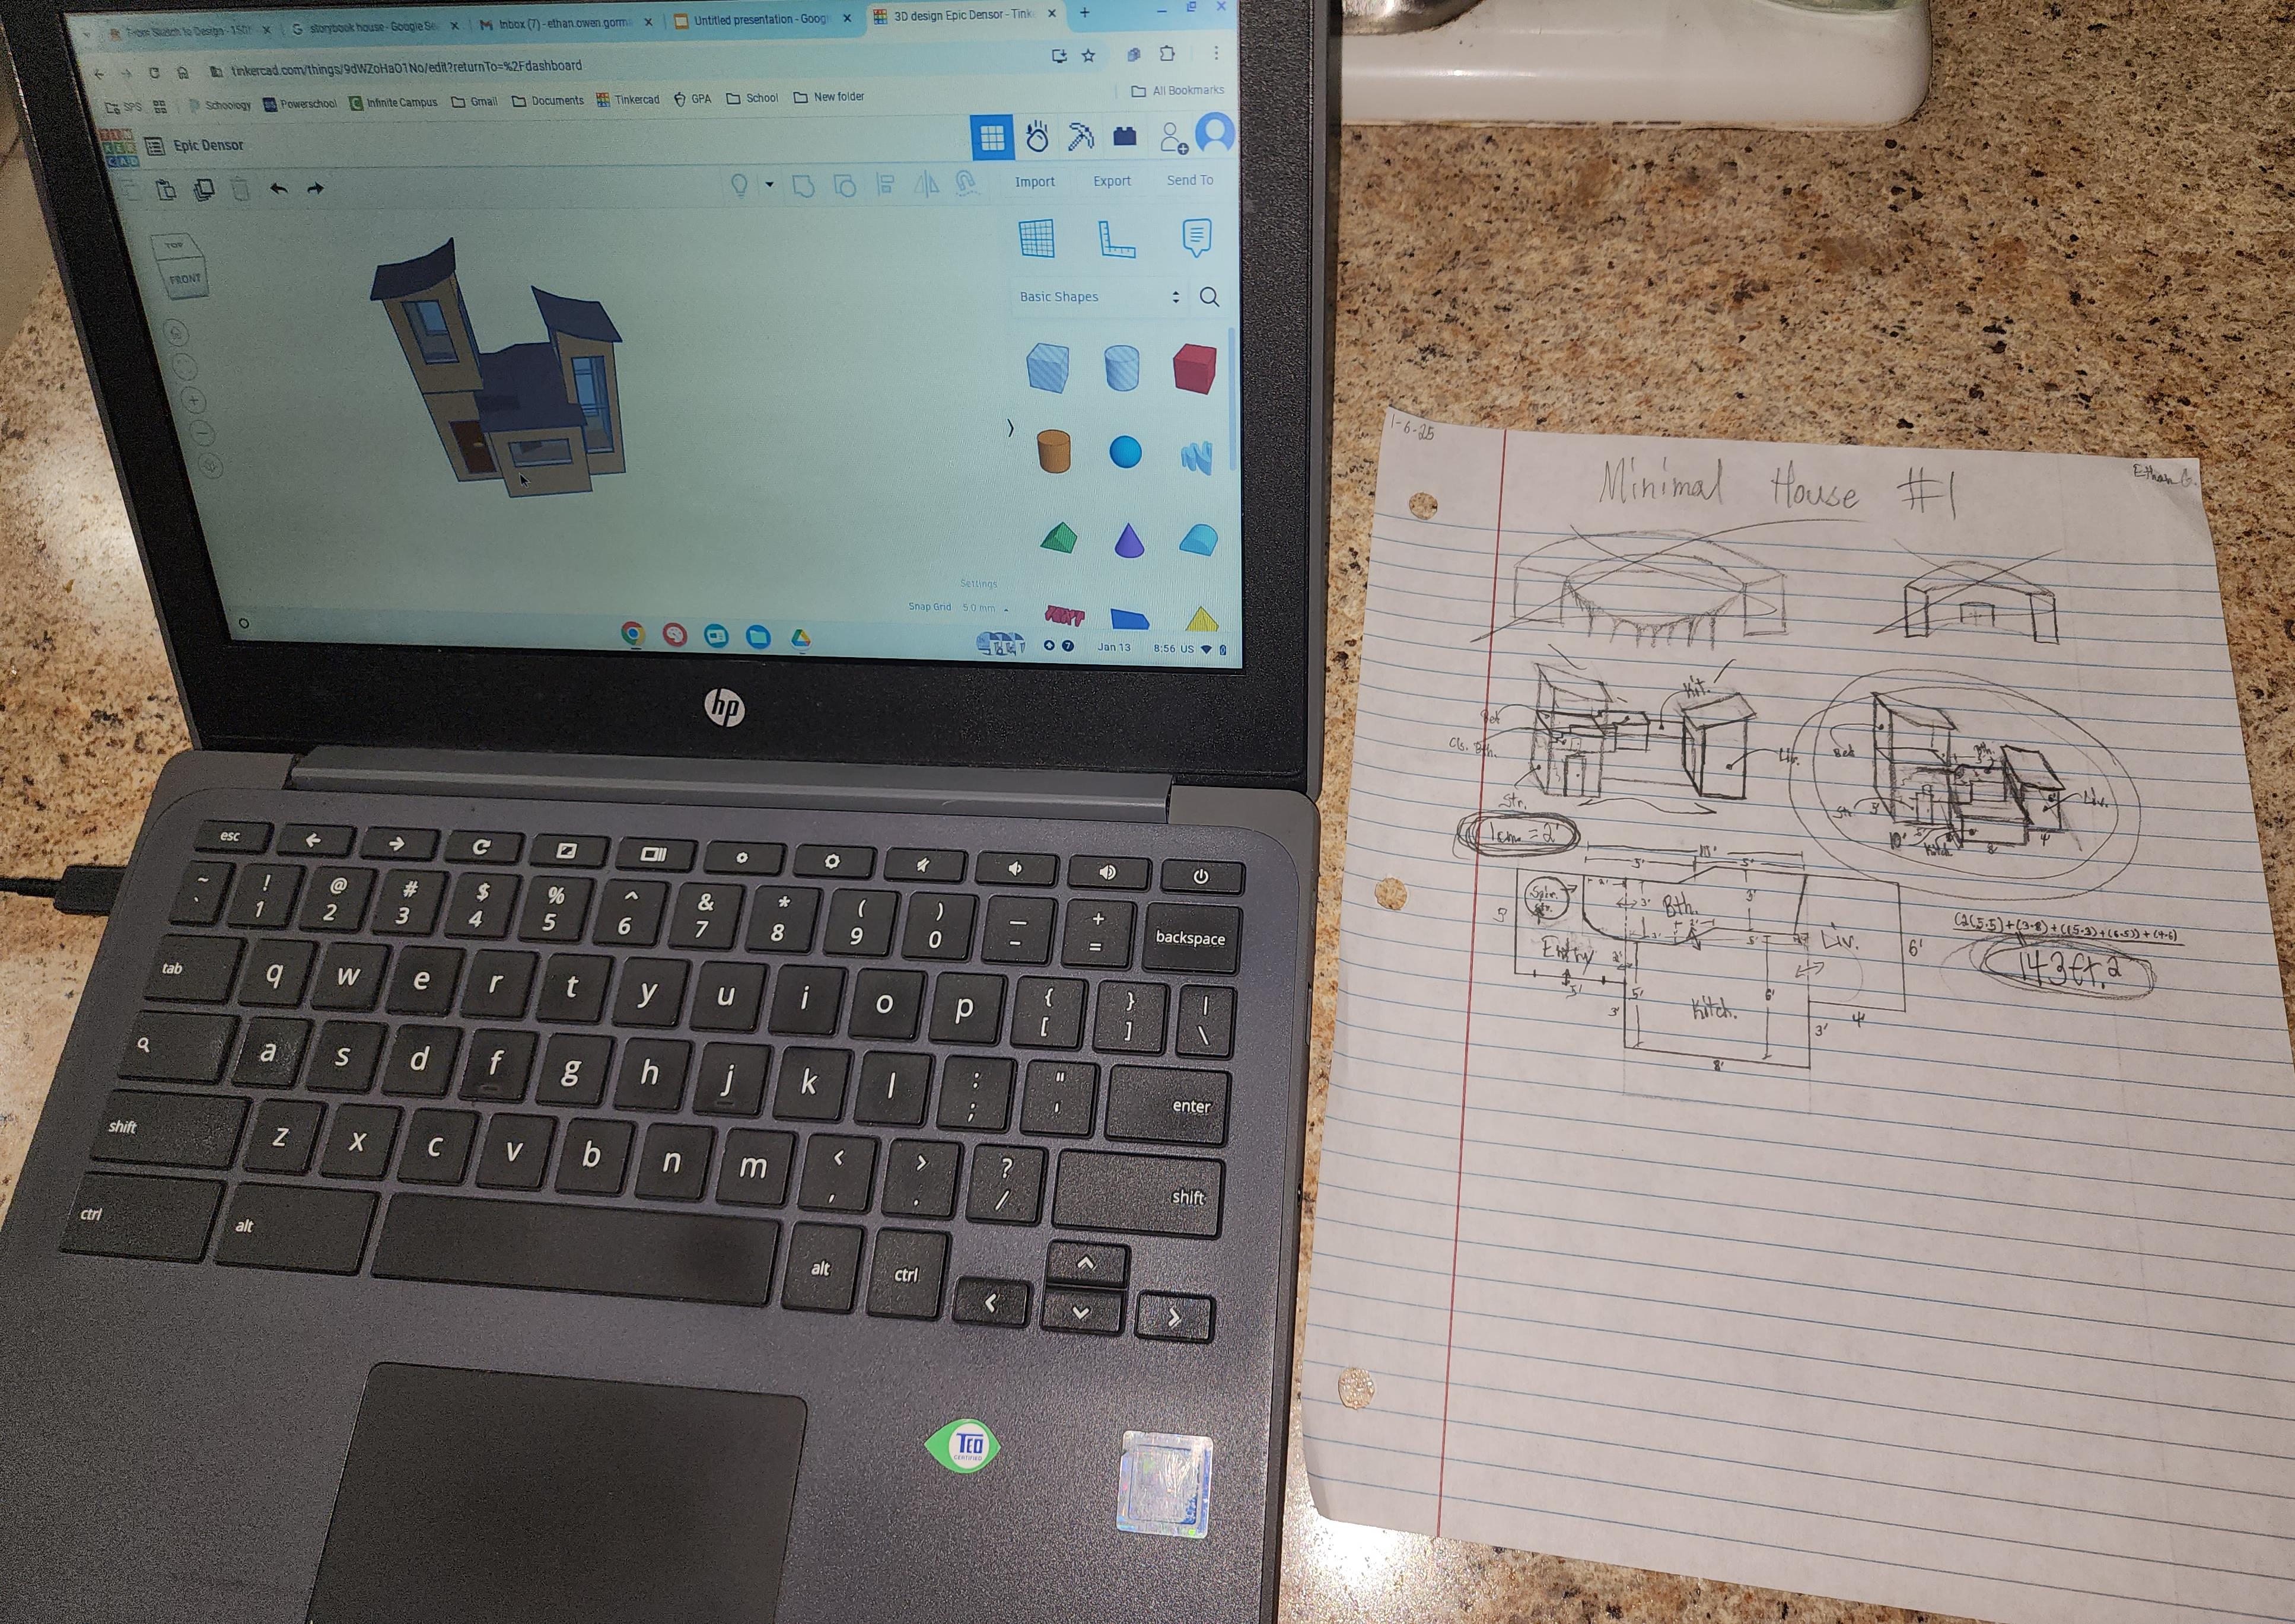
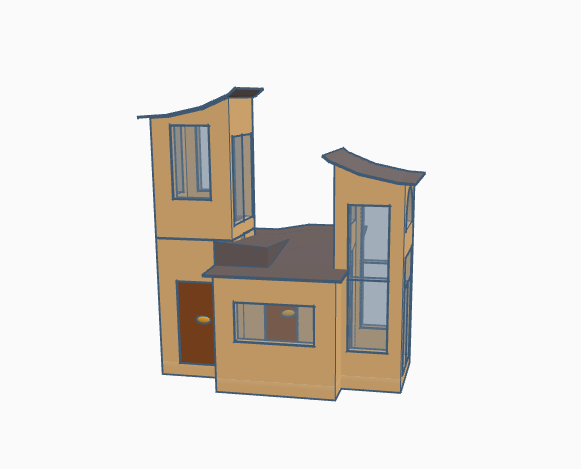
This is how I went from a sketch of a minute house, to a floor plan, and, finally, to the final 3D design. This house in specific has slight inspiration from a blend of cultures and styles such as storybook homes, Mediterranean architecture, and slightly inspired from Spanish architecture.
In the end, it ended up being exactly 147ft.² and was designed with the idea of being a tiny home and possibly a future Airbnb.
Supplies

For the materials used, it is just about everything in front of me. You need something to draw/write with (pencil), something to draw on (paper), also, depending on your drawing and scale ability, you may need something to measure with I've done with and without (ruler (optional)), then internet, and a program to design on (I used Tinkercad).
Get Inspired

For this step, just get inspired and look:
- I would highly recommend doing a bunch of research, look around at other designs, different architectures, and explore different places' styles
- And put these into some sort of document or folder for ease of access
- This is a crucial step and, looking back, it can make or break the initial design
Sketch Up a Design

For this, make an original design:
- Sketch, sketch, sketch, make many designs
- I would recommend also doing a floor-plan during this step
- Lastly, you can also try and calculate the square feet, it will likely change a bit though because of entryways
- My, for example, mine had gone from 143ft.² to 147ft.²
Start the Design


Next up, use your sketch, floorplan, and your program of choice to get a rough start:
There are many, many, many different ways to go about designing this, but, here are my steps:
- Create a basic layout that shapes out the floor plan
- Separate and flush-out each room's shape
- Add a shape, proportionally around 6-12", around each room, subtract the floor from the shape to make the walls
Finish It Up


After starting it, spruce up the design:
This might seem like a bit of a dawning step, but it's really not, here's how I went about it:
- Make the rooms the proper height, add additional floors if need be
- Add a roof
- Fix up the colors
- Add and negate the windows and doors
- (Optional (and NOT on this design)) Lay out extra areas: the lawn, driveway, pool area, porch area, ect.
(Optional) Calculate the Costs

This is the final step and is optional:
- Use the square footage
- Factor for its size and the planned materials
- Calculate the costs
- Material, square footage, road, sheds, possibly land, ect.
This is NOT on this design, the photo is a previous house concept. I've done enough that here's a rough estimate for this house though:
- ≈150ft.² * $300 (higher end) = $45k + ≈$3k (road if needed) + ≈$50k (land if needed) = $98k
- Rough cost (only building) = $45k give or take $10k (highly variable)
- Rough cost (including land and a road) = $98k give or take $20k (also highly varies)