From Marble Painting to Digital Pattern to Hypnotic Gif
by SabinaStan in Design > Digital Graphics
723 Views, 1 Favorites, 0 Comments
From Marble Painting to Digital Pattern to Hypnotic Gif
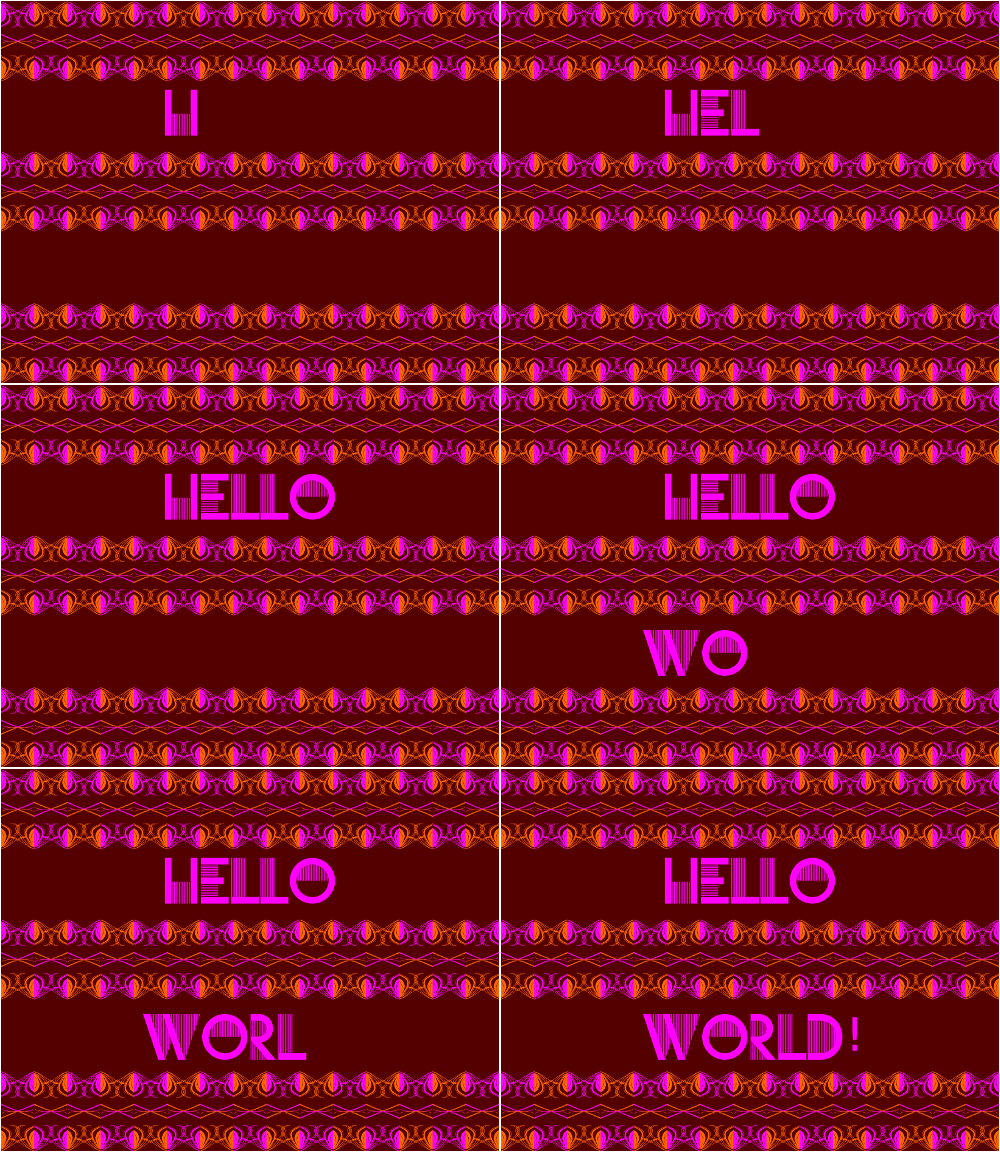
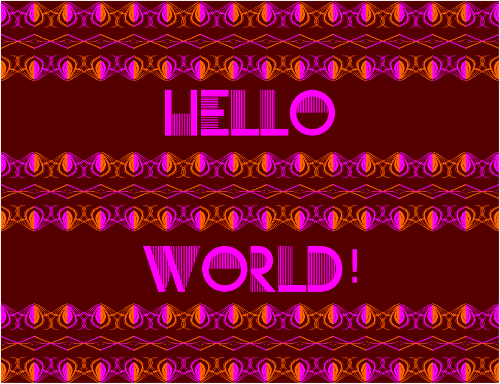
I received for Christmas marble painting colors and I got so caught with them that I ended up making so much more and new ideas keep coming.
What I love about marble painting is that the result is unexpected and rewarding as well.
I will write the supplies needed for each step.
Marble Painting
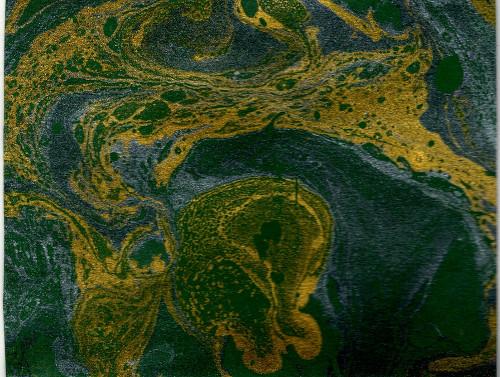
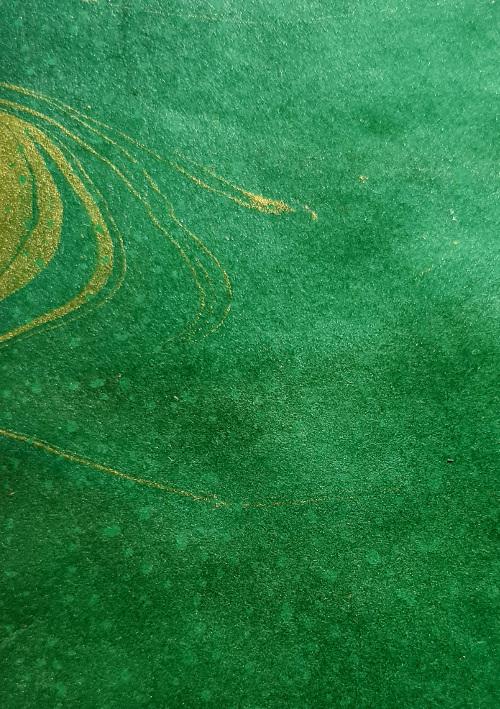
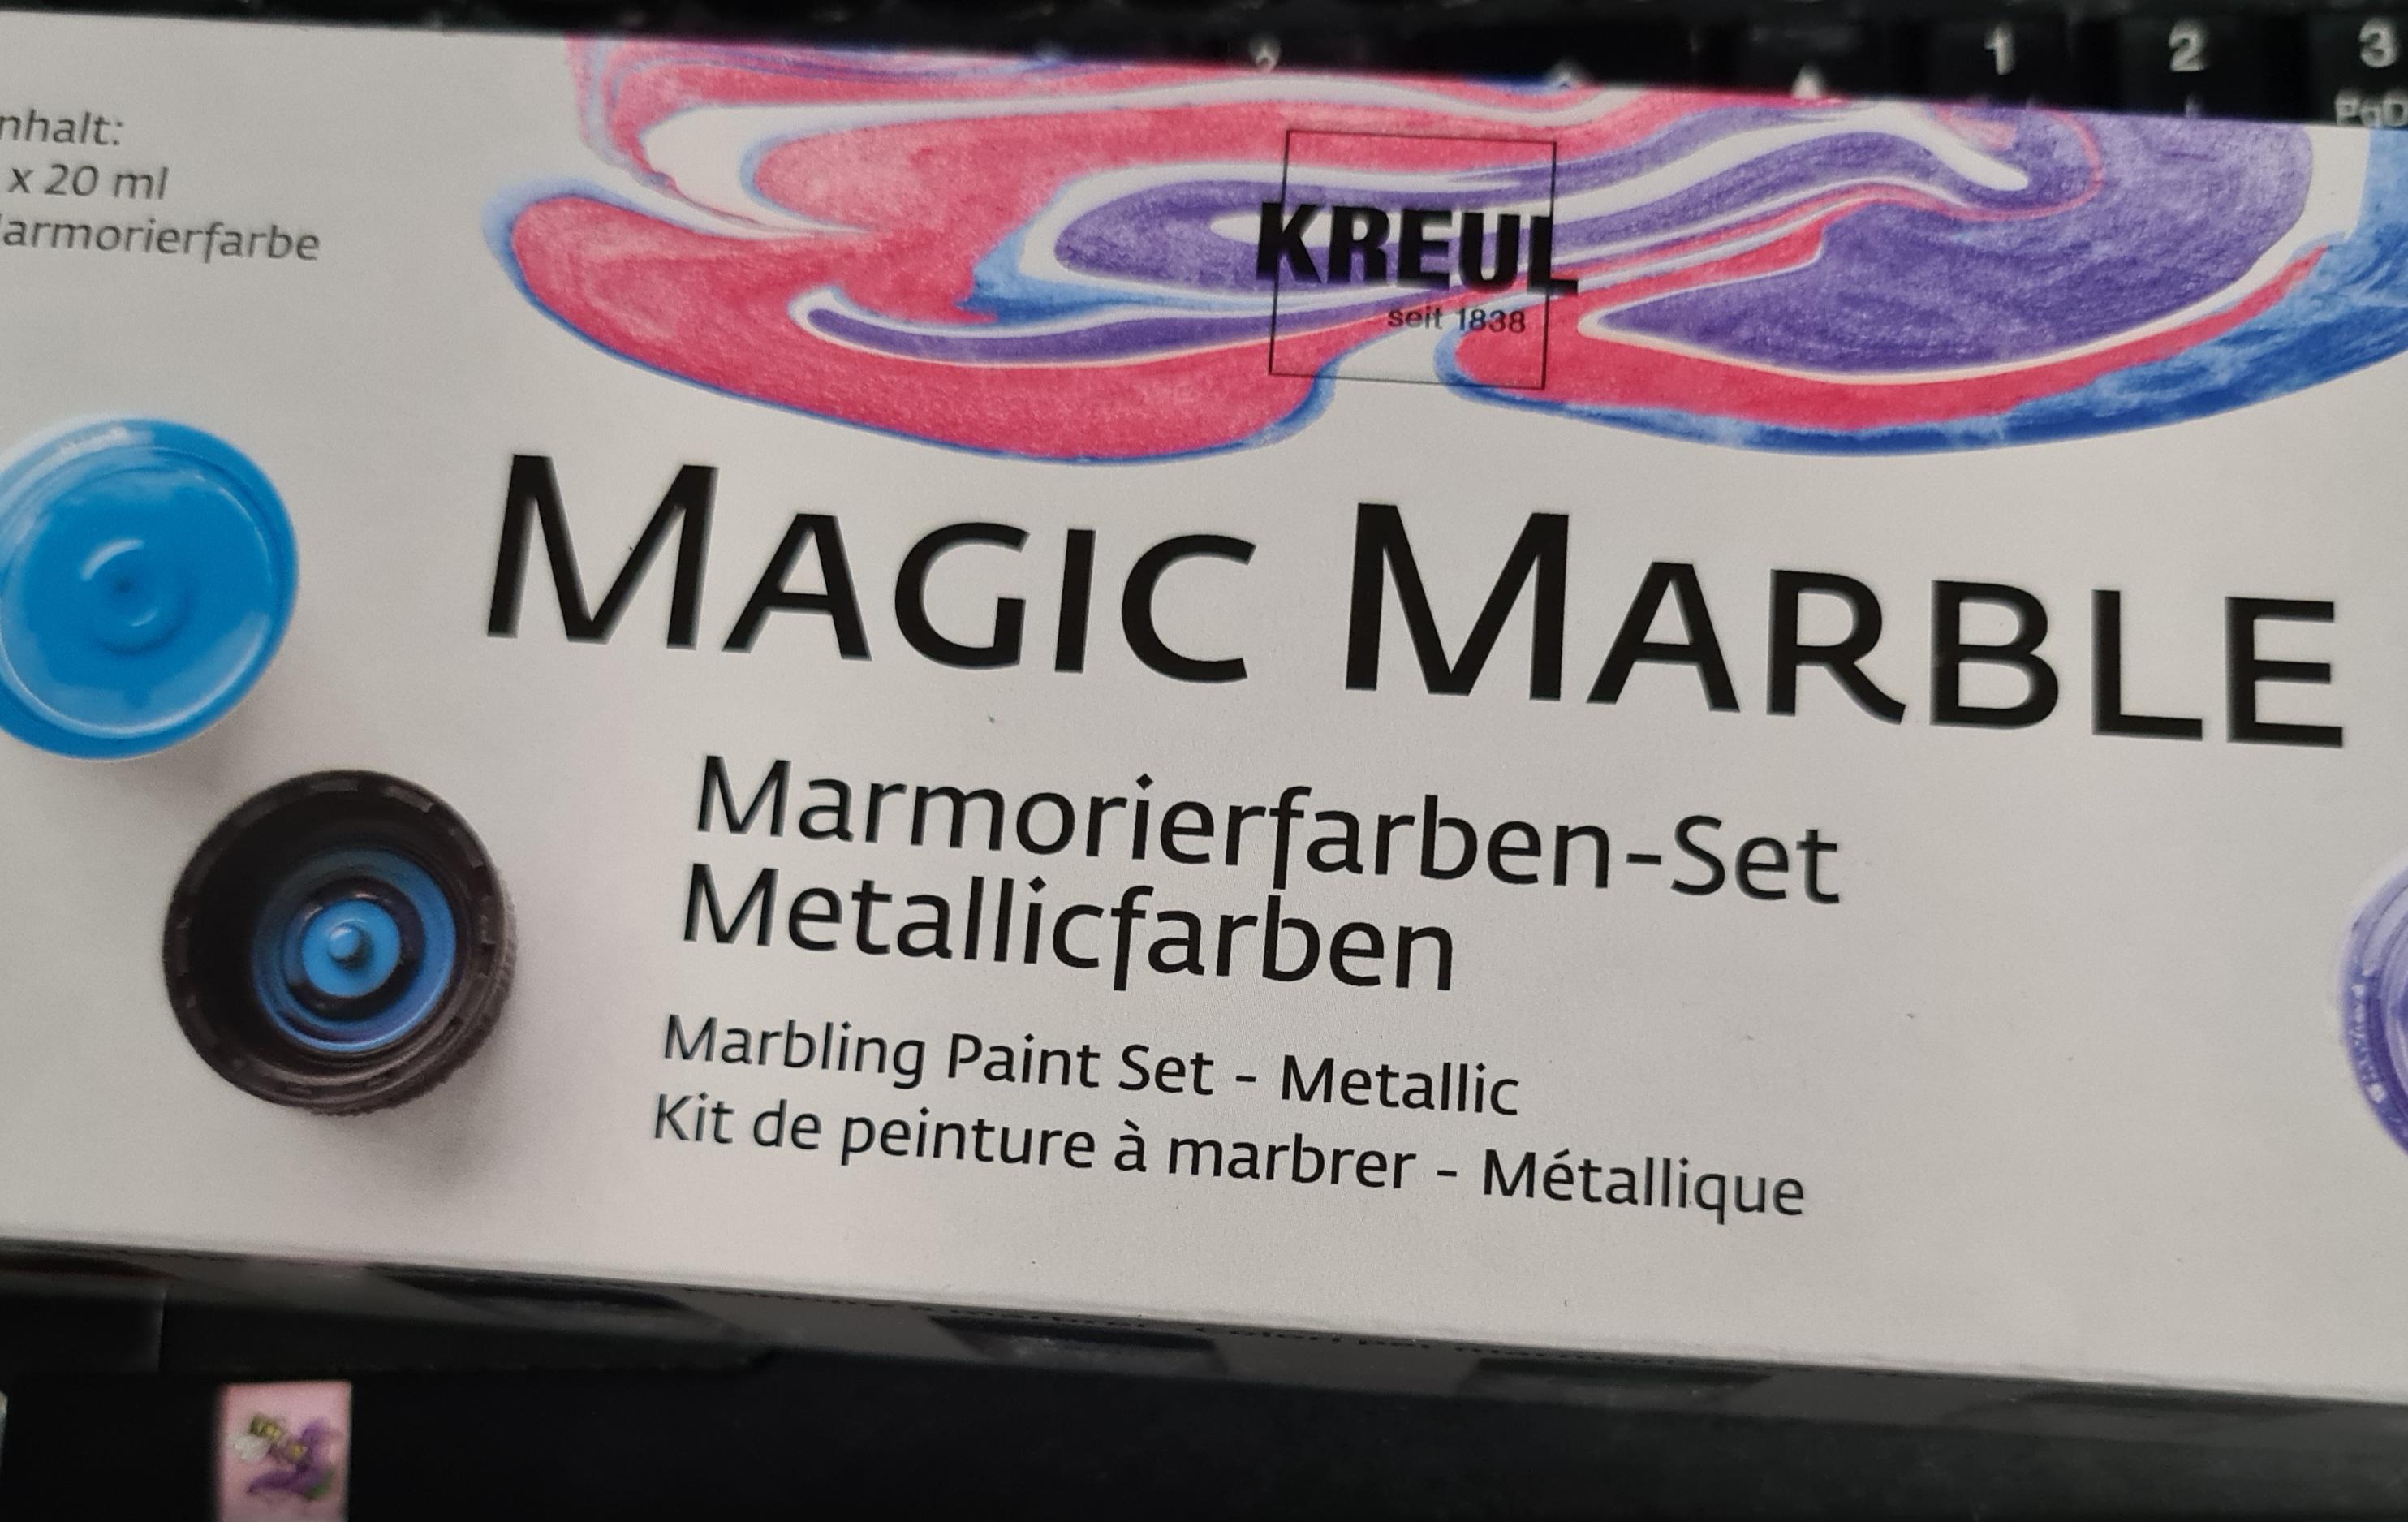
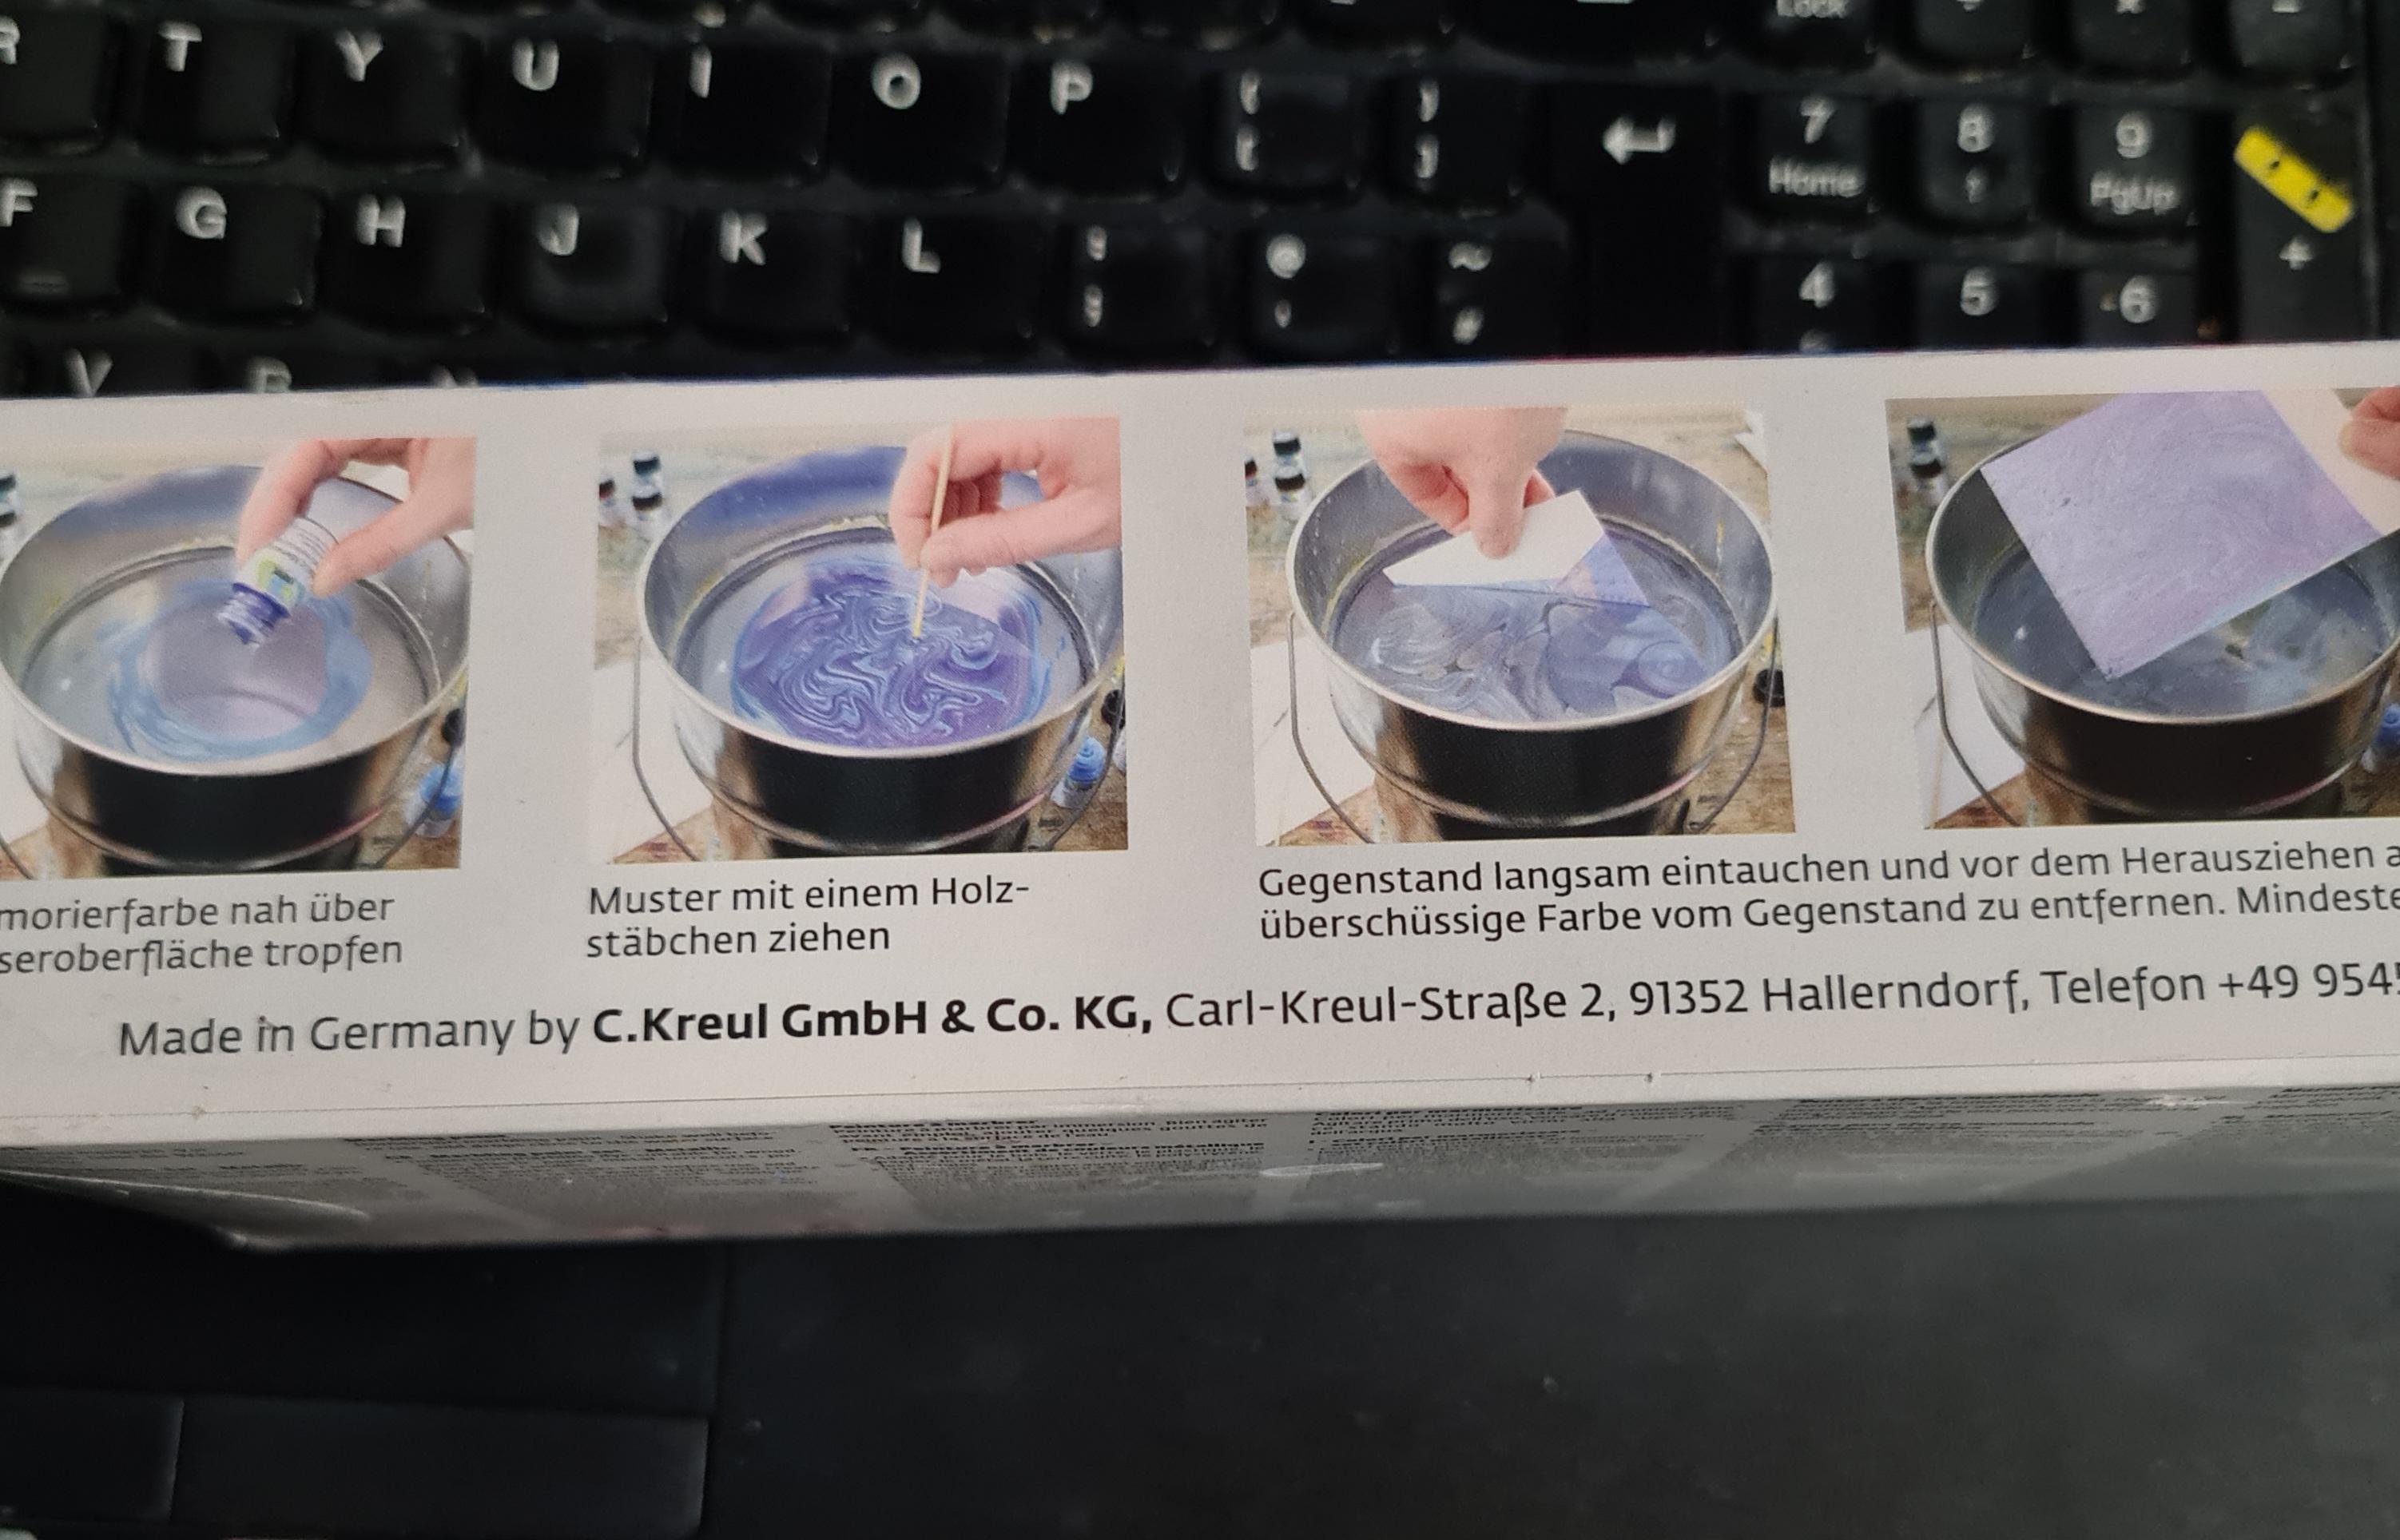
The marble paints I used are Magic Marble by Kreul, but apparently you can use nail polish just as well.
Apart from the paints you will need:
- a recipient wide and deep enough to submerge a piece of paper (A5, A4 or smaller)
- paper, most any paper will do - should be white or light colored though
- a thin wood stick
- water
- some tissues to clean the water after each painting
Steps to take to create a marble painting.
- Fill the recipient with water
- Choose the colors you want to use (for the purpose of this tutorial one is enough, two at most)
- Shake the color bottles
- Put in a few drops on the water
- Move it around with the wood stick until you see something that inspires you
Note!
Touch the surface of the color only slightly with the stick, do not submerge it in the water or the color with remain on it.
Guide the color with small gestures. Try not to linger to much with the stick over the color.
6'. Submerge the paper in the water at 90 degrees (see photo with instructions from the box or video on step 4). Make sure you have a part that will remain dry to hold it from.
6''. Place the paper horizontally over the water. The color will serve as a barrier between the paper and water. Press the paper to make sure the color is absorbed well. Once the color is absorbed, the paper will start to submerge. Take it out before this point or else it might break depending on how resistant it is.
7. Let it dry
8. Depending on the paper you might need to press it so that it will lose the waves that remained after it dried.
9. Scan it.
Digital Painting
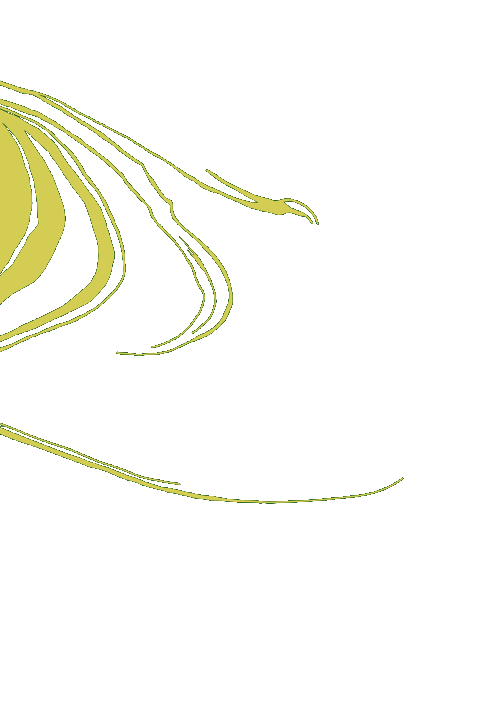
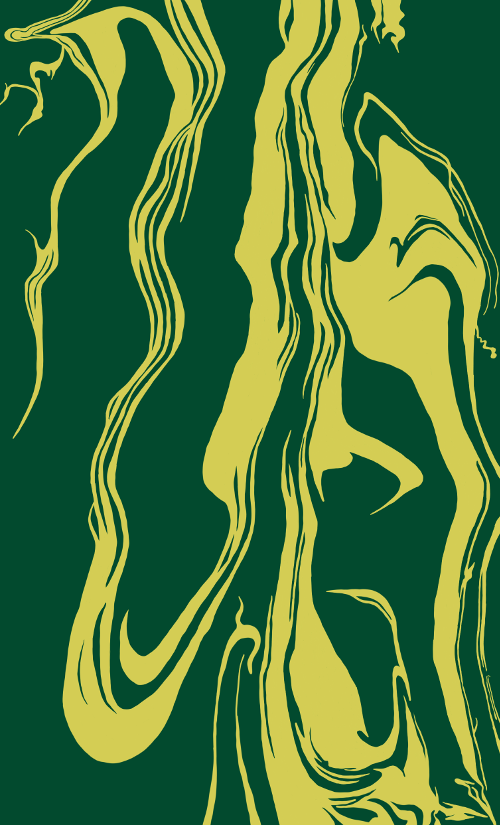
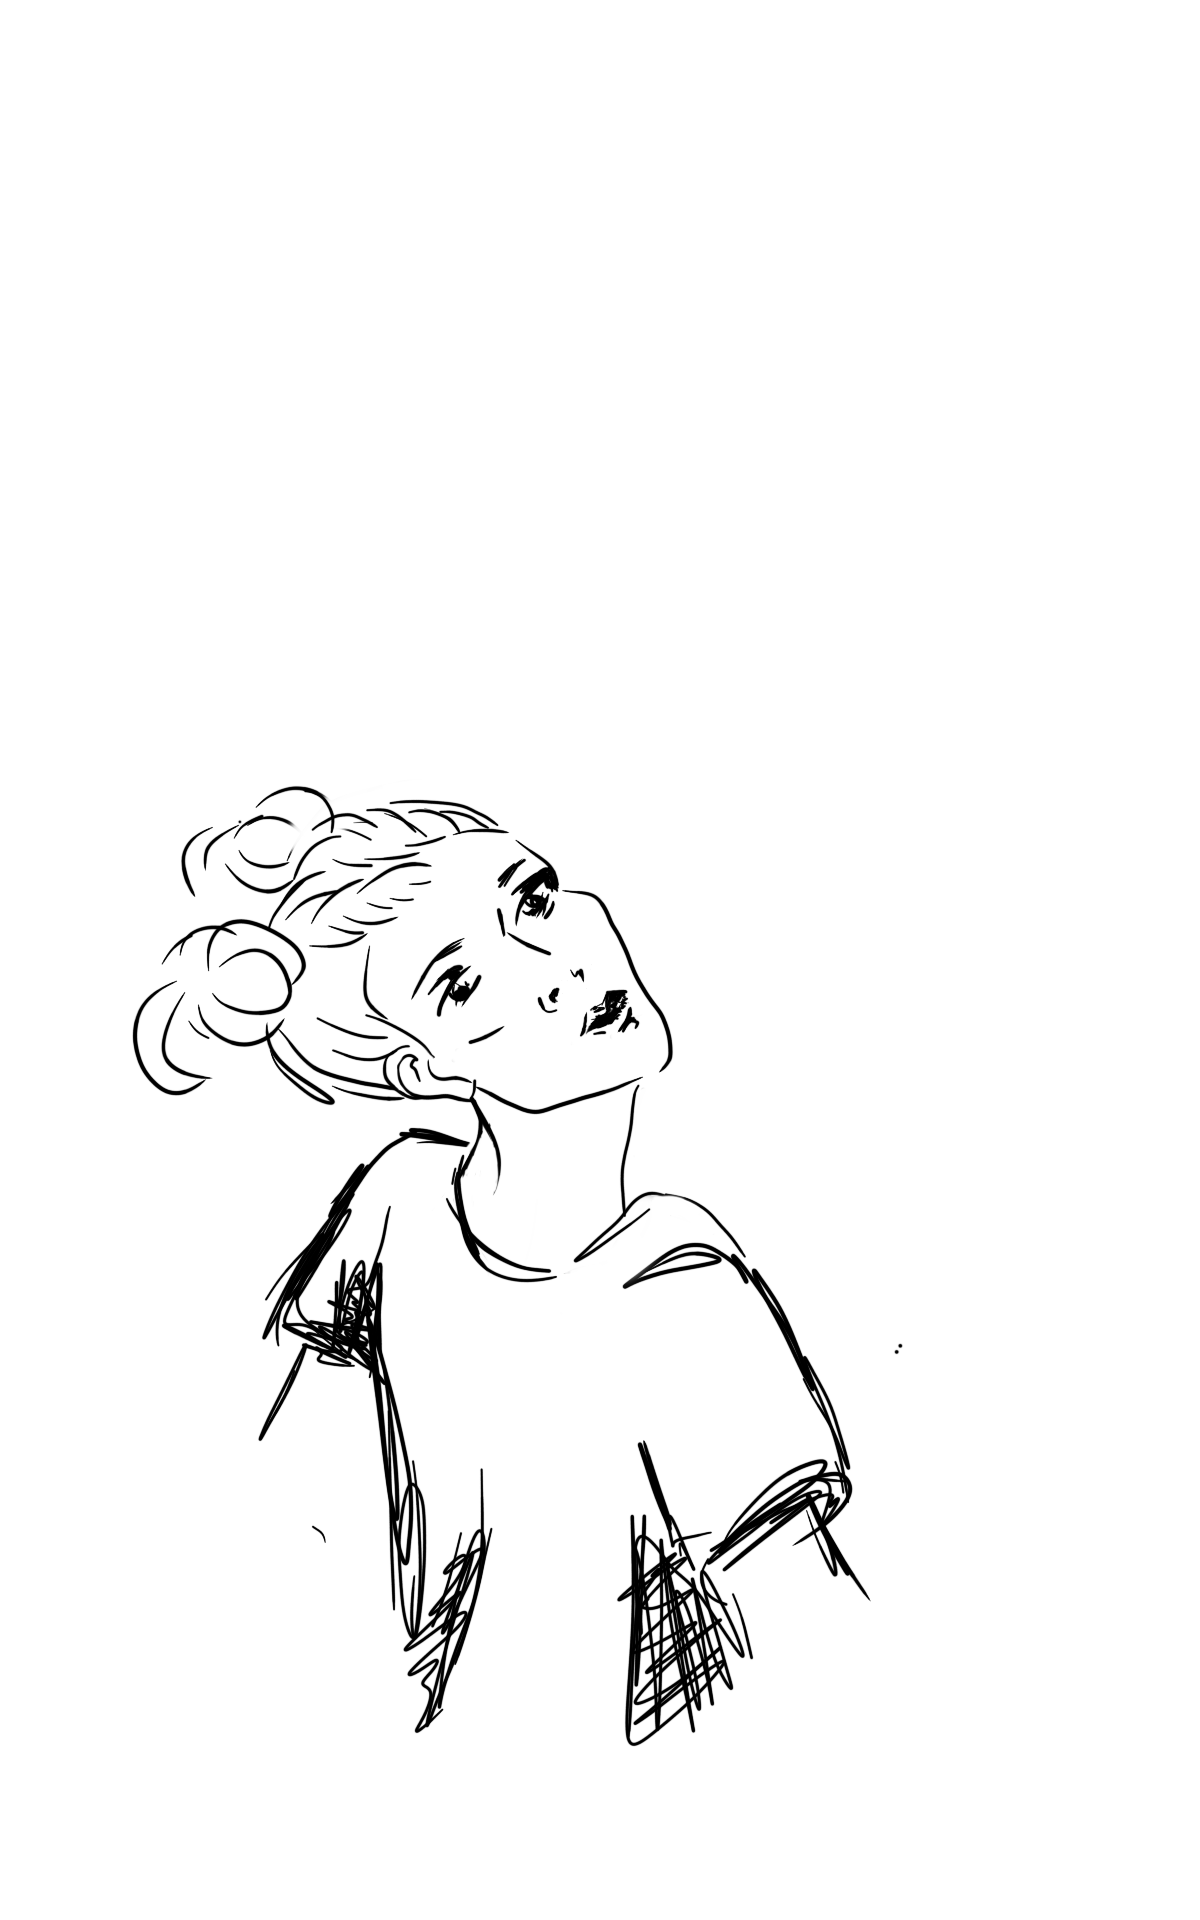
- a tablet - nothing fancy
- graphic pen - though I think I could have painted it with my finger (like the portrait for instance) :)
- Select an element from the painting that inspires you and draw it digitally
- Import the scan of the marble painting in a graphic application
- Create a new transparent layer over it
- Draw the element (preferably without background, it will be easier to combine afterwards)
Create the Vector Element
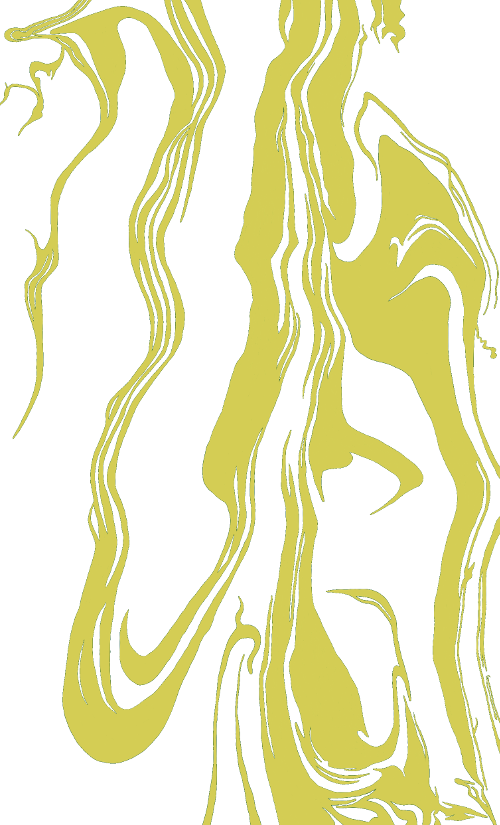


For this I used Inkscape. I'm a big fan using free resources and forever grateful for those who supply them.
This is pretty simple.
- Import drawing of the element
- Path - Trace Bitmap - check color, although now that I think about it it can just as well be Grays
- Save element as png
Creating the Pattern


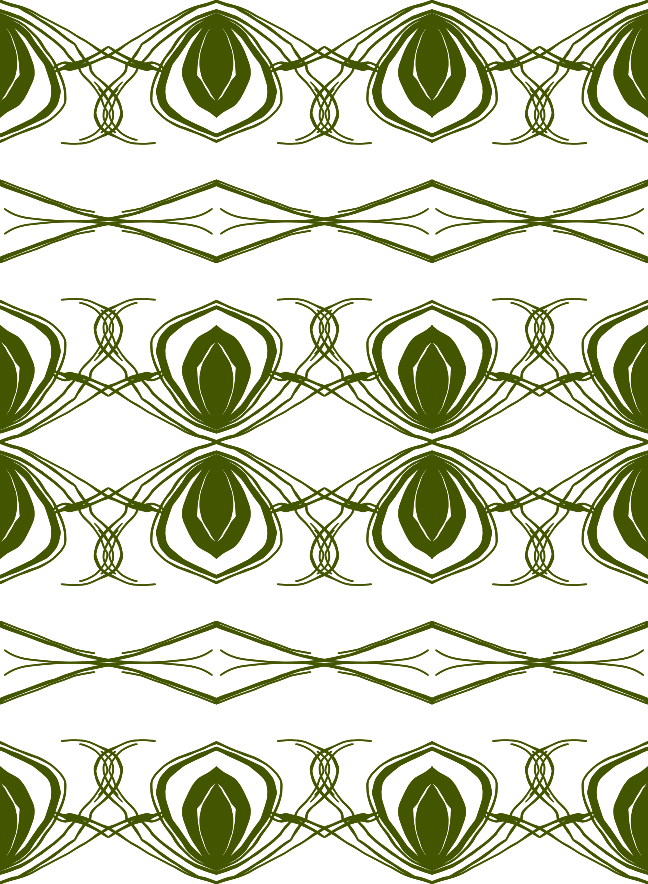
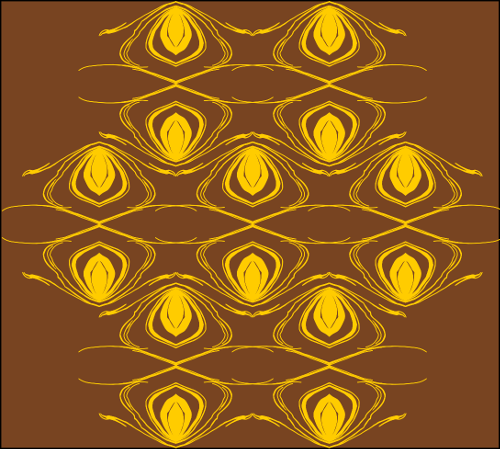
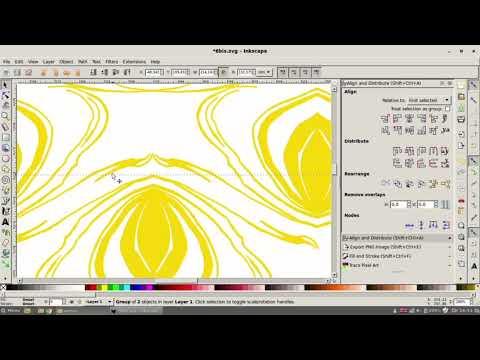
Still using Inkscape :)
1. Resize the element to the size you want
2. Copy/paste it
3. Find a way to repeat it that inspires you. You can even create a new element by overlaying it somehow.
4. Continue to copy/paste the element in the sequence you established until you form a row
5. Use the align tool to make sure the elements are in the same line
6. Group the row
7. Copy/paste the entire row below and so on until you cover the area you need
8. Save it as a png (or any other format that allows a transparent background) (save the .svg file as well, of course)
See video for work process.
Creating the Gif O-O
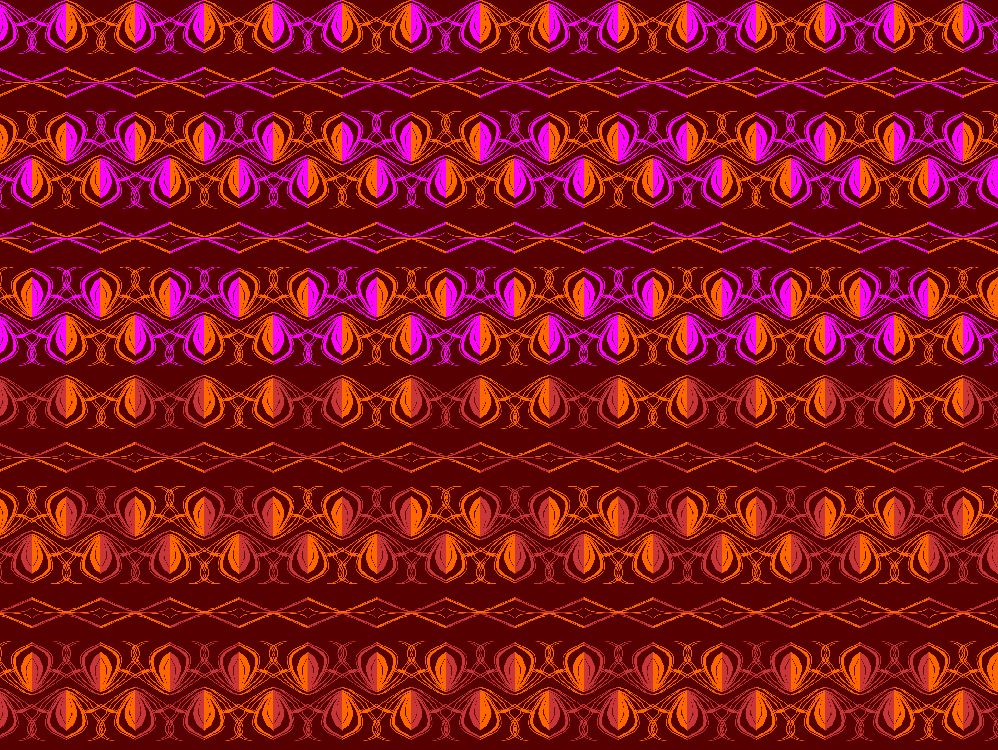

Tools: Inkscape and Gimp or any other similar program
- For the patter you chose, ungroup everything to the main elements (if you used the main element to construct a more complex one, stick to the actual element you repeated. No need to ungroup it too.).
- Select every other element and change its color or delete it.
- Save the modified pattern in a different .svg and .png file
- Open the two patterns in the same Gimp file as two different layers
- Make sure they are aligned one on top of the other - normally the elements and sizes should be the same but when you drag and drop it might open misaligned from the layer below.
- Export as .gif
- Select as animation
- Select the speed with which you want the frames to repeat - I choose 250 or 500 miliseconds
- I usually select one frame per layer, but in some cases it might serve to have cumulative layers
That's all, folks! :D
Bonus: Creating a Digital Card
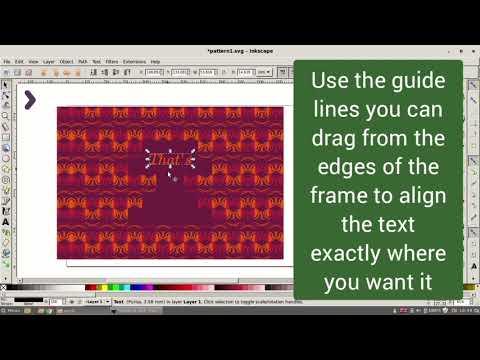

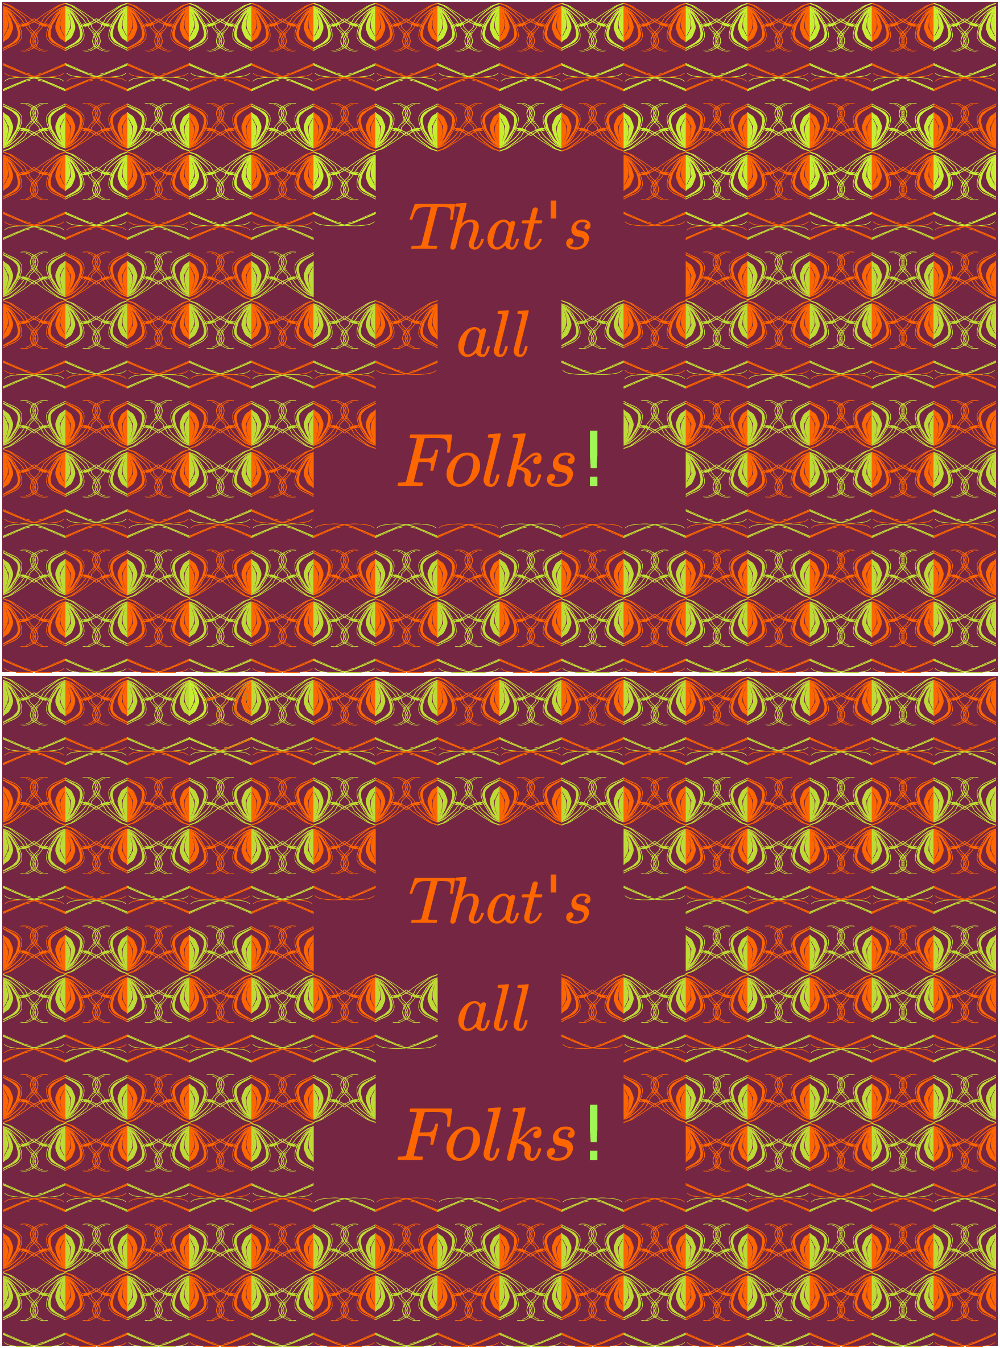
- Open .svg file with a pattern in Inkscape
- Ungroup to main repetitive element - Make sure that is this element if composed of several pieces, that they are all grouped if you want the same color for all
- Create a space in the middle for the text by removing some of the elements - it should not be in the middle, it's your choice
- Select every other element and change it's color
- Add the text - chose font, color and size according to pattern style and space created
- Use the guide lines you can drag from the sides to make sure the text is aligned where you want it
- Save first frame
- Color all the elements the same as the ones you chose before
- Choose every other element that was not chosen before and color it in the other color
- Save second frame
- Open the two frames in Gimp *if you want to modify the size I advise you do it in Inkscape so you will not have quality loss
- Export as .gif
- Select the speed between frames *i use 250 or 500 miliseconds
- Select if you want the frames to be alternative or cumulative - aletrantive is ok in this case
- Save
- Enjoy!
See video for work process.