From 2d to 3d - How to Make Slapon Text
by 451Grader in Workshop > 3D Printing
190 Views, 0 Favorites, 0 Comments
From 2d to 3d - How to Make Slapon Text
This is a simple instructable that will show you how to make slapons pictures.
It is a part of a series of instructables that aim to help explain how you can use beads to prepare kids for learning how to work with 3d-printing.
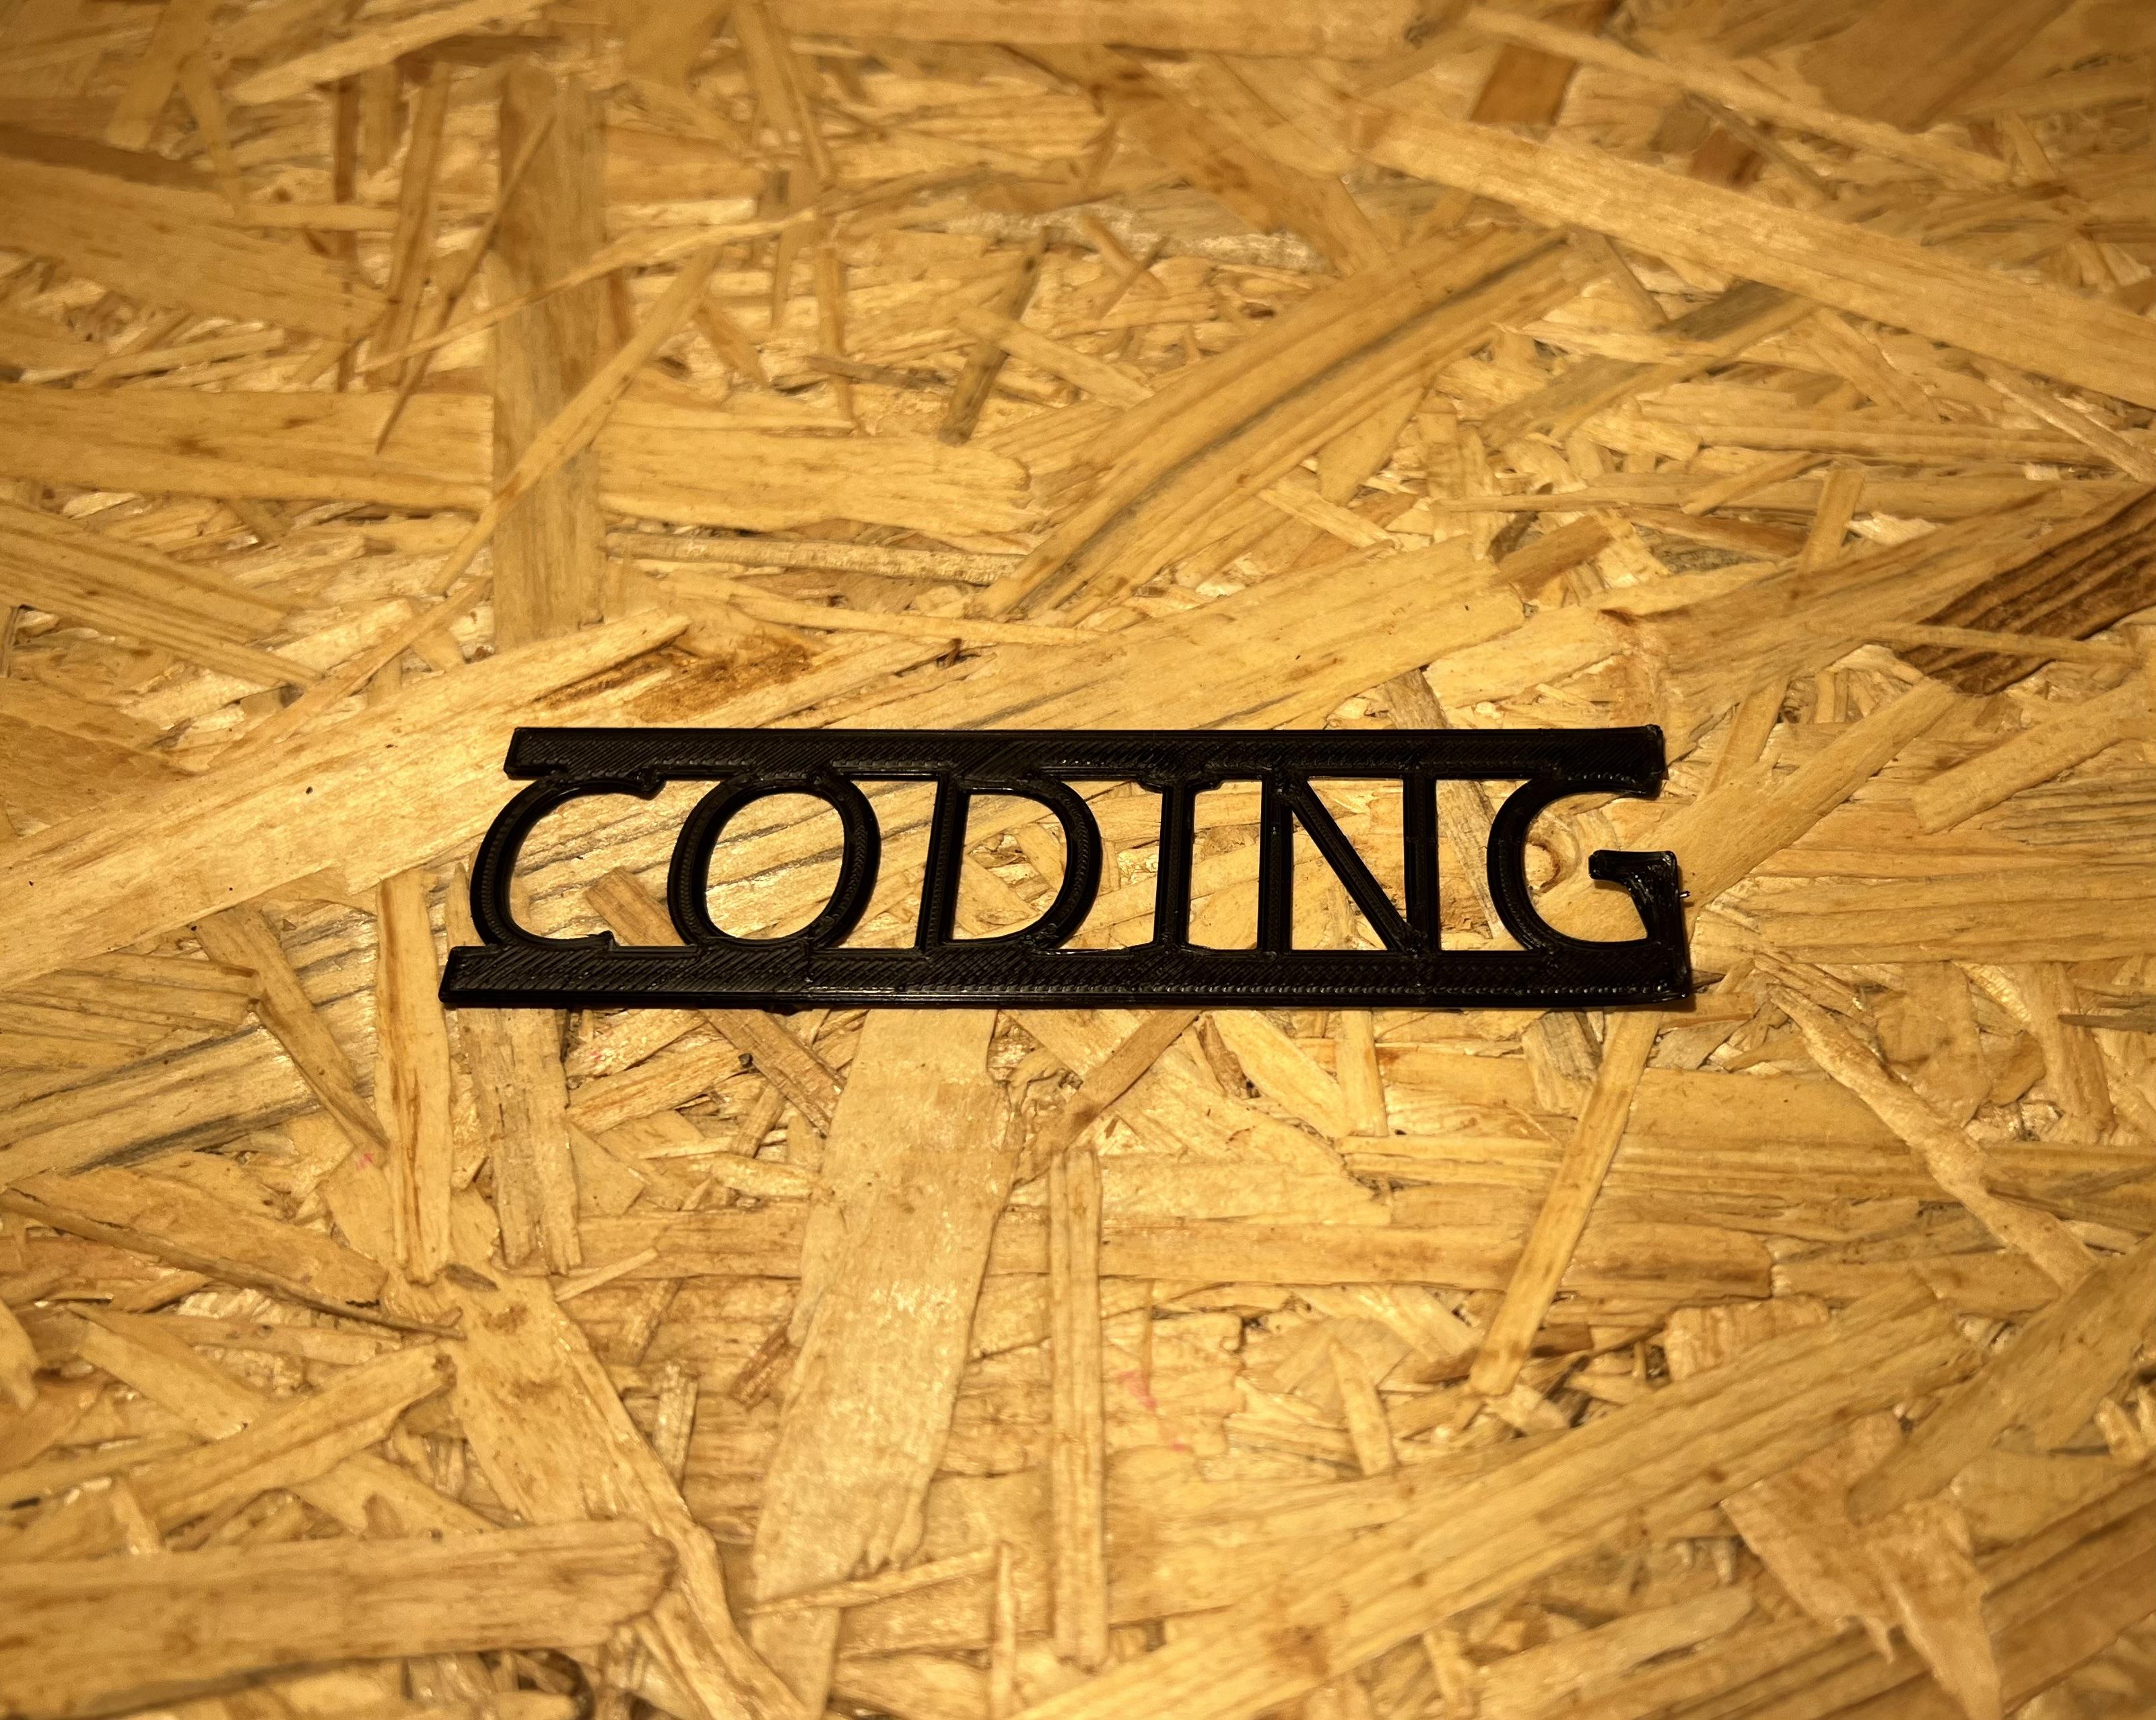
Slapons are small 3D printed picture that you can glue or tape on to things. In that way they work a lot like stickers and it can be a good idea to think of them a 3D printed stickers.
Because they are small and thin they can be printed fairly quickly. The one on the picture here takes 15 min to print on medium quality with my CR6 SE printer. A printer often found in schools here in Denmark.
That means that students can often design a slapon, print, redesign and print again during a single lesson. Making slapon texts requires using Tinkercad a bit more than making slapon pictures, so it can be a good activity for foææowing up on slapon pictures.
Supplies
Tools:
Computer
3D printer
Slicing program
Tinkercad
Supplies:
Filament for the printer
Glue or double sided tape
Tinkercad
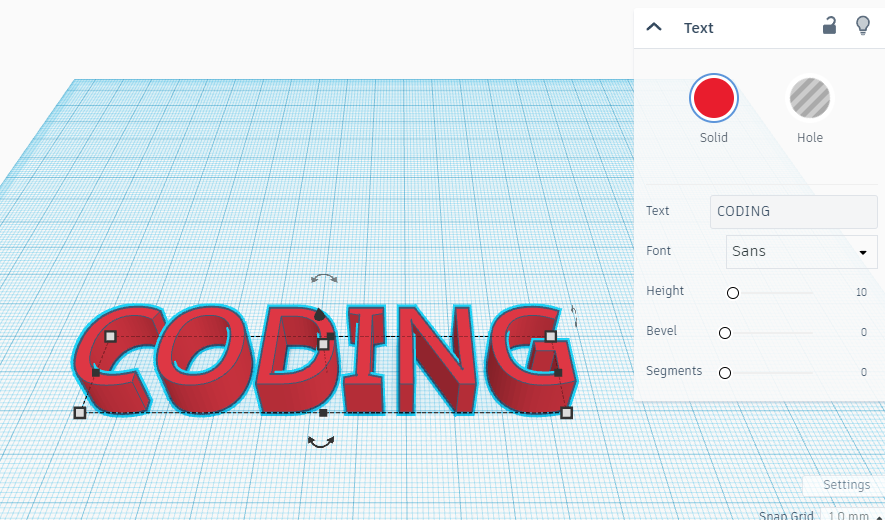

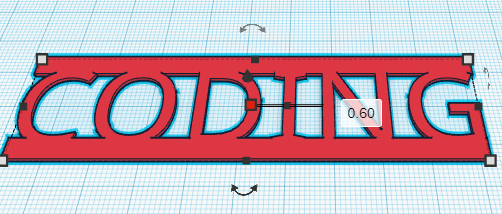
First make your text in Tinkercad. Write in all caps. You might want to rise the bevel a bit. In this example it is 0, but I often have it around 1, because I like the fatter letters. Scale it to the size you want it.
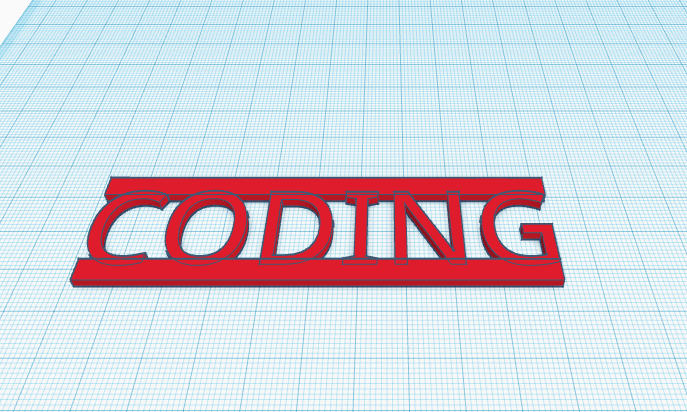
Then put a block above and a block belove the text. Make sure that they go into each other a bit and have the same height.
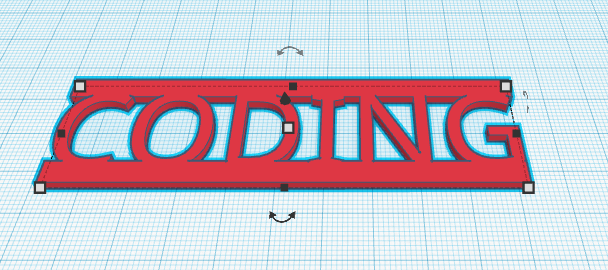
Then group the letters and two boxes together. Make sure that the figure have the correct size and then reduce the height to 0.6 mm.
Export the file. I normally export it as stl file.
Slice the File
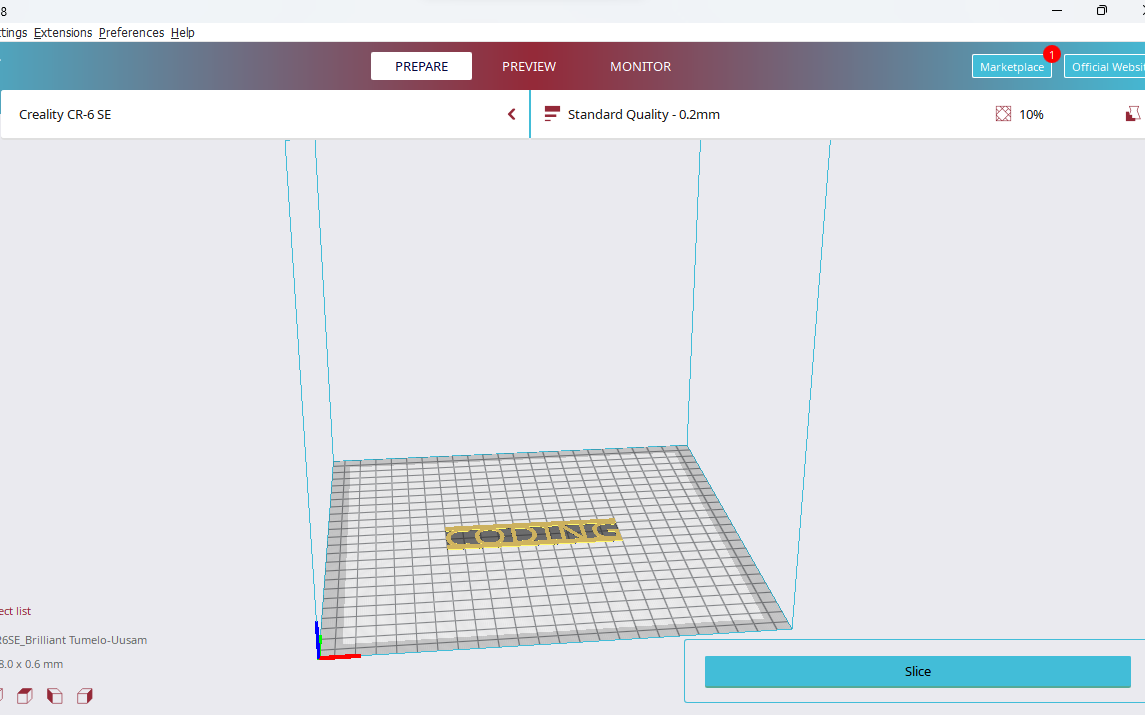
Now import your file to the slicer of your choice. Since I am going to use a creality printer I am going to use the creality slicer.
Slice the figure and export the gcode.
Finished

Now all you need to do is print the file on your printer and you have your slapon.
You can put it on to things like a laptop with a few droops of glue or double sided tape.