Fritzing Tips and Work Arounds
by bprew1 in Circuits > Electronics
7620 Views, 31 Favorites, 0 Comments
Fritzing Tips and Work Arounds
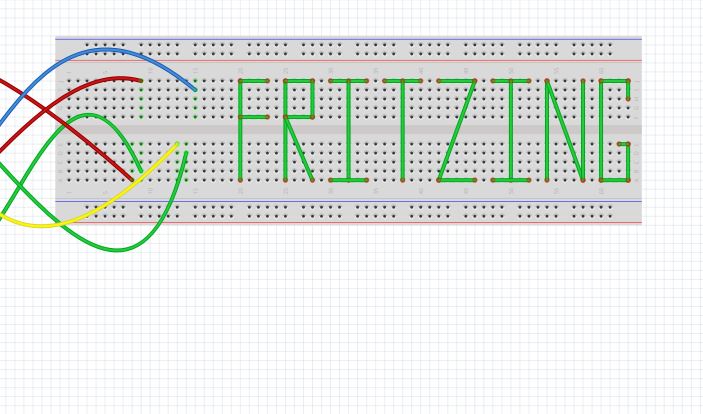
Many of you that have already seen some of my posts know about Fritzing. It is a great program to help you design your circuits before you build them. This program comes fully loaded with pre-made boards but also gives you the ability to make your own boards. There's a lot of things that can help you be more efficient with your Fritzing experience. Here I will supply the most helpful tips when working with Fritzing.
Wire Tips
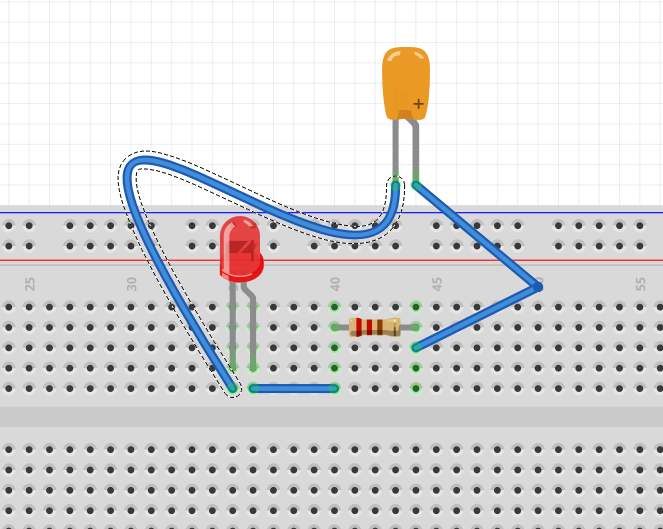
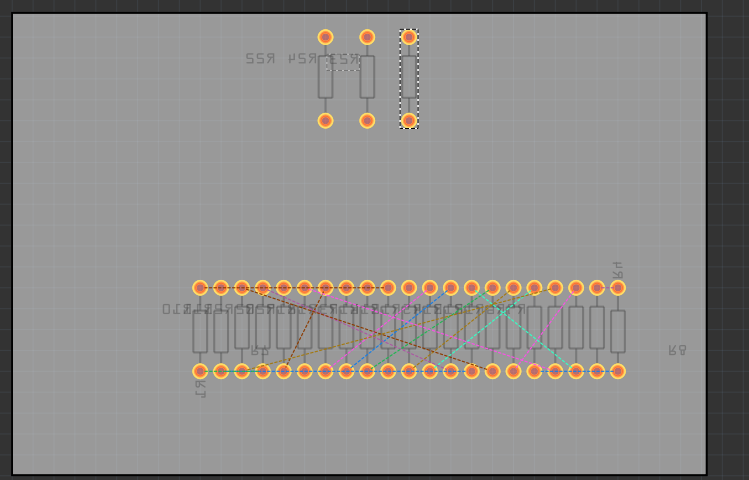
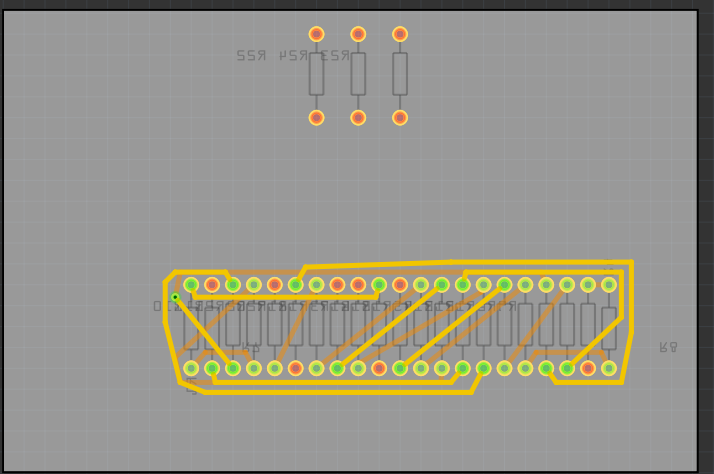
When making your Fritzing design you have to drag a wire from one part to another. If you have a lot of parts you can make things a little bit more clear by activating a function. When you drop down the Edit tab and find preferences you can go and activate Curvy Wires for all of you views. This makes it so you can move wires about and bend them around other parts. It's handy when you have a lot of wires going to the same area.
Another one is color coding your wires. This is kind of tedious but will be helpful if you have a bunch of wires. By right clicking on the wire you can change it's color. This will make categorizing parts and sections more efficient.
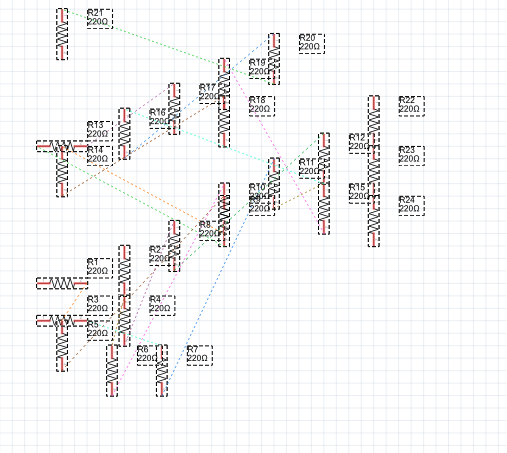
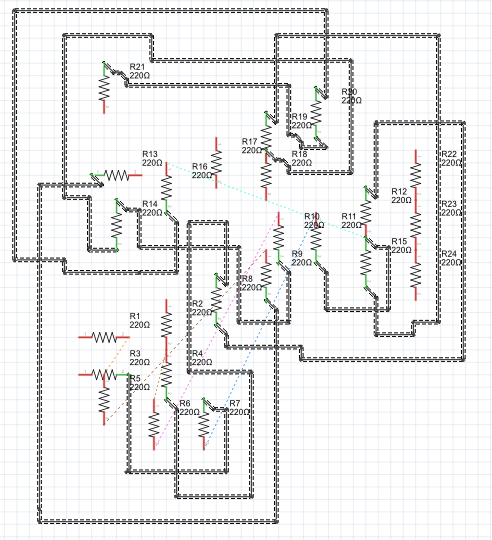
The last wiring tip has to do with the schematic view and the PCB view. When you have your circuit wired in the bread board view you can look at it in the other views but this will look very messy. You can organize your parts a little better but once that is done it may be hard to see the connections between everything. If you click the autoroute button at the bottom the Fritzing program will calculate all the connections and make a simplified route from part to part for the connections. This is a really great tool for when you are creating your PCB.
Creating Your Own Parts
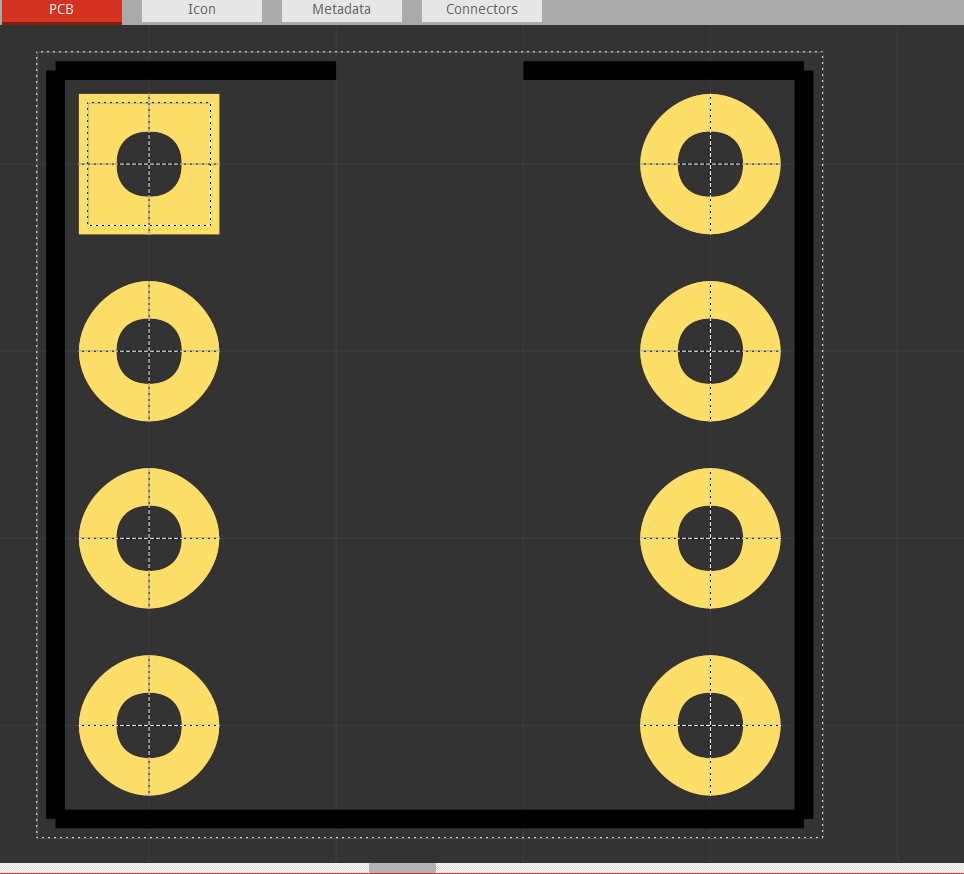
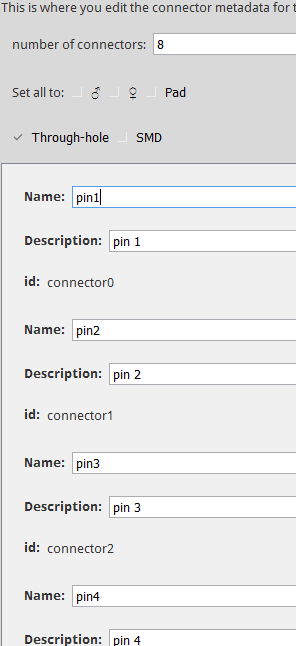
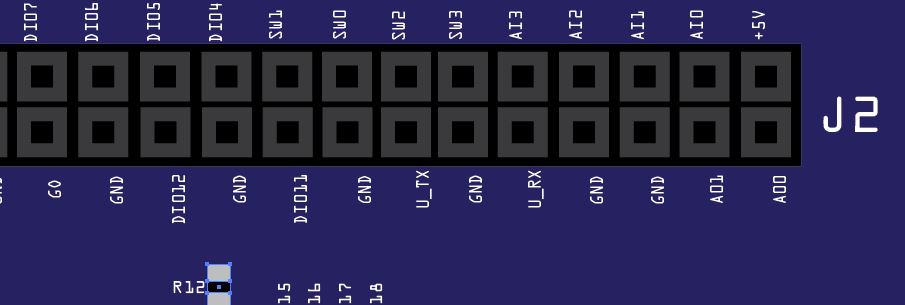
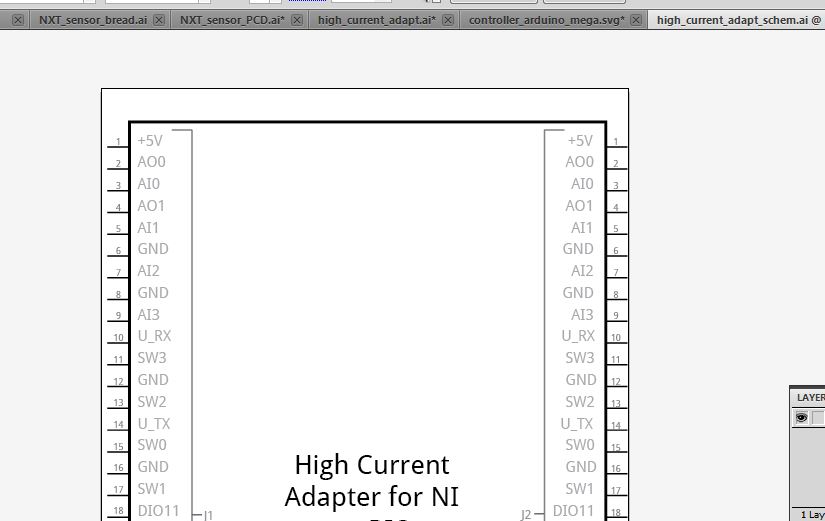
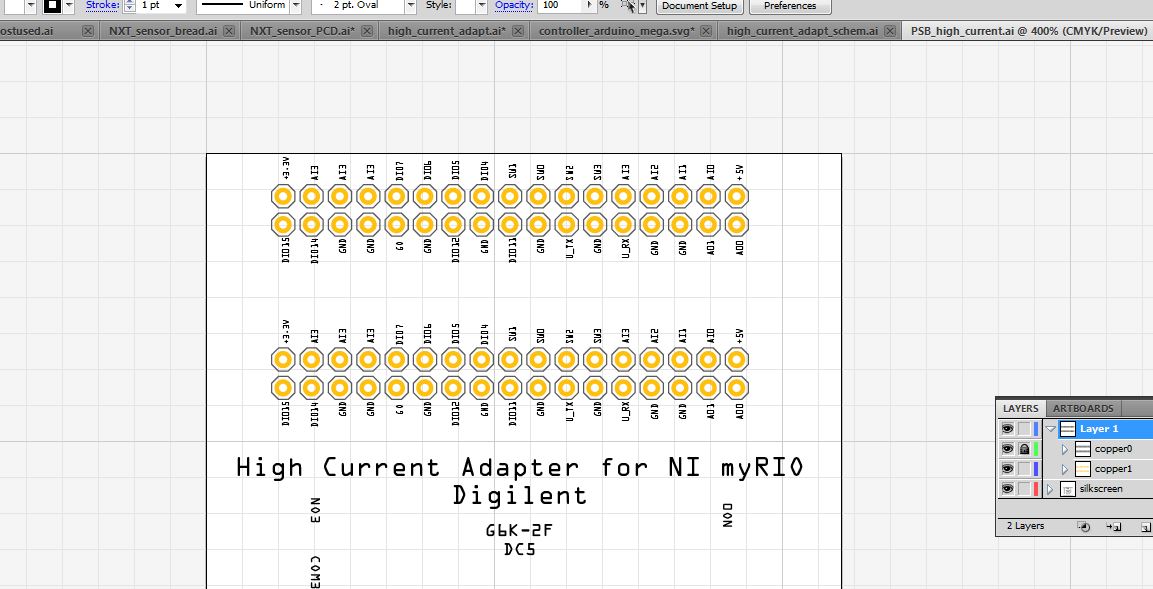

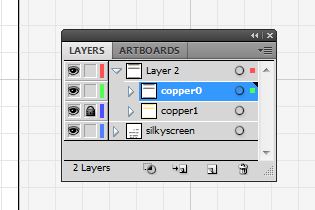
If you ever want to create your own parts in Fritzing it is fairly easy. All you really need is a vector image editing software such as Inkscape or Adobe Illustrator. You will need to make all three of breadboard, schematic, and PCB views. When designing your breadboard view make sure the design is to scale of the physical board. You can follow the guidlines on the Fritzing website for more info.
One of the big tips I discovered is to have a file full of parts that you will use a lot. It's great to have that going and just be able to copy and past designs over that have already been made.
Editing Your Fritzing Parts
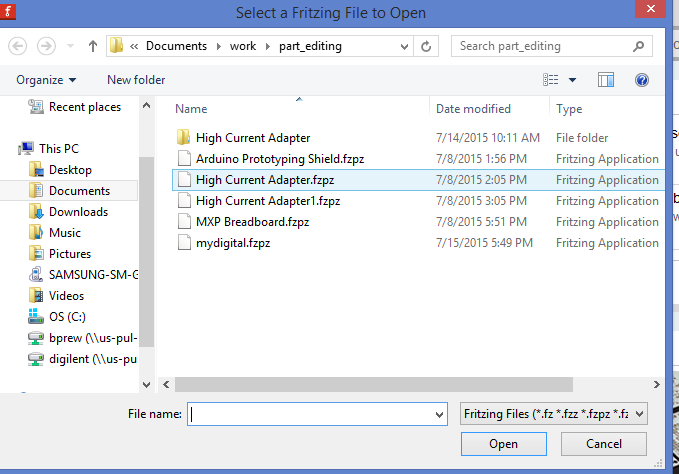


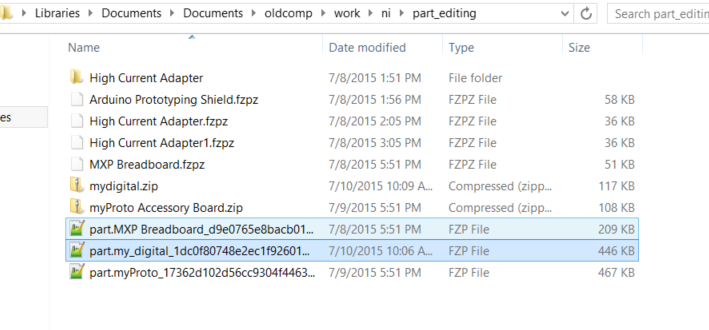
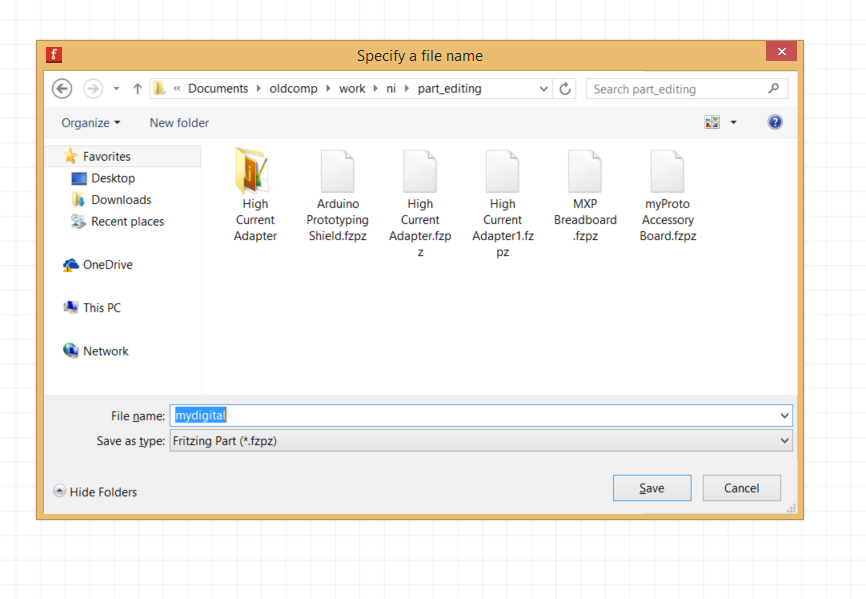
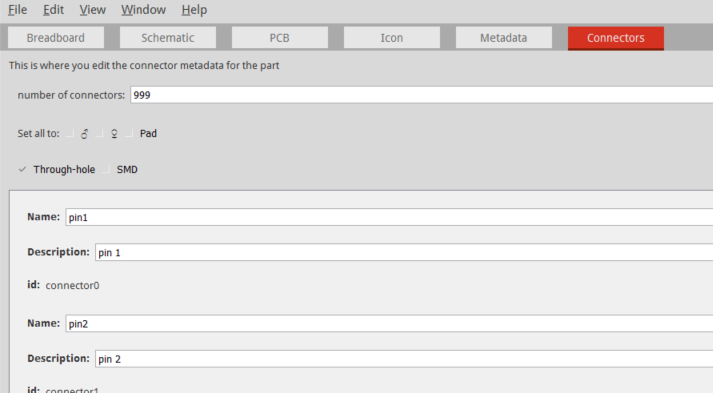
When you create a new Fritzing part but want to make a change it is rather difficult. You'll have to edit the image you uploaded and the re-upload the image and then re-select the pins you already selected. The whole process is kind of a pain but there are a couple ways to help with that. First you will have to export the part you want to edit.
When yo export the part you will have to change the file name from .fzpz to .zip. Go into the zip folder and extract the files you want to edit. don't delete the zip folder you will need it for later. Once you have the parts you need you can start editing.
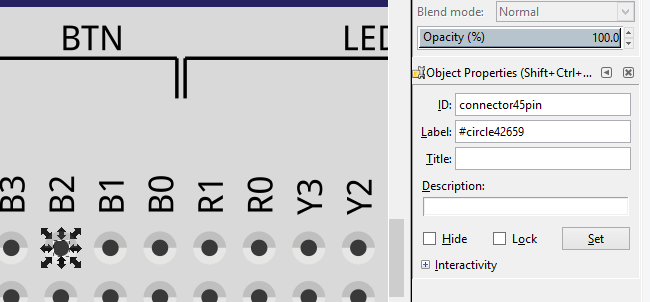
The svg files can be used for just changing up how your circuit board looks. Here you can also edit the parts of the images. If you change the part ID of the images you want to be pins they will automatically connect to the pins. You will need to change the name to connector#pin and replace the # to what ever you want the pin to connect to.
You can also edit the code of the parts also. This is very extensive and is very helpful so to keep this short I suggest looking at this other Instructable to get a better understanding. This is most useful part of editing Fritzing parts.
Parting Thoughts
I hope this helps with your Fritzing adventures. If you have any other tips that you find helpful please feel free to tell me. Also check out these other Fritzing posts that go more in-depth with these tips.