Fridge's Door Alarm

I have an old fridge and sometimes the doors stay open wasting energy. So i created this simple Fridge's door alarm which will buzz when the door is open for x seconds.
Materials
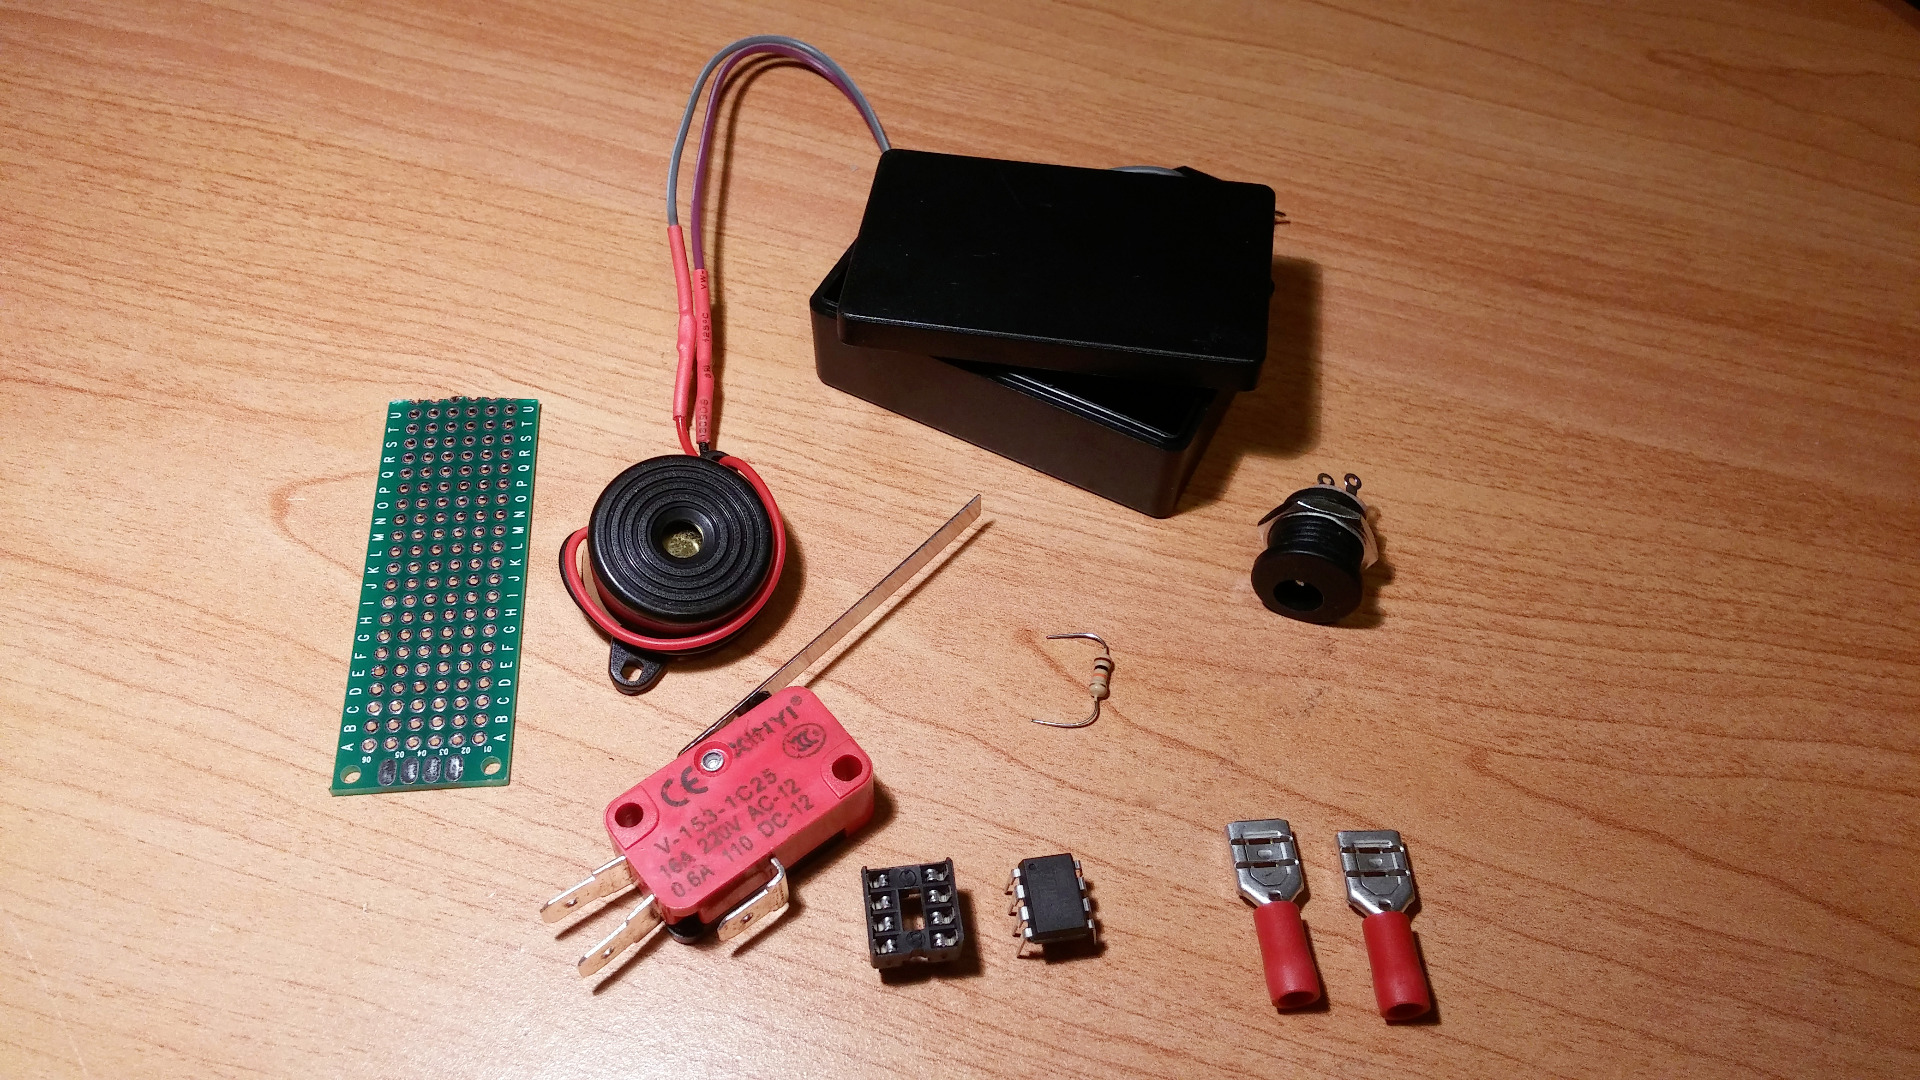
Here is what you will need for this project:
- 1x Plastic case
- 1x Small PCB
- 1x Attiny85 (or Arduino Uno/Nano/Pro.......)
- 1x Attiny85 "holder"
- 1x 1KΩ resistor
- 1x Lever interruptor
- 1x Buzzer
2x Electric terminals
- 1x Female jack (depending on your power supply)
- 1x 5V DC power supply
And tools as always:
- Soldering iron
- Soldering tin
- Soldering vice
- Lamp
- Drill to make holes in the case
- Glue gun or double sided scotch
- Electric terminal pliers
If you choose to make the Attiny85 version, you will need an Arduino Uno (for example) to use as ISP to write the program in the Attiny85. You can find here a nice instructable from Plusea !
Shematics
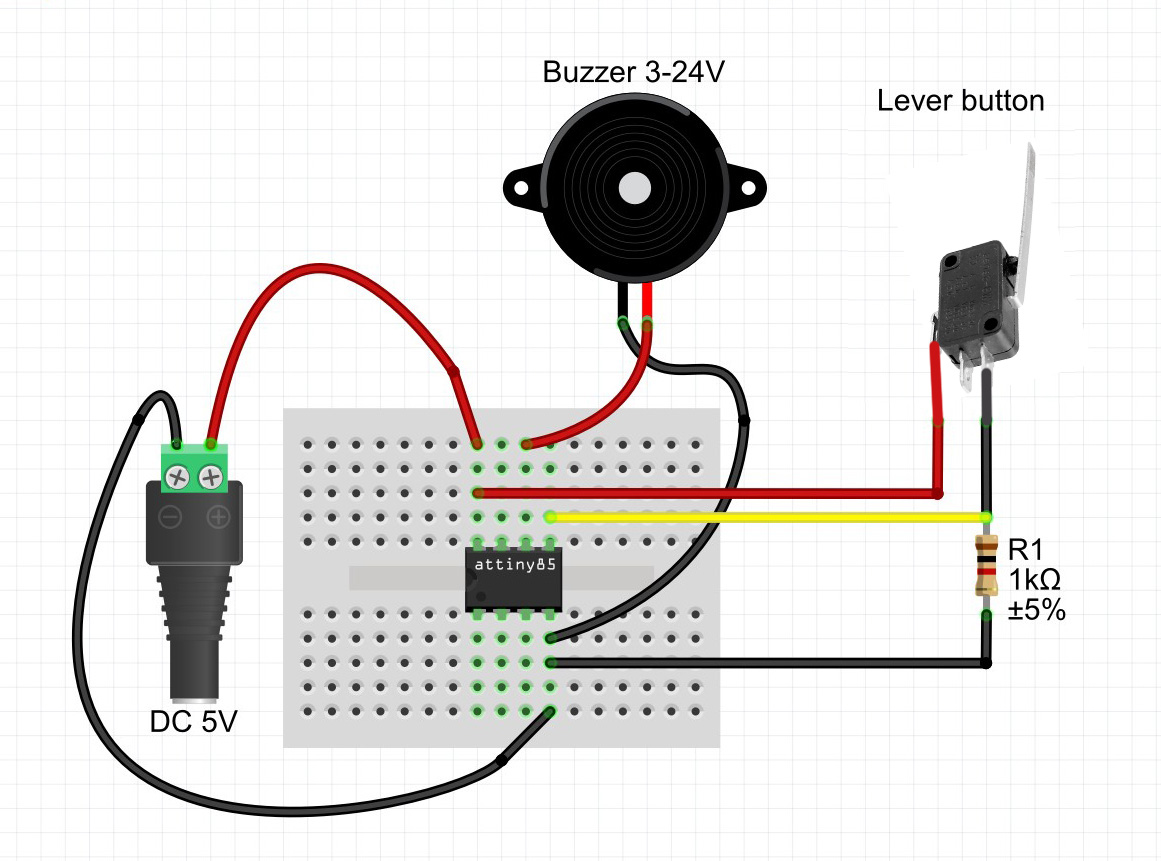
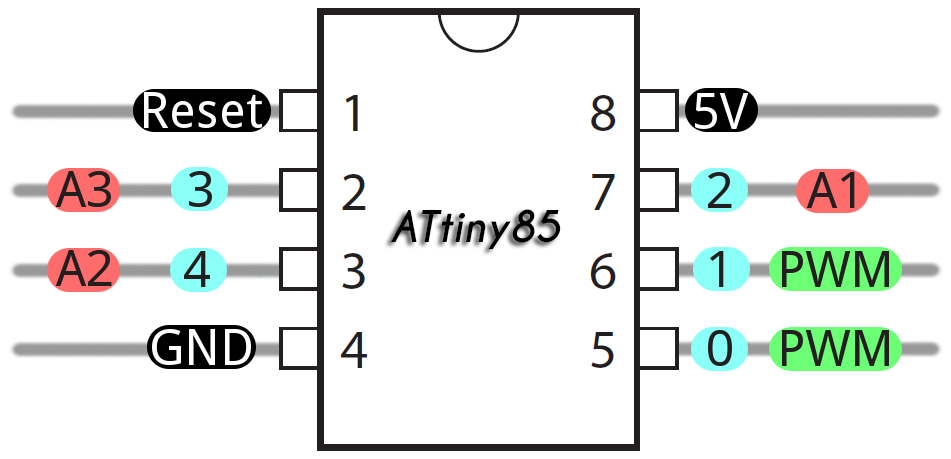
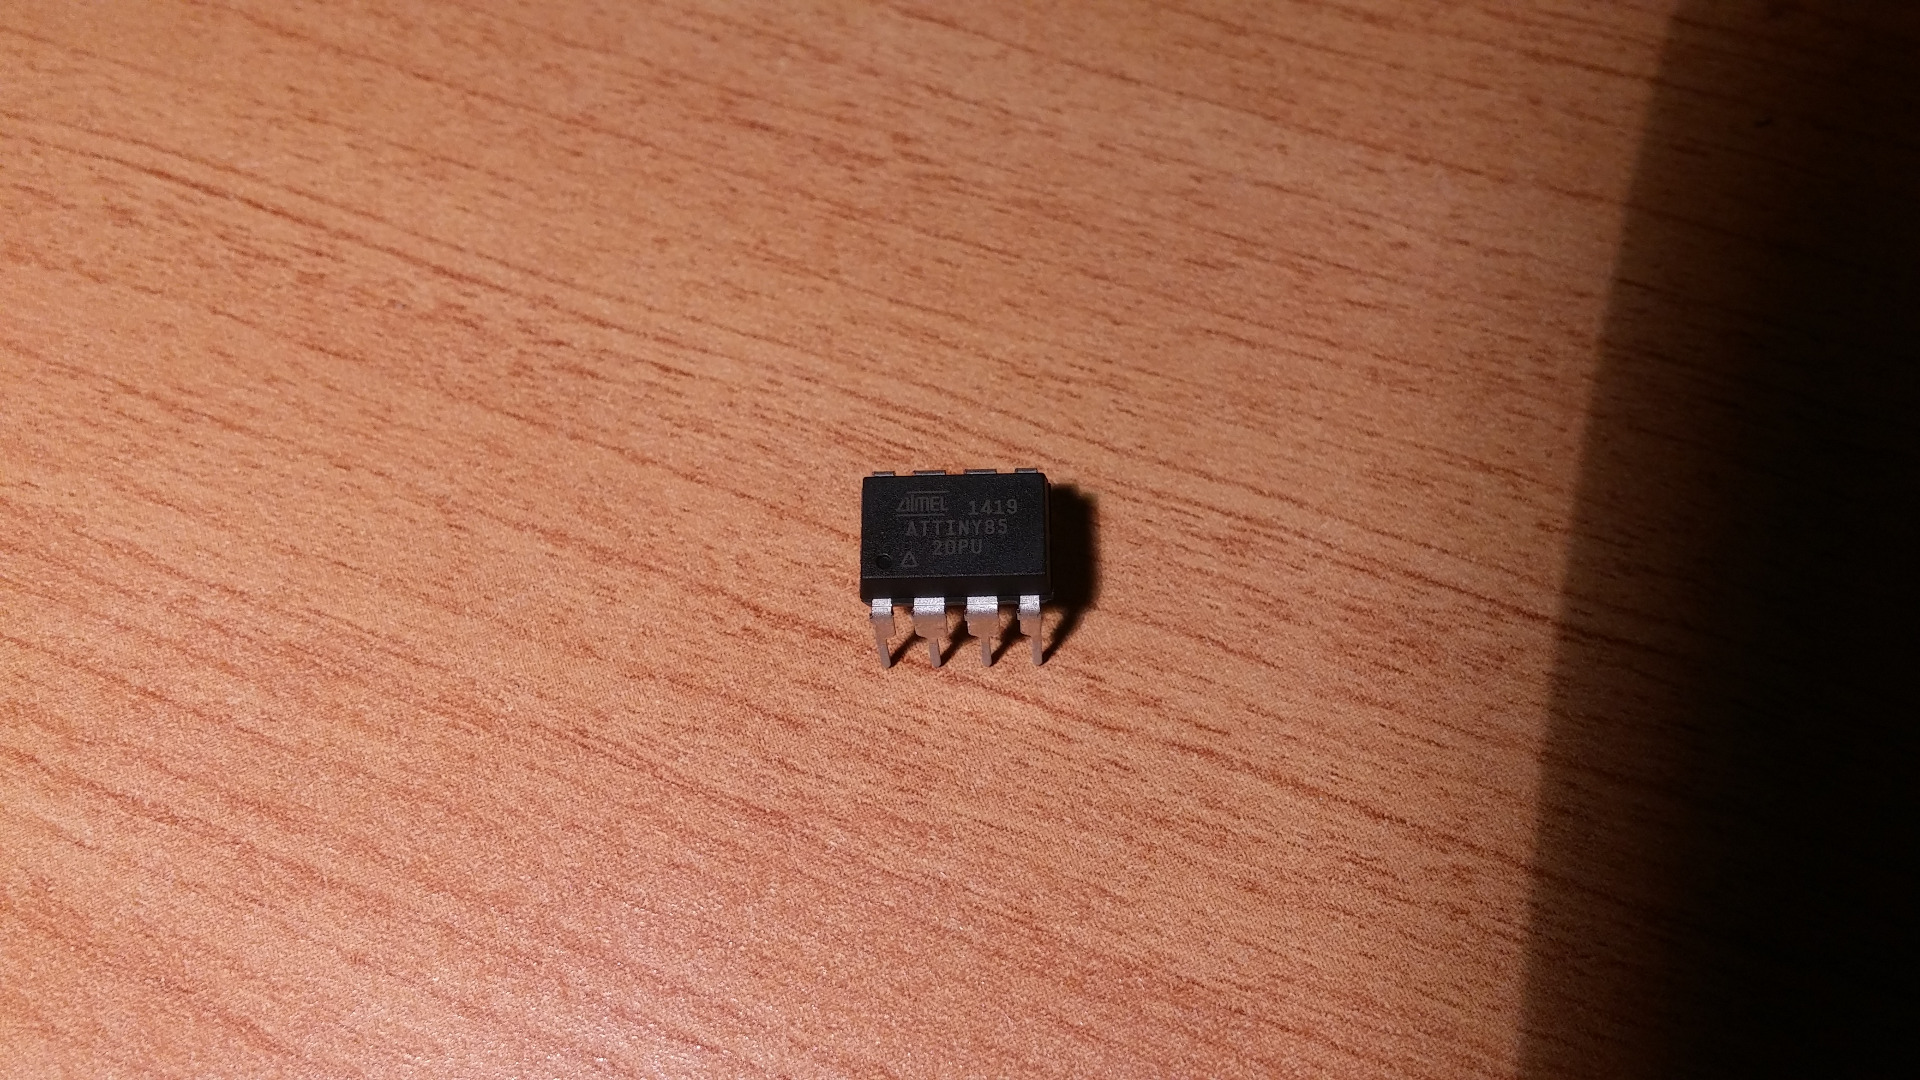
As you can see, nothing very difficult. The most difficult part is programming the Attiny85 if you have never done it before. If you don't want to, simply use an Arduino Nano.
How does it works ?
The Attiny85 test the interruptor on his pin 0. If it's HIGH, the fridge's door is open so X seconds after, it make the pin 1 HIGH and the buzzer buzz.
When you close the door, the Attiny85 detect it instantly and shut up the buzzer.
Soldering
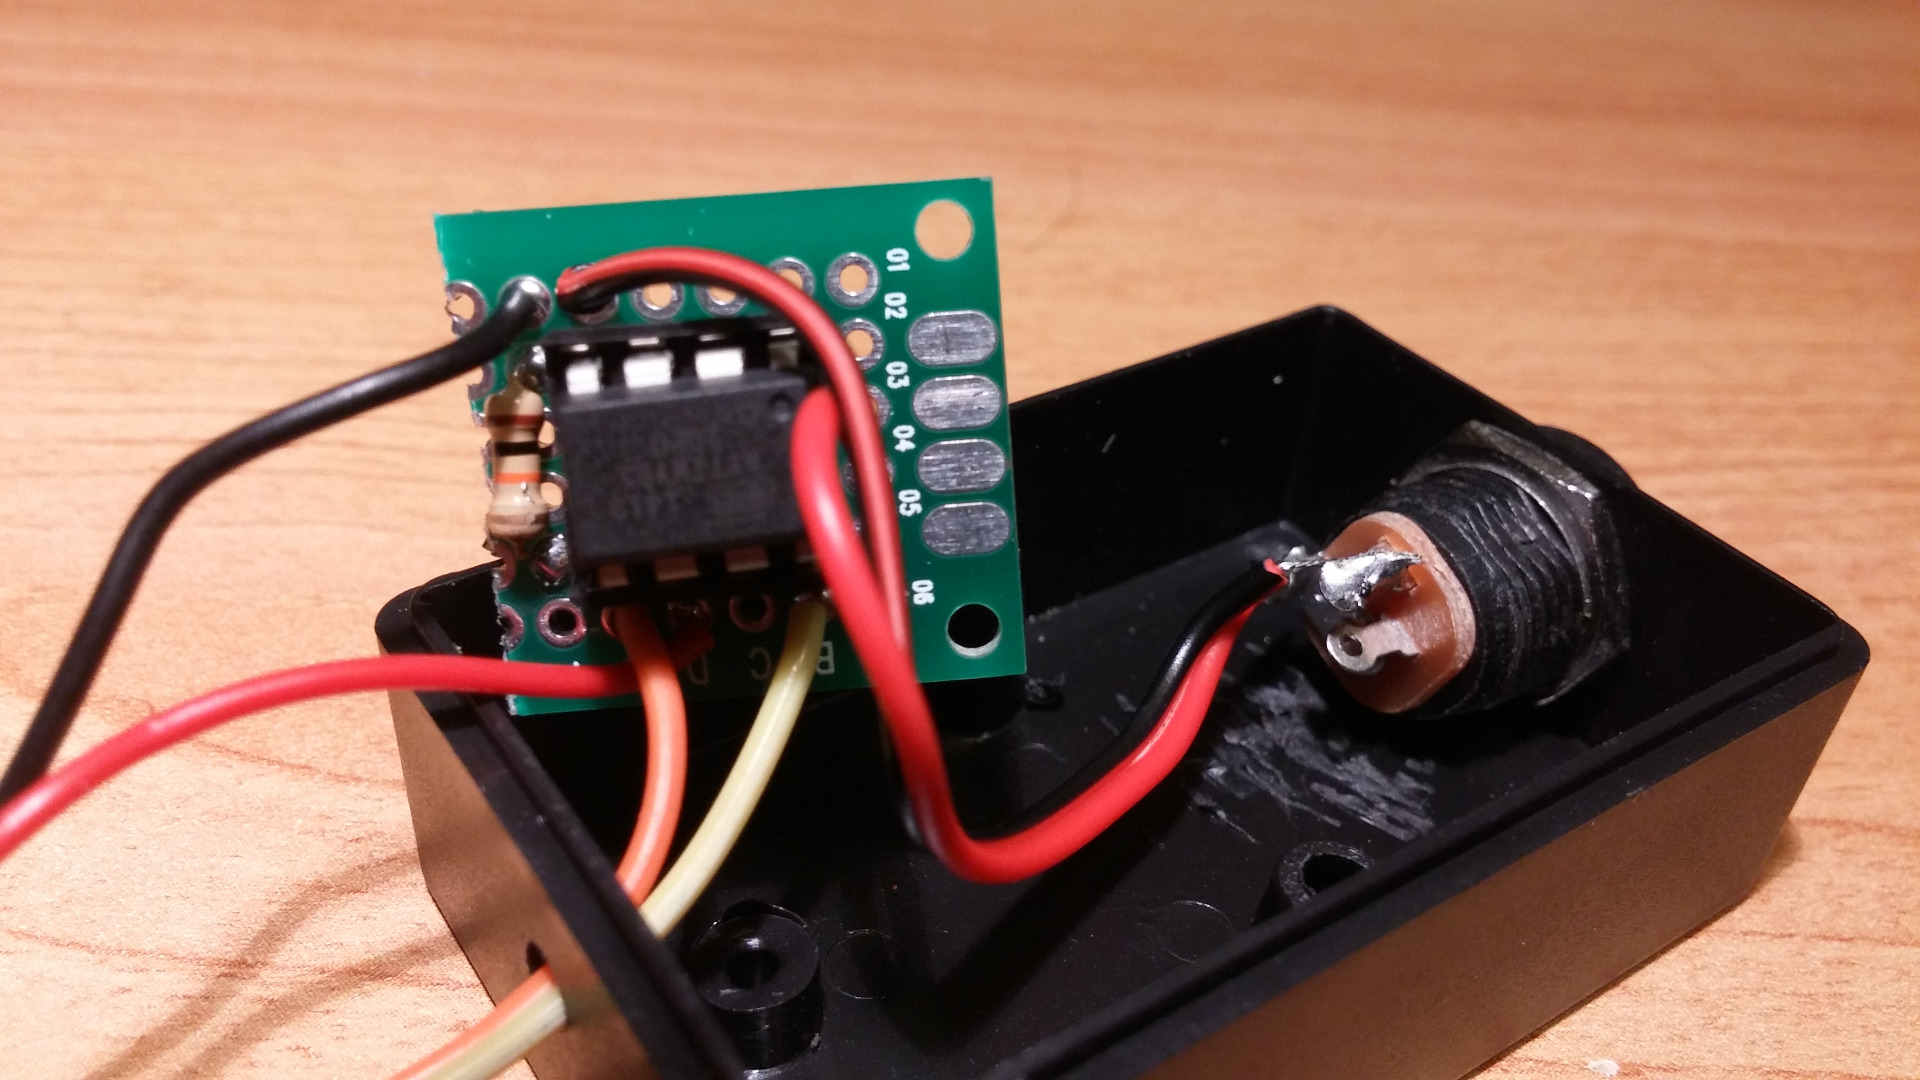
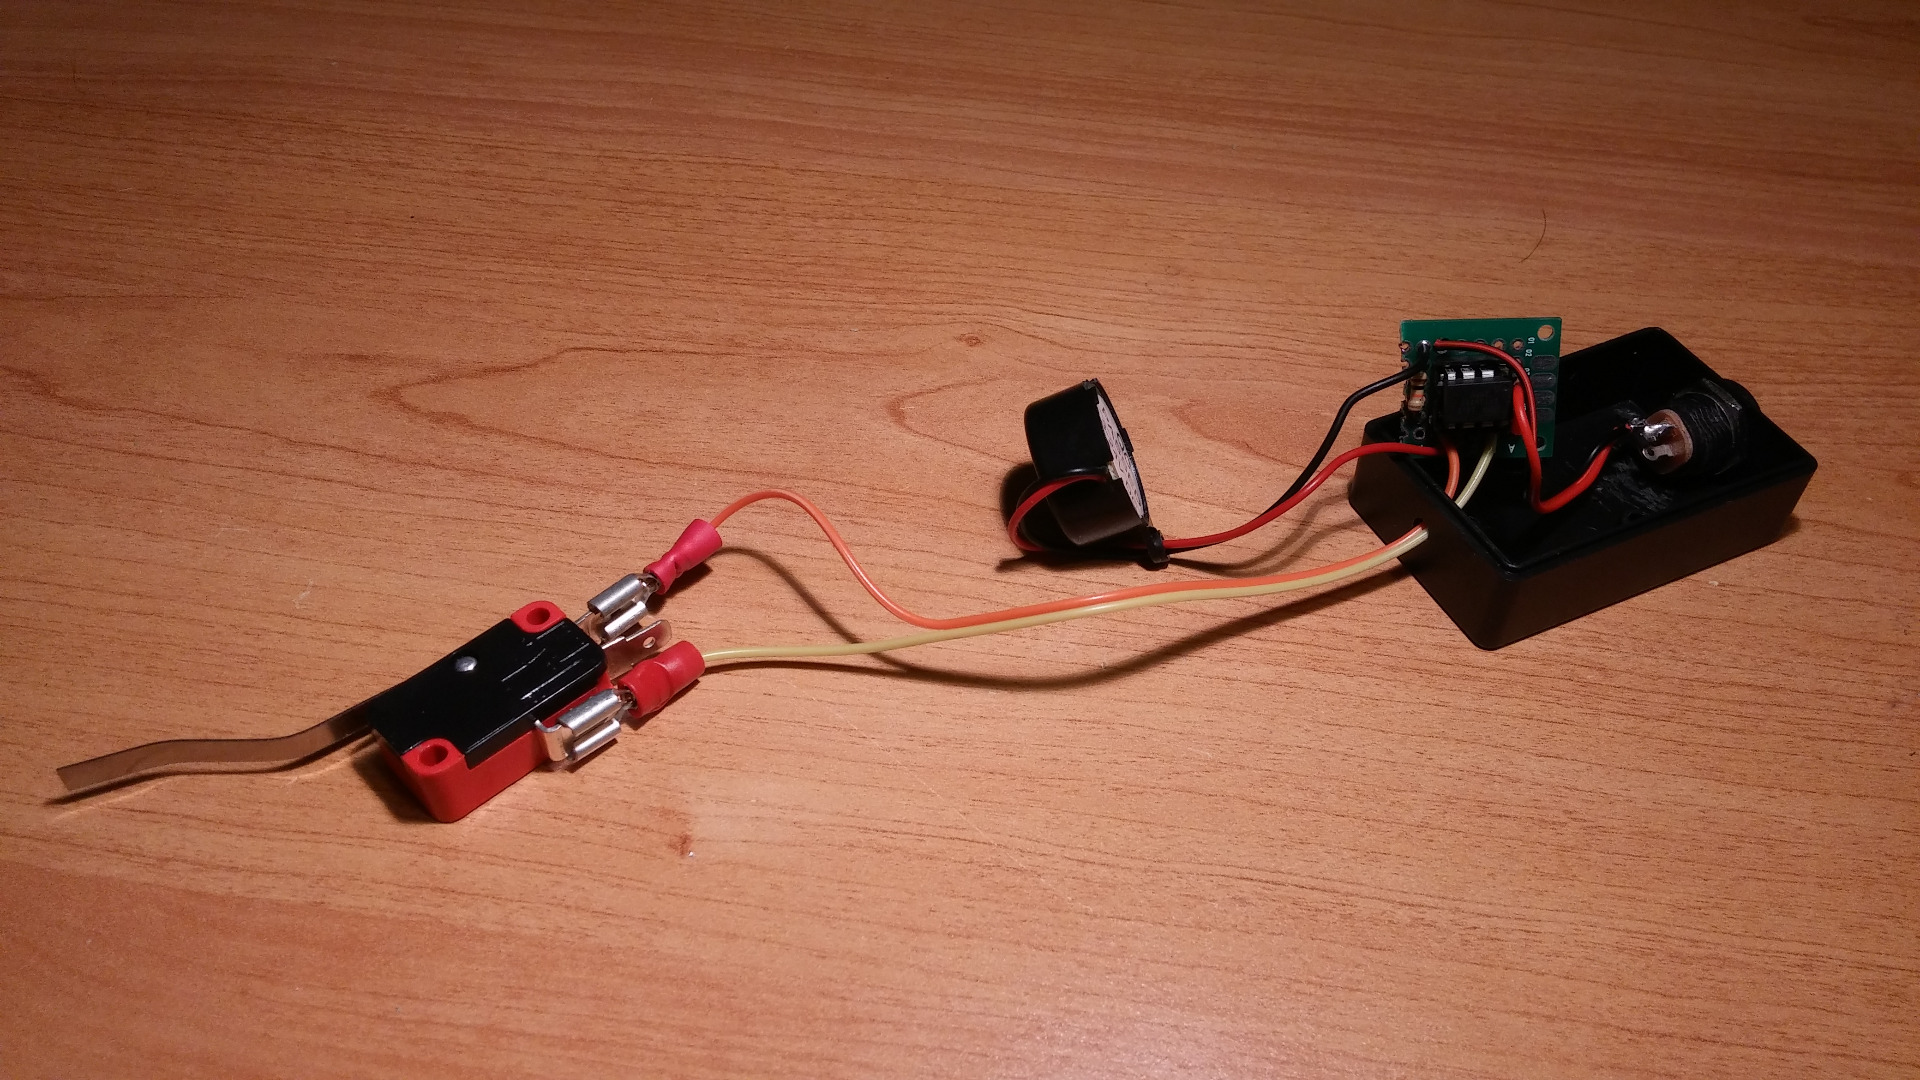
Let's go, take your favourite soldering iron and begin to give life to this project.
Don't forget to drill the case and to put wires in holes before soldering, and remember to use a Attiny85 holder too, don't solder the Attiny85 directly on PCB !
Once it's done, we have to program the Attiny85 (or Arduino Nano) before putting it on the PCB.
The Program
////////////////////////////////////////////////////////////////////////////////////////
// FRIDGE V1.0 ///////////// 01 september 2015 /////////////////////////////////////////
///////////////////////////////////////////////////////////////////////////////////////

/ Pin numbers:

// If Arduino Nano
//const int interrupteur = A5;
//const int buzzer =  13;

// If Attiny85
const int interrupteur = 0;
const int buzzer =  1;

// customizable variables
int tps_avant_activation = 25000;           // time before buzzing (25 seconds)
int tps_entre_activations = 3000;           // time between 2 buzz (3 seconds)
int tps_min_activation = 0;                 // minimum buzzing time duration
int tps_max_activation = 300;               // maximum buzzing time duration (0.3 second)

// Do not touch variables
int statut_frigo = 0;                       // variable for reading the pushbutton status
int closed = 1;                             // 1 = door was closed
int open_counter = 0;                       // door's open counter

void setup() {
  pinMode(buzzer, OUTPUT);
  pinMode(interrupteur, INPUT);
}

void loop() {
  statut_frigo = digitalRead(interrupteur);

  if (statut_frigo == HIGH) {
    if (closed == 1) {
        delay(tps_avant_activation);
        closed = 0;
      }
    digitalWrite(buzzer, HIGH);             // turn buzzer on:
    delay(tps_min_activation + open_counter);
    digitalWrite(buzzer, LOW);
    delay(tps_entre_activations);
    if (open_counter <= tps_max_activation) open_counter = open_counter + 25;
  } else {
    digitalWrite(buzzer, LOW);              // turn buzzer off:
    closed = 1;
    open_counter = 0;
  }
  delay(500);
}
Steps to program the Attiny85:
Upload the ArduinoISP example sketch to your Arduino Uno
- Plug your Attiny85 shield programmer to your Arduino Uno, and the Attiny85 on it.
- Choose the Attiny85 @ 8MHz board in tools > boards
- In tools, choose the "Arduino as ISP" programmer
- In tools, click "burn bootloader"
- Now you can upload your sketch
Downloads
Installation
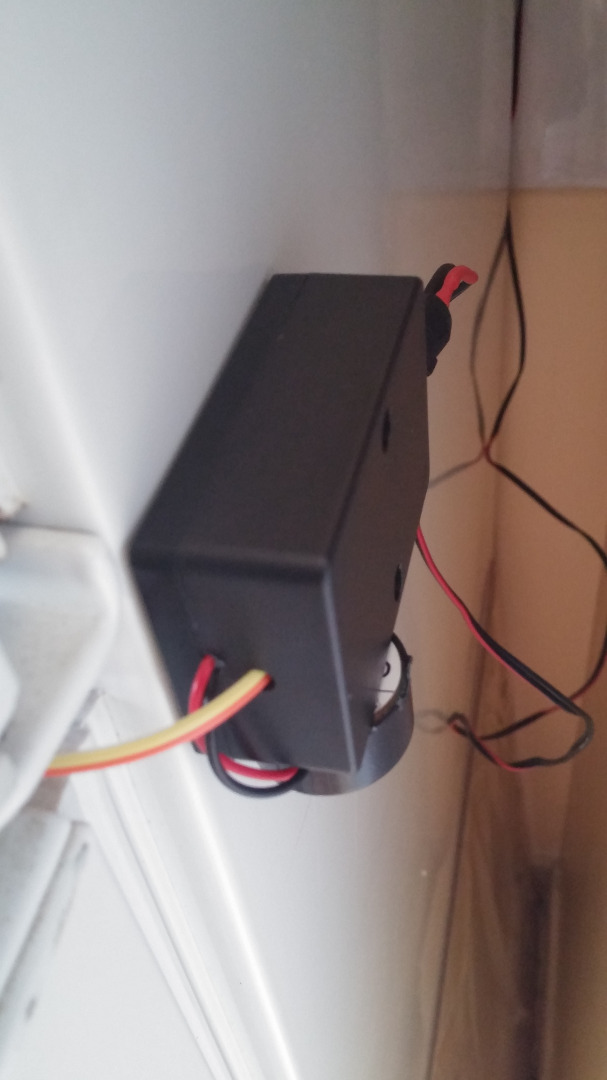
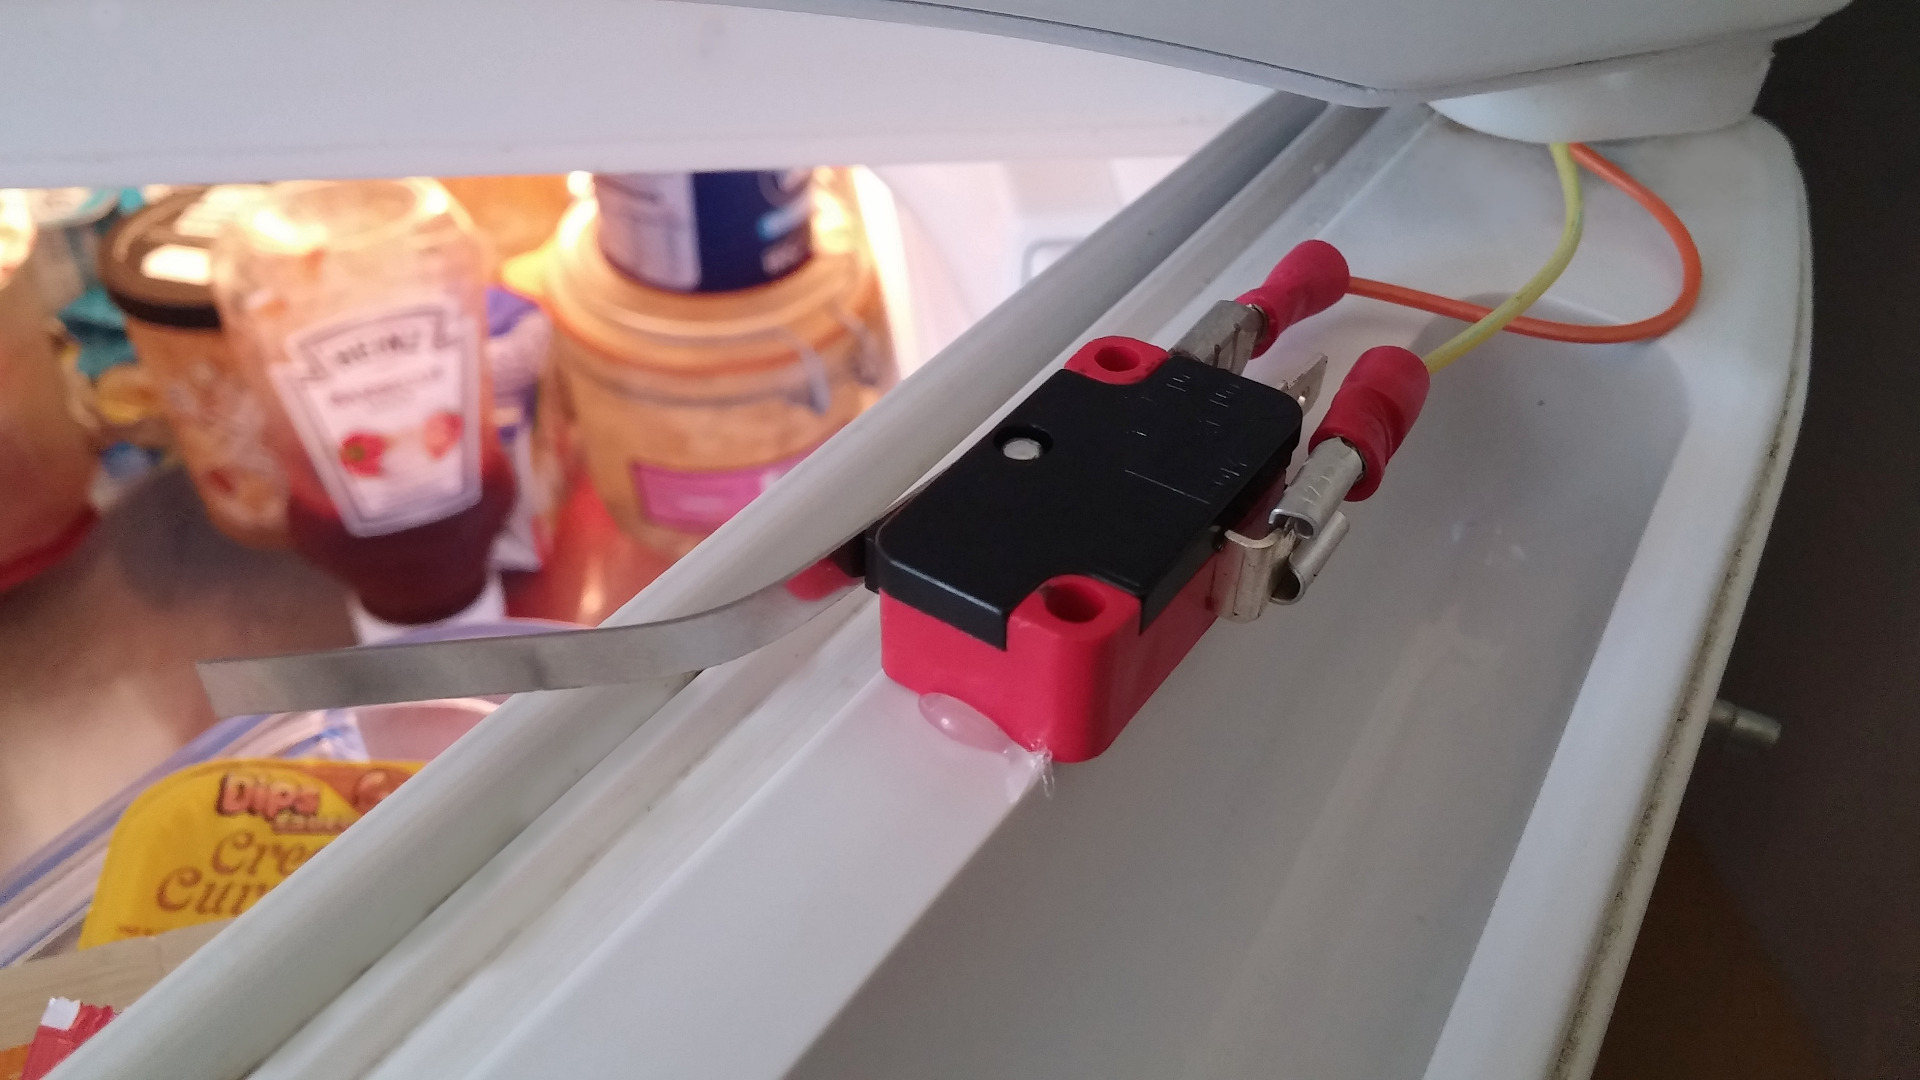
Now, at this point, all should work correctly. Be sure to make a test.
It's time to install it :)
You can see how i installed mine, lever on the door and case just on the right side of fridge.
Hope i was clear doing this instructable and that you will enjoy making this project !