Freeze Frame, Slow Motion and Fast Motion in Adobe Premiere Pro
by In The Kitchen With Matt in Design > Software
5871 Views, 3 Favorites, 0 Comments
Freeze Frame, Slow Motion and Fast Motion in Adobe Premiere Pro
In this instructable I will show you how to do a freeze frame effect, slow motion, and fast motion all in Adobe Premiere Pro. The best slow motion is done by filming with a camera that can record at a high frame rate like 240fps, then you drop that clip in a 24fps timeline and have super nice slow motion. But what if you don't have that, you can still do decent slow motion in post right in premiere with a normal clip. Also there are a few ways that you can do a freeze frame effect which I will show you. These techniques are really easy to do and something every editor should now how to do. Let's get started!
Don't forget to follow me and check out my other instructables. :)
Follow the steps below or watch the video tutorial or do both. :)
New Sequence
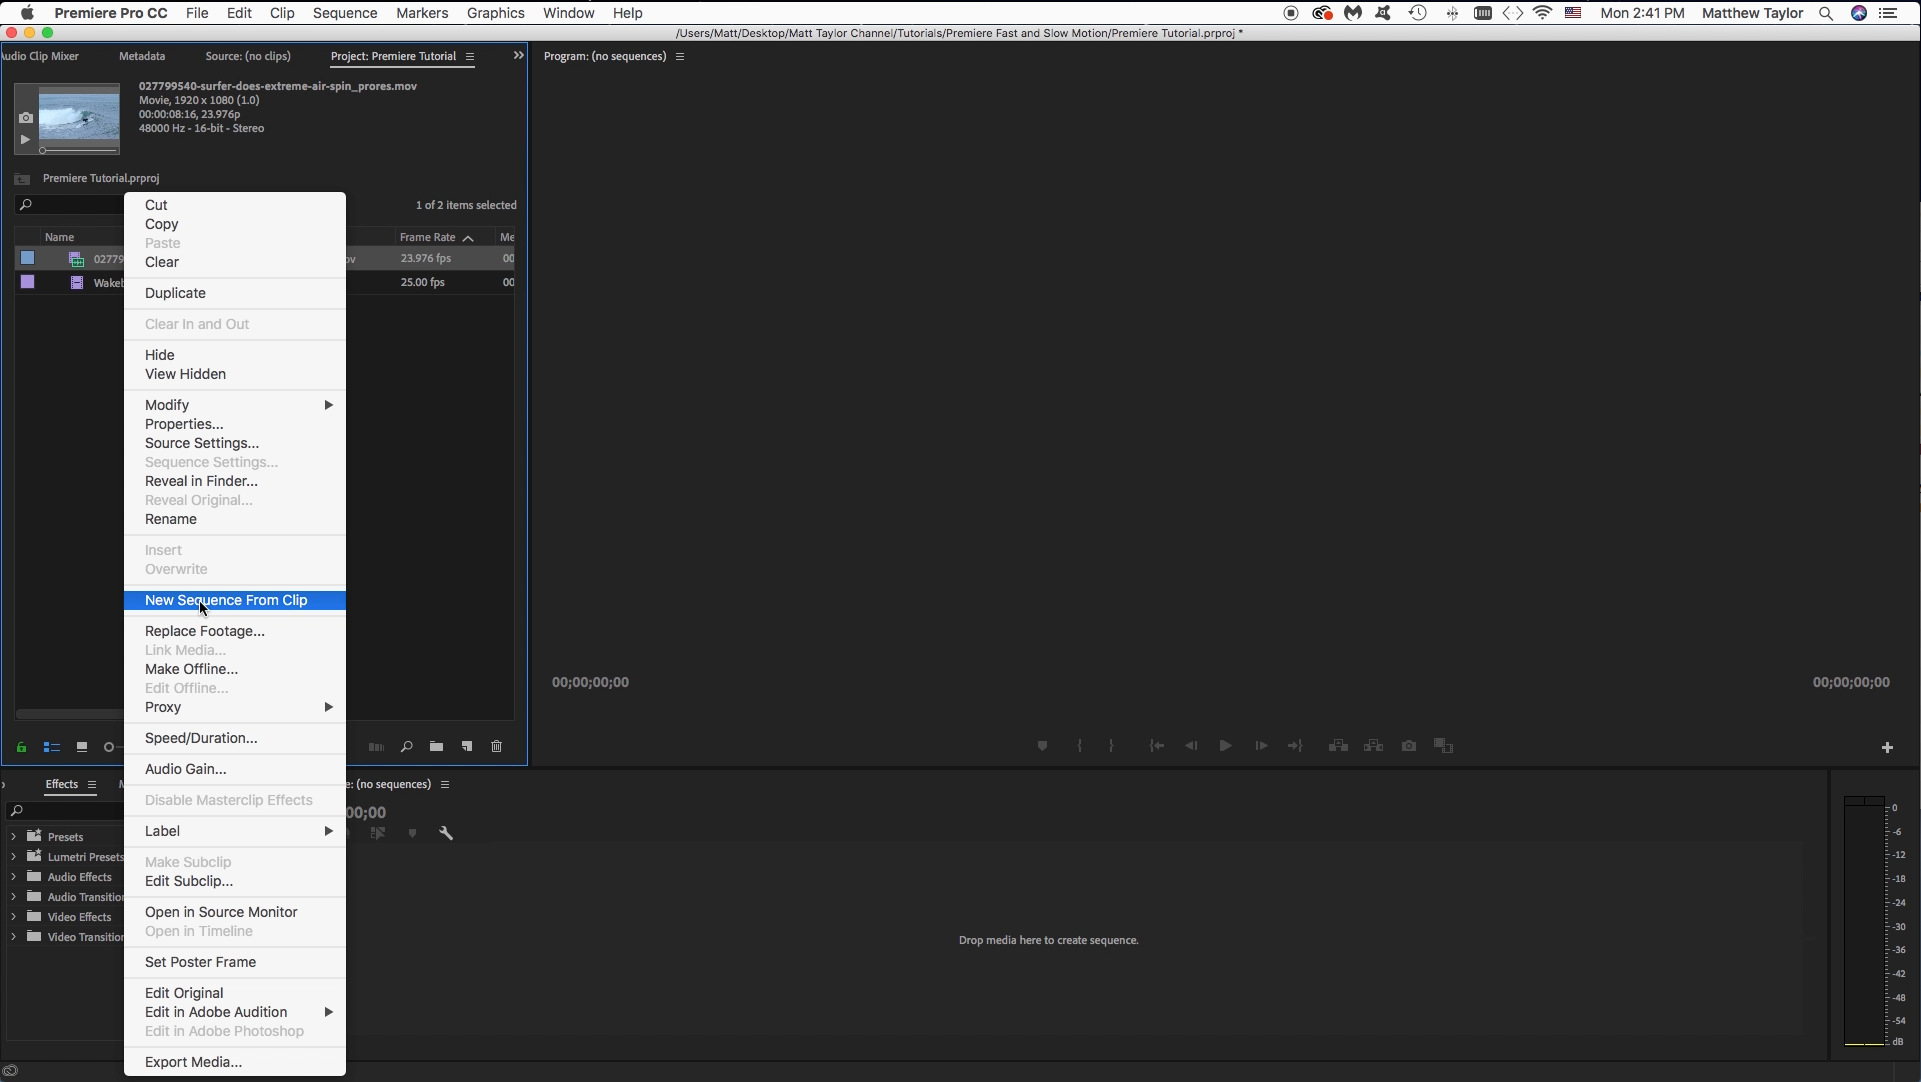
In premiere first create a new sequence. I am going to right click on the clip I want to use and then select "new sequence from clip." Or you could drag the file down into a new sequence that you created a different way.
Slow Motion
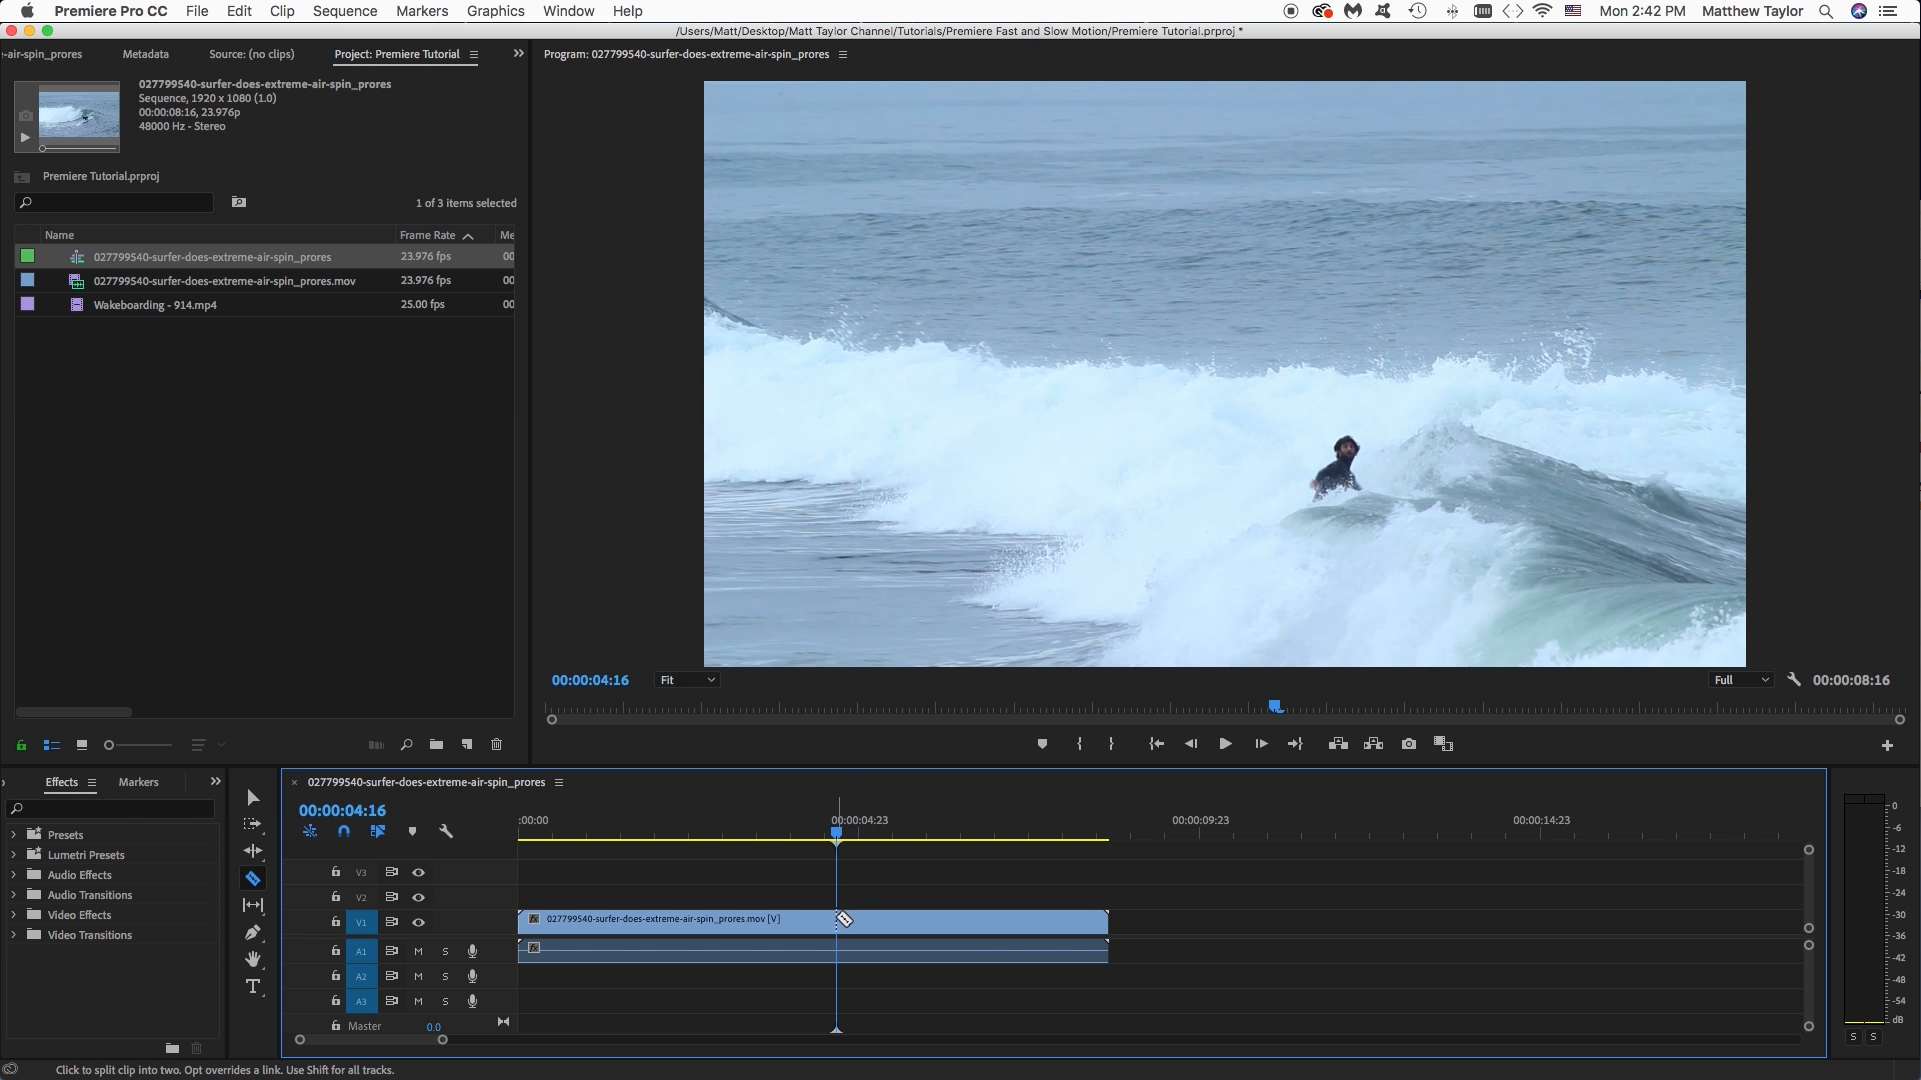
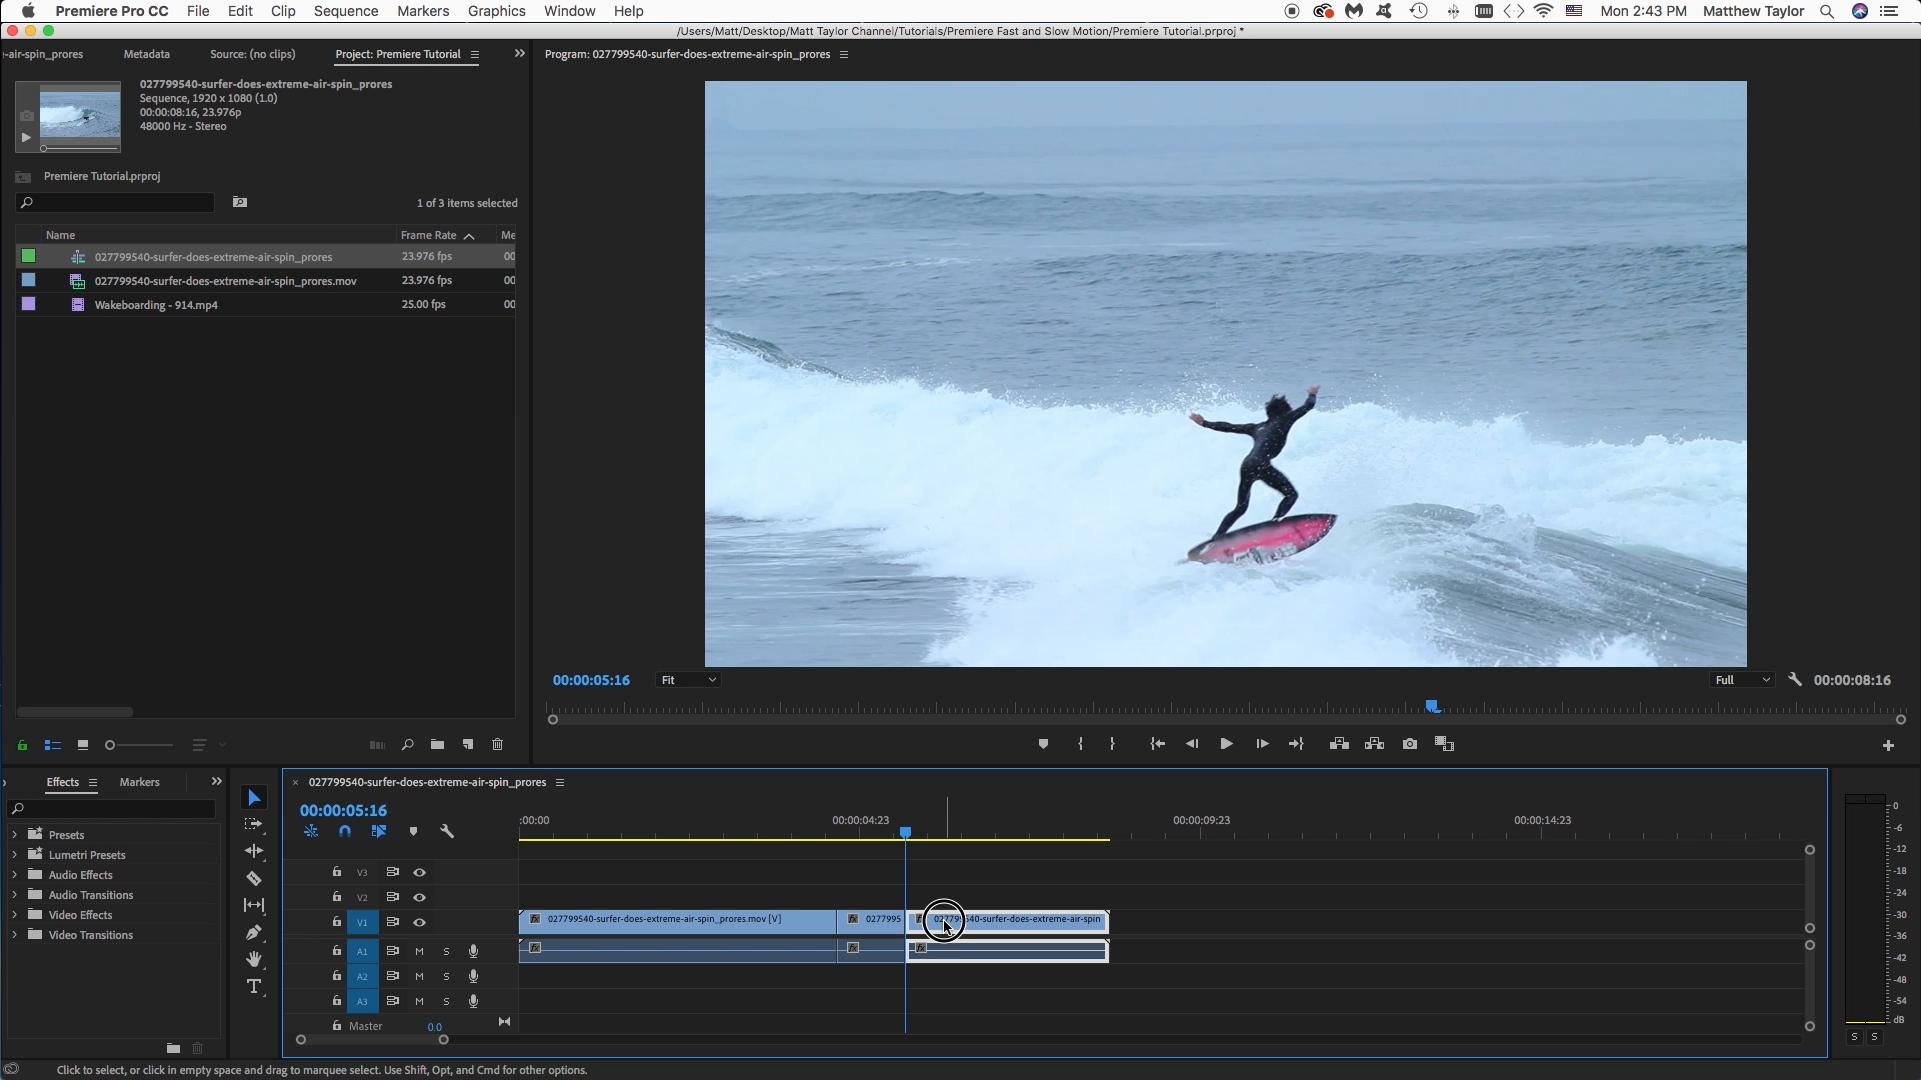
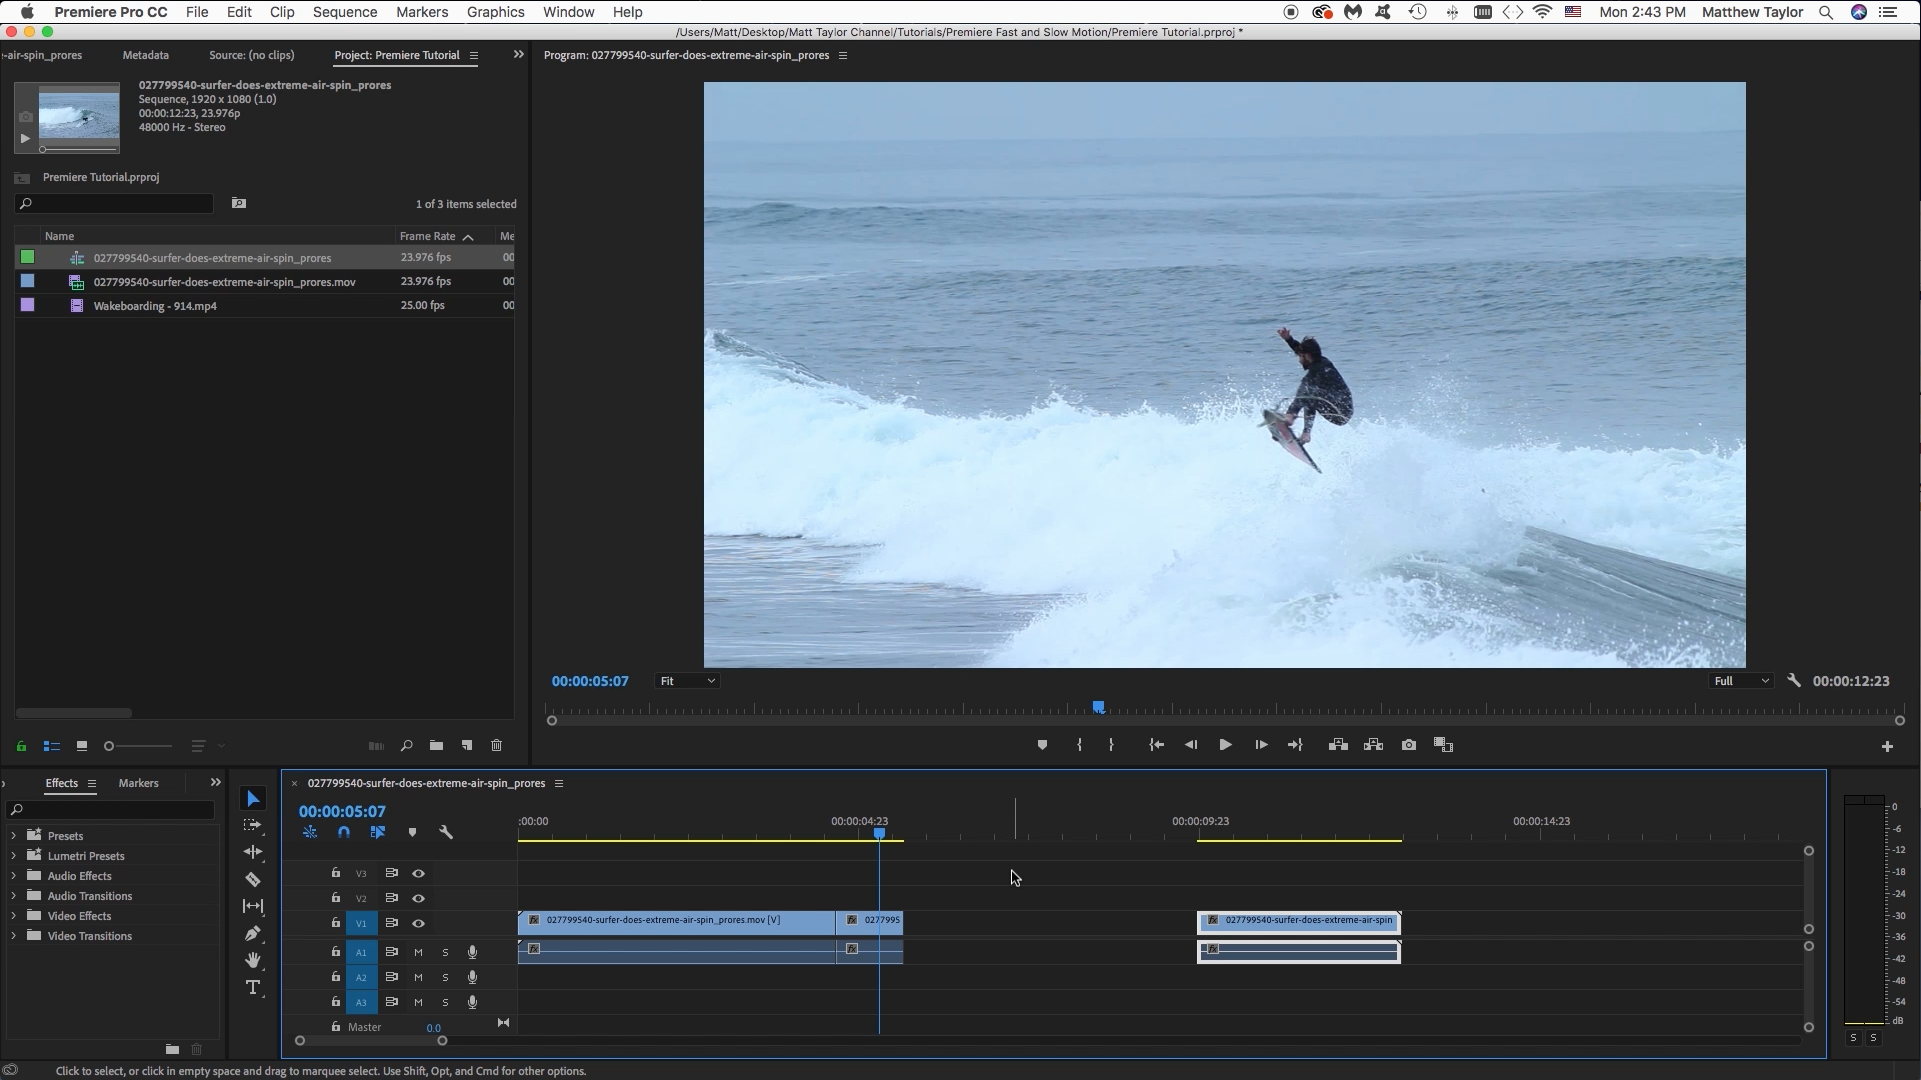
First I will show you how to do the Slow Motion. Using the cut tool (C) on the keyboard, find and cut around the part of the clip that you want to be slow. Then drag the remaining ending clip to the right on the timeline. We need to do this because our short clip that we are slowing down will get longer on the timeline.
Speed Duration
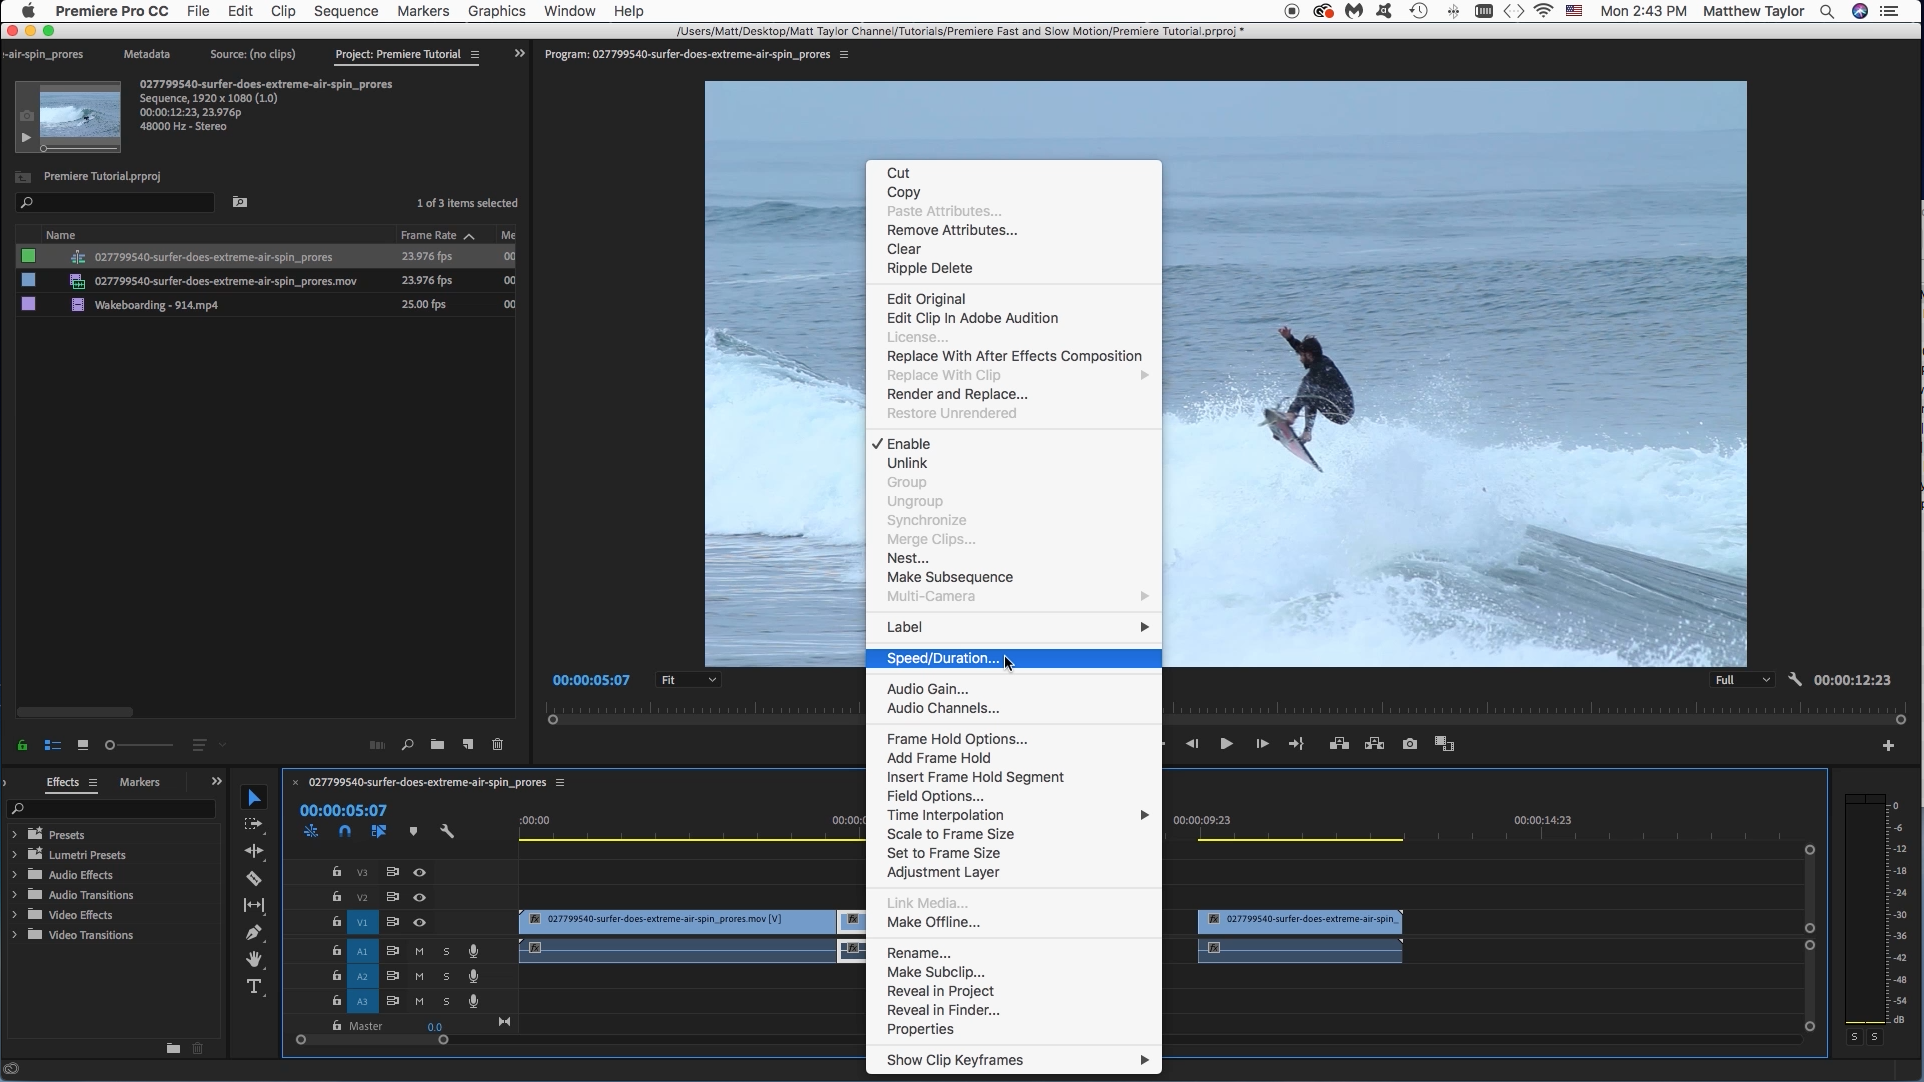
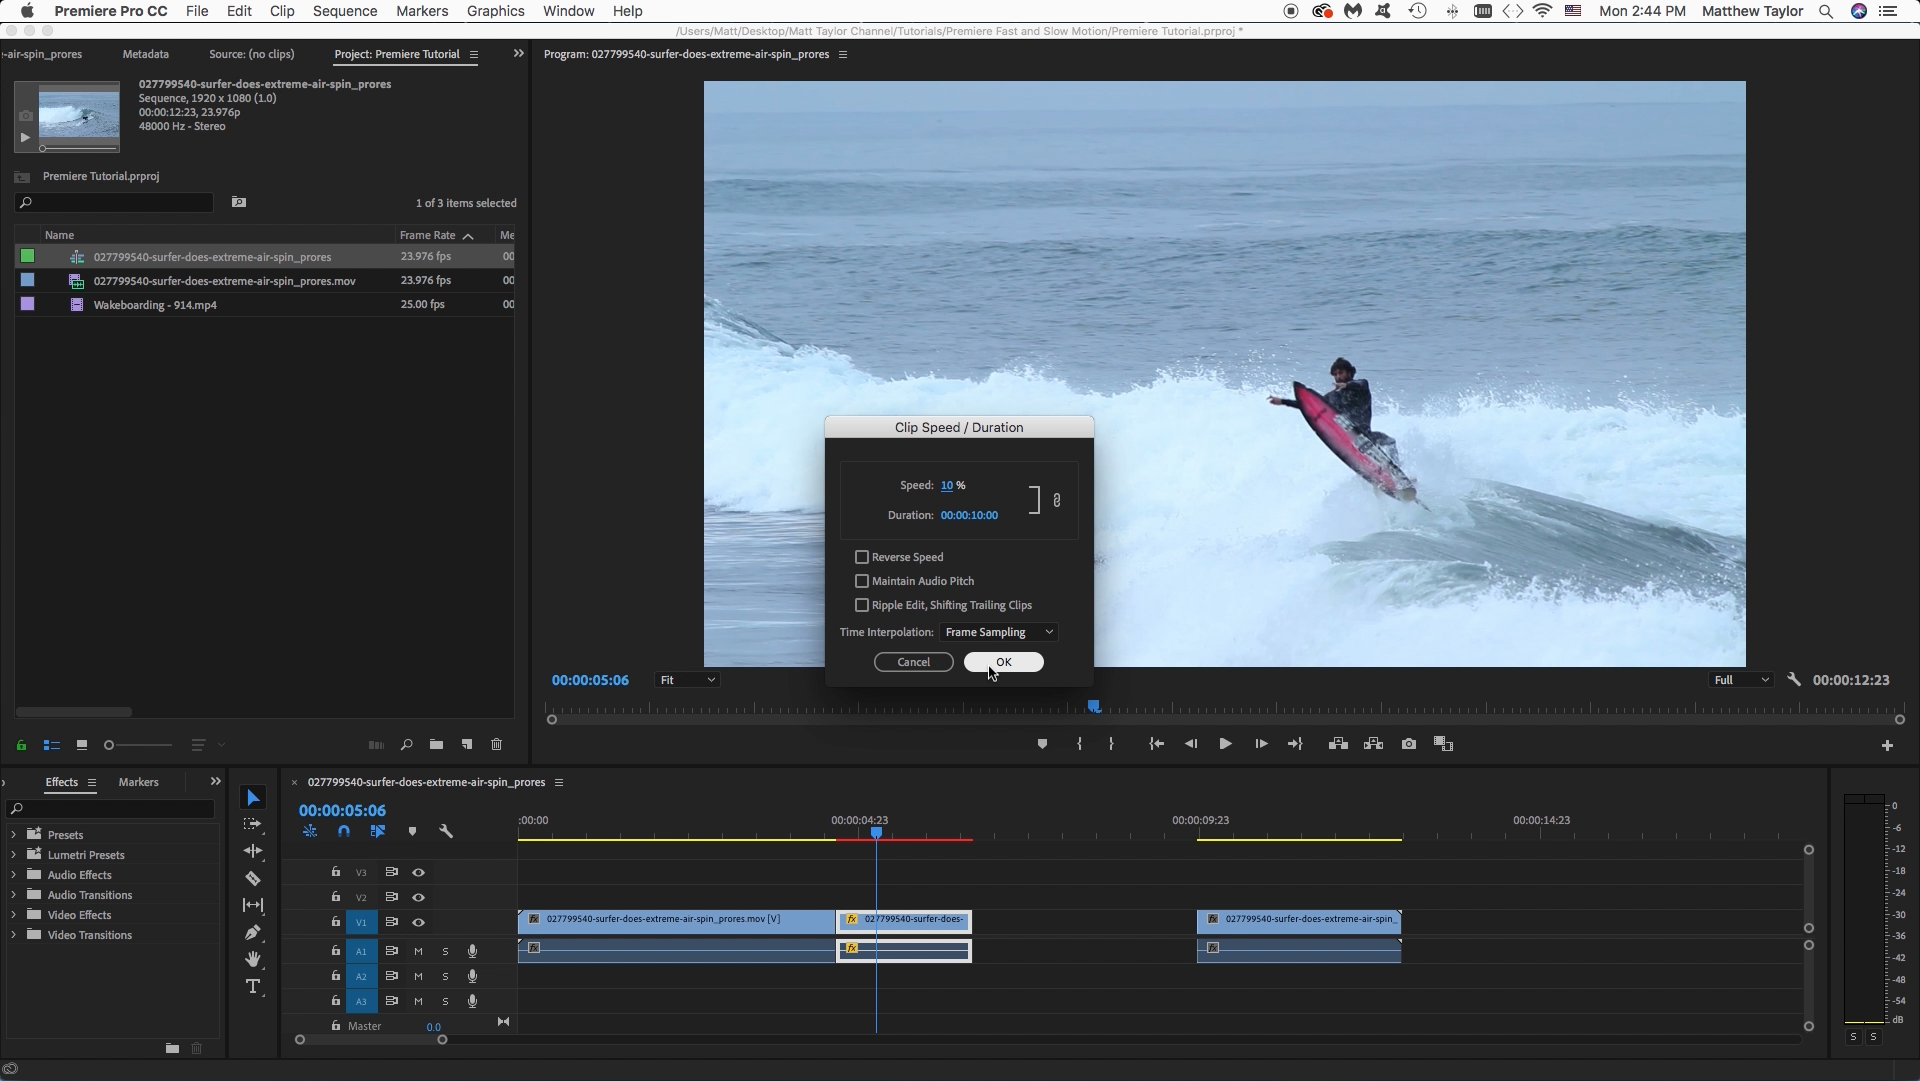
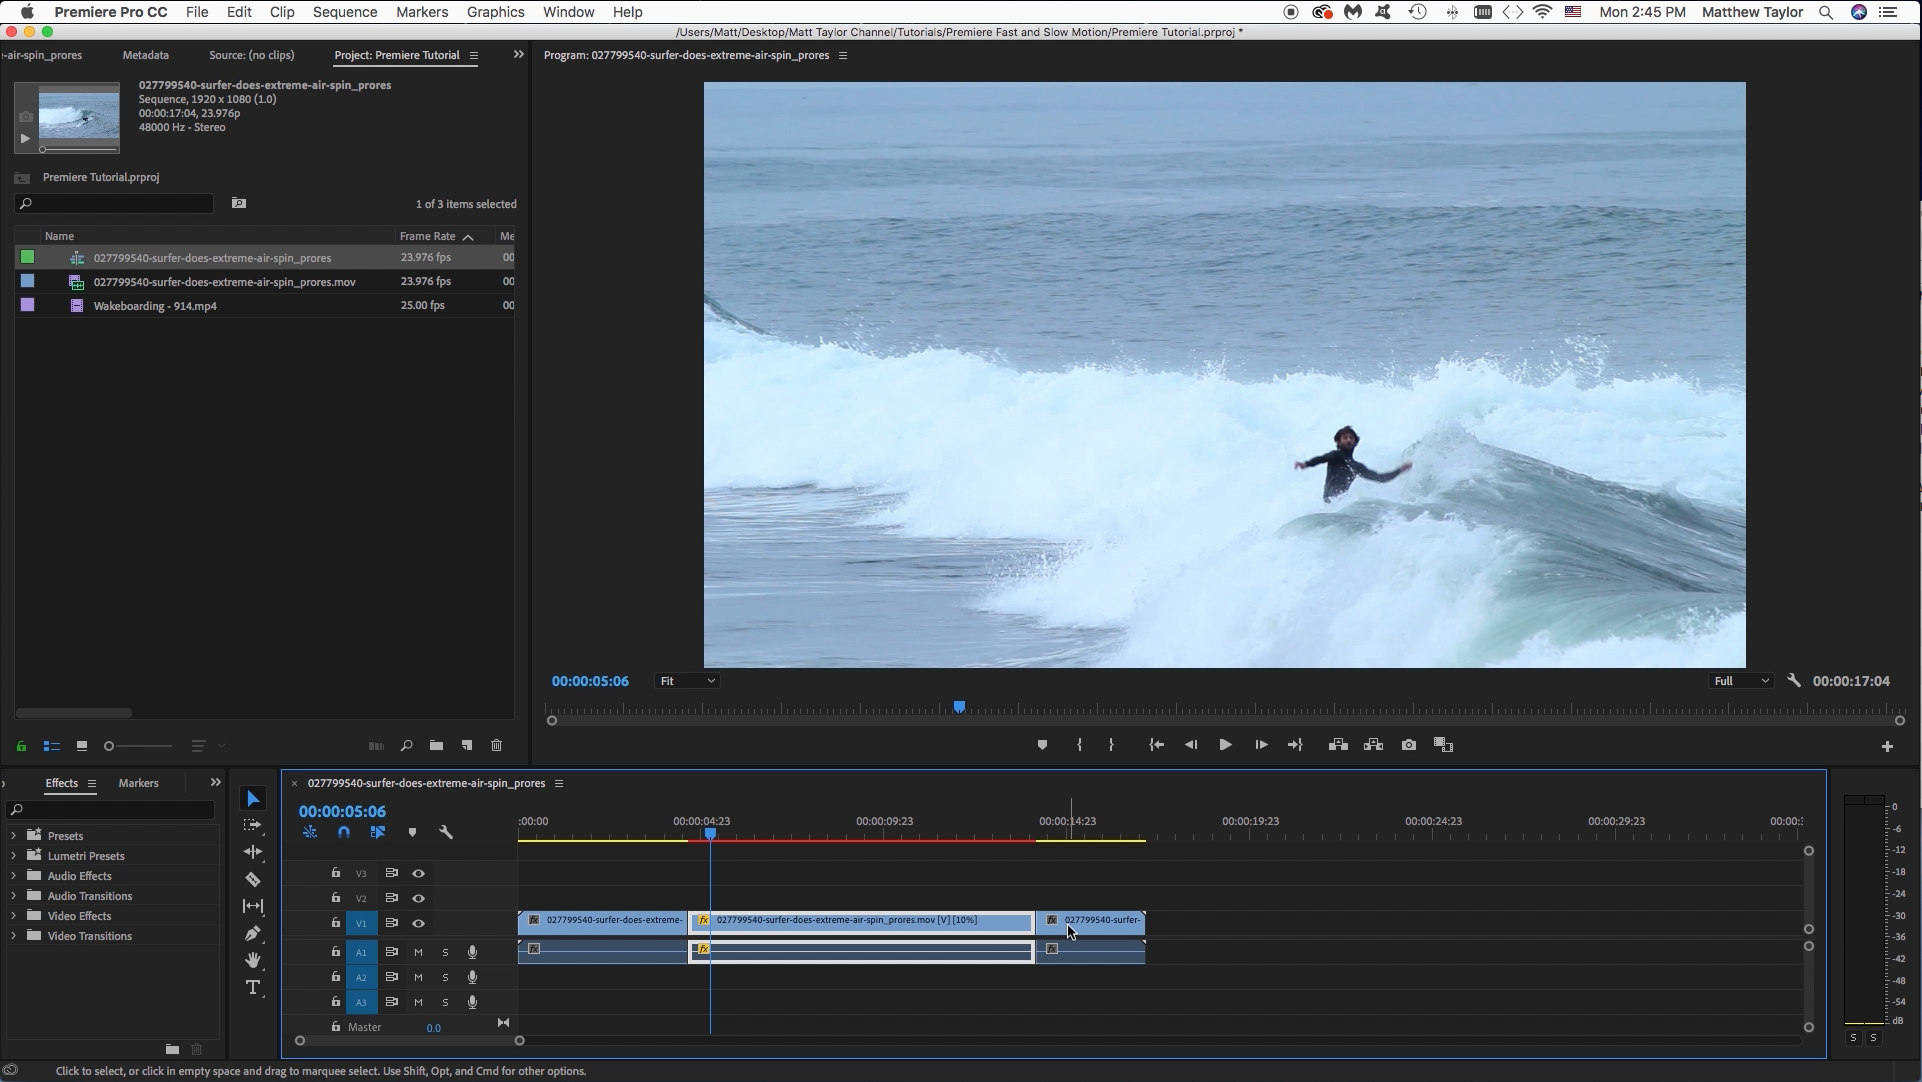
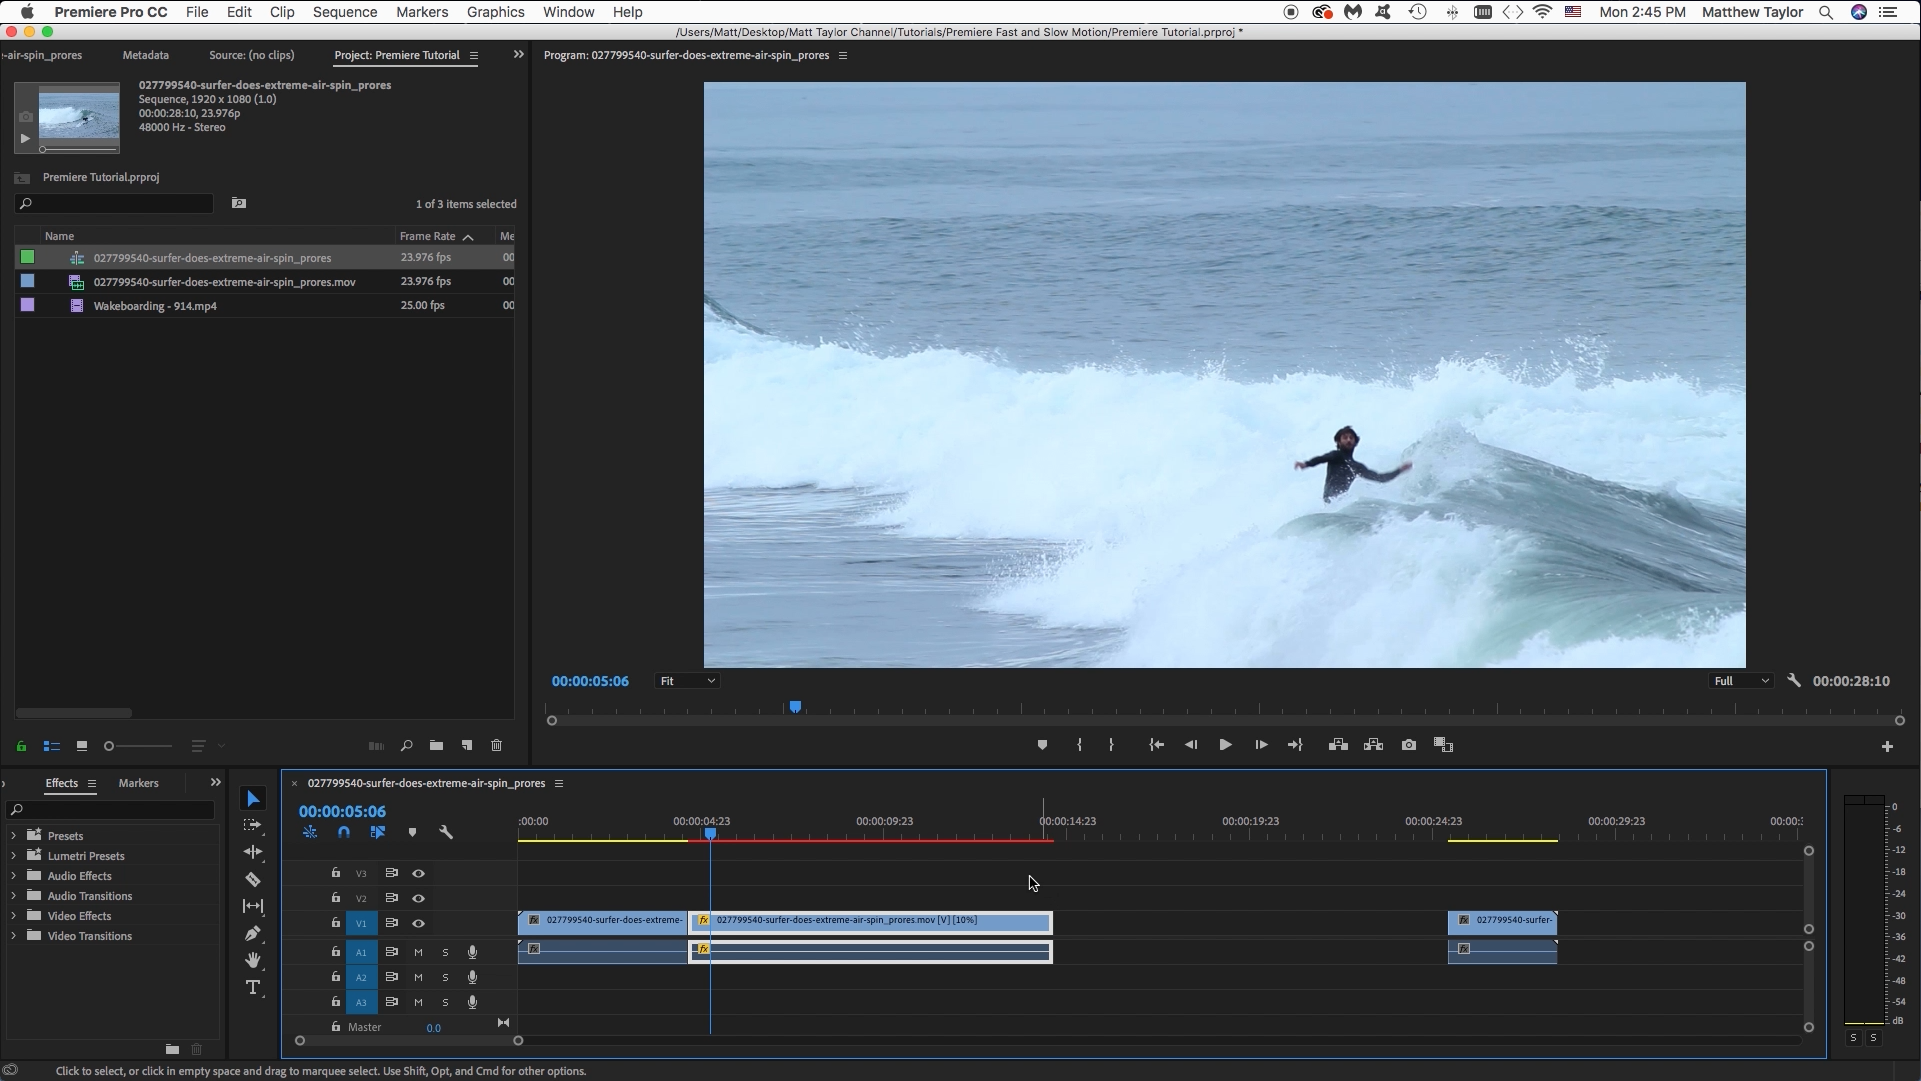
Now right click on the clip we want to be slowed down, then select "Speed Duration". Here you can adjust the speed. I selected 10%. Once done, notice the small clip got really long, and may have overlapped our ending clip. Let's undo what we just did. Then drag that clip out even further, next repeat the steps of right clicking on the clip, selecting "Speed Duration" and then selecting what percent you want to slow it down. Or you can adjust by the time.
Review
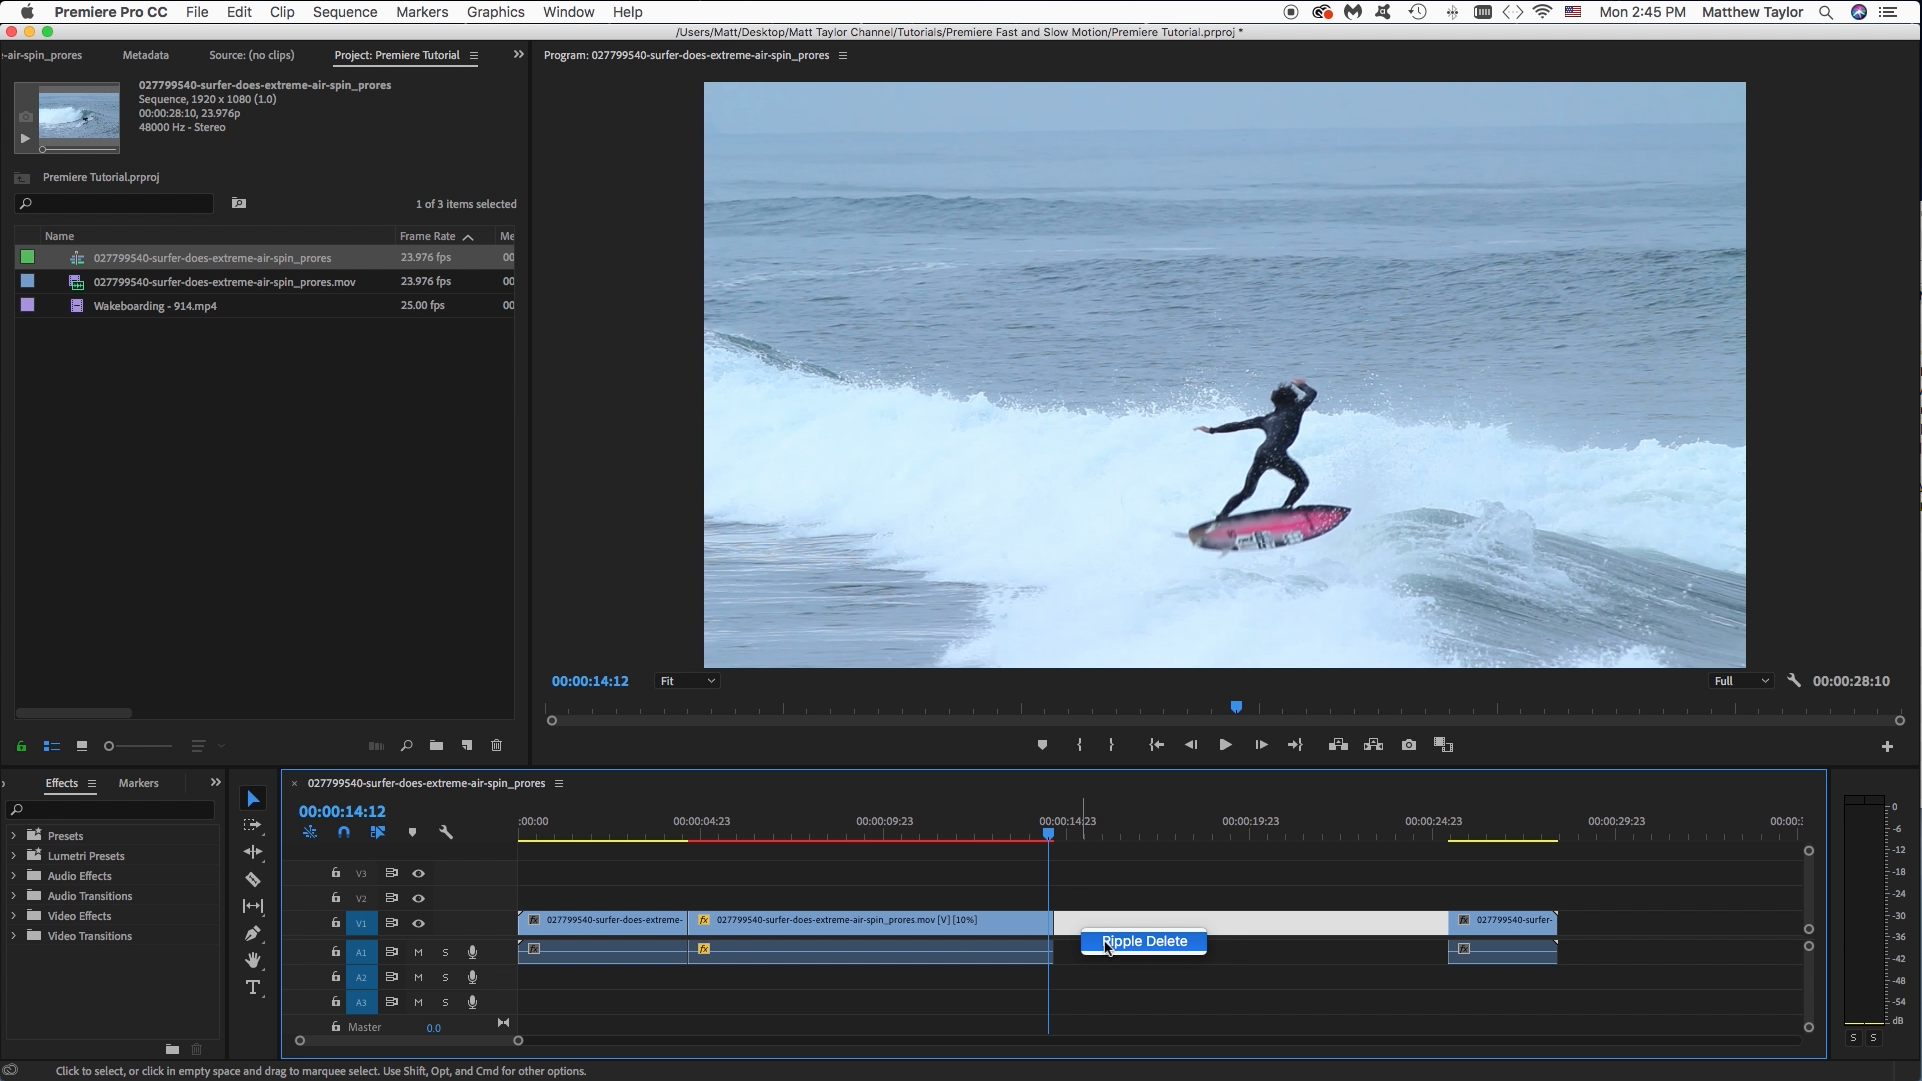
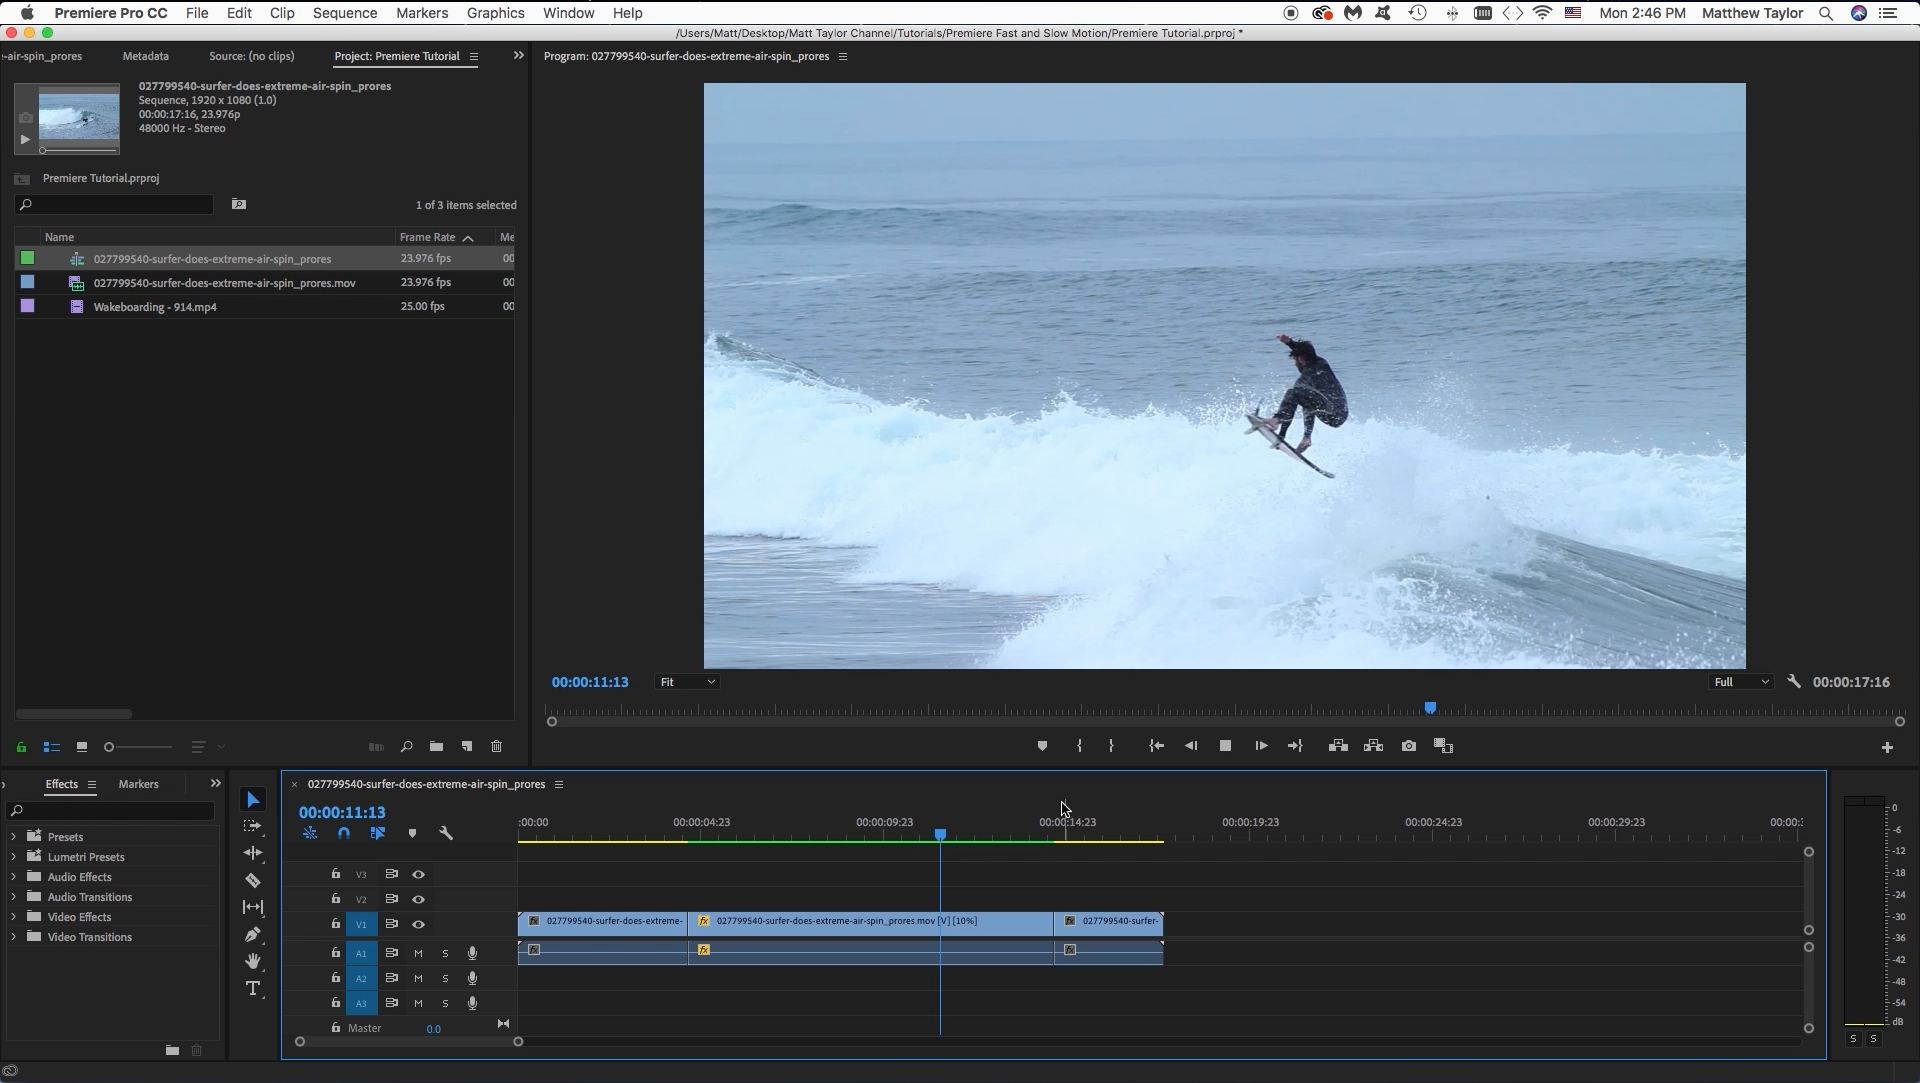
Now we can put our cursor in the gap, right click, and then select ripple delete to bring bag our ending clip. Or you can just drag it back. Now you can watch the whole clip and see how it looks. Then fine tune the speed if you like.
Freeze Frame Effect
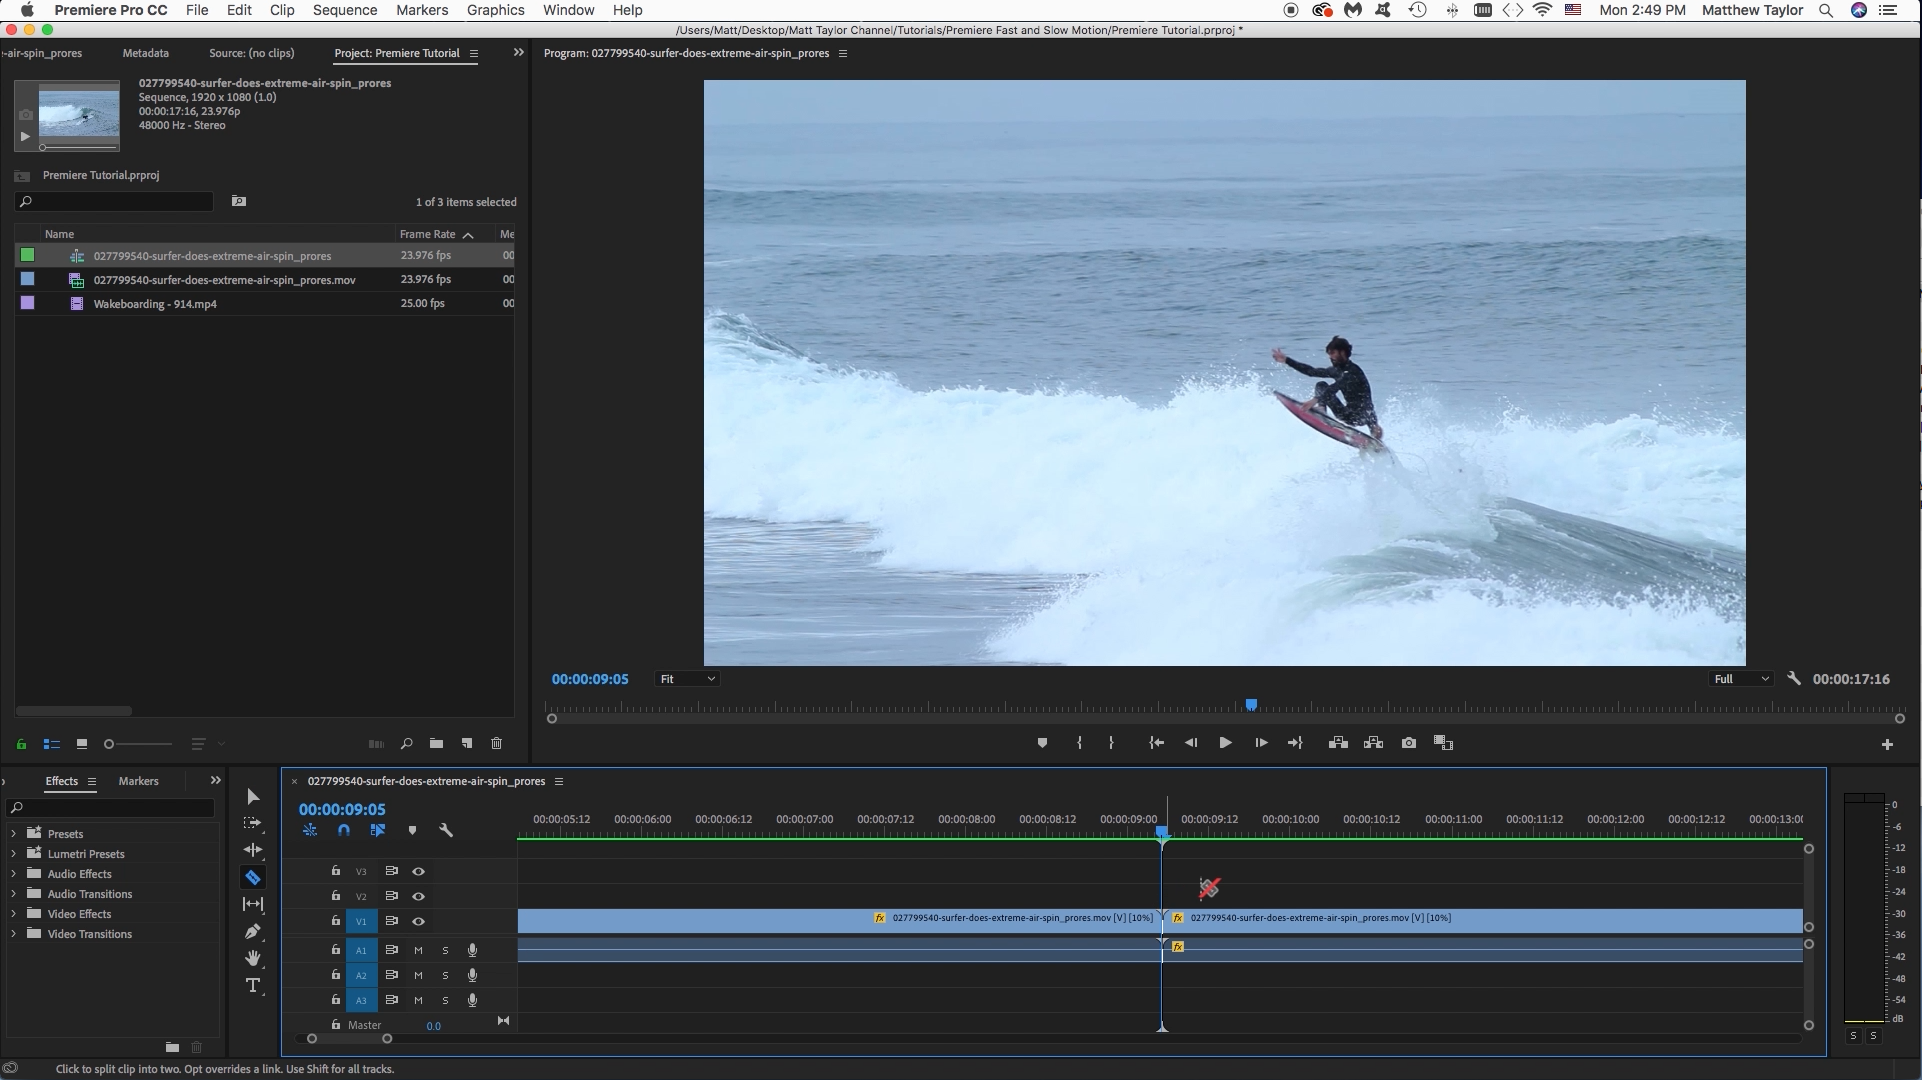
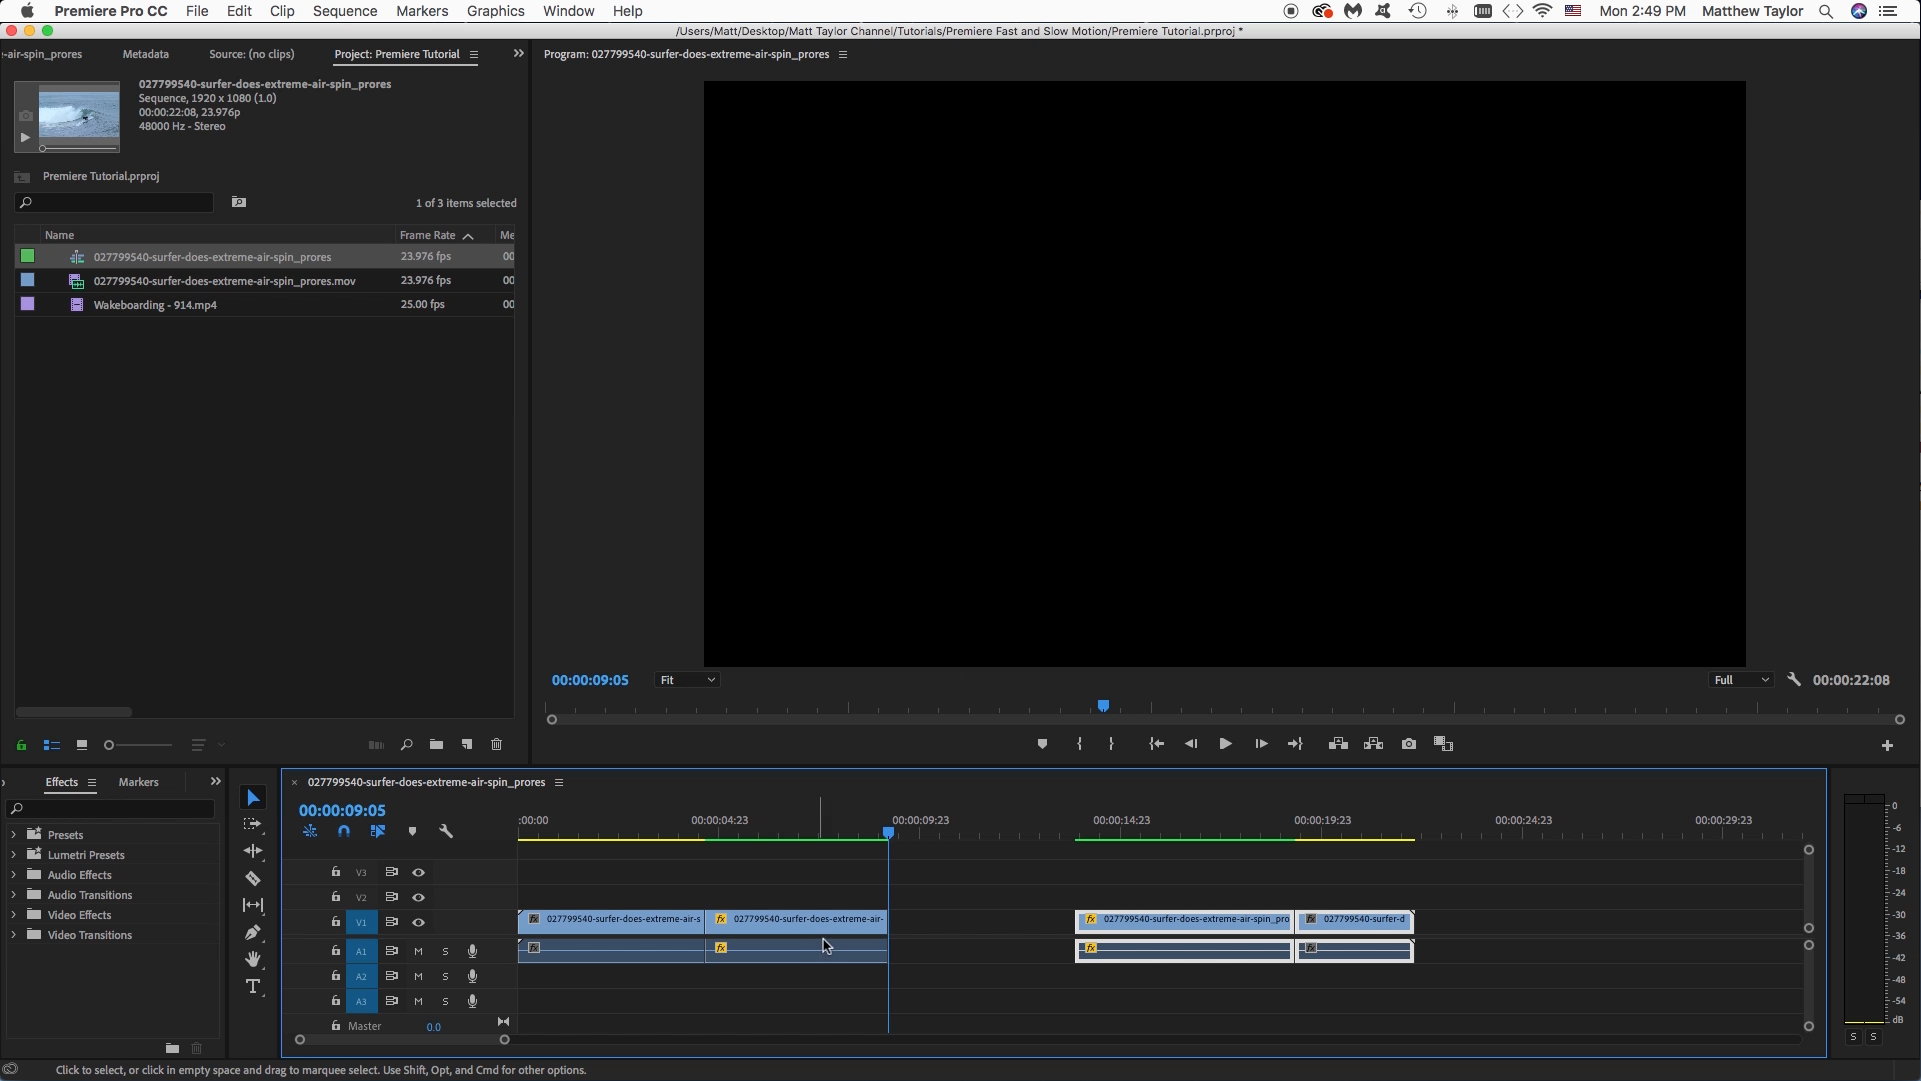
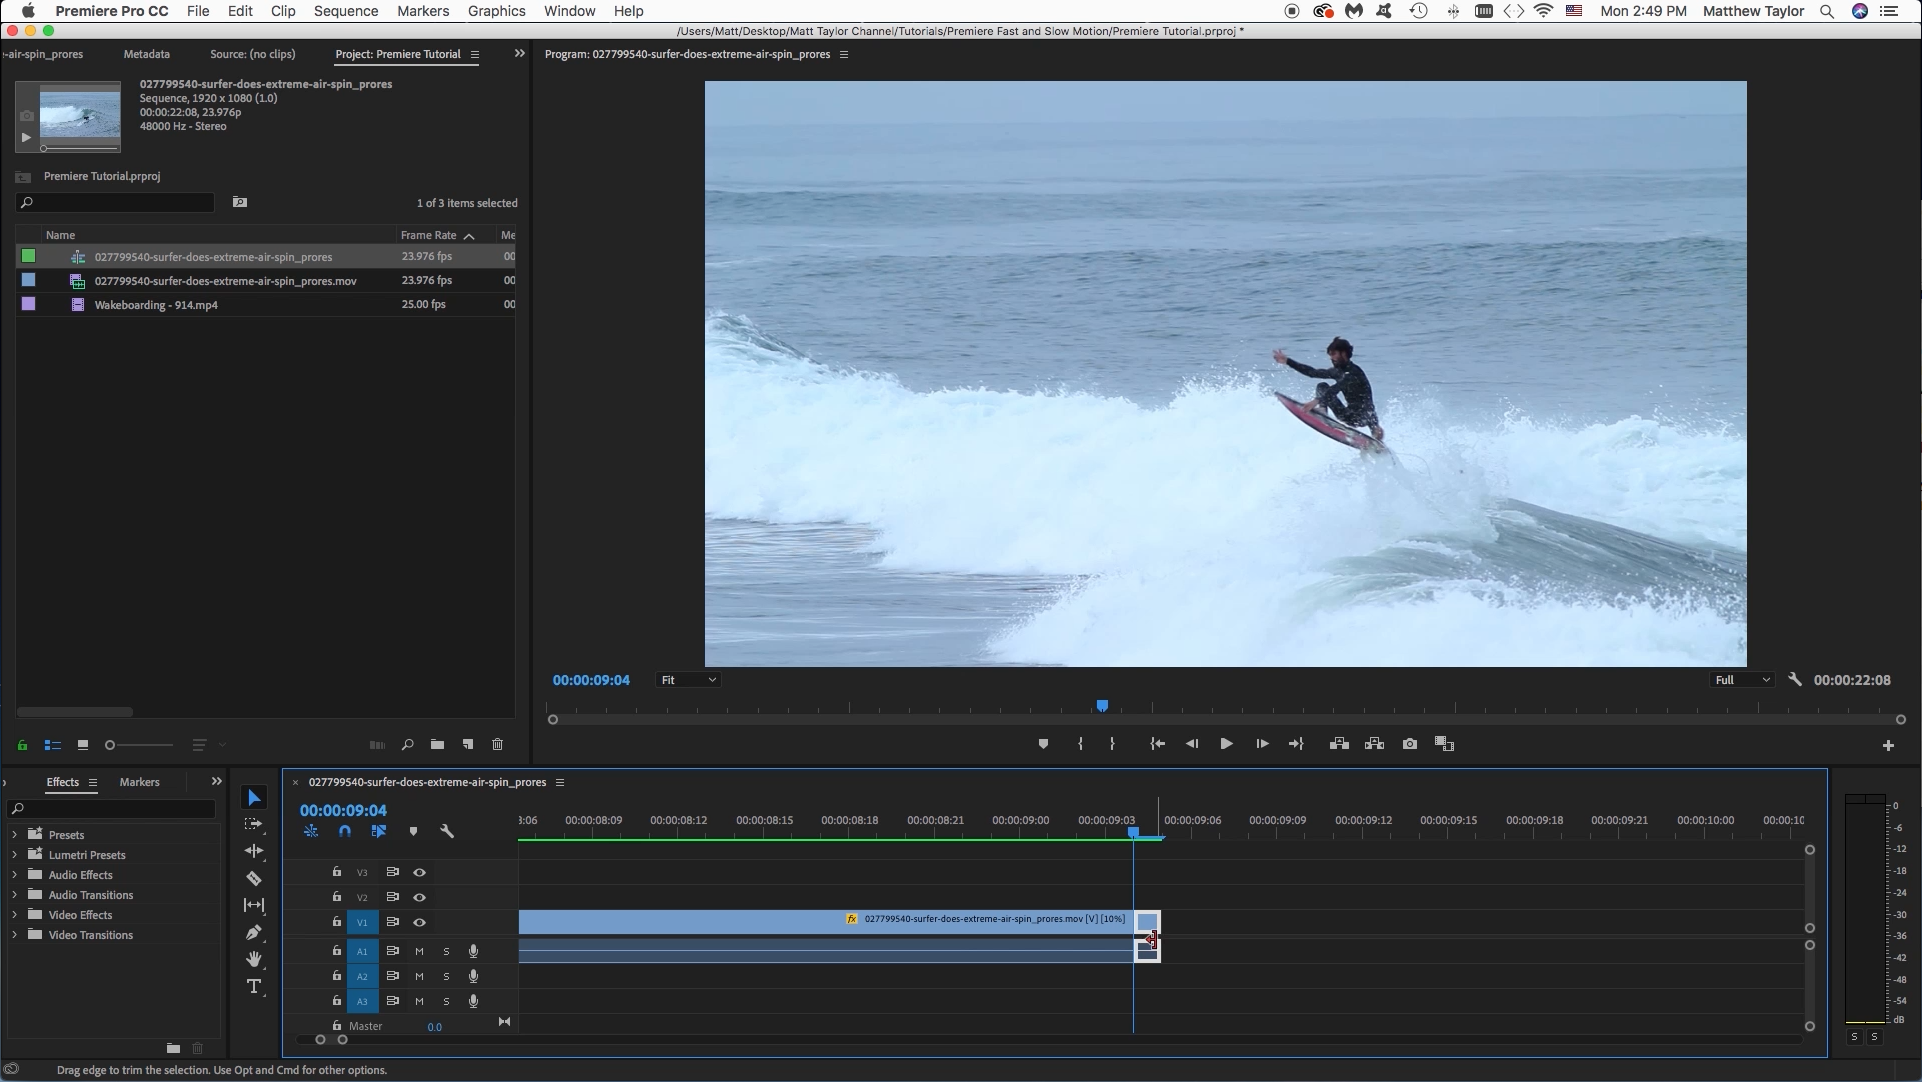
Now let's do the popular Freeze Frame effect. Maybe I want to see him hit his peak of his jump, then freeze the frame, maybe to match a music beat, or to add some cool text or something. Right at the peak of his jump, use the cut tool and make a cut. Then drag the clips to the right further down the timeline. Next go back one frame on your cut.
Frame Hold Options
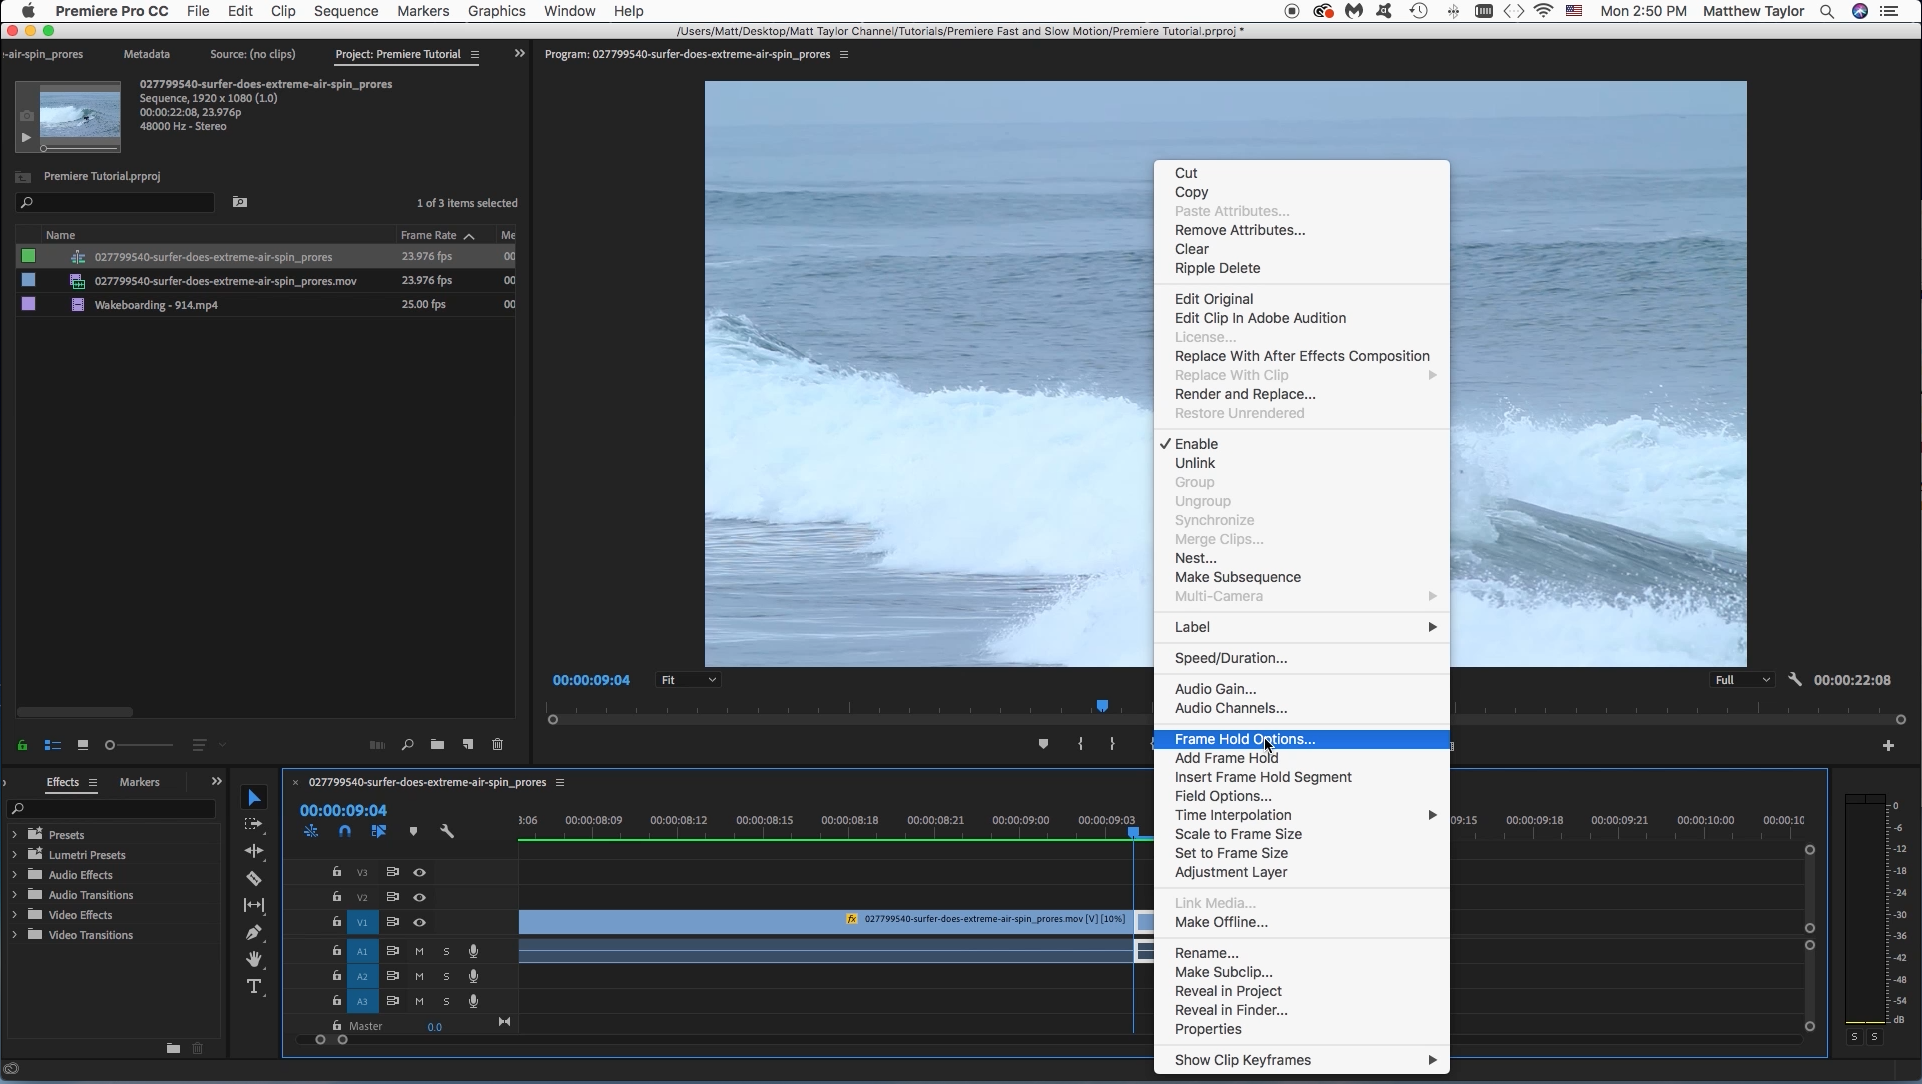
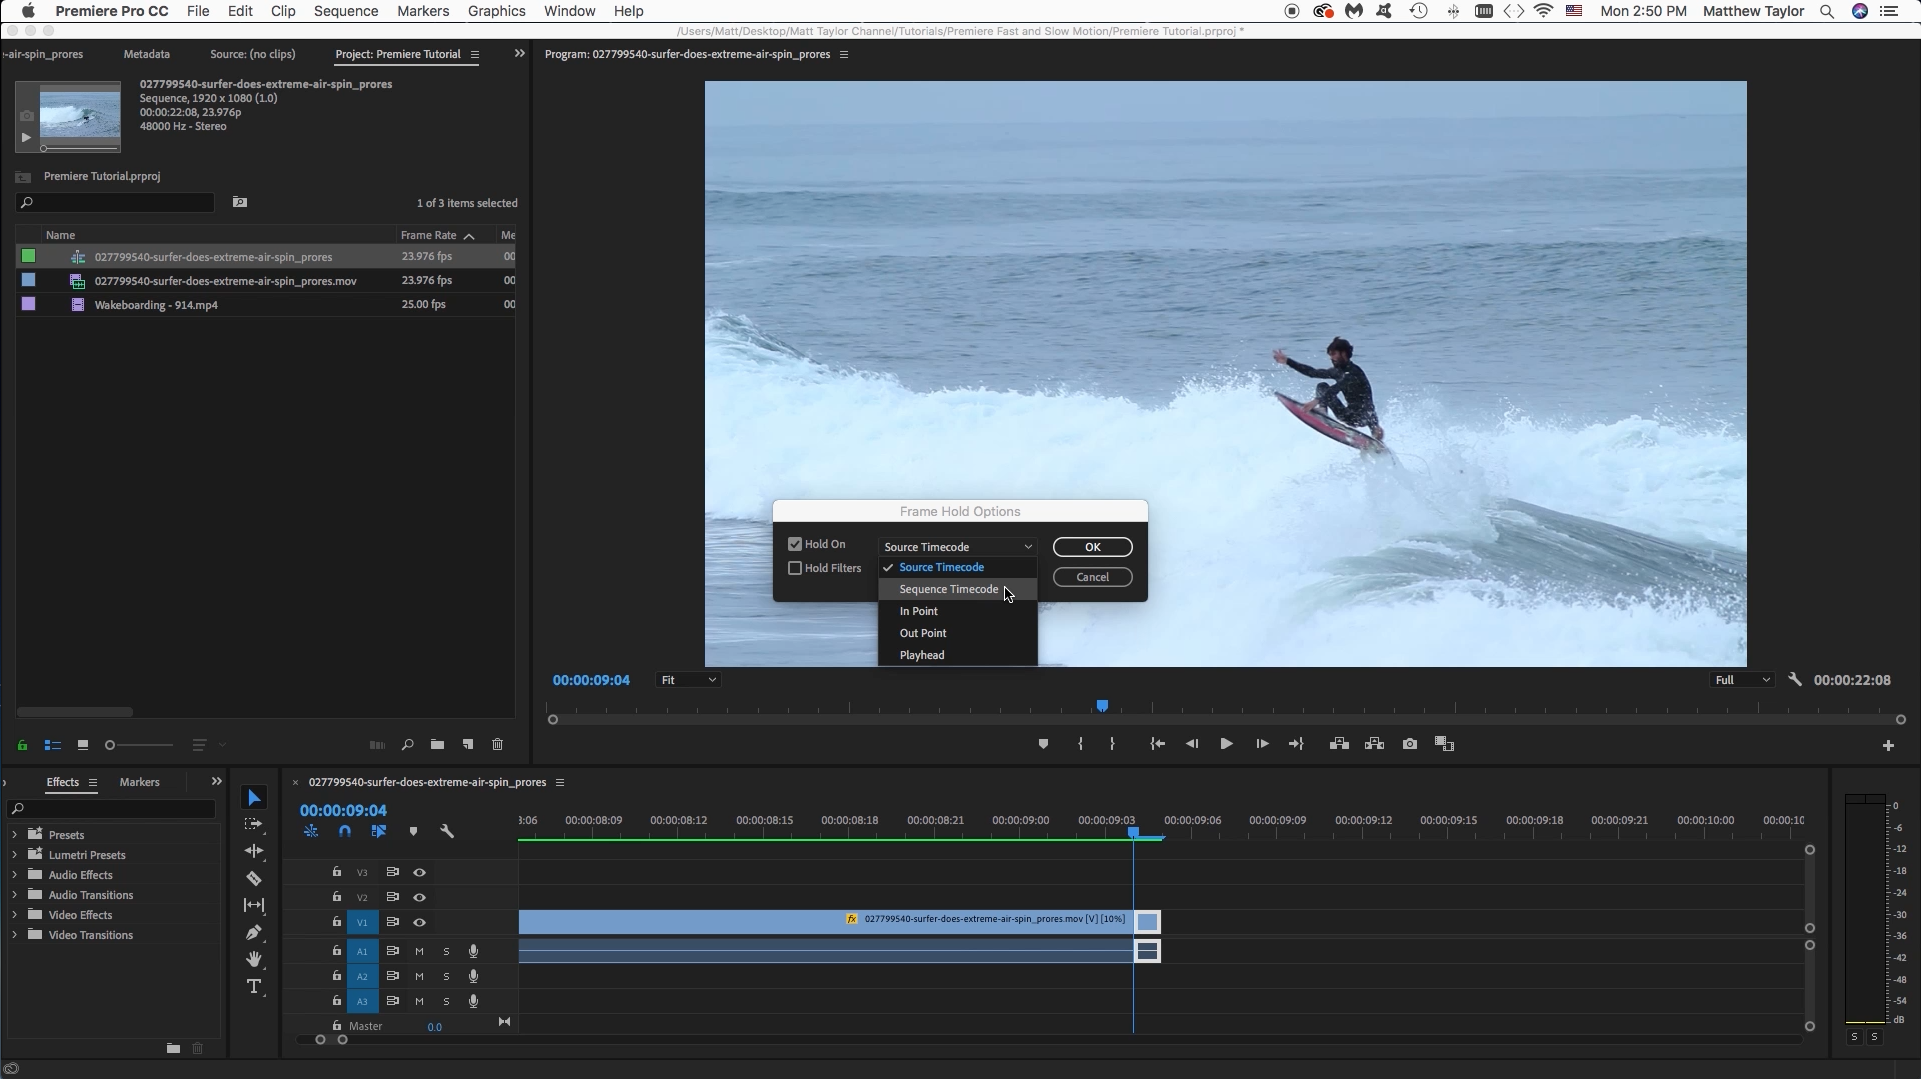
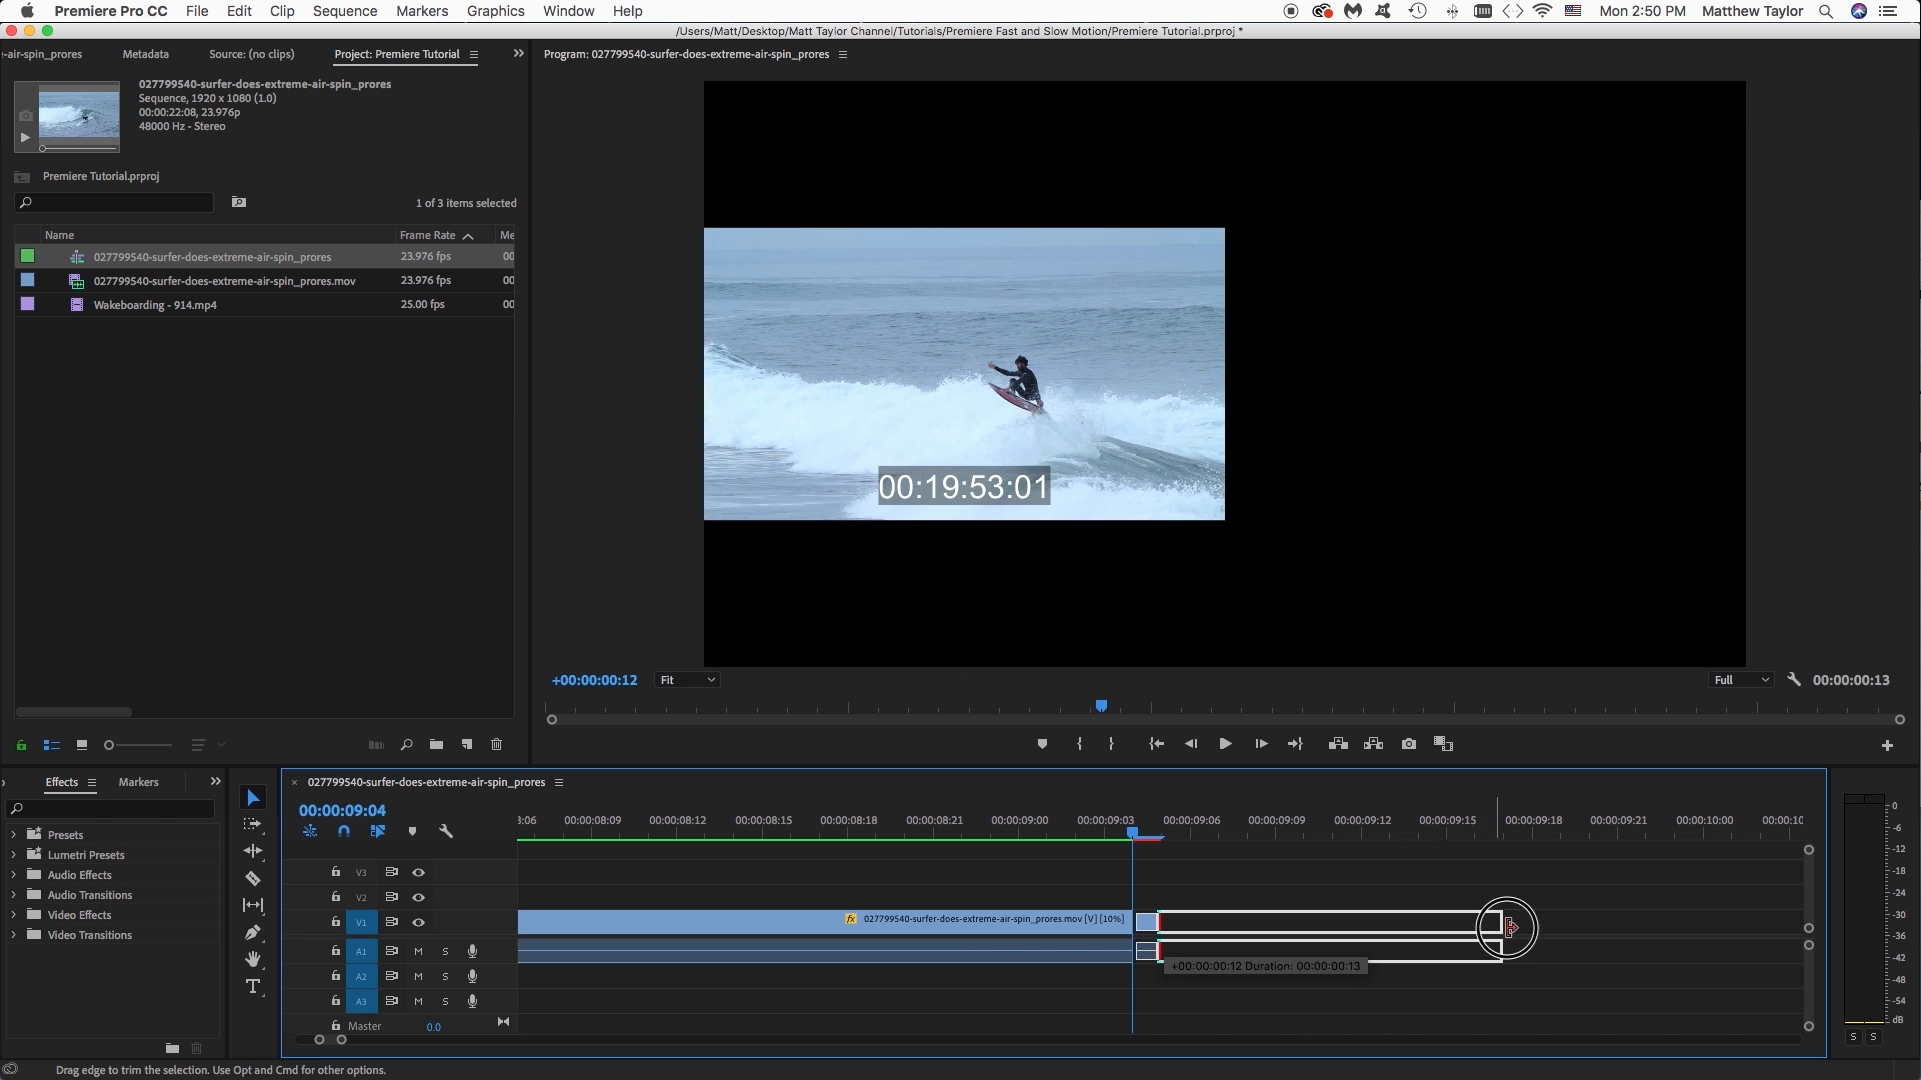
Now right click on that small one frame clip. You may need to zoom in on your timeline. Now select "Frame Hold Options" on the pop out. Next select "Sequence Timecode". Now you can add your cursor to the right edge of the little one frame clip, and drag it to the right. You will see a preview as you are doing this. You can make it as long as you want.
Export Frame
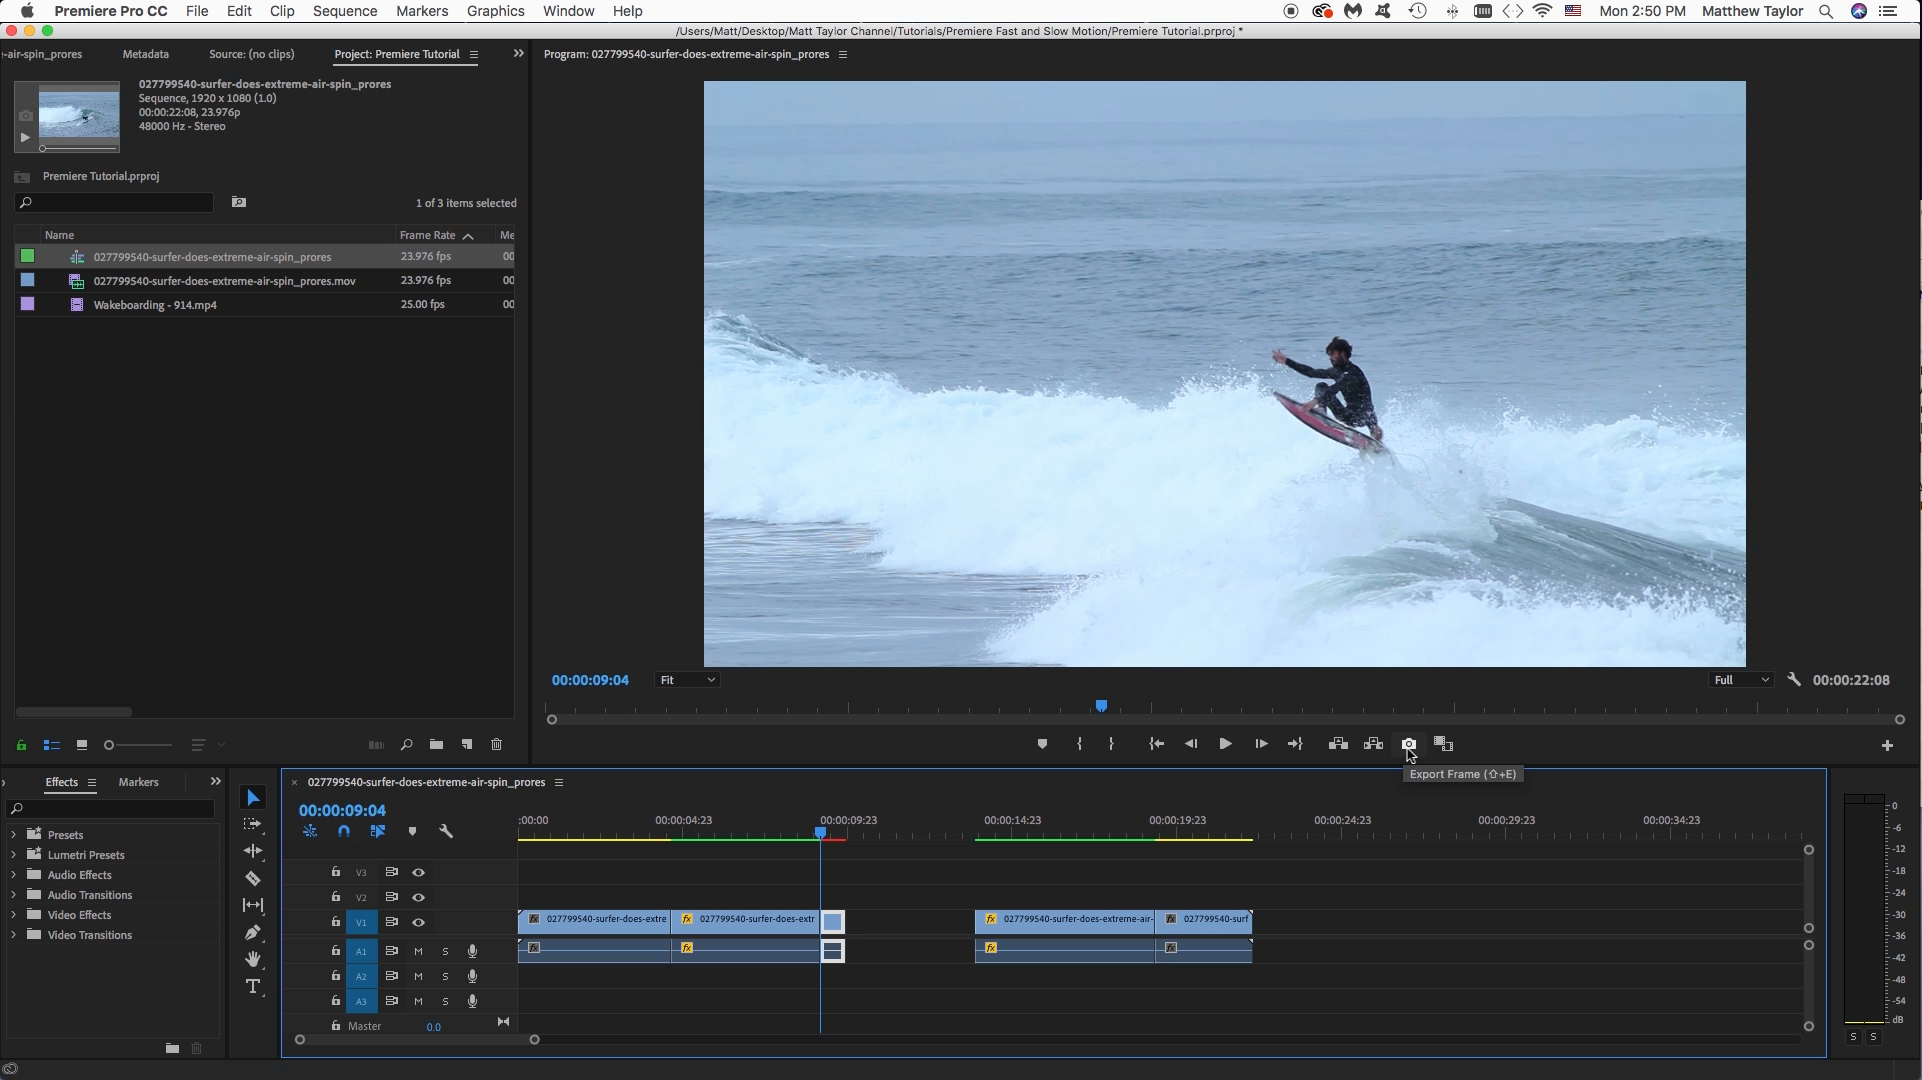
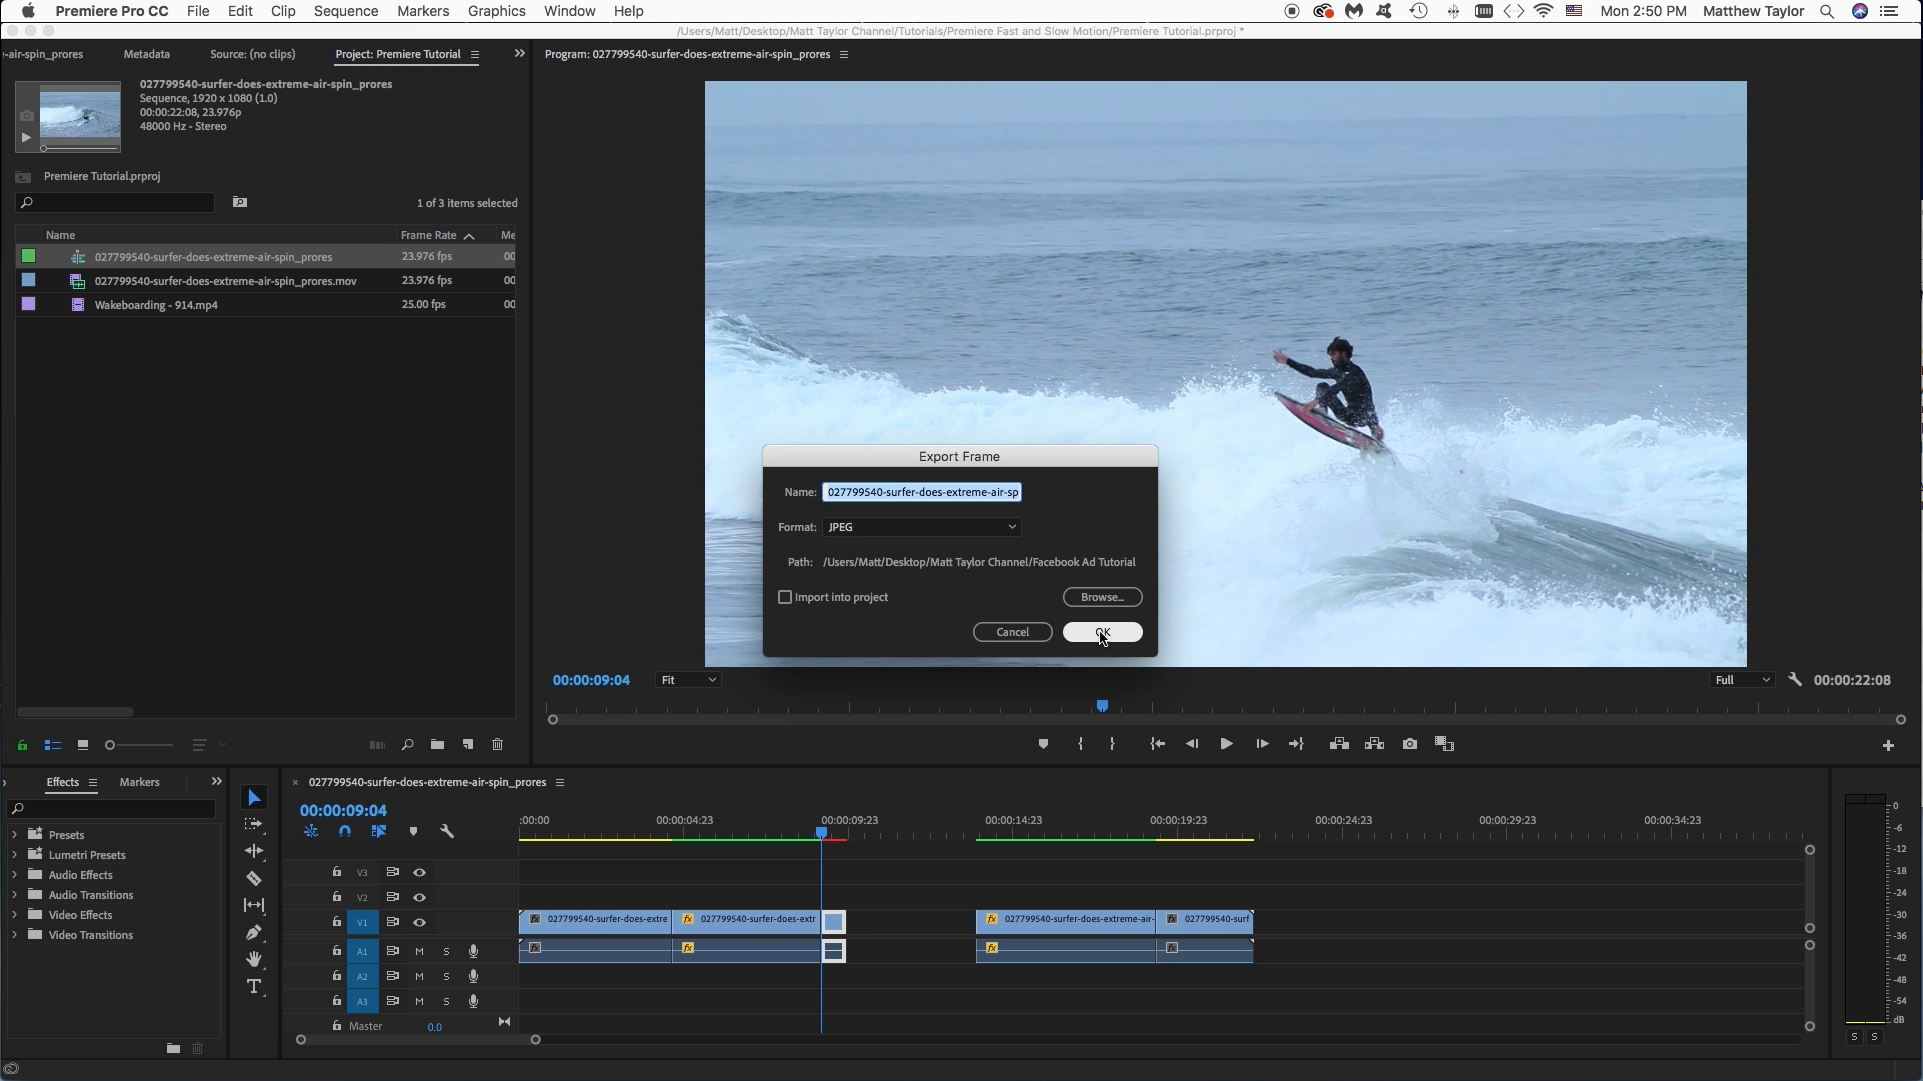
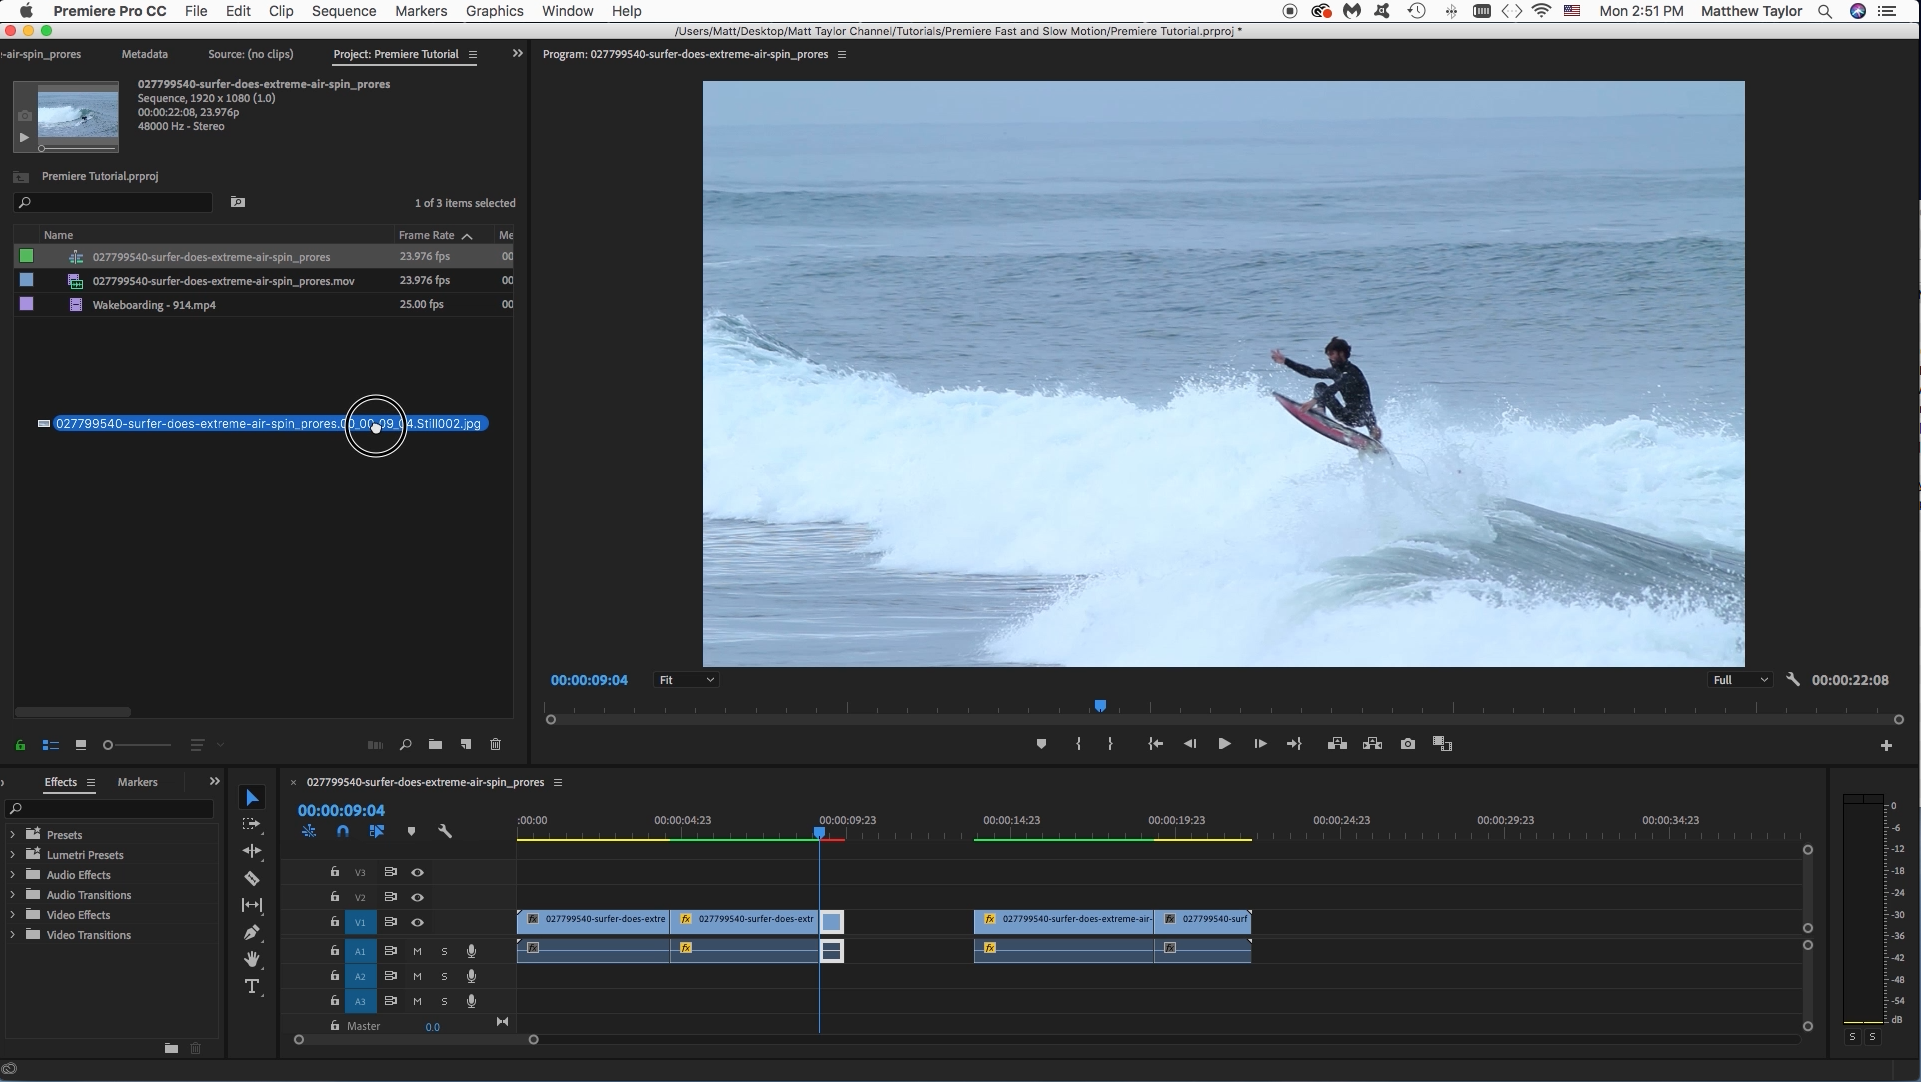
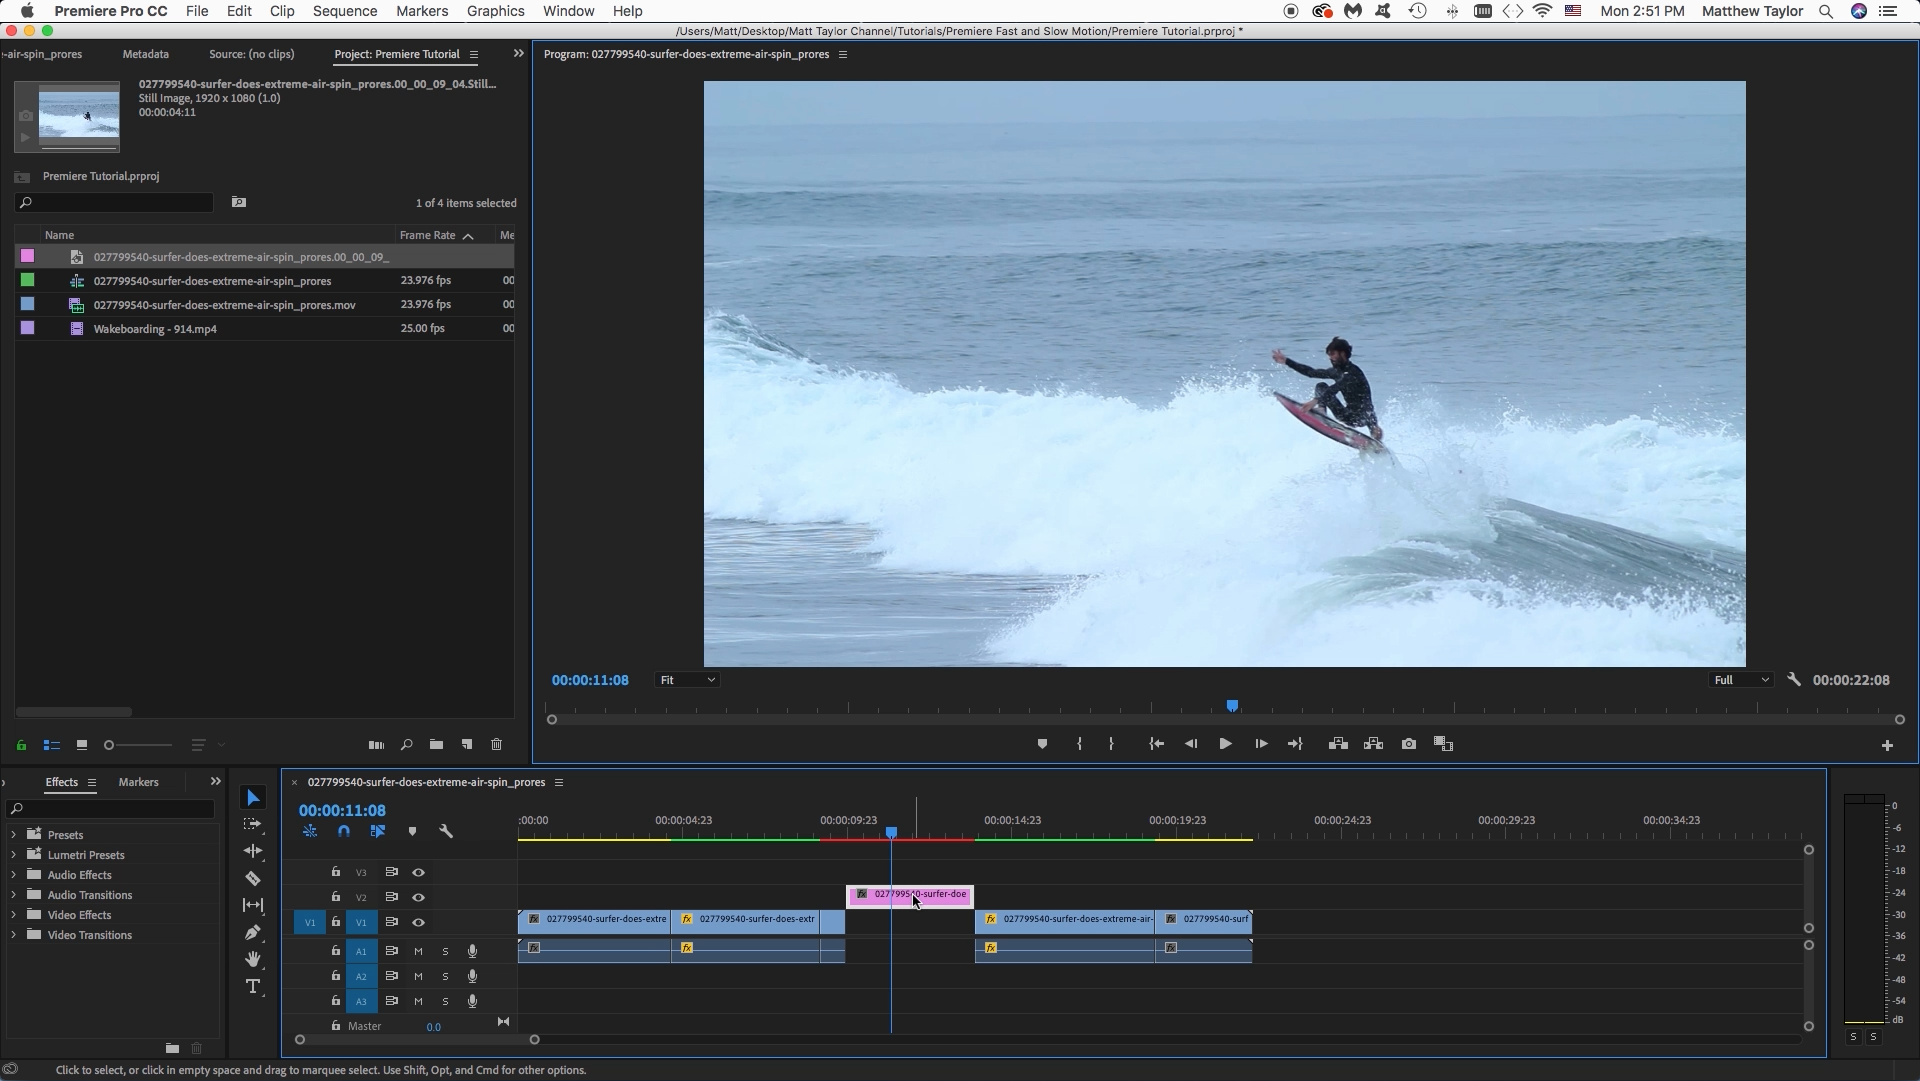
Another way you can achieve the same result is by putting the cursor on the frame you want held. Then click on the little camera icon "Export Frame" This will as you where you want to put the frame and what you want to name it. Then once you do that you can find that image drag it into your project and down into your timeline. It is the same frame! :) You can make it as long as you want.
Fast Motion
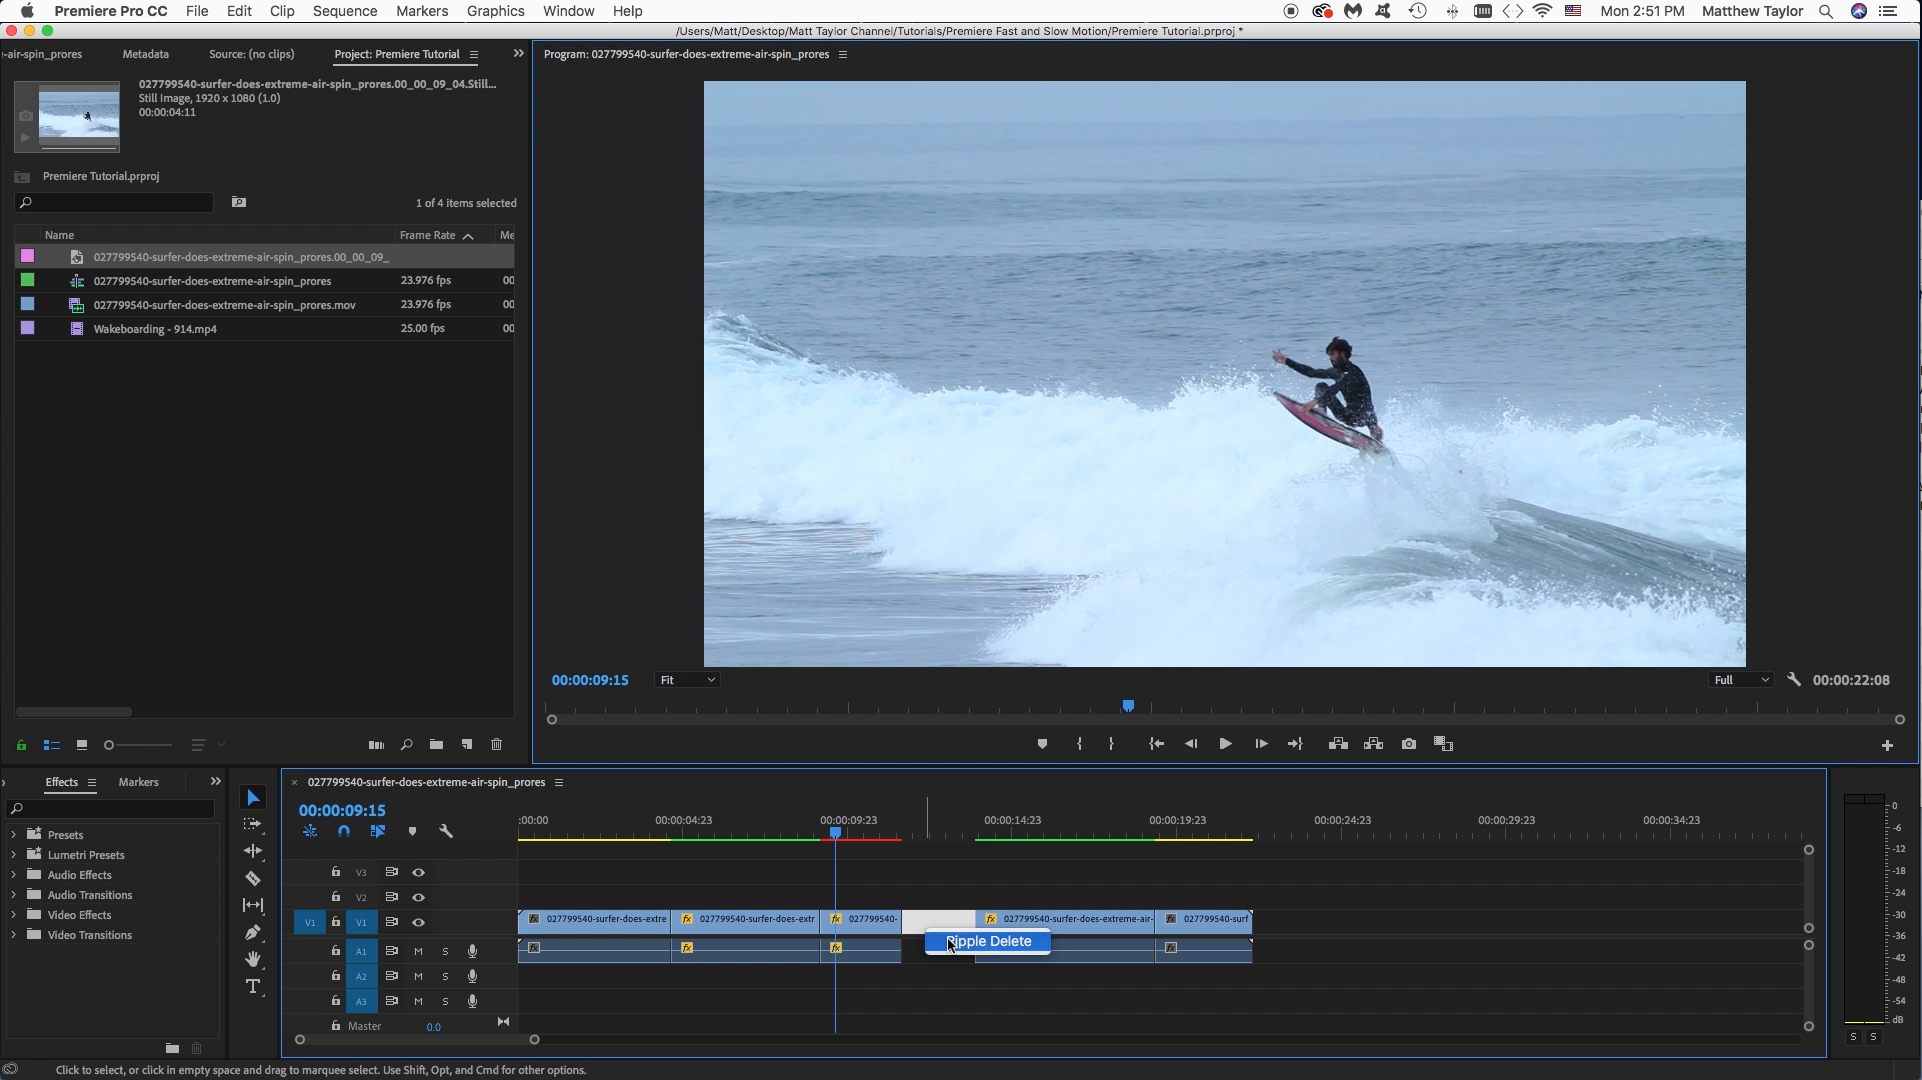
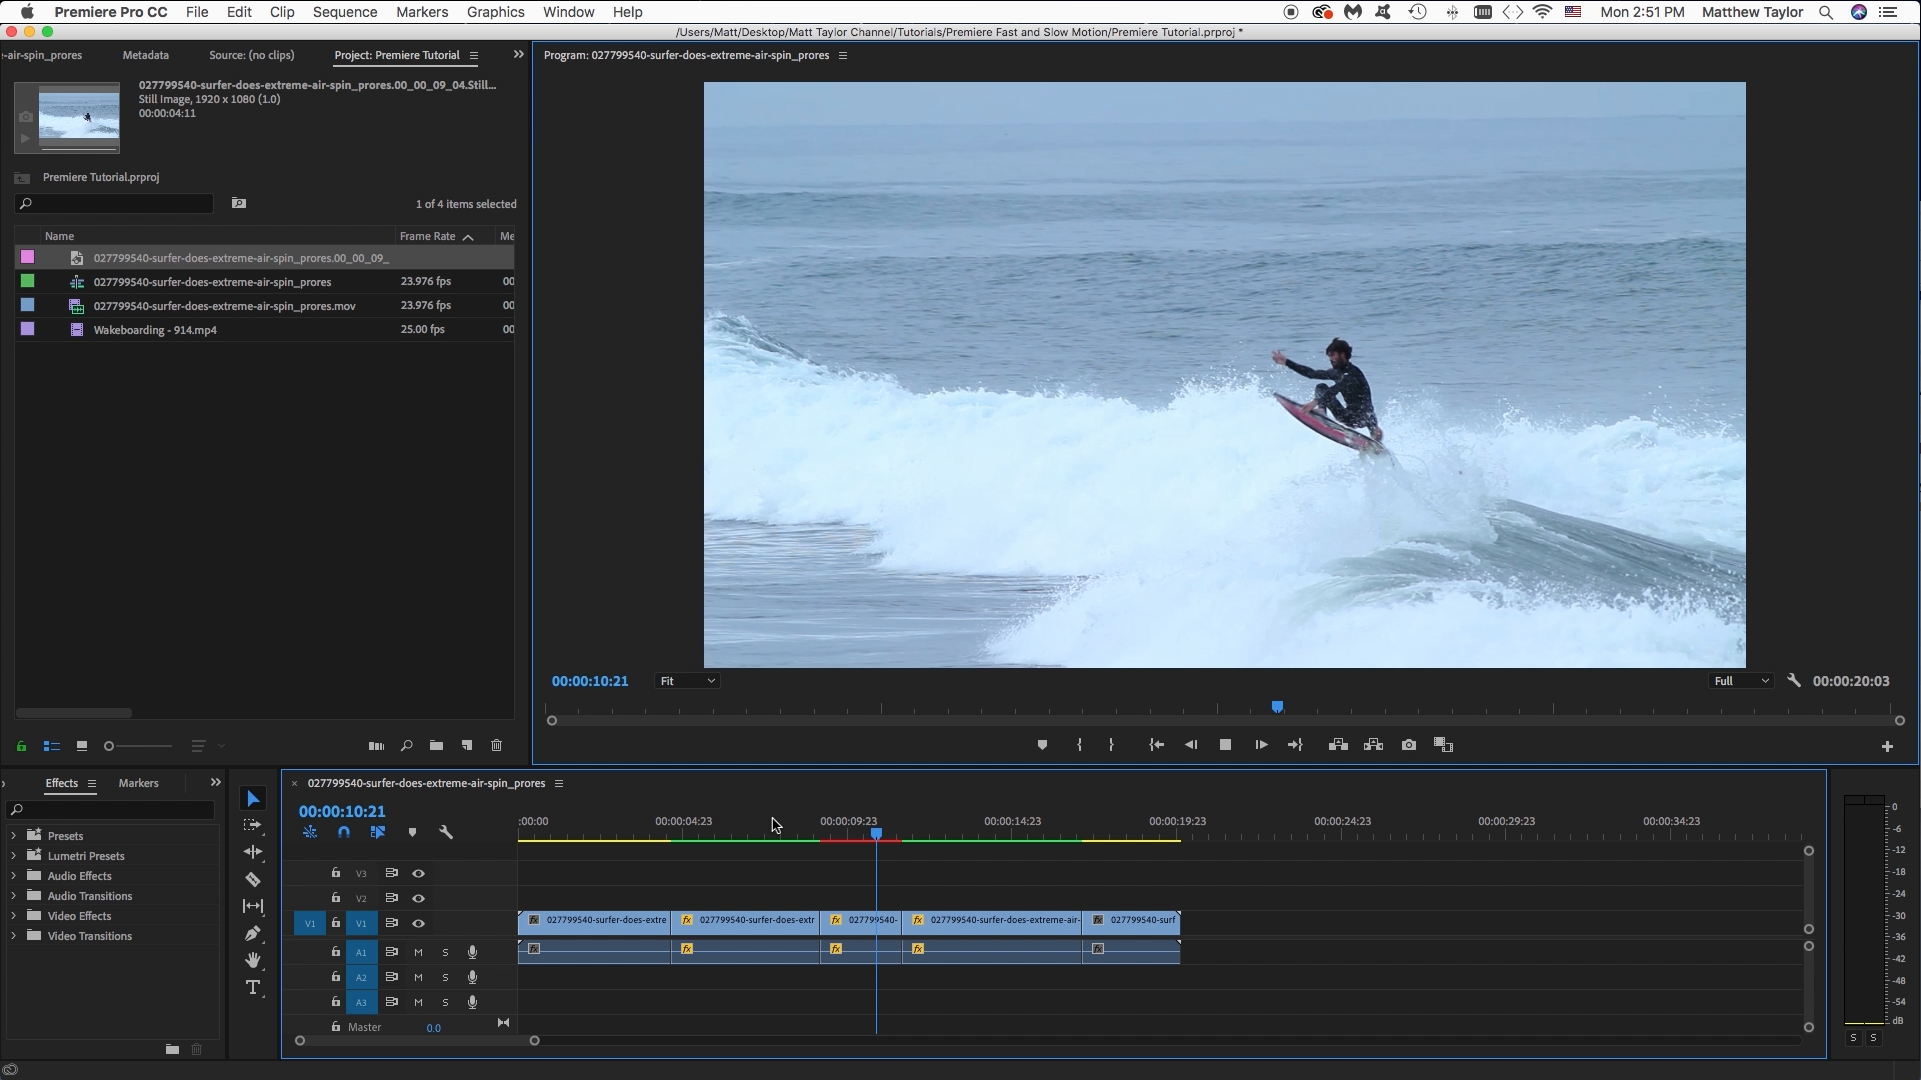
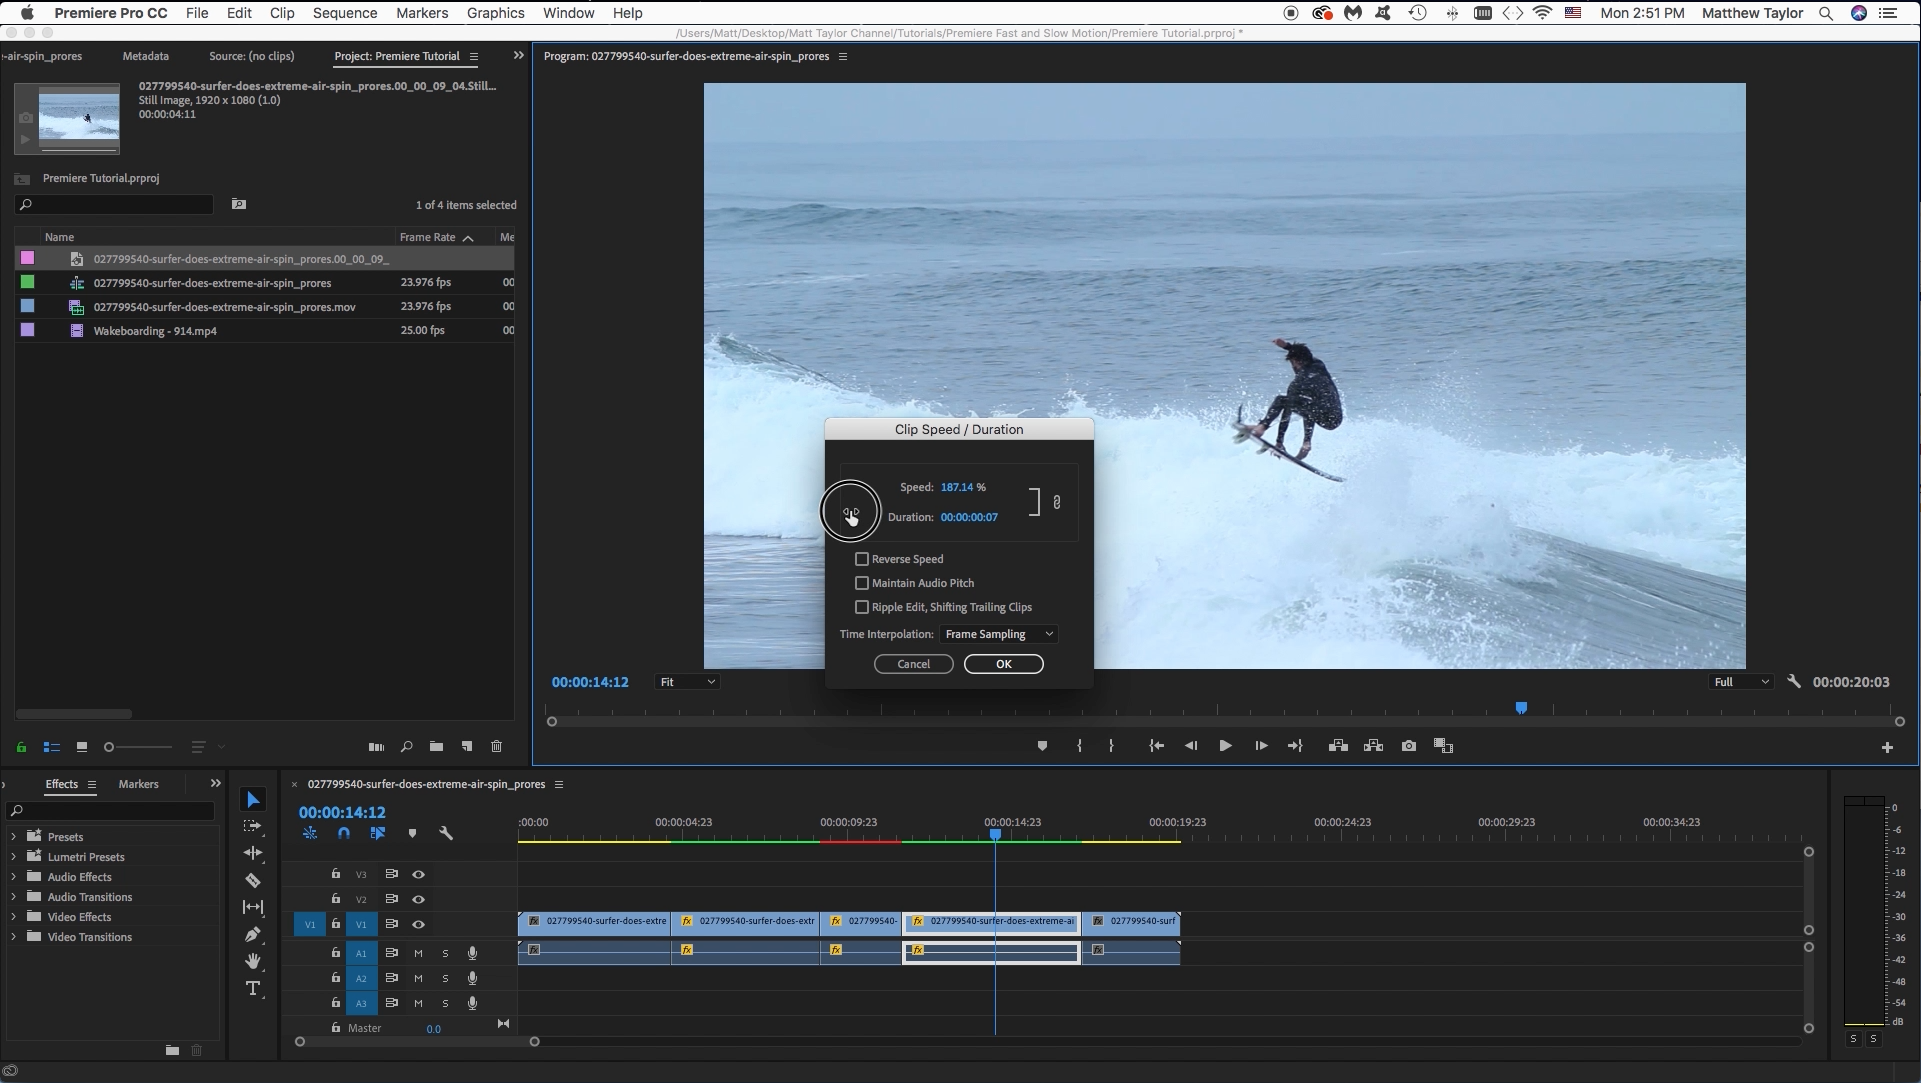
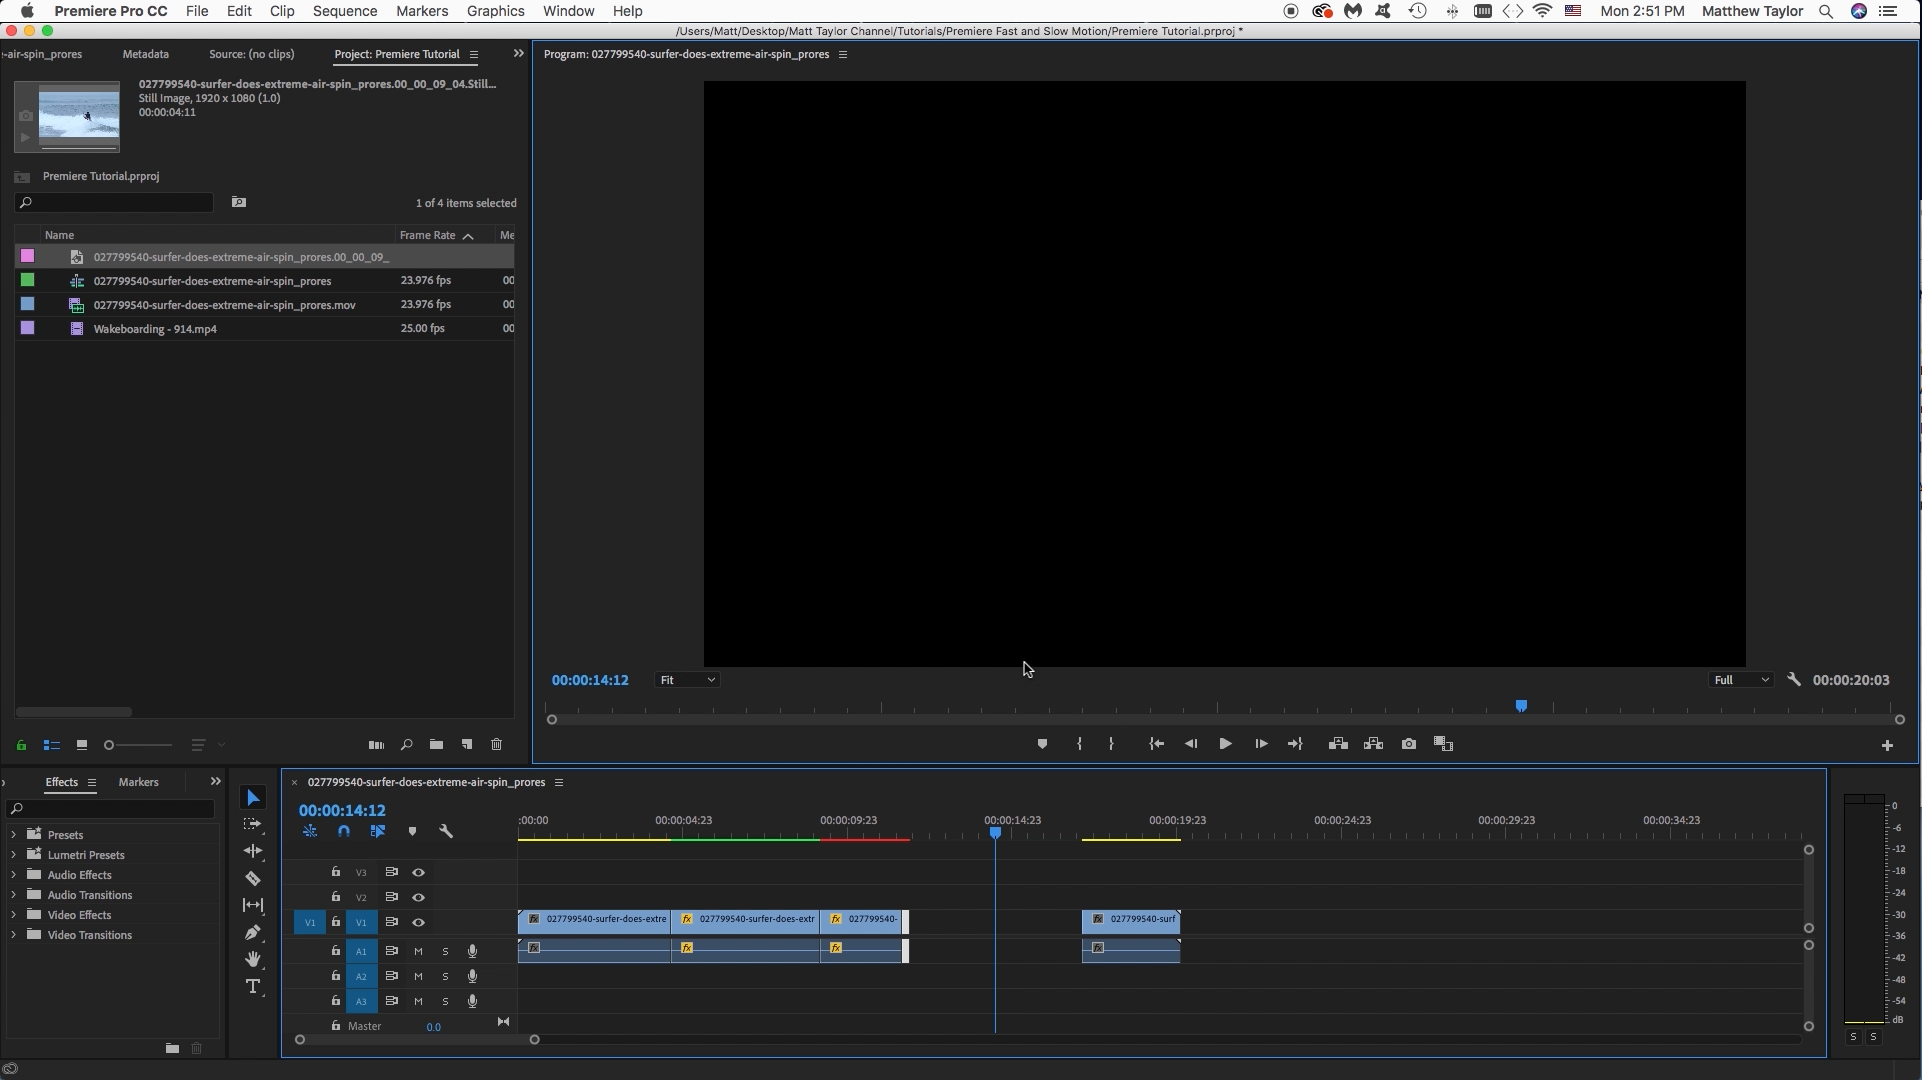
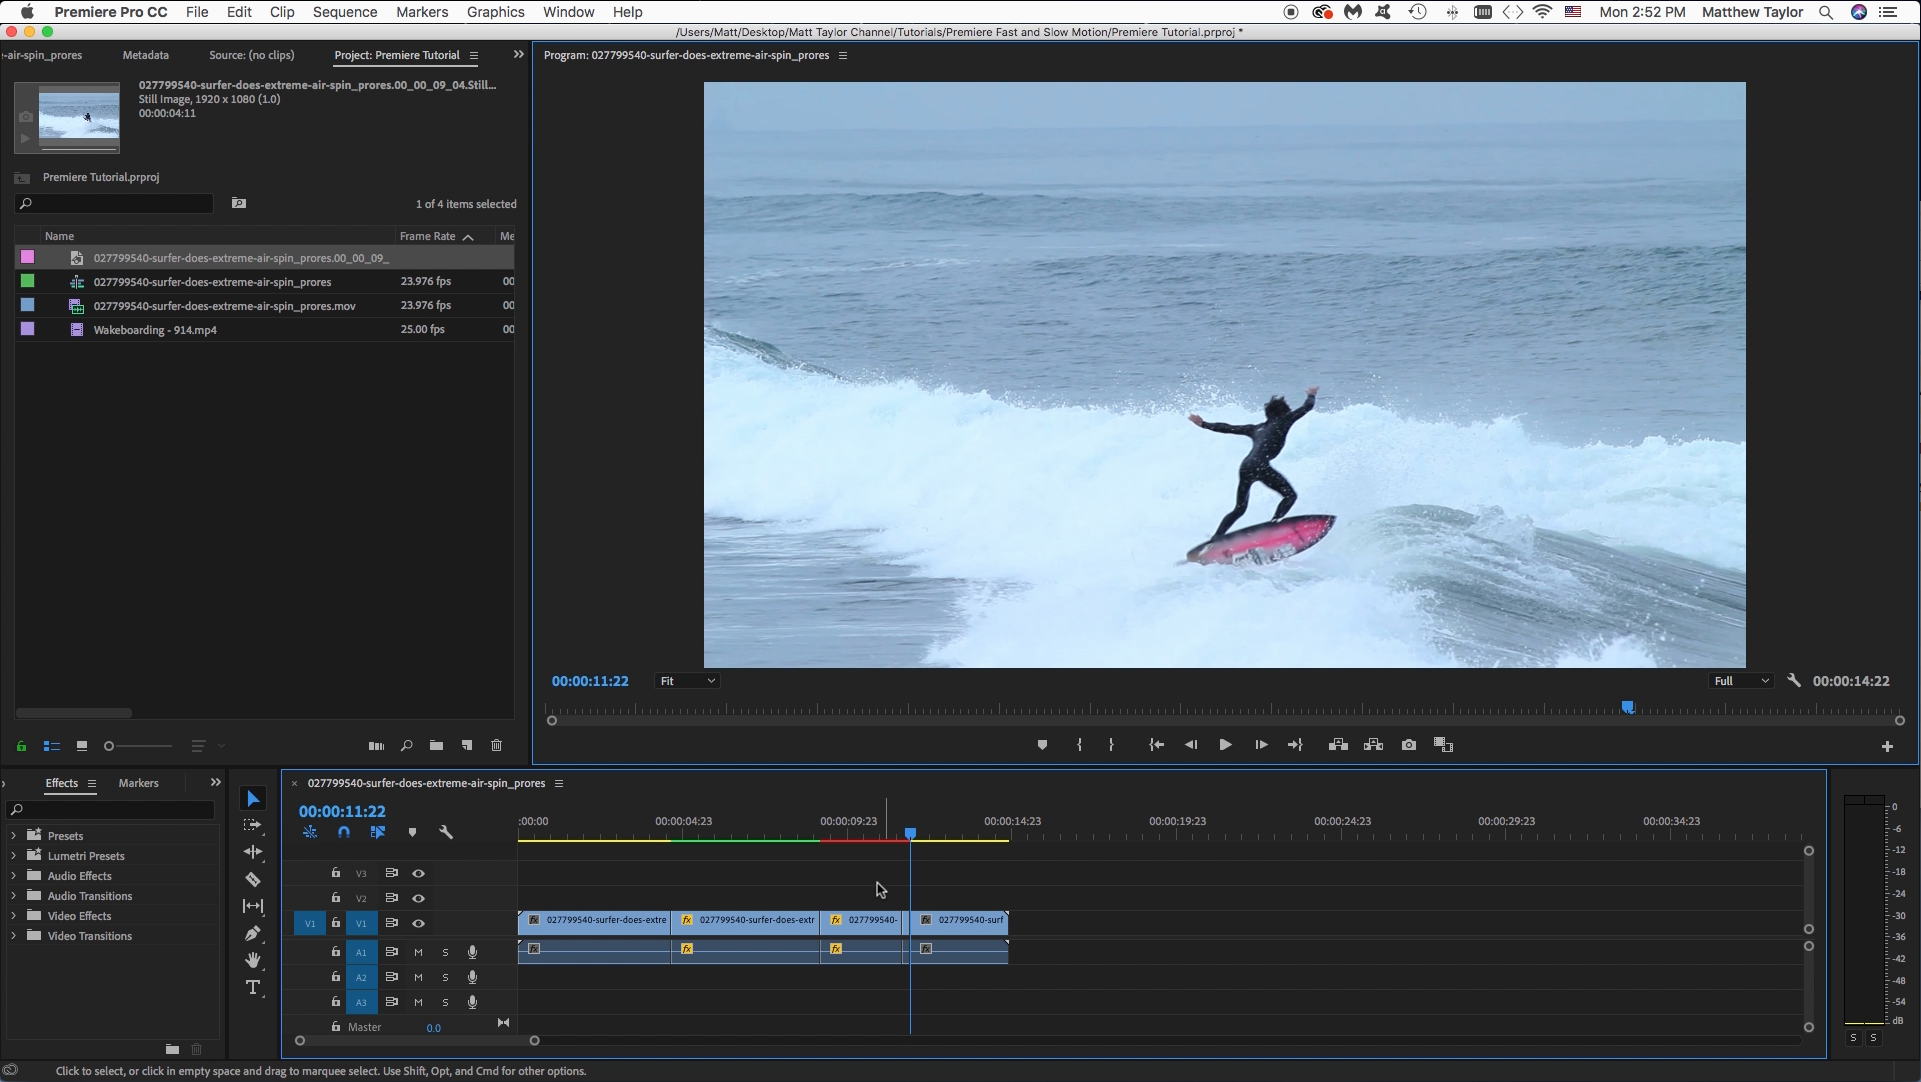
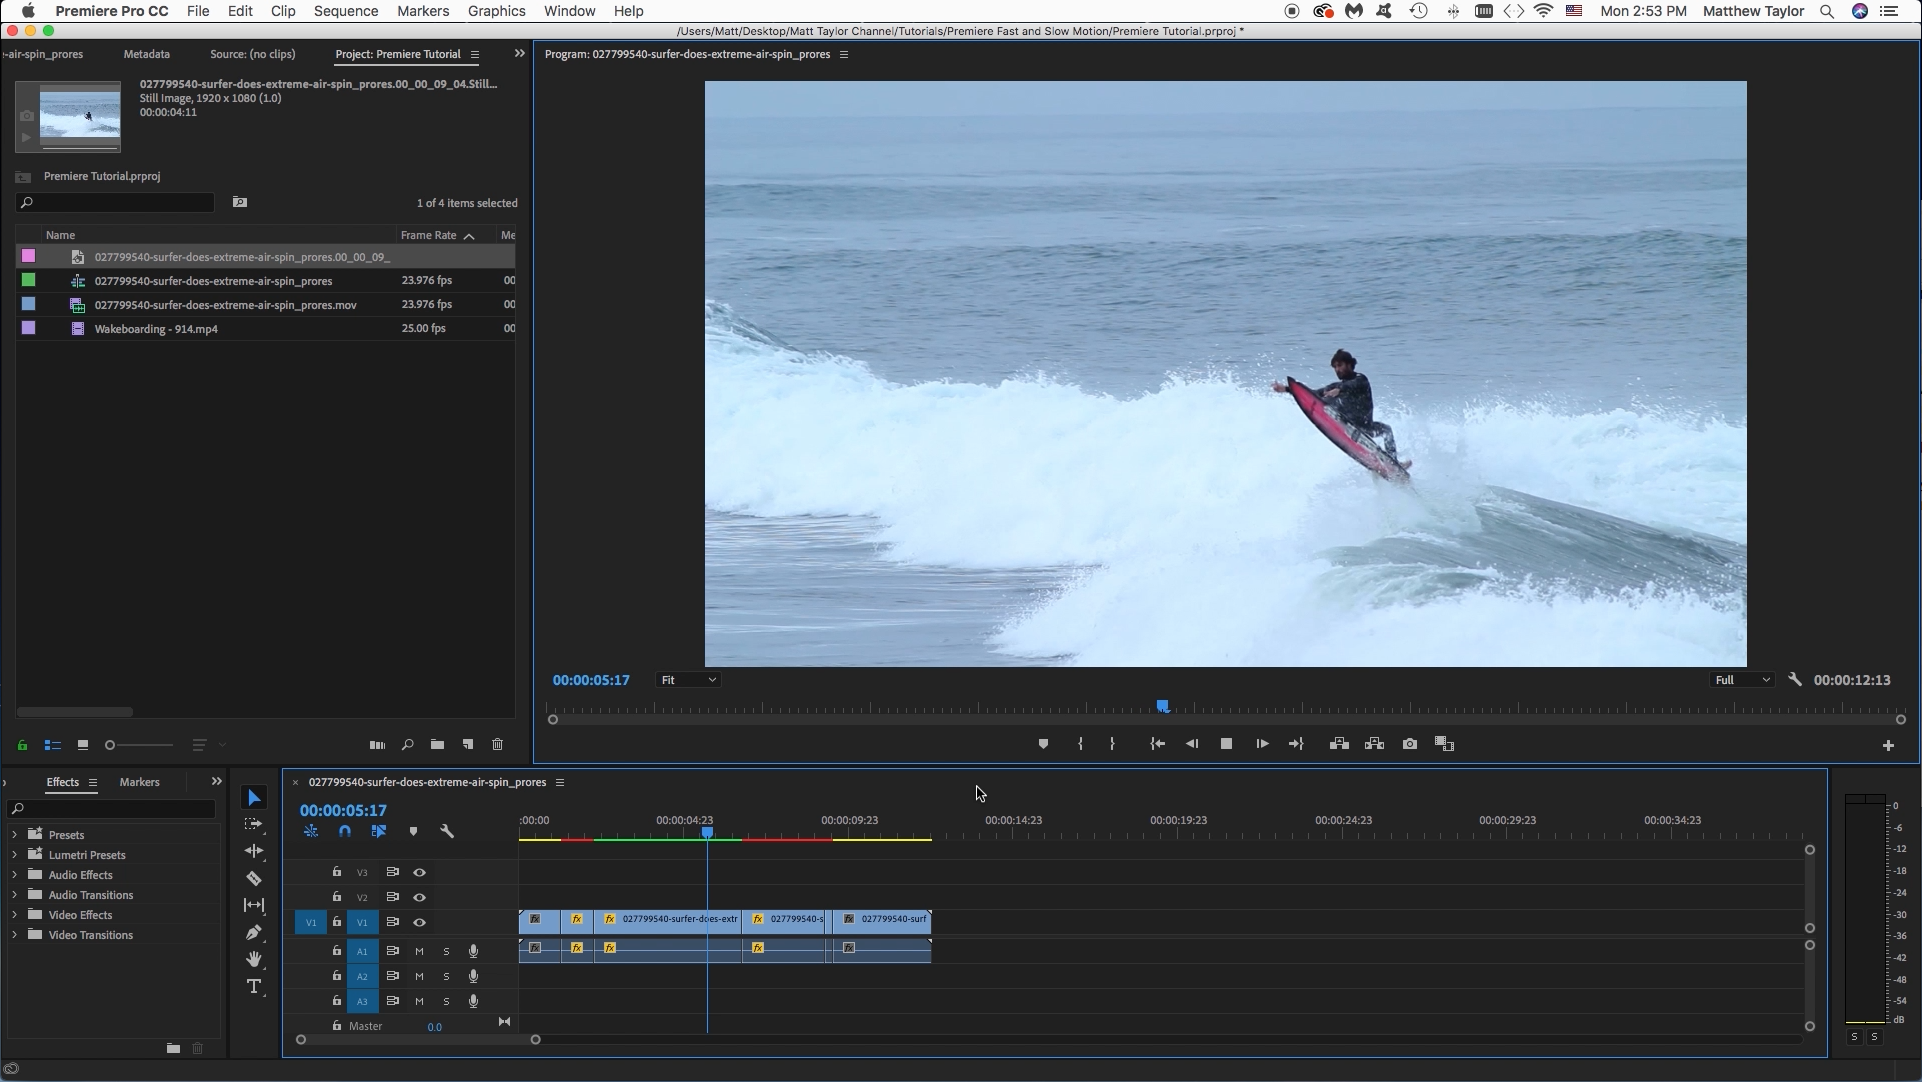
Now lets "Ripple Delete" the gap and watch the clip. Looks great. But what if we want to add Fast Motion. Maybe it is normal motion going into the jump, slow motion coming out of the jump, freeze frame at the top of the jump, and then fast motion for the end of the jump. That could look cool. To do that select the clip that you want to be fast. Then again right click, select "Speed Duration" like we did for slow motion, but this time select a higher percentage like close to 200% or more even. Then you can "Ripple Delete" the new gap, since the clip just got super short. And then watch it and see what you think.
Simple as that. You now can add slow motion, do a freeze frame effect, and add fast motion to your clips. Happy Editing!
Video Tutorial
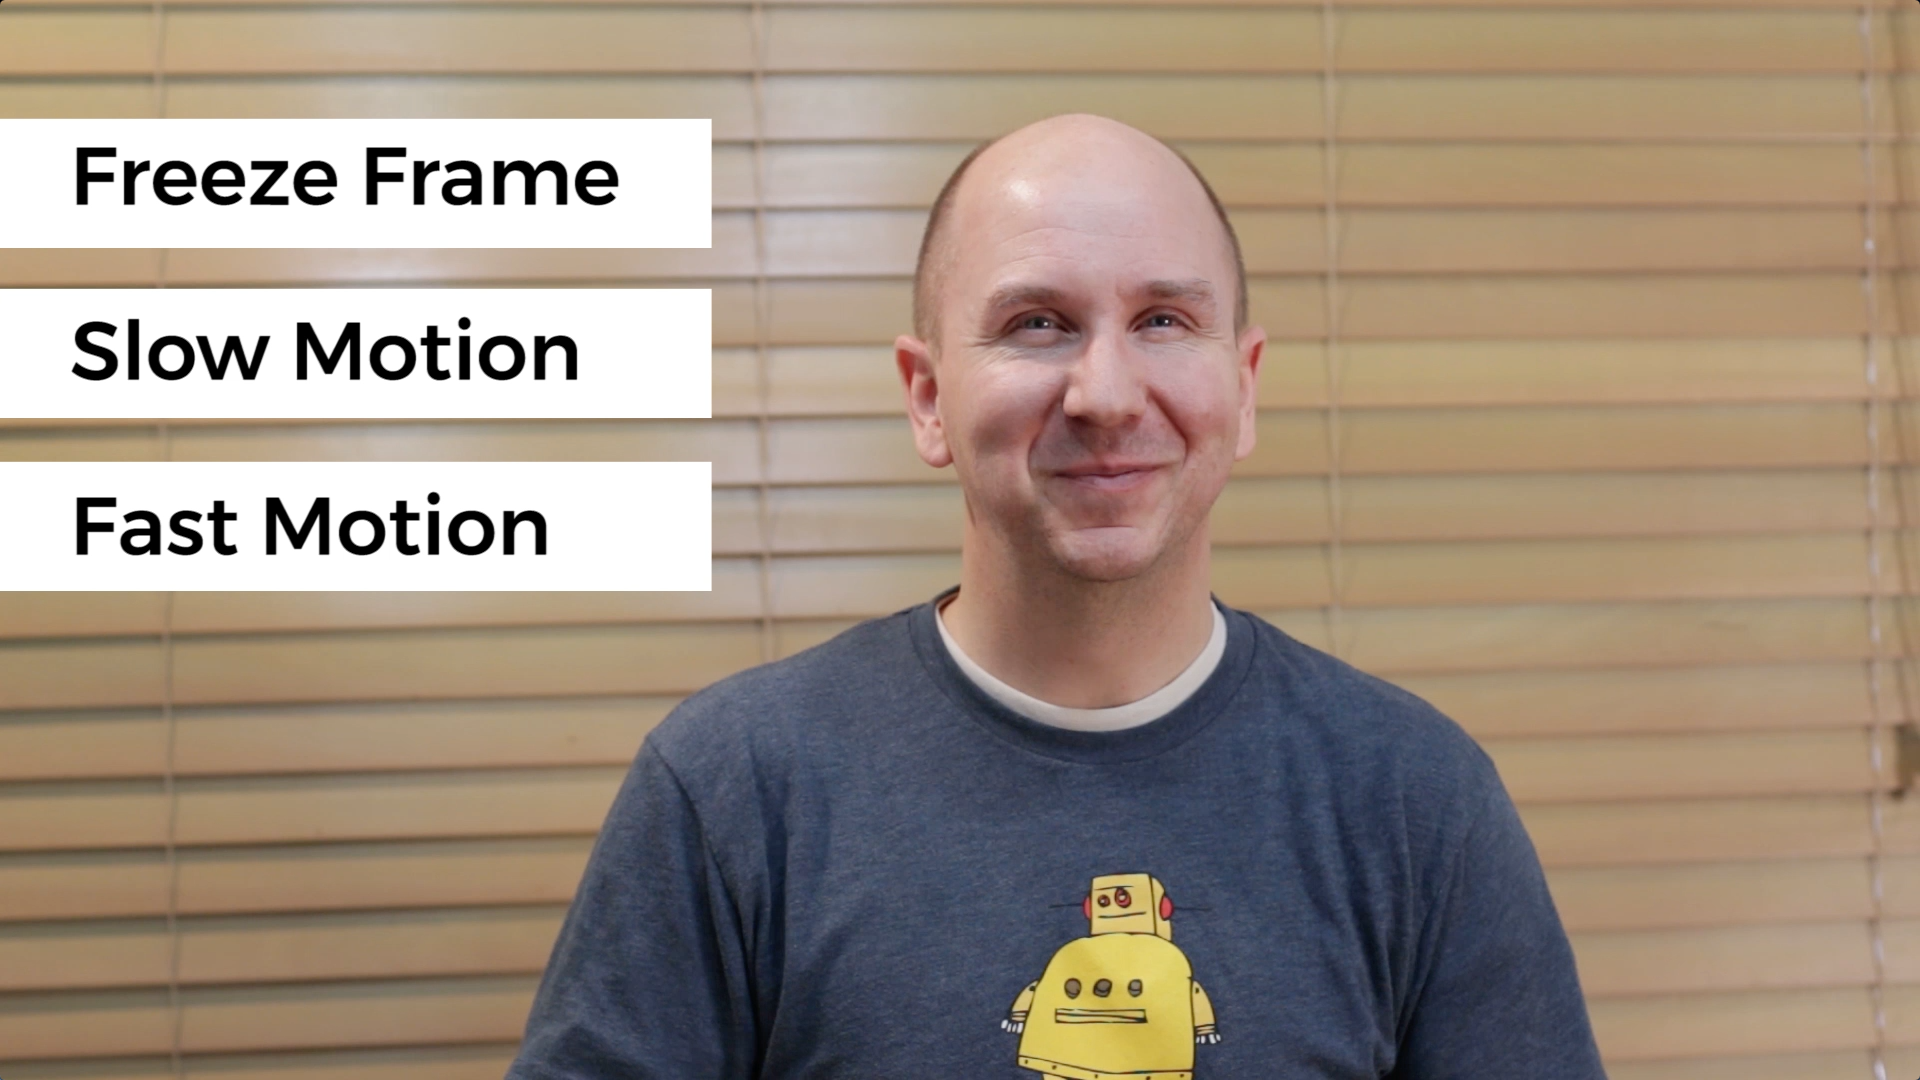
Watch those steps in action with the video tutorial. :)