Freestanding Desktop Infinity Mirror - Easy to Decorate
4474 Views, 86 Favorites, 0 Comments
Freestanding Desktop Infinity Mirror - Easy to Decorate
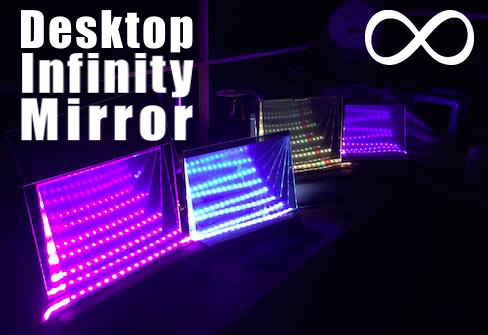
I recently worked with a bunch of great people to build a 20*20ft infinity mirror art installation. To thank everyone, I built and gave away 15 free standing, desktop infinity mirrors. People were super psyched about these as they're way easier to disassemble, reassemble, clean and customize.
A few options are posted below depending on how much work you're willing to do and also what equipment you have access to. The only thing that could be tricky is using a laser cutter. I recommend checking out your local makerspace to see if there is one near you!
Enjoy! Please message me if you have any additional questions or if there's anything I can help clarify.
Gather Materials
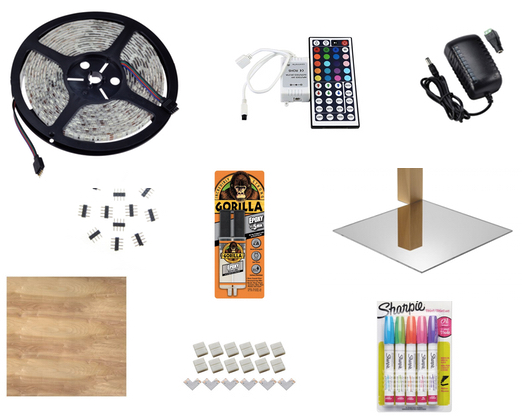
Listed below are links to what I used. There's some flexibility on what you decide to go with, but here's what I recommend.
Electronics
- Non-waterproof RGB 5050 LED Strip (you can also get addressable W2812 LEDs + program a board if you want something fancier)
-
LED right angle connectors - (optional if you decide to do the more complicated display. See below)
-
LED pins - (sometimes this comes with the controller, but good to grab extras to be on the safe side)
Stand (In this instructable, I will be describing the more involved Option A)
- Option A/Laser cutter - DIY Laser cut version
- 1/8in thick Birch Plywood or Acrylic
- Option B/No laser cutter access - Buy stands
- Buy pre-made - You can use these as stands for the acrylic. You will need a few depending on the size of your mirrors. I am presenting this as an option in case you don't have access to a laser cutter, but haven't tried using these personally.
- Epoxy
Mirrors
- 12in * 12in One-way Mirror Acrylic (you cannot see through the mirror)
- 12in * 12in Two-way Mirror Acrylic (aka semi-transparent mirror)
- Note: Instead of buying two-way mirror acrylic, you can also buy glass and window privacy film. However, I only recommend this if you plan on making several infinity mirrors. Otherwise, it's more cost effective to just buy the sheet of two-way mirror acrylic
Misc. Decorations
Laser Cut the Base

I've presented 2 options here to make the frame. Steps below describe Option A to lasercut a stand. If you don't have access to a laser cutter, check out Option B in Step 1.
Materials - One piece of 3x3ft 1/8 inch thick Birch Plywood or Acrylic
1. Download the attached .ai file
2. Place the plywood or acrylic in the bed of the laser cutter
3. Send the .ai file to your laser cutter software
4. Set the origin of the laser cutter to the top left corner of the material
5. If needed, adjust the height of the laser cutter bed
6. (This will vary on type of laser cutter) Set the power of the laser cutter to 90% and 10 mm/sec speed
7. Run the laser cutter
8. For good measure when cutting plywood, run the laser cutter again as I've sometimes found it takes 2 tries to cut through.
9. Without moving the material, press the material gently with your finger and see if the cut separates. If not, run the cut again.
10. (Optional) Add fun engravings to customize the base of the infinity mirror. I particularly like The Noun Project for finding vector images. Of course, please make sure to subscribe to them or give credit.
Downloads
Glue the Base Together
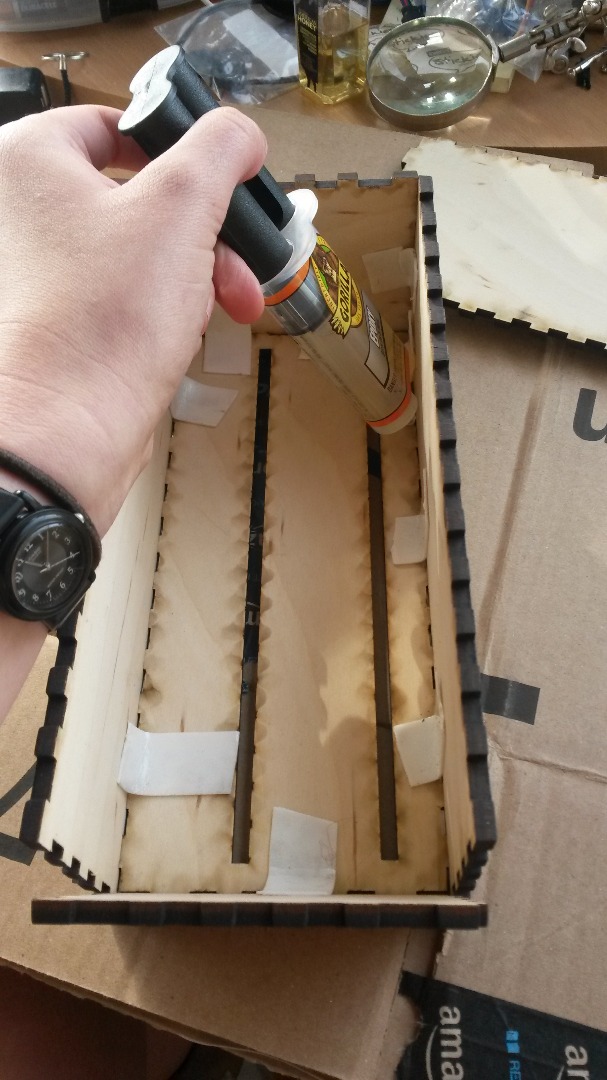
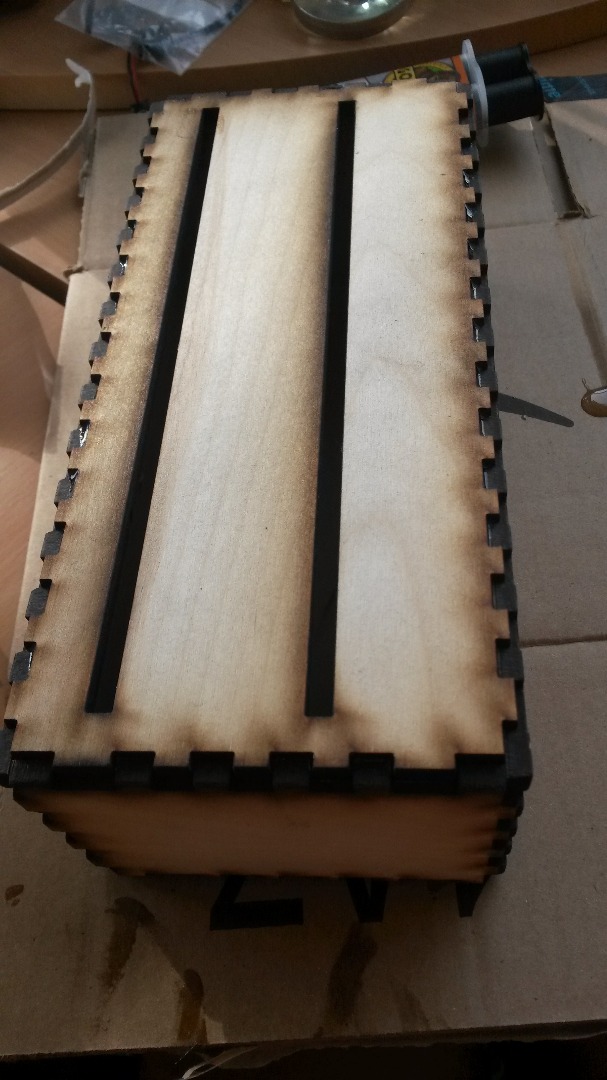
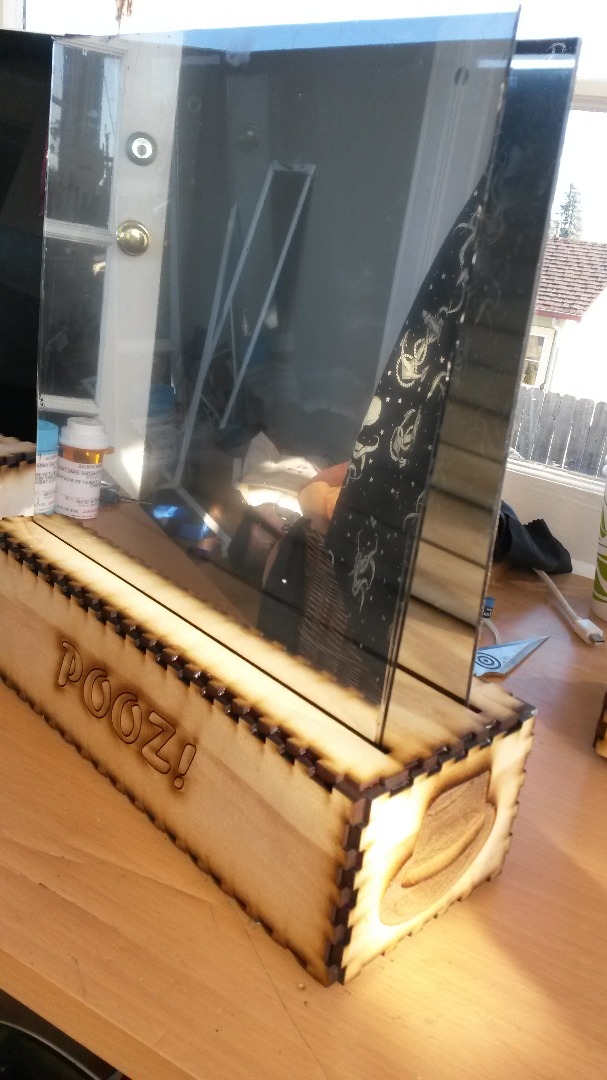
I recommend using epoxy to glue the base together as it's strong and dries clear. (I've tried wood glue and gorilla glue and neither looked as nice.)
1. Attach the top part of the box with the slits to sides and secure them with tape
2. Glue the inside seams of these parts together
3. Put a glob of epoxy along the bottom, inside part of the side pieces and then put on the base. The epoxy will drip down to the base and seal the entire box together from the inside.
4. Wipe off any excess epoxy that is leaking out of the seams
5. Let sit for at least 30min
Test Your LED Strip
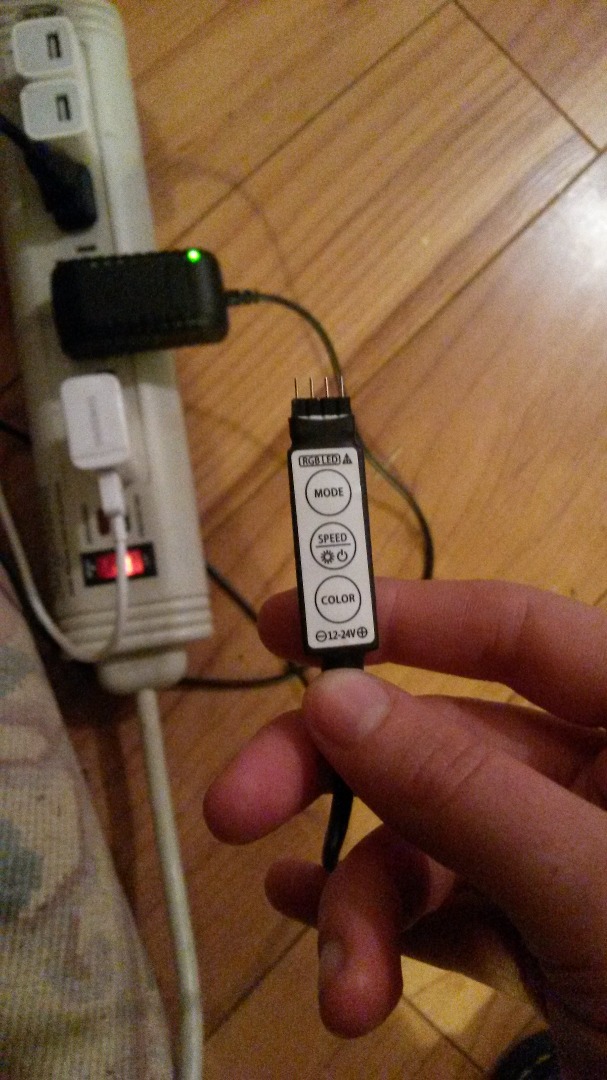
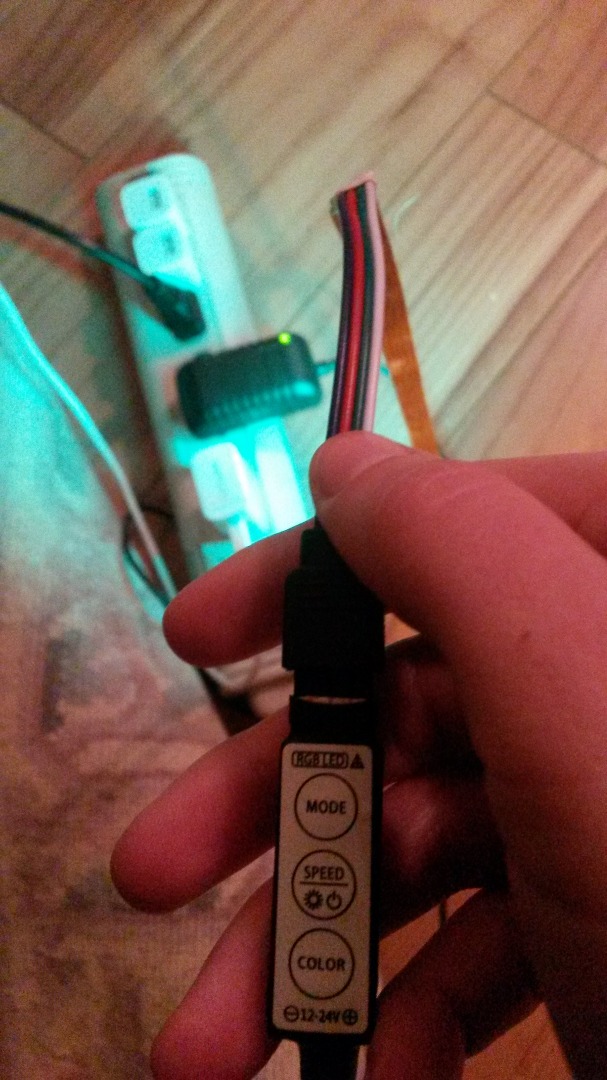
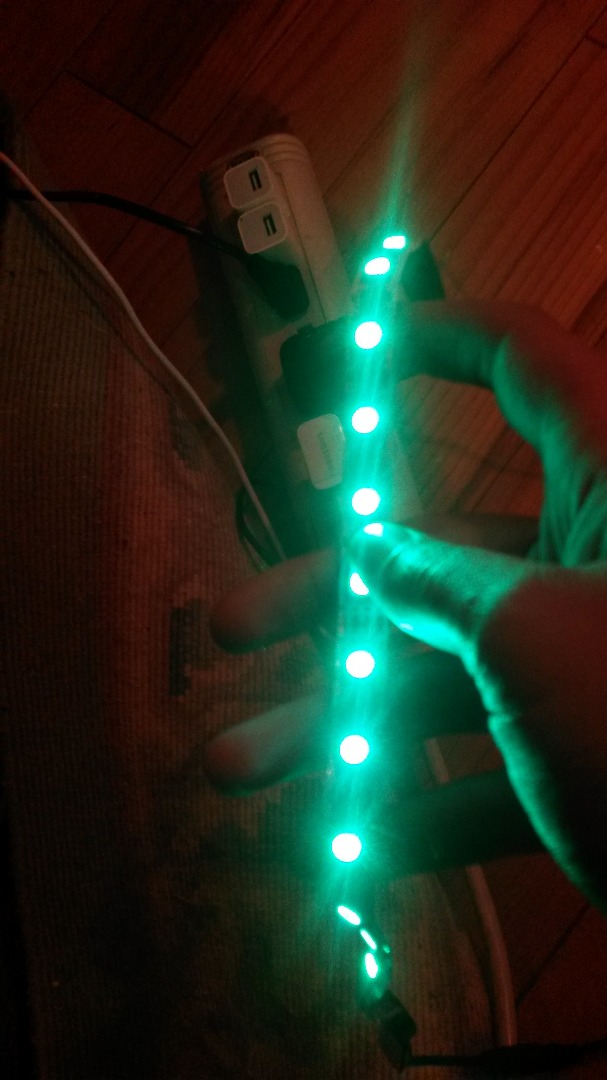
I strongly recommend testing your LED strip before attaching. Sometimes you might have LEDs partially or completely burned out, so it saves a lot of pain to check beforehand.
1. Attach the LED controller to the 12v power supply
2. Insert a 4 pin doodad into the LED controller
3. Attach the LEDs to the controller. Make sure the arrow on the LEDs and the arrow on the controller are matched (this is your ground).
4. Cycle through colors to check if any LEDs are out
Attach LEDs
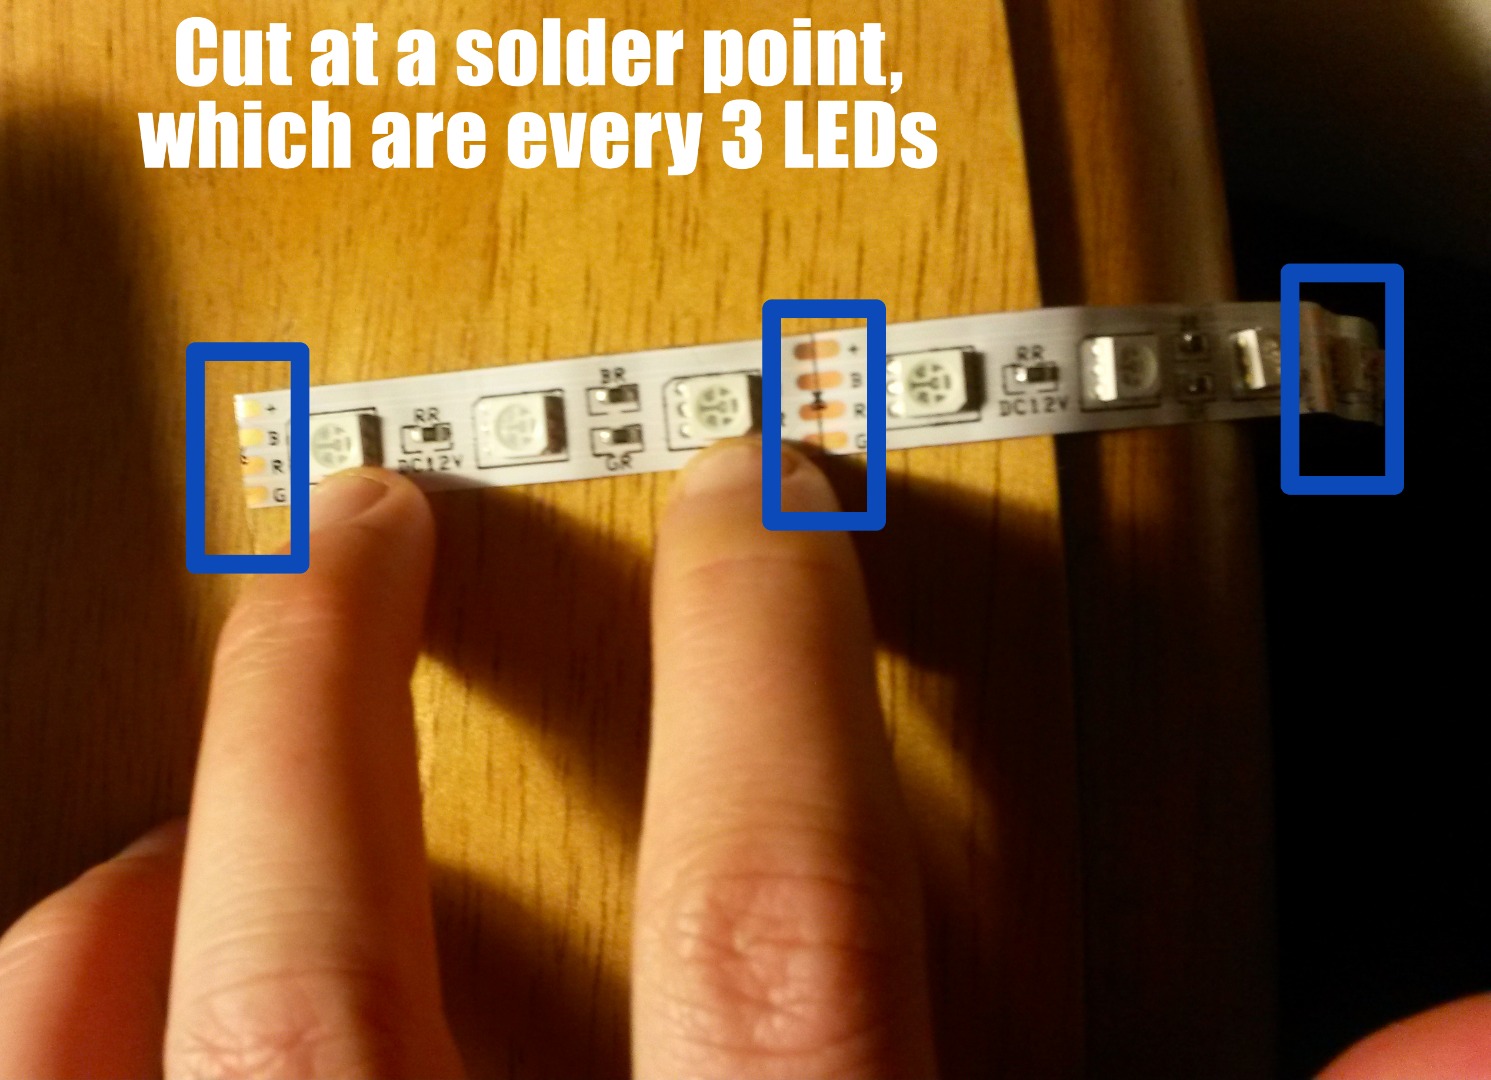
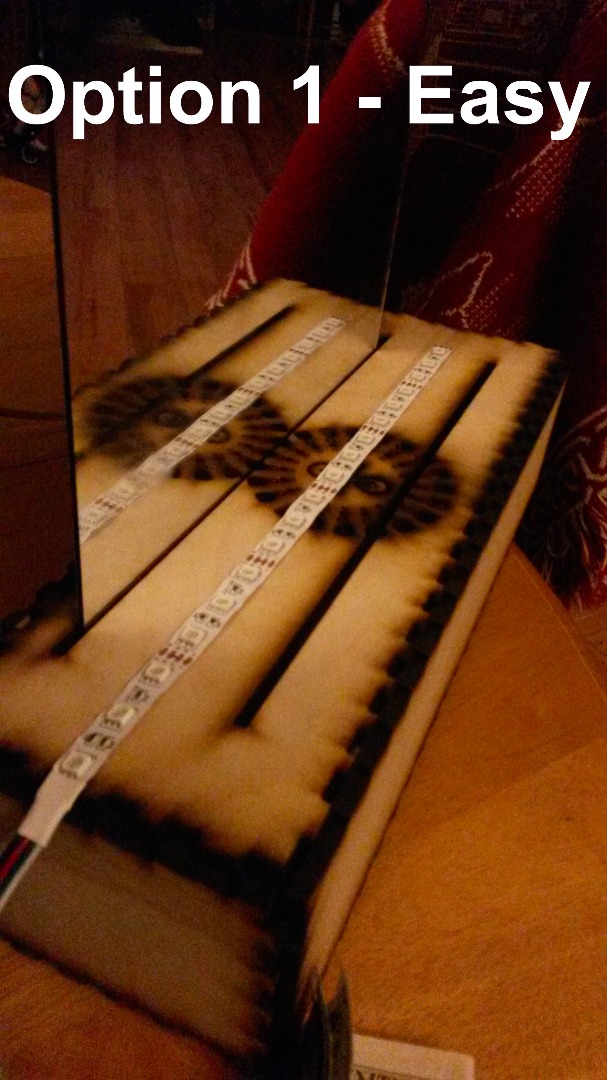
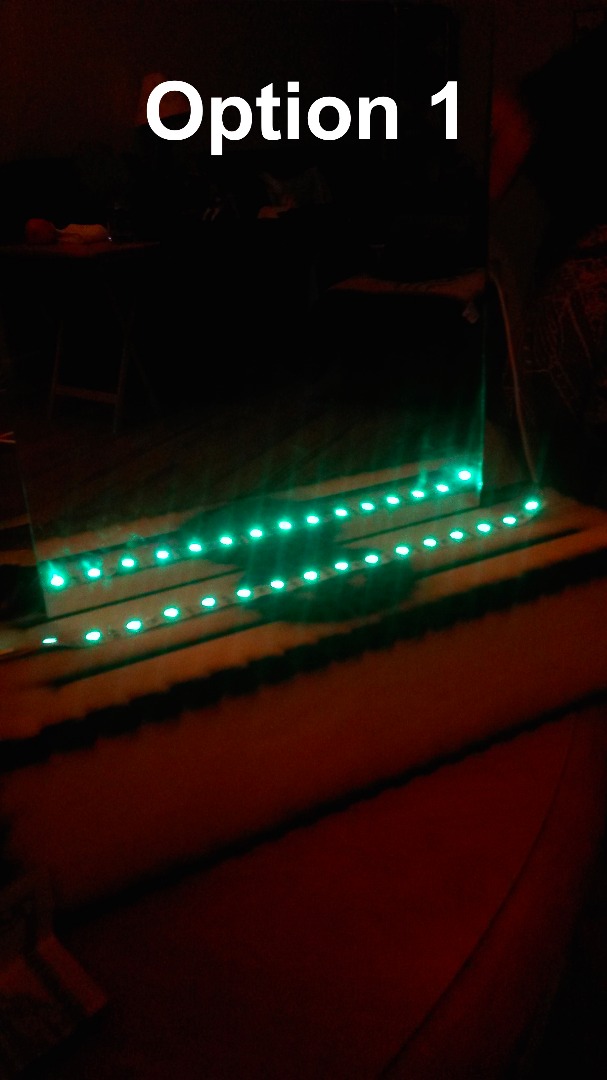
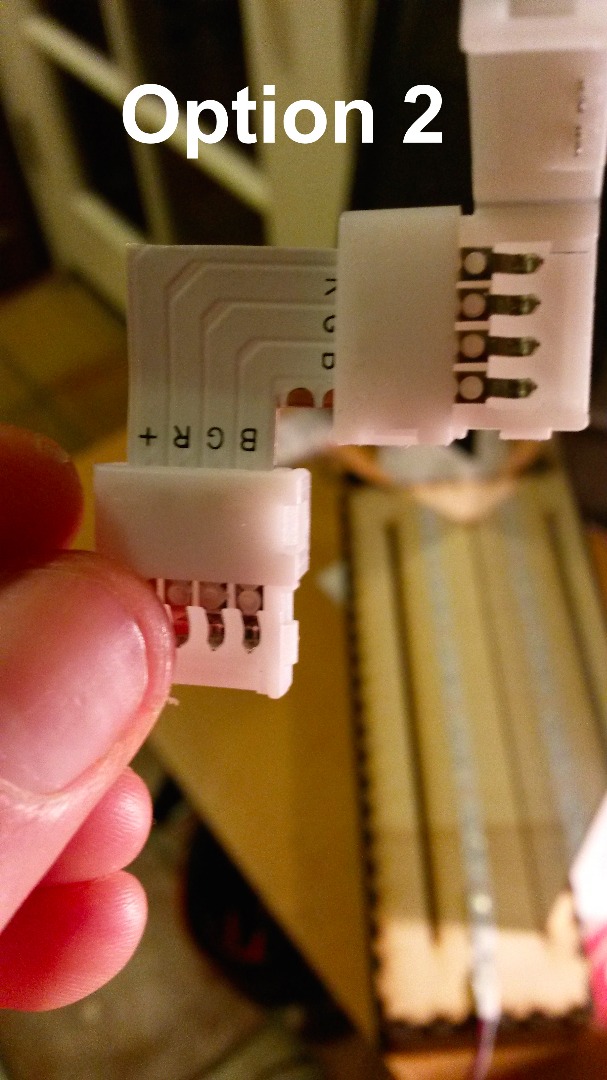
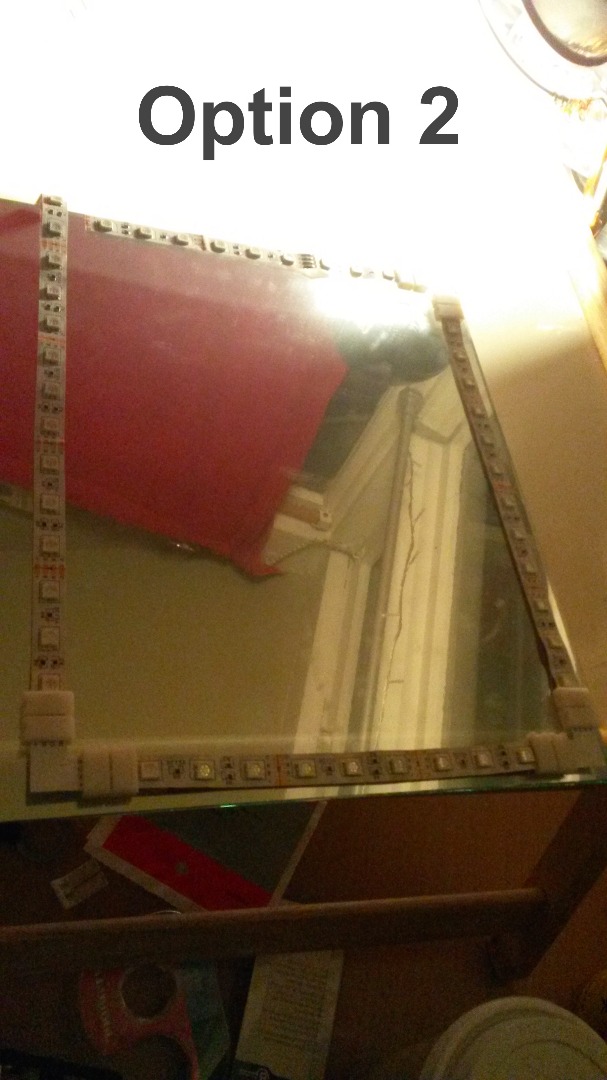
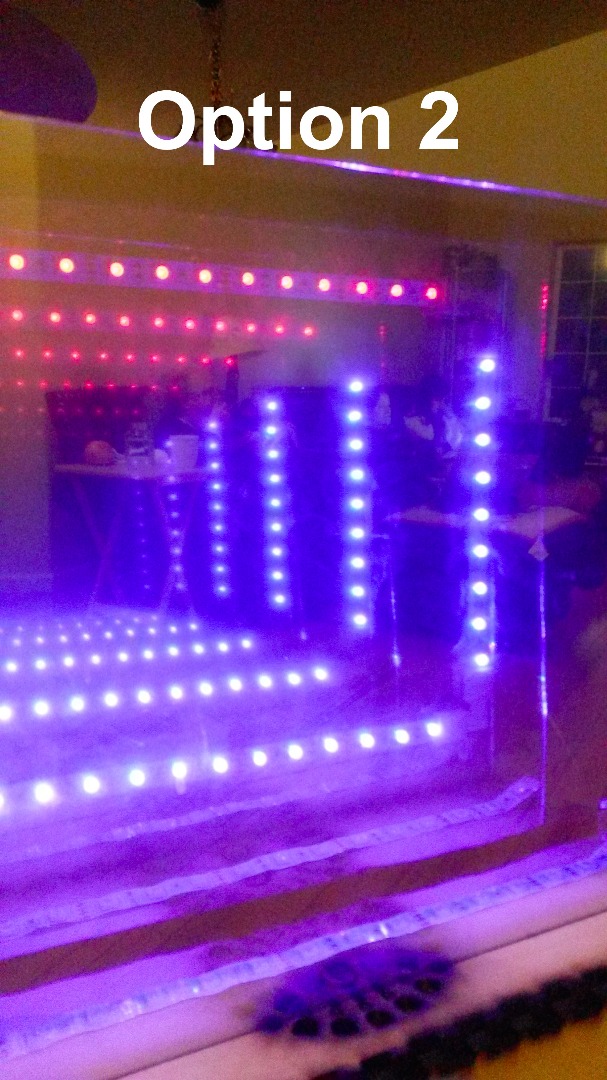
You can either attach a single strip of LEDs to the base (Option 1 - Easy Mode) or attach multiple strips directly to the mirror (Option 2 - Hard Mode).
Option 1 (Easy Mode - Single Strip)
1. Measure the length of LEDs you want to attach to the base and cut at a place with 4 copper solder points. This spot should be between every 3 LEDs. Do not cut anywhere else unless you want a real headache.
2. Use double-sided tape to attach the LEDs to the base
3. Plug into the controller with the arrows lined up.
4. Plug the controller into the 12v power adapter.
Option 2 (Hard Mode - Square)
Note: The connectors add resistance which can reduce the power of the LED strip and this version is a bit more complicated to get correct. Ye proceed at your own risk.
1. After epoxy on the base is dry, slide the mirrored acrylic into the slots to get a feel for how much mirror is exposed
2. Measure your LED strips to fit the exposed area of acrylic. I recommend leaving extra room since the brackets take up some space.
3. Cut along areas with the 4 copper solder points. If you cut anywhere else it will be a real headache to put this together.
4. Slide the right angle bracket into 2 rectangle connectors
5. Slide the LED strip into the rectangle connector pin
6. Test the LED strip
7. Repeat attaching the LED strips until you have a full square. After adding each strip, test the strip by plugging it into the controller. If part of the strip doesn't light up, check the connection or replace with another bracket/connector.
8. Test the entire lightup display
Bonus Round! Decorate the Mirror
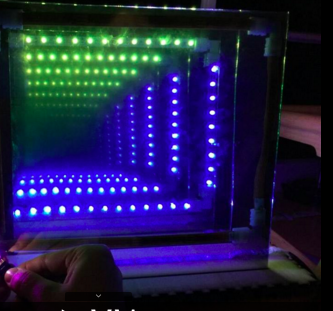
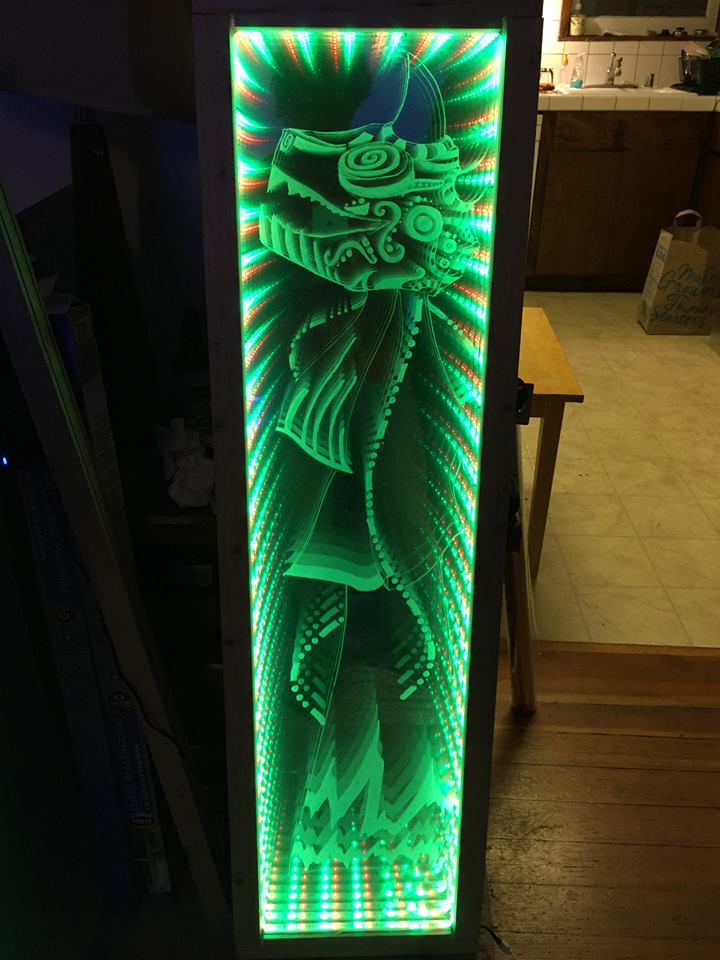
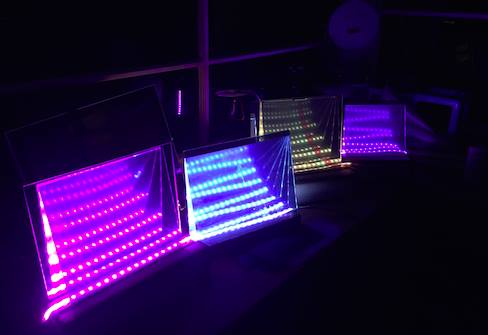
This is optional, but the benefit of designing the infinity mirror this way is that it's super easy to throw things between the panels and decorate on the fly.
You can slide out a panel and use white window chalk to write messages or you can also use oil paint pens to create more long-term decorations.
Above is an example of what drawing a mirror can look like (I used chalk marker there). I highly recommend using light colors (white, yellow, pastels) as darker colors (like black) don't show up well.
Please comment below if you have any questions and share photos if you made one!