Free Range Color 3D Scanning With an IPad
by sfrayne in Workshop > 3D Printing
4418 Views, 36 Favorites, 0 Comments
Free Range Color 3D Scanning With an IPad
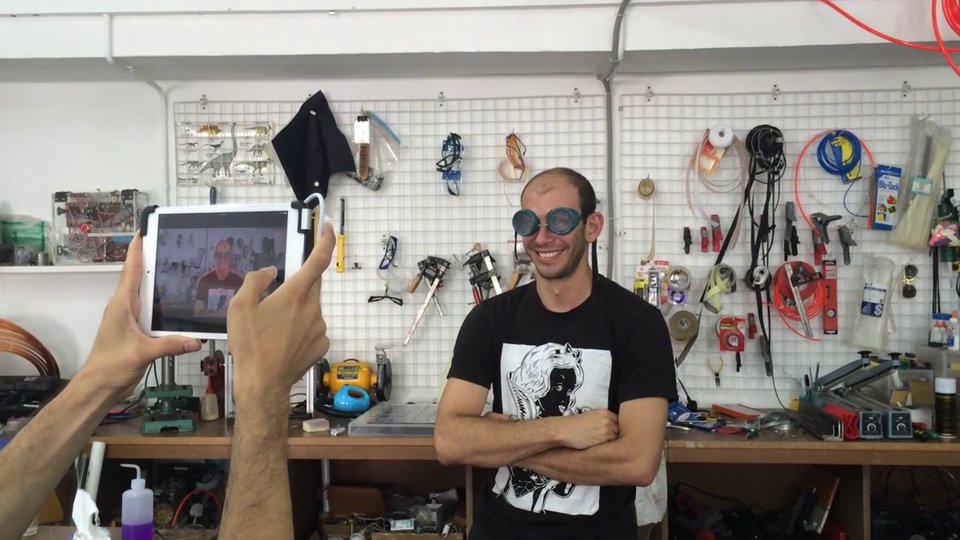
I've just had a glimpse into the future. Here's how to make 3D scans with the iPad mounted Structure Sensorand a new piece of software called ItSeez3D.
Background
Background: I work in a volumetric printing/imaging lab so I've used many of the 3D scanning rigs/photo arrays/stitching software out there. All of these rigs are pretty neat, but there was nothing that could compete with good old fashion photos in terms of magic, ease of use, and ultimately in terms of creating something special in people's lives - you know, something magical and special enough to show your grandkids in 30 years.
But this is magic. I had nothing to do with the creation of this product, but I feel like I'm holding the future.
Here's the result of that 30 second scan with the iPad shown in the video up top.
Equipment & Software
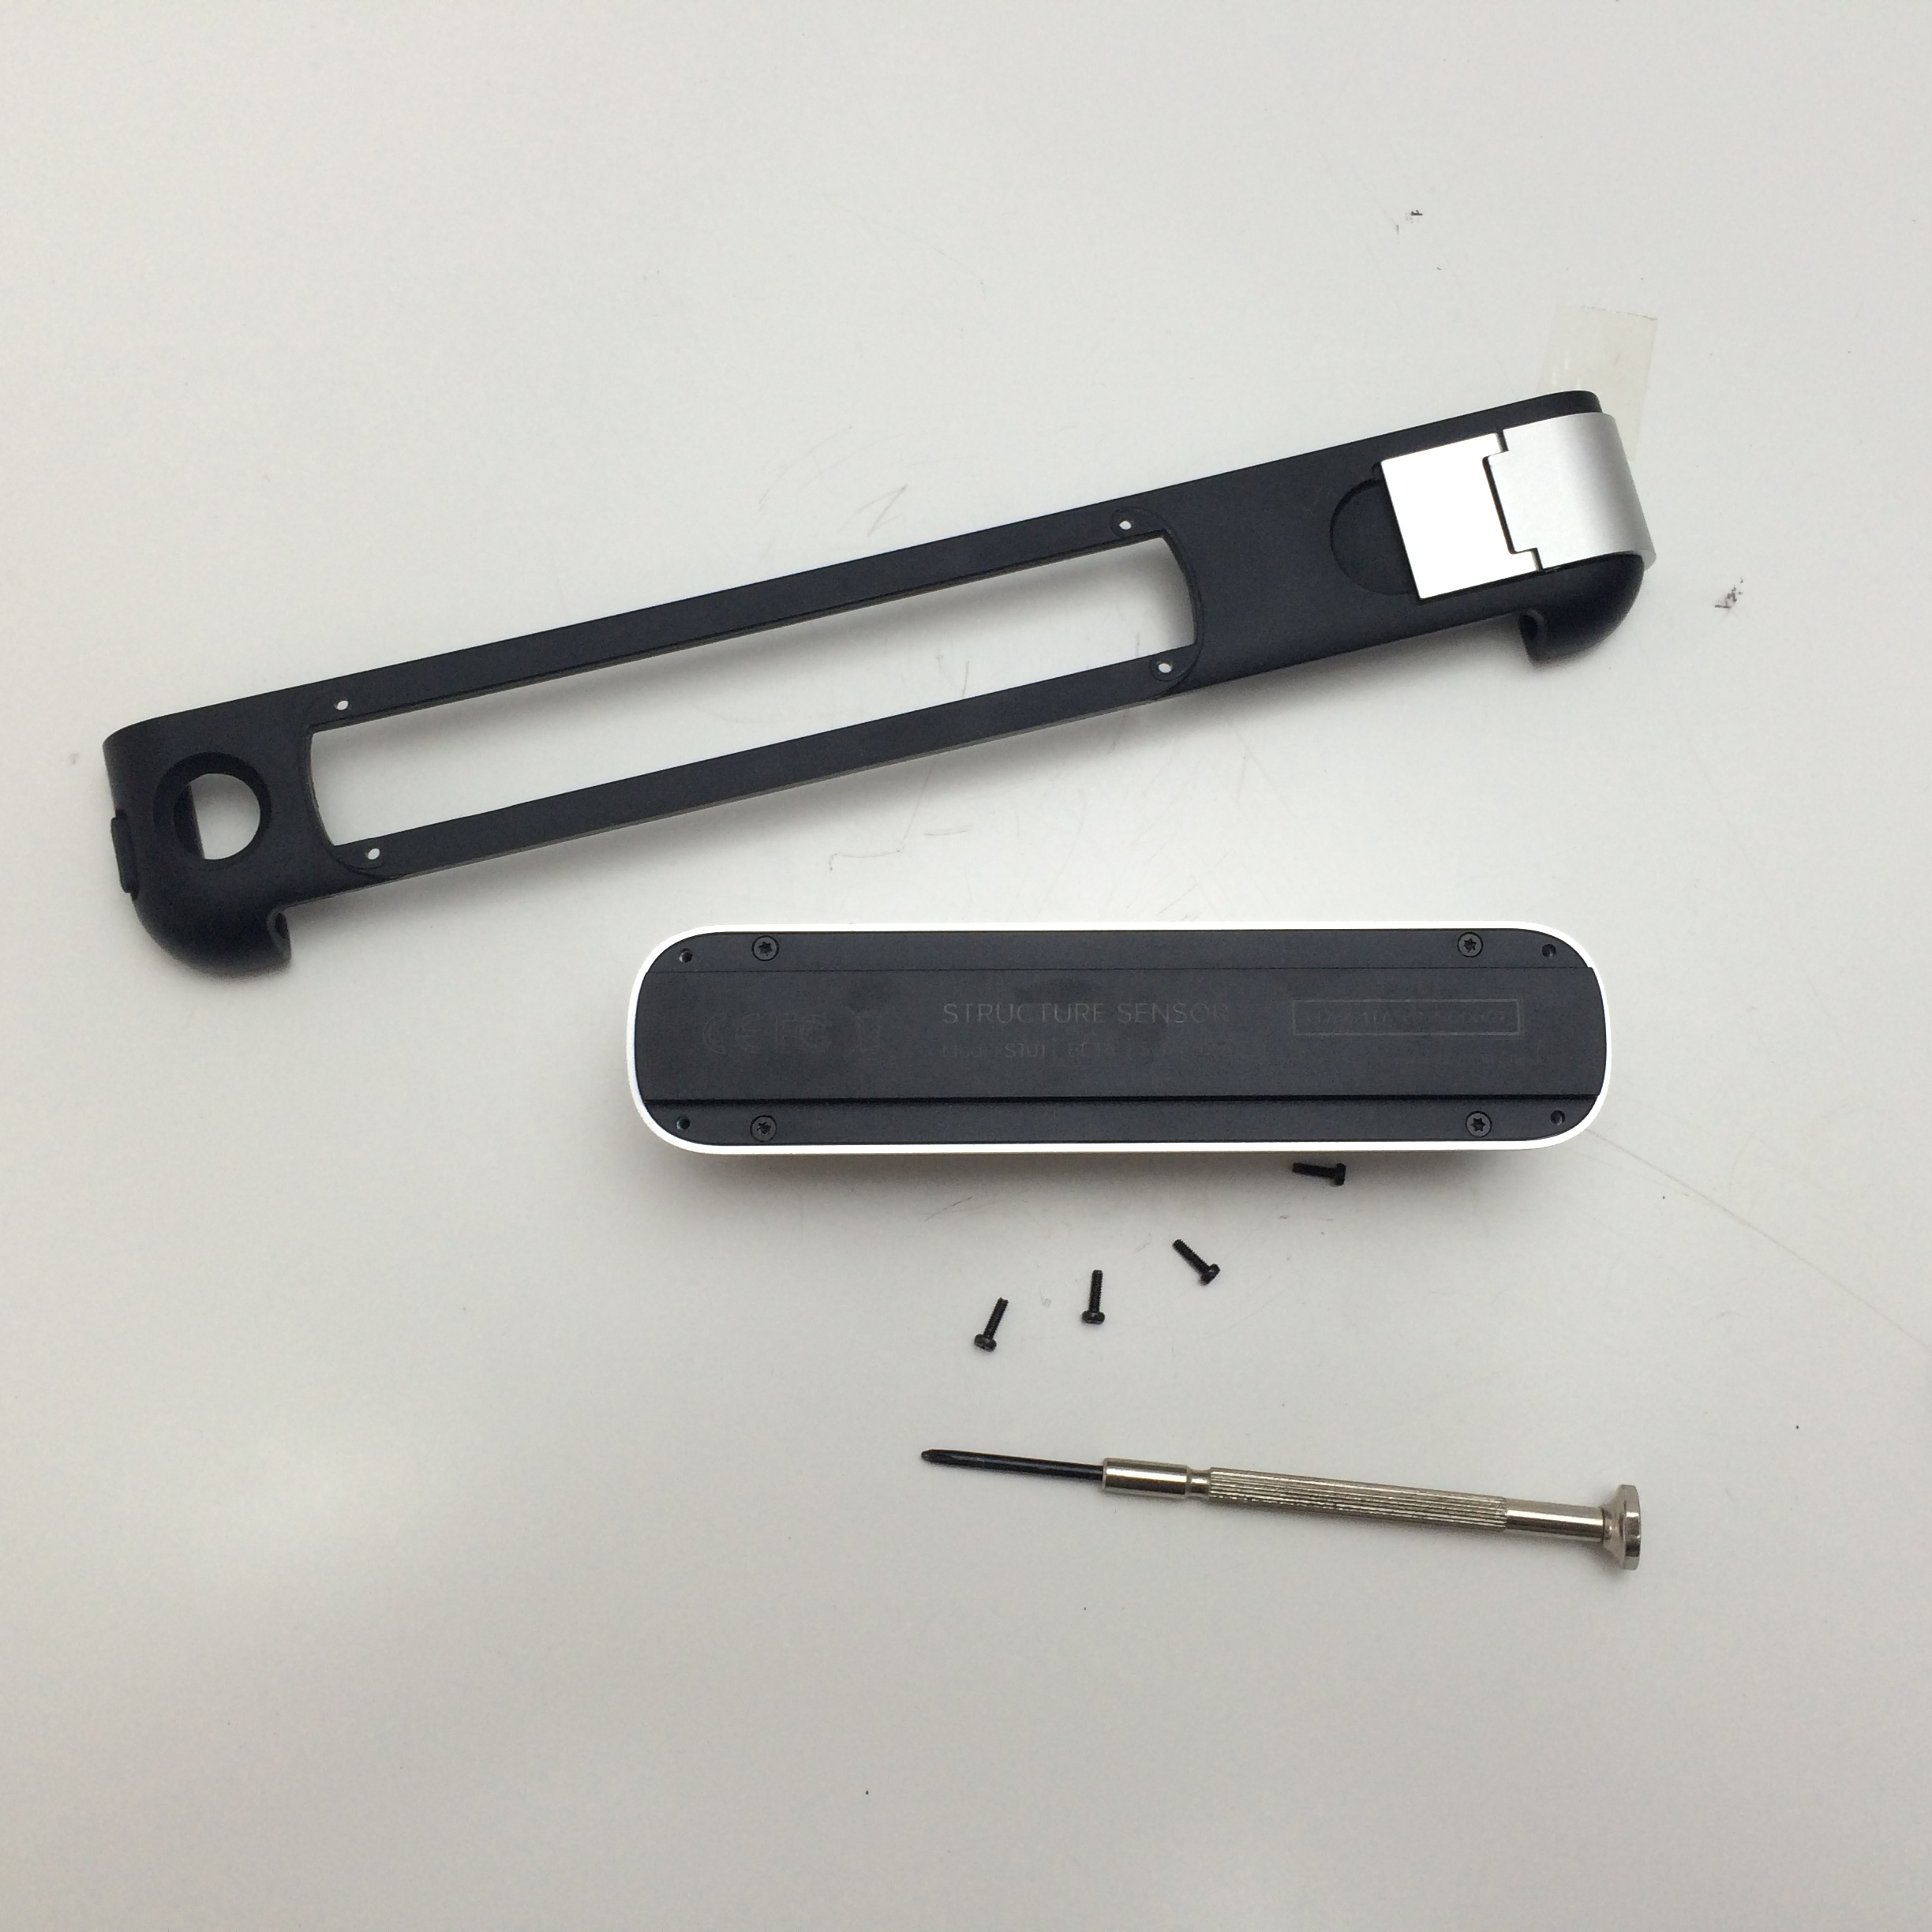
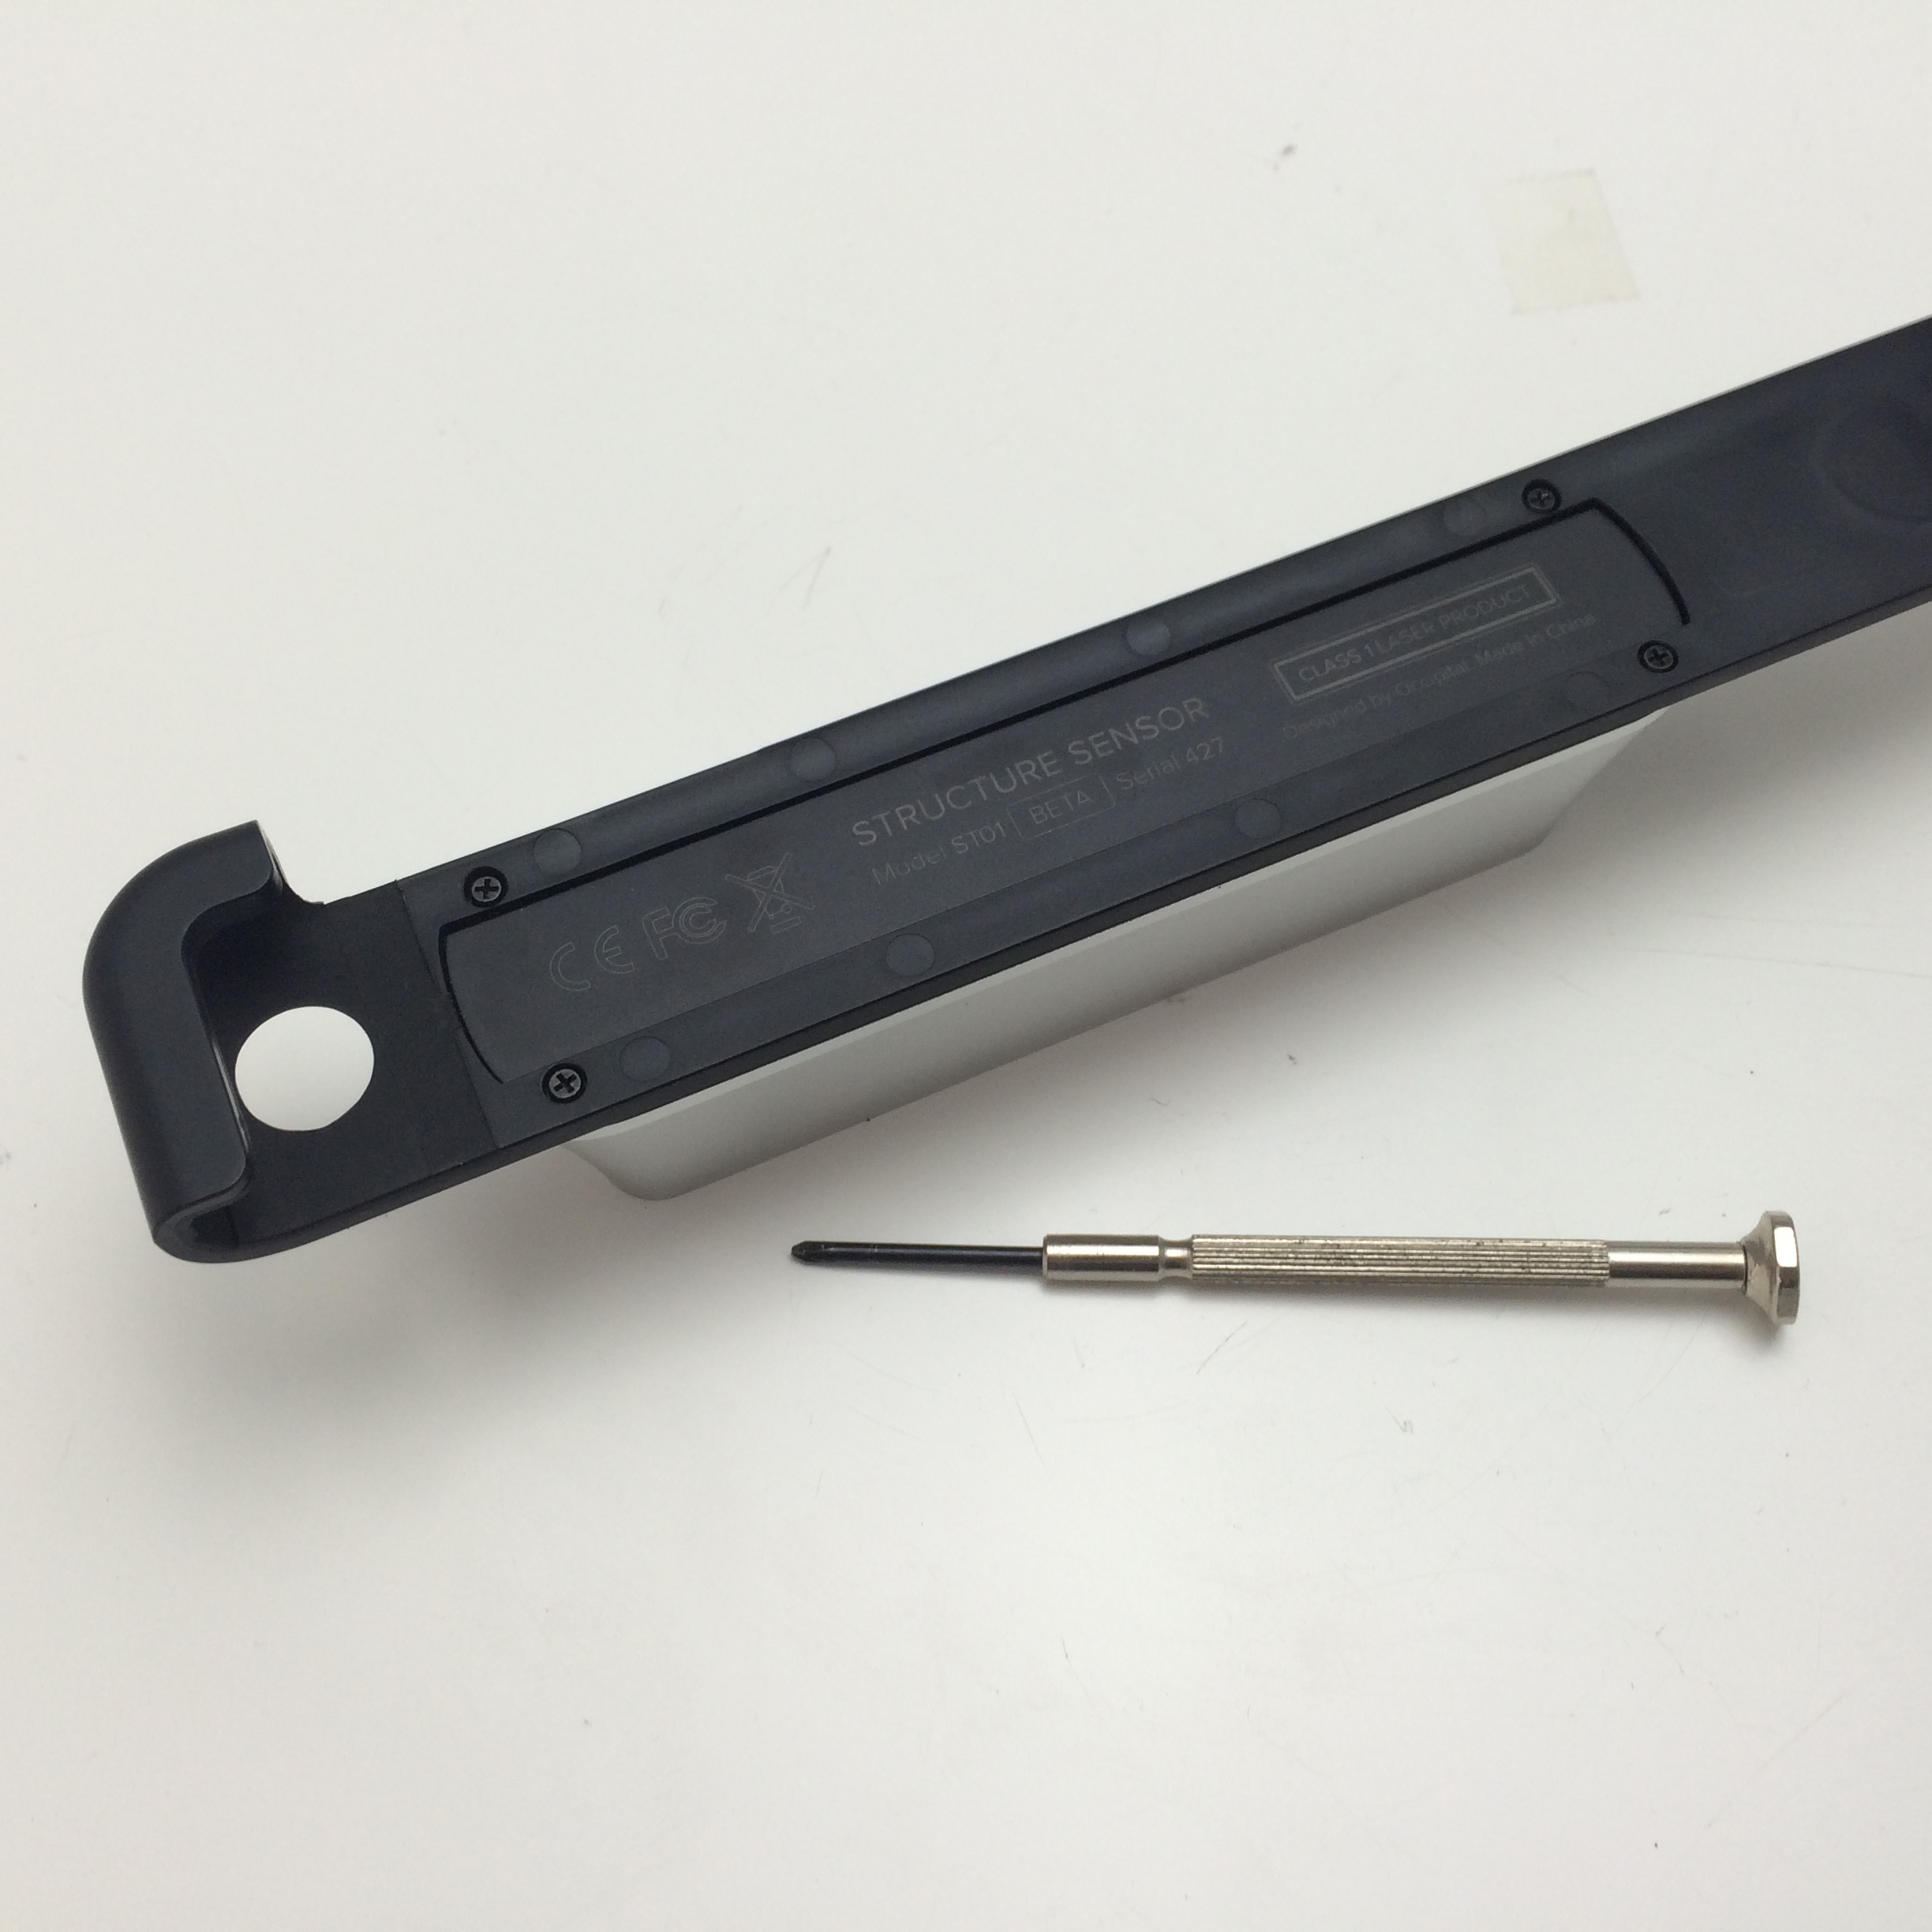
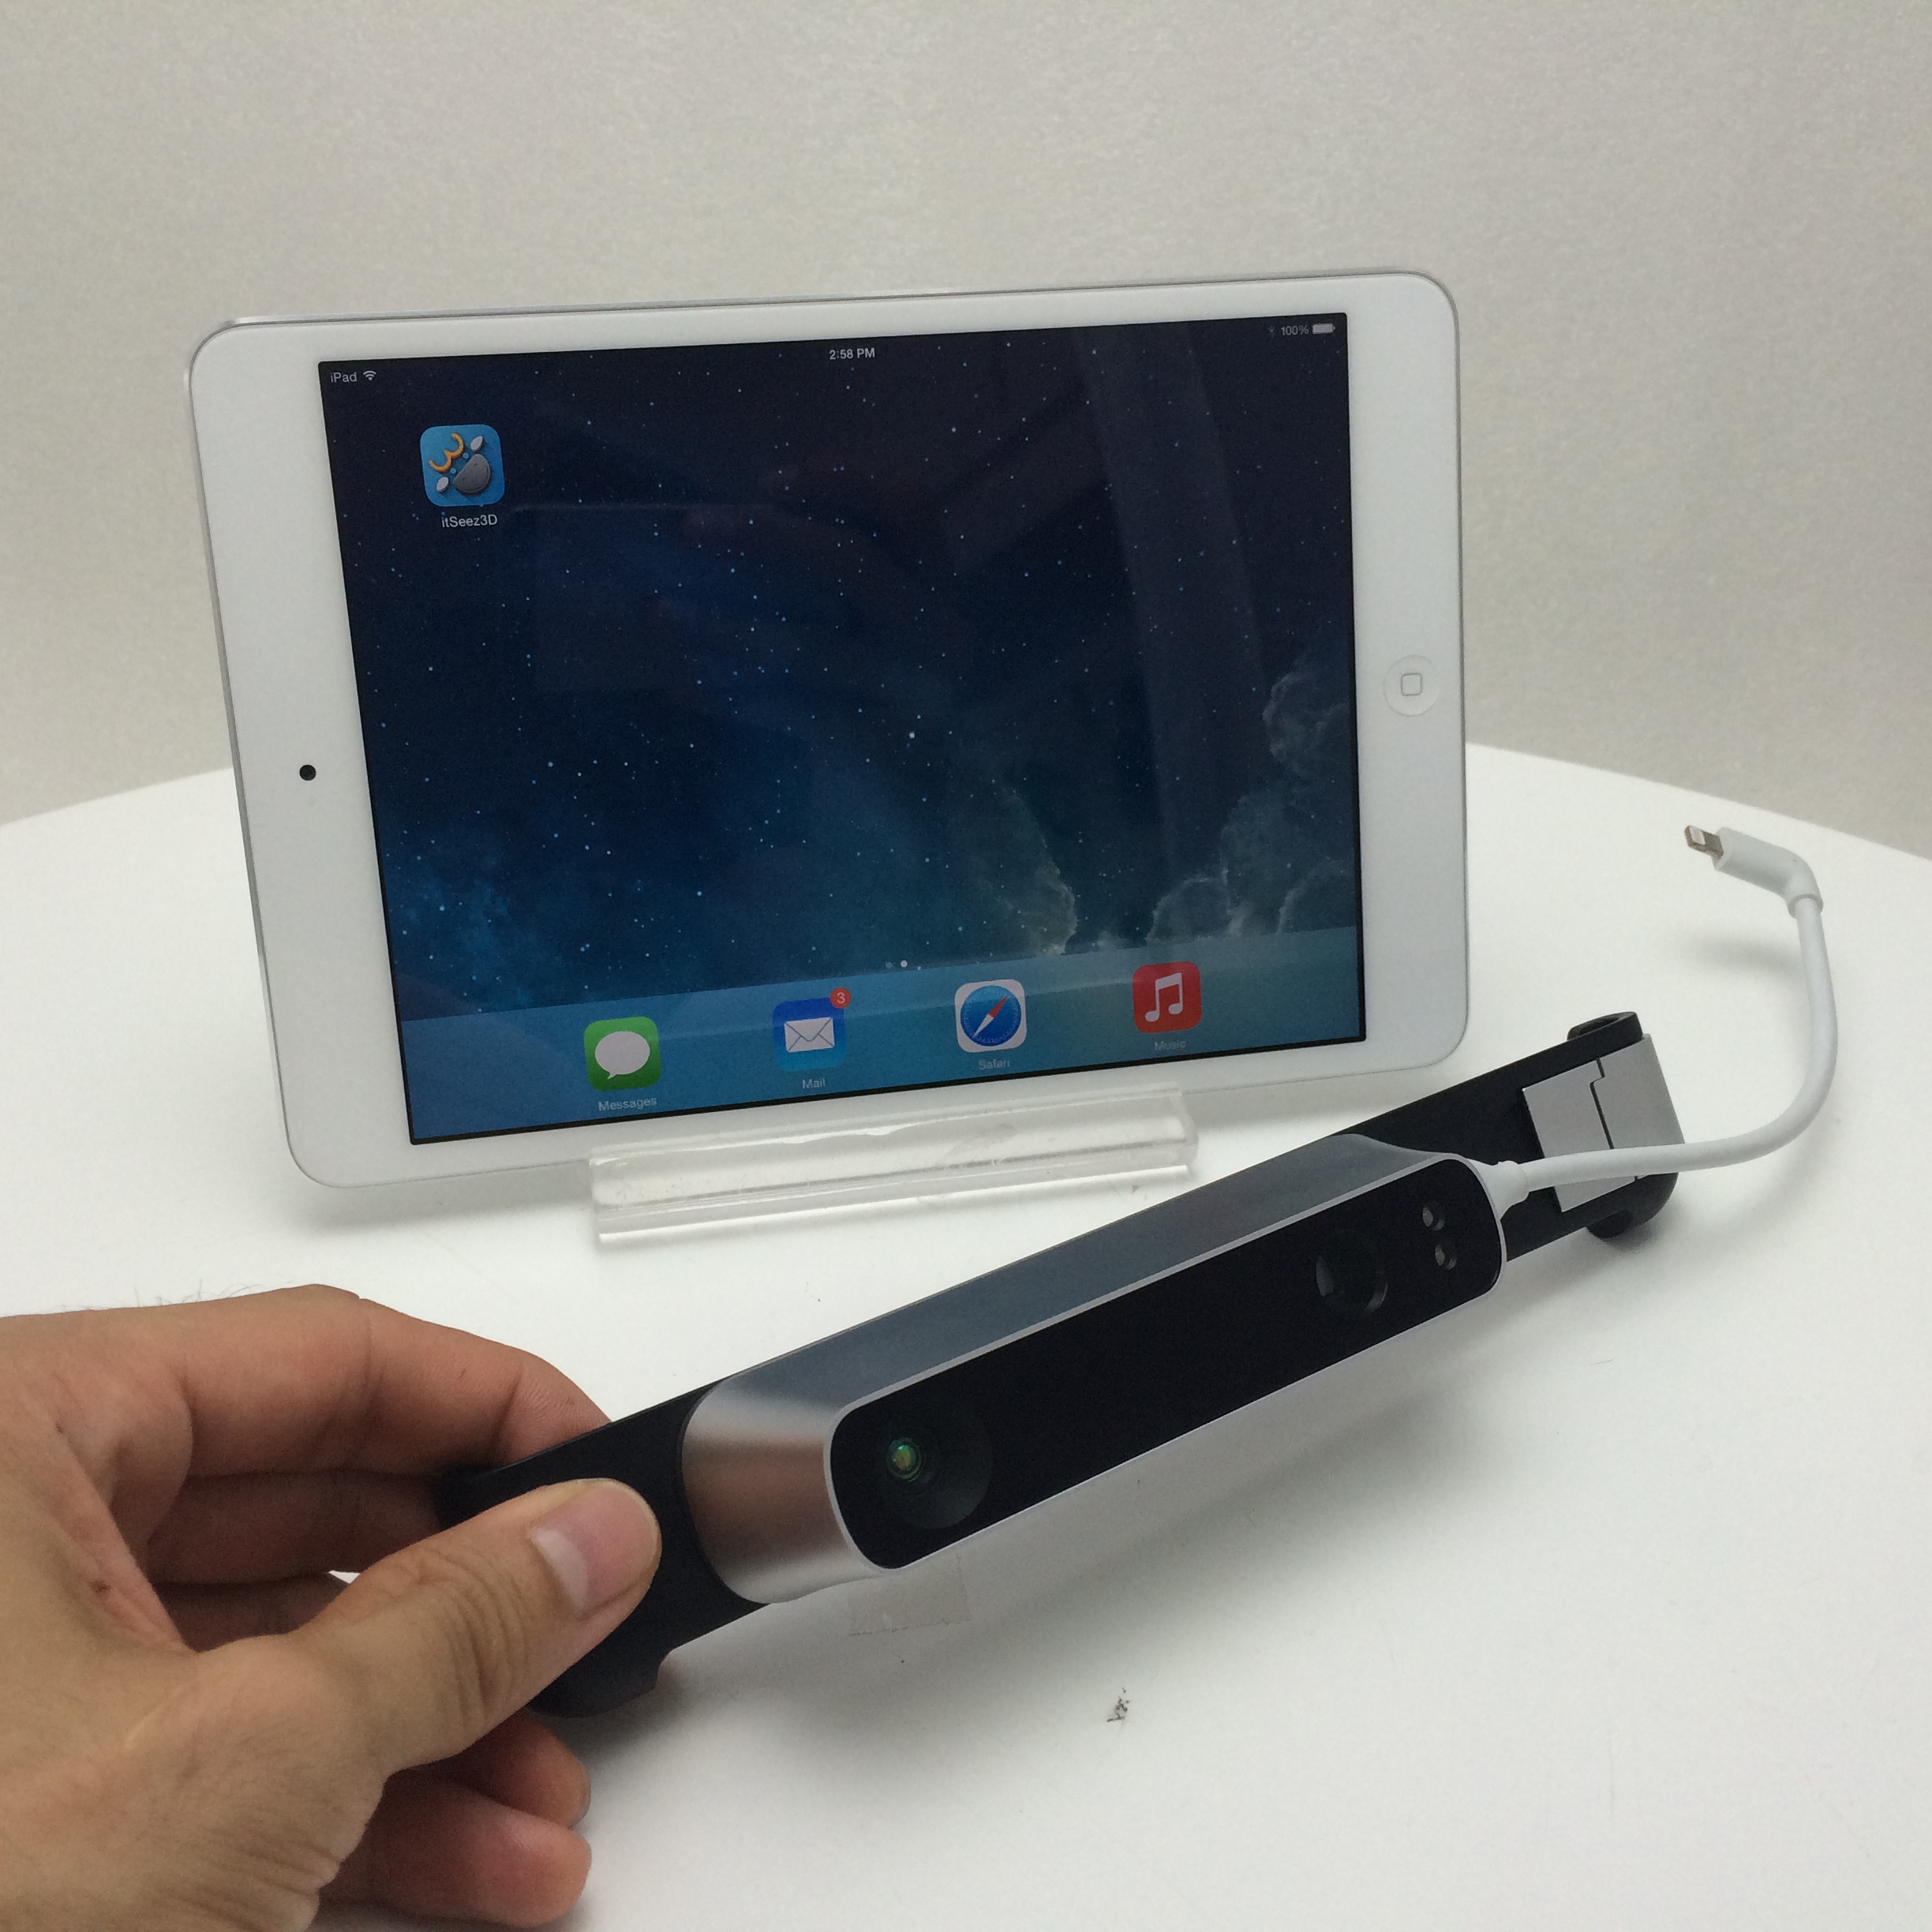
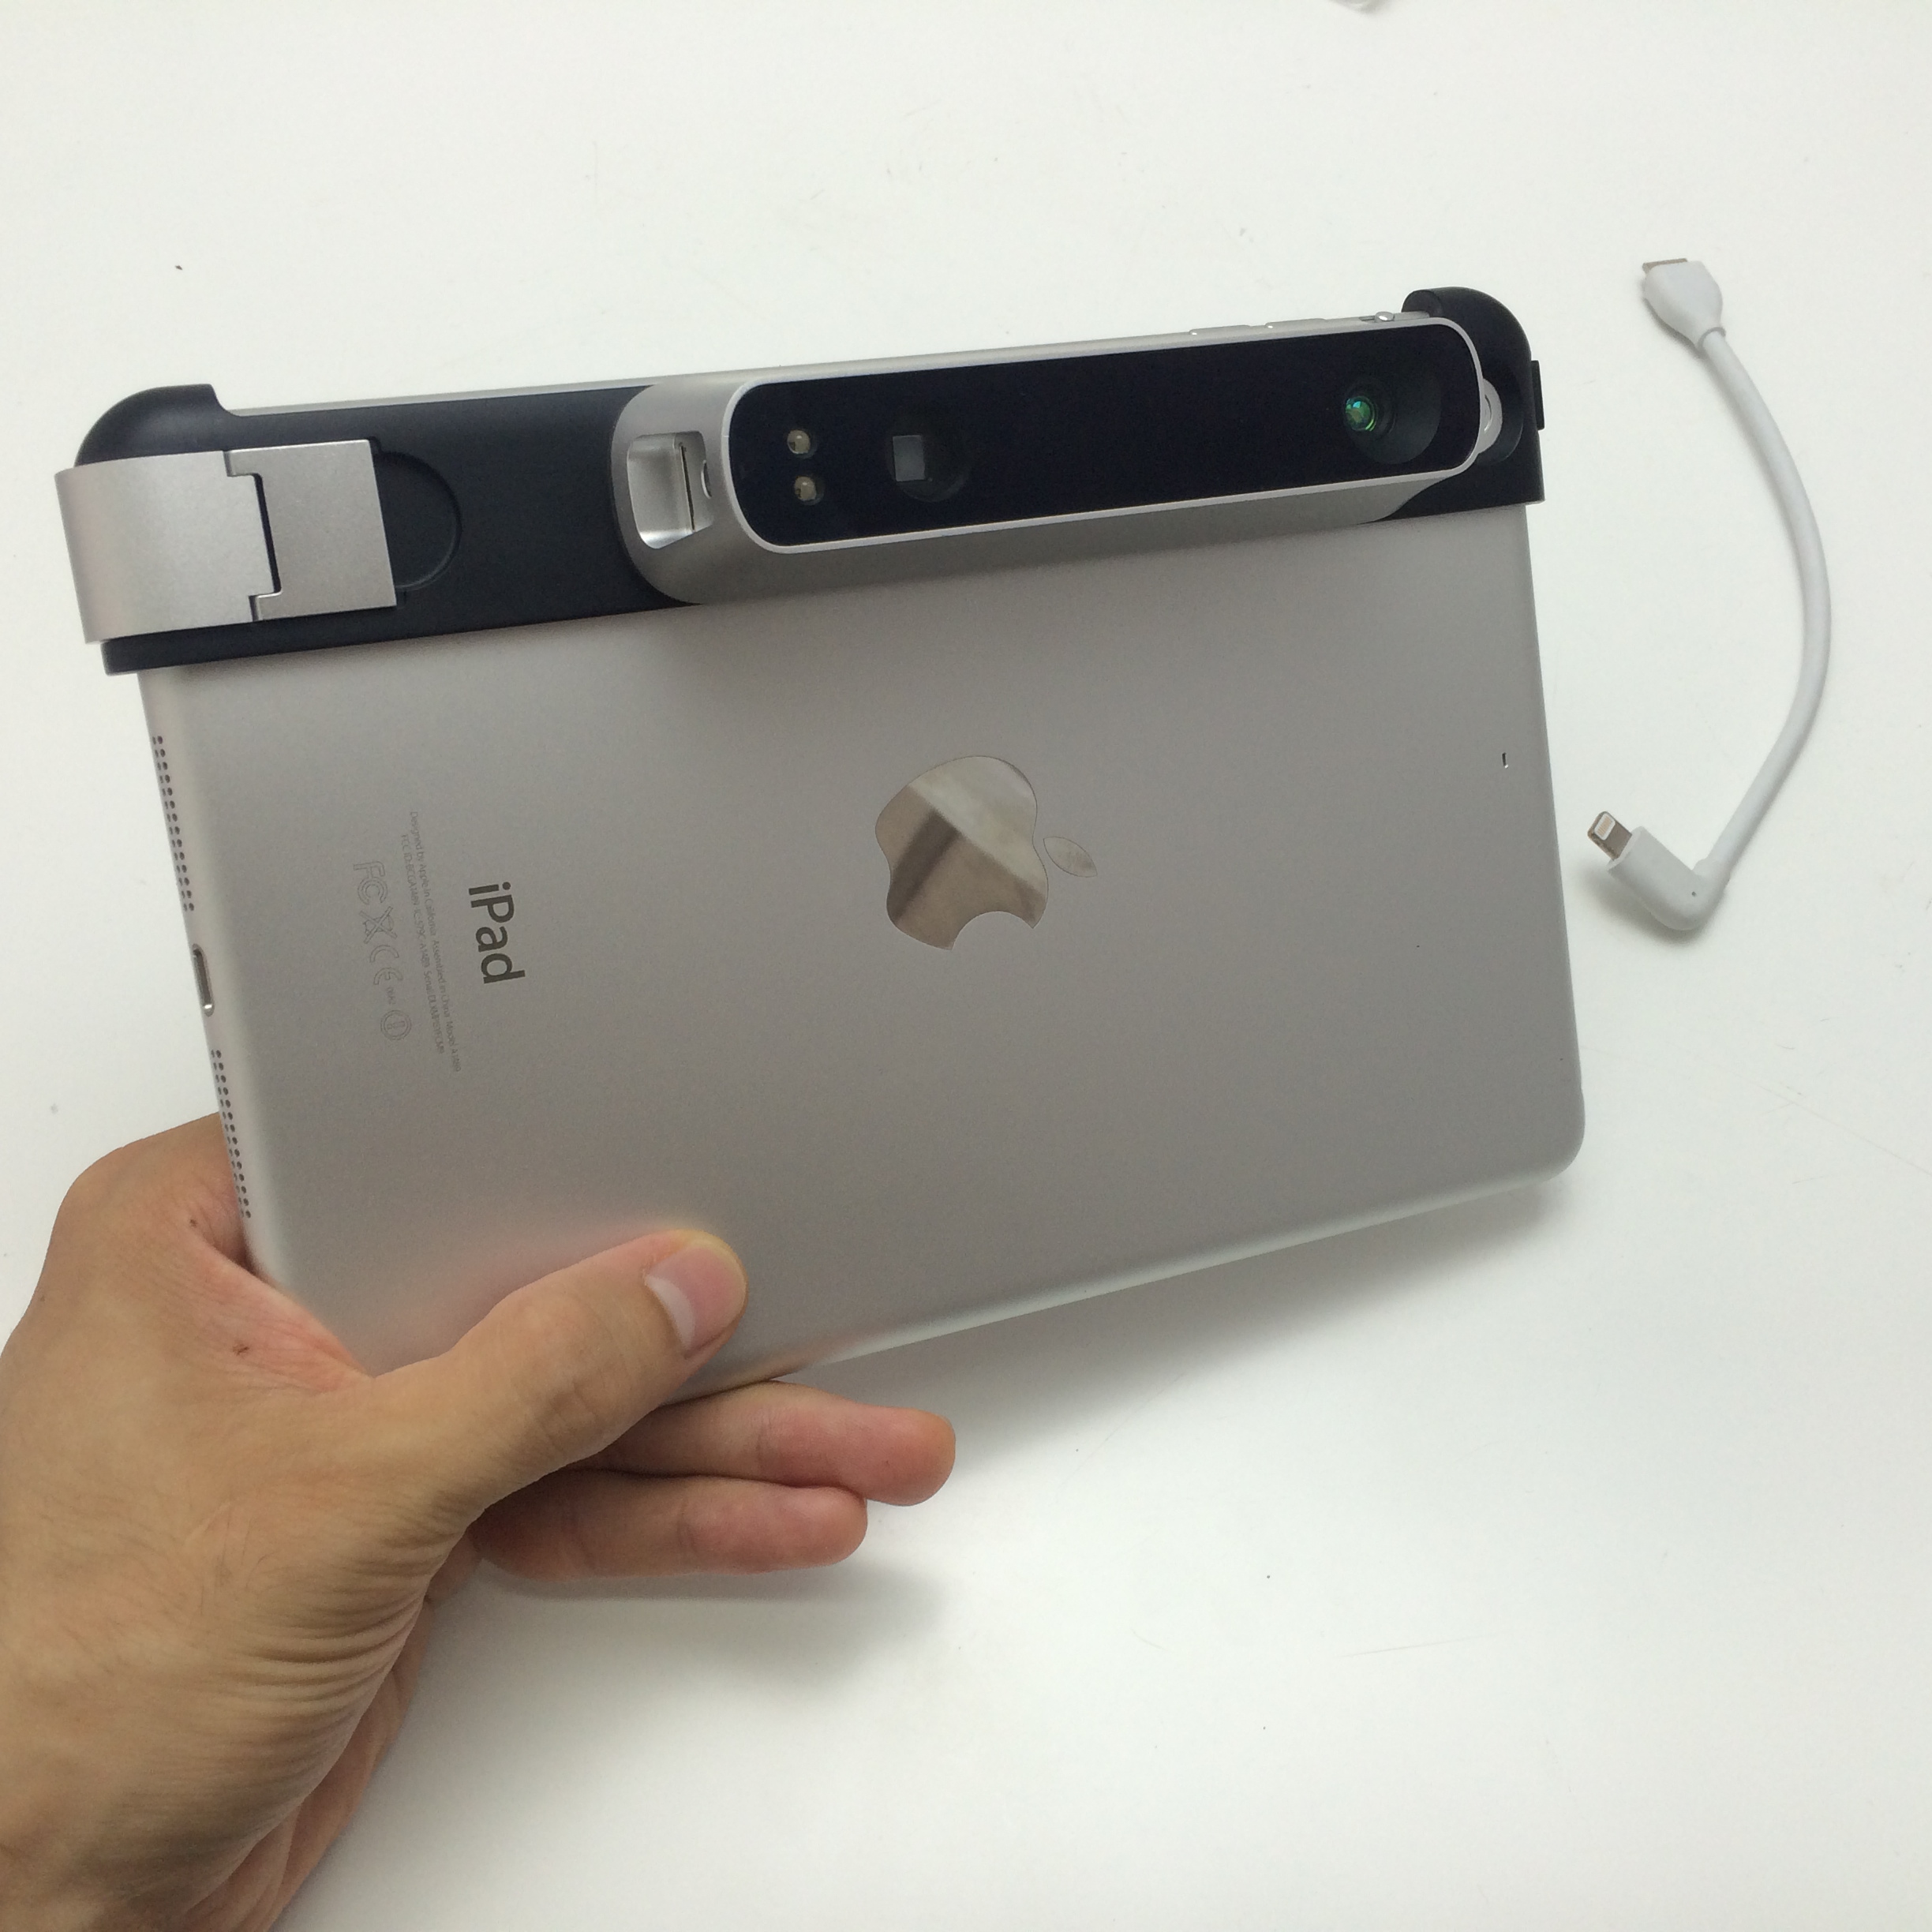
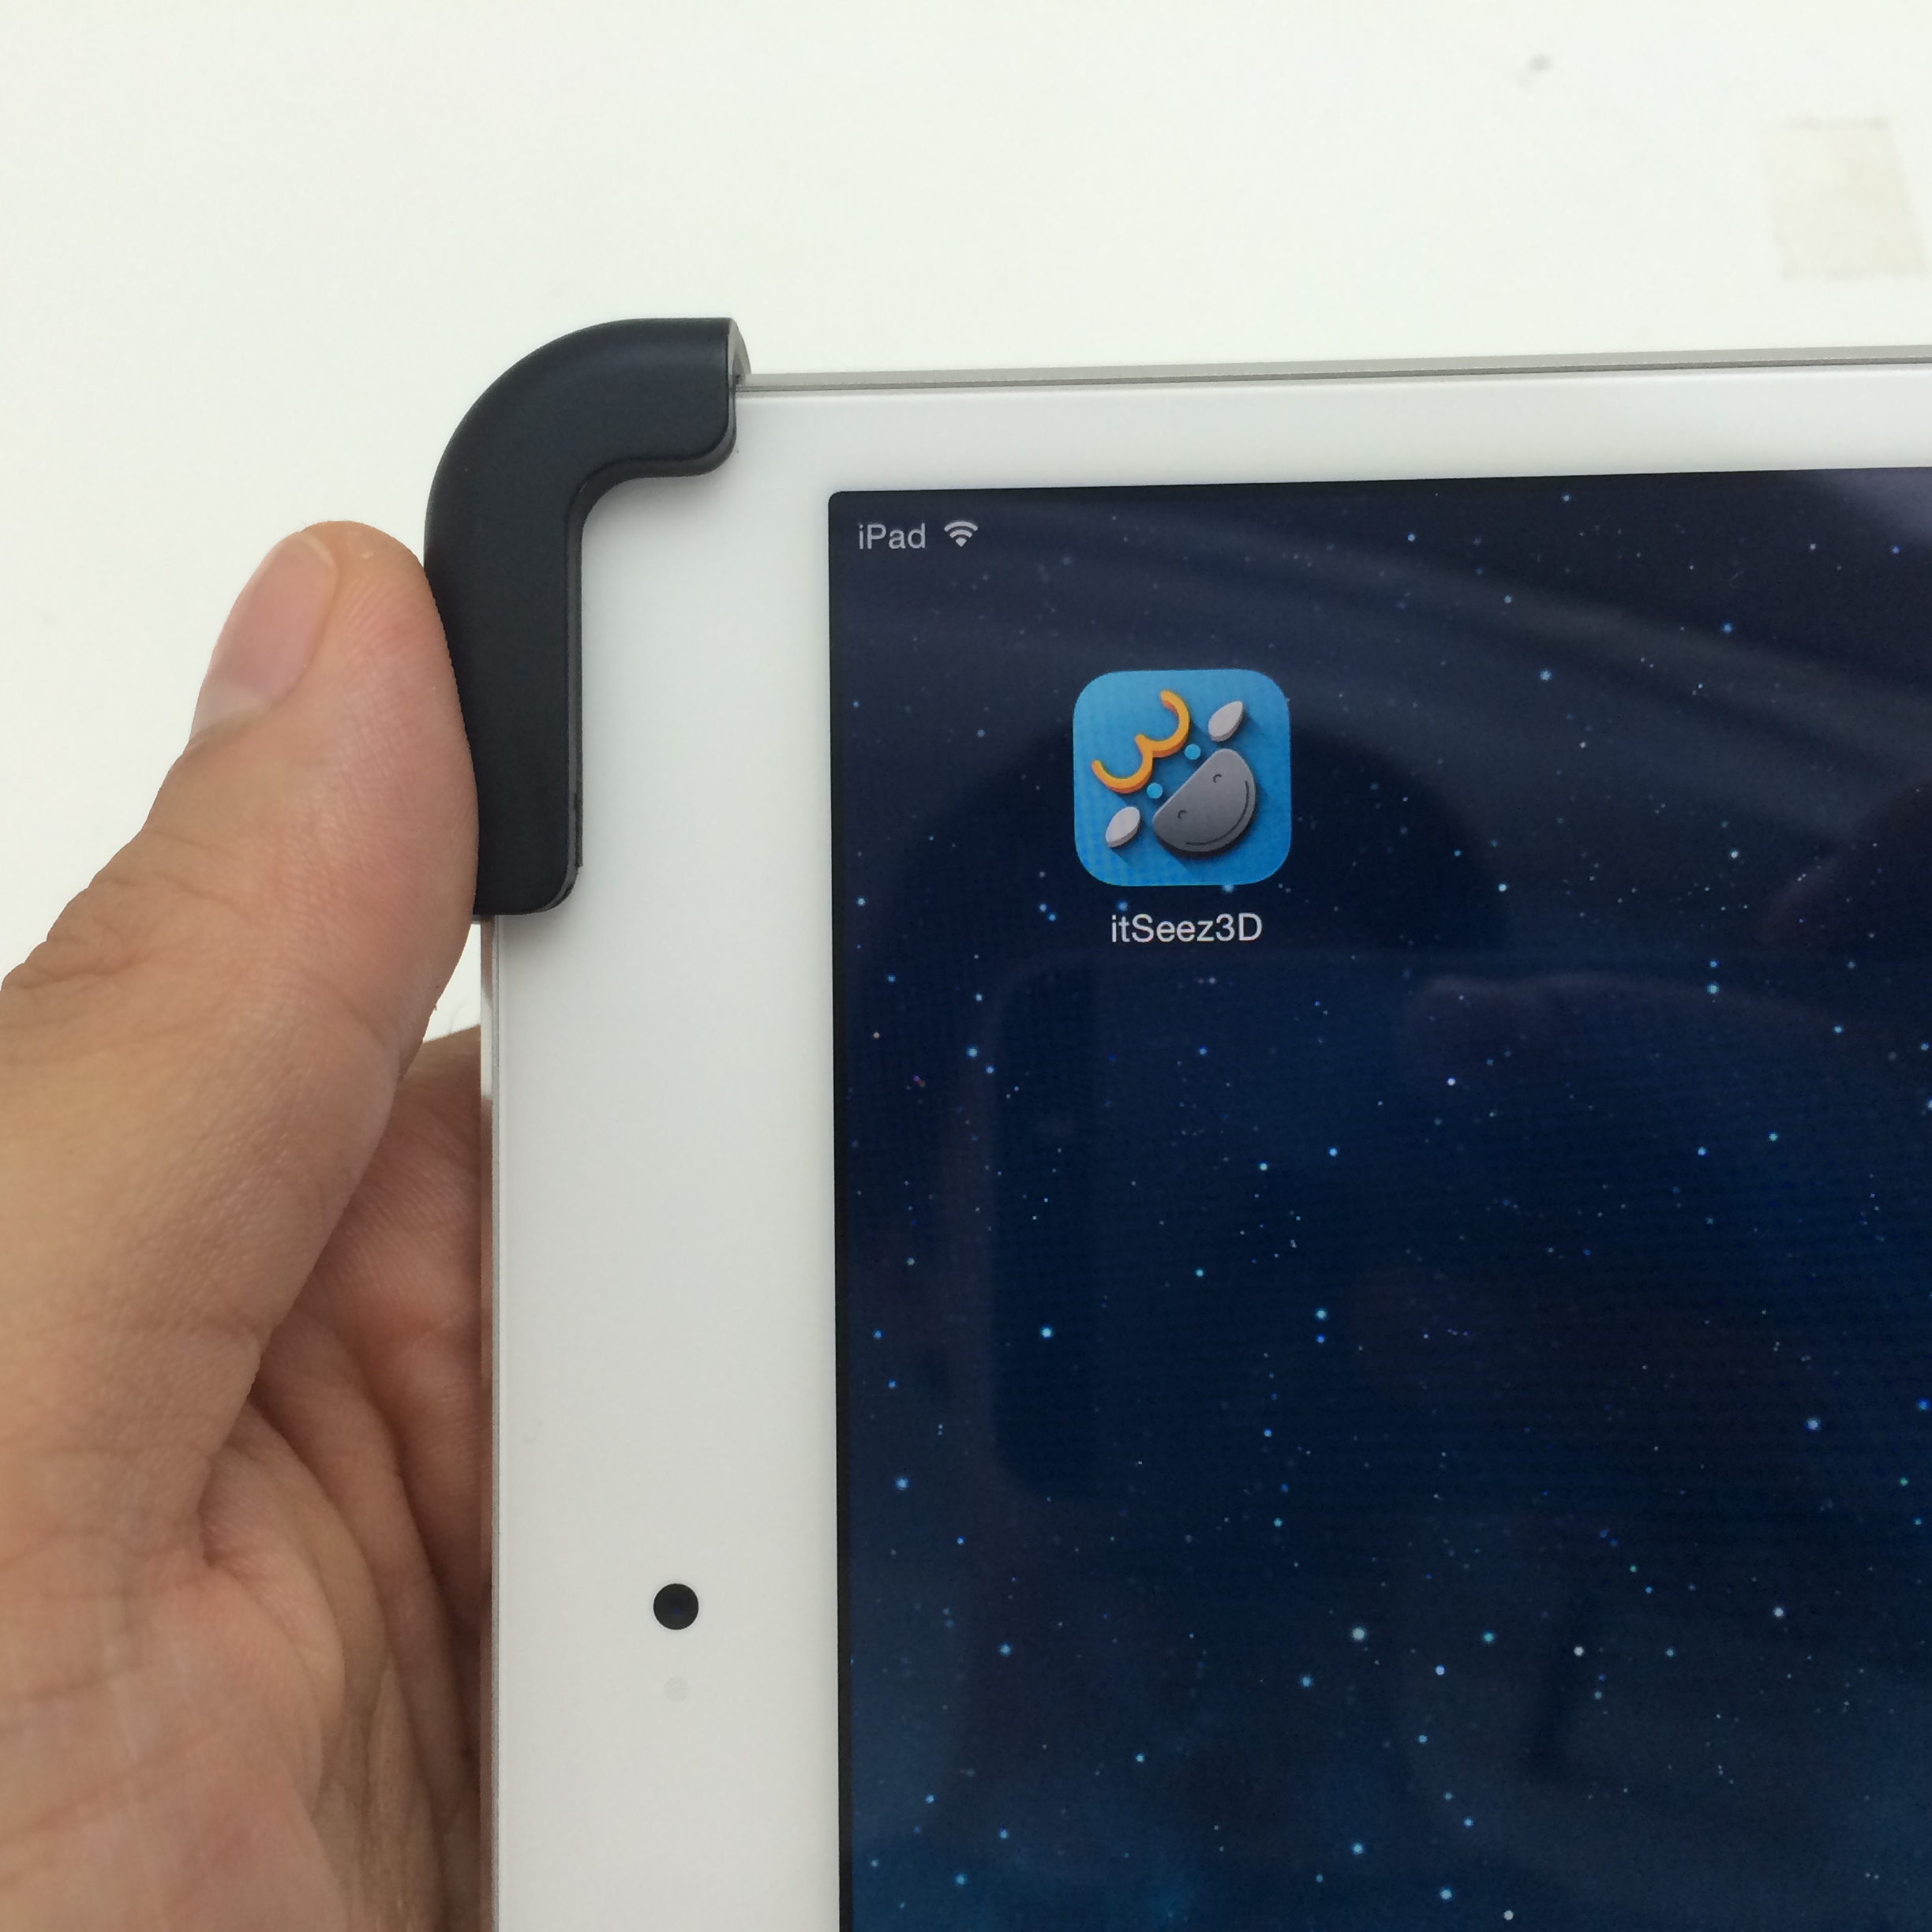
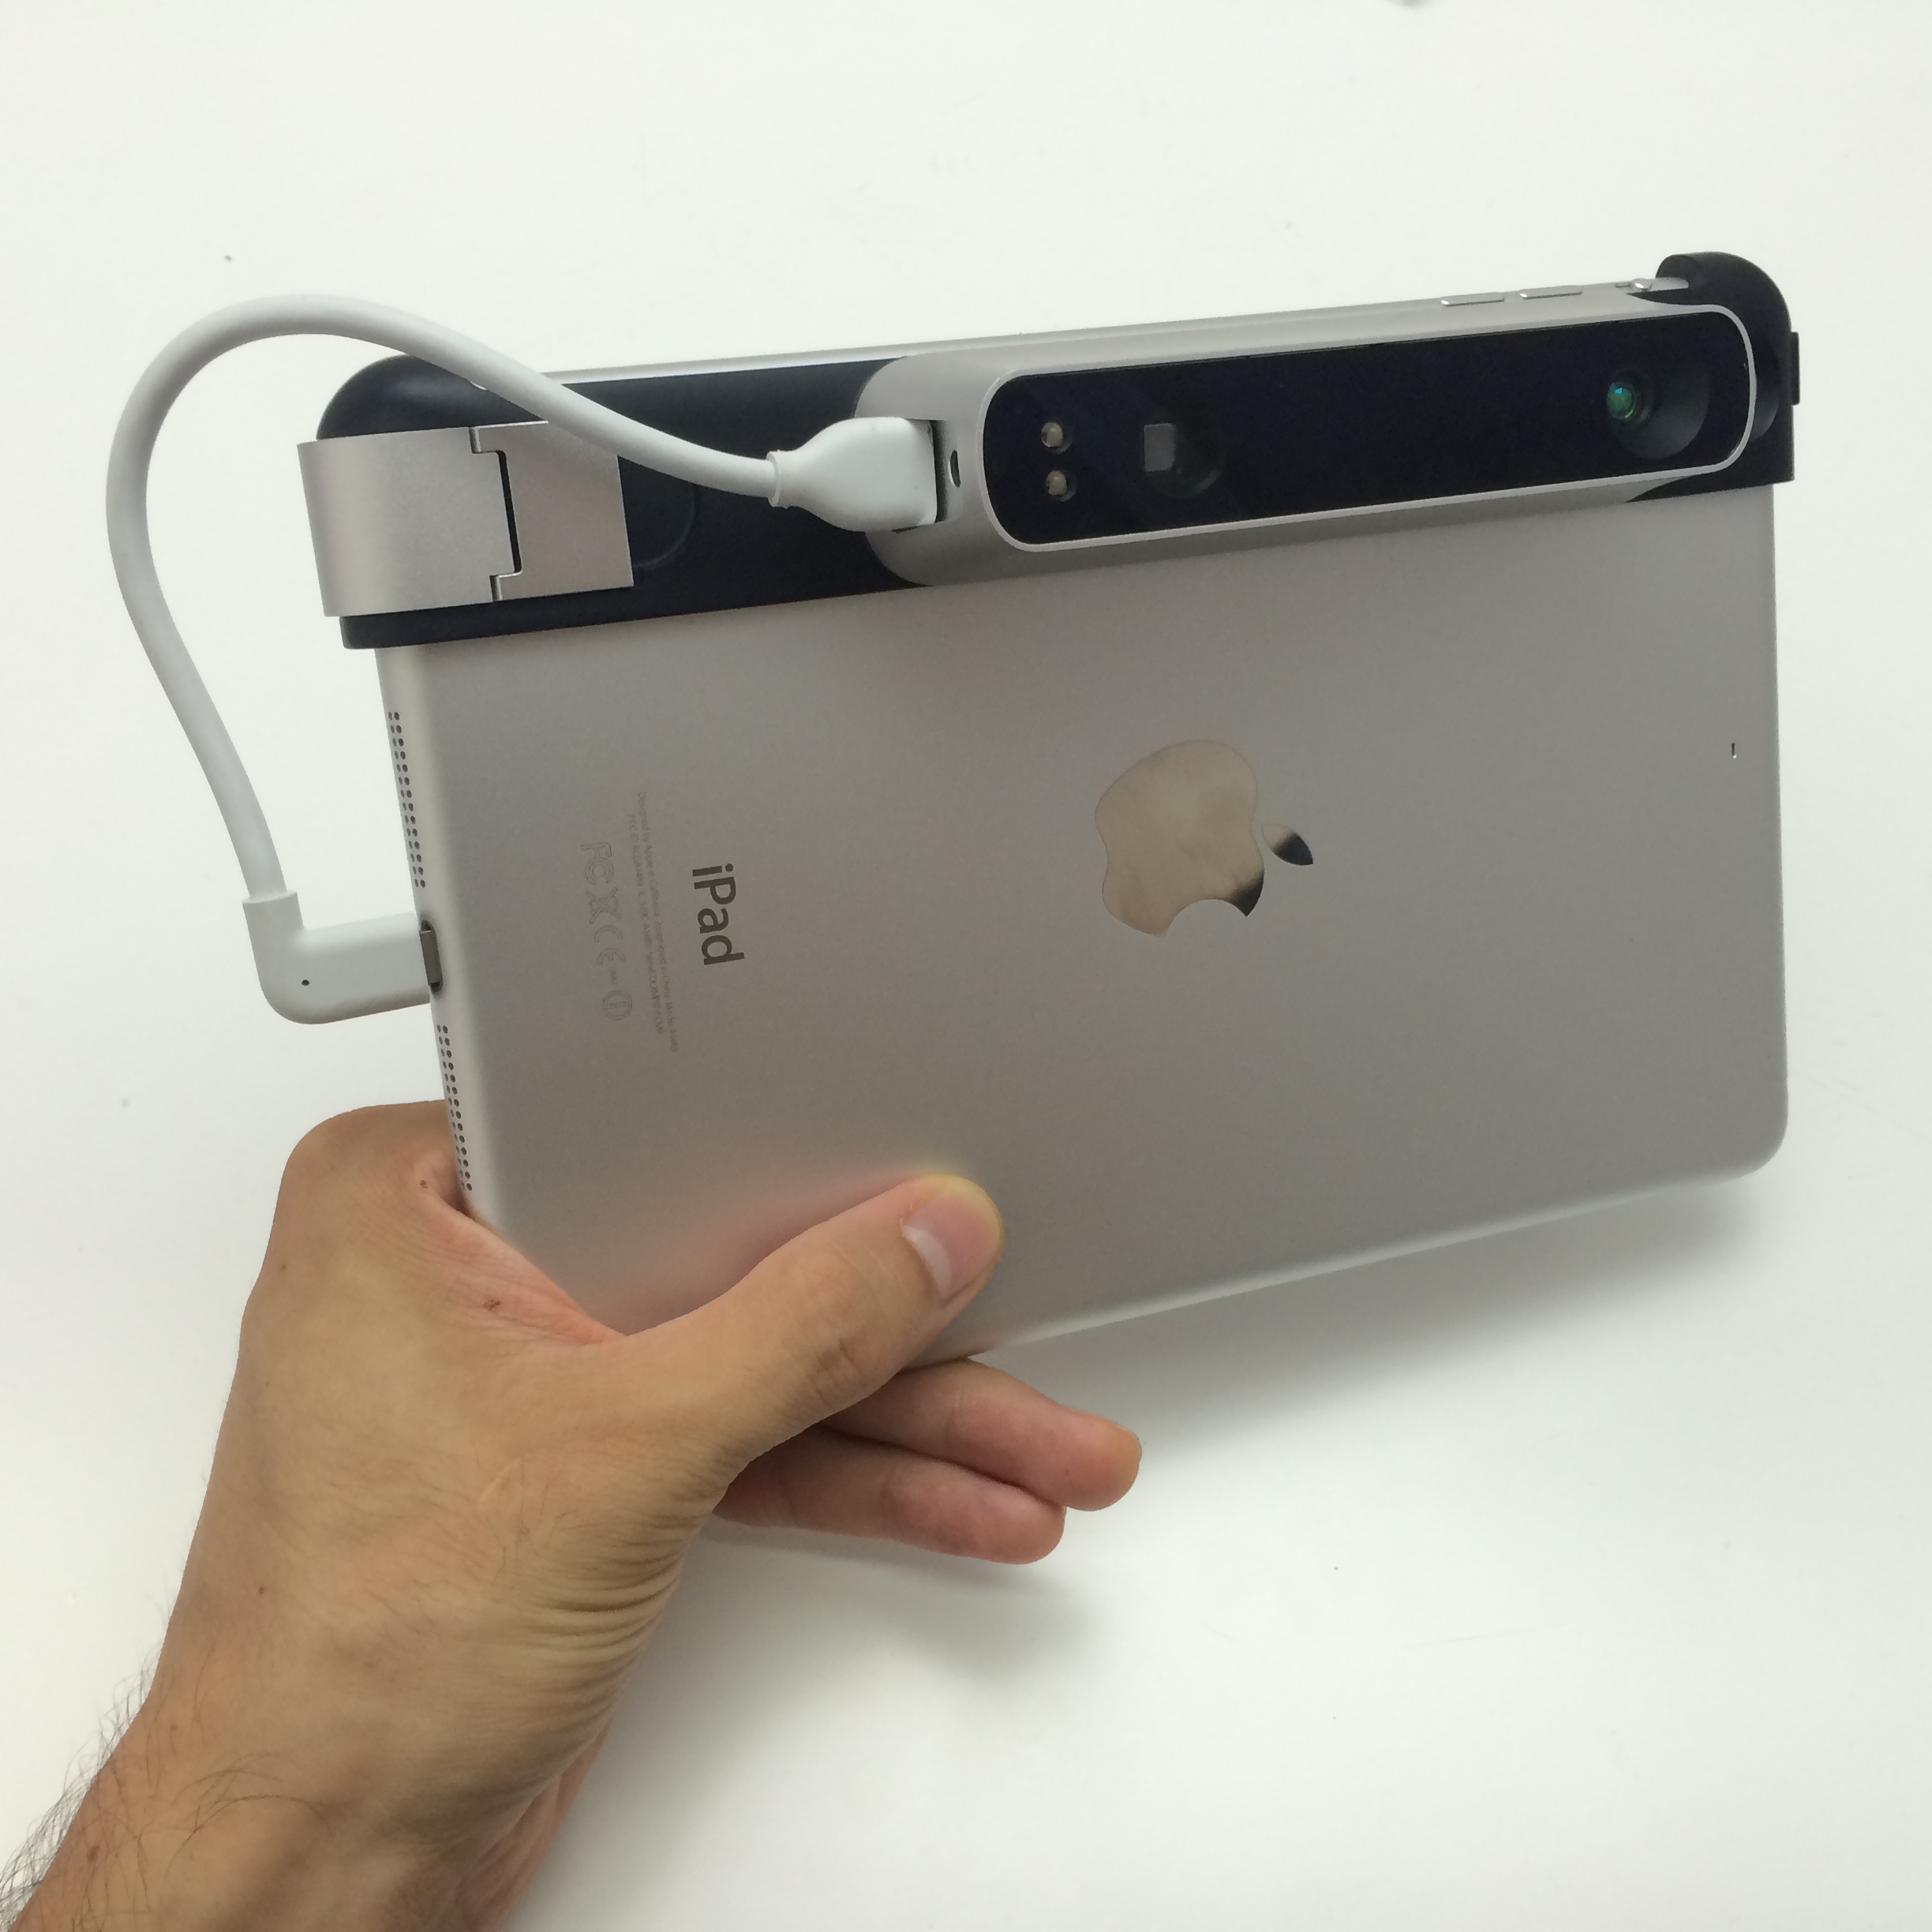
Equipment
- Occipital's Structure Sensor, mounting bracket, and lightning cable
- An iPad mini 2 or iPad Air (must have at least 1GB RAM)
Software
- There will surely be a flood of new software in the coming months that will make this app obsolete. However, for now (written June 27, 2014) the only app that can 3D scan anything in color without being tethered to a GPU-enabled computer is ItSeez3D
How to Scan a Free Range Human
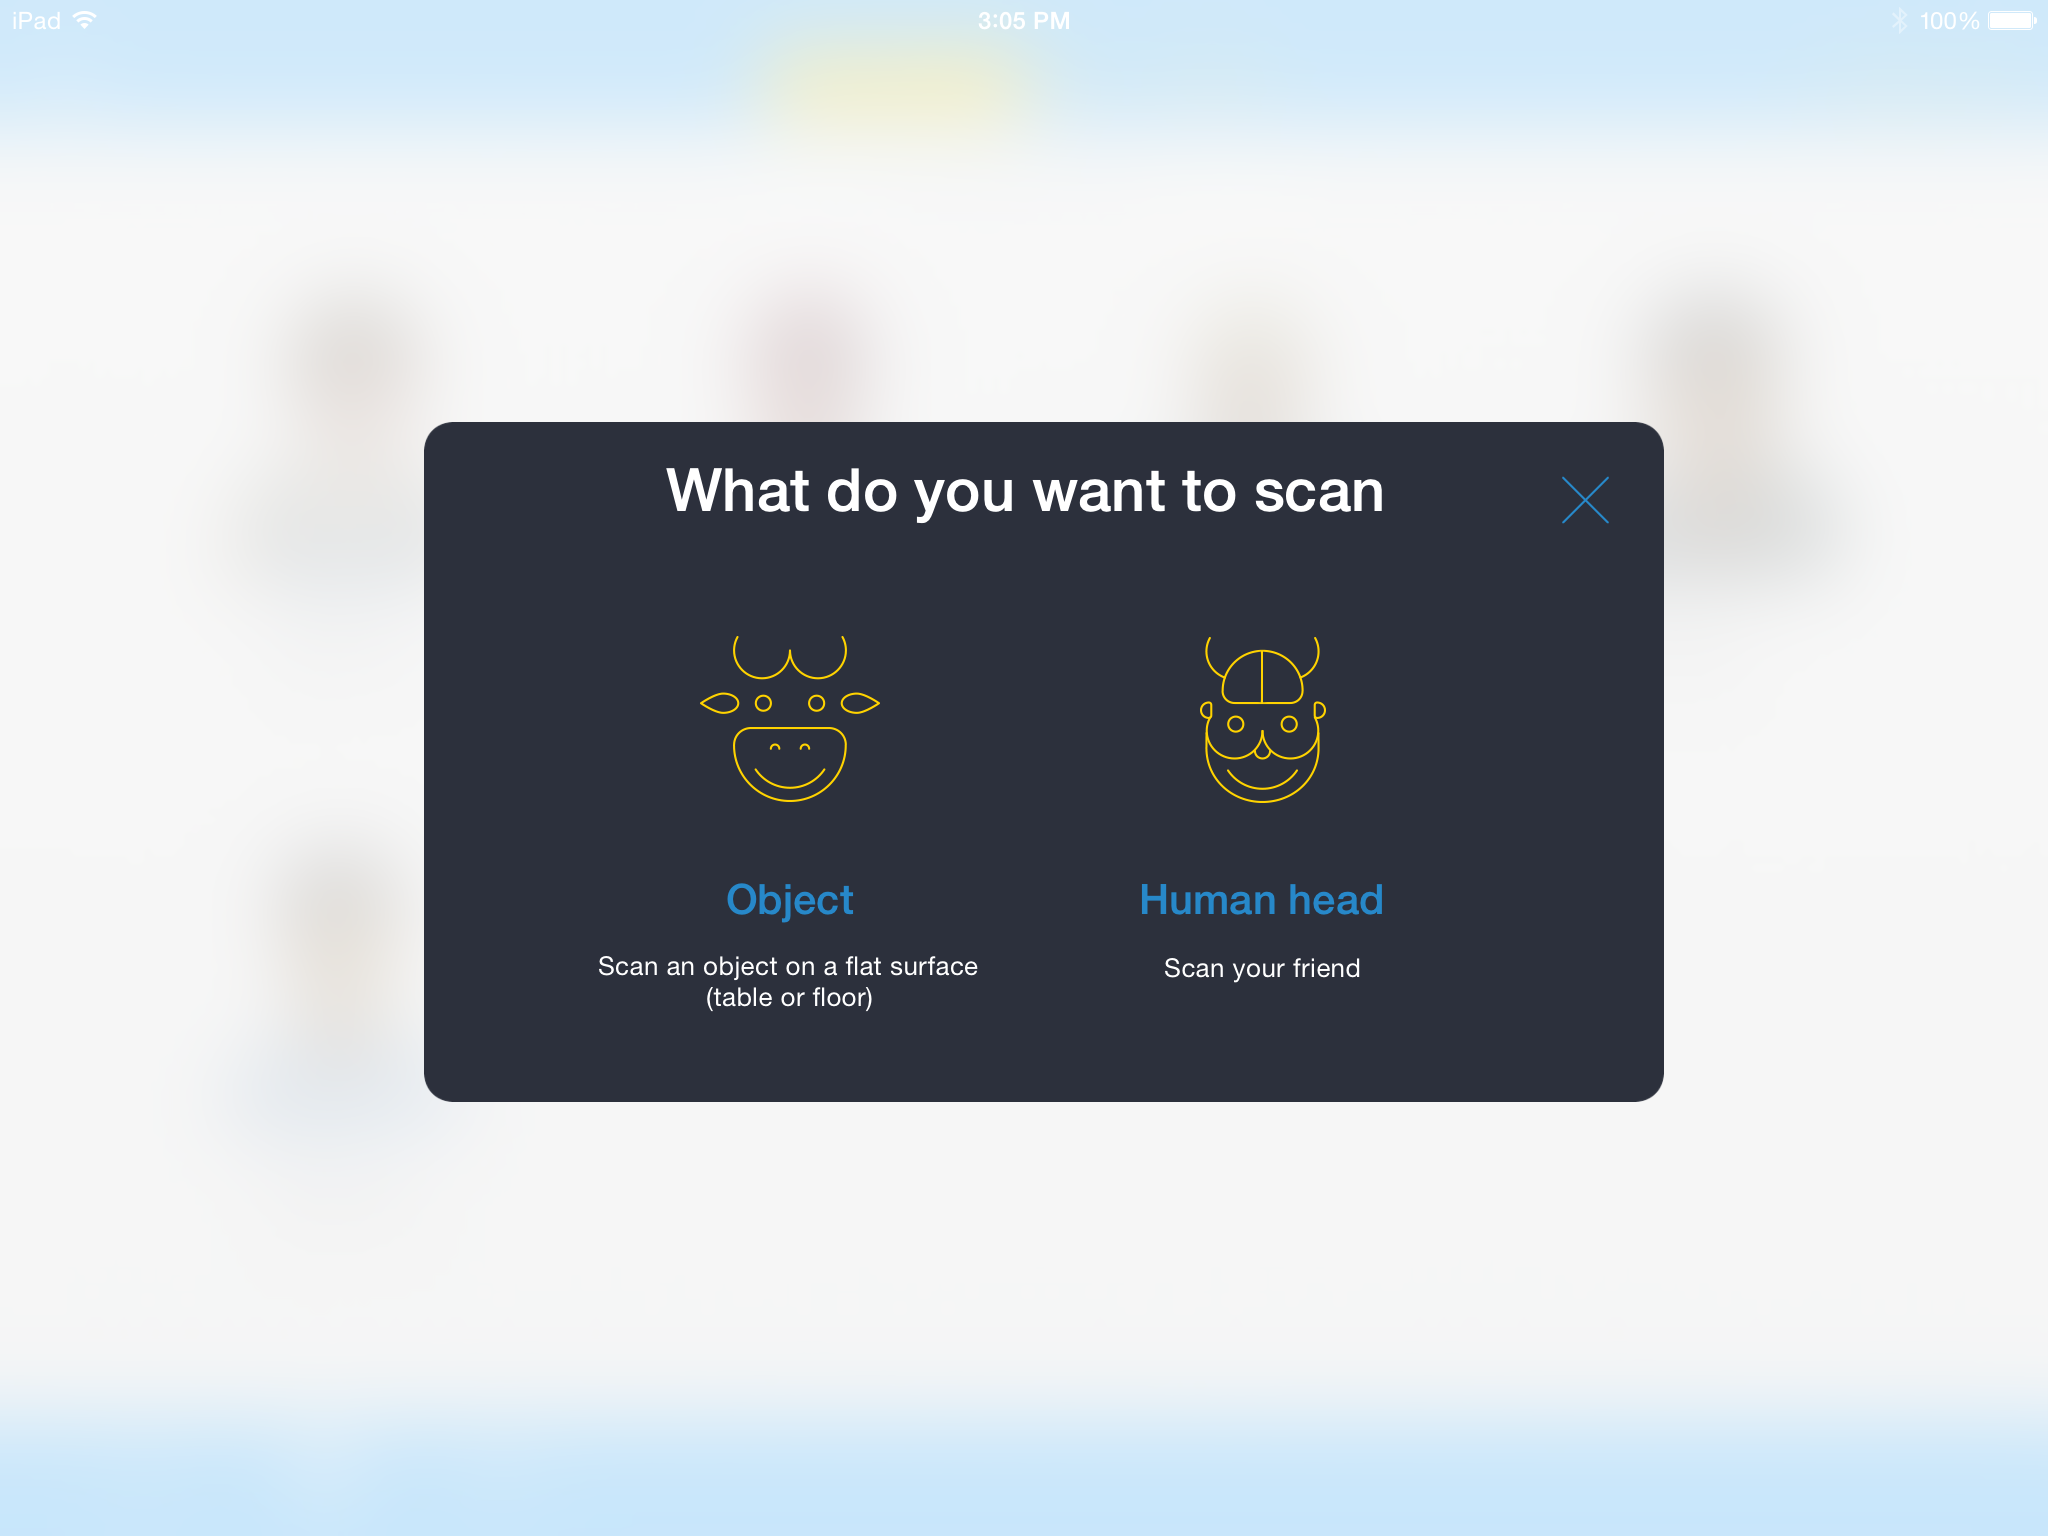
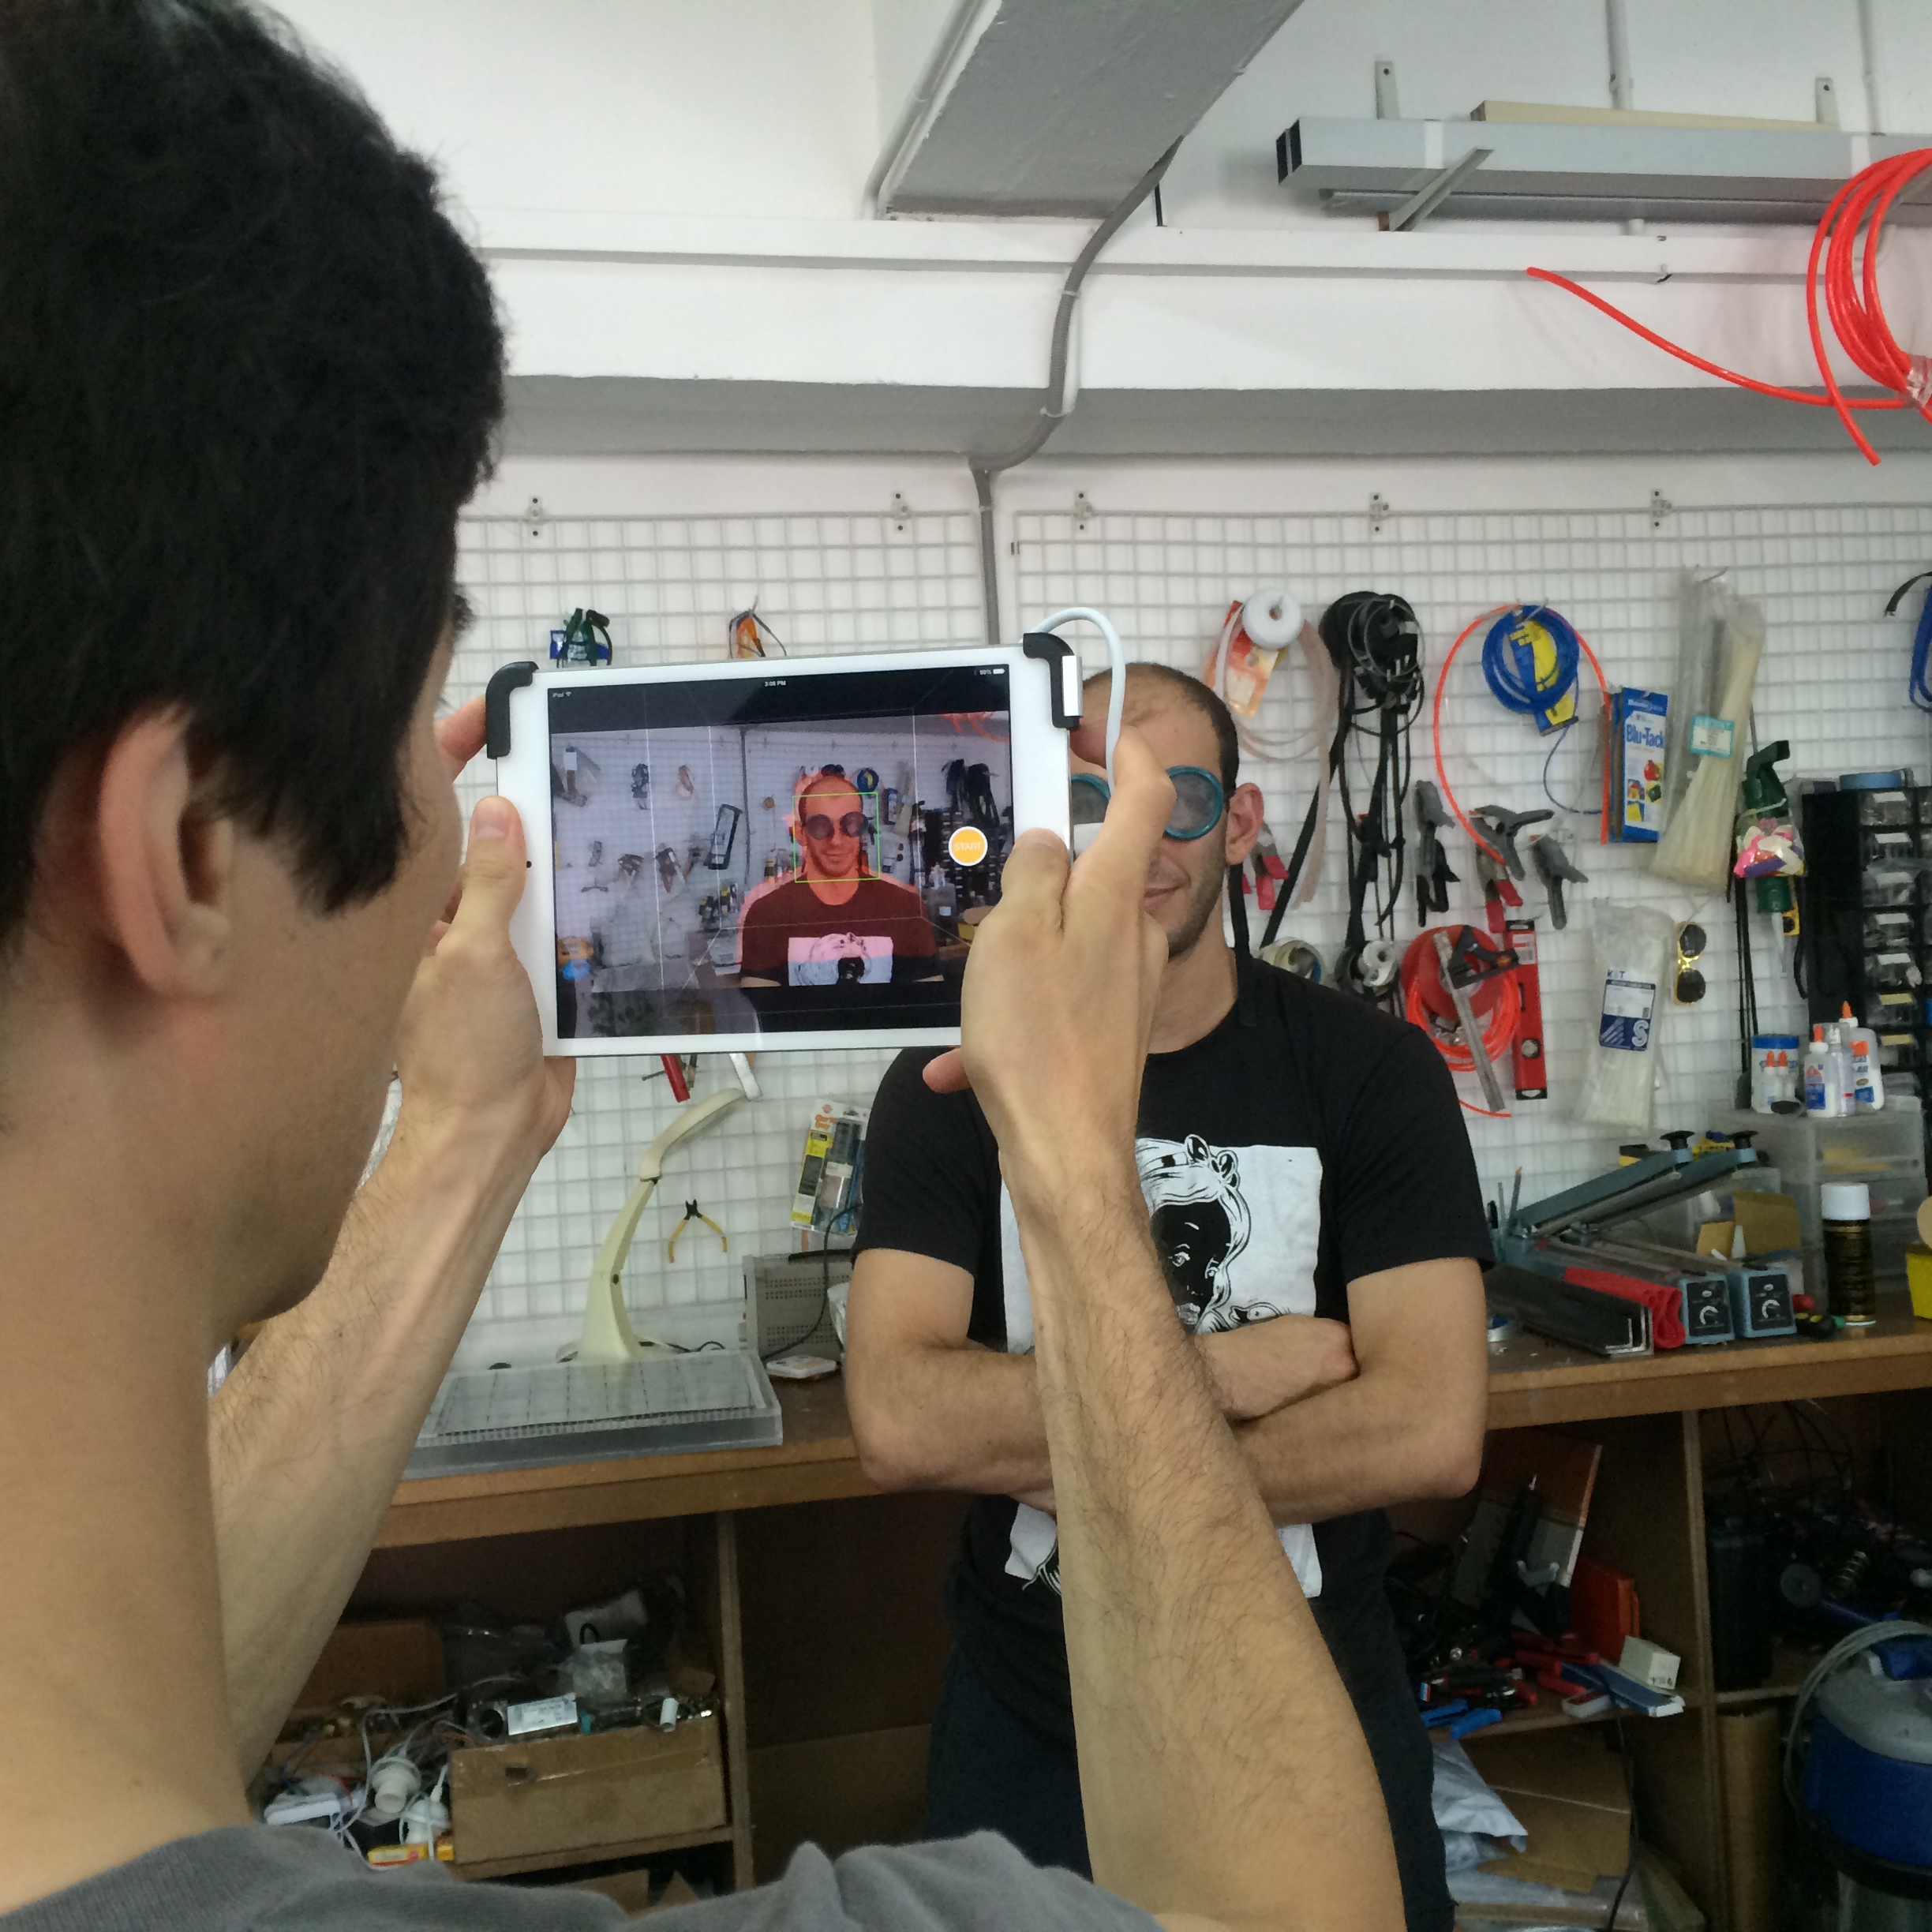
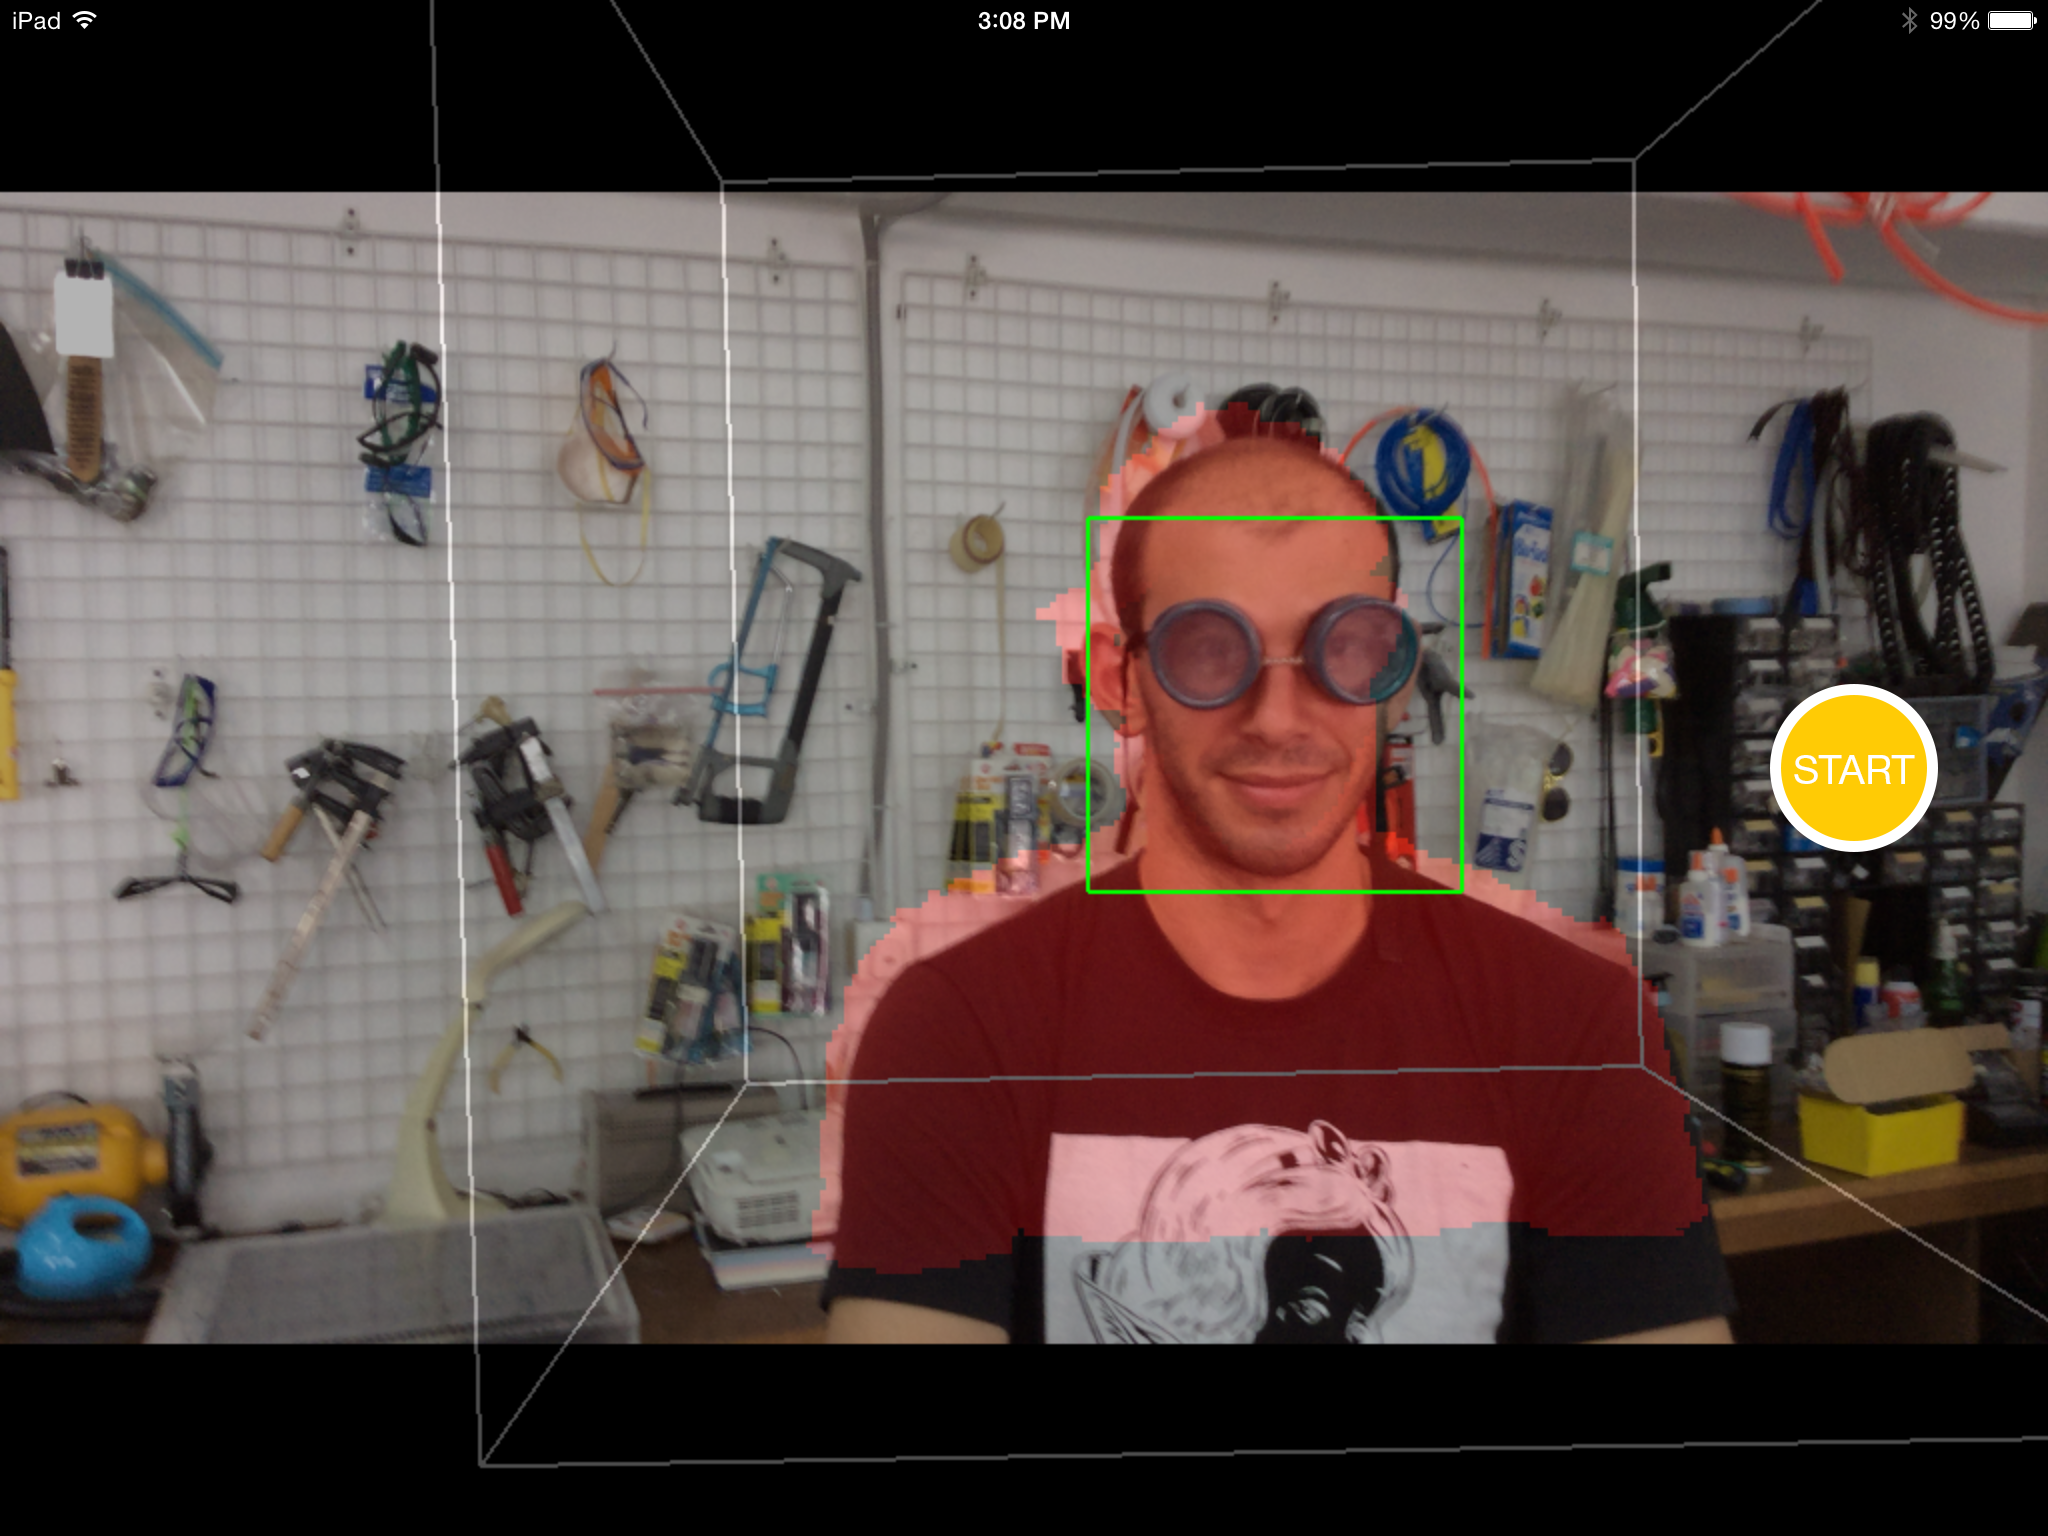
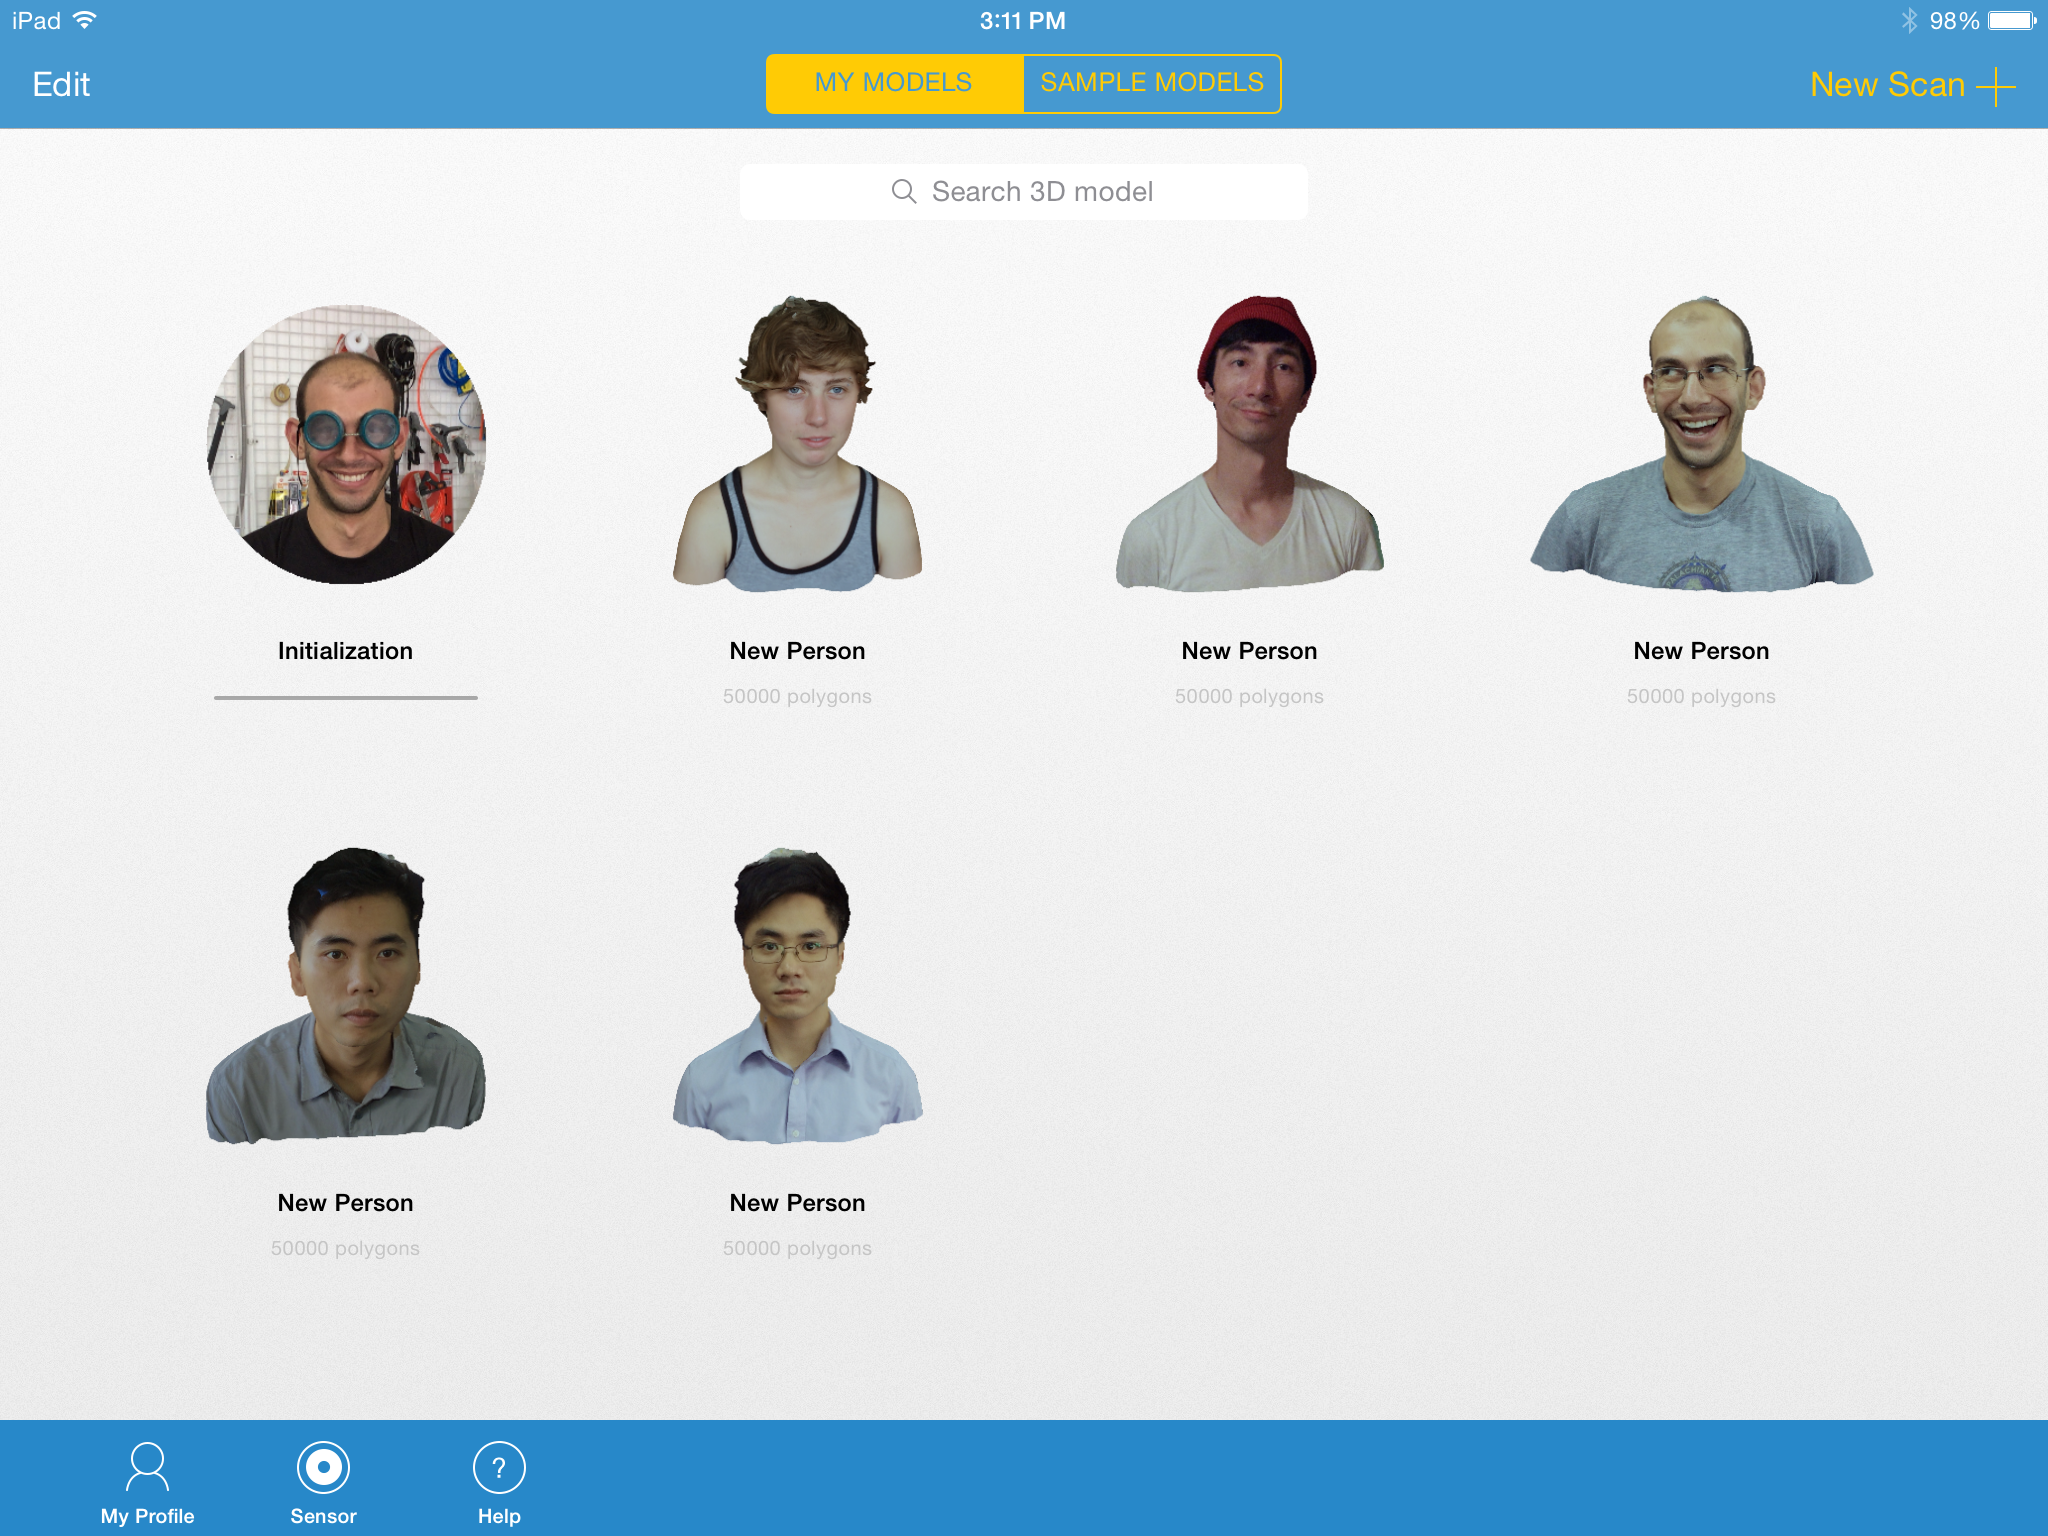
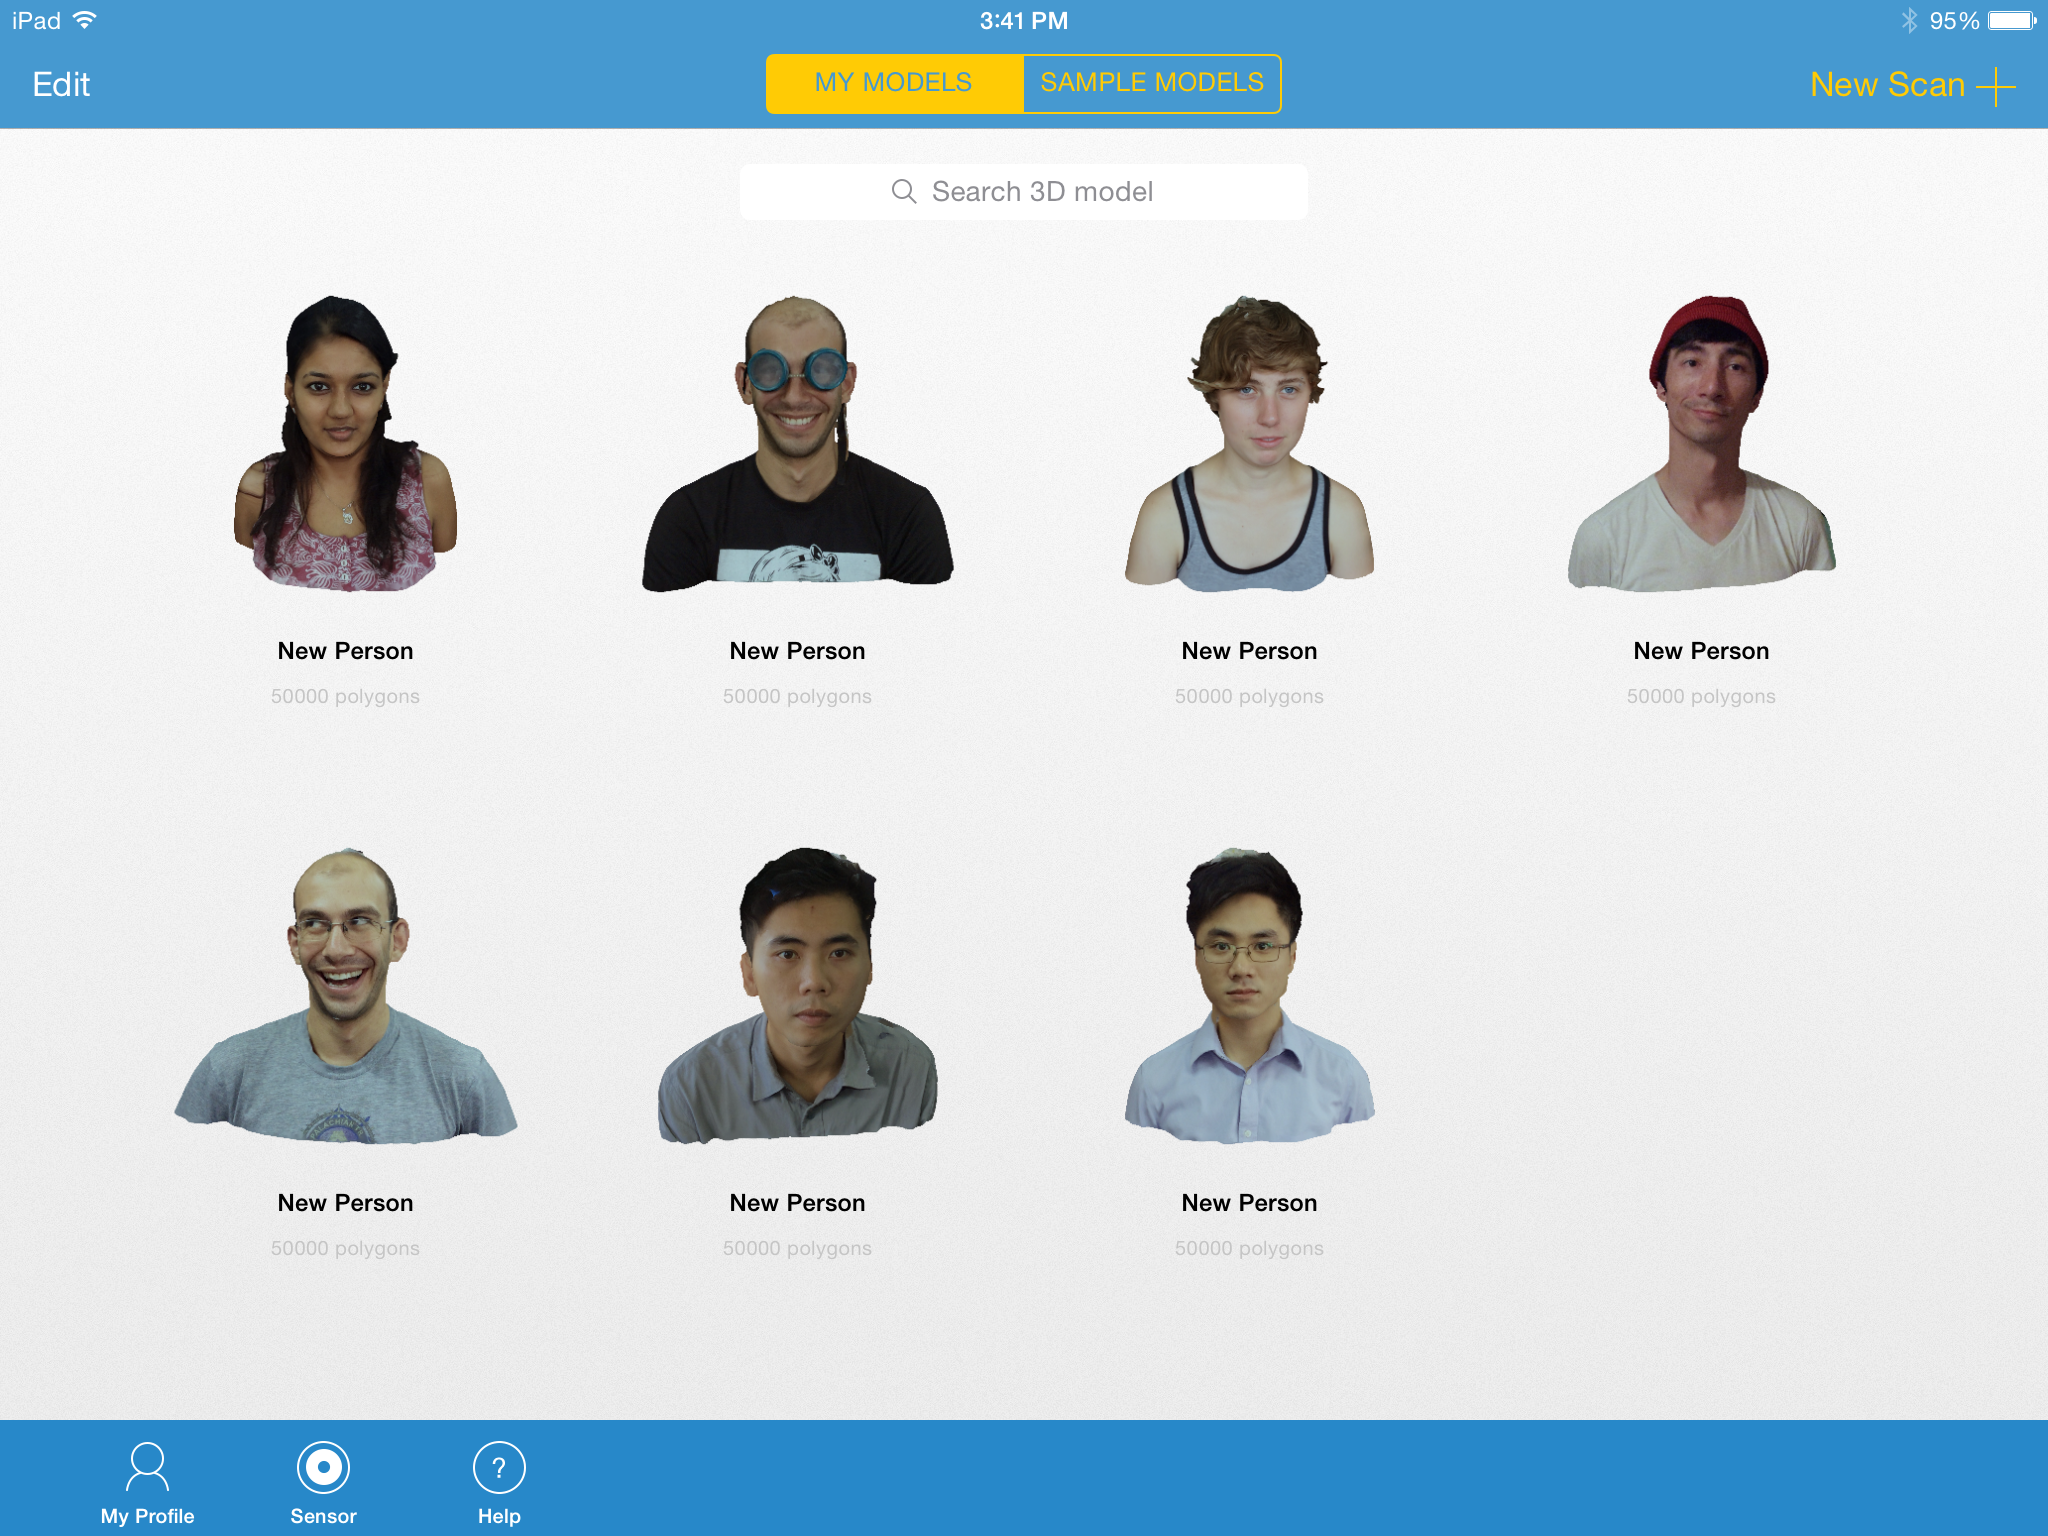
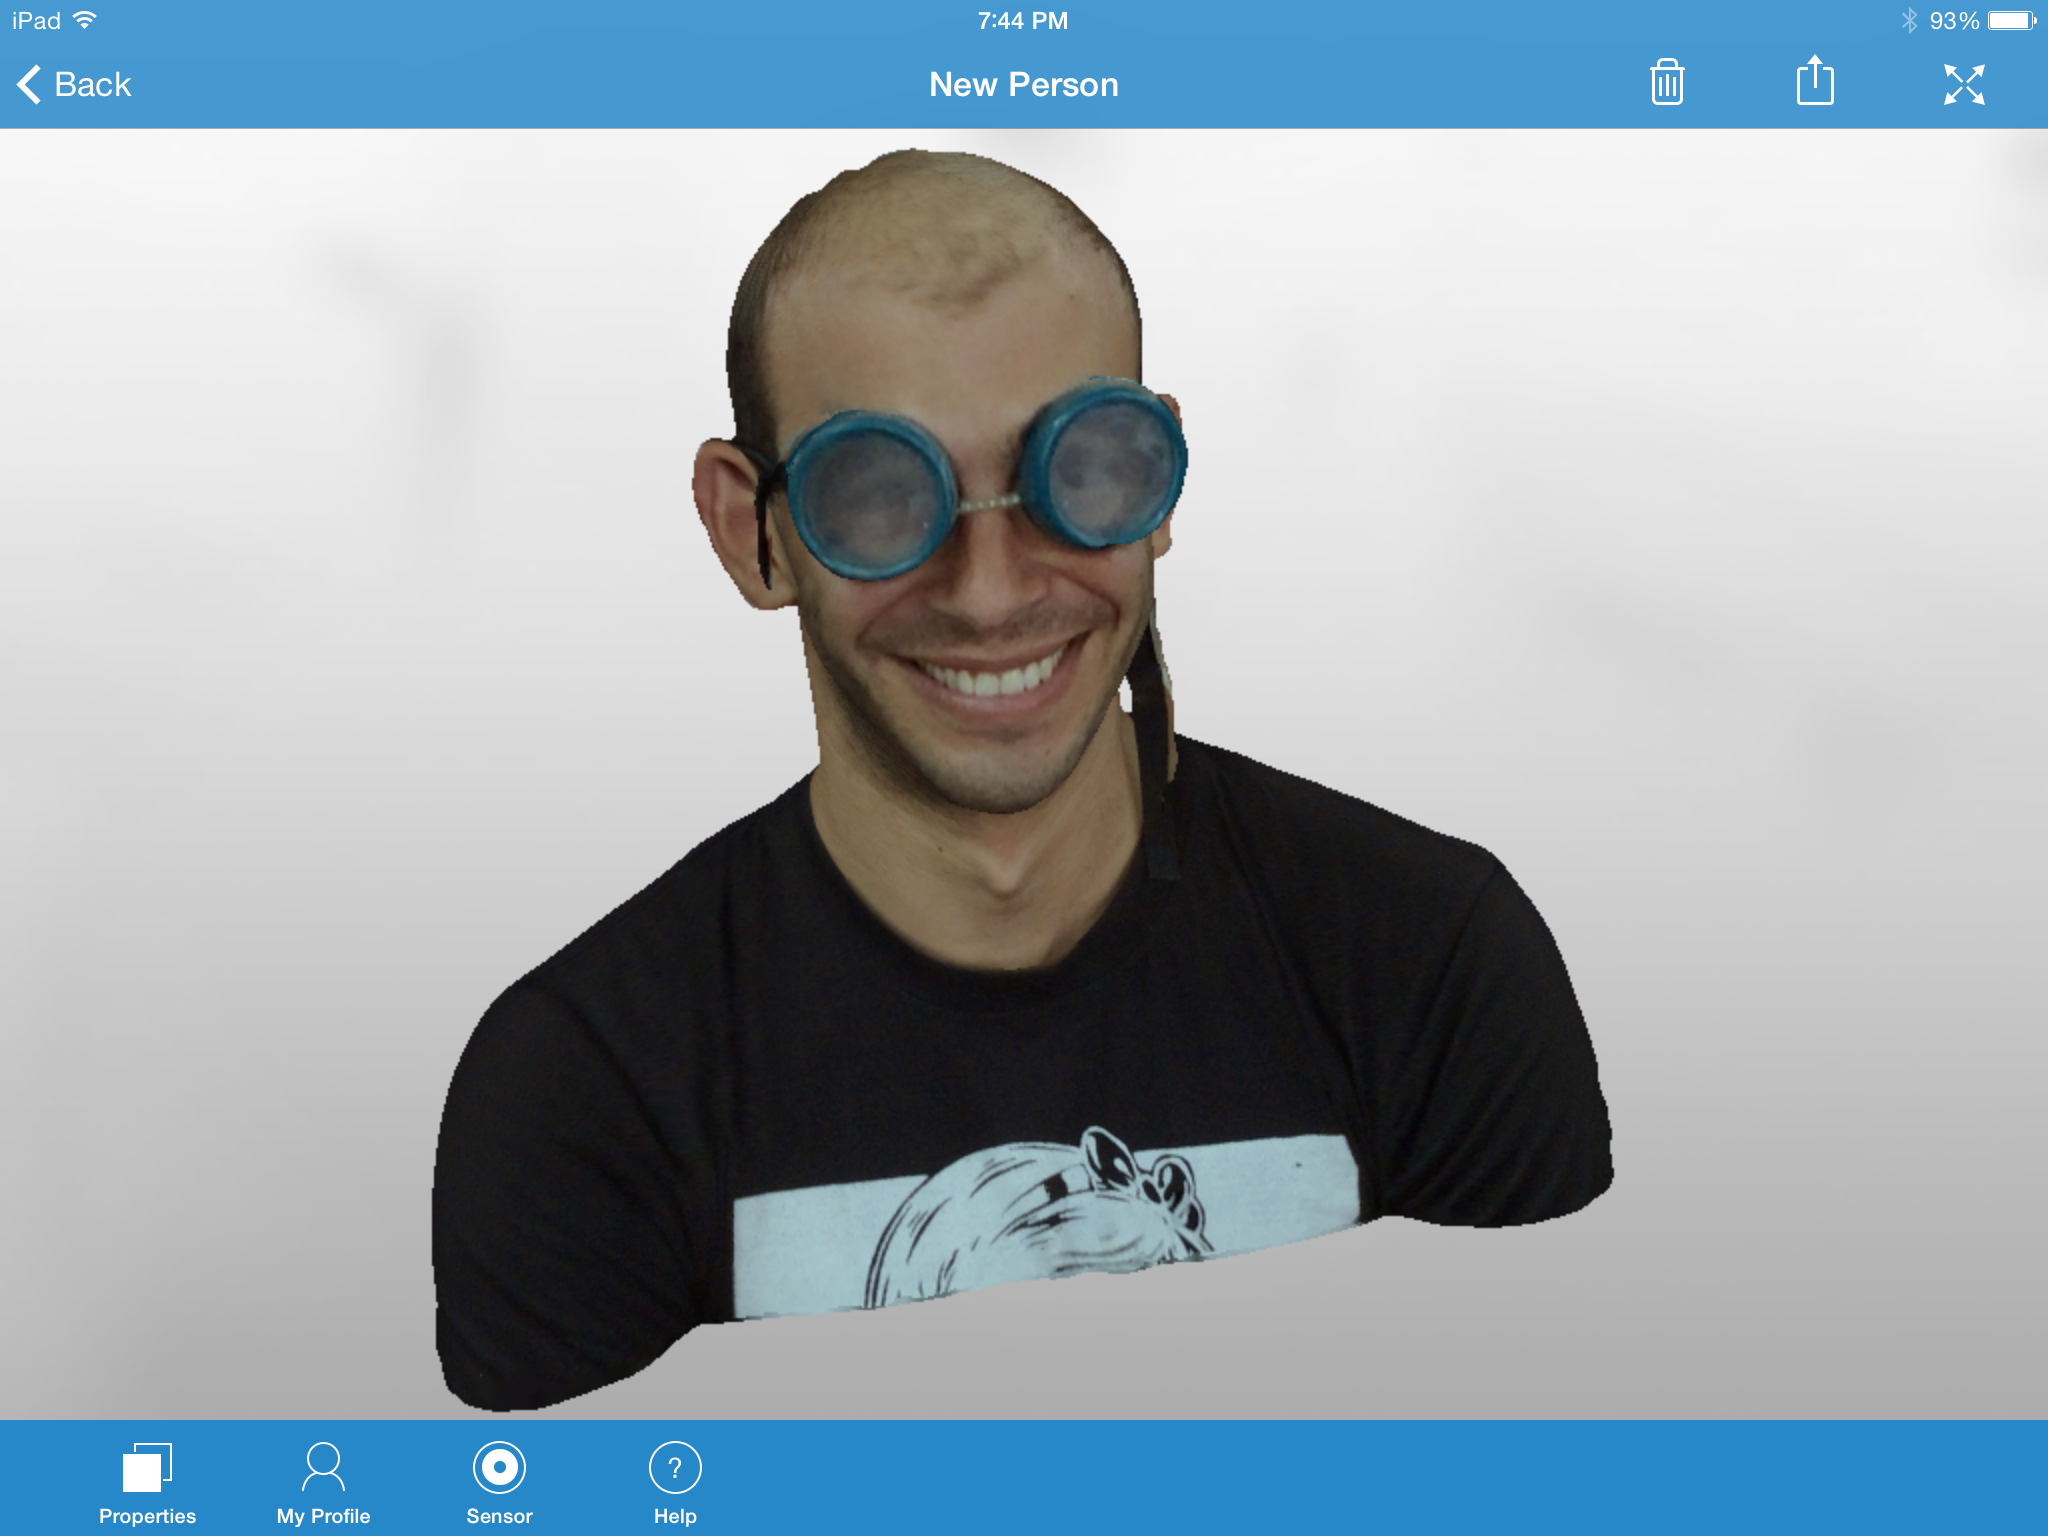
The scanning process is easier than anything else I've used before (as long as all you want to scan is people's heads). It is very shaky-hand and subject-blinking tolerant.
I've attached some screenshots of the overall process. It's simple but there are one or two tricks to keep in mind - here's the step-by-step:
Step 1: Open the app and choose "Human Head" for what you want to scan. If you have a pop-up that says "Not enough RAM" you will be sad - because that means you need to get a newer iPad. Only the iPad mini 2, iPad 4, and iPad Air seem to work.
Step 2: Stand arms length away from the person you are scanning. You'll see a box appear around his head and shoulders. Once you see that box, click "Start". You'll then see white blocks start to fill in areas of the person's face - these are the areas that you are properly scanning. The idea is to fill in the white blocks all around the person's head.
Step 3: Do a little circle of scanning around the face (as you can see me do in the video at the top of this instructable) and then move to the top of the head and around the subject. Don't get closer than arms length or the sensor won't work be able to read the distance to the person's head proper and you'll get a failed scan or a warped scan. Total scan time is around 30-45 seconds. The person should stay reasonably still during the scanning process but they are allowed to breathe.
After the scan is complete, the data is automatically sent to the ItSeez3D servers for processing. This requires internet to send and receive. The processing takes about 3-5 minutes. All models are texture-mapped PLYs or OBJs, with rather low triangle count (meaning the geometry isn't super detailed, but it's a person's head so this doesn't matter as much as you might think) and extremely good color/texture. The trick Occipital is using here is that the strap-on sensor does the distance measurements (using a low-power, safe IR laser and an IR camera) and the iPad camera provides the graphic imagery. ItSeez3D, and any future app developed on this platform, pulls these two elements of geometry from the Structure sensor and imagery from the iPad camera together into the final 3D model.
And bada-bing - welcome to the future. At least until these depth image sensors are built into everyone's phones.
(scan of Alex)