Four Different Regions of Earth Diorama
by TheSpaceGuy in Teachers > 3D Design
828 Views, 4 Favorites, 0 Comments
Four Different Regions of Earth Diorama
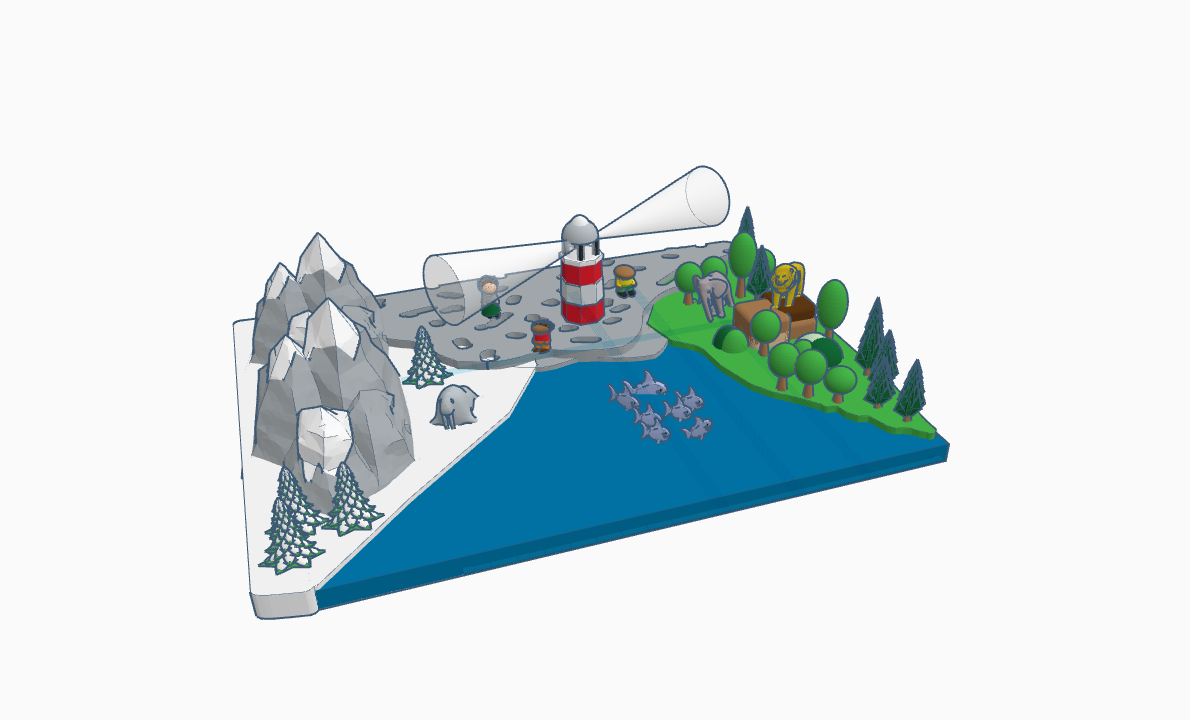
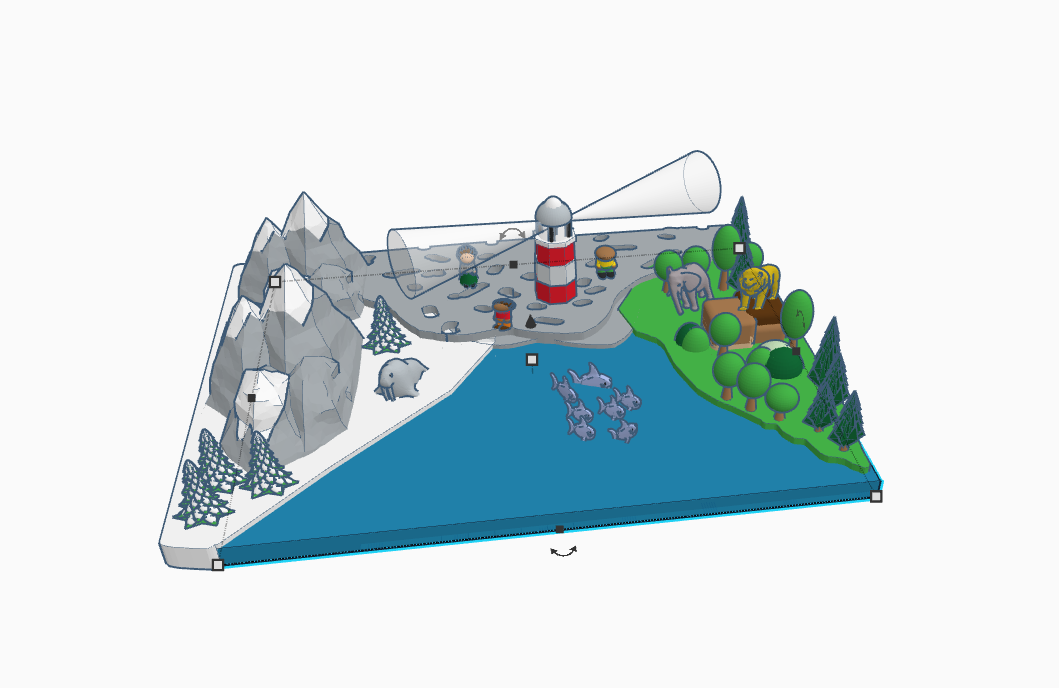

As from past few months I'm traveling with my friends and we saw many great locations worth traveling, one of them was a lighthouse in pigeon point , CA . No wonder it was the best location that we have travelled so far, the ocean winds, the fresh air …. it was an amazing journey and I thought why not to make this lighthouse with a great twist of my own imagination and realness which we saw.
With this diorama I have tried to show how different regions of our planet interact with each other and how the habitat looks : D
Downloads
Supplies
- Tinkercad
Starting of With the Lighthouse
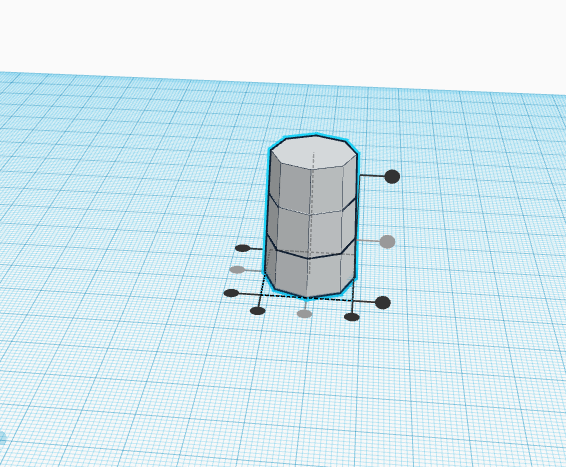
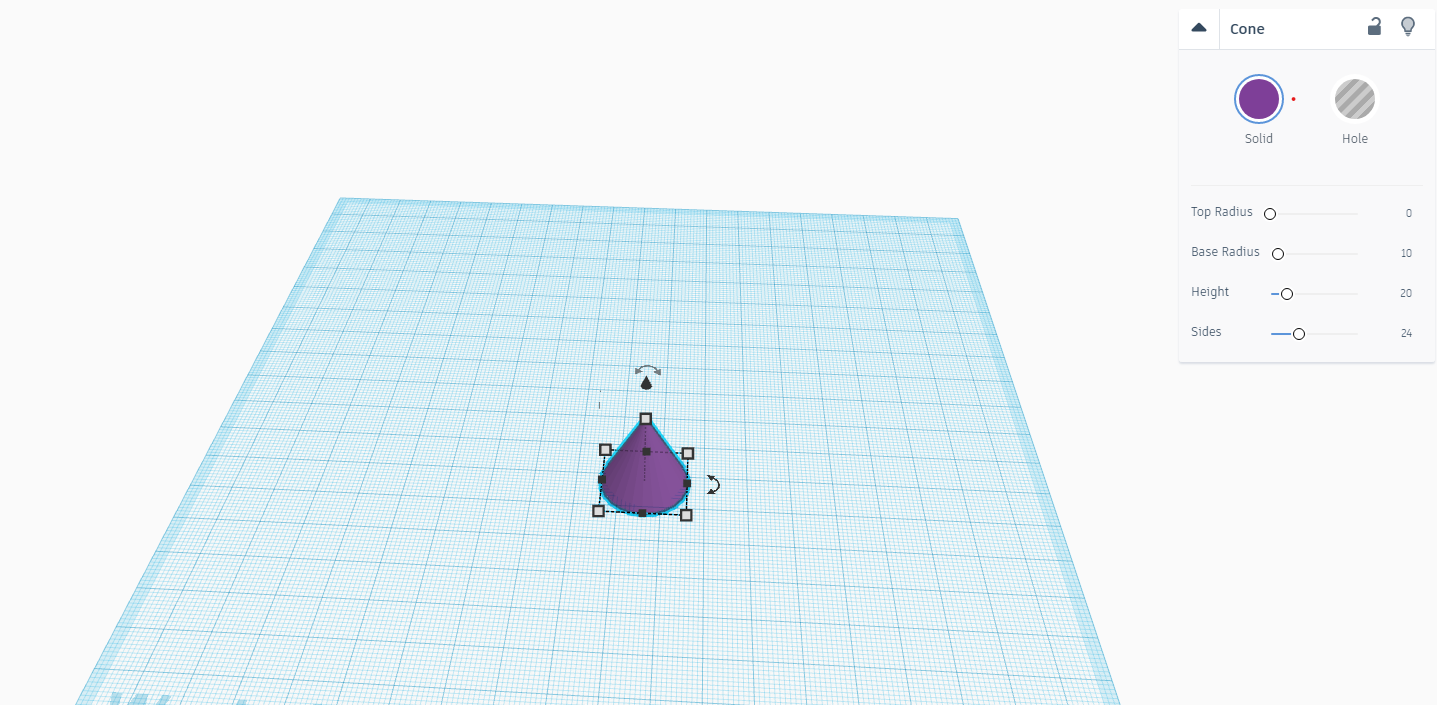
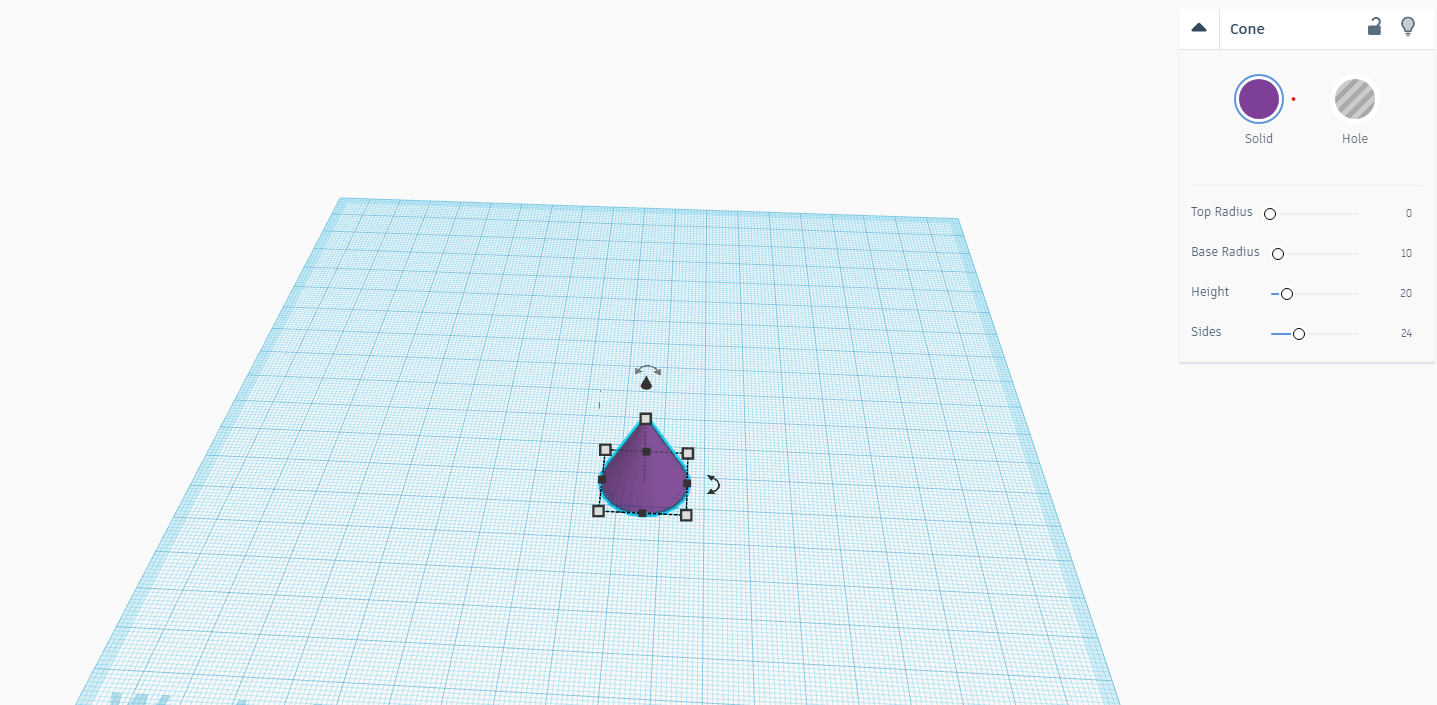
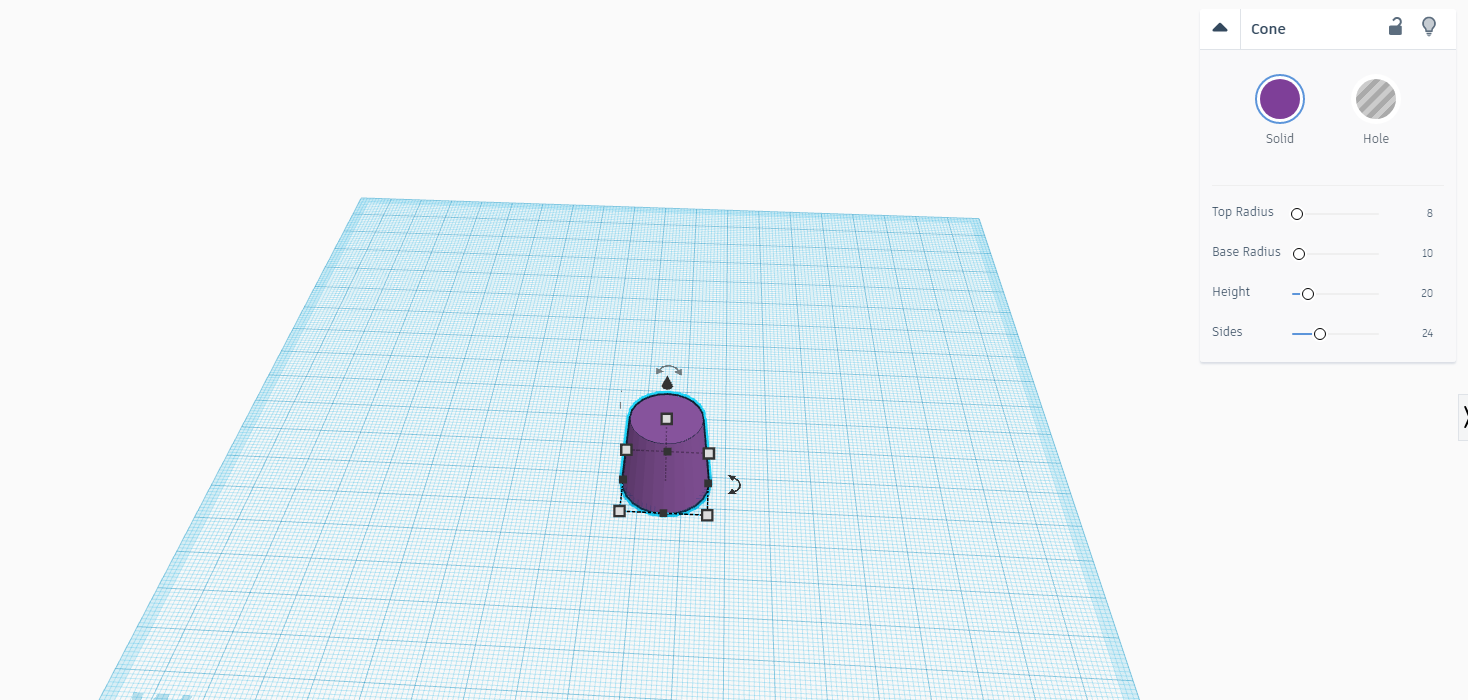
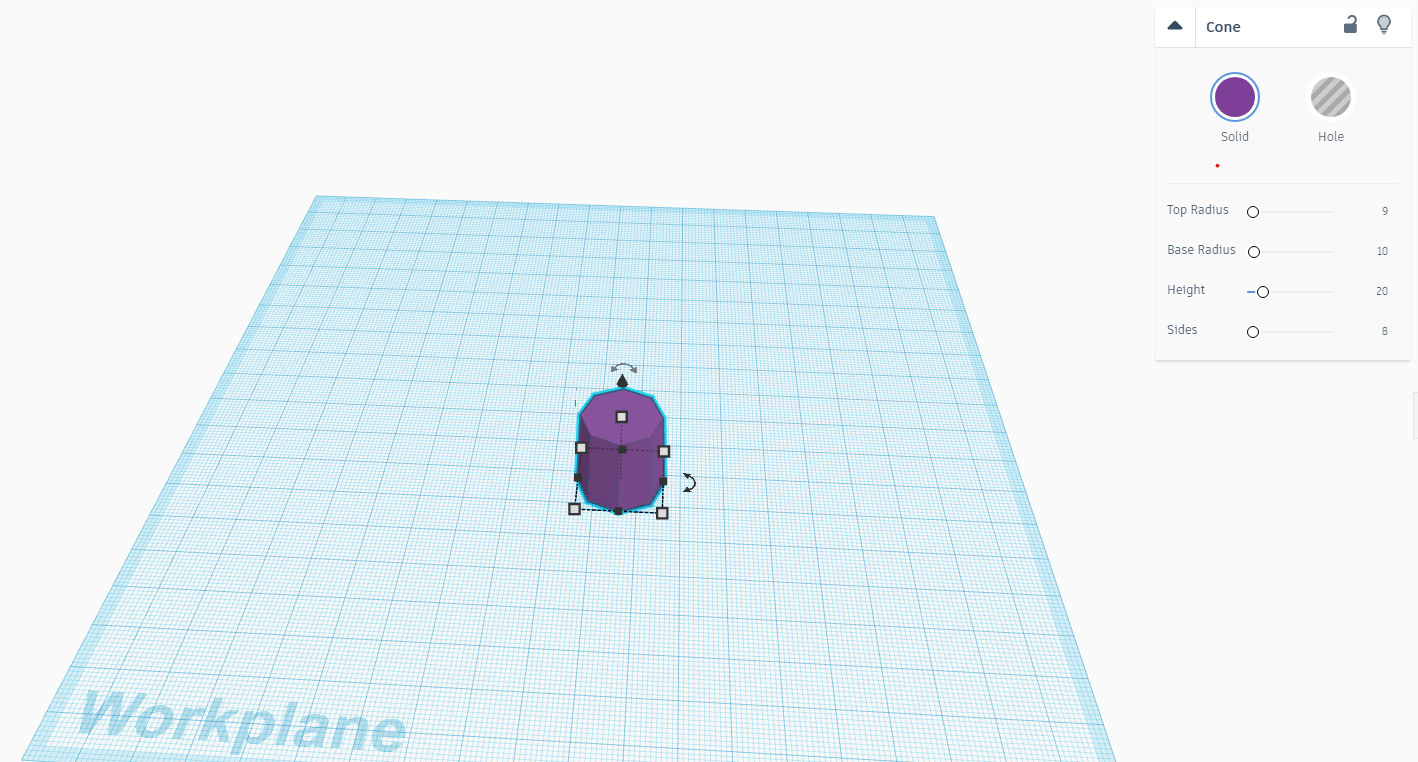
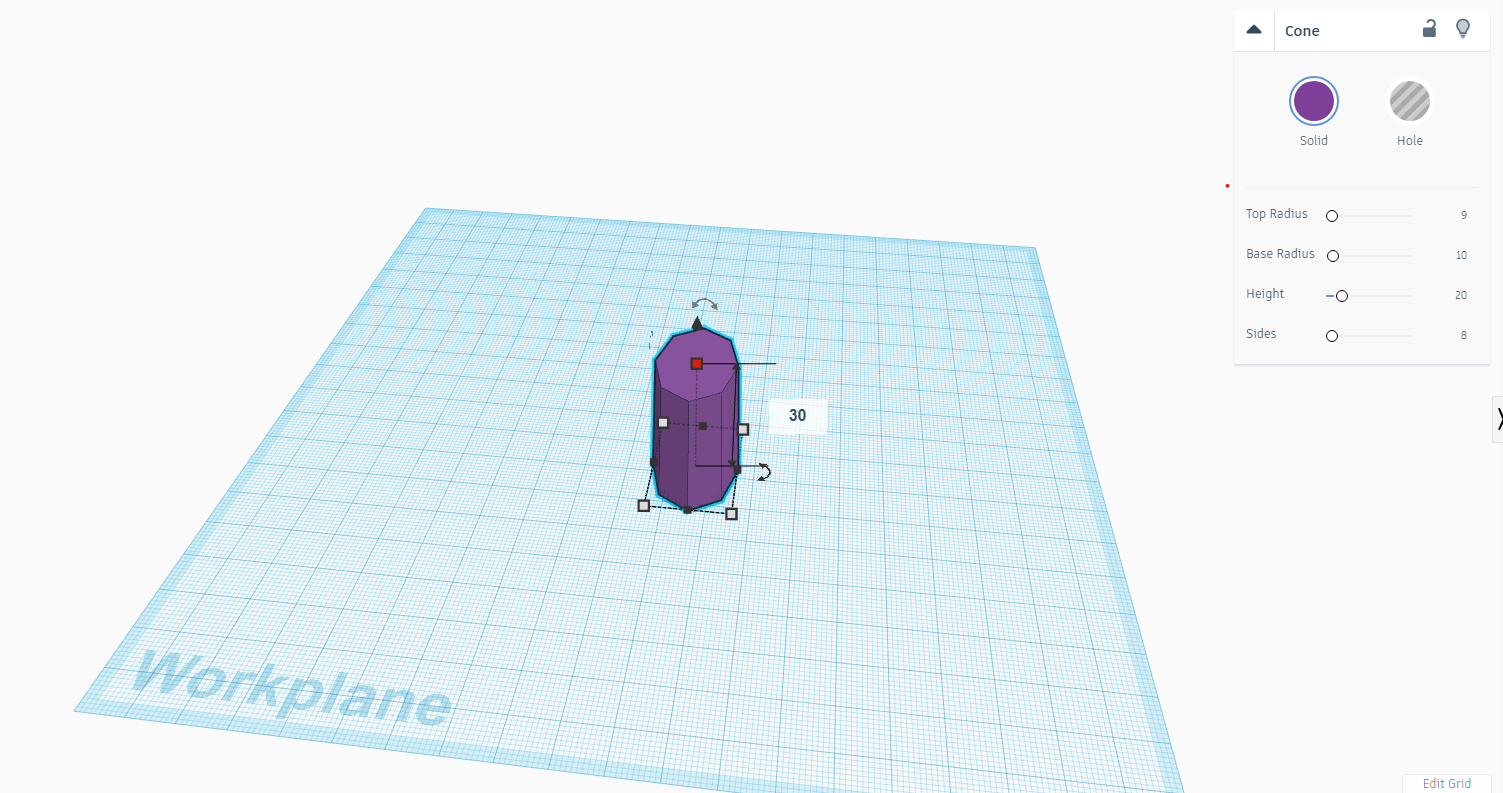
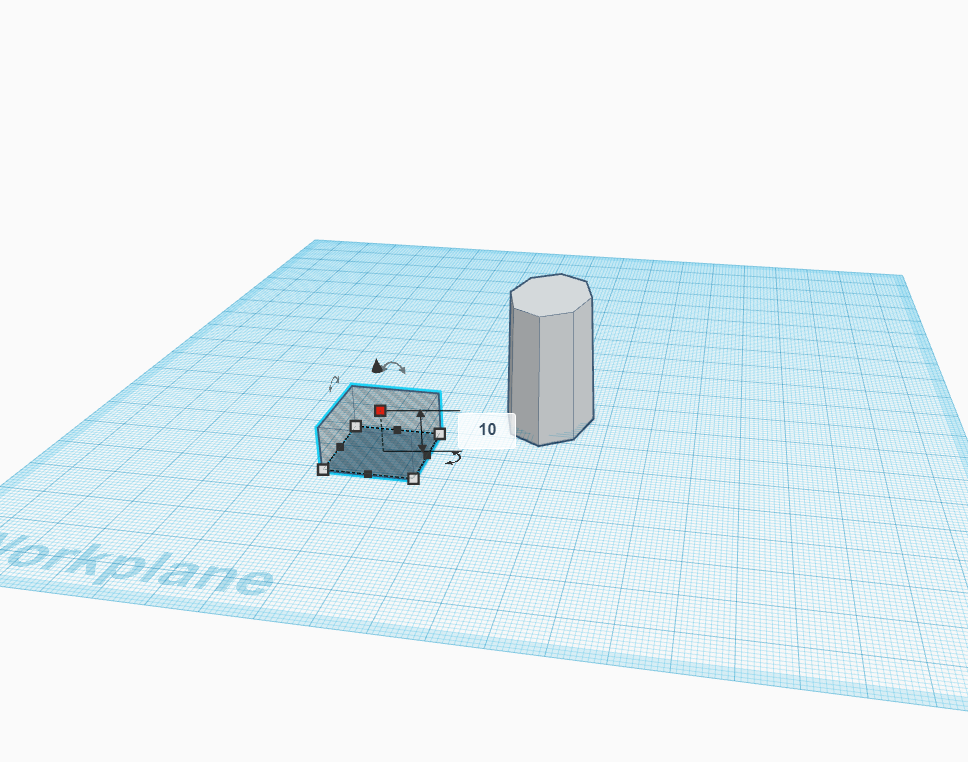
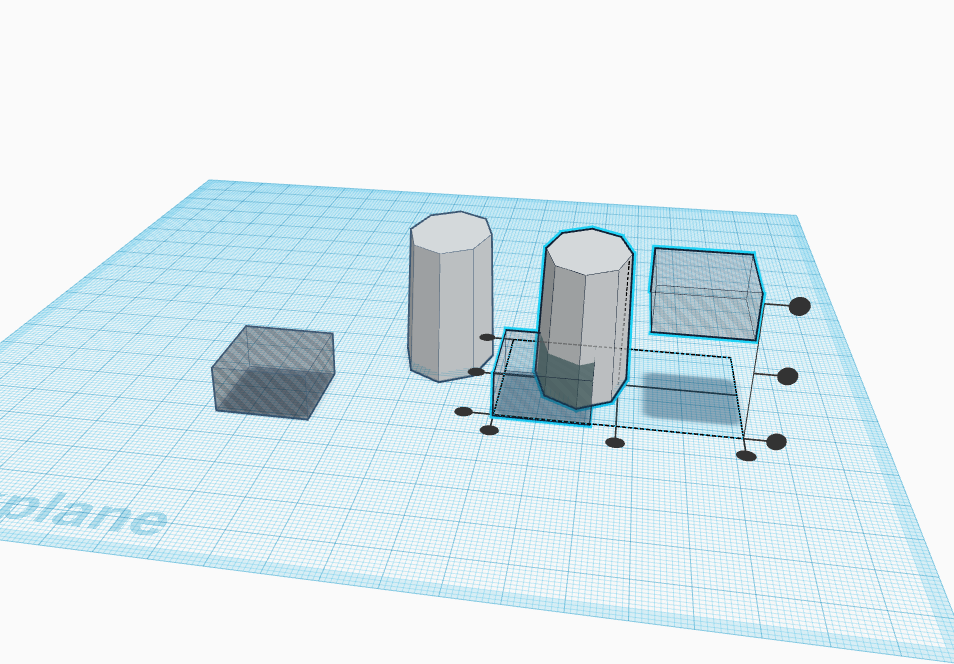
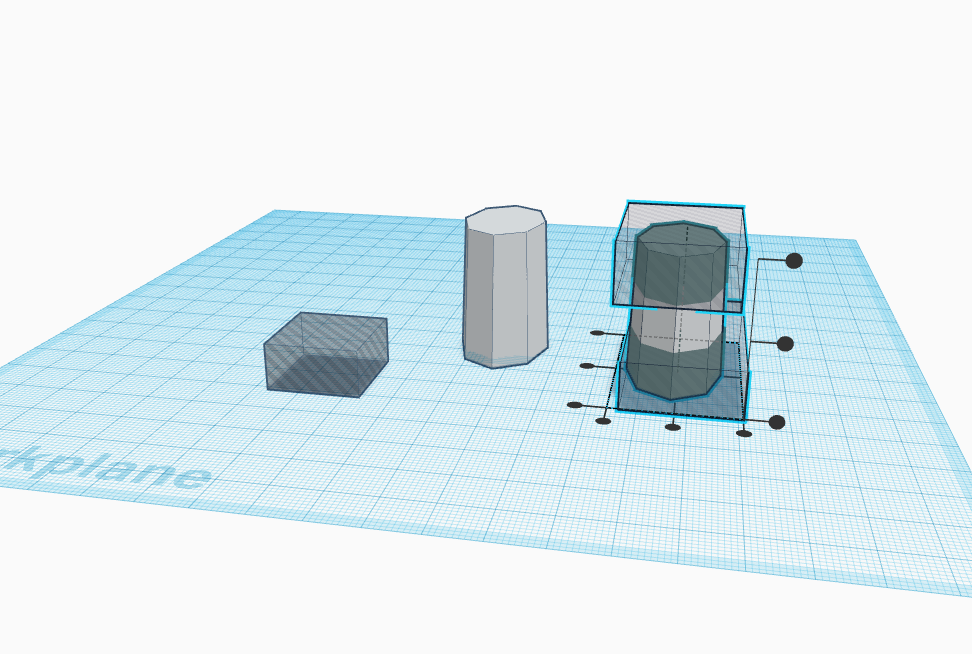
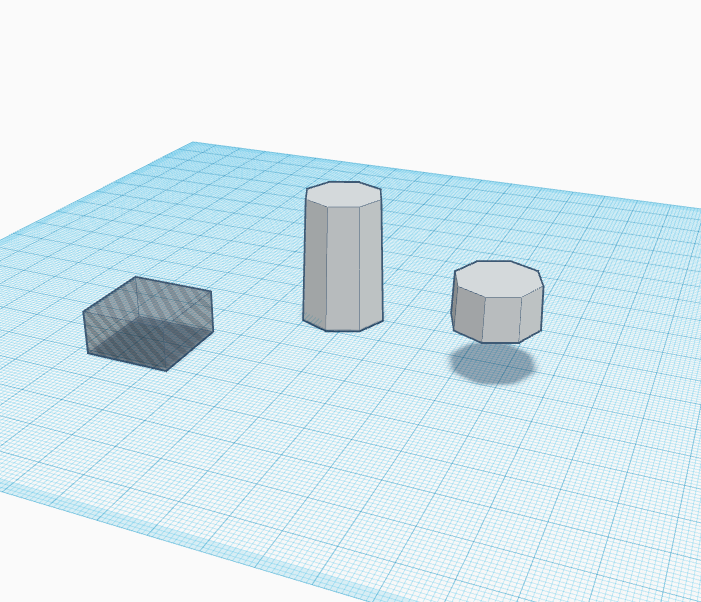
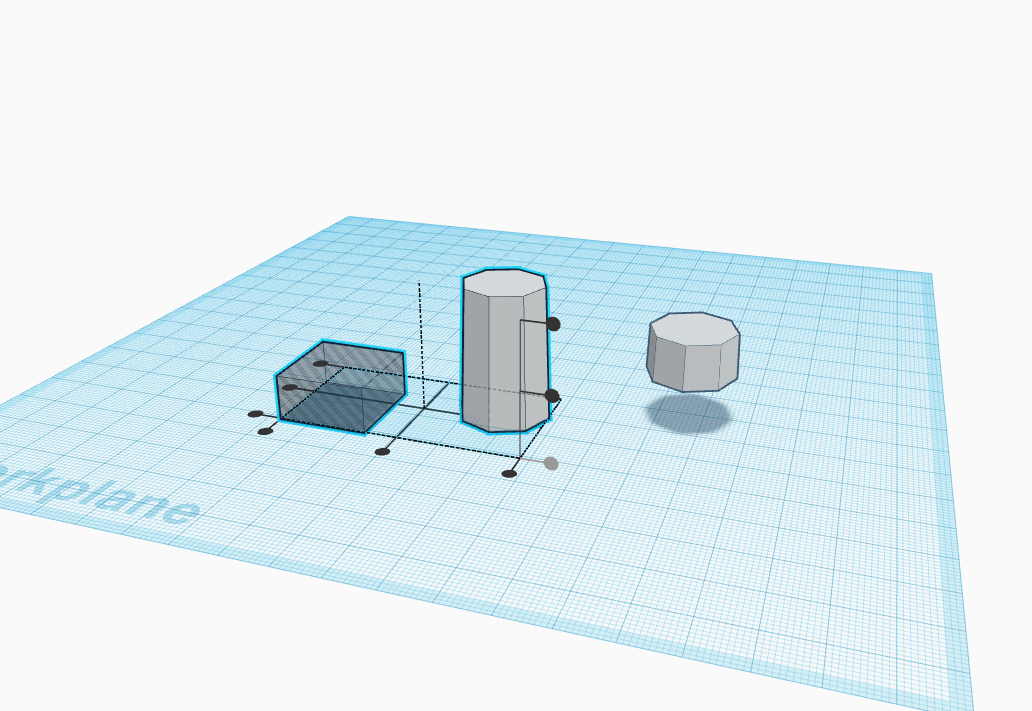
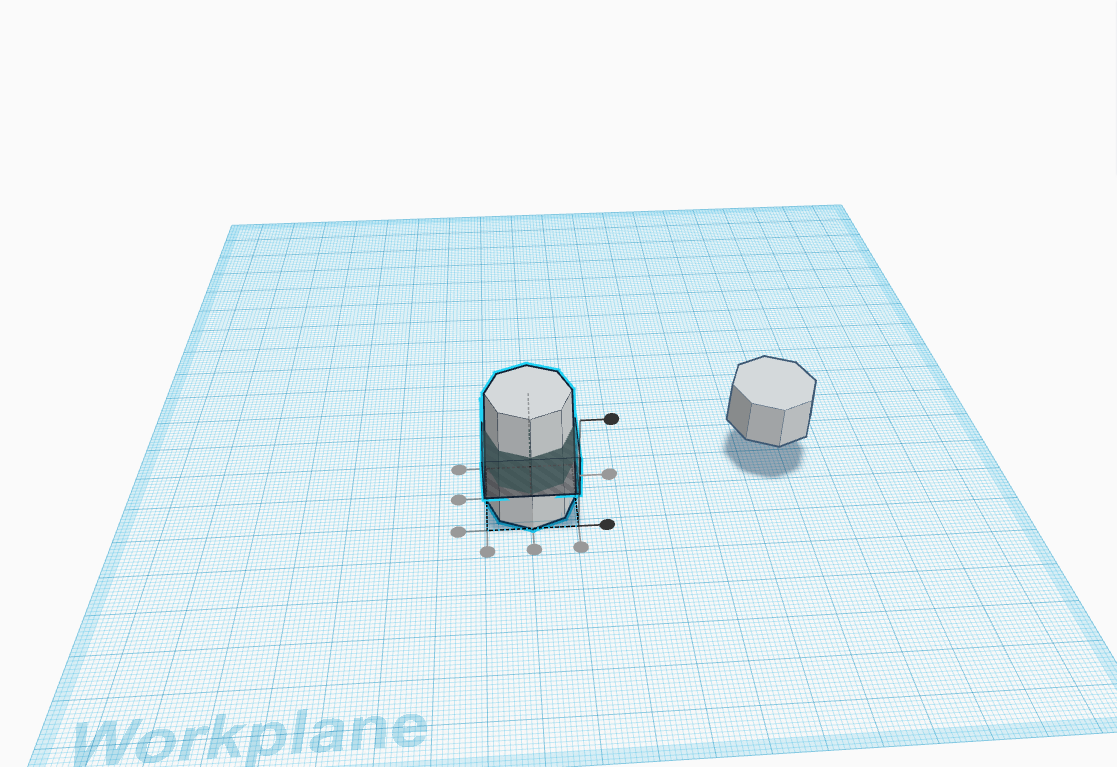
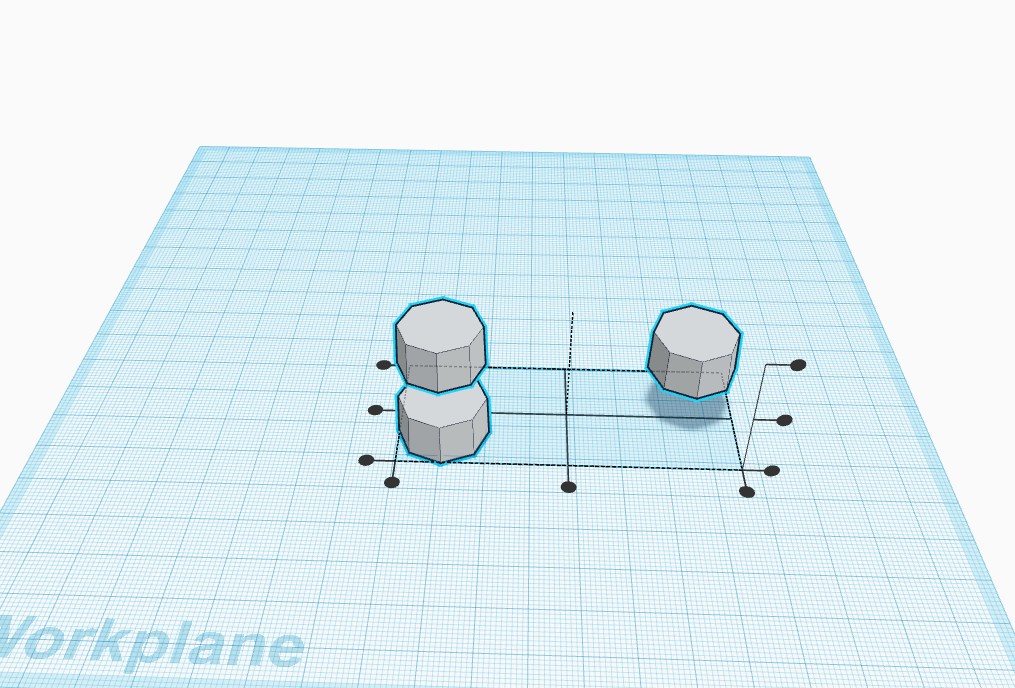
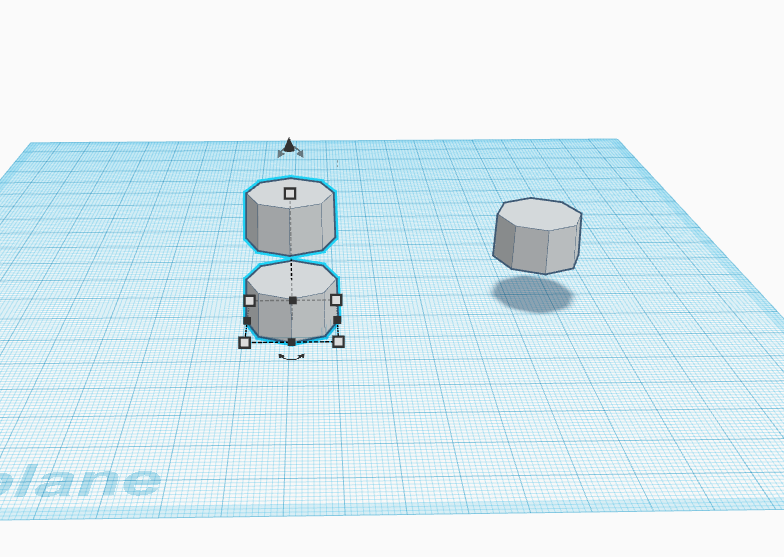
- Start by taking a cone and adjust its top radius to 8 as shown above.
- Now make the sides 8 as shown above.
- Now make its height 30 cm as shown above.
- Now take a square and make its height 10 cm as shown above.
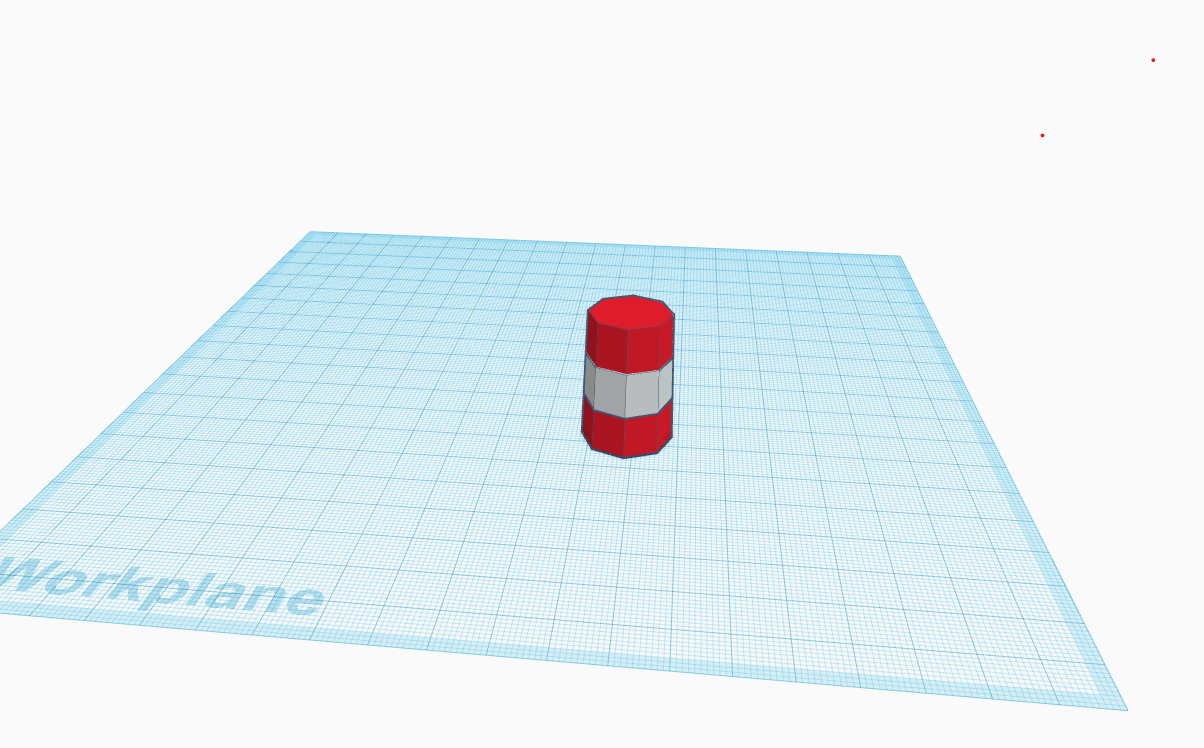
- Now replicate the square as well as the cylindrical figure as shown above.
- With the aligner place the squares so that the shape can be octagon circle.
- Do the same with the other but this time place the square in the middle and cut it from between.
Adding Small Detailing to Lighthouse
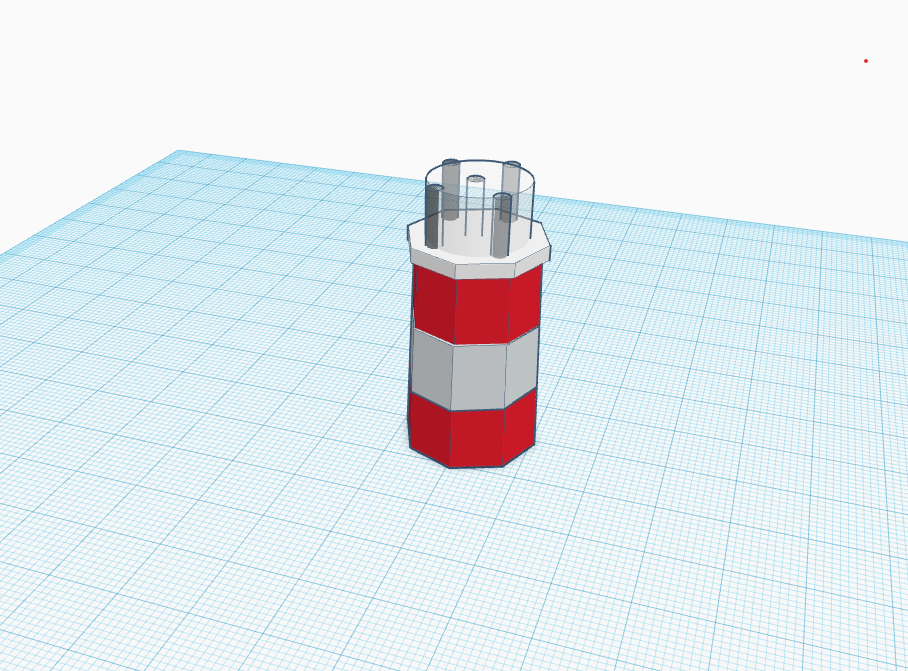
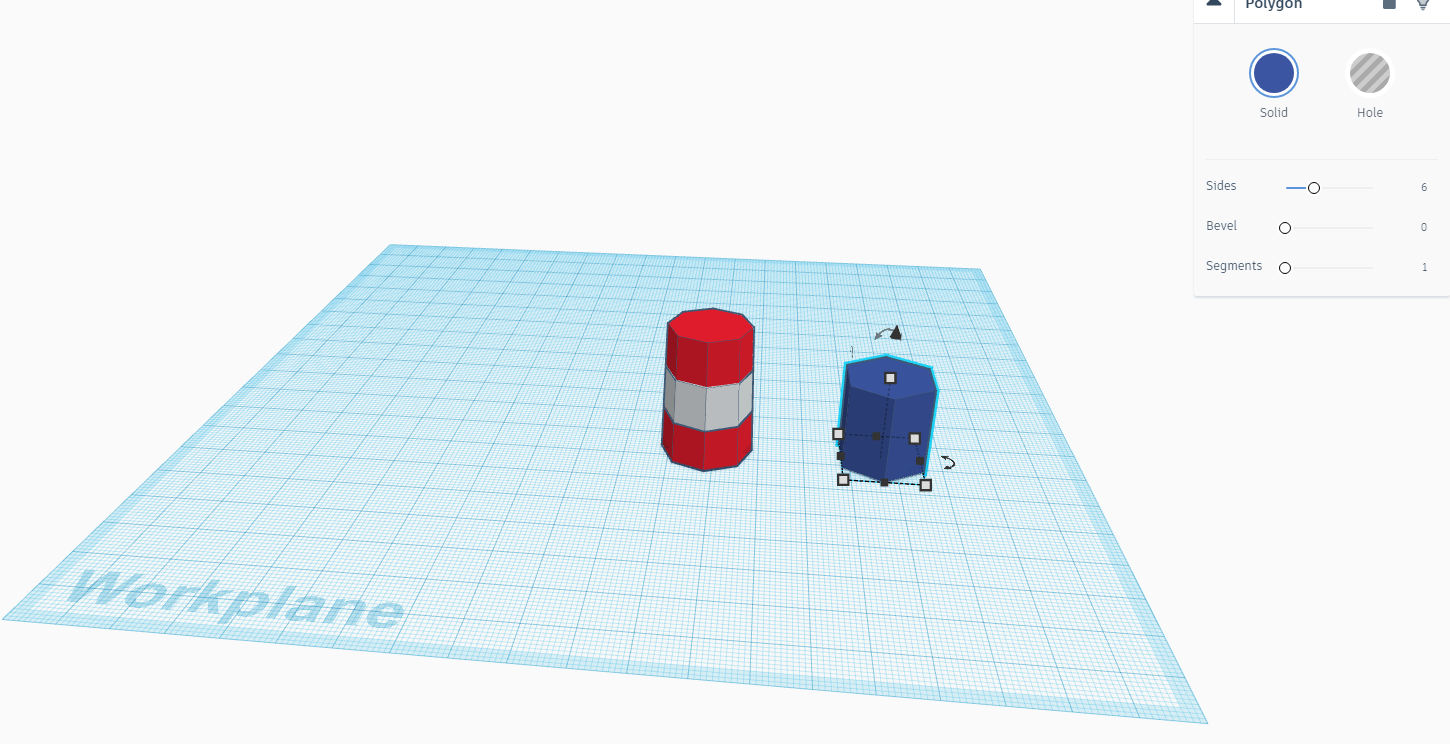
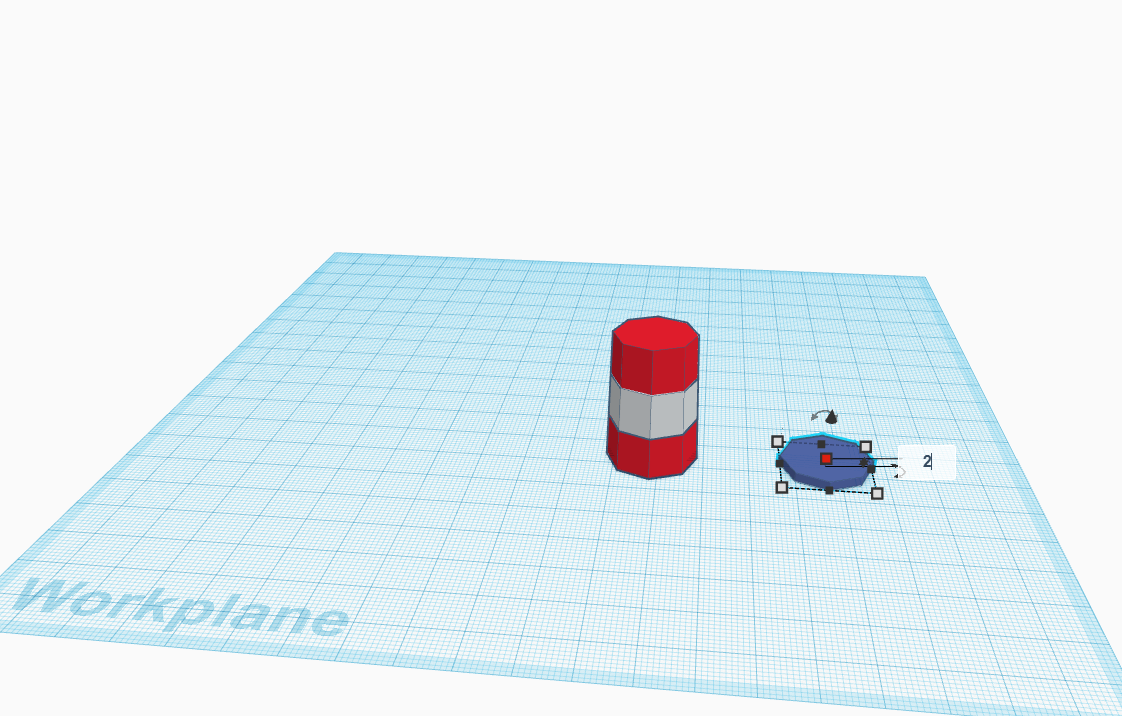
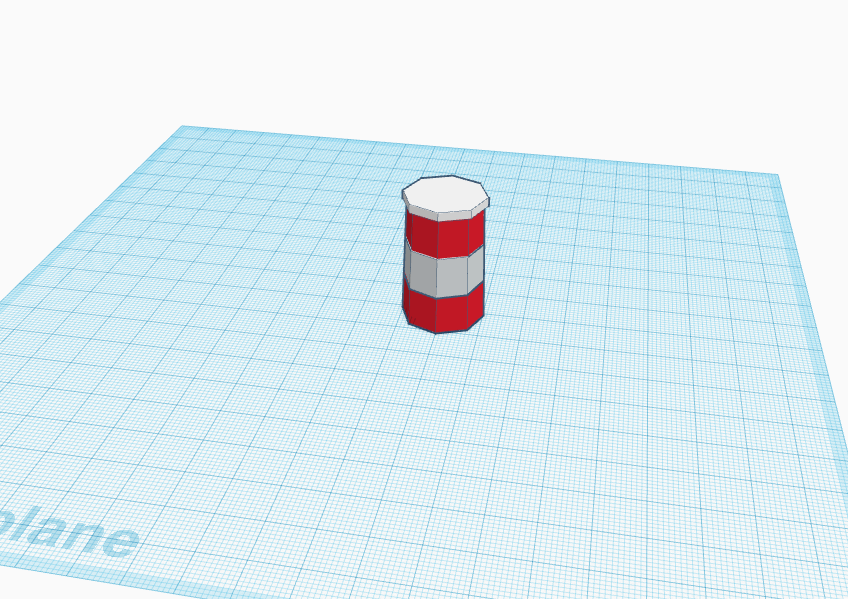
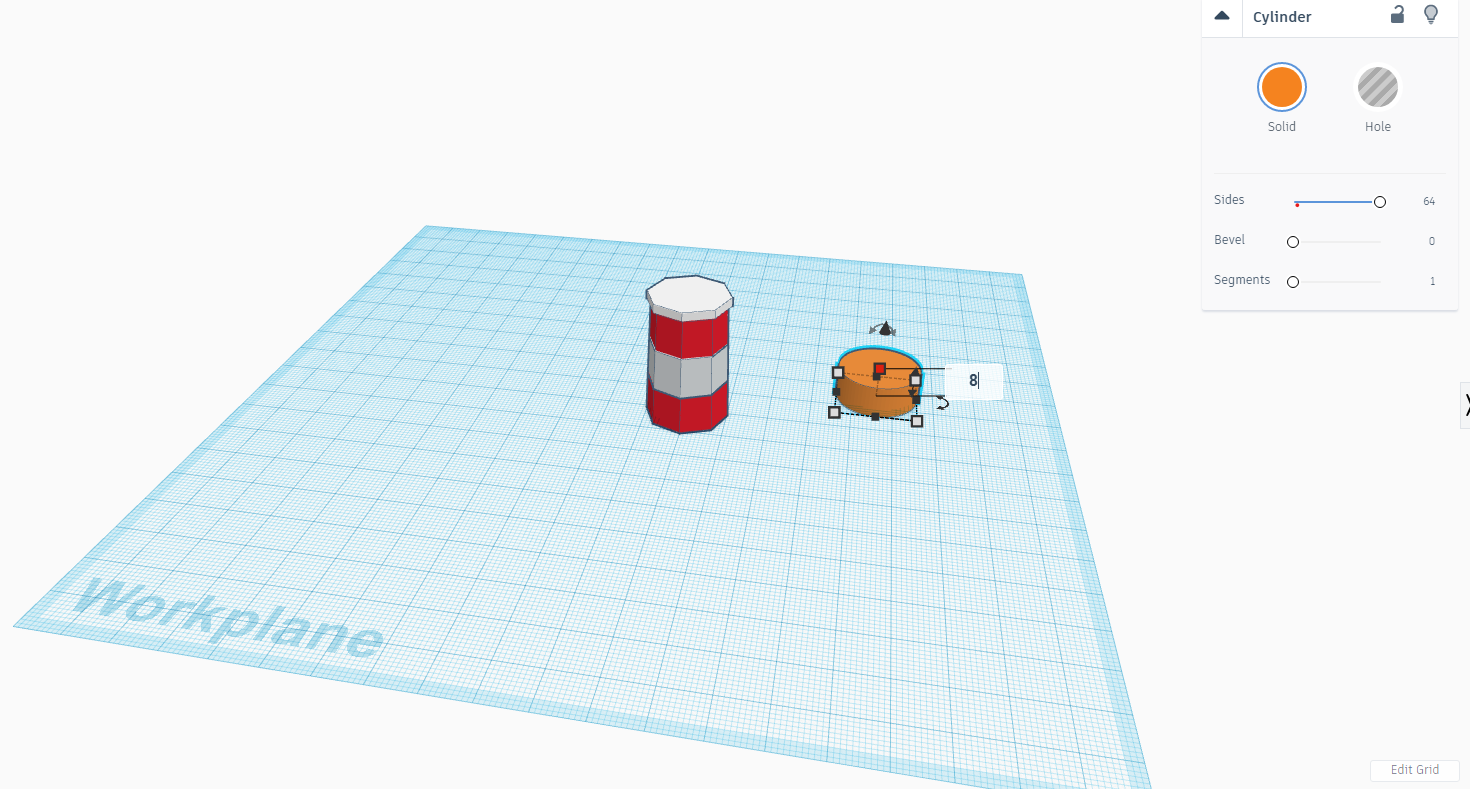
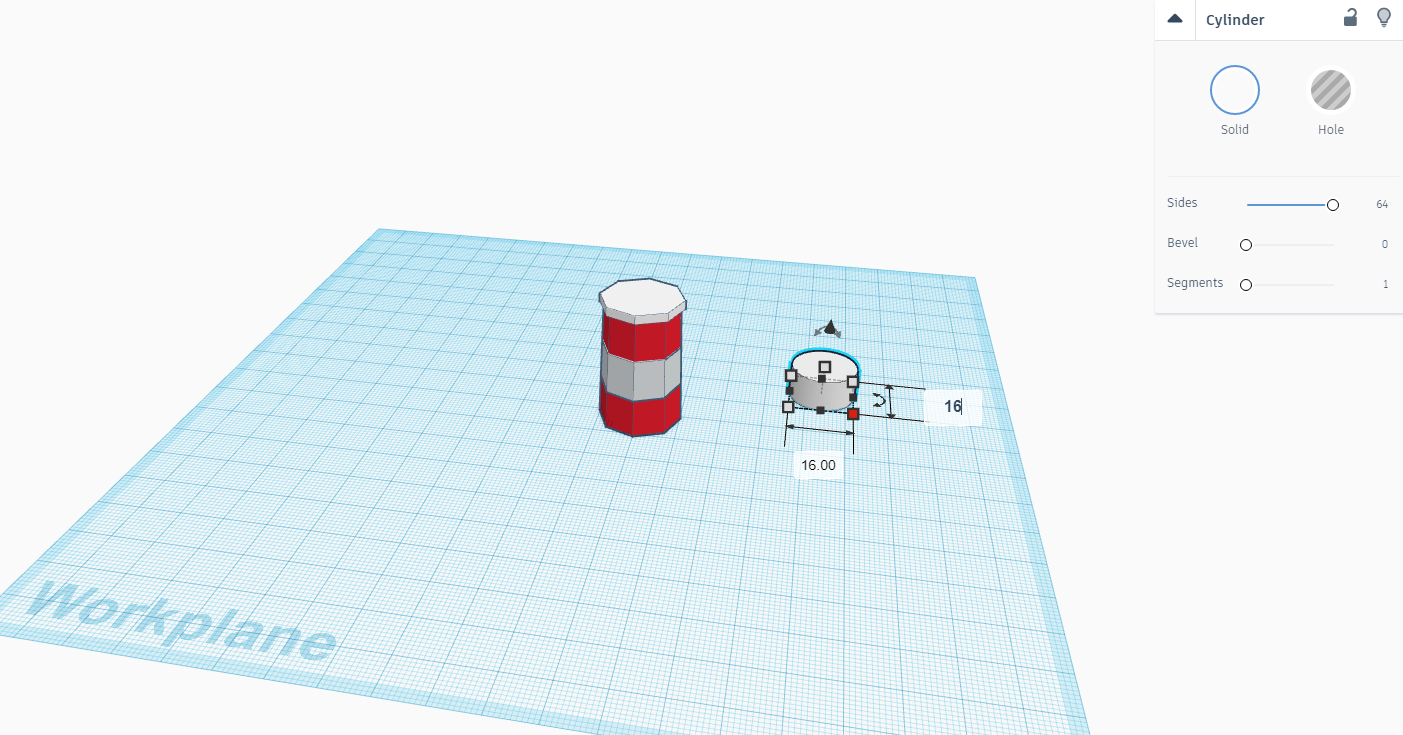
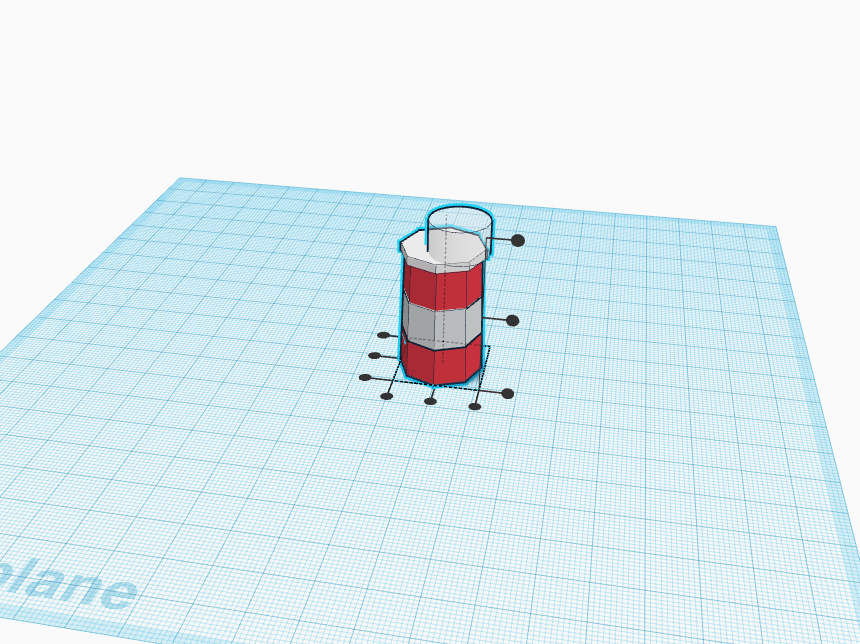
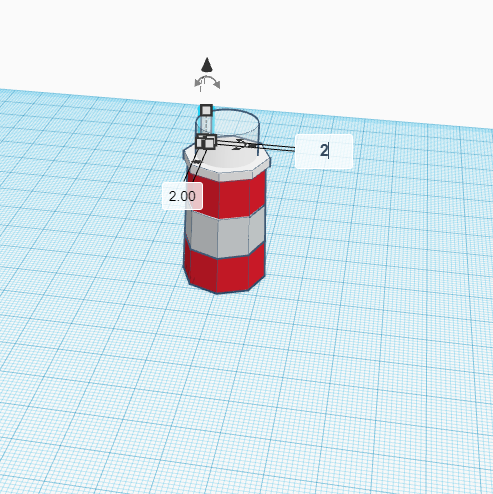
- Now take a polygon and make it side 6 as shown above.
- Make its height 2 cm as shown above.
- Place this on top of the octagon circle as shown above.
- Now take a cylinder and make its height 8 cm and make the sides 64.
- Now make its length and breadth 16 cm as shown above.
- Place the circle on top of the tower but before doing this make circle transparent, it will help in next few steps.
- Replicate the same circle from inside and make the measurements as follow in the above images.
- Do this five times for the pillars as shown above.
Making the Light of the Lighthouse
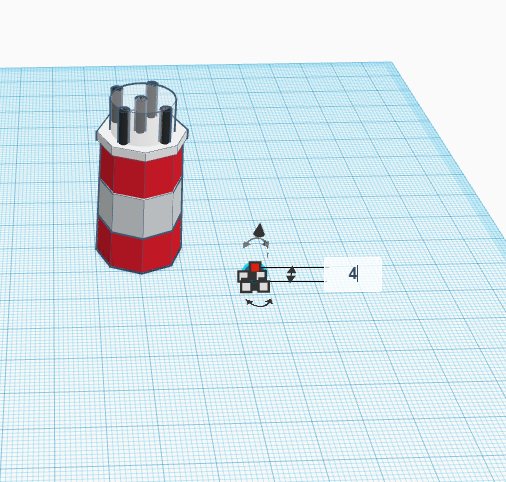
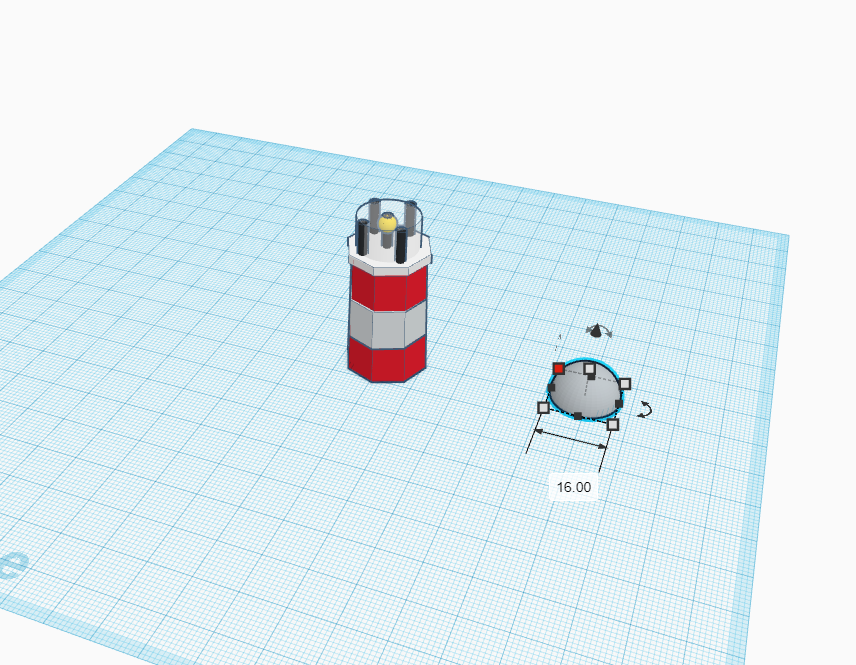
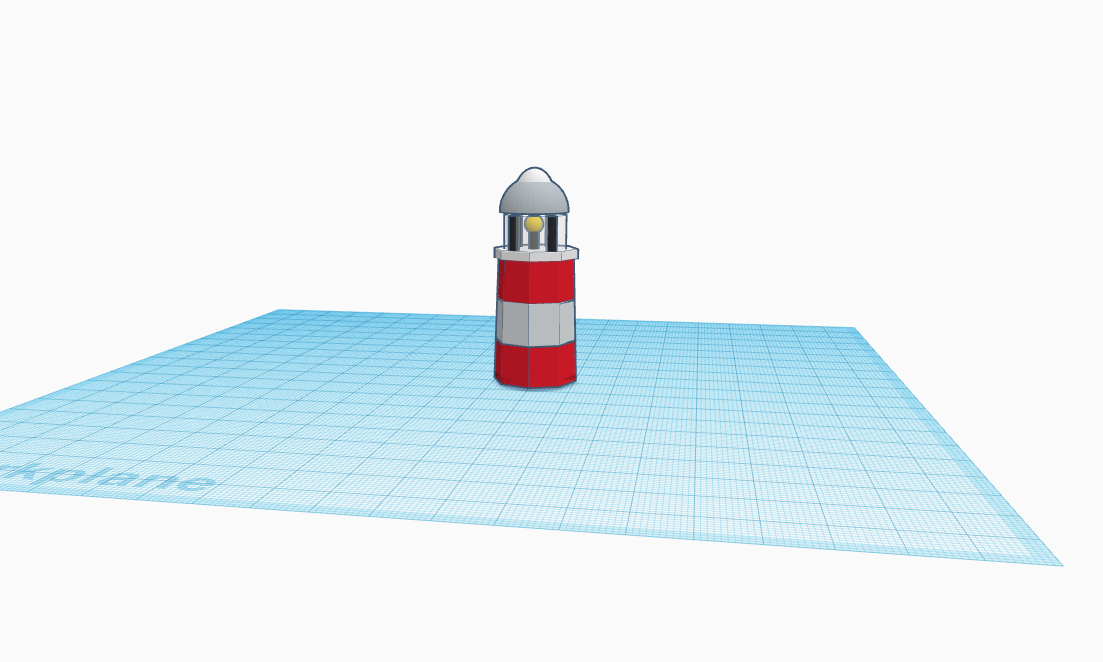
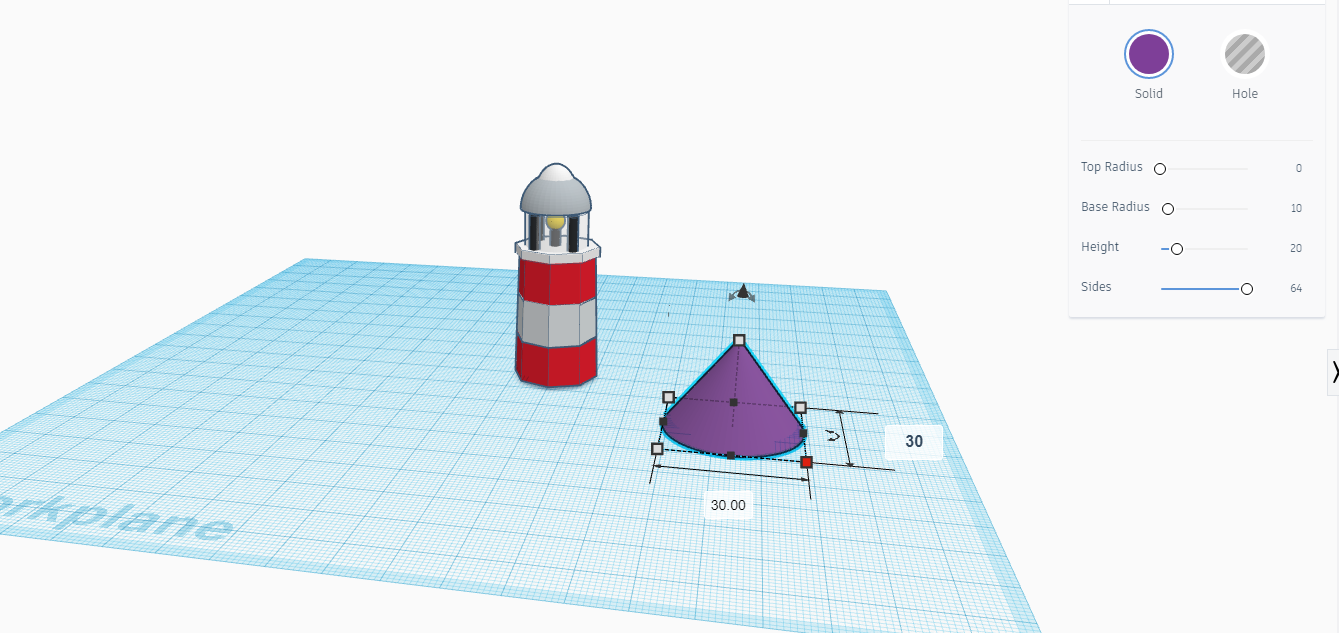
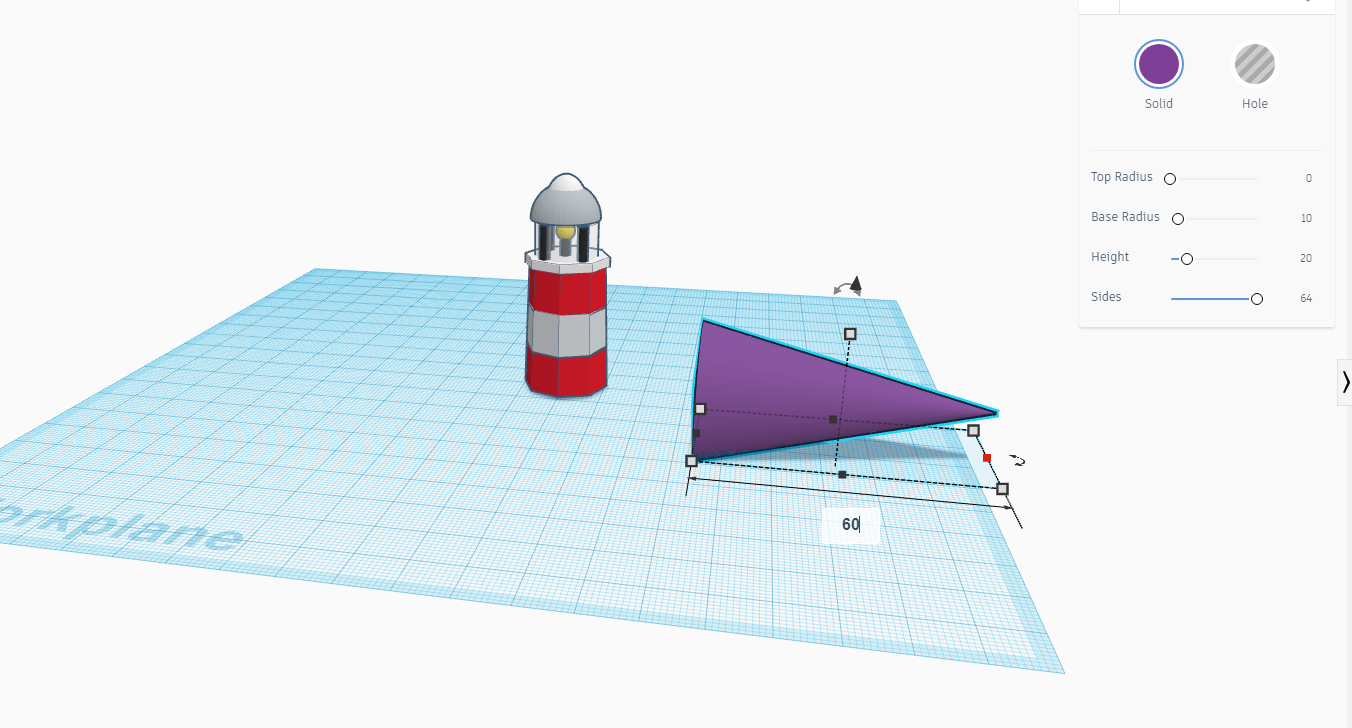
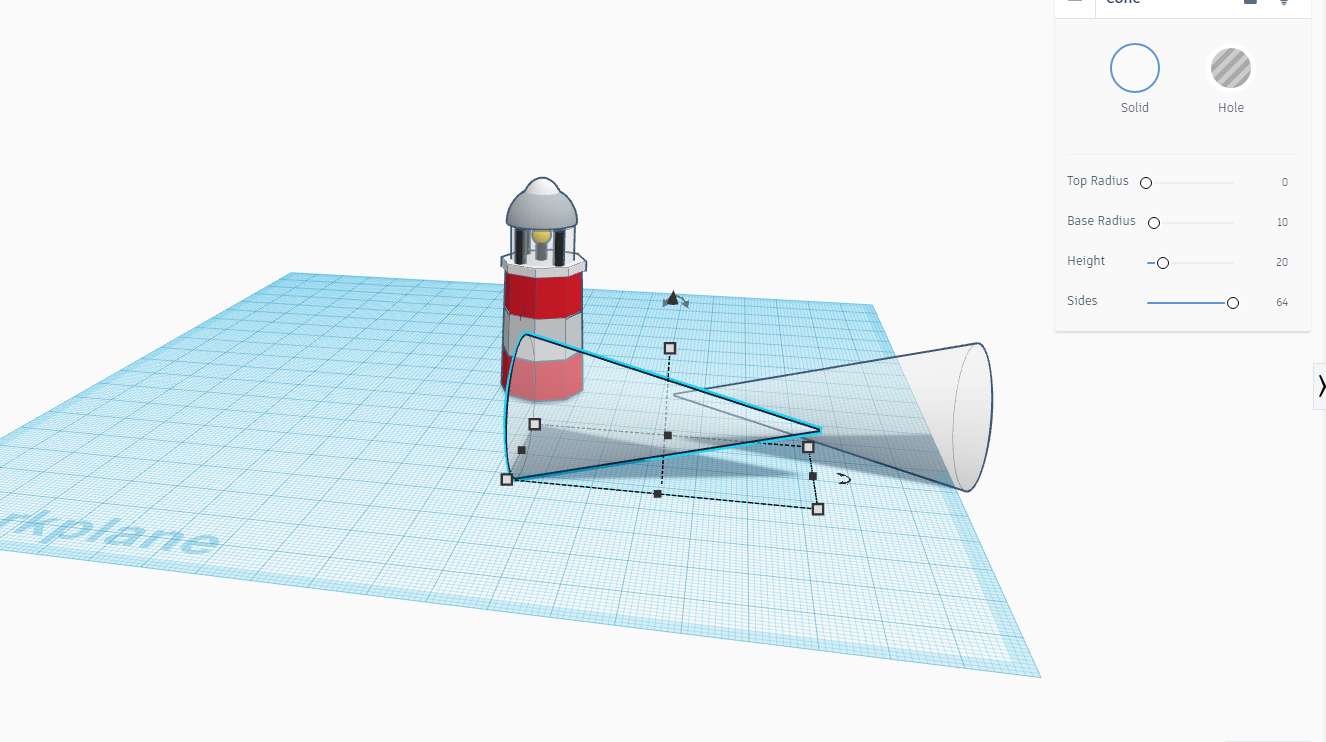
- Take a circle and make the measurements as shown above.
- Place the circle between the pillars as shown above.
- Now take a hemisphere and adjust the measurements as shown above and replicate a small one inside it and place them over the top of the tower.
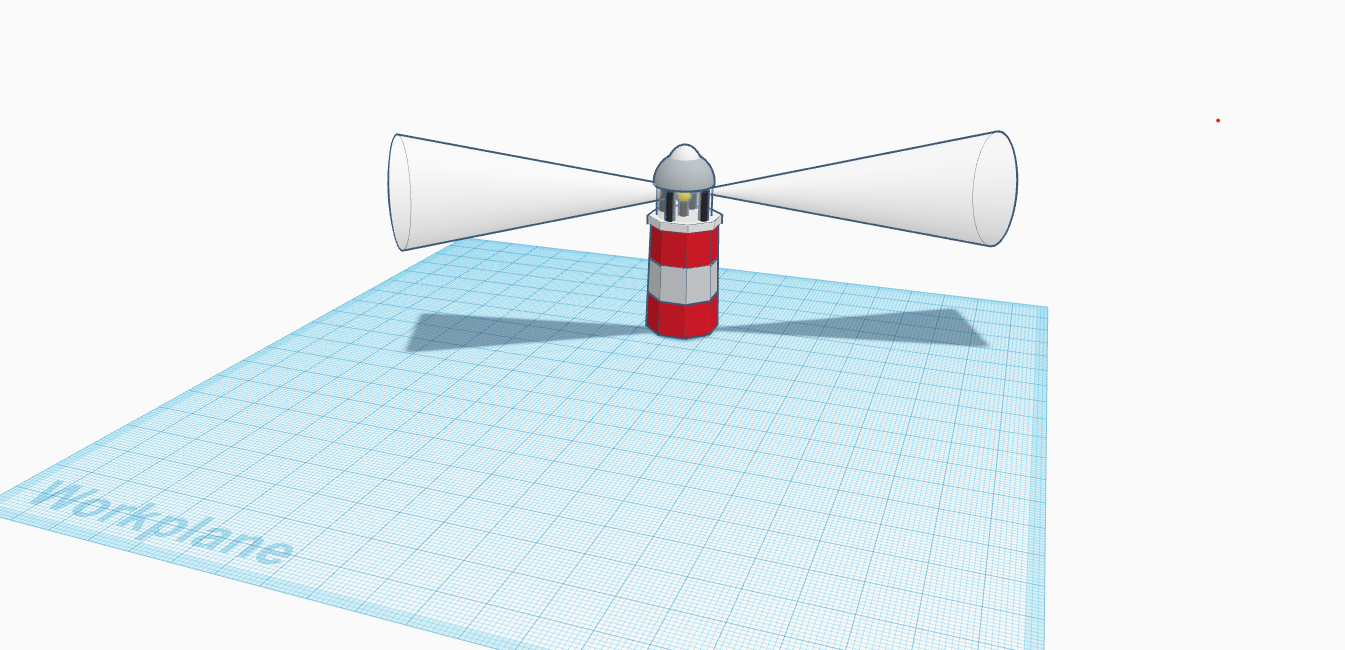
- For the lights, Take a cone and make the measurements as shown above.
- Replicate to form another and join the both cone horizontally with the lighthouse as shown above.
Making the Land
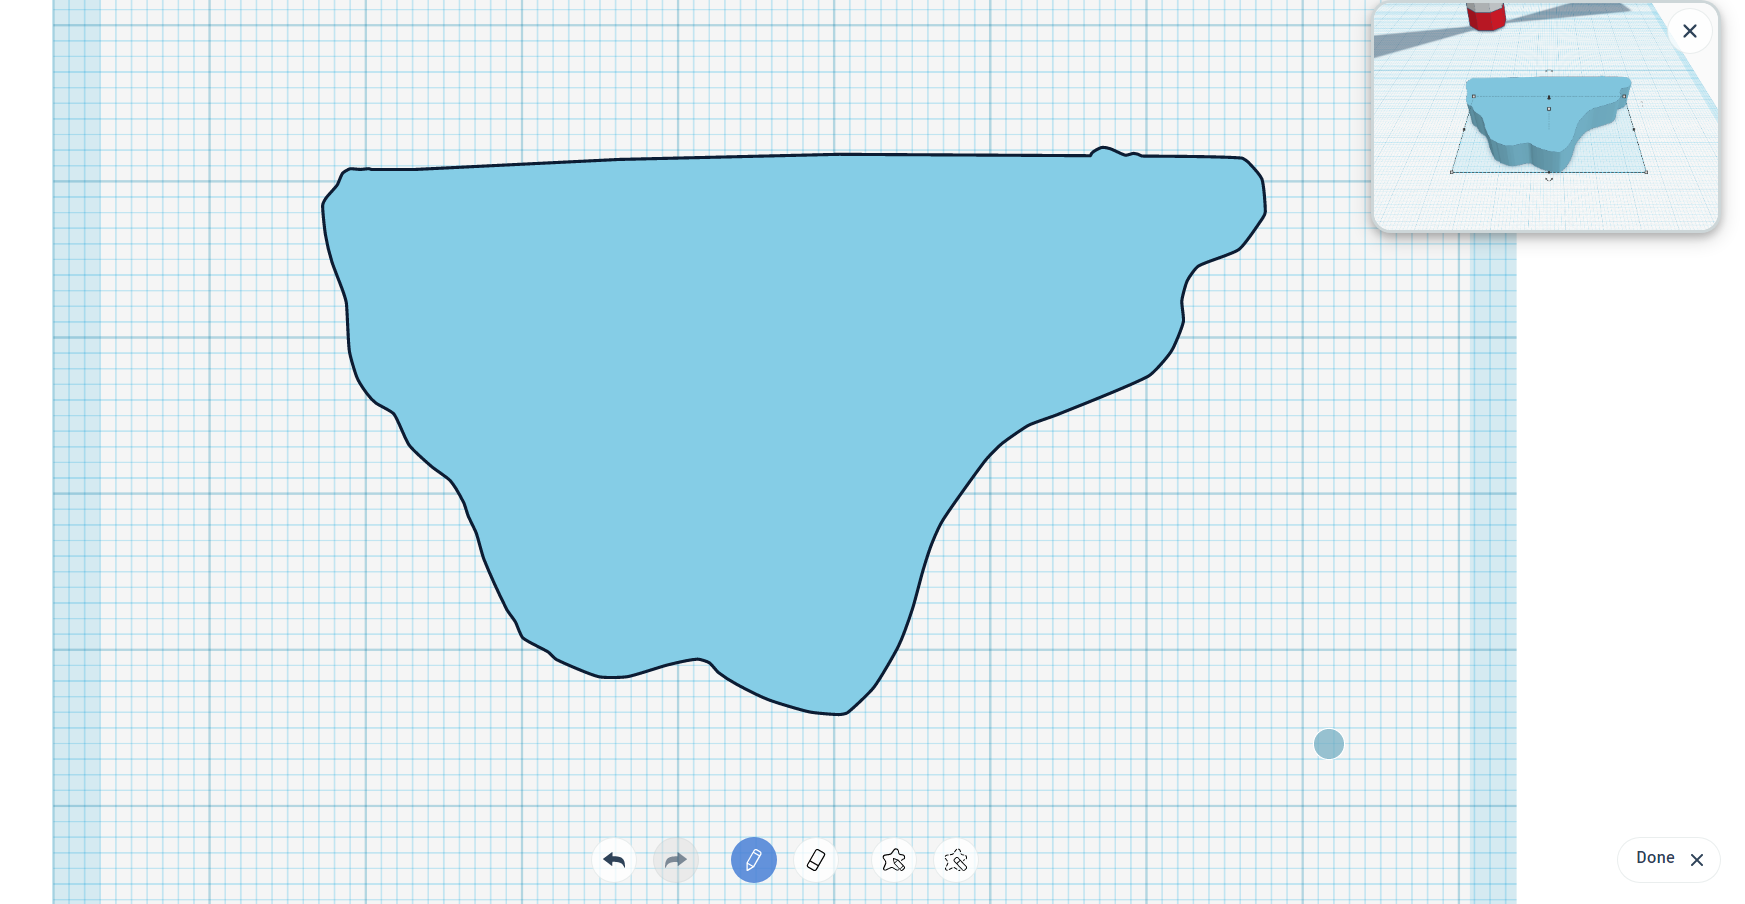
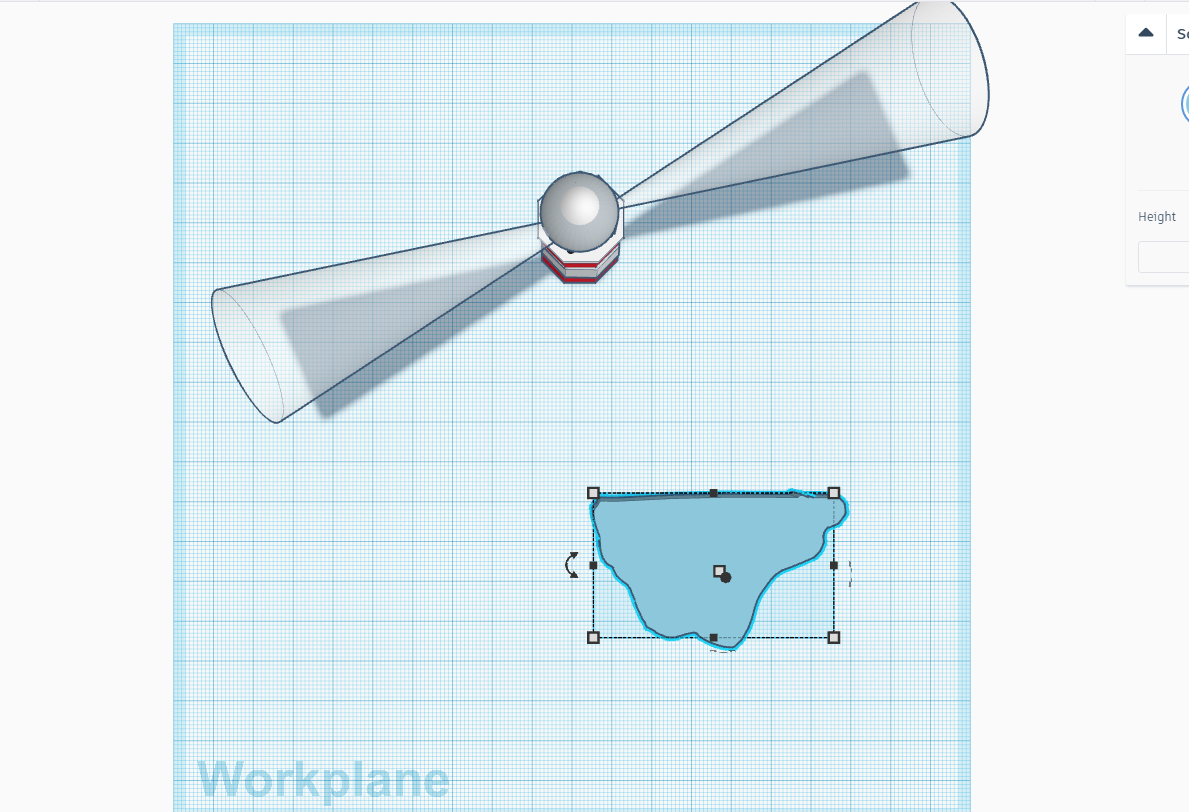
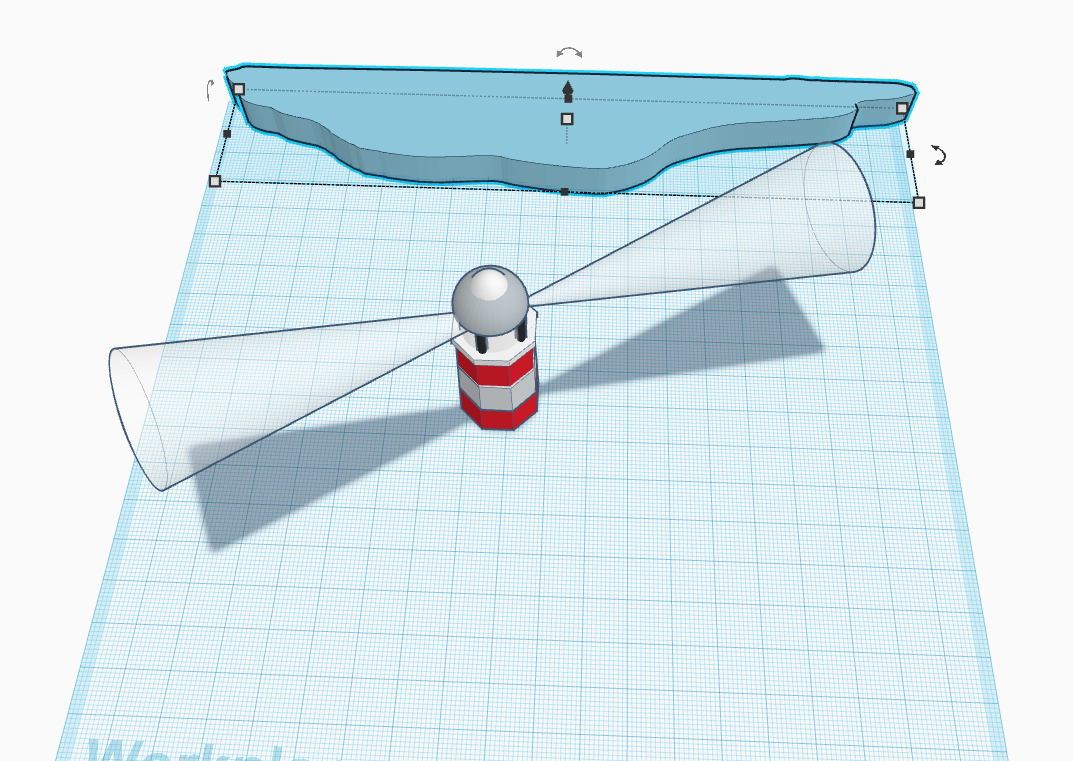
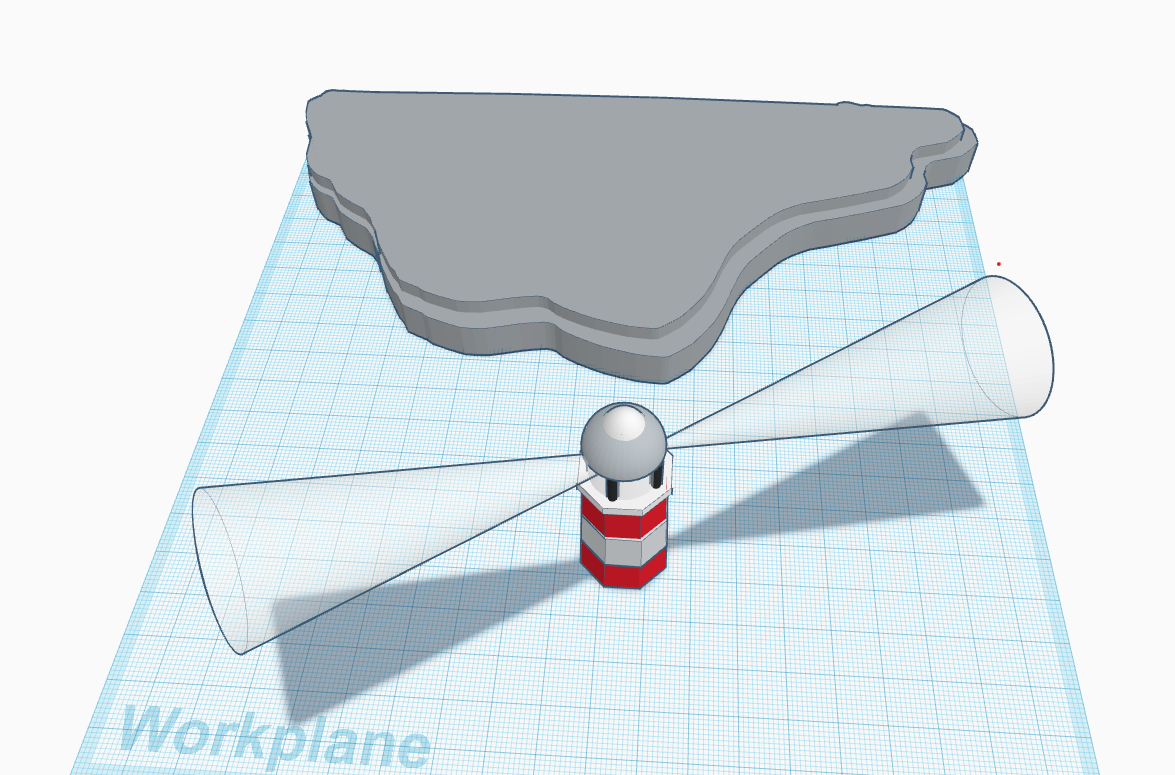
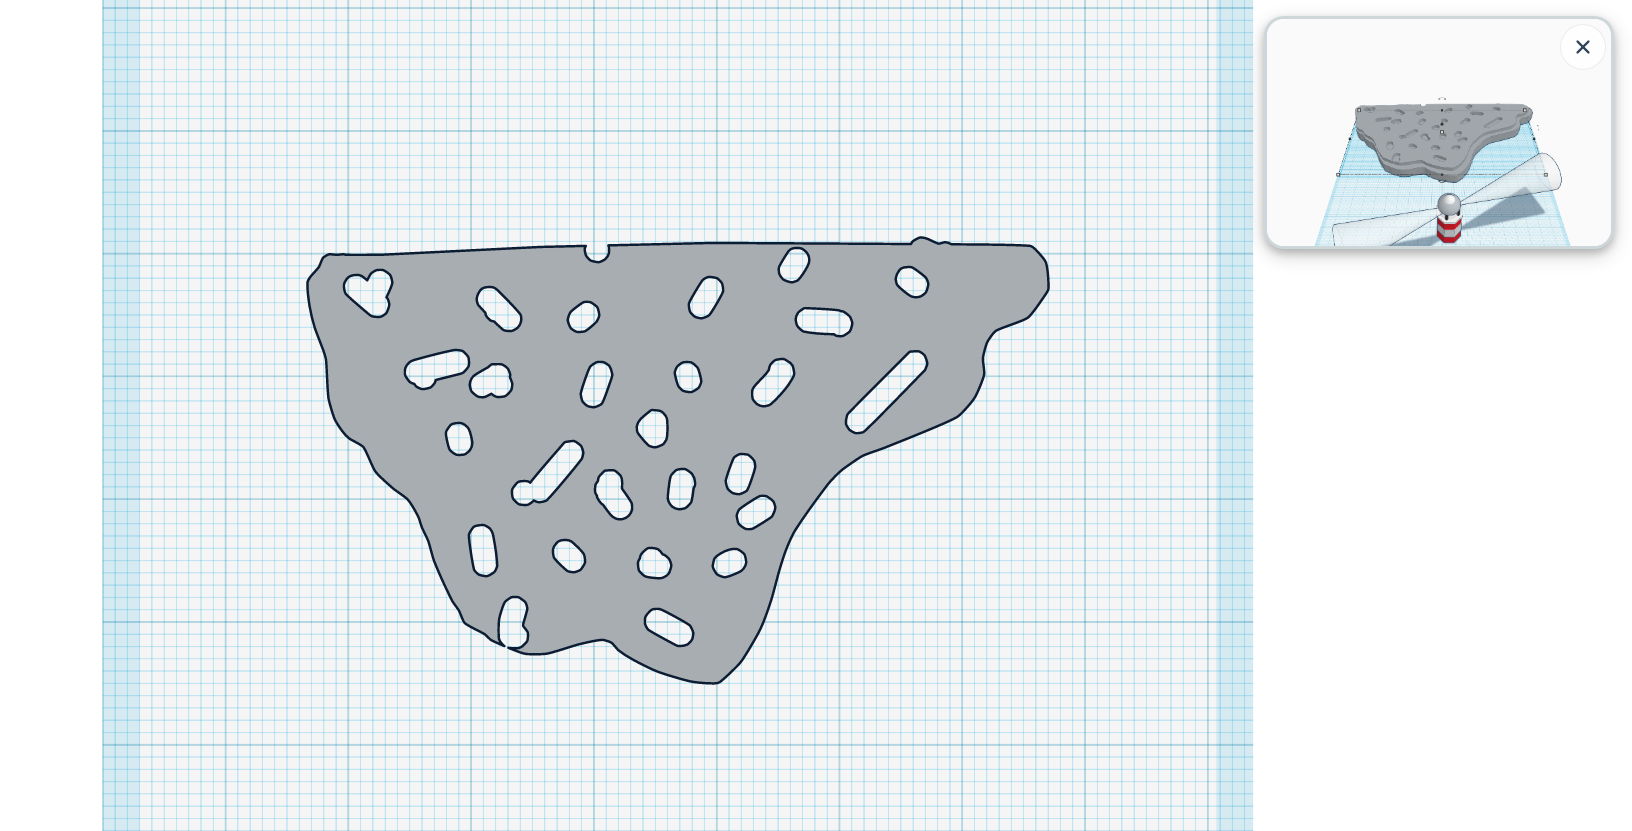
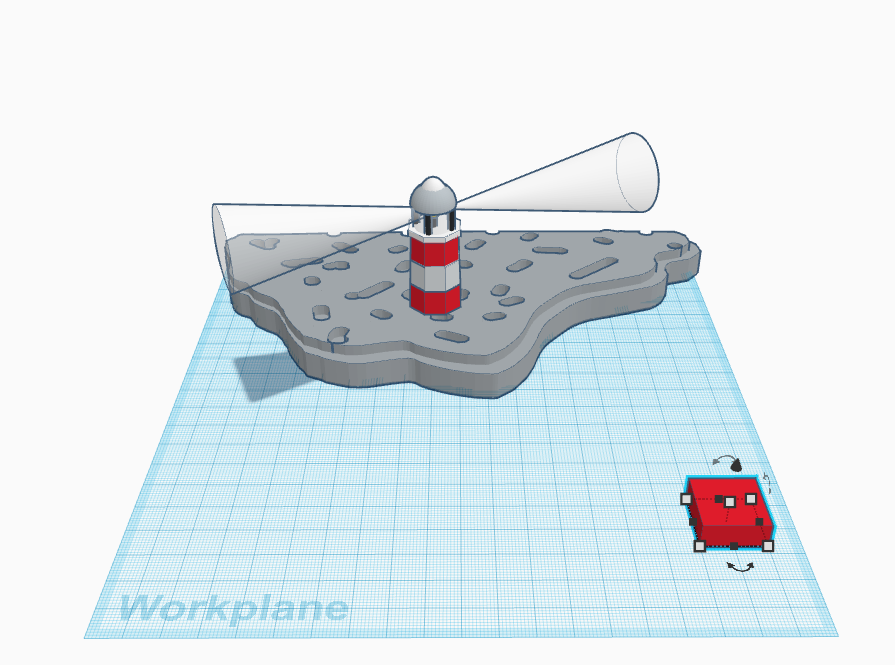
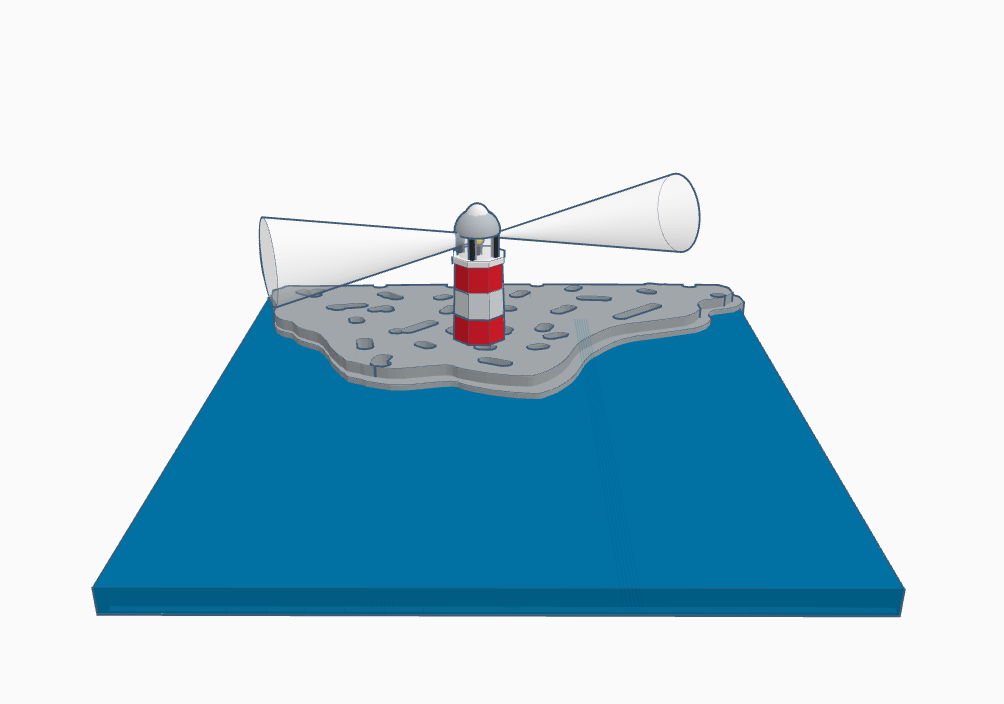
- Now take scribble for the land, draw any random pattern and place it before the lighthouse as shown above.
- Replicate to form another smaller scribble below the bigger one as shown above.
- Now take eraser and erase some of the area between two give the texture of the land as shown above.
- Place the lighthouse as shown above.
- Now take a square and cover the below area as ocean.
Making the Forest
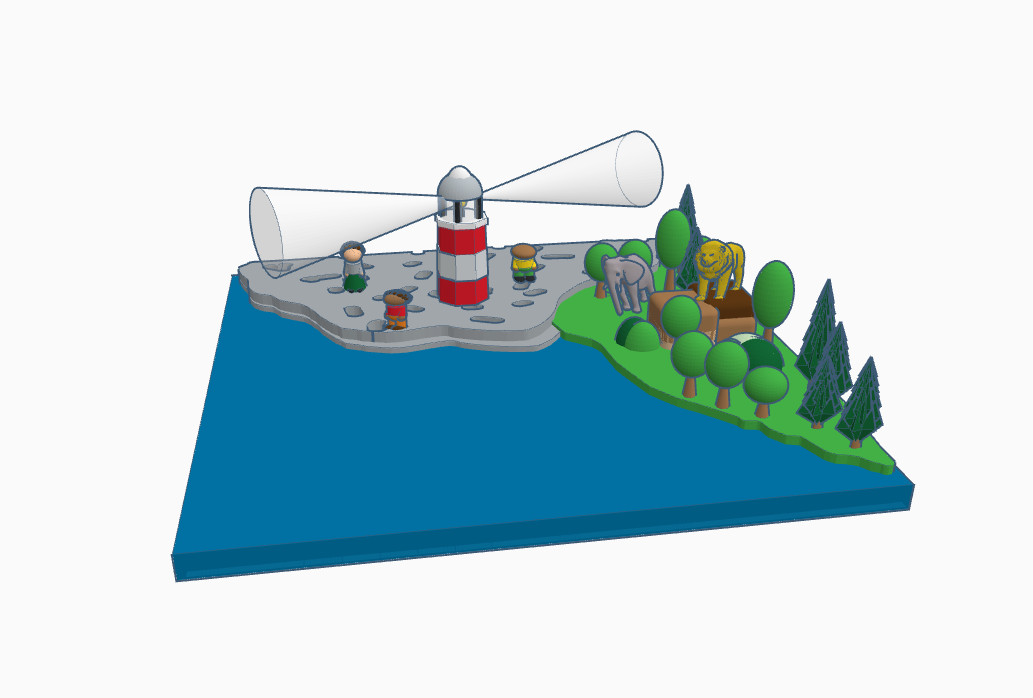
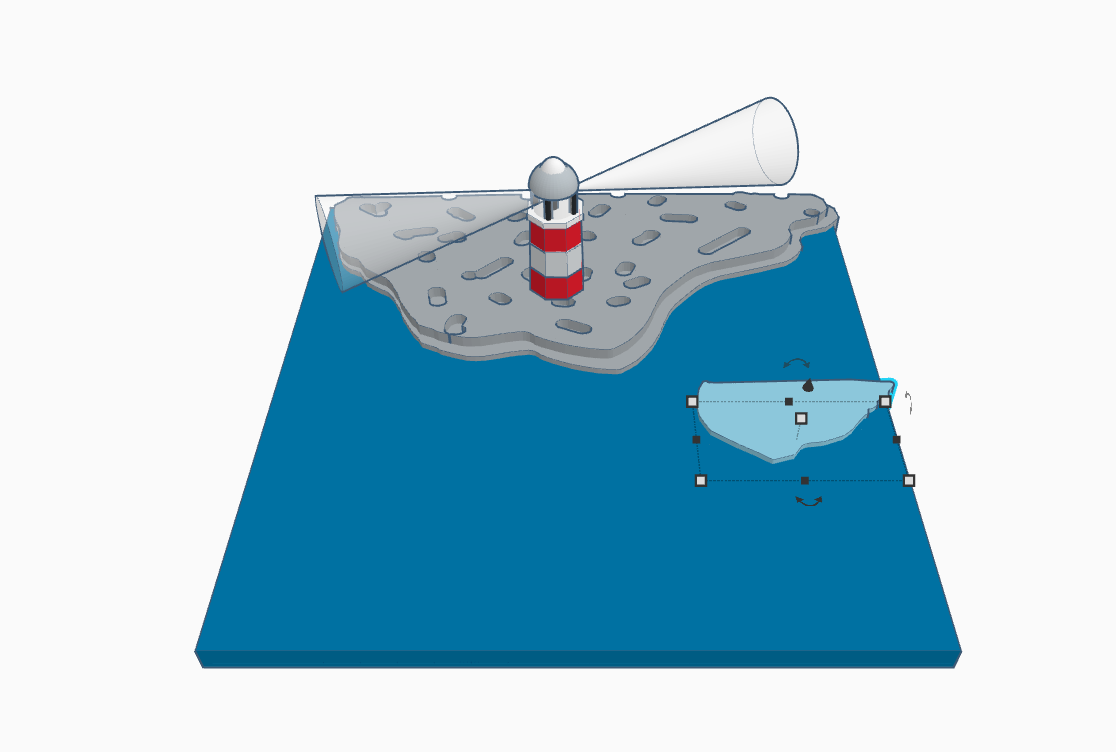
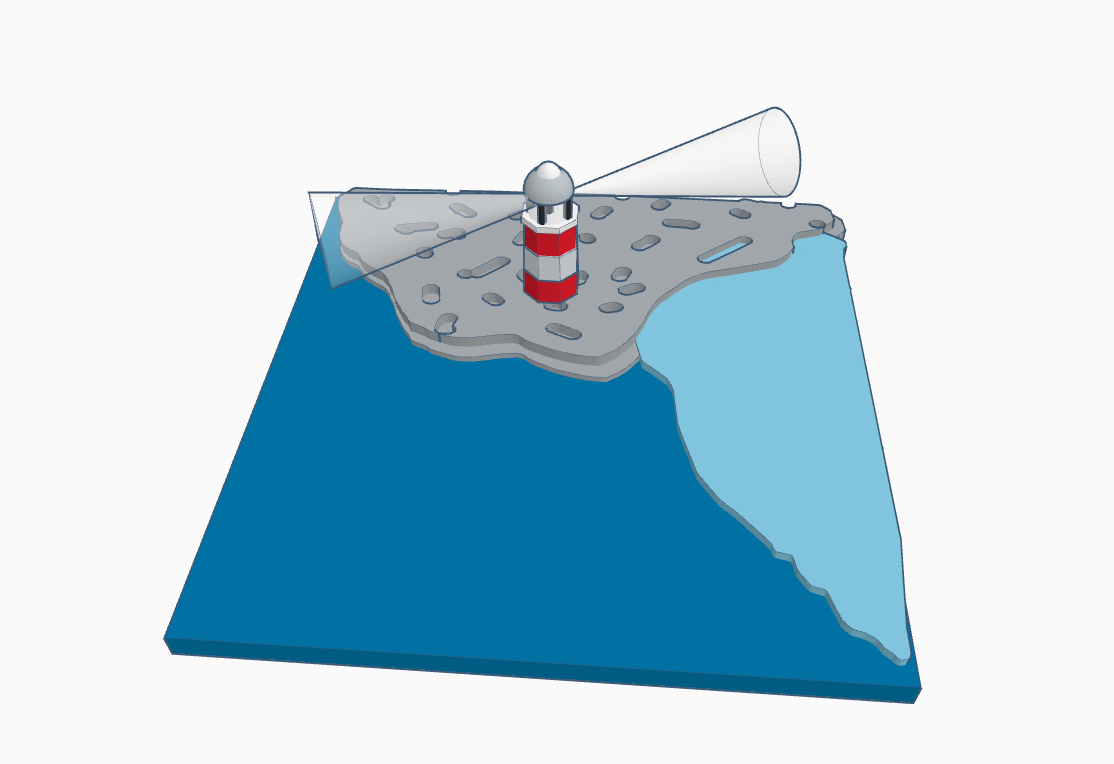
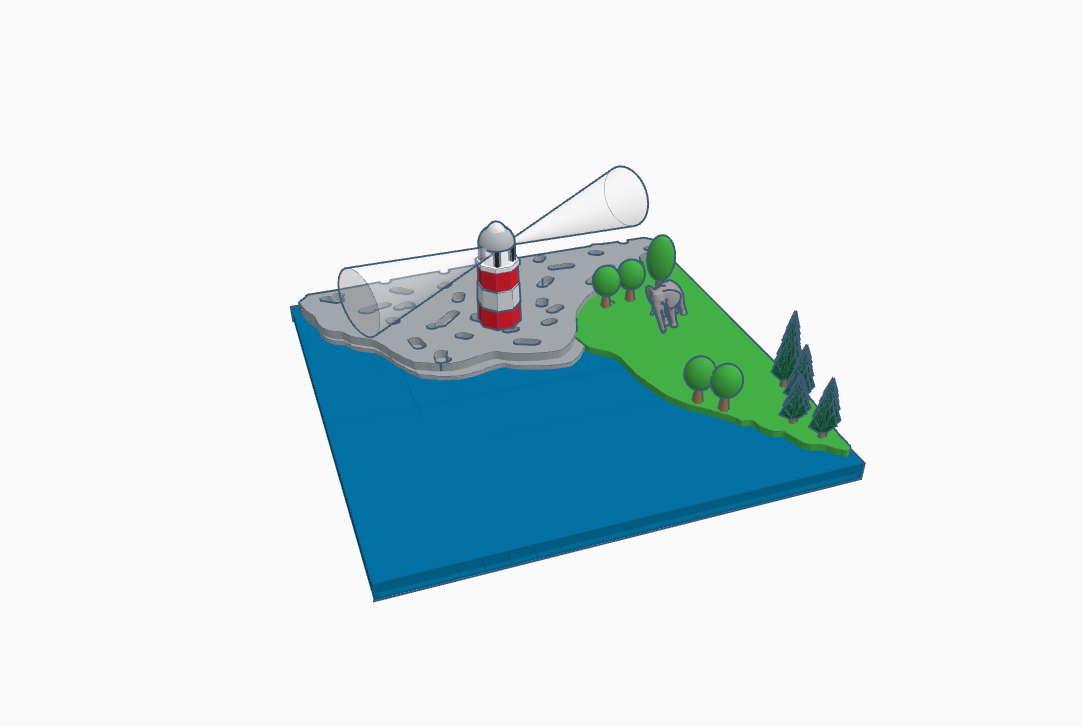
- Again with the help of scribble draw any random pattern and make the land for the forest as shown above.
- Now place the default trees and animals from Tinkercad library and make the mount for the king.
Adding Small Detailing to the Main Land
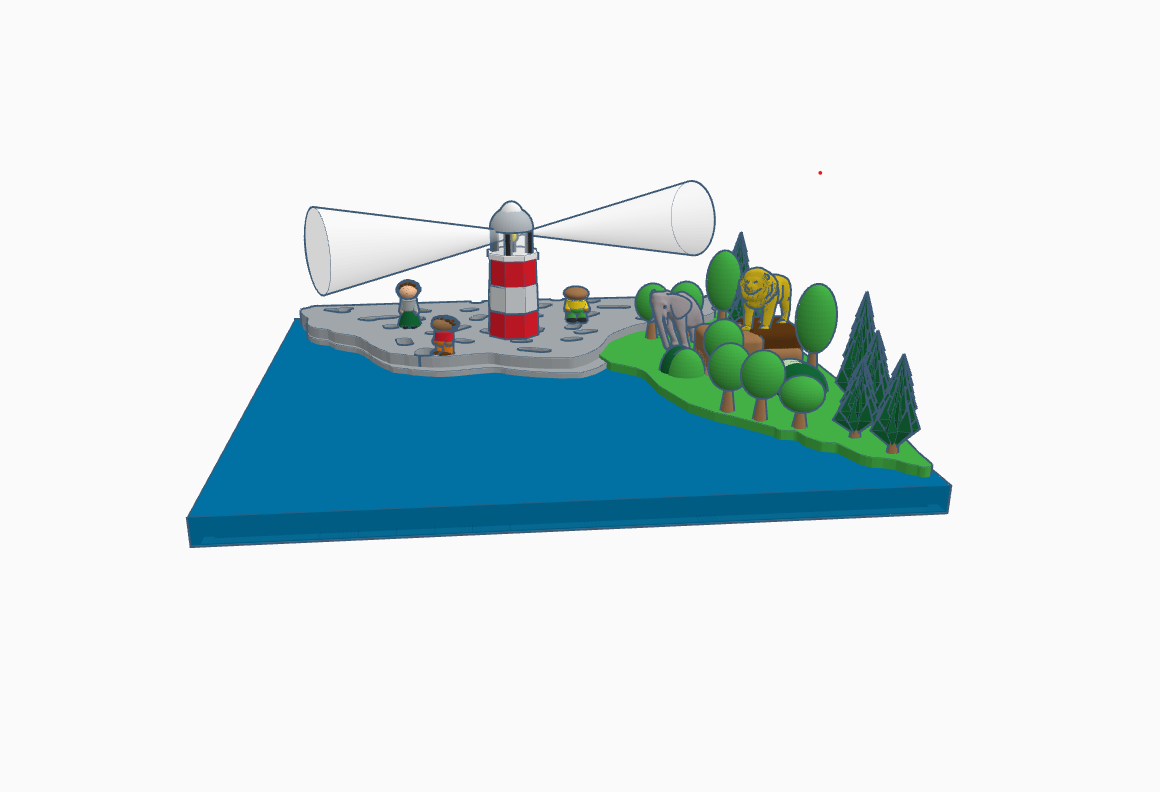
- Now from the Tinkercad library add some people around the lighthouse as shown above.
Making the Polar Region
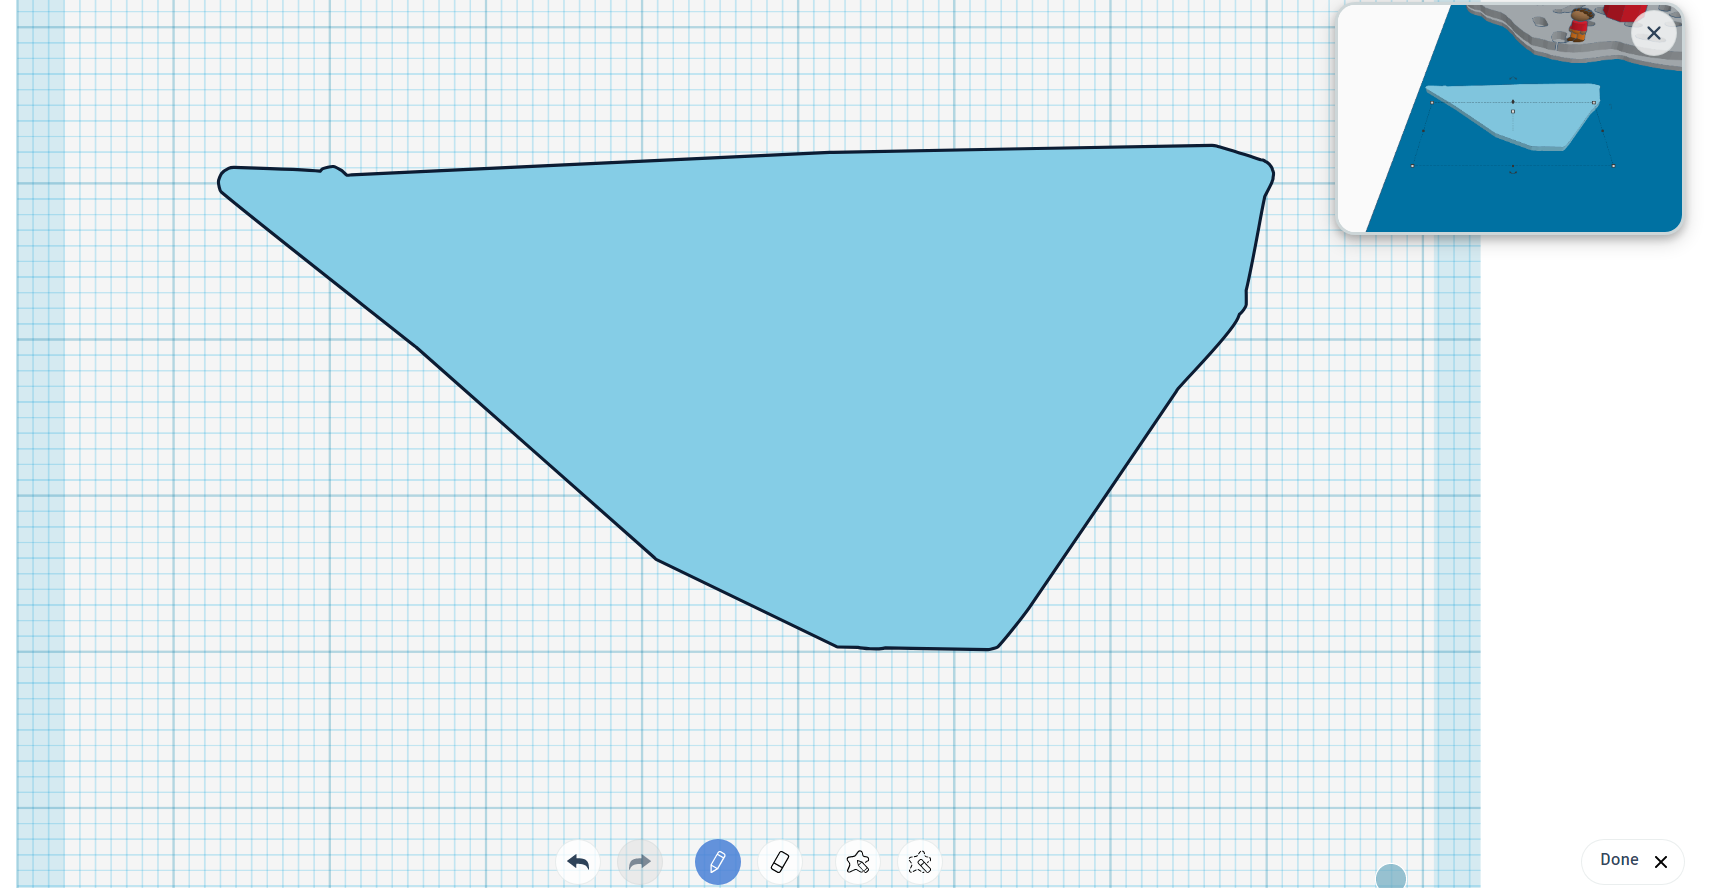
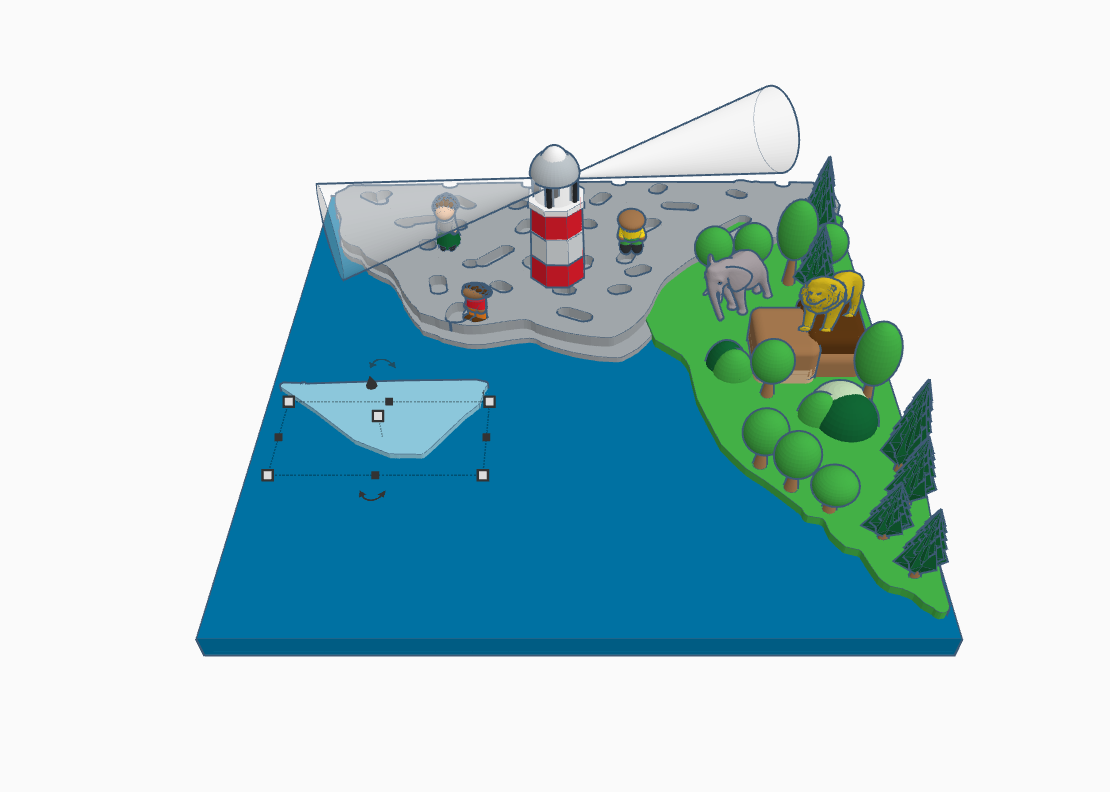
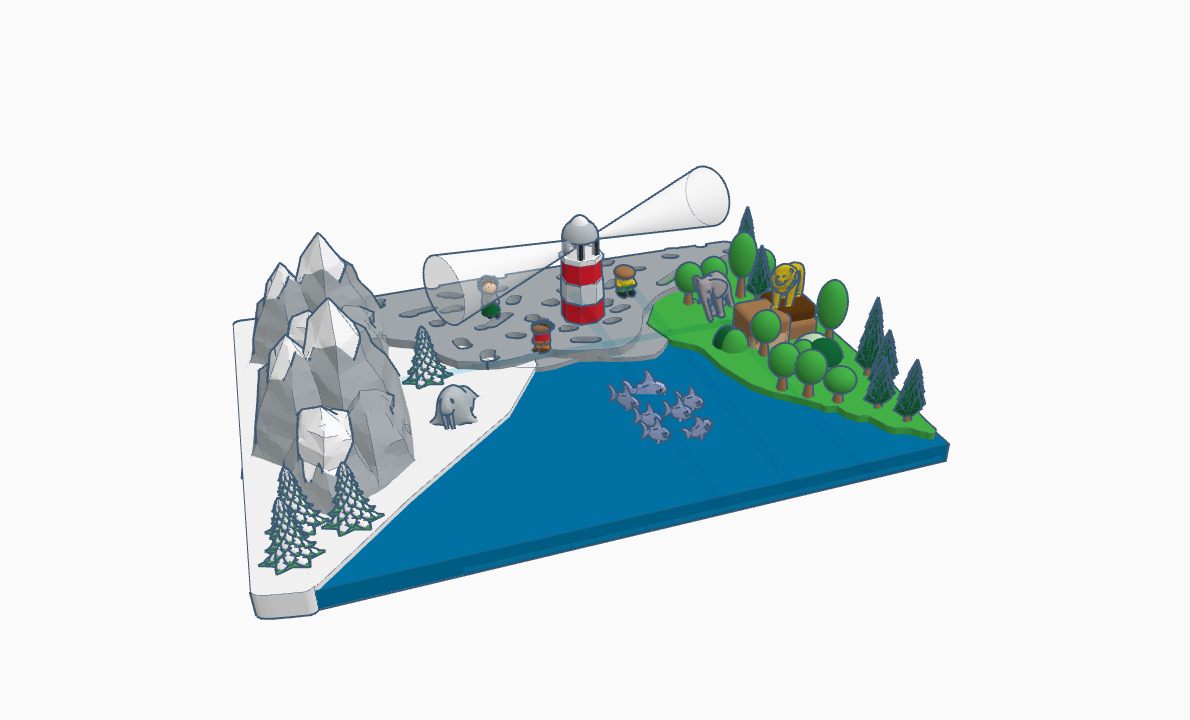
- Take a scribble and draw random patterns for the polar region as shown above.
- Drop the elements which you like from the Tinkercad library such as mountains, trees and animals as shown above.
Adding the Fishes to the Ocean and Done
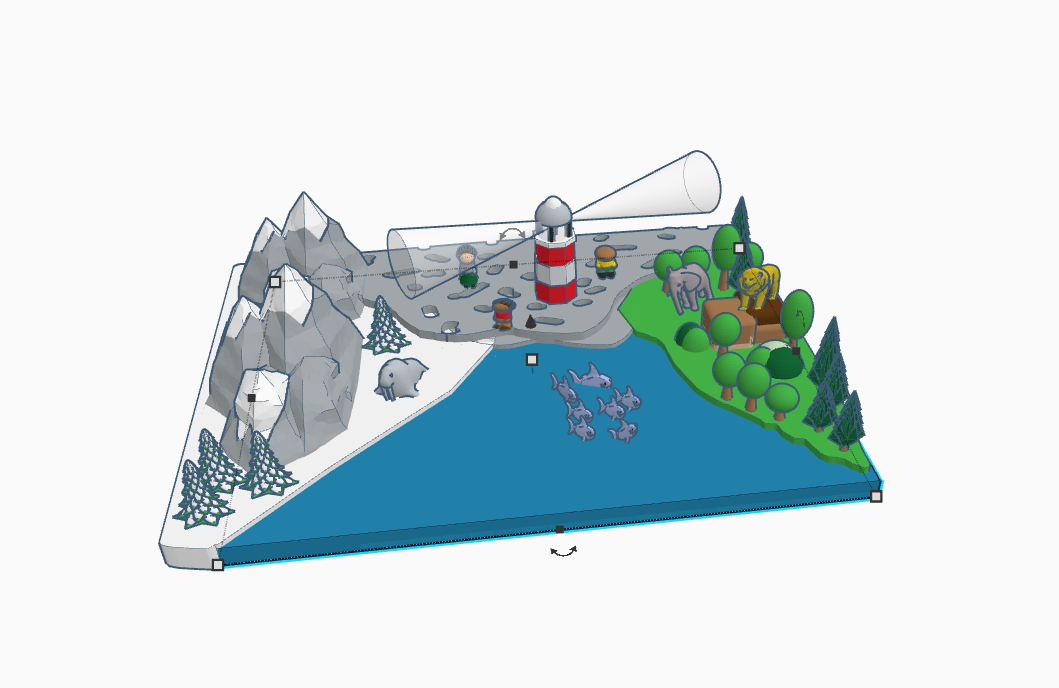
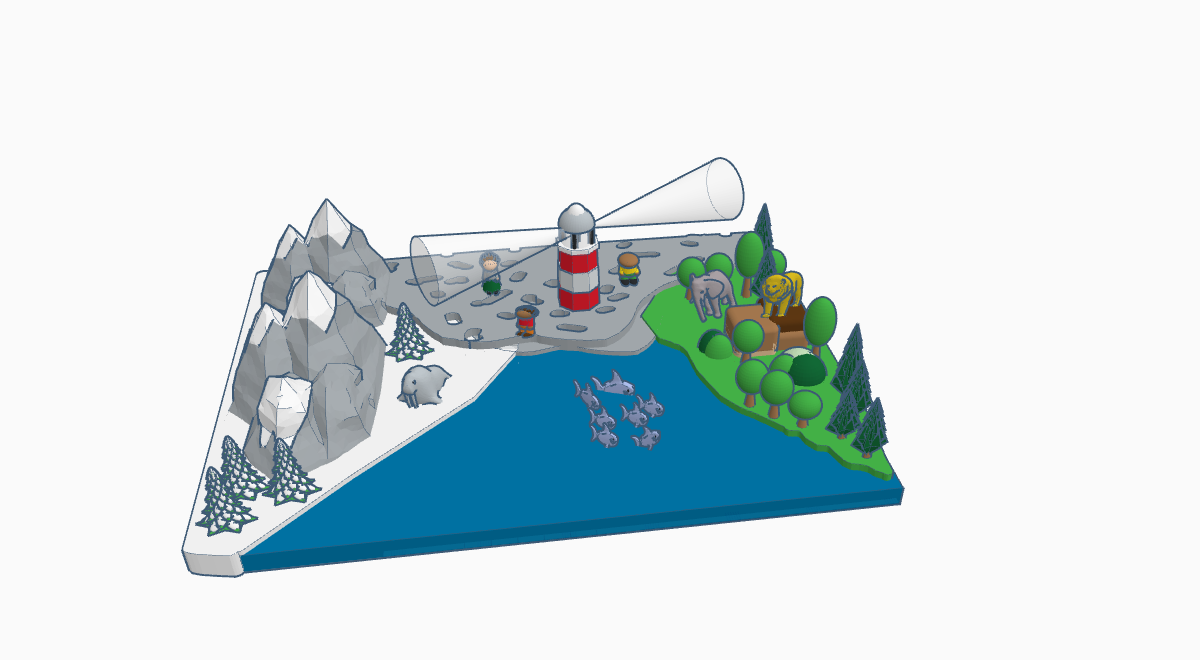
- For the ocean, Take fishes from the Tinkercad library and place them in their desired location.