Upgrade Your Apple MacBook: Data Backup and Preservation.
by lamedust in Circuits > Apple
57631 Views, 61 Favorites, 0 Comments
Upgrade Your Apple MacBook: Data Backup and Preservation.
My Mac hard disk got really fat and full, it was disgusting. This problem is happening to many people who have bought the original MacBooks. They are feeling the distinctly tight pinch of a small hard drive. I bought my macbook ~2 years ago and it came with a 60Gig hard disk, clearly not enough for our information-dense age. I quickly filled up and had to erase and re-erase old information. I lost an entire instructable after erasing a folder of pictures to make room for more.
Here's how I upgraded my hard drive to 320 Gigs while upgrading to Mac OS X Leopard and installing Time Machine. All while keeping all my old applications and data safe.
If you follow these instructions:
Your past work will be fossilized .
Your present work will be preserved..
And your mac will become a spacious palace to contain all your work.
Gather Materials
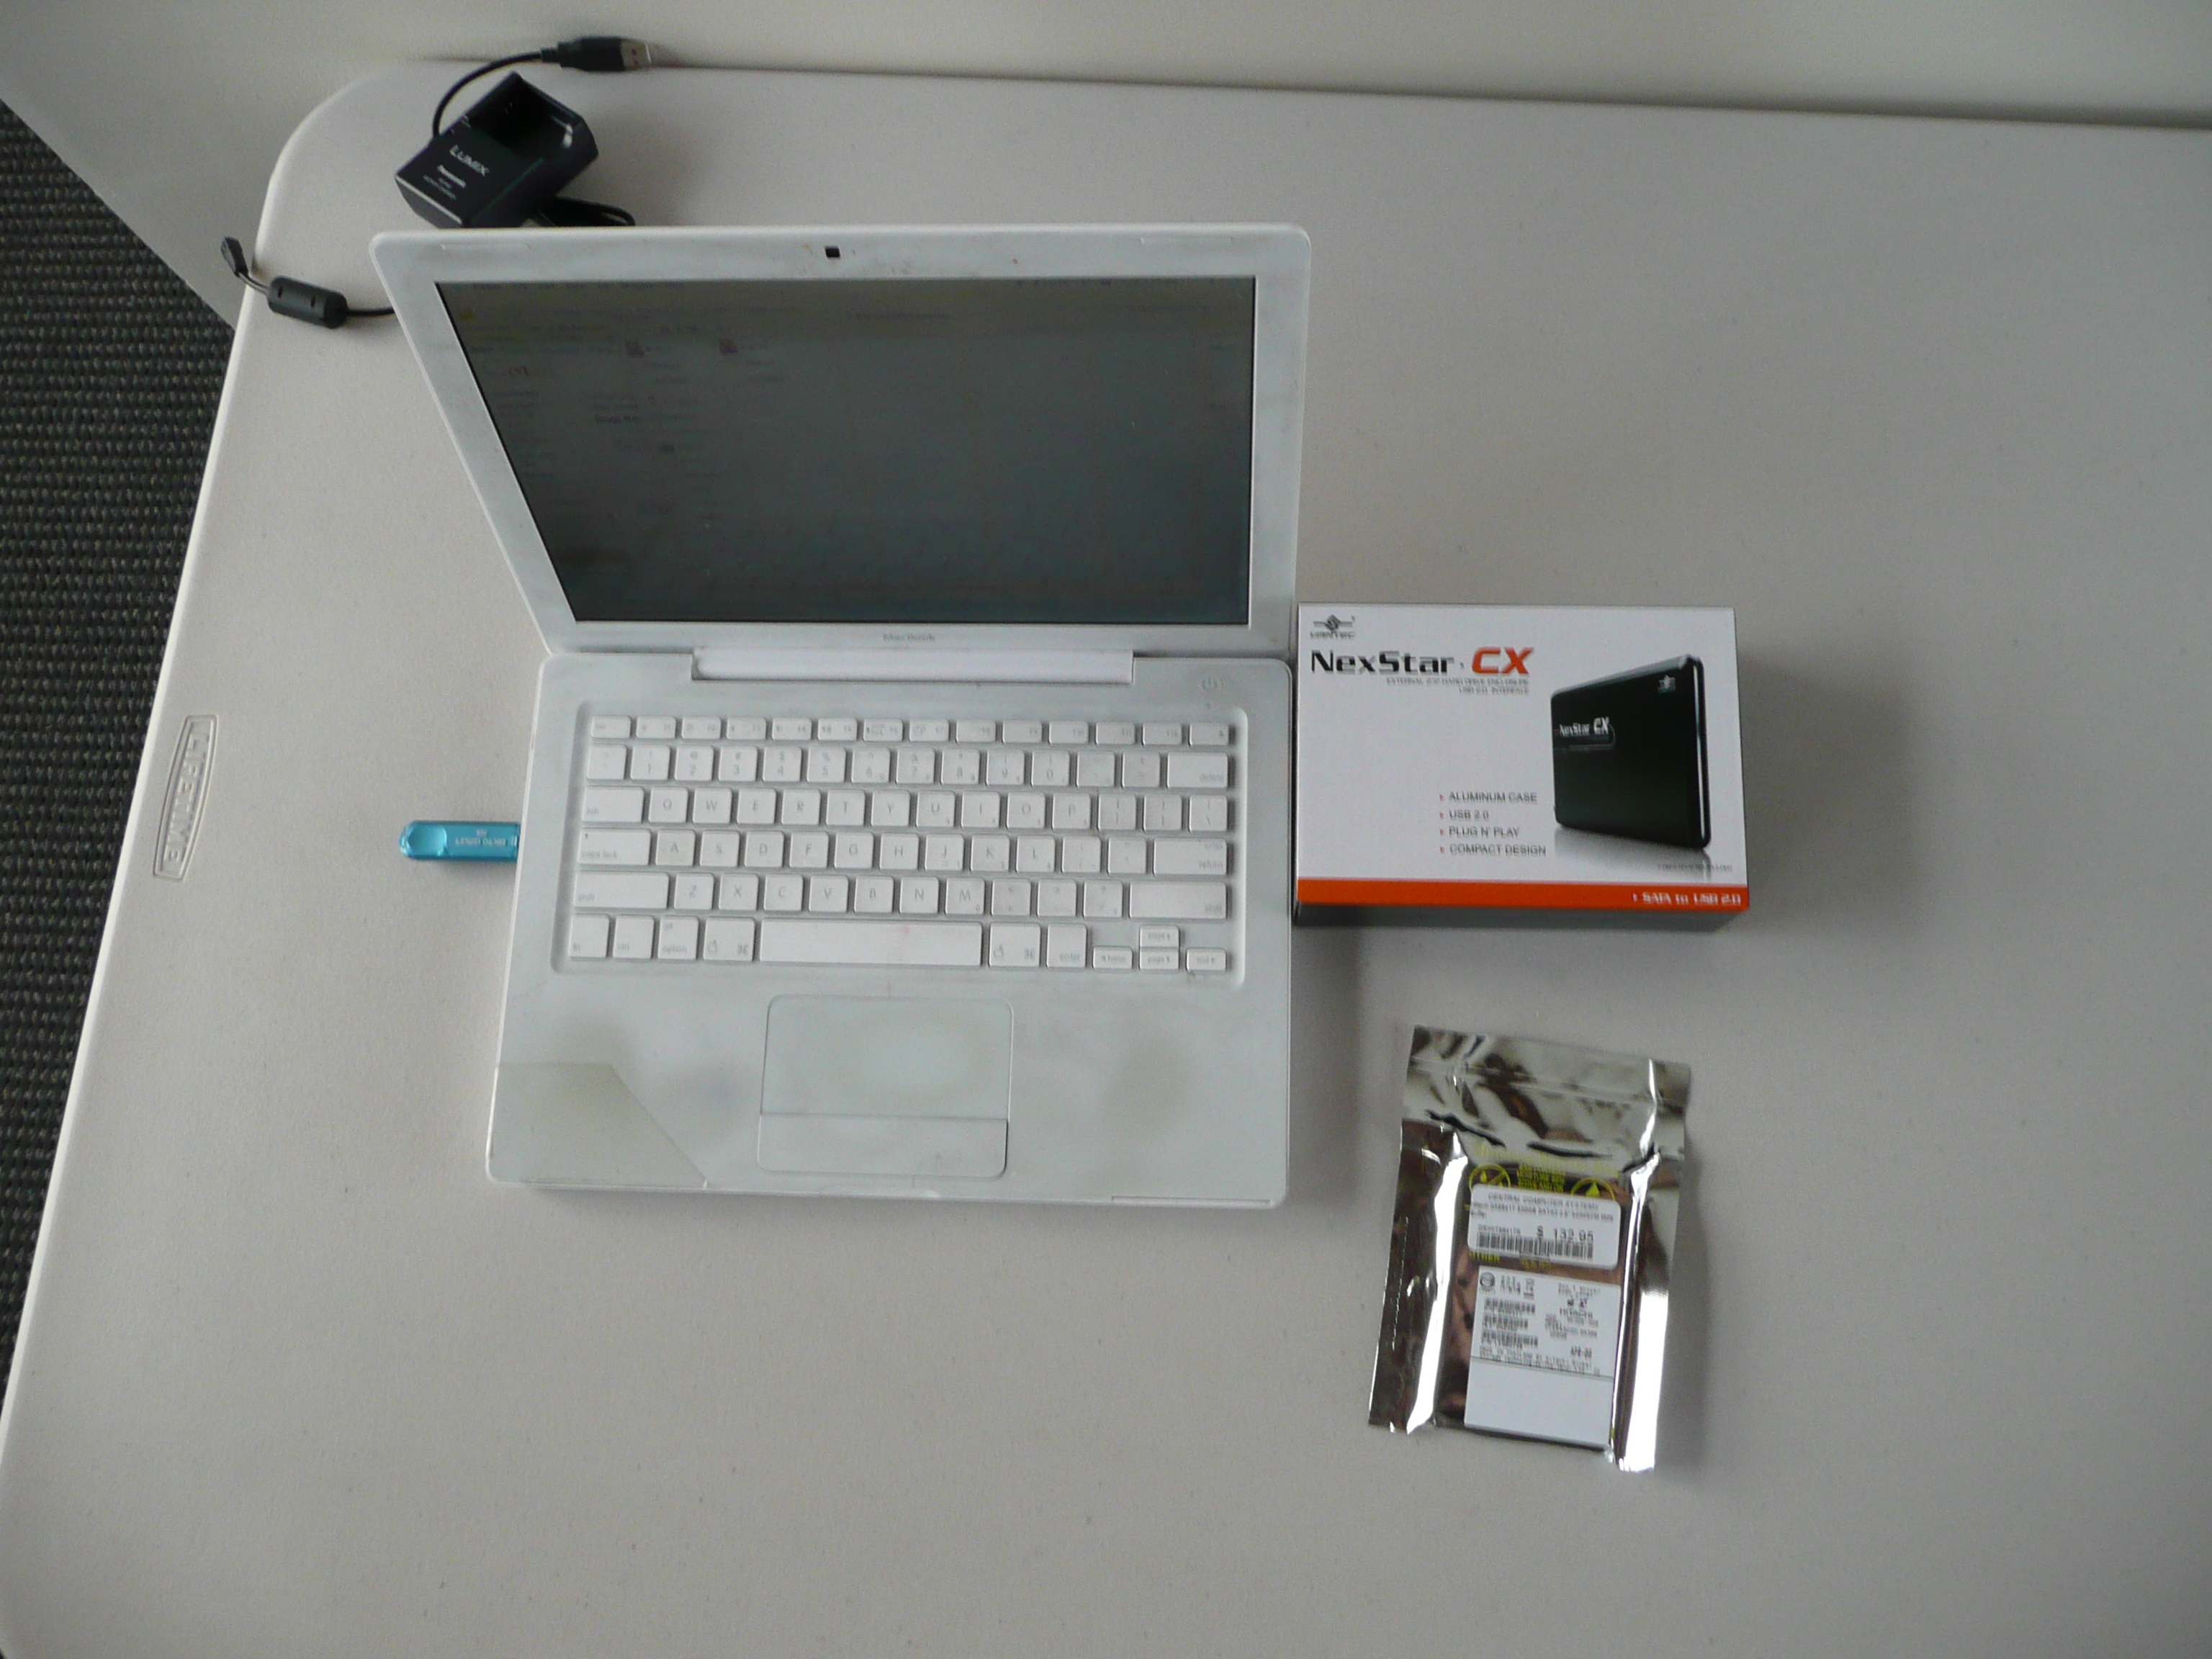
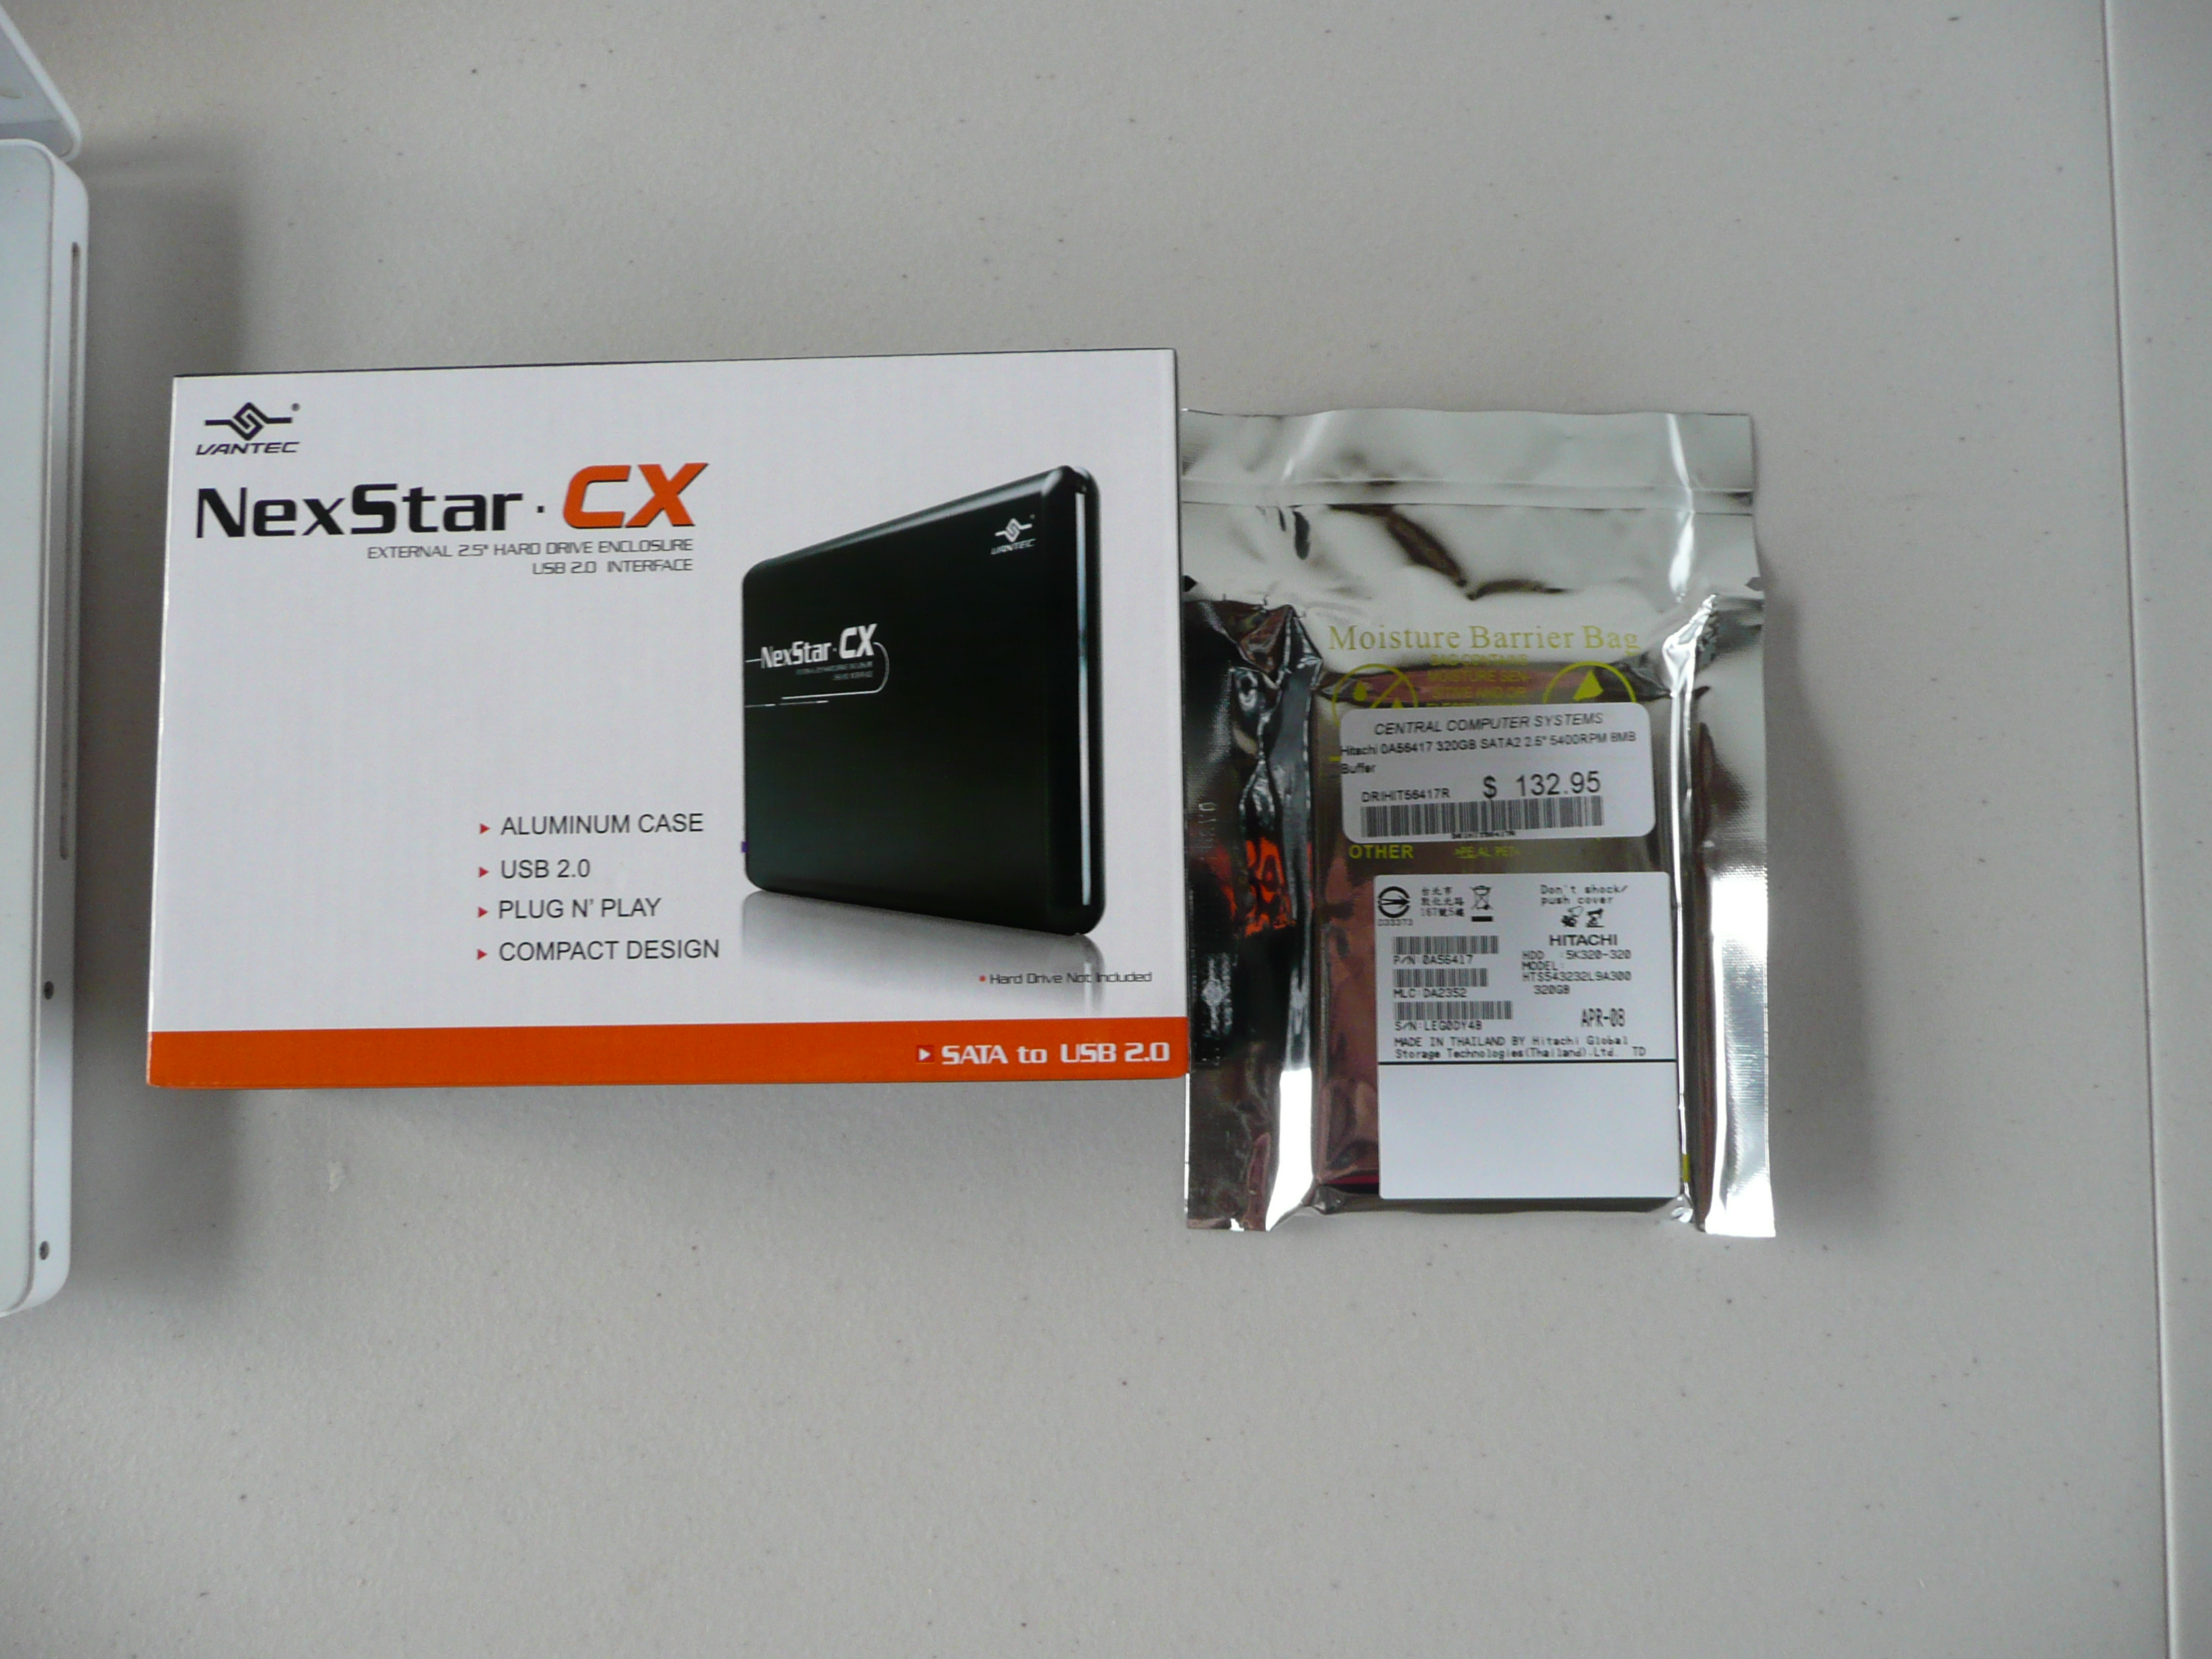
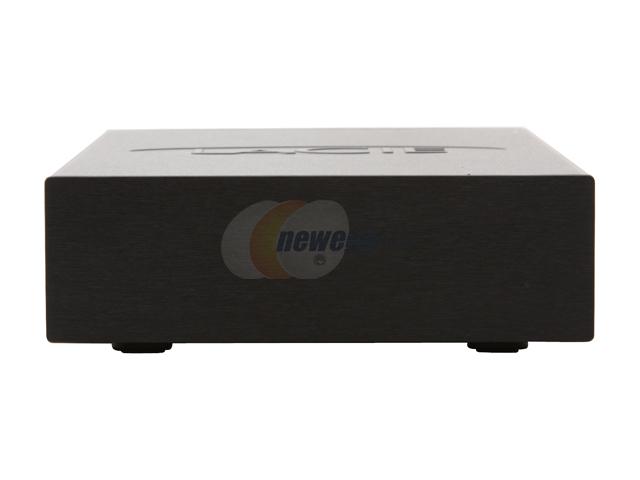
For the amount of an upgrade you will wind up with the ~$150 price tag is pretty small. I had been deleting things every day trying to make room for daily activities. I'm now making many more videos and my programs run without "clogging up" by filling scratch disks.
Here's what you'll need and the links show you where you can find them:
Here's what you'll need and the links show you where you can find them:
- Sata Disk Enclosure ~$13
- 250 Hard Drive ~$115
- A few hours to spend with your computer
- Mac OS X - Leopard
- 500 Gig Drive ~$99
Prepare the Newbie

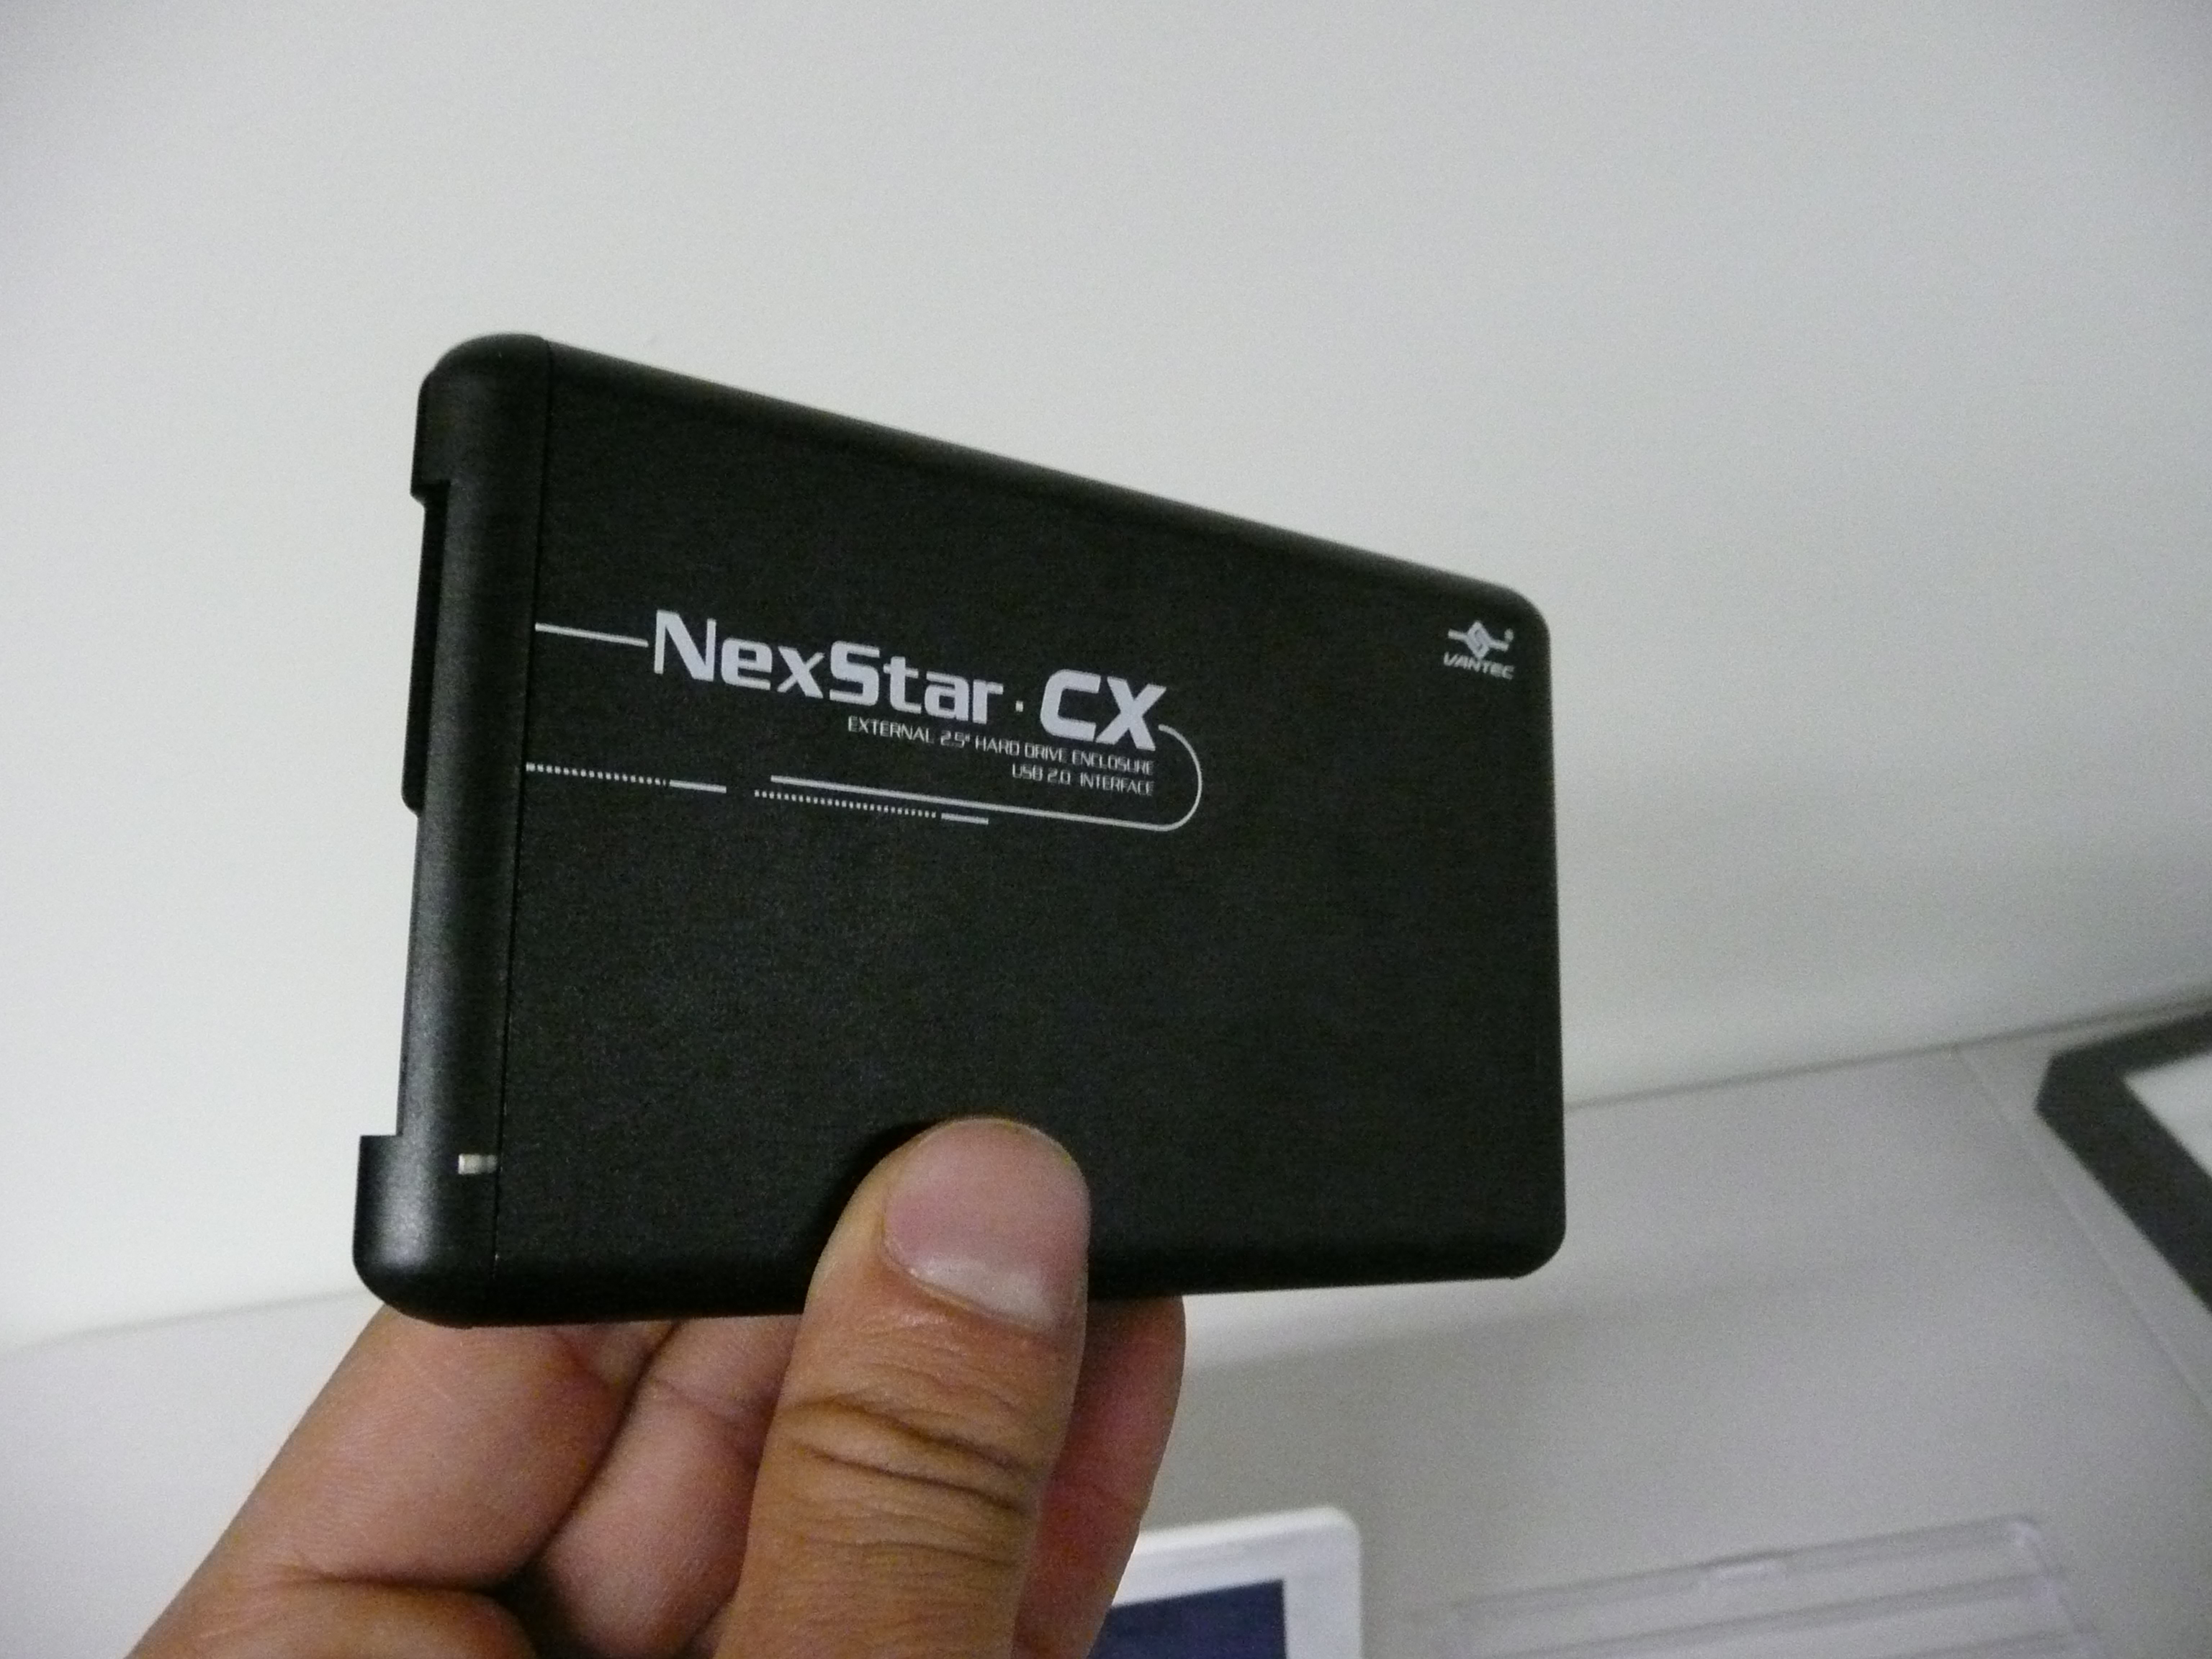
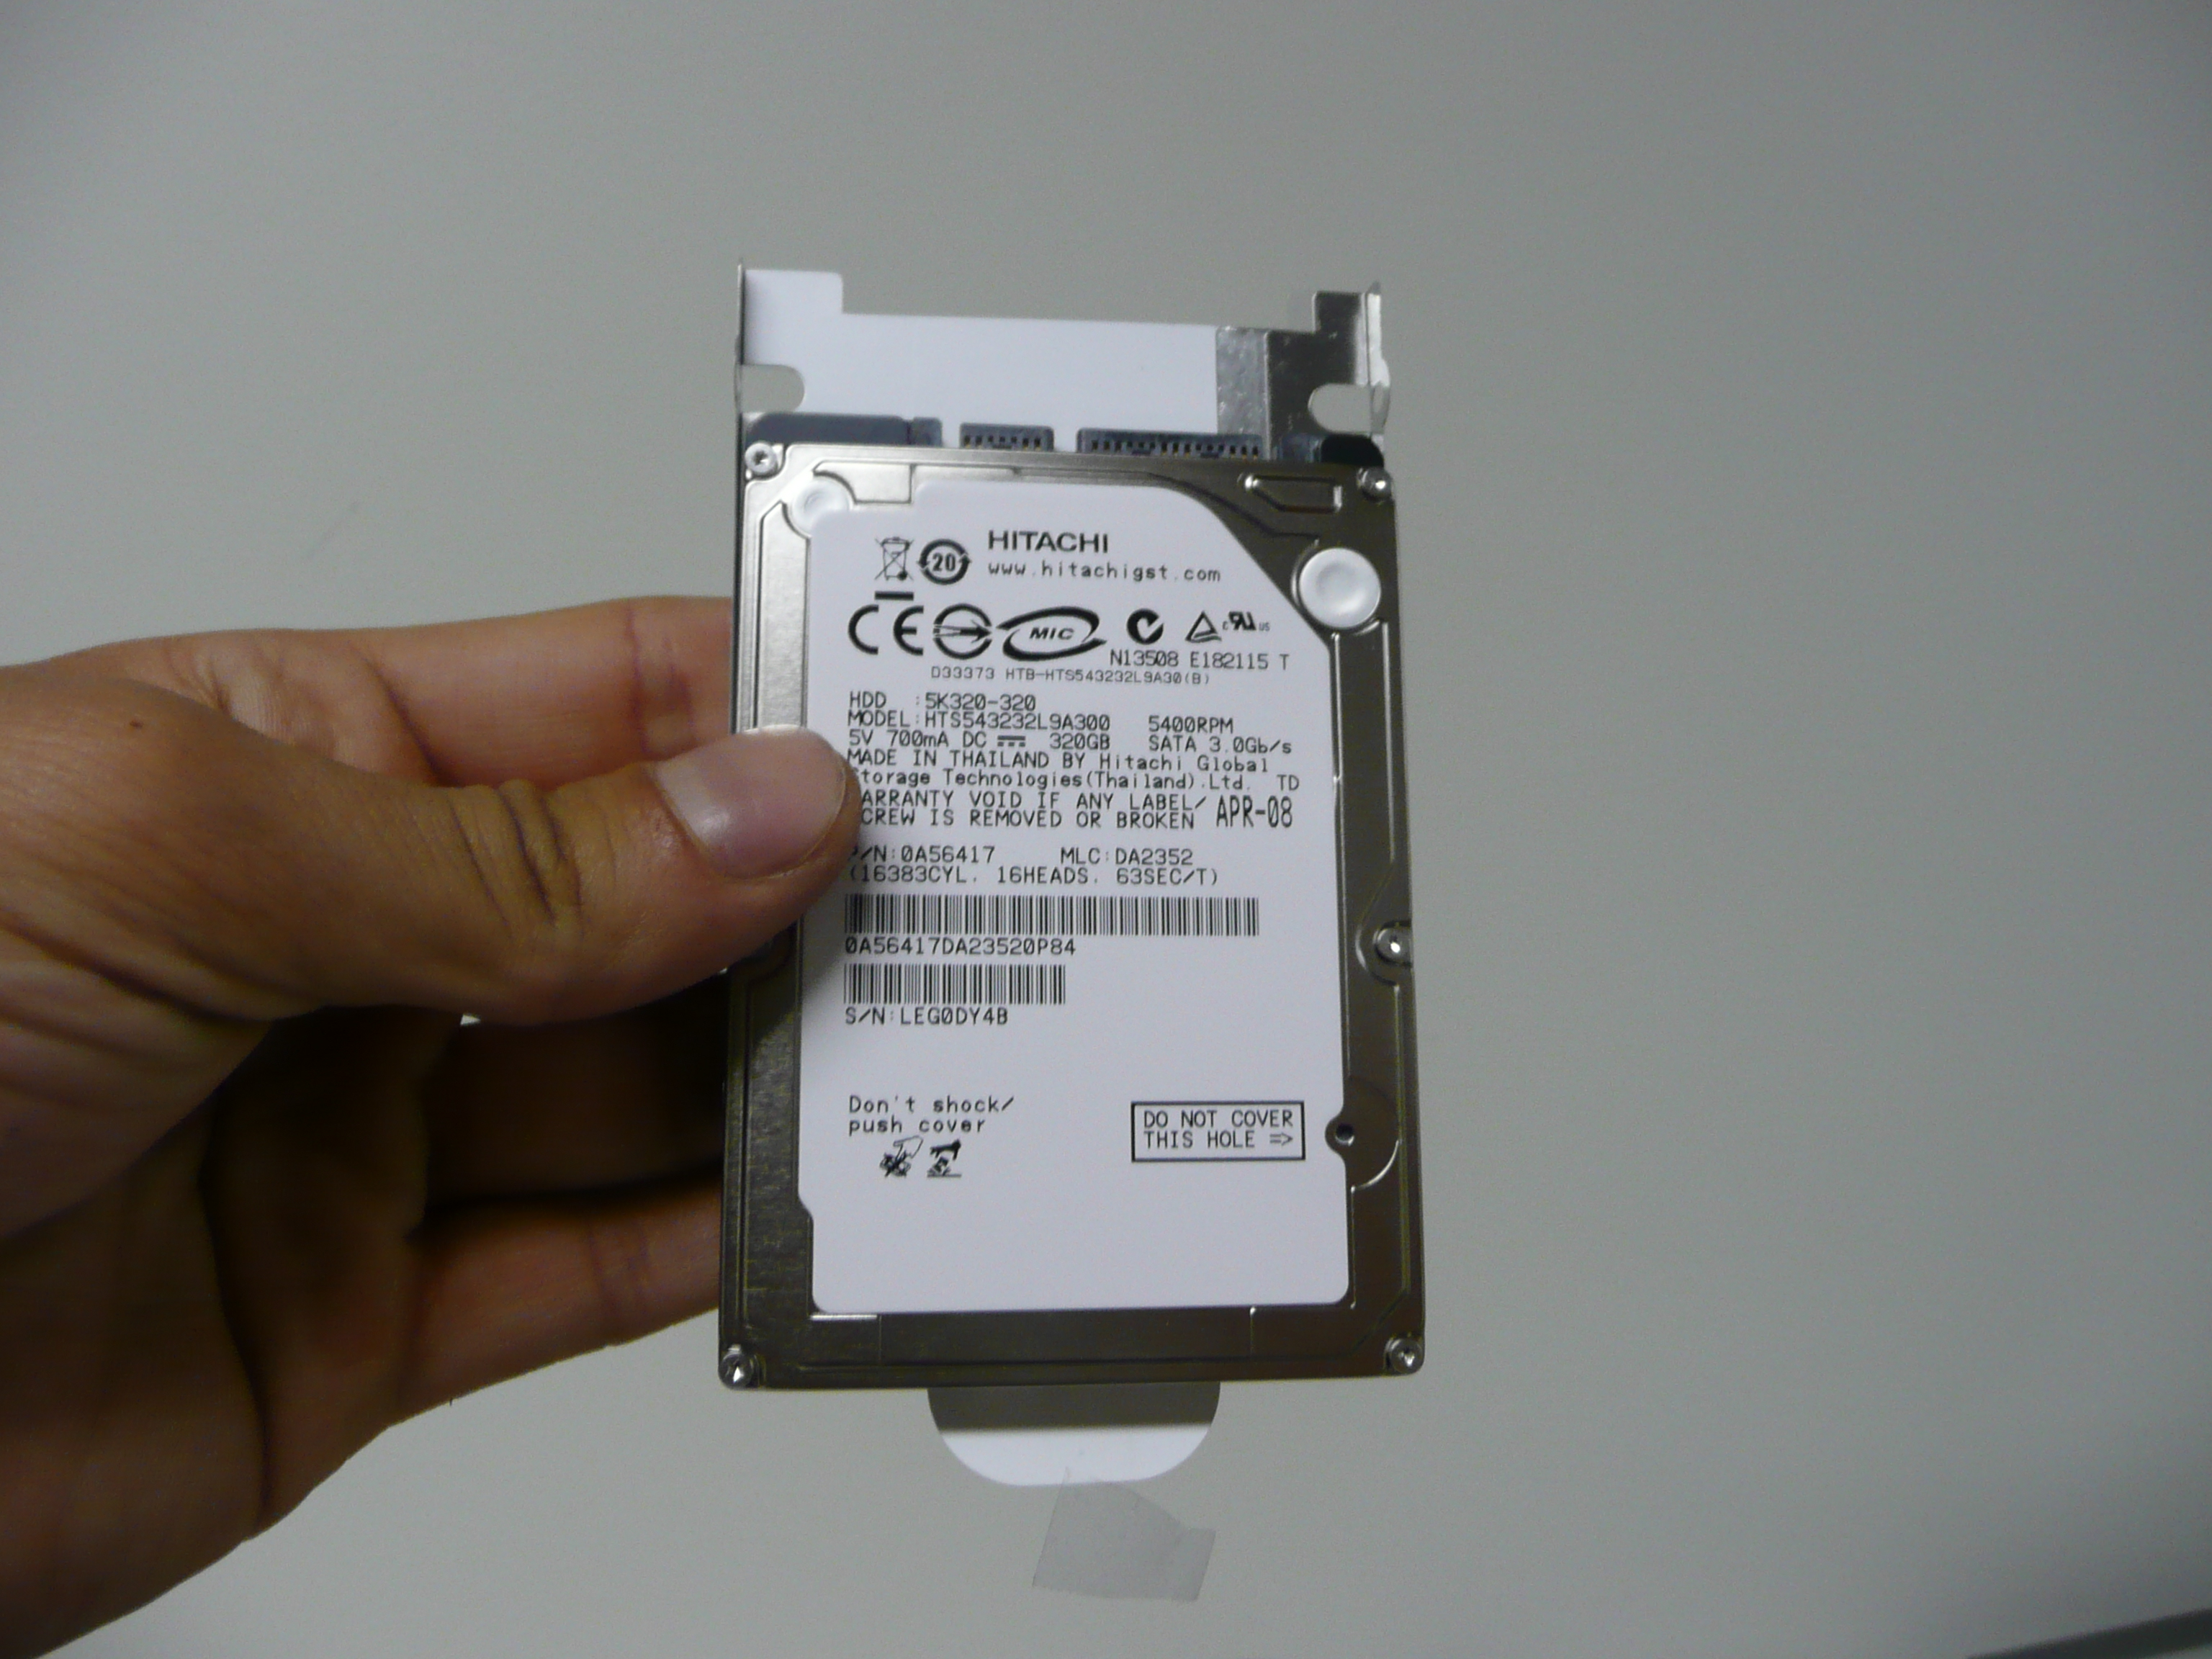
Open up the package your new hard drive came in. Cute isn't it? It's like a newborn beast of burden, ready to do your bidding. Now you must put on its harness.
Now open up the hard disk enclosure and insert the hard disk into it, it should just plug in pretty simply. When everything is closed back up well screw in the two screws and you should be ready to plug it in. Or is it....
Now open up the hard disk enclosure and insert the hard disk into it, it should just plug in pretty simply. When everything is closed back up well screw in the two screws and you should be ready to plug it in. Or is it....
Test and Repair Drive Virginity
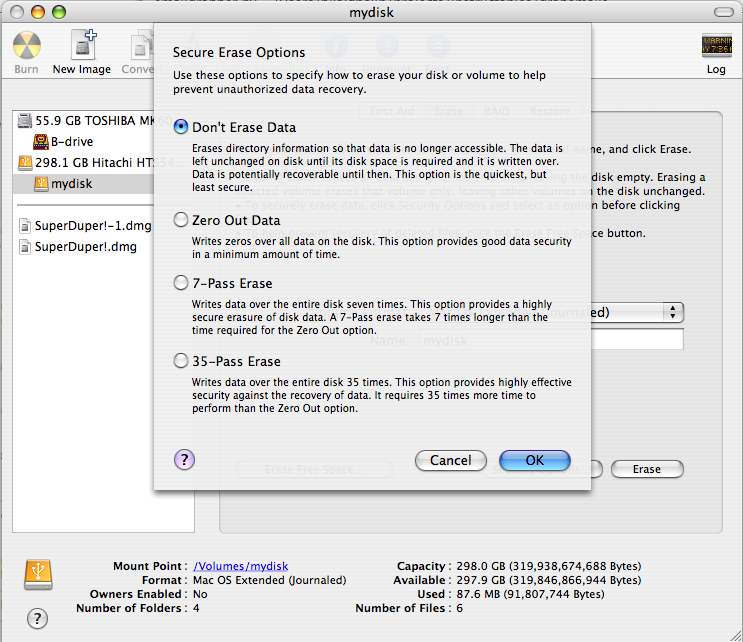
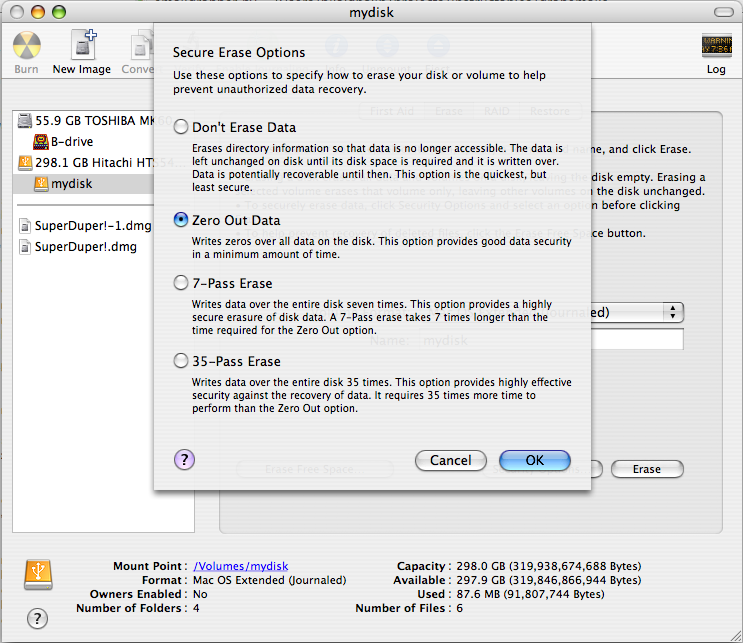
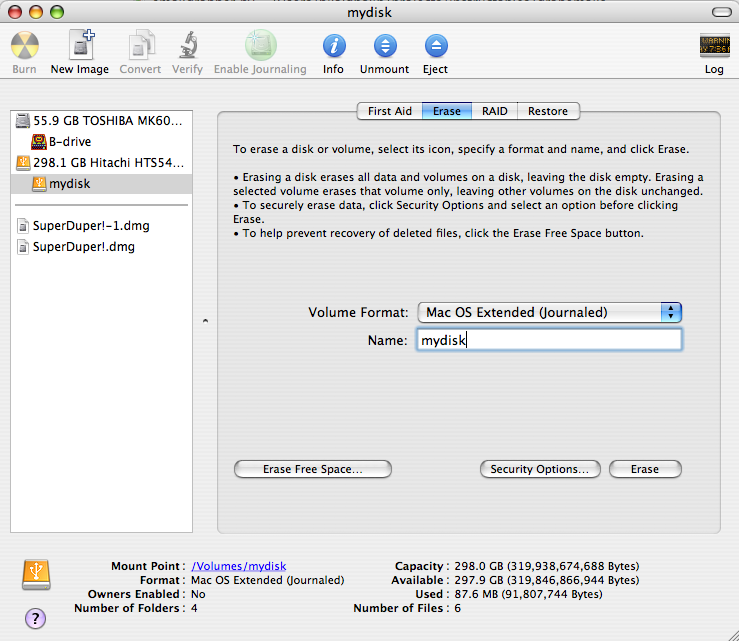
Your new hard drive is a clean product just purchased from whatever retailer you've chosen. It's as pure and blank as freshly fallen snow, right? I'm sorry to disappoint you, but you can't take that for granted. As innocent as it looks, it may have its dark side.
What you need to do is completely Zero your drive, which will completely erase everything on it and find the locations that may be damaged and demarcate them as such.
You should first plug in the new hard drive enclosure with the new disk in it . Now you should open the Disk Utility. You can find it in Applications/Utilities/Disk Utility. You should see the new hard drive icon up on the right.
- Click on it and then select the Erase tab.
- Click the Security Options button
- Select Zero Out Data and click OK
- Now press Erase
Clone Your MacBook
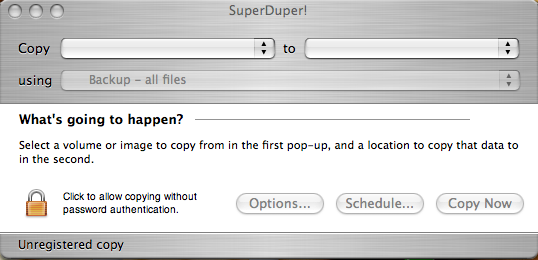
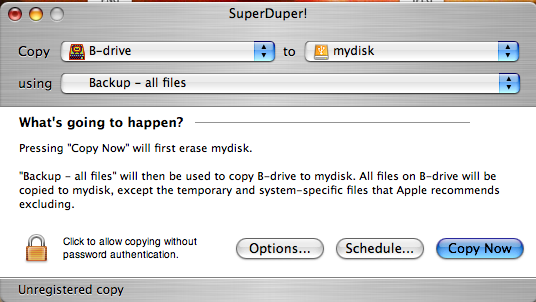
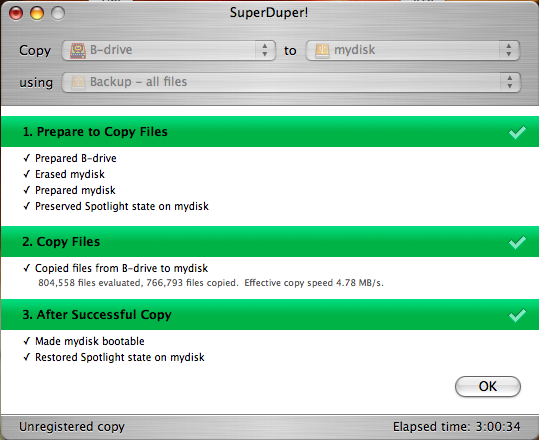
To ensure that you will have all your files and applications you will need to clone your mac. Get this program: Super Duper, it's free and it will help you create a disk image that you can store on your new hard disk that you can boot from later. With Super Duper and your new drive this is incredibly easy on your mac.
- Download & Install Super Duper
- Open the program
- Select your current hard drive on the left, and the USB external new drive on the right
- Select Backup - all files
- Click Copy Now
Gut Your Book
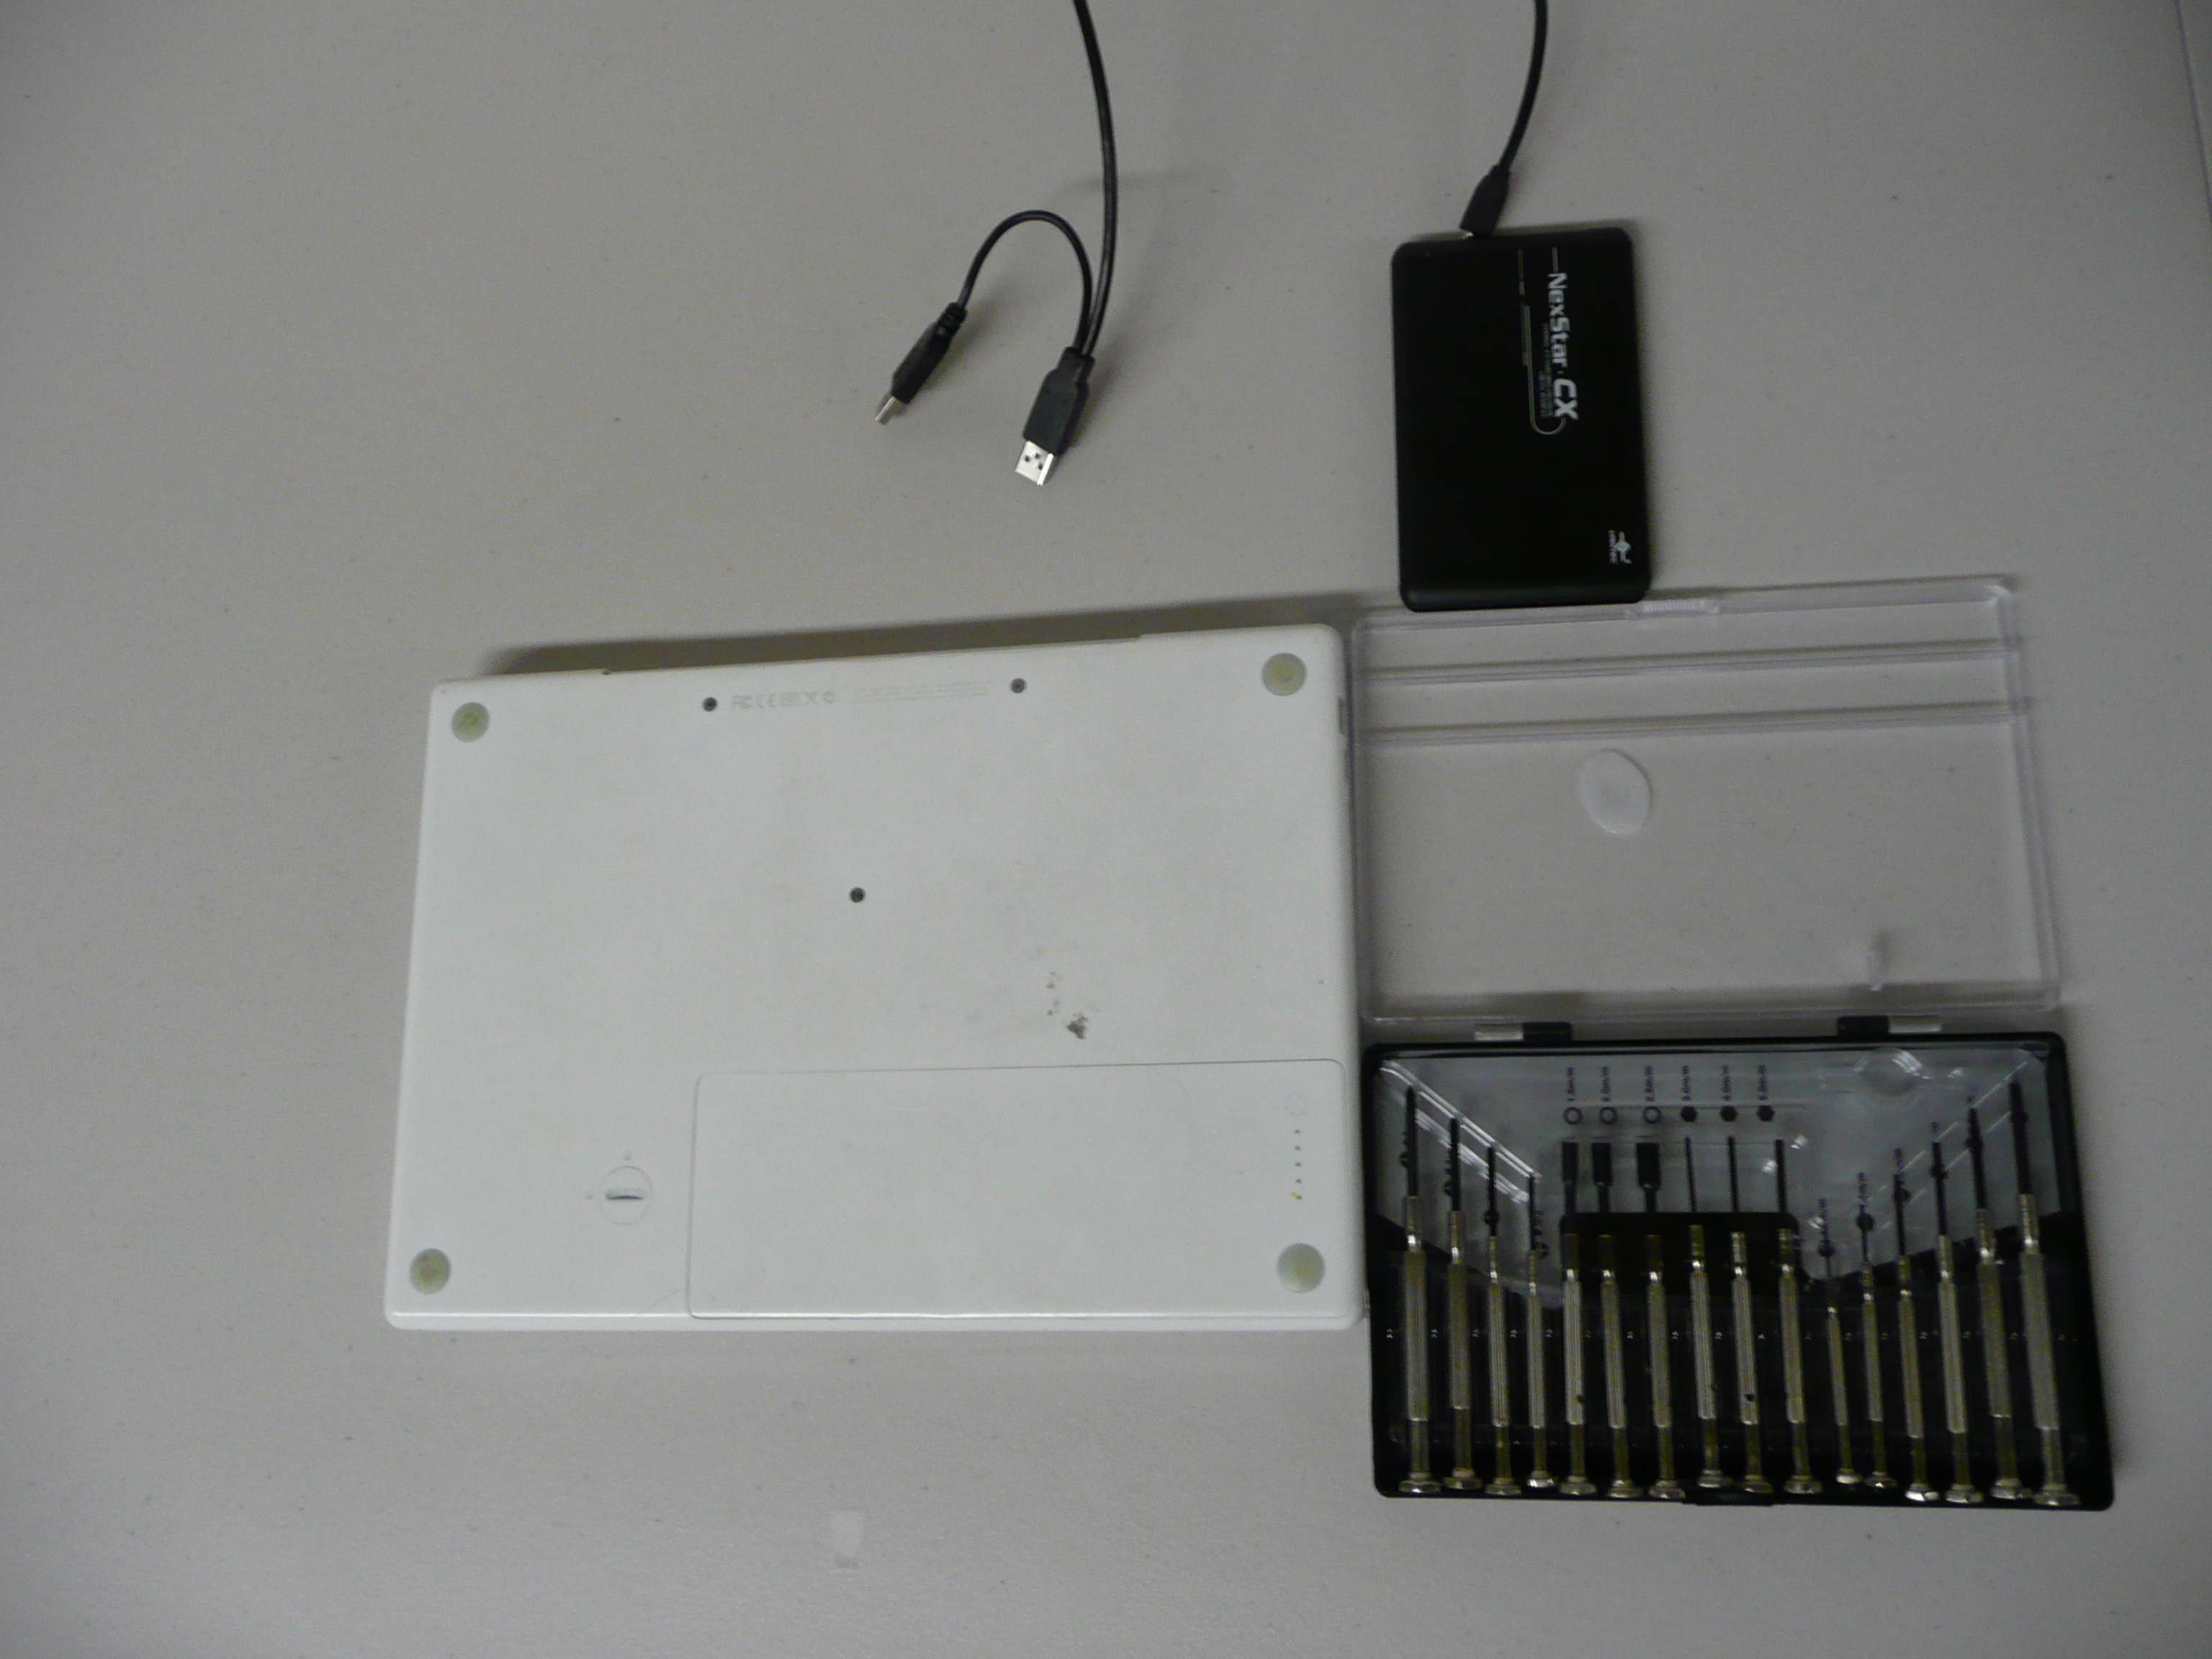
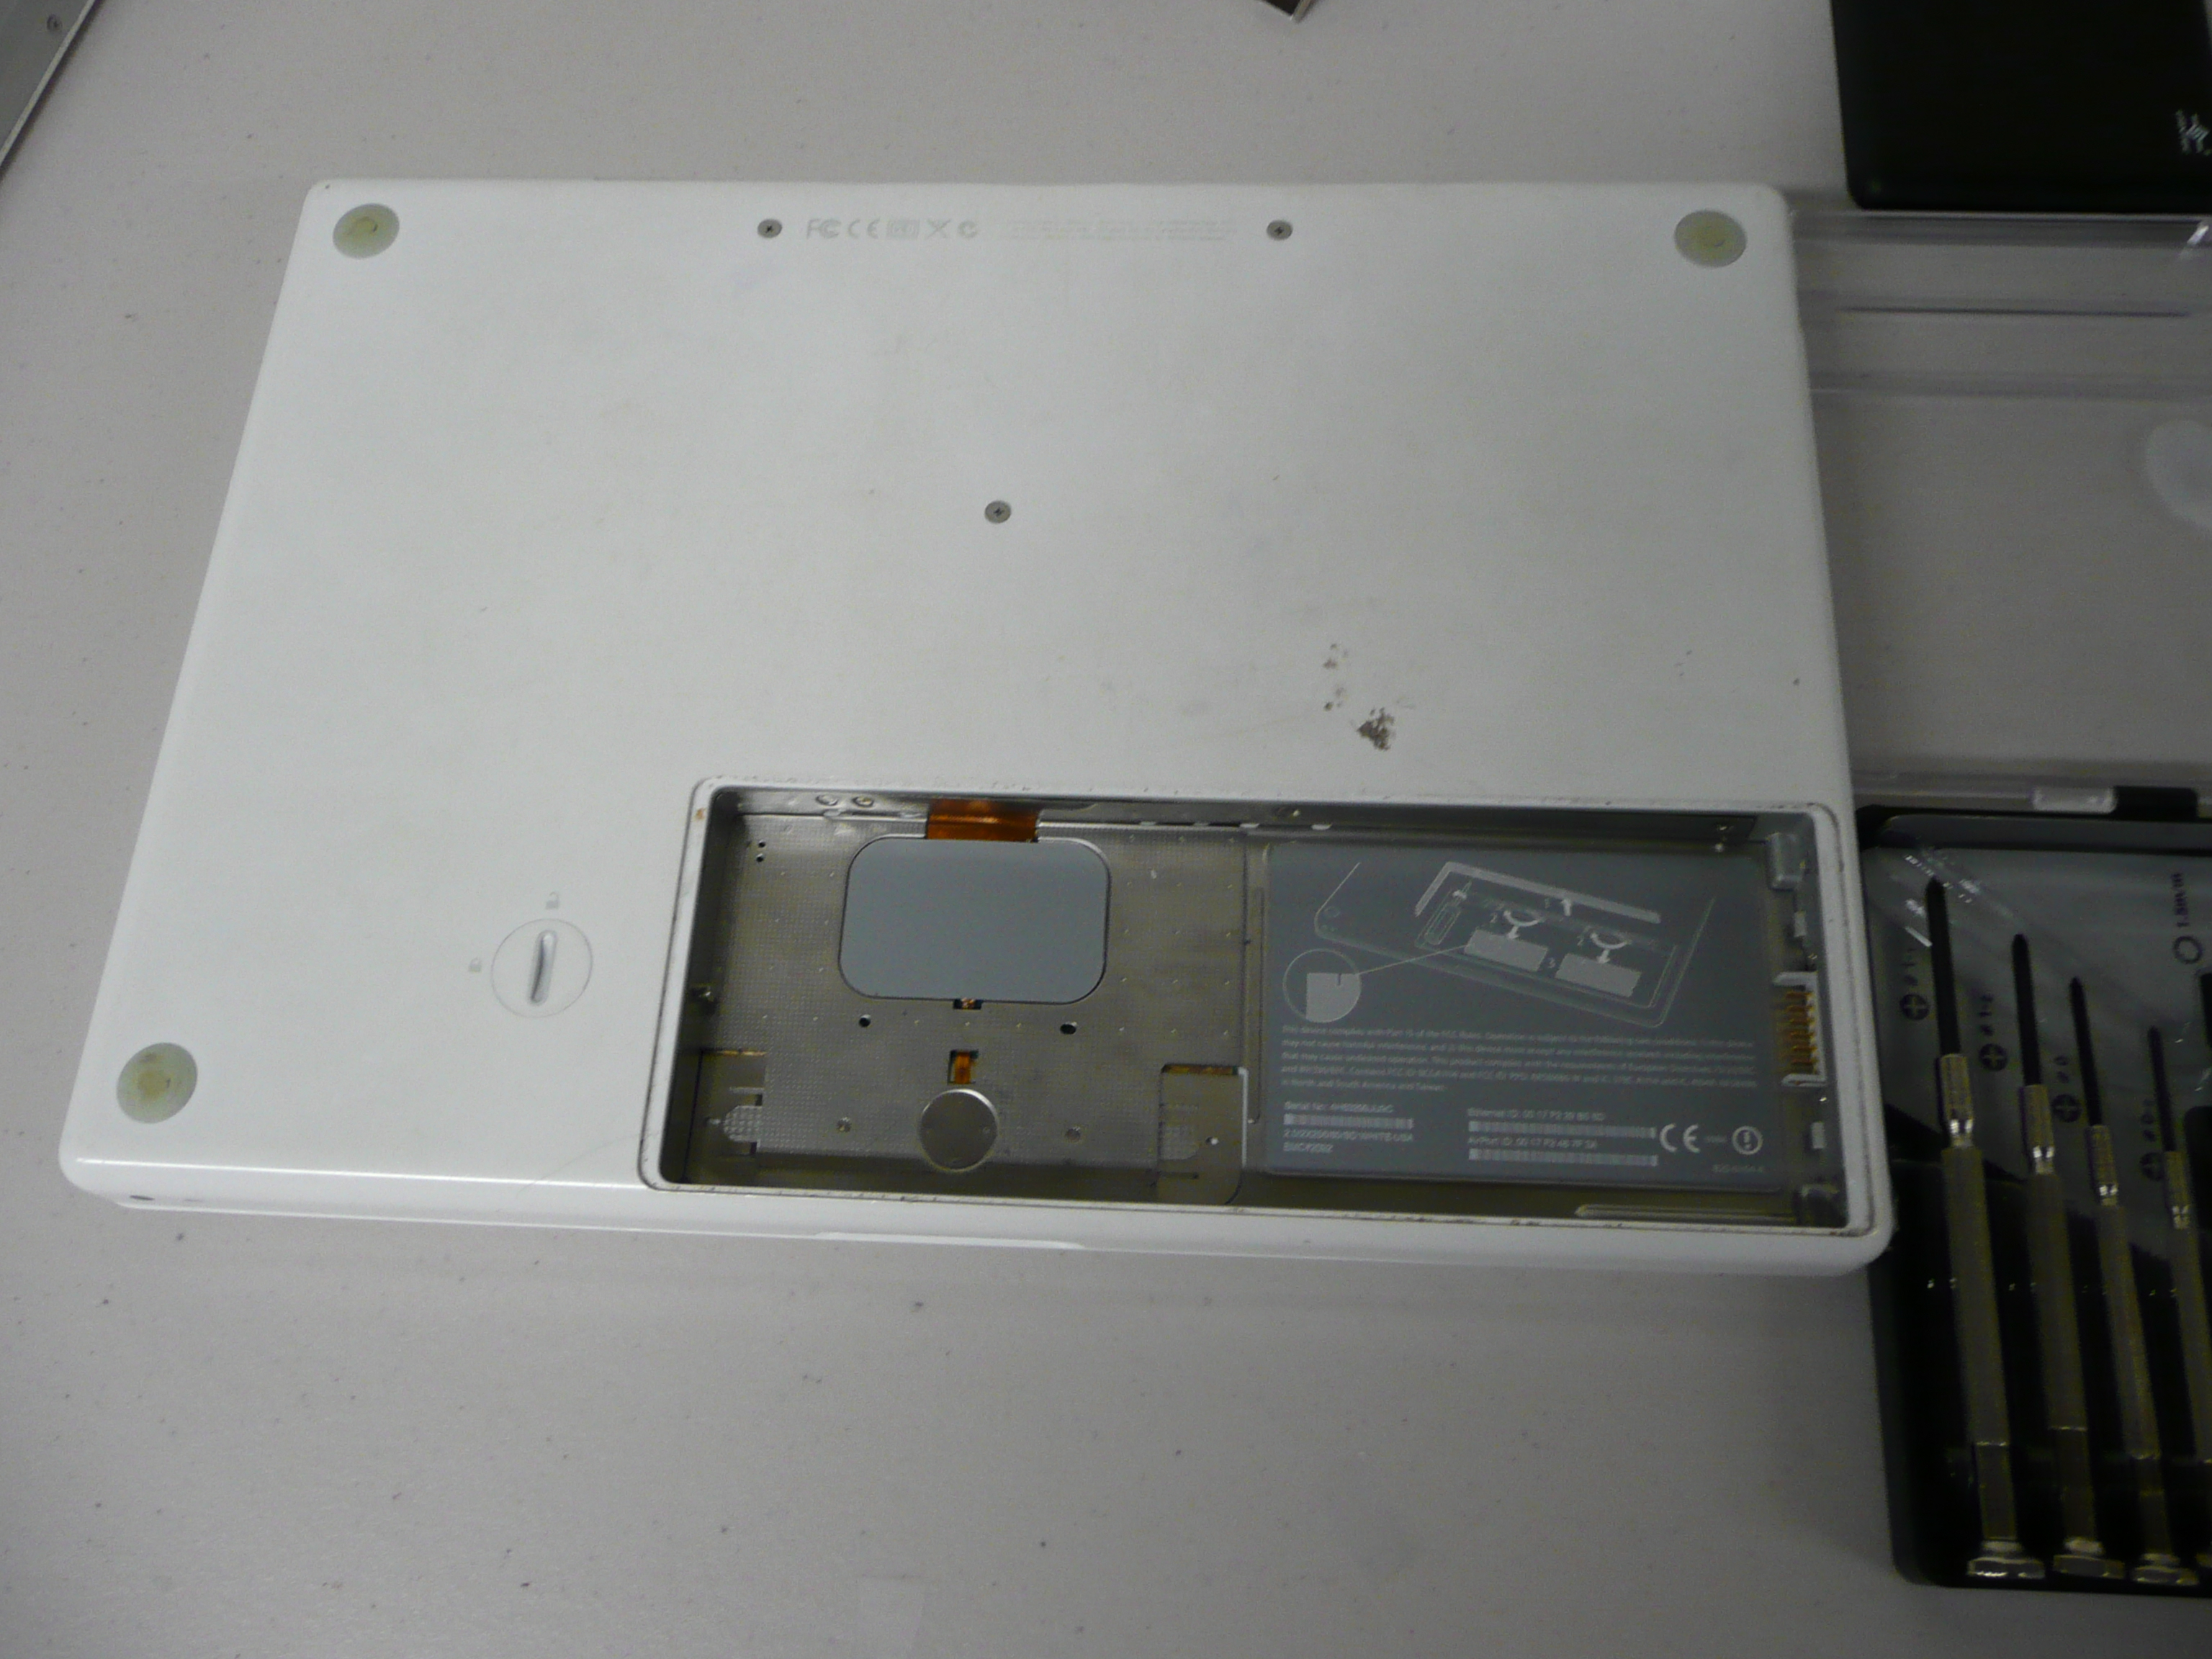
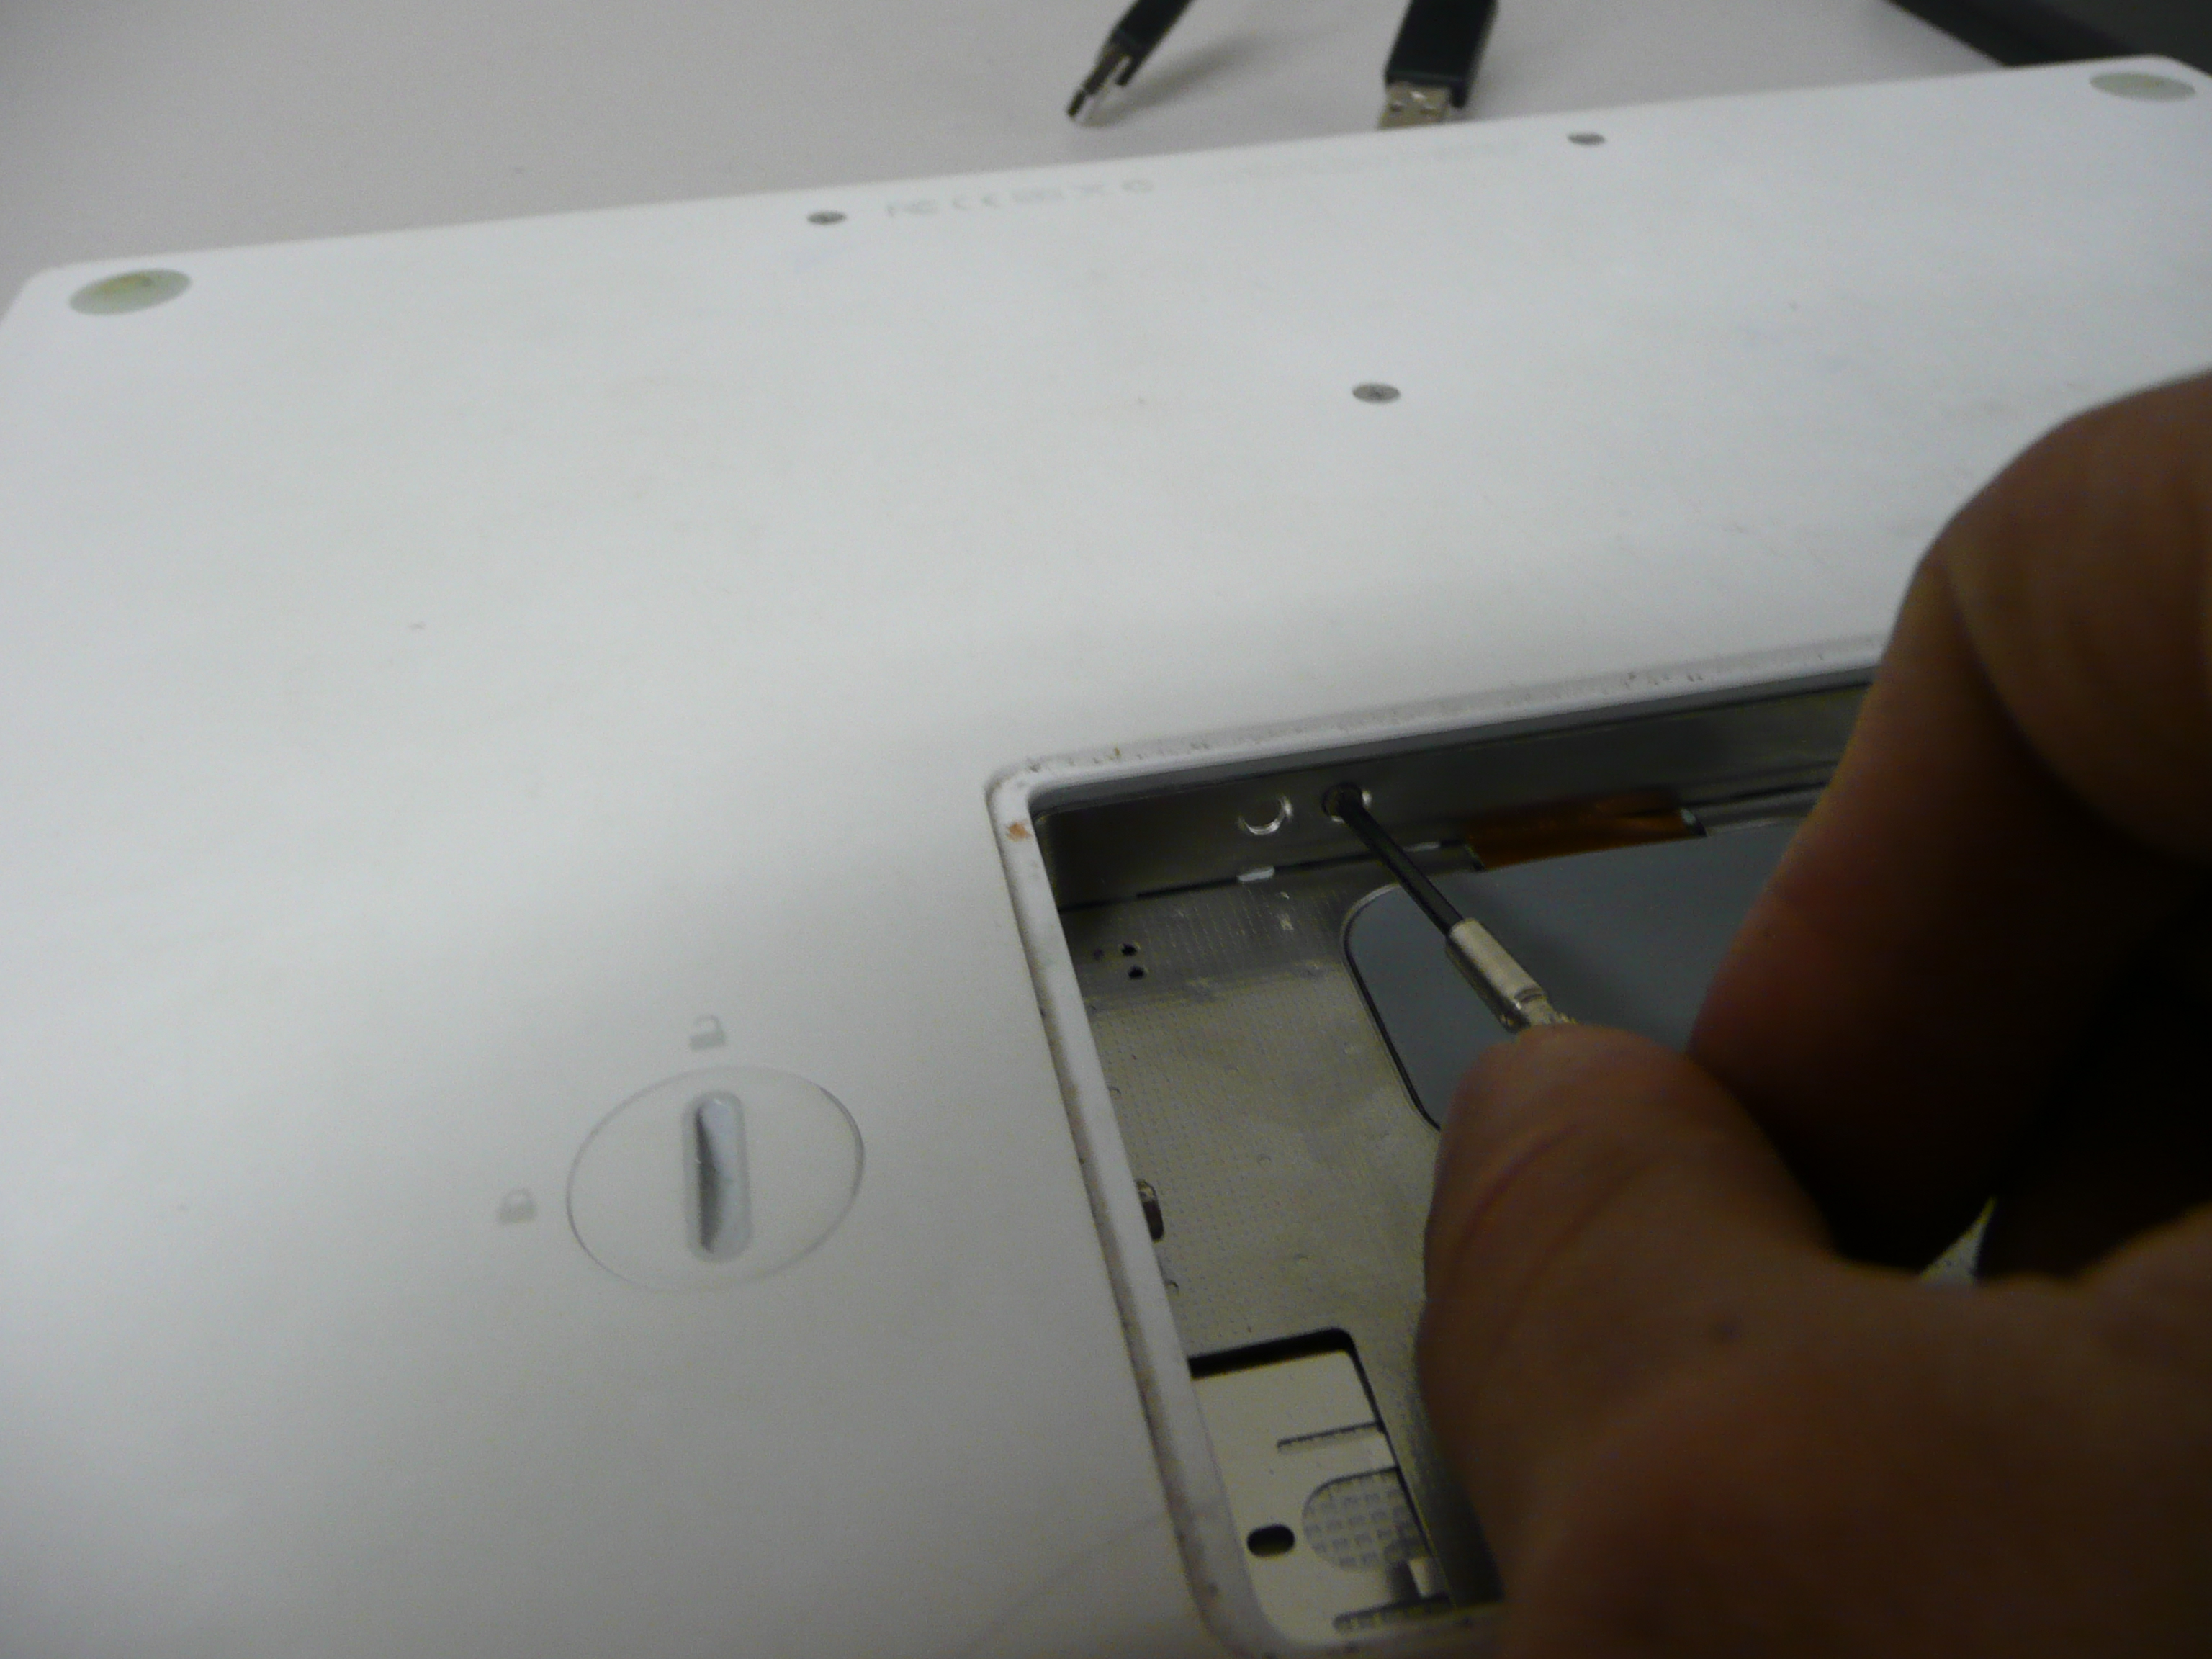
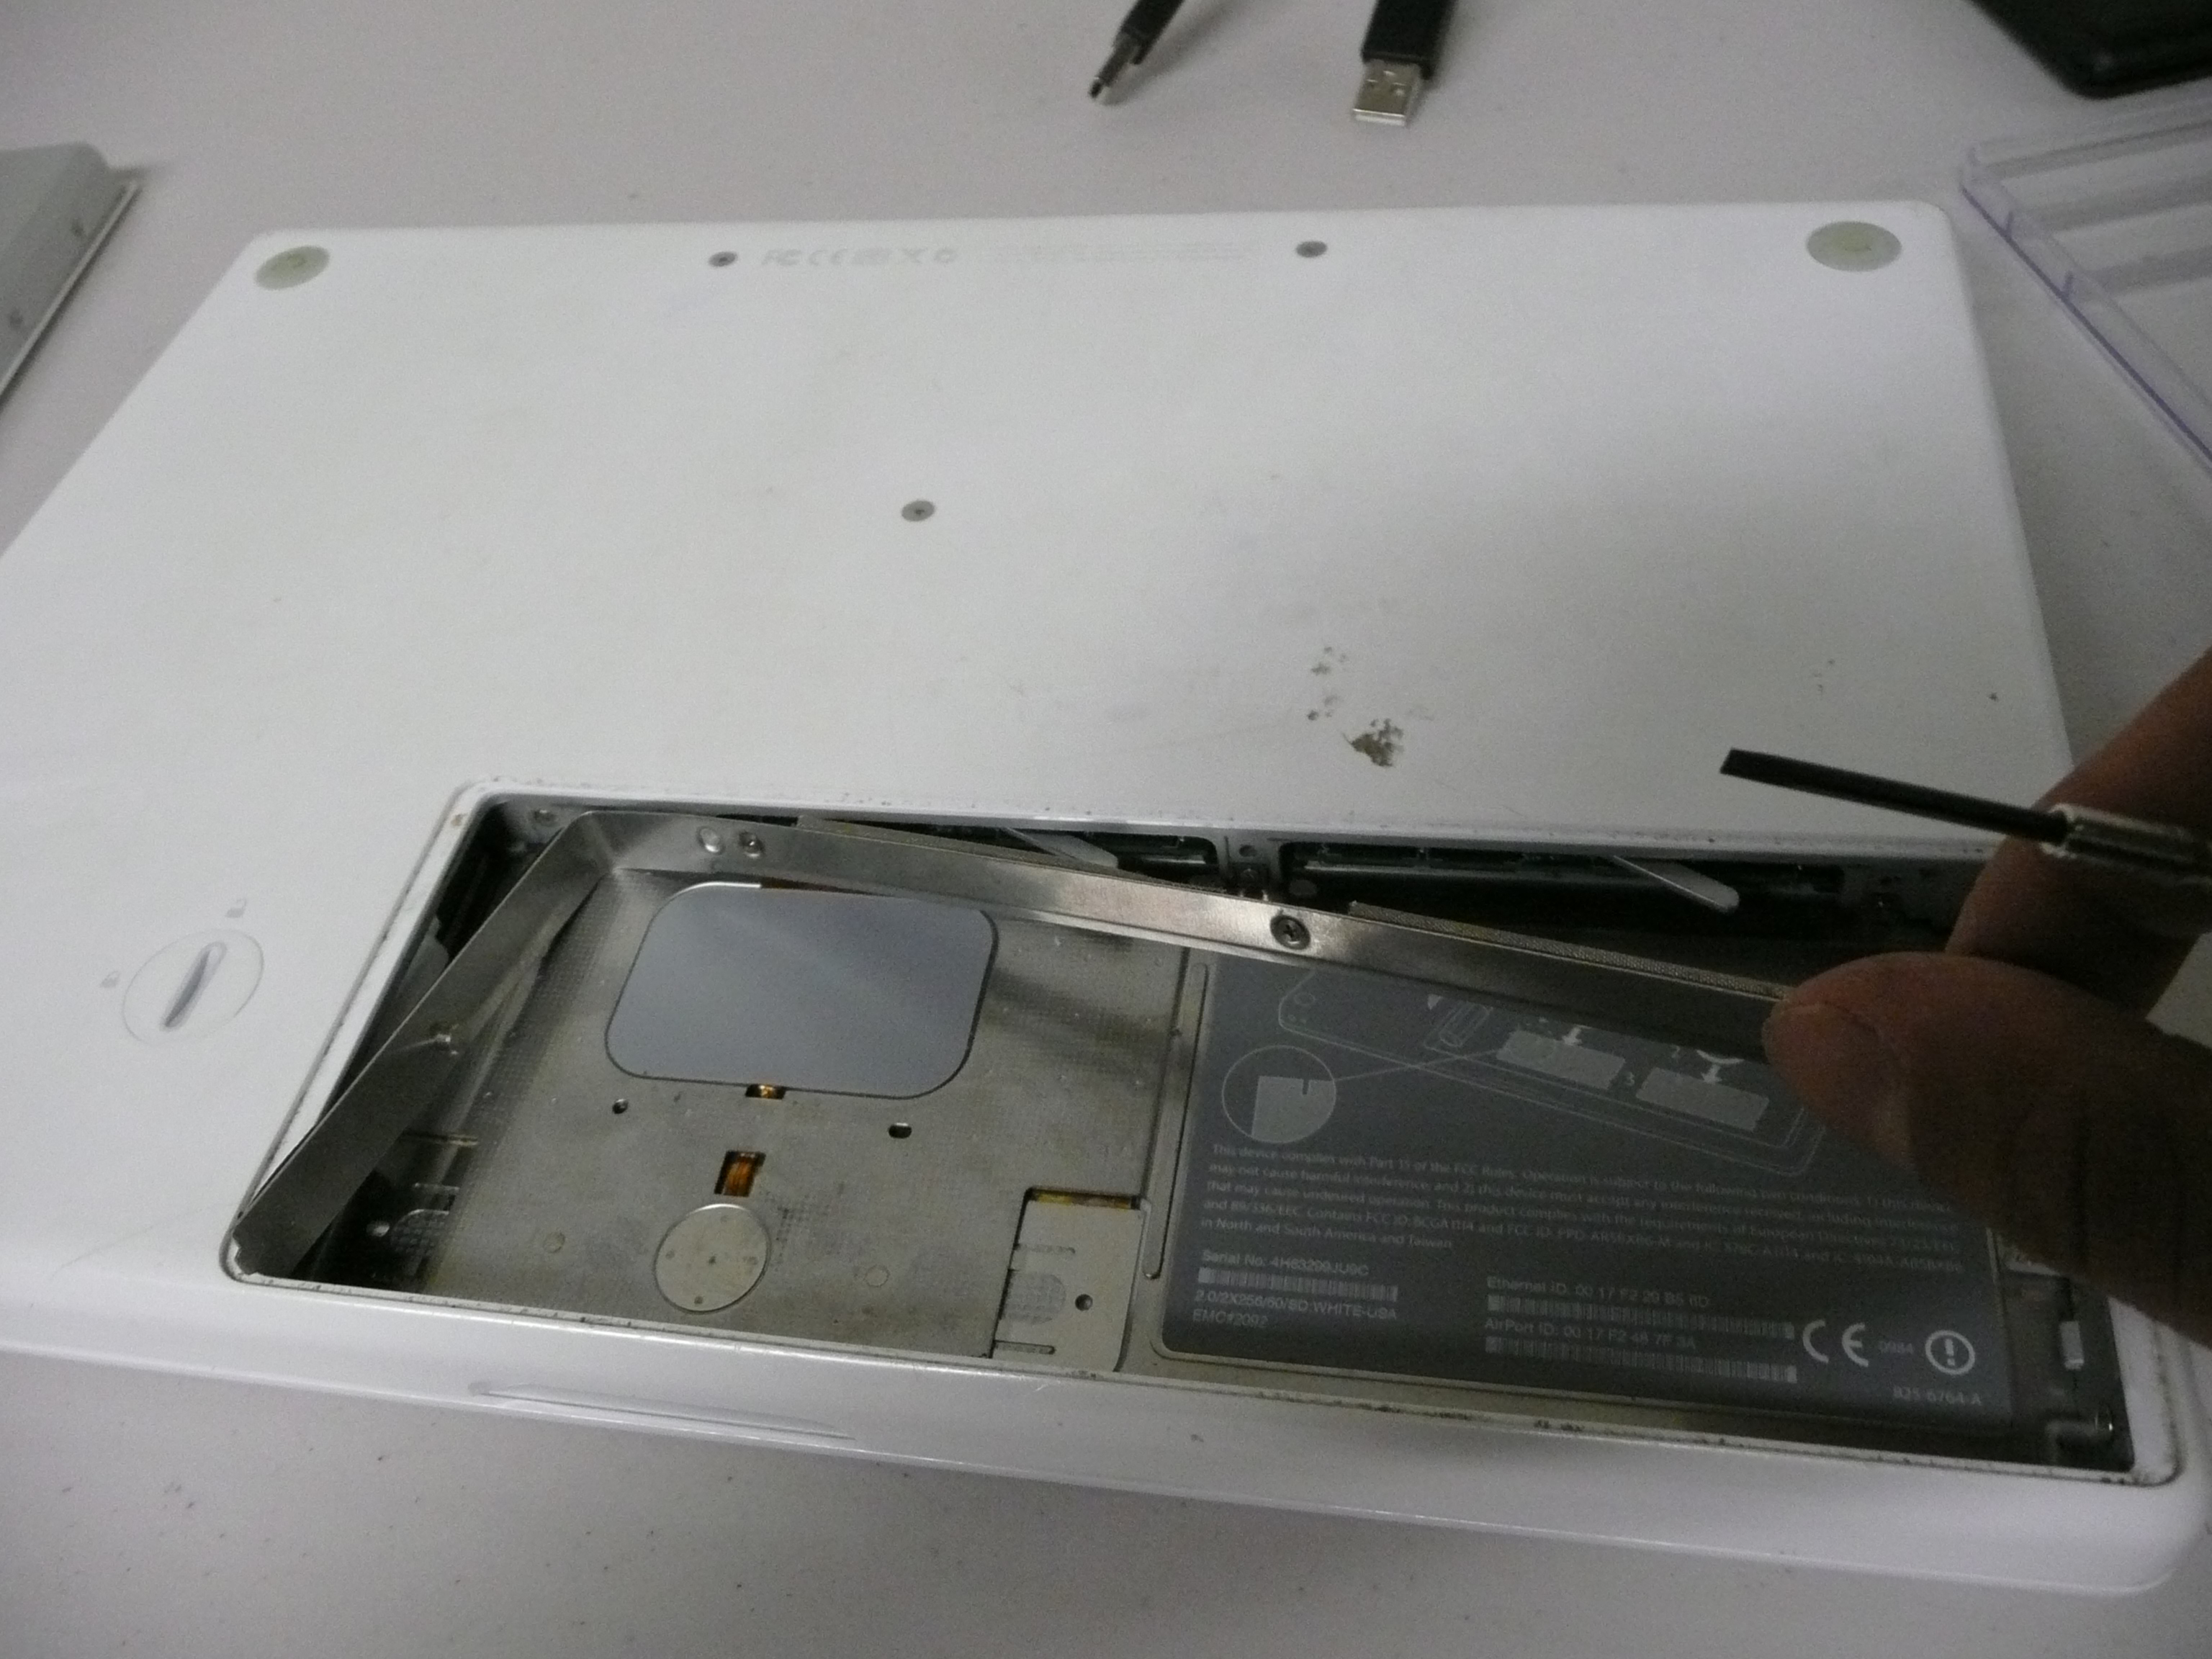
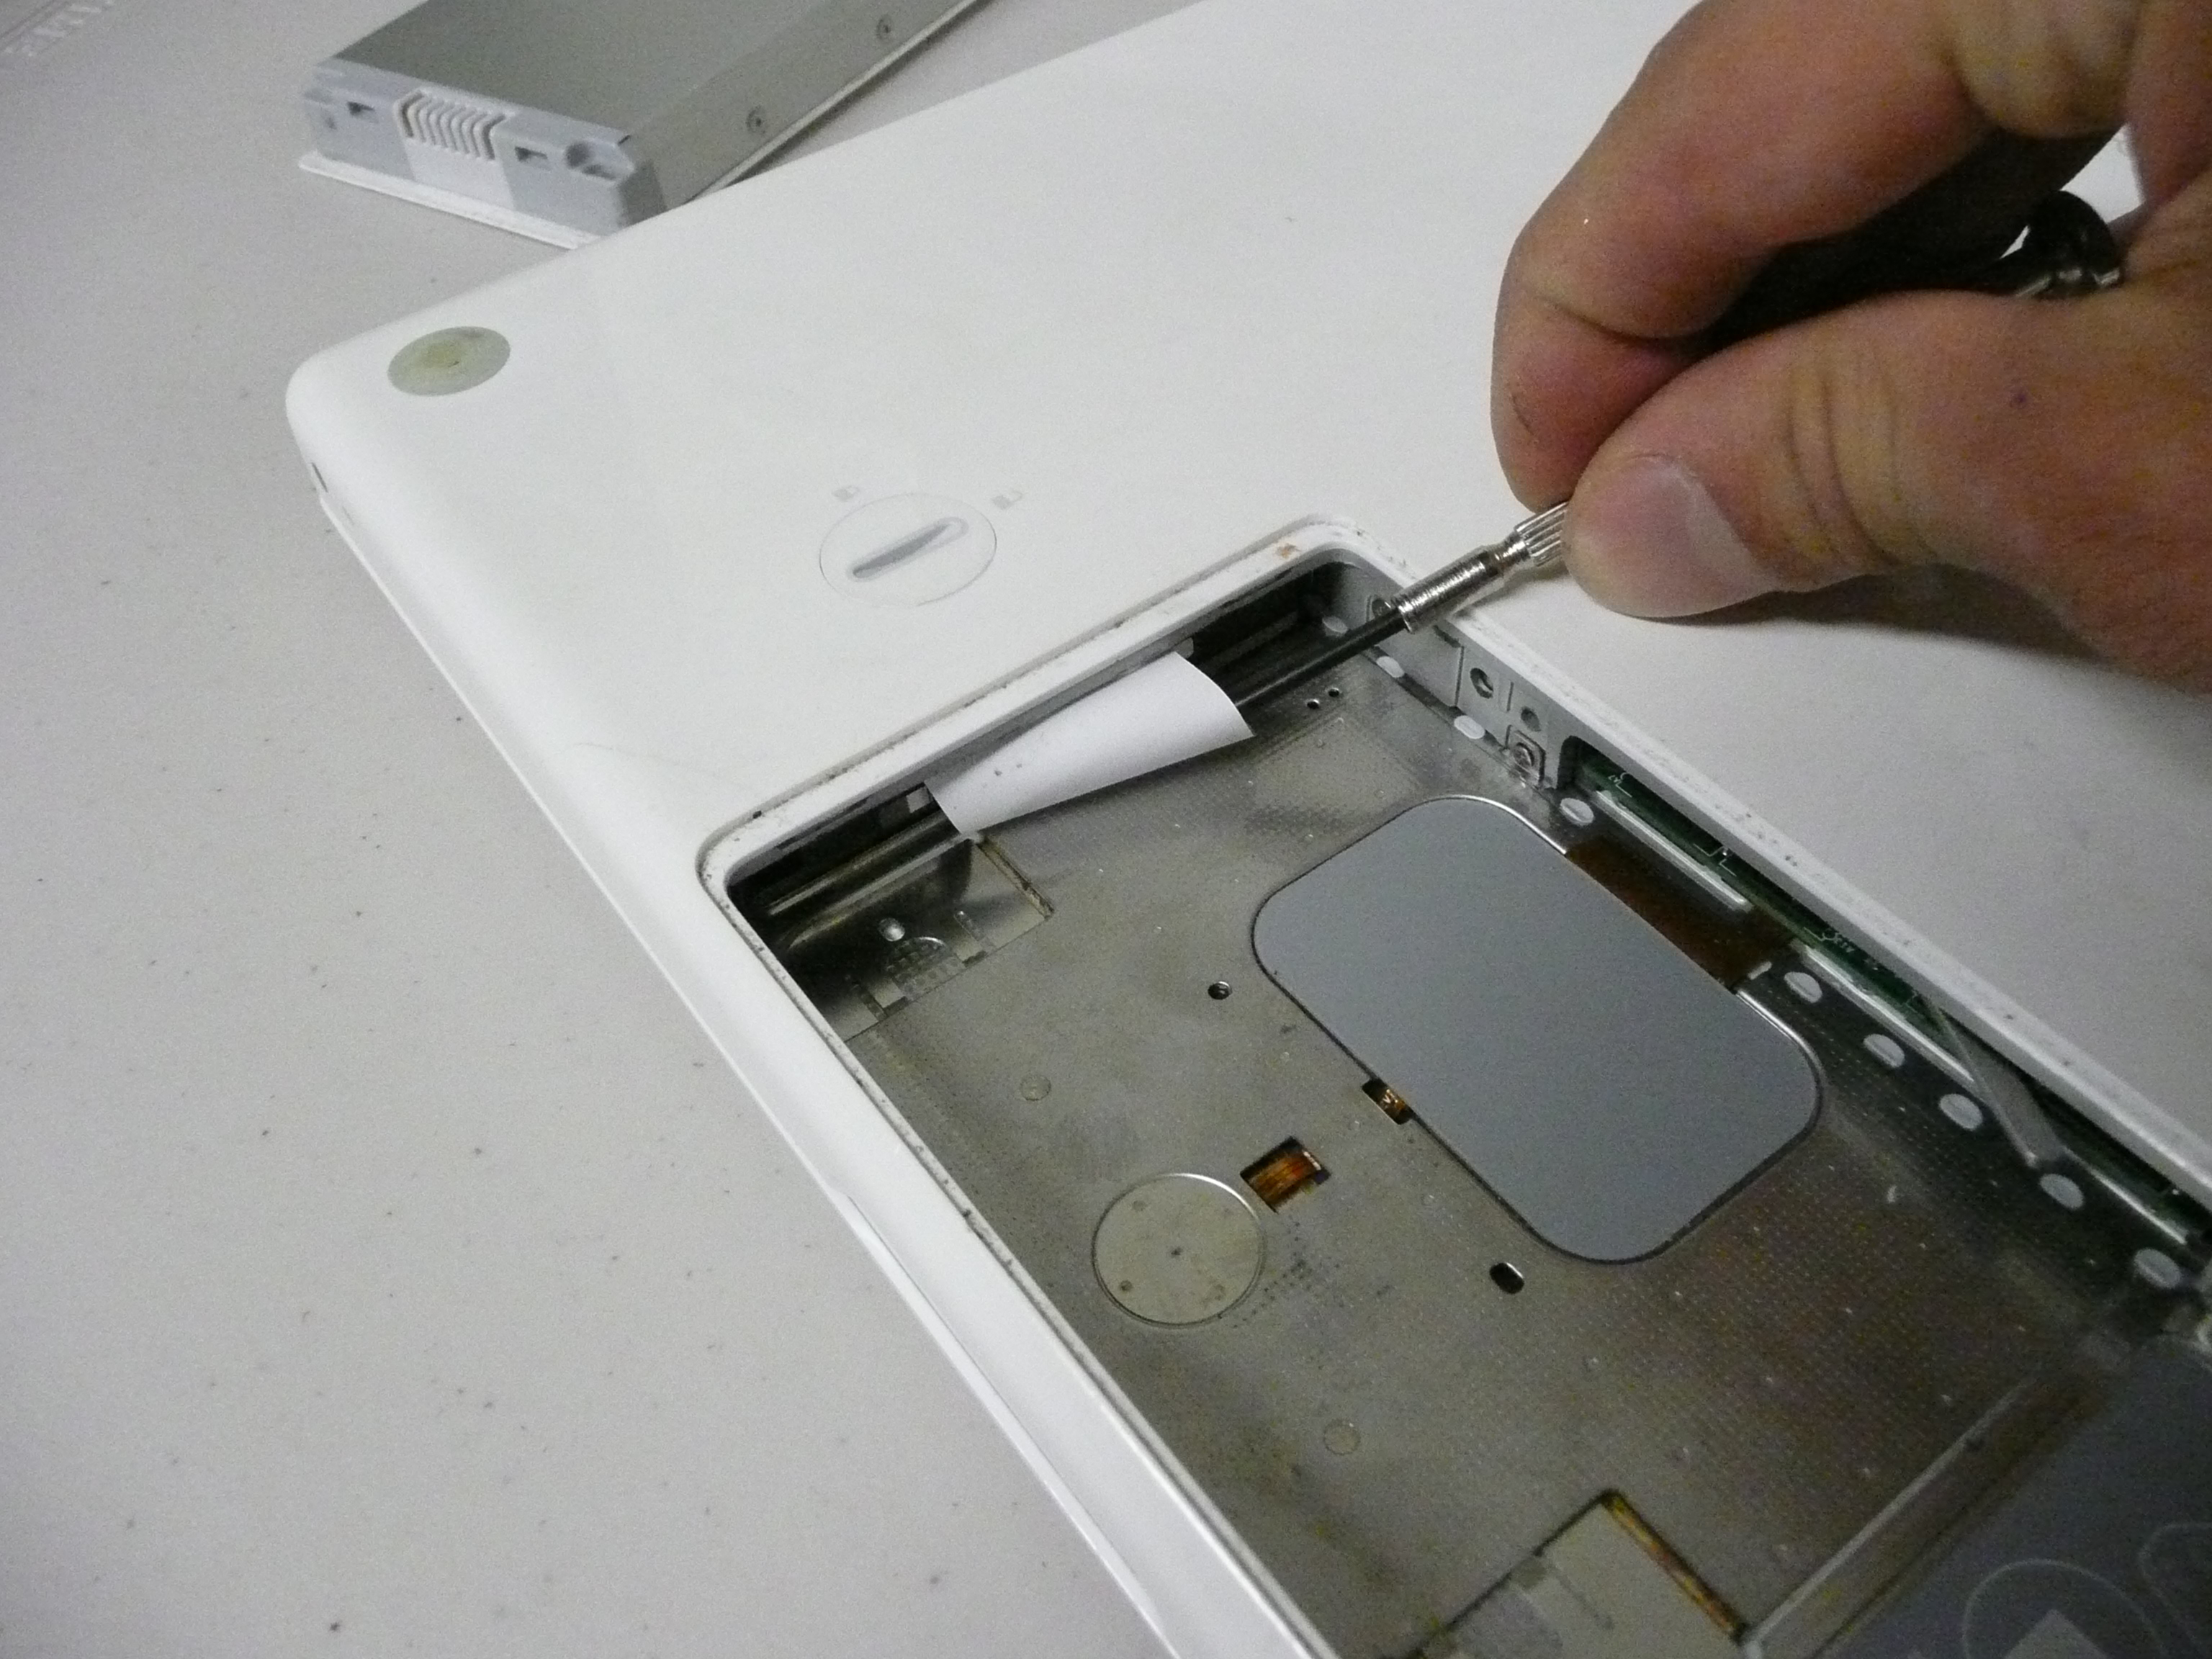
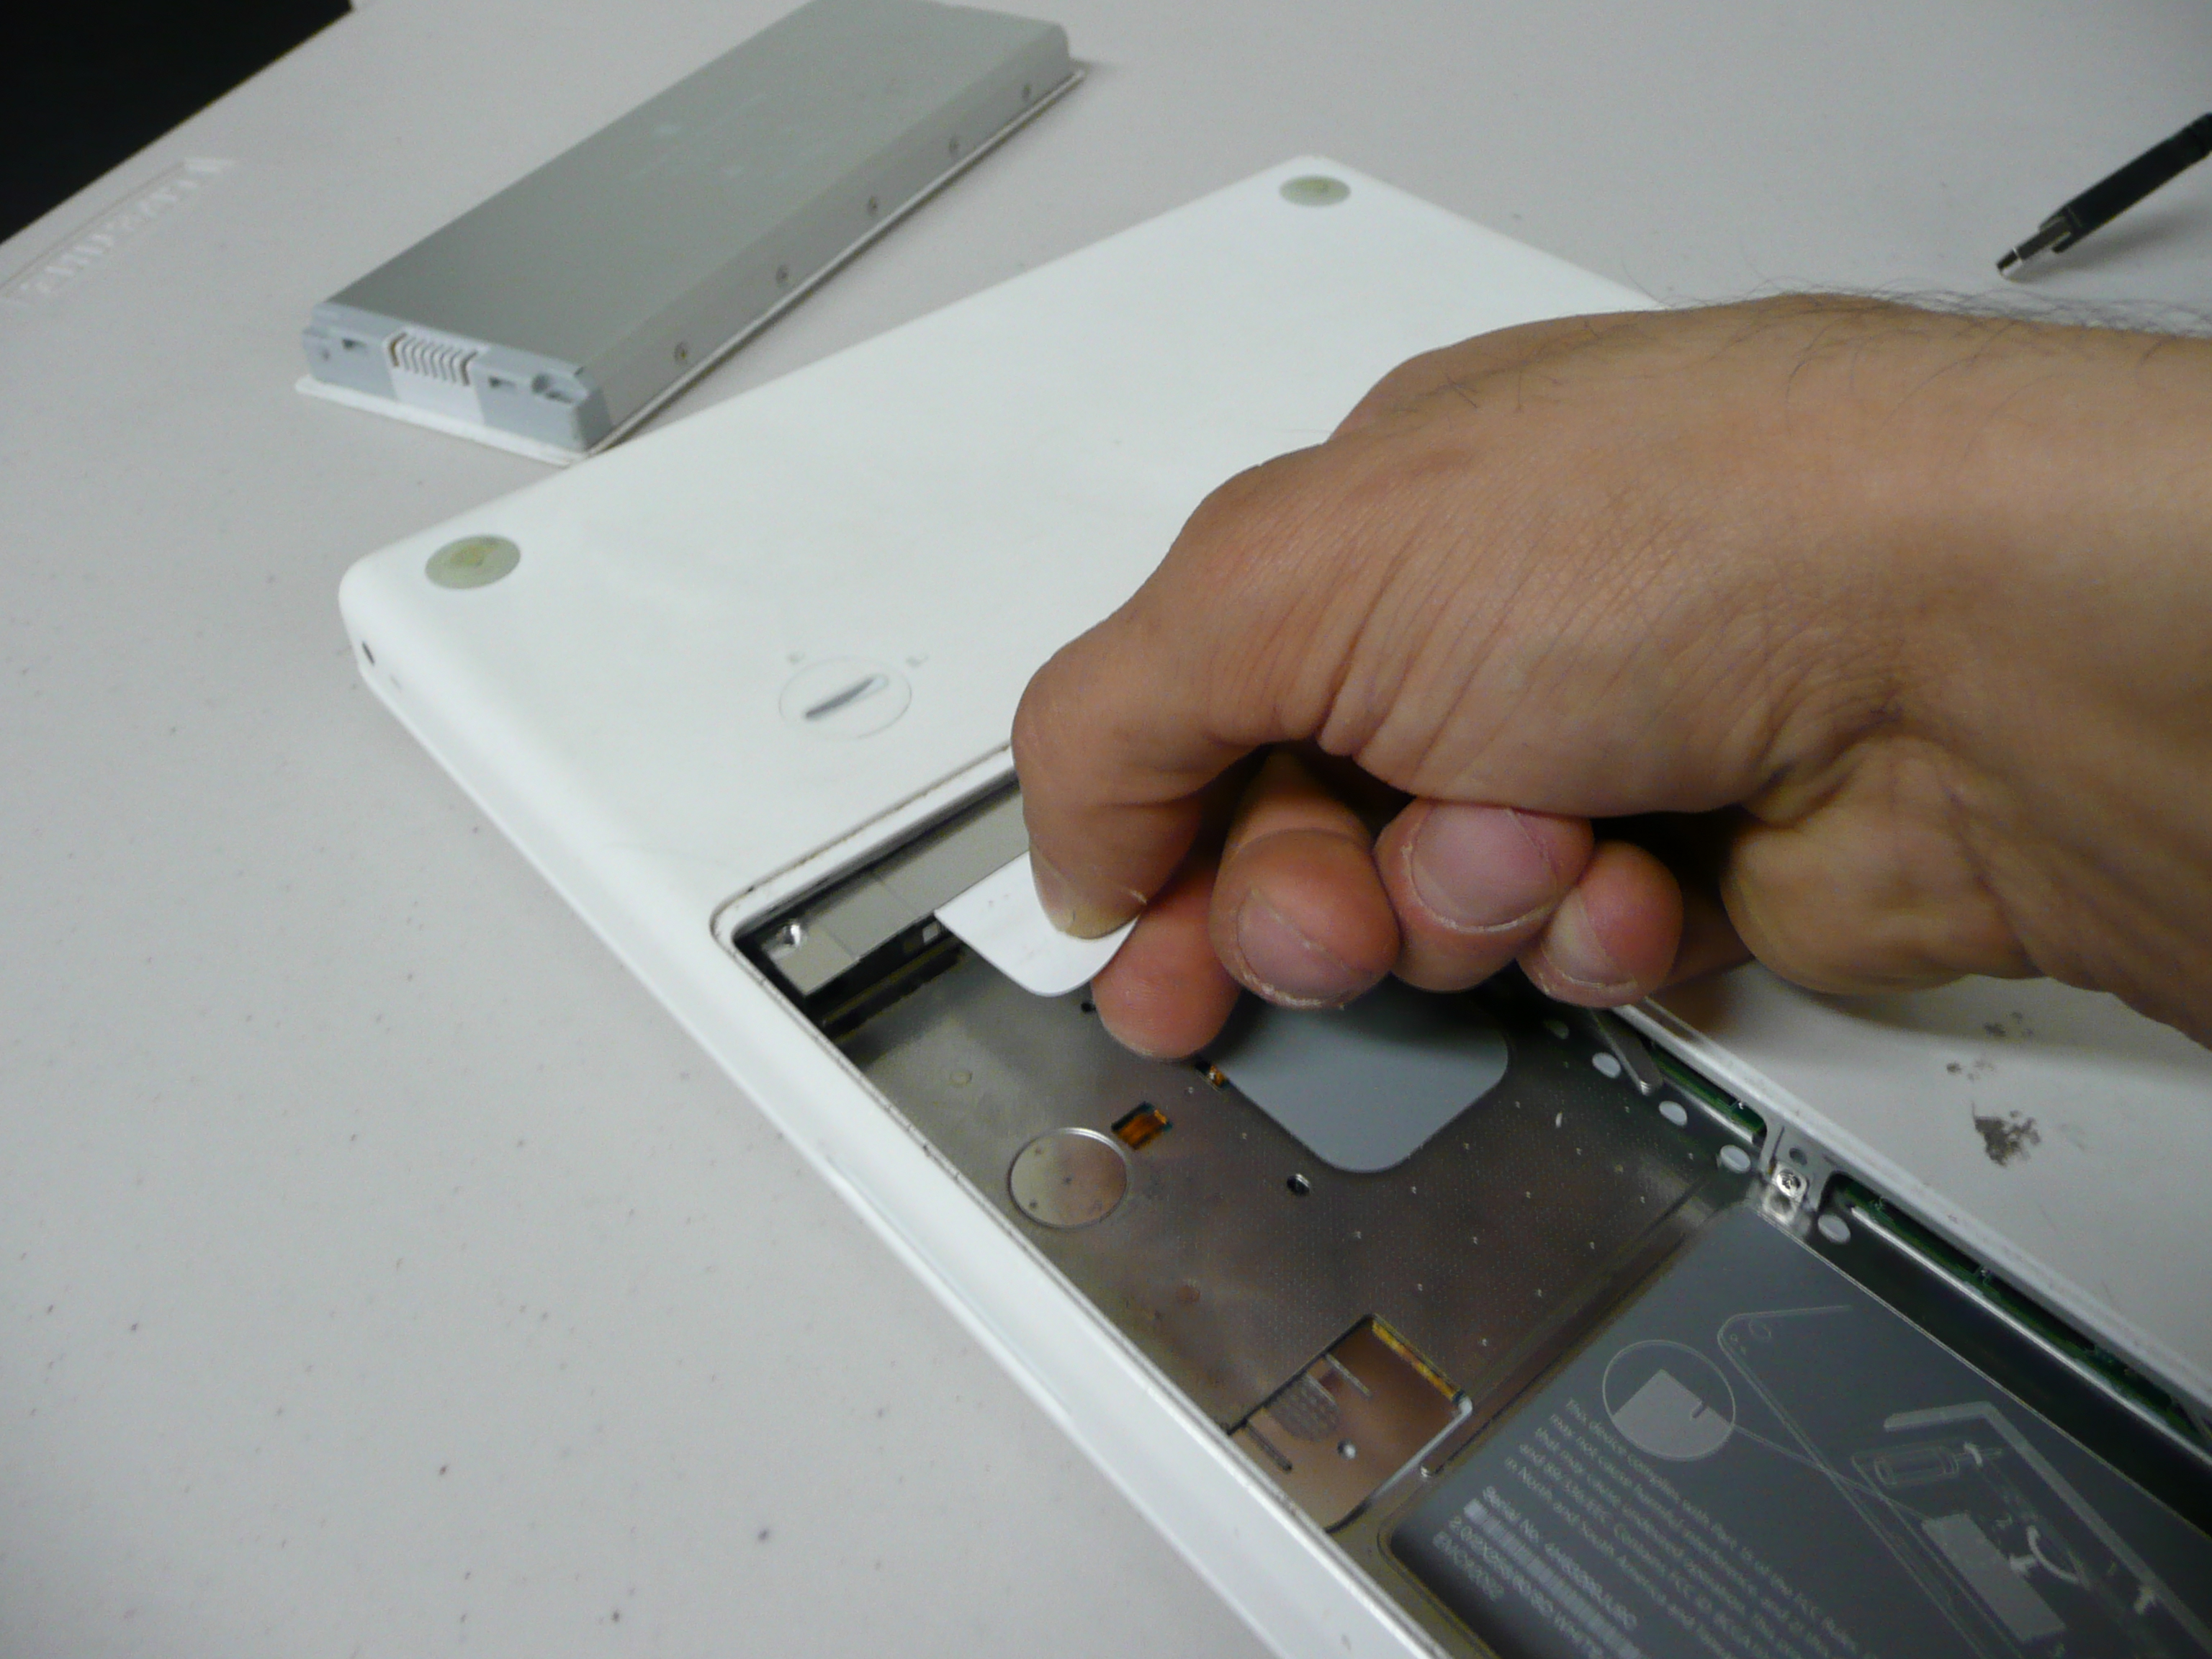
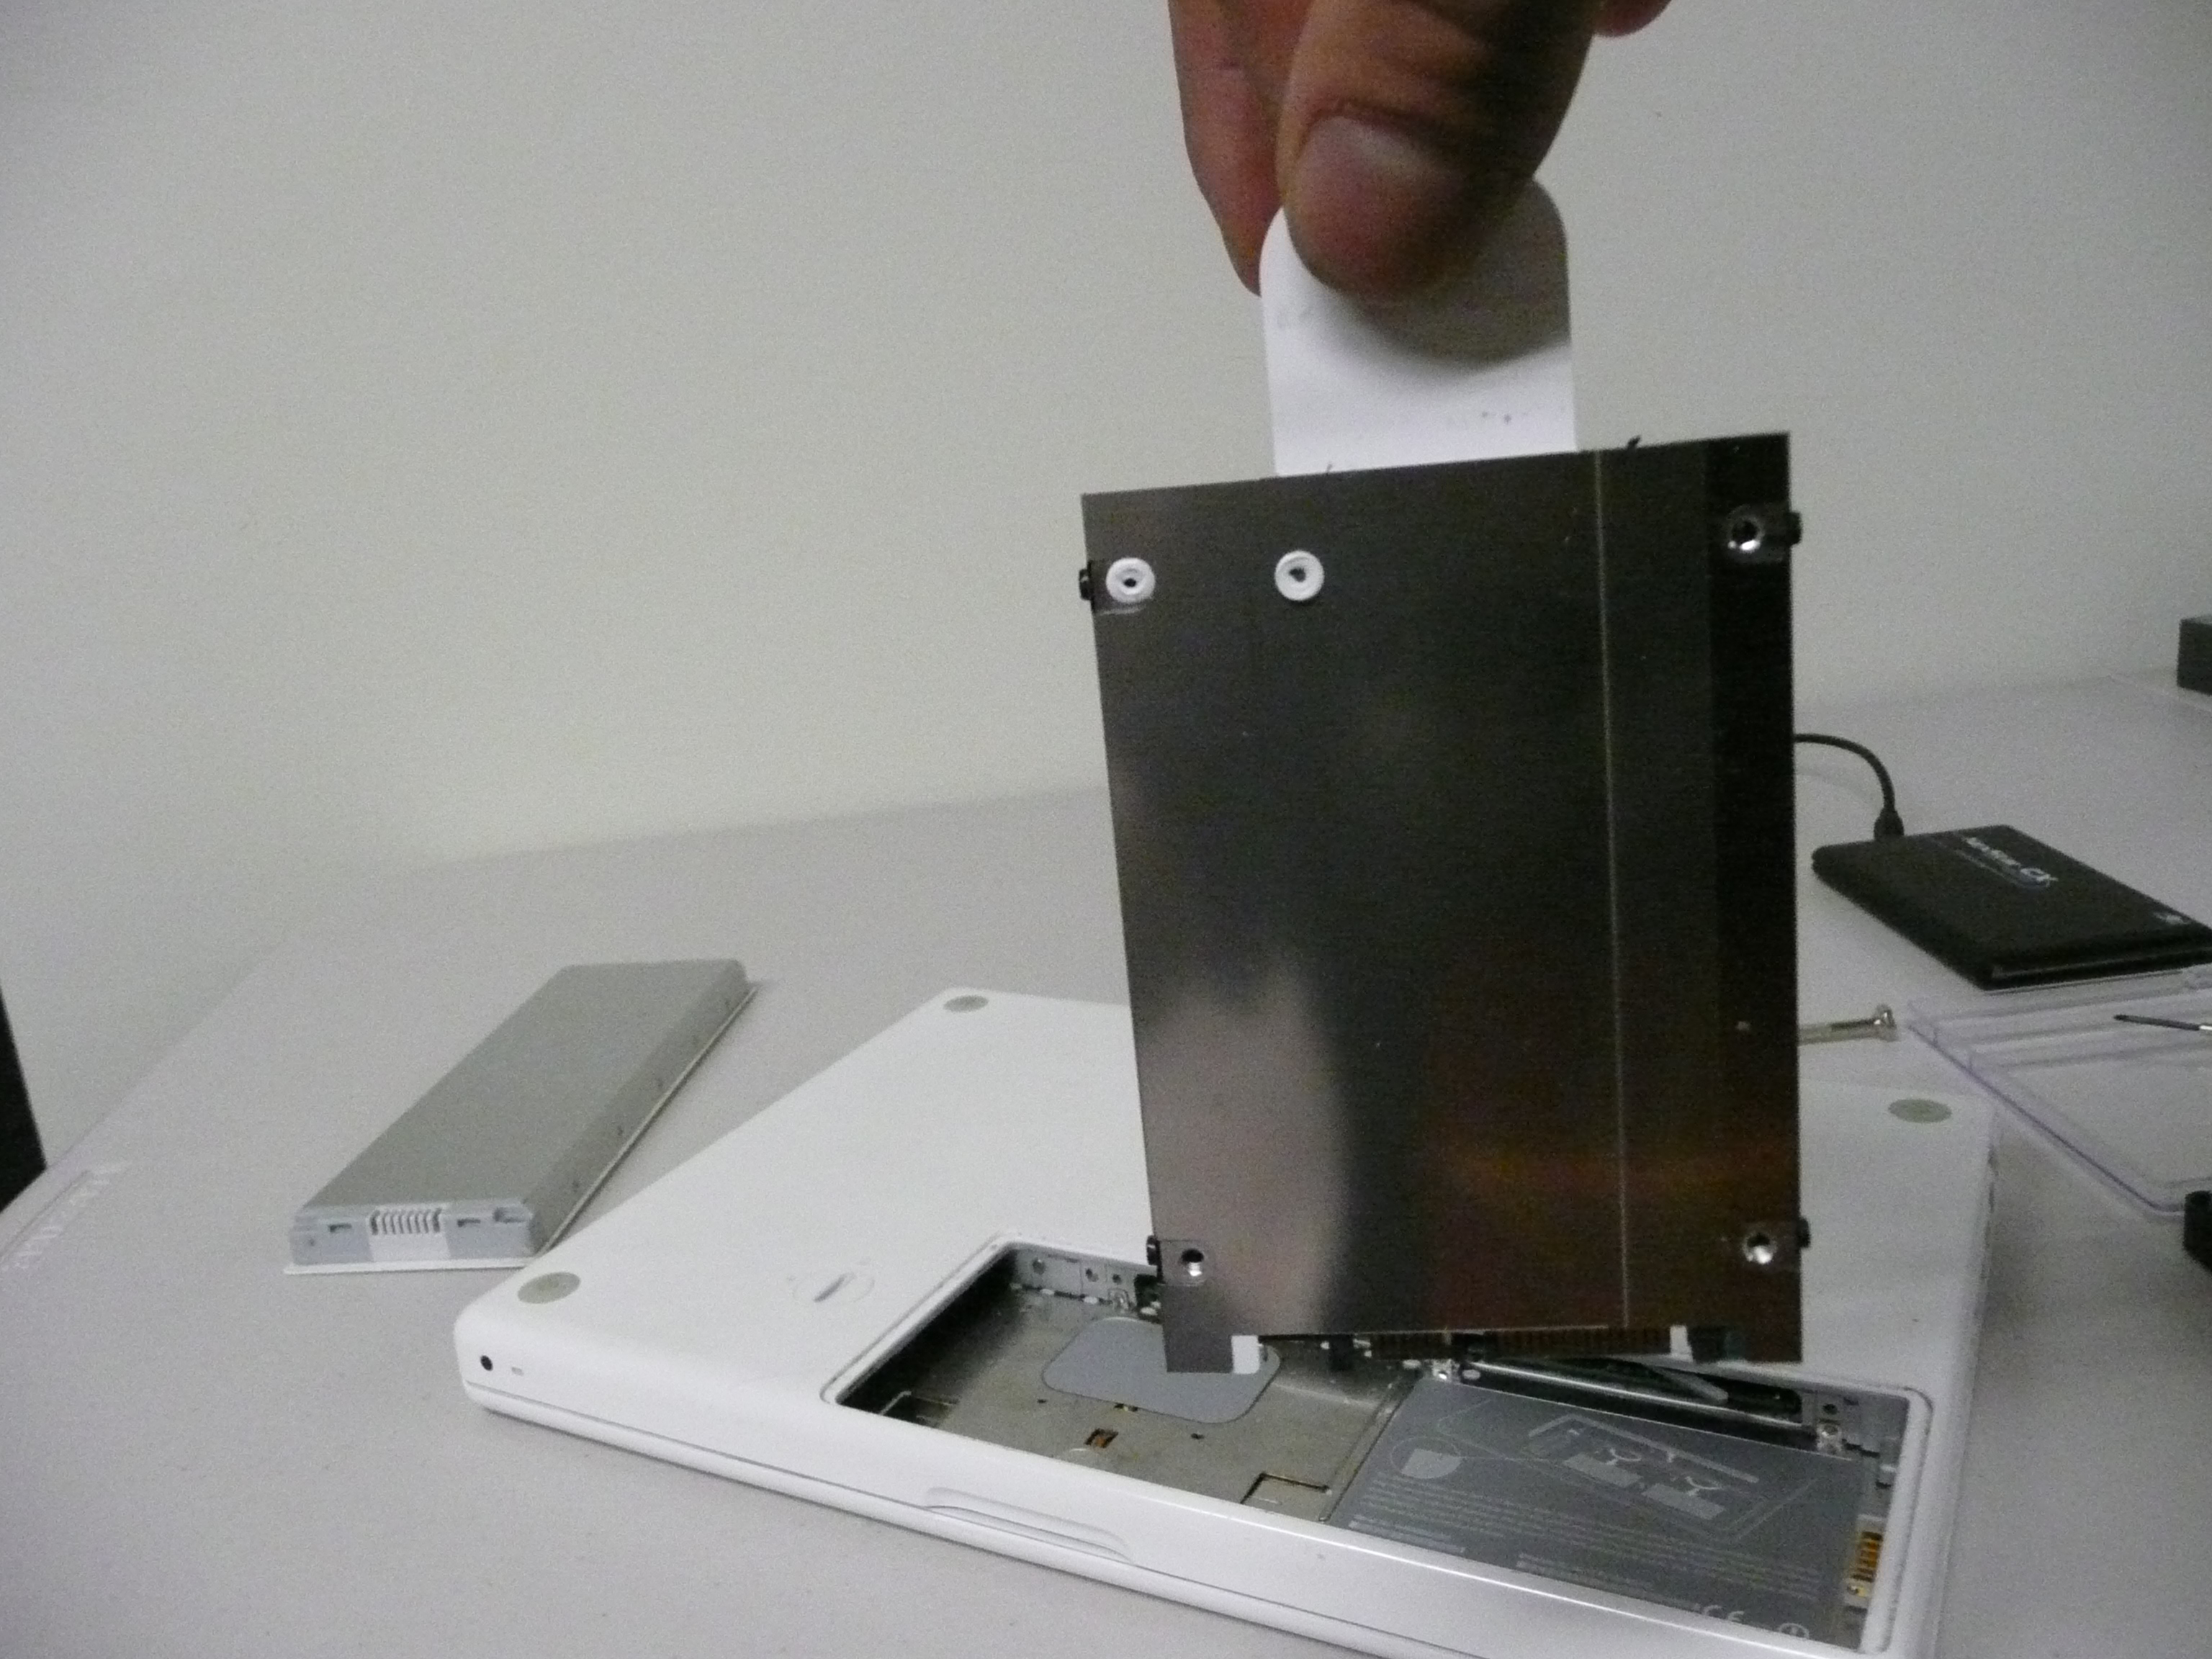
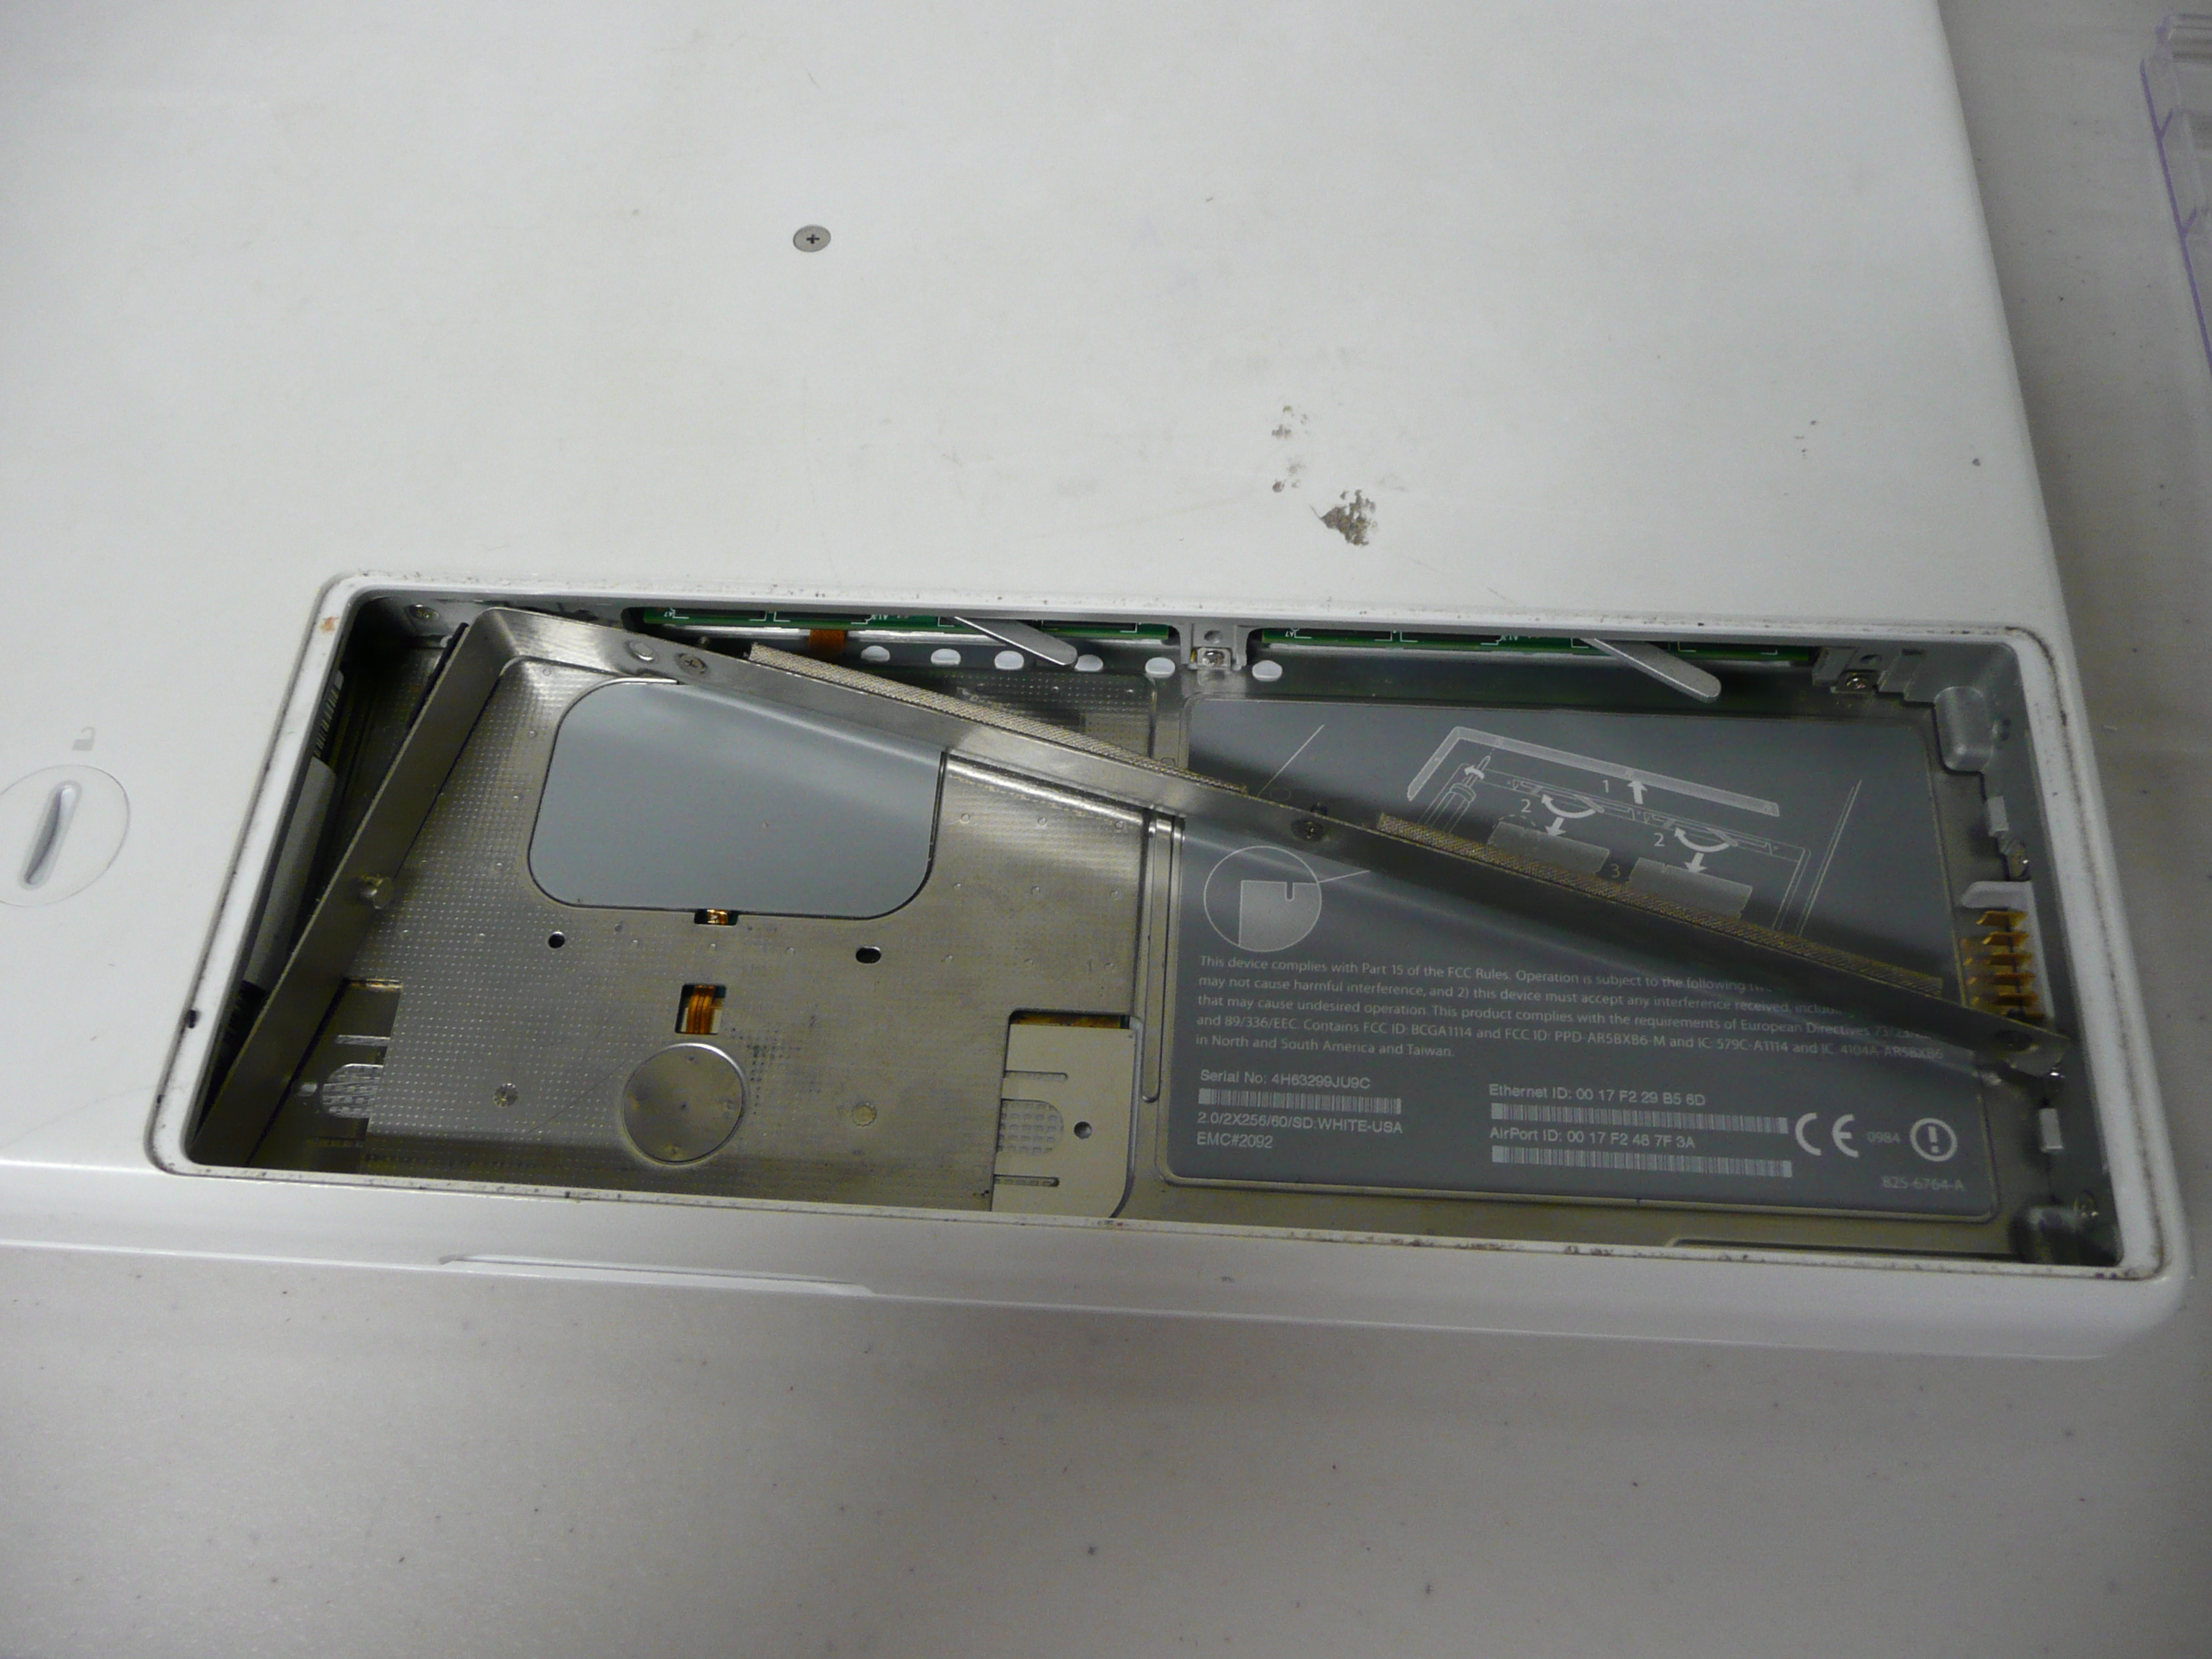
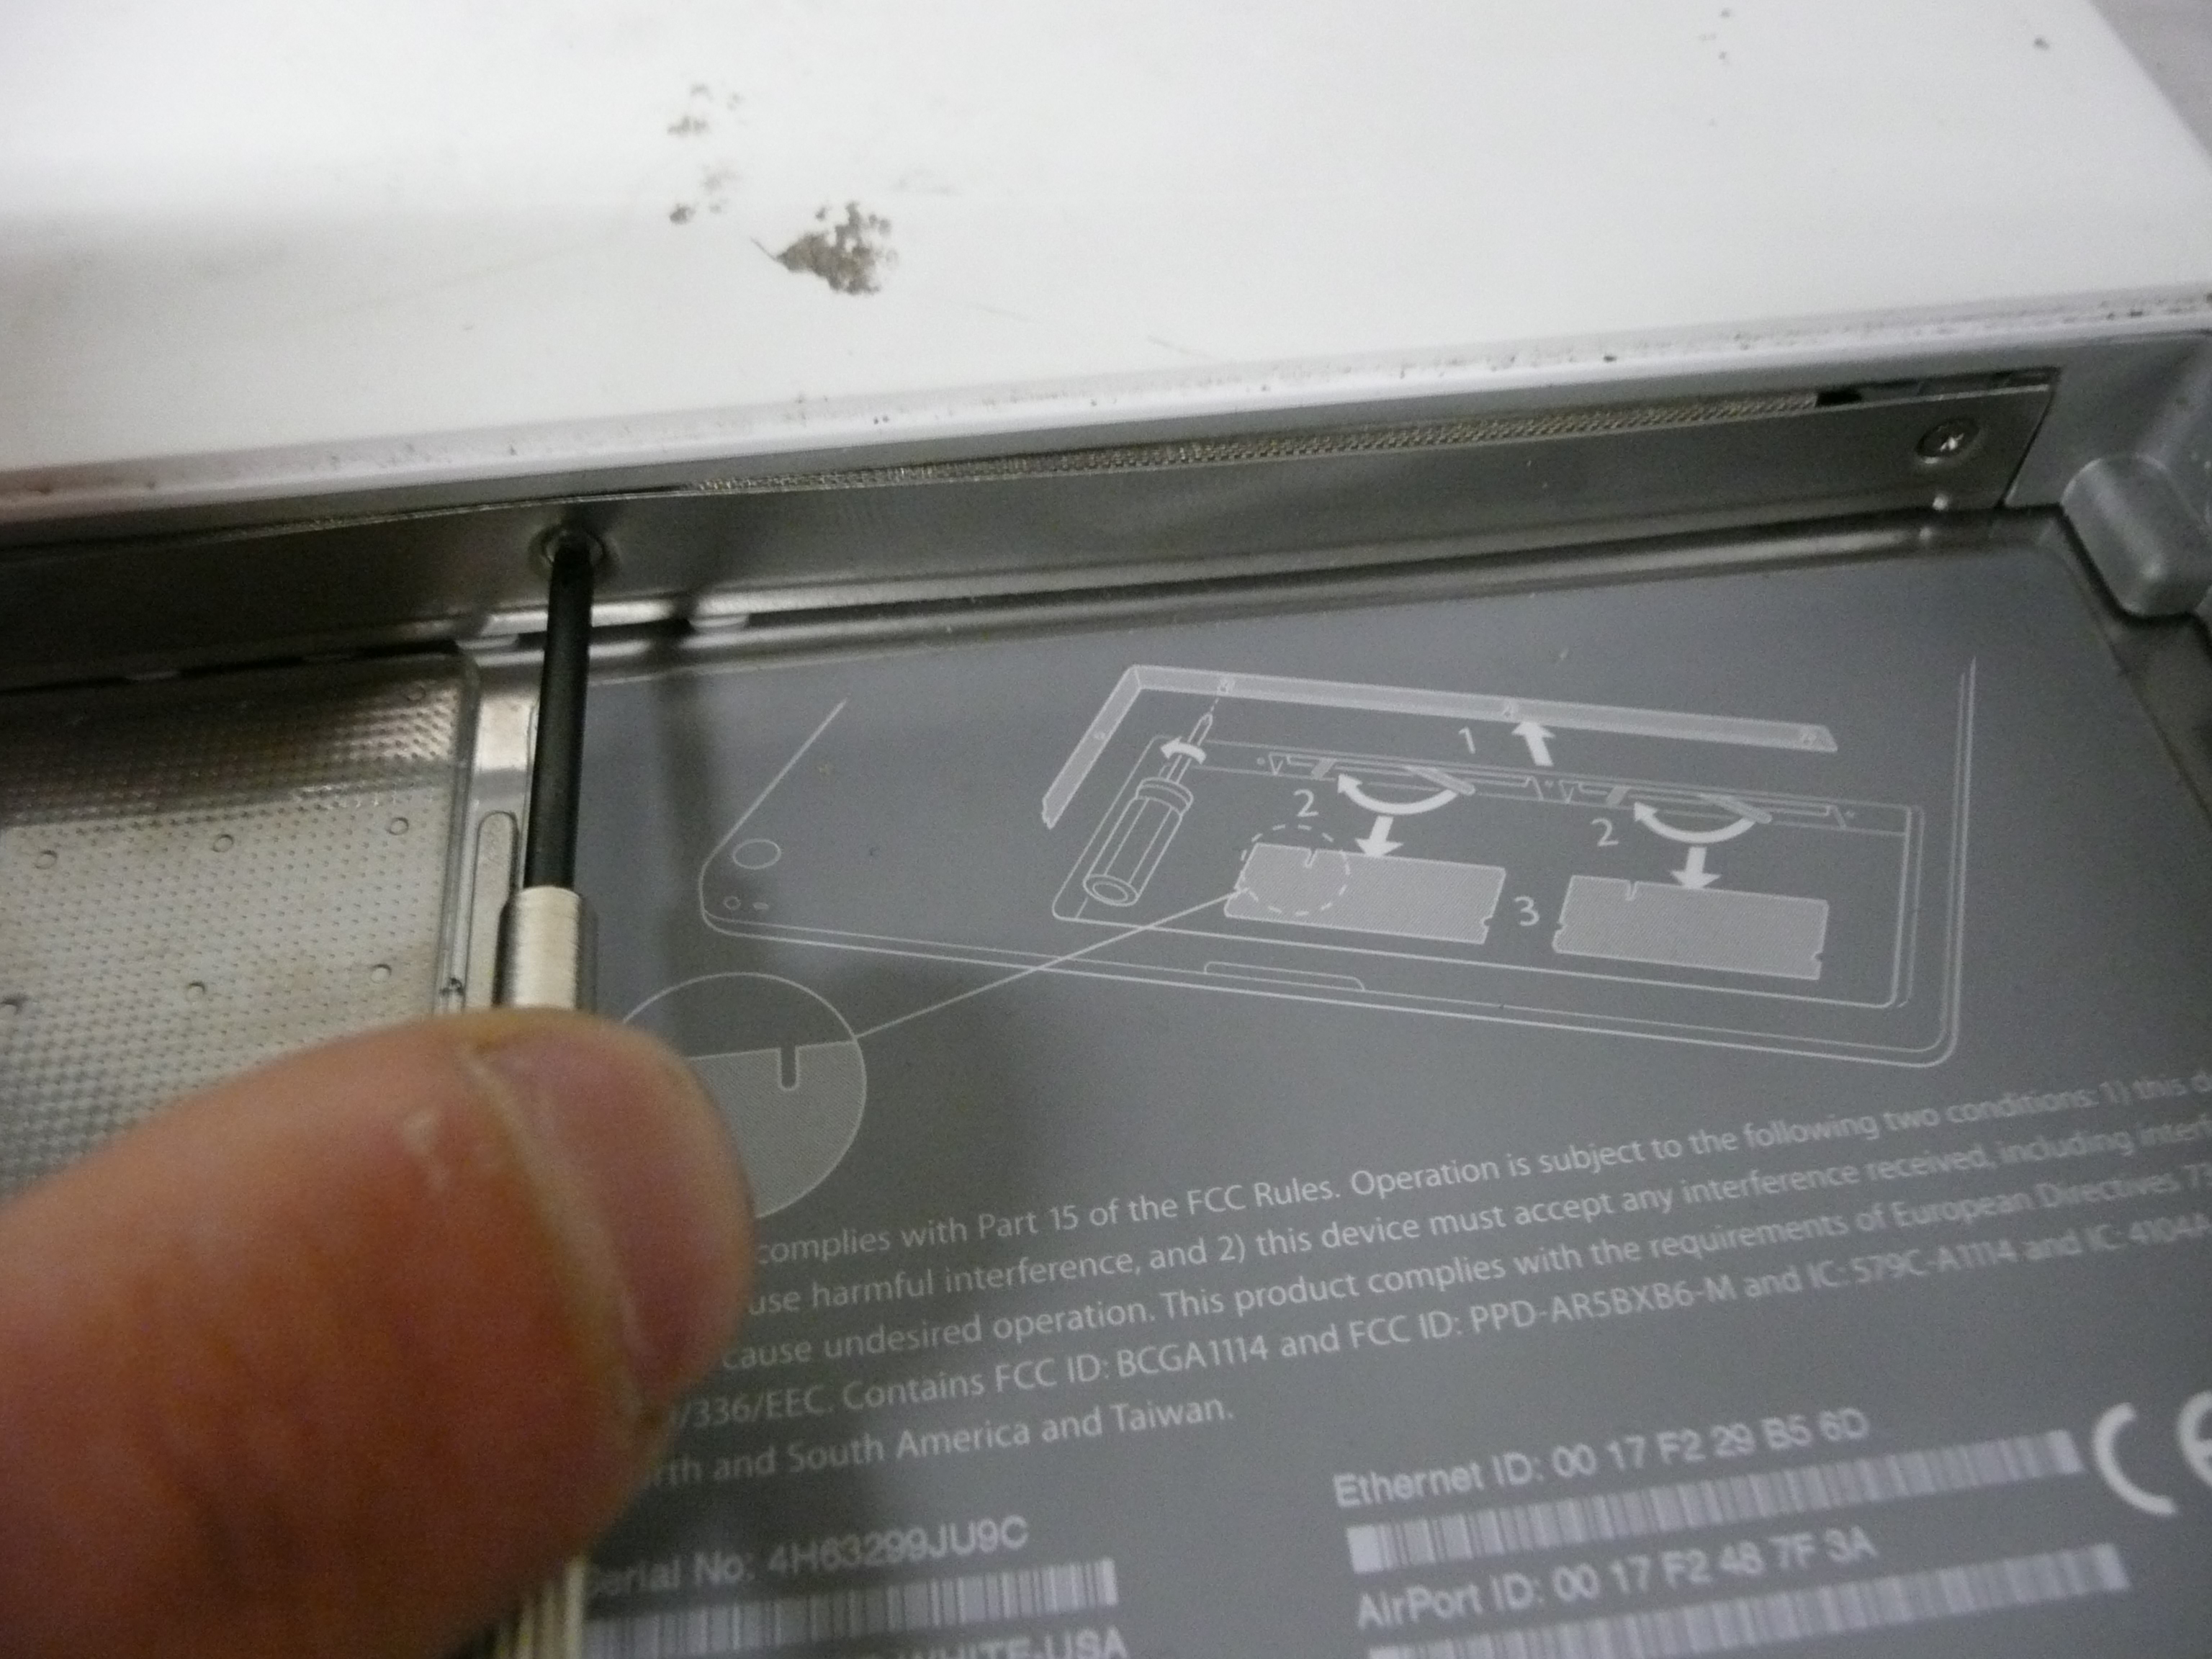
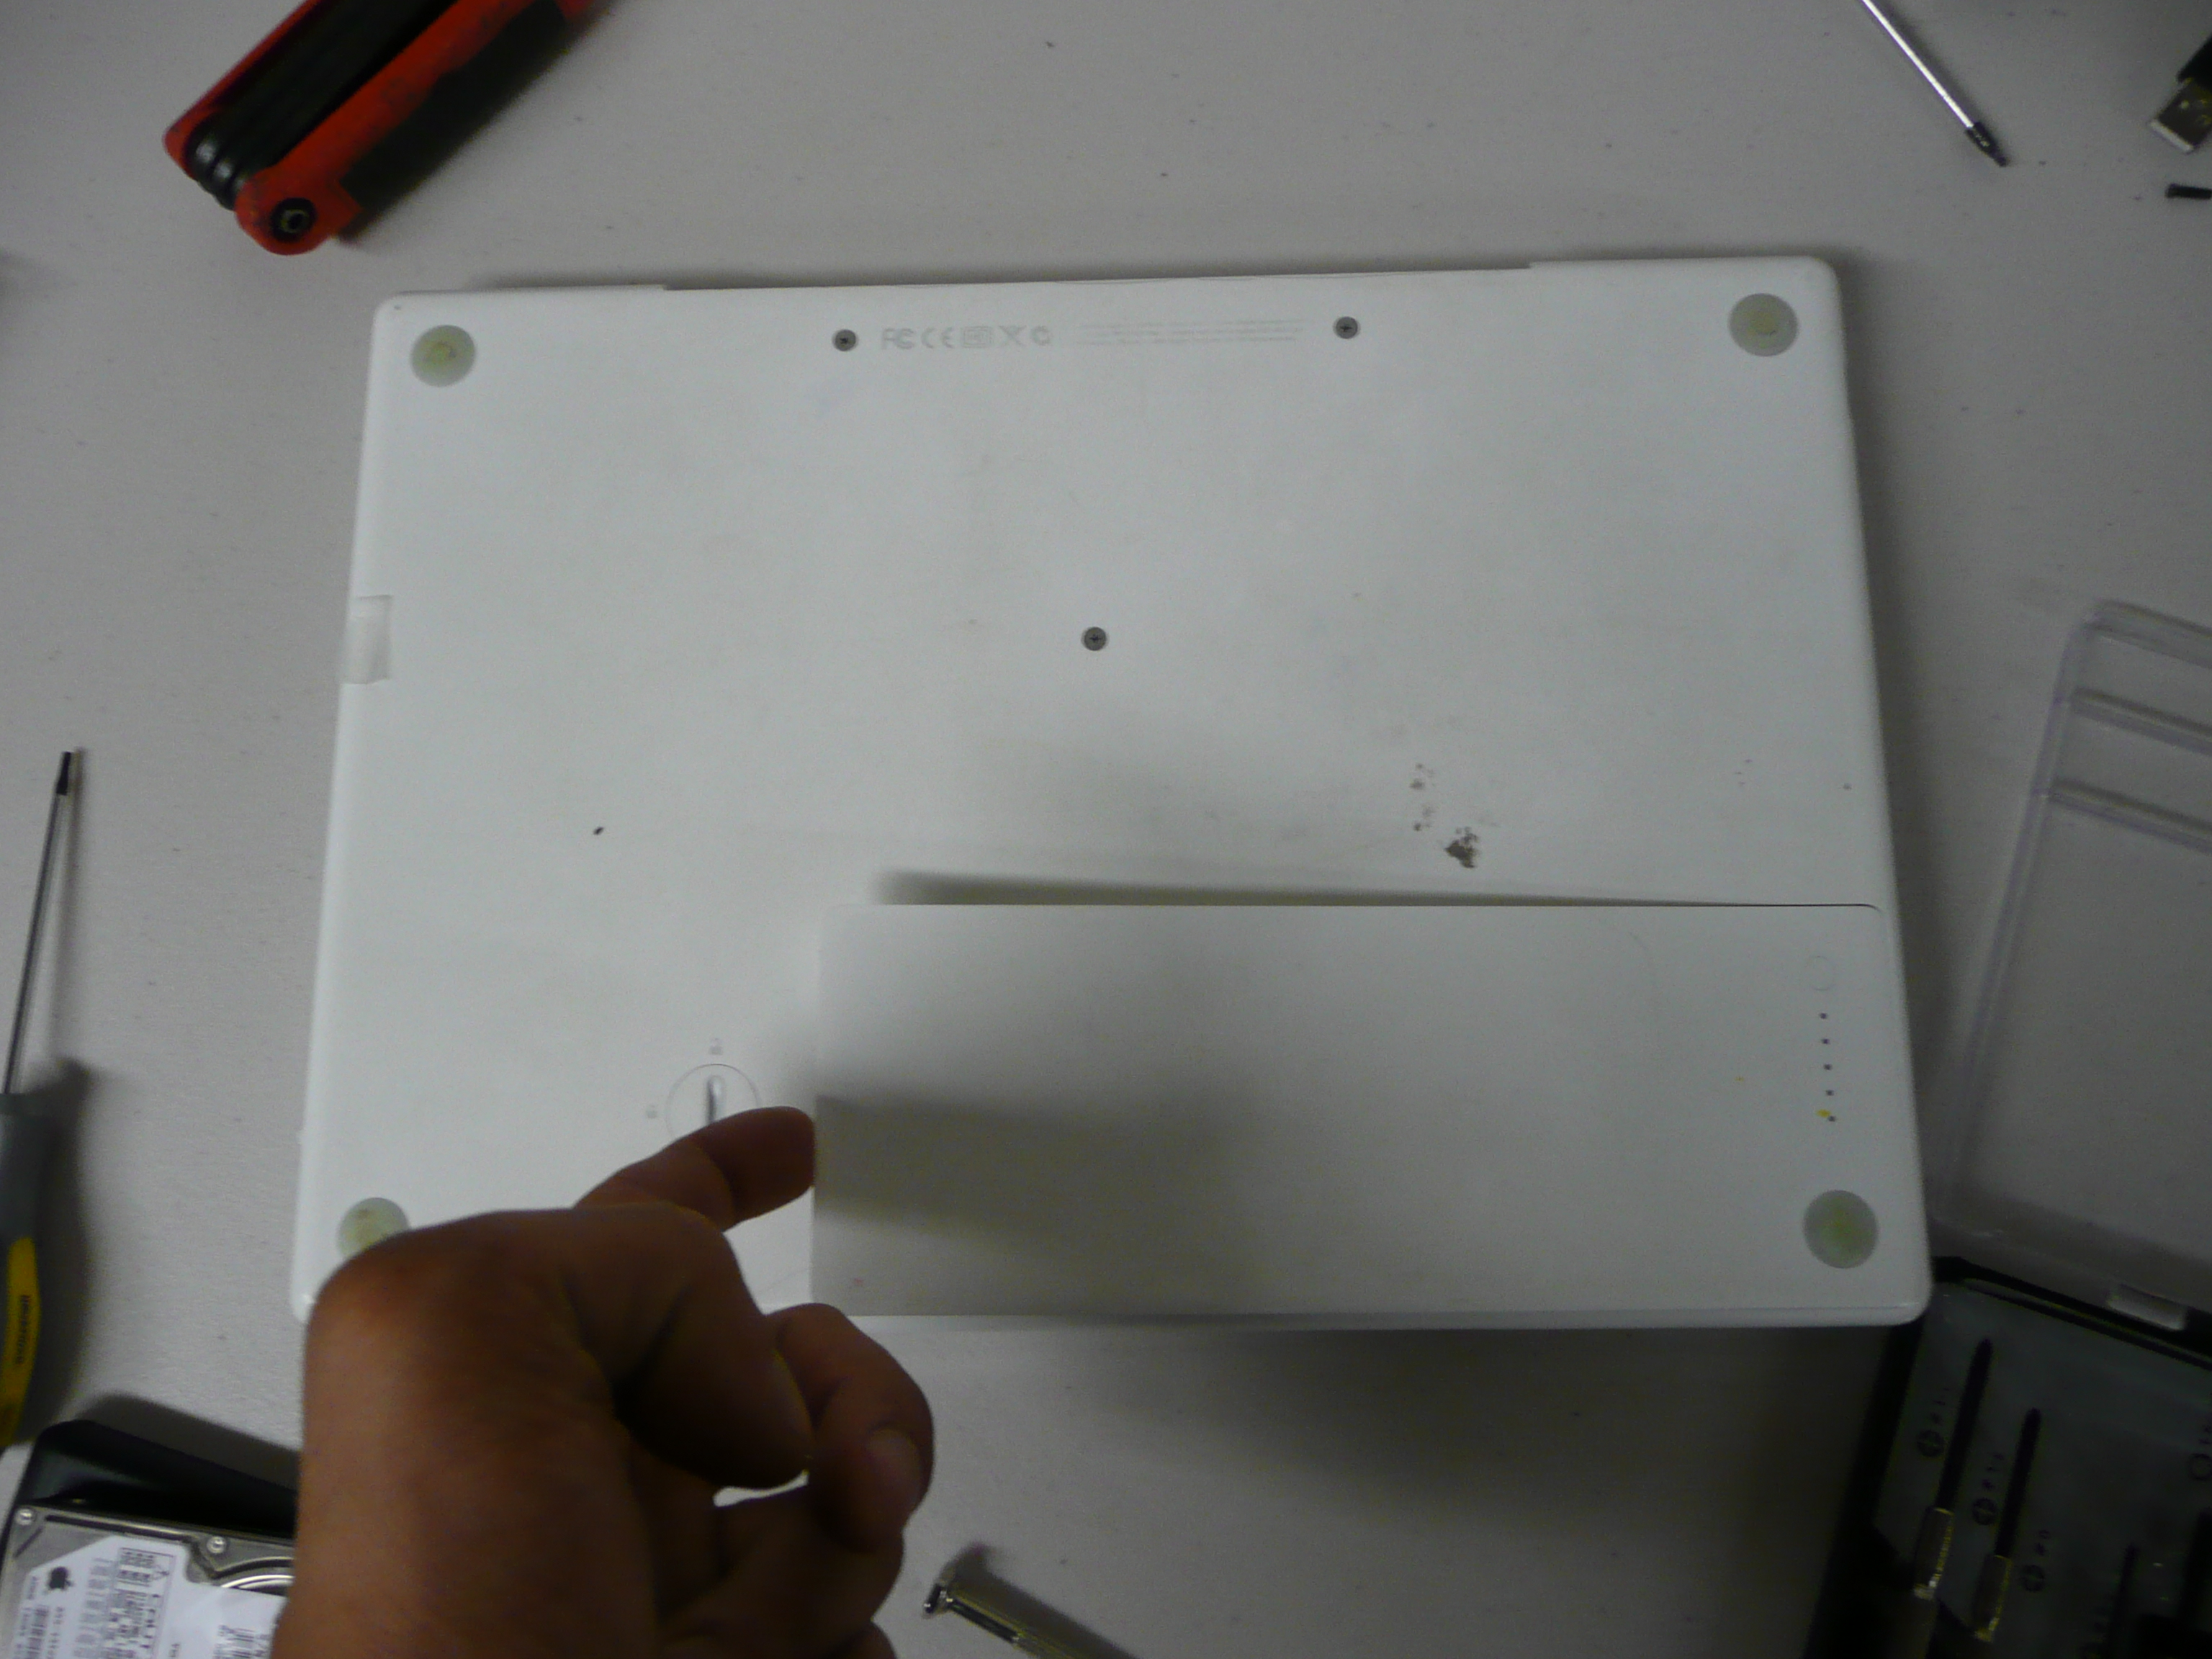
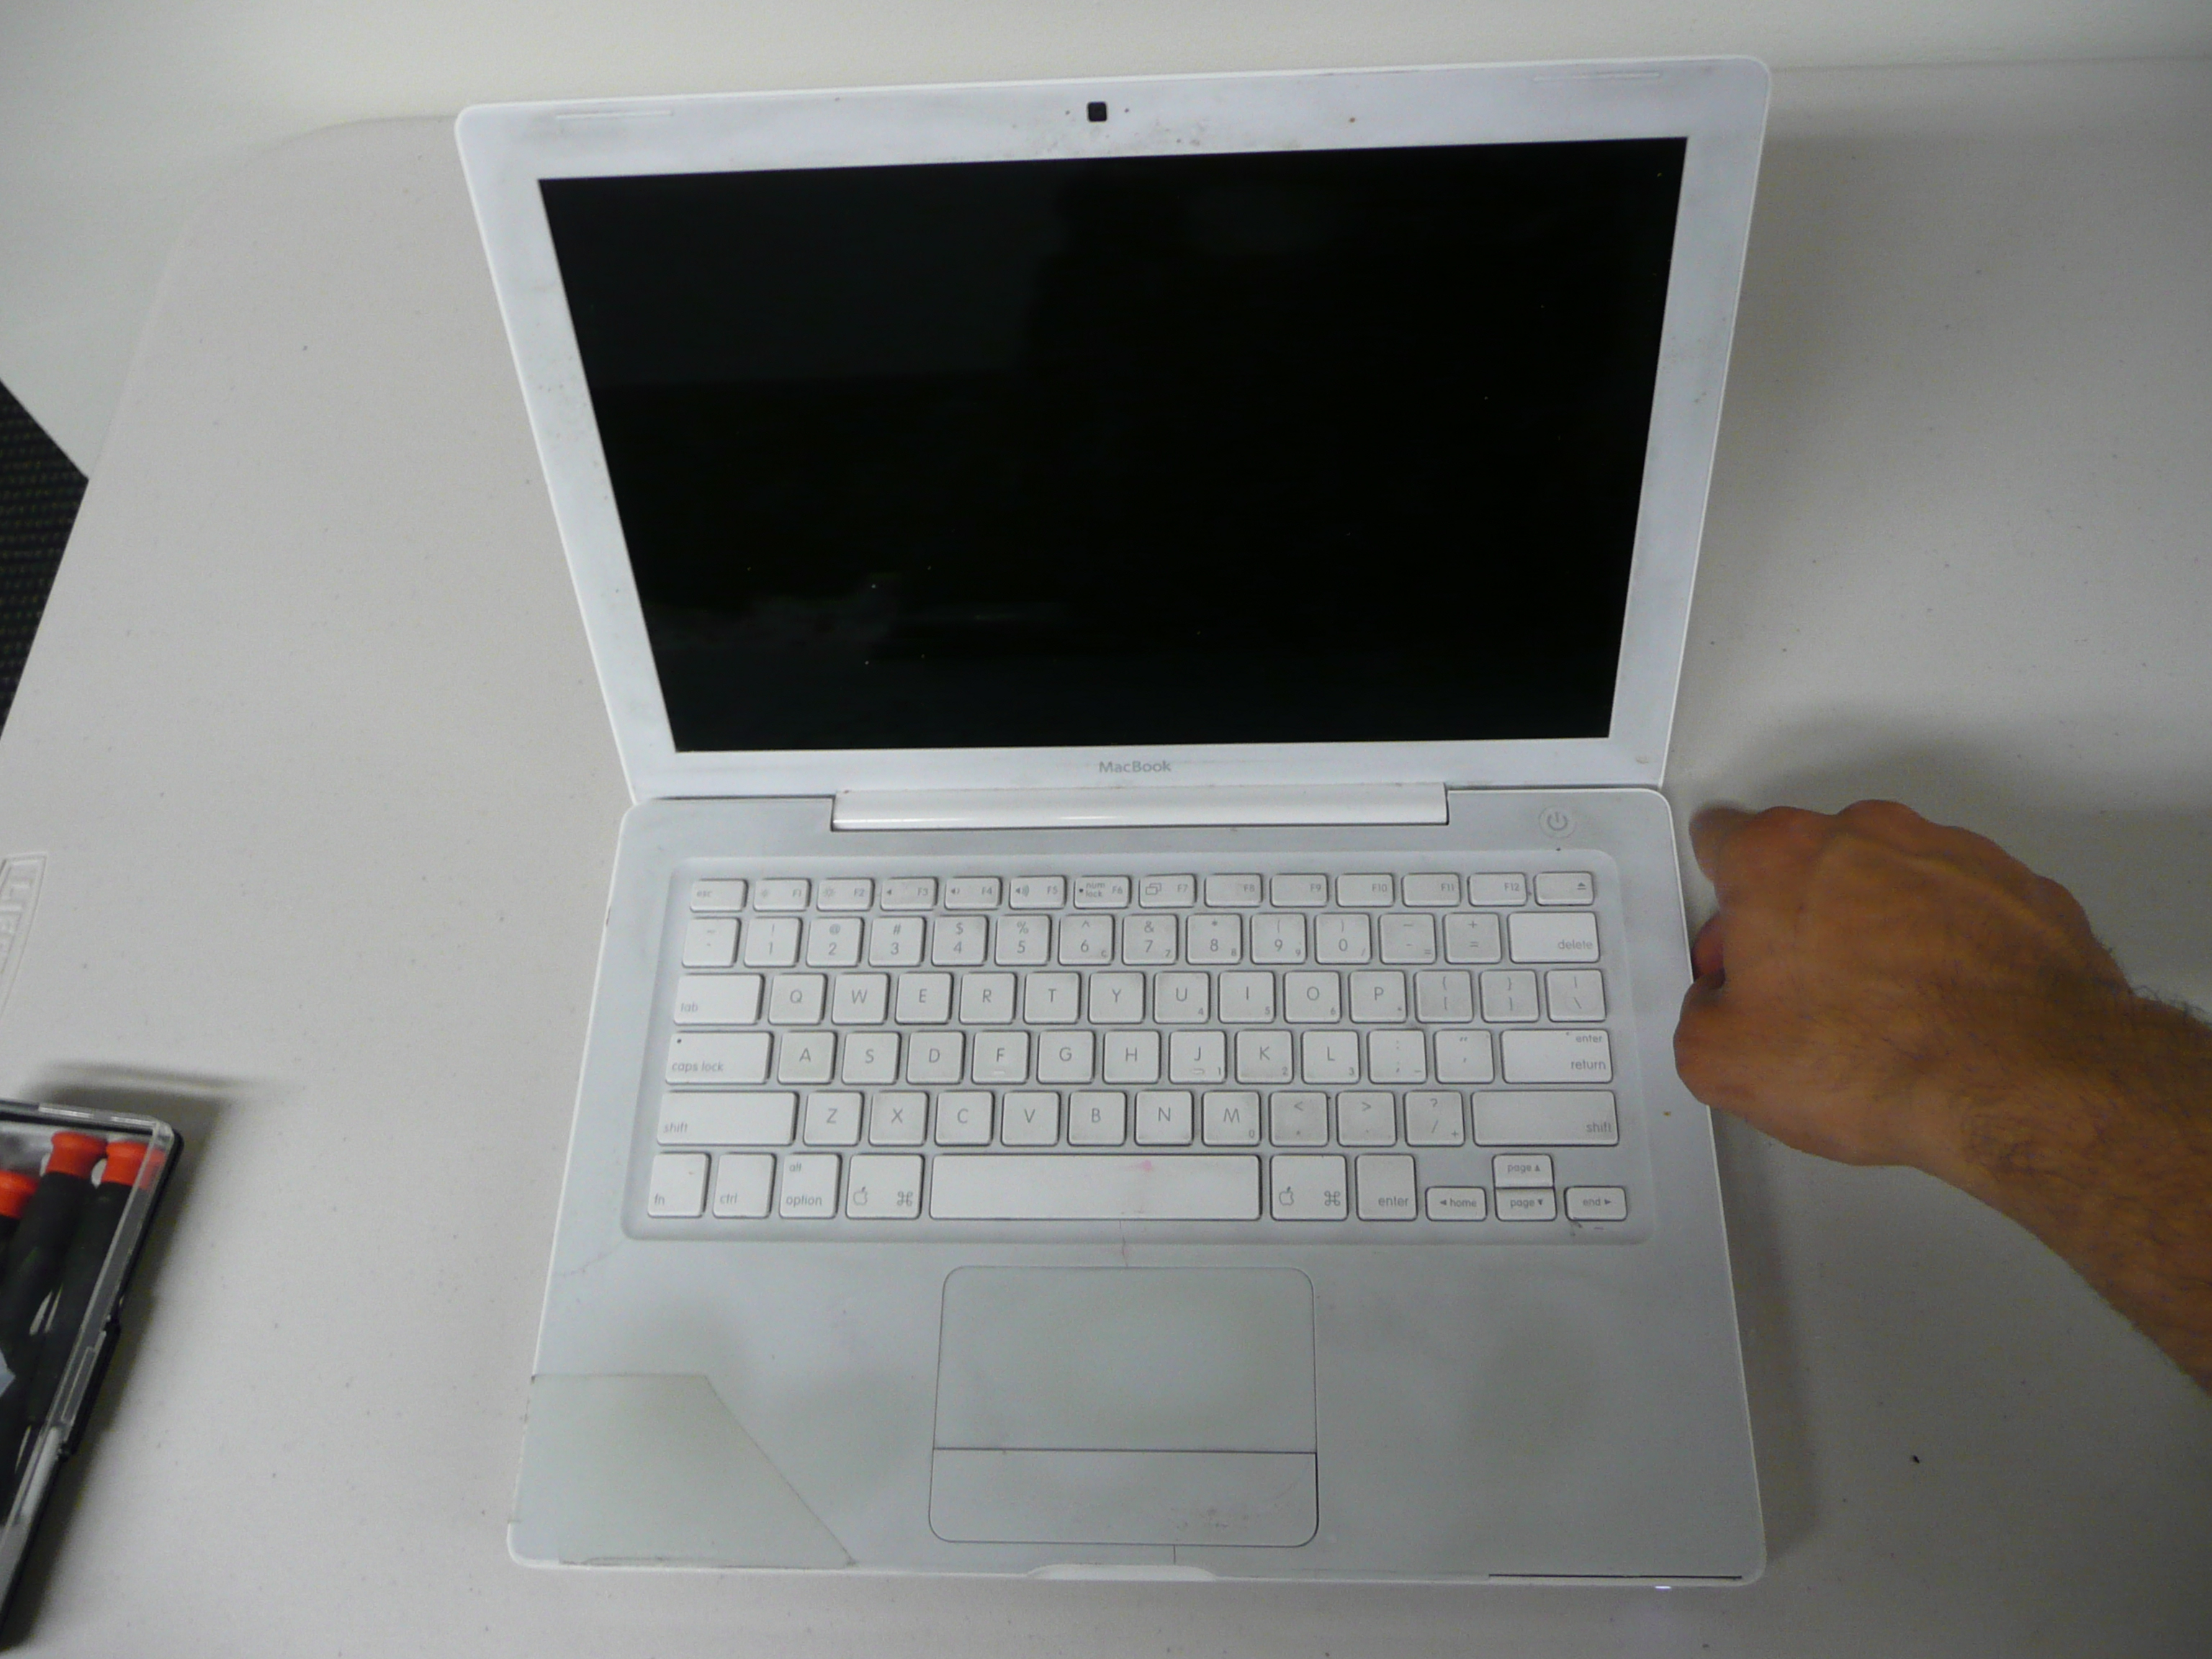
Now you are ready to remove that nasty over-packed gut from your MacBook and leave a spacious cavity ready to fill. This task is fairly simple, but it involves operating on your MacBook, so if you want to preserve any notions that there's anything except white candy and creamy macbookness you should have someone else extract your old hard drive.
Here's the how goes, and as always, the images will show you each step.
Now we need to install the new disk:
Here's the how goes, and as always, the images will show you each step.
- Gather your jewelry screw driver set, computer and external hard disk
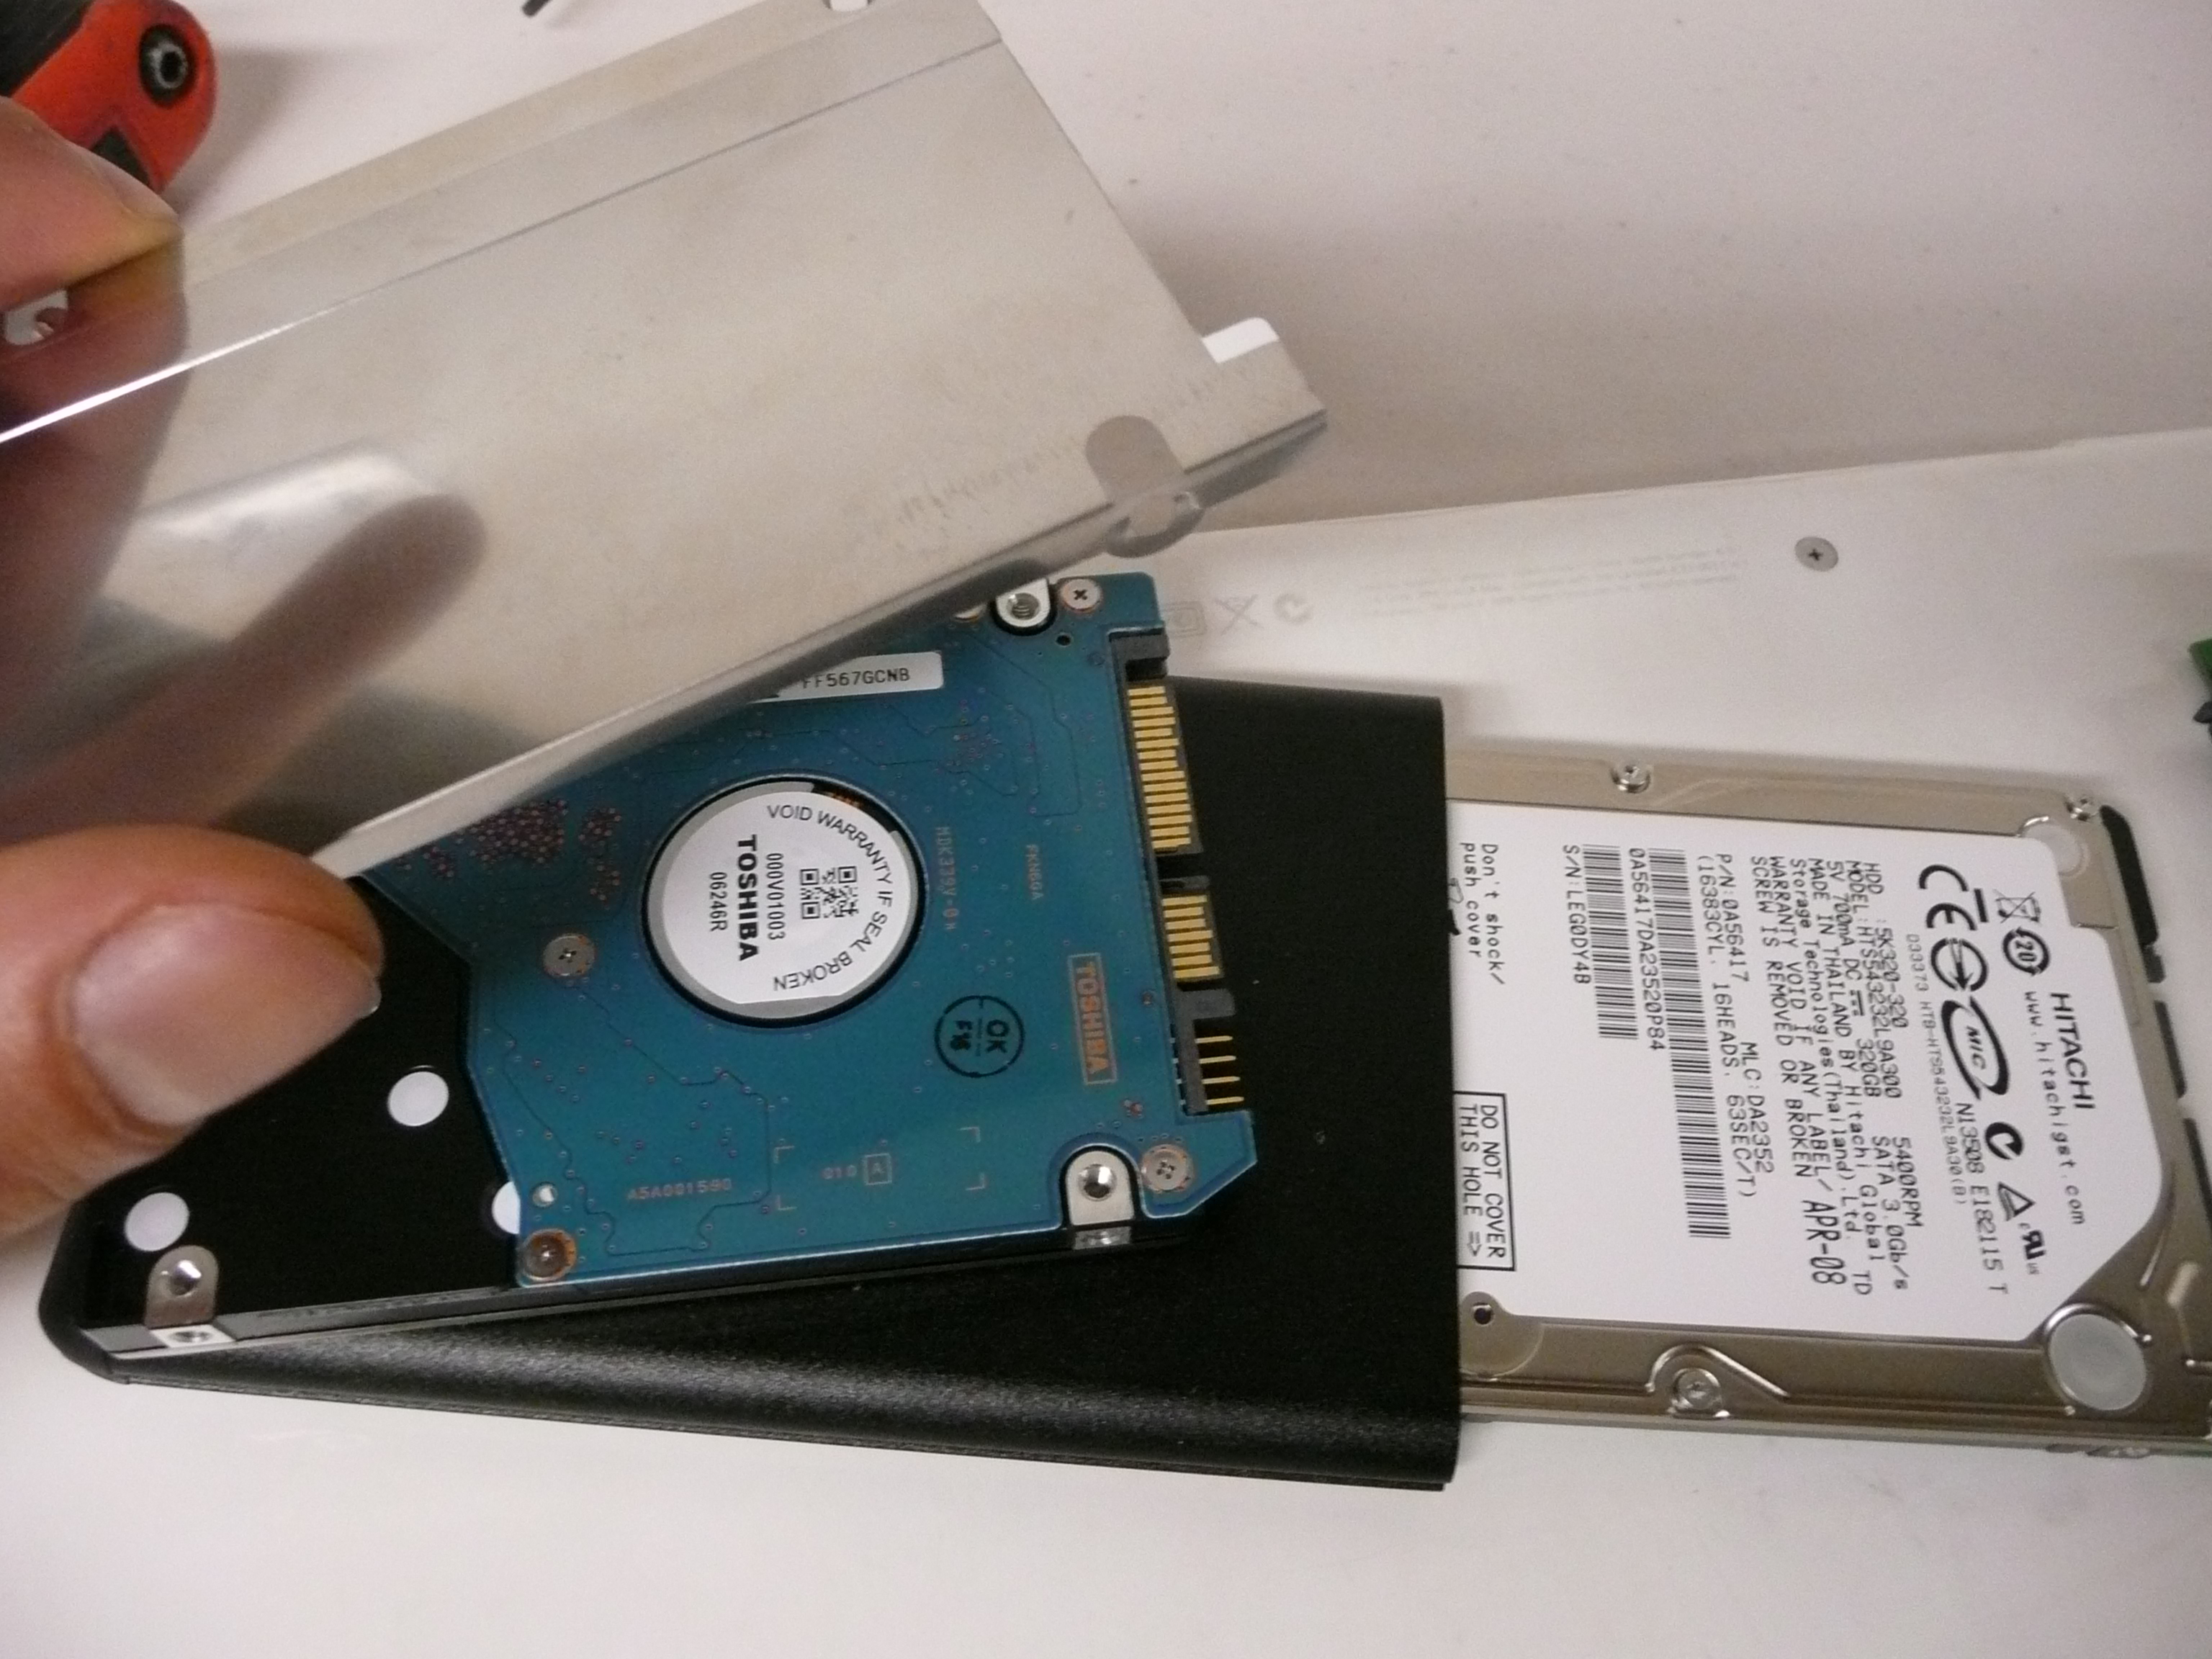
- Remove the battery.
- Unscrew the two screws that hold the memory and hard disk. These face the back of the laptop, check image three.
- Remove the metal bracket.
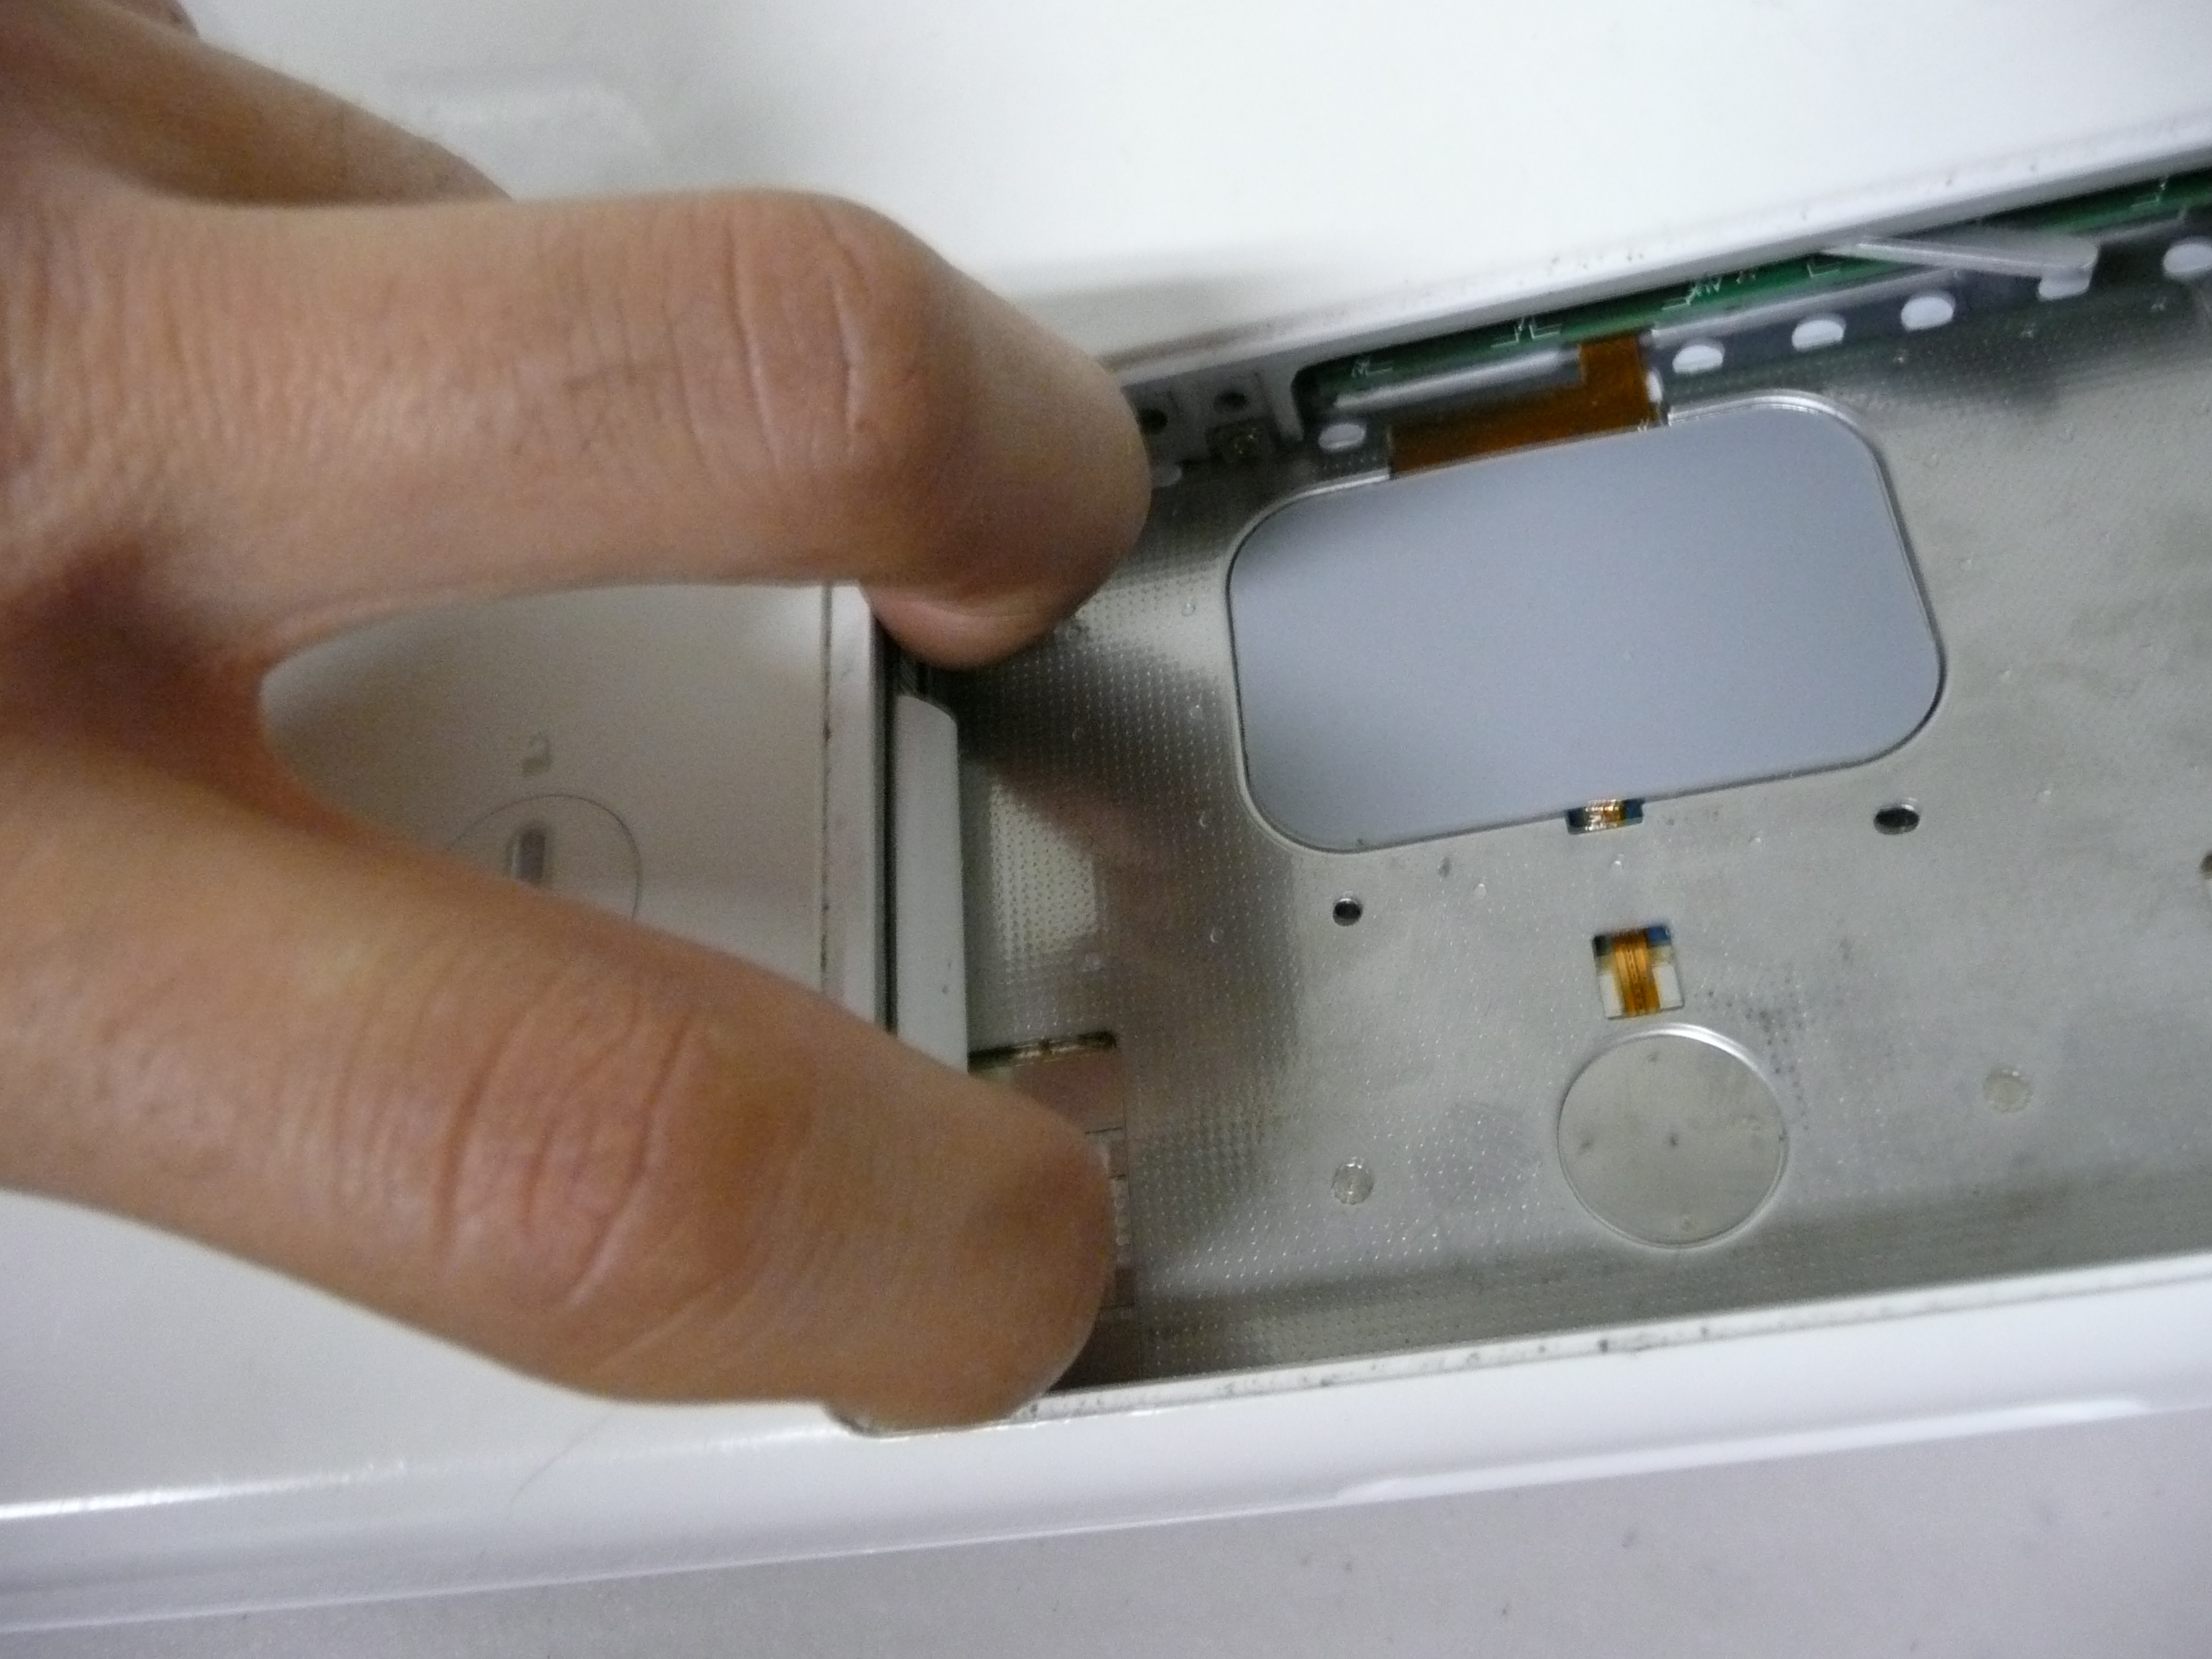
- Pull on the plastic tab on the left to extract the hard disk.
Now we need to install the new disk:
Awaken the Beast - Insert the New Drive
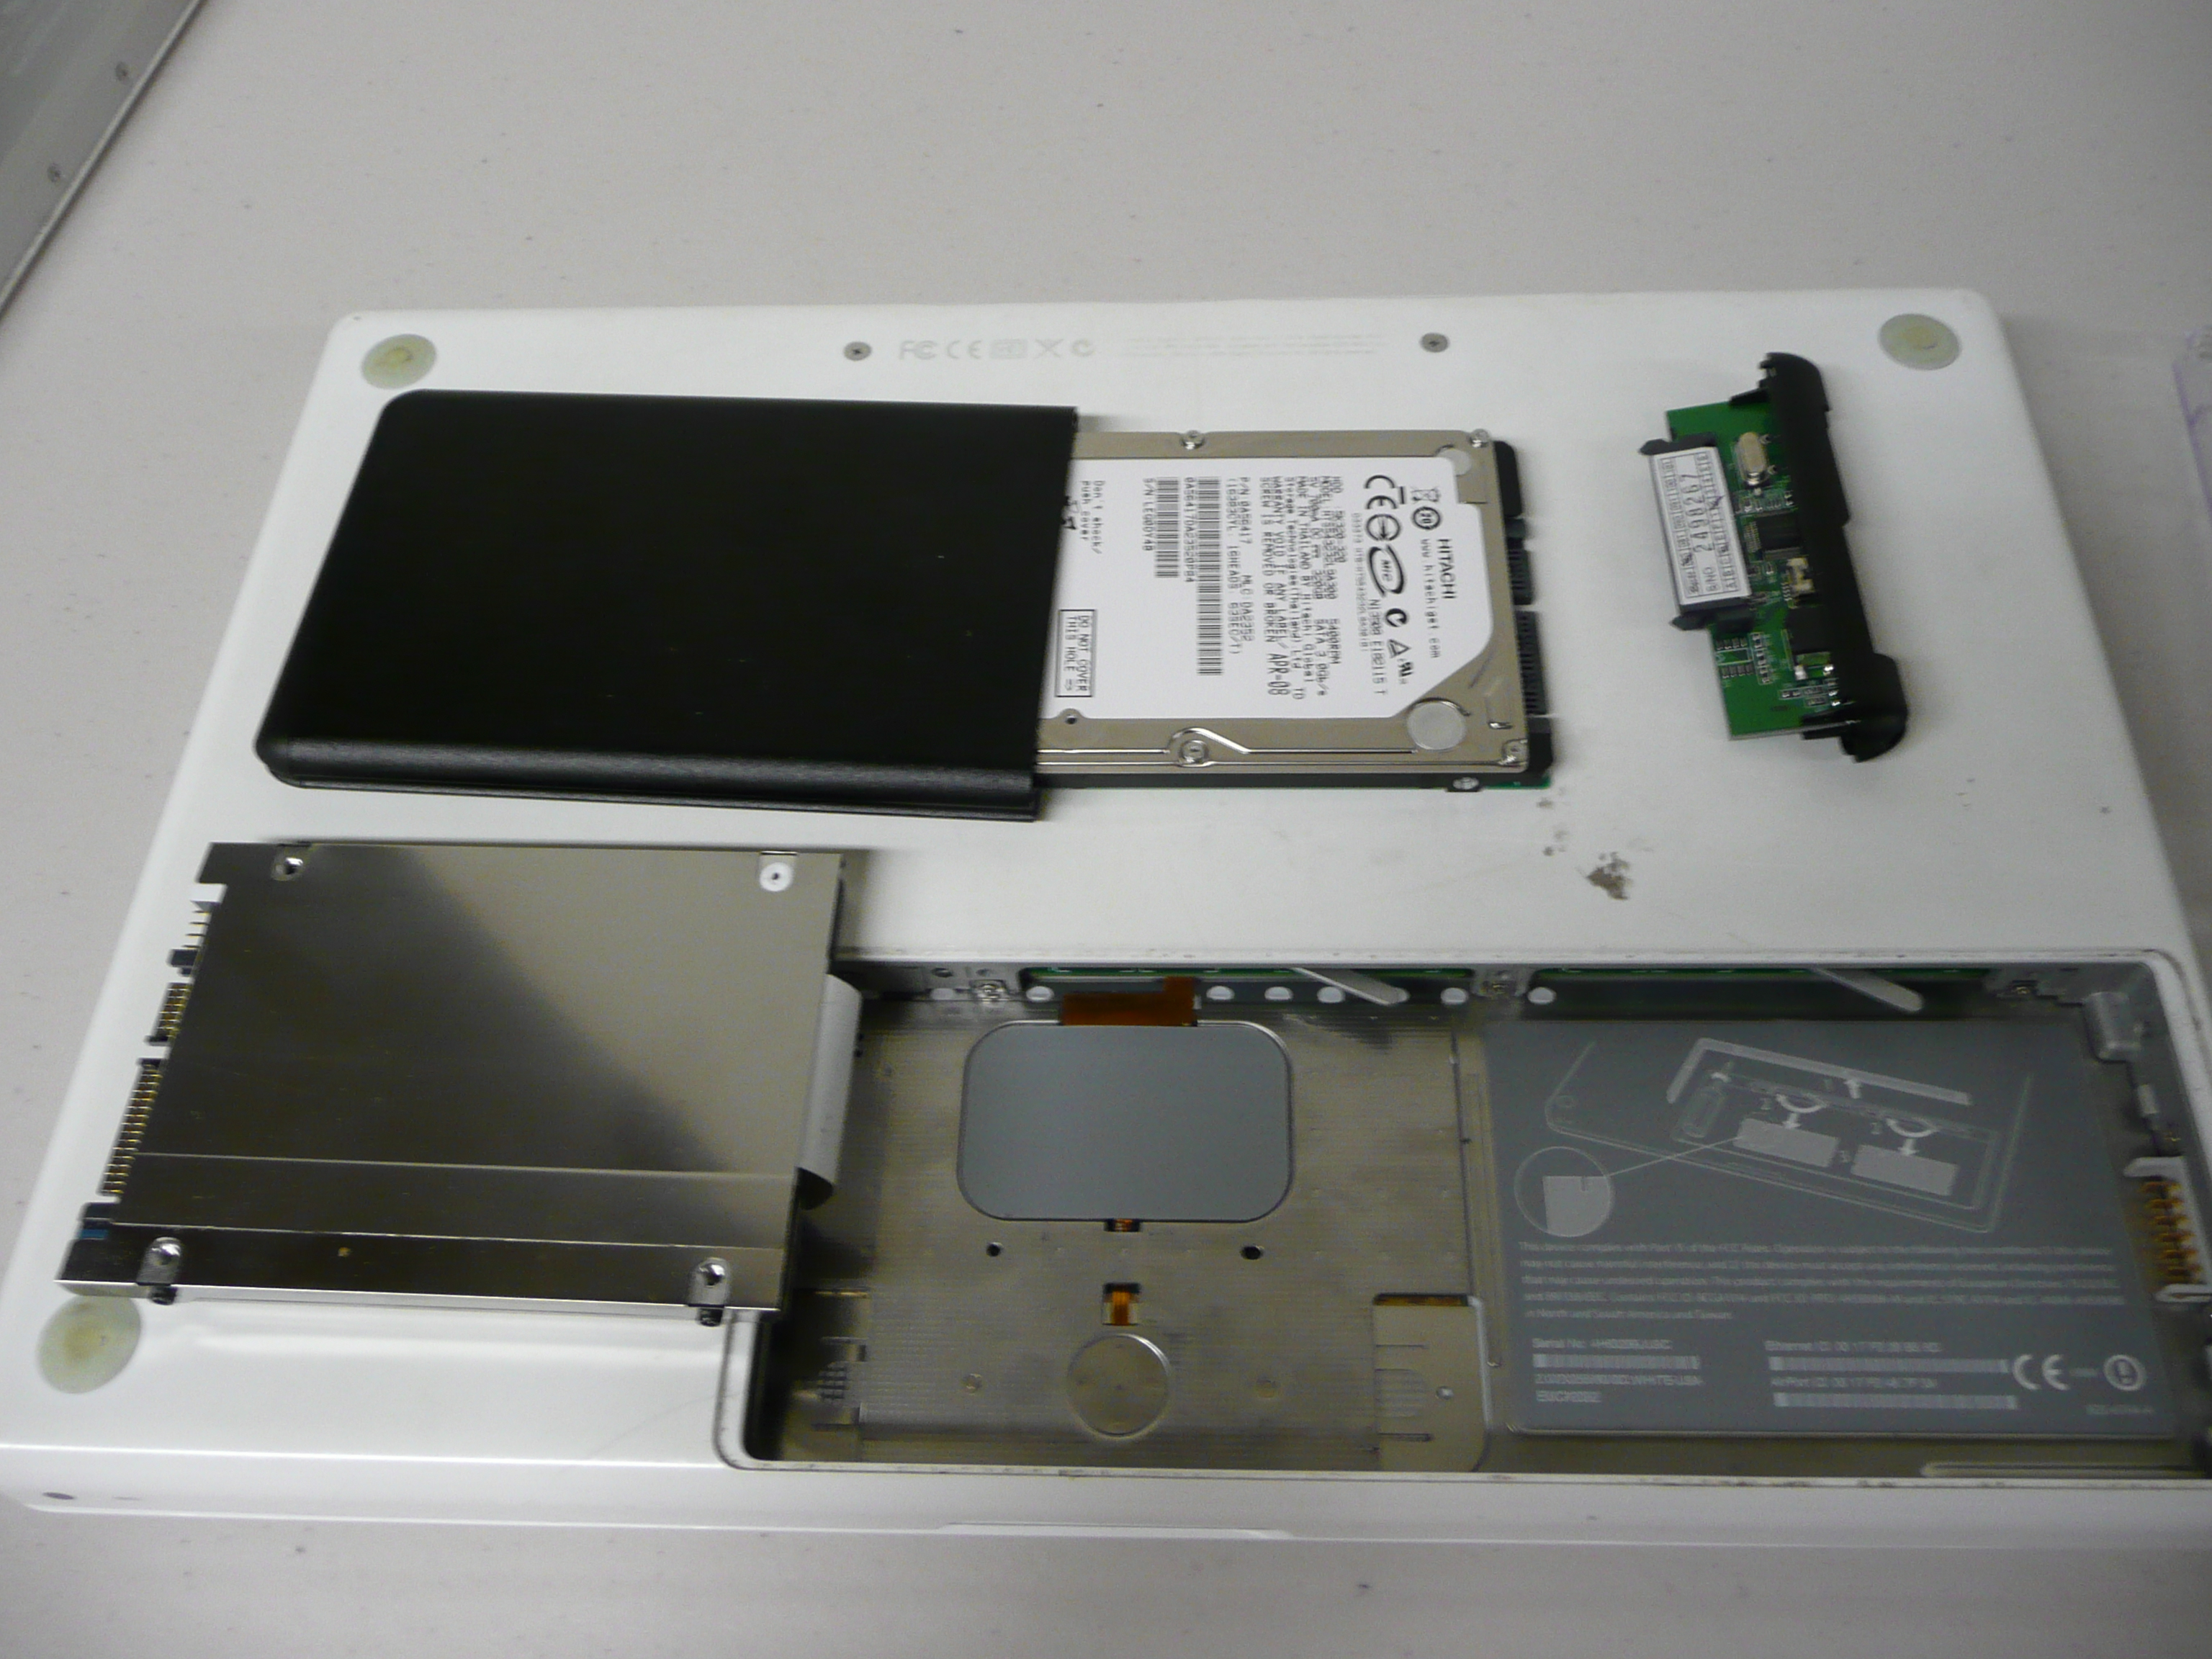
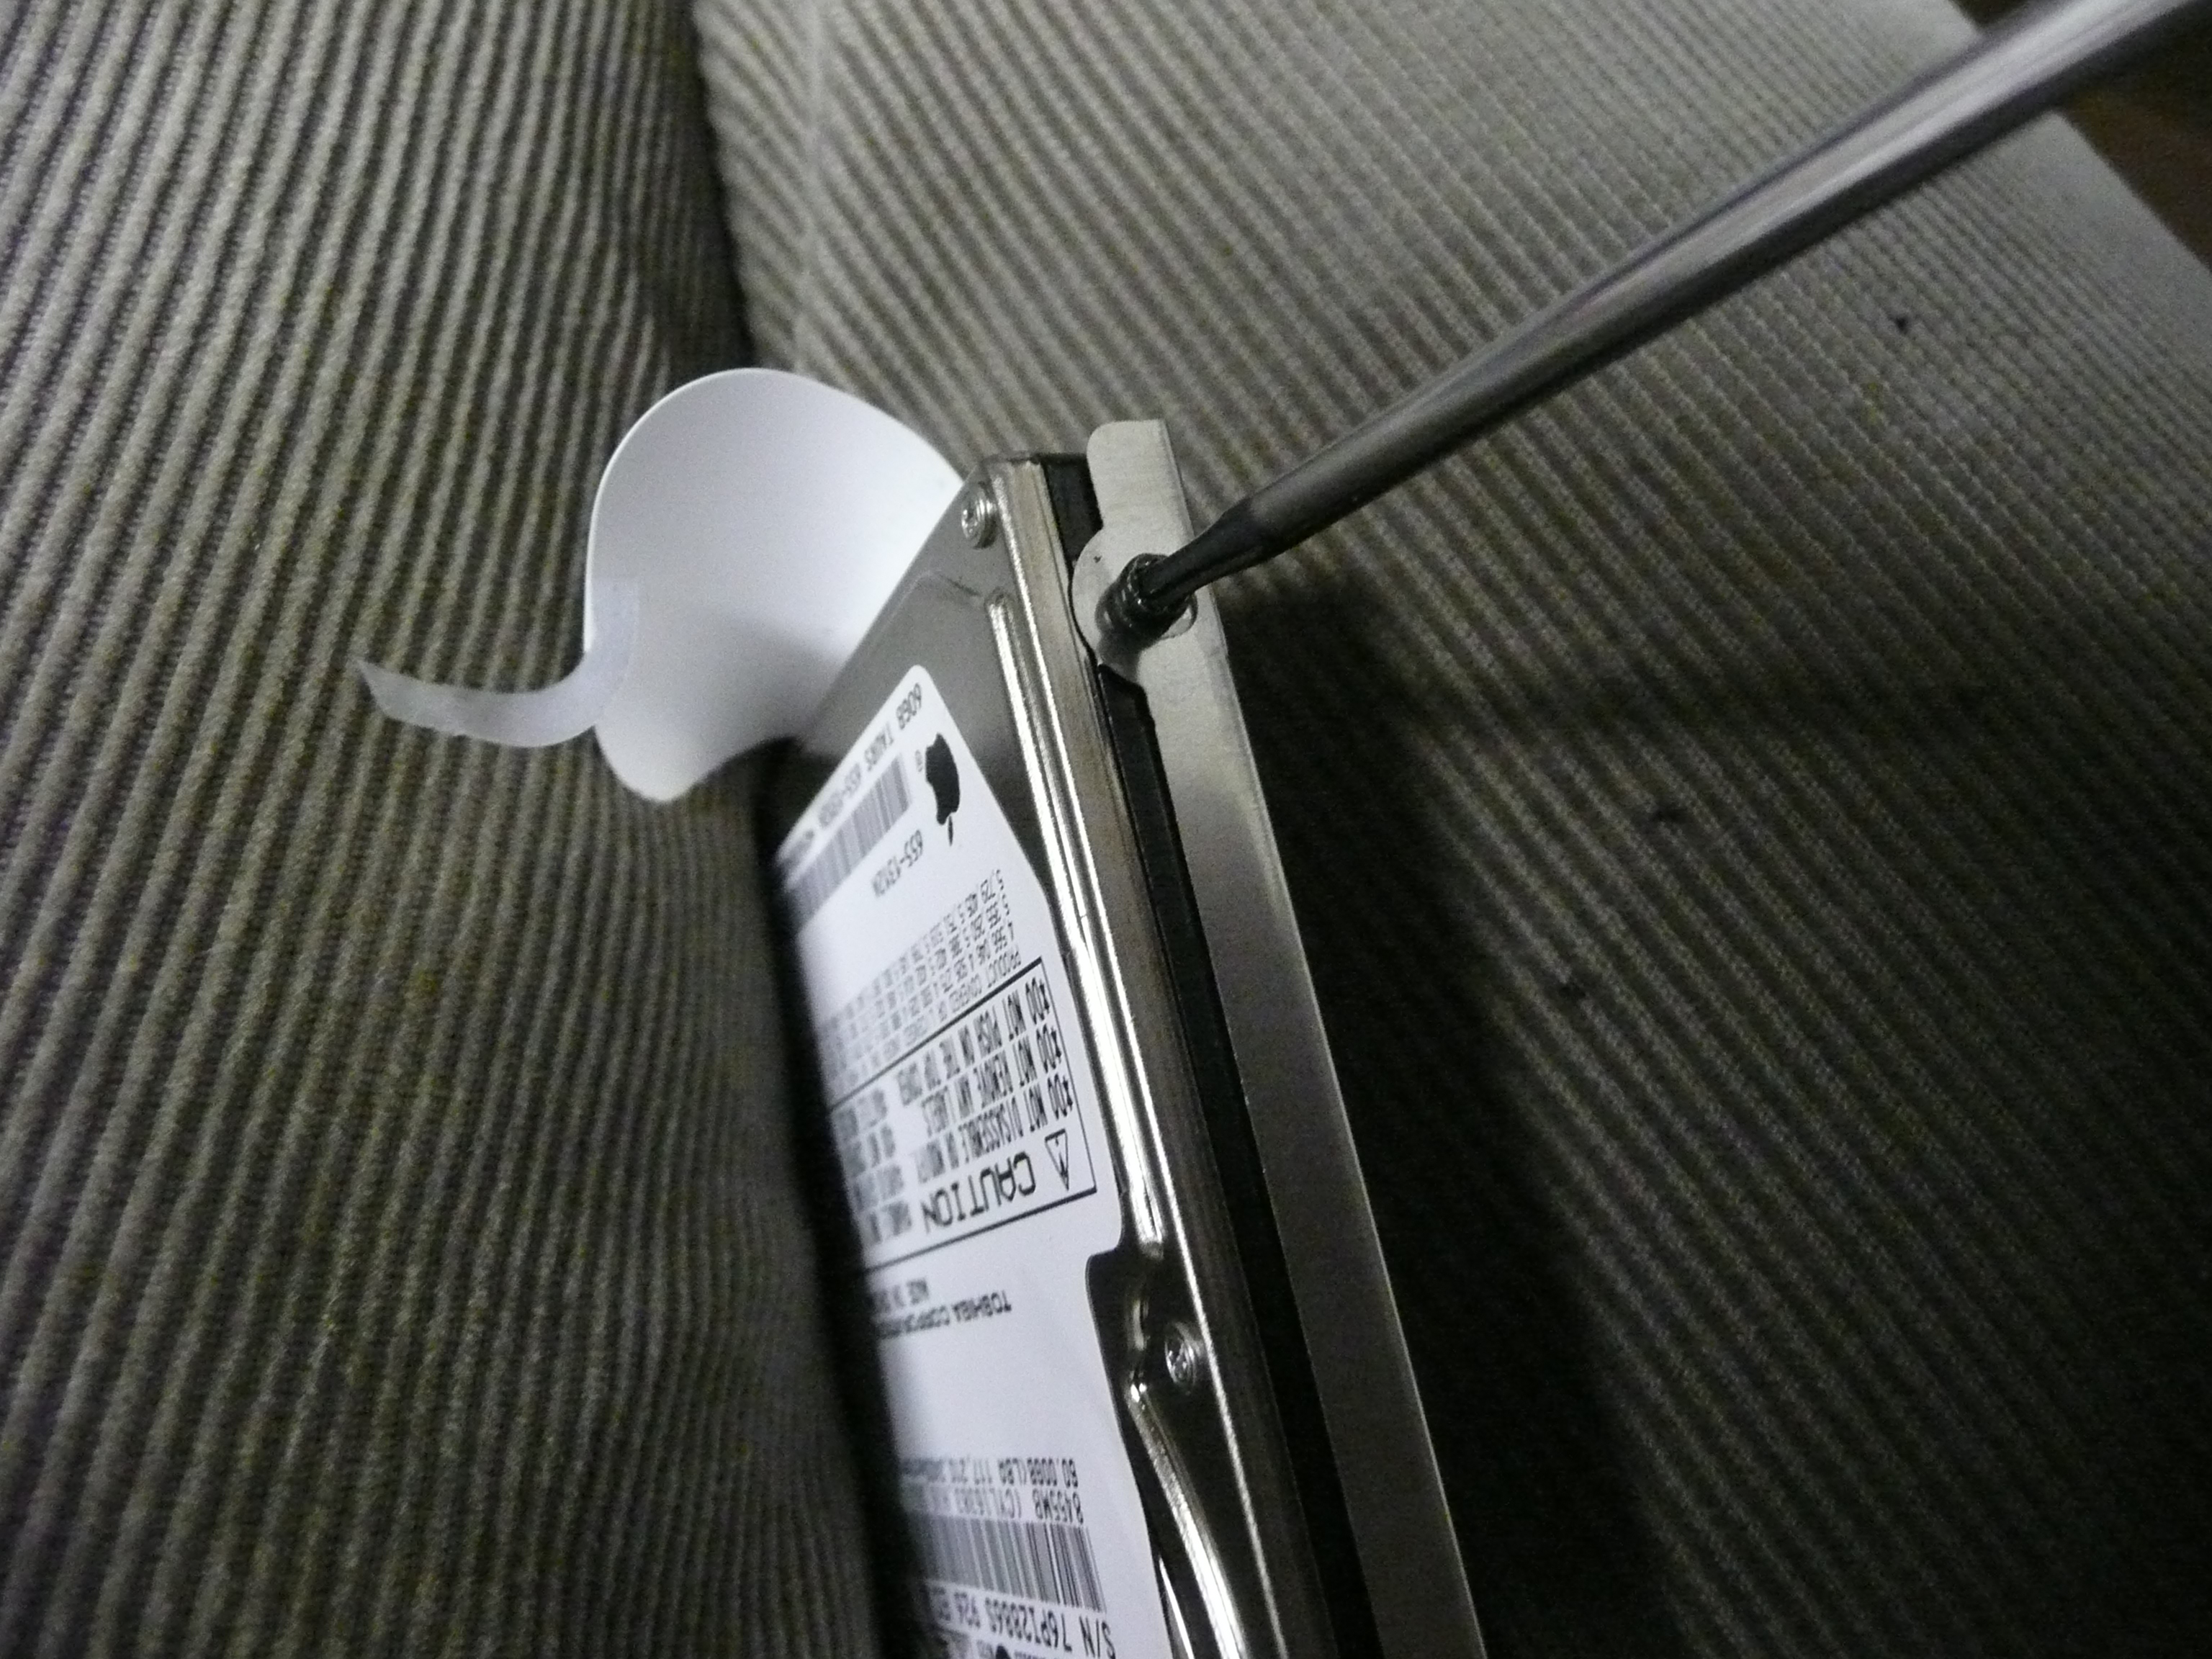
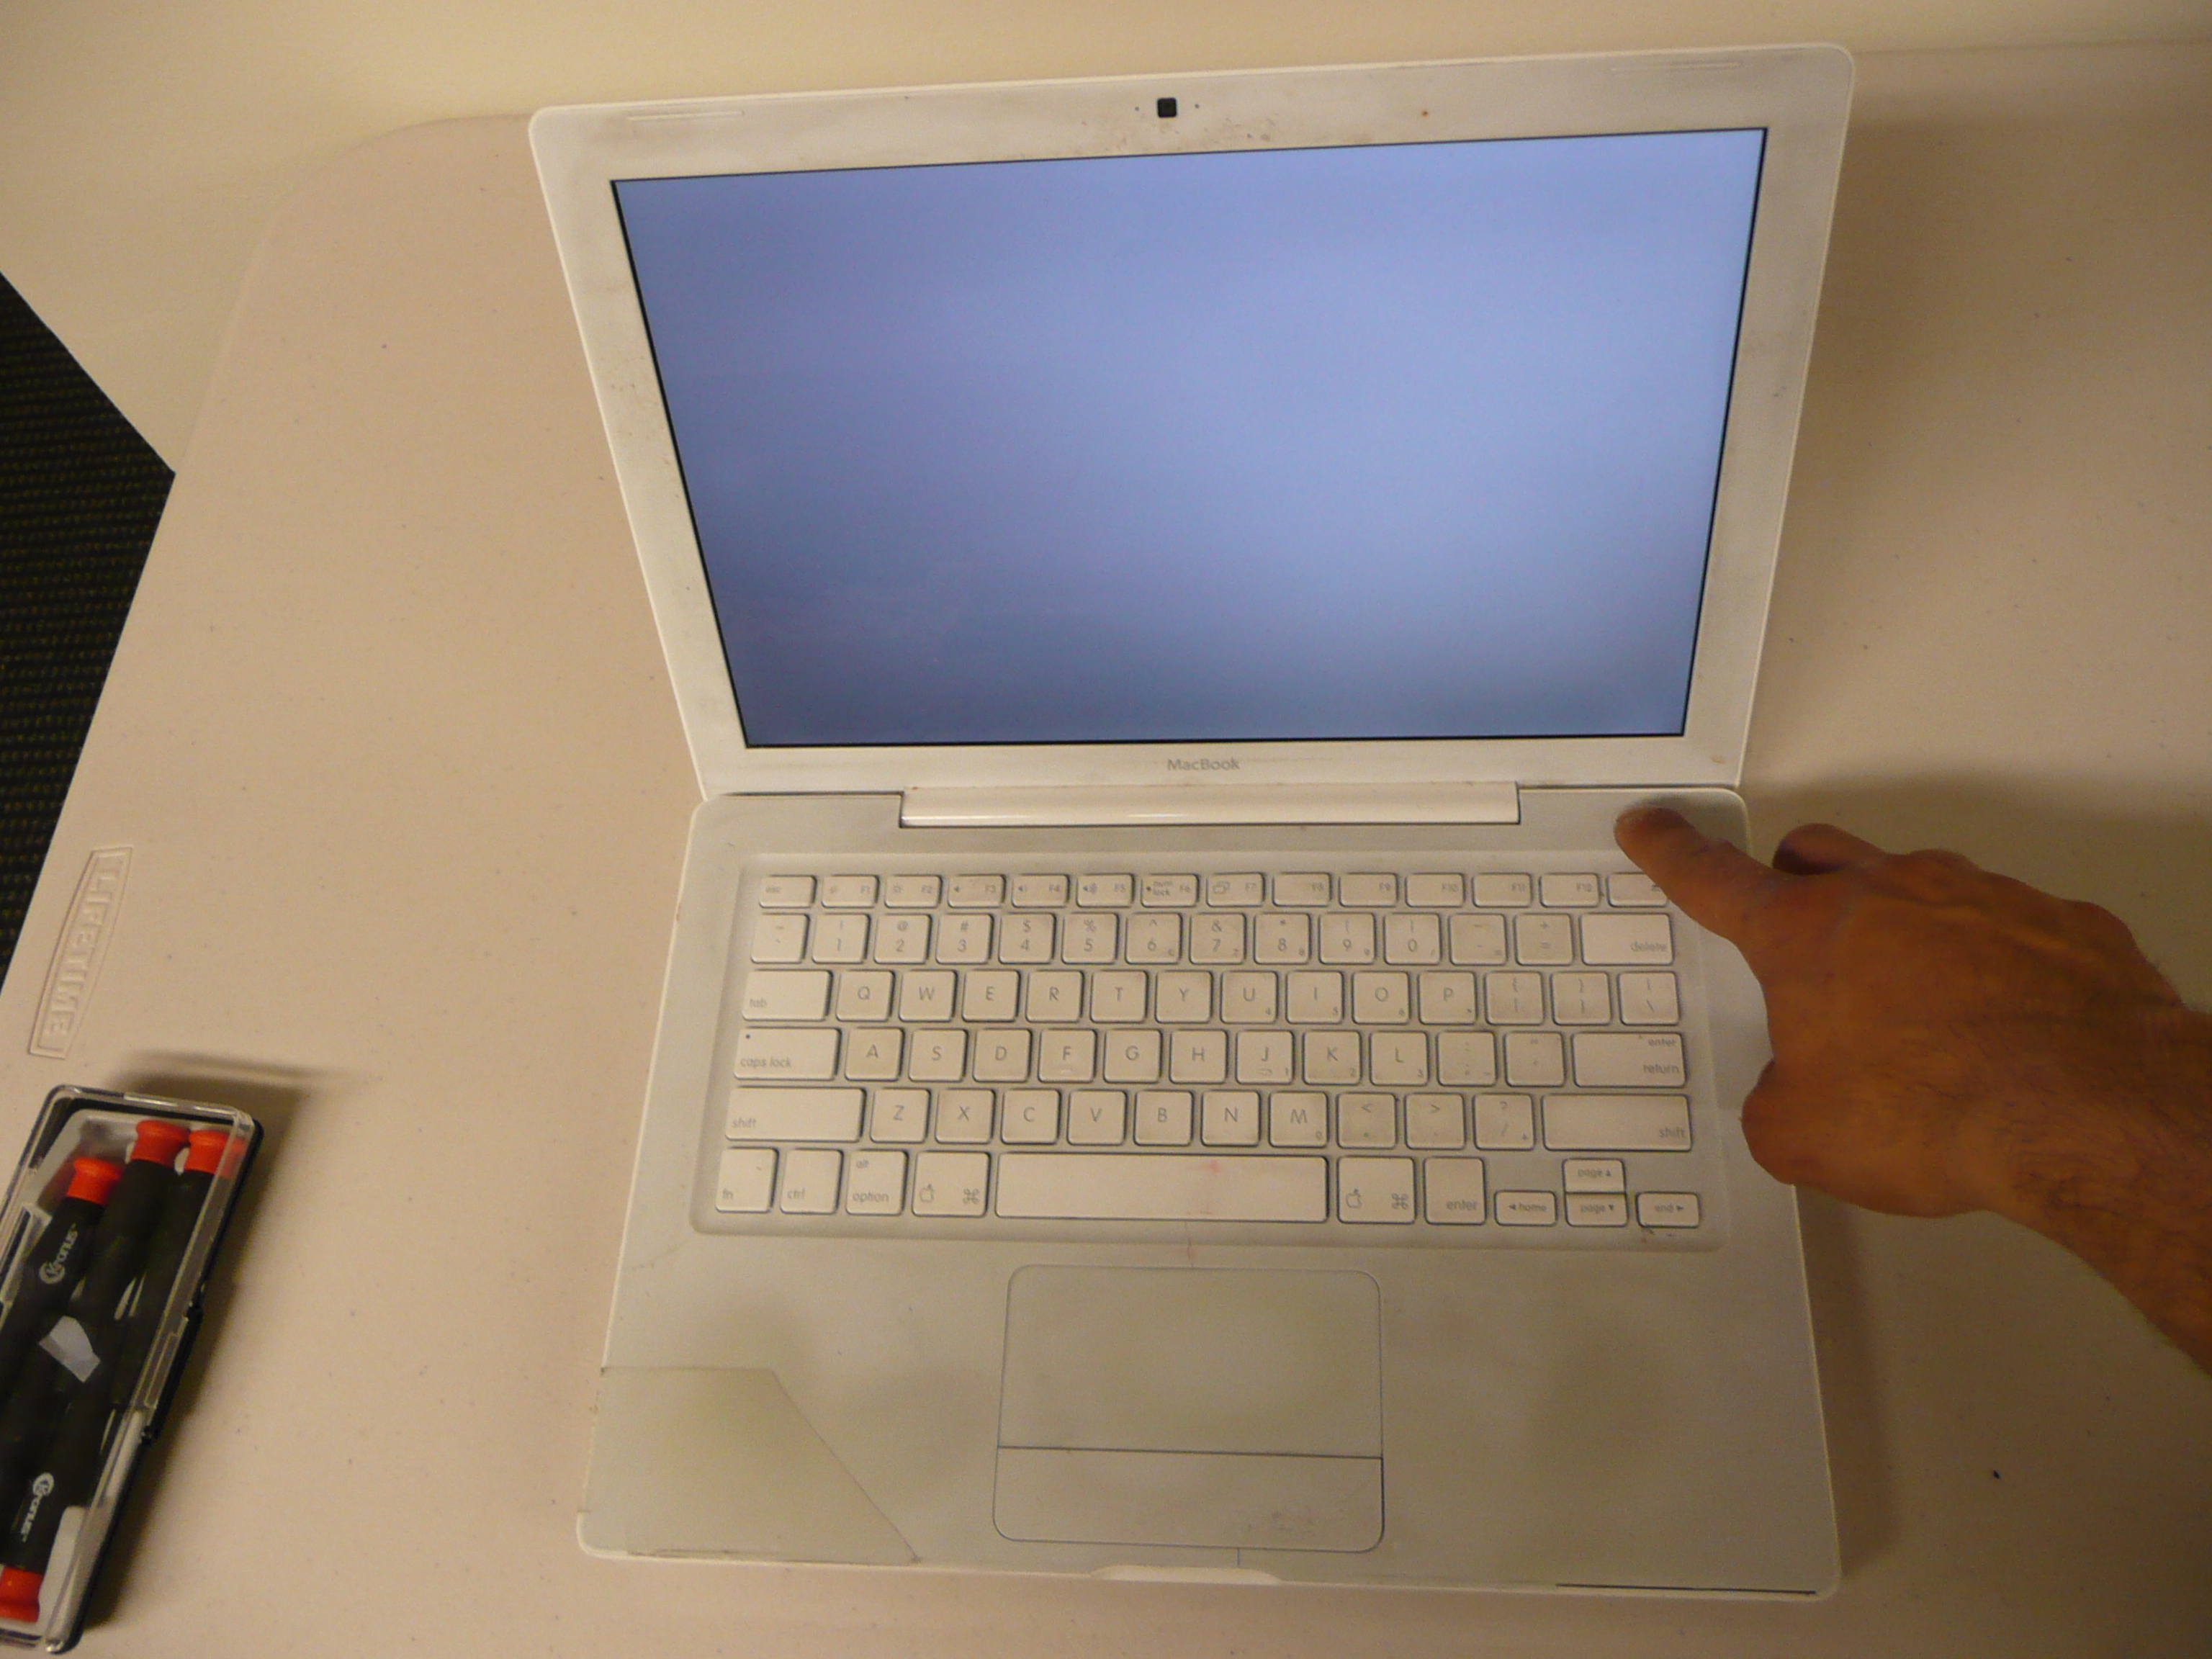
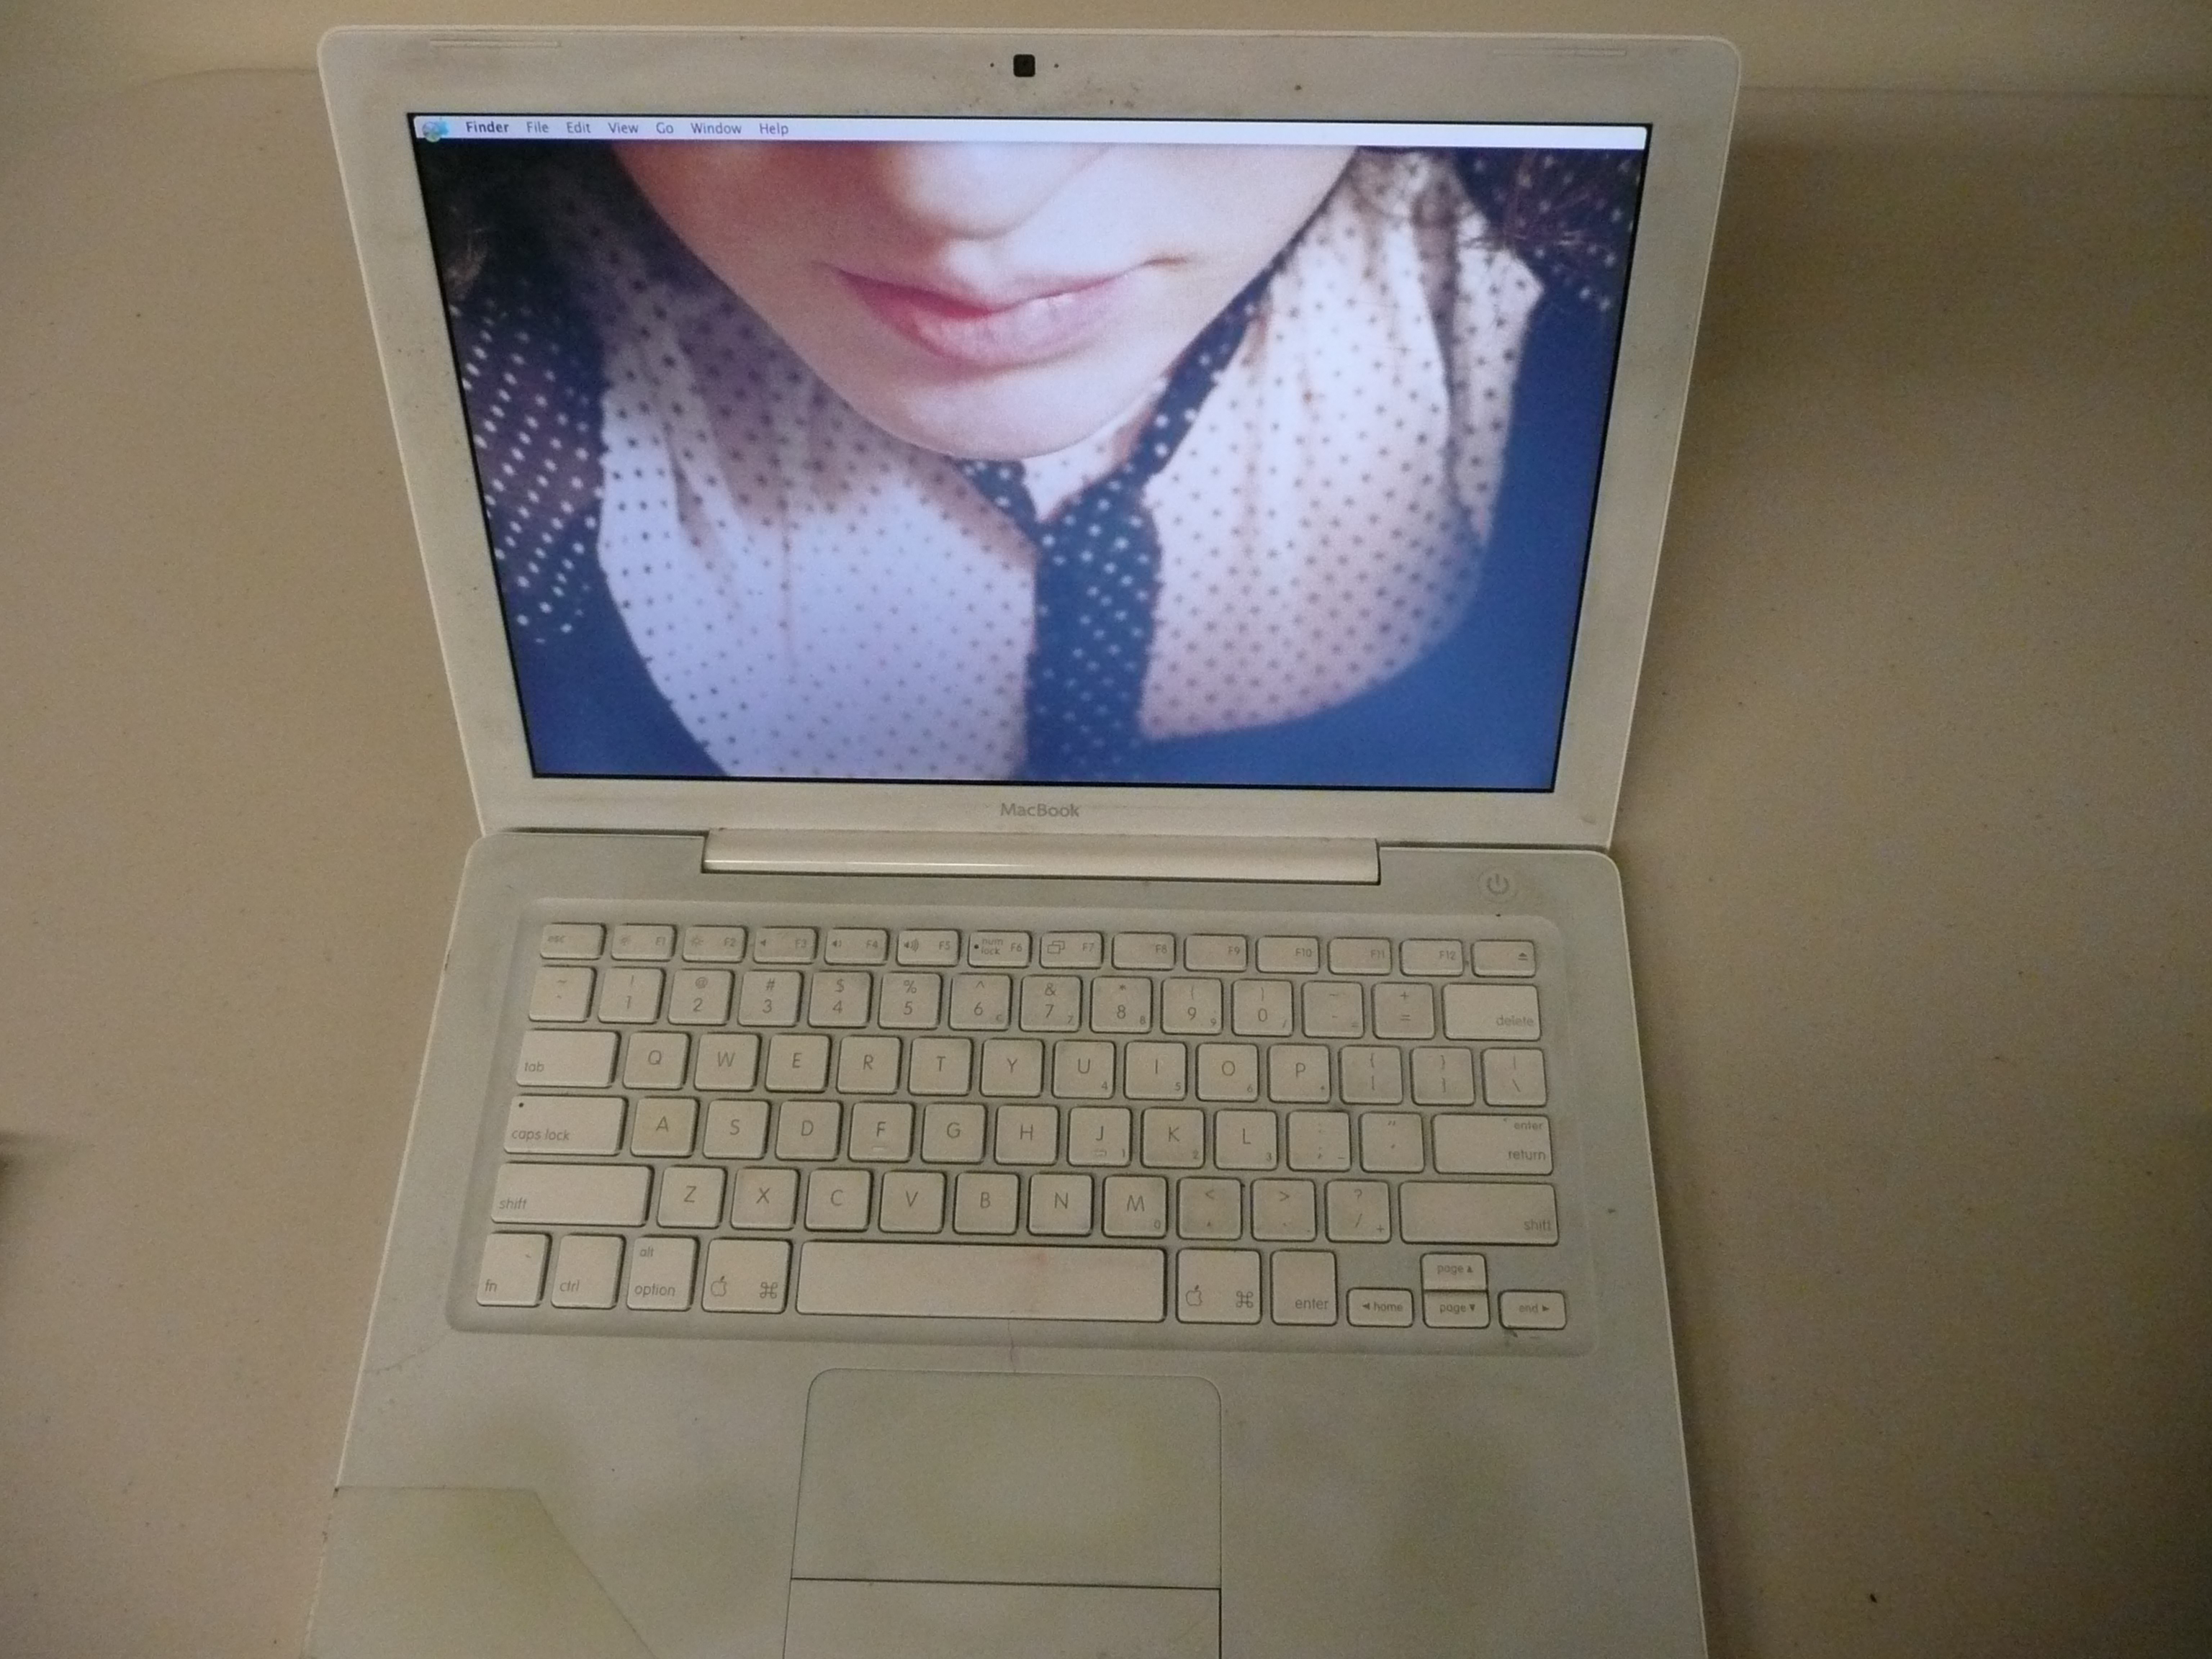
You now have two duplicates of your disk sitting outside of your computer--they are both bootable, too. This means that you may take the new disk and put it into your computer and have it run just like it used to... except you will have much more space now.
What you should do though is:
This is 3/4th's of the backup procedure. I promised you more though. To truly fossilize your mac you need time machine to create an image of your mac at the current time. This will prevent problems with losing data in the future.
What you should do though is:
- Take old drive; unscrew it from its casing.
- Screw the casing onto the new drive.
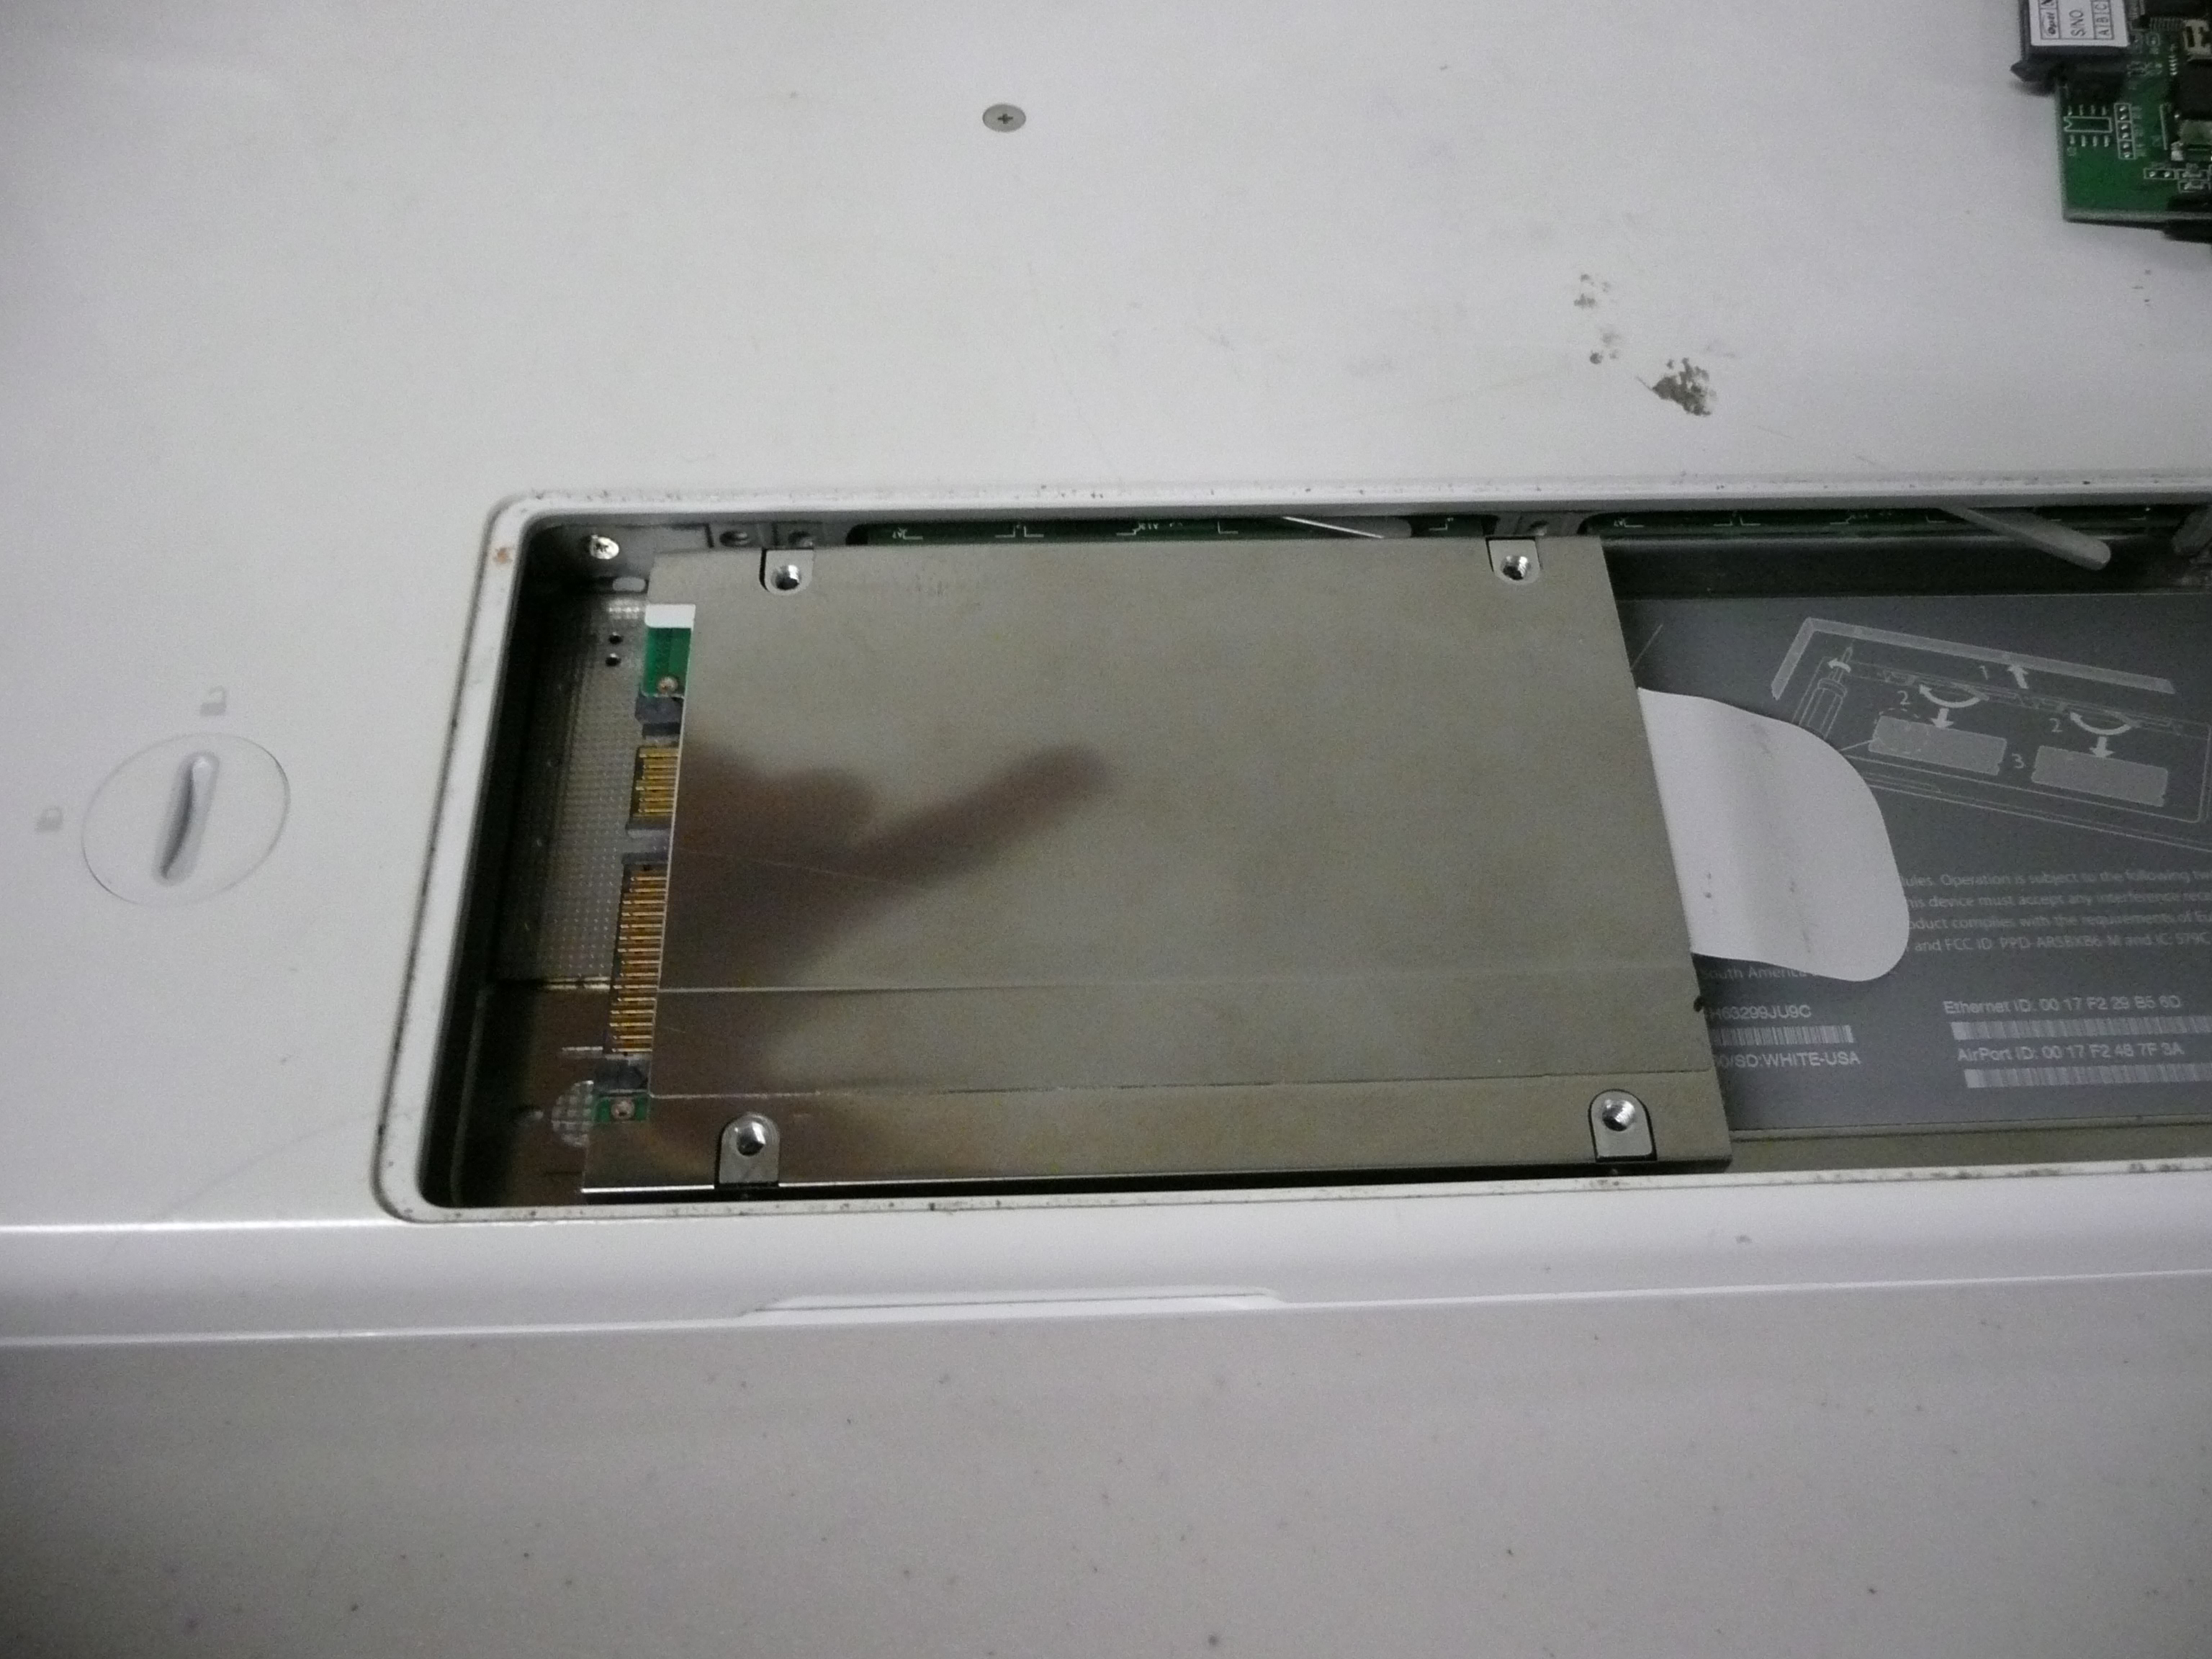
- Reinsert into the hard drive bay and push till it doesn't go any further.
- Rescrew the metal bracket.
- Reinstall the battery.
- Flip the laptop, open it and push the ON button.
This is 3/4th's of the backup procedure. I promised you more though. To truly fossilize your mac you need time machine to create an image of your mac at the current time. This will prevent problems with losing data in the future.
To Infinity and BEYOND! - Installing Leopard
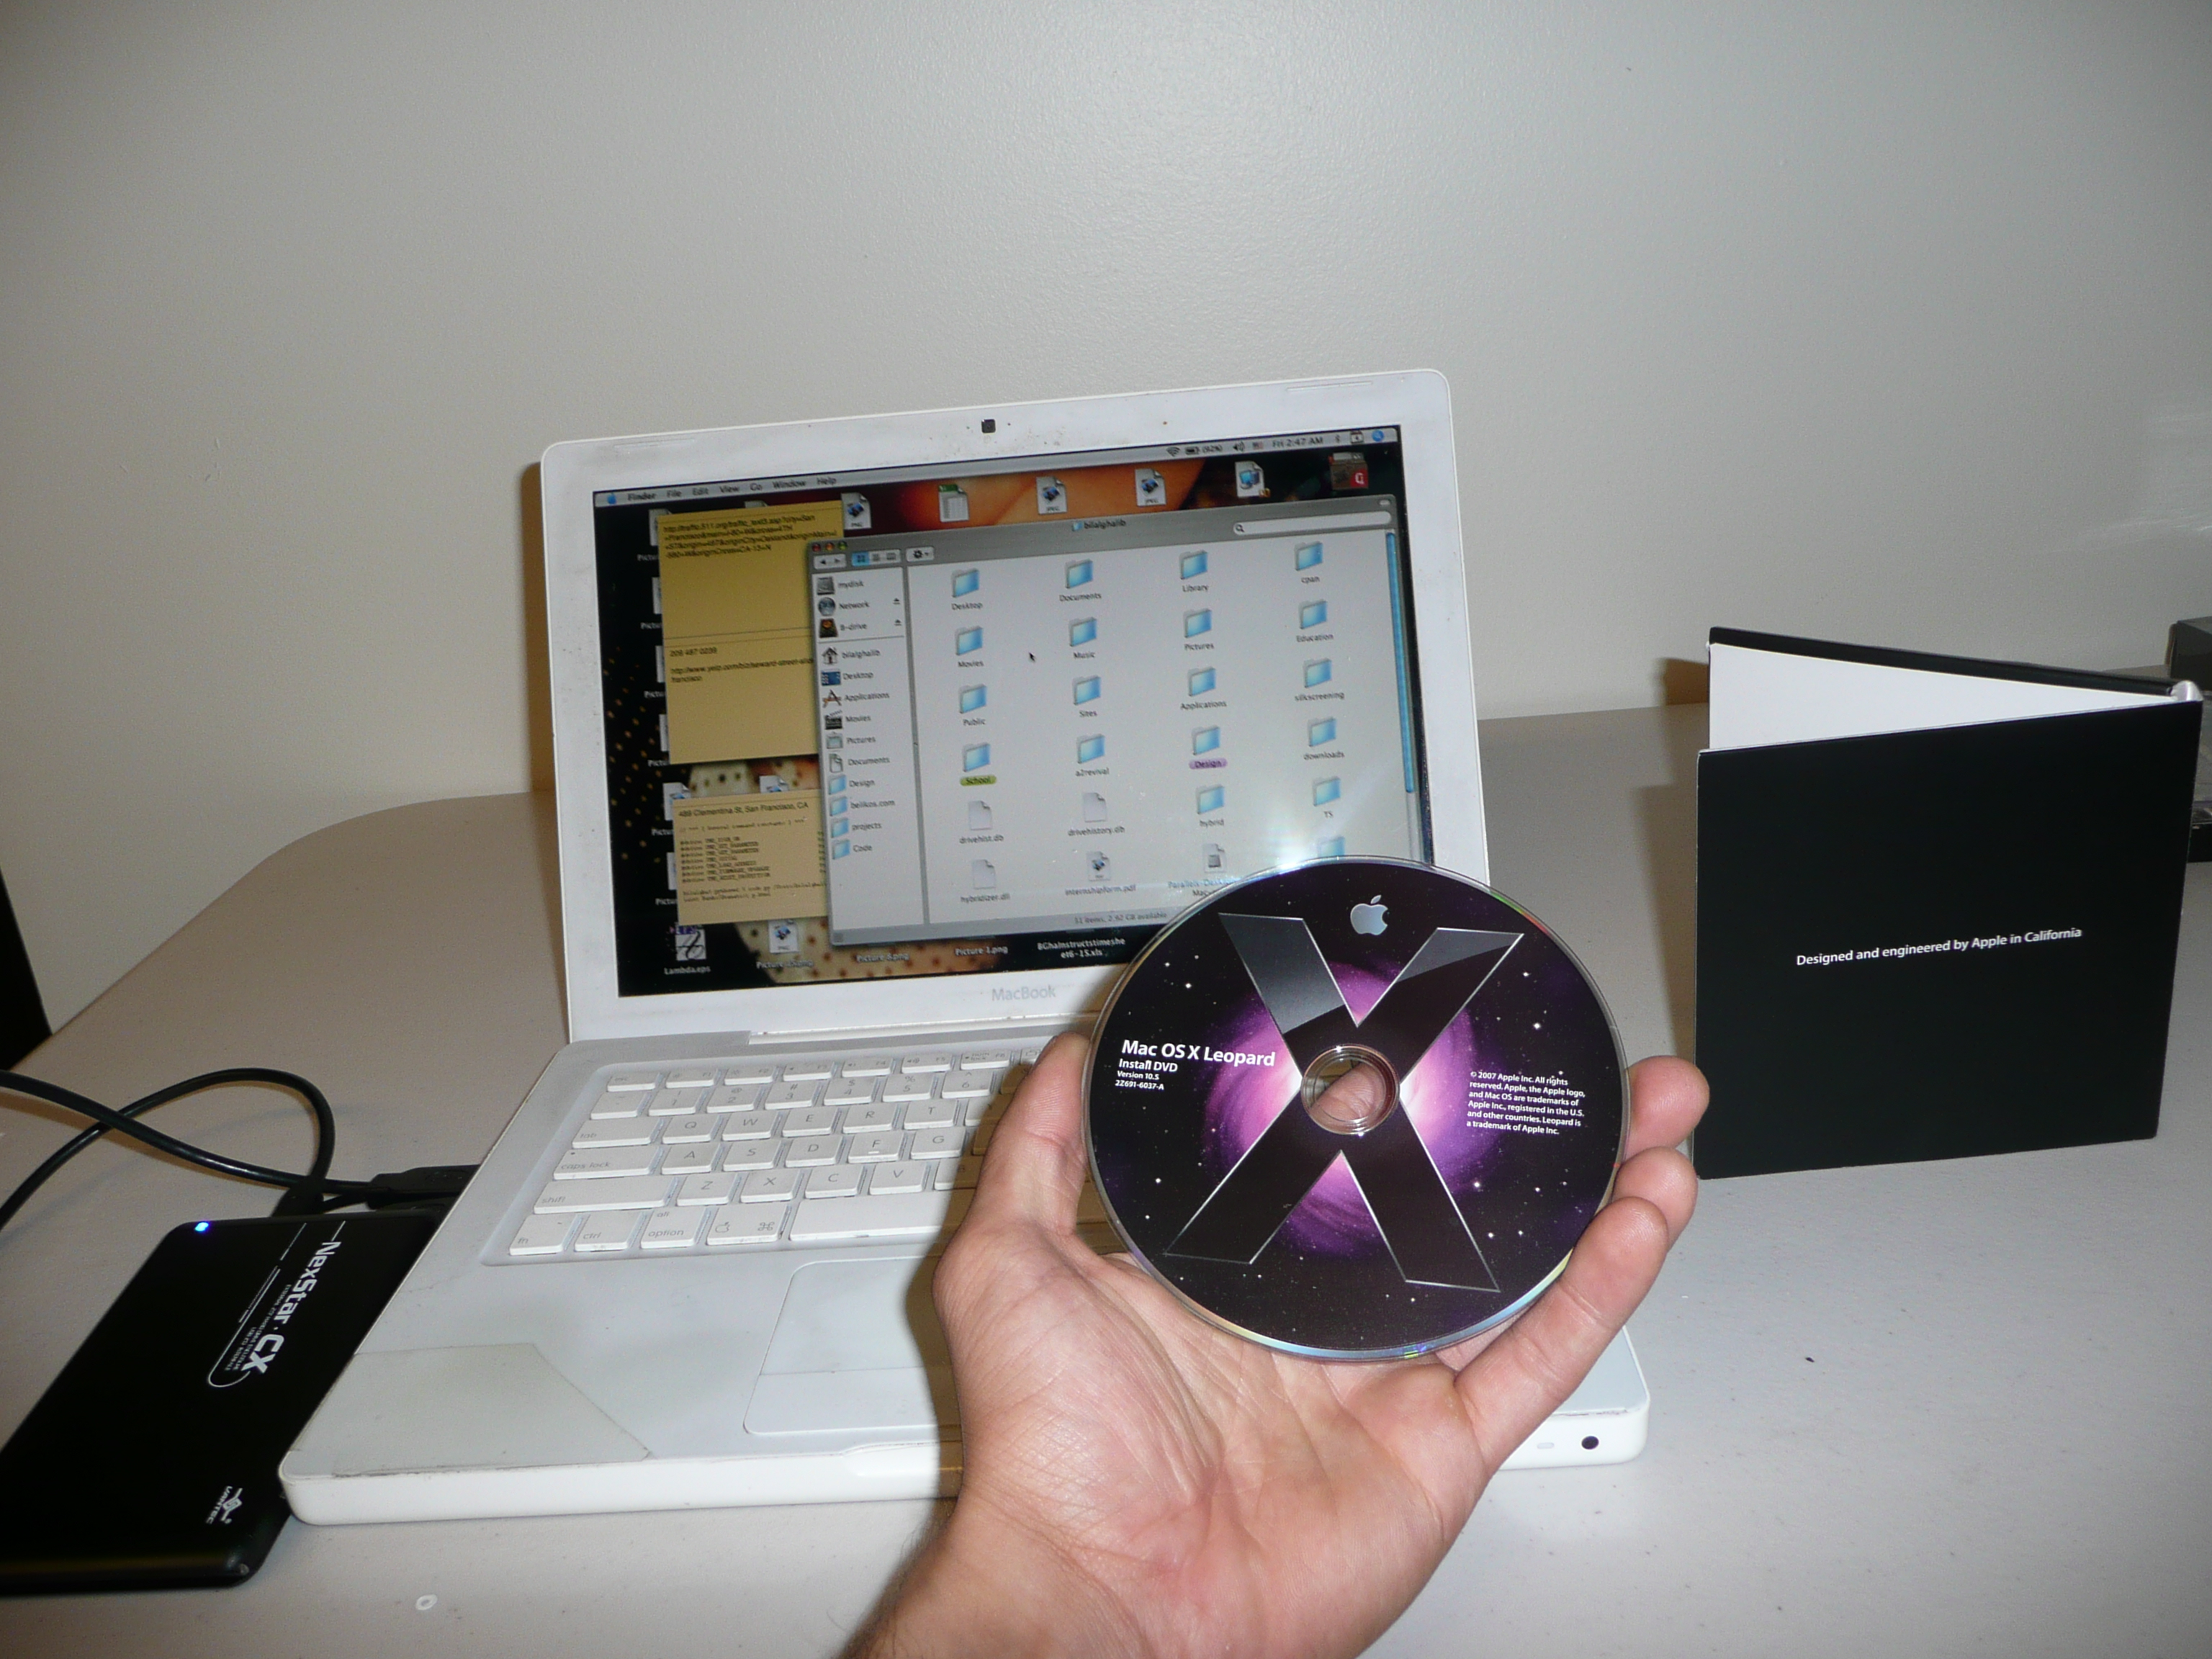
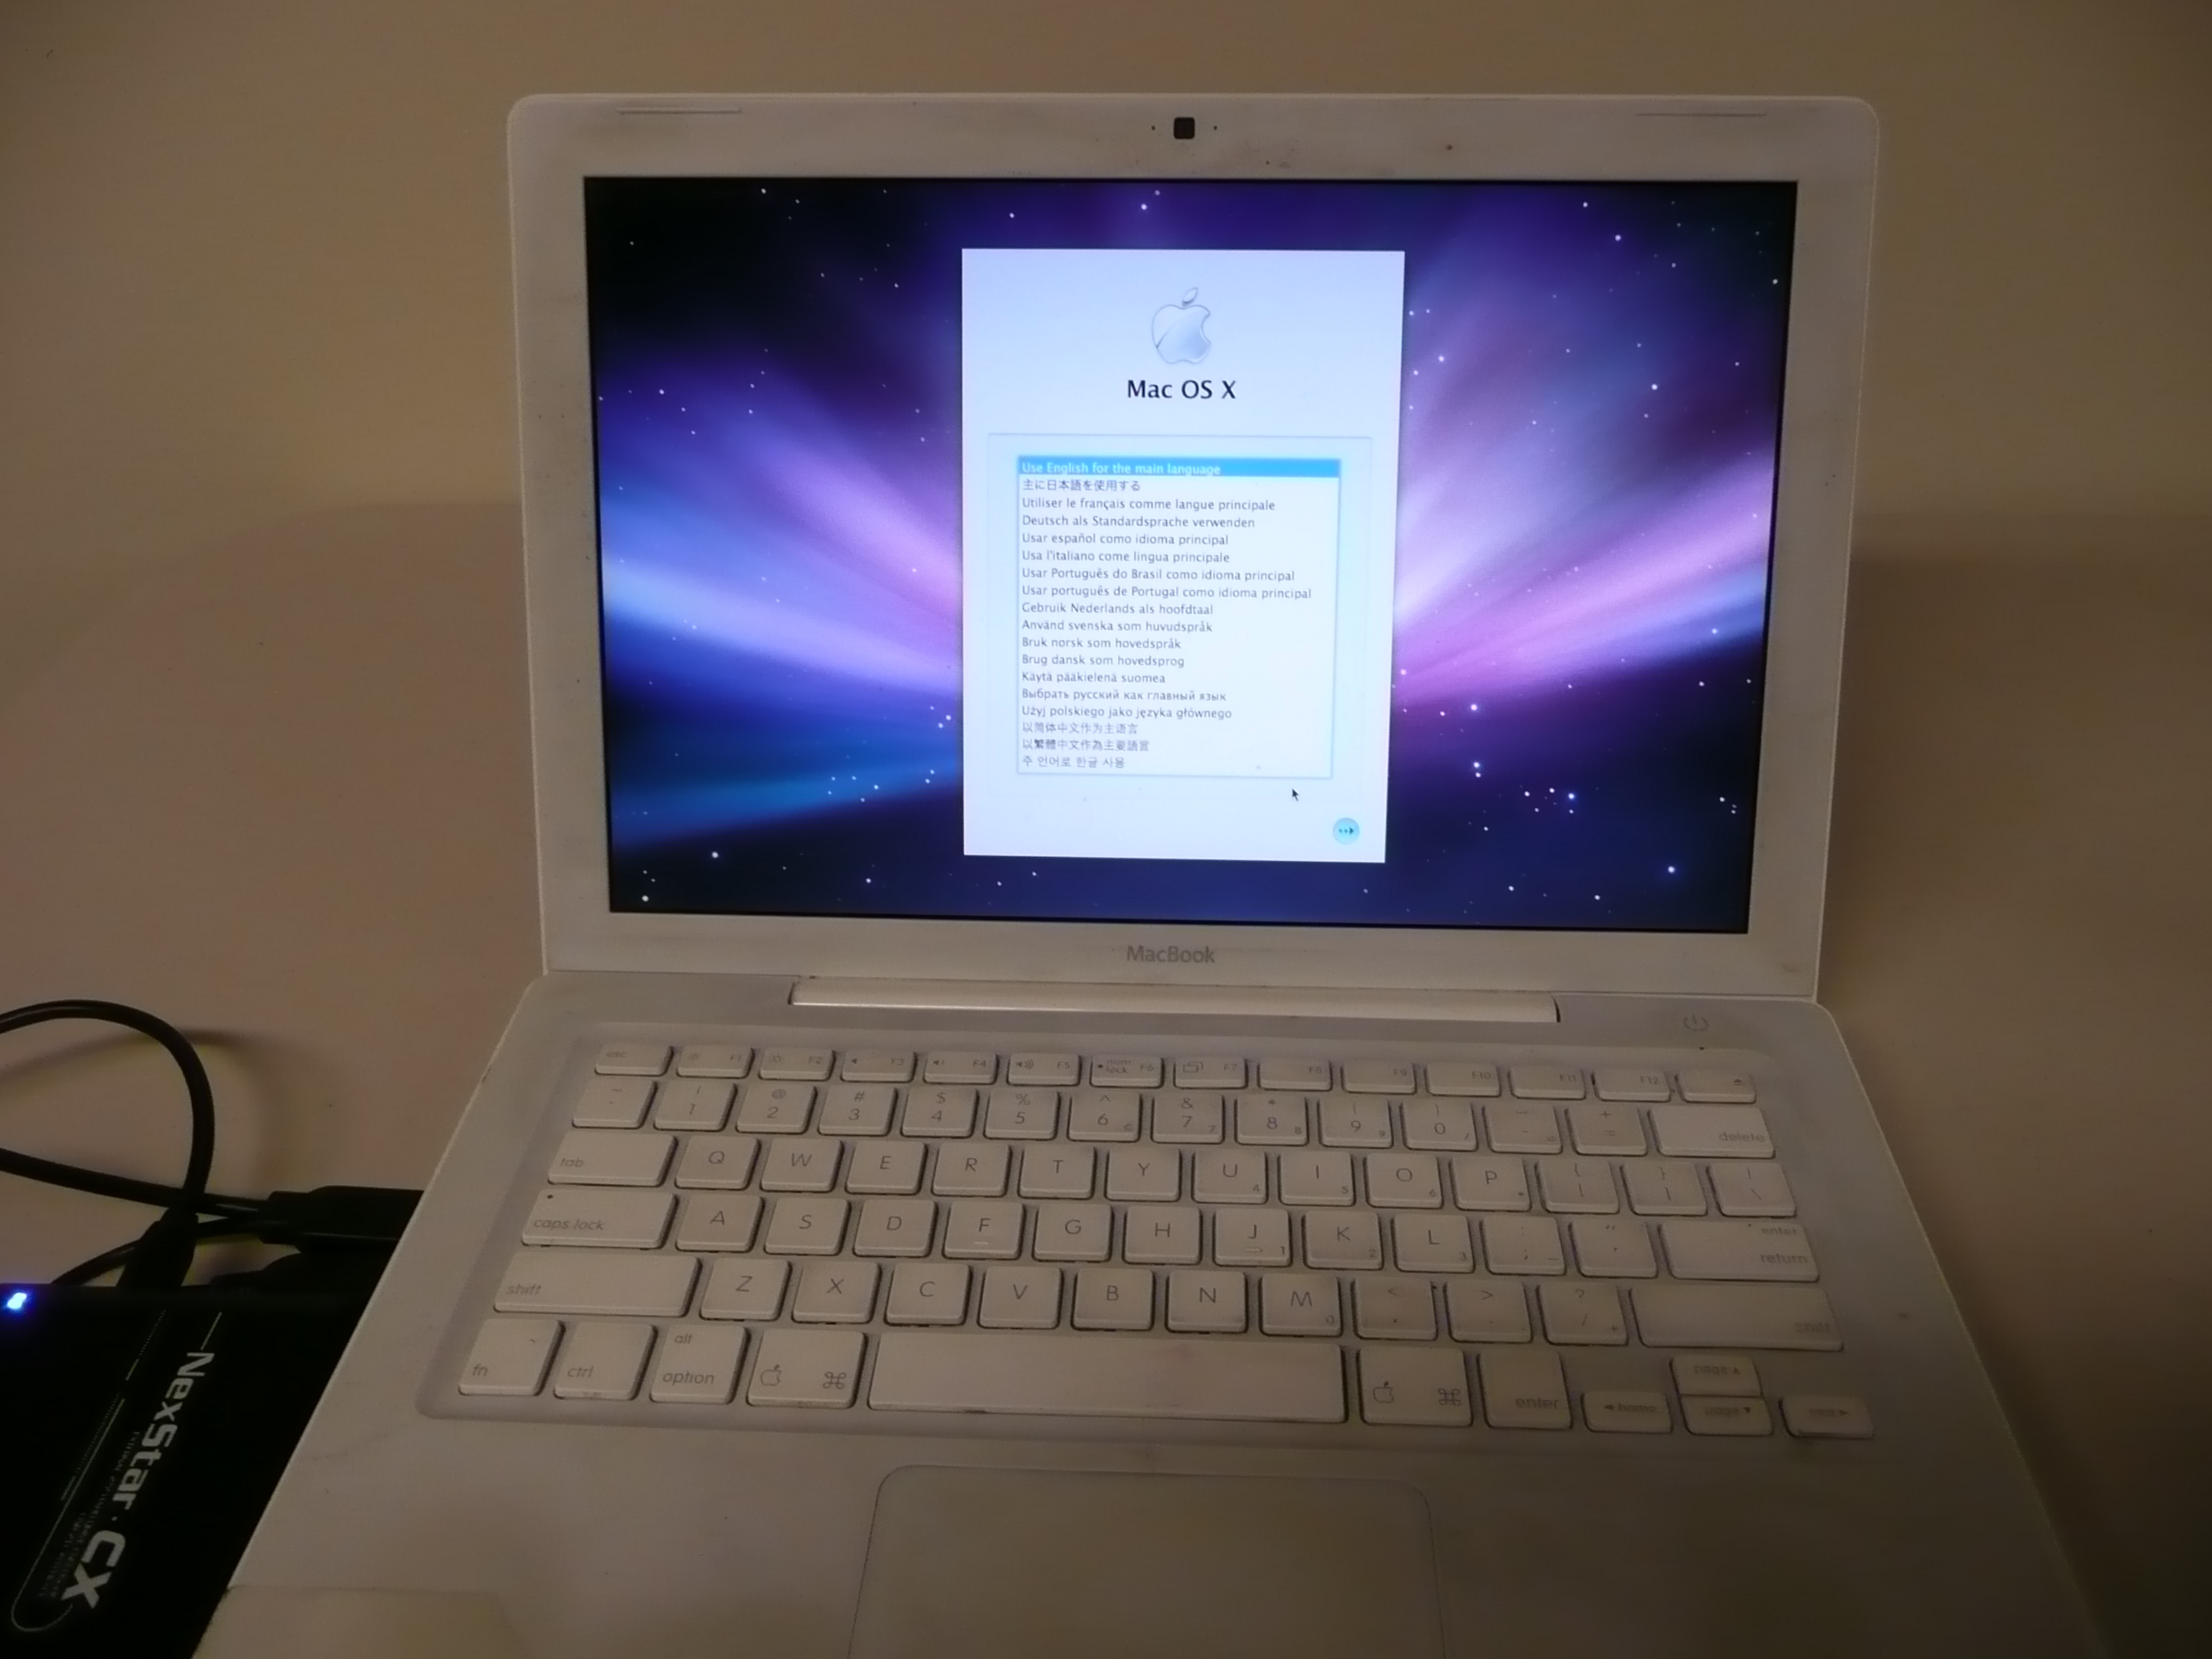
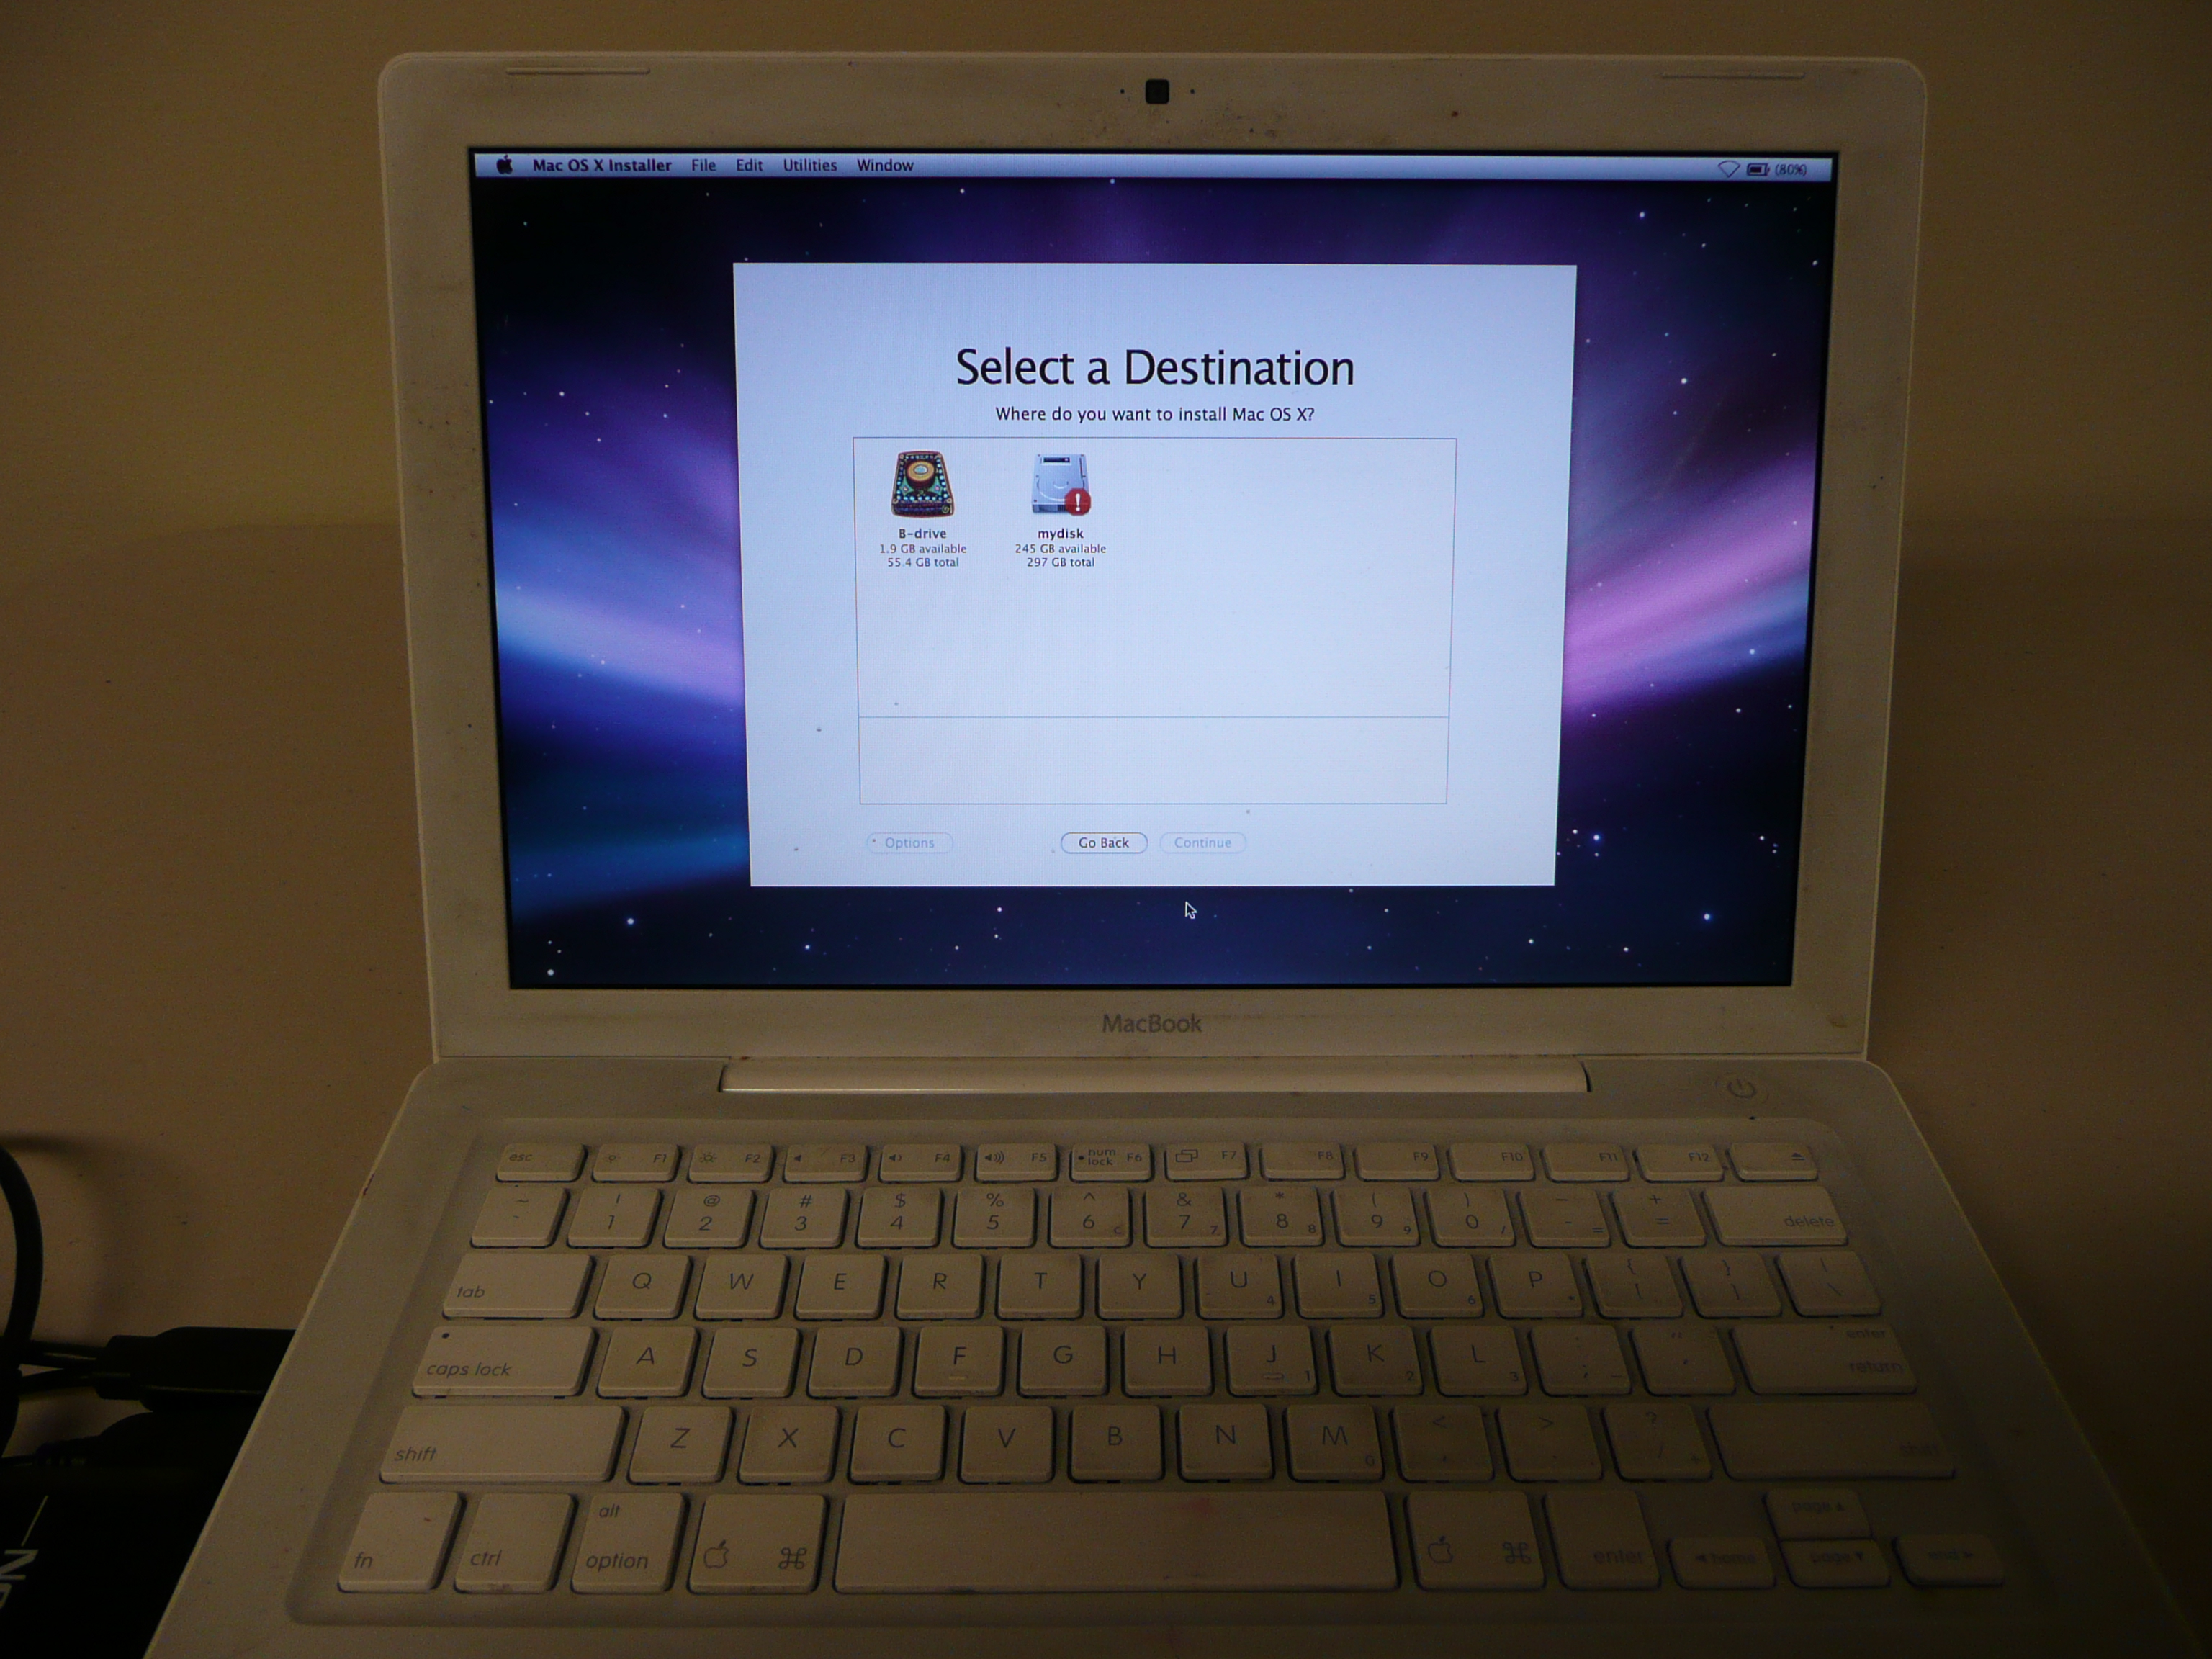
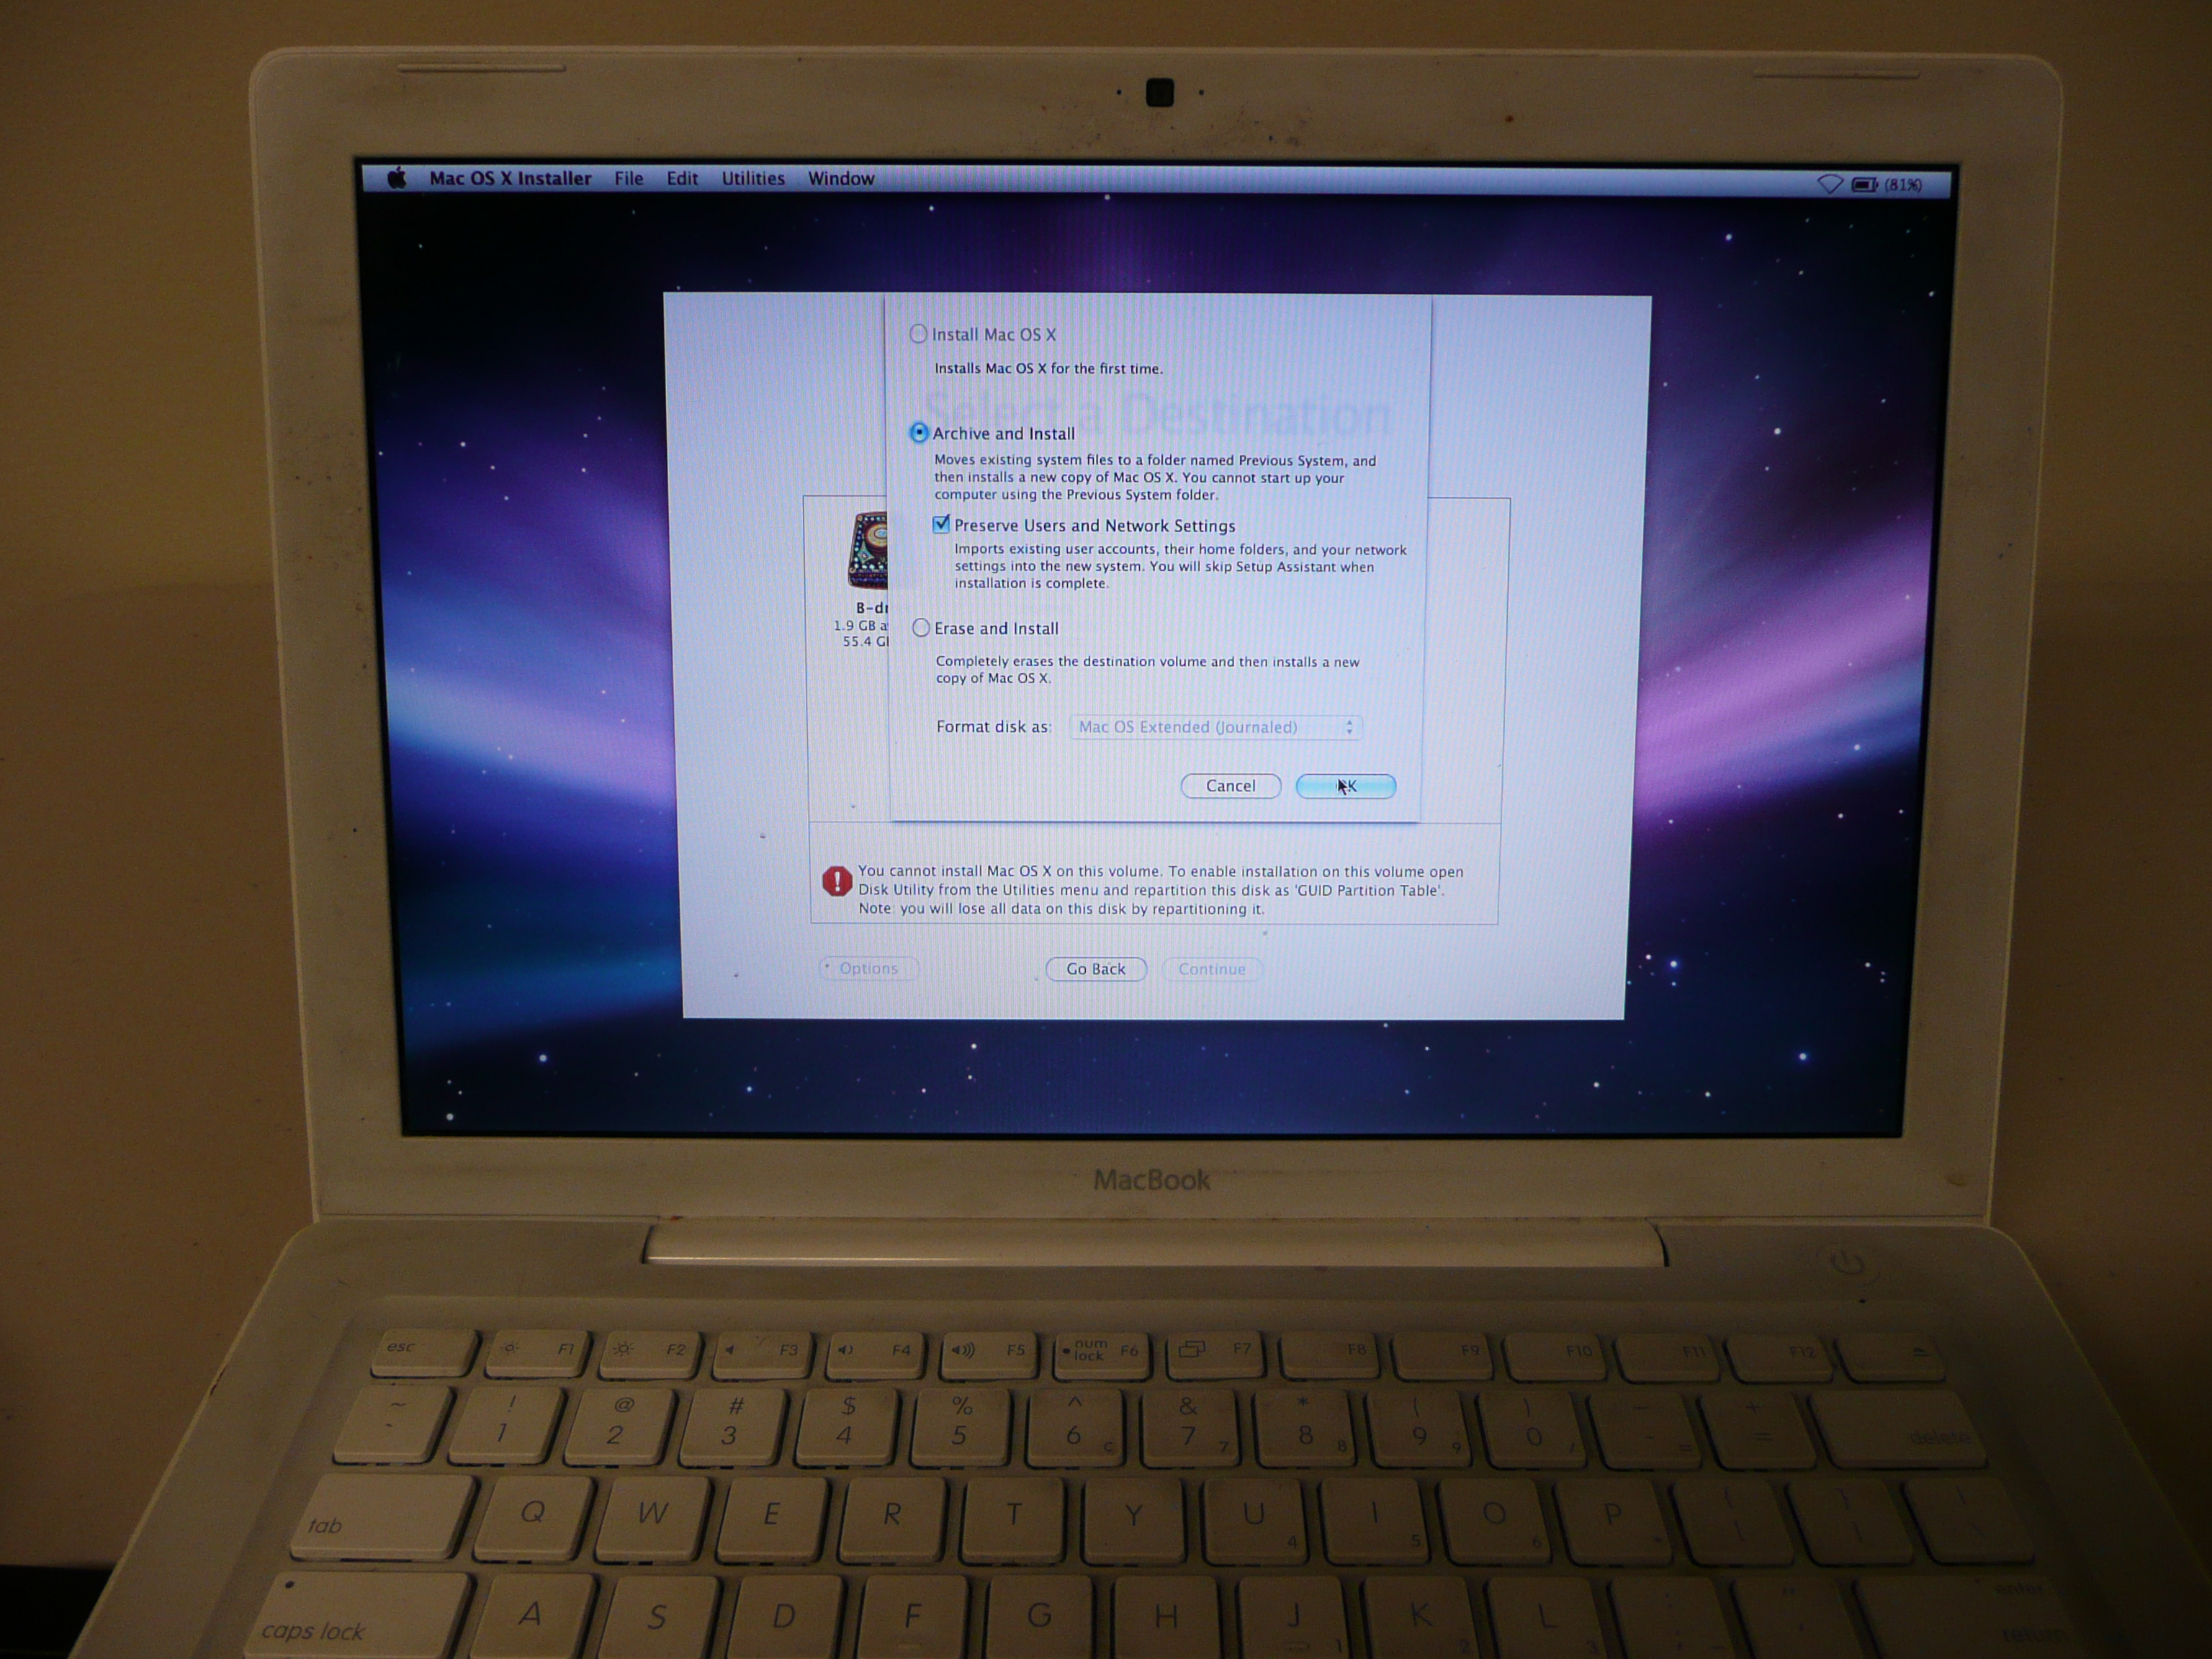
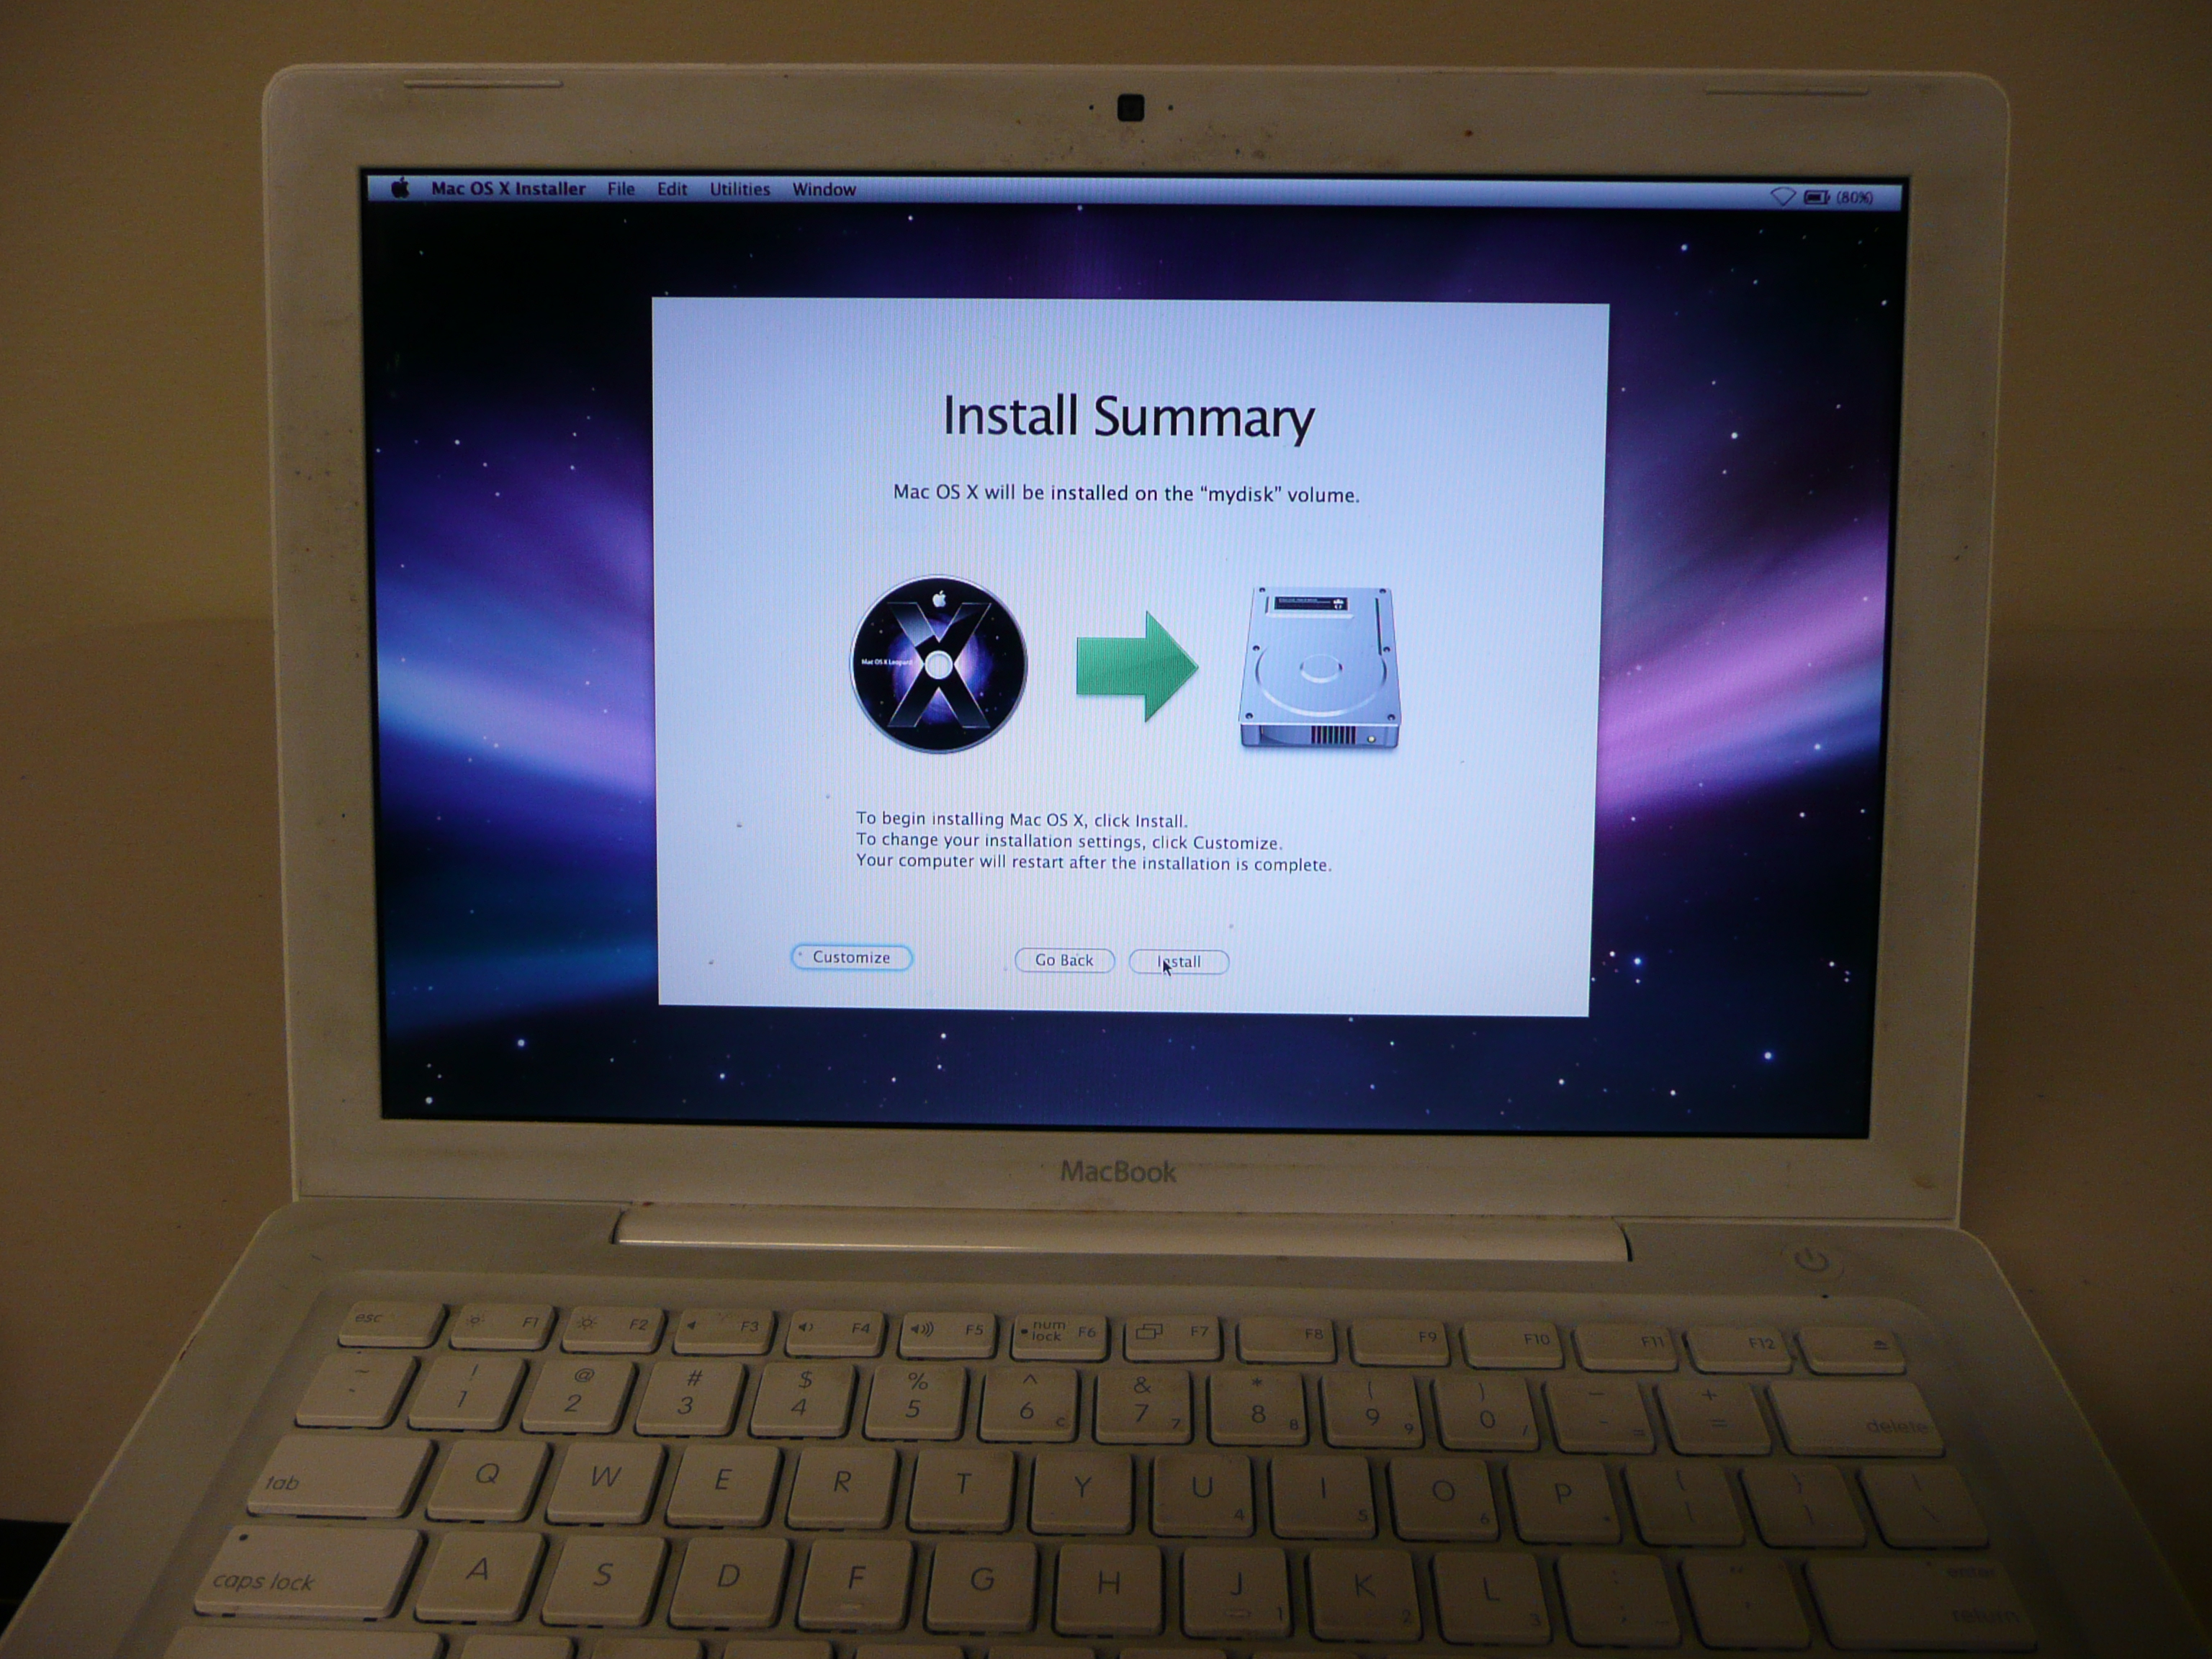
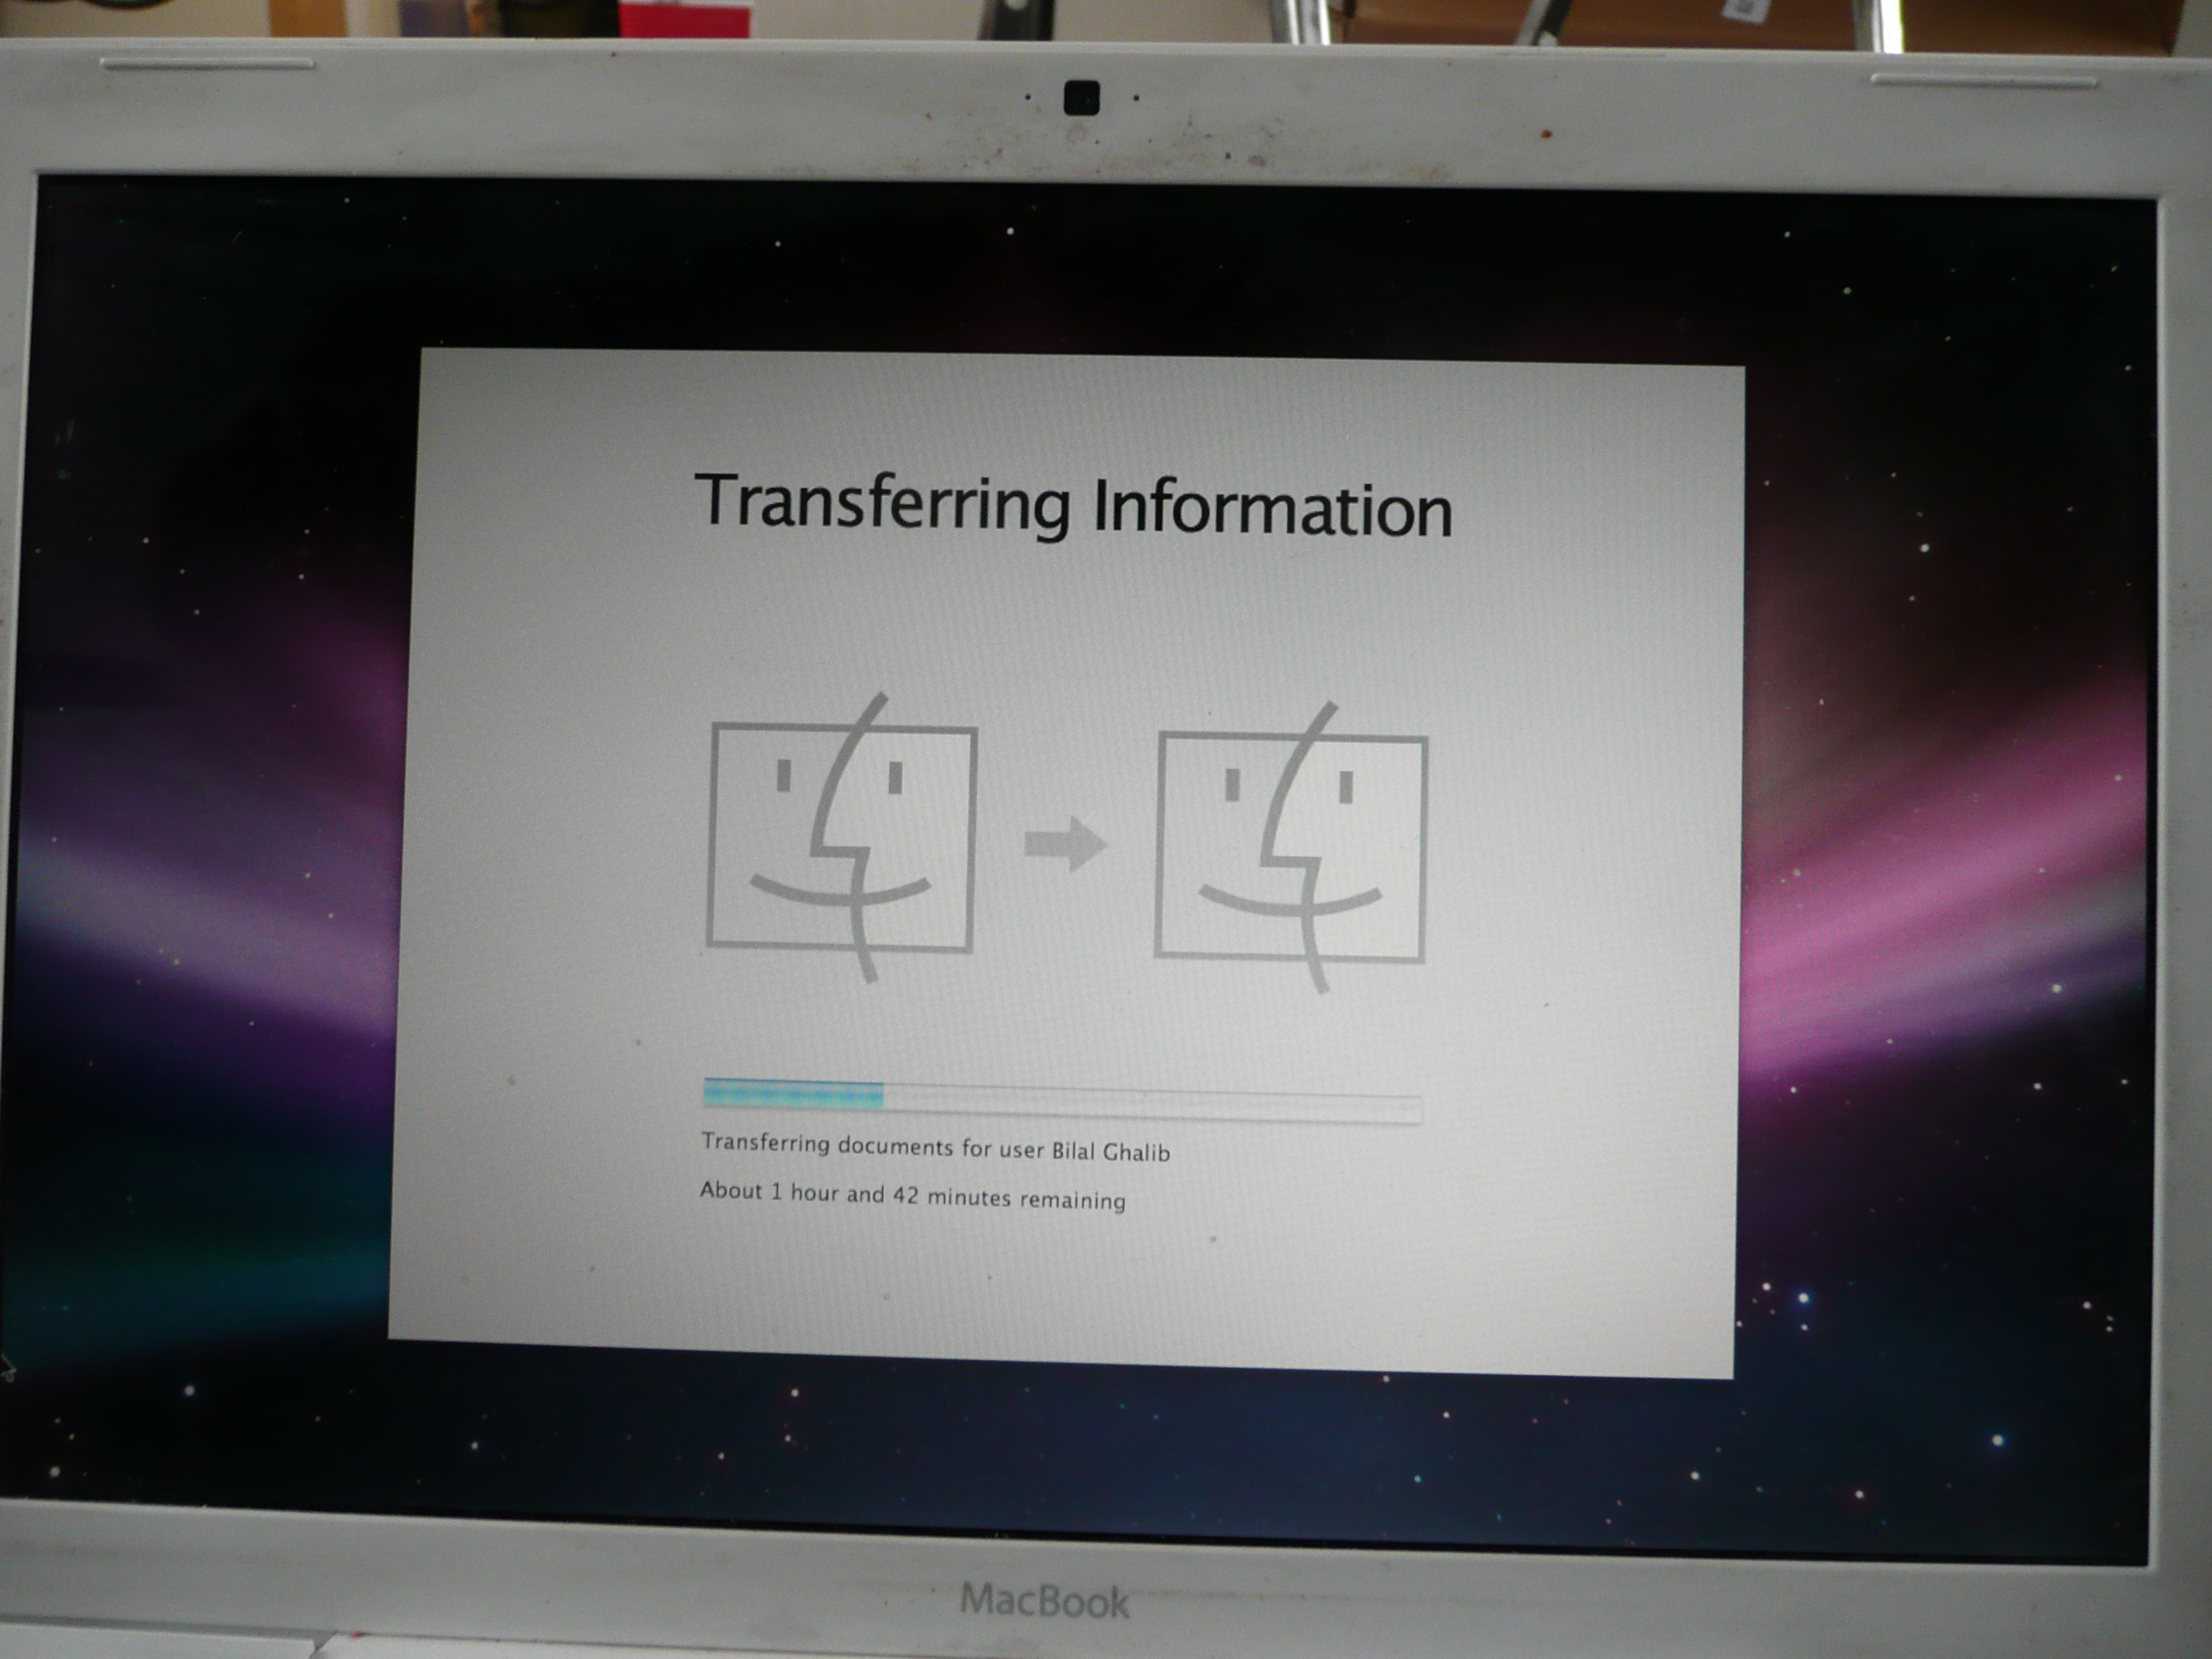
We're close to completely revamping your Mac and protecting your data for infinity and beyond. The last steps we need to do are install Leopard and set up Time Machine. With the addition of thee two items, your system will be protected for the future and will also have the past preserved.
First you will need to have the DVD and some time. Other than that it's a fairly straightforward process which involves putting the DVD into the bay and following the directions.
First you will need to have the DVD and some time. Other than that it's a fairly straightforward process which involves putting the DVD into the bay and following the directions.
- Restart the computer
- Select archive and install. Don't fresh install.
- Select your language you prefer.
- Then select the drive you just installed.
Be a Time Traveler.

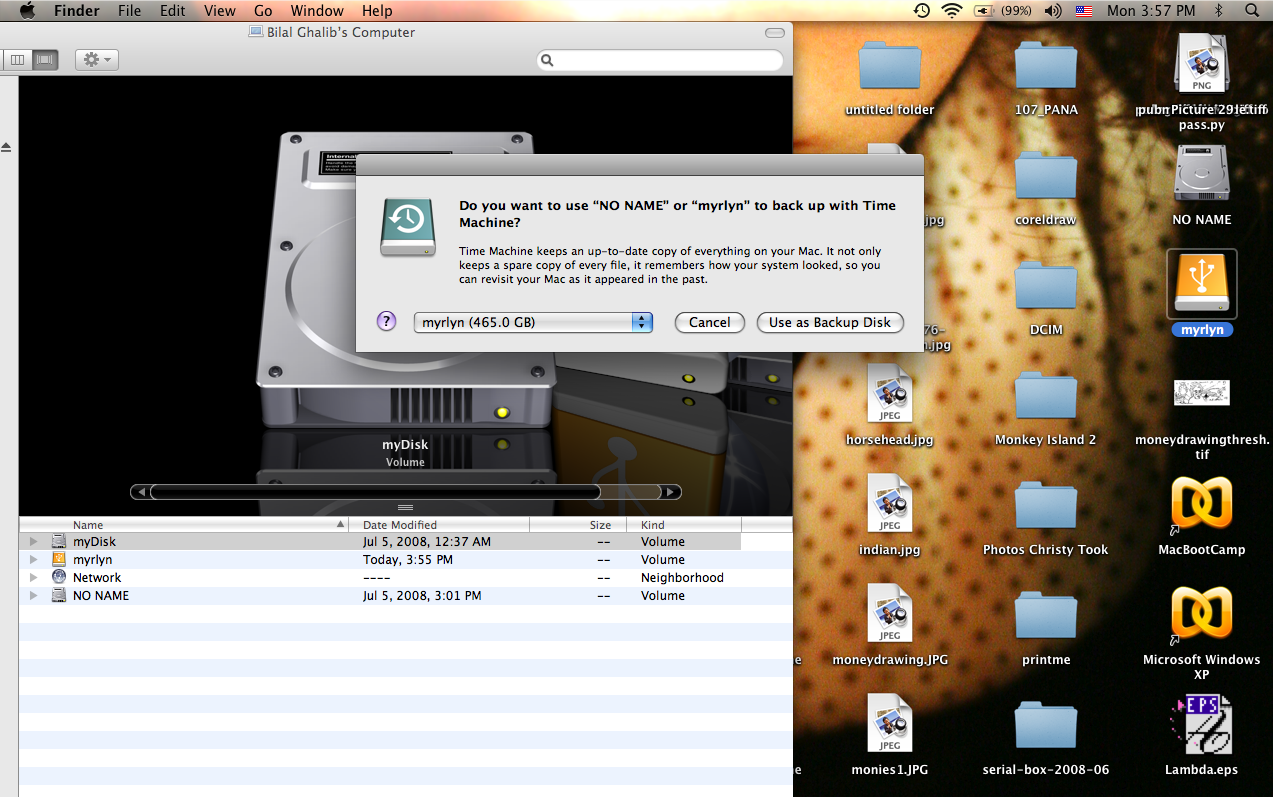
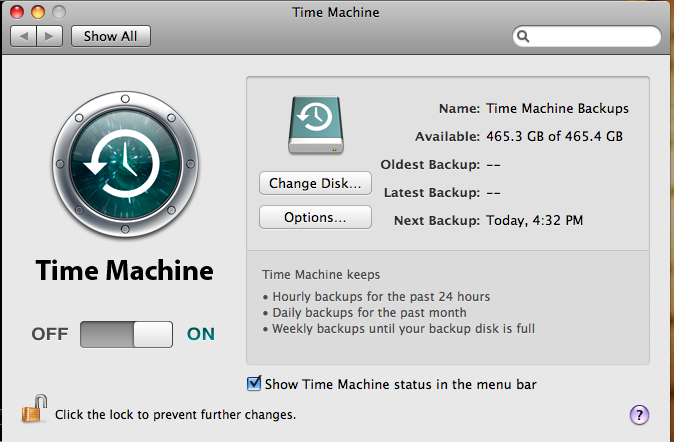
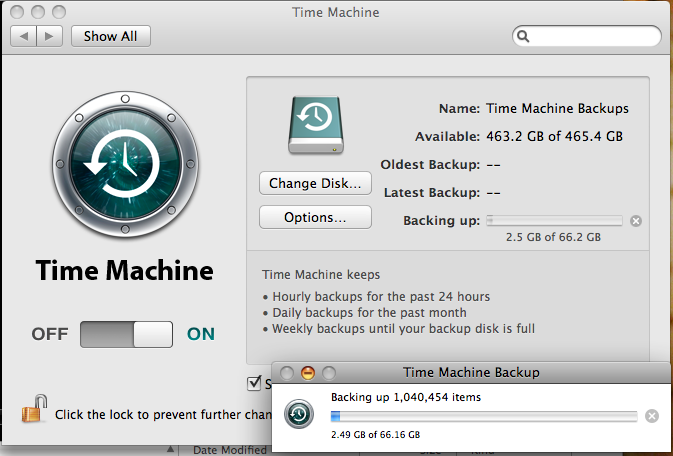
One of the neatest things about the operating system you just installed is a new application called Time Machine. This continually takes snapshots of your computer's drive and saves them so that in case you ever have a problem and lose some data... you can simply look back in time. To do this you will need an external hard drive.
$99 500 Gig Drive
Once you have this drive the setup for Time Machine is very simple:
$99 500 Gig Drive
Once you have this drive the setup for Time Machine is very simple:
- Plug in your portable drive
- Select the drive in the pop-up window as your backup disk.
- If the window doesn't pop up, plug in your disk and click the clock on the upper bar near the wifi icon.
- Toggle the switch to on and it will start to back up your entire disk.
Celebrate Data Safekeeping

If you completed both steps your data is now living in a nice large house and you have an old version of your computer that you can boot from at any time.
Booting your old drive:
Plug your old hard drive in the enclosure into your USB drive and restart your computer. When you see the gray screen hold the alt/option button down and it will give you the option to boot from the other disk.
So your past is preserved forever.
Your present is constantly being backed up.
And you have loads of space for future projects.
:. Go crazy and make stuff!
-BG