Format, Print and Assemble a Hand-sewn Booklet
by denkbert in Craft > Books & Journals
7819 Views, 15 Favorites, 0 Comments
Format, Print and Assemble a Hand-sewn Booklet
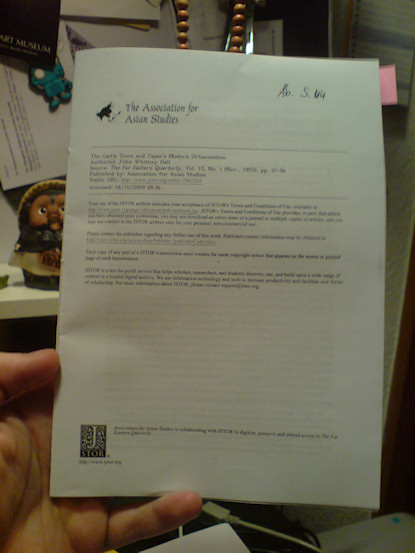
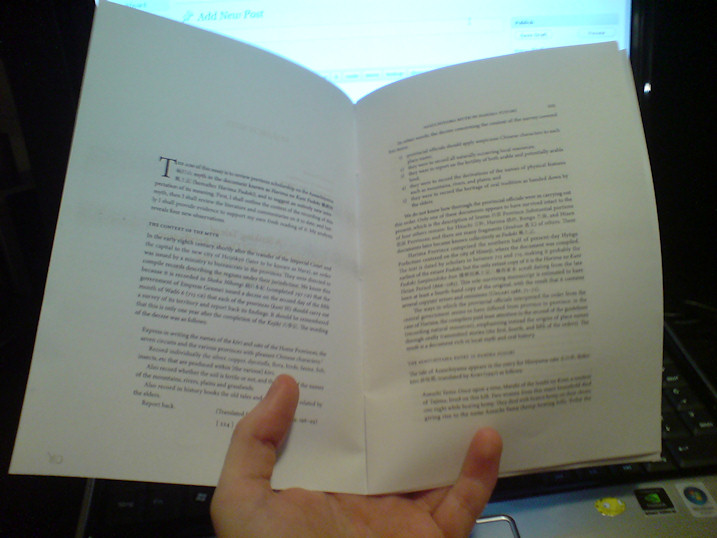
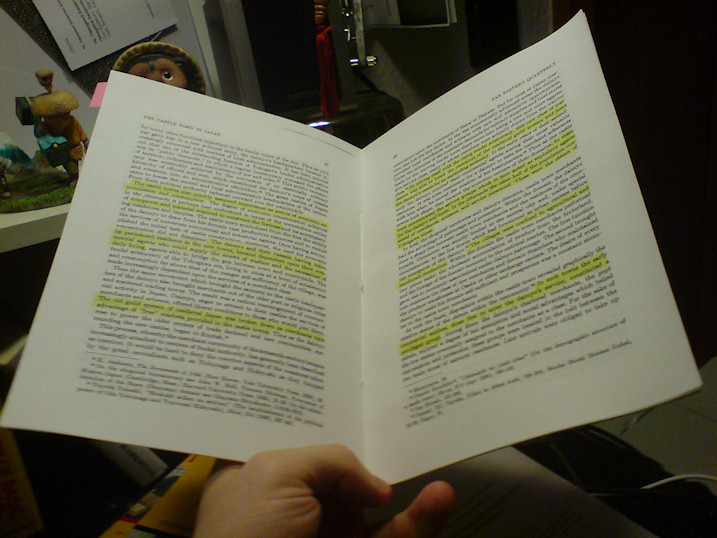
Greetings, fellow makers!
This instructable will teach you how to format, print and assemble a handy booklet from any PDF document.
You will need the following tools & supplies:
- printer & paper
- scissors
- a strong thread, preferrably of white color
- a needle
- an awl or a long, thin nail
- a bone folder or an object of similar shape
[ Edit ]
Somehow, the whole text for the introduction got deleted. I don't know how, but I actually had to write it all over again. Oh well ...
Preparing a Non-PDF Document
If the document you desire to turn into a booklet is not a PDF-file, we need to turn it into one. If you have written or copy-pasted the document text in Open Office, you can just use the PDF Export function to get the PDF file we need.
For other file formats or older Microsoft Word Versions that do not support PDF Export yet, you can simply use a virtual PDF printer. A PDF printer is a programm that installs a virtual printer on your system. You can choose to print documents with it like with any normal printer, but instead of producing blackened and colored paper-pulp in meatspace it coughs up an A4 PDF file.
Personally, I favor the official PDF Distiller from Adobe, but since it belongs to the rather expensive Adobe Acrobat Suite, you might want to go with a freeware alternative if you do not have access to the Suite (I got mine from university). In the past, I've used the free PDF Printer from Bullzip and I was quite pleased by it's performance.
You can get it here: http://www.bullzip.com/products/pdf/info.php
There are, of course, other free PDF printers around. If you can recommend a good one, please share your knowledge in the comments :)
Reordering the Pages With Bookletcreator.com
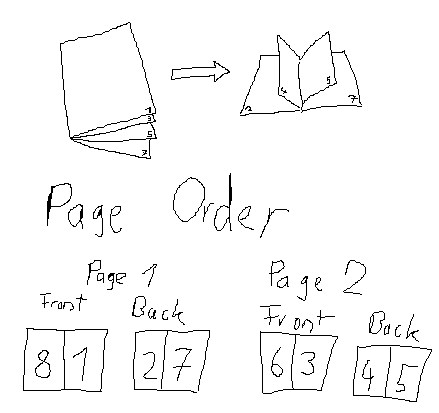
Creating a booklet normally involves reordering the pages. Since a picture usually speaks more than a thousand words, I have MS Paint'ed a sketch of an eight-page booklet for you.
The free Adobe Acrobat Reader actually has an option for booklet printing since Version 8, but printing tends to get complicated and messy if you do not posess a duplex printer. Even if you actually posess a duplex printer, you might want to tend to my method anyway since it gives you more control and options for the booklet creation.
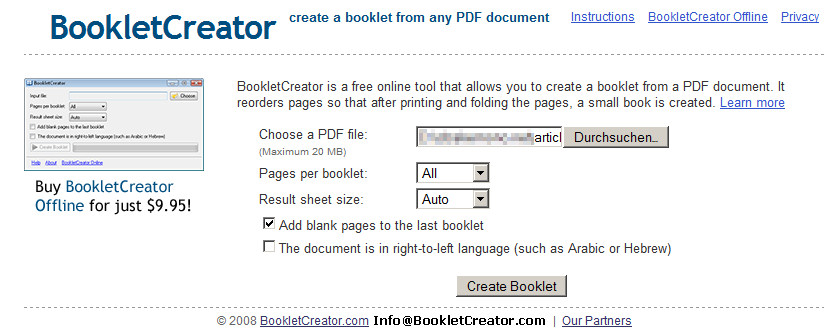
First, go to bookletcreator.com.
Over there, choose the PDF you want to create a booklet of. Leave the option "Pages per booklet" at "All" and make sure that the box that says "Add blank pages to the last booklet is checked". Then click on "Create Booklet".
After a short while, the page will open the reordered PDF. Save the PDF on your computer and continue to the next step.
For the purpose of this Instructable, I've chosen to use a short paper about japanese ghost stories from the excellent open journal Asian Ethnology. If you take an interest in asian religion and myths, you should really have a look at it, it's free and there are now over 1600 articles from over 50 years of research on the topic.
Printing the PDF
Owners of a duplex printer can just print the PDF as it is and continue to the next step.
Everyone else will have to do the following:
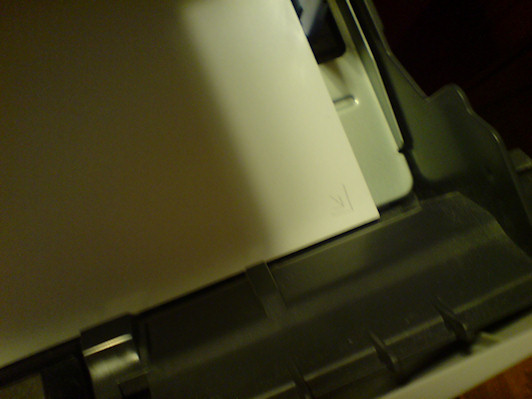
0) Open the paper tray of your printer and make a small mark at one of the corners of the top page (see image).
1) In the print dialog, select the option "Print only uneven pages" (or however your PDF Viewer puts it).
2) Print, uneven pages only.
3) Take out the printed pages and look where exactly the small mark is. It will tell you how to put the pages back into the tray for printing the even pages. Usually, you just have to flip it over and put it back in. If you do this for the first time and want to print a larger document, you should have a test run with a shorter document first, so that you get the hang of how to flip the pages before putting them back into your printer's paper tray.
3.5) Curse, if have a damn cheap low quality trash printer like I do, for those ones sometimes tend to pull in several pages at once, which effectively forces you to start all over again.
4) Sort the pages and make sure that all pages are in the right order.
Continue to the next step.
Folding the Pages, Stitching the Holes
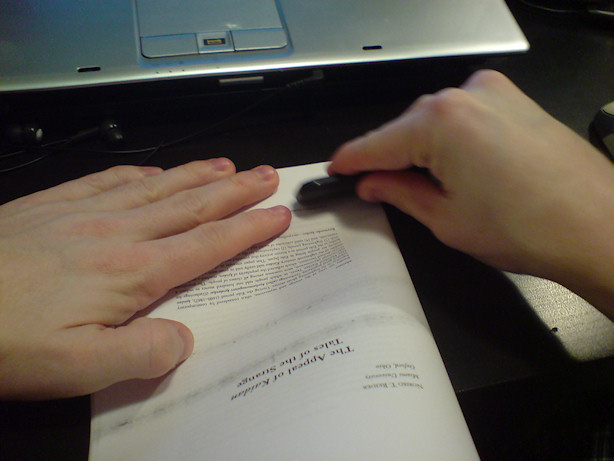
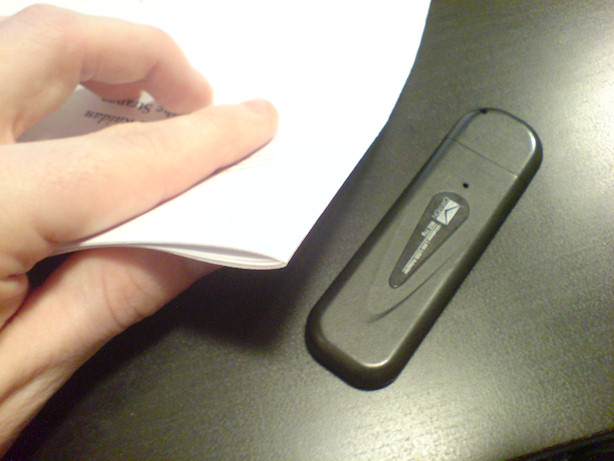
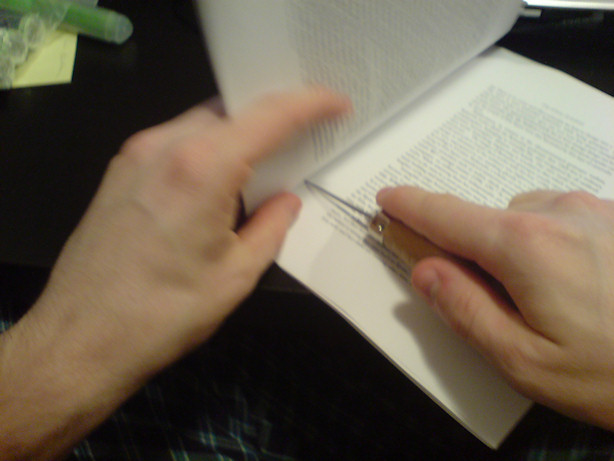
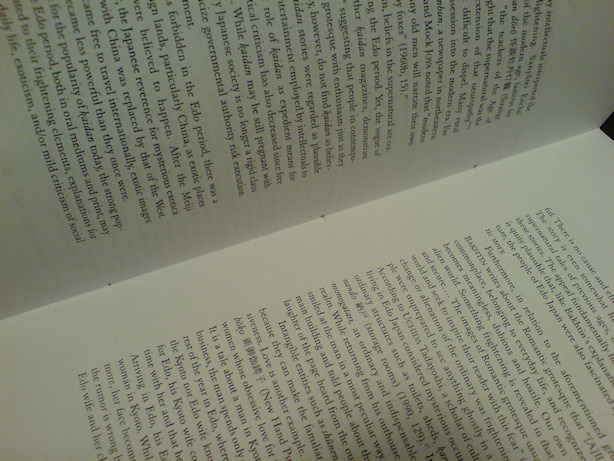
Make sure that your pages are in the right order and neatly stacked. Then, fold them in half using a bone folder or something similar - I am using a WiFi stick in the picture below since I've misplaced my bone folder for the time being.
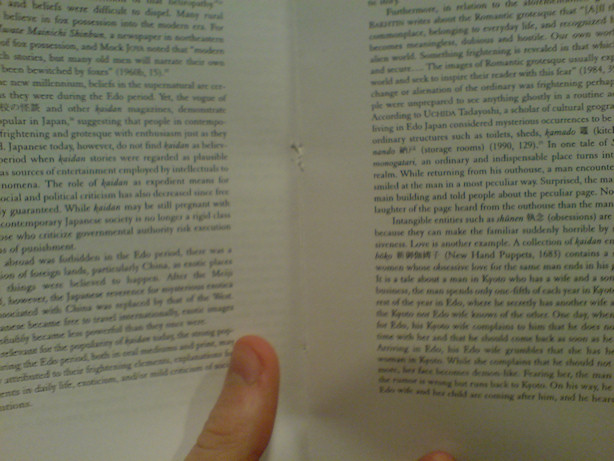
After that, use your awl or the small nail to evenly stitch some small holes from the inside. I am usually going for three holes (see the third picture). If you want your booklet to be a little more durable, you could make even more holes, just make sure that their number is always uneven and that there is always one hole in the middle. It'll make sewing a lot easier afterwards.
Then proceed to the next step.
Sewing the Pages
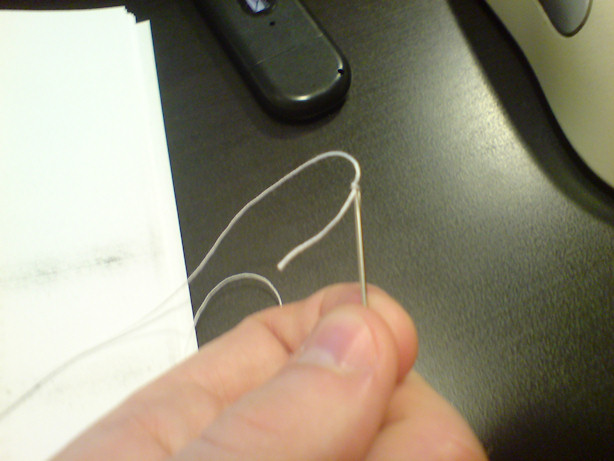
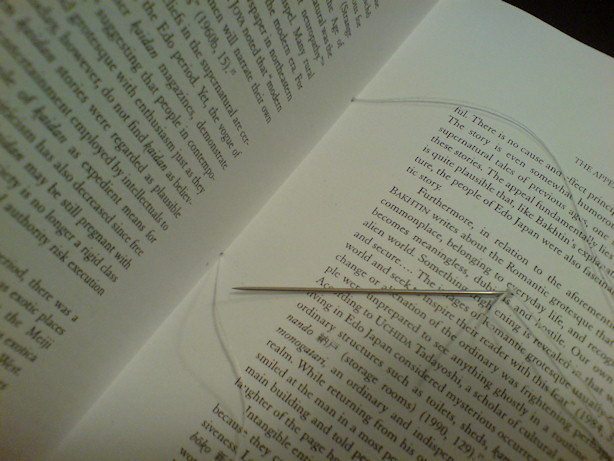
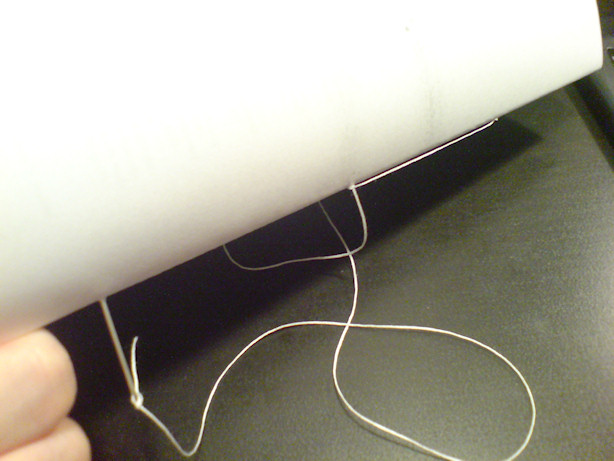
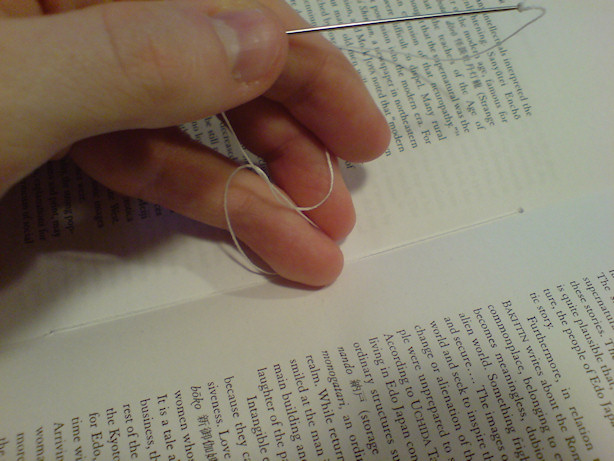
Pull out about 45 centimeters (about 18 inches) of thread, pull it through the needle, secure it with a simple knot and cut it off with the scissors.
When sewing a booklet with an uneven number of sewing holes, we always start from the middle. Open the pages, push the needle through the middle hole and then back through the upper hole. Softly pull the thread, but be careful not to pull too much since you then would have to start the sewing again. Then push it through the middle hole again and back to the inside from the lower hole.
Make a simple knot with the thread's start and the end at the needle then, make it firmly, put one finger on top of it and then make another knot on top of the first knot to fix the thread.
Remove the excess thread with the scissors.
You might also want to press the booklet a day or two. If you don't have access to a press, you can just use a bunch of heavy books or some wooden boards.
Final Words
Congratulations! You have just finished creating your first own, self-assembled, hand-sewn booklet. You can use this technique for CD mixtape booklets, for creating personal school notebooks for your friends or your children, for papers for school or university ... there are quite a lot of applications for it.
A similar technique is also, partially, being employed by bookbinders when creating the body of a highly durable hardcover, hand-sewn book. I'll maybe make another Instructable about that someday.
I hope you enjoyed this Instructable :)
A similar technique is also, partially, being employed by bookbinders when creating the body of a highly durable hardcover, hand-sewn book. I'll maybe make another Instructable about that someday.
I hope you enjoyed this Instructable :)