Ford F150 Auto-Start/Stop Disable FOR GOOD
20182 Views, 2 Favorites, 0 Comments
Ford F150 Auto-Start/Stop Disable FOR GOOD
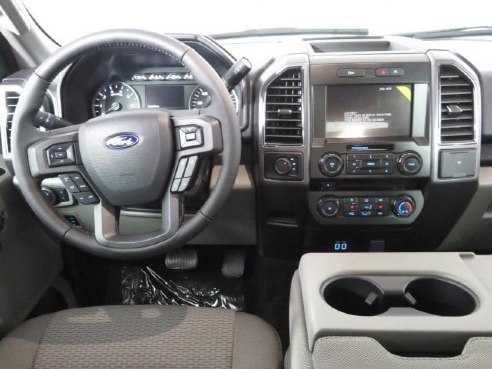
As you may know, Ford's Auto-Start/Stop feature gets very annoying--And it doesn't save you much fuel anyway. On top of that, when you disable it, your change is lost on the next engine start.
In this tutorial I will show you how to permanently disable your trucks Start/Stop feature without having to attach an ugly trailer plug into your bumper.
TWO IMPORTANT NOTES
- I AM NOT RESPONSIBLE TO ANYTHING YOU DO TO YOUR VEHICLE. IF YOU DECIDE TO CONTINUE WITH THIS TUTORIAL AND BURN YOUR VEHICLE TO THE GROUND, THAT IS YOUR FAULT, NOT MINE.
- You will need to remove the trim around the radio, and the cubby above it on the dash. I will not show you how to do that in this tutorial. It is easy and only has 4 screws--Look it up.
What You Will Need
Time dedication: around 2-3 hours
Difficulty: Medium
The parts and tools you will need:
Tools:
- Wire crimpers OR soldering iron
- 7mm, 8mm Socket and wrench
- Pry tool to remove radio trim
- Wire stripers
Parts needed:
- 10k ohm resistor
- 1000mF capacitor
- 8 feet of wire
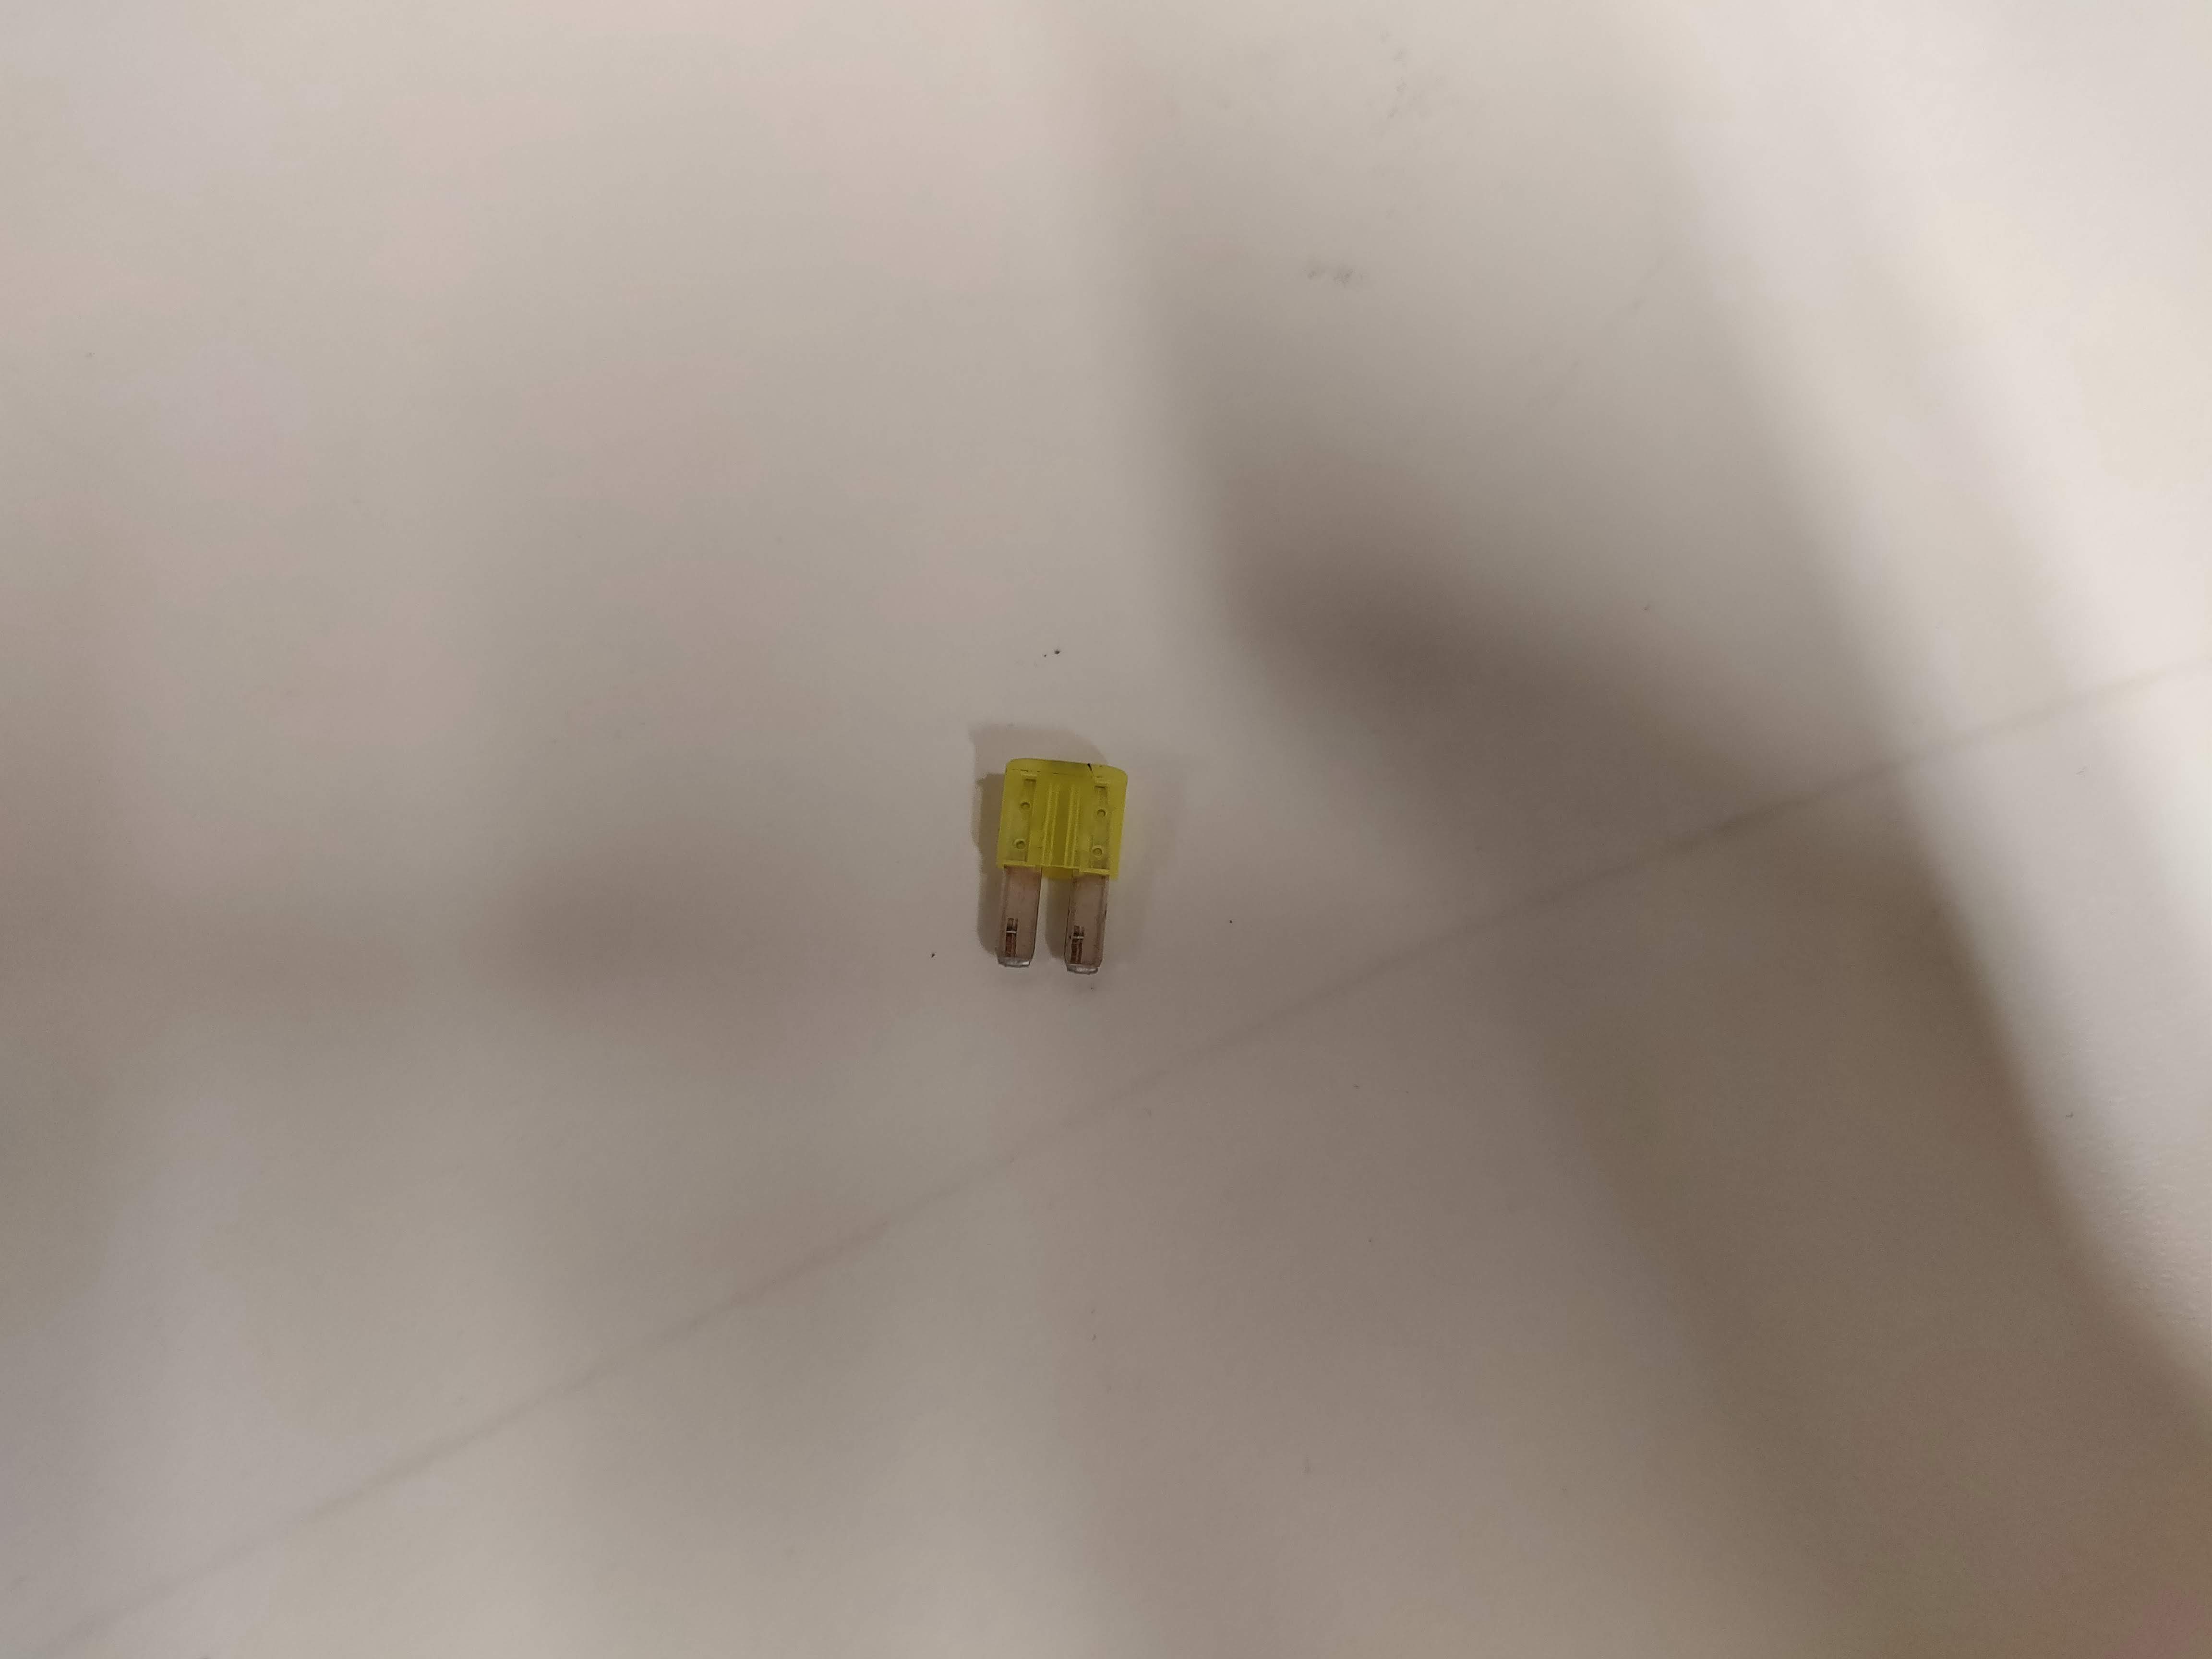
- Micro II fuse tap + a 2-5A Micro II fuse
- Standard Automotive relay
All of these parts should cost less than $20 together.
Construct Disable Circuit Outside Car
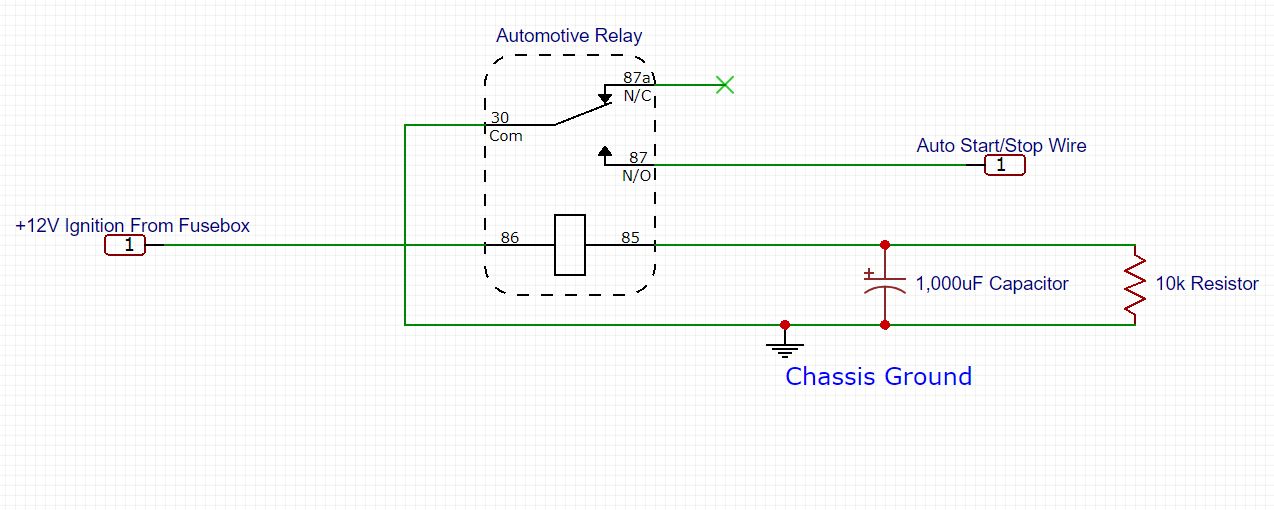
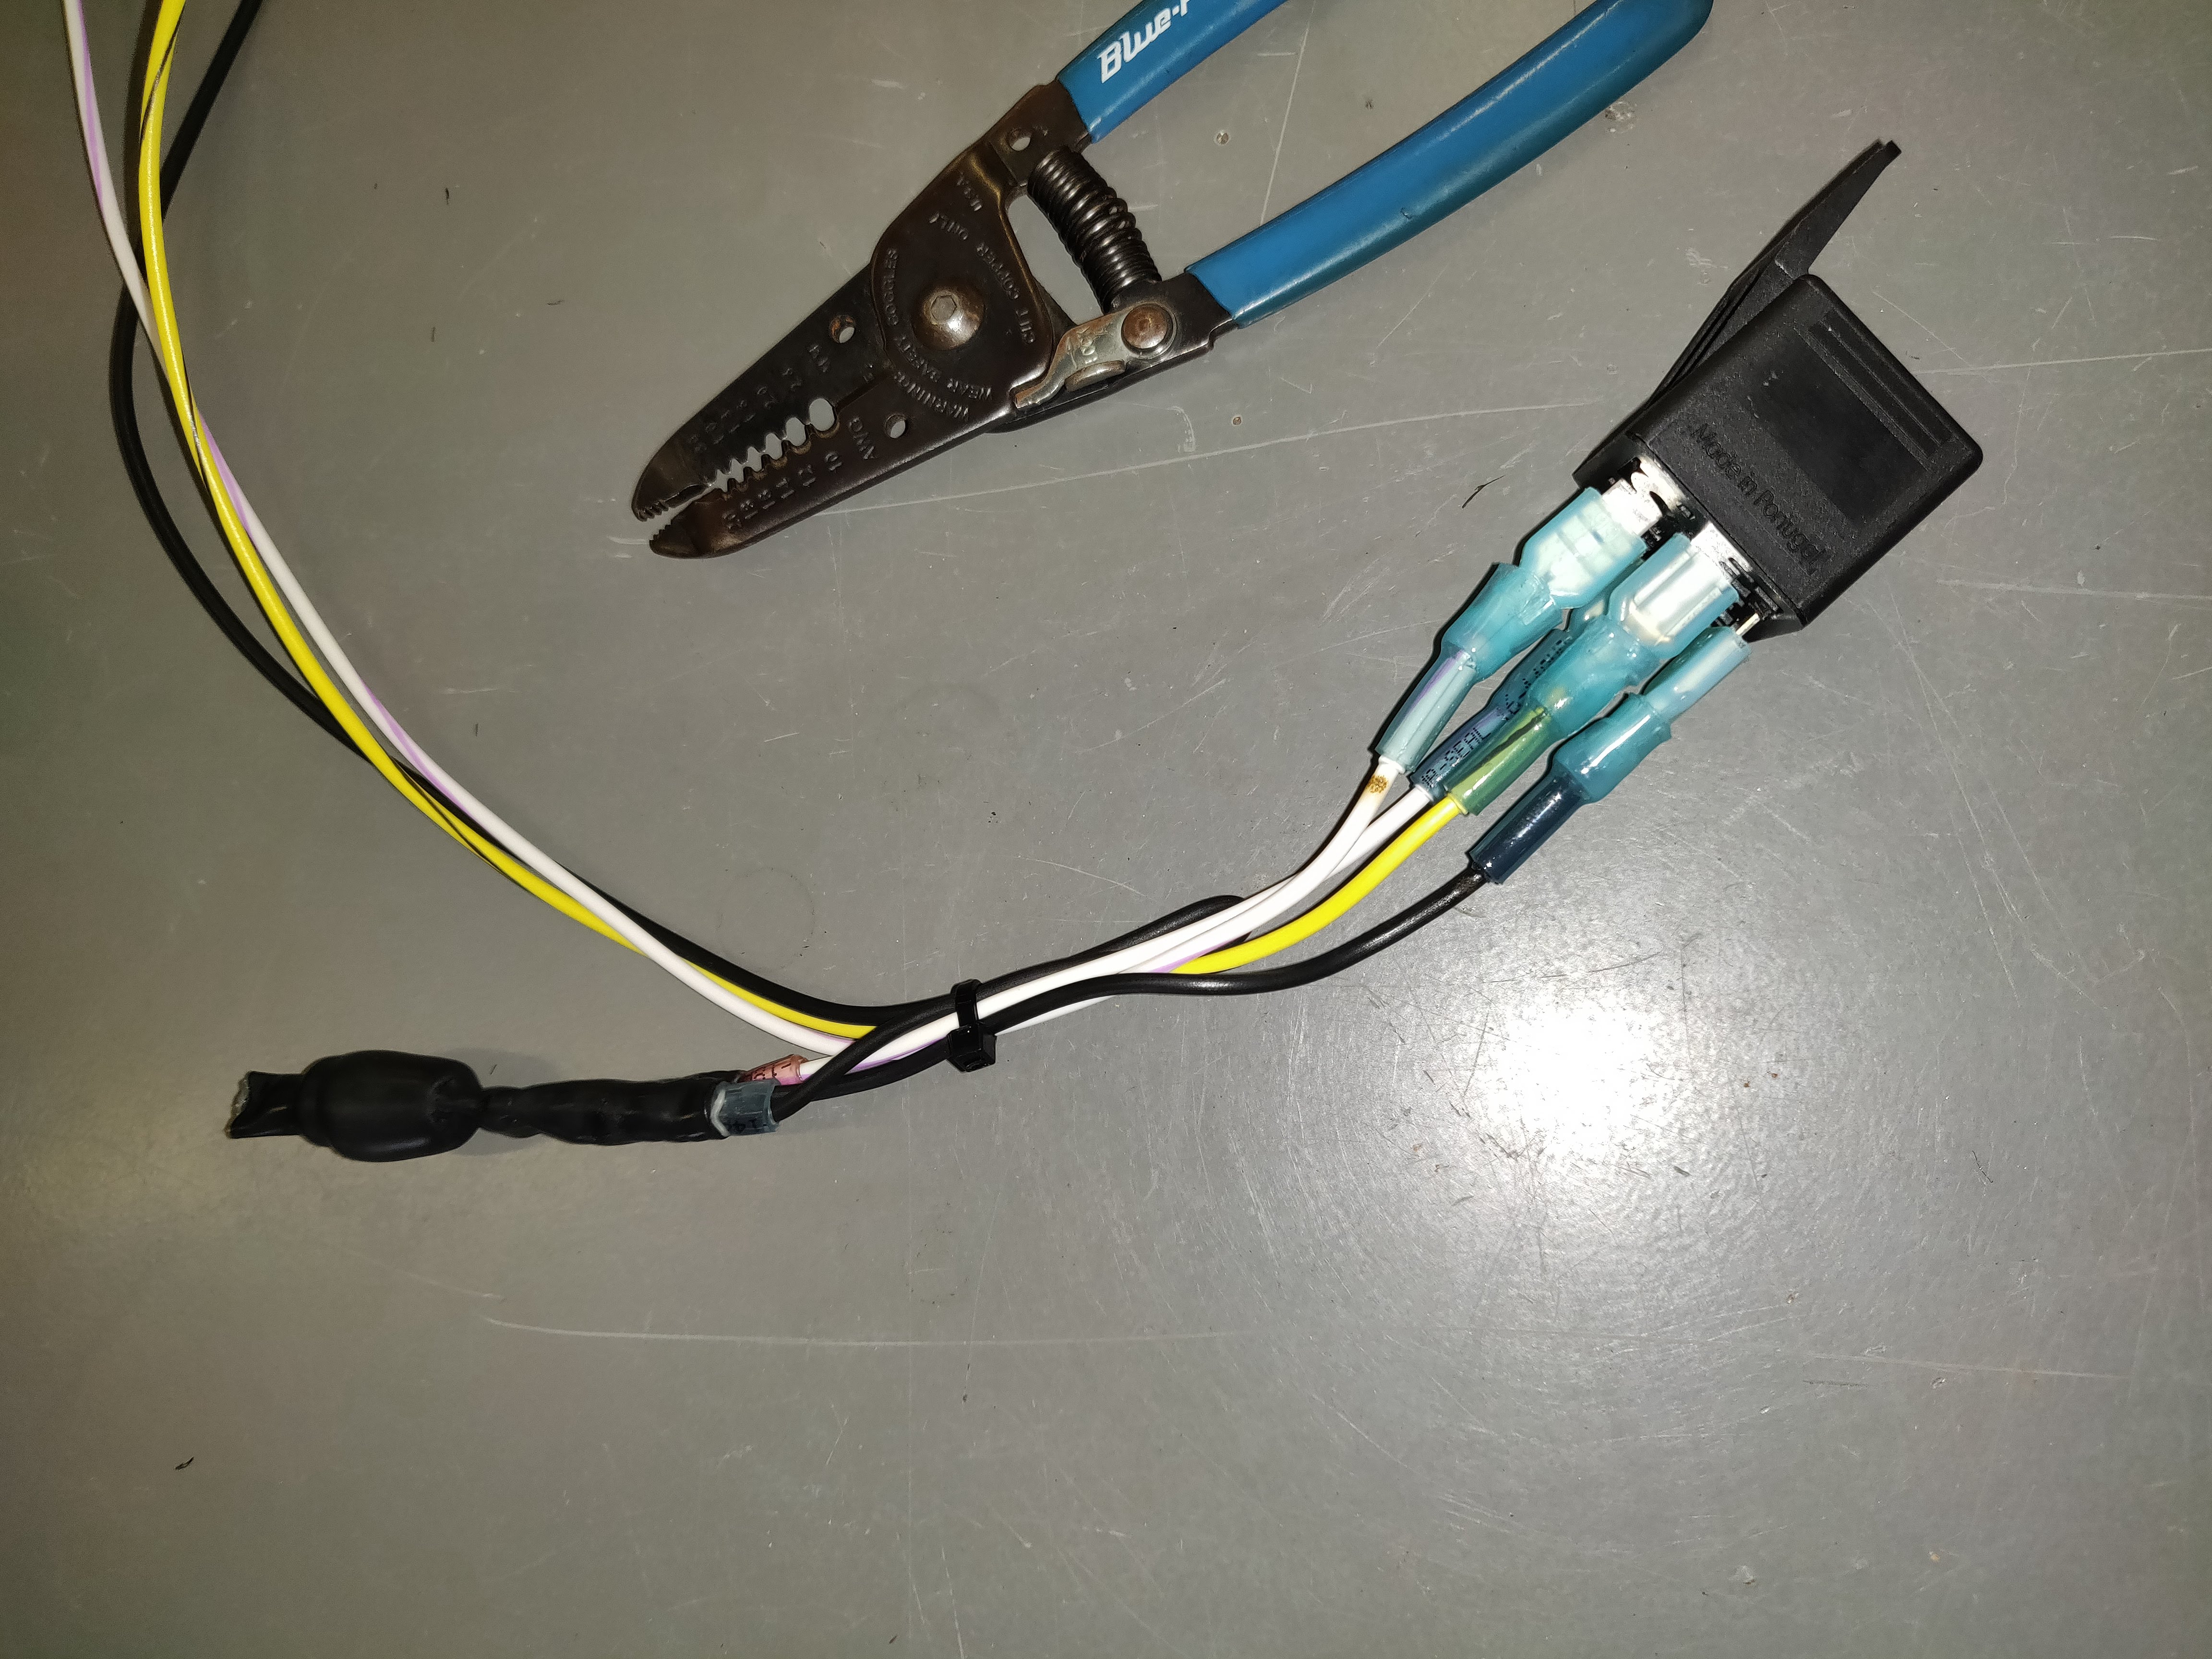
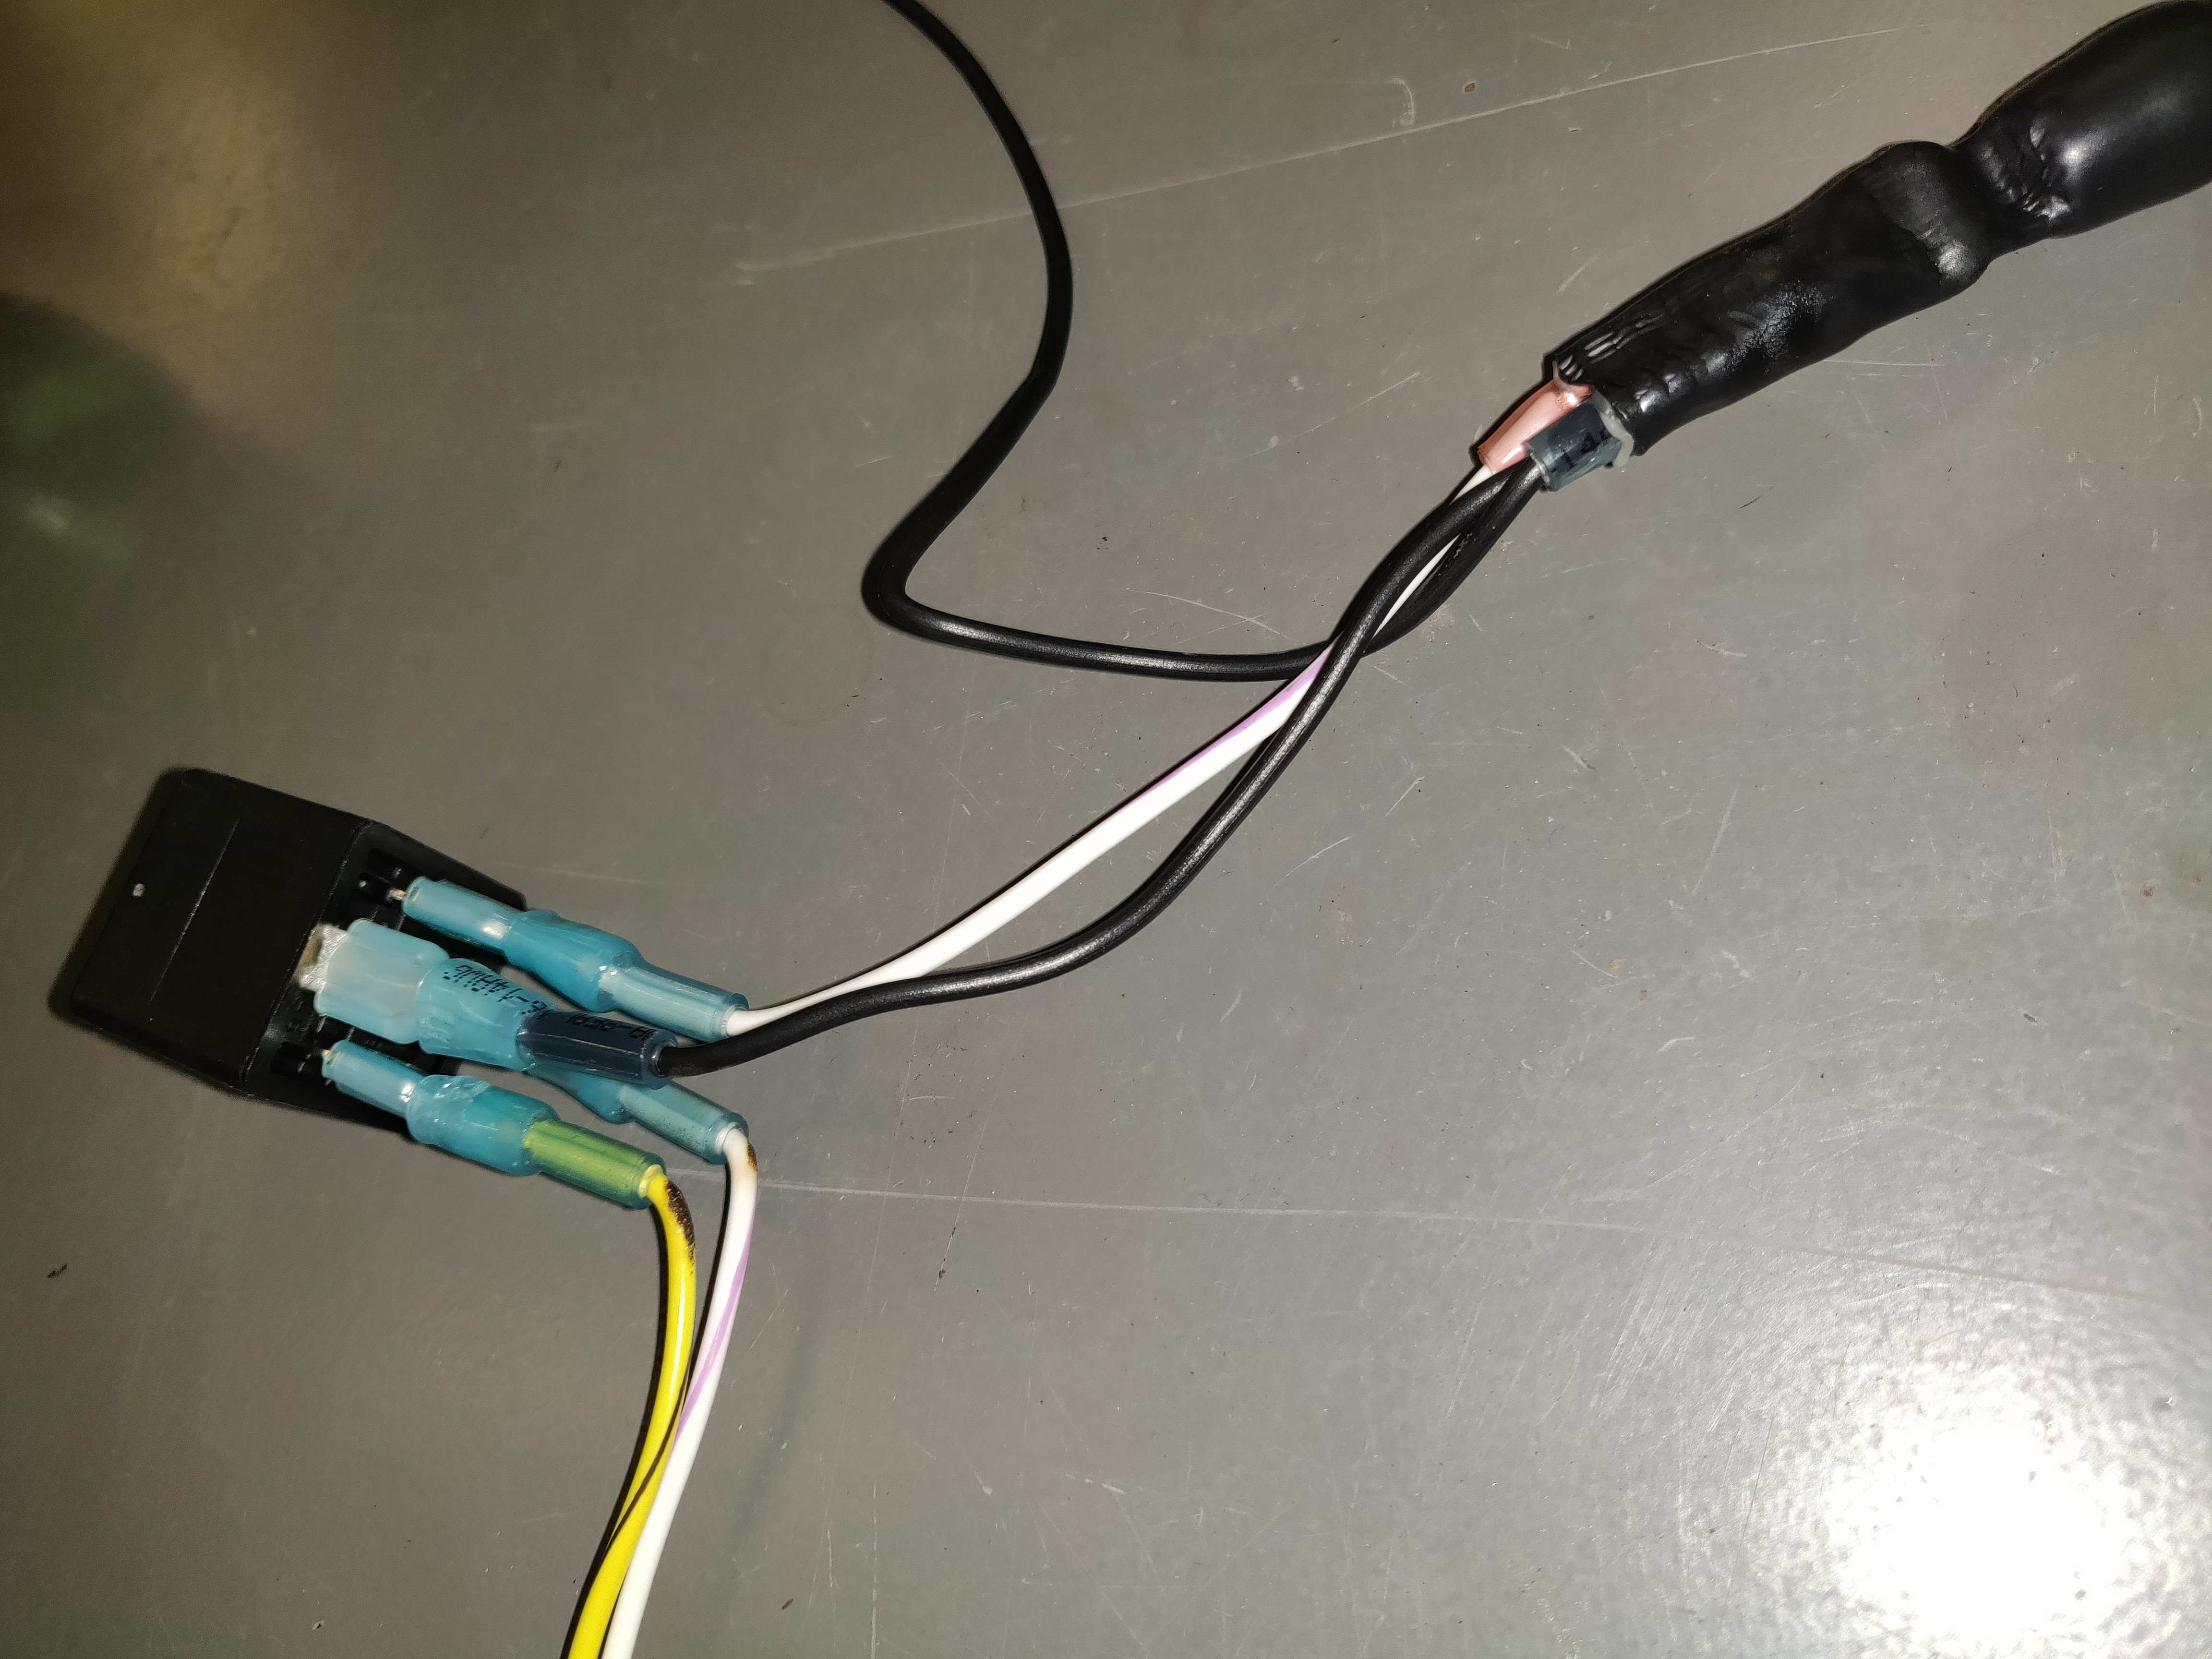
Connect the components in the circuit like in the diagram. Be careful not to connect the capacitor backwards.
- When you are done, there should be three connections to the circuit.
- Ground
- Ignition
- Button Output
As you can see in the photo I attached, my ignition wire is Yellow/Black, my ground is black, and my button output is White/Blue. I bundled and taped the module up to make it easier to install.
Mount Unit, Connect Ground
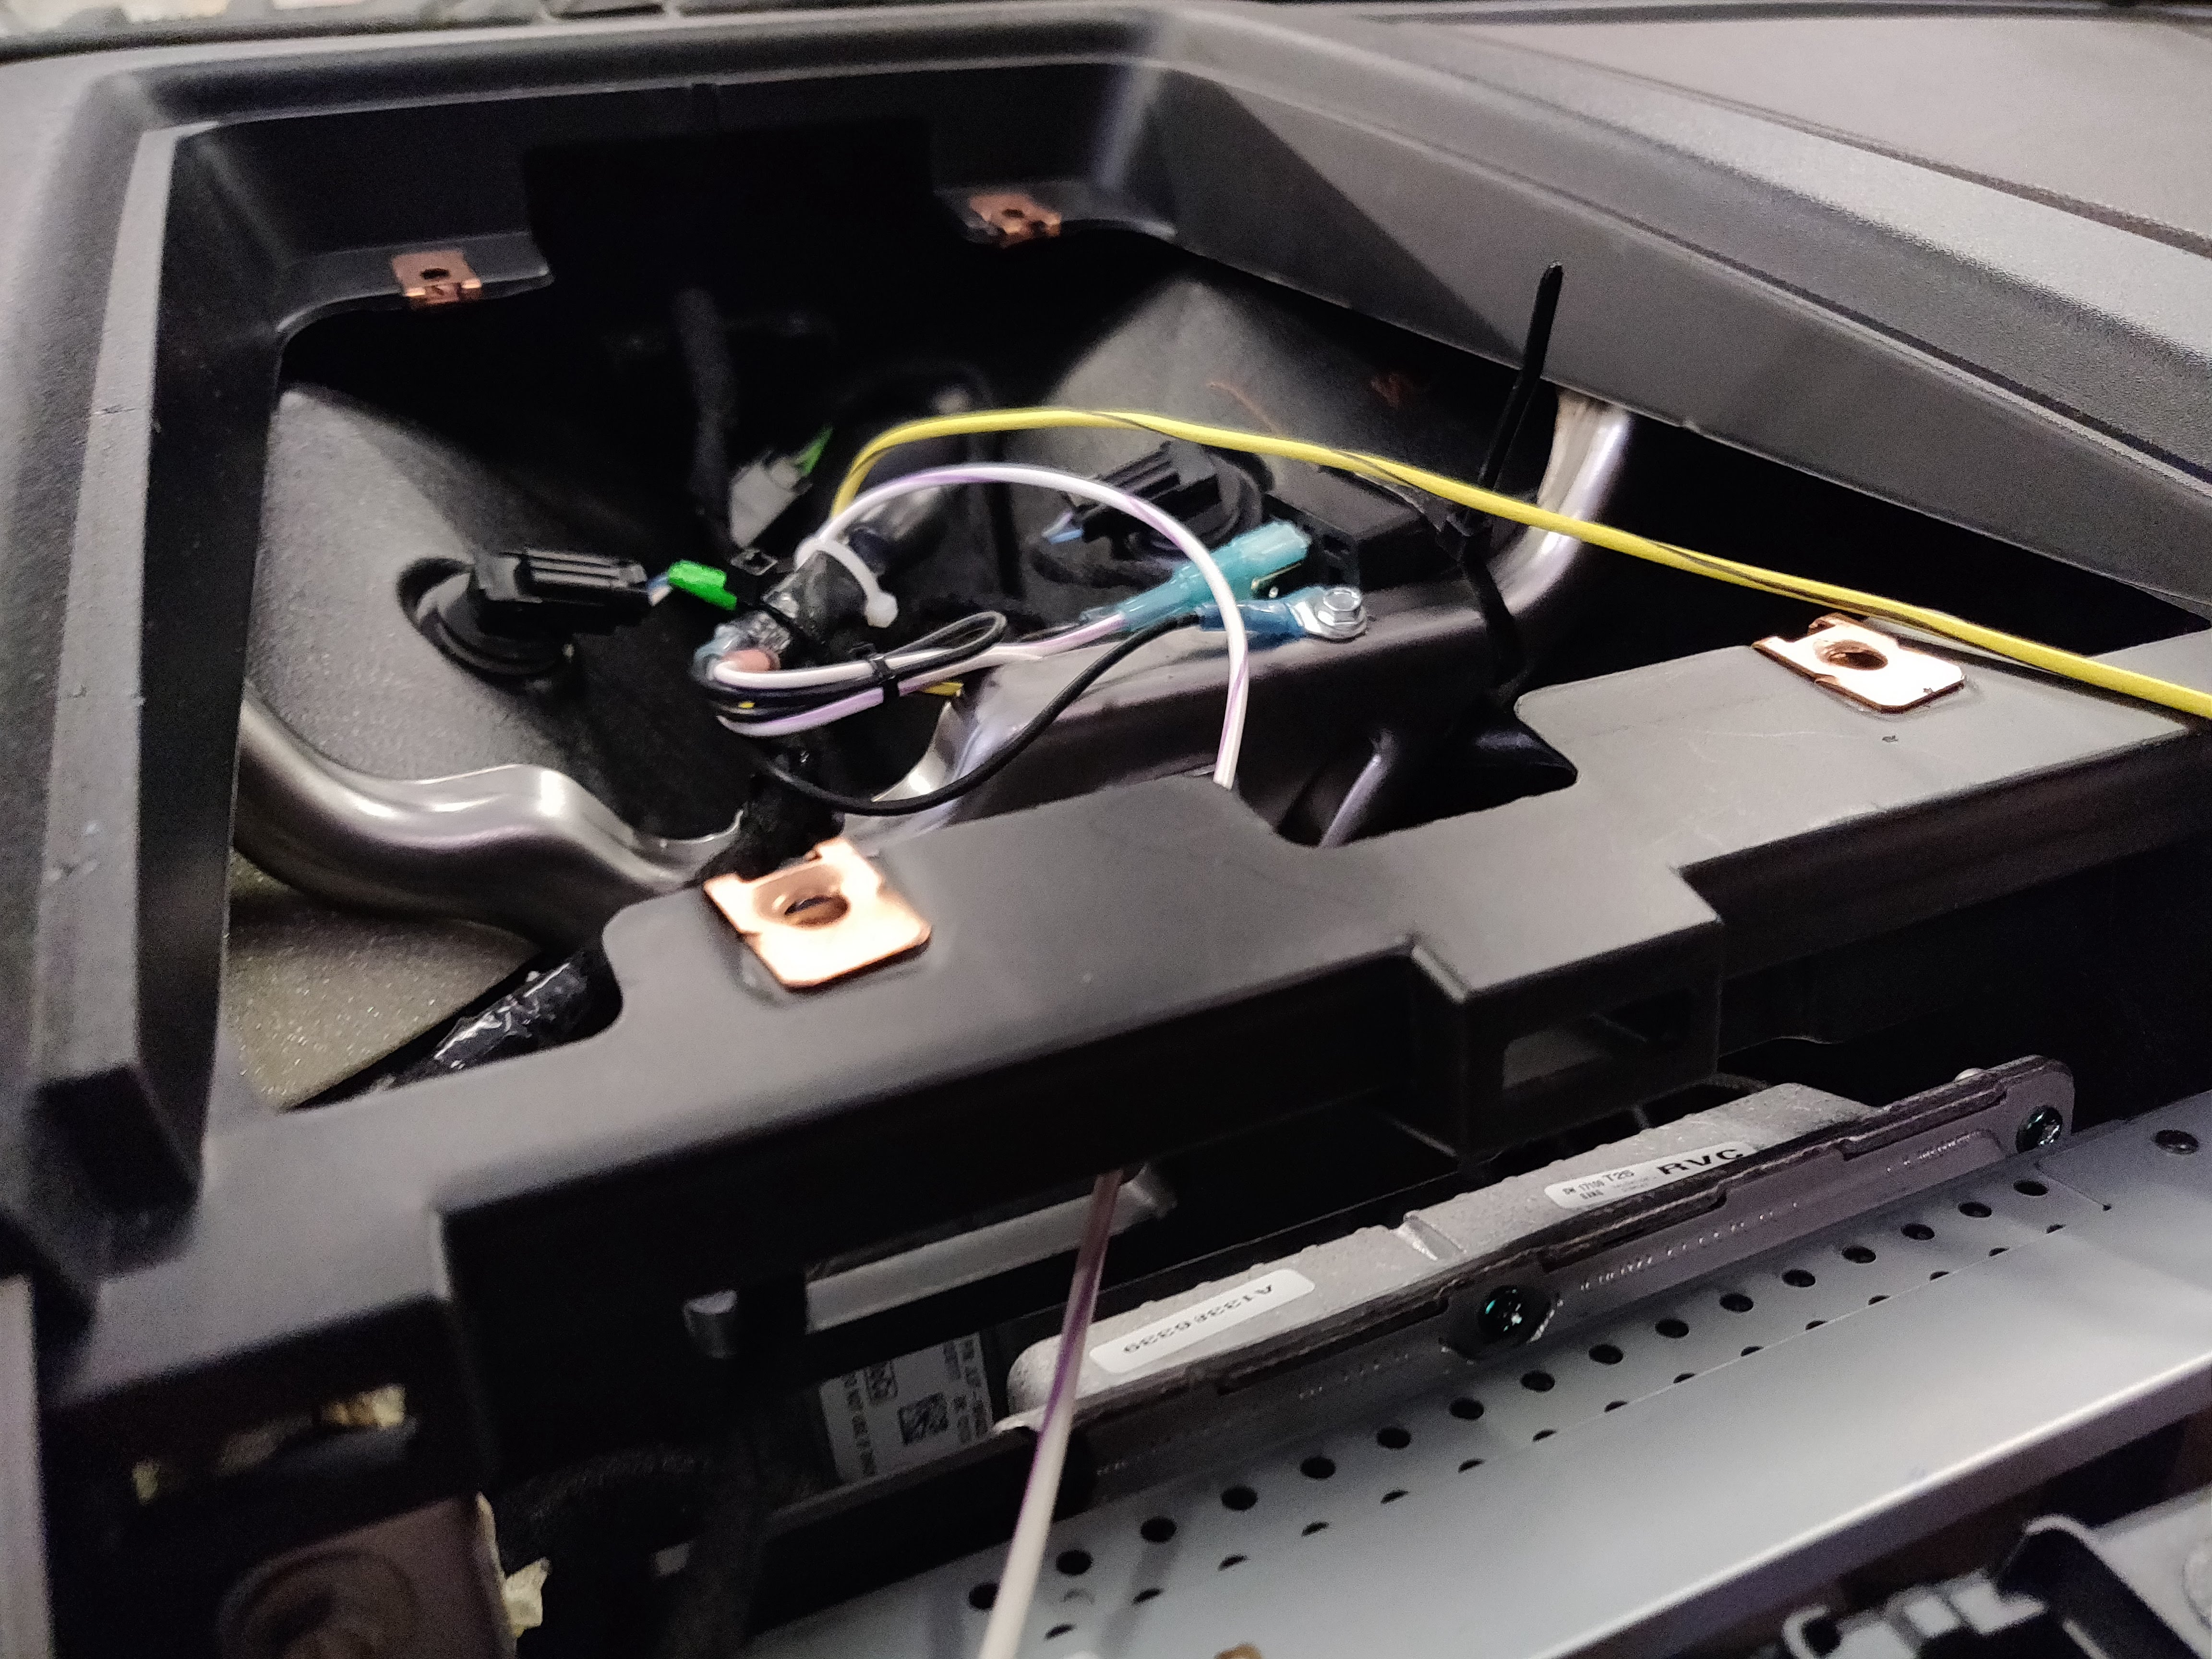
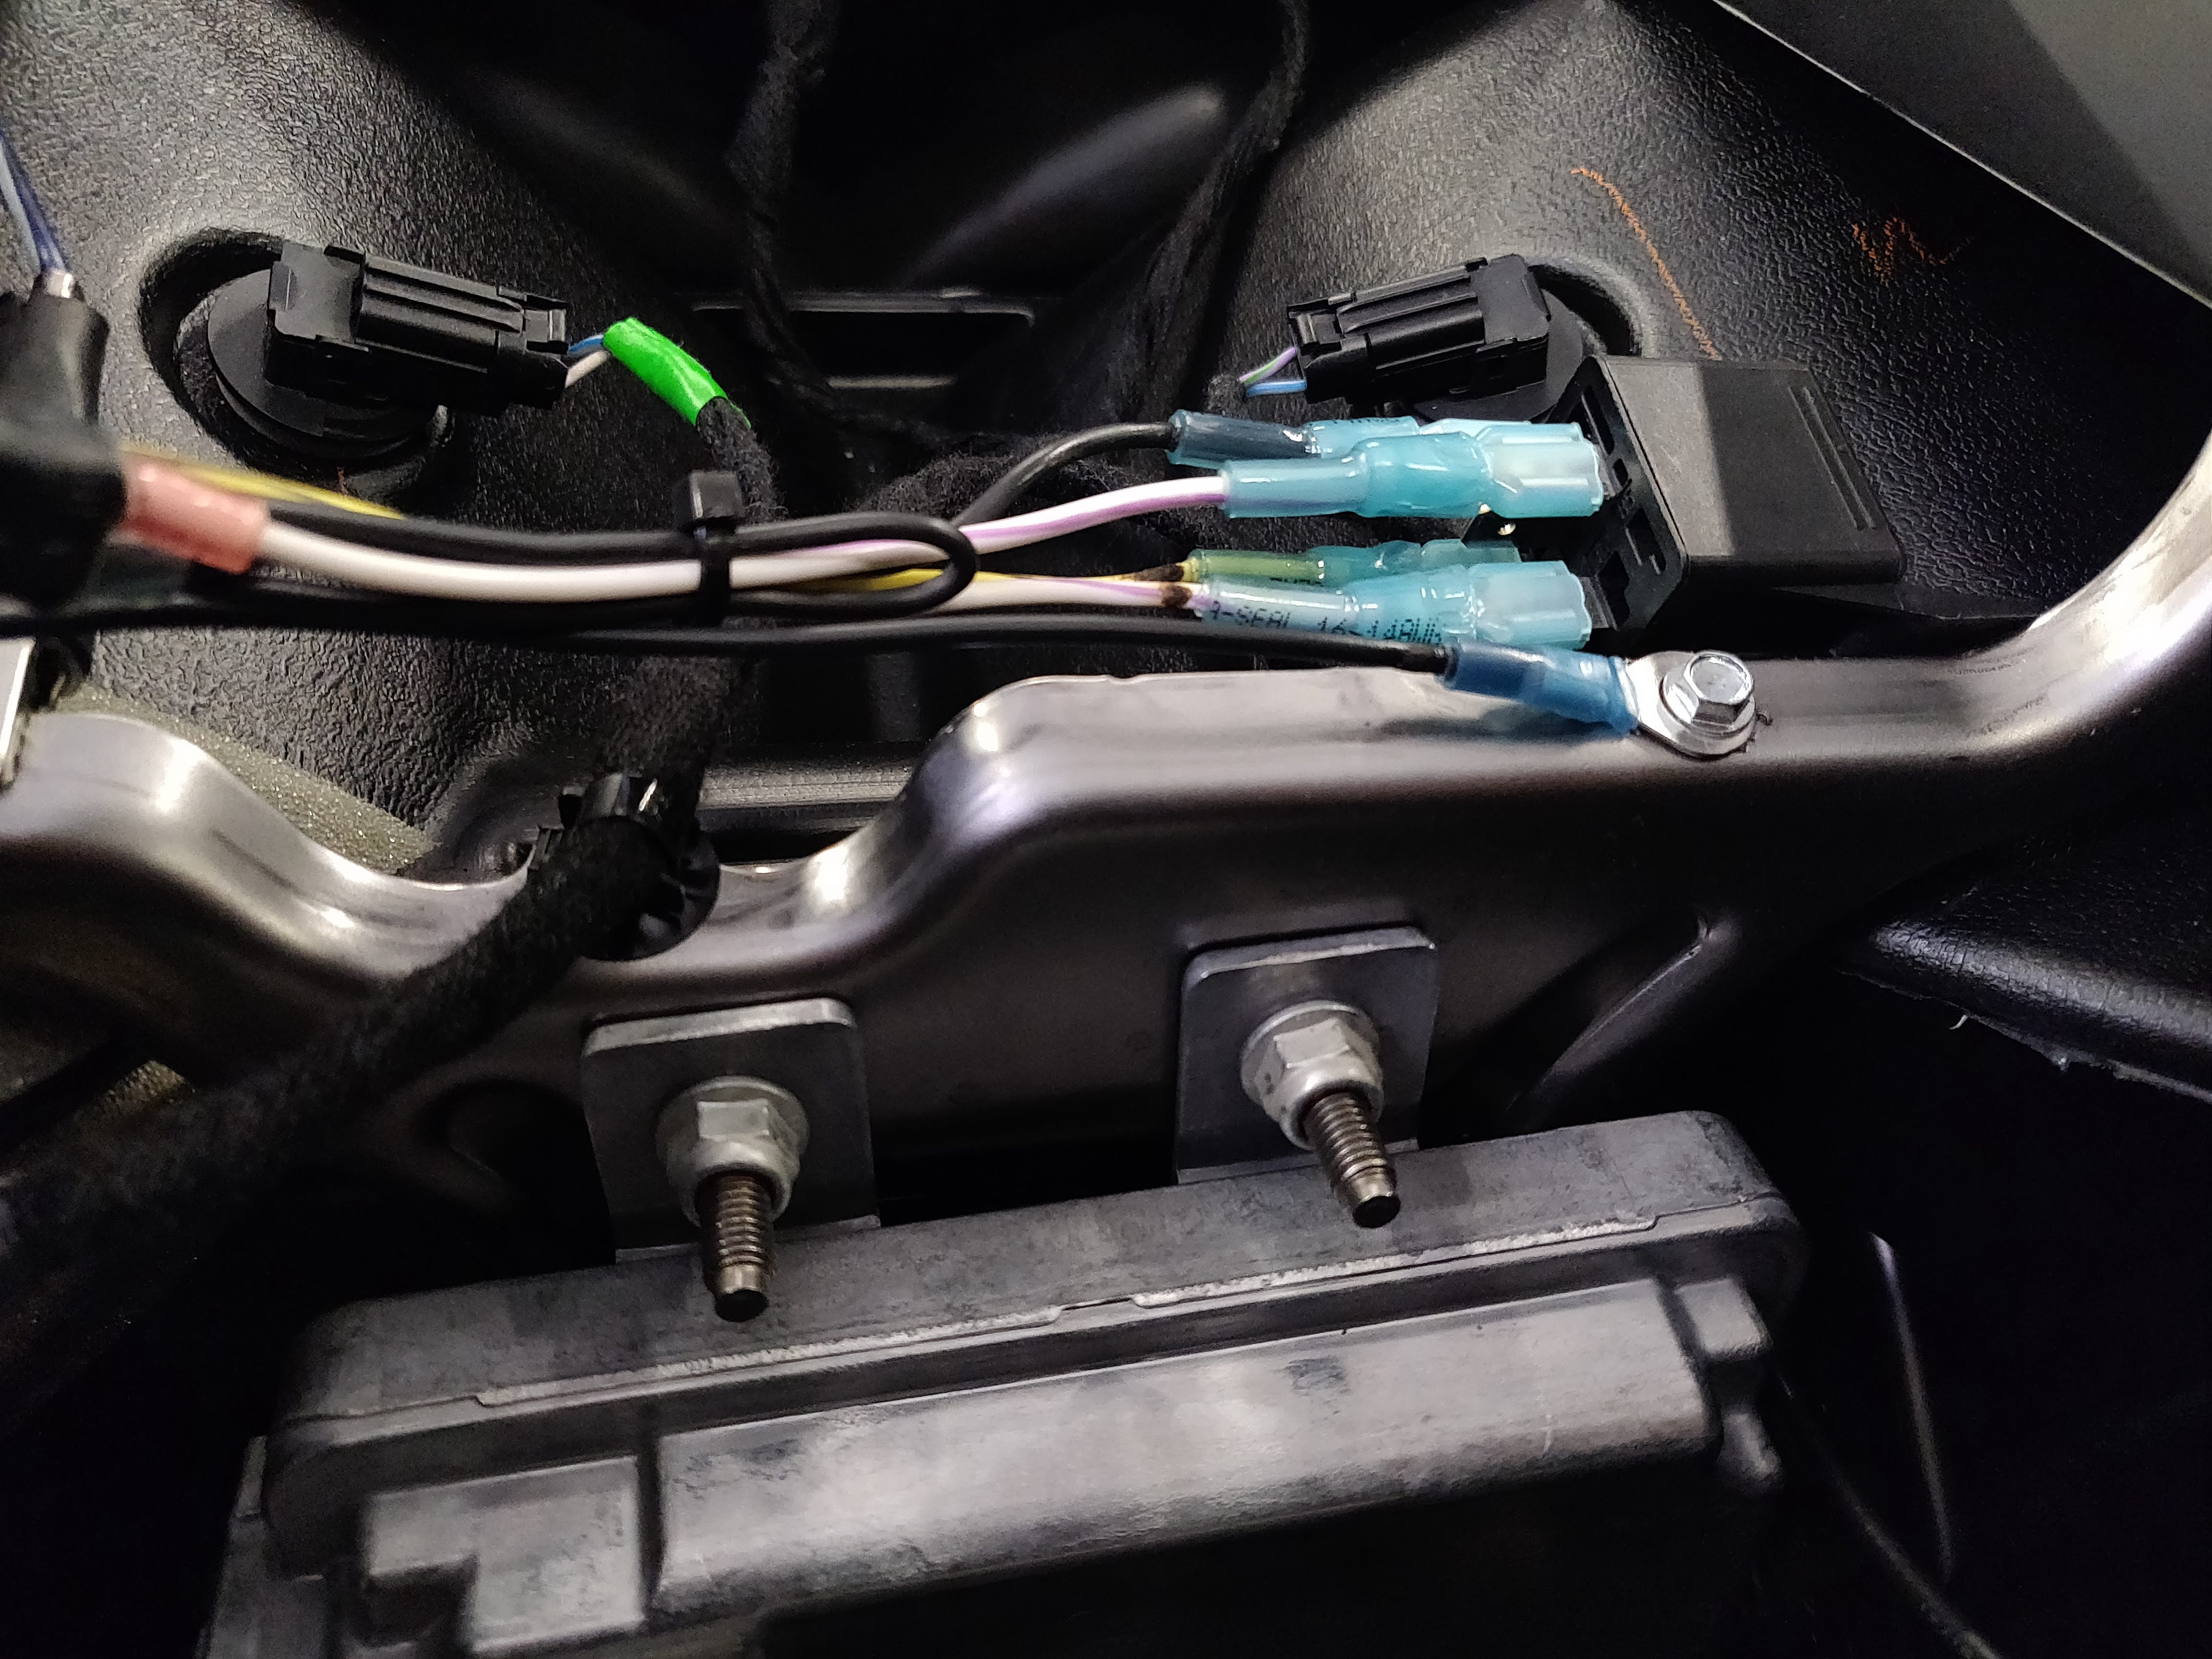
Mount the unit under the cubby on the dashboard.
- There is a metal strut there and I used a self tapping screw to mount the ground there.
- Used a zip-tie to attach the relay module to the strut
Connect Ignition
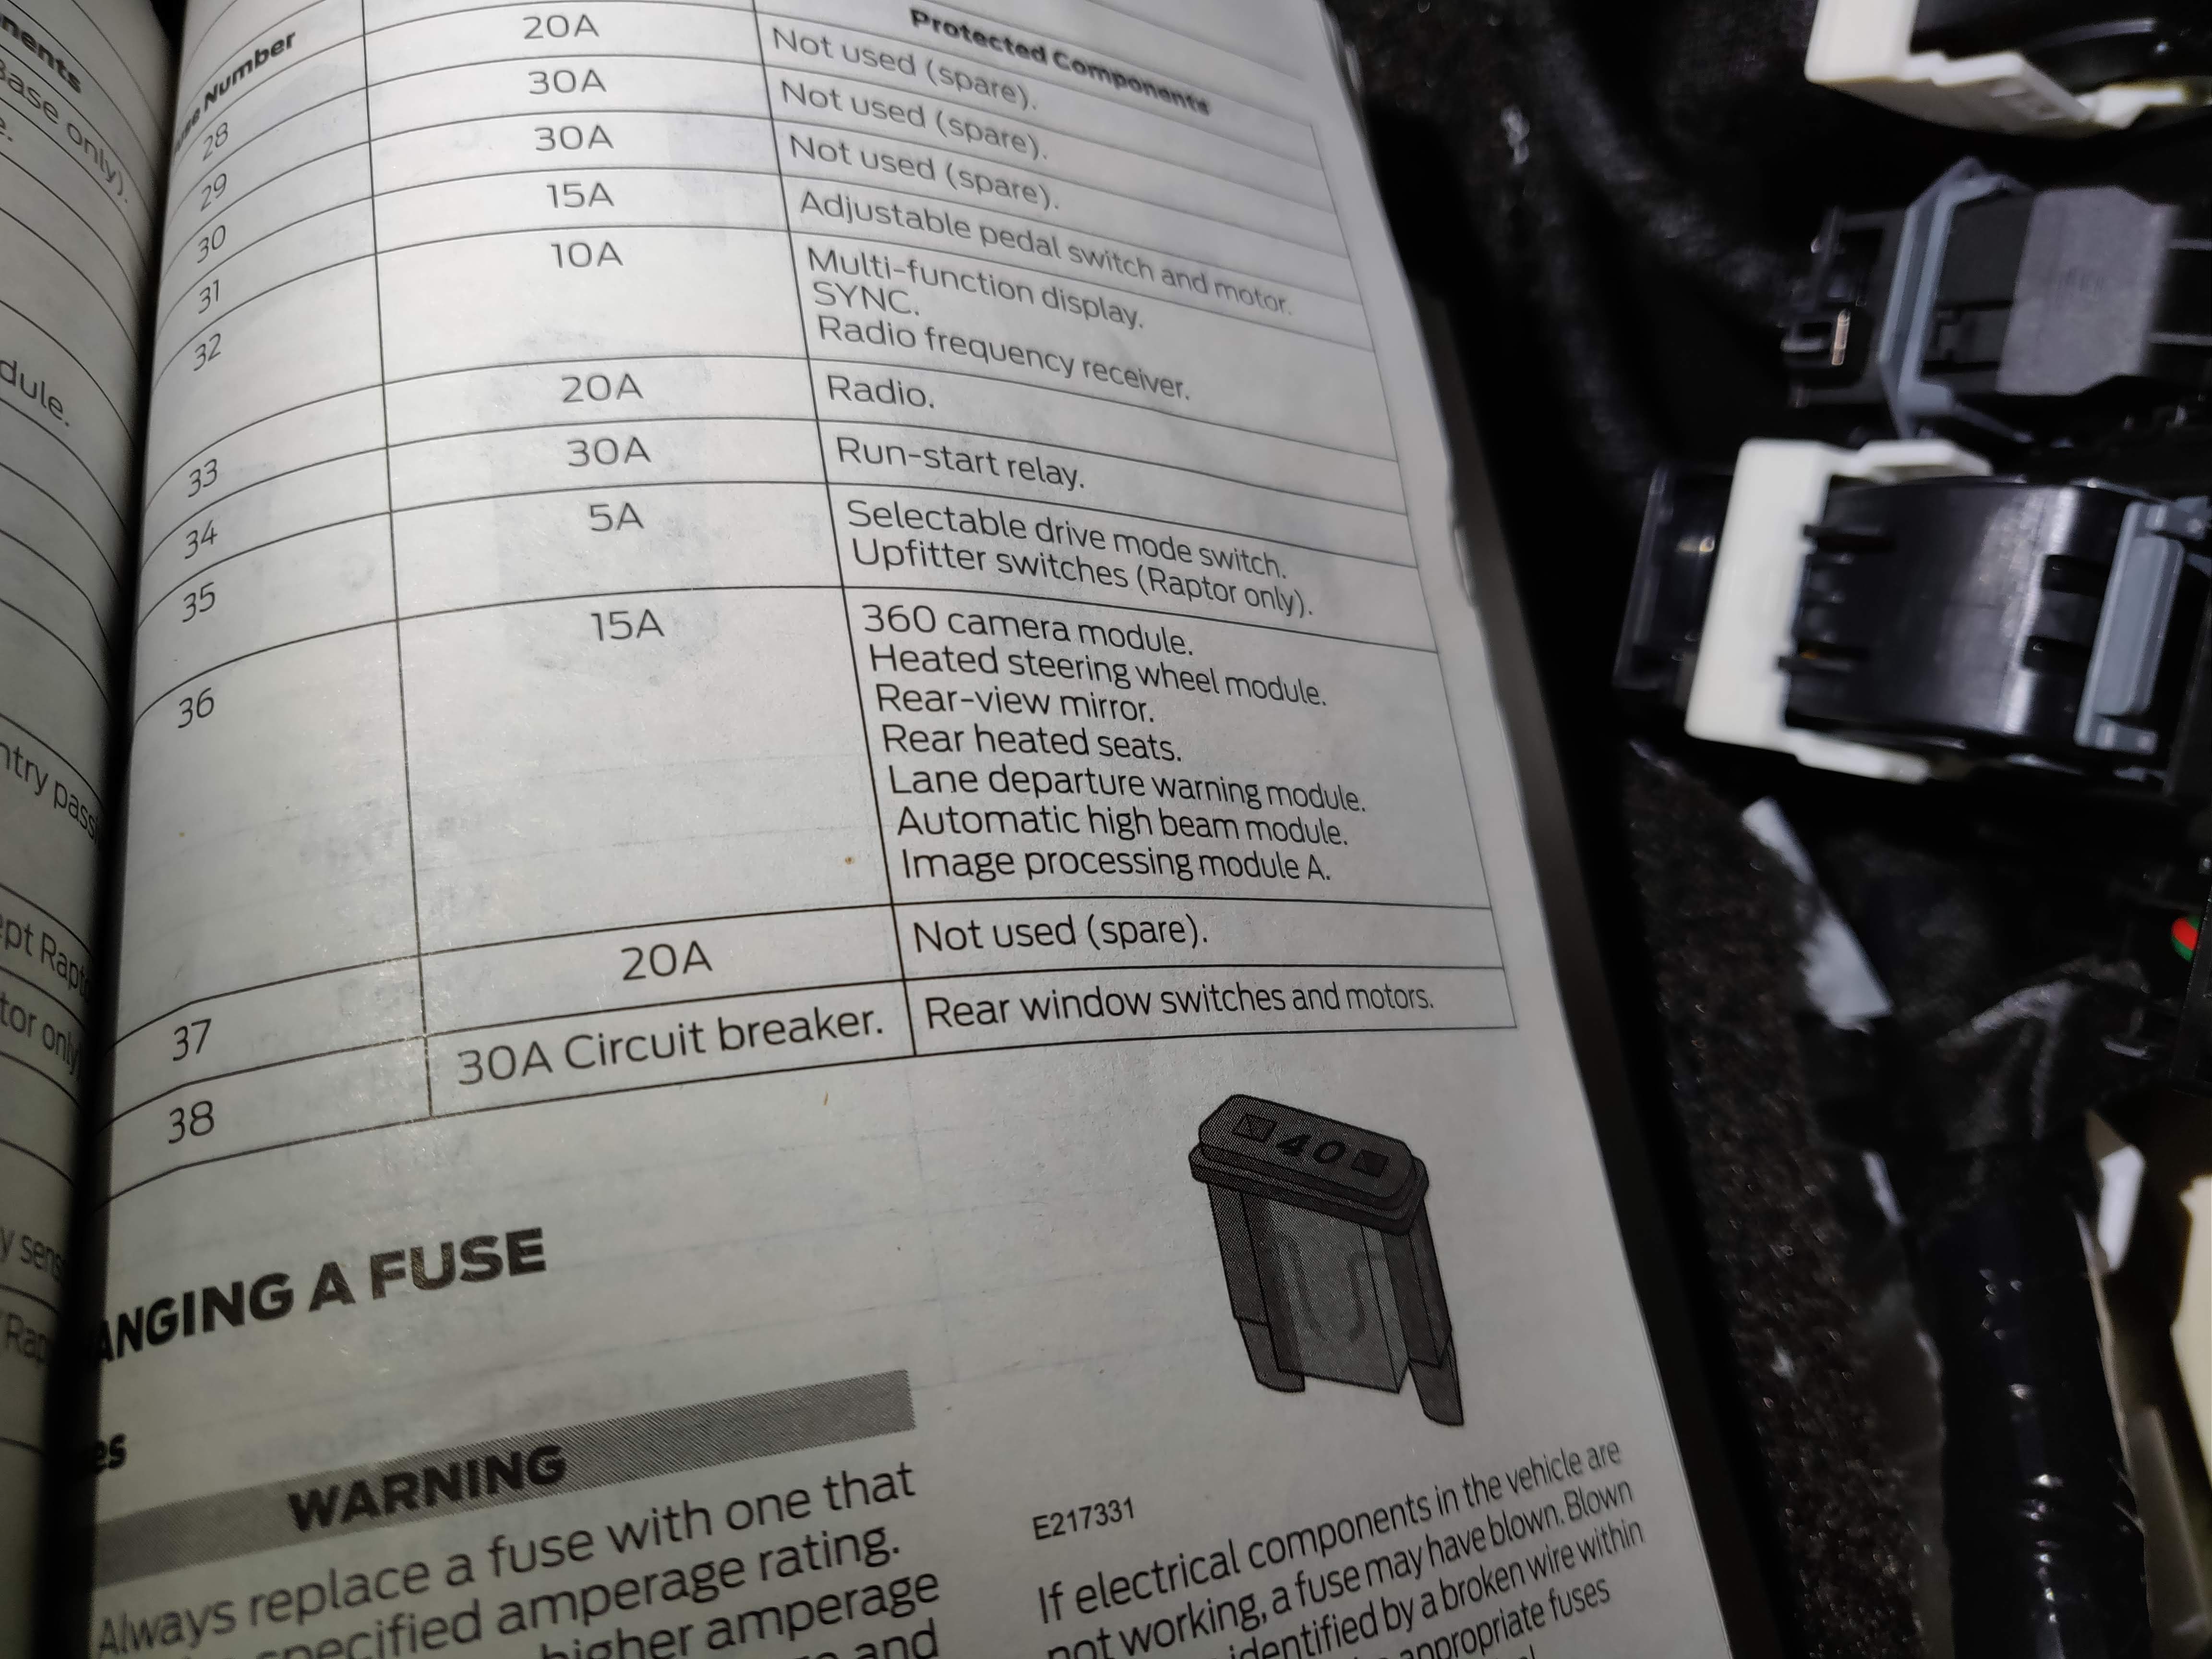
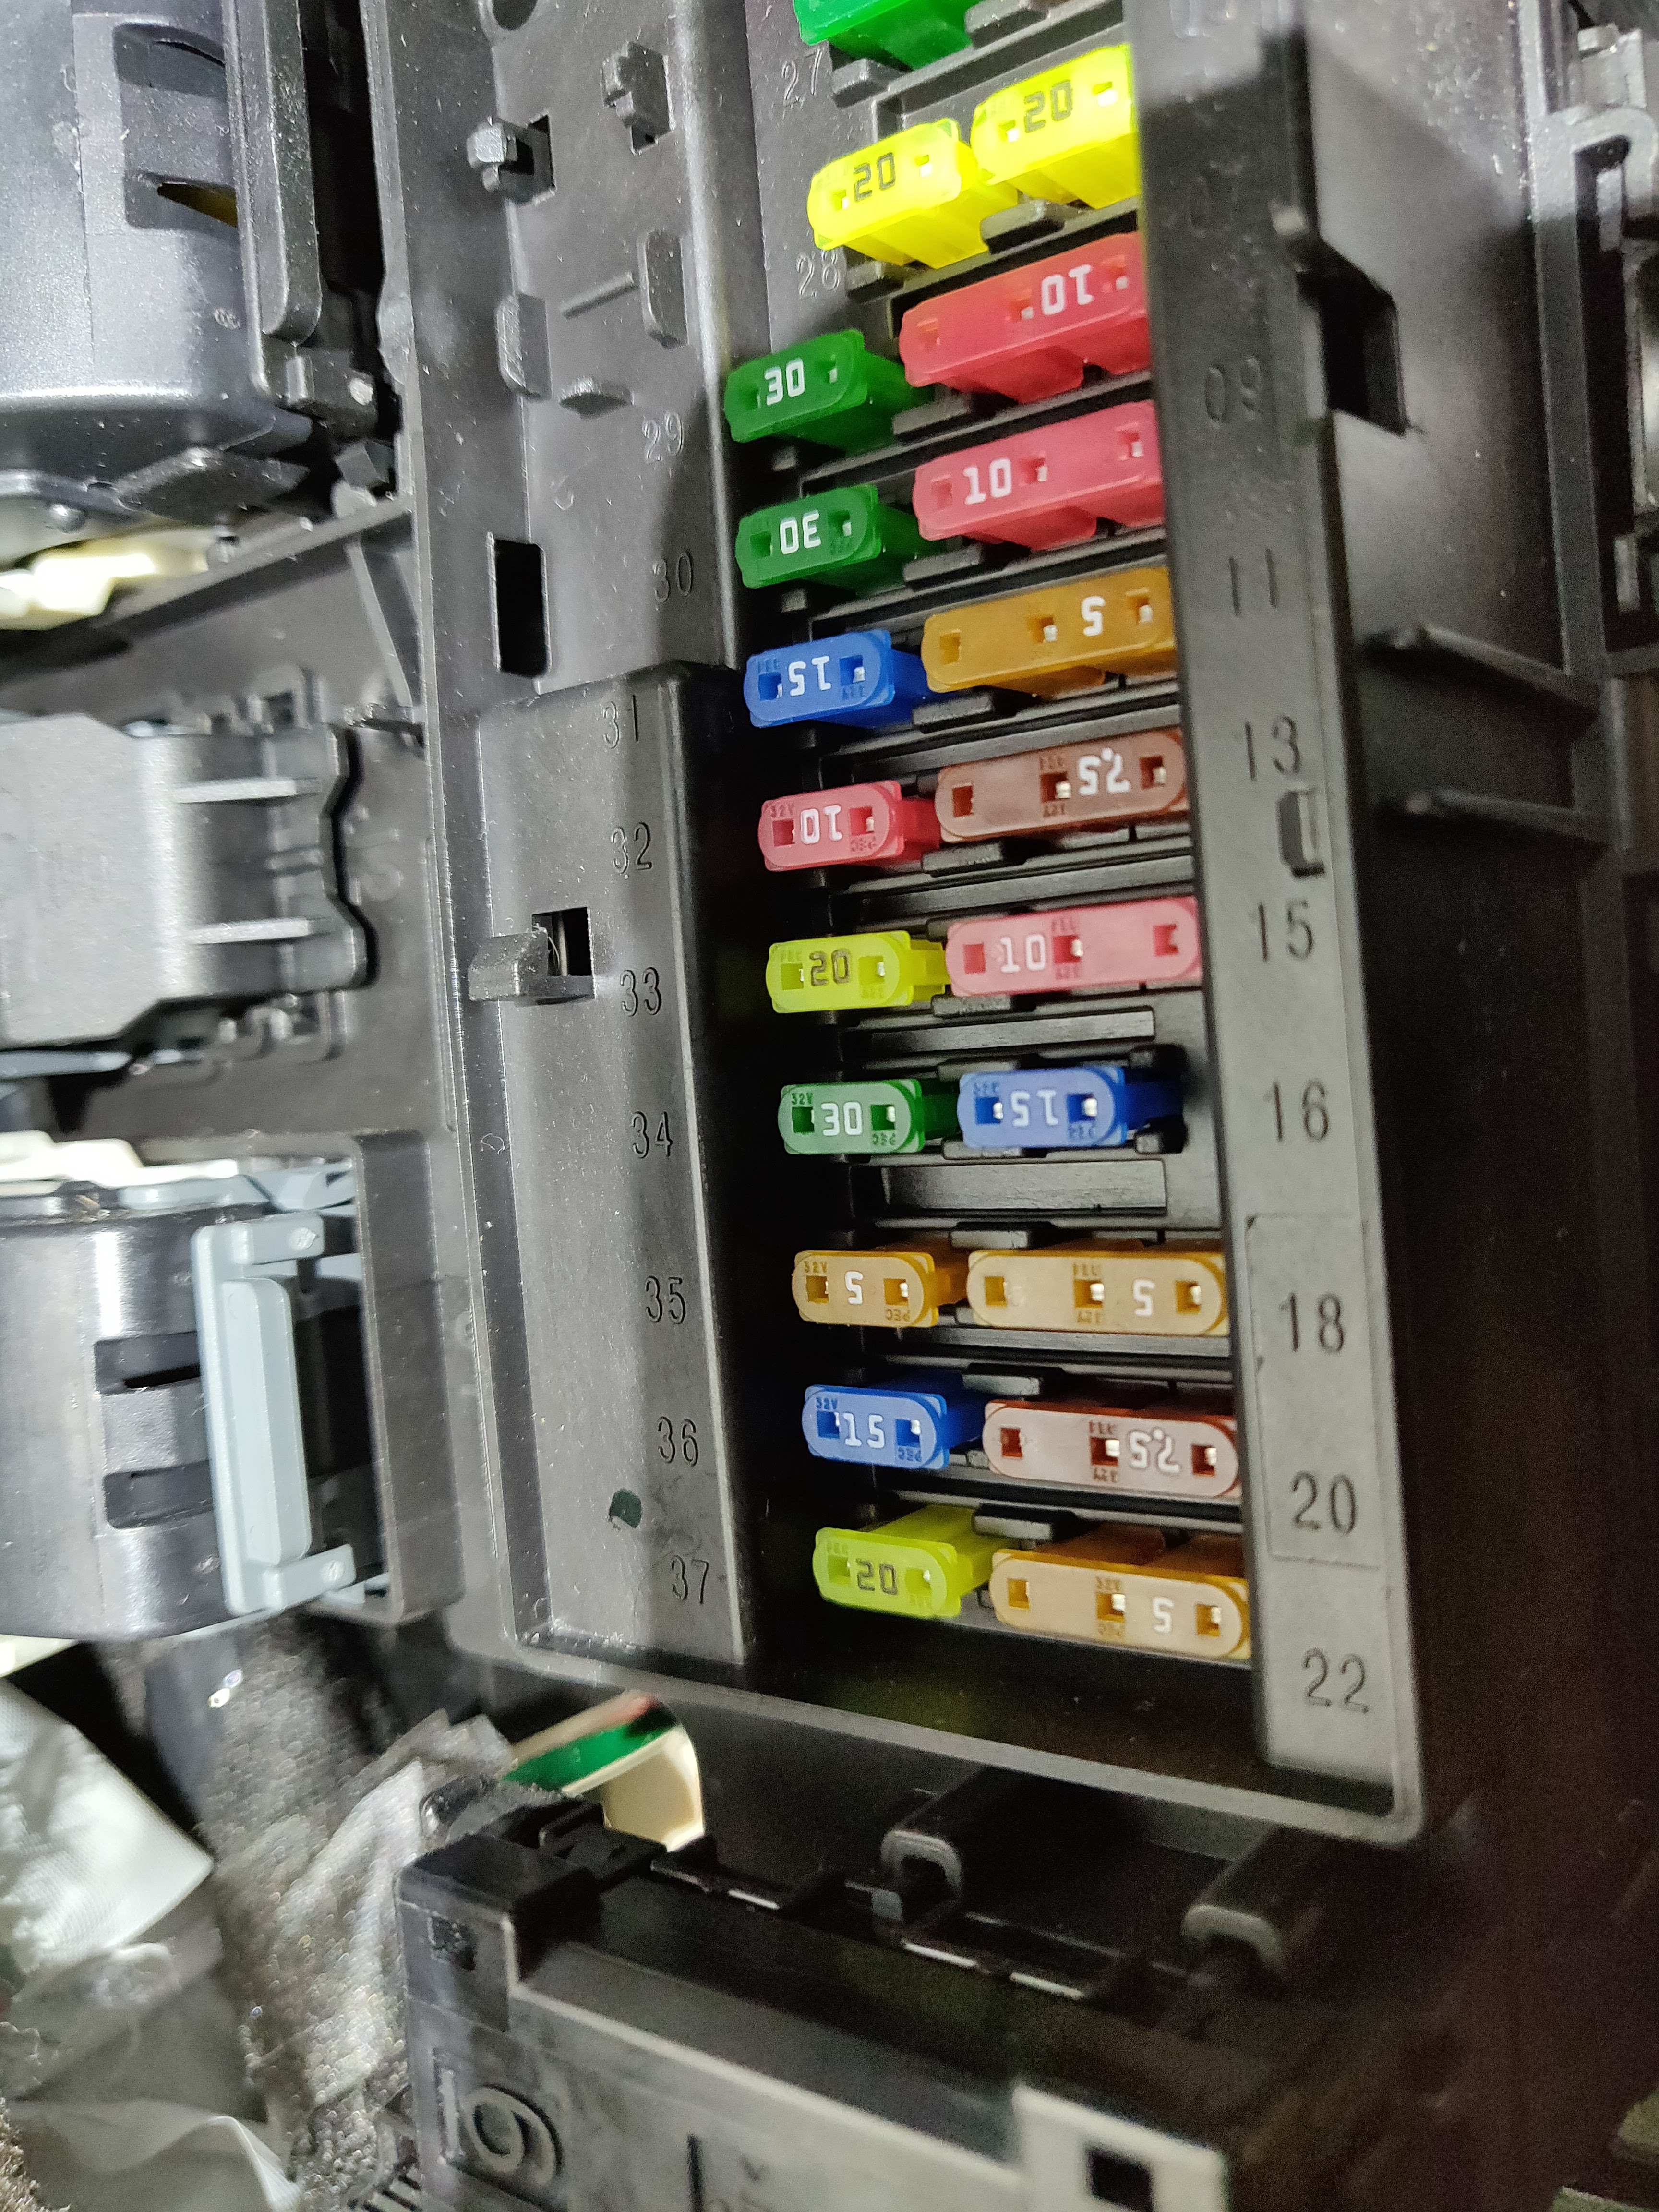
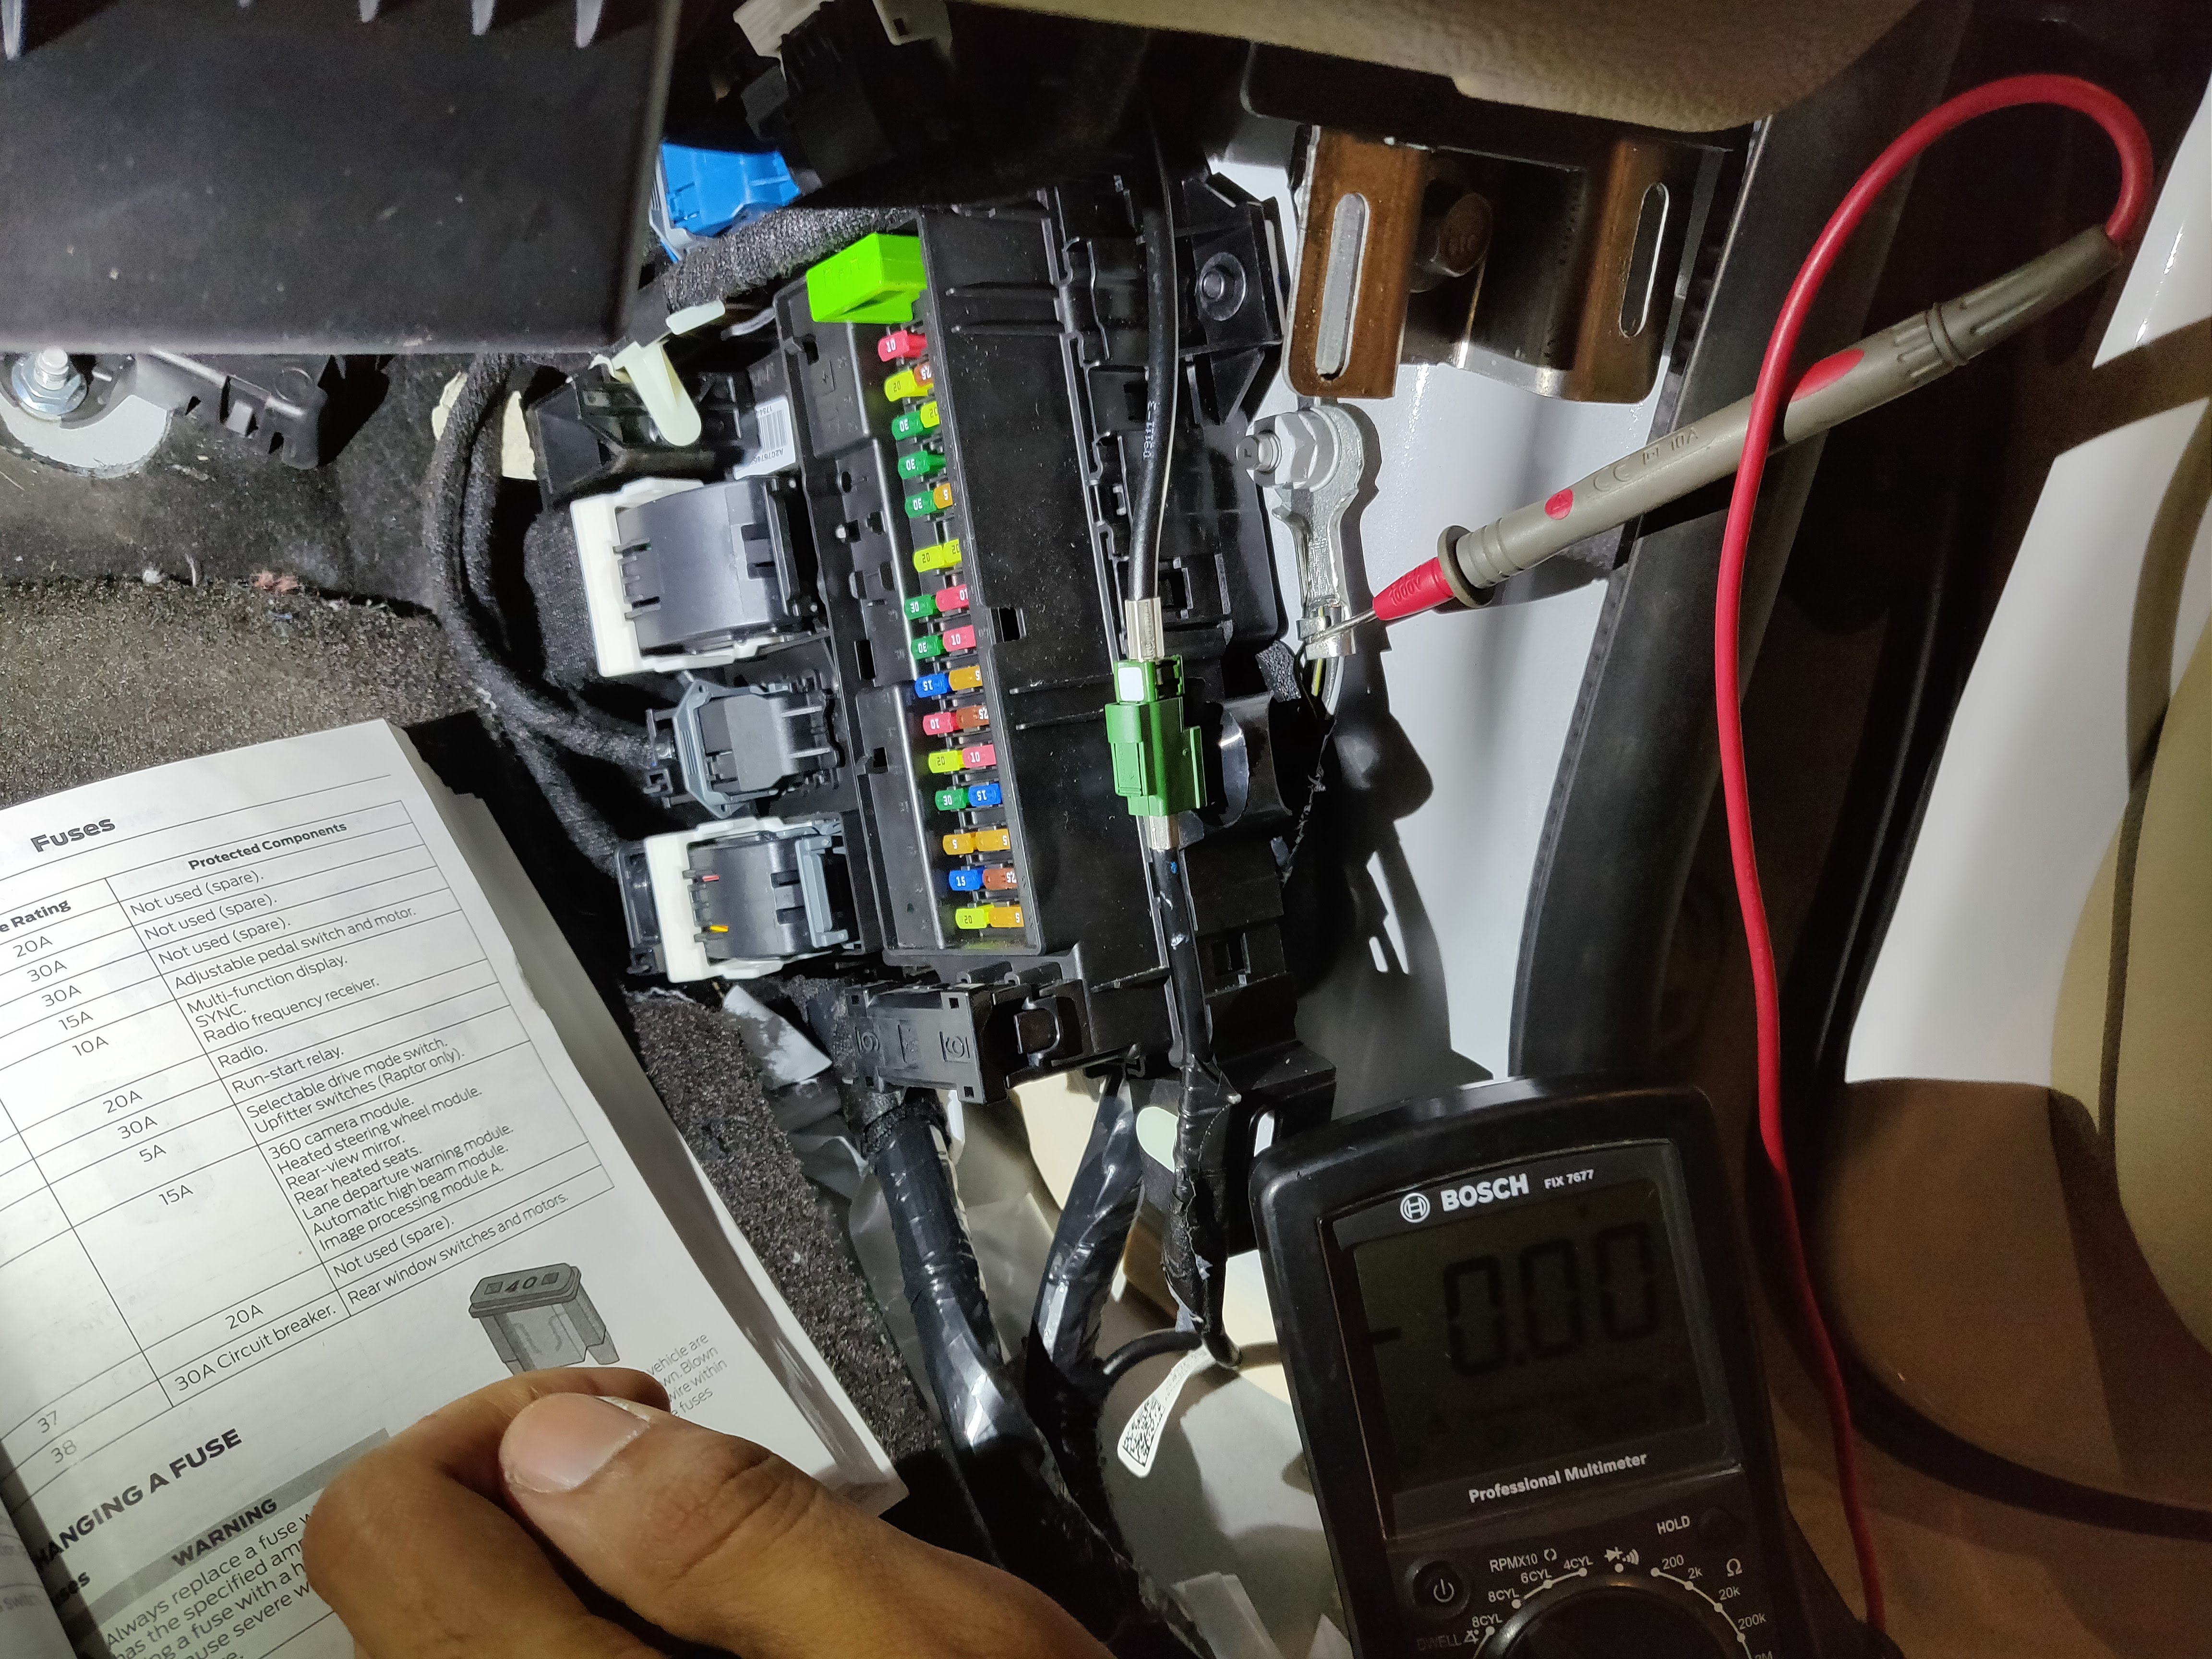
Time to connect the power:
- Run the yellow (or whatever color you used) ignition wire down to the passenger side footwell. You can drop open the glovebox to do this.
- On the right side of the footwell is a fusebox. Identify a suitable ignition circuit to install the fuse tap.
- Please take care to install the fuse tap correctly. If you don't know how, look it up.
When I did this, I connected to circuit 37 since it is an ignition circuit, and the manual says that it is not used--But check your manual as it is possible that your truck is different.
Connect Button Output
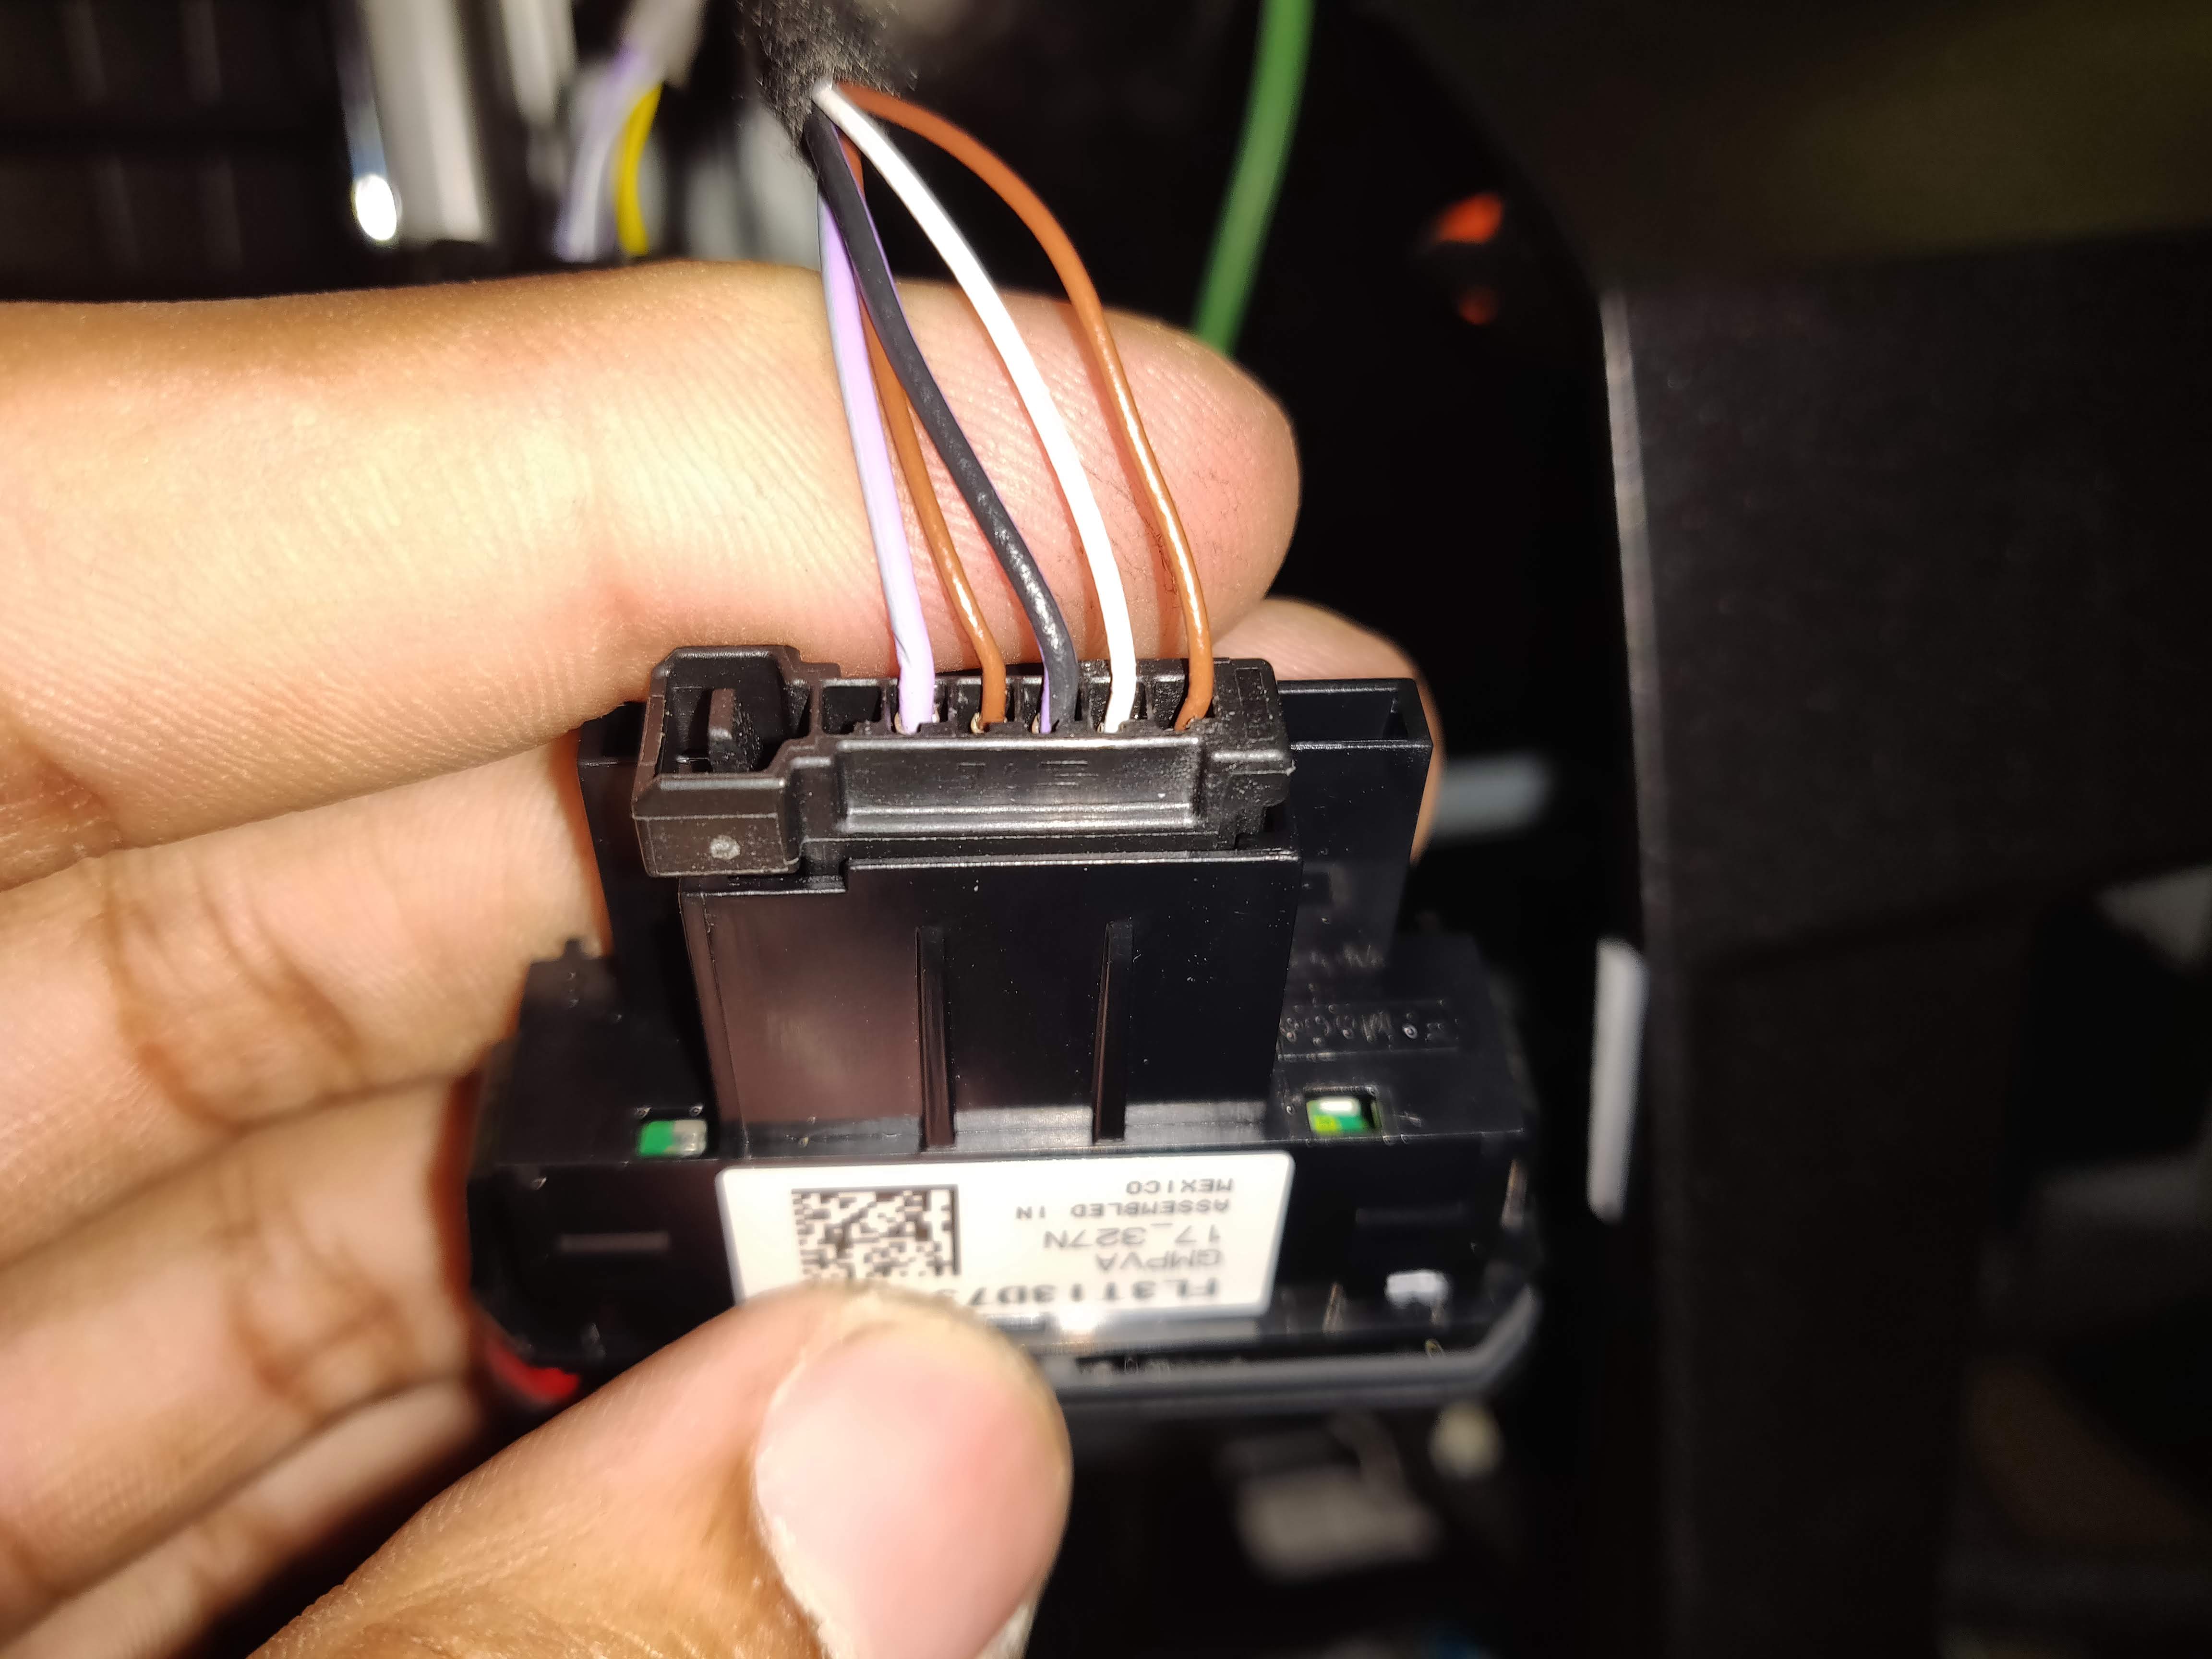
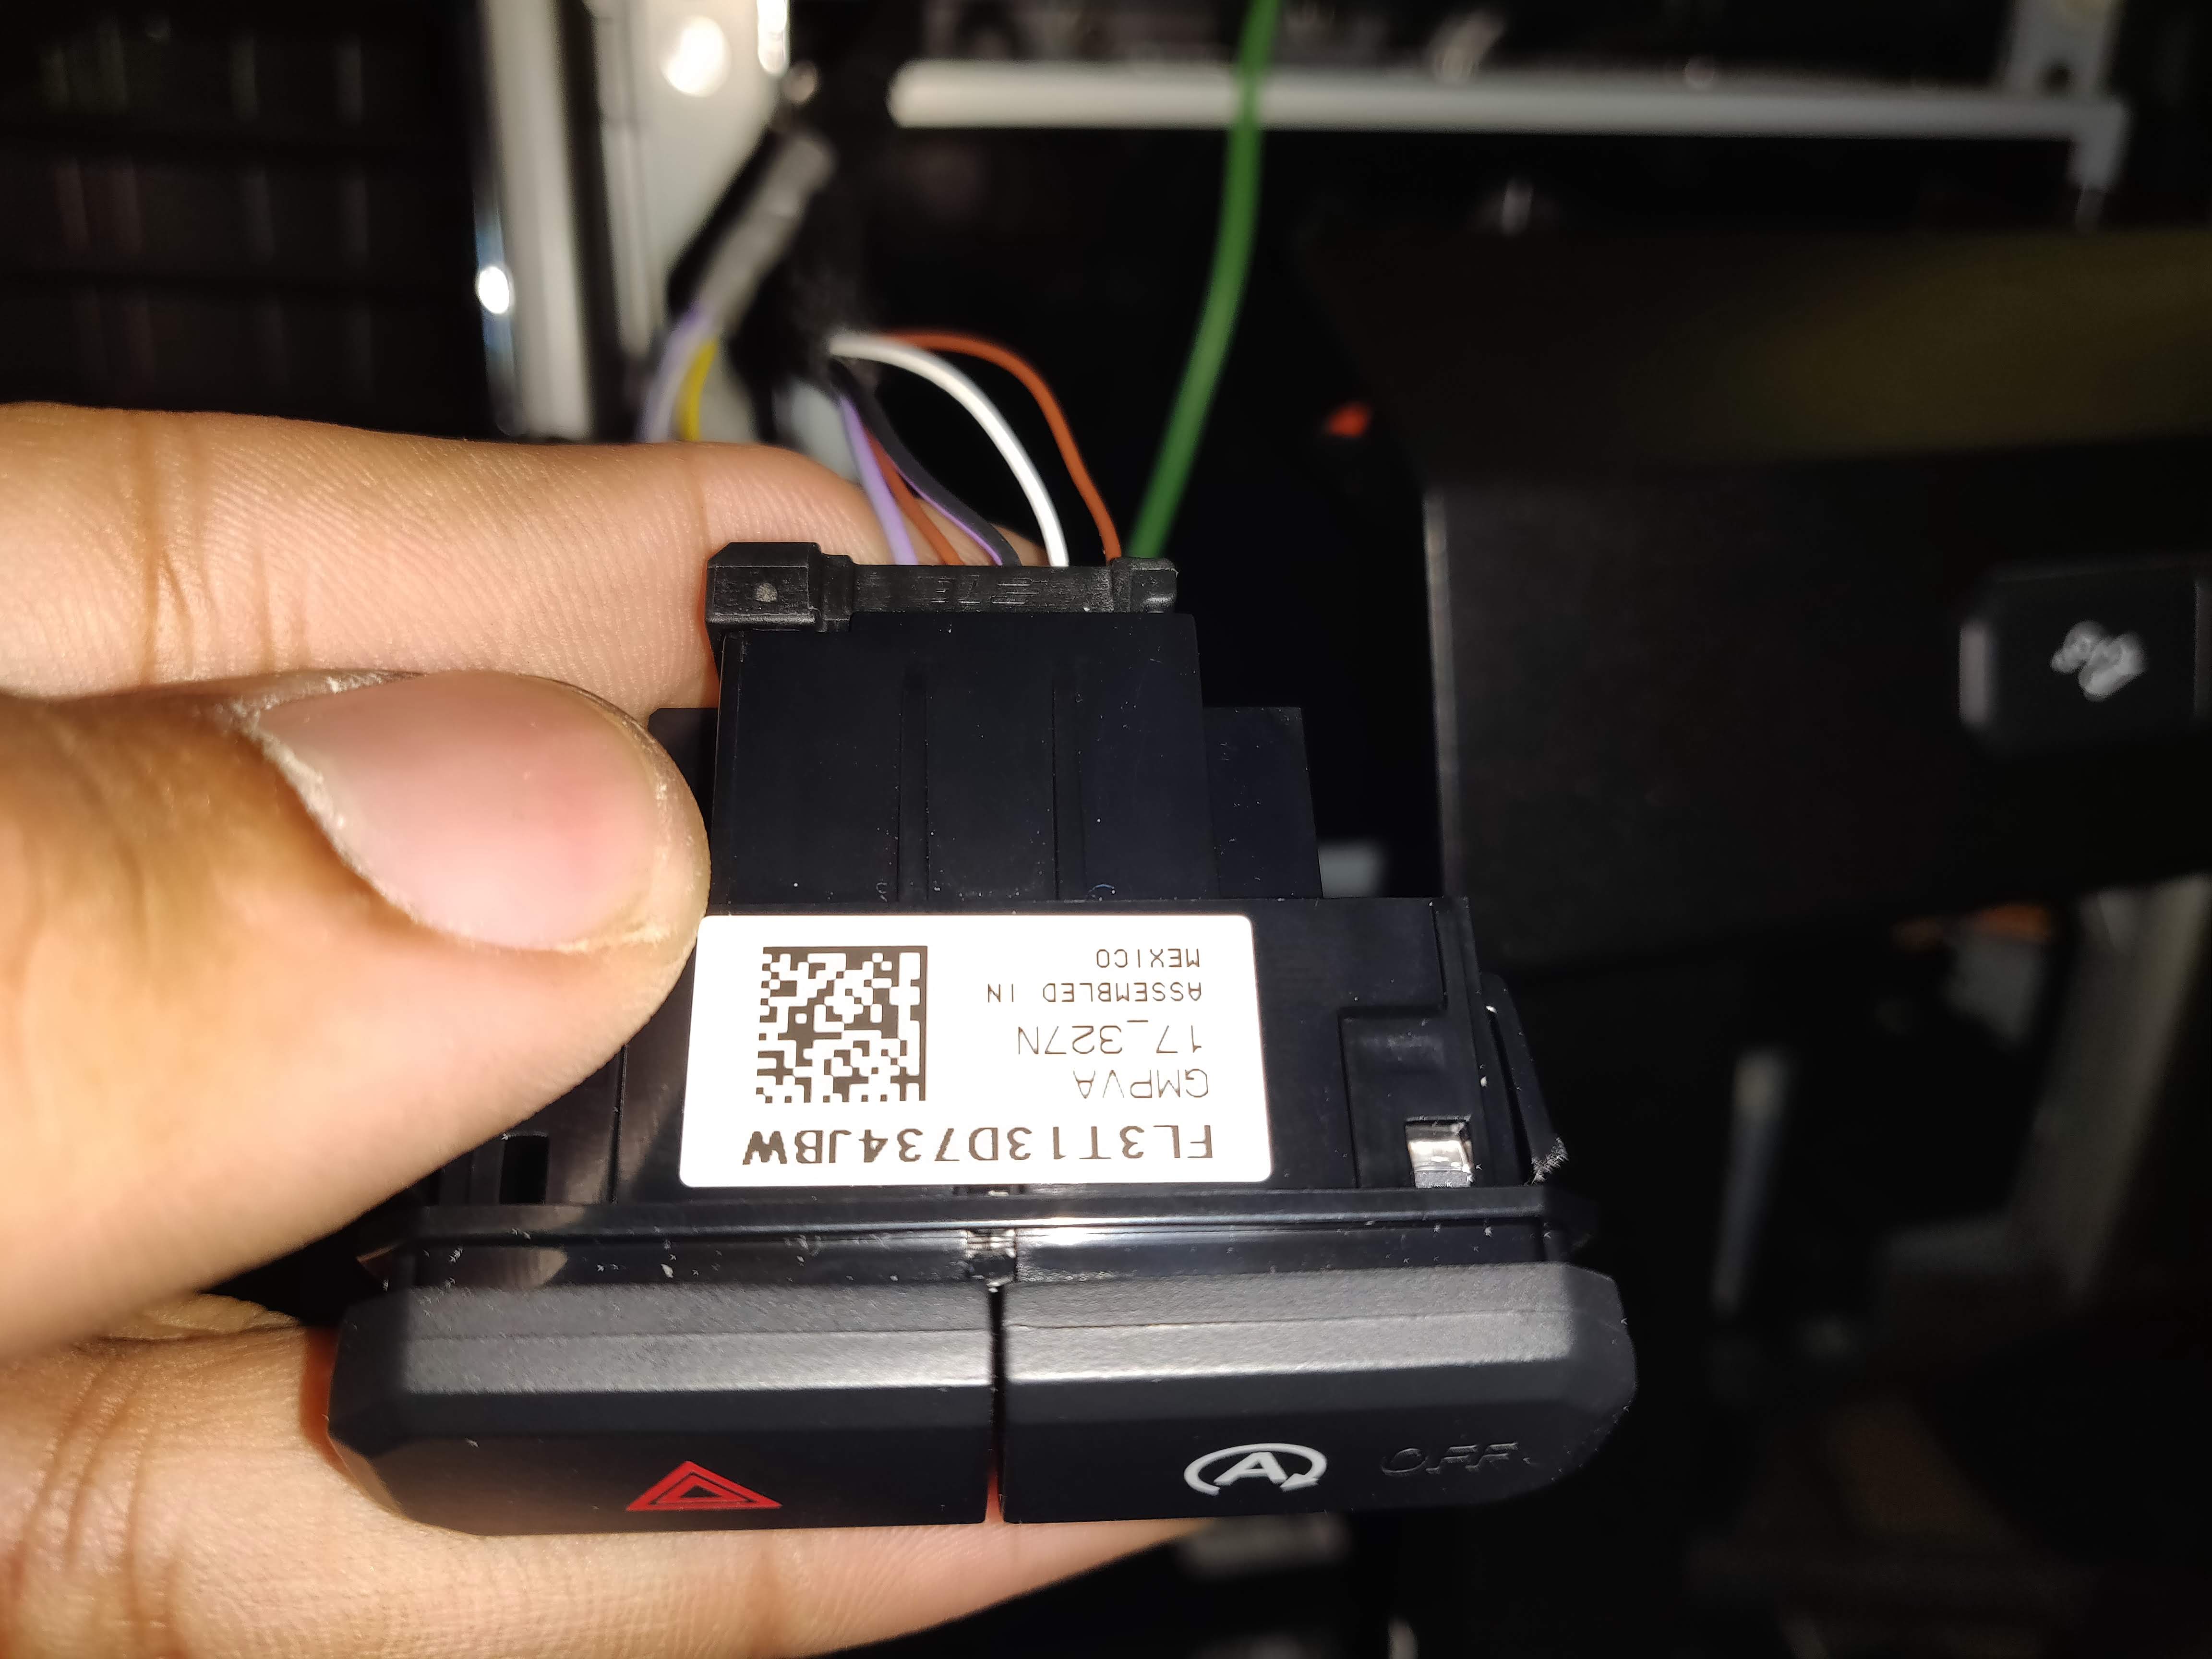
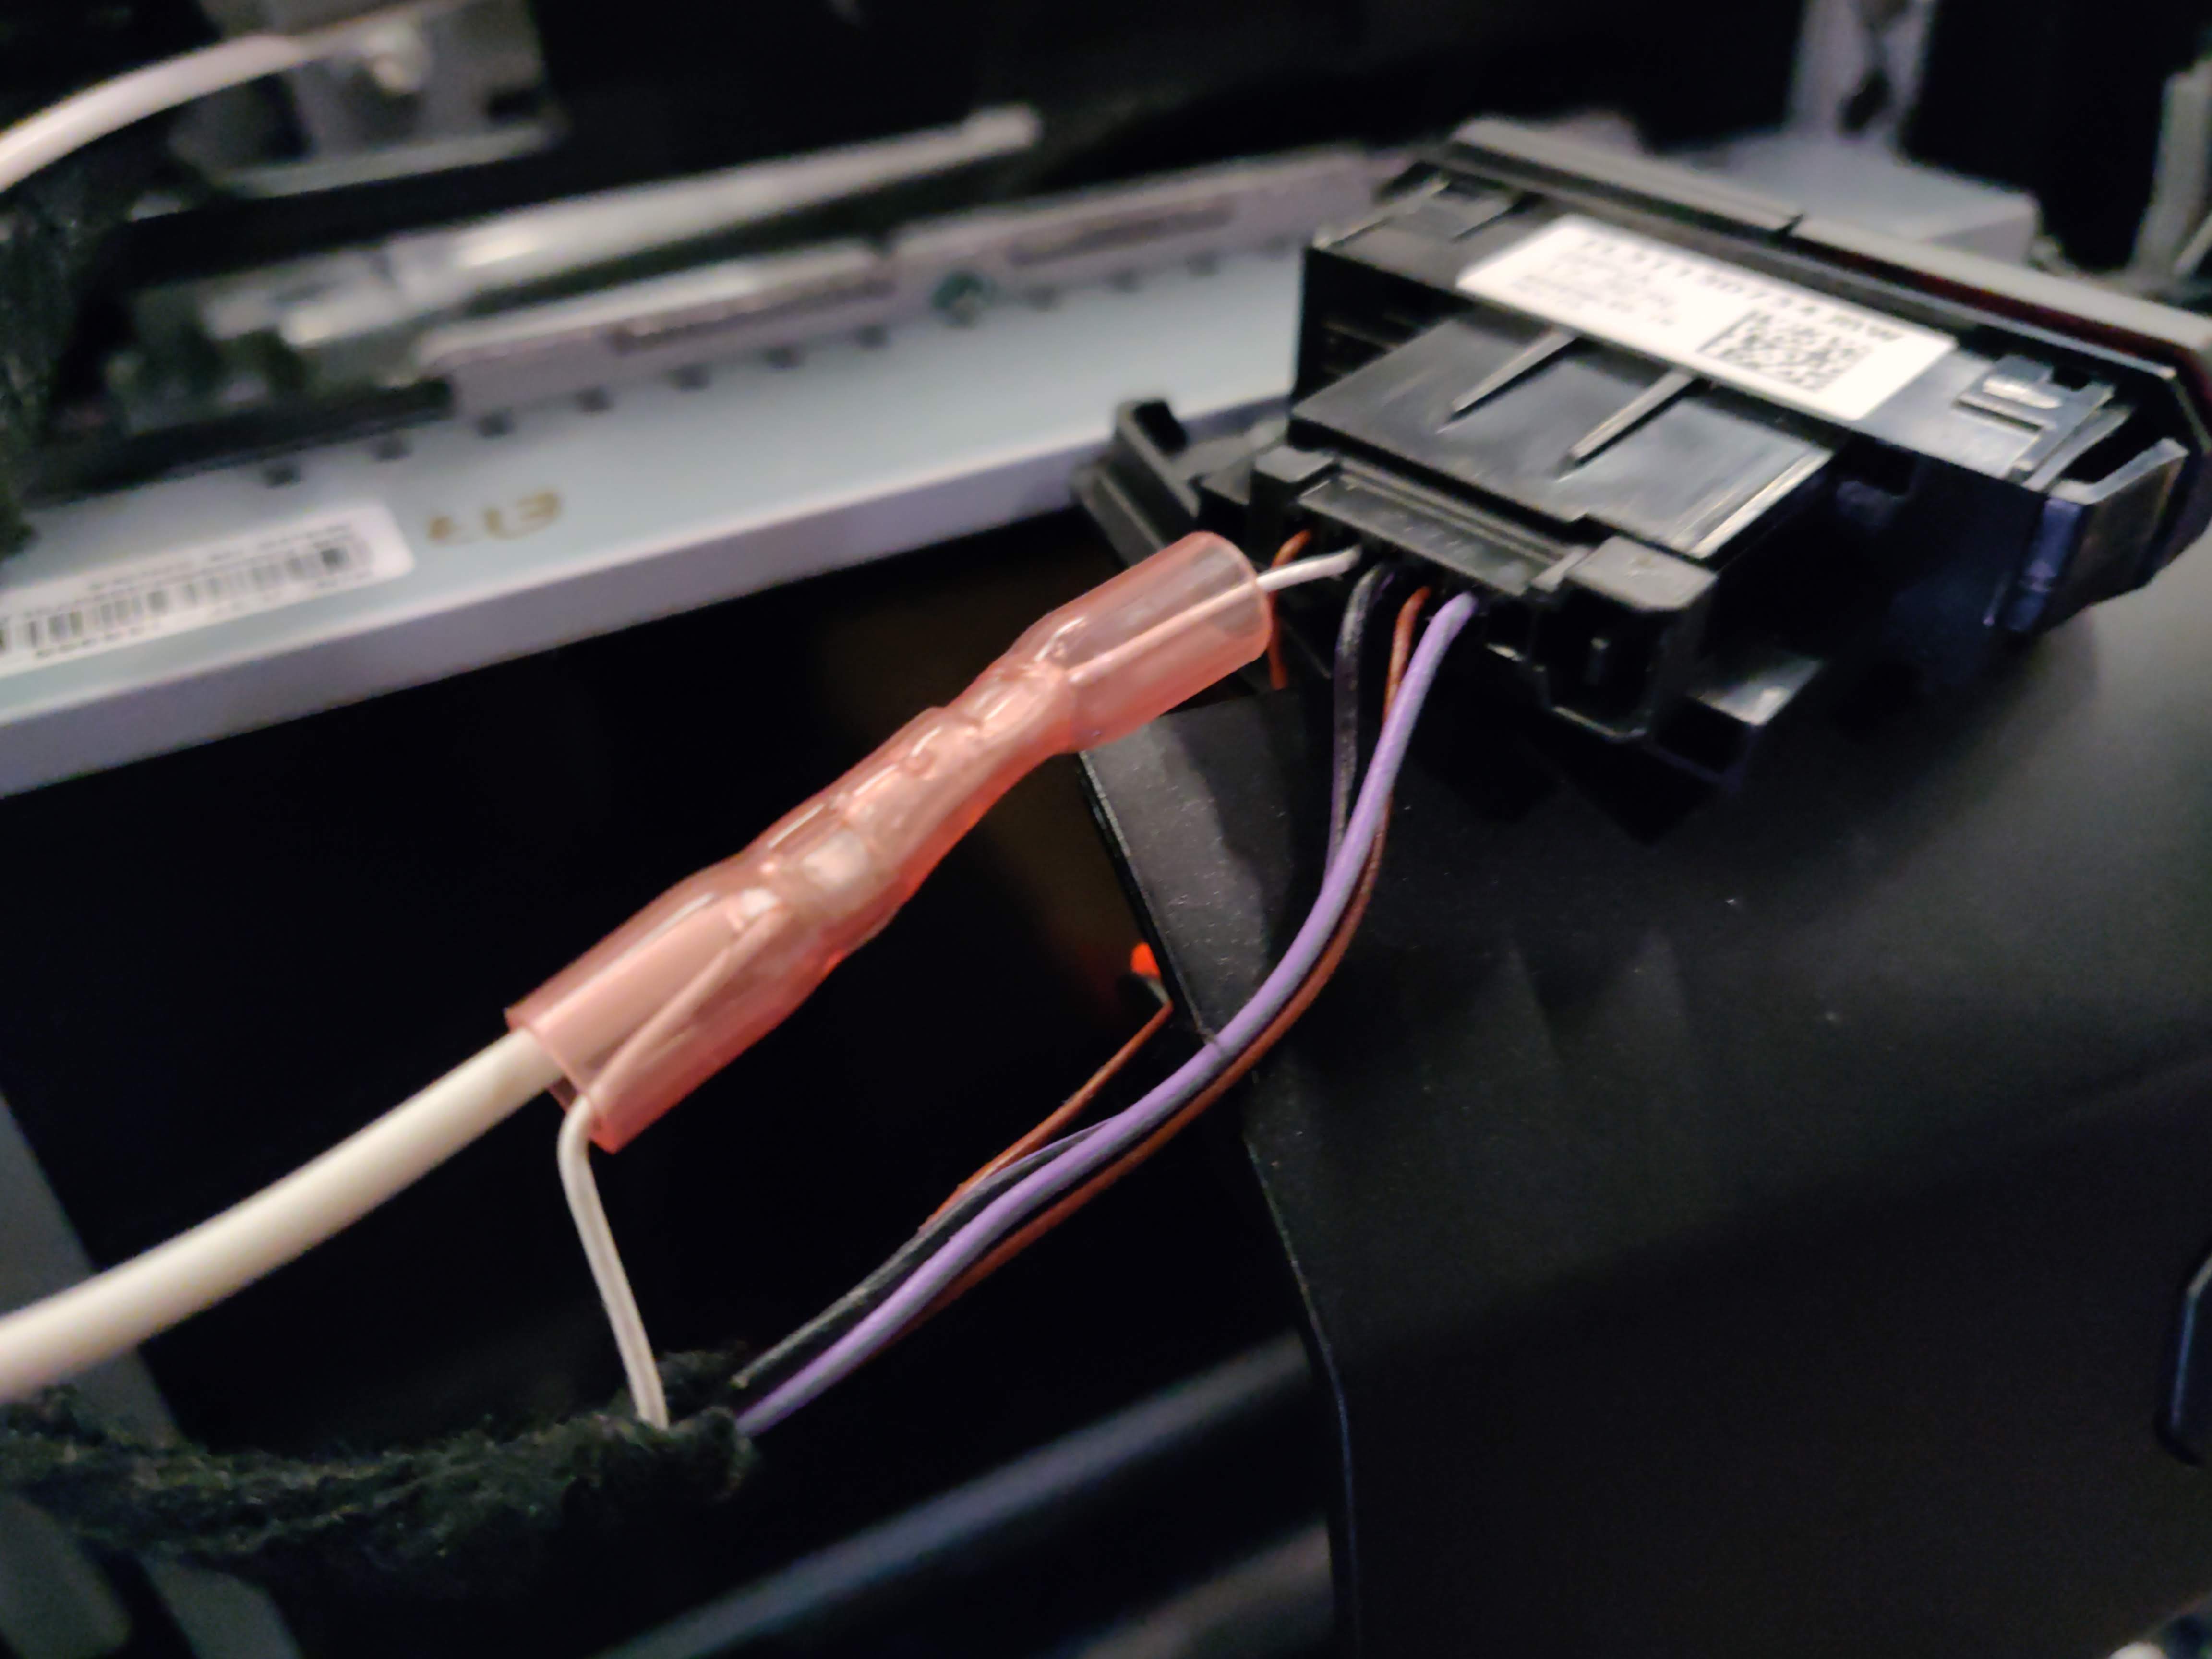
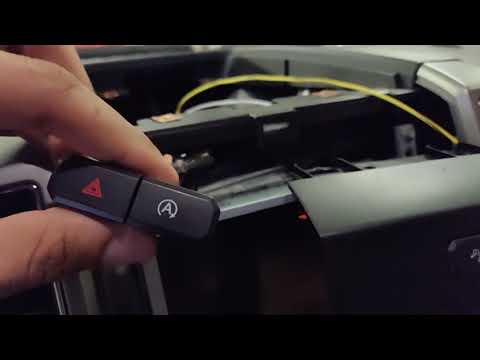
Time to connect the main wire--The one we are here for. We will connect the remaining wire to the plug that the Auto-Start/Stop button module is on.
- On this truck, the white wire in the back of the button module is the write that tells the truck that the auto-start/stop button has been pushed.
- When the button is pushed, the white wire will pull to ground, (0 volts), then release back to +12-14v. This is what our module will do for us each time the truck is started. Please test for this wire, to protect against the possibility that it is different on your truck.
- If you're using crimpers, cut the wire and add our remaining button output wire.
- If you're using a soldering iron, strip the wire and solder the wire into the white wire.
- Make sure to tape and protect everything so that none of the wire's you install have a possibility of shorting out.
Put Everything Back Together and Install Fuse.
Time to put it all back together, then install the fuse for the circuit.
Done!
