FoodPlate: the Plate That Keeps Your Food Warm
by Tibovc in Circuits > Raspberry Pi
566 Views, 4 Favorites, 0 Comments
FoodPlate: the Plate That Keeps Your Food Warm
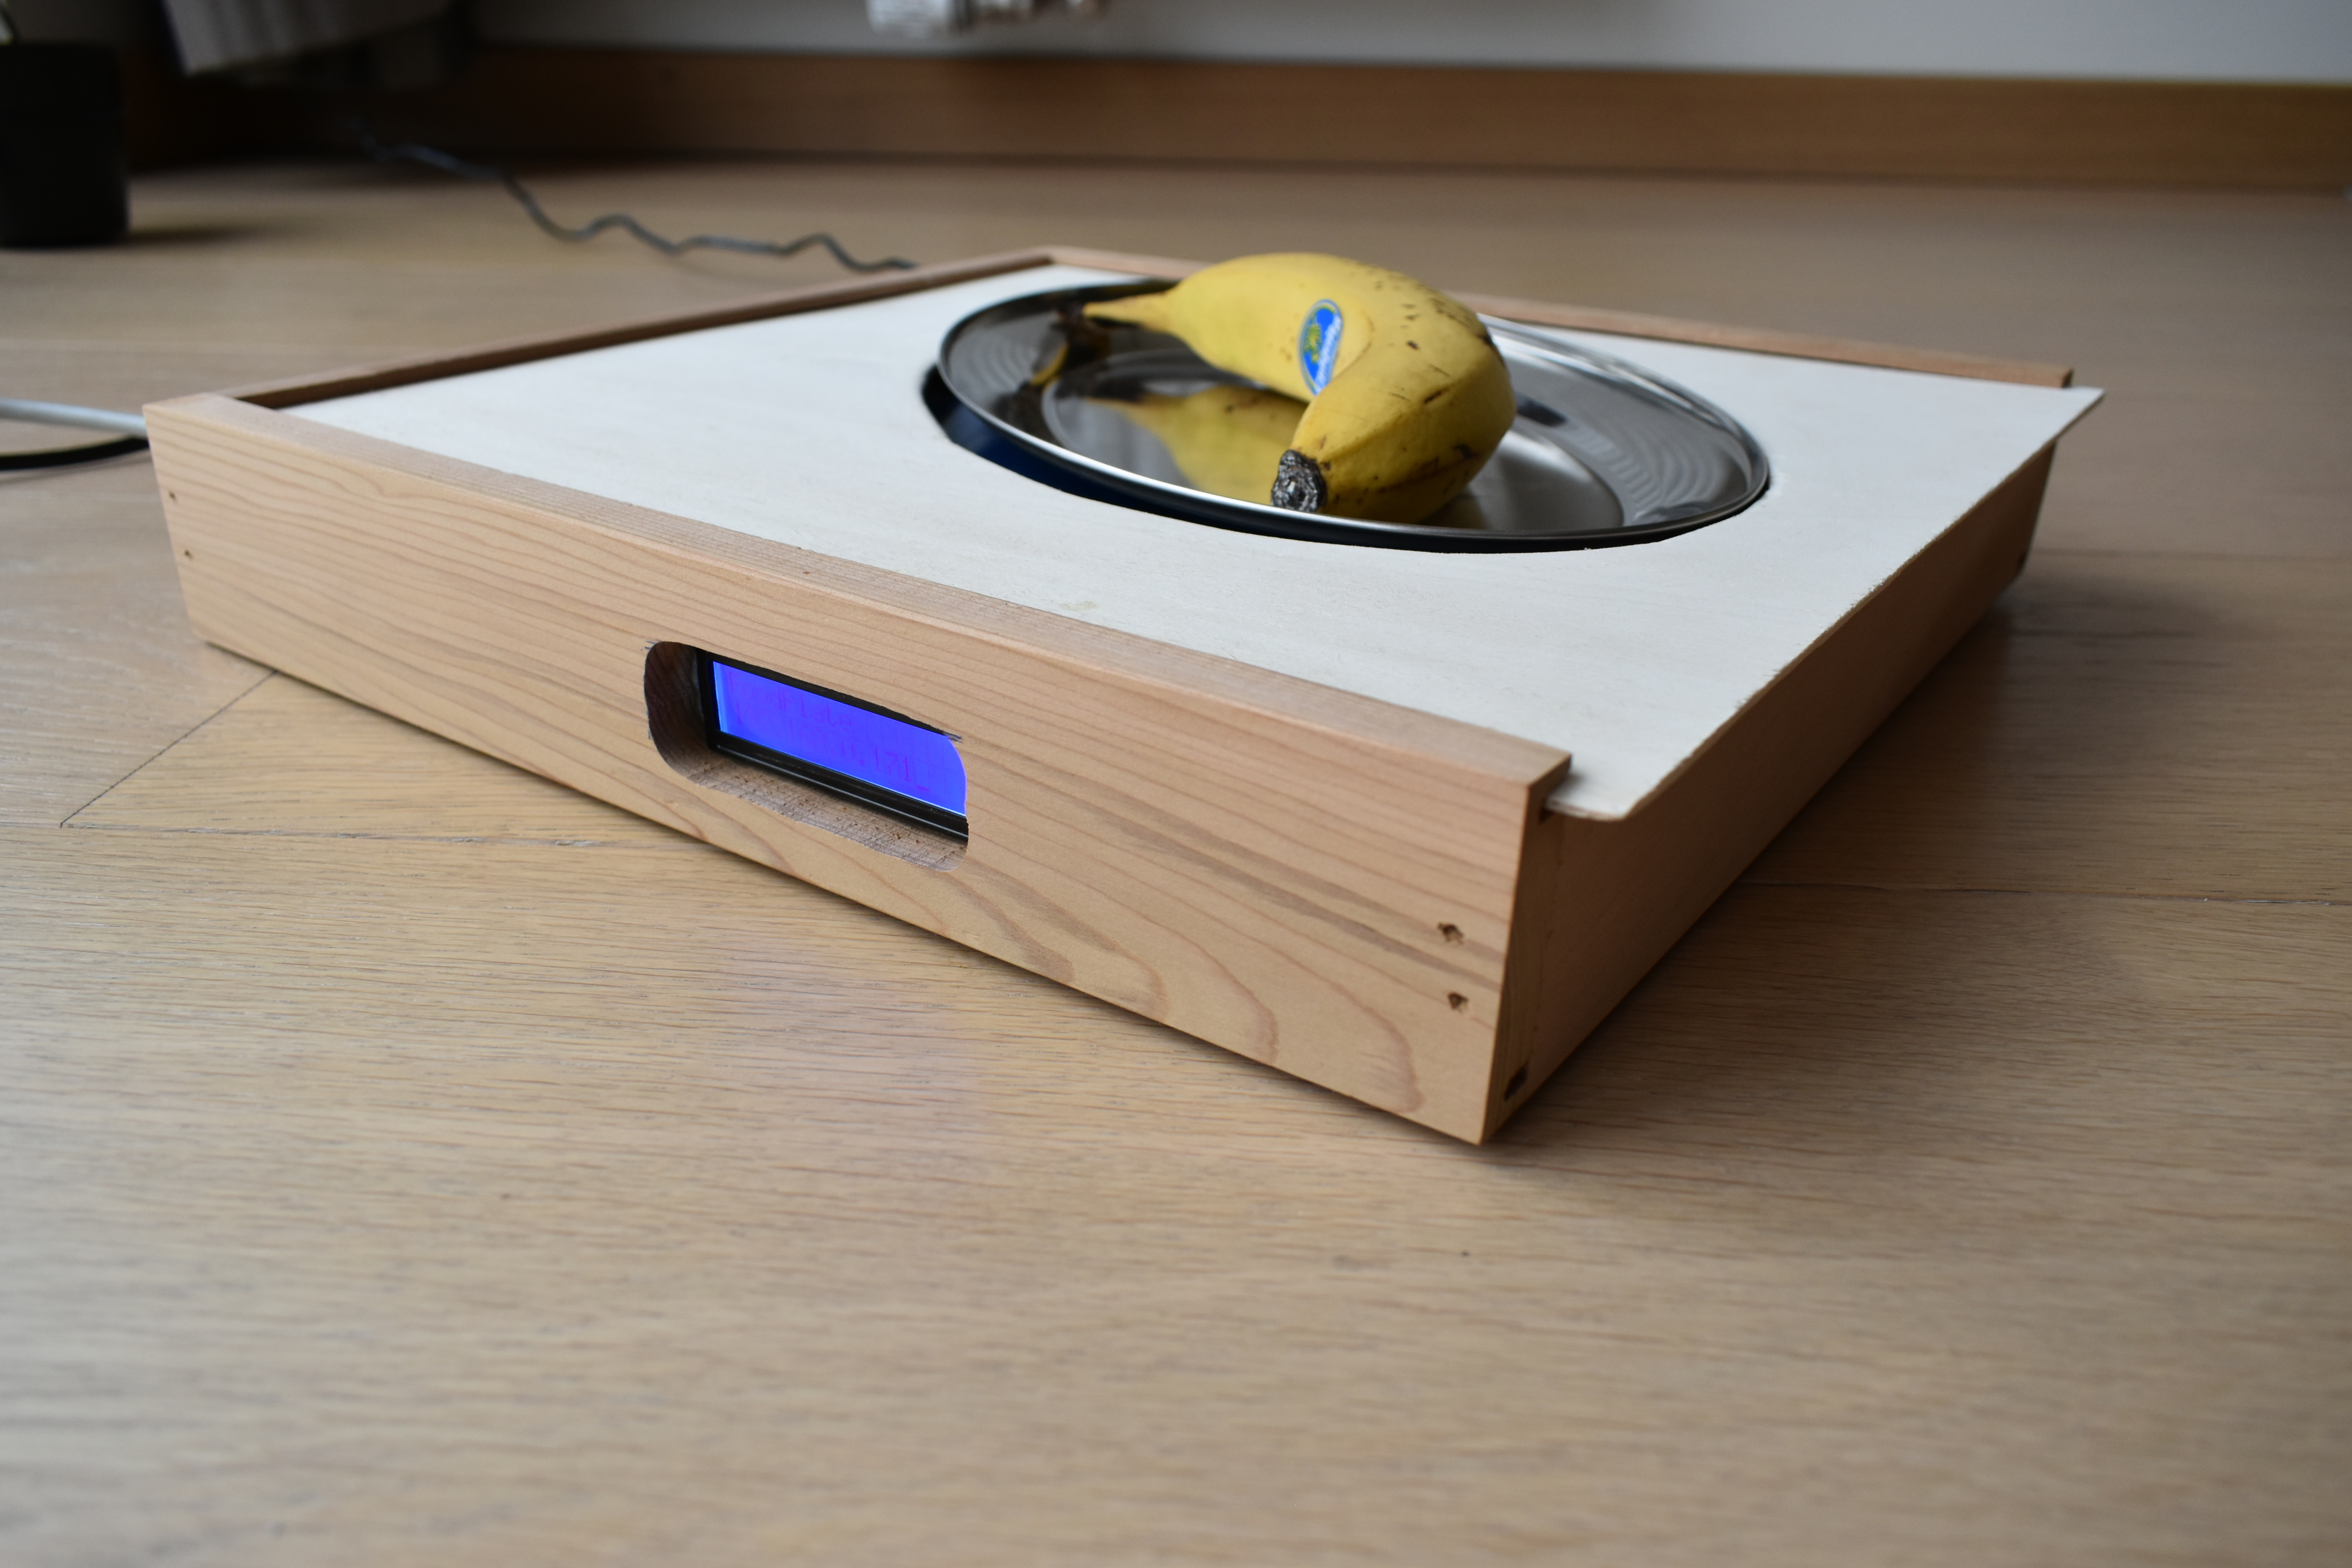
Have you ever experienced that your food has become cold while you're still eating?
In this instructable, I'll you explain how to make a heated plate. Also, this plate will make sure that nothing can fall from it by tilting it.
The link to my GitHub is: https://github.com/NMCT-S2-Project-1/nmct-s2-project-1-TiboVanCraenenbroeck
Components
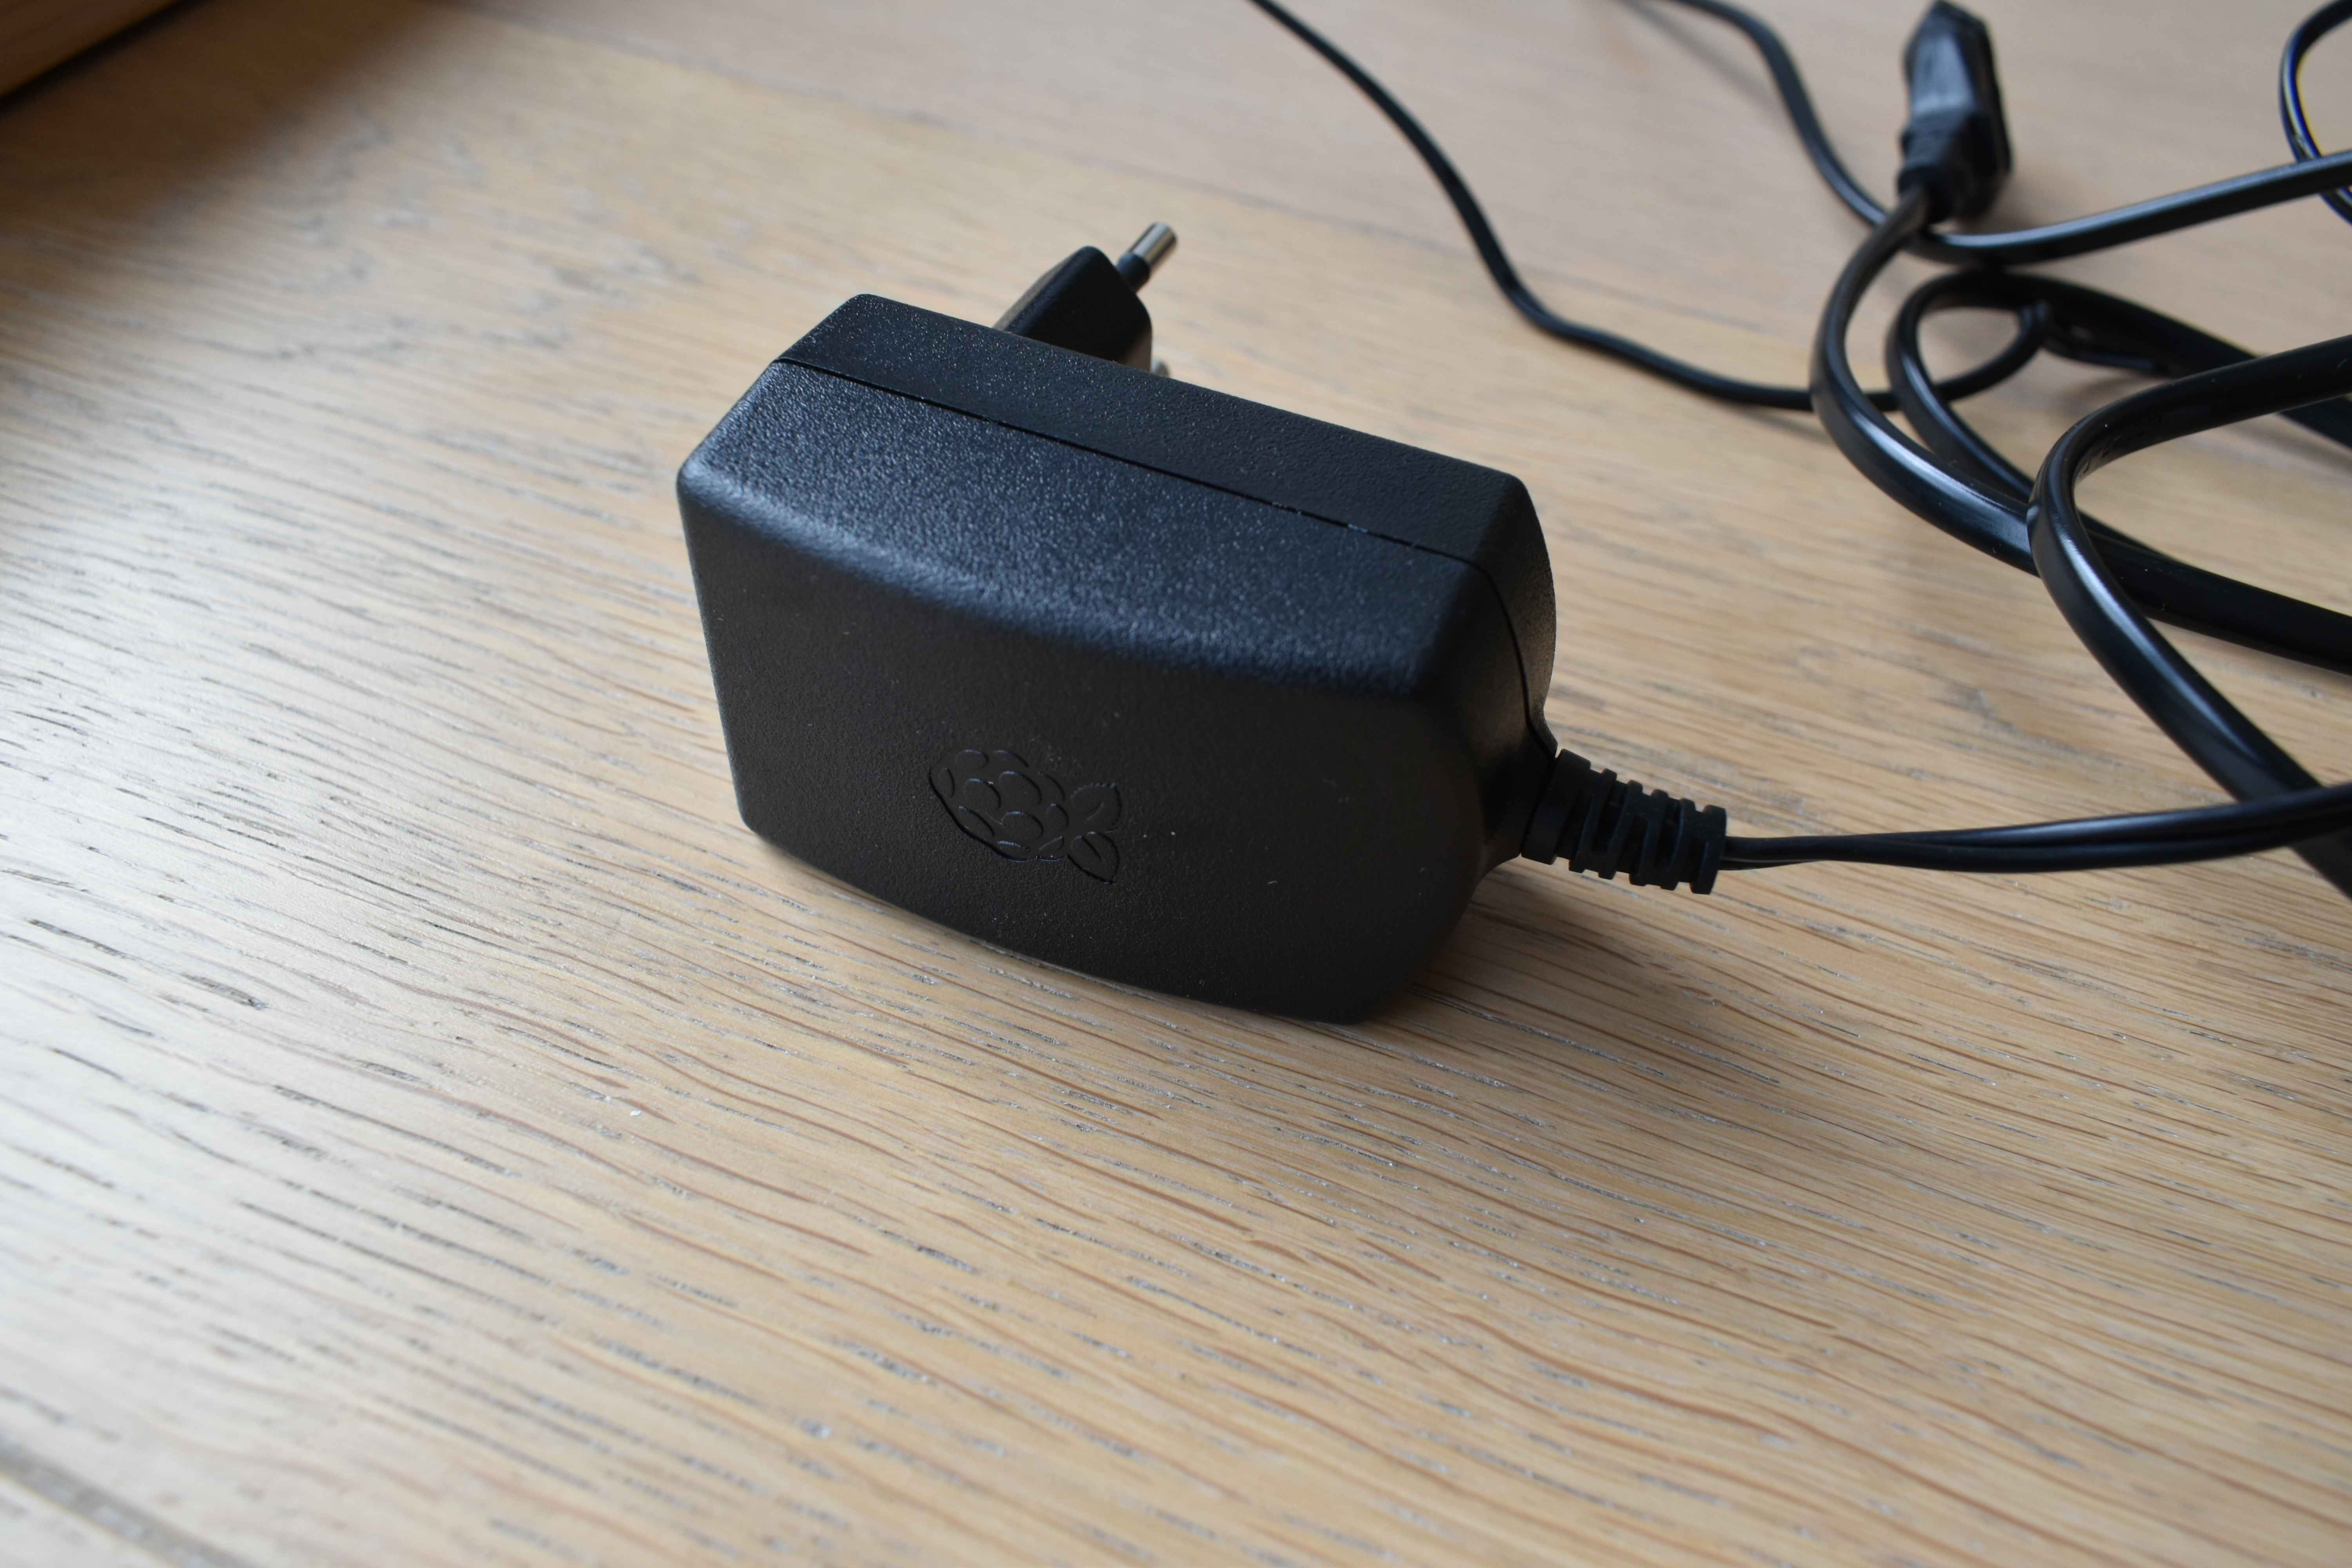
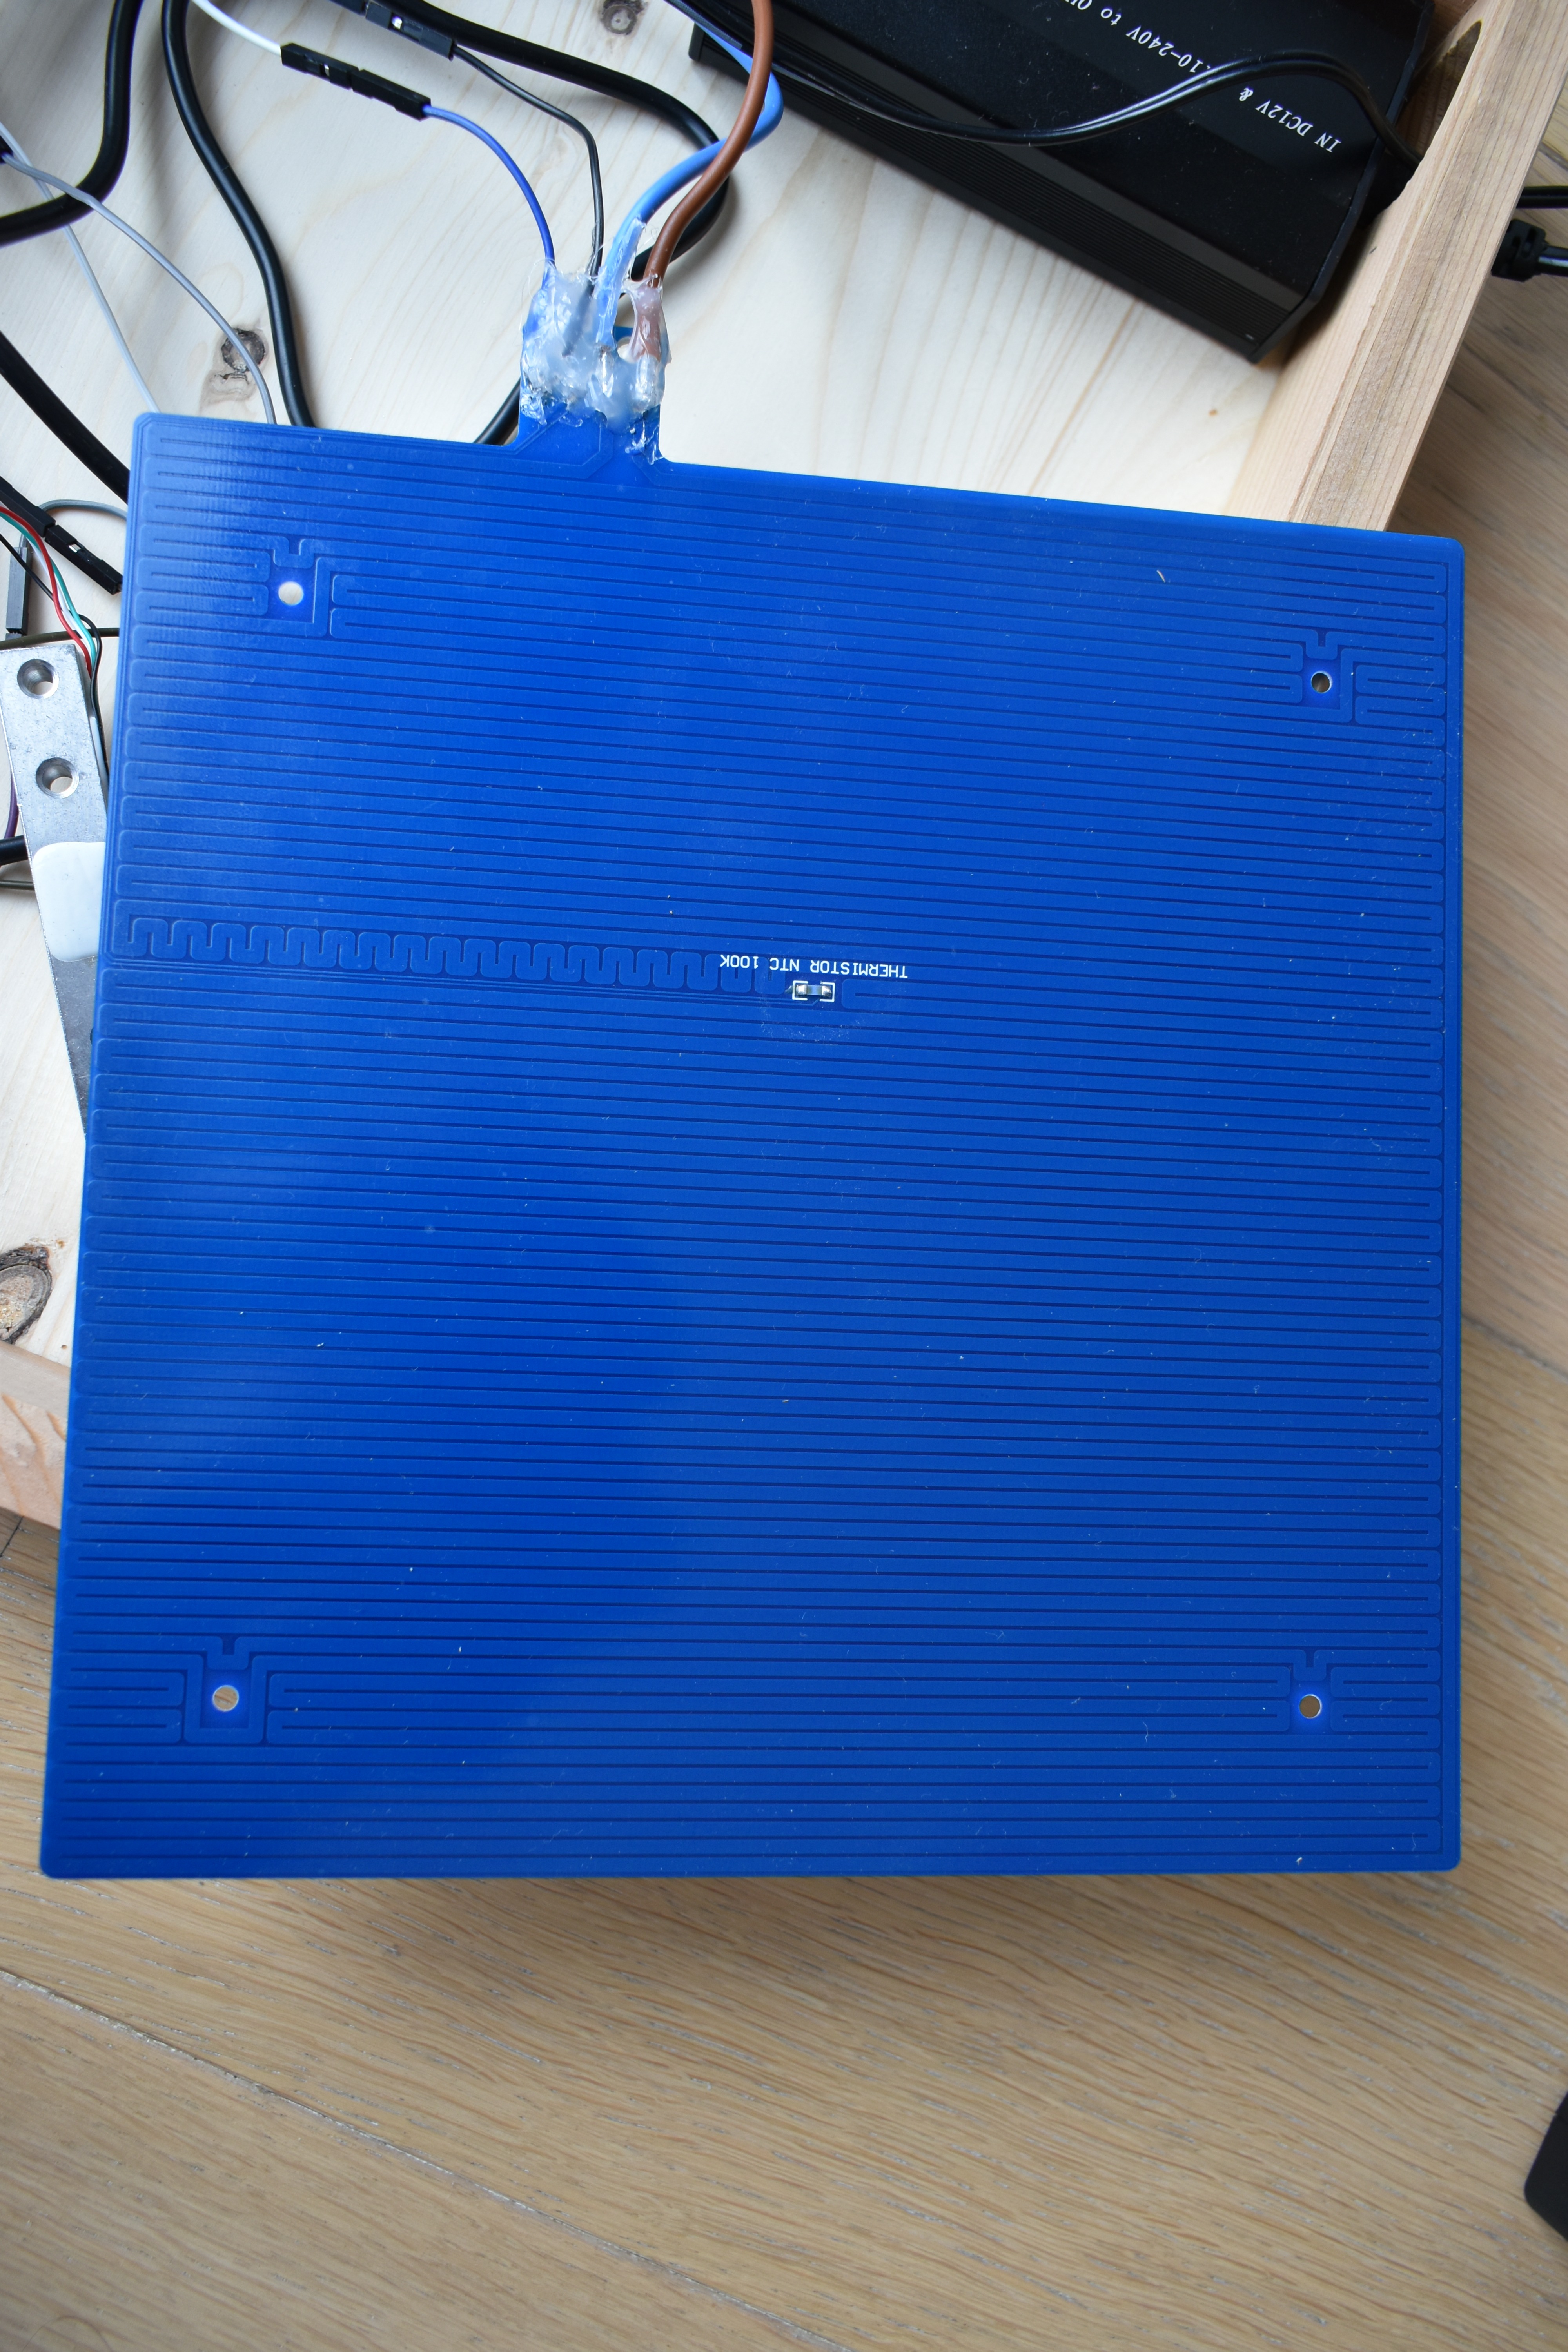
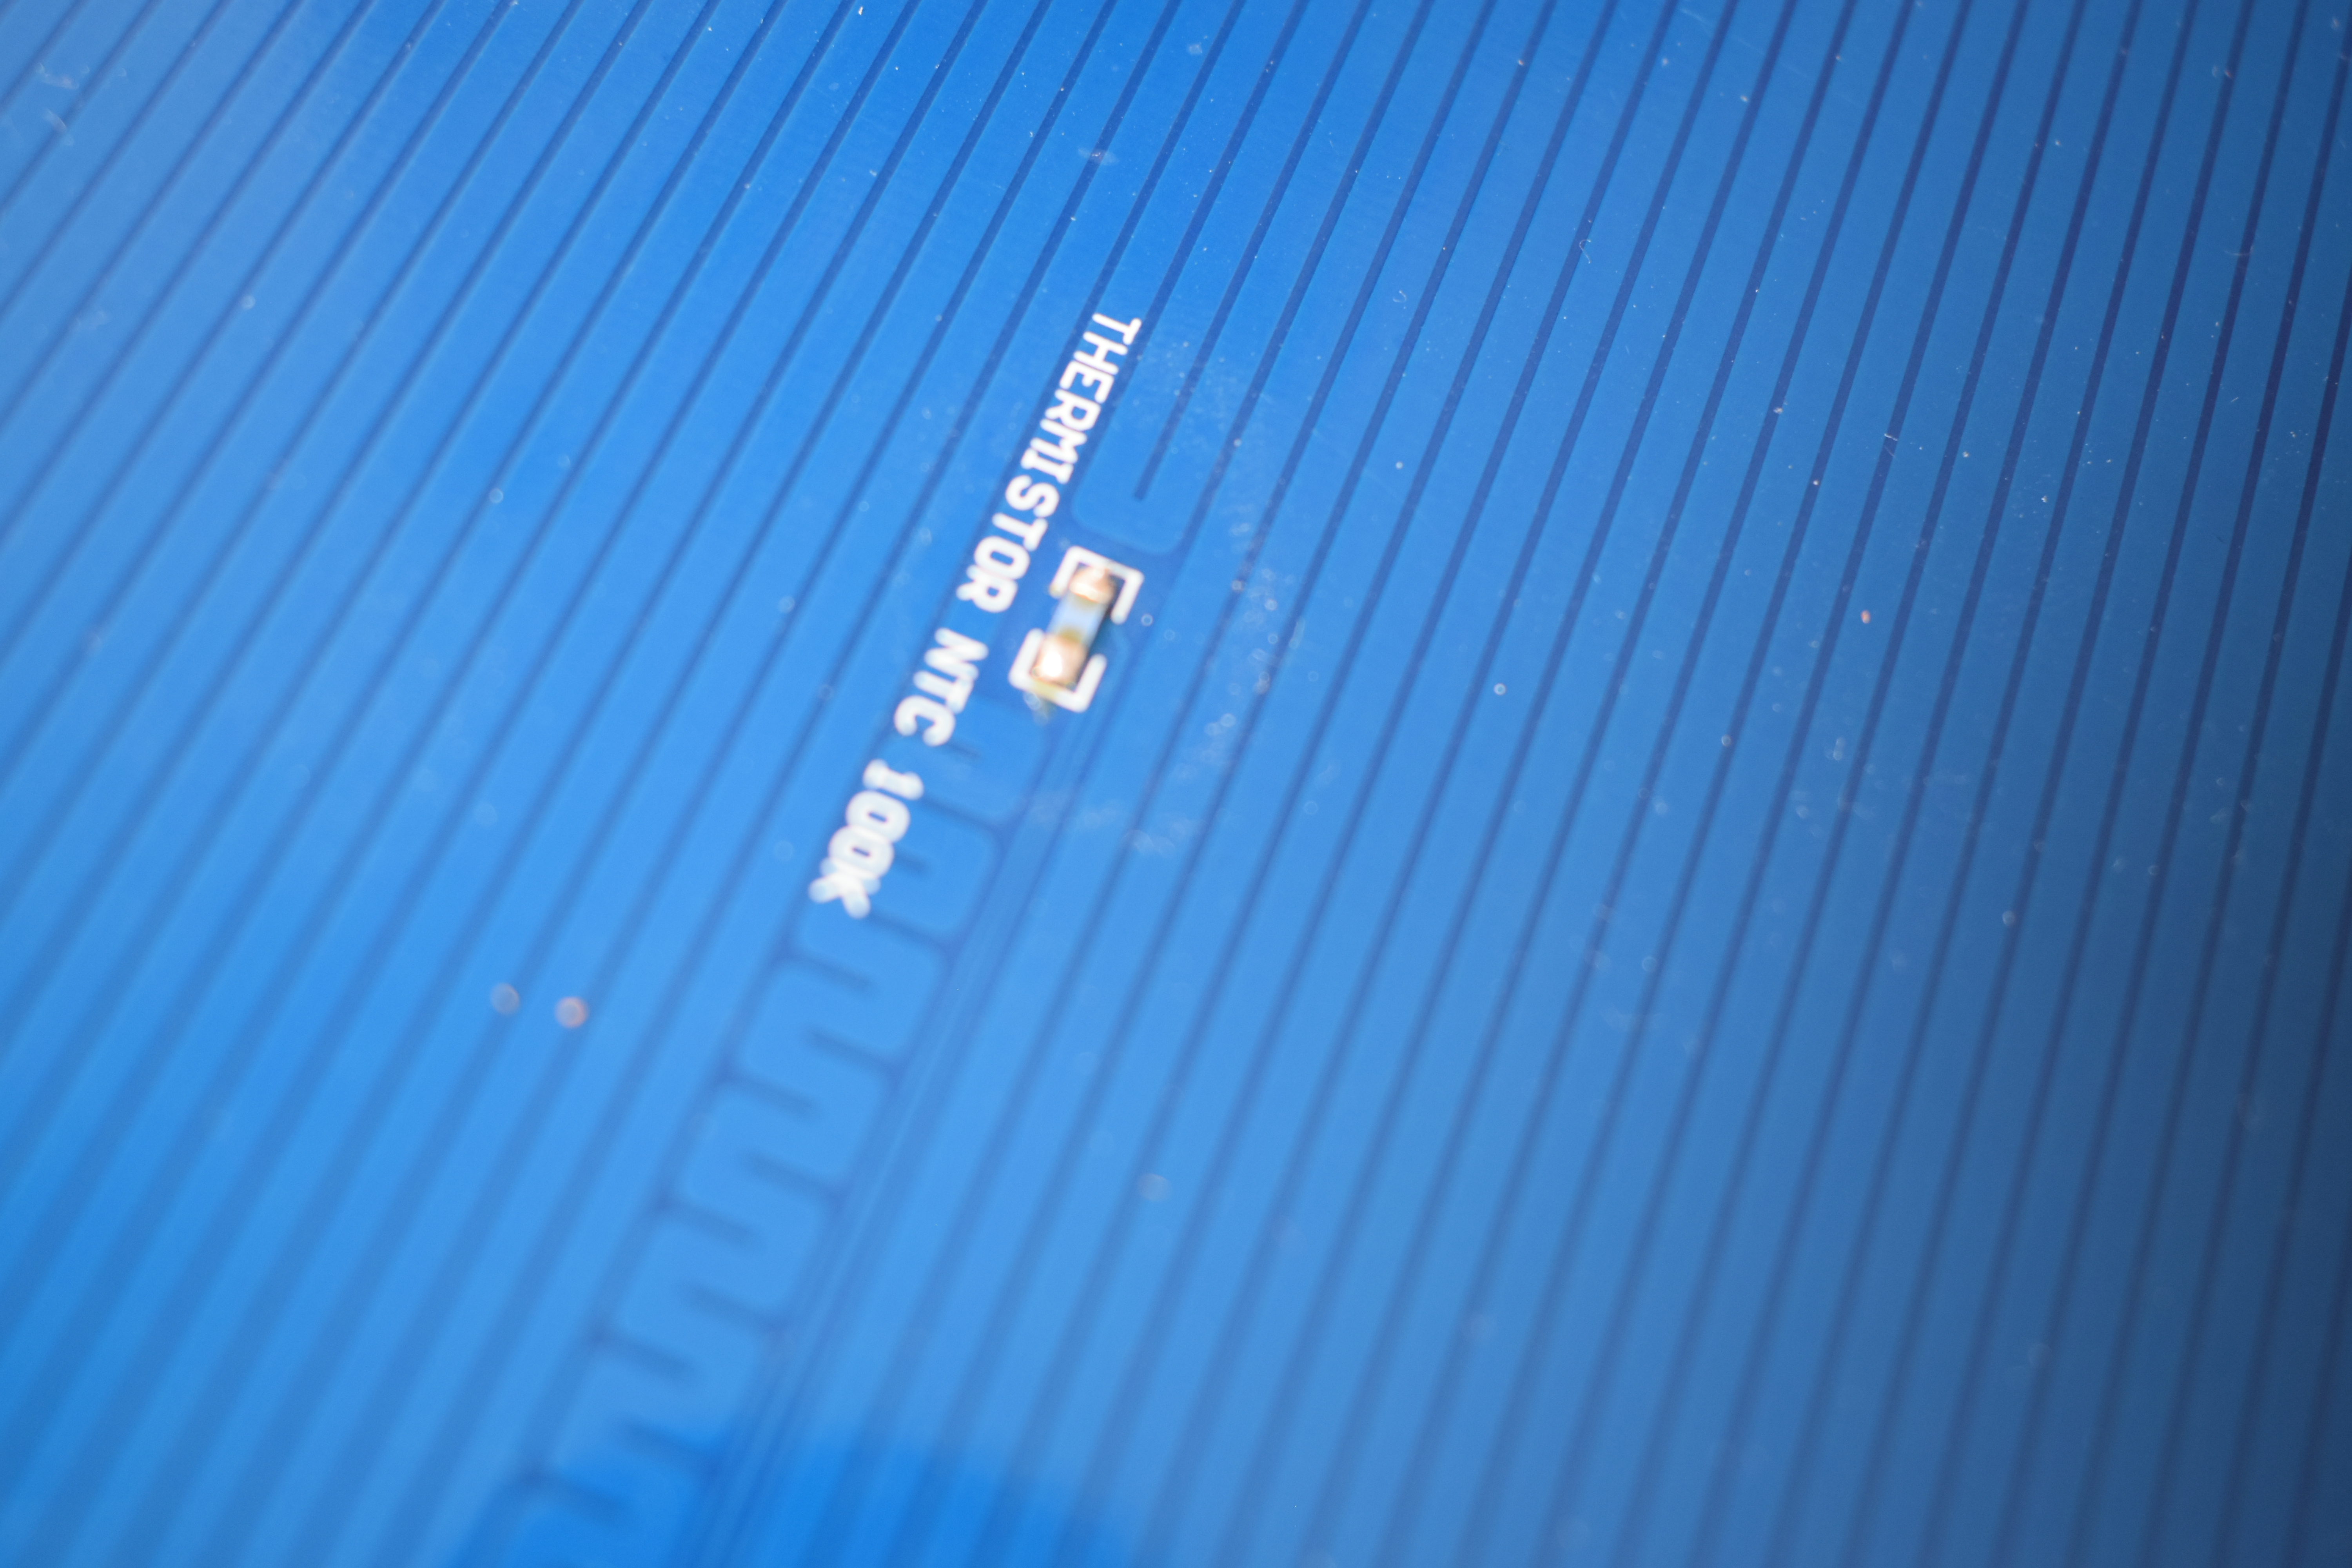
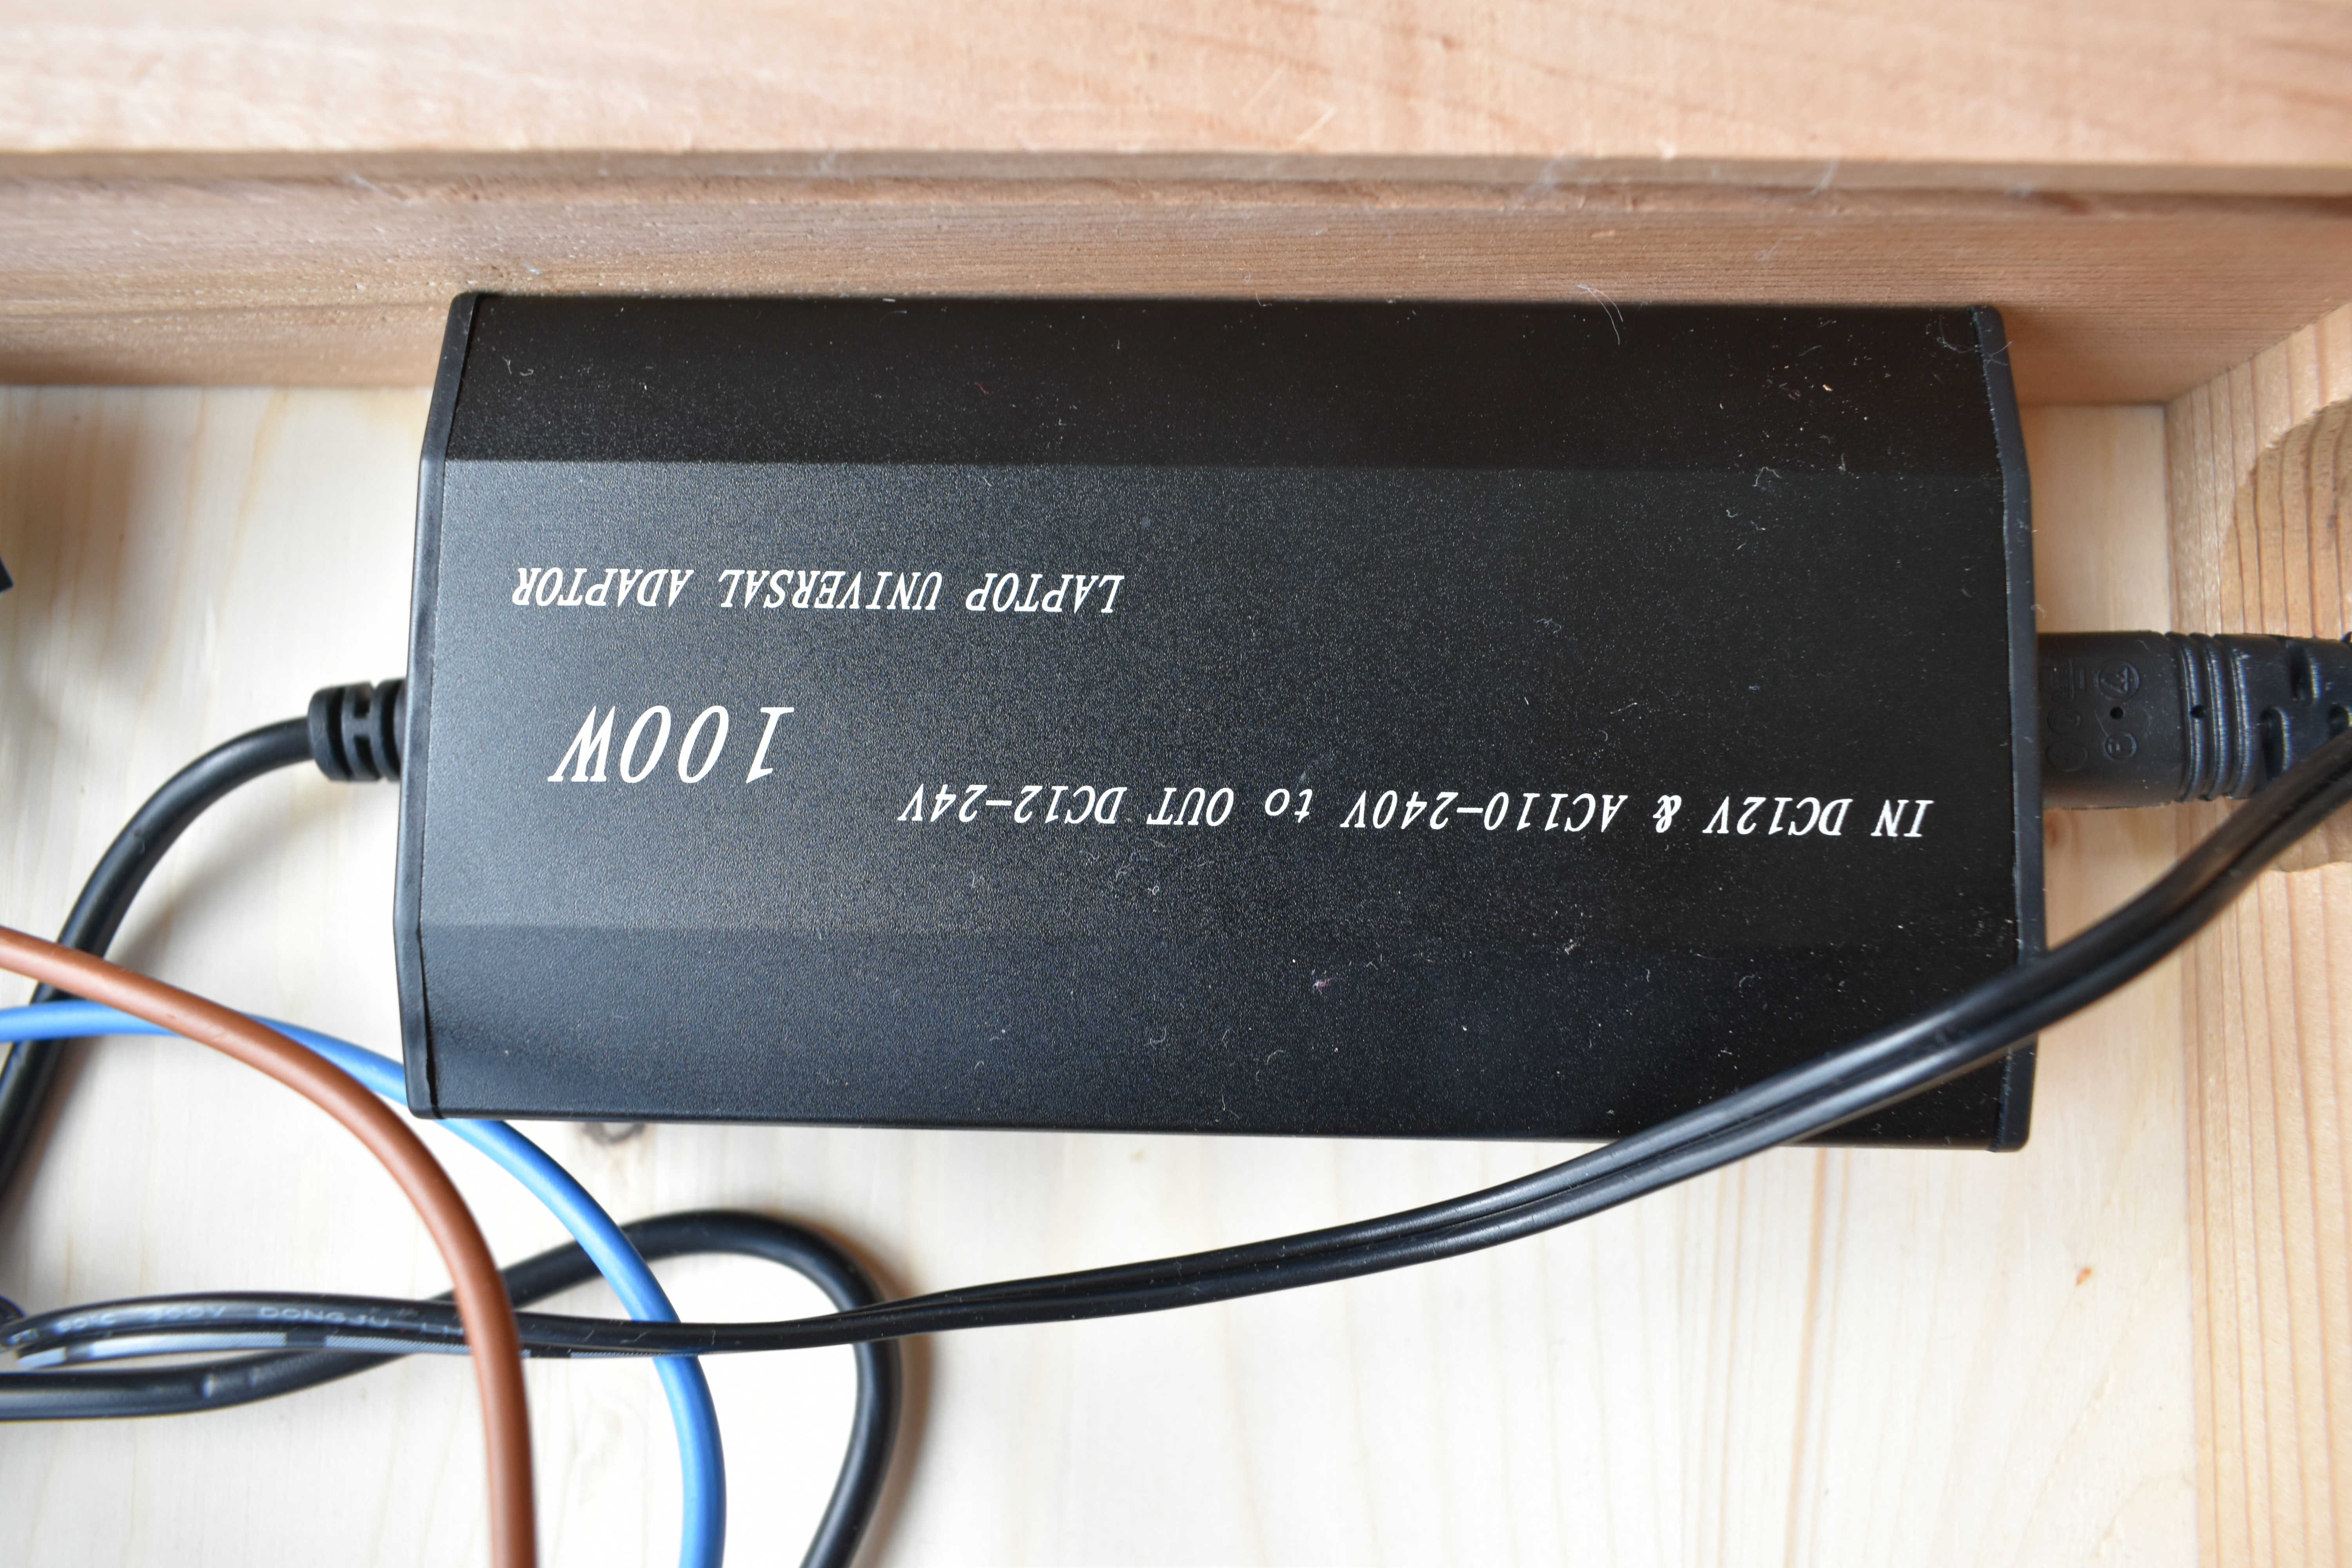
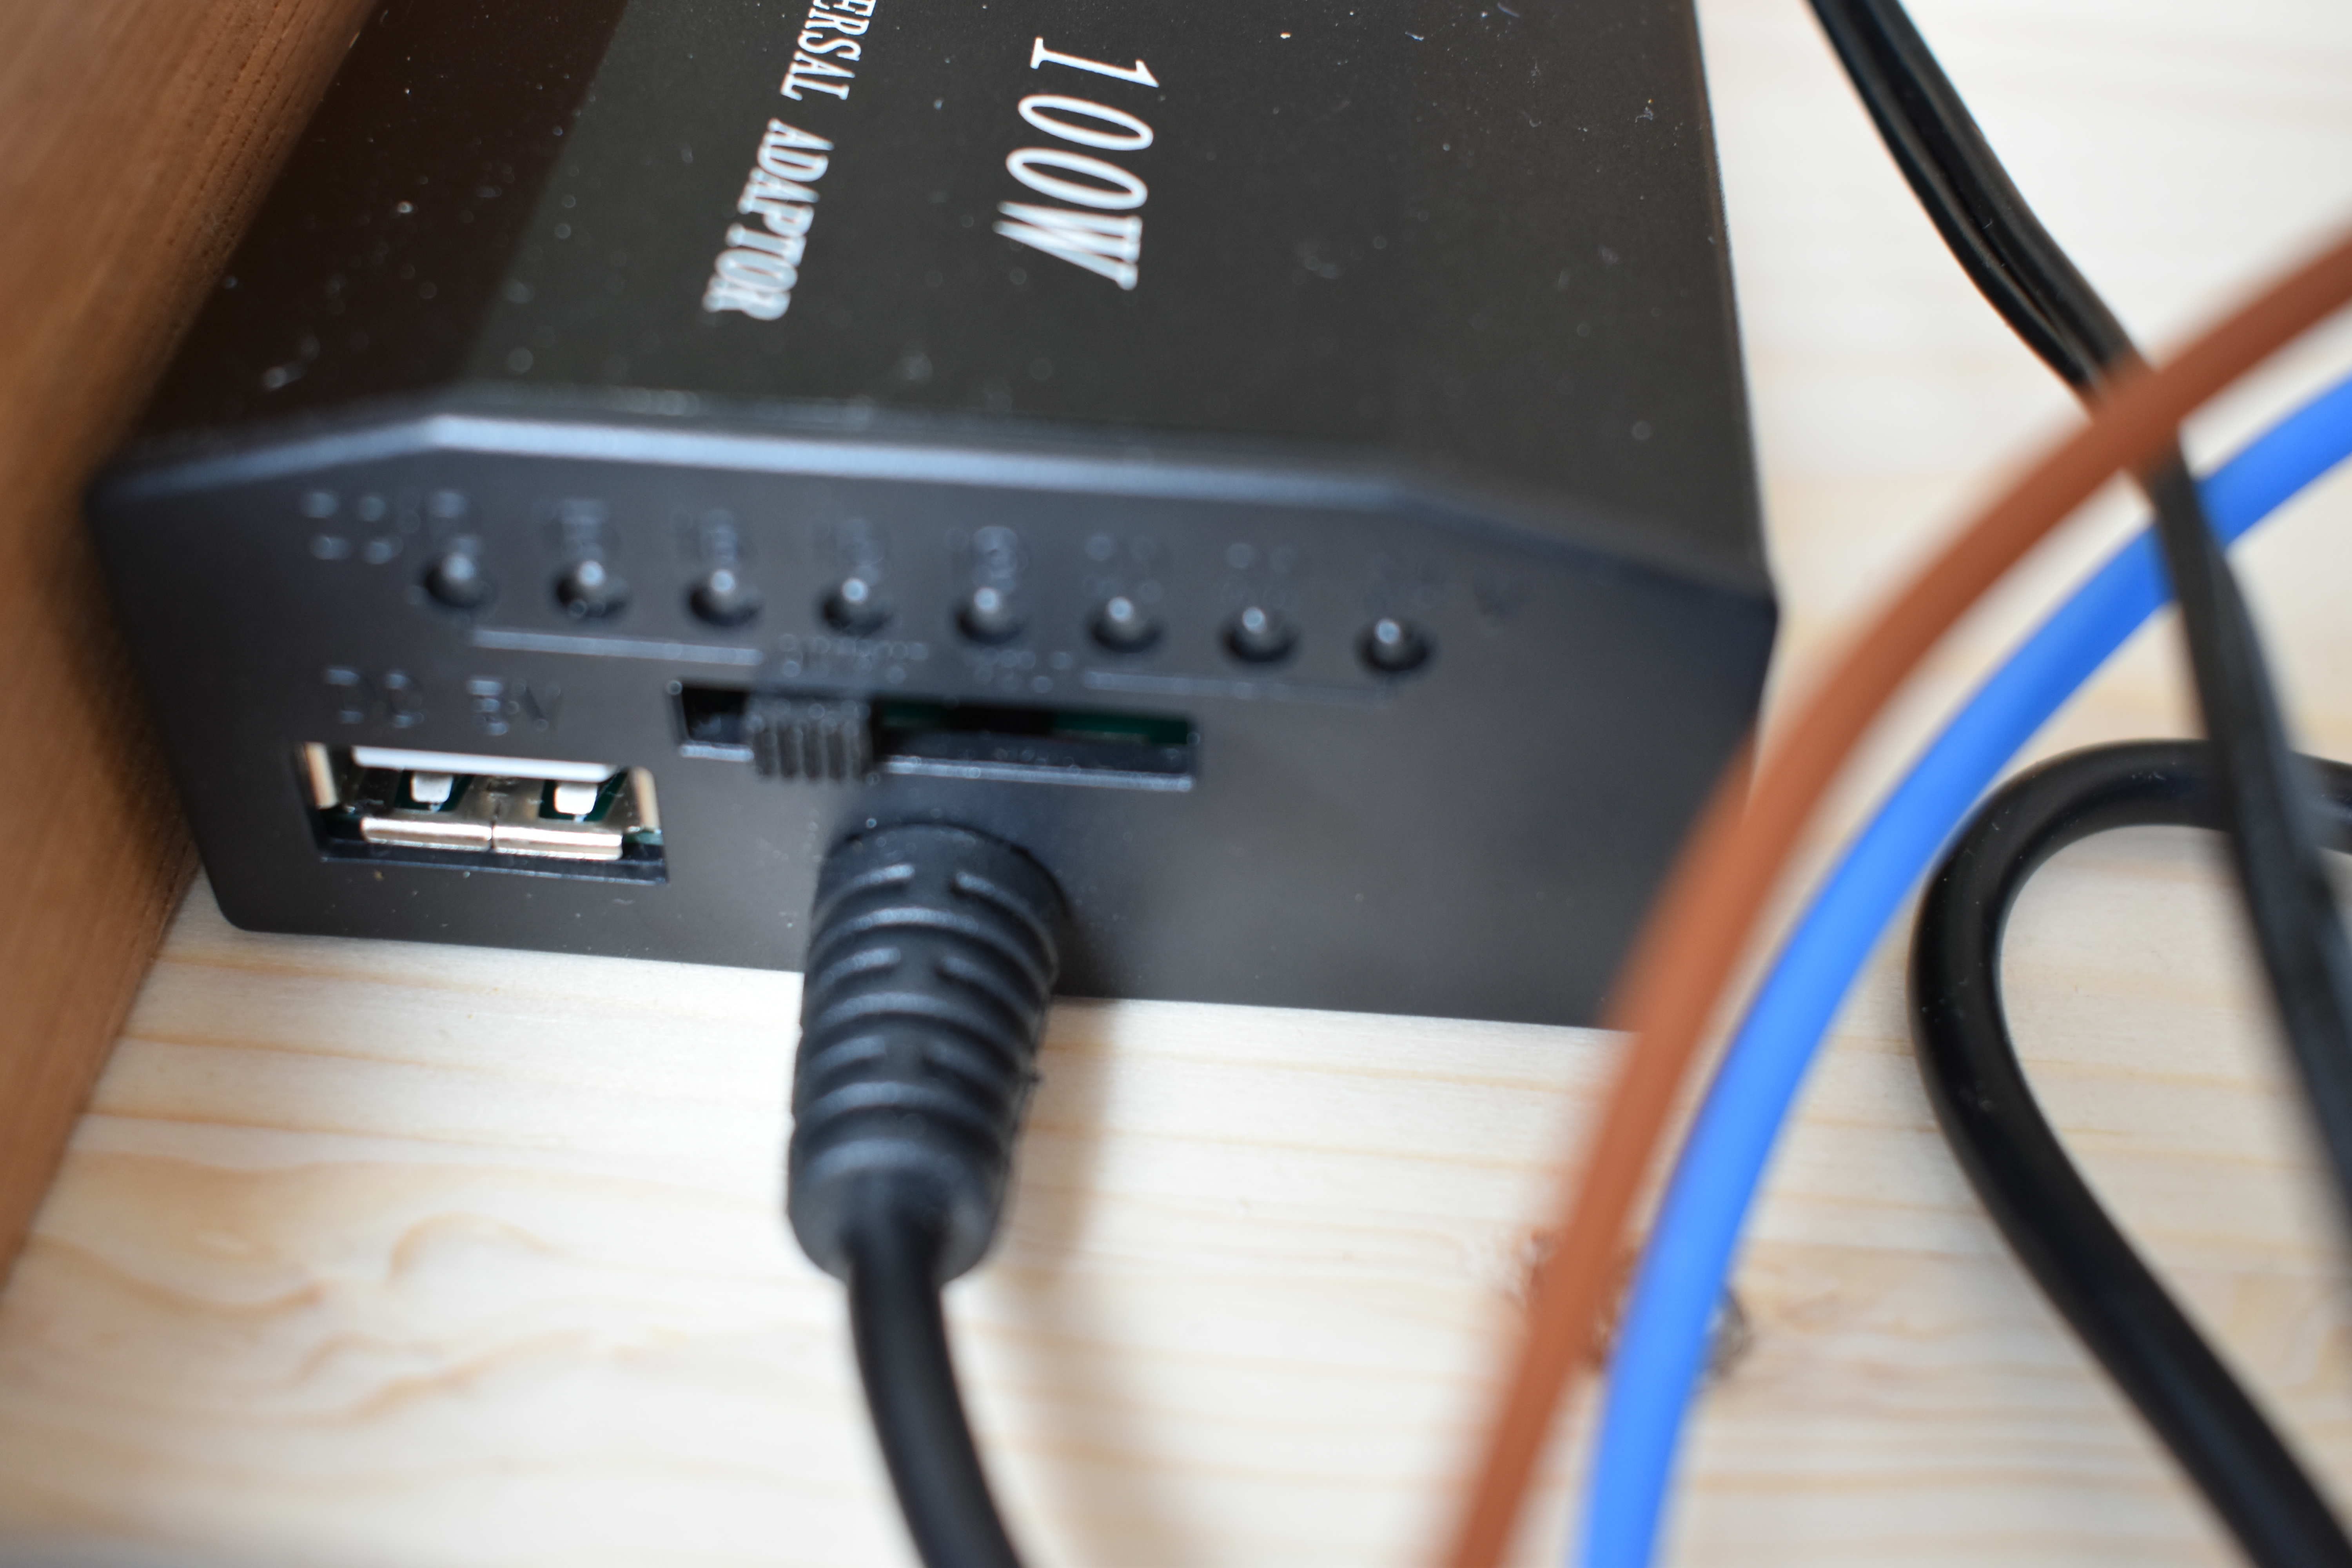
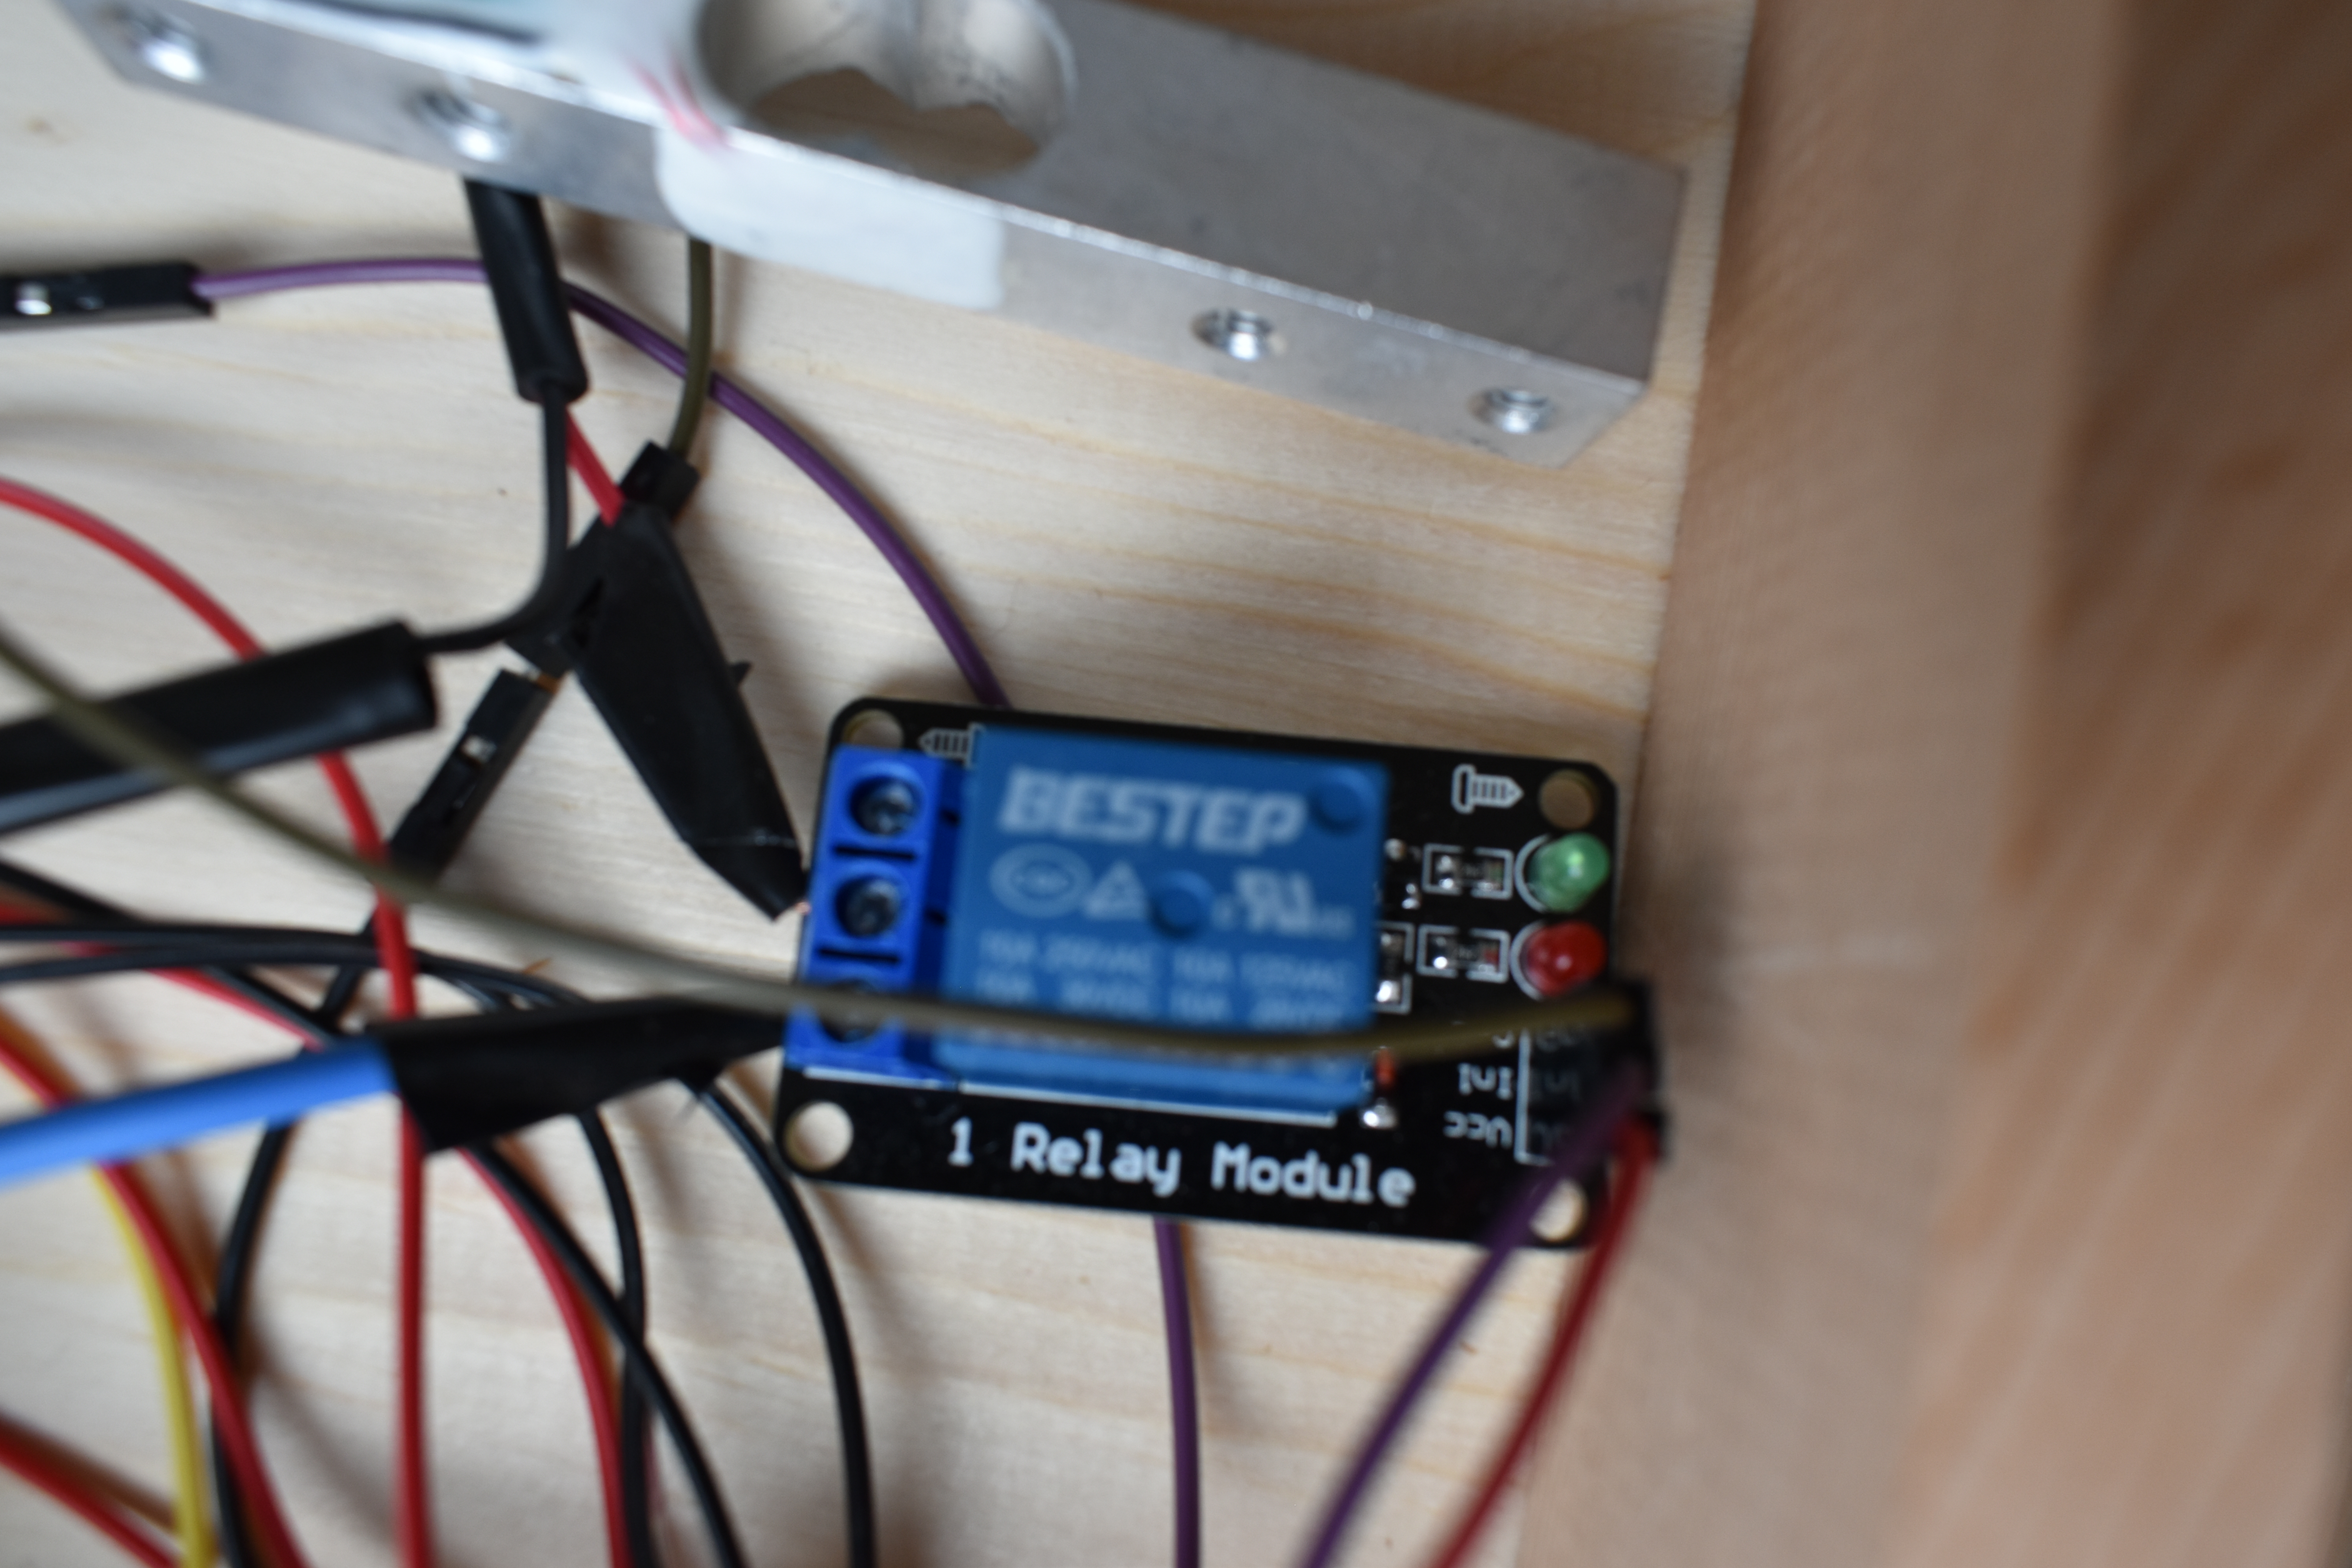
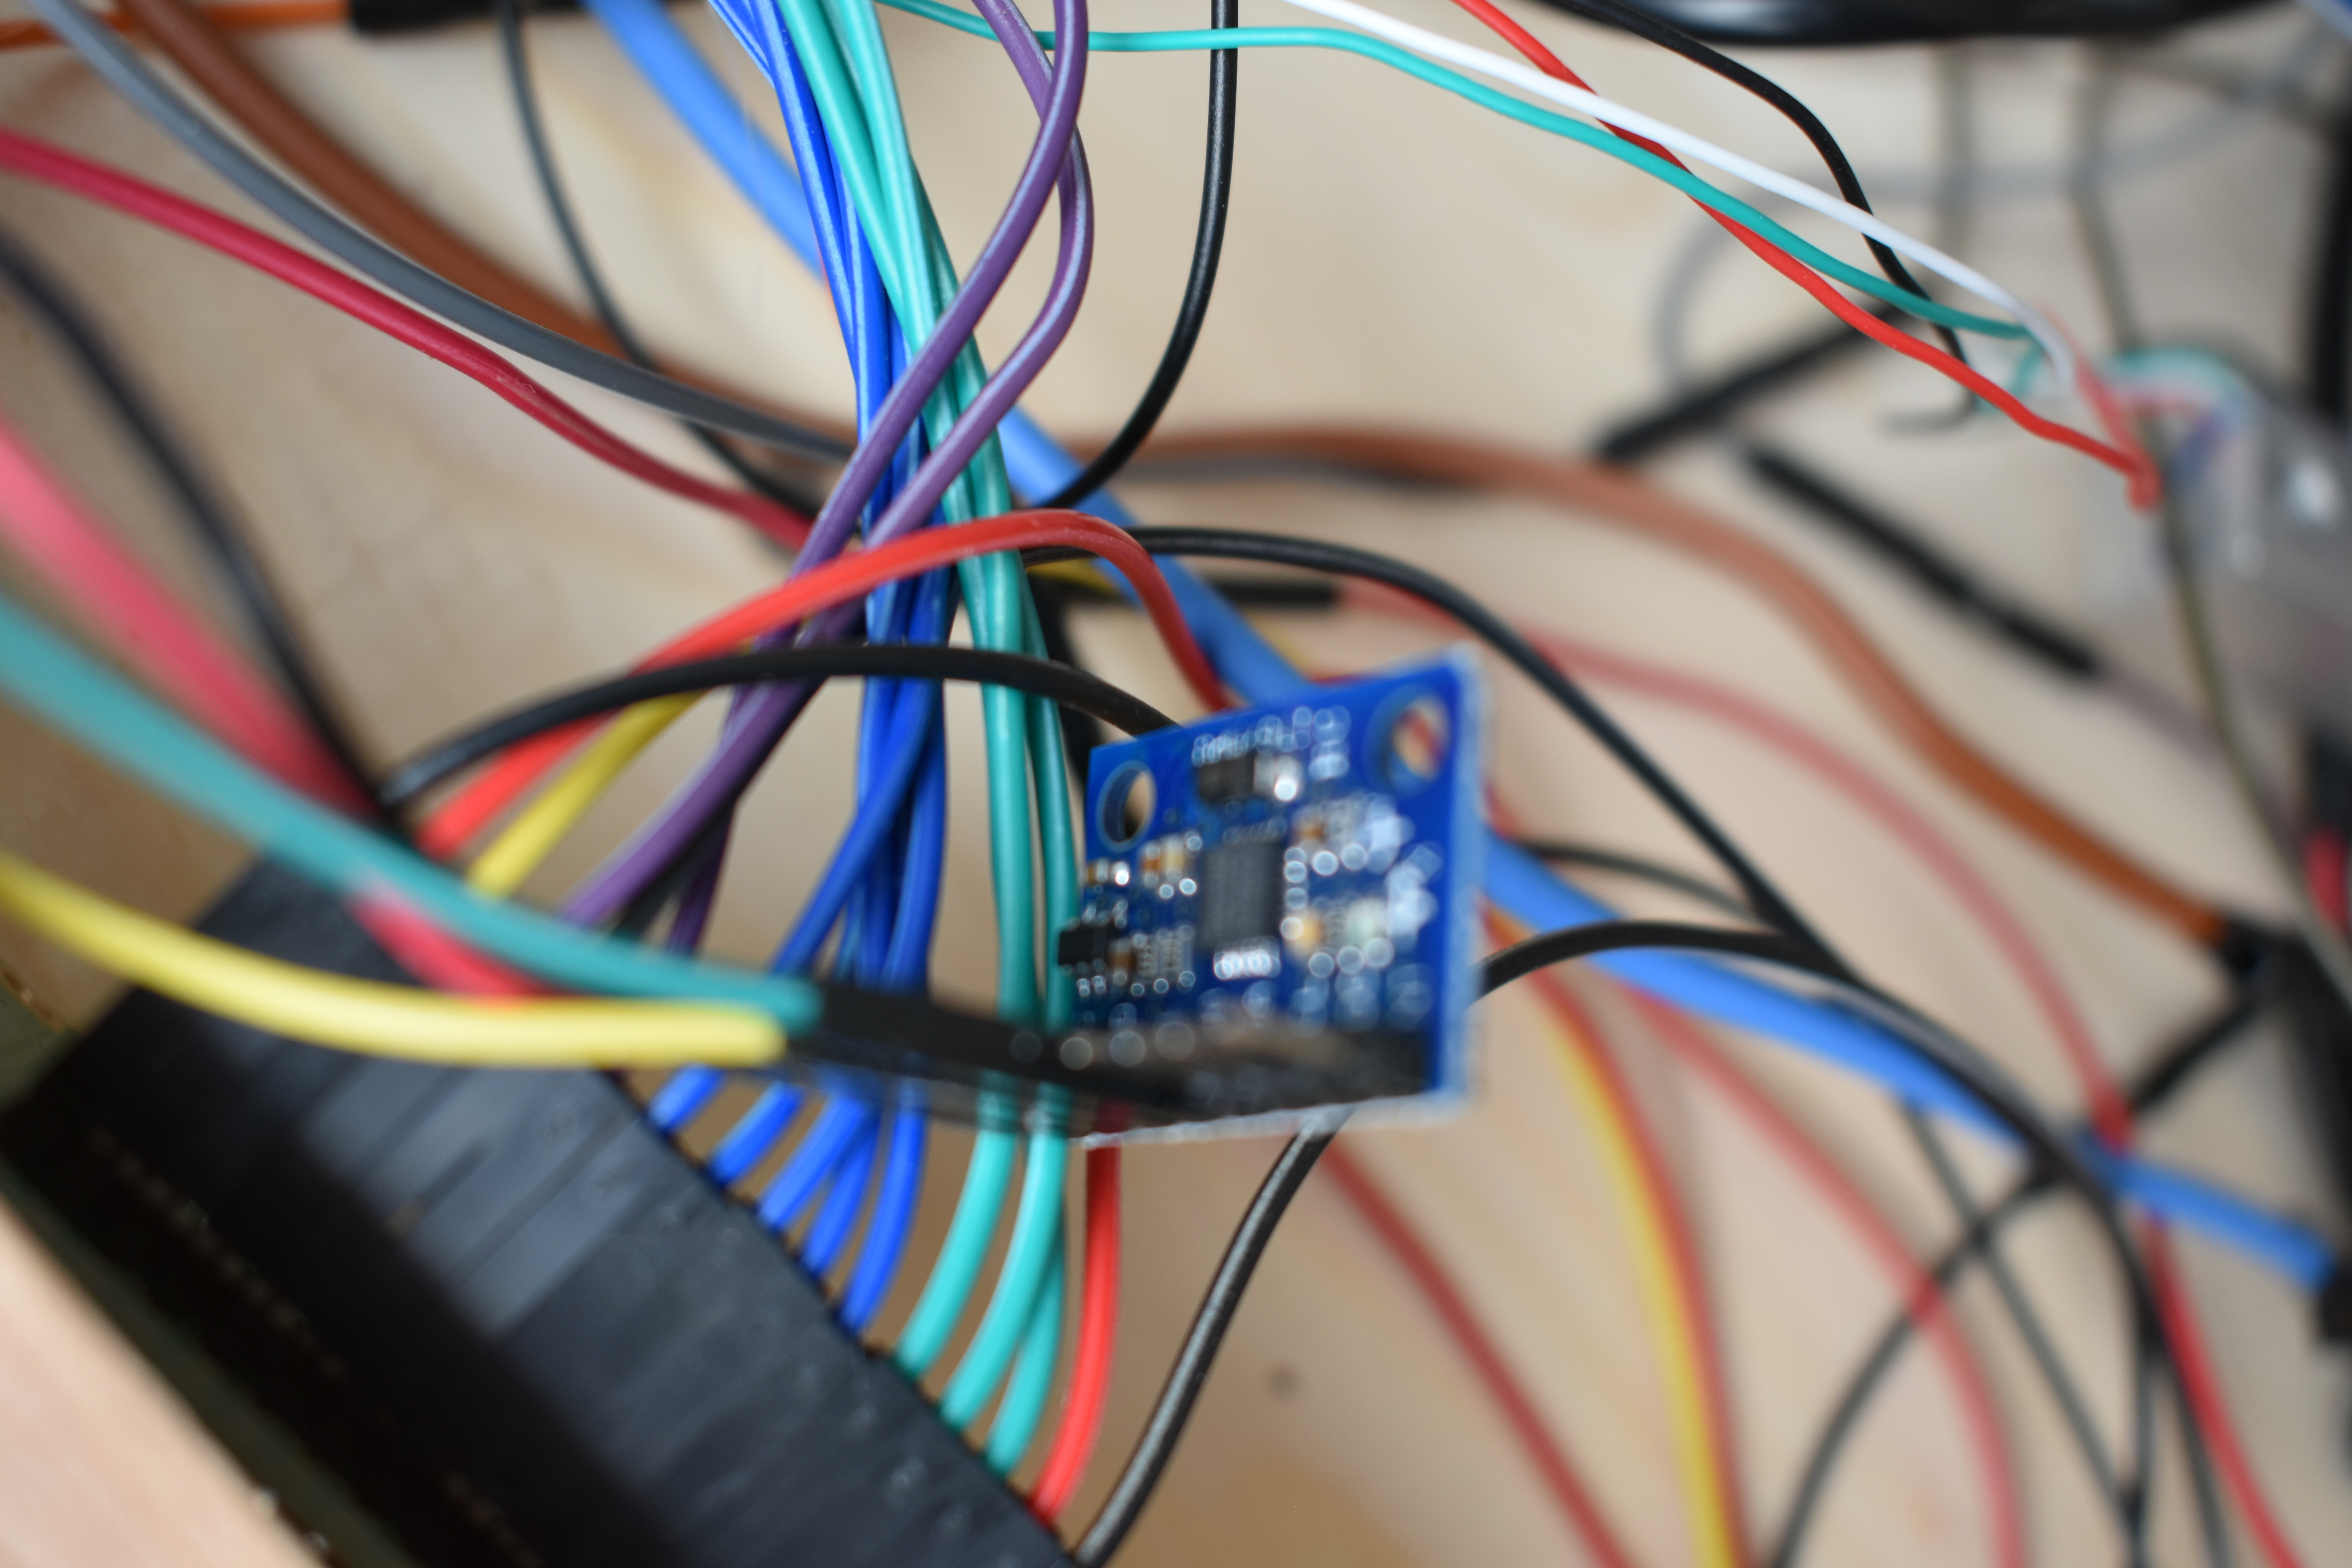
For this project we need the following components/tools/Materials:
Components
- Raspberry Pi 3 model B+ (€35,66)
-
Raspberry Pi power supply (€18.95) (Picture 1)
-
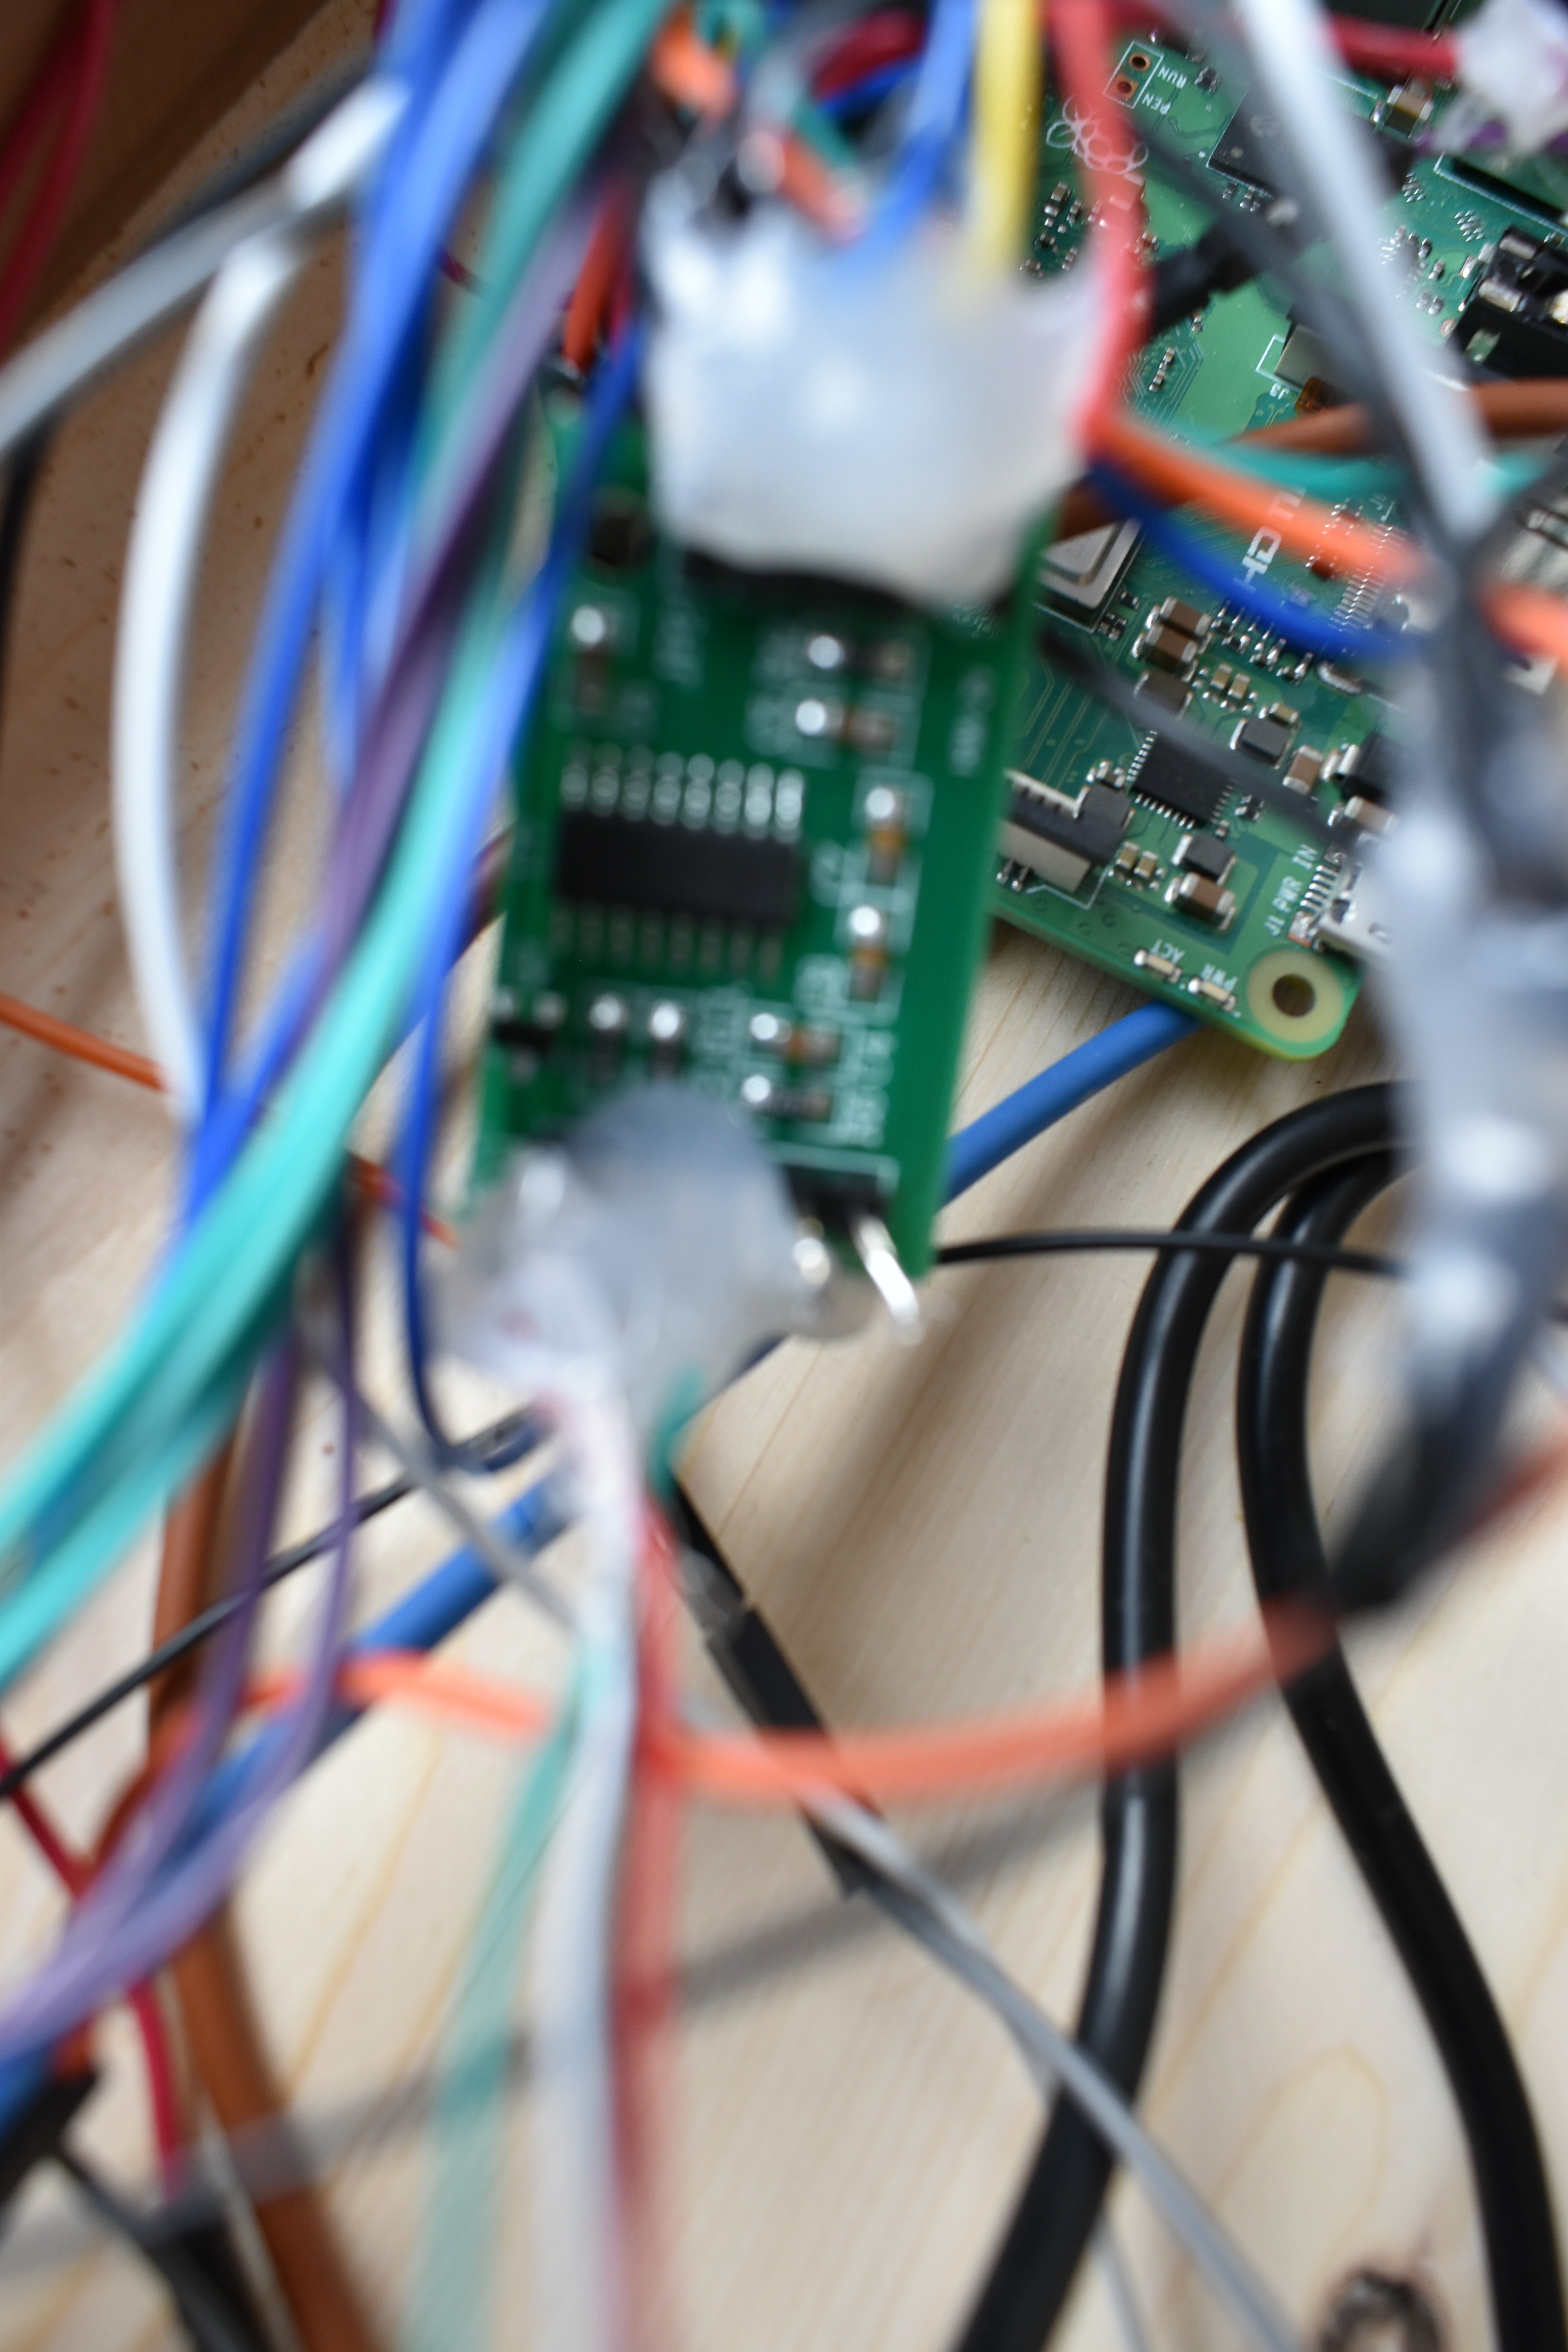
PCB FOR BED PLATE FOR K8200 - 3D PRINTER (SPARE PART) (€31.00) (Picture 2)
-
NTC (€2.00) (Picture 3)
-
Power supply for PCB (€35.11) (Picture 4+5)
-
Relay - 3.3V for Pi !!! (€4.40) (Picture 6)
-
MPU-6050 (gyros + accelero) (€3.95) (picture 7)
-
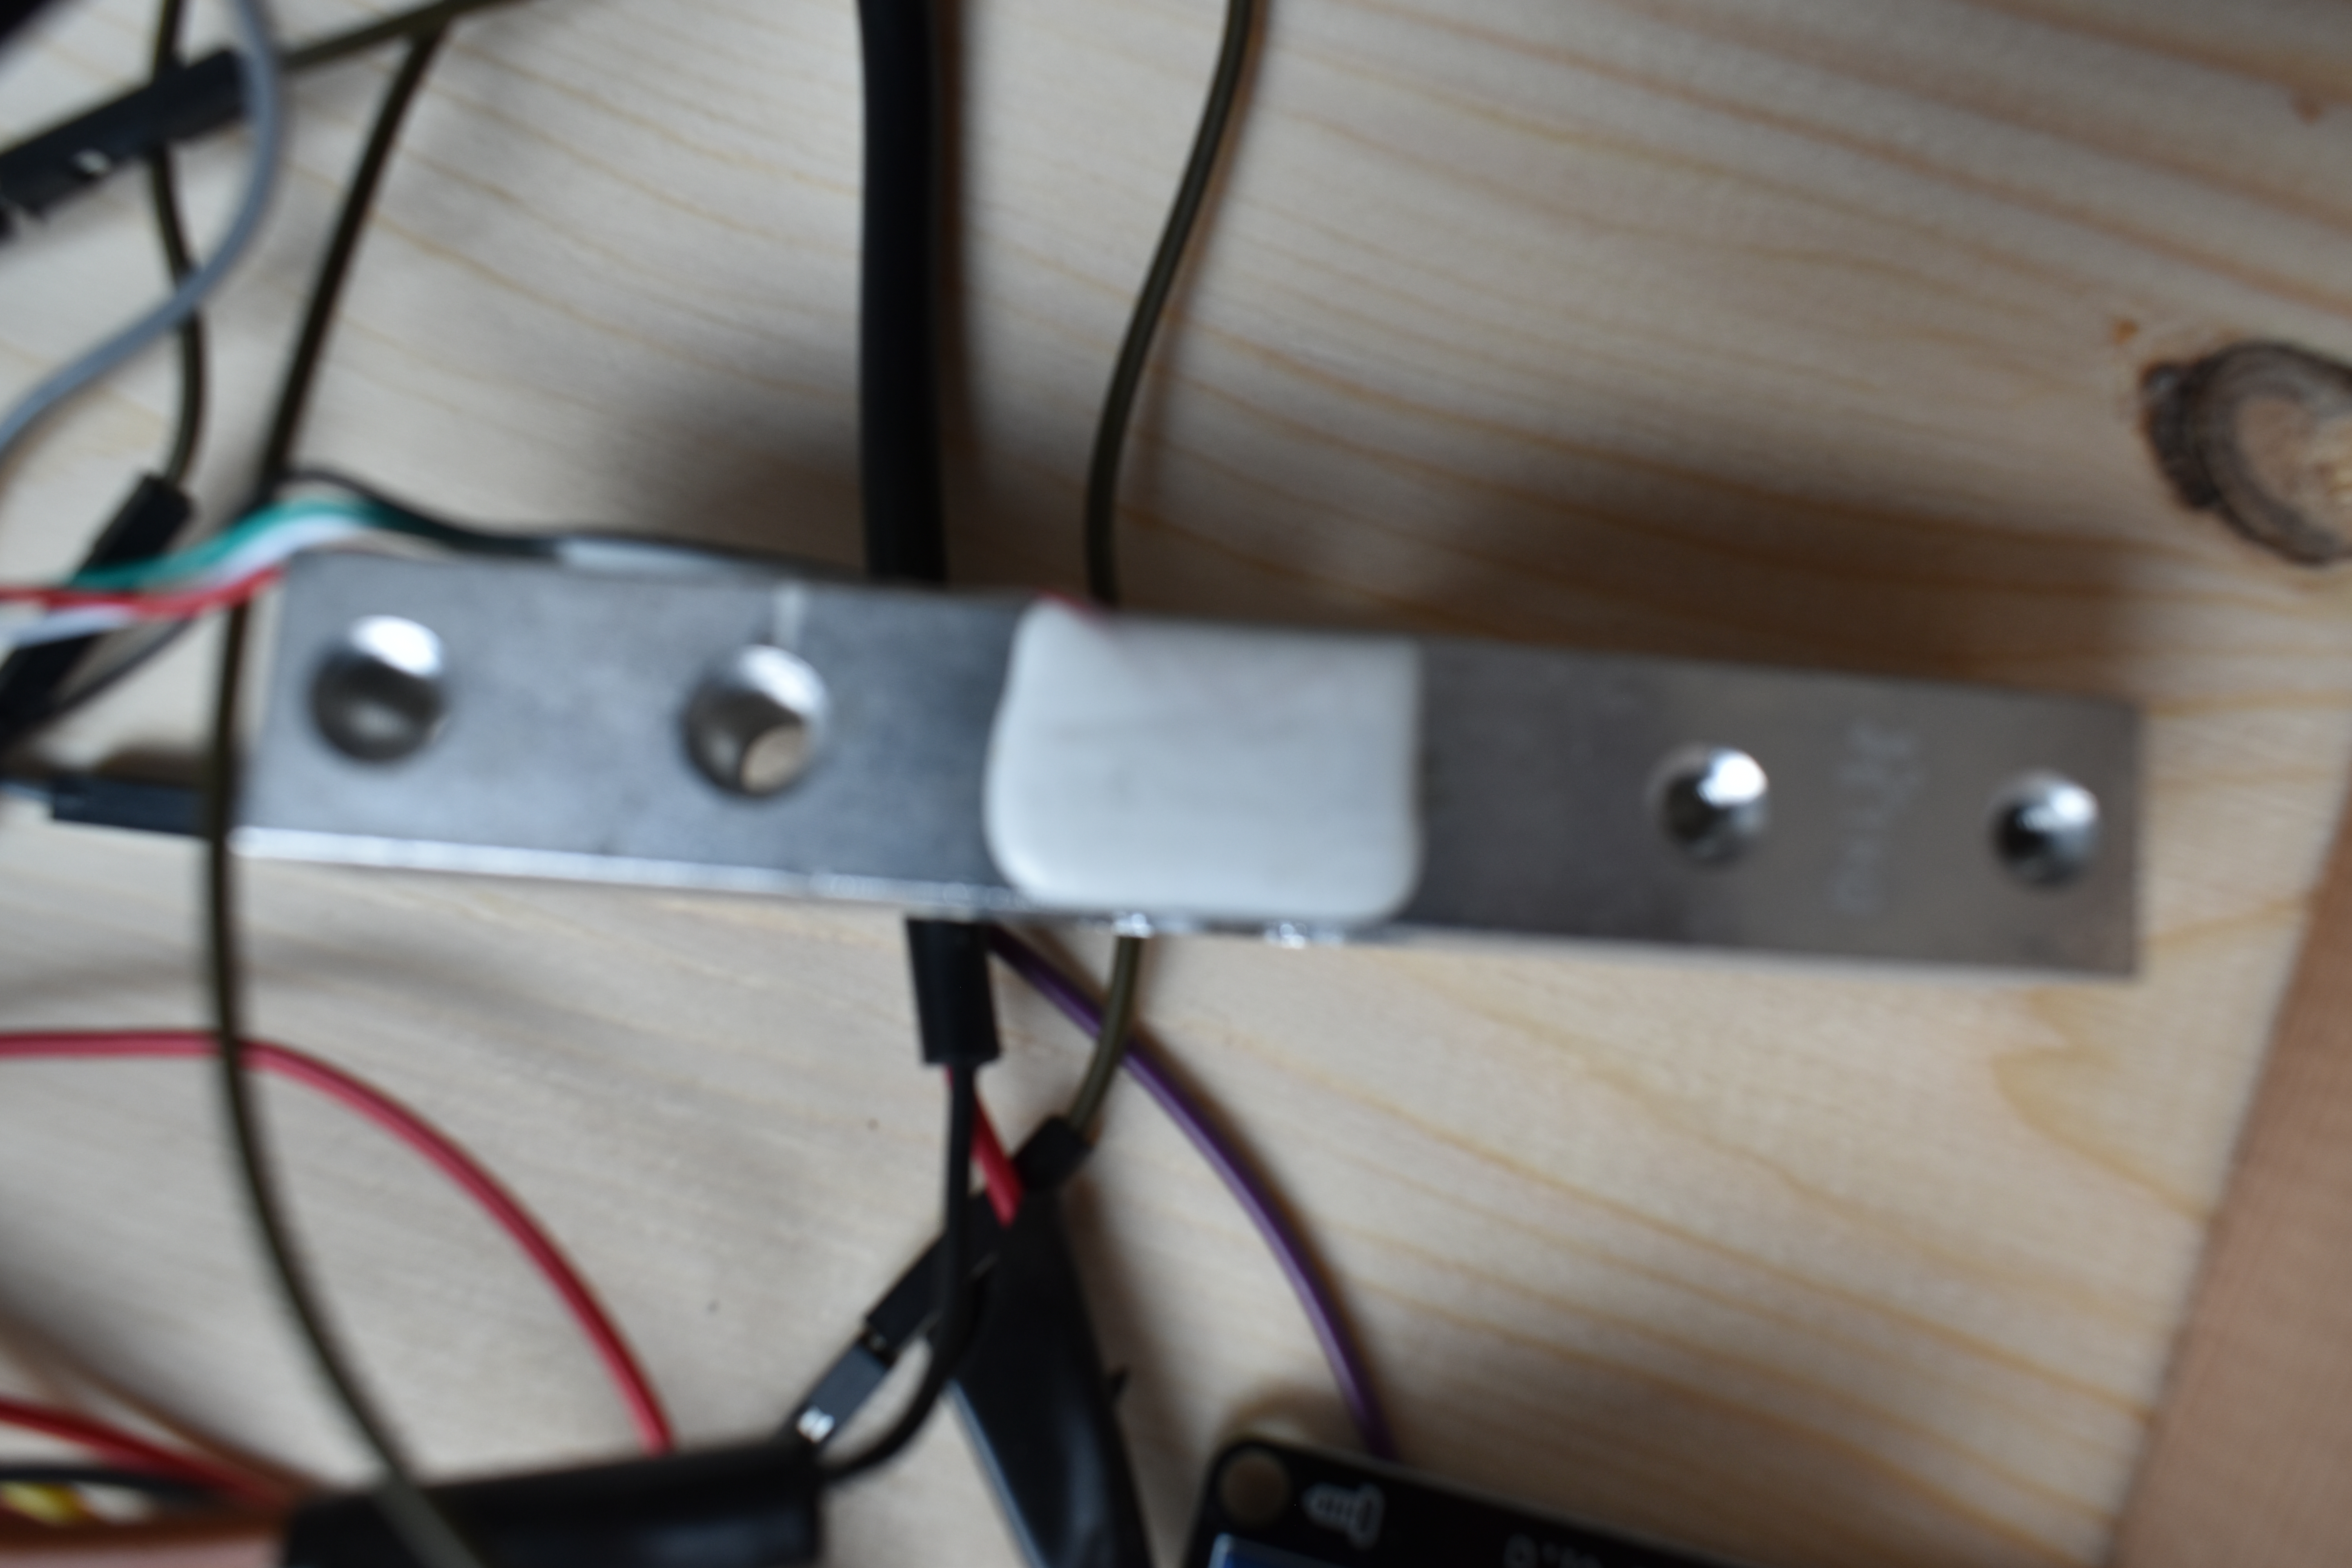
Load cell - 1KG (€4.96) (Picture 8)
-
HX711 (for load cell) (Sits by Load cell) (Picture 9)
-
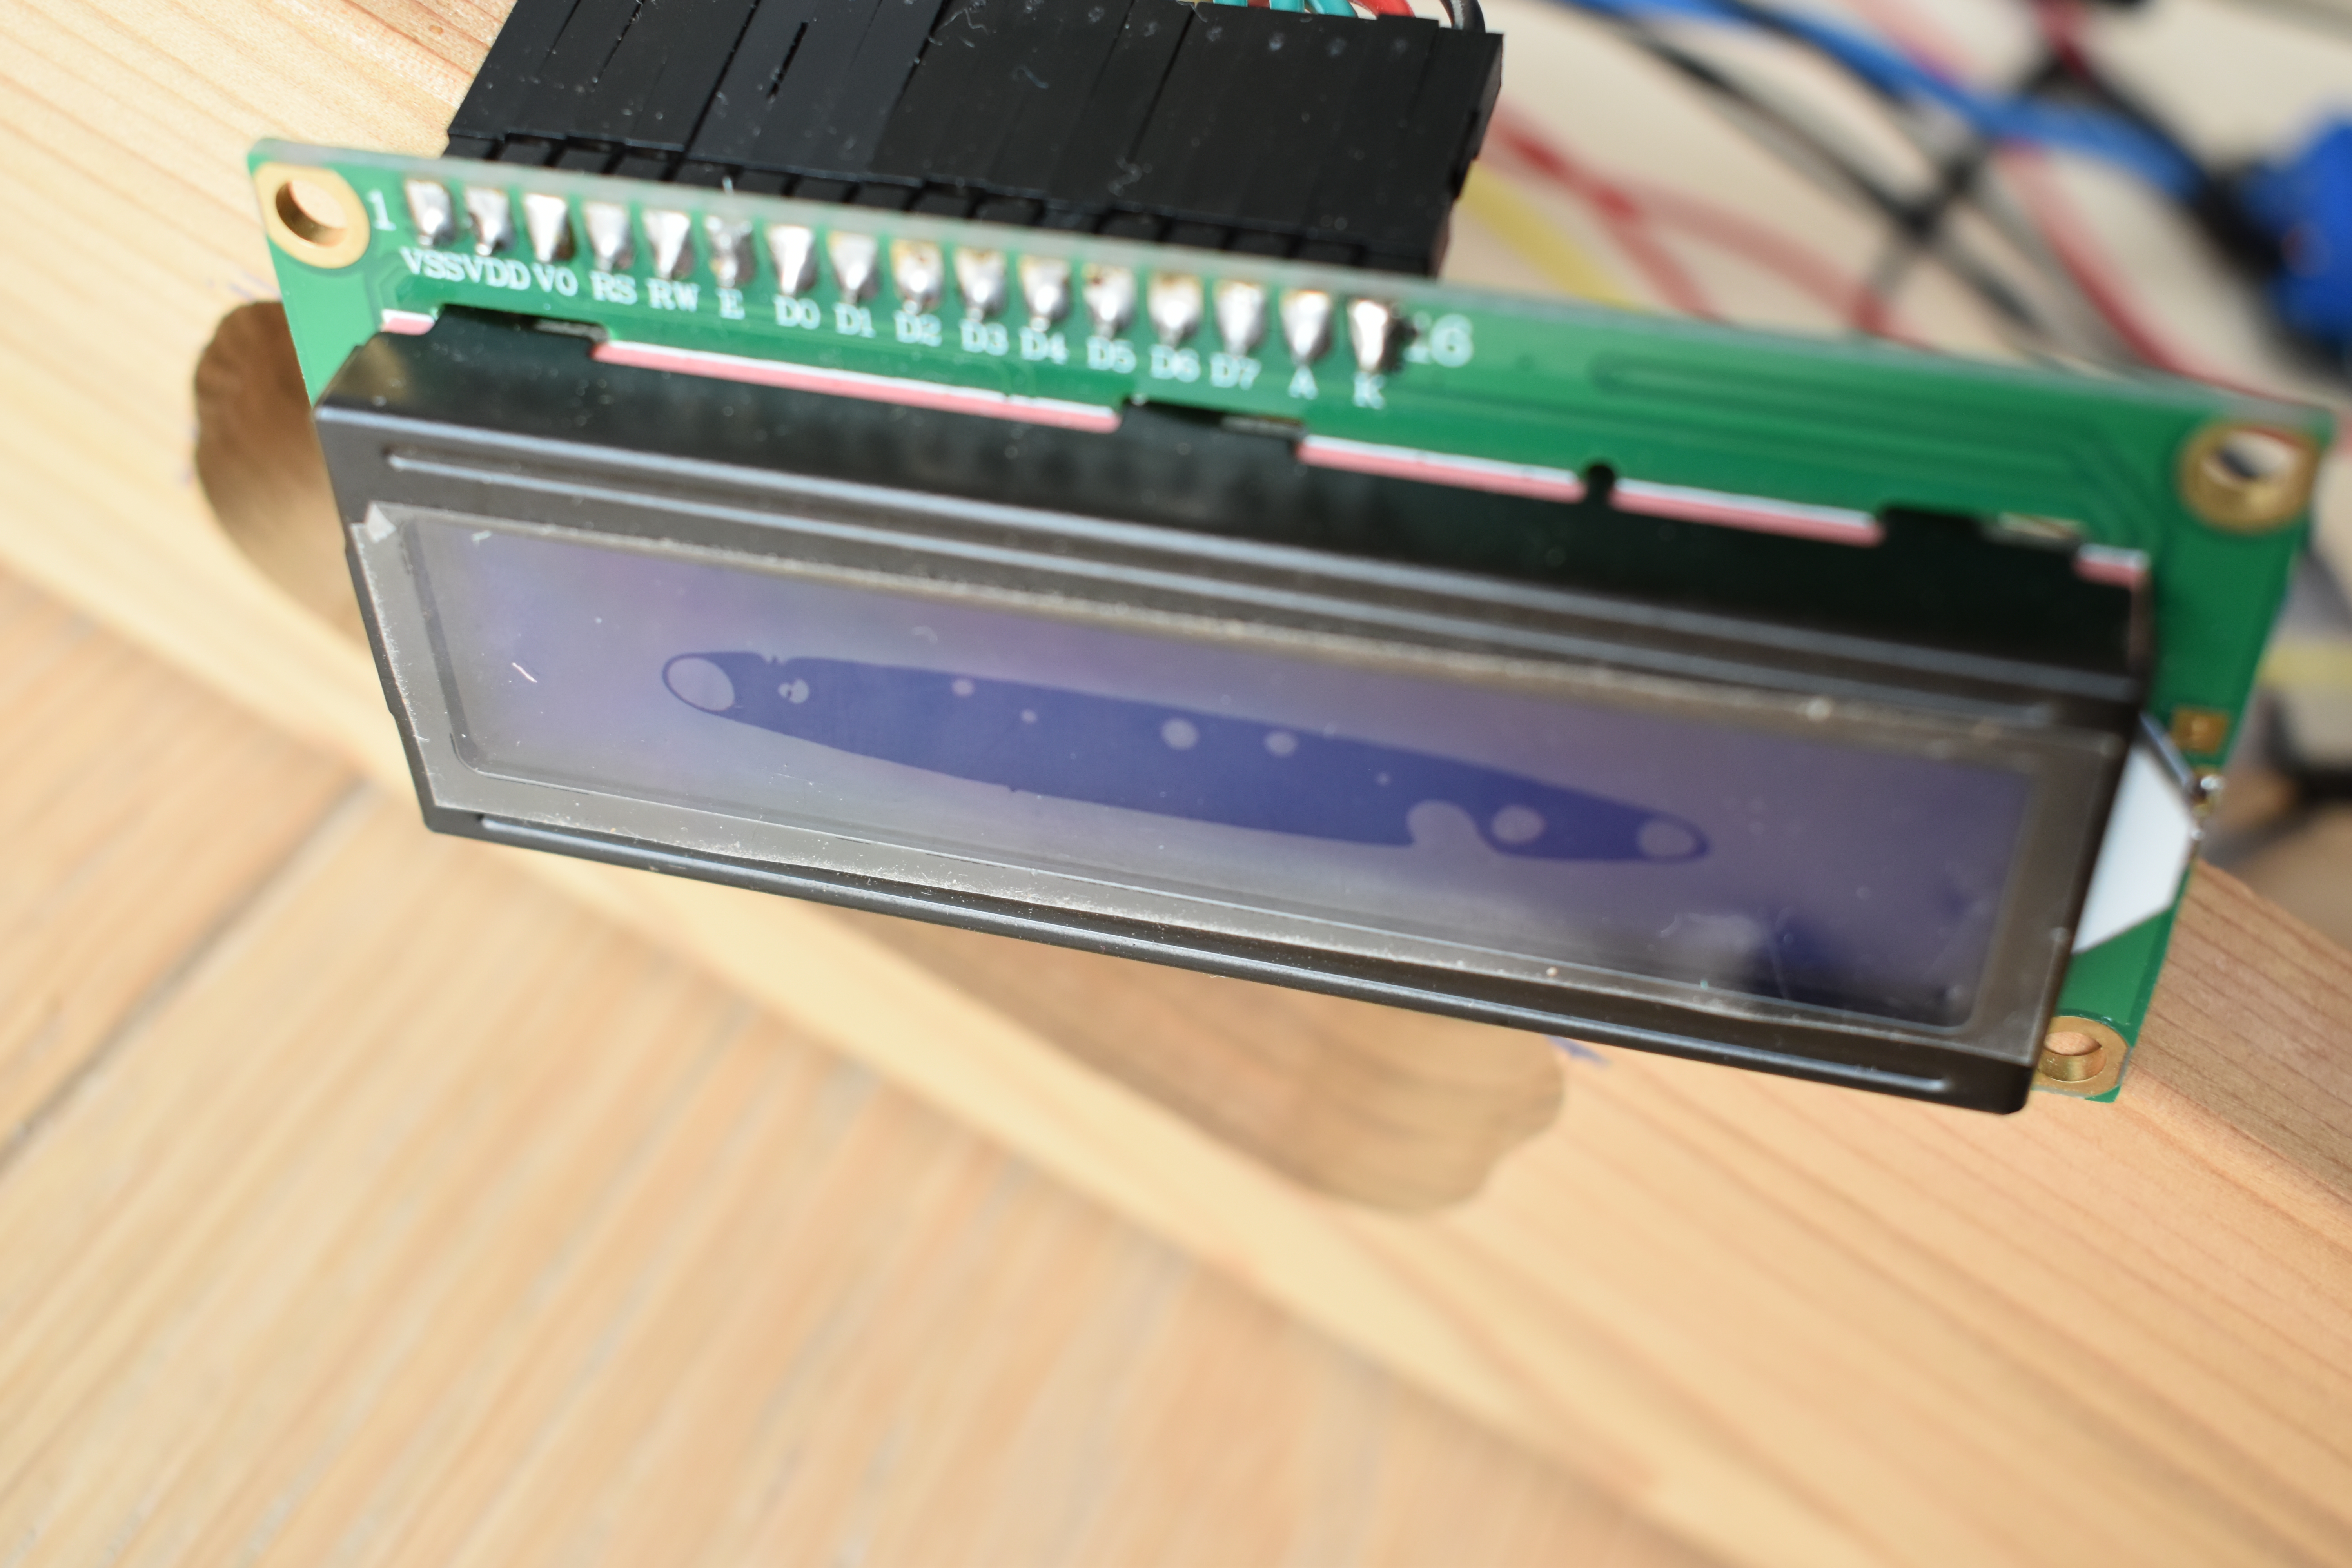
LCD (€16.07) (Picture 10)
-
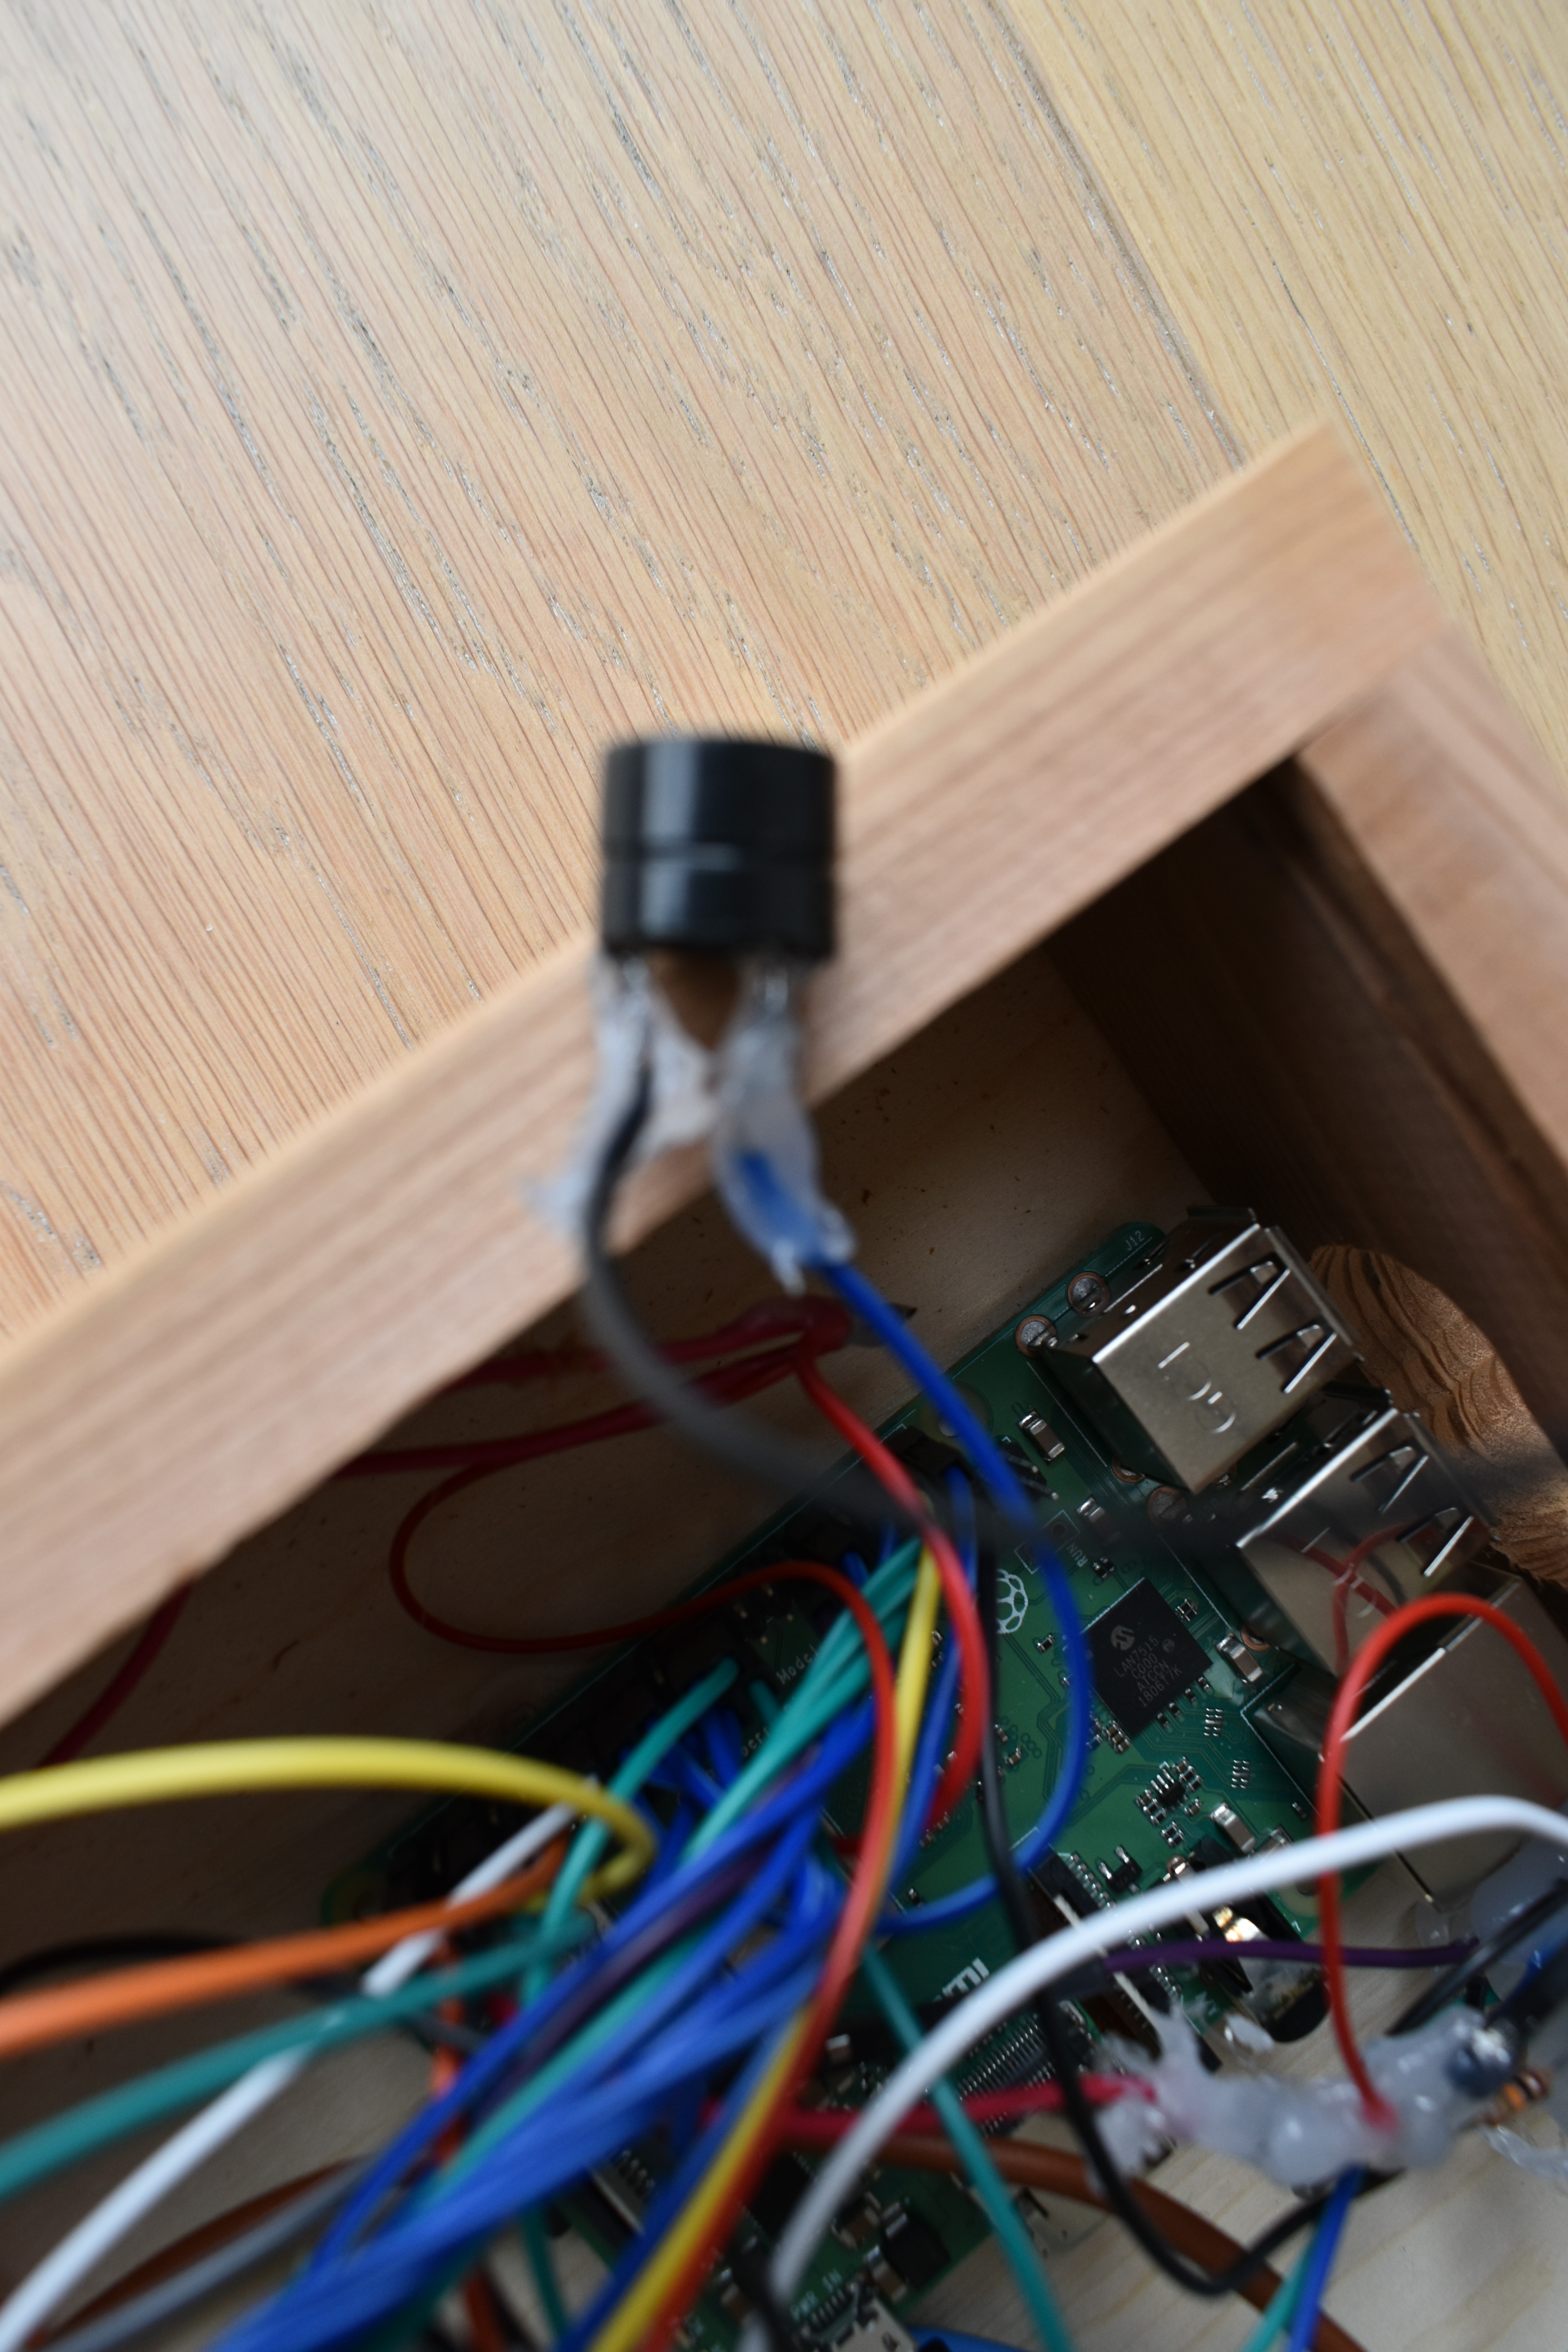
Active buzzer (€2.83) (Picture 11)
-
Trimmer (€0,63)
-
7"JUMPER WIRES, 30 STUKS (€17,97)
Tools
- Soldering iron
- Glue gun
-
Sabre saw
Materials
- Wood
See Excel document for the complete price list.
The total cost of this project is €183.
Downloads
Building the Circuit
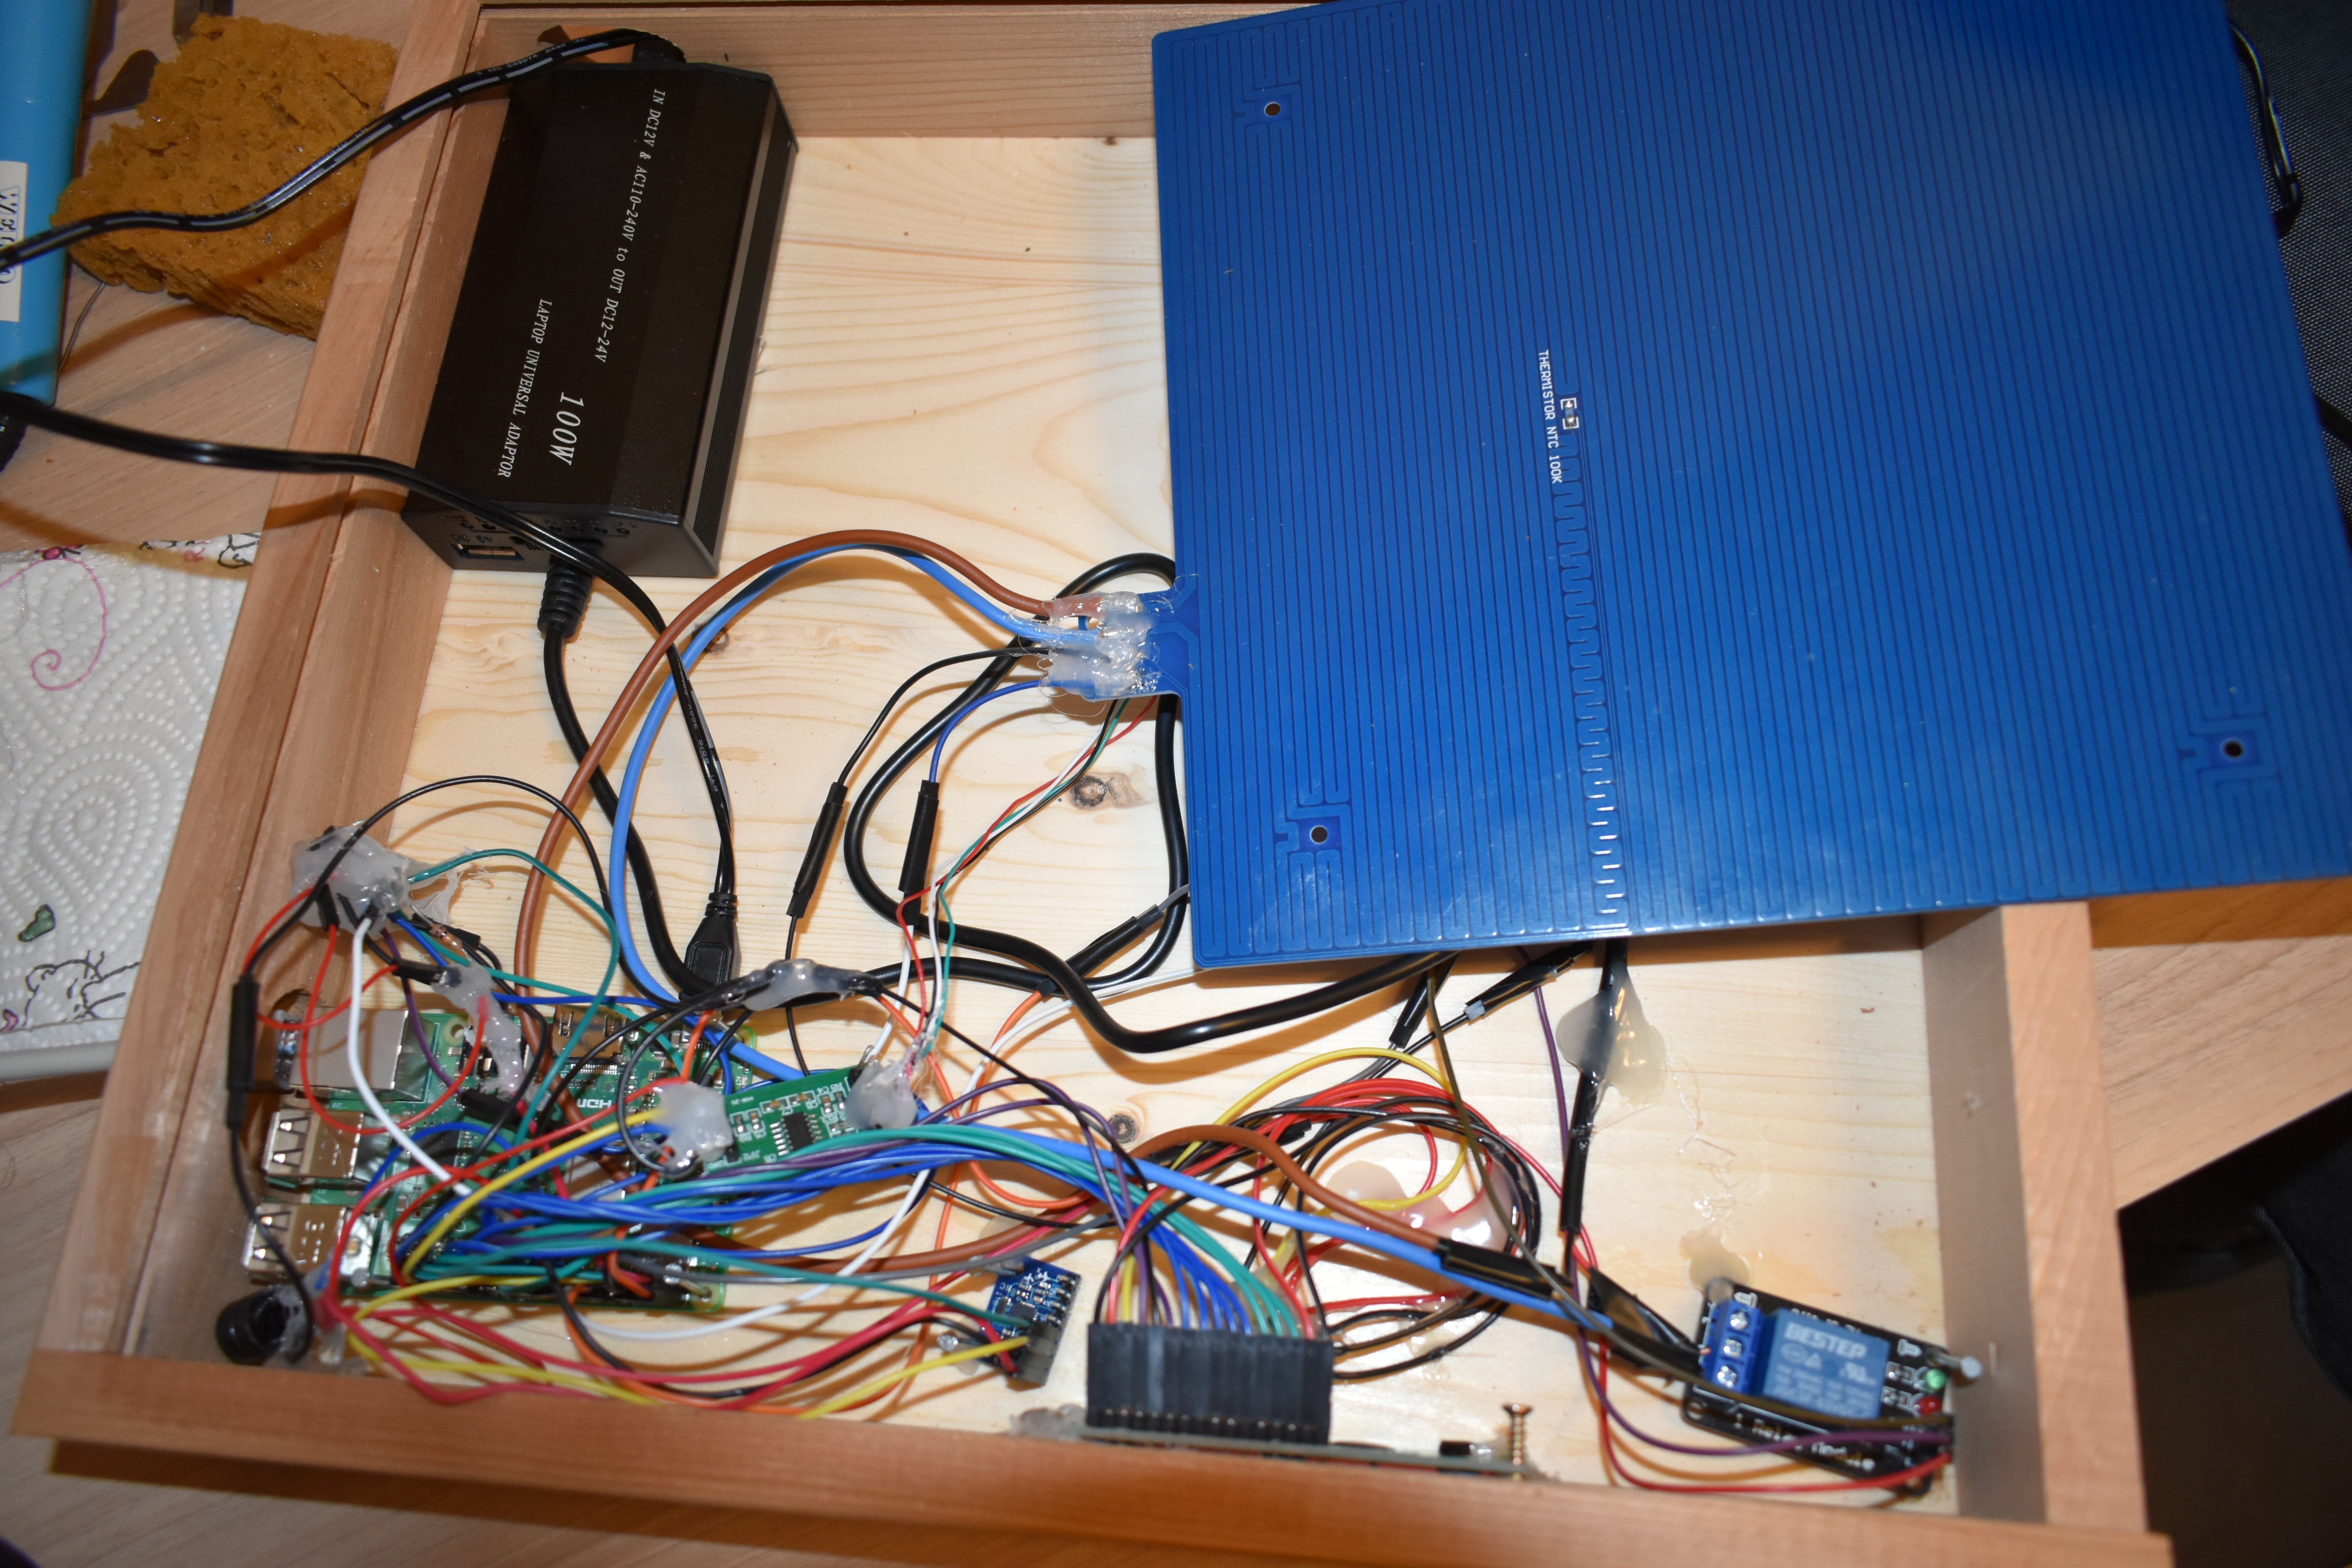
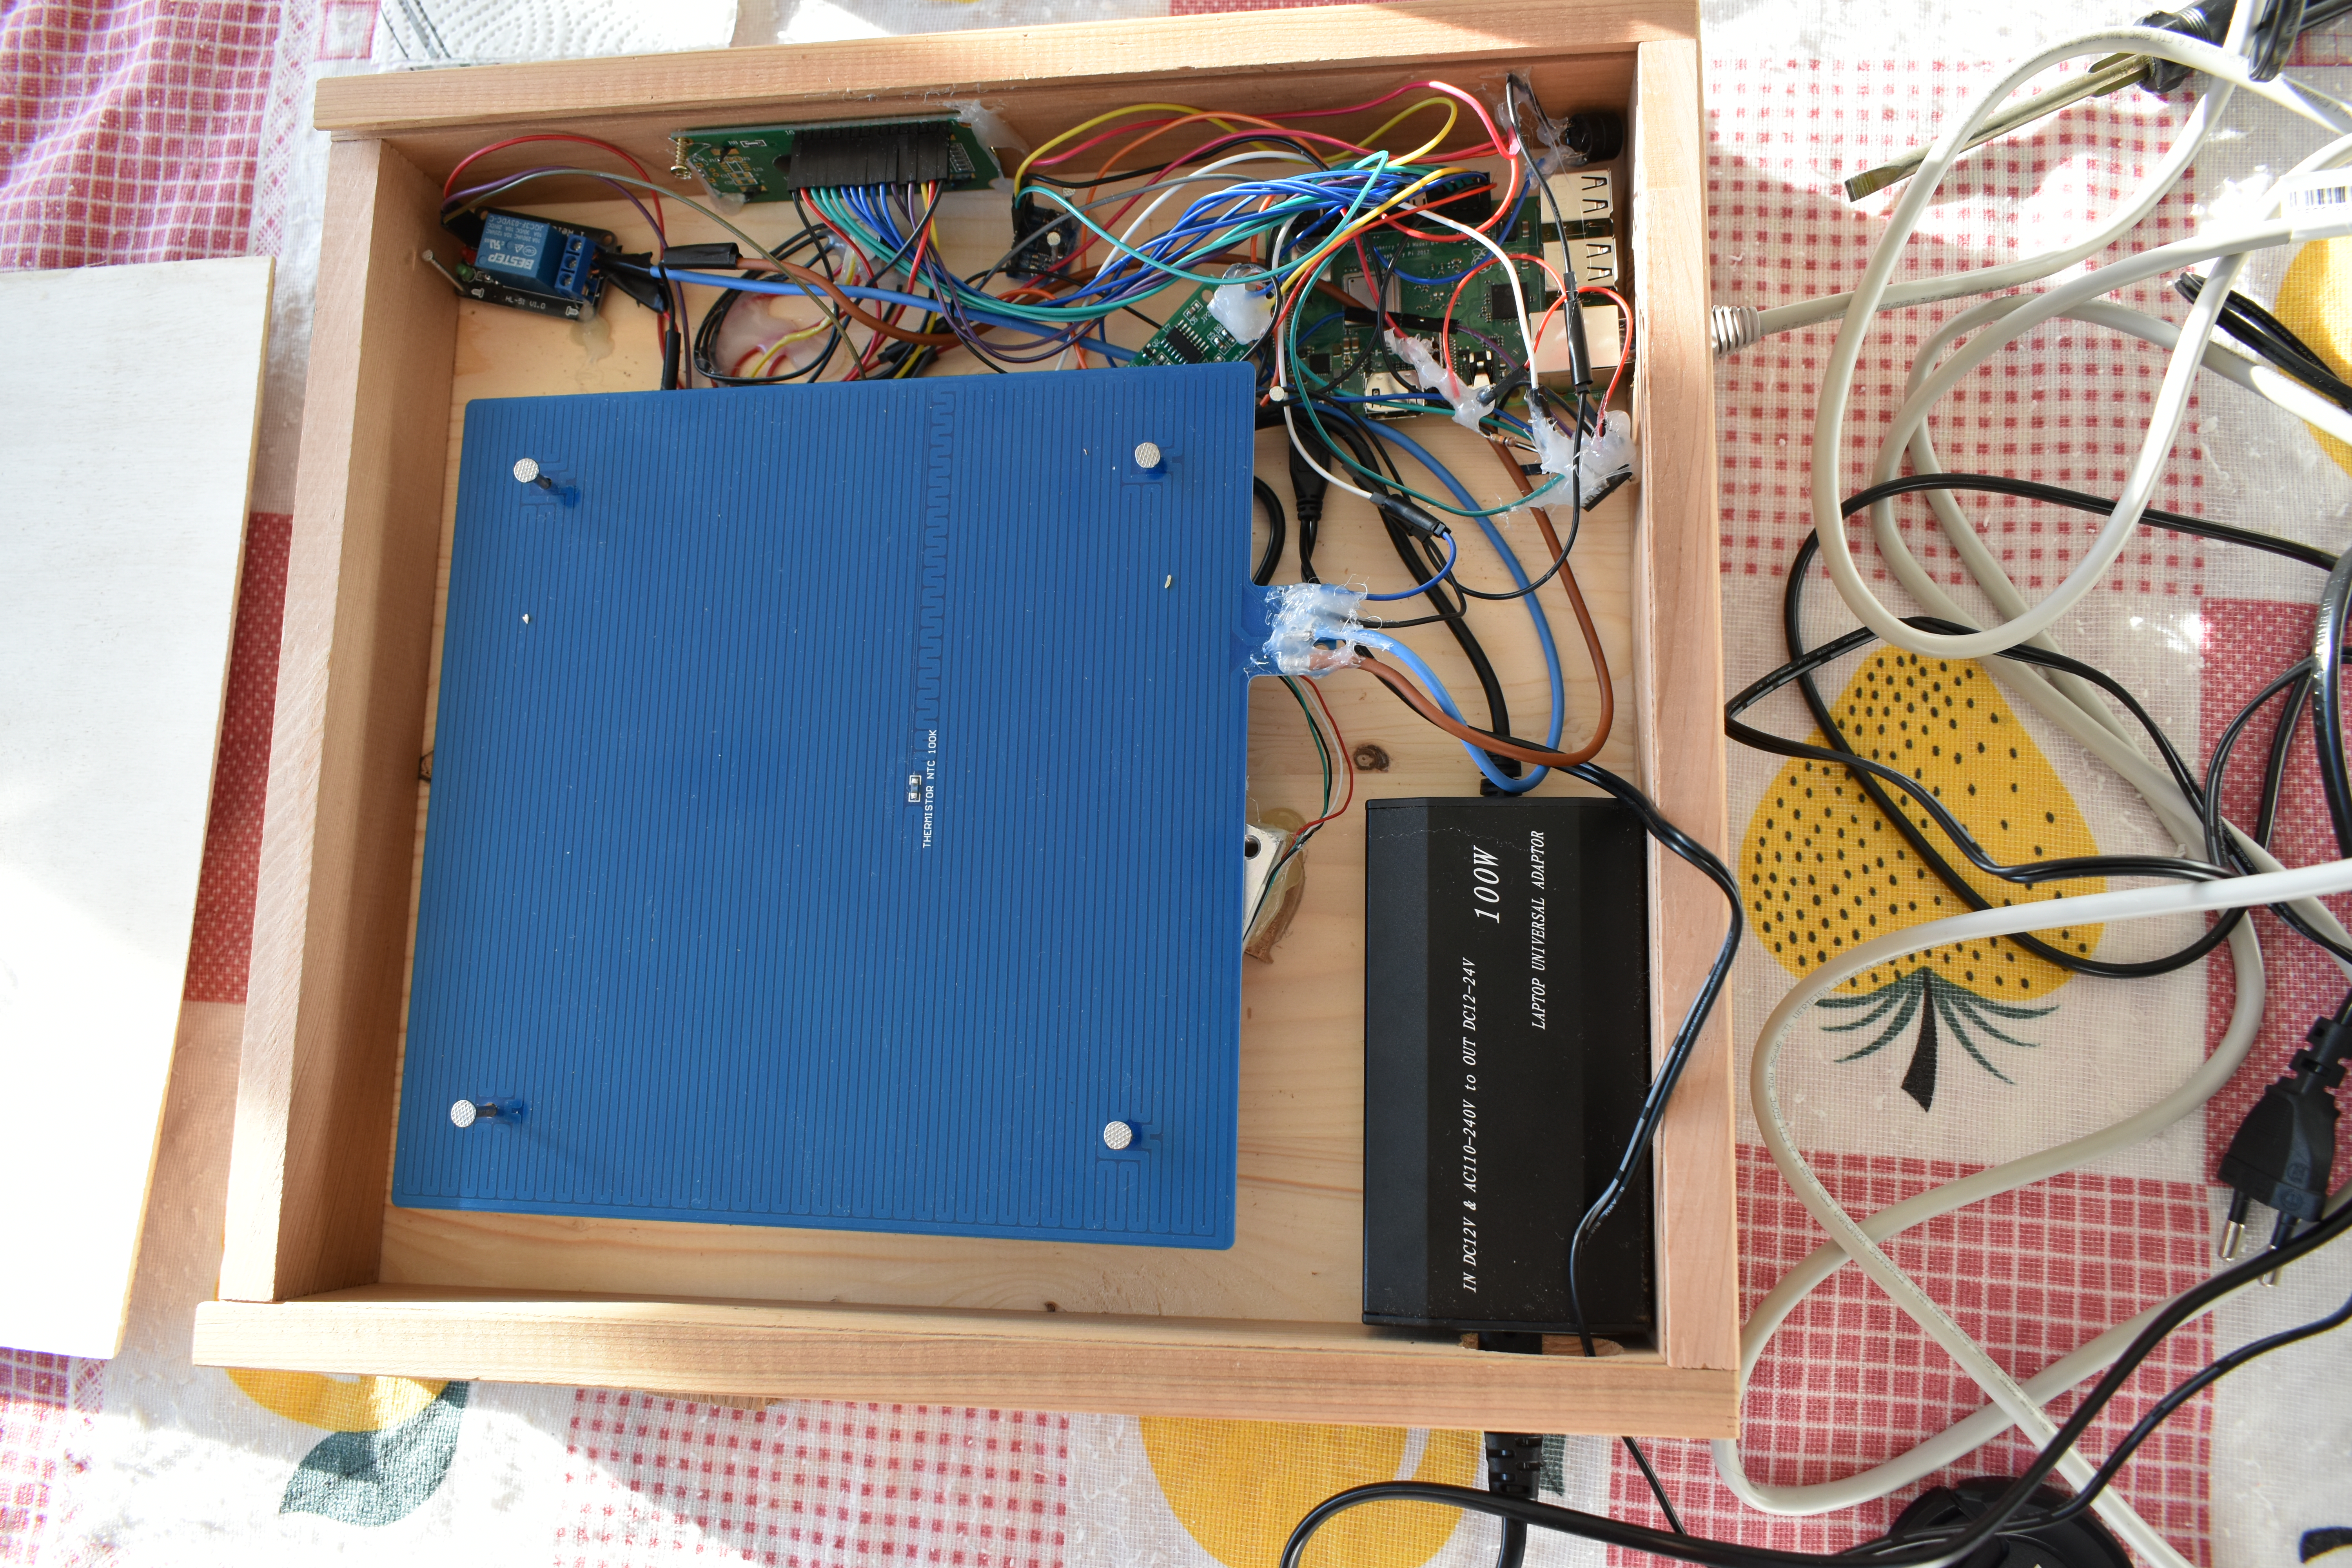
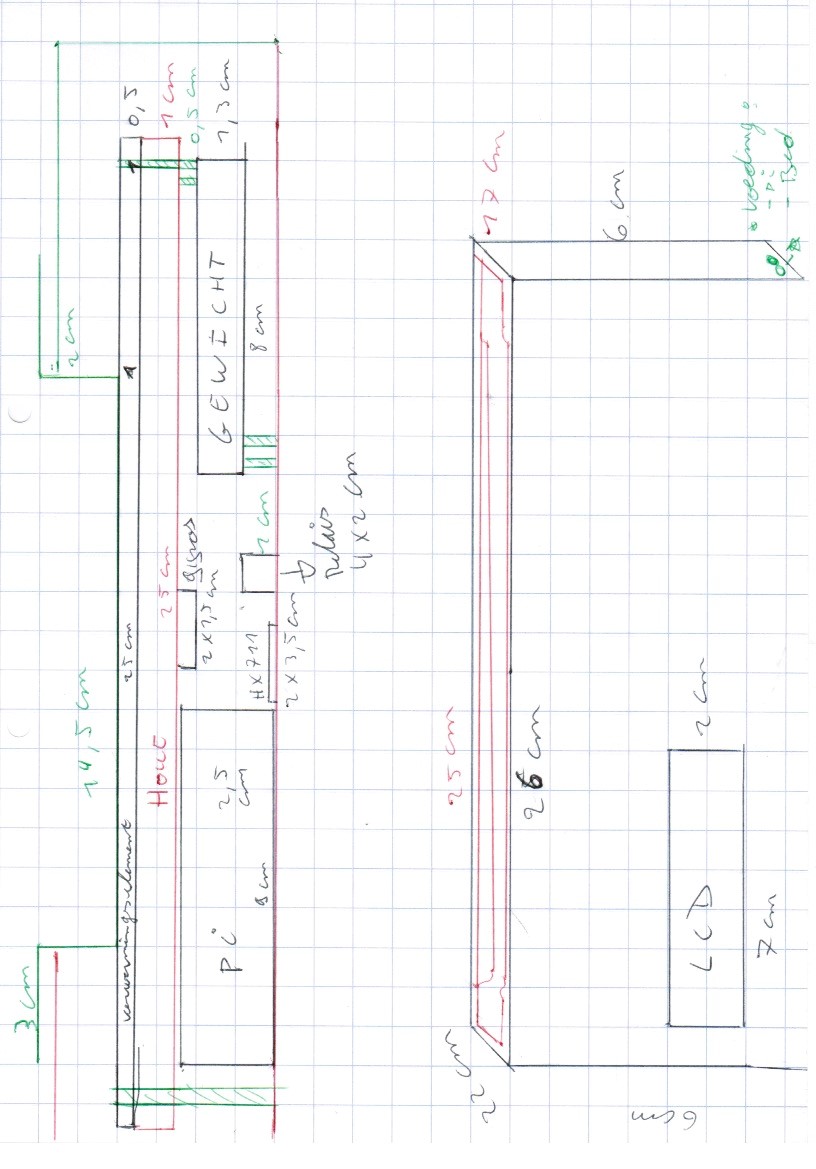
For the first step you have to build the circuit (see PDF 1+2 + image 3 + 4)
It's best that you make this first on a breadboard. Afterwards, you can solder everything together. You can use a glue gun to strengthen the soldering work.
After that you put everything in a wooden container of 35 x 33 x 5,5cm. You can saw the holes with a sabre saw.
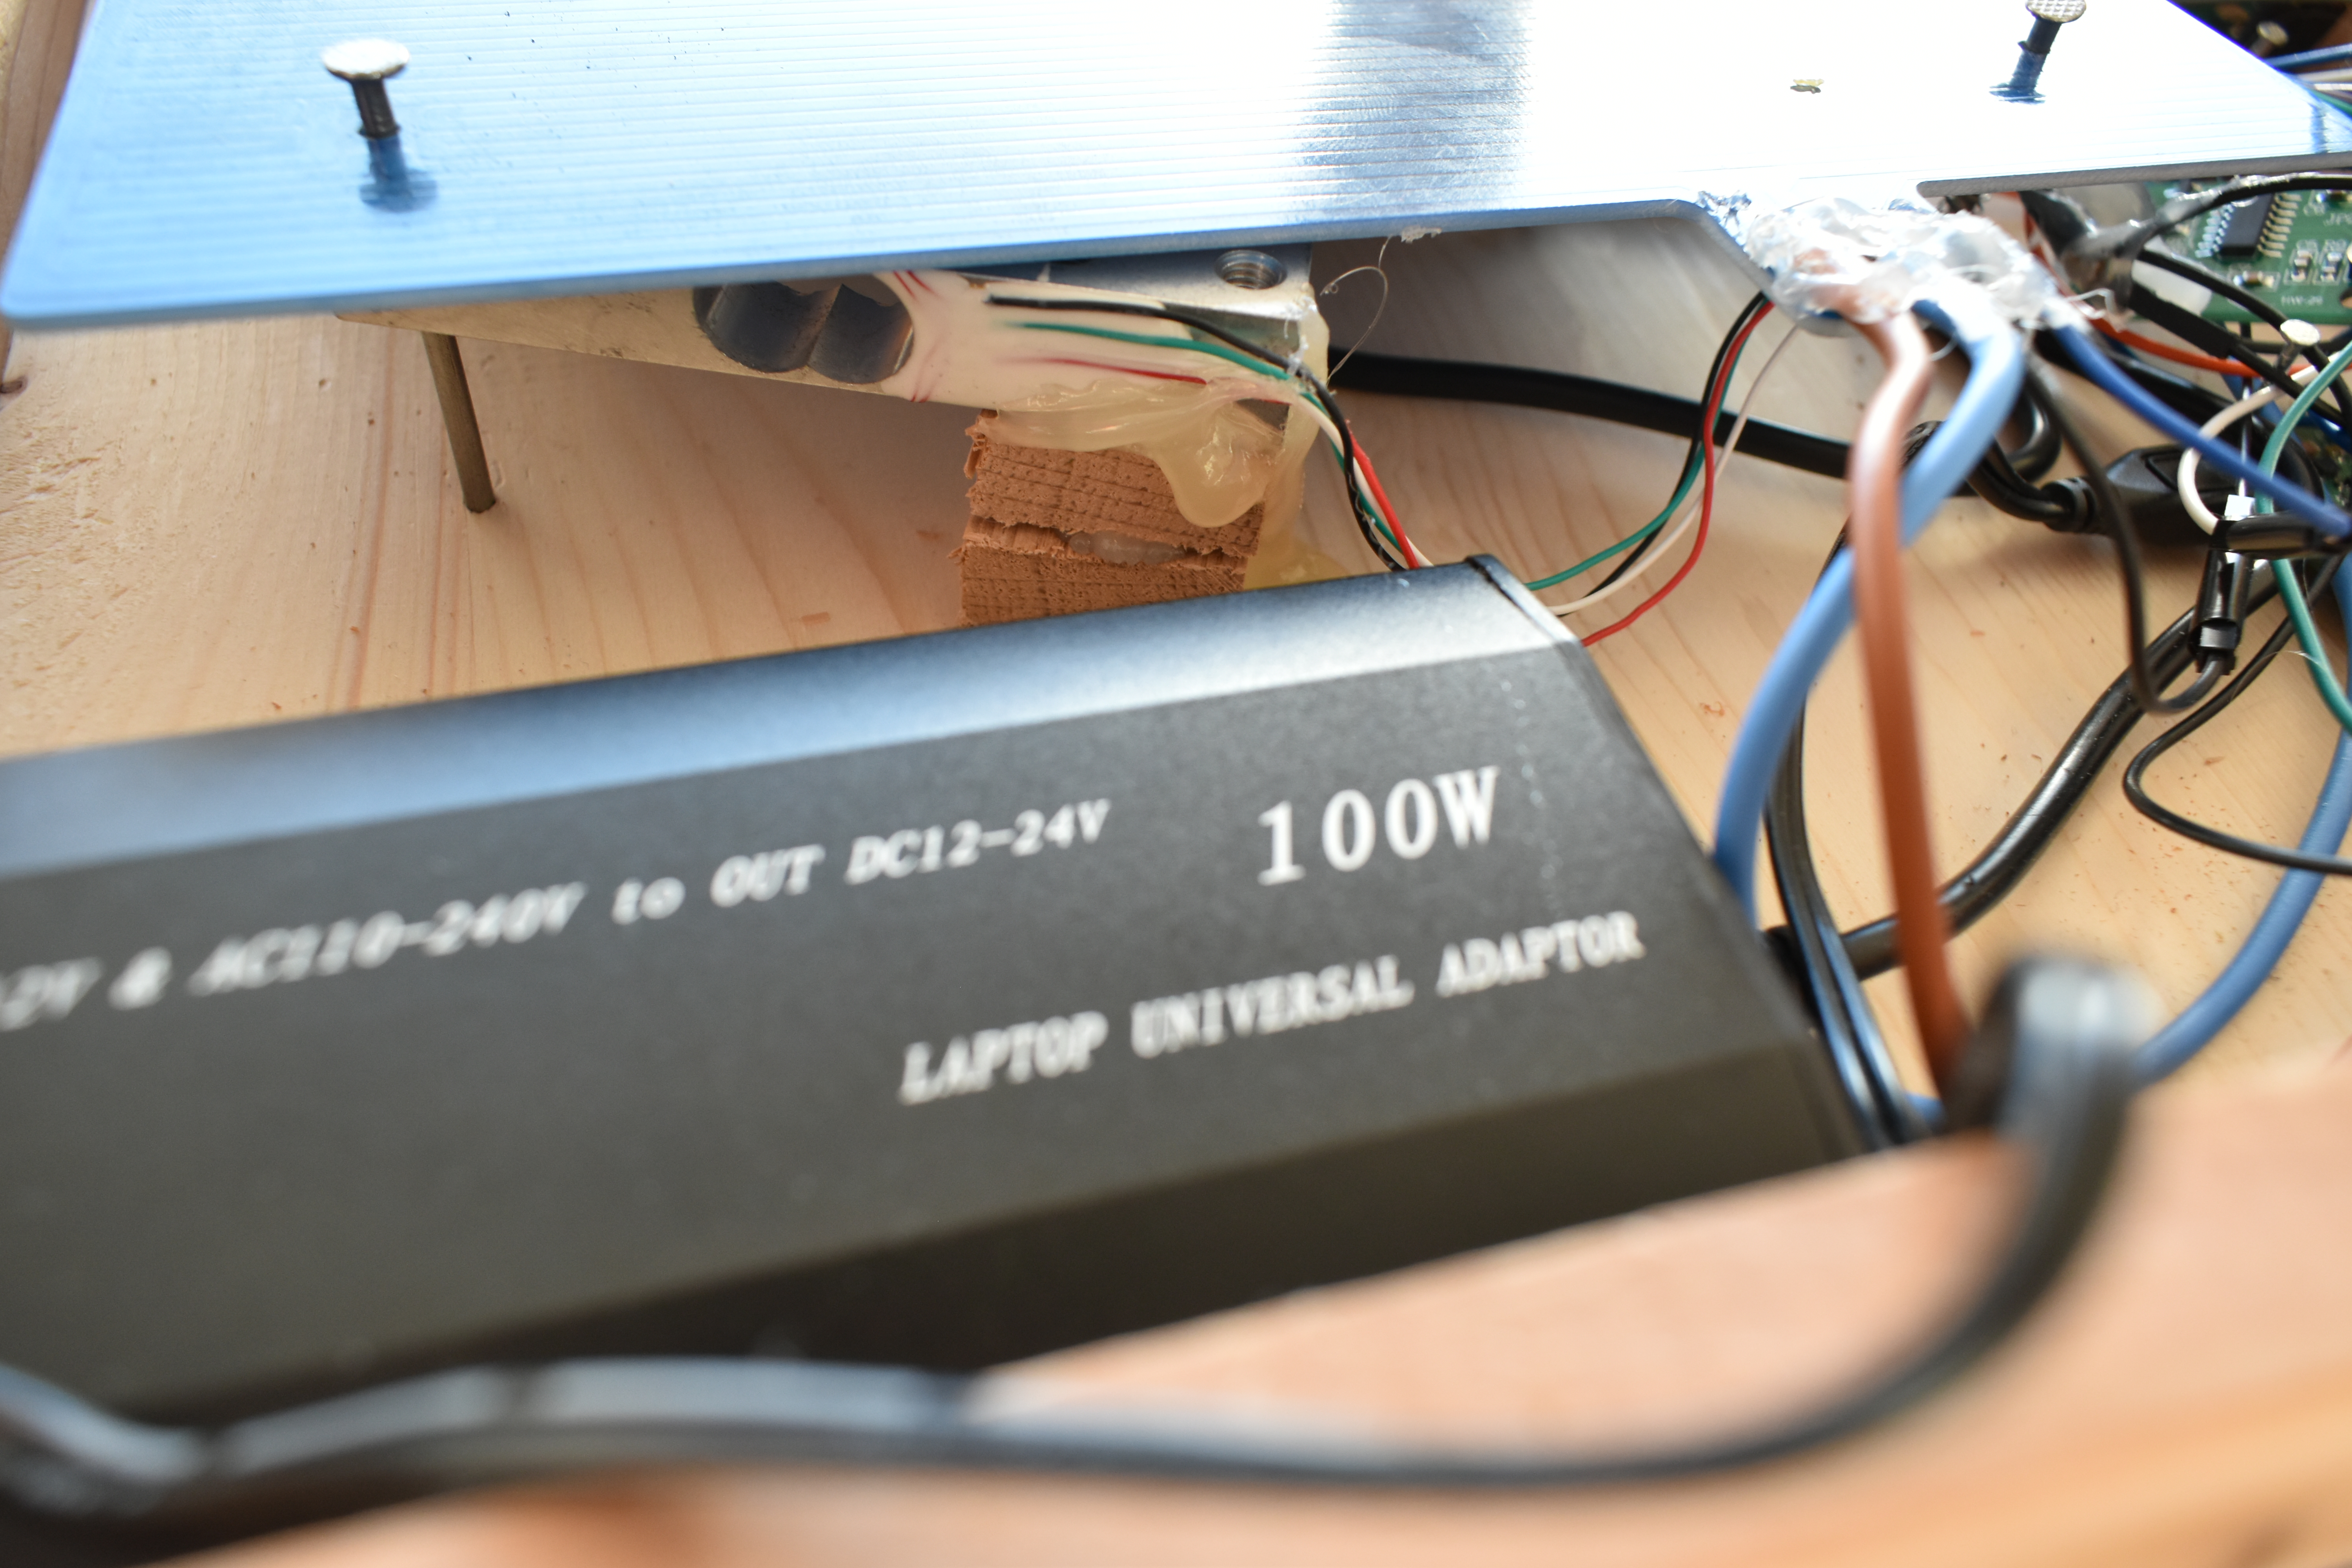
Then place the load cell on a platform so that the heating plate rests on it.
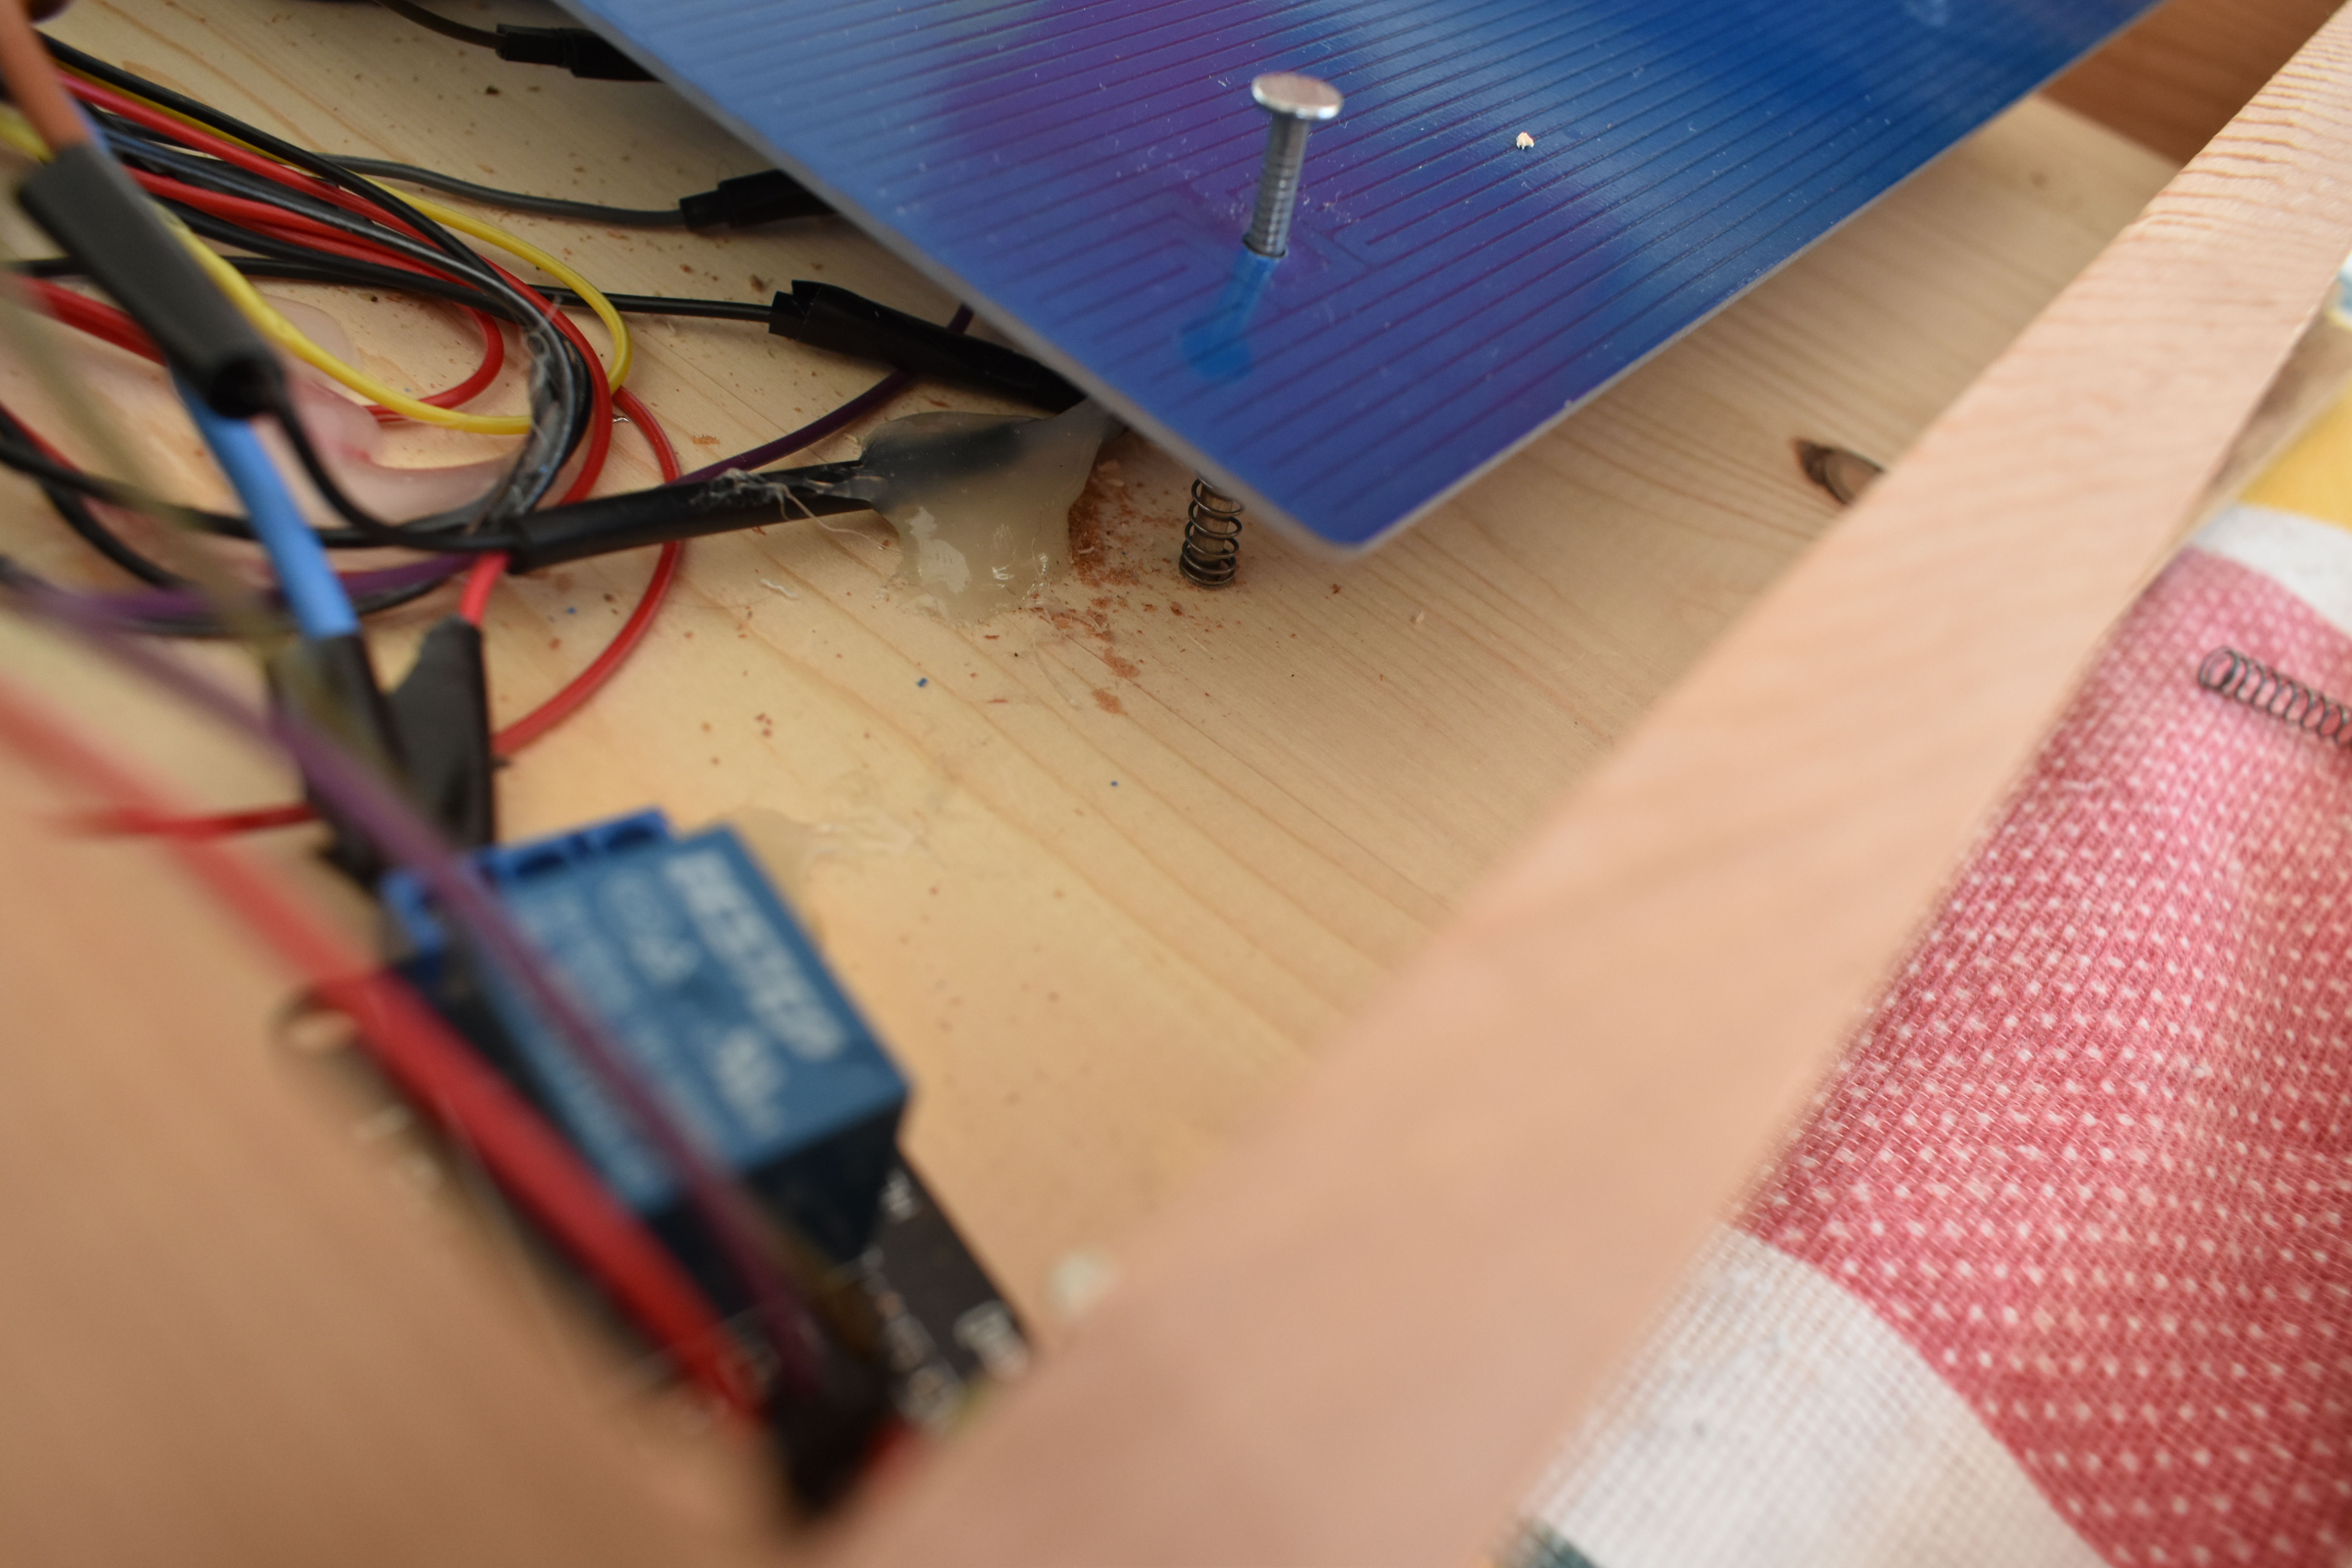
Fasten the heating plate with nails. Place springs around the nail so that the plate always comes up.
Connection to the Raspberry Pi


First you download and install the free version of MobaXterm (https://mobaxterm.mobatek.net/download.html) and Raspbian (https://www.raspberrypi.org/downloads/raspbian/)
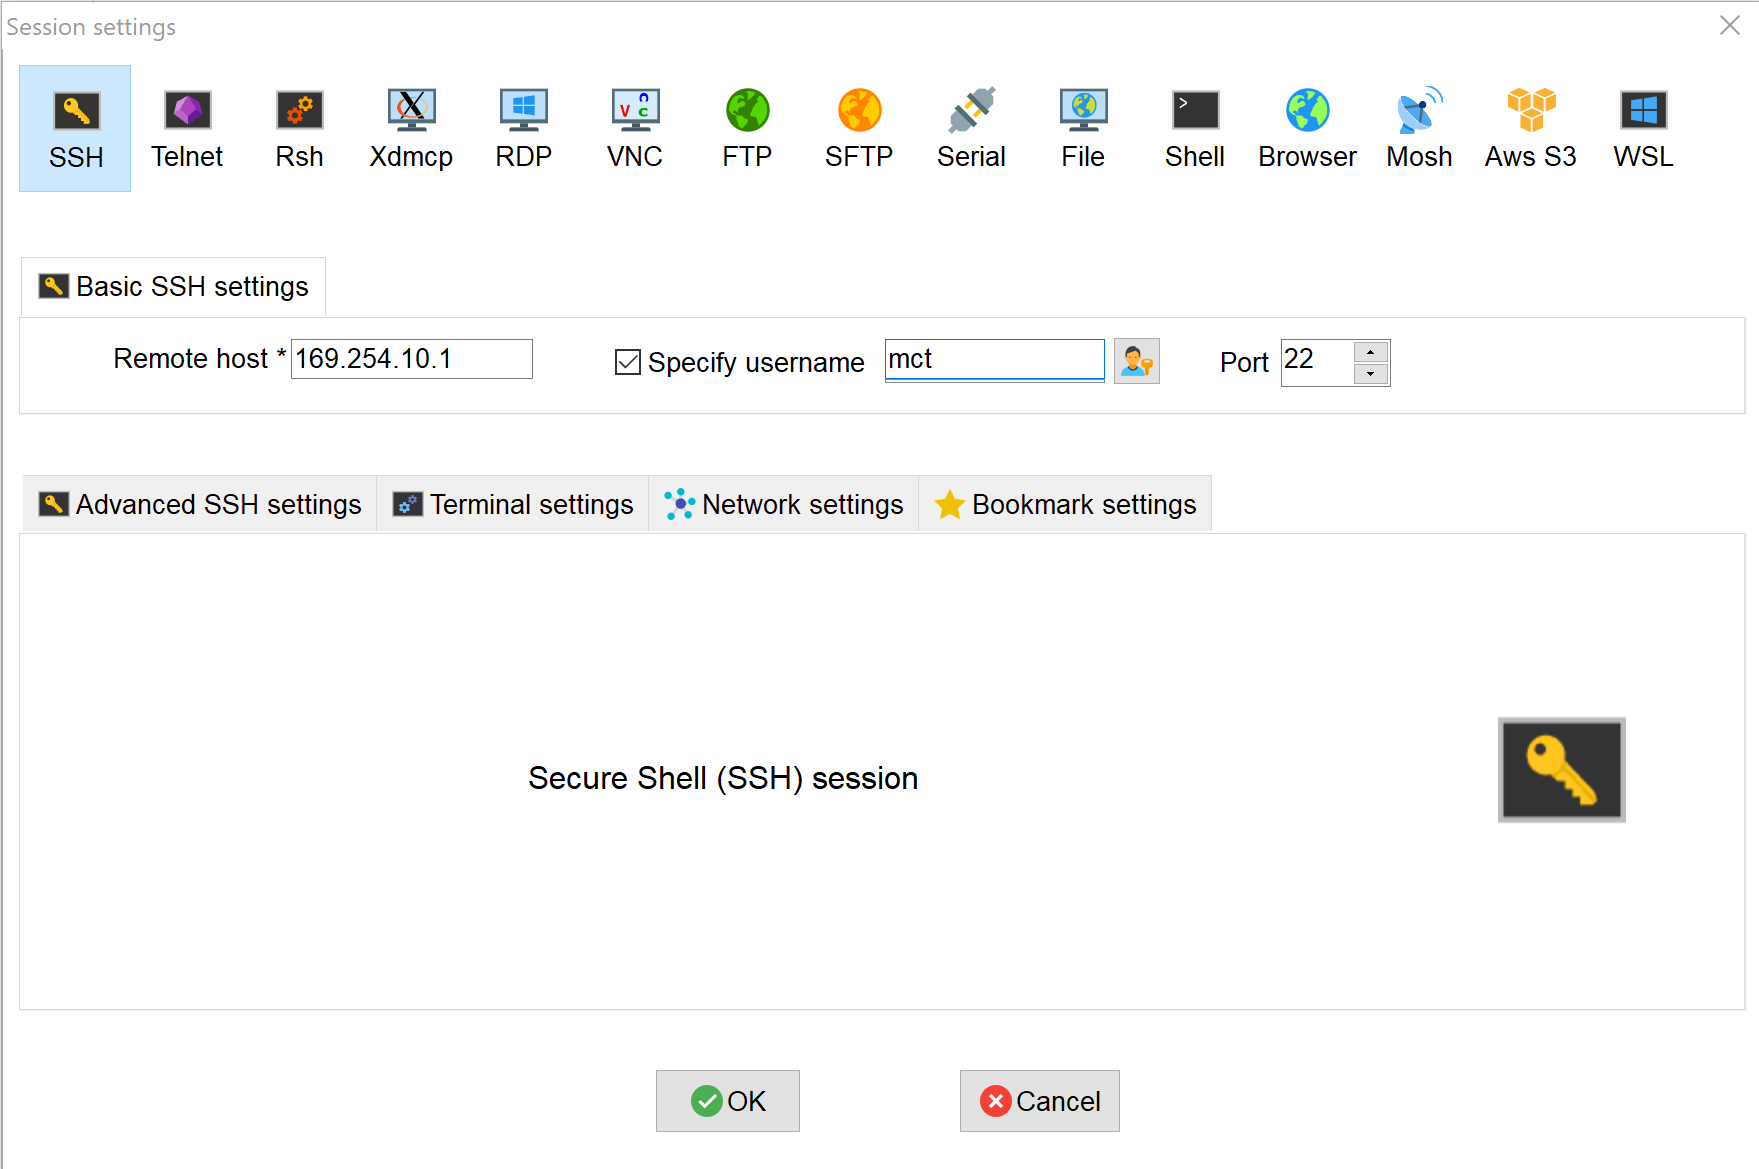
Then open the program and click on "Session" in the upper left corner.
Then fill in the IP address of the Pi under "Remote host". At "Specify username" enter your username. After that you press "OK" at the bottom of the screen.
Once you've done this, he'll automatically start a connection. After this you have to enter your password.
Now you have a connection with your Pi.
Activation SPI
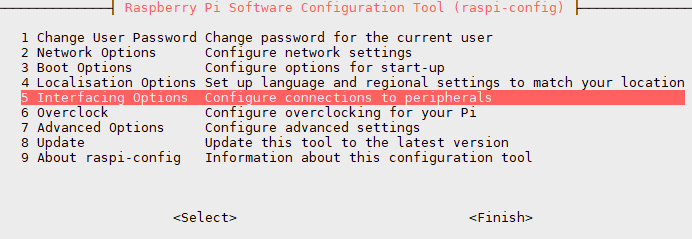

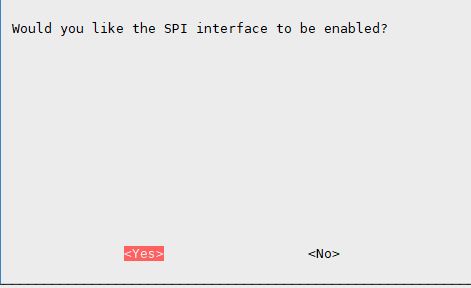
Because we use an MCP3008, we have to activate the SPI.
For this you type in MobaXterm: "sudo raspi-config".
Afterwards, you select "Interface Options".
Then click on "SPI". After that, click on "Yes".
Then go to MobaXterm and enter the following command:
- sudo apt-get install python3-spidev
Setting Up a Web Server



Now you go back to the MobaXterm console.
First we are going to do an update and an upgrade of Raspbian so we have the latest version.You can do this with the following commands:
- sudo apt-get update
- sudo apt-get upgrade
Then we're going to install Apache. With this installation you can view the website on any device in your network.
You do this with the following command:
- sudo apt-get install apache2
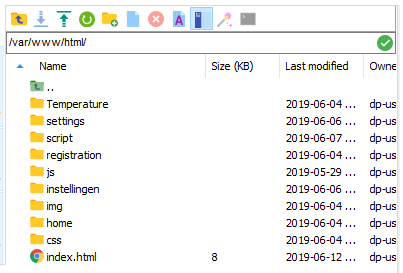
Now go to the next folder by filling in this path in the bar (see picture 5):
- /var/www/html/
Here you can place all the files from the " Front " folder.
You can do this by clicking on the upload symbol (see picture 6).
Setting Up a Mail Server



First of all, you need to create an account on Gmail.
Then surf to this website and set it to "On" (https://myaccount.google.com/u/1/lesssecureapps?pli=1&pageId=none).
Afterwards, open "class_mail.py" using a text editor. This can be found in the folder "classes". Afterwards, you can change the email address and password that is used for your Gmail account.
Transfer the Python Files
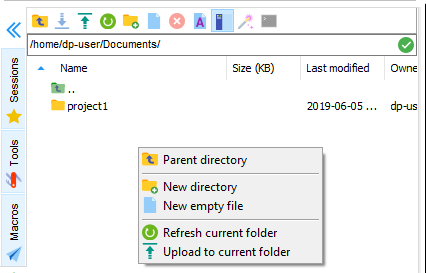
Now we're trying to make the back end work.
First you create a new folder called "project1".
Then upload all .py files from the "Backend" folder into it.
Now we can start on the SQL server.
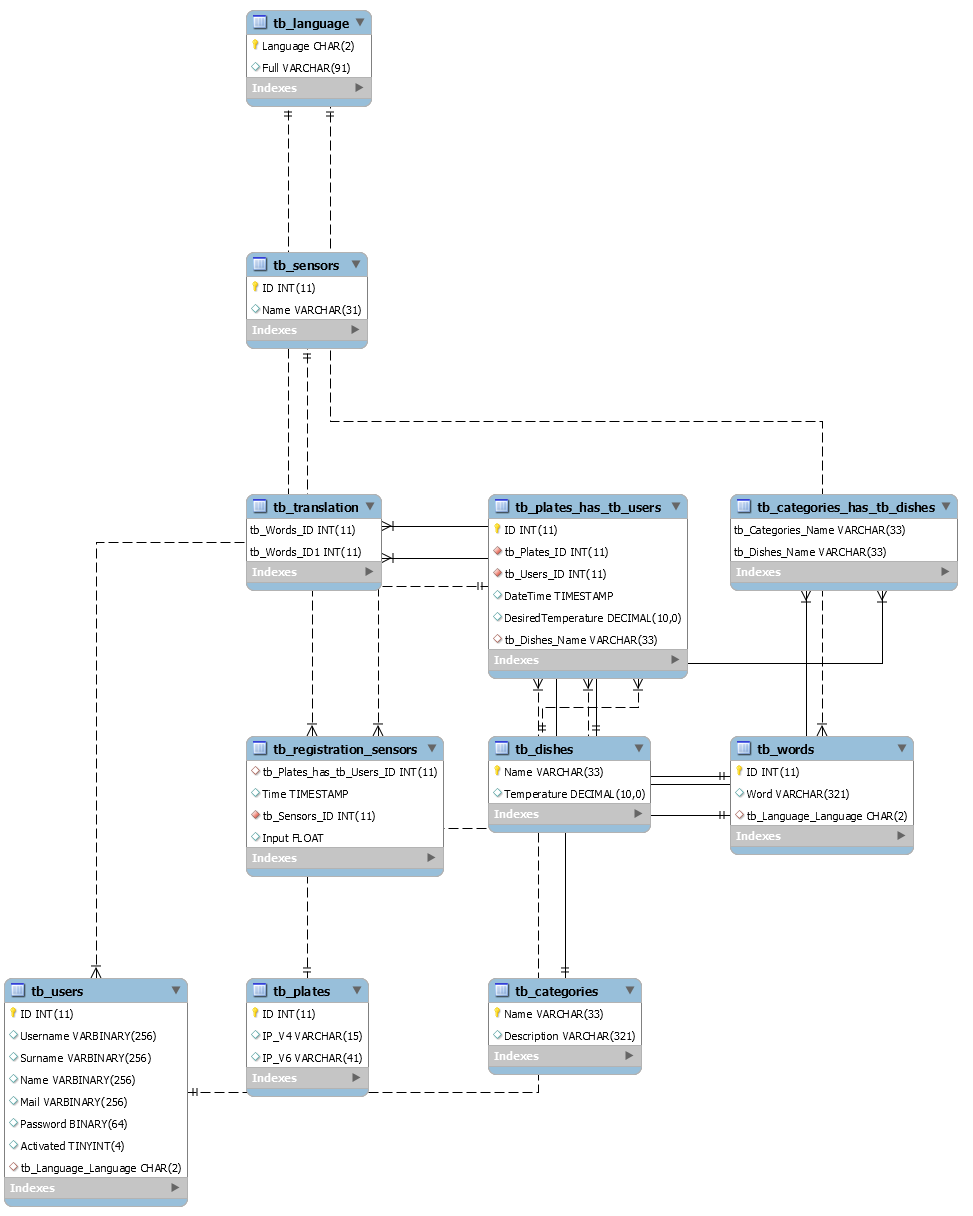
Set Up SQL + Import Database


Connection to the database
First you install the MySQL workbench. (Click here to go to the website of MySQL)
Then open the MySQL Workbench and click on the plus sign (see image 1).
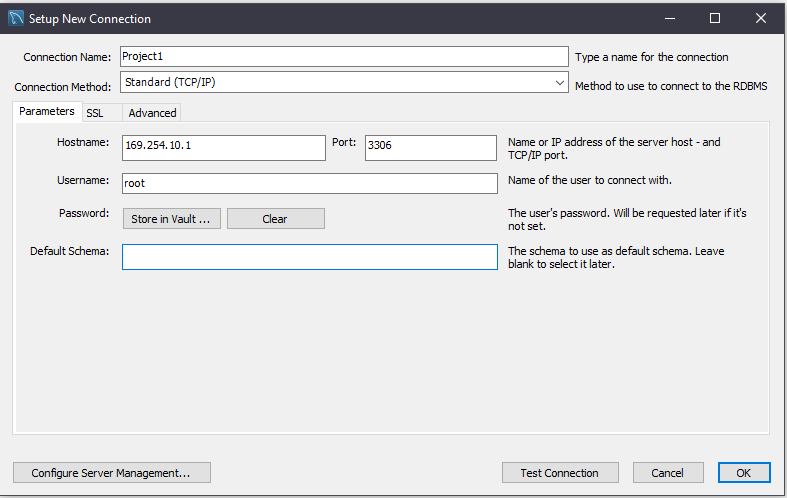
Then fill in the following fields (see image 2):
- Connection name
- The name of the connection
- For example: Project1
- Hostname
- The IP address where your Pi is connected.
- For example: 169.254.10.1
- Port
- 3306
- Username
- The username that you used to configure your MariaDB with.
Then click on "Test connection".
Now you see your connection (see image 3). To open it, double-click on it.
Import the database
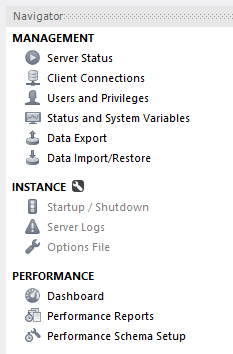
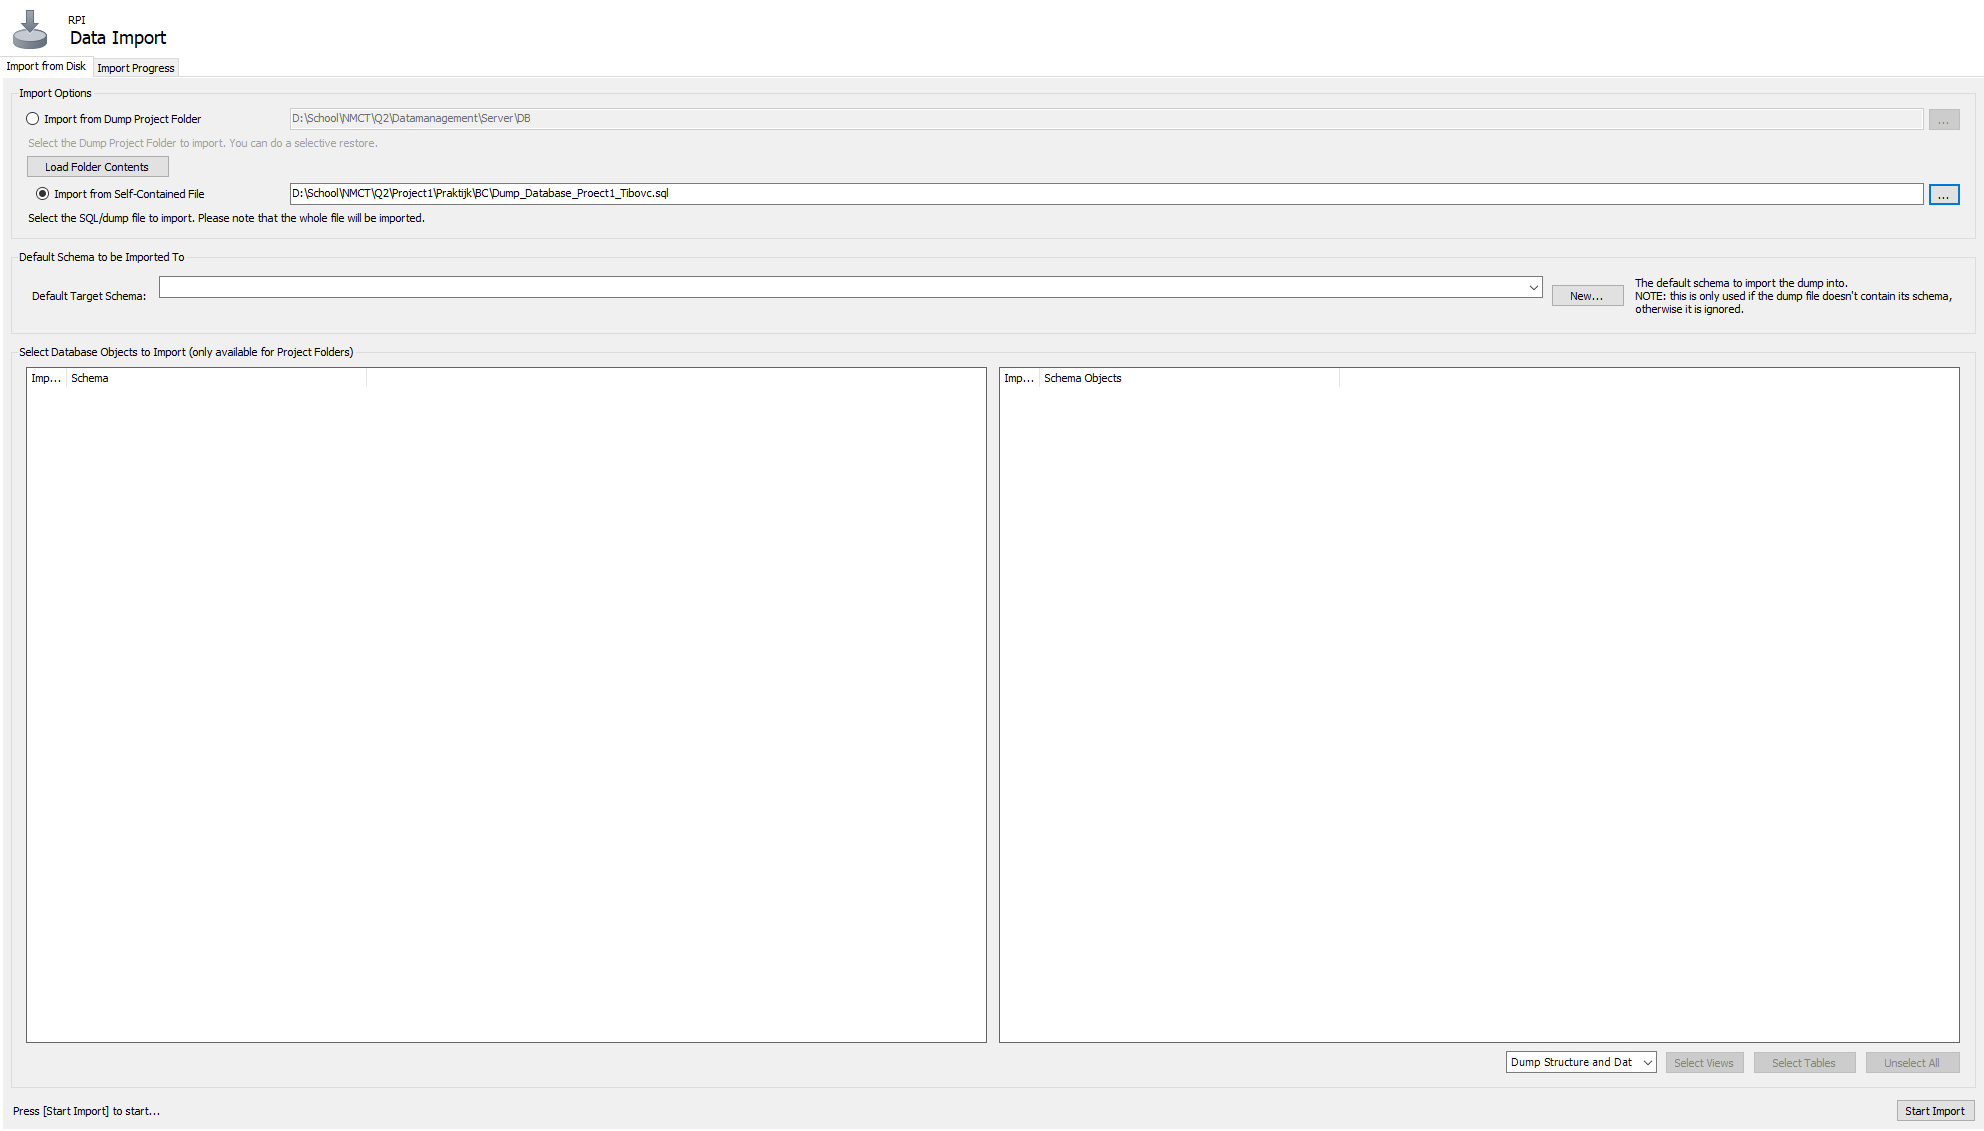
To import the database, click on "Data import/Restore" in the left sidebar. (image 4)
Then, you select under "Import from Self-Contained File" the sql-file that you can find in the Github repository in the folder "Database".
If this is successful, you can go to the next step where you can start the program automatically when you plug in the board.
Start the Program Automatically When You Plug in the Power Supply


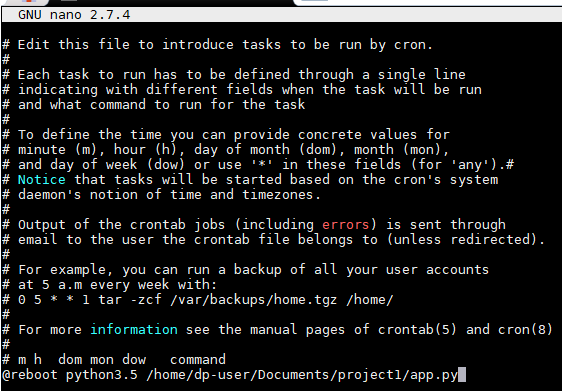
First go to MobaXterm.
Then type the following command:
- sudo crontab -e
Then type in number 2.
Now type the following command:
- @reboot python3.5 /home/dp-user/Documents/project1/app.py
Then you make the following key combination:
- ctrl+x
Then click on "y". After that click on enter.
Finally, type the following command
- sudo reboot
Add Translations

To add a translation, start "Translation_add.py". You can do this by going to the folder "project1" (via cd), and execute the following command:
- cd /home//Documents/project1 (Command to go to the right folder)
- python3.5 Translation_add.py
Then you fill in the English, Dutch and French word or phrase.
Then click on enter. Now the words/phrases are in the database.
User Manual + Thank You
In this word document you will find how to use the website.
Thank you for reading this instructable and hopefully your food will never get cold again.