Foldable MacBook/Ipad Stand
by Ivandc in Workshop > Laser Cutting
6833 Views, 74 Favorites, 0 Comments
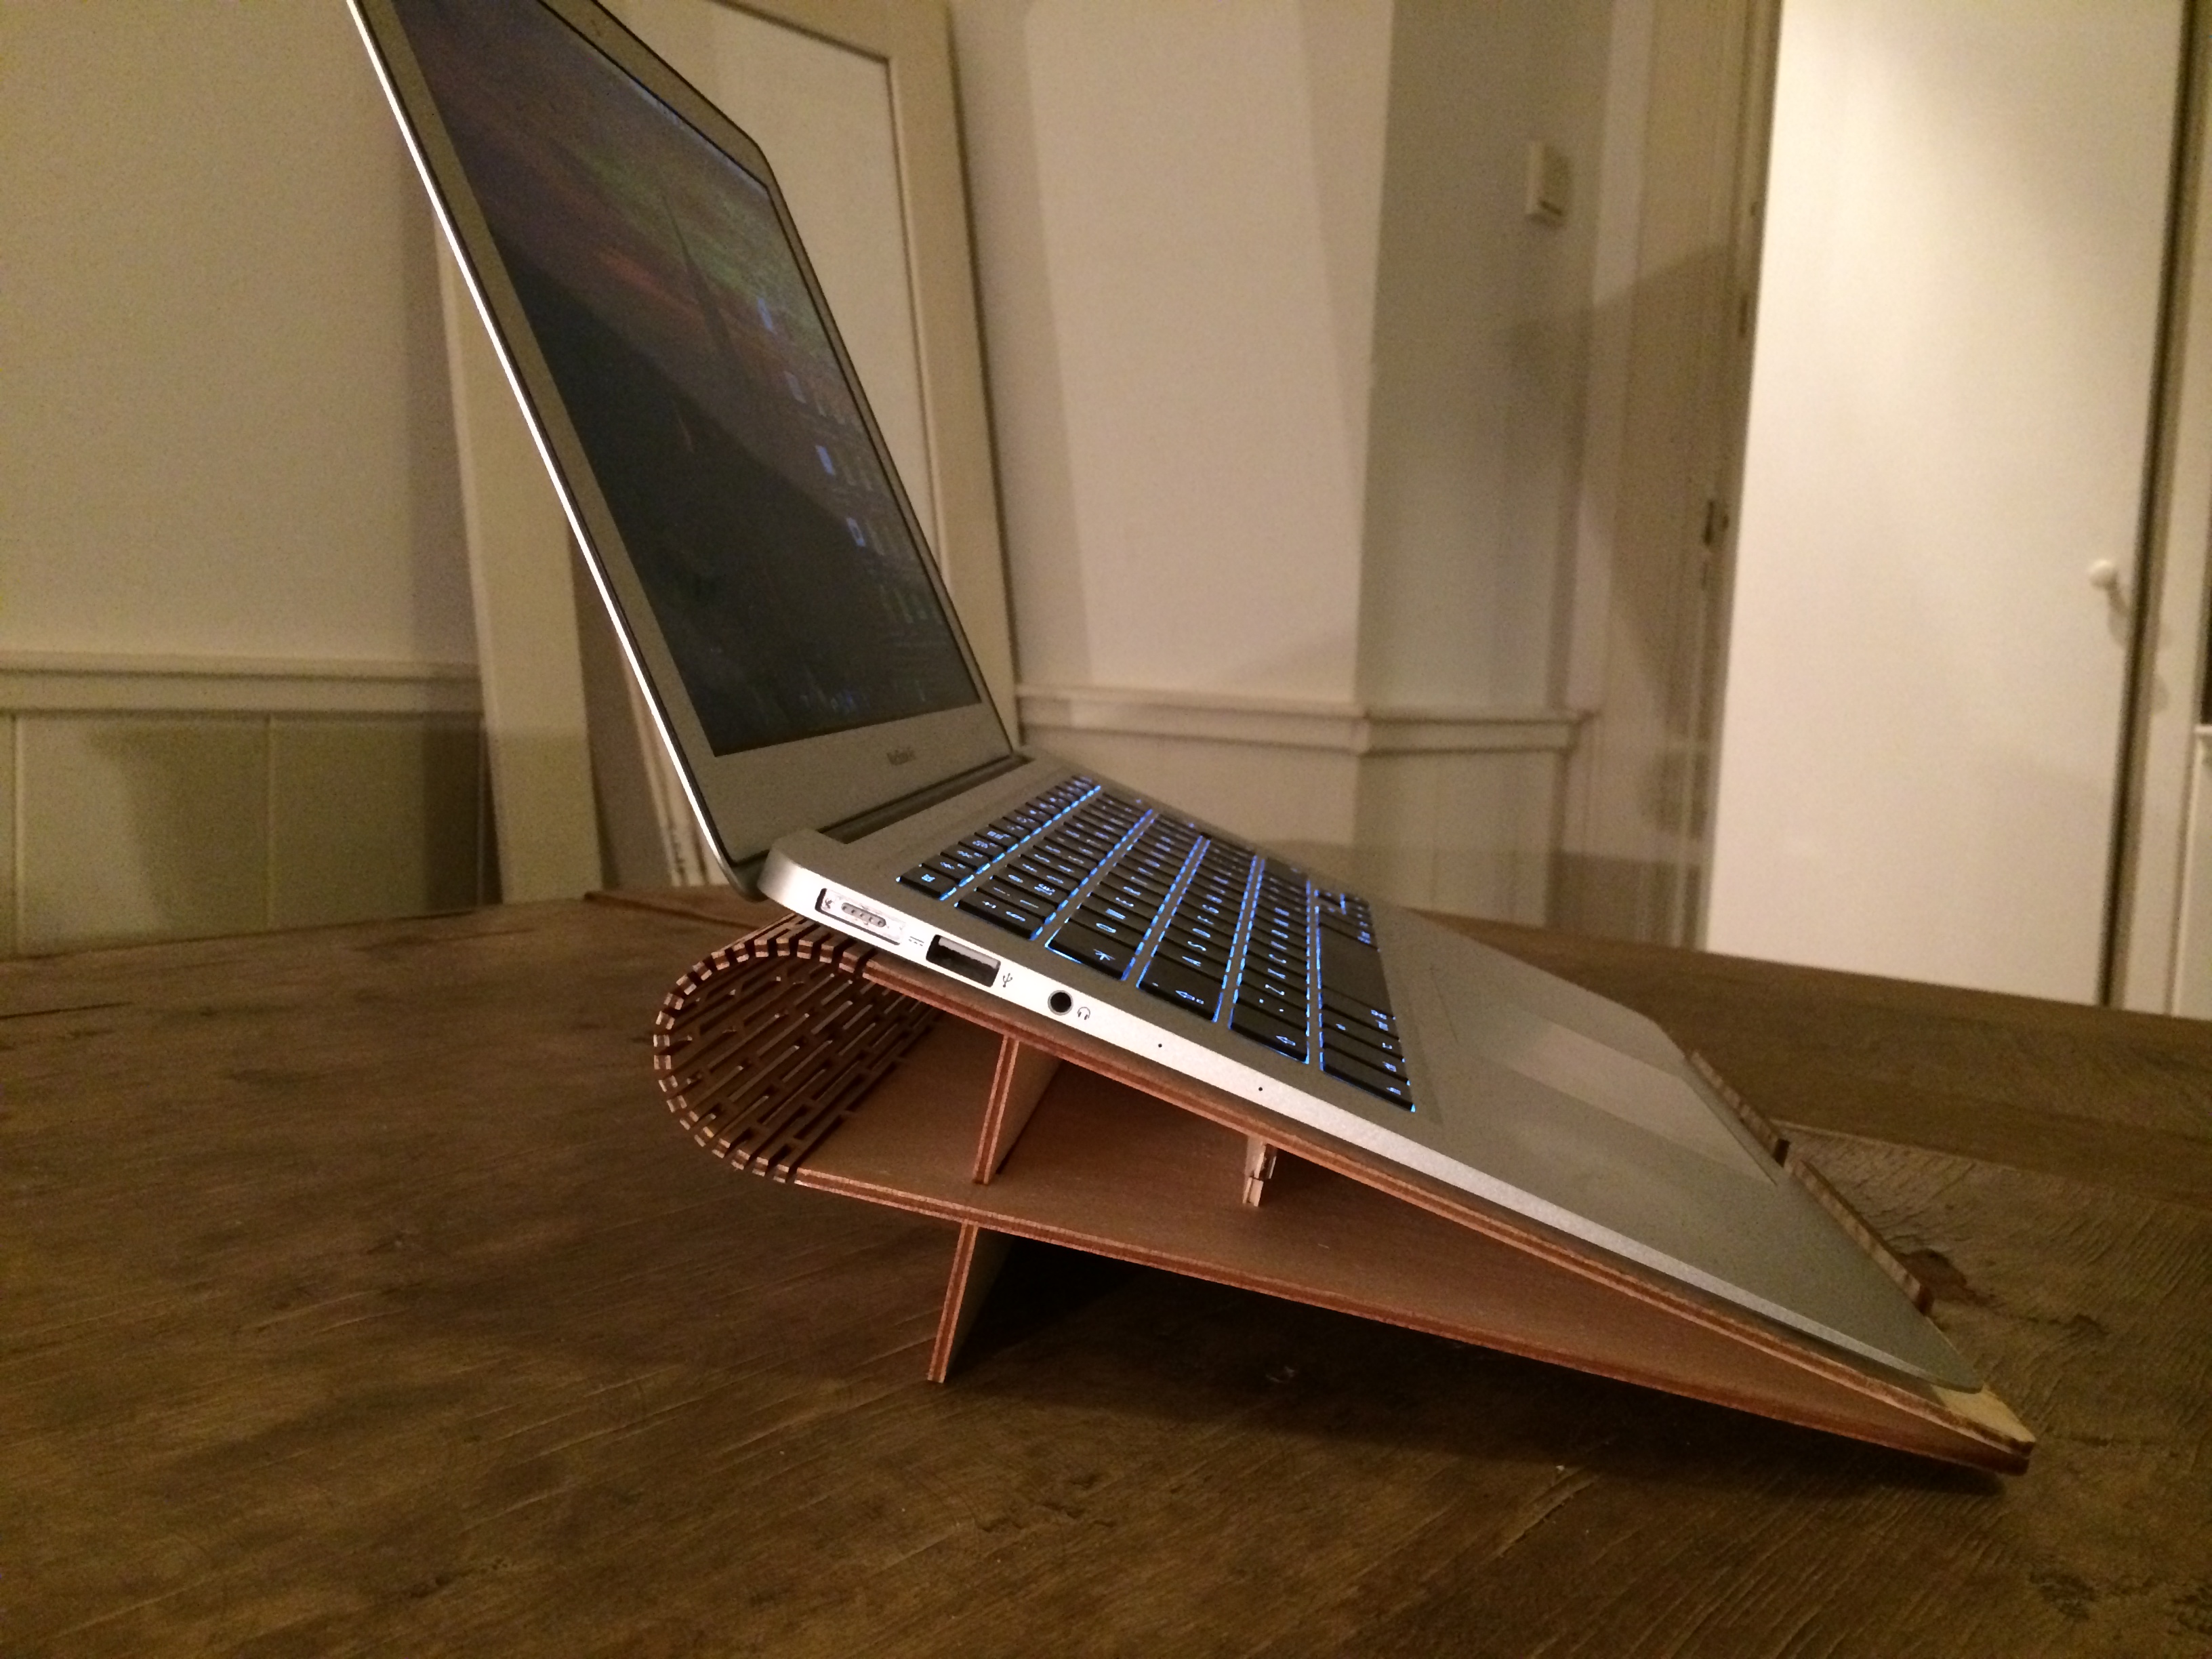
Foldable MacBook/Ipad Stand
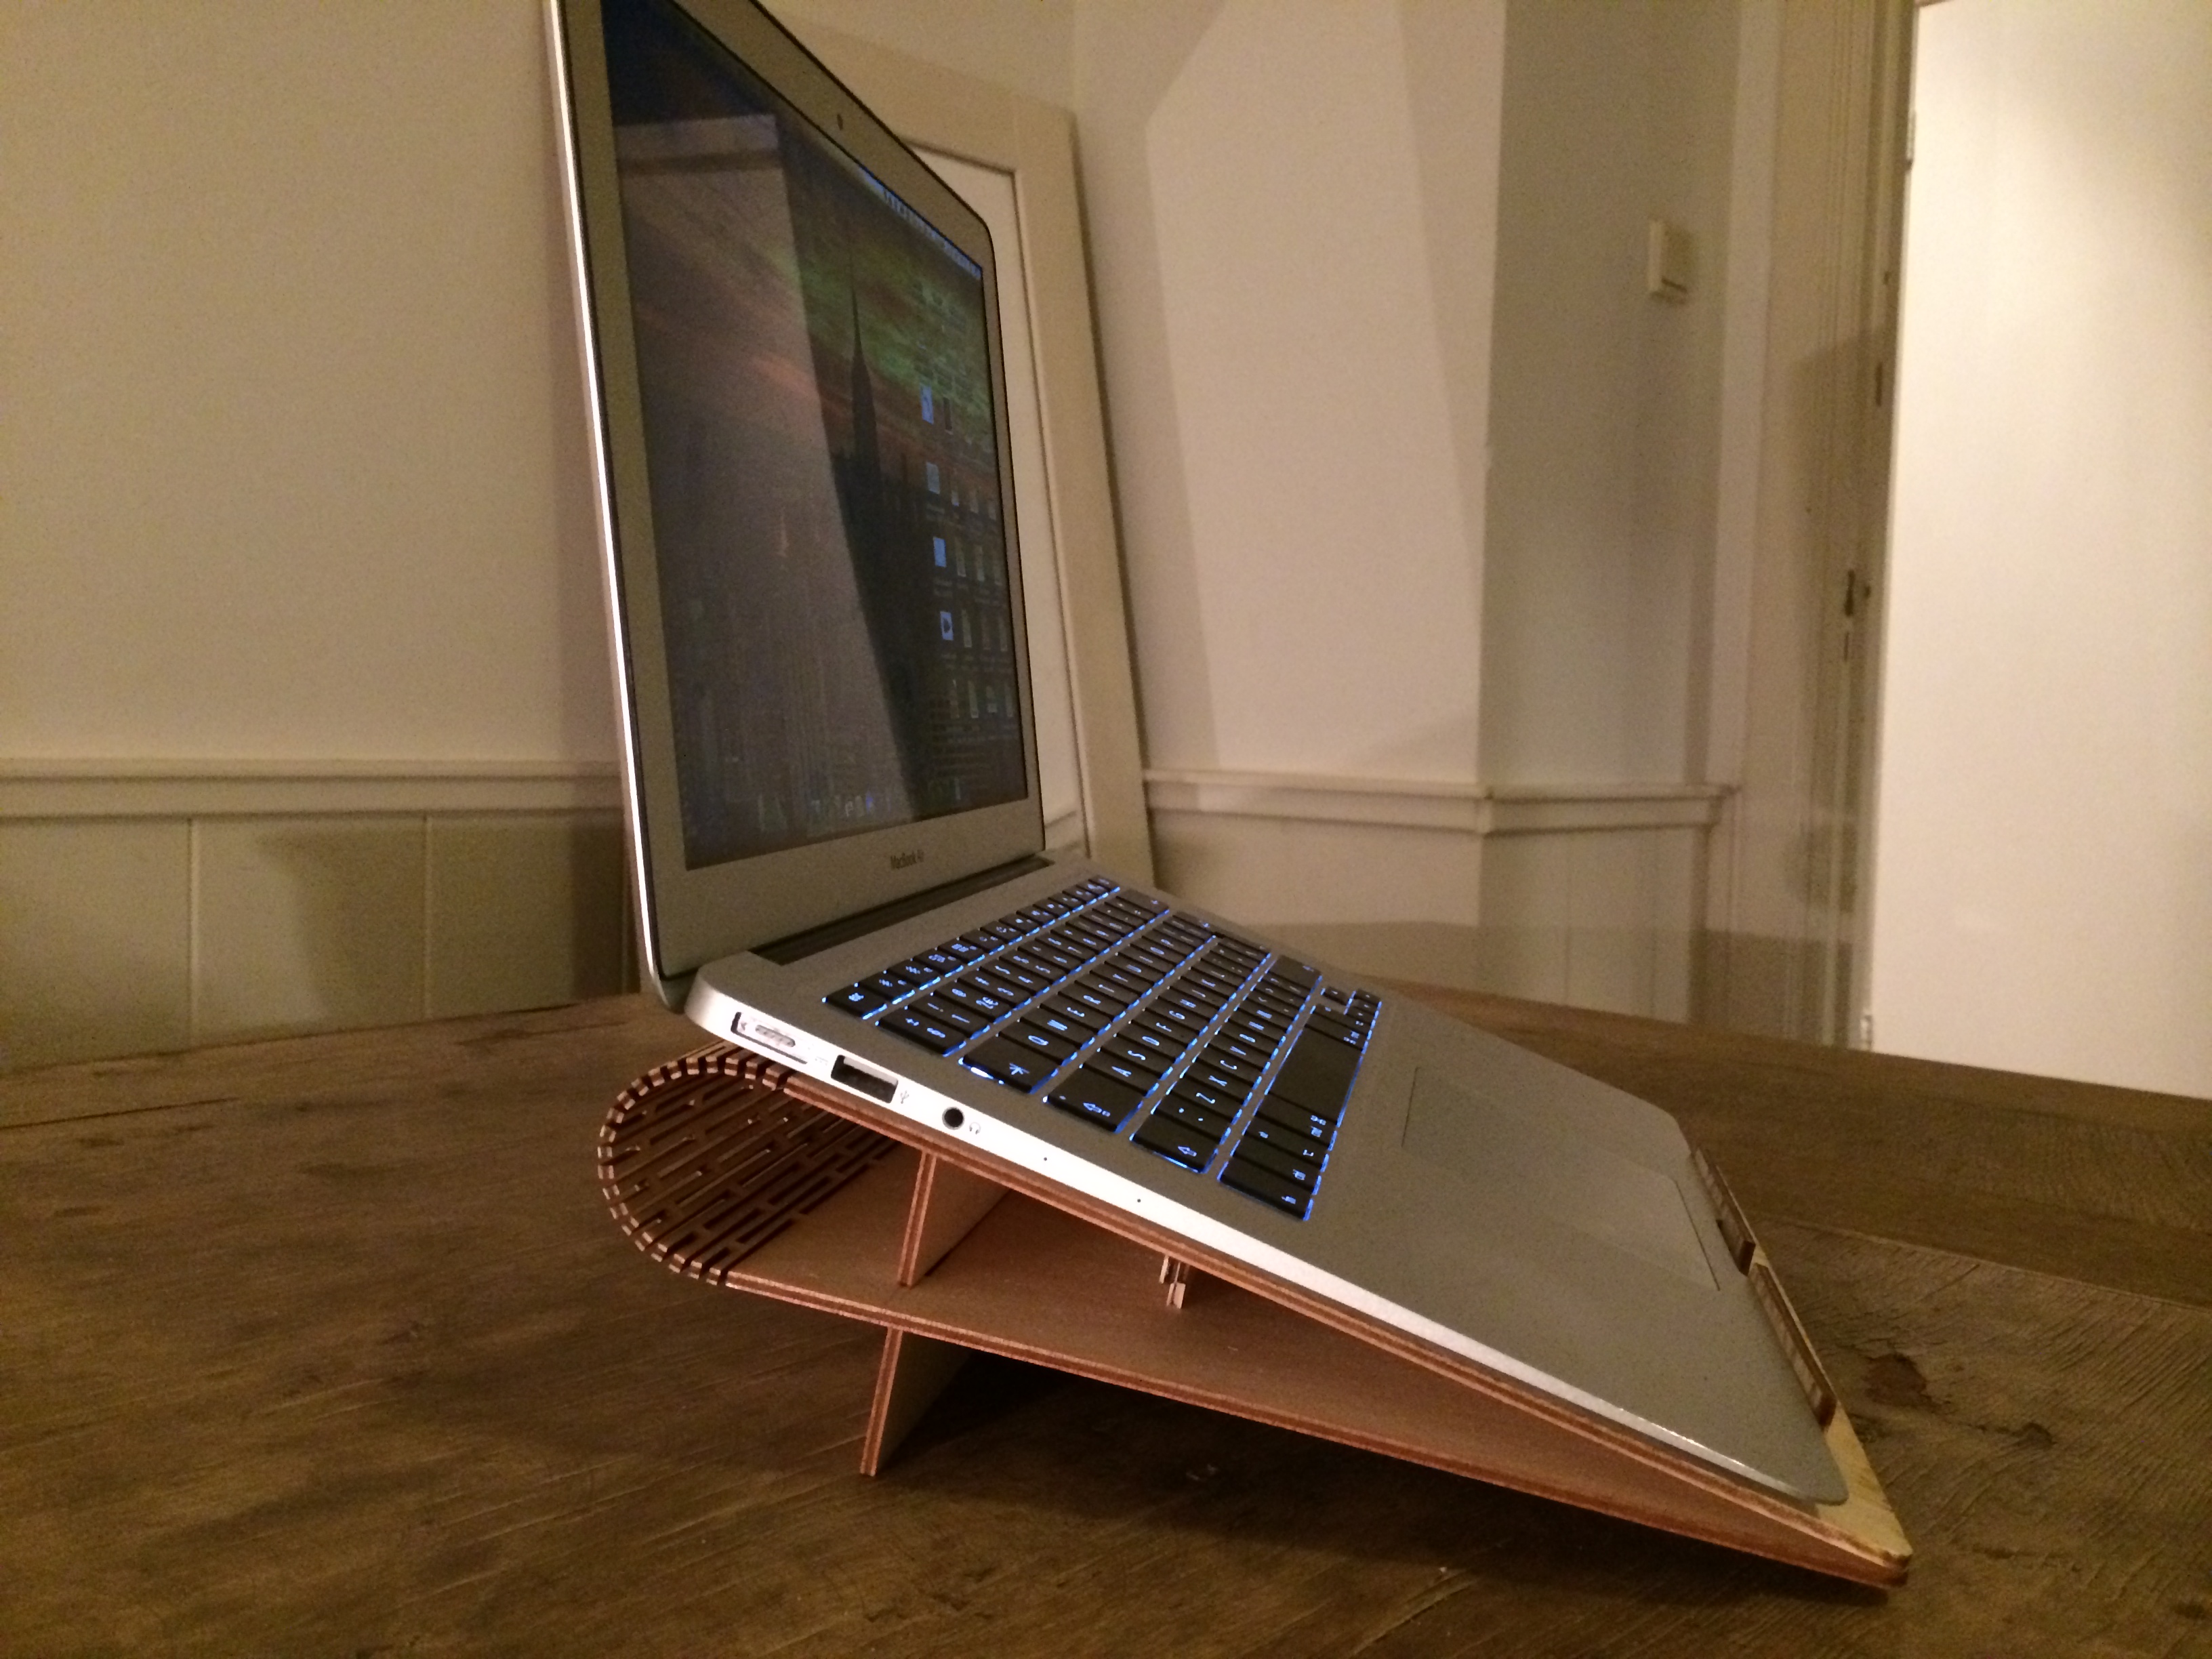
A simple and foldable MacBook stand(note: only tested with MacBook, for different laptop it might need adjusments) that also can be used as an Ipad stand.
The Design is inspired by combining 2 different design made by:
OxyJin: Phone Stand & Headphone Wrap (Laser Cut and Living Hinges) (OxyJin) / CC BY-NC-SA 3.0
emwoo: Foldo (emwoo) / CC BY-NC 3.0
So i combined these two design so i the design would fit my needs. And i added extra support for the stand which not only makes it more stable and stronger but add height which i prefer.
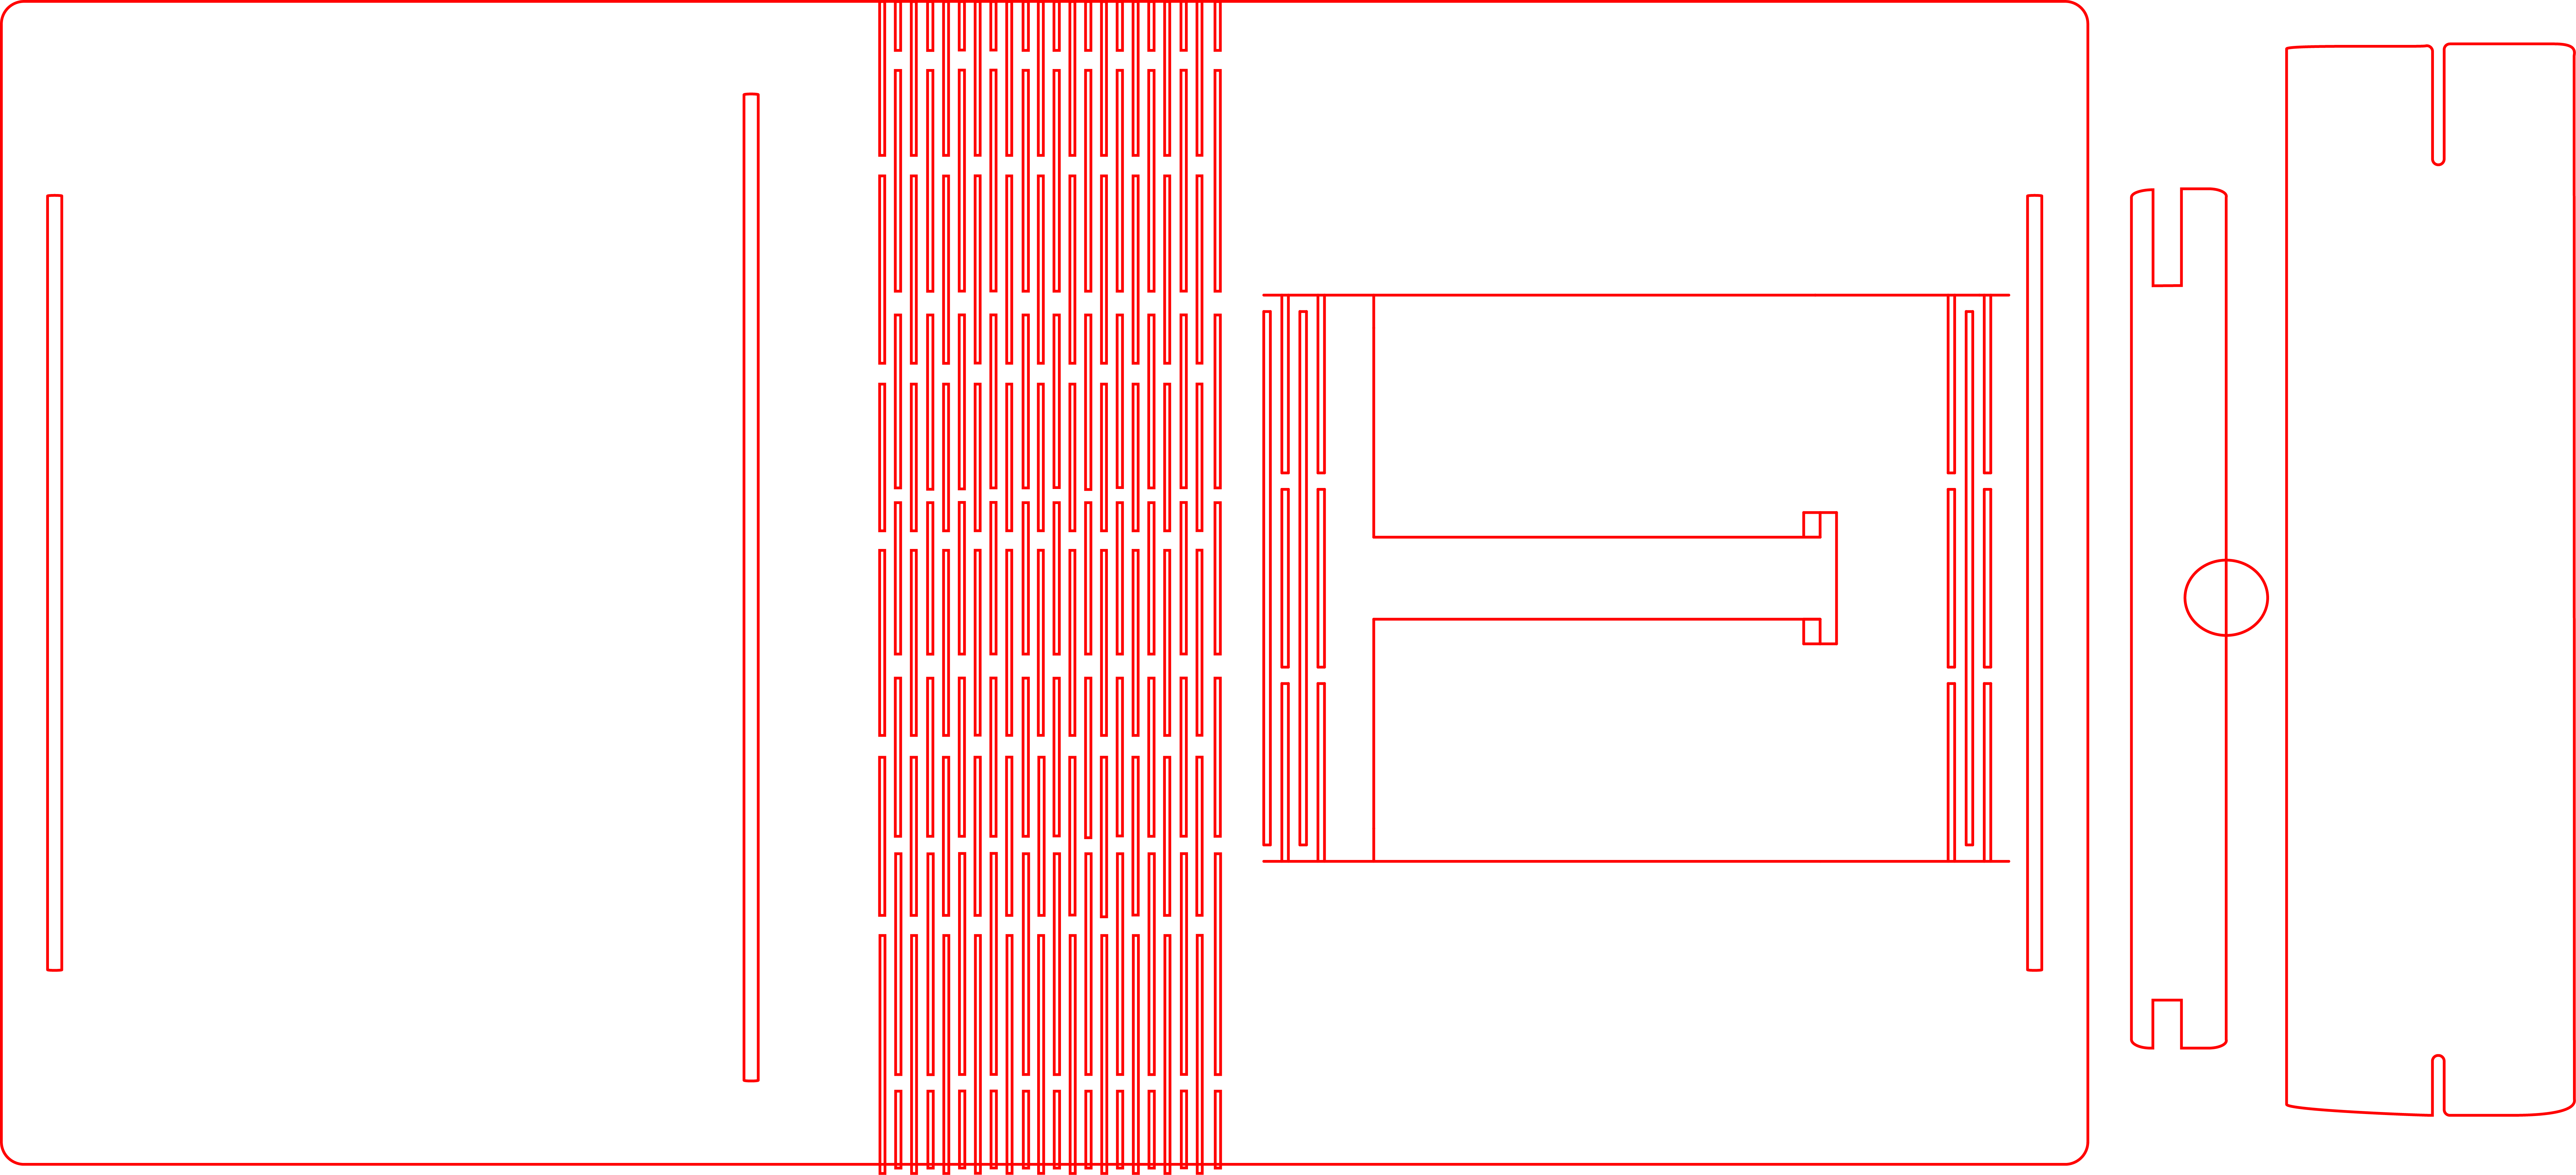
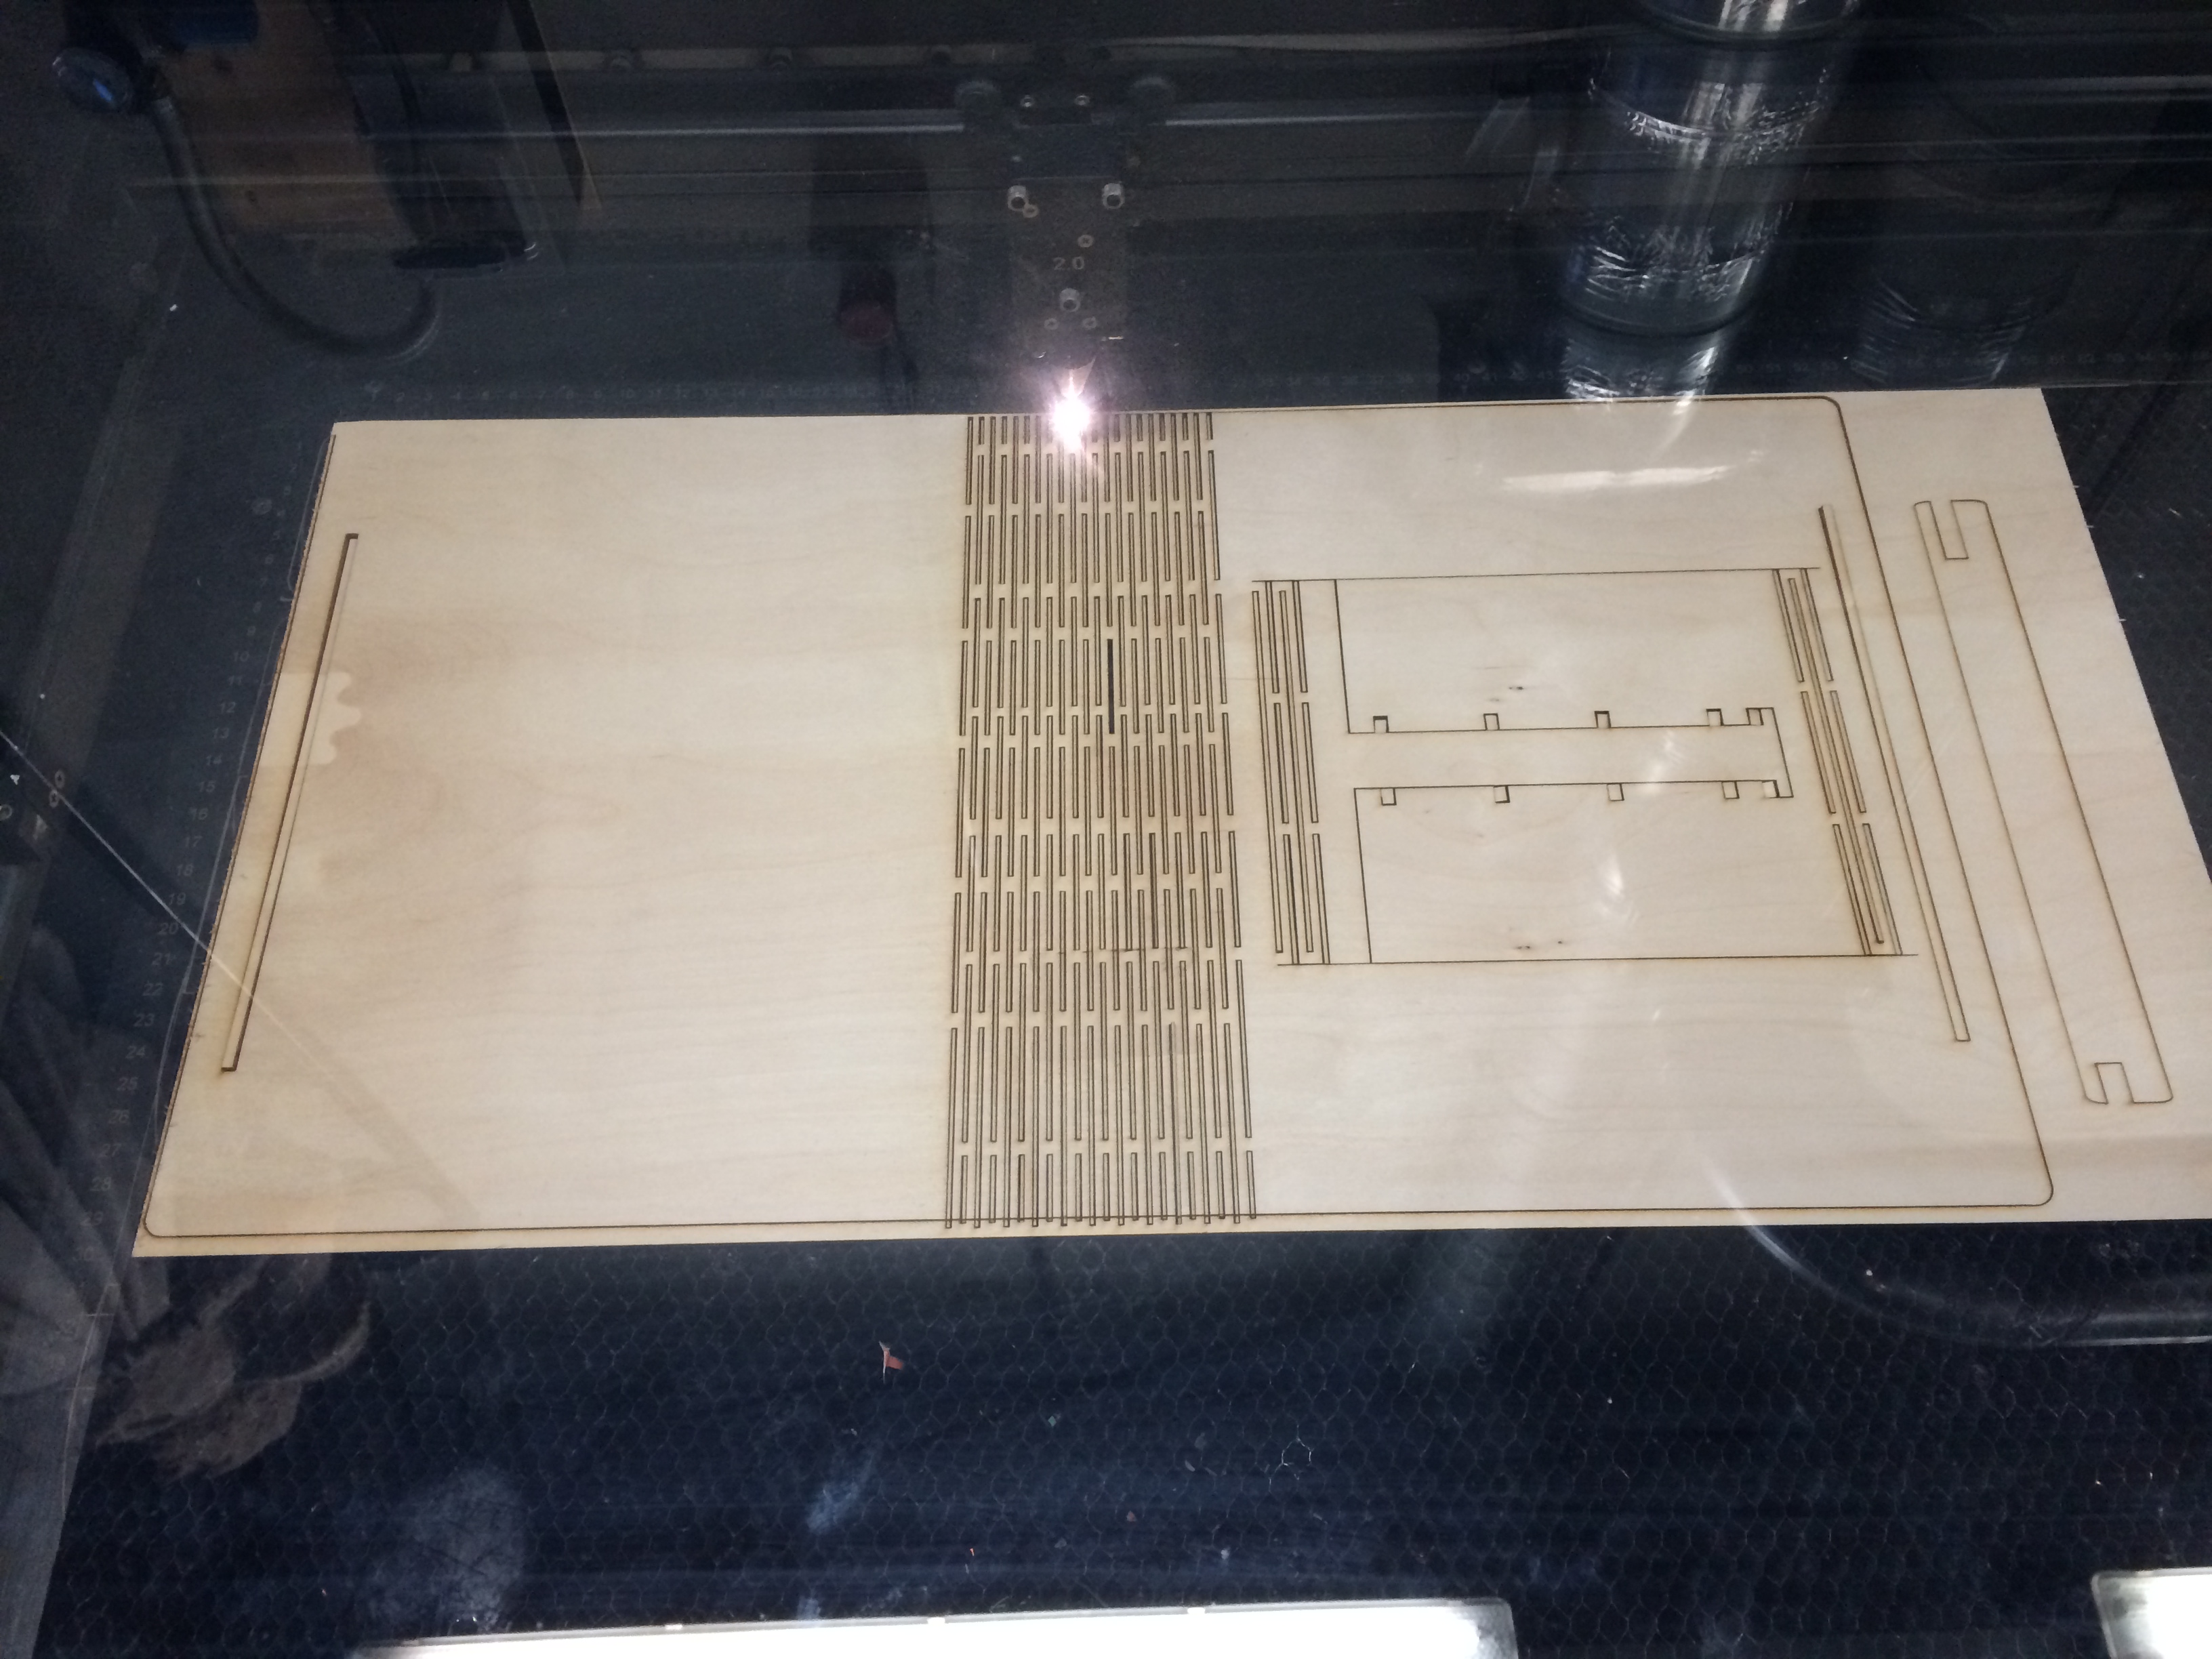
The material is used is: Plywood - 3mm thickness.
In the image you can see the design made in illustrator. The original .ai file is also provided.
Modification
So it's quite simple the change that are made and so is would be easy for you to change them to.
Step 1 - File
2. Load design into computer attached to laser cutter.
Step 2 - Laser Cutter
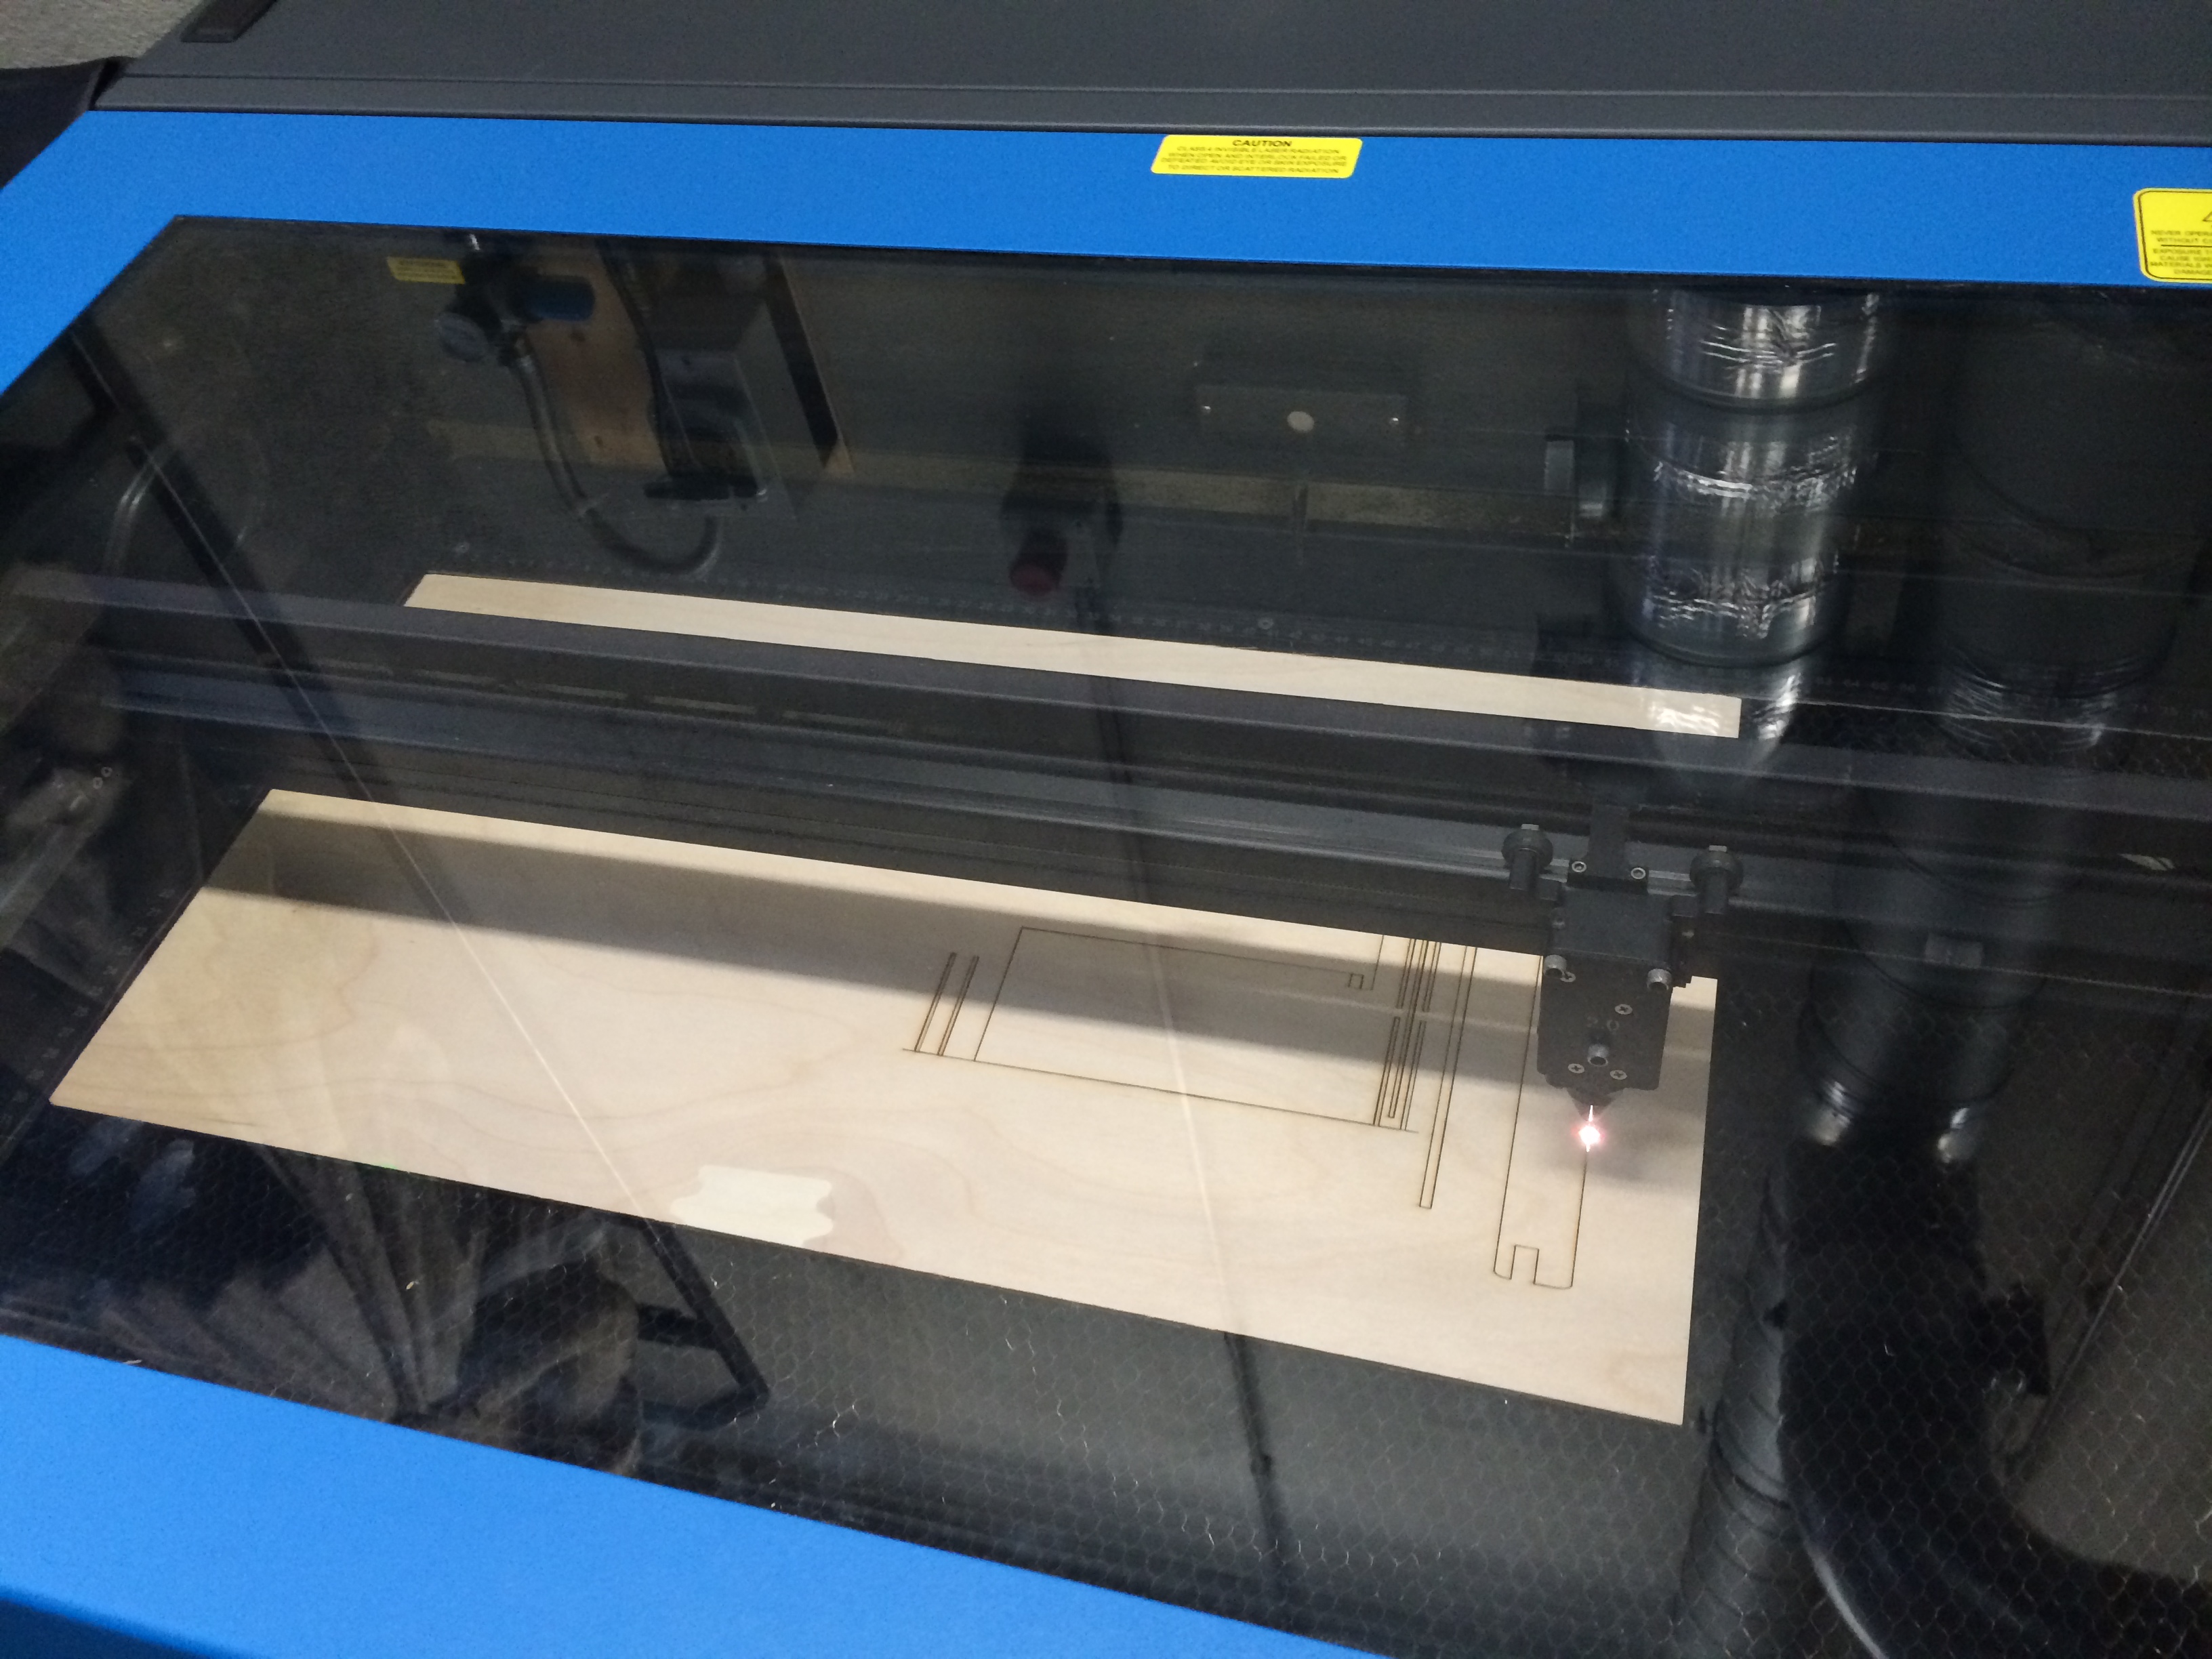
Settings: material, thickness material
4. Remove all the unwanted scraps of wood from the fold and the ventilation holes
Step 3 - Fold

6. Lock the support beam by sliding the small piece of wood the other way around
7. Fold the piece of wood in half (along the binding/fold)
8. Secure the fold by inserting the other piece of wood into the slots
9. Slide the small piece of wood to the longer indent to allow the whole piece inserted into the slot
10. Lock the fold by sliding the small piece of wood the other way around
Enjoy