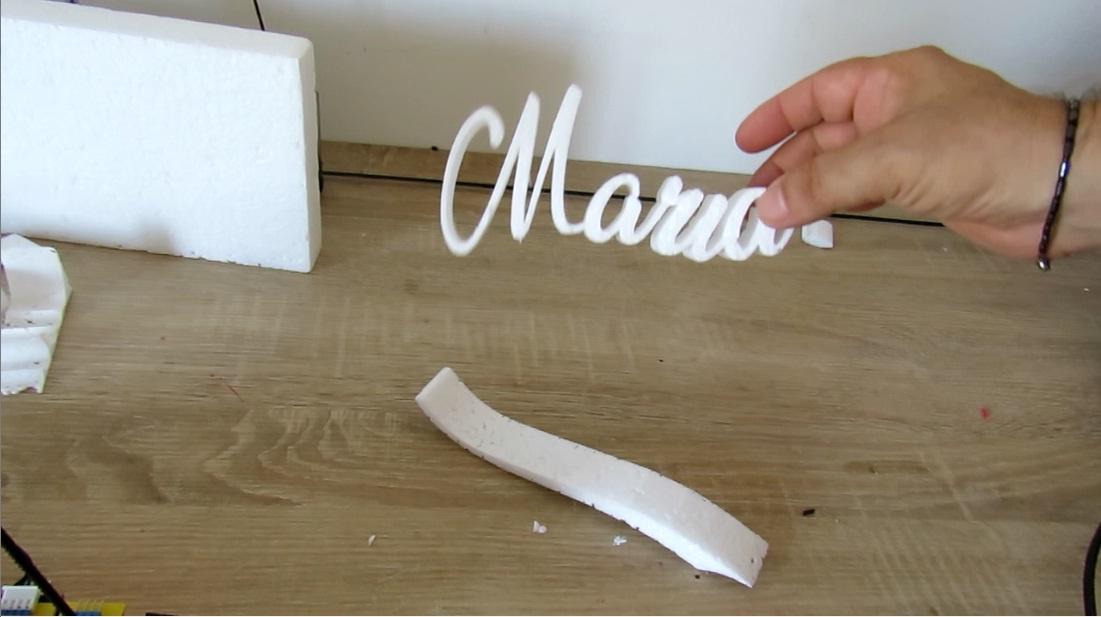
Foam Styrofoam Name Sign Maria With Costycnc Foam Cutter and Program
645 Views, 2 Favorites, 0 Comments
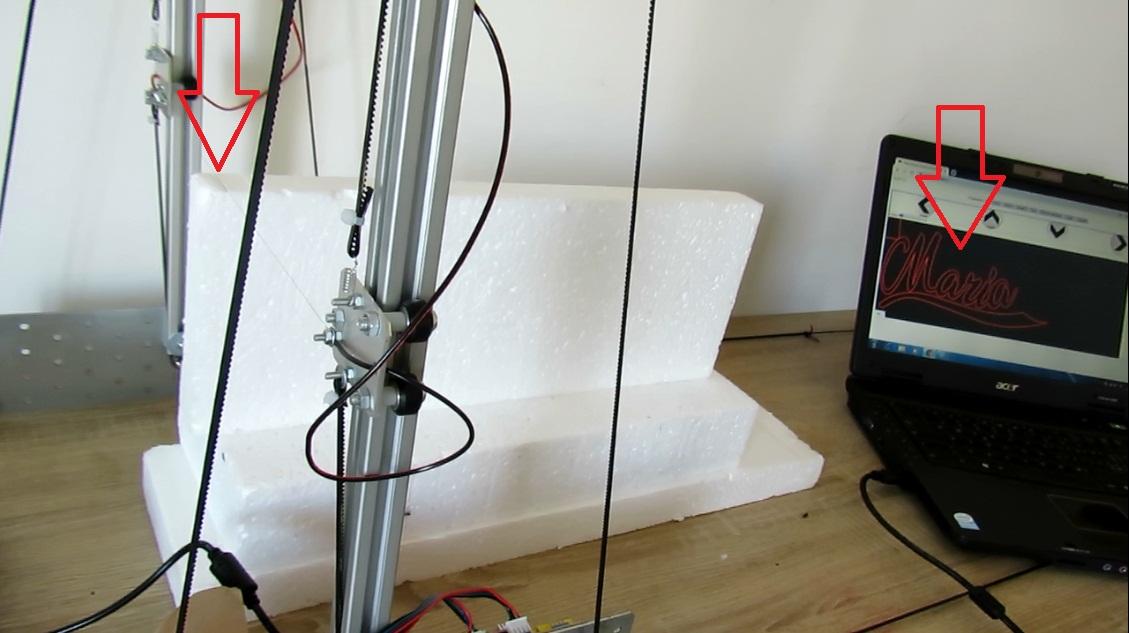
Foam Styrofoam Name Sign Maria With Costycnc Foam Cutter and Program

How use costycnc foam cutter macchine and costycnc program image to gcode and gcodesender two in one
Open Costycnc Editor
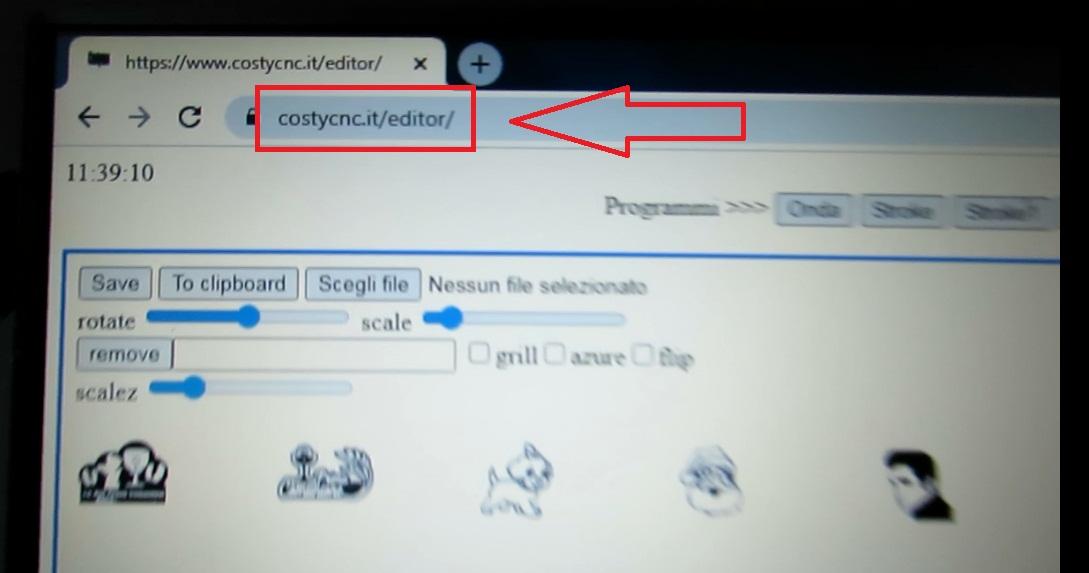
First ... open page costycnc editor from costycnc.it/editor
Open Program Onda
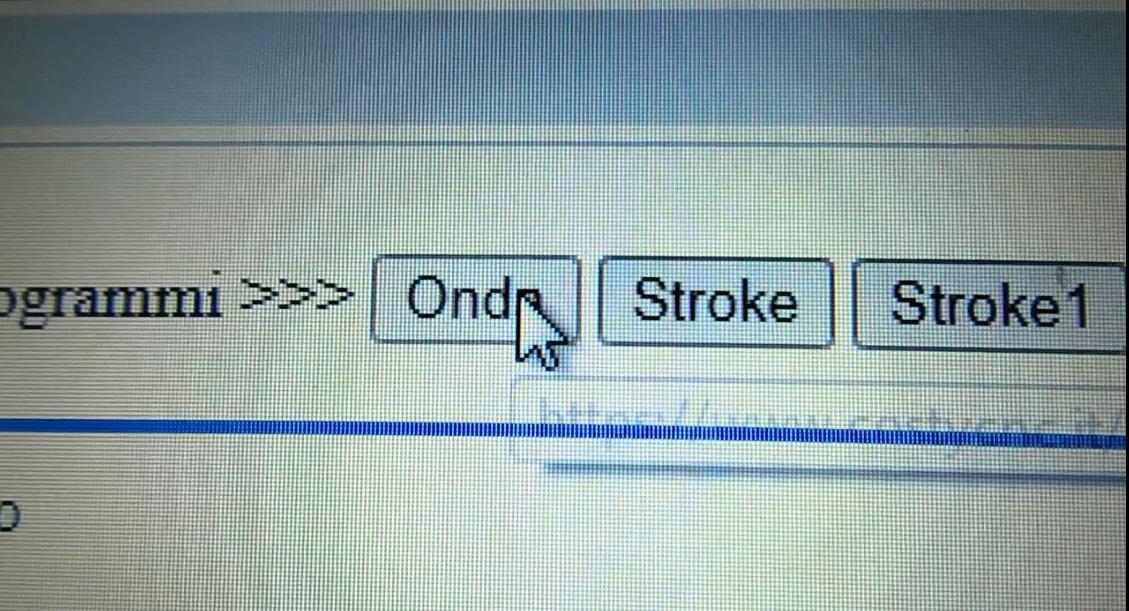
From list of programs select "Onda"
Insert Text Name
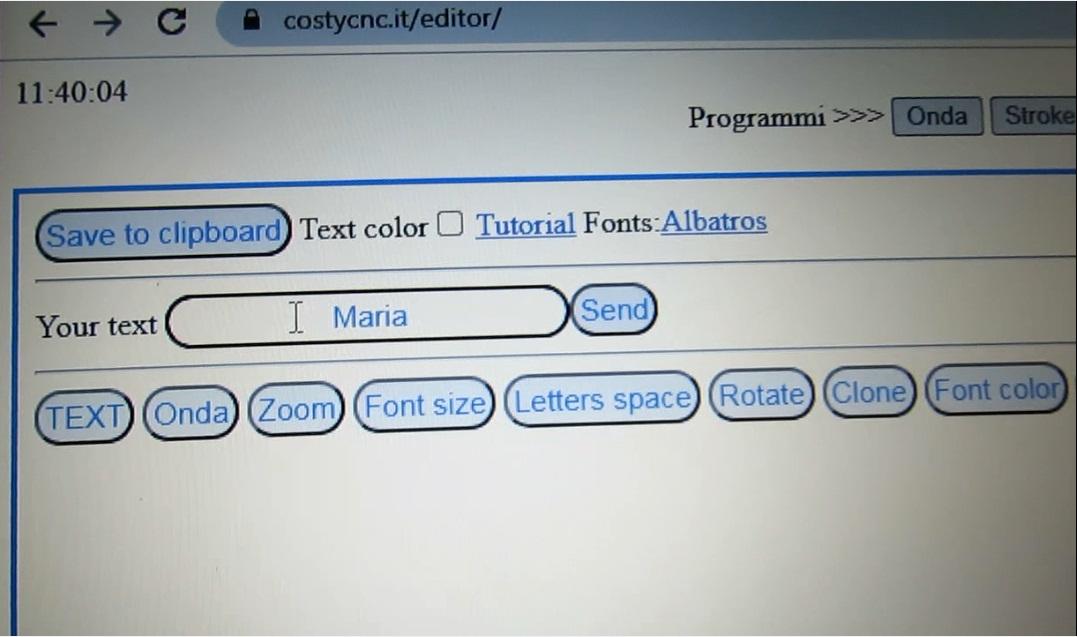
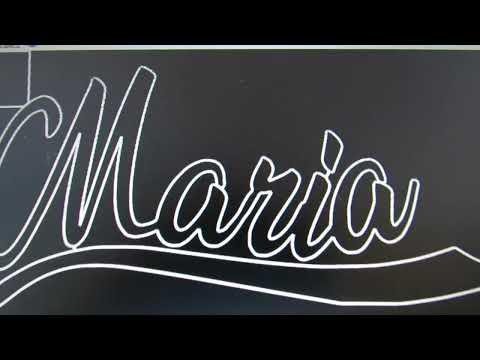
Click button "TEXT" and insert the name.In my case i insert "Maria"
Ajust Letters
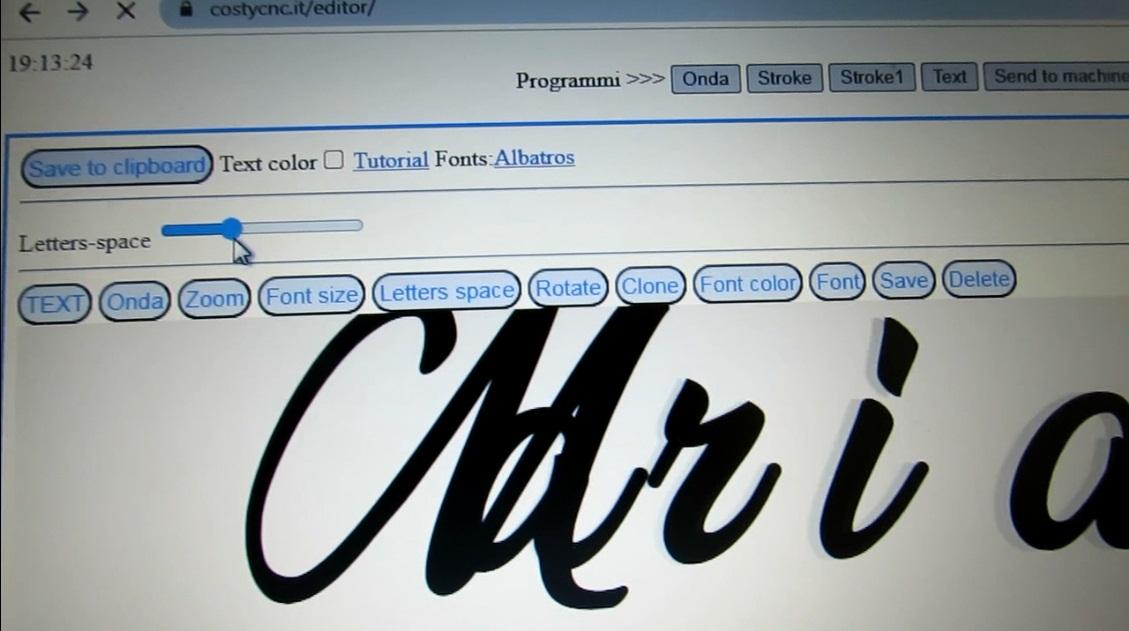
Click button "Letters space" and with cursor make spaces of the letters ... and after drag the letters where need
Ajust Size of Wave
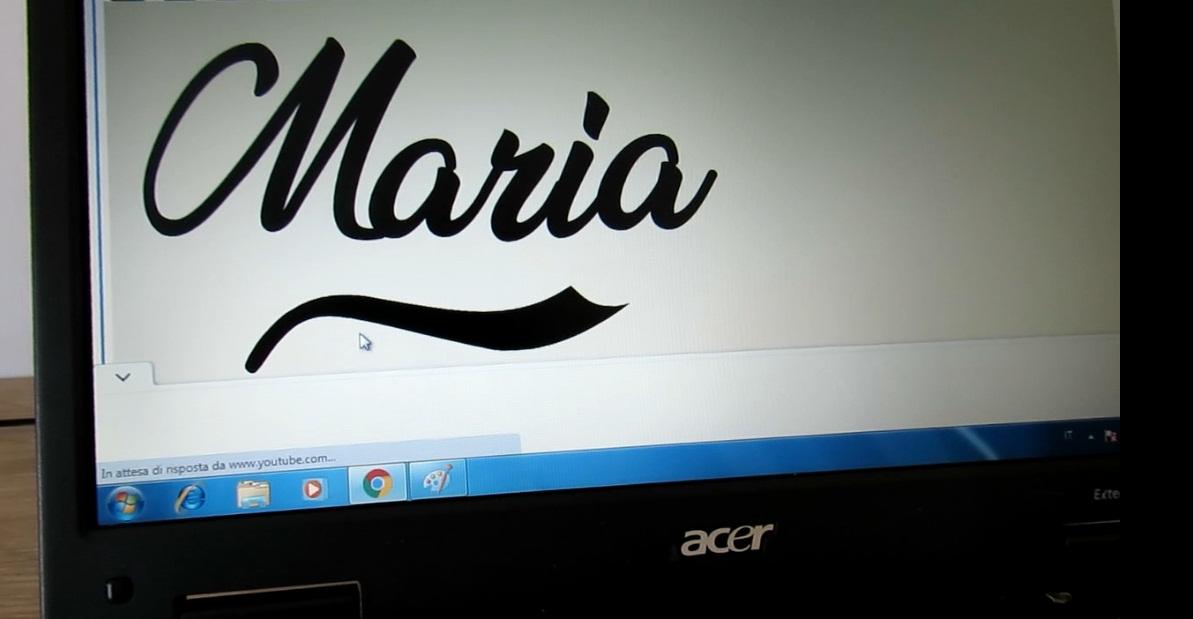
With "Onda" button and cursor adjust size of wave if needed.
Save or Copy to Clipboard
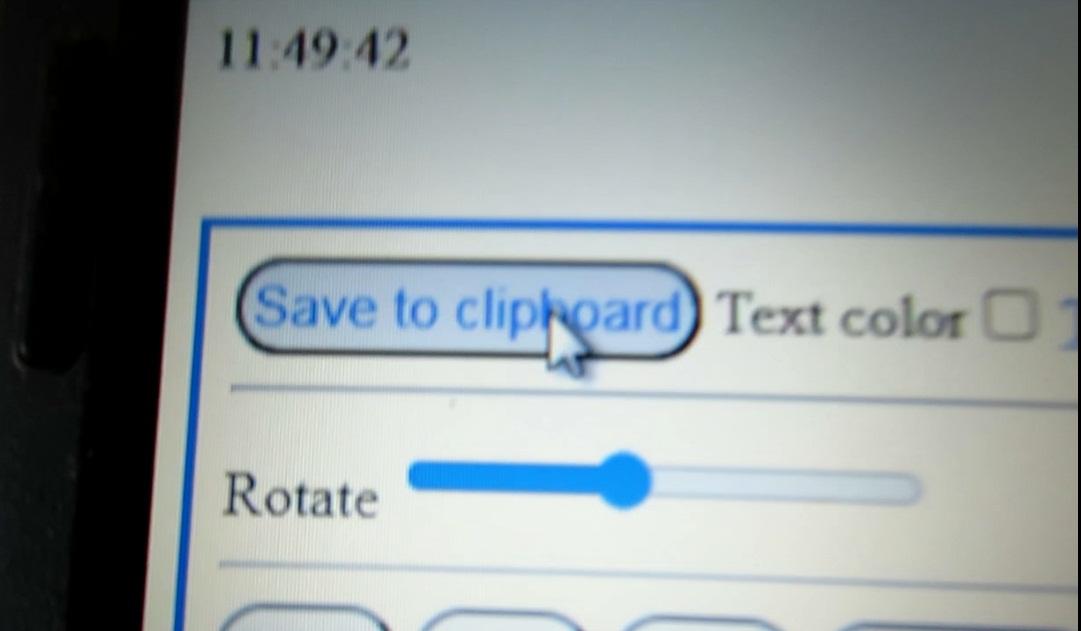
After text is finished save image with button "Save" or "Save to clipboard"
Open Costycnc Gcodesender
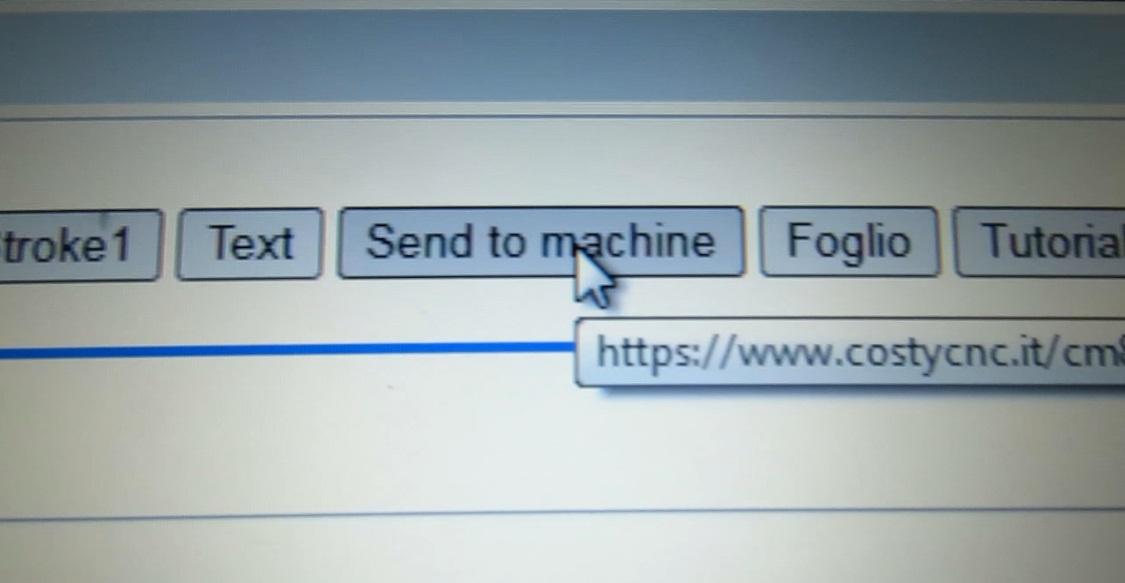
Click button "Send to machine" to open costycnc program image to gcode converter and gcodesender. two in one!
Load Image
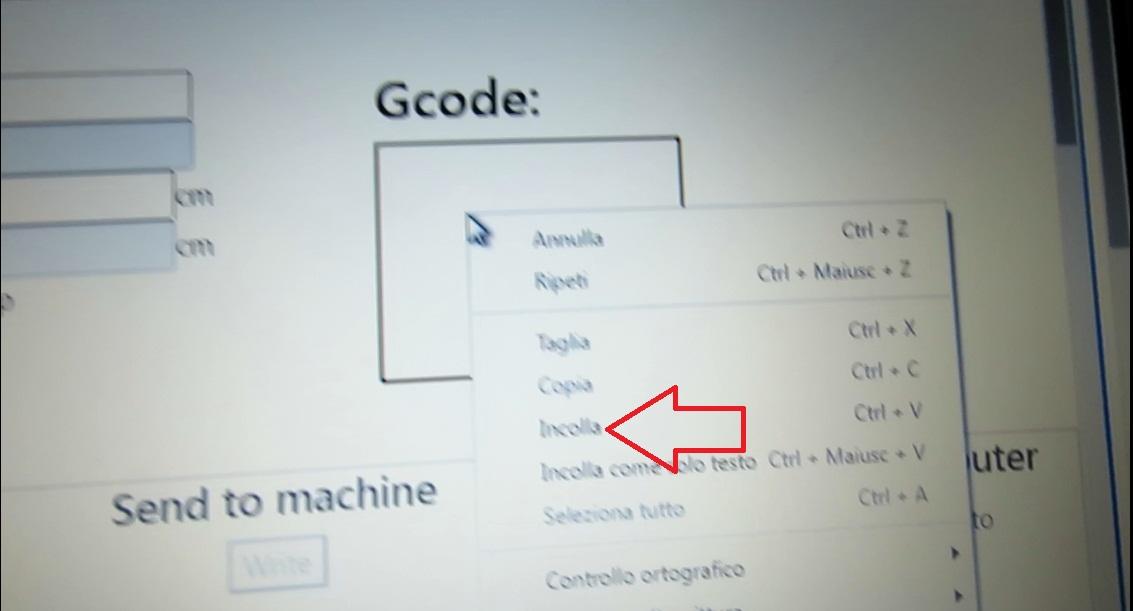
If saved image in computer with button "Save" ... use button"Load" to load file .
If used button "Save to clippboard" then put mouse in gcode window and click right and select "Paste" ... in this mode the image will be transfere from clipoard to program and automatically transformed to gcode!
Adjust Size of Image
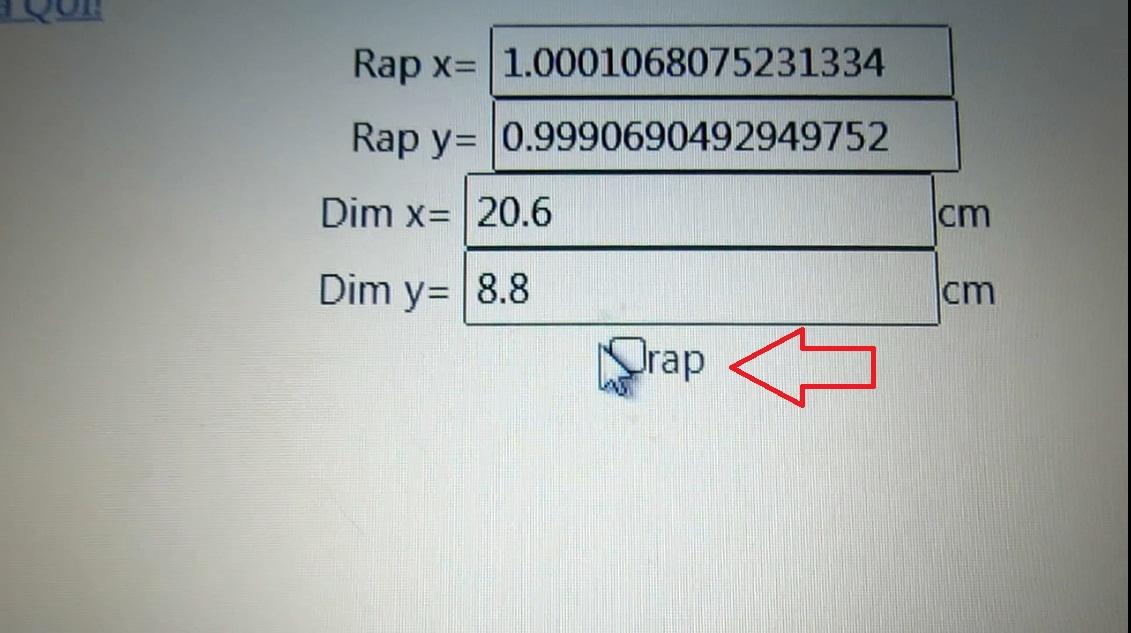
Uncheck the "Rap" if want modify only width of image.
For change ... insert value that you want and click anywhere in the page
The image will be modify automatically.
Select Bauds
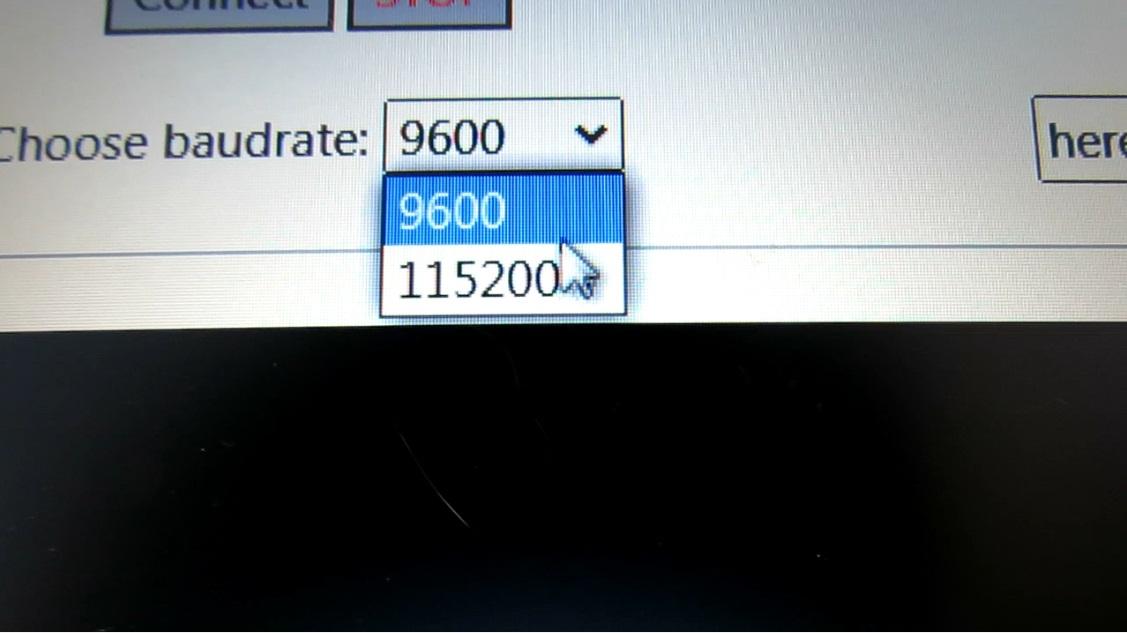
For costycnc small macchine select 9600 bauds . For another machine select 115200 bauds!
Connect With Costycnc Foam Cutter Cnc Macchine
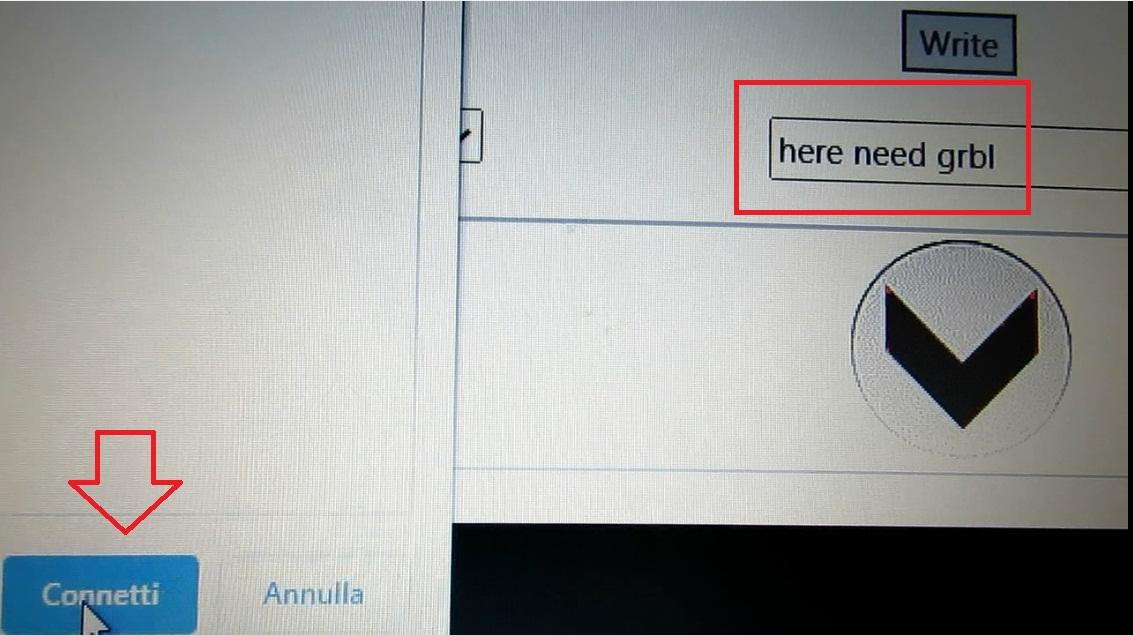
Click button "Connect" and select the port where macchine is connected.
If visualize more than one port ... proceed in this mode...
unplug usb cave and port will be dissapear from list
insert usb cable and port will be appear in the list
After you are shure that selected the port of the macchine ... click connect
The text "here need grbl" will be changed automatically by the program with "Grbl 1.1h"
If after connect you can not see the "Grbl 1.1h" mean that have problems with connection and cnc will not working!!!!
Make Movements With Arrows
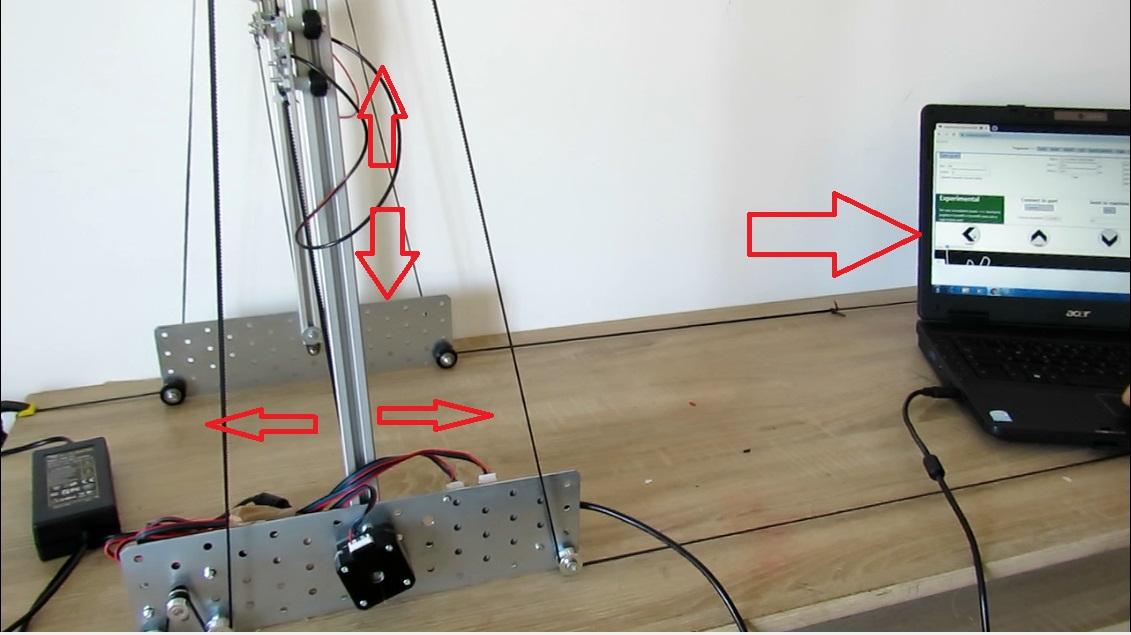
Now you can move the machine when click the arrow keys
Move Cnc to Home
Put the foam sheet.
Use the arrow keys to move cnc and hot wire to upper left of sheet foam.
This will be the home position and dipends of width of foam.
The hot wire will be positioned always il left upper of sheet.
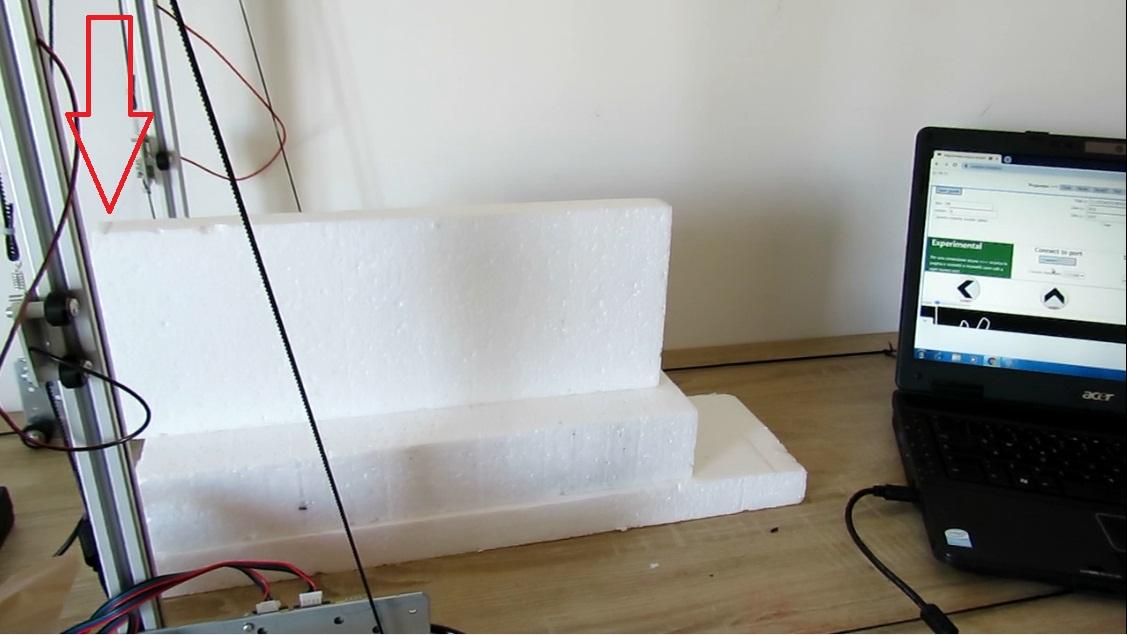
Begin Cut
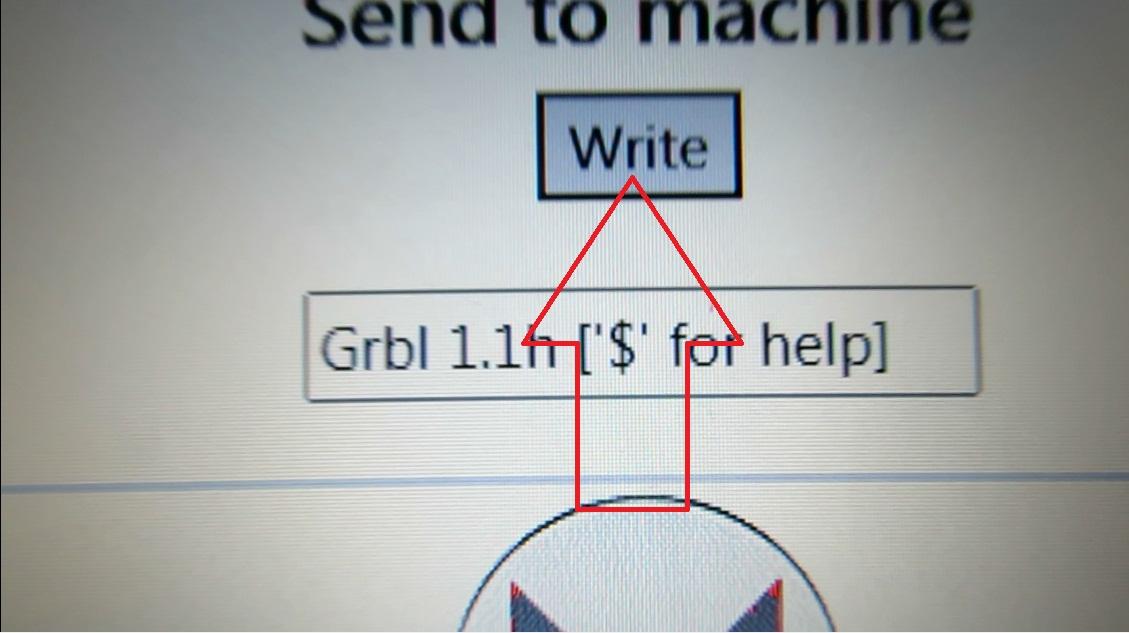
Now when click button "Write" the cnc begin cut!
Keep in mind to insert the power source cable on the module.
So ... you can comunicate with module without power source ... but motors not spin if power source is not inserted!!!
Also check if led of power source is on!
The Red Line of Program Advanced With Cut

The red line of program advanced same as costycnc cutter machine ( the red line will be little advanced that cut) ... so you can see what remain to cut and if cut working corectly!
Cnc Return Where Begin
When costycnc foam cutter macchine finished cut ... the image need to be integrally red and cnc need to return exactly at first.
If cnc not return at start (home) from where begin cut ... mean that have problems with cnc!!!
I hope that this tutorial help you to working with costycnc foam cutter macchine and costycnc programs!