Flying Wing Glider Project - Step-by-Step Guide in Autodesk Inventor
by AdityaK1498 in Design > 3D Design
460 Views, 1 Favorites, 0 Comments
Flying Wing Glider Project - Step-by-Step Guide in Autodesk Inventor


My name is Aditya, and I am an Autodesk expert with years of experience in 3D modeling, design, and engineering. I have always been captivated by the concept of flight, which has fueled my interest in designing and building functional aerodynamic models. This project, a flying wing glider, is a testament to my passion for aviation and my commitment to pushing the boundaries of creativity and engineering.
The flying wing design is a remarkable feat of aerodynamics. Unlike conventional aircraft, the flying wing lacks a distinct fuselage, resulting in reduced drag and improved efficiency. It has been a favorite in the fields of aerospace engineering and model aviation due to its sleek design and superior performance characteristics. For this project, I drew inspiration from the iconic X9 Skywalker—a design renowned for its simplicity and aerodynamic brilliance.
This guide takes you through the entire process of designing a flying wing glider using Autodesk Inventor, a professional-grade CAD software that empowers users to create complex models with precision and efficiency. My goal is to not only demonstrate the power of Autodesk Inventor but also provide a clear, detailed roadmap for anyone looking to bring their ideas to life. Whether you are a student exploring engineering principles, a hobbyist delving into model aviation, or an aspiring designer mastering CAD software, this project is designed to inspire and educate.
Throughout this step-by-step guide, I will share my insights, techniques, and best practices for creating a functional glider. From sketching the initial airfoil to lofting the wing structure, designing the fuselage, and adding control surfaces, every aspect of the design process is explained in detail. By the end of this guide, you will not only have a complete flying wing model ready for 3D printing but also a deeper understanding of how to apply engineering principles to real-world designs.
Let’s embark on this exciting journey together and bring the dream of flight to life. This is more than just a project—it’s an opportunity to explore the intersection of creativity, technology, and innovation. So buckle up and get ready to soar with your very own flying wing glider!
Supplies
To successfully design and build your flying wing glider, you will need the following:
Hardware and Materials
- 3D Printer: To fabricate the components of the glider.
- 3D Printing Filament: Preferably PLA or ABS for strong, lightweight parts.
- Adhesive: Epoxy or super glue for assembling printed parts.
- Sanding Tools: Sandpaper or a rotary tool to smooth edges and ensure proper fit.
- Electronics (optional for RC gliders):
- Small servos for control surfaces (elevons).
- Receiver and transmitter for remote control.
- Lightweight battery (e.g., LiPo) for powering electronics.
Software
- Autodesk Inventor: For designing and modeling the glider.
- Rendering Software: Autodesk Maya or 3ds Max for visualizing and animating the model.
- Slicing Software: Cura, PrusaSlicer, or similar, for preparing 3D print files.
Reference Resources
- Airfoil databases like NACA for accurate wing profiles.
- Technical specifications or dimensions of the X9 Skywalker for inspiration.
- Online tutorials and Autodesk forums for troubleshooting and tips.


Step 1: Setting Up Your Workspace
- Launch Autodesk Inventor: Open the software and start a new part file by selecting File > New > Part.
- Unit Selection: Set your project units:
- Navigate to Tools > Document Settings and select the Units tab.
- Choose millimeters or inches based on your preference or project requirements.
- Organize Your Files: Save your part file with a descriptive name like “Flying_Wing_Glider_Part1” to keep your project well-organized.
Downloads
Step 2: Designing the Wing Profile
- Start a New Sketch:
- Select the XY plane and open a new 2D sketch.
- Use the Spline Tool to draw the cross-sectional airfoil shape for the wing.
- For precision, reference an airfoil database (like NACA) to import a predefined airfoil or manually replicate its shape.
- Dimensioning:
- Use the Dimension Tool to add key dimensions such as chord length, camber height, and thickness distribution.
- Verify symmetry by constraining the spline endpoints to the centerline.
- Save and Exit: Finish the sketch once the airfoil shape is complete.
Step 3: Creating the Main Wing Structure
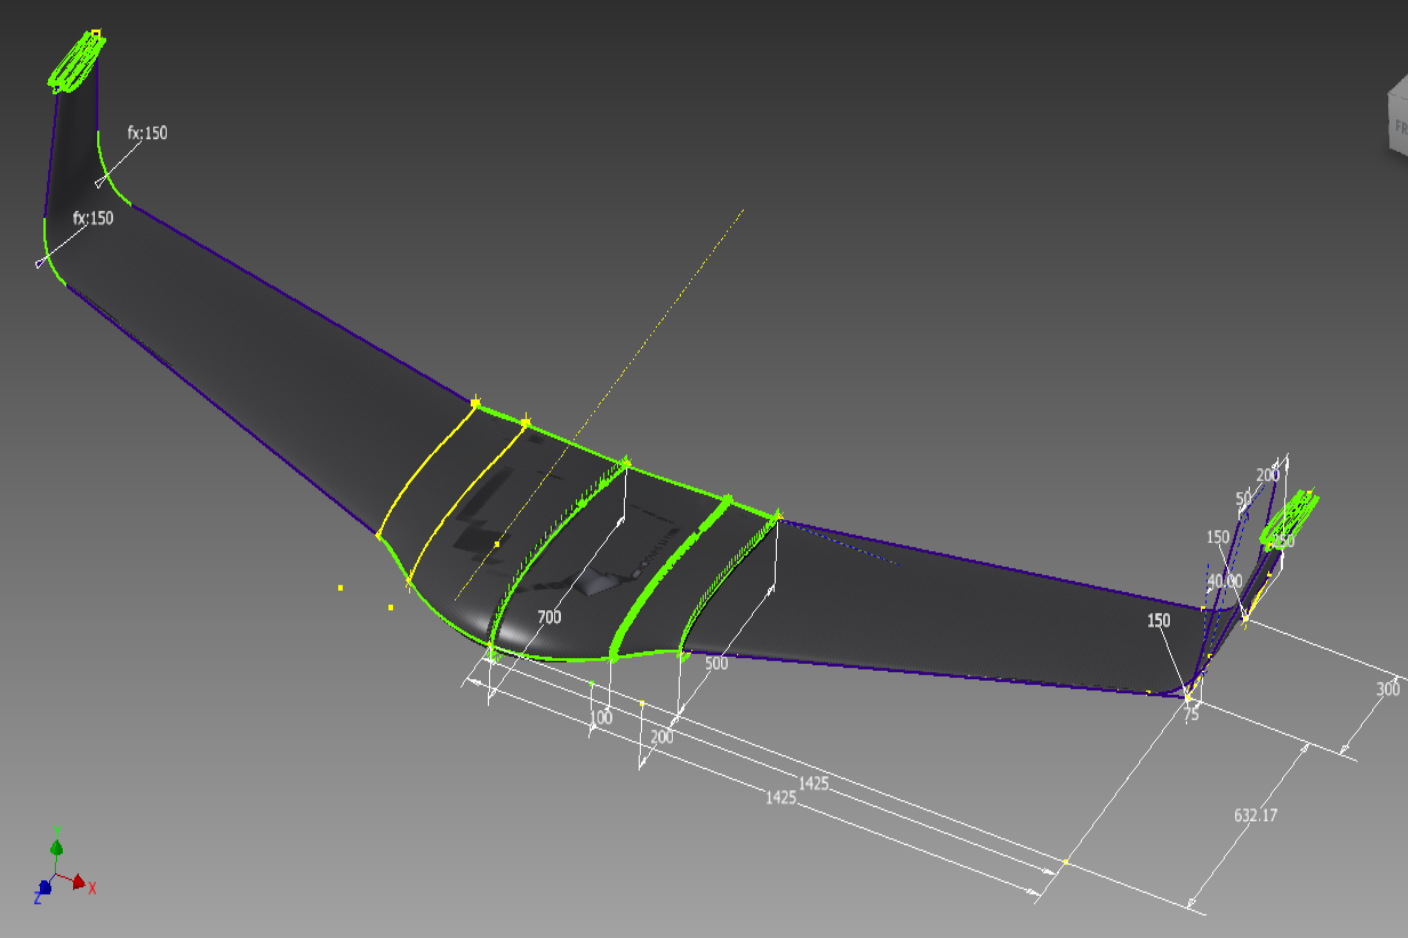
- Defining Wing Sections:
- Create additional sketches for the wing’s cross-sections at intervals along the wingspan (root, mid-span, and tip).
- Ensure the airfoil dimensions taper progressively from root to tip for aerodynamic performance.
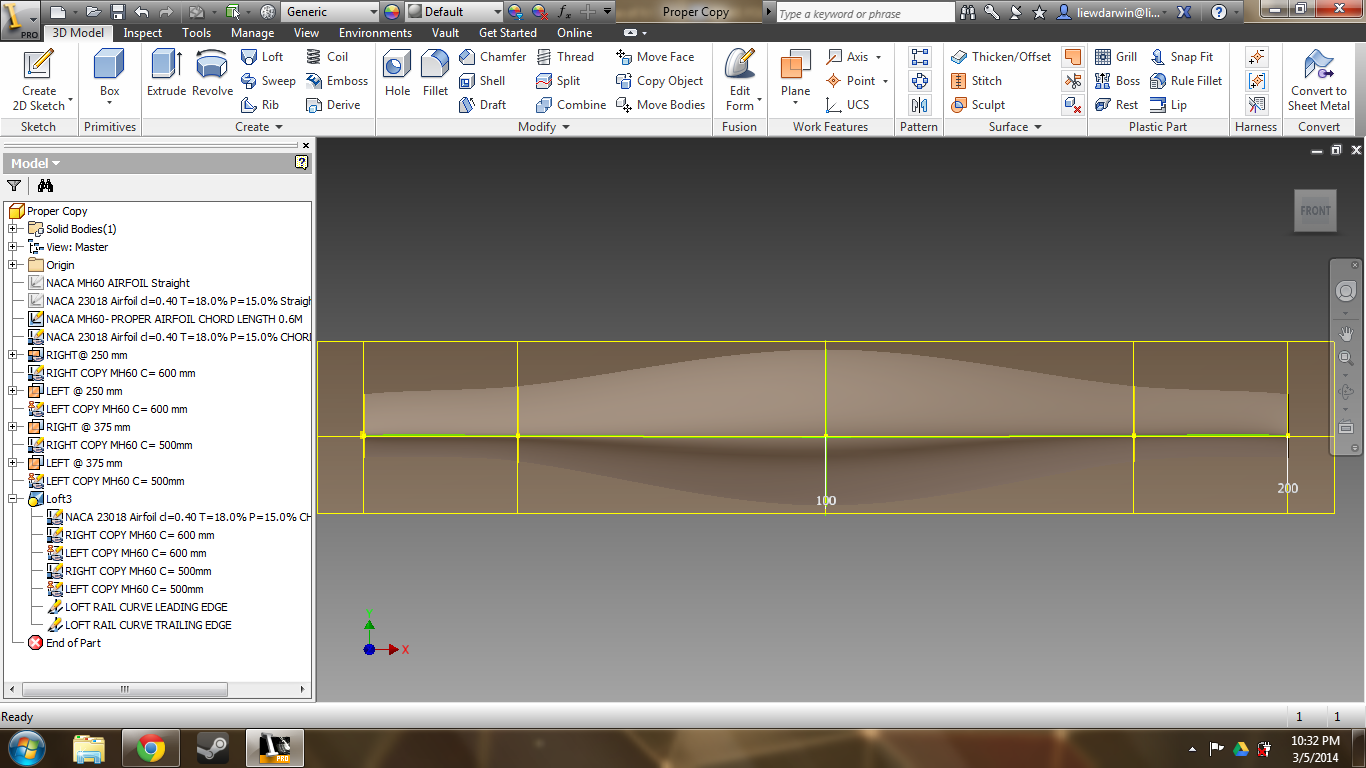
- Using the Loft Tool:
- Select 3D Model > Loft and choose the airfoil profiles.
- Use guide rails to control the shape of the loft, ensuring a smooth transition between sections.
- Adding Winglets:
- For wing stability, create sketches on the wingtip plane and design vertical winglets.
- Use the Extrude or Loft tool to shape the winglets and align them with the wing’s trailing edge.
Step 4: Designing the Fuselage
- Sketching the Fuselage:
- Start a new sketch on the YZ plane.
- Use lines and arcs to define the outline of the fuselage, keeping it streamlined.
- Add a slight curve at the front for reduced drag and a flat rear section for mounting components.
- Extruding the Fuselage:
- Use the Extrude tool to create a 3D body from the sketch.
- Add cutouts for battery compartments and electronic components using the Cut tool.
- Integrating with the Wing:
- Use the Combine tool to merge the fuselage and wing into a single, unified part.
Step 5: Adding Control Surfaces
- Elevons:
- Sketch rectangular control surfaces on the trailing edge of the wings.
- Use the Extrude tool to create independent parts for these control surfaces.
- Create hinge points using the Axis Tool to allow movement.
- Checking Alignment:
- Verify that the elevons align with the overall wing profile for effective control.
Step 6: Reinforcement and Lightweight Design
- Adding Internal Structures:
- Design spars and ribs within the wing using the Sketch tool on internal planes.
- Use the Pattern Tool to replicate these structures along the wingspan for consistency.
- Hollowing Out Non-Critical Areas:
- Use the Shell Tool to remove unnecessary material from the wing and fuselage, reducing weight without compromising strength.
Step 7: Detailing and Refining
- Fillets and Chamfers:
- Use the Fillet Tool to round sharp edges, improving aerodynamics and aesthetics.
- Add chamfers where structural components meet for smoother transitions.
- Assembly Simulation:
- Use the Assemble tool to check the fit and alignment of all parts.
- Simulate the movement of control surfaces to ensure functionality.
Step 8: Preparing for Rendering and Animation
- Material Application:
- Apply materials to different parts using the Appearance tool.
- Choose realistic textures like carbon fiber for the wing and lightweight aluminum for reinforcements.
- Exporting for Rendering:
- Save the final model in formats like STEP or OBJ for use in rendering software.
- Rendering and Animation:
- Import the model into Autodesk Maya or 3ds Max to add textures, lighting, and animation.
- Create an animation sequence showcasing the glider in flight.
By following this detailed step-by-step guide, I’ve shown you how to design a flying wing glider in Autodesk Inventor. This project combines creativity, precision, and engineering principles, offering a unique learning experience. You can now 3D print your model, refine it further, or present it in a rendered animation to showcase your design skills.