Flying Disc
1.png)
.png)
.png)
.png)
Description
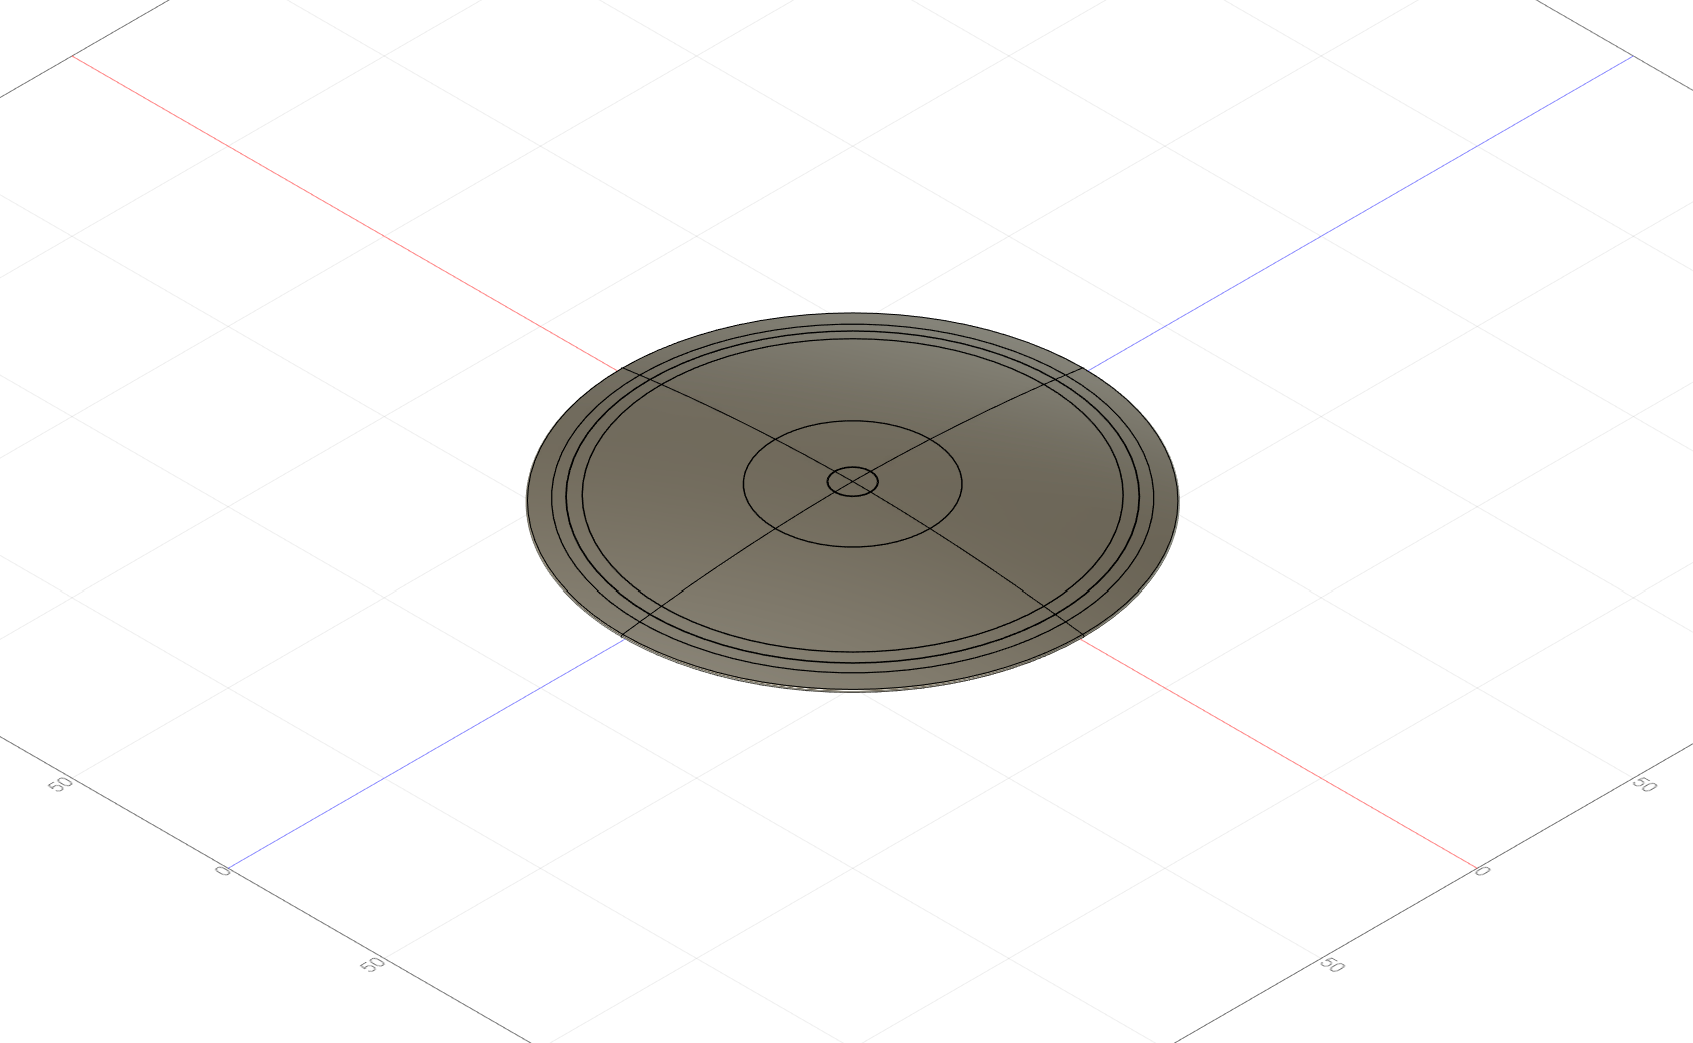
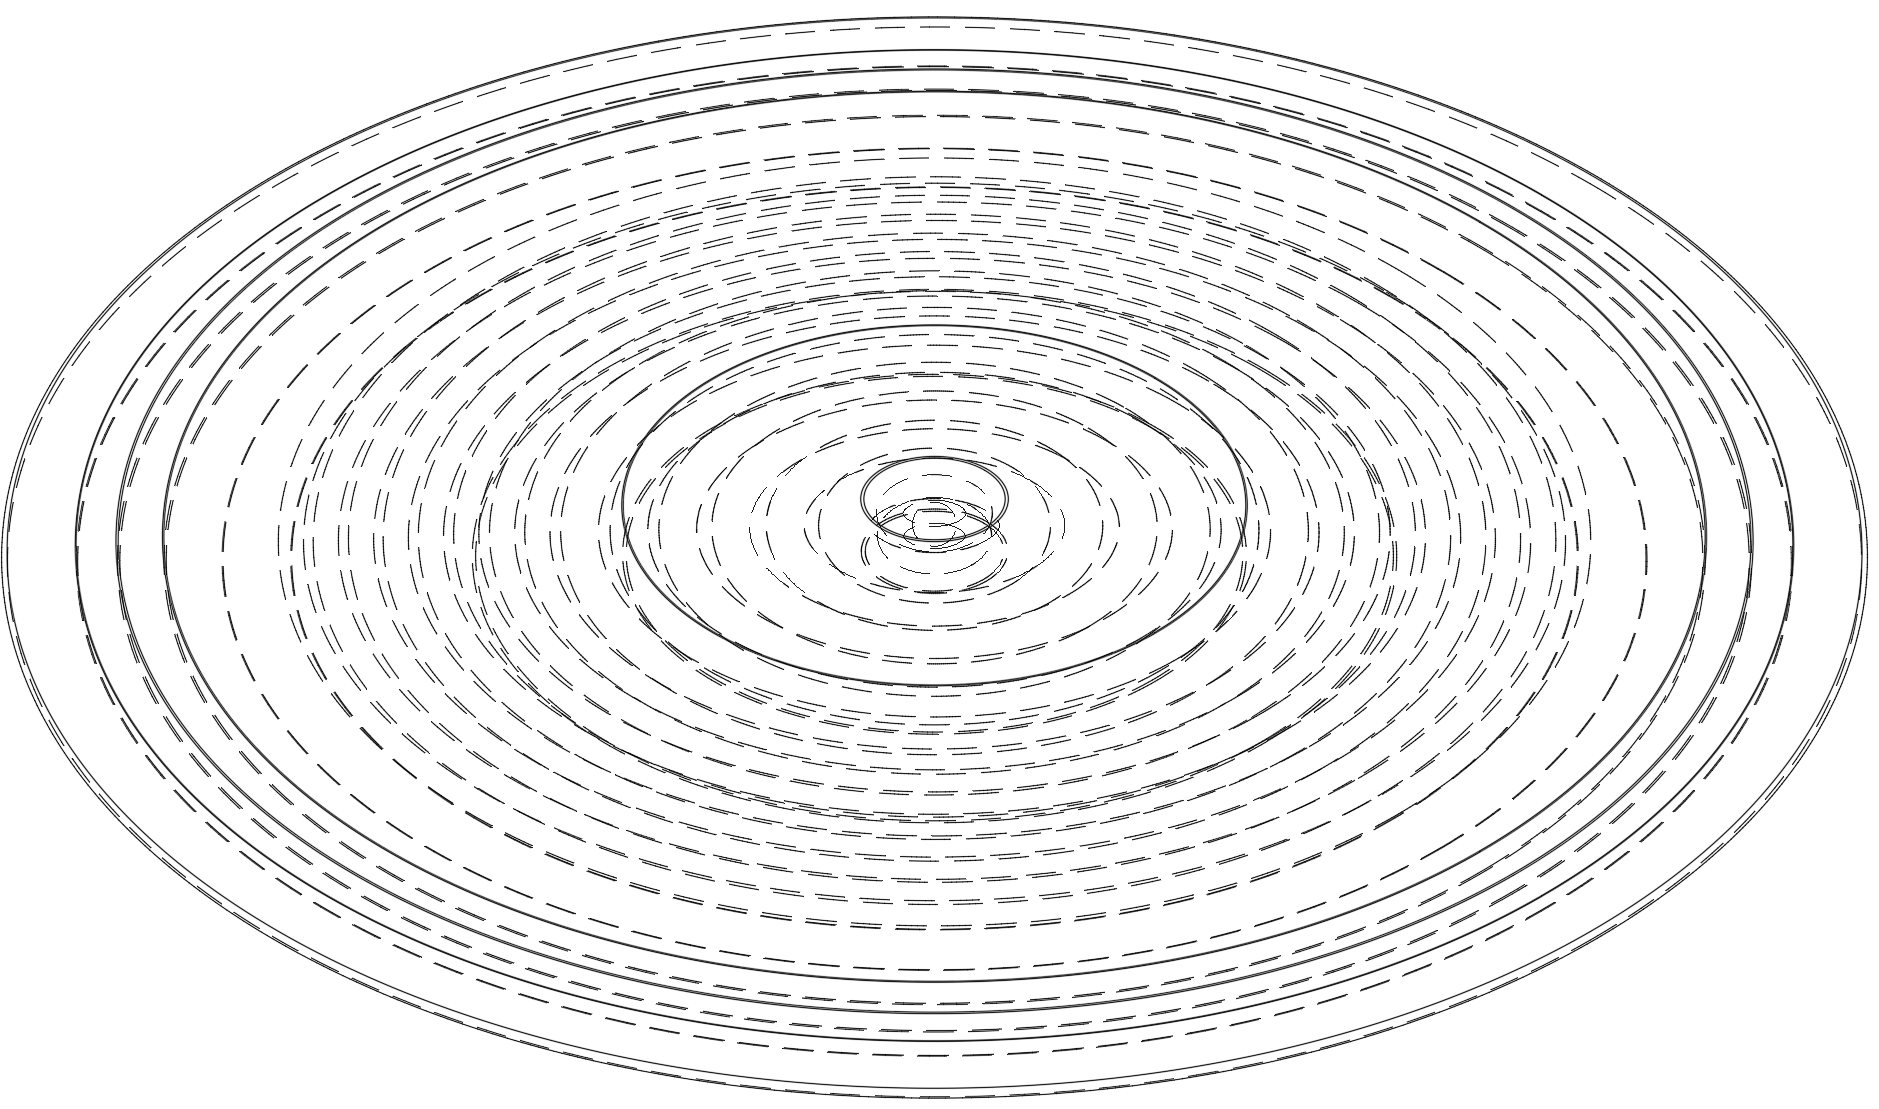
Flying disk! does whatever a flying disk does! This is a roughly 147mmx147mm flying disk with a fairly low thickness and camber. Designed to be pretty stable, this disk should throw well, with a bit of practice.
Story Time
Recently, I lost my frisbee and have been without a flying disk for some time. As a result of this massive loss, I was unable to sleep and function normally. Days seemed to never end without my beloved frisbee to give me purpose in life. I simply could not function without a flying disk. Because of this, I decided to design and print one to fill the disc shaped hole in my life. With this disc, I was able to bring joy back to my life, and I hope it will do the same for you!
I attend Wilton High School in Wilton, CT as a freshman. I am entering this design on behalf of FTC team 7034 Singularity Technology, and any winnings will go towards building this season's robot.
Supplies
- Any standard 3d printer with a usable bed size of at least 150x150mm.
- any filament you want to use should work.
Export and Print It
.png)
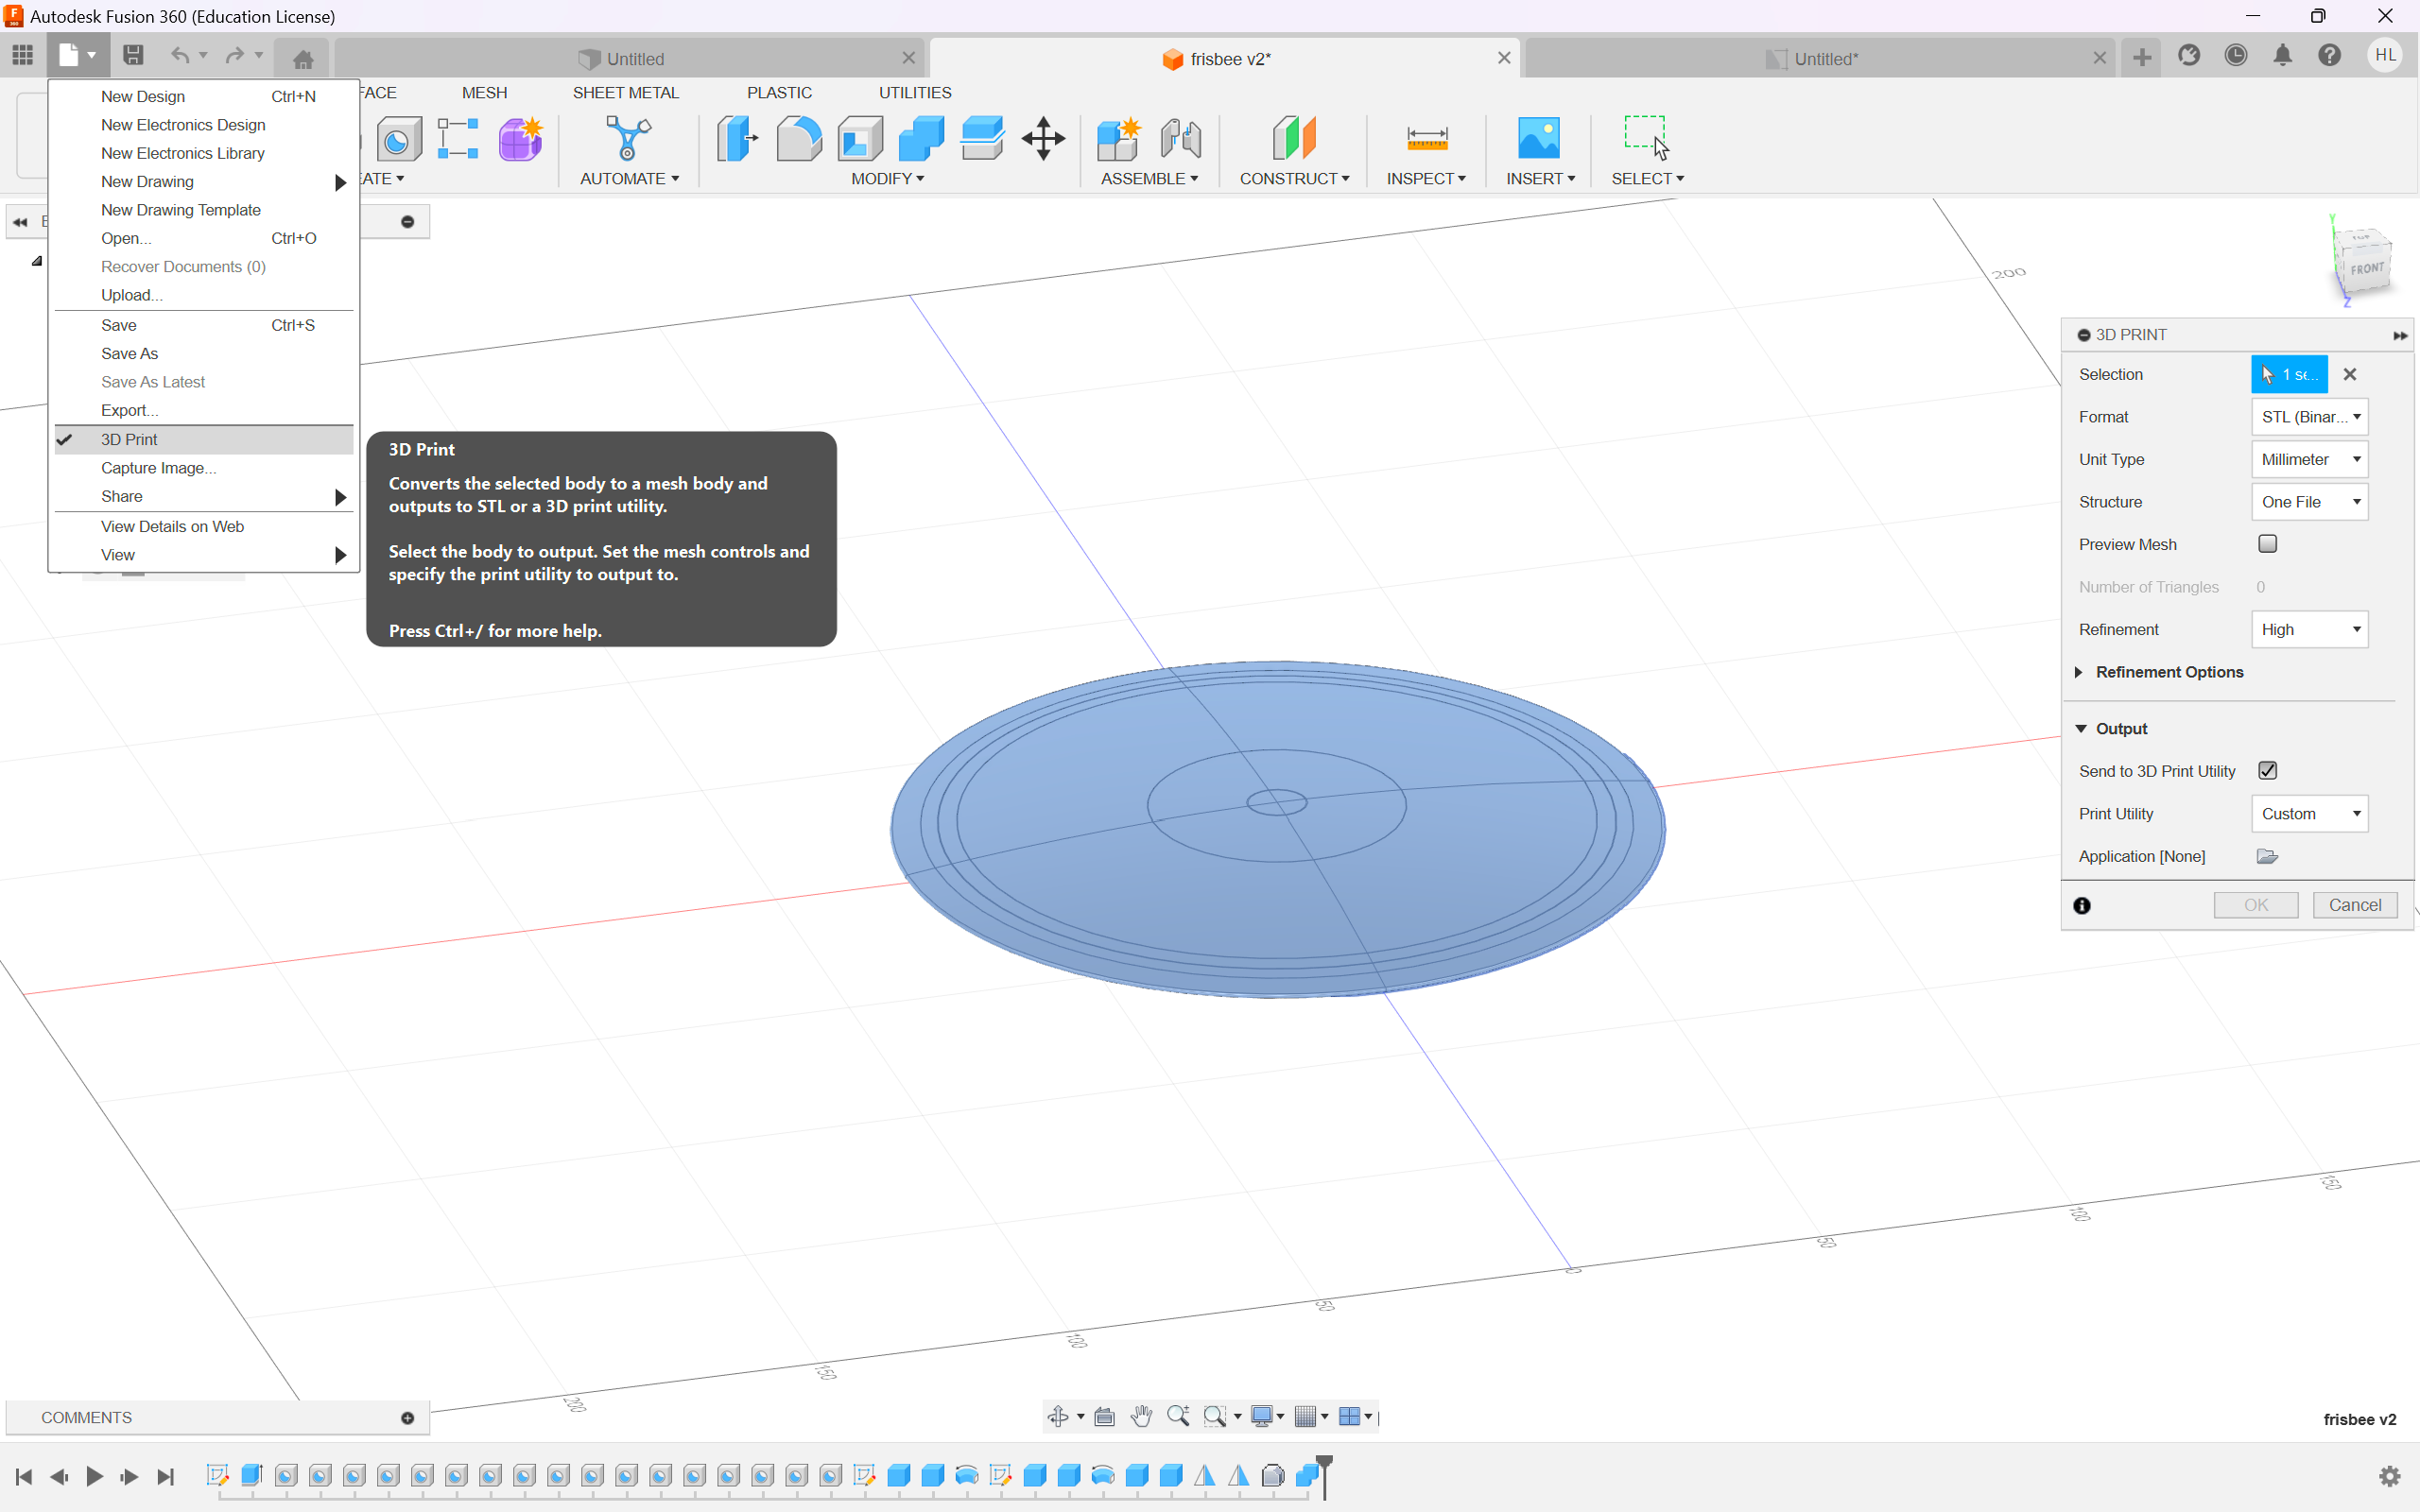
Through Fusion, simply open the file menu in the top left corner, select 3d printing, select all of the components of the disc, then choose whatever settings you desire, and export. You could also download the already formatted files and do things manually. Steps for all of this may vary depending on the software and printer you have, so I recommend looking for a relevant tutorial.
Disc!
Do flying disc things!
To throw the disc, simply throw it however you would throw a frisbee or similar disc. This disc handles slightly different, so you may need to slightly modify your style for best results. Whether you're having a catch with friends, playing a round of disc golf, competing in a game of ultimate frisbee, or just getting it stuck on the roof of your house, this disc should do it all!
Make Your Own
If you want to try your hand at making your own flying disc, you can follow the steps below.
Note: This is the method I used to create the version shown above in Fusion 360, you can and should use whatever method and program you feel like, just try to keep in mind the principles of aerodynamics and airfoils for the best results.
Getting Started!
.png)
First things first, you should create a new design using millimeters as the unit of measurement. You should then select the sketch tool and sketch on the XY or YZ plane. I recommend setting up 3 points as a reference guide for the general shape of your disc.
Creating the Outline
.png)
.png)
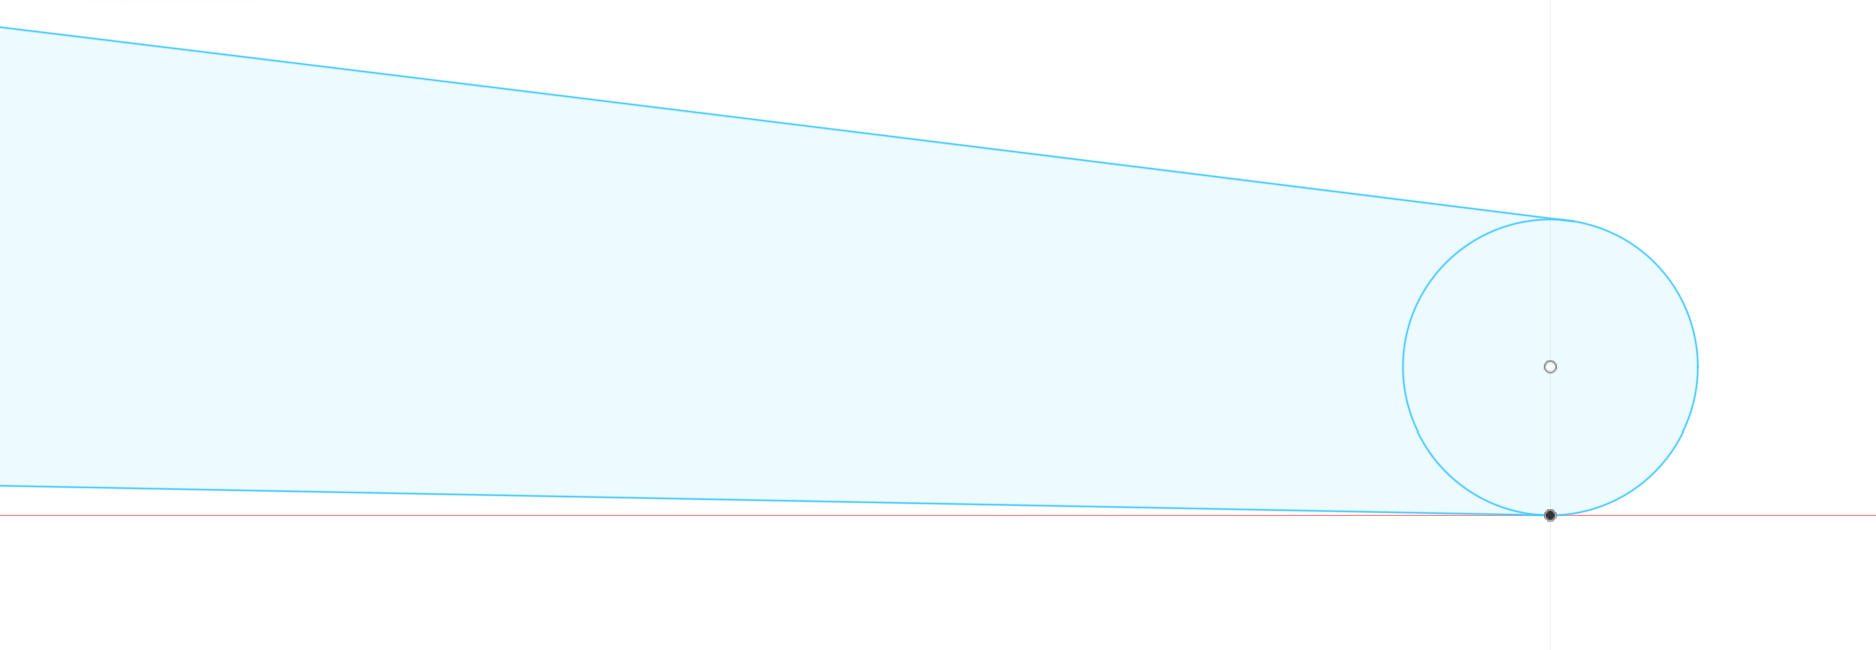
At the furthest point that will be the leading edge of your disc, use a circle tool to round of the edge. Then, the top point to the top of the circle using an arc tool. Feel free to make both the edge and the arc to your own specifications. After this, connect the remaining points to each other using a line tool or arc tool, either one will work. After this, finish the sketch.
Inside Structure
.png)
.png)
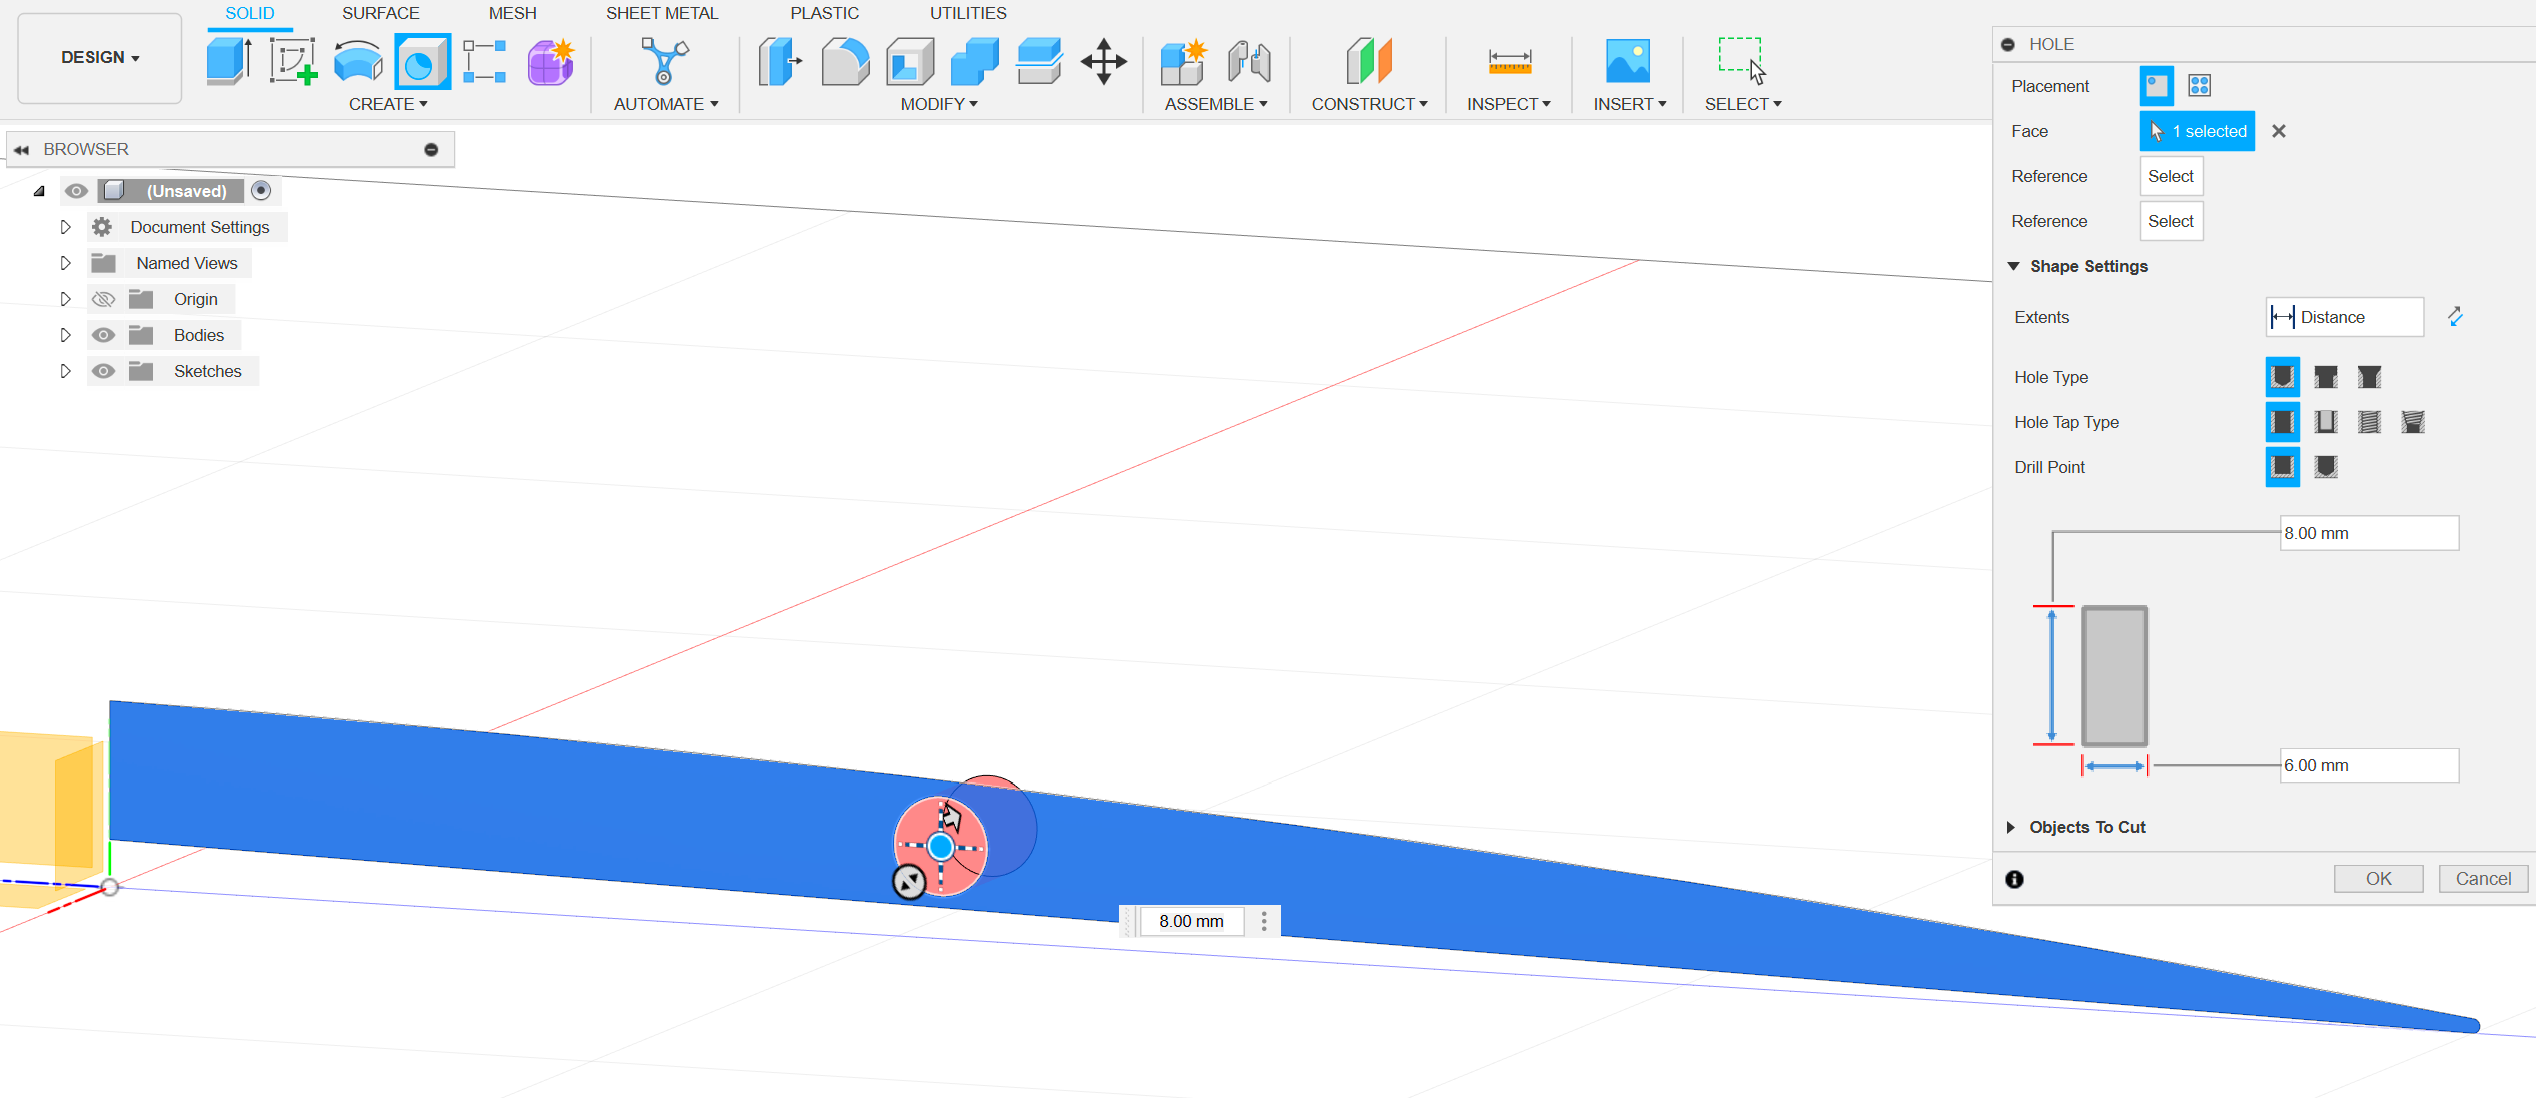
Once the sketch is done, extrude it by as little as possible, around 0.01 millimeters ideally. This will give you a face to cut holes into. Once you have an extruded sketch, use the hole tool to create circular holes. These holes will lighten the disc and save on the material needed to print it, while also preserving the strength of the disc. These holes should be evenly space and there should be a decent amount of space between them and the walls to preserve structural integrity. Add as many or as little as you want. If you want to try using cut outs of other shapes, feel free to.
Making the Discs Body and Wrapping Up
.png)
.png)
.png)
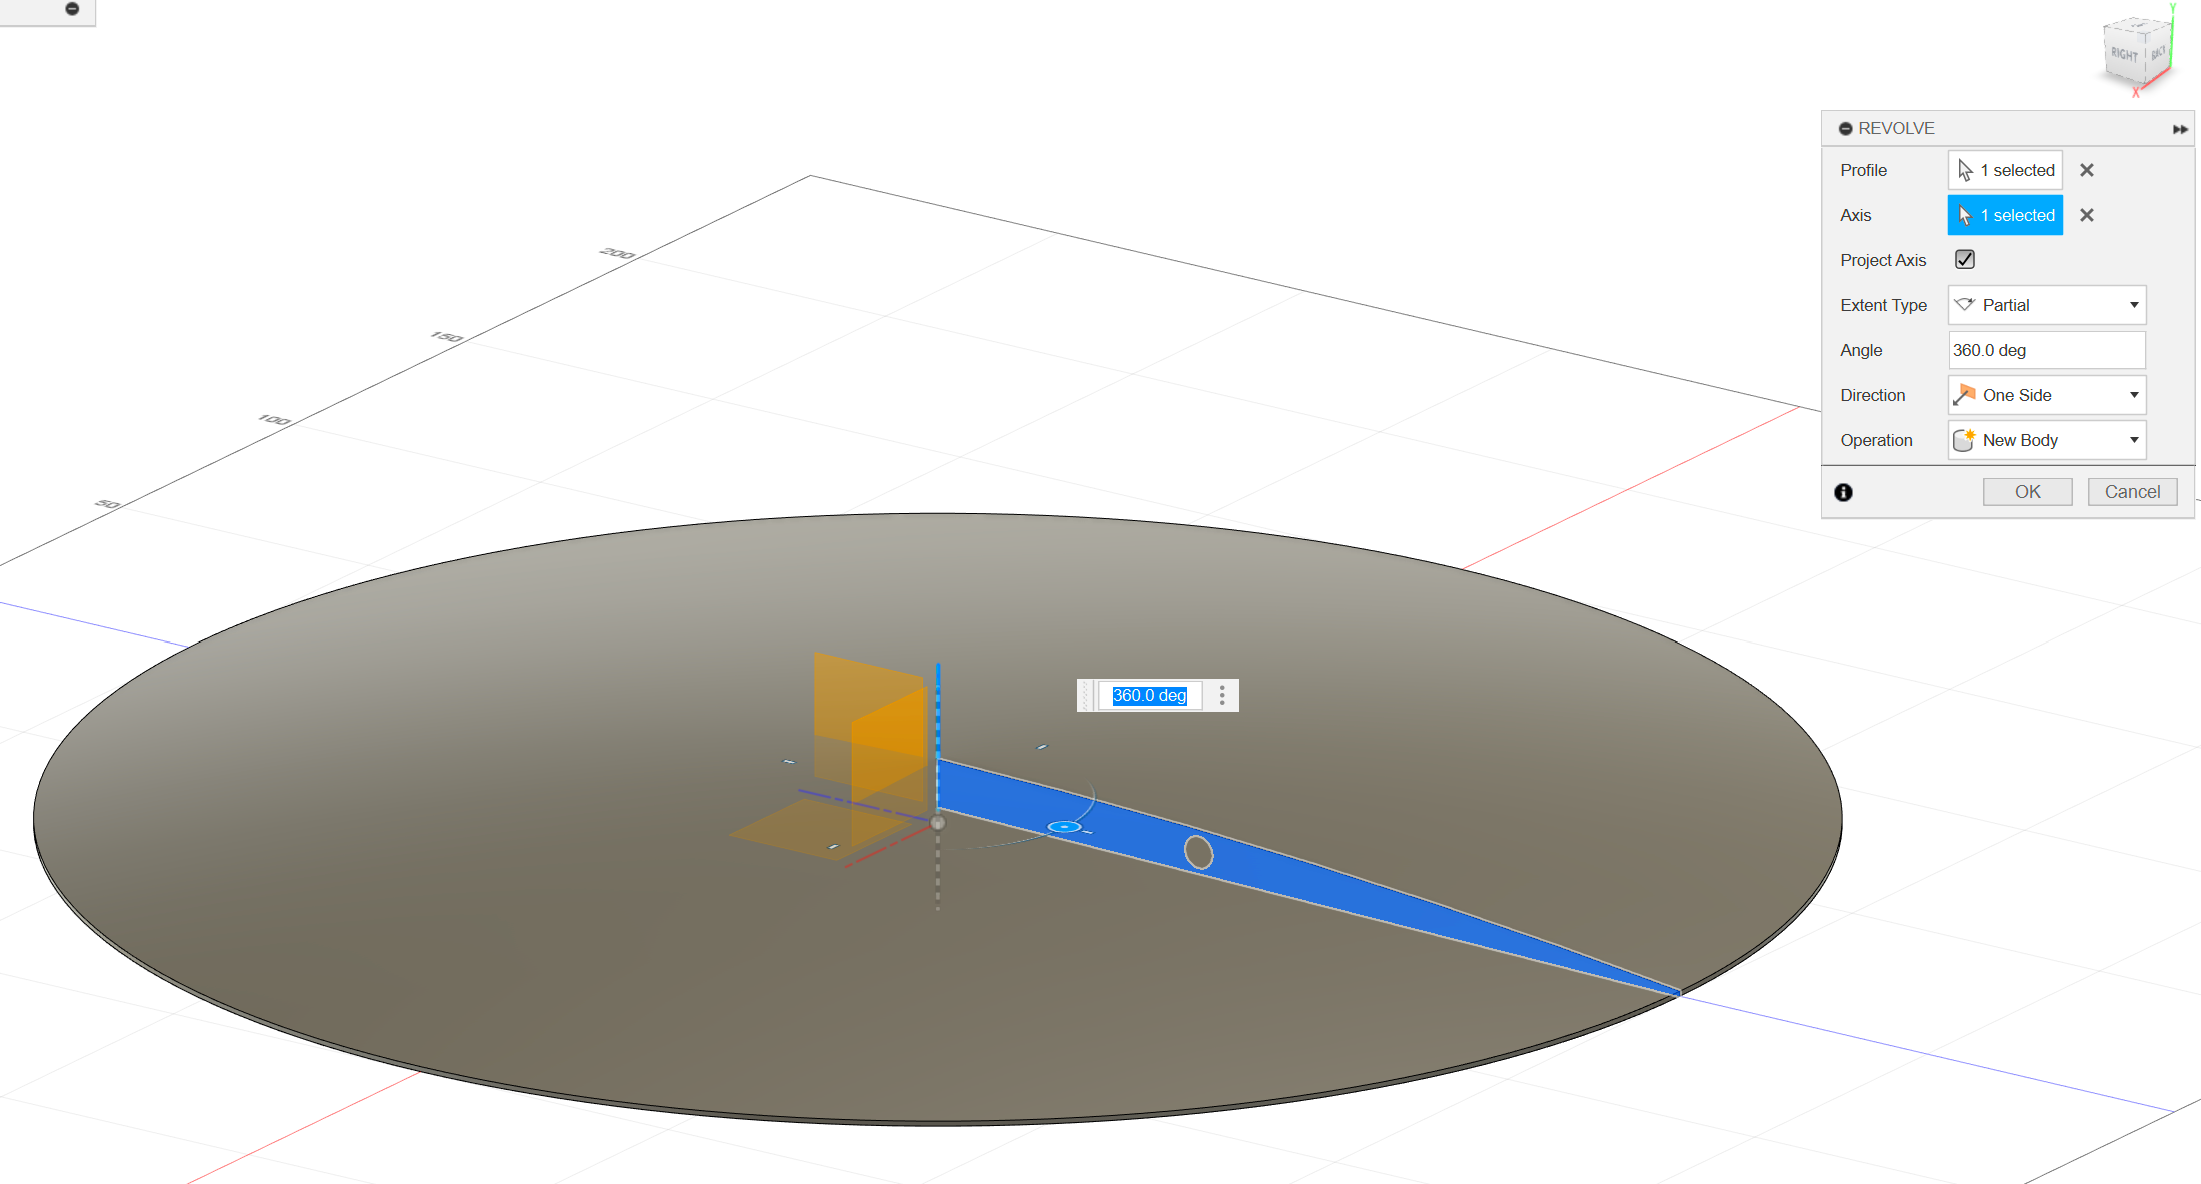
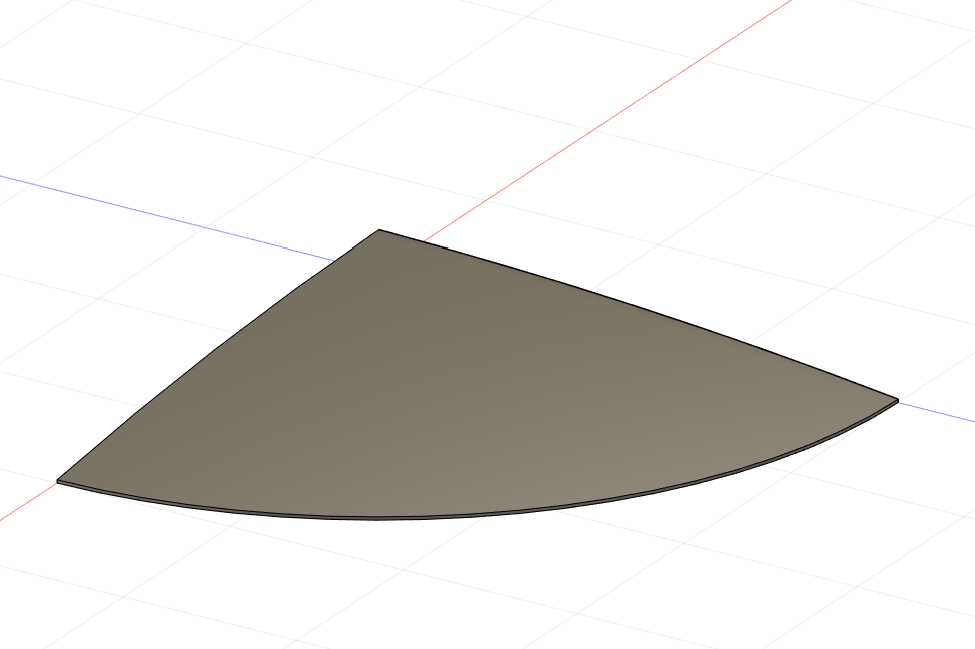
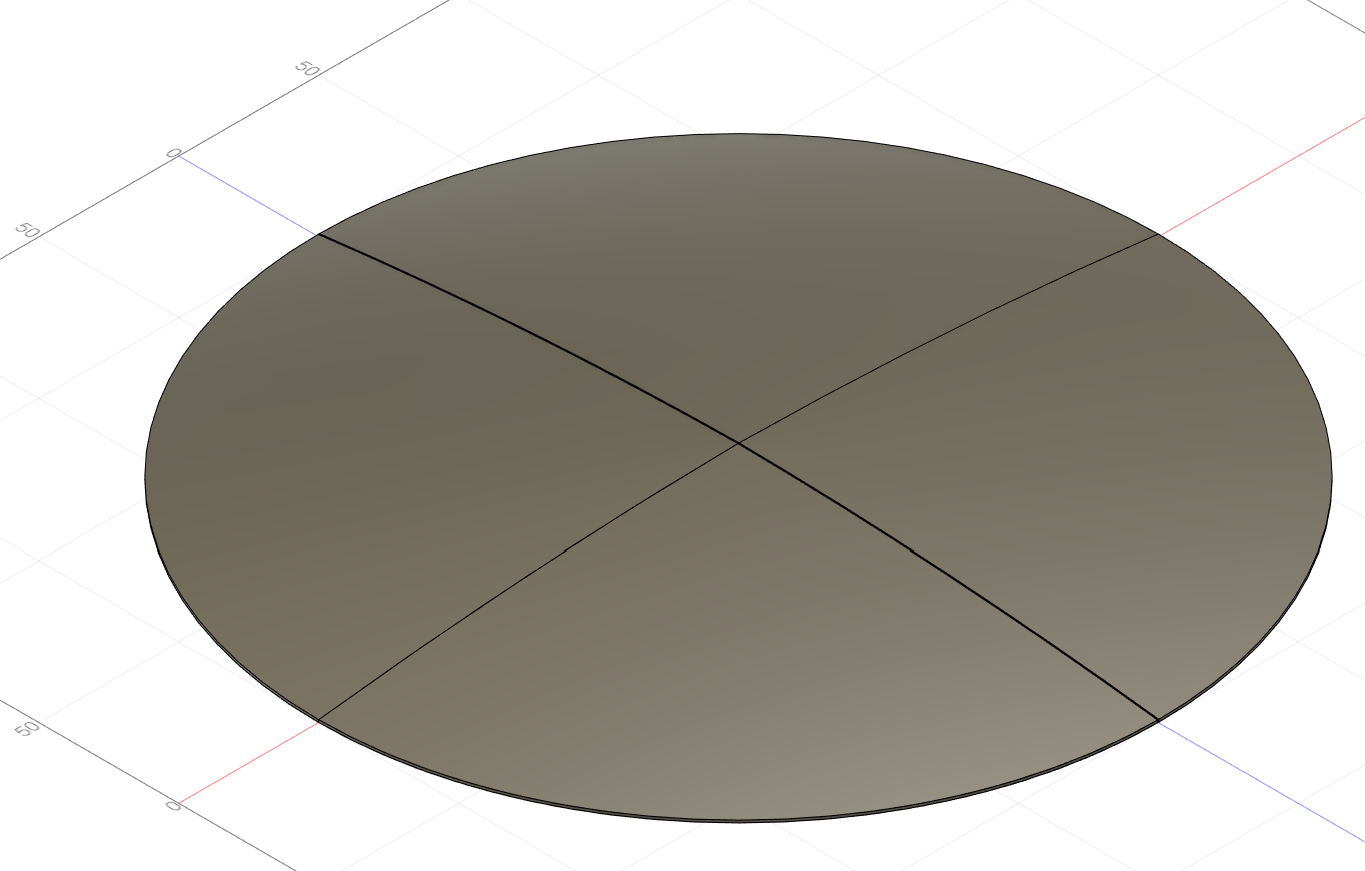
To make the body of the disc, simply use the revolve tool to revolve the extruded sketch around the Y axis. Although they won't affect the actual printed design, if you want to make the annoying line that will show up on your model symmetrical, cut out a quarter of the disc and then mirror it over both the XY and XZ planes. After that, your disk is done and ready to print!