Flying Bird

What?
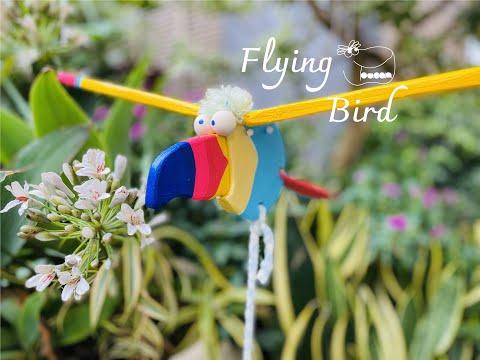
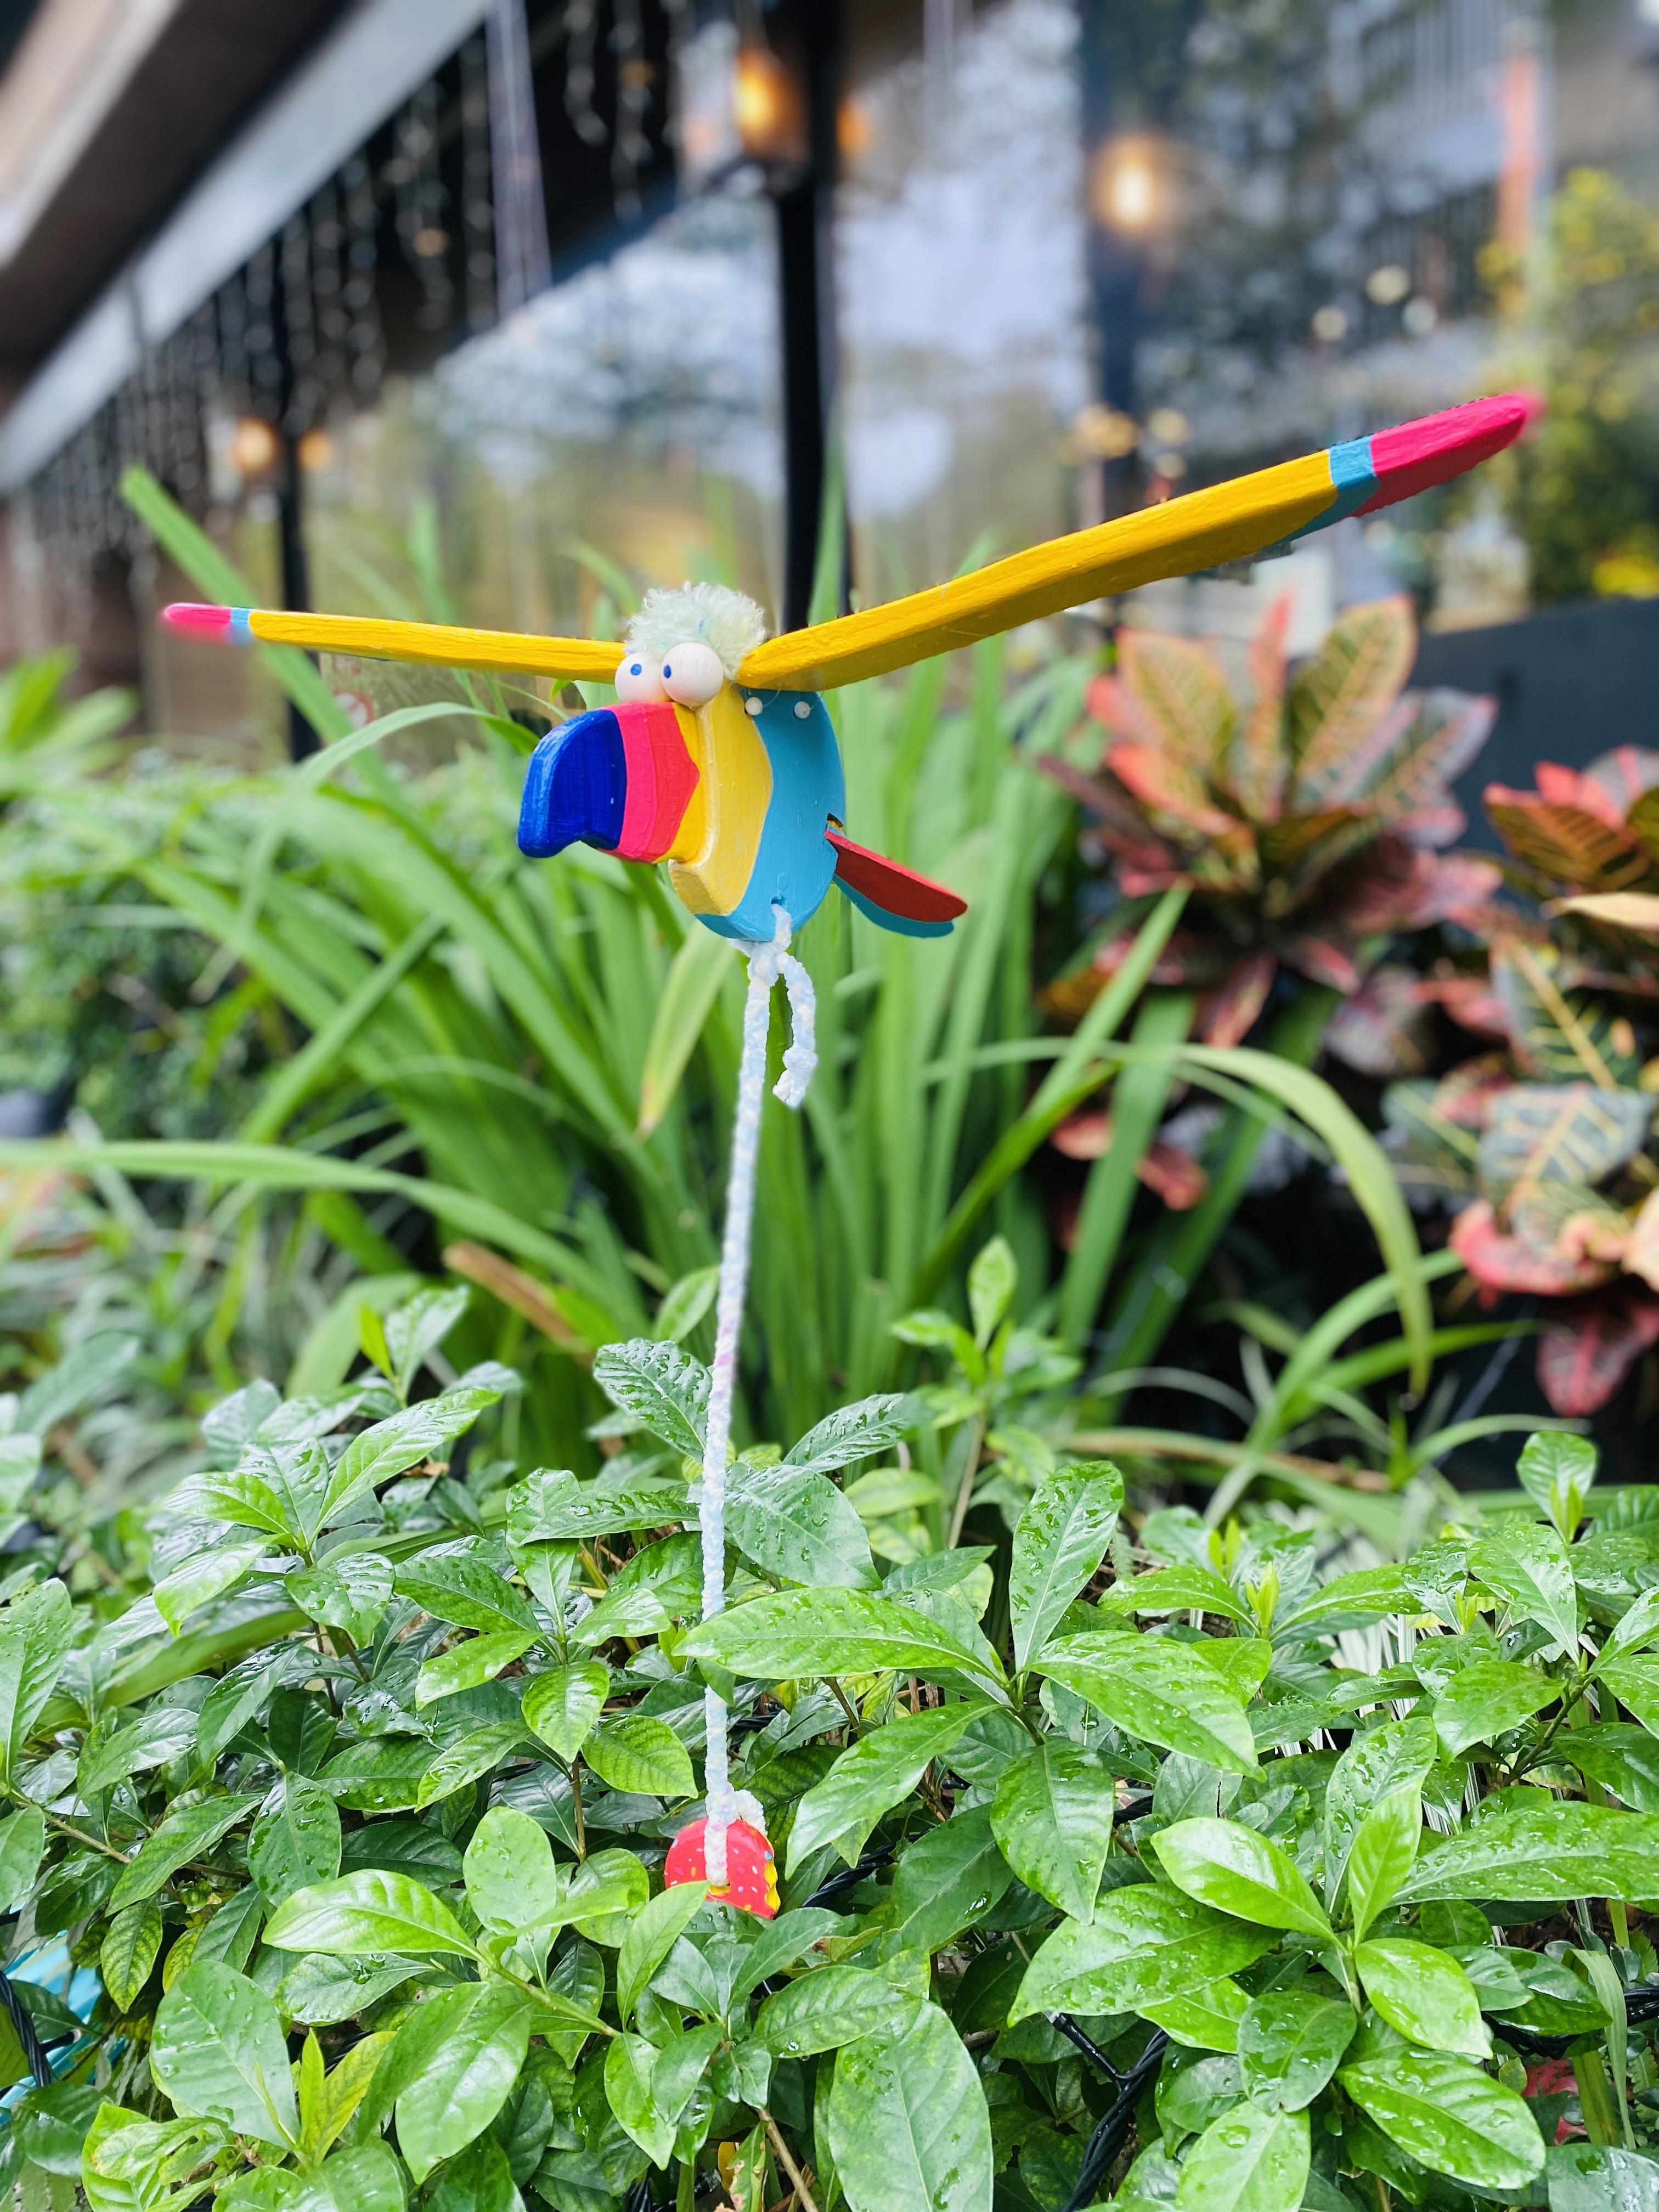
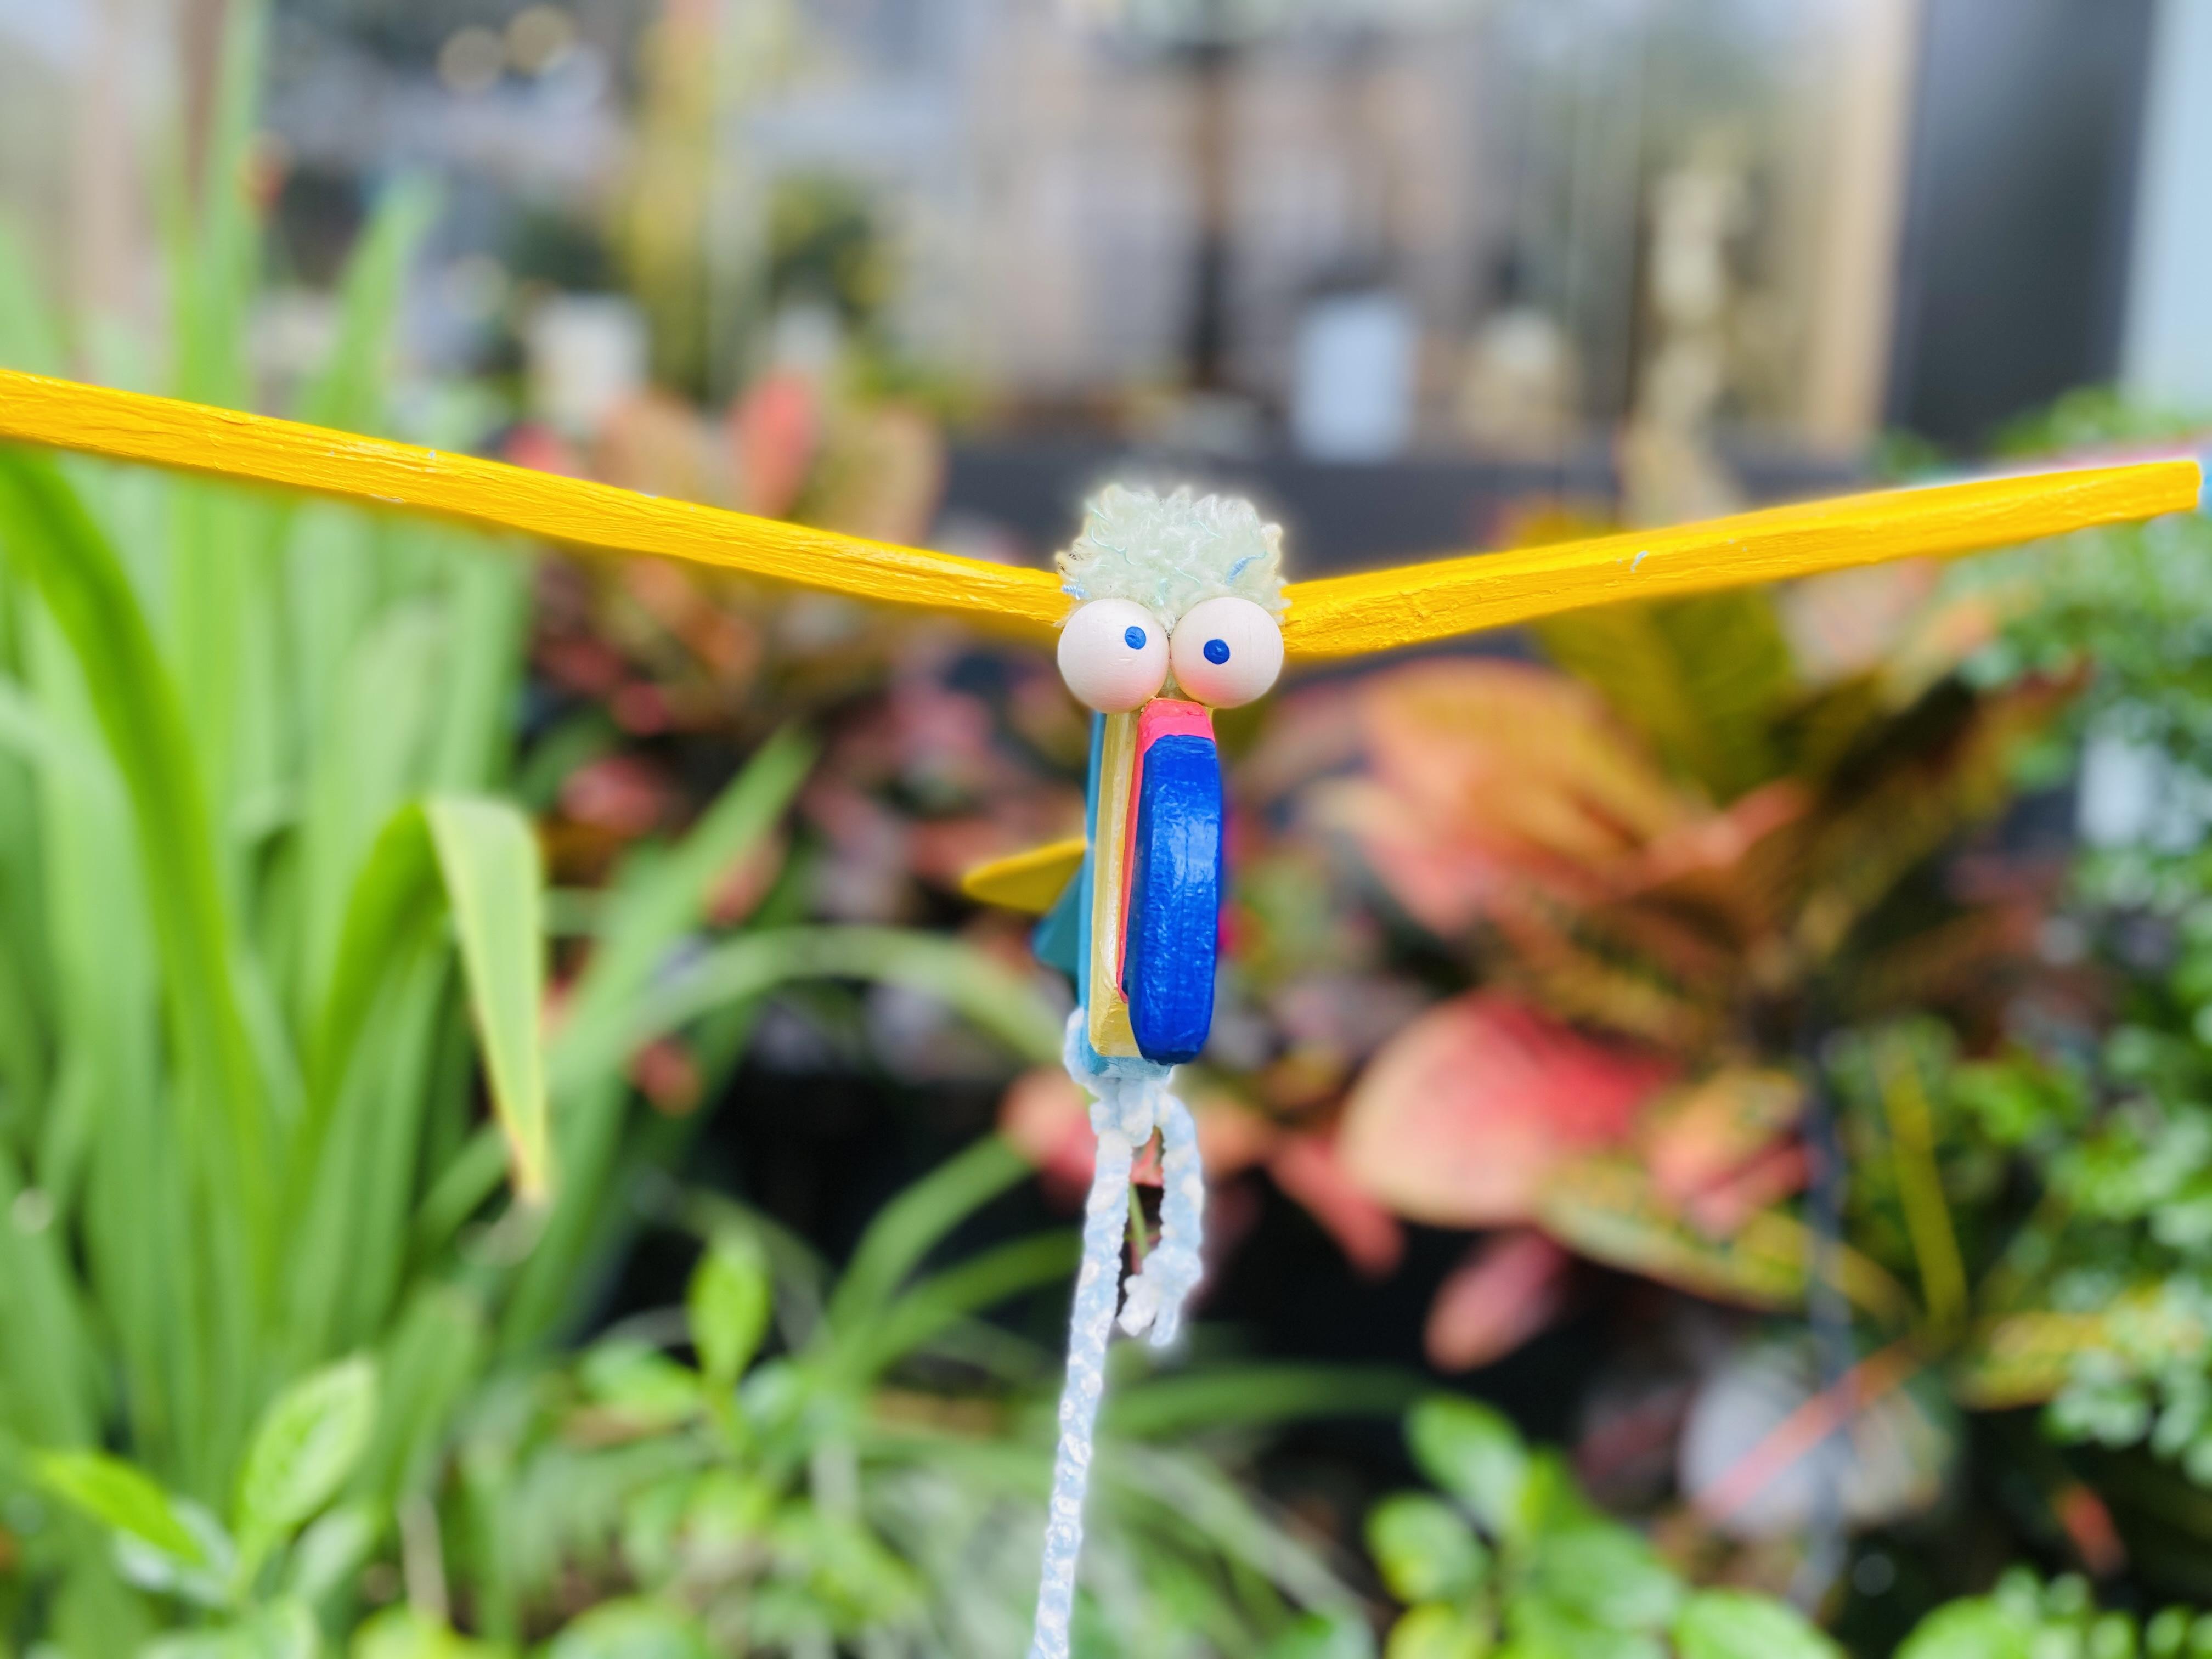
Make a big, funny bird that flies up and down by balancing its weight. Paint it in bright colors with oversized eyes to make it look silly and funny, so that anyone who sees it every day will laugh!
Why?
The goal is to create a funny toy using laser cutting. Not only is it interactive, but every time people see it, they will feel like they’re back in their childhood and start laughing.
How?
Use a laser cutter to cut the bird design from Medium Density Fiberboard (MDF). Then, measure the weight and balance to ensure it flies properly. Finally, paint it and string it up to complete the toy!
Downloads
Supplies
Materials:
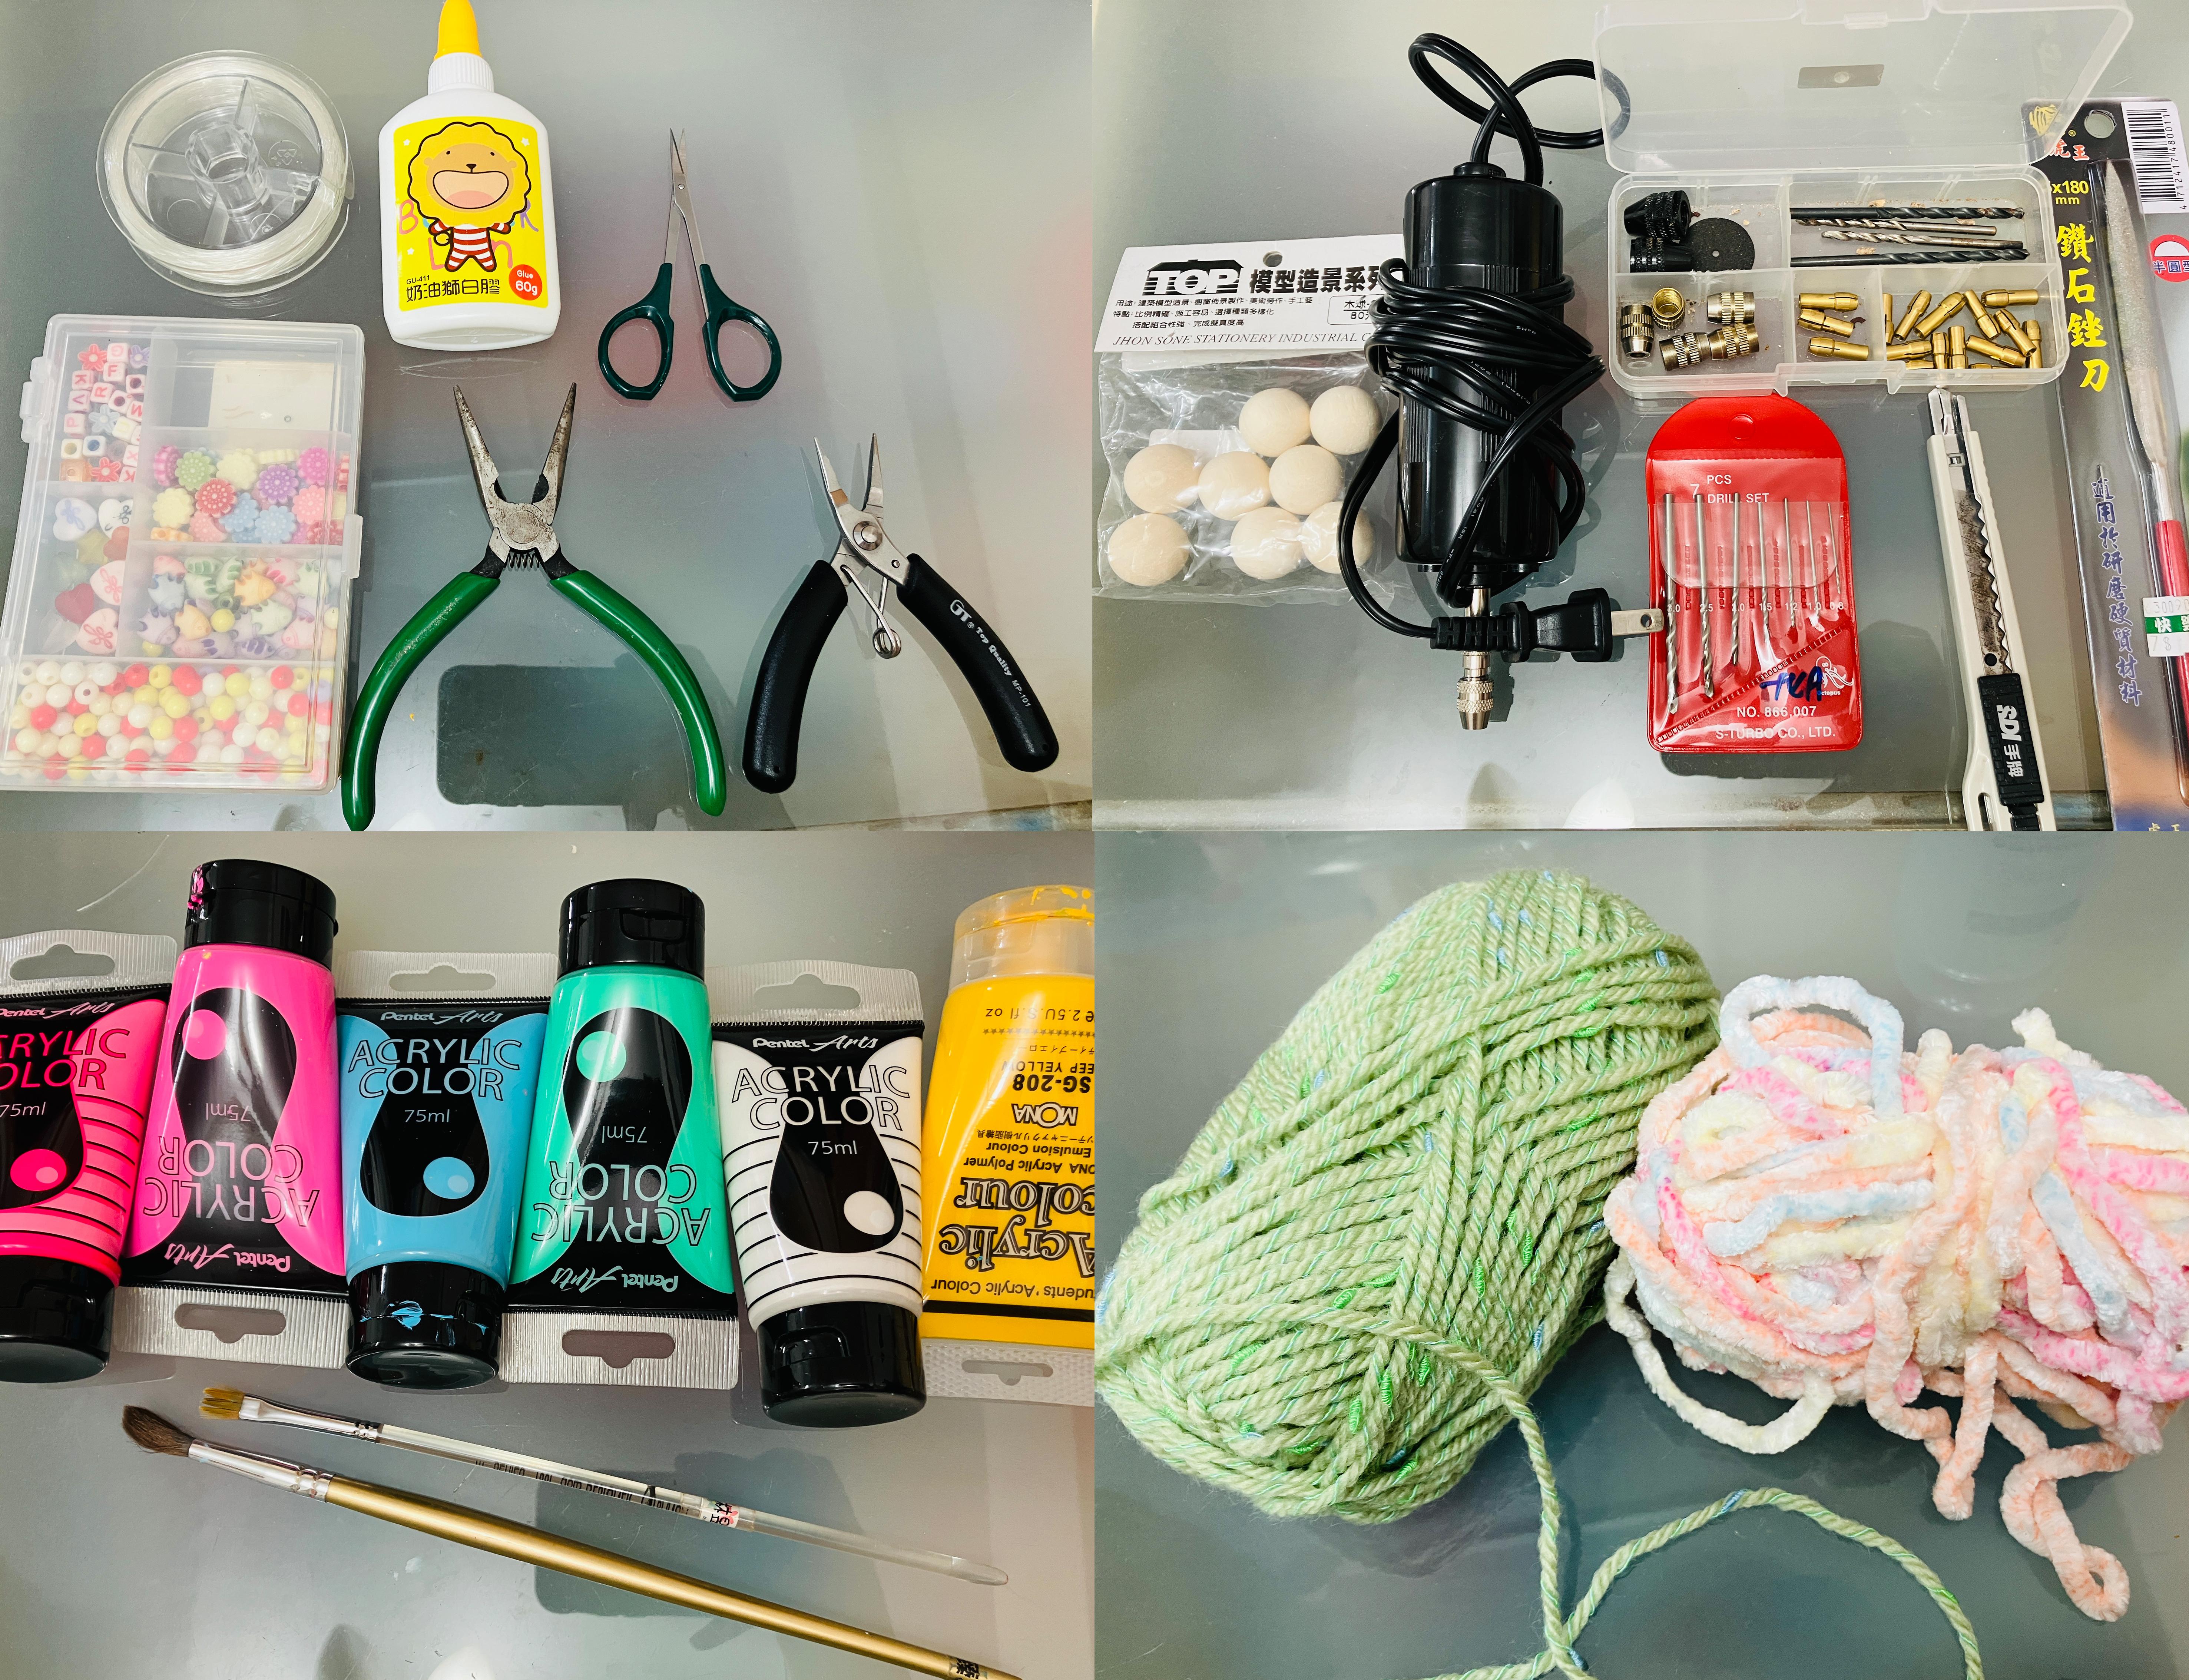
1. Laser Cutting Machine(LaserPro Mercury III )
2. 5mm thick Medium Density Fiberboard (MDF) Board, 28*30cm for 2 piece
3. 3mm thick Medium Density Fiberboard (MDF) Board, 15*15cm for 1 piece
4. Wooden balls *2 (2 cm)
5. Drill
6. White glue
7. Sandpaper (80, 100, 1500, 5000, adjustable)
8. Paintbrush
9. Acrylic paint (white, yellow, pink, red, dark blue, light blue, colors can be adjusted)
10. Fishing line
11. Yarn (5 mm thick, can be replaced with other thicknesses)
12. Beads
13. Hairdryer
14. Disposable chopsticks
15. Masking tape
16. Scissors
17. Ruler
18. Gloves (work gloves)
Outline:
Step 1: Design the pattern
Step 2: Draw it on the computer
Step 3: Laser cutting
Step 4: Apply white glue, drill holes, and test
Step 5: Sanding
Step 6: Apply base color
Step 7: Paint with colors
Step 8: Attach the beak and eyes
Step 9: Tie the string
Step 10: Finished!!!
Design the Pattern
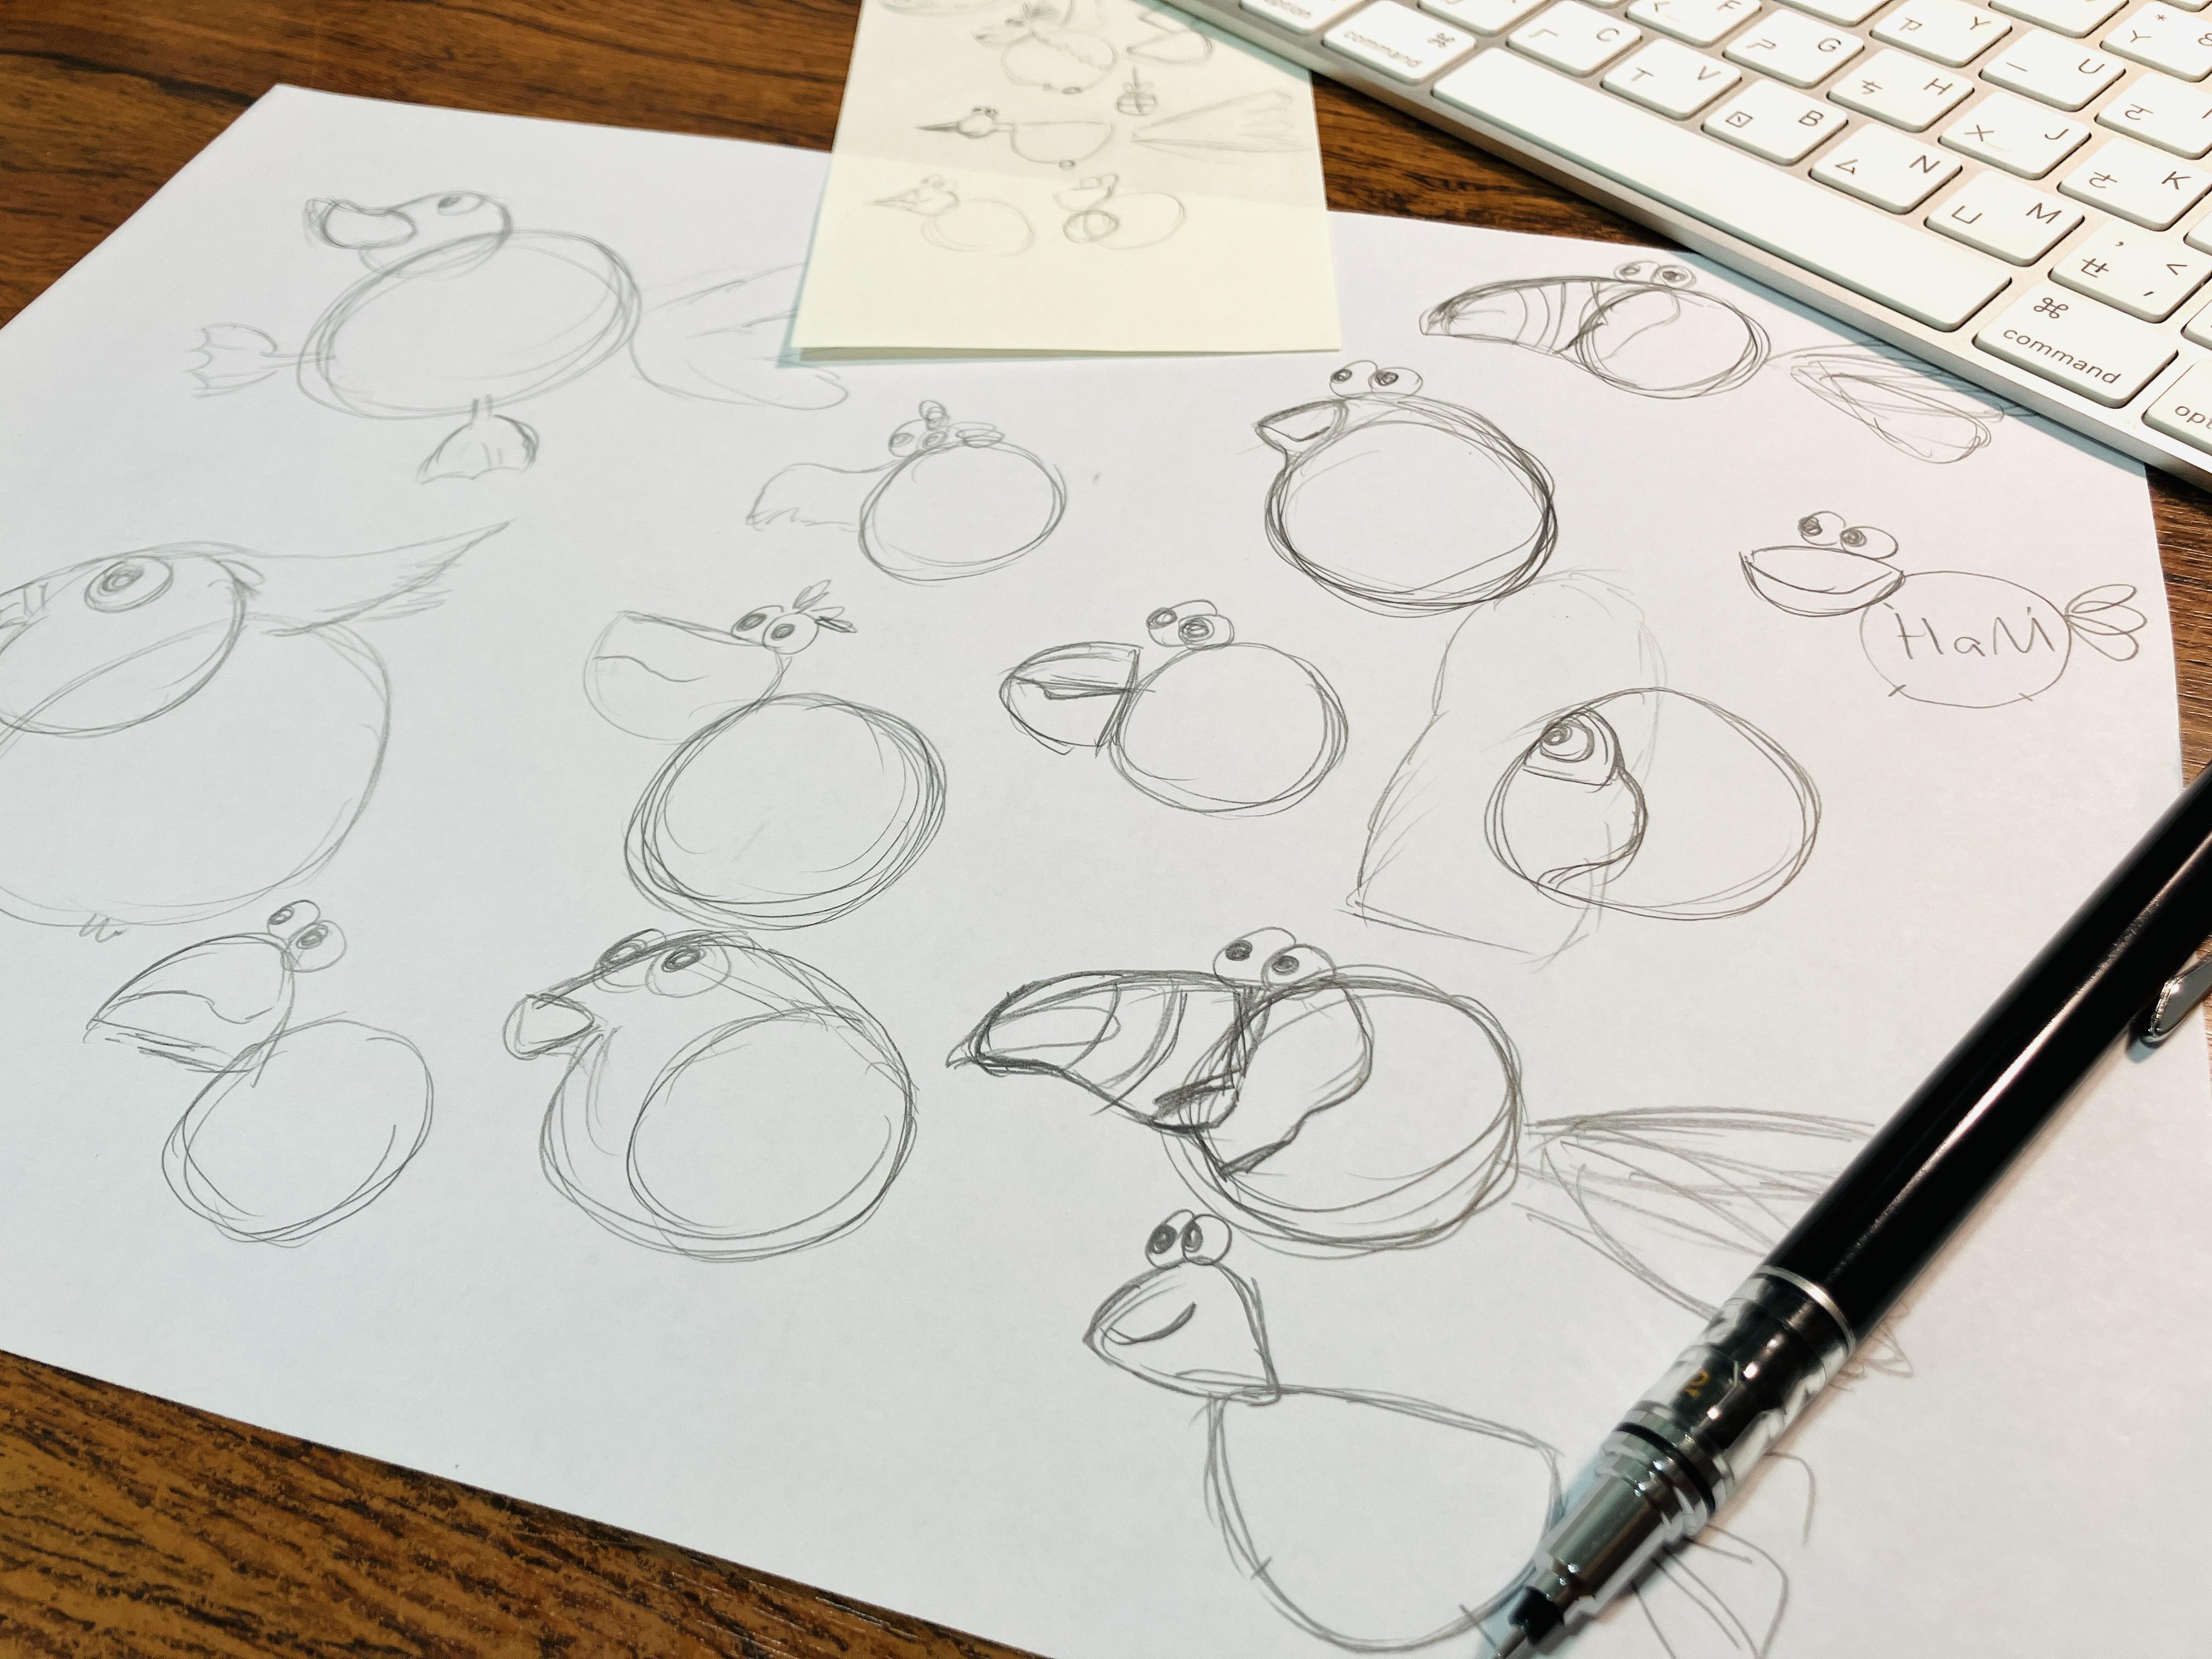
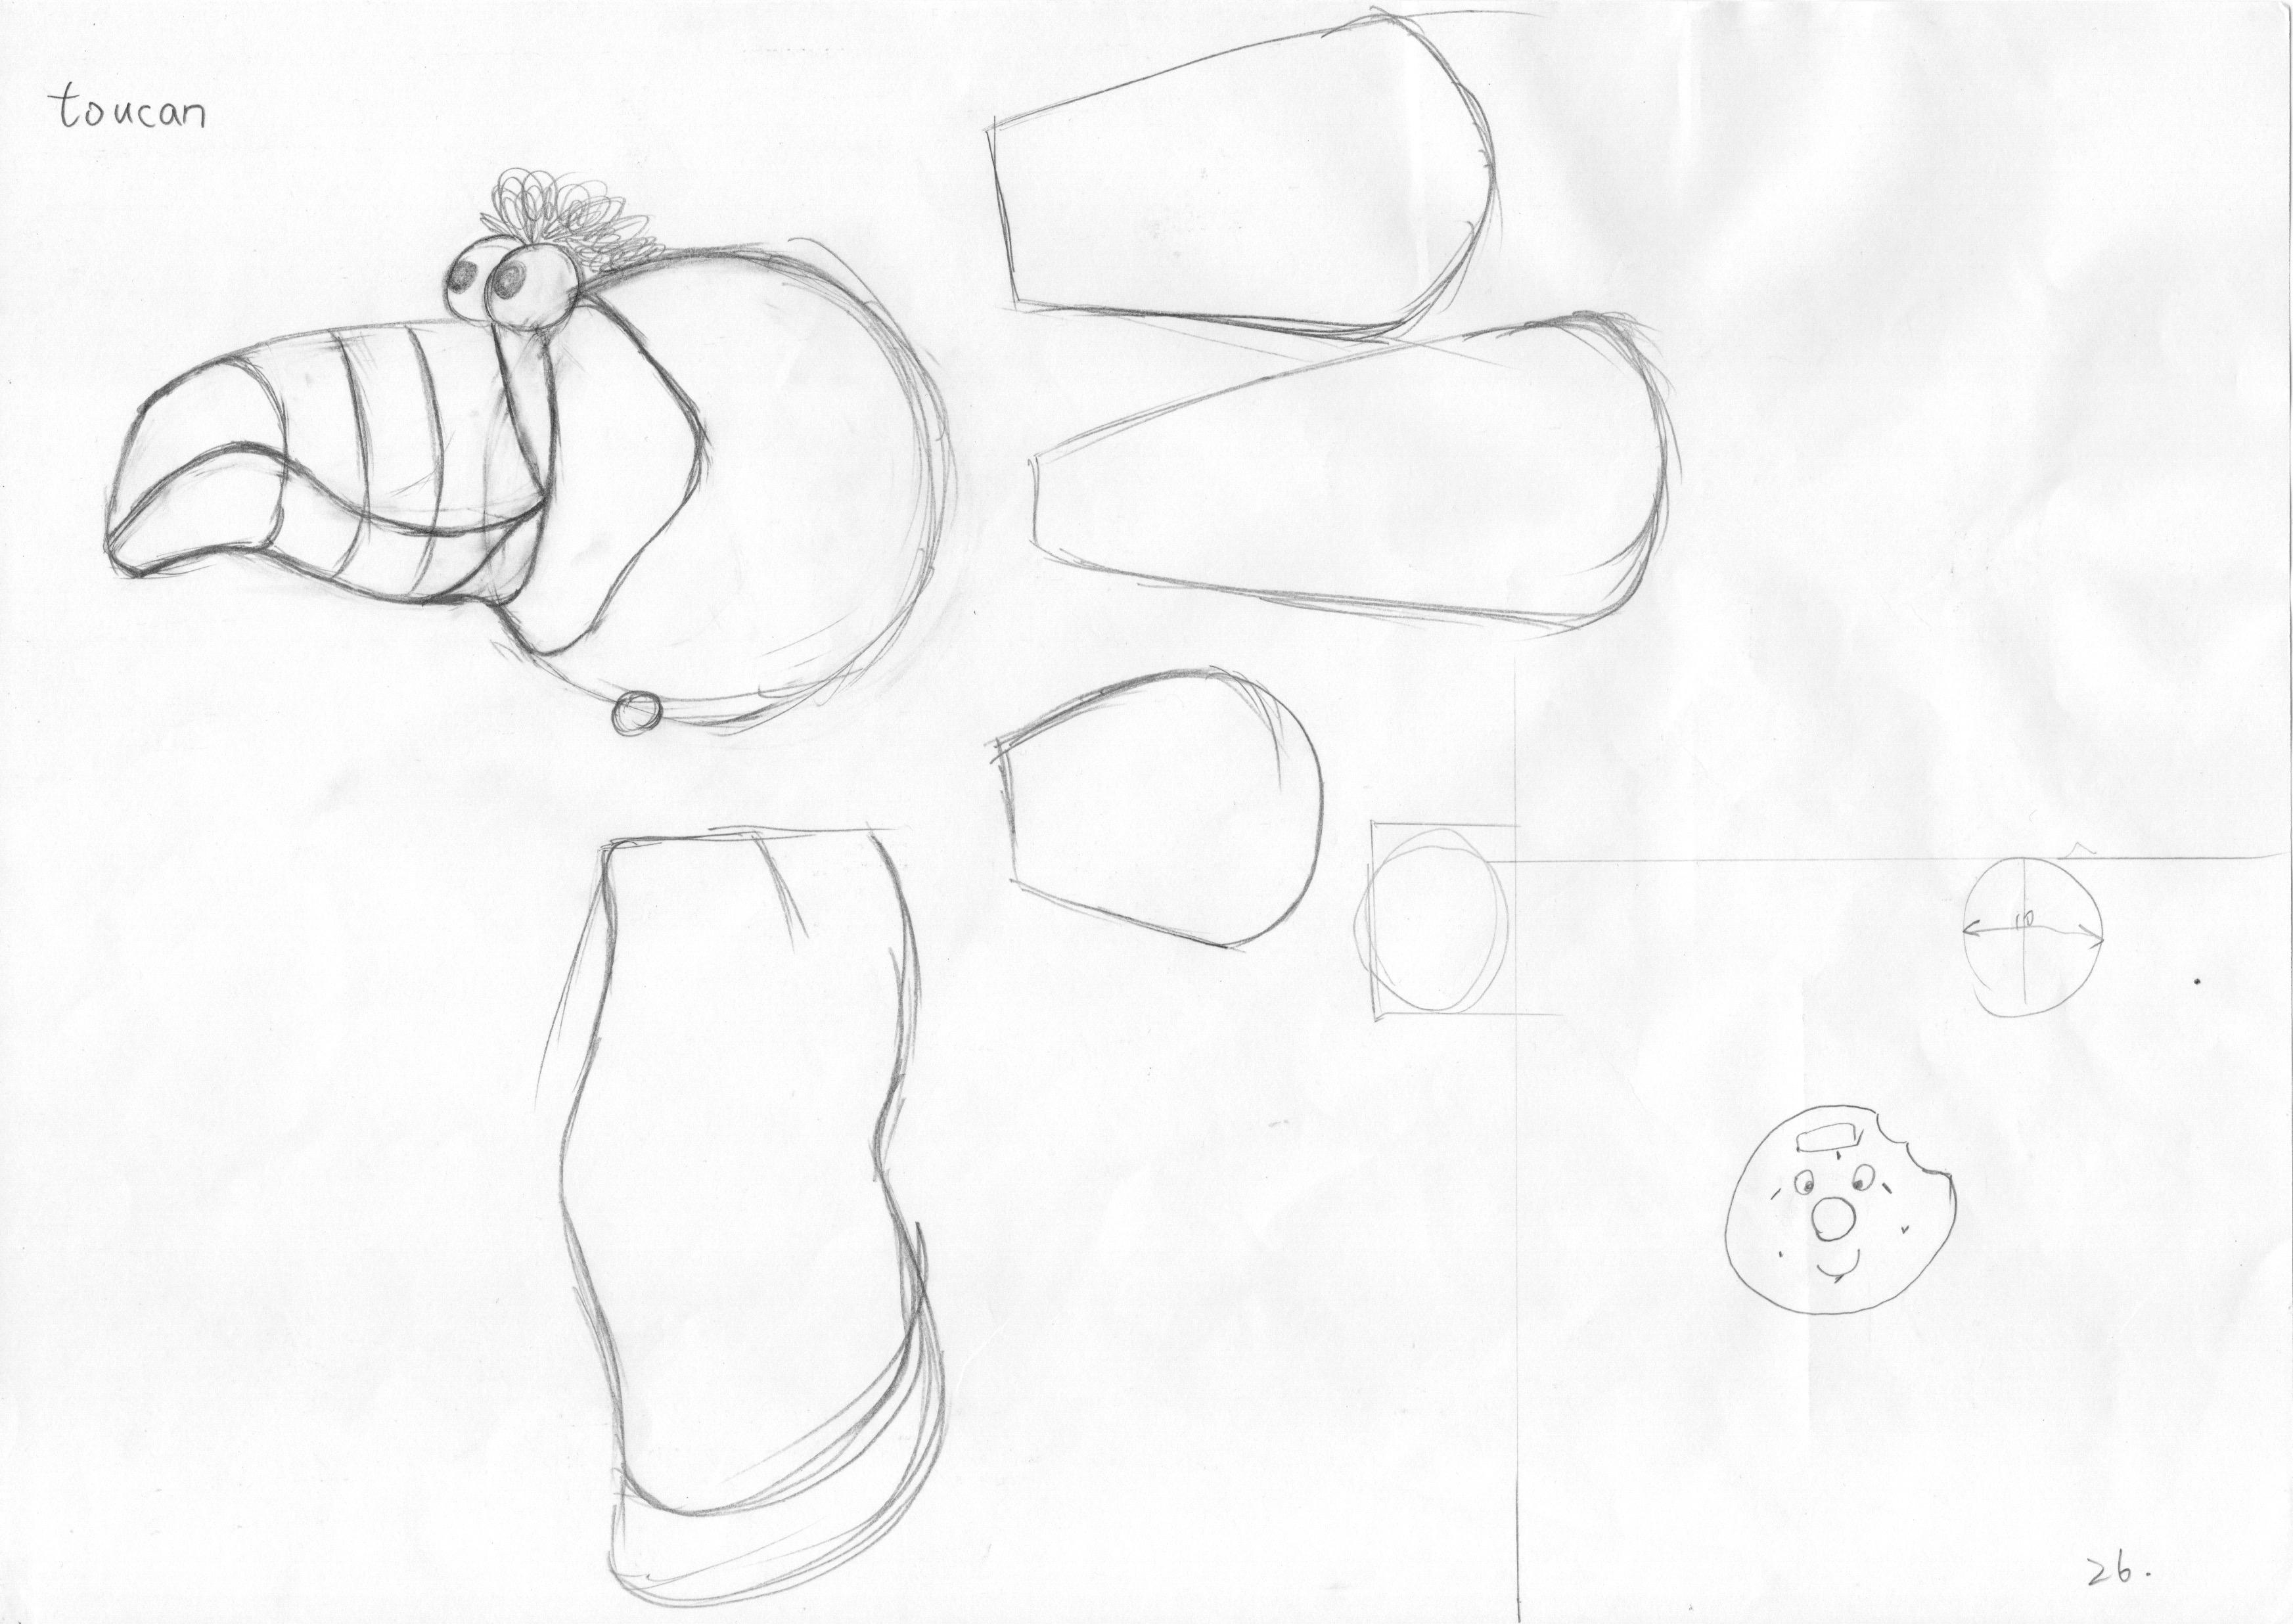
Materials: Paper, pen, and a joyful mood
Design the main body of the bird, beak, wings, tail, hanging ornament (I used a donut as an example), and the rod for hanging at the top.
Note: First, sketch it on paper with a pen to better capture the shape you like.
Draw It on the Computer
Materials: Computer
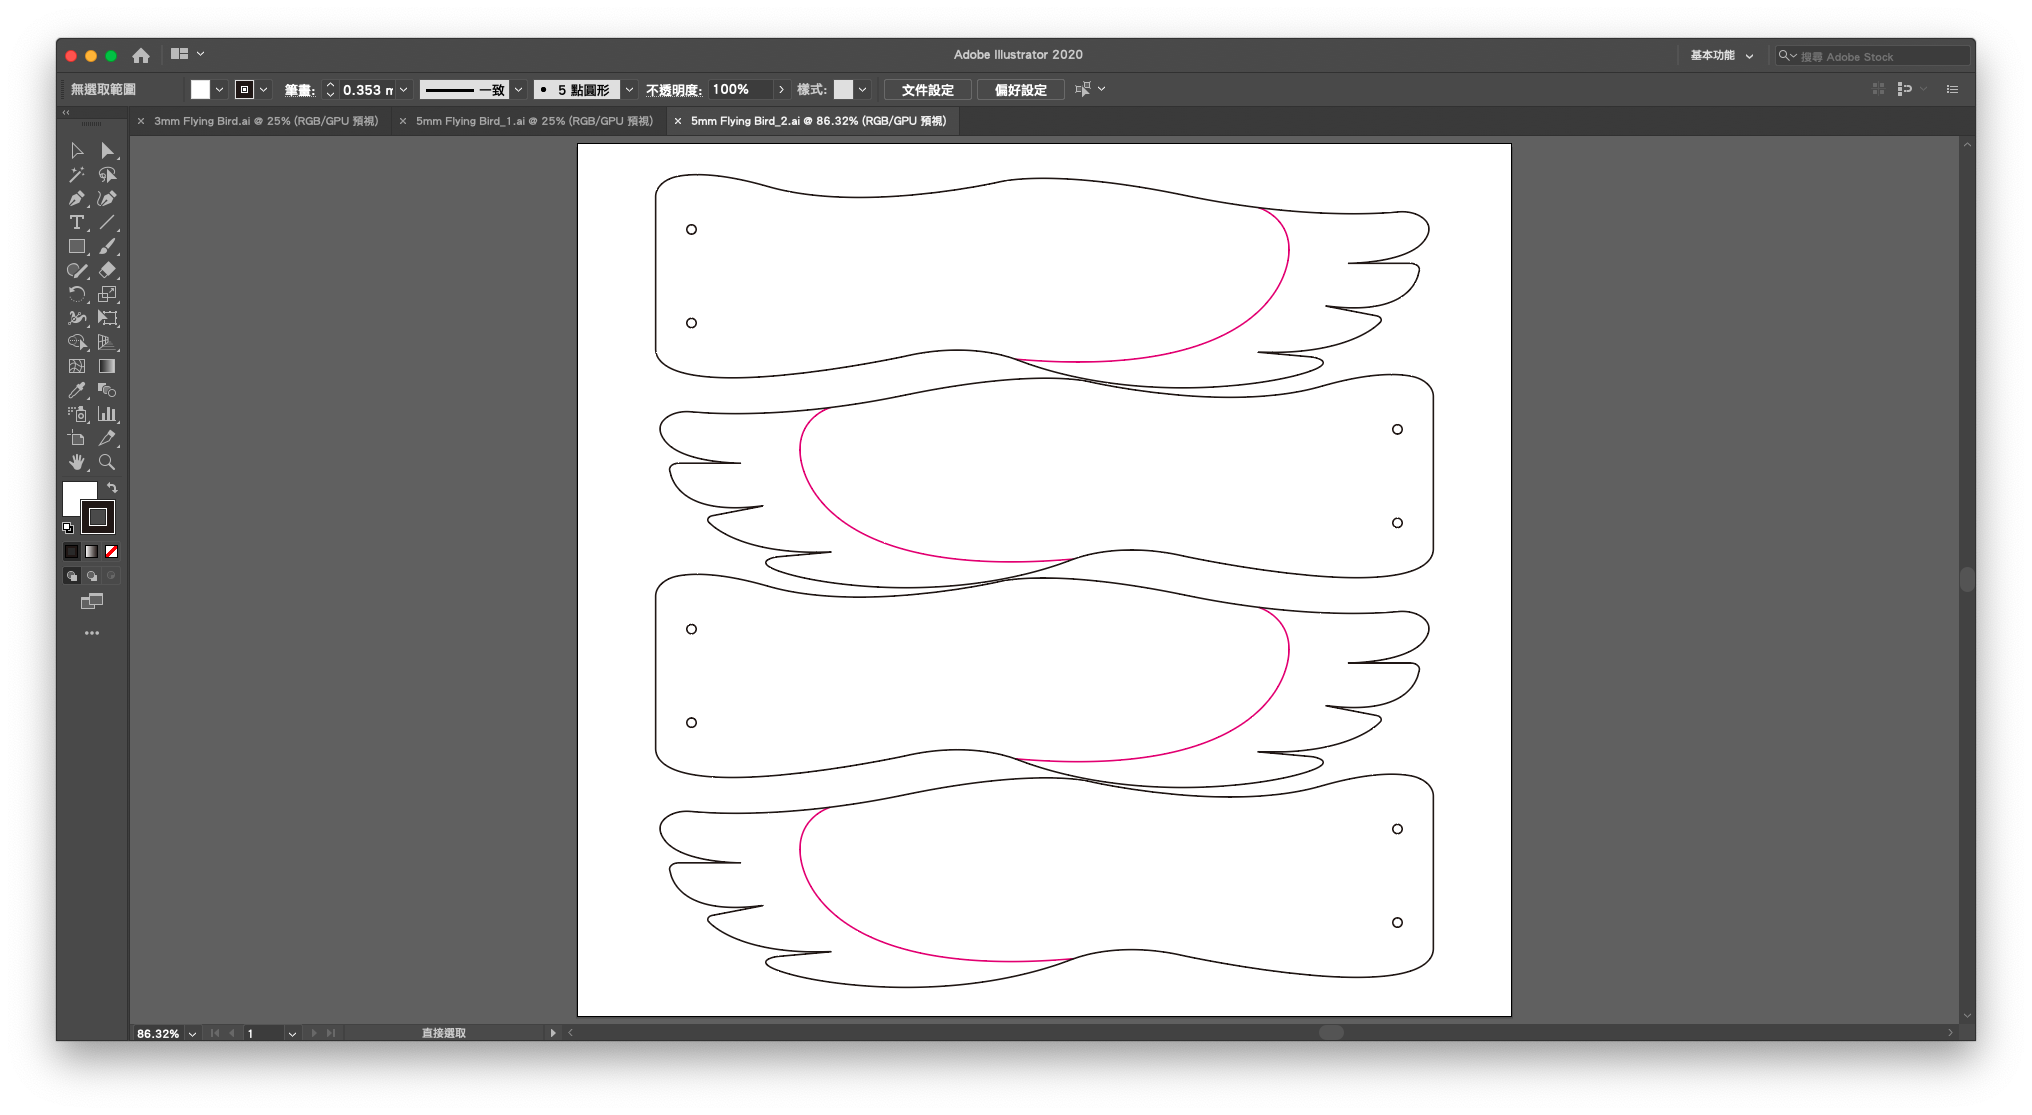
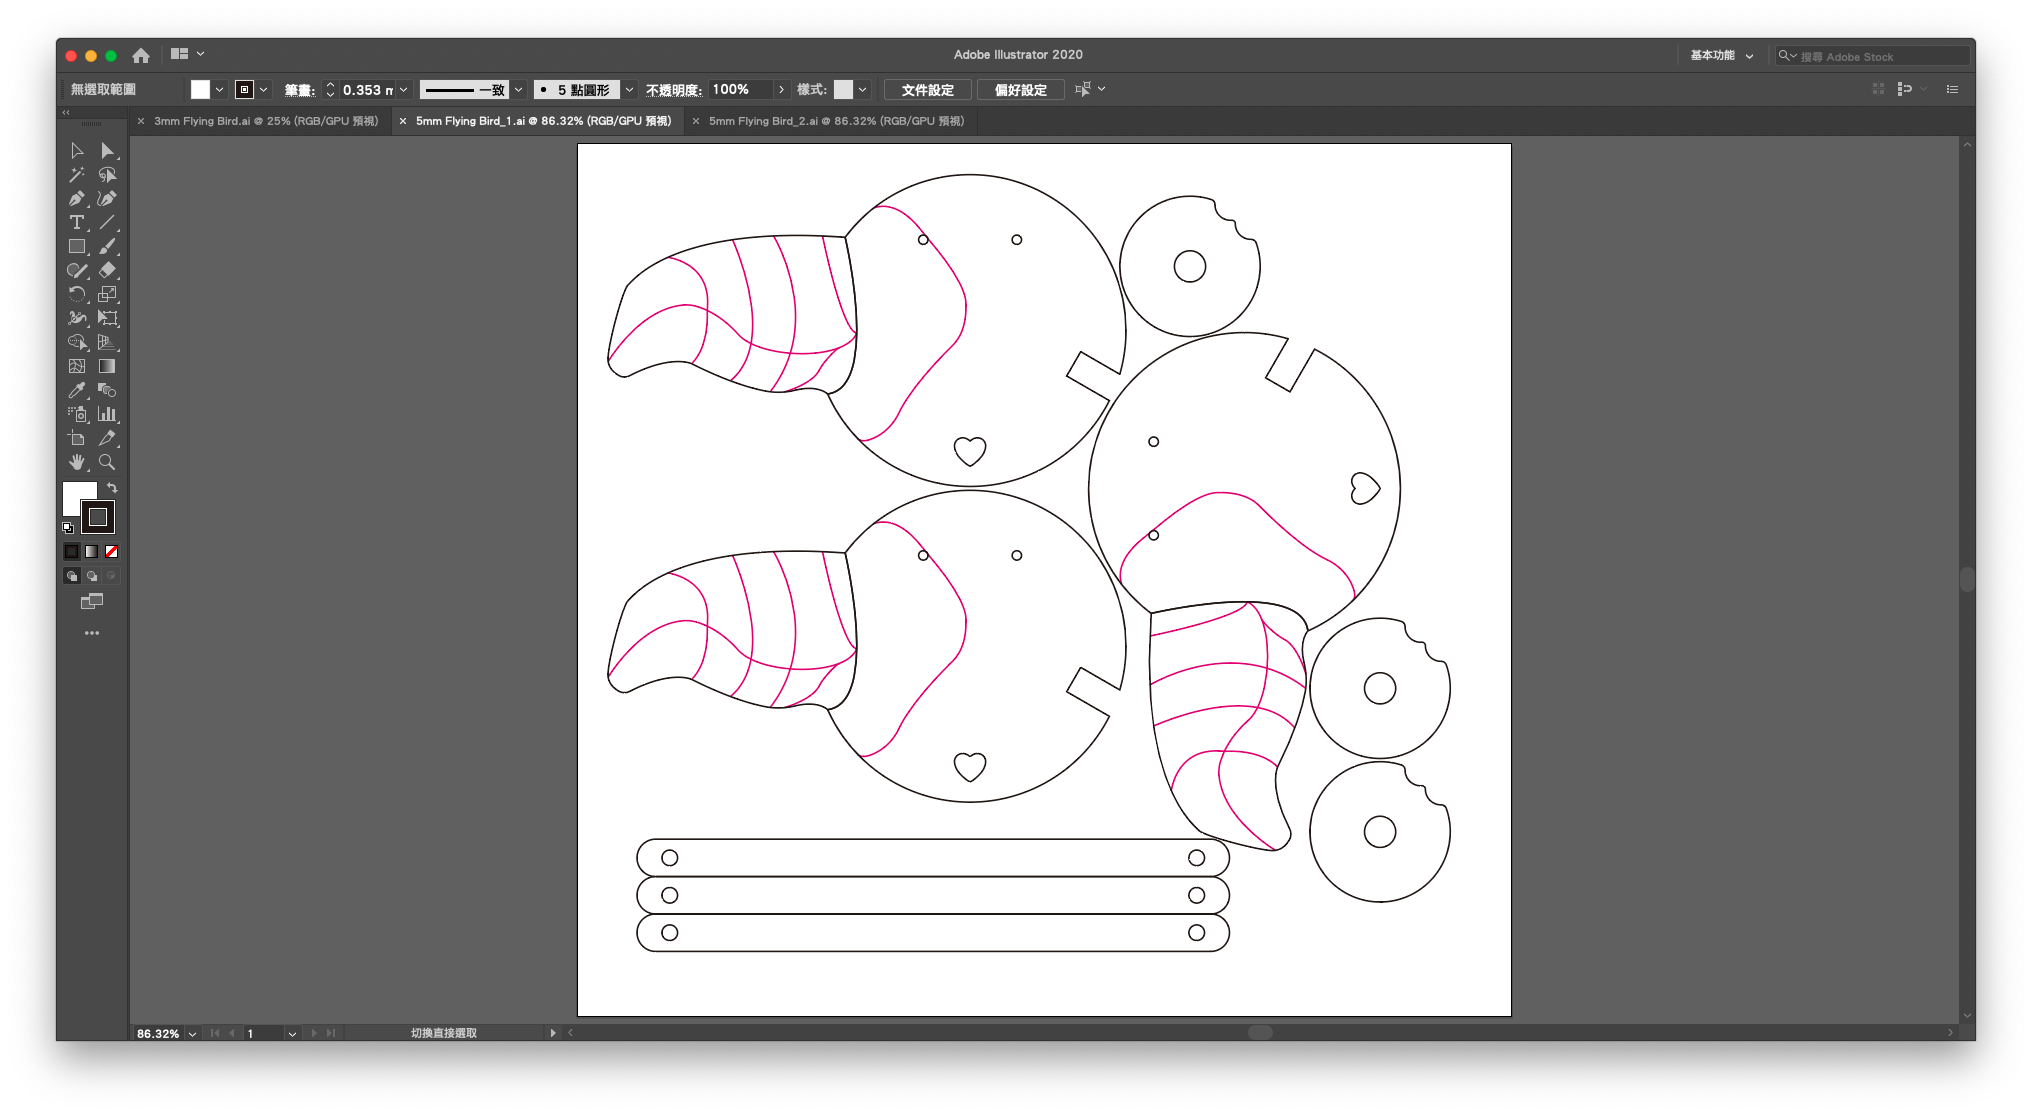
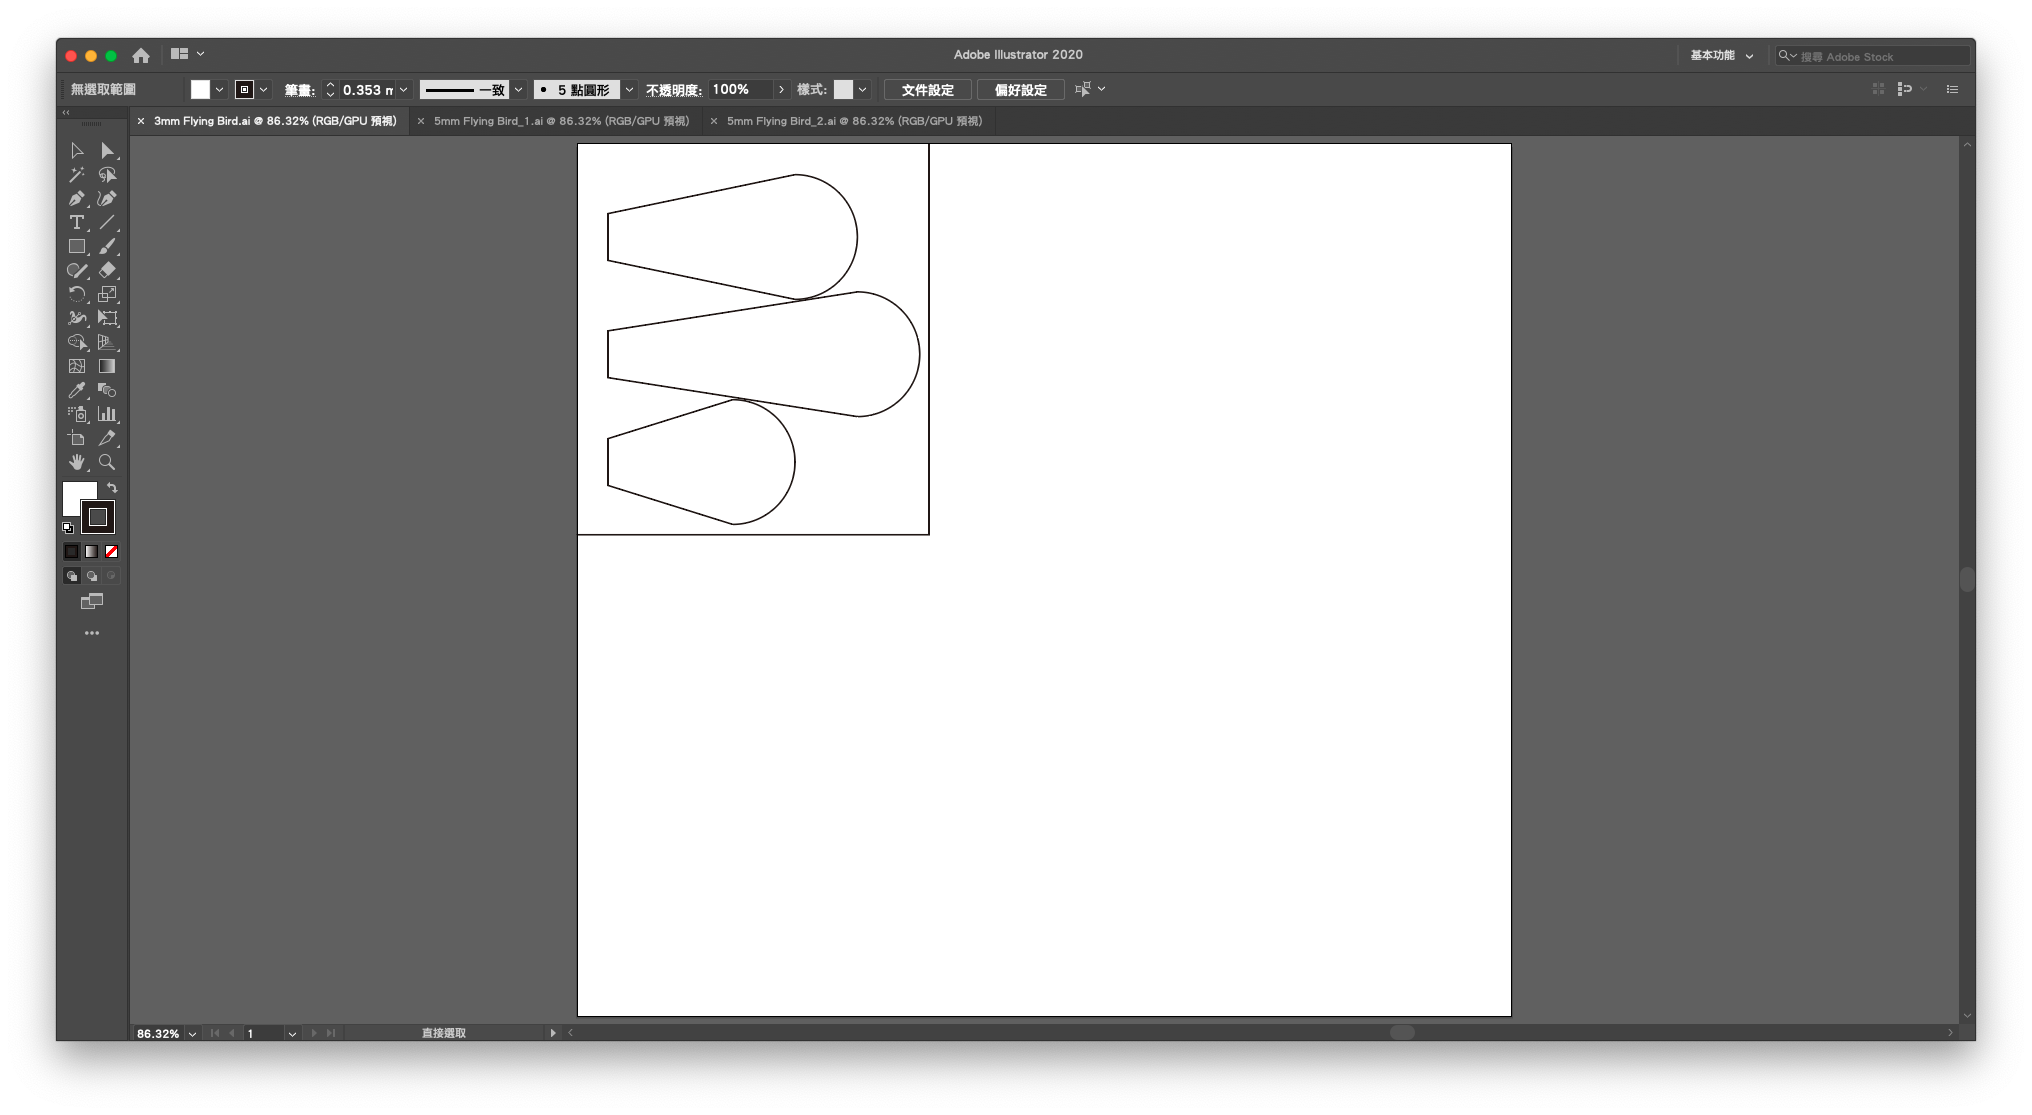
Once the shape is designed, you can transfer it to the computer for digital drawing. I used Adobe Illustrator for this, and I’ve attached the full file for reference.
The notch at the bottom-right of the body is where the tail will be attached, with a height of 9mm. This can be adjusted based on the thickness of your wood or the number of tails you want to add.
The holes at the top of the body and for the wings will be used to connect the fishing line, so they don’t need to be too large.
Note: The magenta lines in the file can be used as laser engraving lines, or you can draw them directly onto the wood when painting. There are no strict requirements for this part.
Let’s Get Started! Laser Cutting
Materials: Computer, Laser Cutter, MDF Board
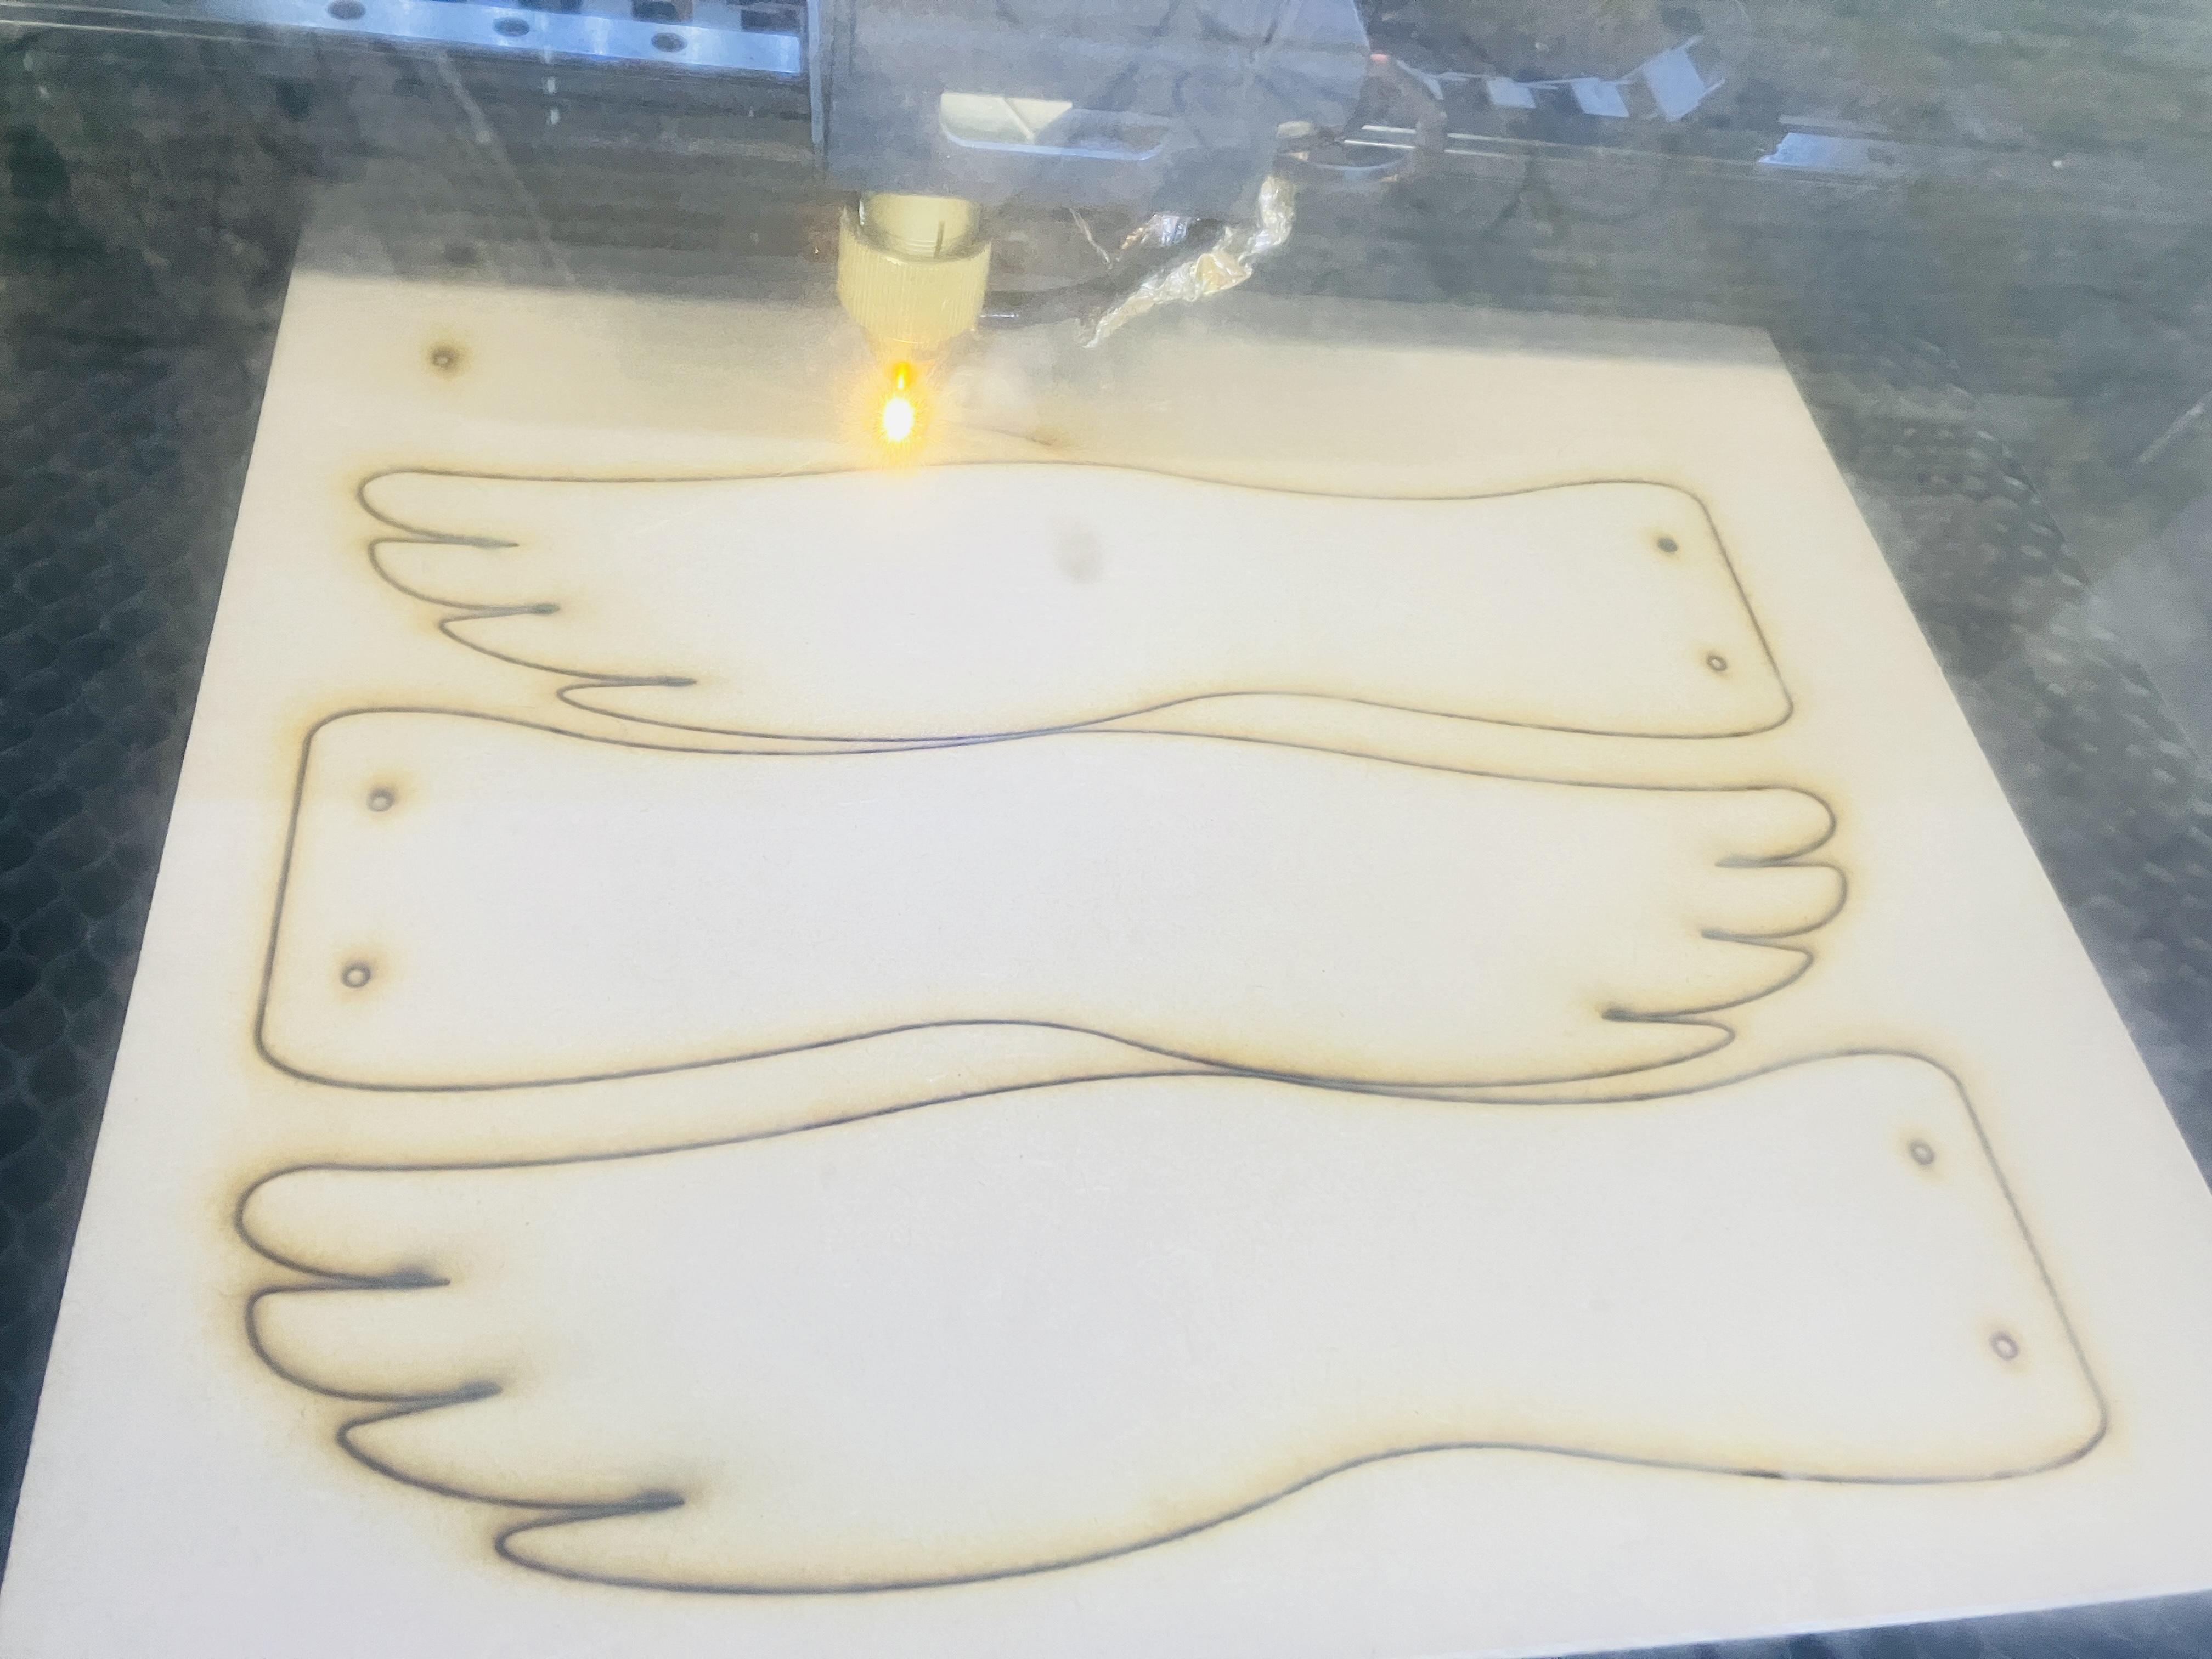
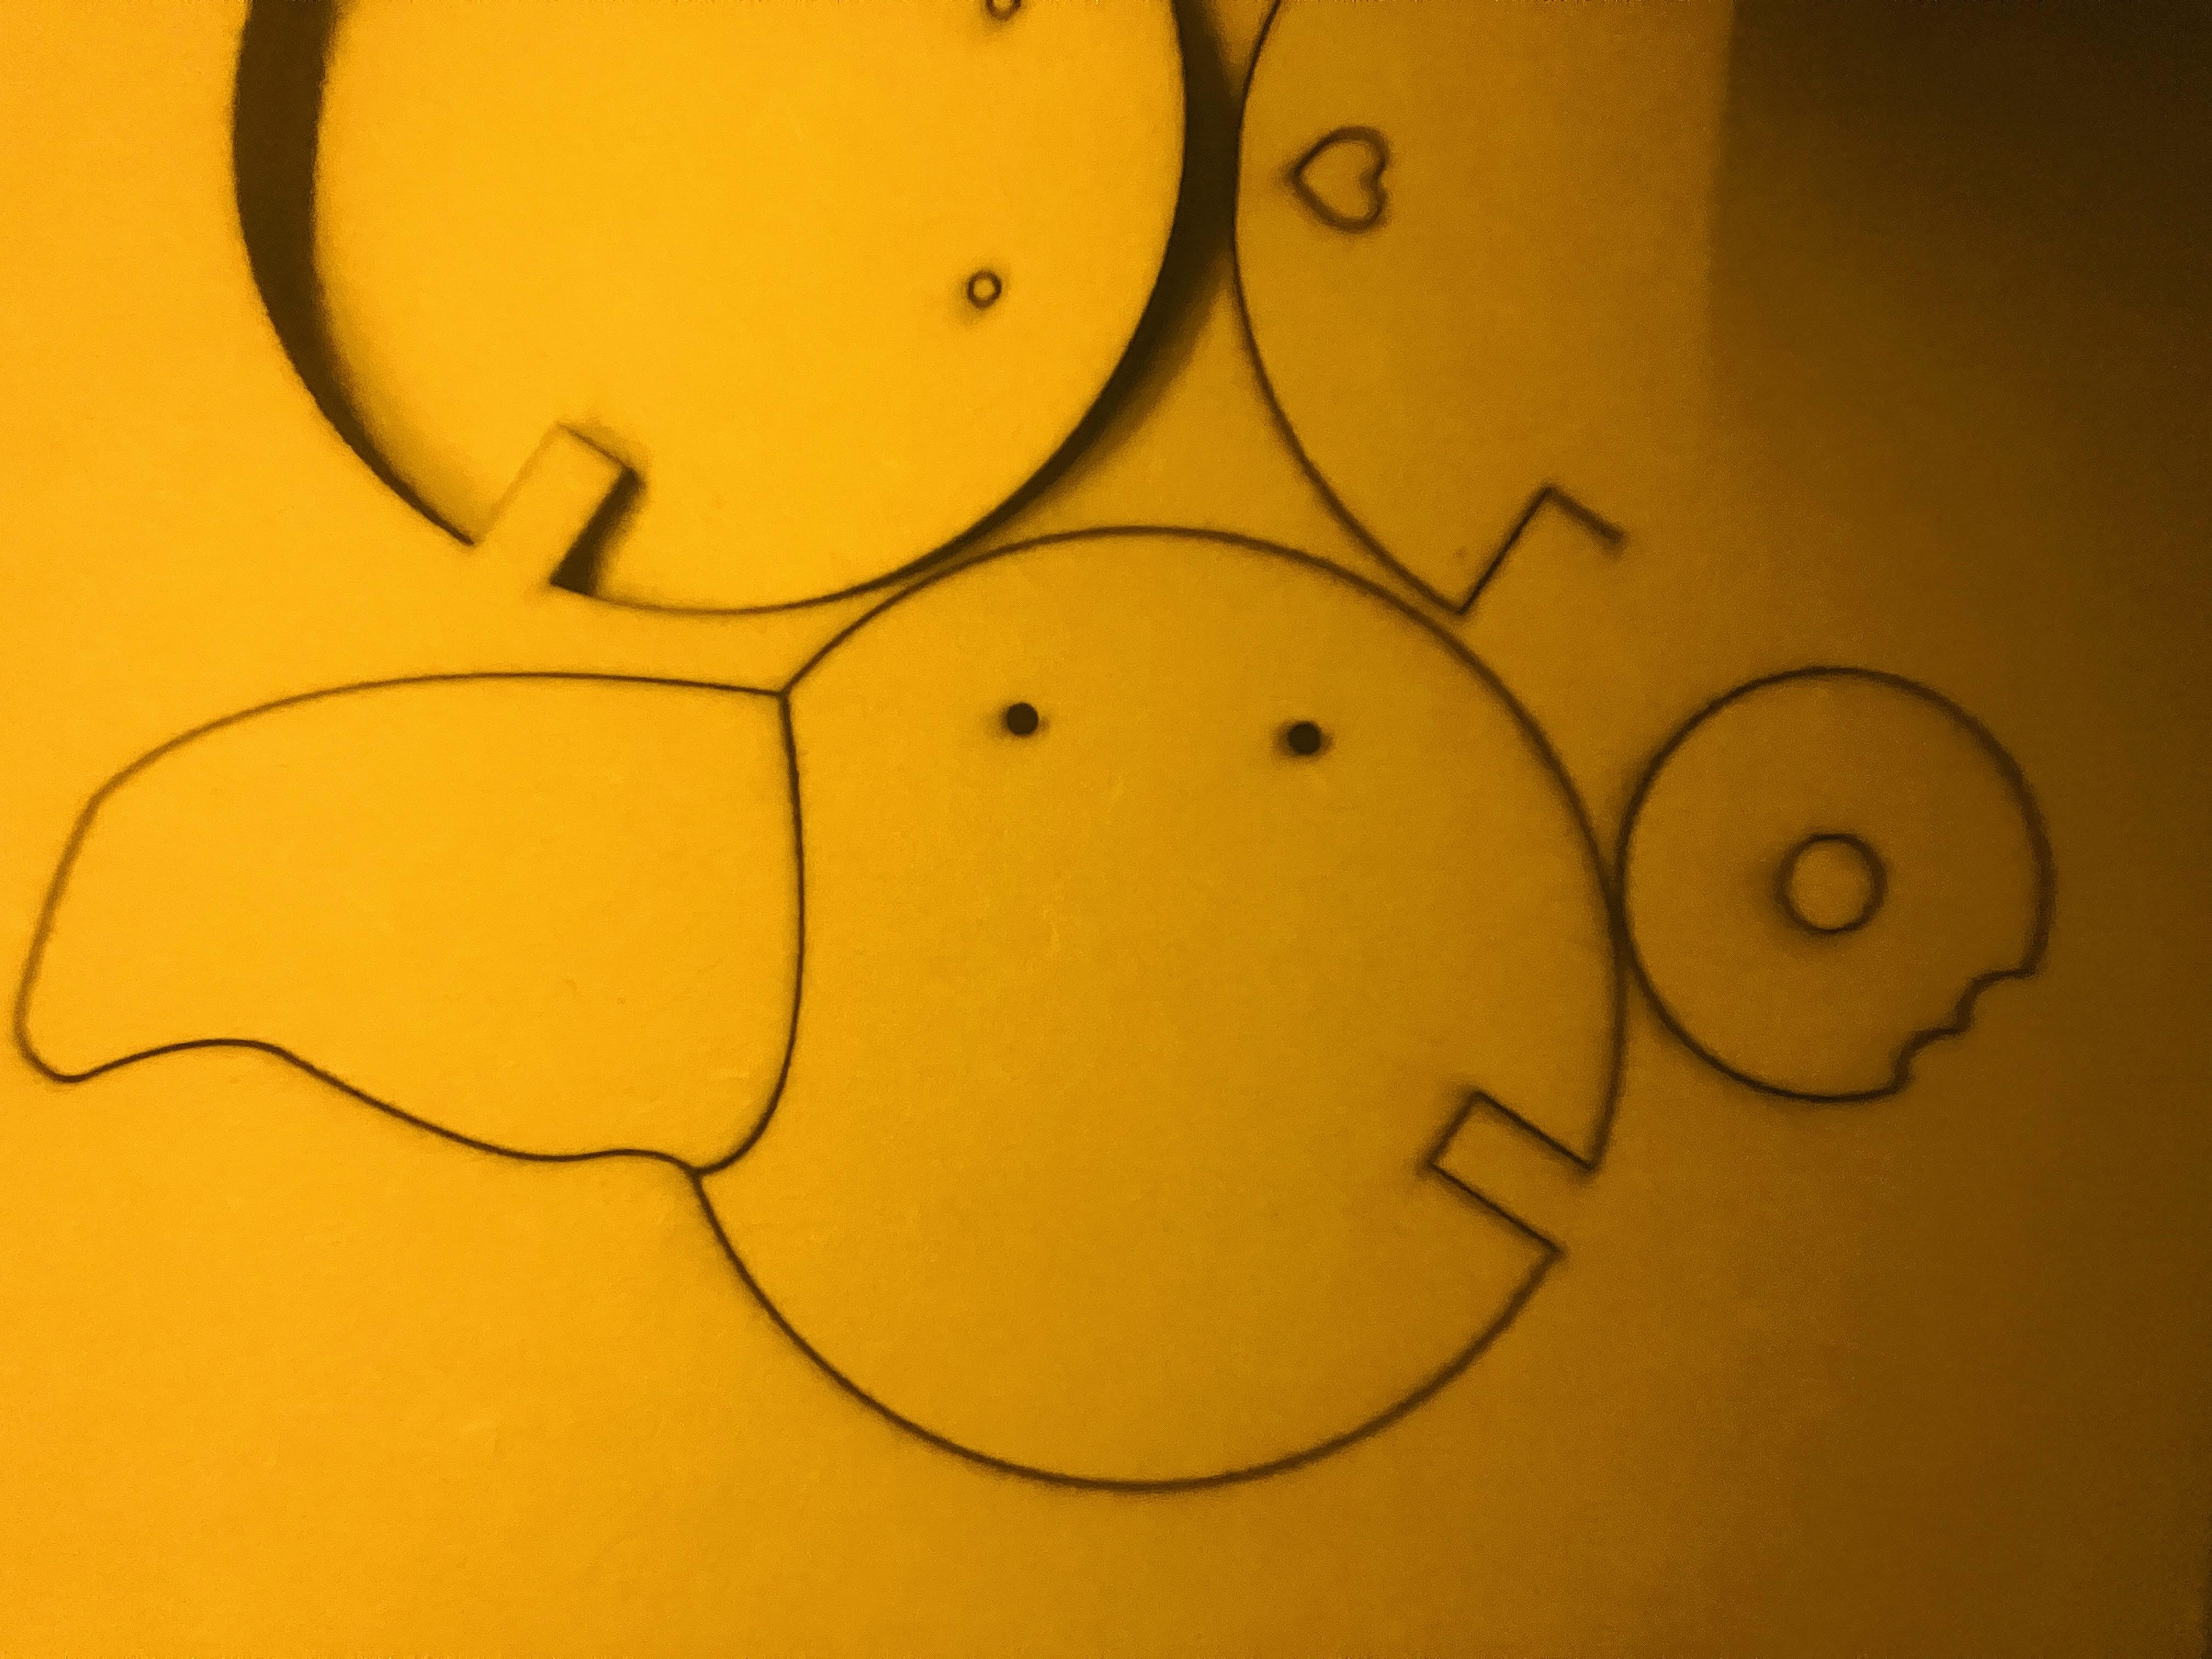
Load the file into the computer and connect it to the laser cutter to start cutting.
Using the LaserPro Mercury III:
Parameter settings: Speed 0.4, Power 65
Note: Please adjust the parameters according to your laser cutter’s manual. (Each machine may have different settings.)
White Glue Application, Testing, and Drilling
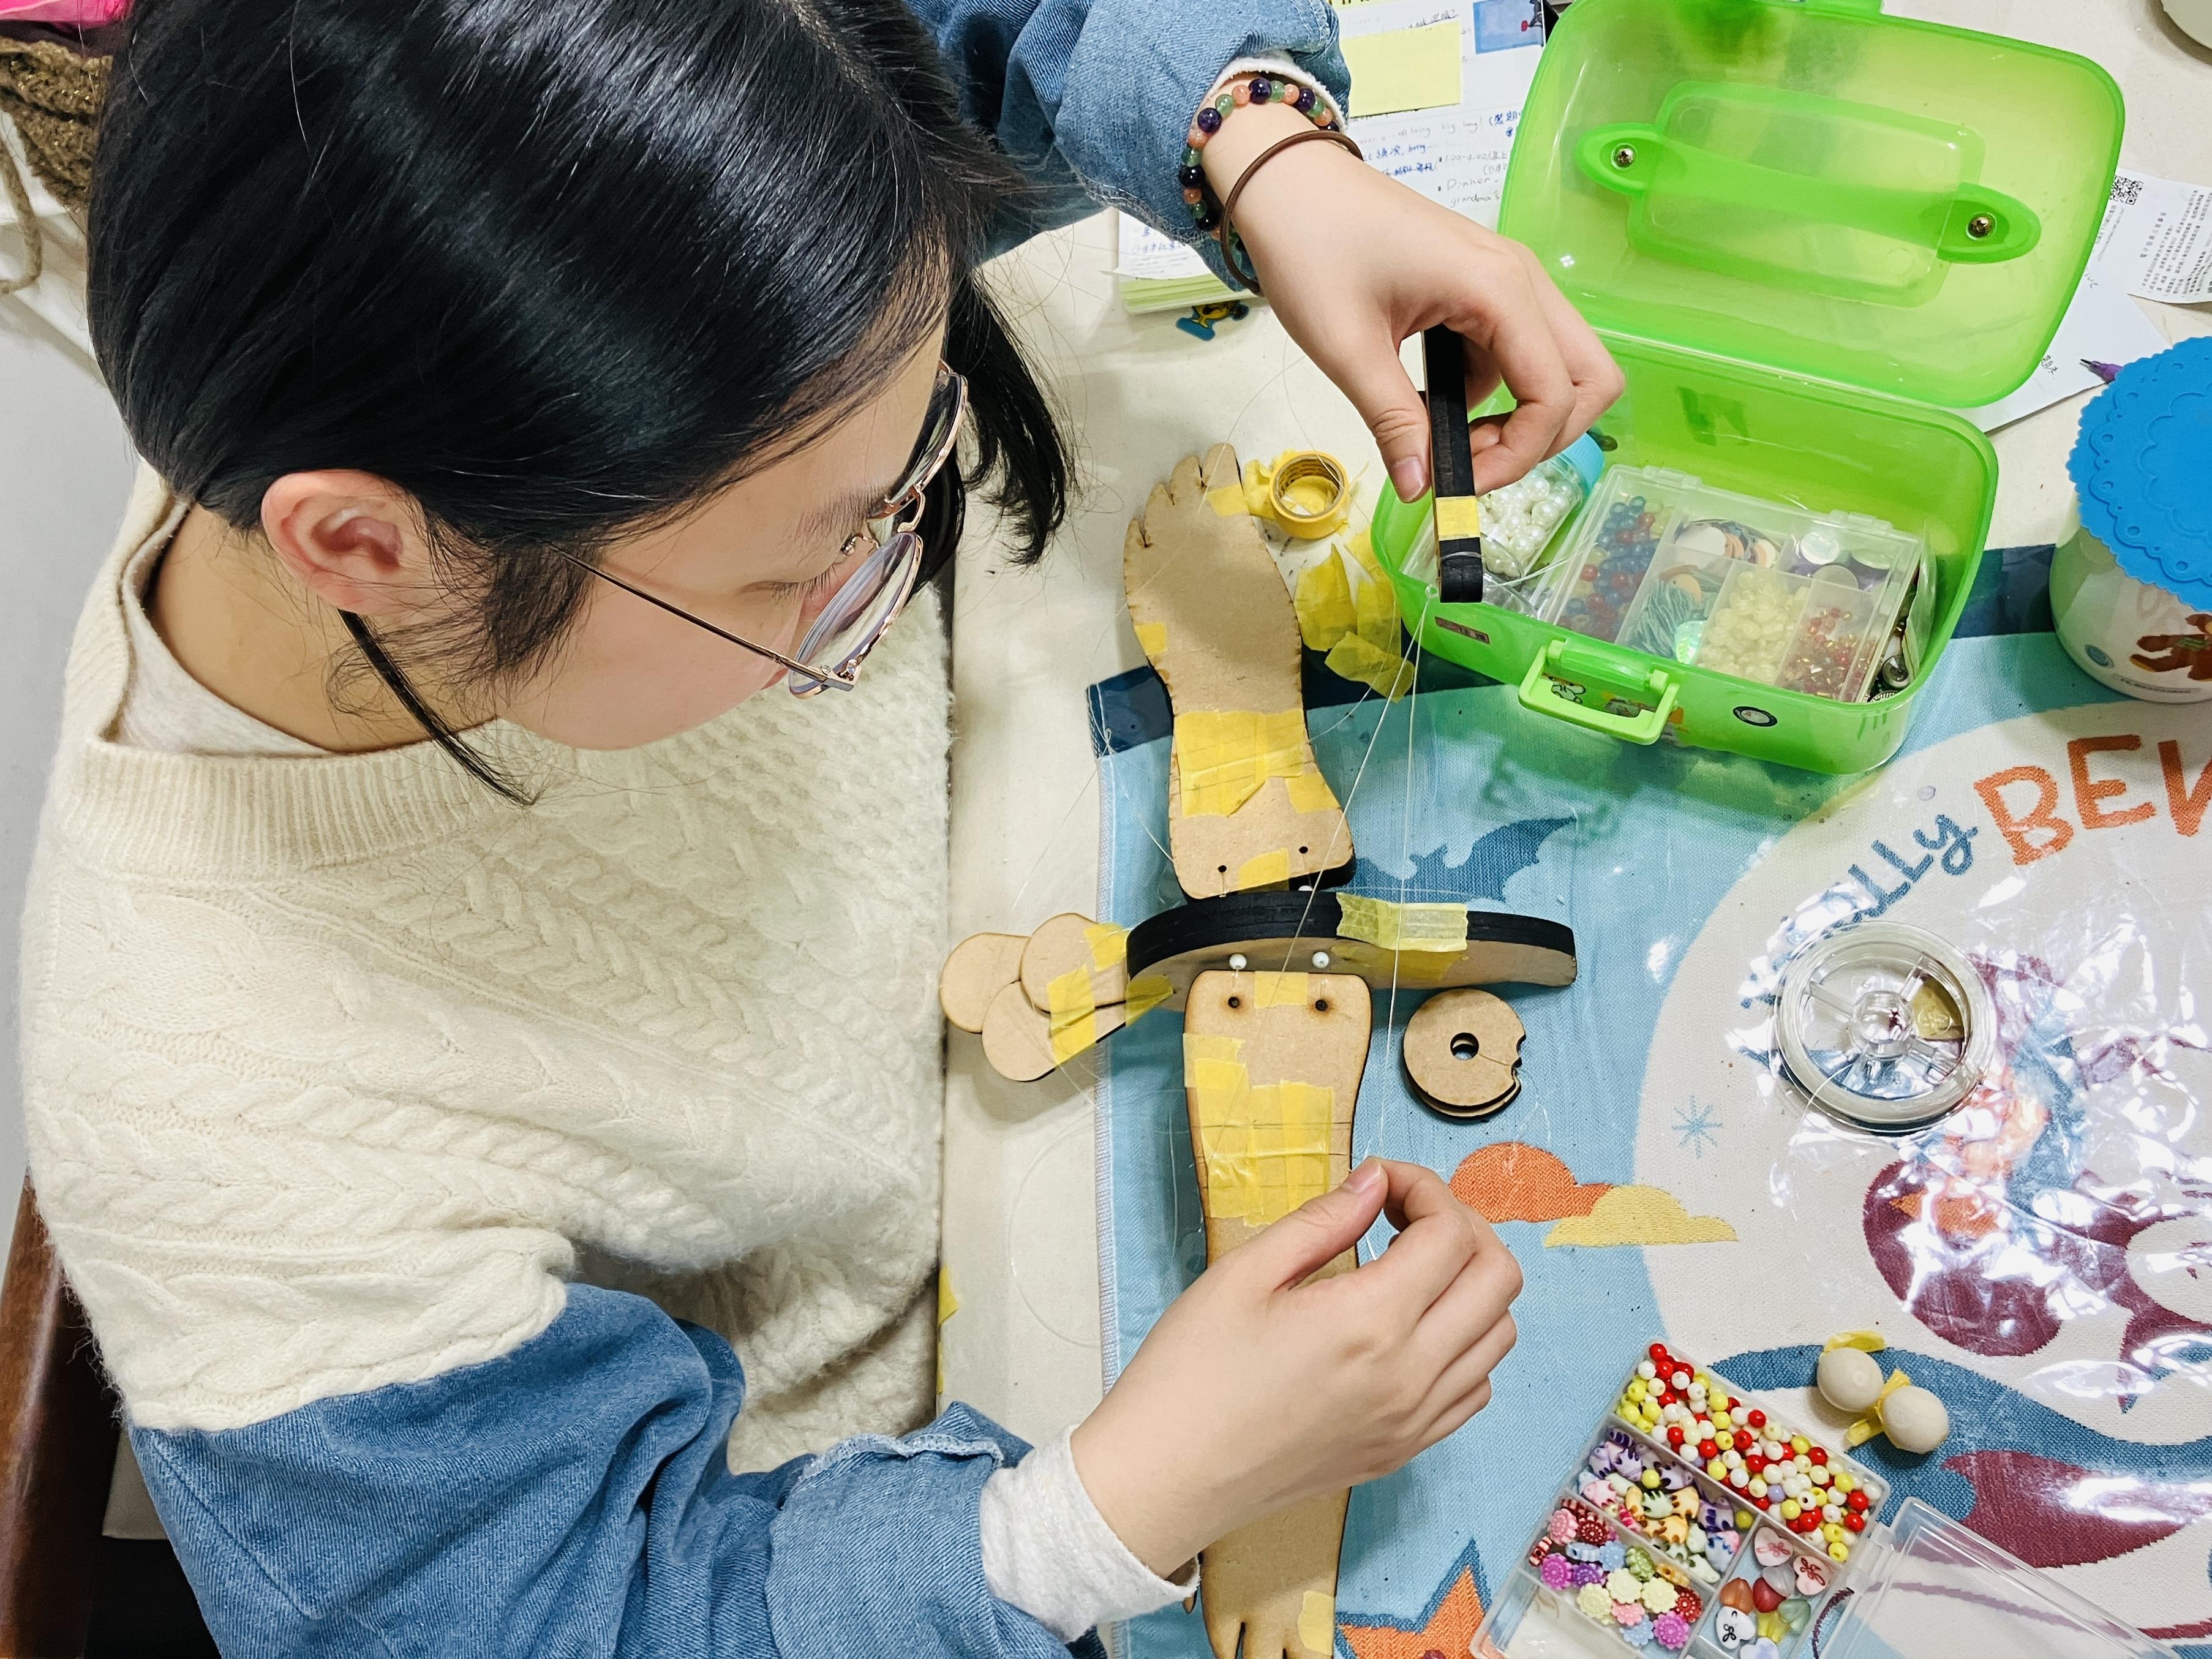
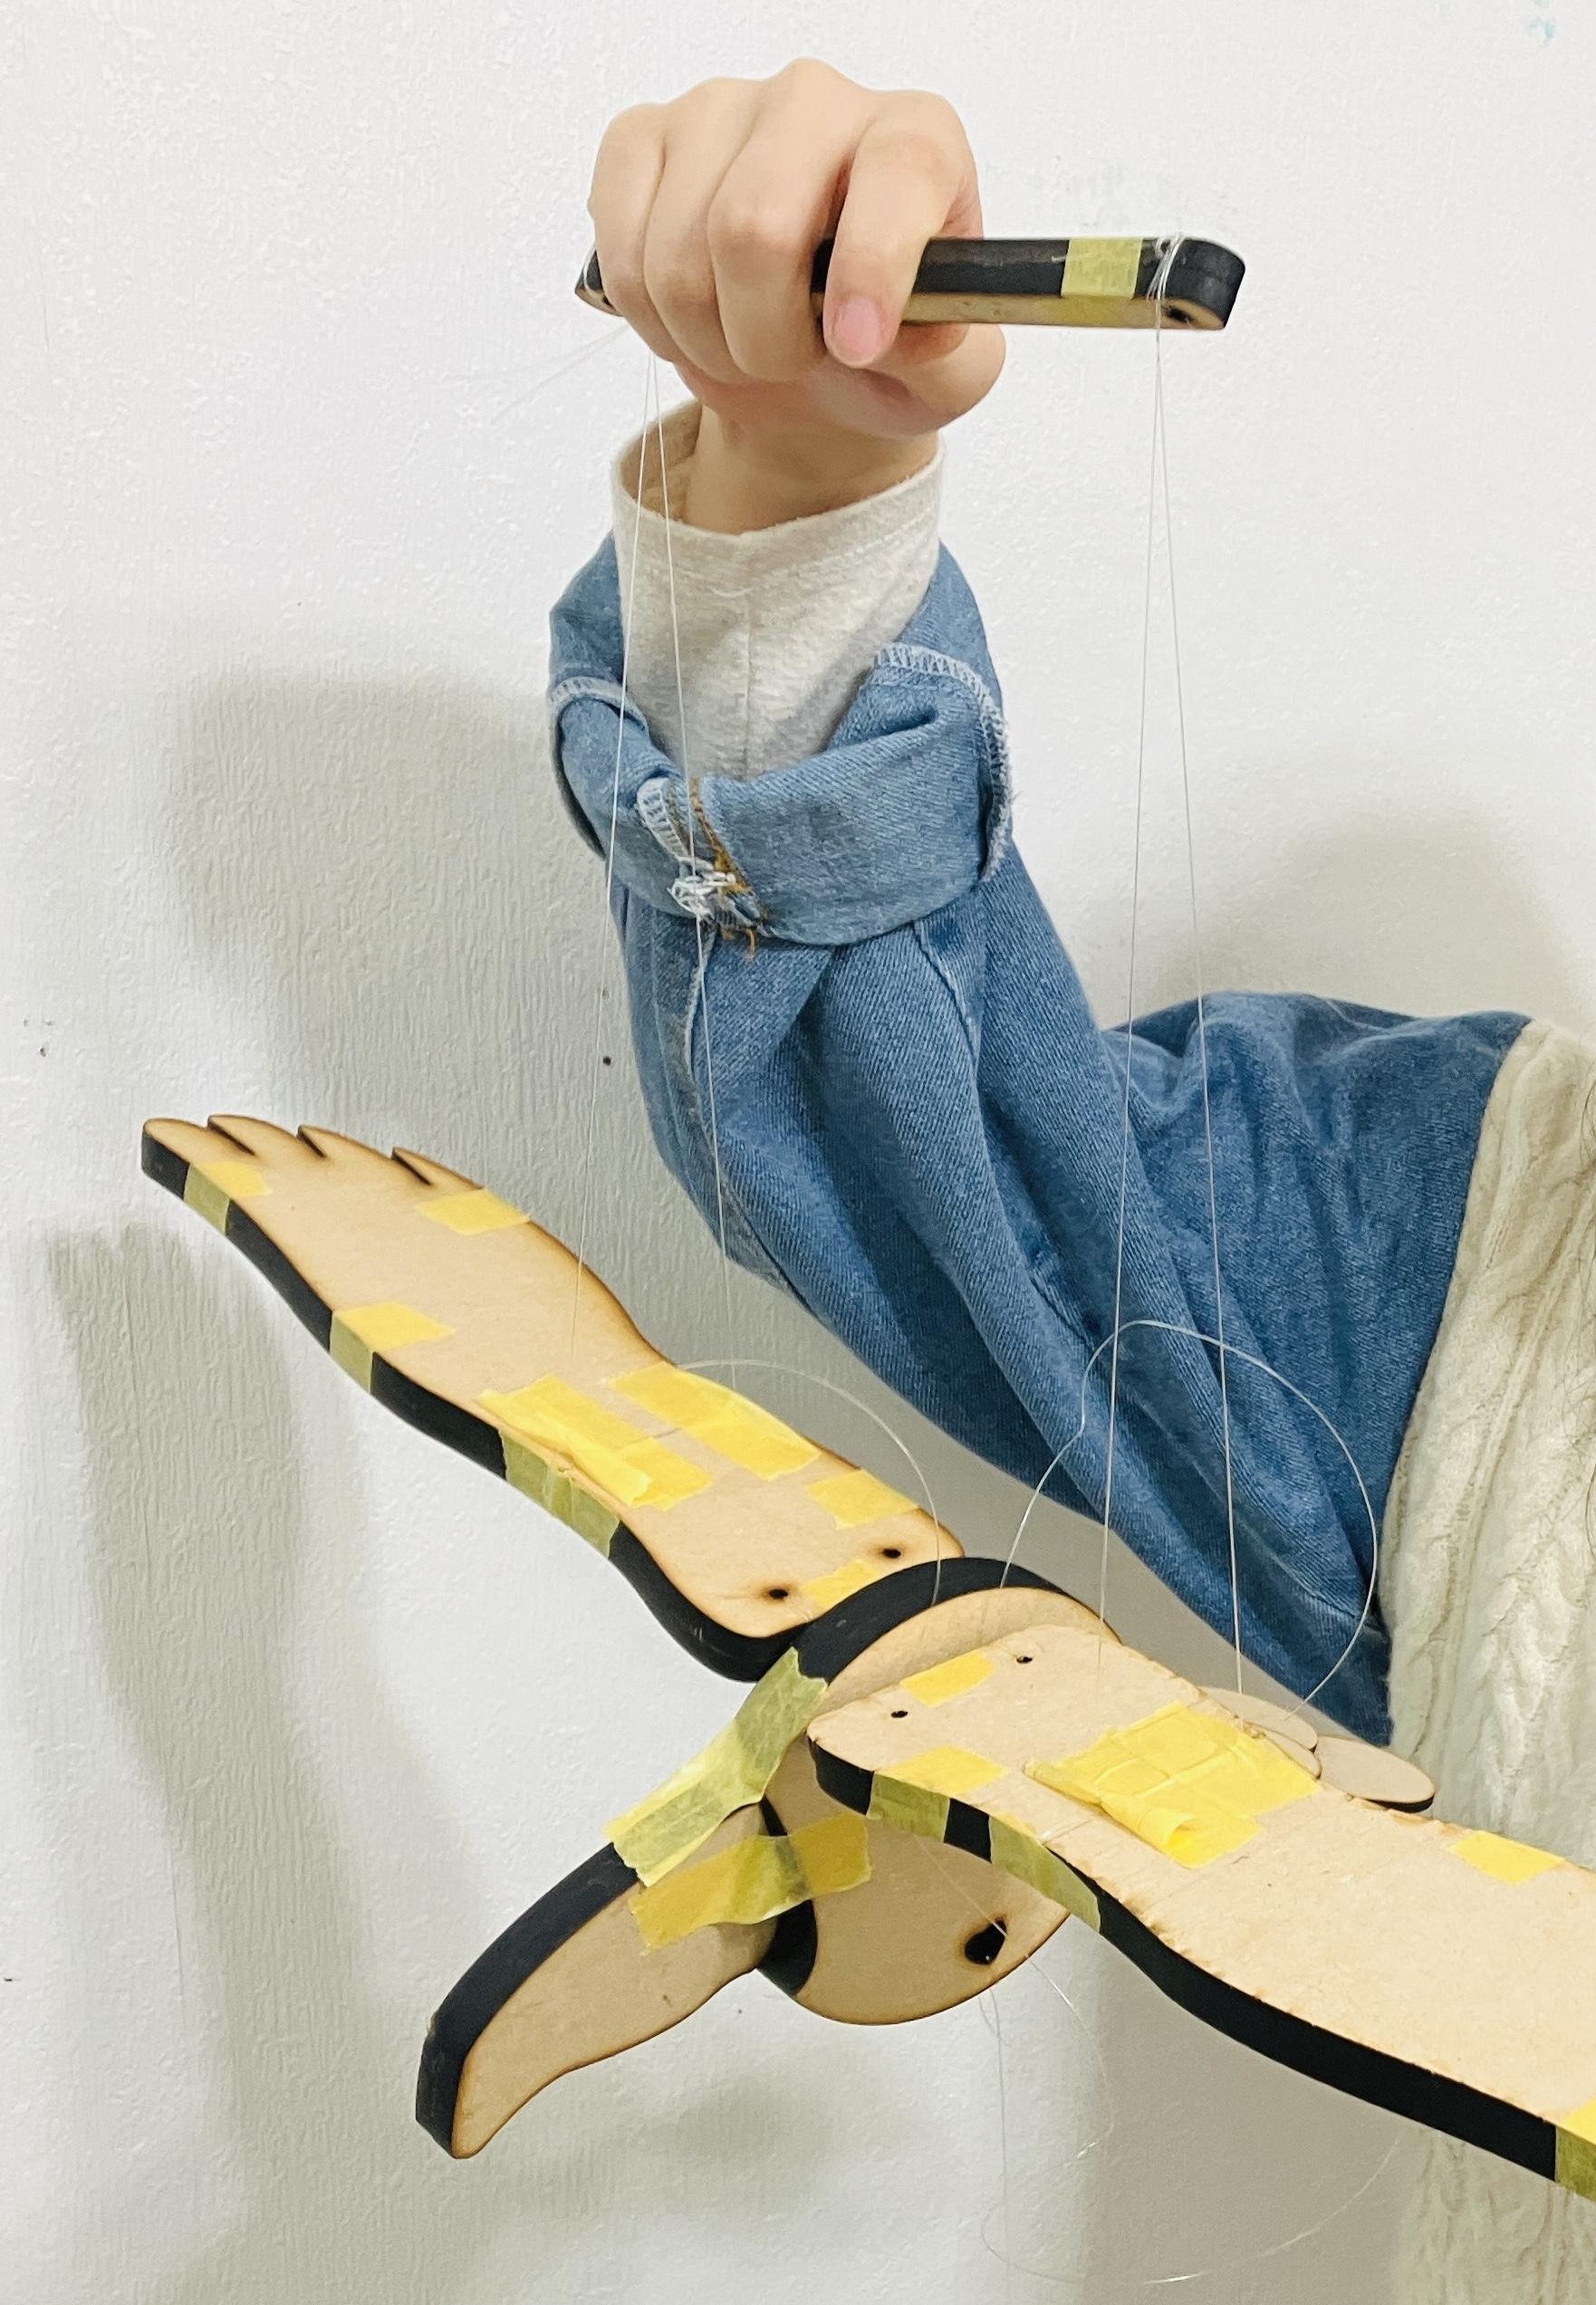
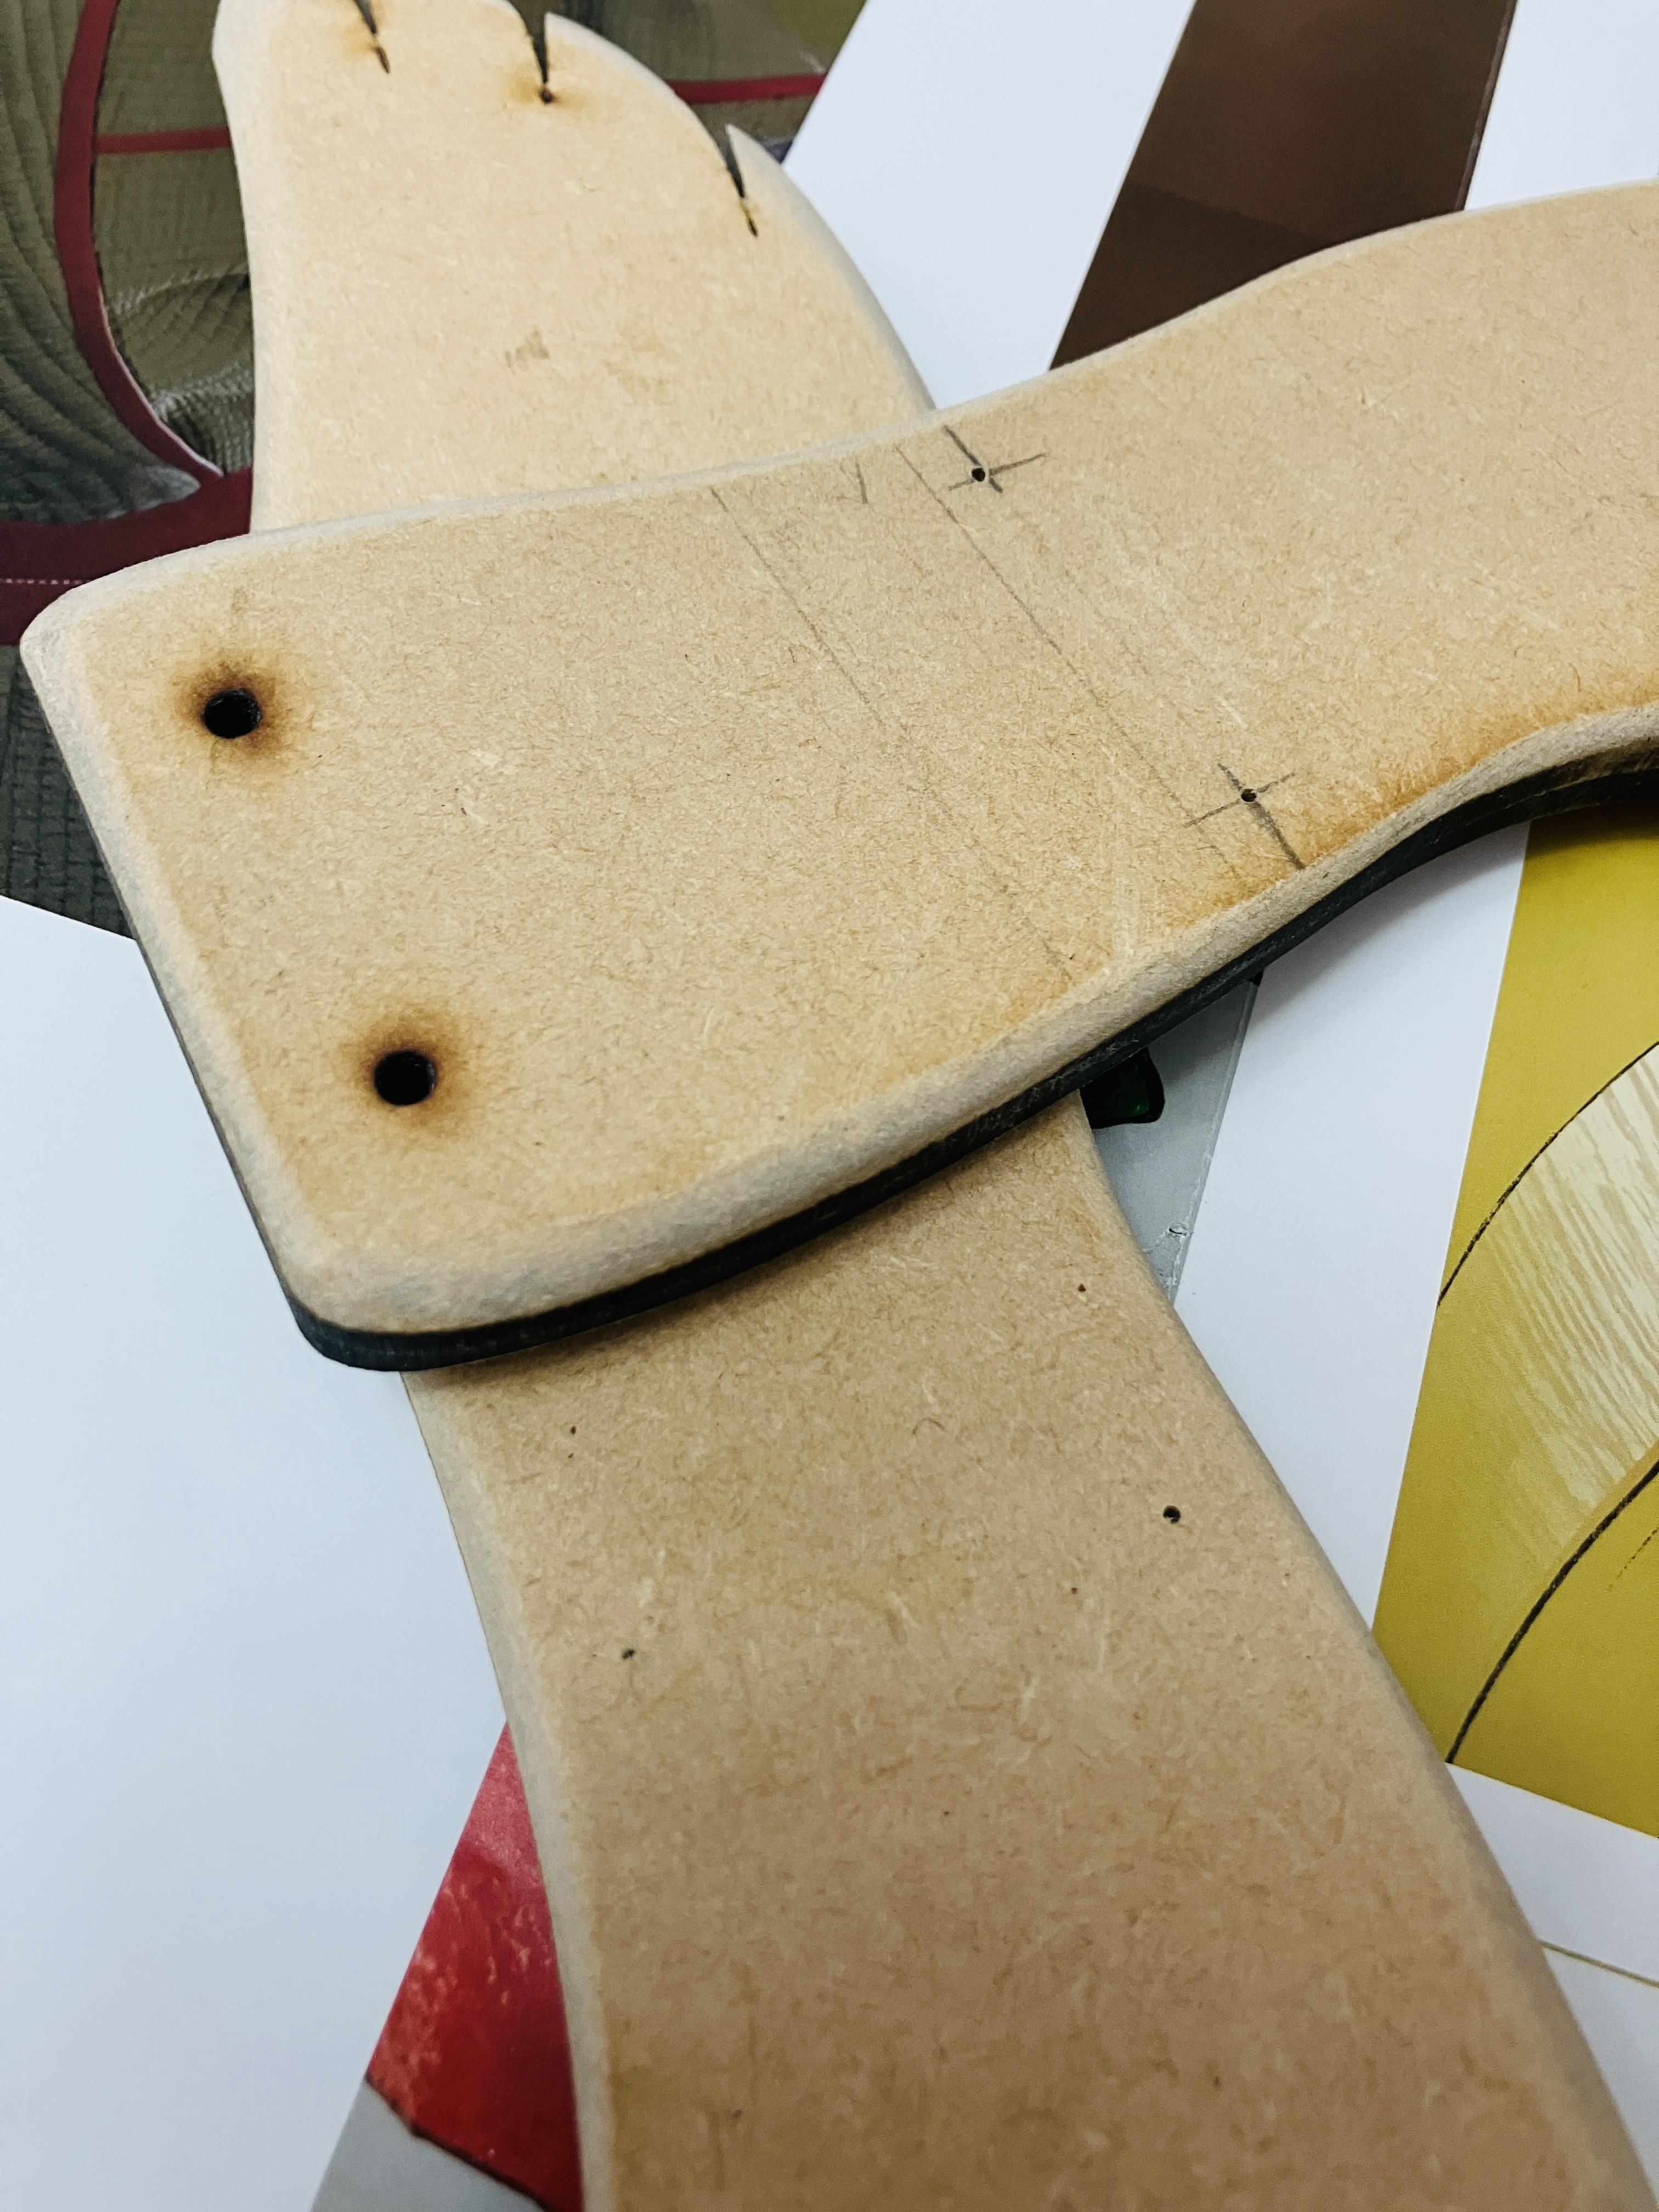
Materials: White glue, fishing line, scissors, masking tape, ruler, drill, beads
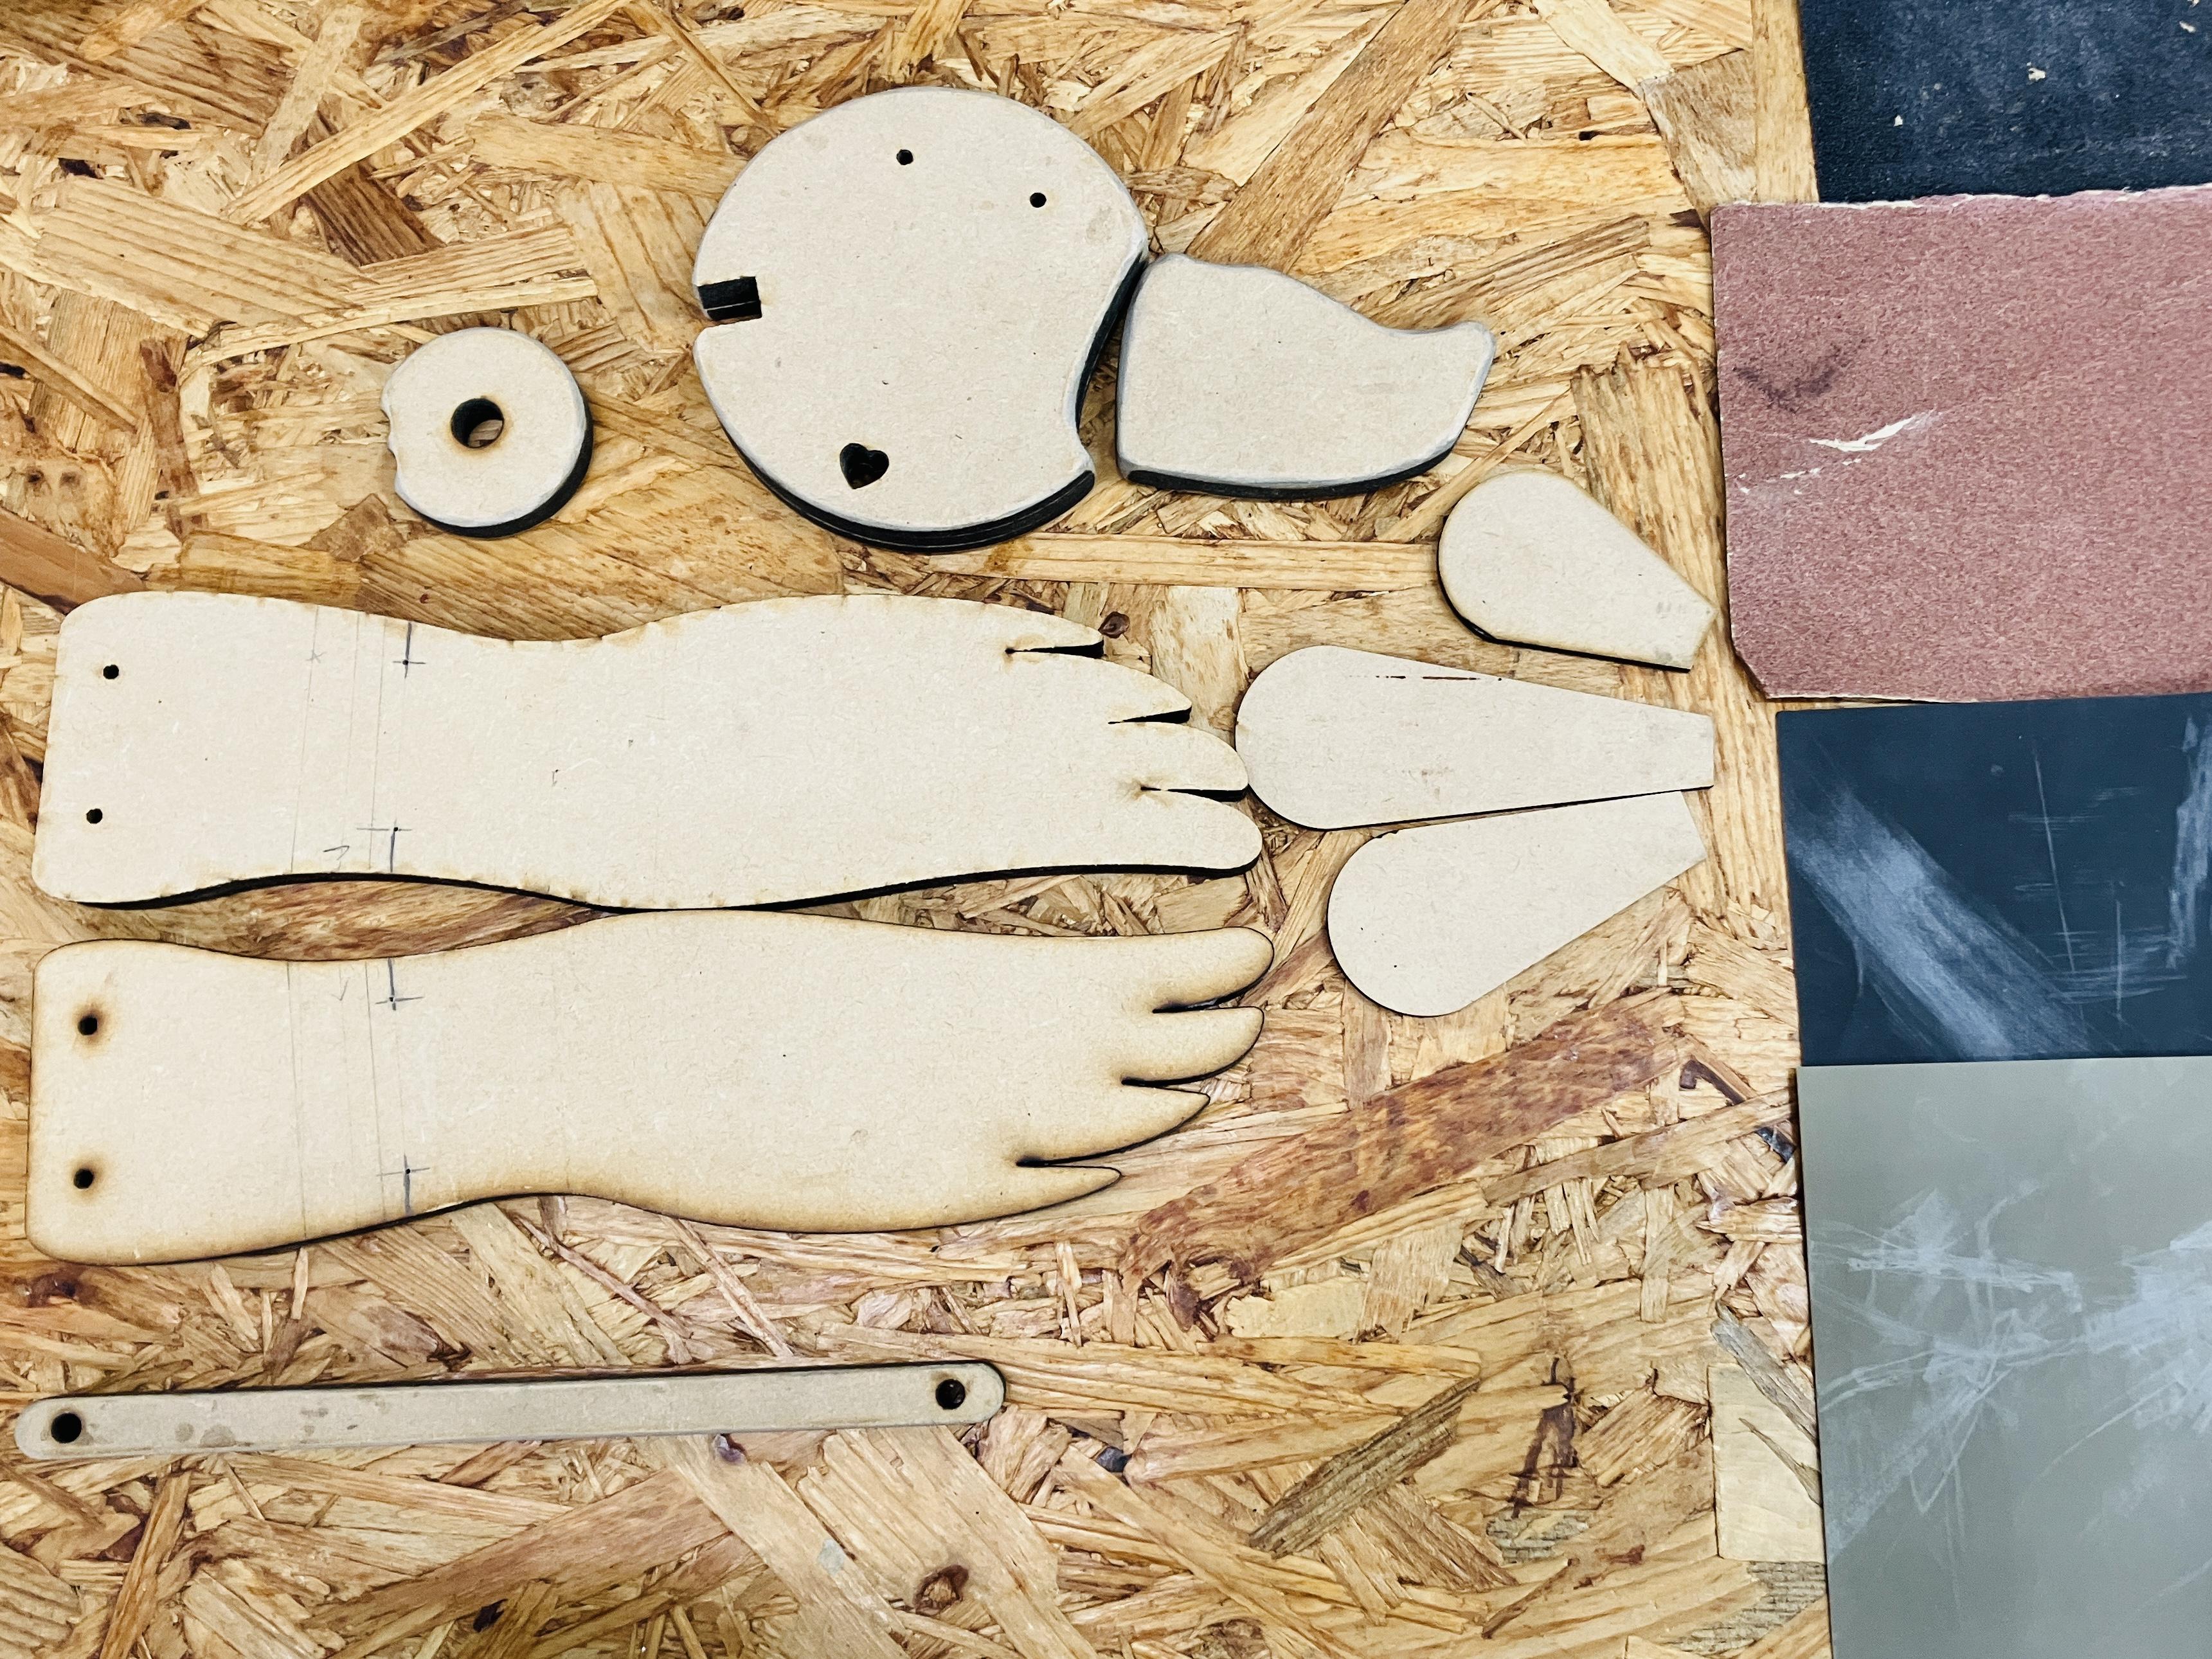
1.White Glue Application:
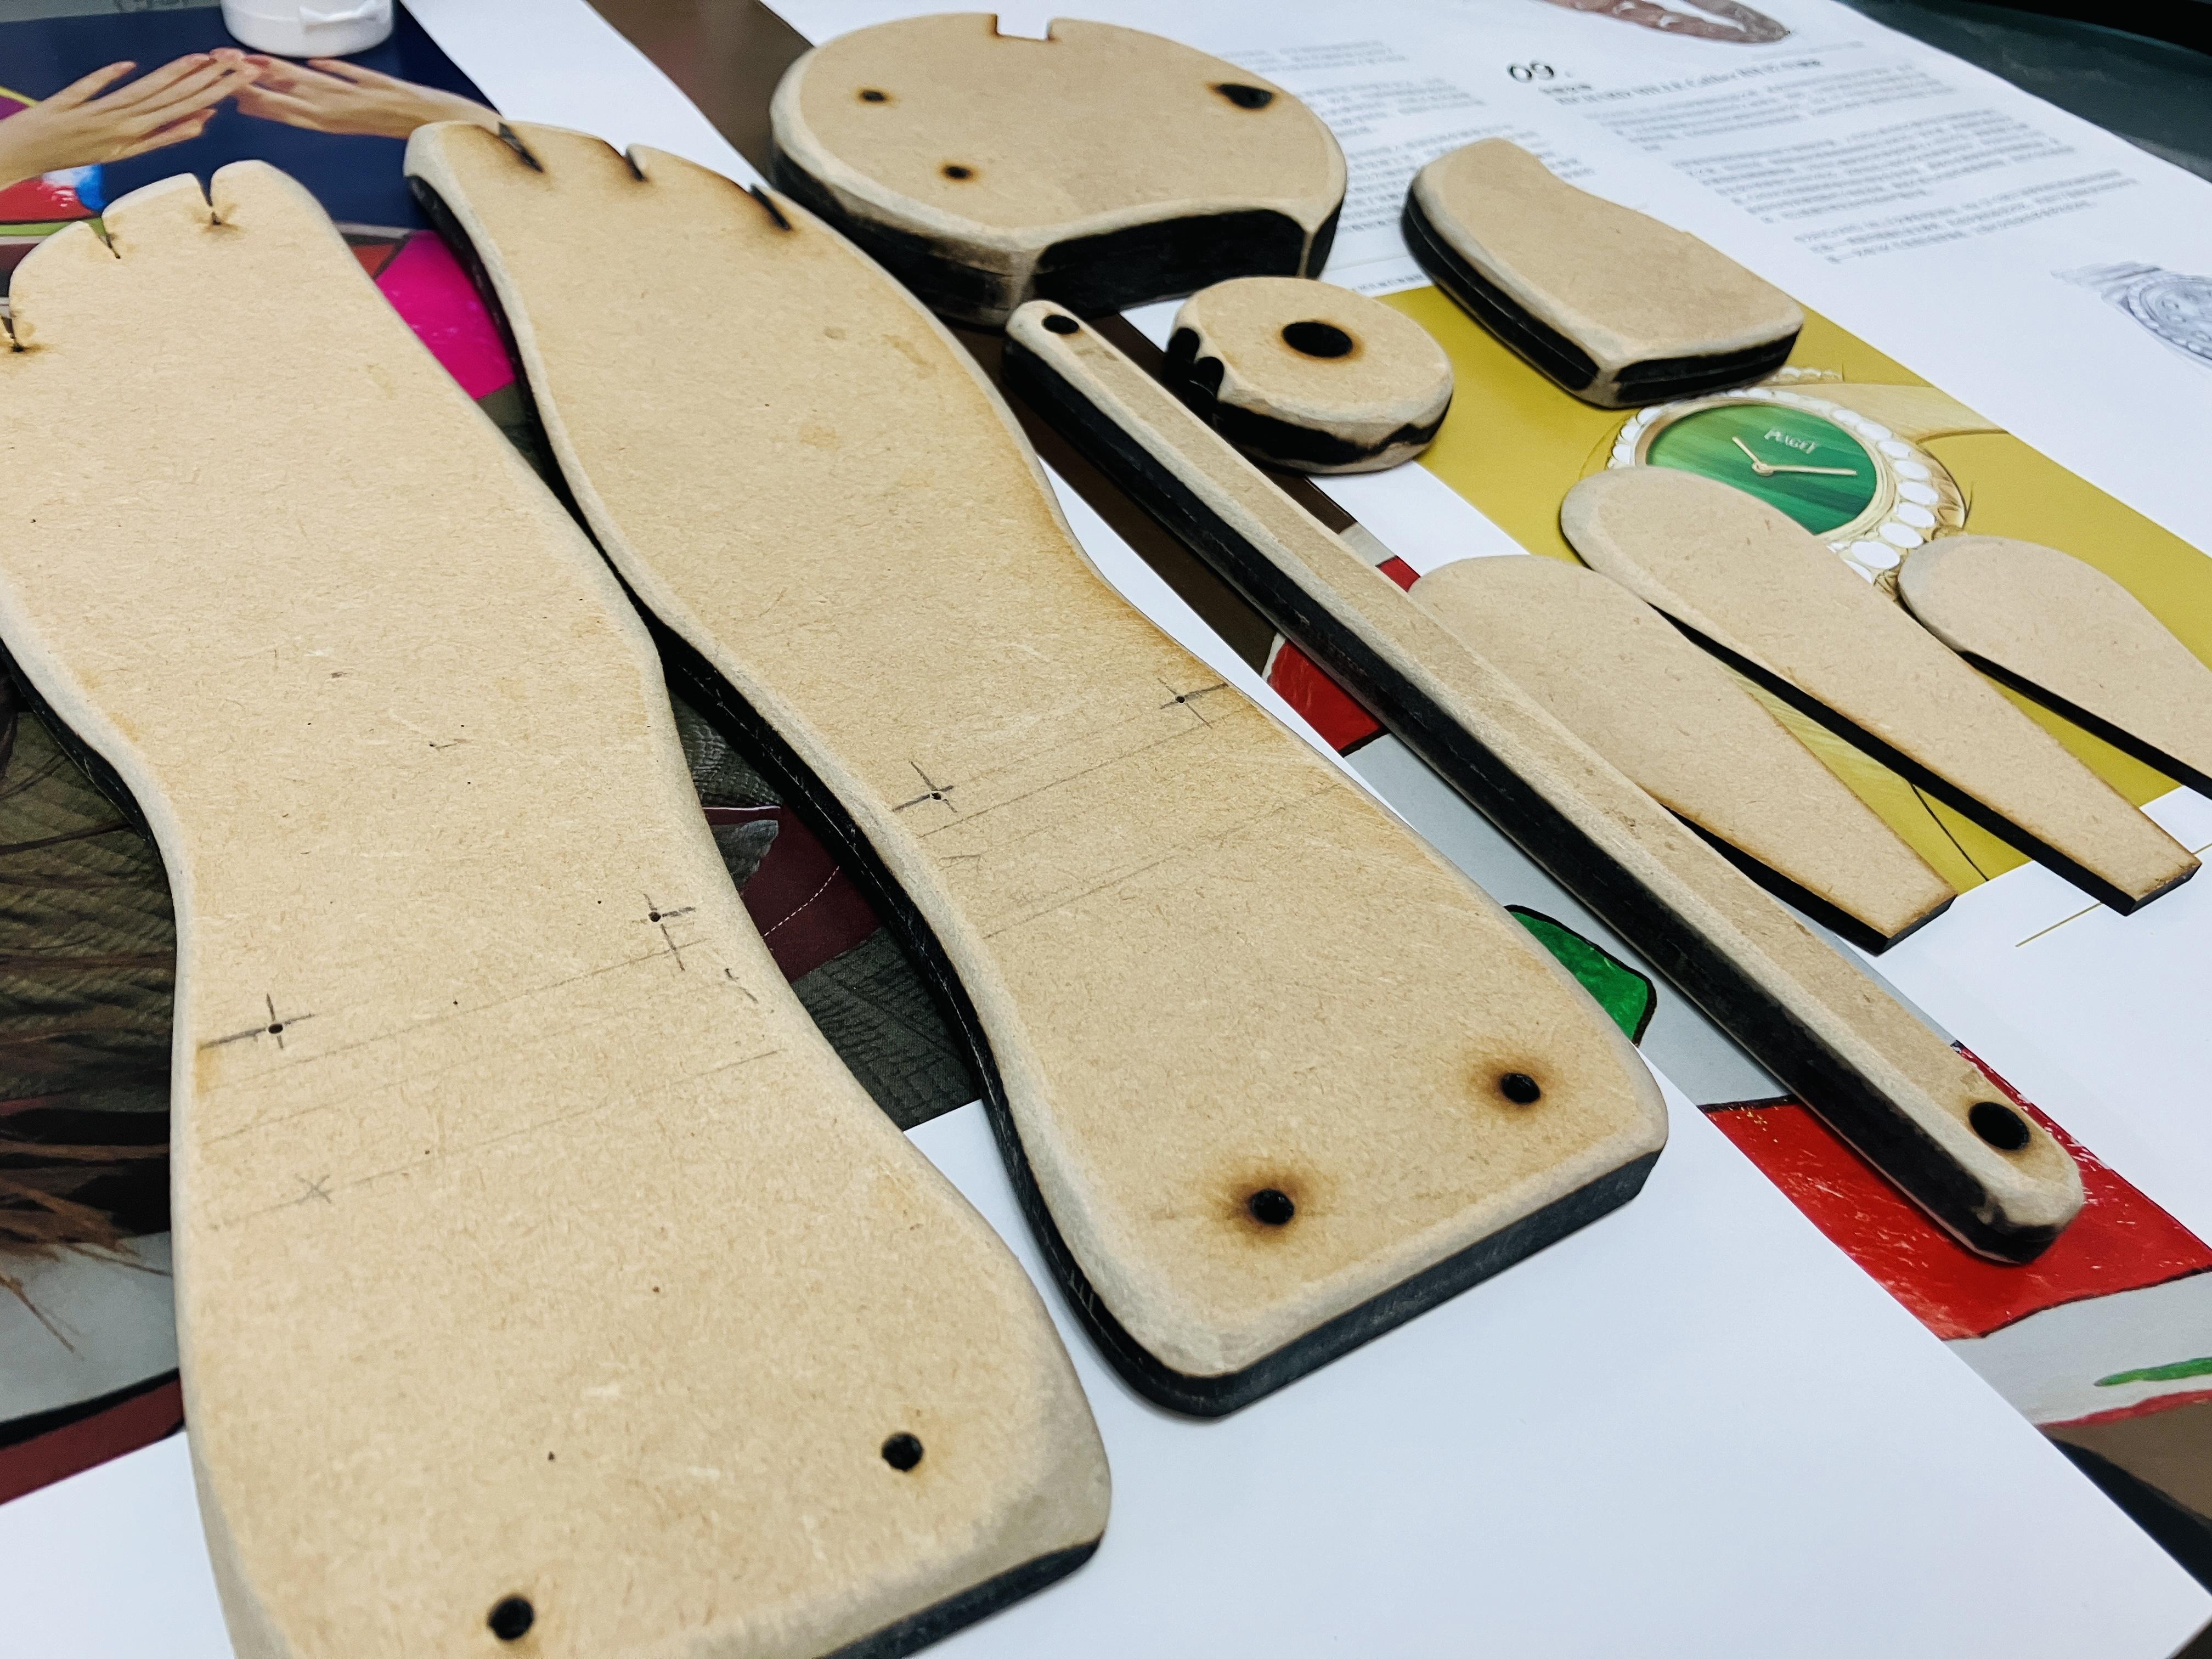
Use white glue to stick the MDF pieces together.
I used 5mm MDF (3 layers thick) for the bird's body,
5mm MDF (2 layers thick) for the beak, tail, rod, and donut,
and 3mm MDF (1 layer thick) for the tail.
2.Testing:
I used masking tape to temporarily fix the beak and tail in place, then tested the weight and balance with fishing line to ensure the bird’s wings could move easily.
3.Drilling:
After testing, mark the spots where holes need to be drilled for the wings. For my design, the hole was placed 7 cm from the body to maintain balance.
Sand, Sand, Sand
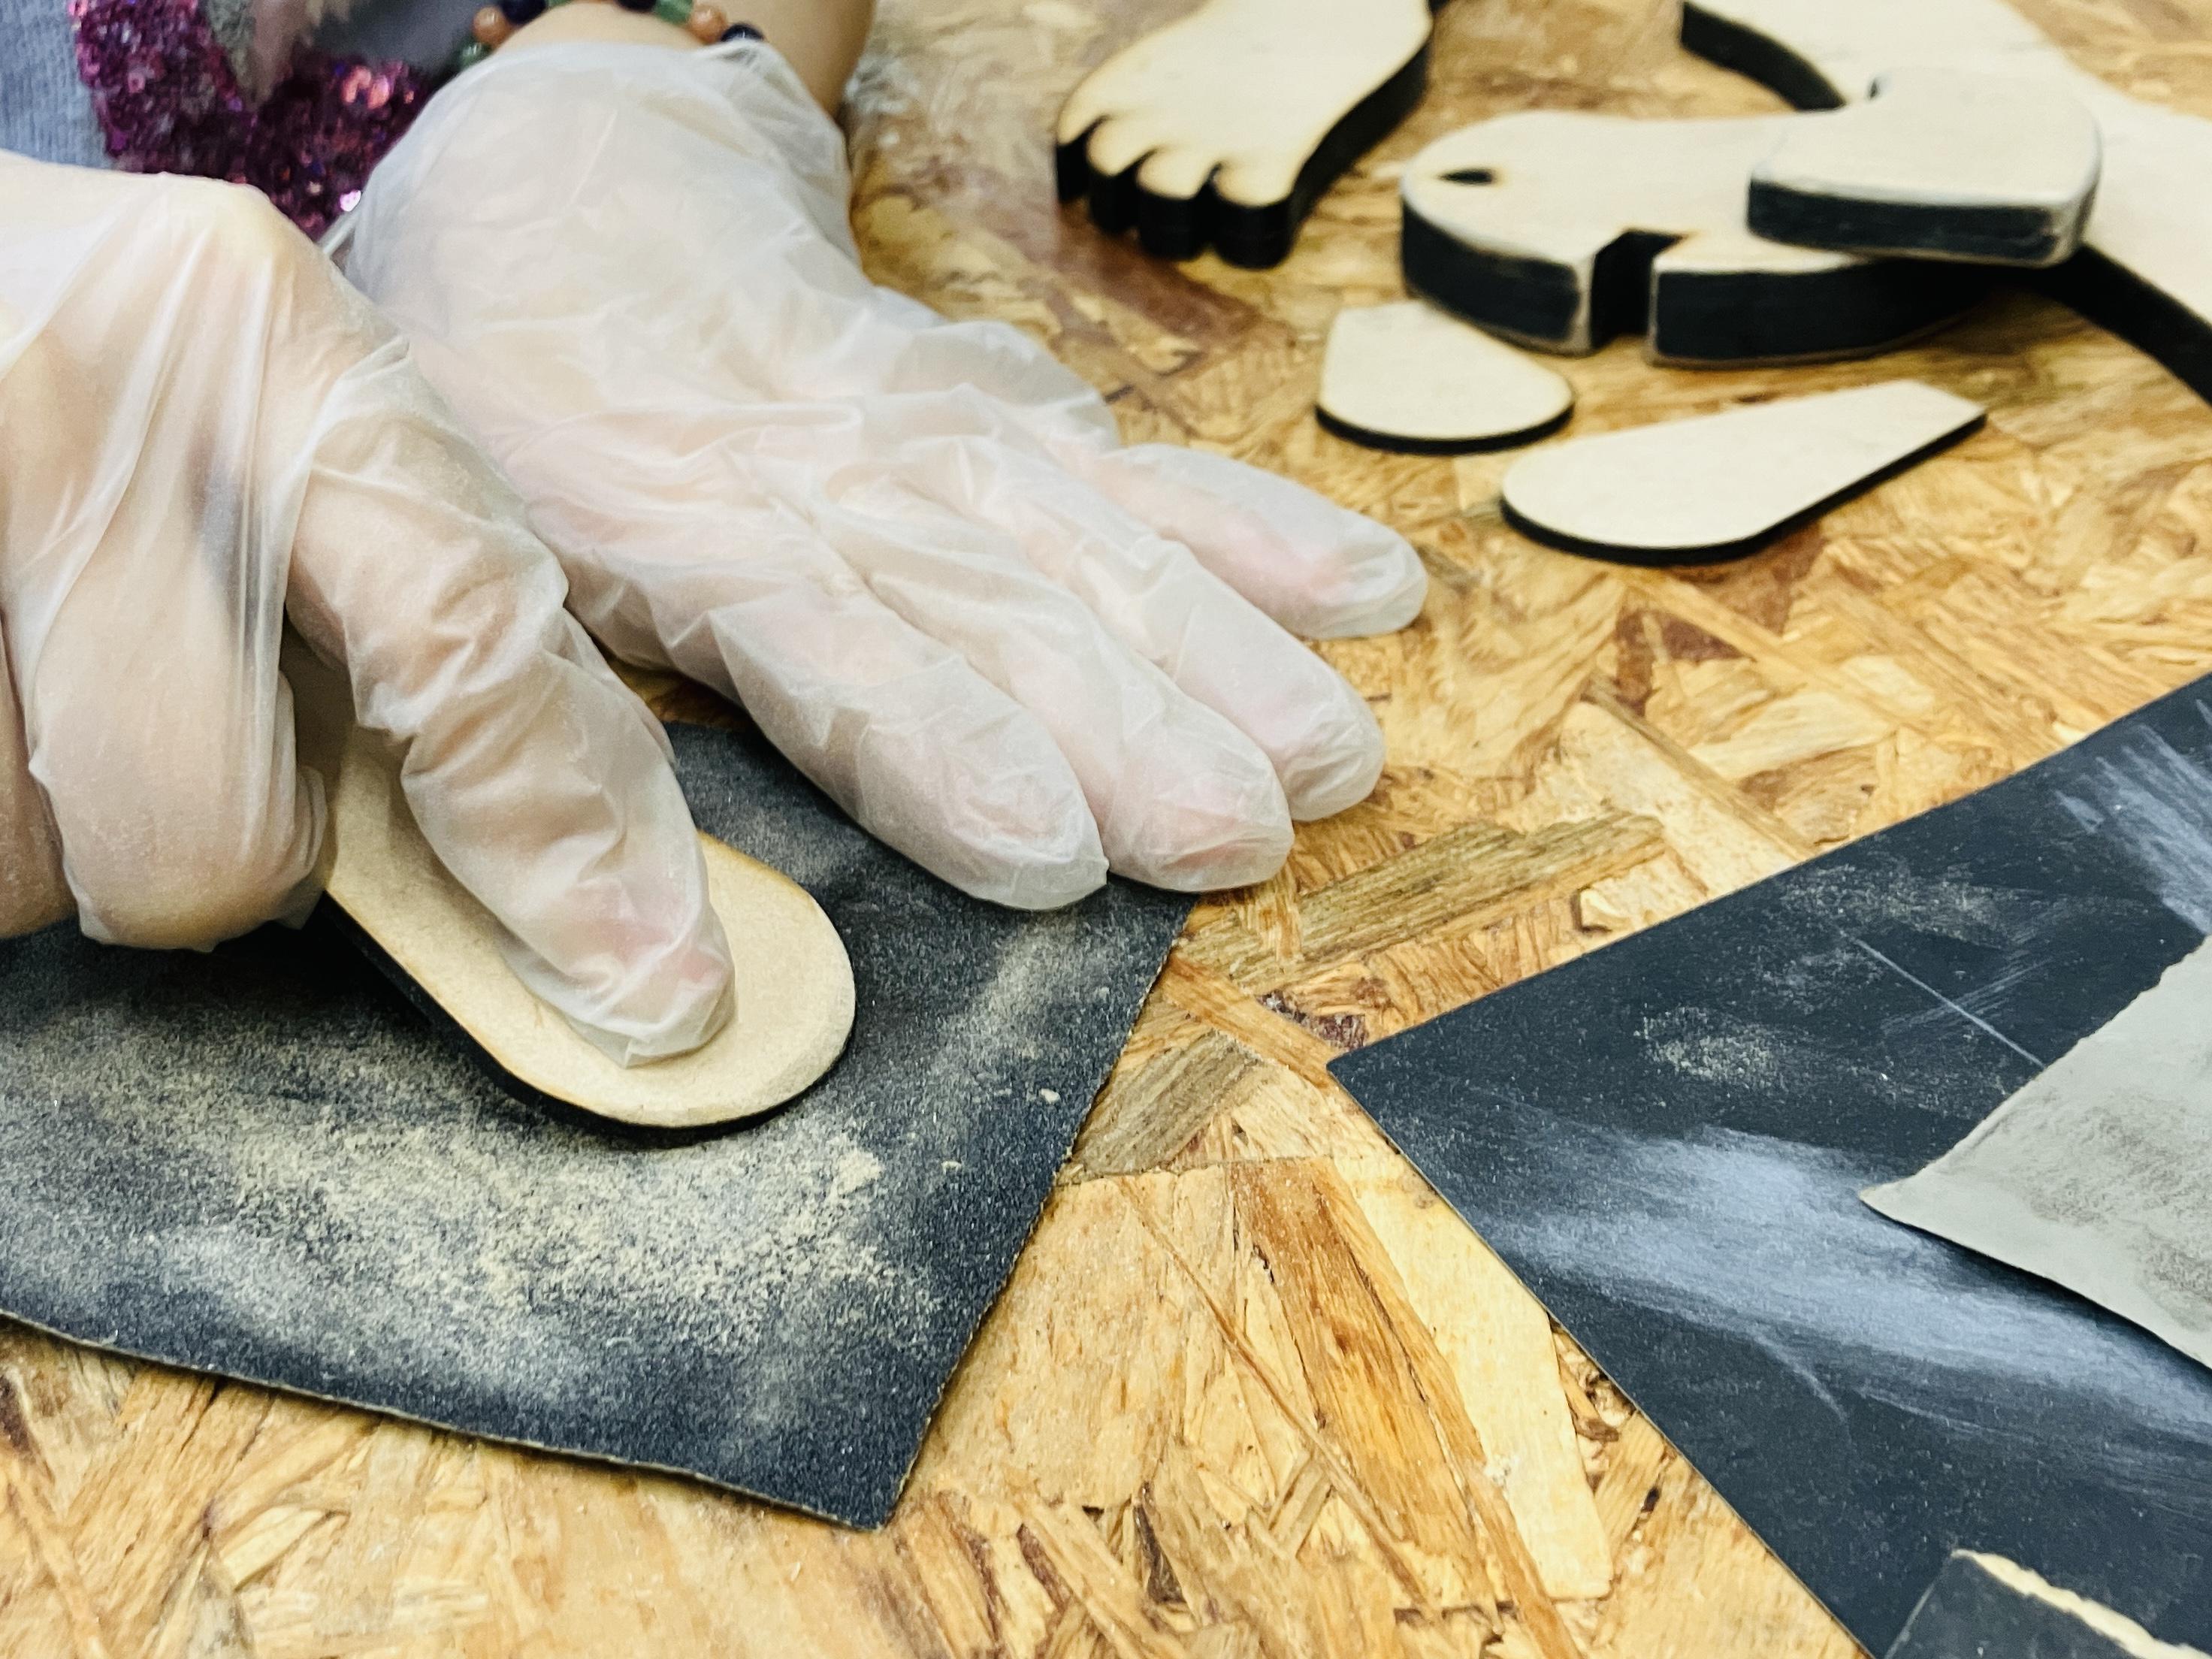
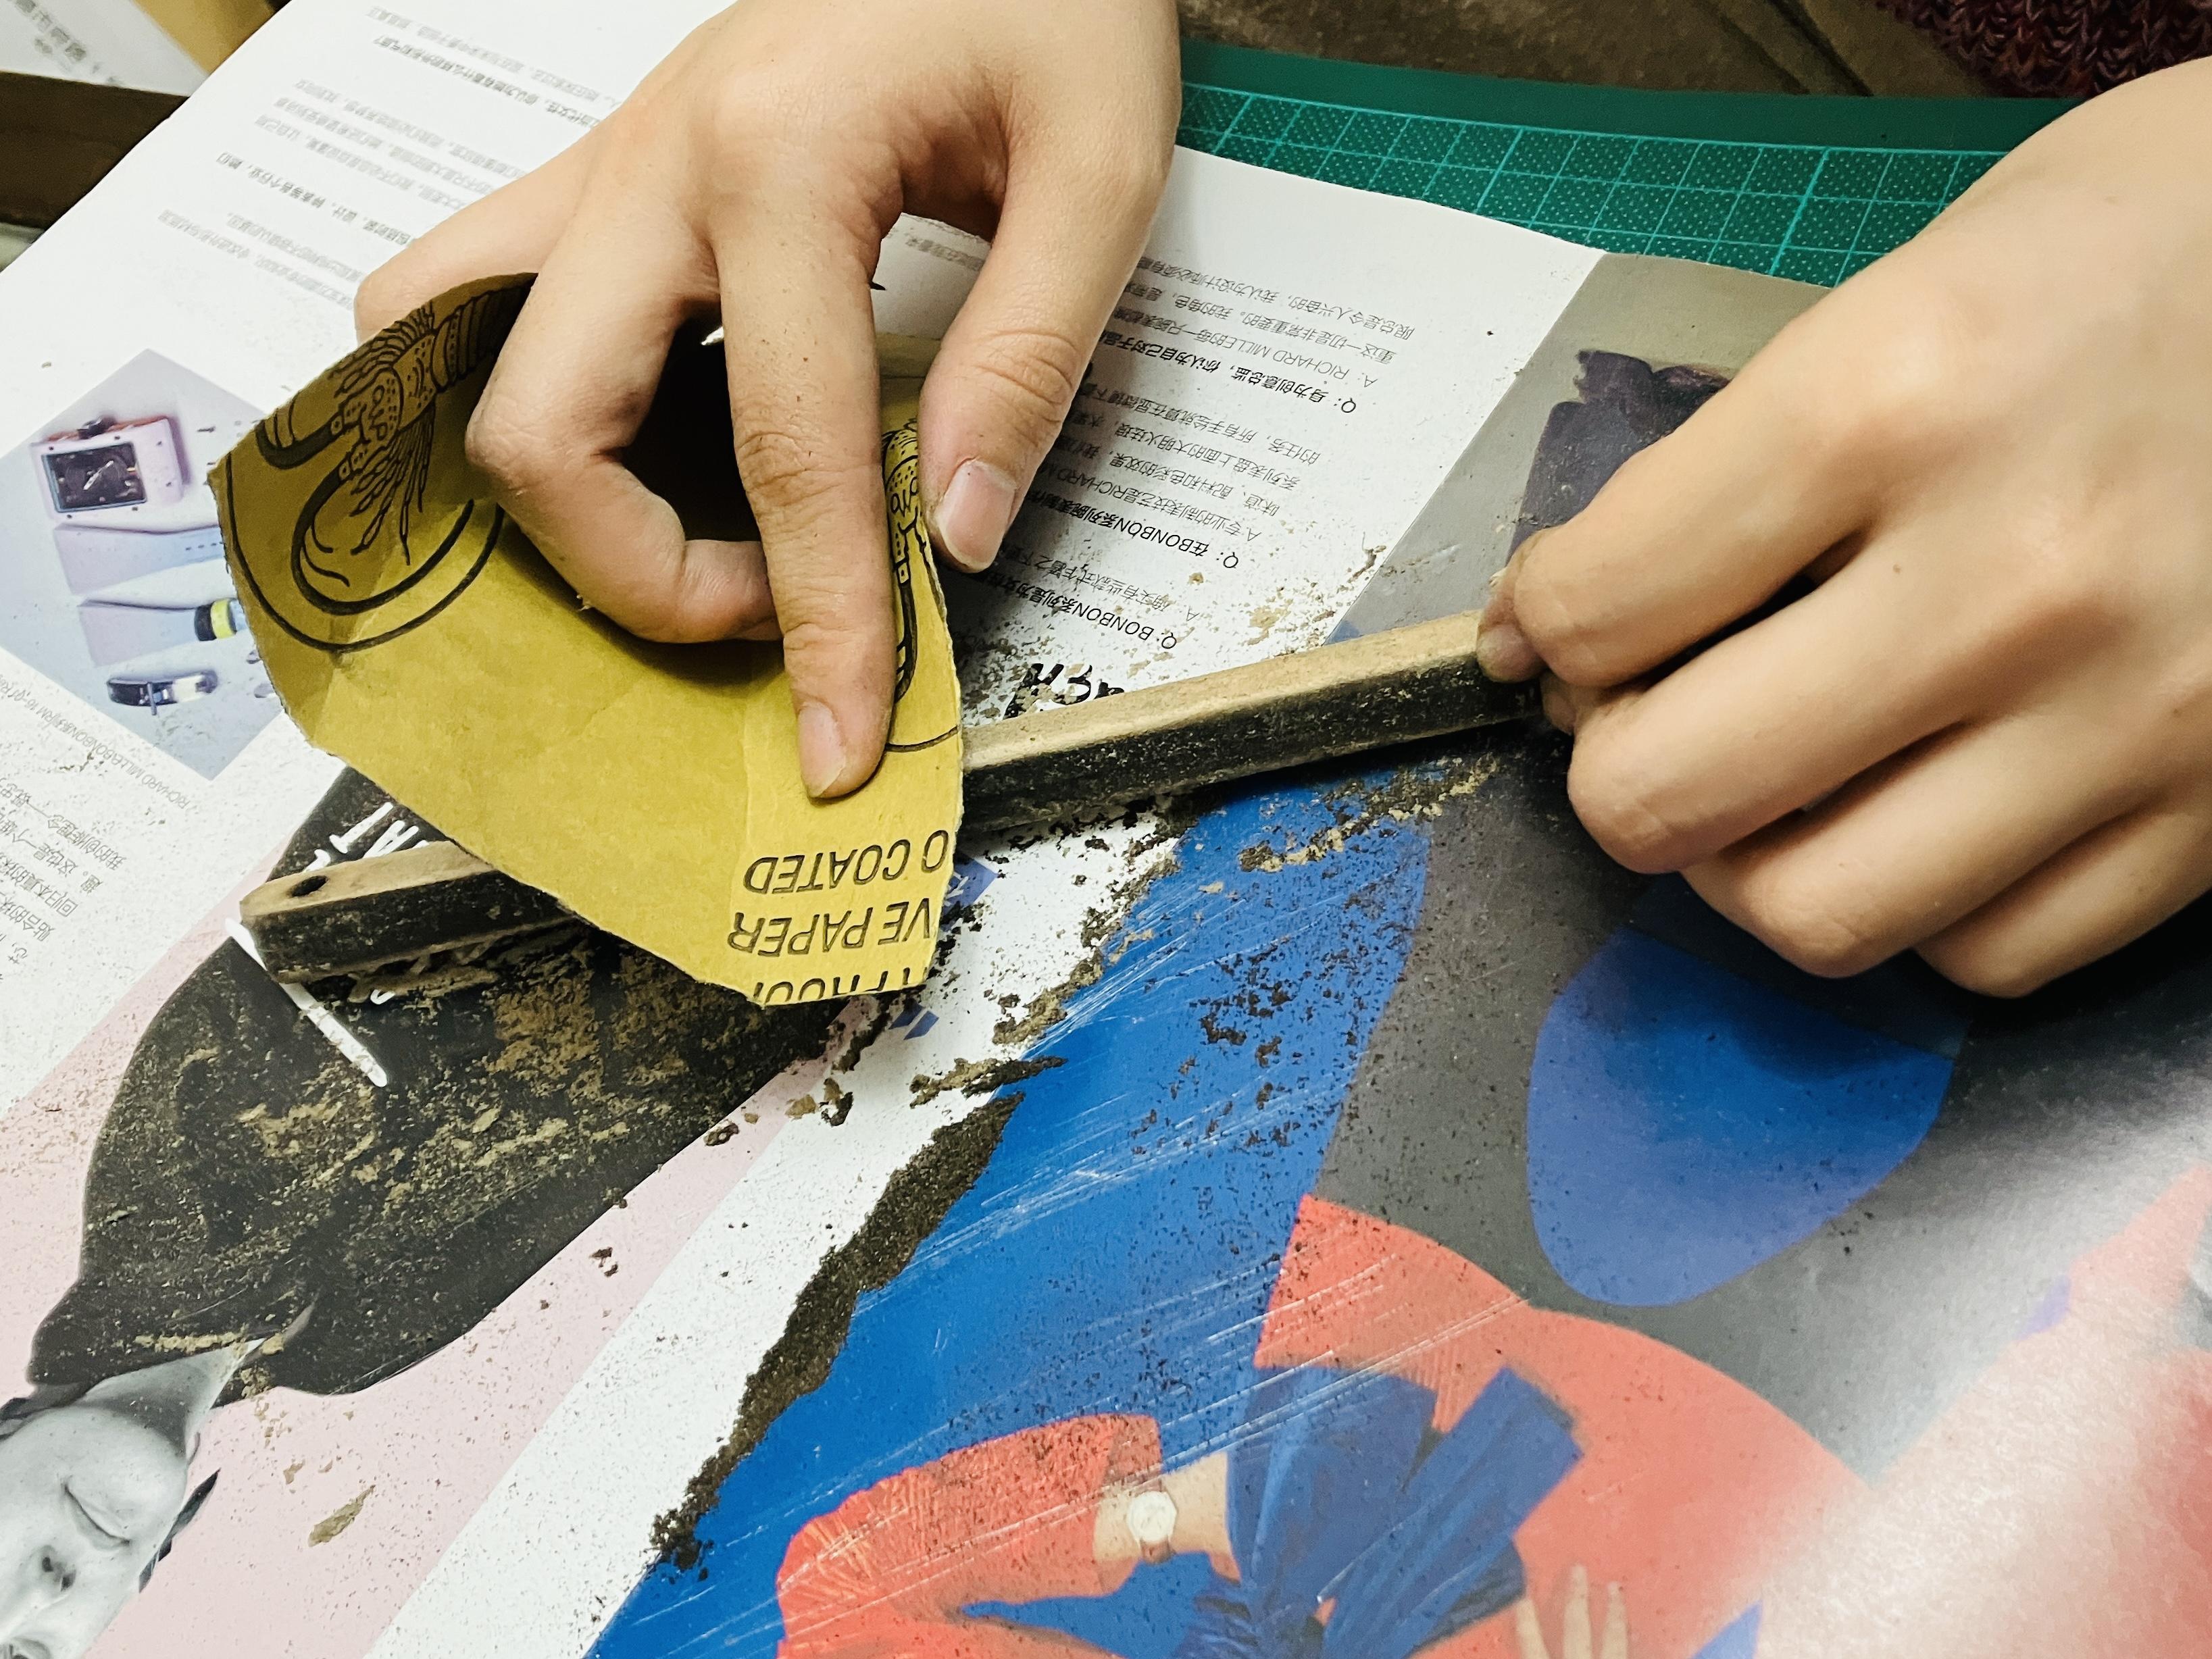
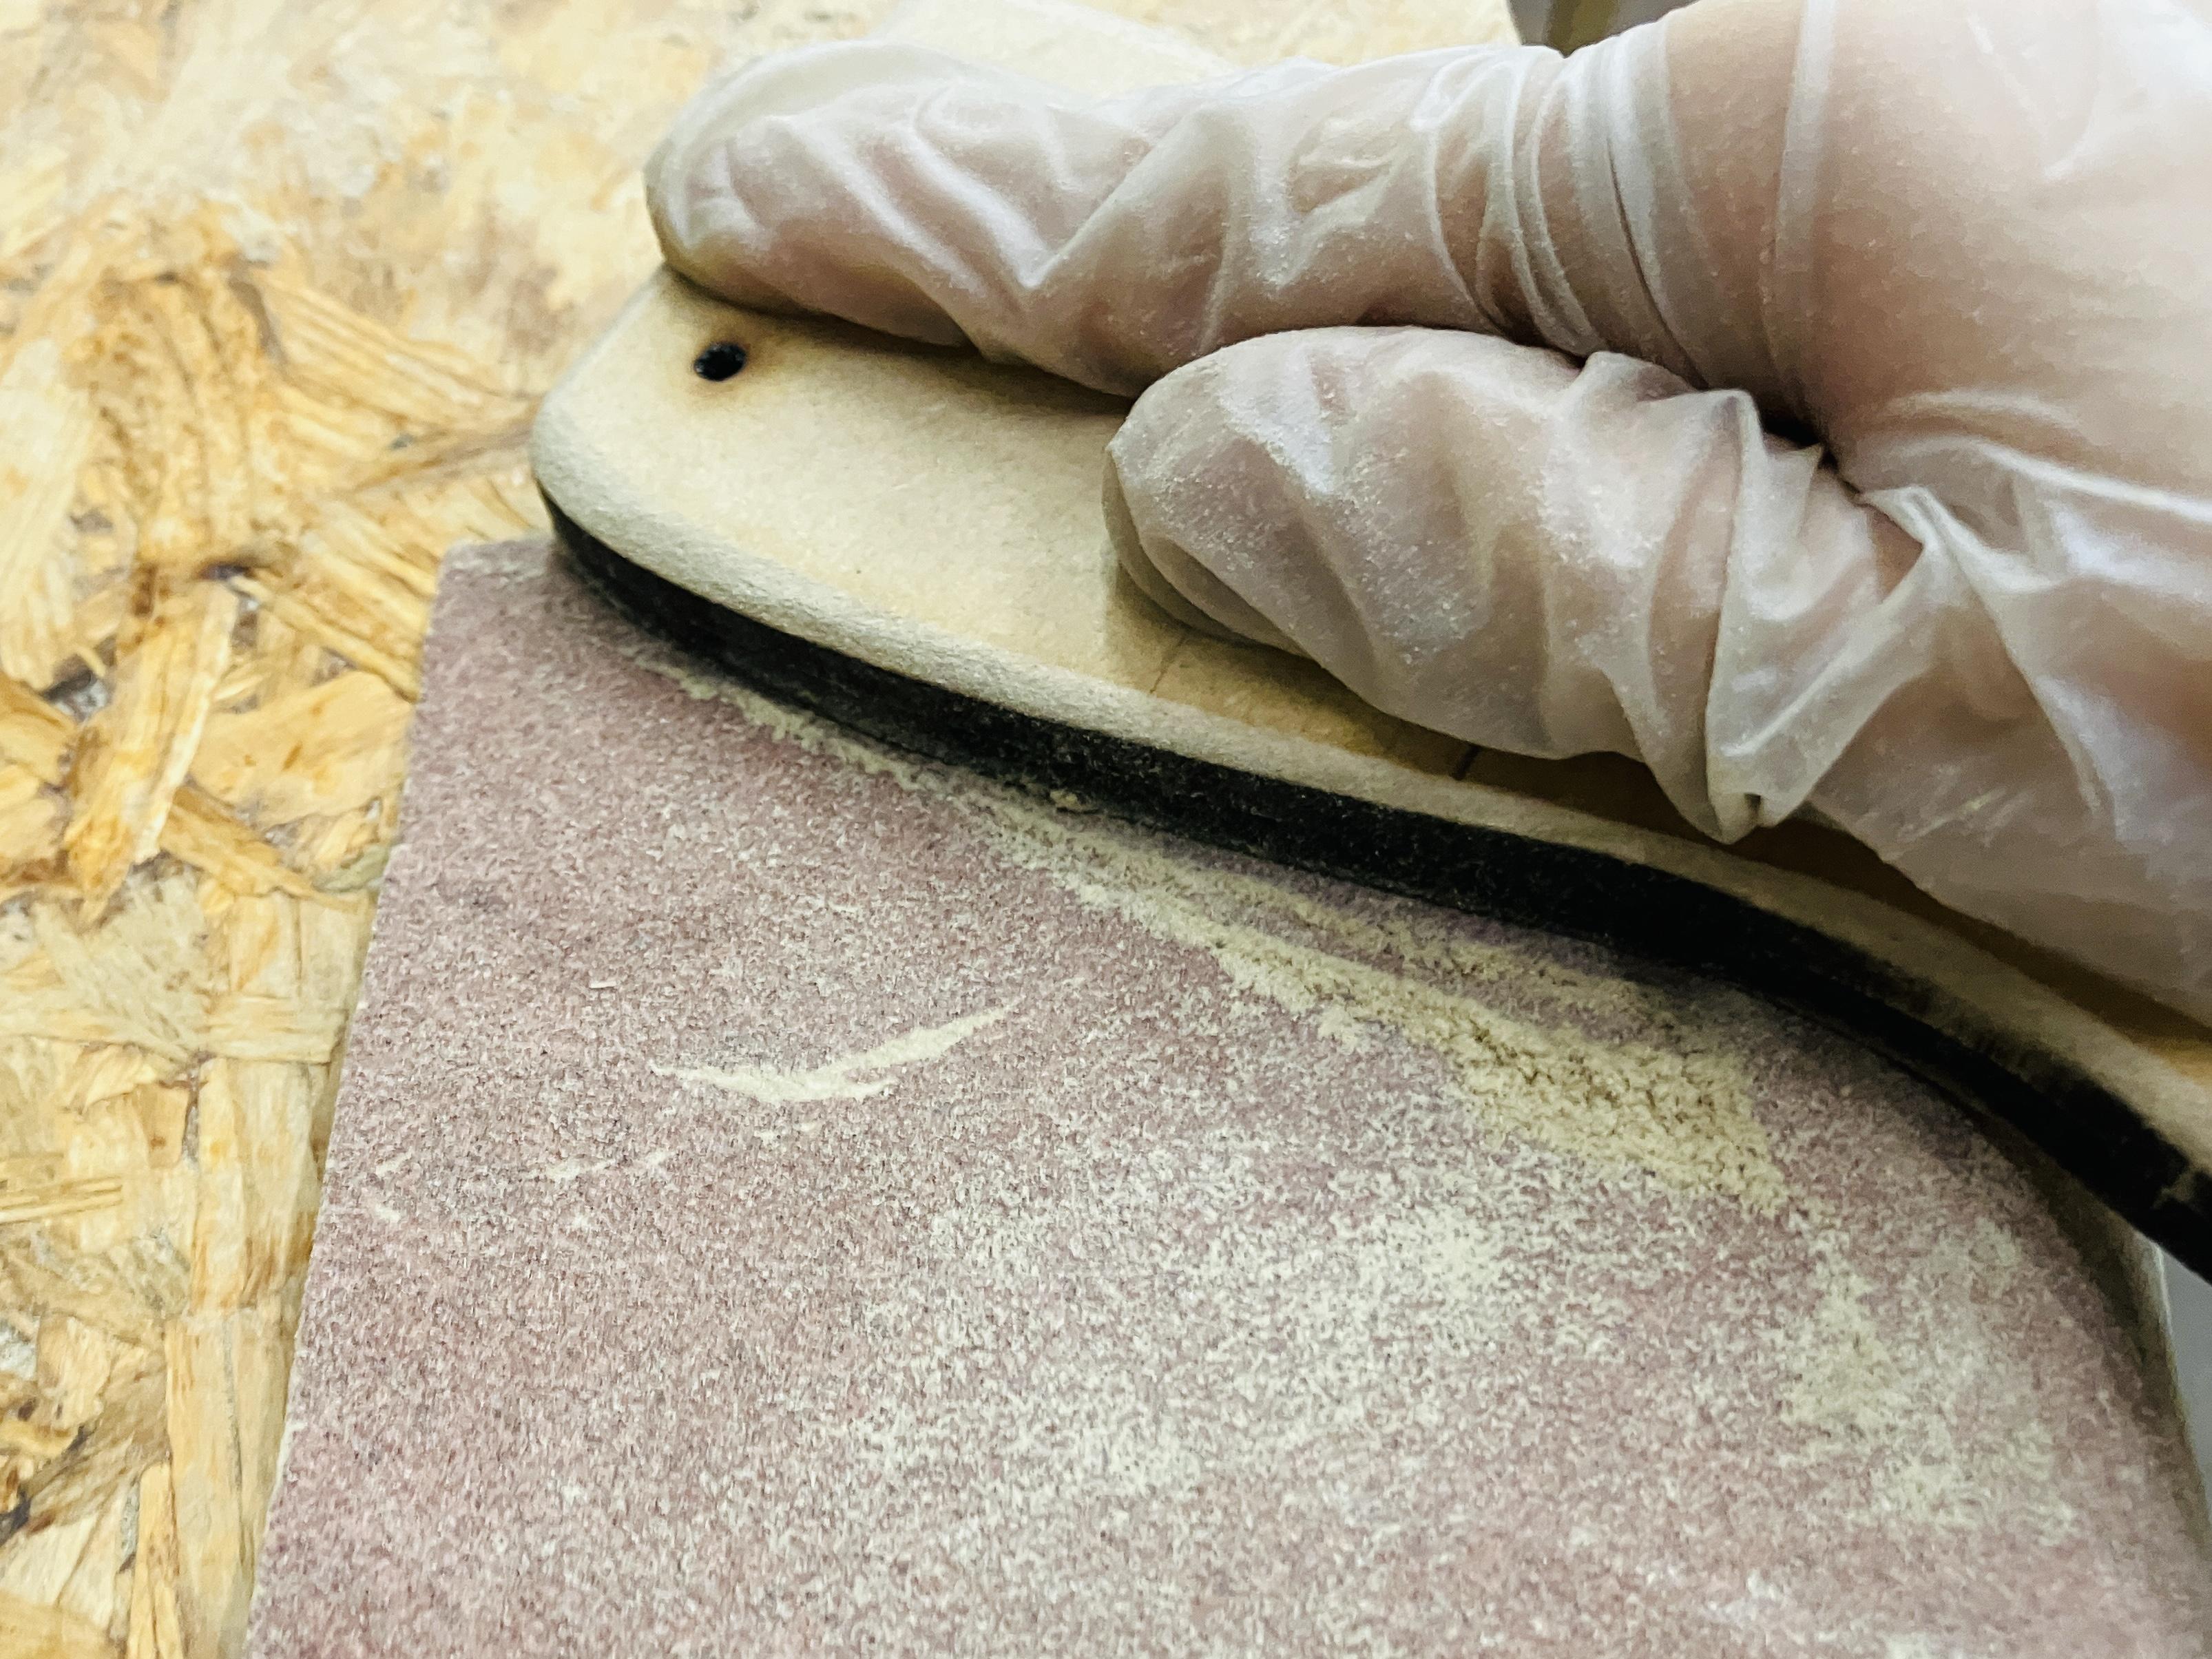
Materials: Sandpaper, gloves, and patience
Next, to give the bird a rounder, cuter look, I sanded the edges with sandpaper. I started with a lower number (coarse grit) and gradually switched to finer grits to make the final piece more refined and smoother.
Apply Base Color
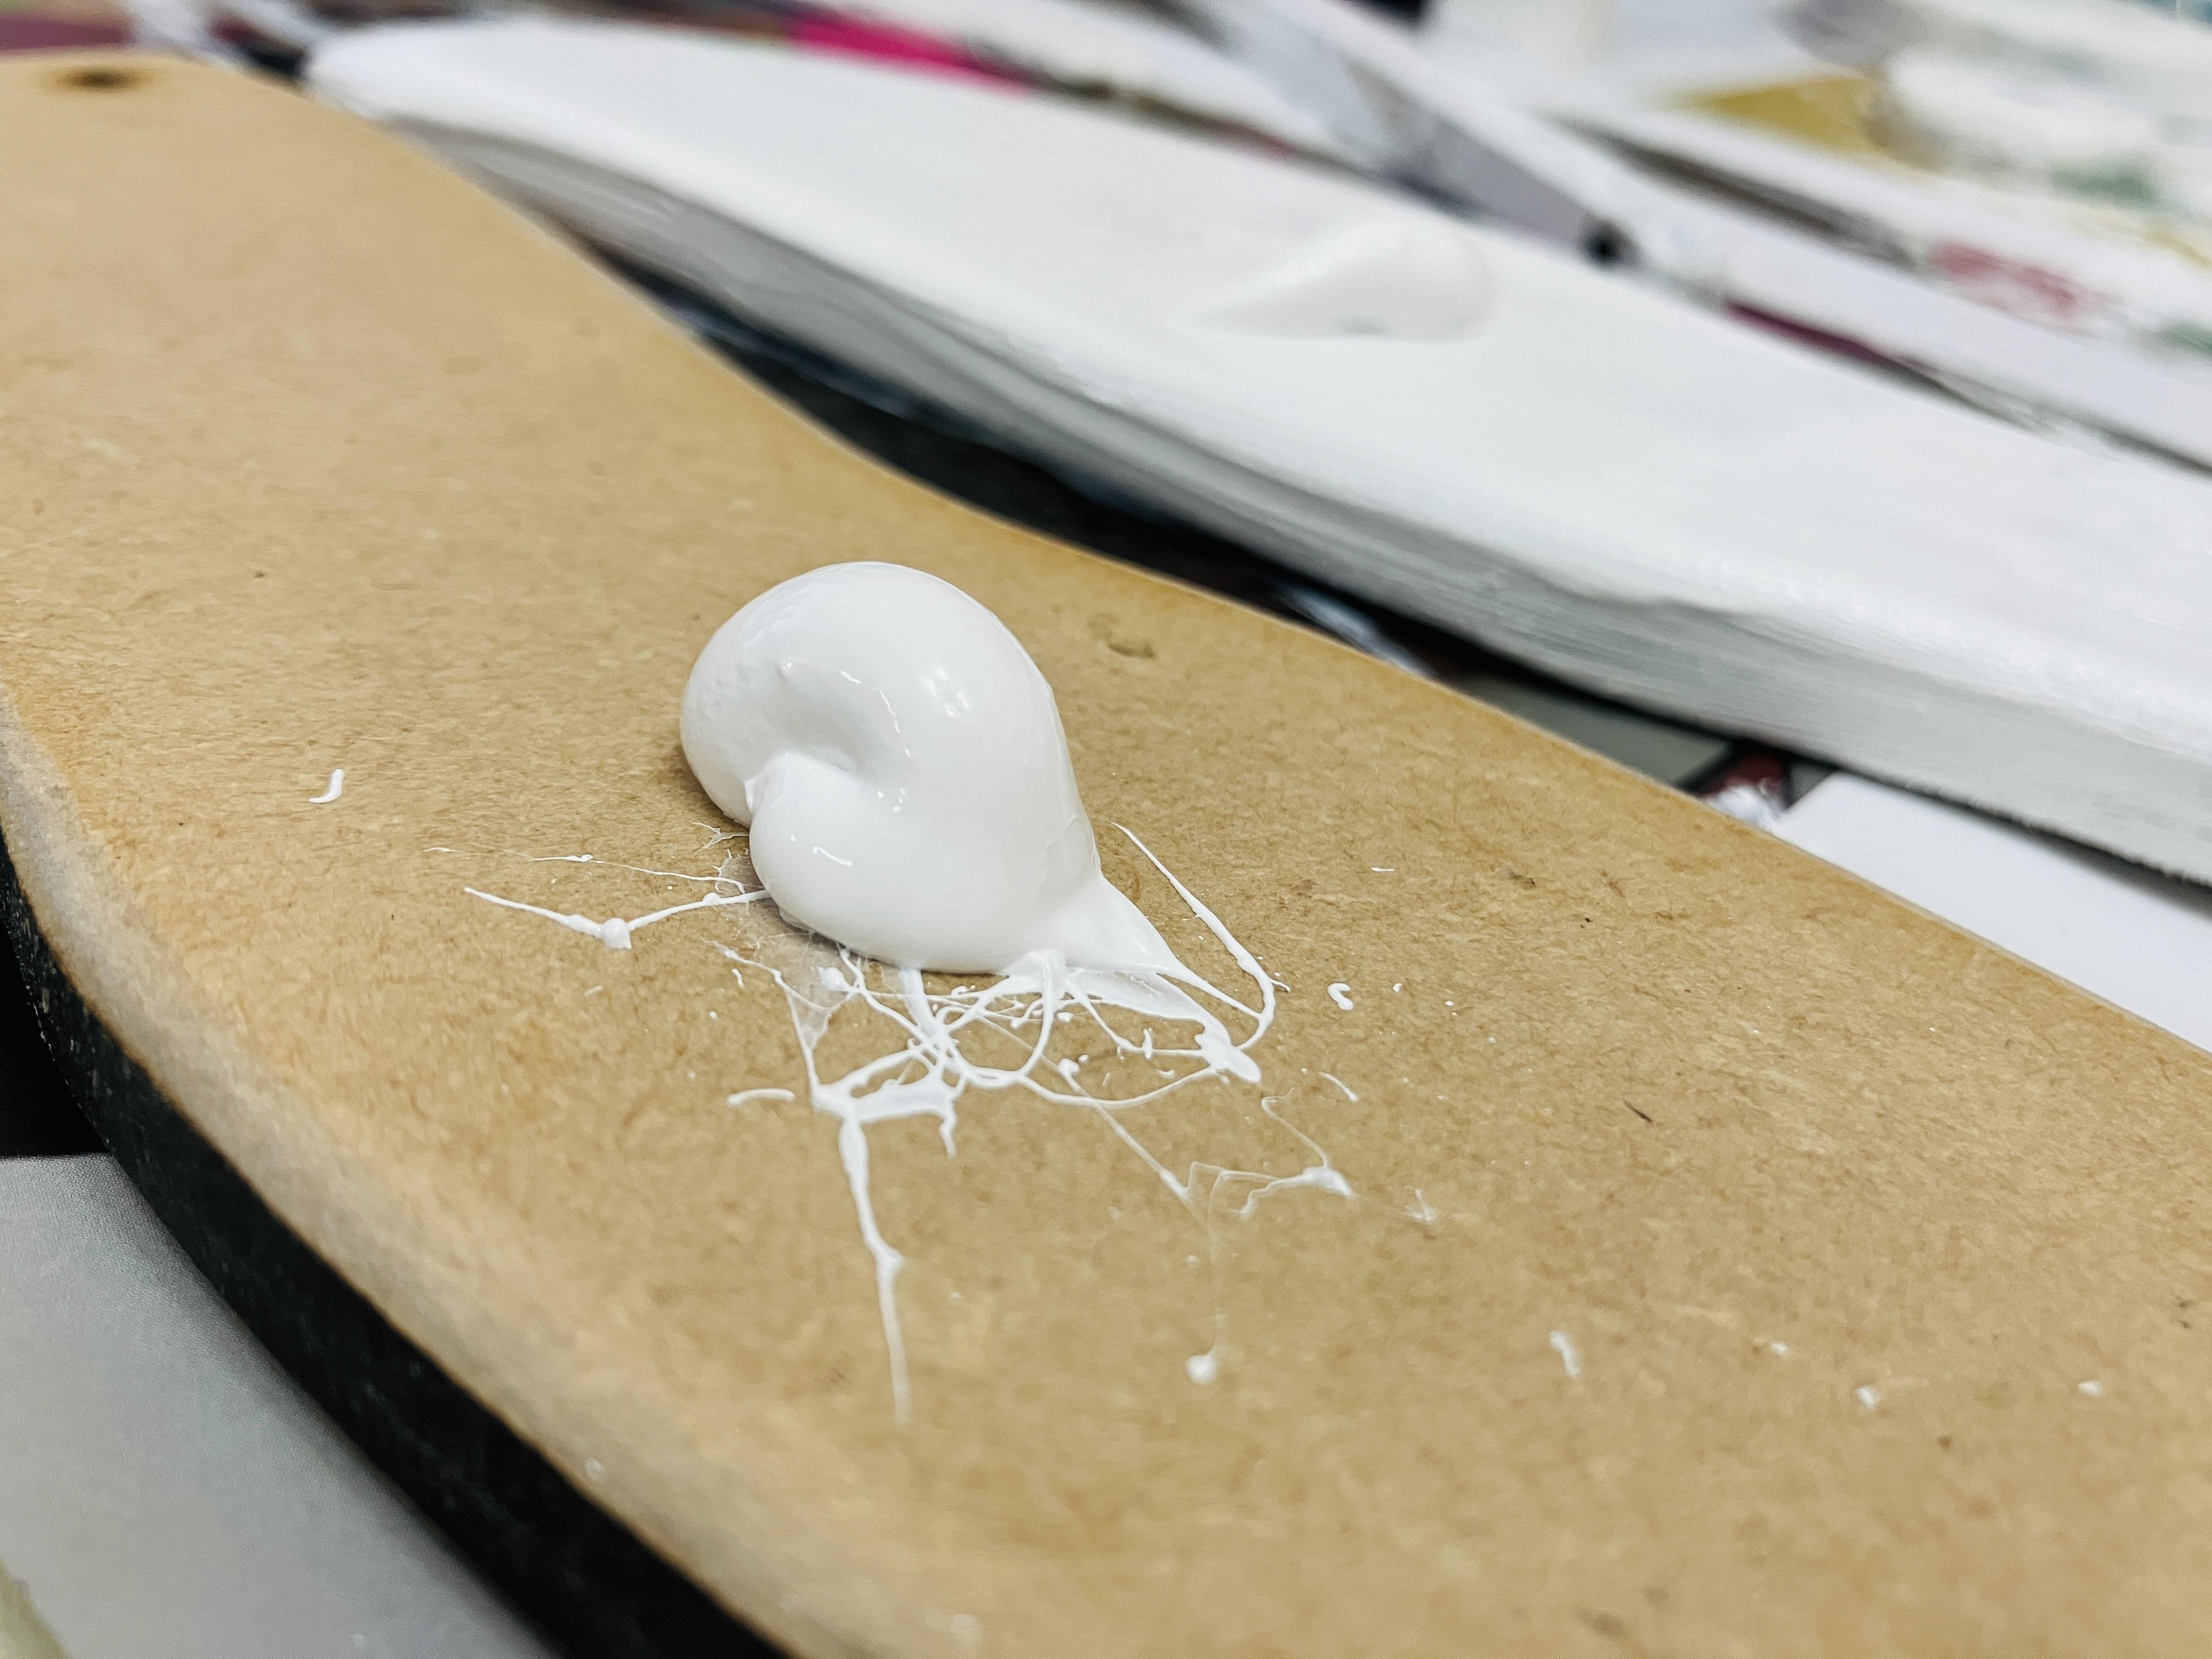
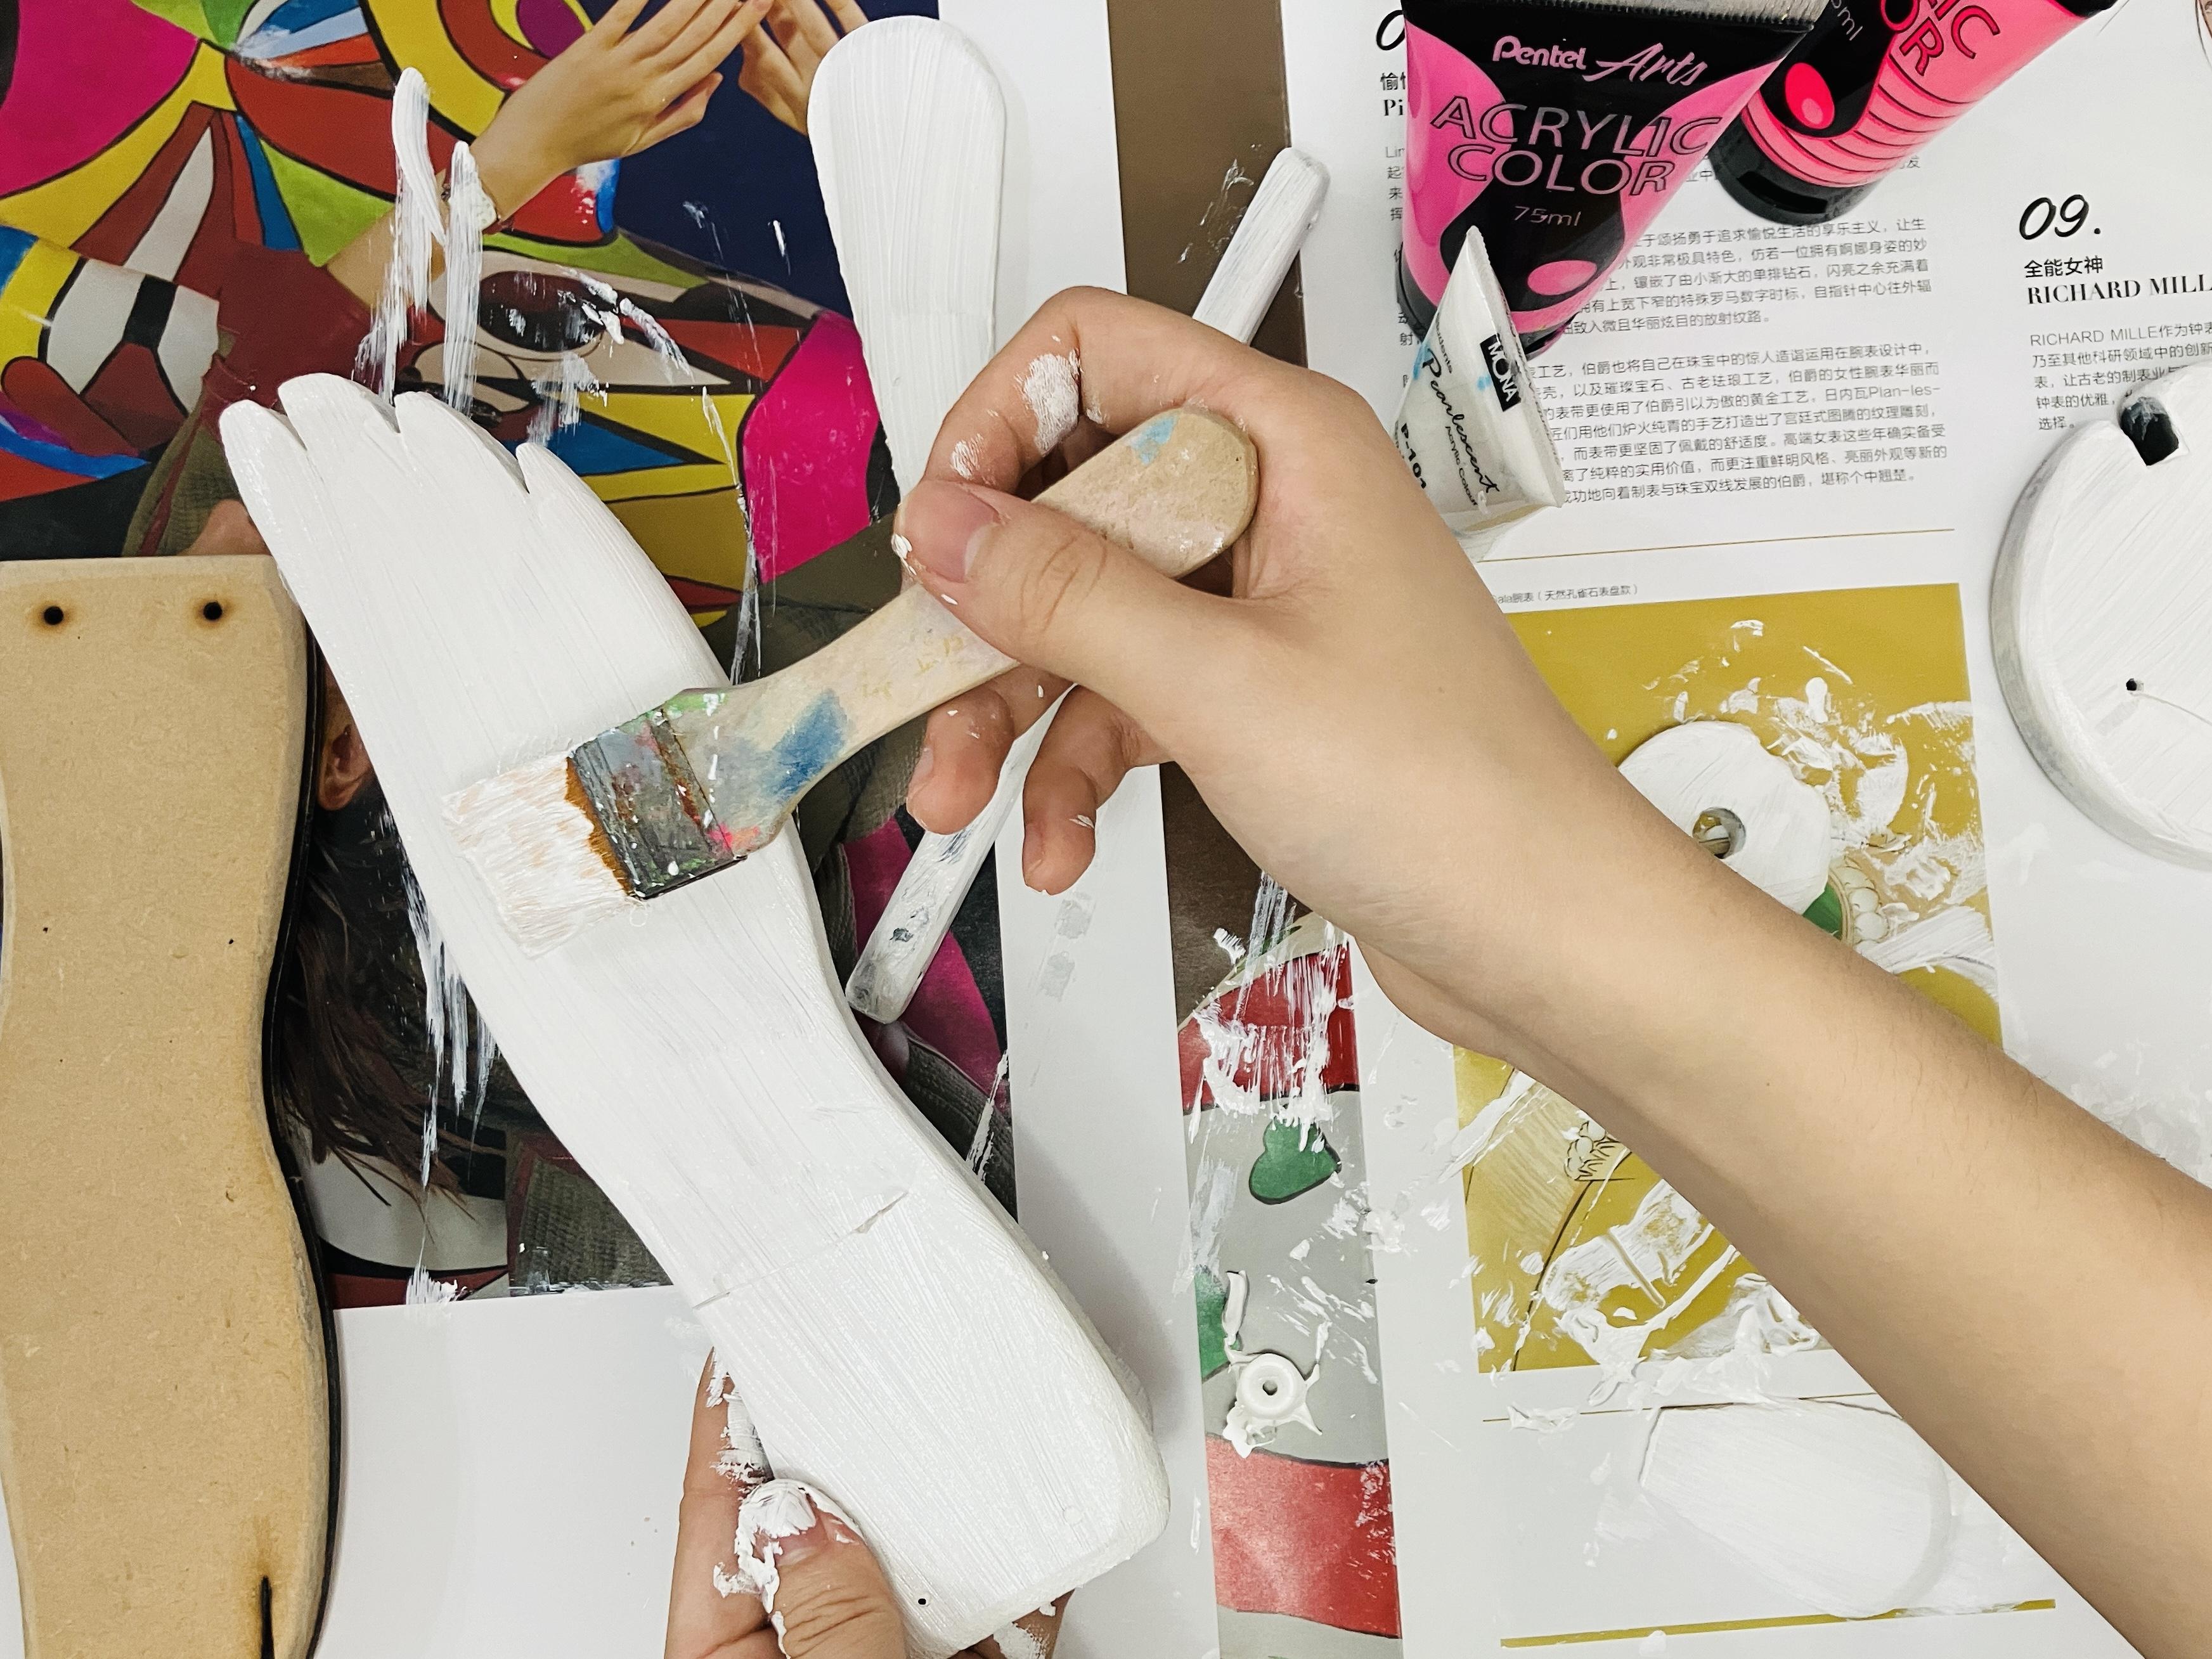
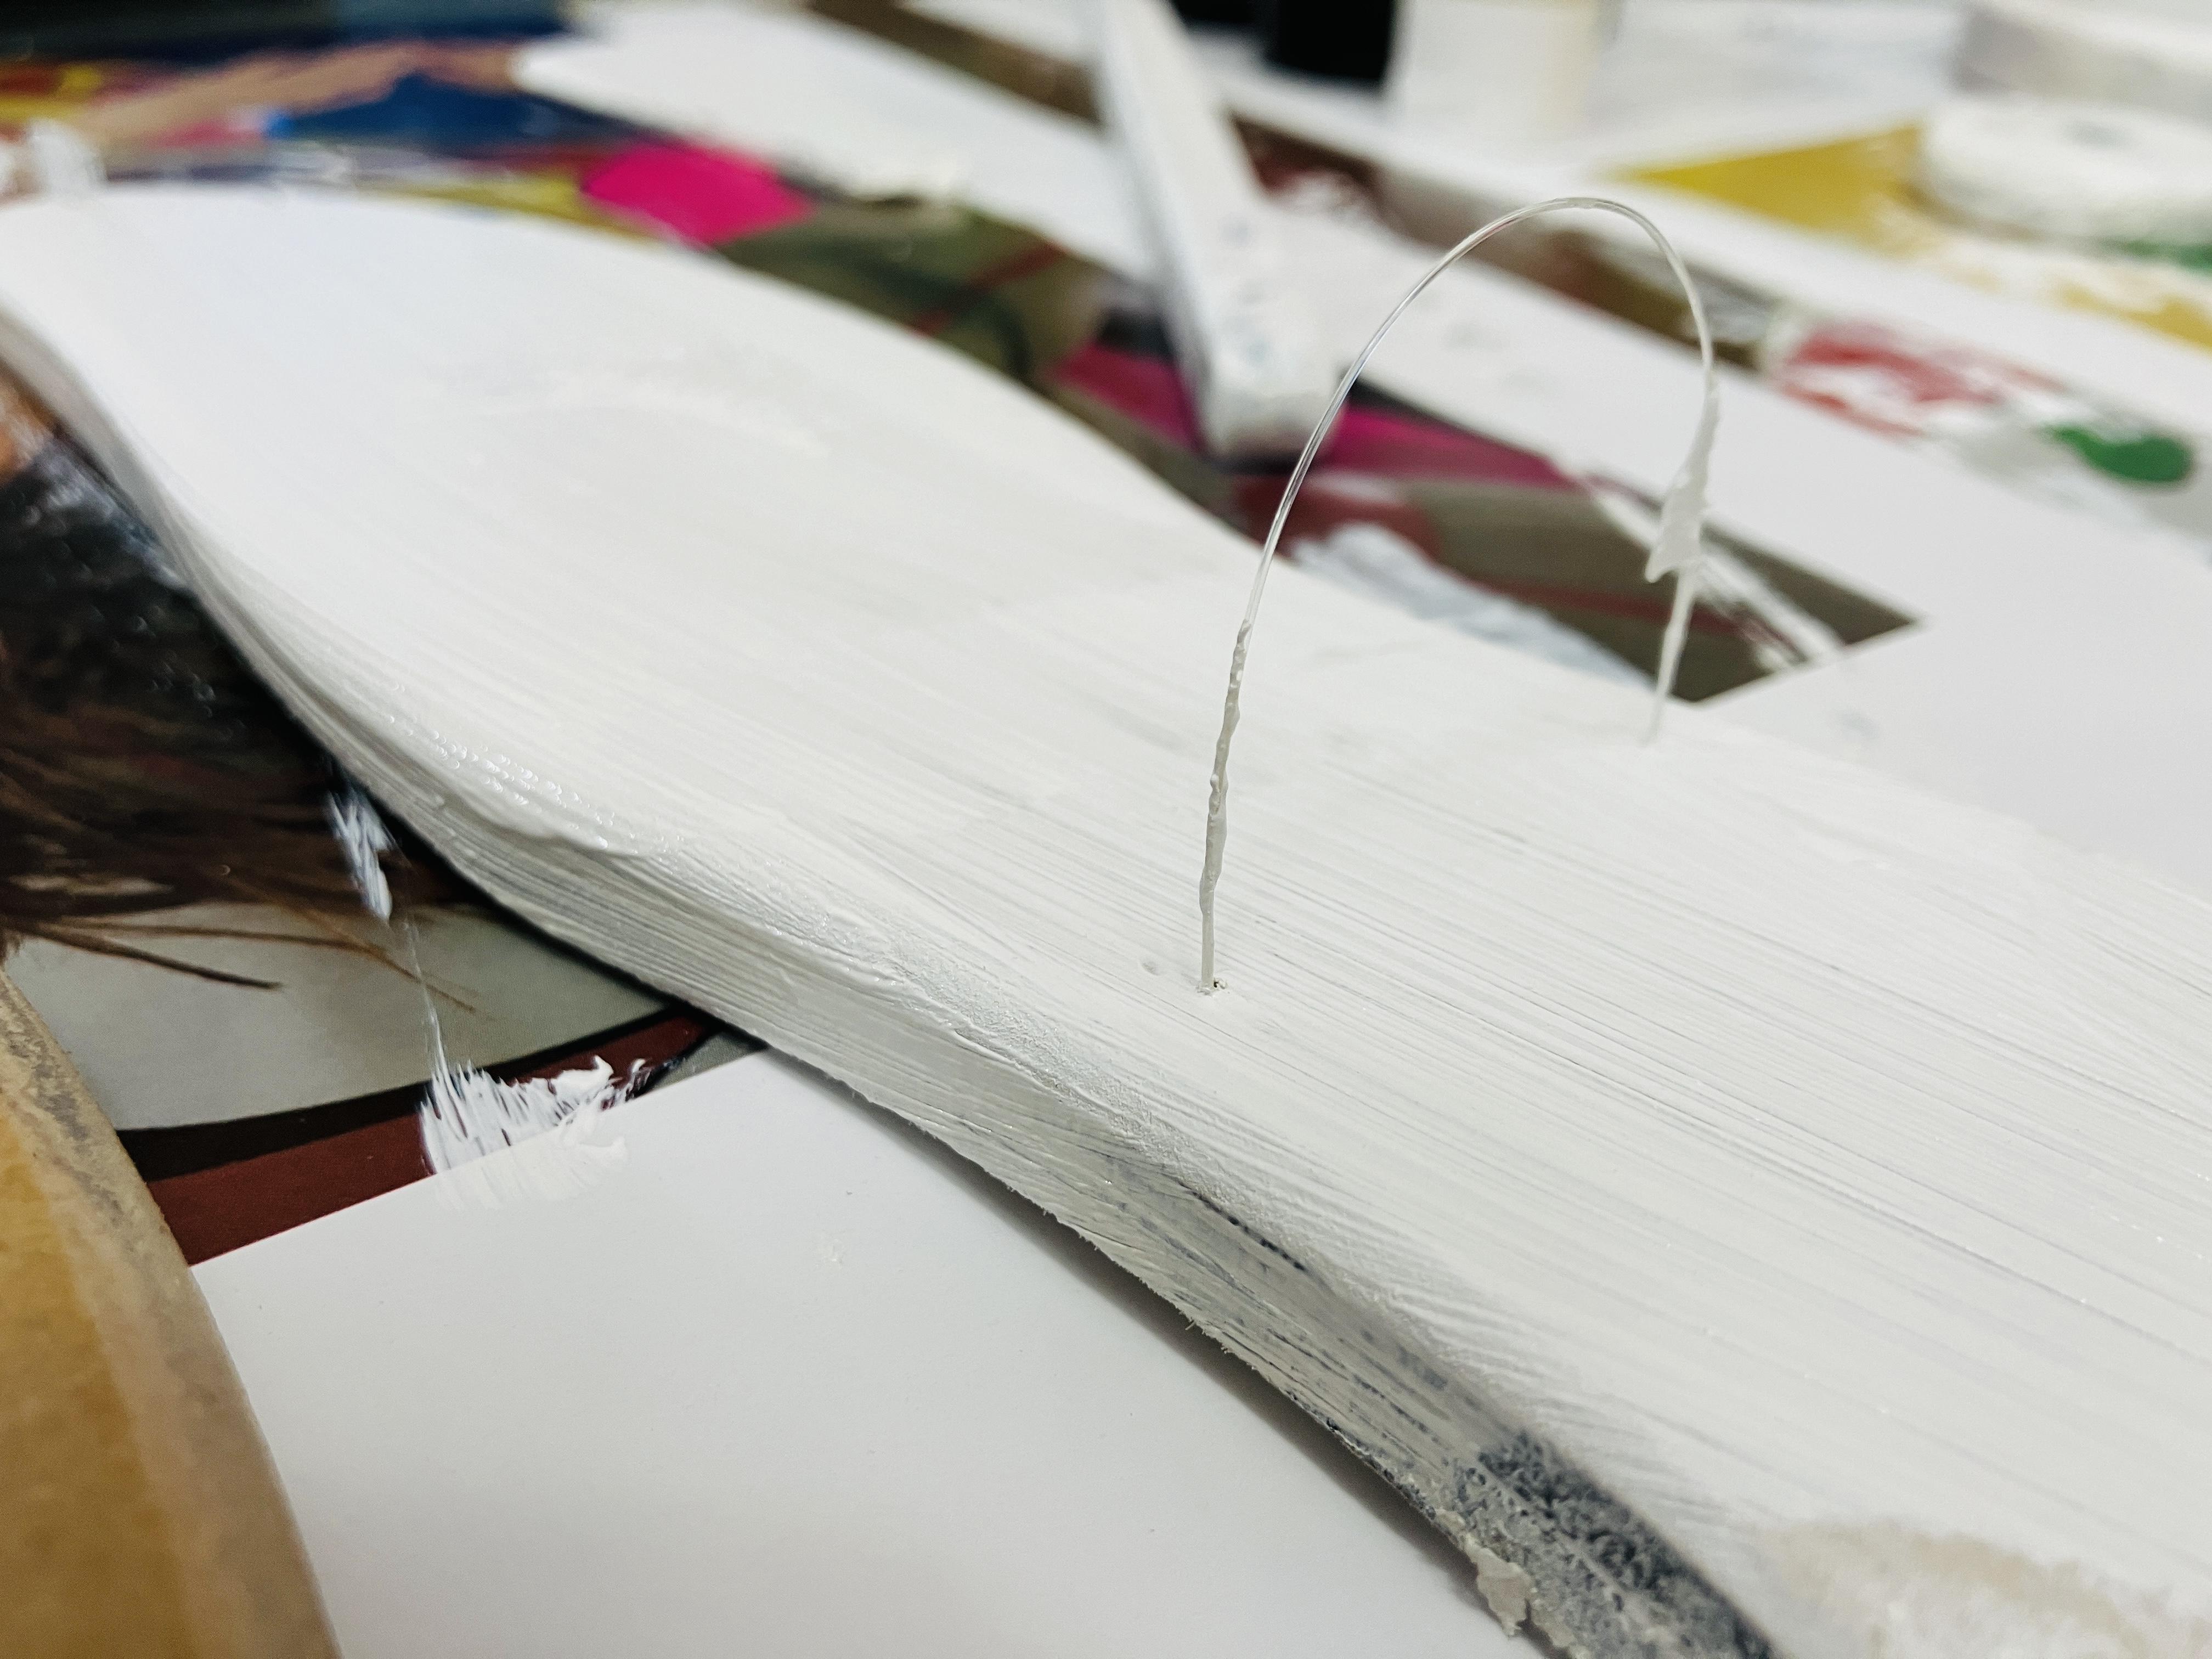
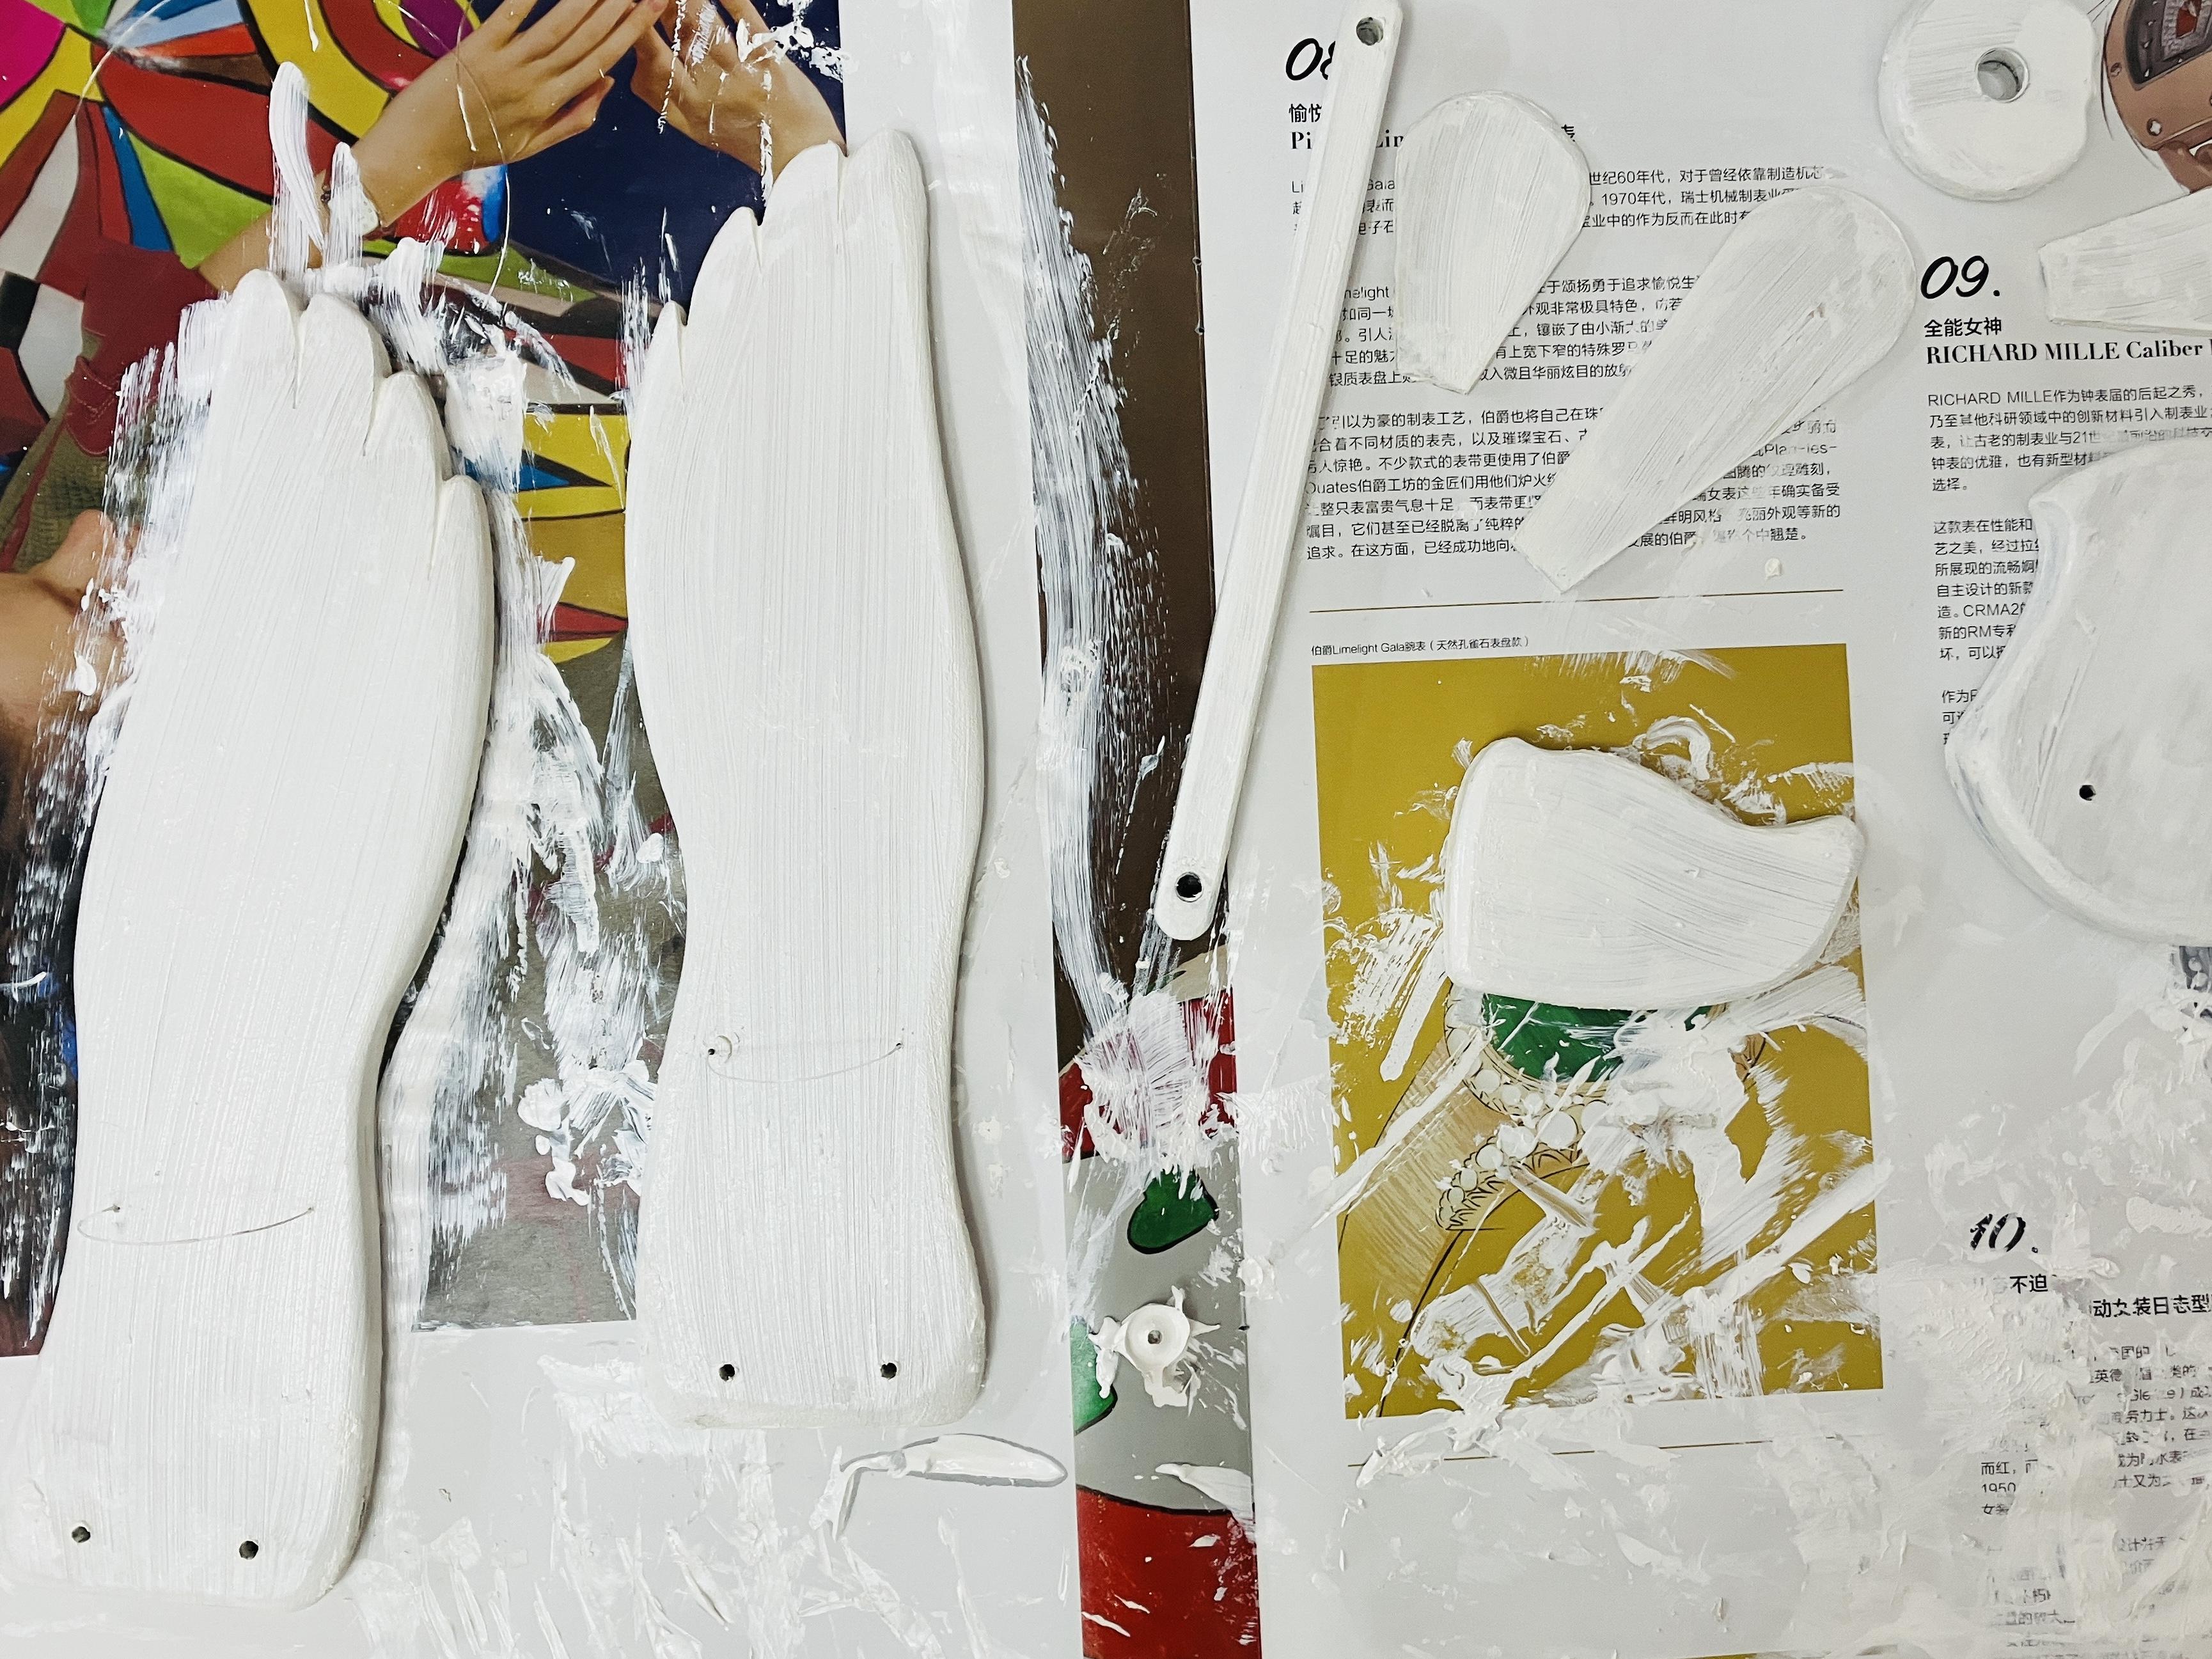
Materials: Paintbrush, white acrylic paint, (hairdryer)
Before applying the colors, I first coated all the wood with white acrylic paint. This helps the colors appear brighter and more vibrant.
Note:
1. If you have a hairdryer, you can use it to speed up the drying process of the acrylic paint.
2. When painting, make sure to thread the fishing line through the small holes to prevent them from getting blocked.
Apply Colors
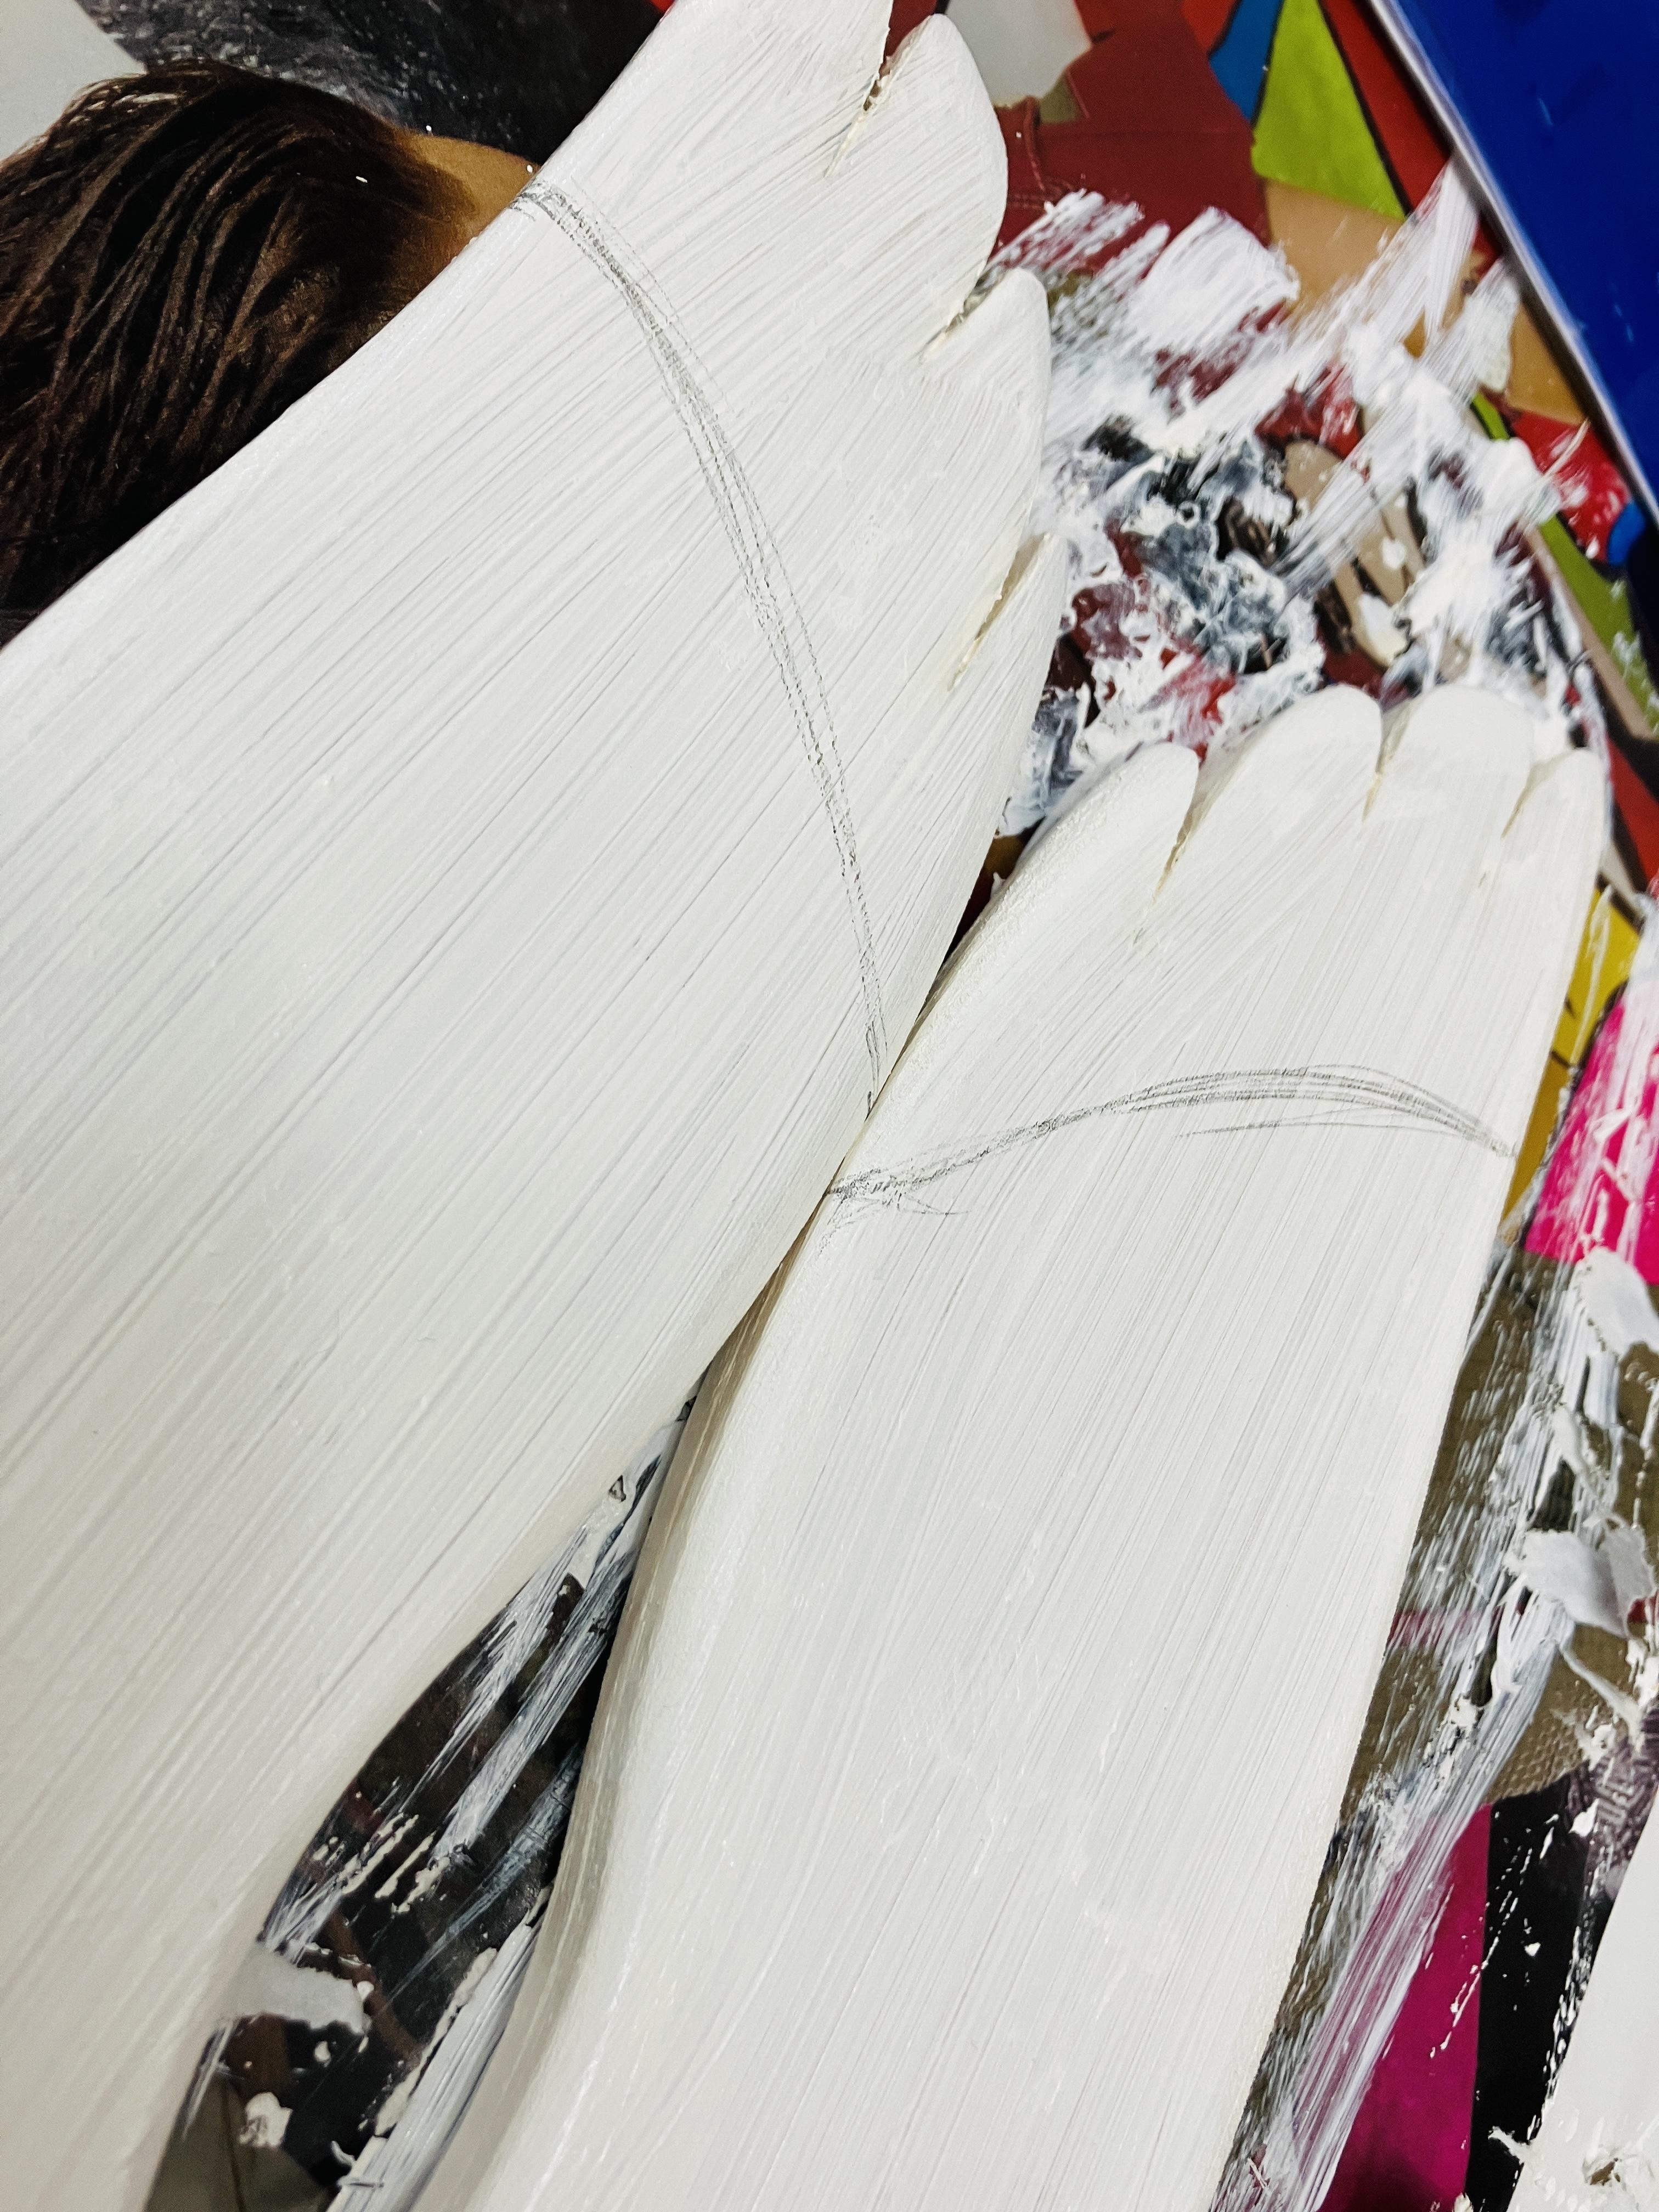
Materials: Pencil, paintbrush, acrylic paint (colors of your choice), (hairdryer)
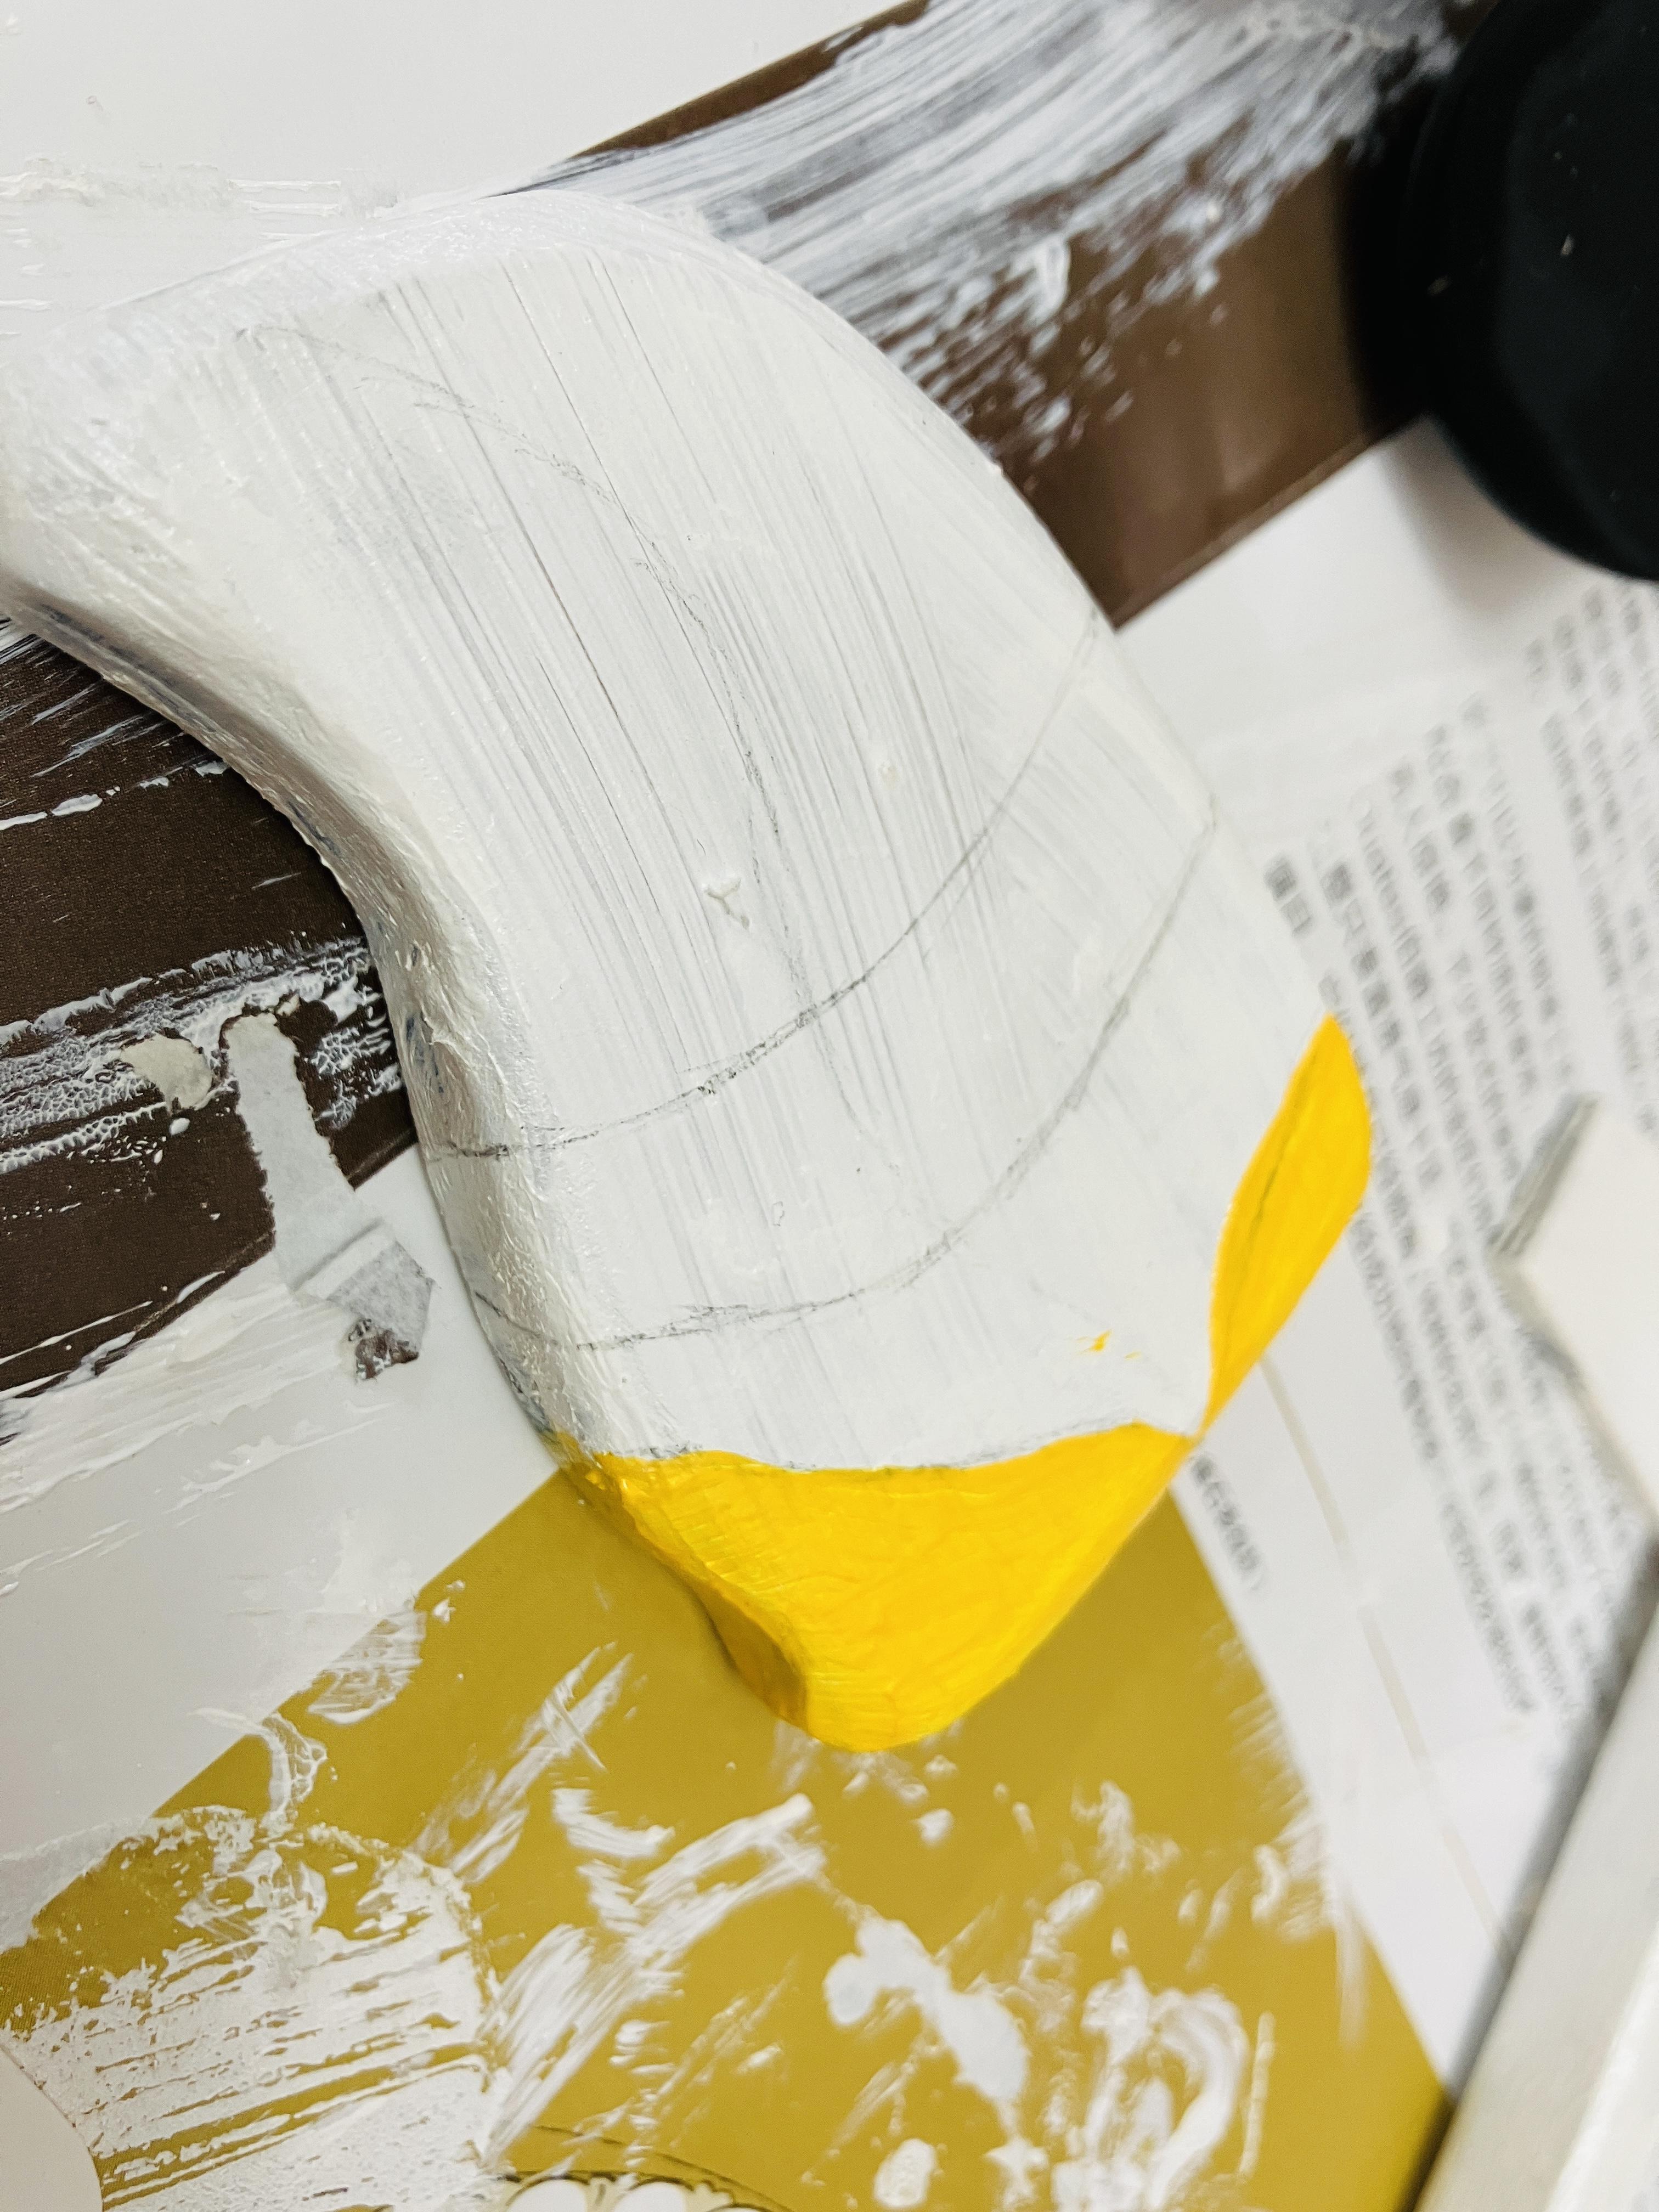
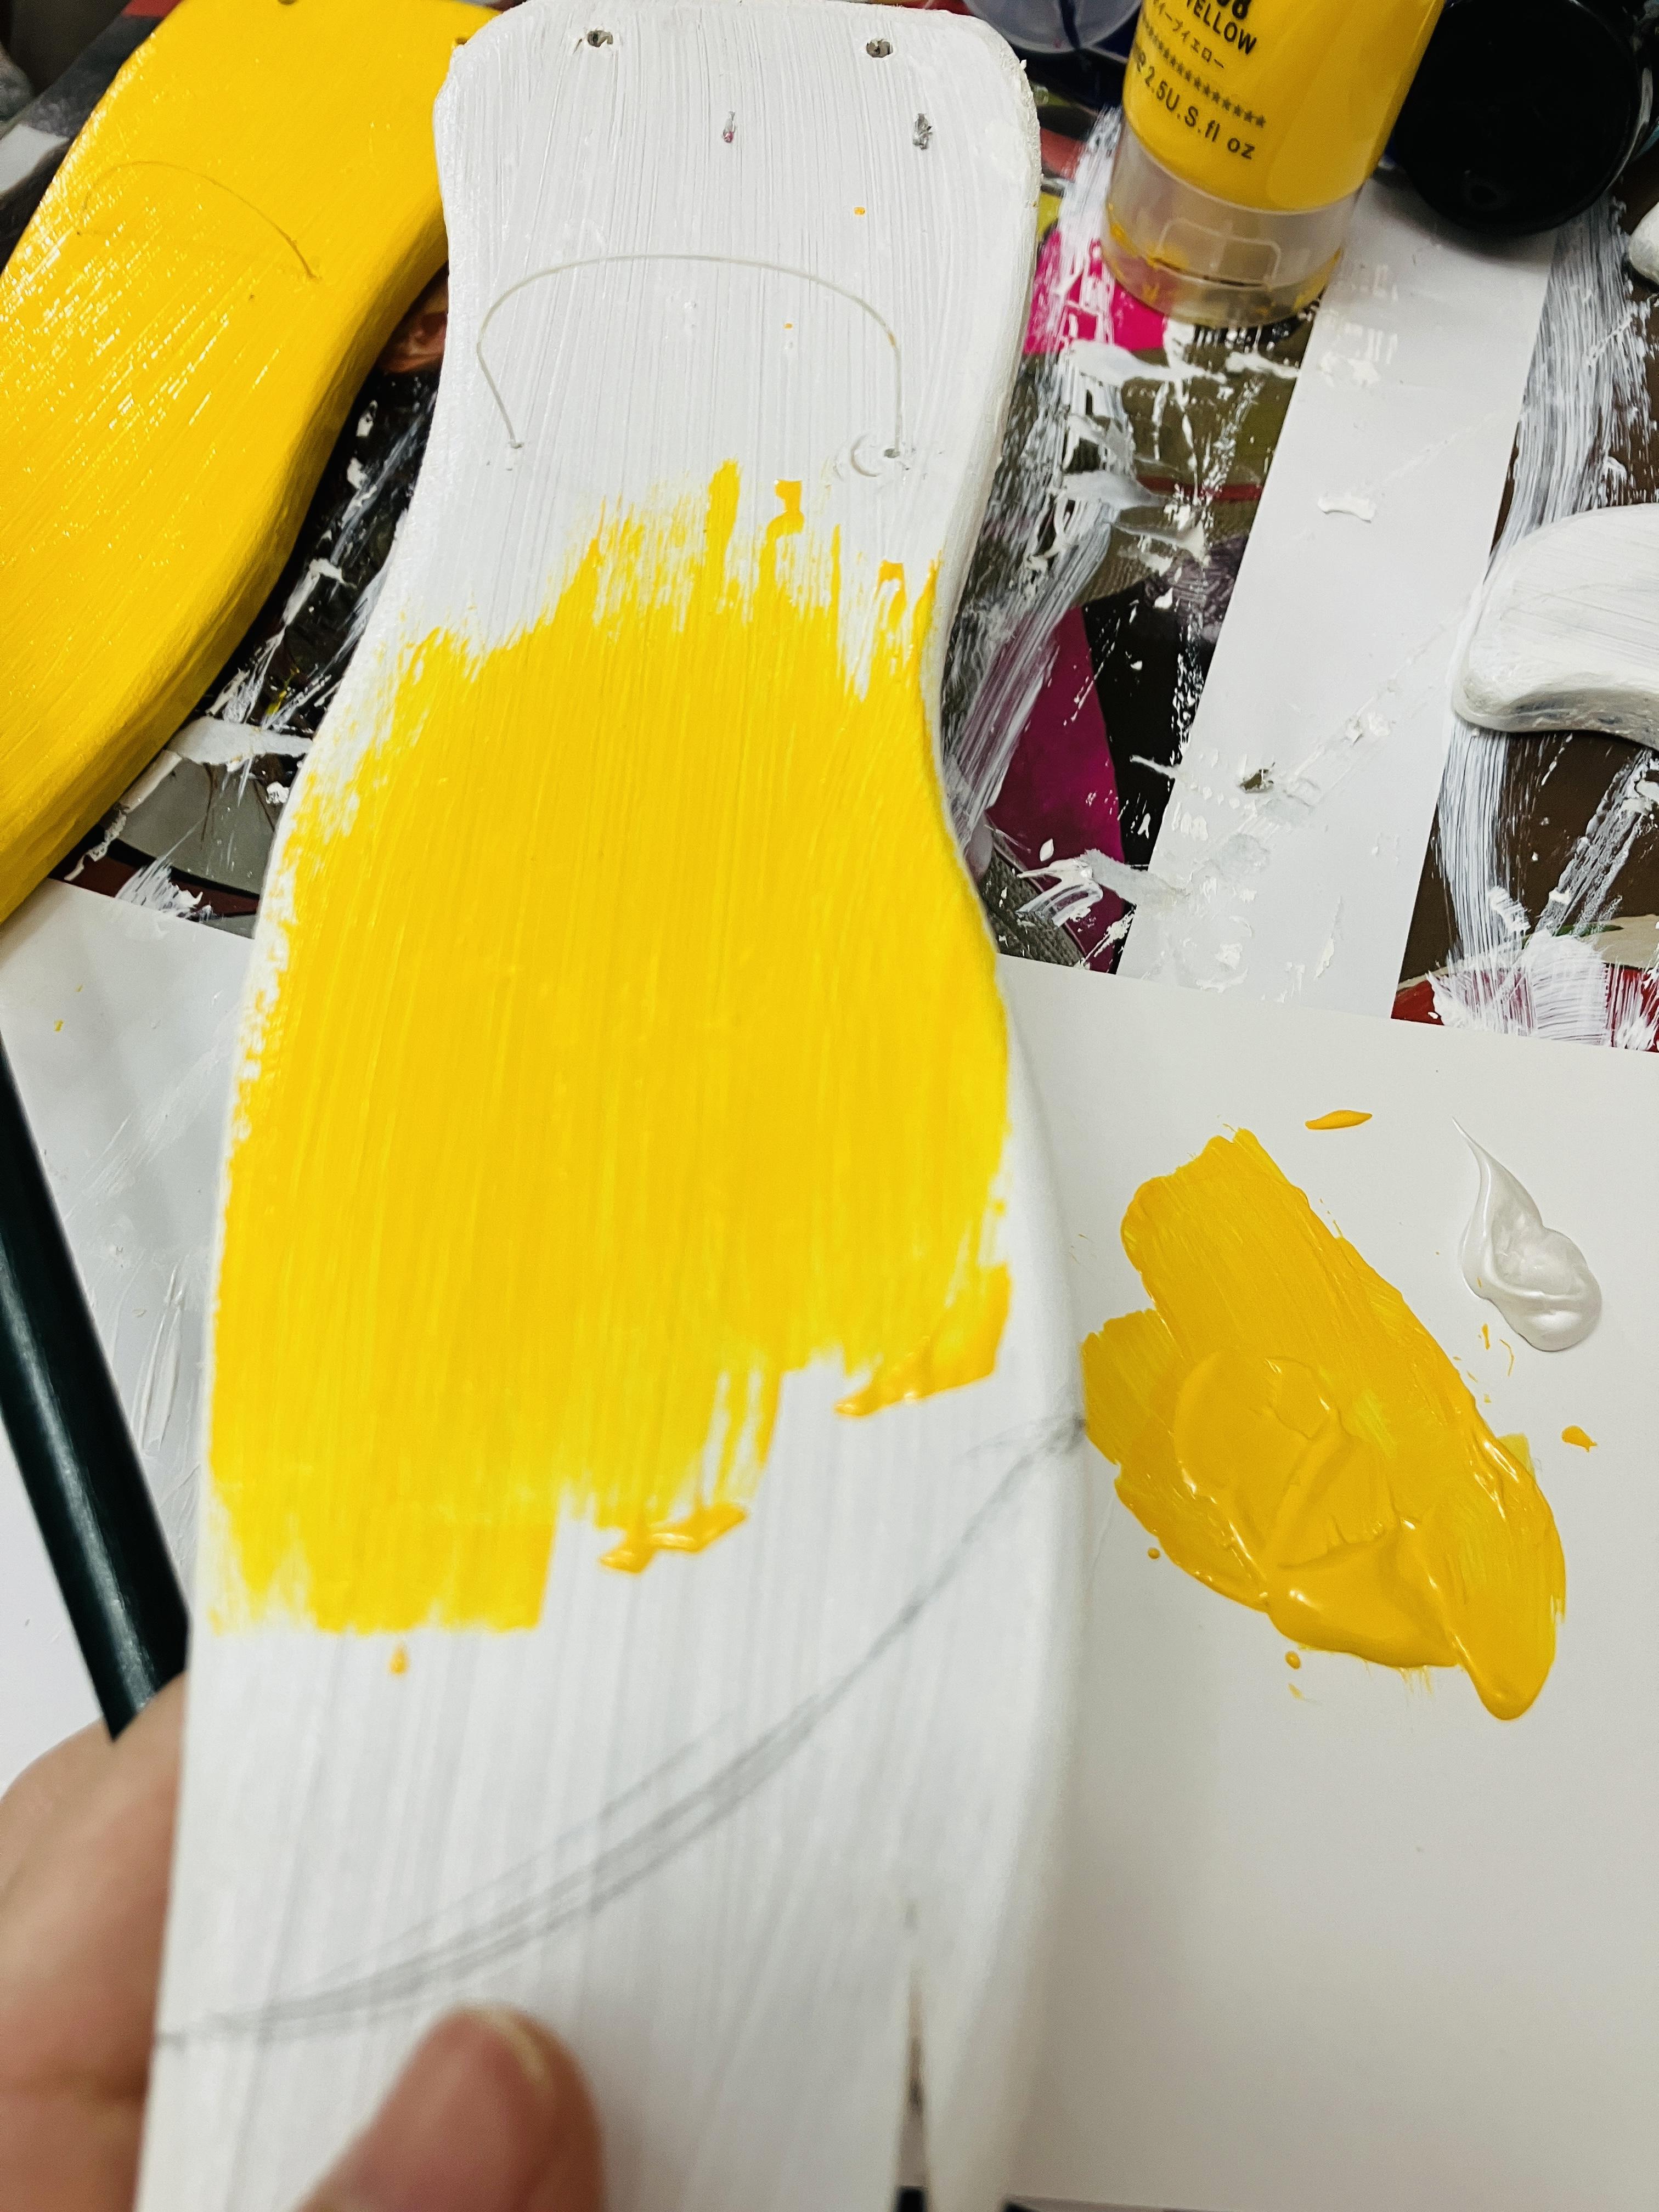
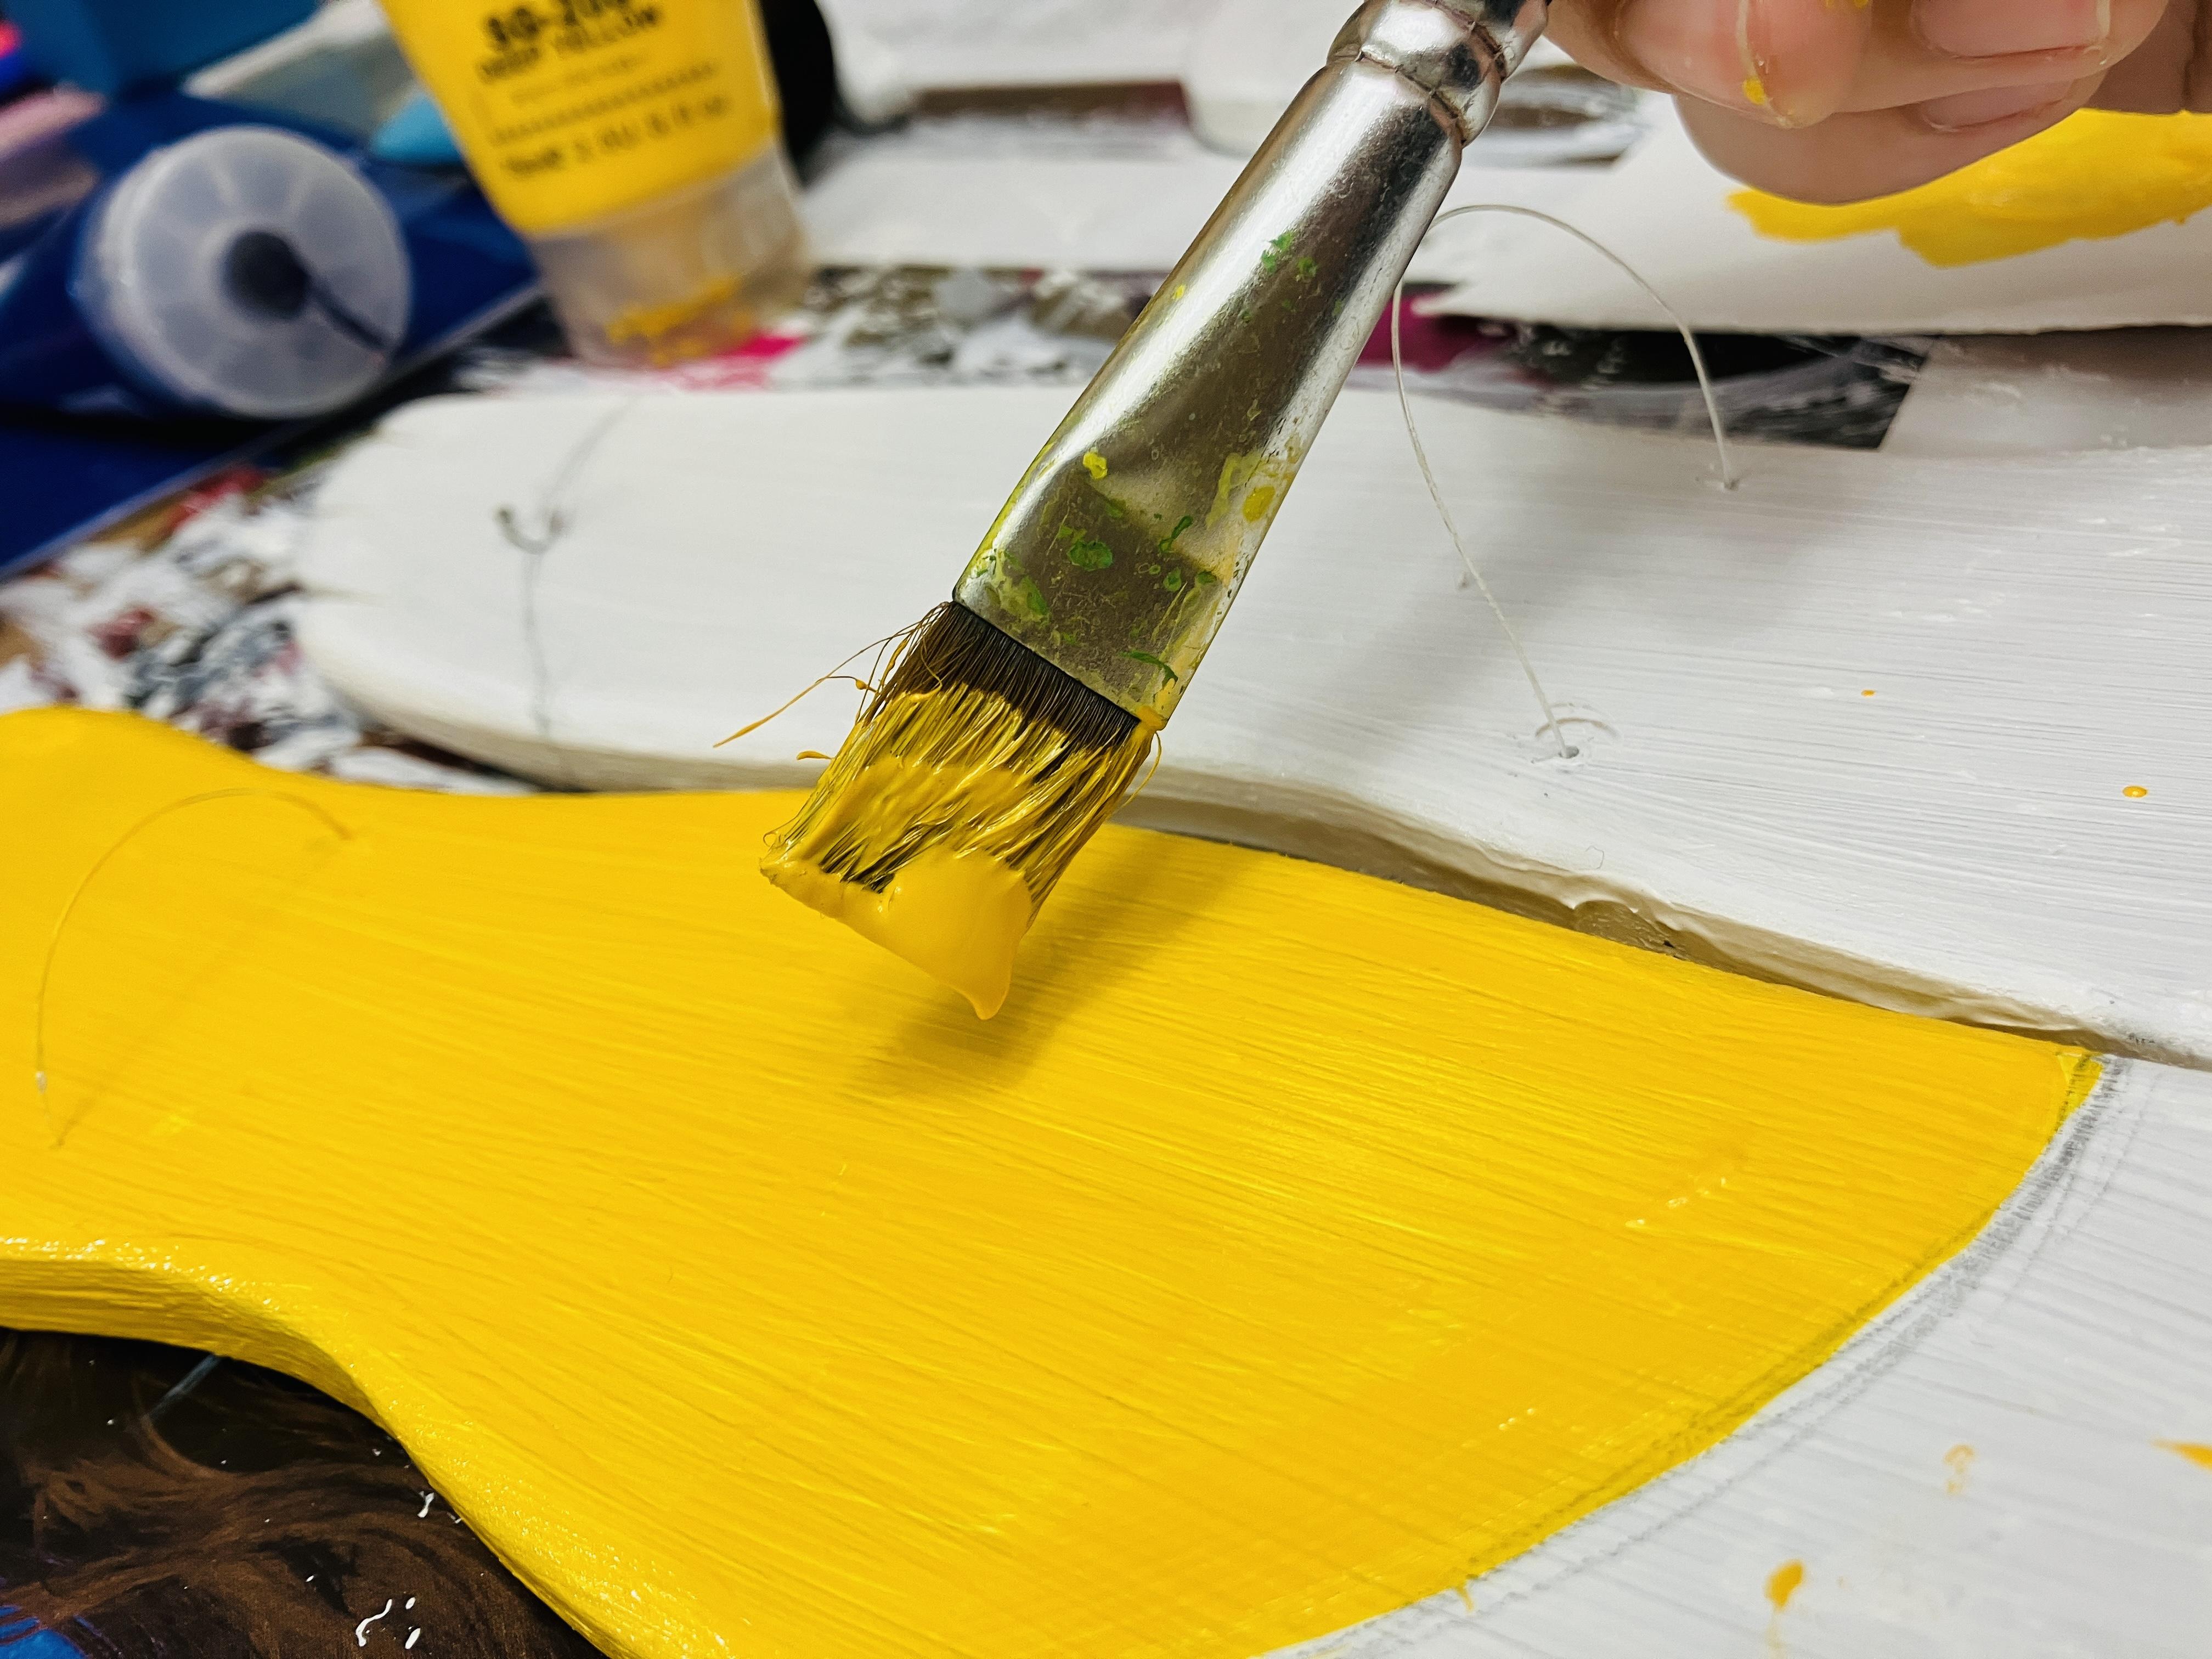
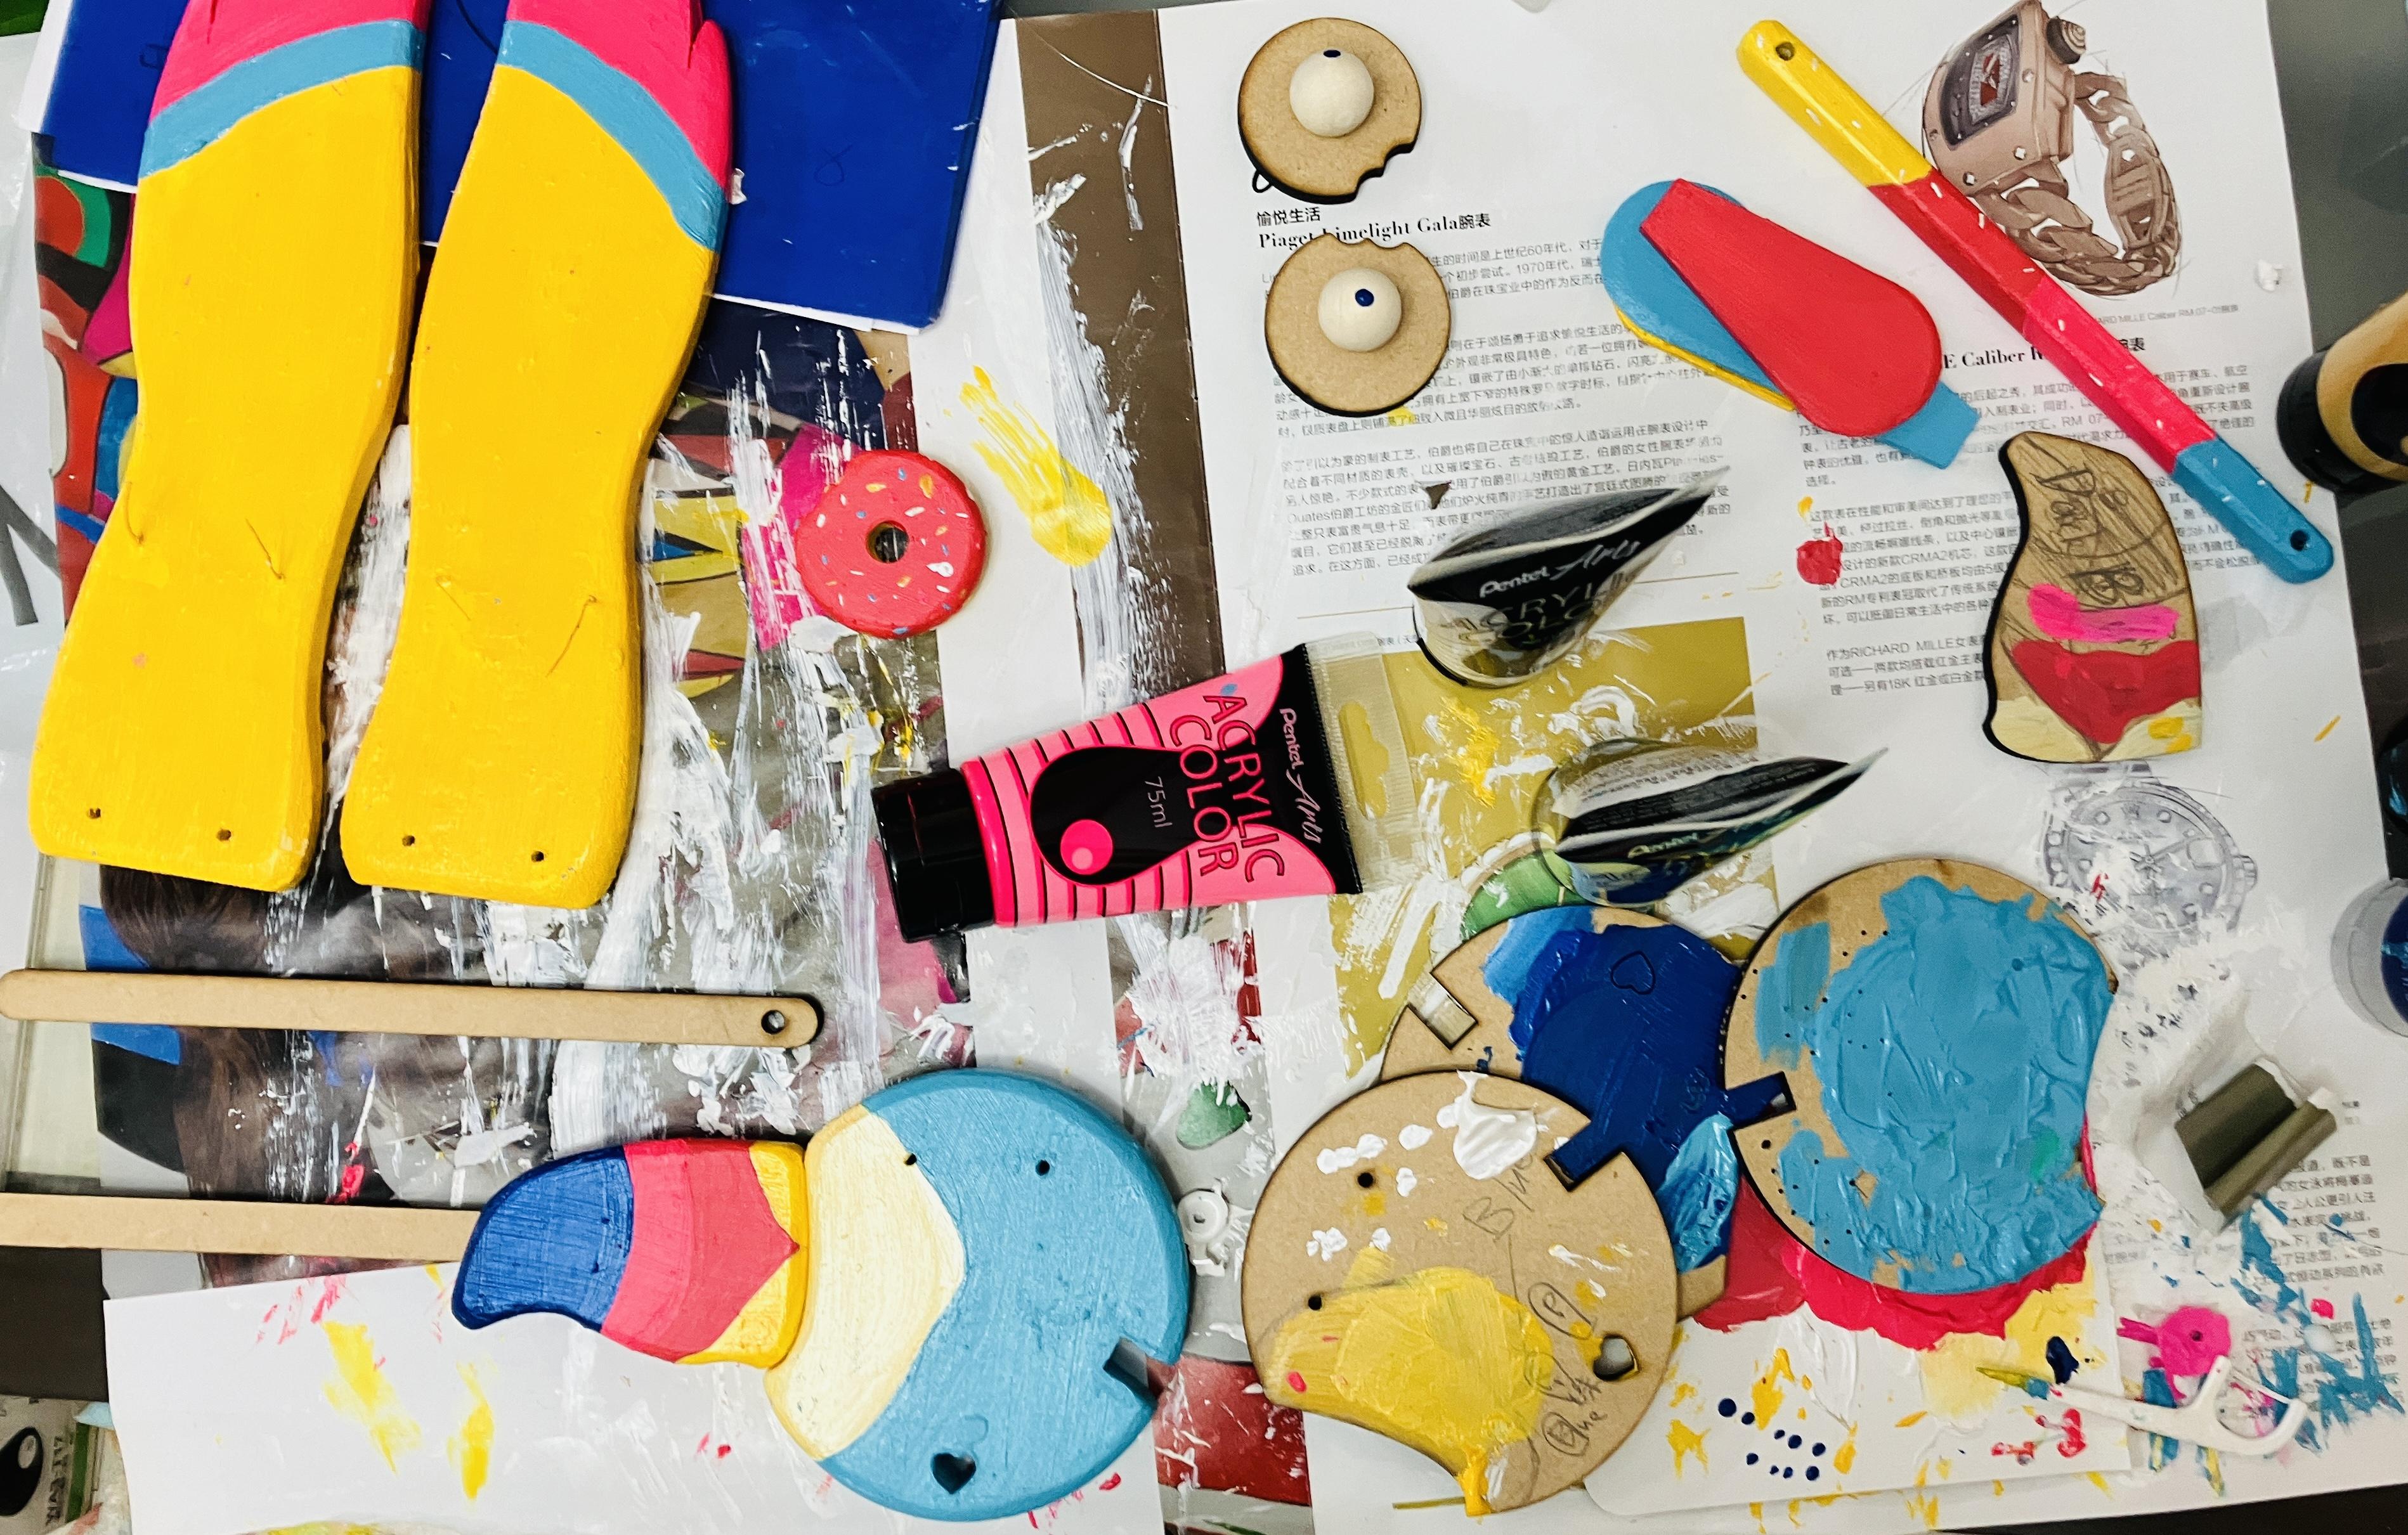
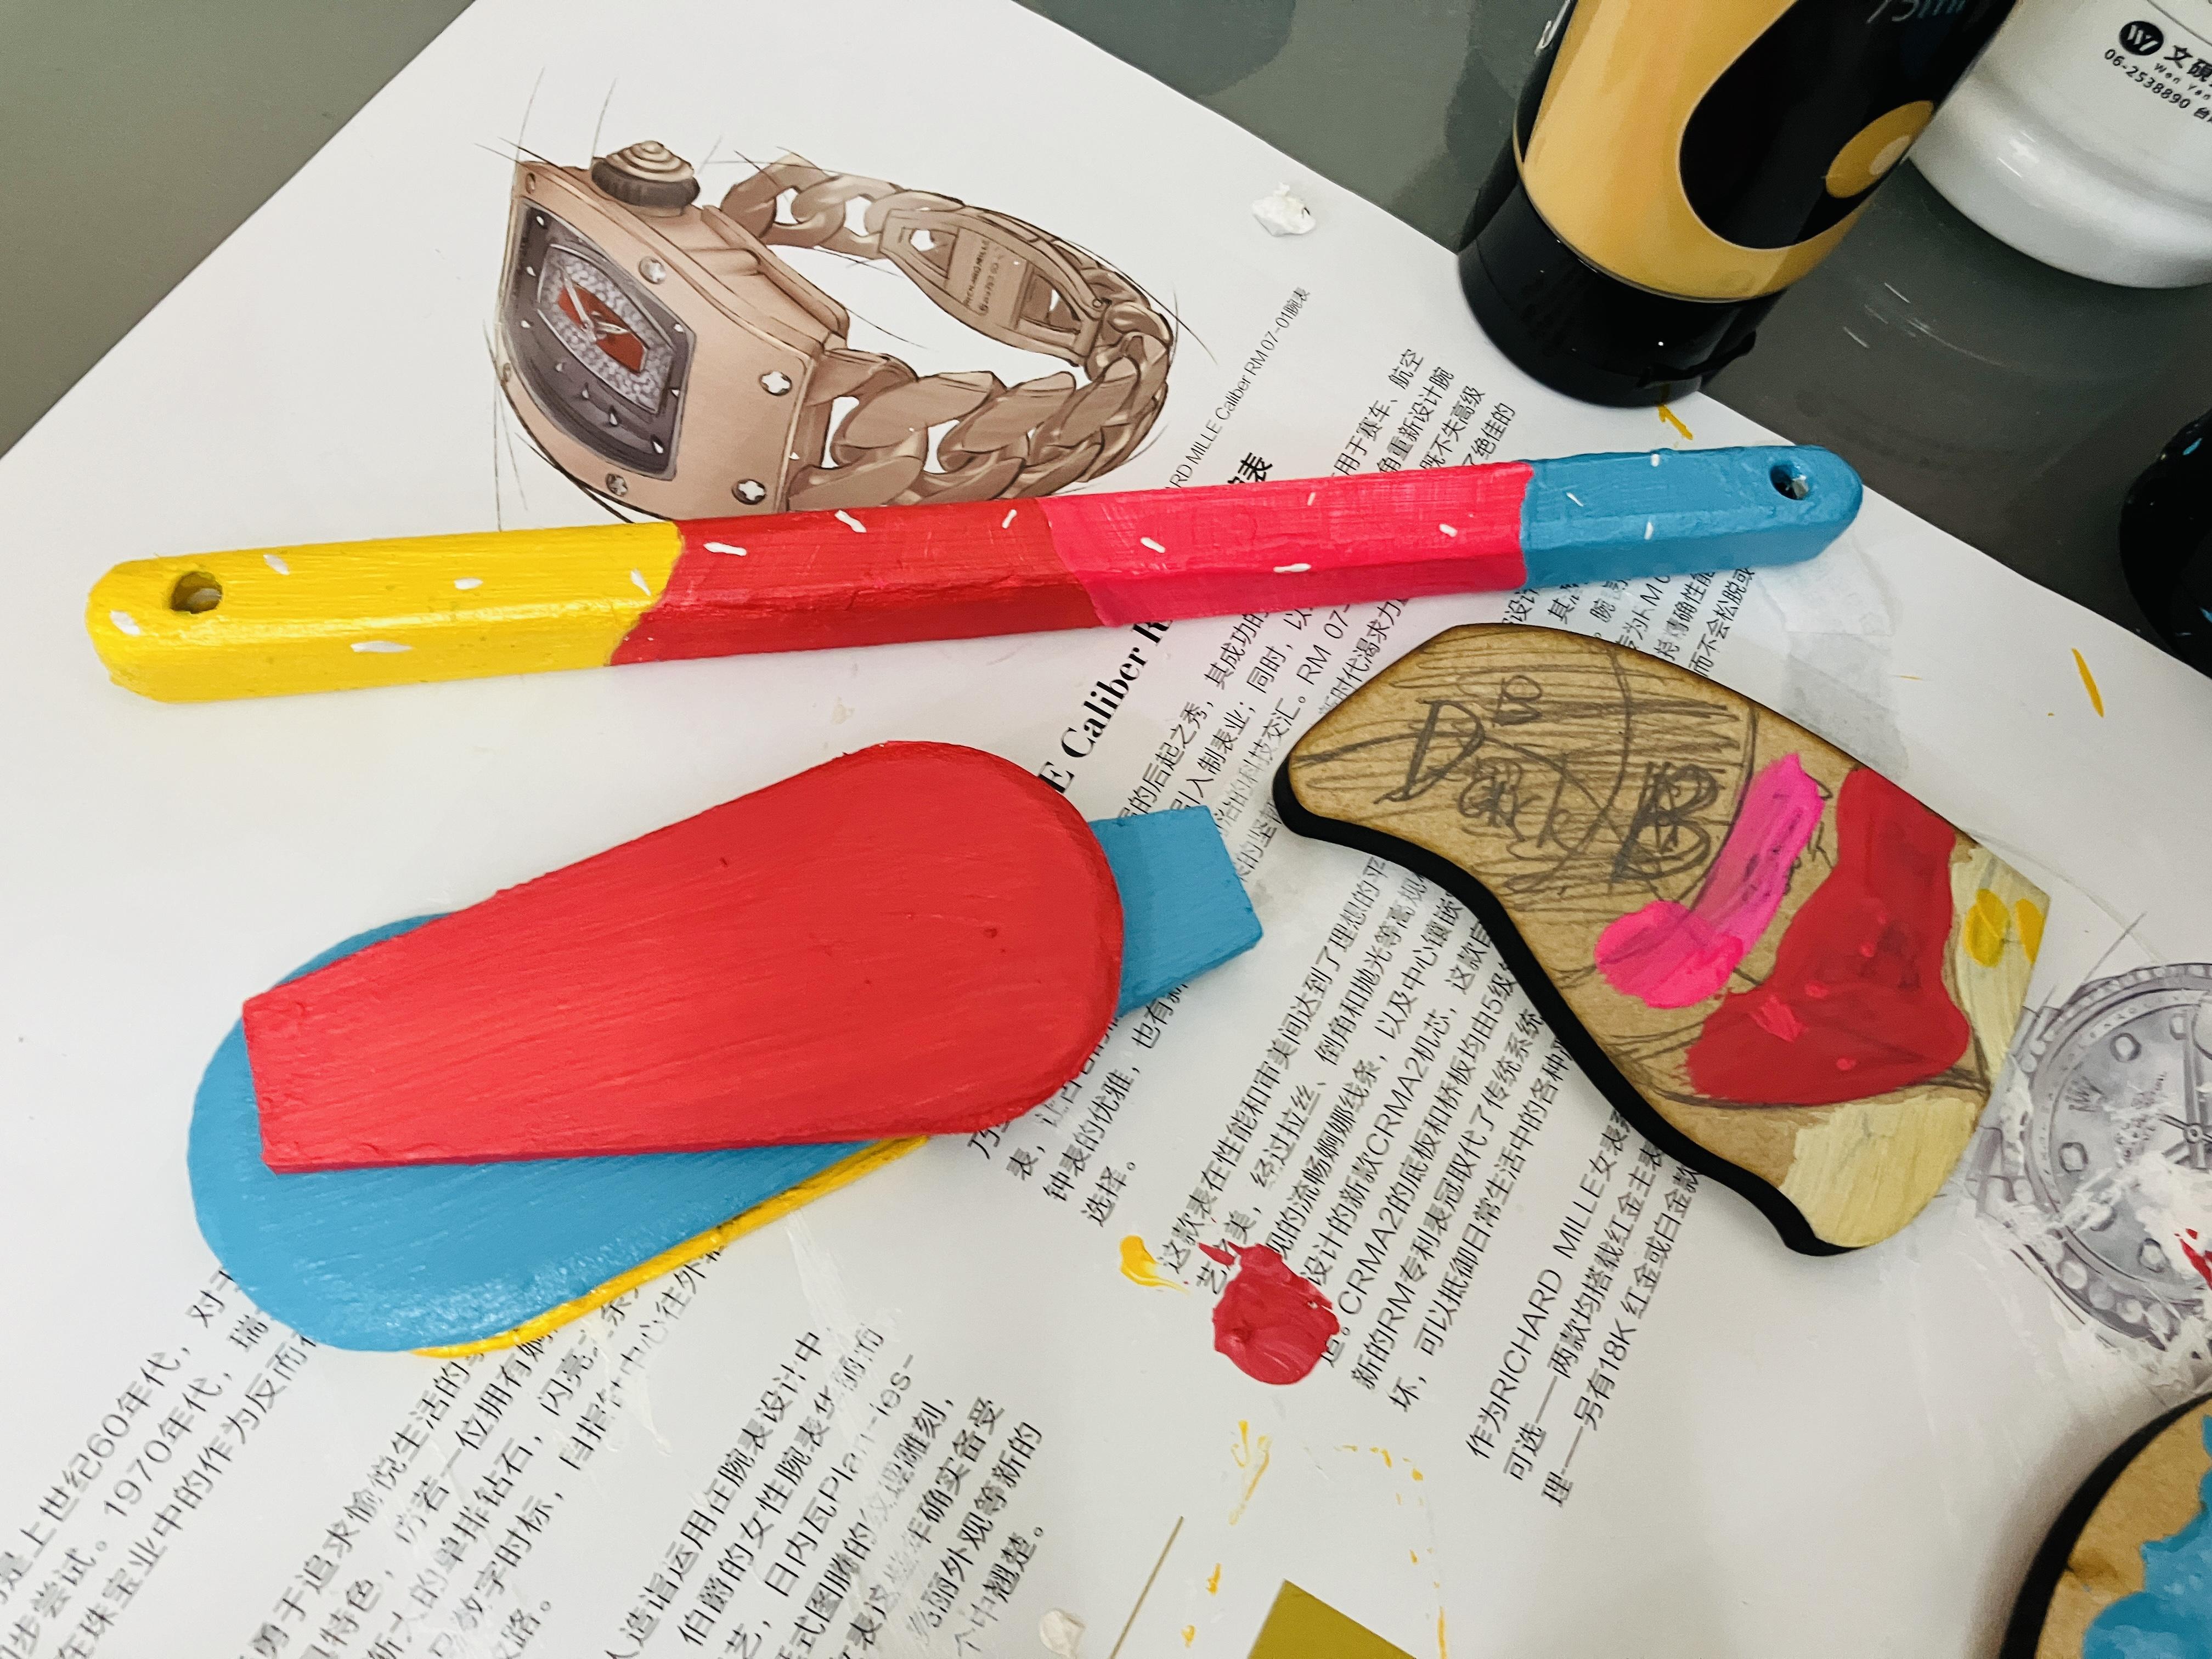
1. Use a pencil to sketch lightly and mark the exact positions. This will make it easier to apply the colors.
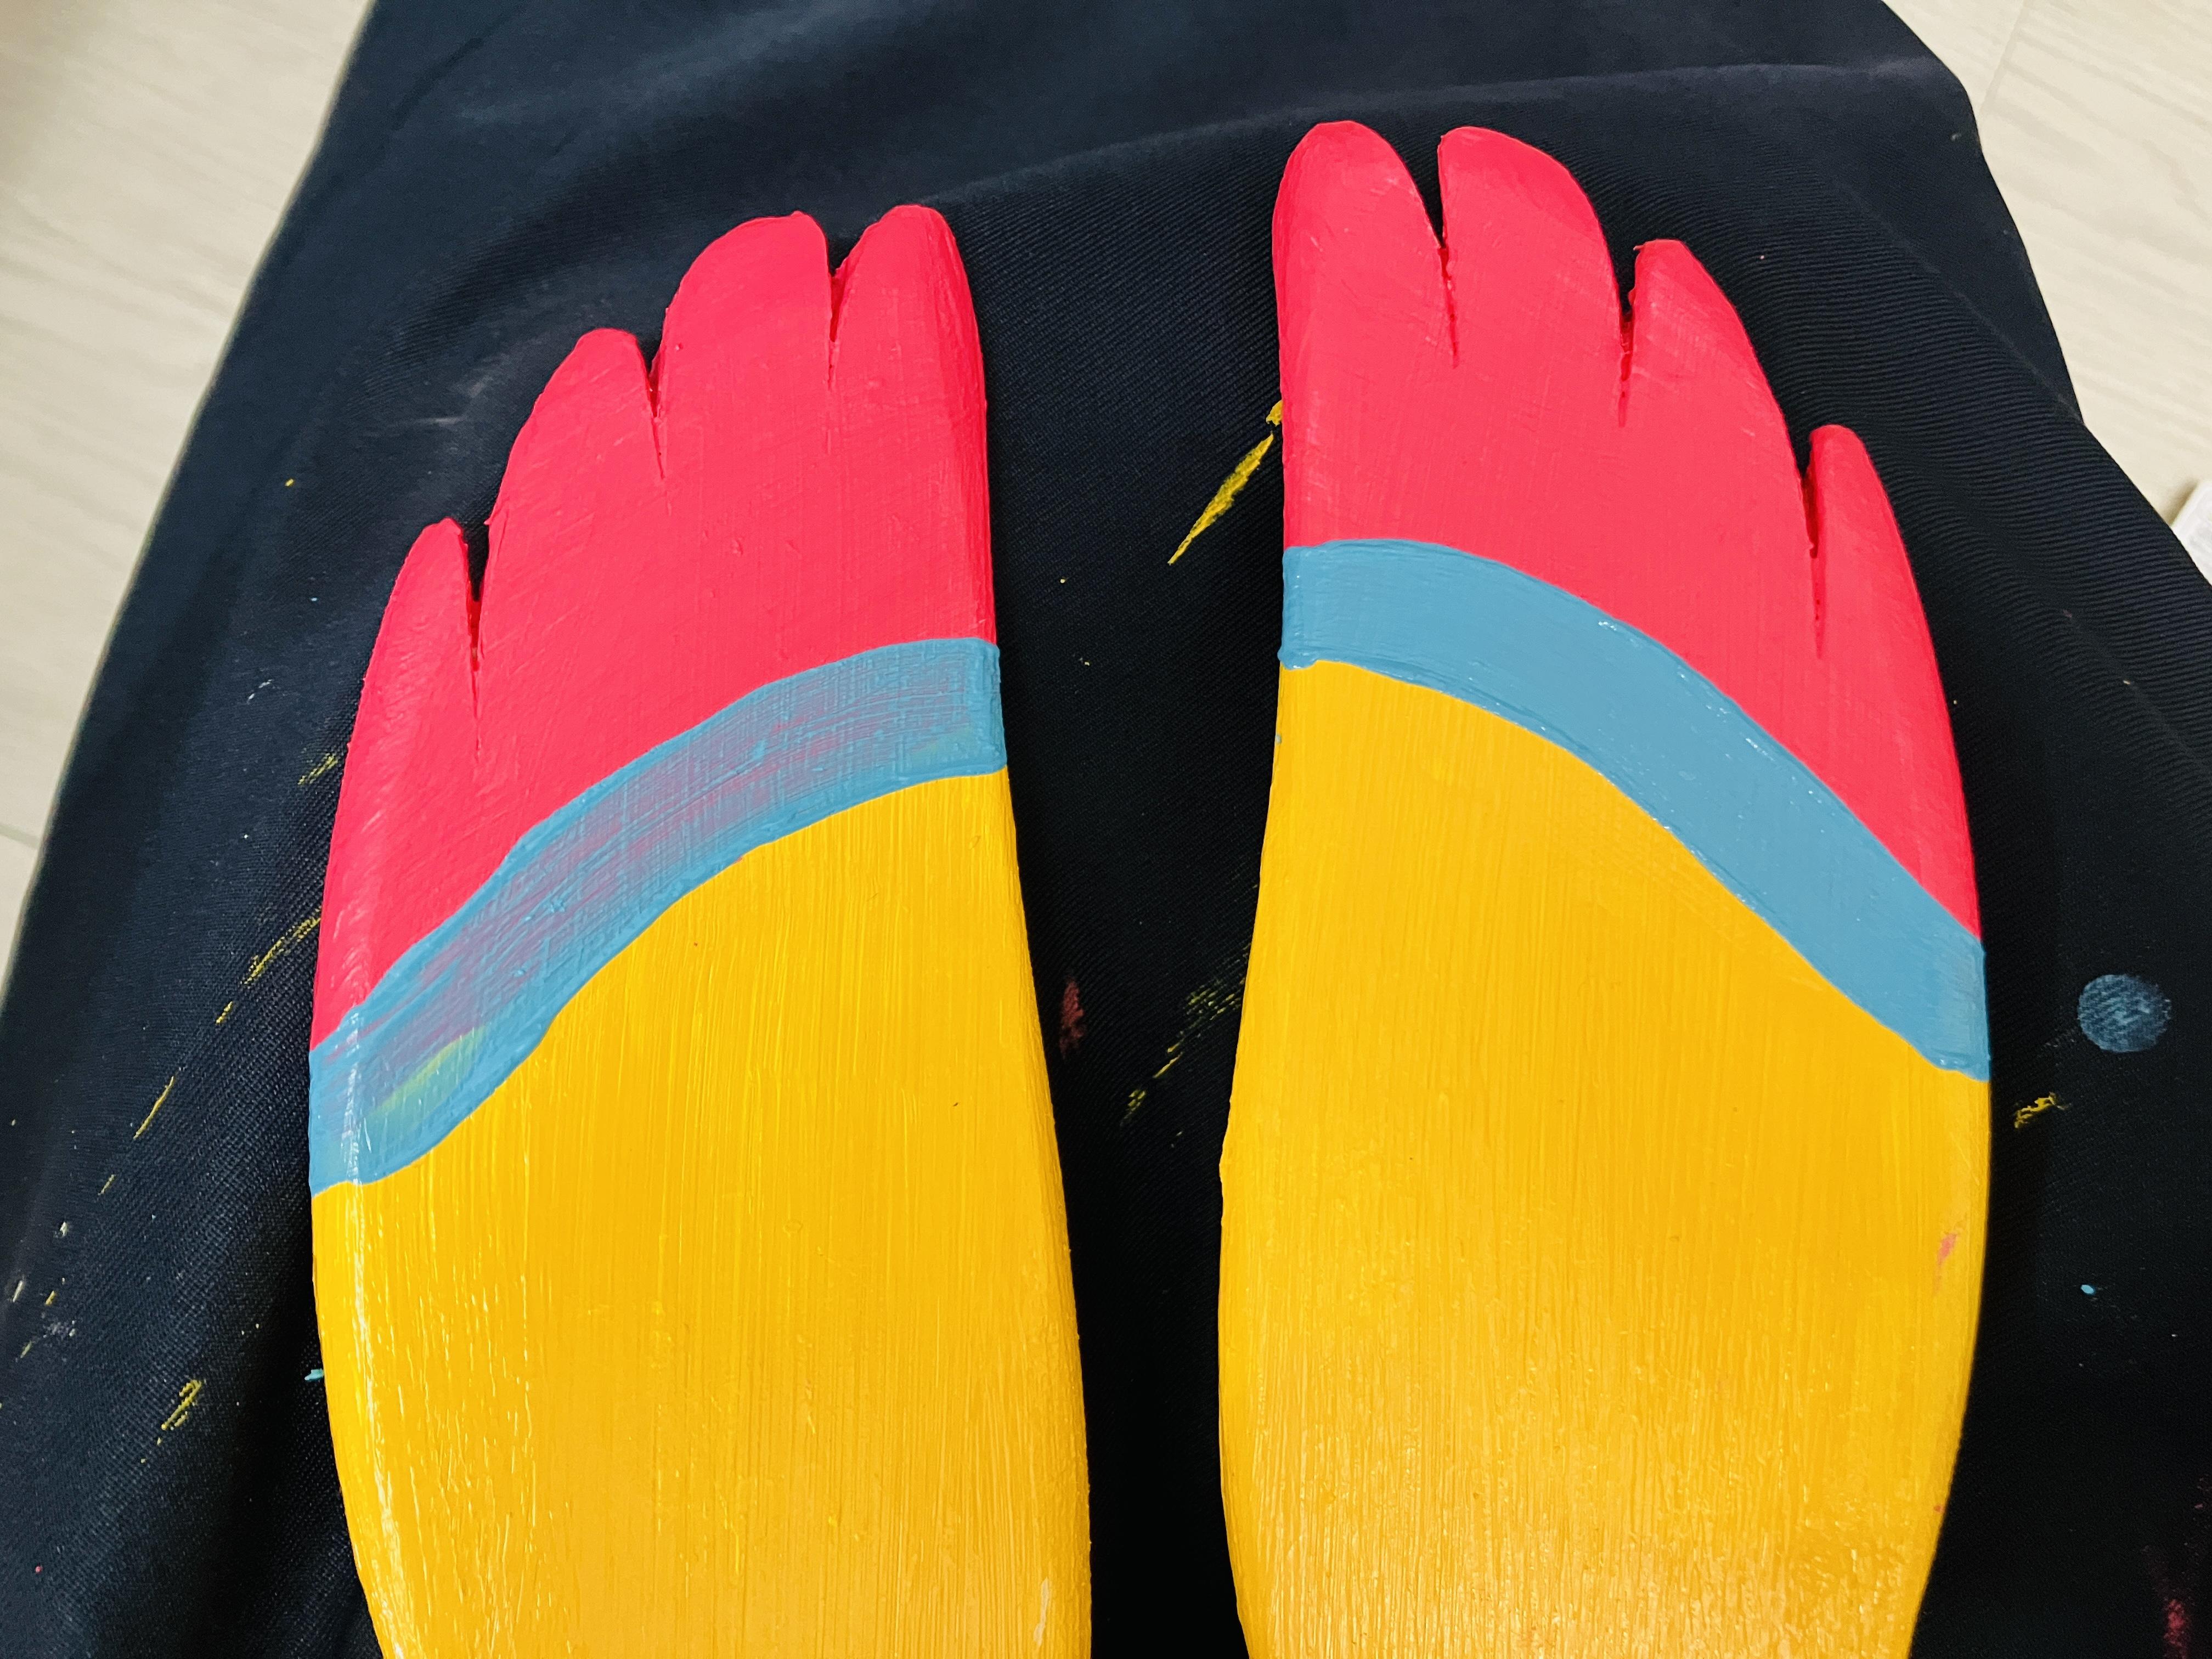
2. Feel free to use different colors based on your mood. If you find the color is not saturated enough after one coat, you can apply more layers (the image shows the difference). Remember, **patience yields fine work.
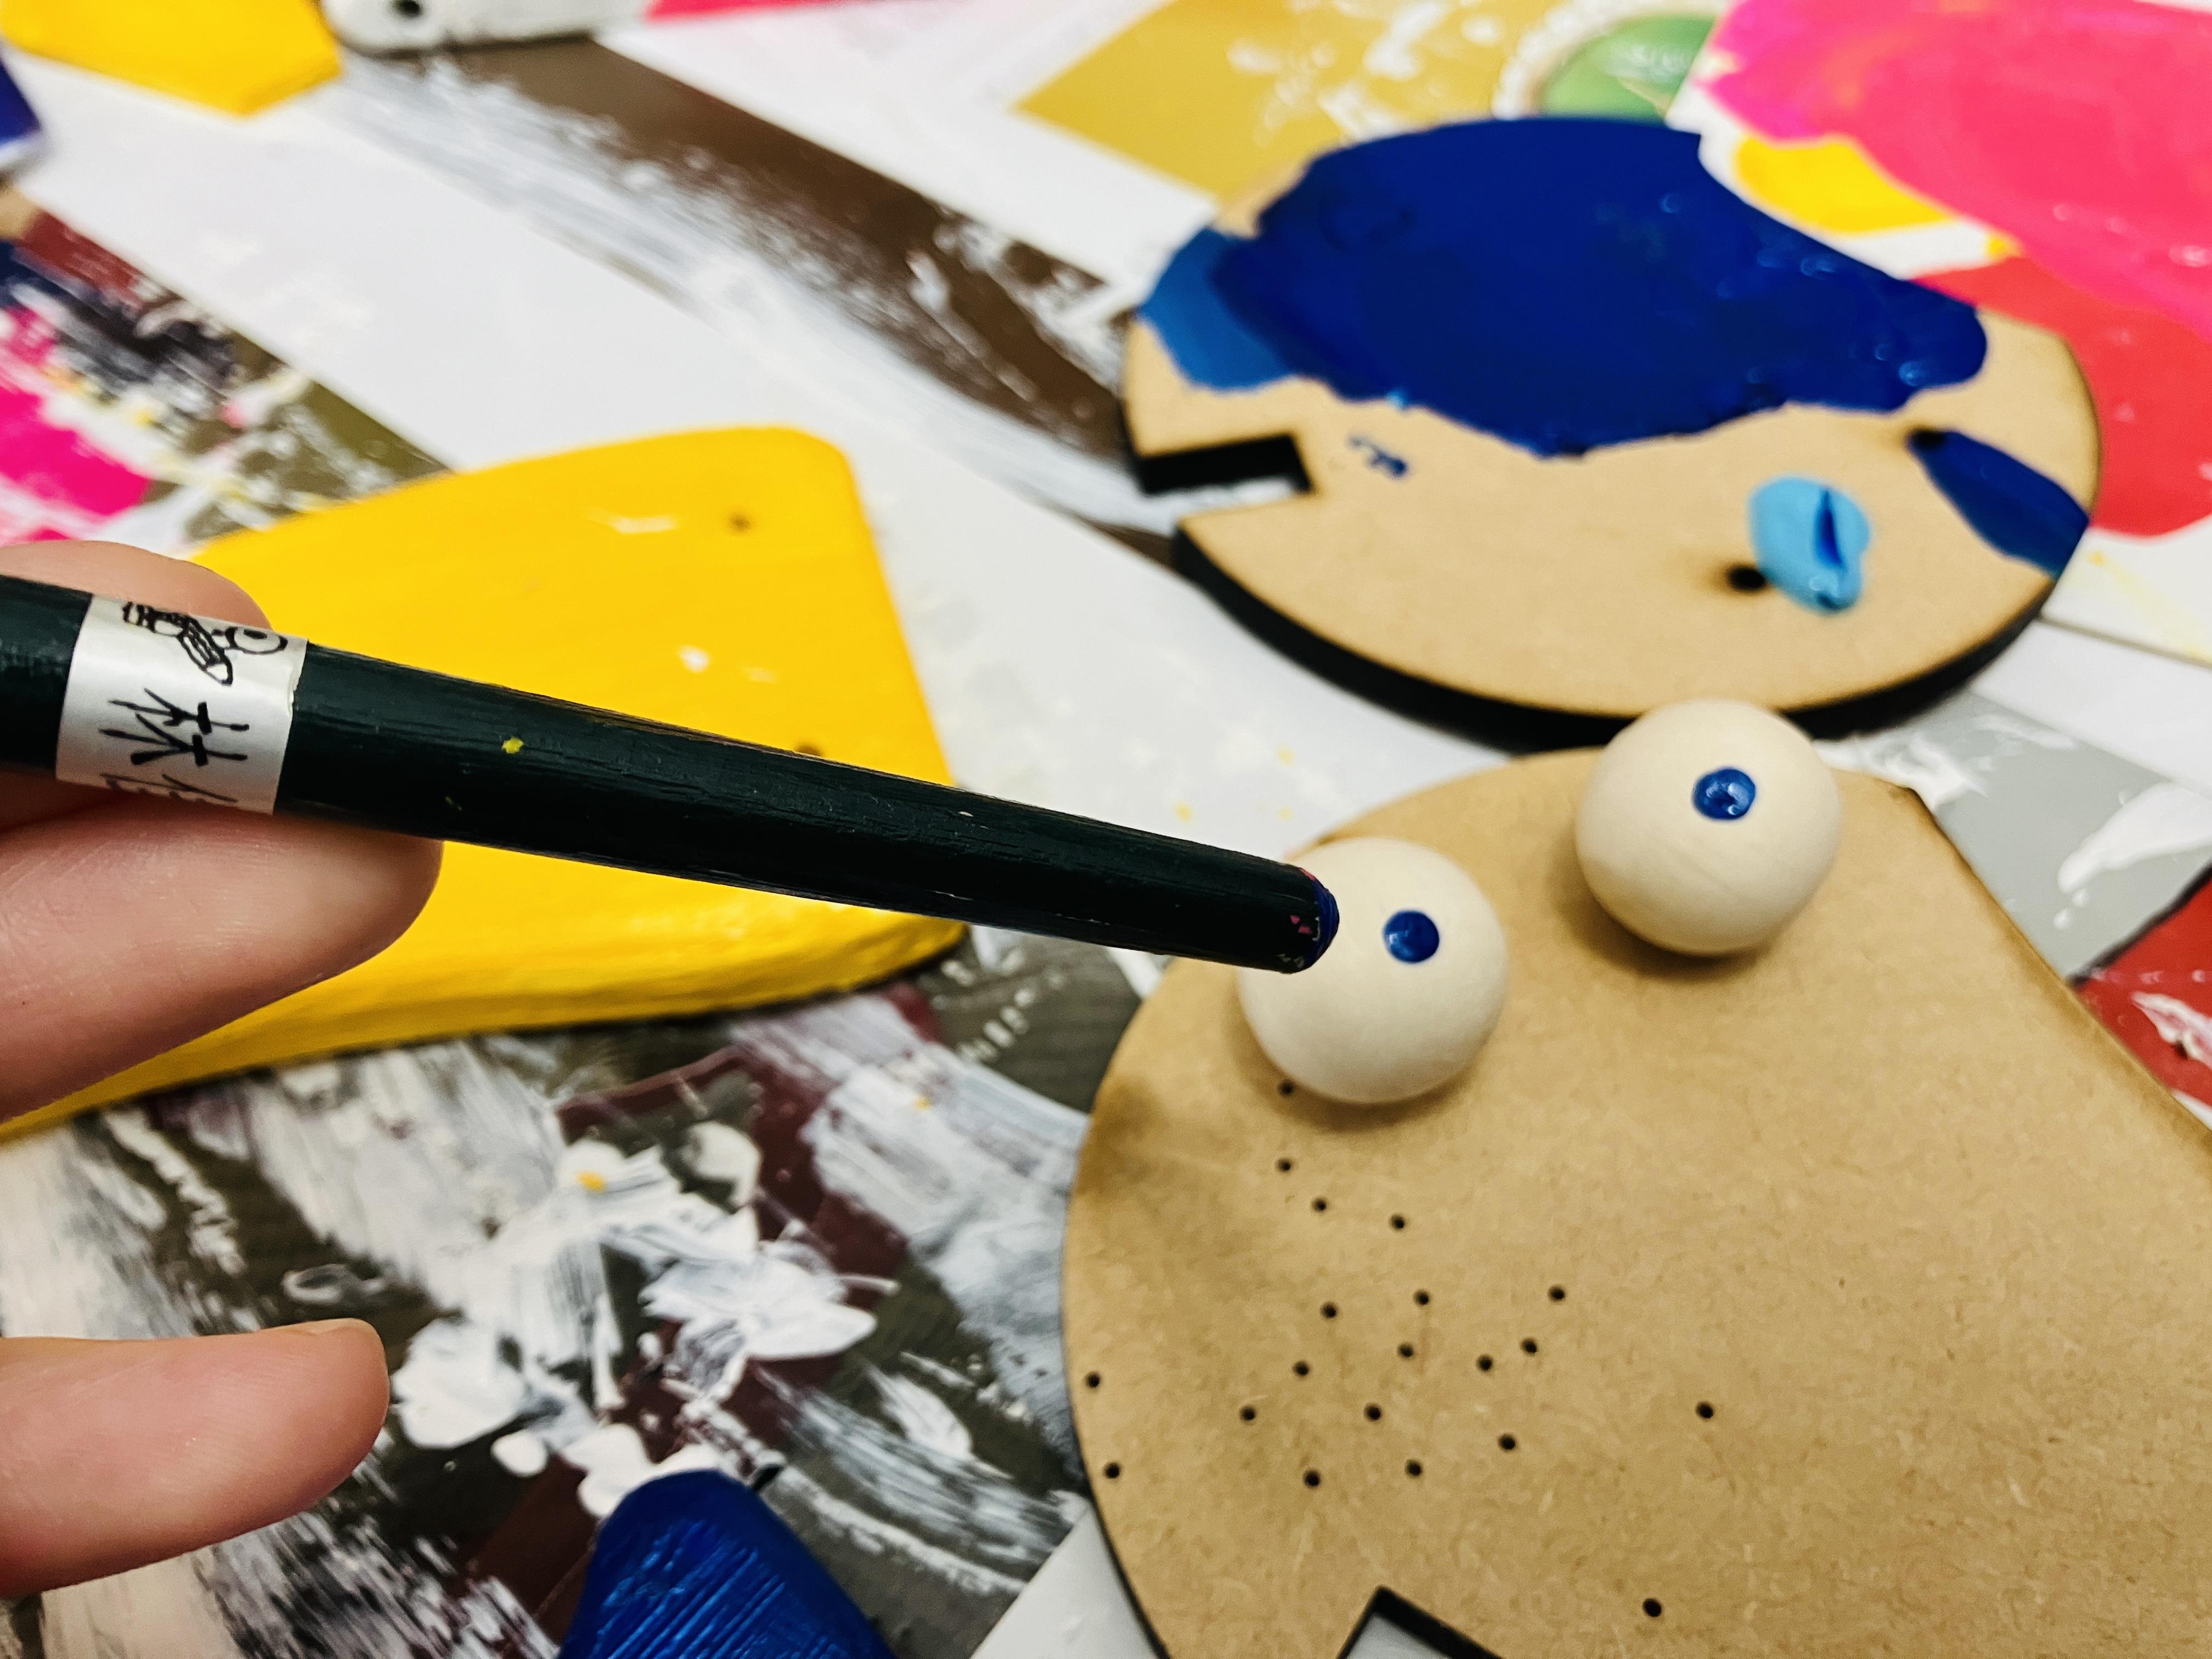
3. When painting the eyes, it’s recommended to use the tip of a watercolor brush. It’s hard and fine, making it perfect for painting detailed eyes!
Note:
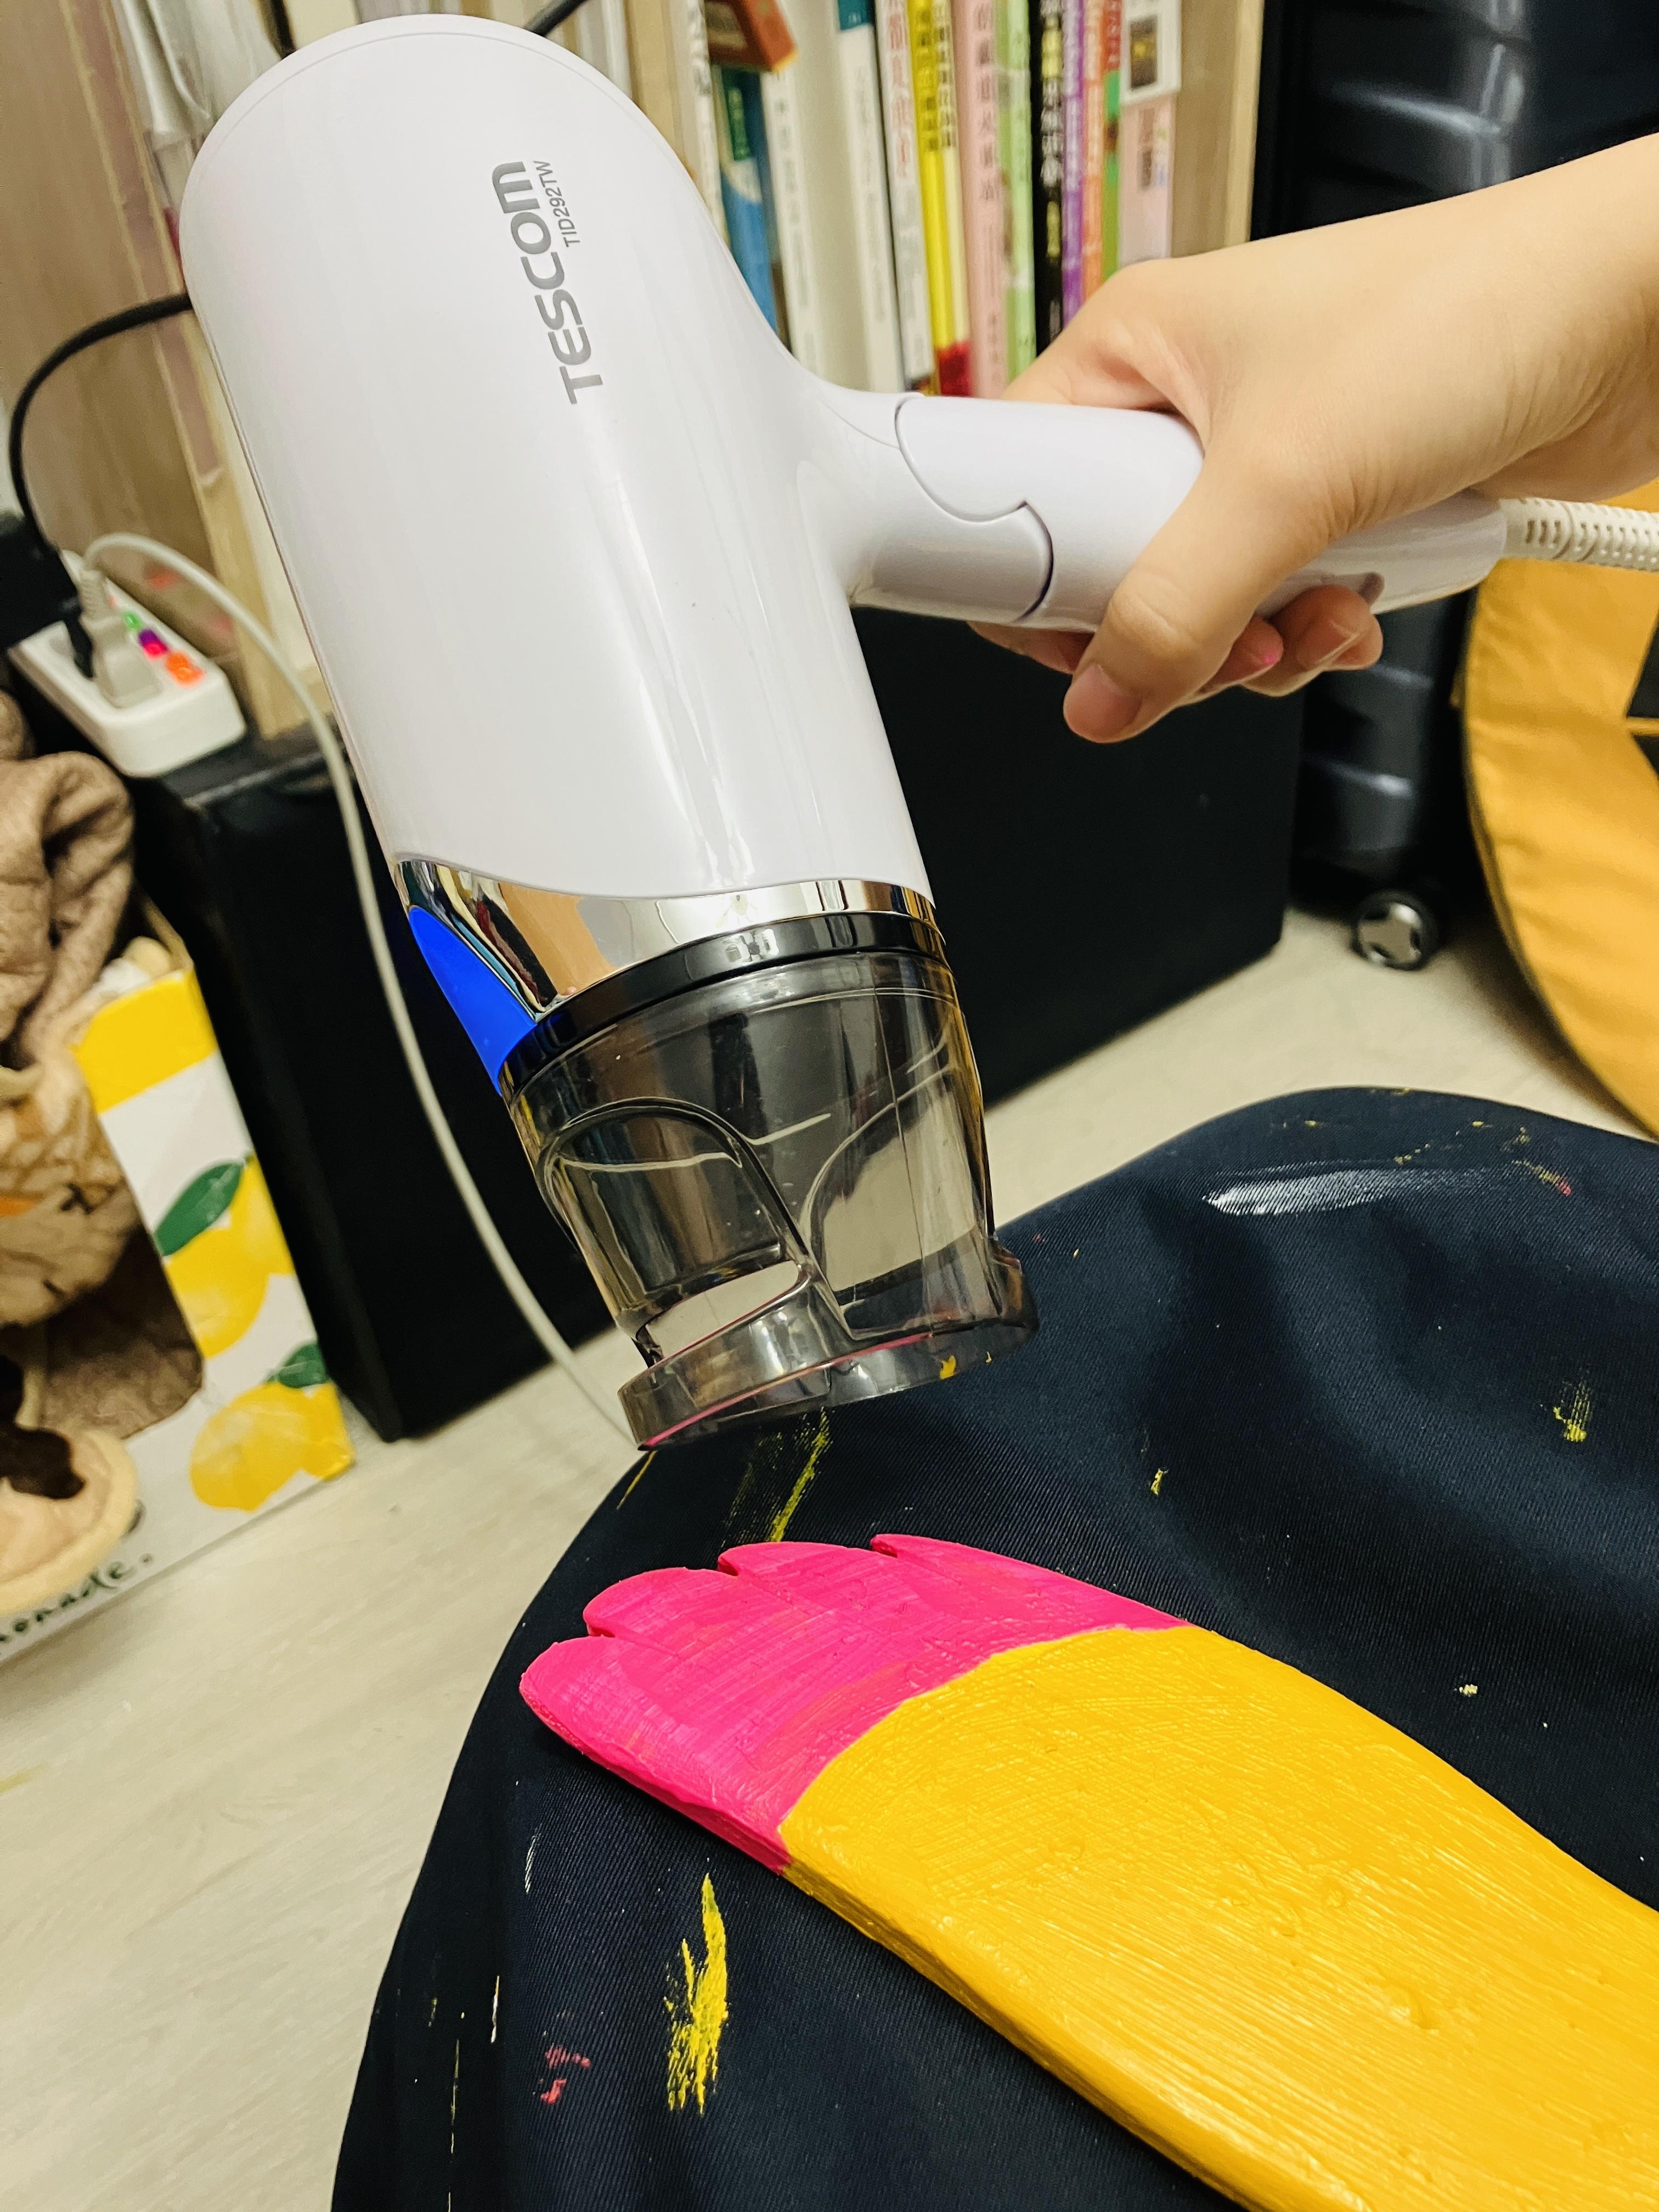
1. If you have a hairdryer, you can use it to speed up the drying process of the acrylic paint.
2. When painting, be sure to thread the fishing line through the small holes to avoid blocking them.
Attach the Beak and Eyes
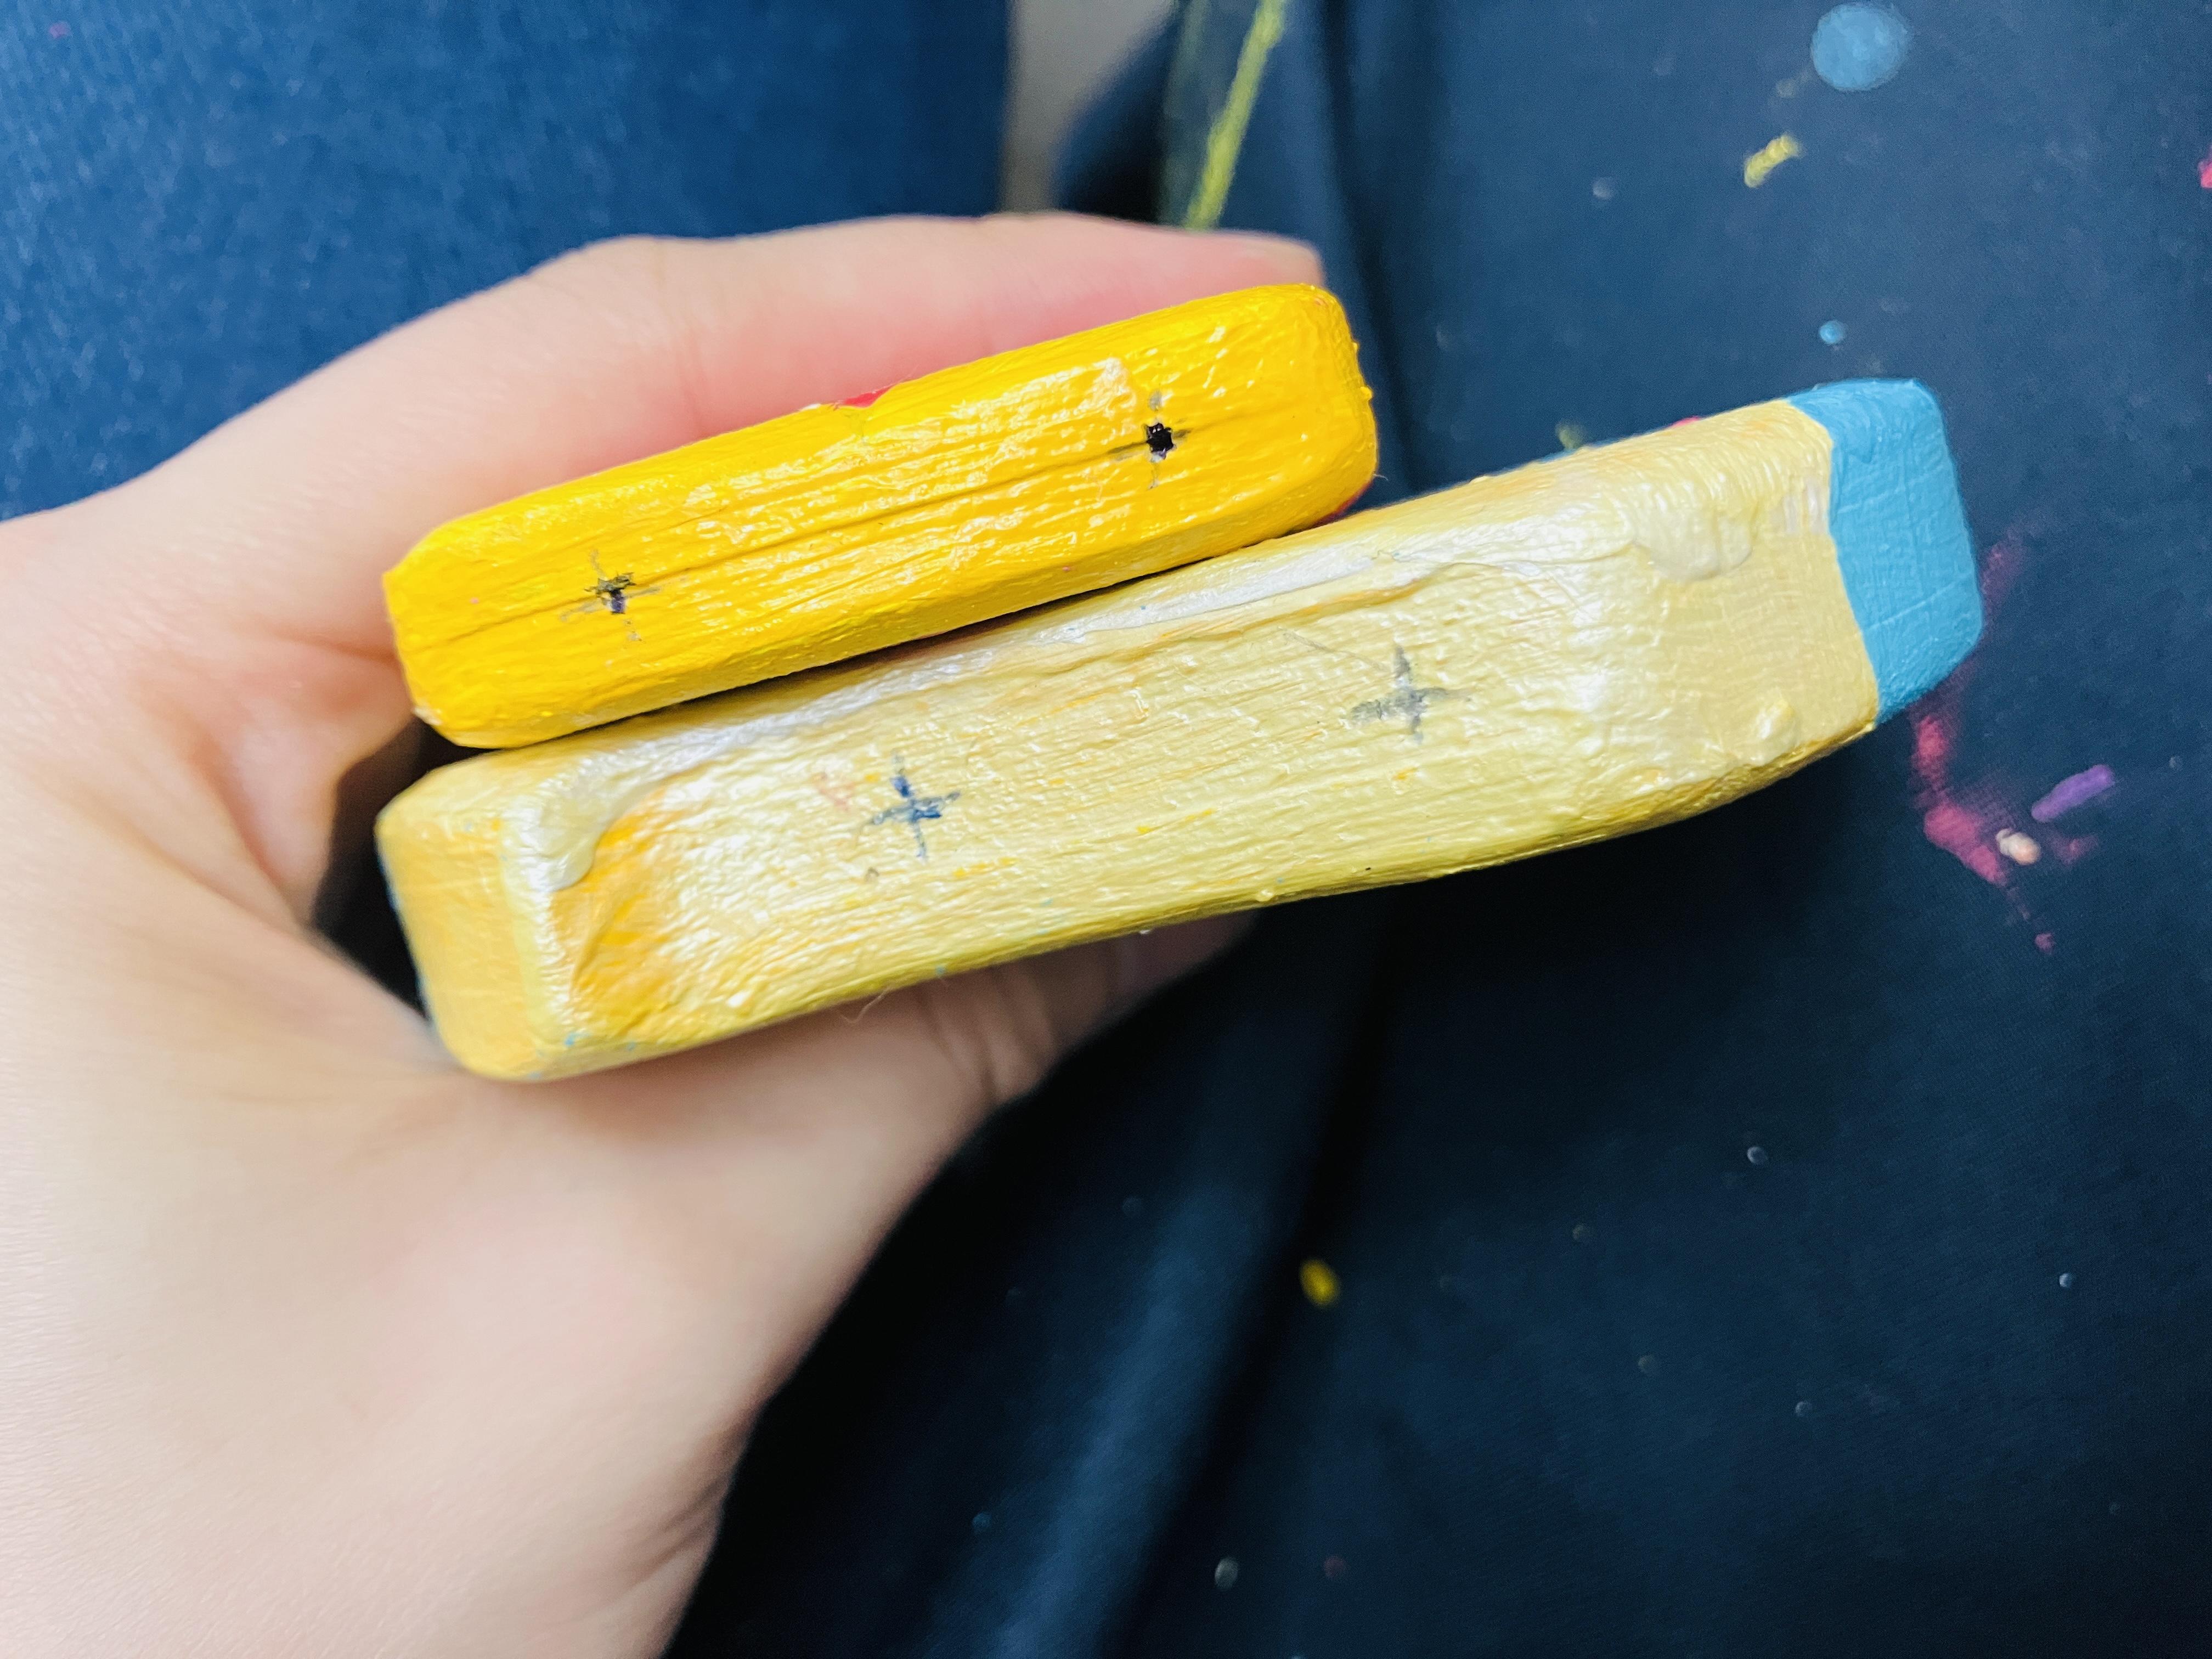
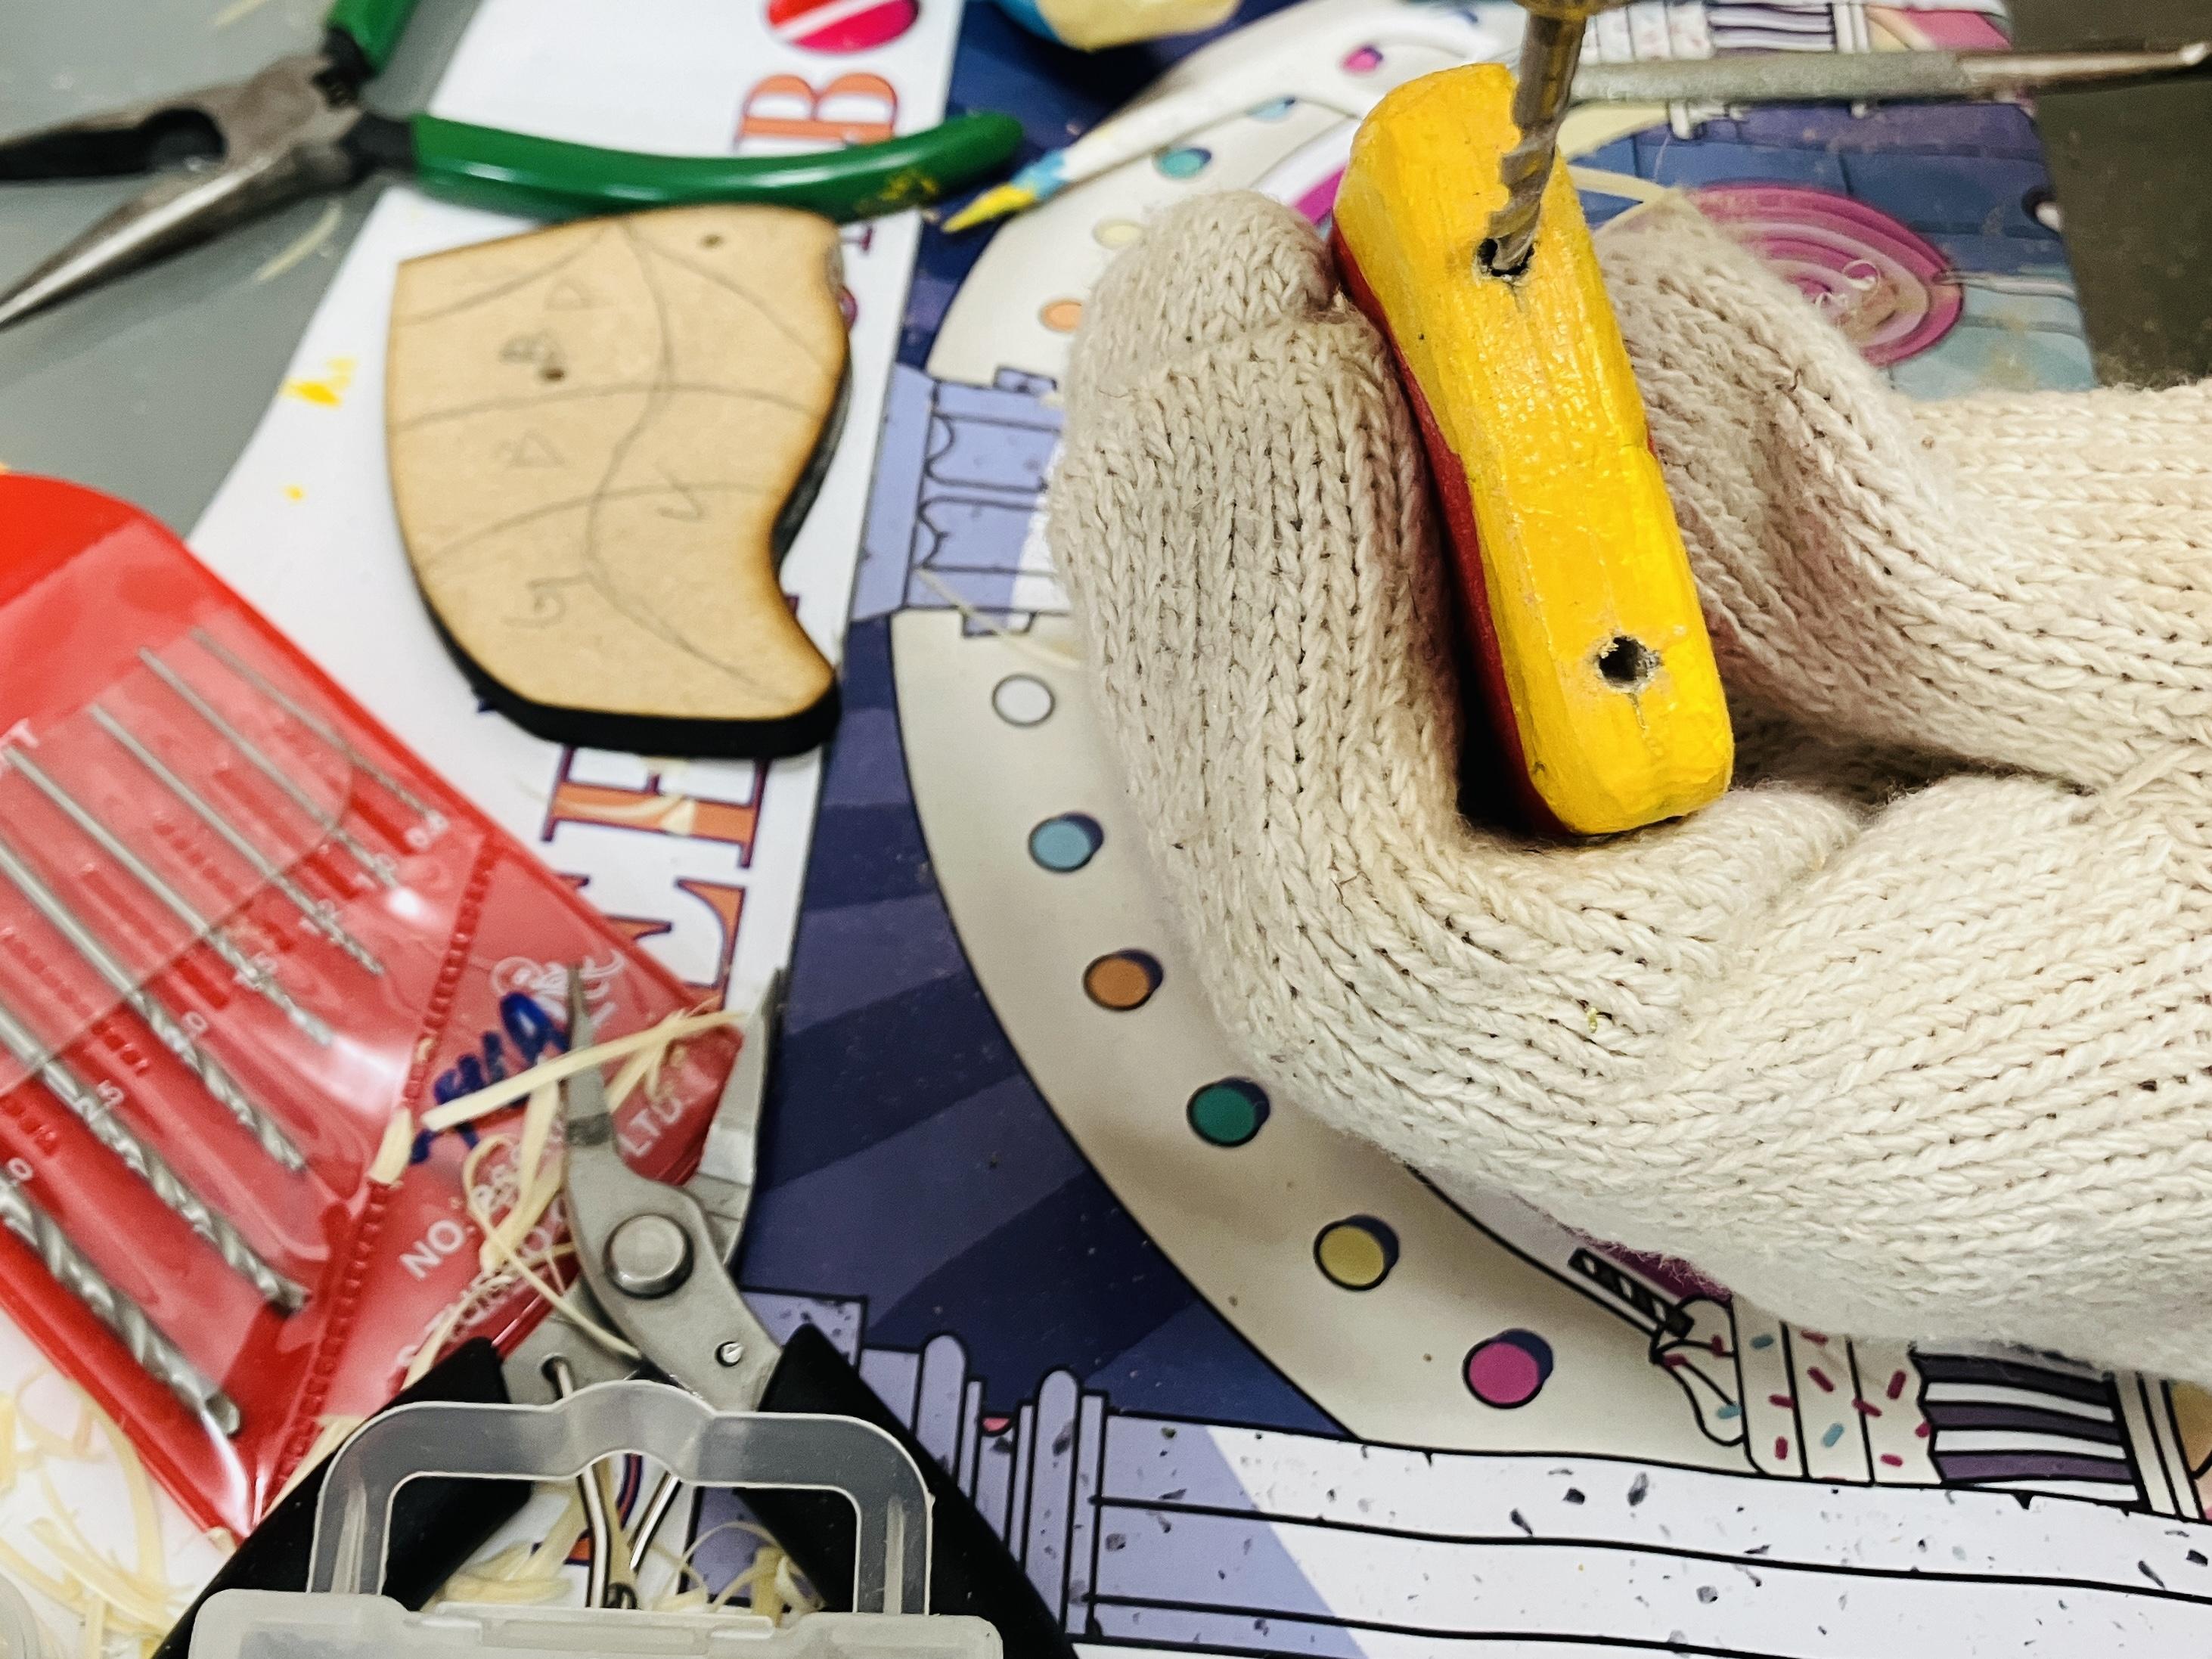
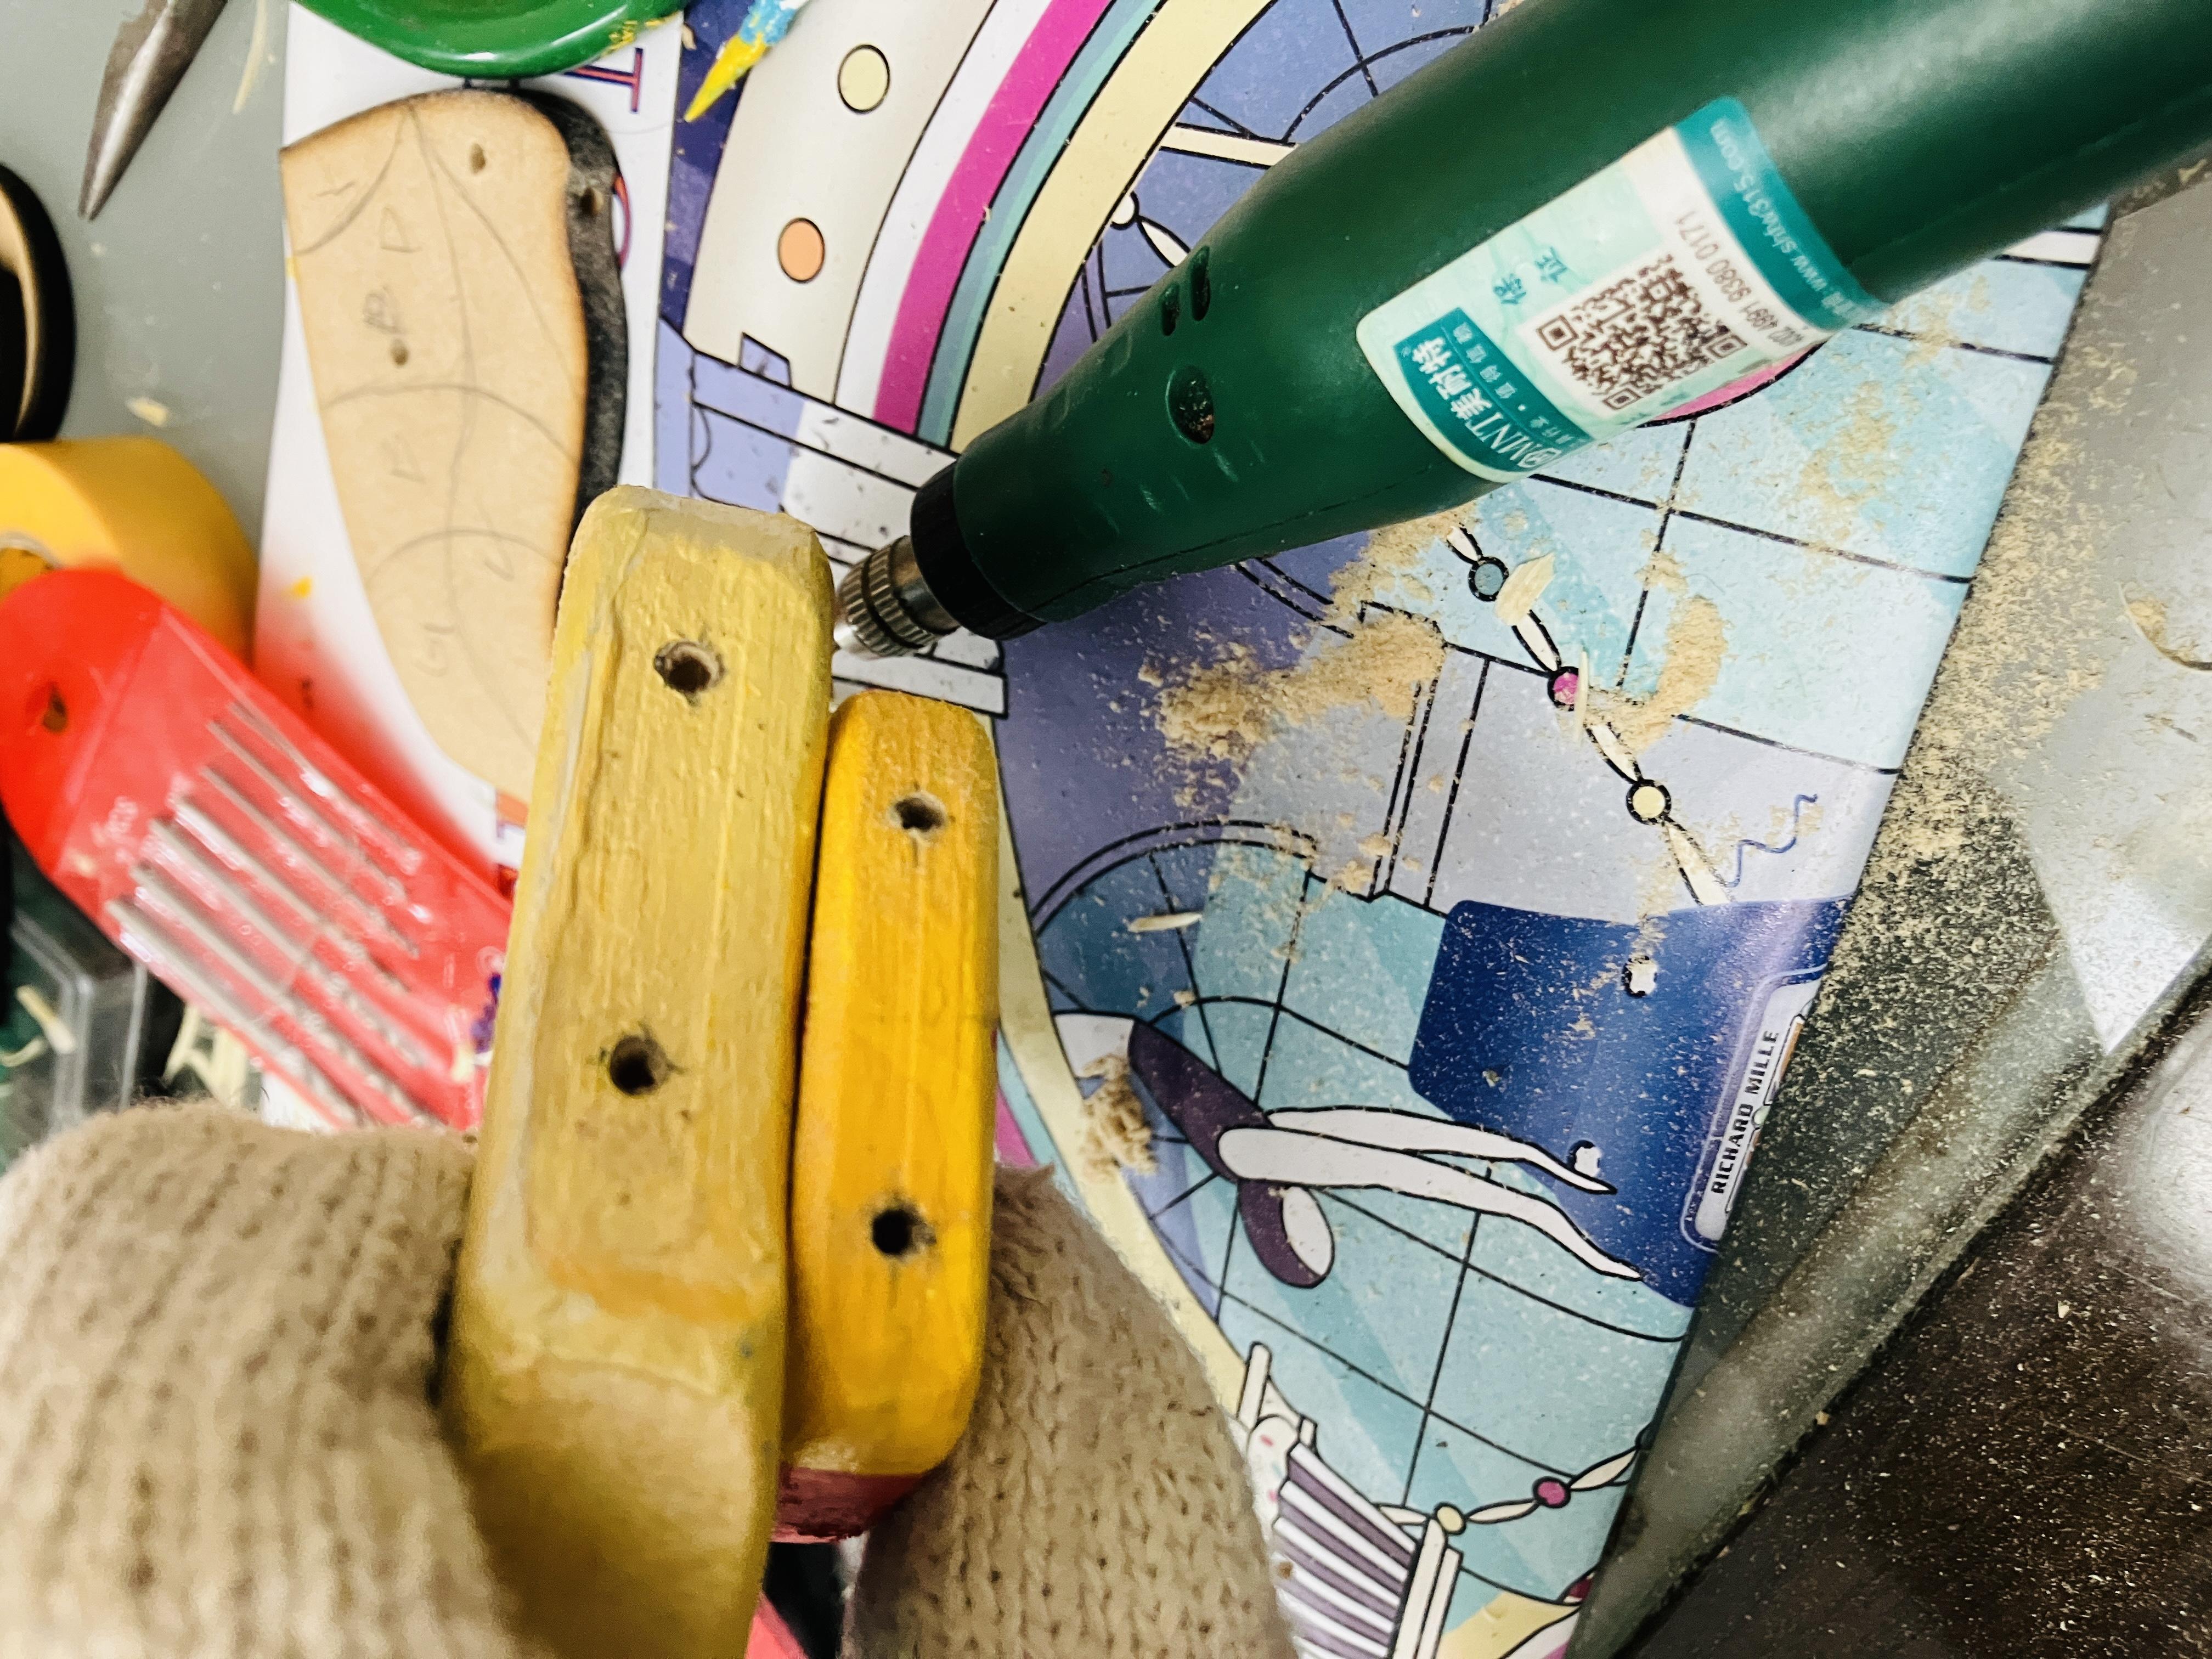
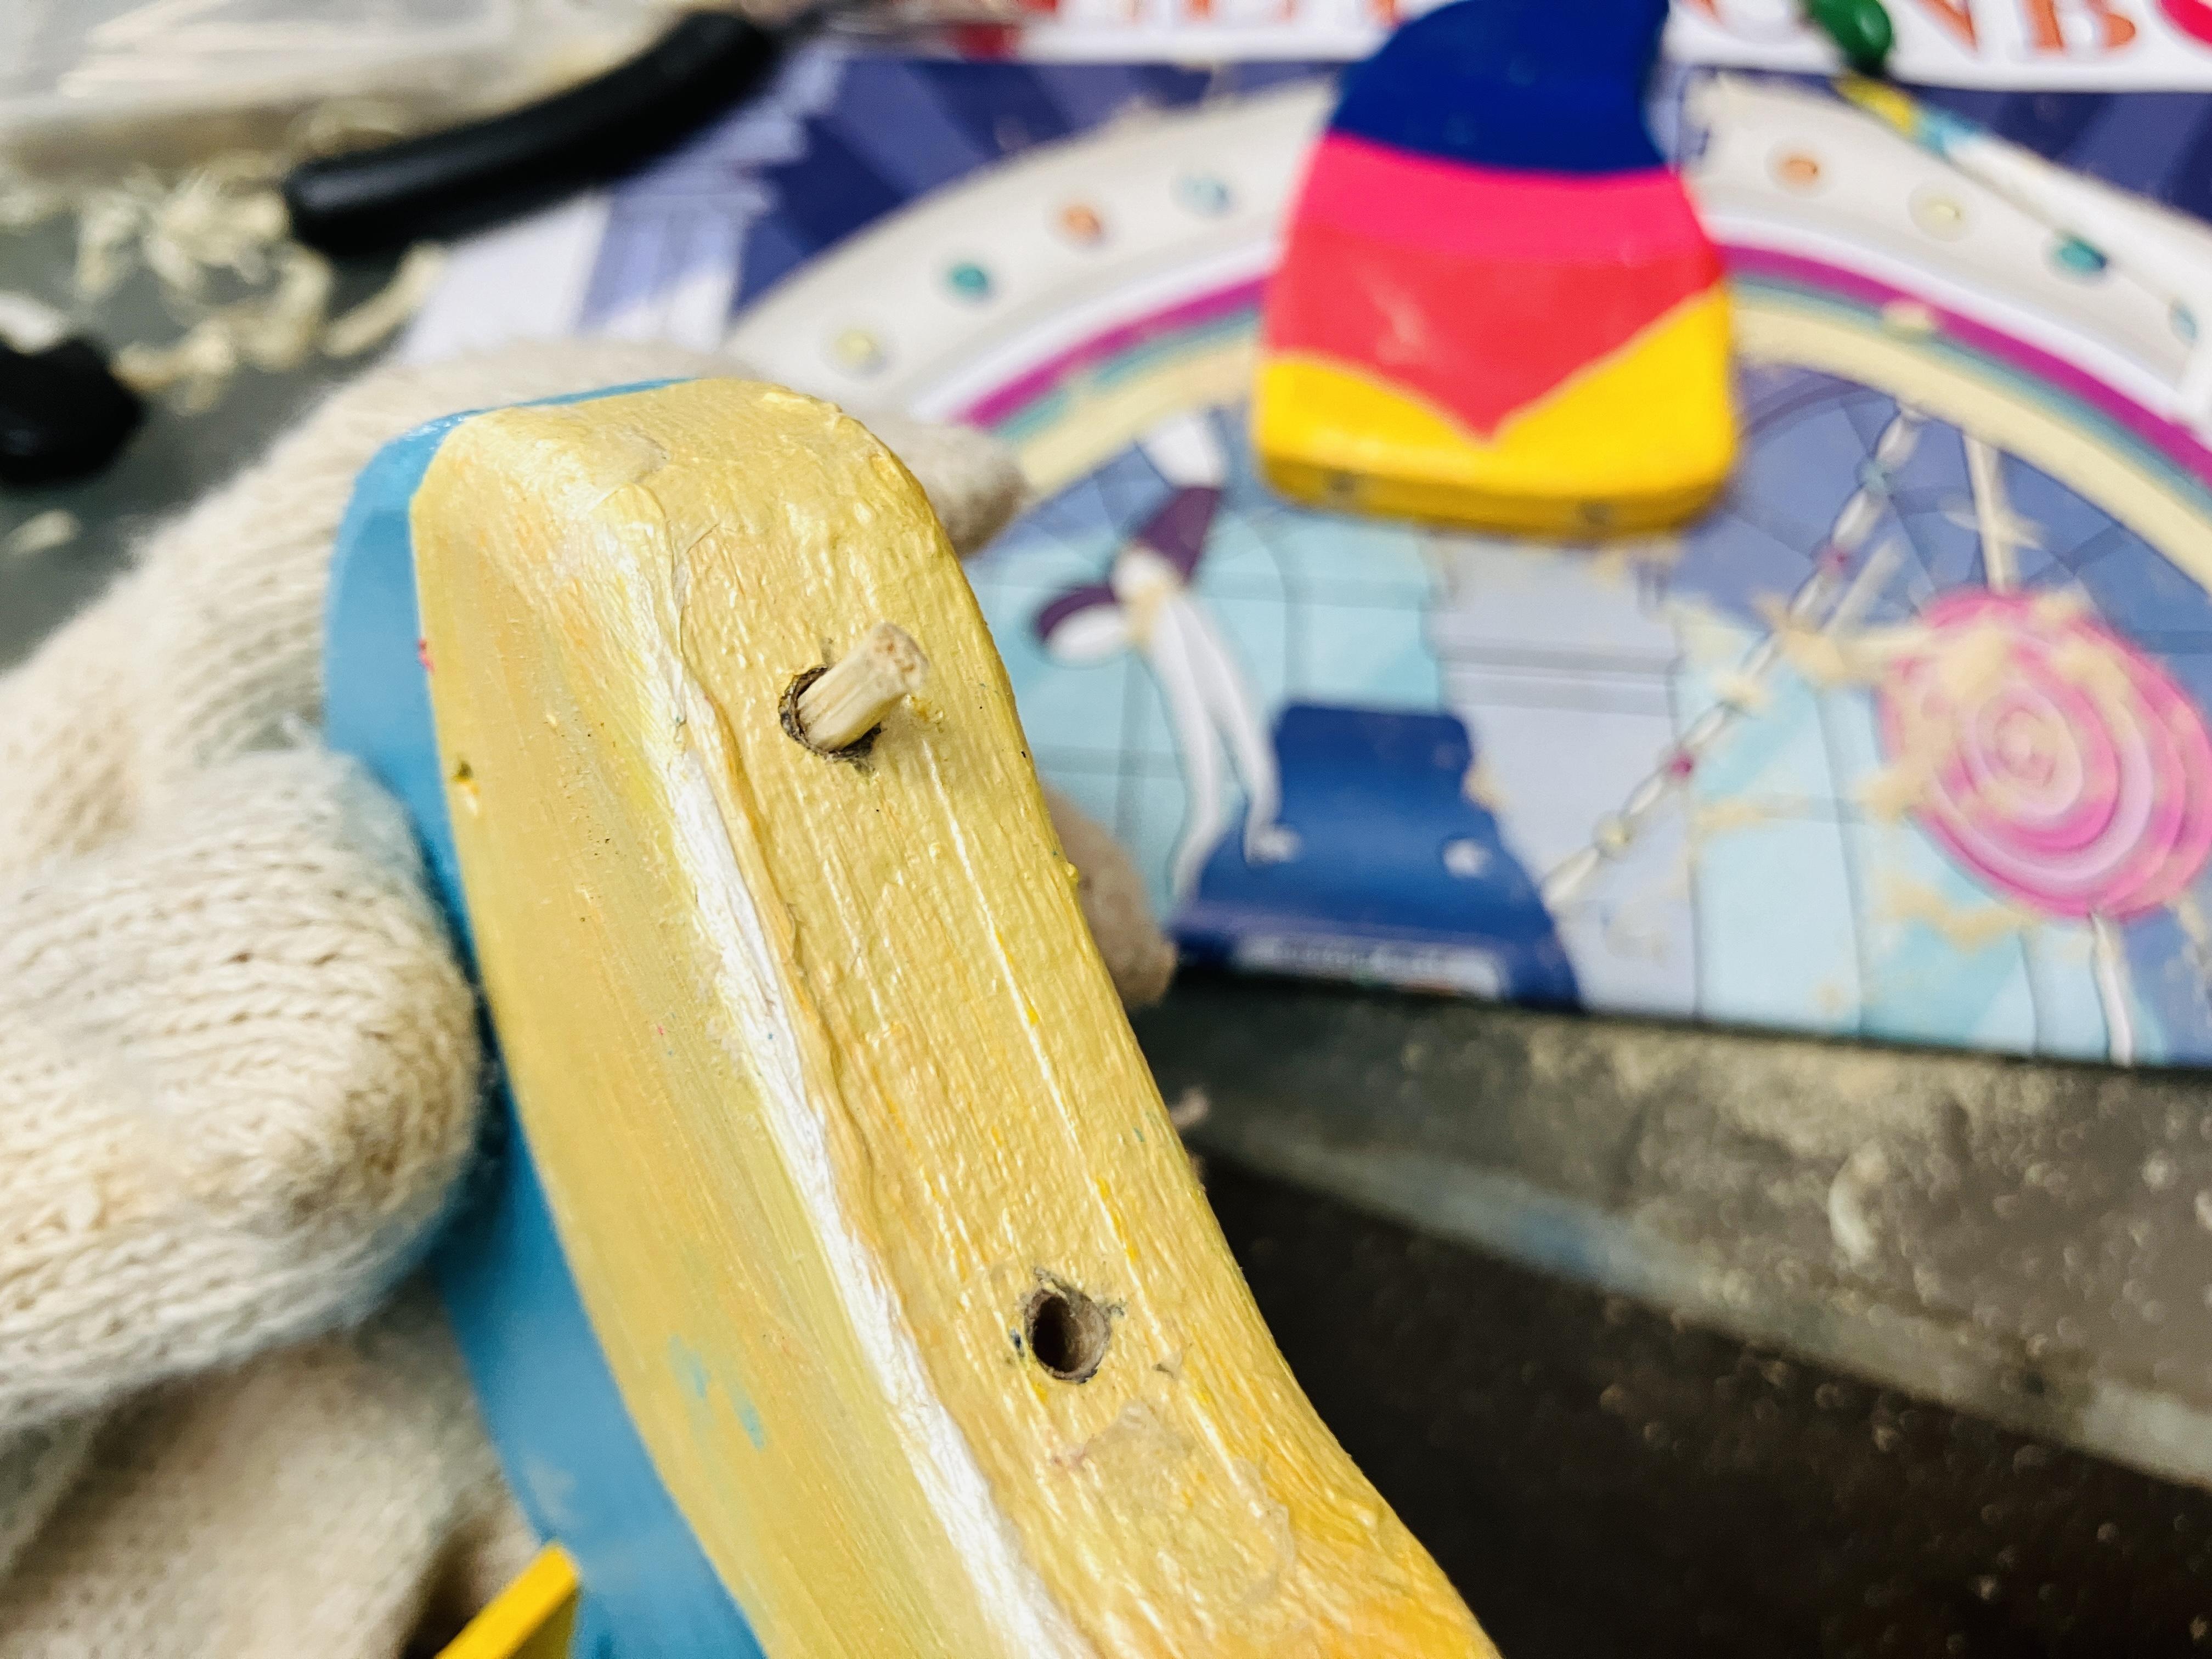
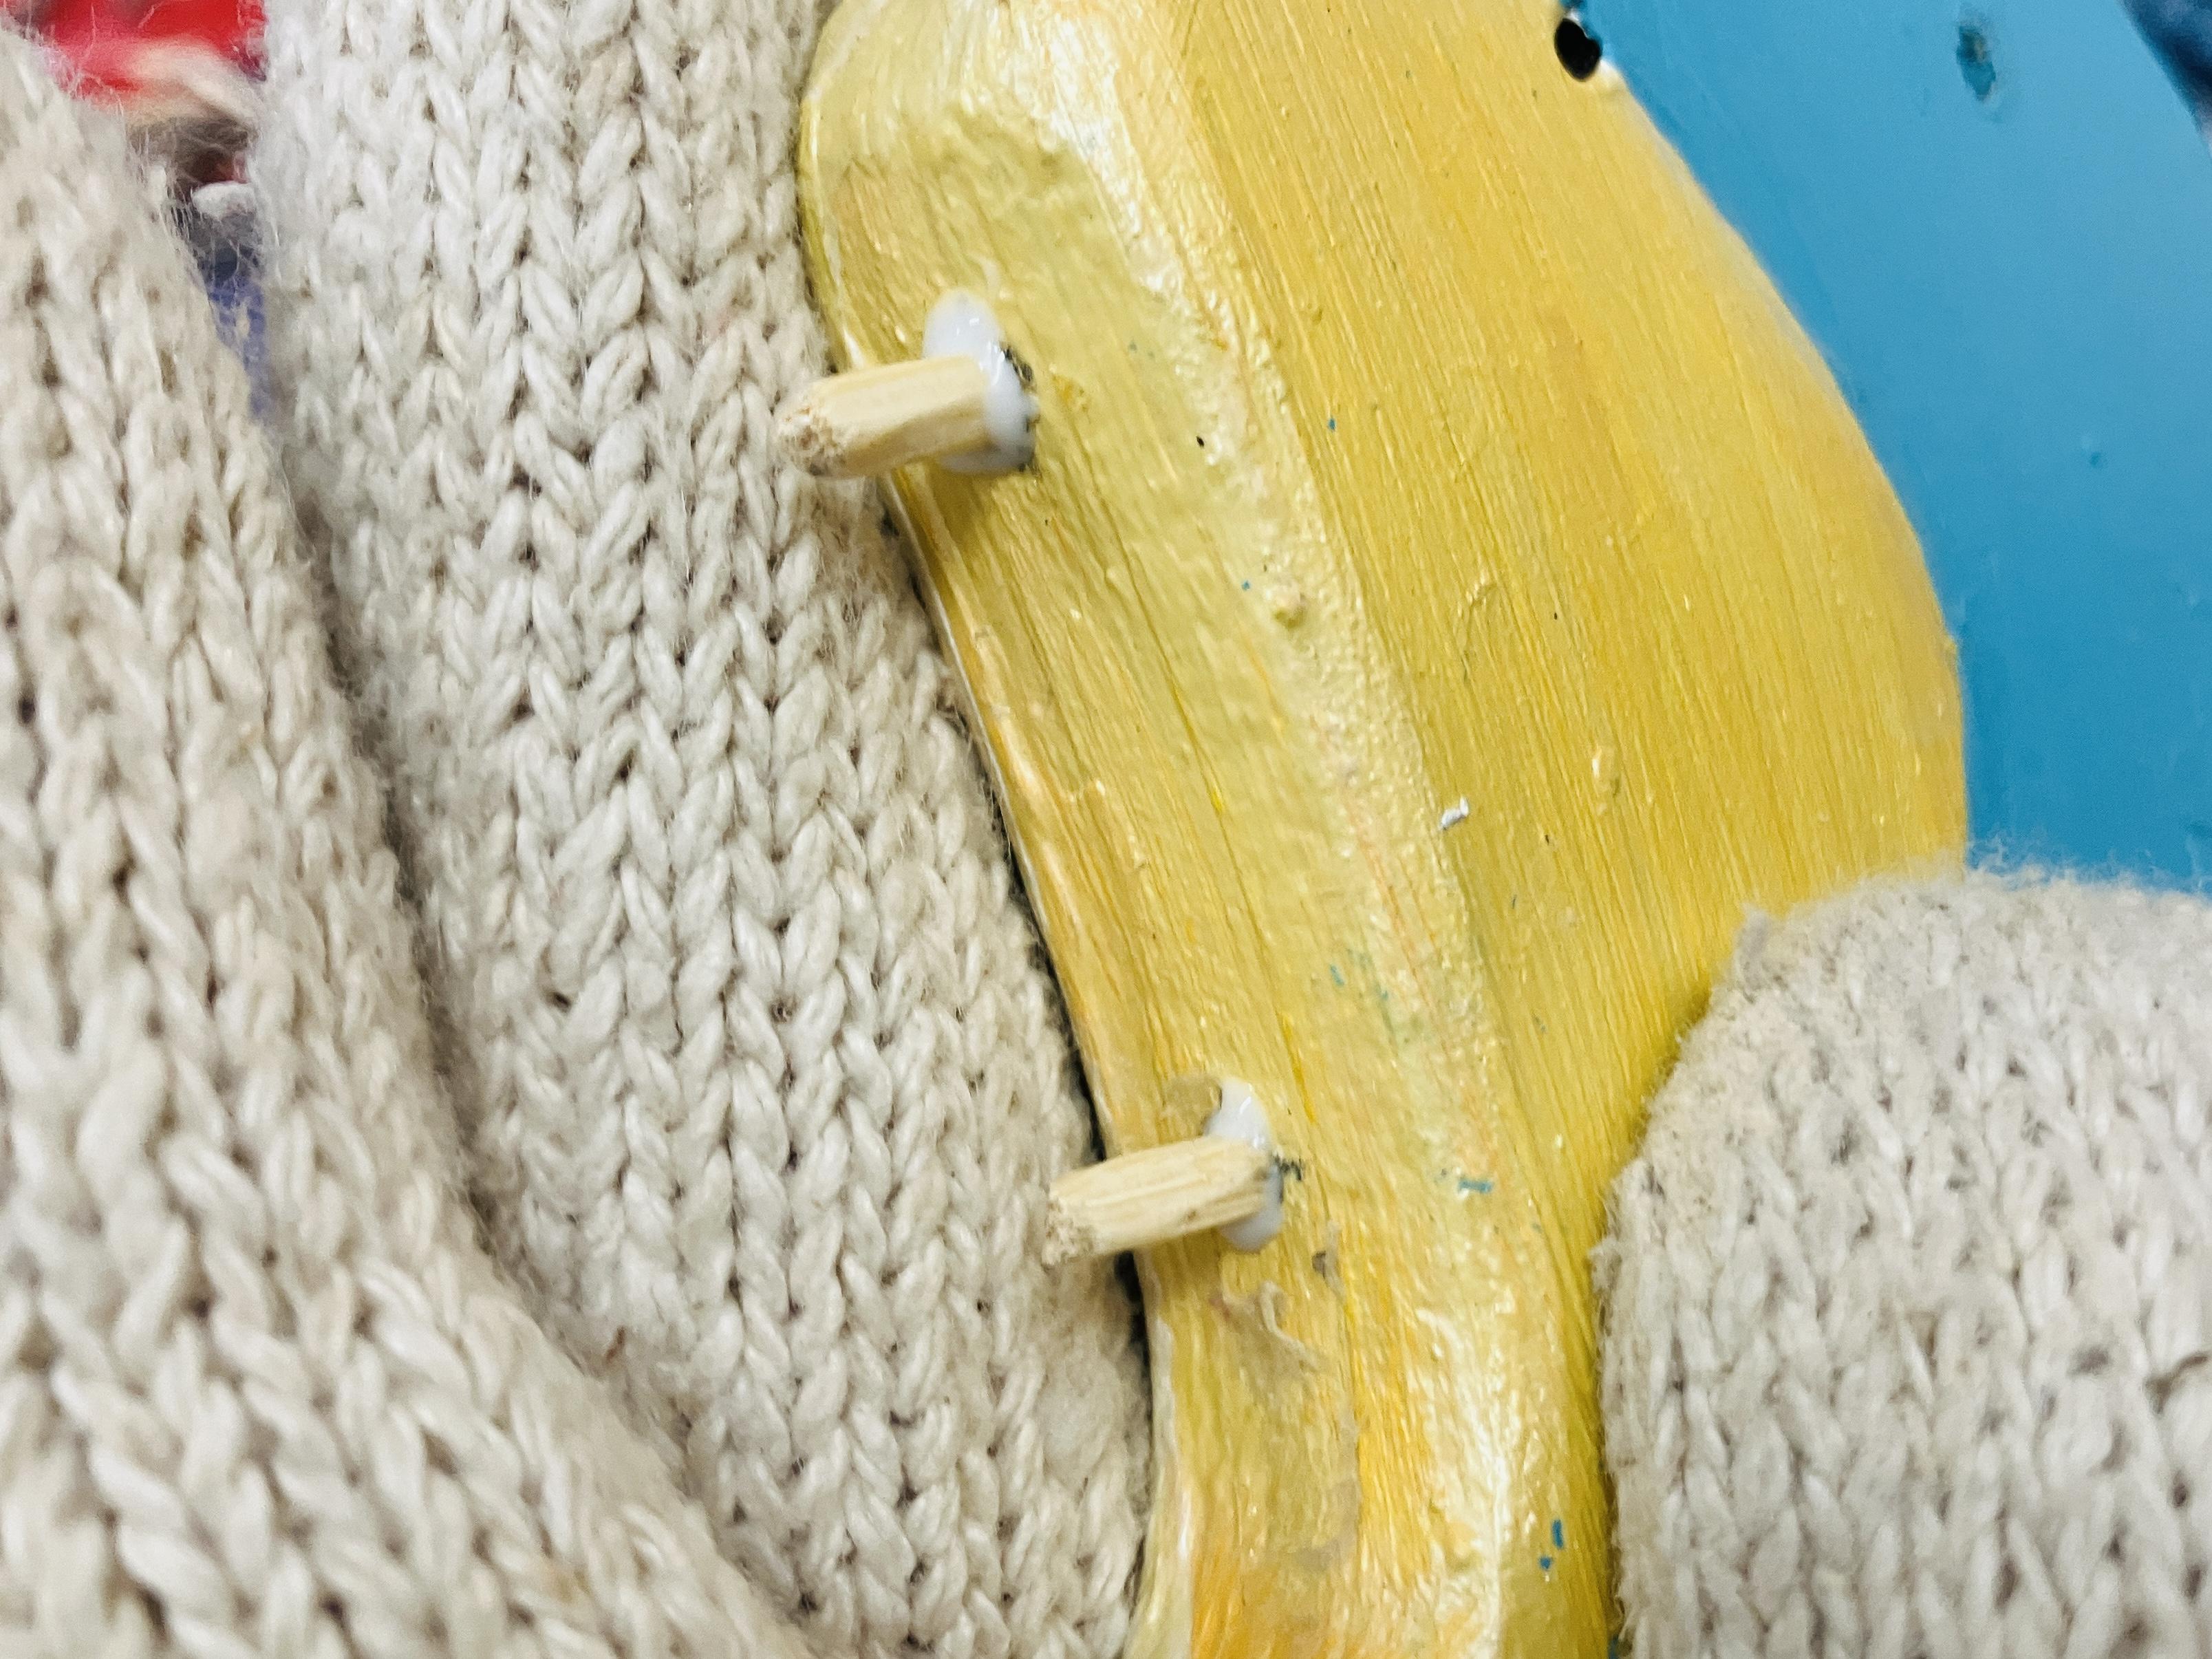
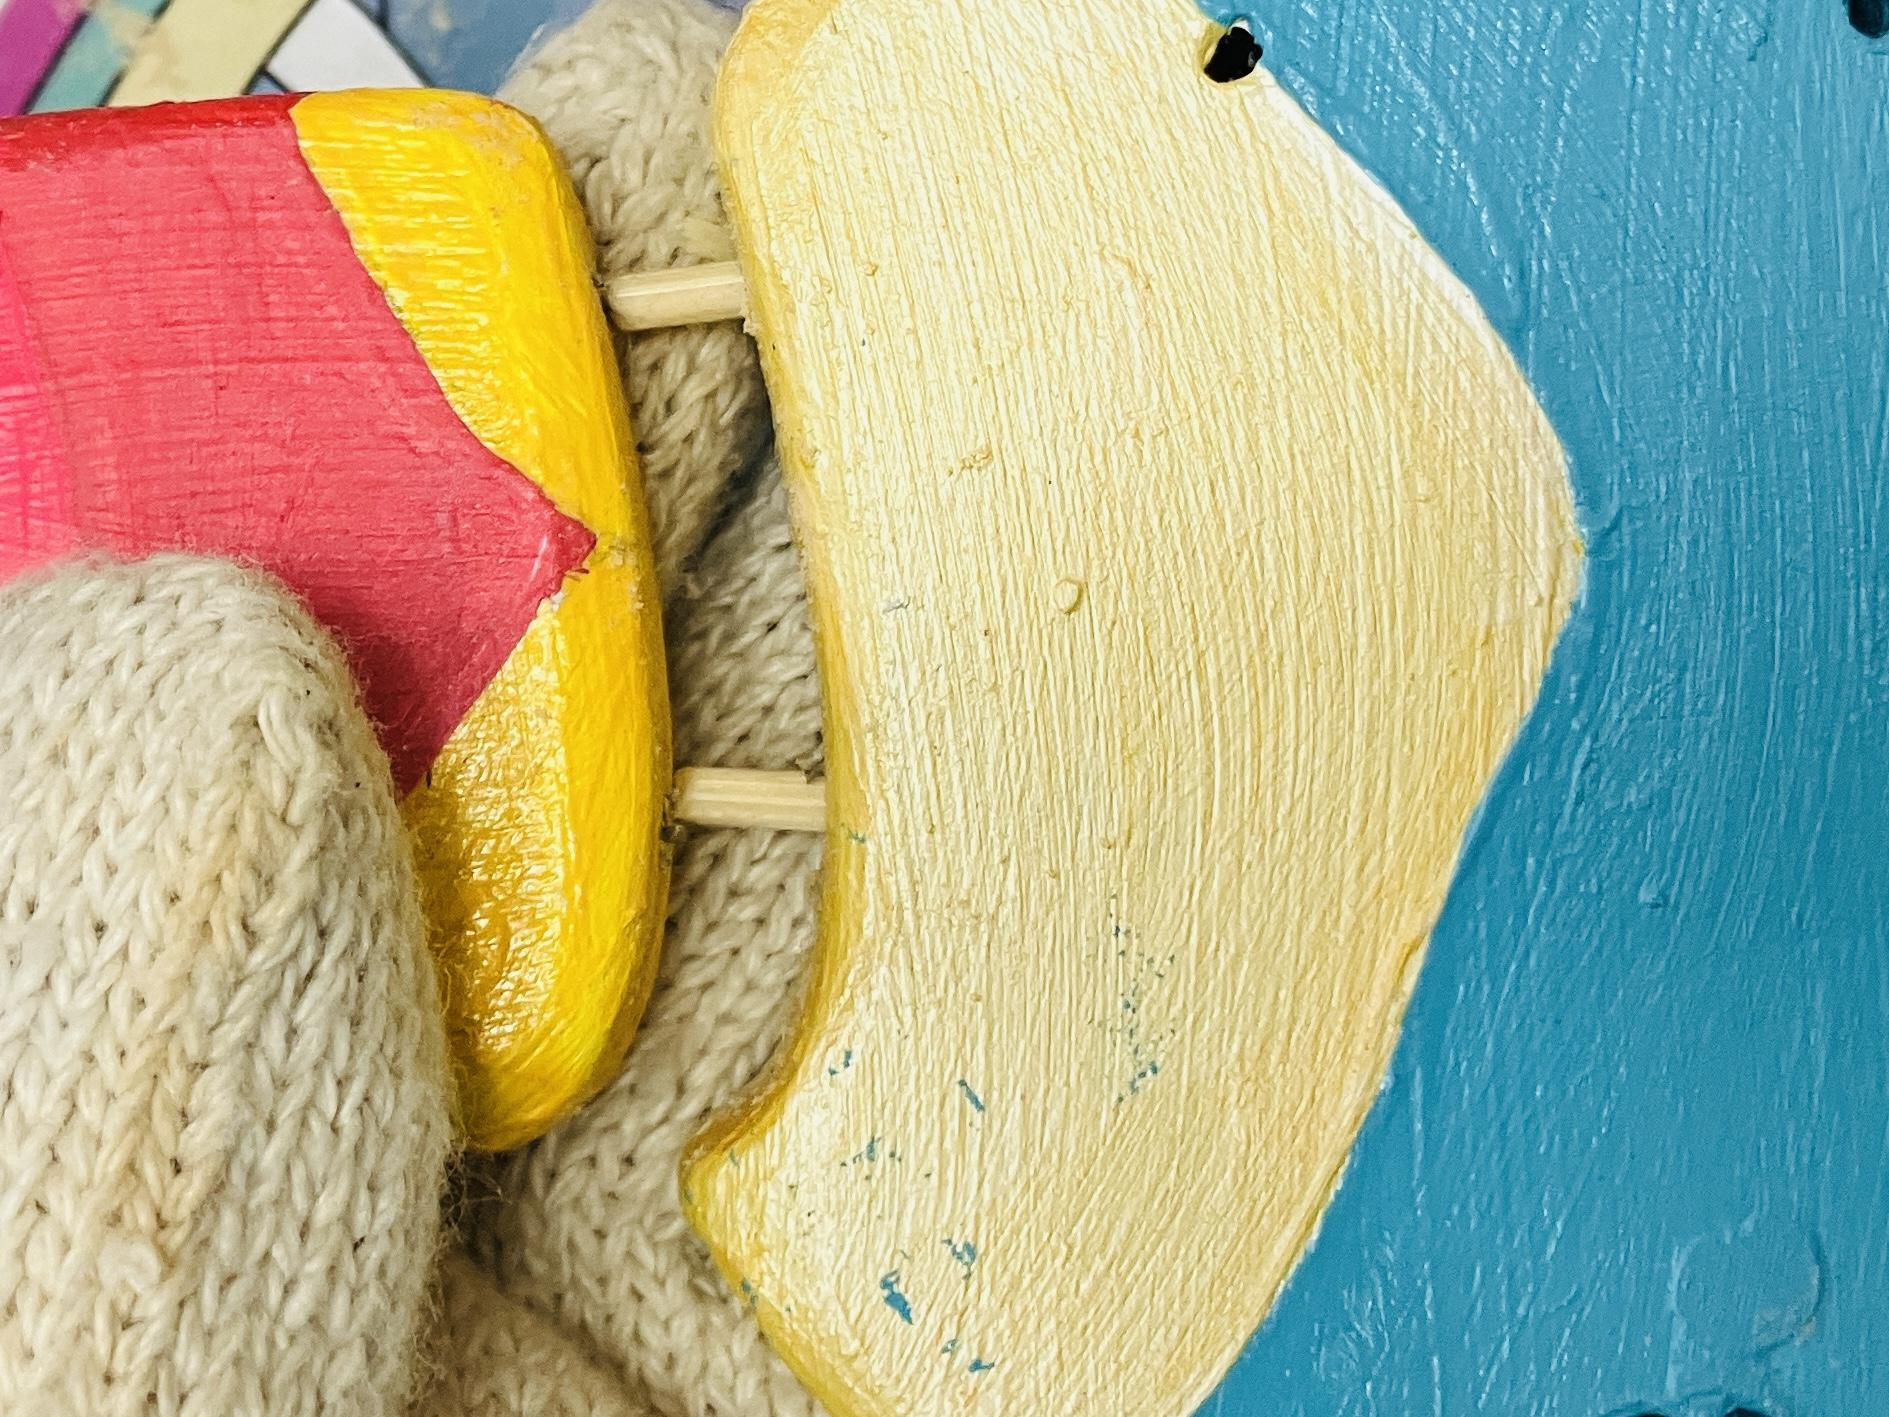
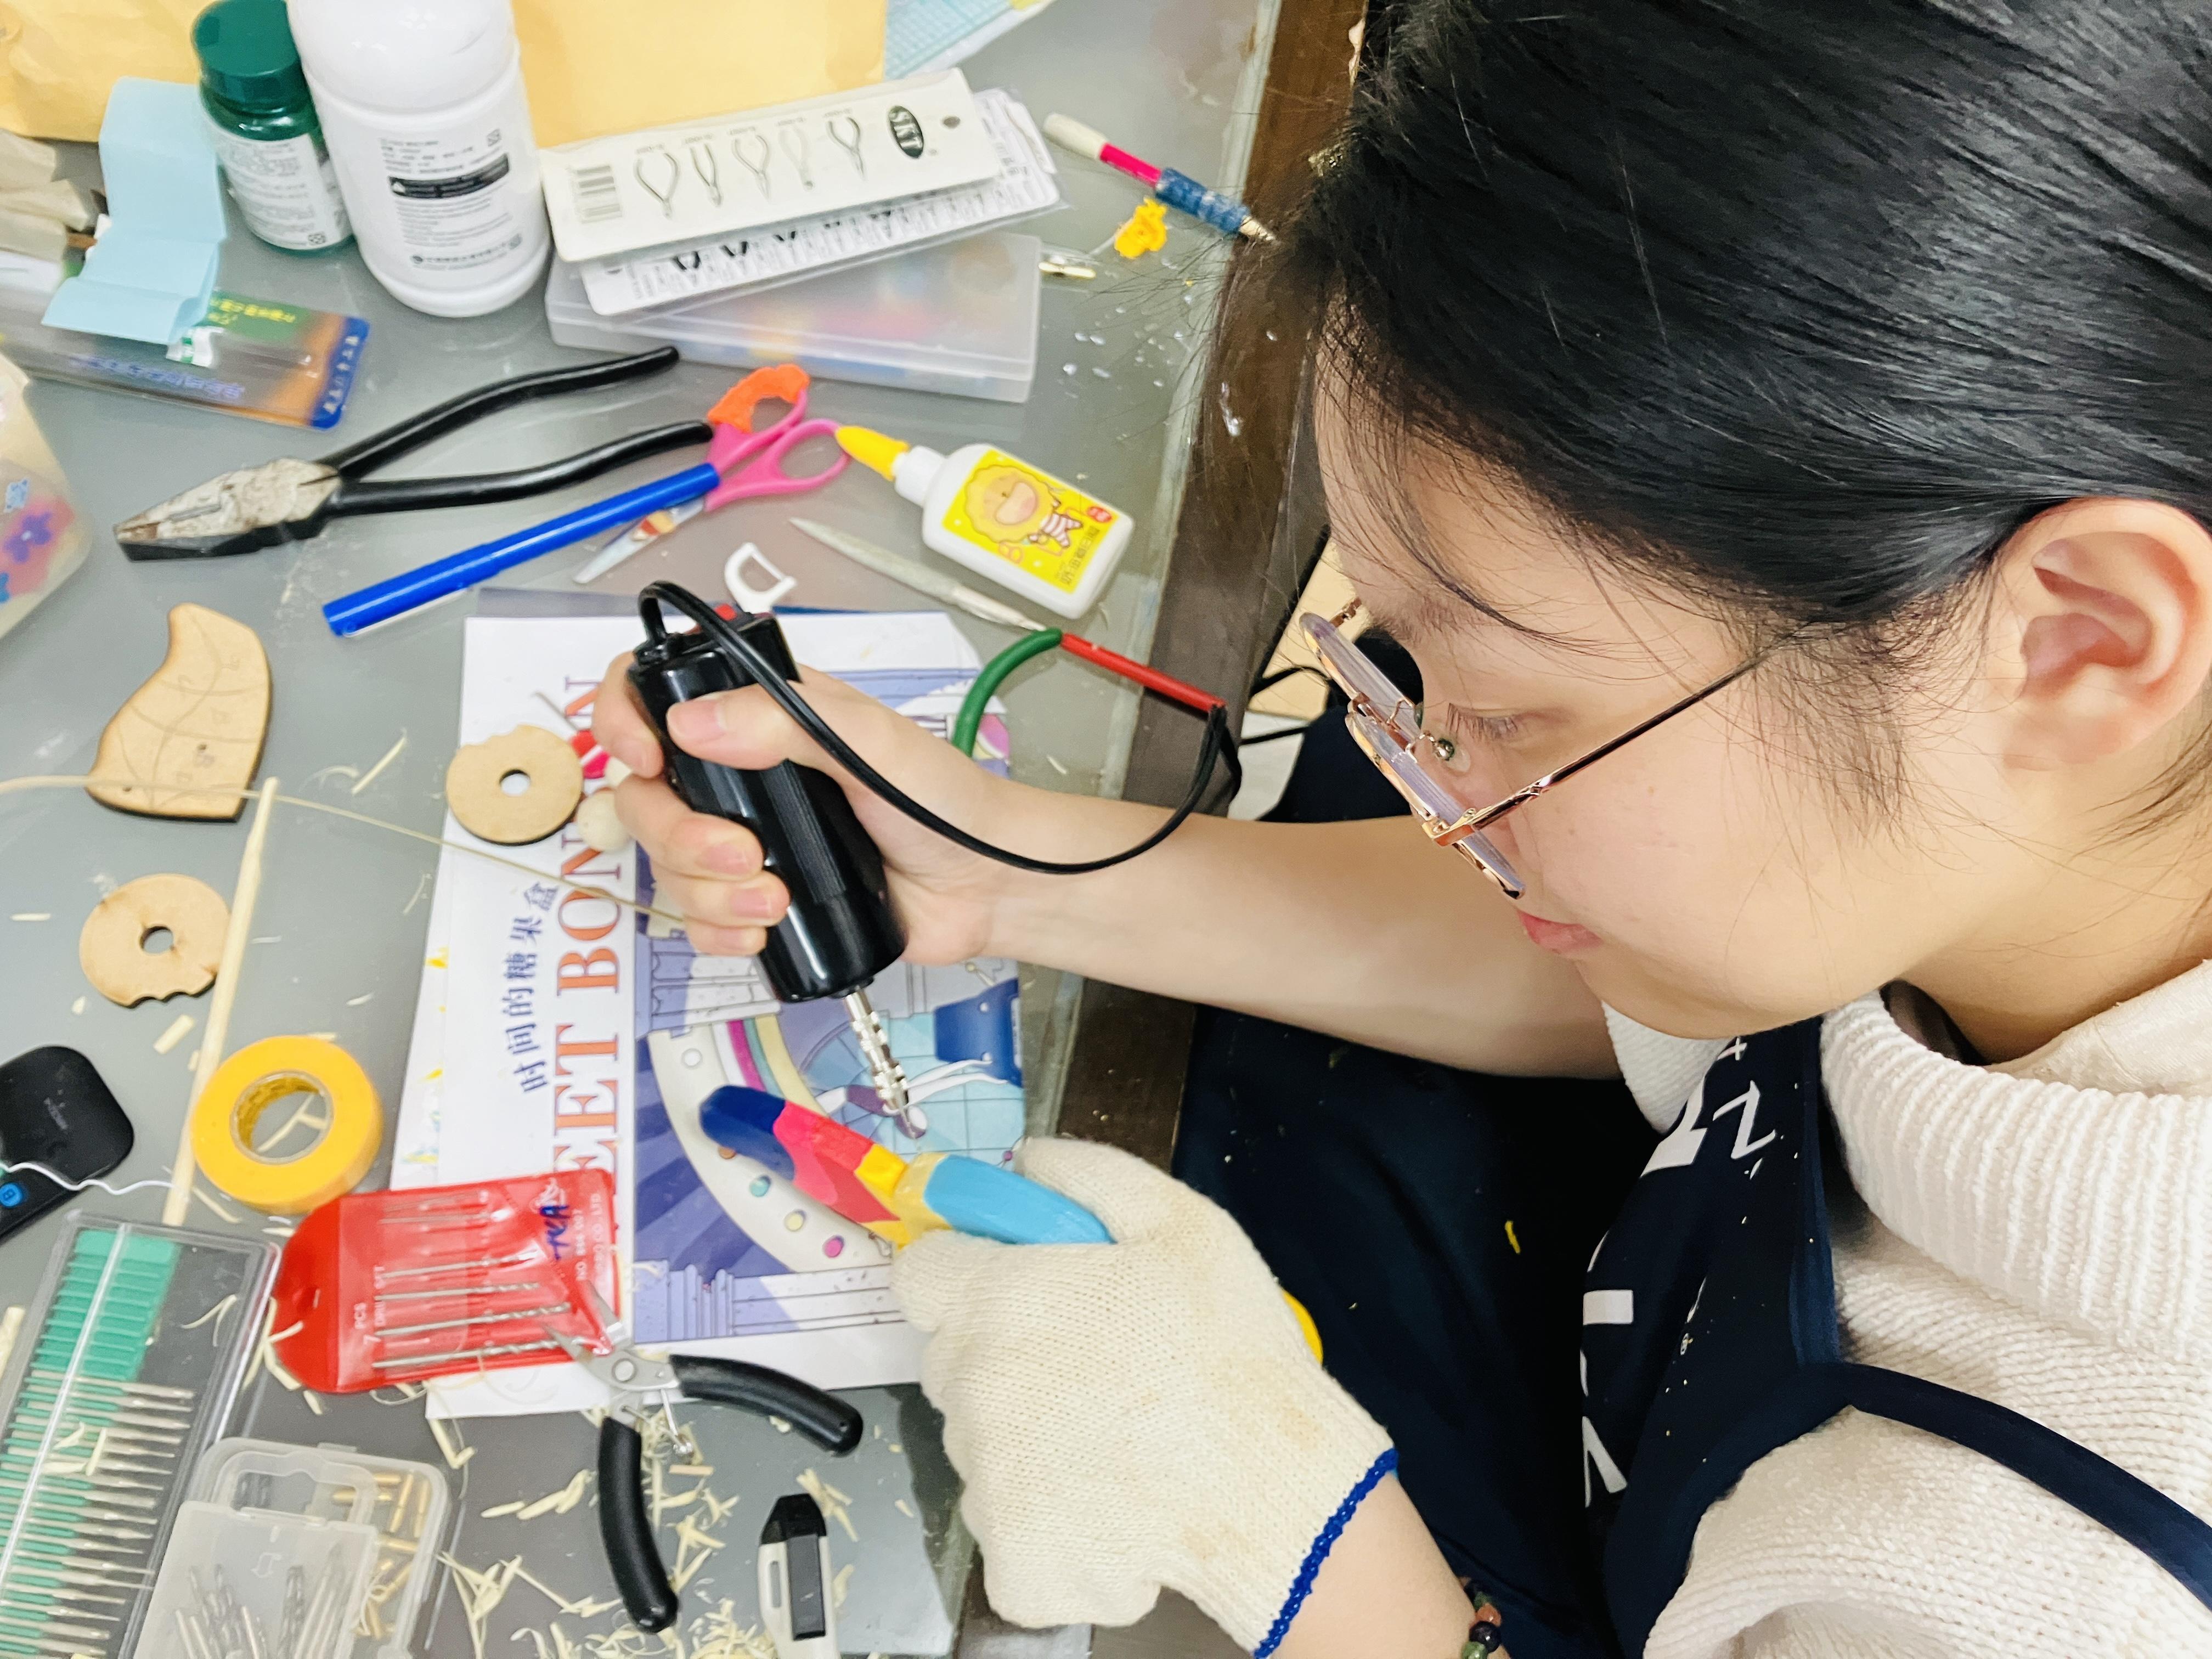
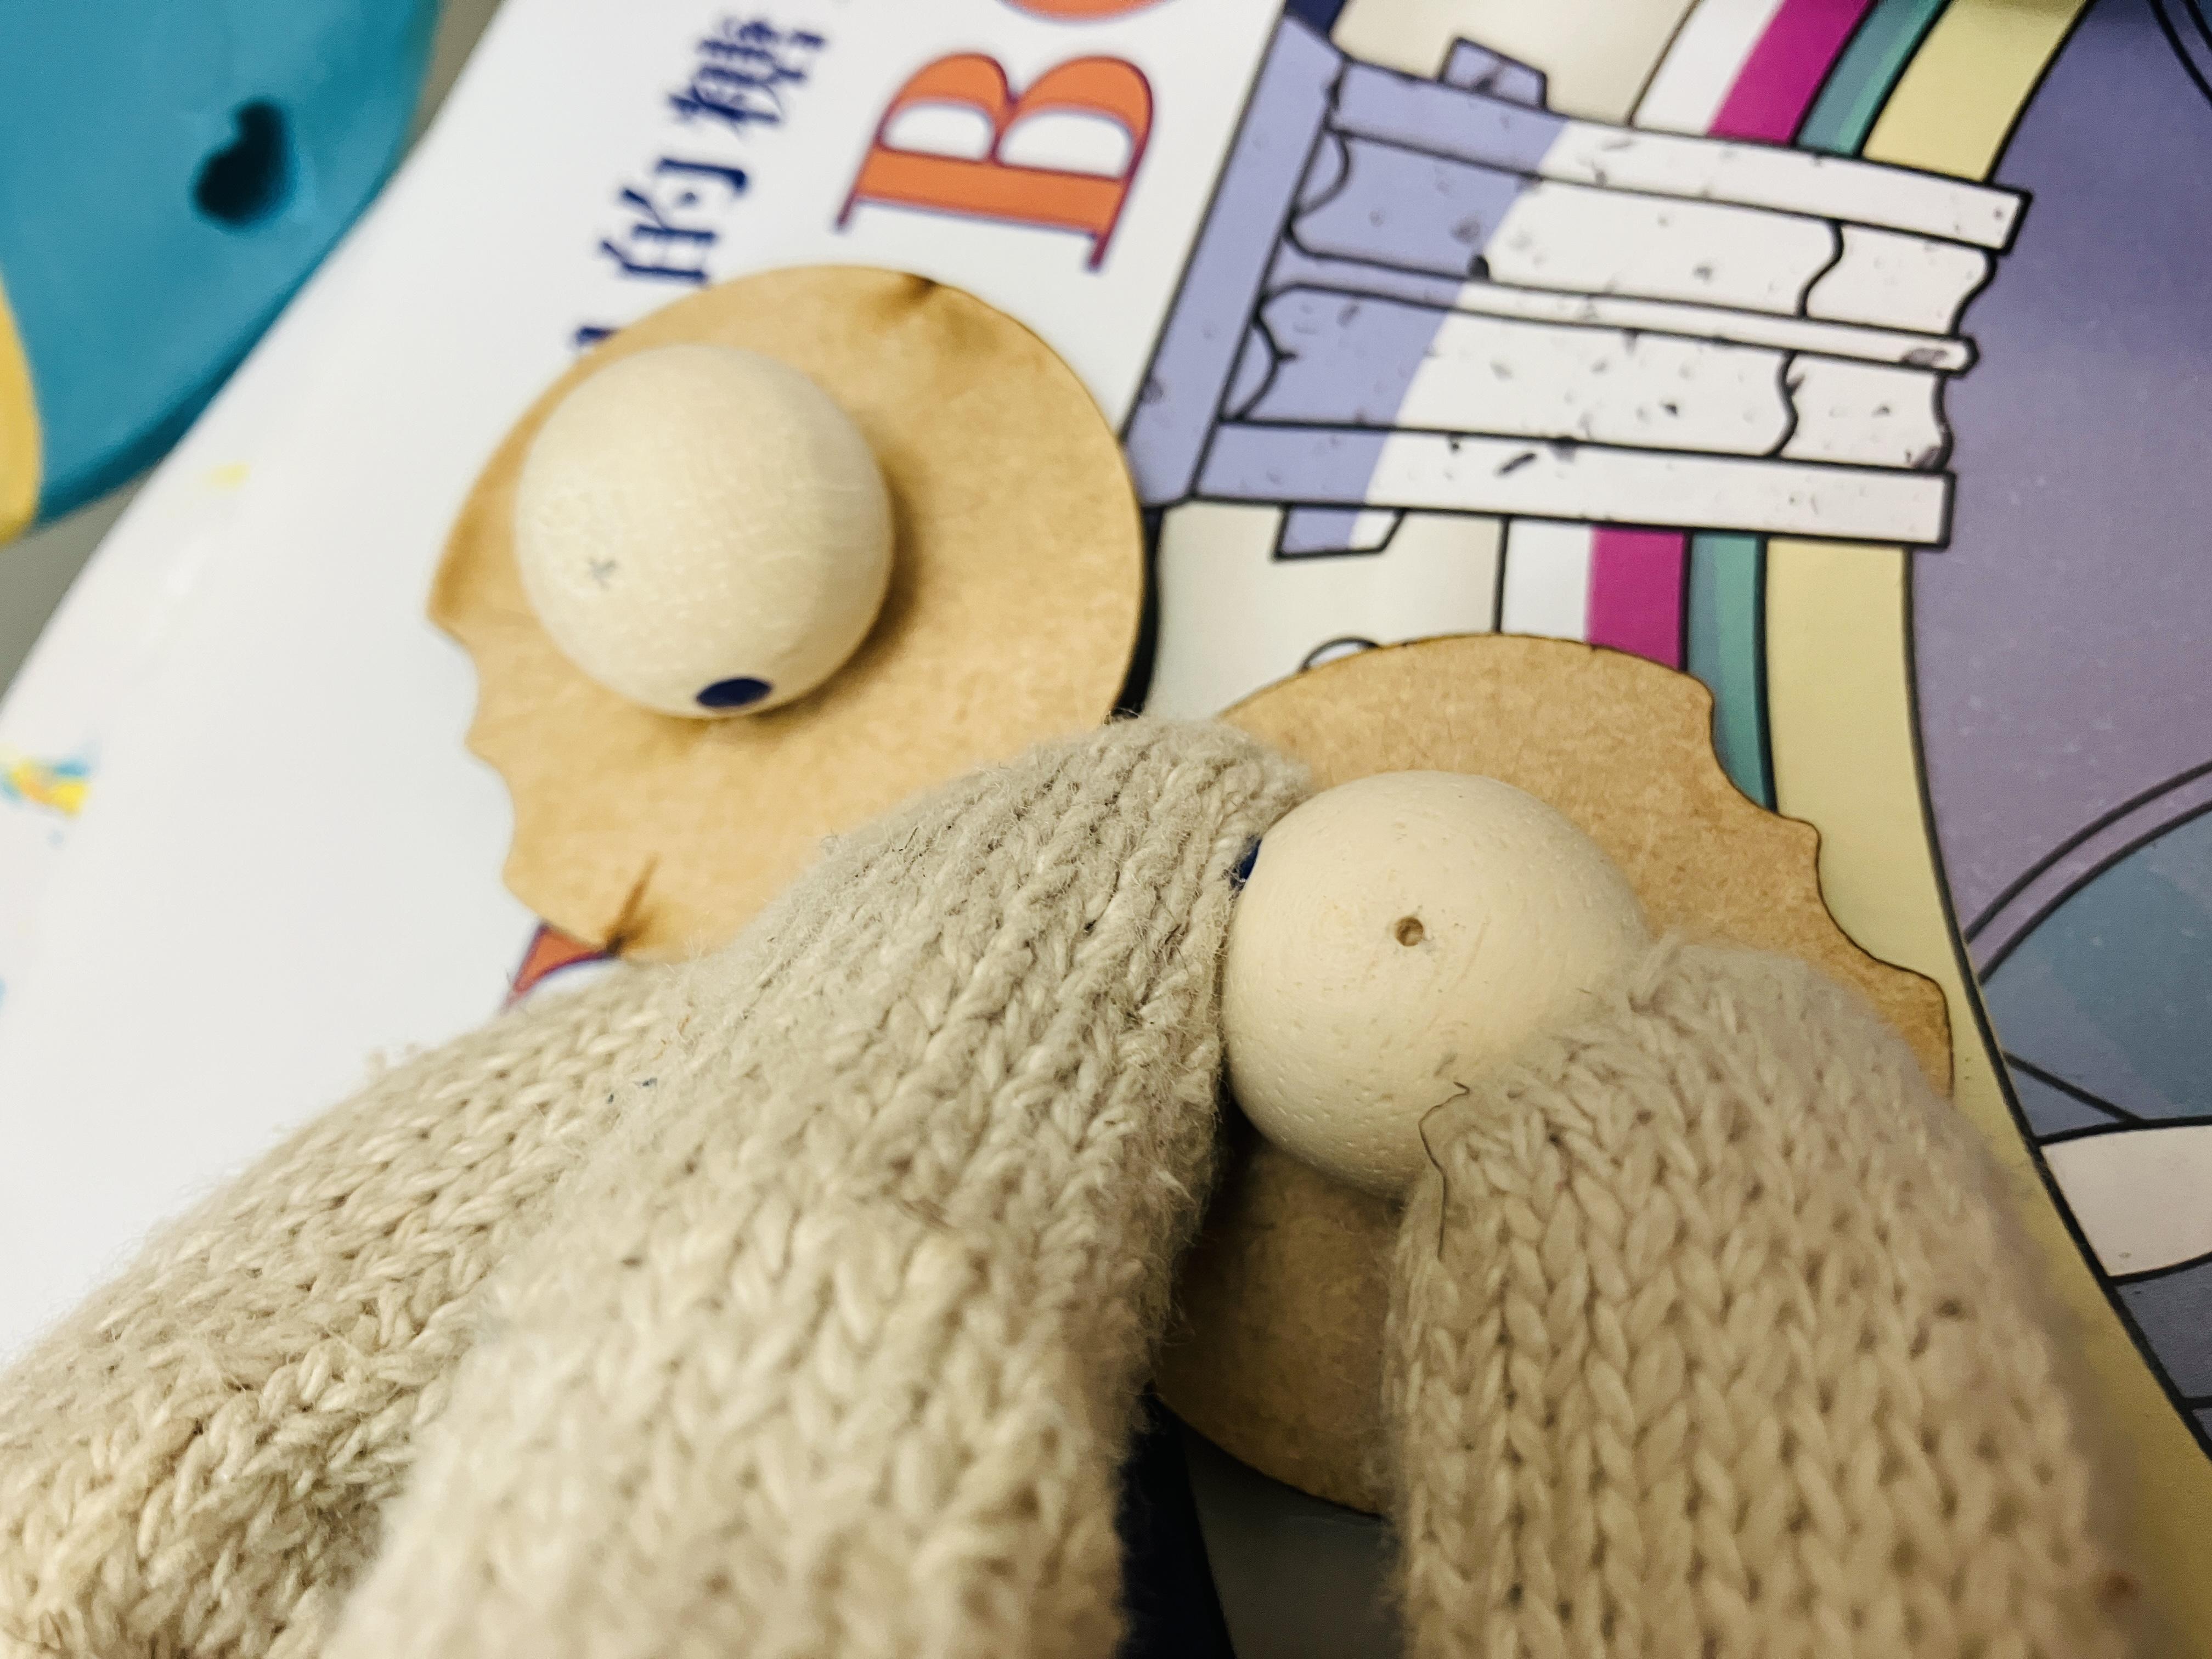
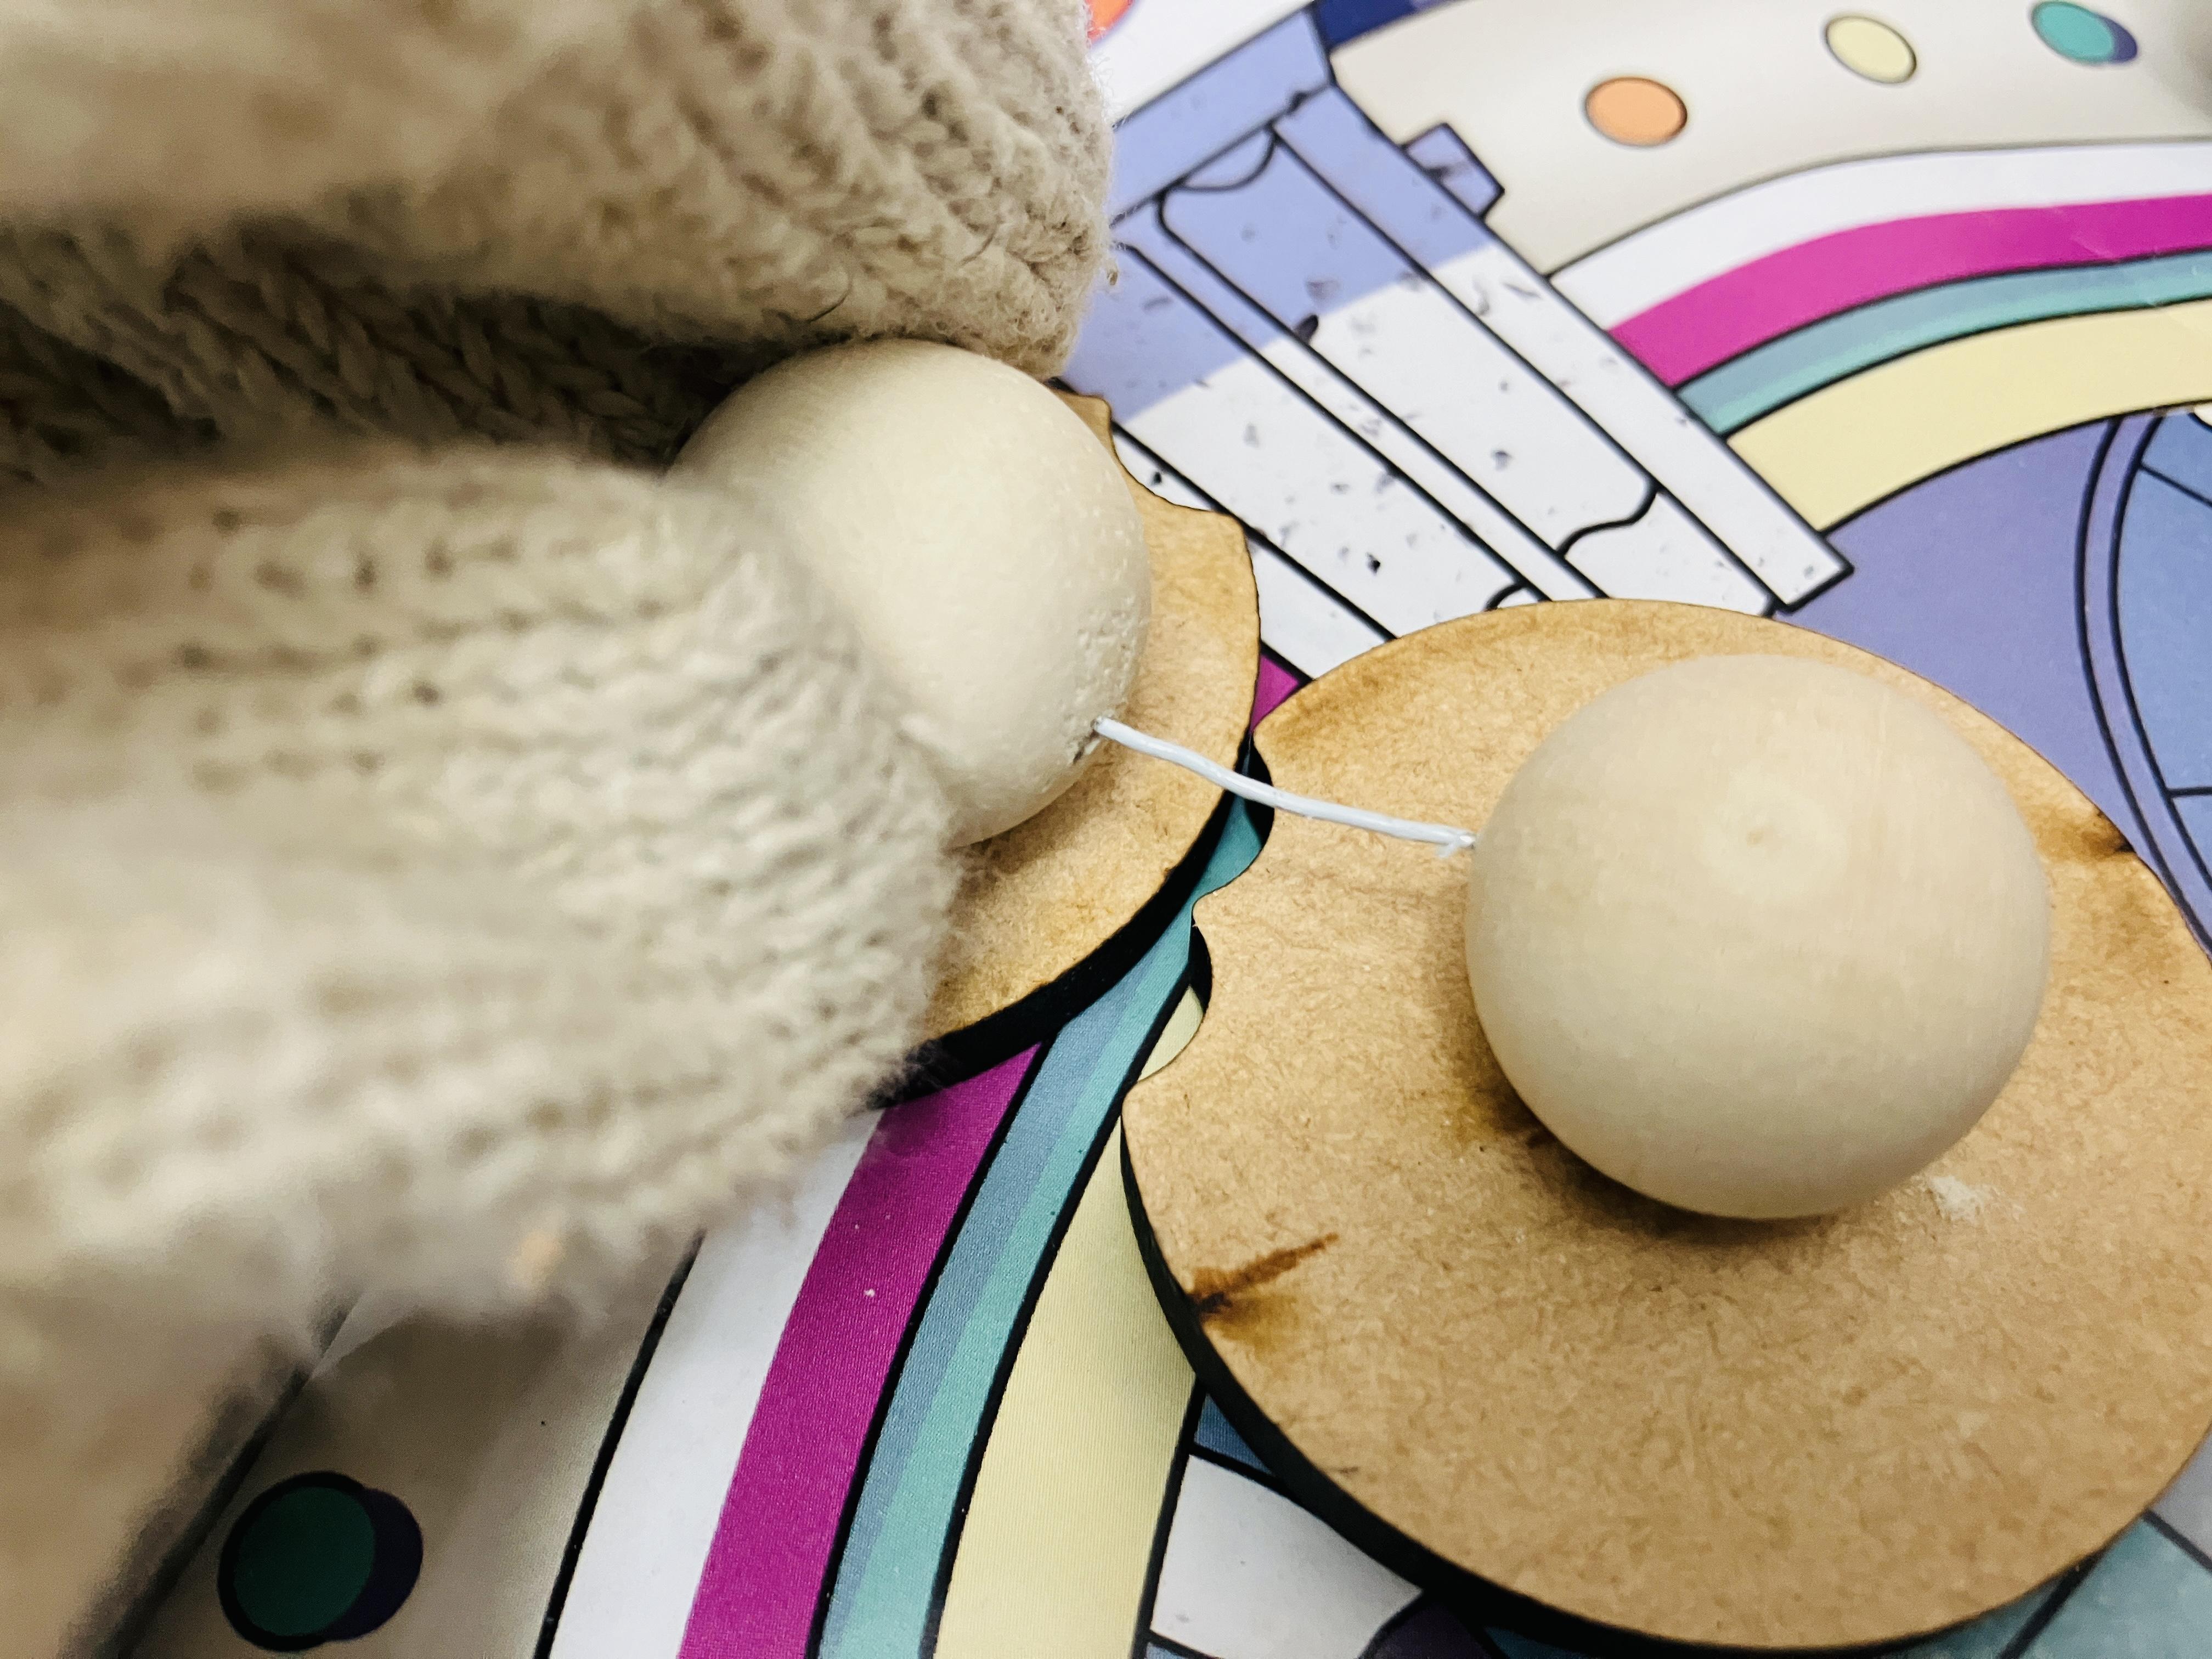
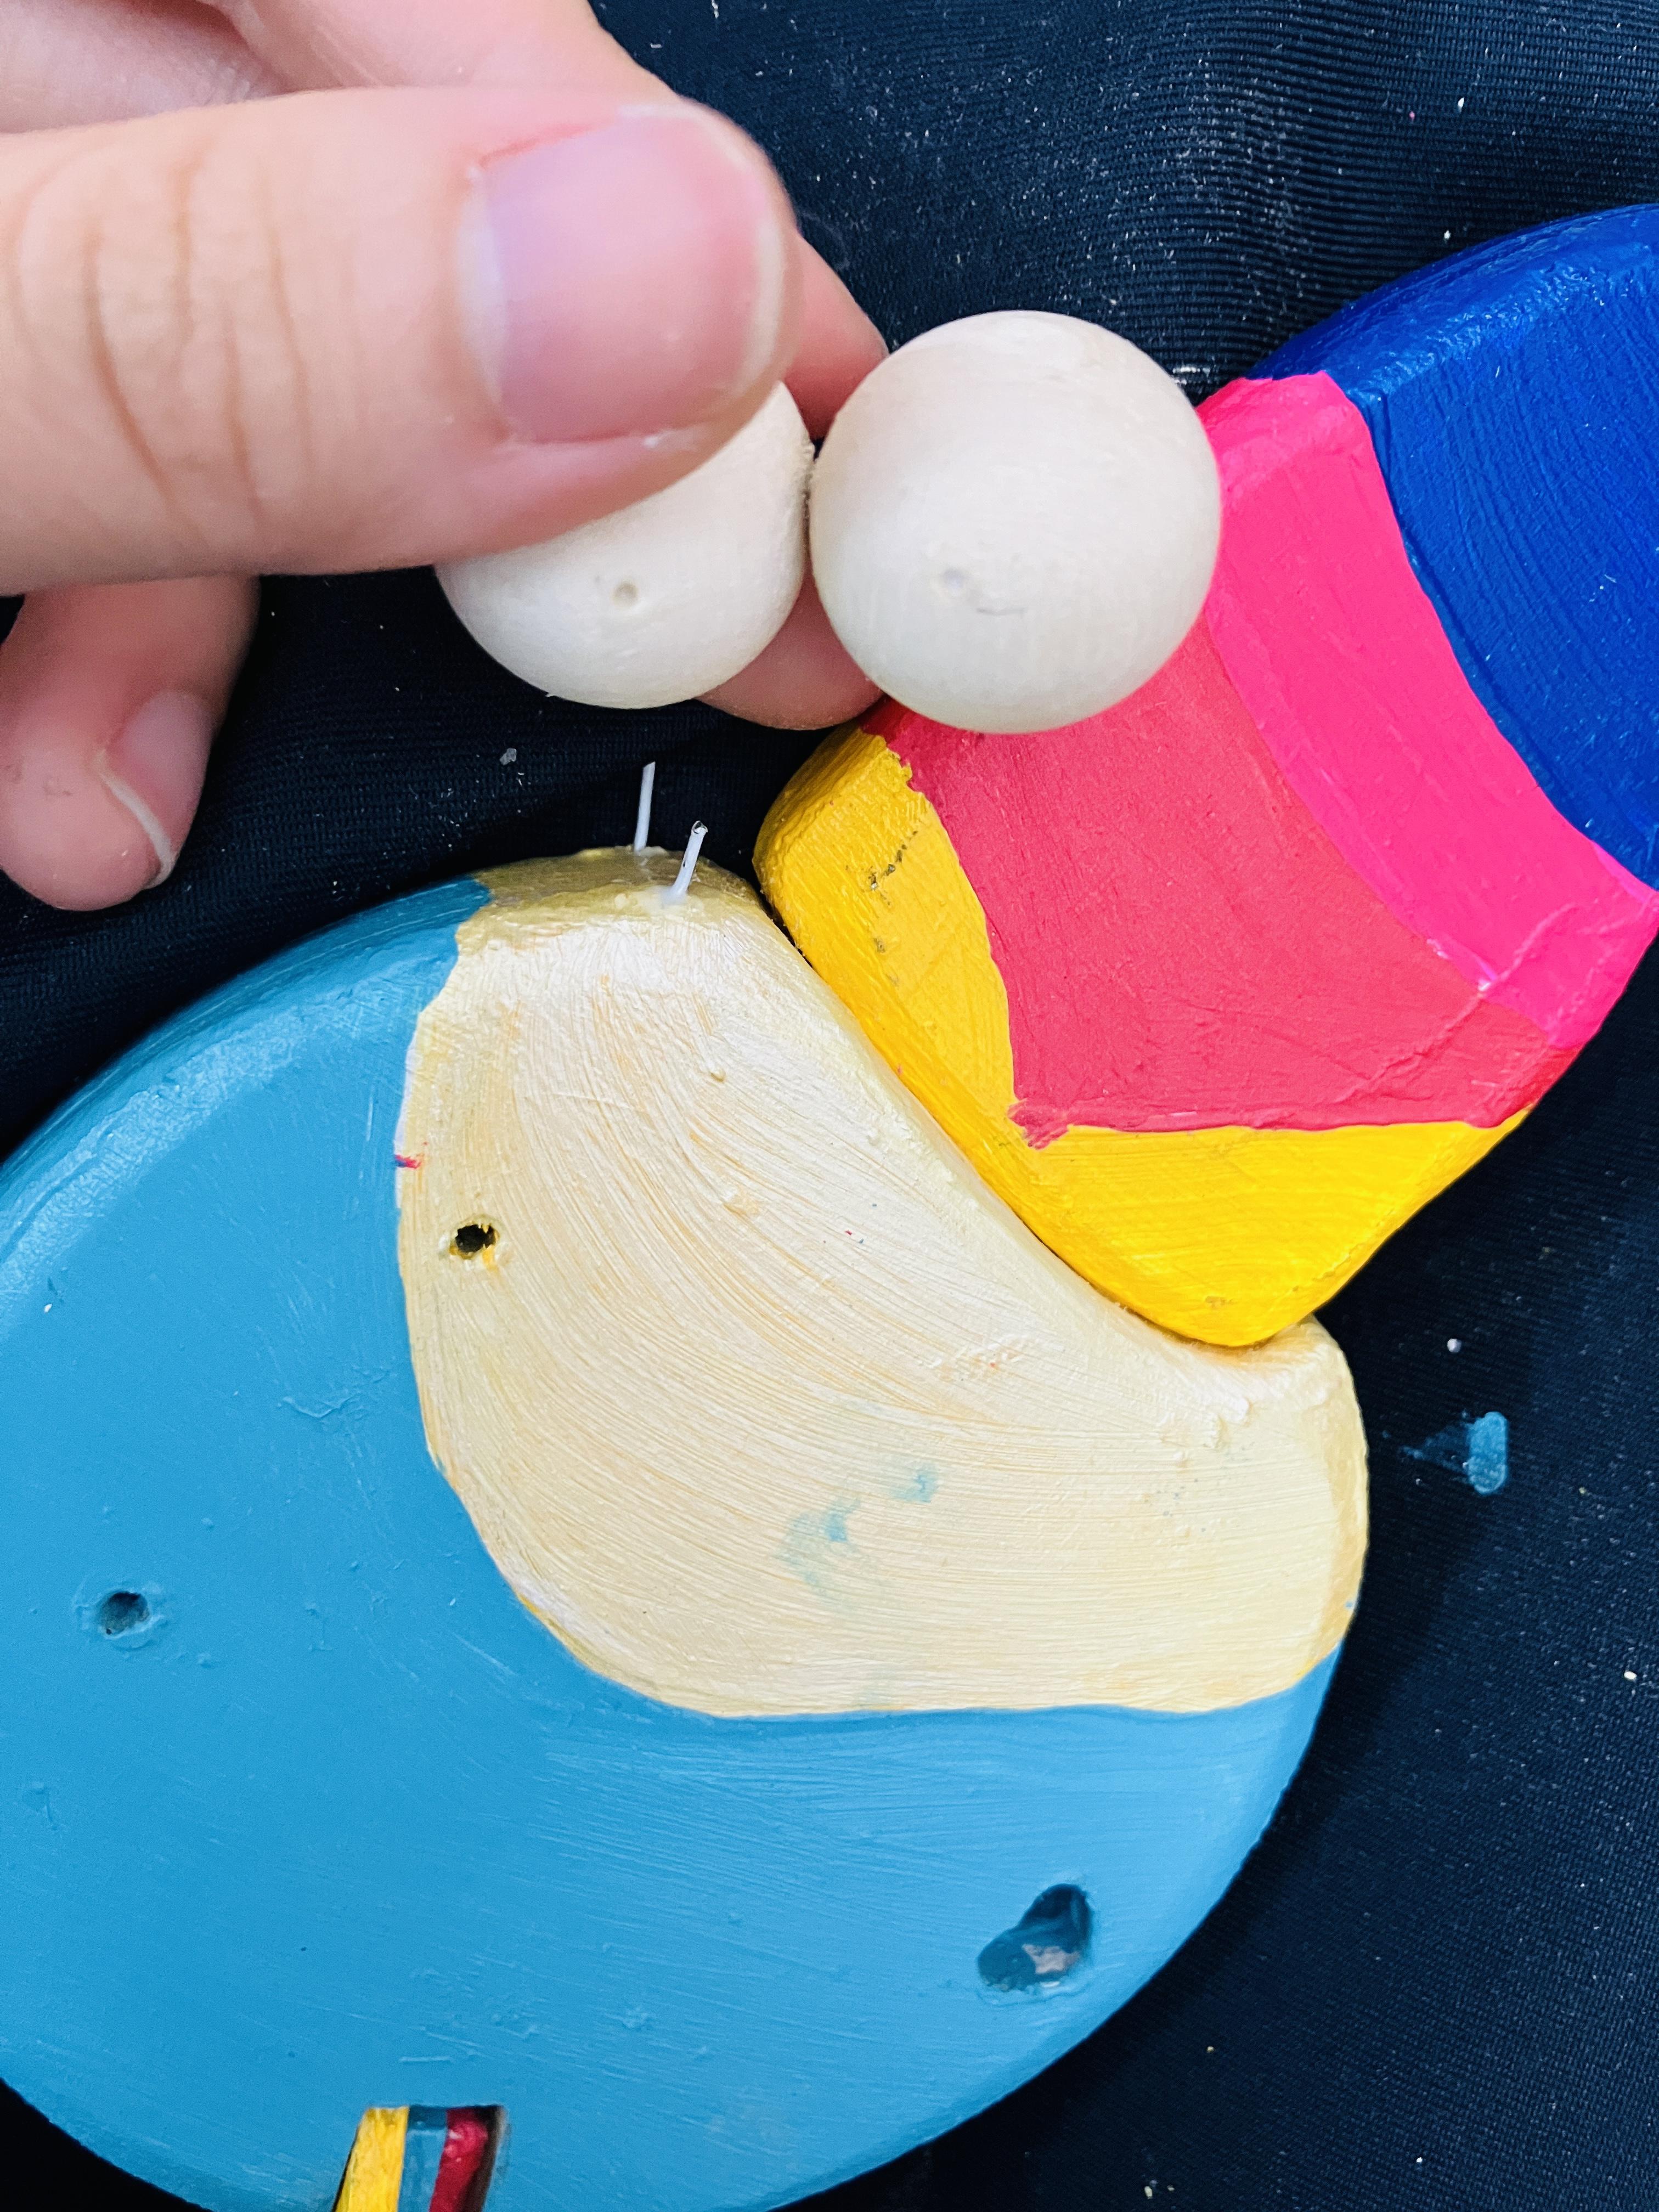
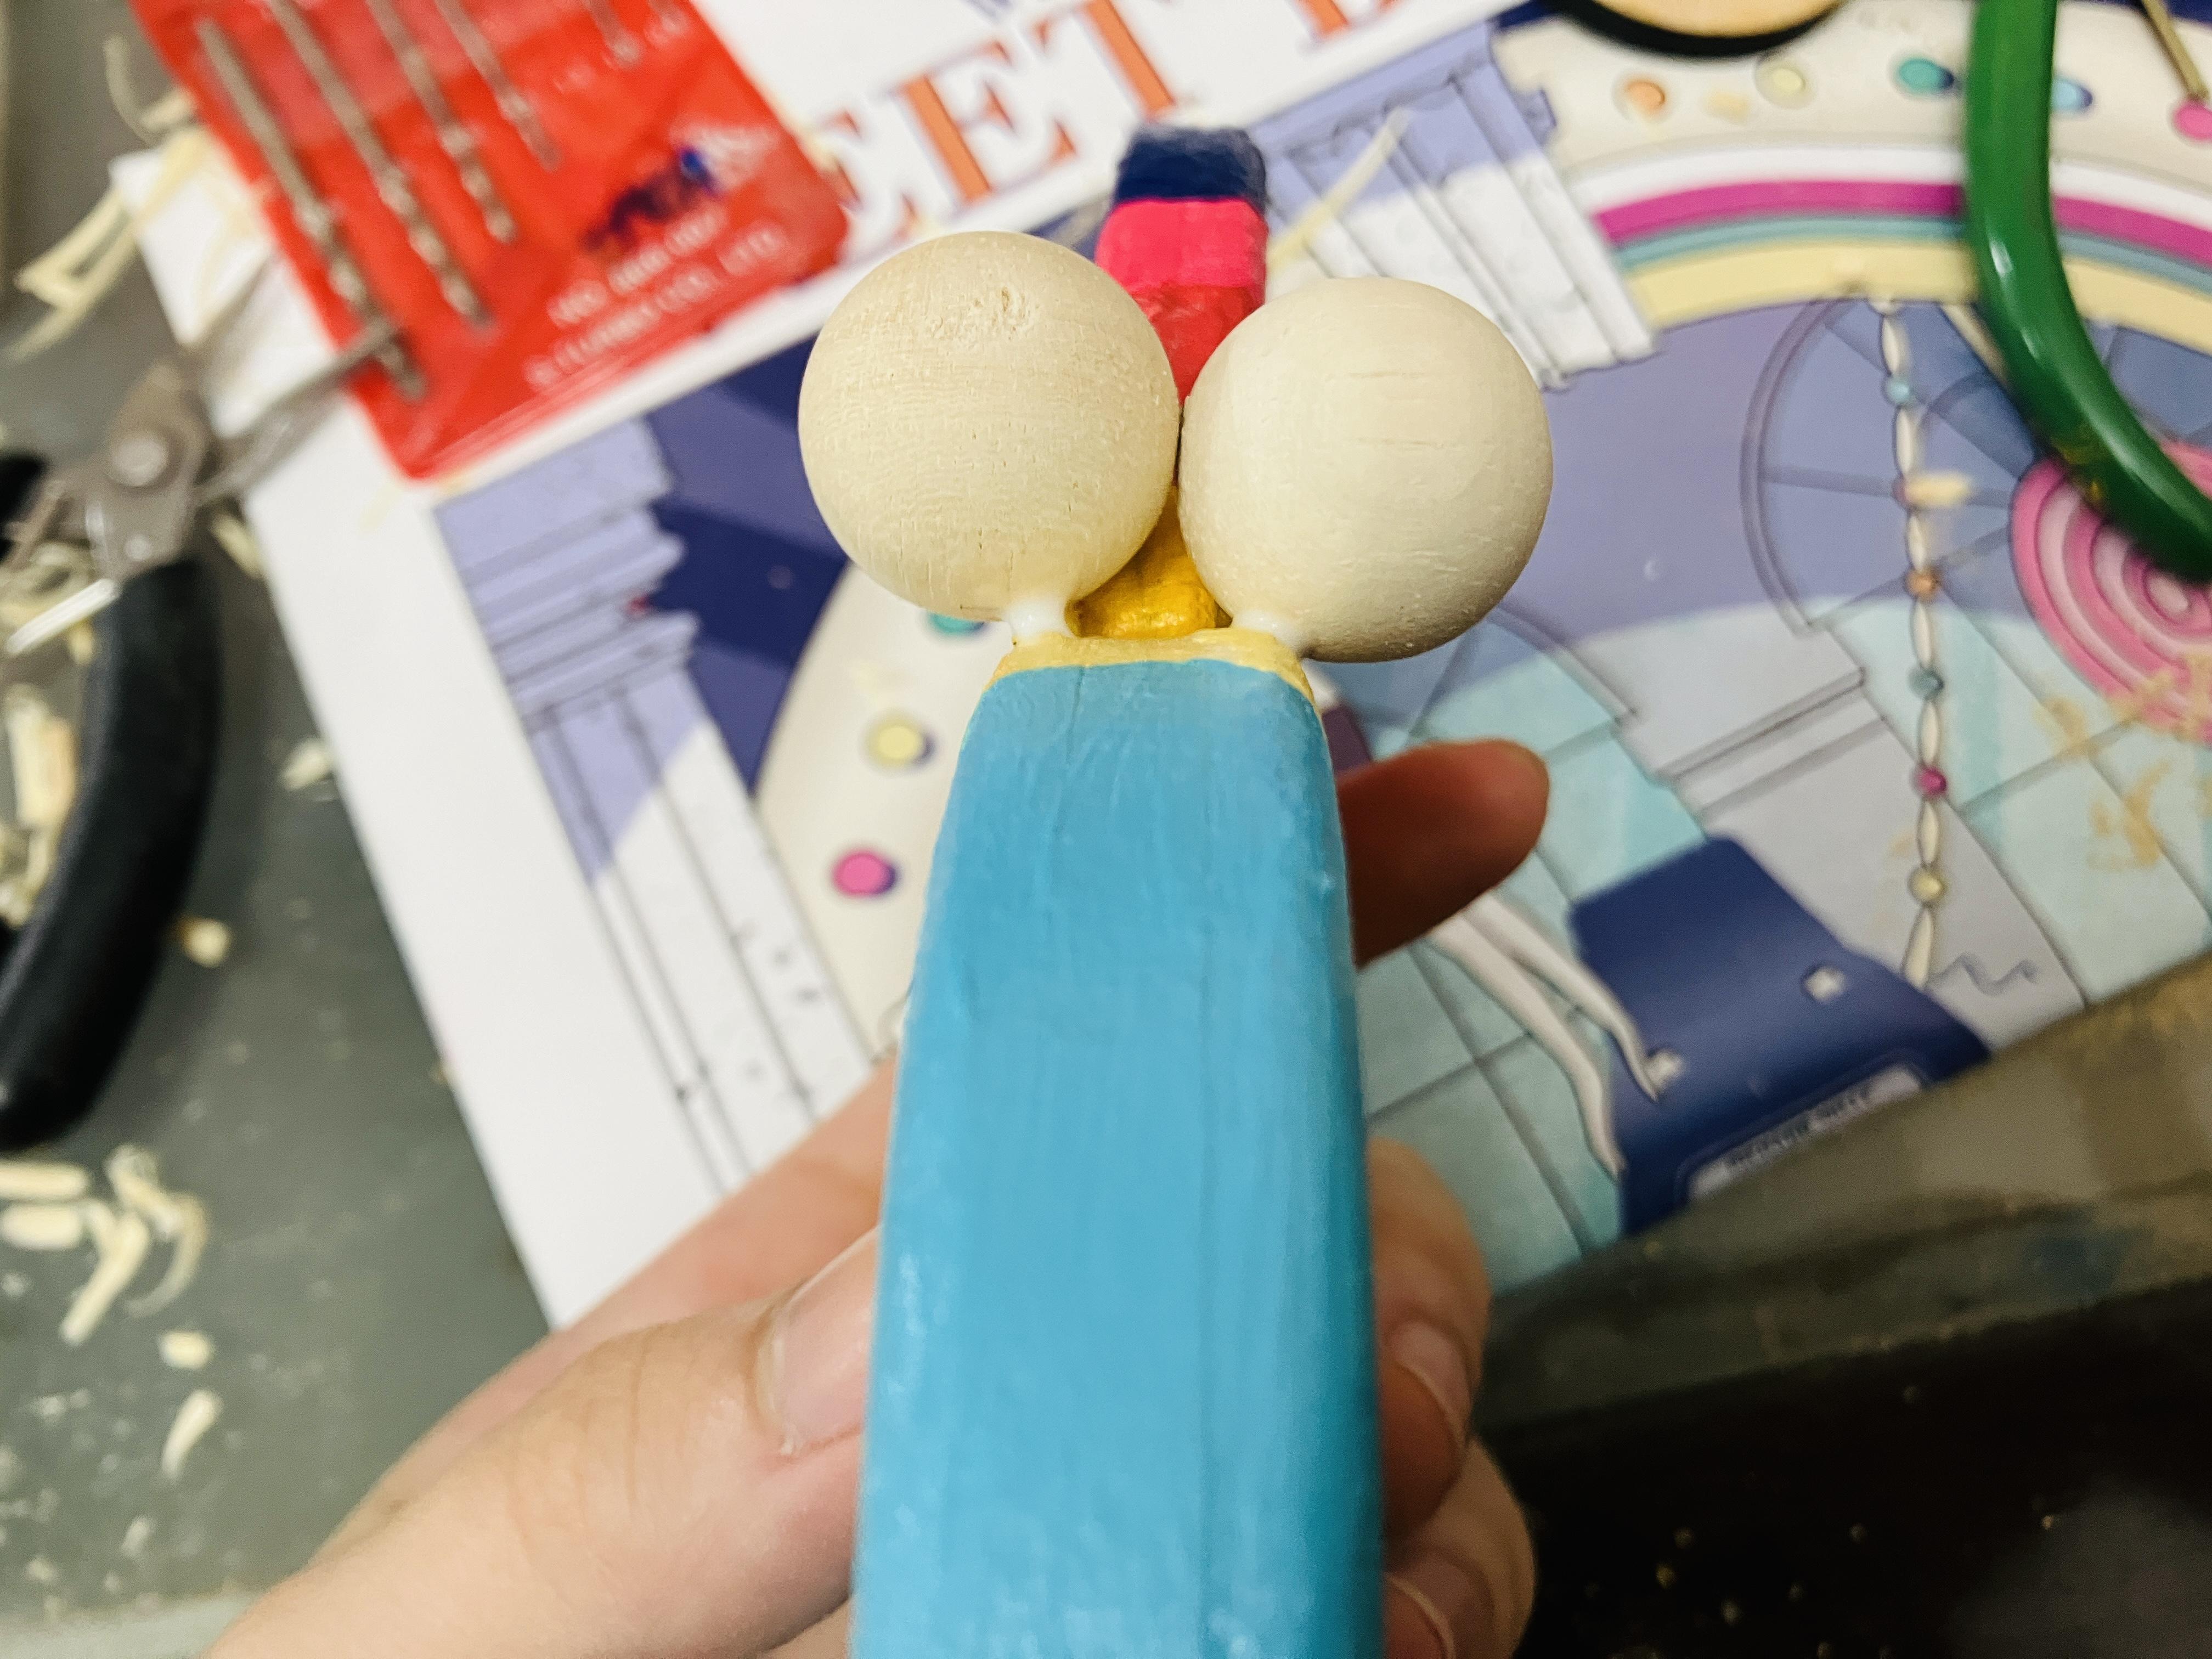
Materials: Gloves, drill, disposable chopsticks, wire, white glue
1. When connecting the body and the beak, it became difficult to glue them together after applying the acrylic paint, so I drilled holes and used disposable chopsticks to connect them.
2. Since the eyes were too large to be easily glued with white glue, I also drilled holes and used wire to attach them.
The Final Stretch~ Tie, Tie, Tie
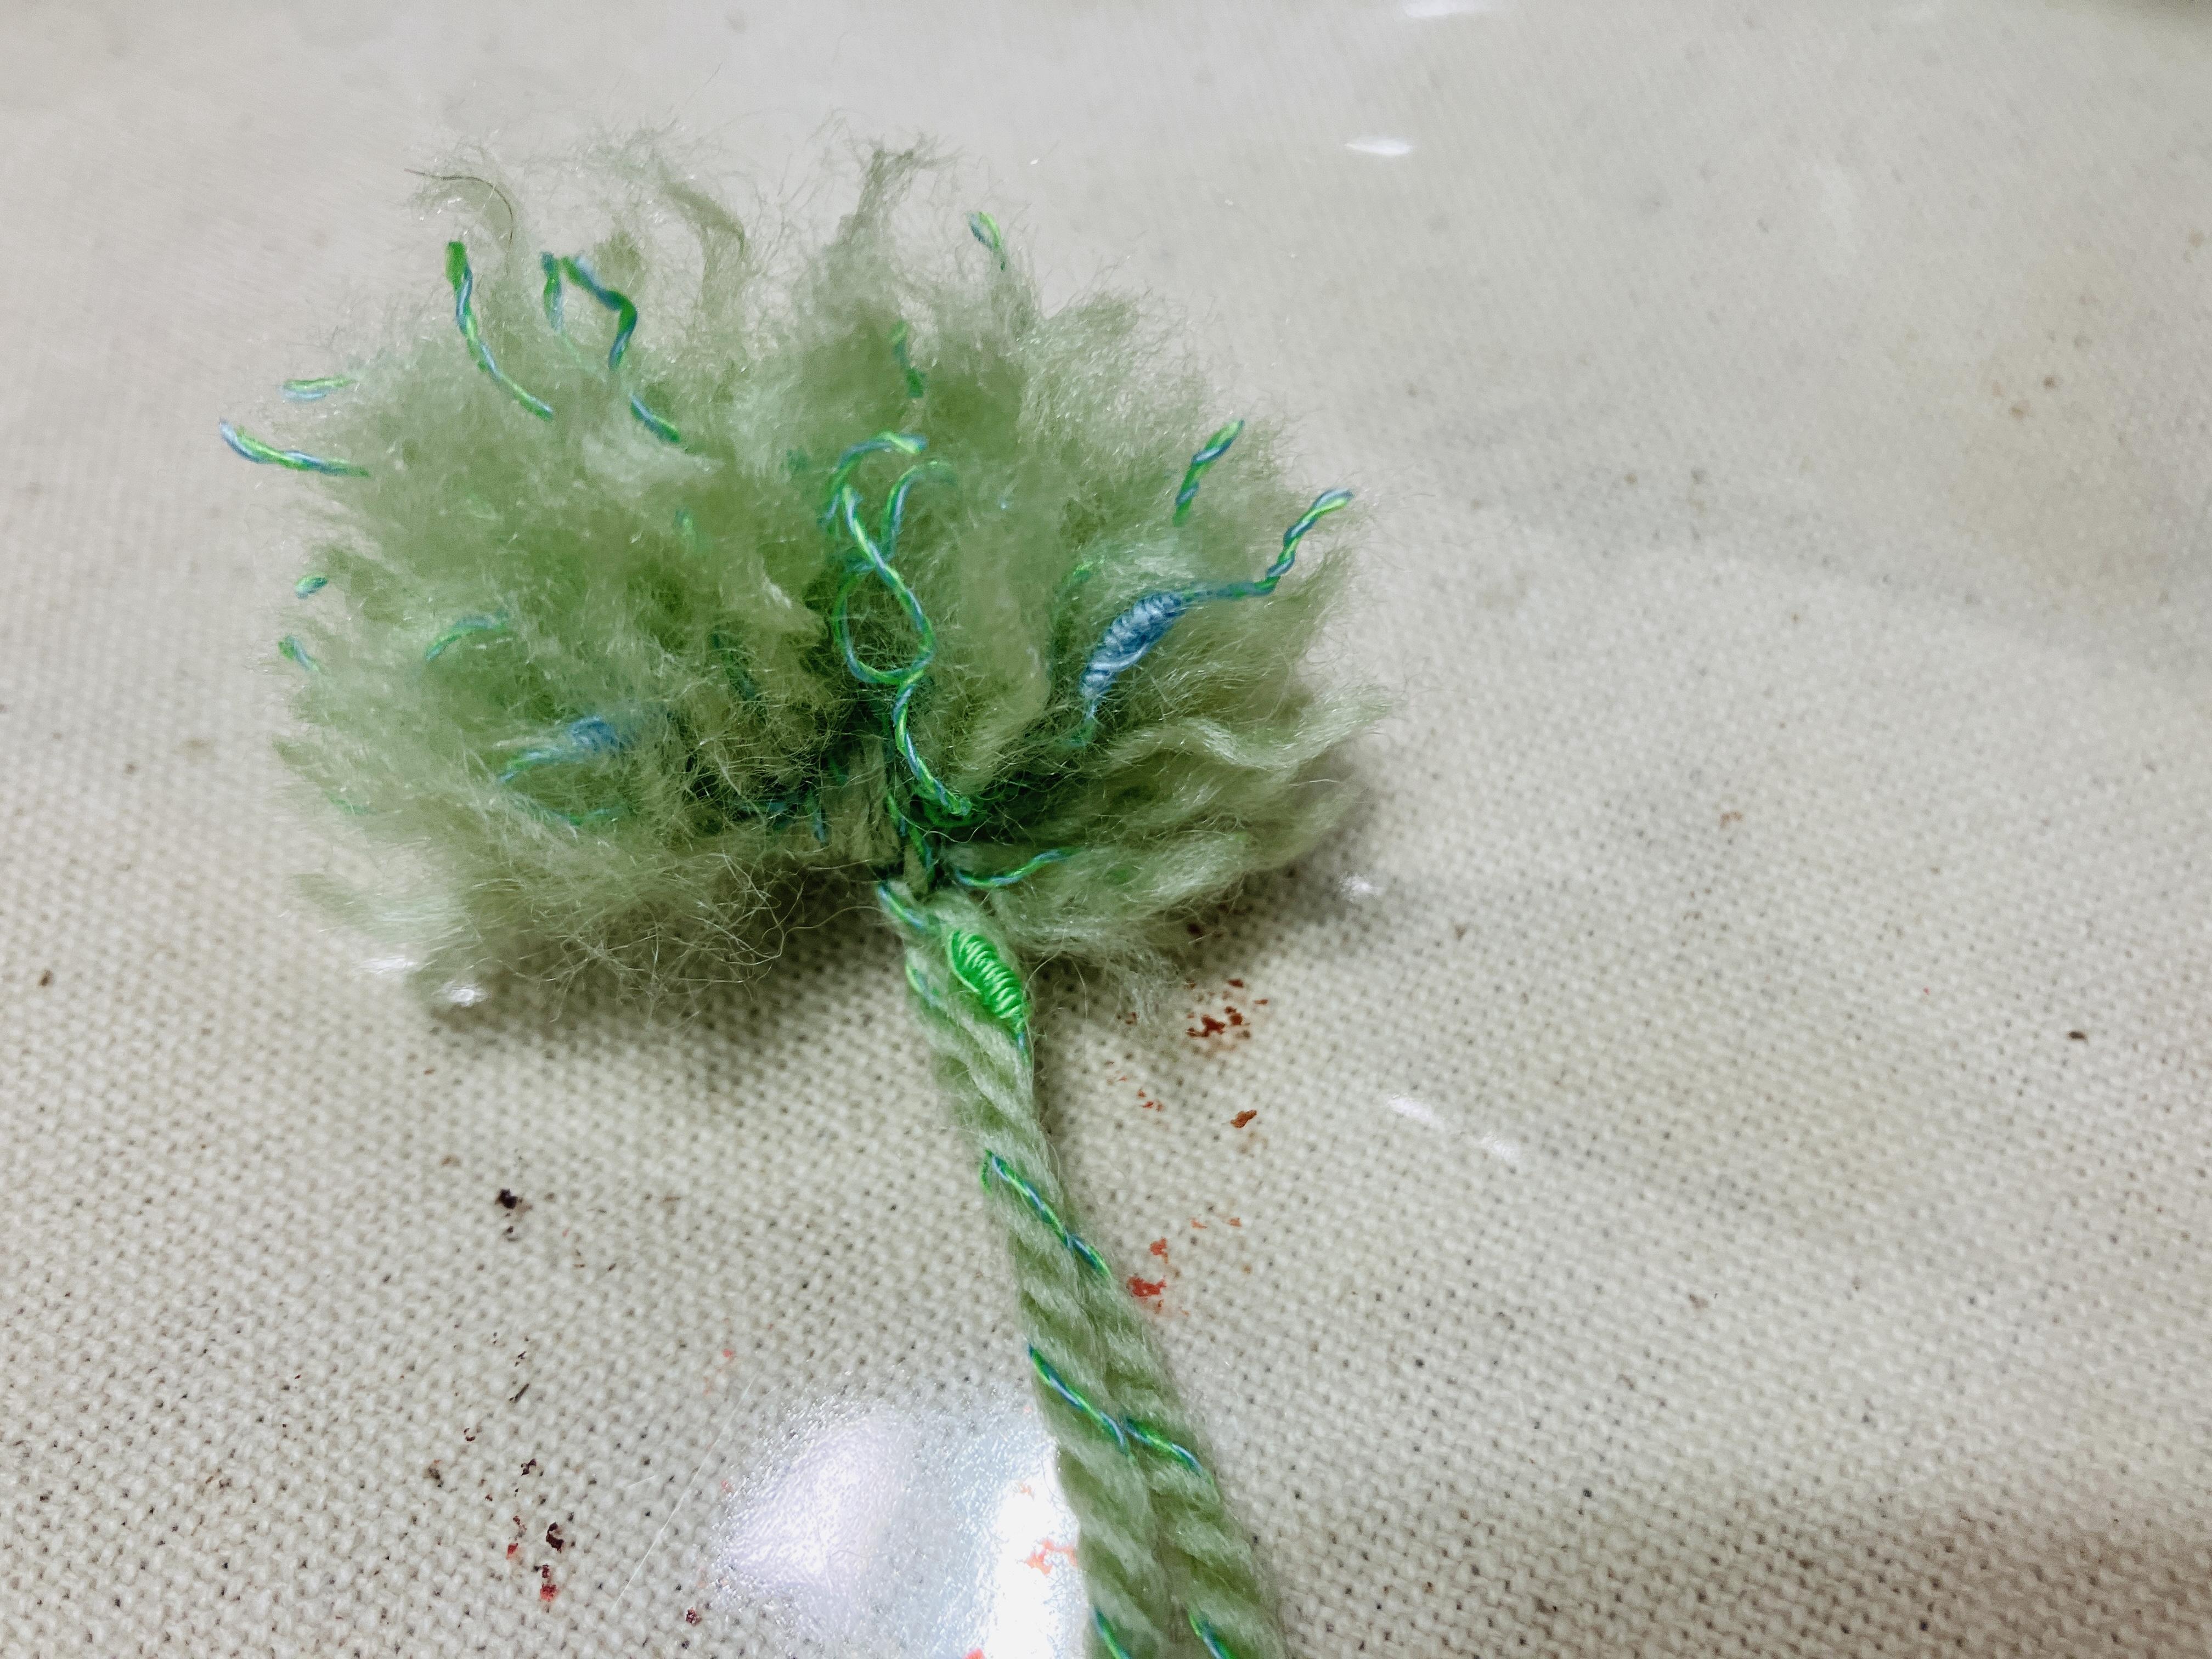
Materials: Yarn, scissors, white glue, fishing line, beads
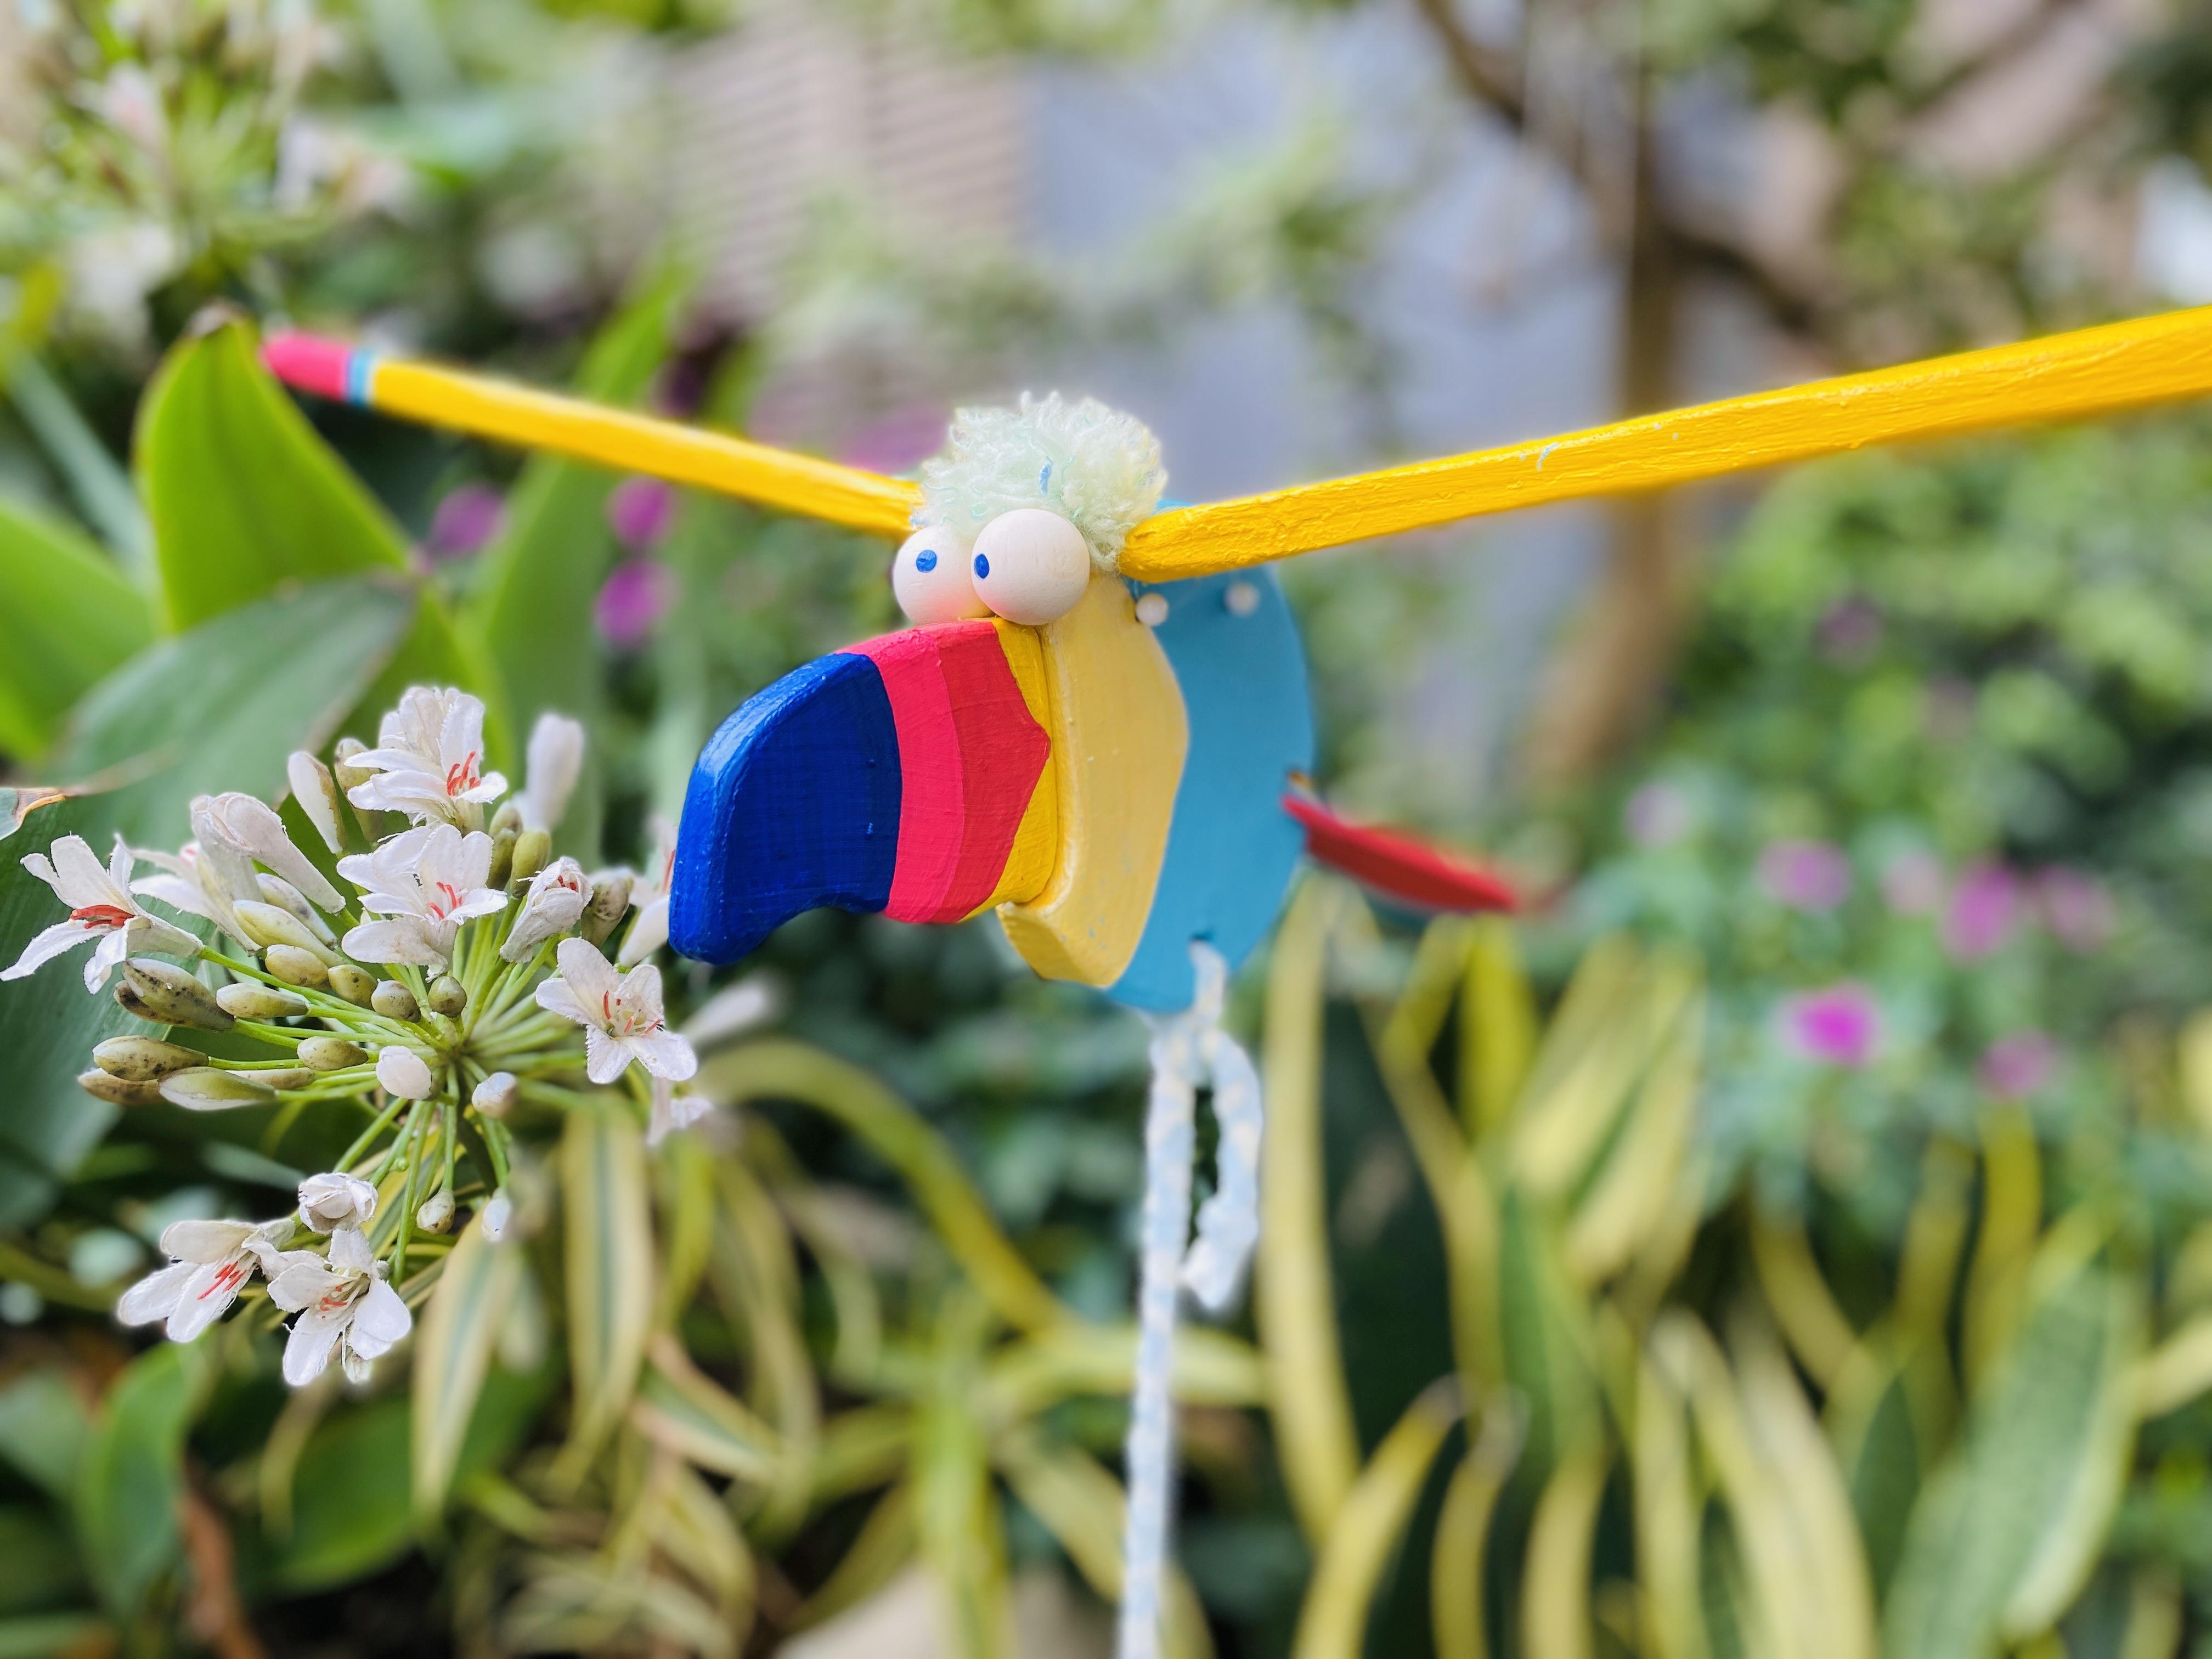
1. Super Funny "Explosion Hair": Use any yarn you have around to tie a pom-pom as the bird's hair. You can comb it (or twist it in the opposite direction) to create a fun "explosion hair" effect.
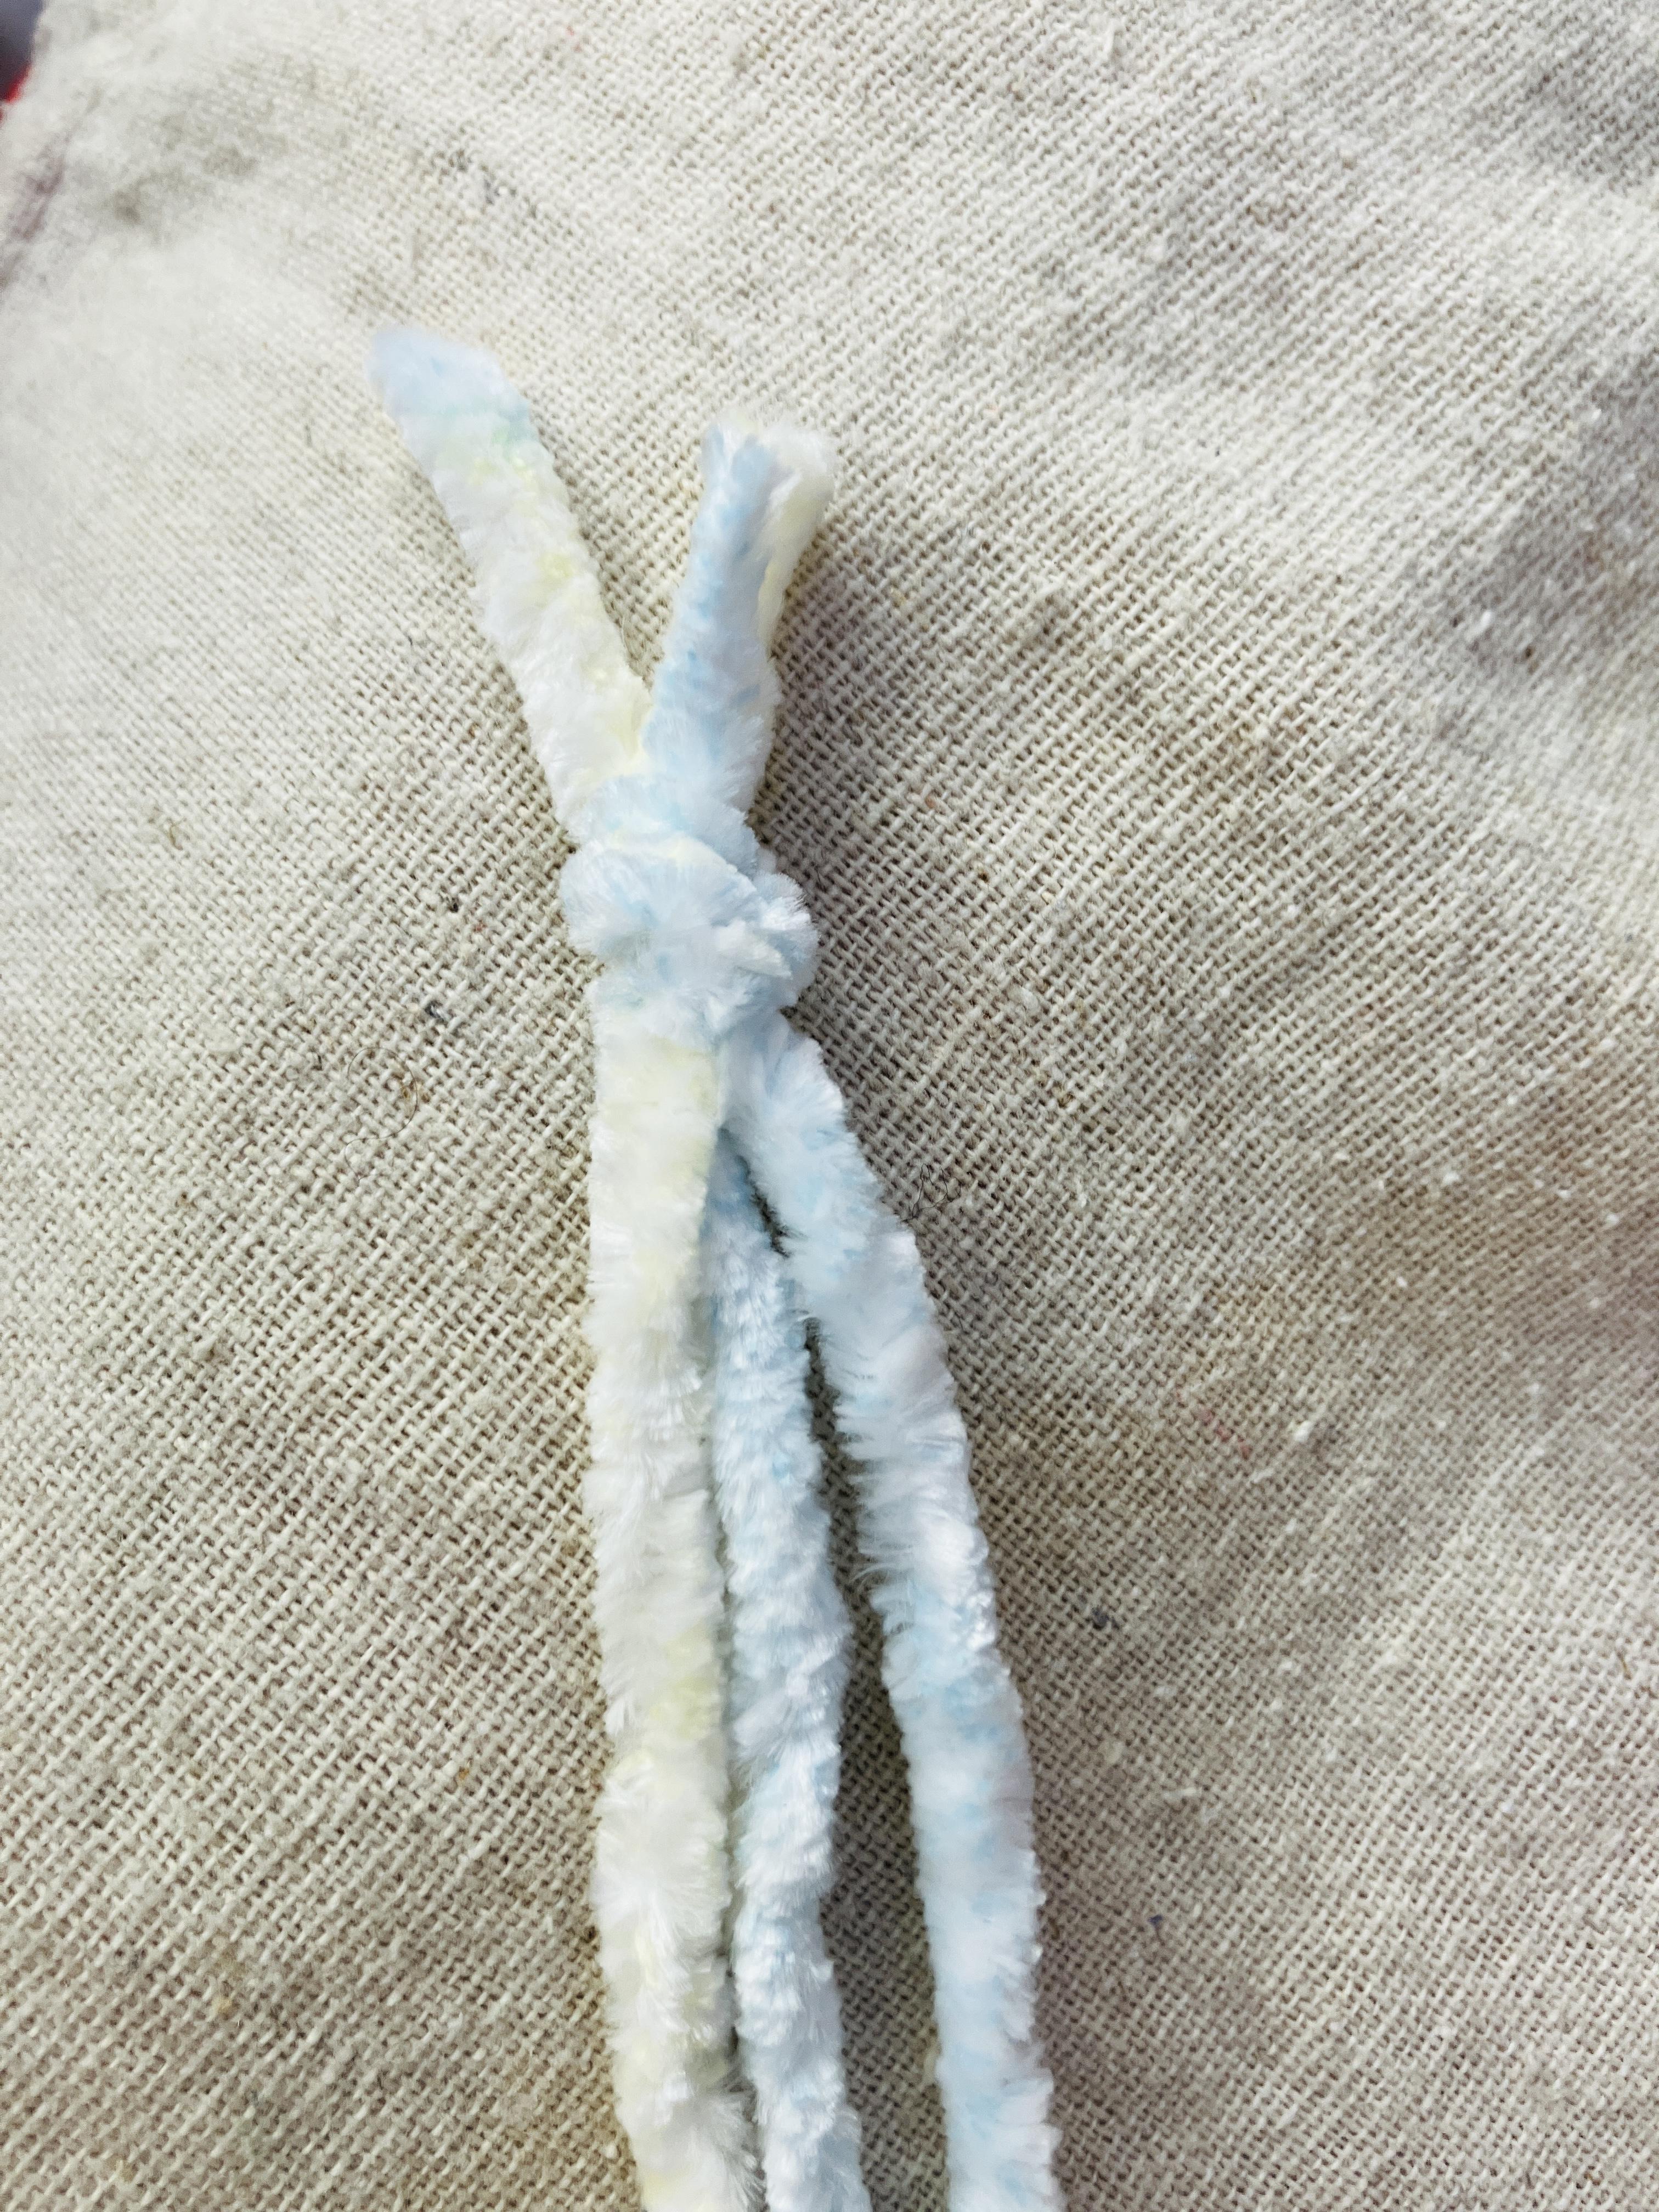
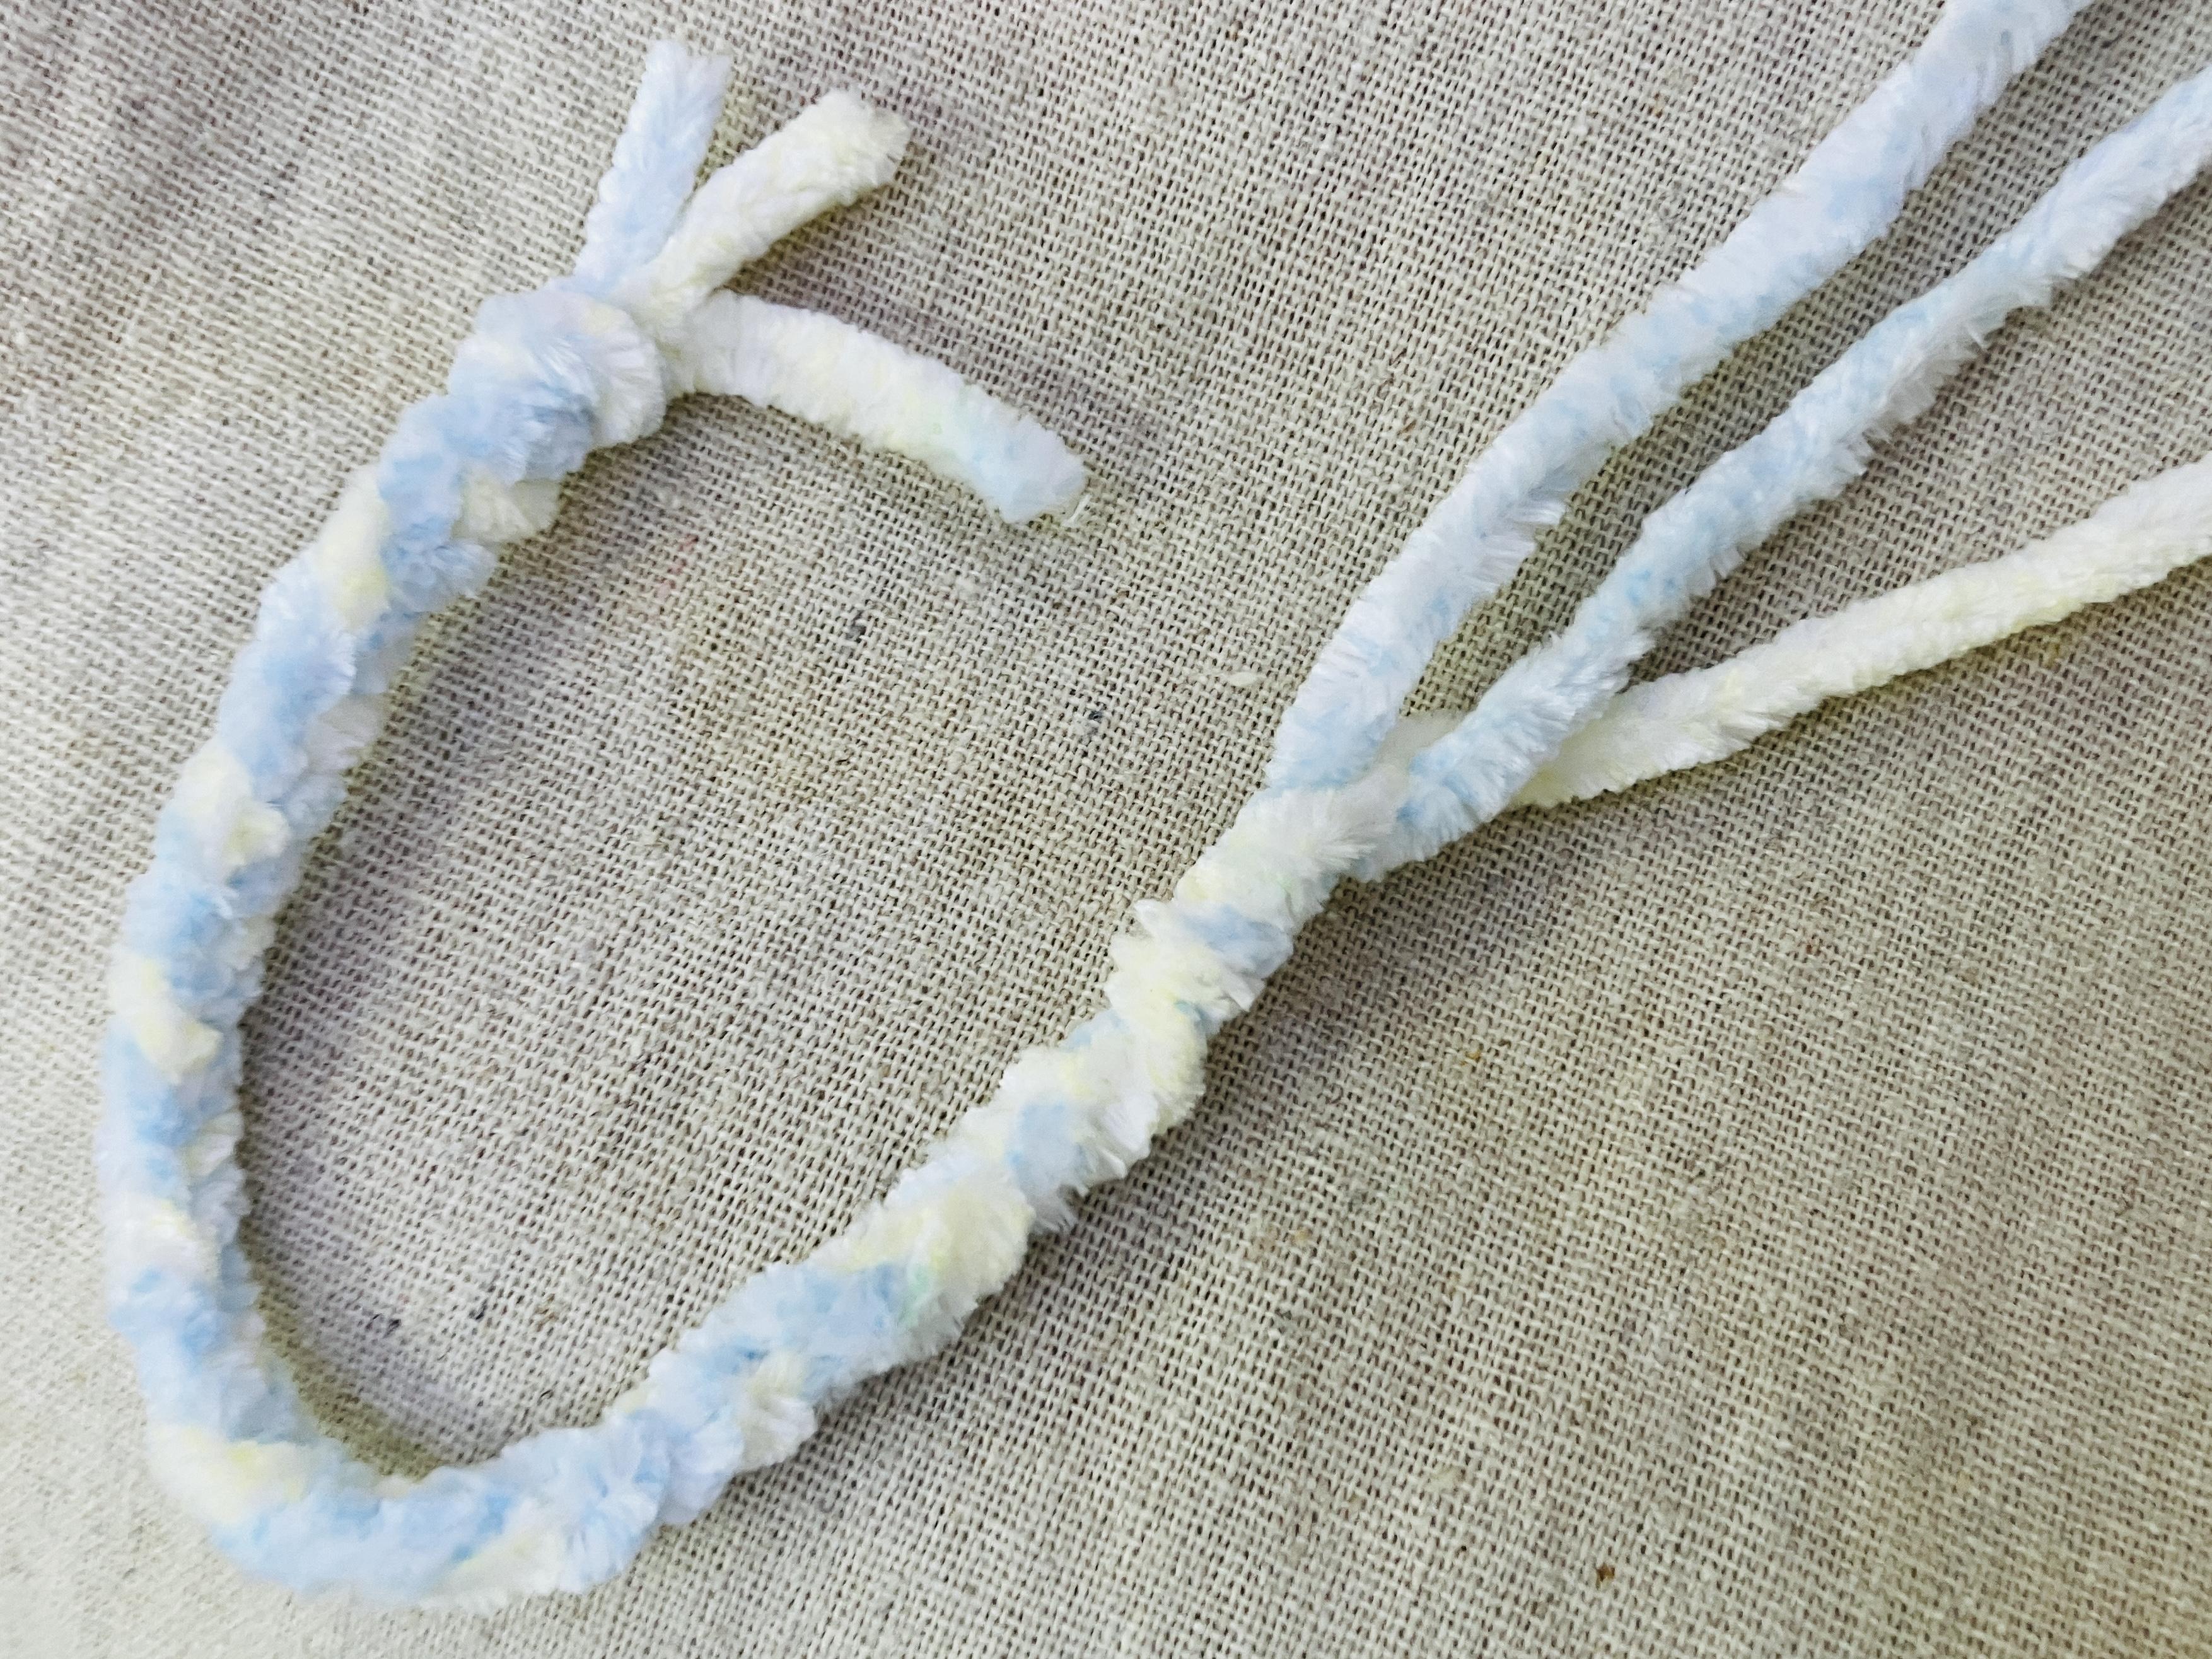
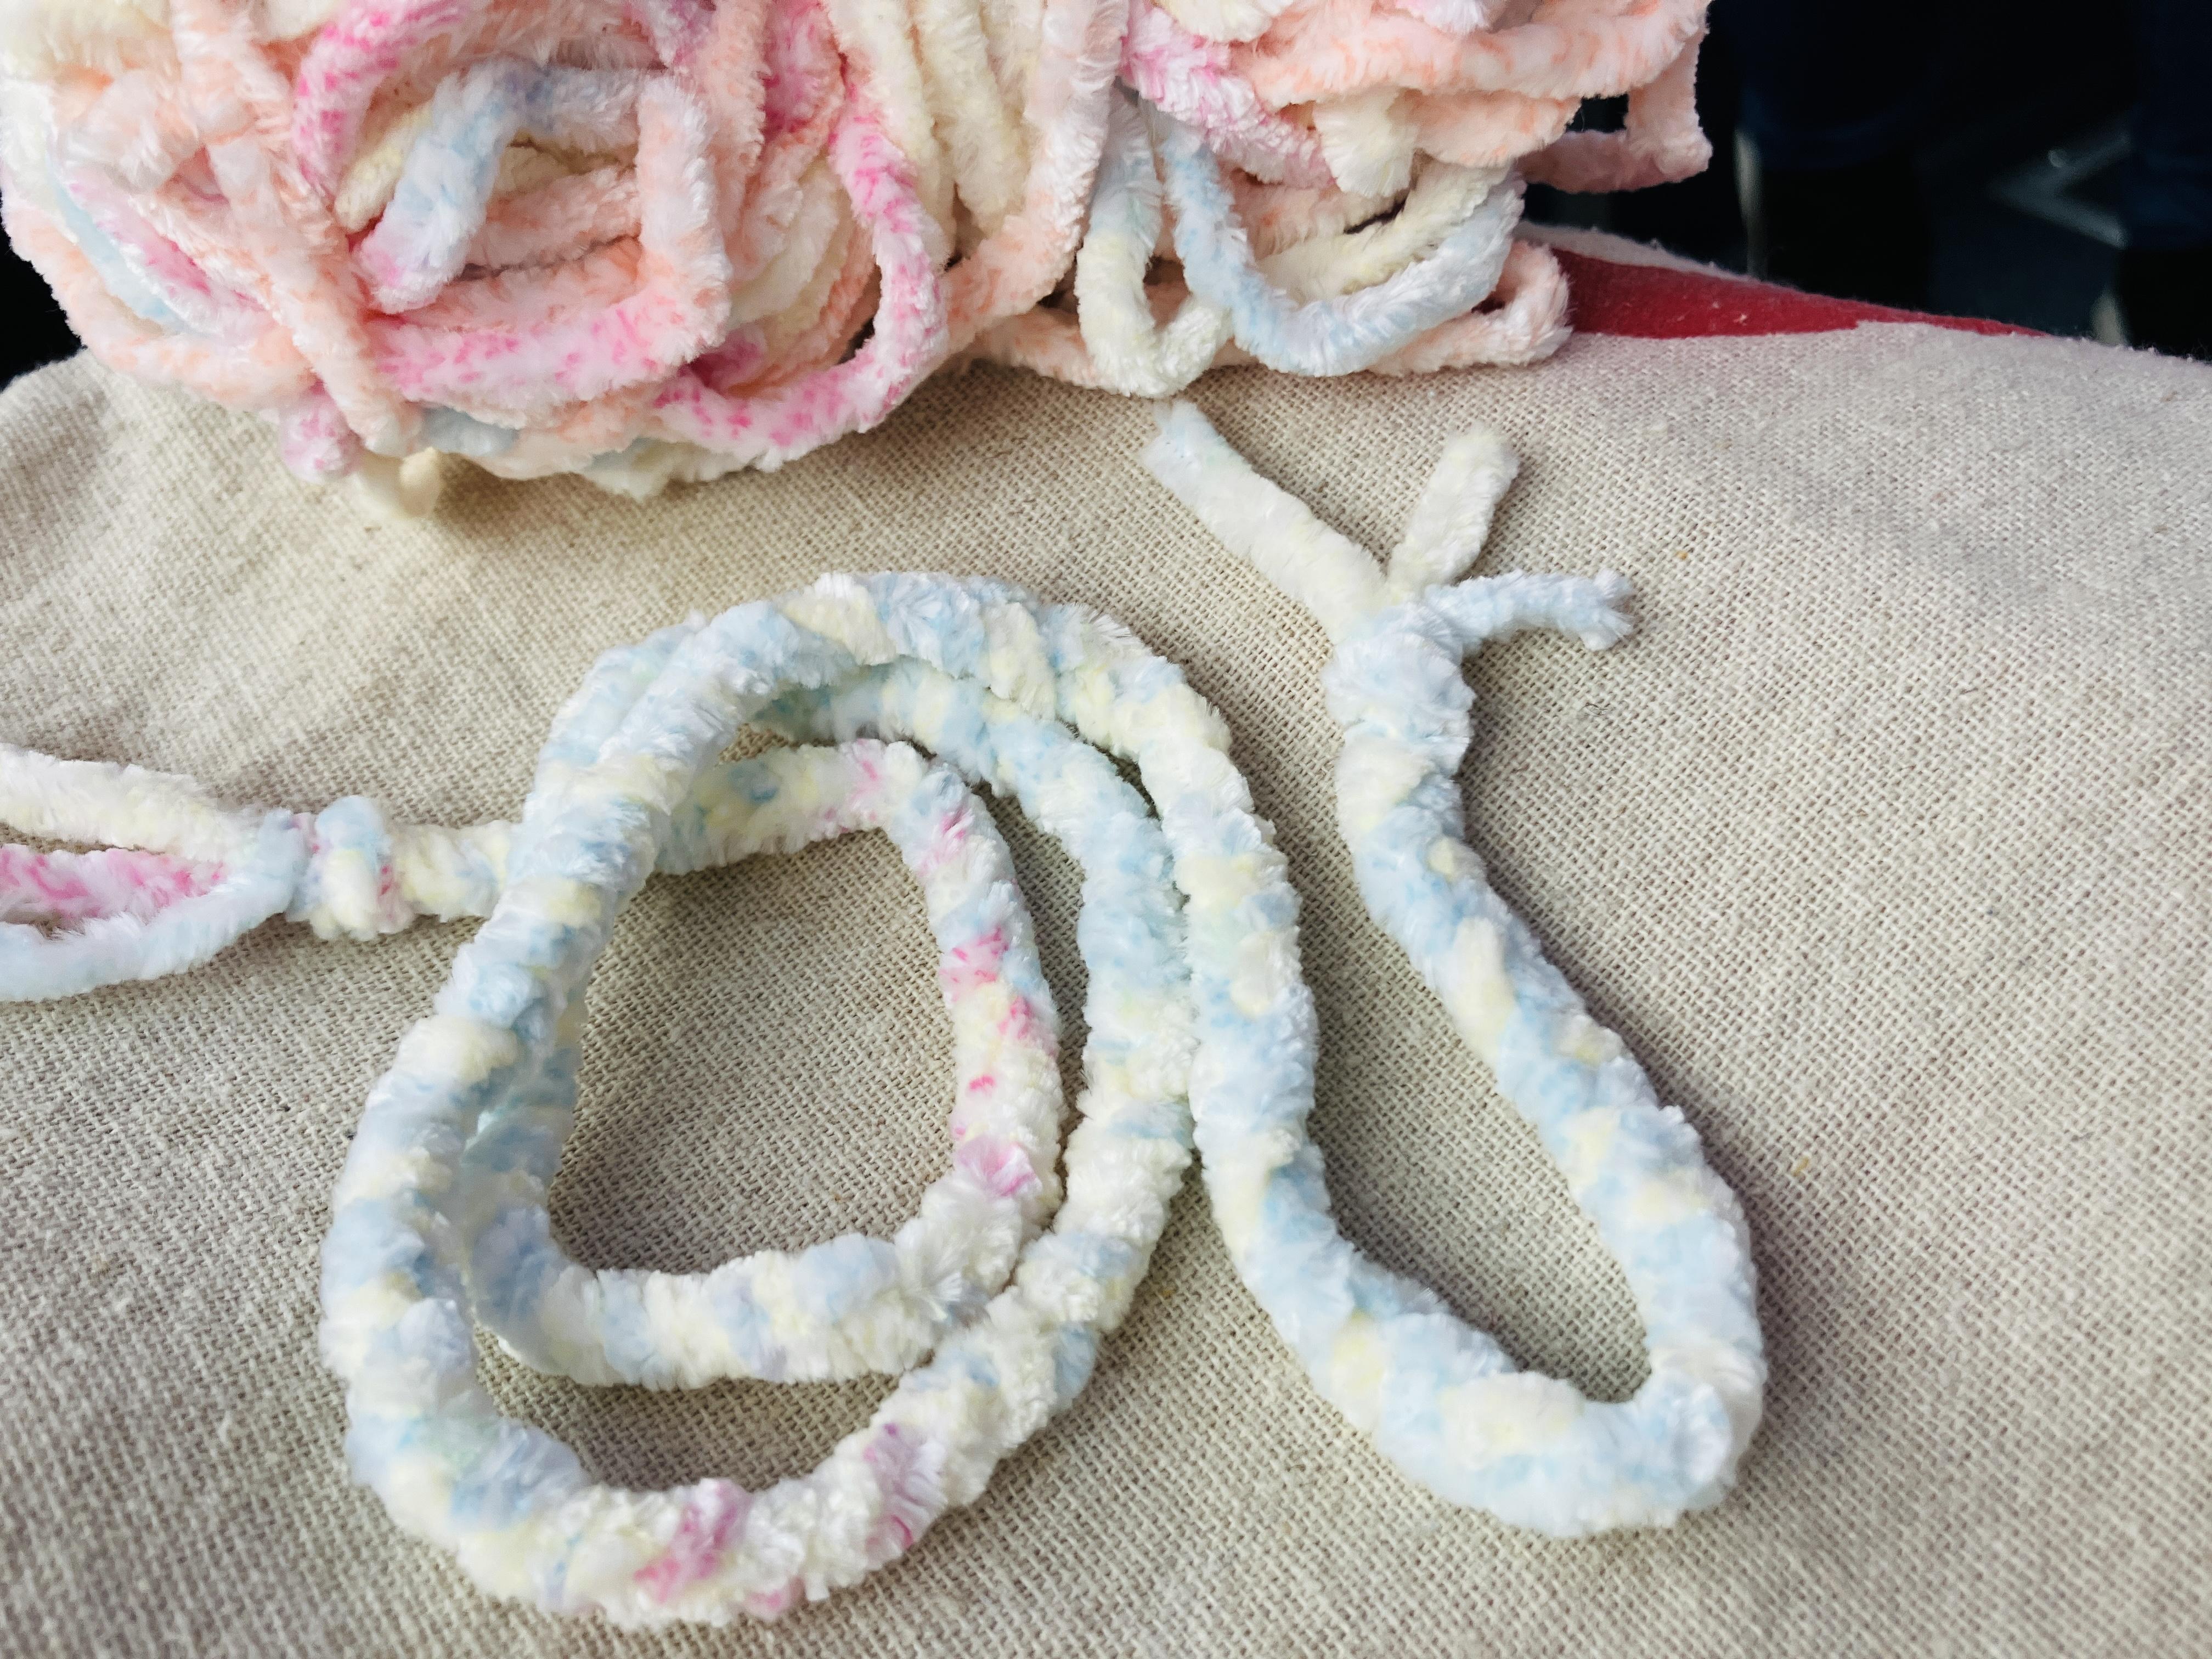
2. Donut String: Since the yarn is thin, I used 3 strands of yarn and braided them together to create the string for the donut. The length can be customized.
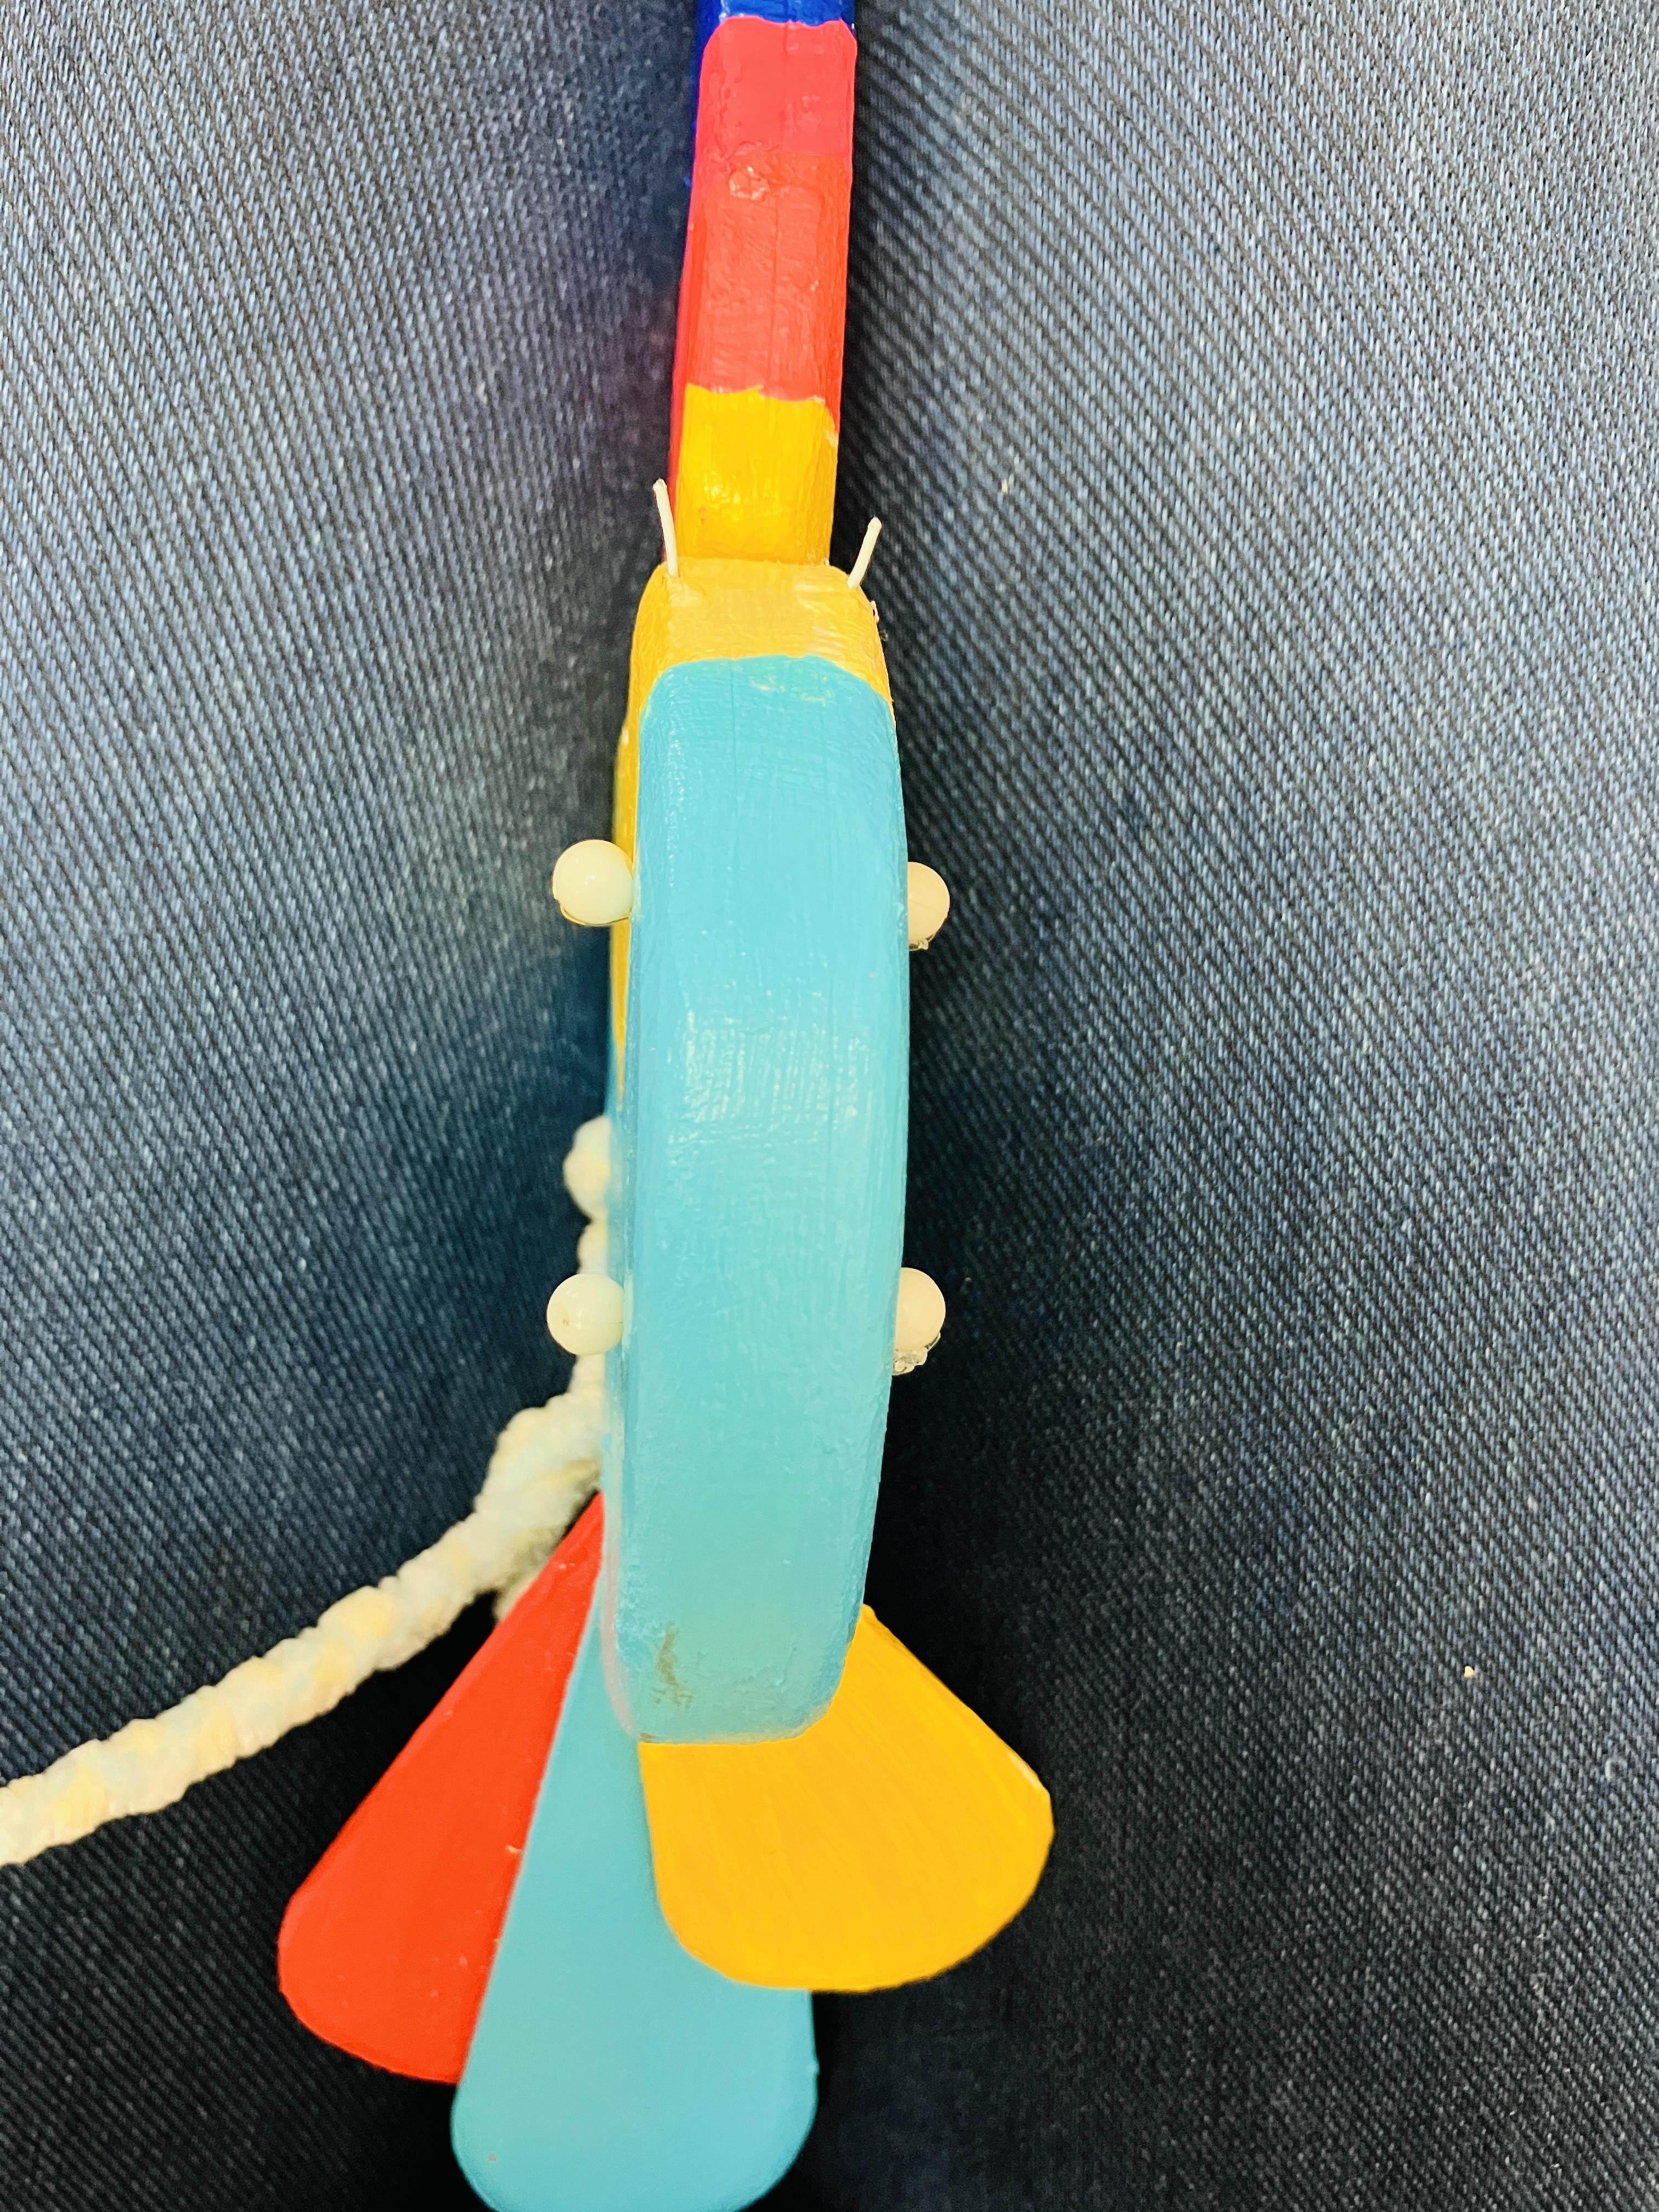
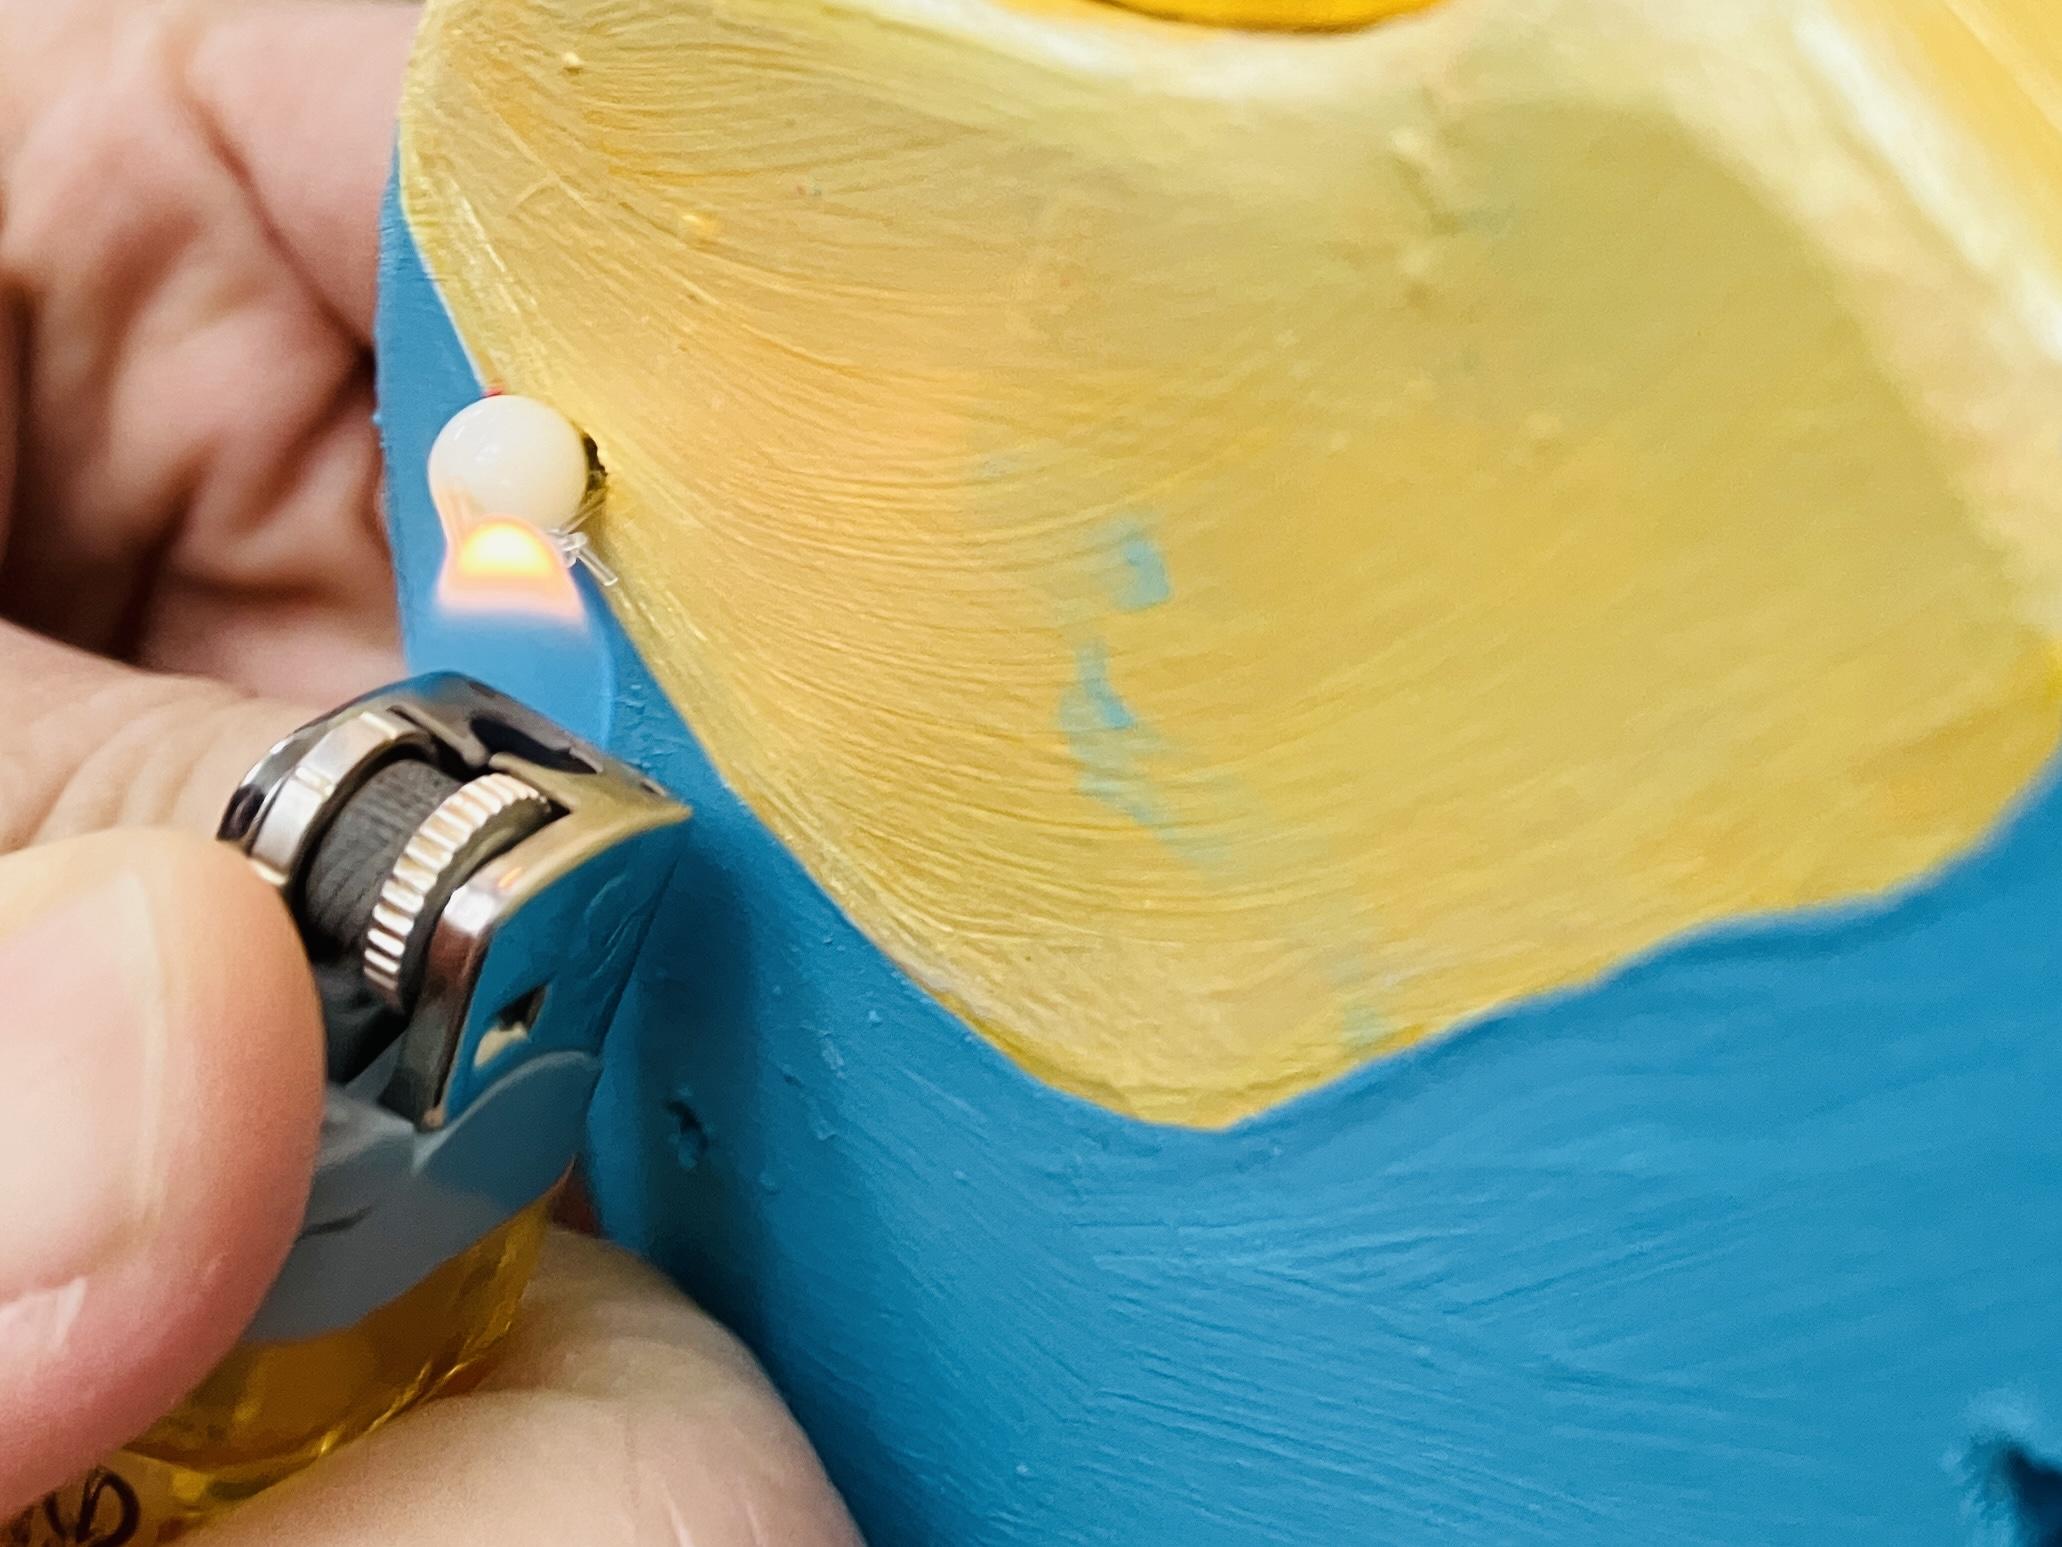
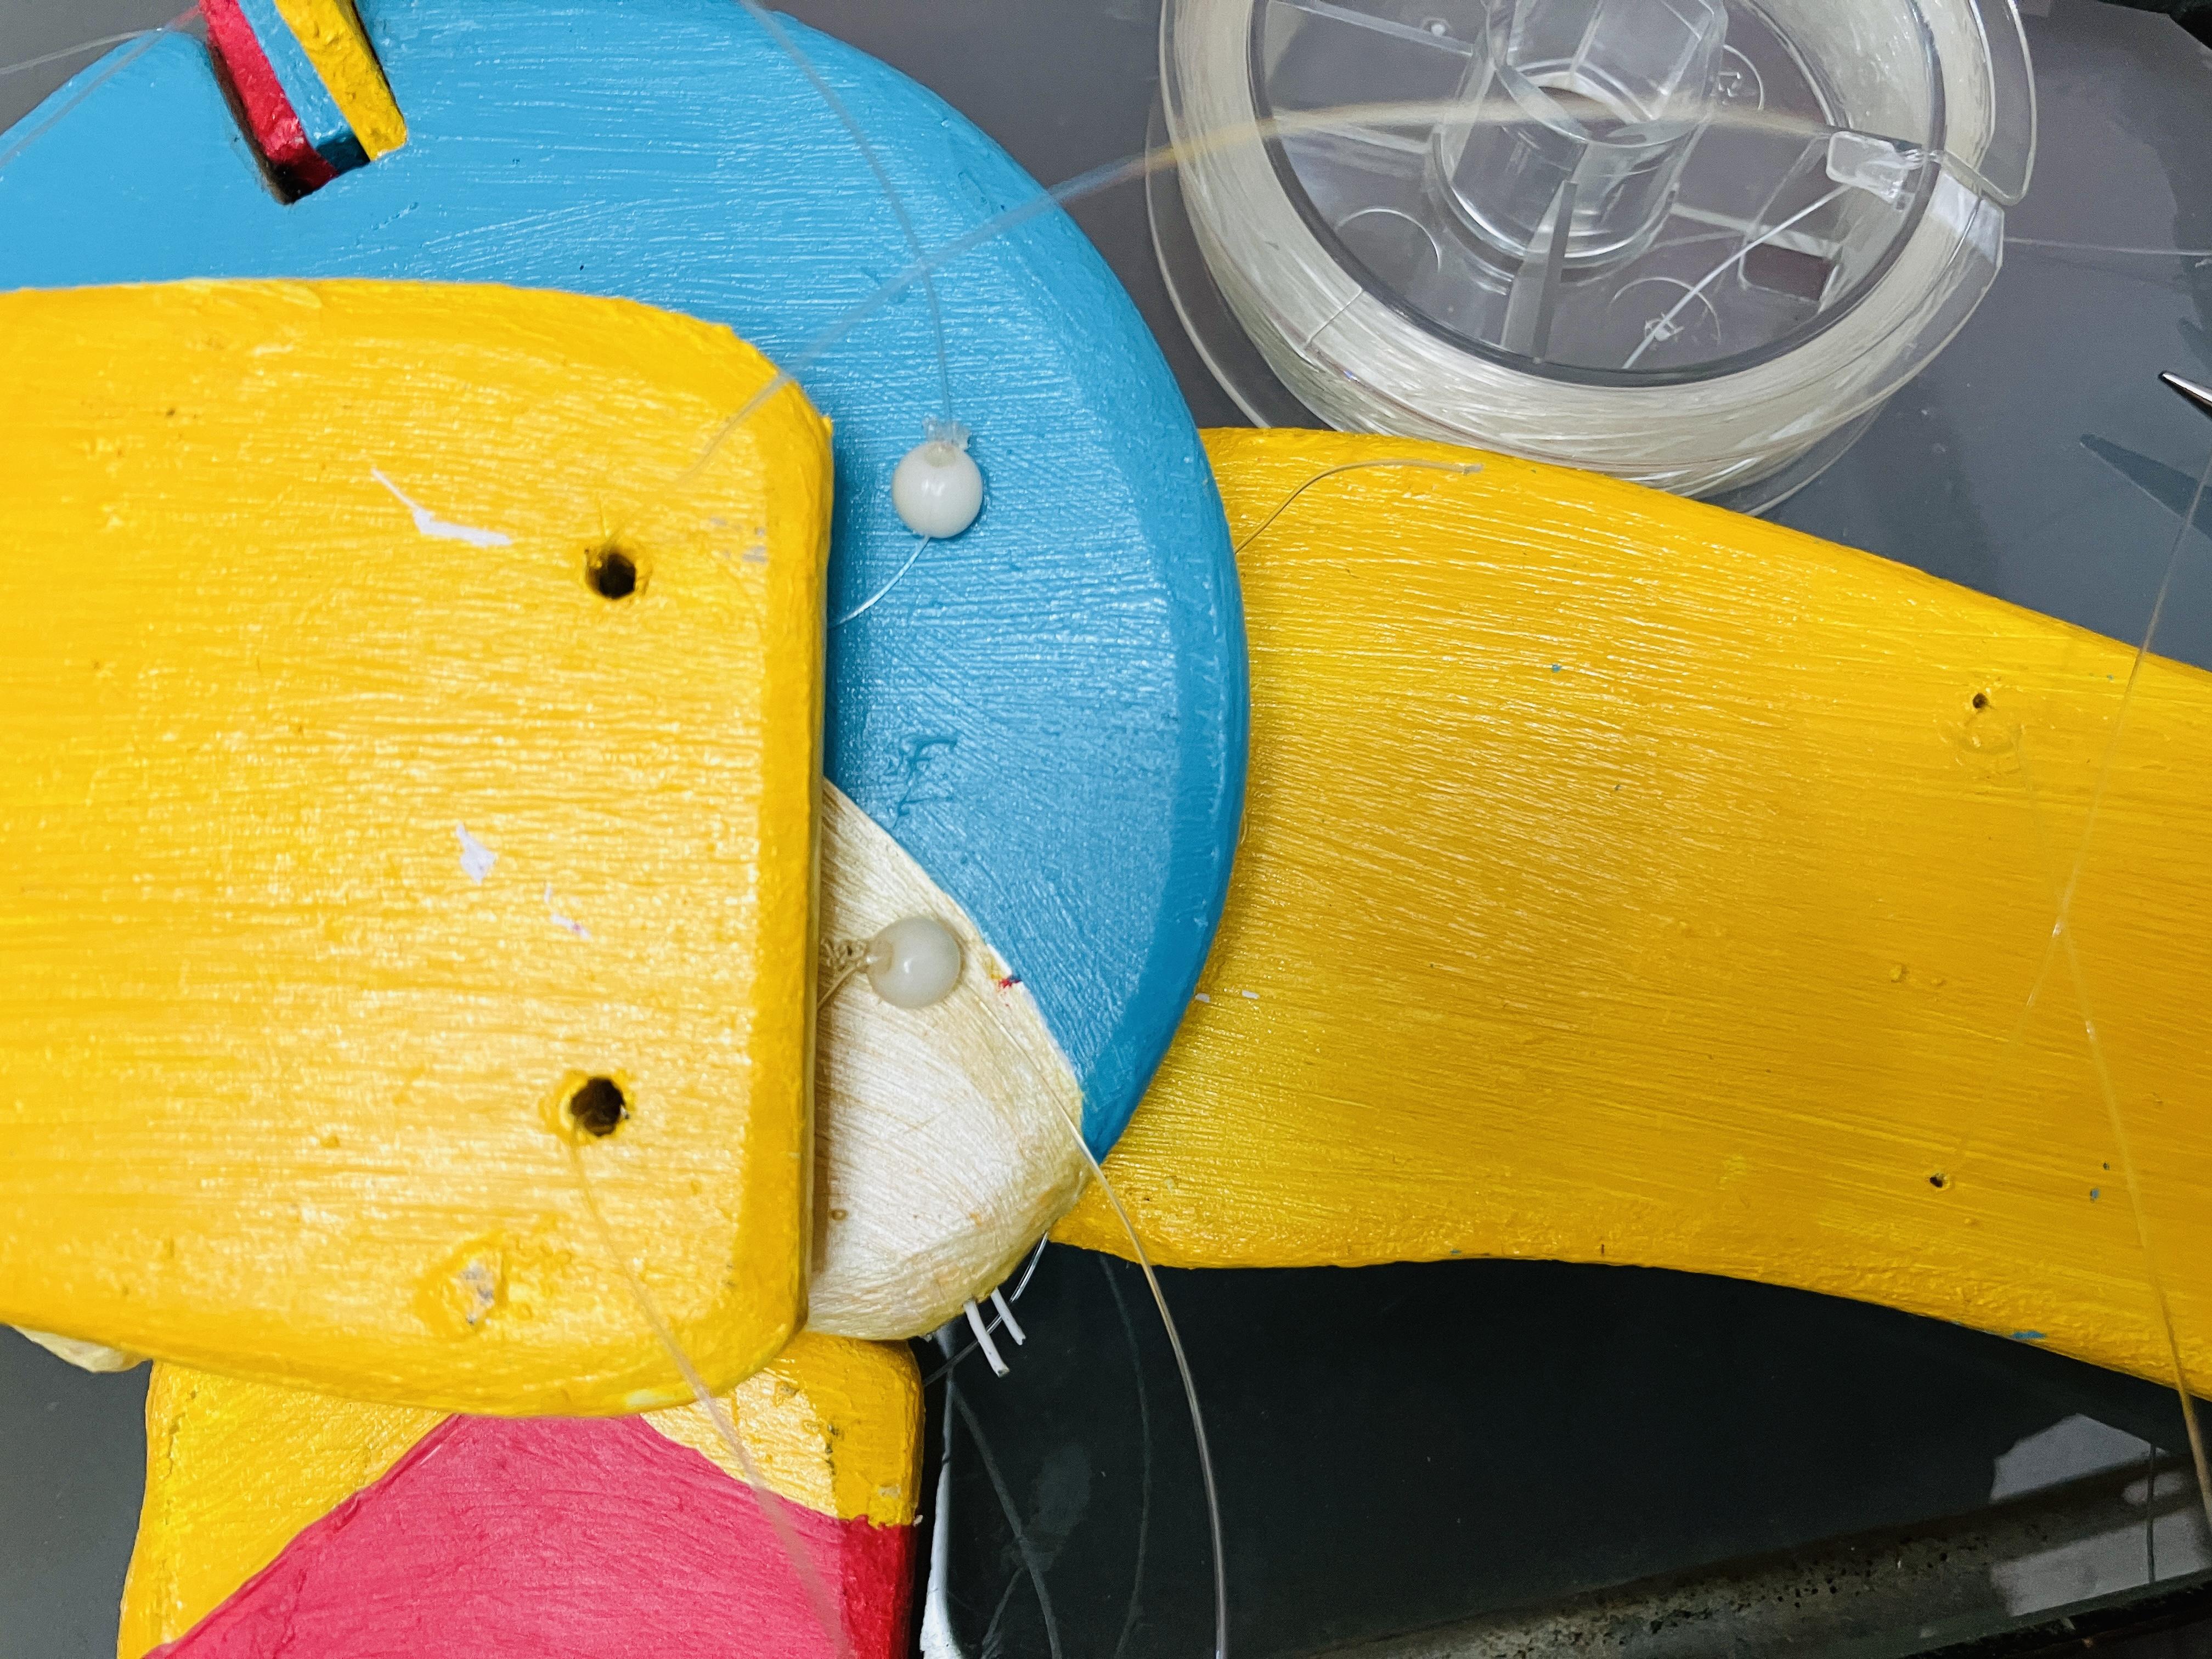
3. Attach the beads to the body by tying them with fishing line (2 beads on each side, for a total of 4). If the fishing line isn't tight enough, you can use a lighter to heat and melt it (!!!Warning: Please be cautious!!!). Finally, connect the wings to the body, the bird to the rod, and the bird to the donut.