Flowers From Recycled Material
by edibleaandt in Craft > Fiber Arts
892 Views, 10 Favorites, 0 Comments
Flowers From Recycled Material


When you can’t donate a piece of clothing because it is slightly damaged. Or you have lots of scraps left from other project, don’t throw them away. You can make it into a pretty flower.
Here I turned some scraps of material into a ponytail holder.
Here I turned some scraps of material into a ponytail holder.
Supplies
1-Any unwanted shirts or scraps of textile
2-Ruler
3-Round shaped objects to help you draw circles (2 -4 inches in diameter) (½ to 1 ¼ diameter for smaller circles)
4-Pair of scissors
5-Needle and thread
6-A piece of cardboard
7-Some polyester stuffing or yarn or cotton balls
8a-glue gun ( optional) Or 8b- any other glue for fabric
9-A plastic mat ( to protect your table when you use the glue gun).
Cutting the Pattern for the Flowers


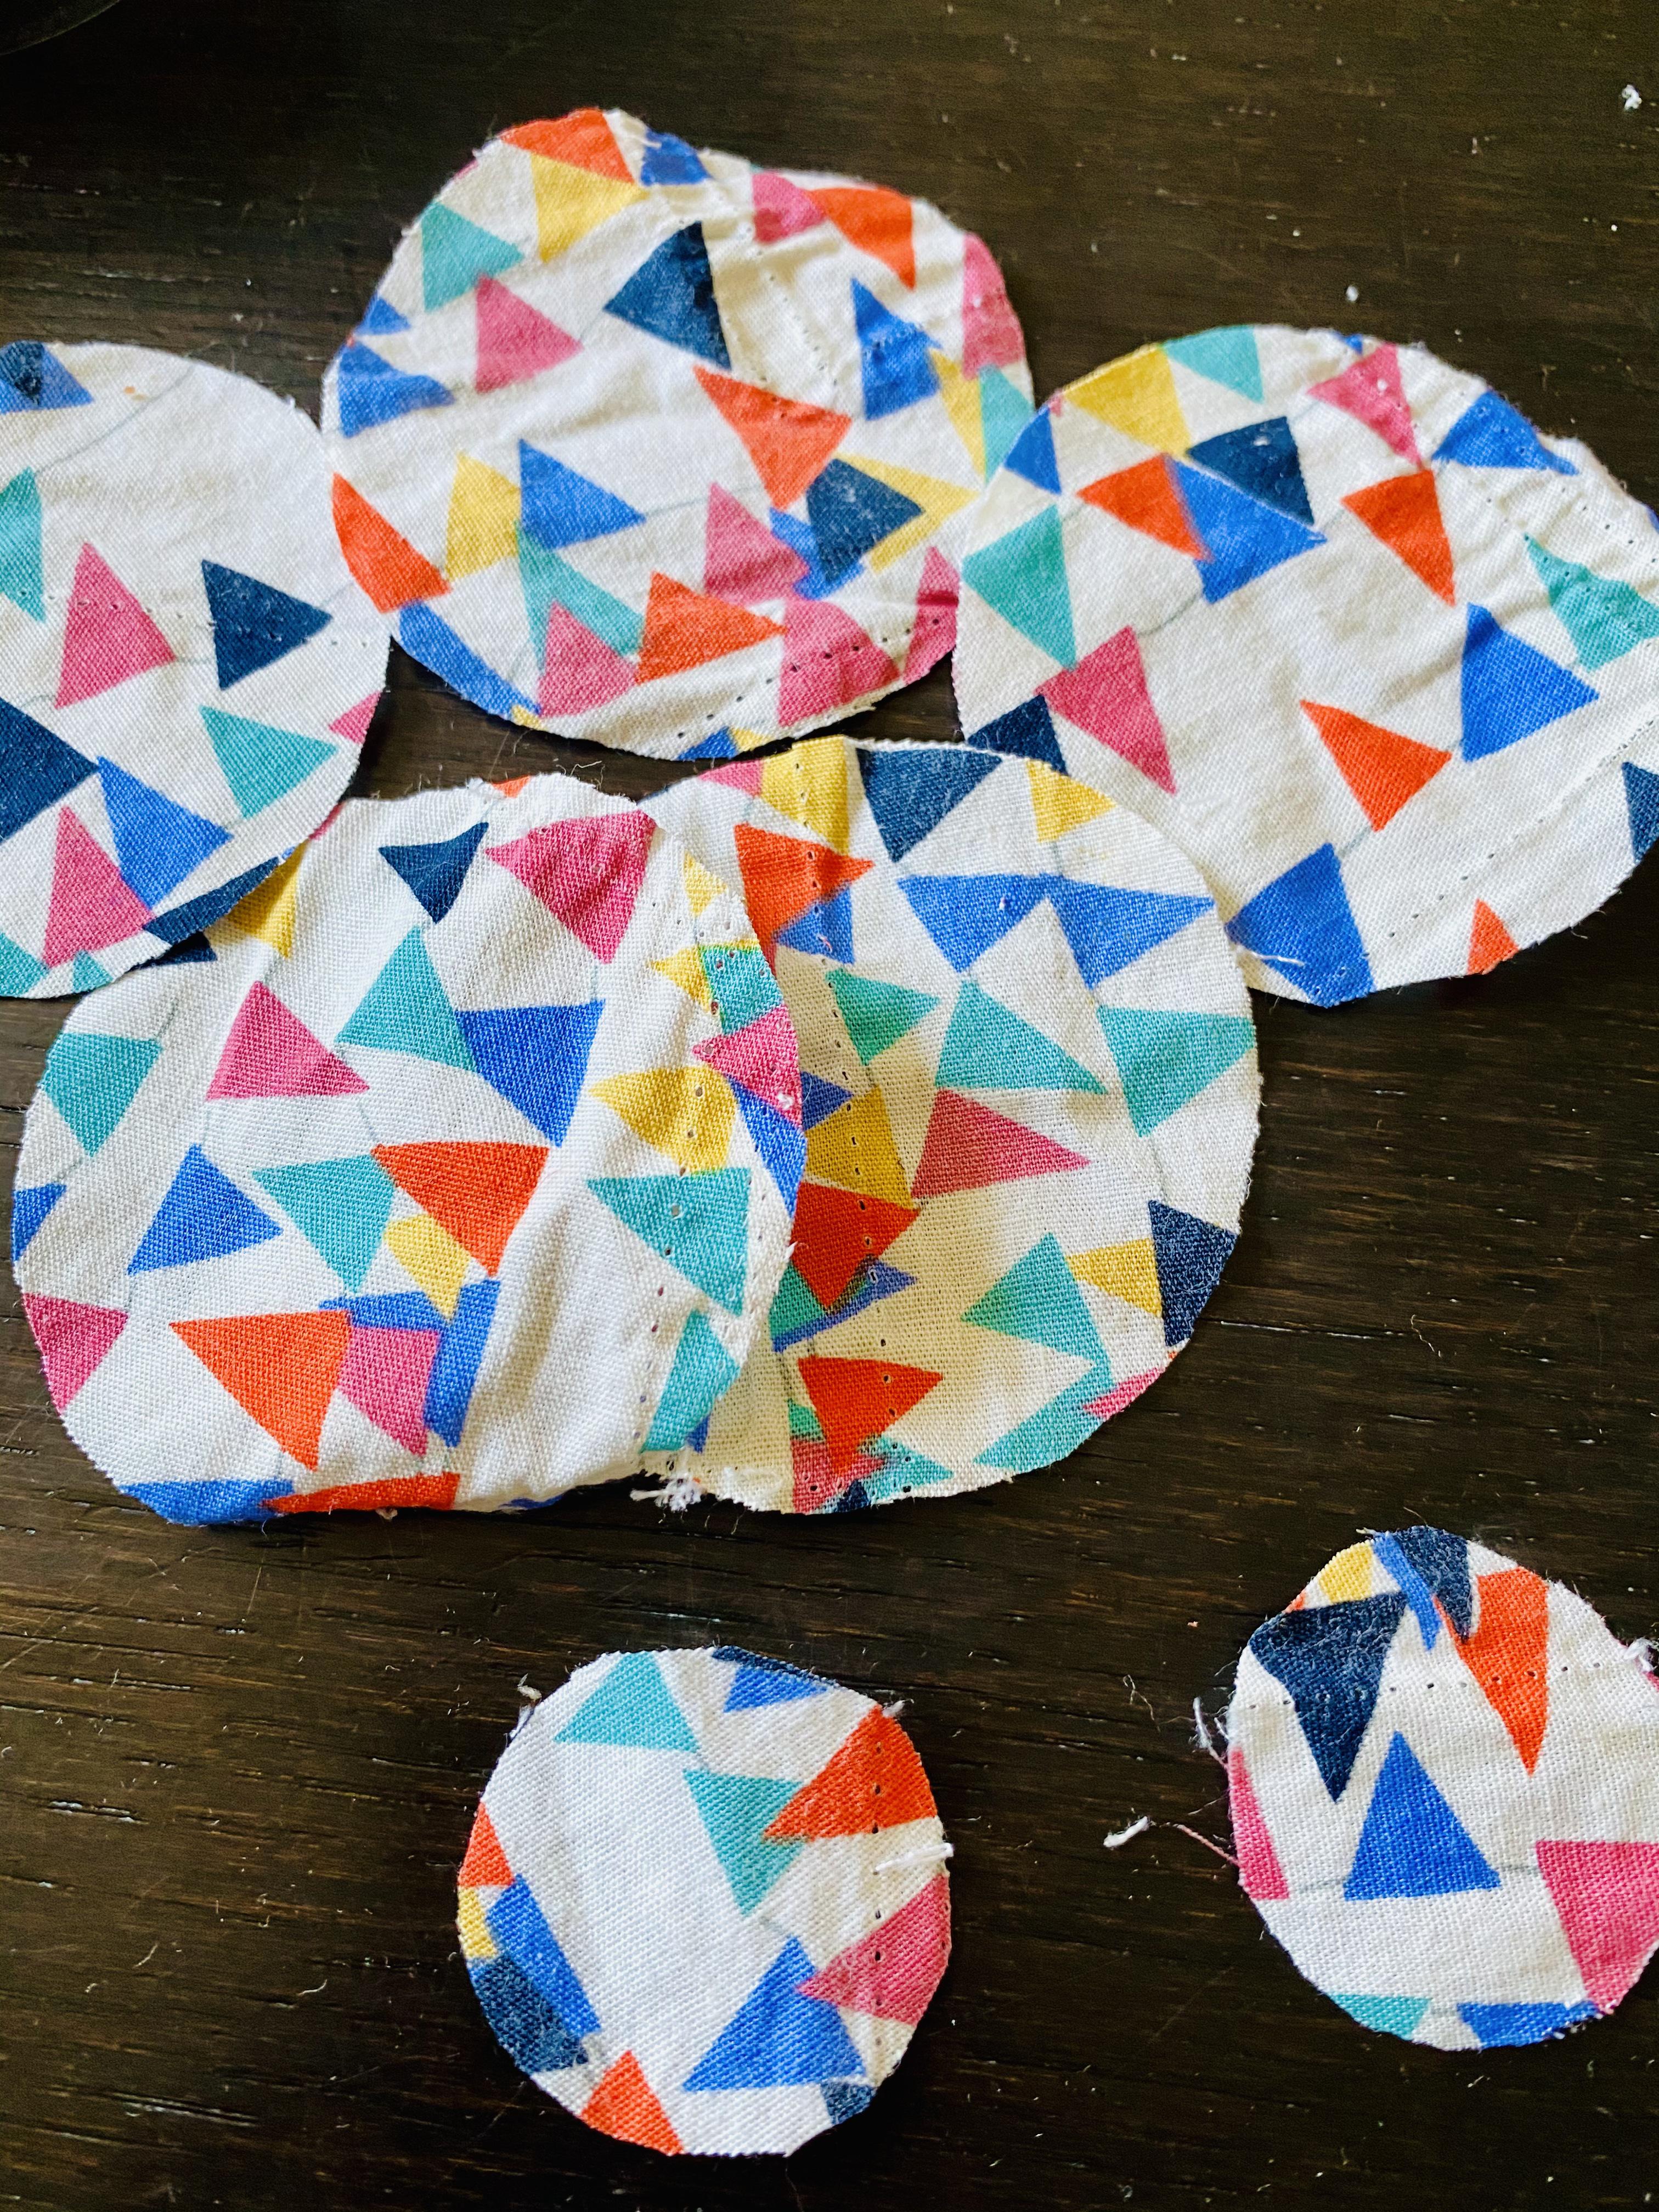
Here I use a 2 ¼ diameter circle for the petals and 1 ¼ diameter circle for the center of the flower. You can use any size you like. It depends on the amount of material scraps you have.
1. Trace the circles. You need 5 large and 2 small.
2. After tracing, cut the circles as closely to the line as you can.
1. Trace the circles. You need 5 large and 2 small.
2. After tracing, cut the circles as closely to the line as you can.
Cutting the Cardboard


We use a cardboard ( any thickness you like) to support the center of the flower. We found a 0.02 mm thick instruction card.
1. Cut out 2 pieces of ½ inch diameter circles.
1. Cut out 2 pieces of ½ inch diameter circles.
Making the Petals

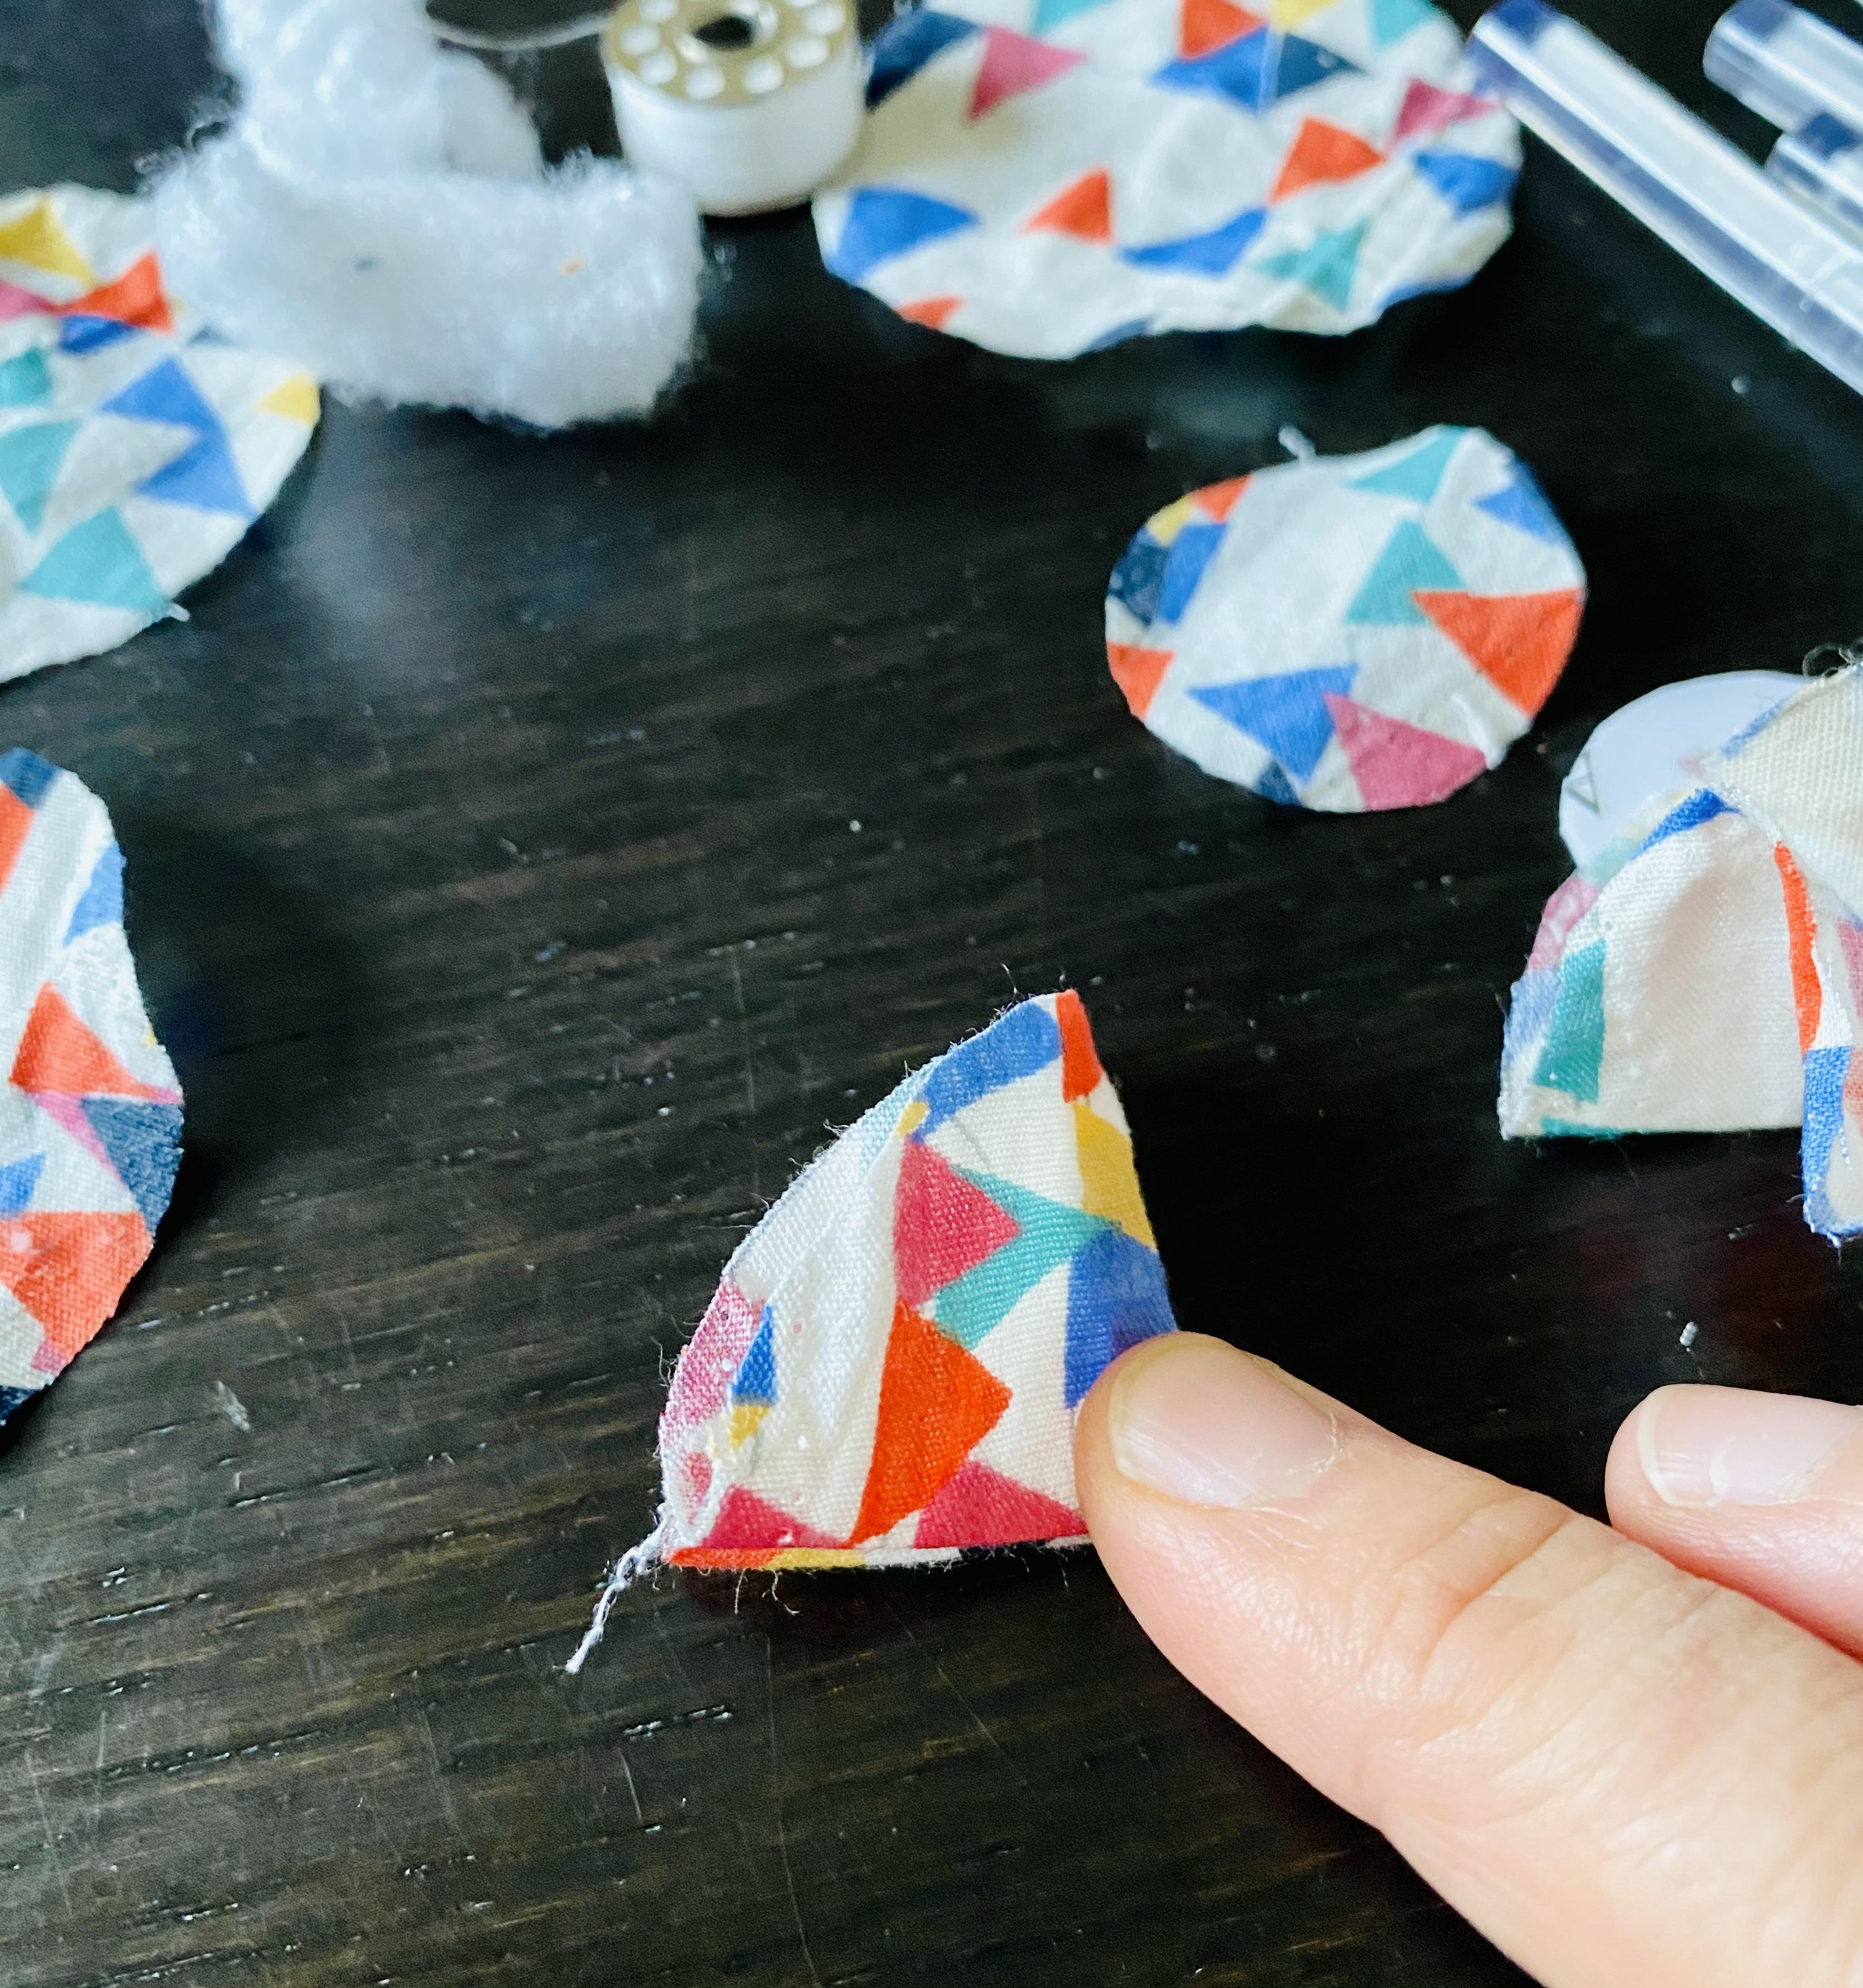


1. Take 1 large circle, fold it into half and then into quarters. Rub over the folds. This is to get a crease on the material.
2. Bring the opening of the material to face you, so that you can see a cross design as shown in the picture.
3. Add the stuffing.
4. Get your needle and thread and do a running stitch.
**Note - a running stitch is a simple stitch by passing the needle in and out of the fabric at a regular distance.
5. At the end of the material, pull the thread. The opening of the petal will closed up.
6. Repeat the same steps for the next 5 petals.
Stitching the Petals Together

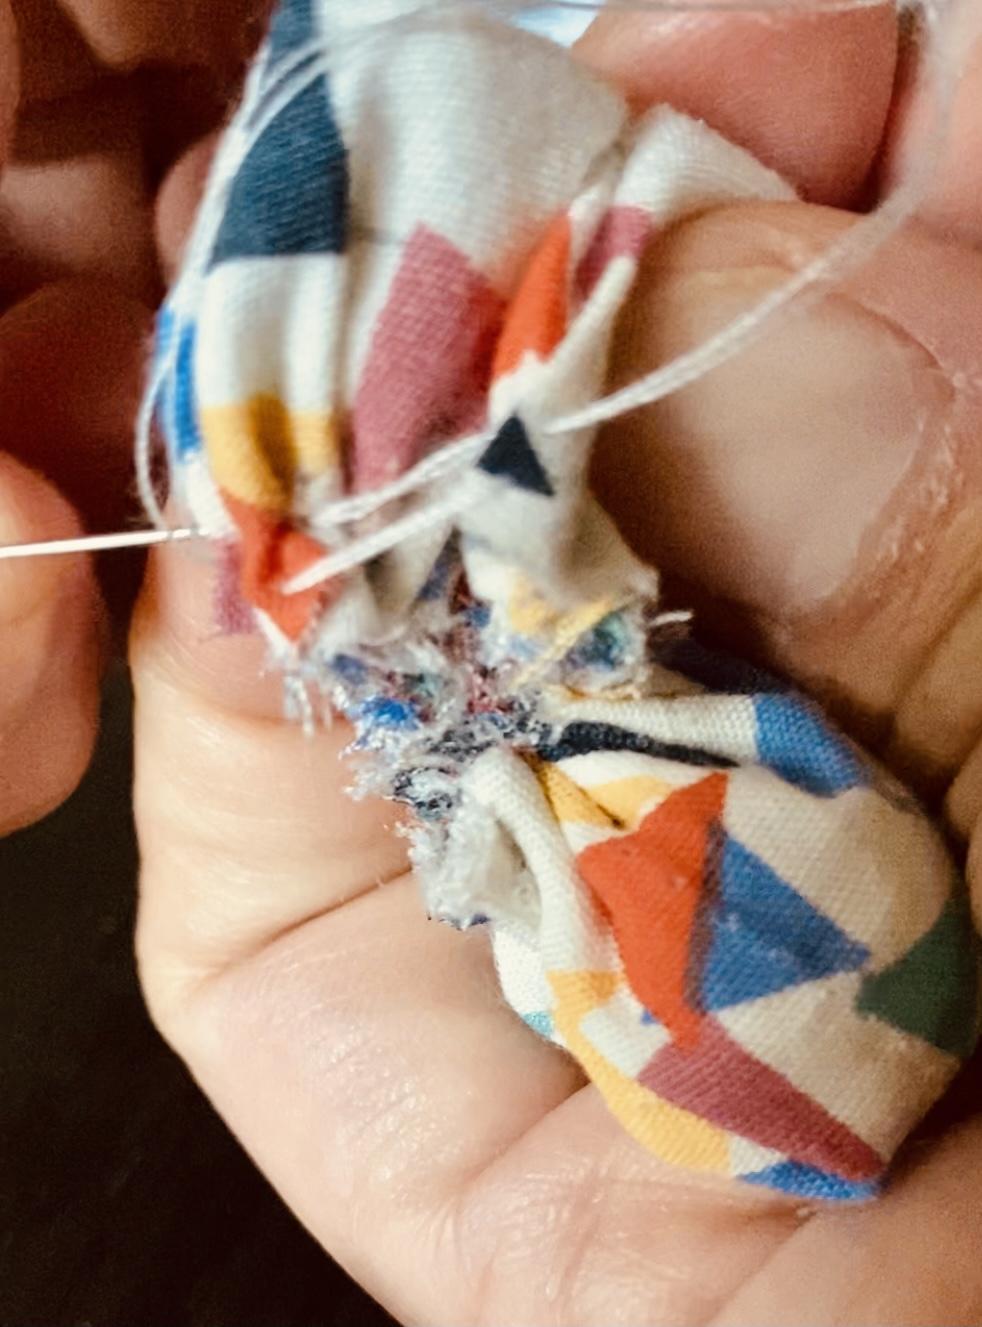

When you have 5 petals ready, connect the last petals to the first petals by sticking it together.
Make the Center of the Flower


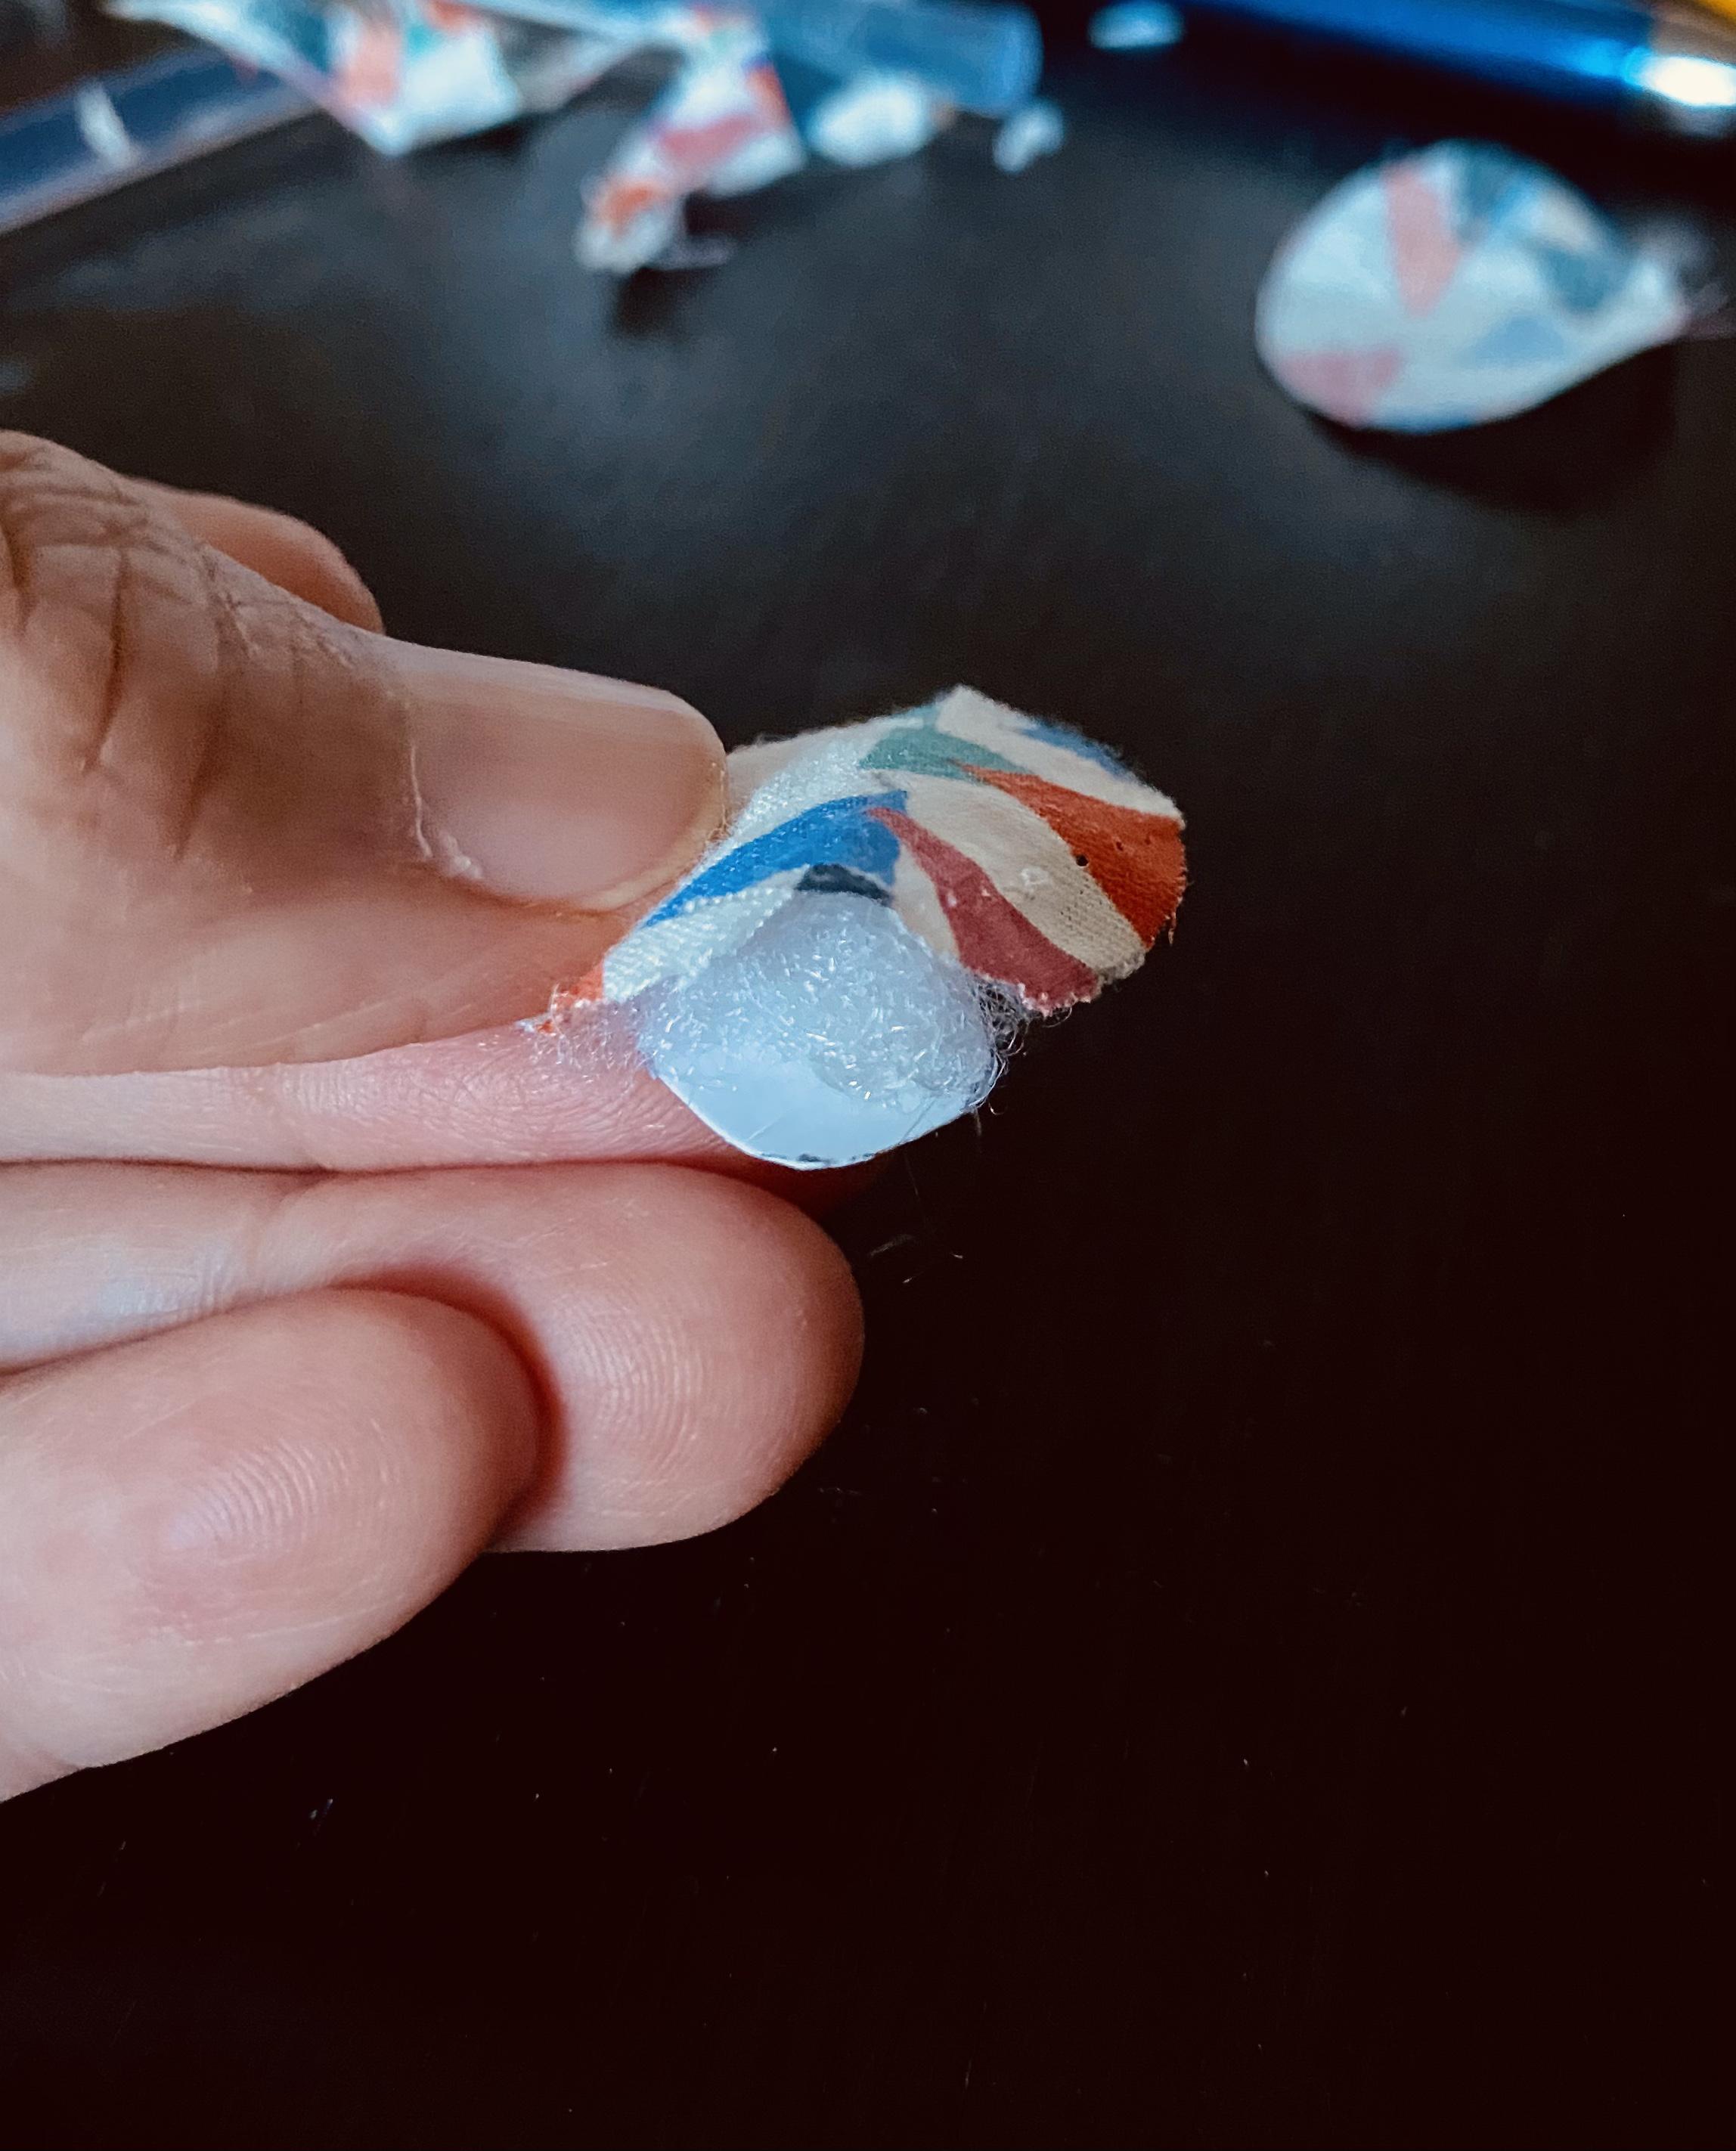
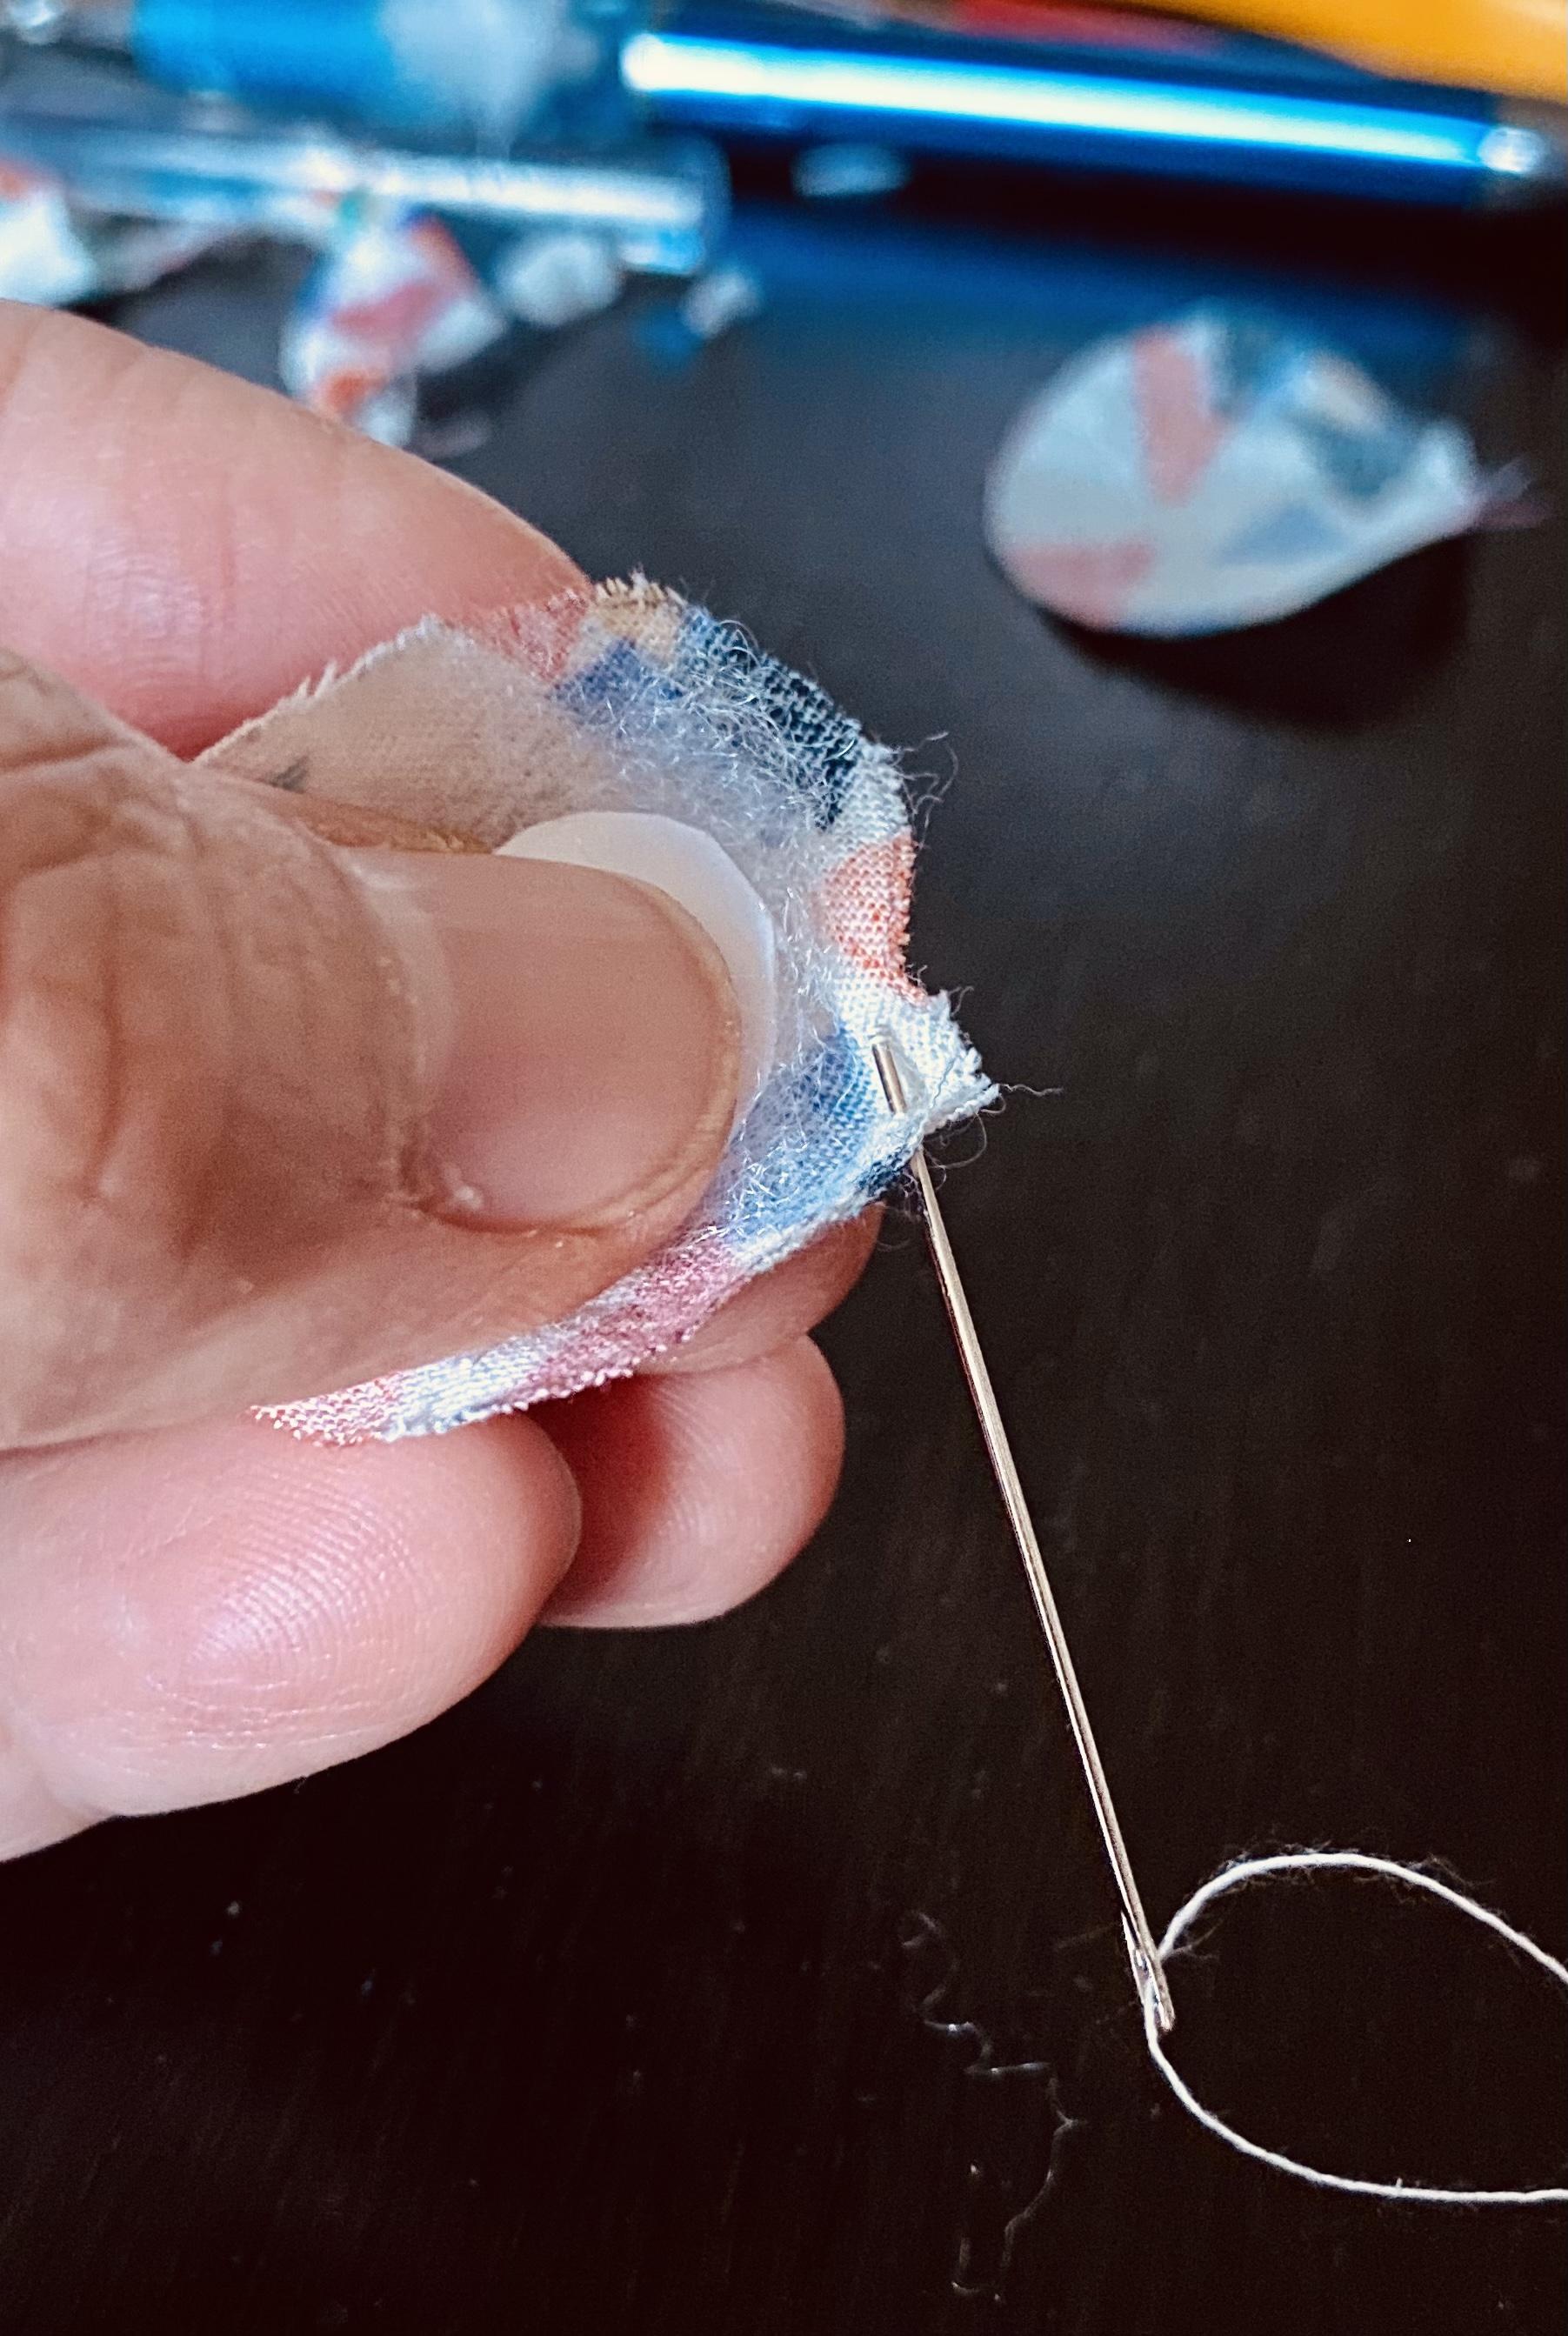


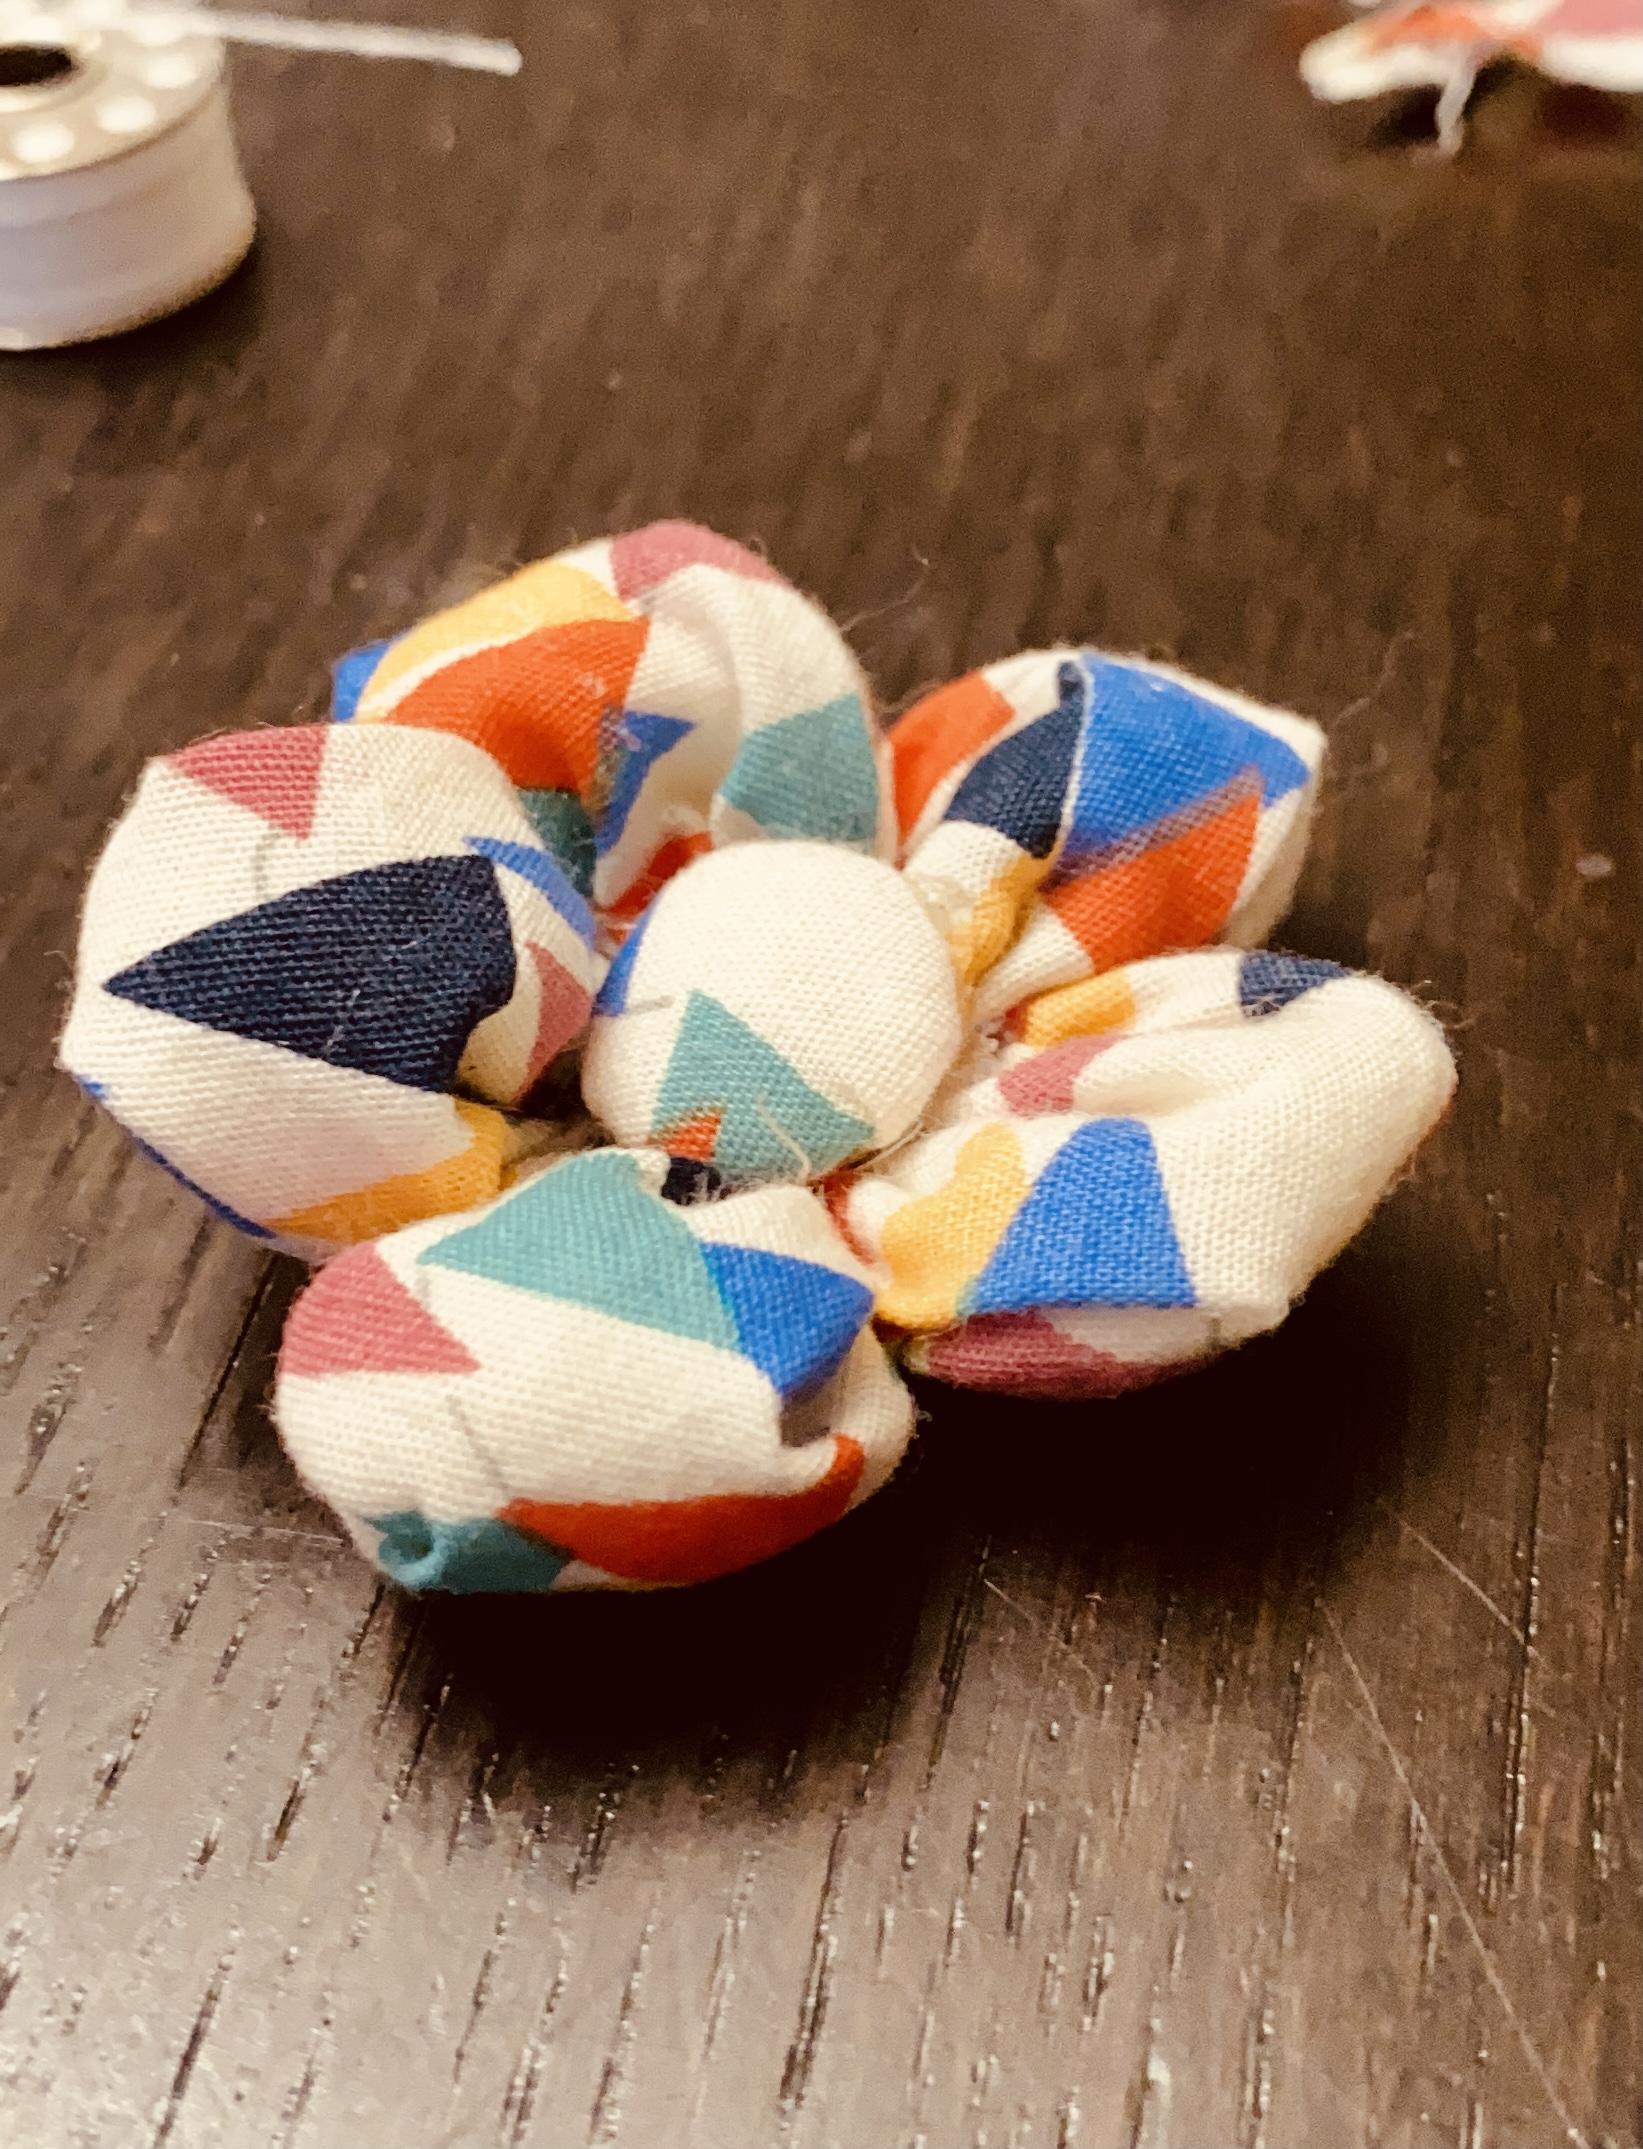
1. Take the card board circle. Add a small dab of glue ( fiber glue or glue gun)
2. Stick a small amount of stuffing onto the cardboard.
3. Place the smaller cloth circle on top of the stuffing.
4. Turn the project over, and do a running stitch along the edge of the cloth circle.
5. When you reach the end, just pull the thread together and you will create a pouch and enclose the stuffing.
6. Do a few stitches to close the opening. Make a knot and cut off the thread
7. Place the center of the flower to the position you like. You can stitch the center to the flower petals or use the glue to stick them together.
Making the Baking for the Flower


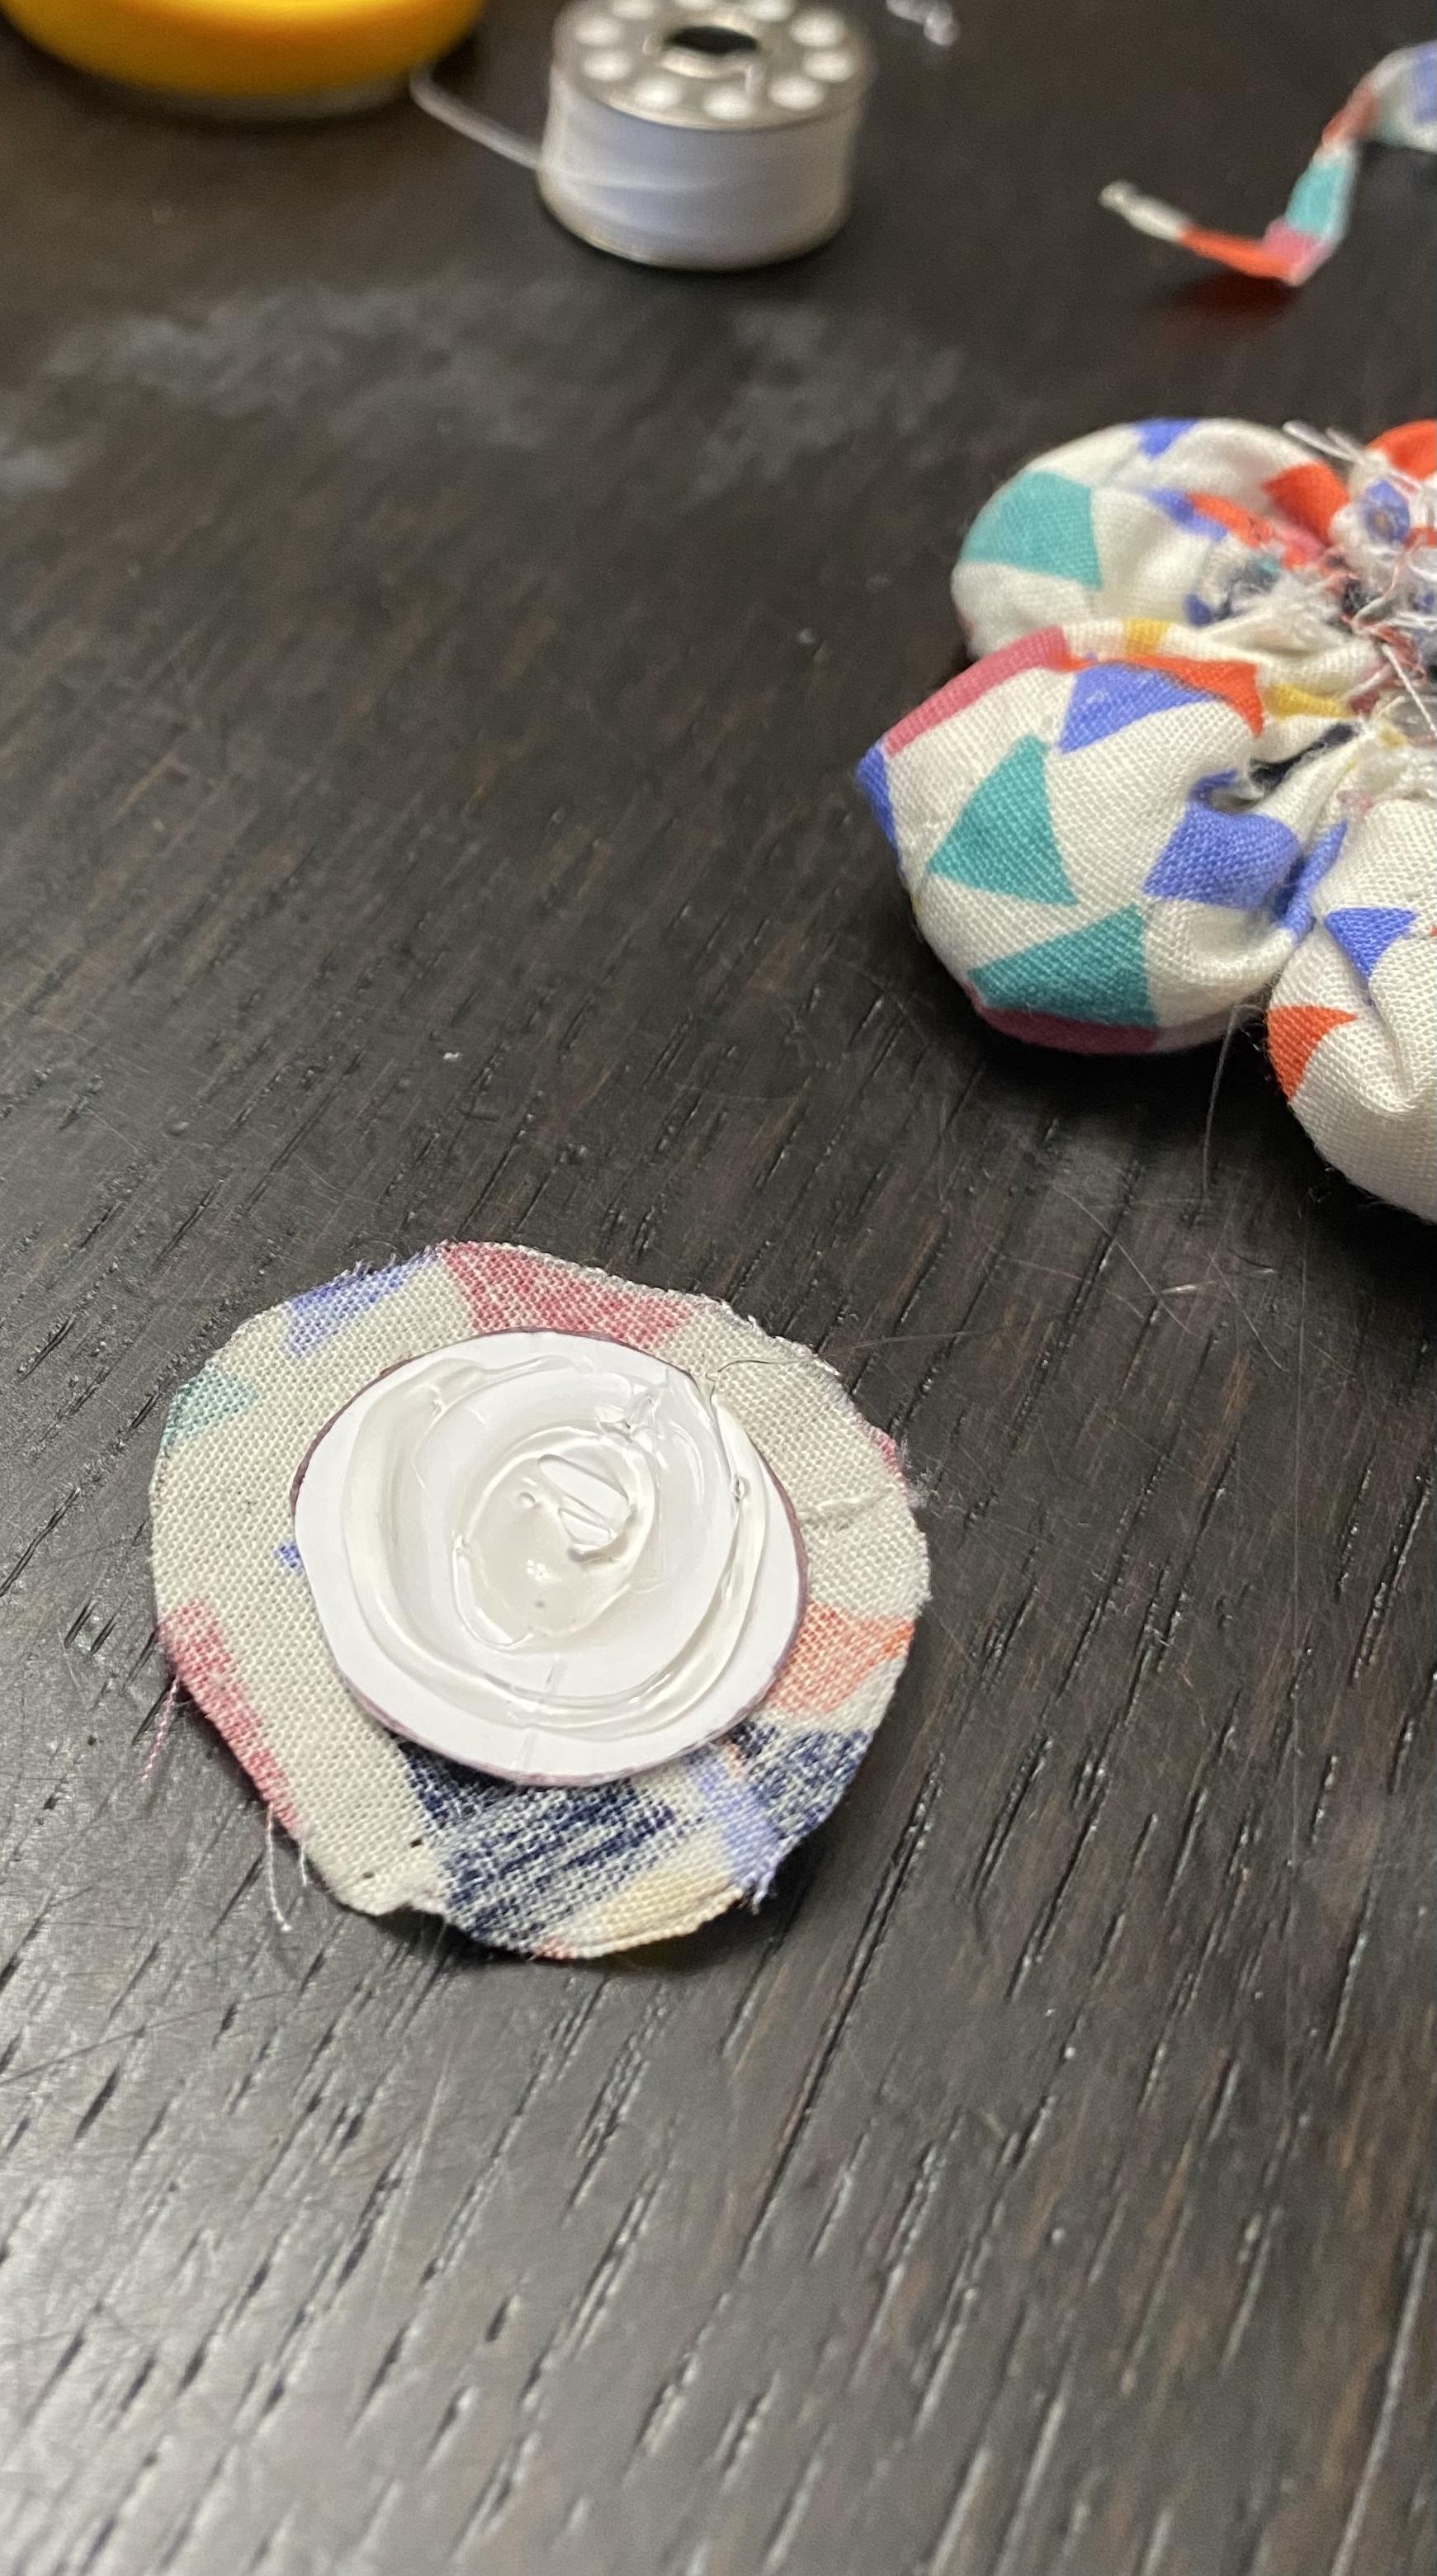
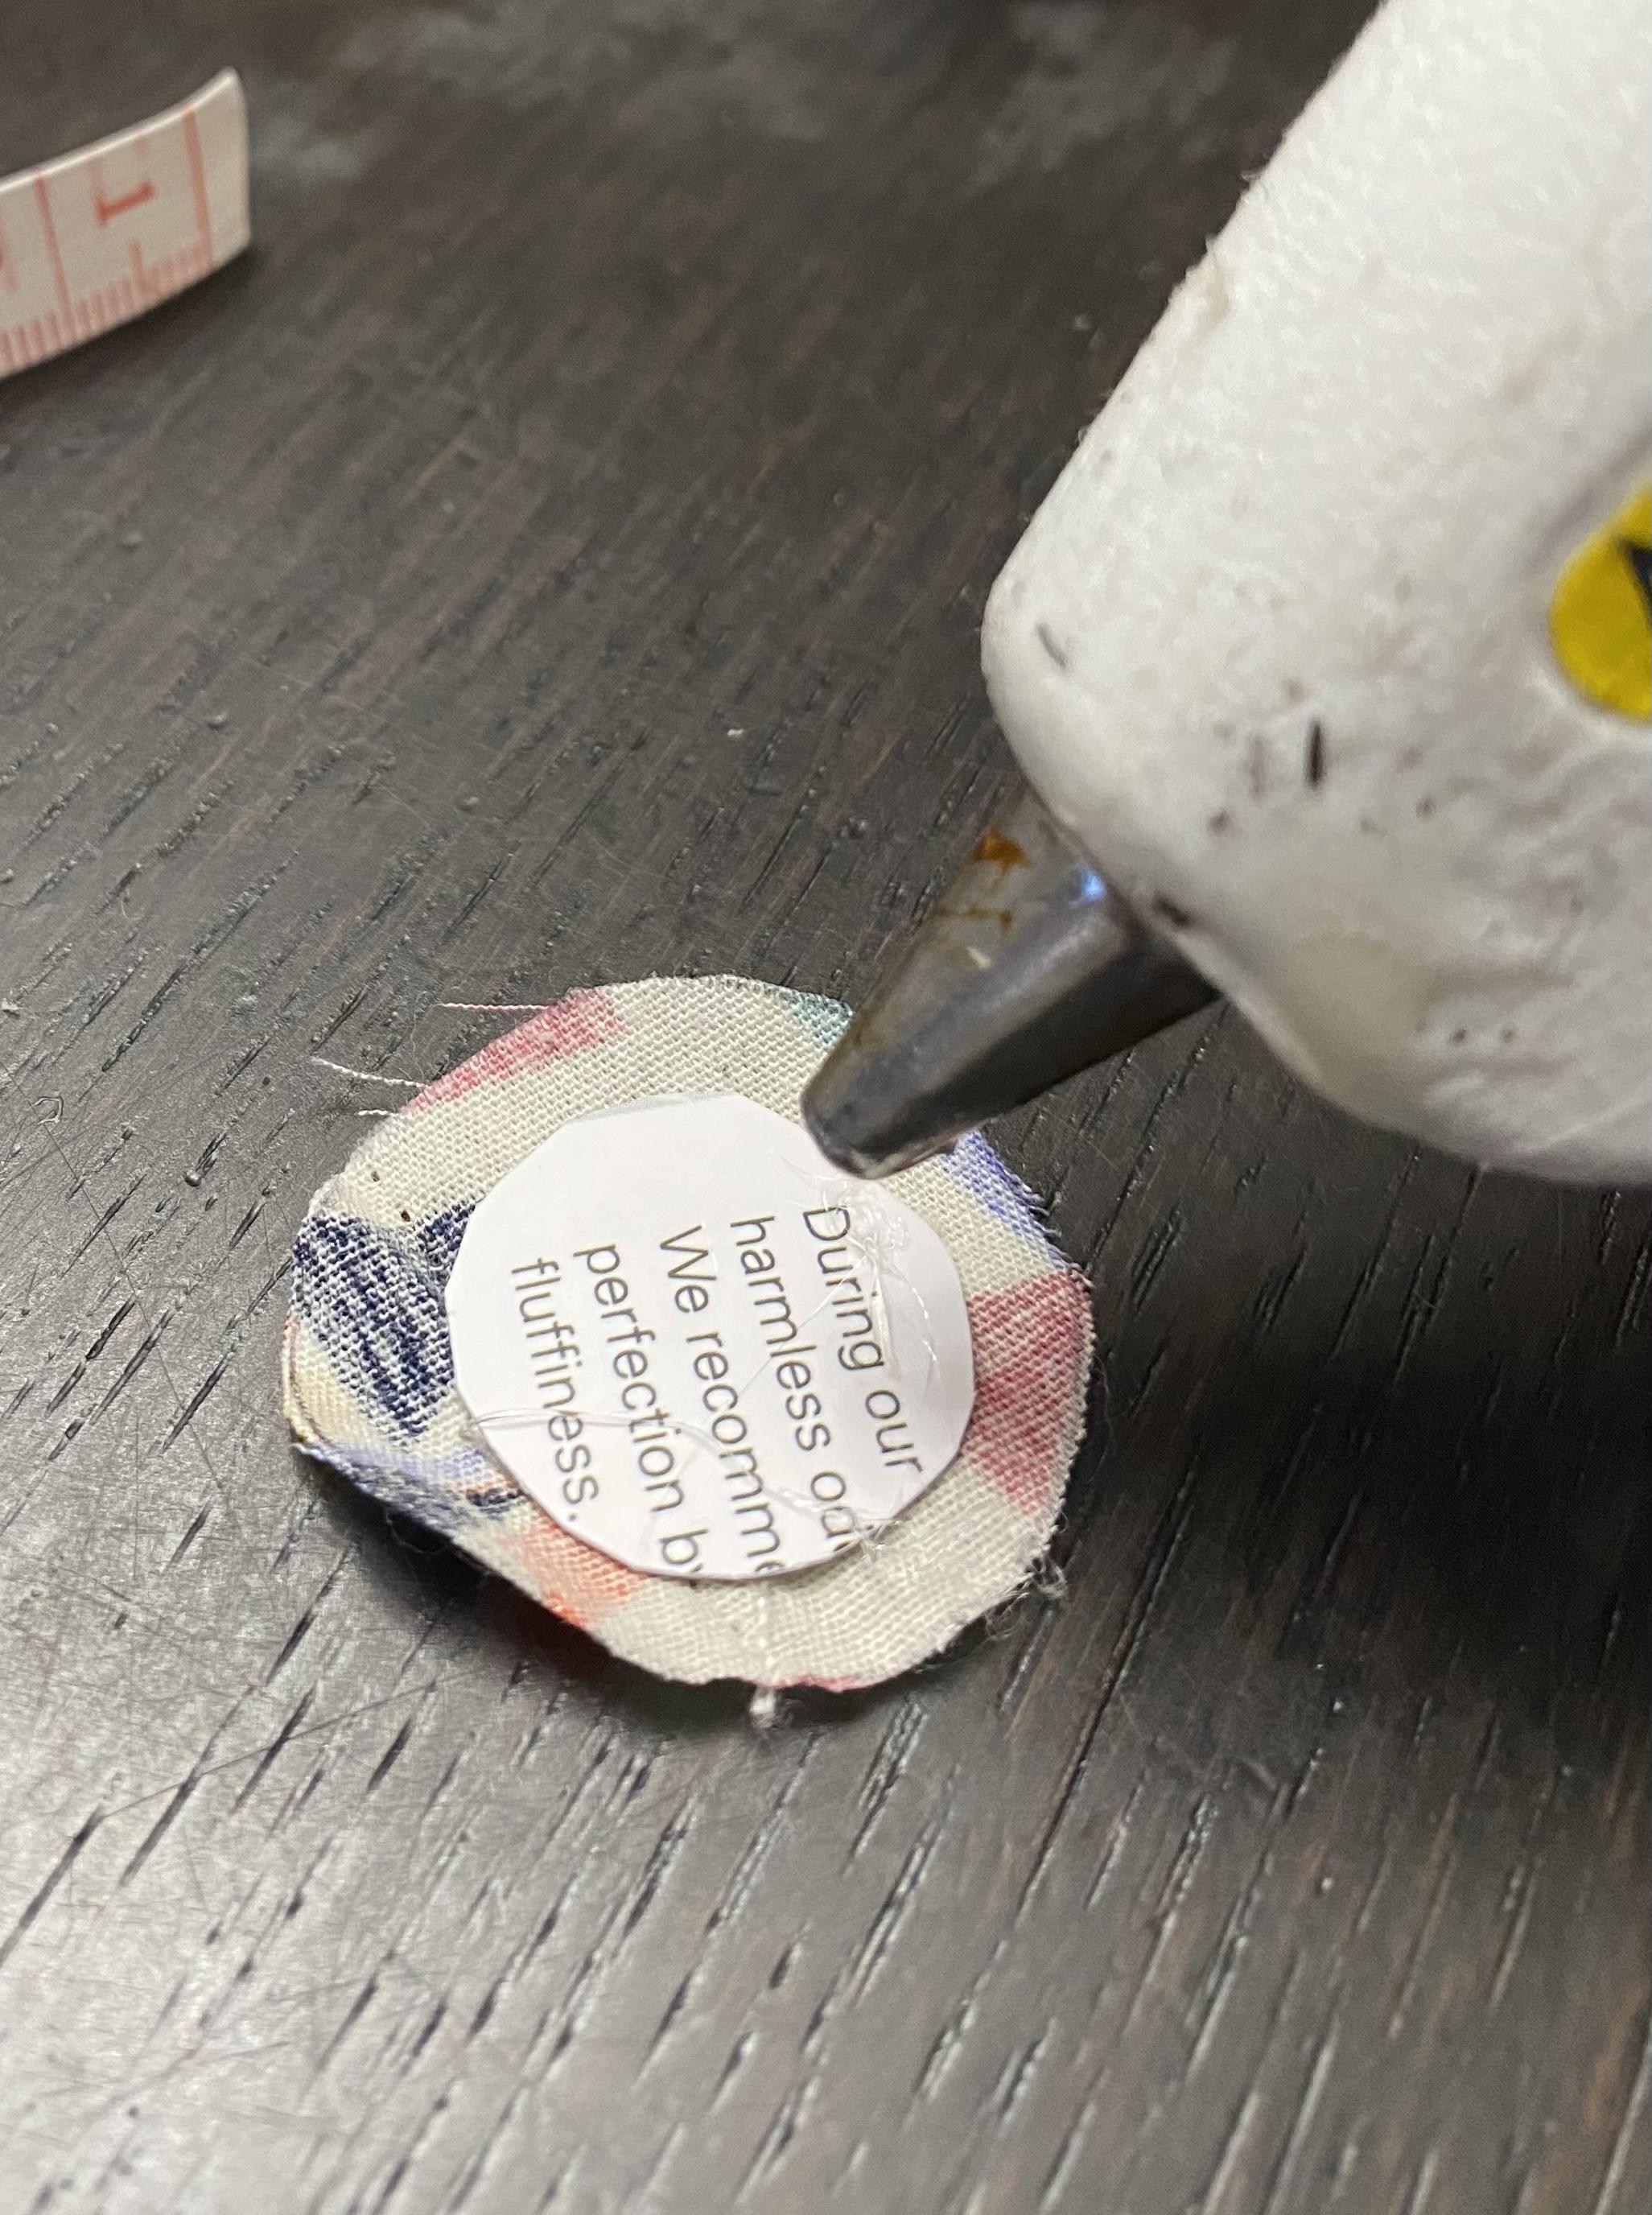

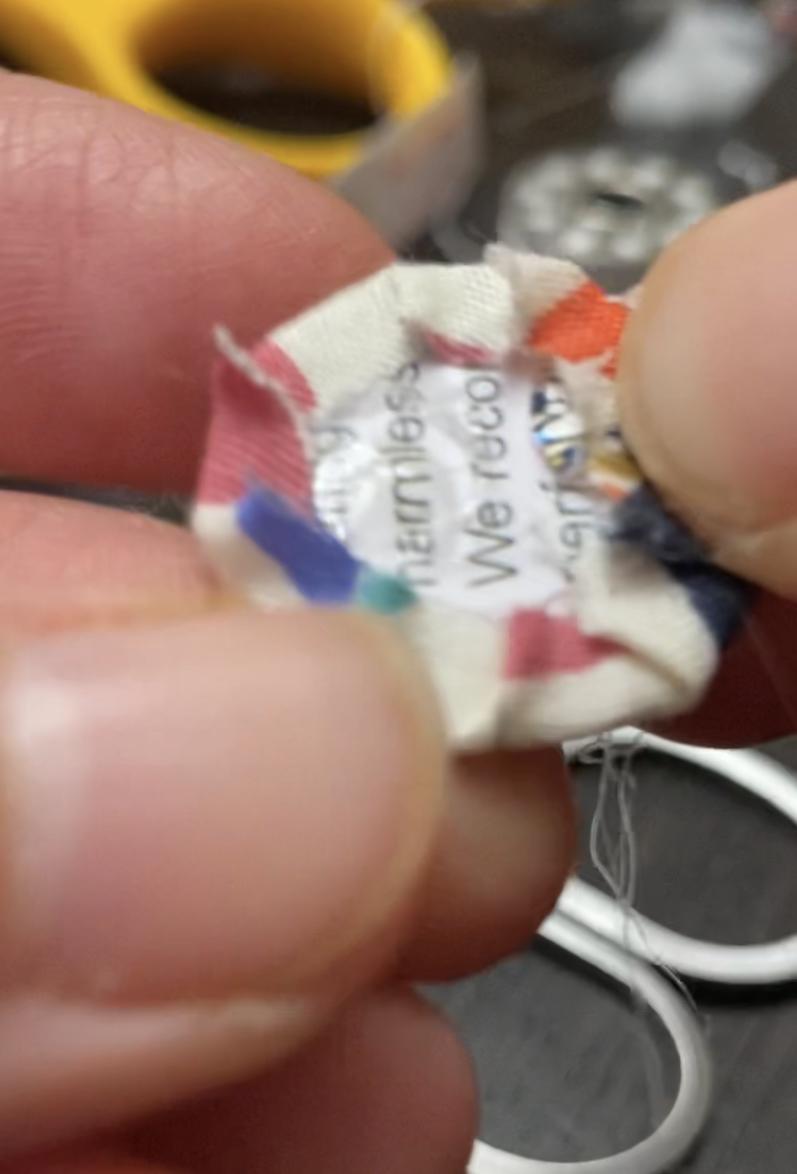
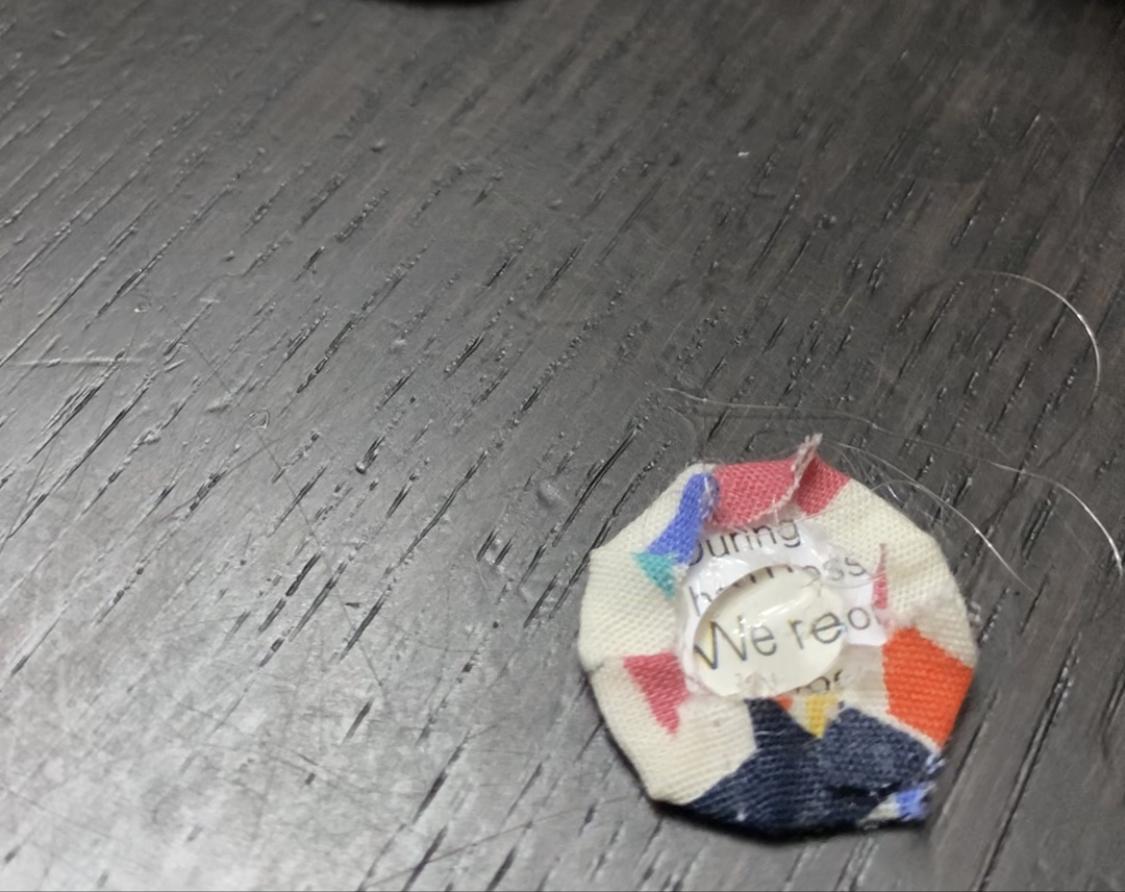

1.Take the remaining pieces of small circle ( cloth and card board).
2.Place some glue on the center of one side of the cardboard. Glue the cloth to it.
3.Turn it around and glue the edges of the cloth over the cardboard.
4. When you reached the last portion to fold the cloth over, make a small slit on the cloth so you can get a nicer finish.
5. Place more glue on the side with the card board still showing and then glue to the back of the flower.
6. Your fiber flower is done.
Assembling


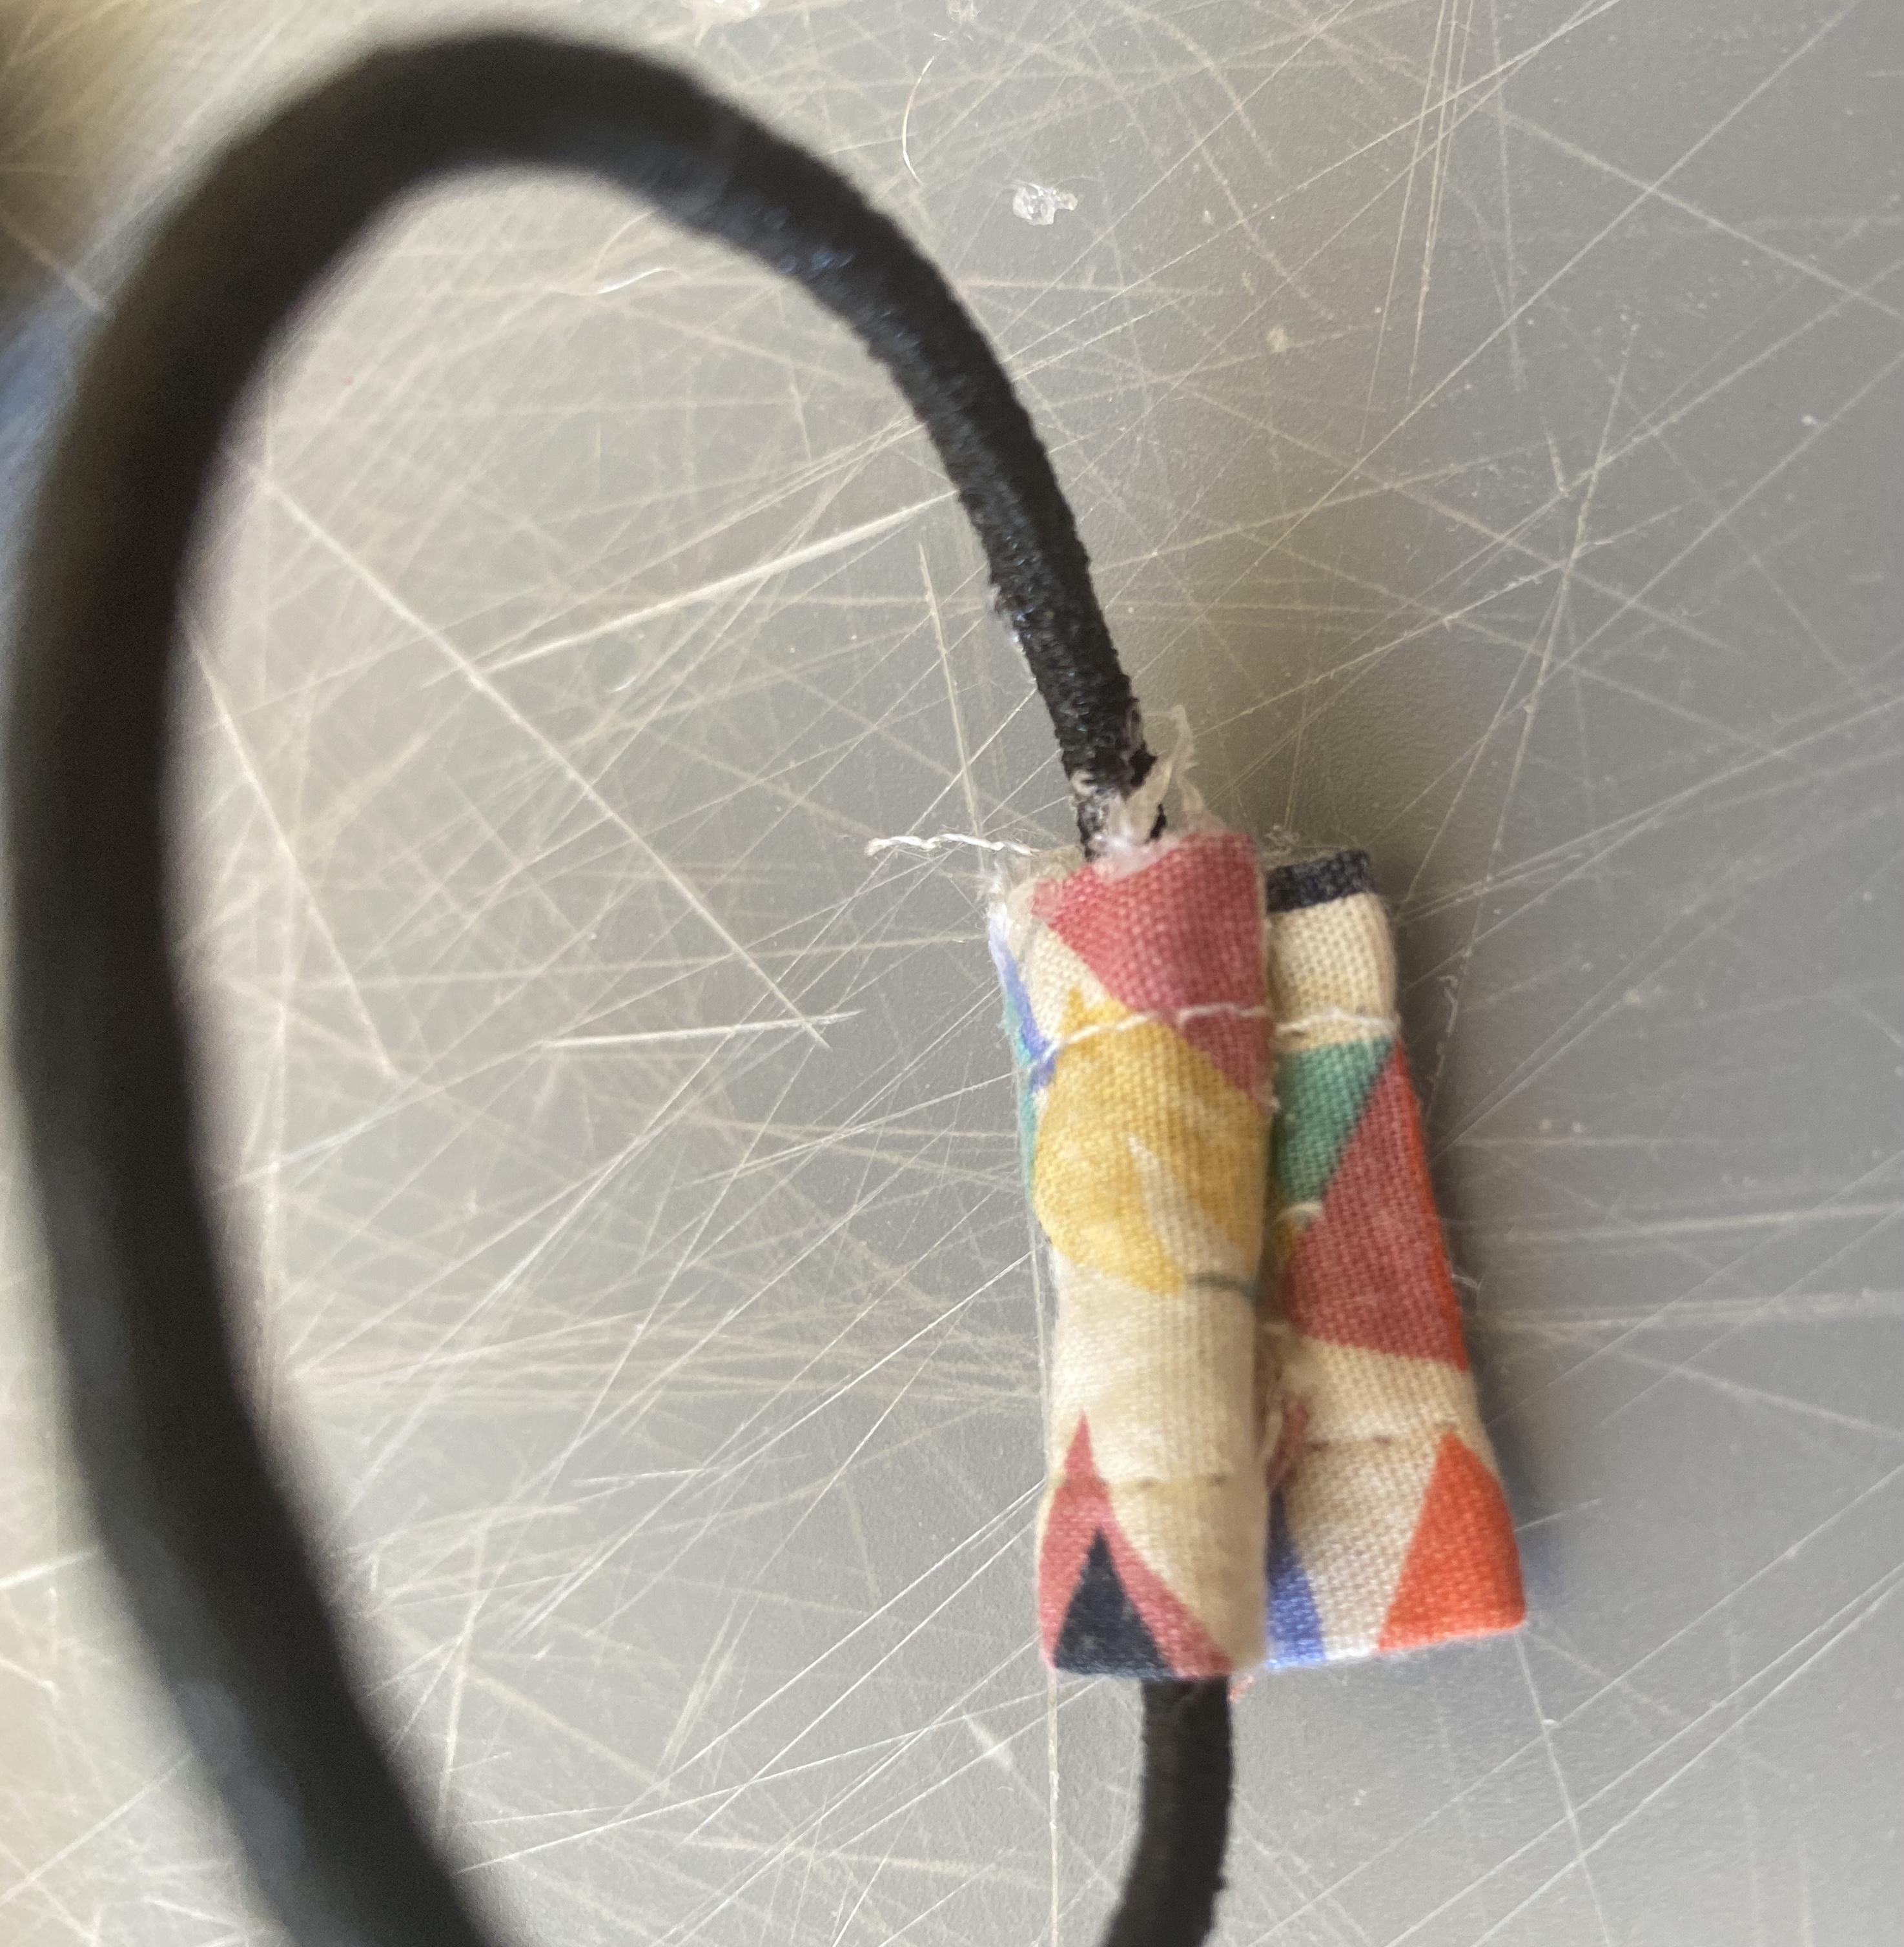

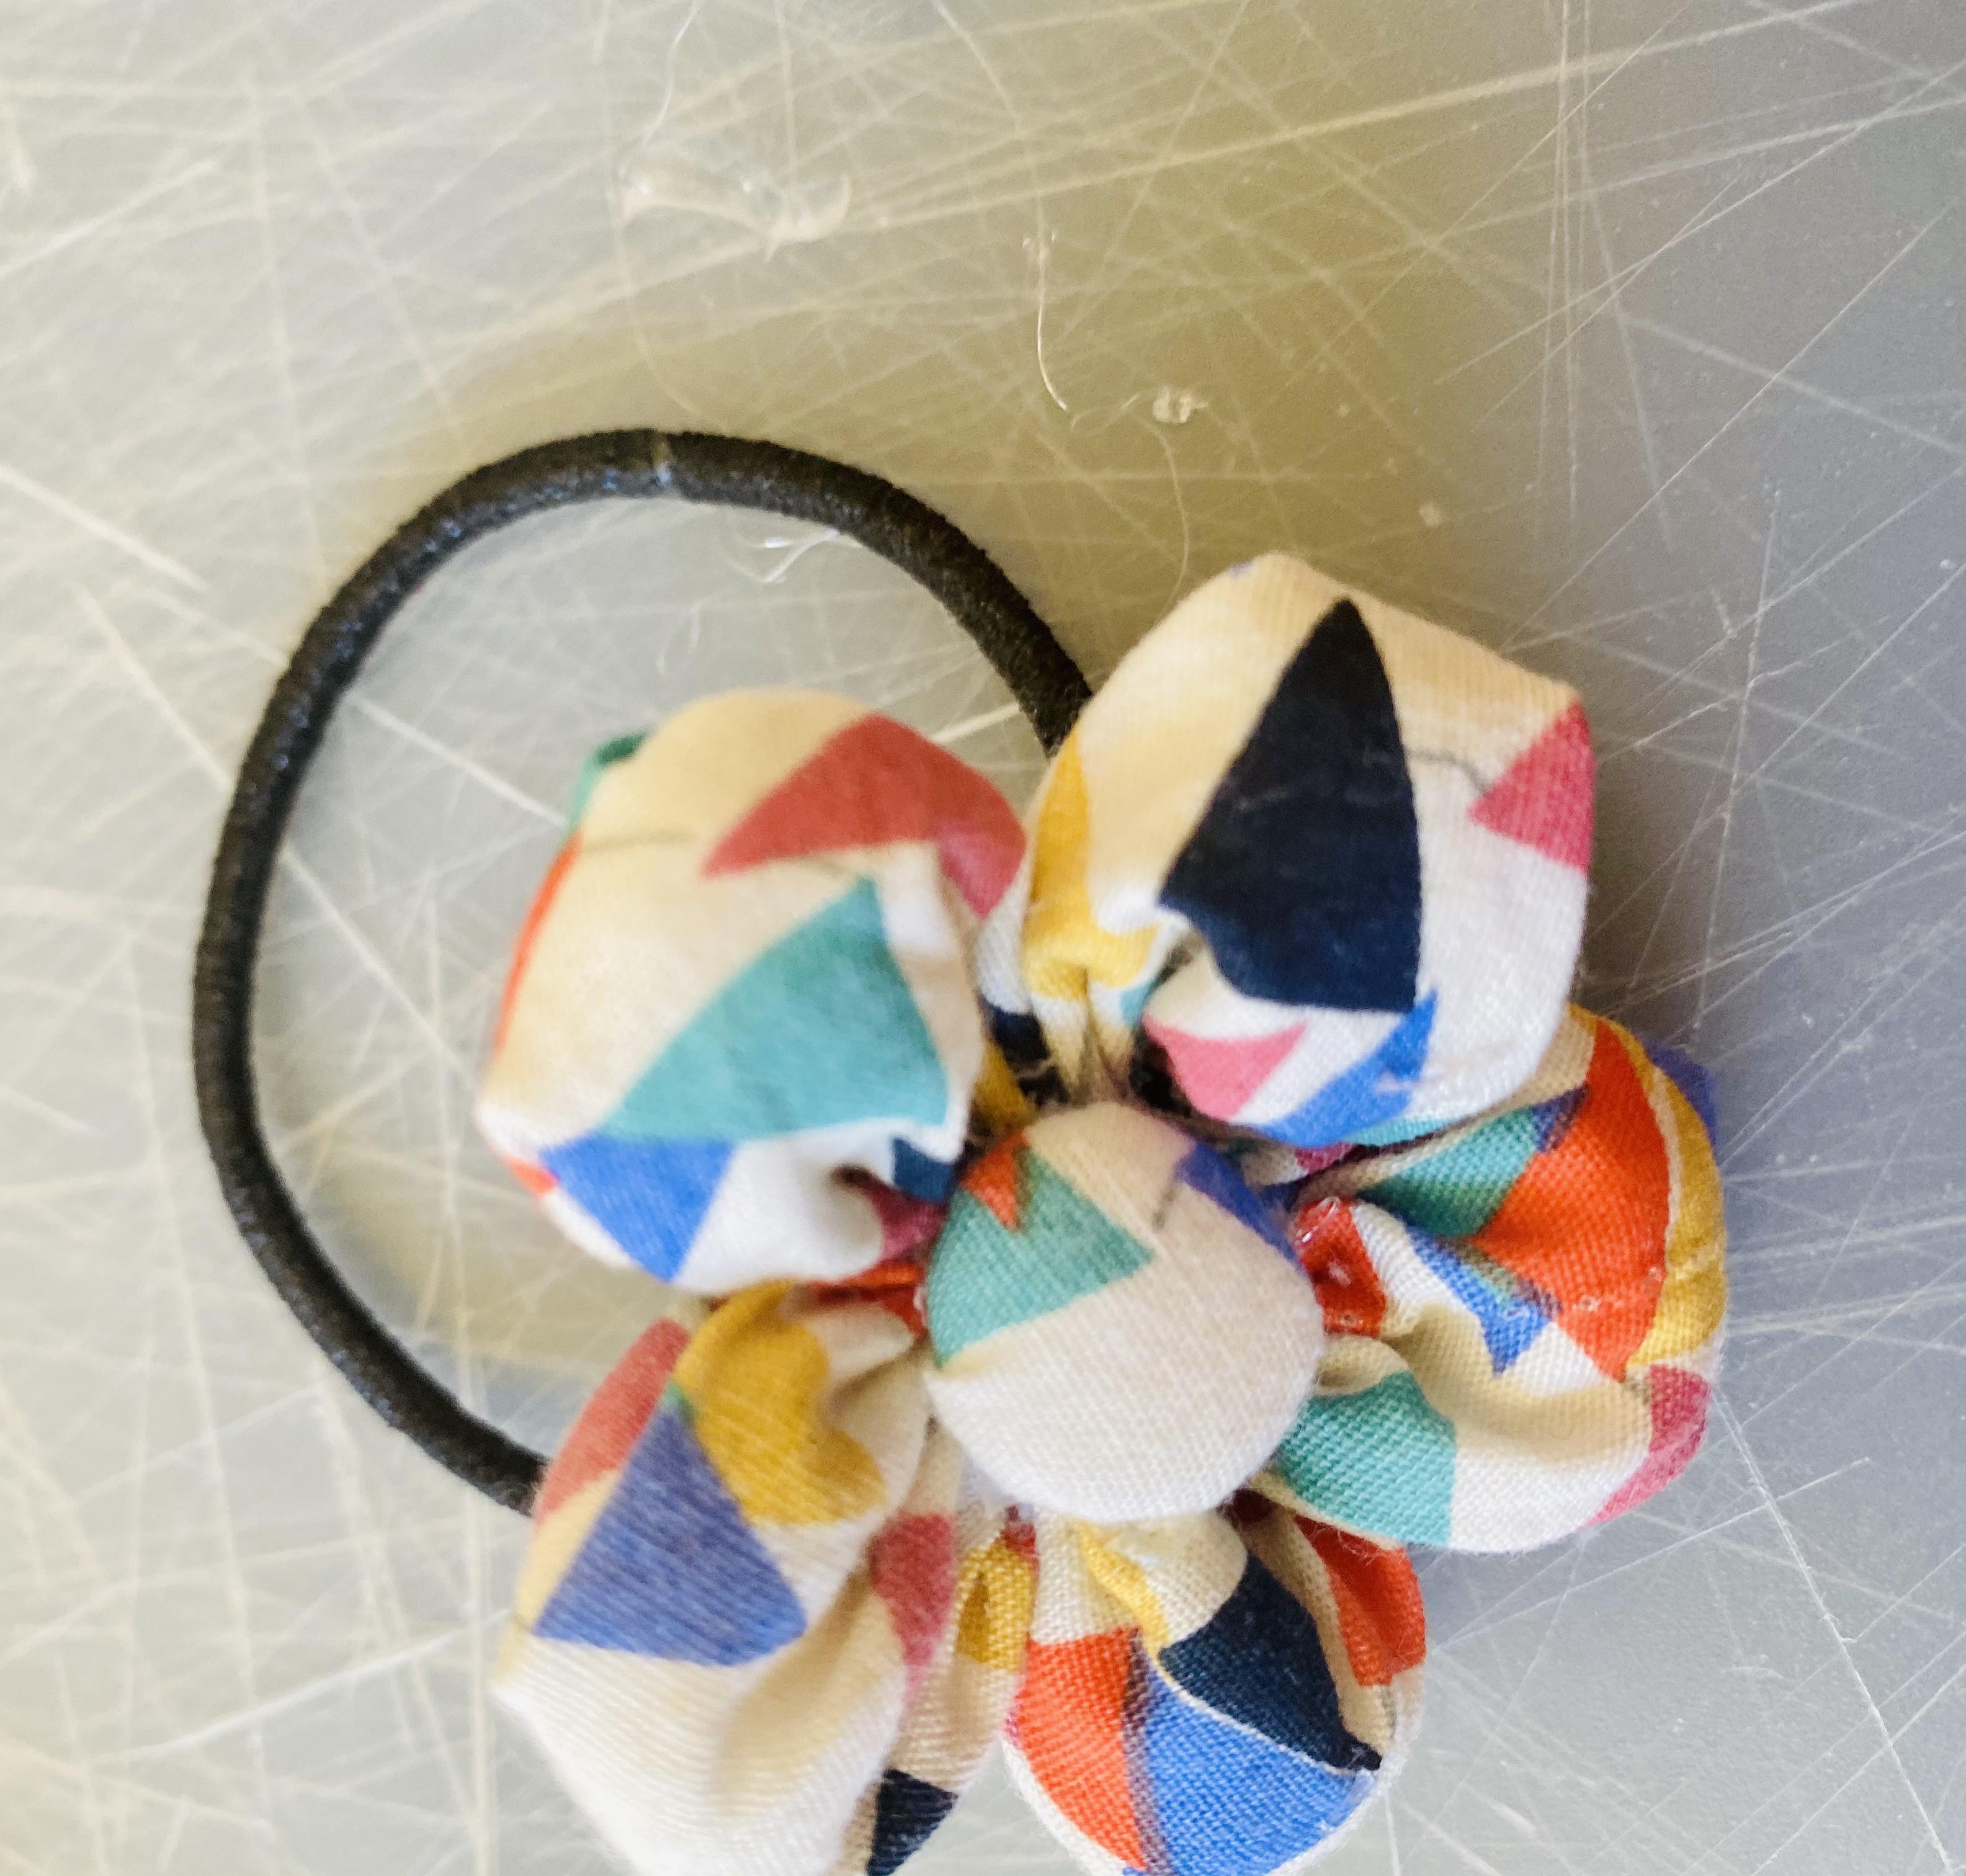
Take a small scrap of material of your choice. Can be a ribbon or same material. I have lots of extra scraps left.
1. Fold the edges to make it neater and then glued the folds together.
2. Glued the ponytail tie/band to the scrap of material you are using.
3. Glue the flat side of it to the back of the flower.
4. Let it dry. You have your own unique ponytail tie now.
1. Fold the edges to make it neater and then glued the folds together.
2. Glued the ponytail tie/band to the scrap of material you are using.
3. Glue the flat side of it to the back of the flower.
4. Let it dry. You have your own unique ponytail tie now.
Finished Product

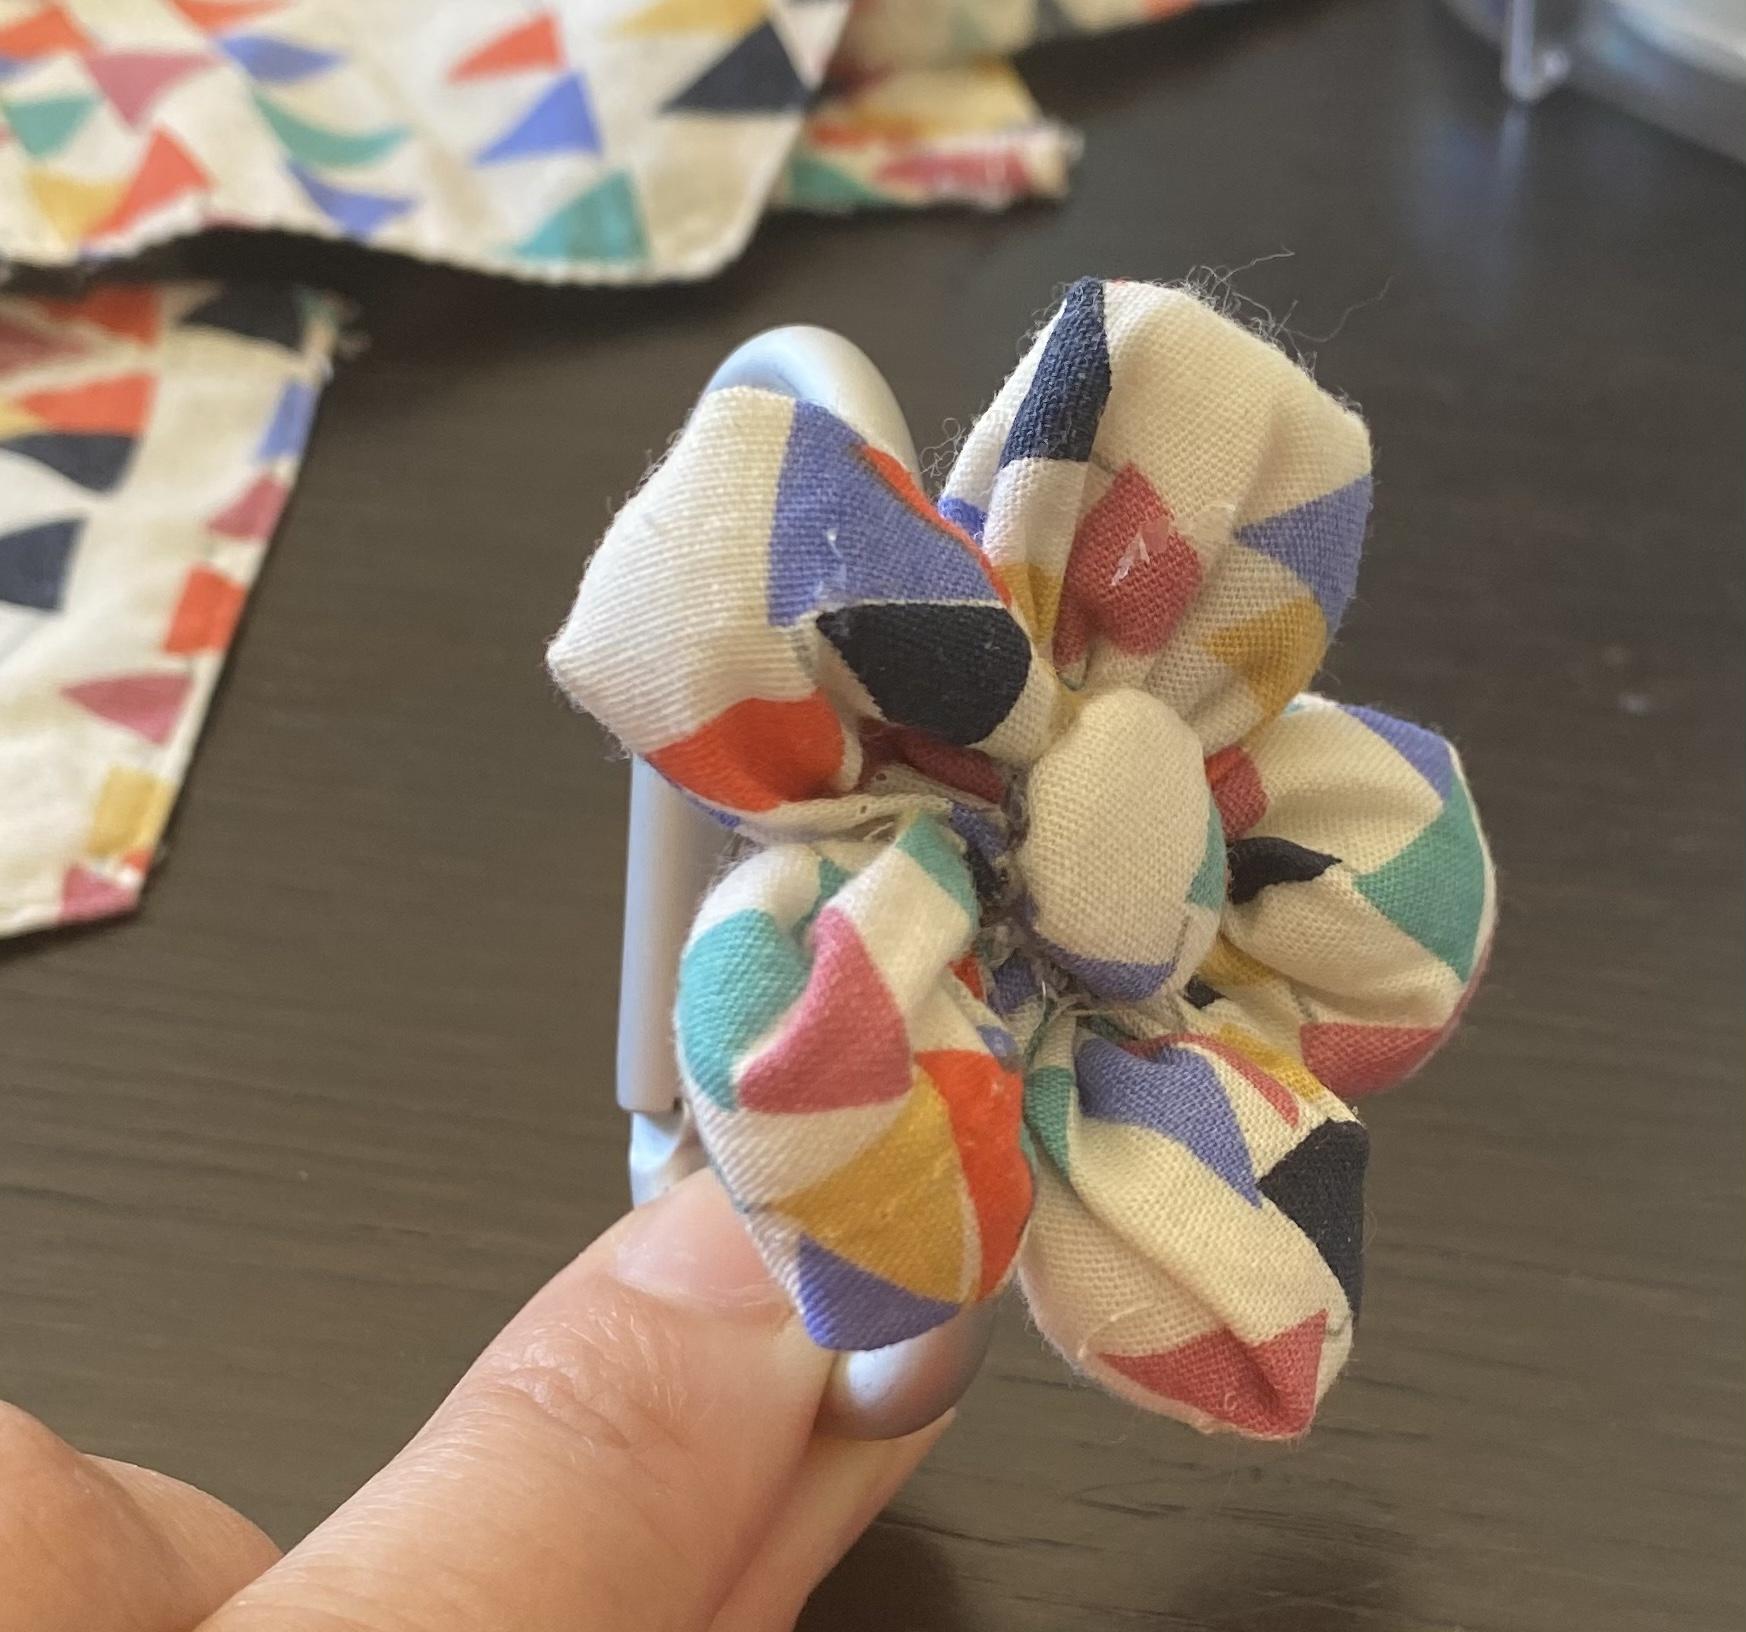
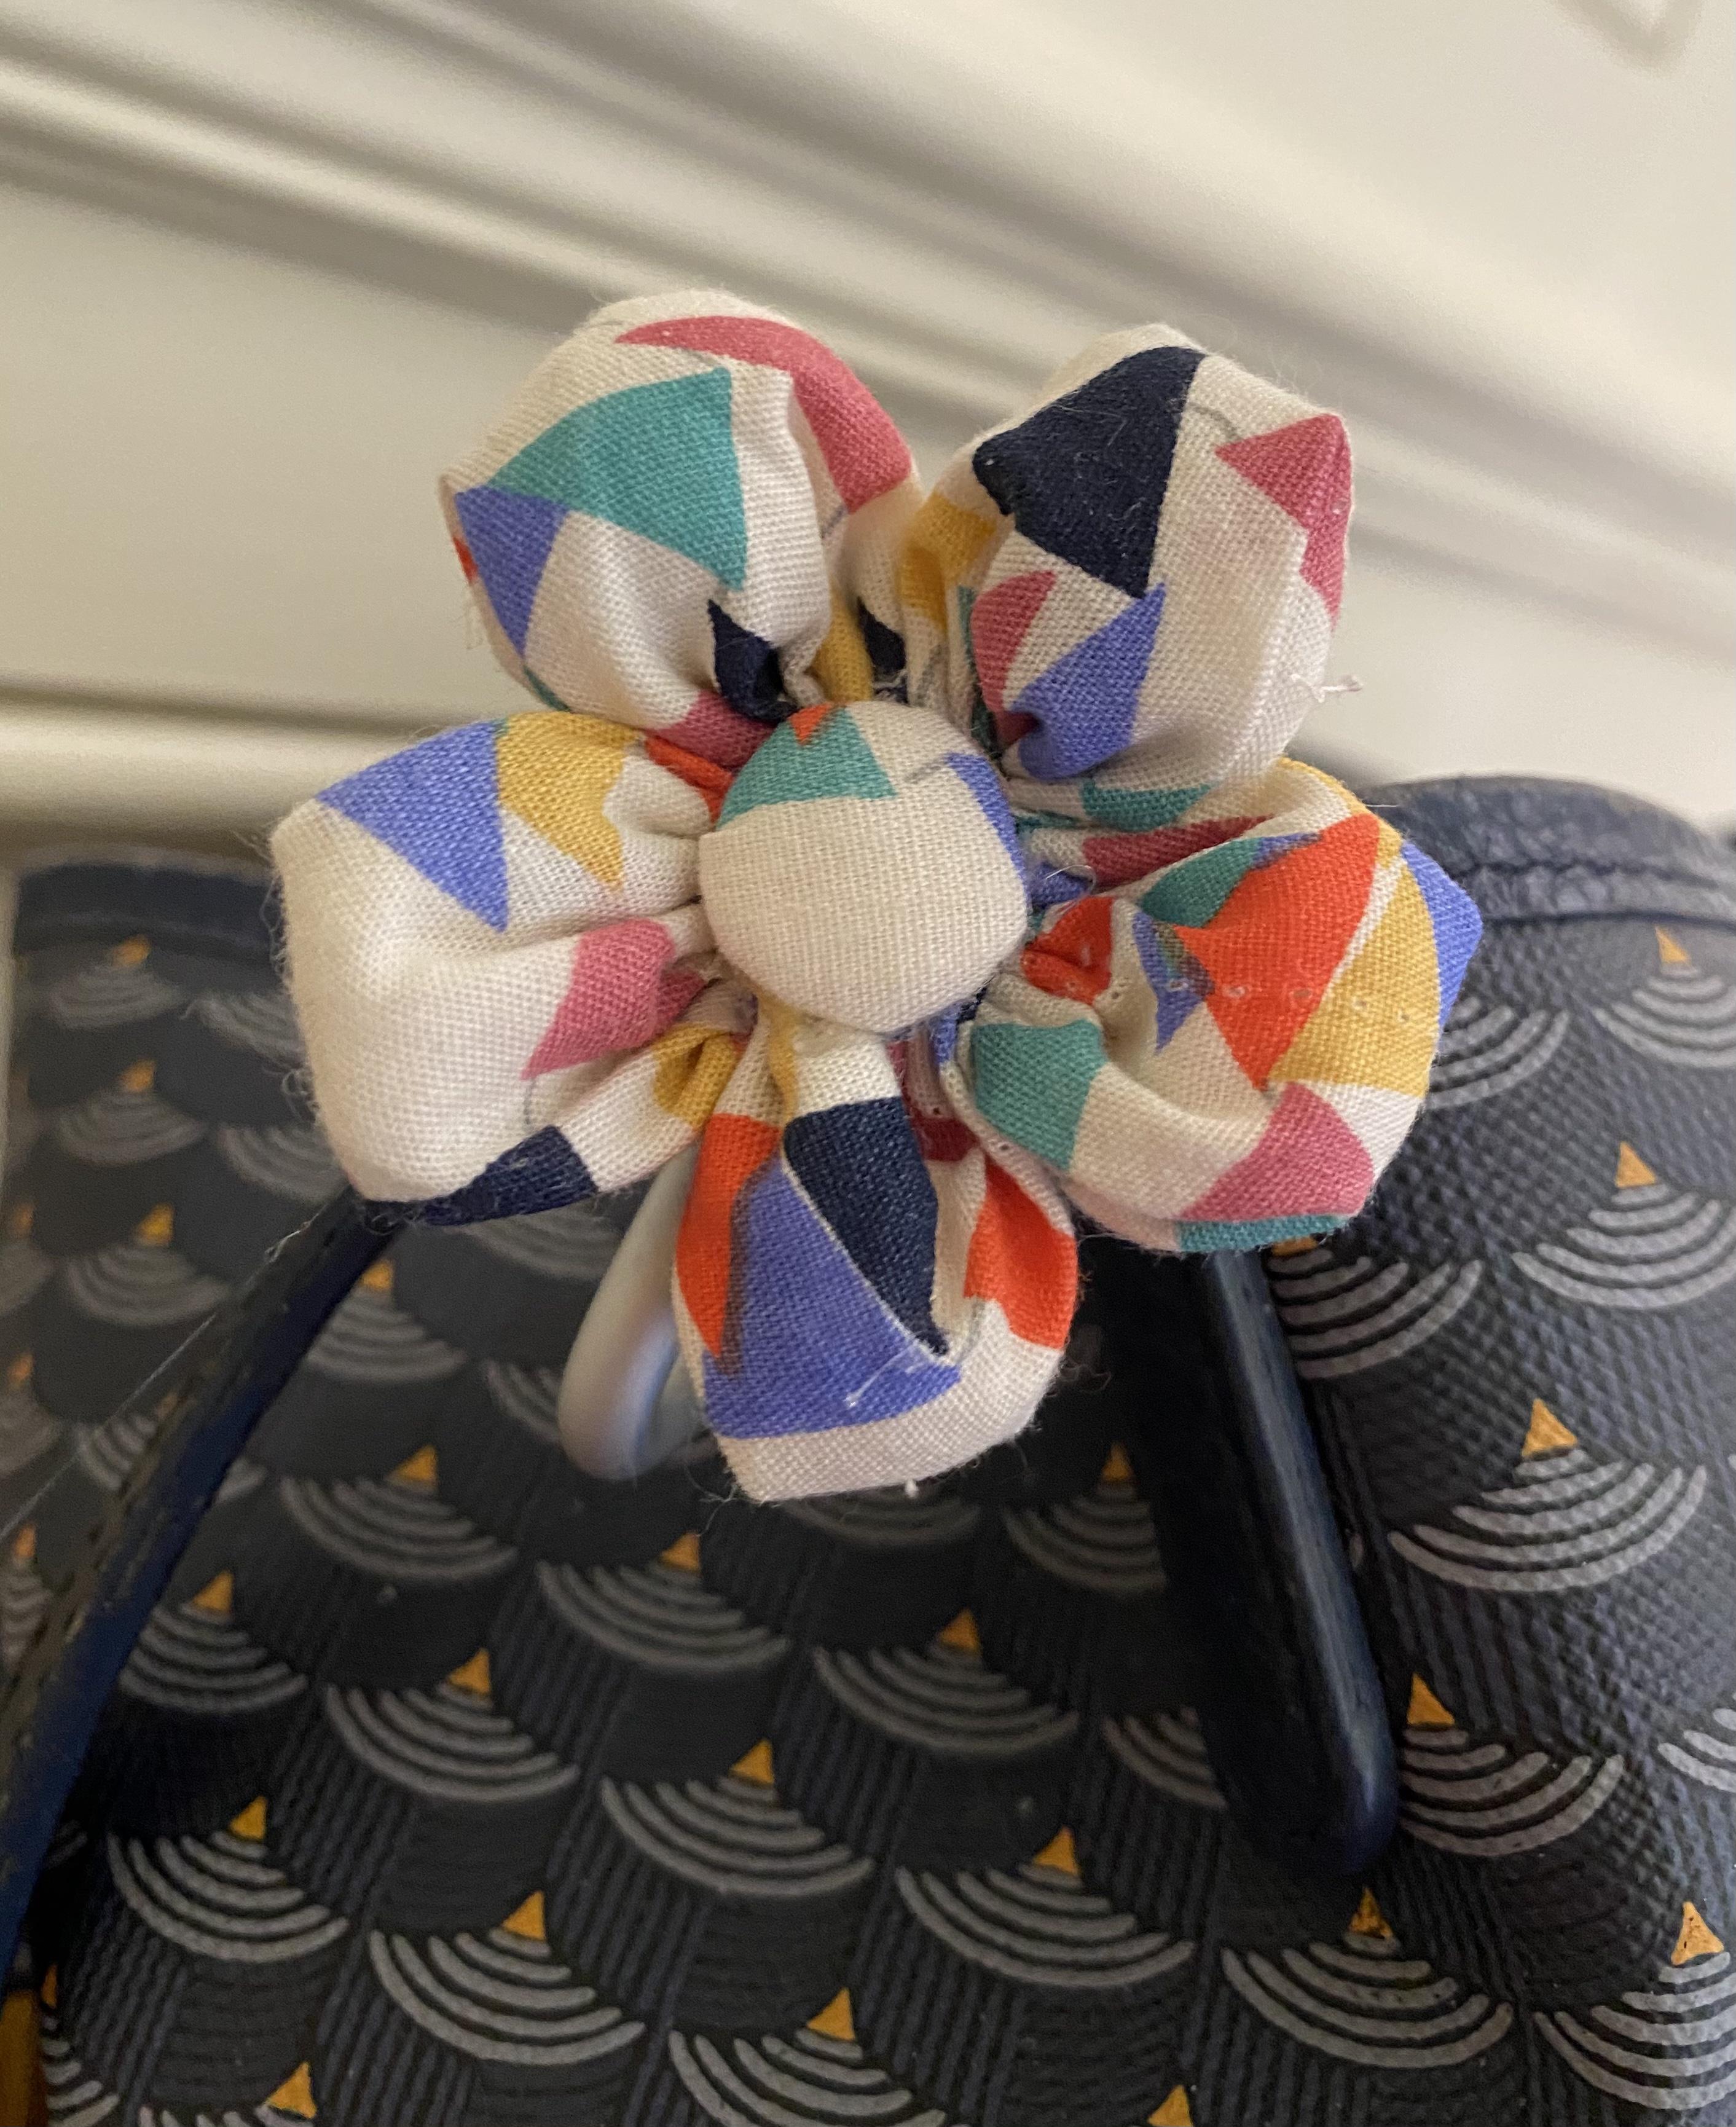
I used a glue gun to help stick my flowers to other material . You are free to choose whatever type of glue you have handy.
I glued my to a ponytail band / tie. And also to a hook to hook it onto bags.
I glued my to a ponytail band / tie. And also to a hook to hook it onto bags.