Flower and Macro Photography


Macro photography can be simple as "flower mode" on a automatic exposure, or custom built rig borrowing microscopy lenses. The methods discussed here are the intermediate options. The macro setup is going for budget techniques/skills and getting more advanced with a light tent.
With these methods we wanna bring out some dramatic color and detail of small objects. The flowers are a natural (pun intended) subject as their rainbow of colors can really pop.
Fist assumption is that you have a camera, preferably an SLR/Mirror-less with interchangeable lenses.
Second is you have a subject, preferably something small or detailed in texture
Third some understanding of the photography, to help you I have some primers to start here:
- The first basics of Outdoor photography and Light is my previous post.
- Then another sample of how to frame shots is here in Flower Photography Basics
- Samples on my blog
- Even more on my Google+
Gear

Necessary:
- Camera with focus control
- Tripod - highly recommended
- Lens
- Zoom lens - for beginners best start
- Prime Lens - less useful despite many being F2 or better
- Macro Lens - first choice but most specialized
Accessories:
- Extension tubes
- Shutter remote
- Filters
- polarized filter
- color filters
- External Flash
- speed-light
- wired/wireless remote
- ring light
- Focus rails
Other items:
- seat
- beanbags
- clips
- spray bottle
- light tent
- specialized lighting IE light-box or studio lighting
Stabilization


For a clear shot stabilization and shutter speed is key to maintaining focus.
Two tripods are shown, one traditional and one with an adjustable arm
When available the arm on the tripod lets you change the angles
Focusing rack can be useful for precise adjustments.
If you don't have a tripod, check for something to lean against, use a beanbag or handhold with fast shutter 1:100 of a second or faster
Lens Selection

Important factors in macro photography lenses are the:
- Focal distance (how close can you get)
- F-stops or aperture, controls how much light and what your depth of field is.
- Magnification - how big can you get the image 1:1 is life size
The First choice is a macro lens, they have multiplication ratio 1:2 and some 1:1 (life sized). They may also have focal distances of a few inches or less.
Standard lenses are semi useful for macro photography, but you need to pay attention to the minimum focal distance.
Zoom or telephoto lenses - slower lenses let in less light and usually minimal focal distance can be 3' (1m)
Some adapters can modify these standard lenses into macro lenses
The extension tube will allow focus on close objects and magnification, you have the benefit of no light loss
When using the extension tube, zoom is both your course focus and crop
the regular focus will make fine adjustments
diopters on the front of the lens are essentially a magnifying glass but you will loose light and maybe distort
Get Outside and Shoot


Go where the flowers are, sometimes thats outside, things may be wet and sometimes bugs. Use that to your advantage. Cloudy days are not always bad as it diffuses light. noon is brightest, however without shade there may be harsh shadows.
These are examples of a 42mm zoom lens and a 10mm extension
The small purple flowers are close up and vibrant, but sometimes think about B&W for more texture
The lime bloom after watering with diffused lighting in the shade
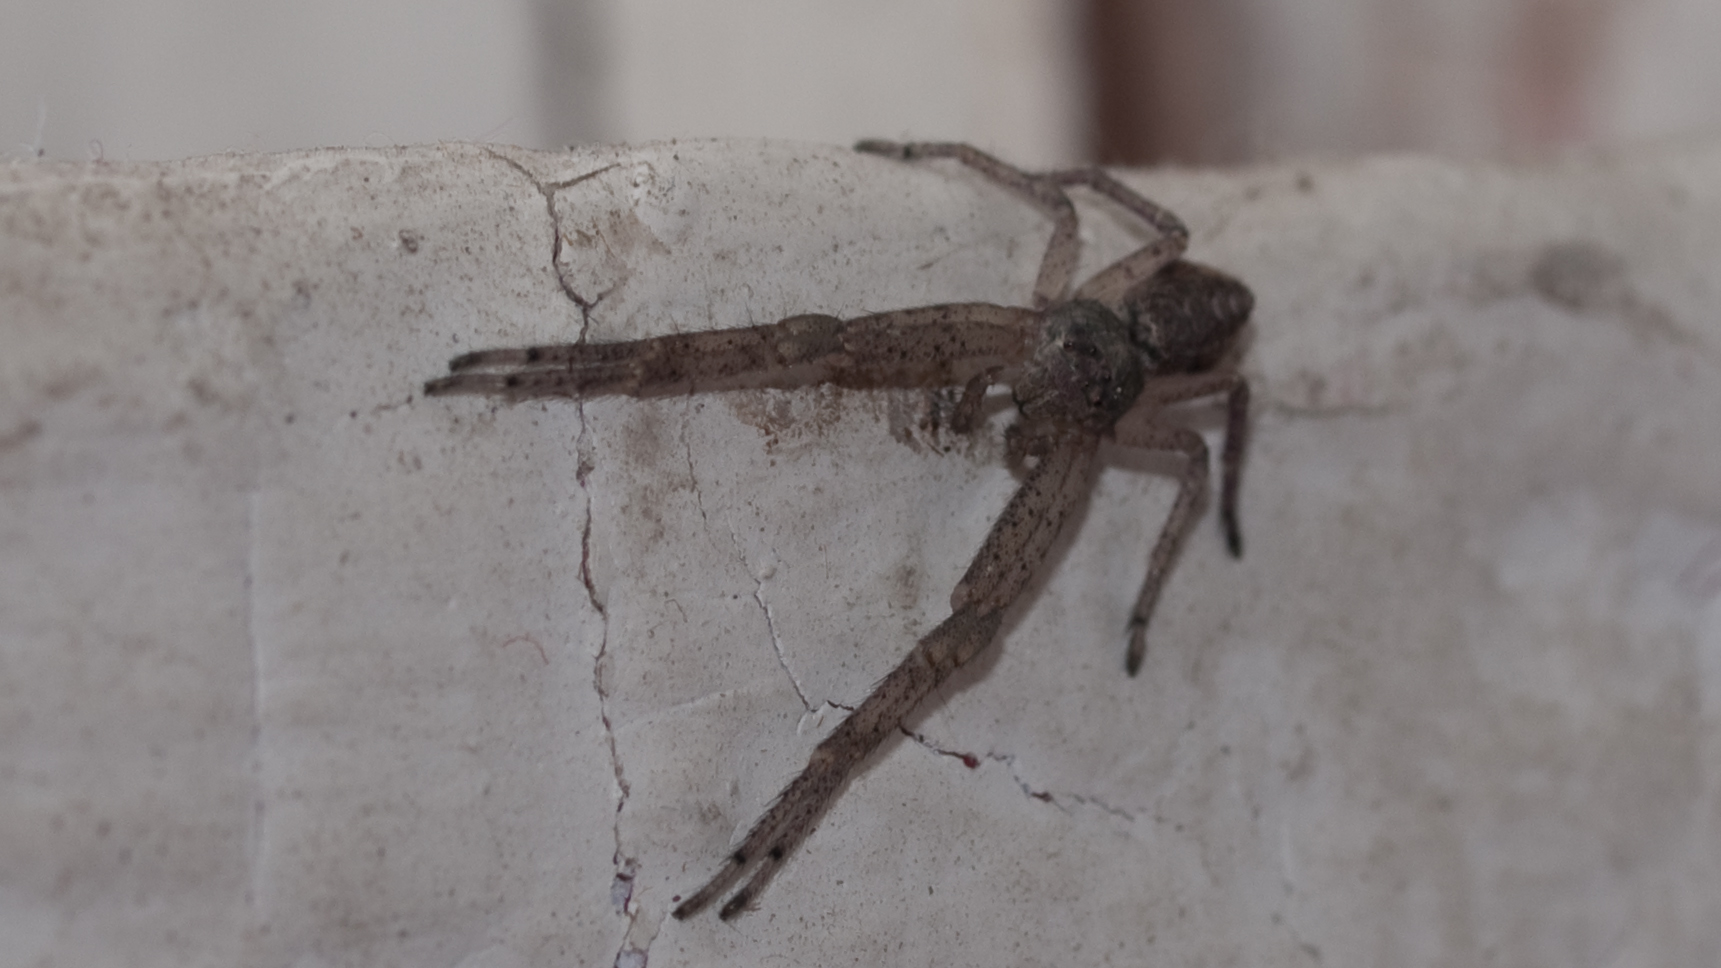
The orb spider was a unexpected visitor in the yard
Outdoor Photo With Backdrop and Myst


So the colors of the flower pops when put on a black background
The light background mutes the colors
A cheep spray bottle adds the drama!
This is easy to experiment so a 5-in1 reflector diffusion disk could be worth the investment
Assessories: Set Up a Mini Studio


Light tent to control reflections
The light tent will diffuse all light going in making soft shadows
Put continuous light on top or any side
Flash on the camera will make sharp shadows
Remote lights and lamp to control set up
Try moving remote flash units- wired flash works but can get tangled. cheep remotes are $20
flash units can also support colored gels
Think about back-lighting, side light or front light.
side light can make many subjects look great
back-light can work to add drama
Backgrounds, both acrylic reflective and drop-cloth
The acrylic can make nice reflections
cloth backgrounds can make smooth transitions
Add more accessories
light box to back-light subjects
remote for shutter
The Light Tent Results (and Shells)


The small purple flowers are bright and vibrant using the lightbox for backlighting
A scallop shell on the same white background helps bring out some texture and side lights
the spiral arch and stripes on is highlighted from black background and side flash units with gel lights (right blue and left red gel)
Post Credits and Postprocessing


Take sharp photos or soft focus - it is pretty but sometimes not the tone you need
Try some post processing including HDR- High Dynamic Range
Using bracketed shots you can increase the color and texture range in your photos
Experiment with creating effects that make the white flower dramatic, and the purple ones can really glow!