Flower Engraved Plaque
by EmilyGrill190 in Workshop > Laser Cutting
649 Views, 9 Favorites, 0 Comments
Flower Engraved Plaque
.JPG)
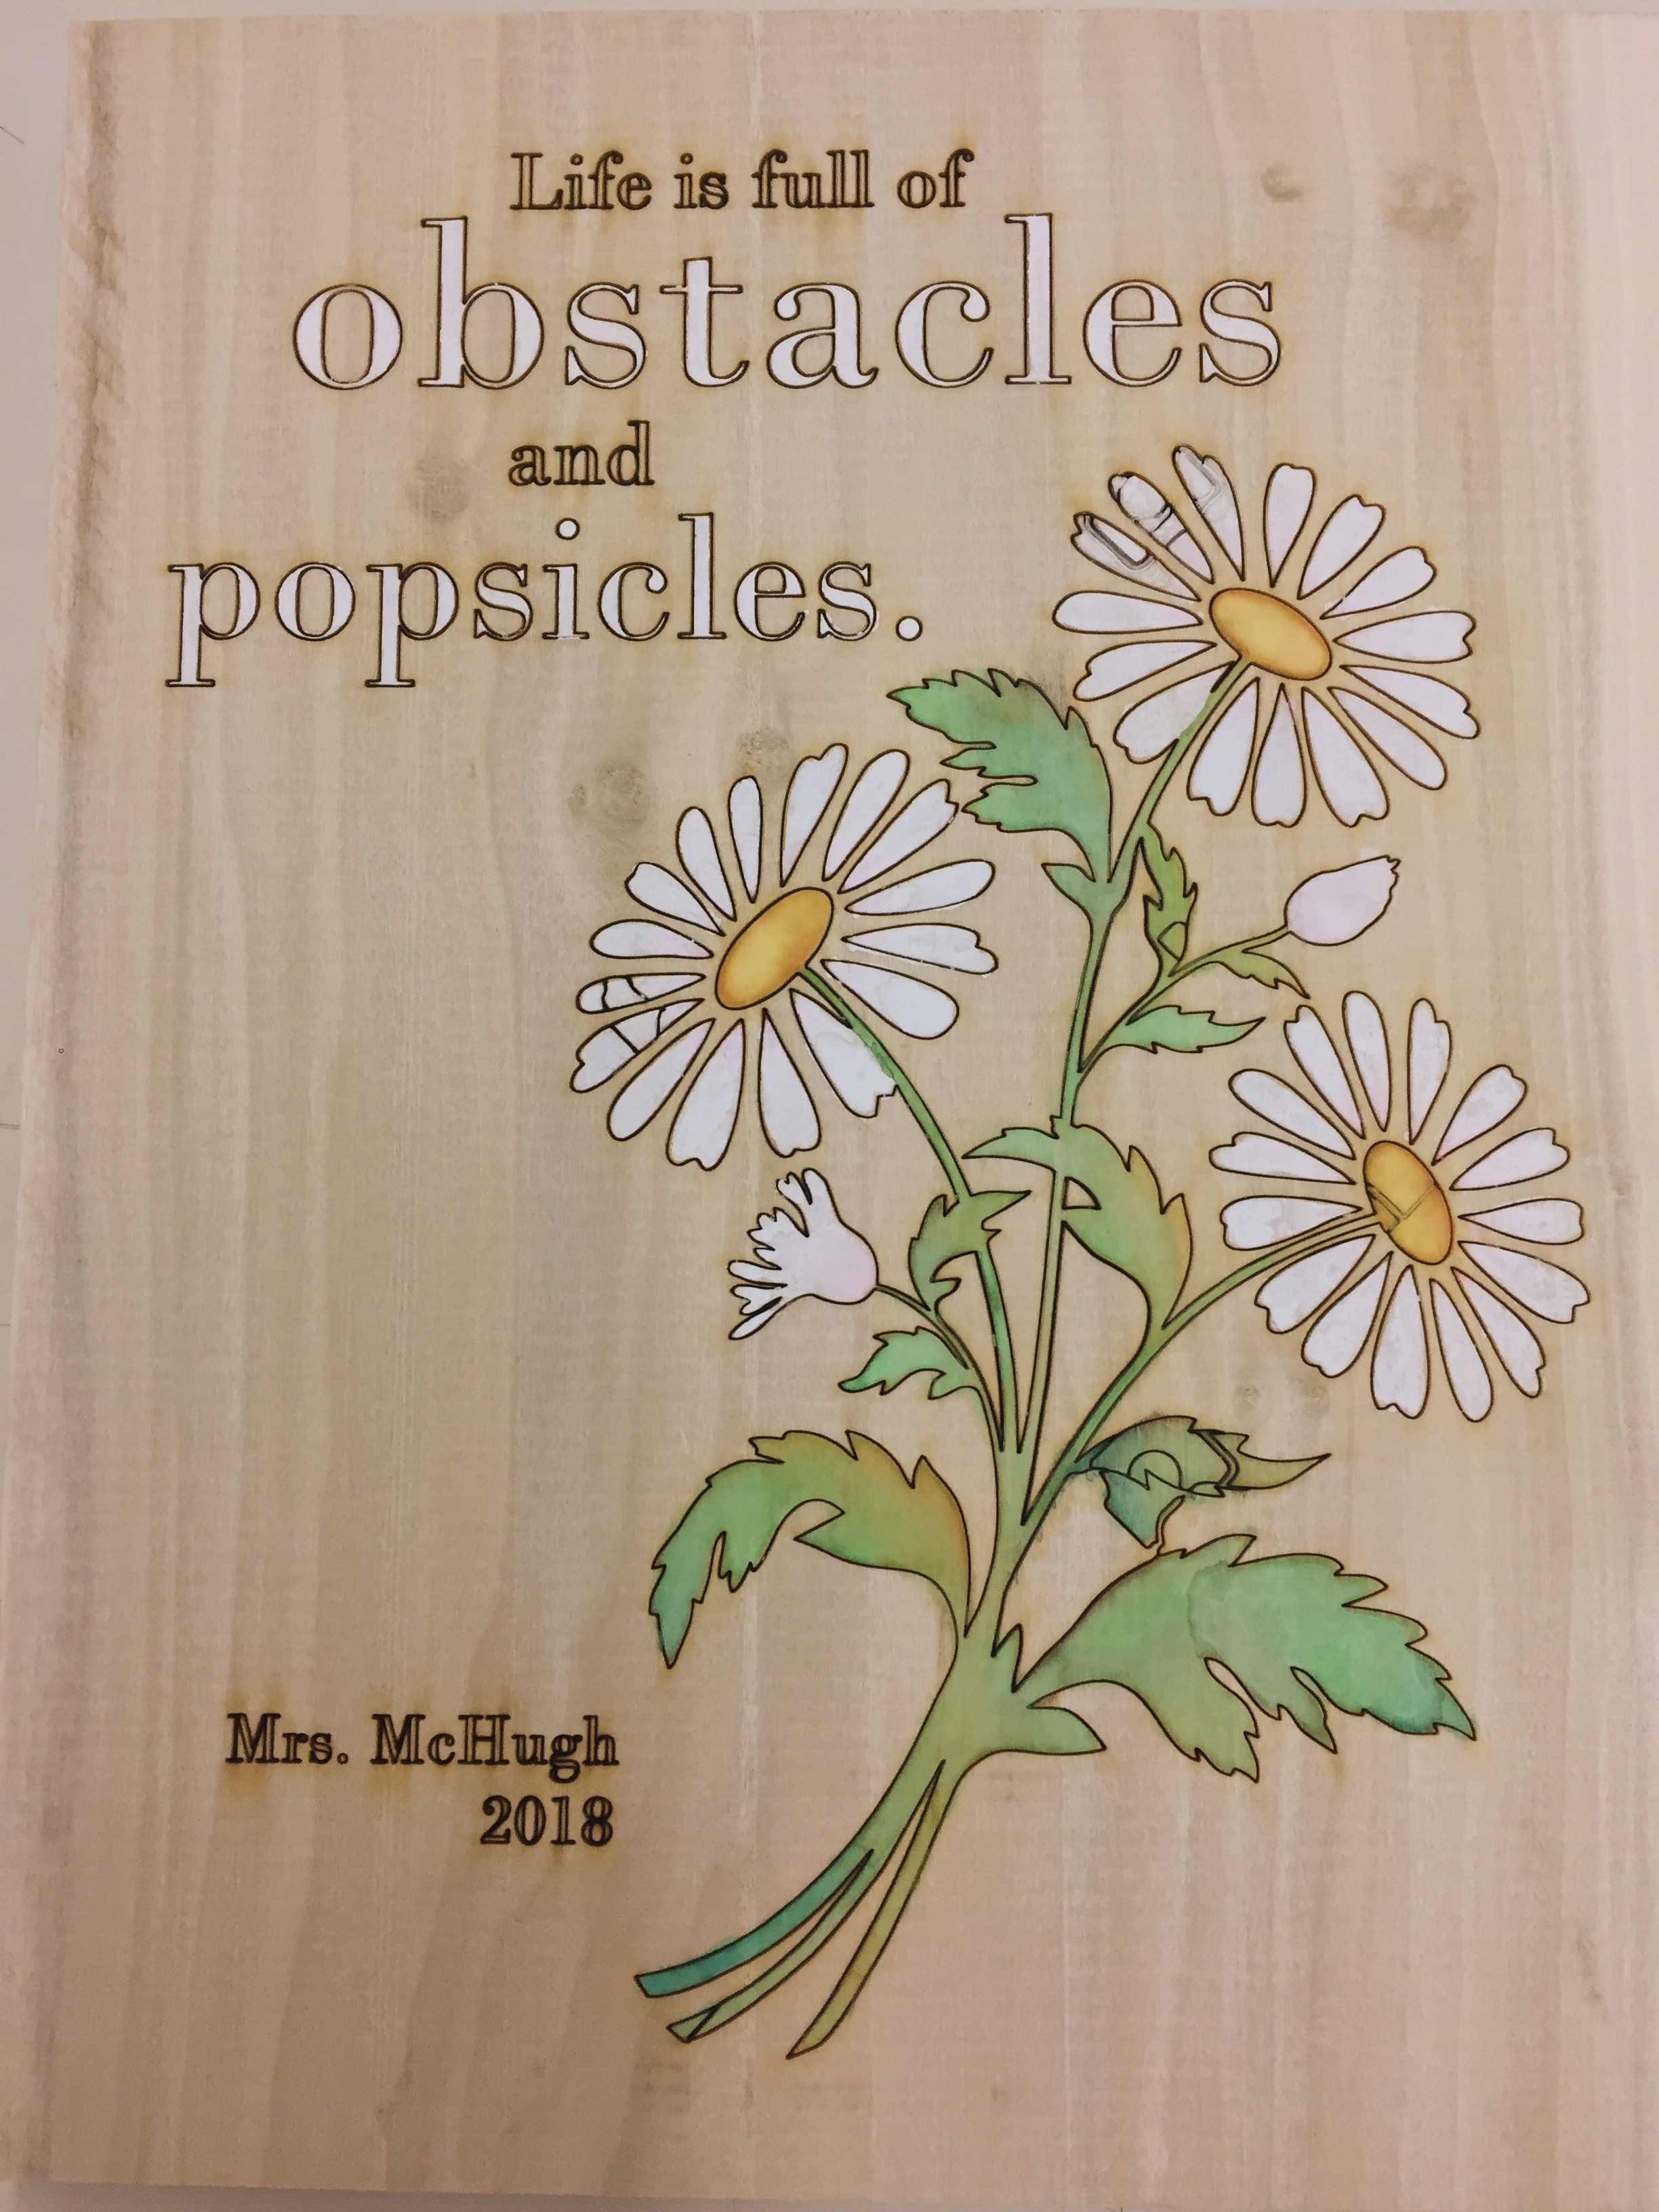
When Mr. Taylor introduced the laser engraver technology to my Introduction to Engineering and Architecture class, I knew I wanted to create something! By combing the engraving technology and watercolor, I was able to create something special for my math teacher, Mrs. McHugh, for teacher appreciation week!
Step 1: Pick Your Image
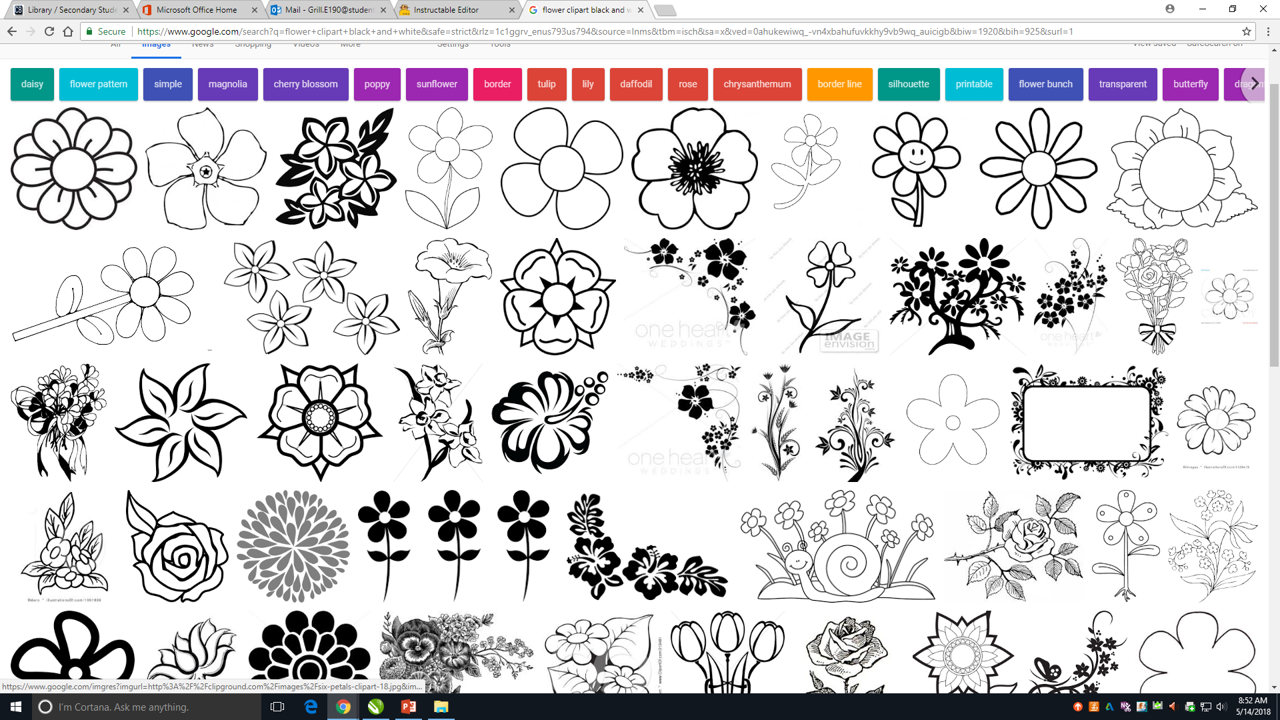

Before using the engraver, there were a few steps I had to take. First, I had to find an image.
A quick google search later, I was able to find an image that I liked. When I was looking for a usable image, I looked for something simple with clearly defined lines. This was important because in order to engrave the image, I would have to create a hairline outline. A hairline outline is a very thin outline following the outside of the image. Well defined, simplistic images work the best for this type of outline.
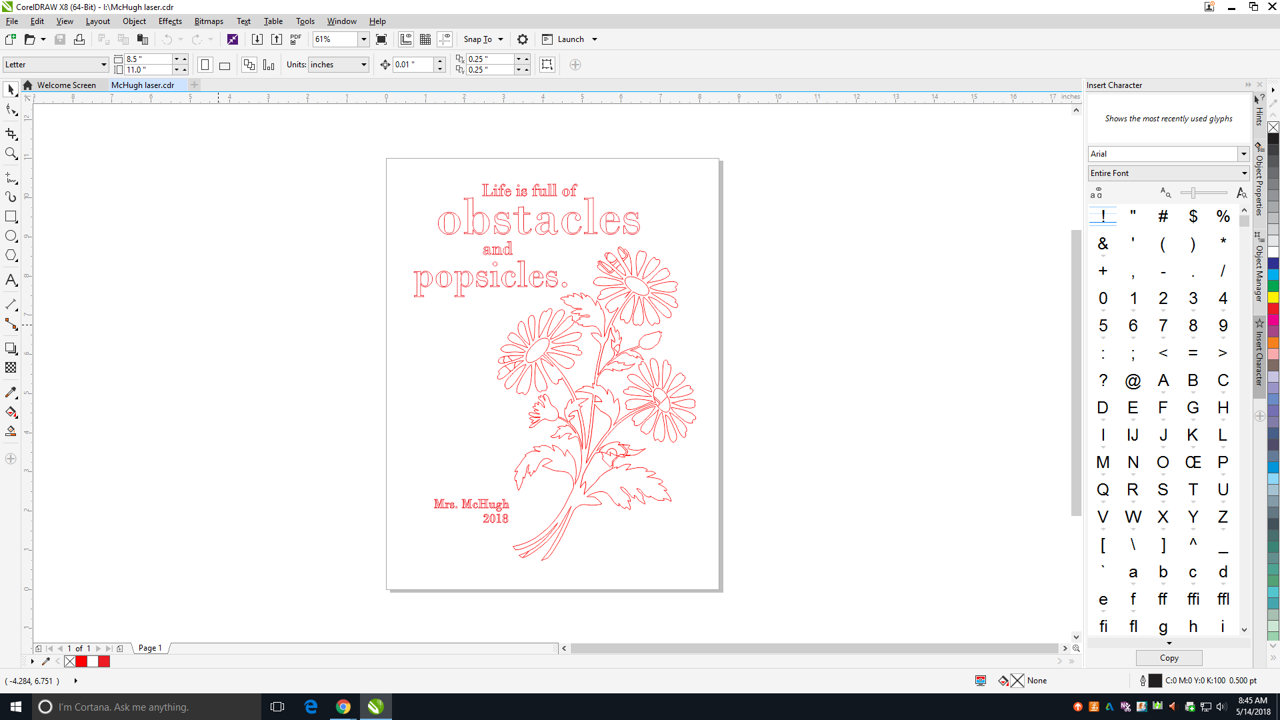
After I found an image, I saved the it to my computer. Using the computer application, CorelDRAW, I imported my image and created a hairline outline. Since the laser printer we used in class reads red, I changed the color of the hairline outline to red (225).
Using the CorelDRAW tools, I was also able to insert text. I also created a red hairline outline for the text.
Step 2: Laser Engrave
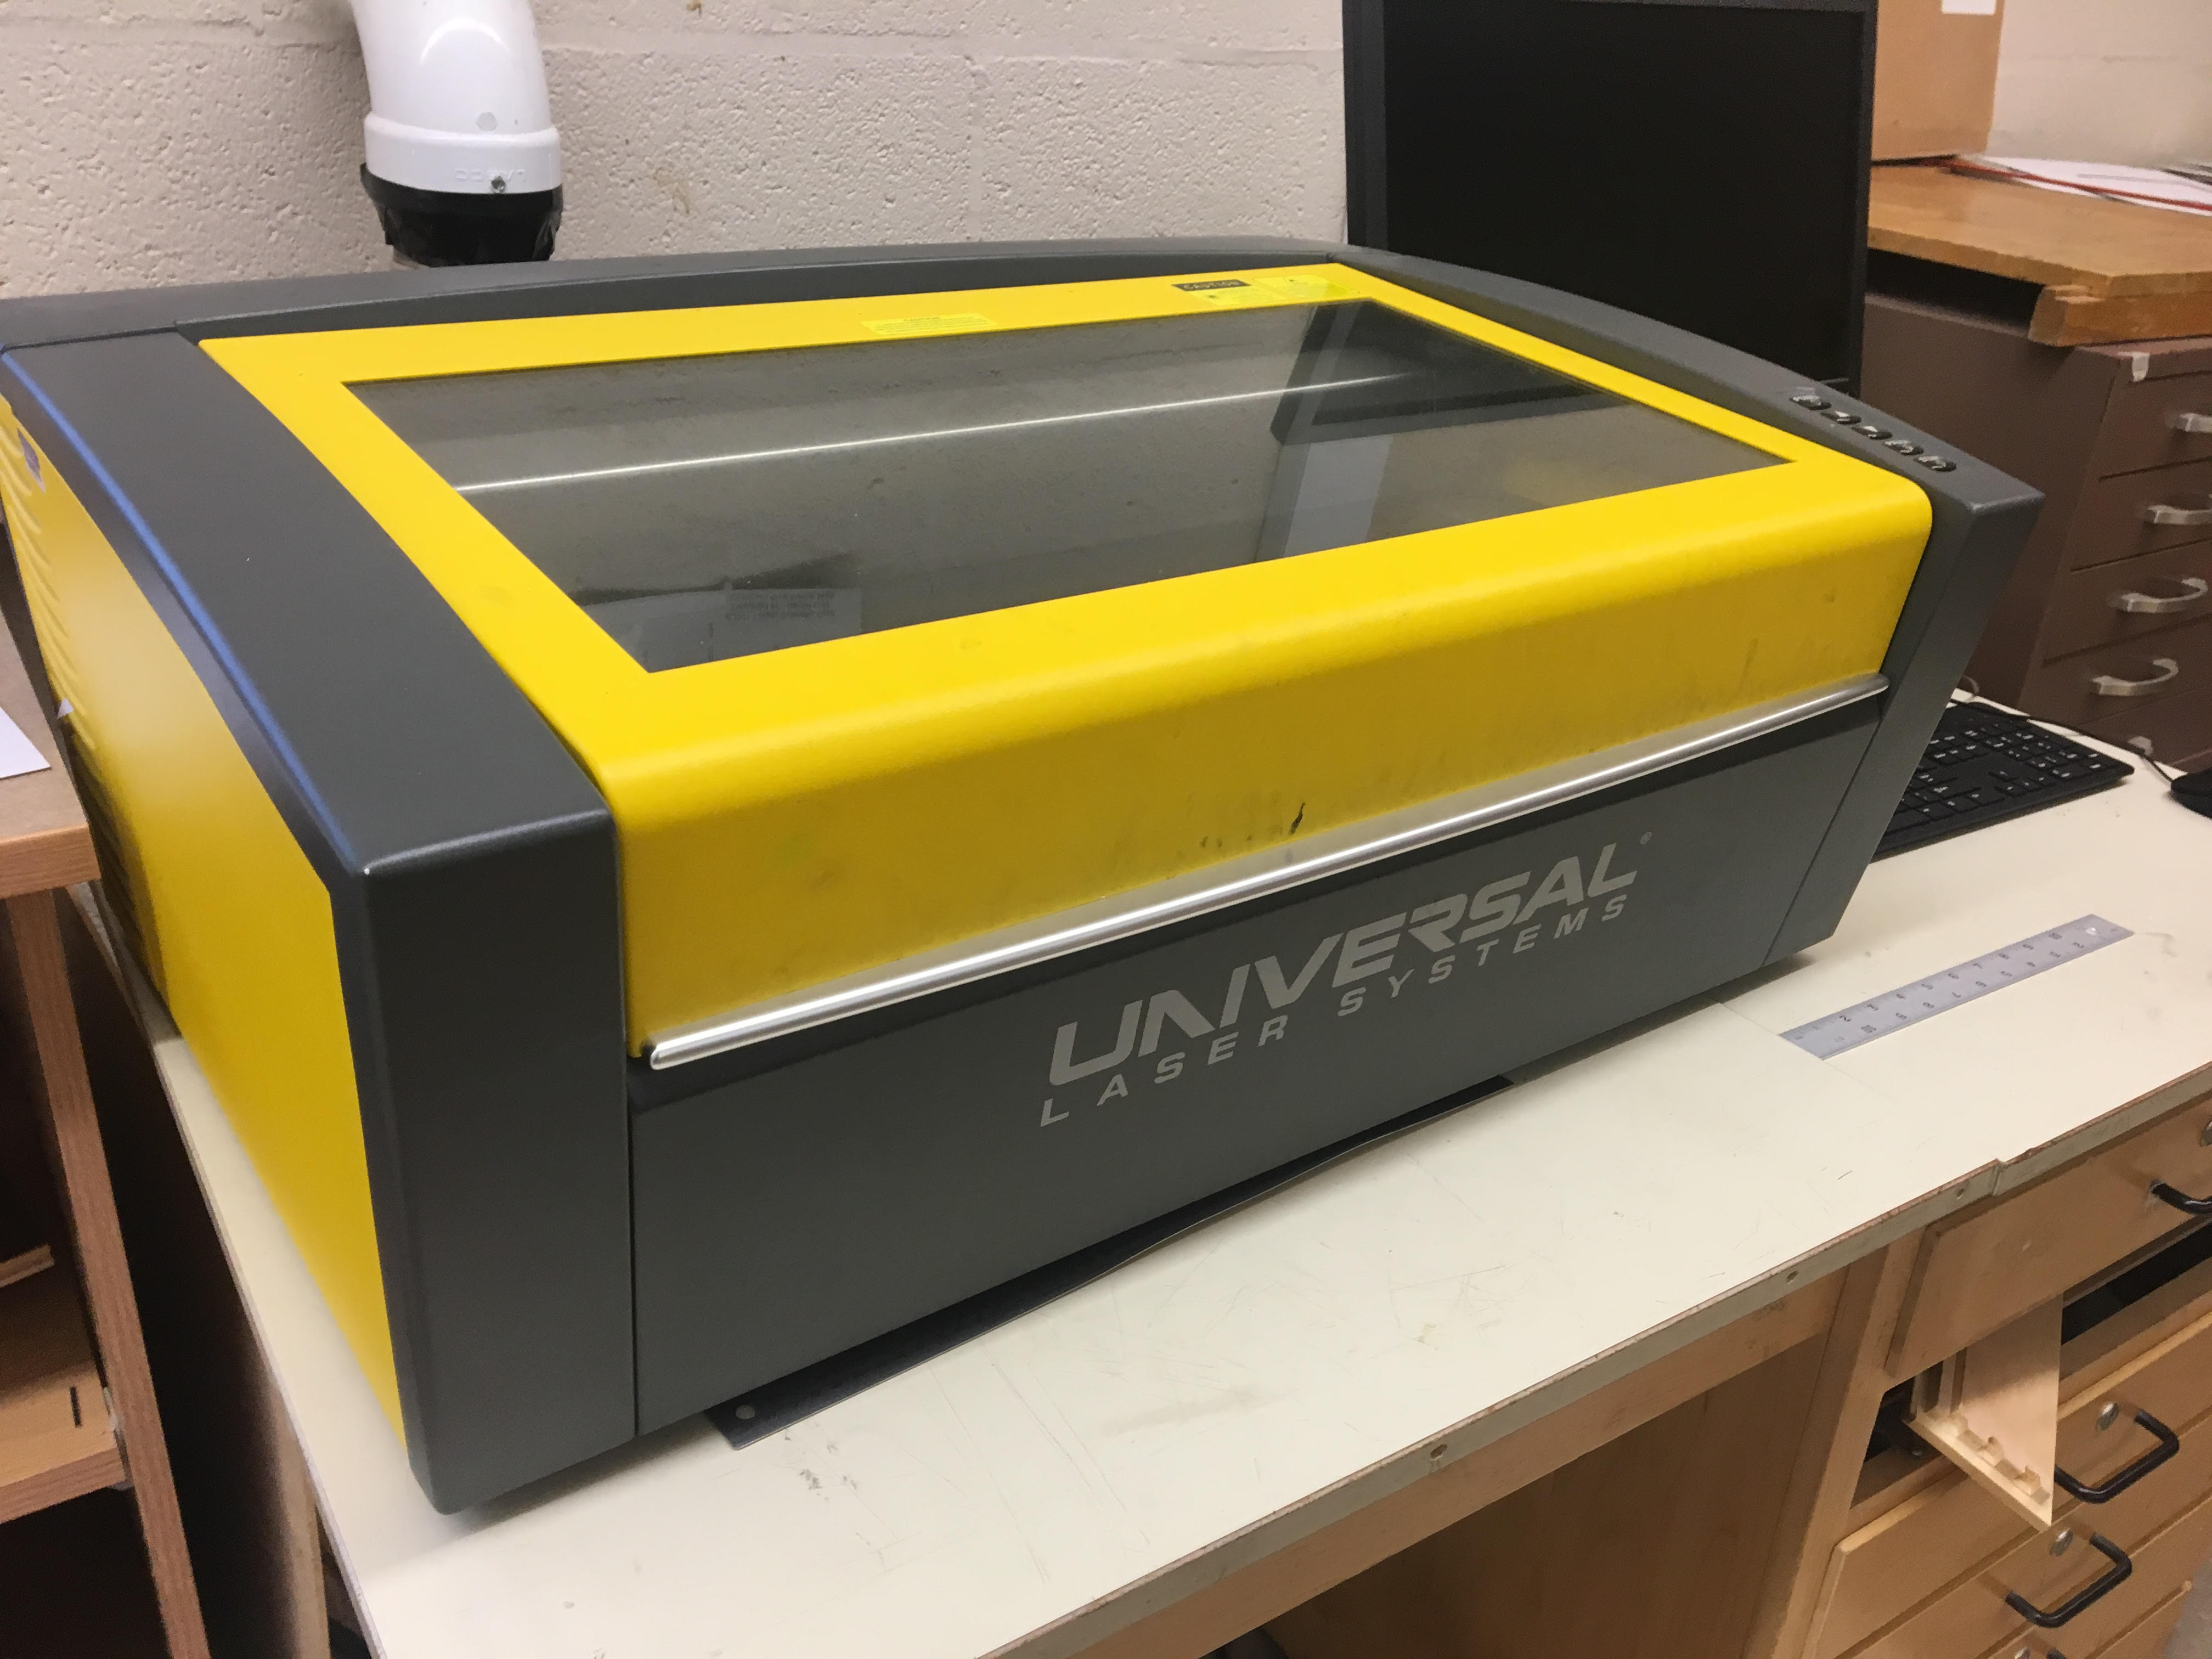

Next it was time to laser engrave!
I picked a piece of wood that was 8 1/2" by 11" with about 1" thickness.
Using CorelDRAW, I sent my design to the laser printer. Using the printing program for the laser engraver, I found the center point of my image which helped me line my piece of wood inside the engraver. I also modified the settings by changing "material" to "mat-board," "power" to 80% and "speed" to 20%.
Once the wood was in place, all I had to do was hit print and watch! The printing took under 10 minutes to complete.
Step 3: Embellish
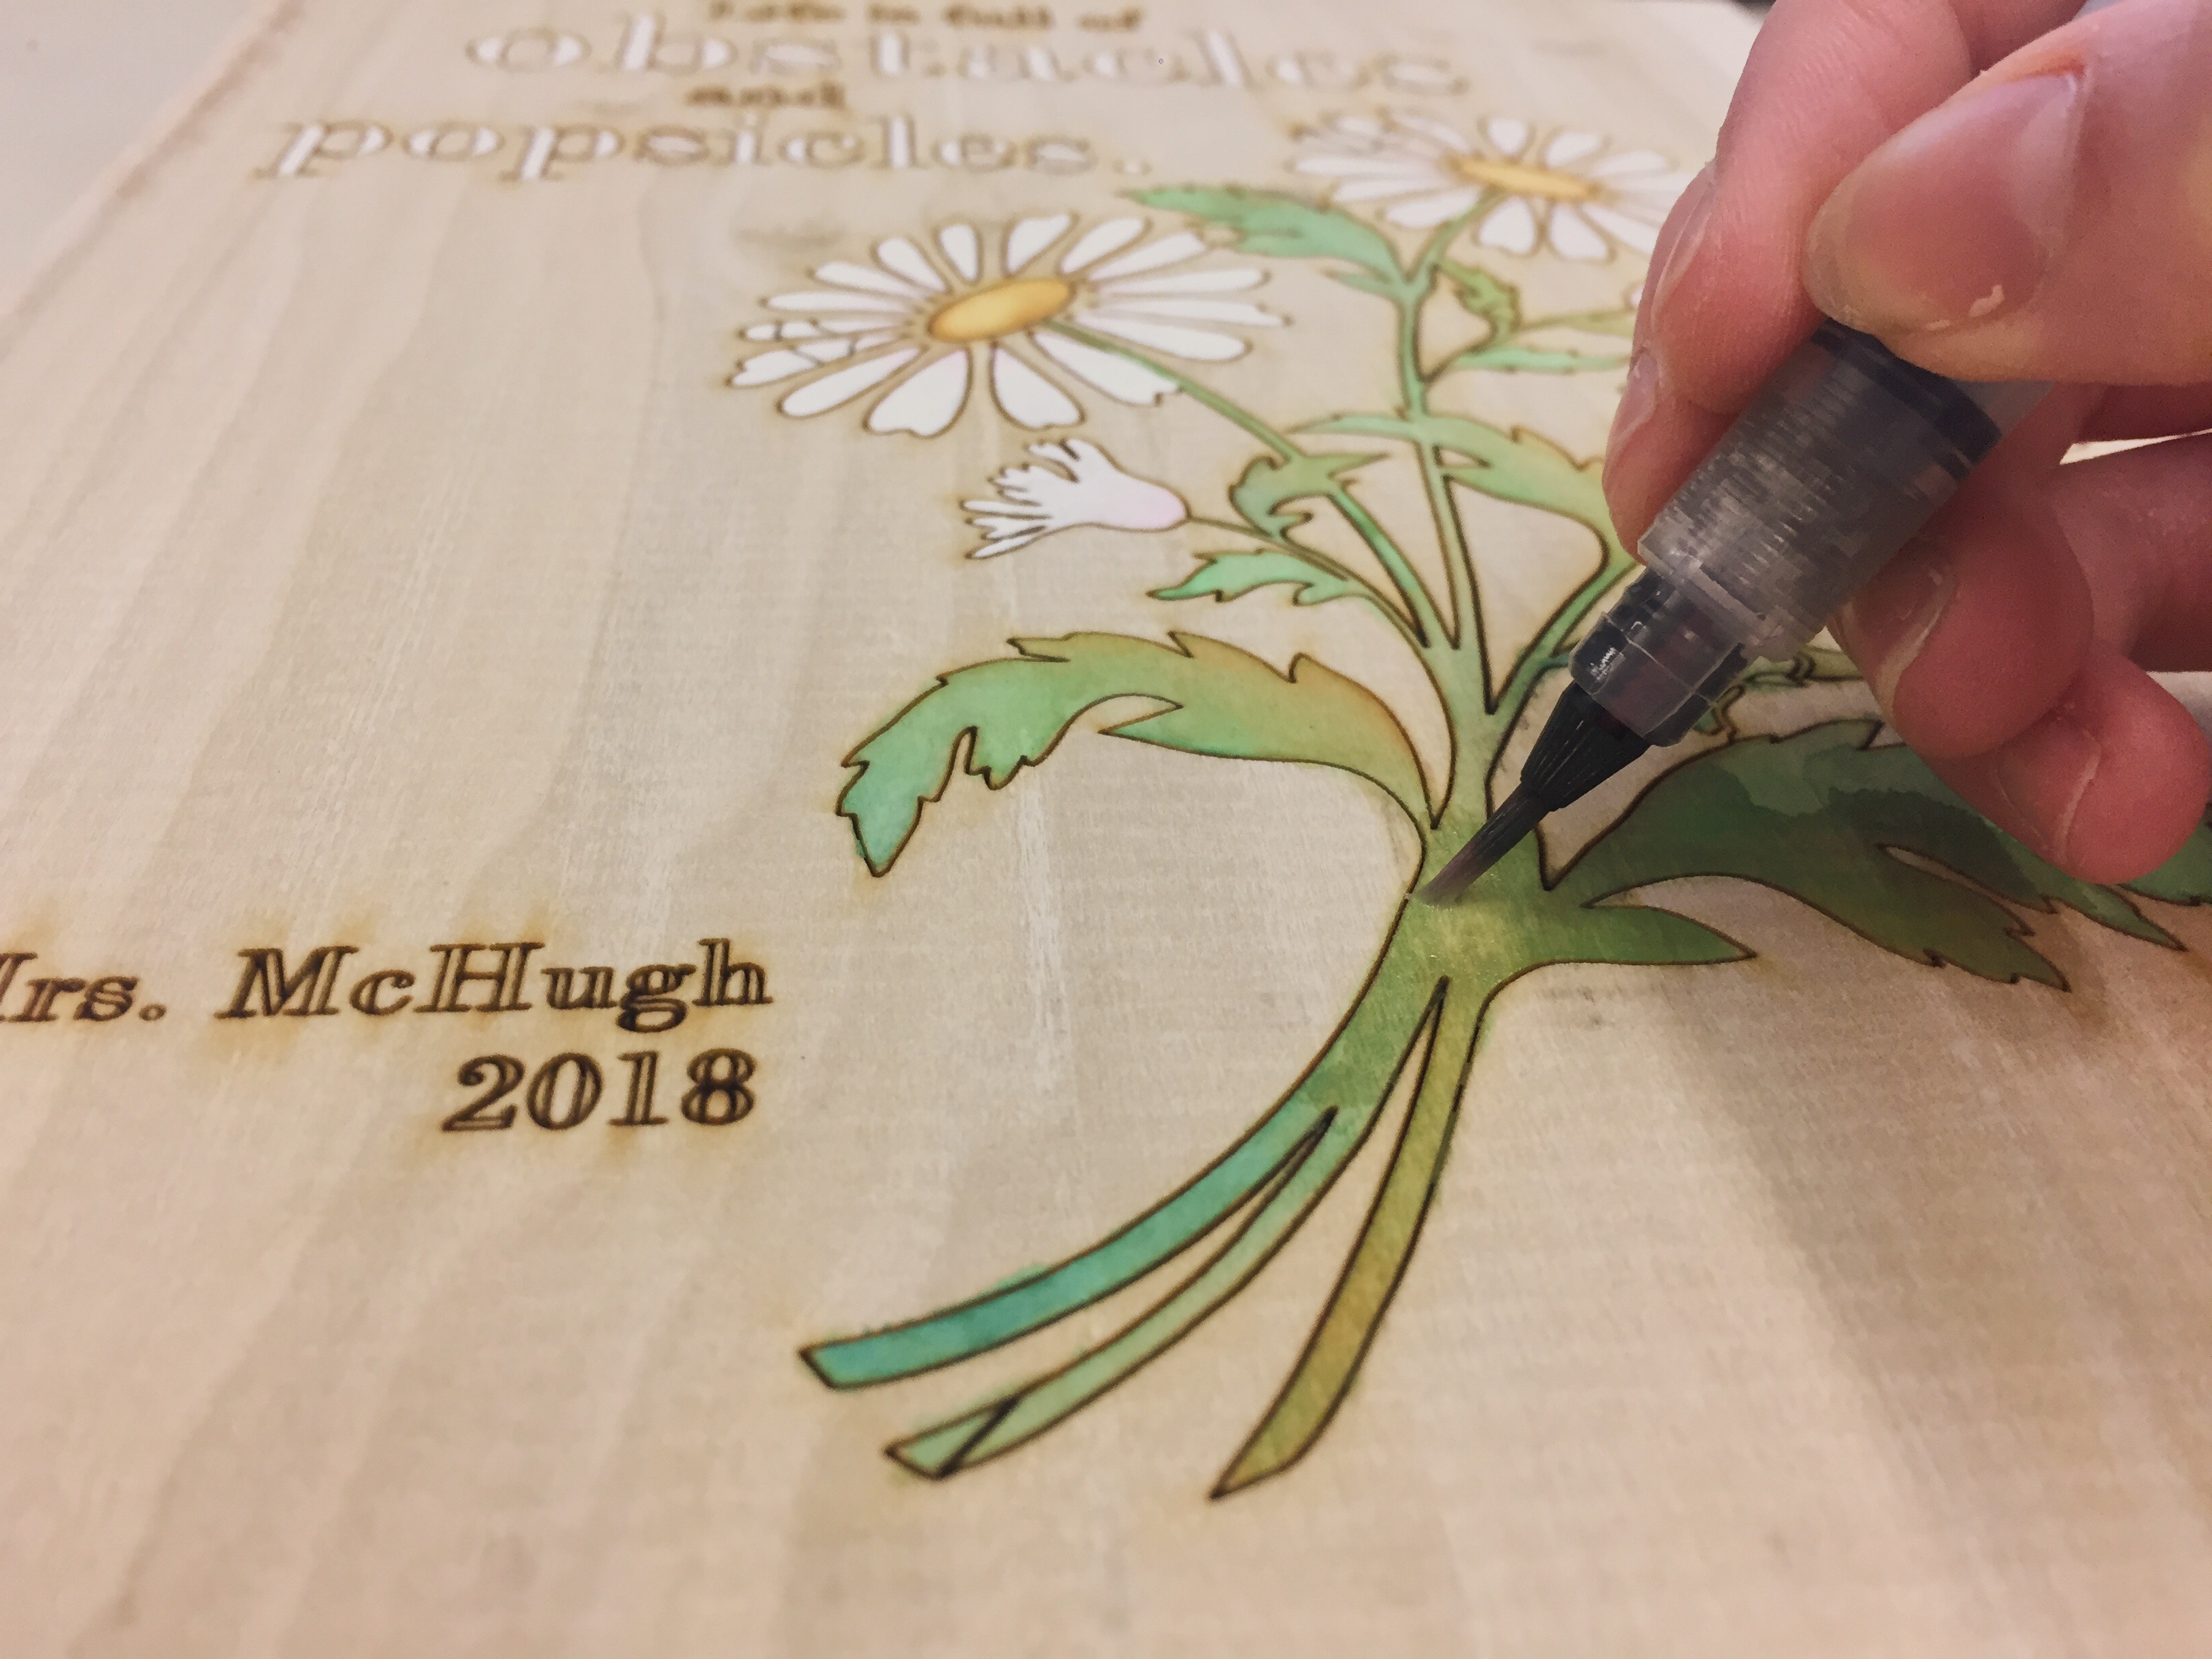
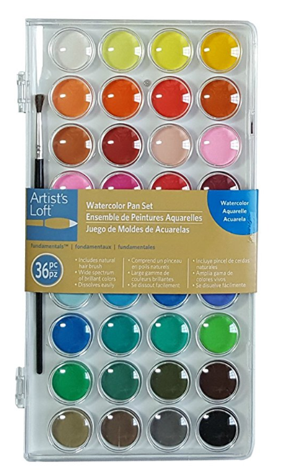
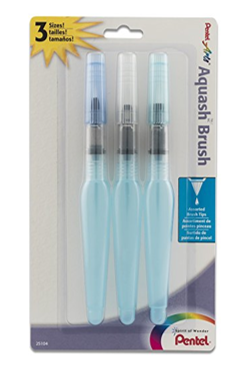
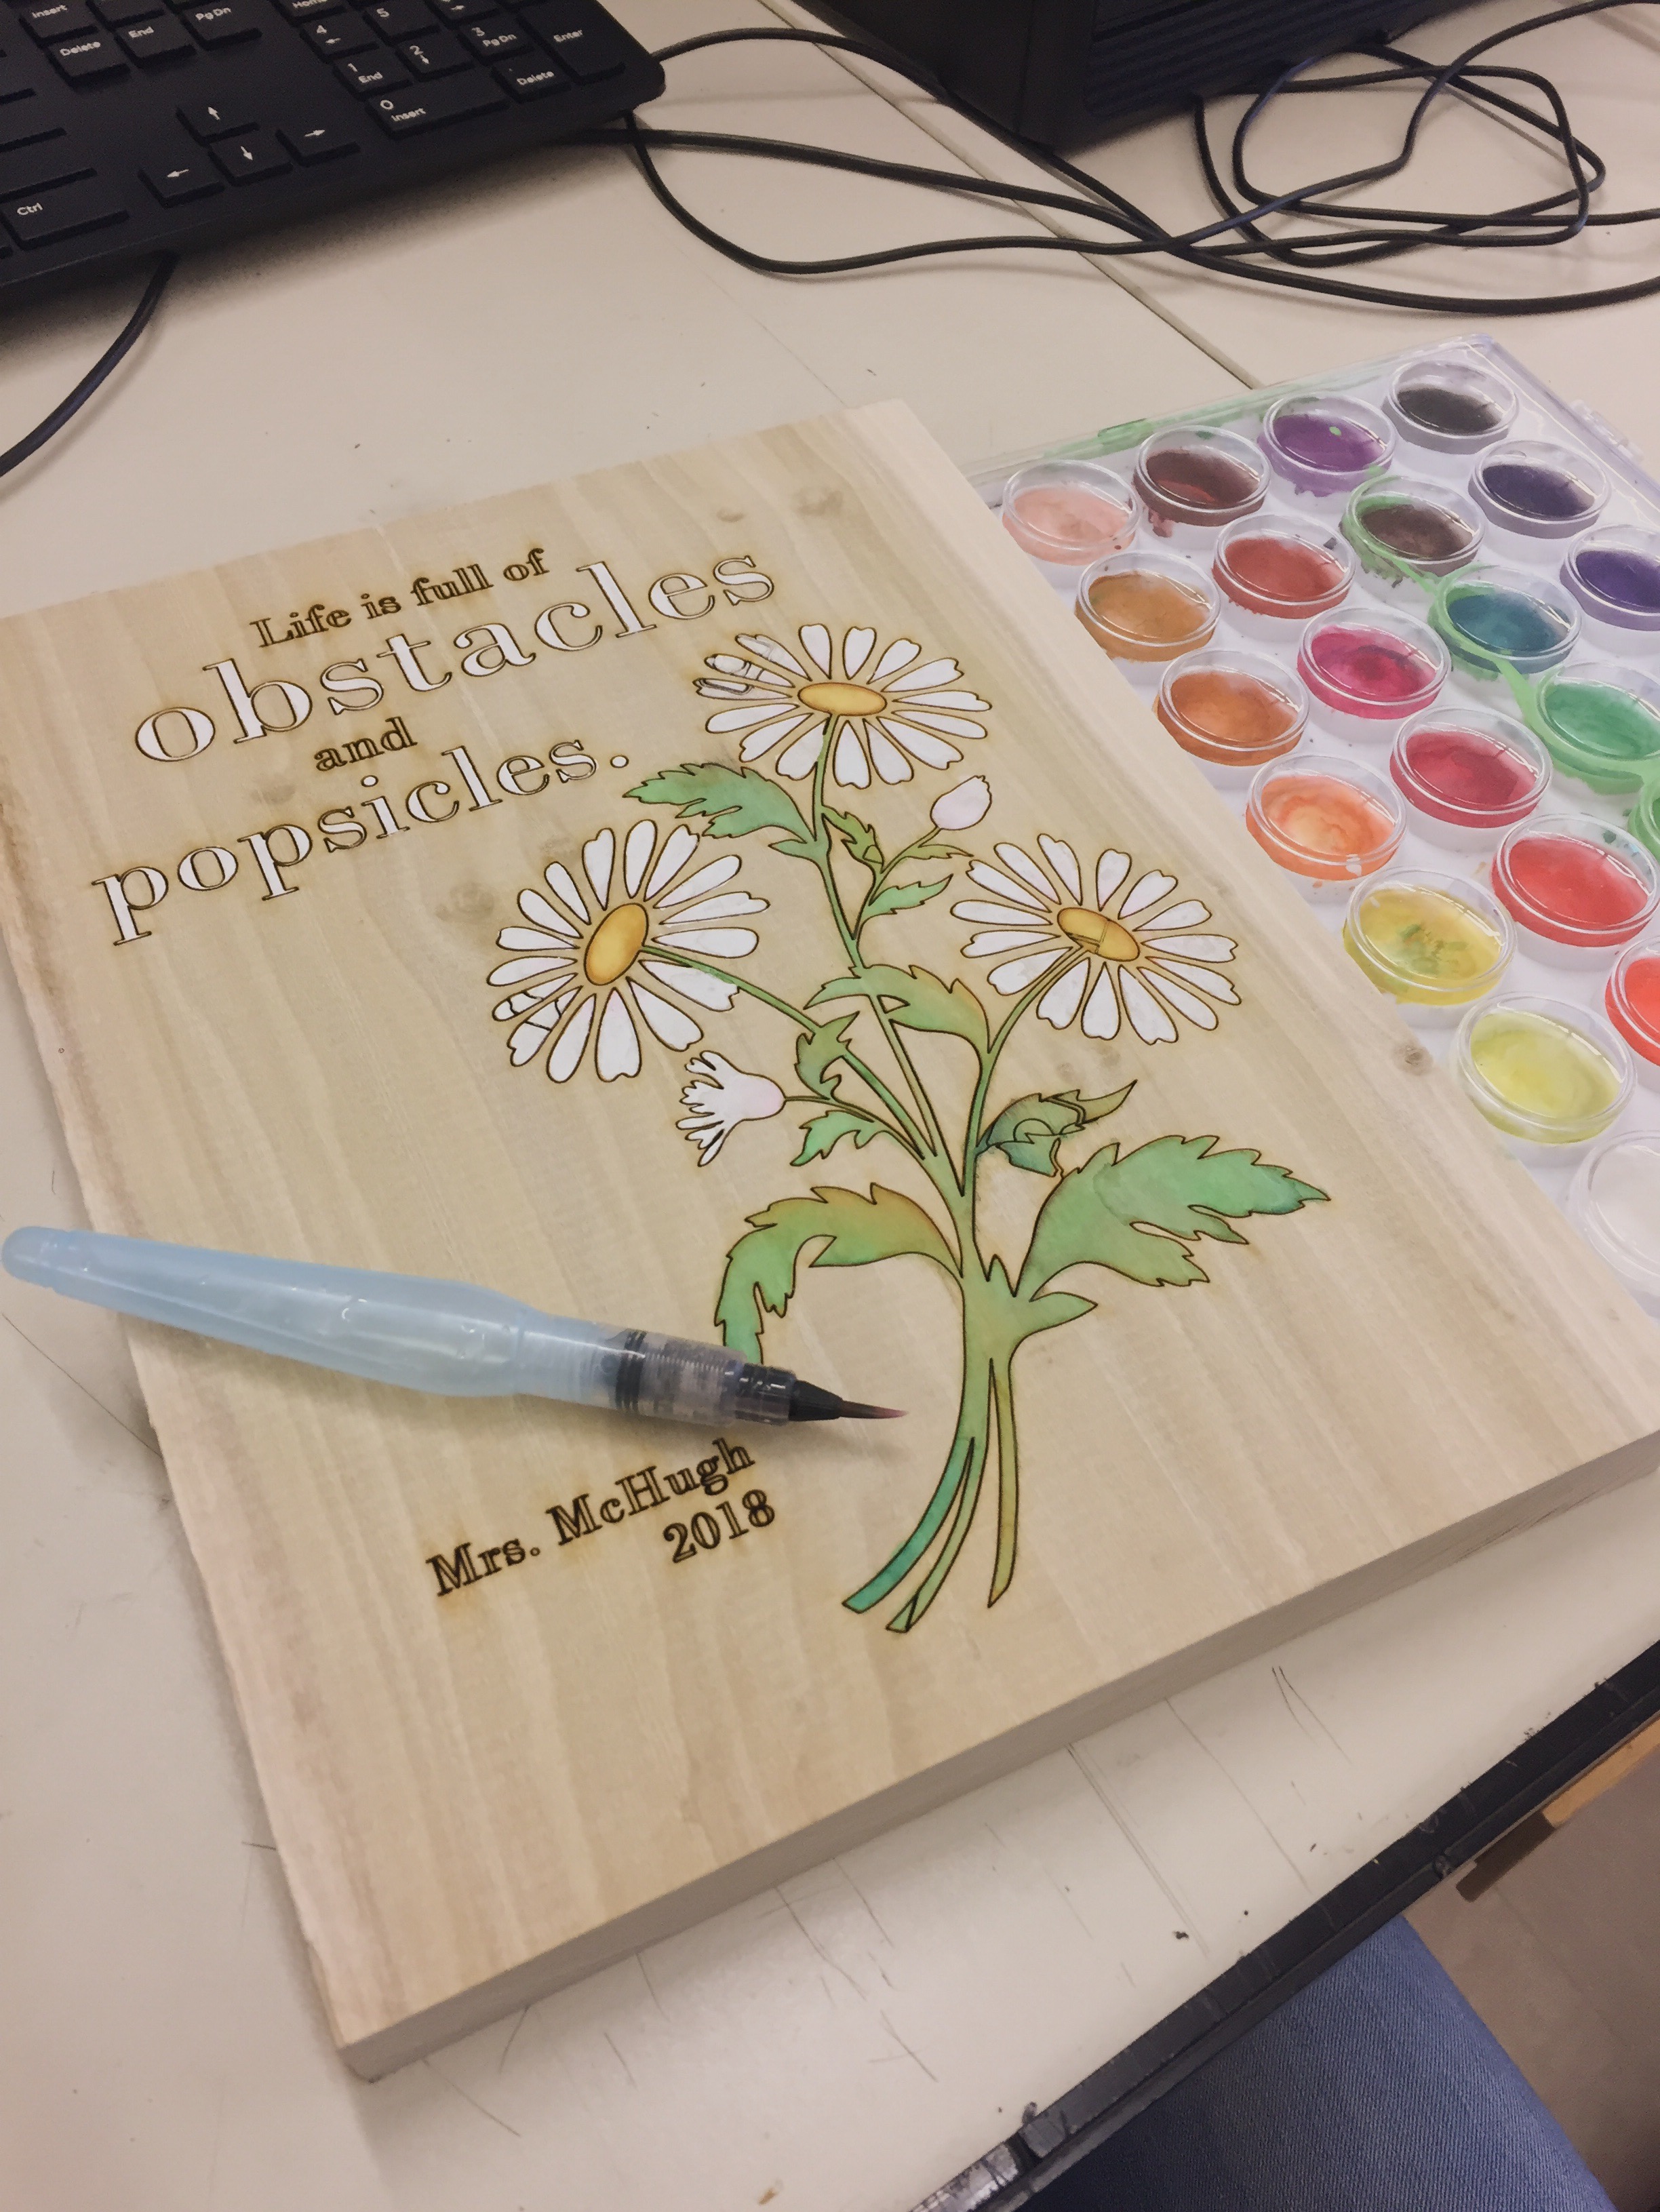
I love to watercolor, so I thought it would be interesting to combine both the laser printed plaque and the paint. I used Artist's Loft watercolor paint set and Pentel Water color pens to fill in my image. I was initially worried about color bleeding, but, the engraved lines provided a barrier that kept the color contained within the appropriate section.
Step 4: Admire Your Work and Give It to Someone to Make Them Happy
.JPG)
After letting my project dry, it was ready to be given away! I gave it to my math teacher, and she loved it! I had lot's of fun creating this project and I was happy that it made someone else's day!!