Flosso Brush
This Instructible shows how to make the FlossoBrush.
Supplies
Tinker Cad
3d printer
Regular toothbrush
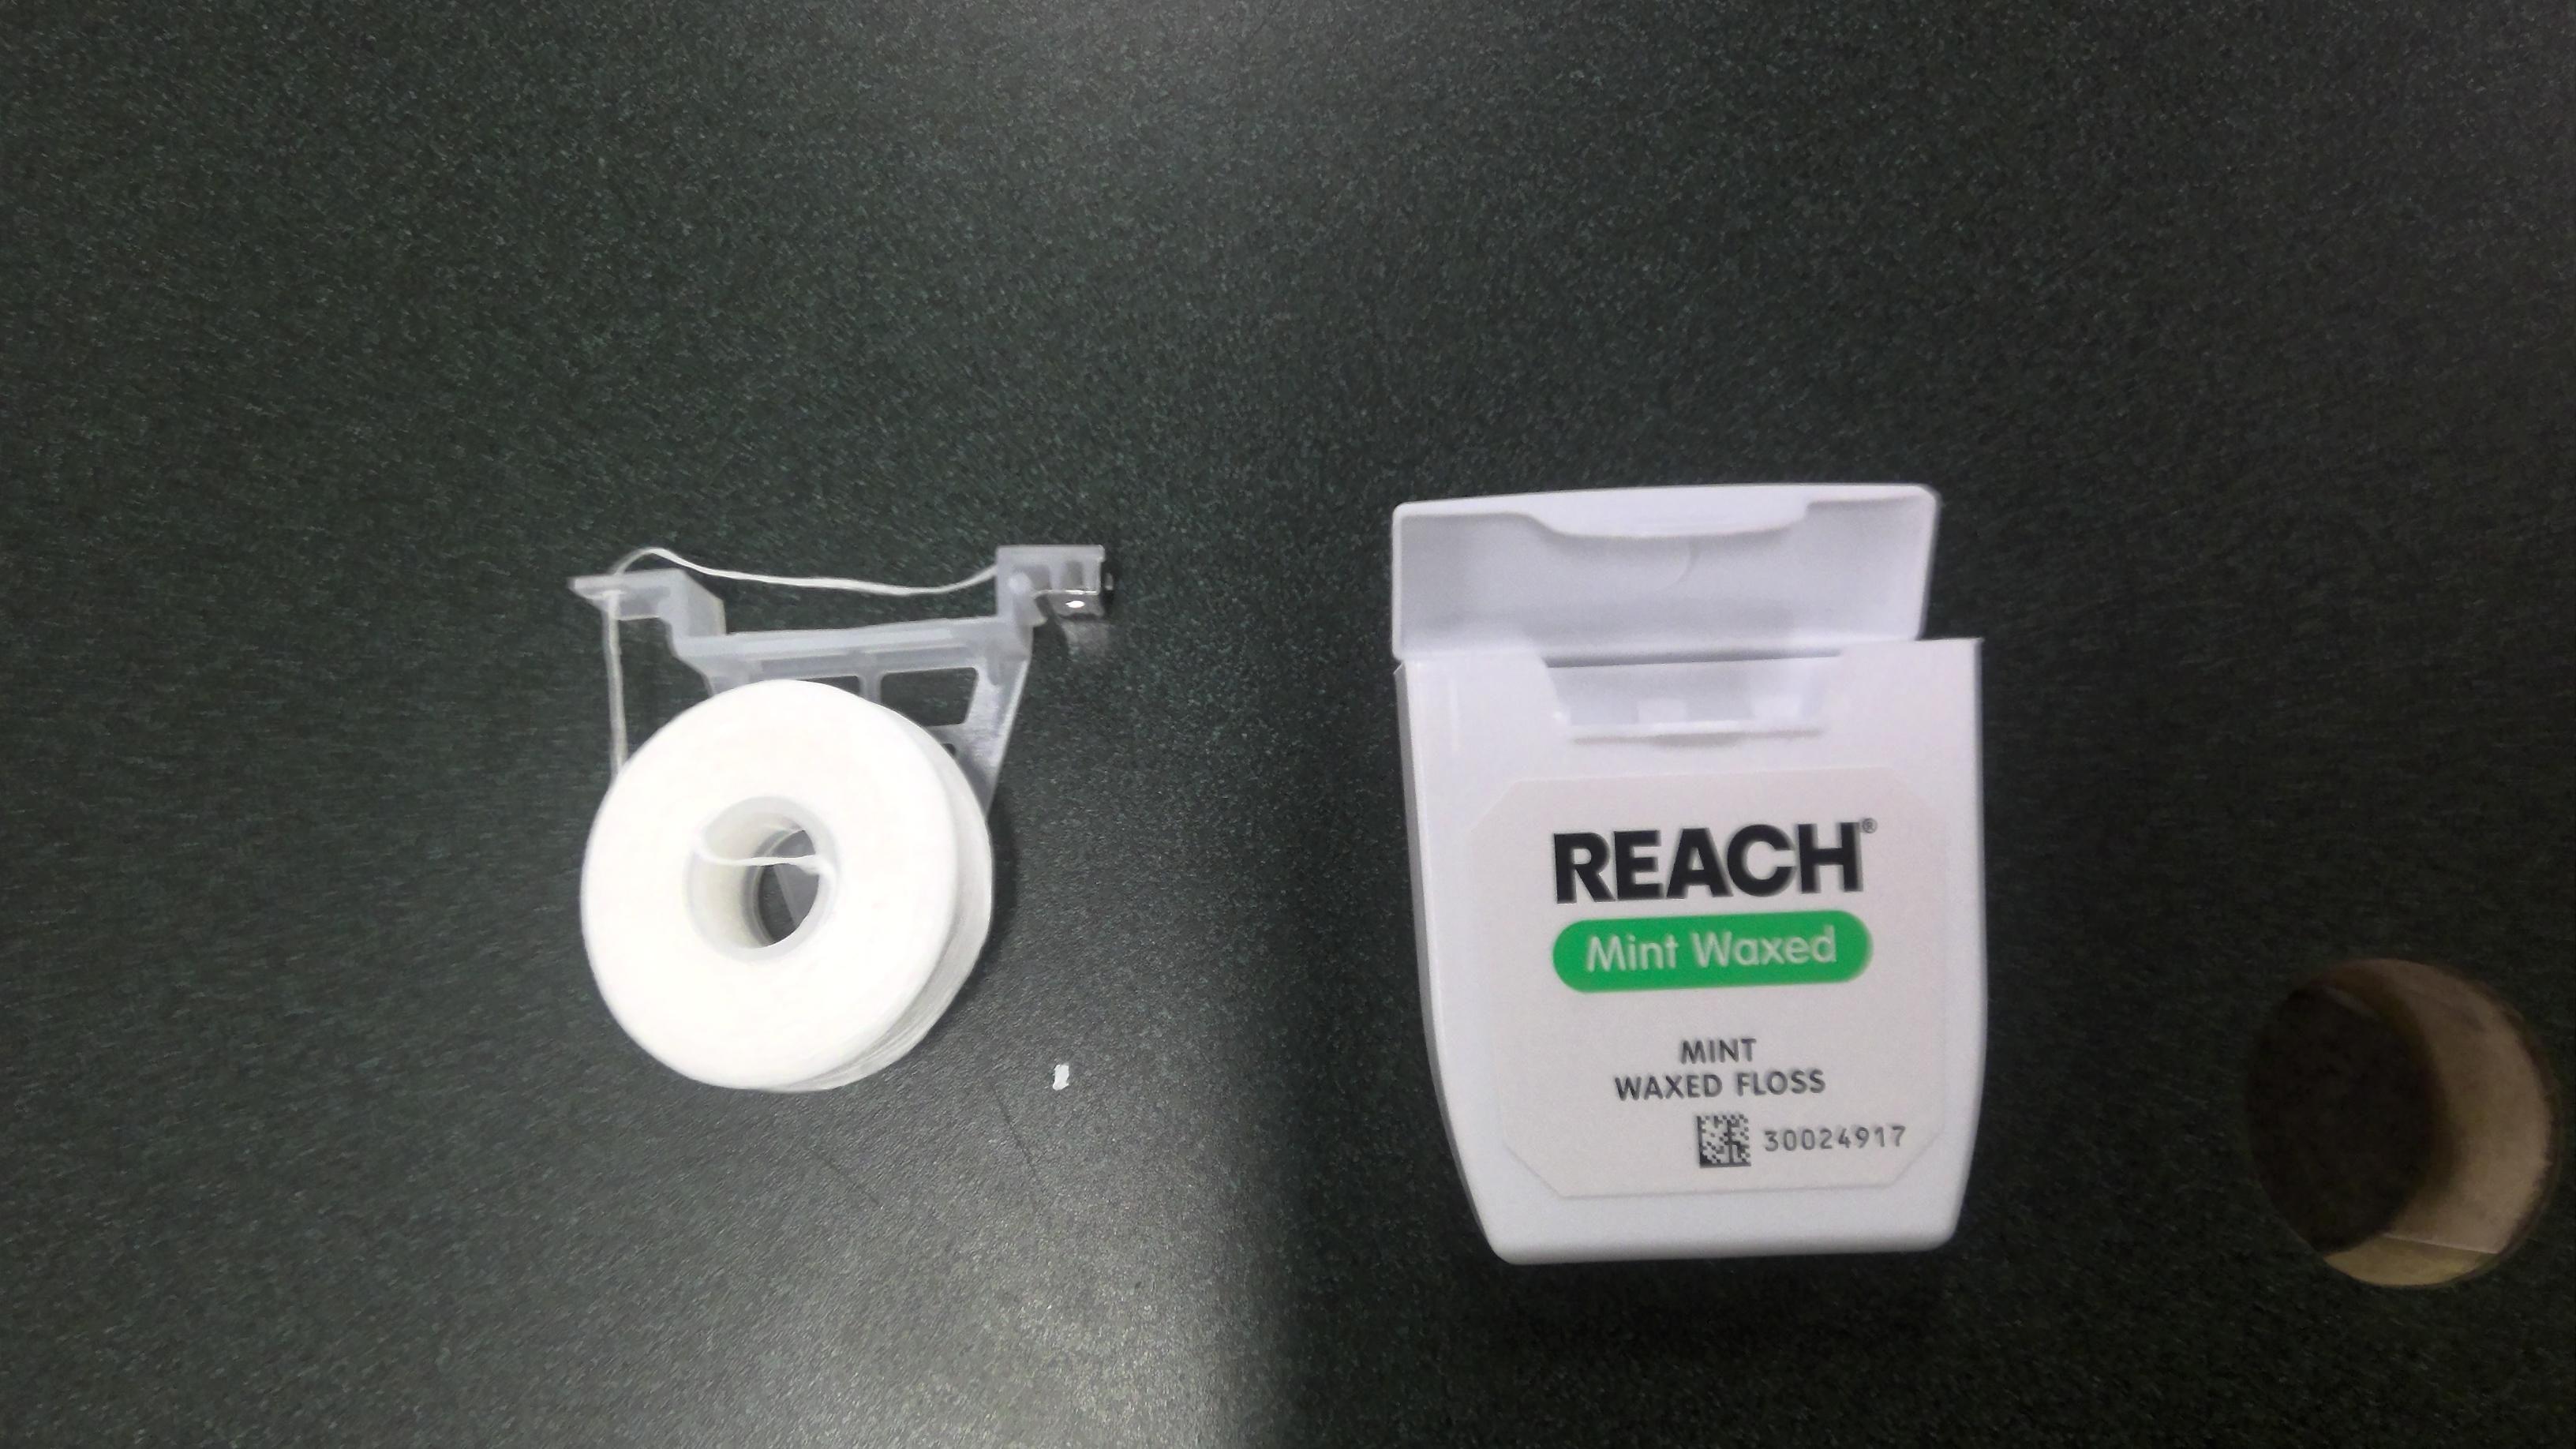
Canister of floss
TinkerCad
First make one of the ovals 25mmX49mm then make it 51.73mm high
Then do the same with a no block creator but instead make it 50.73 mm high, then put that block into the one you just made and highlight and group it.
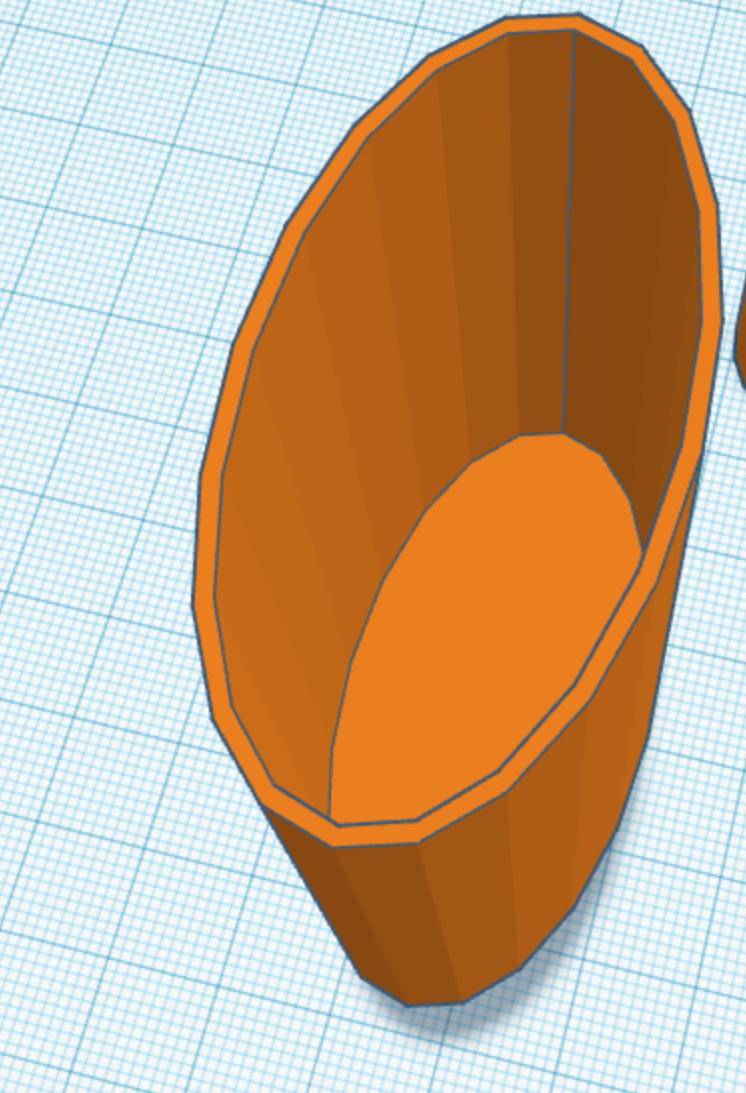
2nd Oval

Then make the second oval 18mmX20mm and 21mm high
Then make the no block 17X18mm and 20mm high and place it inside the oval you just made
Combine
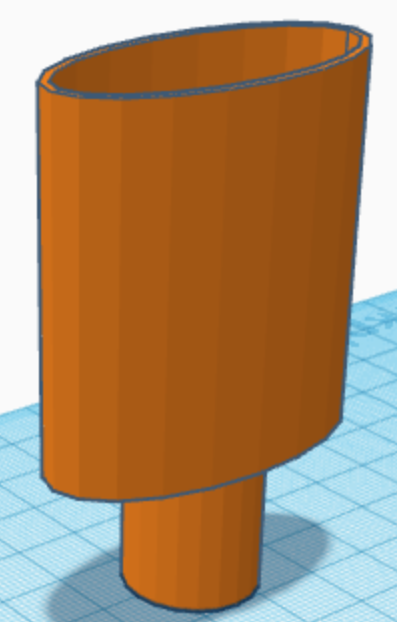
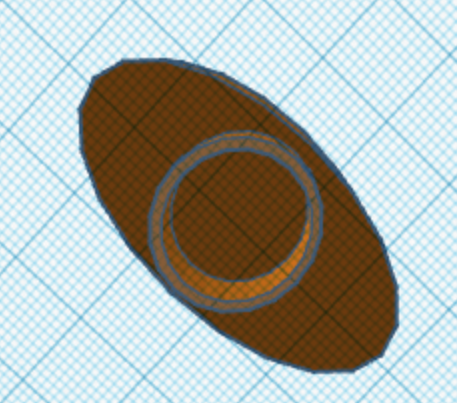
Then raise the first large object and place it on top of the oval and try to get it as centered as possible.
Export this tinker cad as an stl and import it into Prusa slicer and import it as an stl.
Then flip it so that the big oval is on the bottom and make sure to use supports.
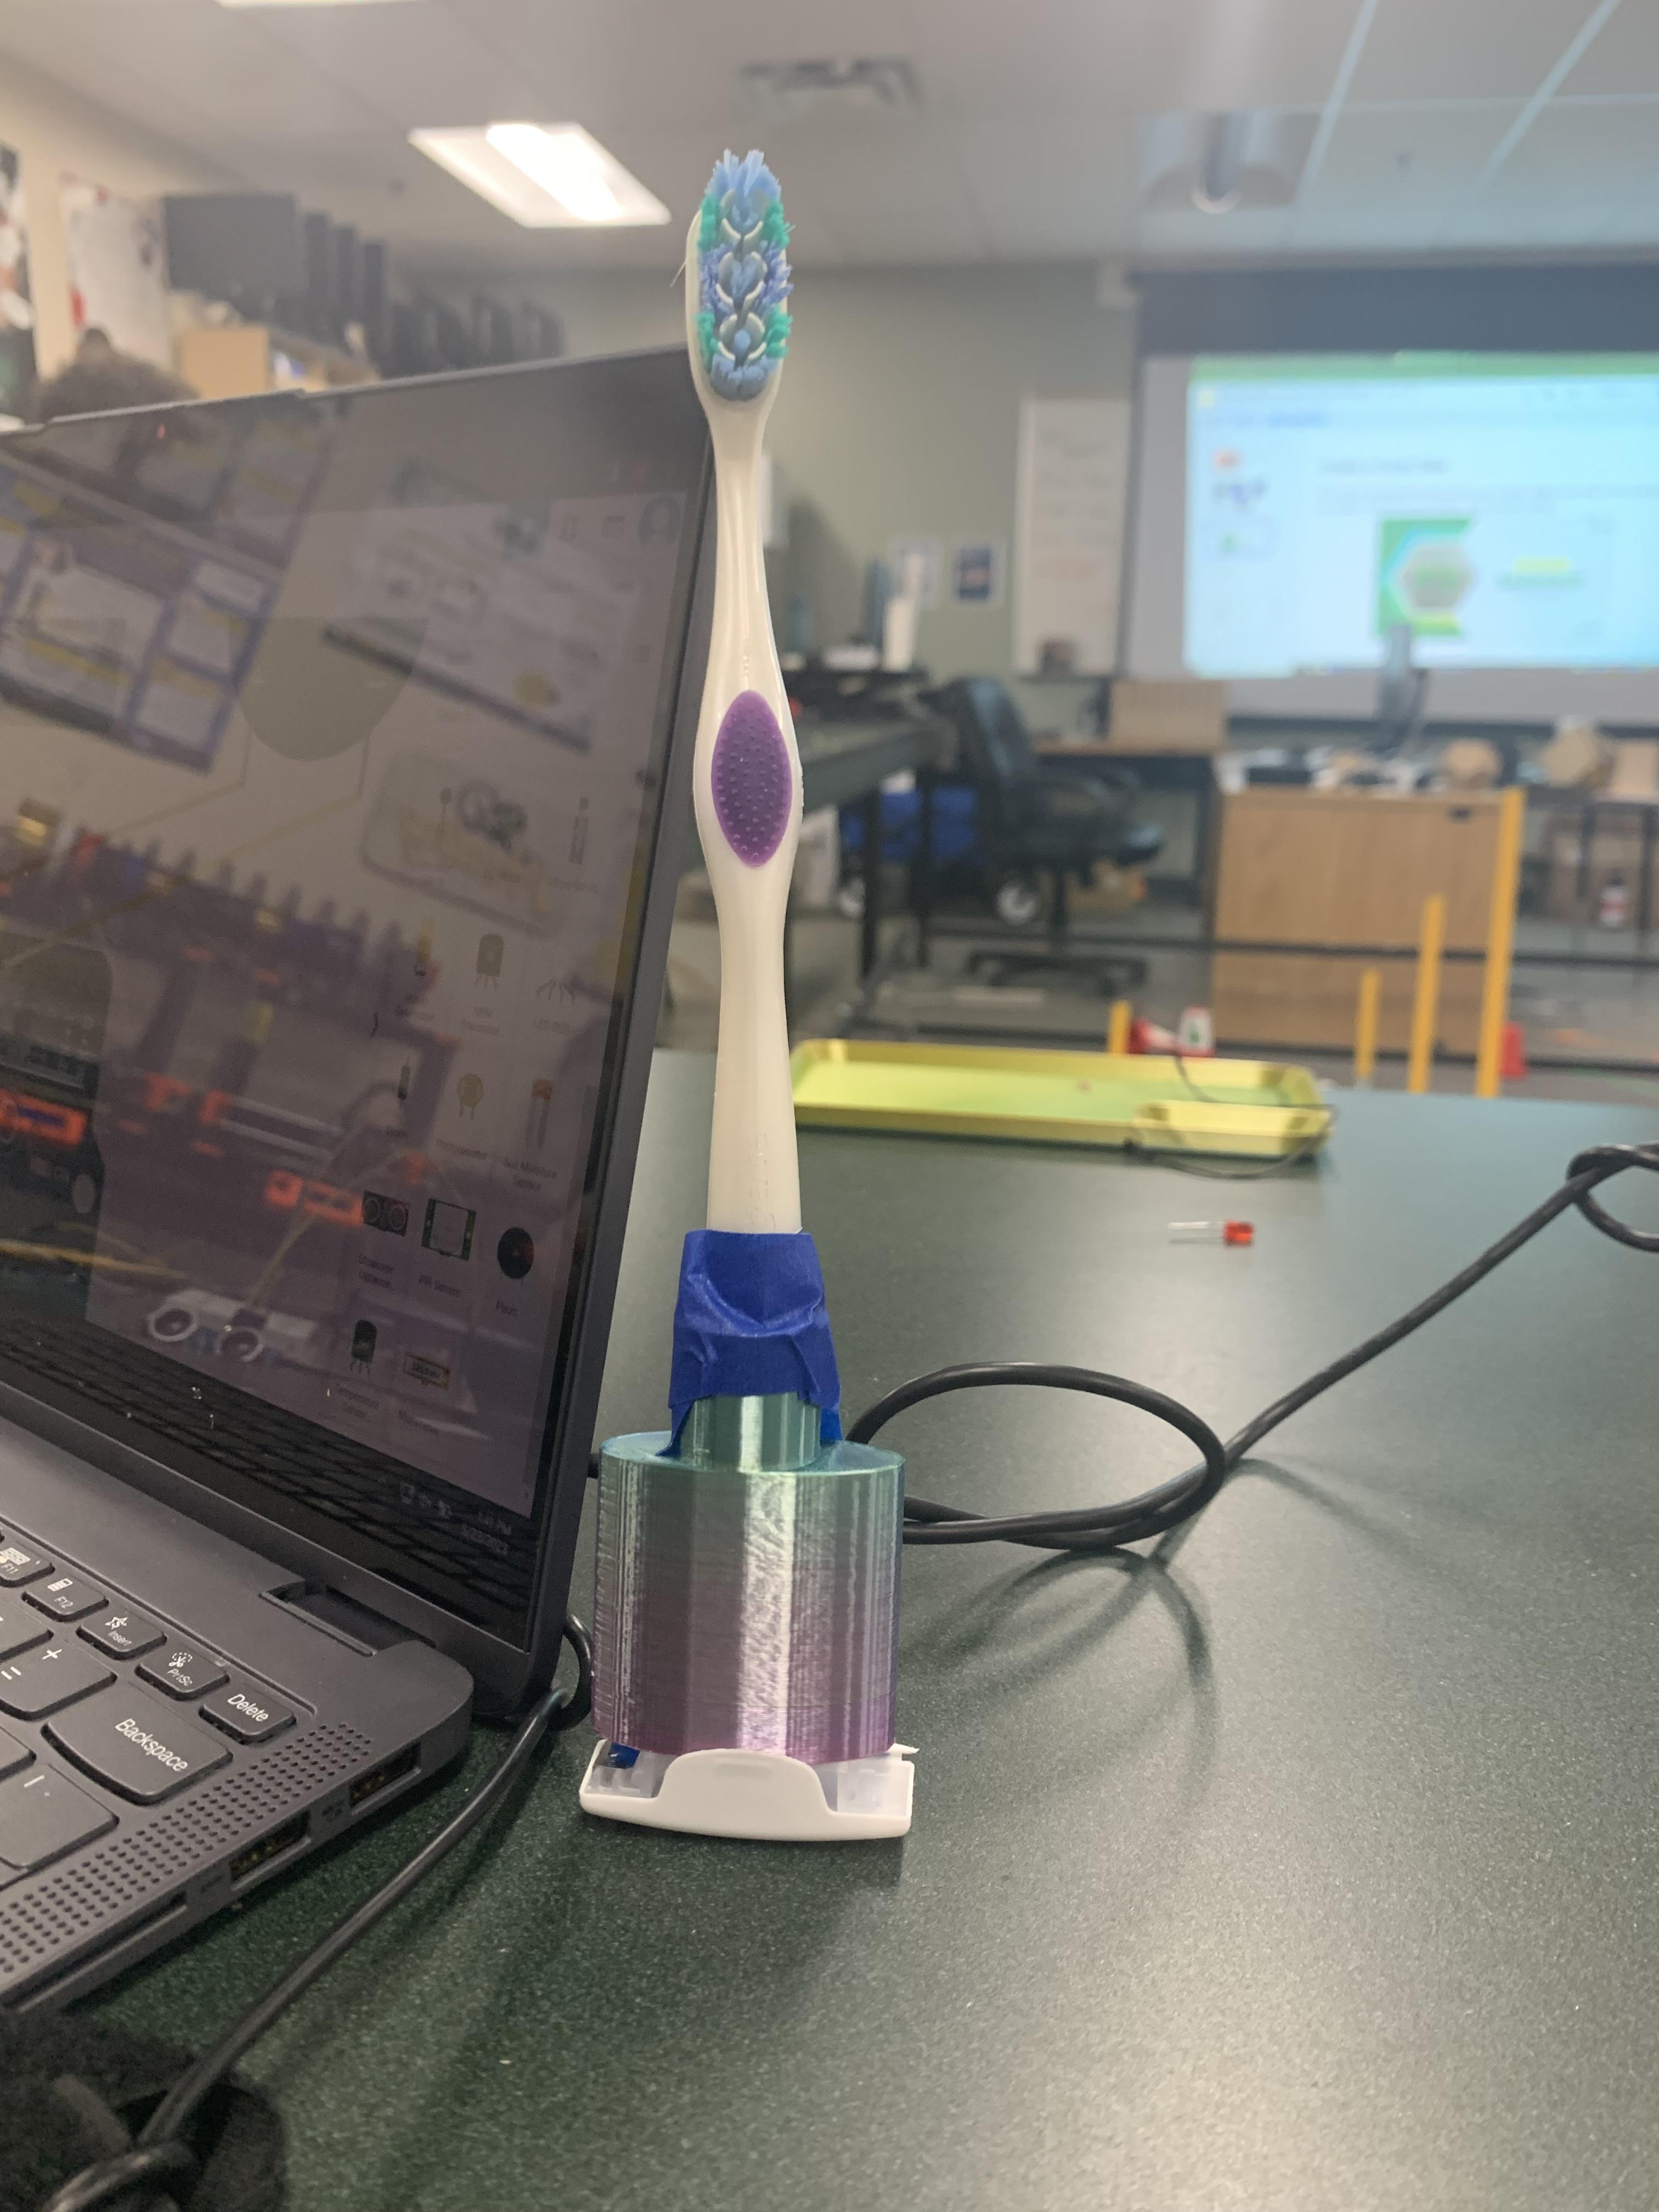
Final Step
Put the toothbrush into the smaller opening and super glue it into place.
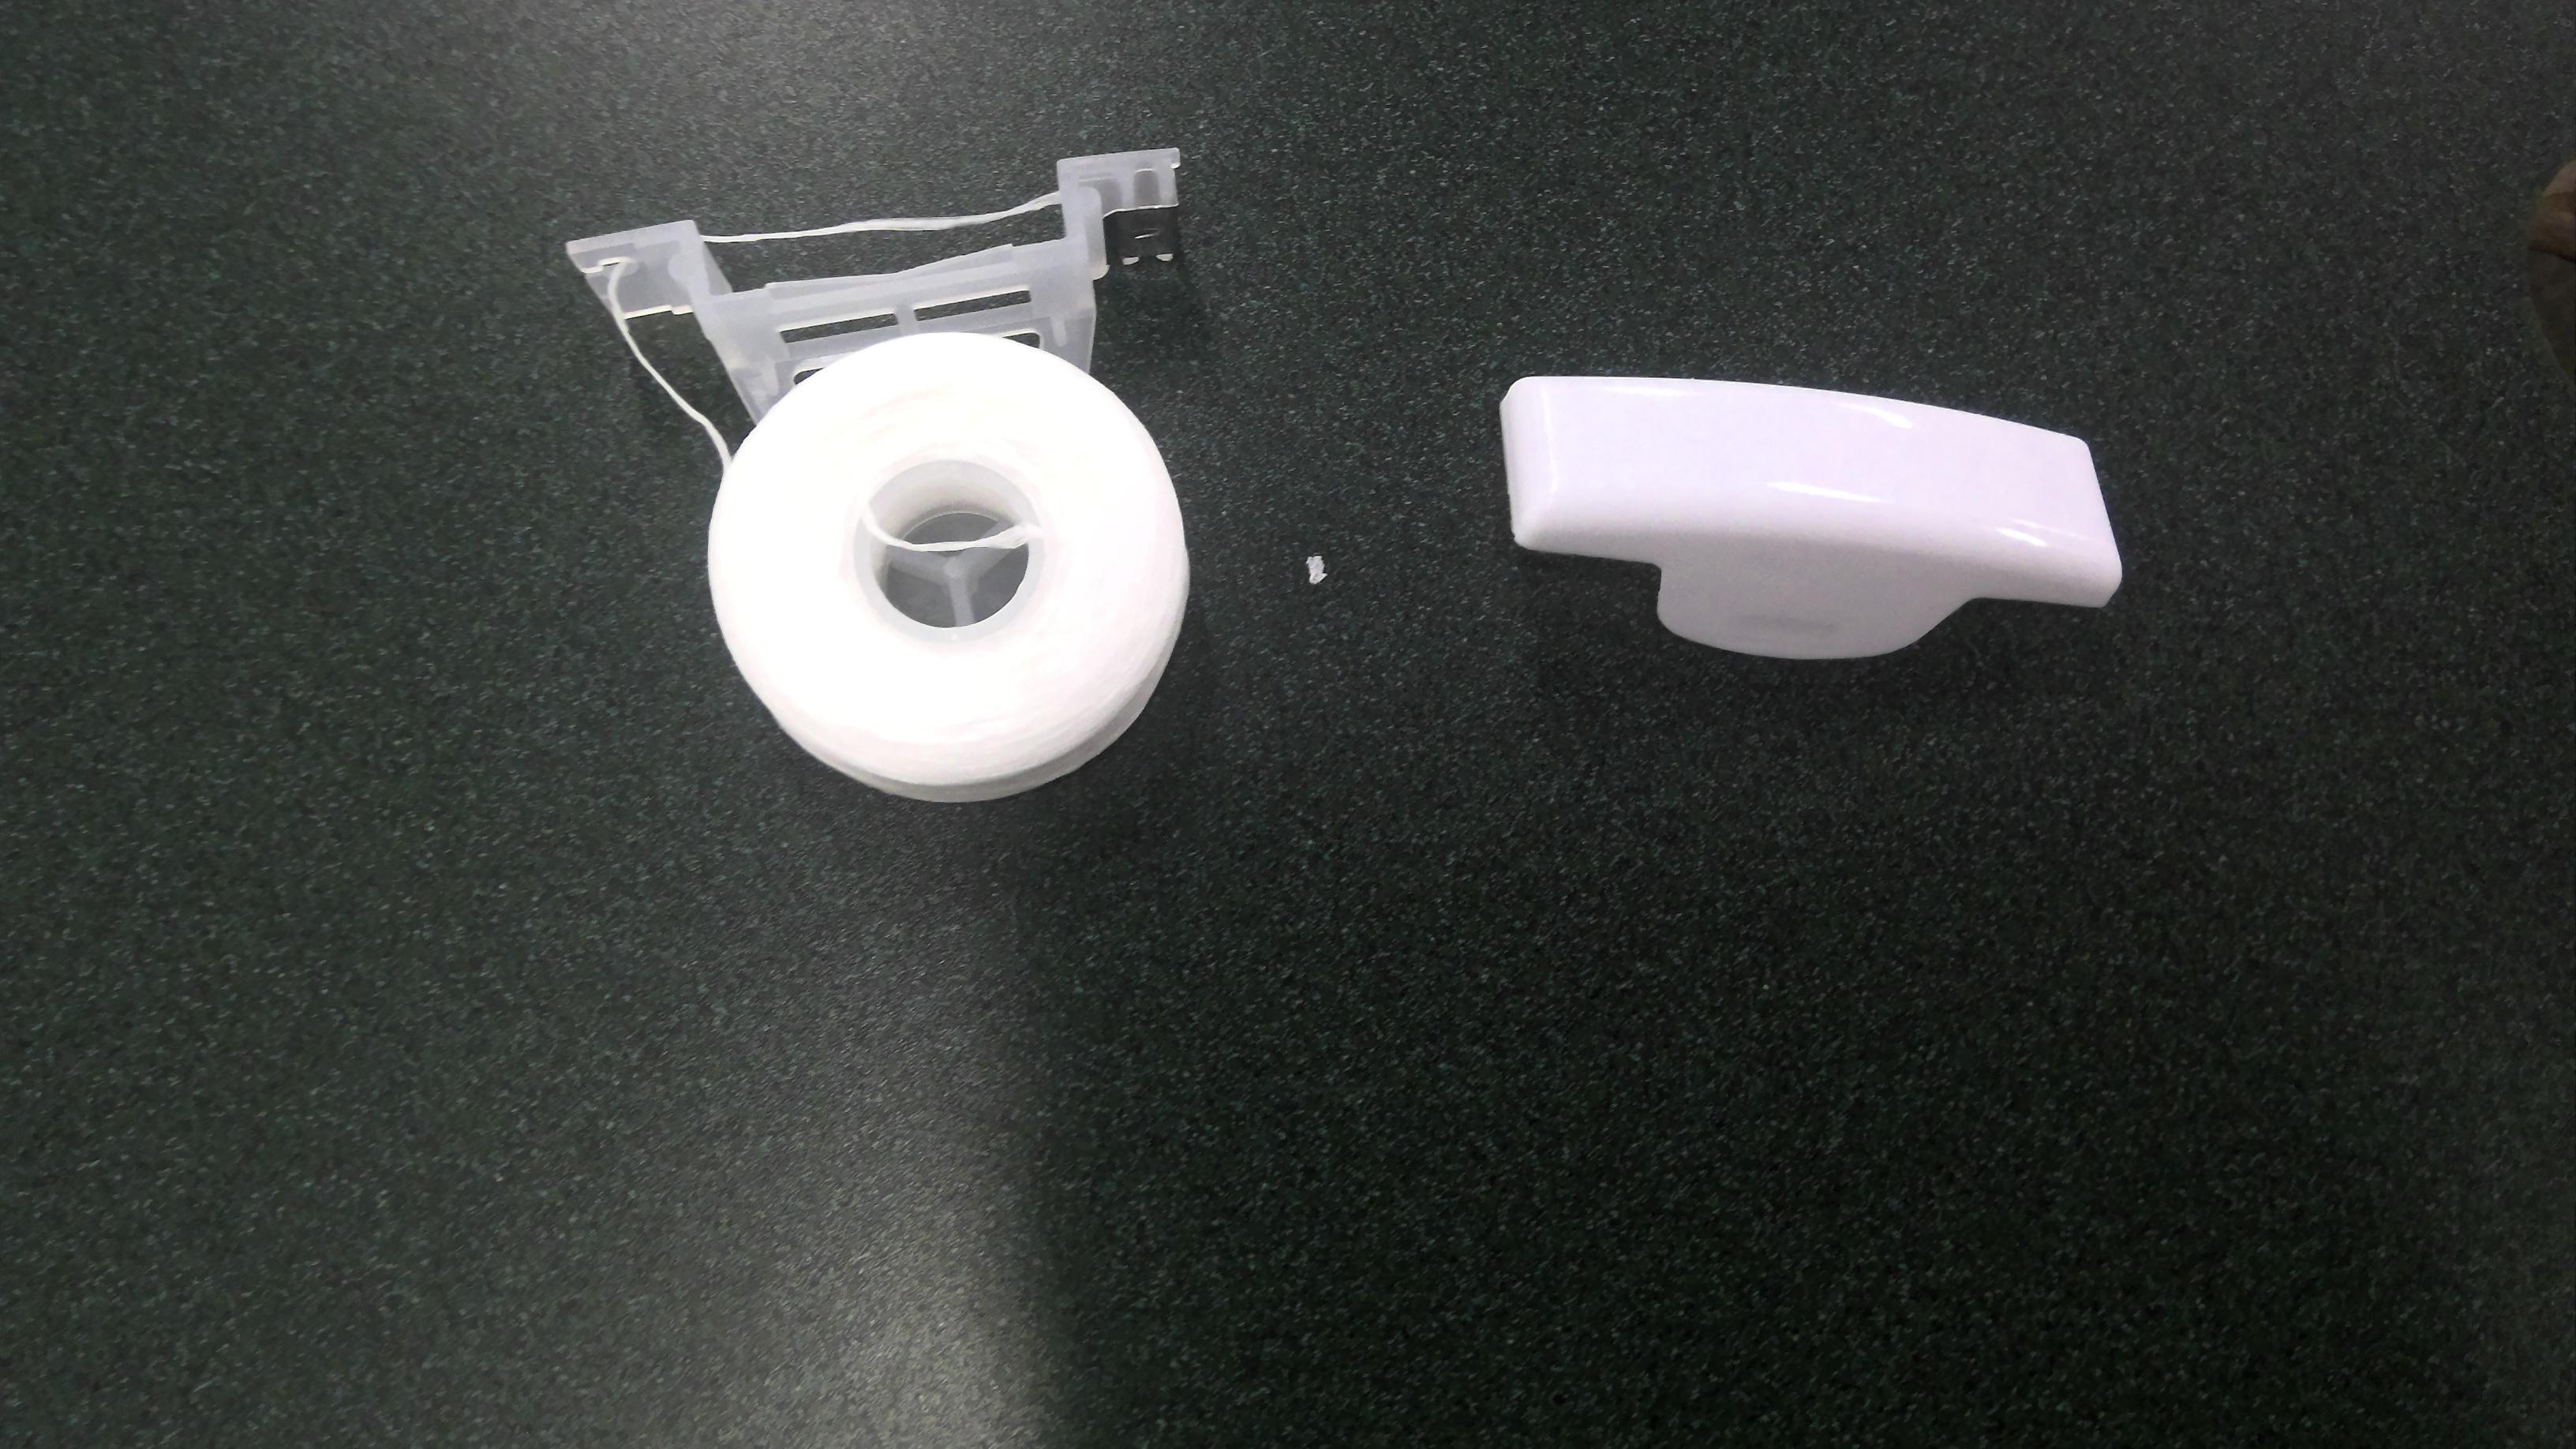
Grab the floss wheel out of the container and place it into the larger opening.
Then tape the floss wheel onto the inside of the larger oval object
Then cut off the top of the floss container at the hinge and glue it onto the back side of the larger object.