Floppy Disk Music With the LinkIt ONE
by Jonathan0903 in Circuits > Microcontrollers
1086 Views, 6 Favorites, 0 Comments
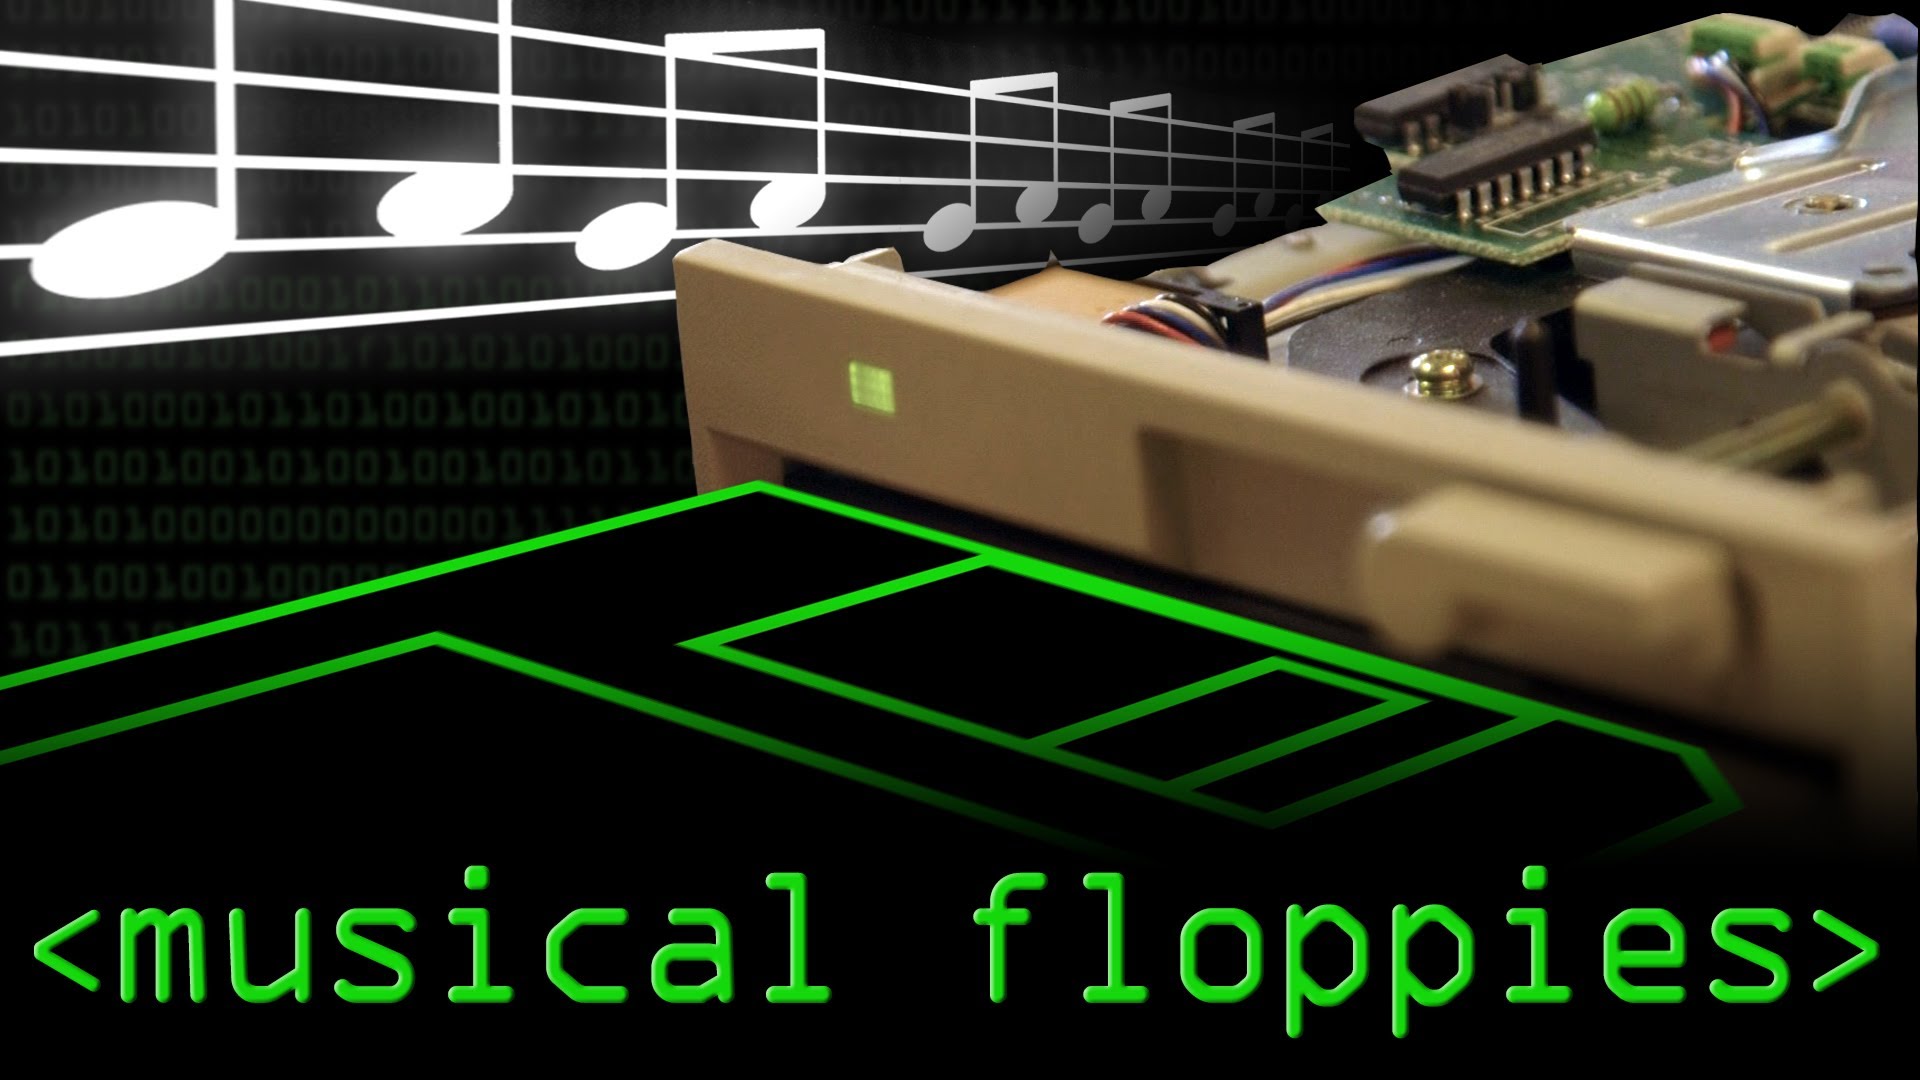
Floppy Disk Music With the LinkIt ONE
.jpg)
Now that you have your LinkIt ONE development board, what can you do with it?
For starters, the connectivity offerings that come with this board are incredibly diverse, so why not make something that a community can enjoy? In this Instructable we'll be teaching you how to make an installation that creates music through the use of floppy drives and your new LinkIt ONE board.
Materials Needed
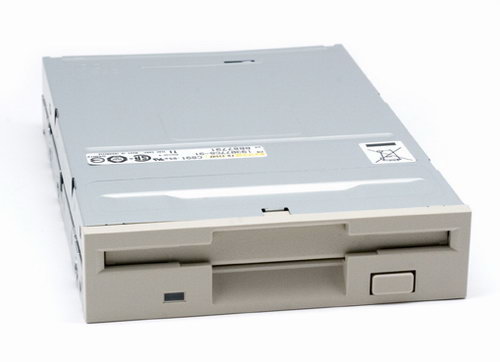
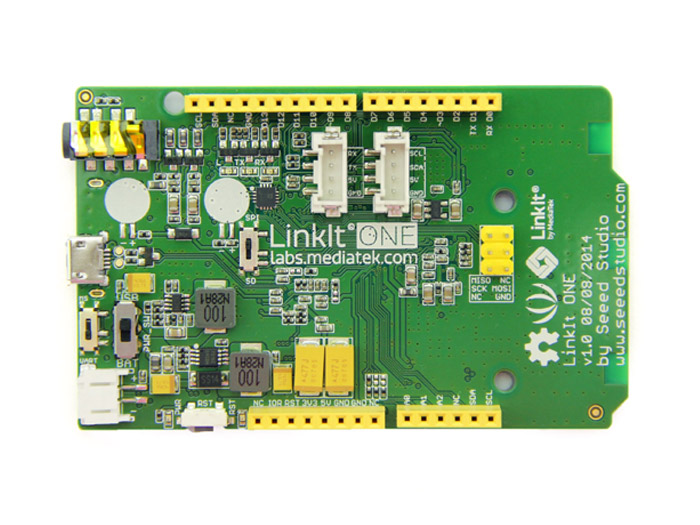
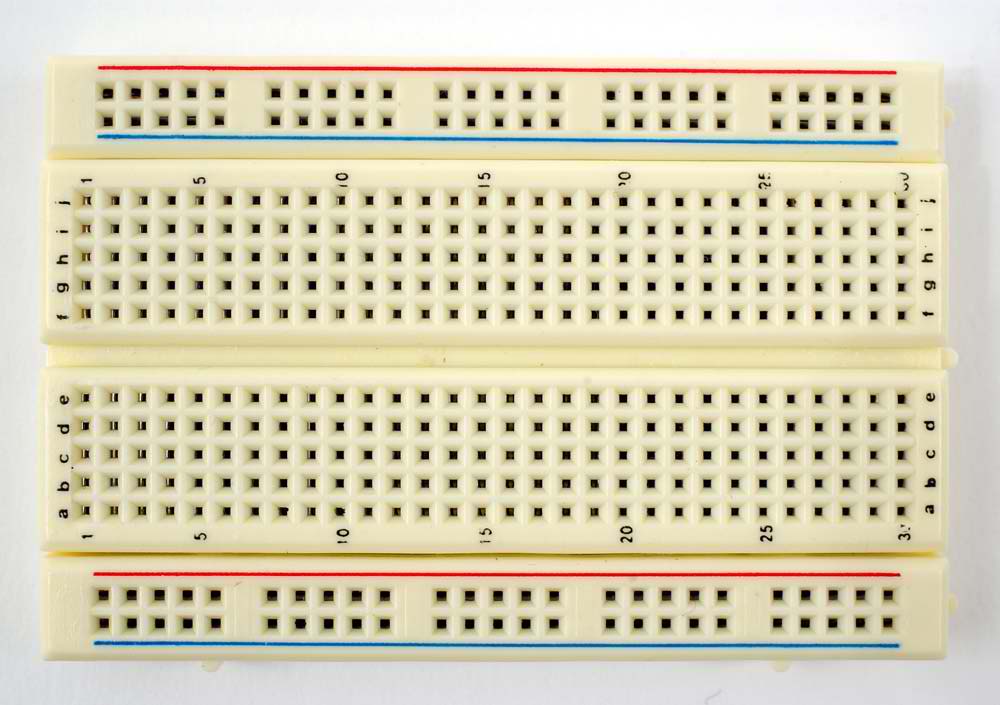
- Floppy Drives (However many you have/want)
- LinkIt One Board
- Breadboard/Protoboard
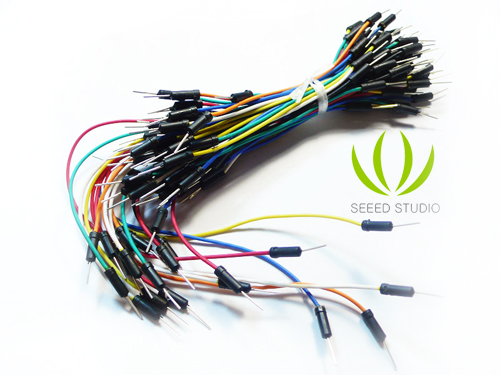
- Breadboard/Prototyping Wires (Male - Female)
- 5 Volt Power Supply (optional)
You can use as many drives as you like, but sound quality improves as the number of drives increases.
Wiring
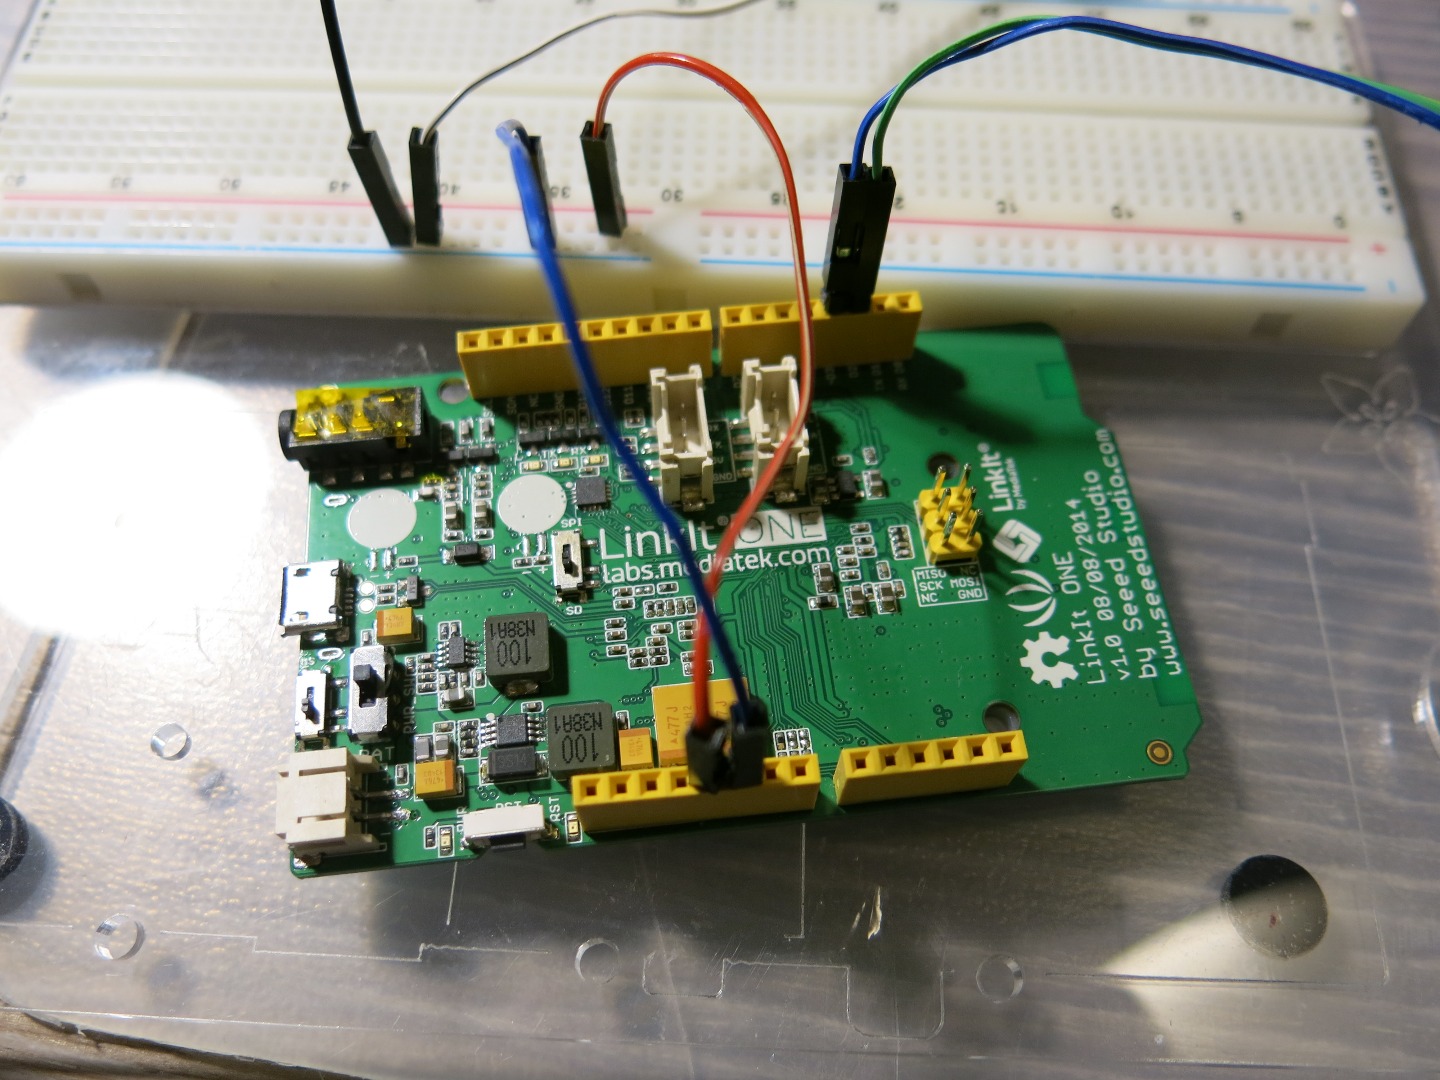
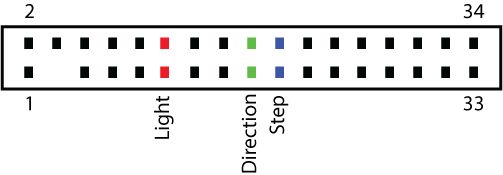
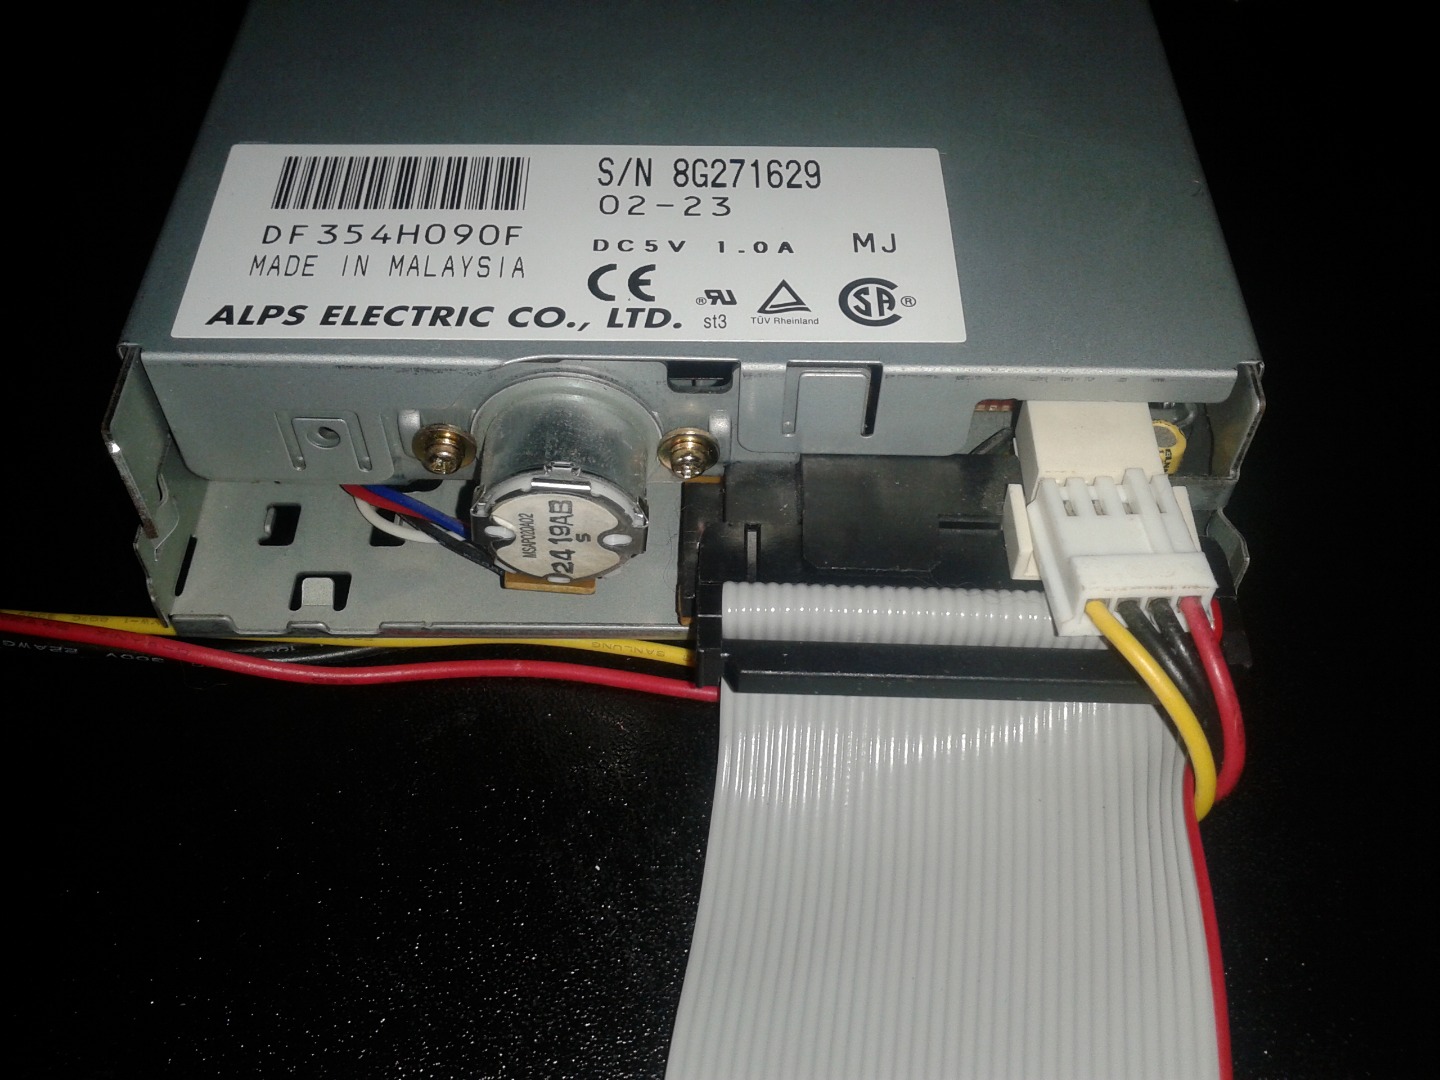
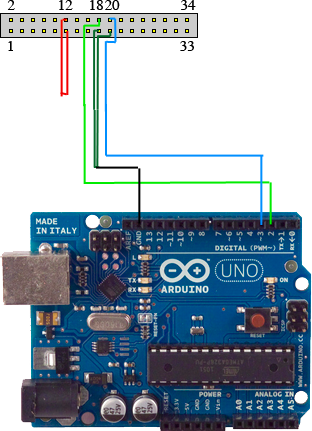
Take a single prototyping wire and solder/connect it to pins 11 and 12 on your floppy drive. This enables the drive for use. Apply 5 volts power to the drive by connecting the two power pins to the 5v and GND pins of the LinkIt One board. The led on the front of the drive should light up if the enable pins were connected properly.
Next, connect pin 18 to digital pin 2 on the LinkIt One, and pin 20 to pin 3. The pins below this (17 and 19) should be connected to ground.
For multiple drives, repeat this process, with the digital pins being connected to 4 and 5, 6 and 7, etc.
Software Setup, Programming, and Downloads
For this project, we will be using a NetBeans program developed by SammyIAm called Moppy.
After downloading this, upload the Arduino code included to your LinkIt One board. This code will allow the board to communicate with the floppy drives and vice versa.
Download the NetBeans IDE here. This will power the interface on your computer that will allow you to play MIDI files using the floppy drives.
Next, open the project titled MoppyDesk in the Moppy folder that was just downloaded. You can do this by opening the NetBeans IDE and going to File -> Open Project and navigating to the folder through the pop-up dialog.
Playing Songs
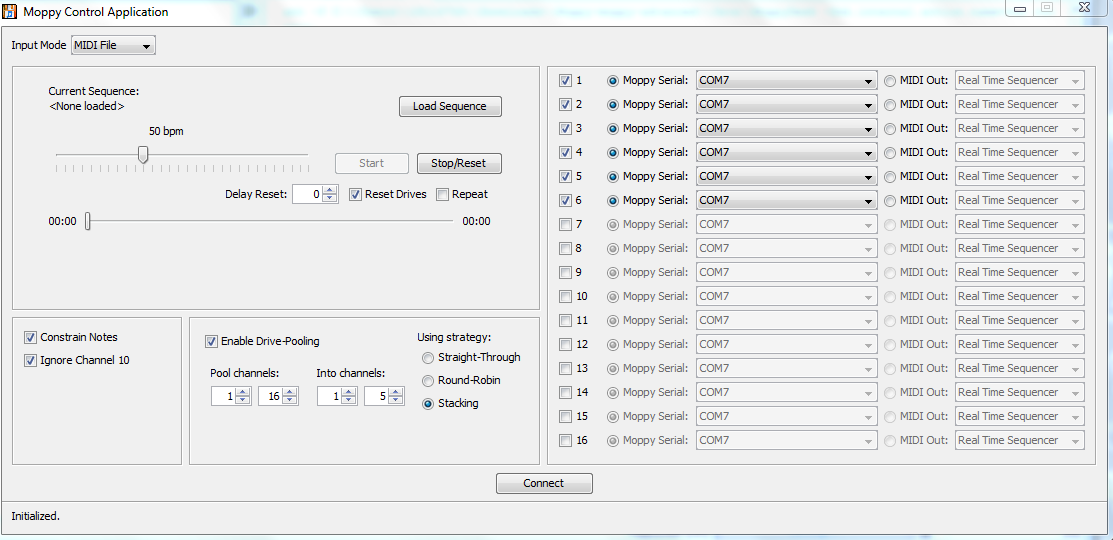
Run the Moppy program by clicking the green play button at the top of the NetBeans window. A dialogue window like the one shown should appear.
First, check however many boxes as should correspond to the drives that you have connected to the LinkIt One. For example, I have 8 drives, so I would check boxes 1 through 8.
Next, switch the serial port for all of these boxes to the port on which your LinkIt One board is connected to on your computer/laptop. For me, that port is #7. Tweak the other settings as you see fit (follow the directions either here or on the Moppy Github page).
Finally, select a MIDI file that you would like to play, and press "Load Sequence". Clicking the "Start" button will cause the song to be broadcast by a bunch of floppy drives!
Finding Songs to Play
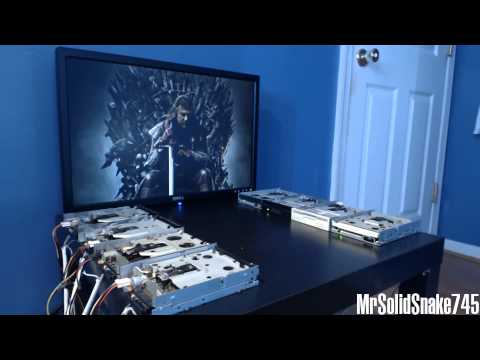
Check out MrSolidSnake's YouTube Channel. He regularly uploads videos of his setup (with an Arduino, but the code will work out the same). Included in the descriptions (usually) are the files that he uses for his floppy disk setup.
I've attached some of the MIDI files that I've compiled over the past few months of experimenting with different tunes (not all work with these drives, since they have a limited range of frequency). Give them a whirl, and impress your friends!
Good luck, and don't hesitate to ask any questions that you may have!