Floating City With Rainbow in Tinkercad
by rudranarkhede3 in Design > Digital Graphics
381 Views, 1 Favorites, 0 Comments
Floating City With Rainbow in Tinkercad
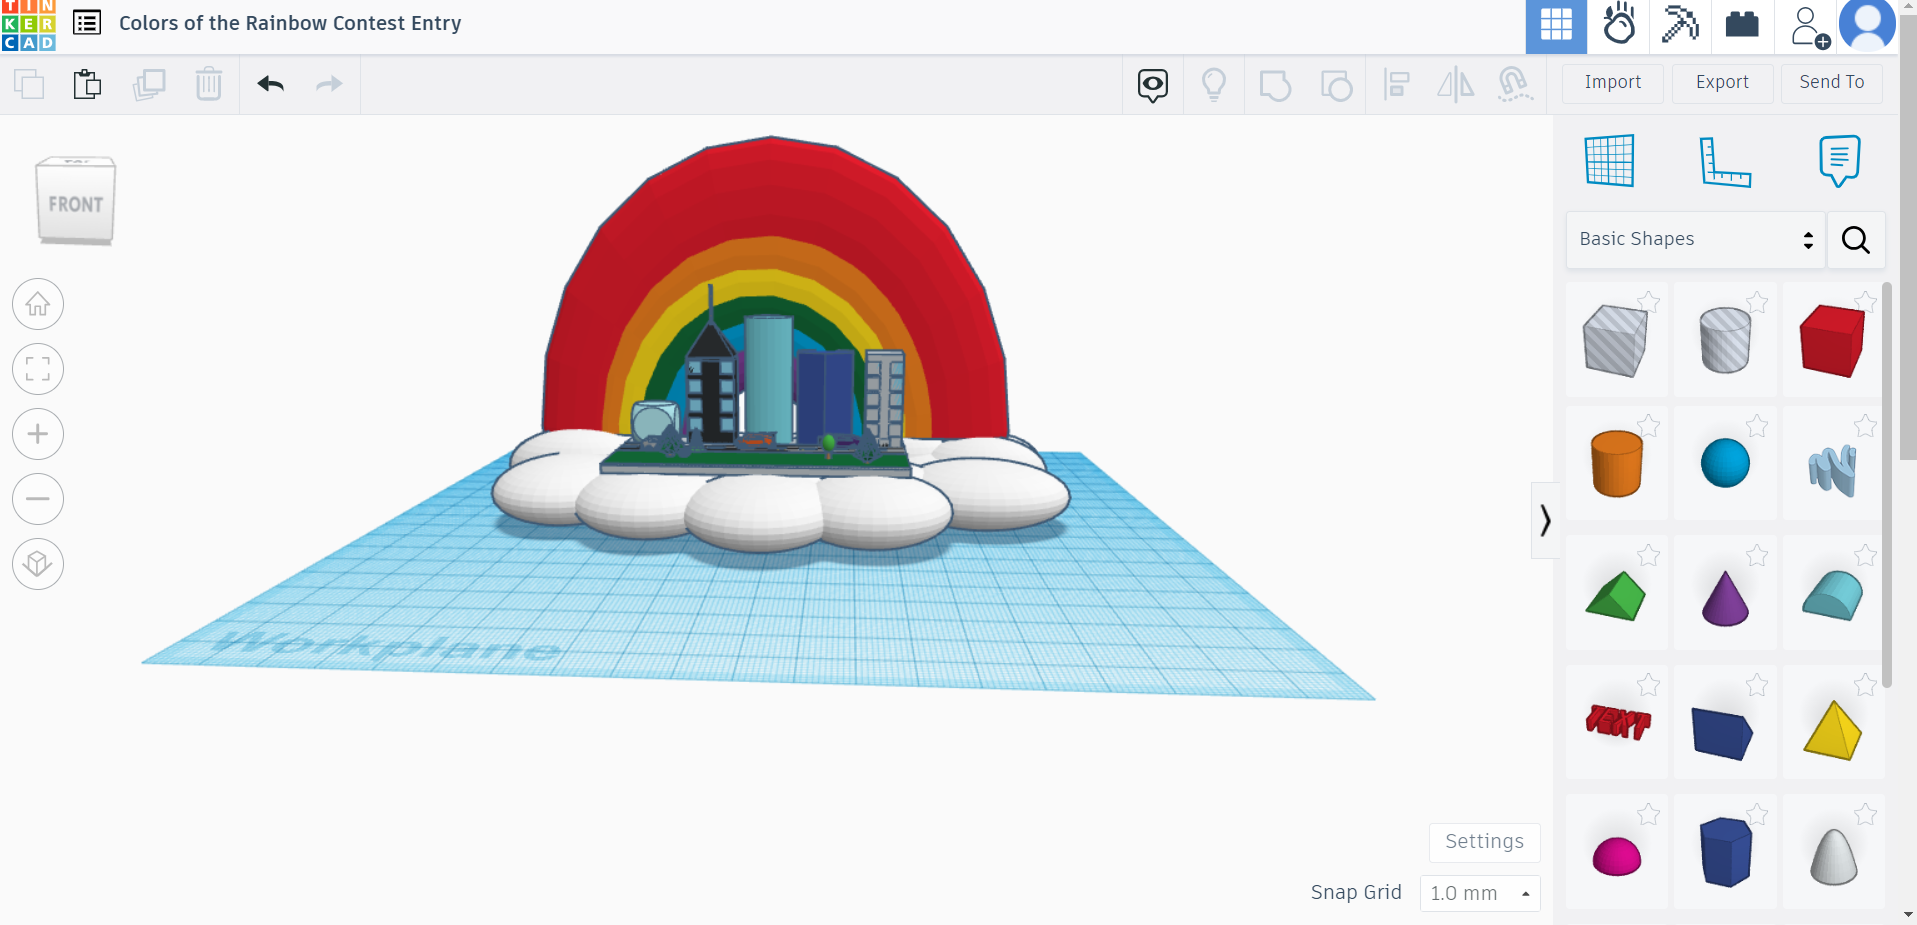
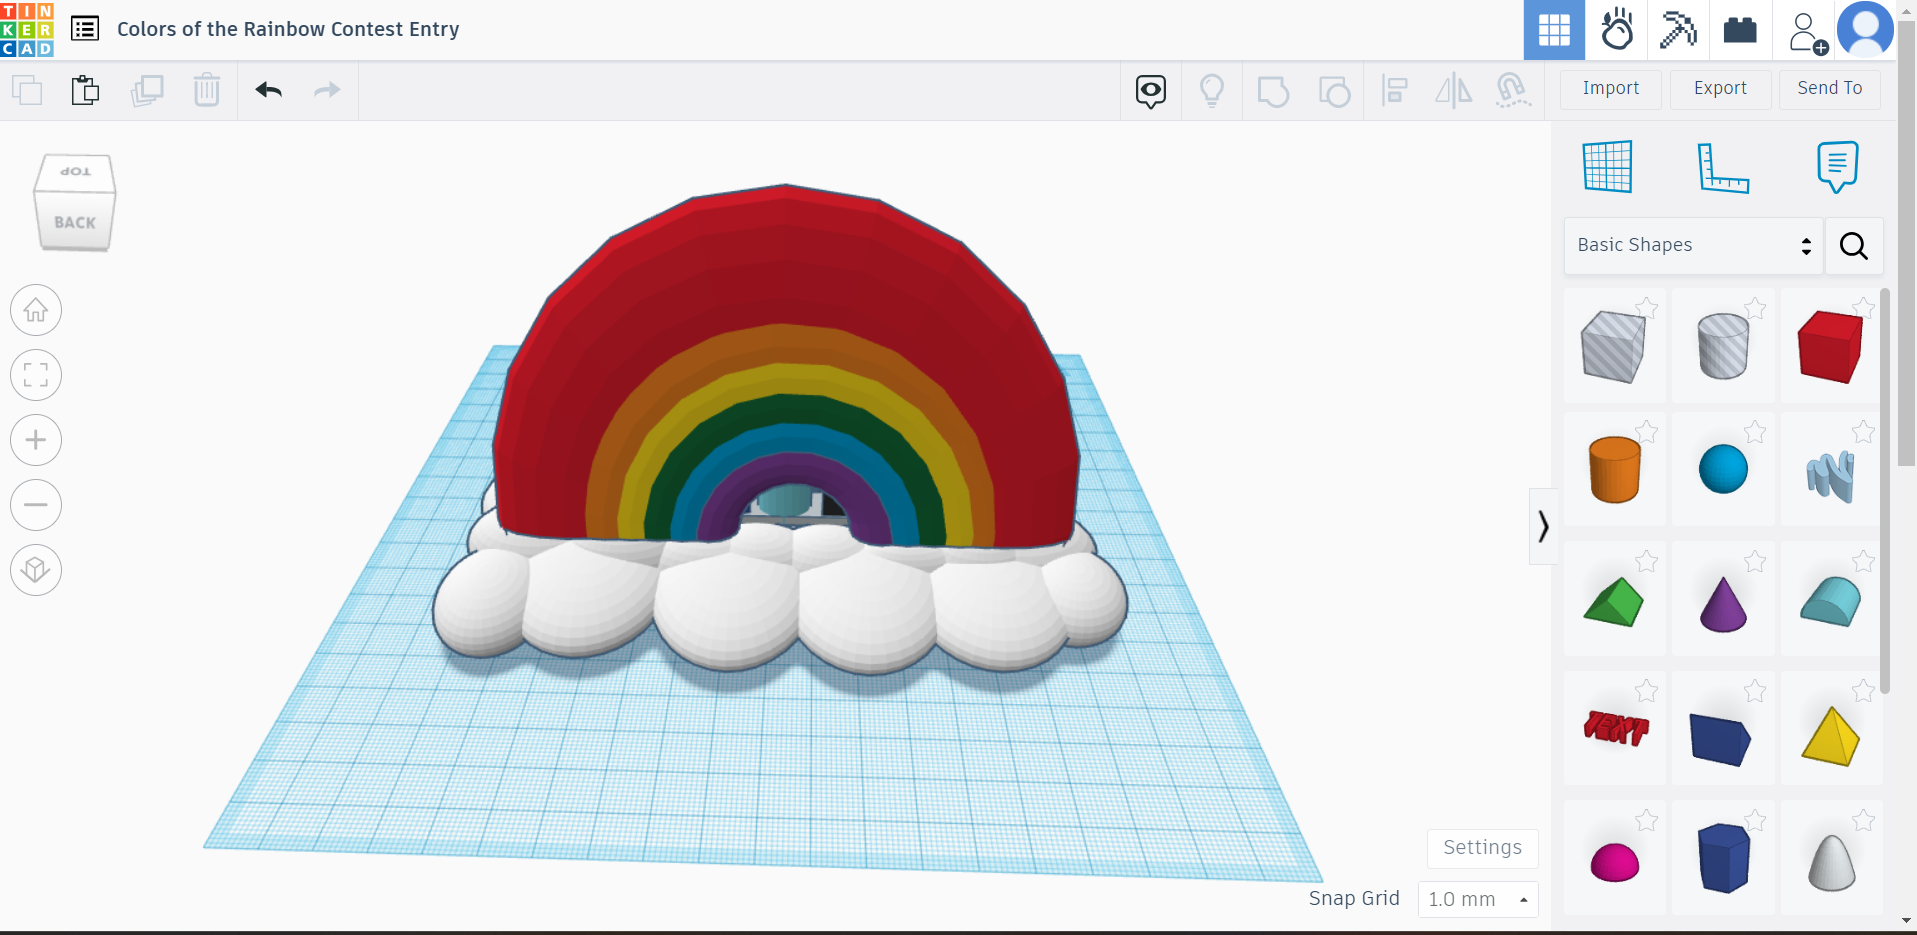
Hello guys, this is my third instructable and I am showing you how to make a floating city in the clouds with a rainbow for the background, it is an in depth instruction on how to make this and I hope that you like it. Please leave tips for me if you would like me to change anything about this project, lets dive in.
Supplies
You will need to use the Tinkercad 3d modeling platform on your browser.
Platform and Building 1
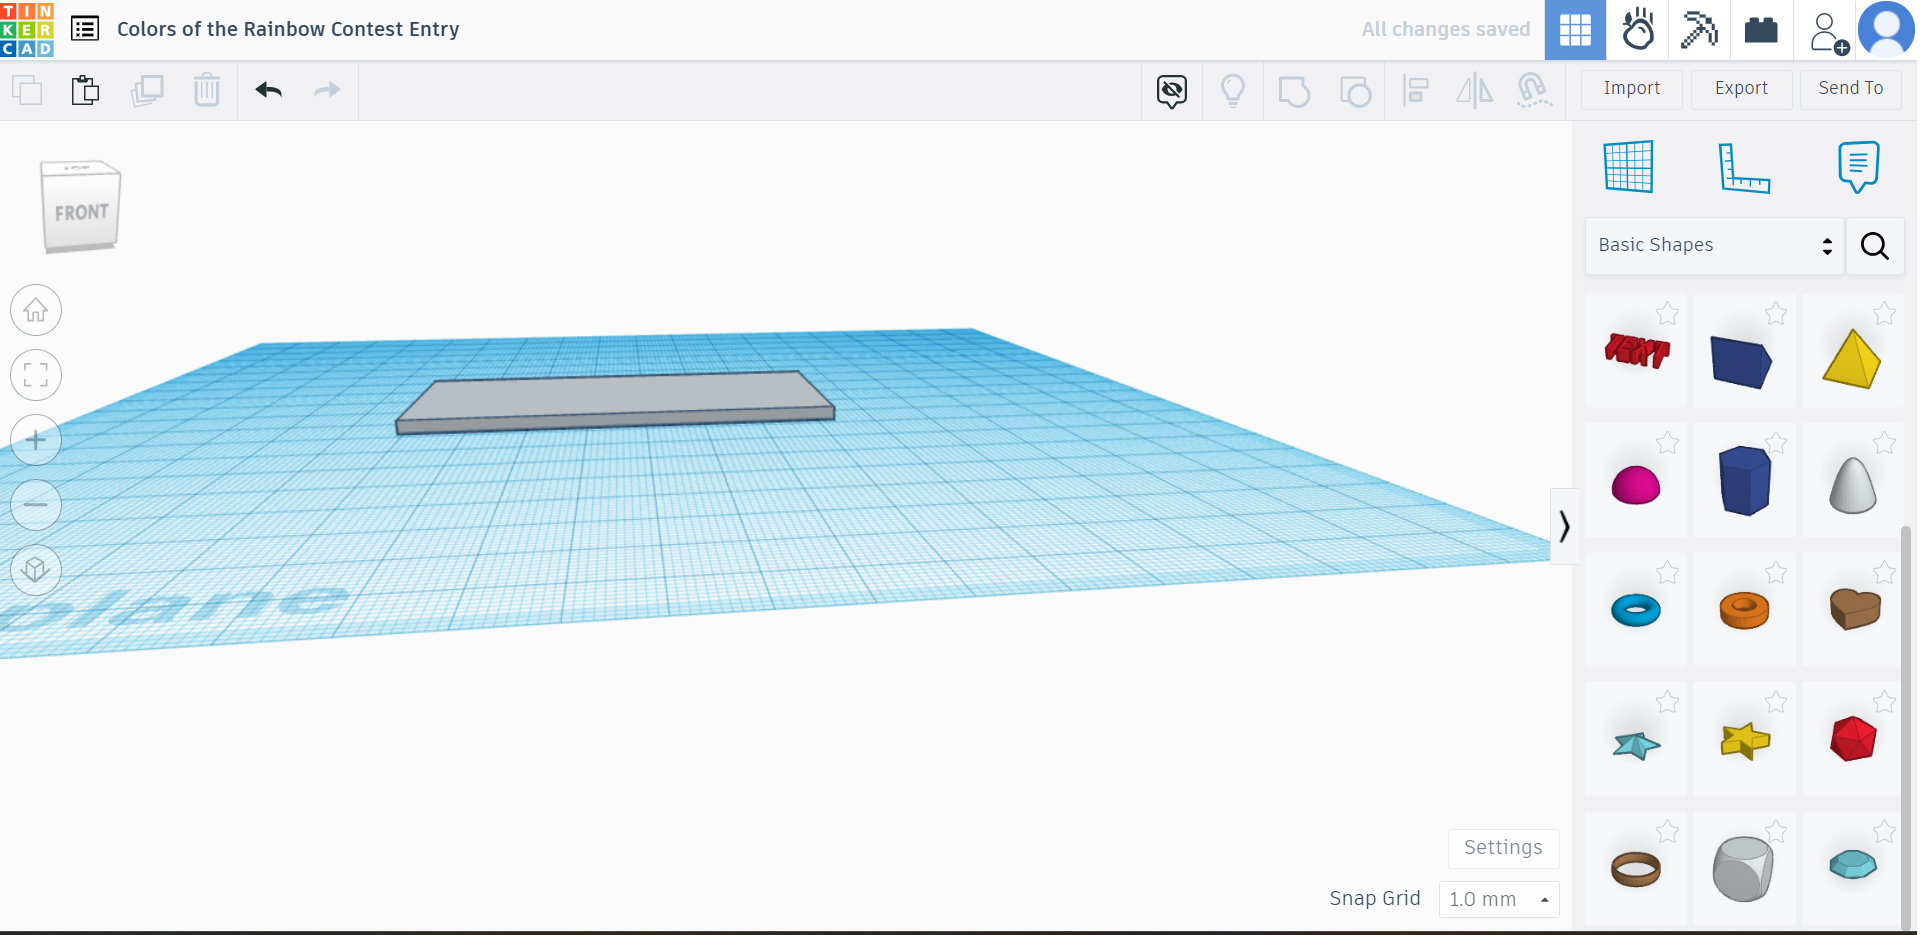
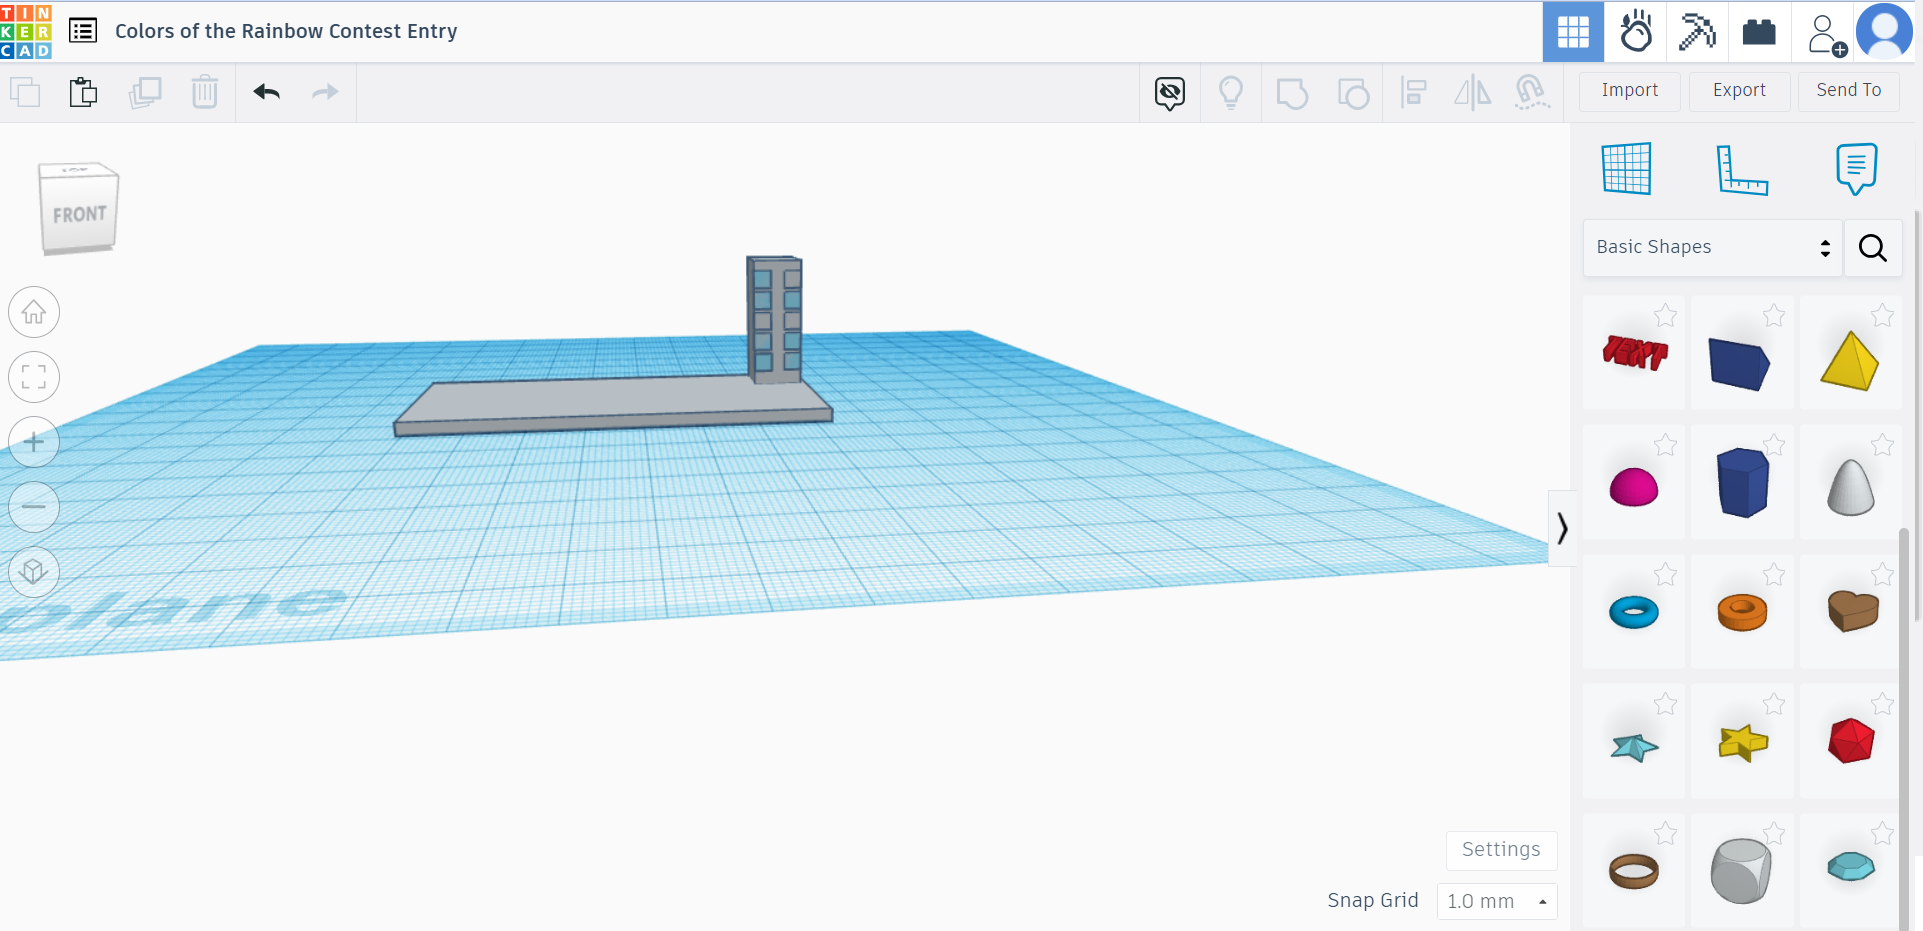
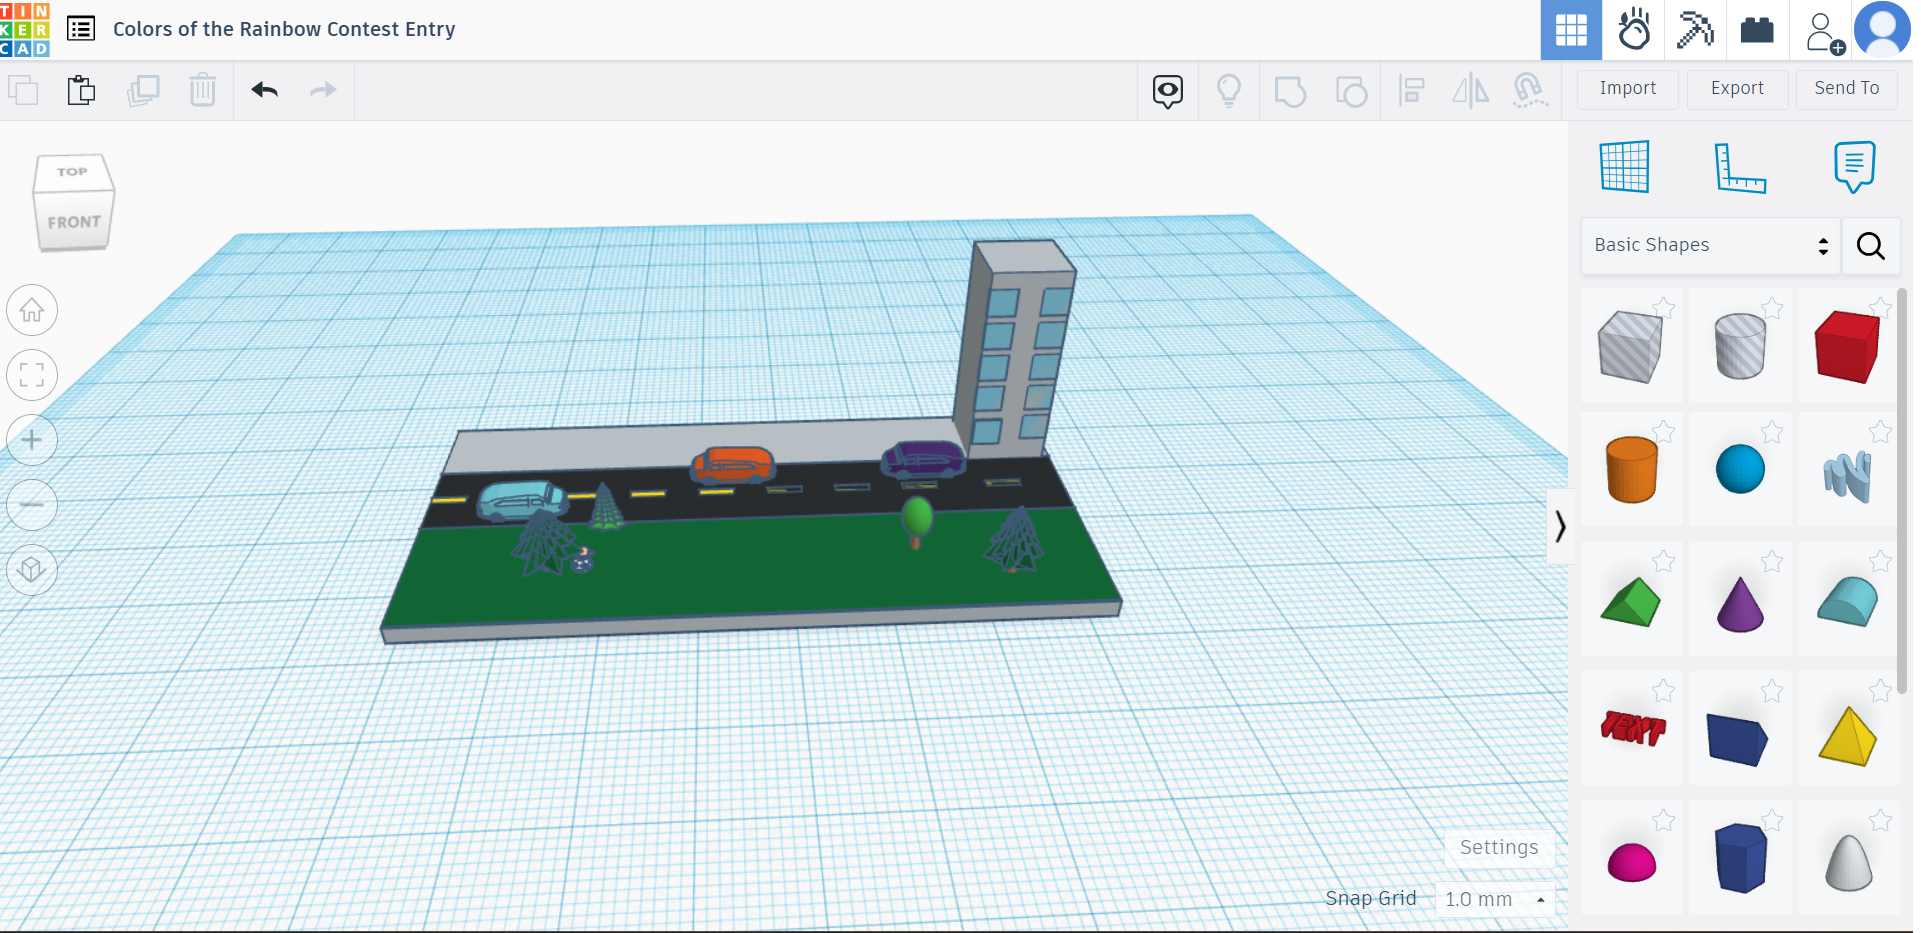
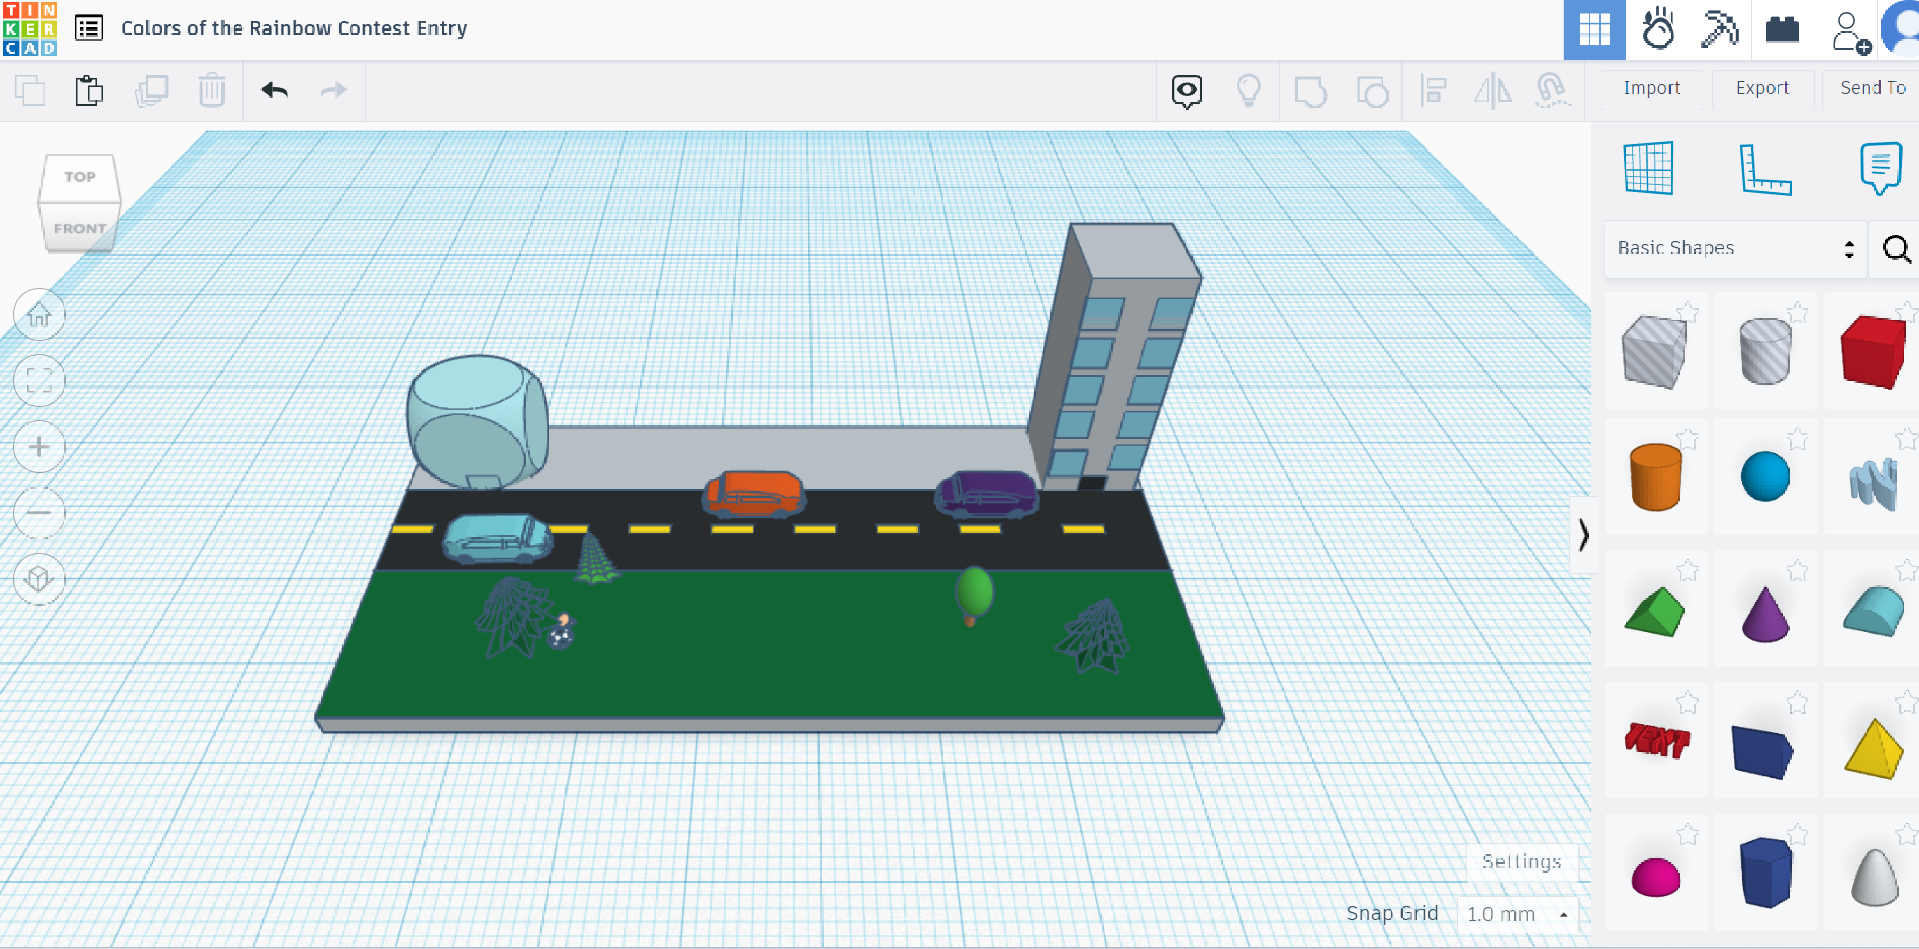
First, you need to drag a cube to the ground level, thin it out to your desired thickness, and then change the color to gray. For the first building, you need to drag a gray cube, thin it out a little, and then make it a little taller.
Grass and Road
.png)
To make the grass you need to drag a green cube and make it very thin so that it doesn't seem to be jutting out. For the road, you need to drag a black cube, reduce the width, increase the length, and add small yellow strips. Add small details on the side as you please.
More Buildings
.png)
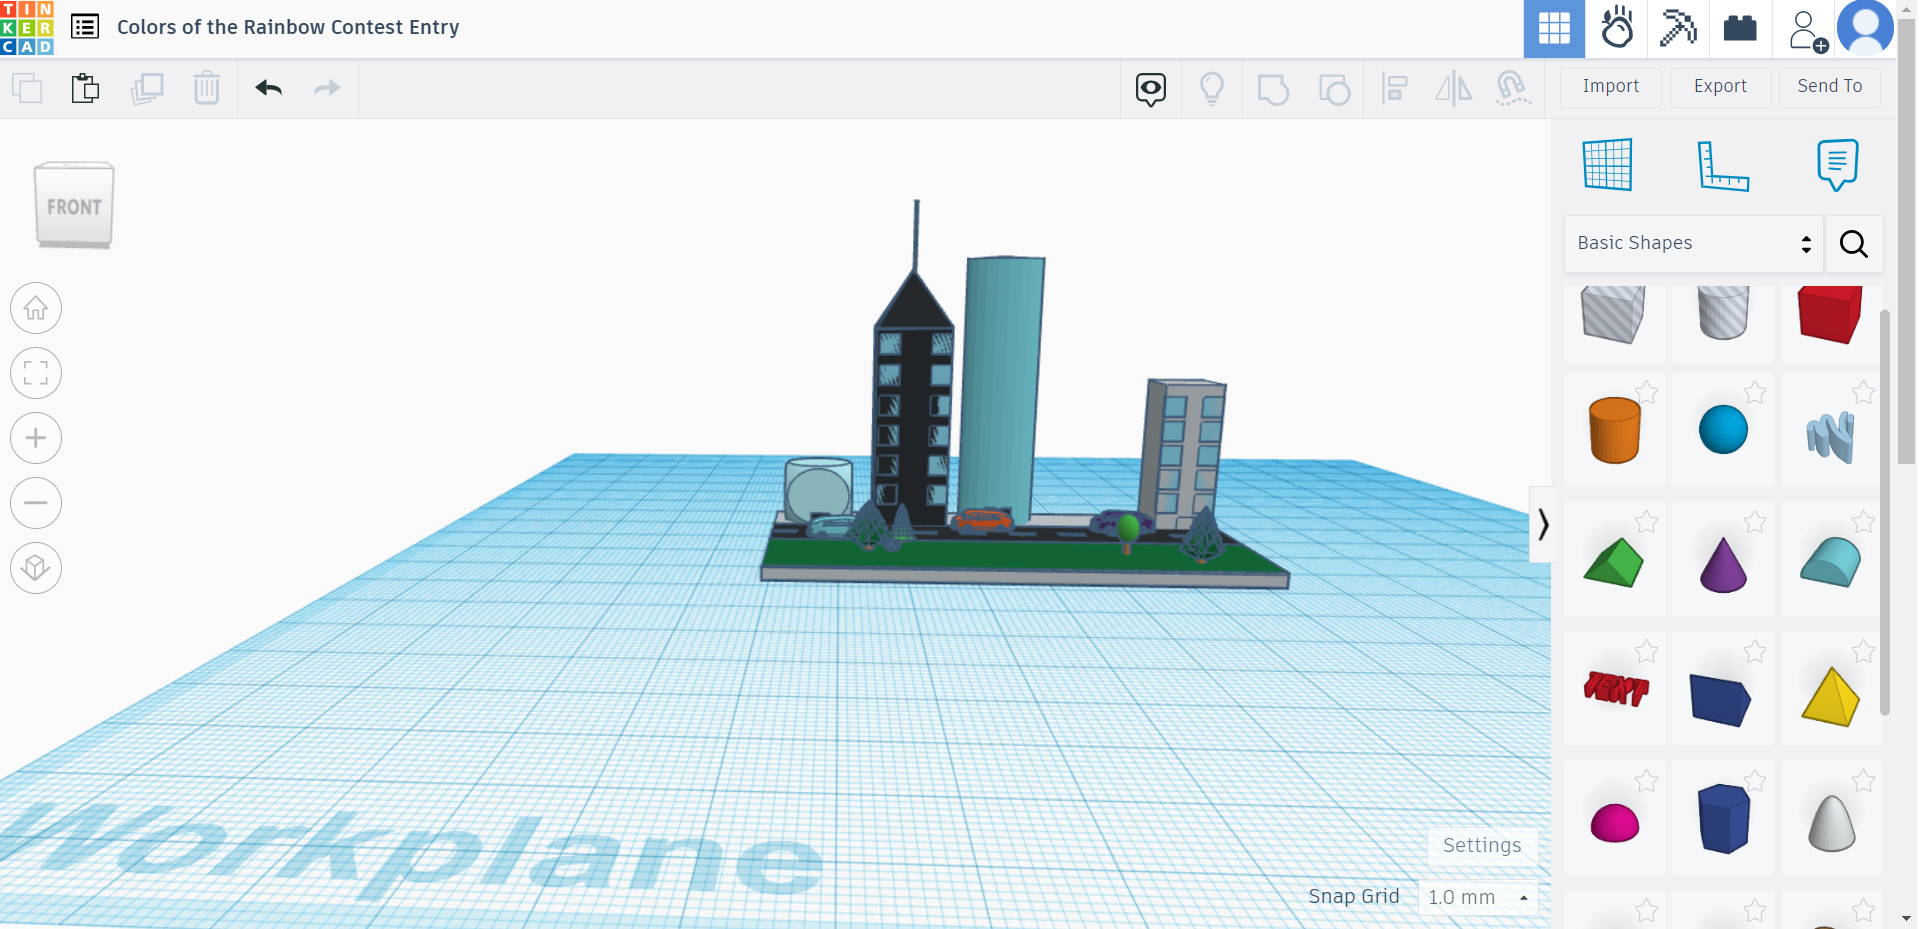
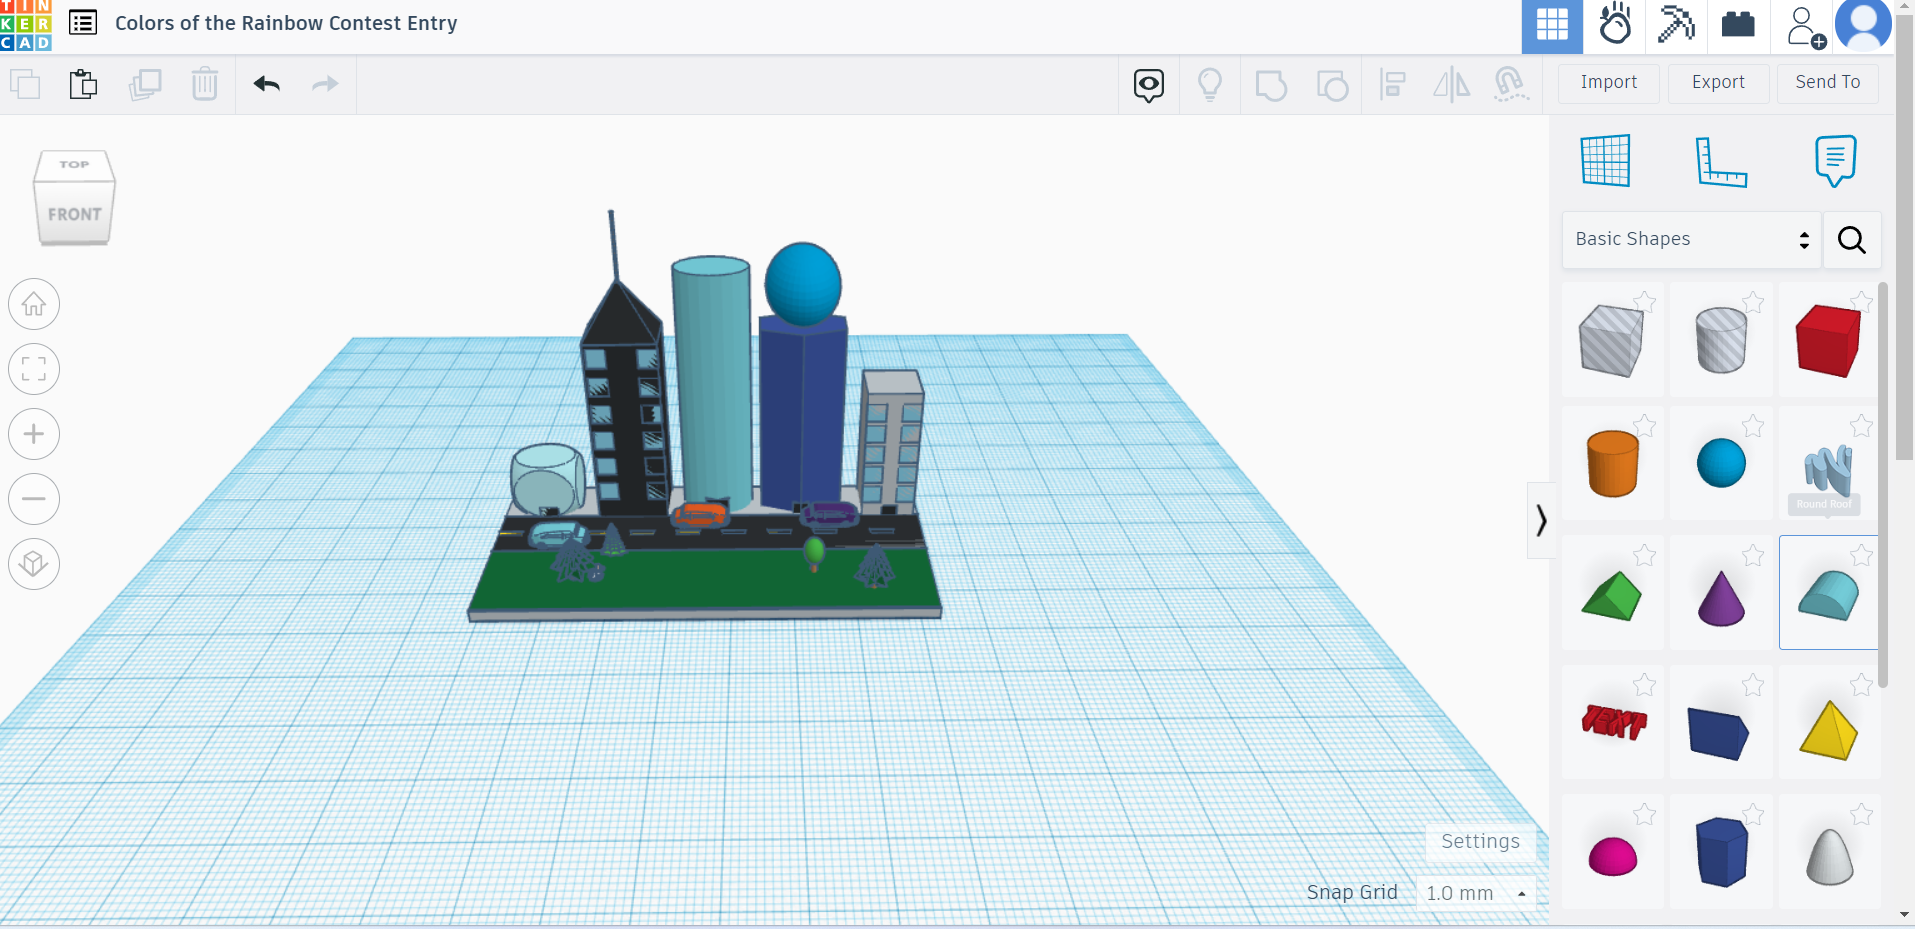
This step is fairly simple as you can let your creative mind loose. You just need to make a few other unique buildings.
The Rainbow
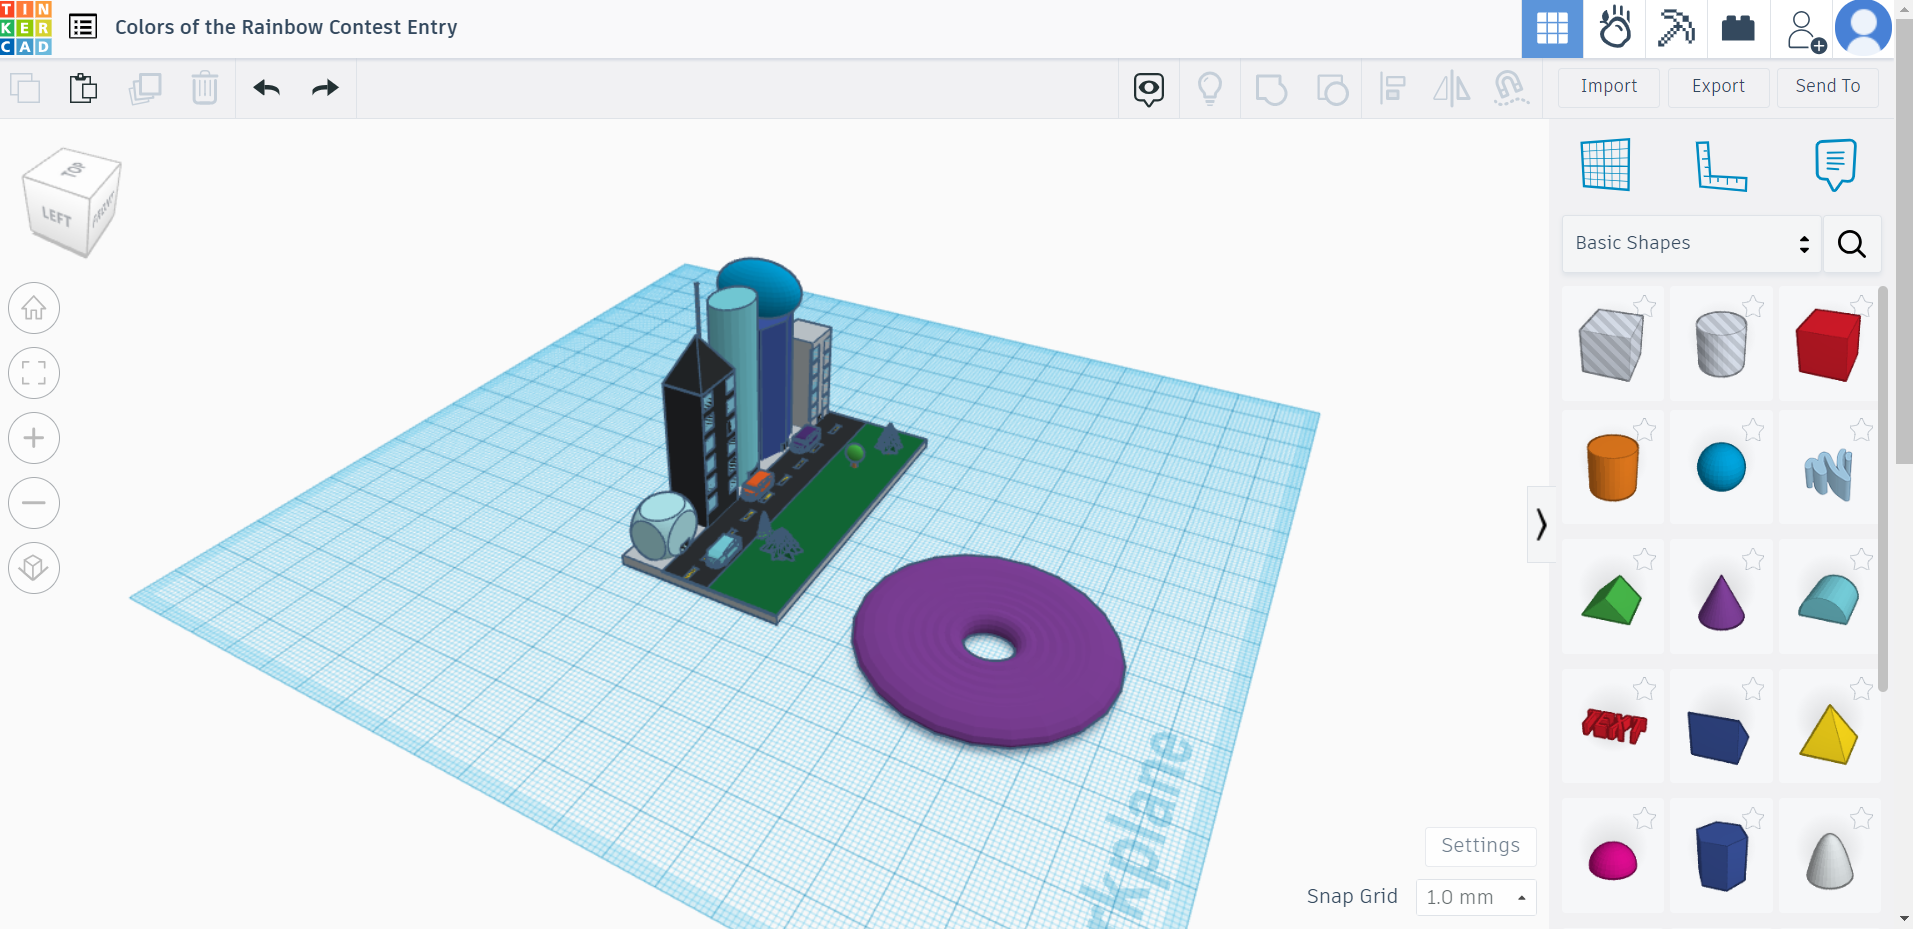
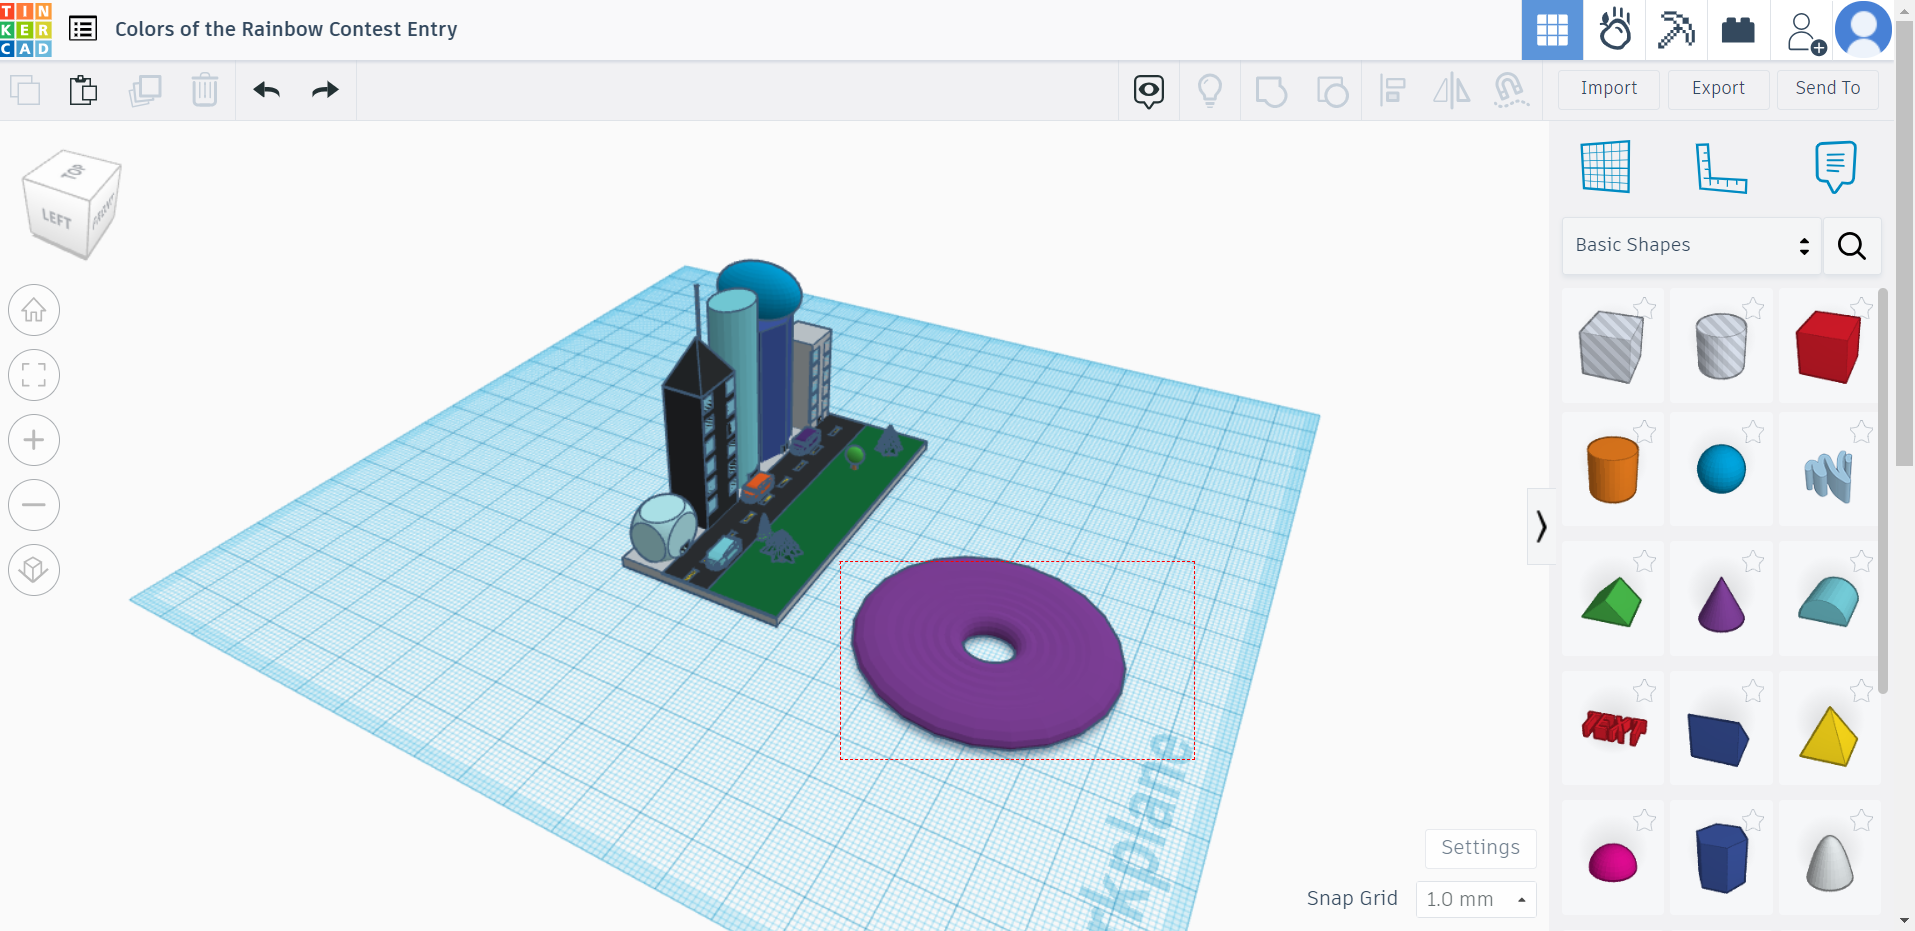
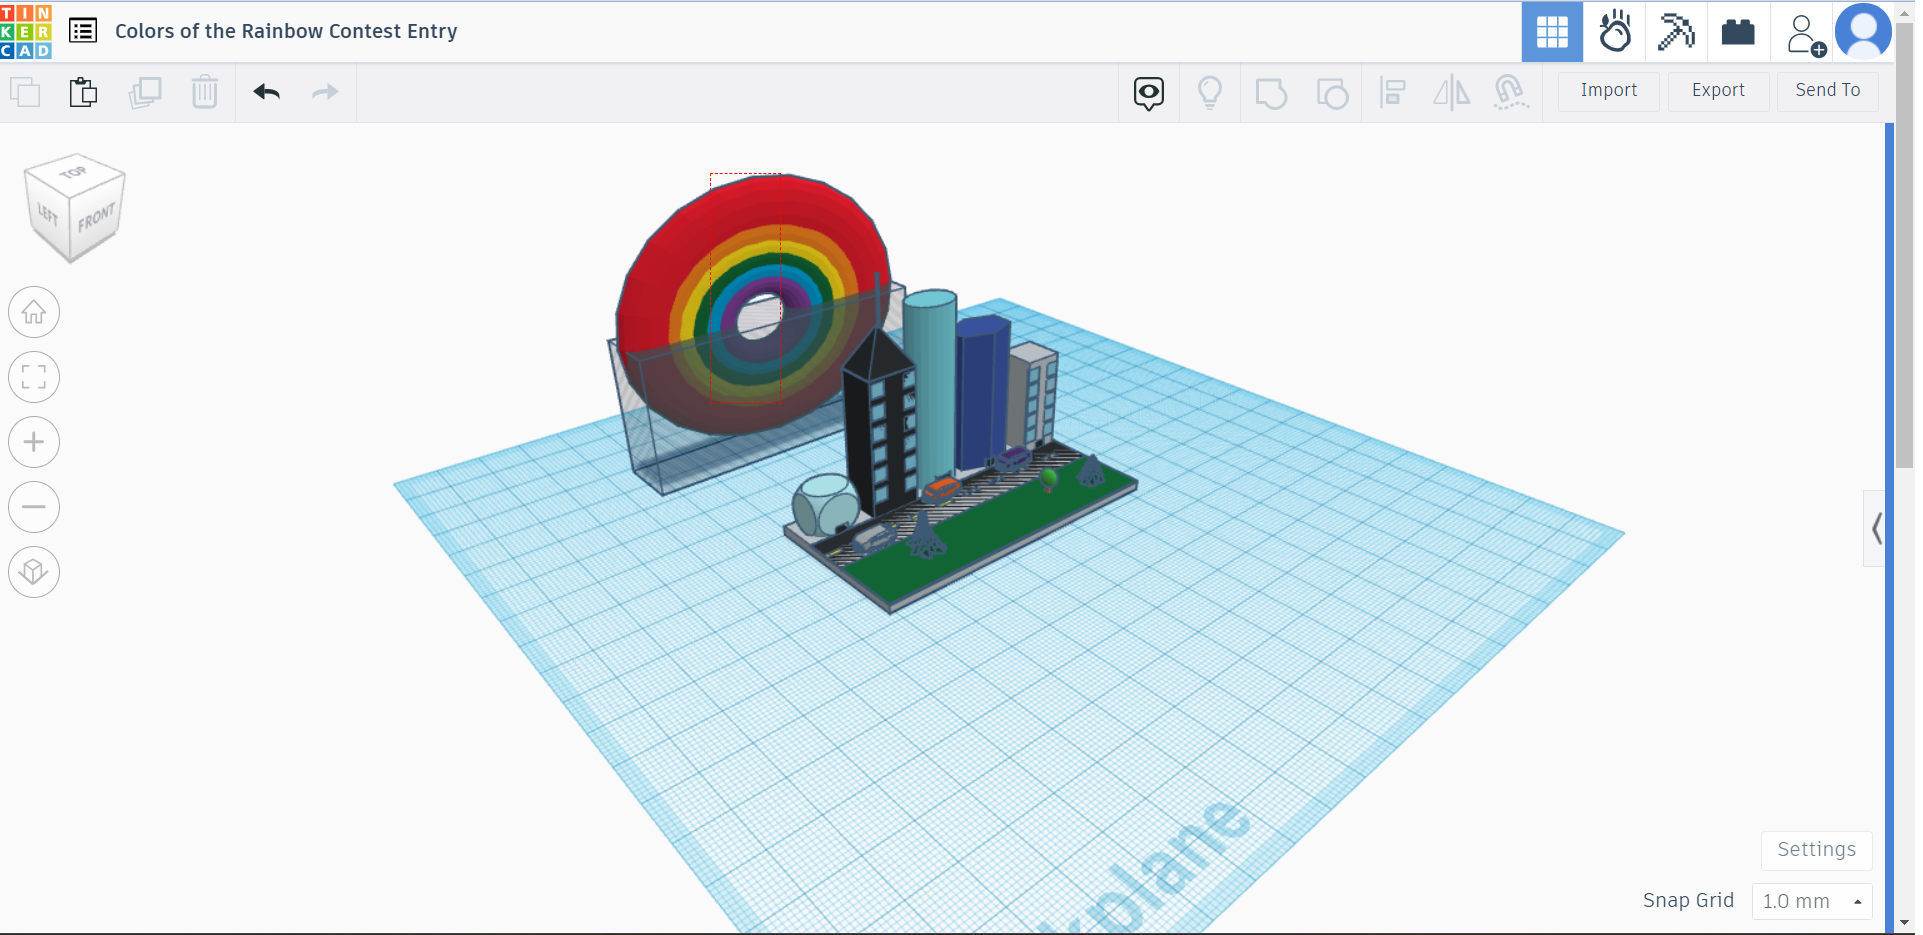
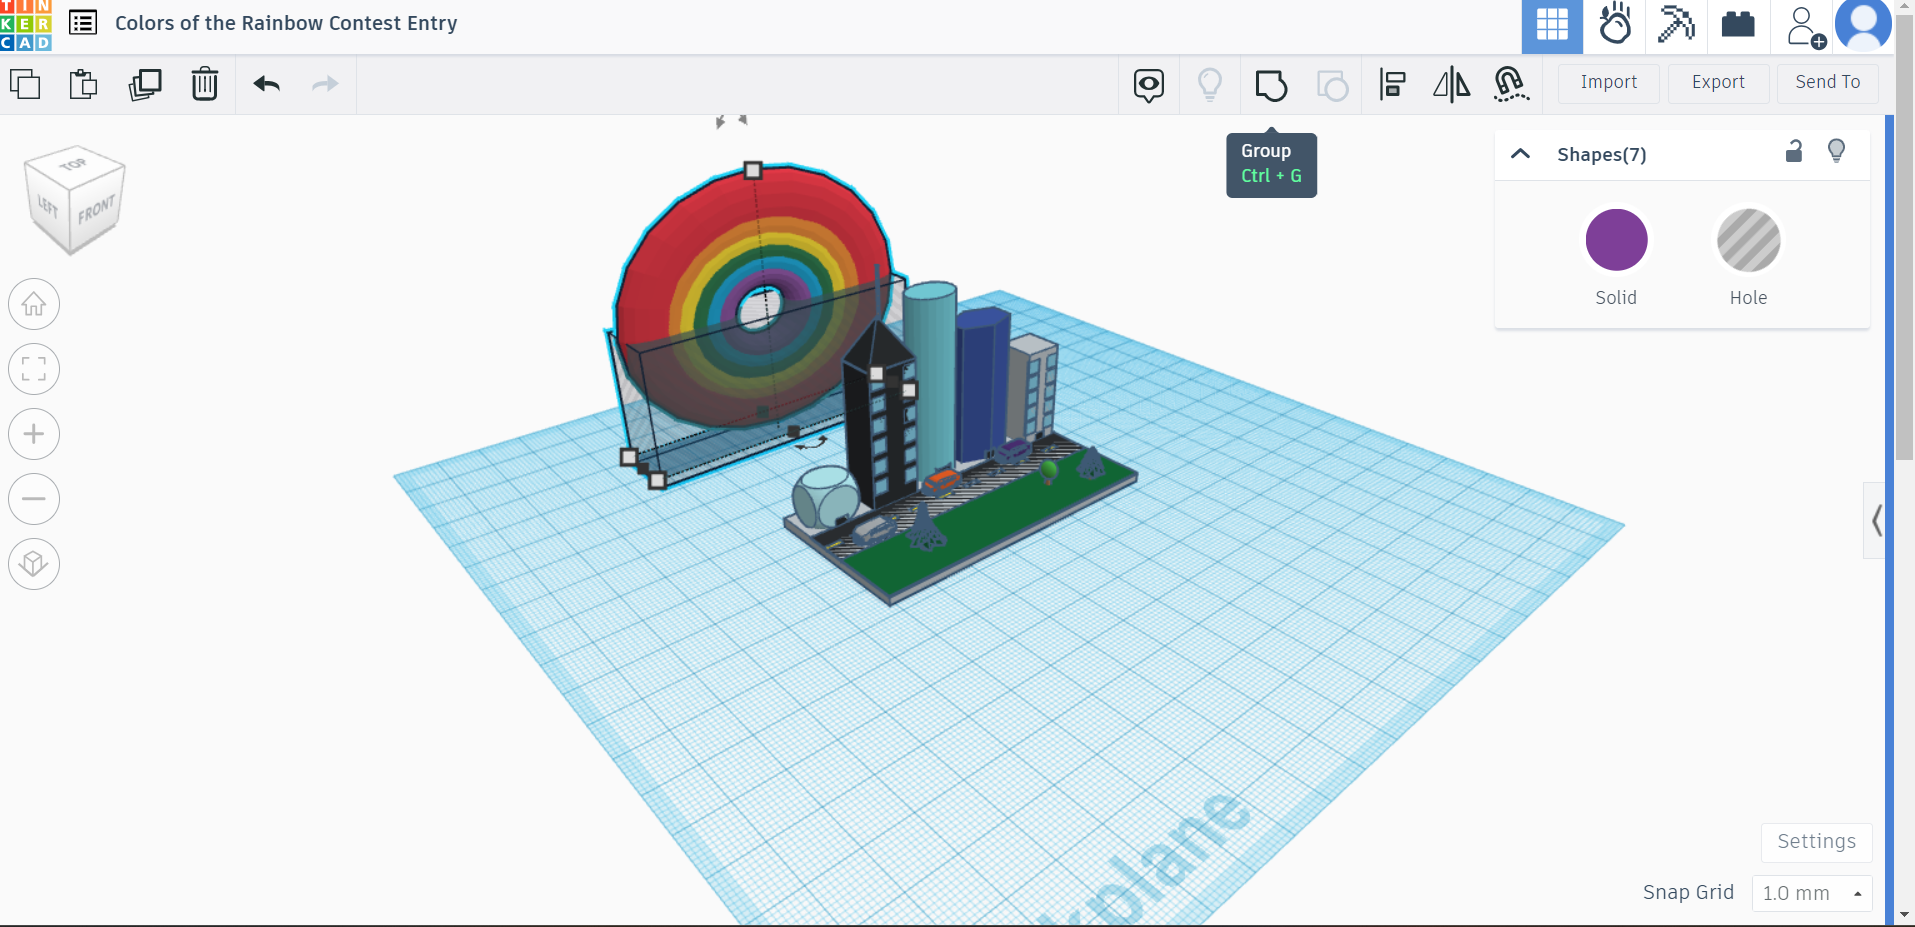
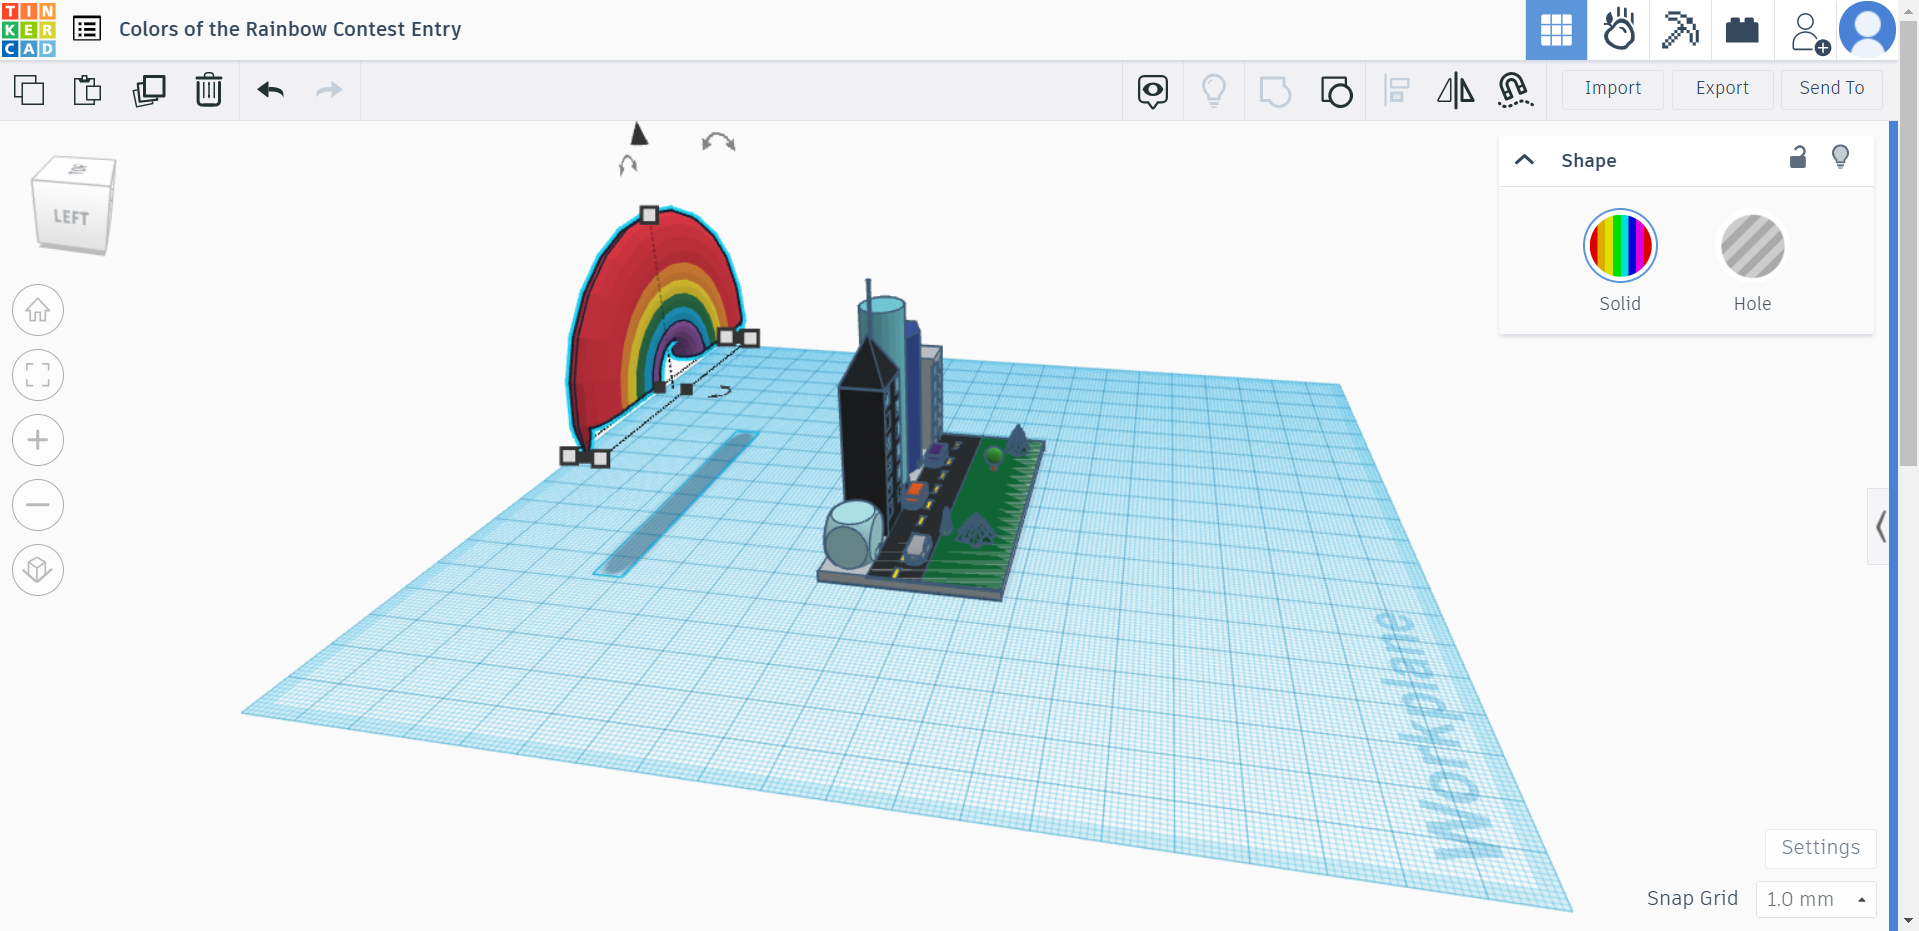
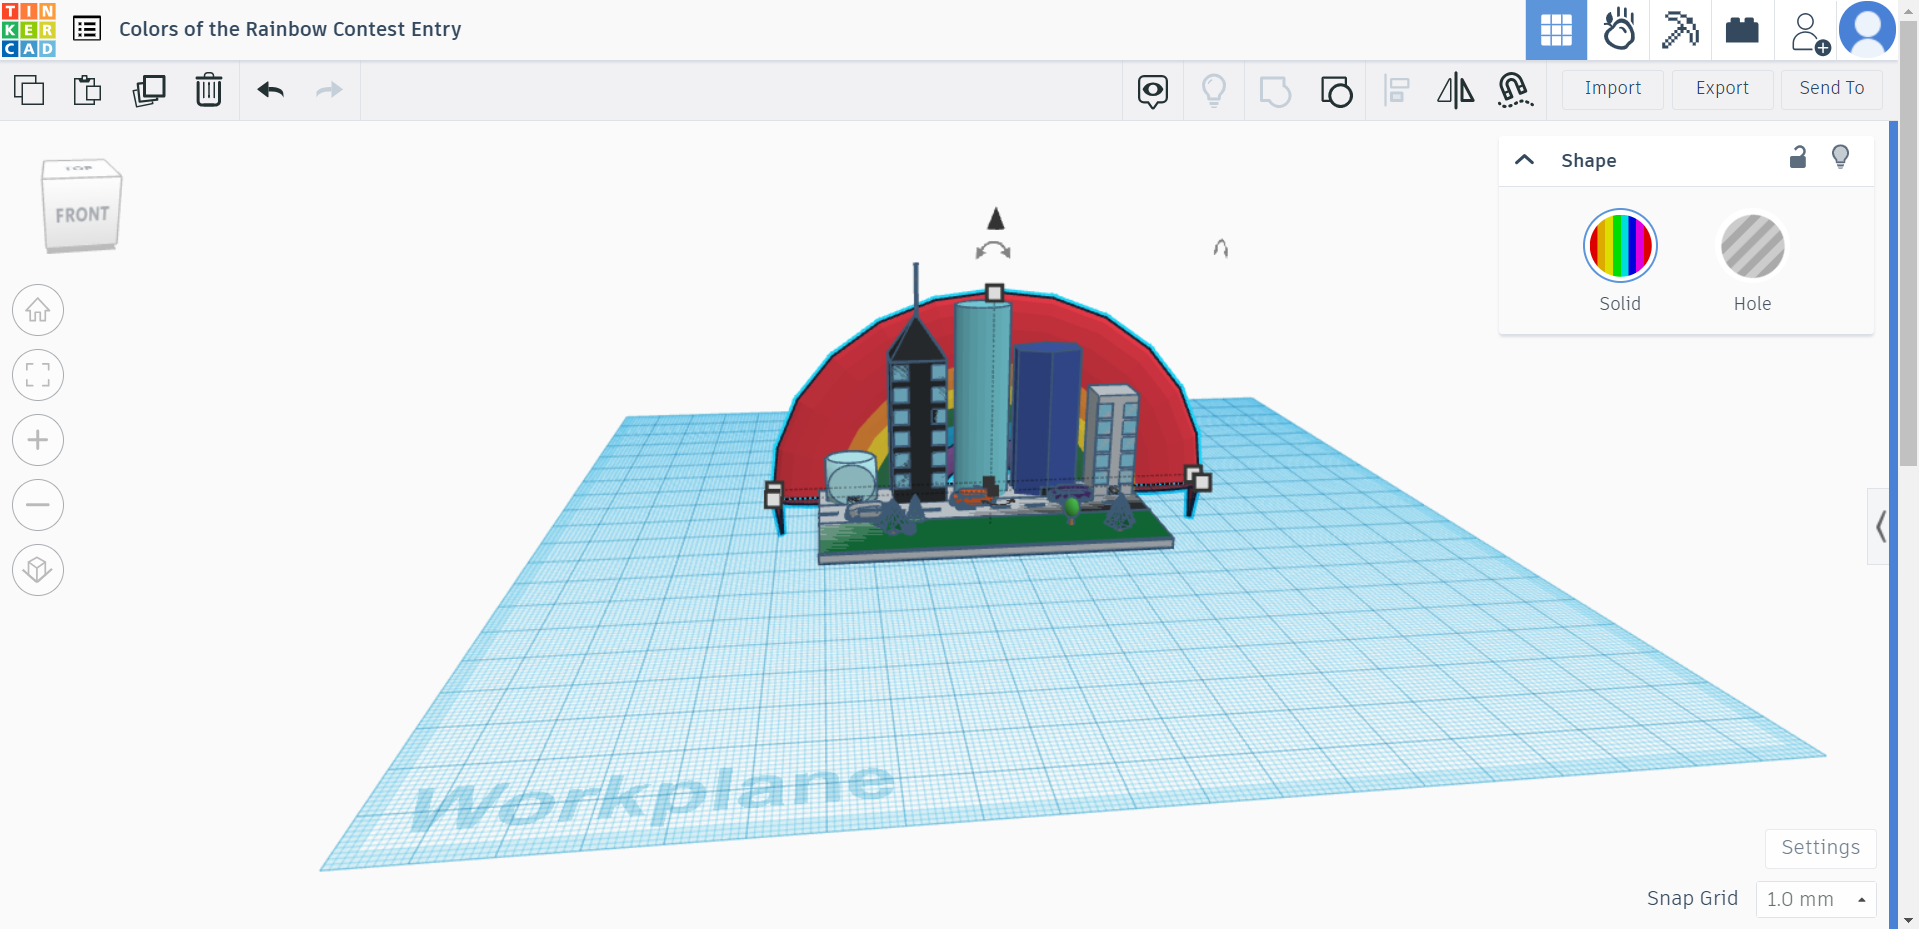
First, you need to make 7 rings all gradually getting bigger. We used increments of 10. Then you want to position behind the city. After this, you want to drag a hole and cover about half of the circle. Then you want to group all 7 rings and delete the hole. Also, make sure to change the color to multi-color so it will be an actual rainbow. After this you can manipulate the size and position to your liking.
Clouds
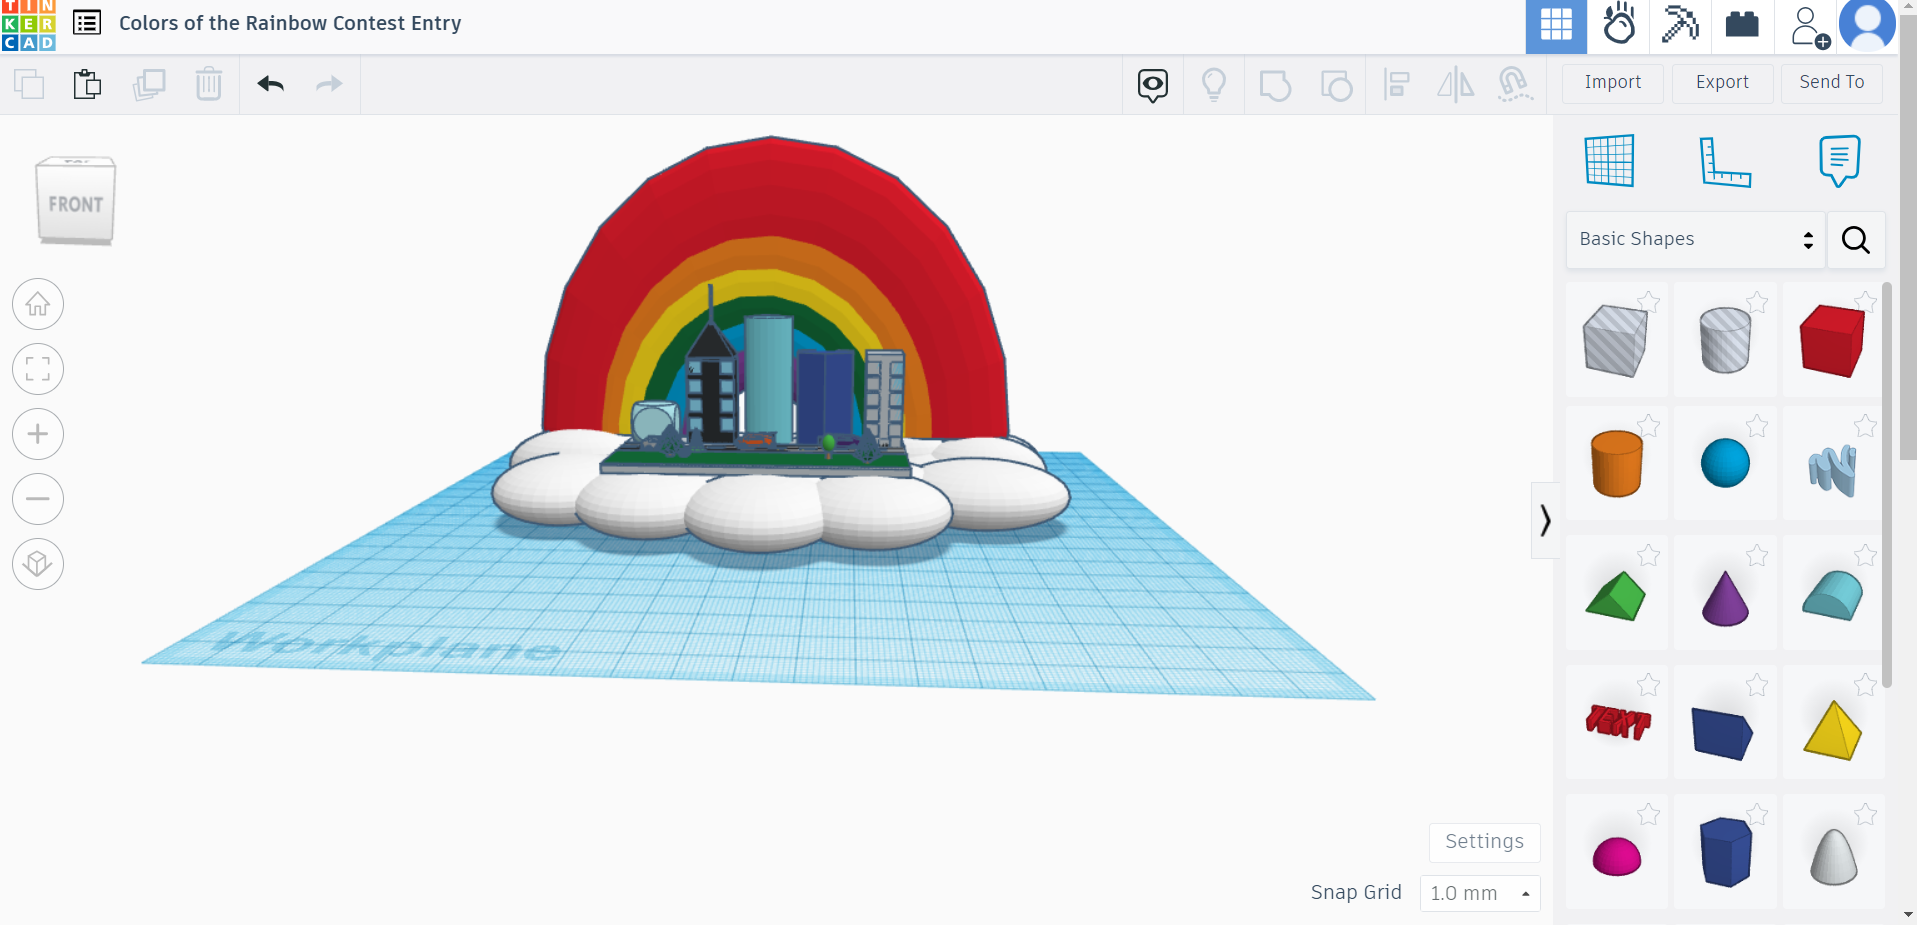
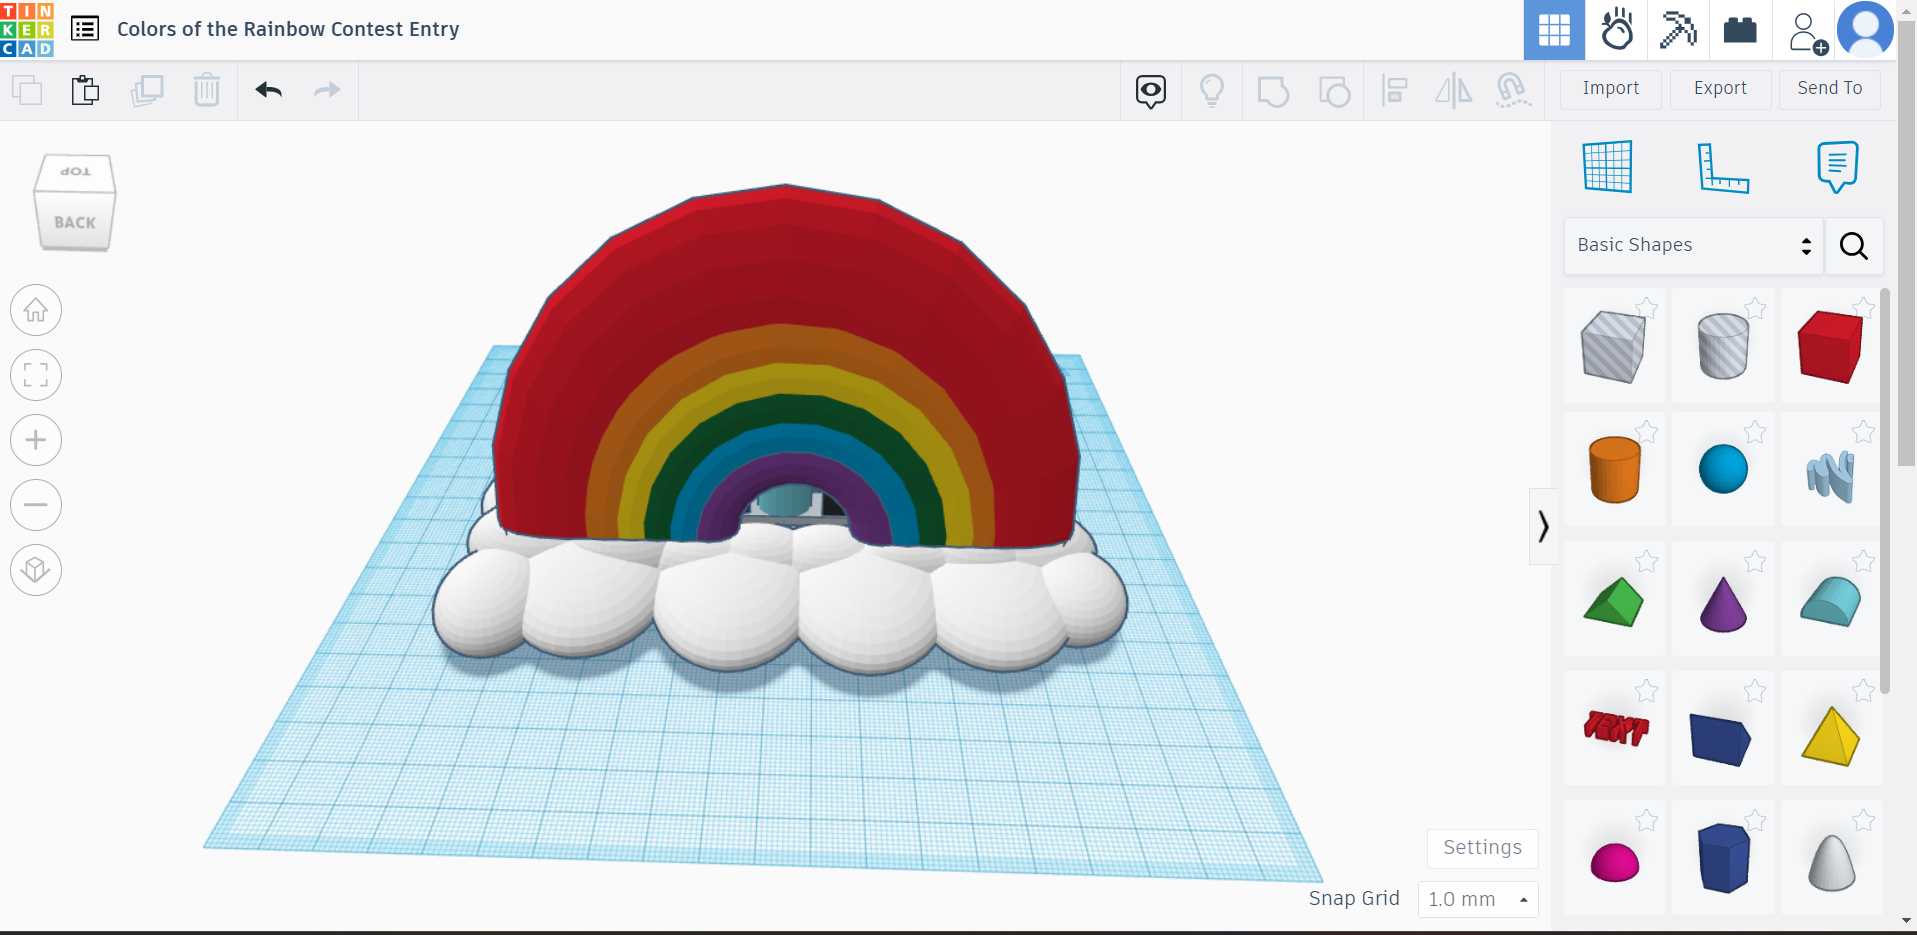
For clouds, all you need to do is drag a white sphere and make it shorter and wider. Then you can just copy and paste and change each sphere if you want to make it look a little better.