Flexible Glowing Snowman Ornament
by Mr Makes It in Workshop > 3D Printing
927 Views, 2 Favorites, 0 Comments
Flexible Glowing Snowman Ornament
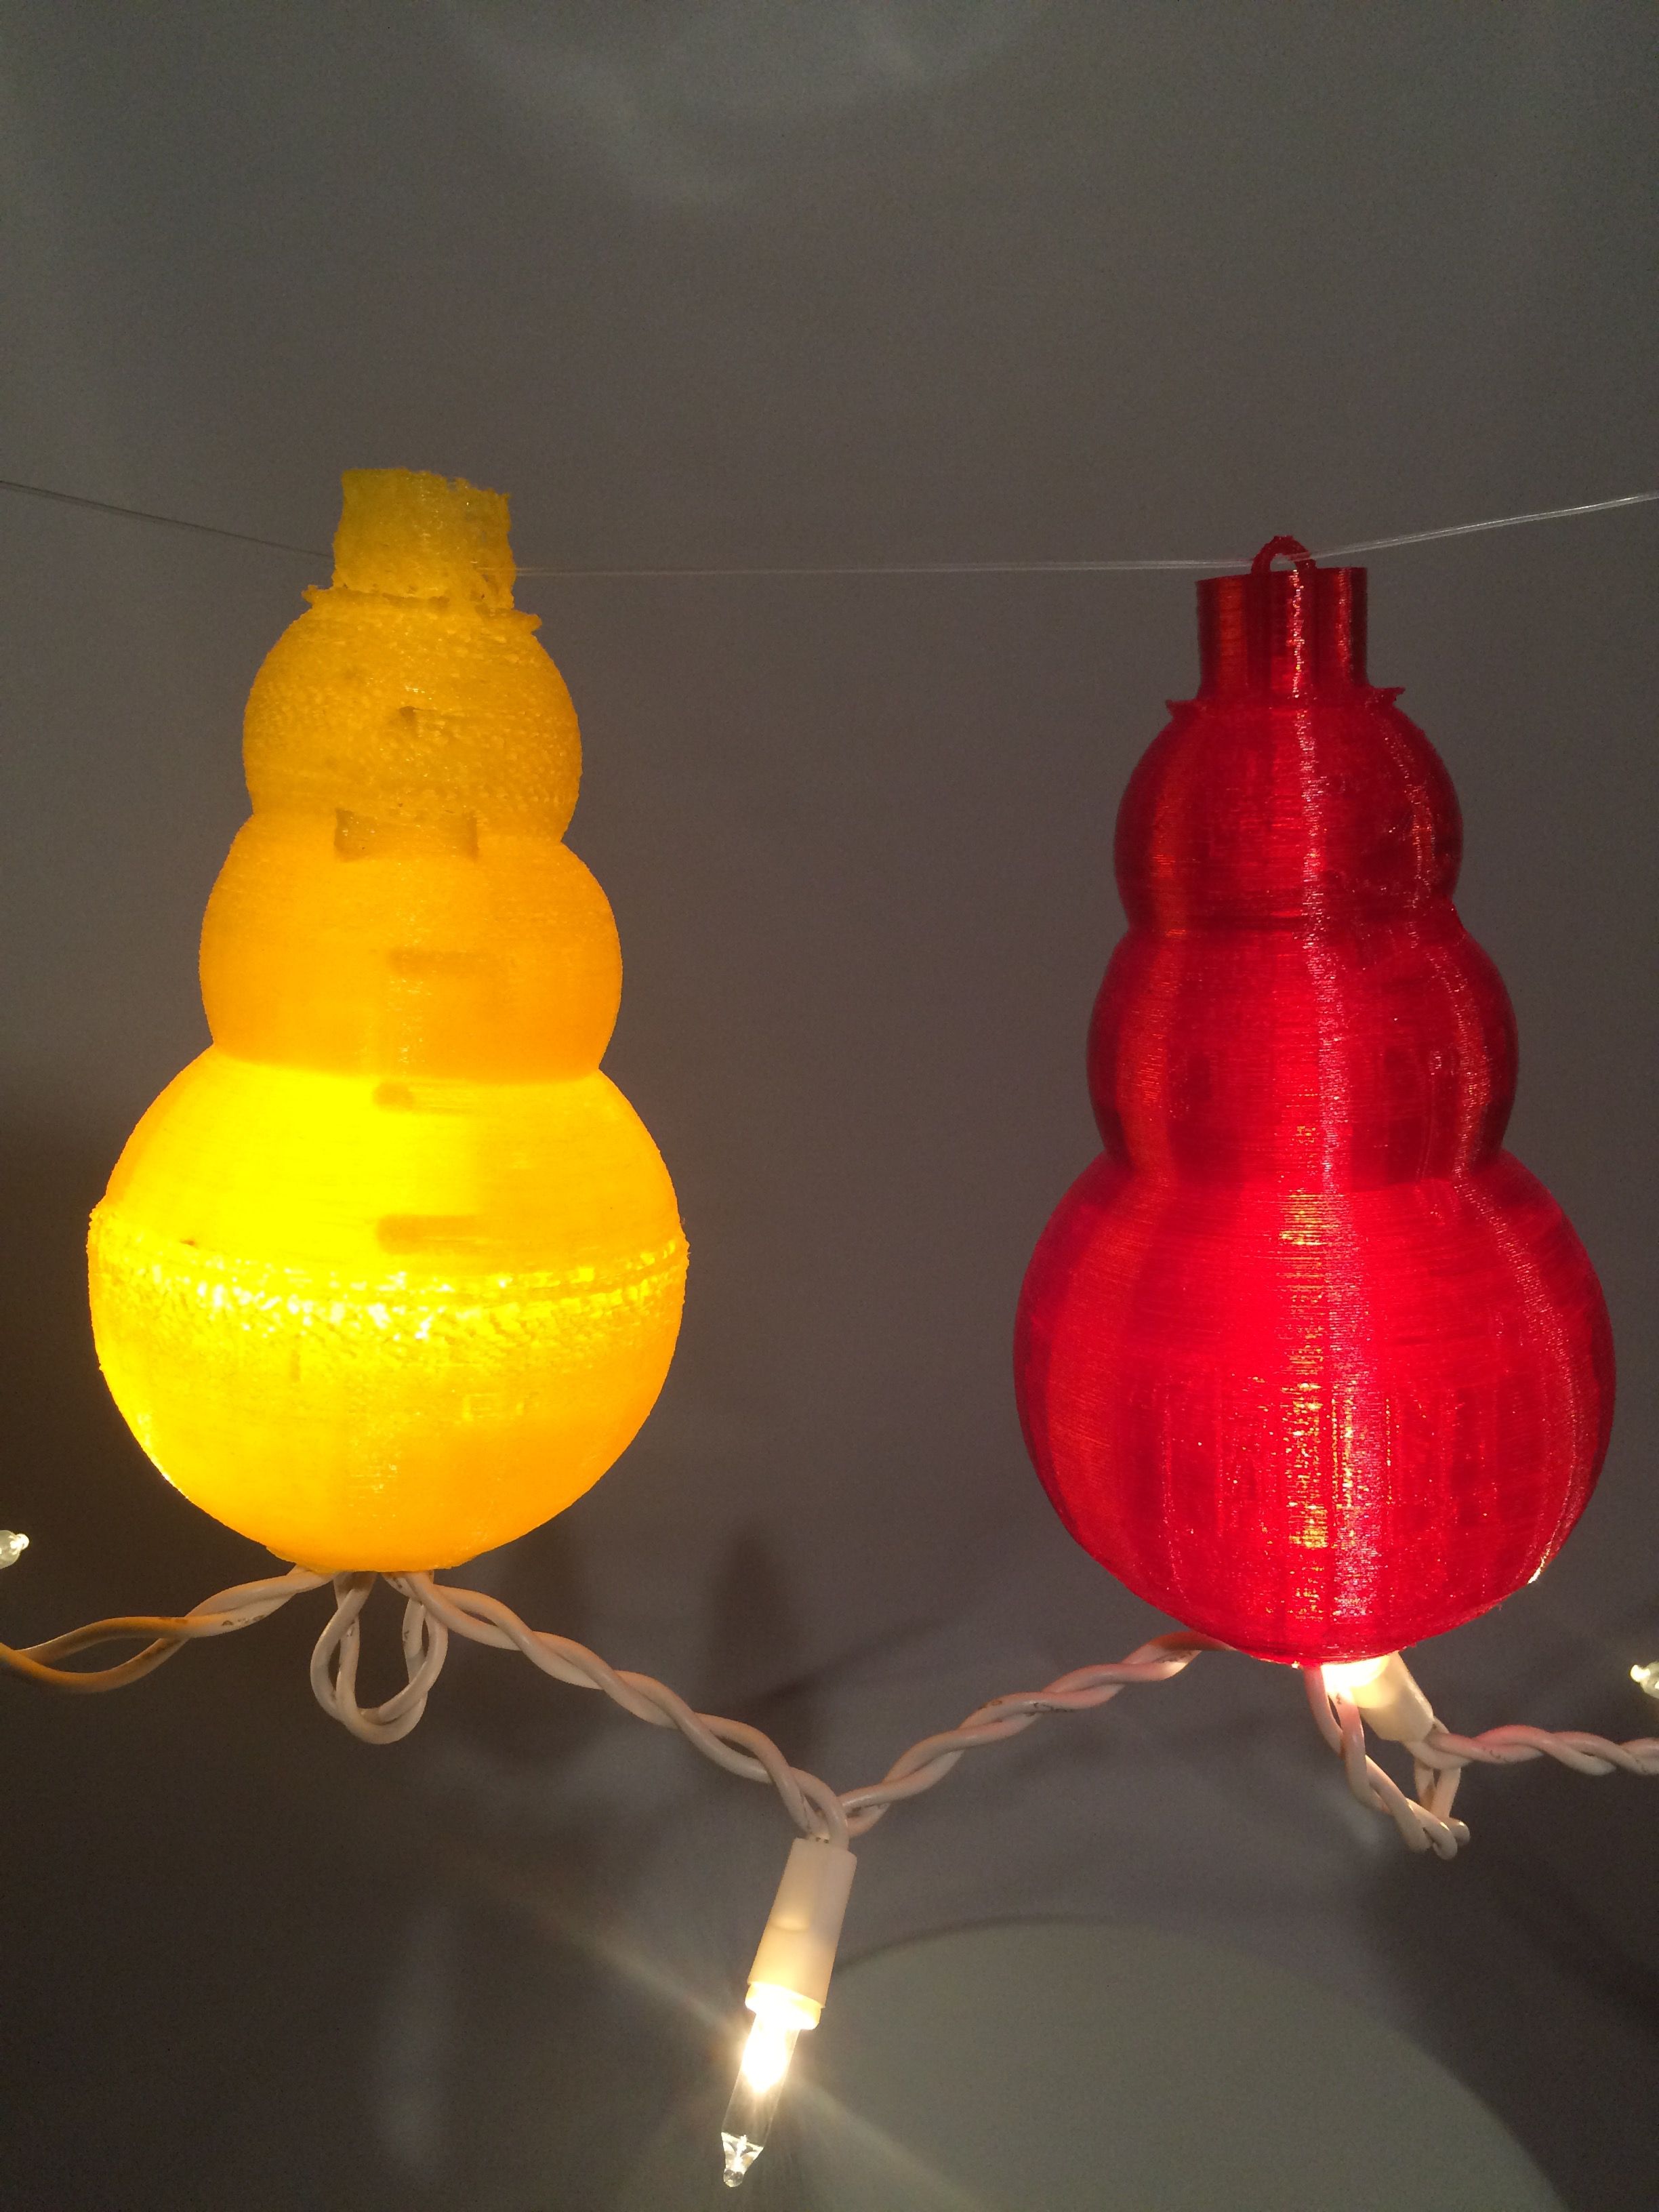
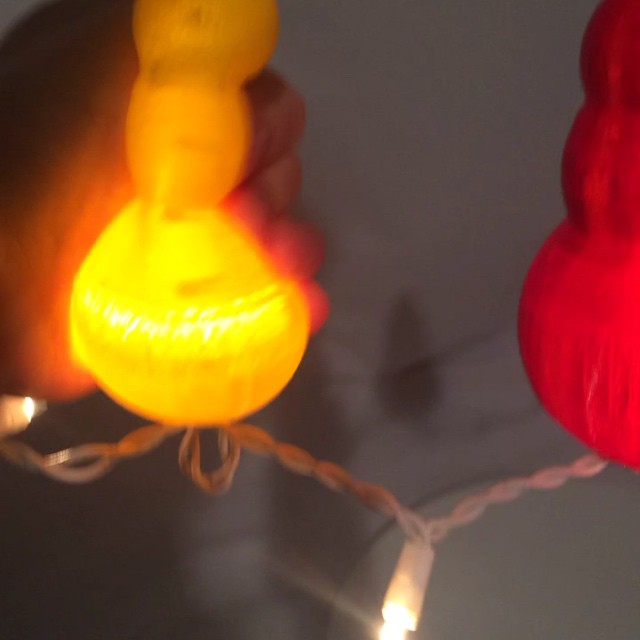
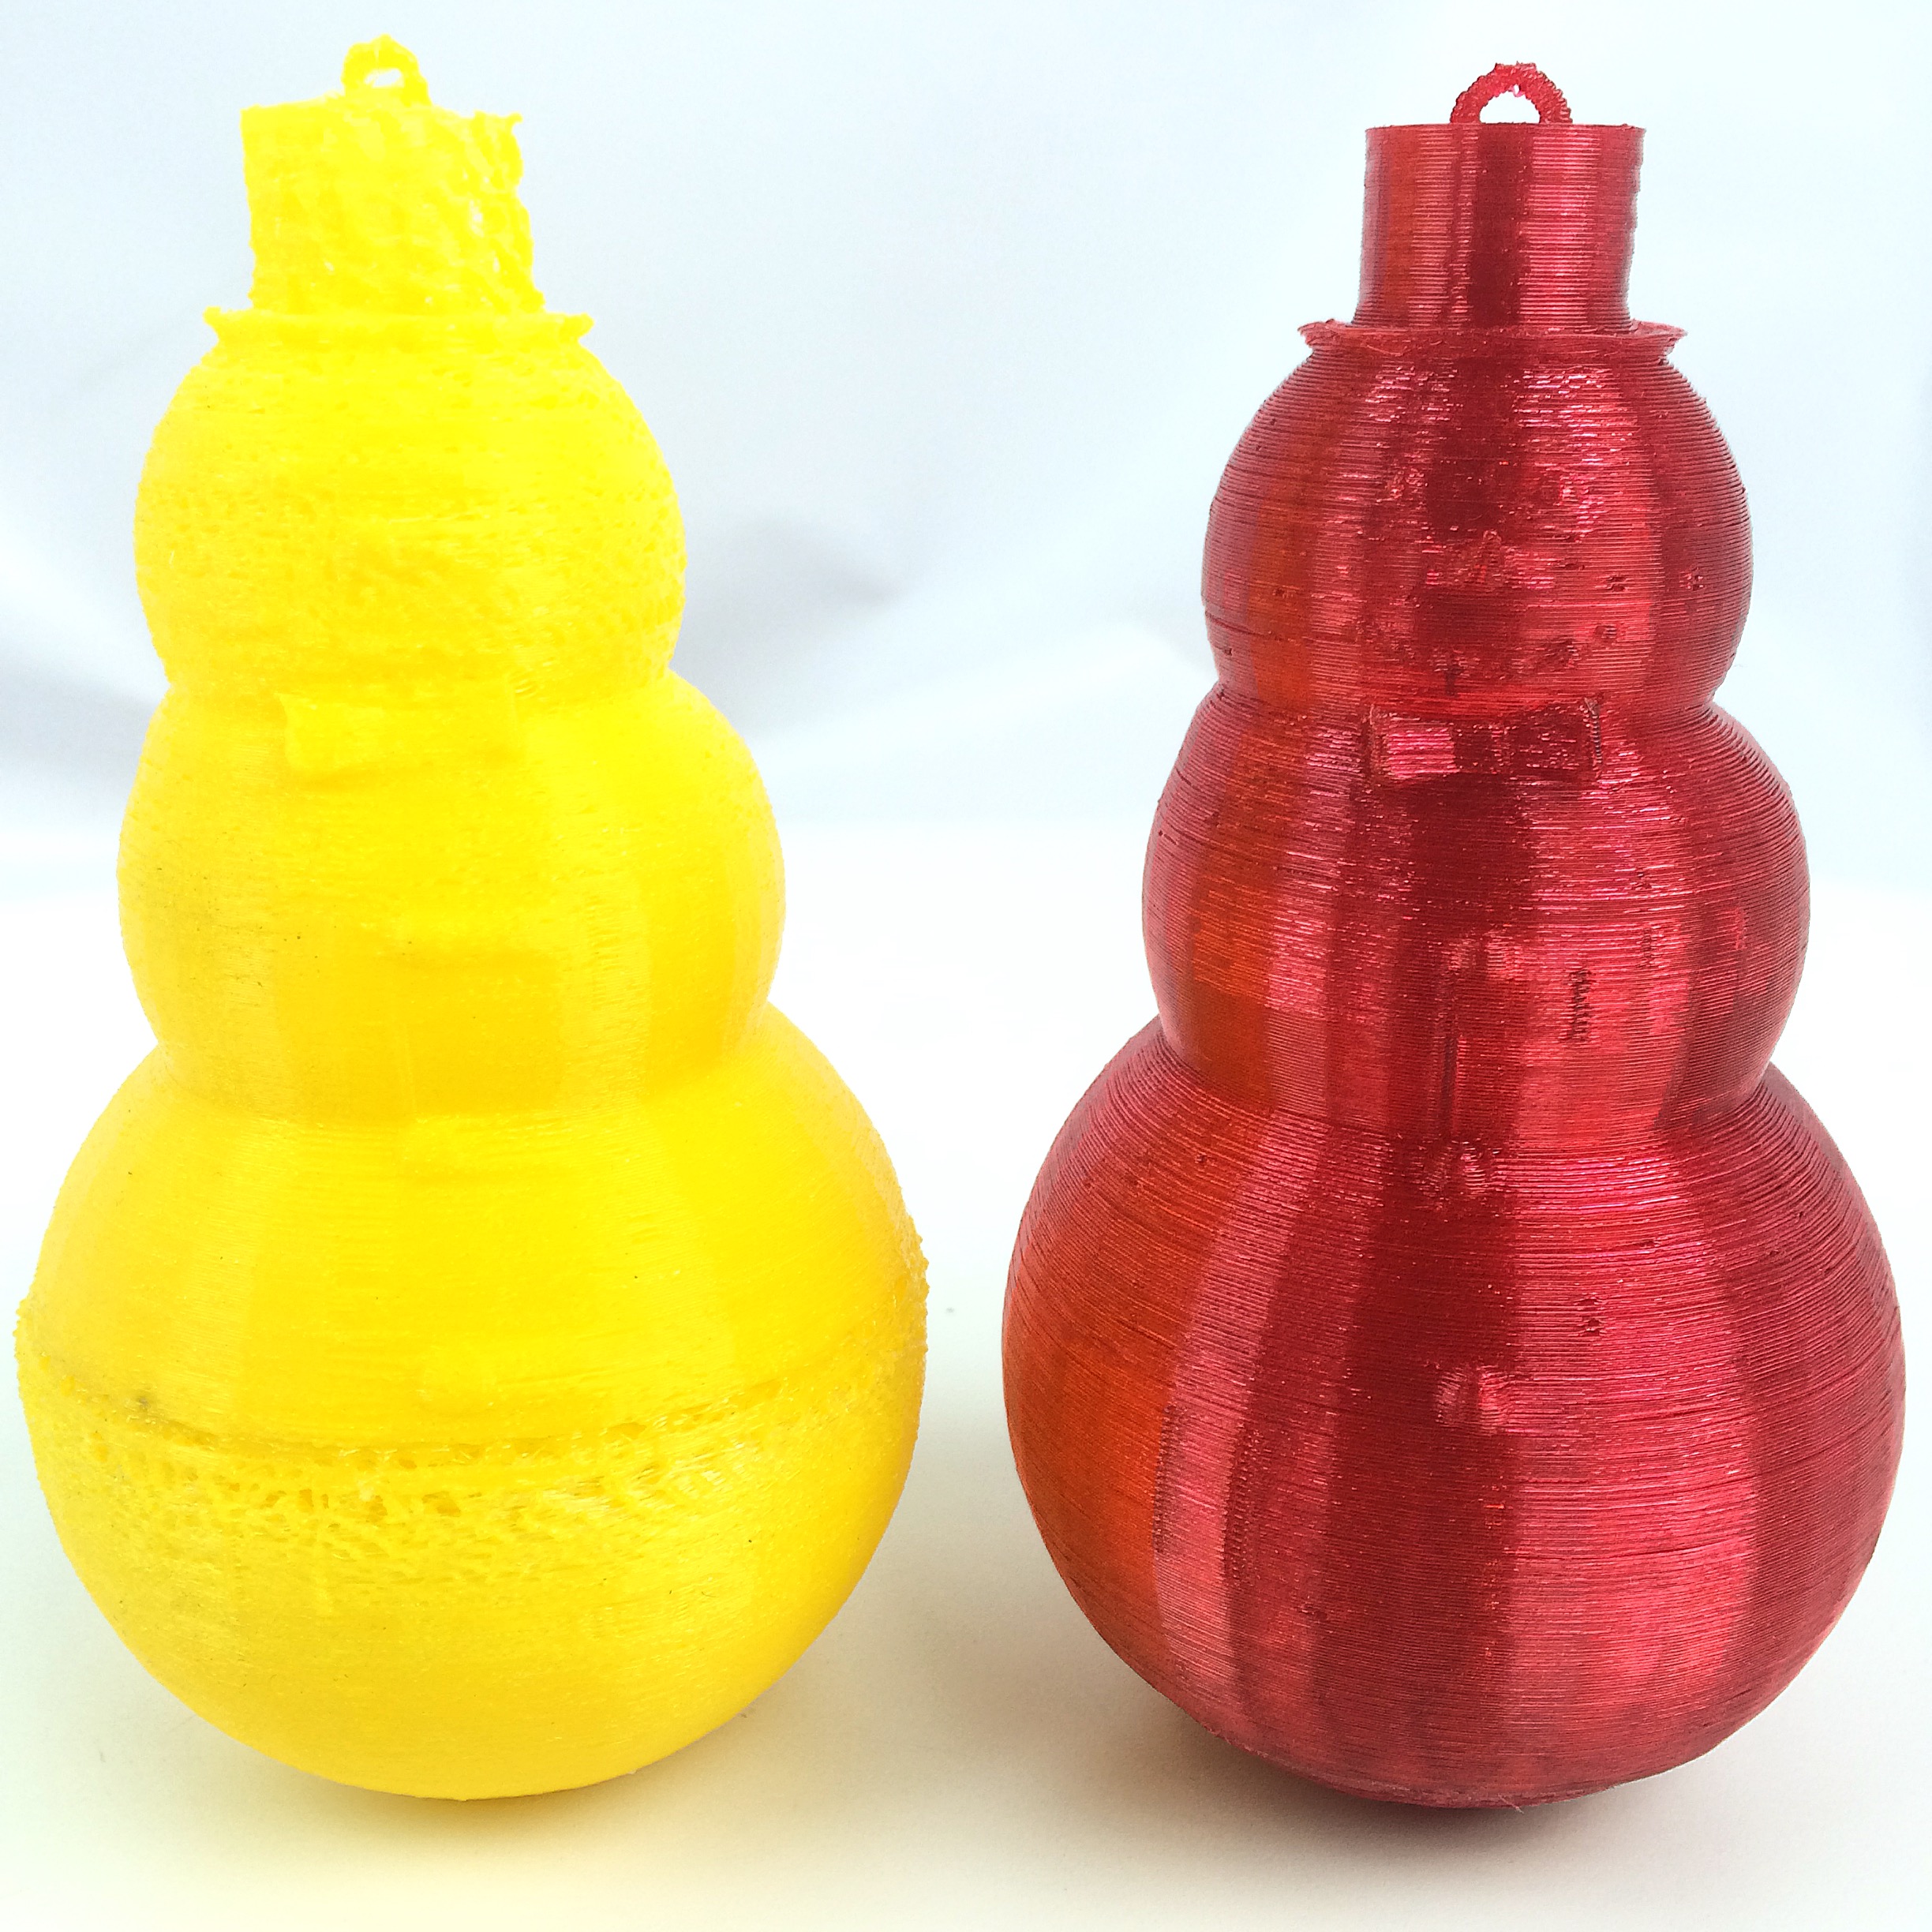
In this instructable I'll teach you how to model a snowman ornament for 3D printing in flexible filament that can be lit up with Christmas lights for the holidays. This ornament can also double as a squishy toy or as a chew toy for your pet!
Here's What You'll Need
3D modeling program. I'm using Maya and ZBrush but you can use the modeling program of your choice. If you are a student then you can get a free student license of the software for your own use. Just don't use it for commercial purposes. Alternatively, you can get a trial version if you don't own a copy.
Good computer and a three button mouse. Essential for 3D modeling.
3D printer. Most FDM printers (which extrude material) can print in certain flexible filaments.
Flexible filament. I'm using NinjaFlex. There are others on the market like Filaflex.
Christmas lights, tree and wire. If you want to get the full effect. A twist tie should suffice for securing it to a branch or the Christmas light string.
How We Get It Done
We are going to be using primitive shapes and basic poly modeling. All 3D programs are capable of this and it's rather simple. If you've done 3D modeling for video games, tv or film and have never modeled for 3D printing there are a few things to consider.
All meshes must be watertight. That means no planes, only solid shapes. Alternatively, you can hollow out a model, i.e. just use an open mesh and then extrude the faces to give it some thickness, which will also give you a watertight mesh. This is what we will be doing.
Keep in mind that flexible filament is a little trickier to work with than ABS or PLA, the common plastics used in 3D printing. Different temperature, retraction settings and the print will be slower. Make sure that the extruder is cleaned out before switching to flexible filament because any little bits of ABS or PLA in the extruder head will burn and mar your print. If you plan on making a lot of flexible prints and you have a printer you can dedicate just to using that material it would be advisable to do so.
Gathering Reference
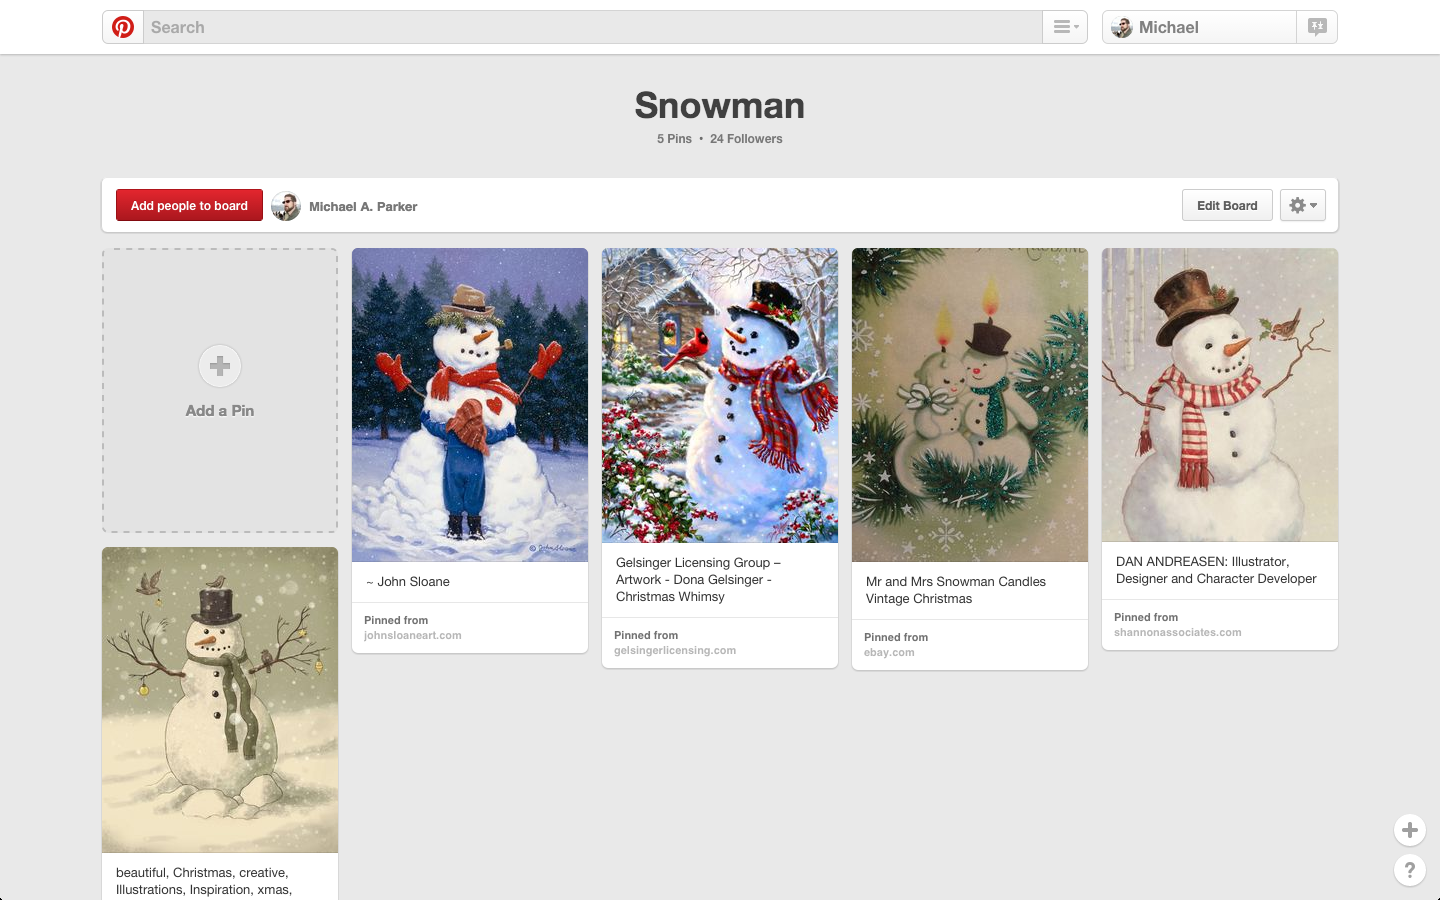
We all know what a snowman is supposed to look like but it's always good to start a new project by gathering reference, that way we can pick a style we like, get the dimensions correct and modeling off of reference will simplify and speed up the process. The idea is to get it done right and quickly so we can get printing.
I used to create a reference folder for every new project on my computer which takes up room, only gives you the image file and will just have access to those images on that computer (unless you copy them over). Now when starting a new project I create a Pinterest board for it. That way I have access to it from any device, I don't use up space on my hard drive and each image is linked to the page it came from which can have more images and info for me to use.
The bonus is if people like your board you may find they have more images you can use or you can just do a search on Pinterest and find more boards you're looking for that way. I find this to be a major time saver too, as I do tons of research. The only downside is you need an internet connection so if you're going off grid it'd be best to do it the conventional way.
Start With Primitive Shapes
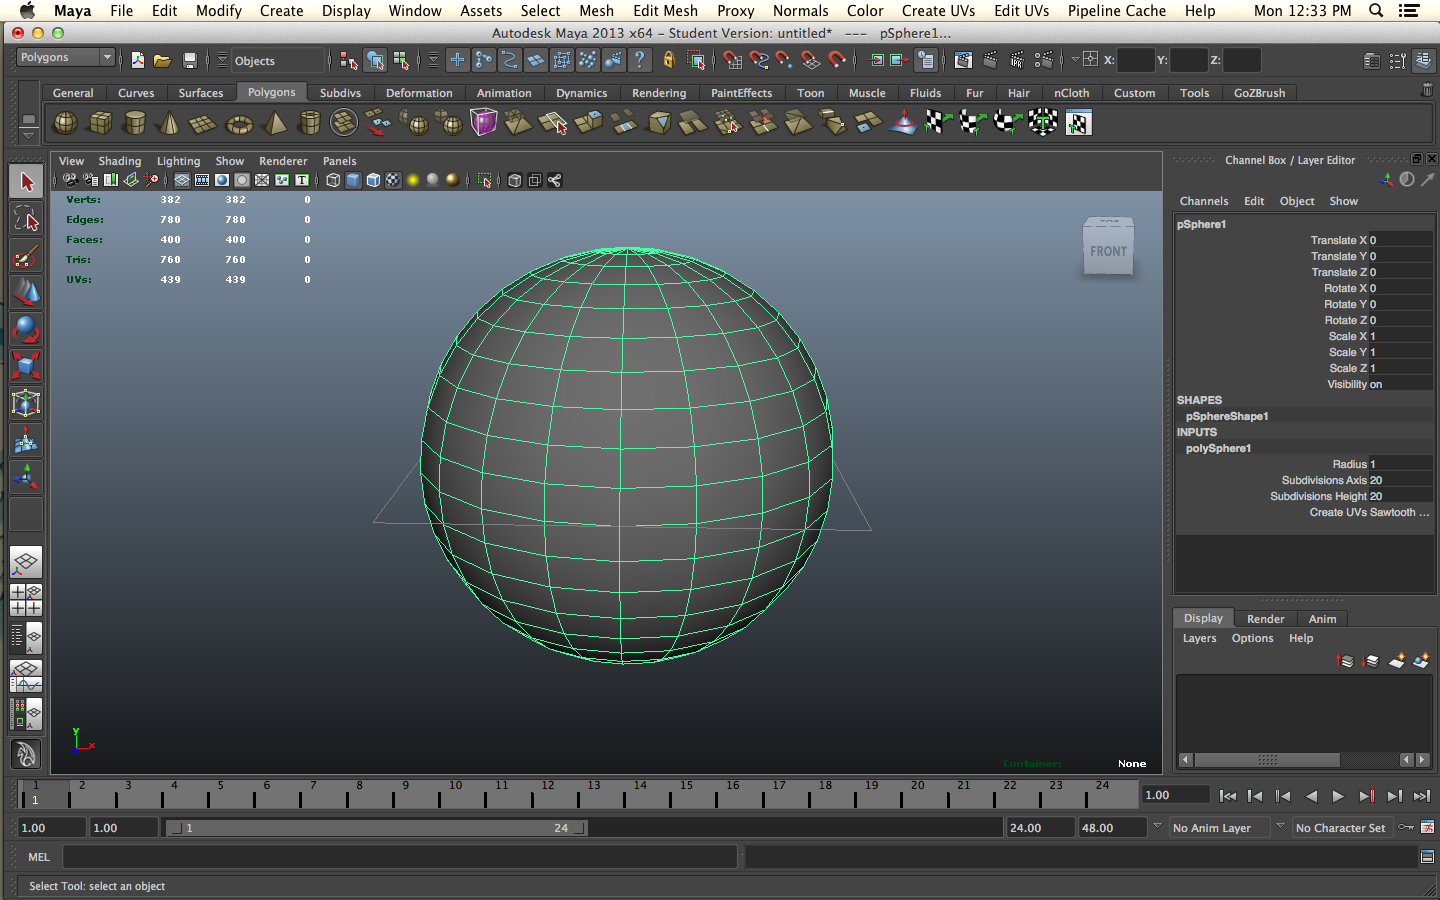
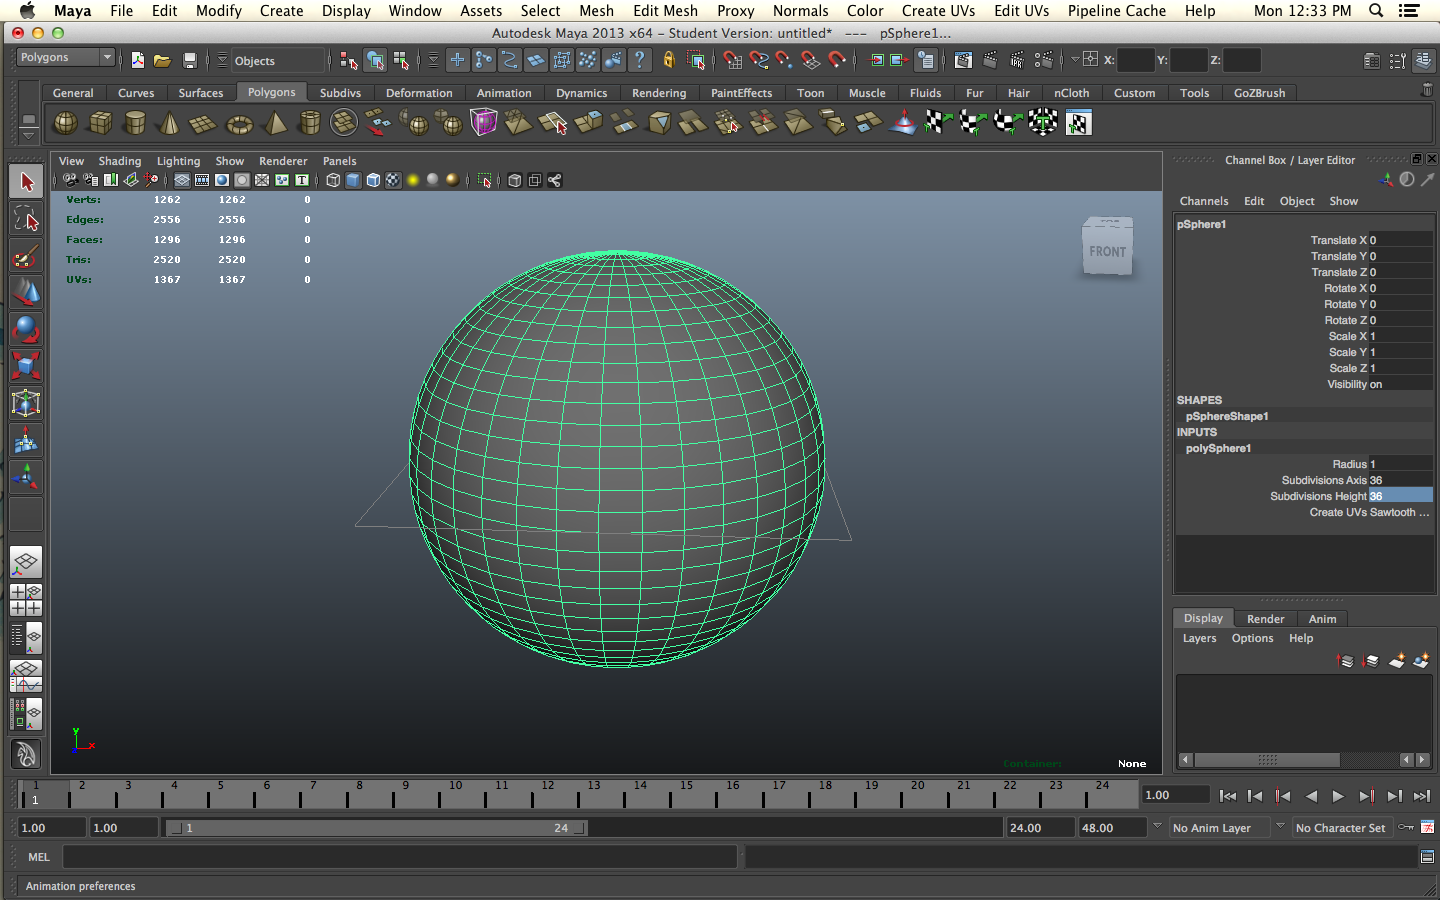
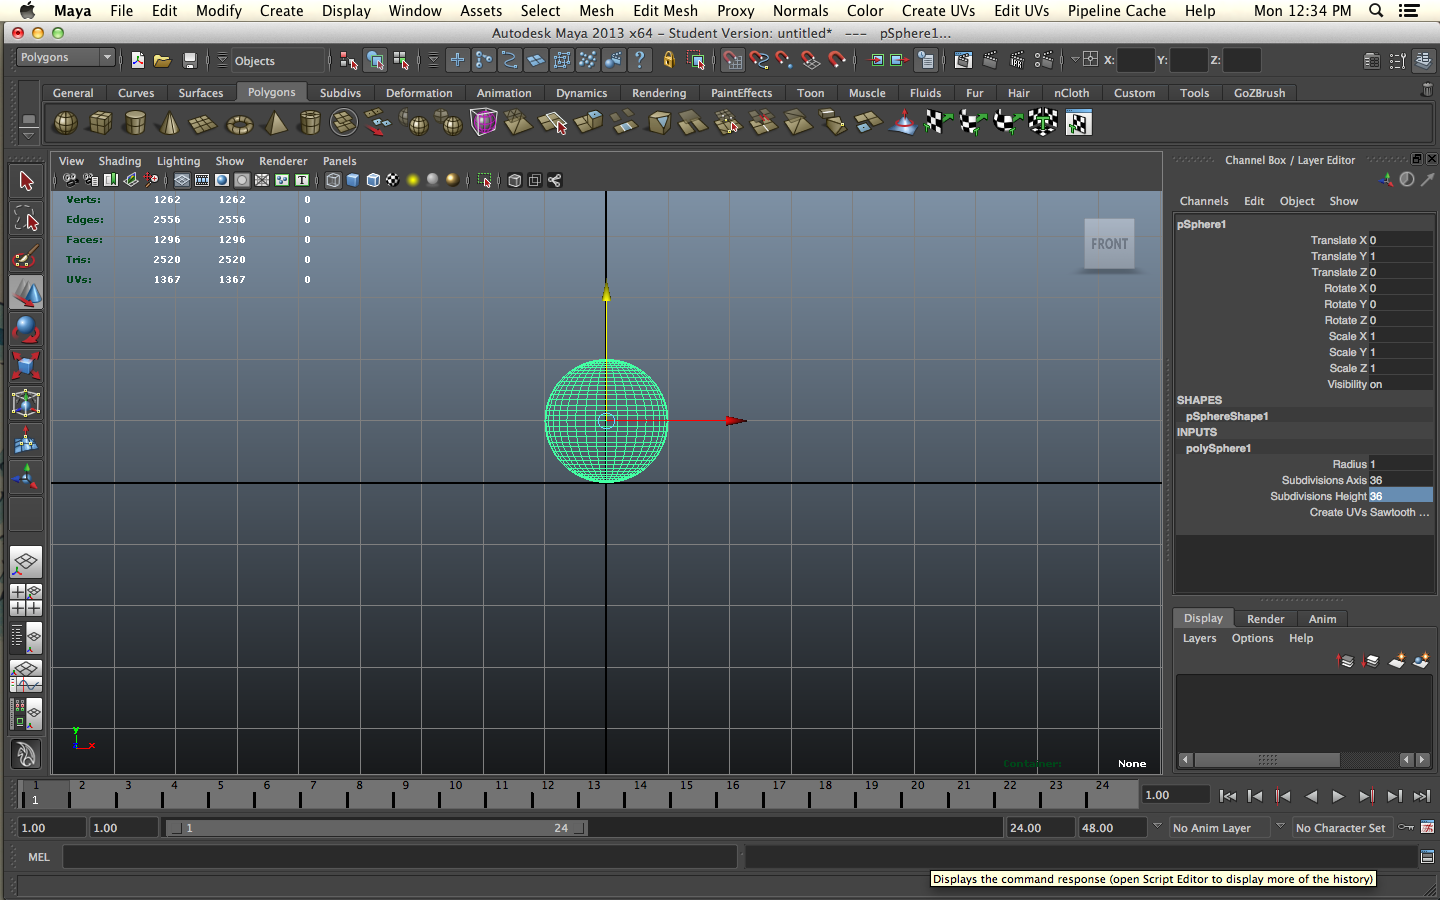
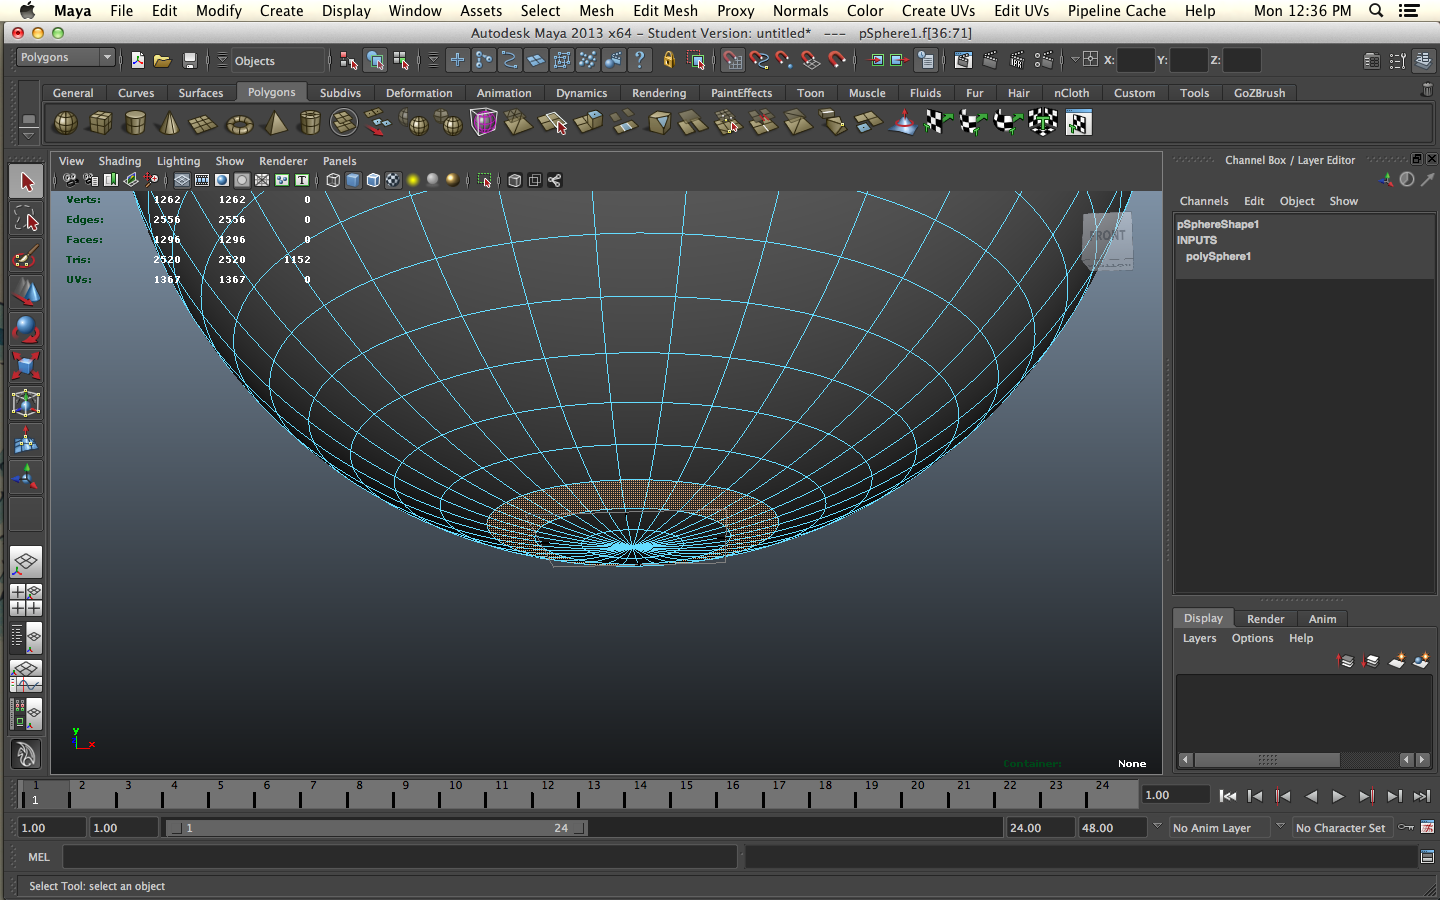
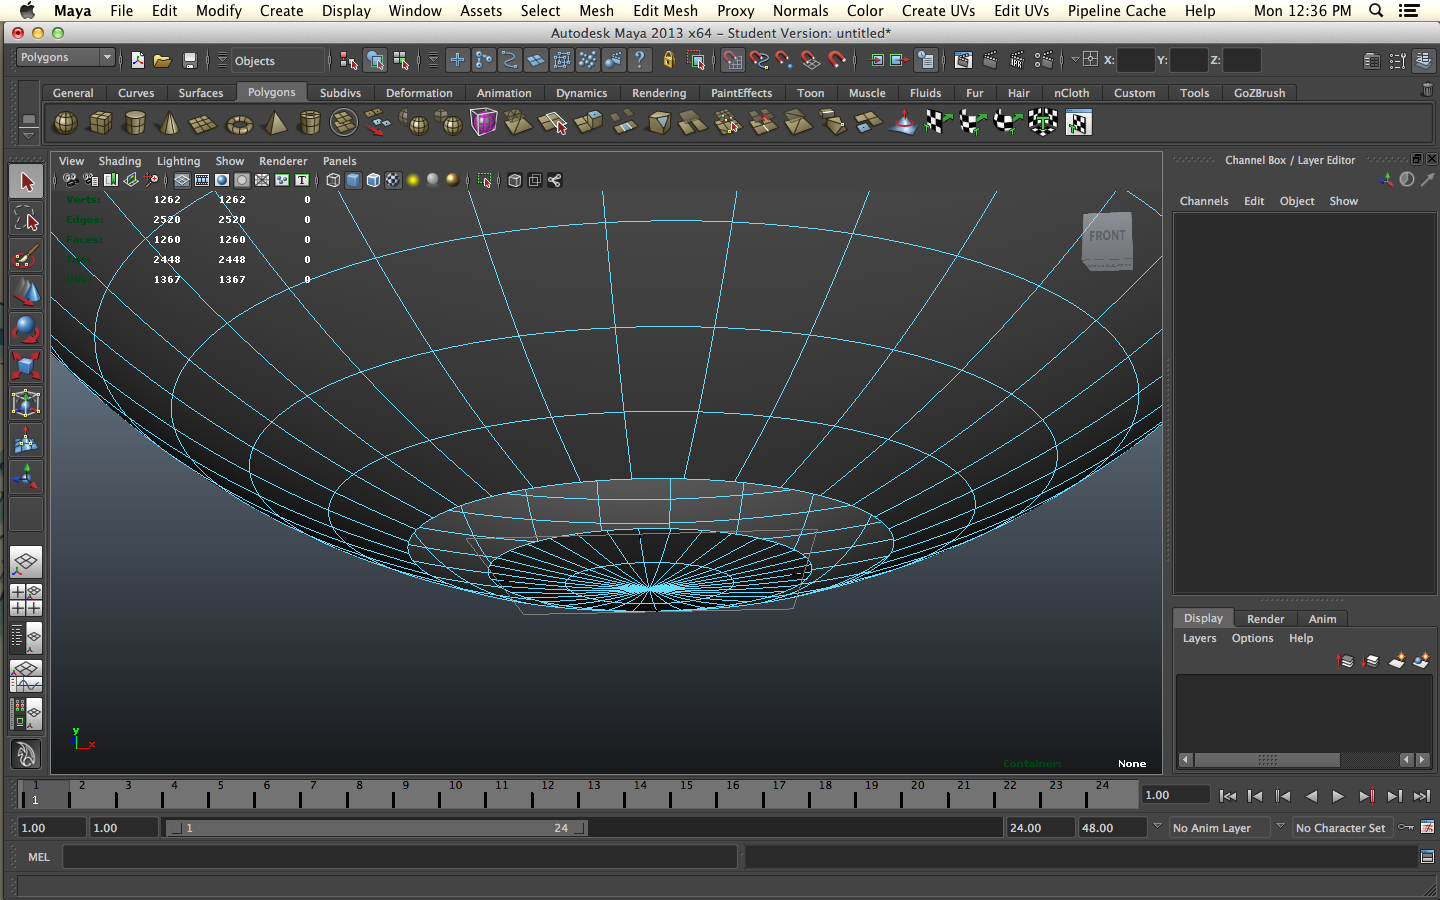
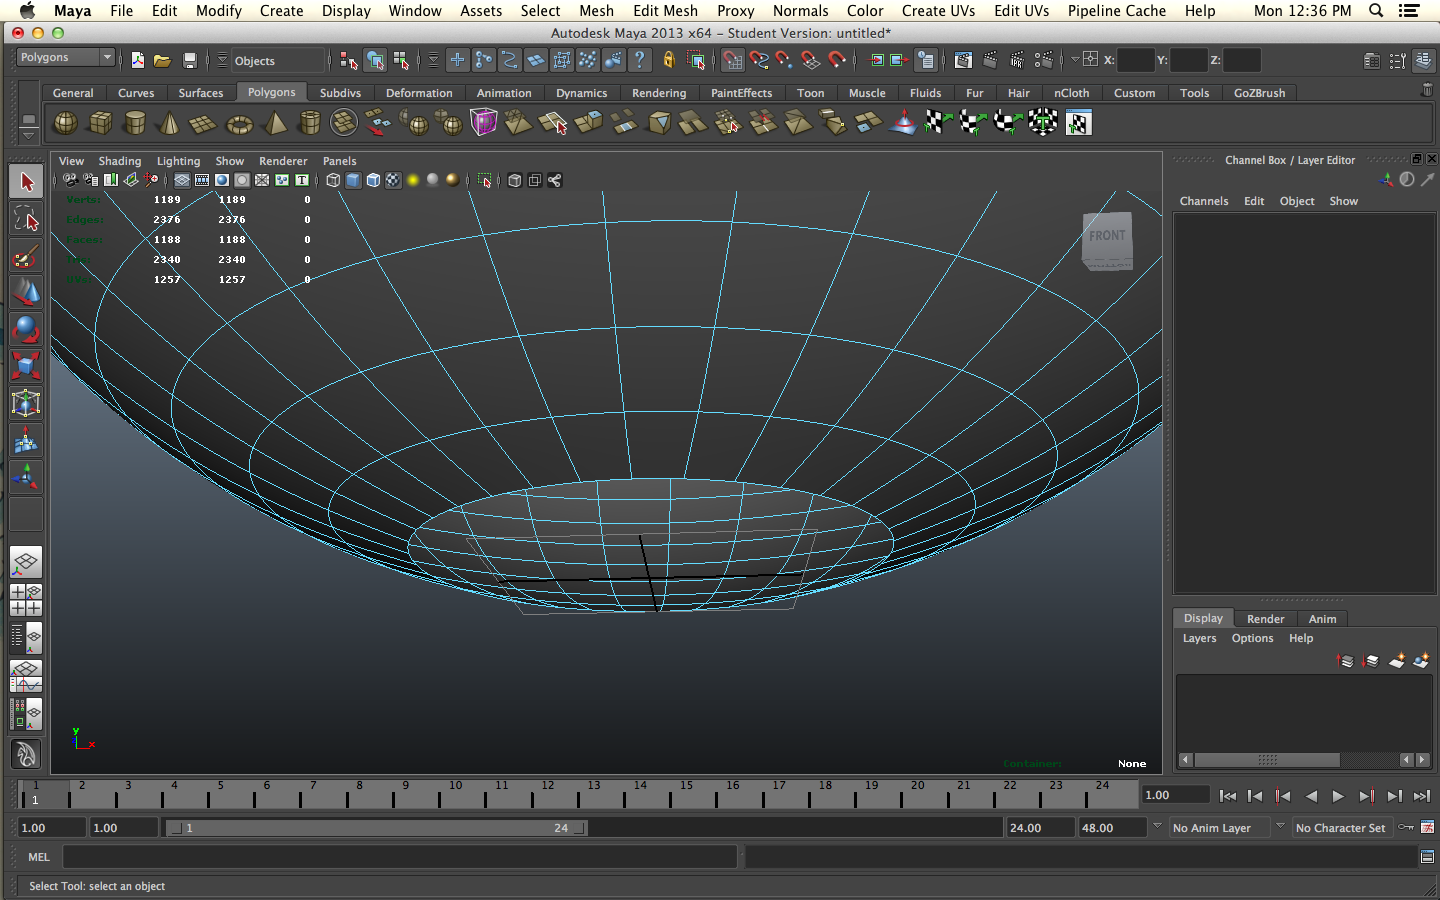
Create a sphere. Increase the subdivision levels from 20 to 36. Snap the sphere to the floor plane using snap to grid. Delete a few row of polygons from the very bottom of the sphere to create a hole for a Christmas light to go in. The sphere is no longer watertight but we will fix that later.
Modeling From Reference
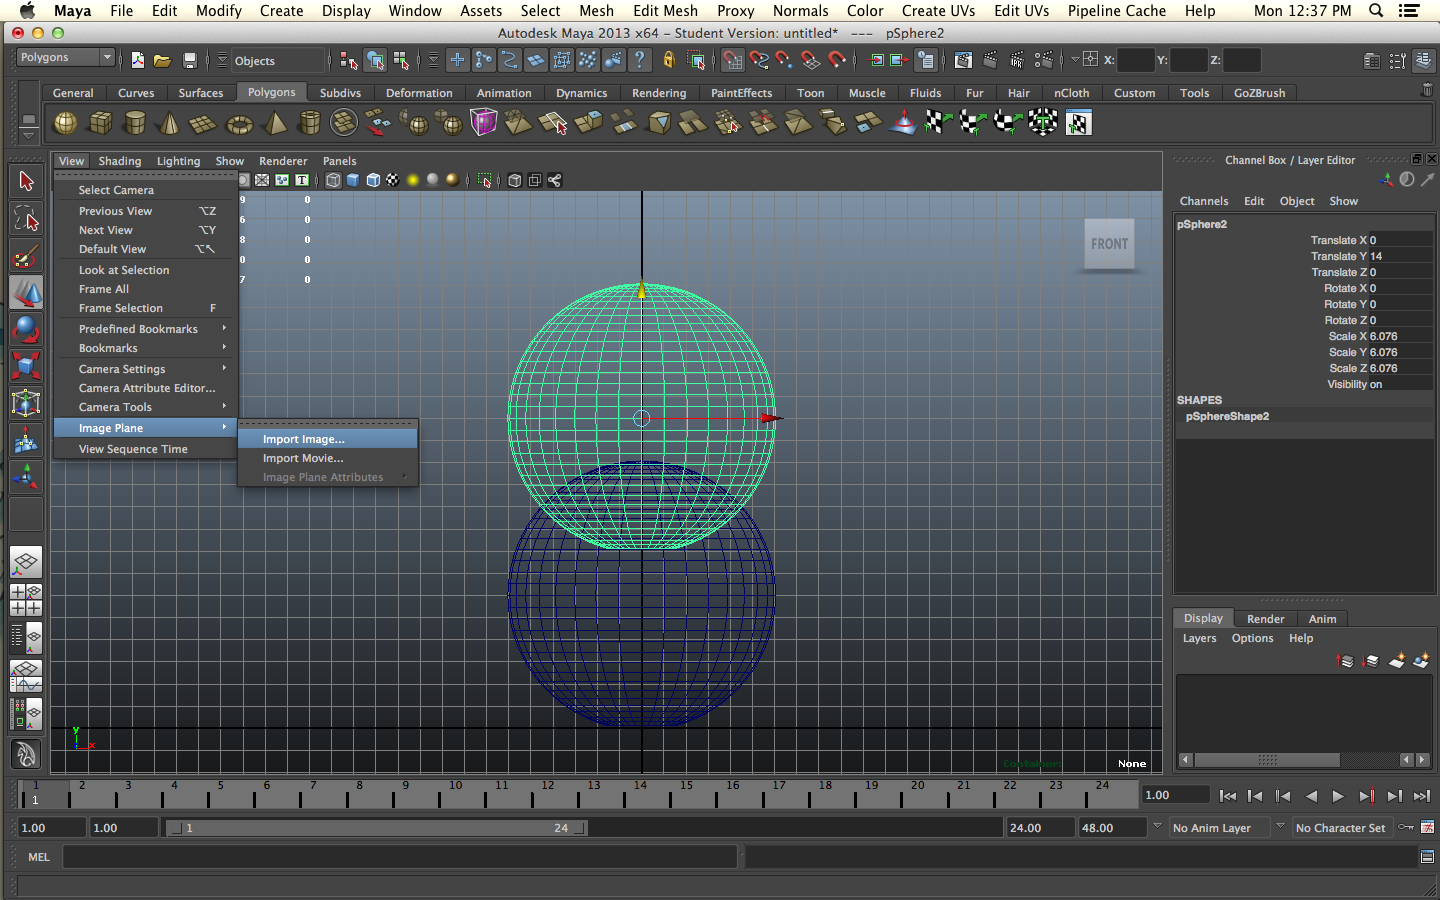
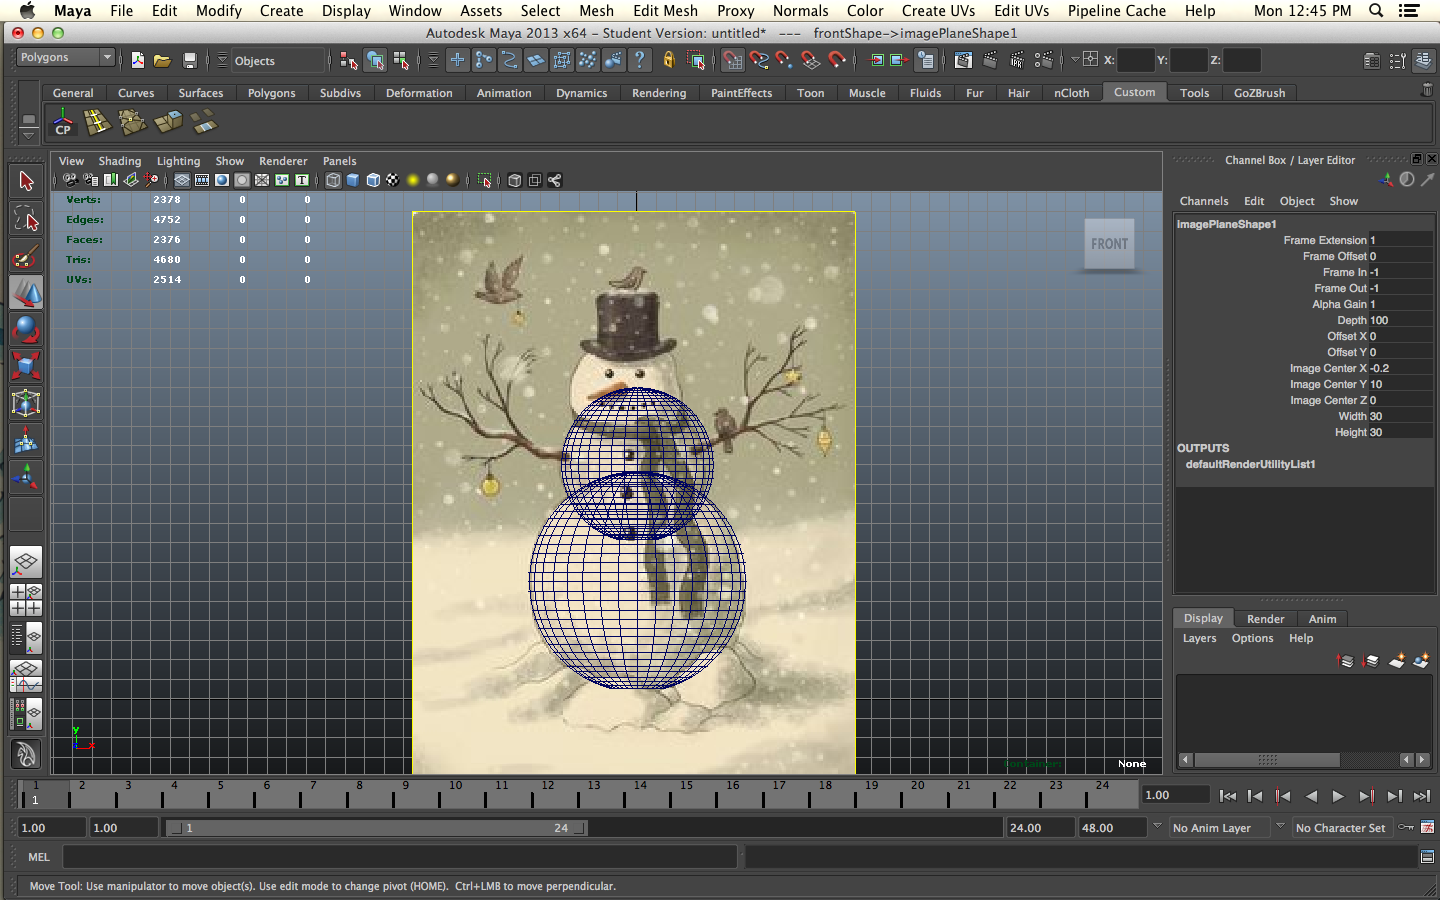
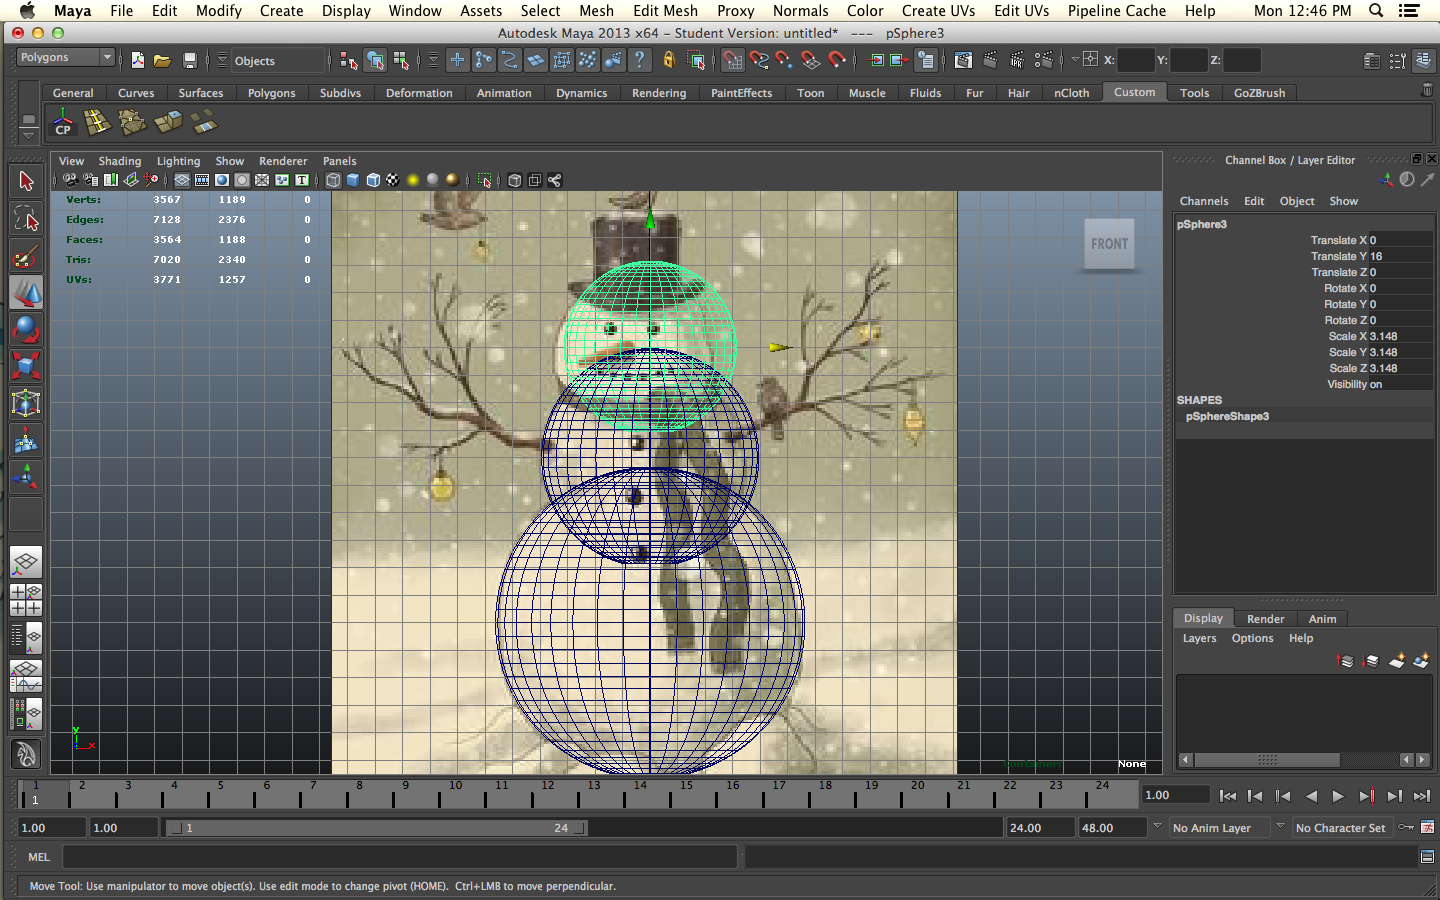
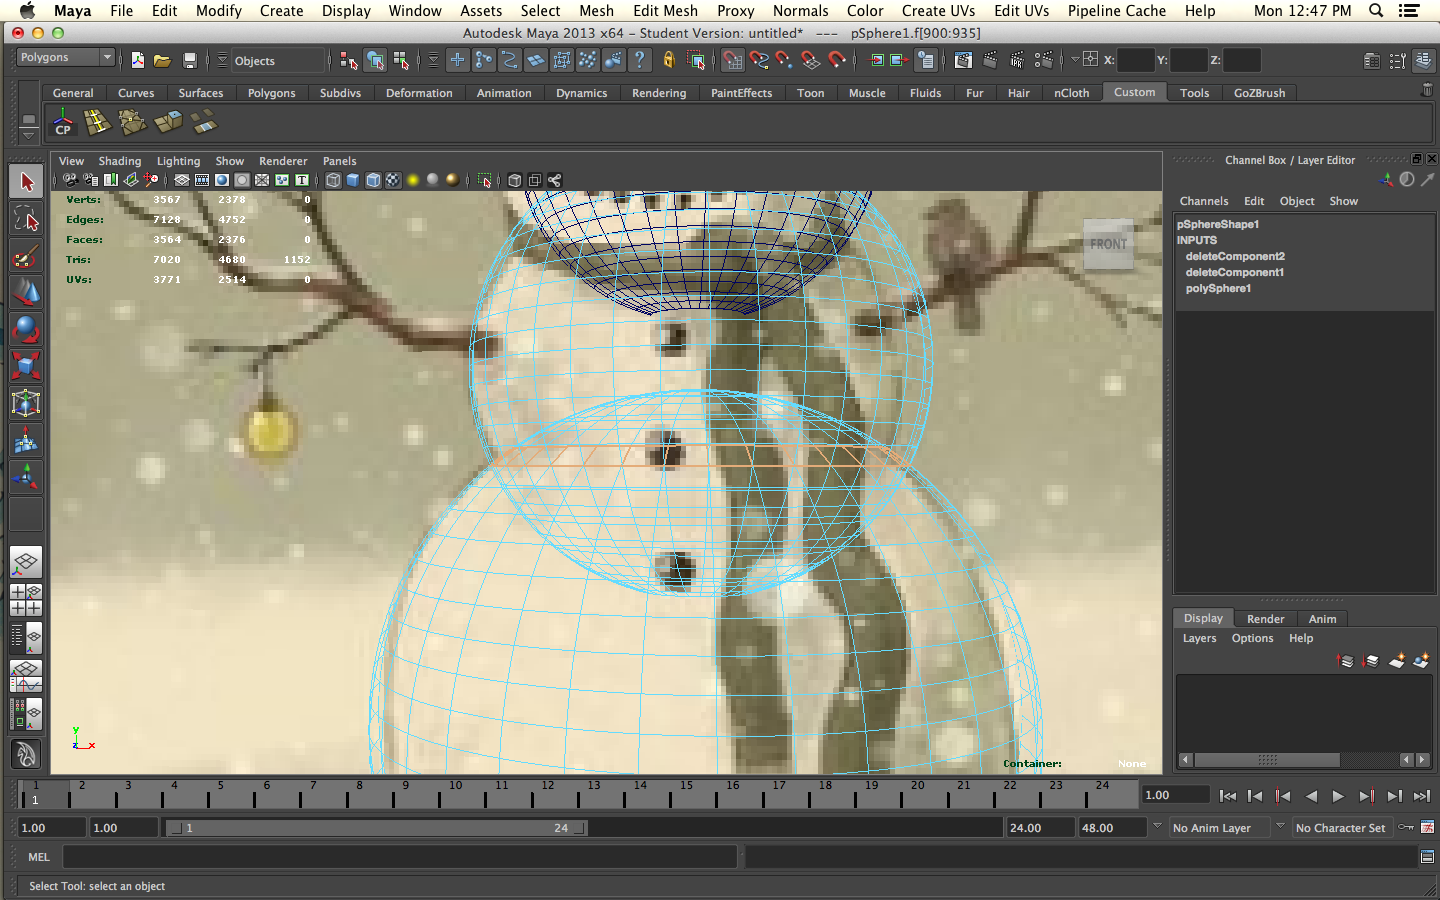
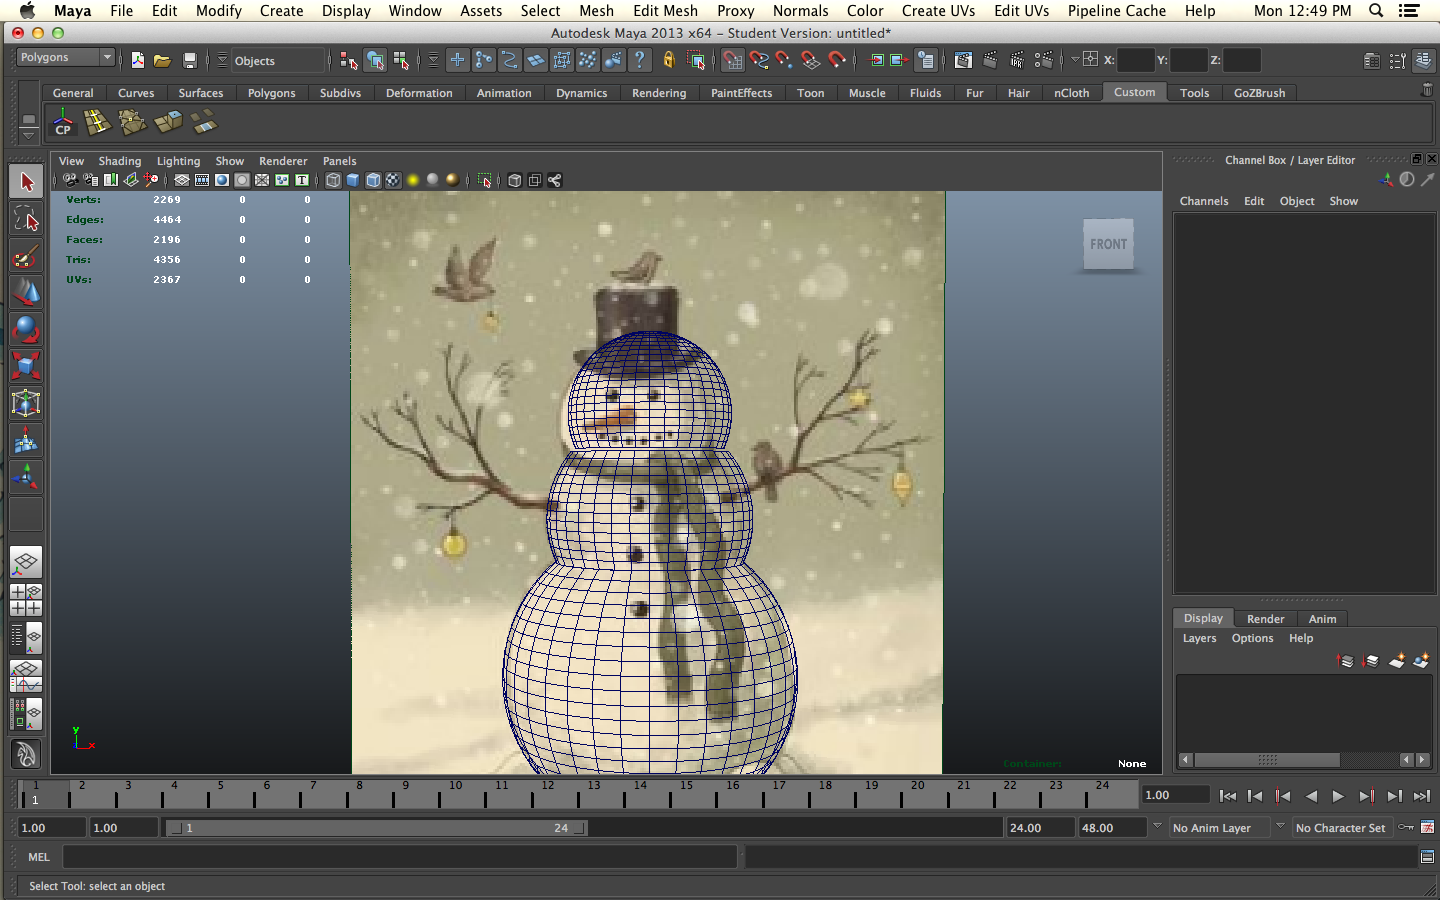
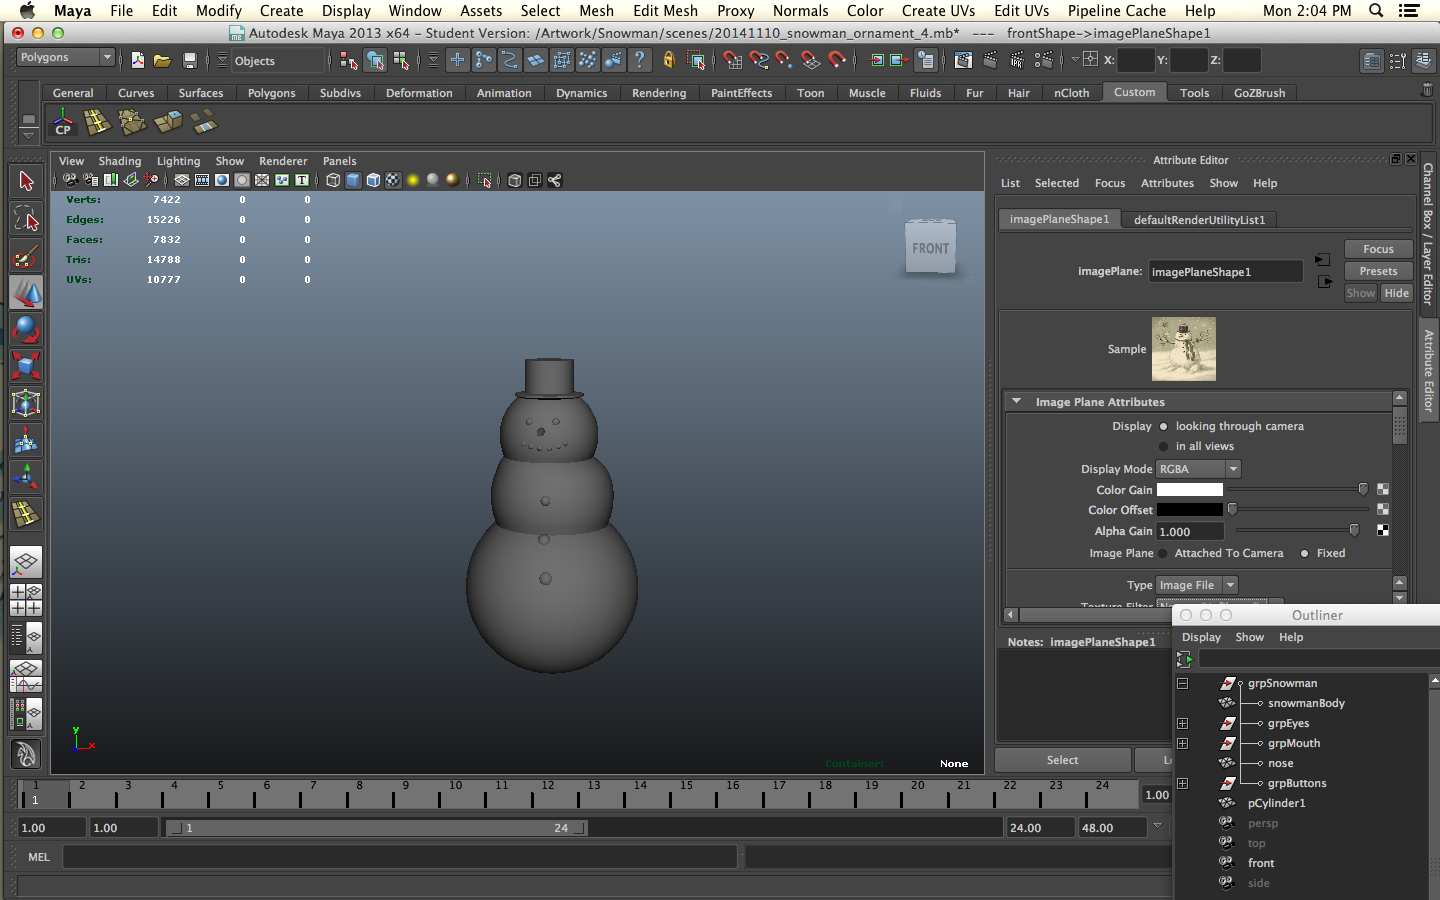
I really should have brought my reference in as an image before starting to model but it worked out. Now you can see how the spheres are going to go together that make up the main body of the snowman.
First position center the image plane. Resize the sphere to line up with the bottom of the snowman. Now duplicate the sphere and move line it up with the torso of the snowman. Duplicate and resize the torso. This will be the head. Once all the spheres are in position and overlapping each other delete the polygons from each sphere right around where we want them to meet because we're going to merge them into one object.
Merge the Spheres Together
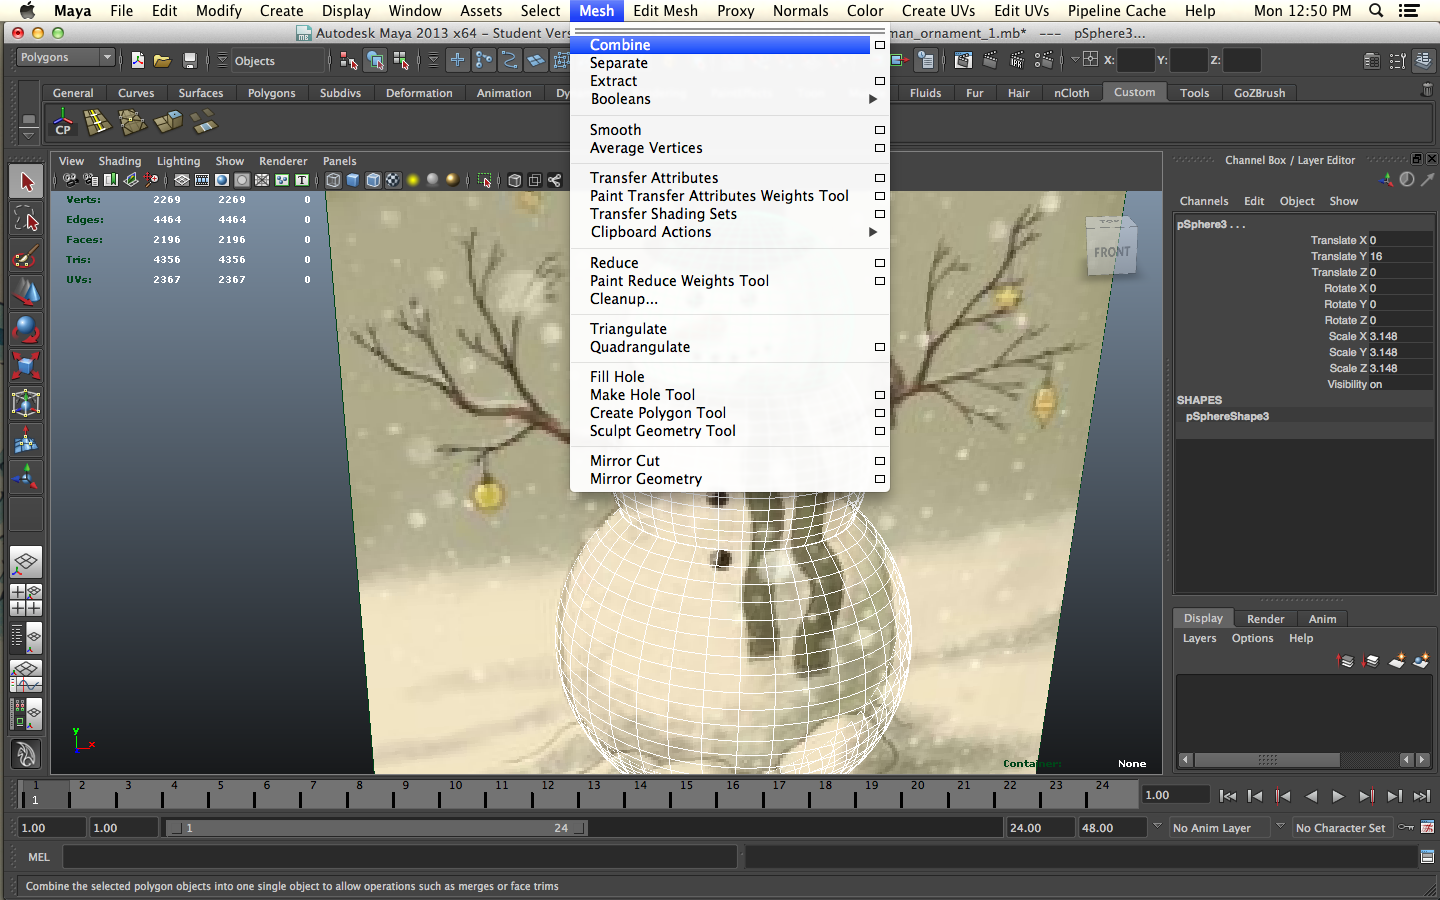
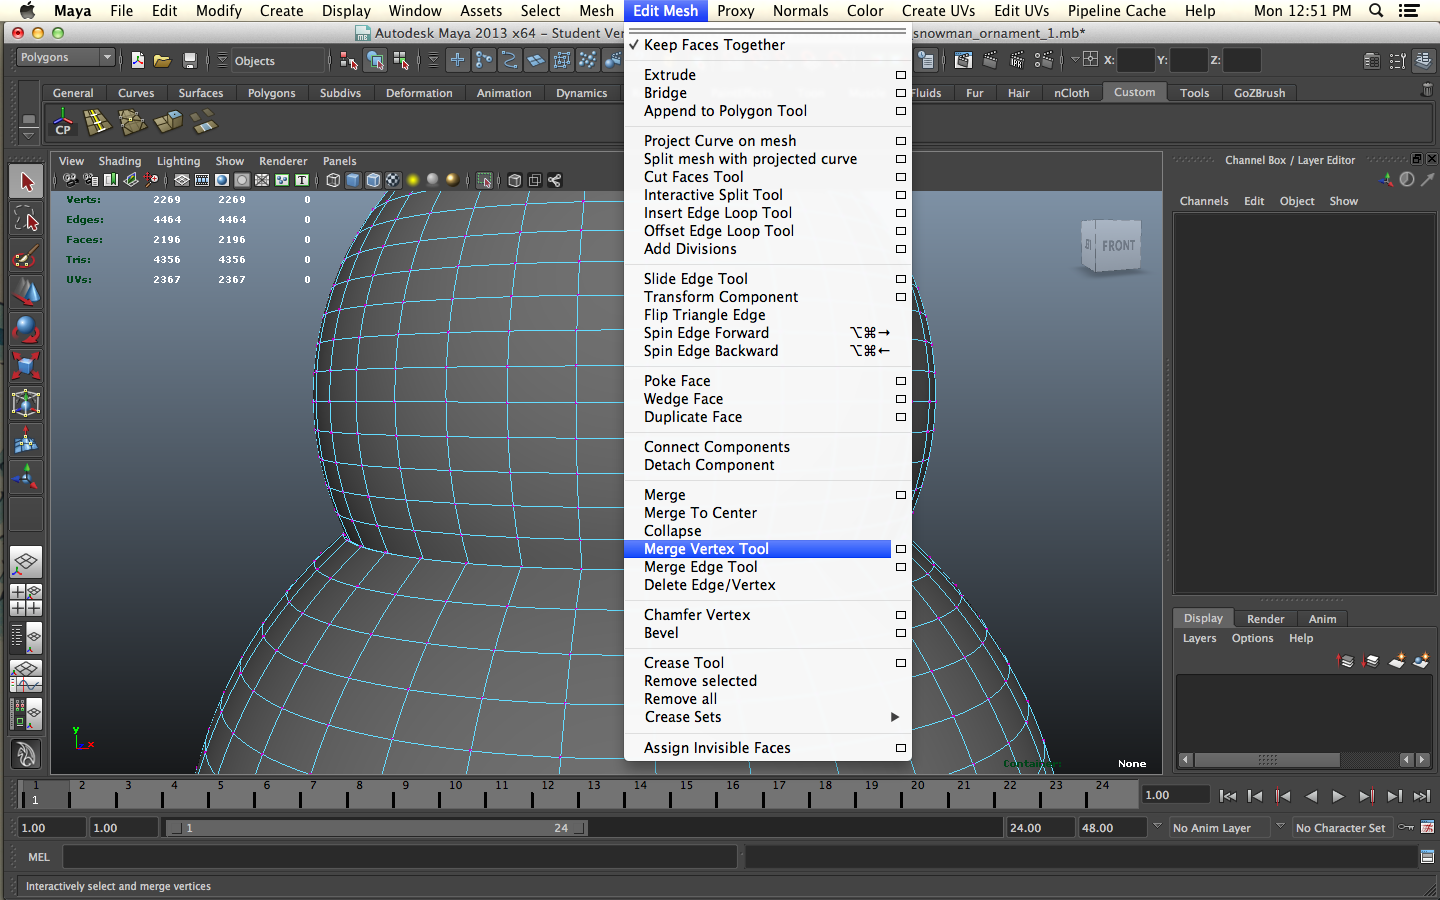
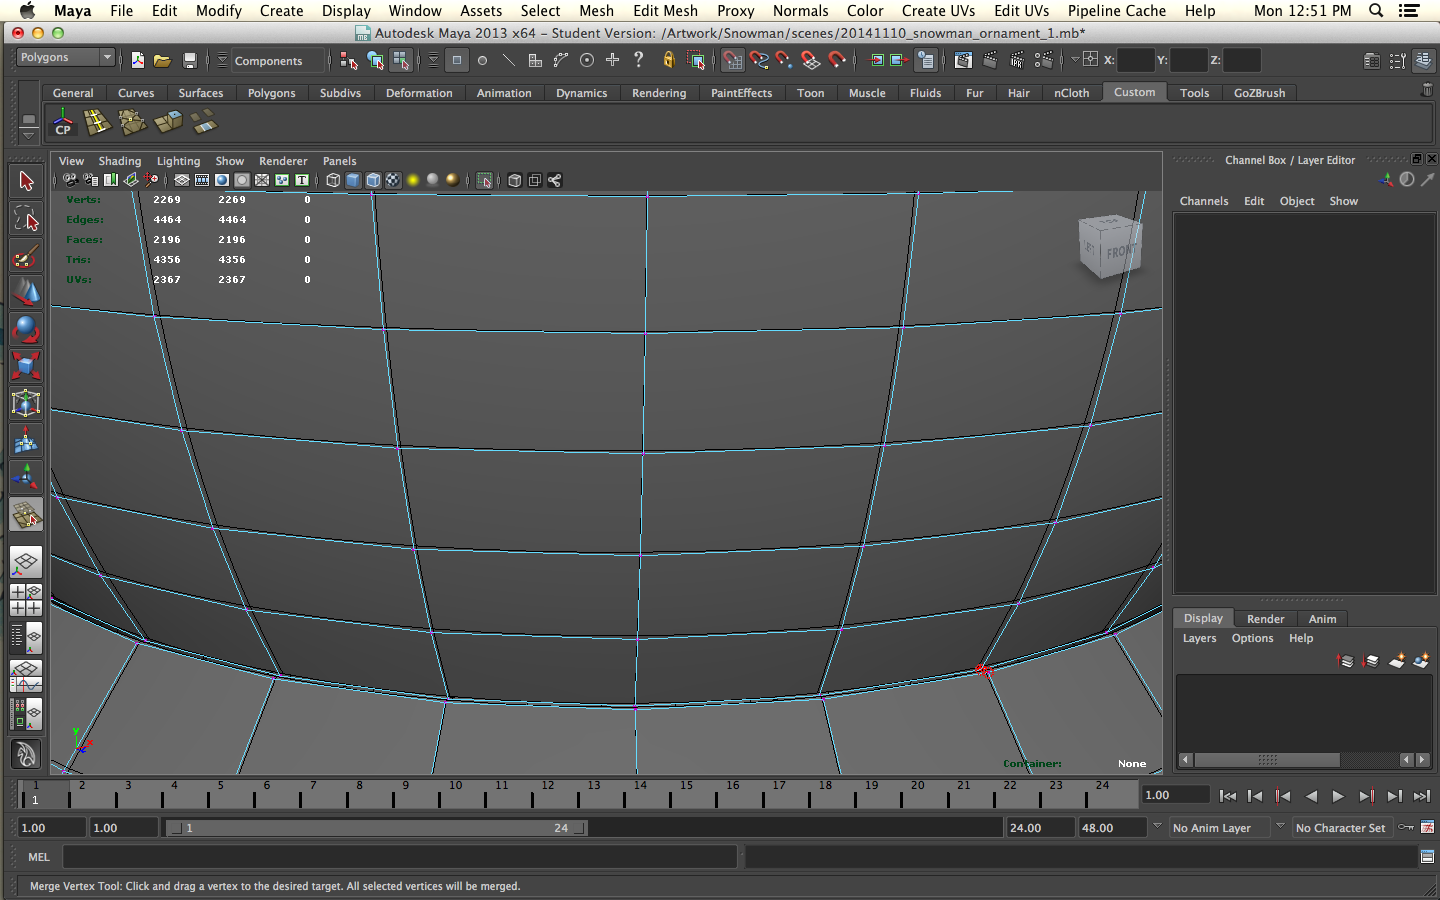
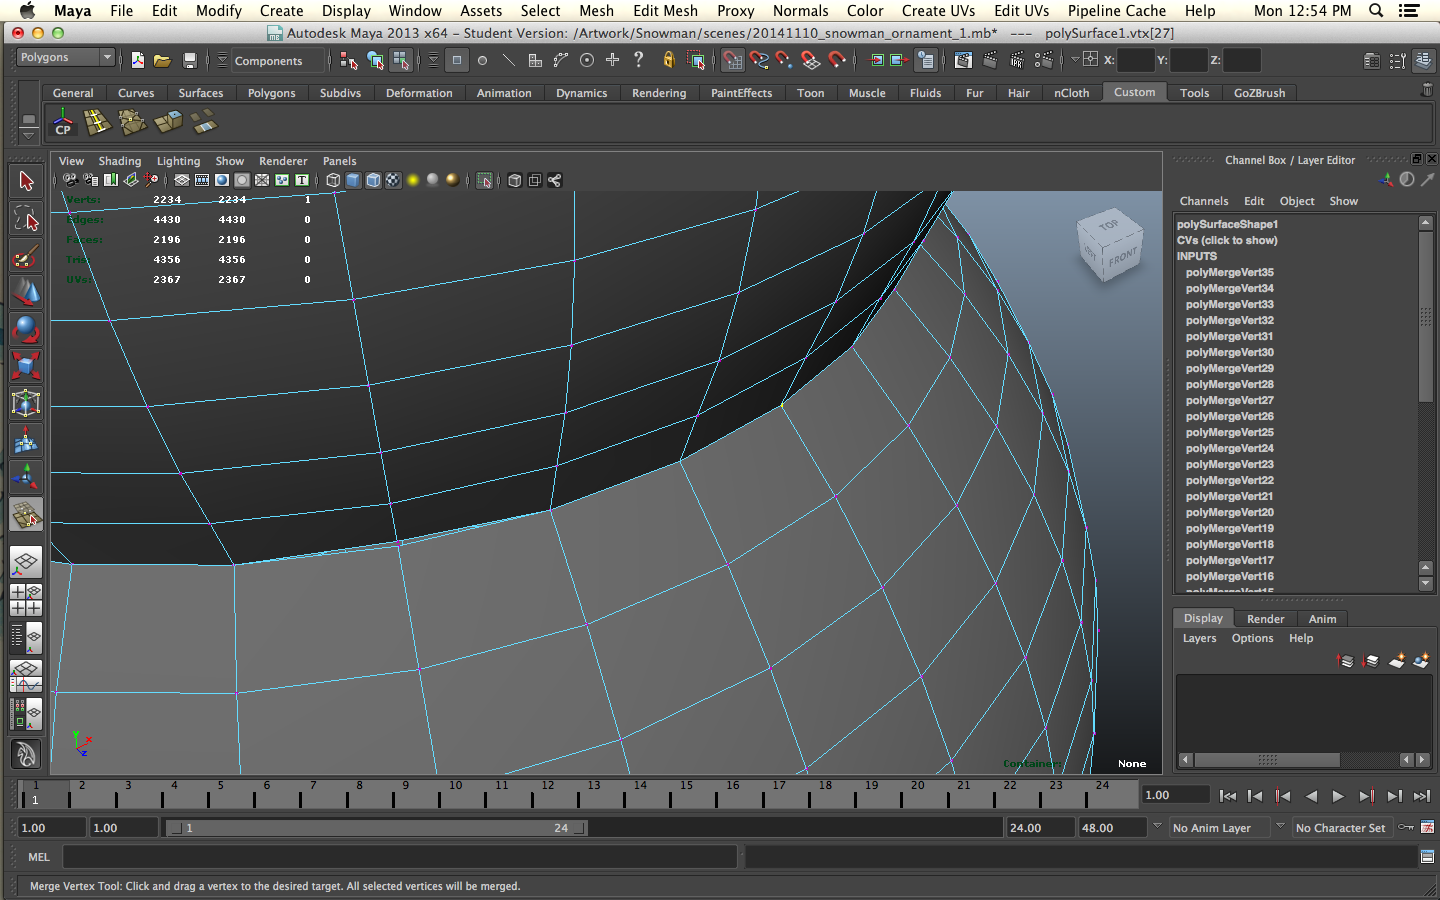
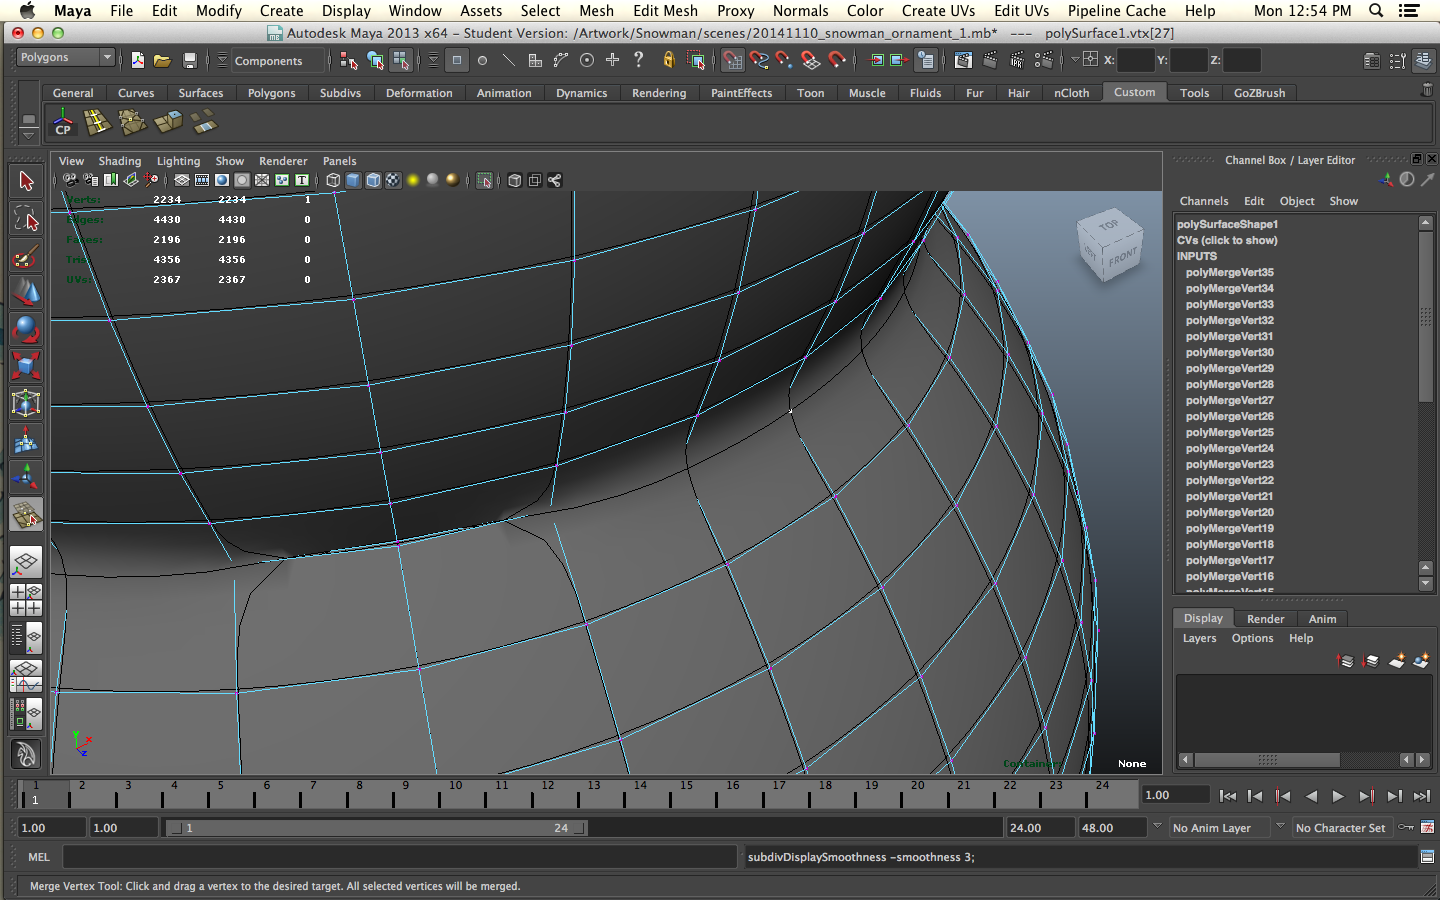
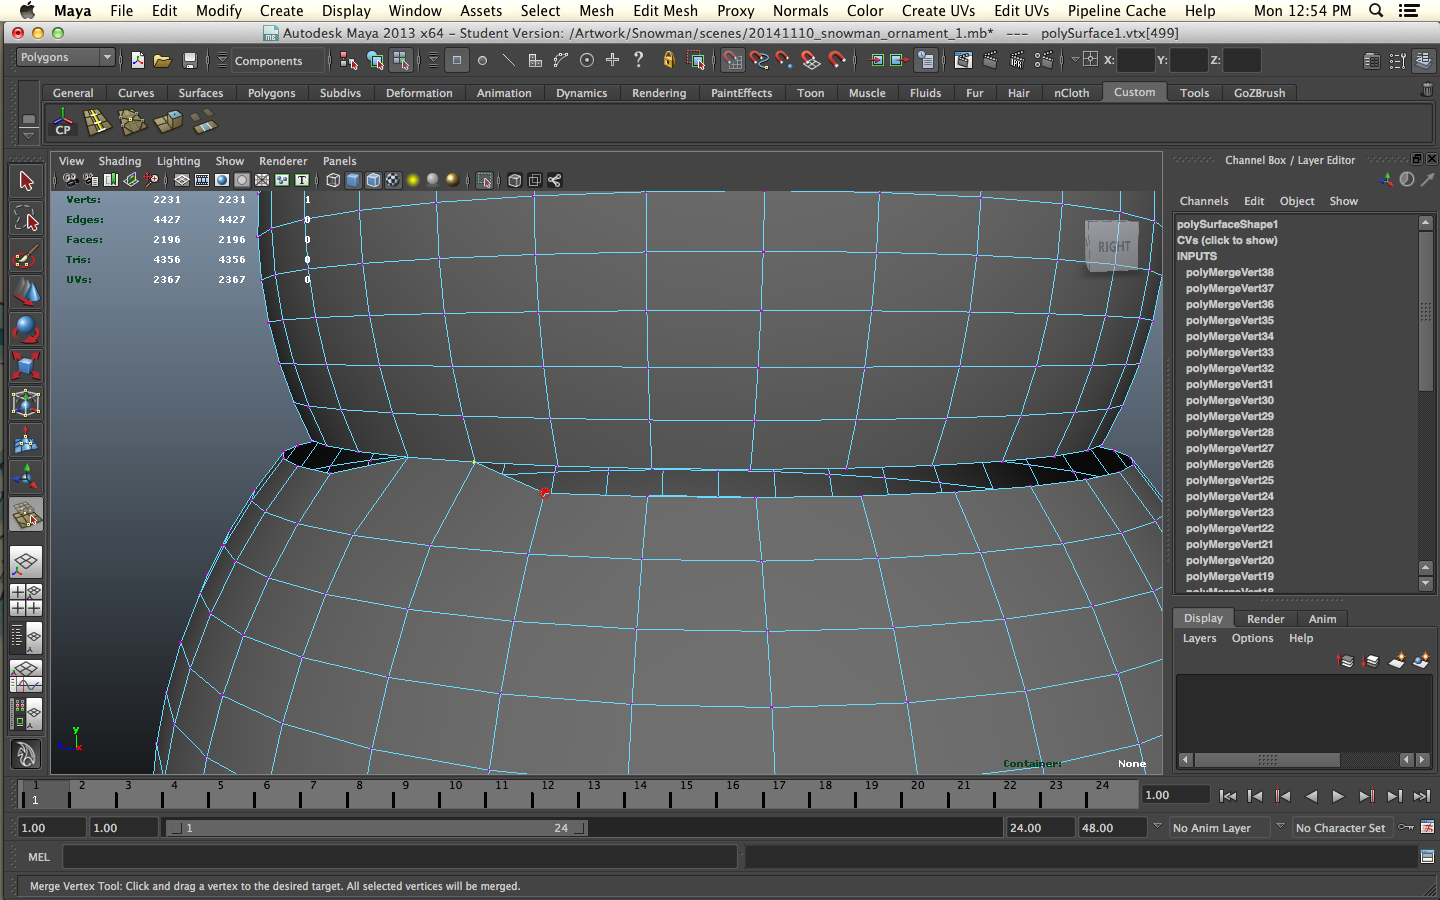
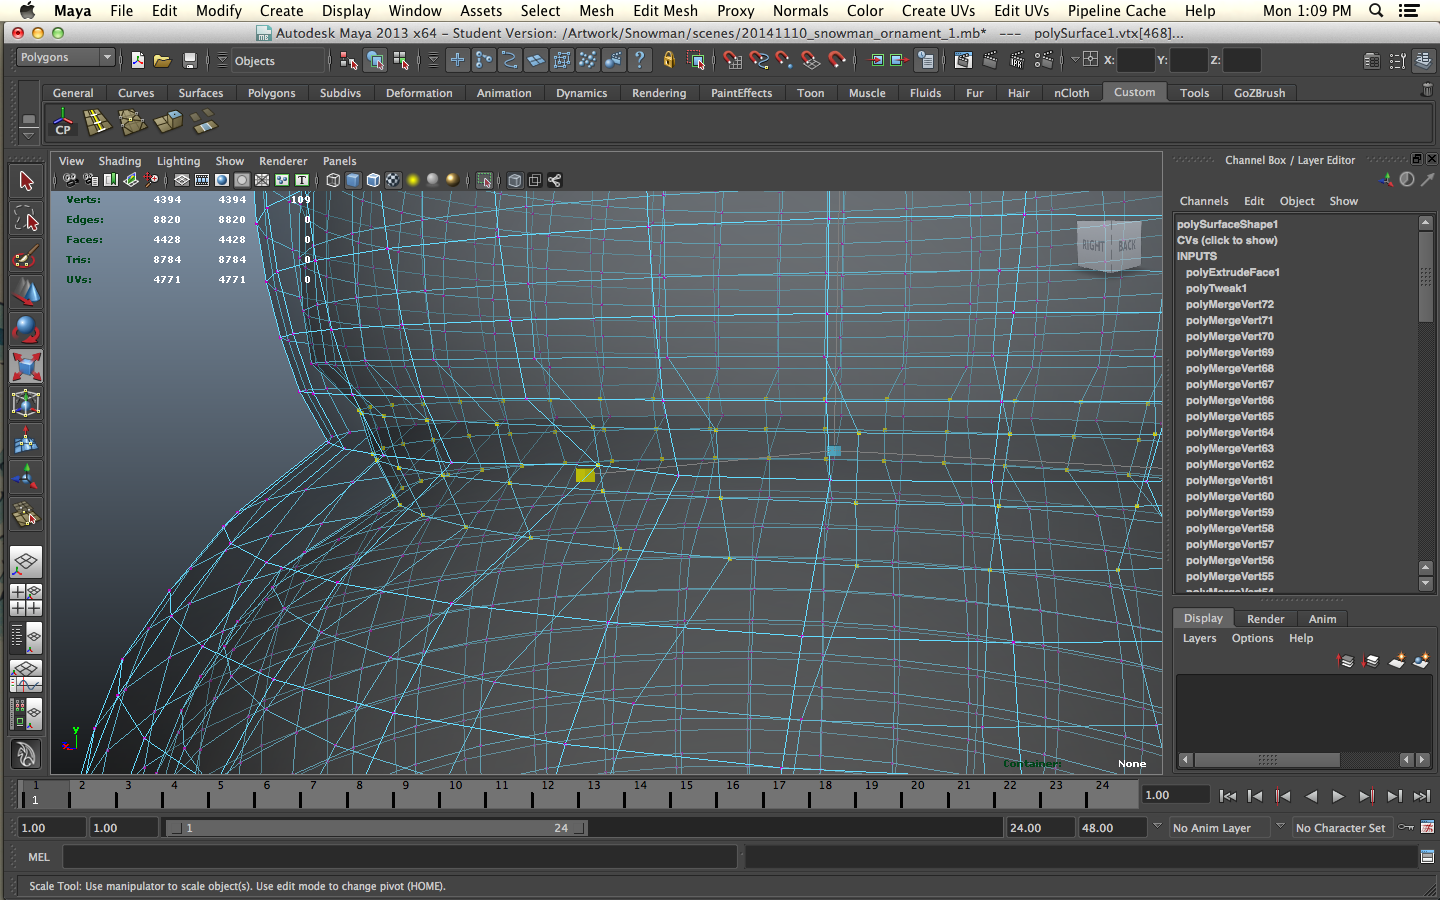
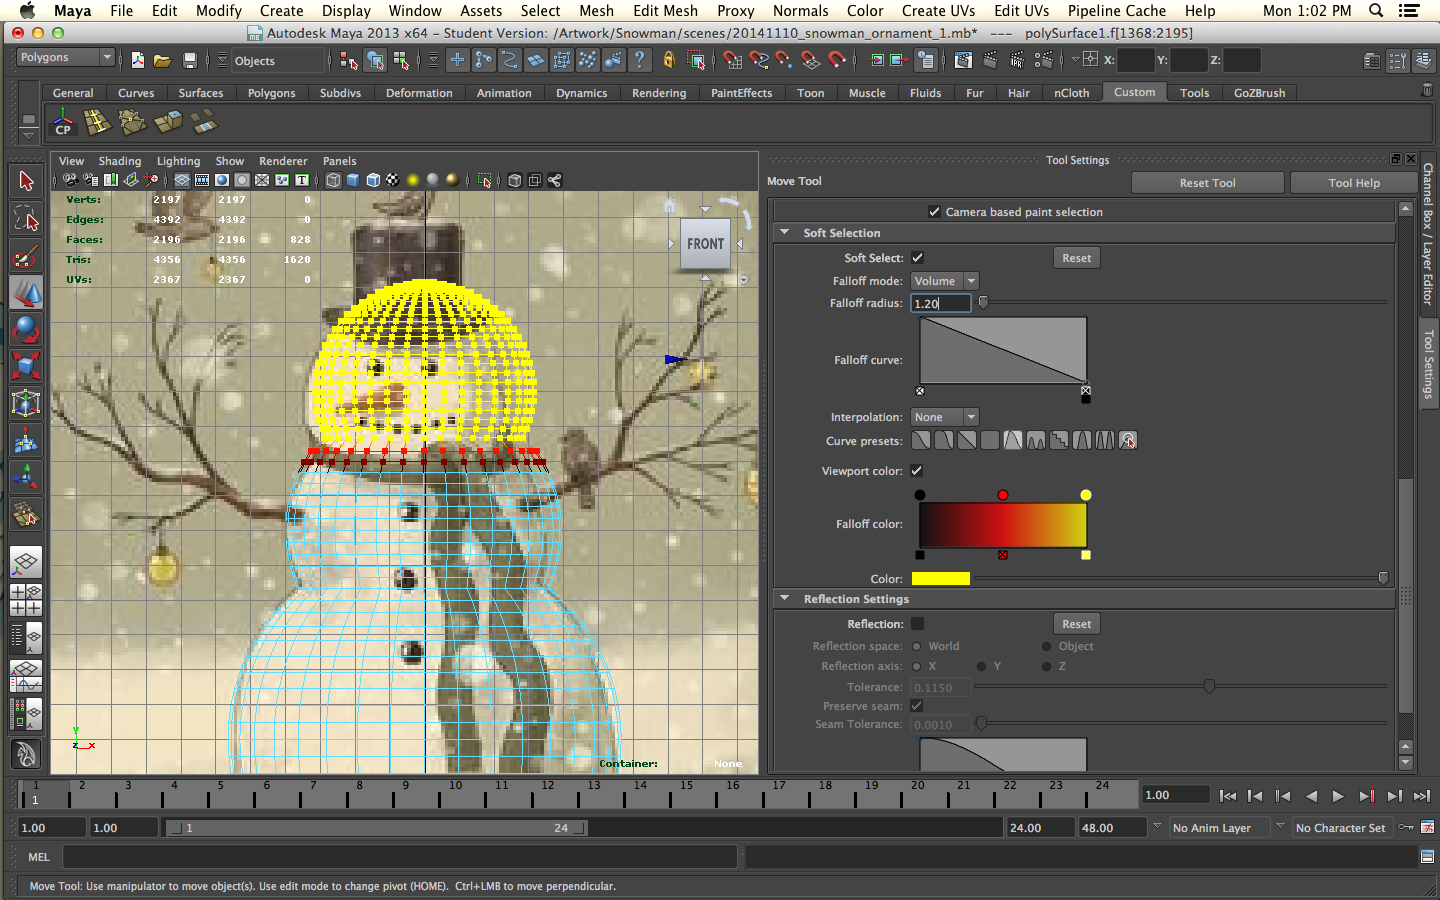
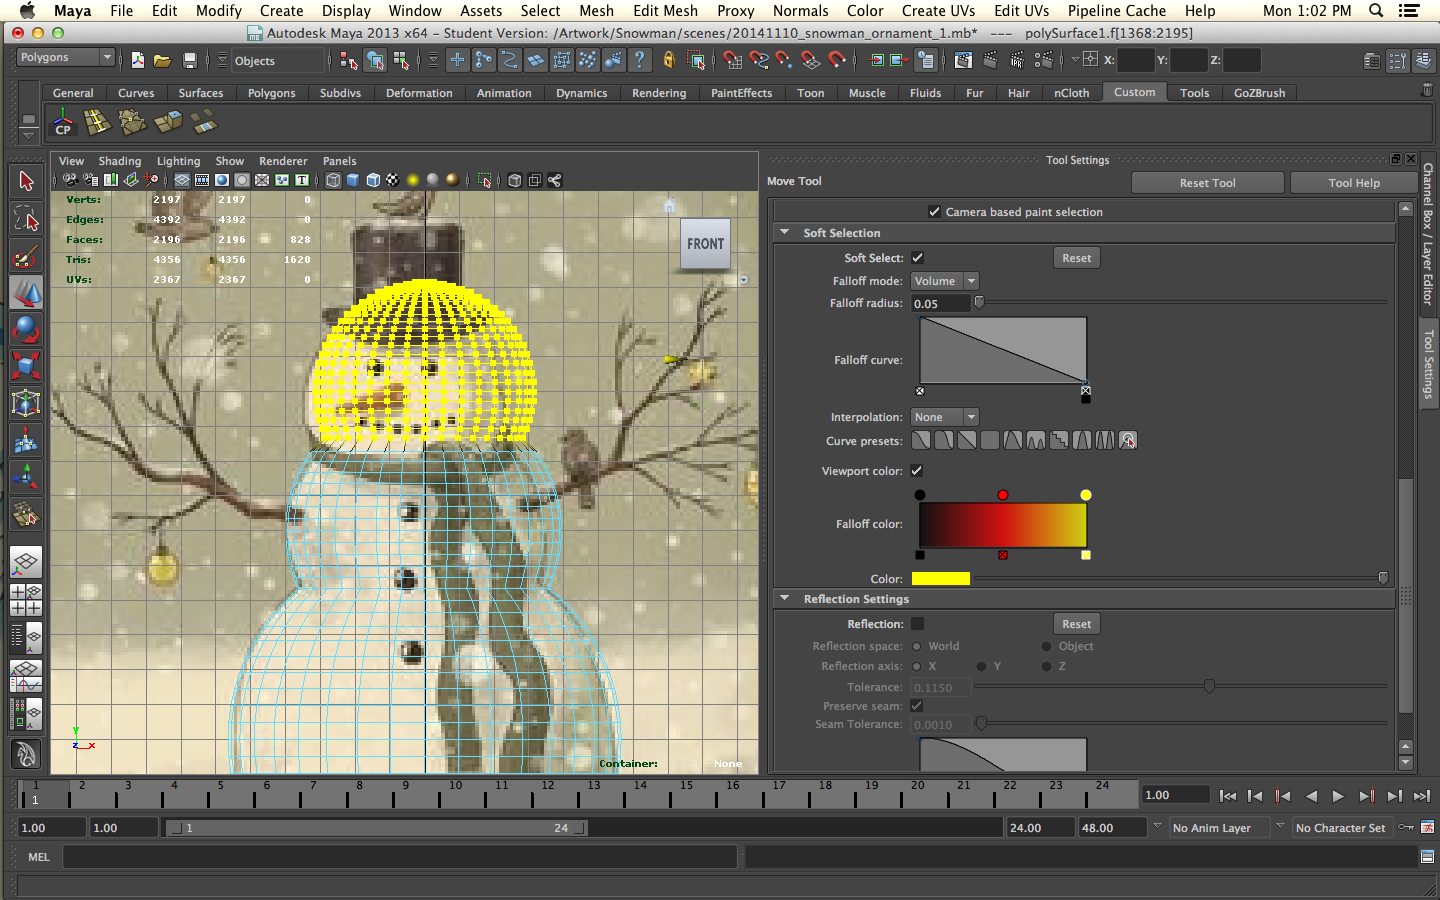
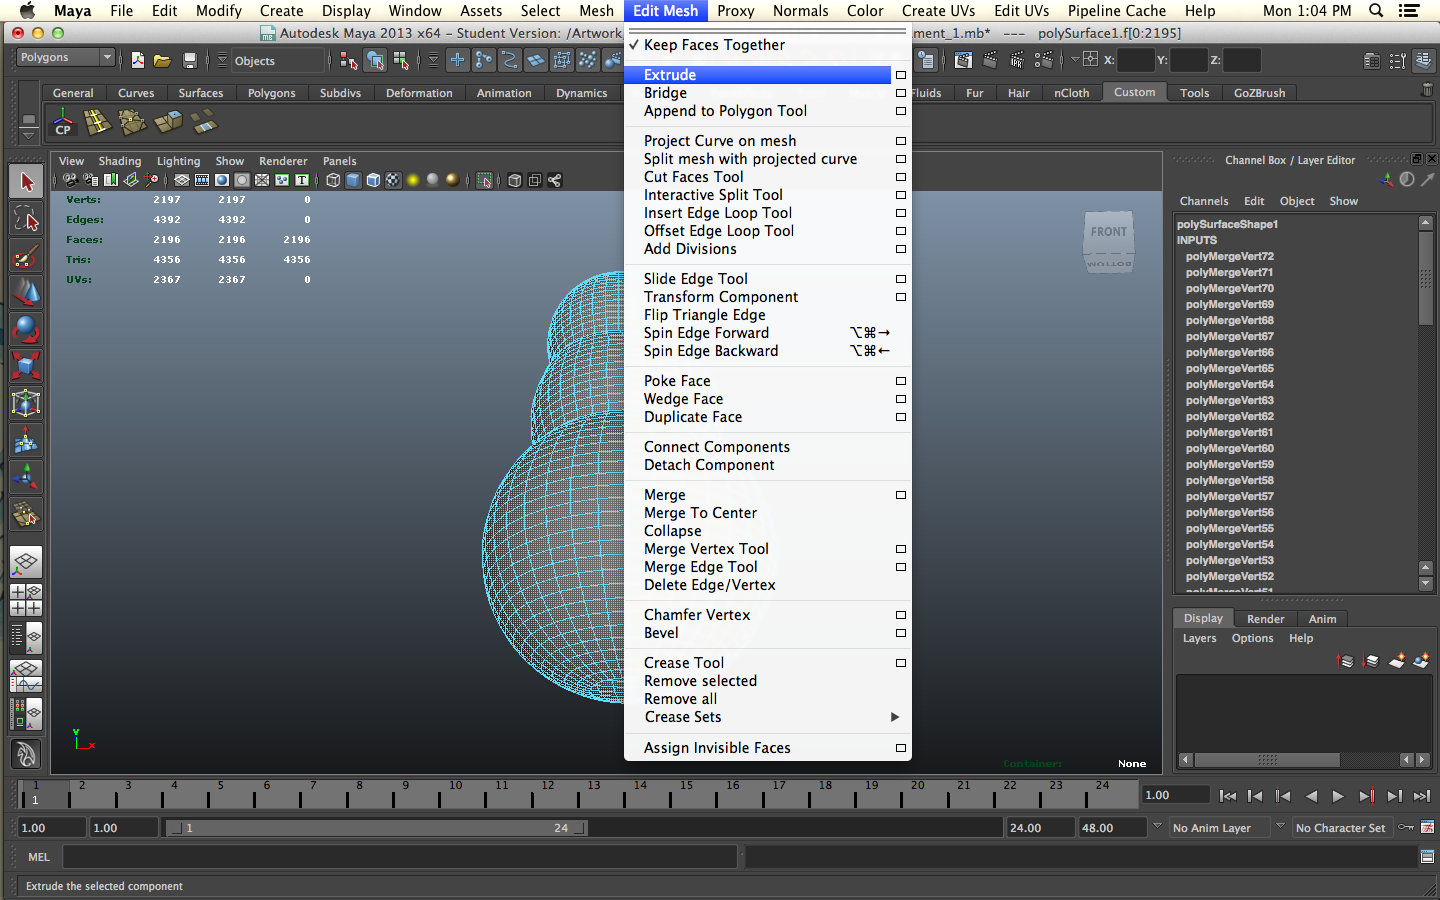
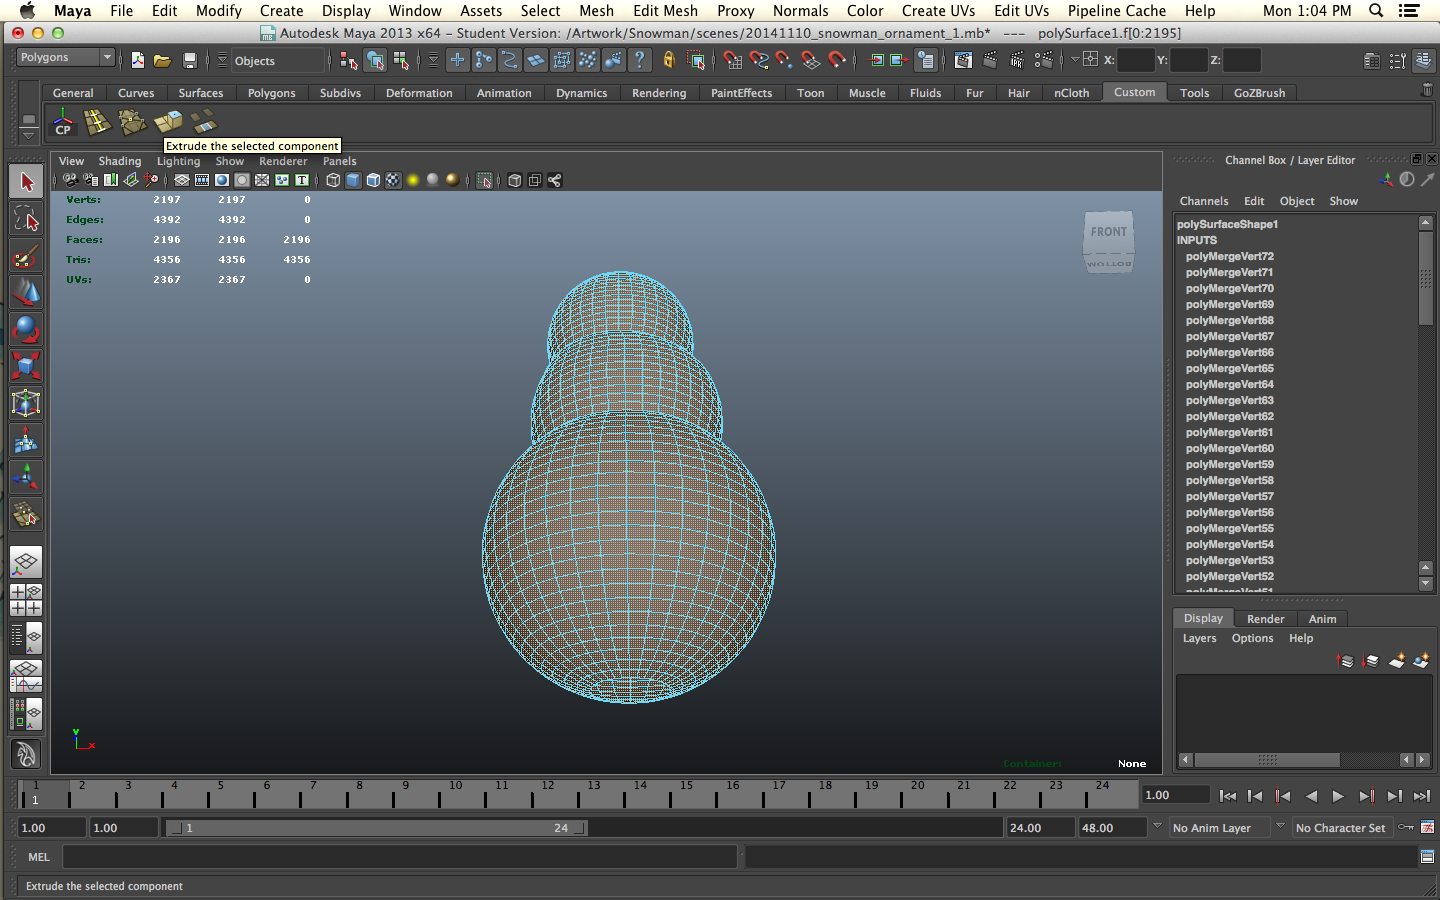
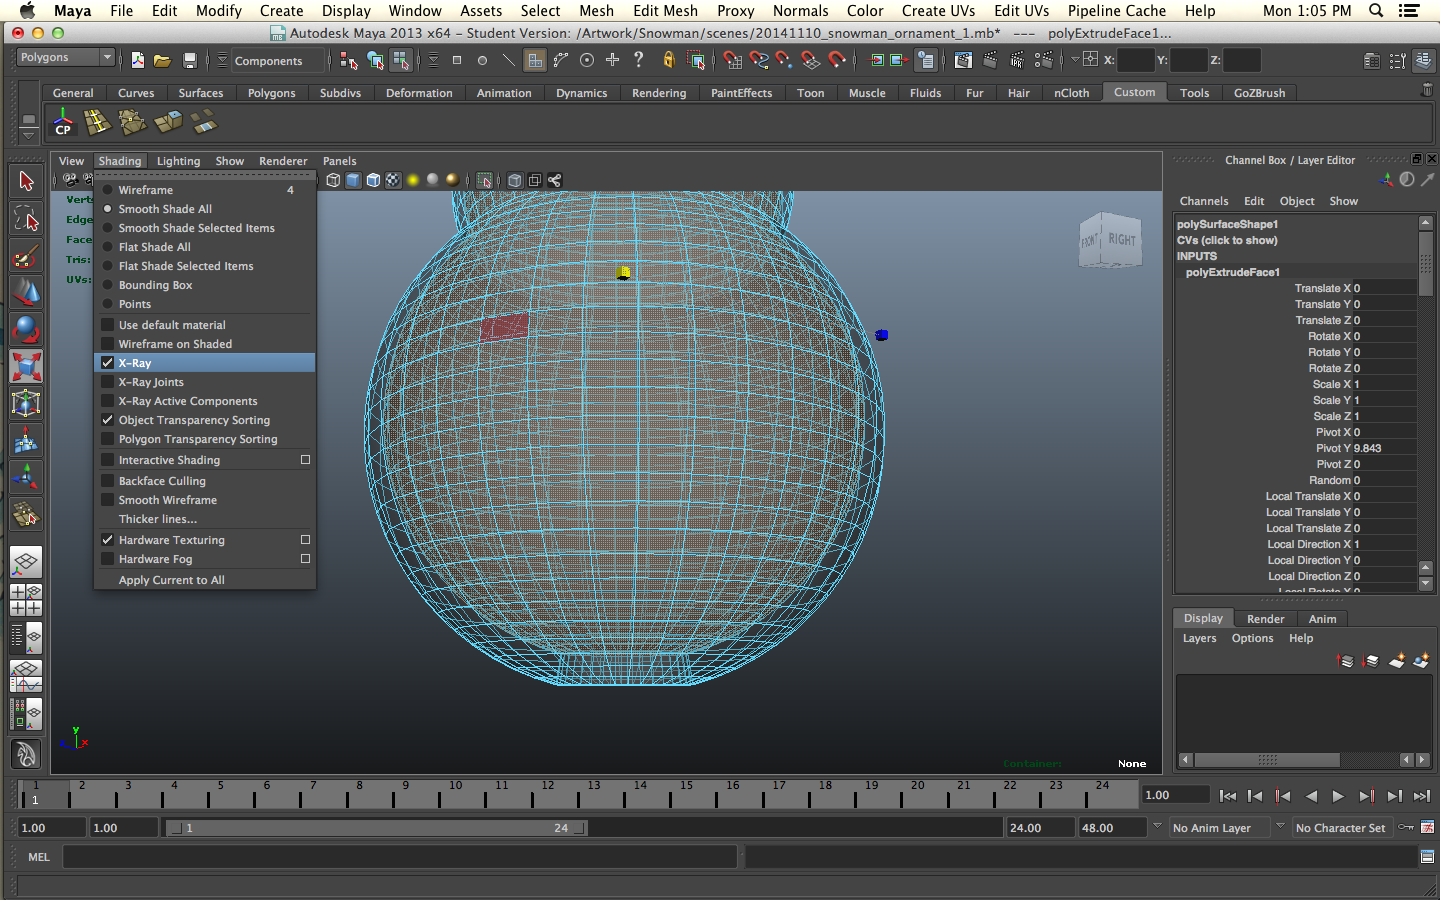
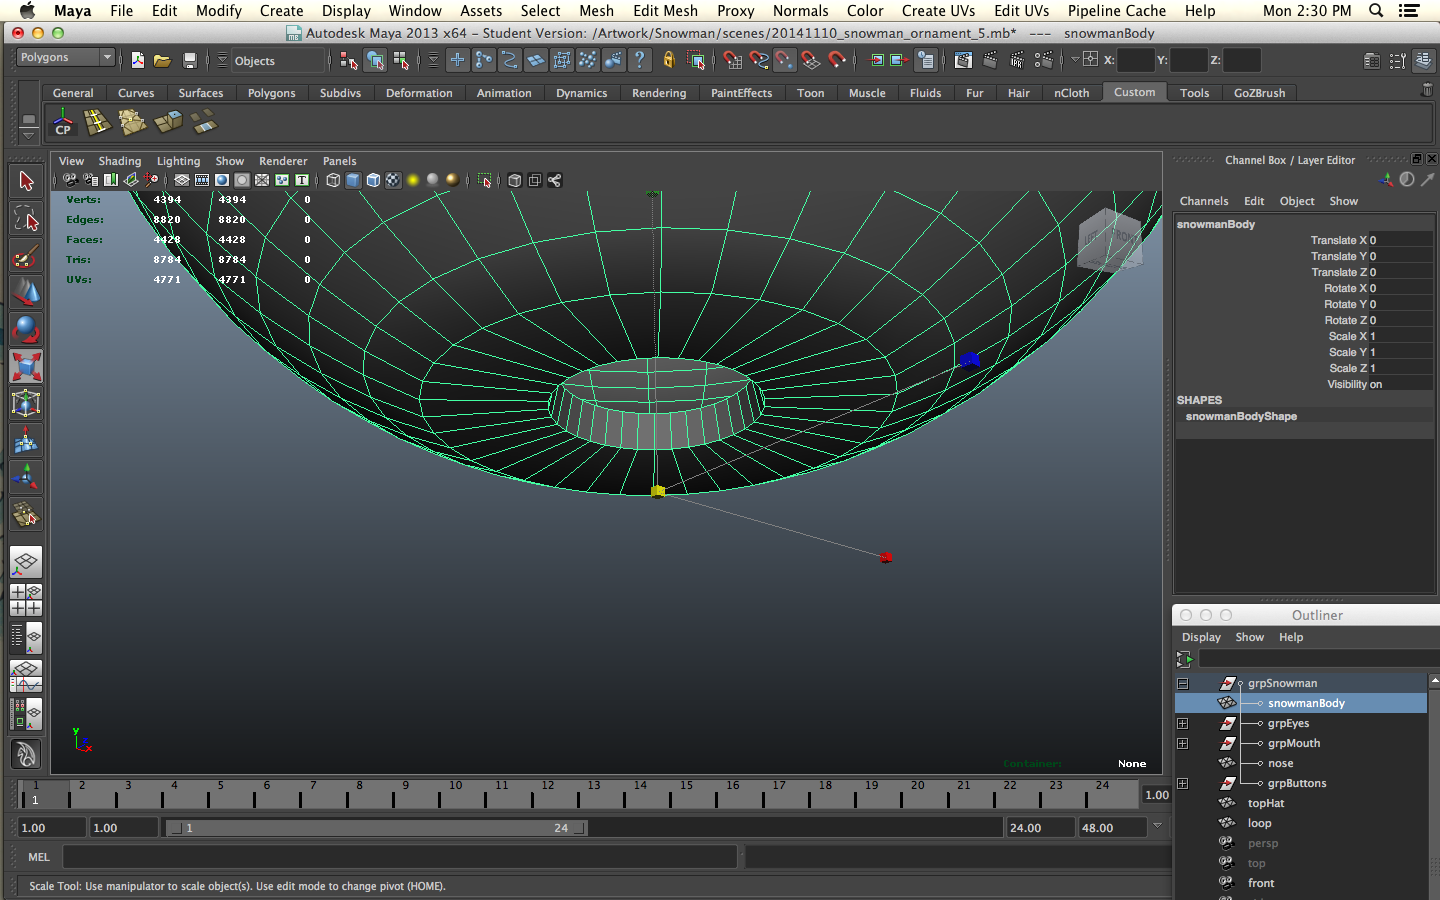
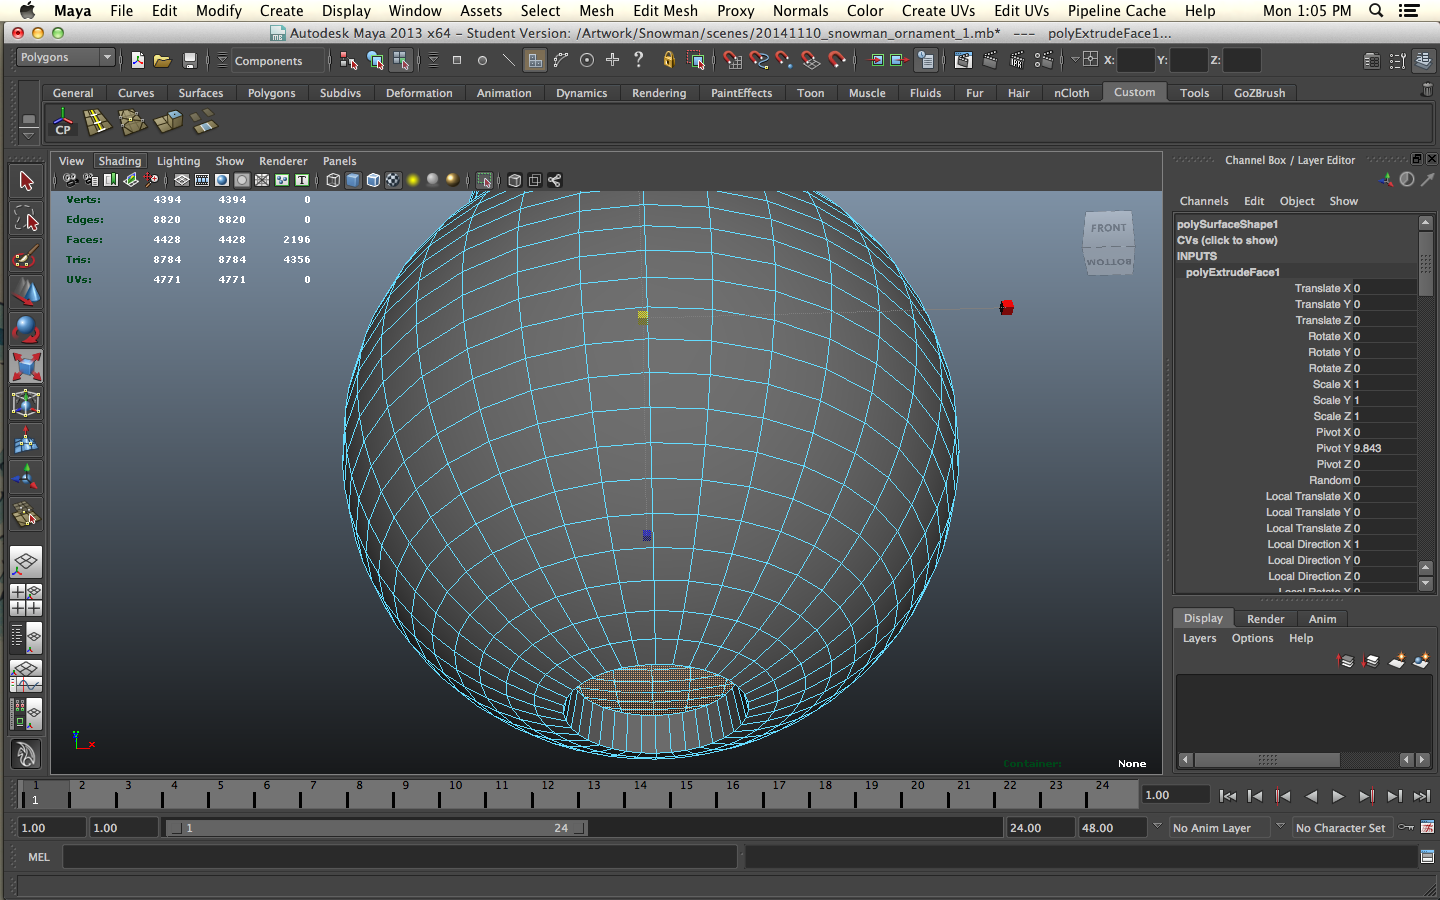
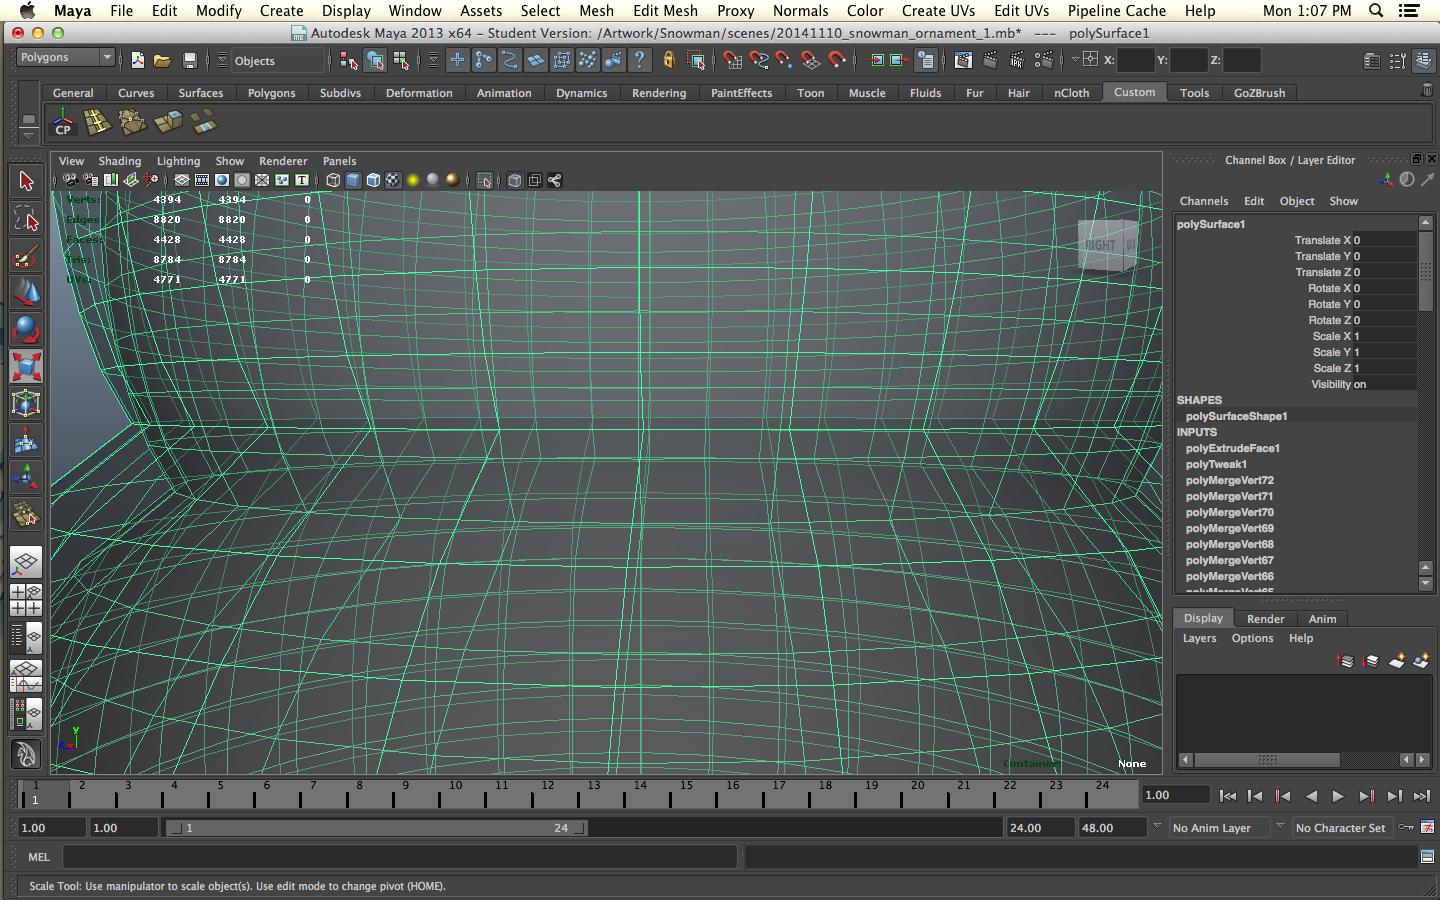
Select all the spheres. We are going to combine them together to make one mesh for the head and body. Go to Mesh > Combine to make them a unified mesh. Select the vert at the edge of one sphere and merge it to the corresponding vert on the adjacent sphere to close the holes. I like to use the Edit Mesh > Merge Vertex Tool as opposed to the Merge to Center tool because usually I wan to snap the verts of the one mesh to the other instead of having them both meet halfway in between each other. Be careful you don't merge to the wrong point. Check very carefully. Also, check the hollow. I had to make an adjustment because the hollow came close to penetrating the outside of the mesh where the head and body meet. You might want to use soft select to move the head and torso over so he's not stock straight. Give him some character.
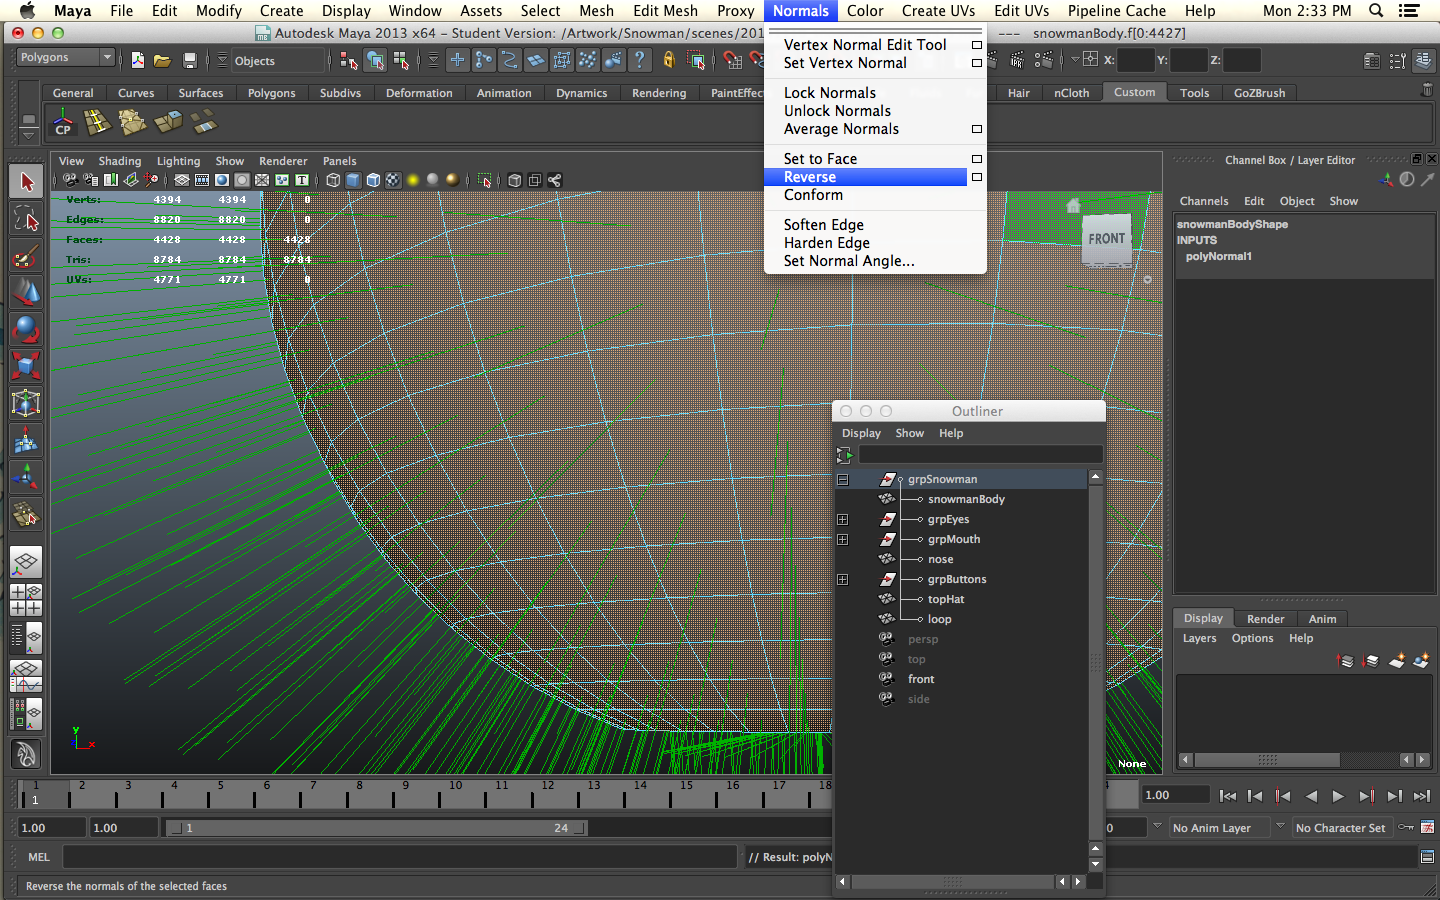
When all the verts are merged together make sure to leave the hole at the bottom of the model open. Select all the face and extrude in. Now you'll have a hollowed out model with a hole for a Christmas light and you've created a watertight mesh. Remember to check your normals. I forgot and had to reverse my normals later.
He Had Coal for Eyes and Buttons
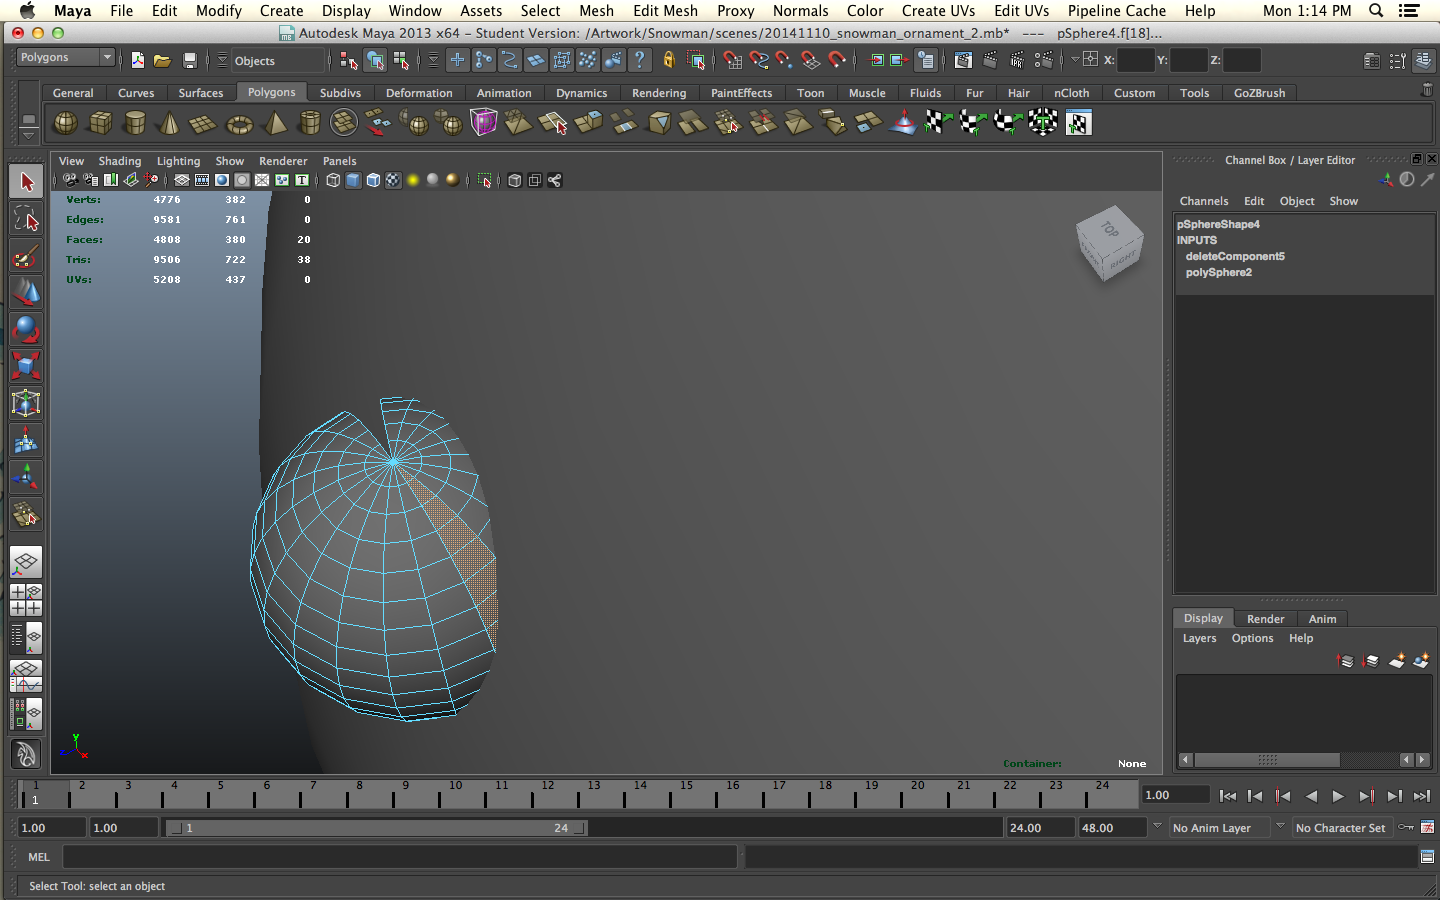
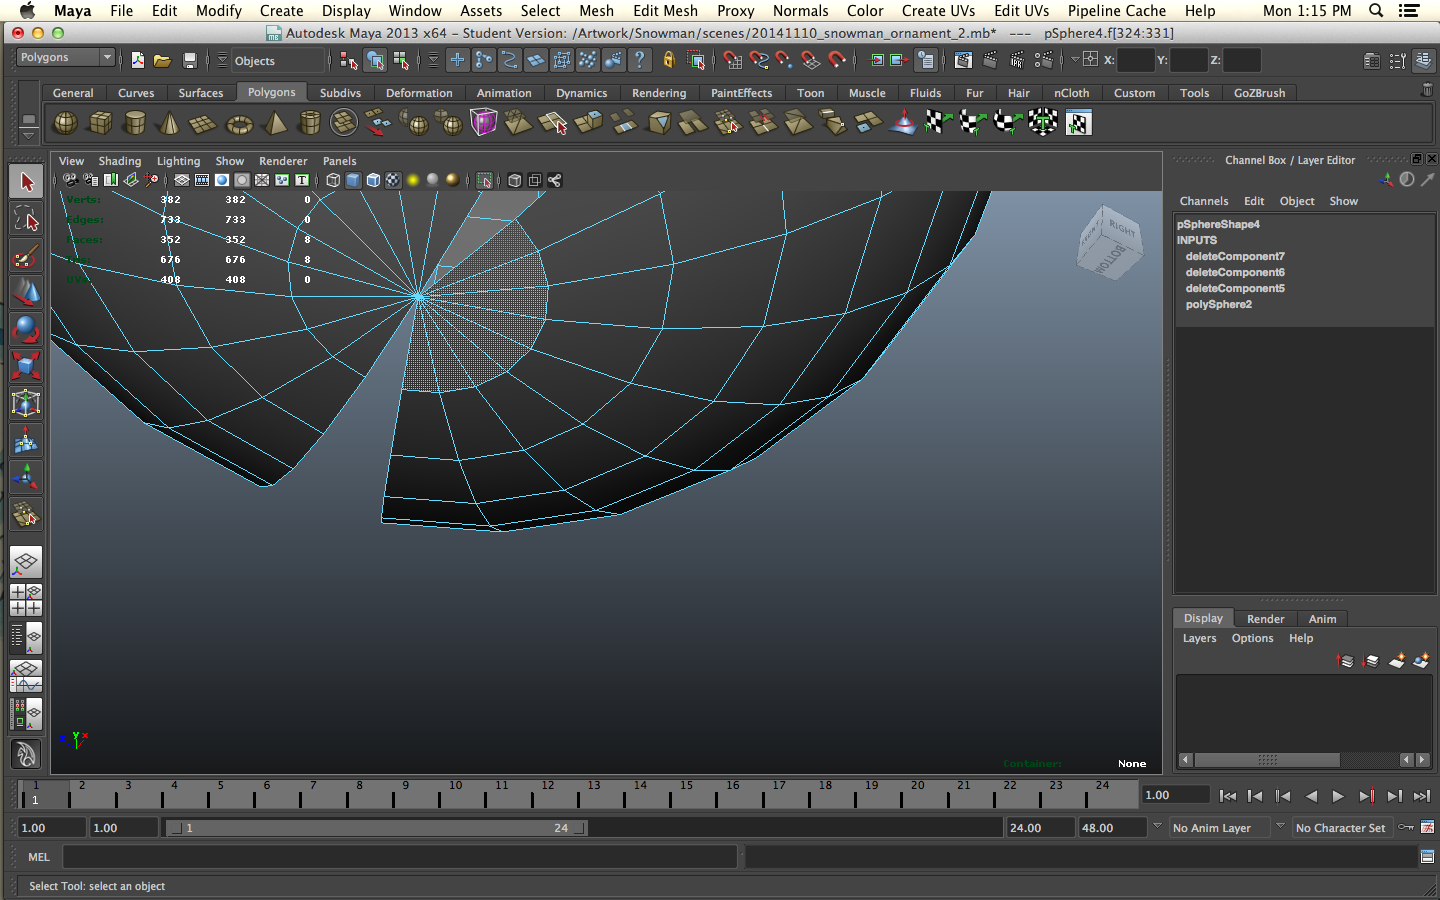
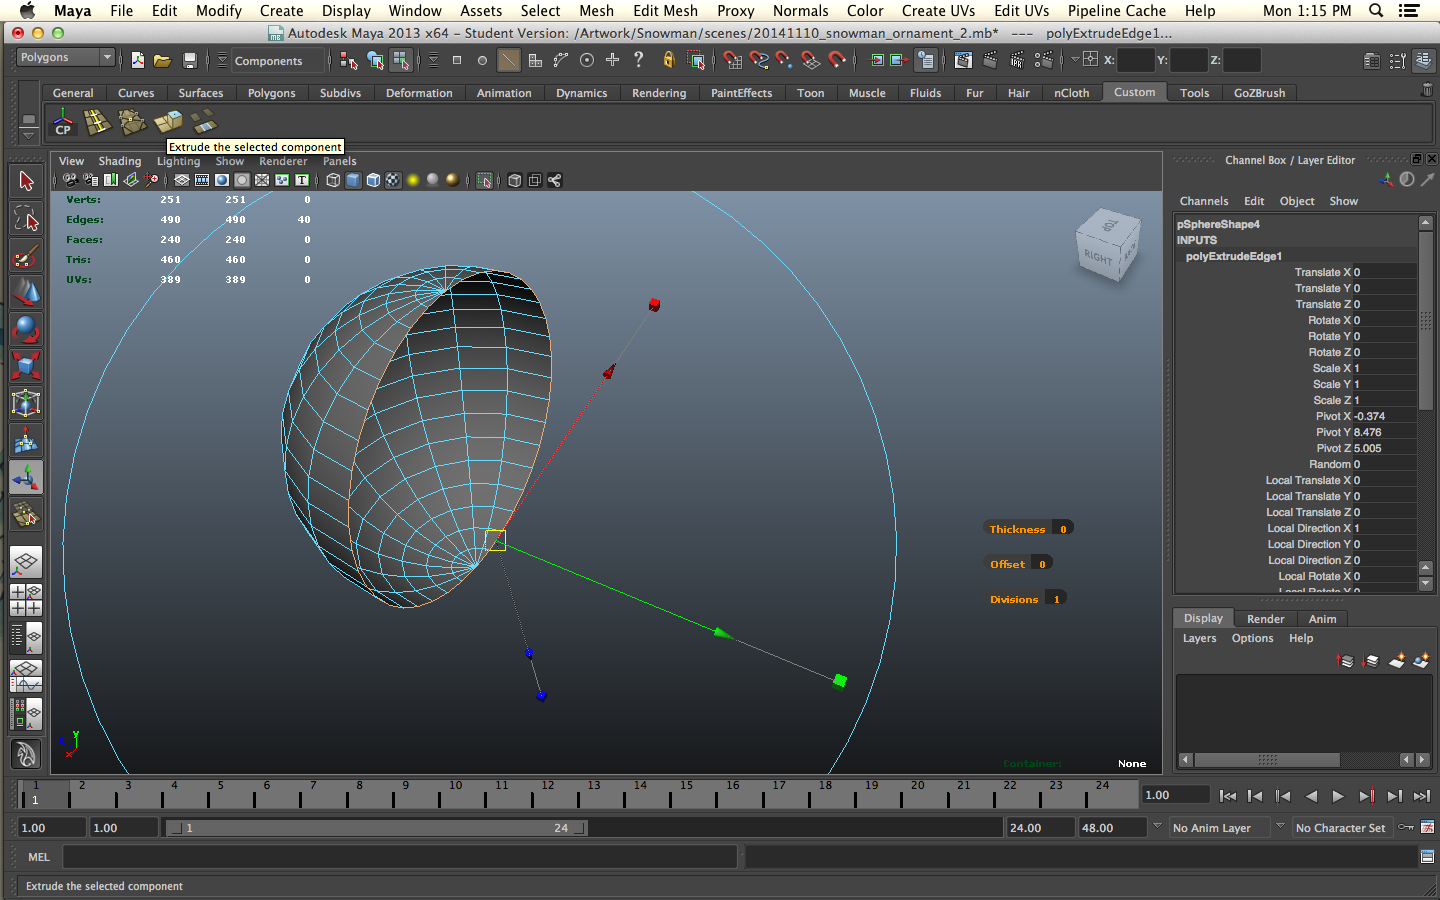
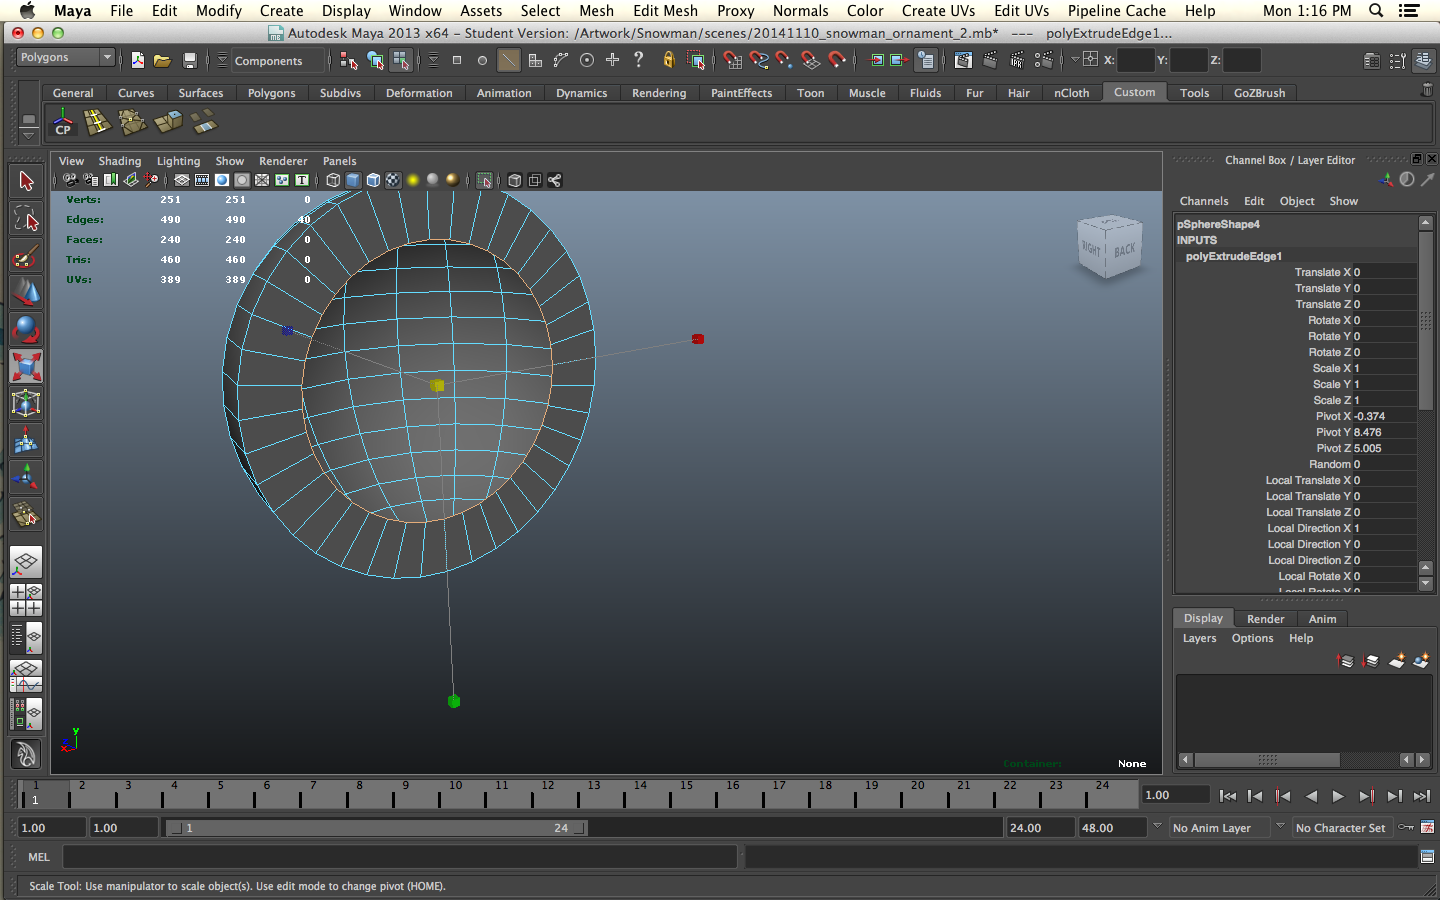
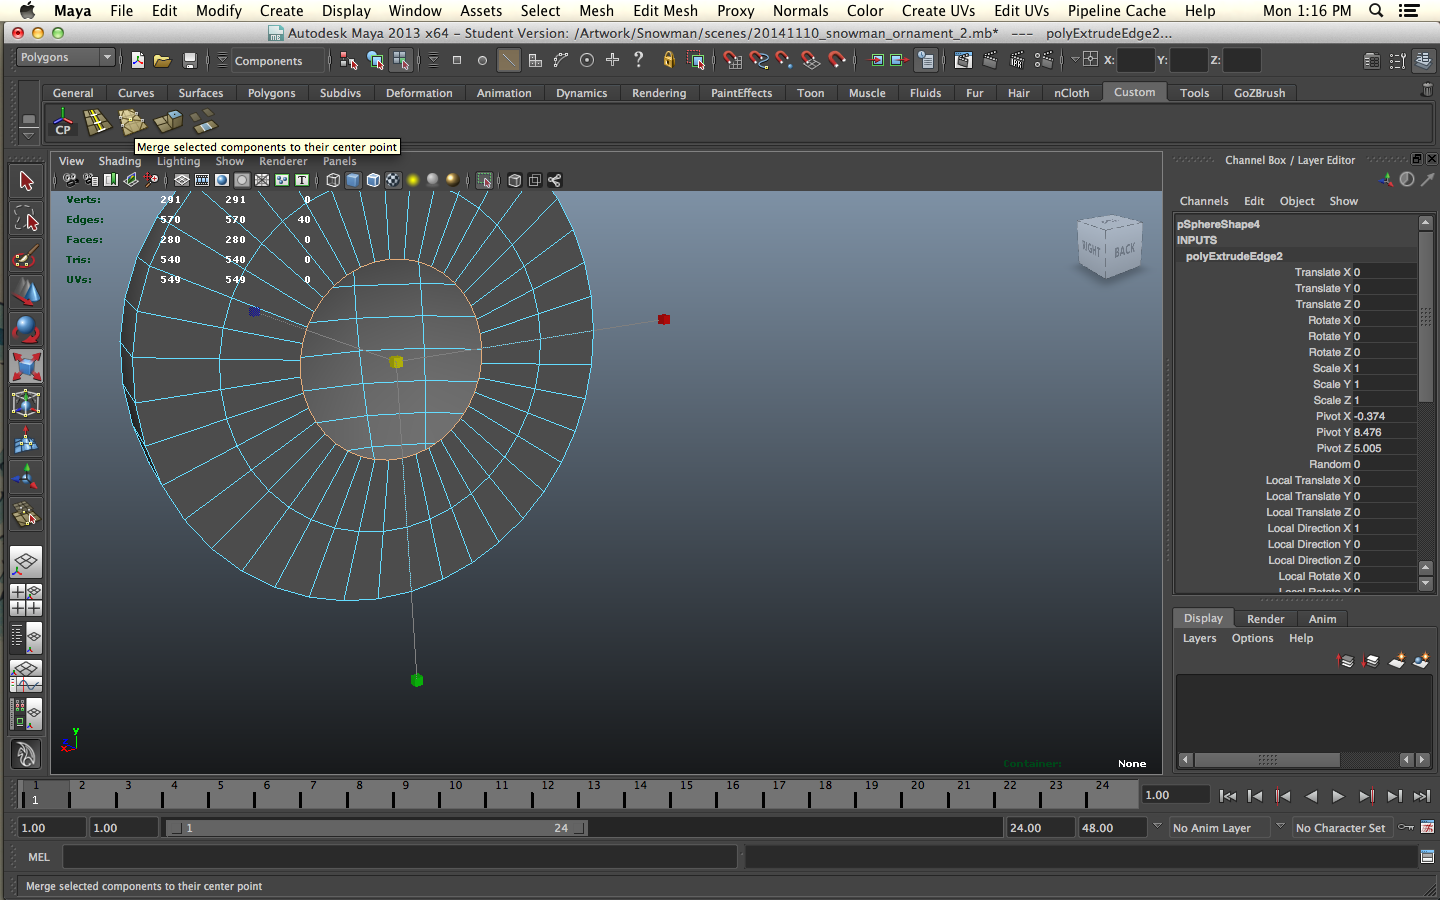
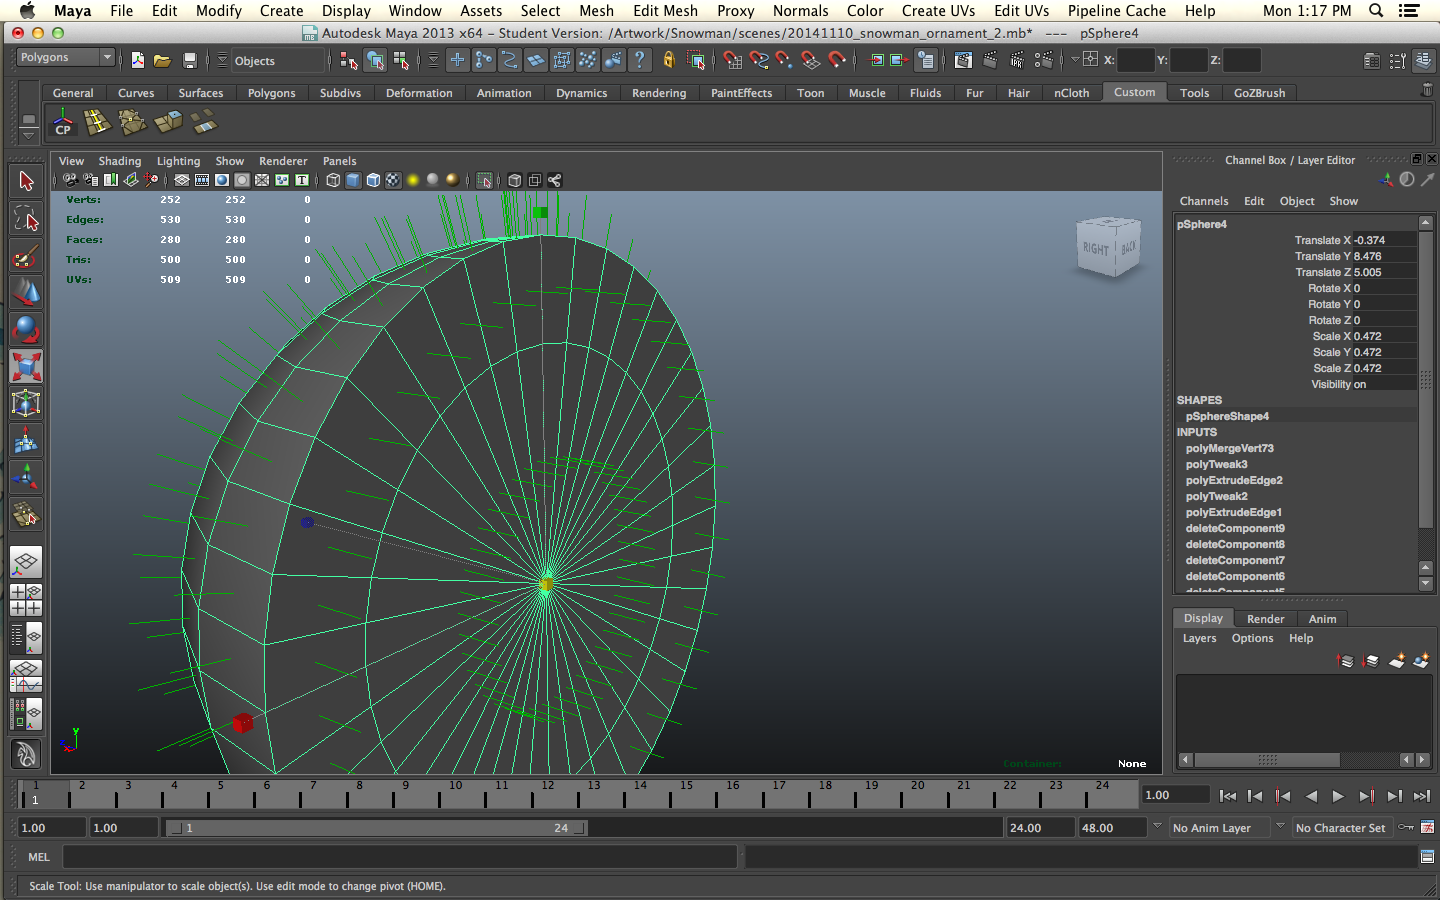
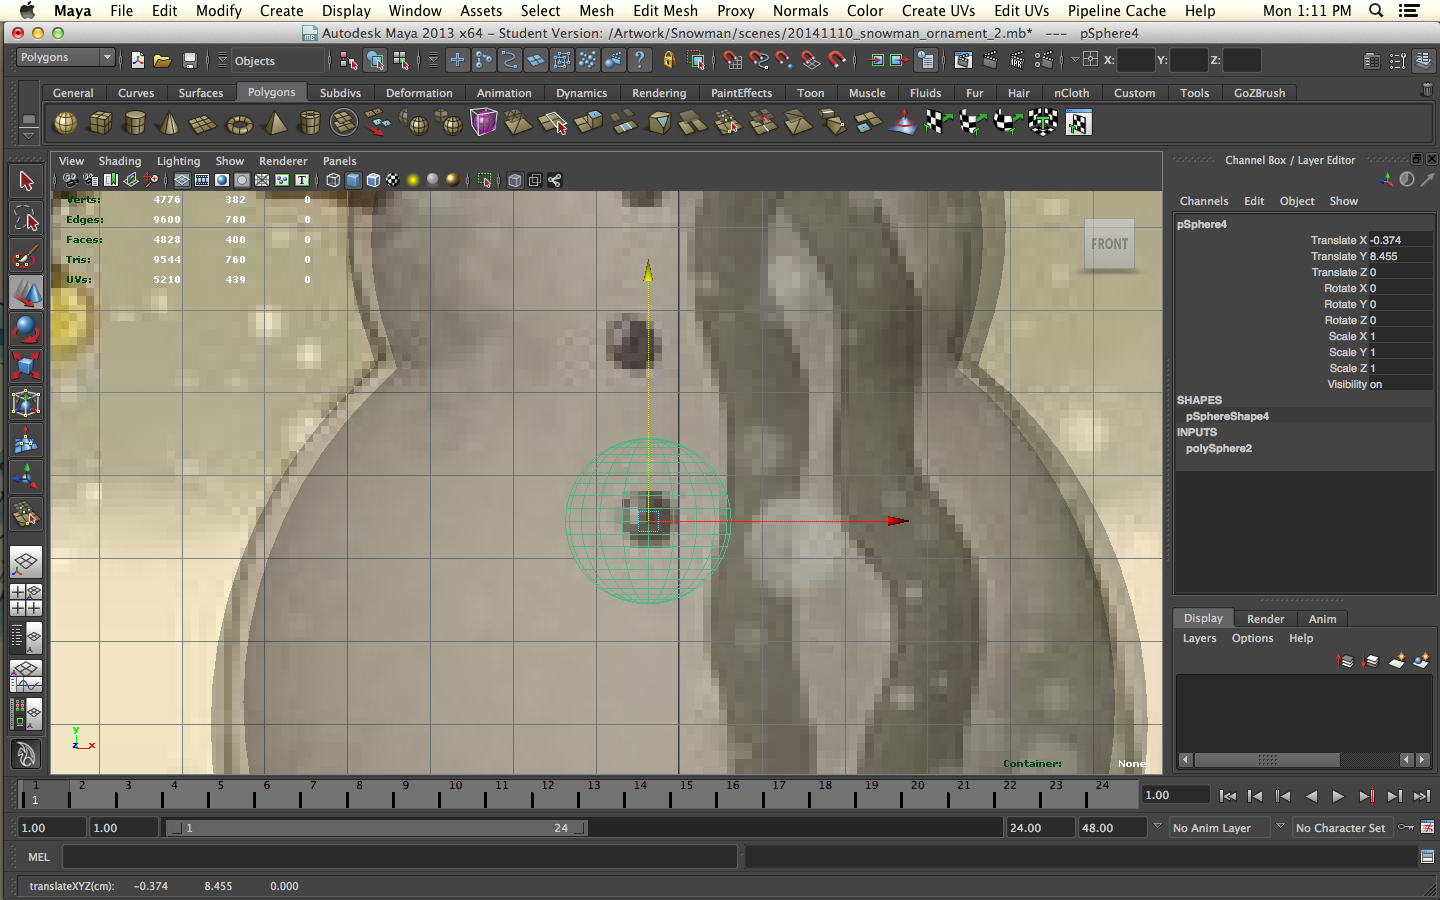
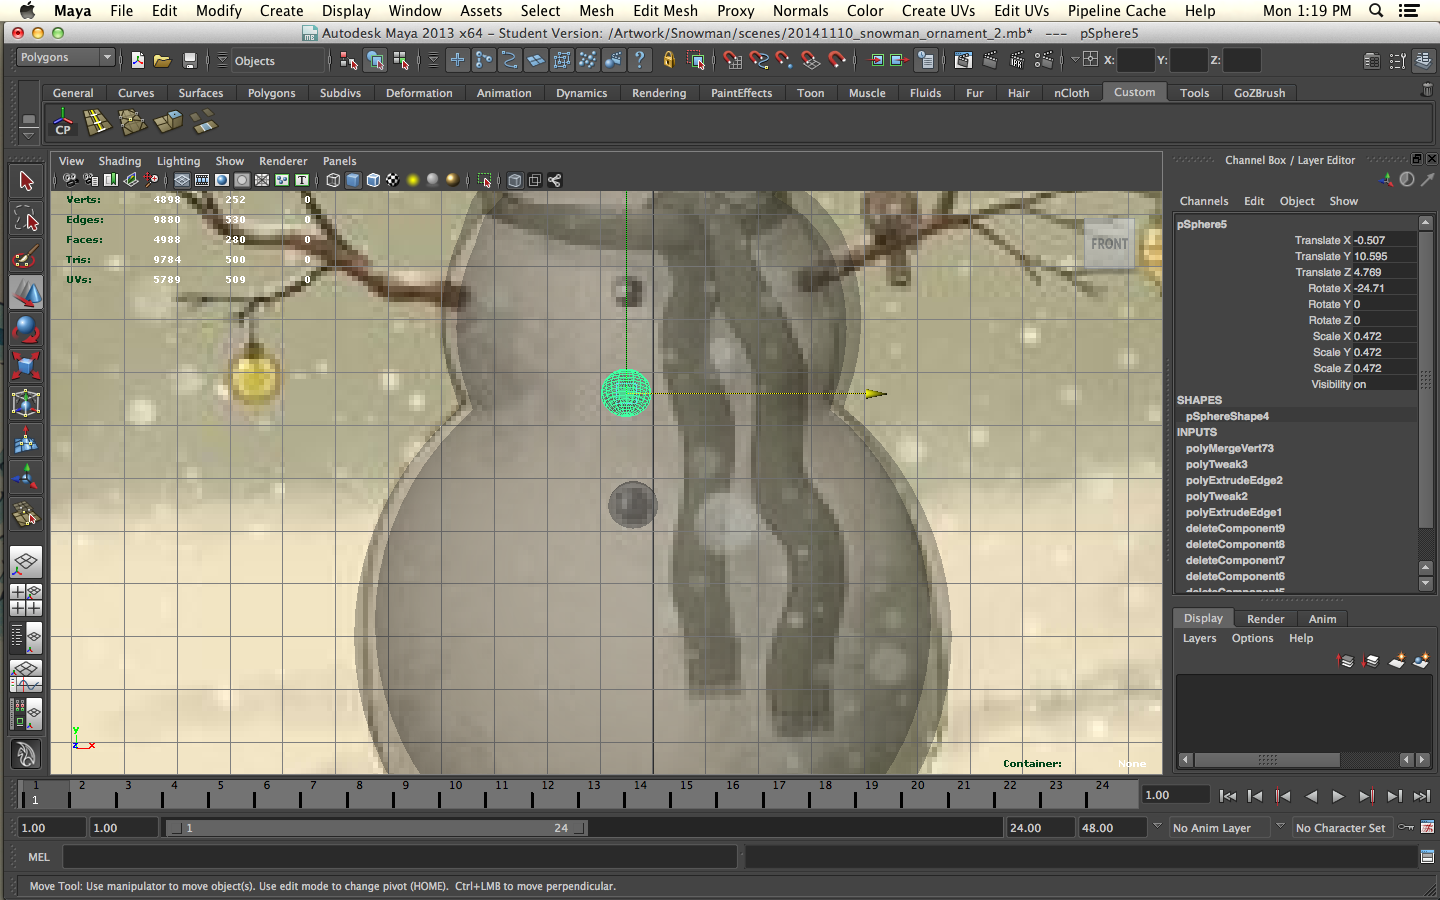
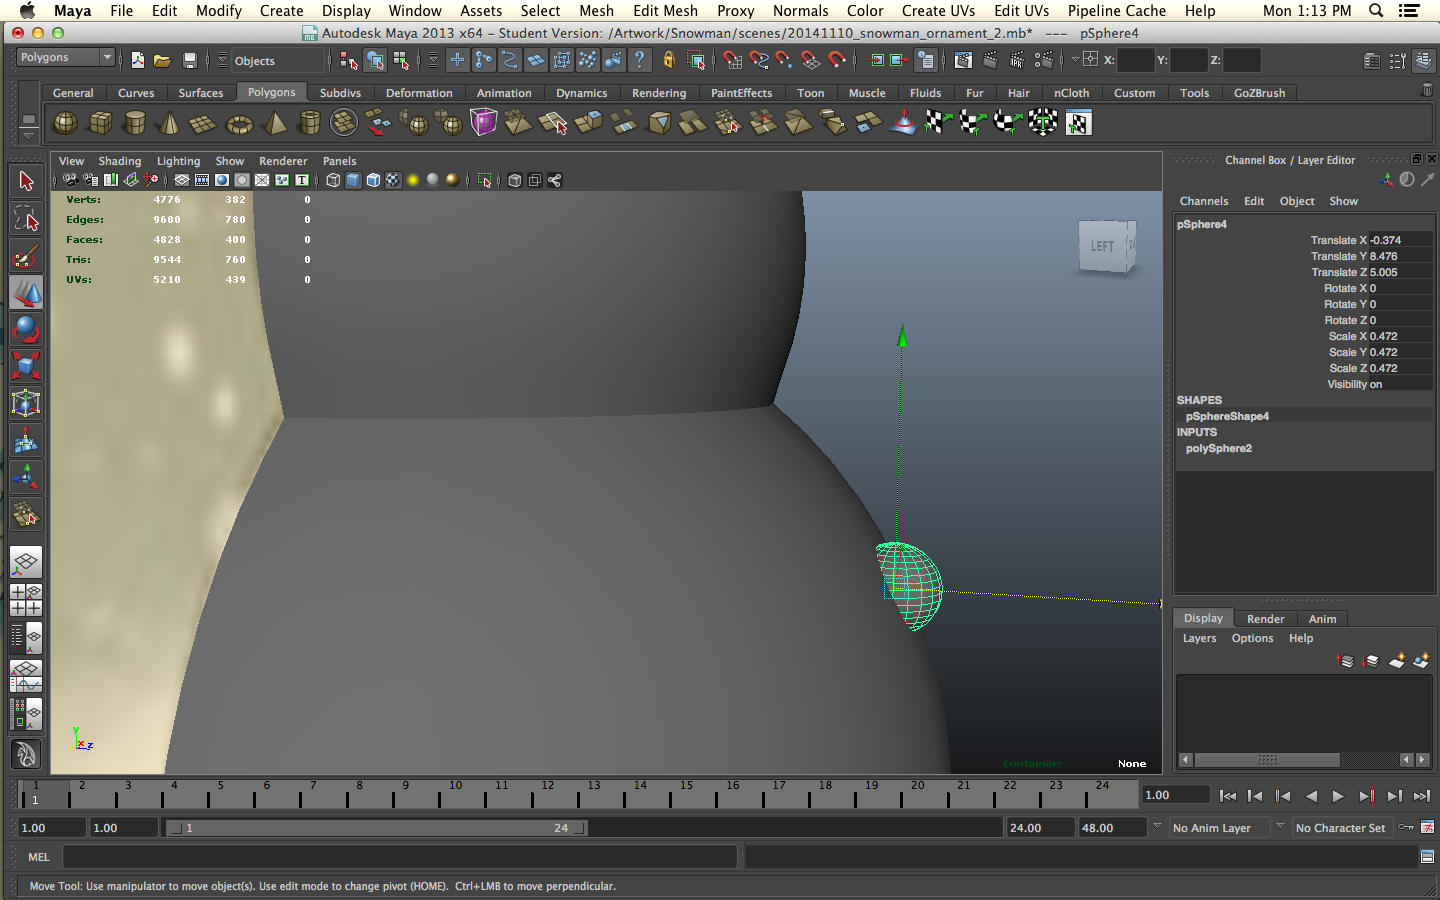
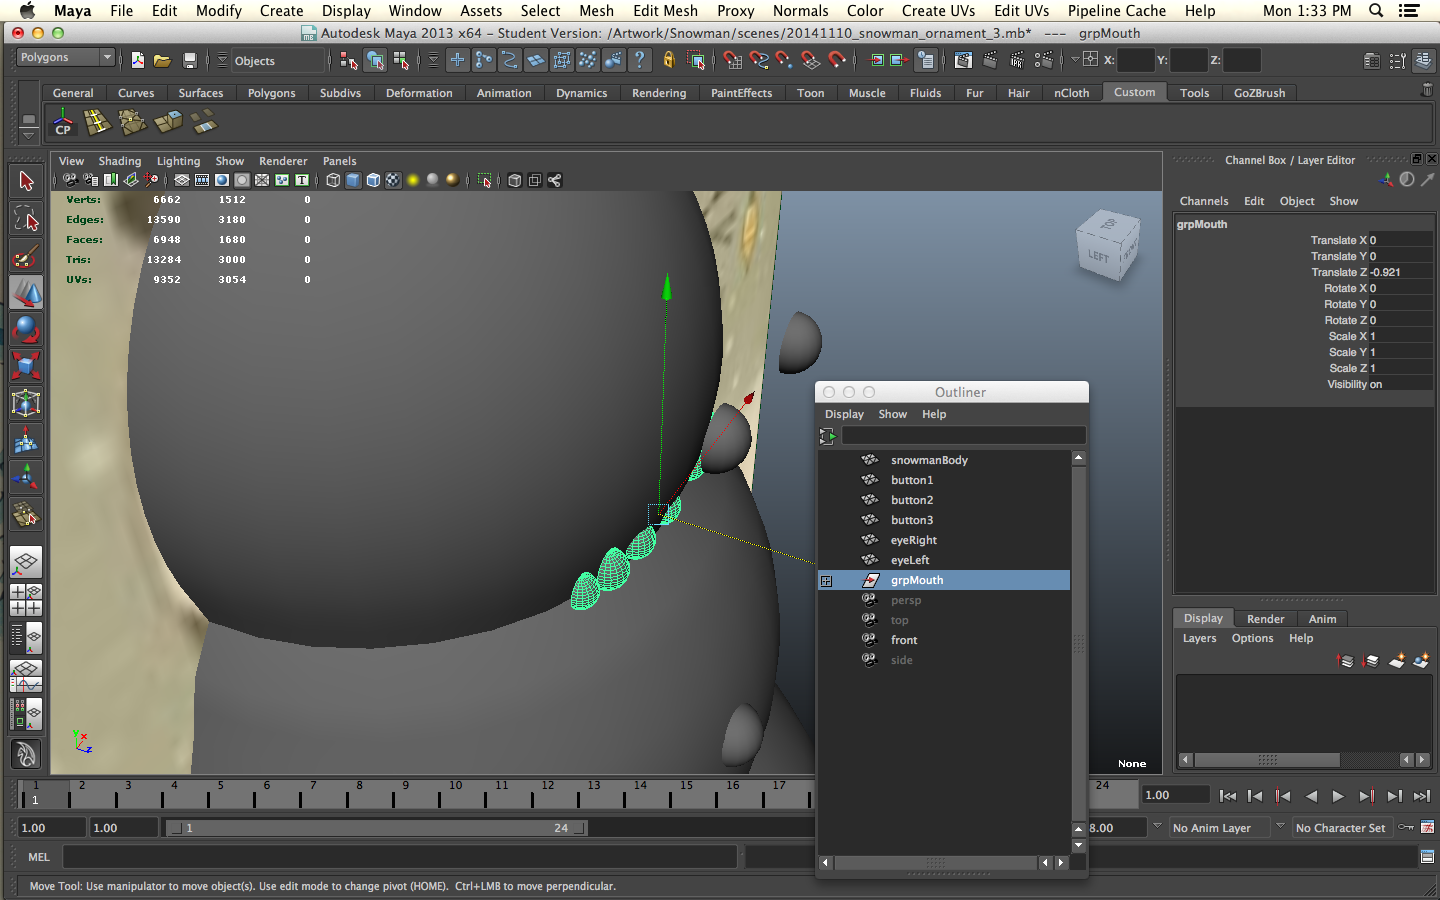
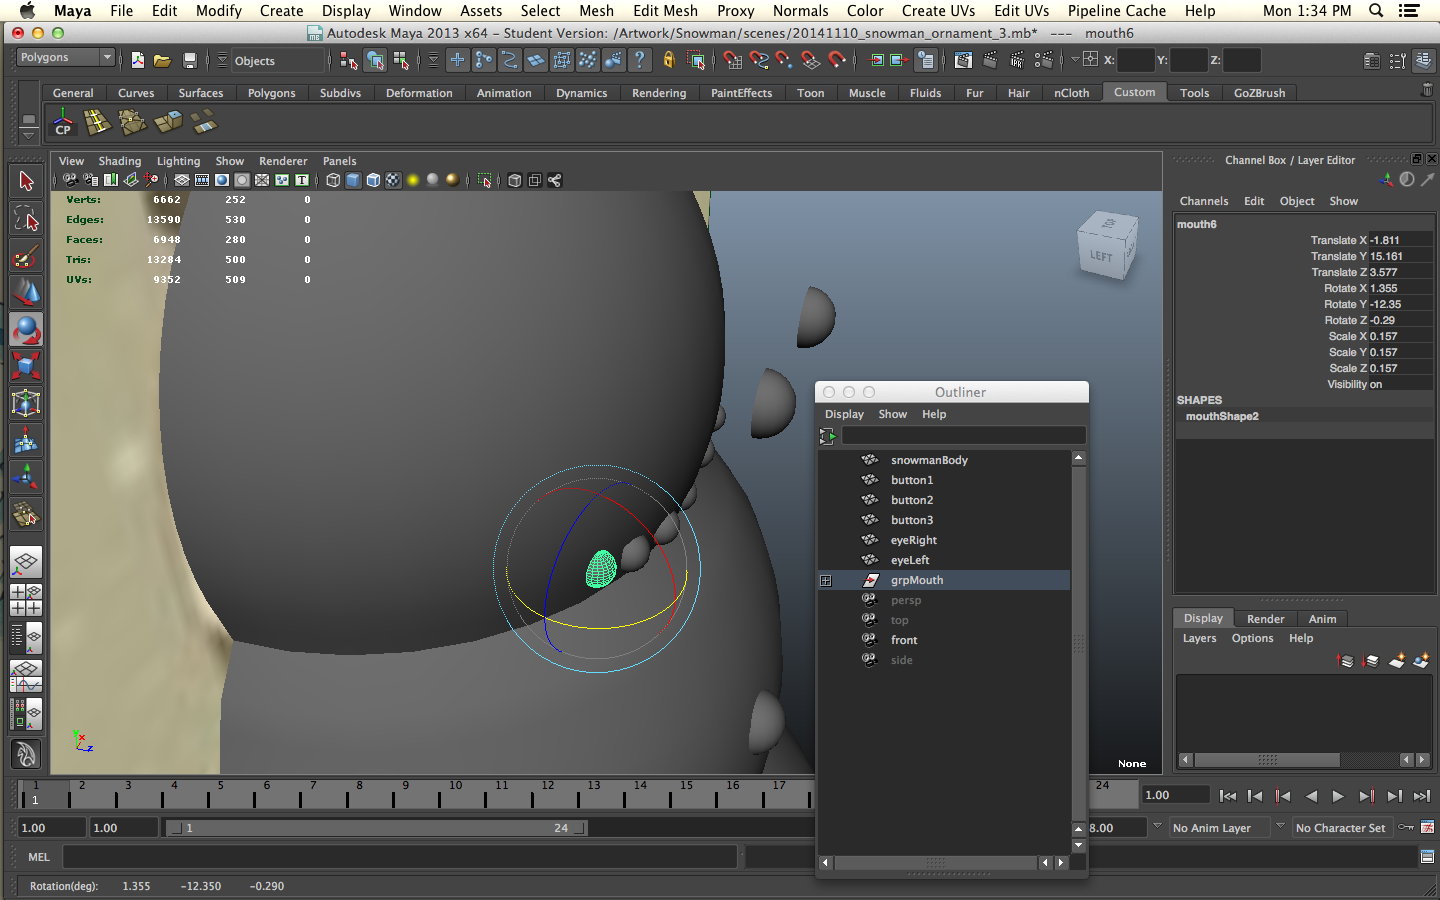
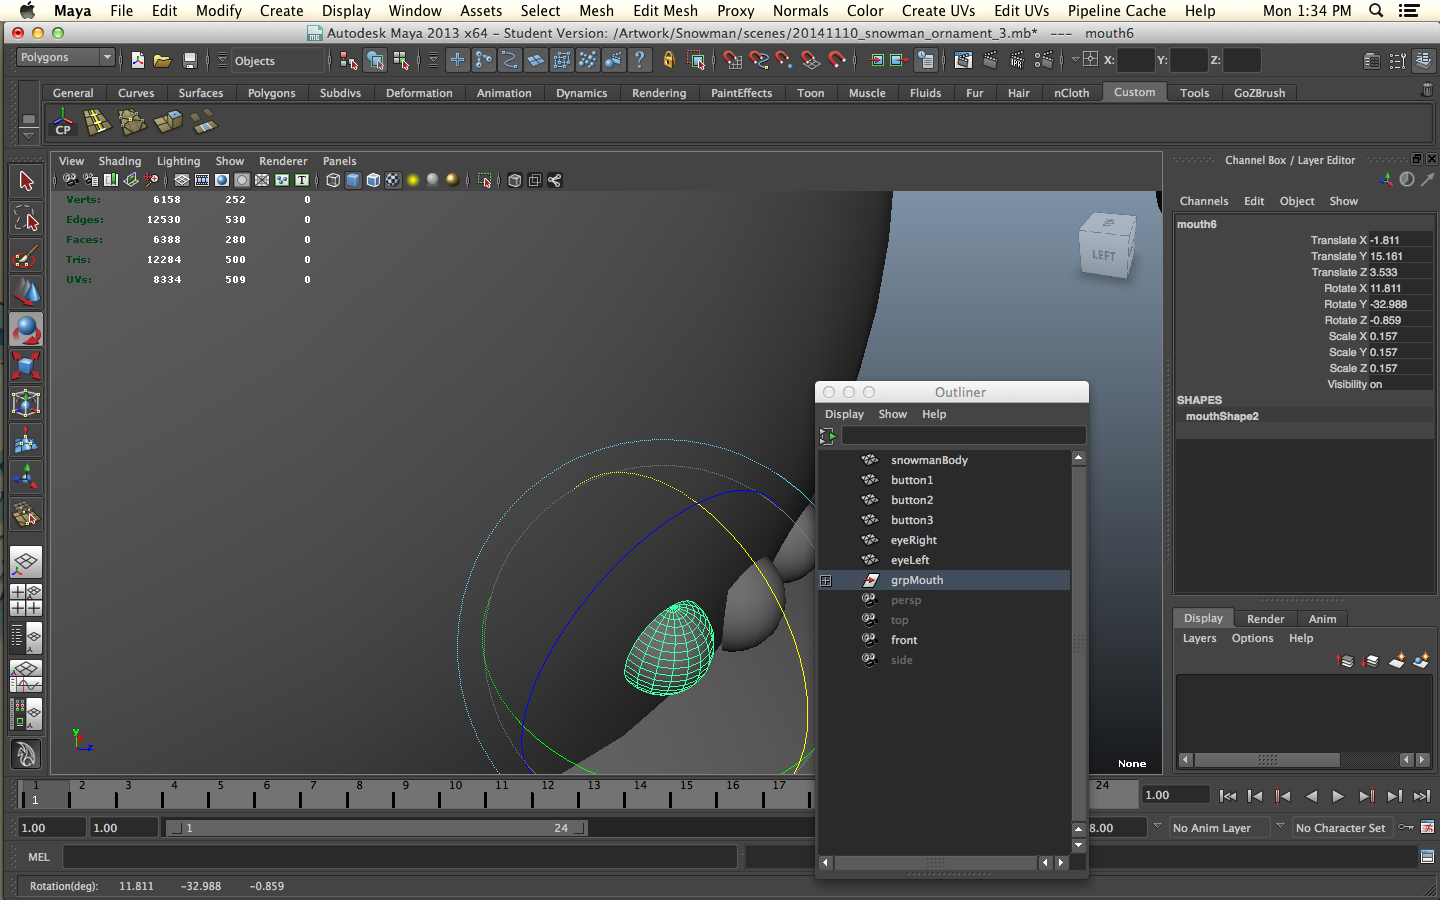
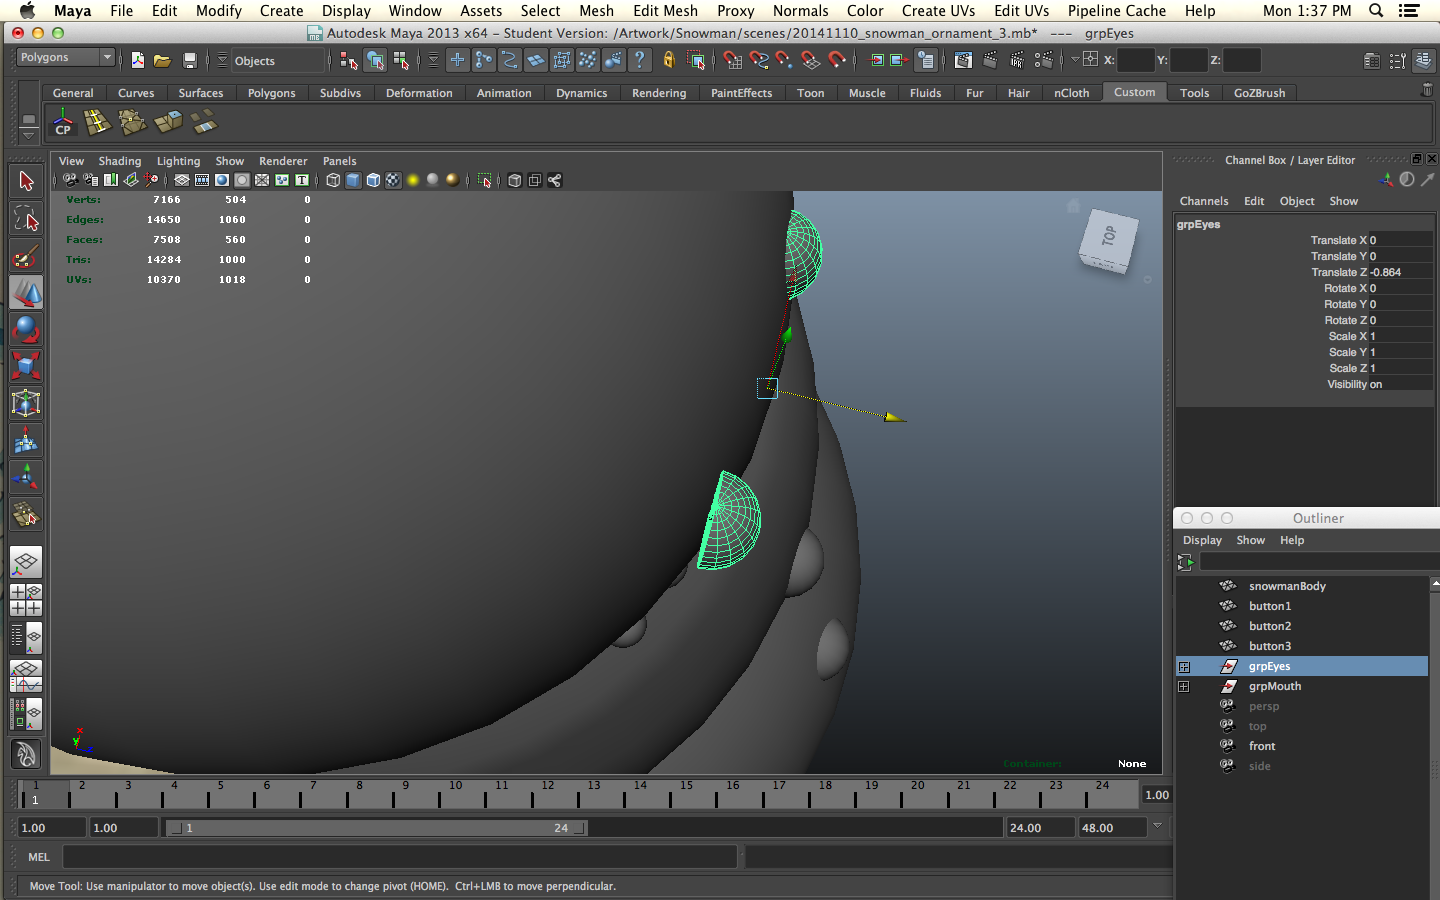
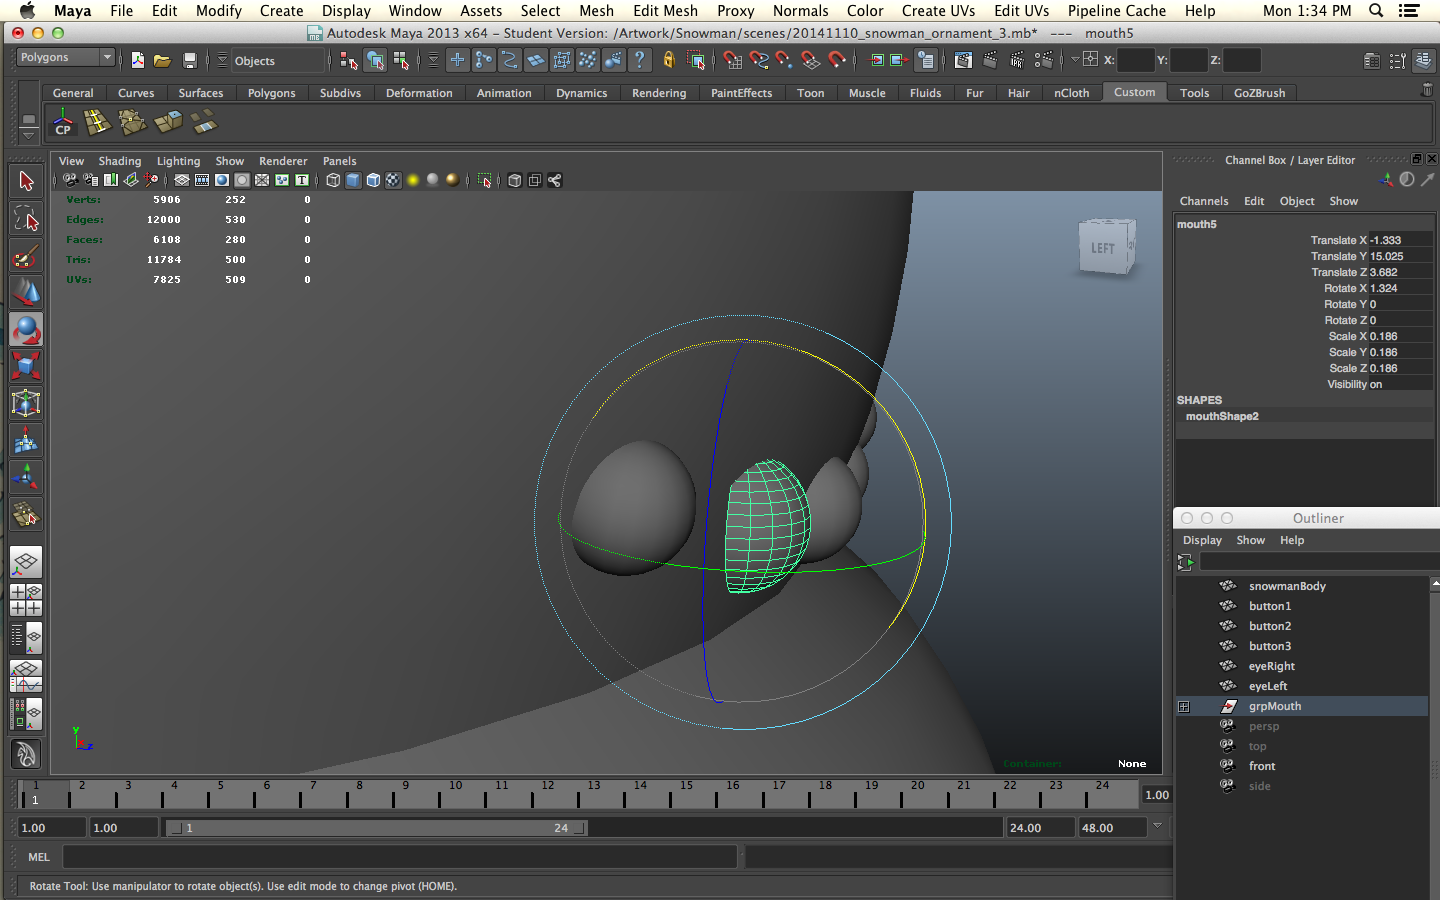
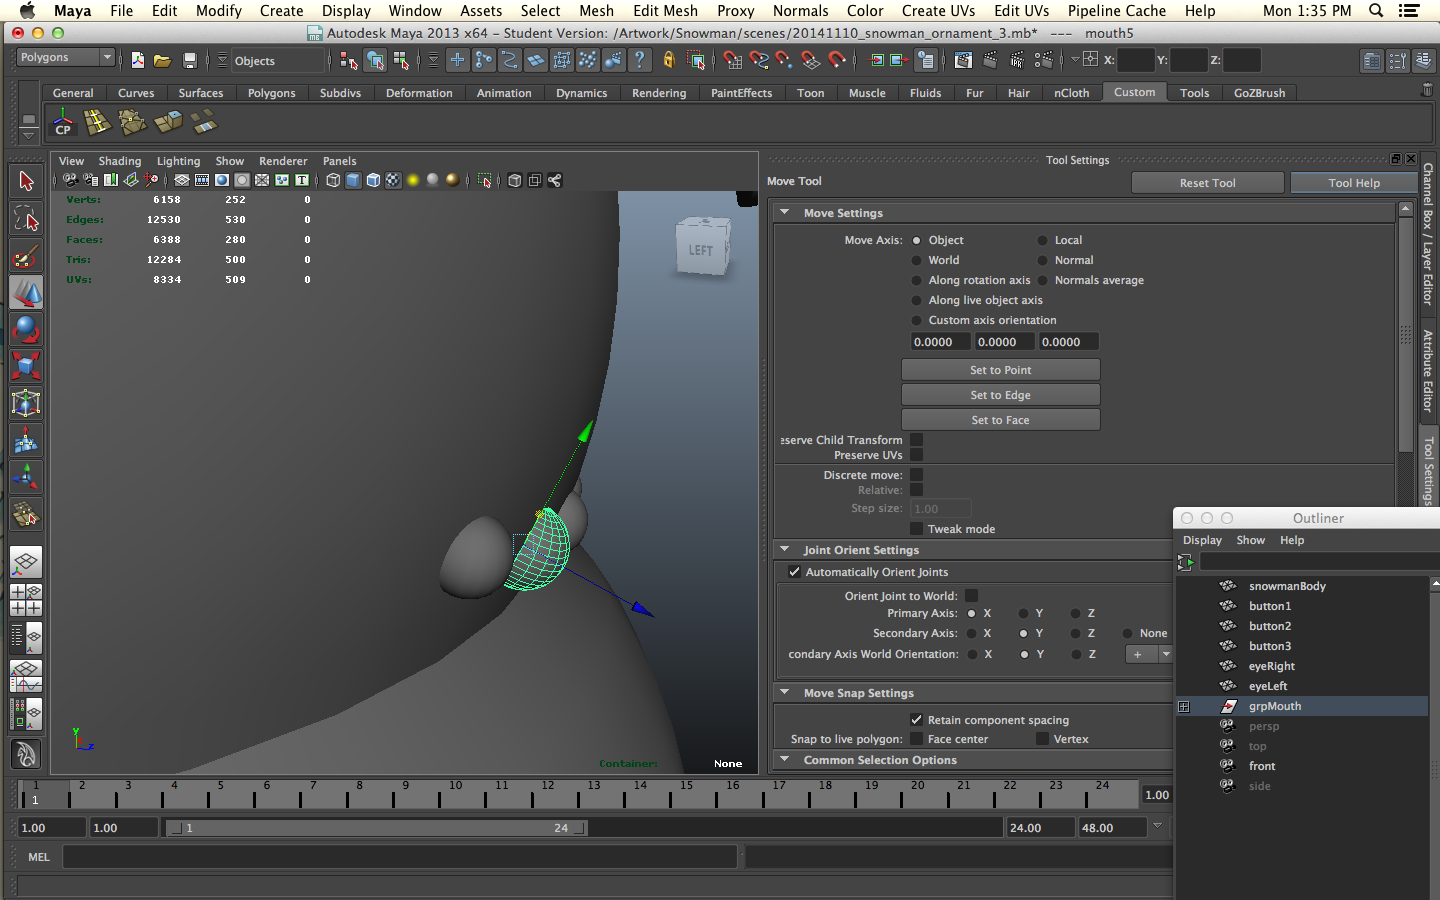
We're going to create the buttons using spheres. Increase the subdivisions to 36 again. Delete half the faces along the axis so that you have a half sphere. Select the edges of the hole, extrude in and use merge to center to close the hole.
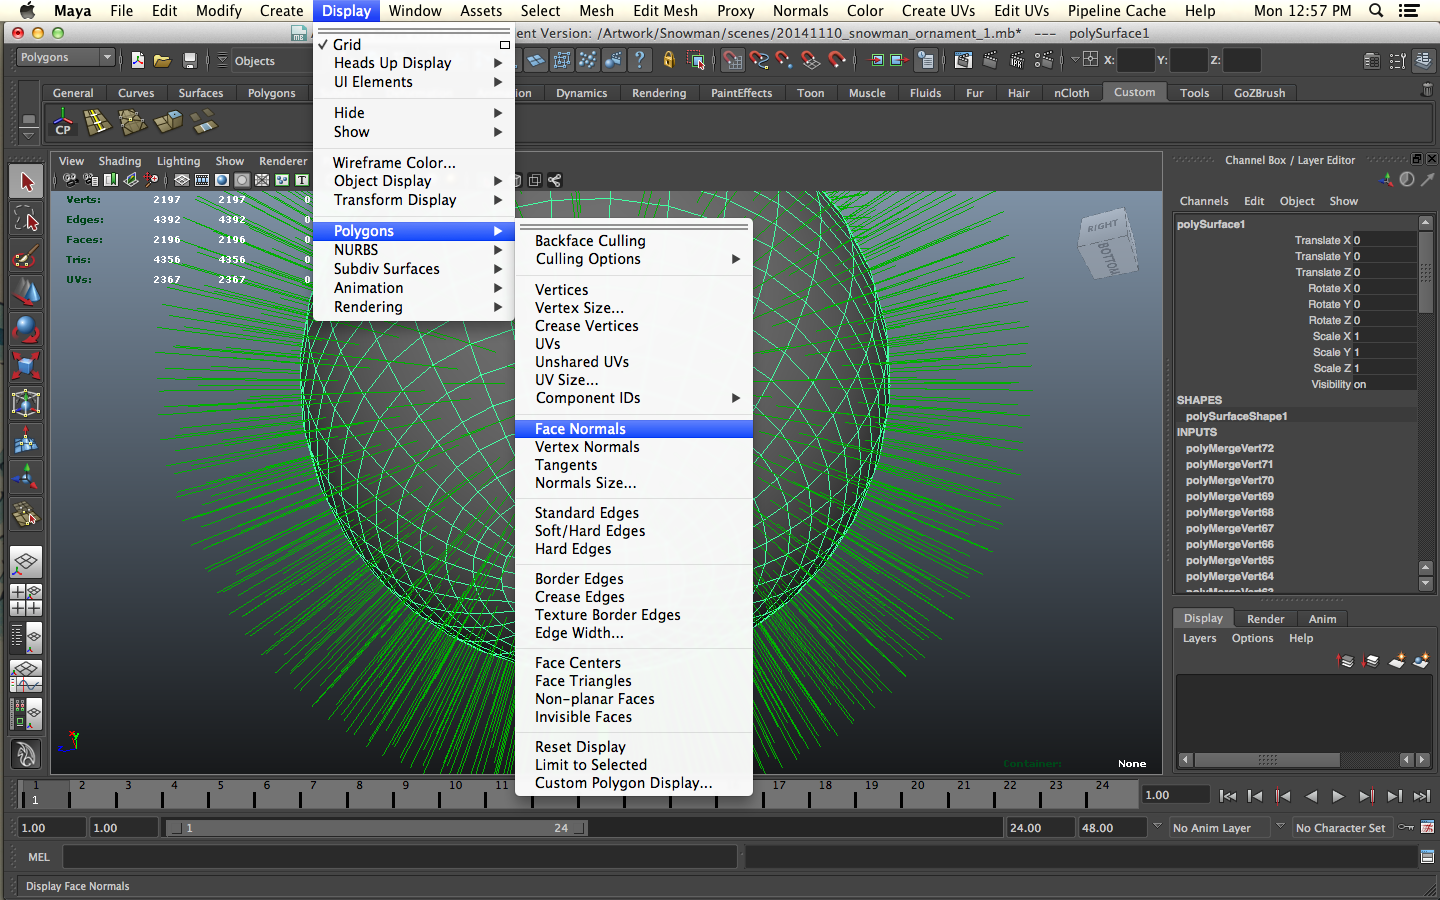
Always check your normals. They should be facing out. Use Display > Polygons > Face Normals. If the normals look good you can go back to Display > Polygons > Face Normals to hide the normals. It's important to check the normals. If they are facing inwards it won't print. If that's the case, select all the faces and go to Normals > Reverse to reverse the normals. Now they should face out correctly.
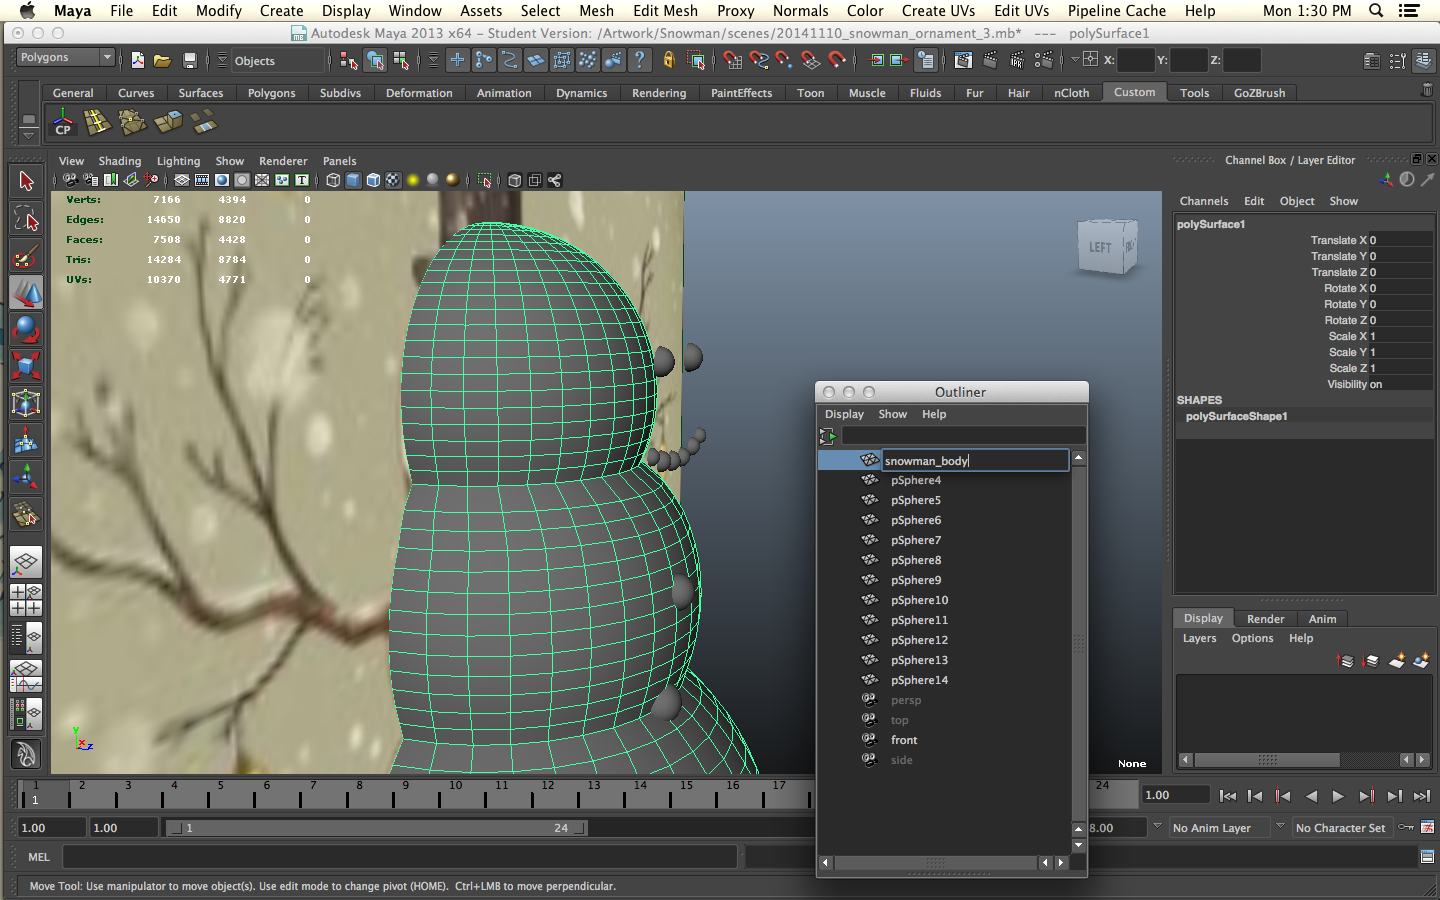
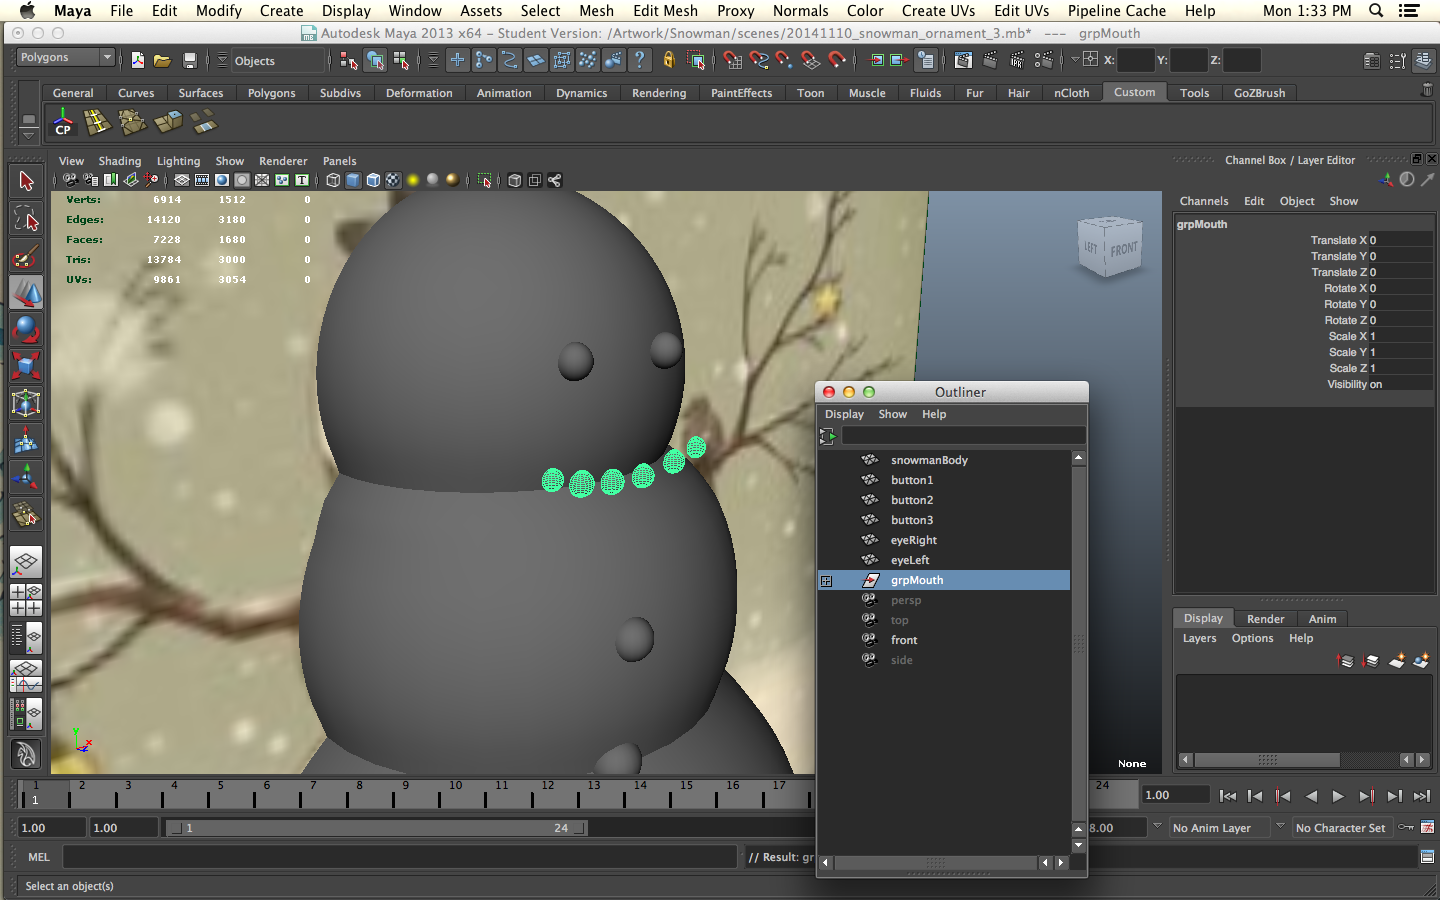
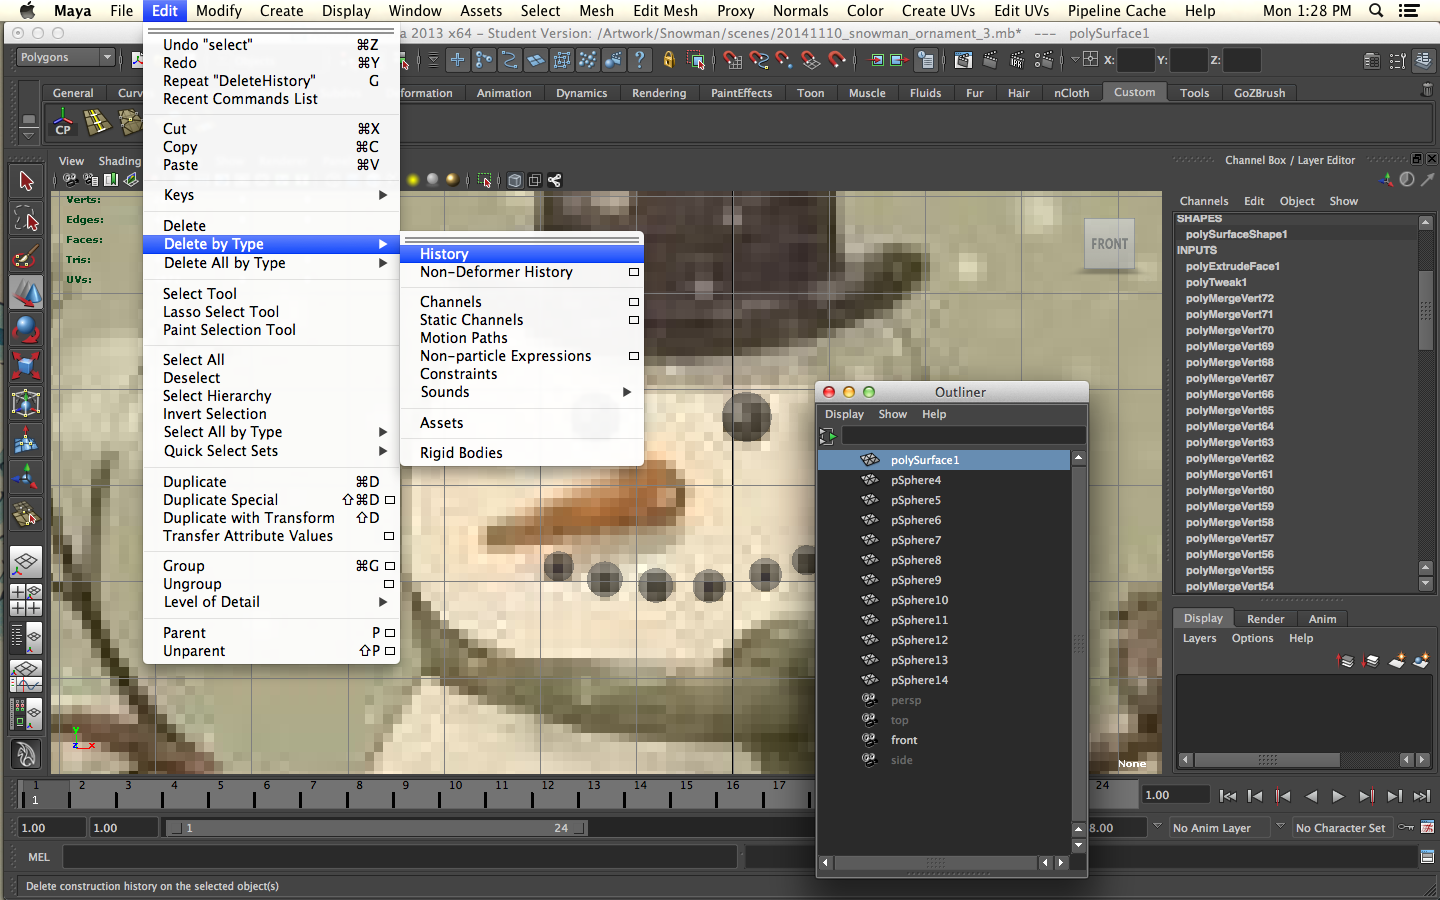
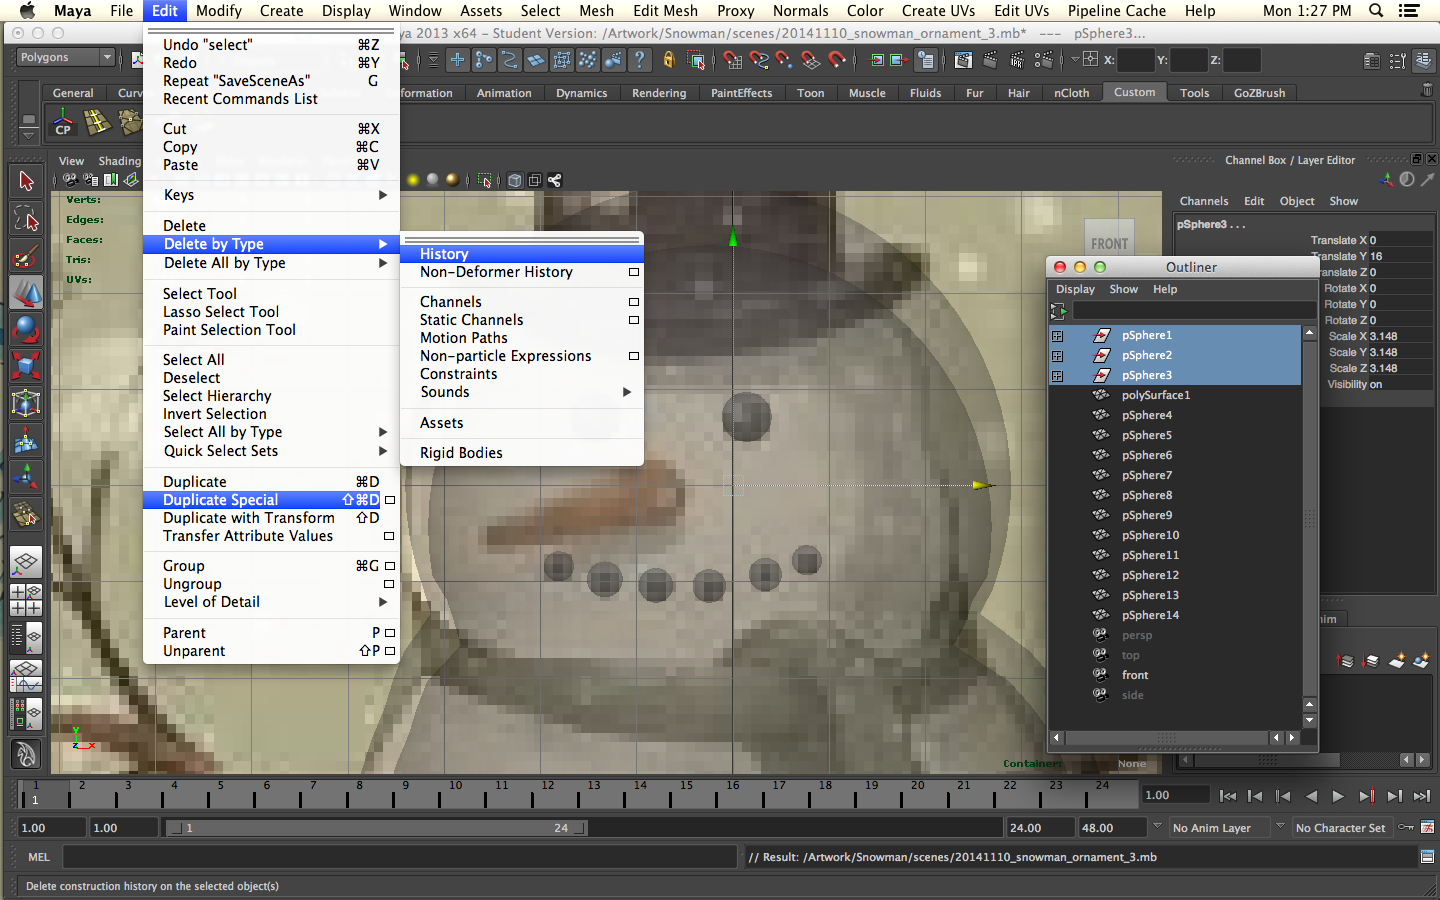
Move the sphere into position and resize to match the reference. Duplicate the sphere to make the second button and the third and move them into position. It might be a good time to save and to name your objects and group them together. Select an object and go to Edit > Delete by Type > History to delete the history of that object. Select the other objects in the Outliner and hit "G" to delete the history from all the other objects. When you group object make sure to center the pivot for the group.
Change your view to make sure that the buttons are fully embedded into the surface of the body. I halved the spheres so that they wouldn't penetrate the body cavity and keep my poly count down but you can skip that step if you want.
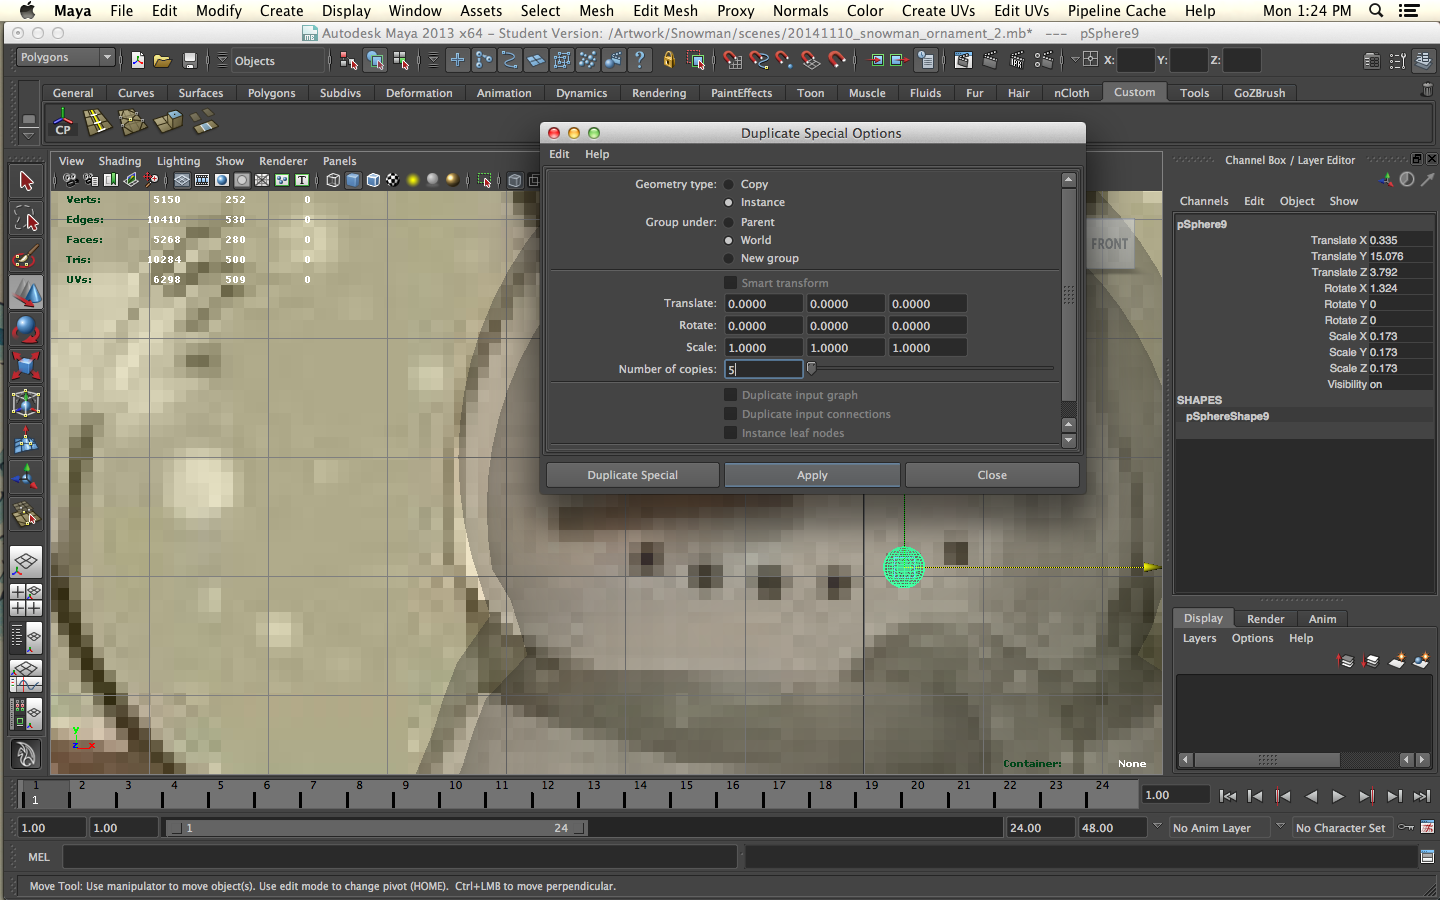
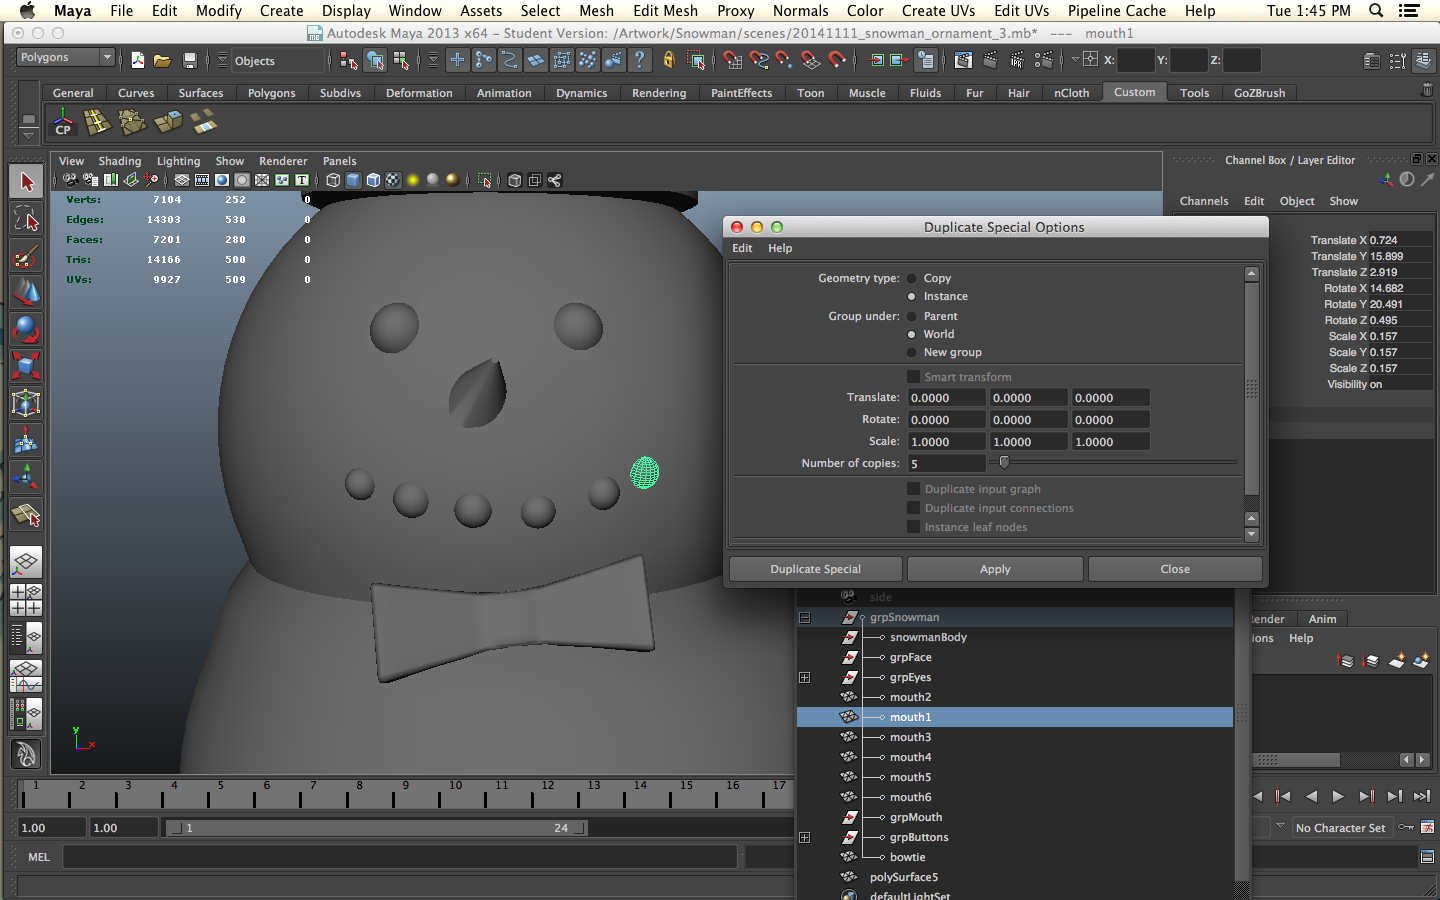
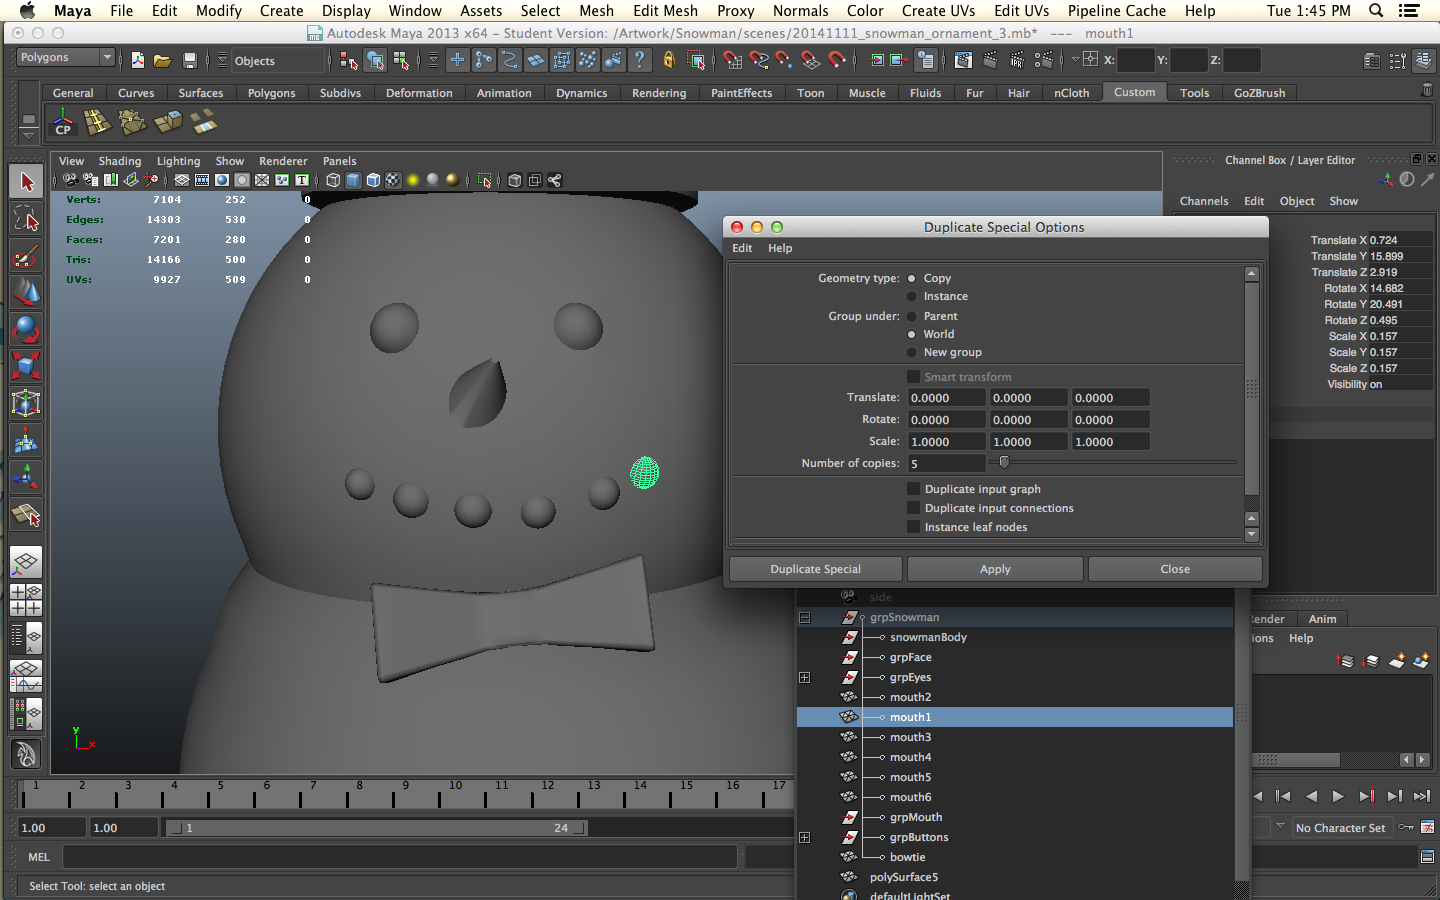
Duplicate one of the buttons using Duplicate > Special and make 5 copies for the mouth or you can make 7 copies and have the eyes as well. Resize and position to mimic the reference. My dimensions were a little different than the reference so I placed the spheres in slightly different positions than it was in the reference. Just go with what looks good.
The Nose Knows
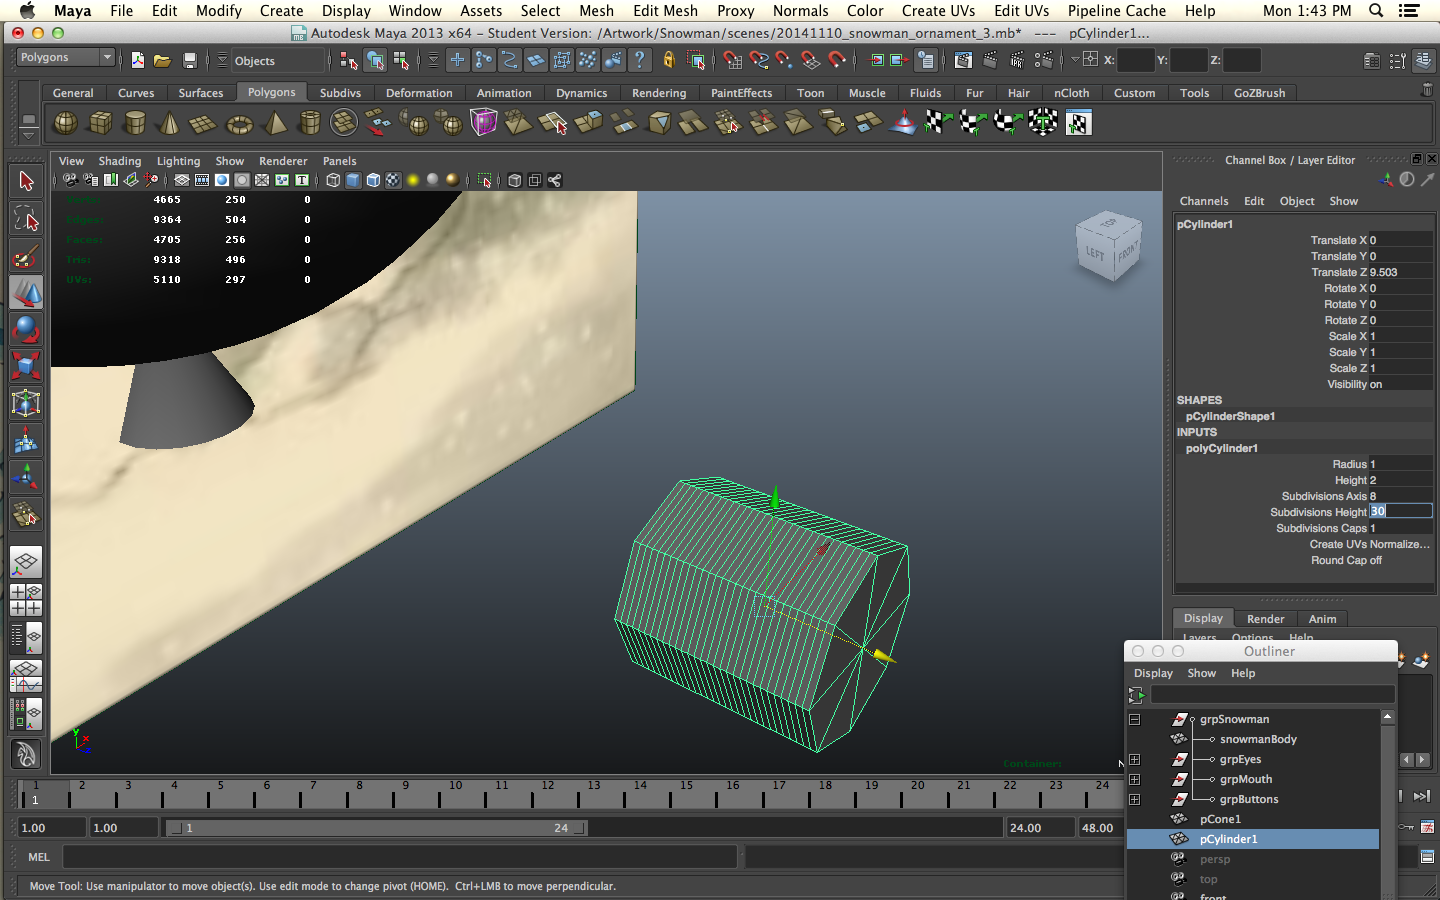
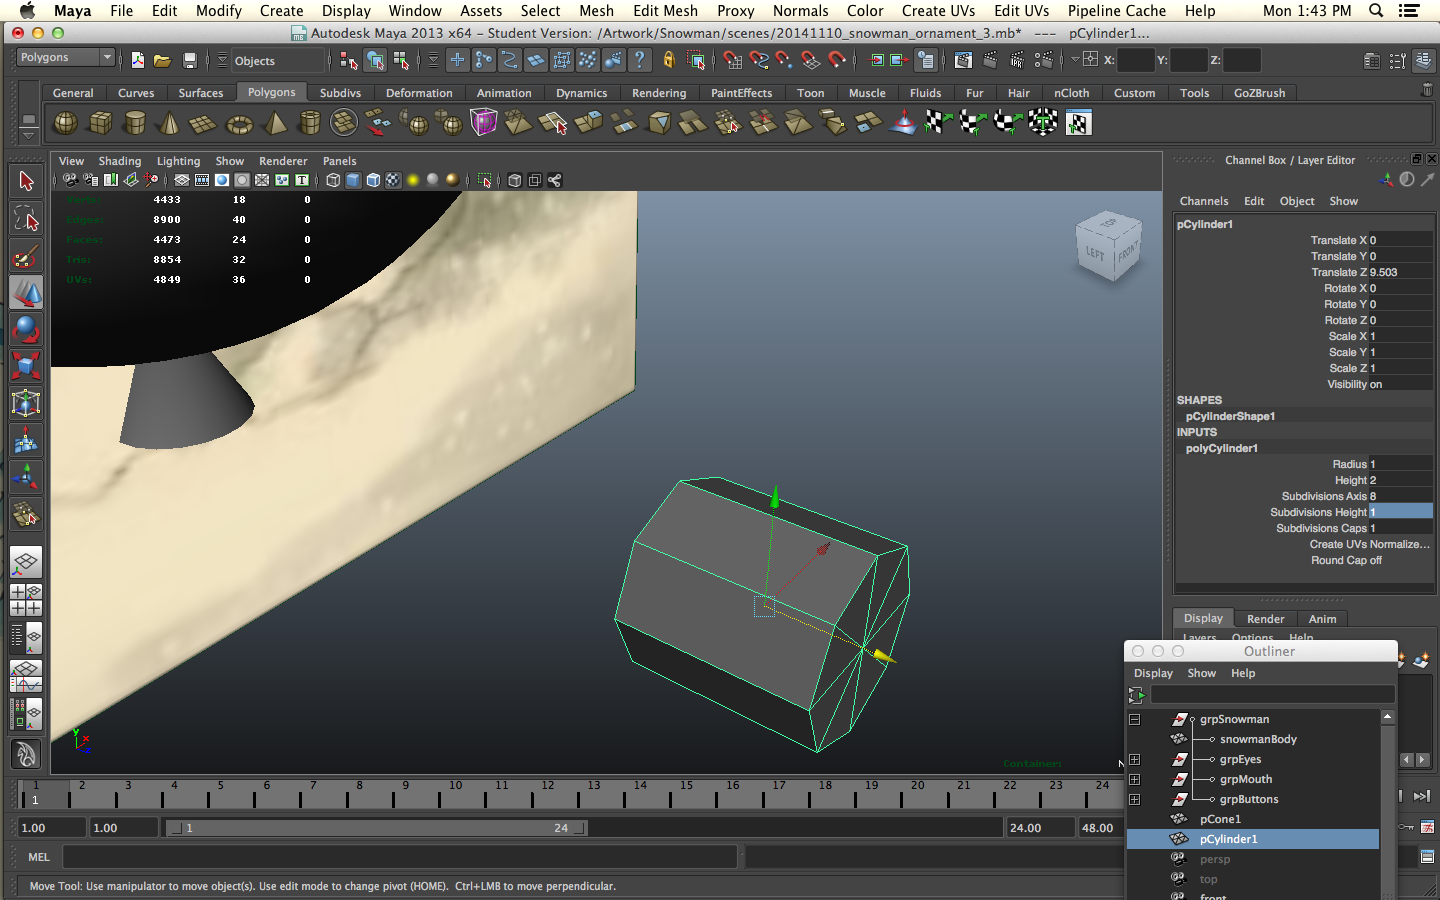
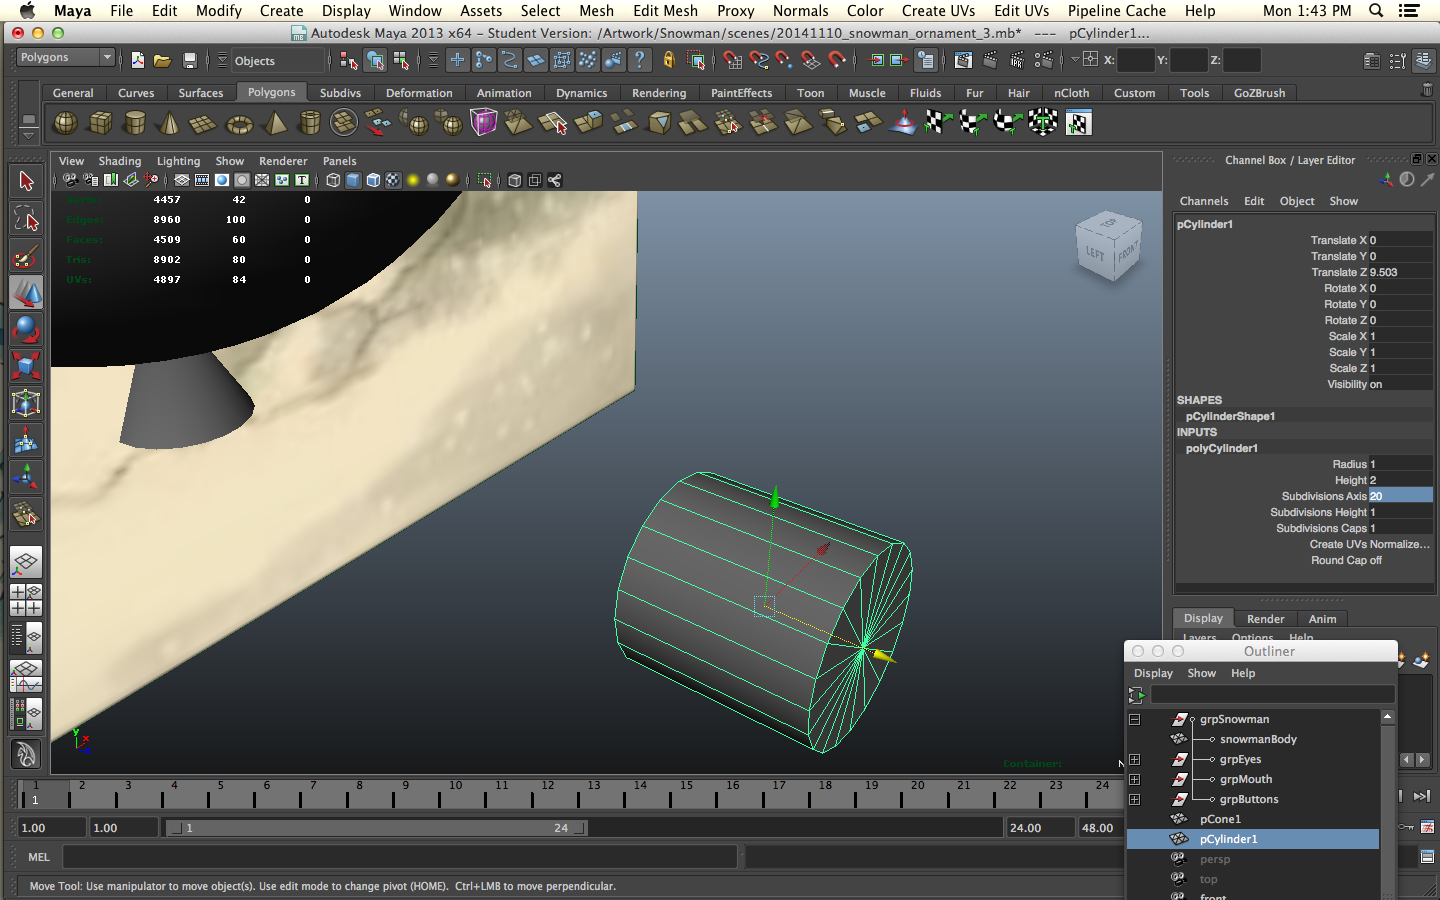
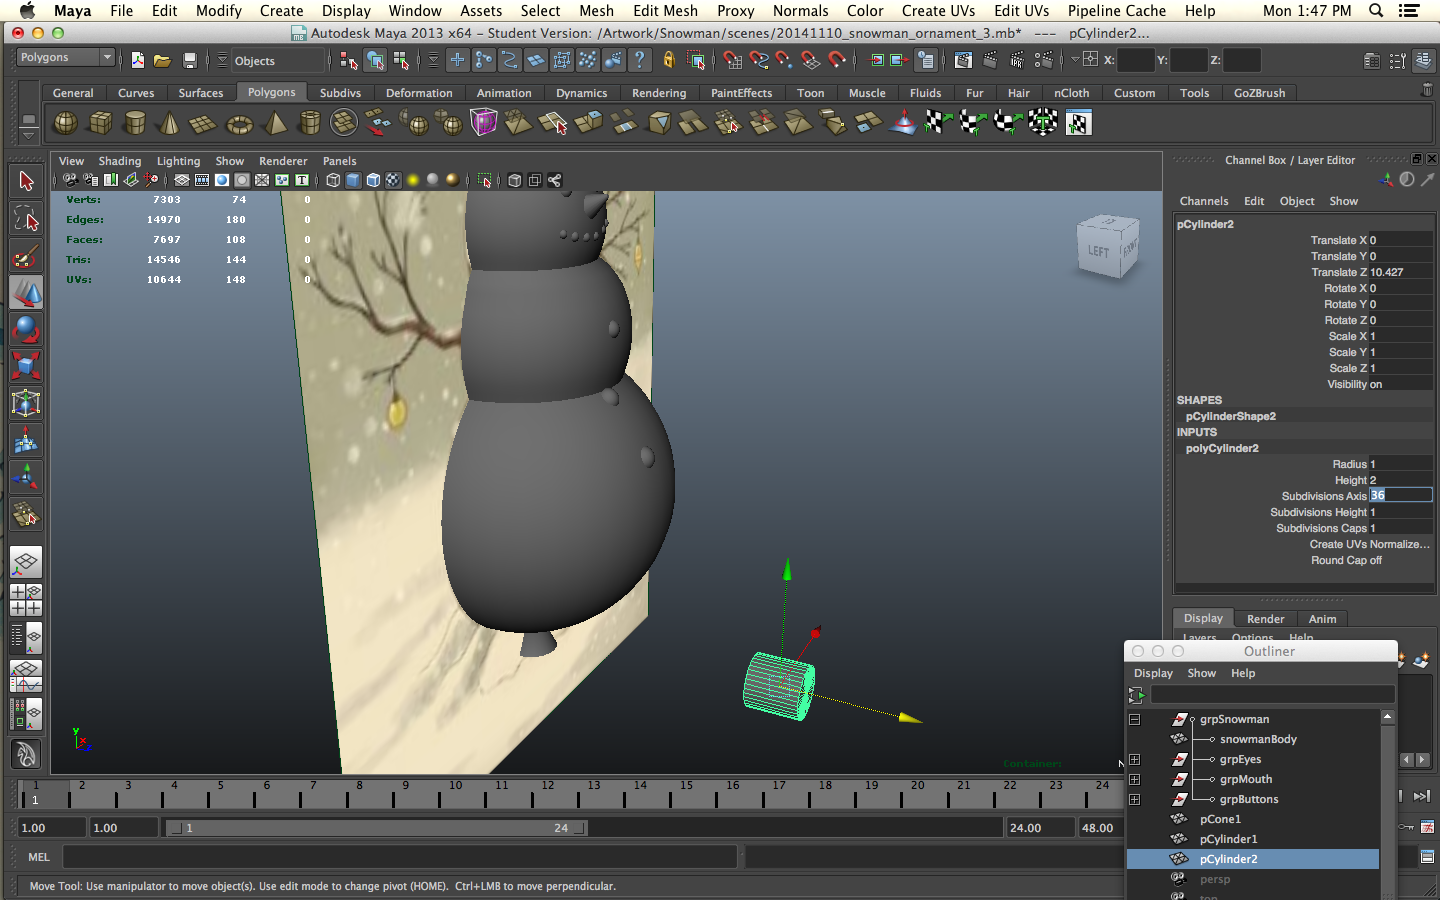
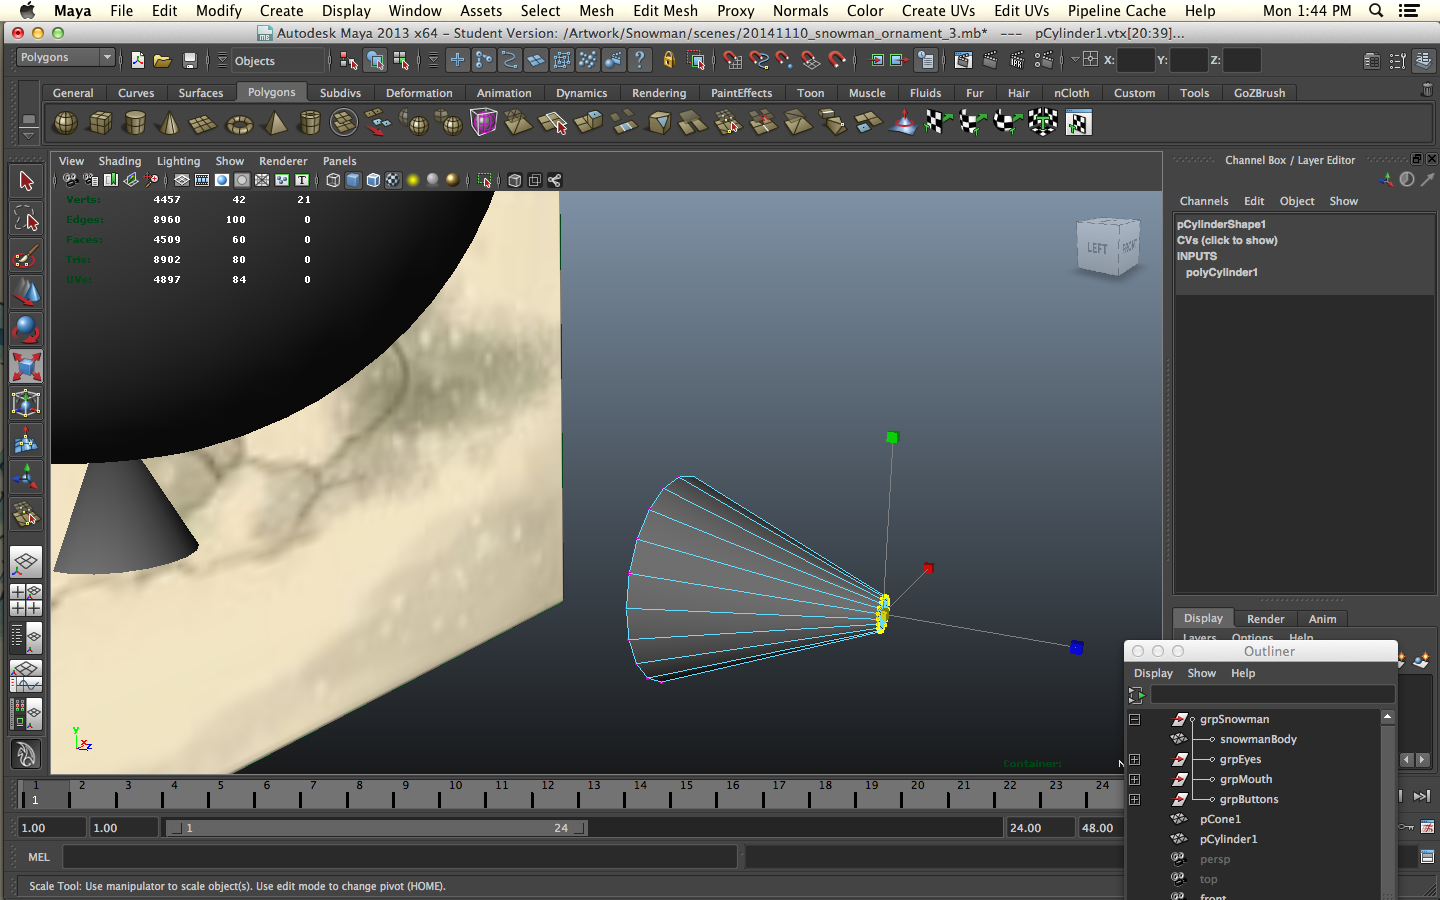
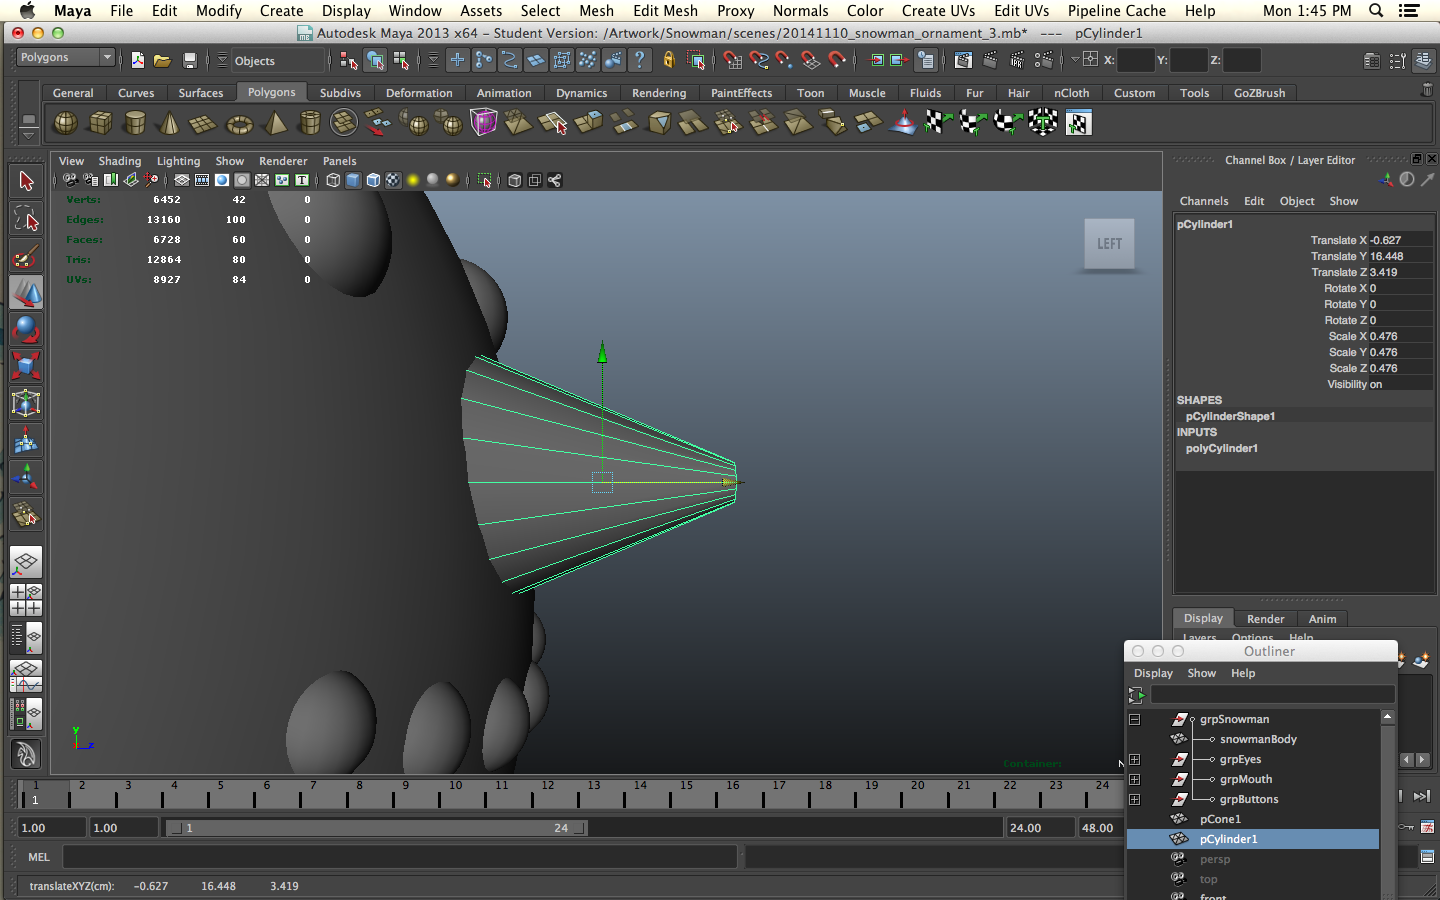
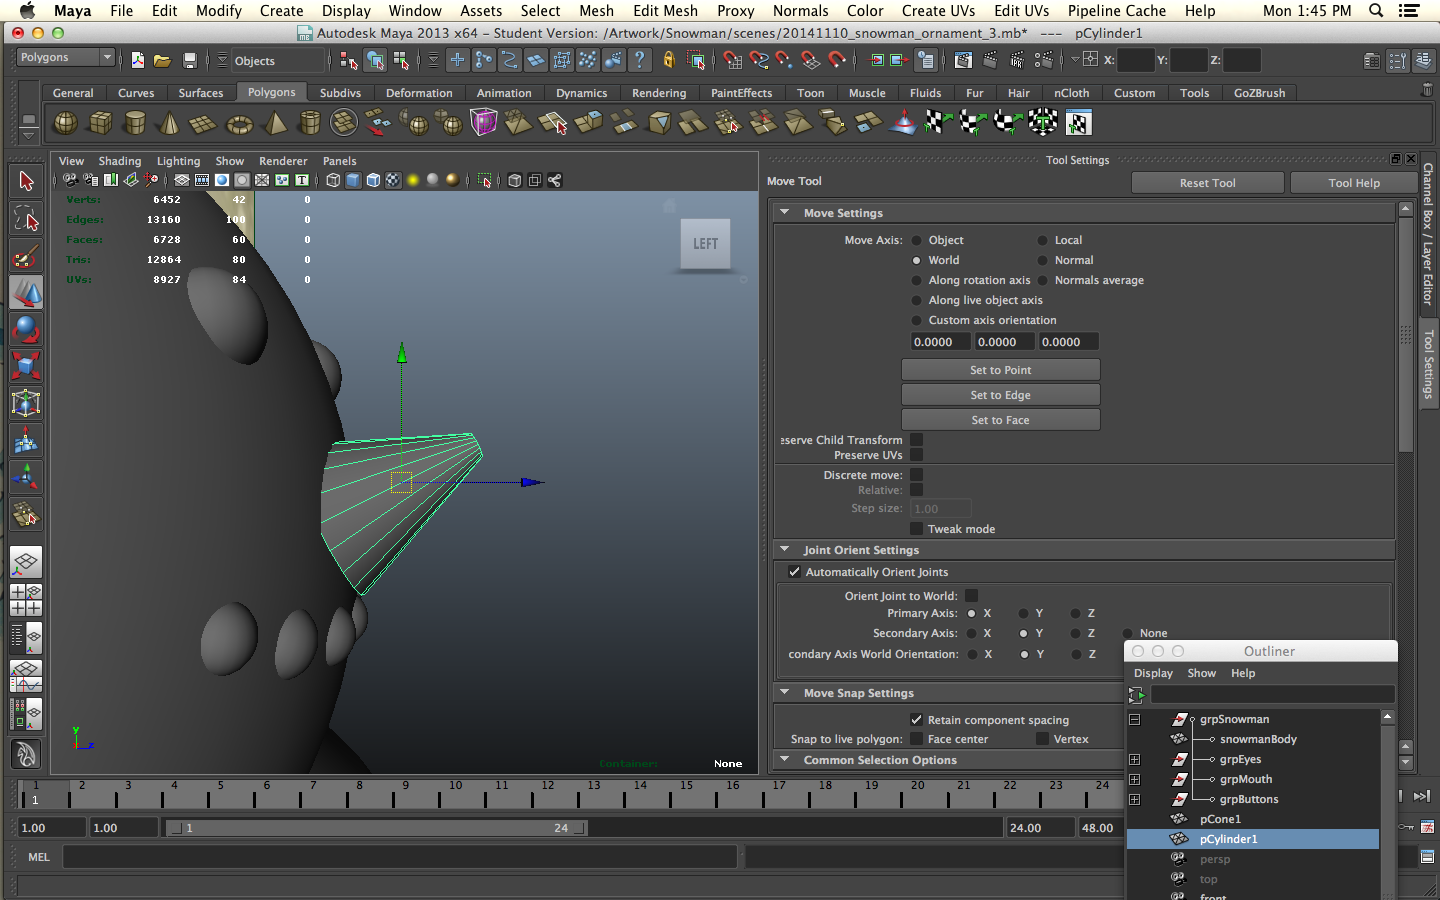
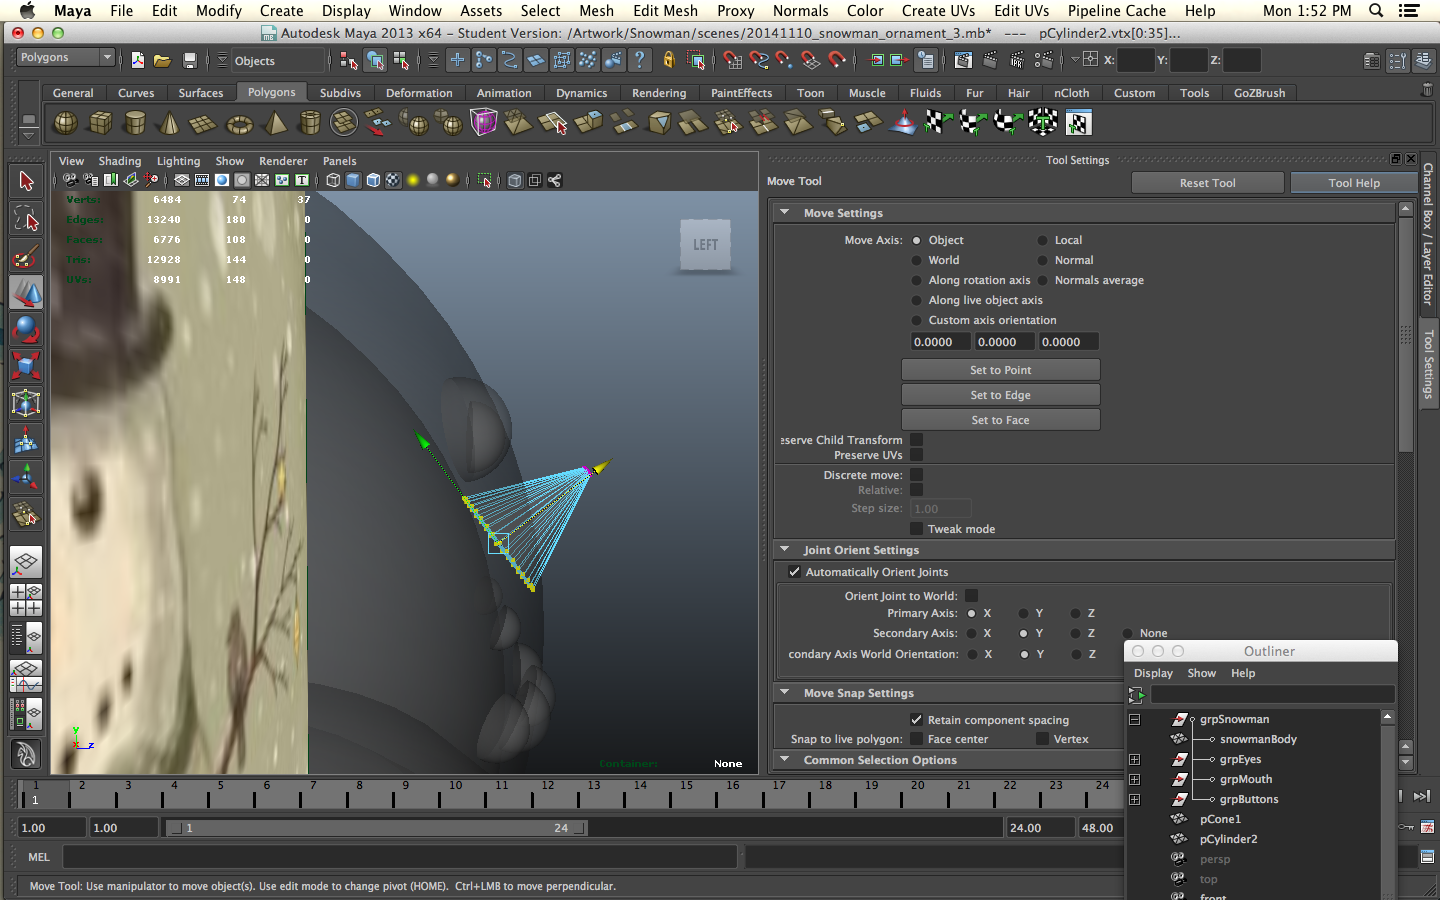
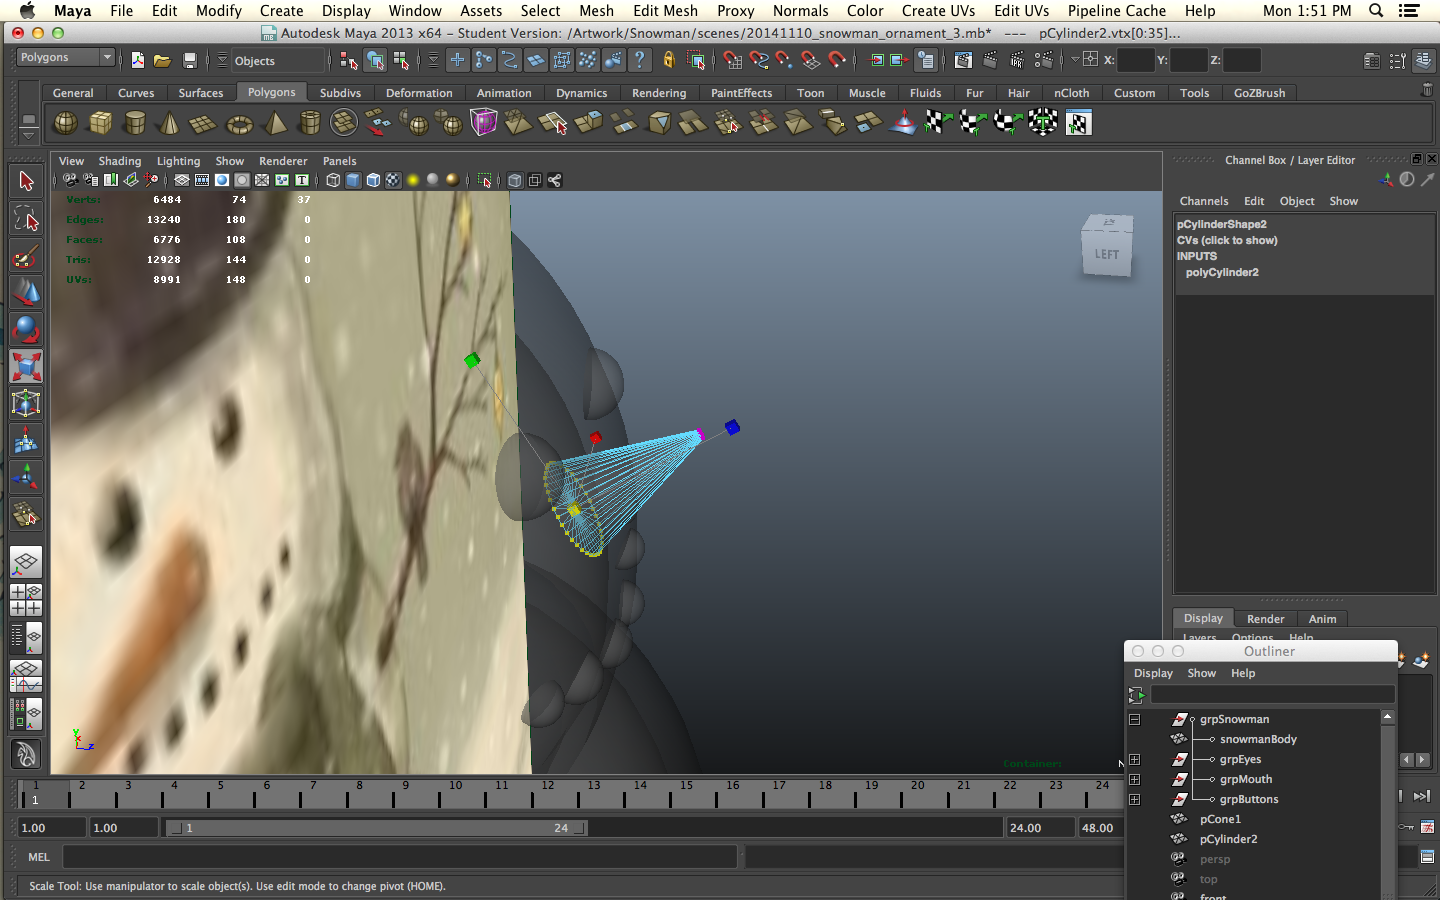
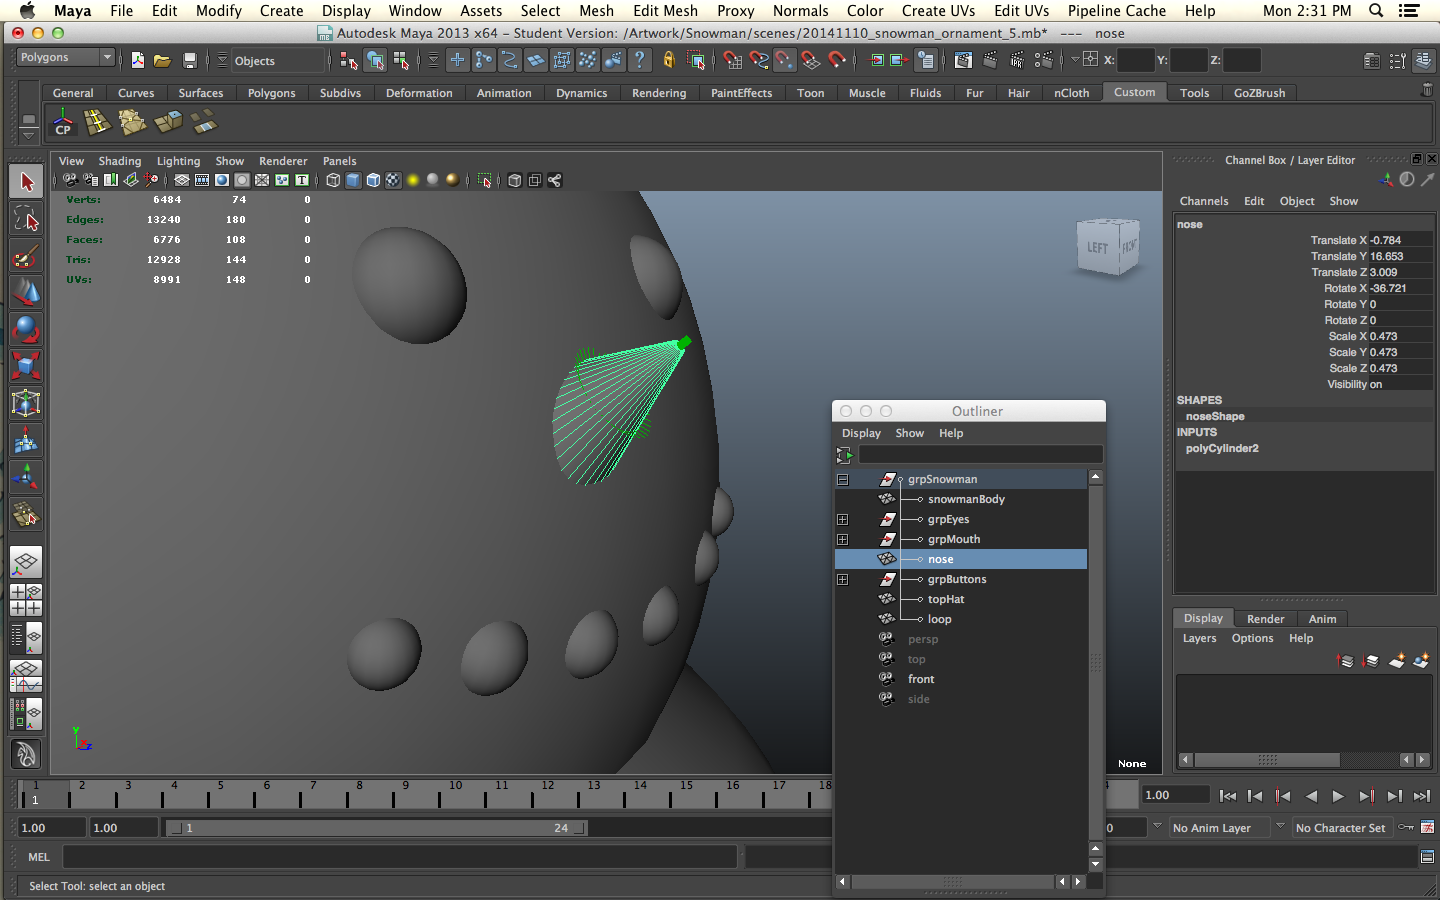
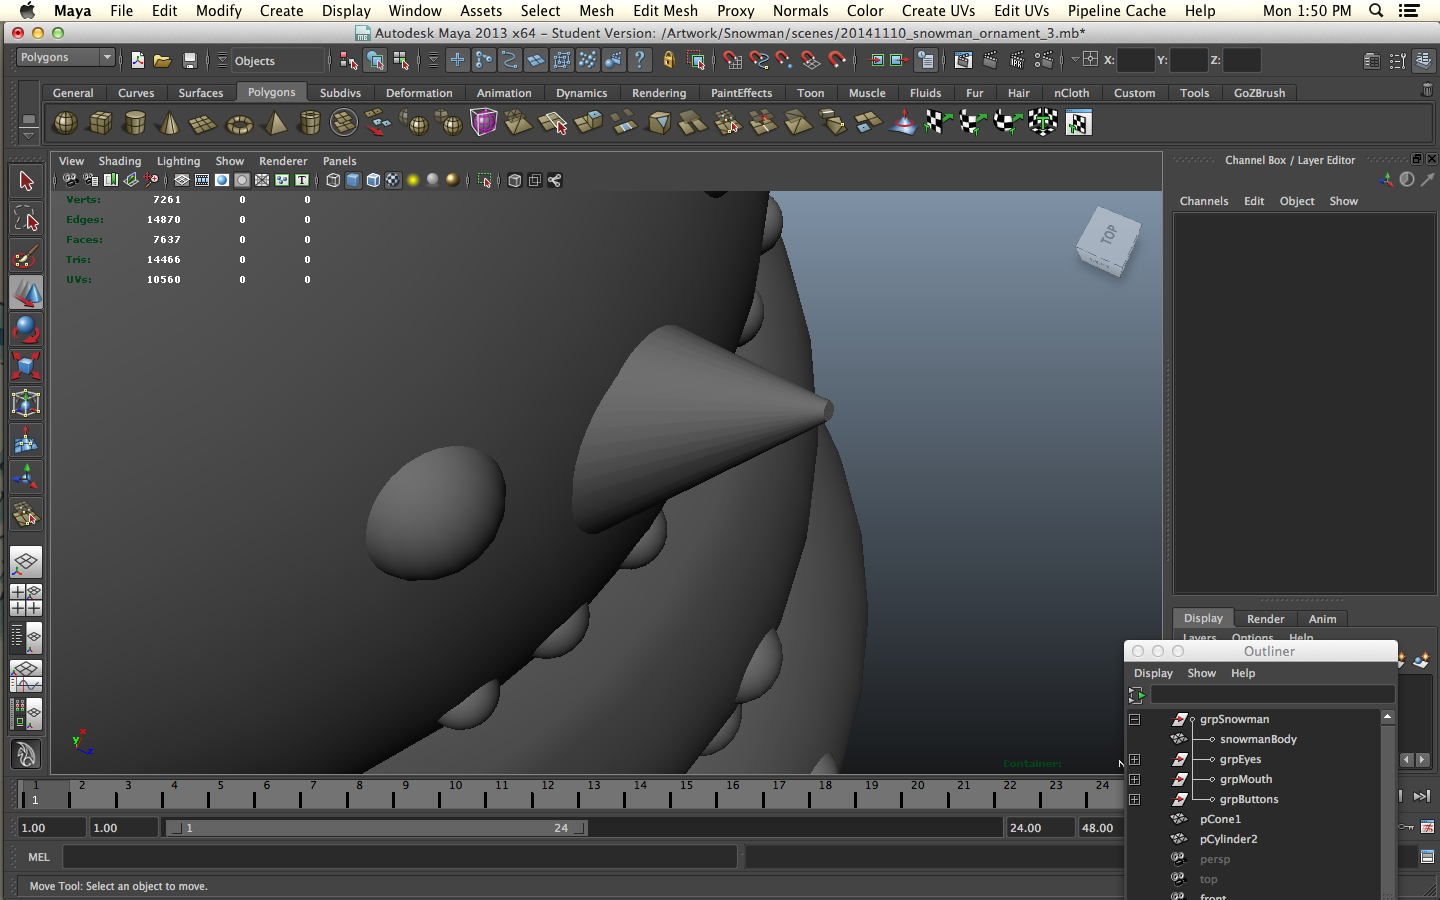
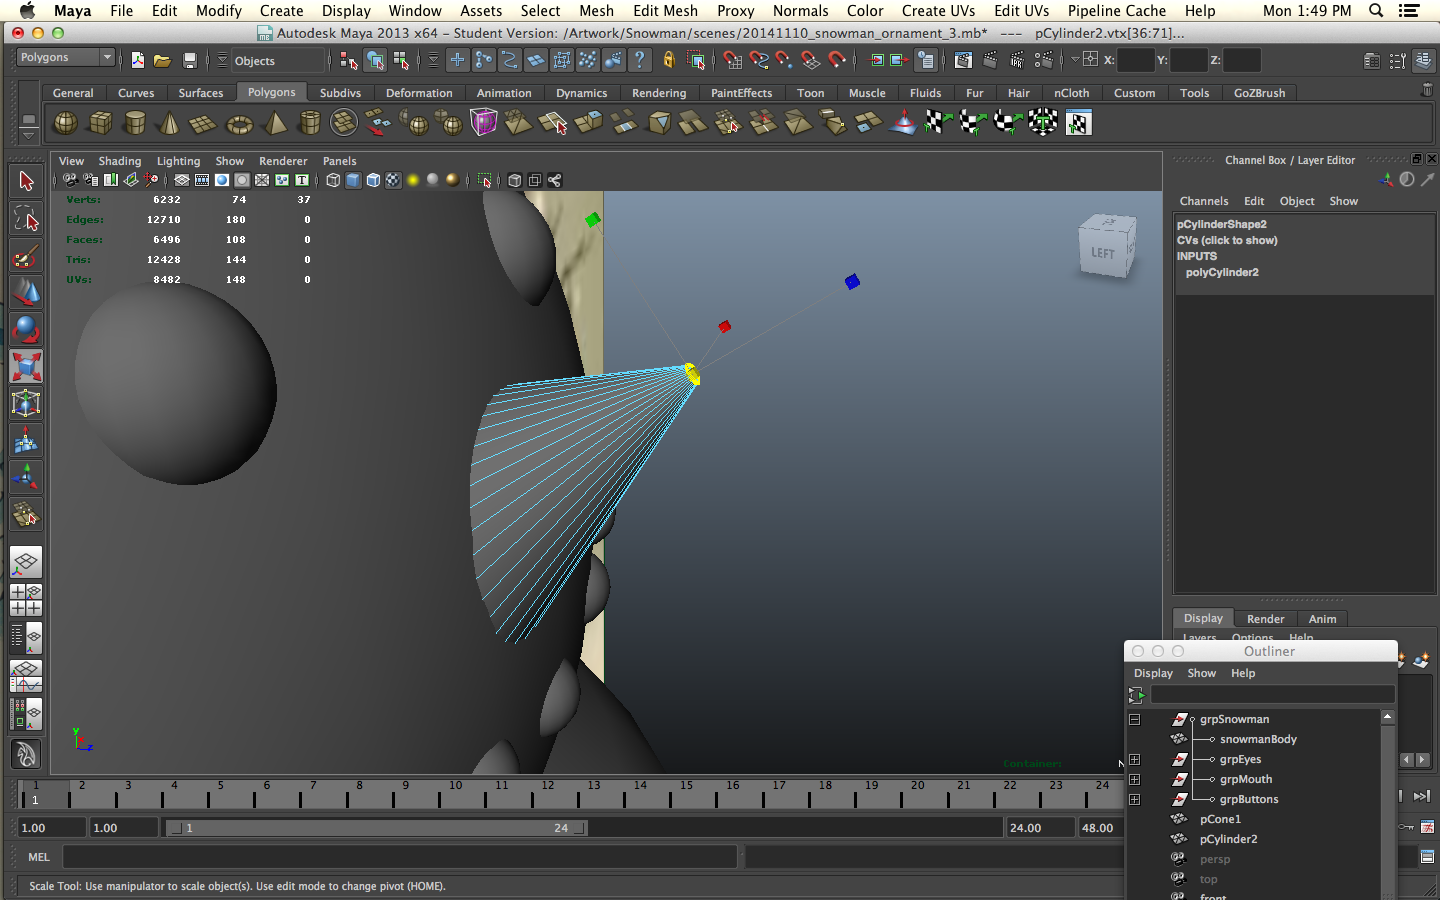
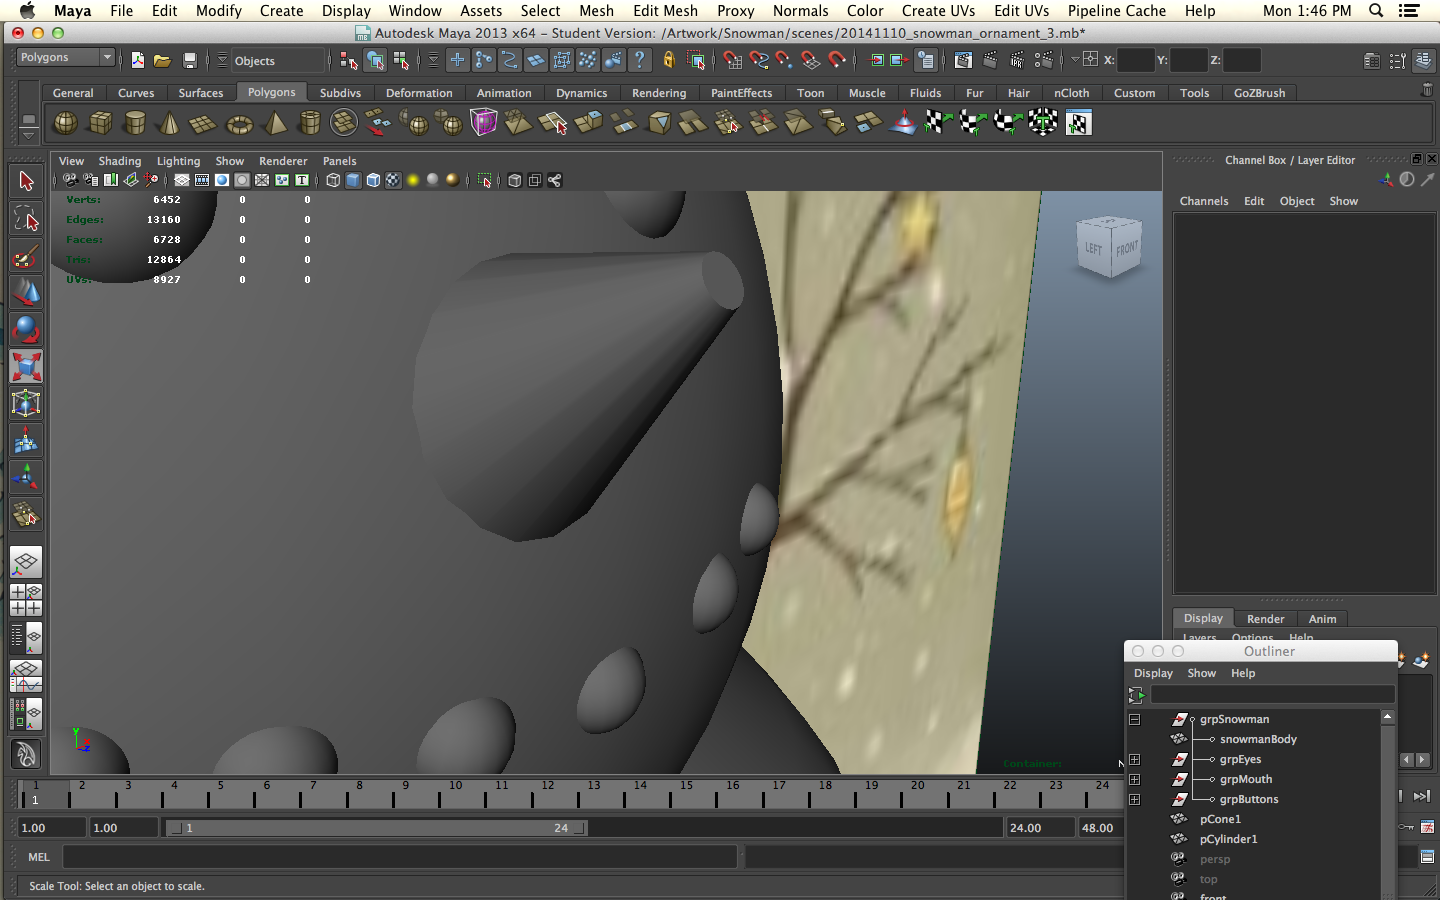
A snowman without a nose is a sad thing indeed but we still want to print without support. We don't want it to actually some to a single point because that won't print well so we're going to start with a cylinder. Decrease the height subdivision levels from 30 to 1 and increase the axis subdivision levels from 8 to 20 to give it more roundness. Select the vertices at one end of the cylinder and scale it way down.
Position the nose on the face. We're not going strictly by the reference anymore, just place it where it feels good. Tilt the nose up so you have a 30 degree overhang or less.
Every Snowman Needs a Top Hat
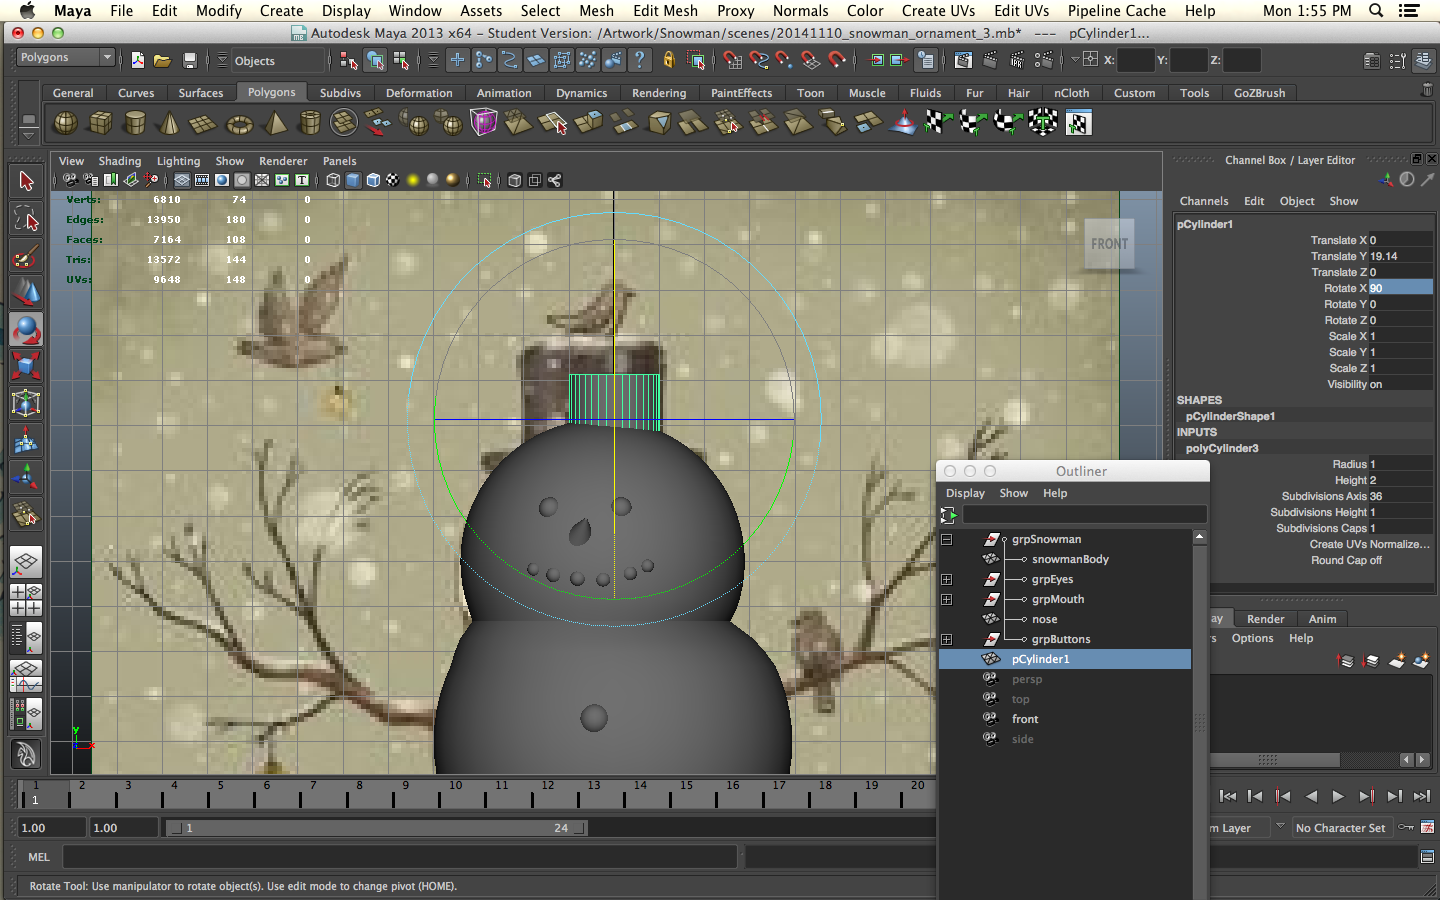
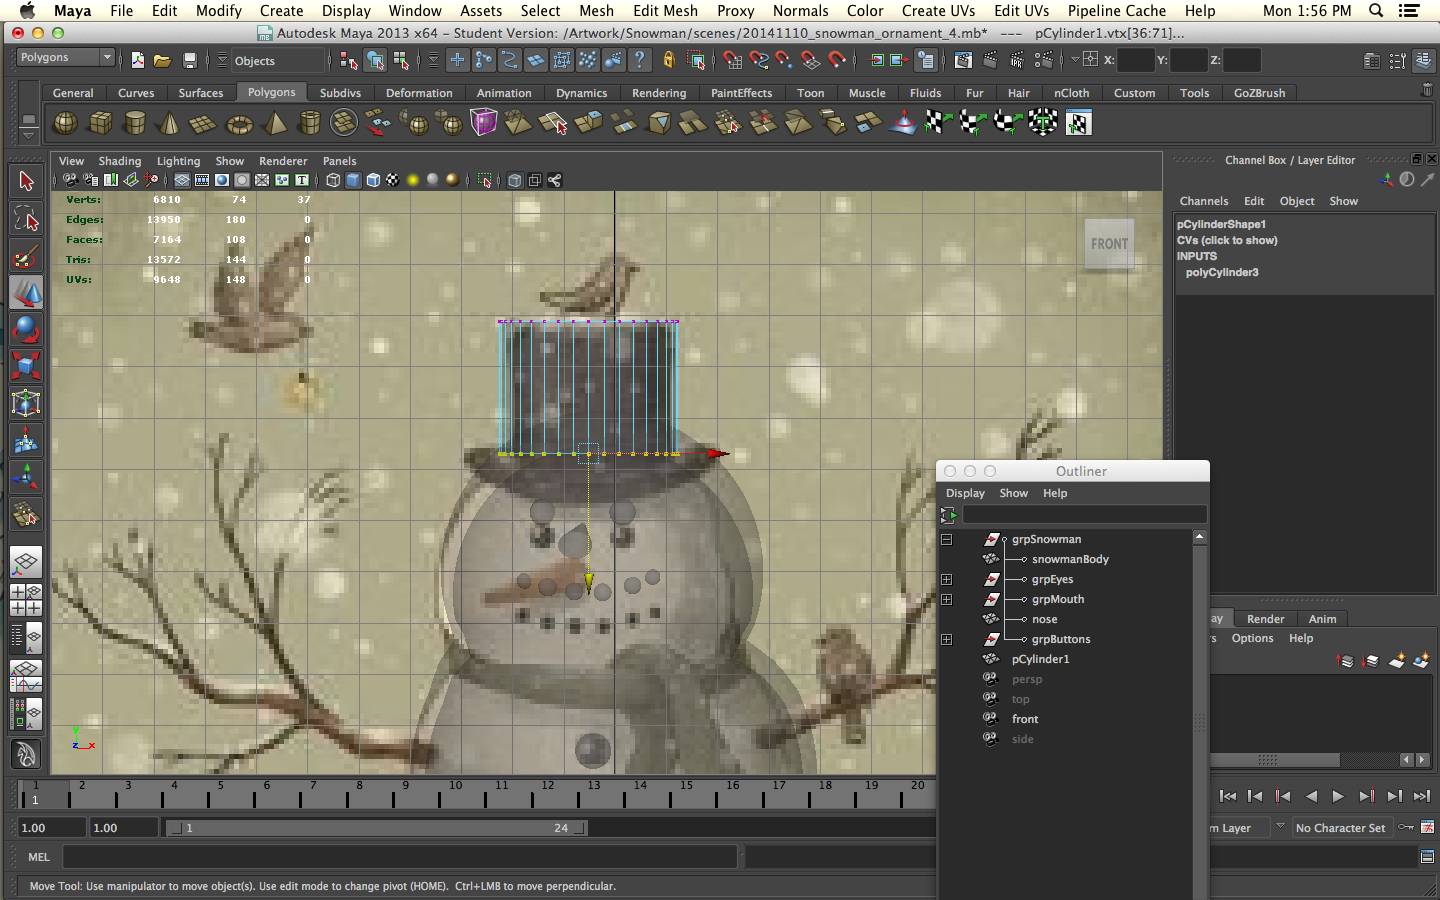
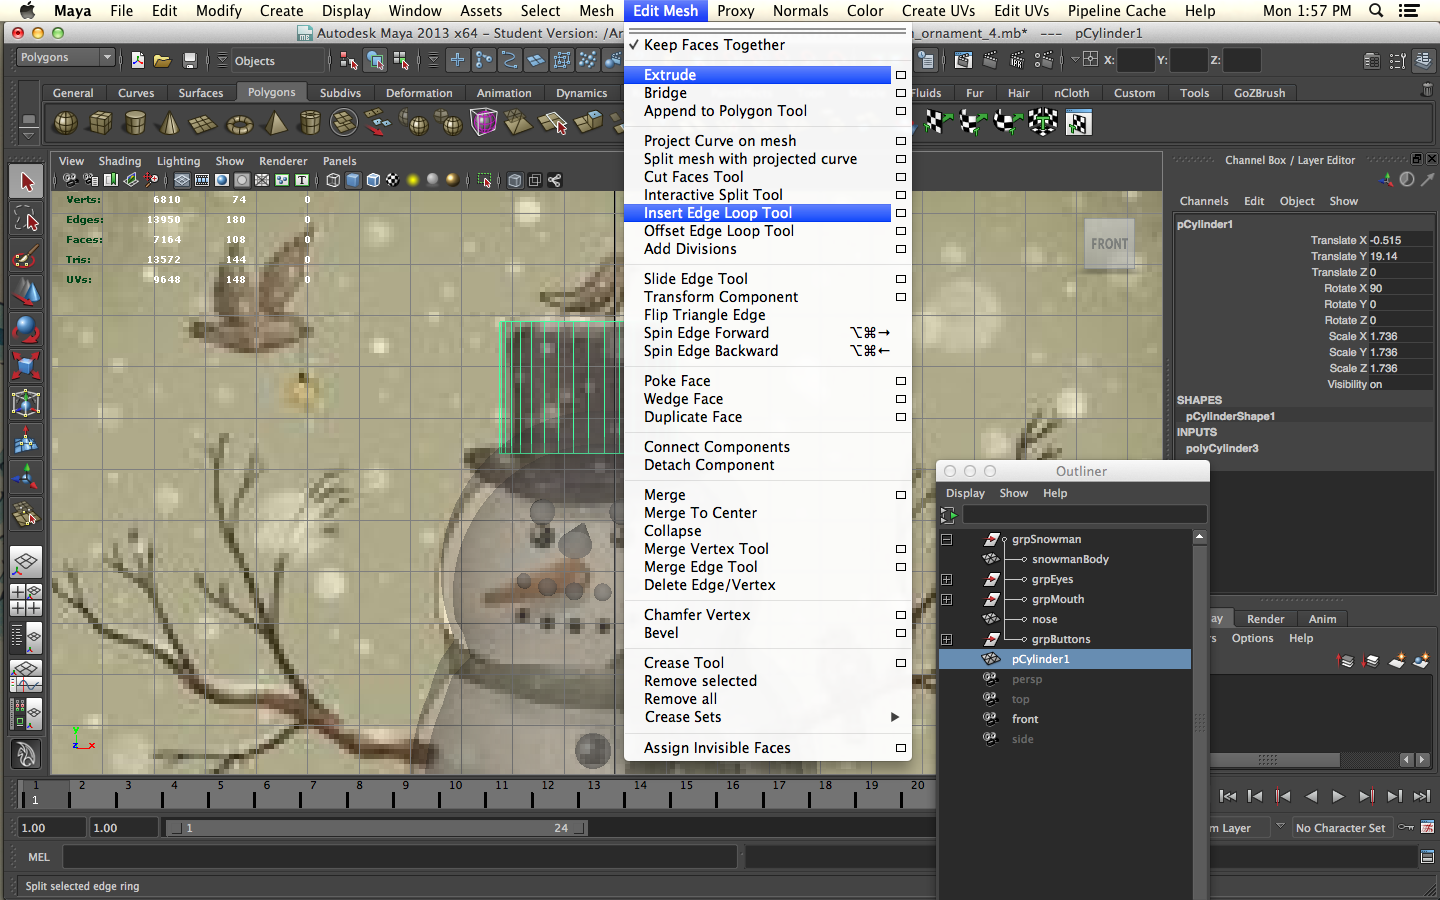

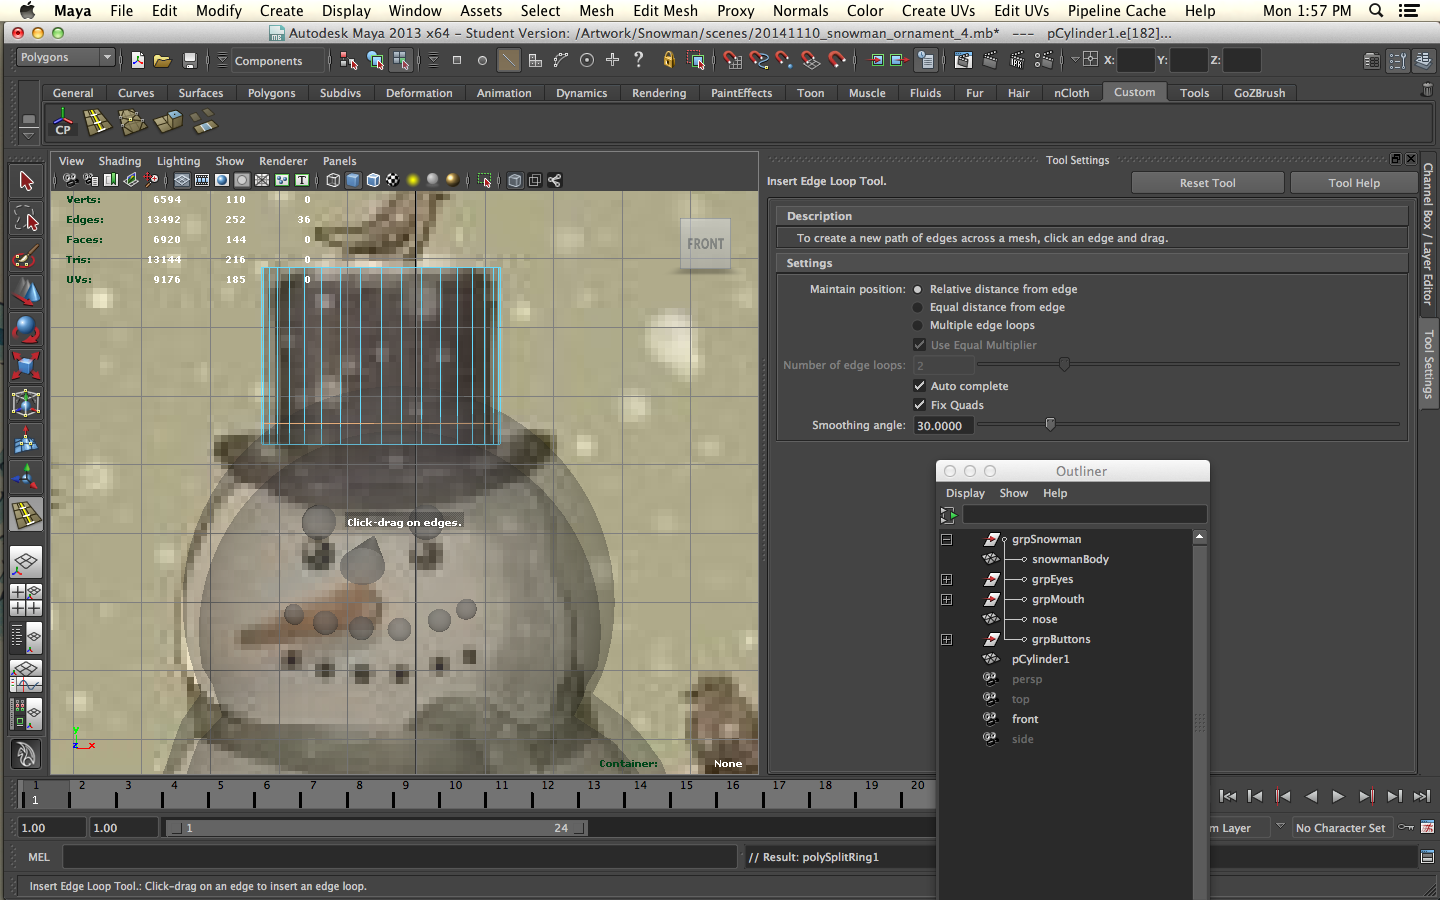
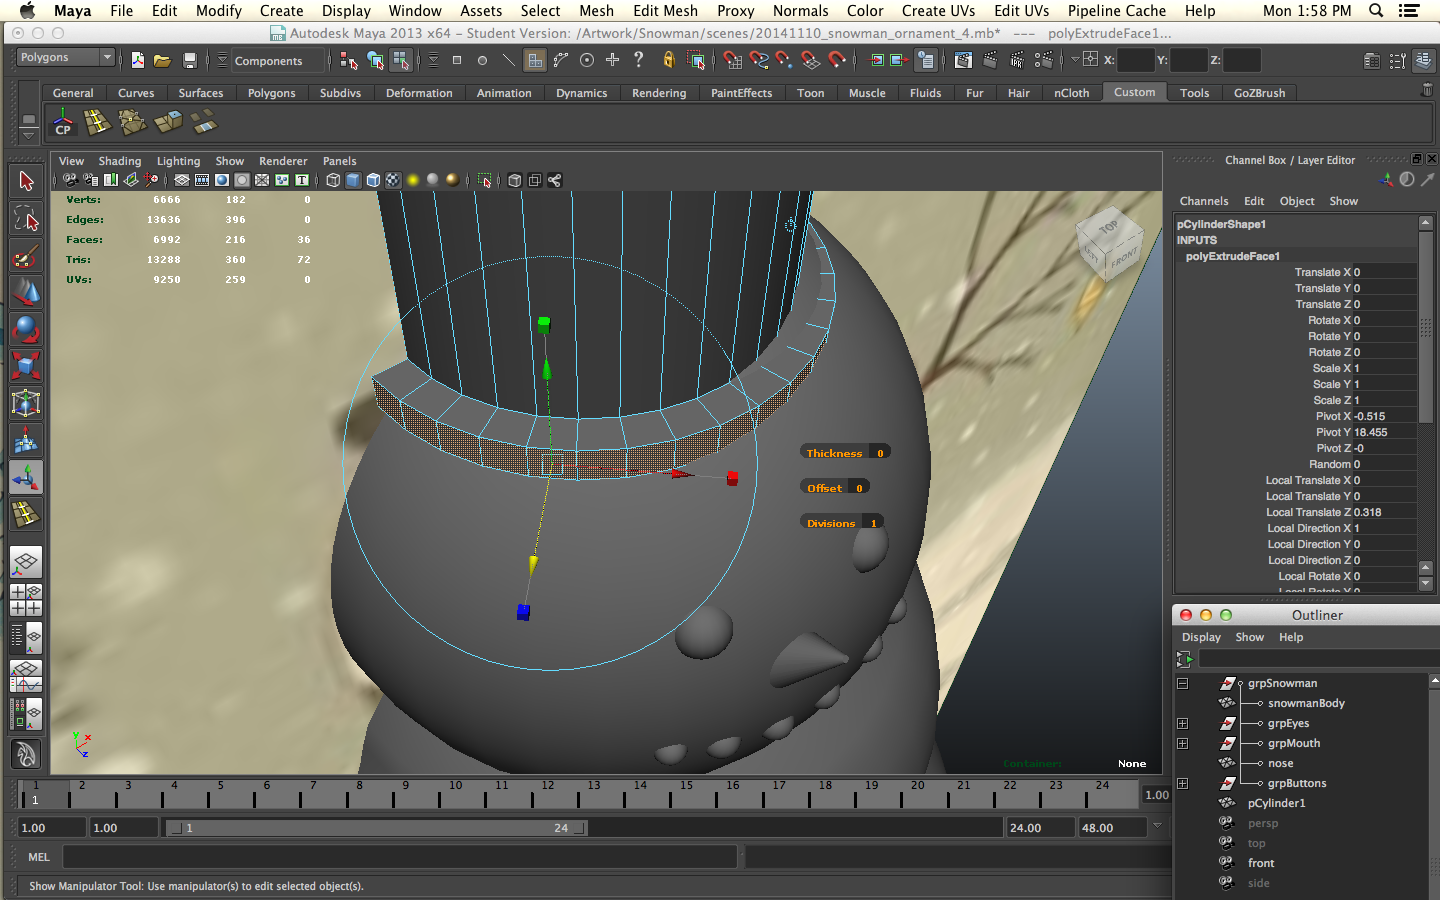
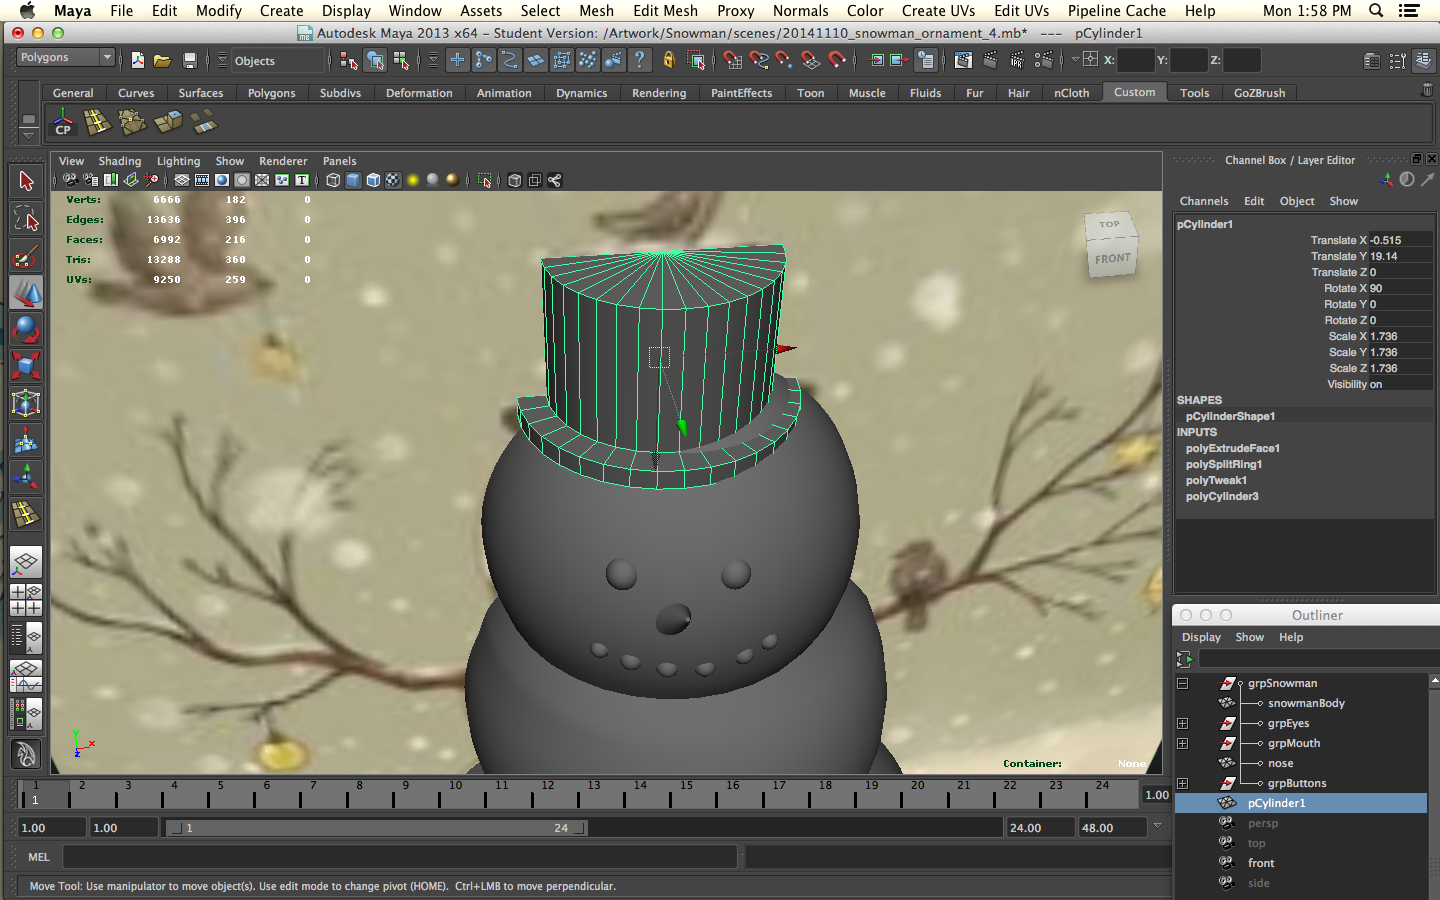
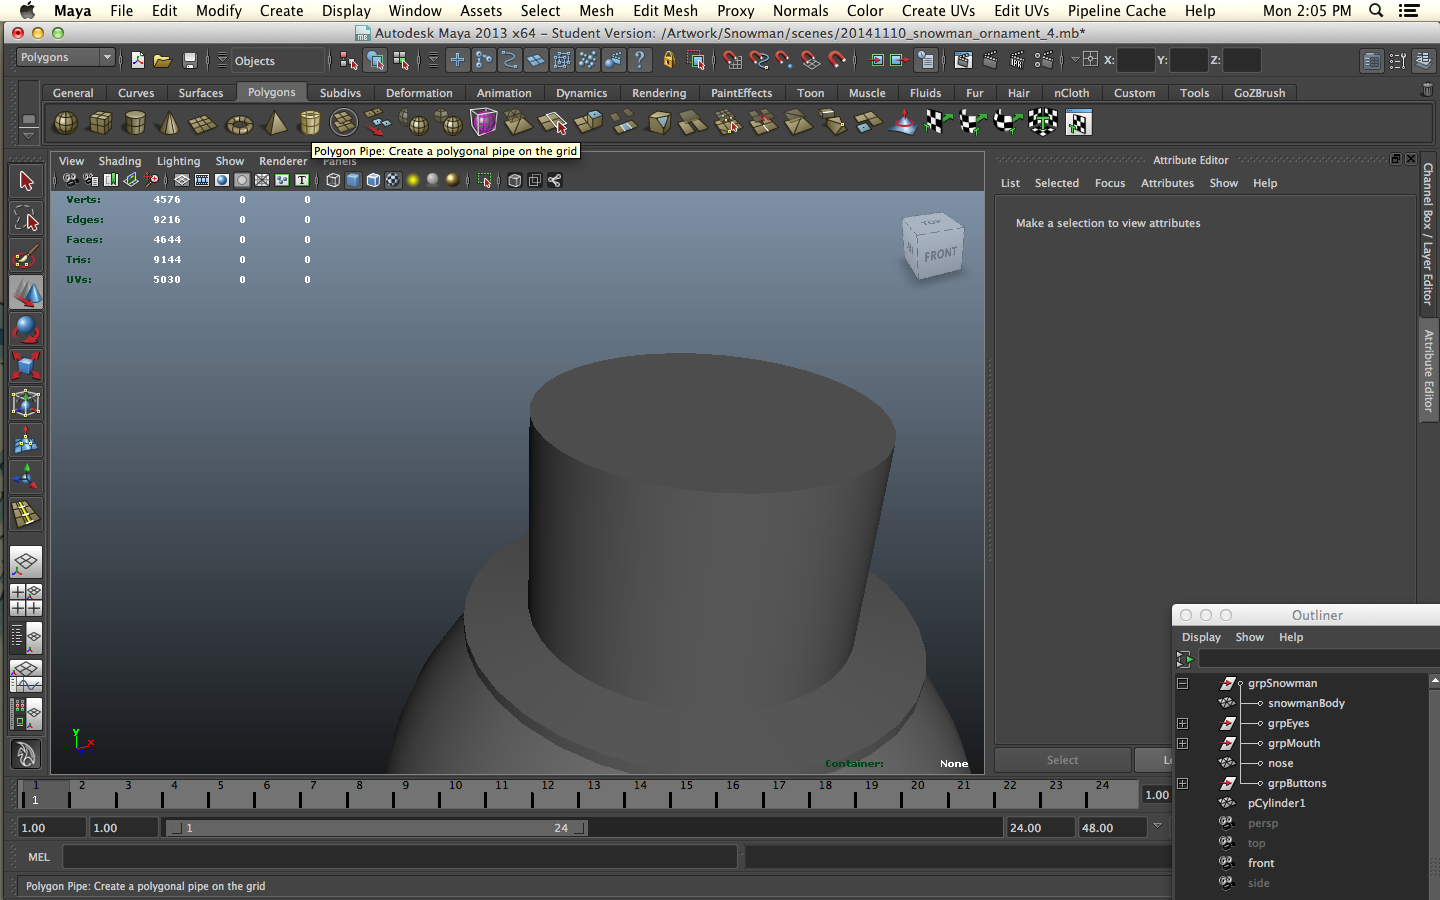
I made the top hat from a cylinder. Increased the divisions along the axis to round it first. You may have to rotate it 90 degrees to make it upright. Position it on the snowman's head. Throw an edge loop near the base. Extrude those faces out to make the brim. Angle the bottom of the brim by moving the verts so that the overhang is 30 degrees or less, since we're still trying to print without support. You can tilt the hat slightly or put it off center to give him some character.
The Best Intentions of Mice and Snowmen
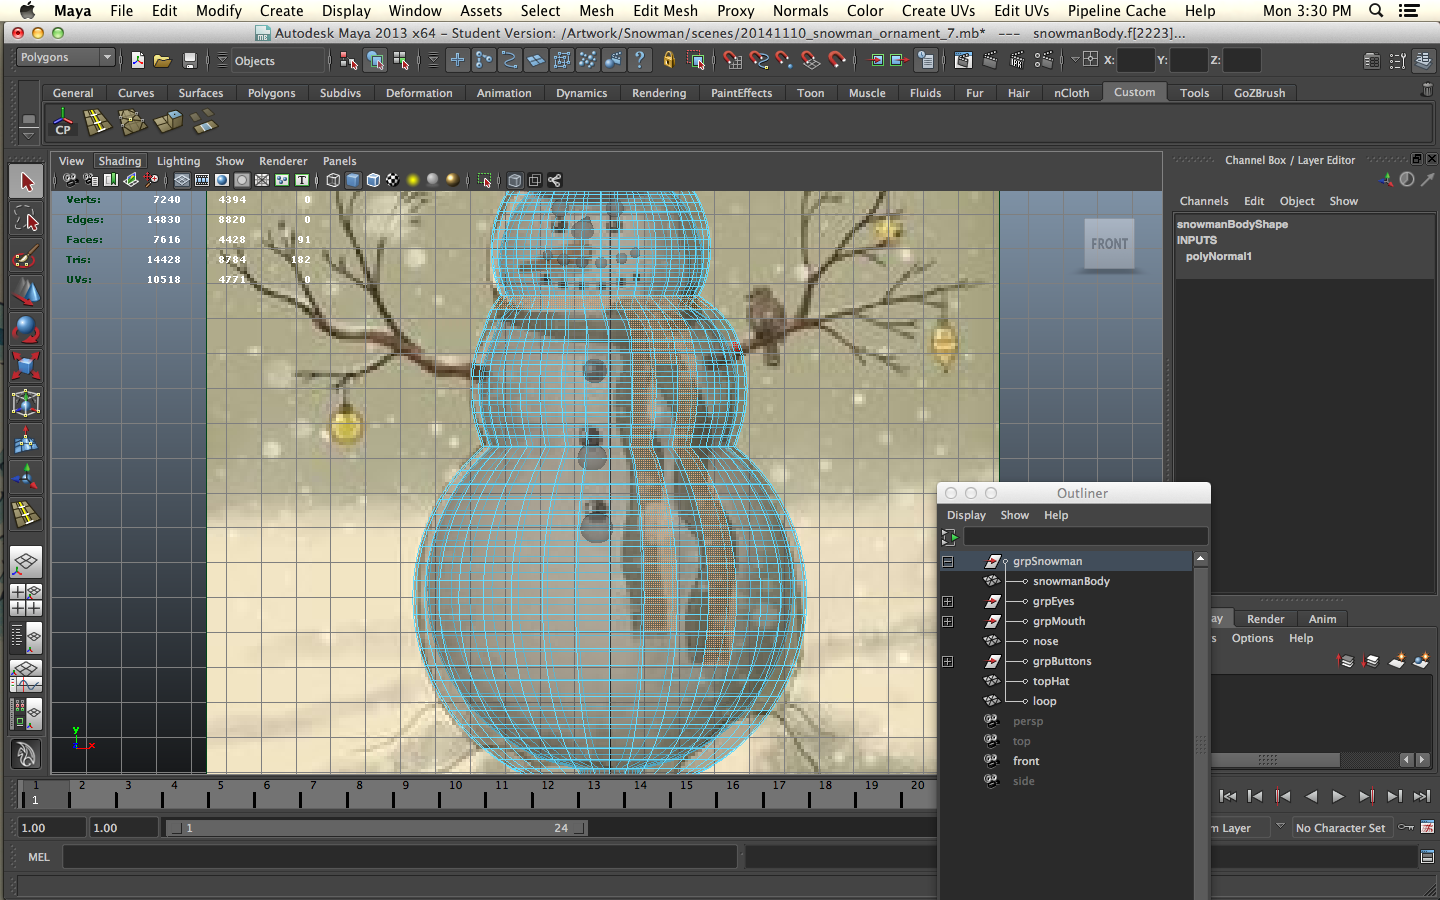
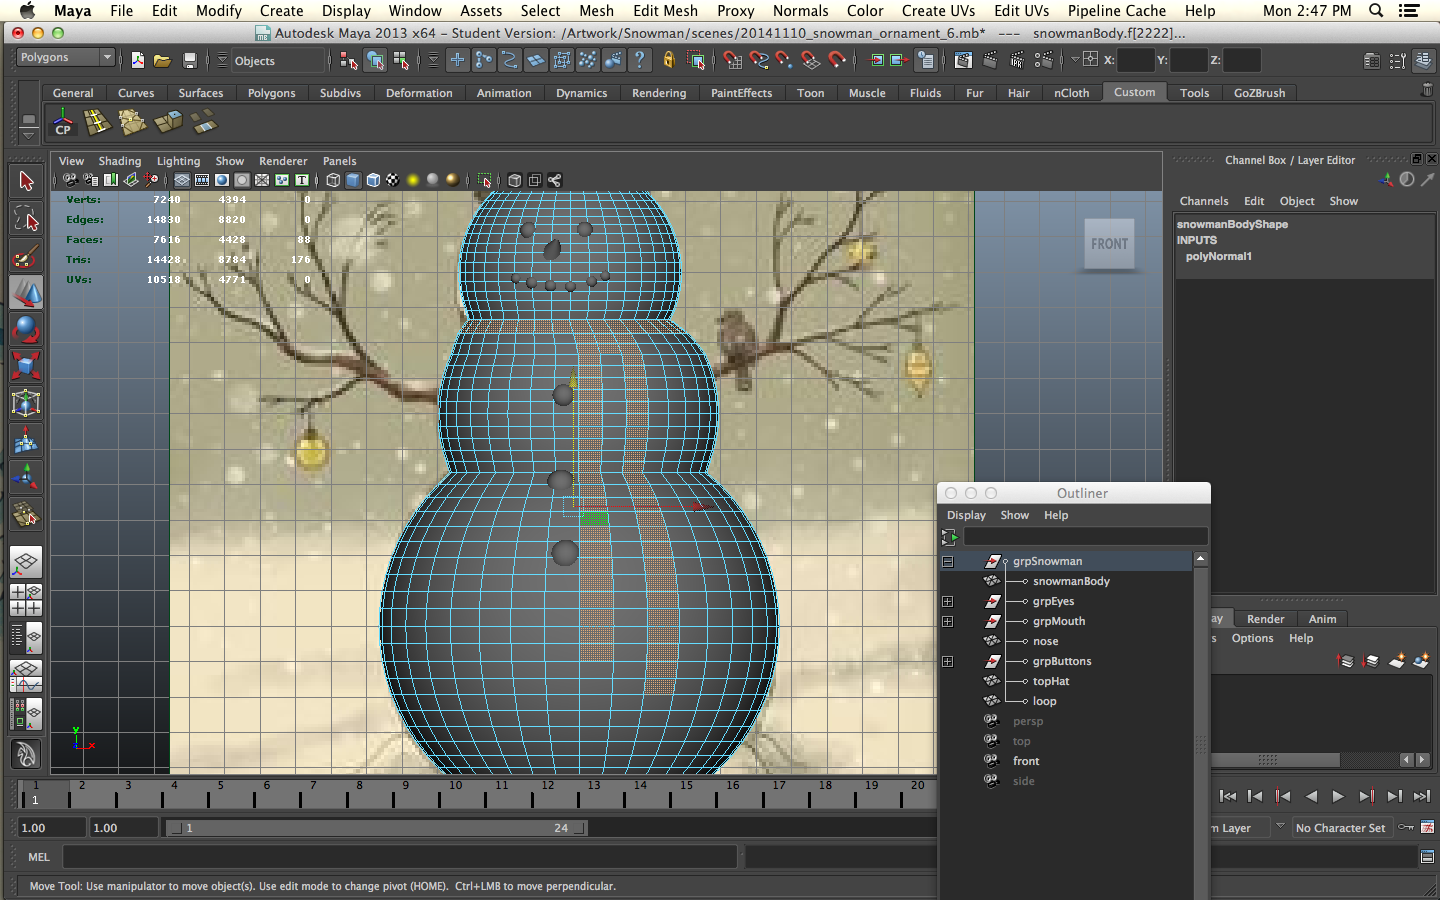
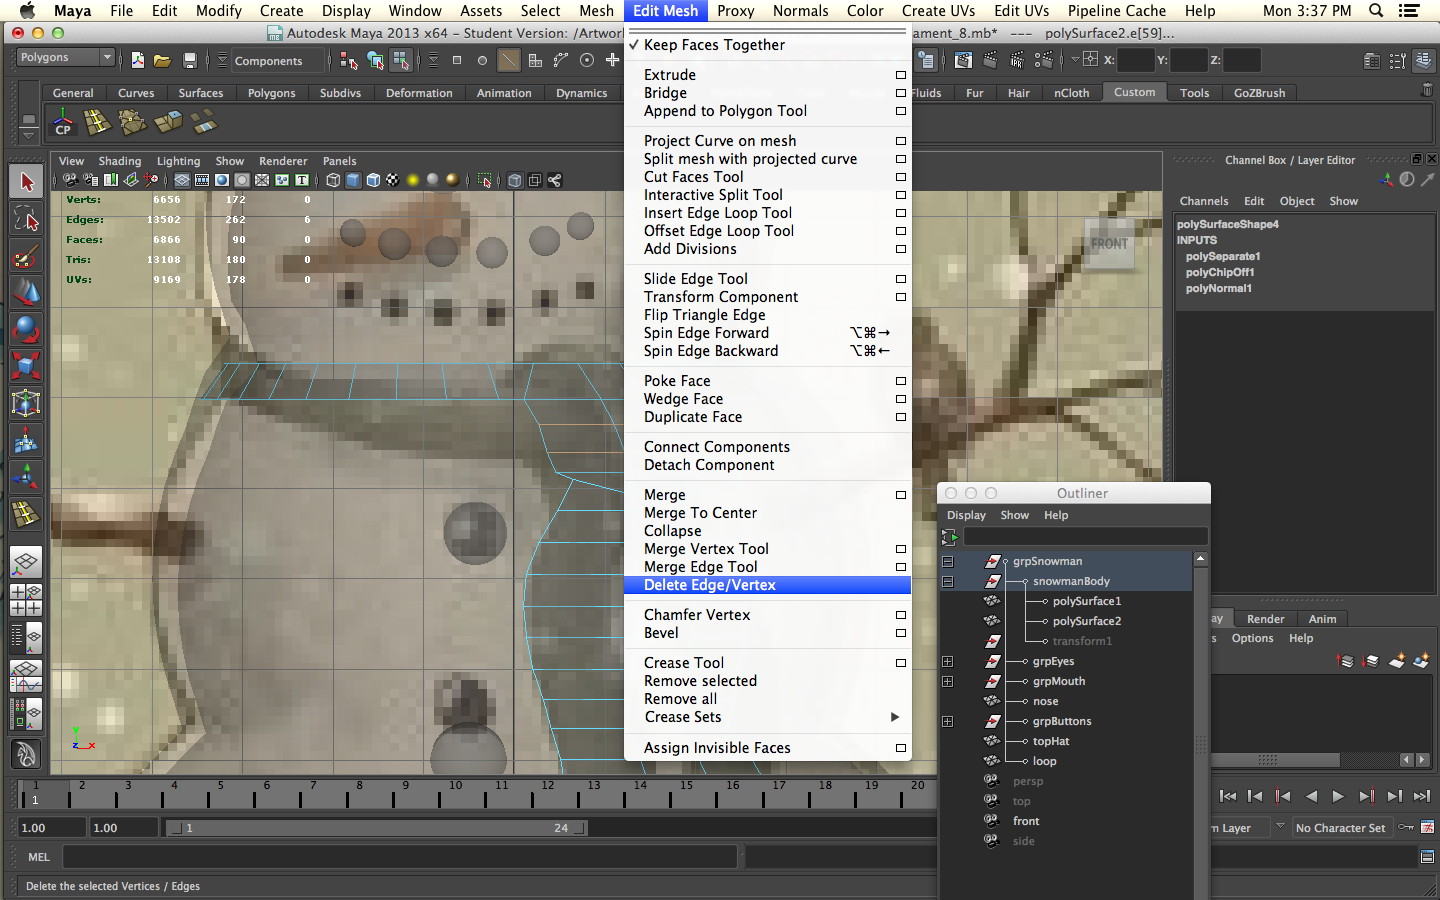
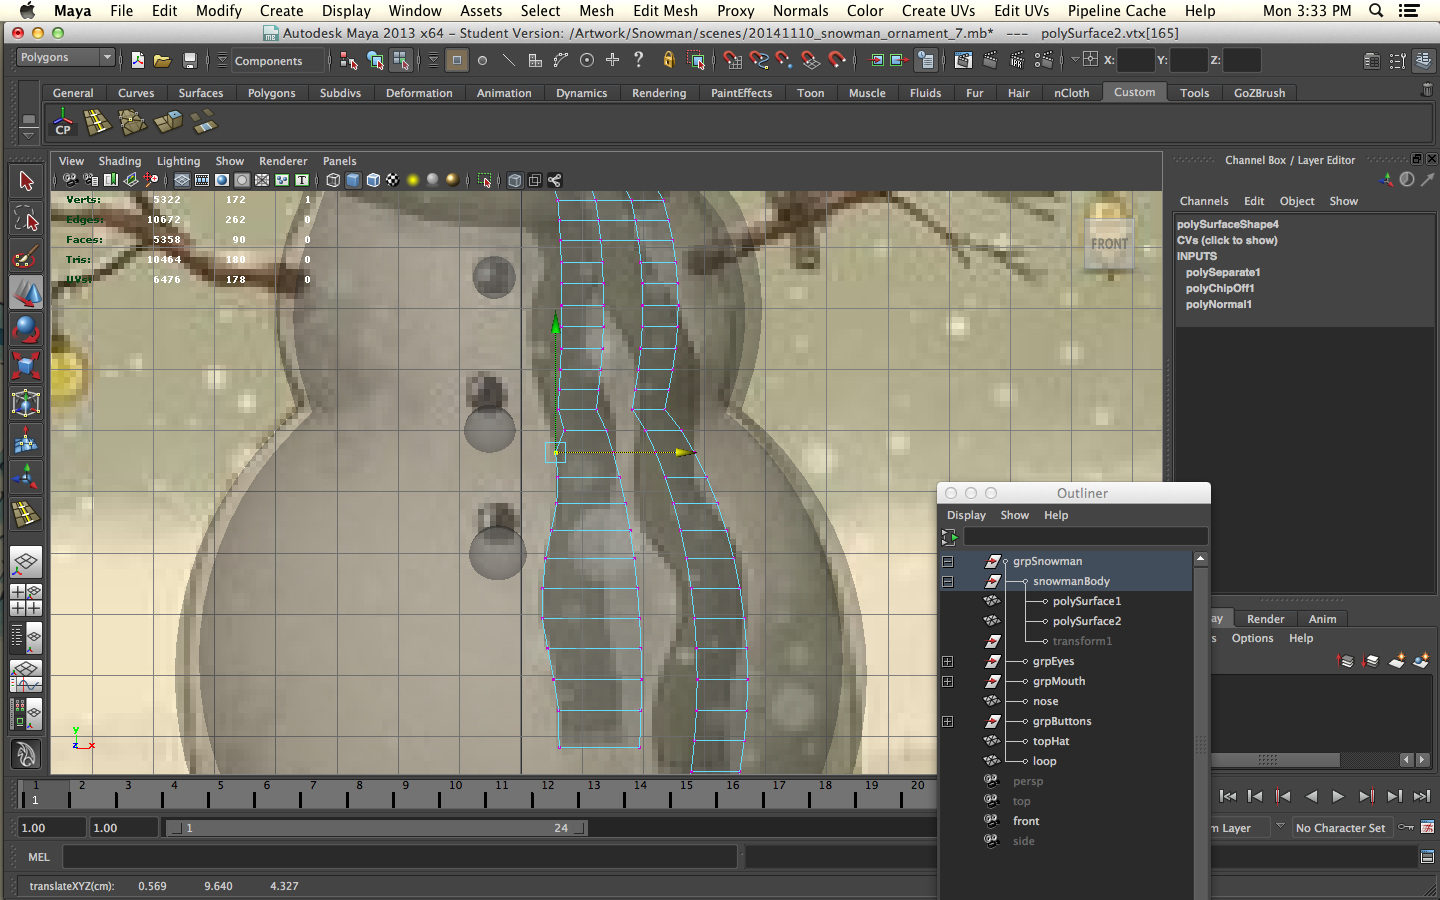
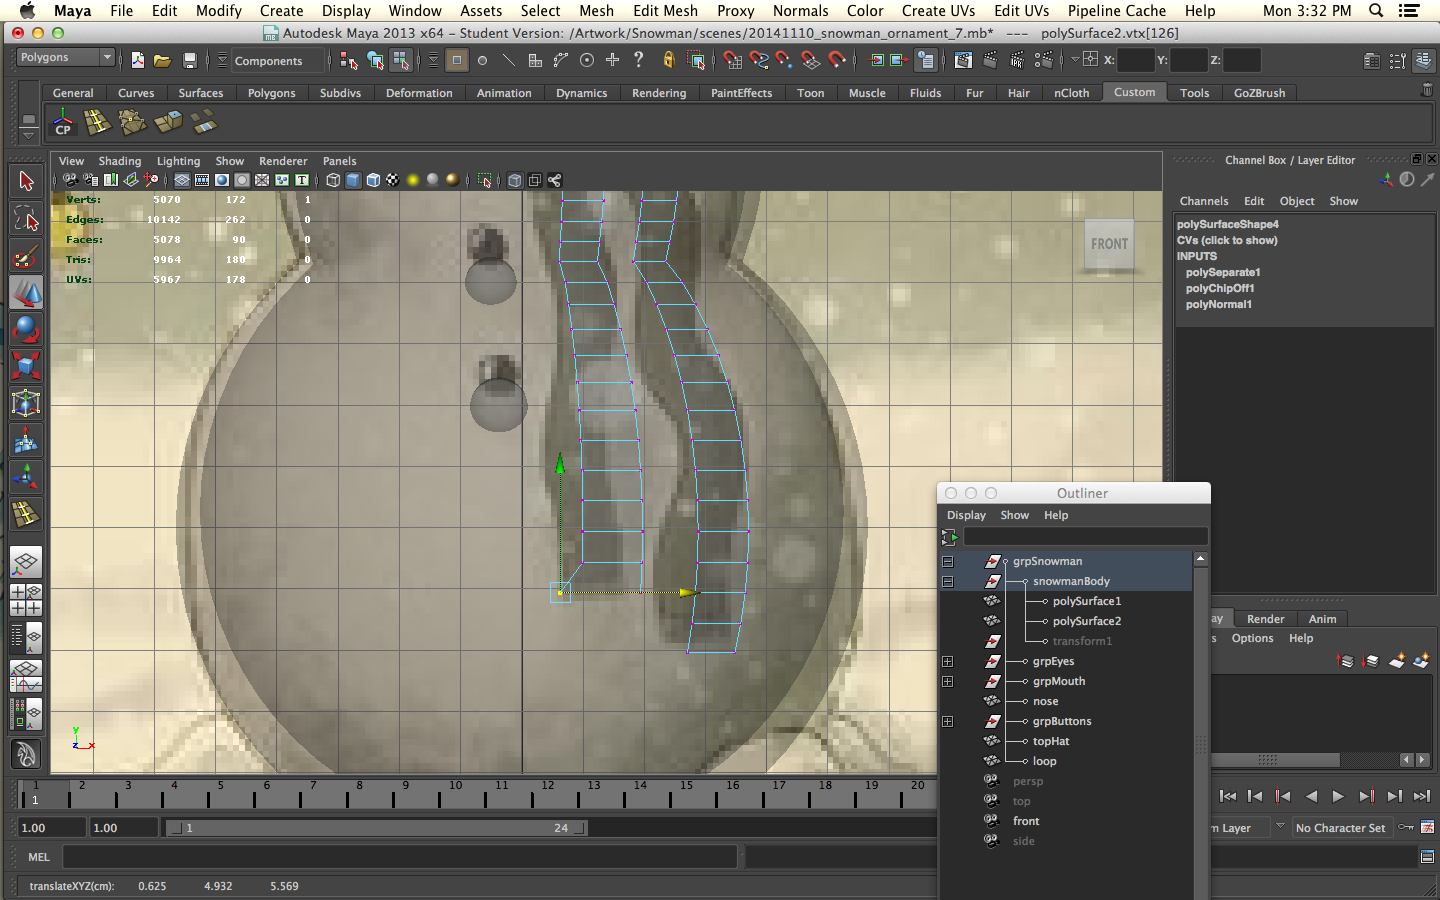
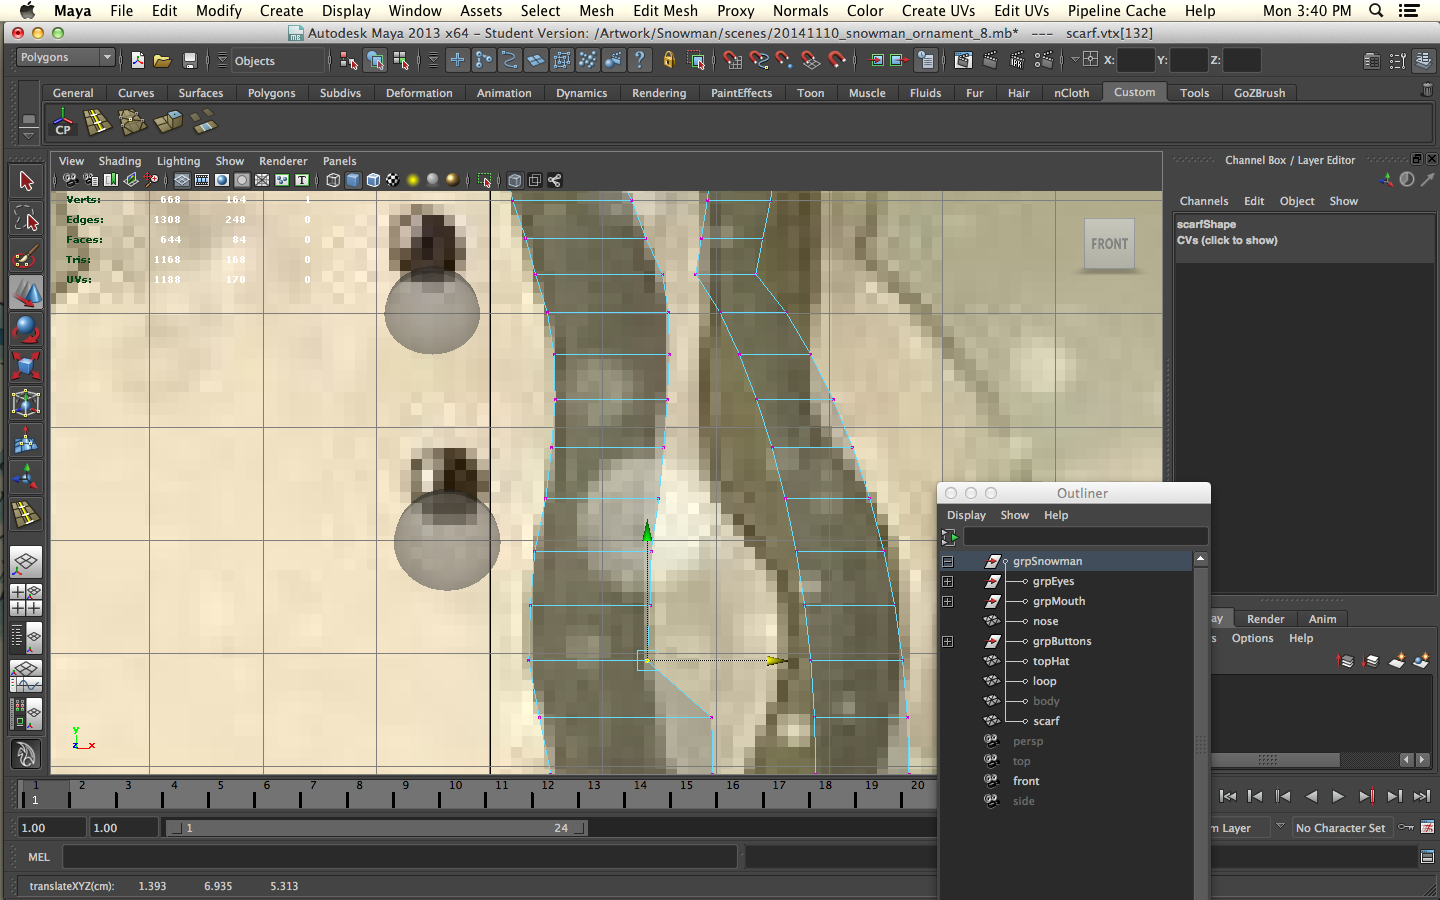
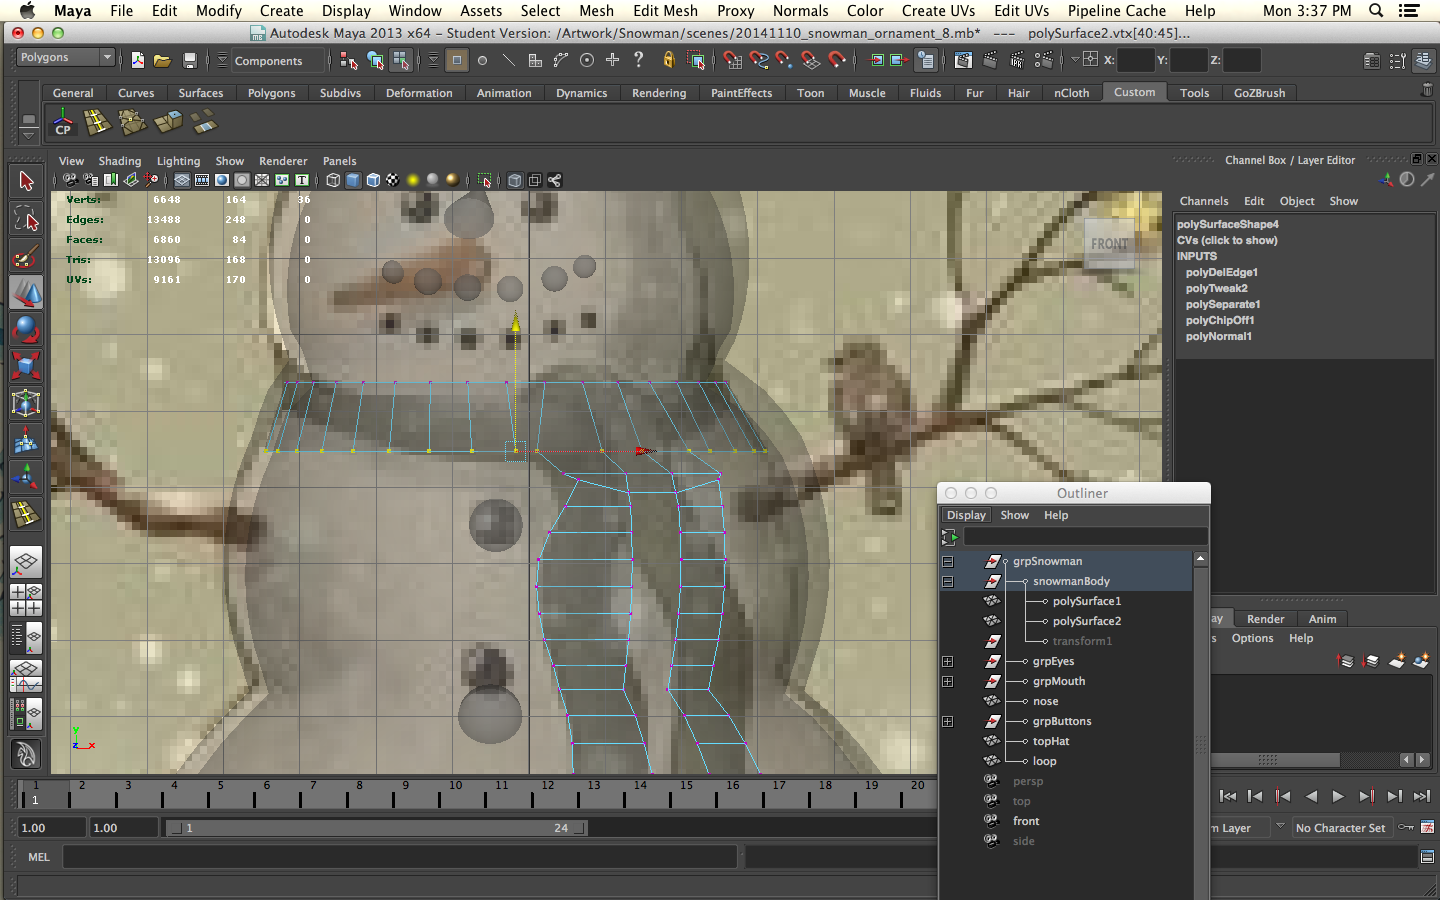
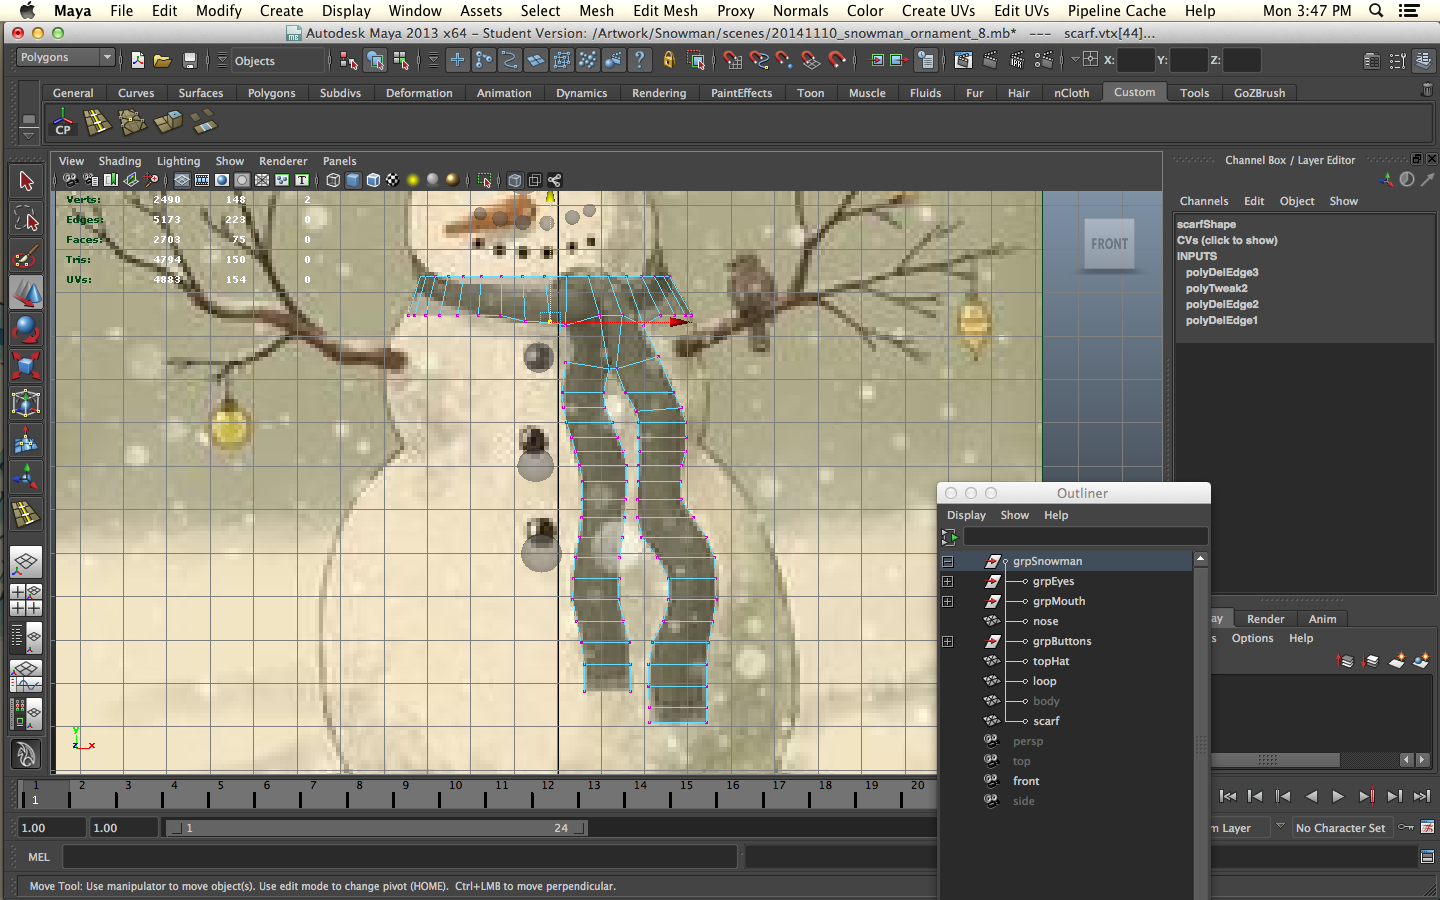
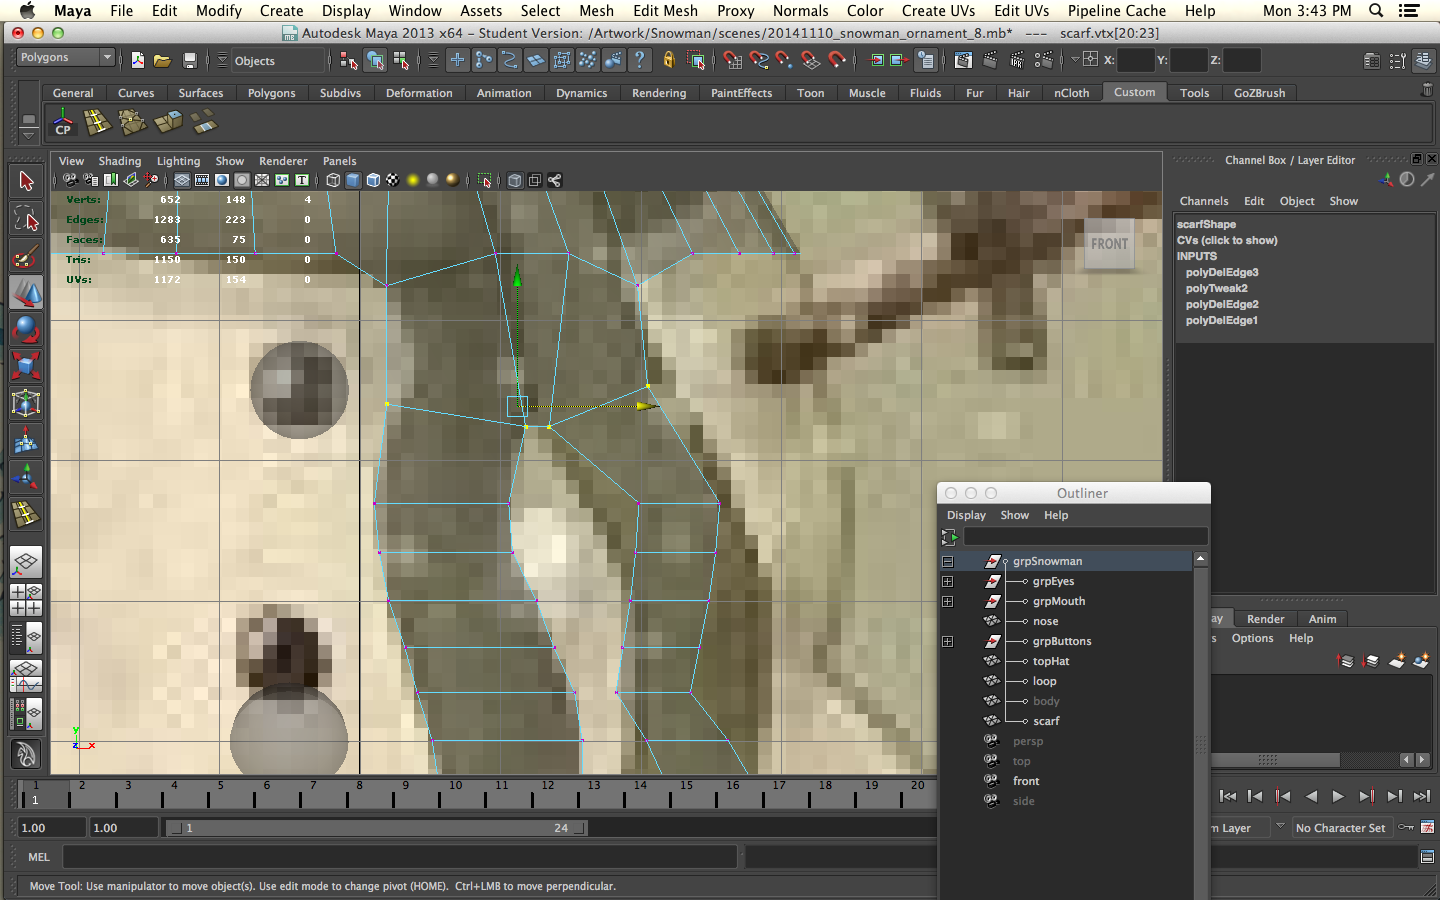
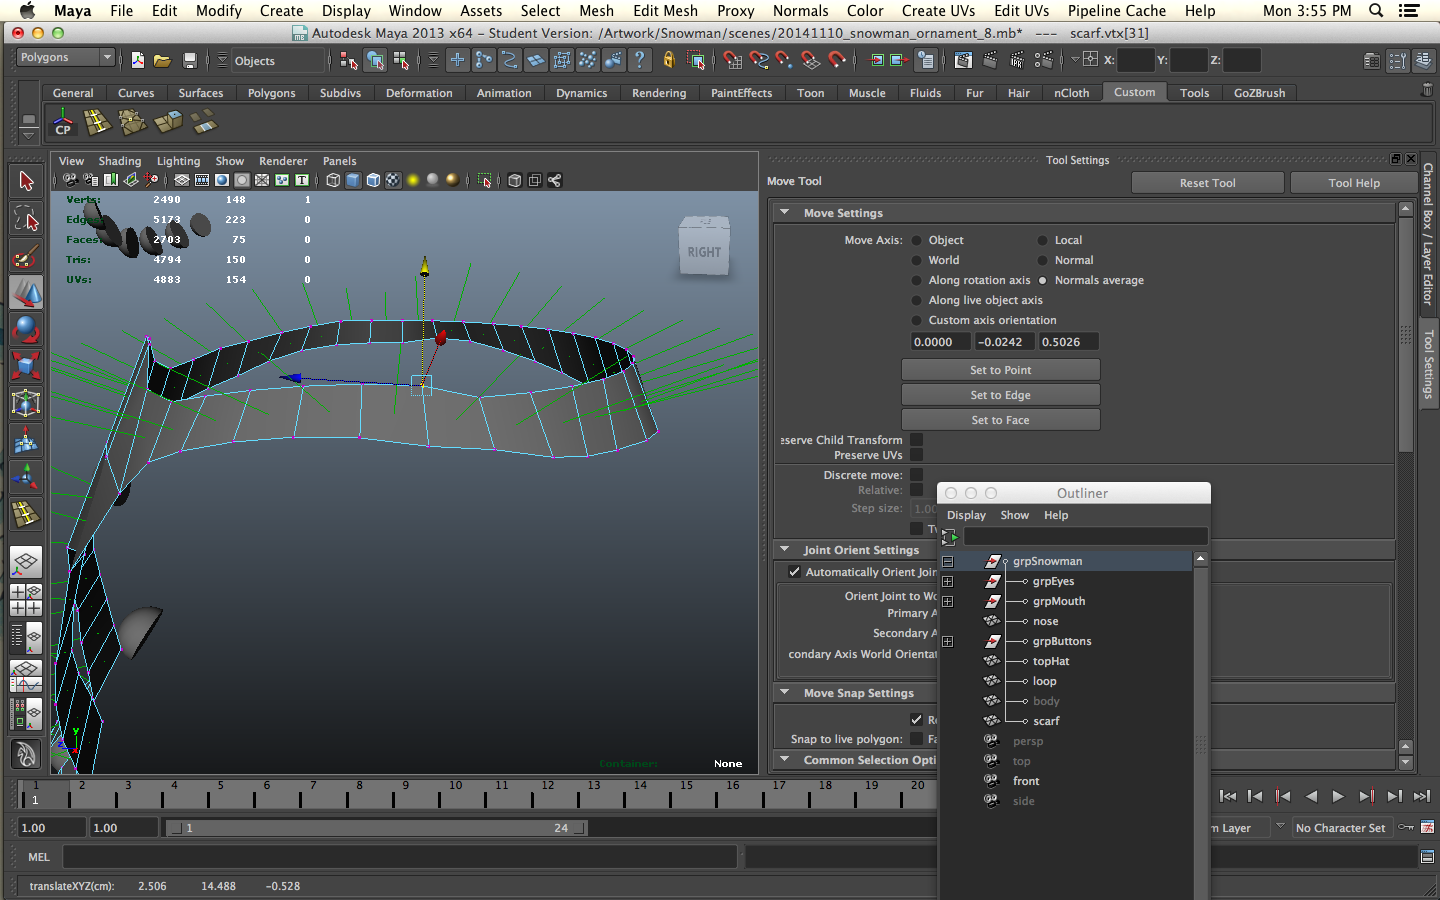
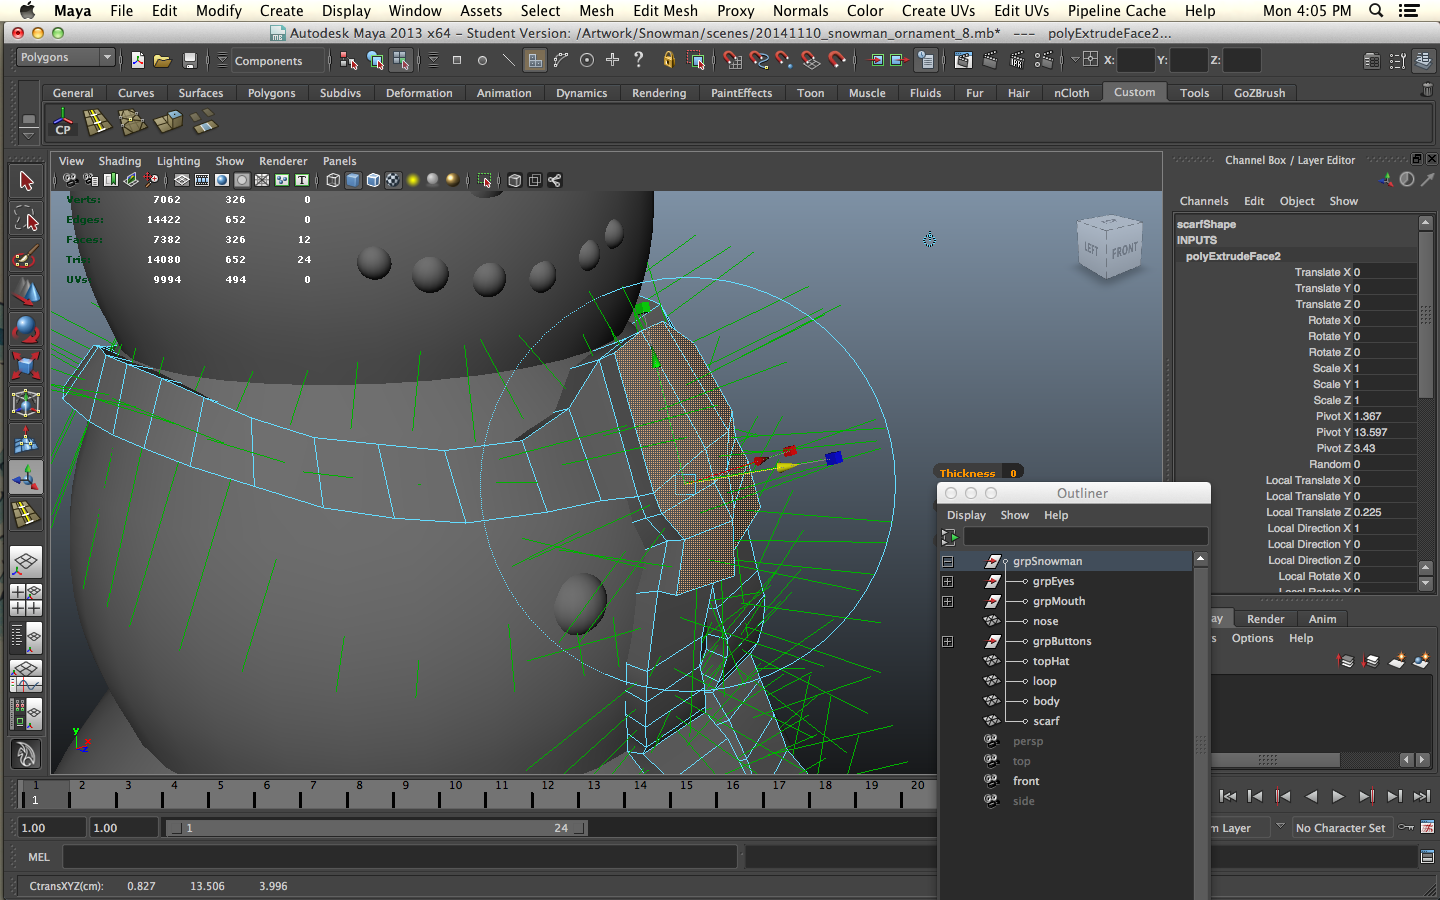
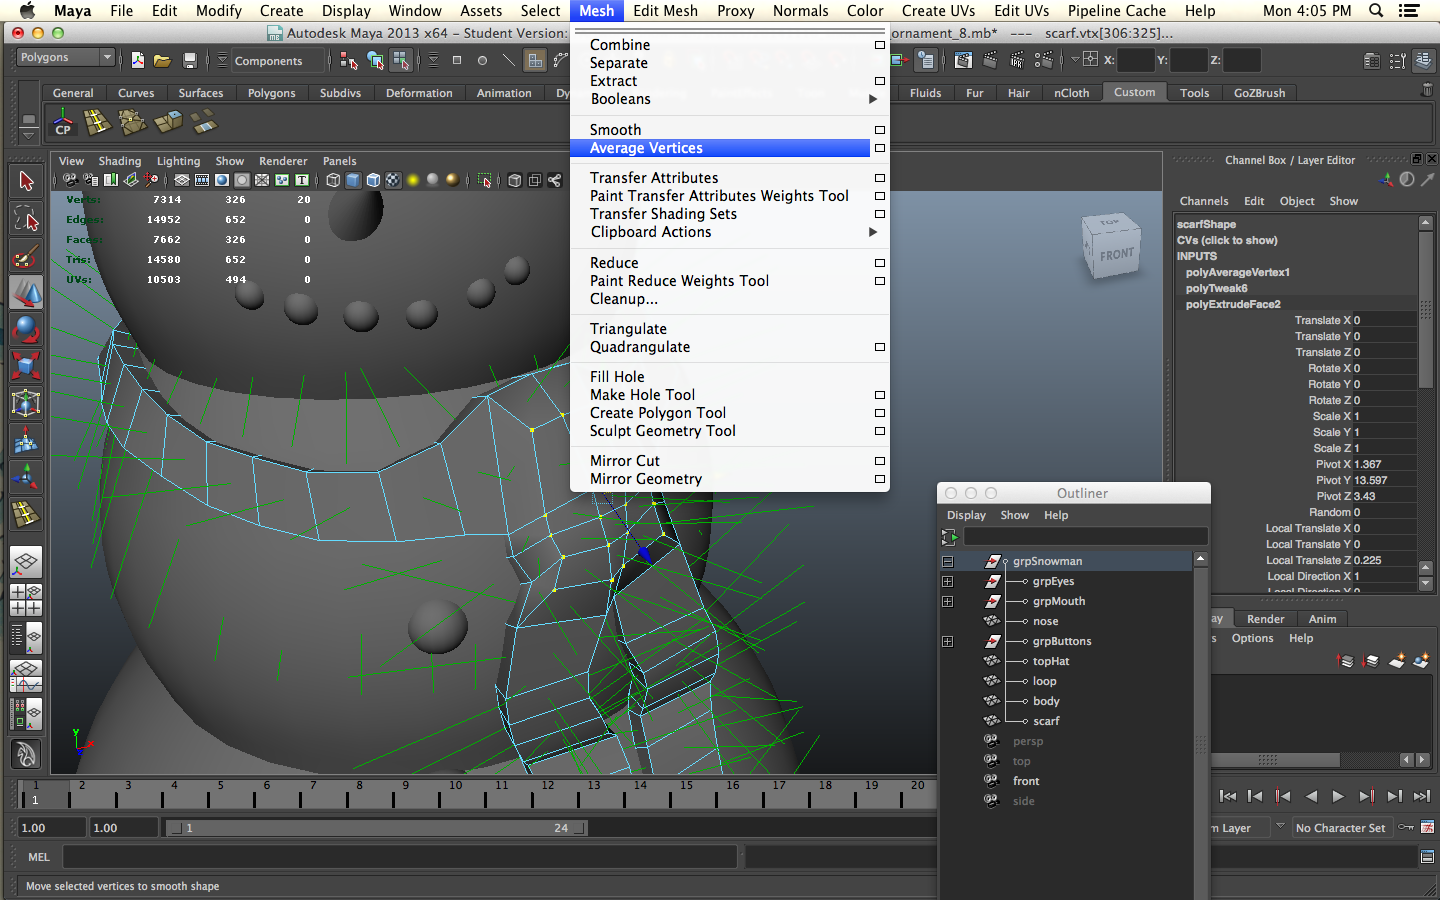

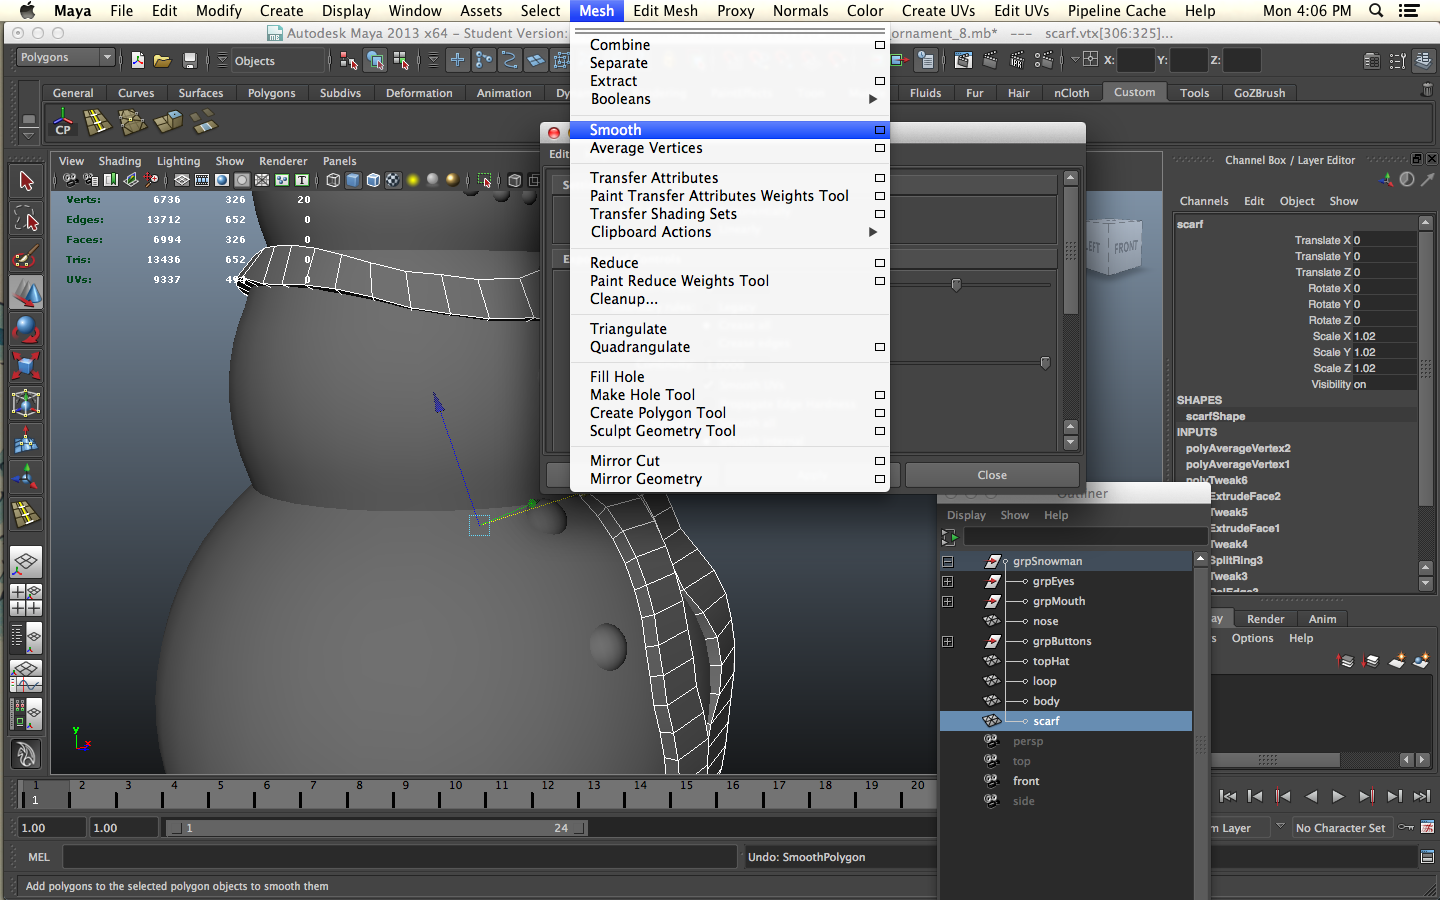
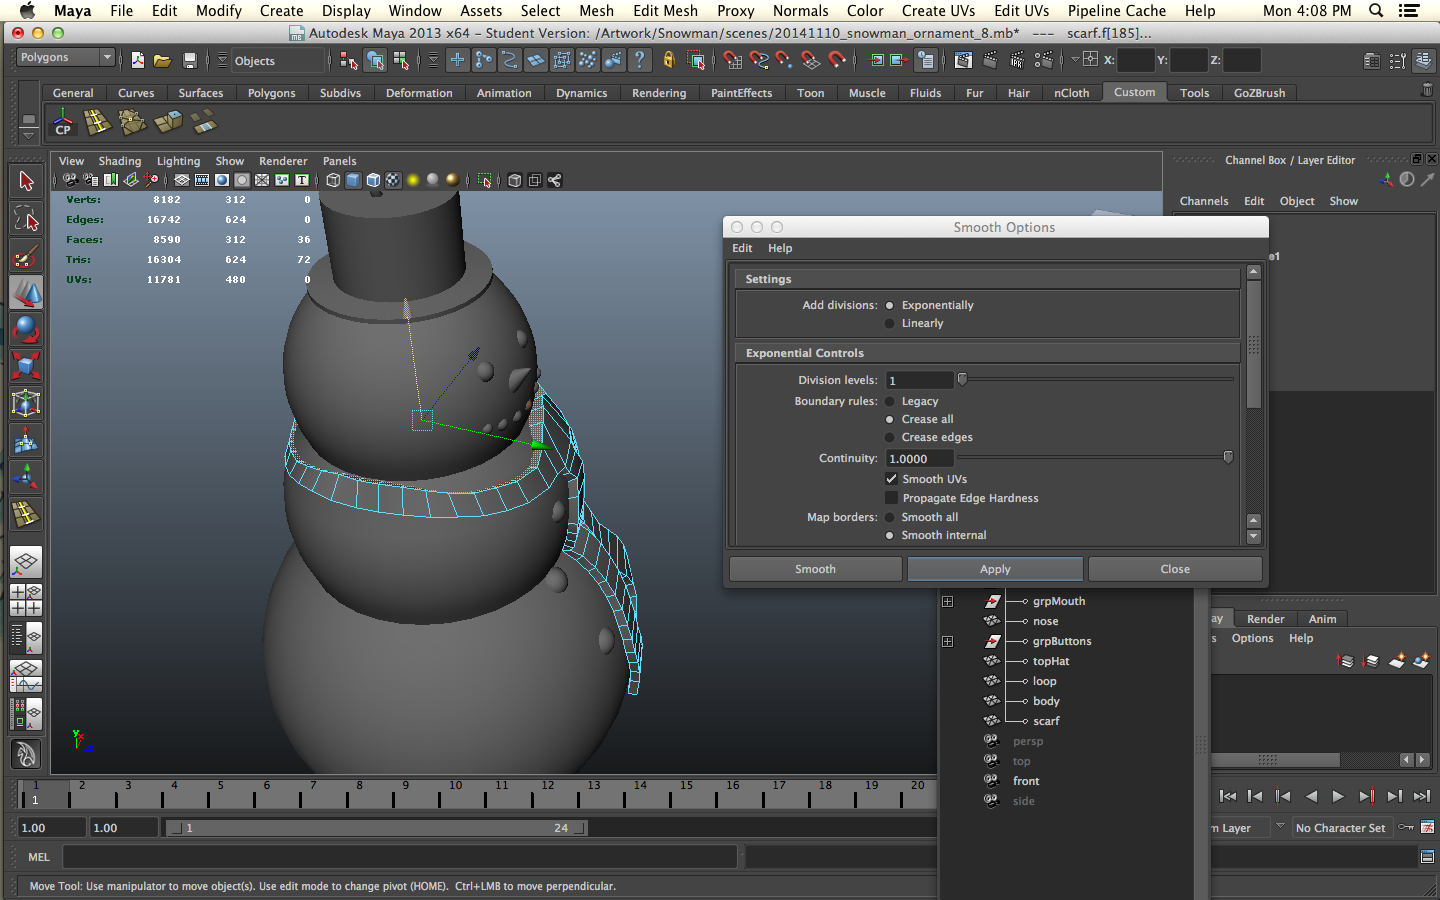
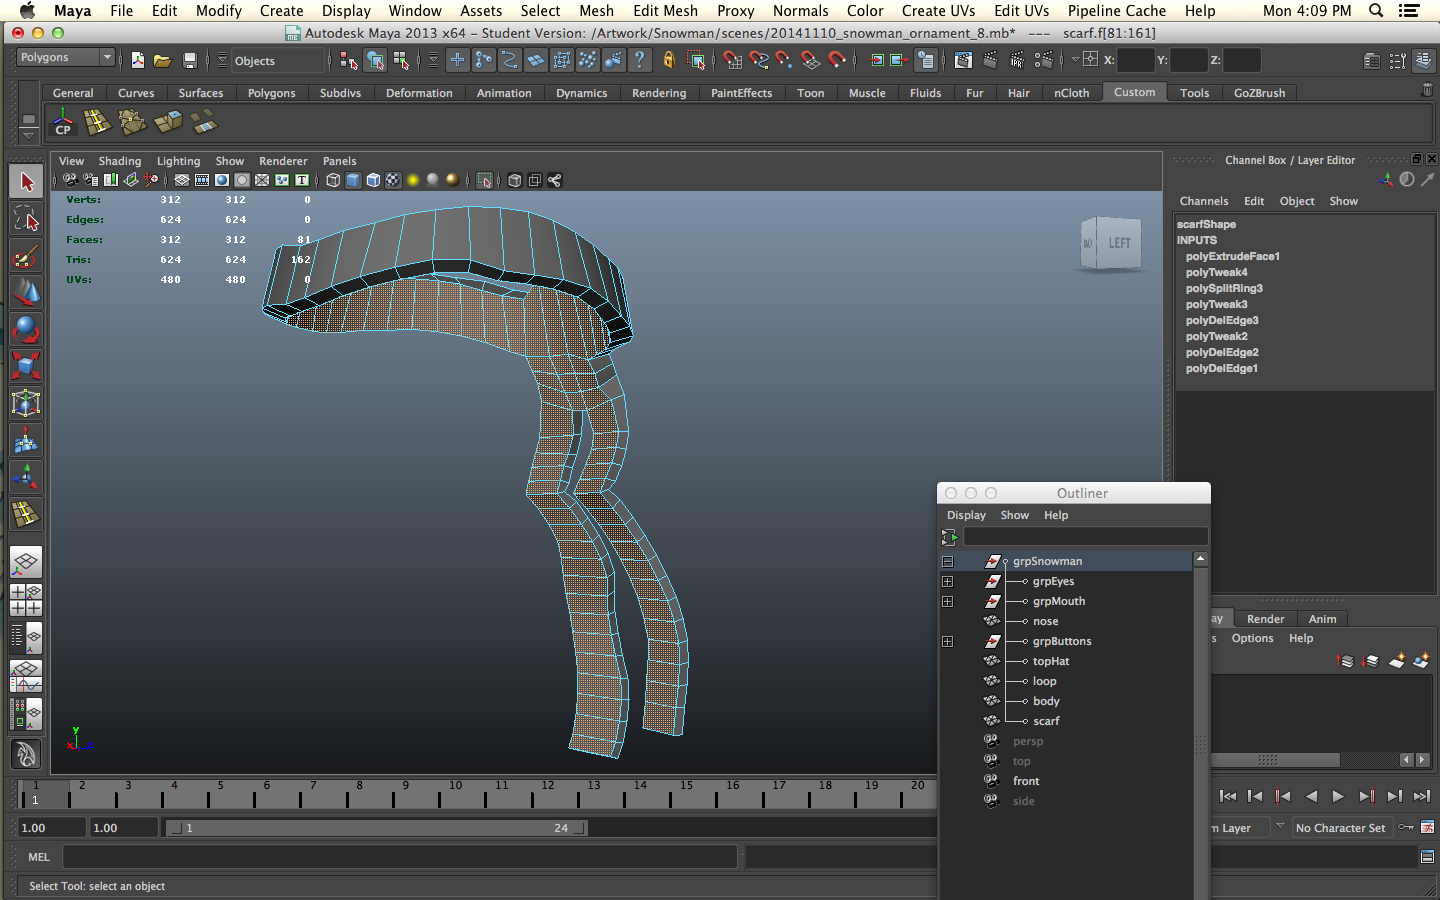
I thought it'd be cool to dress the snowman up with a scarf. It wasn't. Just did not turn out as planned so I dumped it. But the idea was to select faces on the body of the snowman that were roughly in the same position as where I'd want the scarf to be, using the image plane as my guide. This seemed like a really good idea. Maybe you'll get a better result.
Duplicate the faces. Move vertices one at a time to match the reference by moving them sideways. You may have to move some up or down to get the right curvature to the scarf. Select extra edges and use delete edge vertex to help reposition the knot. You can add detail later using edge loops. Once everything is where you want it, extrude the faces to give it thickness and make it watertight.
I think this is where it went wrong... Hit 'B' on the keyboard to enable soft selection. Use soft selection to finesse the scarf until it is evenly embedded into the body of the snowman. I ran a 1 division smooth on it to make it smoother...
So, I didn't like the way the scarf turned out and decided to give him a makeover.
Give the Man a Bowtie
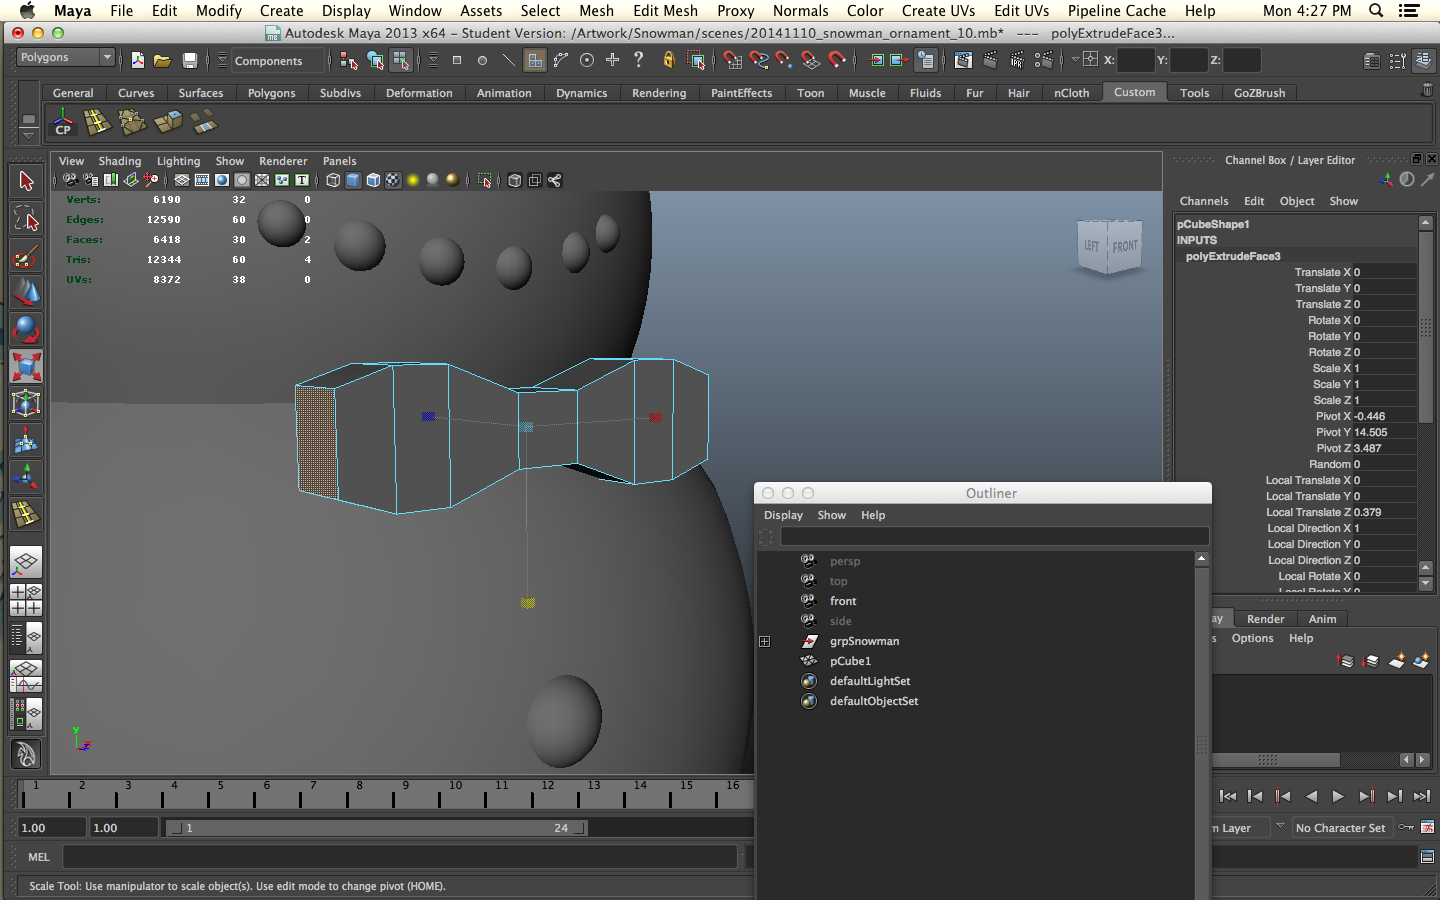
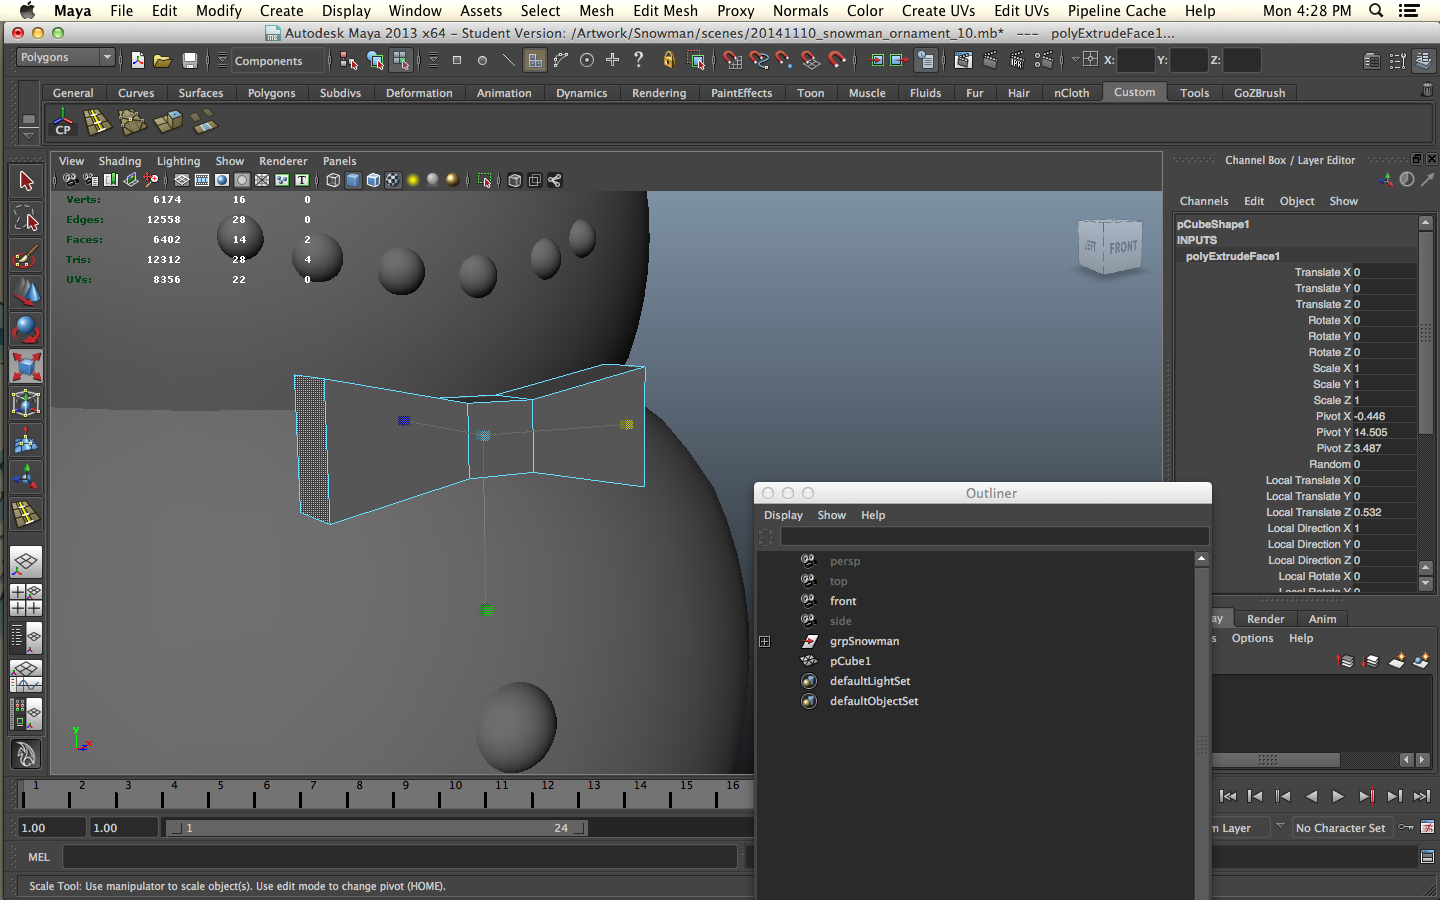

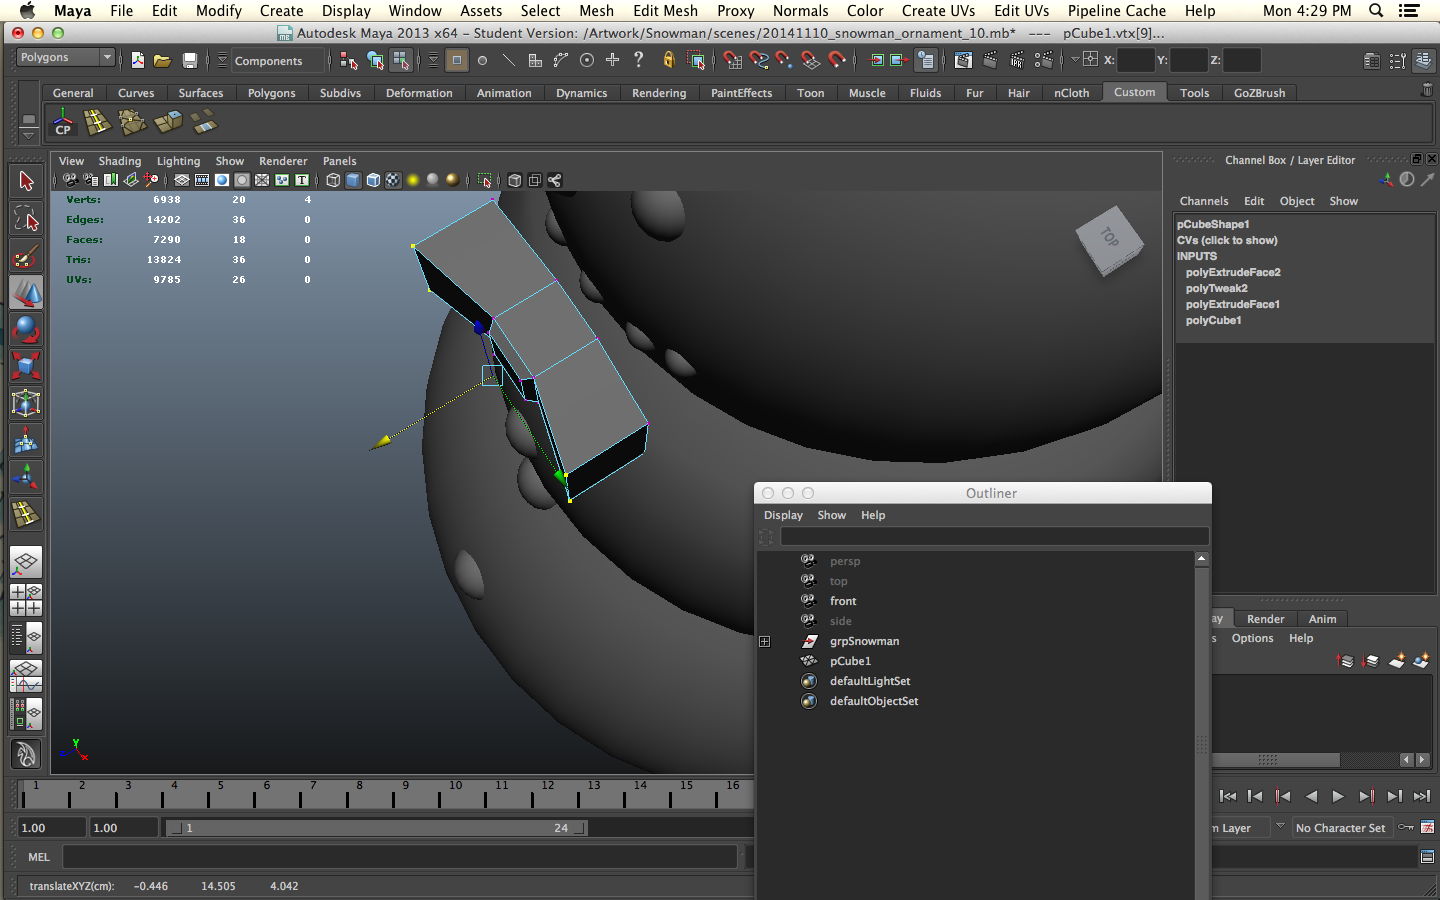
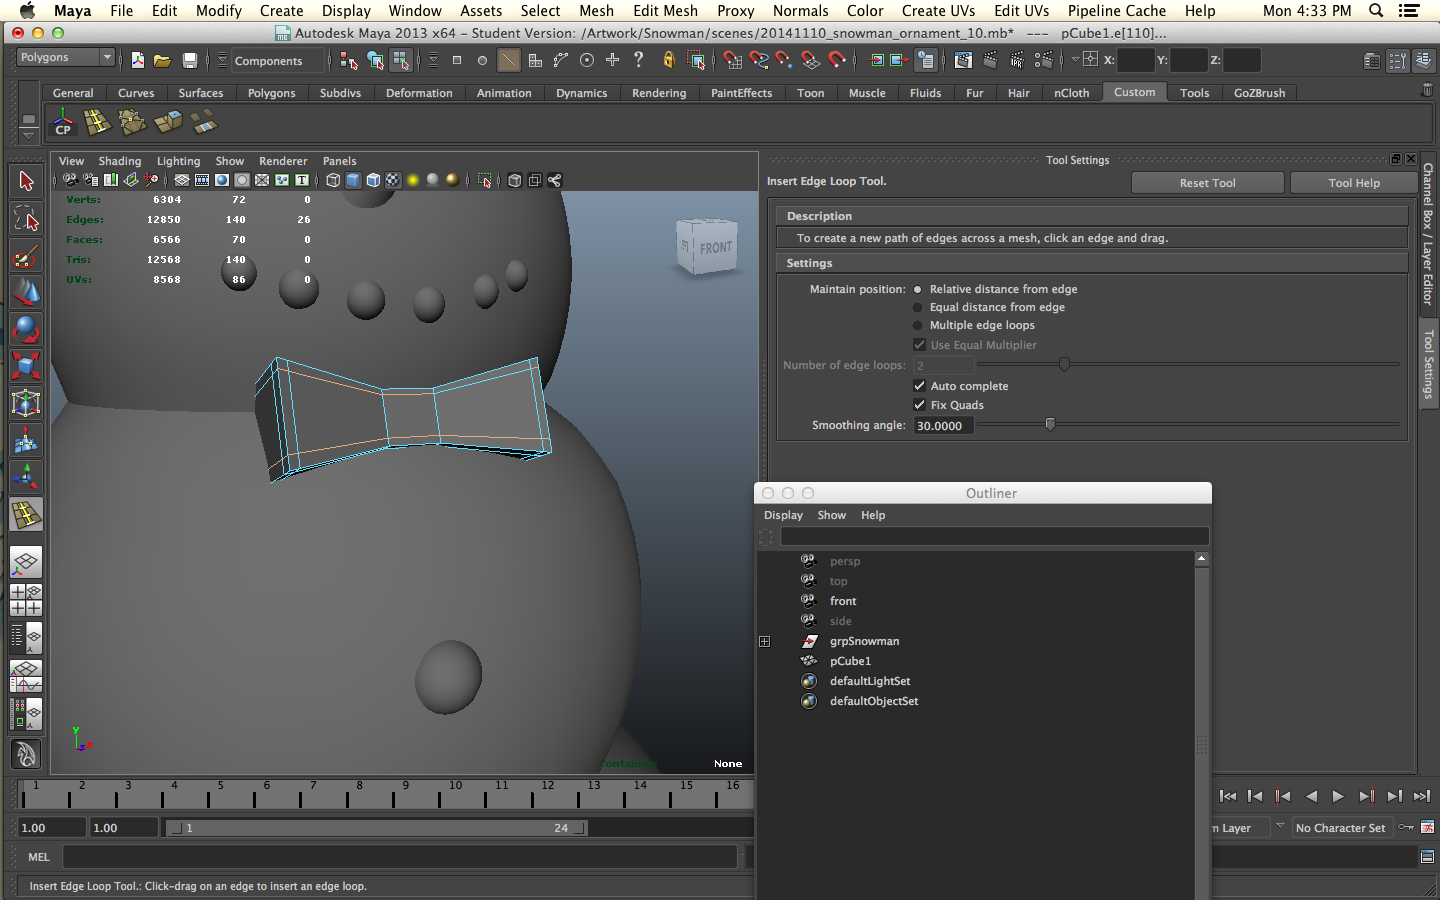
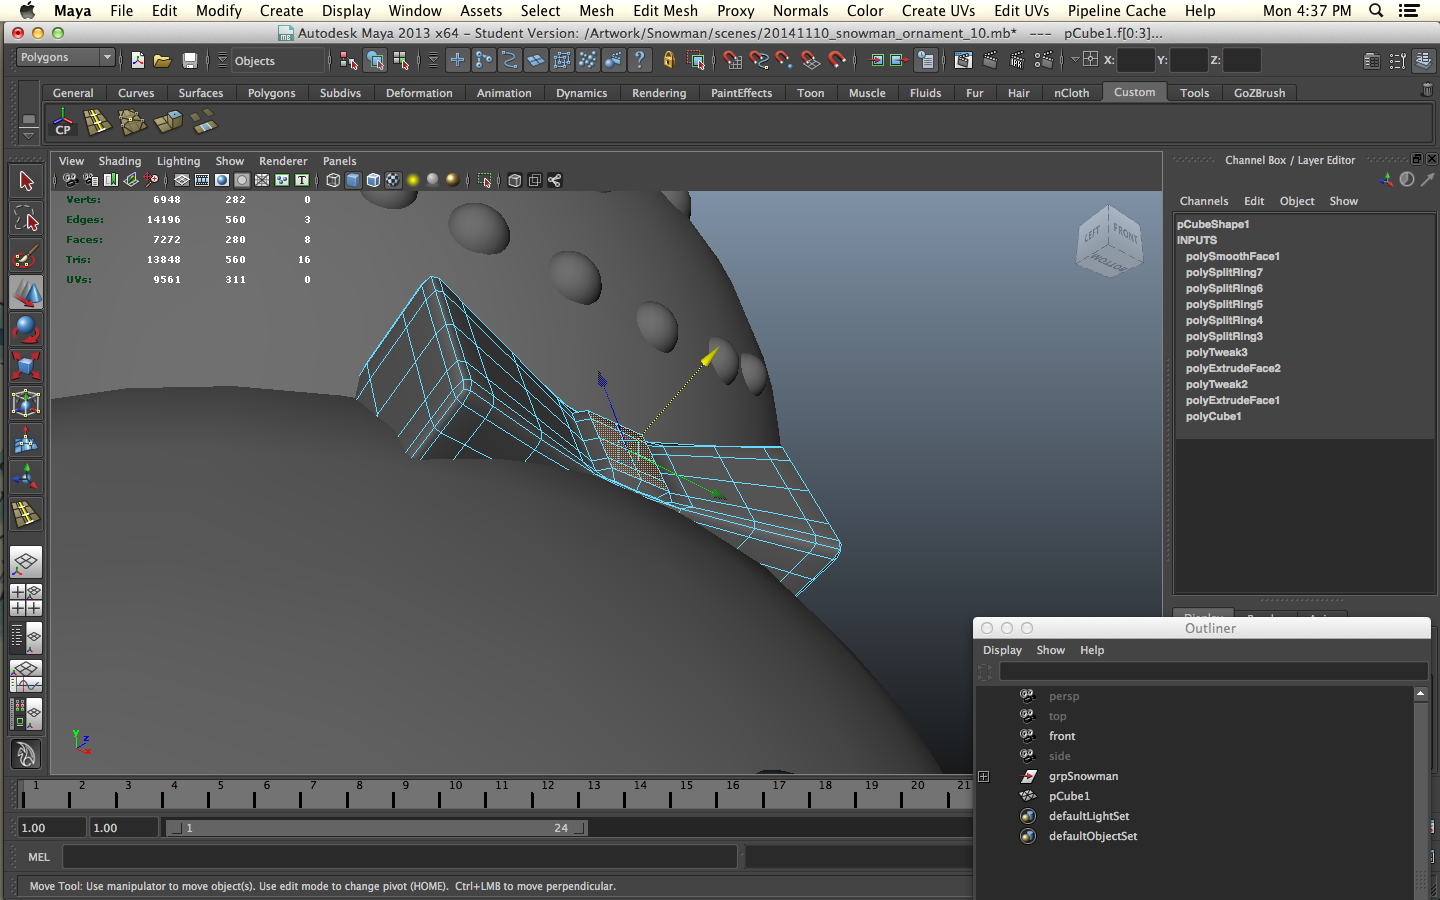
After the scarf didn't work out I thought he didn't look right without some embellishment so I gave him a bowtie. I started with a cube and changed the subdivisions to 1. After some tinkering I settled on one extrusion on either side and scaled them up to form the "wings" of the bowtie. Then I added some more depth to the bowtie so it would intersect with the snowman's body. After rotating it into position I added some edge loops and then a 1 division smooth on the object.
Getting Loopy
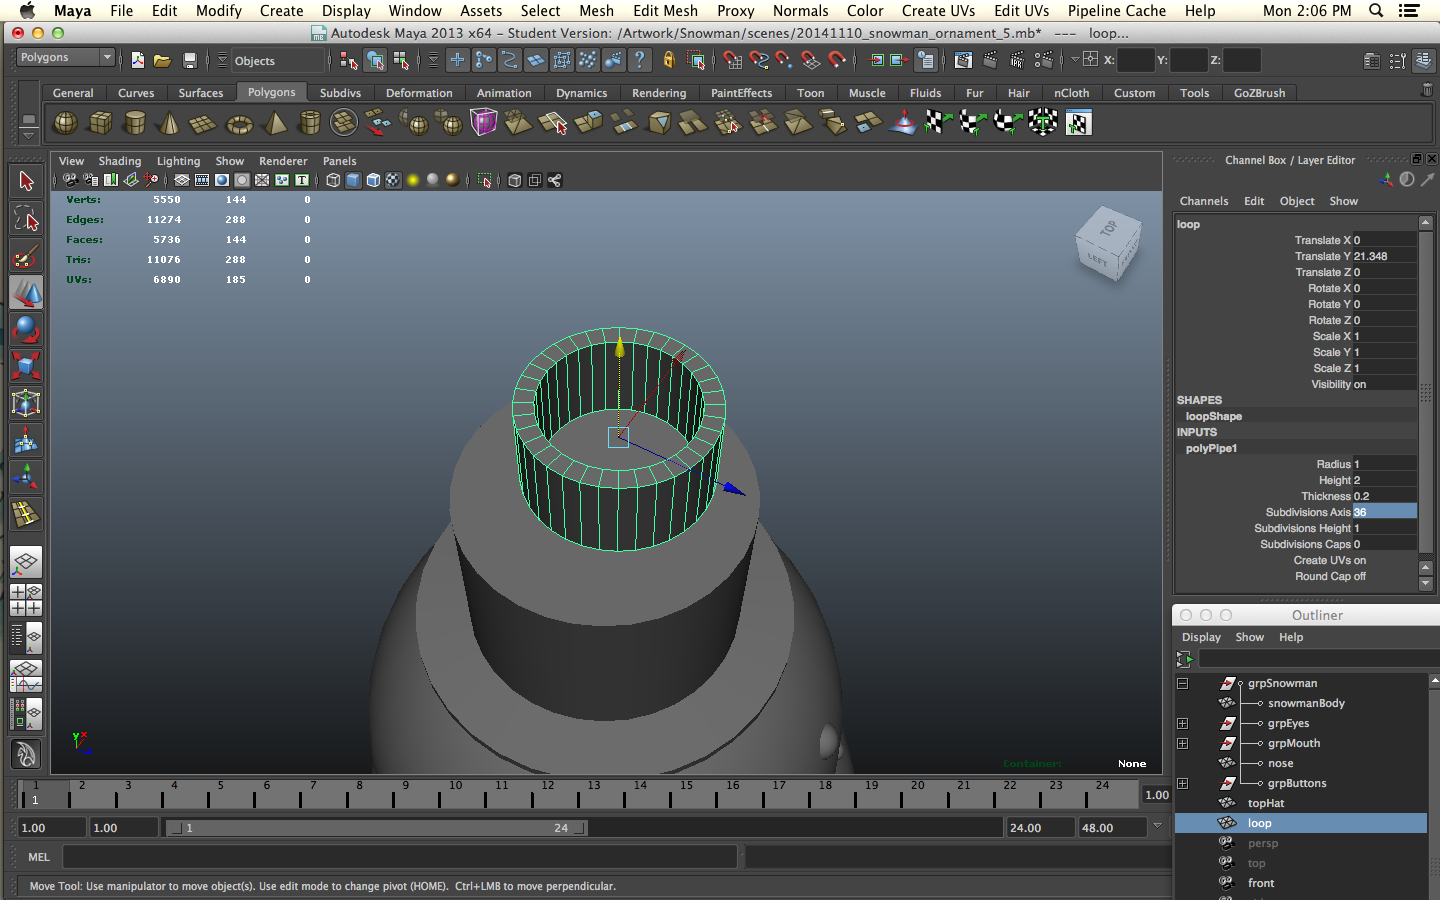
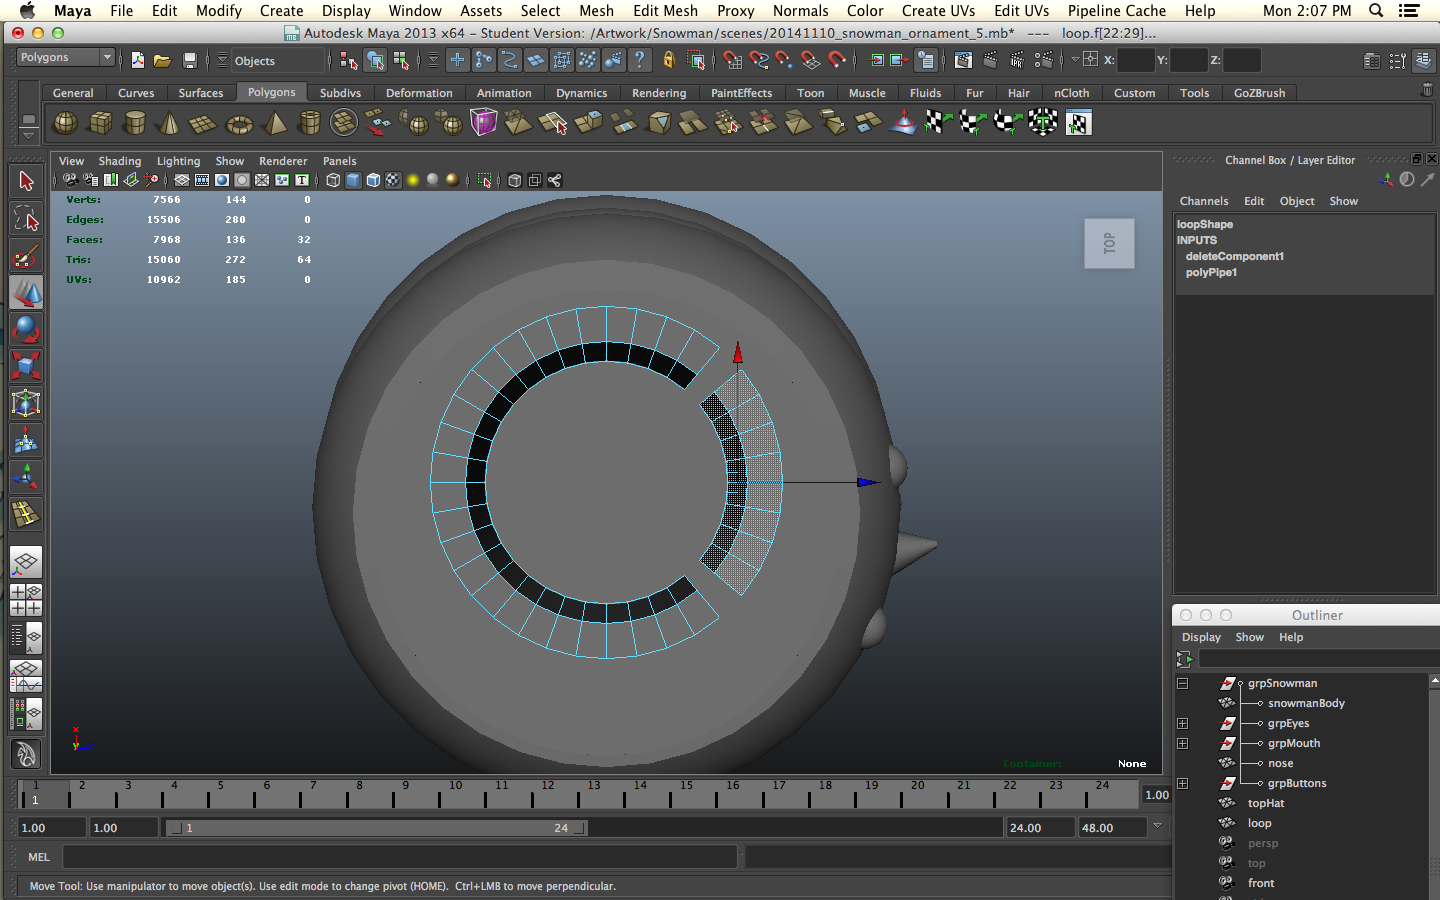
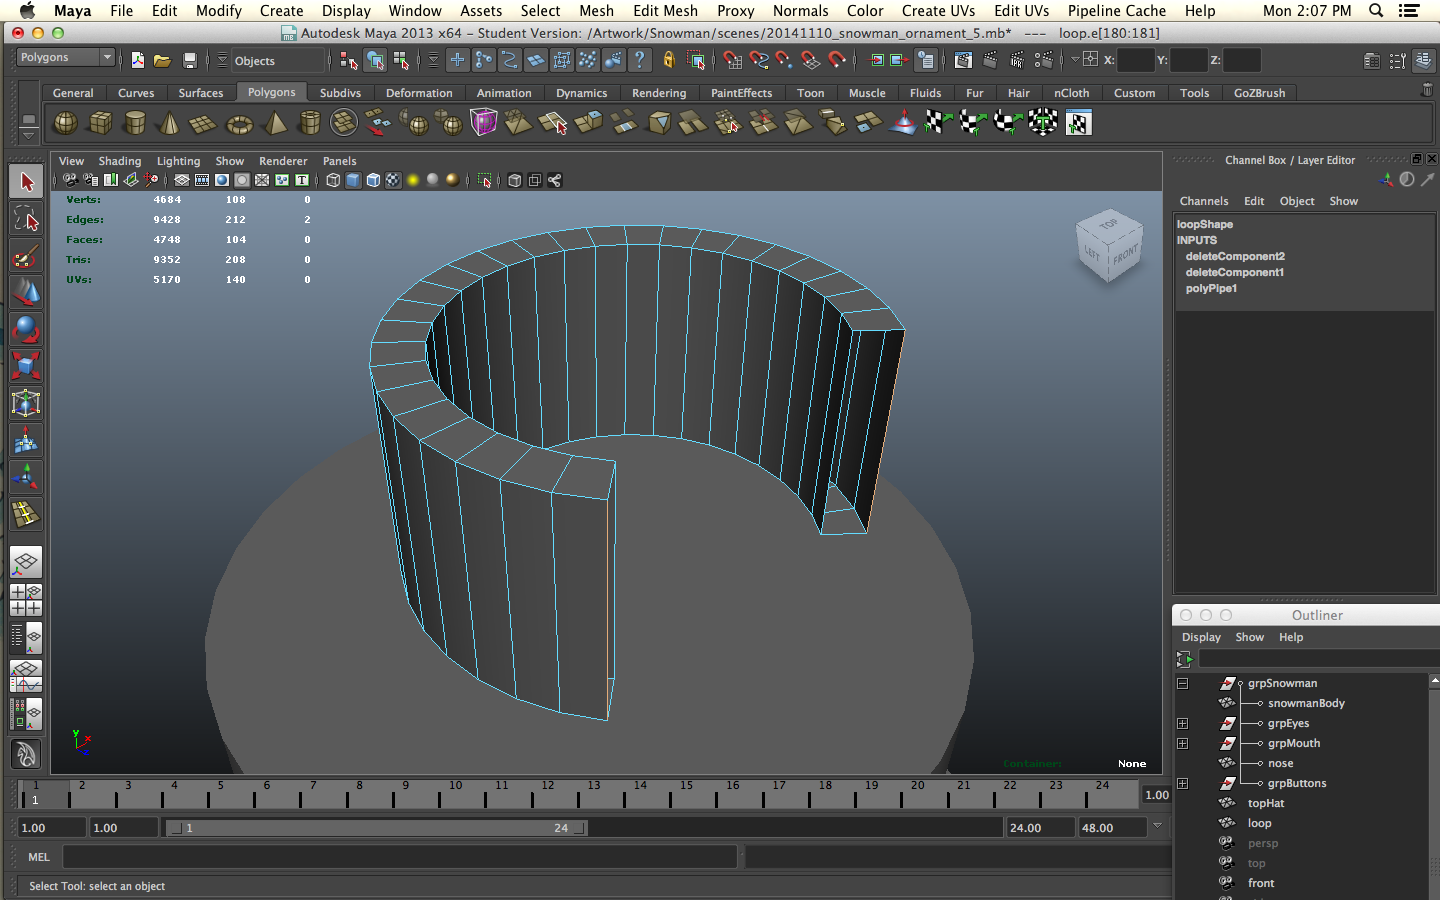
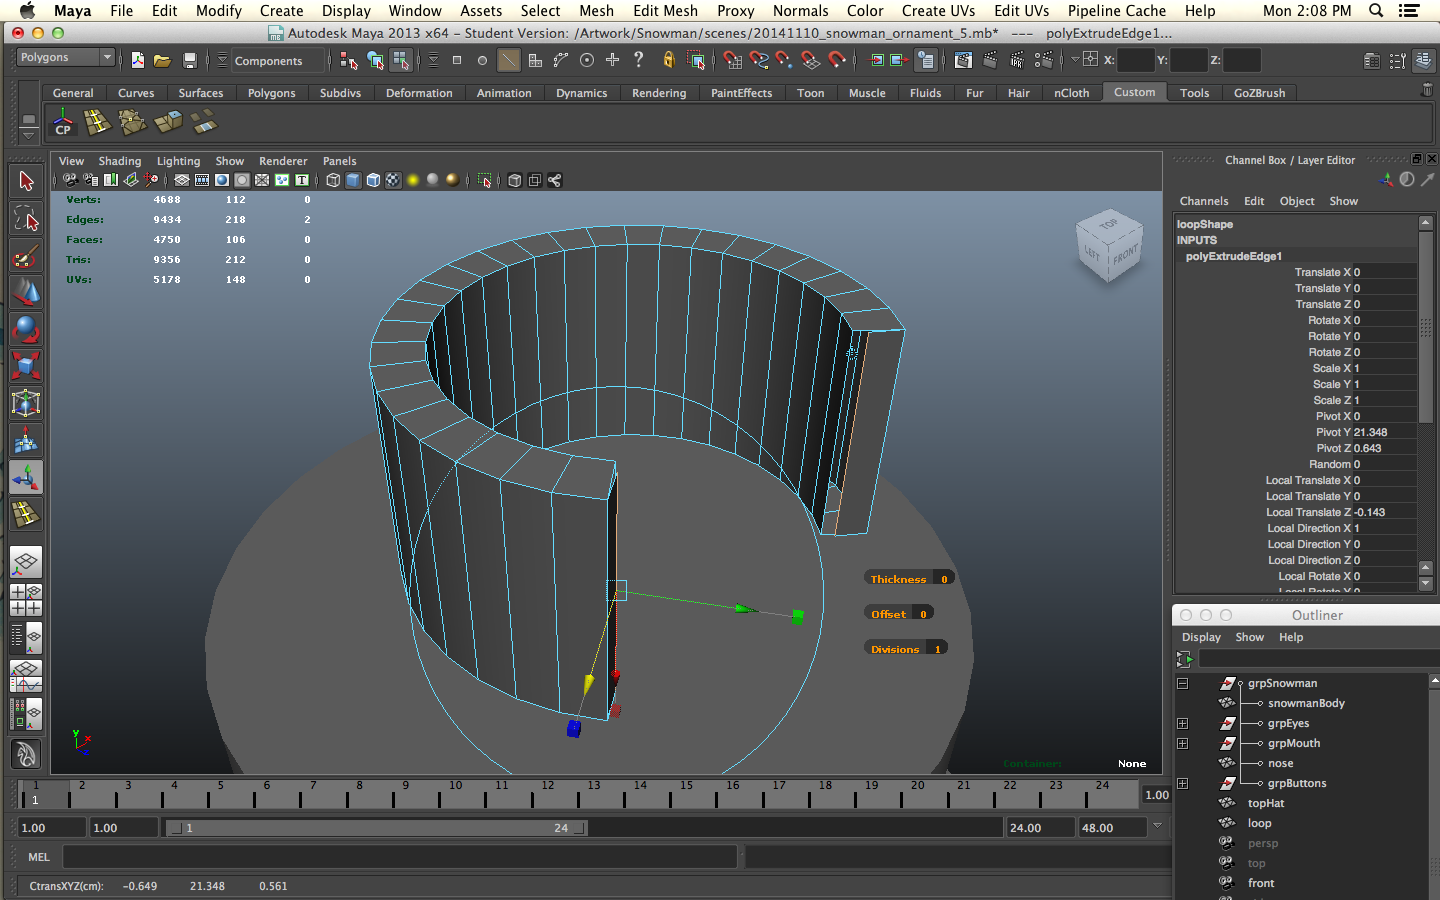
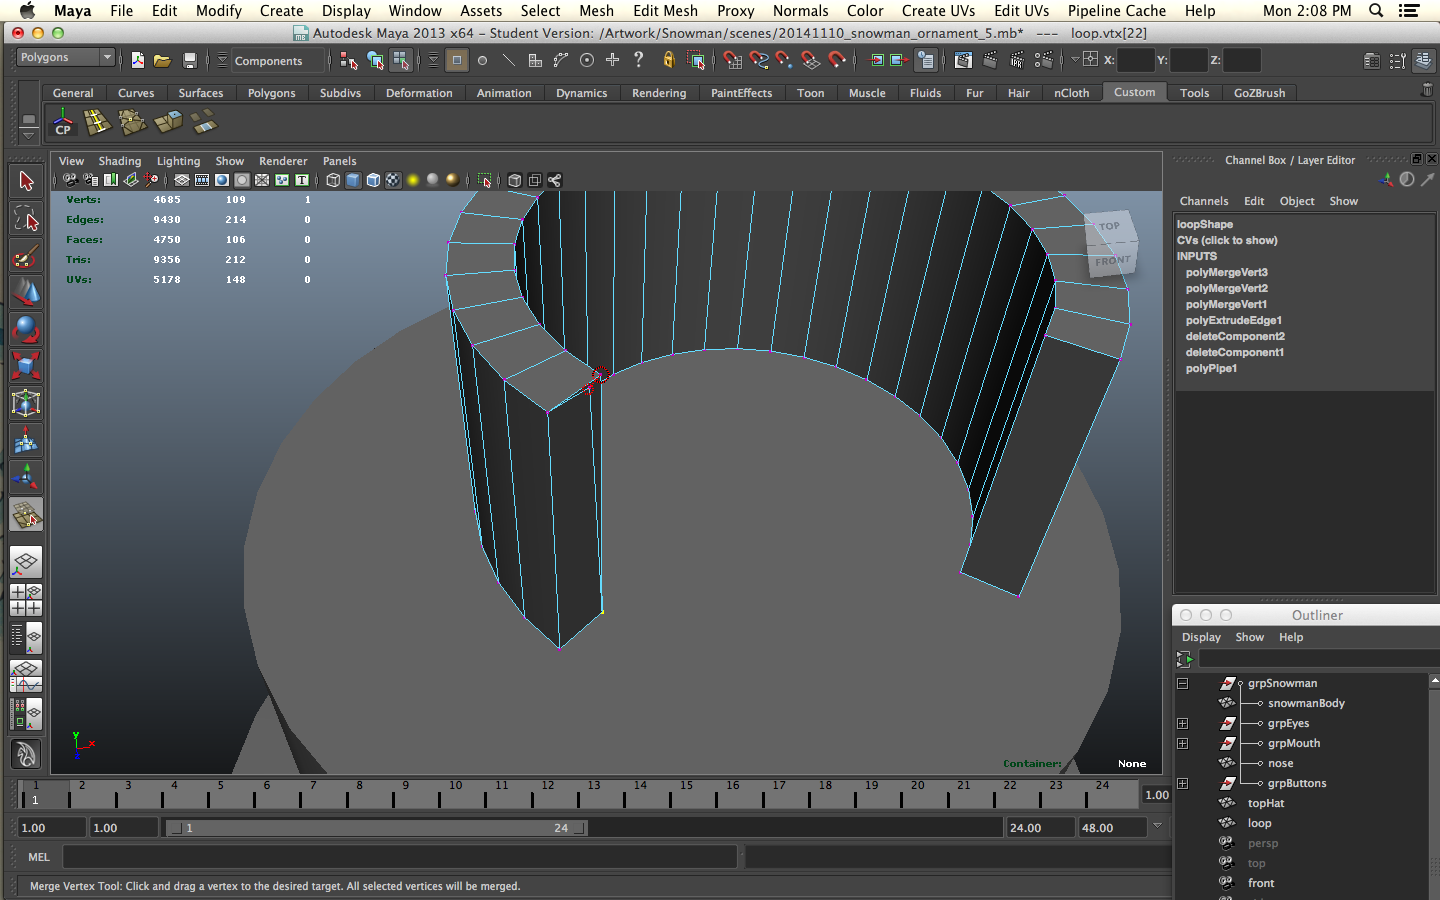
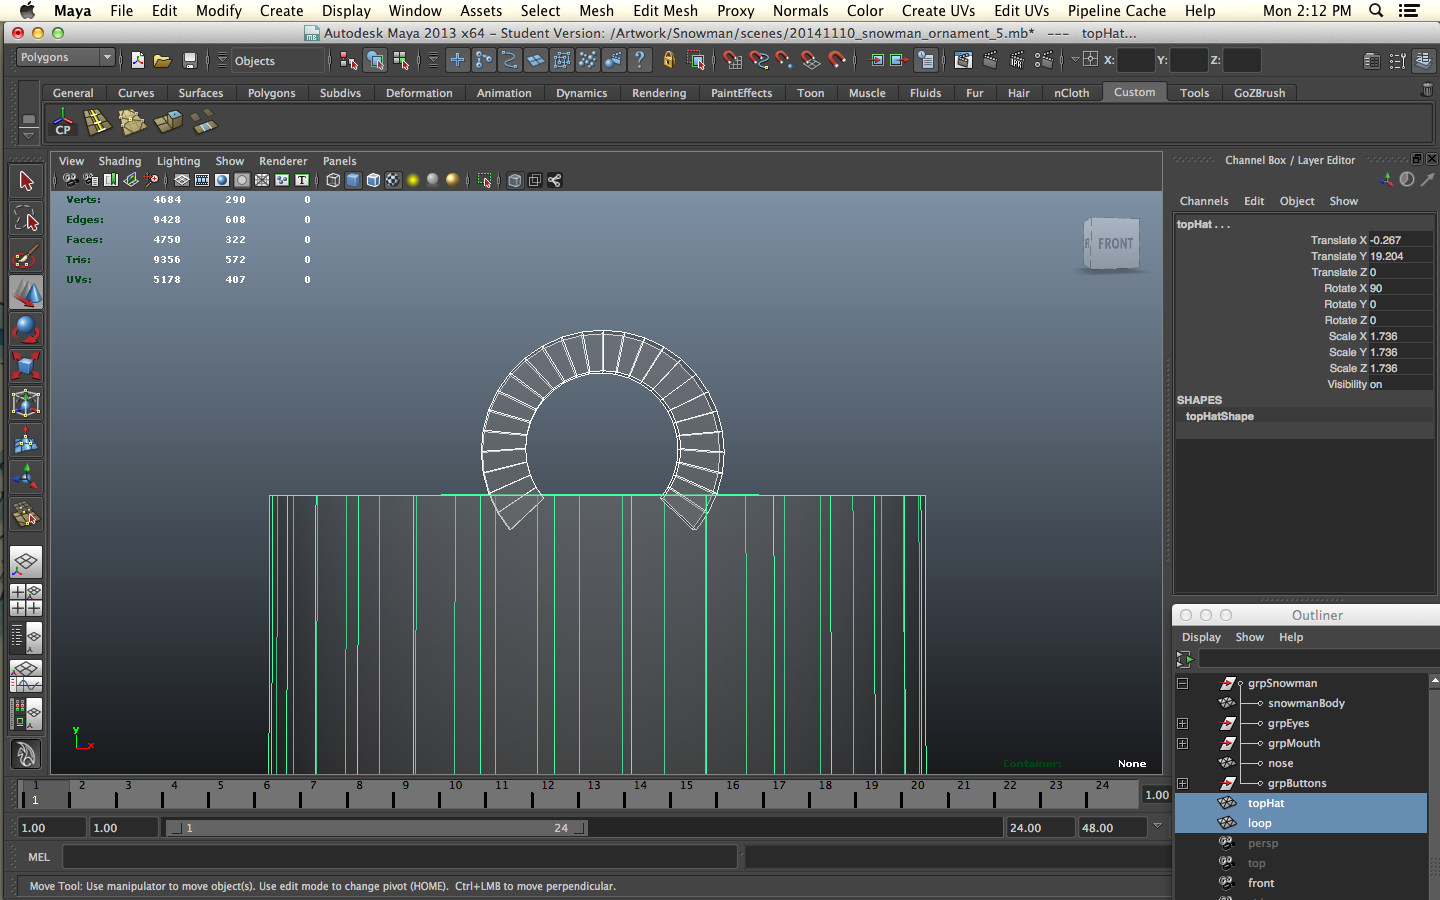
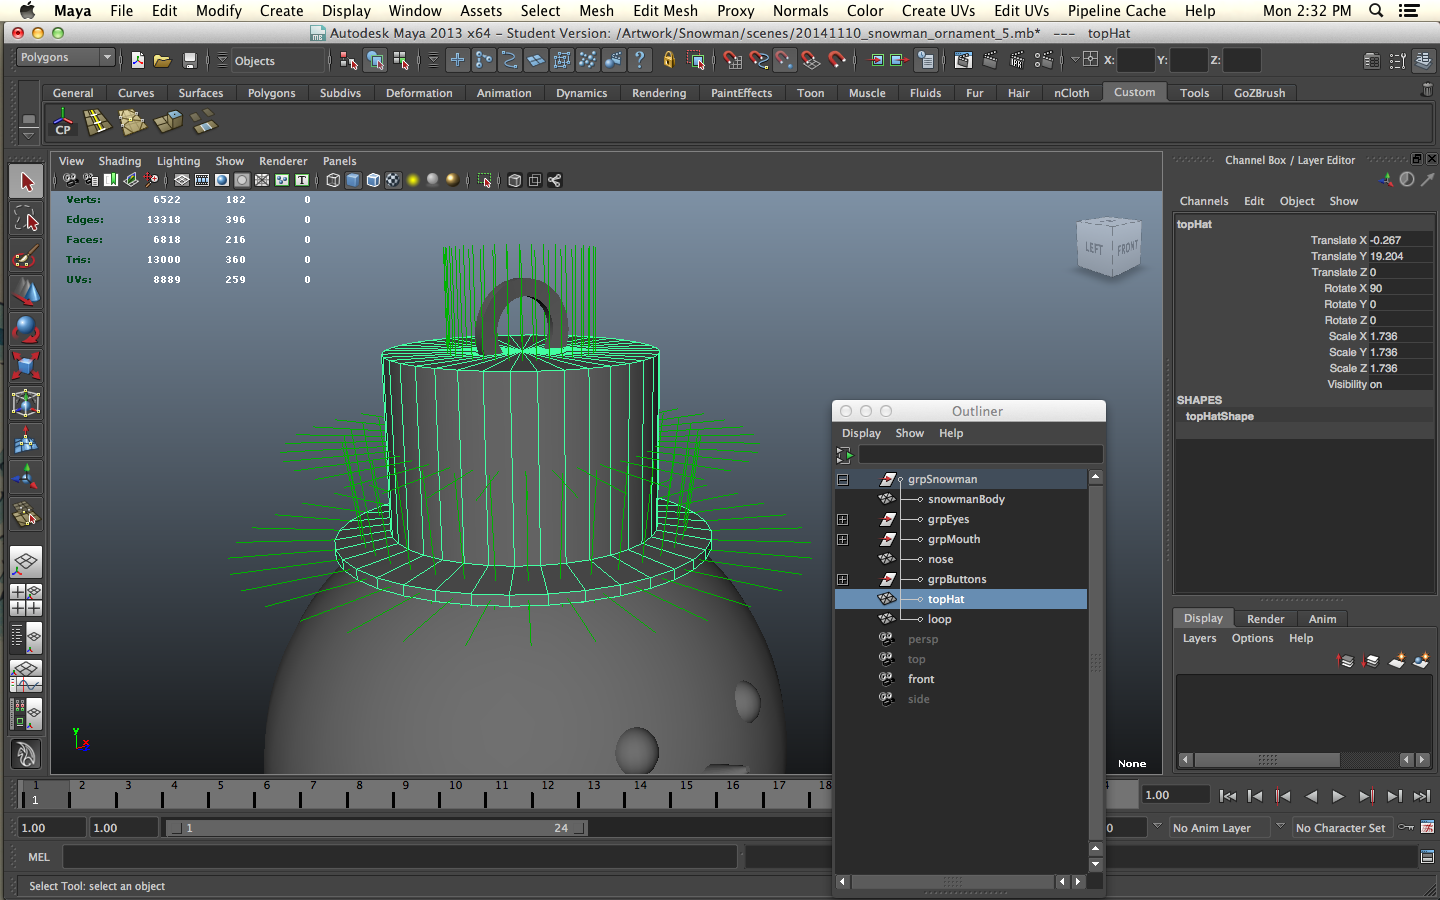
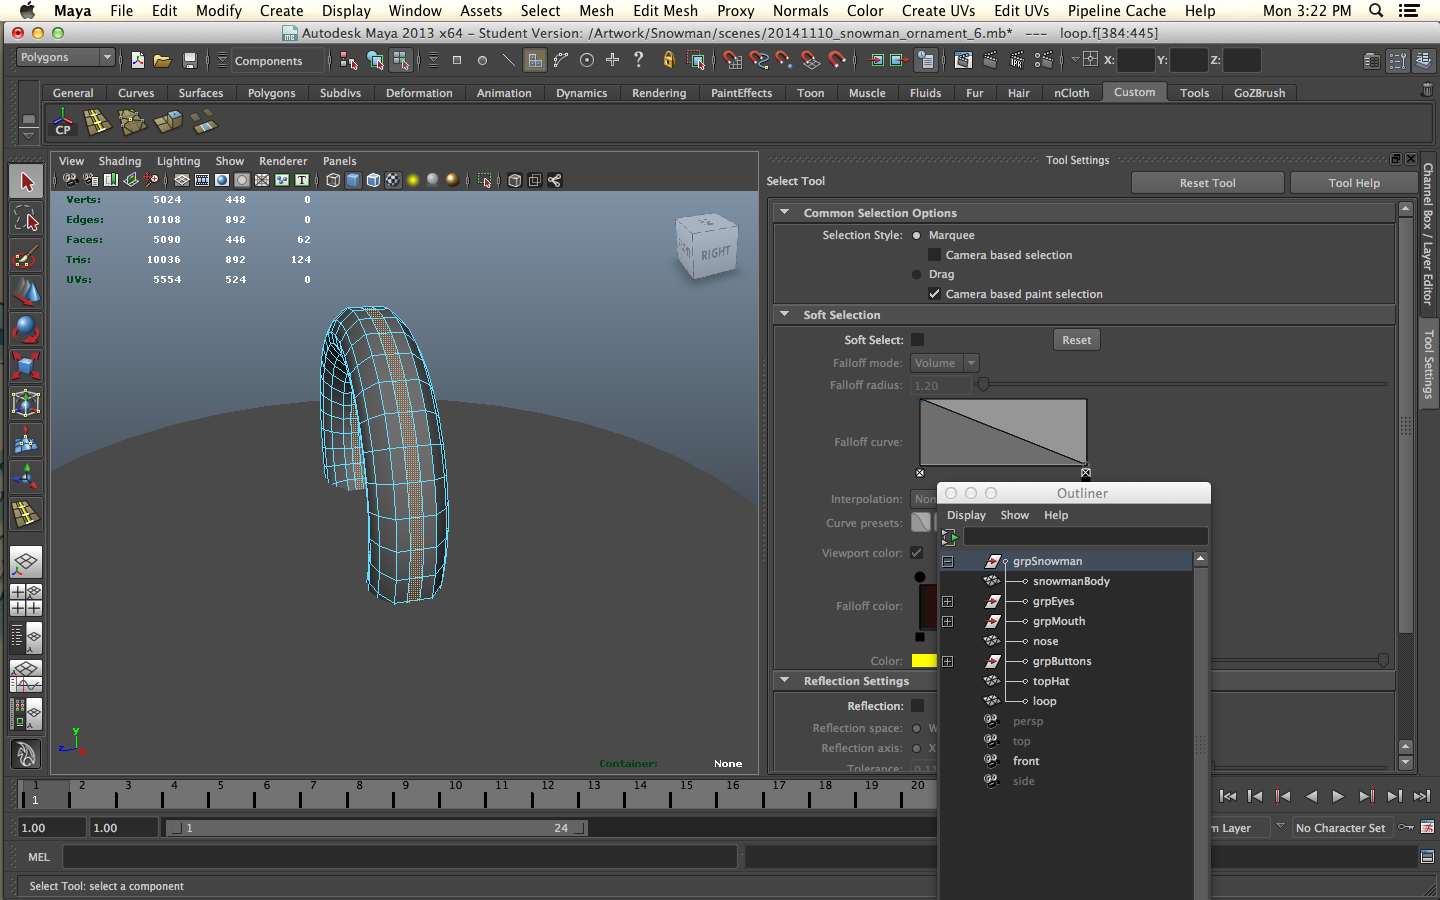
The model is nearly done. I used a polygon pipe to the loop will enable us to tie the snowman to the Christmas tree or light string. I deleted the extra polygons on one end of the pipe so that I had a little more than half left and I sealed the holes with extrudes and merge vertex. After I got the loop in its final position I added some edge loops to the side and top and pulled those inner polygons out to round off the edges of the loop. I left the inside straight.`
Getting Ready to Print
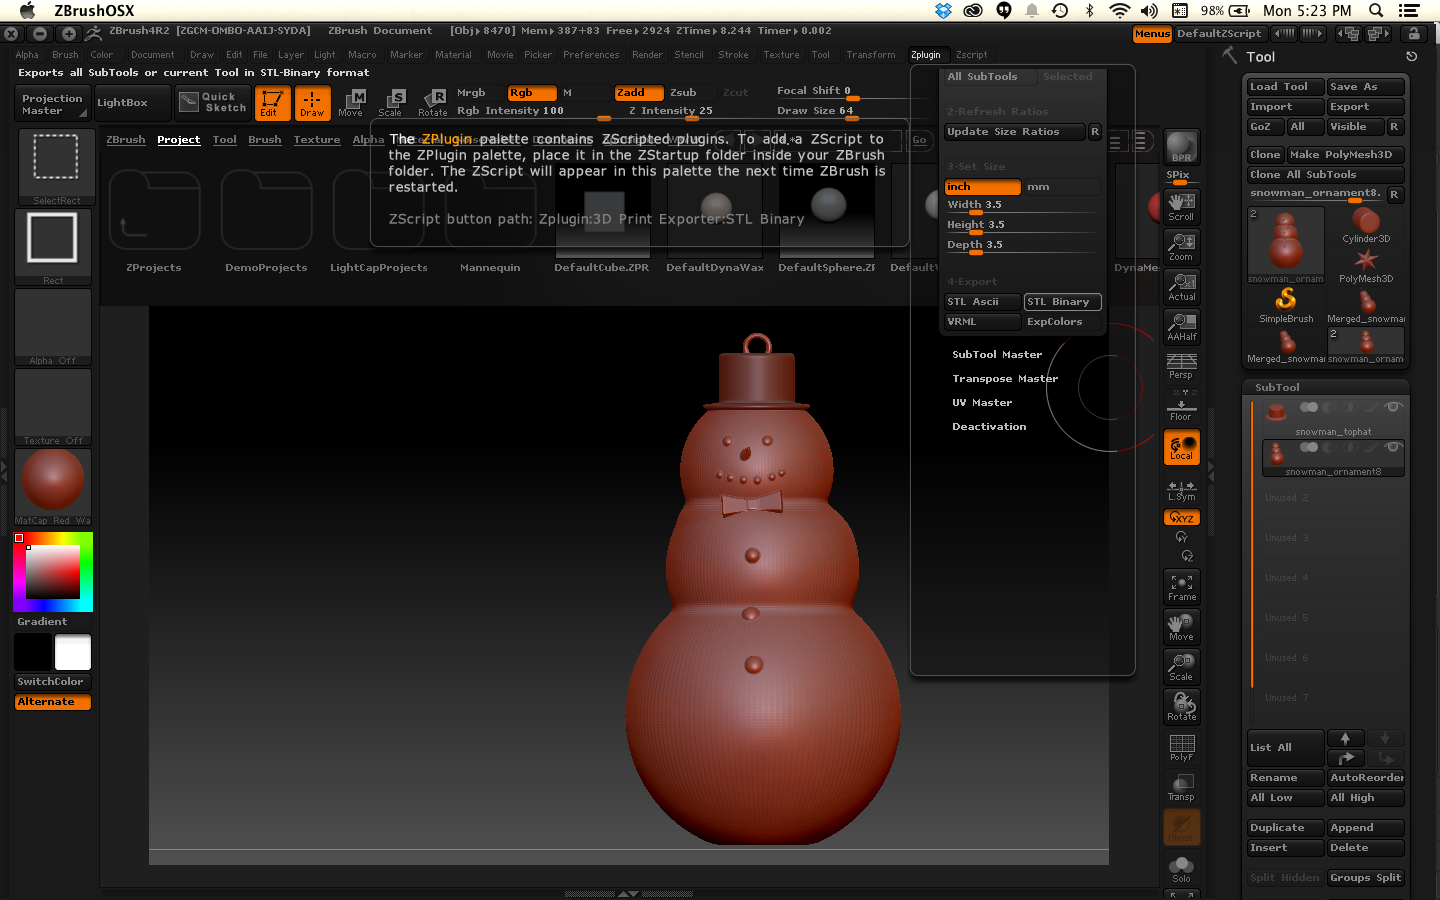
Import the .obj file into ZBrush. I added a subdivision level to the whole model to make it smoother. Under ZPlugin use the 3D print subtool to save it as an .stl file. It may be preferable to change the dimensions from inches to millimeters for printing. I ended up setting mine at 127mm, which is 5 inches, the height I wanted to print.
Problems and Solutions
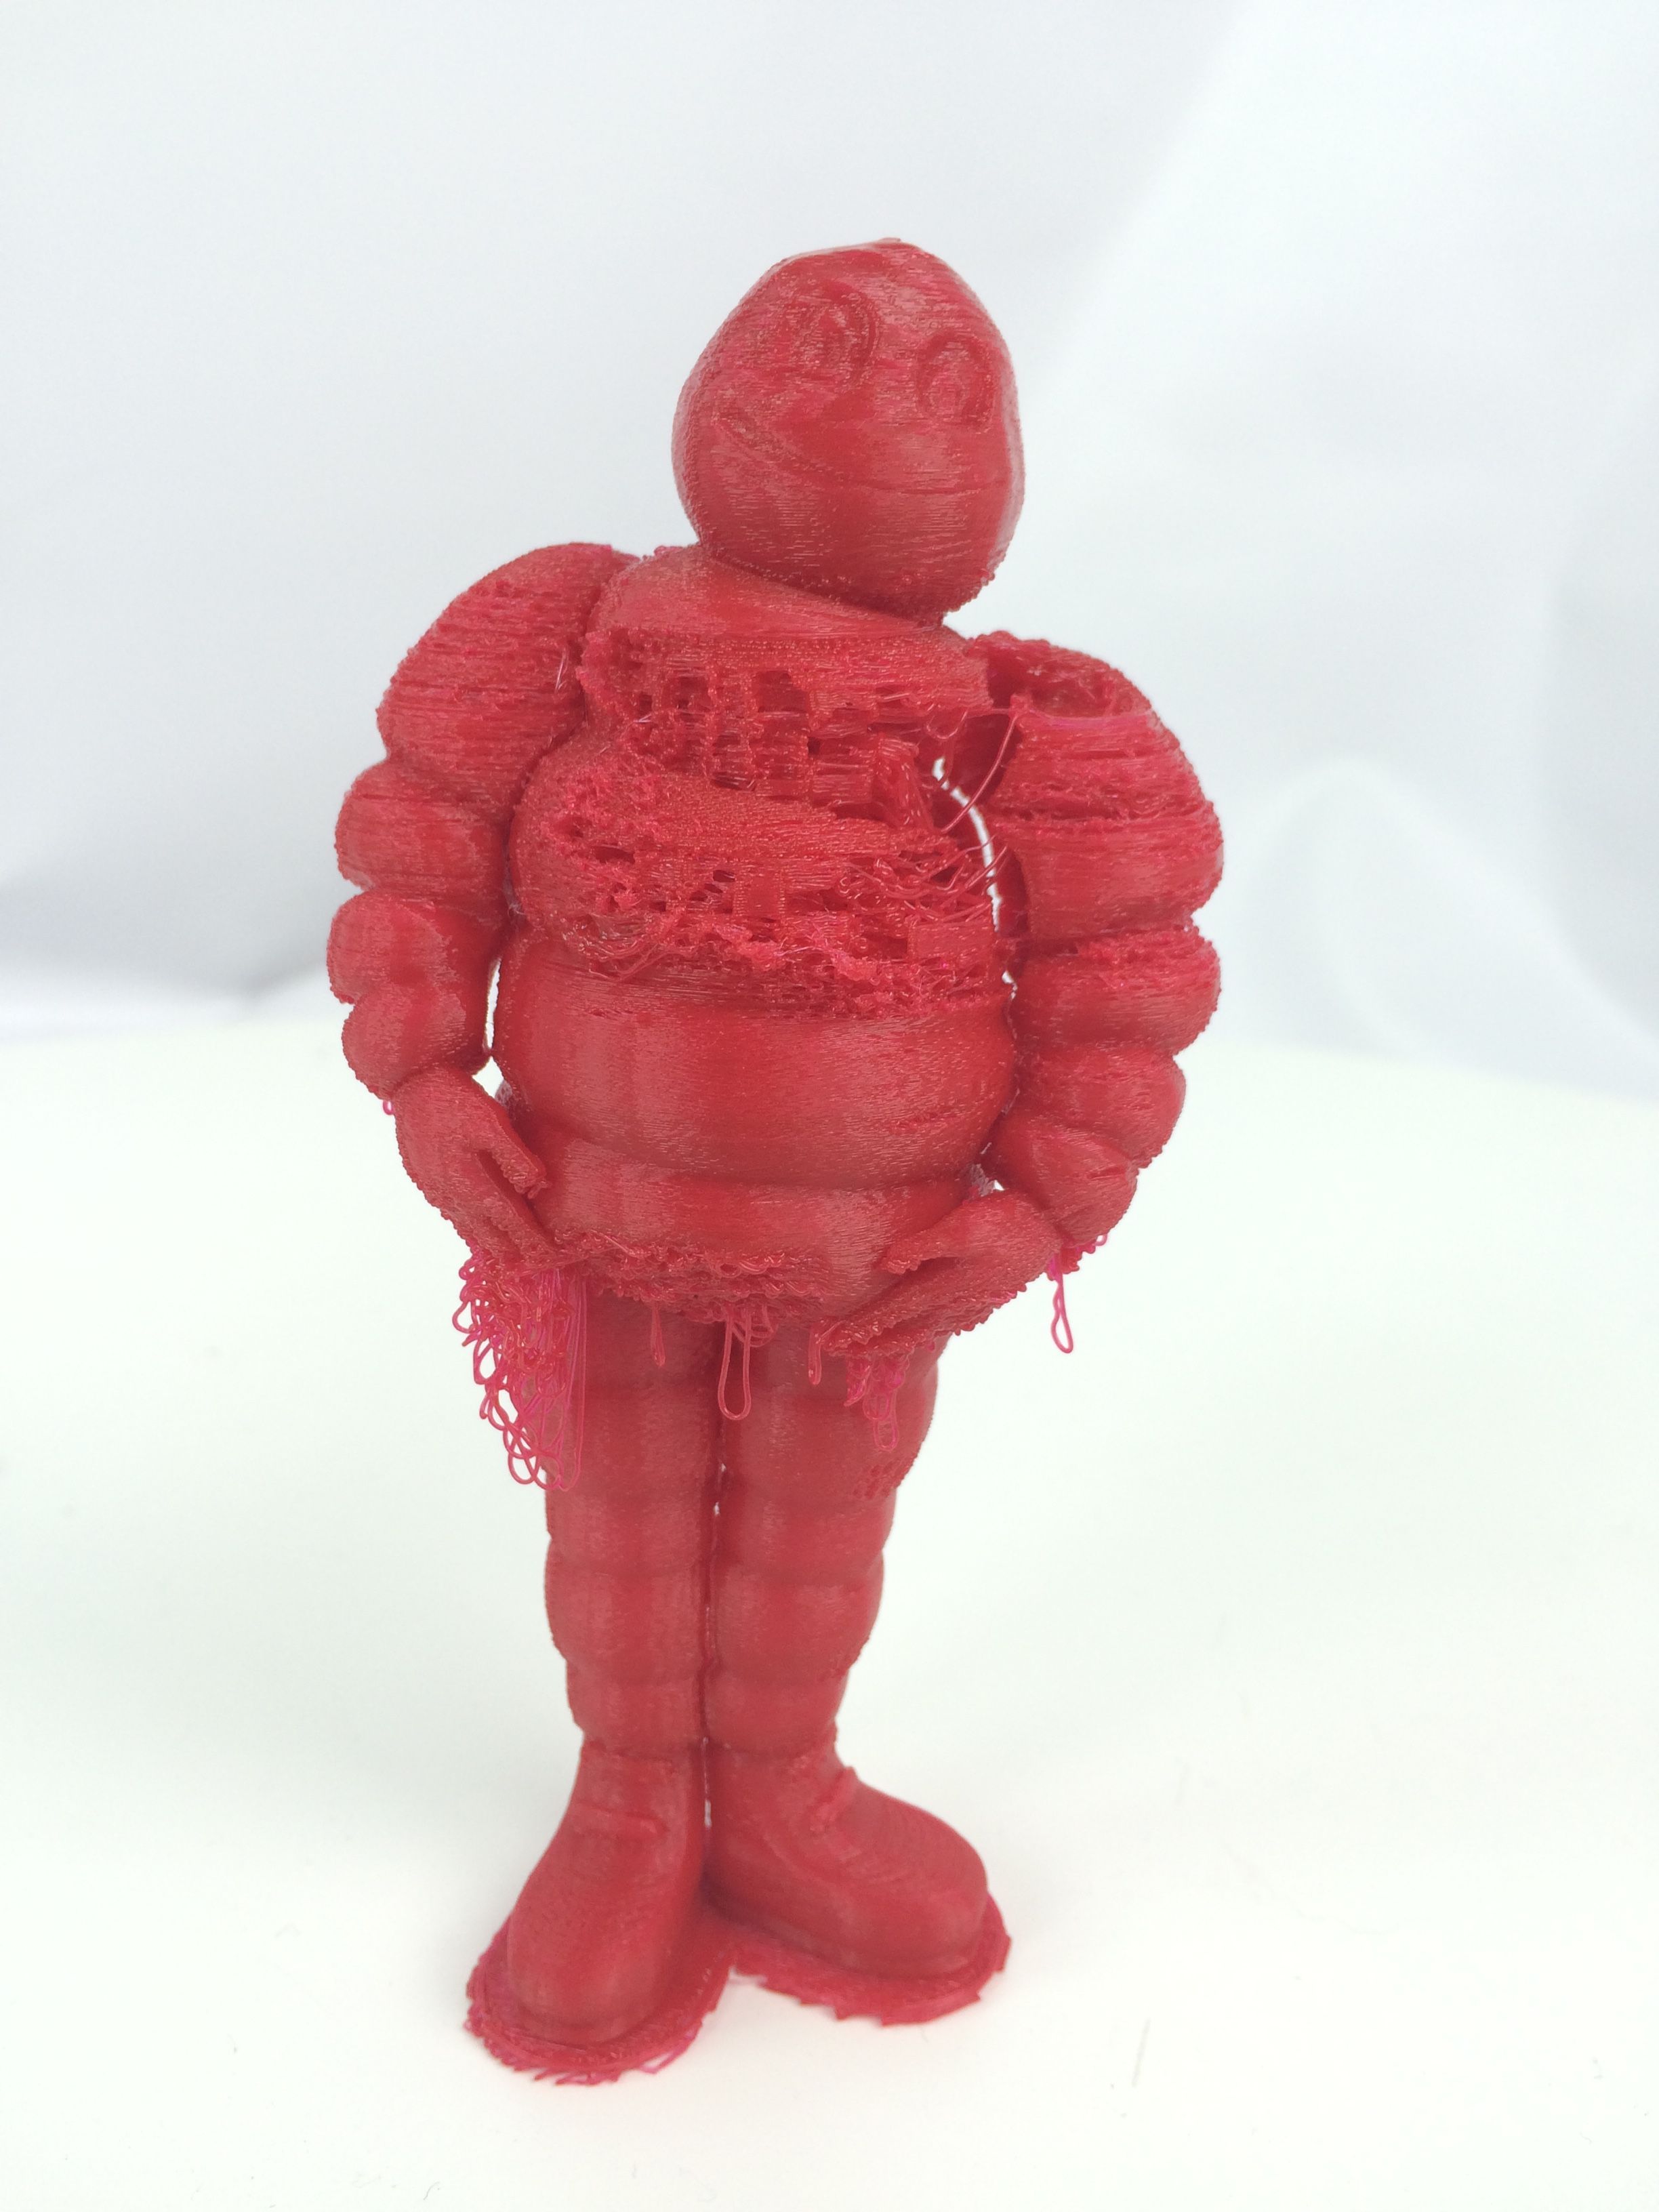
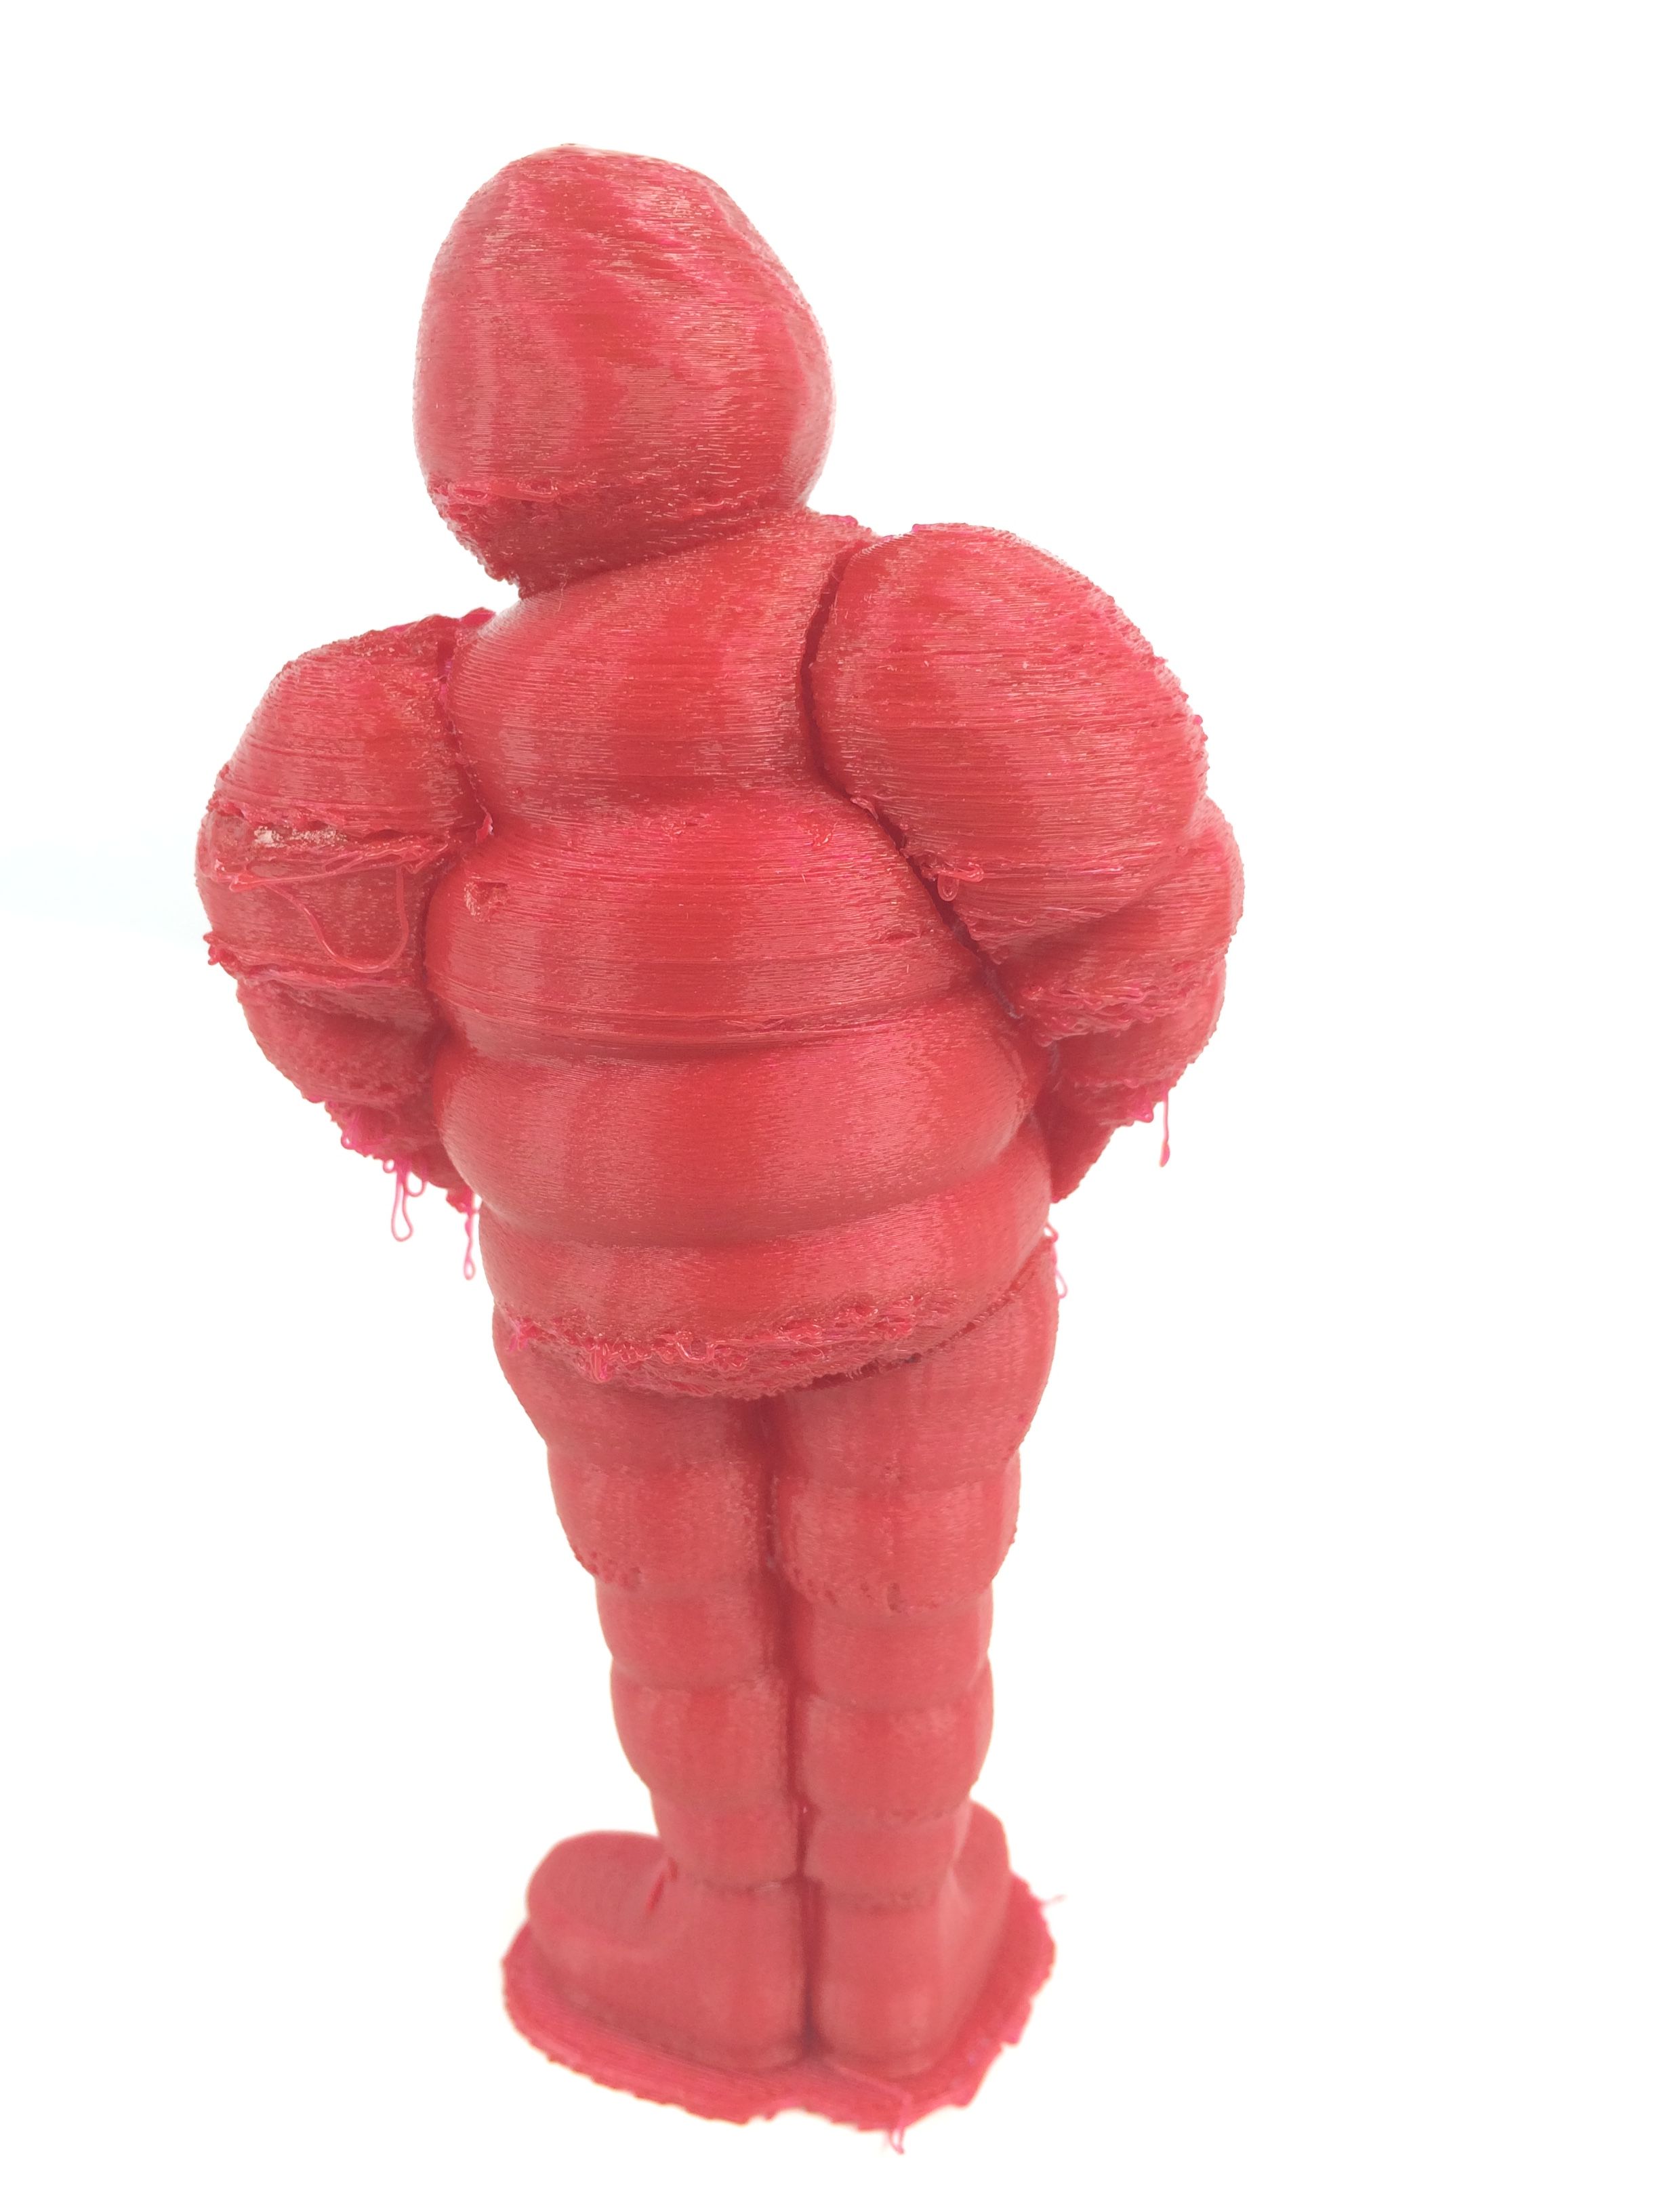
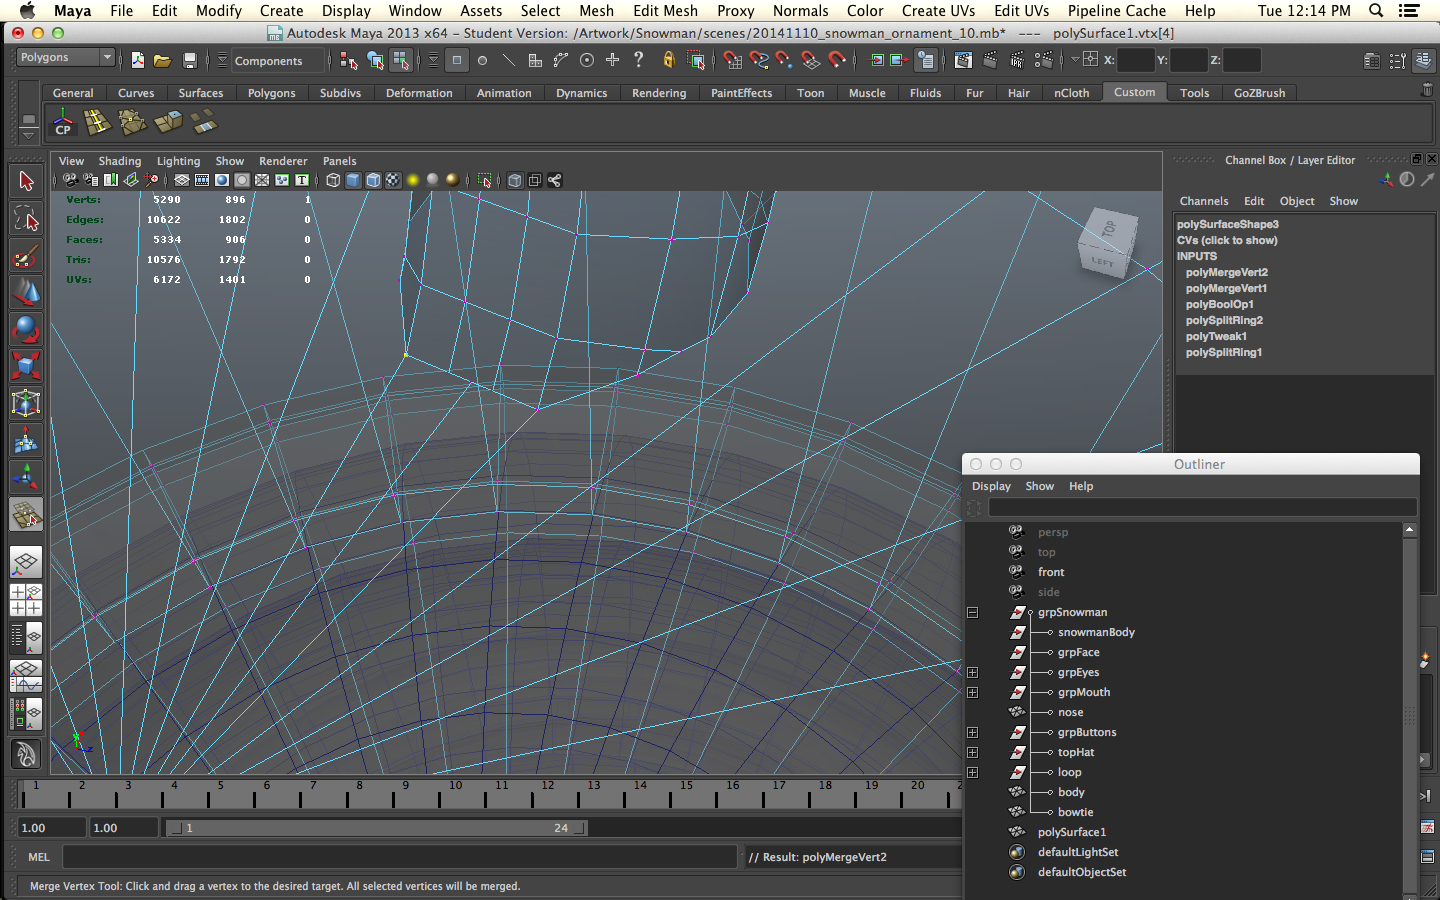
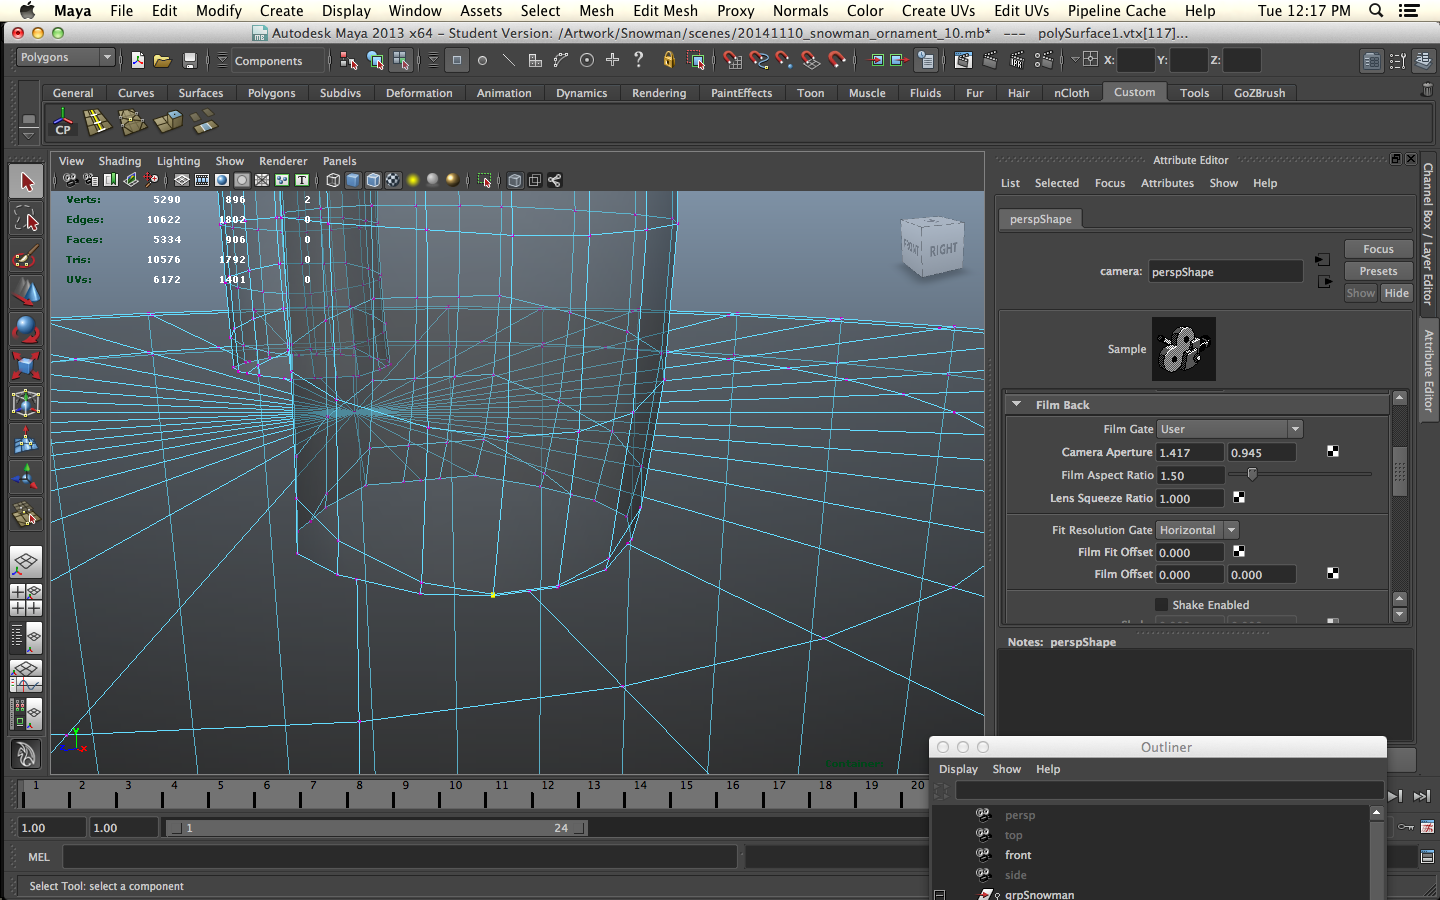
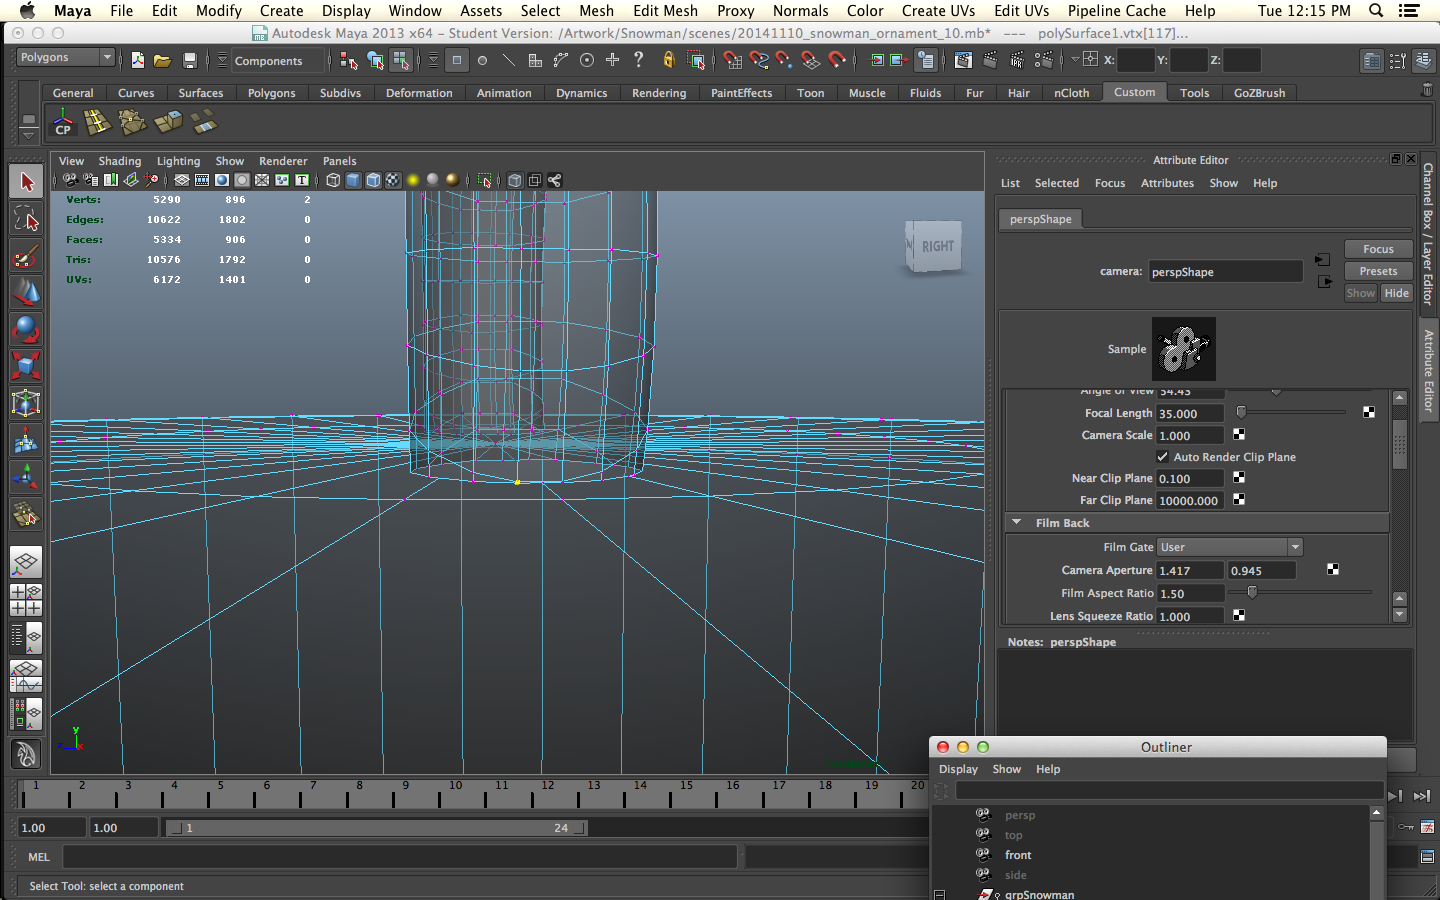
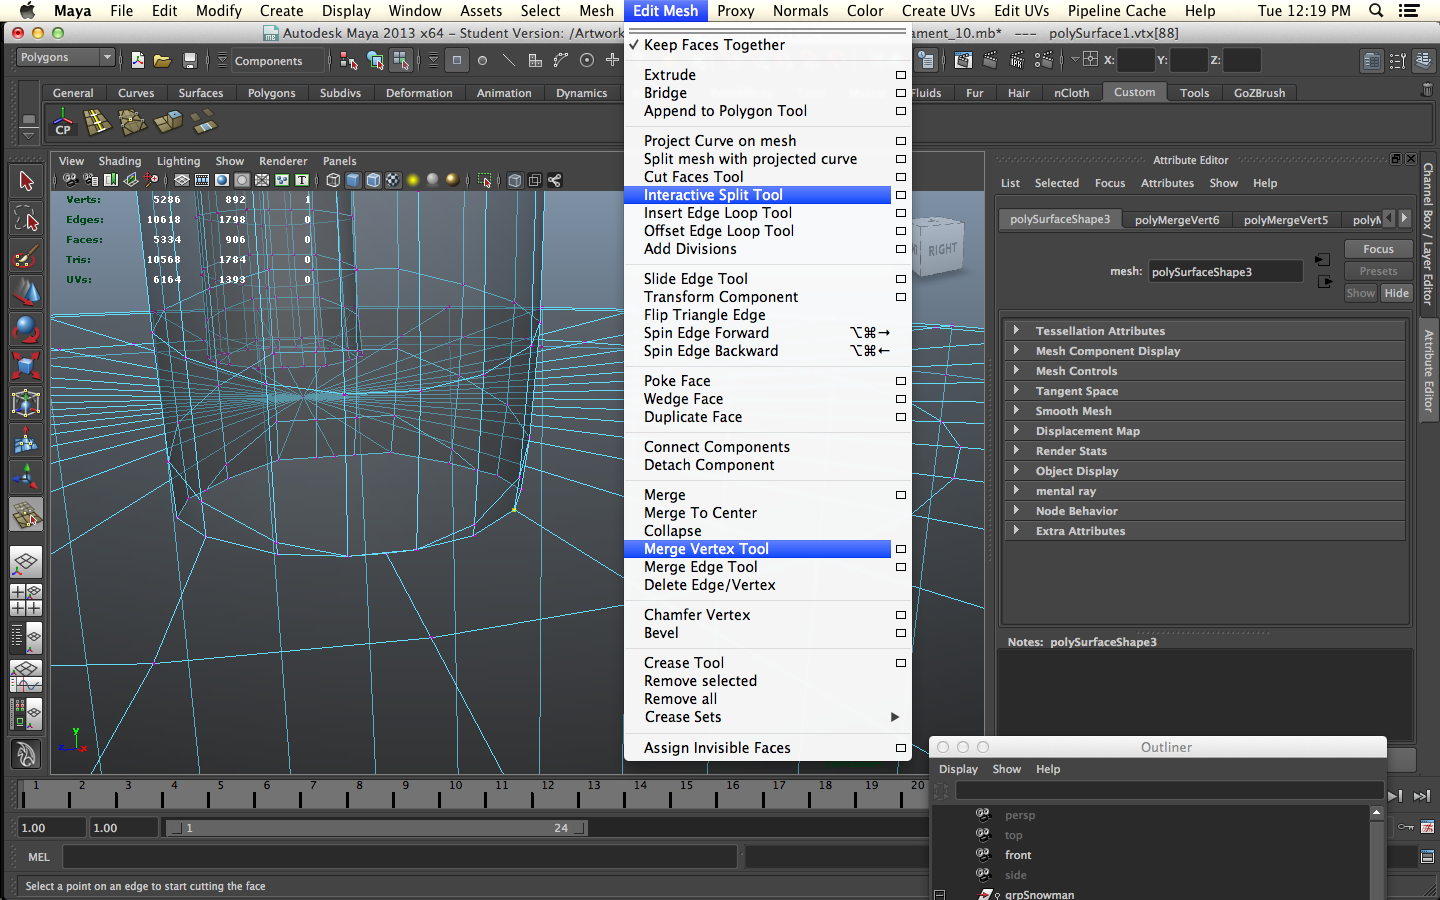
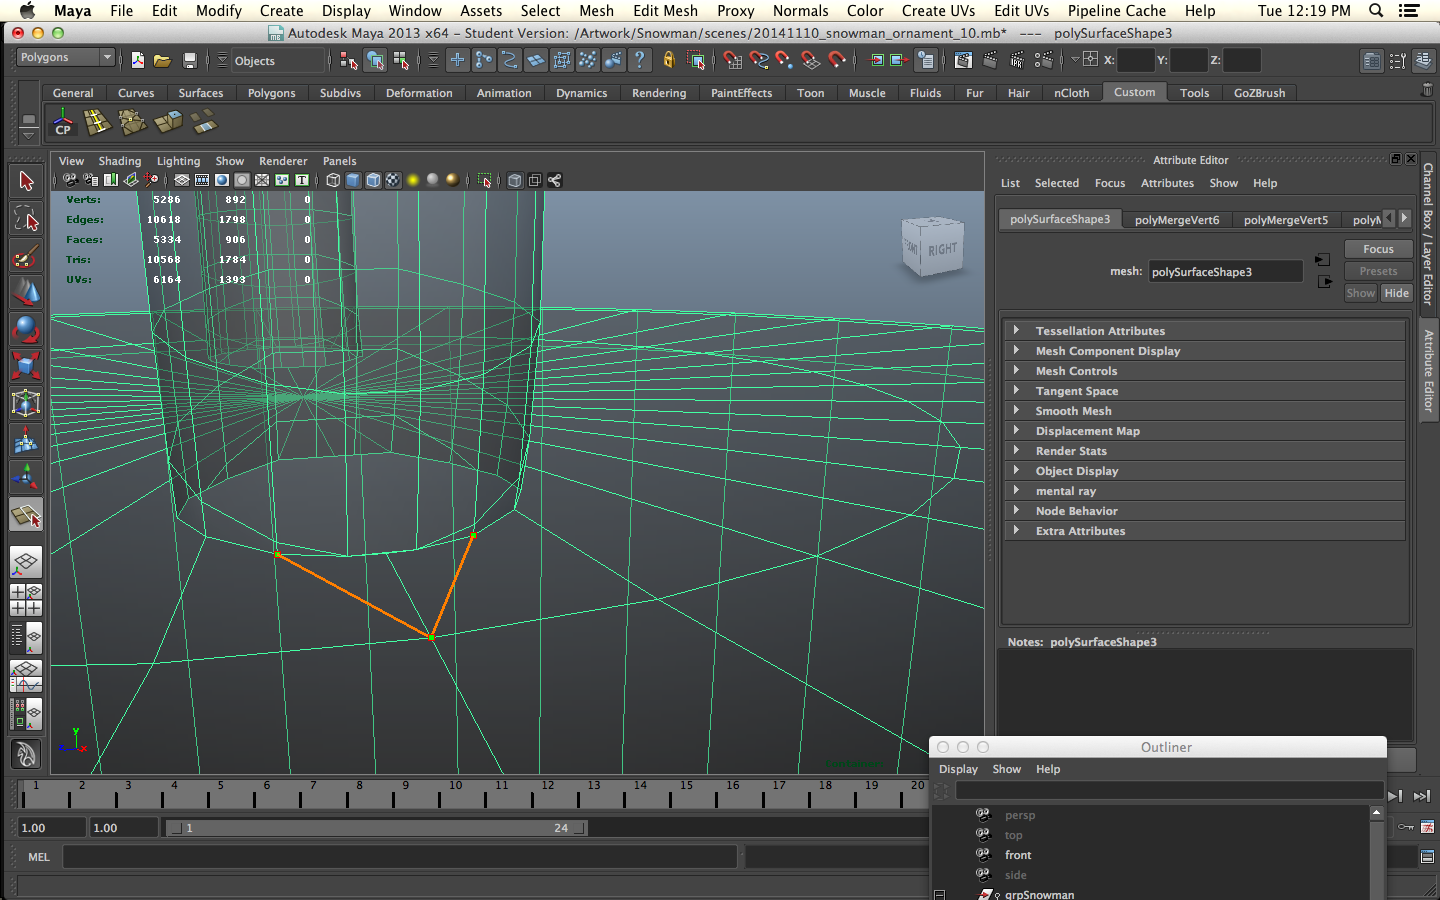
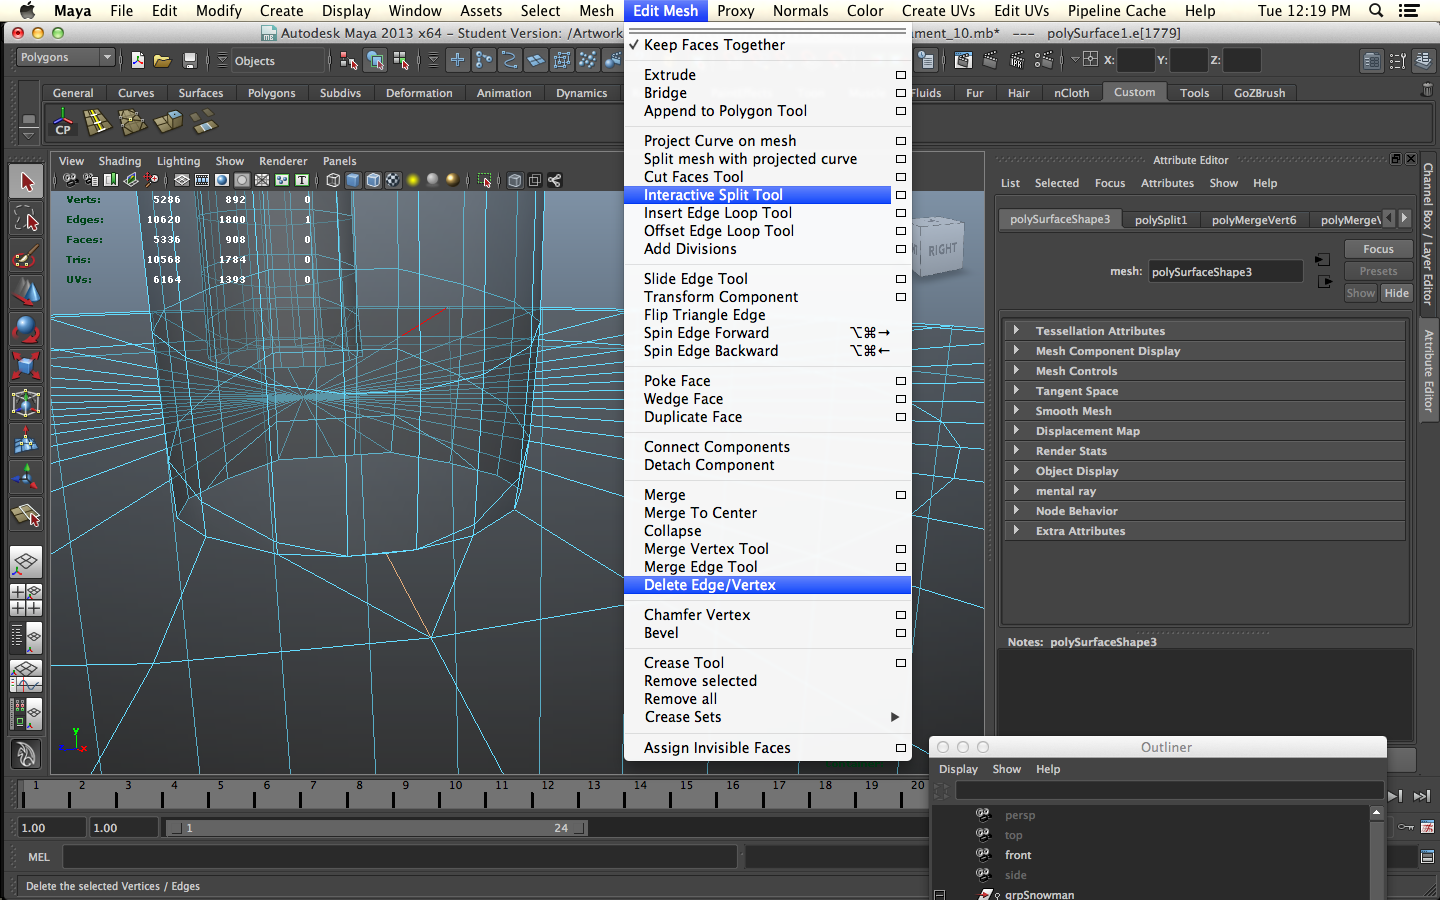
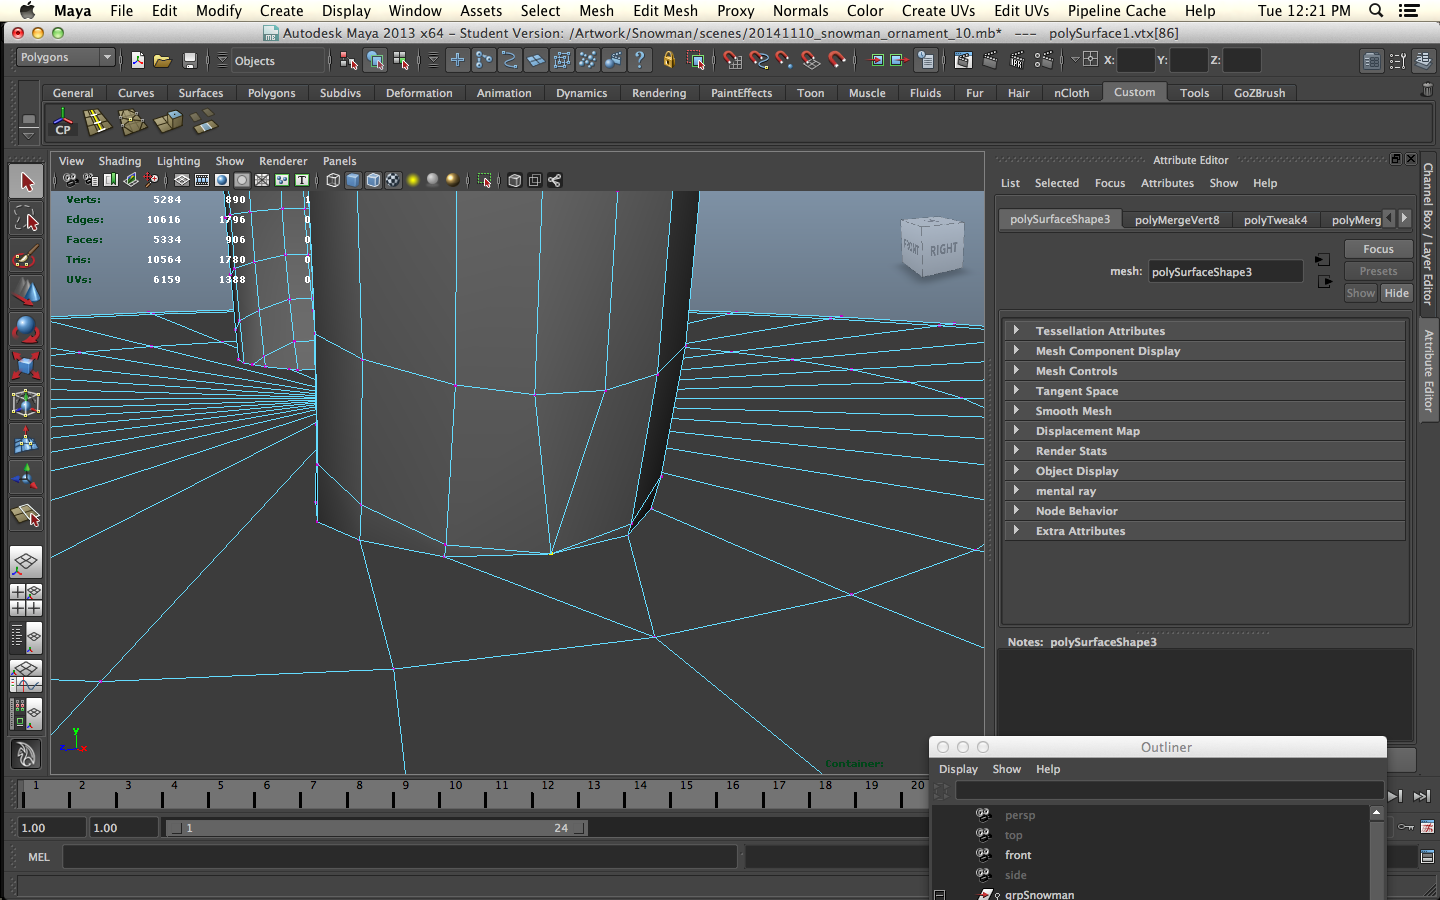
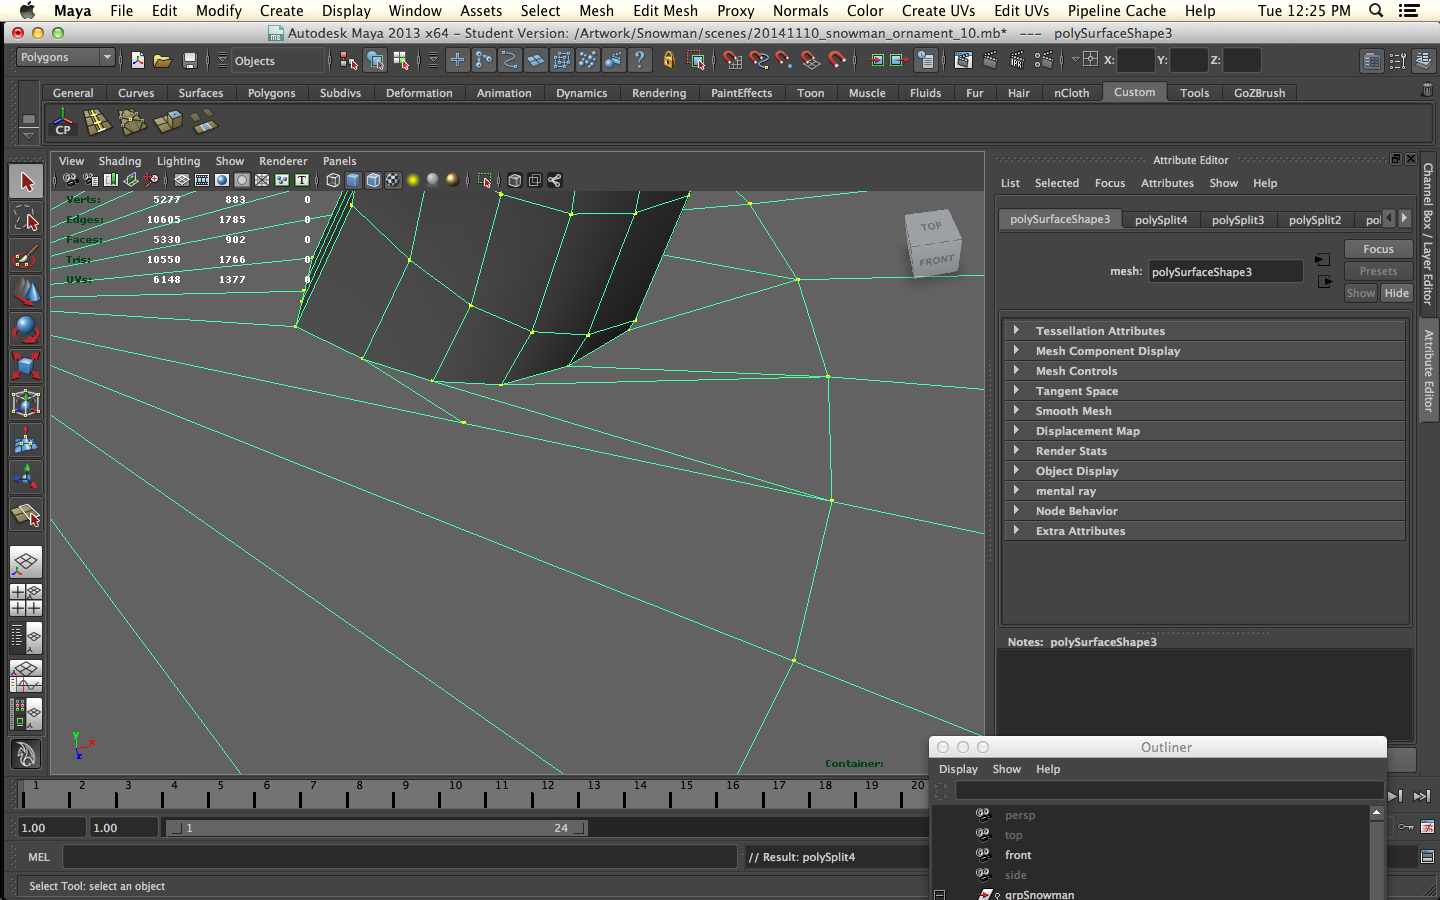
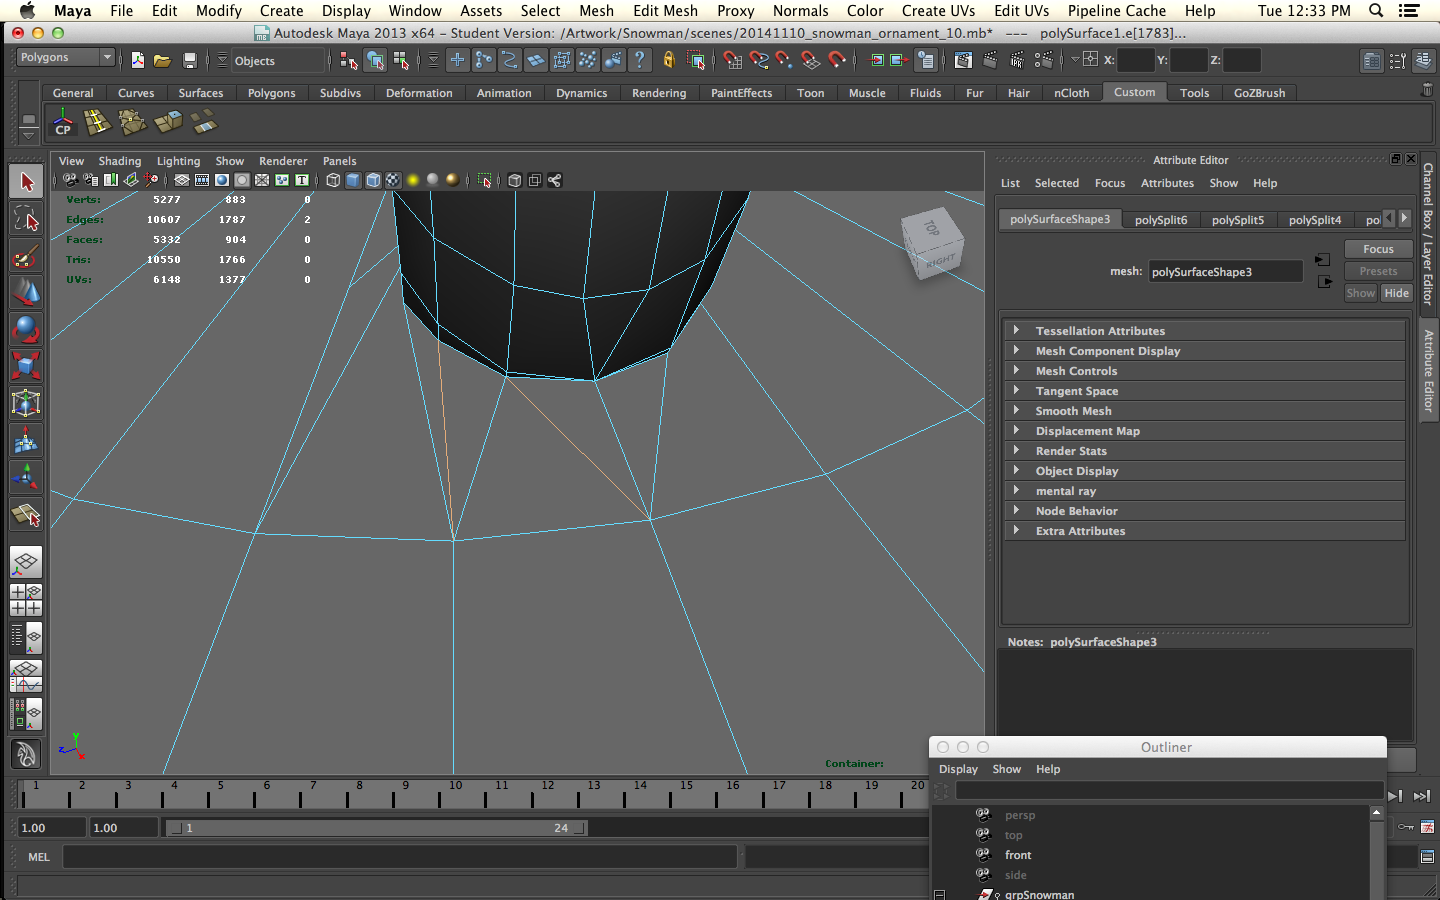

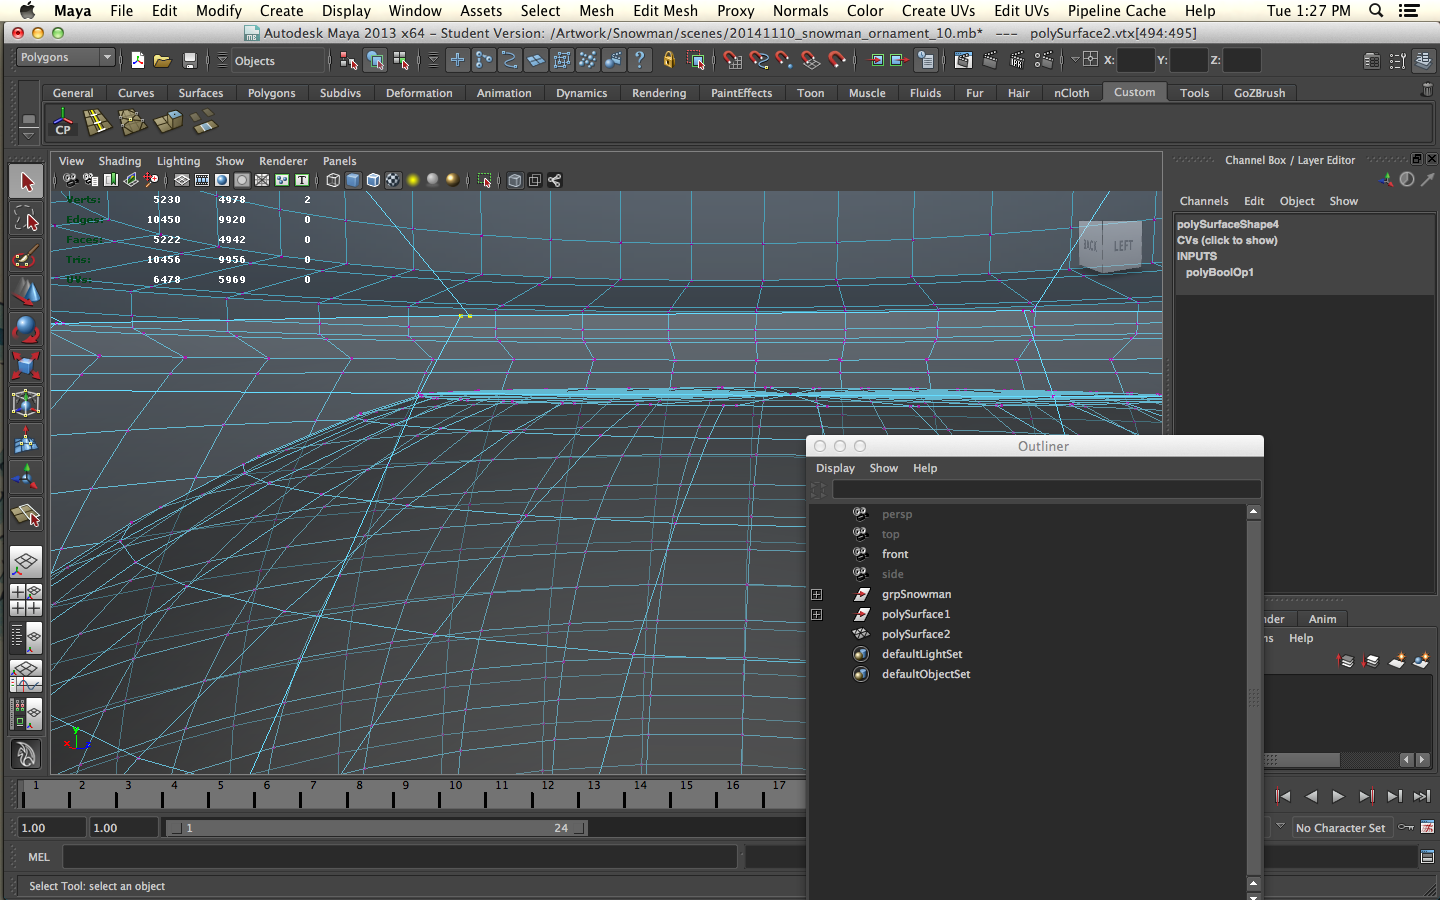
Observing the problems with the print of another model, I realized that the snowman probably wouldn't print well either. 1 error I made was leaving all the objects as separate intersecting objects. Instead combine all the parts of the model into one mesh so it will print correctly.
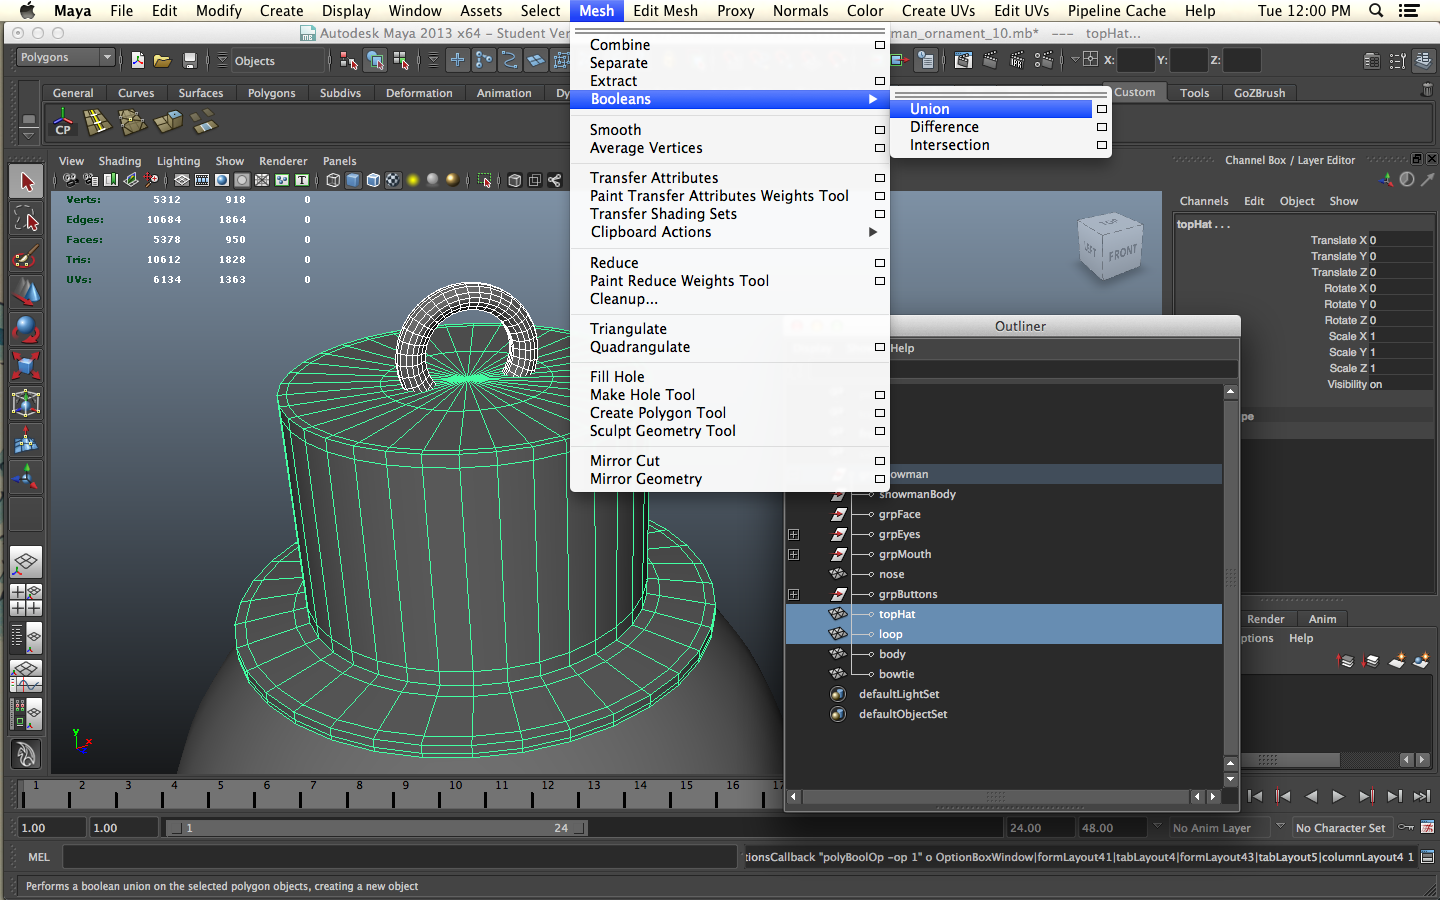
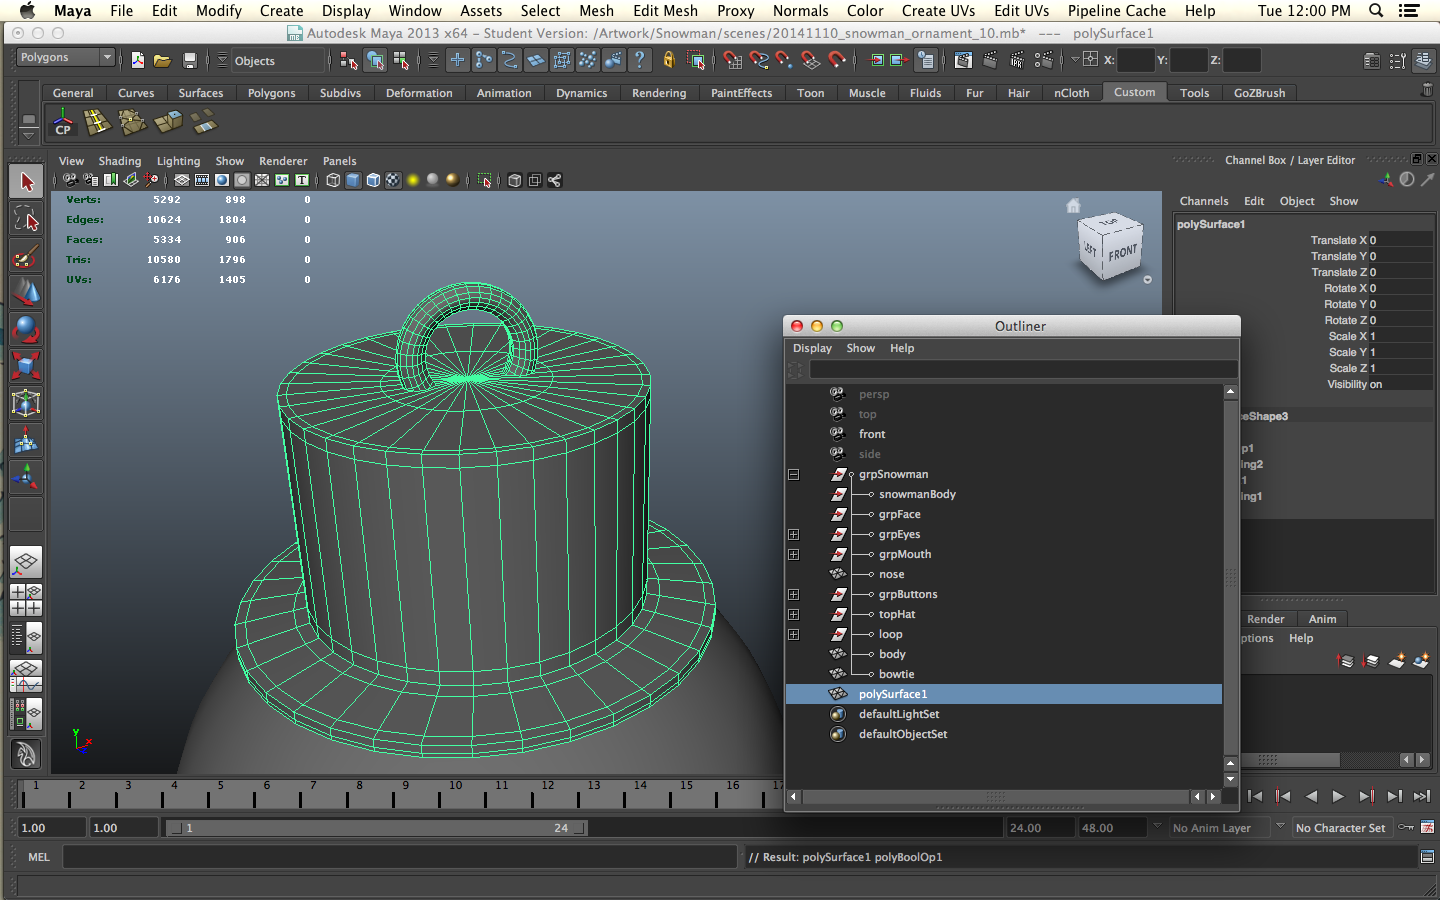
The thing to do is to use Boolean Union. Select two of the parts, I started with the hat and loop, and go to Mesh > Booleans > Union. Now the hat and loop are one poly object and the extra polygons of the loop that intersected the hat are gone.
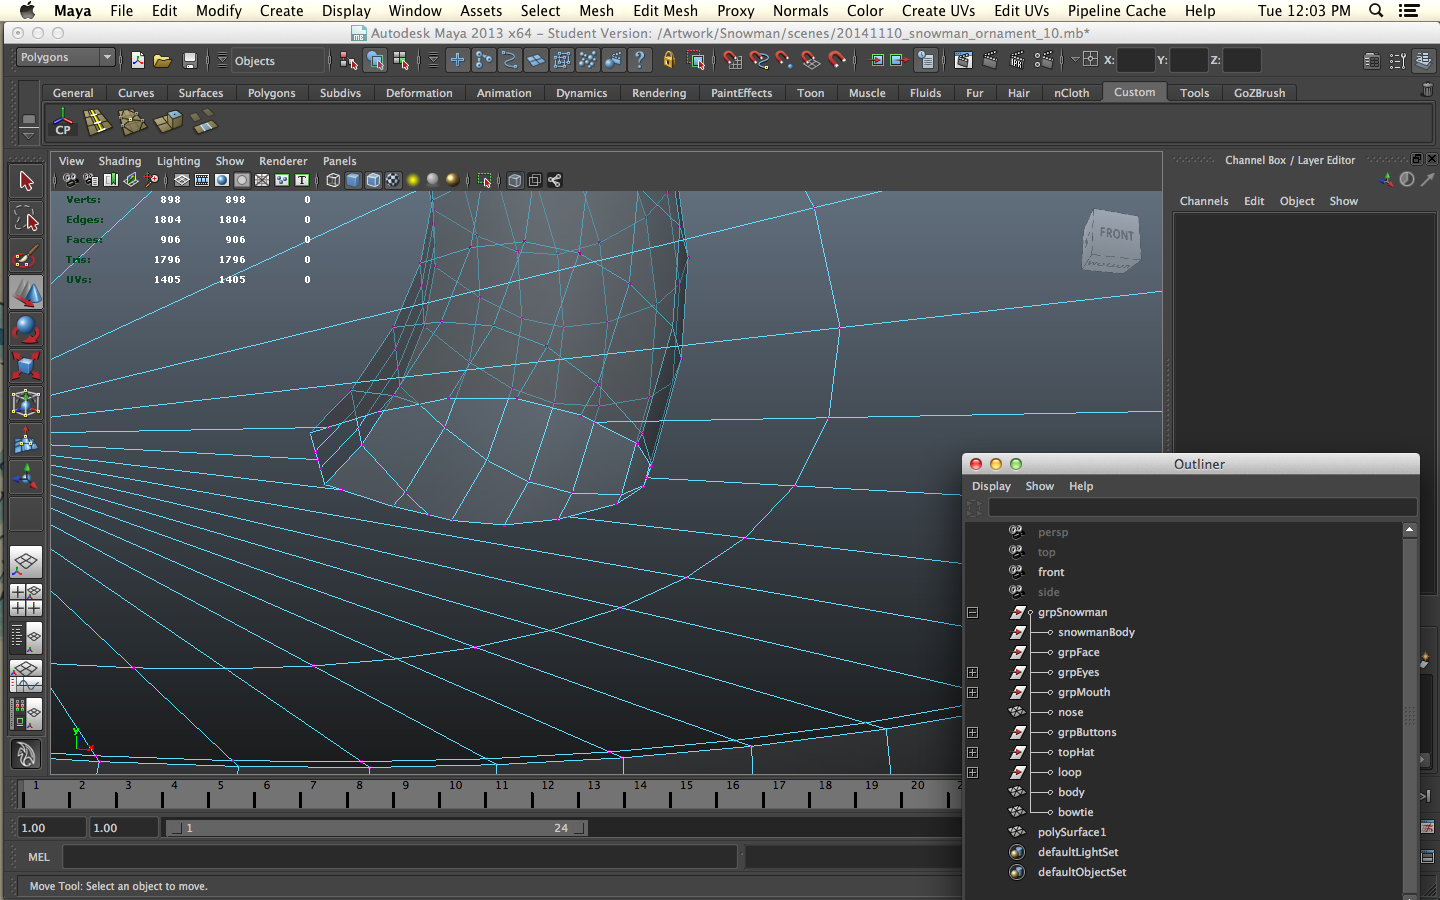
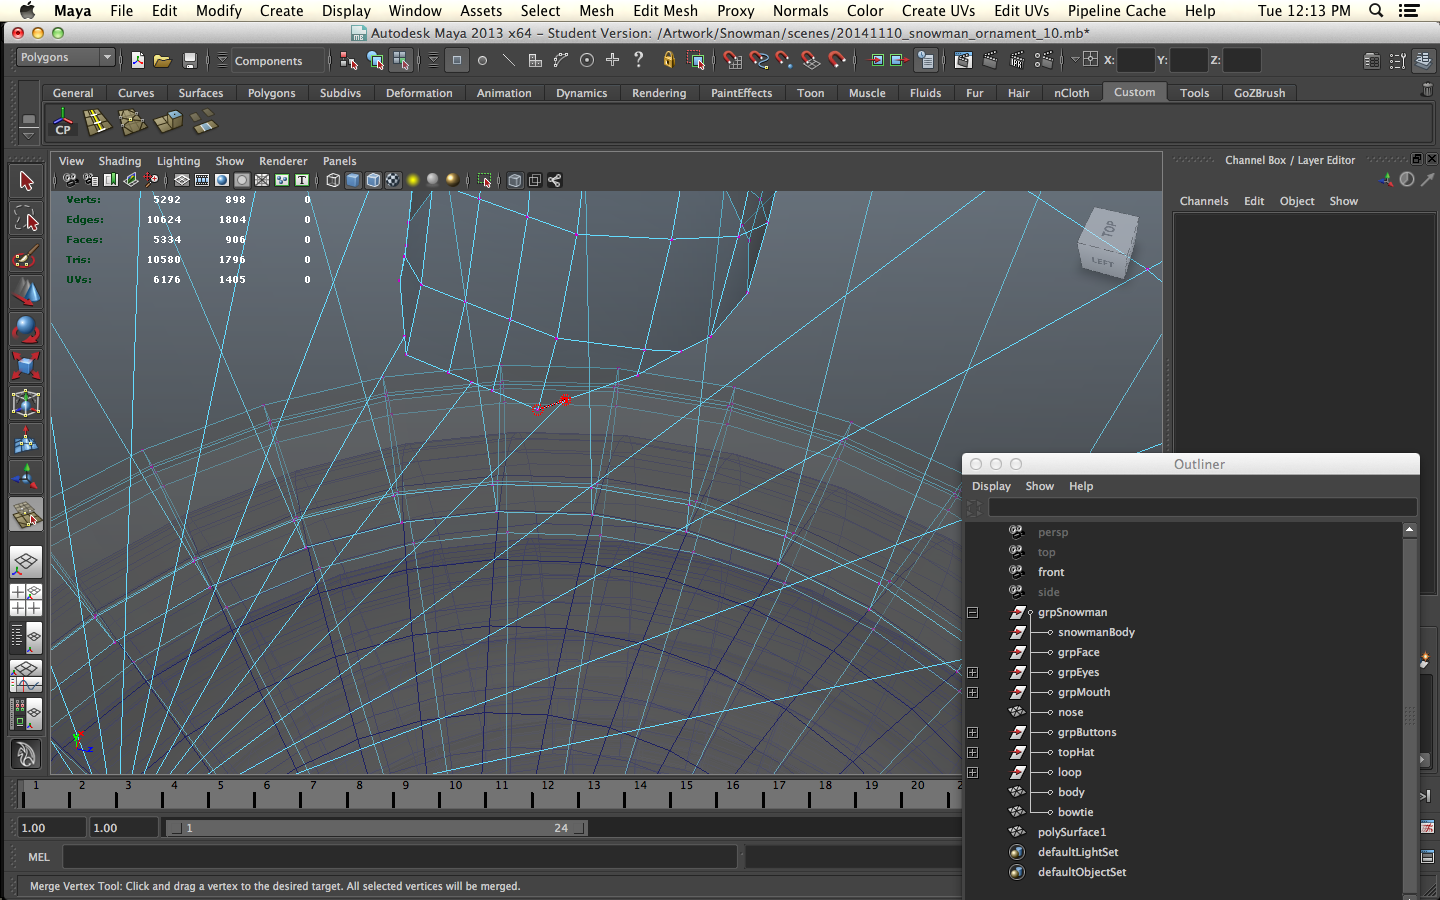
The new problem is that there are too many vert where they meet since the loop had more detail. To fix this we are going to create some new geometry and merge some vertices. There were some verts that were really close together that I simply merged them to each other. See the photos above. I create some truly ugly geometry that you'd never want to use for animation but should be fine for printing, especially if we don't subdivide again.
Once you go through your cleanup you may be able to go back and make some nicer geometry as I did. I didn't boolean the eyes, nose, mouth and buttons. I figured they would print fine since they are small details since that's what I've seen with other prints. We shall see...
The hat and body should go together very well. They have the same number of subdivisions but when you boolean there verts won't be merged. Just go around with Merge Vertices or Merge to Center to fix the mesh.
This time I'm going to skip adding subdivision levels in ZBrush and just use it to produce the .stl file.
Print Fail, Fail And... Success!
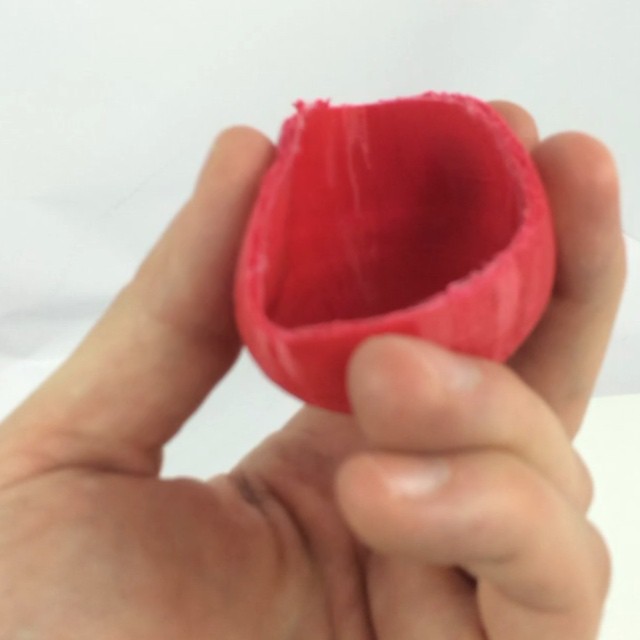
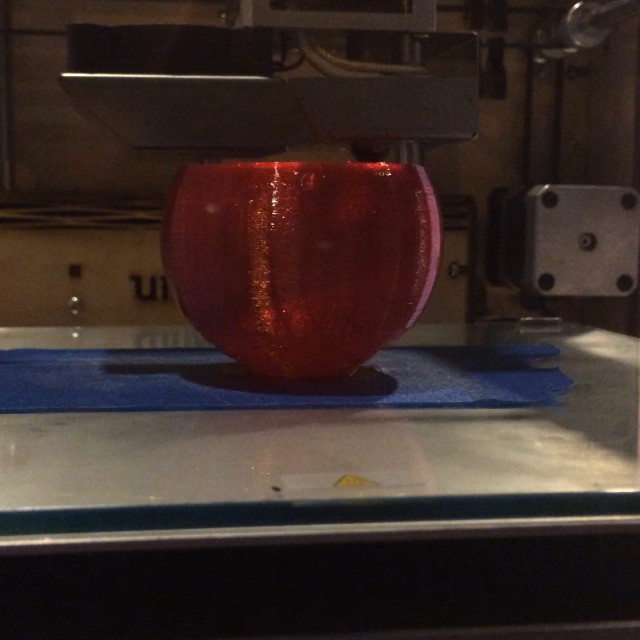

I updated the .stl file. The NinjaFlex print... failed. I swear this time it was not my fault. I was using a Makerbot Replicator 2X. The extruder clogged during printing. The video shows the bottom of the snowman and you can see the hole where the Christmas light will go.
Here's the settings I used:
30mm/sec extruder speed, 0.2mm layer height, 10% infill (which seems to give it a nice crinkly sound when squeezed and it deforms well), 225 degrees C for the extruder temp, 50 degrees C bed temp.
Make sure when printing with NinjaFlex to give some slack to the filament off of the spool. If the filament pulls when feeding into the extruder you'll have problems.
Update 11/13/14: After another failed print, this time on the Ultimaker Original. I'm running another one, also on the Ultimaker Original. Looking good so far. Slowed it way down. Here's the new settings for NinjaFlex...
Extruder Temp: 235 C
Speed: 15mm/sec
Layer Height: 0.2mm
Infill: 15%
Shell thickness: 0.8mm
brim, no support, no heated bed, NO RETRACTION (very important).
Also, make sure that there is a good amount of slack off of the filament spool.
I'm also printing in t-glase or High Strength PETT. That print was looking nice, too. Video above.
Here's the settings for that.
Extruder Temp: 212 C
Speed: 30 mm/sec
Layer Height: 0.28mm
Infill: 15%
Bed Temp: 75 C
Flow: 100%
Shell Thickness: 0.8mm
brim, no support.
Update 11/14/14: The NinjaFlex and T-glase prints came out nicely, especially the T-glase. NinjaFlex obviously needs a little babysitting and it messed up on the head and top hat overnight. Next thing is to light them up with Christmas lights. DONE!
Final Notes: It may be a good idea to reorient the top loop by 90 degrees so when the snowman hangs he faces forward. When printed at 5" or 127mm, the hole is a little big for one Christmas light, so they might slip out. Either print a little smaller, shrink the hole slightly or you can stick another Christmas light up there to make it brighter, like I did. Enjoy!
If you liked this instructable please vote! If I win the Formlabs contest I'll print out a special snowman ornament in resin. Thanks!