Flat Vector Image
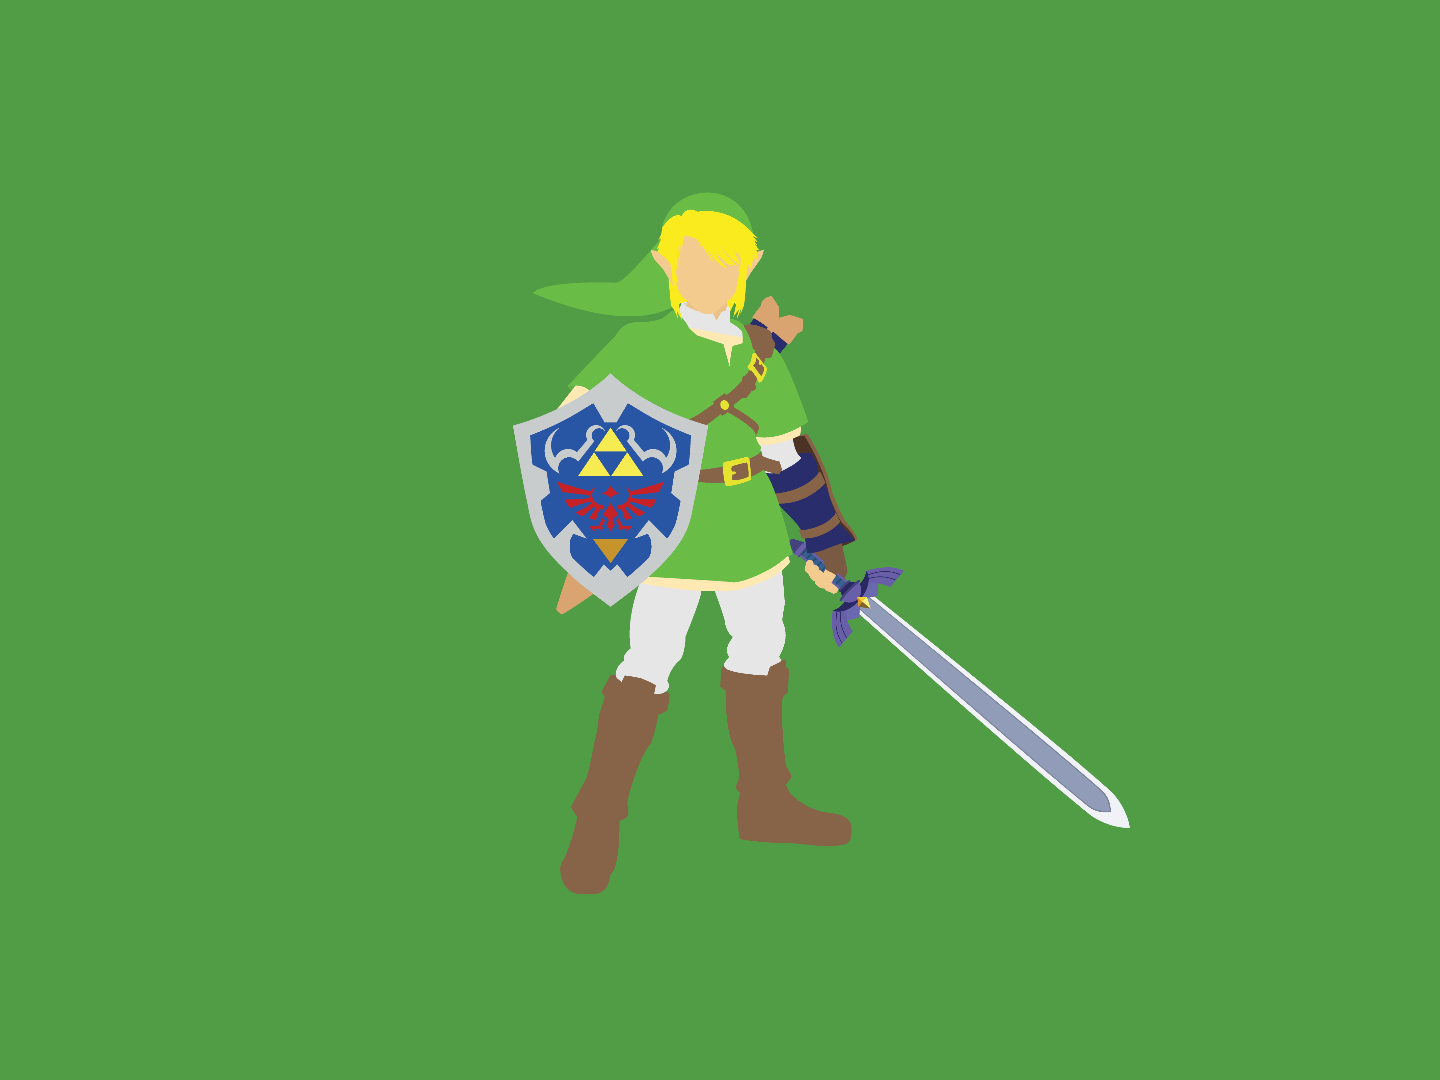

Hey guys, on this tutorial I'll try to teach you how to create a vector image to use as wallpaper, or as a part of your website, whatever. After this tutorial, you'll be able to pick an image and vectorize it. To do this, you will need
- Adobe Illustrator or any vector graphics software like Inkscape
- An image to use as a base
Setup
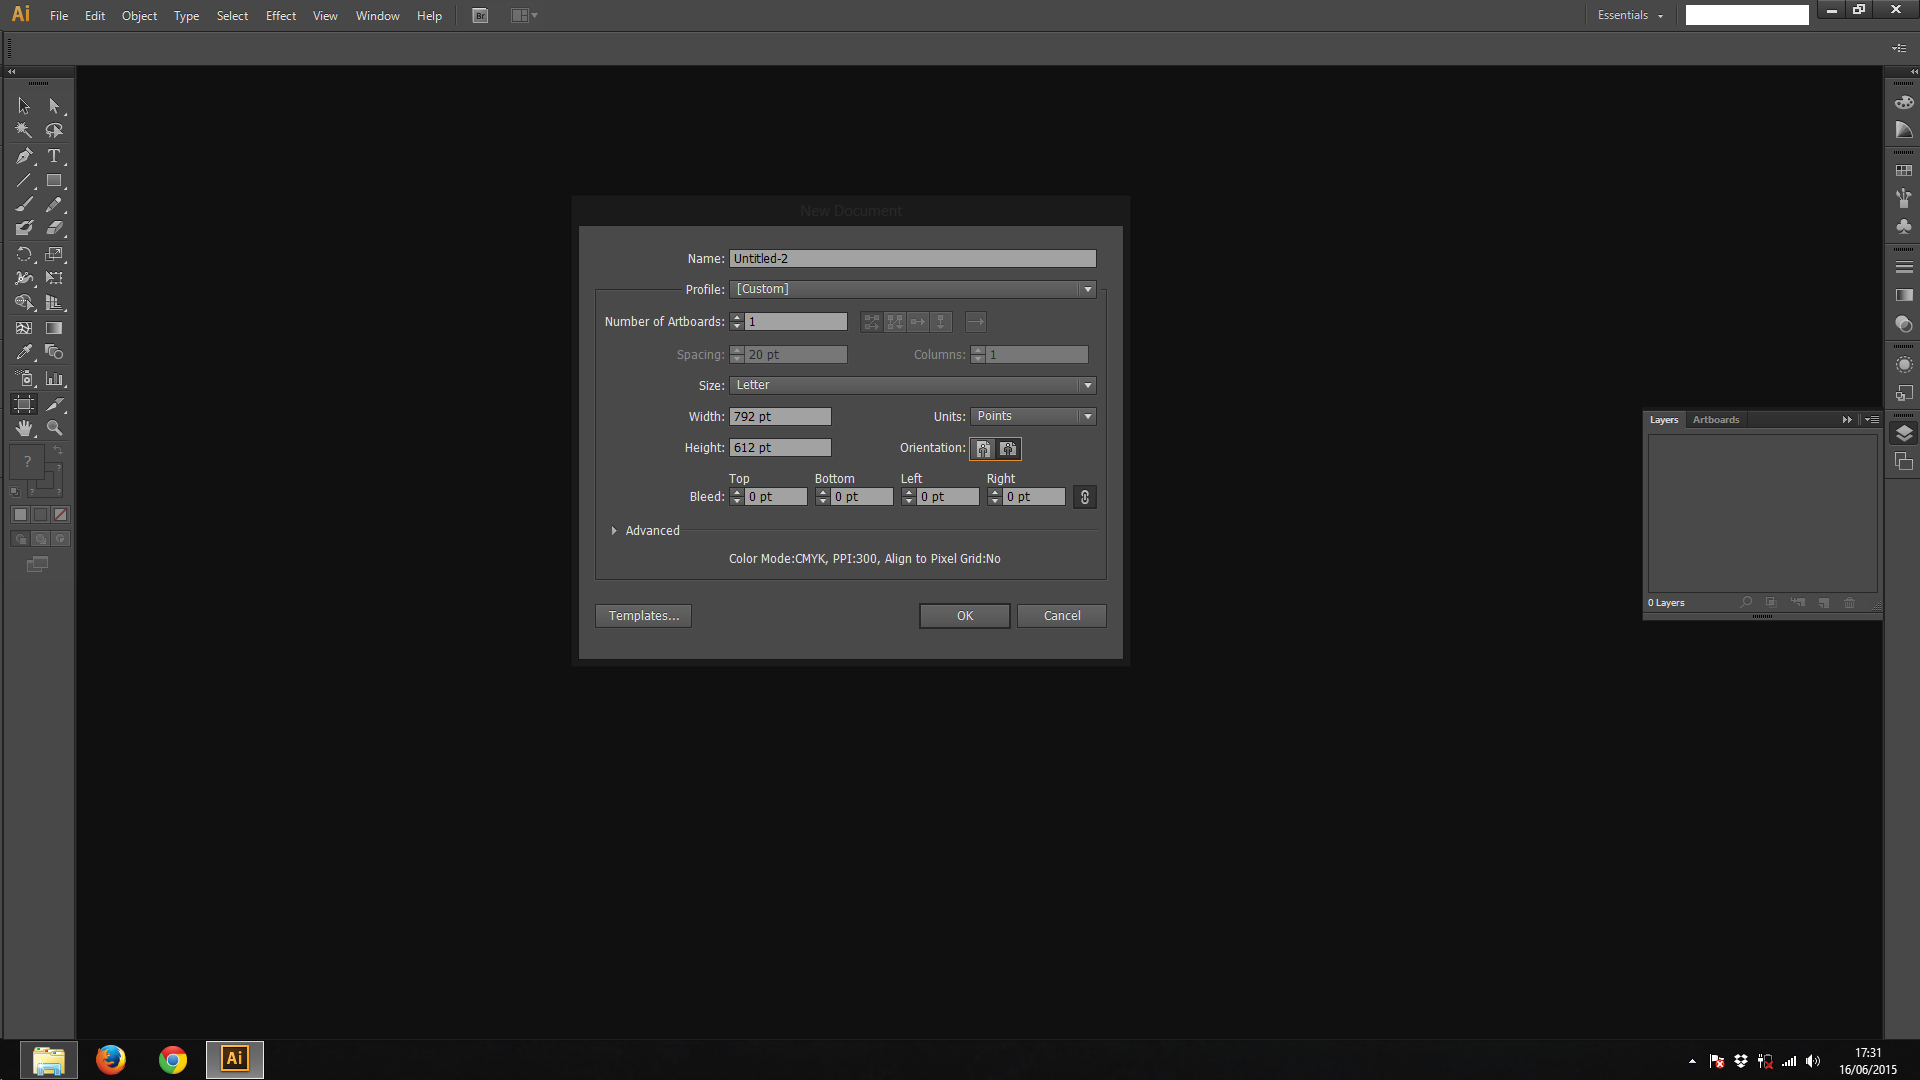
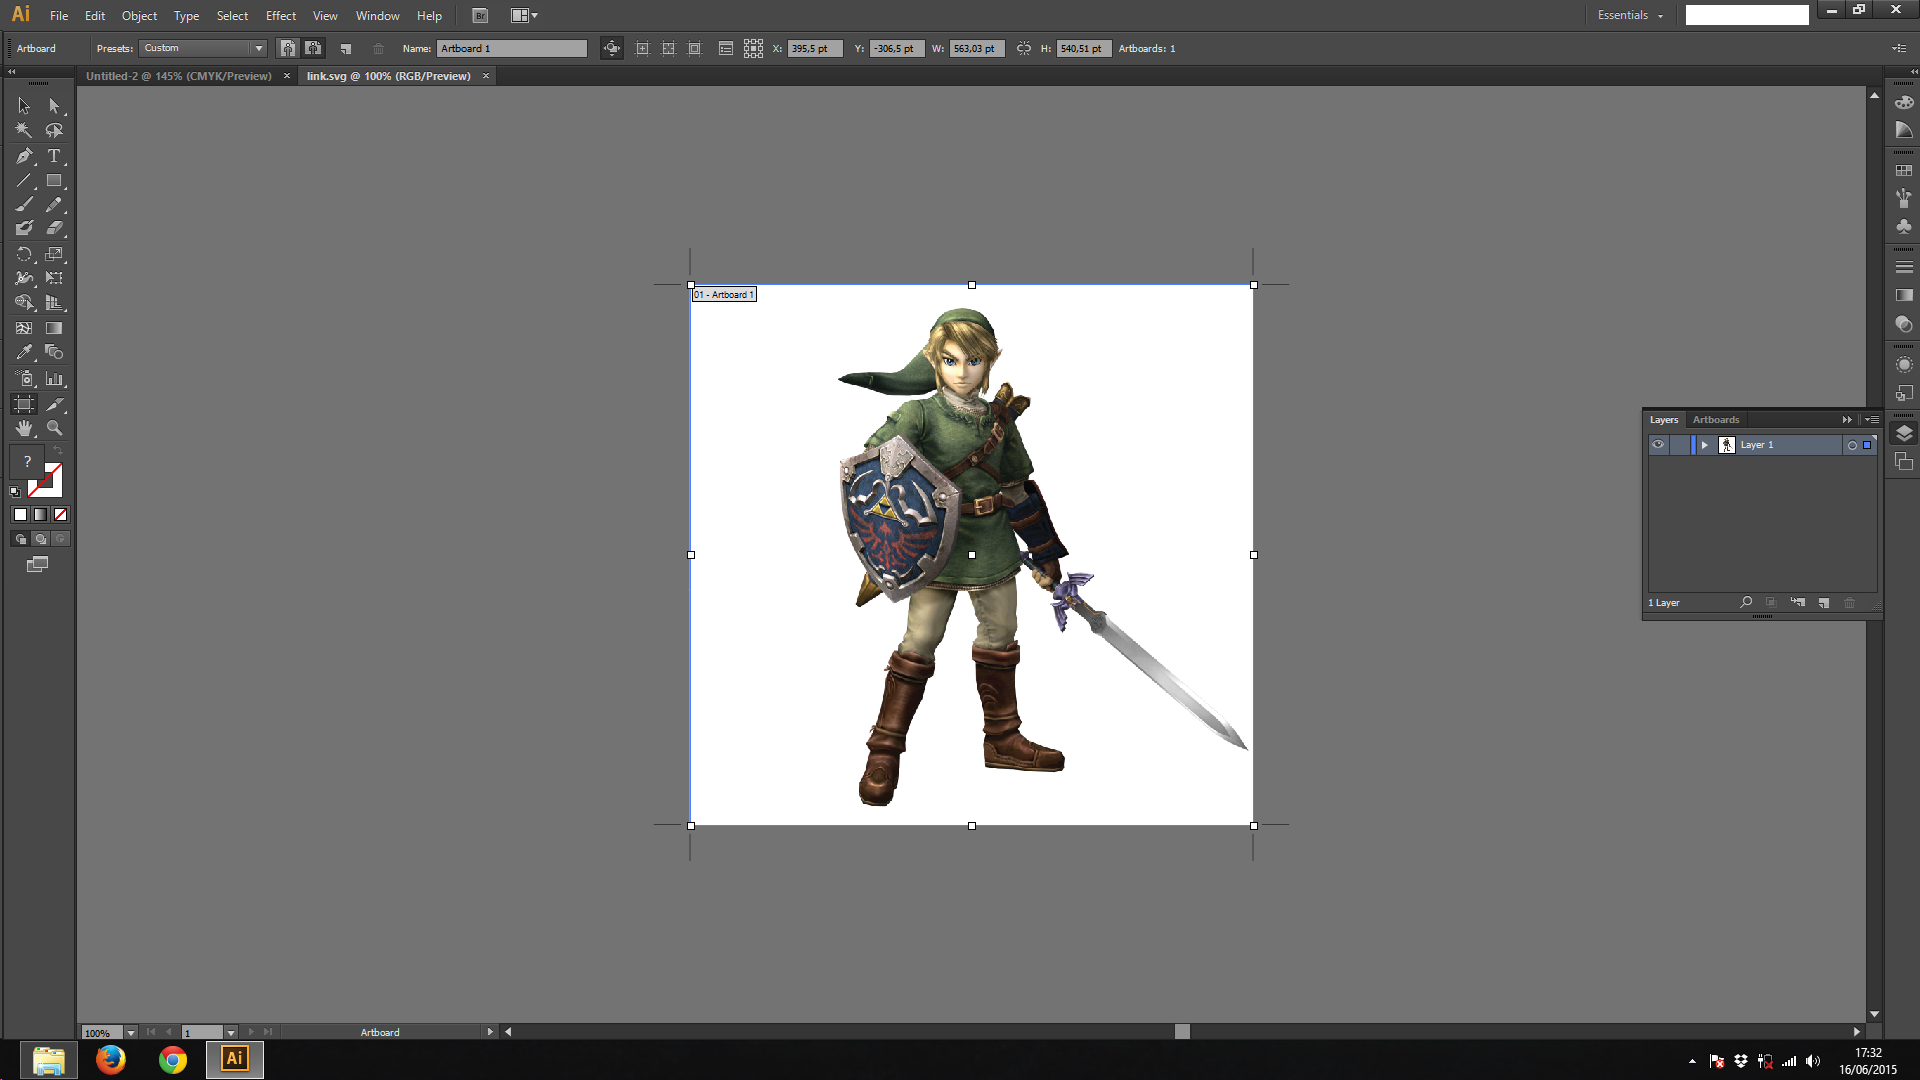
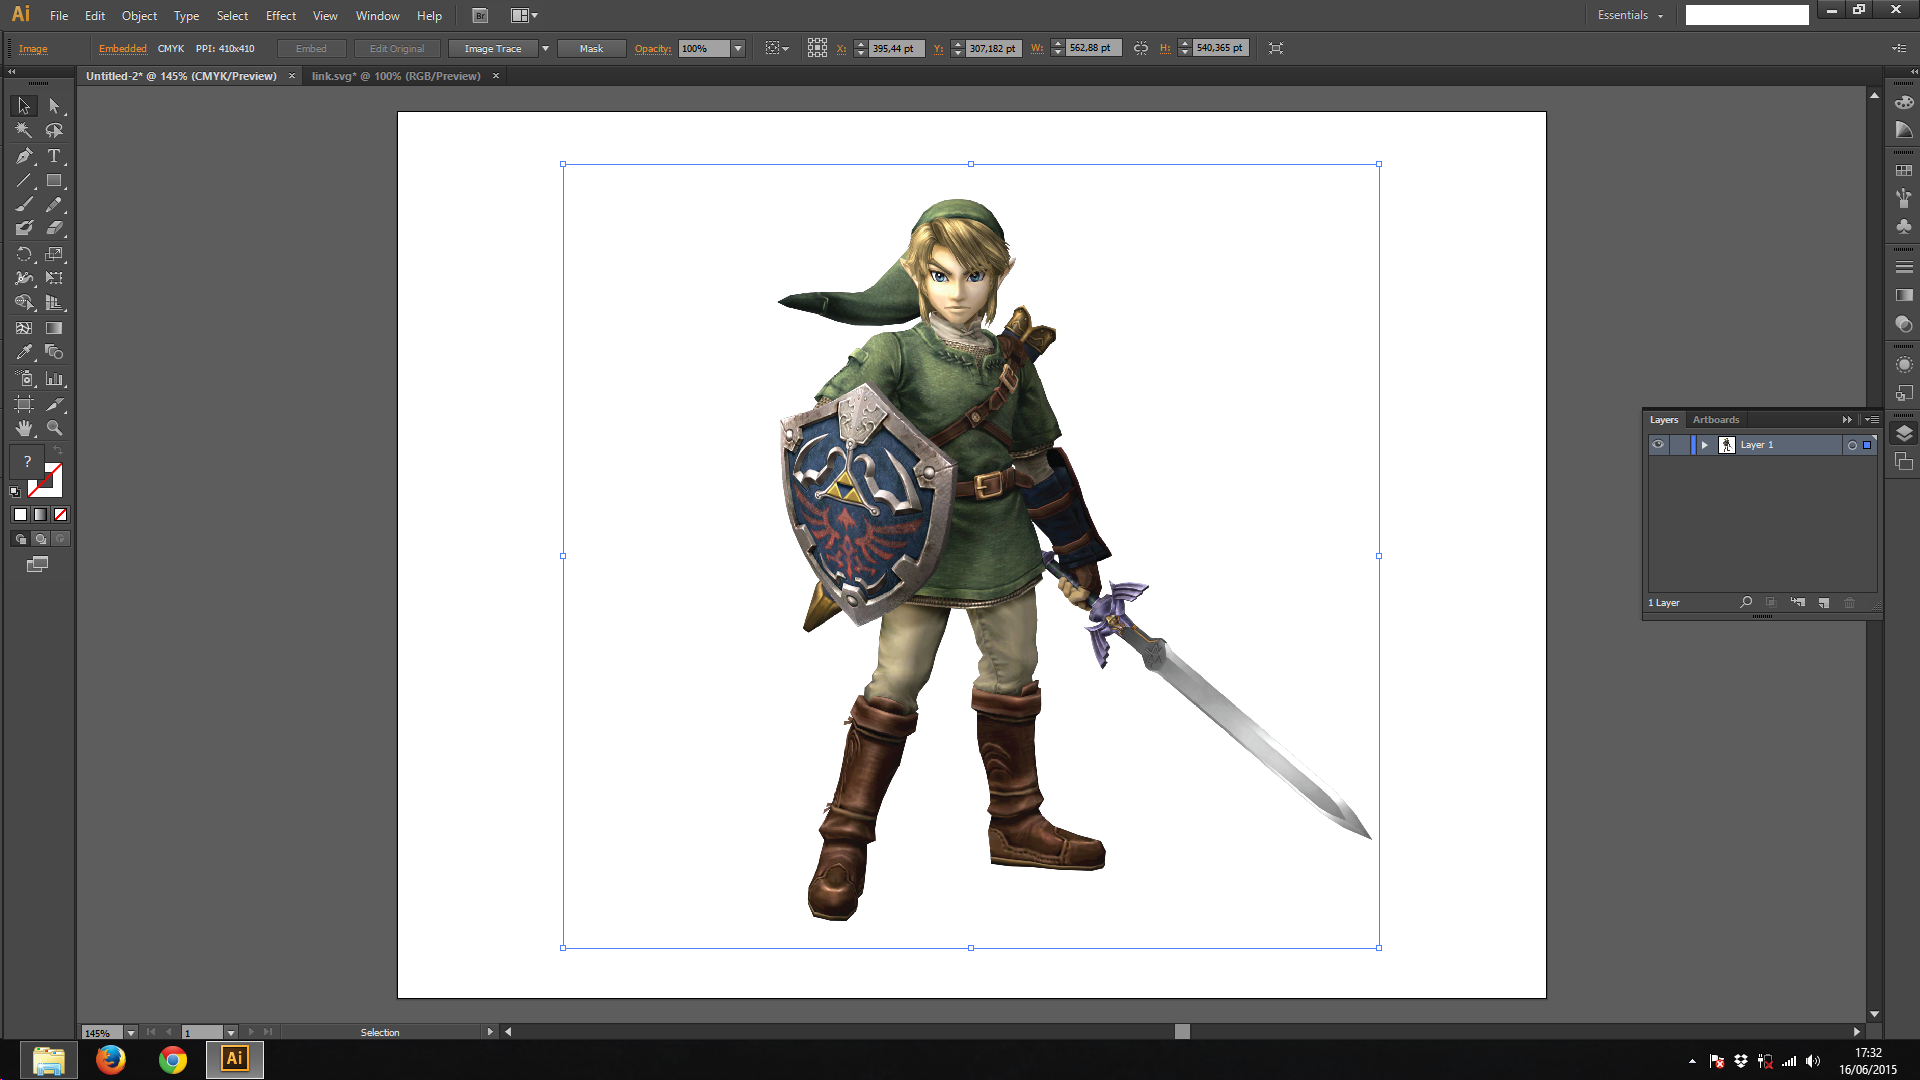
Let's open the Illustrator and create a document
- File > New
Open the image that you will work
- File > Open
Now, use the select tool (the black pointer on the left) to drag the image our blank document. Just click and drag to the document tab. To select the Selection Tool, you can use the V key on your keyboard.
Open the layer window and create a new layer
- Window > Layers (F7 key) to show the layer. You can use the Icons on the right or expand all the icons by clicking on the two arrows image << )
- Click on the new layer icon
- Now, click on the image layer to select it and click on the square that is left of the eye. A lock should appear, meaning that the layer can't be edited
- Click on the new created layer and let's start!
The Pen Tool
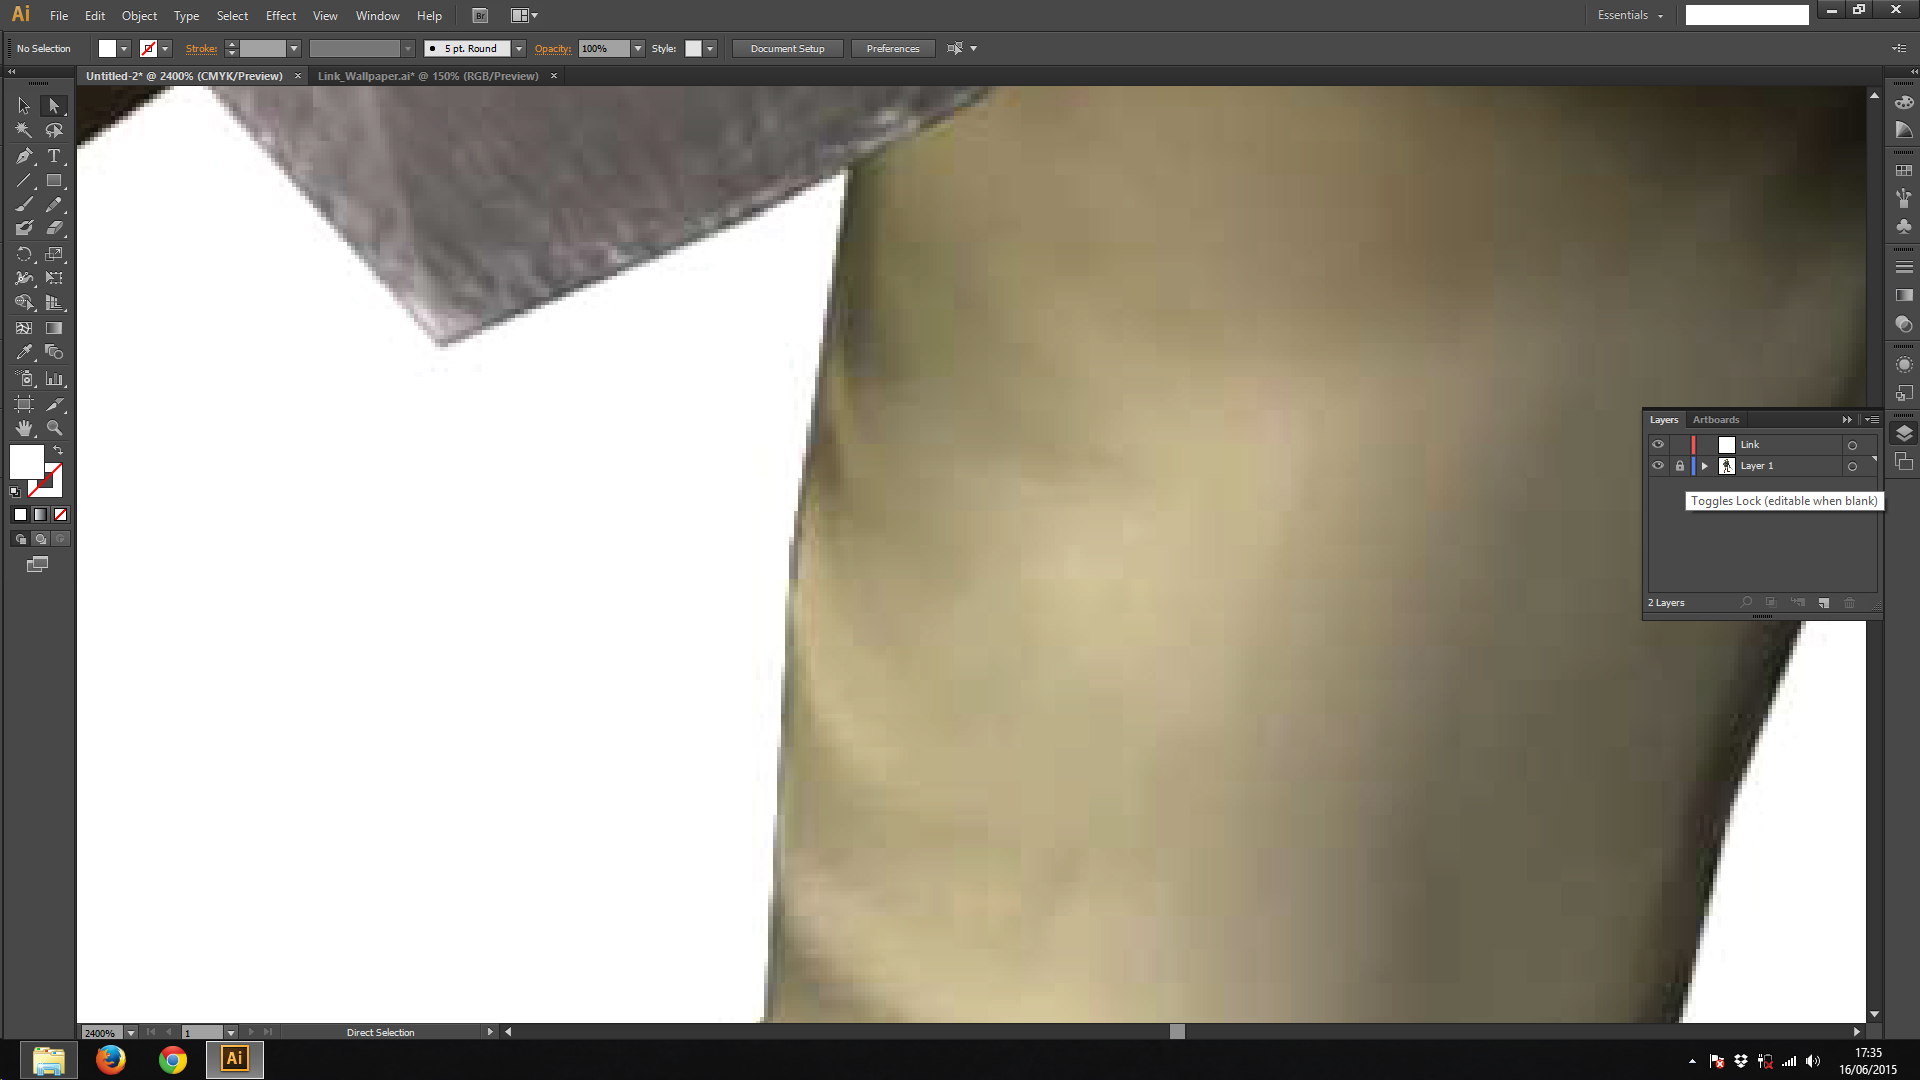

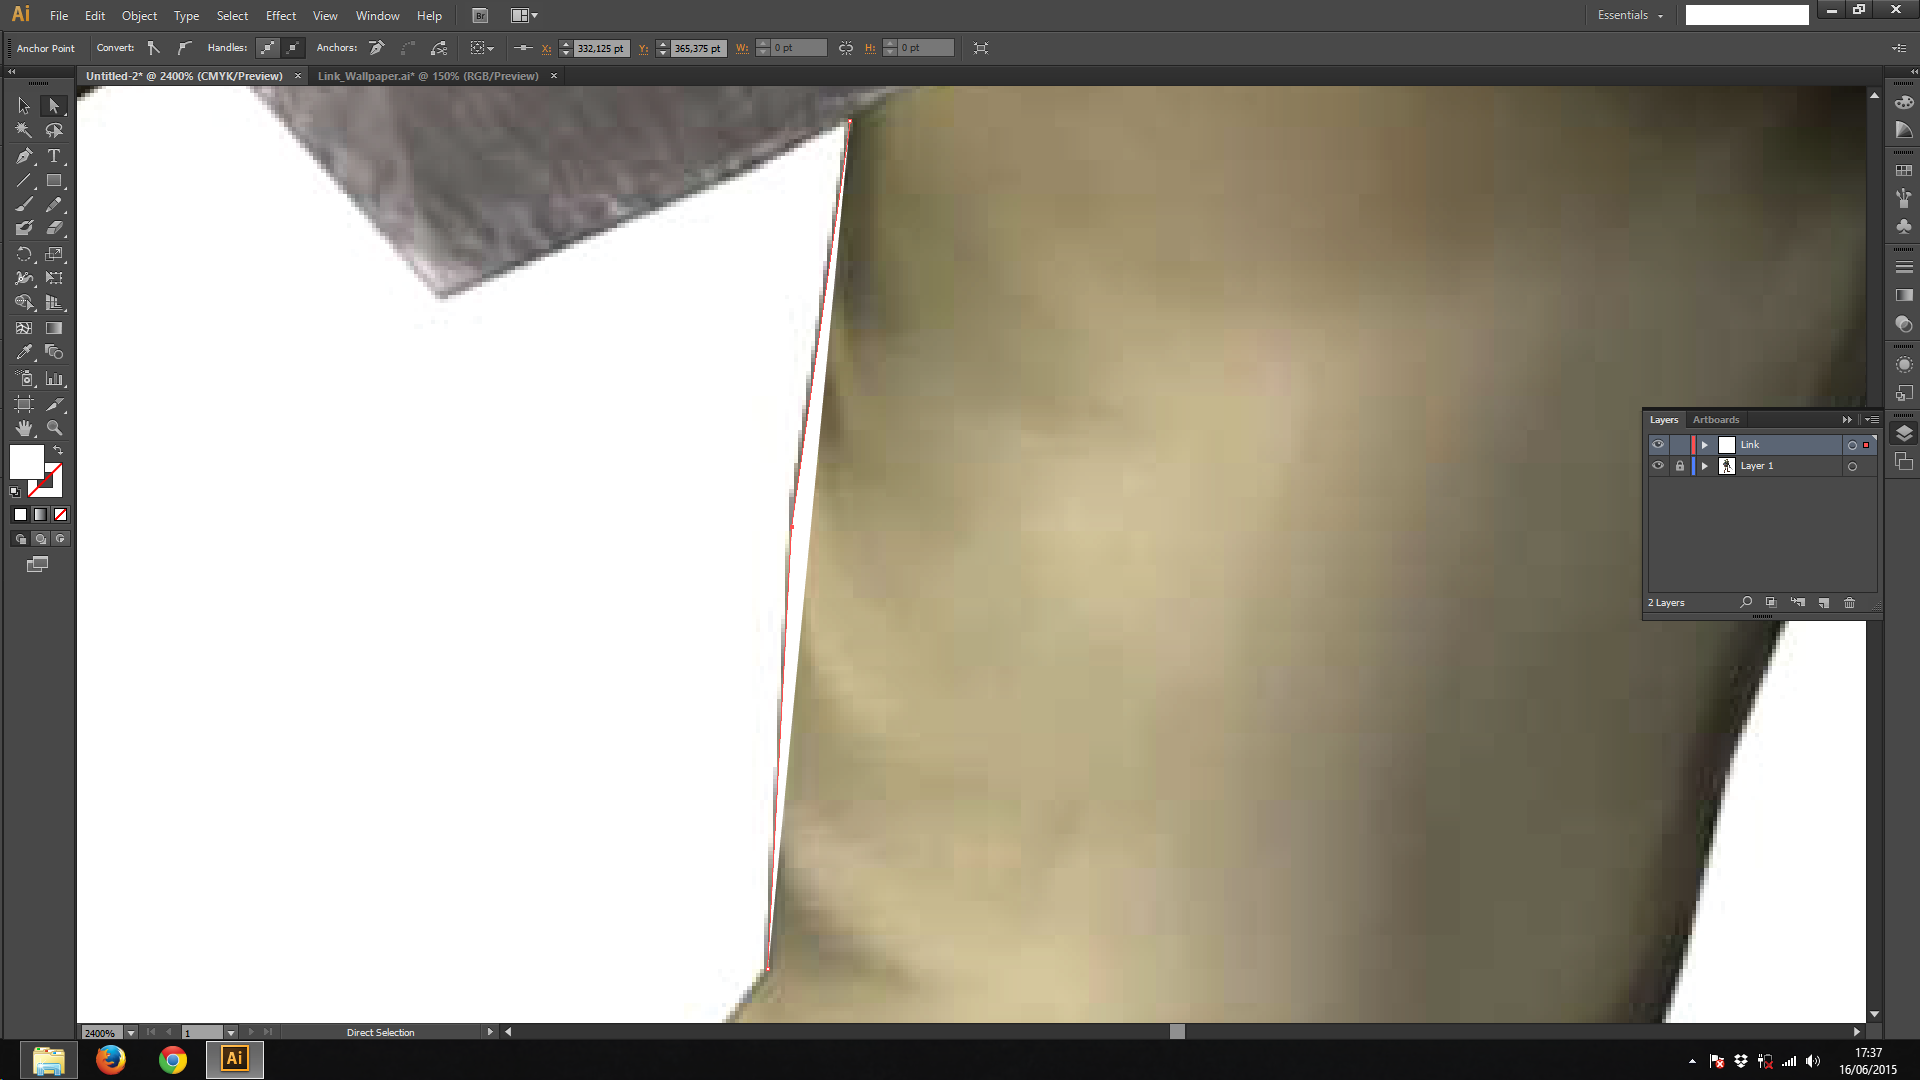
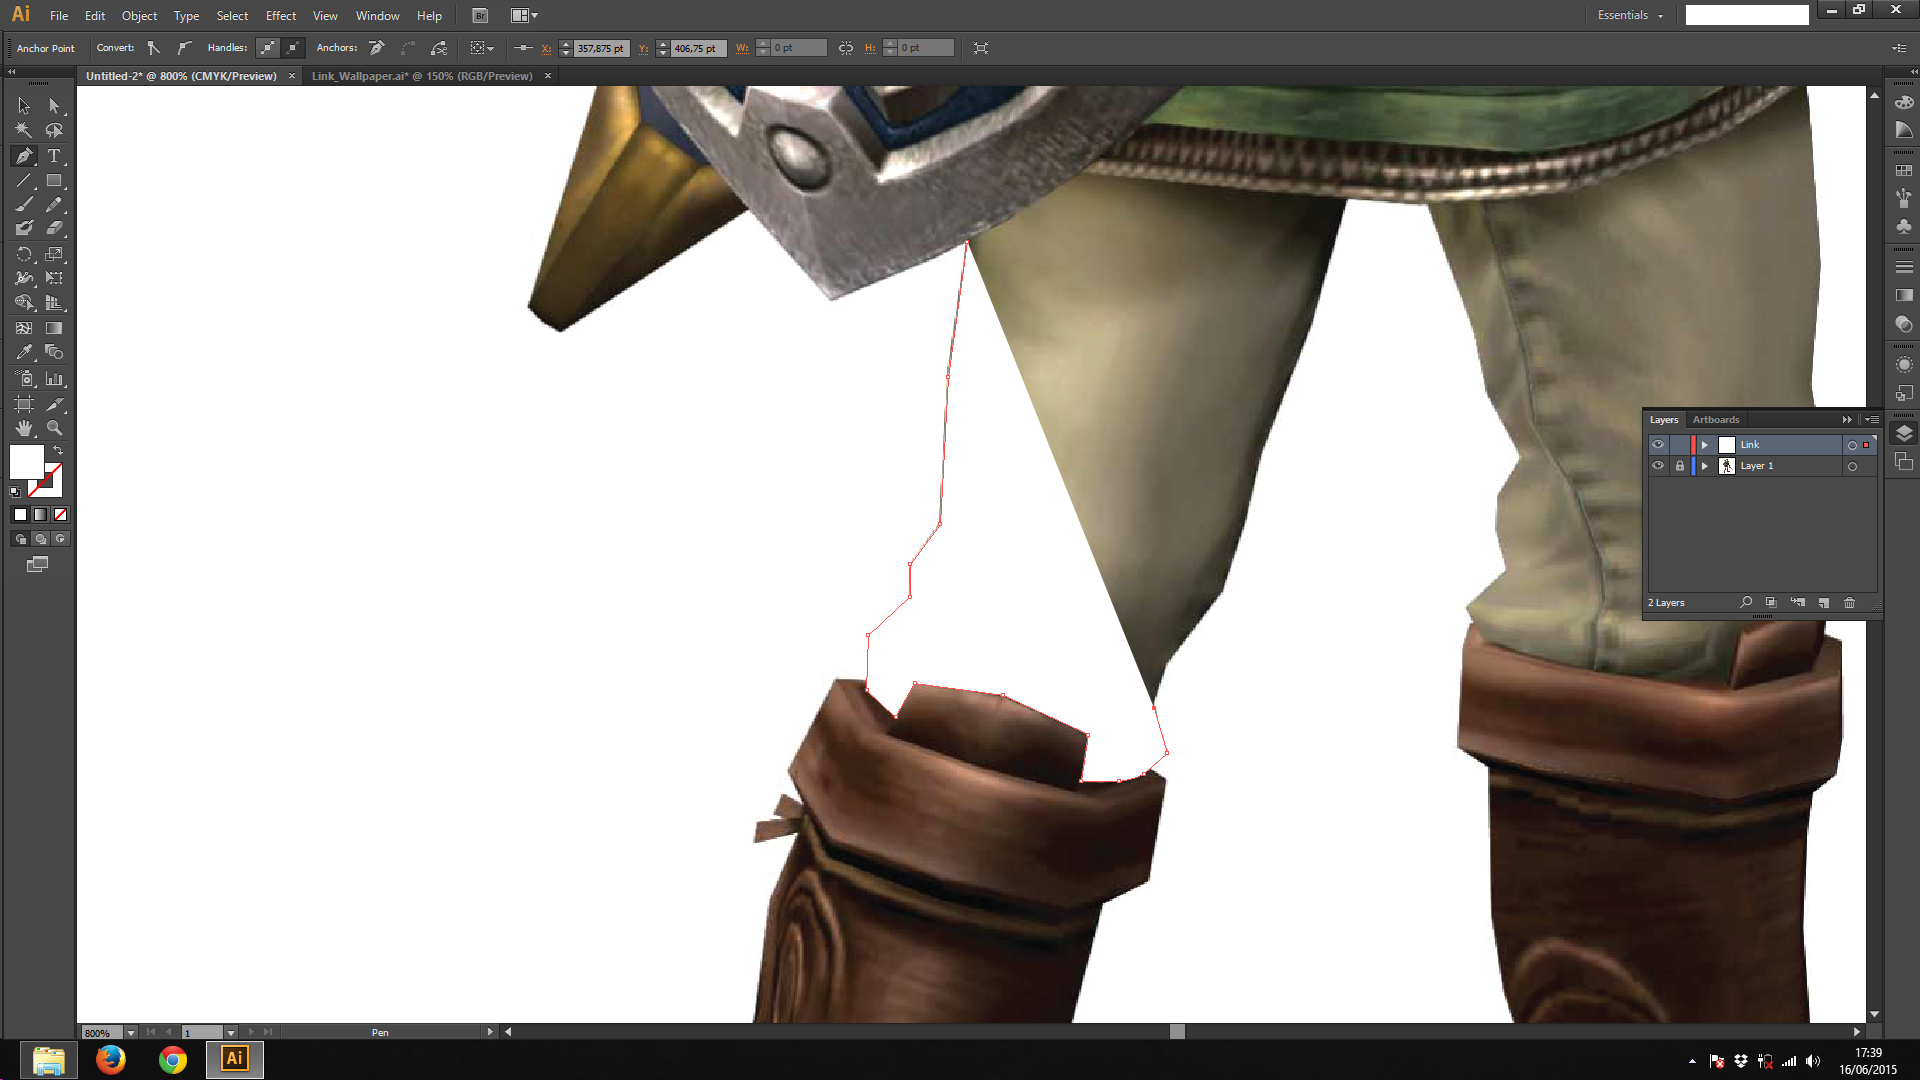
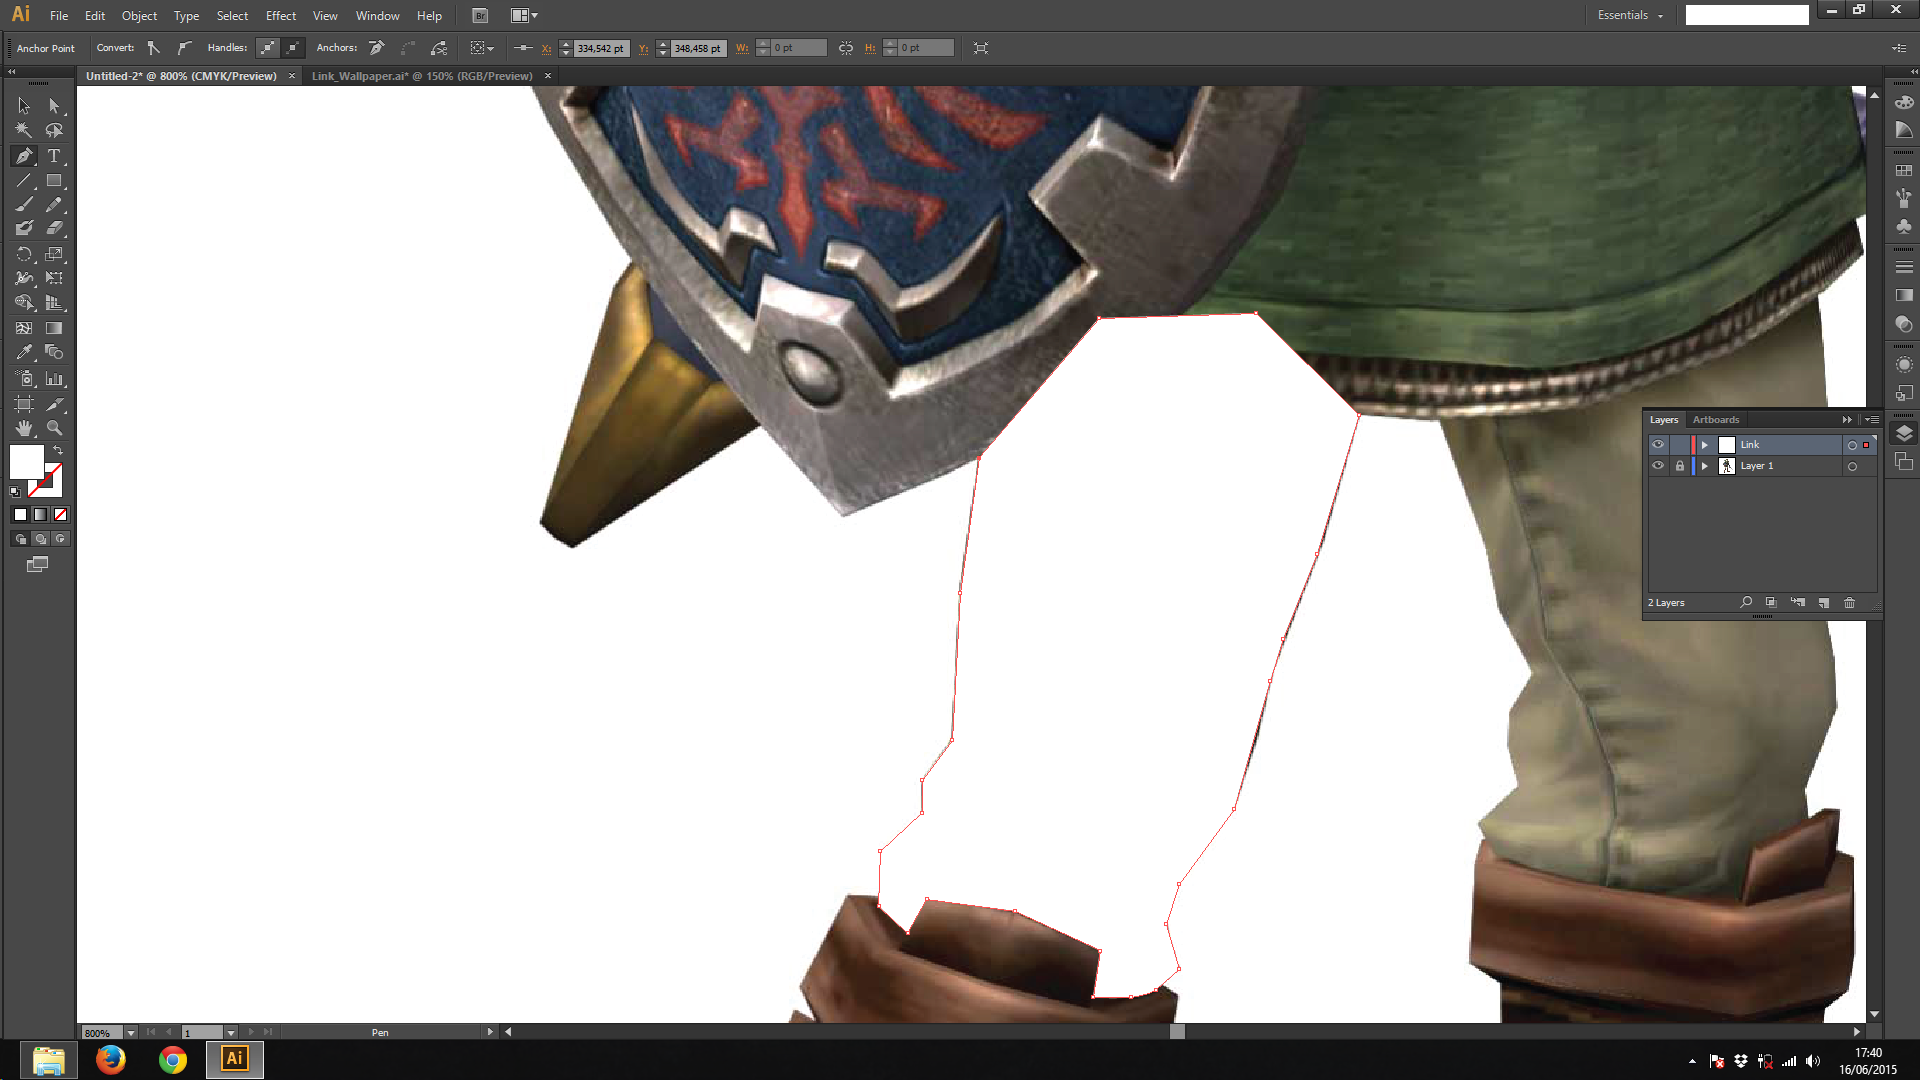
In order to make our image, we will need to use the pen tool. Let's make the leg shape first
- Select the pen tool (P key)
- Click on the image to make a point. On the image above, I clicked on the top
- Click on the image again to make the second point. You will realise you have made a line. Nothing special
- Click on the image one more time and you'll see a white triangle. If you keep going, the shape will have the form of the image.
- When you are finished, click on the first point you made to close the shape.
Note that I ignored the green tunic, because we will make on shape on the top of another, so by the time I will make the shape of the tunic, it will be over the pants.
The Color Picker
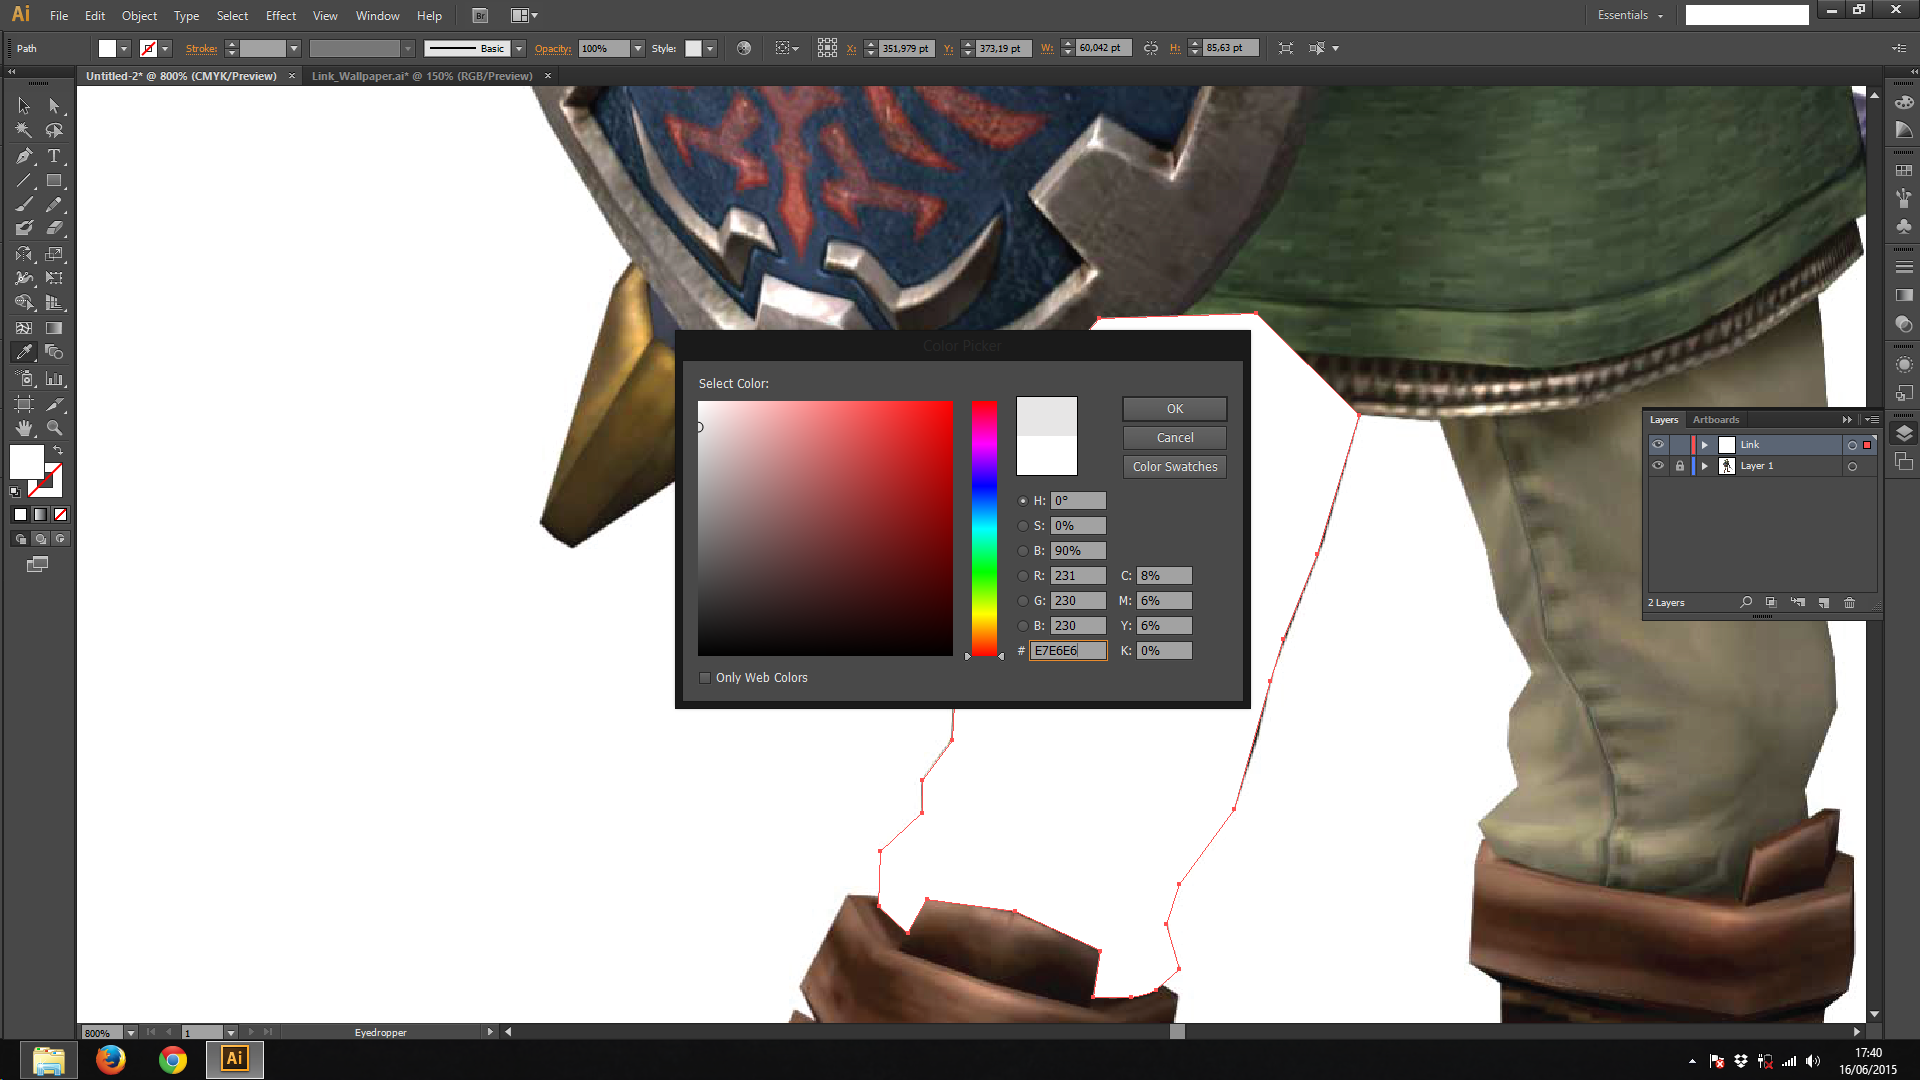
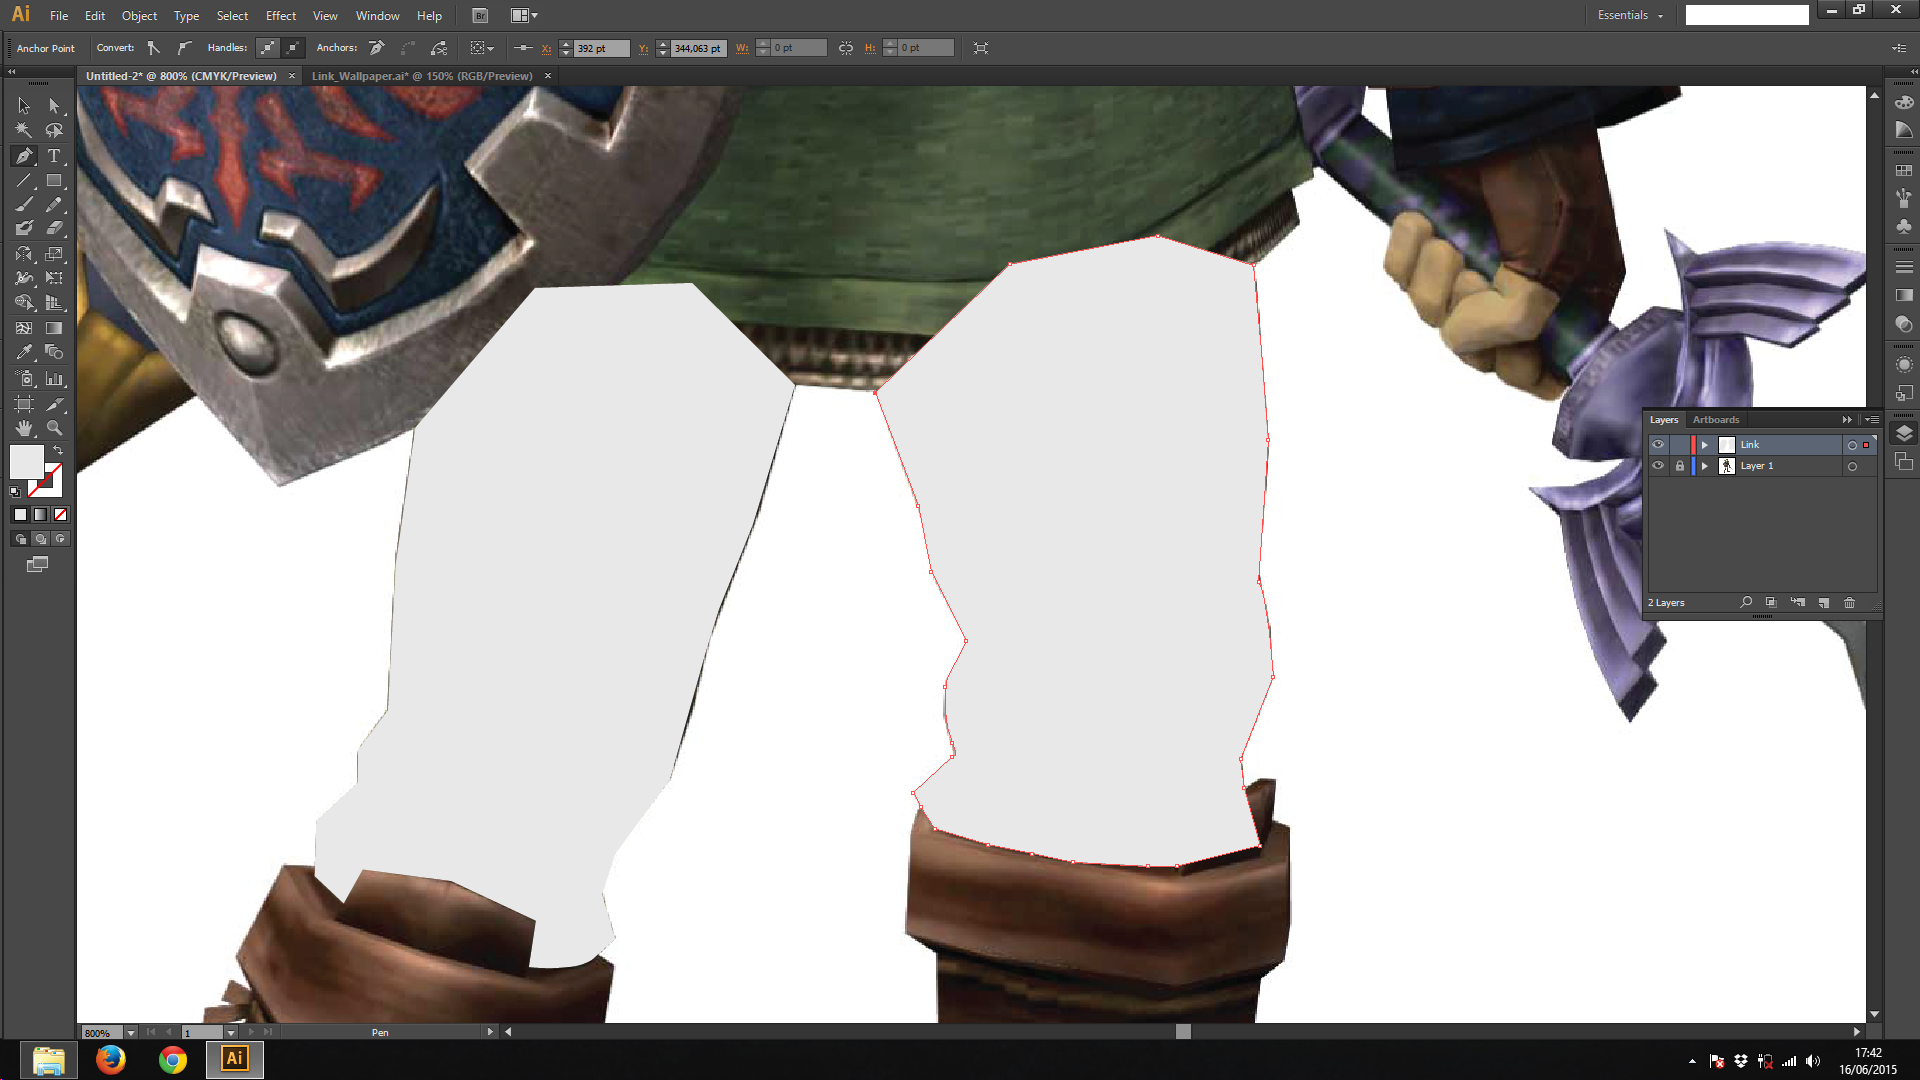
So, we made a white shape. Let's change the it's color to a light grey
- Double click the big square on the left menu to select the color
- Click Ok when you're finished
After that, the shape we made will change it's color. Let's make a new shape for the second leg. You will notice that the color will be the same that we have selected.
Changing the Opacity
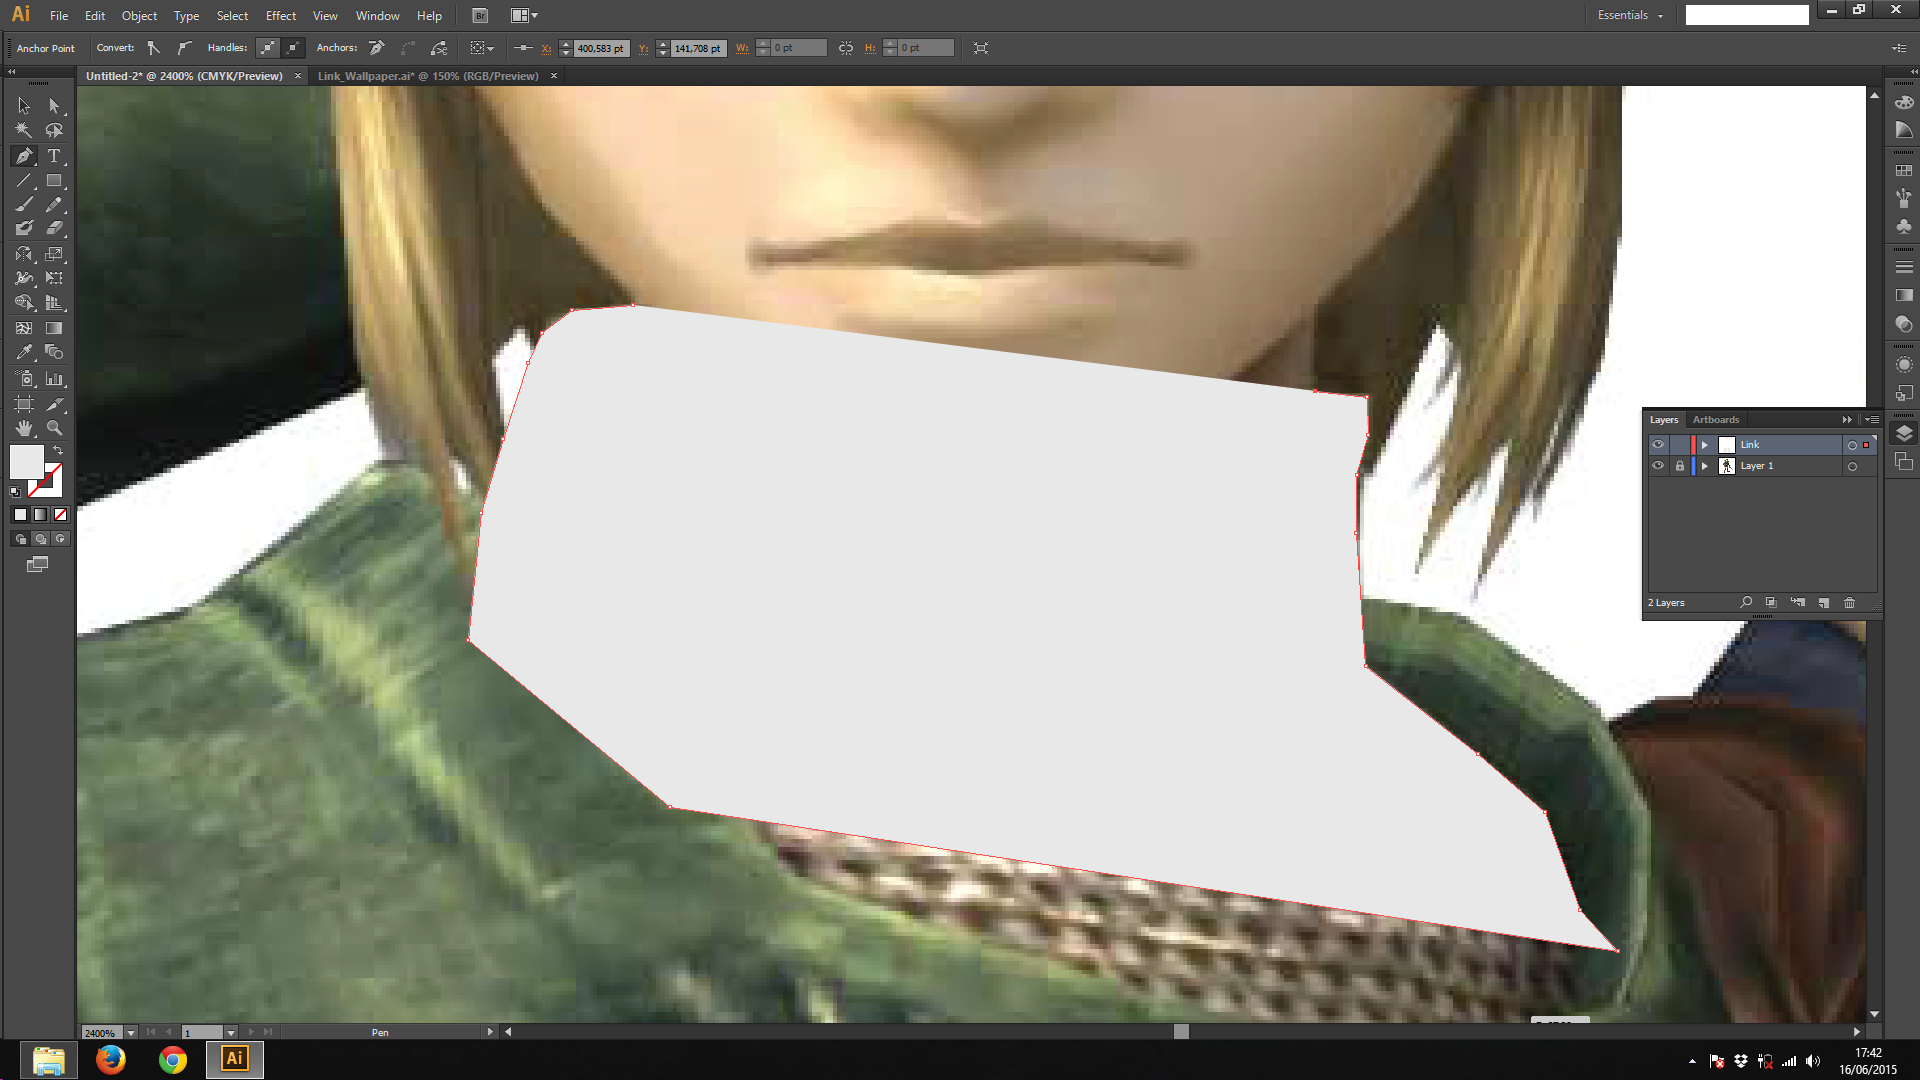
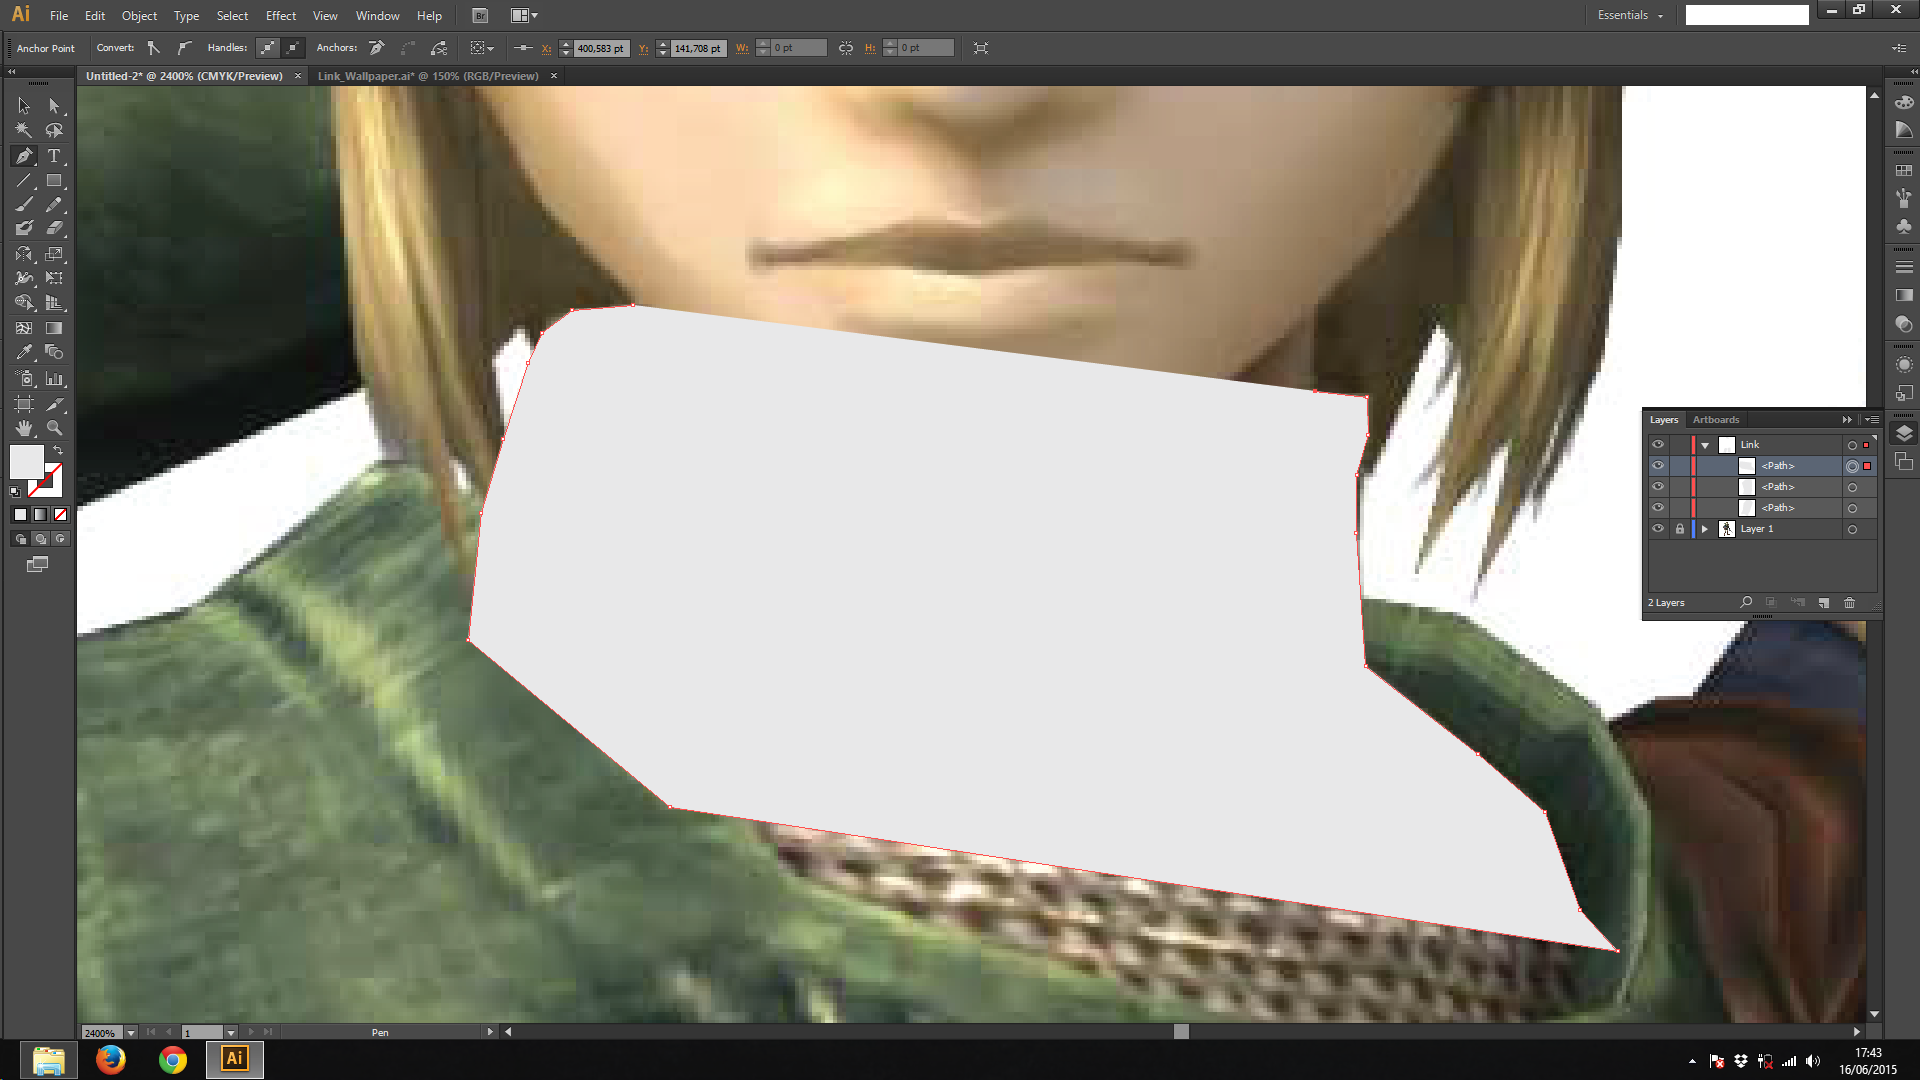
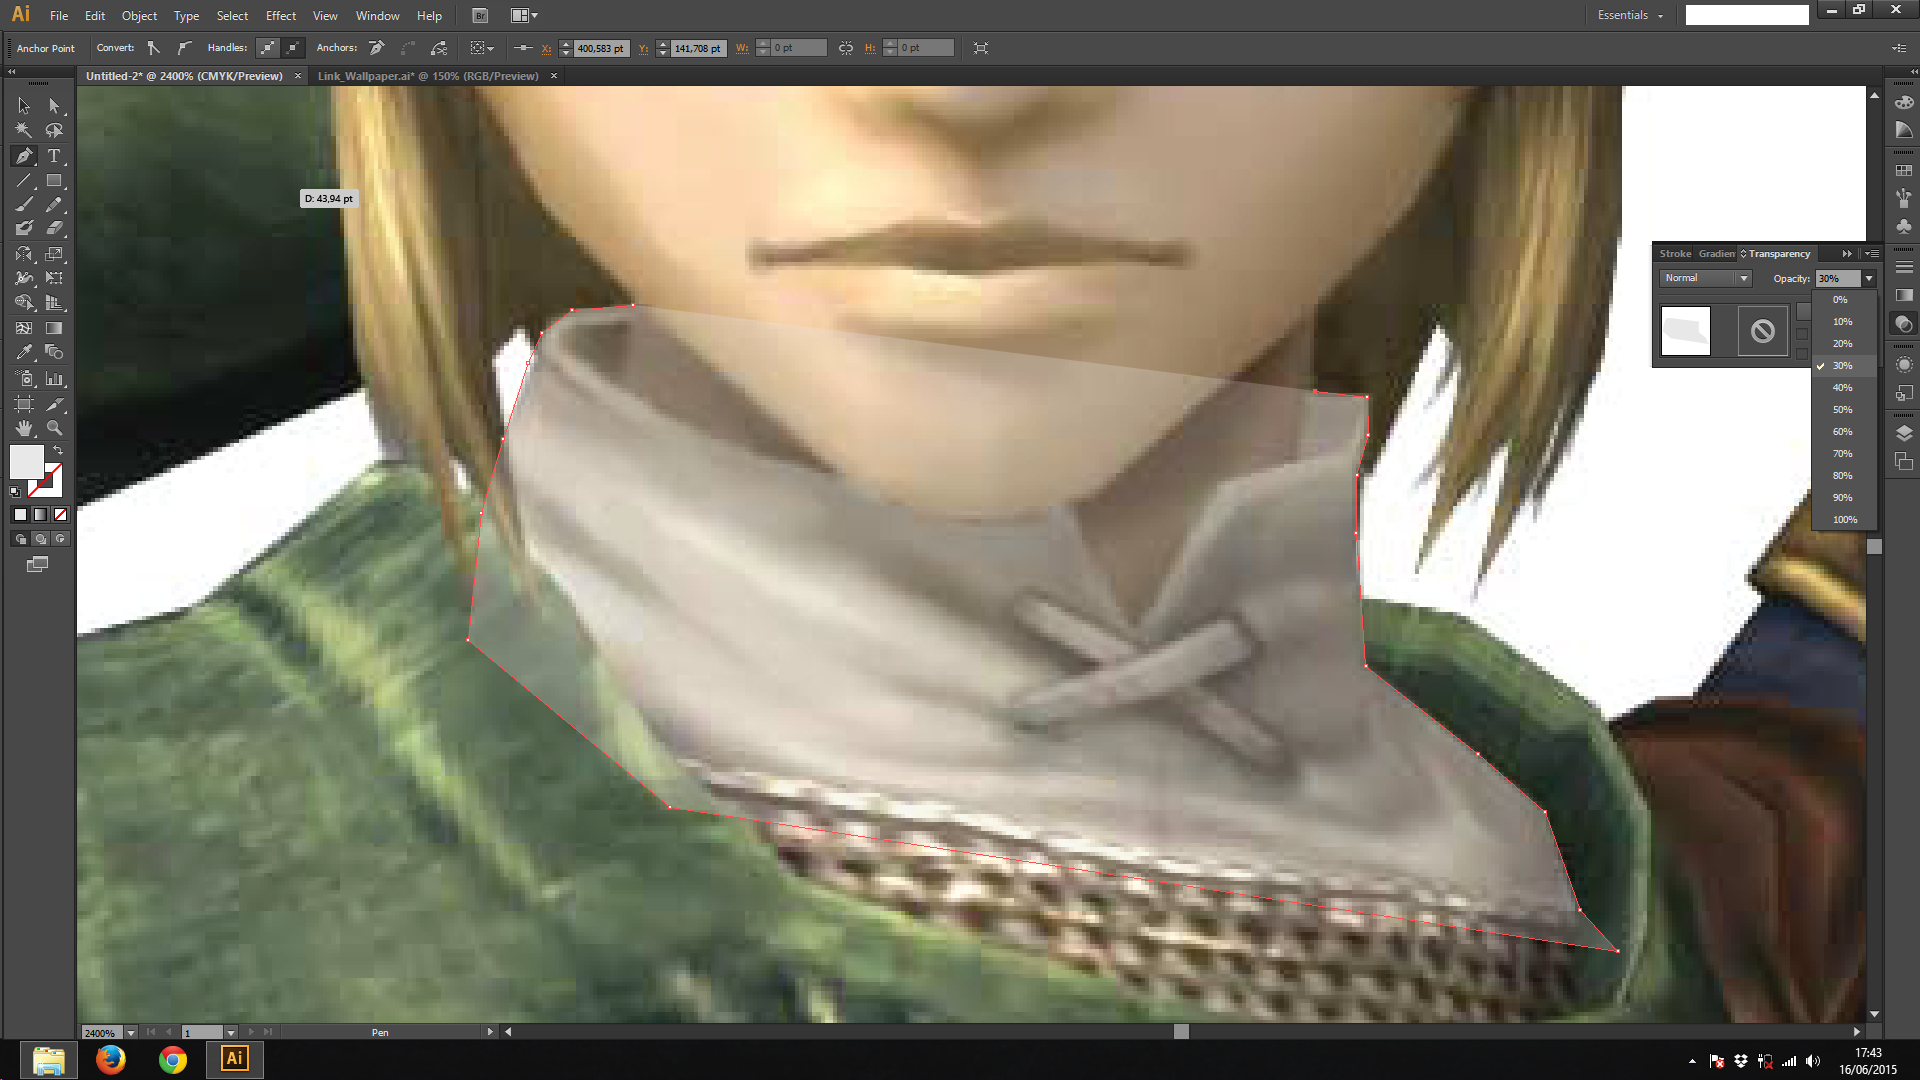
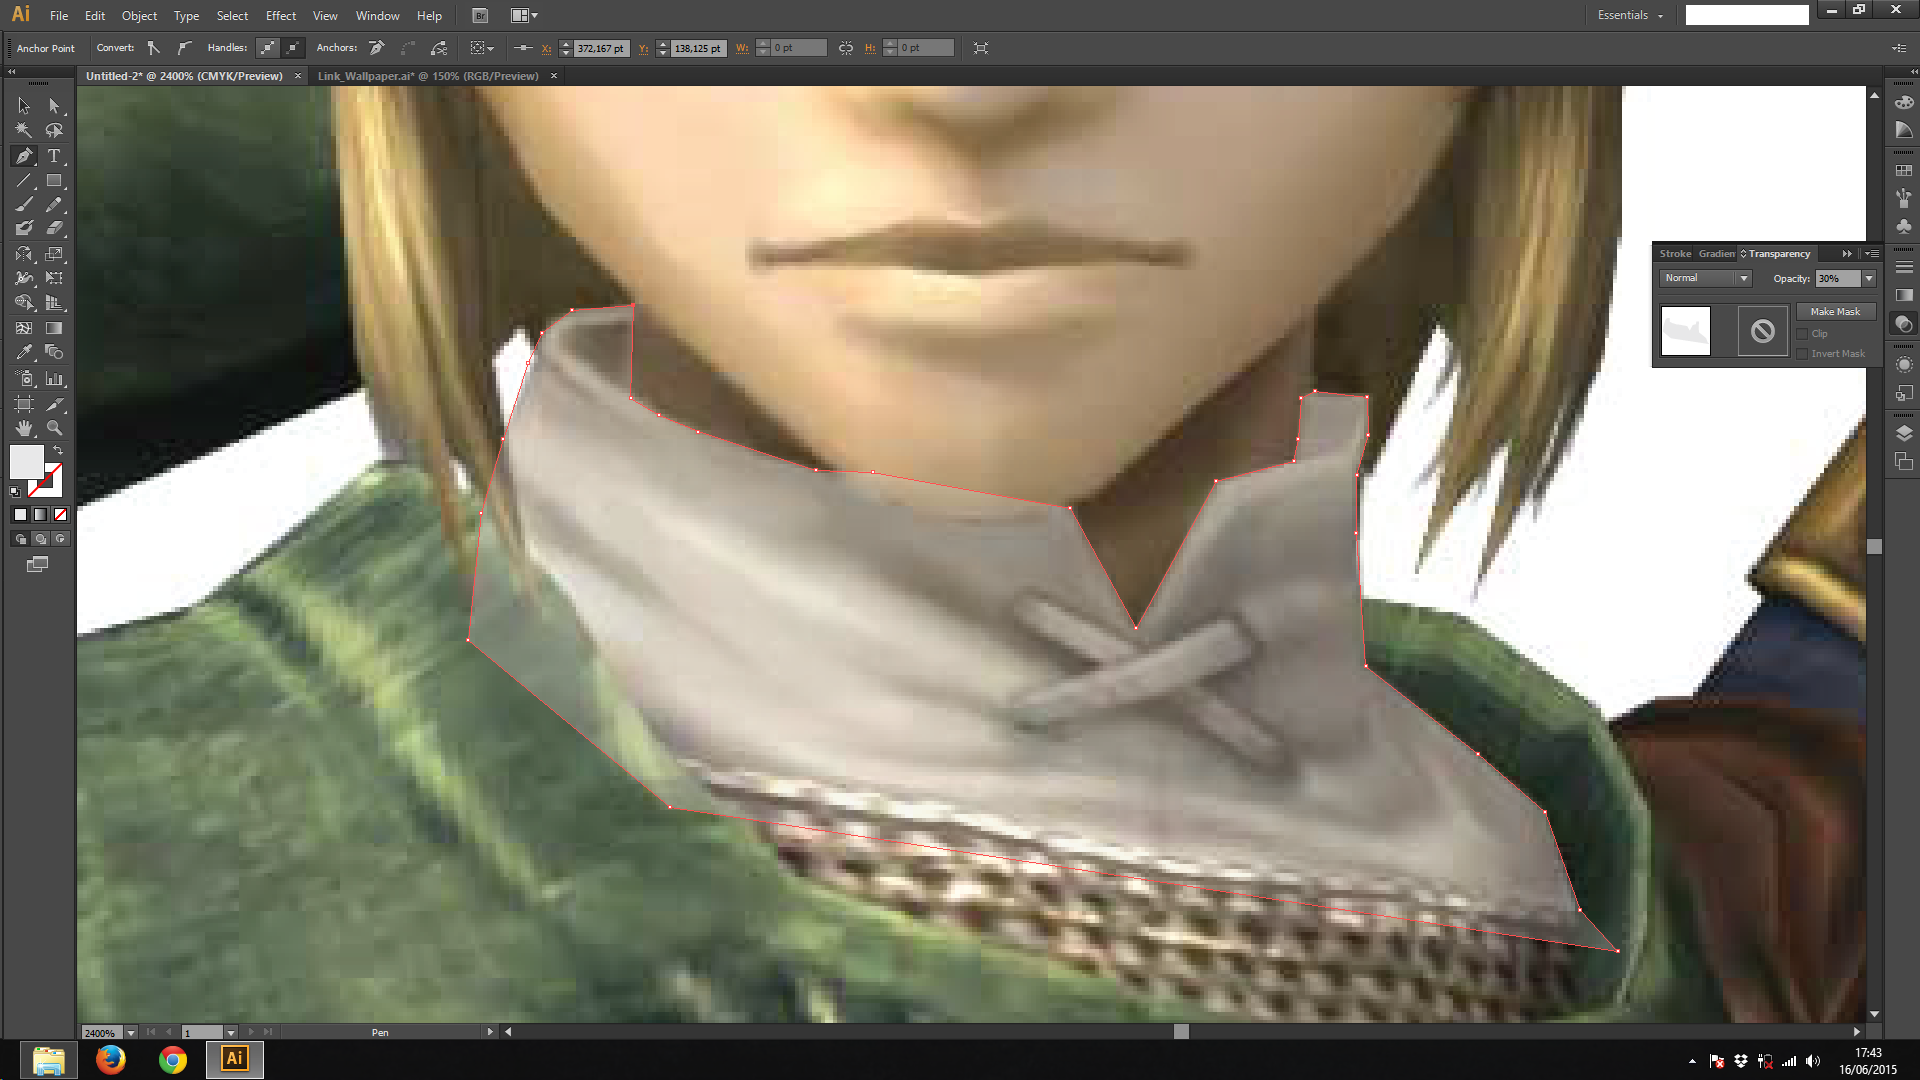
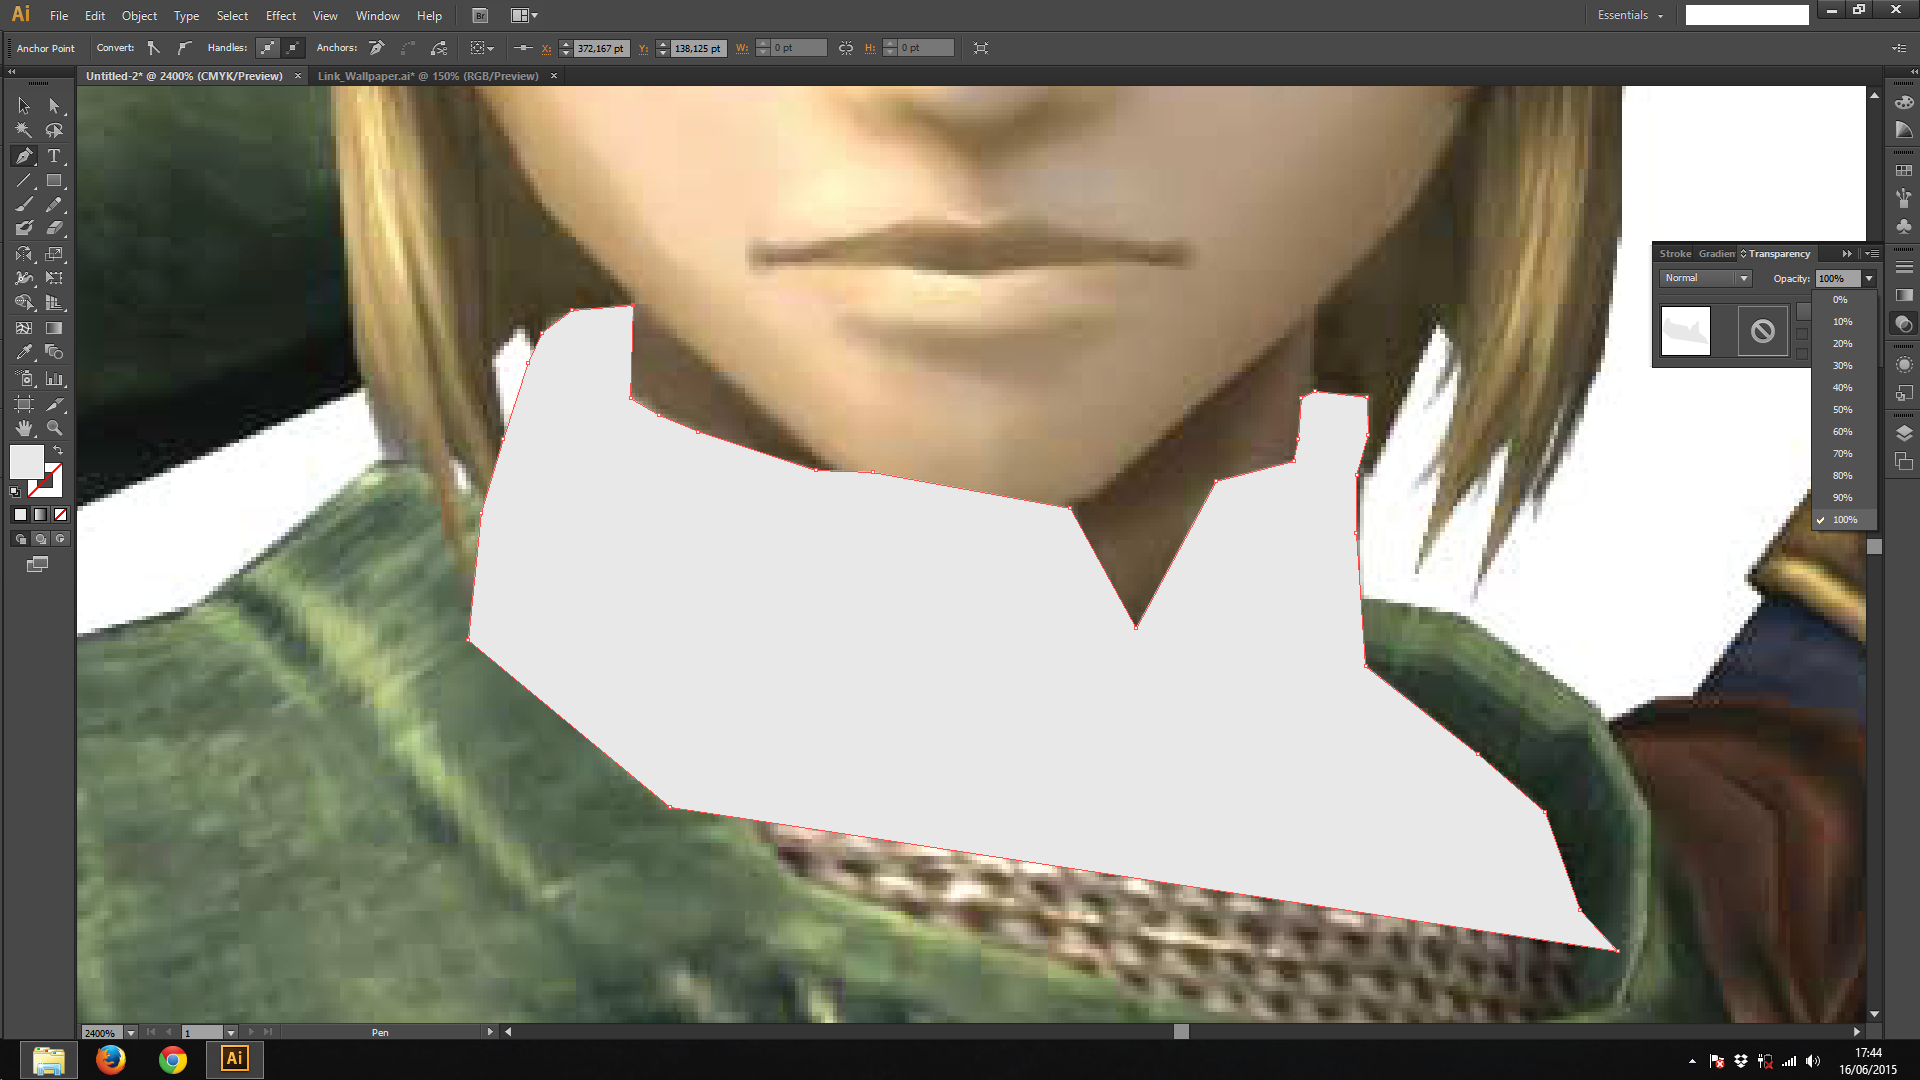
So, let's make the shirt now, since it's grey. As we make it, you will realise that the color of the shape is blocking the image. To prevent that, change the layer's opacity
- Window > Transparency (or the icon on the right menu)
- Click on opacity and change that to 30%
Now we can continue. After that, change the opacity back to 100%
Hiding Shapes
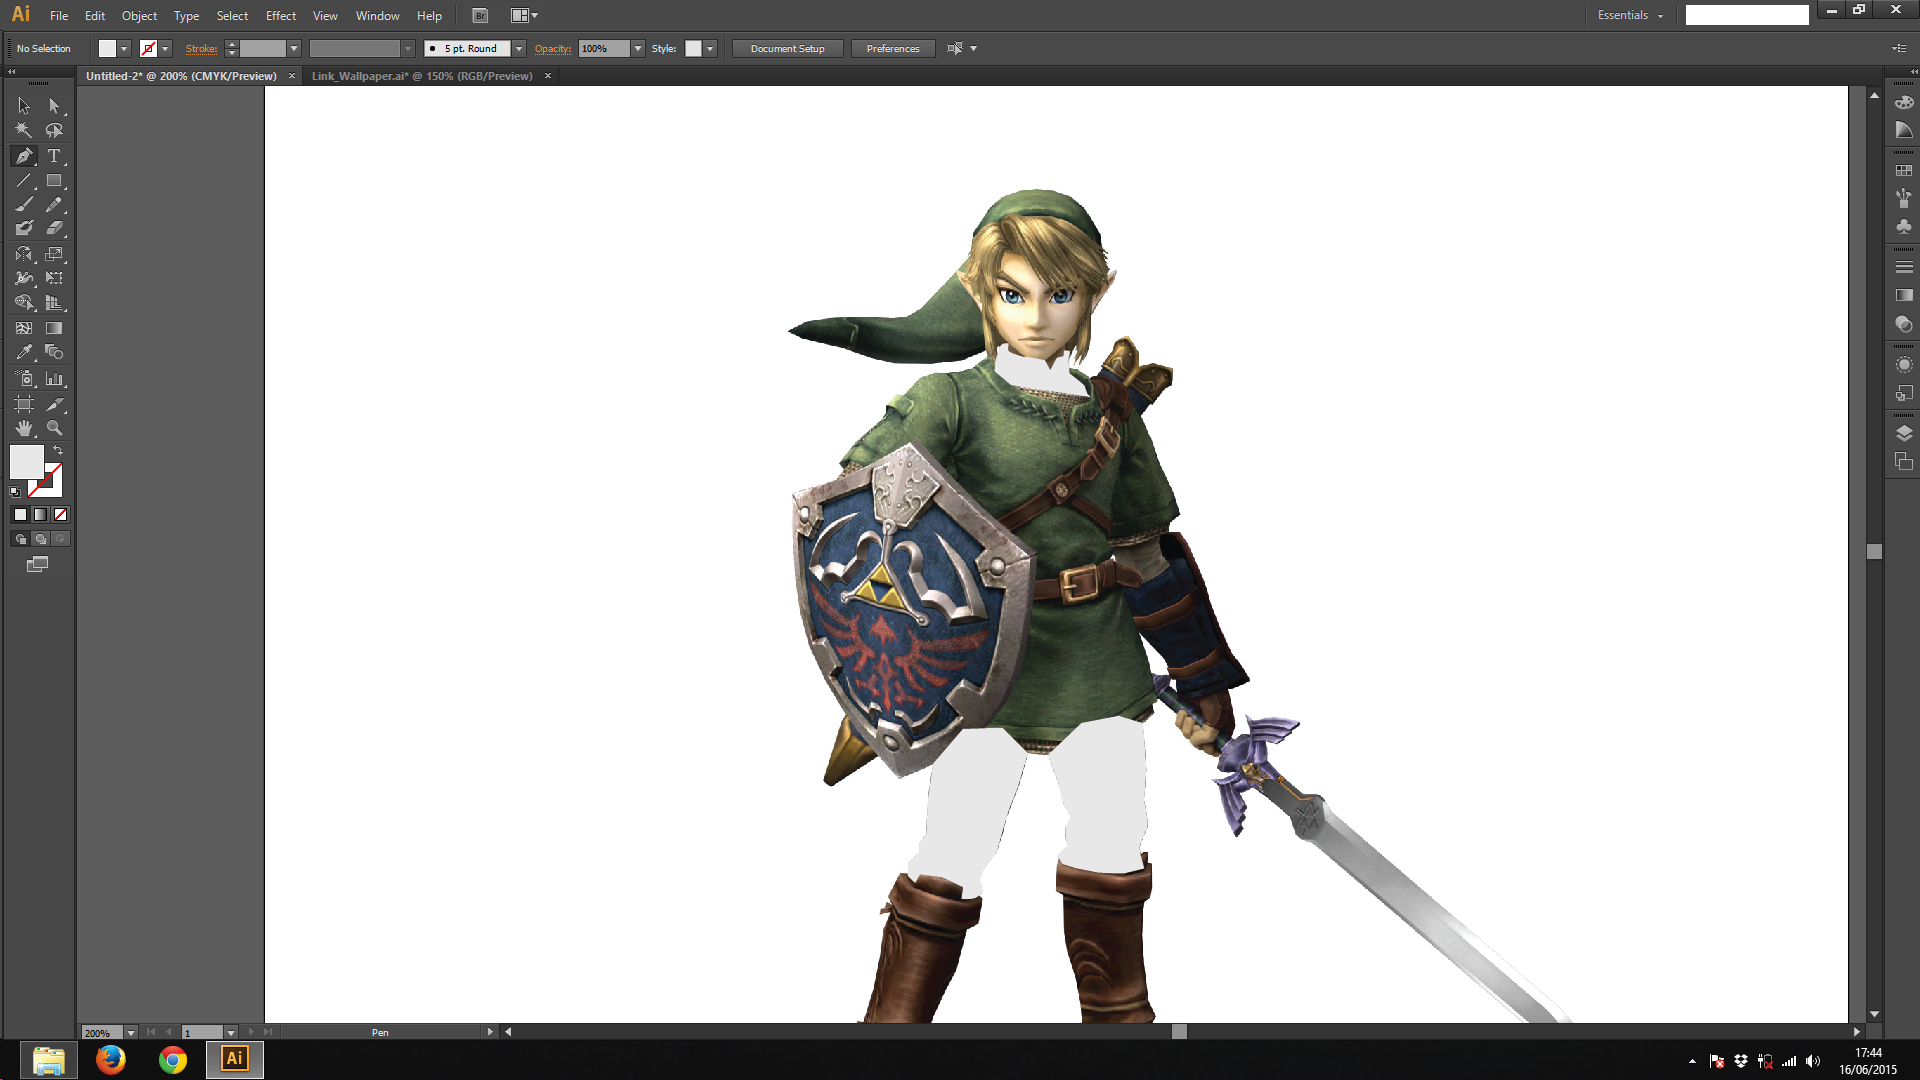
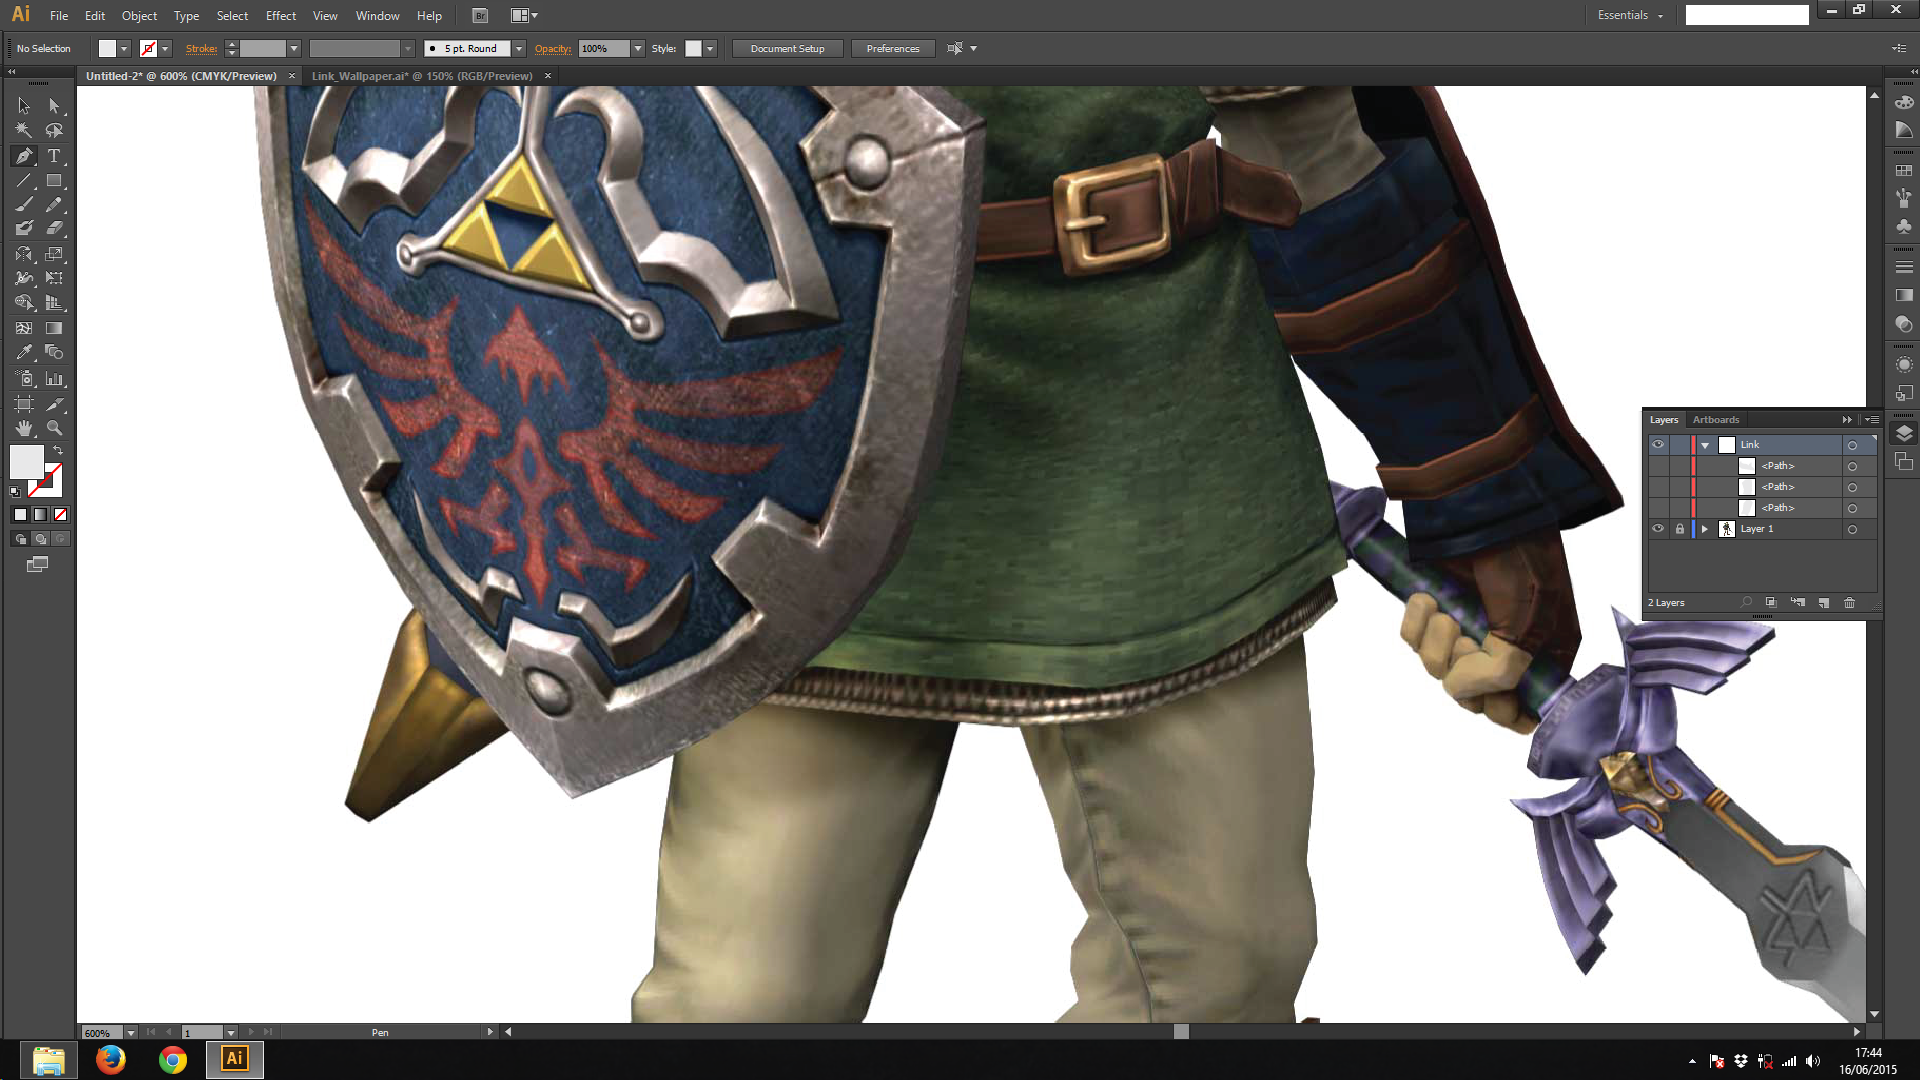
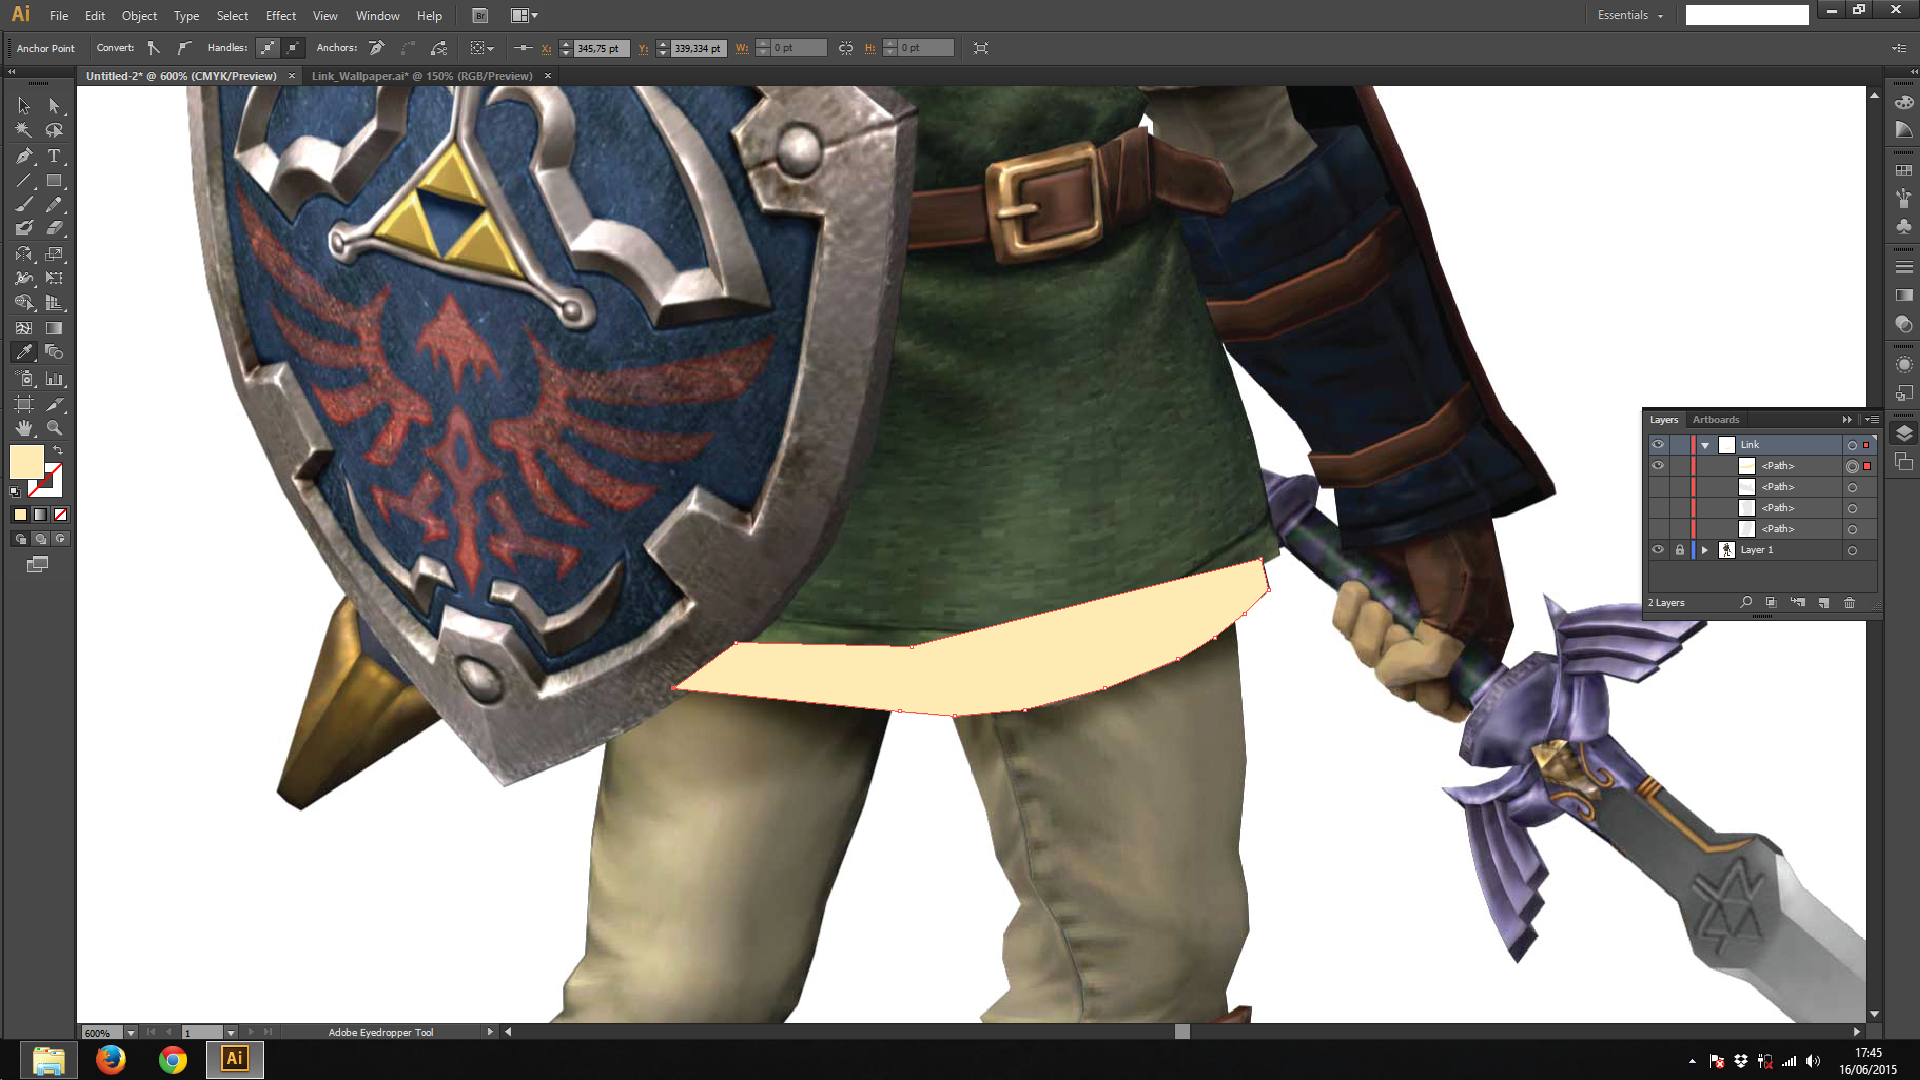
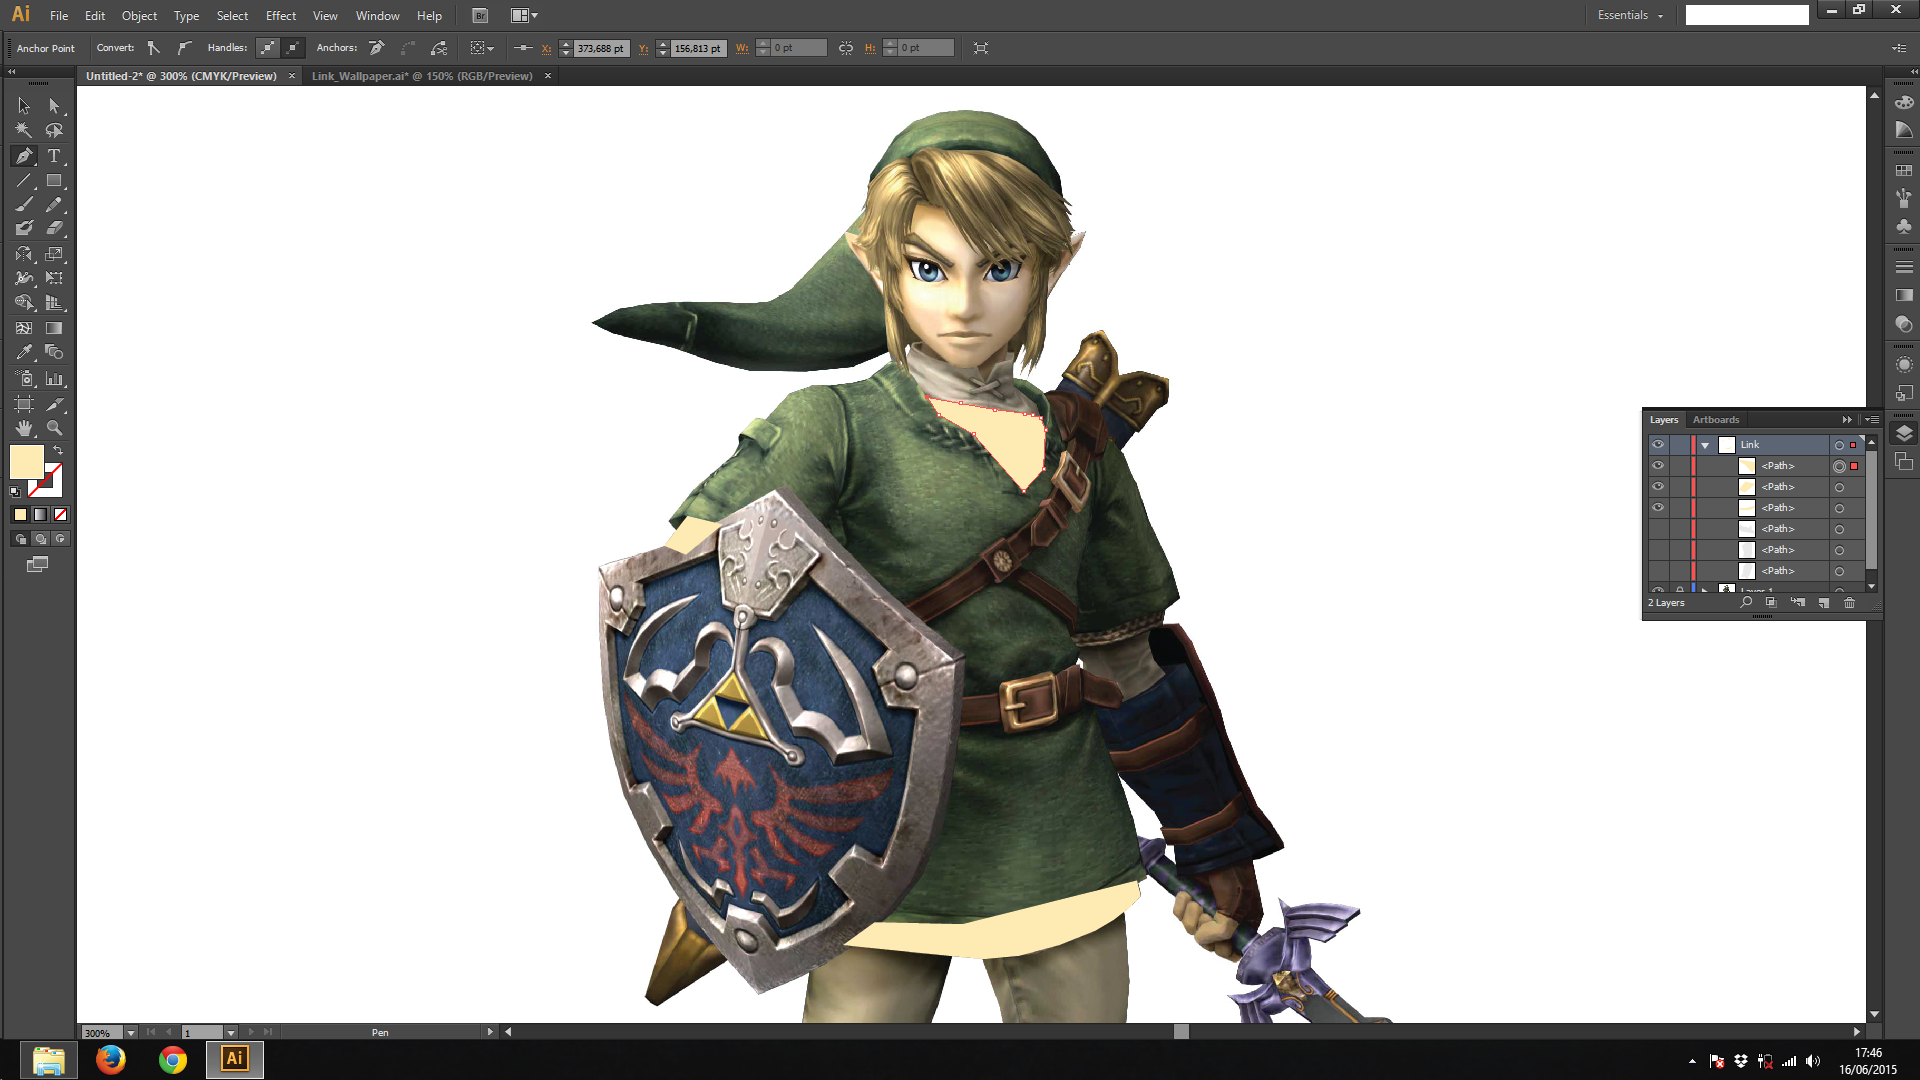
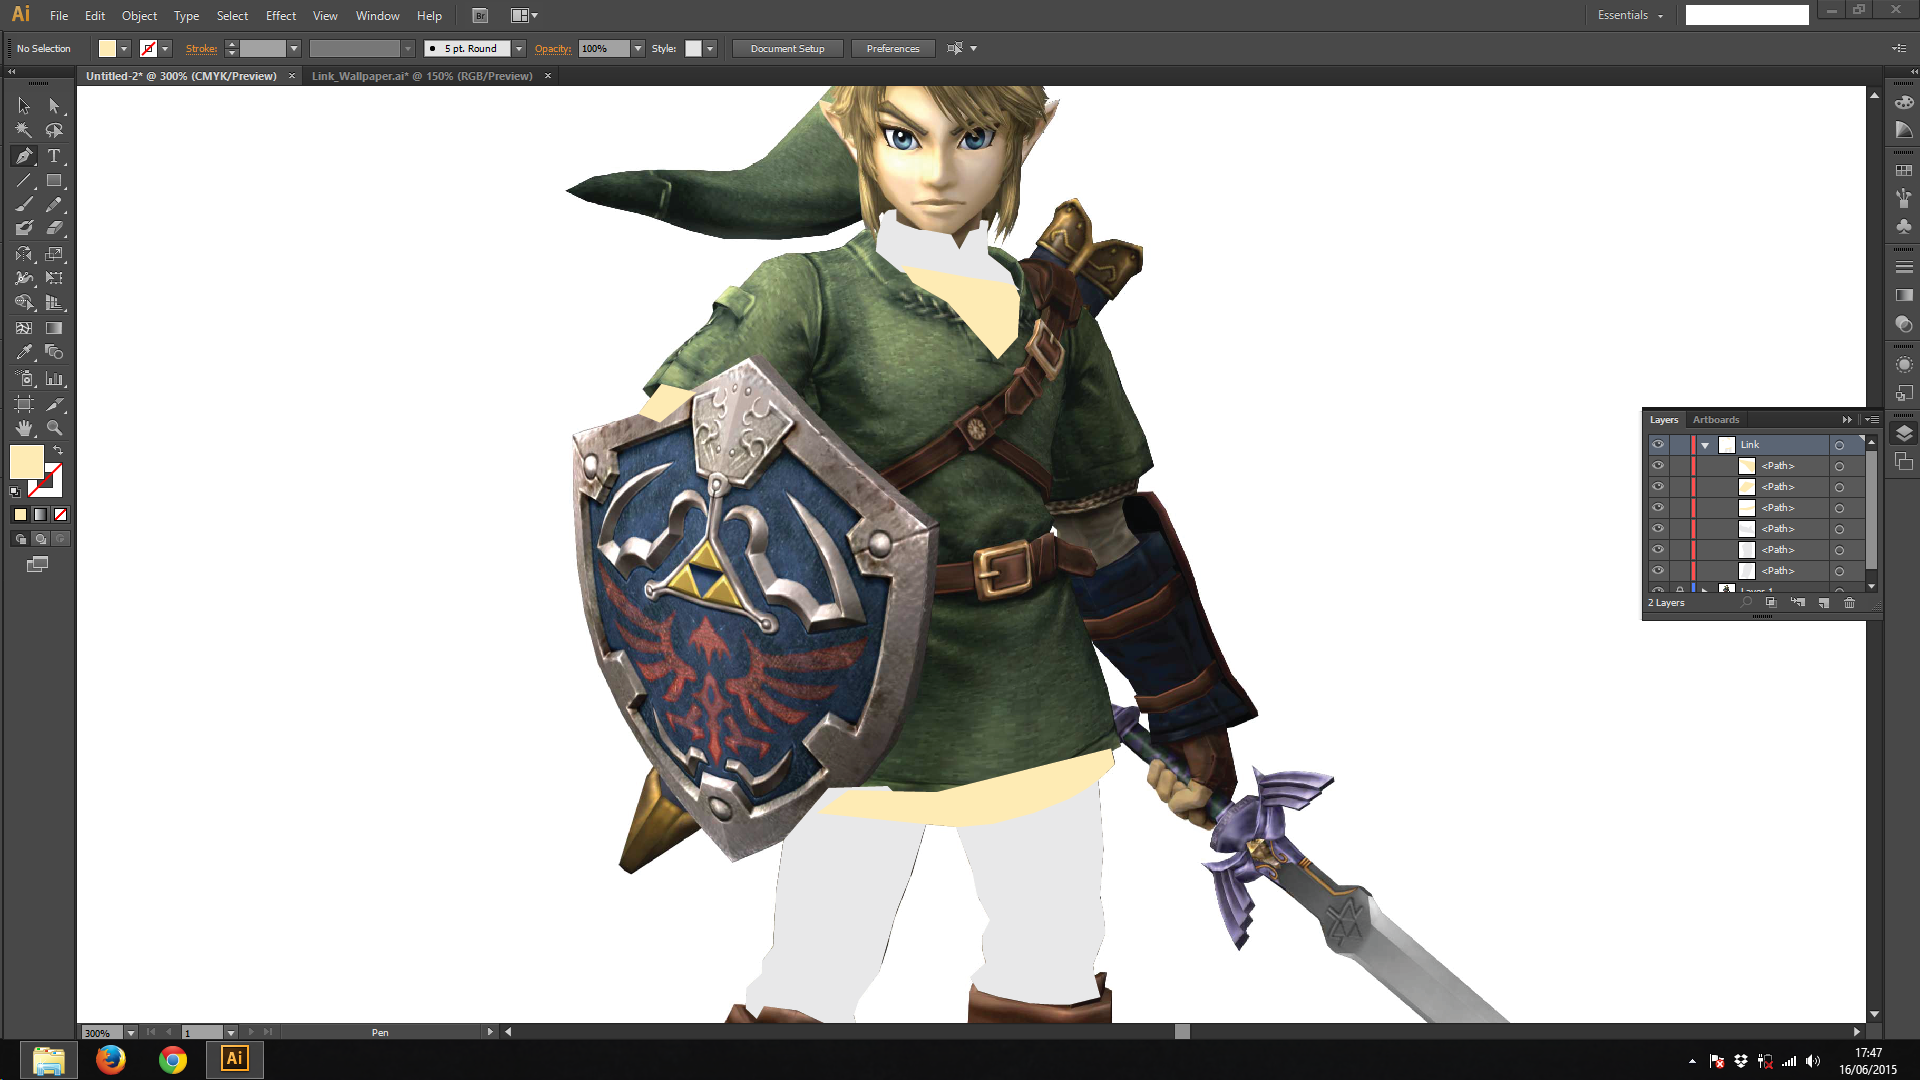
Now that we made the shirt, it's time to move on. Grab your pencil tool and make that metal clothing. You will notice you can't do it, because the legs you made are on your way.
- On the Layers window, click on the eye to toggle the shape's visibility
Ha! Easy like that. Make all the shapes and choose a nice color to them.
Creating Curves - Green Is the New Black
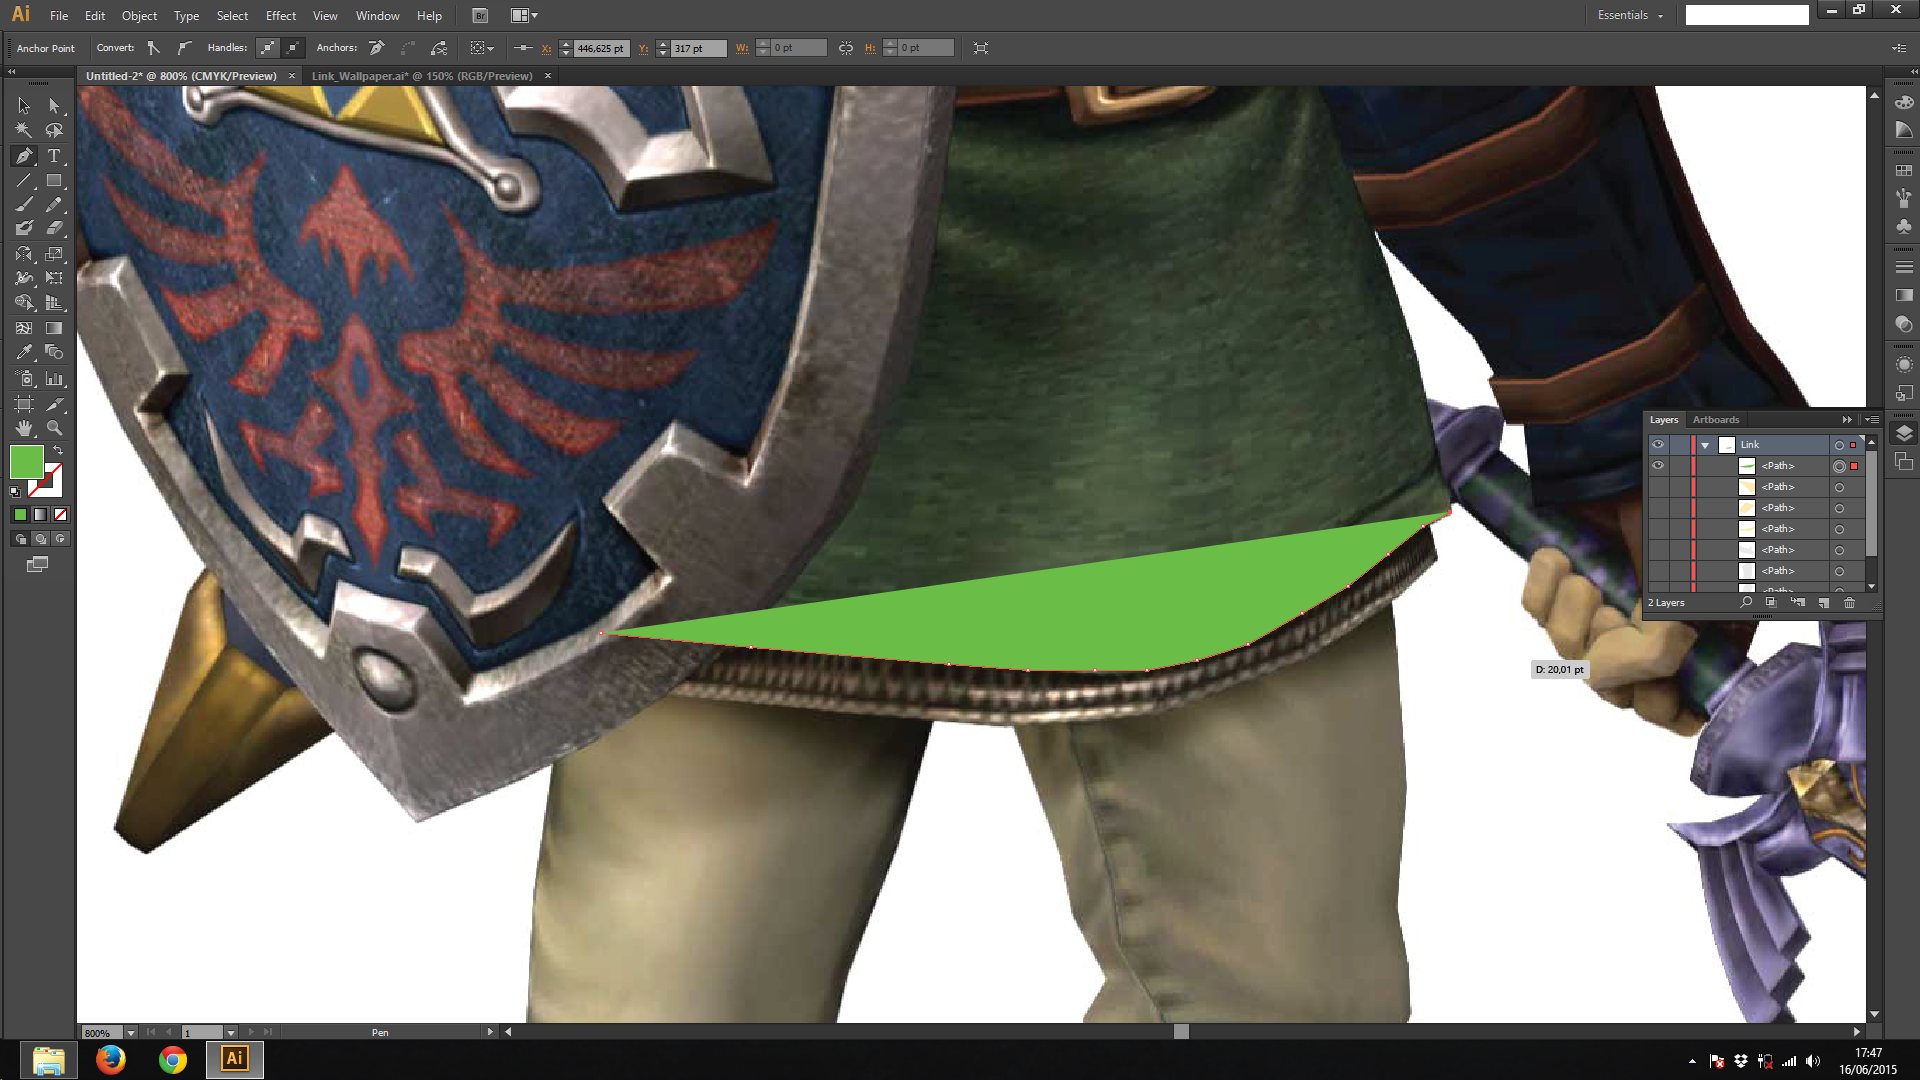
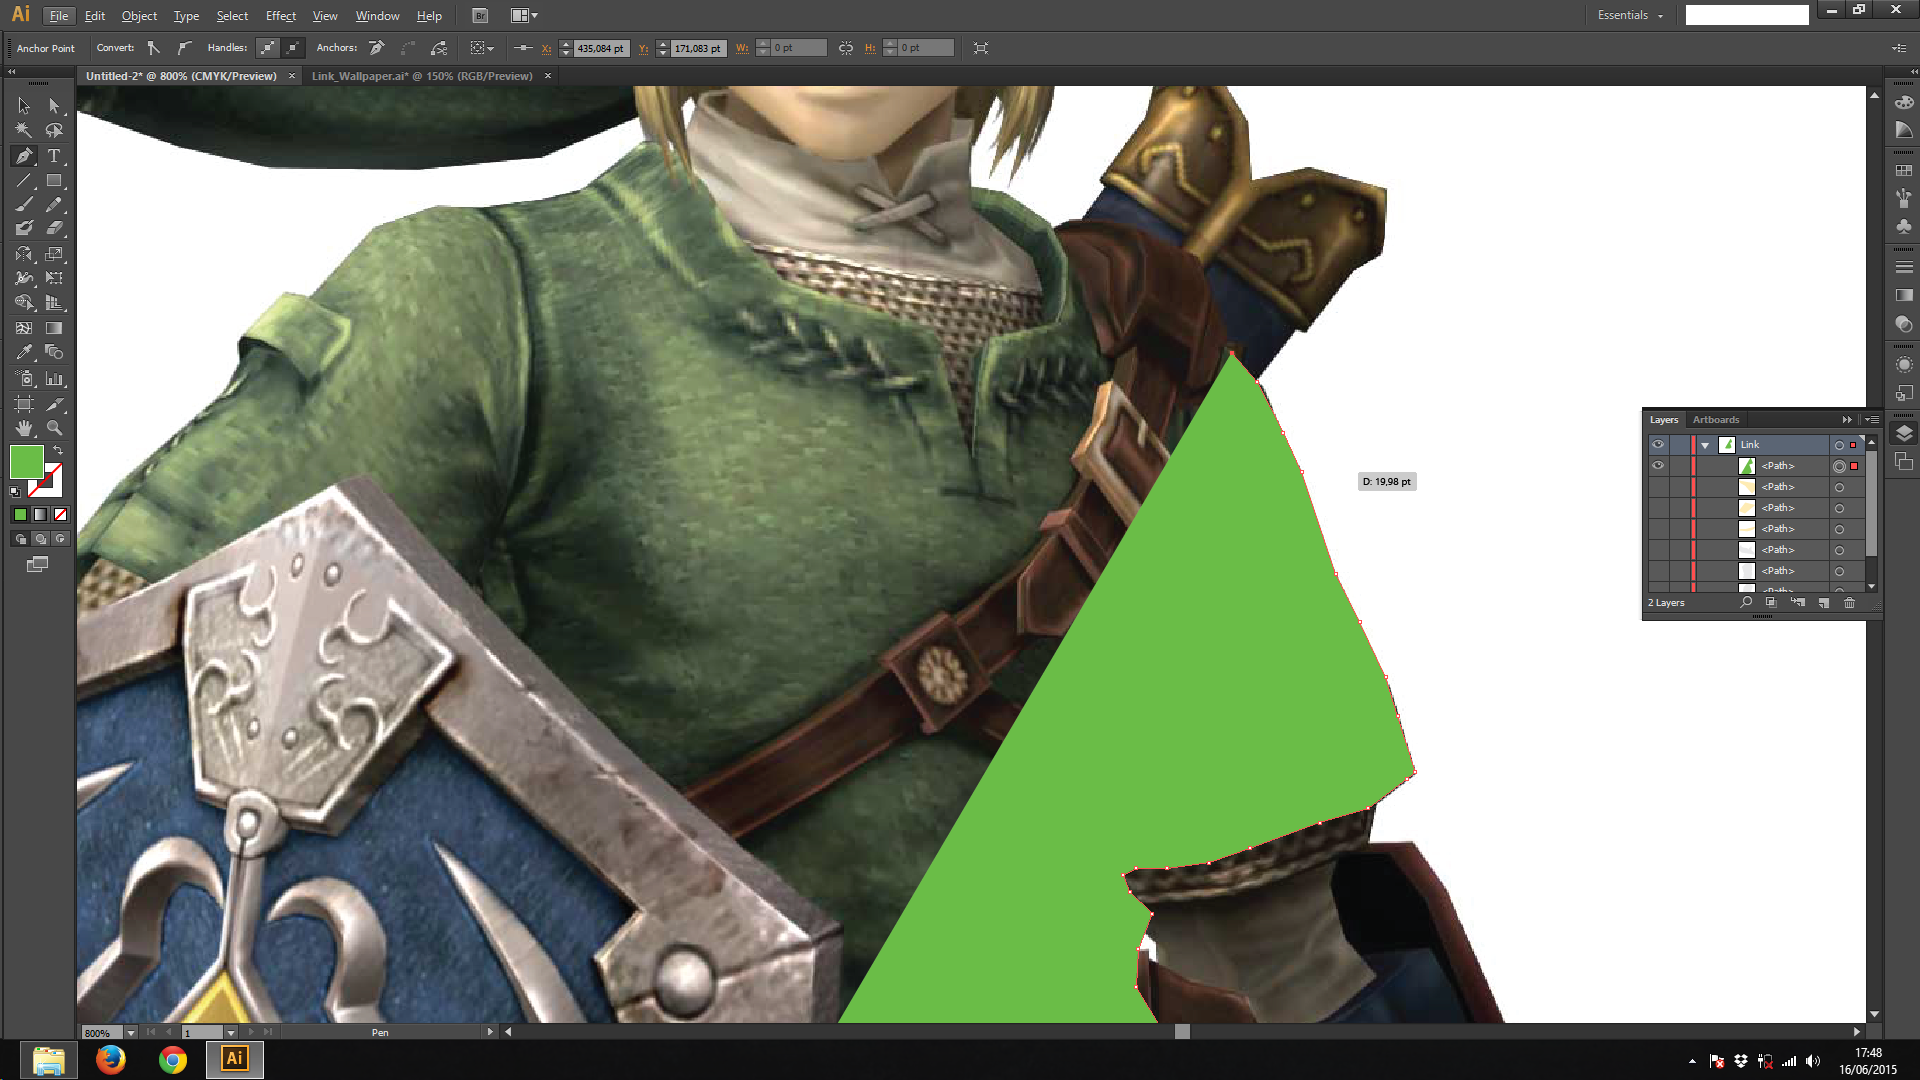
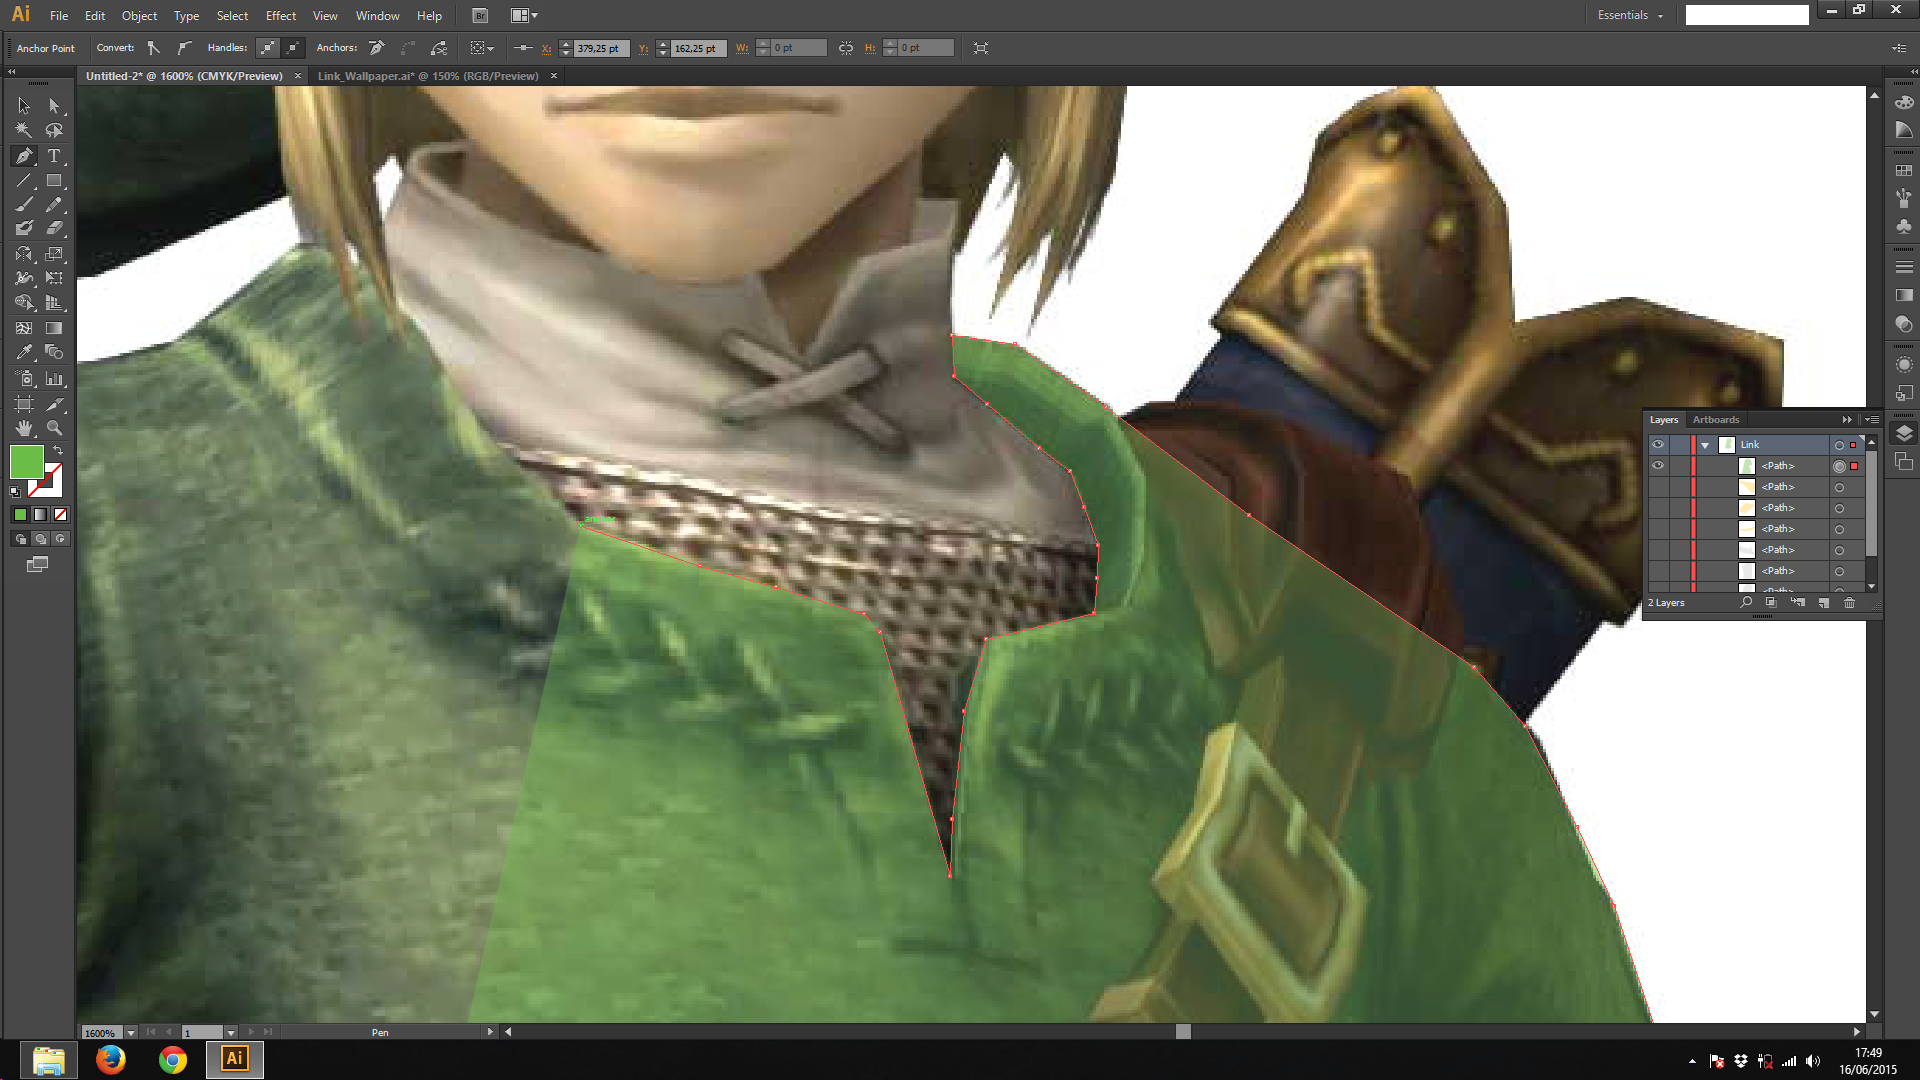
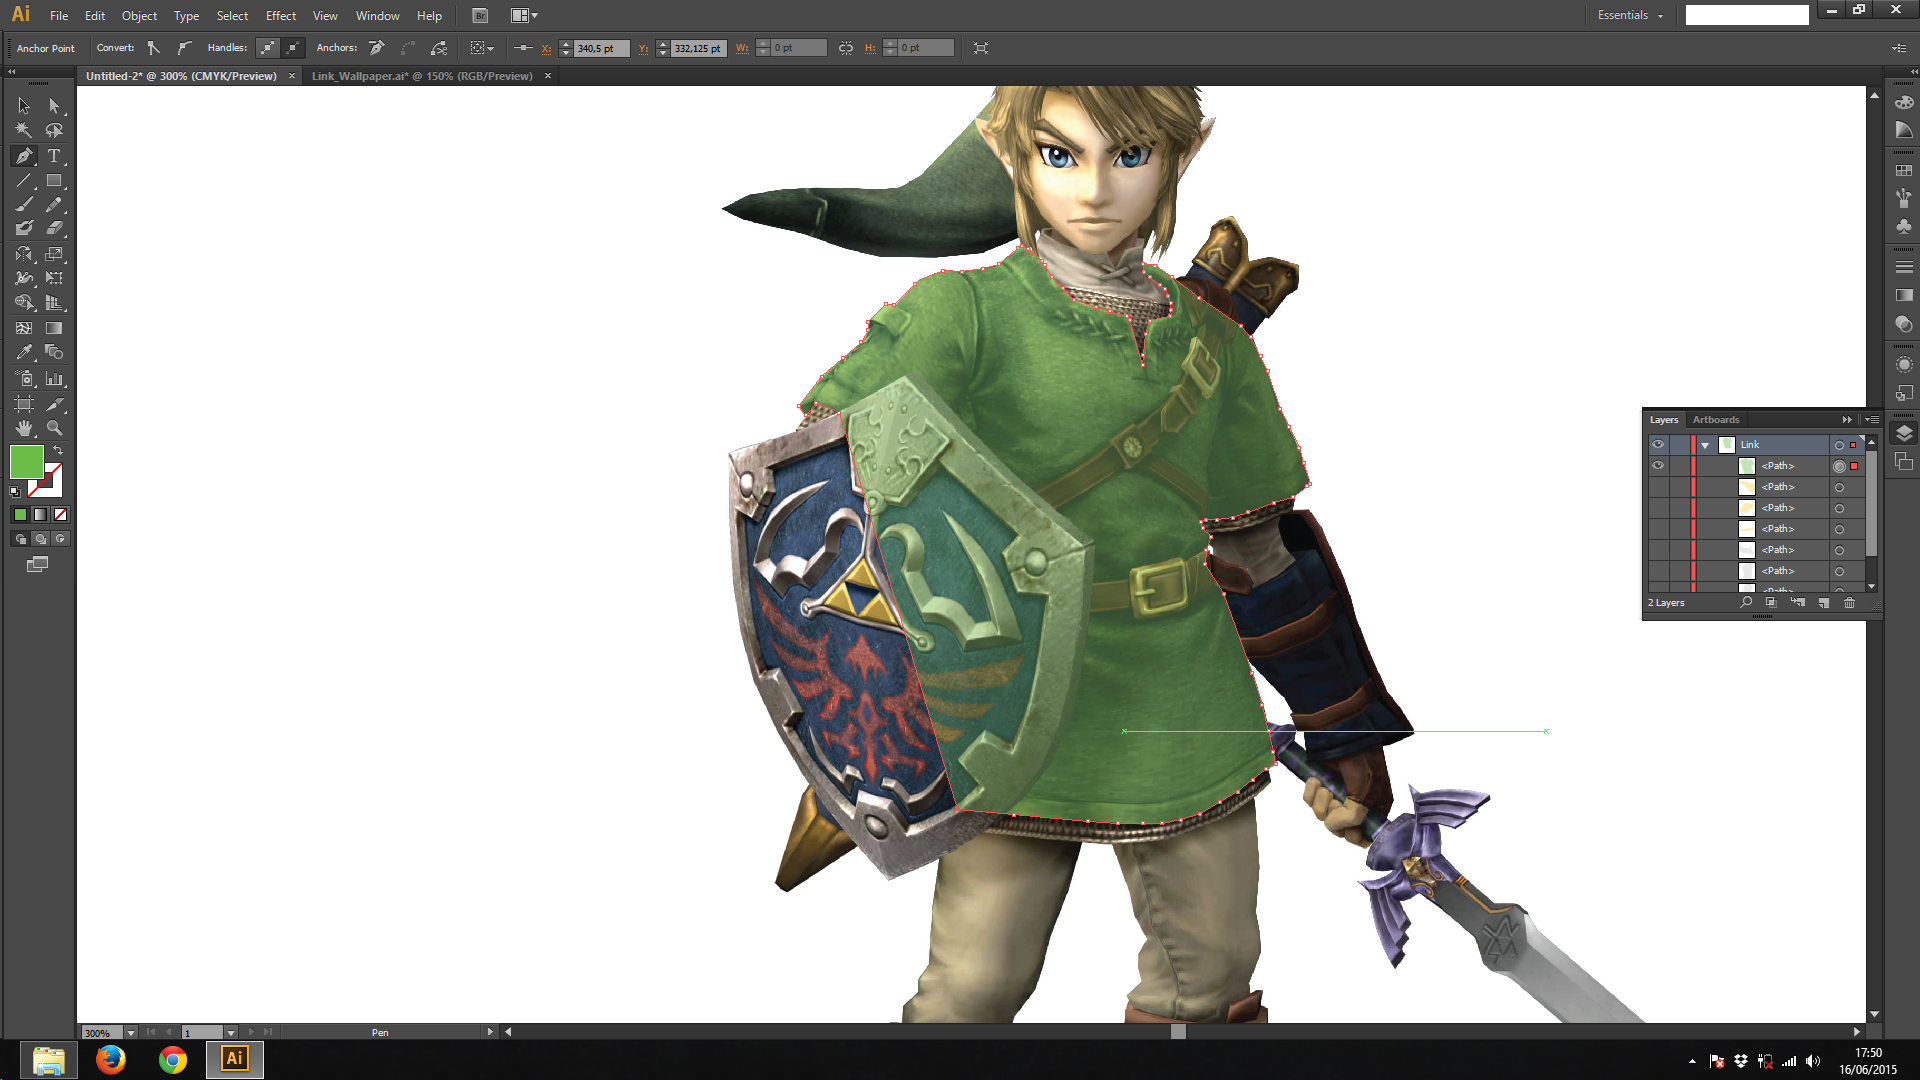
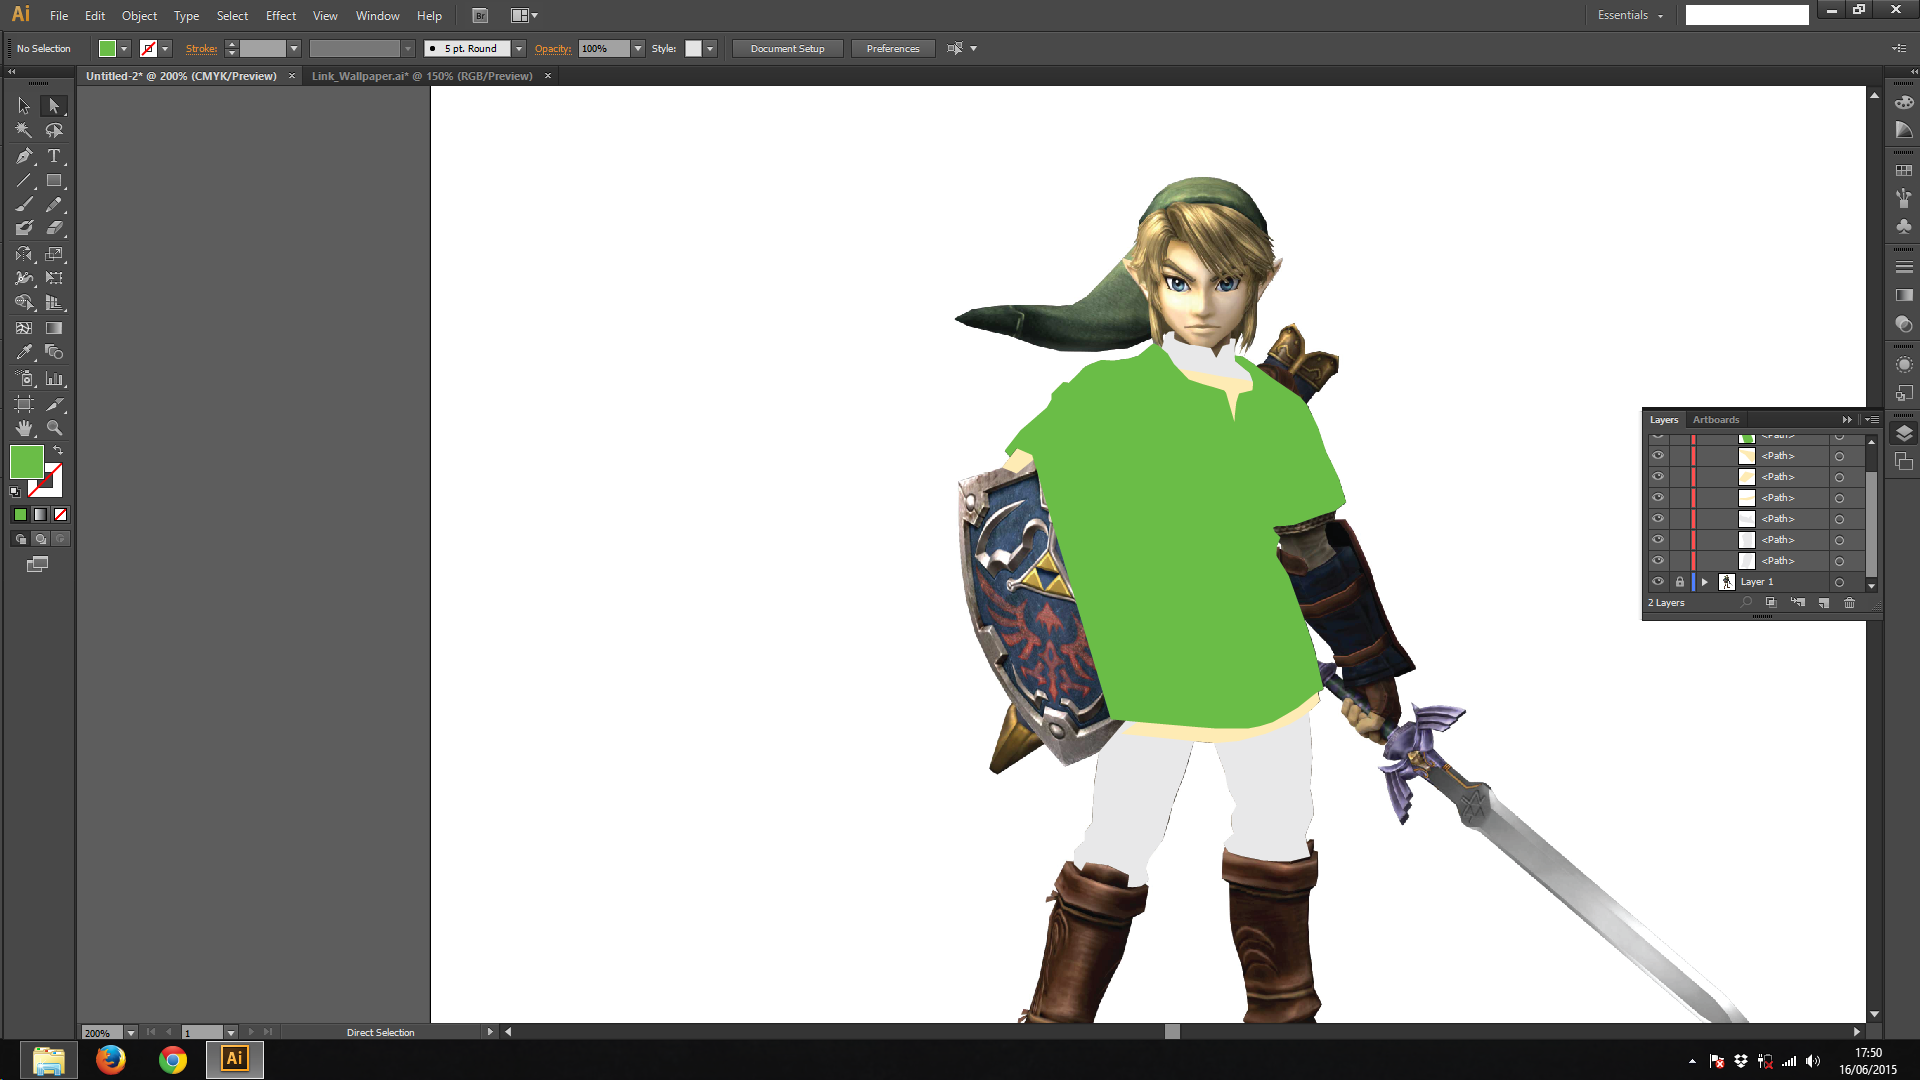
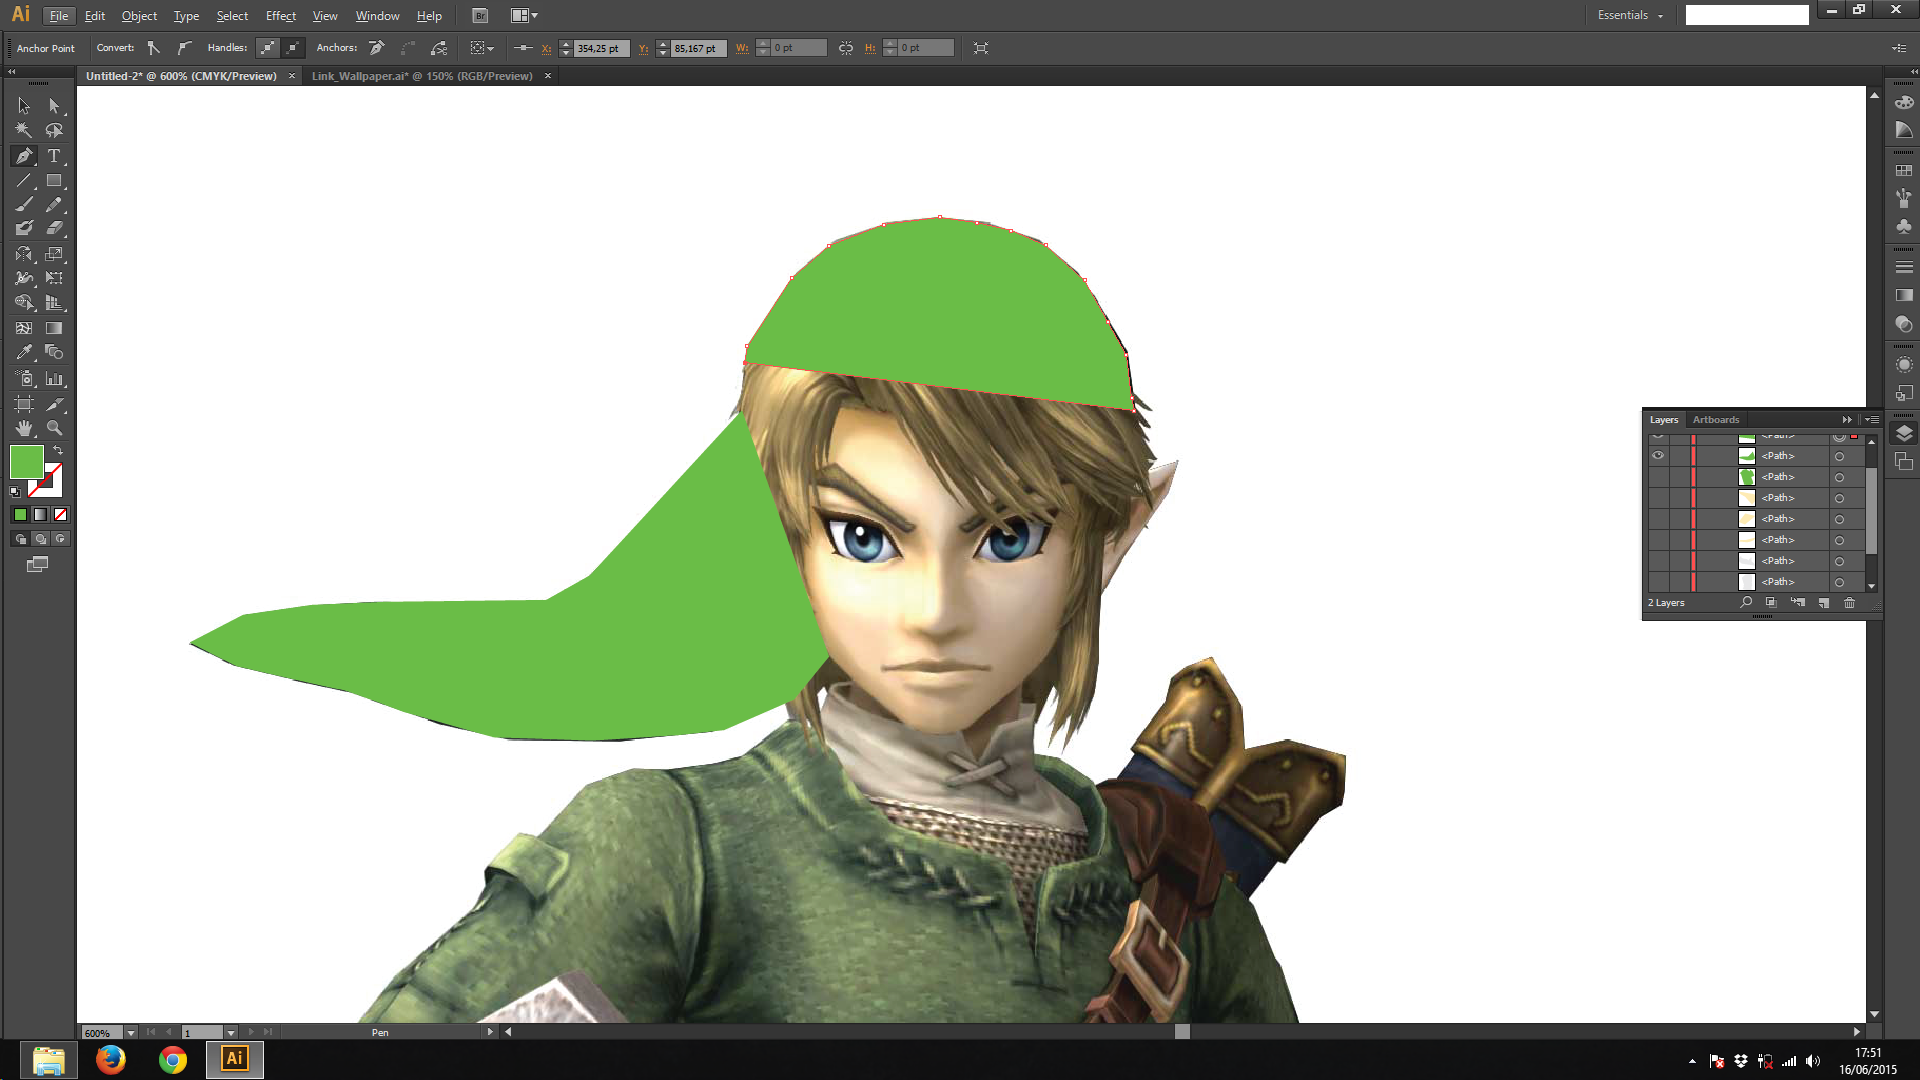

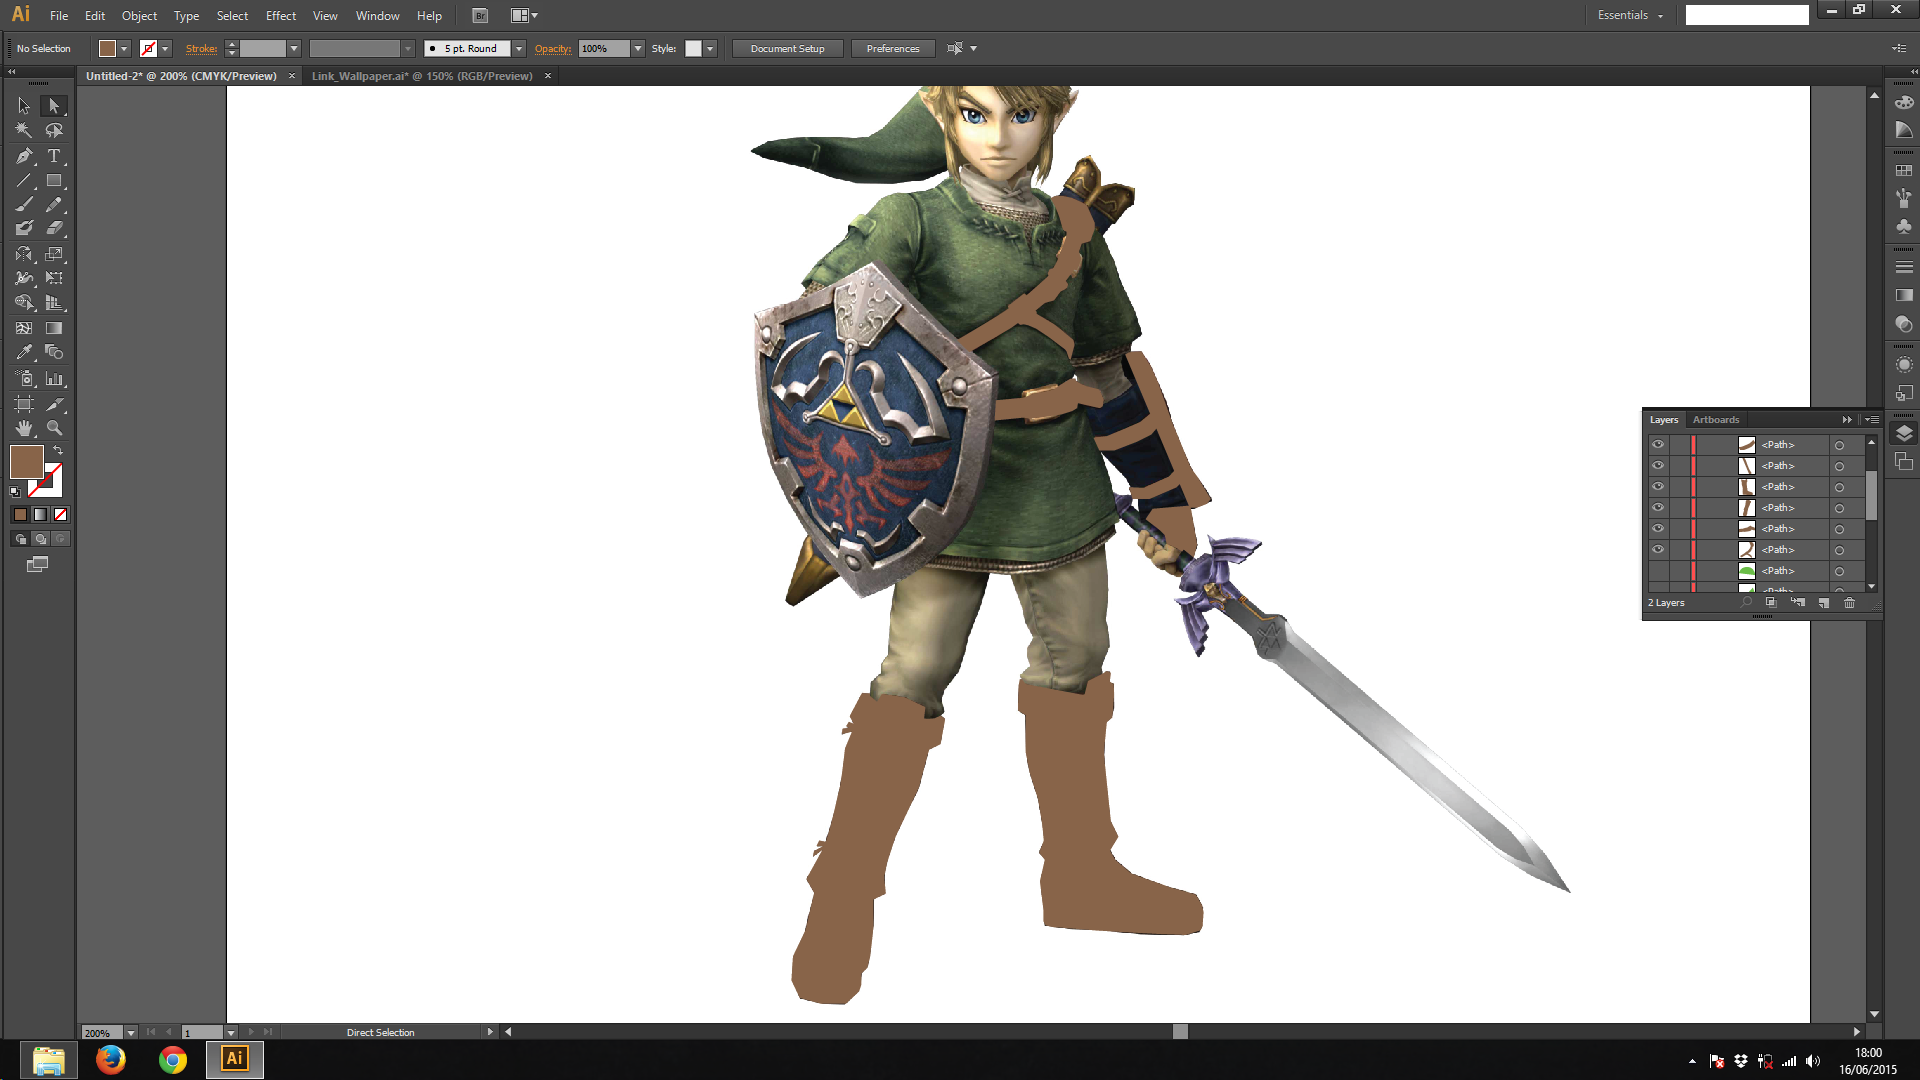
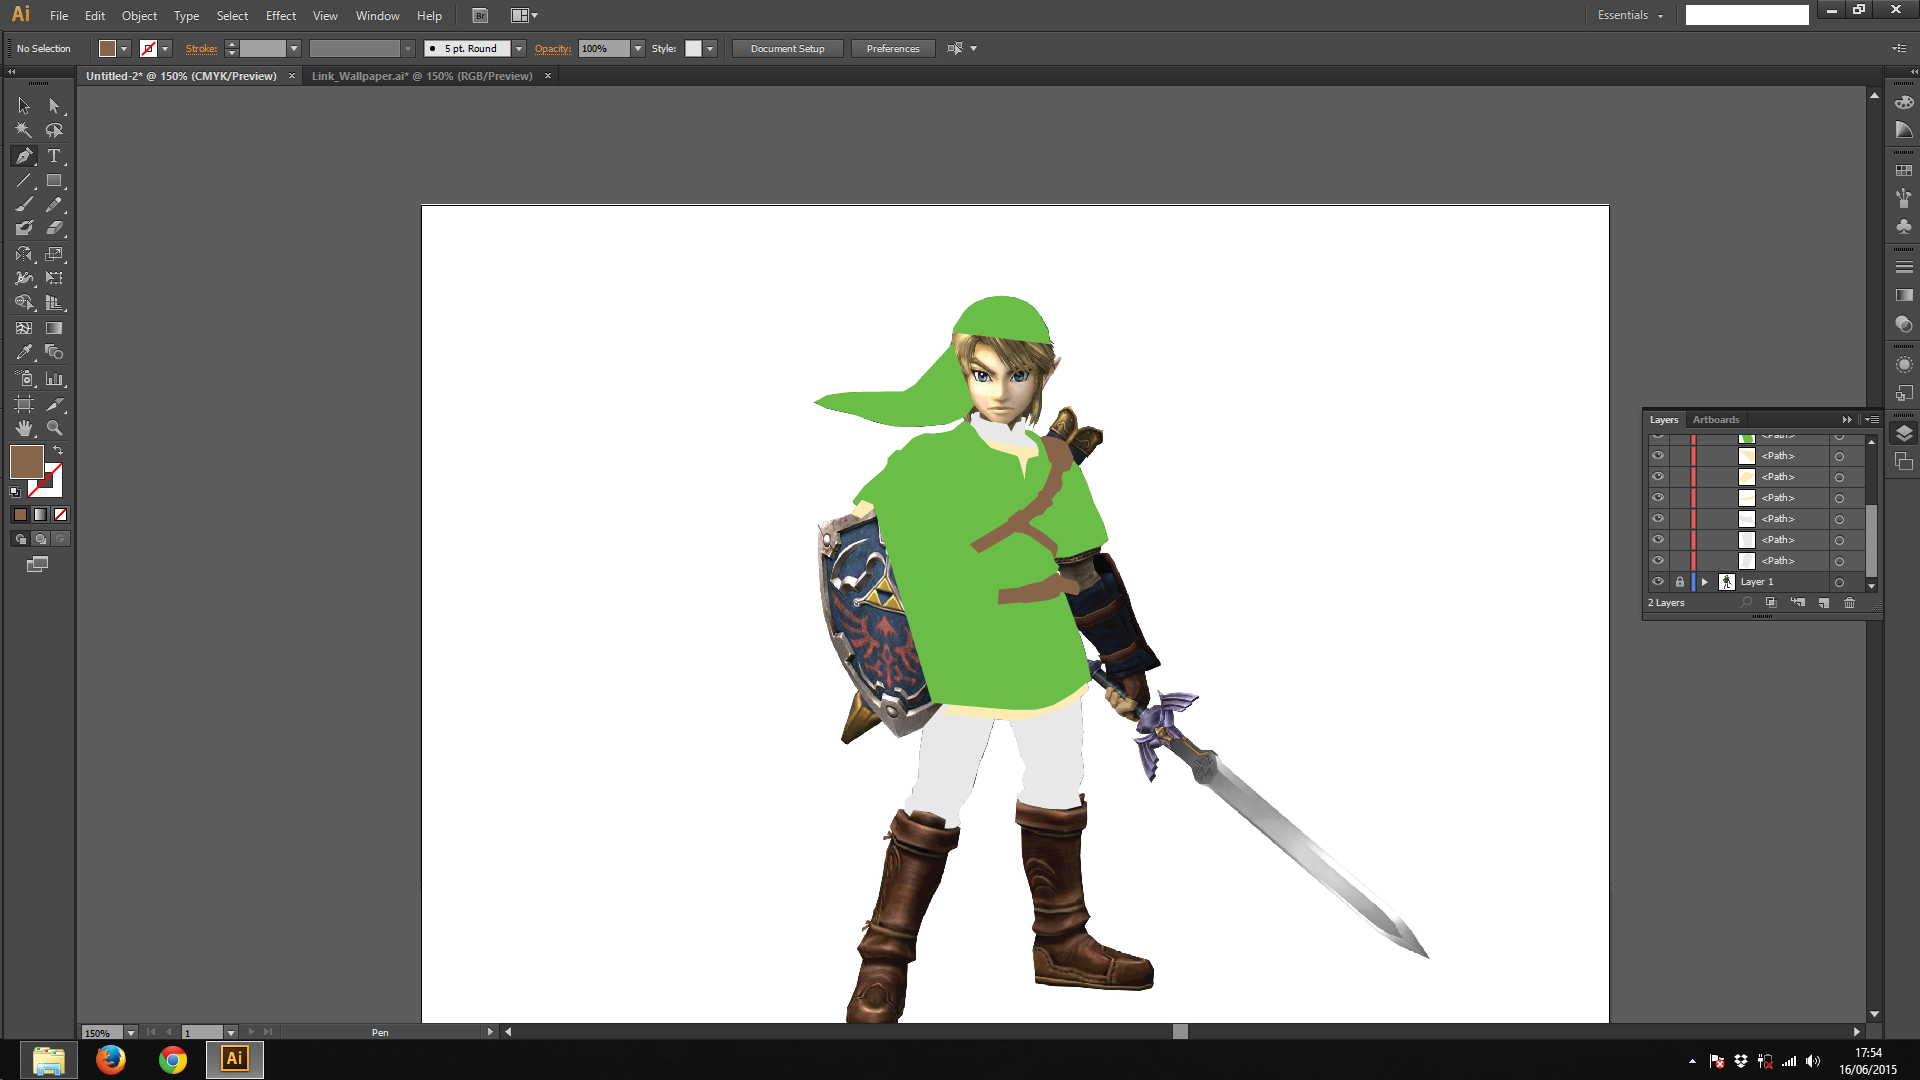
We've made some nice shapes untill now. But what if we wanted to make curved shapes?
- Hide all the shapes you made
- Repeat all the process to make the green tunic
And now, let's make a curve.
- Click on the image to make a point (if you haven't)
- Press down the mouse button and move it to make a curved line
As you can see, two squares and lines were created. But what's that? To make it short, it's a Bezier curve, but that's not what we'll discuss here. In order to change the curve shape:
- With the Control key pressed, click on one of those squares and drag it
- If you can't see it, with your control key pressed, click on the point you want on the shape.
-"Ok, but if I move one square, the other mover too.. How do I change that?"
- With the Alt key pressed, click on the square you want and drag it. You will notice the curve is not smooth anymore
-"But if I want to make a curve and them make a line?"
- With the Alt key pressed, click on the point on the shape you want to modify
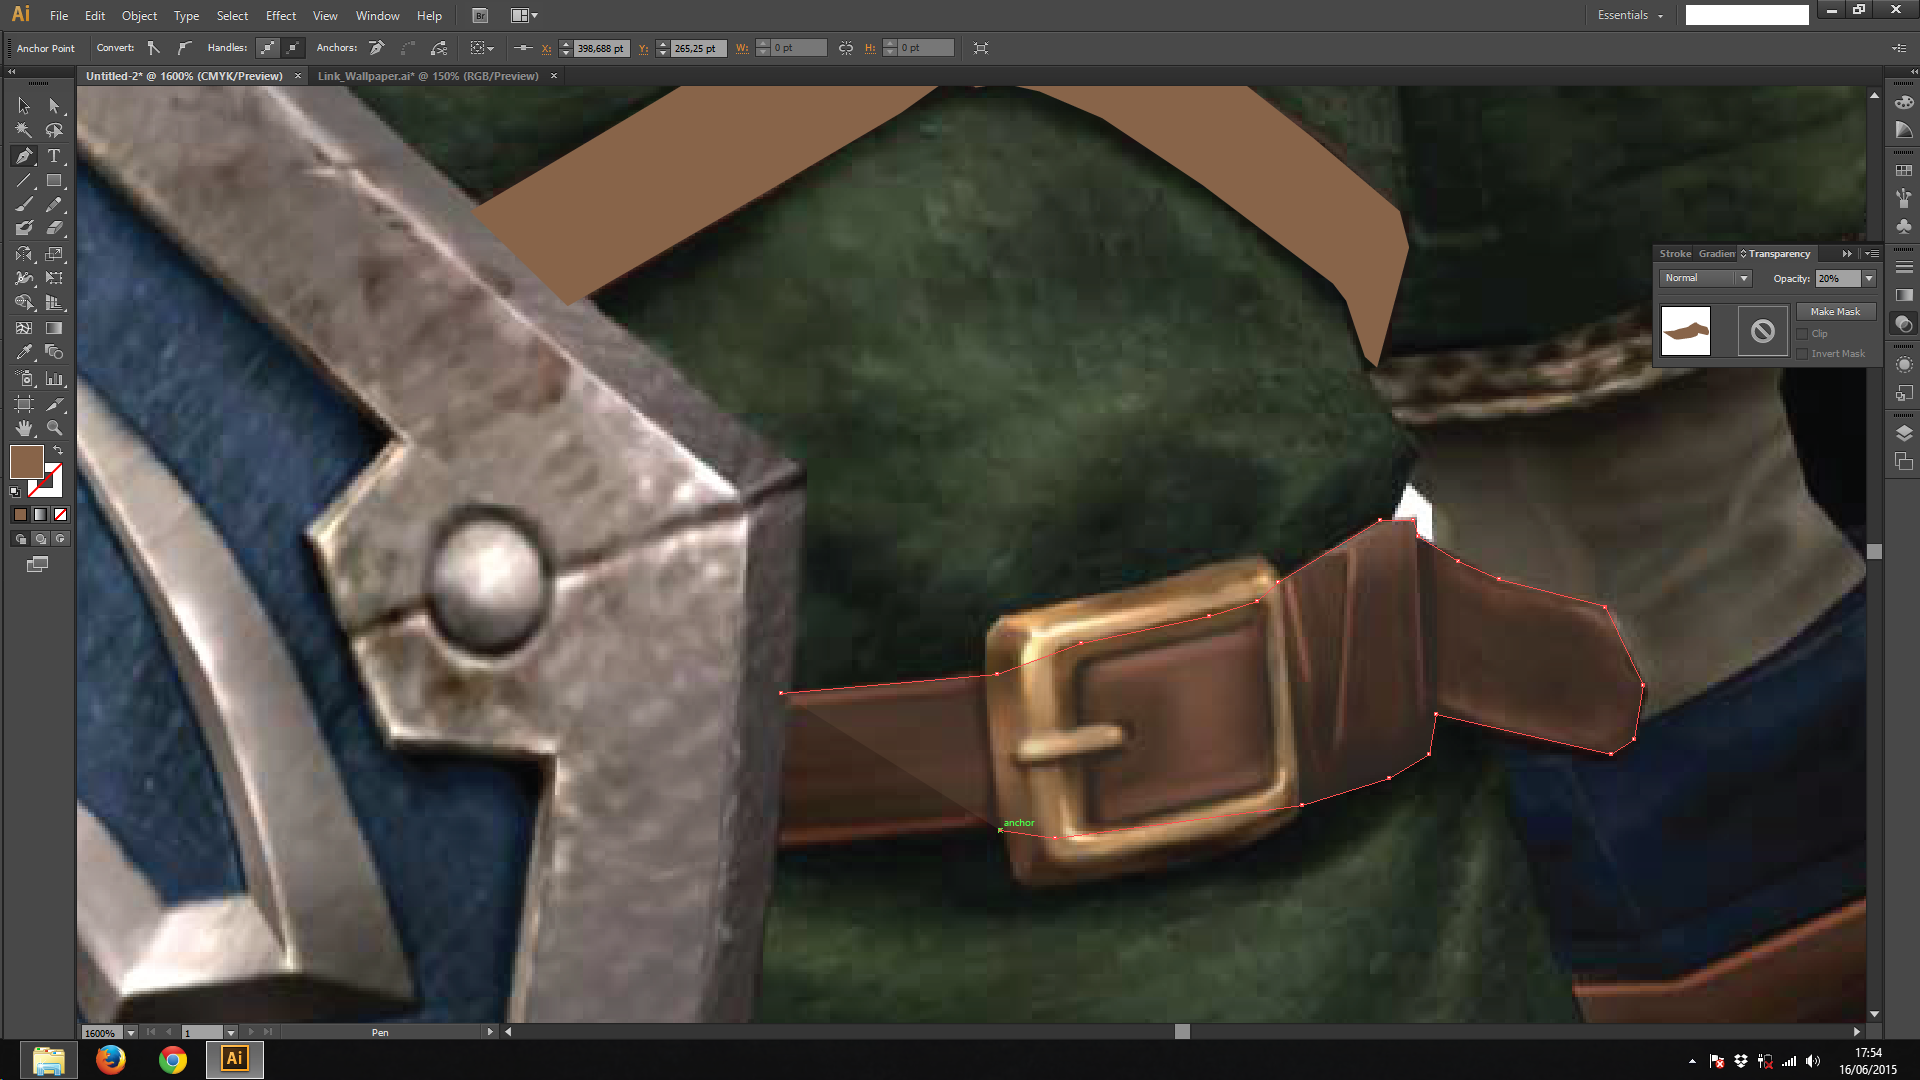
-"Ok, but I can't make the curve I want. Is there some black magic I could use to make it right?"
- Create the first point
- Create the last point and drag it
- Create new points on the curve you just created
- With the Control key pressed, click on the point you want to drag and move it to the correct position. You could use the Direct Selection Tool (A key on the keyboard) as well
After that, try to add all the brown stuff, like the boots
I Forgot to Add Something... What Now?
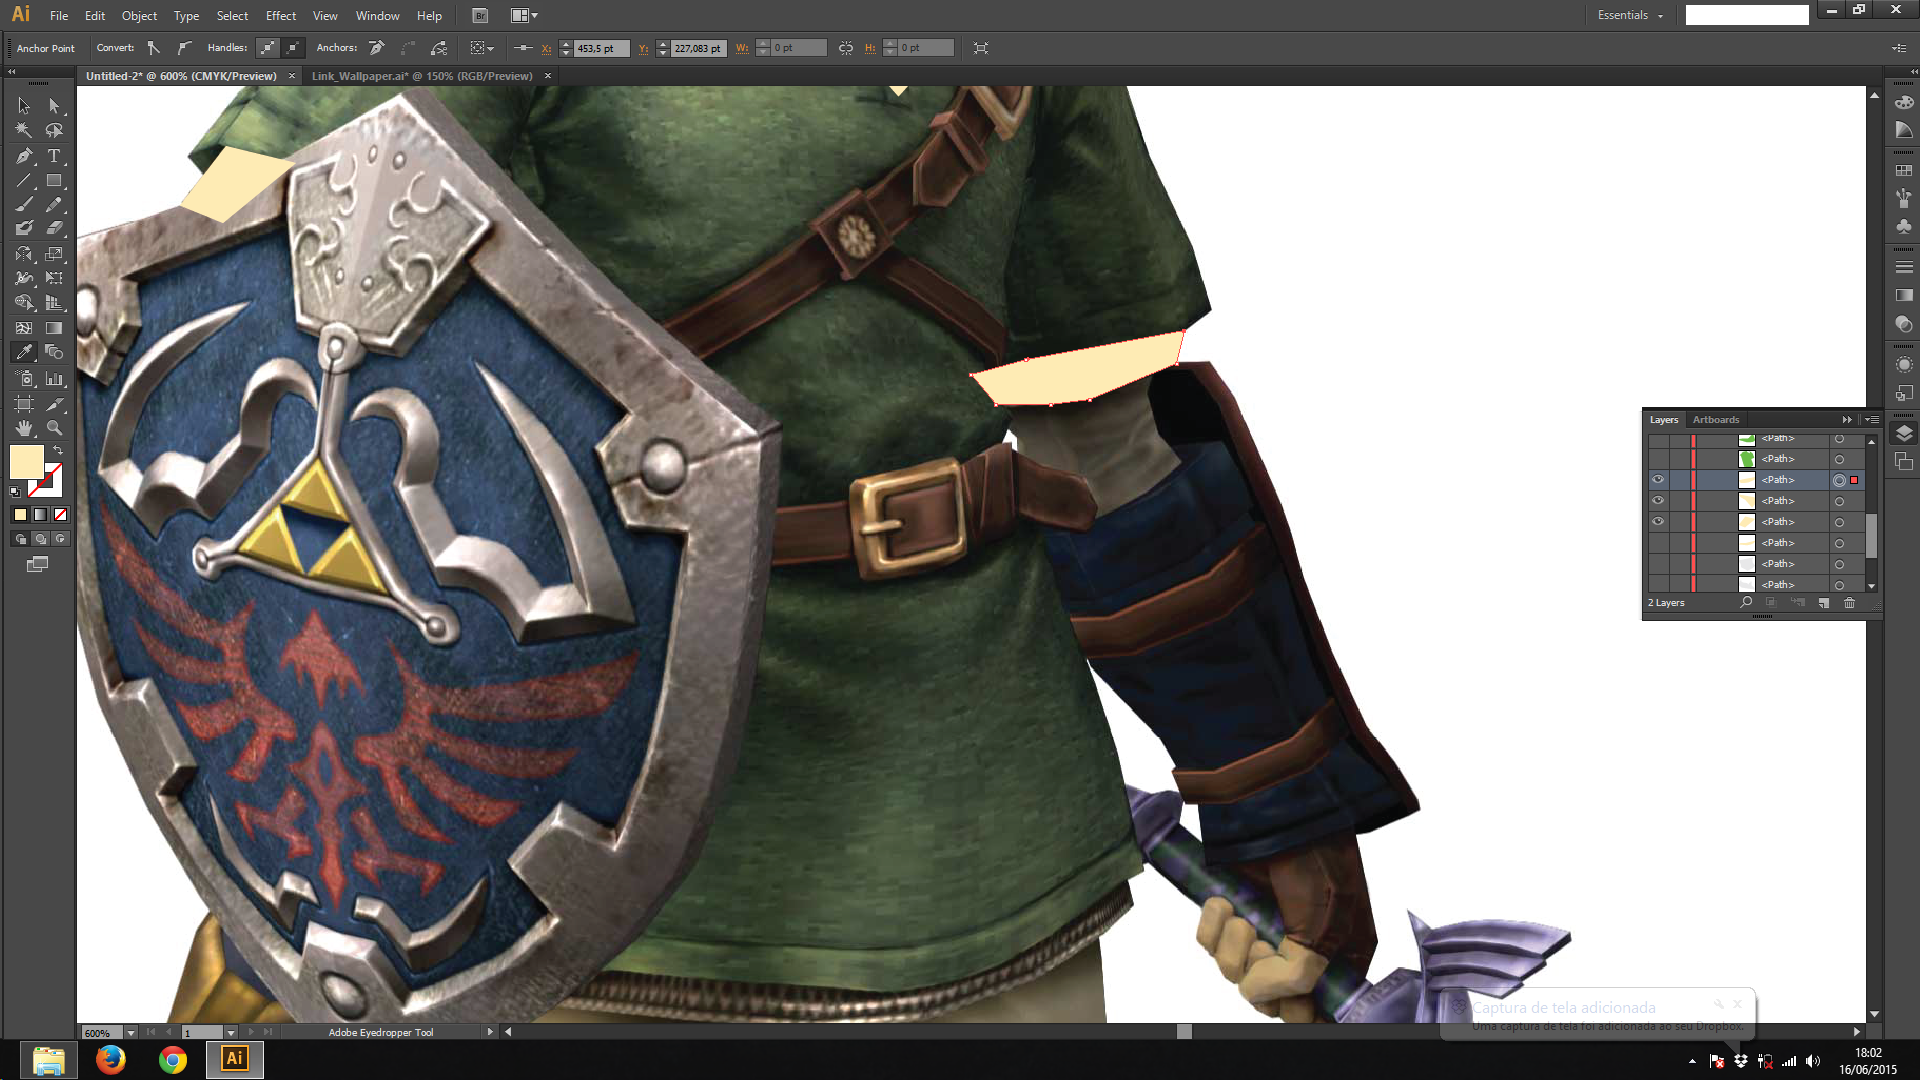
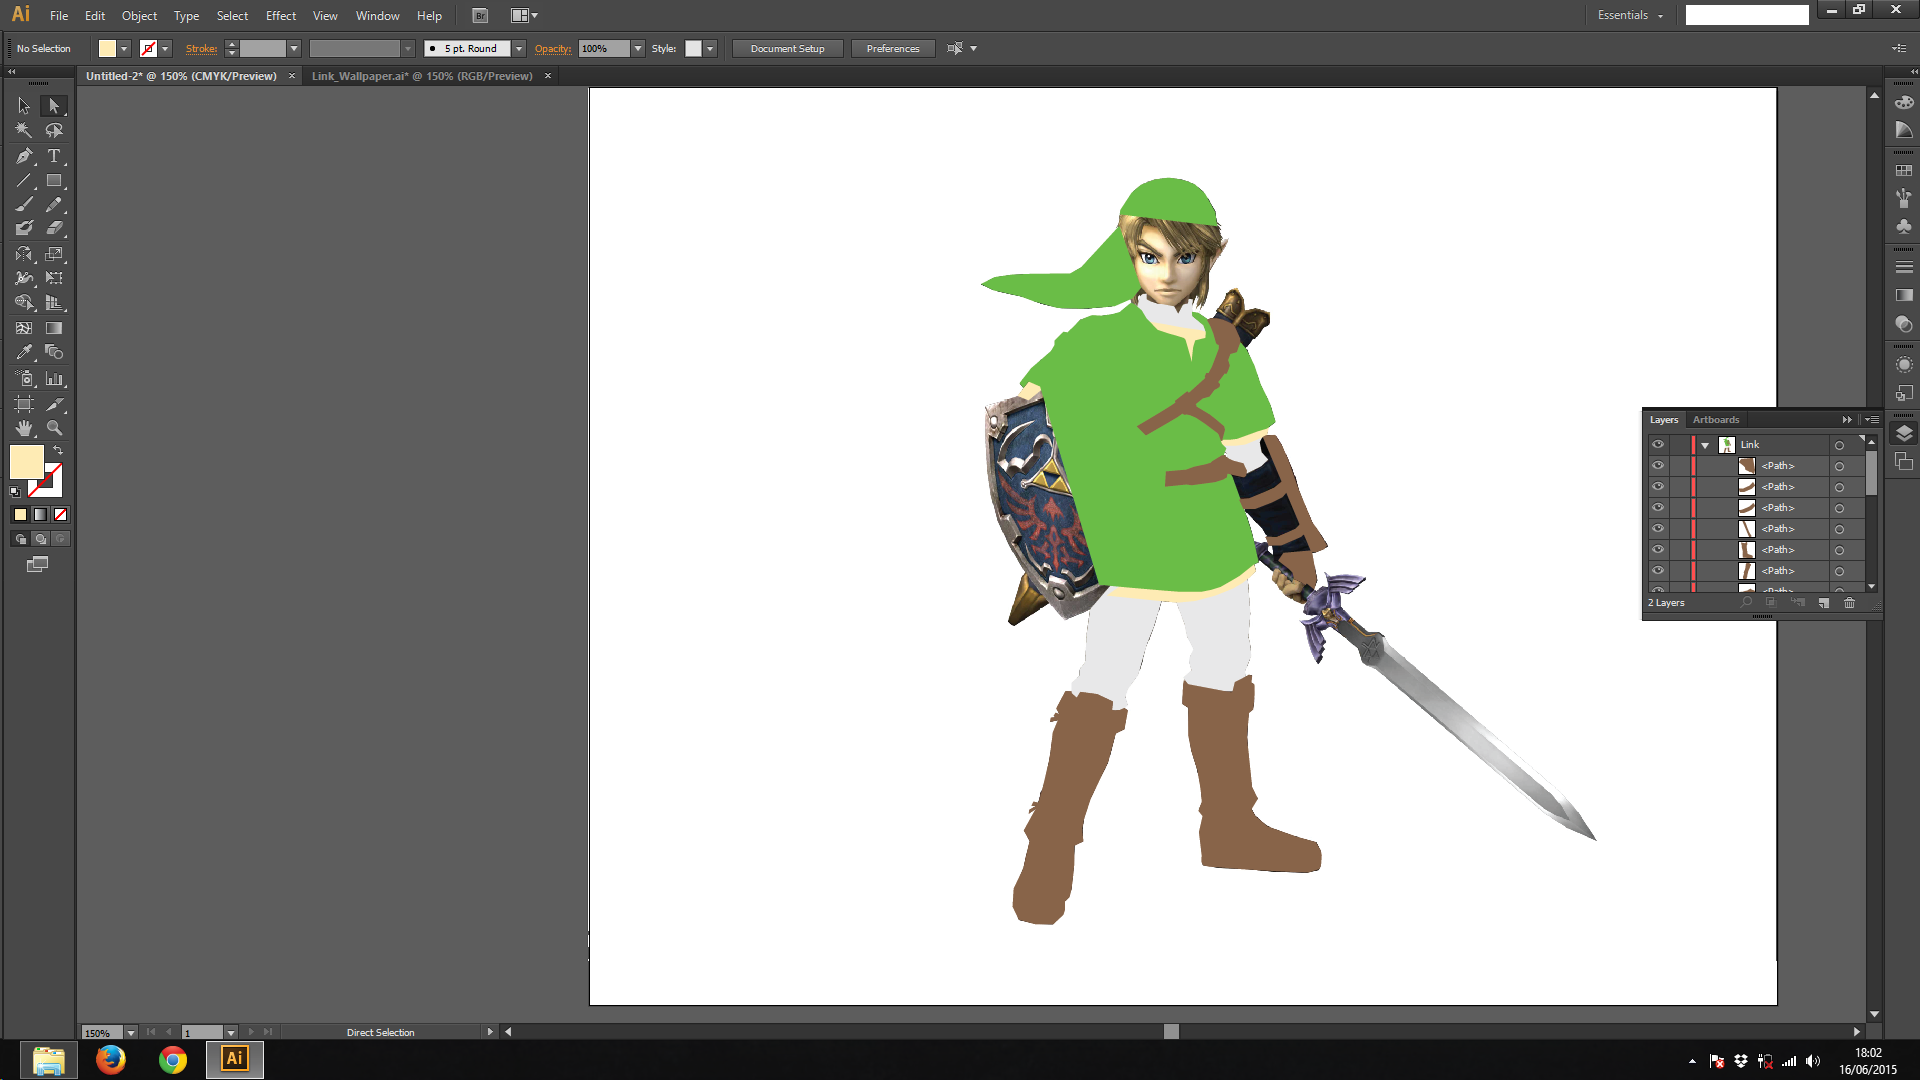
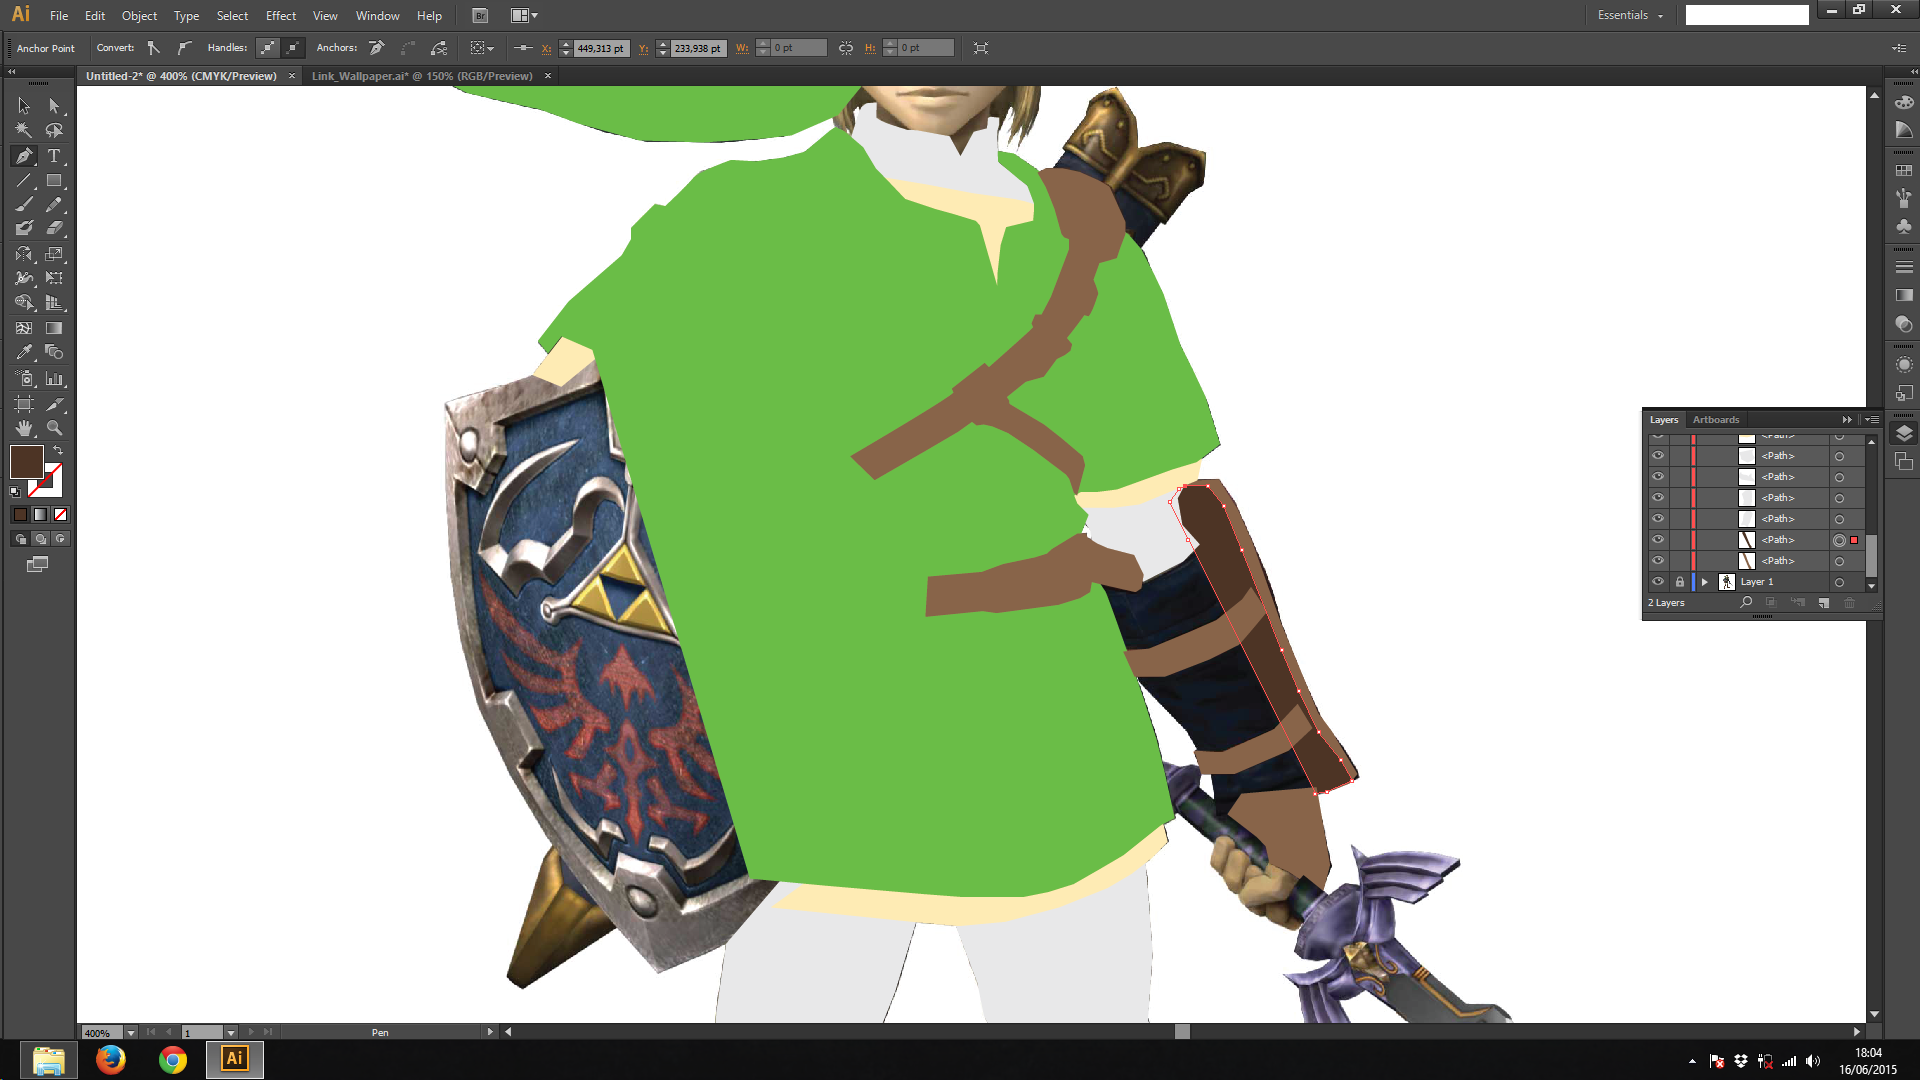
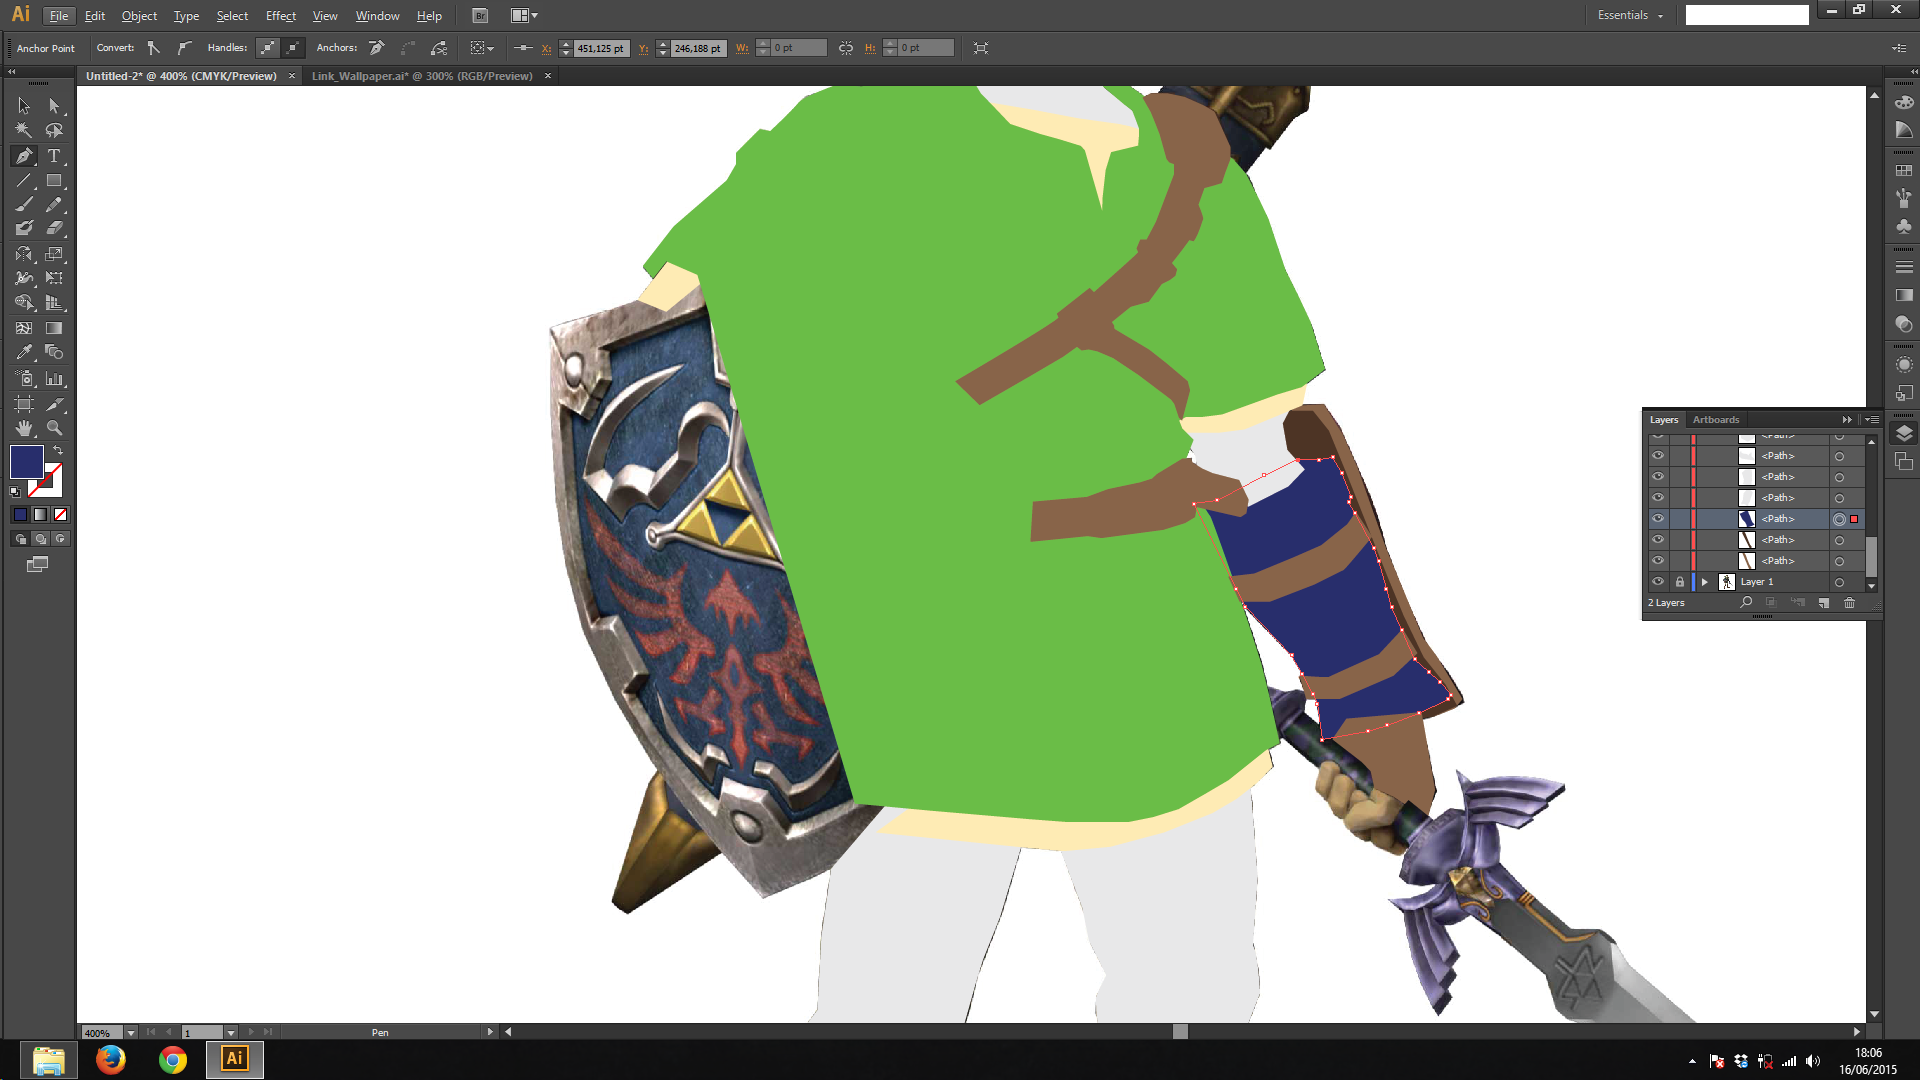
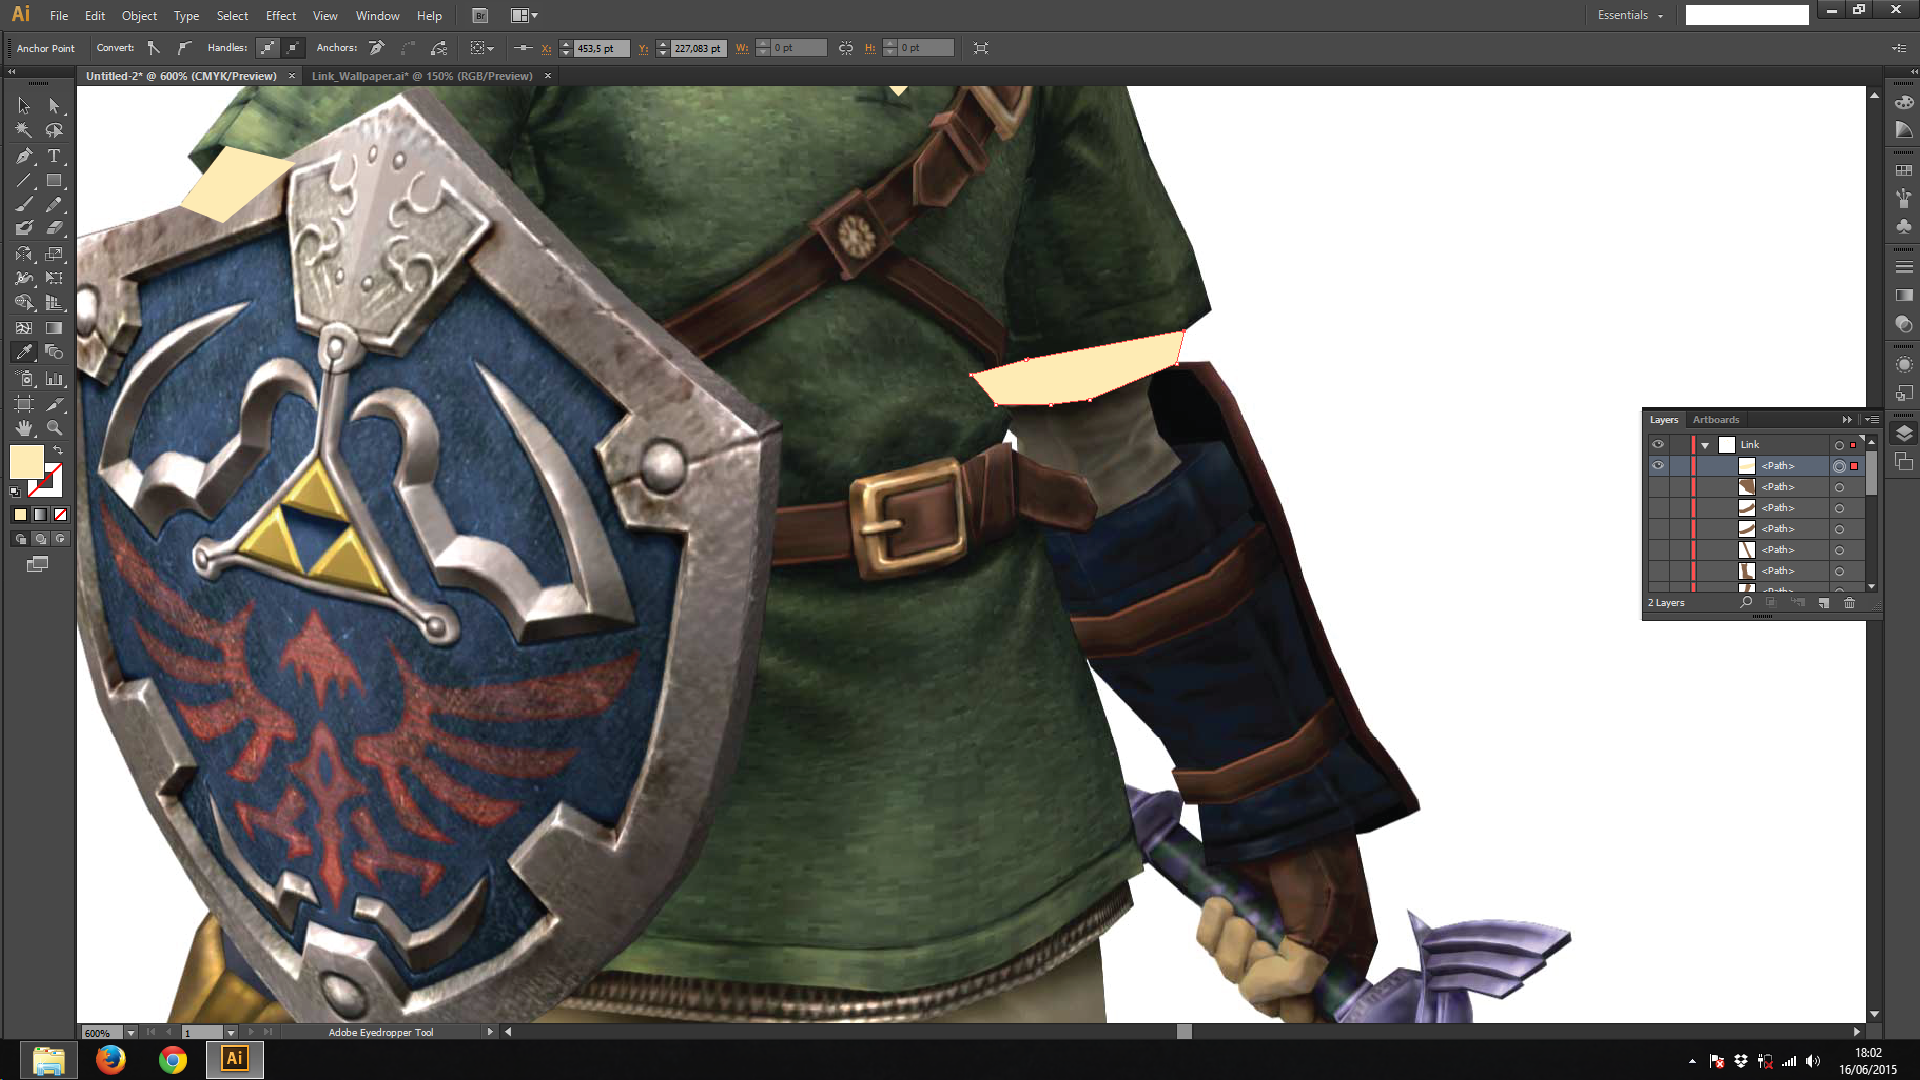
Well, we forgot to add the shirt on the left arm... Not too bad, repeat the same process as before...
- "Yeah, ok, but what about the color?"
Eyedropper tool to the rescue!
- Select the shape you want to change the color on the layers window
- Click on the eyedropper tool on the left menu (I key on the keyboard)
- Click on the color you want
- ...
- Profit!
-"But now the shirt is above the tunic... what should I do ?"
So, we want to make the tunic to go 'up'. If you notice, on the layer window, the shapes on the top of the window are over the others below. If we can move the layers to where we want
- On the layers window, click on the shape you want to move and drag to where you want
With that said, use this technique to make the right arm!
The Shield and the Sword


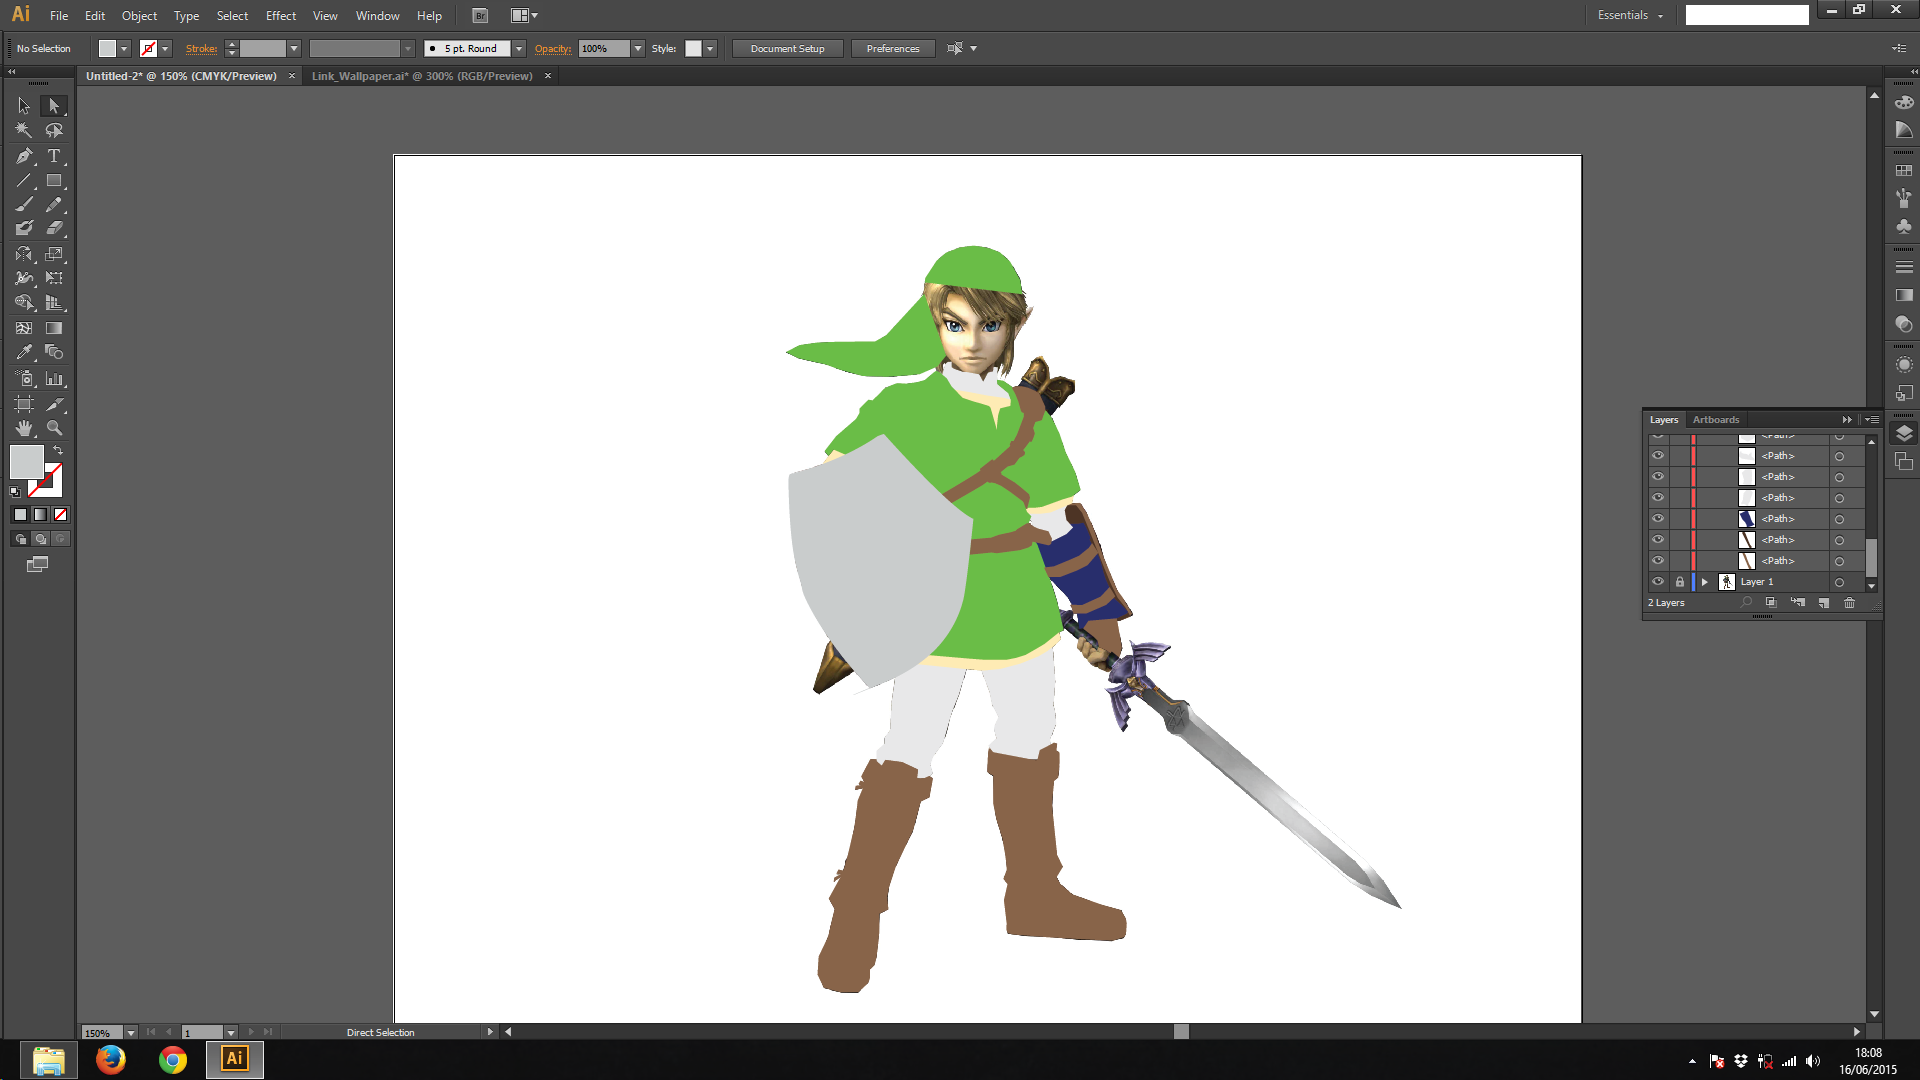
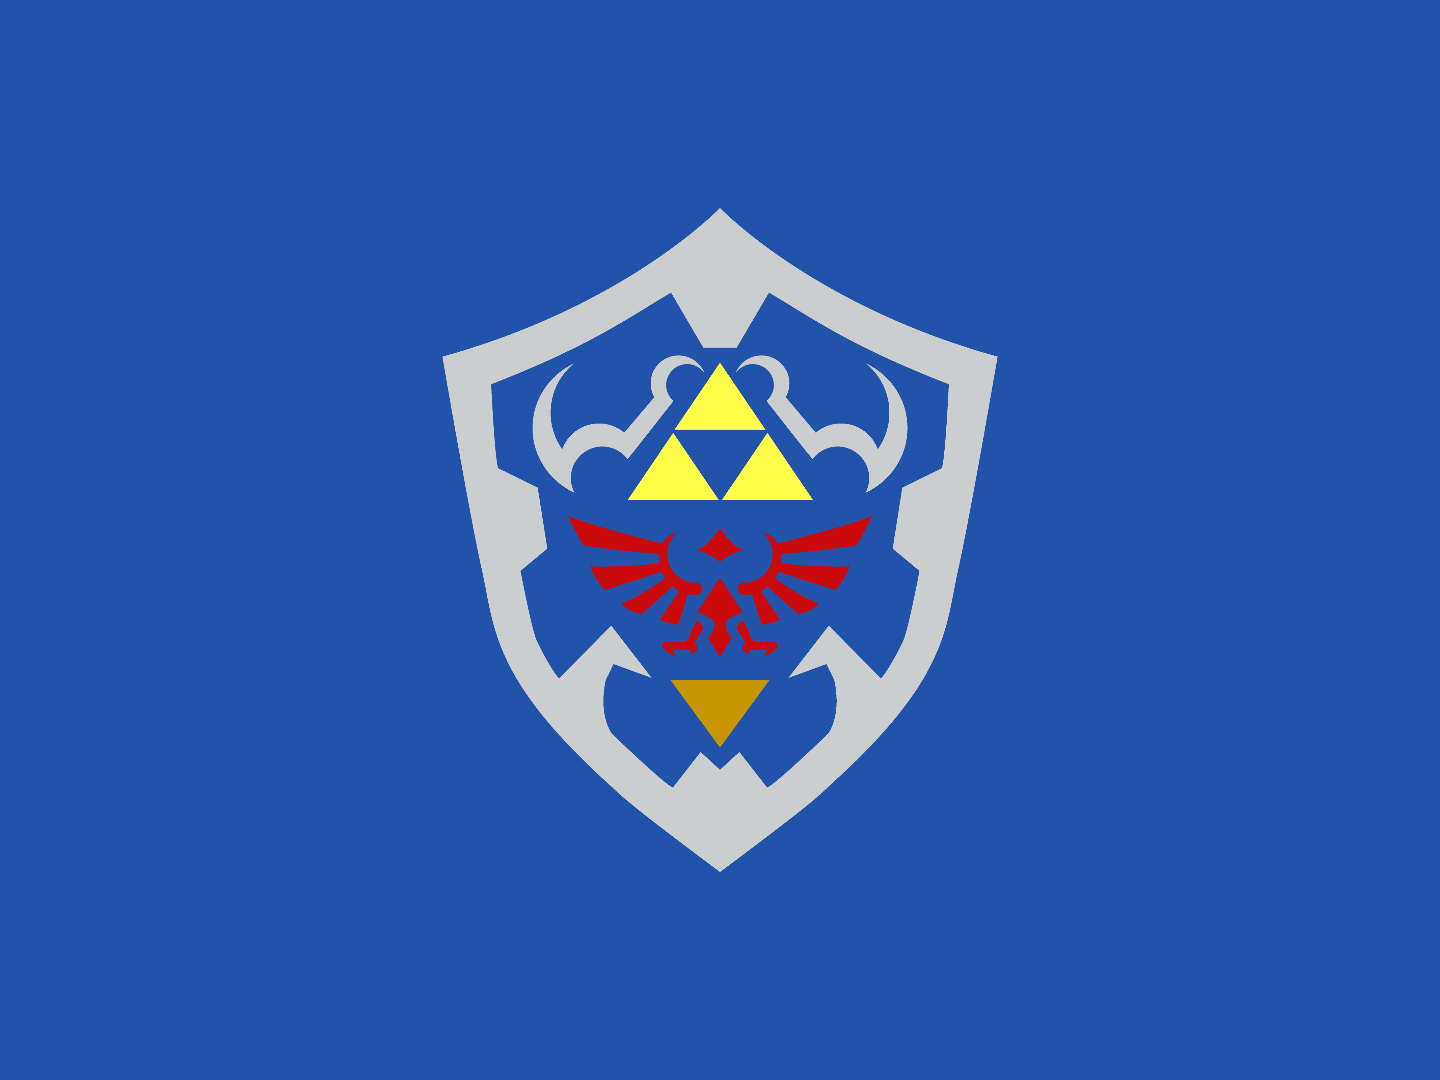
As you can see, my shield on looks different from the original picture.
I made a new project just to make the shield, because I wanted to use it on other projects. So I made just half of the shiled and reflected it to make the other piece. (Reflect Tool, O on the keyboard). The process of making it was kinda different, because there were many circles and shapes, and I wanted it to be simetric. I made shapes with Rectangle Tool (M key), Ellipse Tool (K key) and used a lot of path finder functionalities (Window > Pathfinder).
But, you can make the shield the way you want, following the process on this tutorial is a good start. The same applies to the sword.
Finishing Up
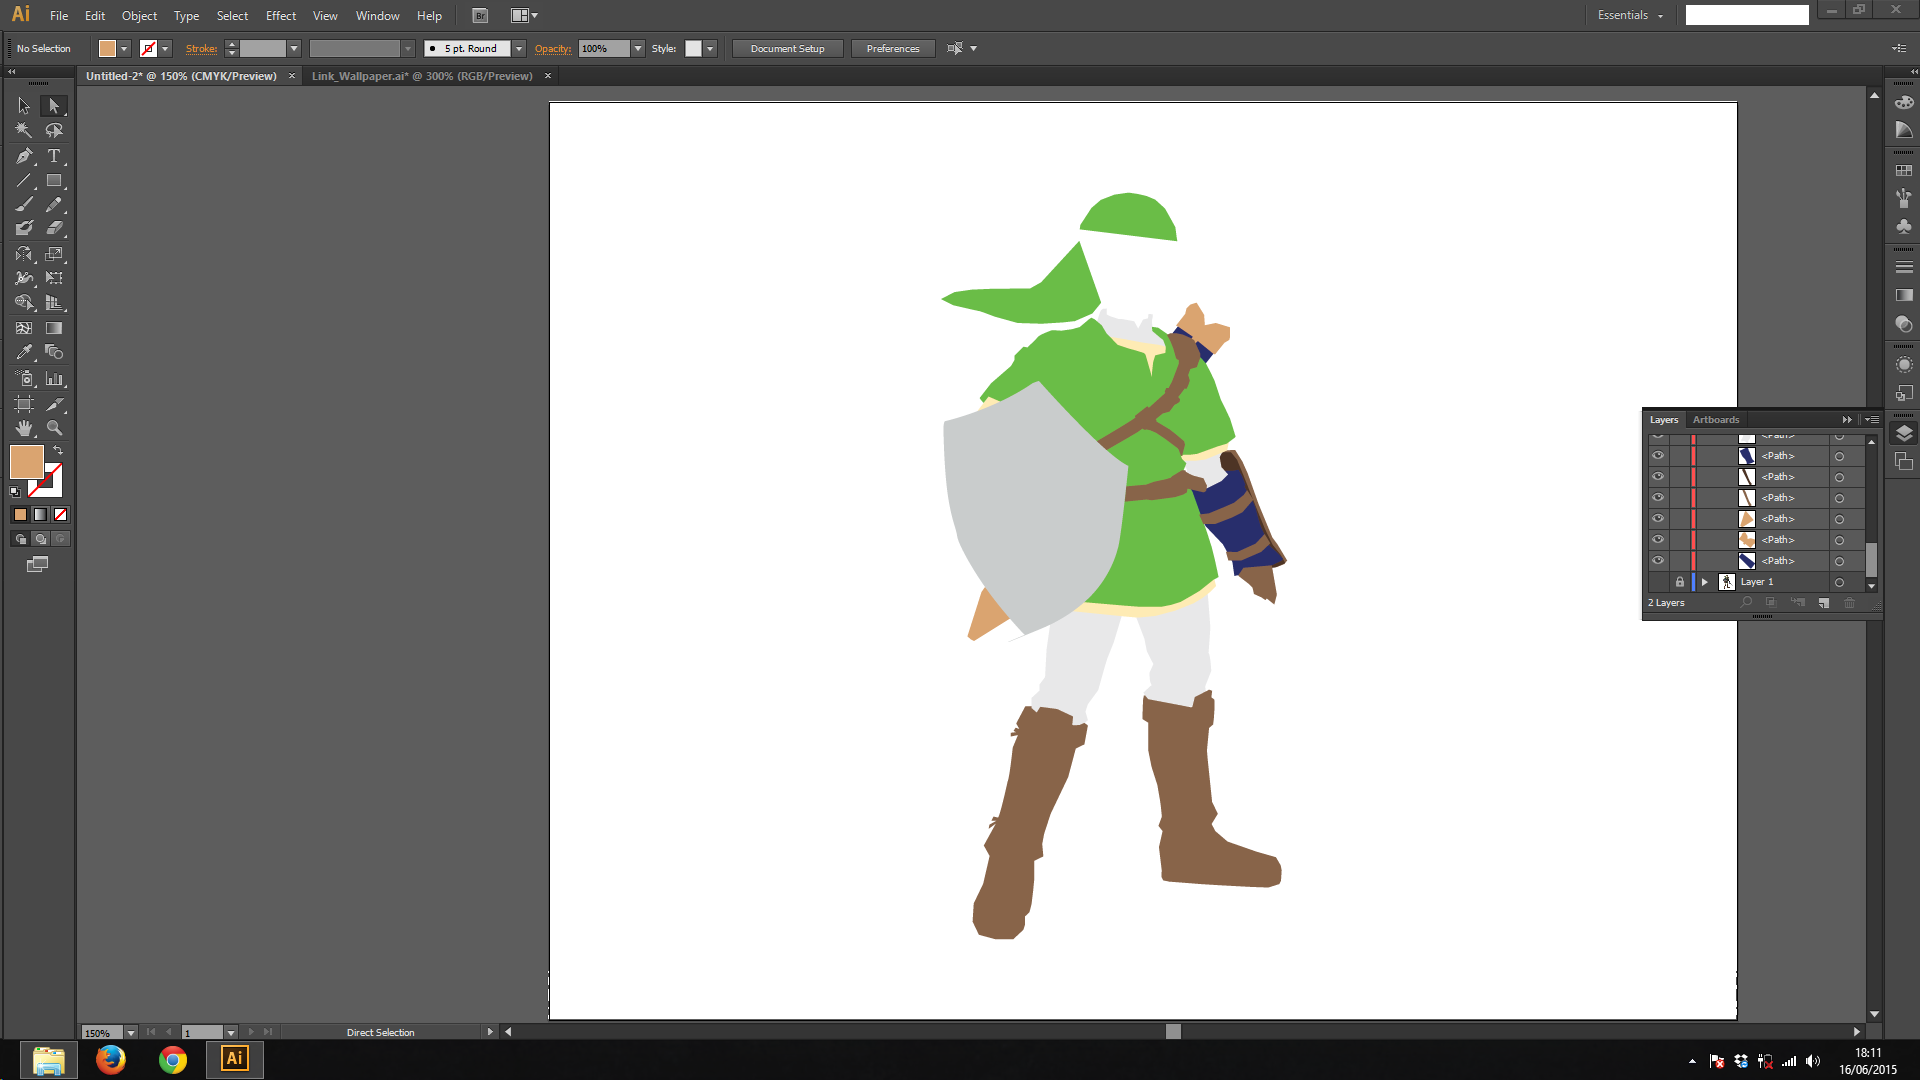
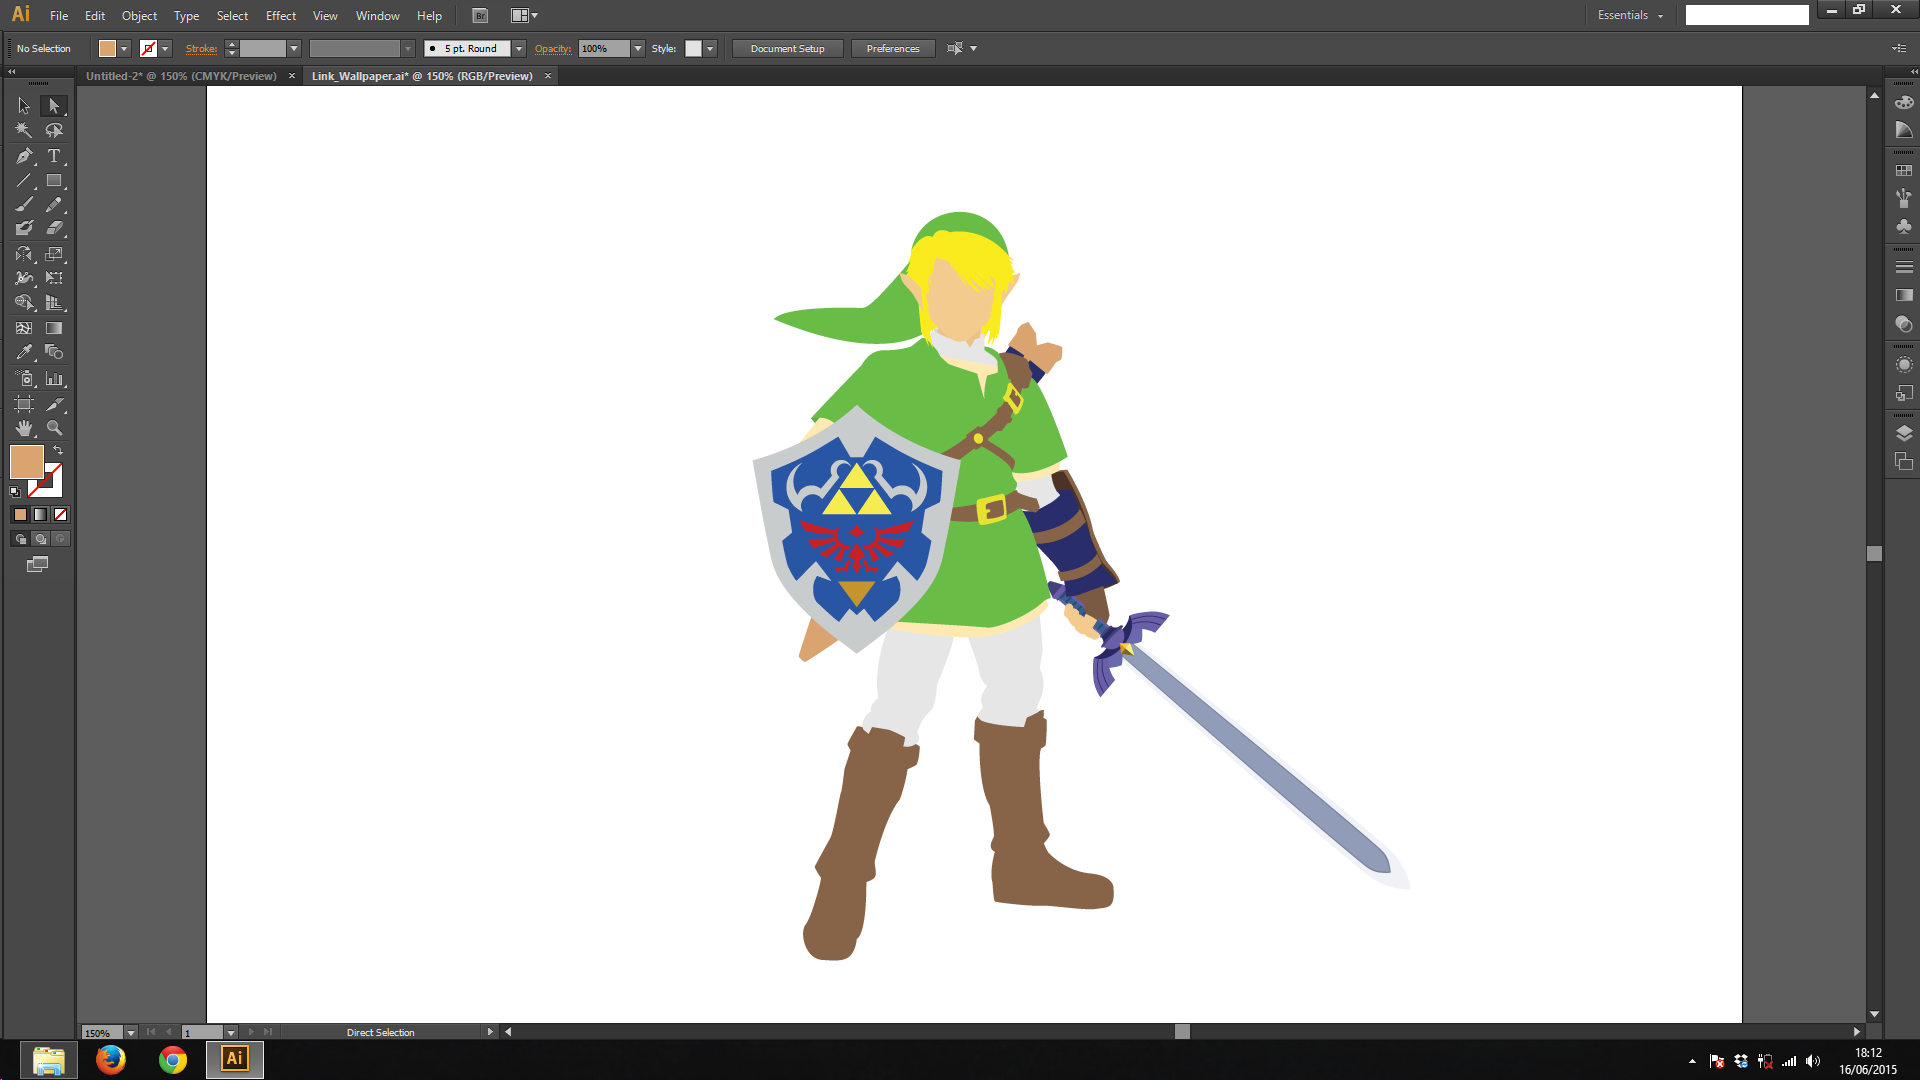
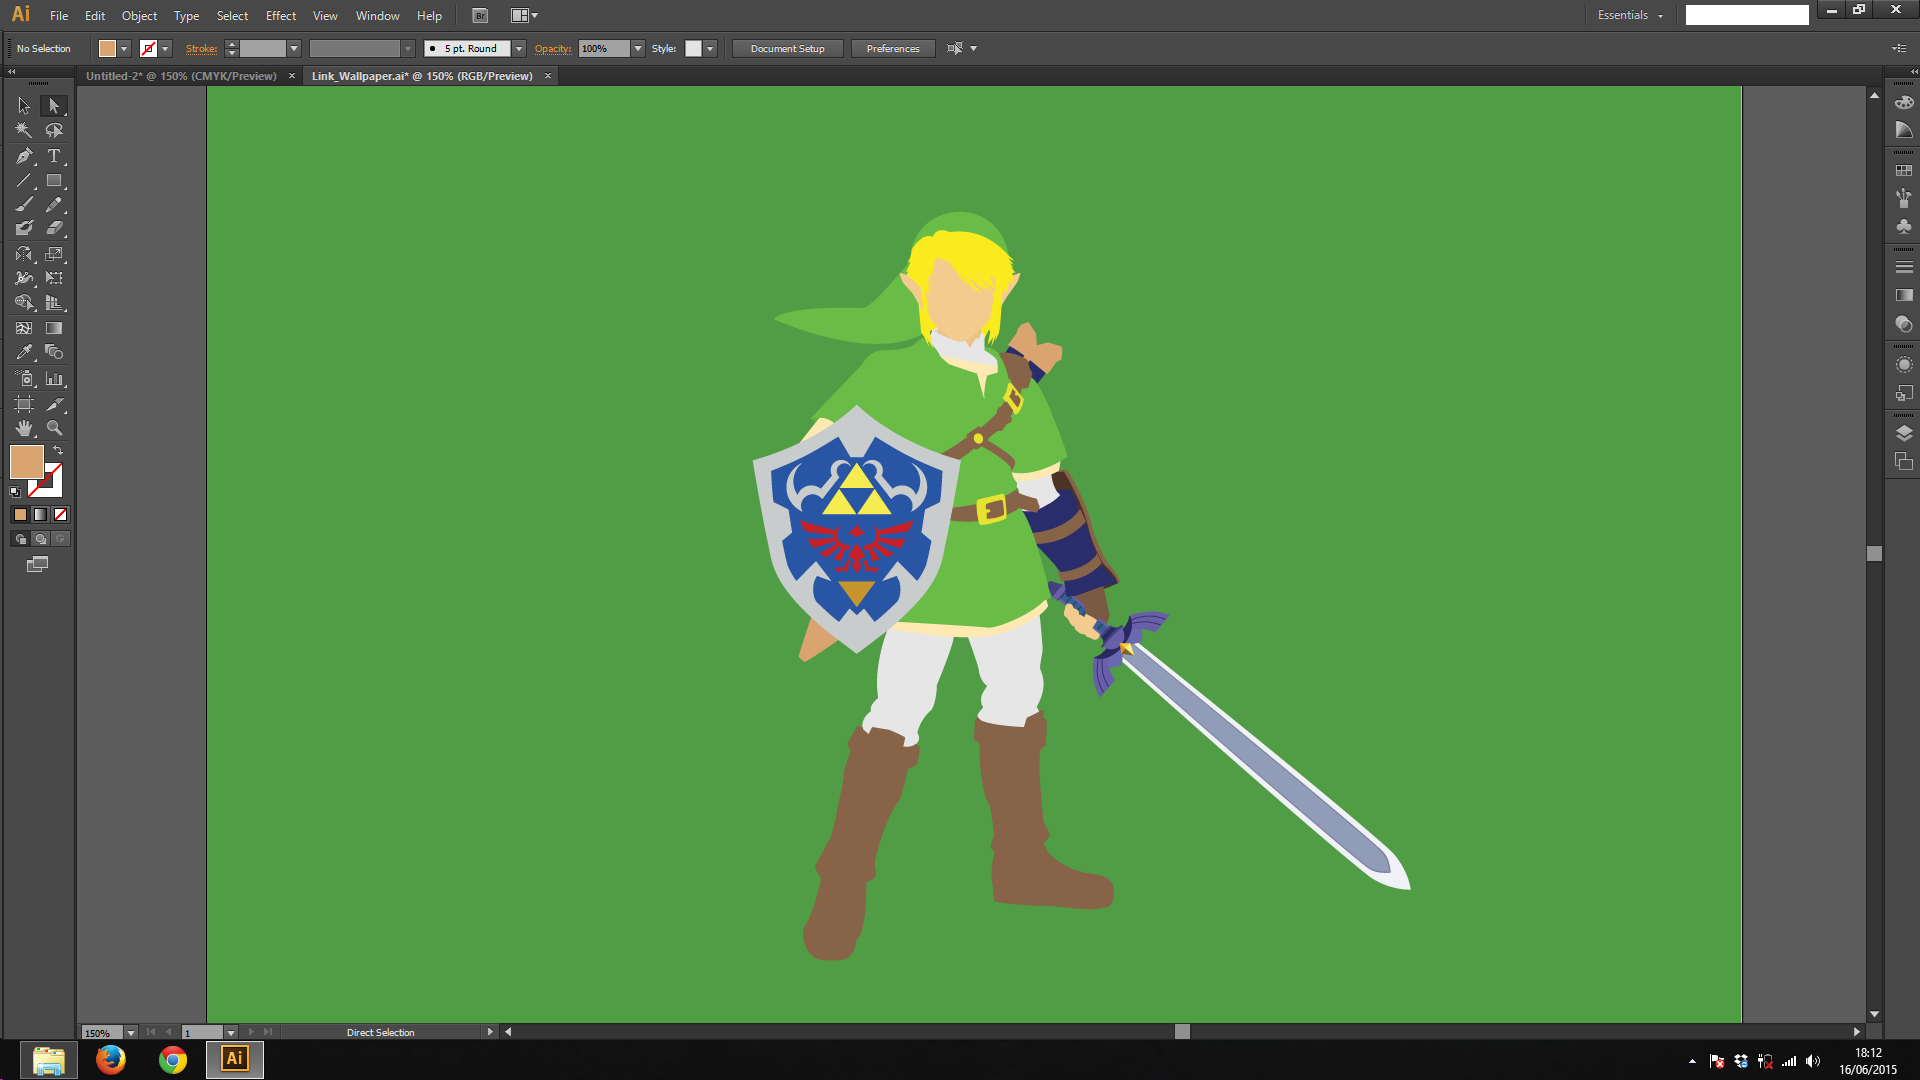
To see how you art looks like, hide the image layer
- On the layers window, click the eye on the image layer to hide it
After that, continue your work until it's done
- Add / remove details as you wish
- Add a background
- Select the Rectangle Tool (M on the keyboard)
- Click on the top-left corner of the artboard and drag it to the bottom-right corner
- Select Selection Tool (V on the keyboard) and resize it to fit the artboard
- On the layers window, Move the rectangle to the bottom
- Choose a nice color
When you're finished, save you image as SVG or export it to PNG. Don't forget to save it as an illustrator file (.ai)
Save as SVG
- File > Save as
- On the "save as type" option, select SVG and save
Export as PNG
- File > Export
- on the "save as type" option, select PNG and save
And that's it!
Hope you liked the tutorial =)