Flat Illustrations in Adobe Illustrator - Bernie Sanders Sitting With Mittens
by MabeJG in Craft > Digital Graphics
807 Views, 9 Favorites, 0 Comments
Flat Illustrations in Adobe Illustrator - Bernie Sanders Sitting With Mittens
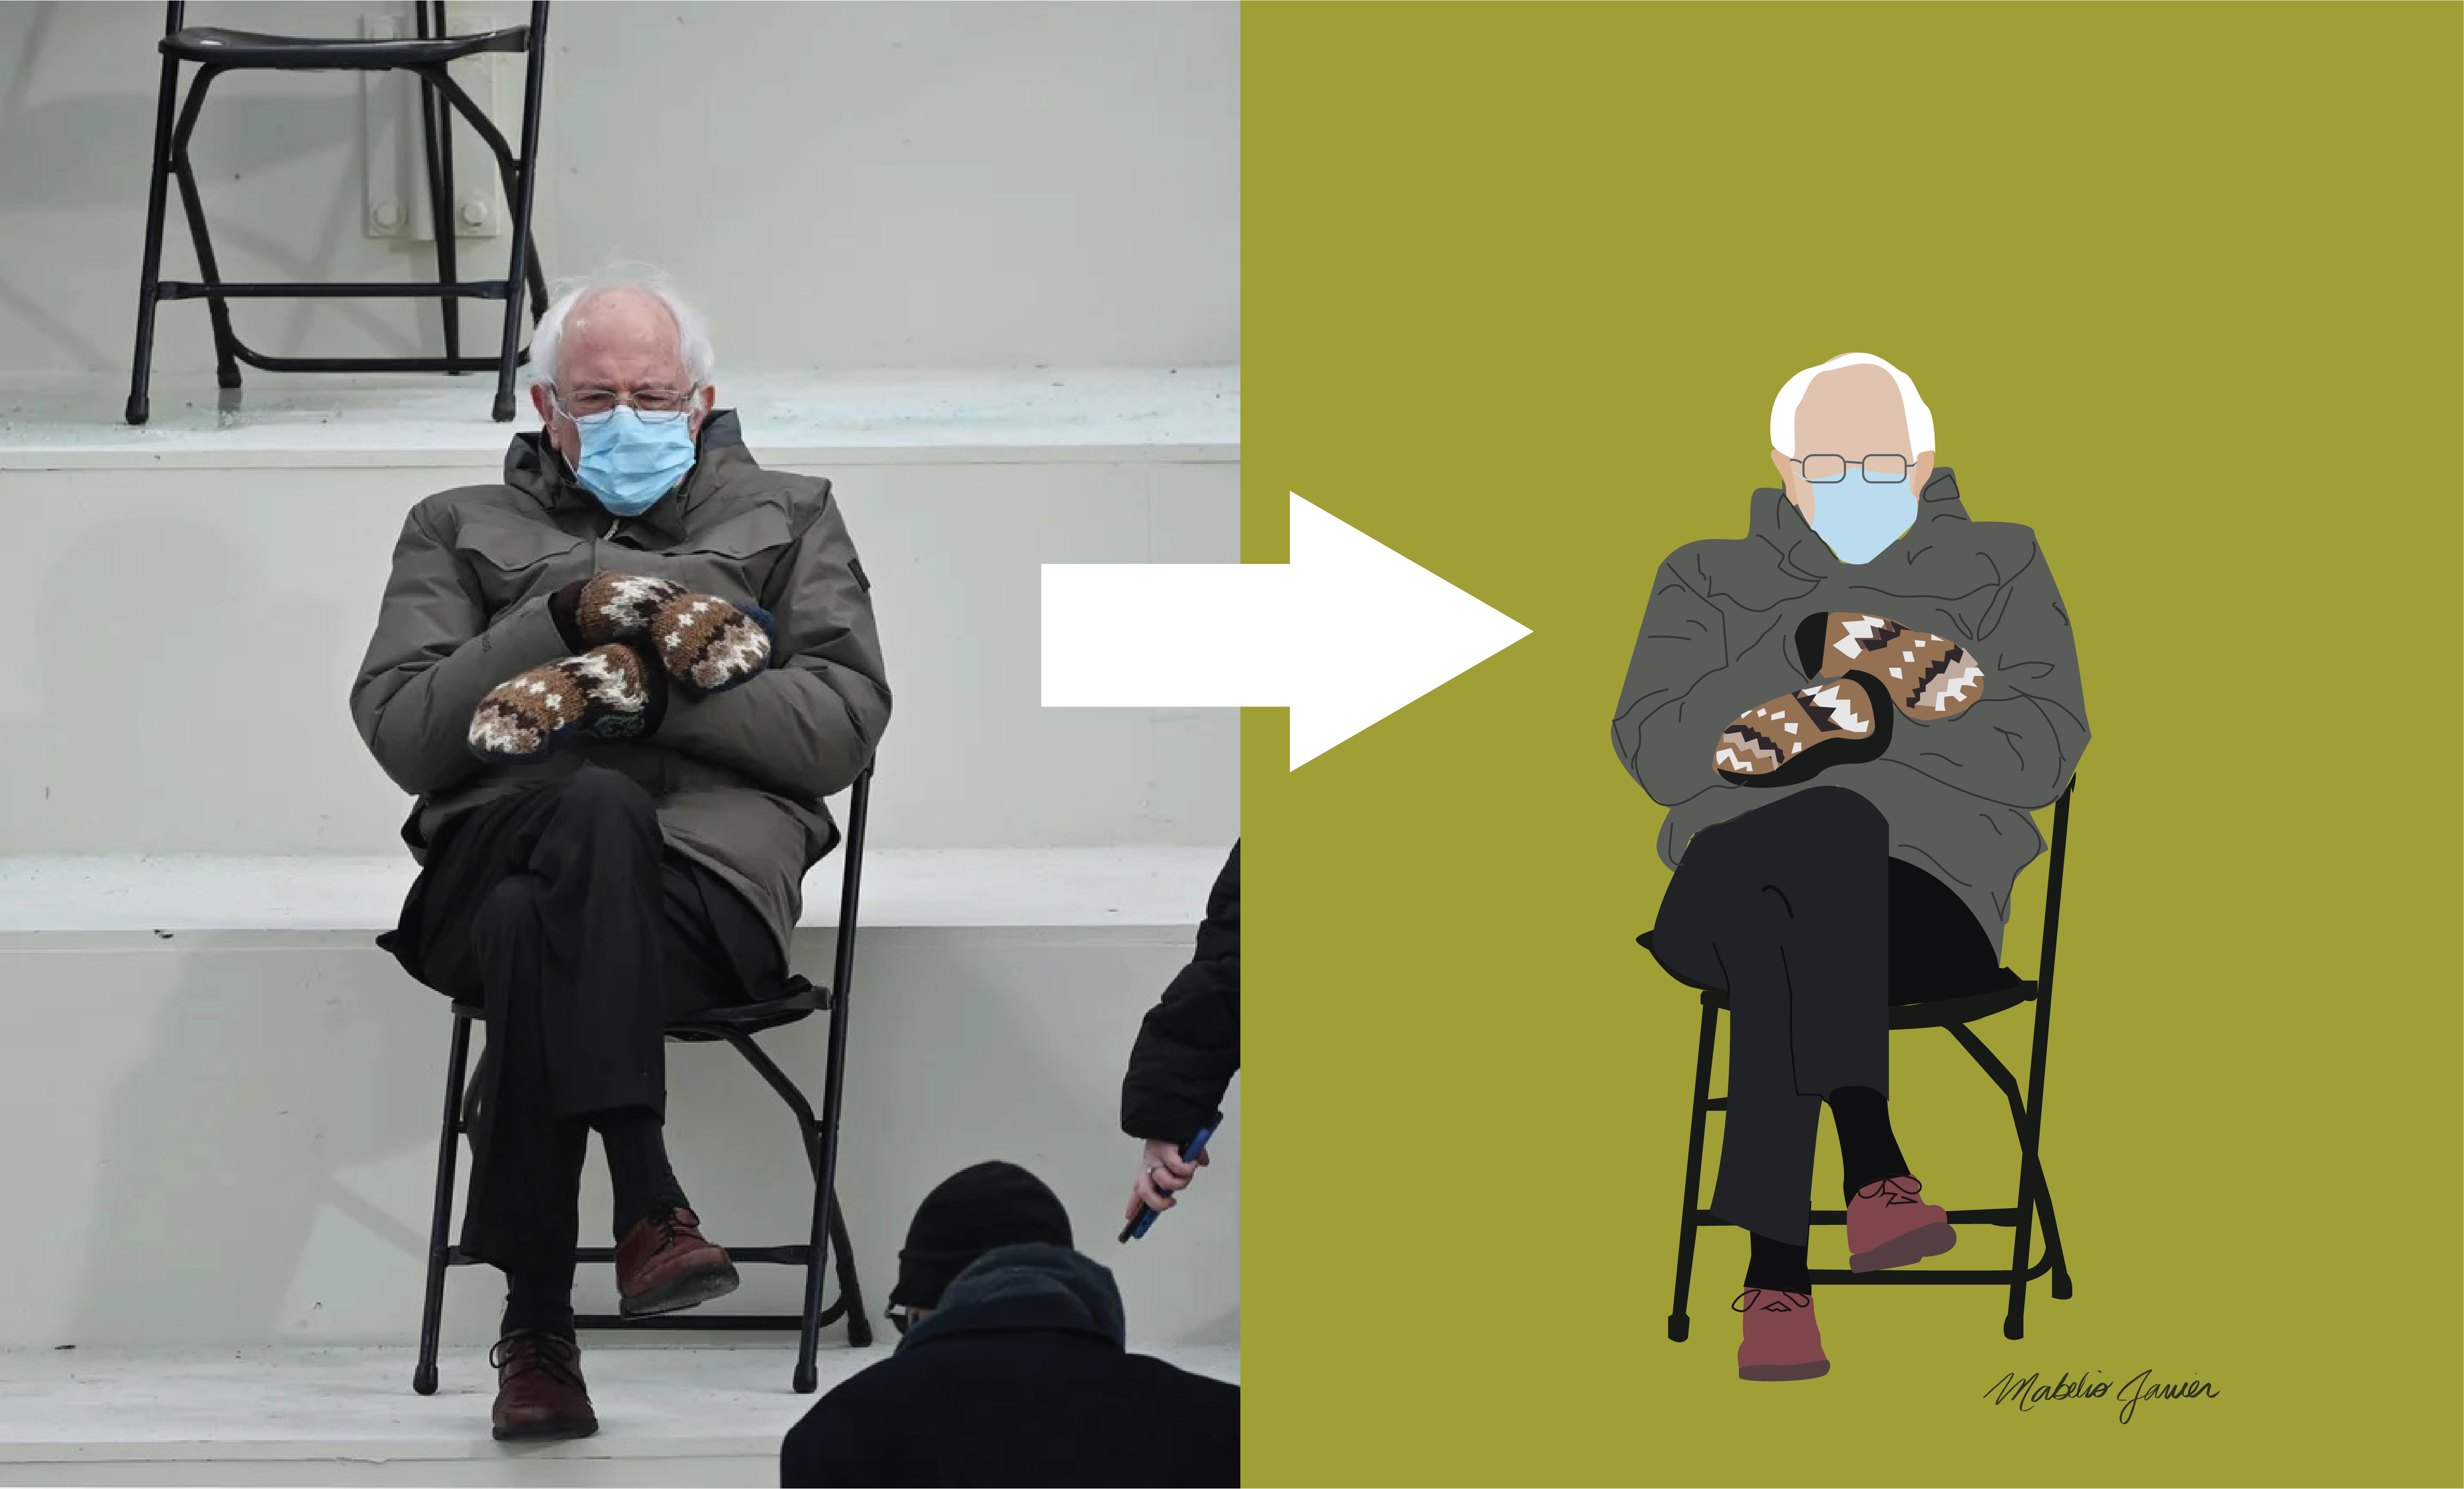
Bernie Sanders sitting in a chair with mittens is a whole mood. In this tutorial, I will show you how to create a flat illustration on Adobe Illustrator based on a photo reference. In this case, I will be using Bernie Sanders as my reference, but you can use anything that sparks your interest.
This tutorial is catered towards beginners to Ai that have at least some knowledge about the basic tools, as I will not go into minute details on them. I hope this is a fun for you to read as it was for me to make.
Step 1: Prep Specs
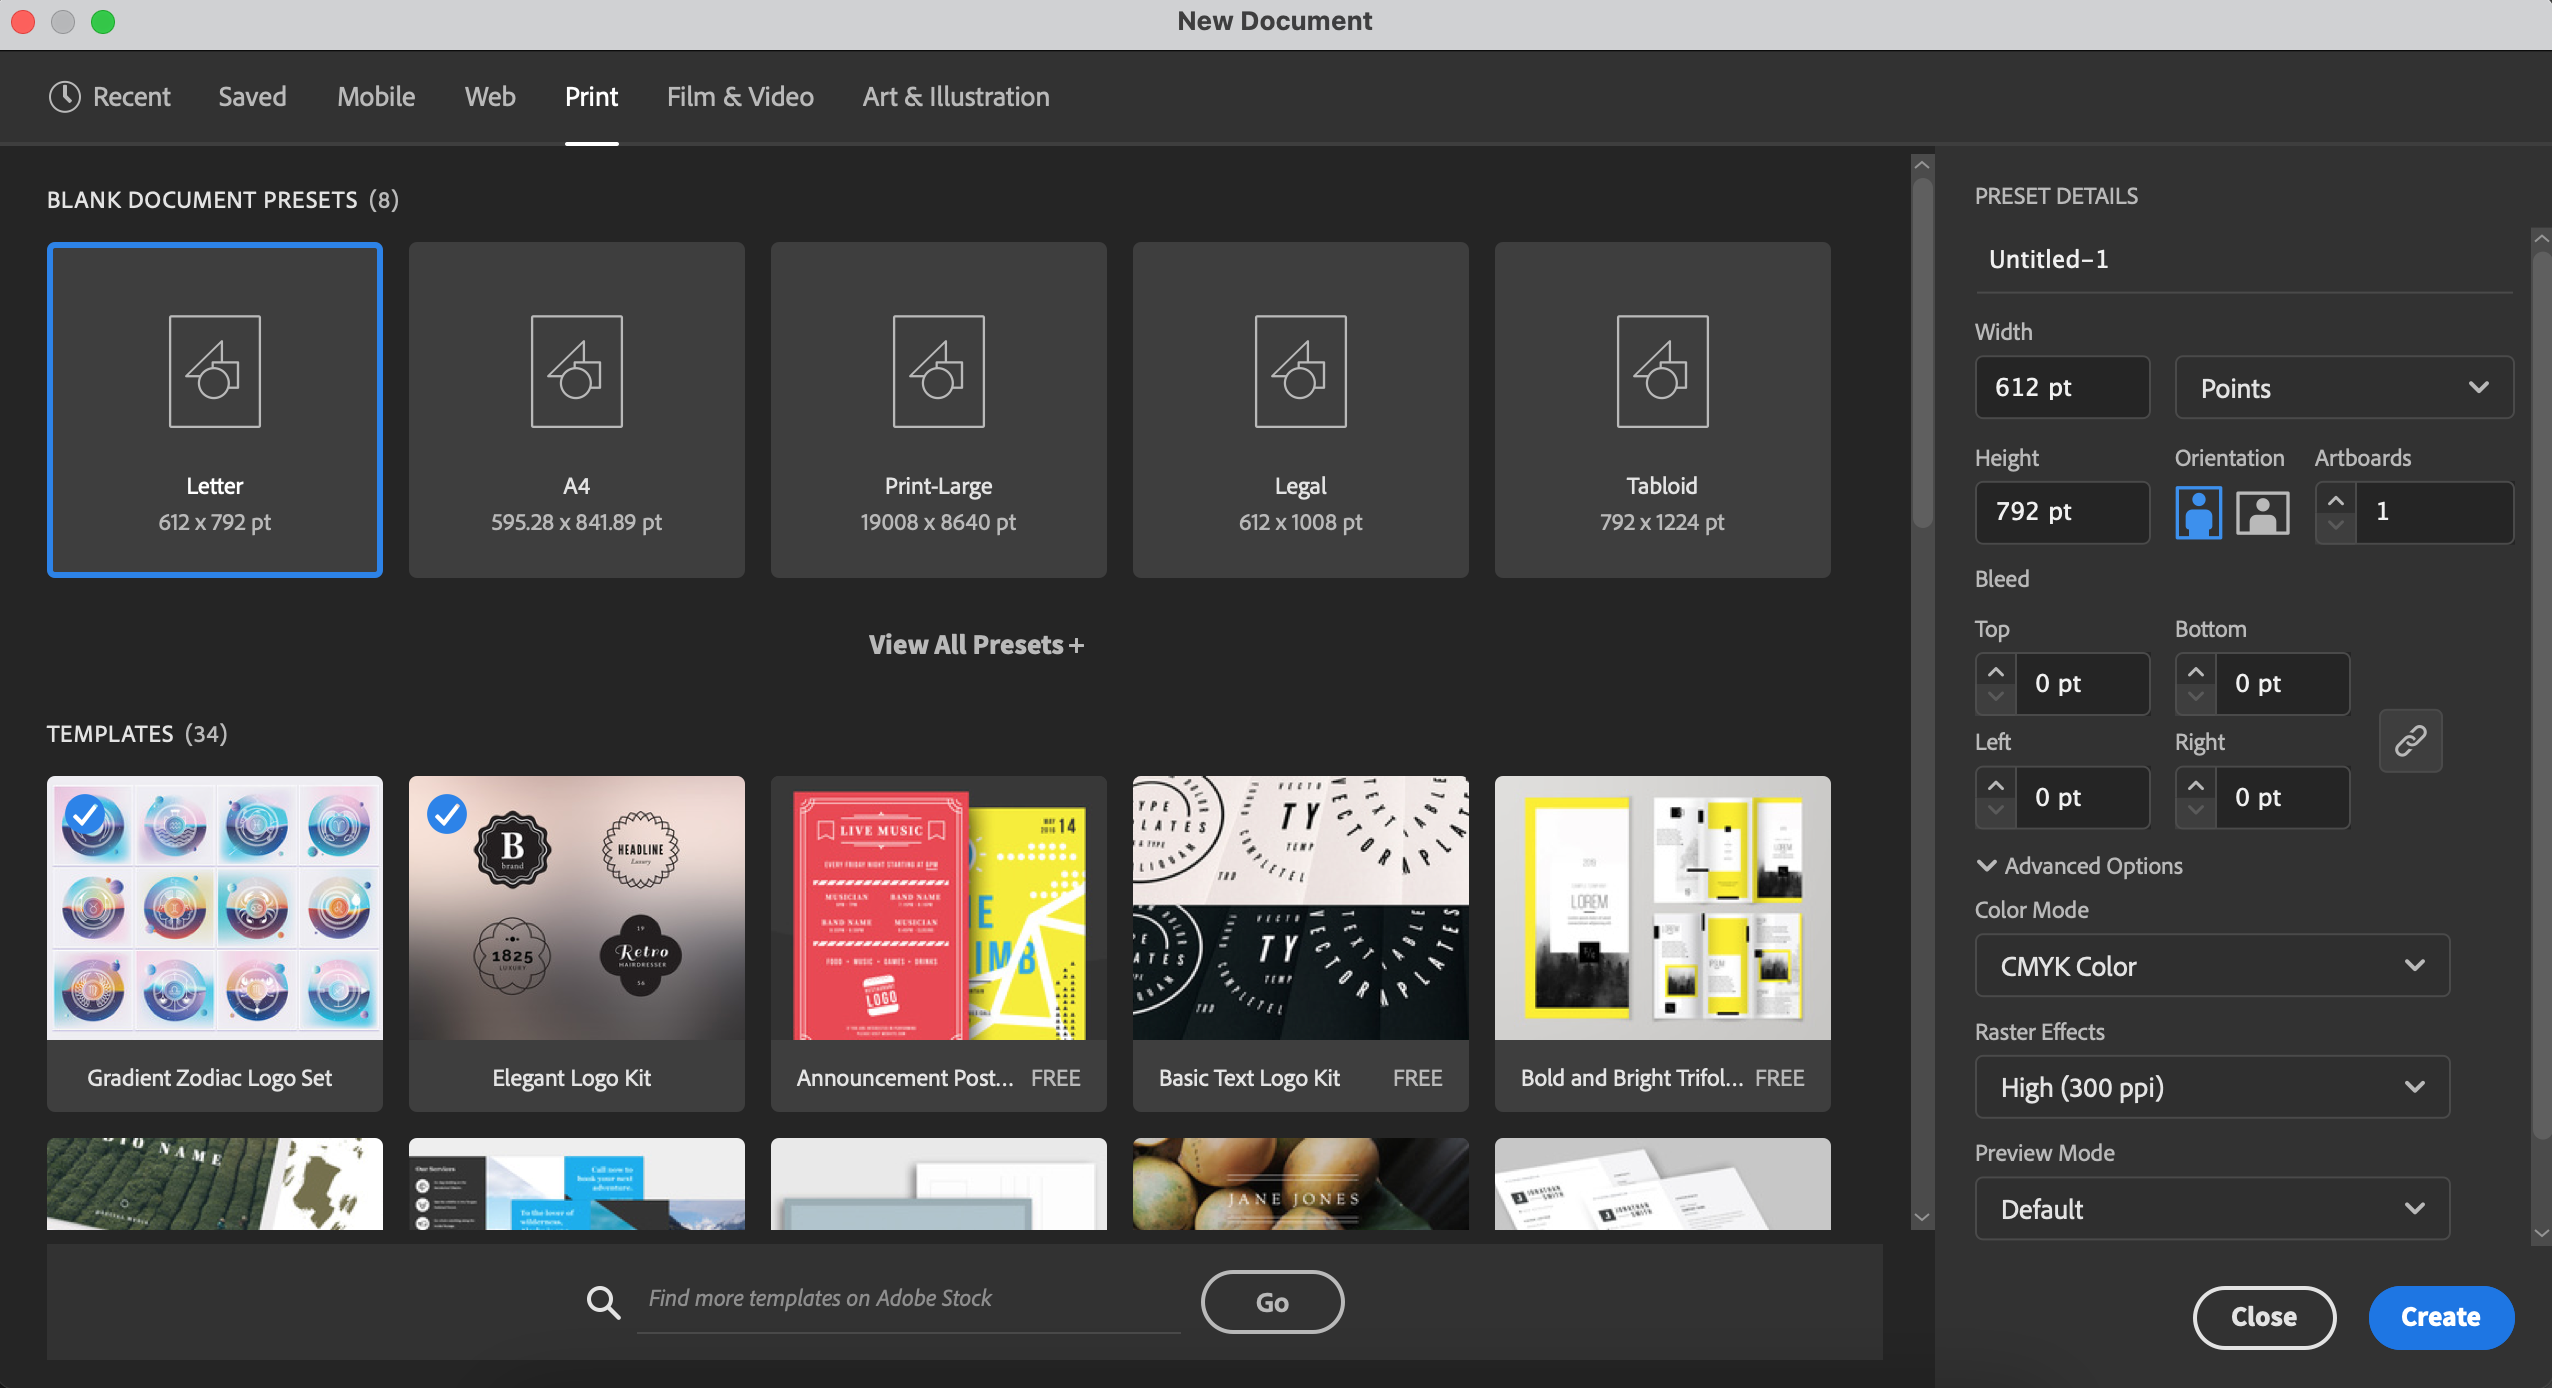
I always prepare my document first with the specs I will require. Different projects may require different specs. So first I open Ai and click on “Create New..”
For this tutorial I will just keep it simple and choose the letter size. I can always adjust these specs later, if needed, but it is always best to choose these at the beginning. The main advantage of doing a vector illustration, like this one, is that you can scale it up and down (while holding shift) without having to worry about its resolution or the quality of the image.
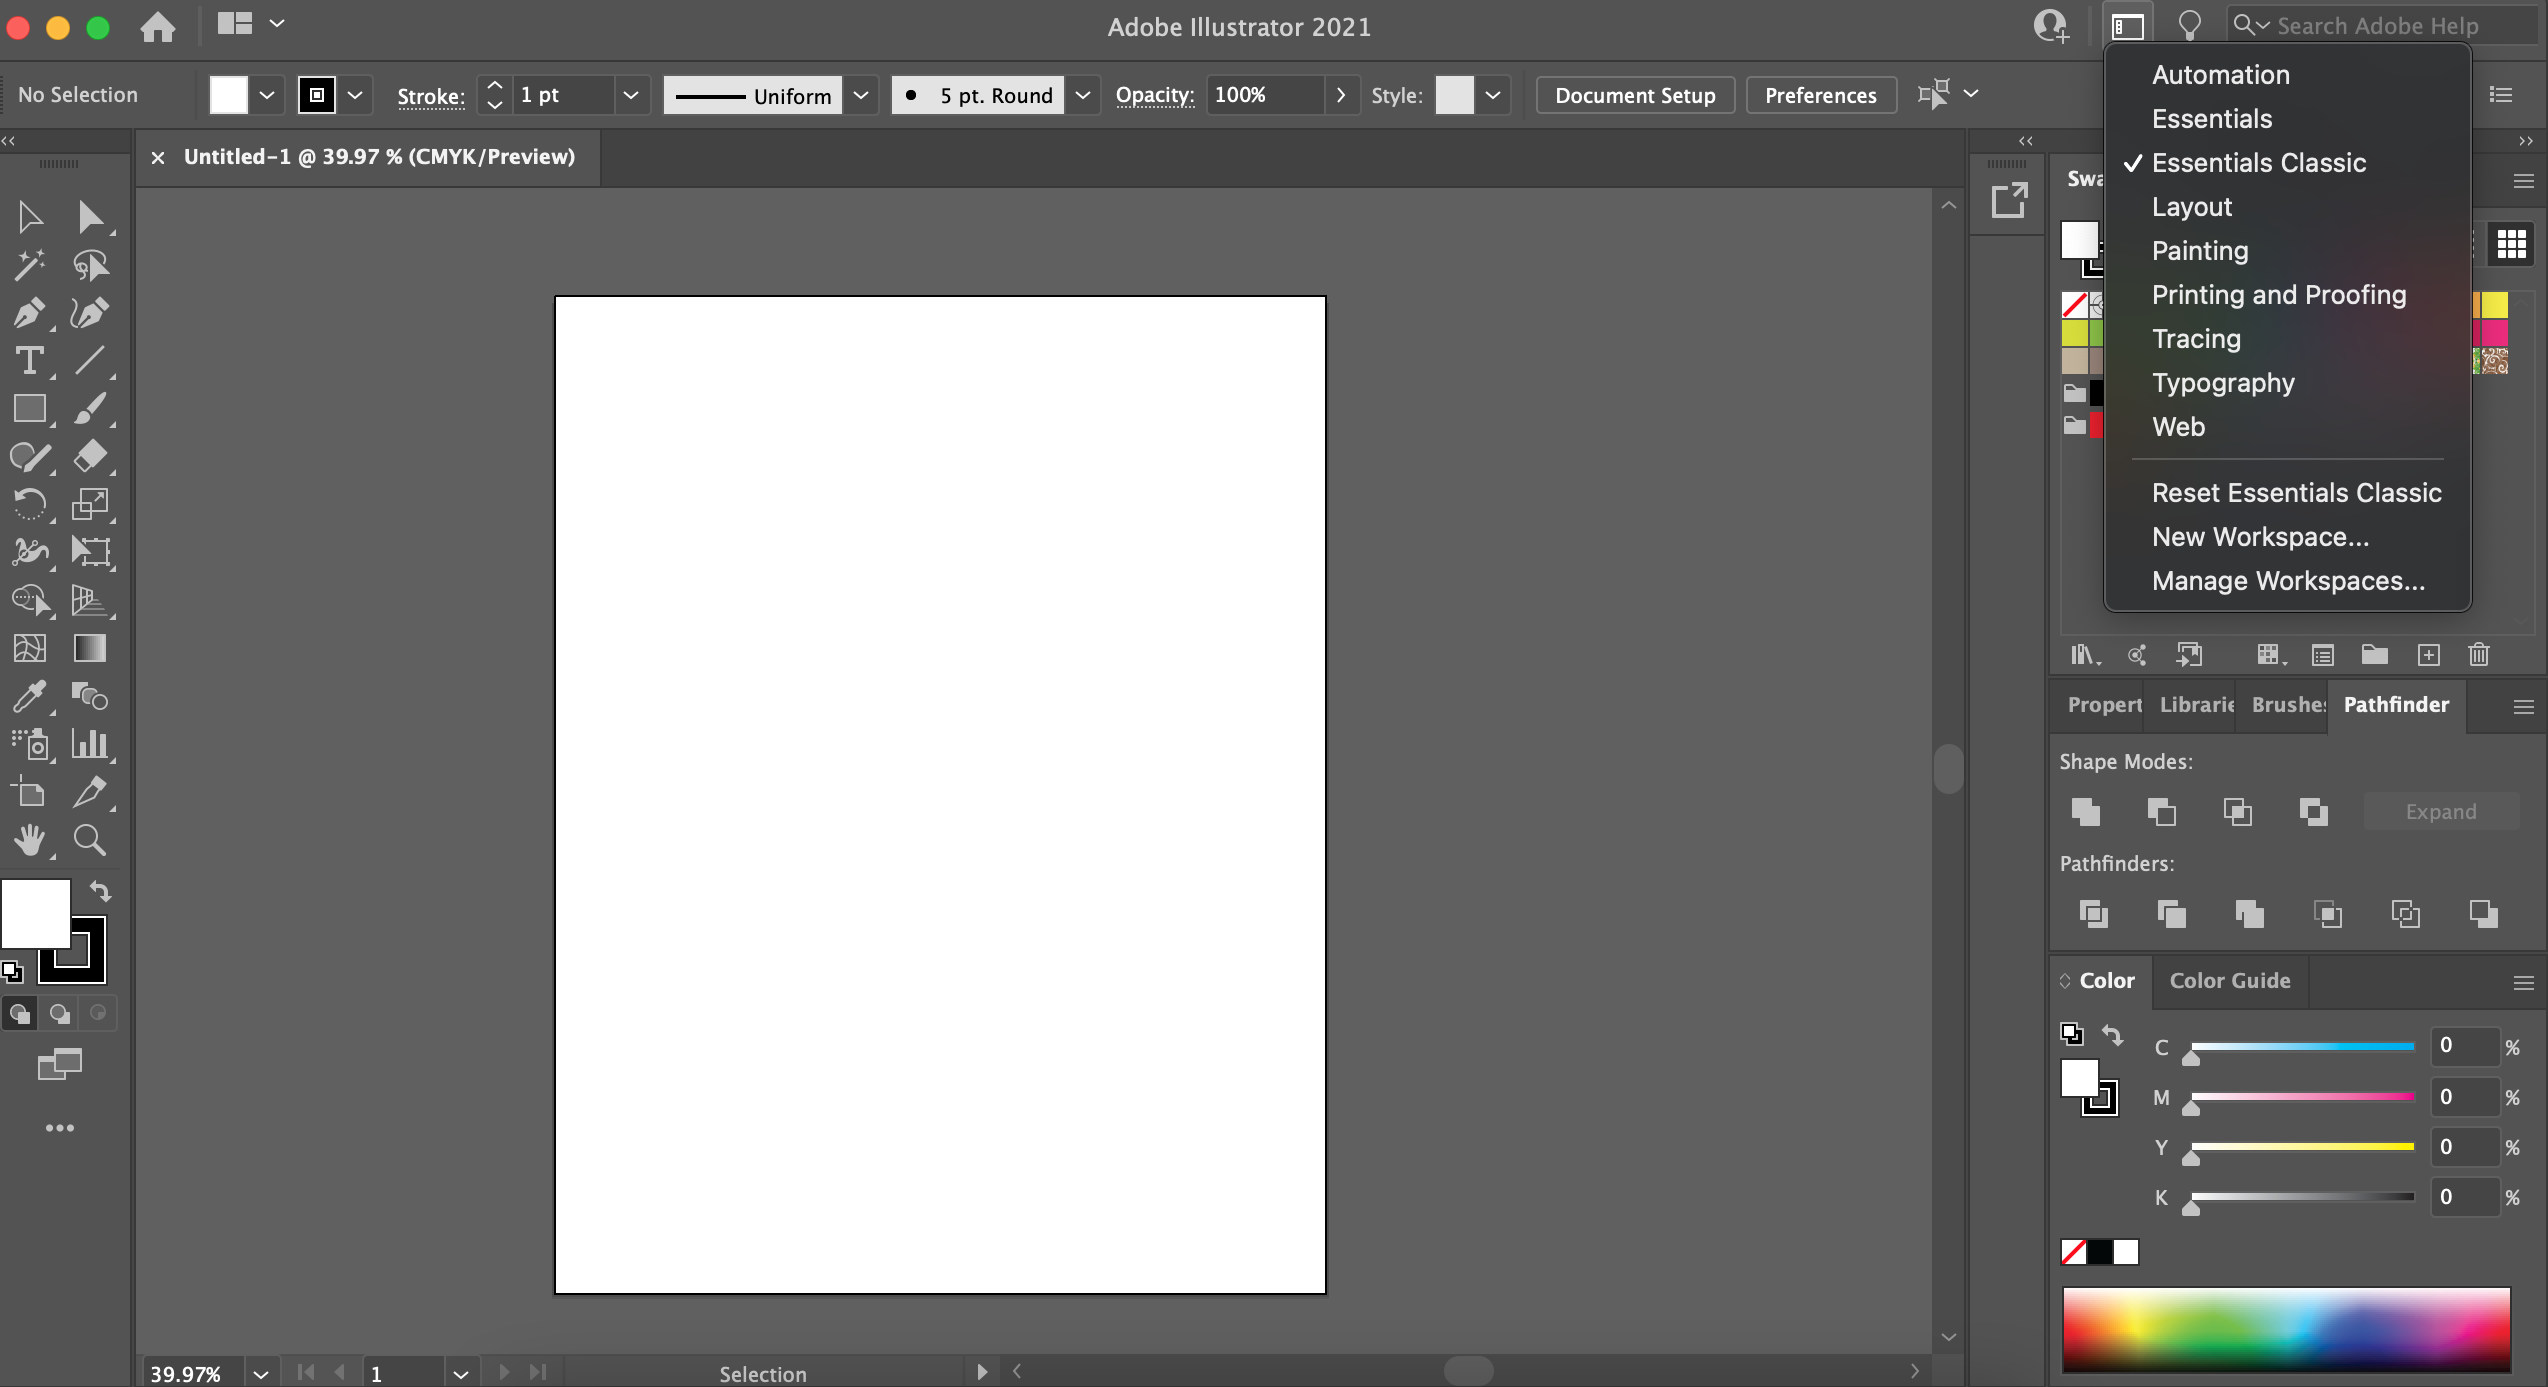
Once I'm in, I click on the “switch workplace” button to ensure I am on the right one. Essentials classic will usually work well for me. But depending on my needs, I would change it to Painting or Typography.
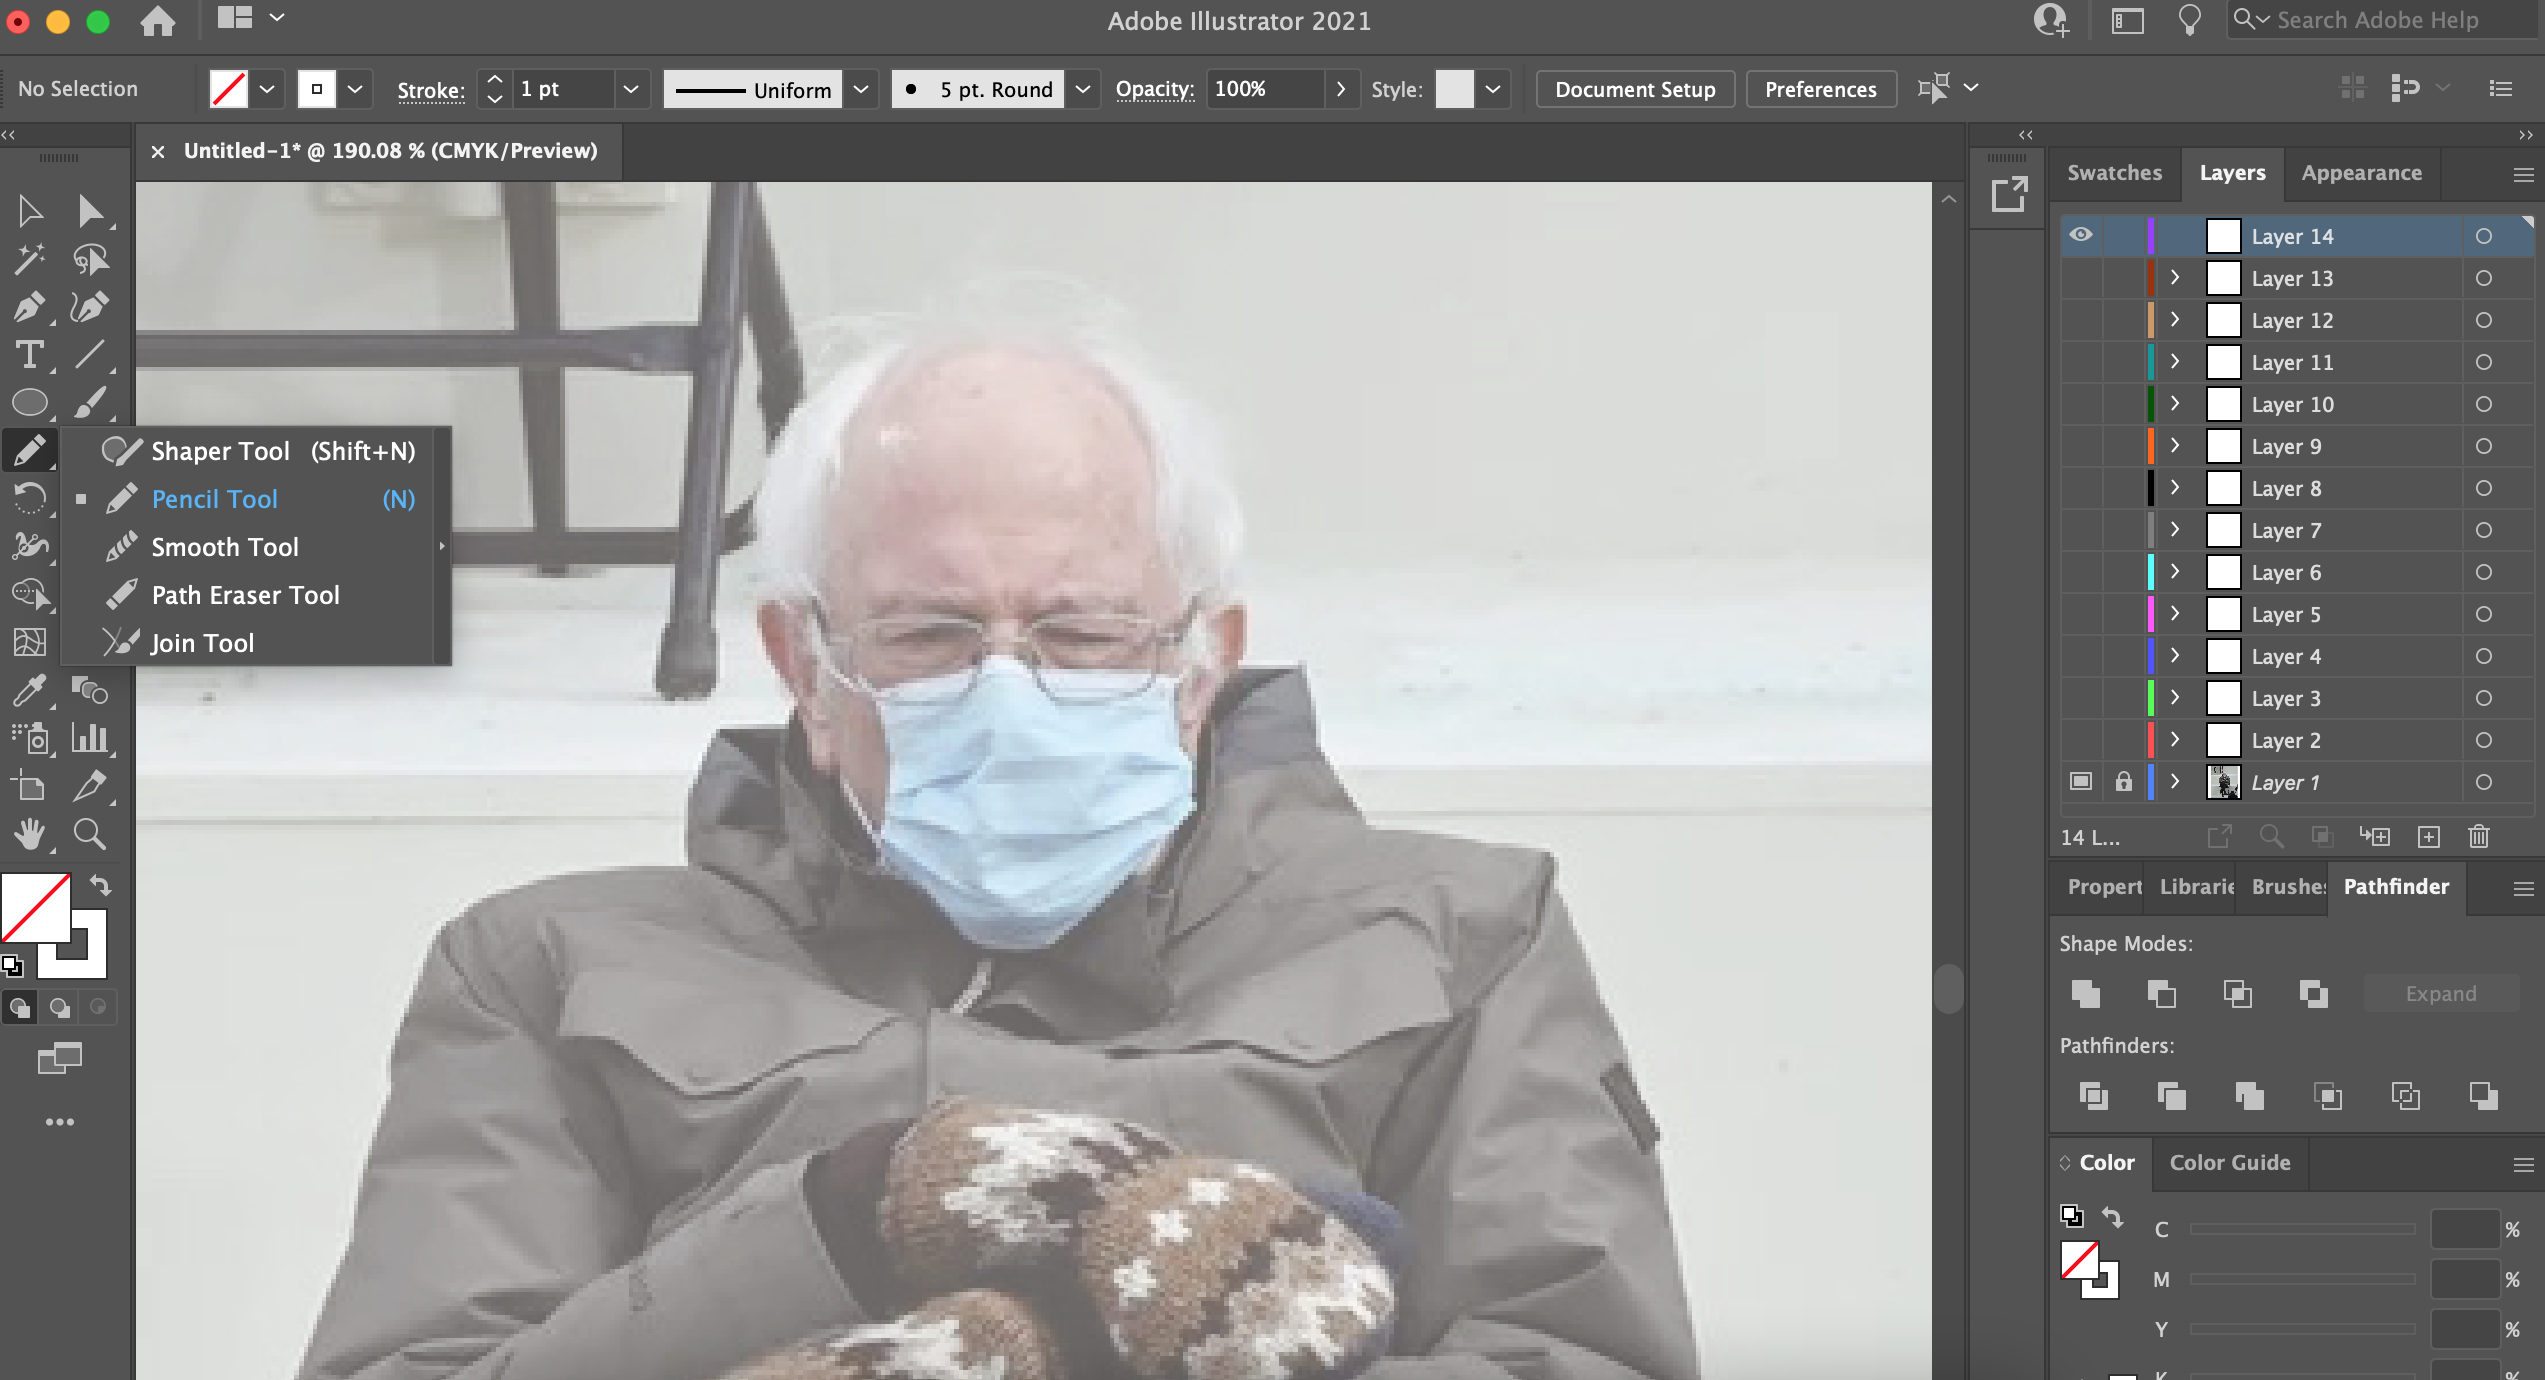
Step 2: Prep My Reference Photo As Template
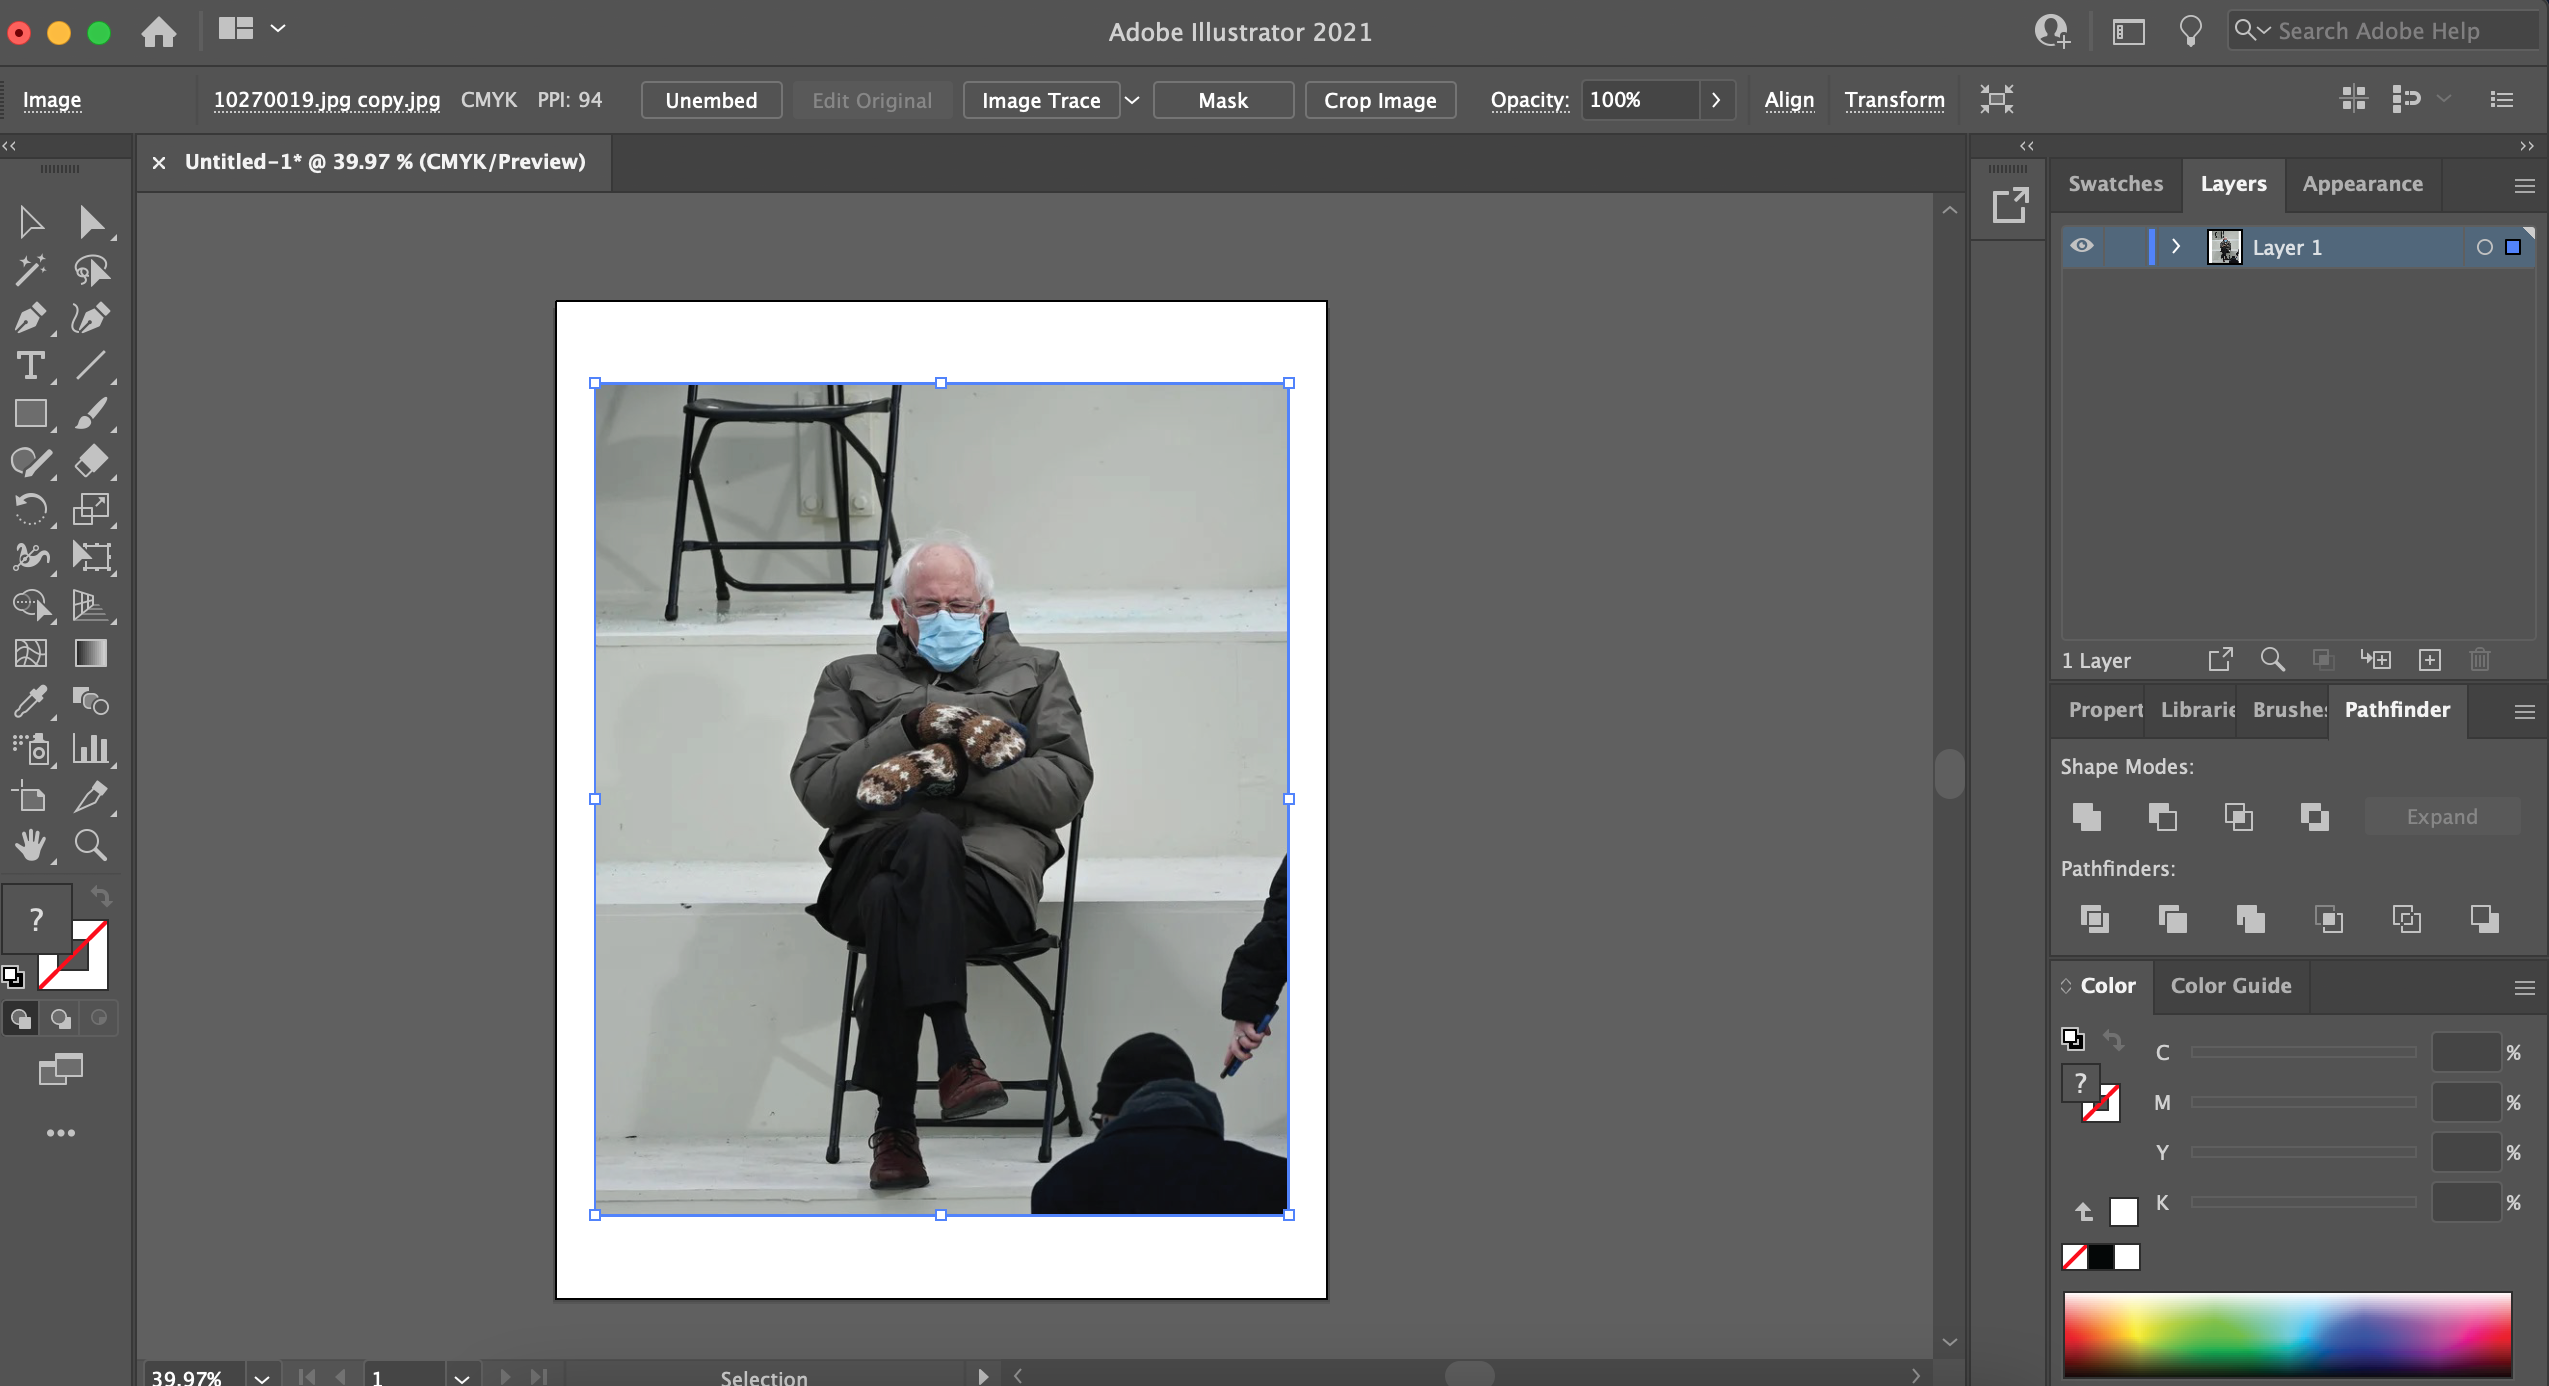
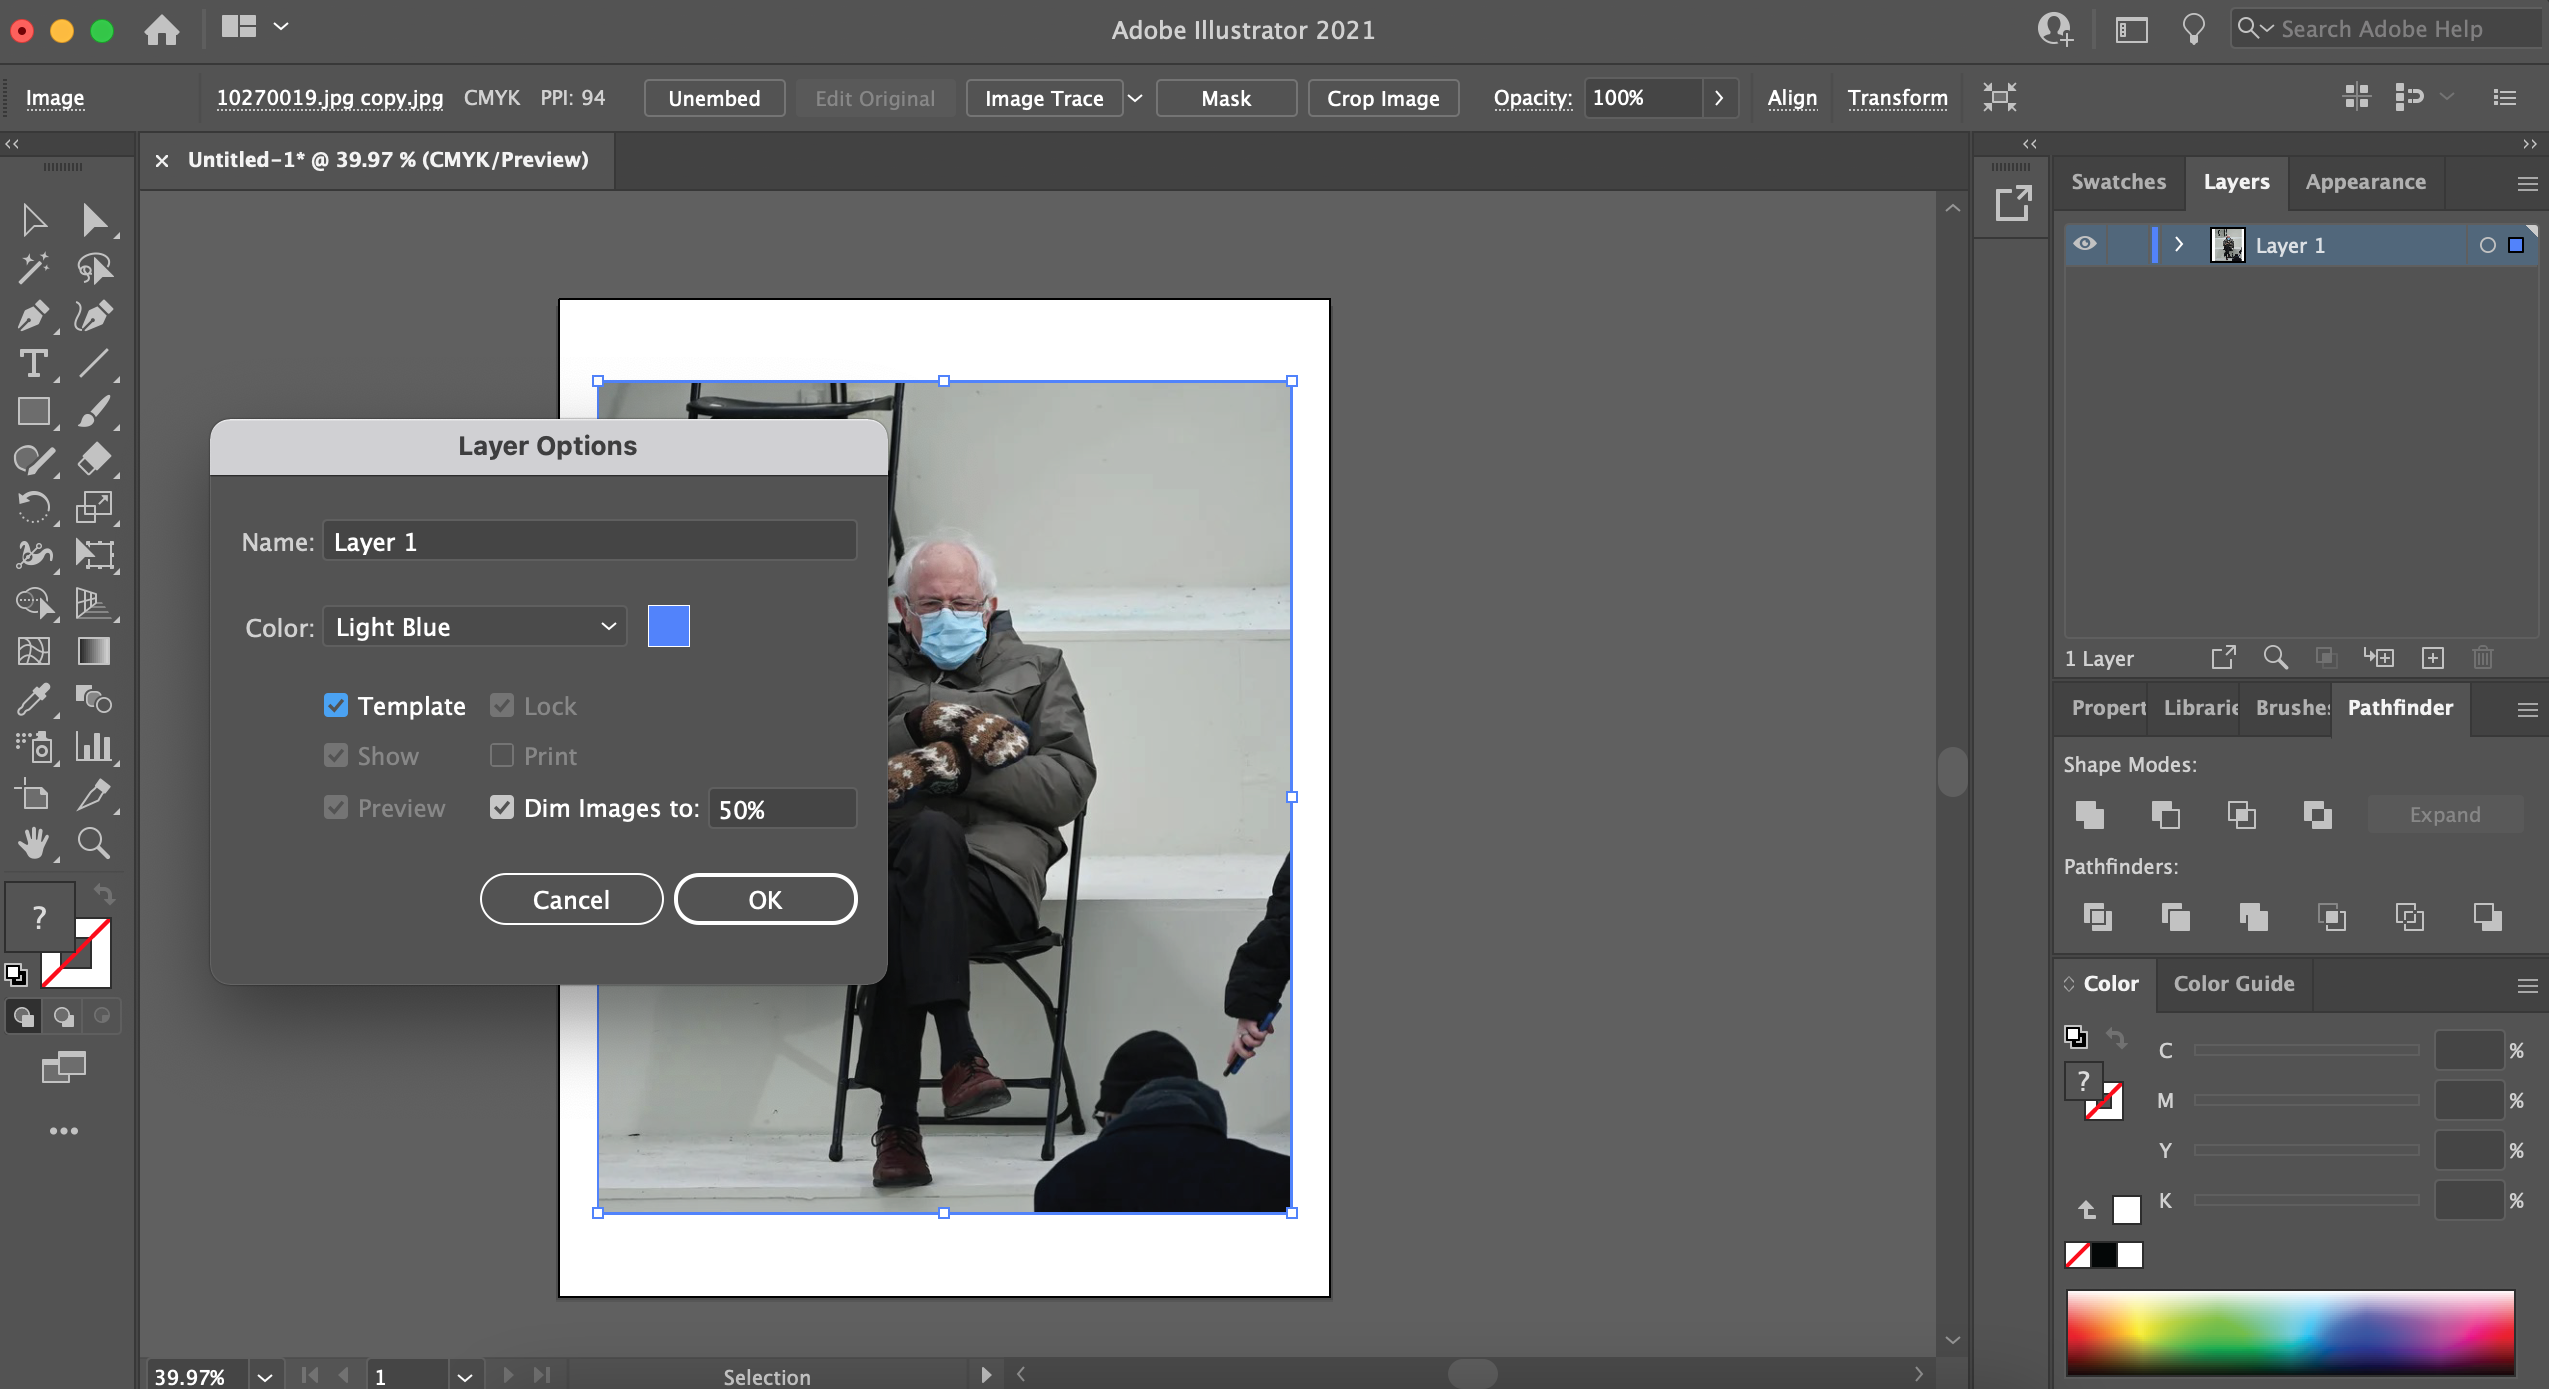
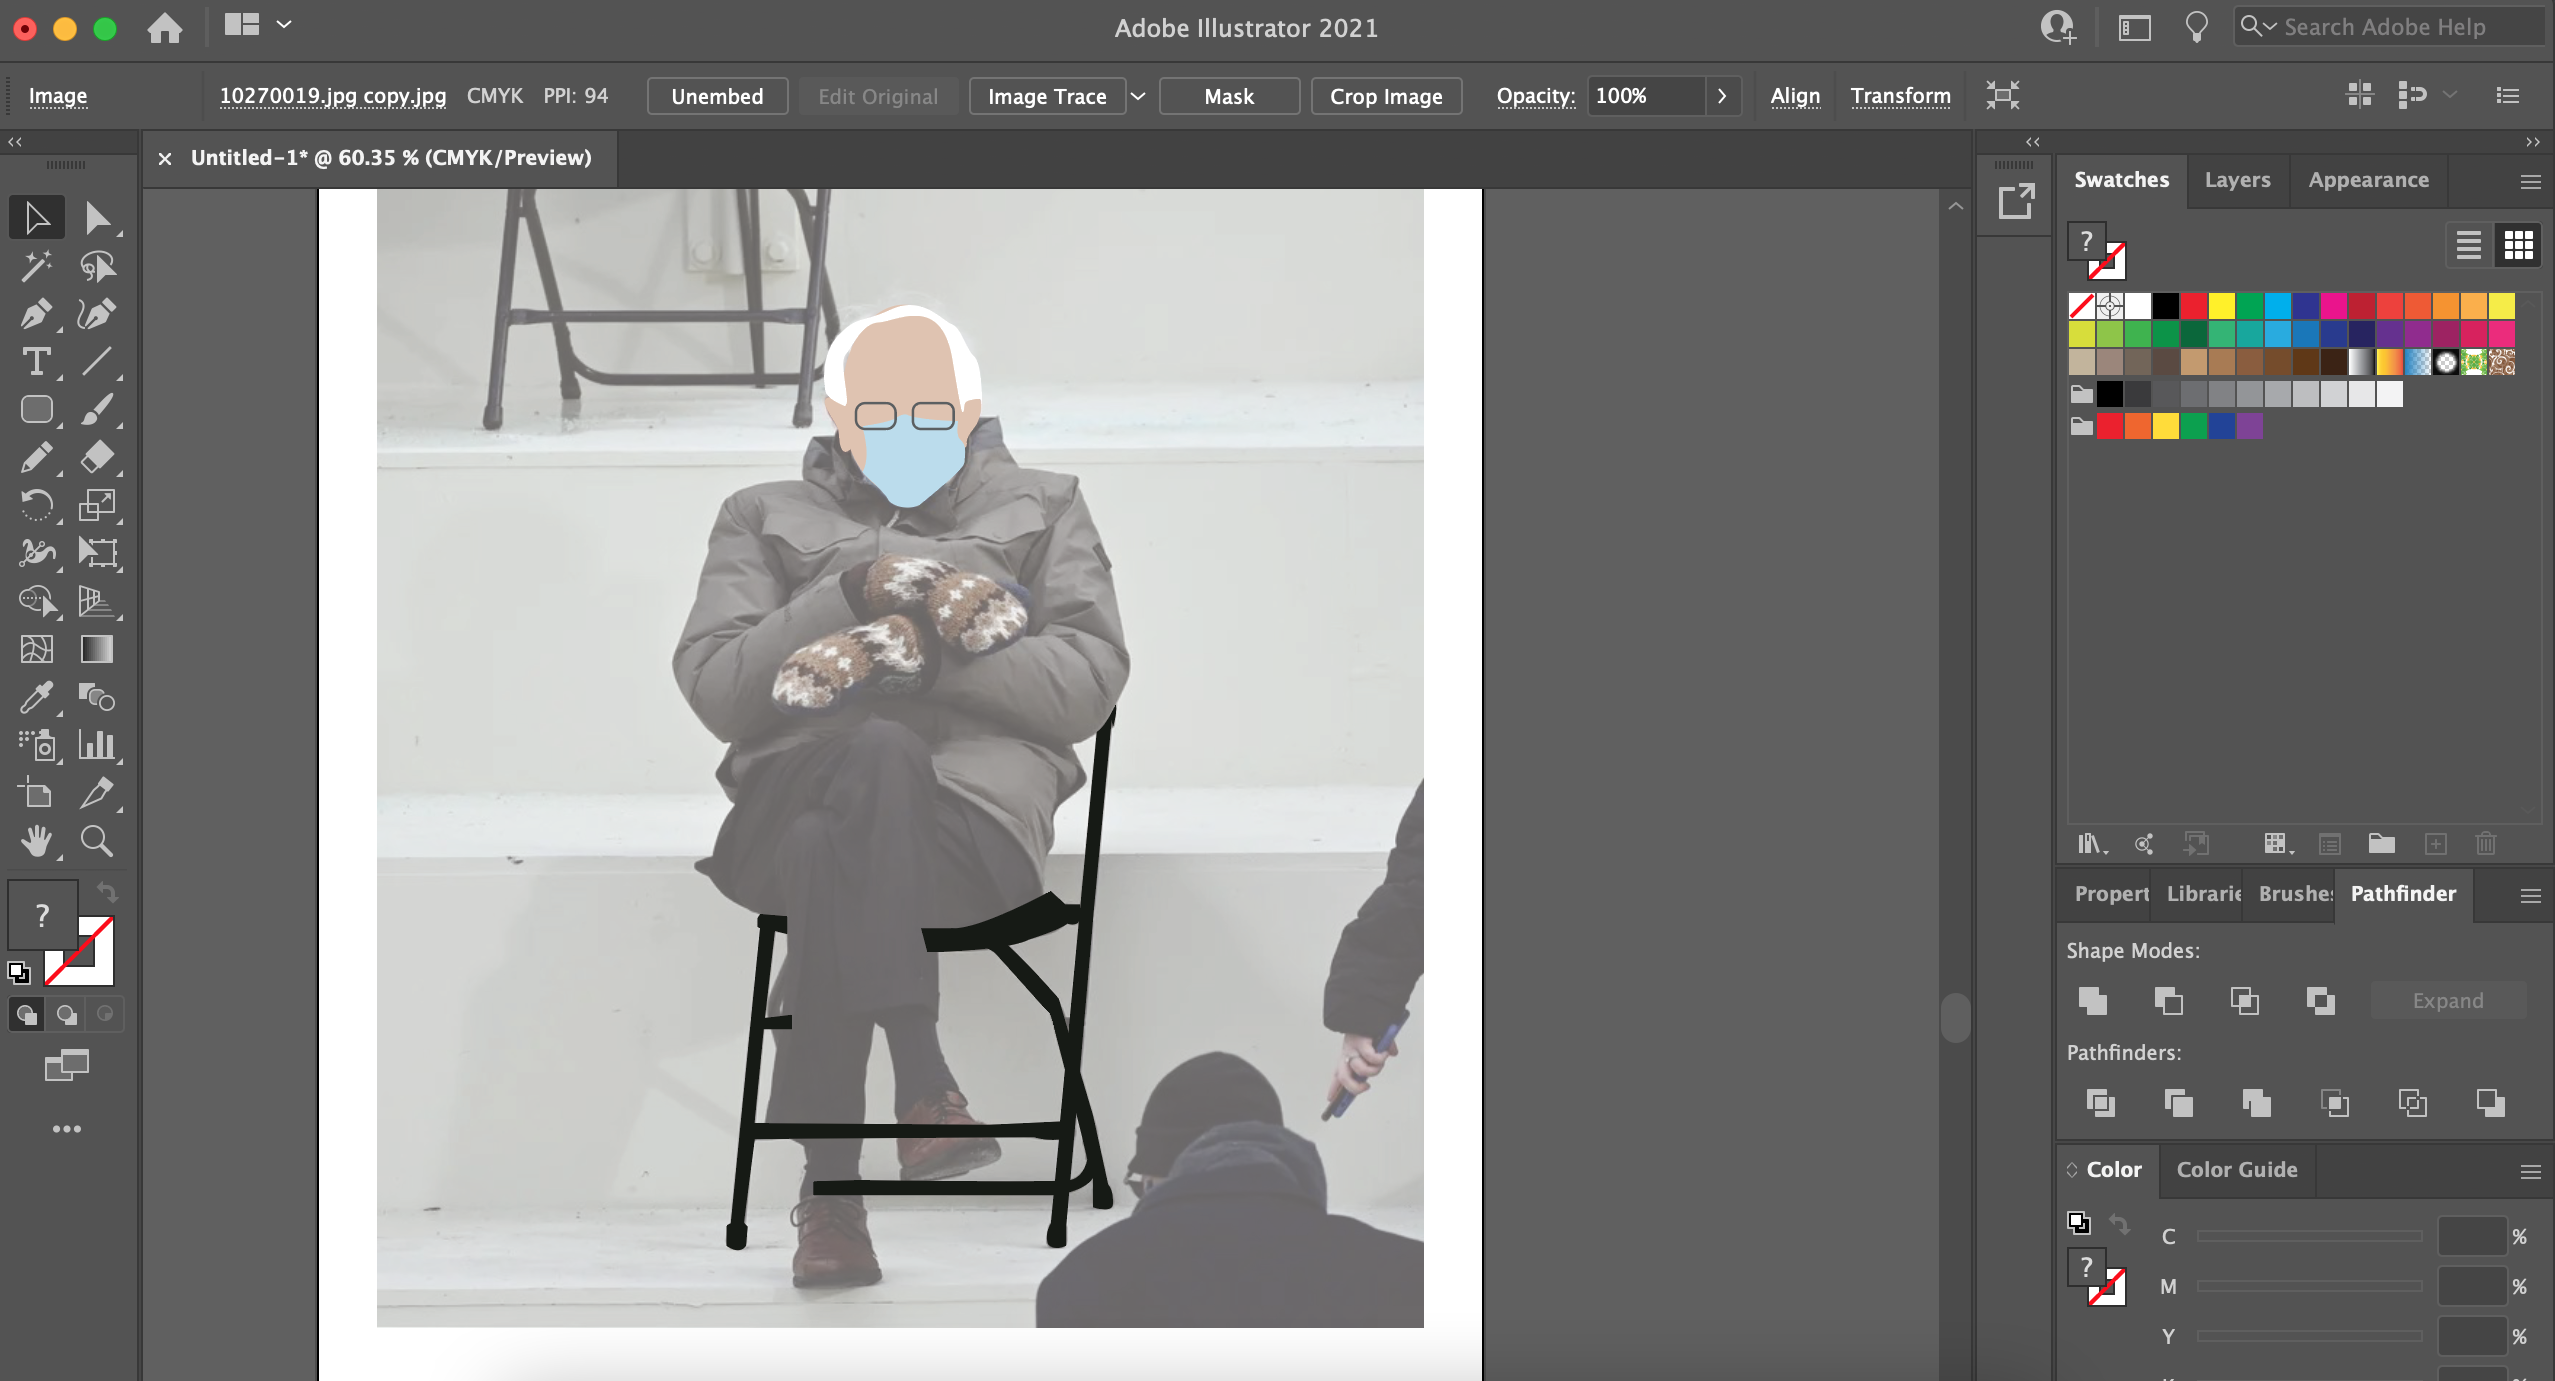
I would then insert my reference photo, I would go to layers and double click on the layer it is in (usually the first one). Once a window opens up, I will check the option of “template.” What this does is lower the opacity of my image to a 50% and it would also lock it down for me (As shown with the lock icon on my first layer).
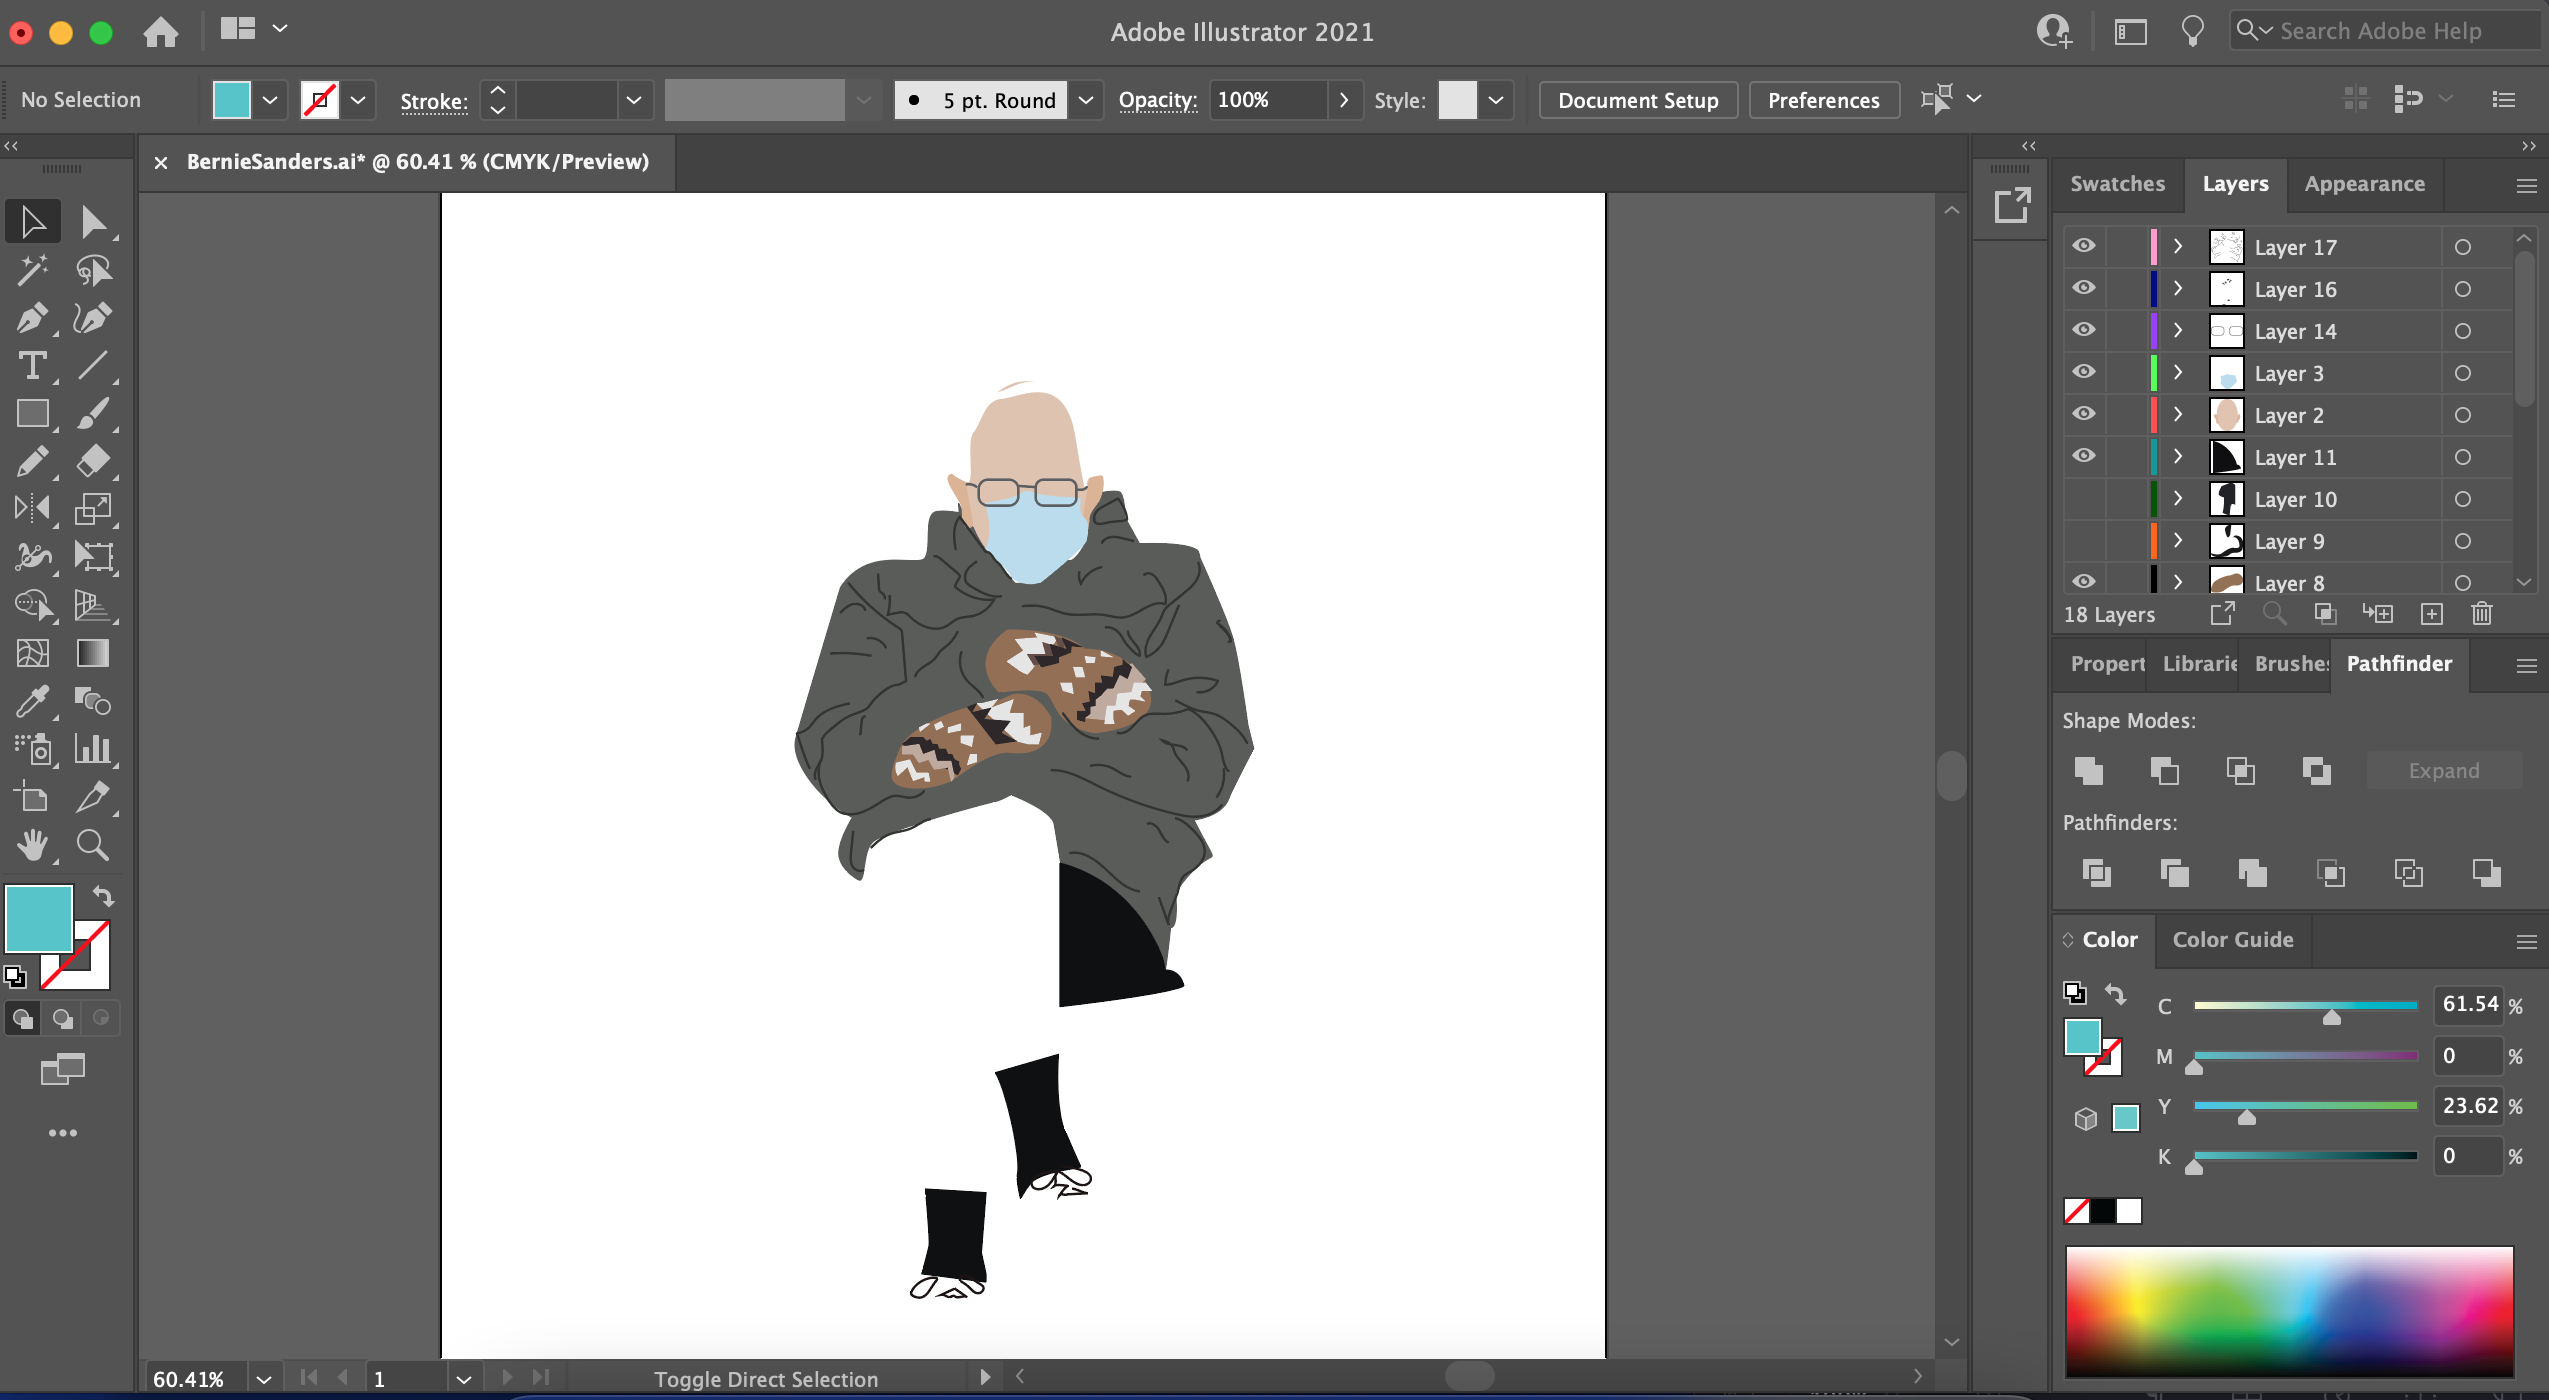
Step 3: Work on Your General Shapes
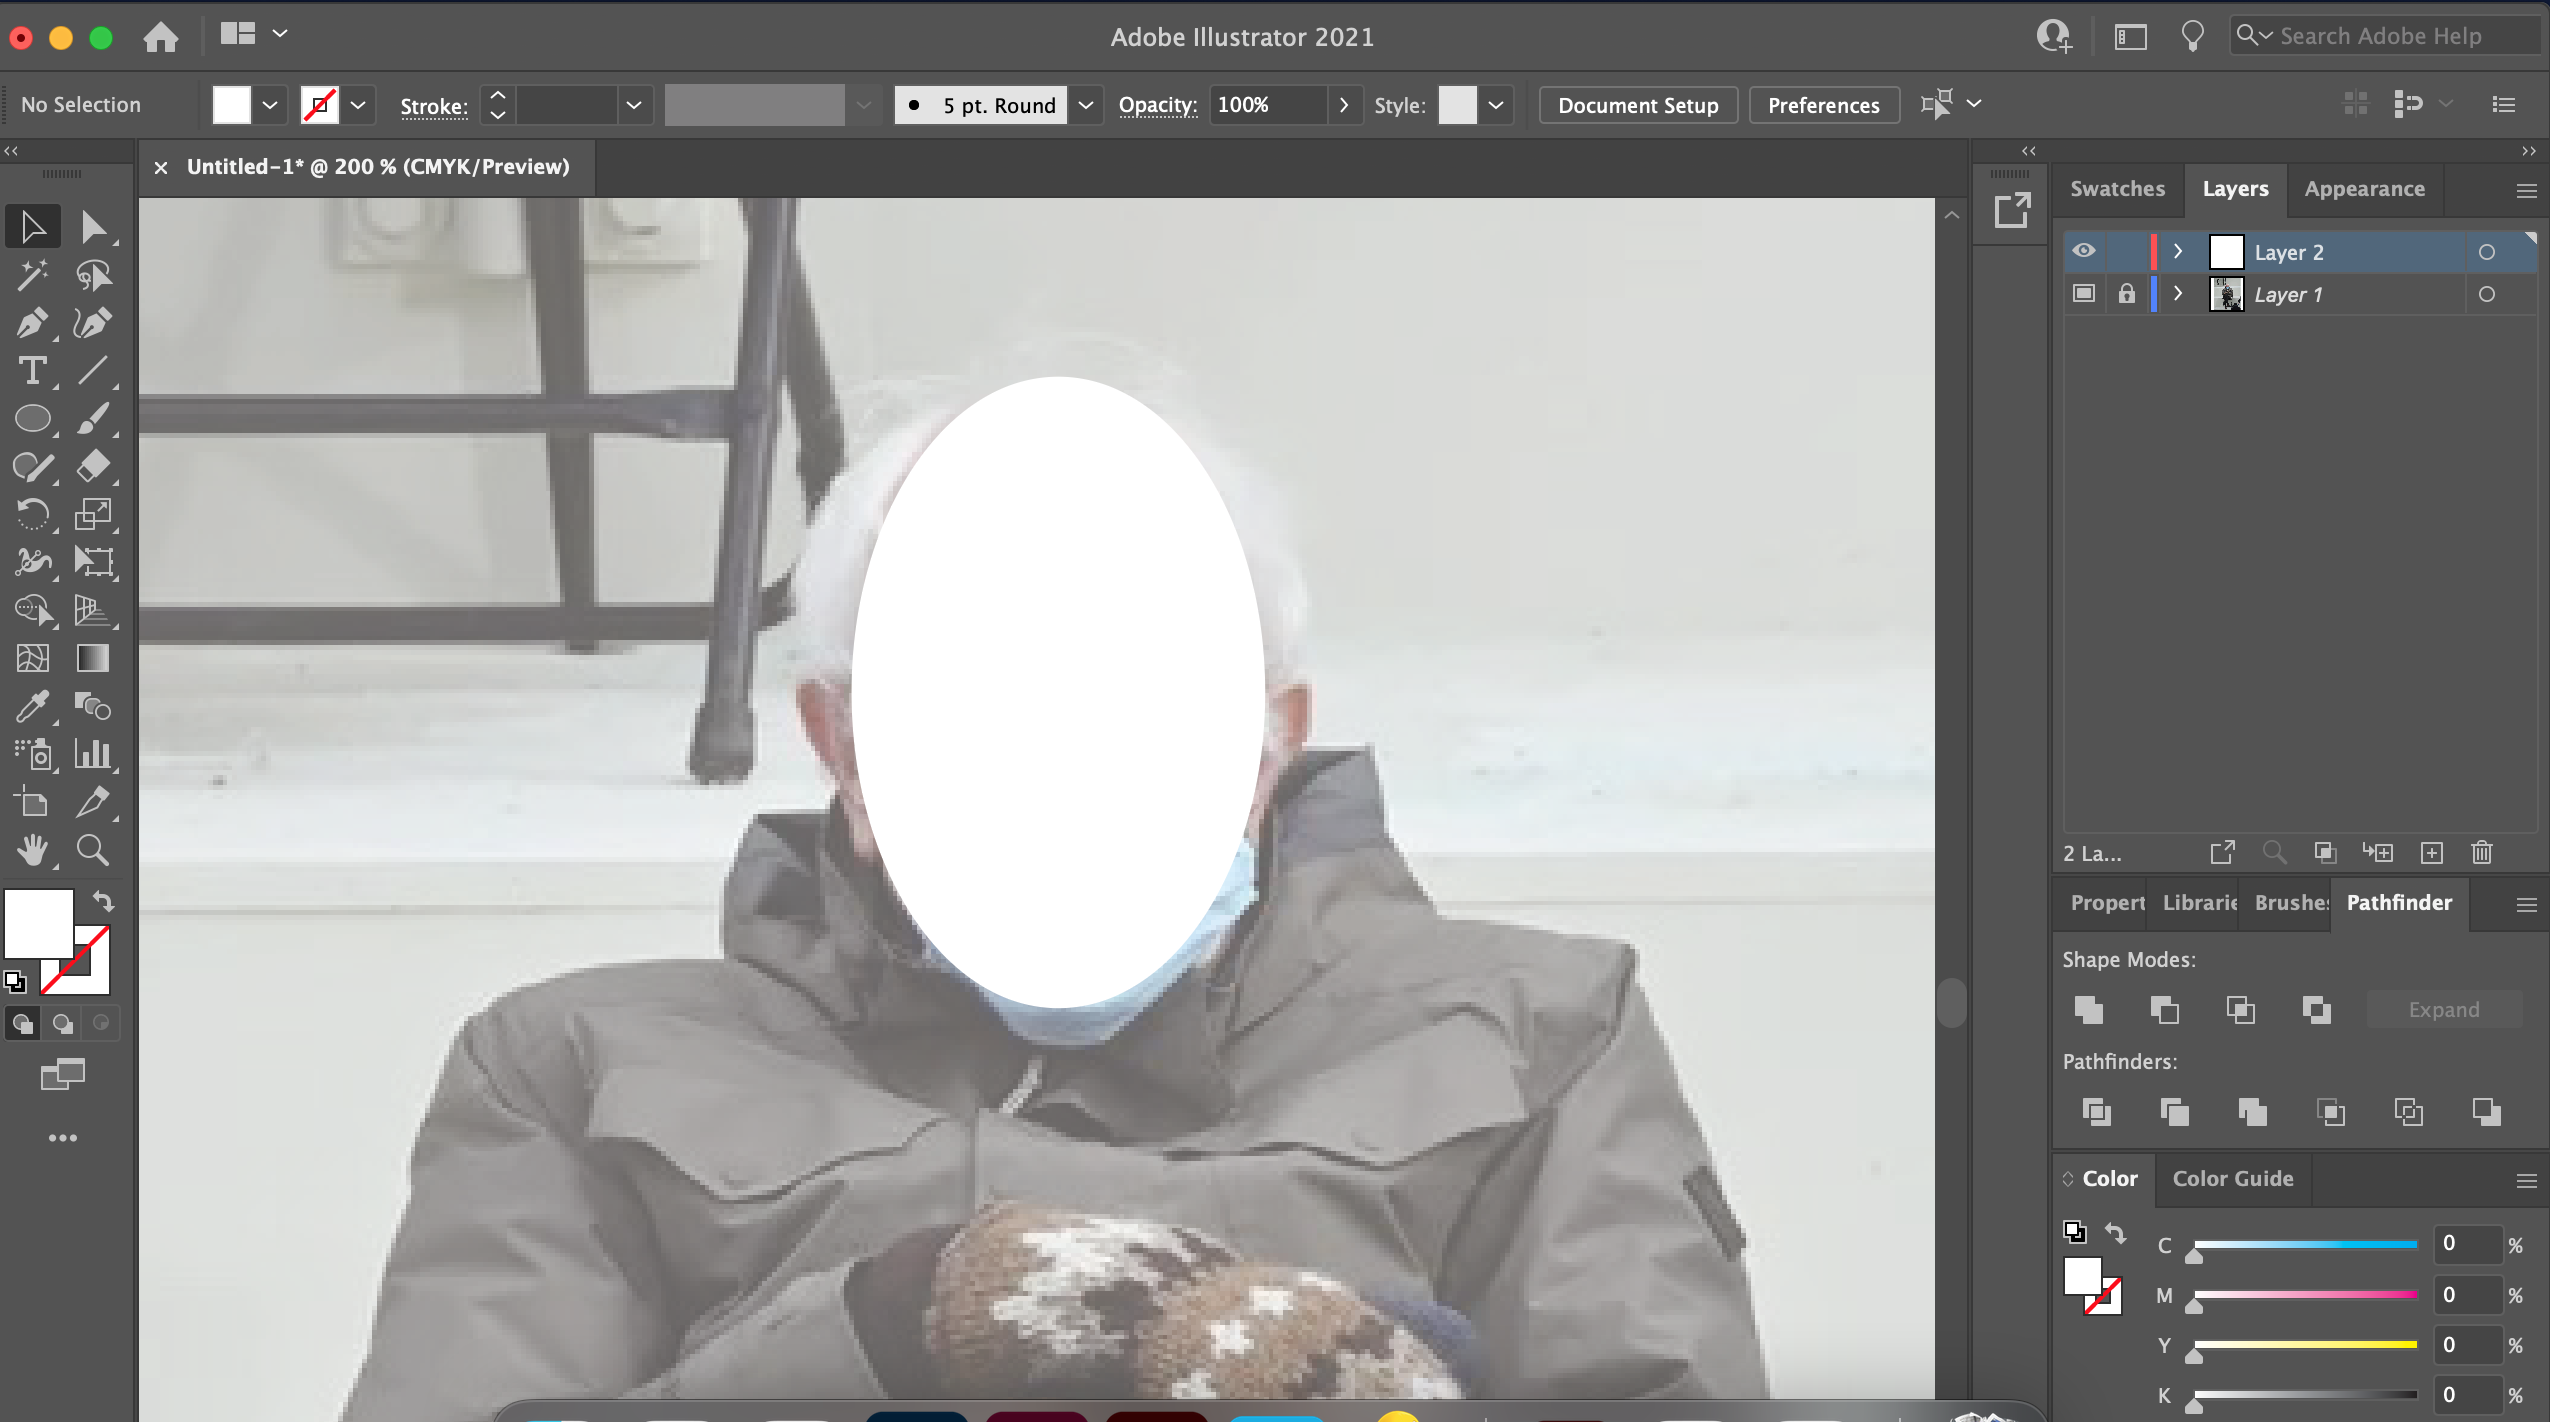
Now I can start working on my shapes. I usually work first with the pen tool, but often using shapes works for me as well. Later on I may use the pencil tool or the brush tool. Usually I go from general to specific, making the bigger shapes first and then refining them as I go. I then add a new layer and start working on those.
As an example, I took the ellipse tool (as it is) and made his face. It’s good to note that if I wanted to make a perfect circle, I would have to press shift as I do so.
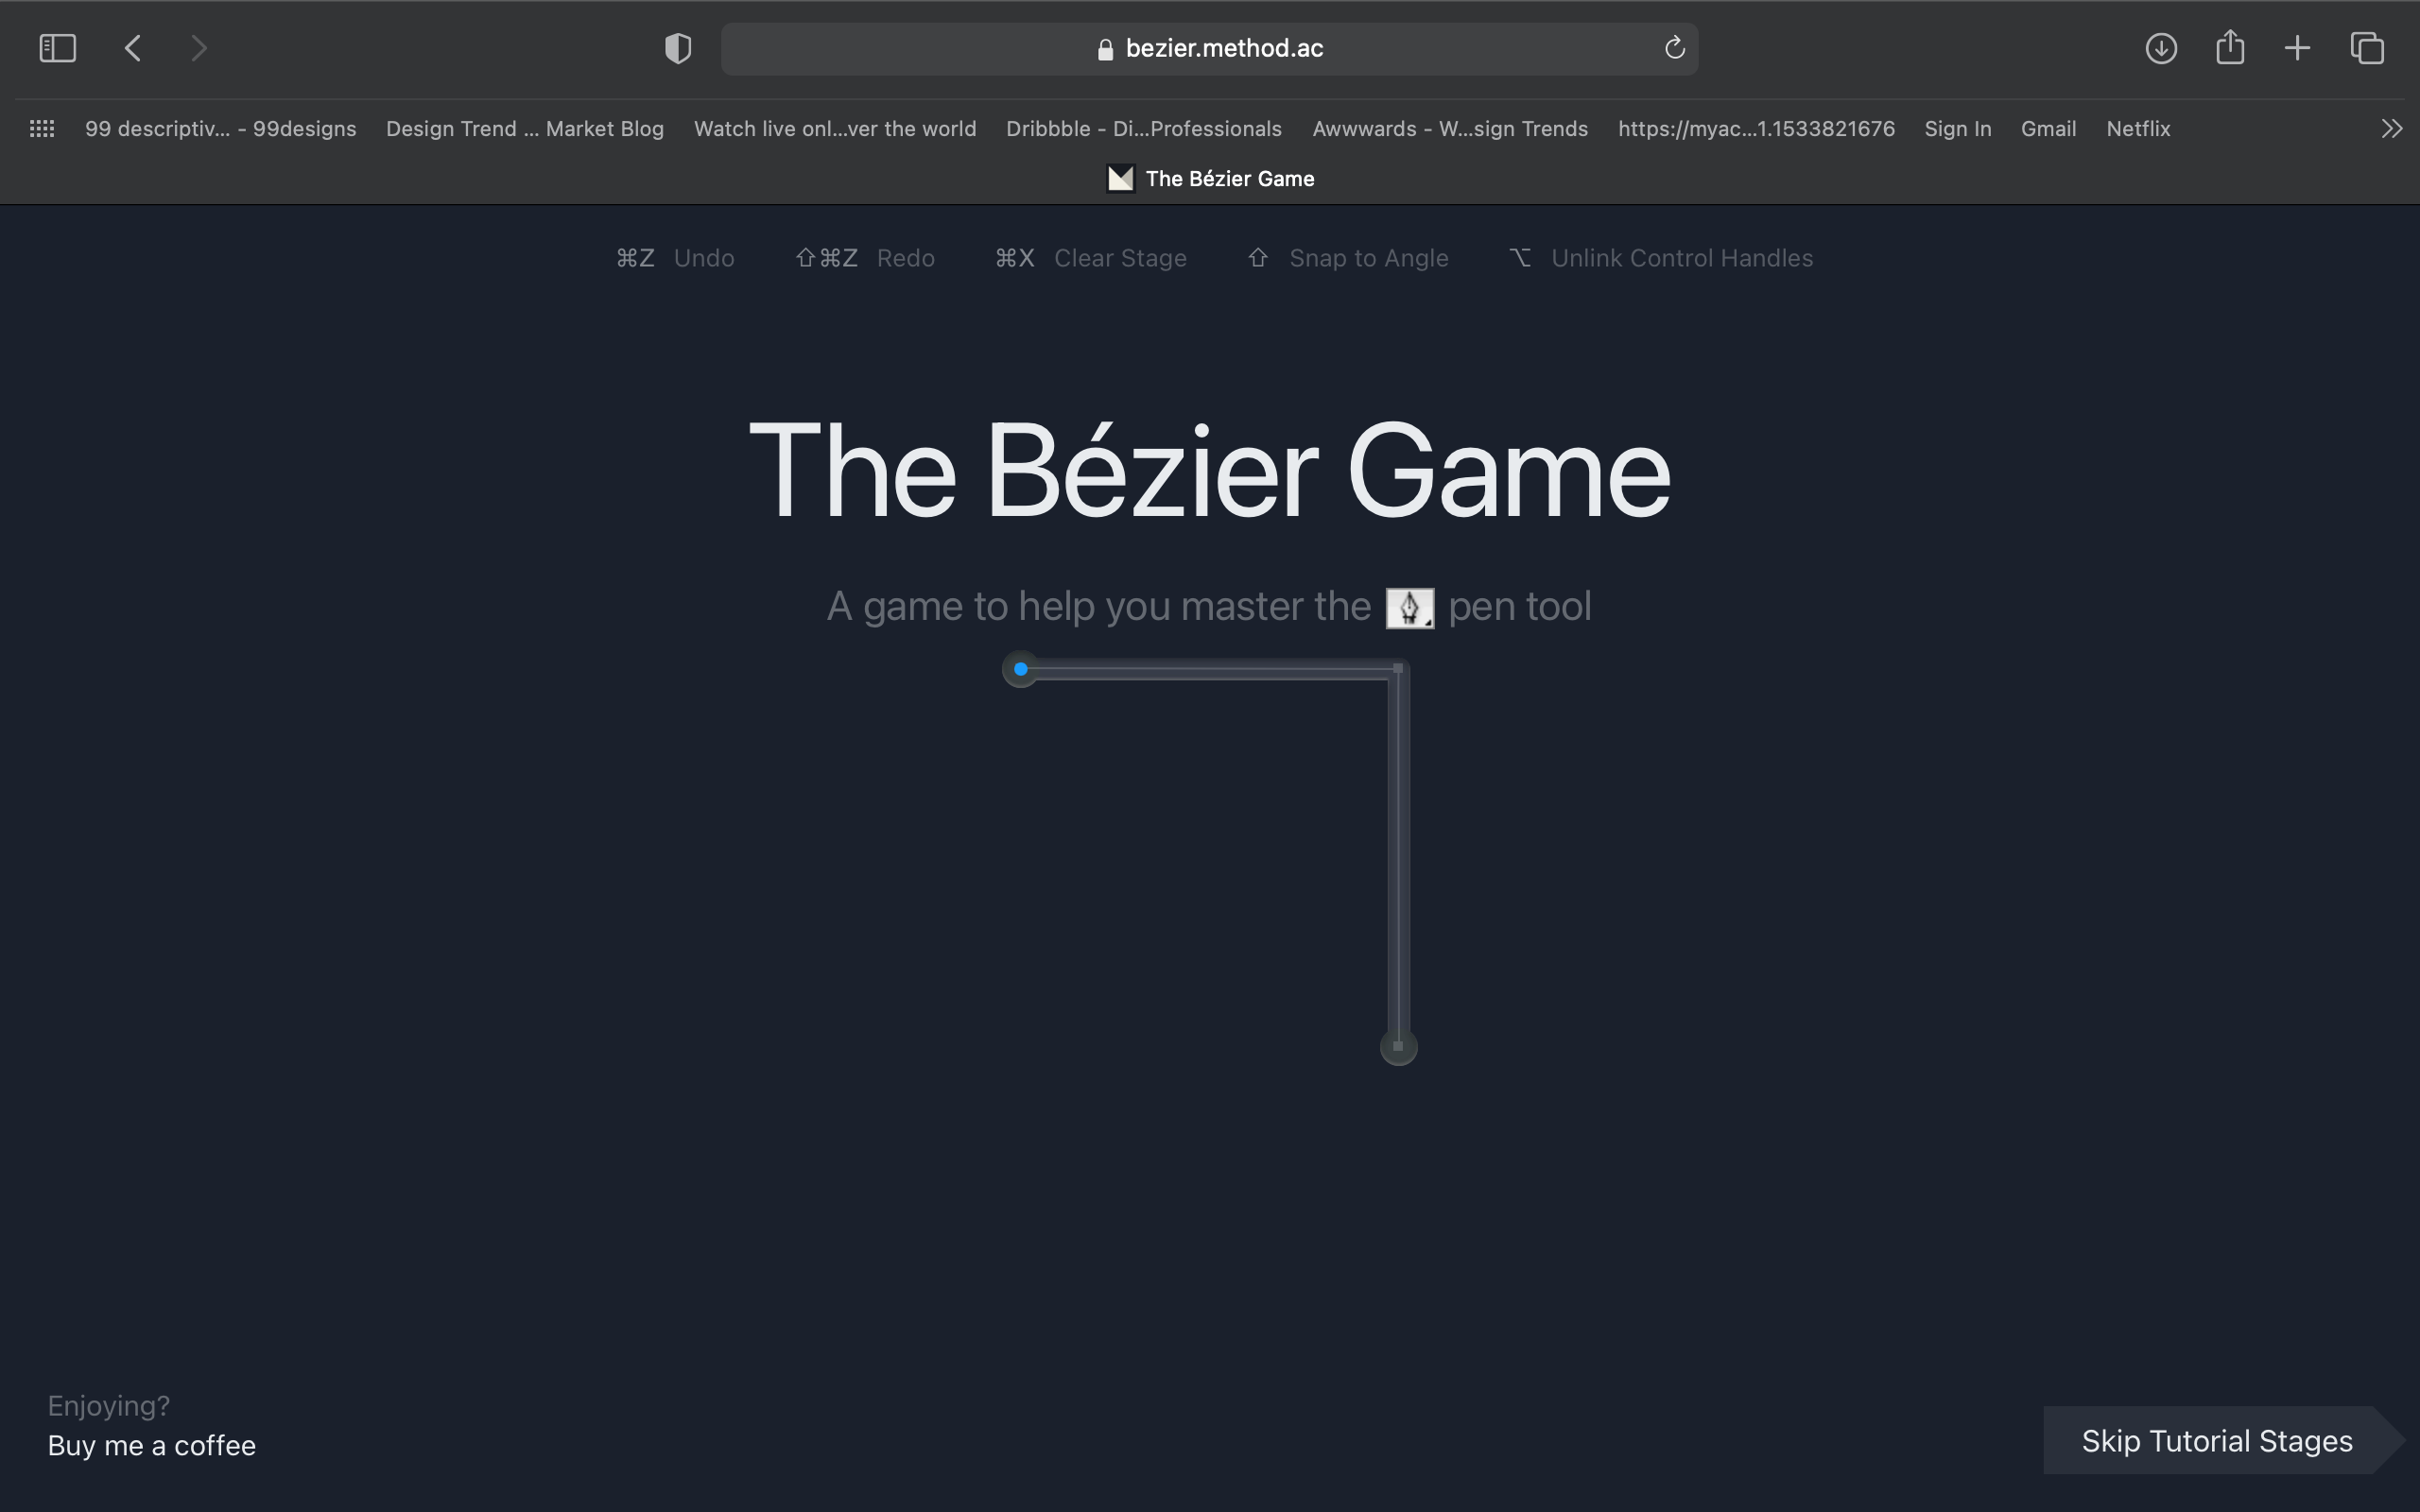
Then I use the pen to make the ears. If you are like me, and you are finding the pen tool difficult to manage at first, I totally recommend checking out this website, https://bezier.method.ac
It’s a game that helps you become better at it.
Step 4: Add and Hide Layers to Keep Yourself Organized
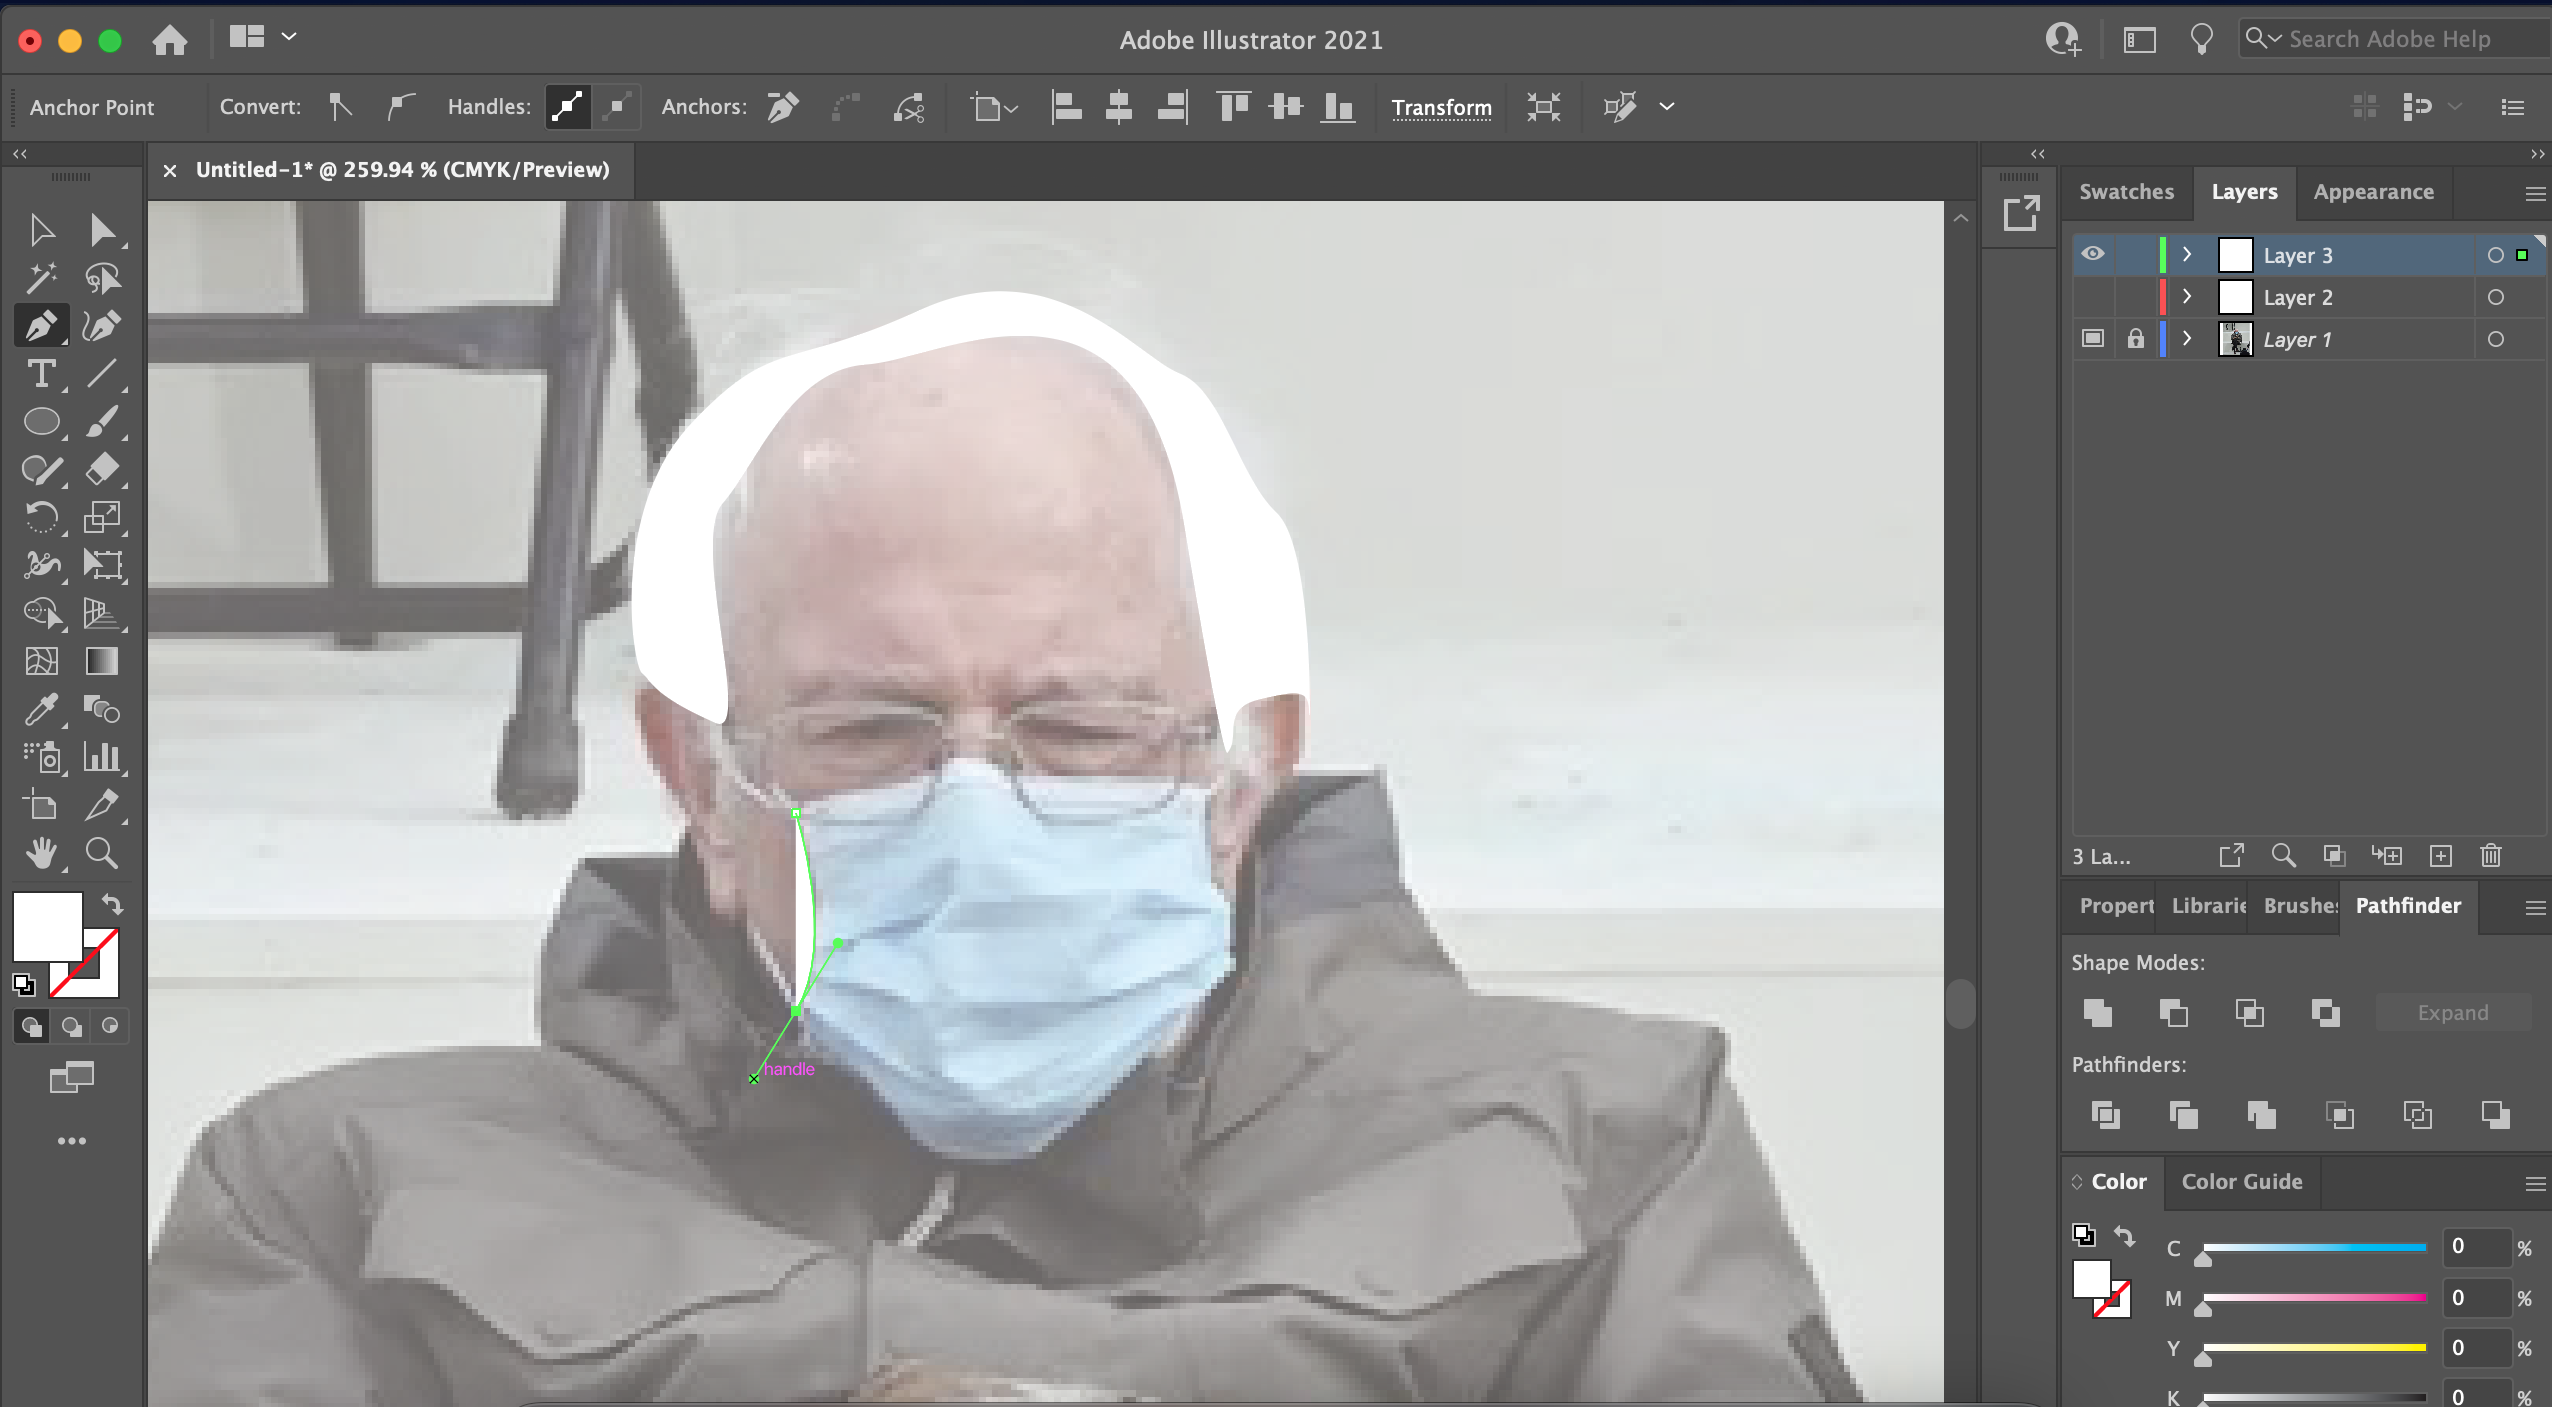
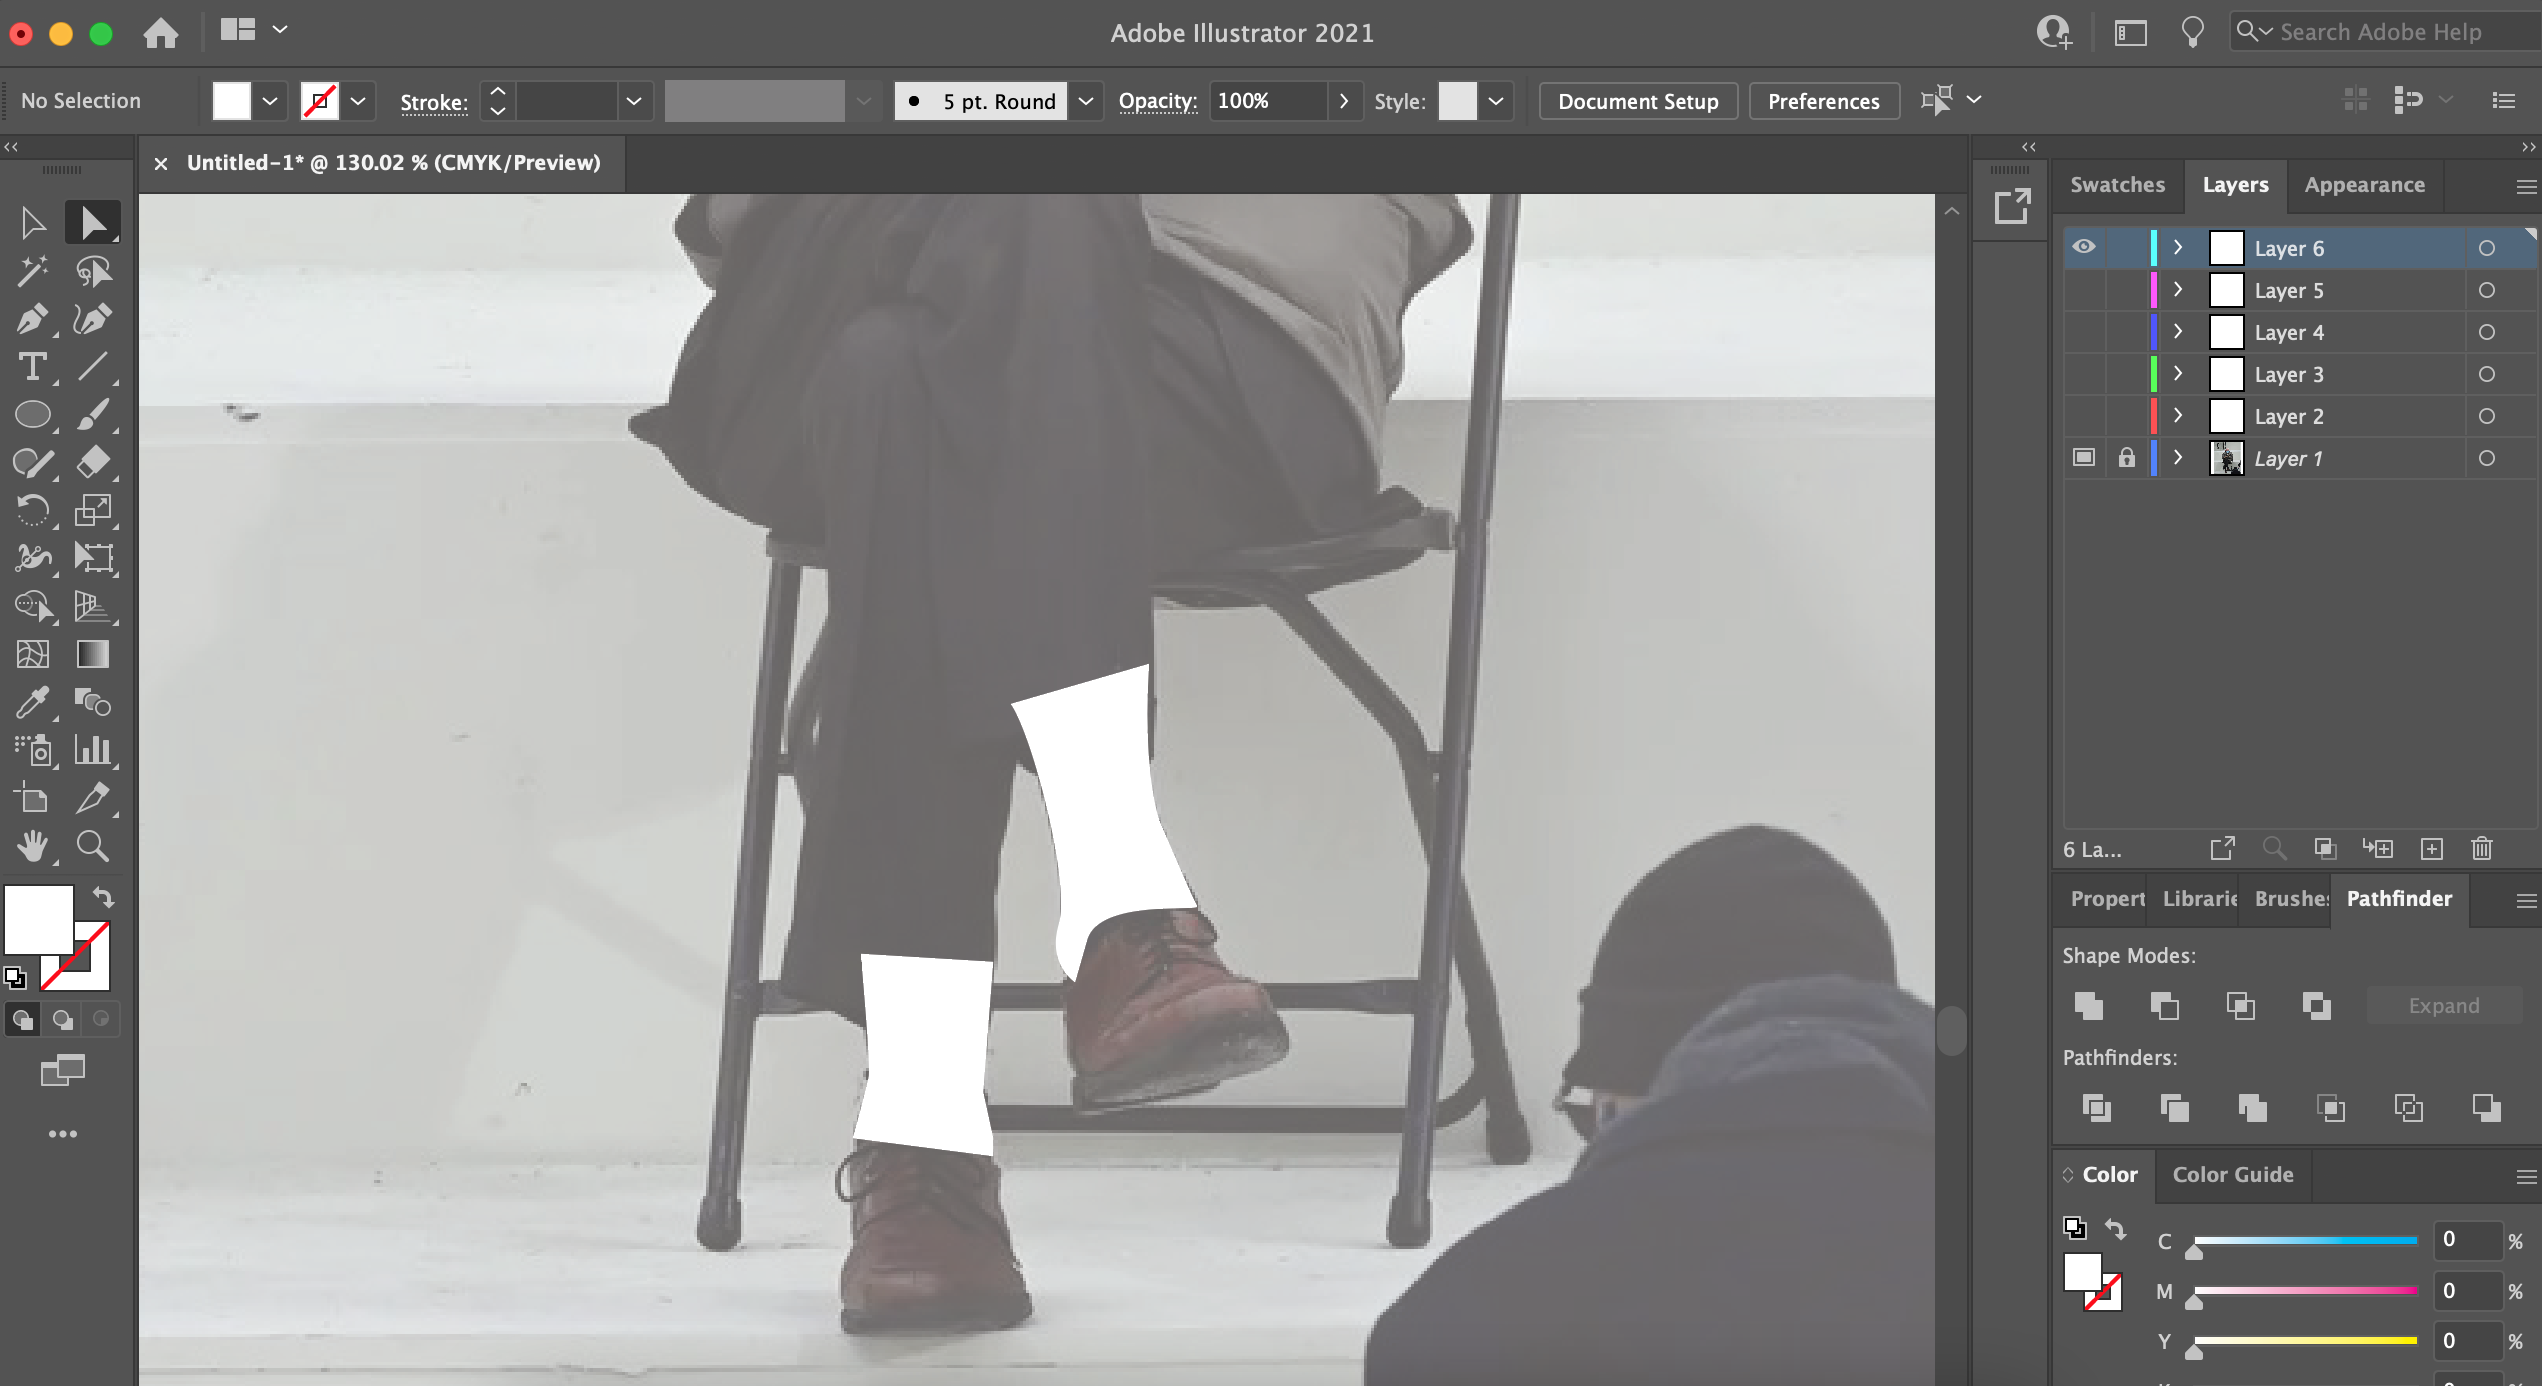
Later on I click on the eye that shows on the second layer and add a third layer. This way I am able to work more cleanly and be able to still see my reference and what are the other elements that I need to tackle. I keep on working on the shapes until I am left with many layers. Each layer would contain non-overlapping shapes, so that it's easier to piece together later.
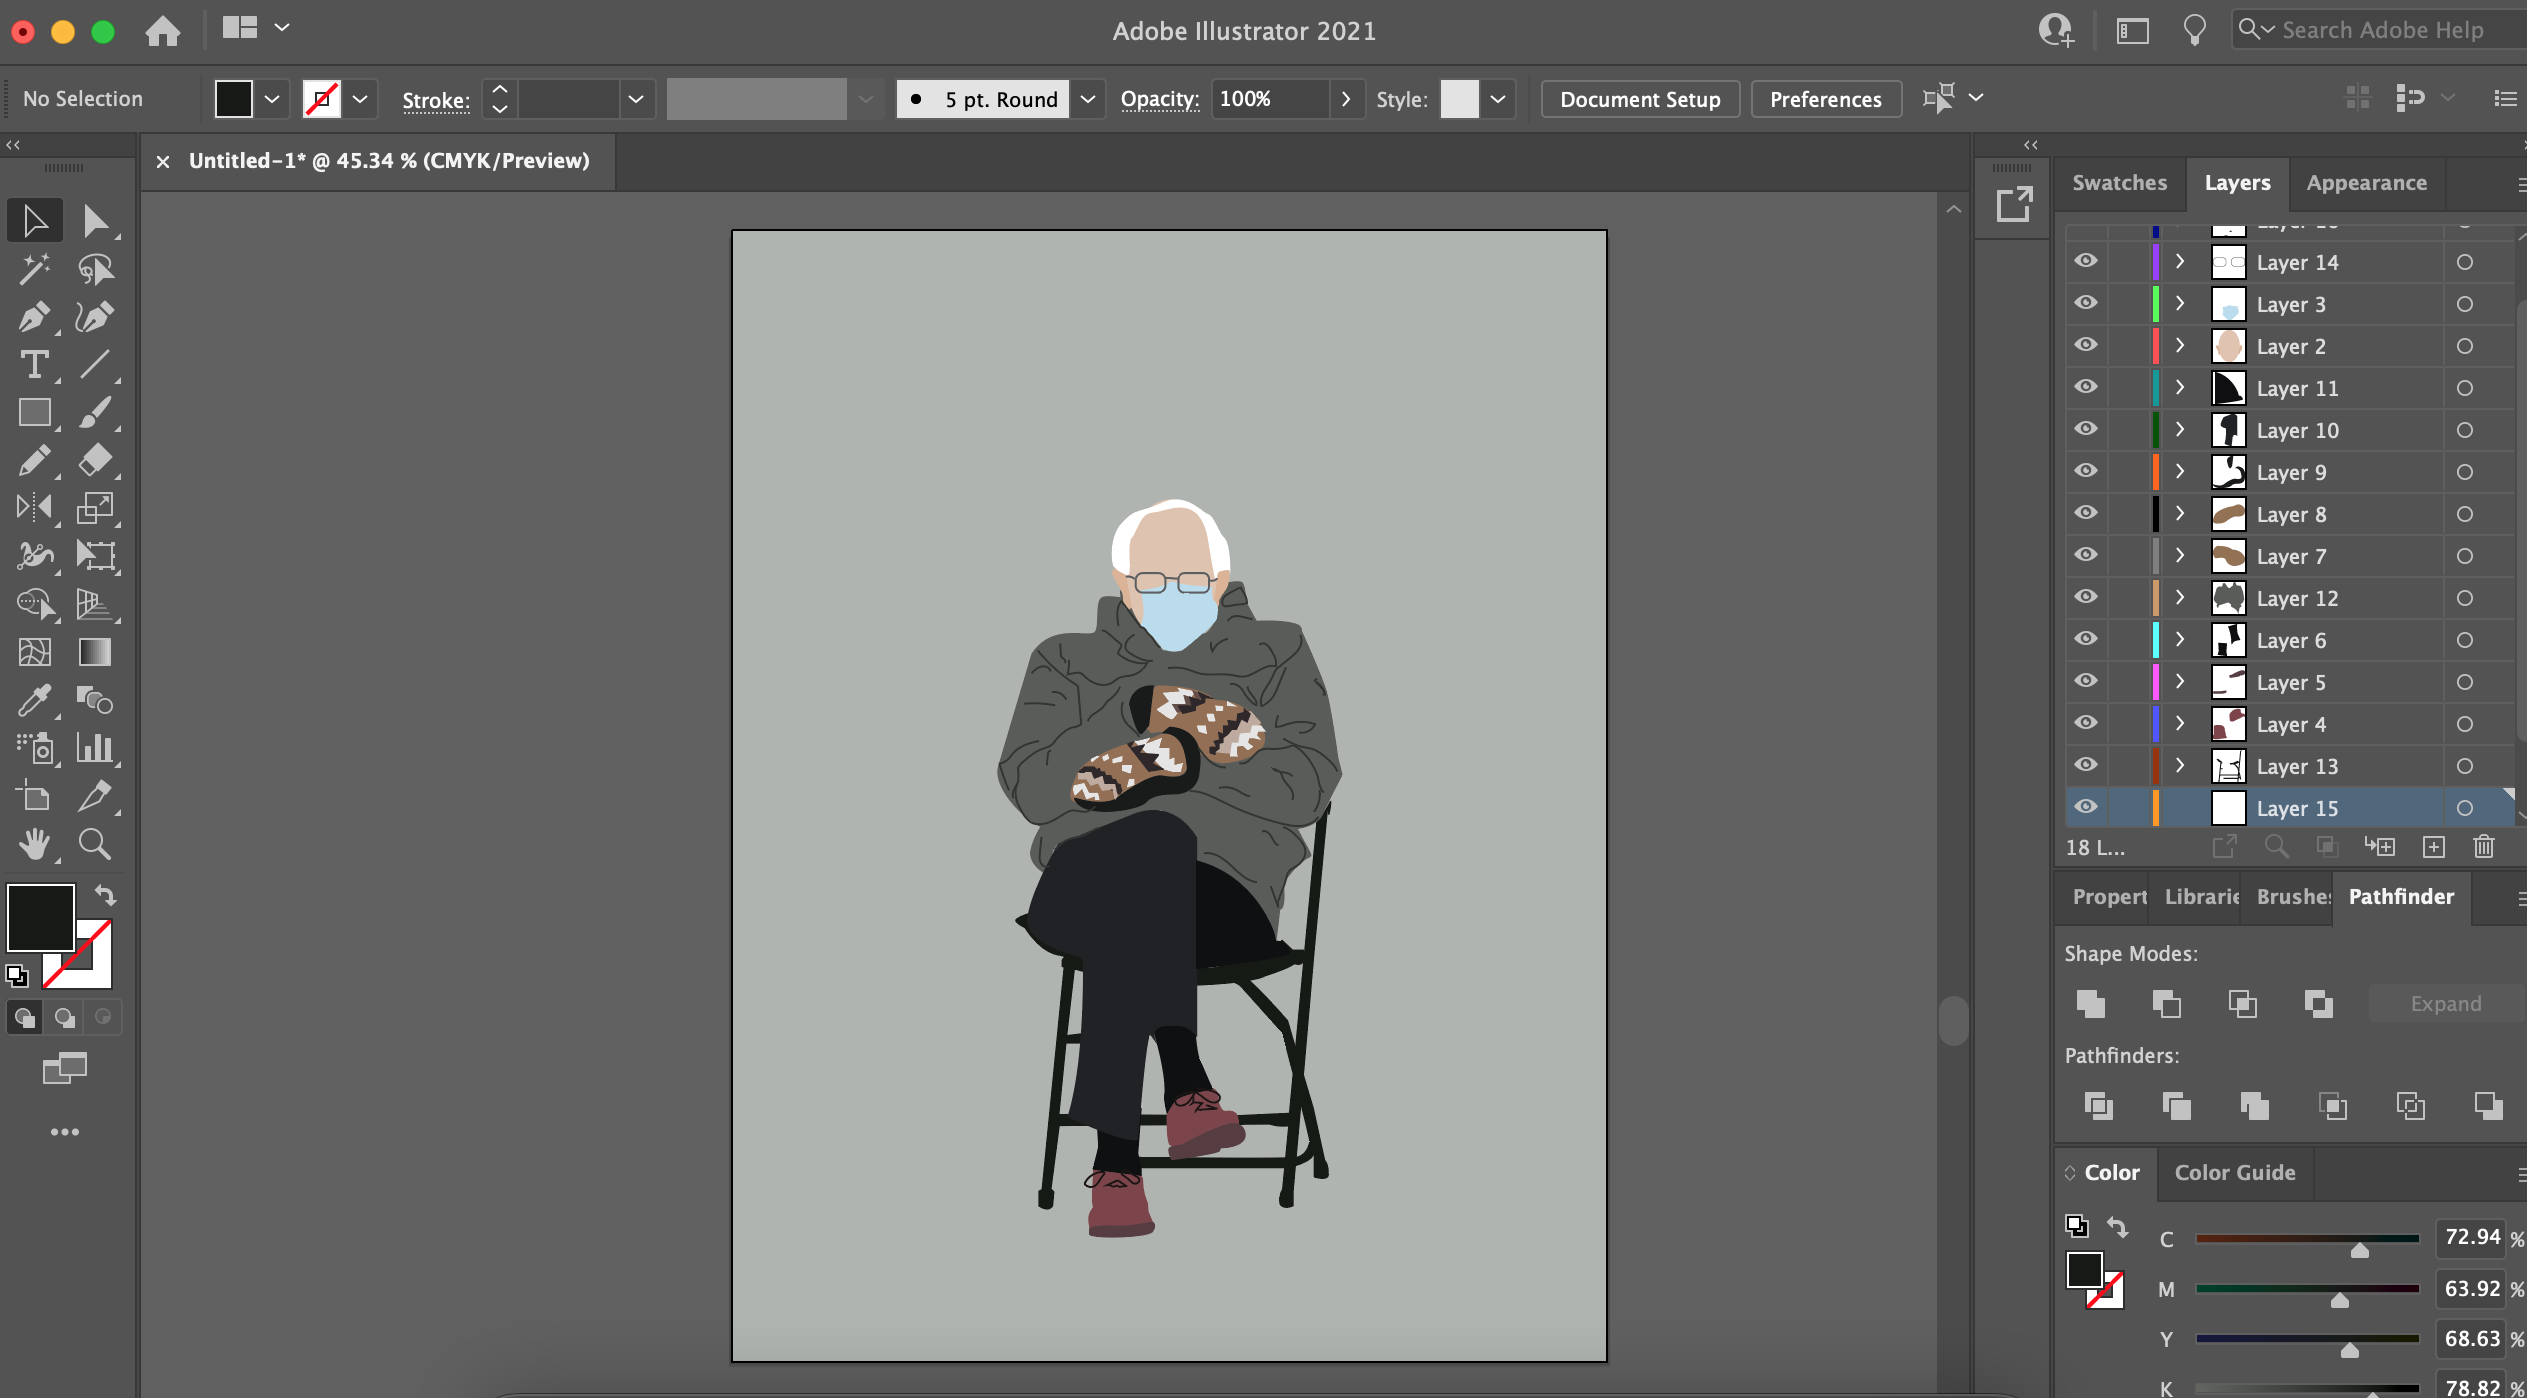
Step 5: Time to Color
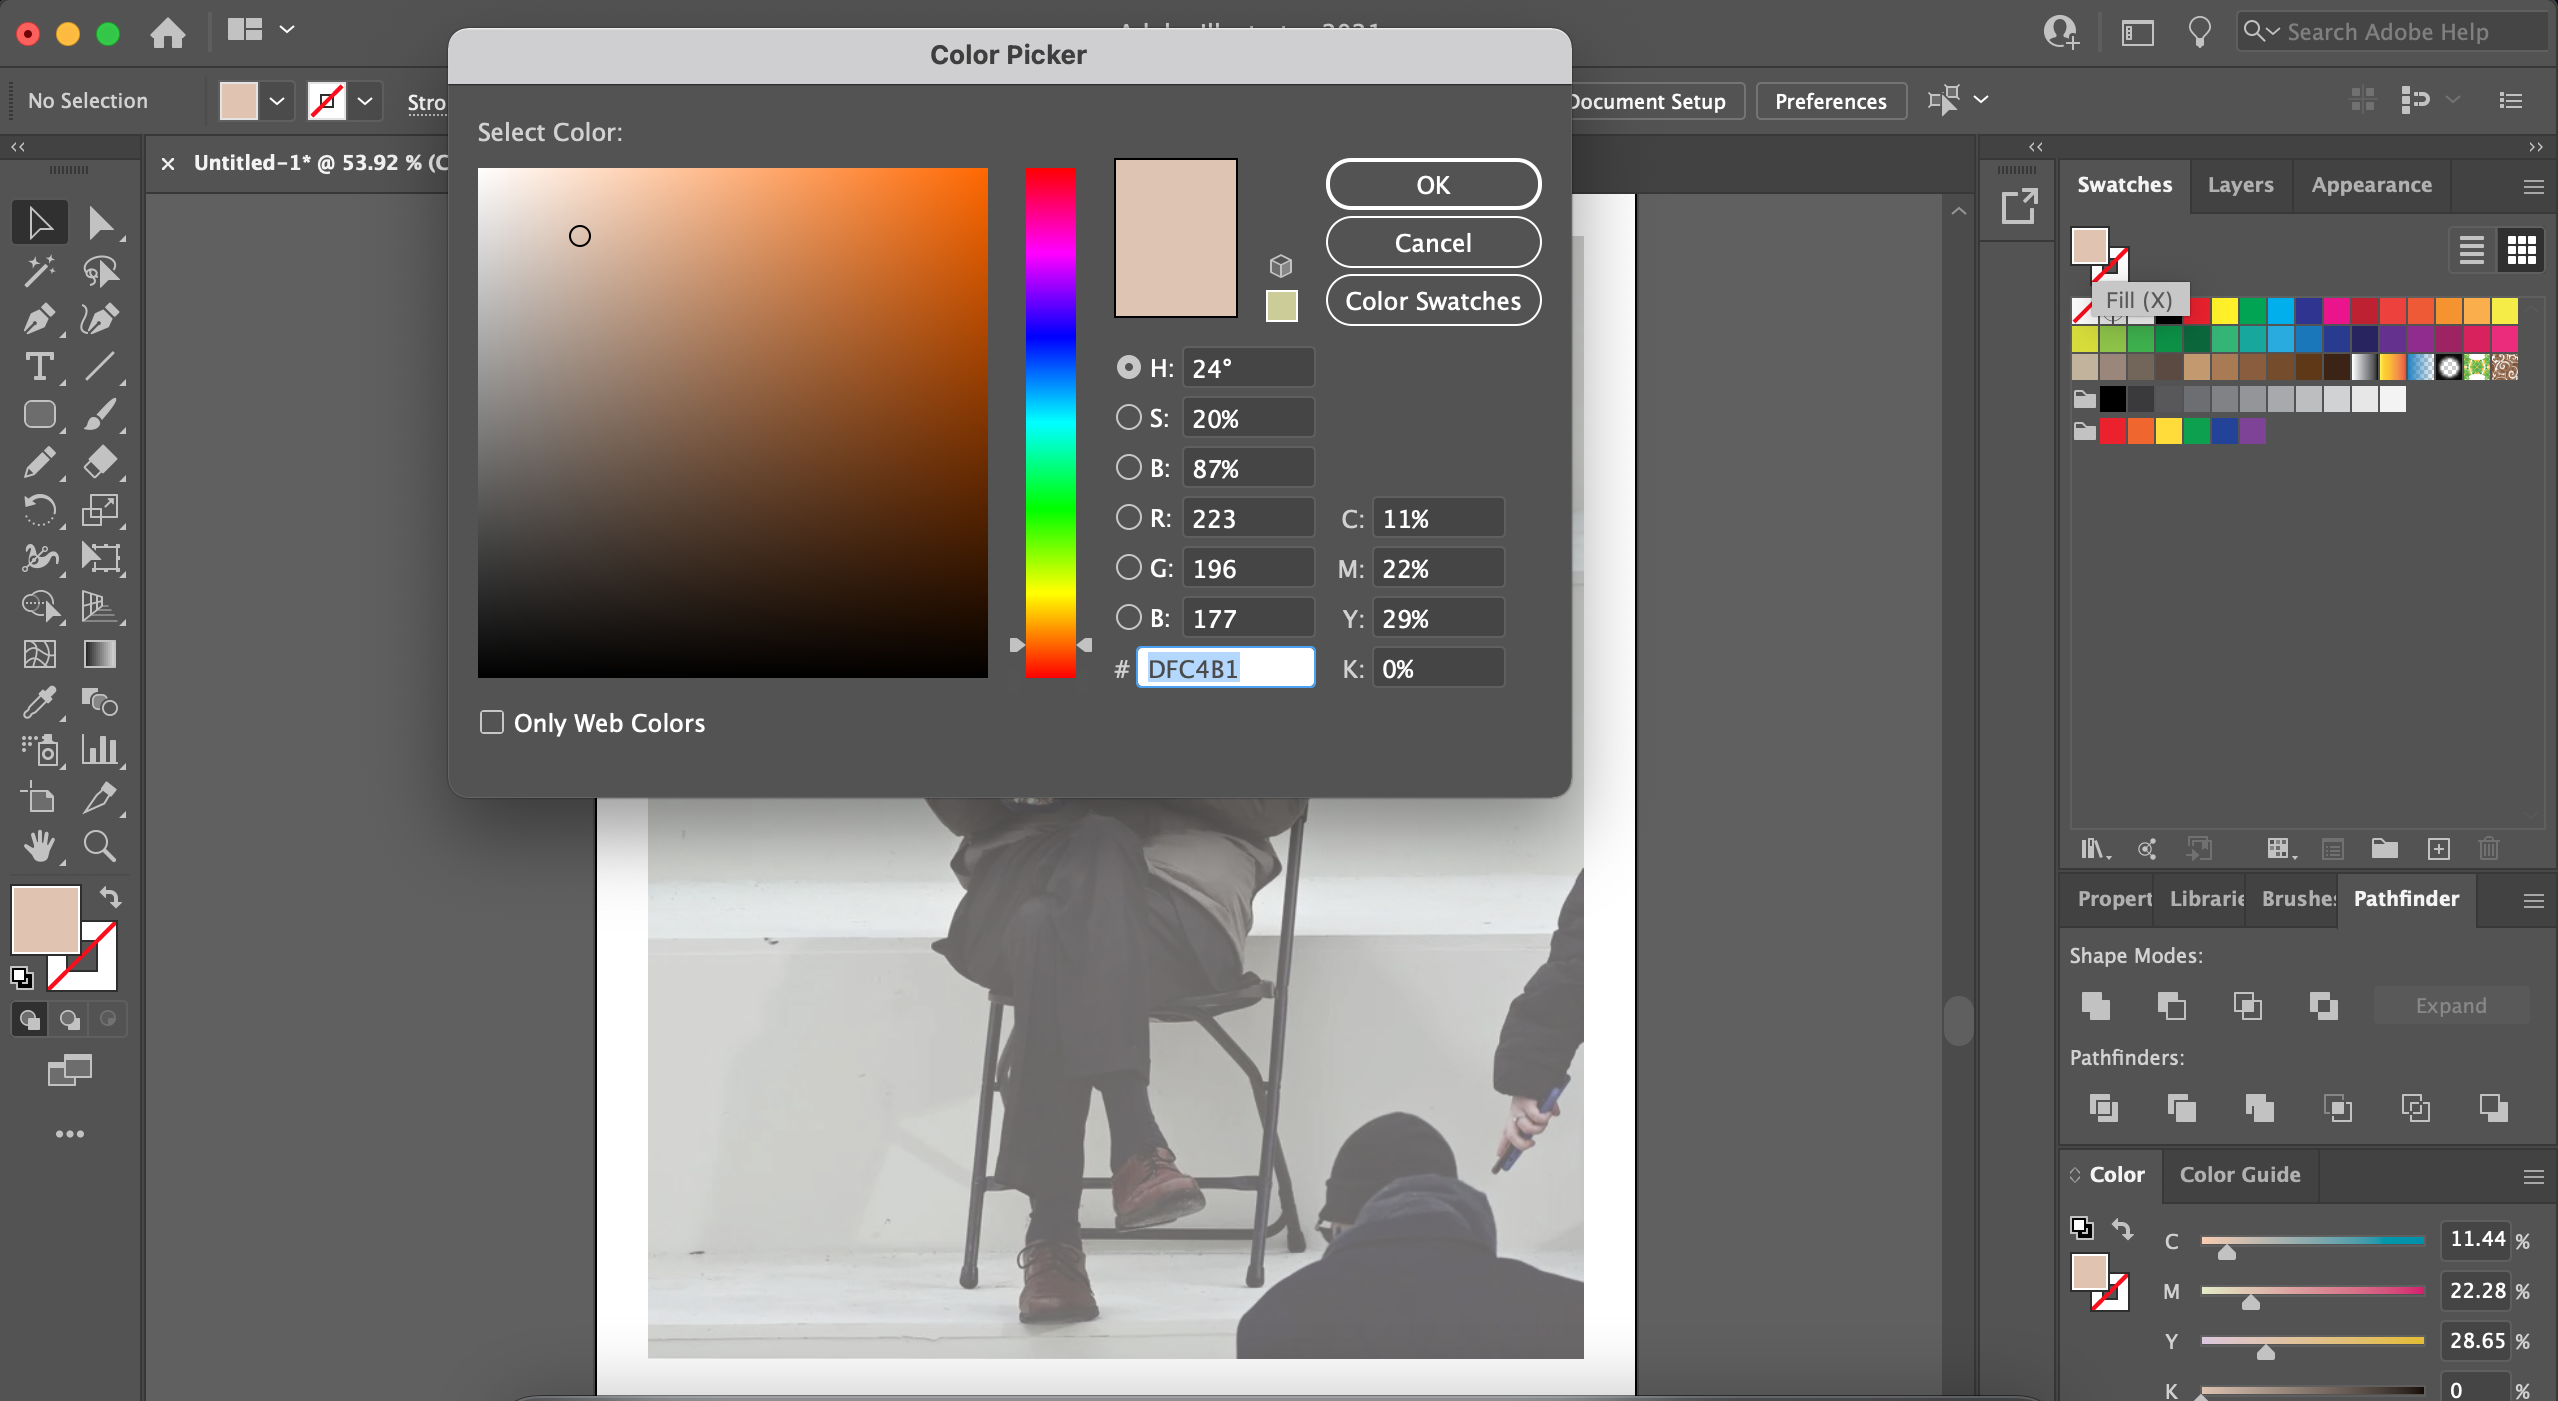
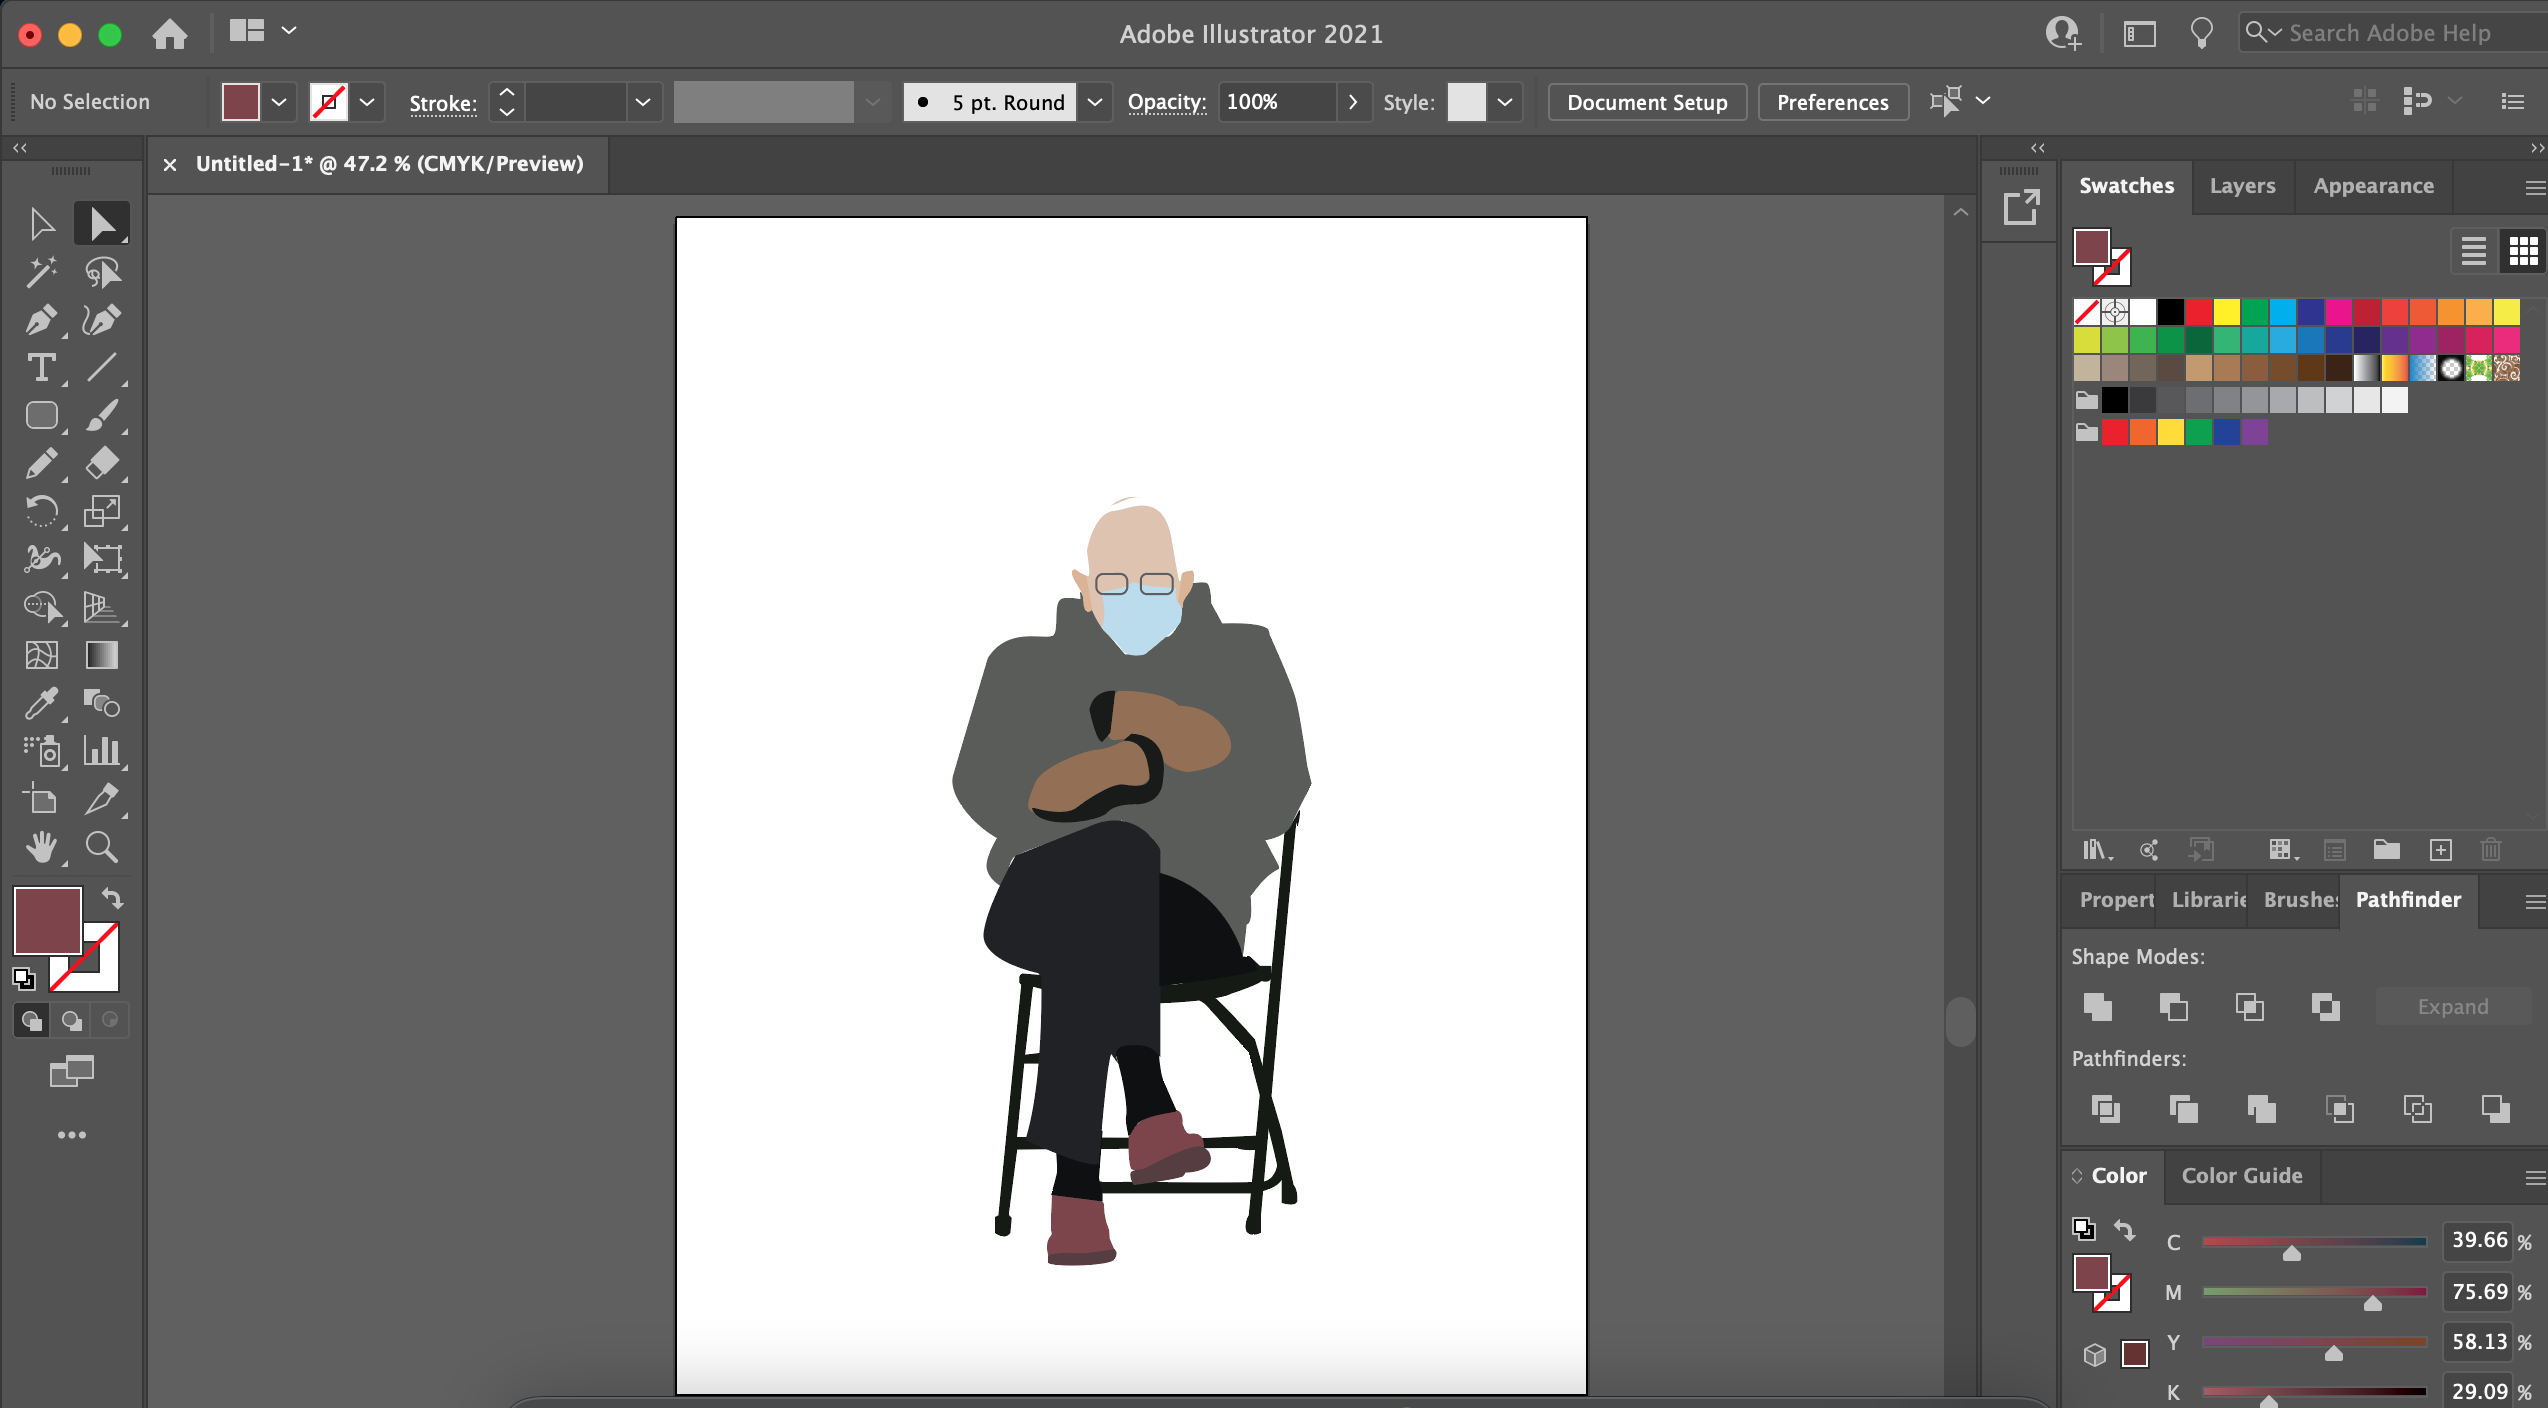
After I've finished with all of the major shapes, now here comes the fun part. Adding colors. I can take the eyedropper, using the shortcut (I) or I can go to my swatches and create the colors myself. The illustration now looks something like the third photo.
Step 6: Adding Details
With a flat illustration you don't need to add many details for it to stand out. However, I always like to add some details, in the clothing and bring attention to other recognizable features of the person or thing that I'm illustrating. I try to focus on not more than three details. In this case, I have decided to focus on the mittens (of course) the shoelaces and the parka. These are three recognizable features of this photo of Sanders. Even so, they are not very detailed but enough so that there can be an instant recognition of Sanders from whoever sees this illustration.
Step 7: Add Your Background and Save Document
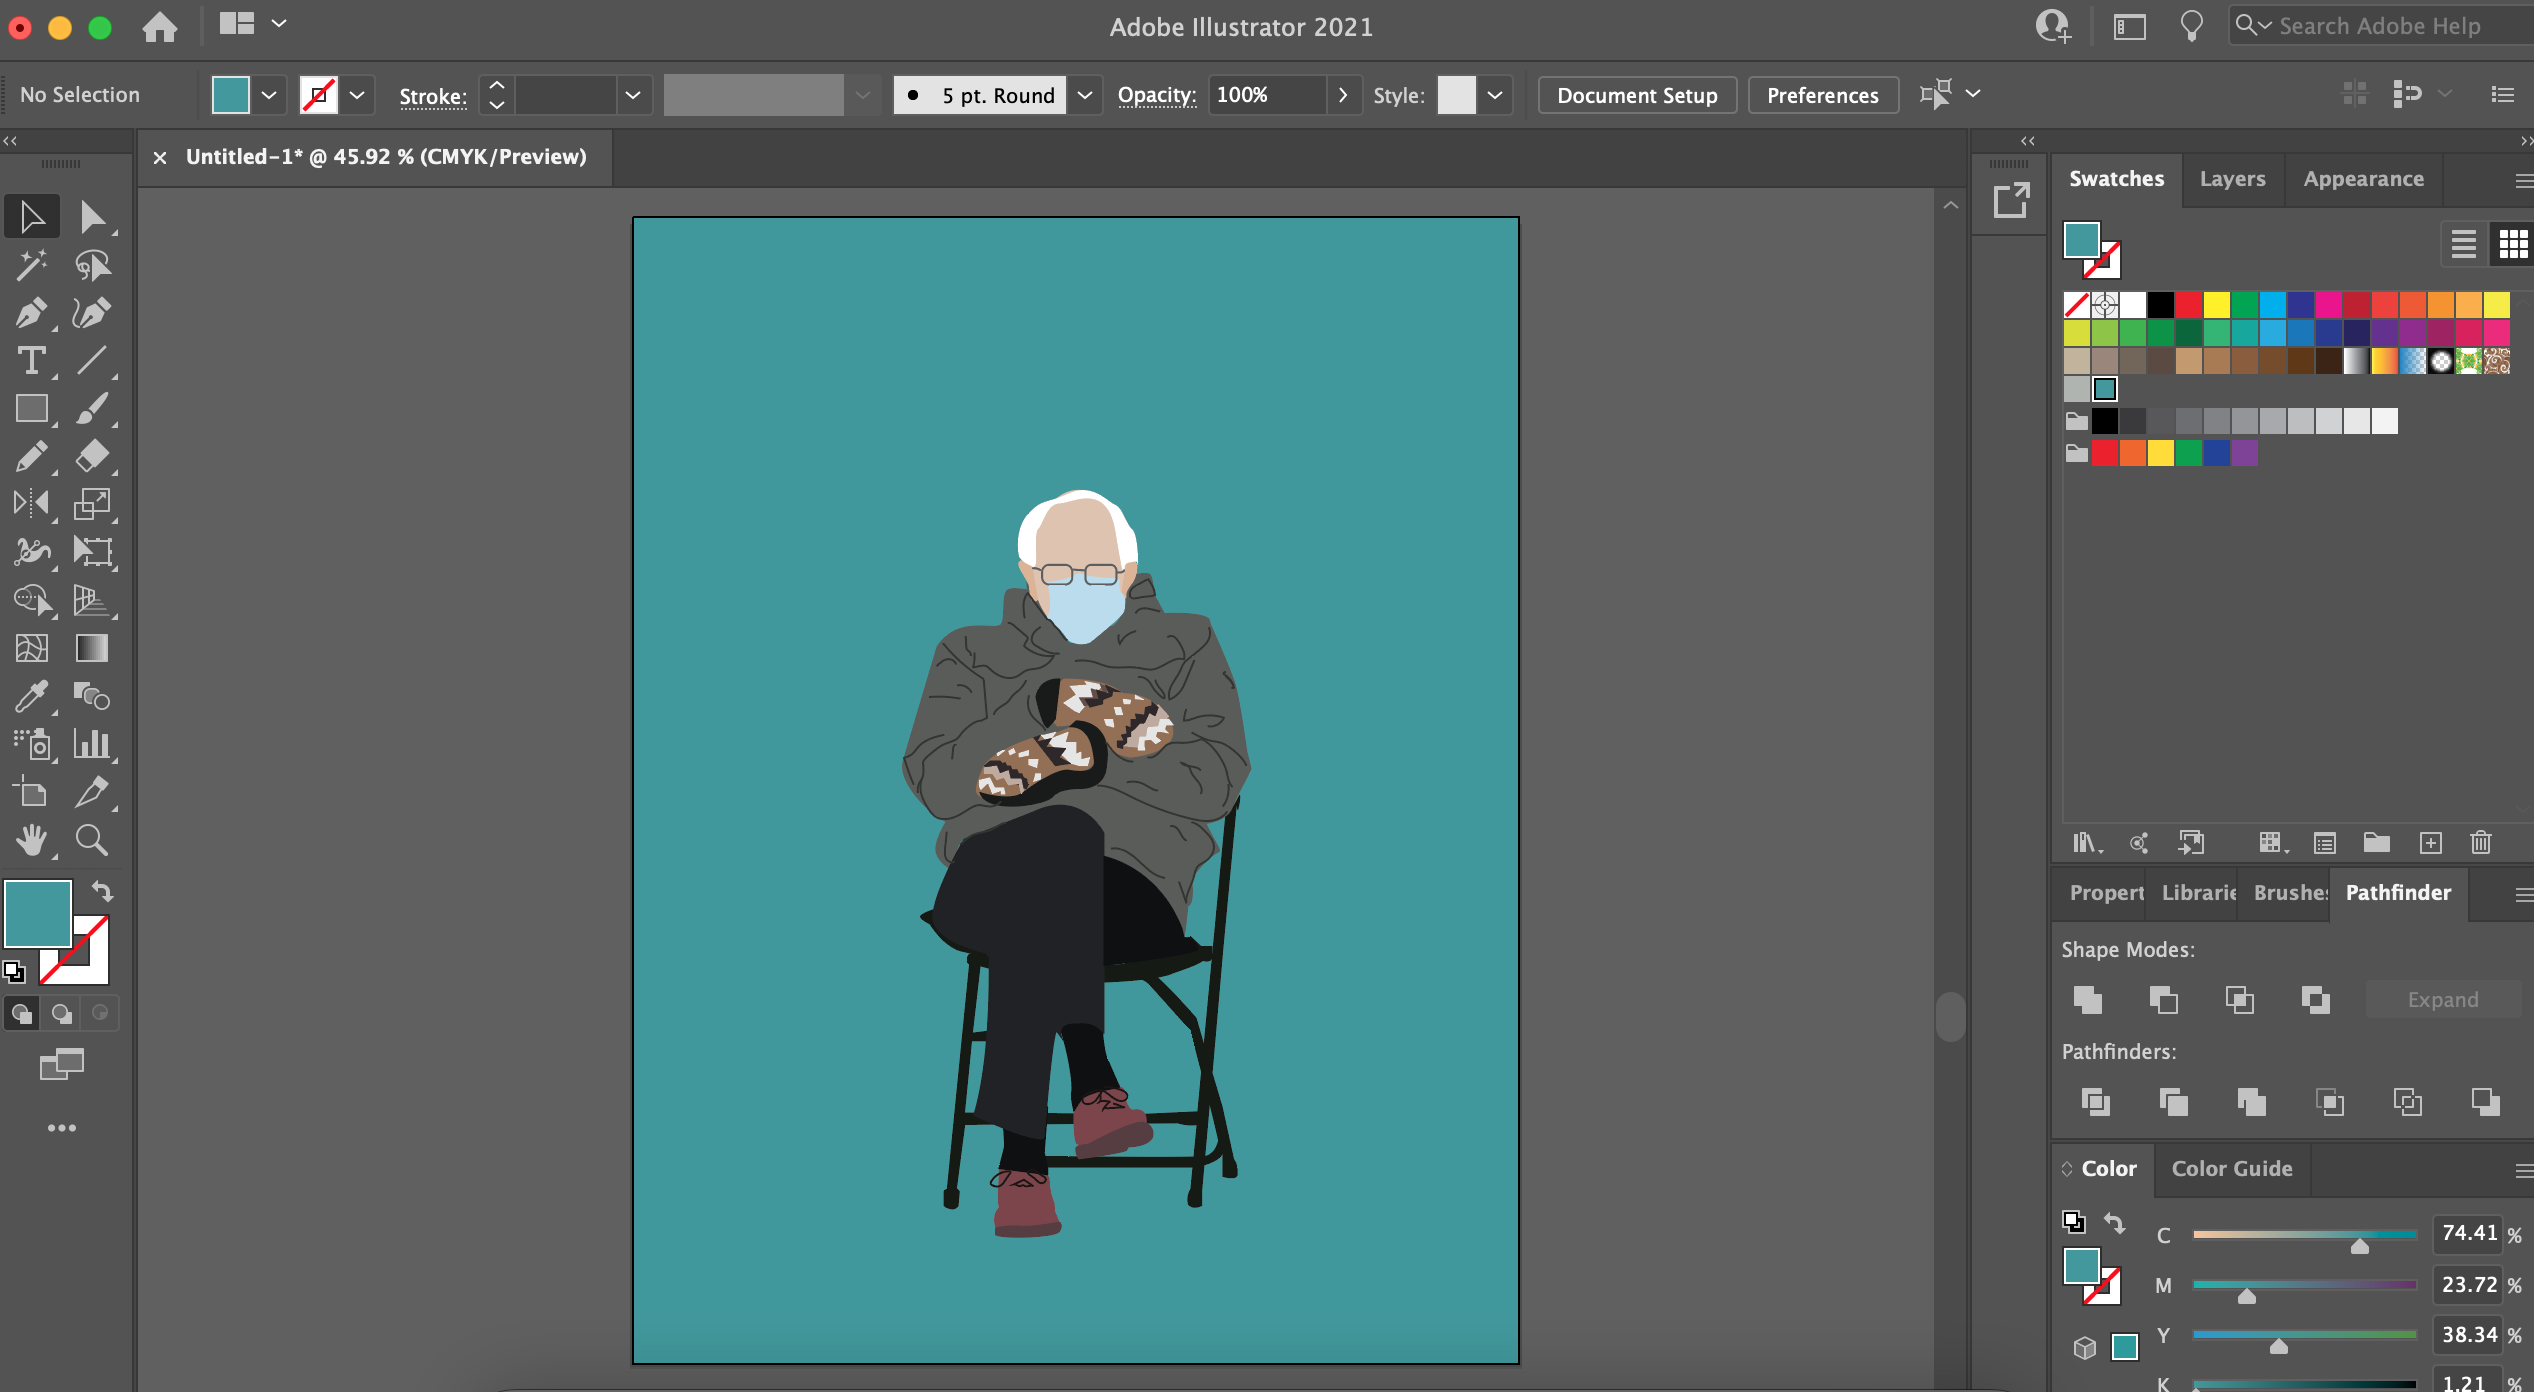
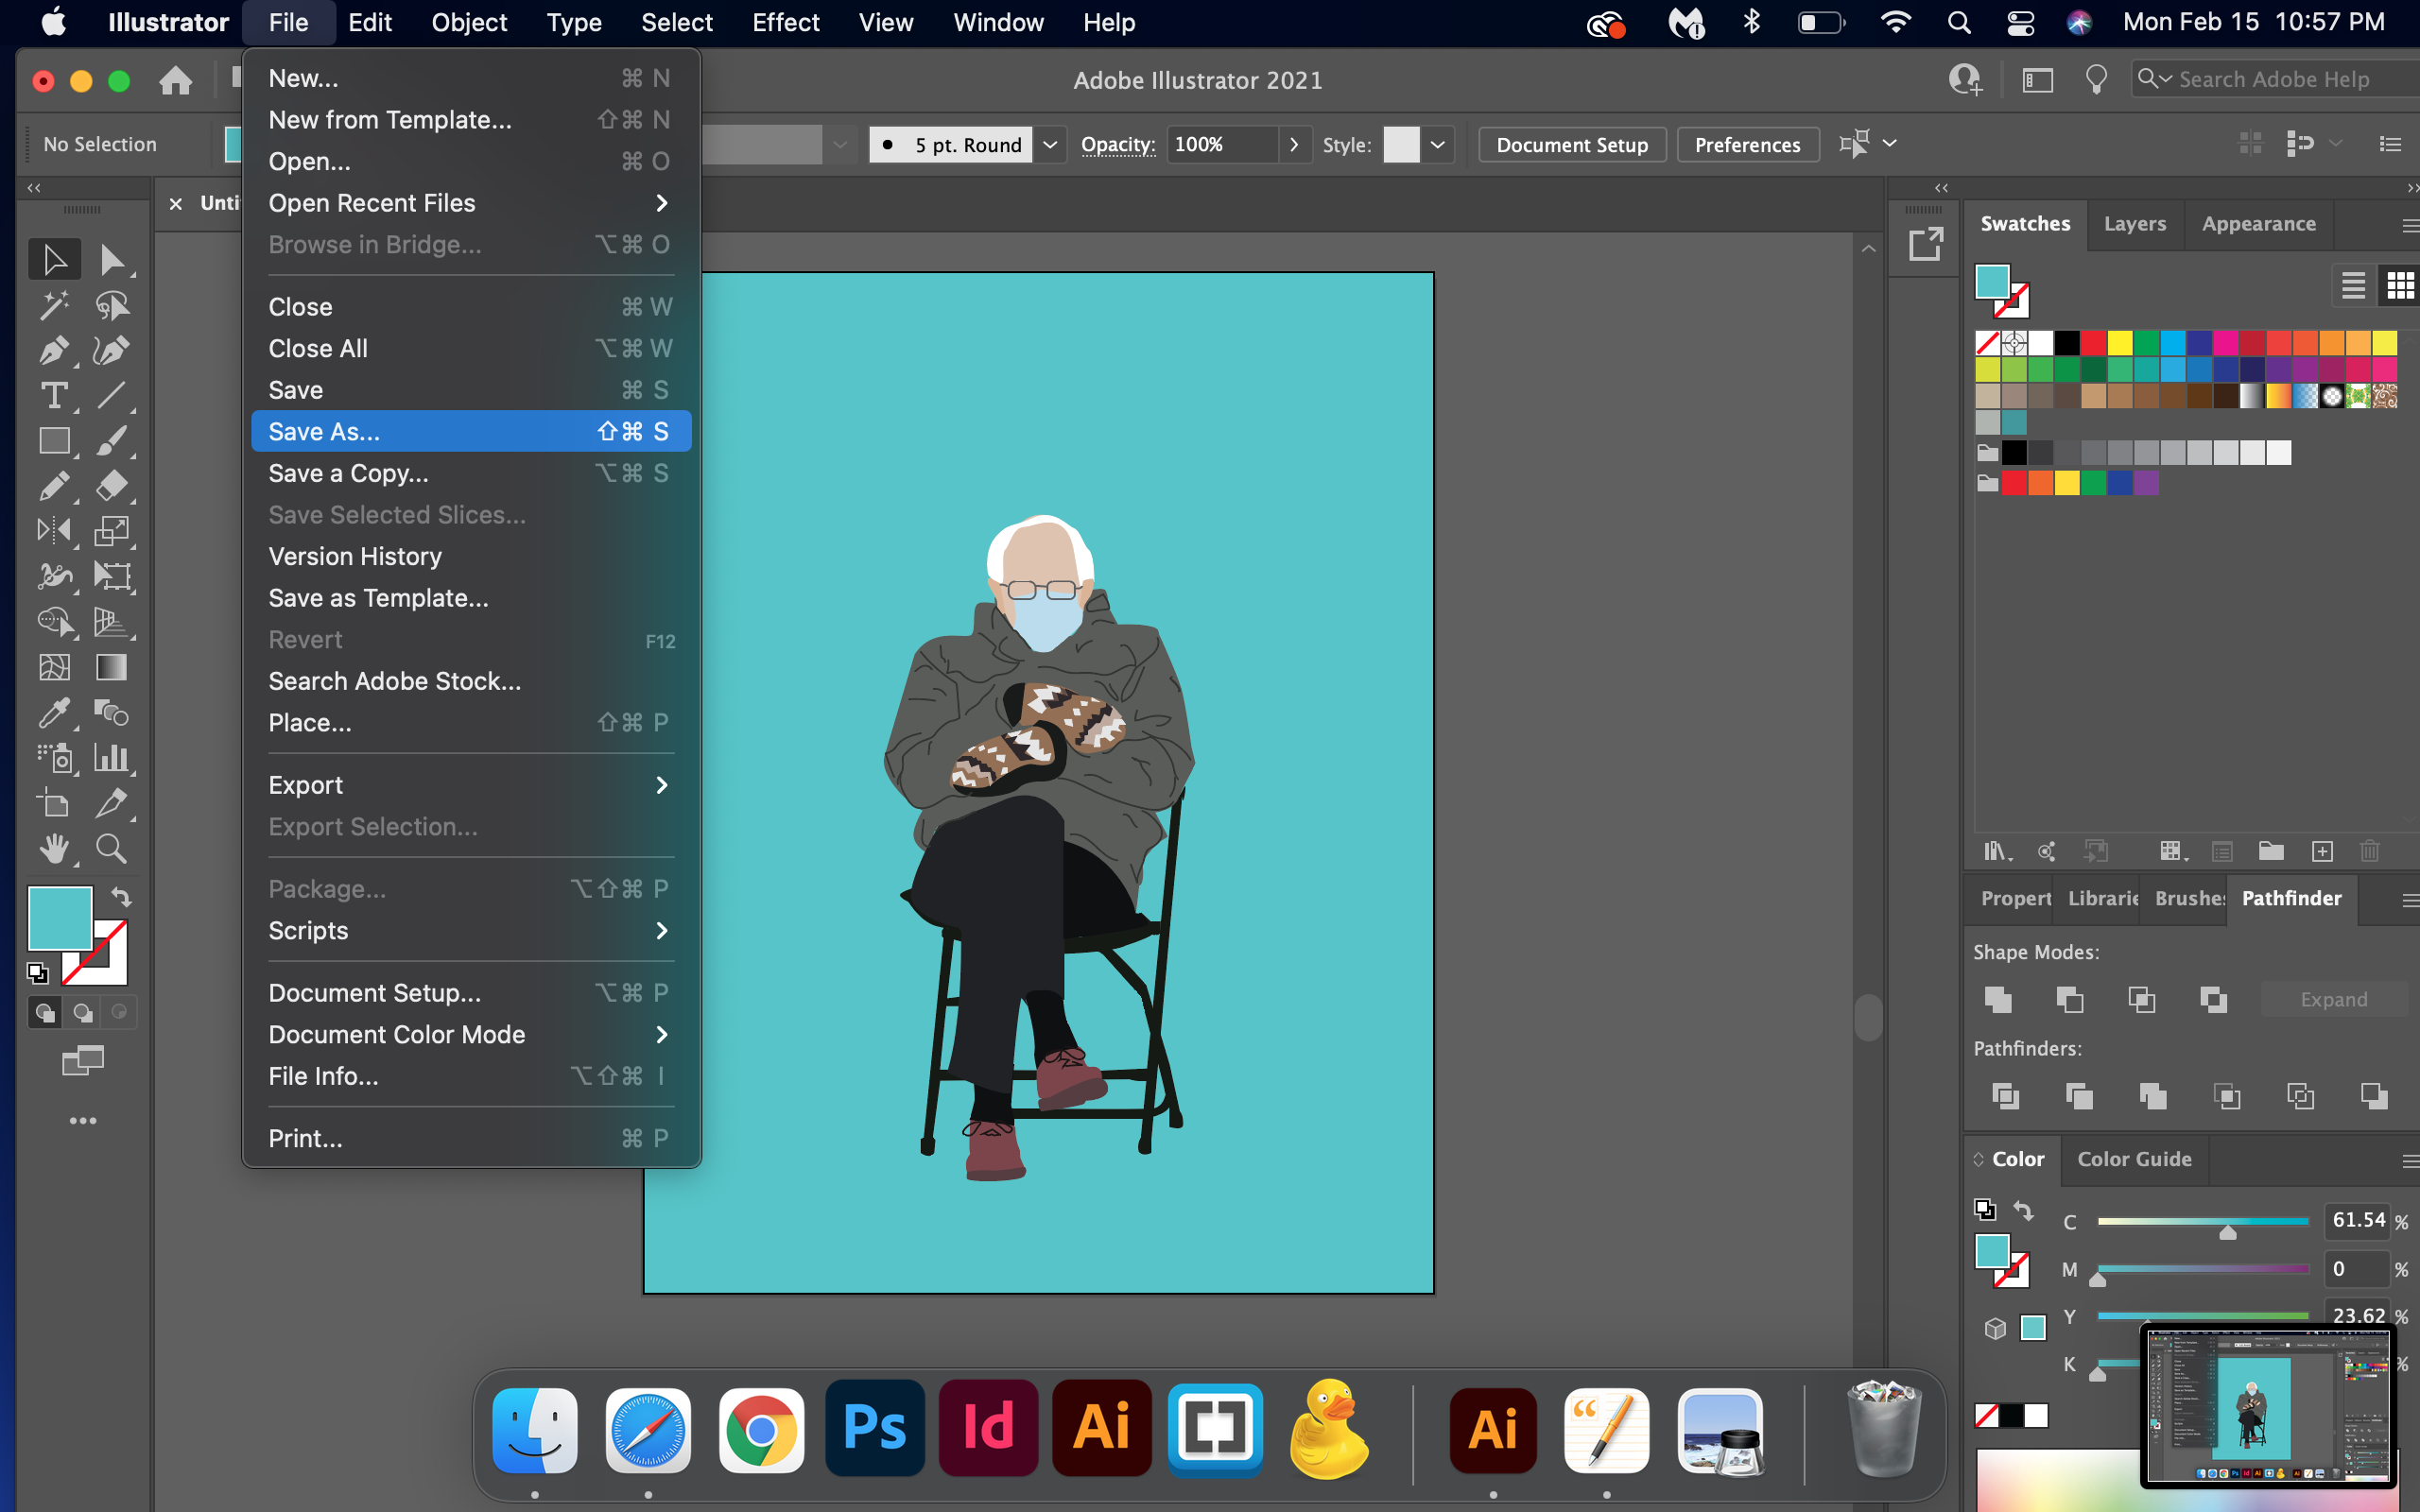
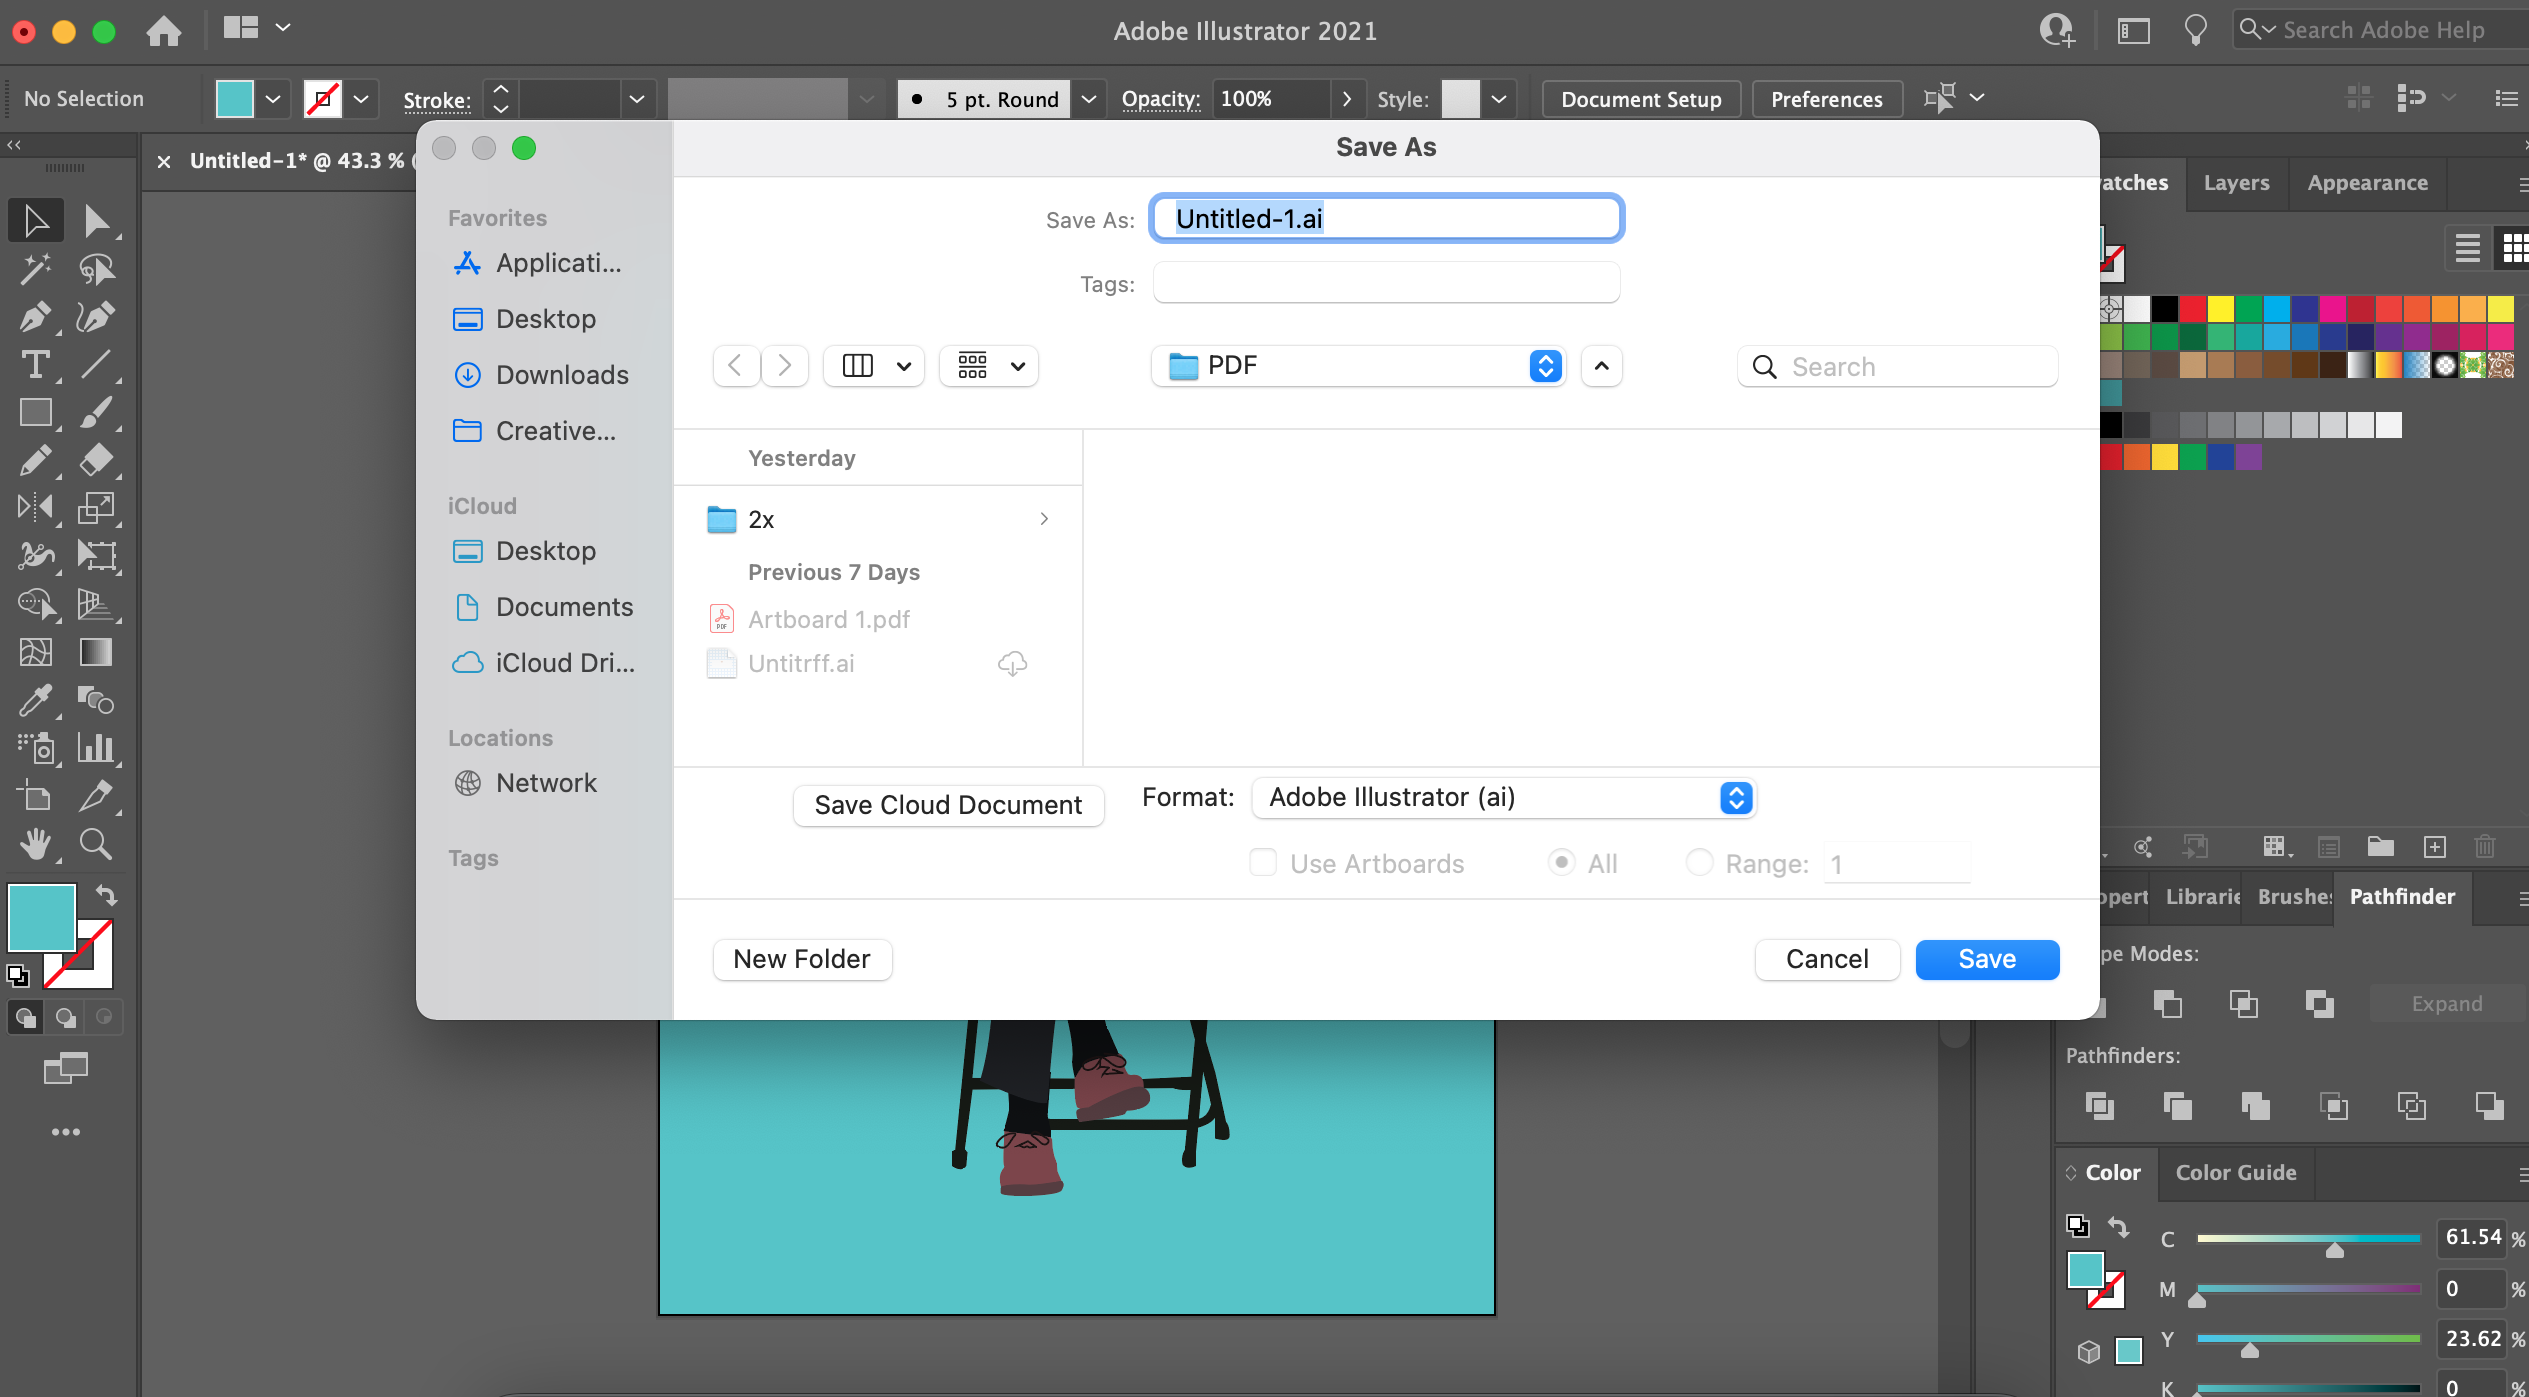
In this the final step, you may add your background of choice. I usually like to have at least two options to choose from. Also, it is very important to save your Ai document so you are able to go back to it, make any changes if you want or use it for other purposes. This illustration we've now made, can be turned into anything you want. In my case, I'd like to make it into a sticker. It will work perfectly as a png for this purpose. I would just take out the background and voilà. Hope you have fun experimenting in Ai!