Fixing/Making/Reinforcing Boxes With Packaging Waste
by Waldemar Sha in Workshop > Organizing
3739 Views, 45 Favorites, 0 Comments
Fixing/Making/Reinforcing Boxes With Packaging Waste

Boxes are good, boxes are our friends. We live in big concrete boxes to feel ourselves safe, we think inside of boxes to feel ourselves safe, and we leave this world within a box... to make other people feel safe, in case you're a vampire... or not completelly dead, and still craving for other's warmth and acception...
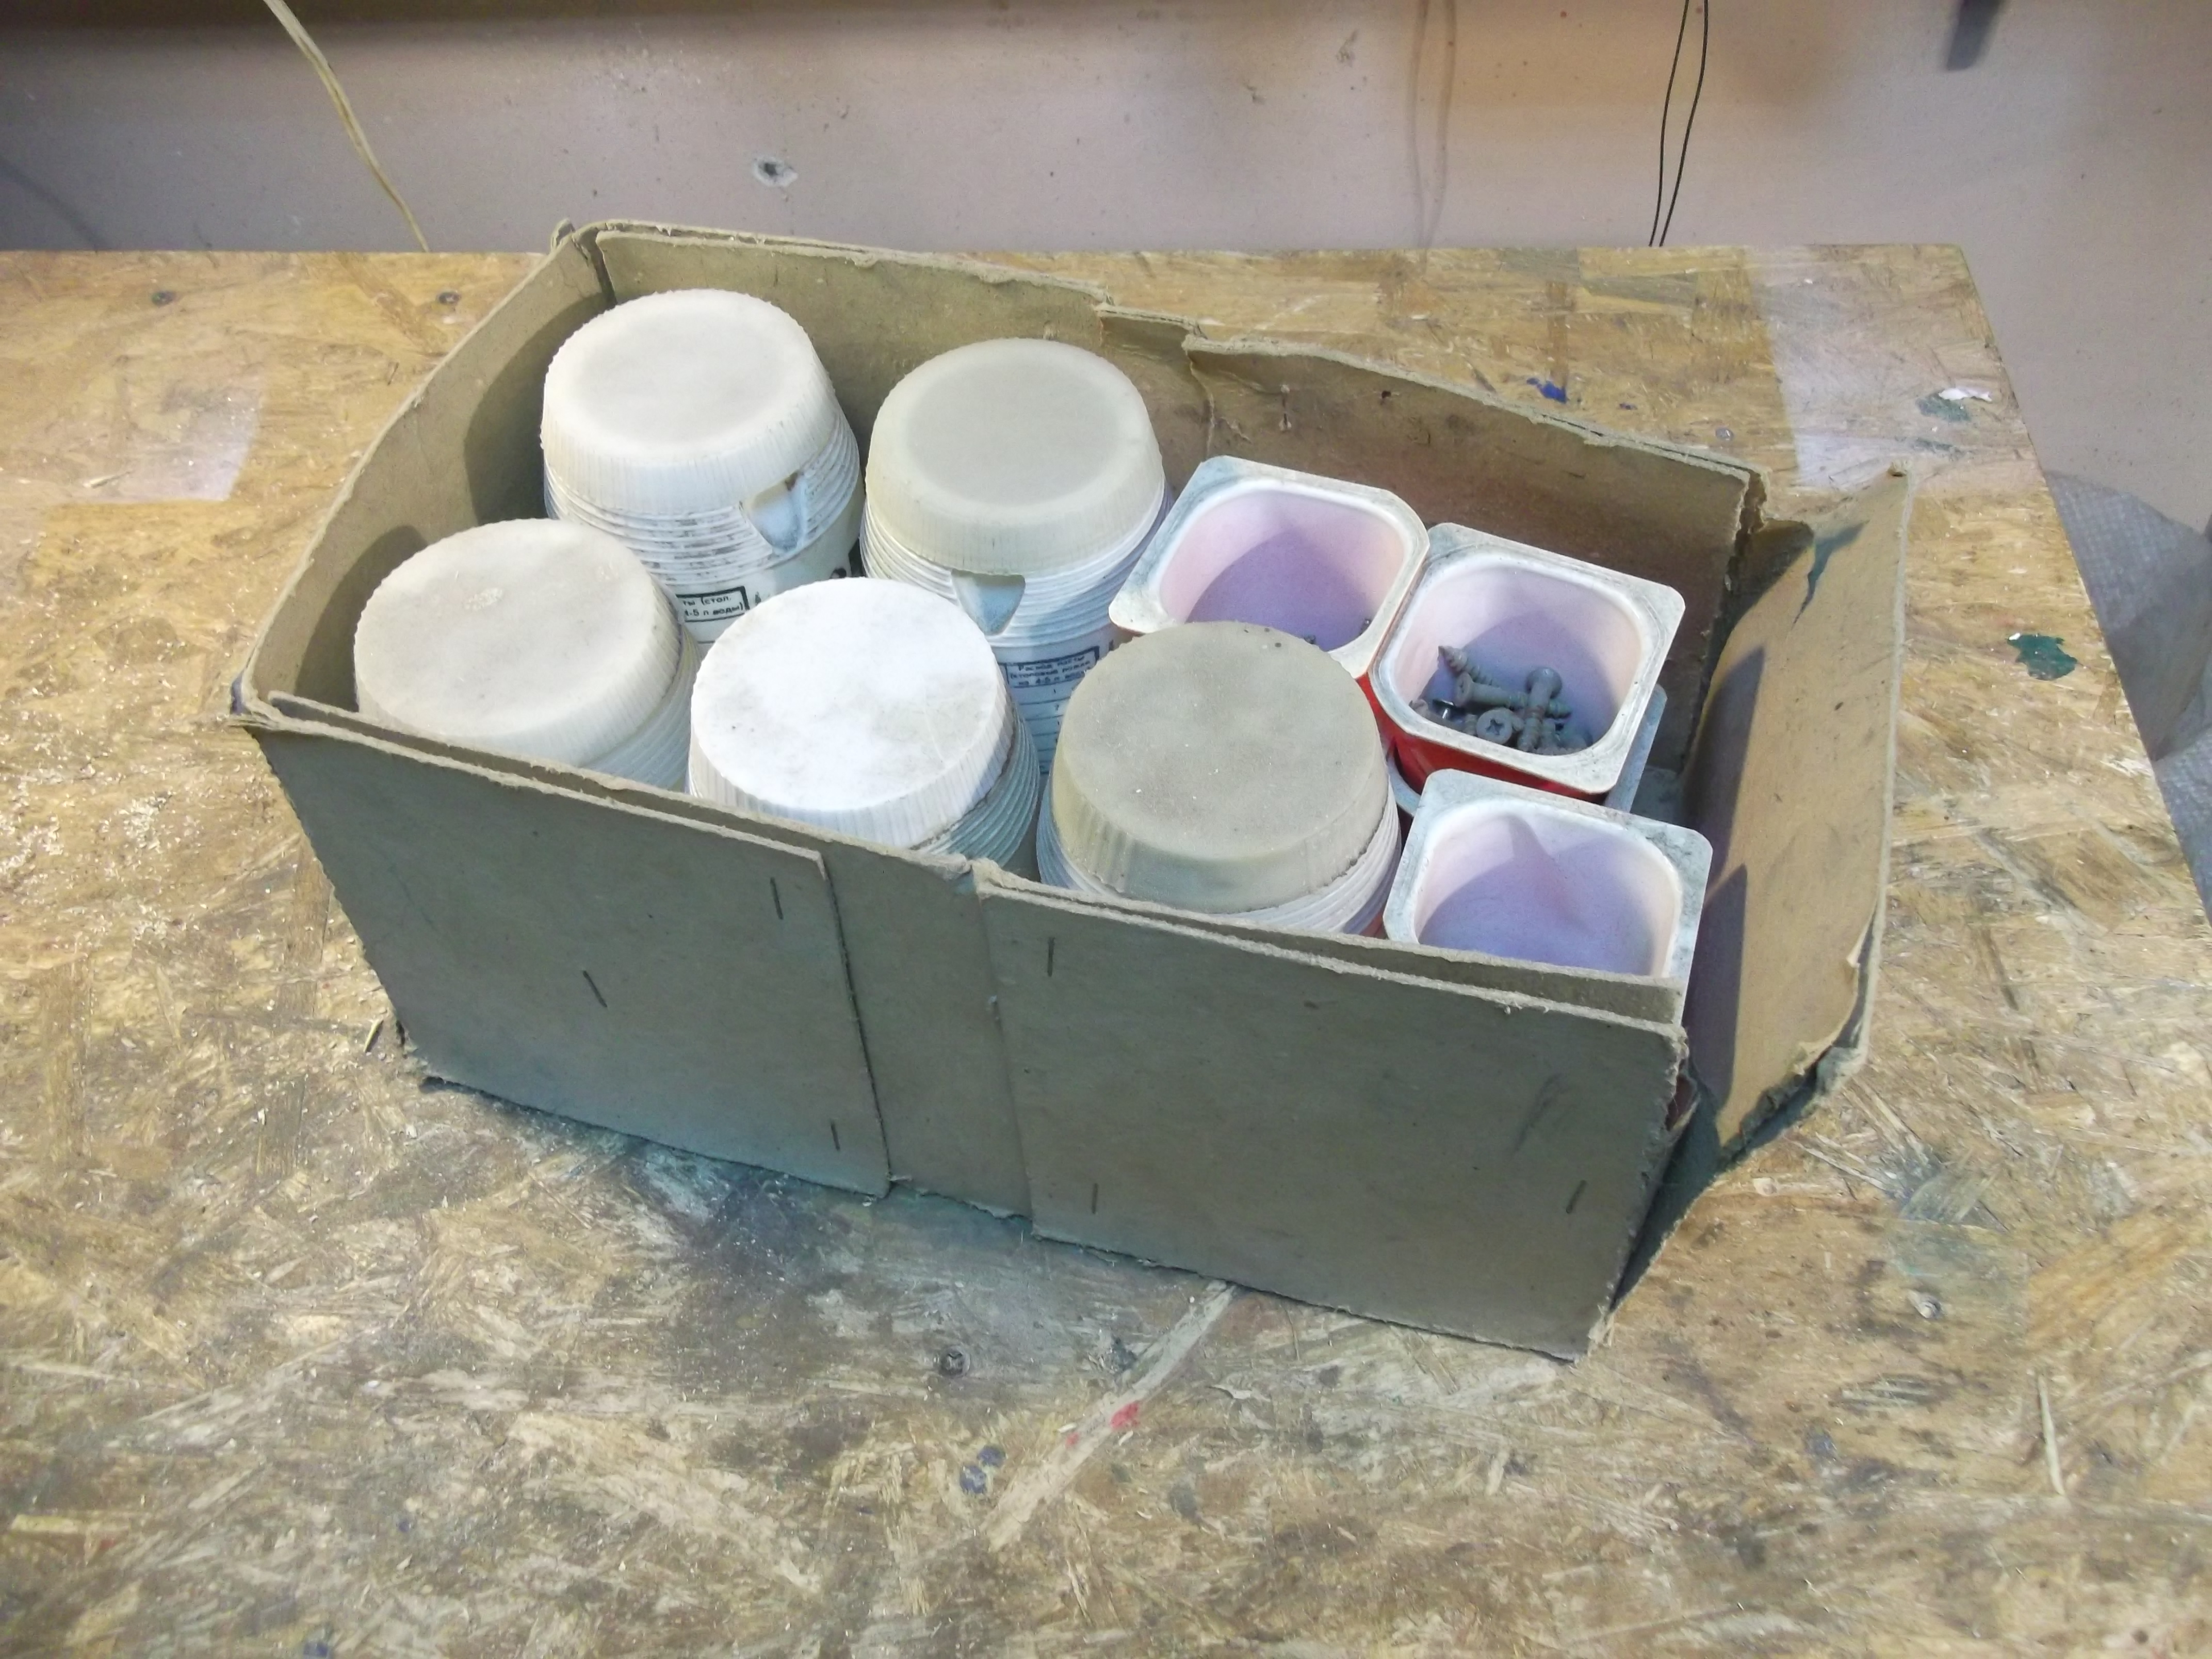
Anyway, boxes are also very usefull for keeping different things in organized state at our homes offices or workshops. And here I want to suggest to be nice to our helpfull friends, and take some care of them by prolonging their wonderfull lifes and our mutual understanding.
So, here I want to share a method which can be used for fixing old decrepit cardboard boxes, reinforcing existing, or even creating new ones by using packaging materials that usually go to waste.
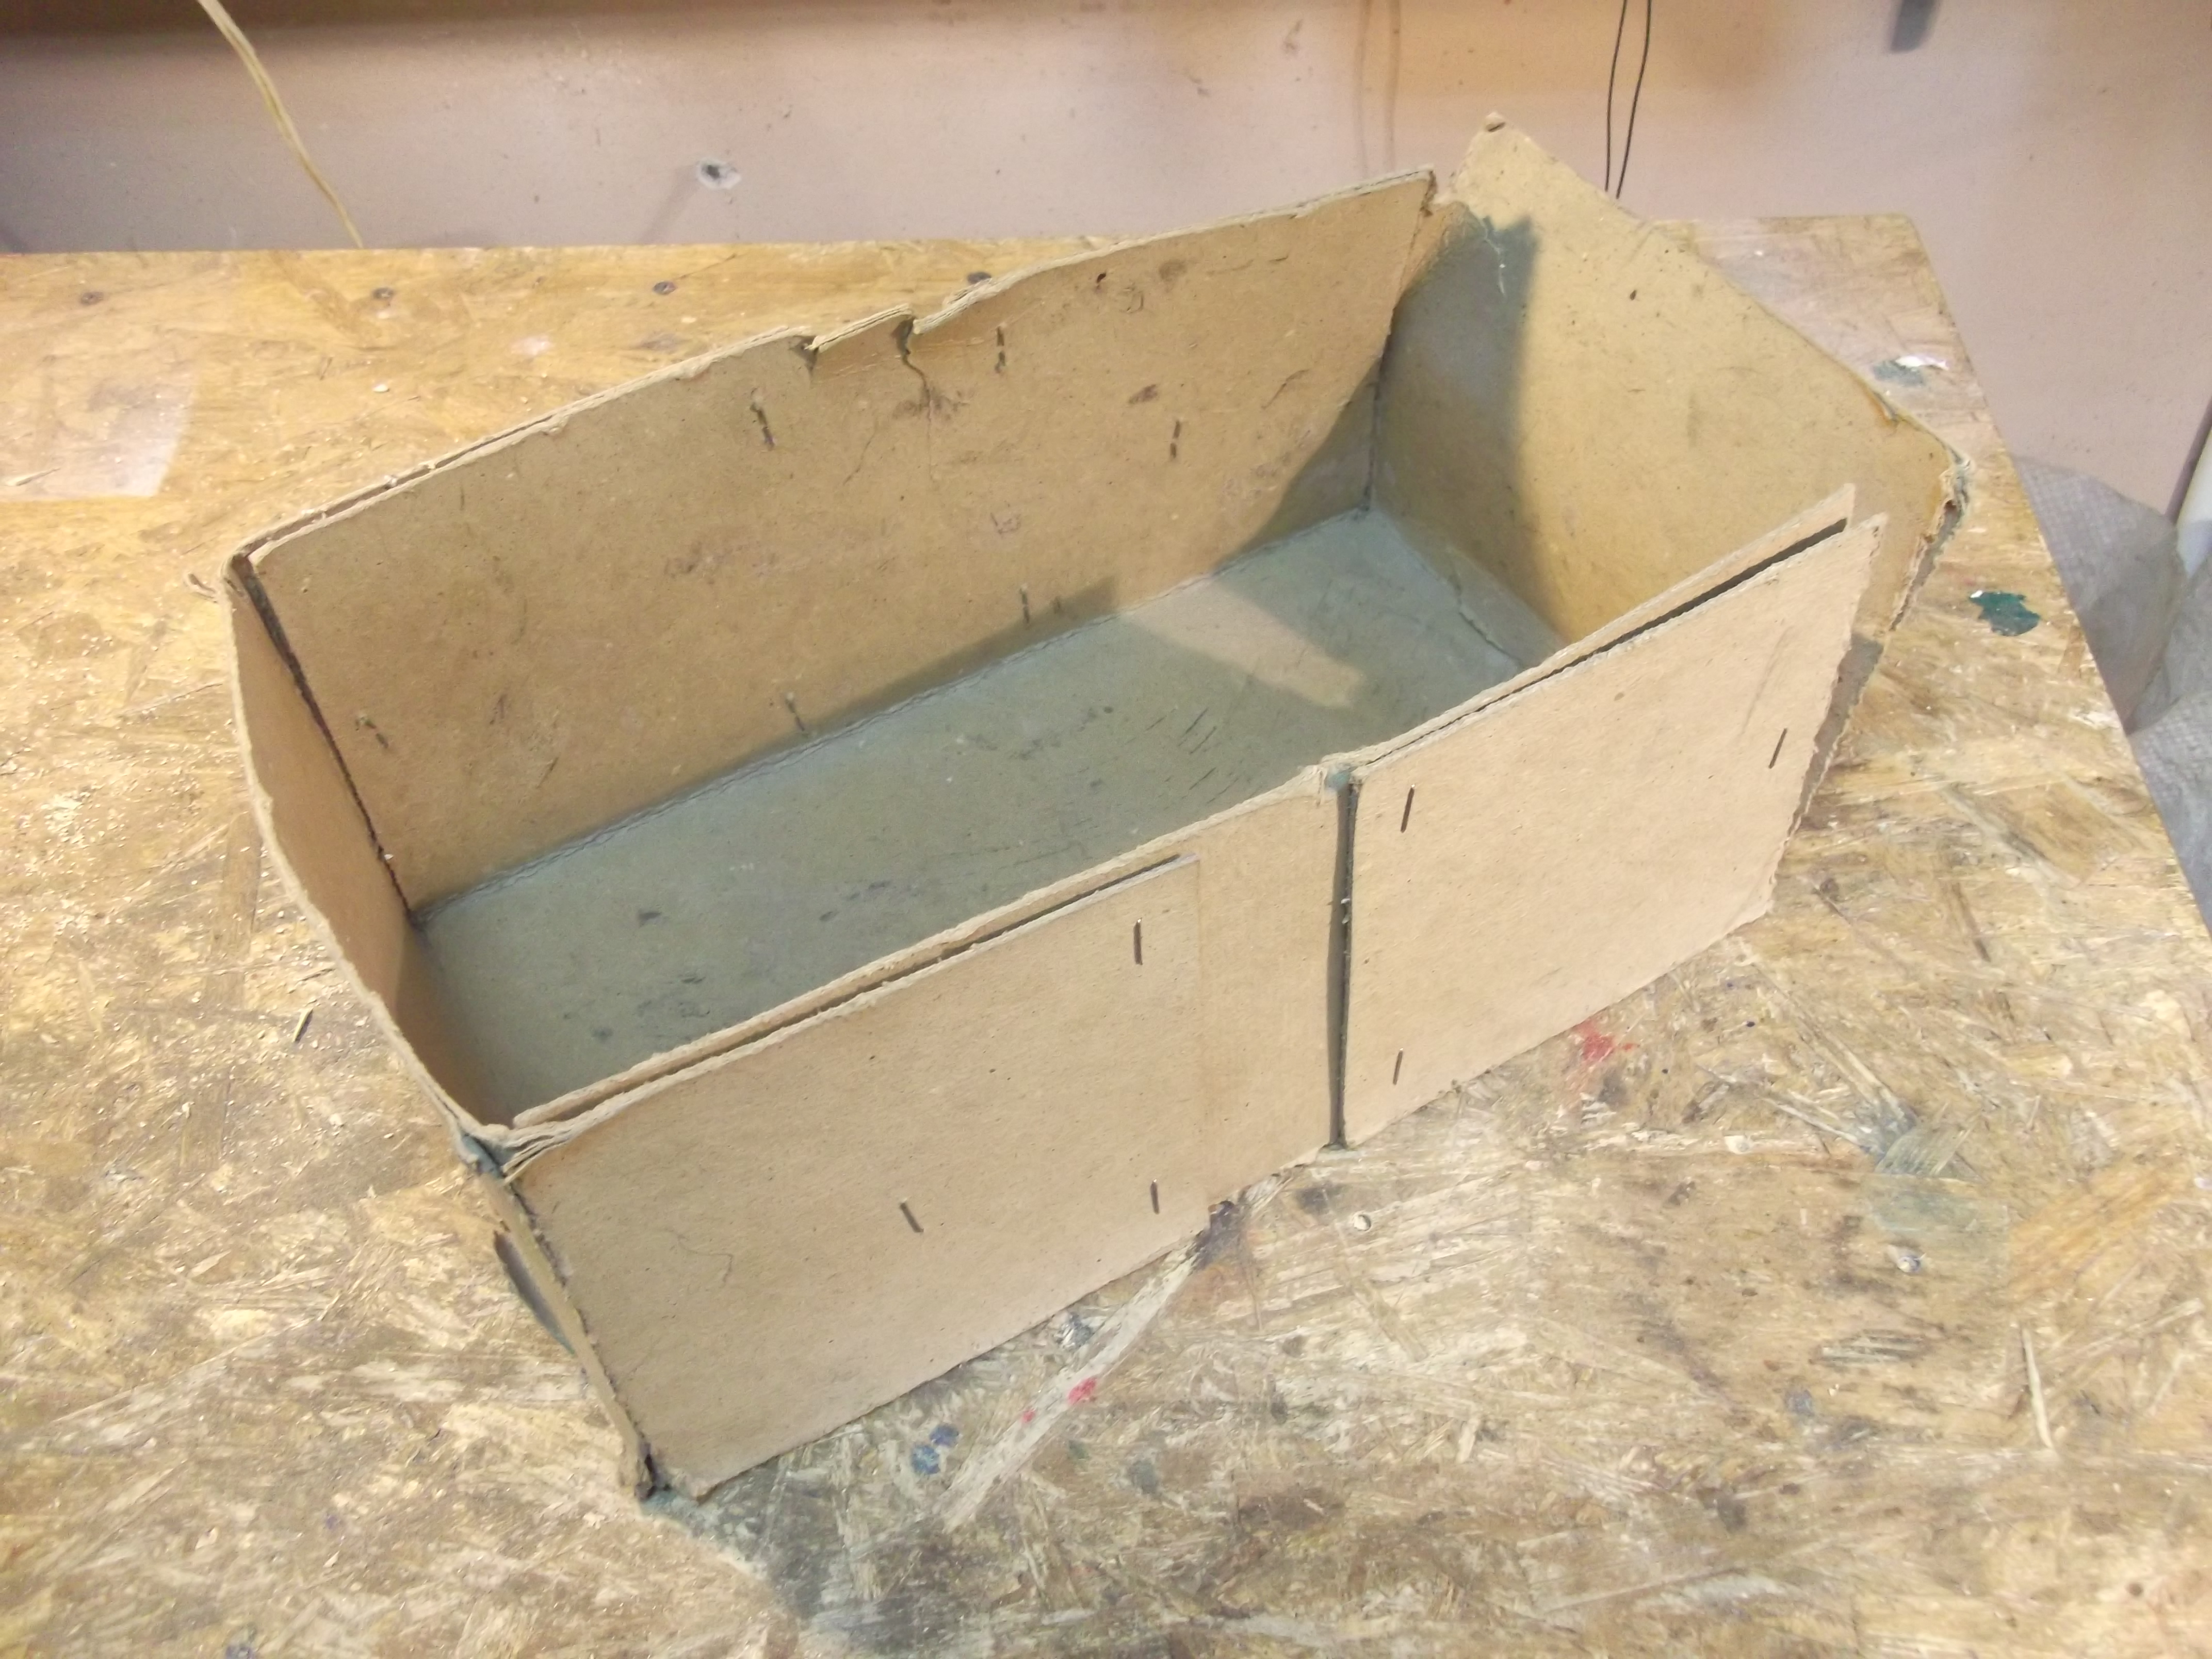
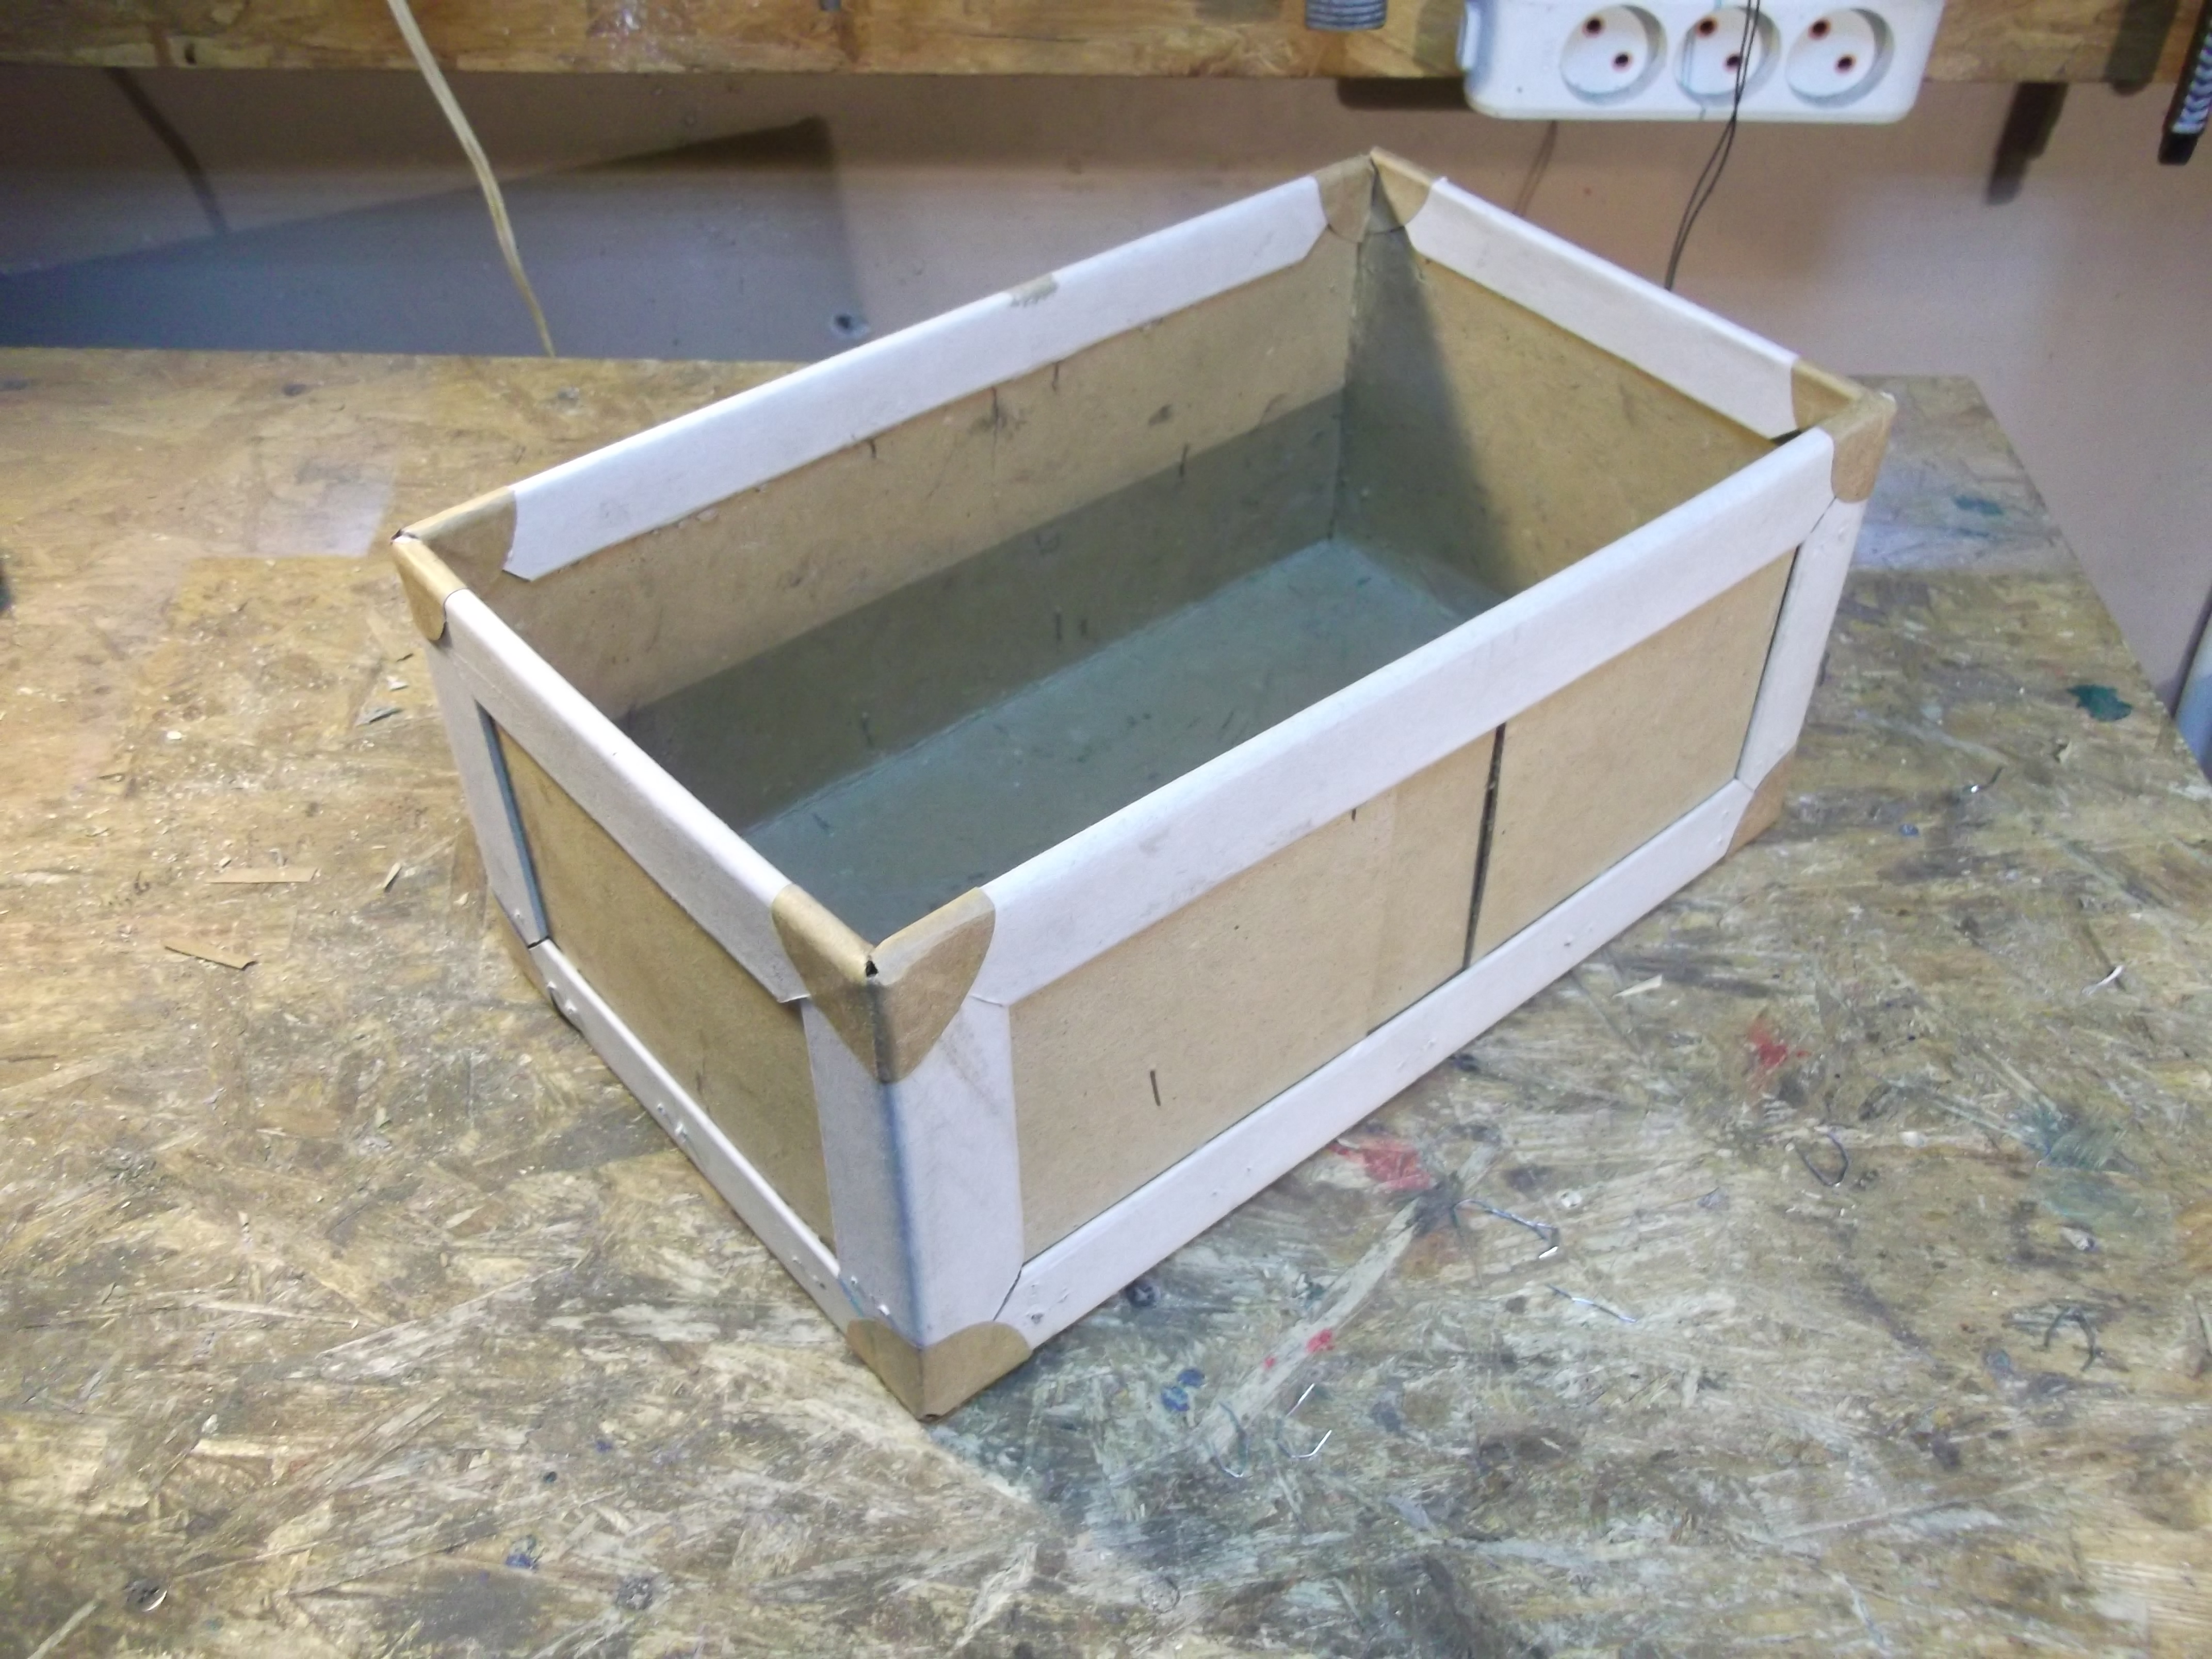
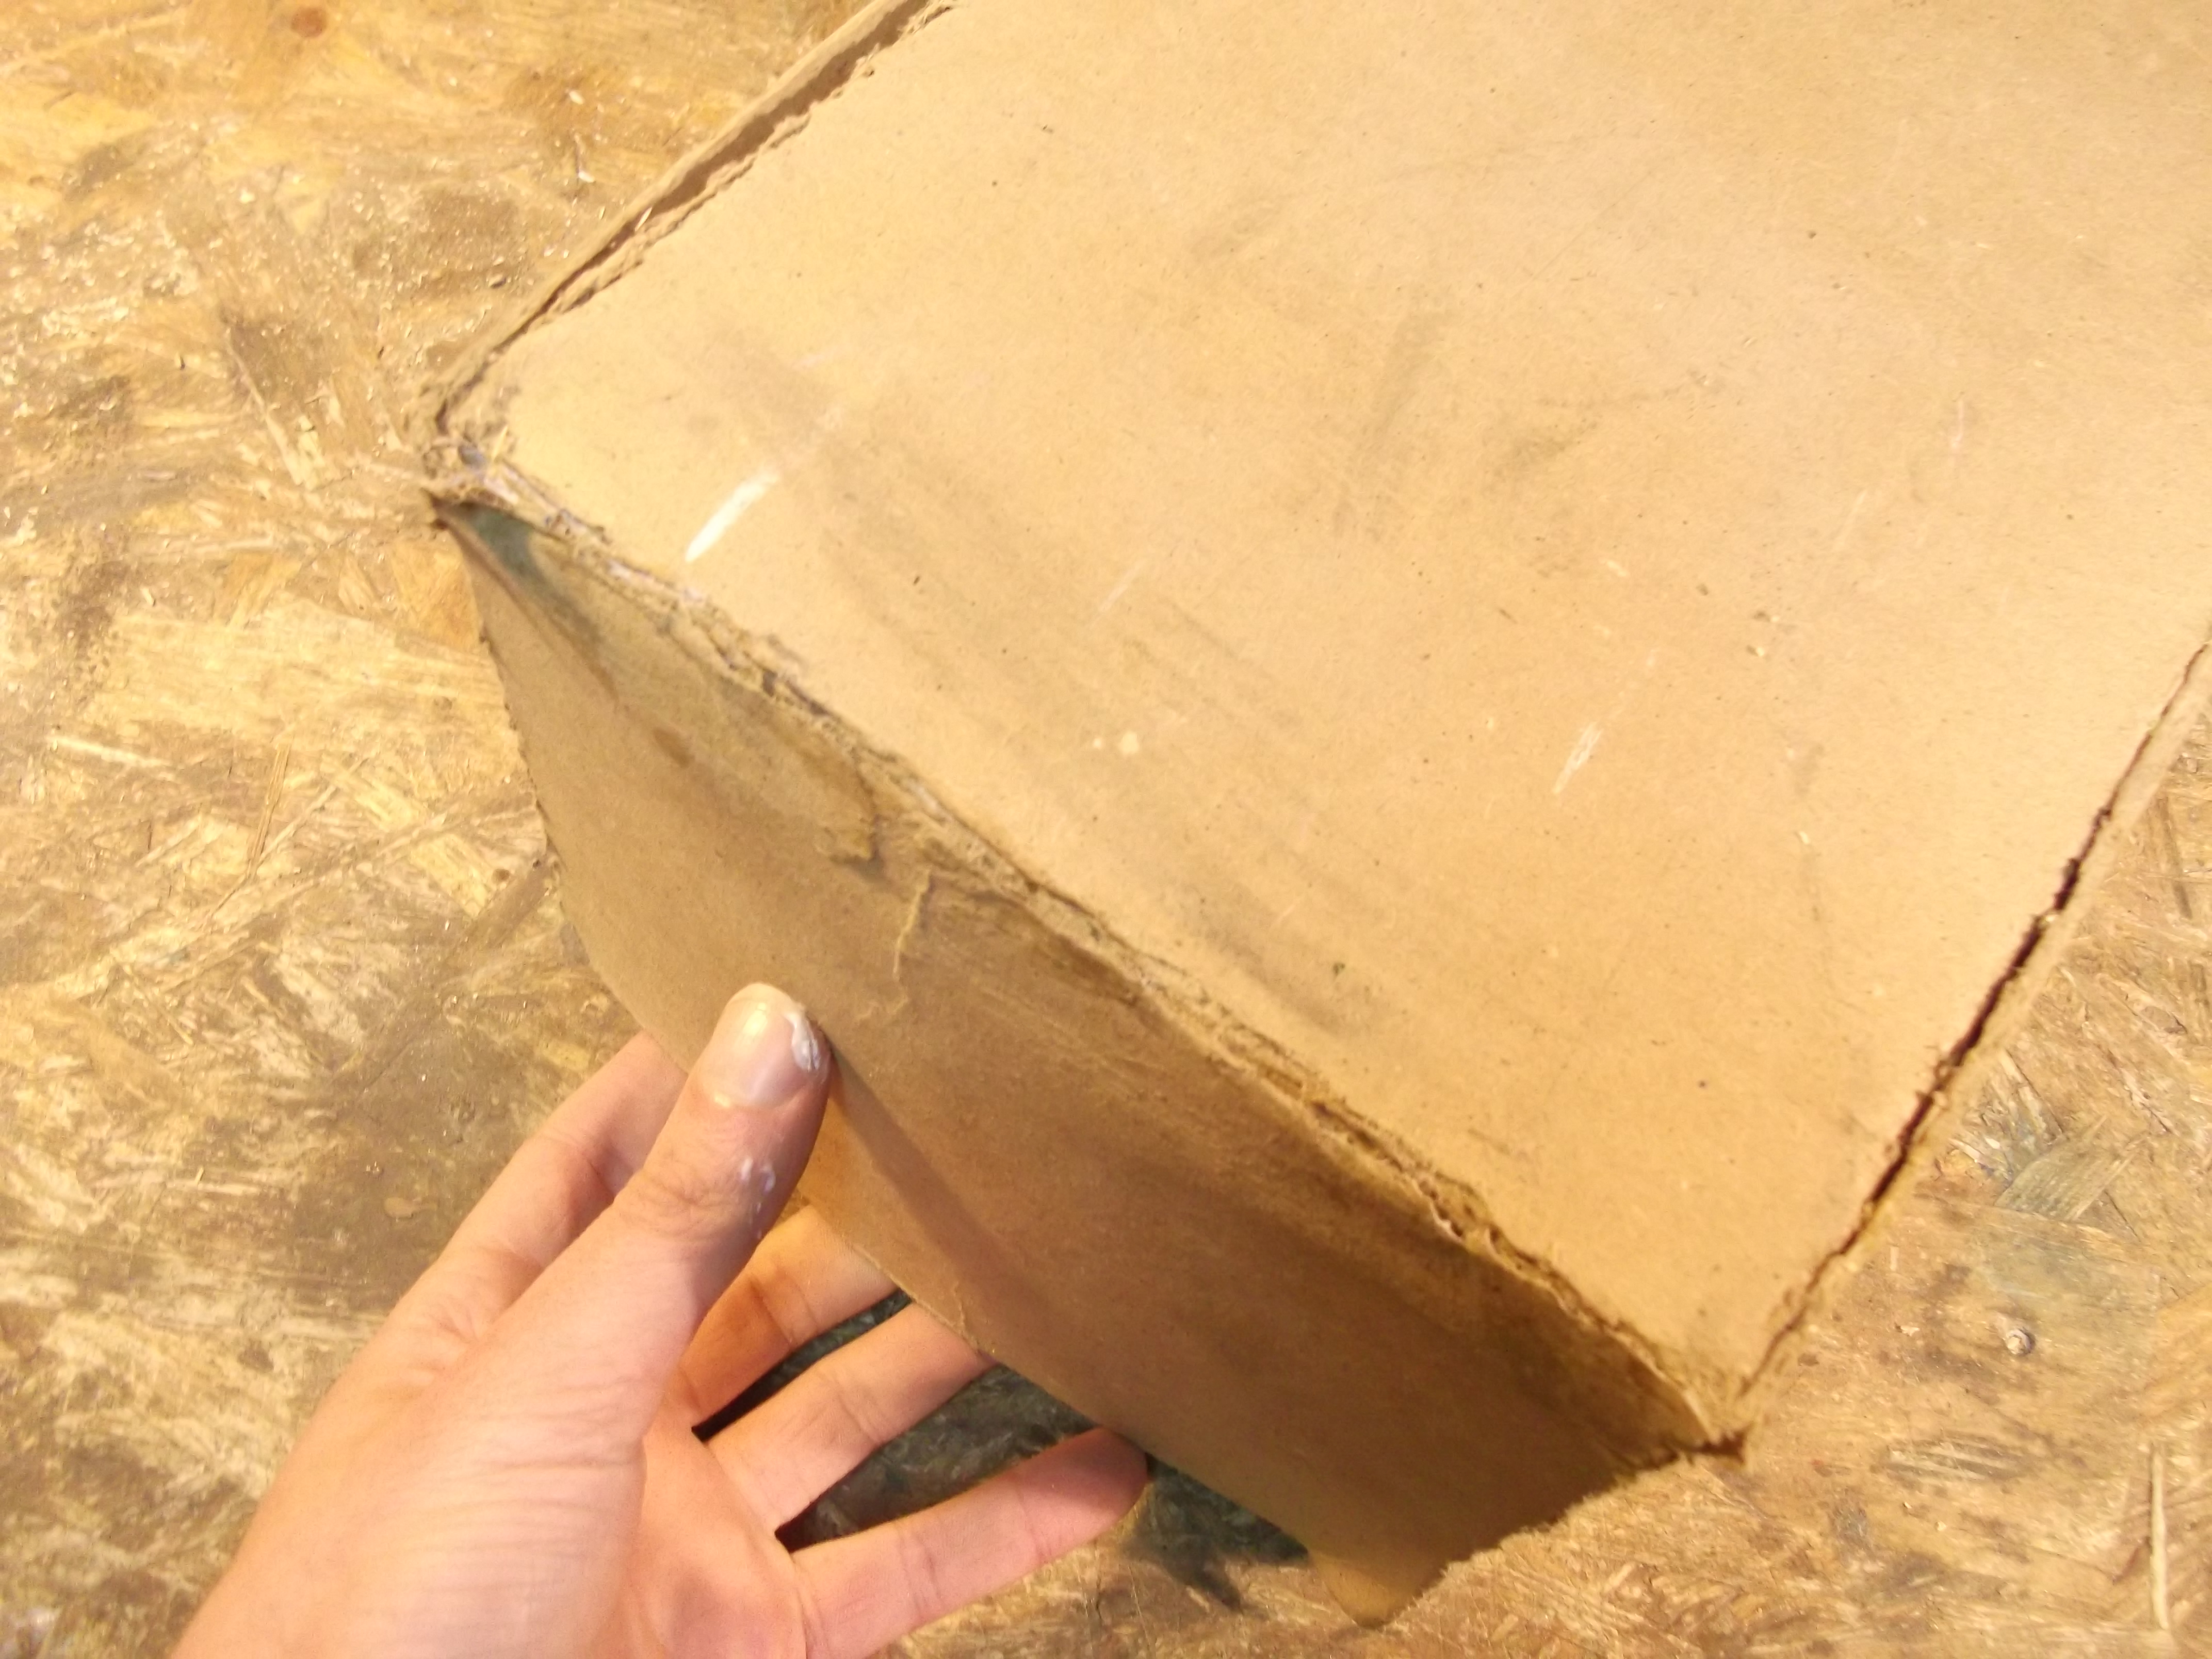
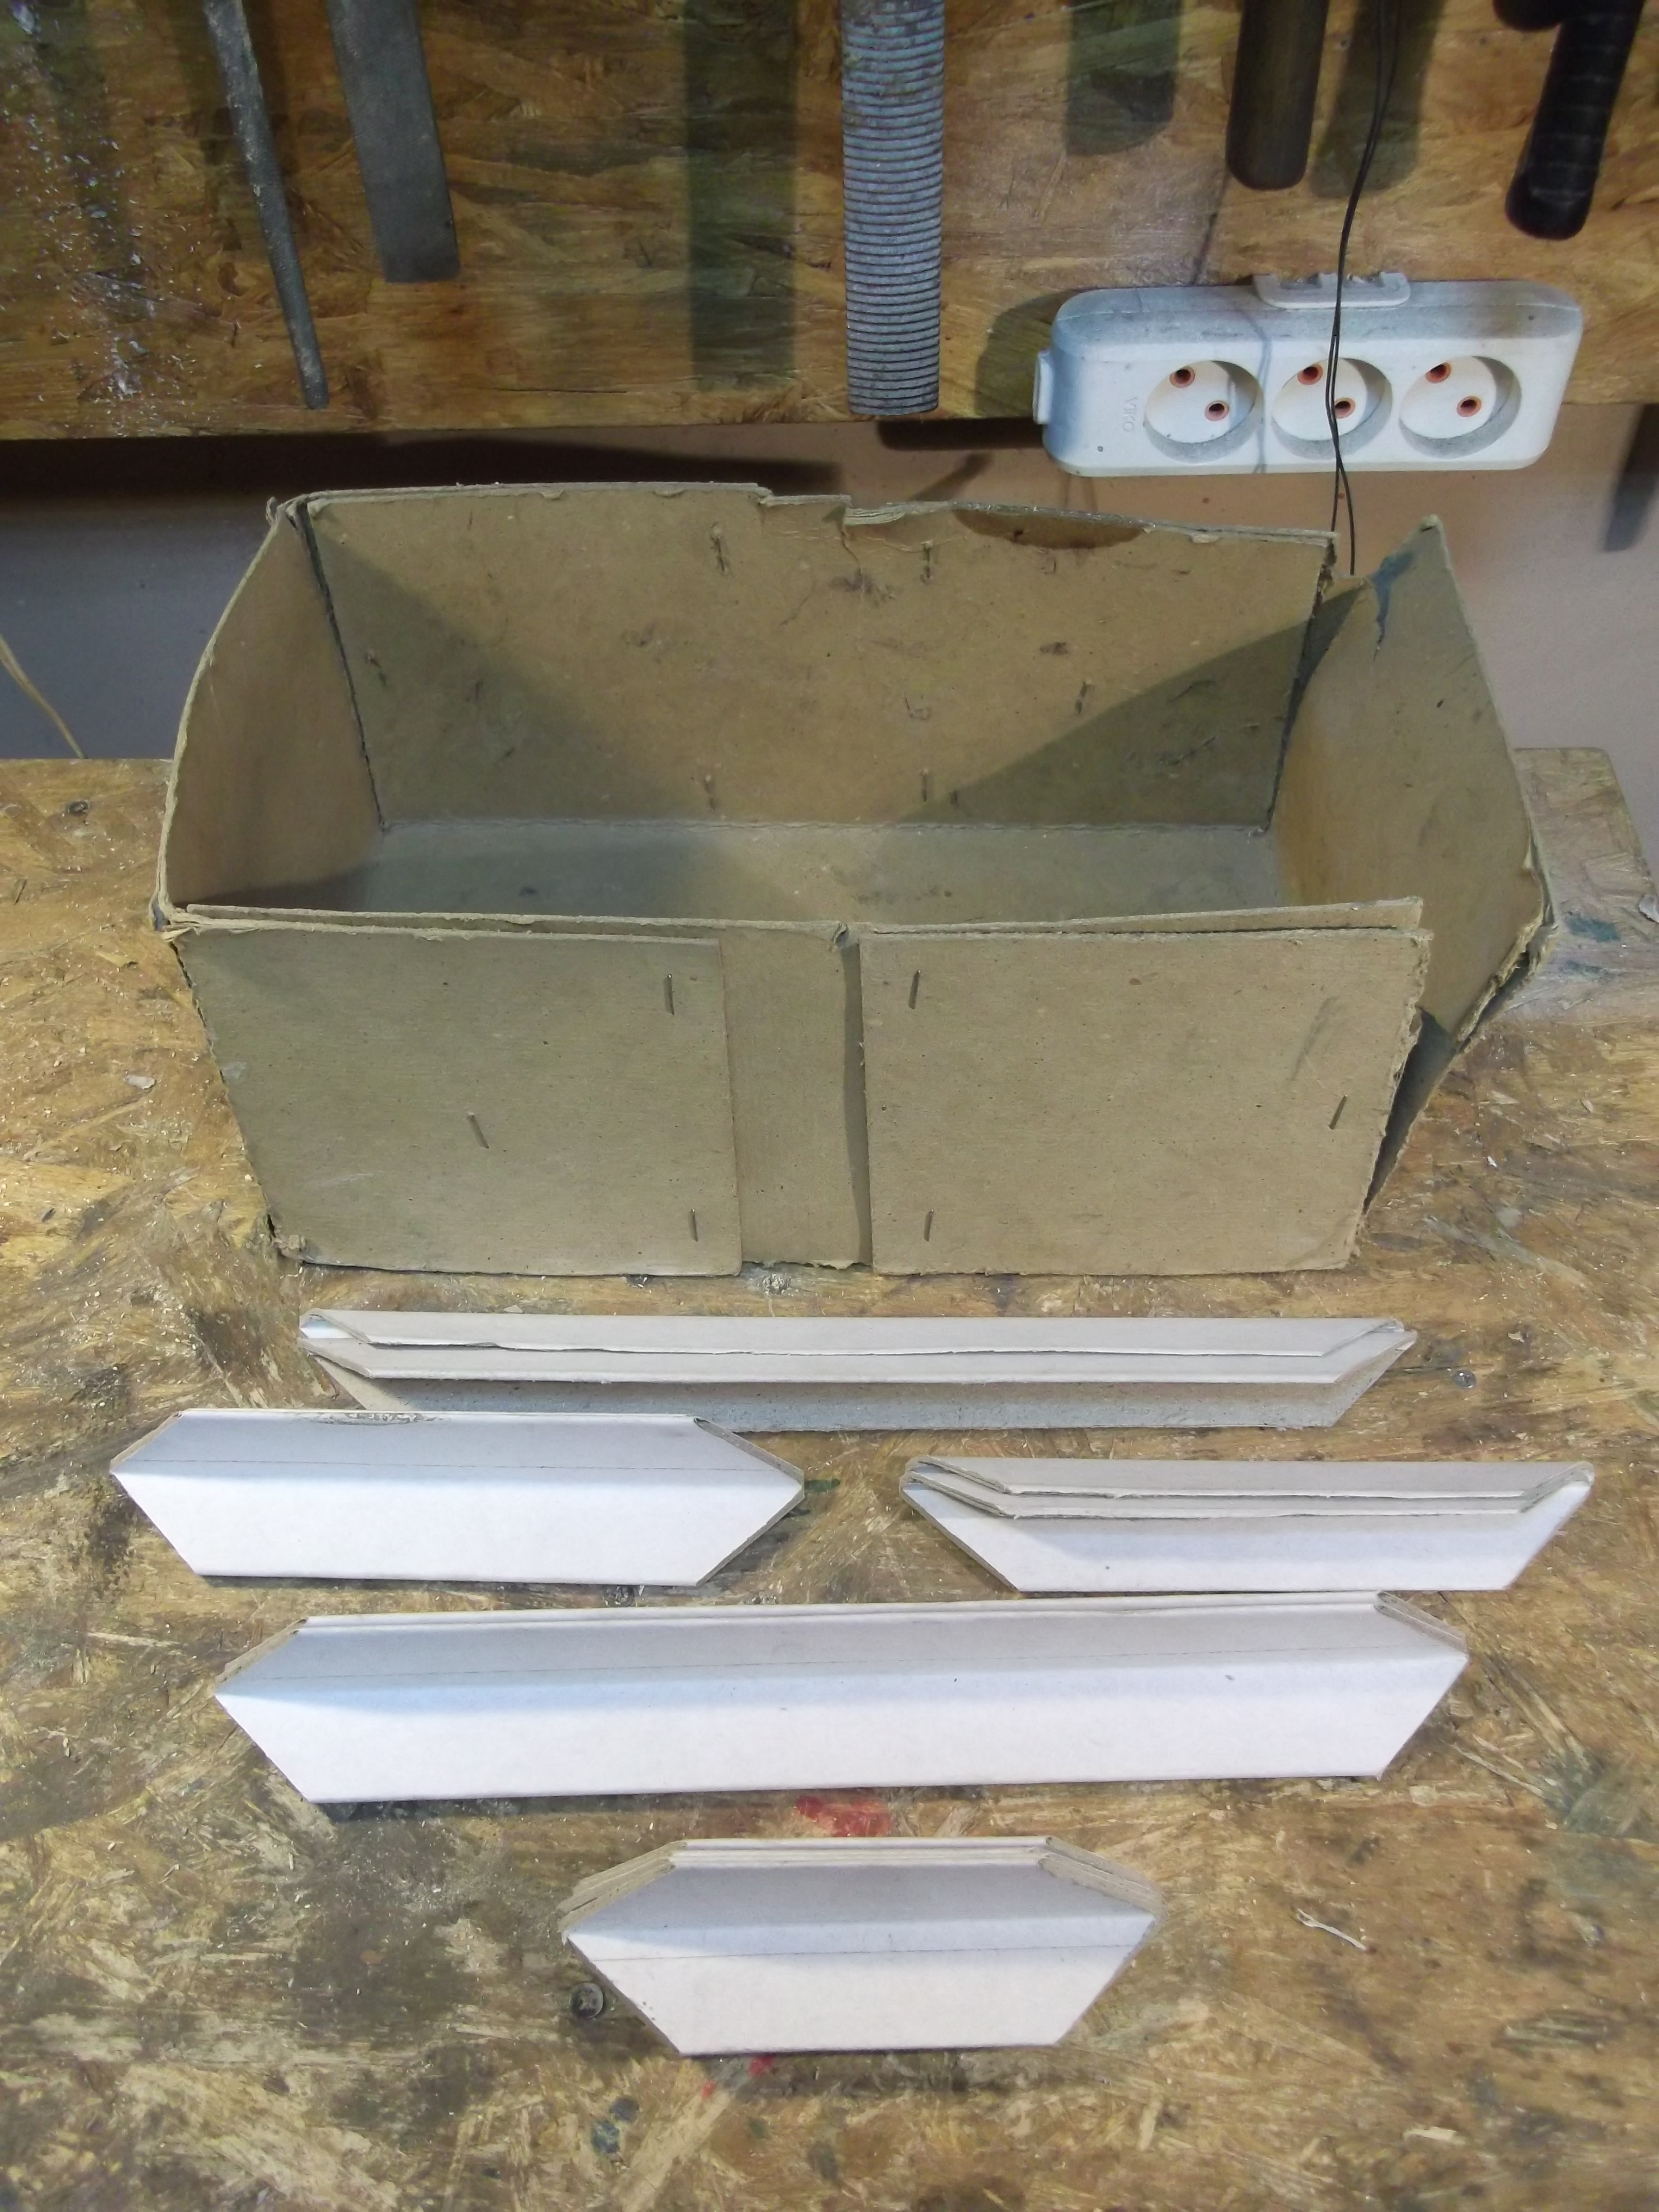
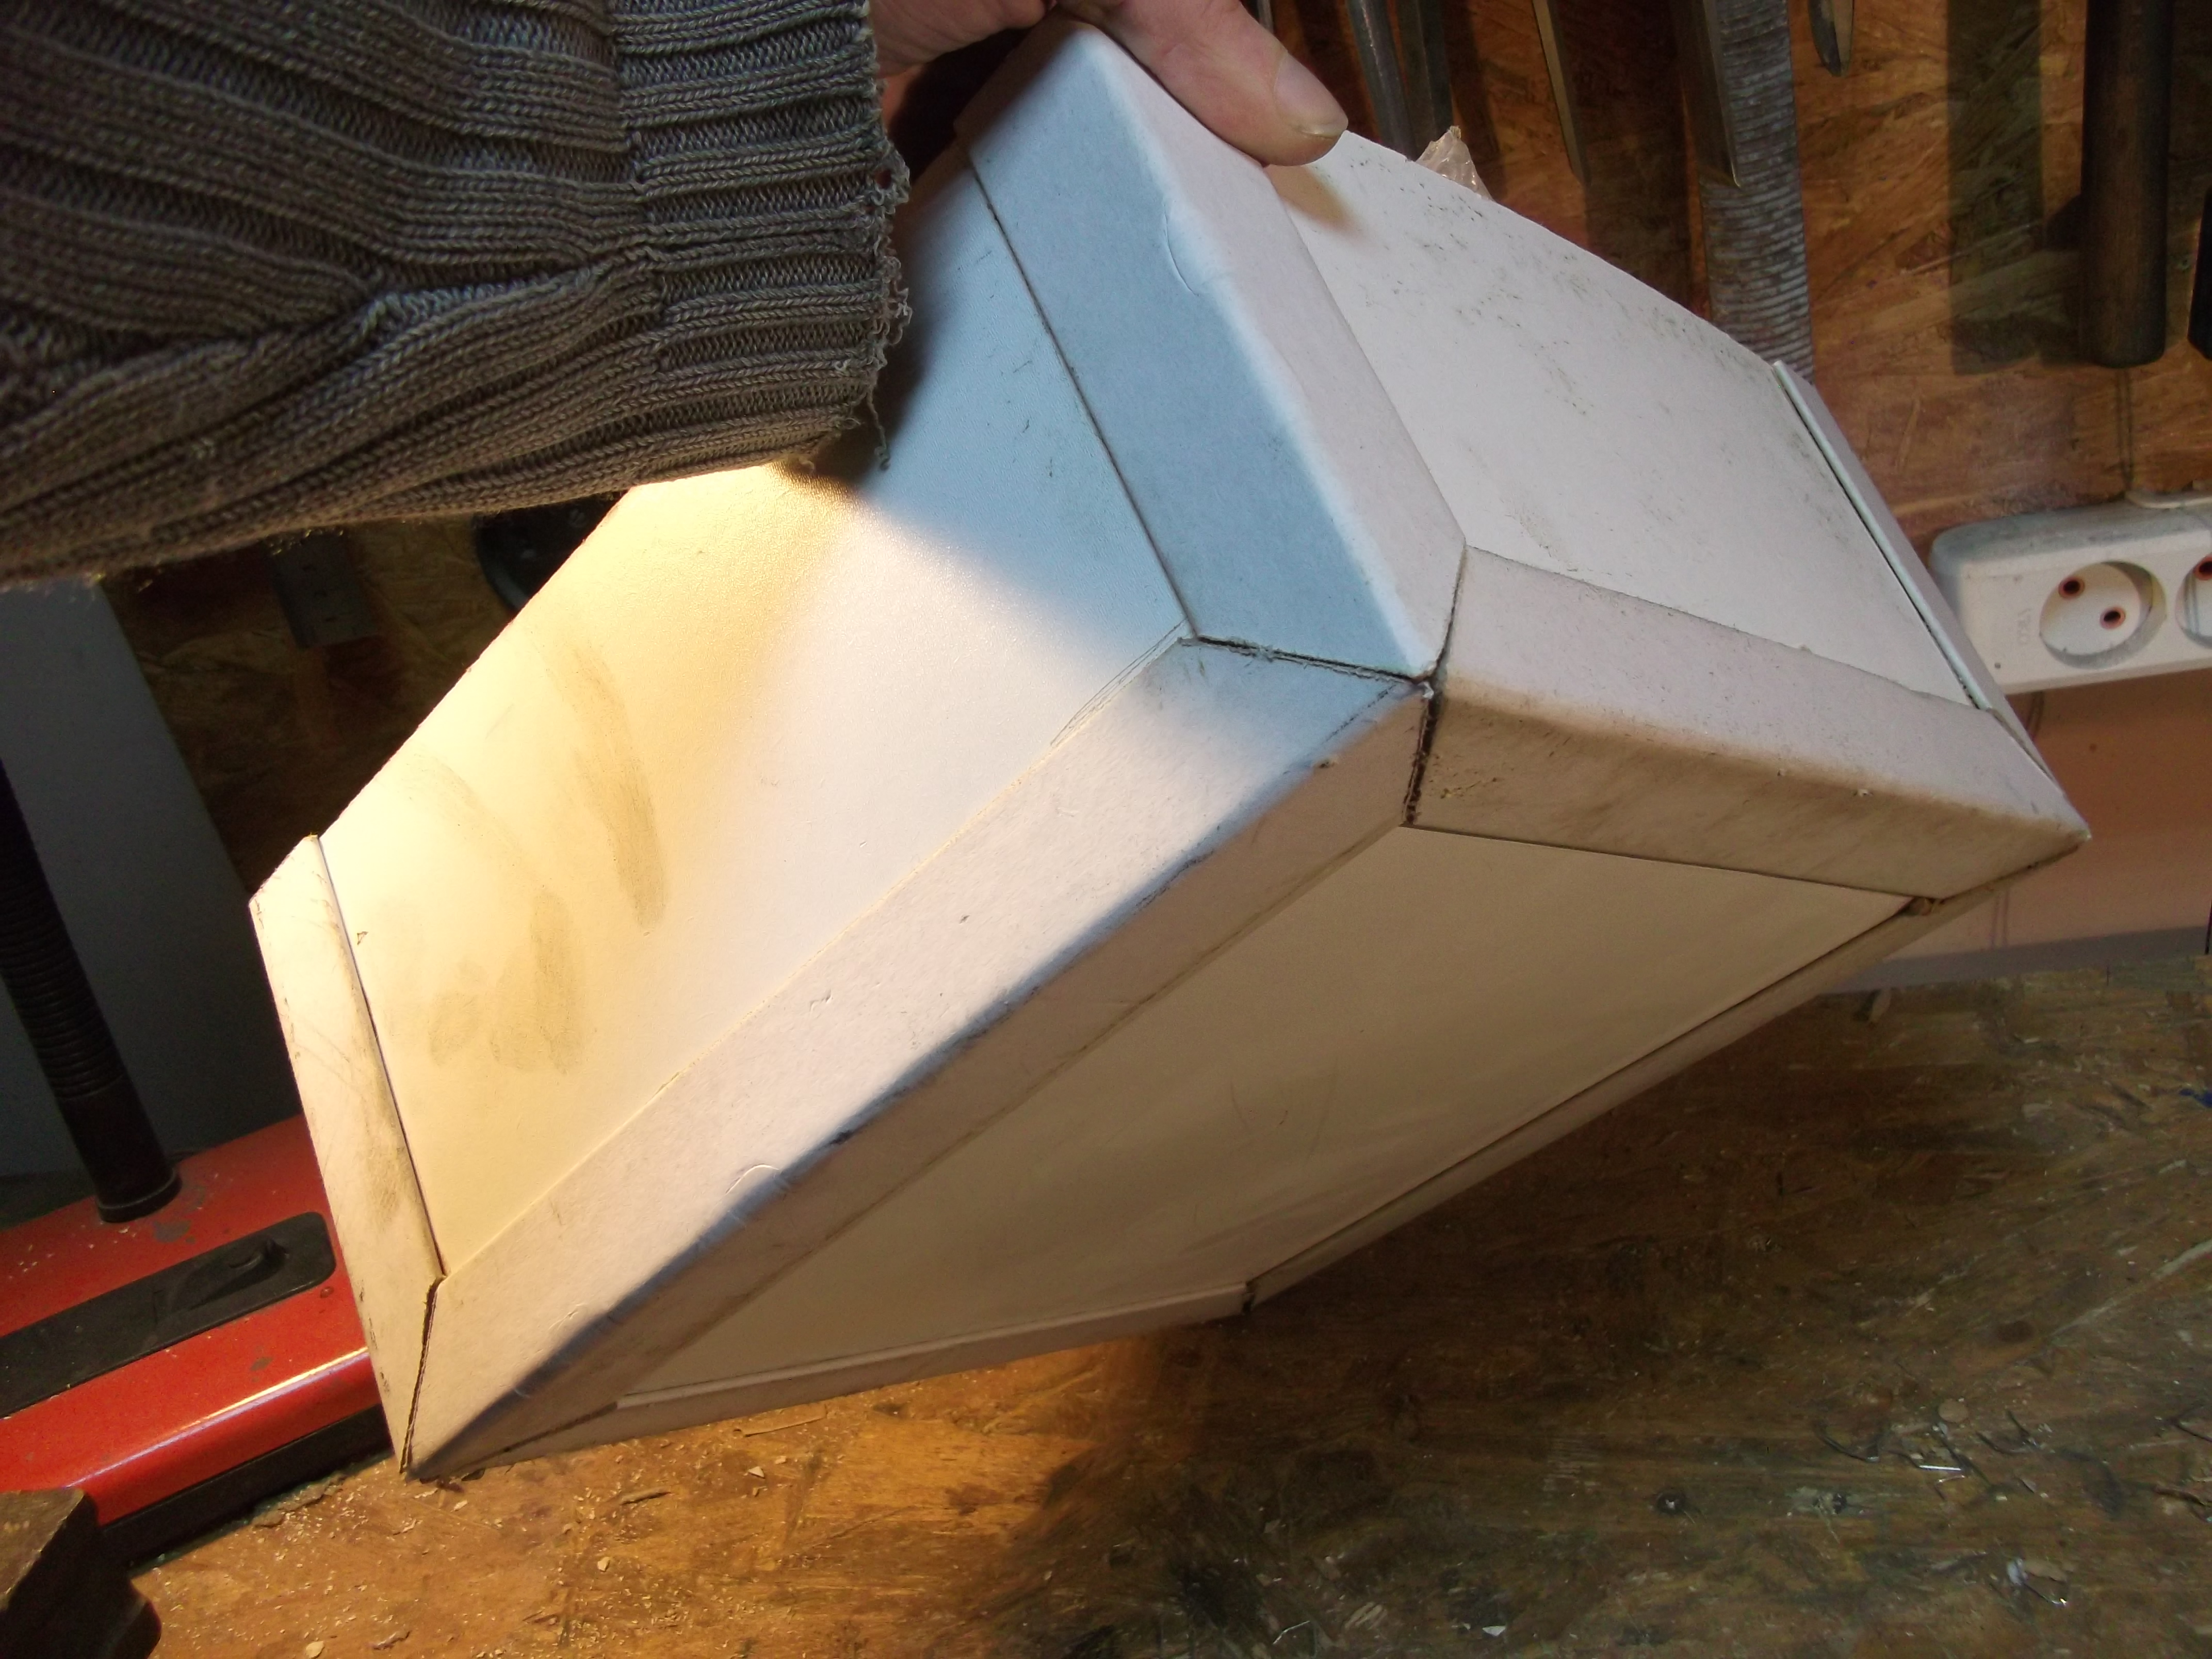
For an example I'm going to deal with this old cardboard box. It's old and torn, but it's made from nice thick cardboard, that is still in pretty good condition in most places.
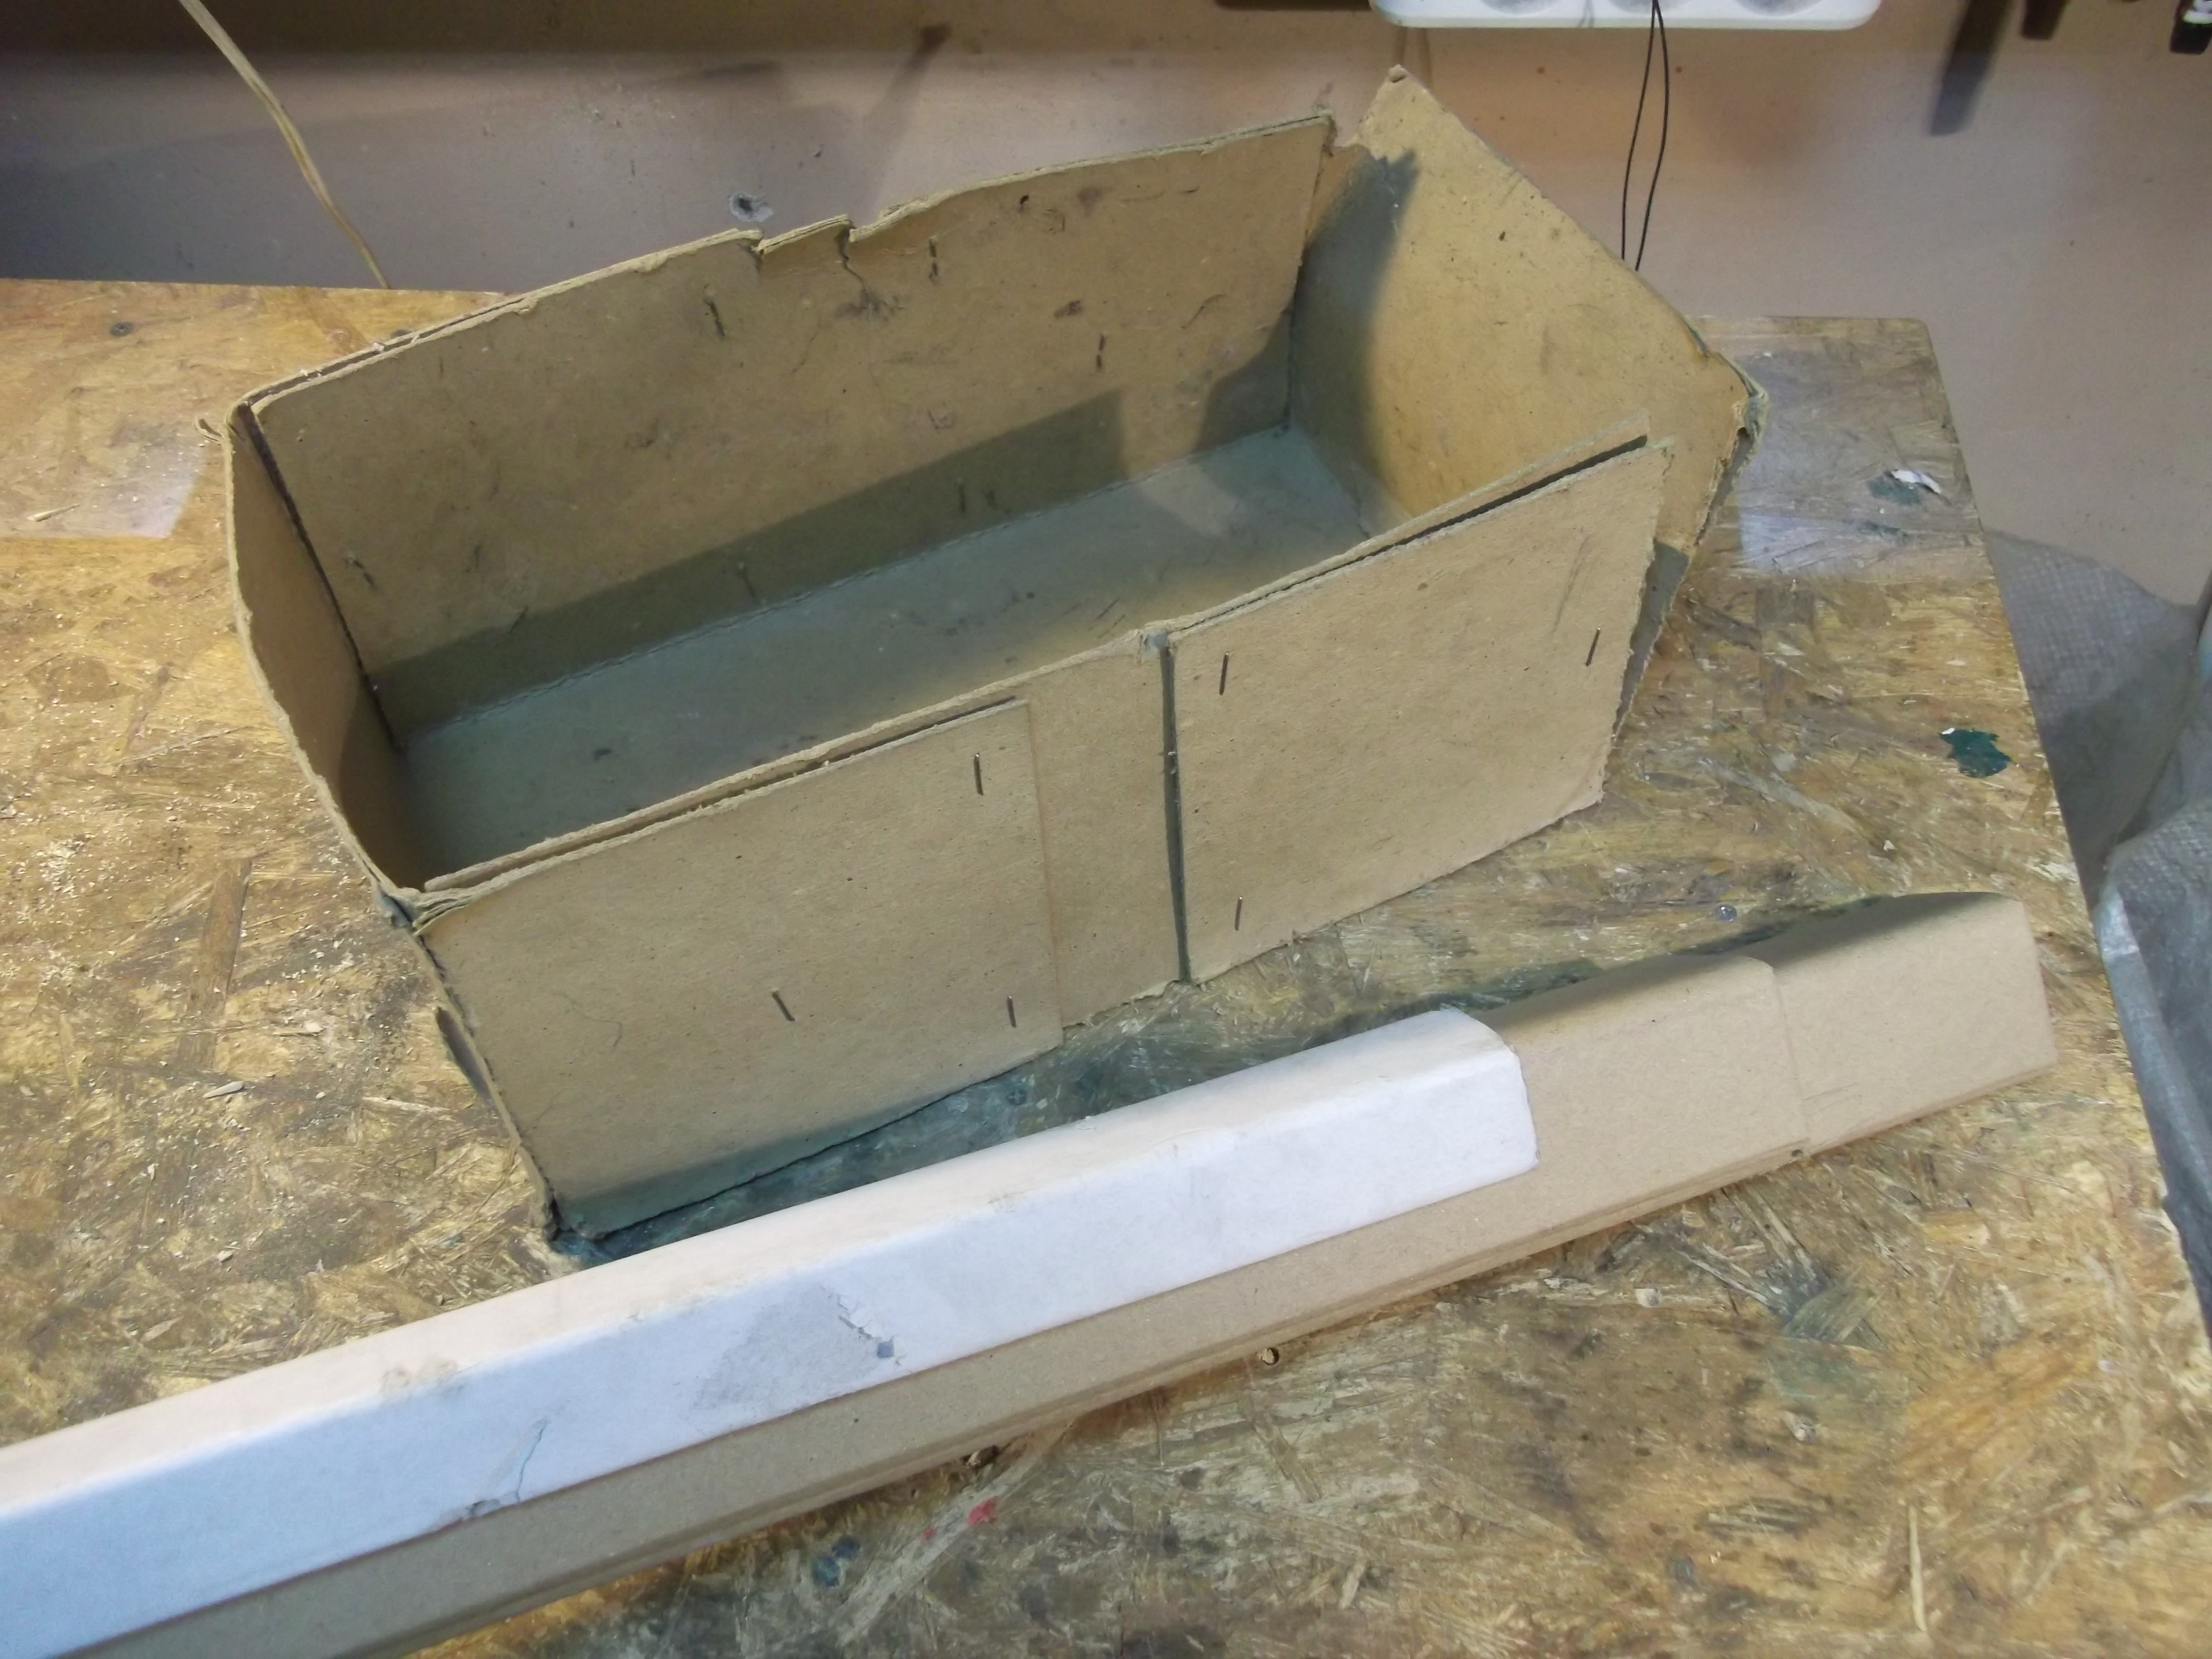
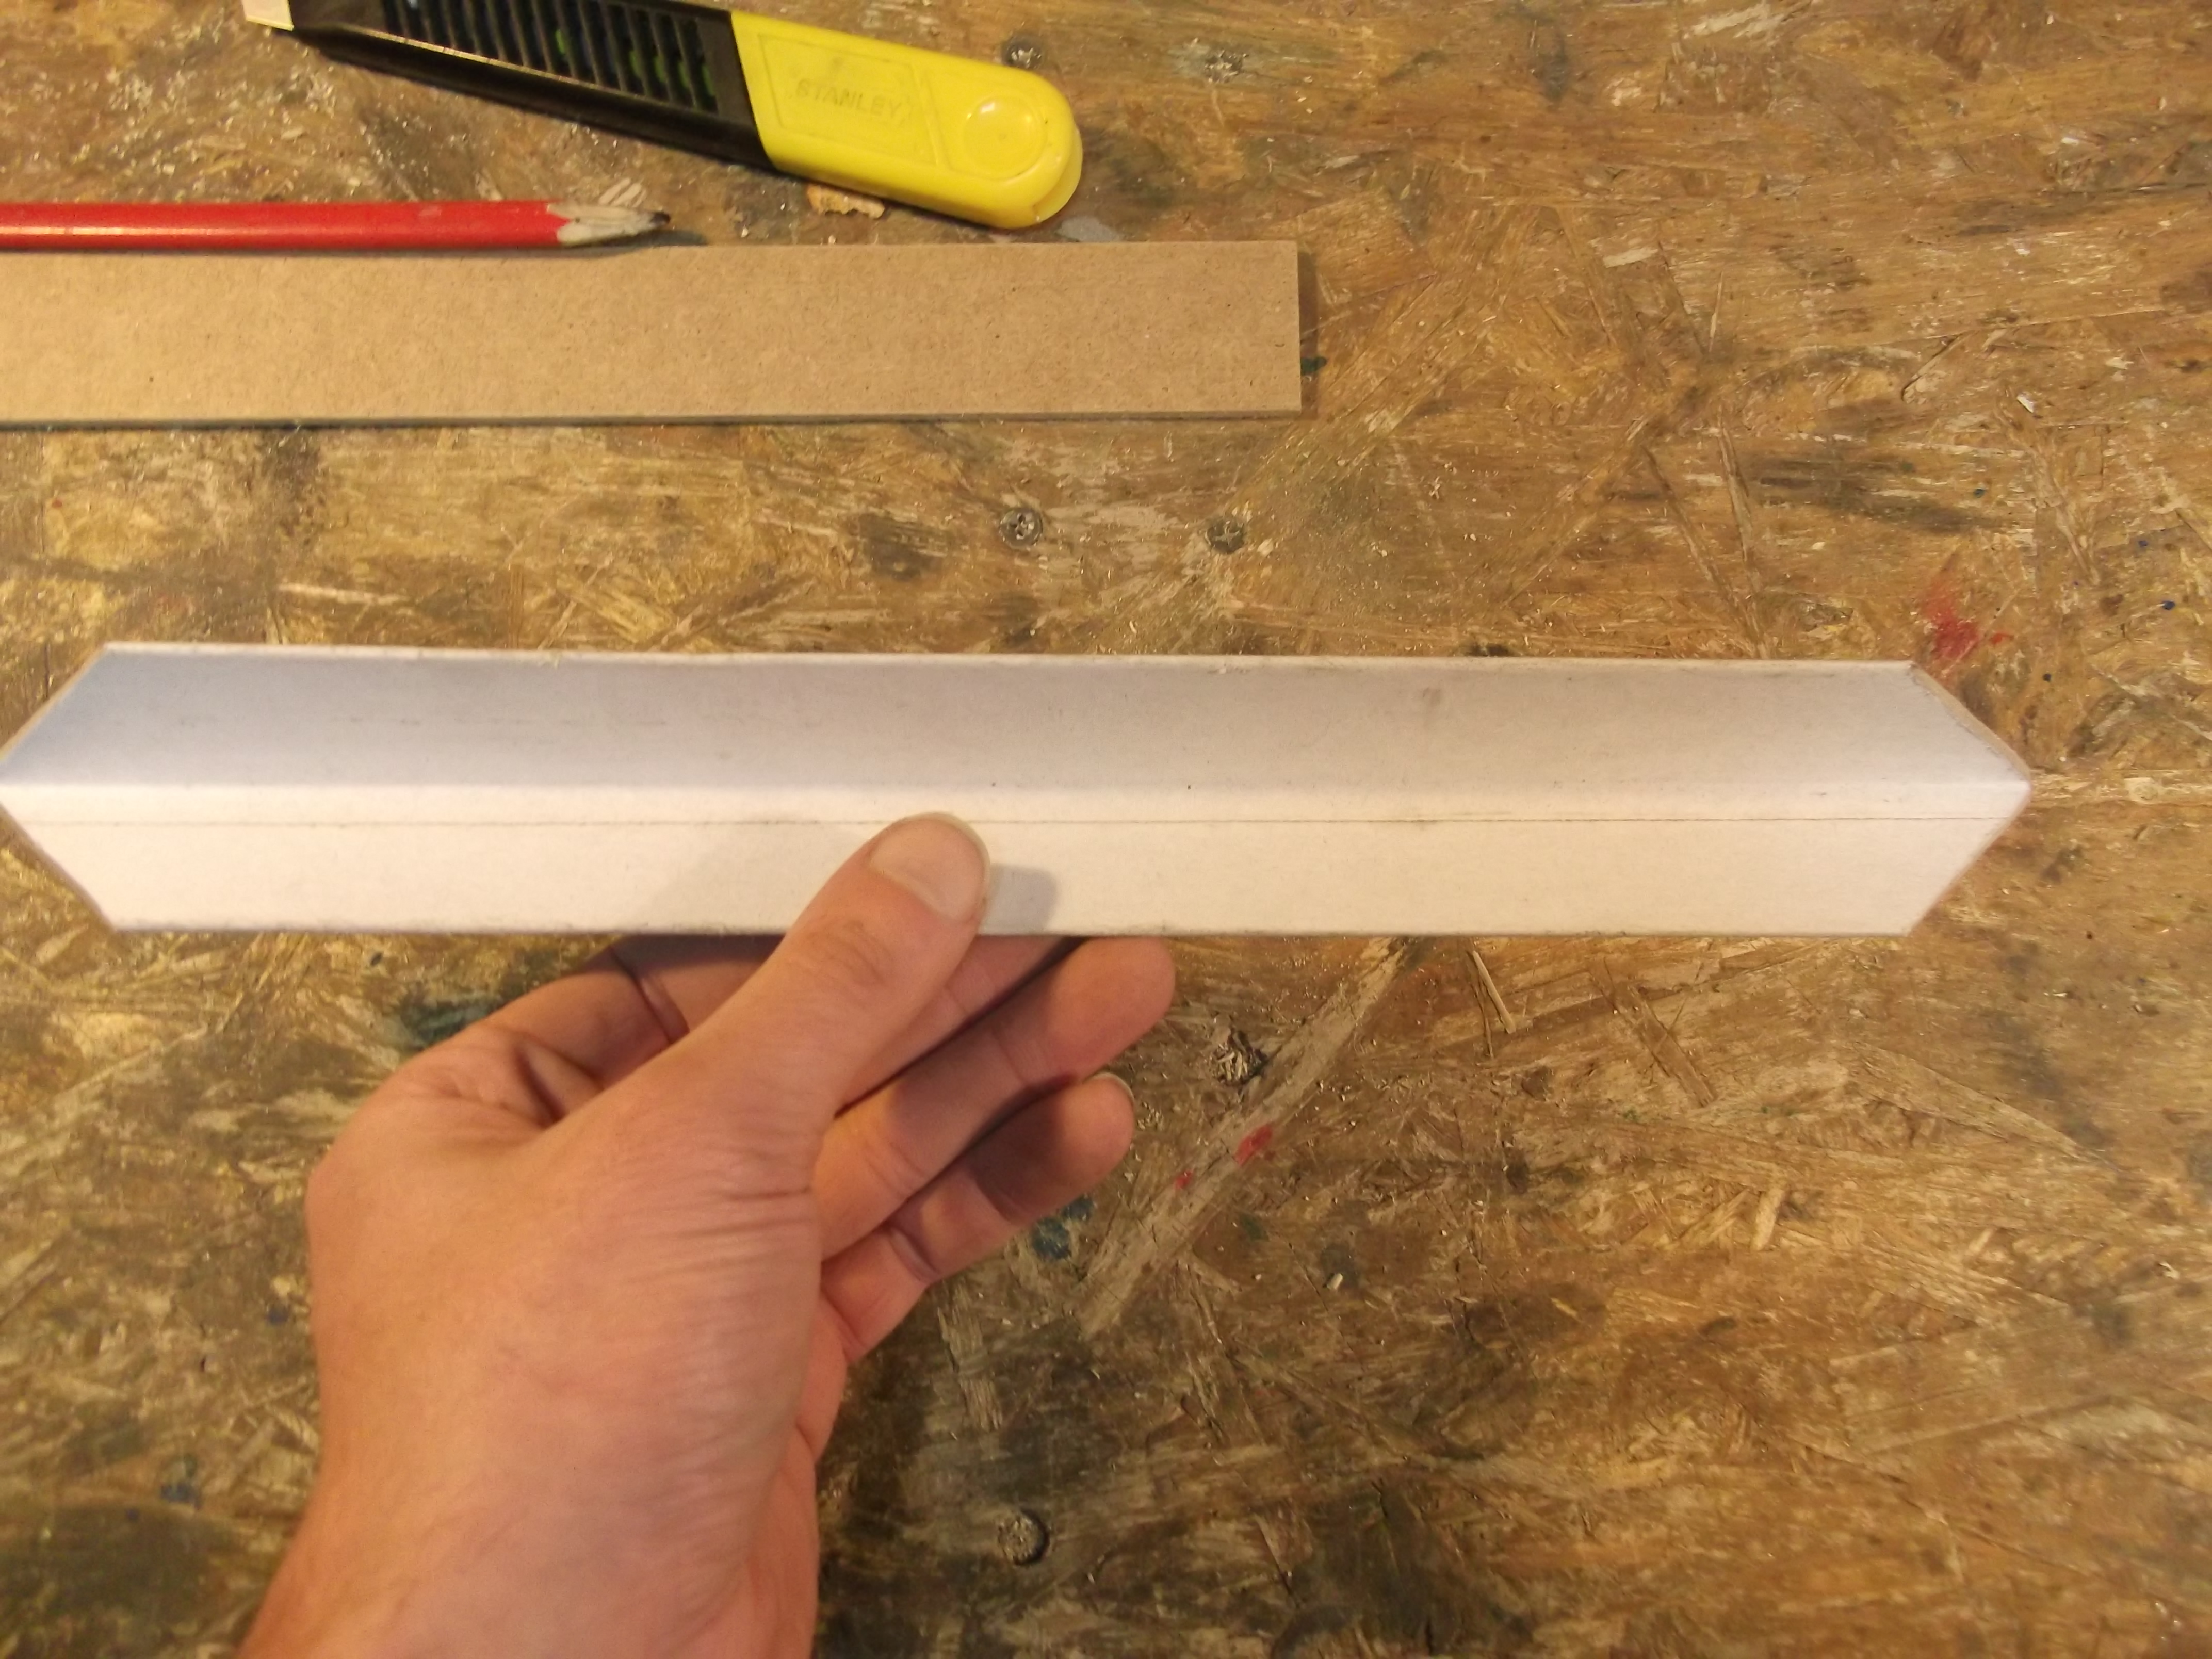
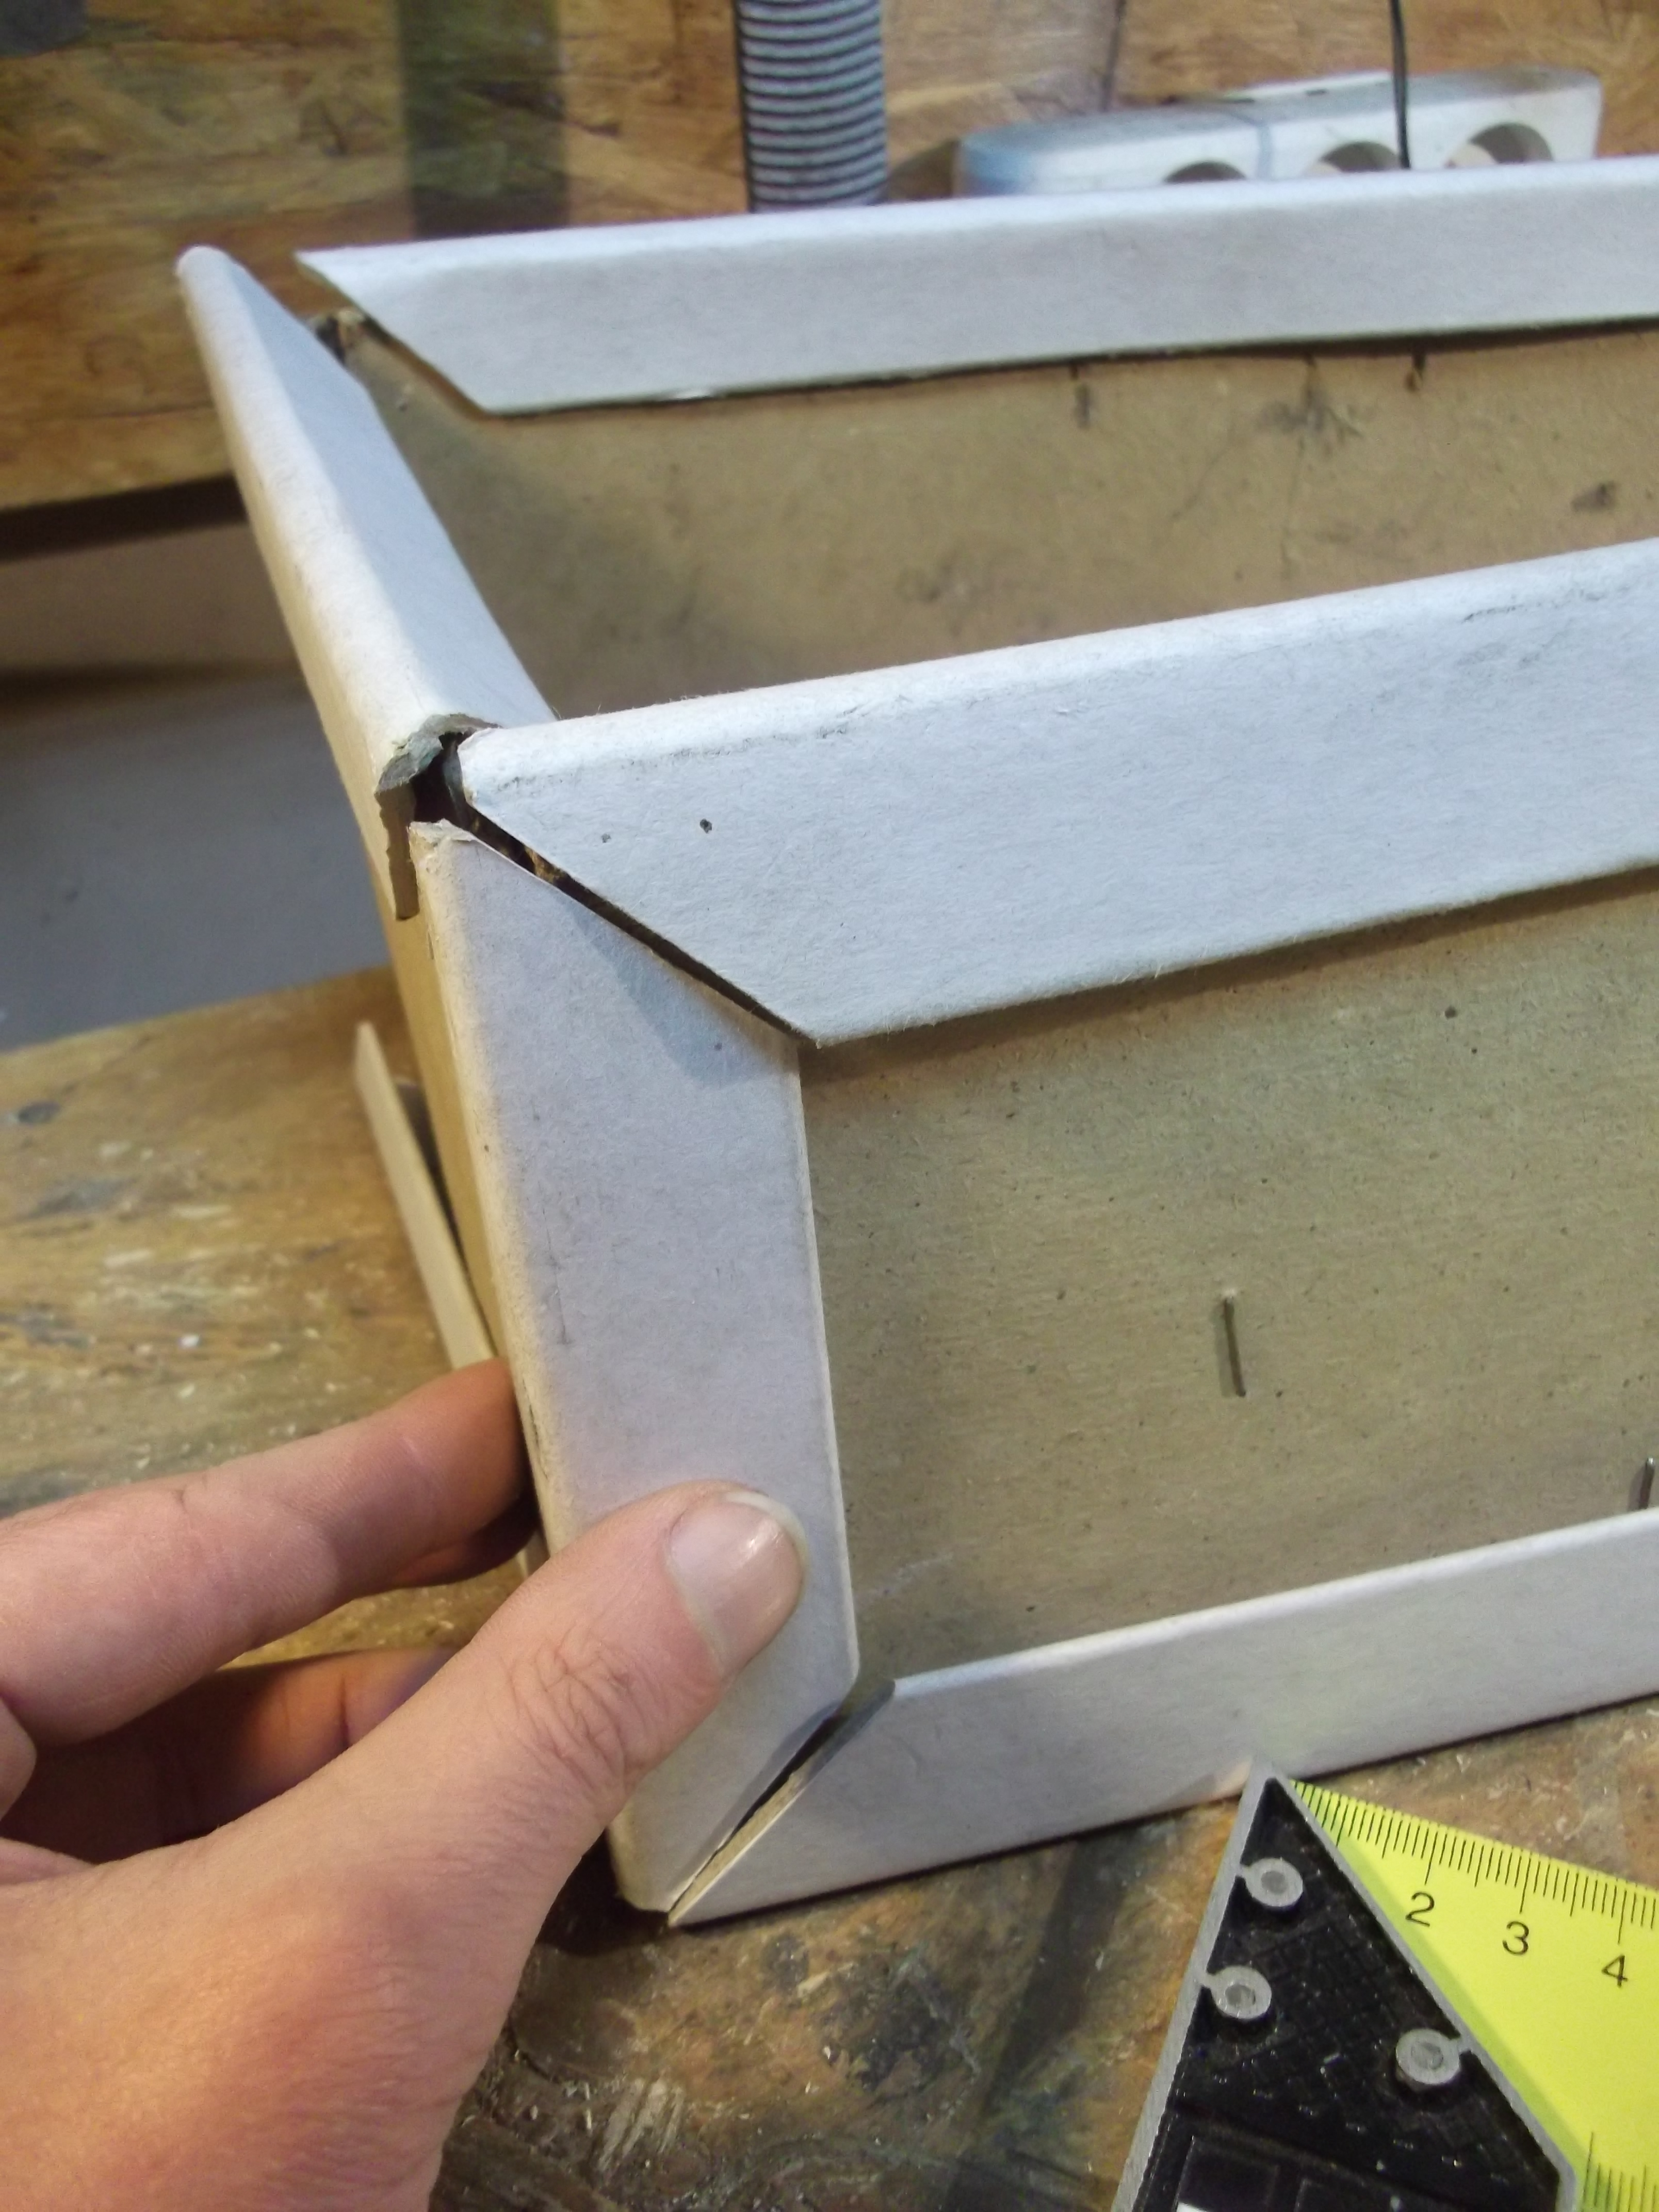
And here is the waste material, I'm talking about. These cardboard corner profiles are often used in packaging for reinforcing edges of the box. This is exactly how we're going to use them... again.
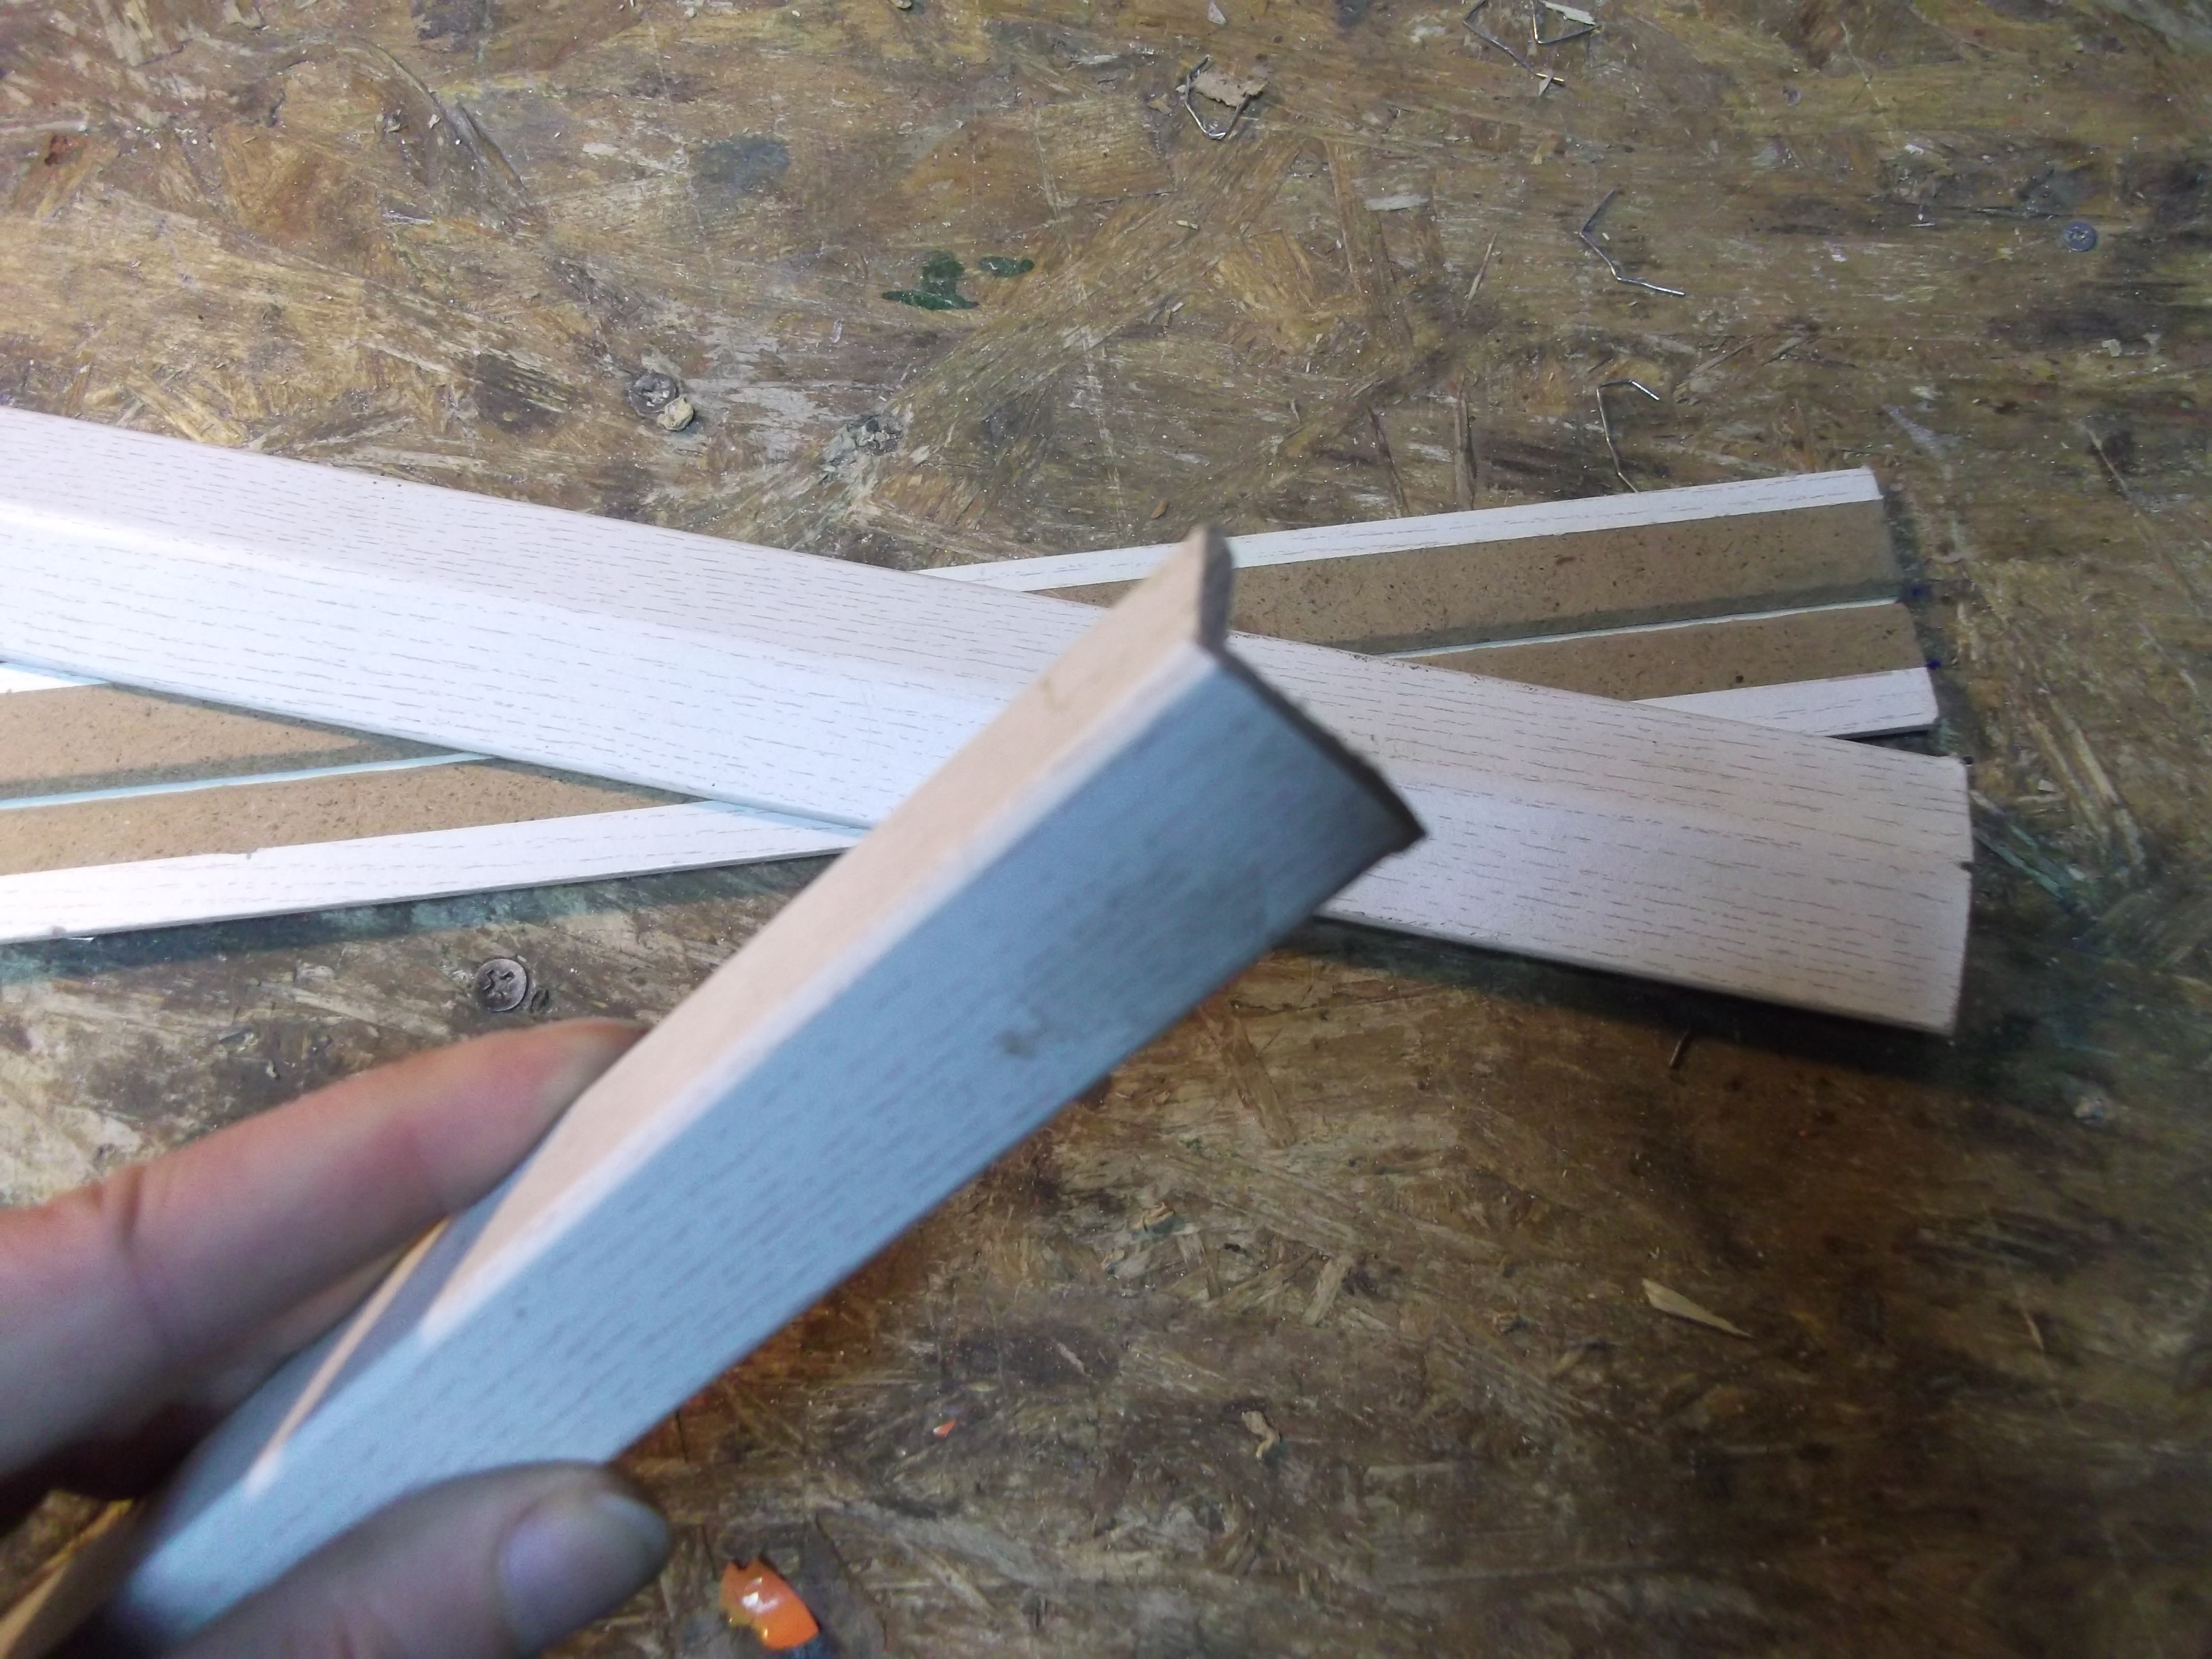
As an alternative? you can also use those mdf siding corners.
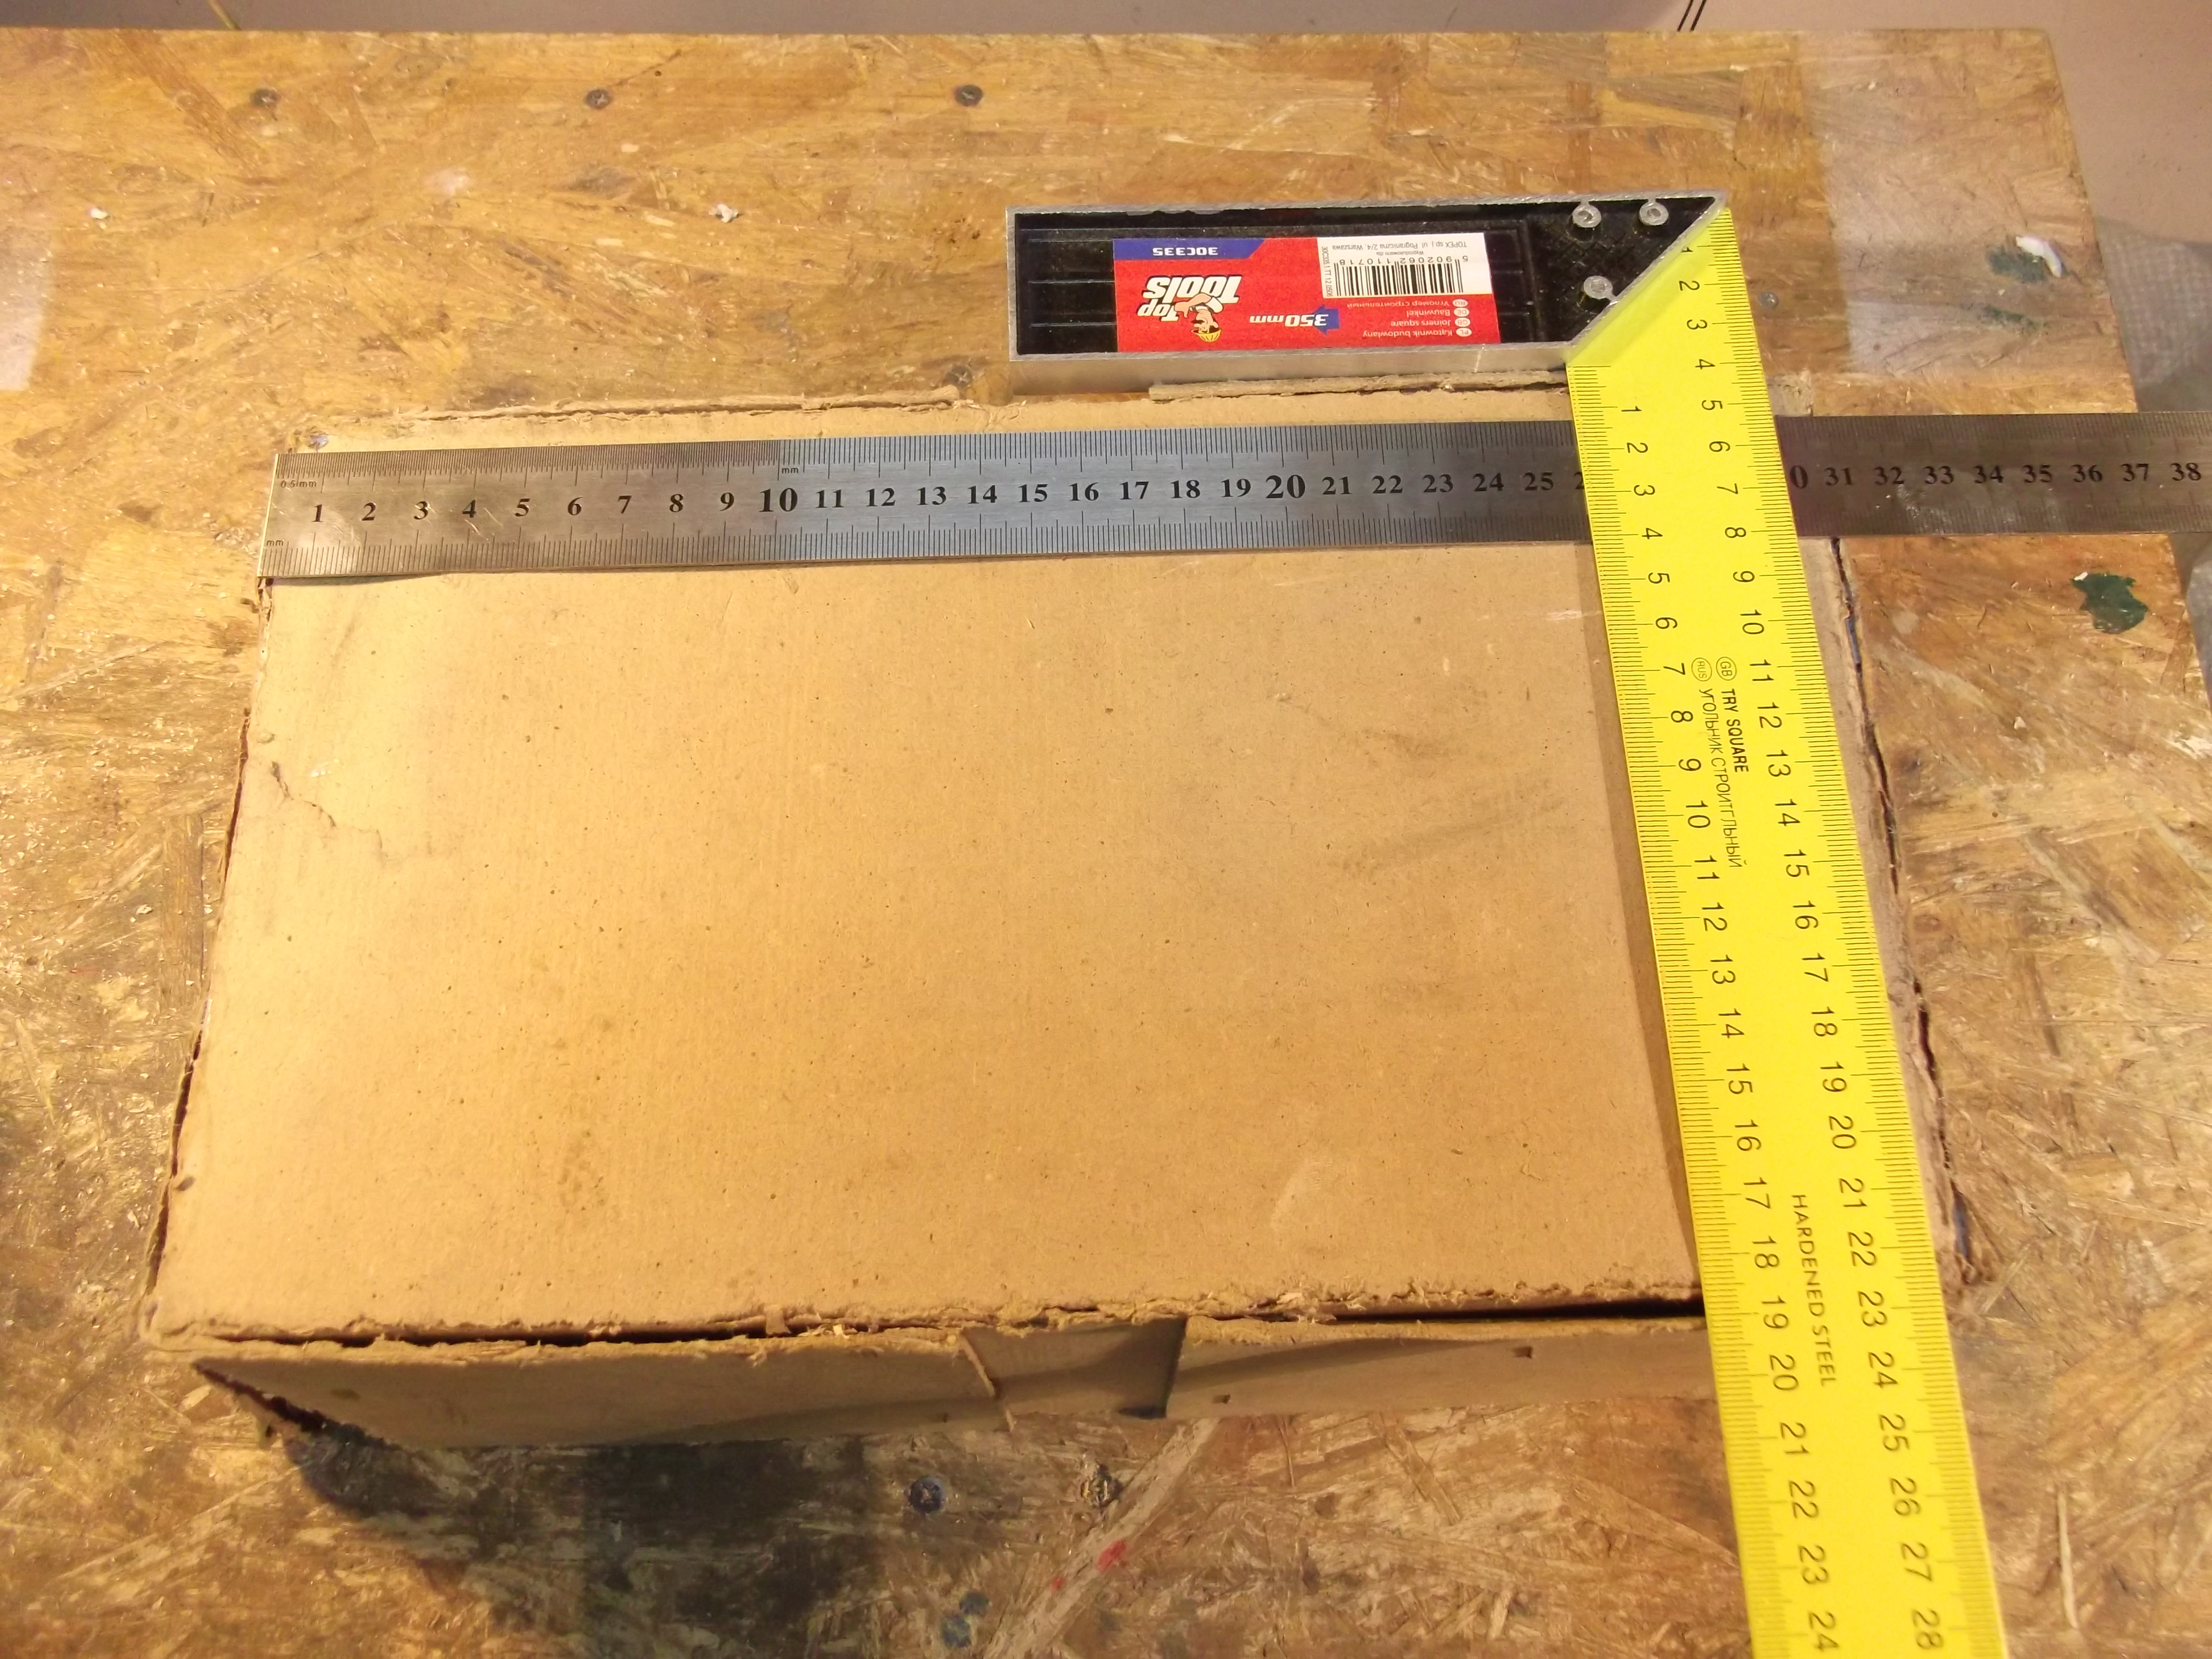
So, at first, I'm making some repairs on the box, and then I'm measuring the sides.
The cardboard profile has its thickness, so I'm adding twice of that to the lenght of the piece. I'm also cutting the tip on the cotner off, because they're rarely coinside after gluing anyway.
Cut all the pieces for the bottom.
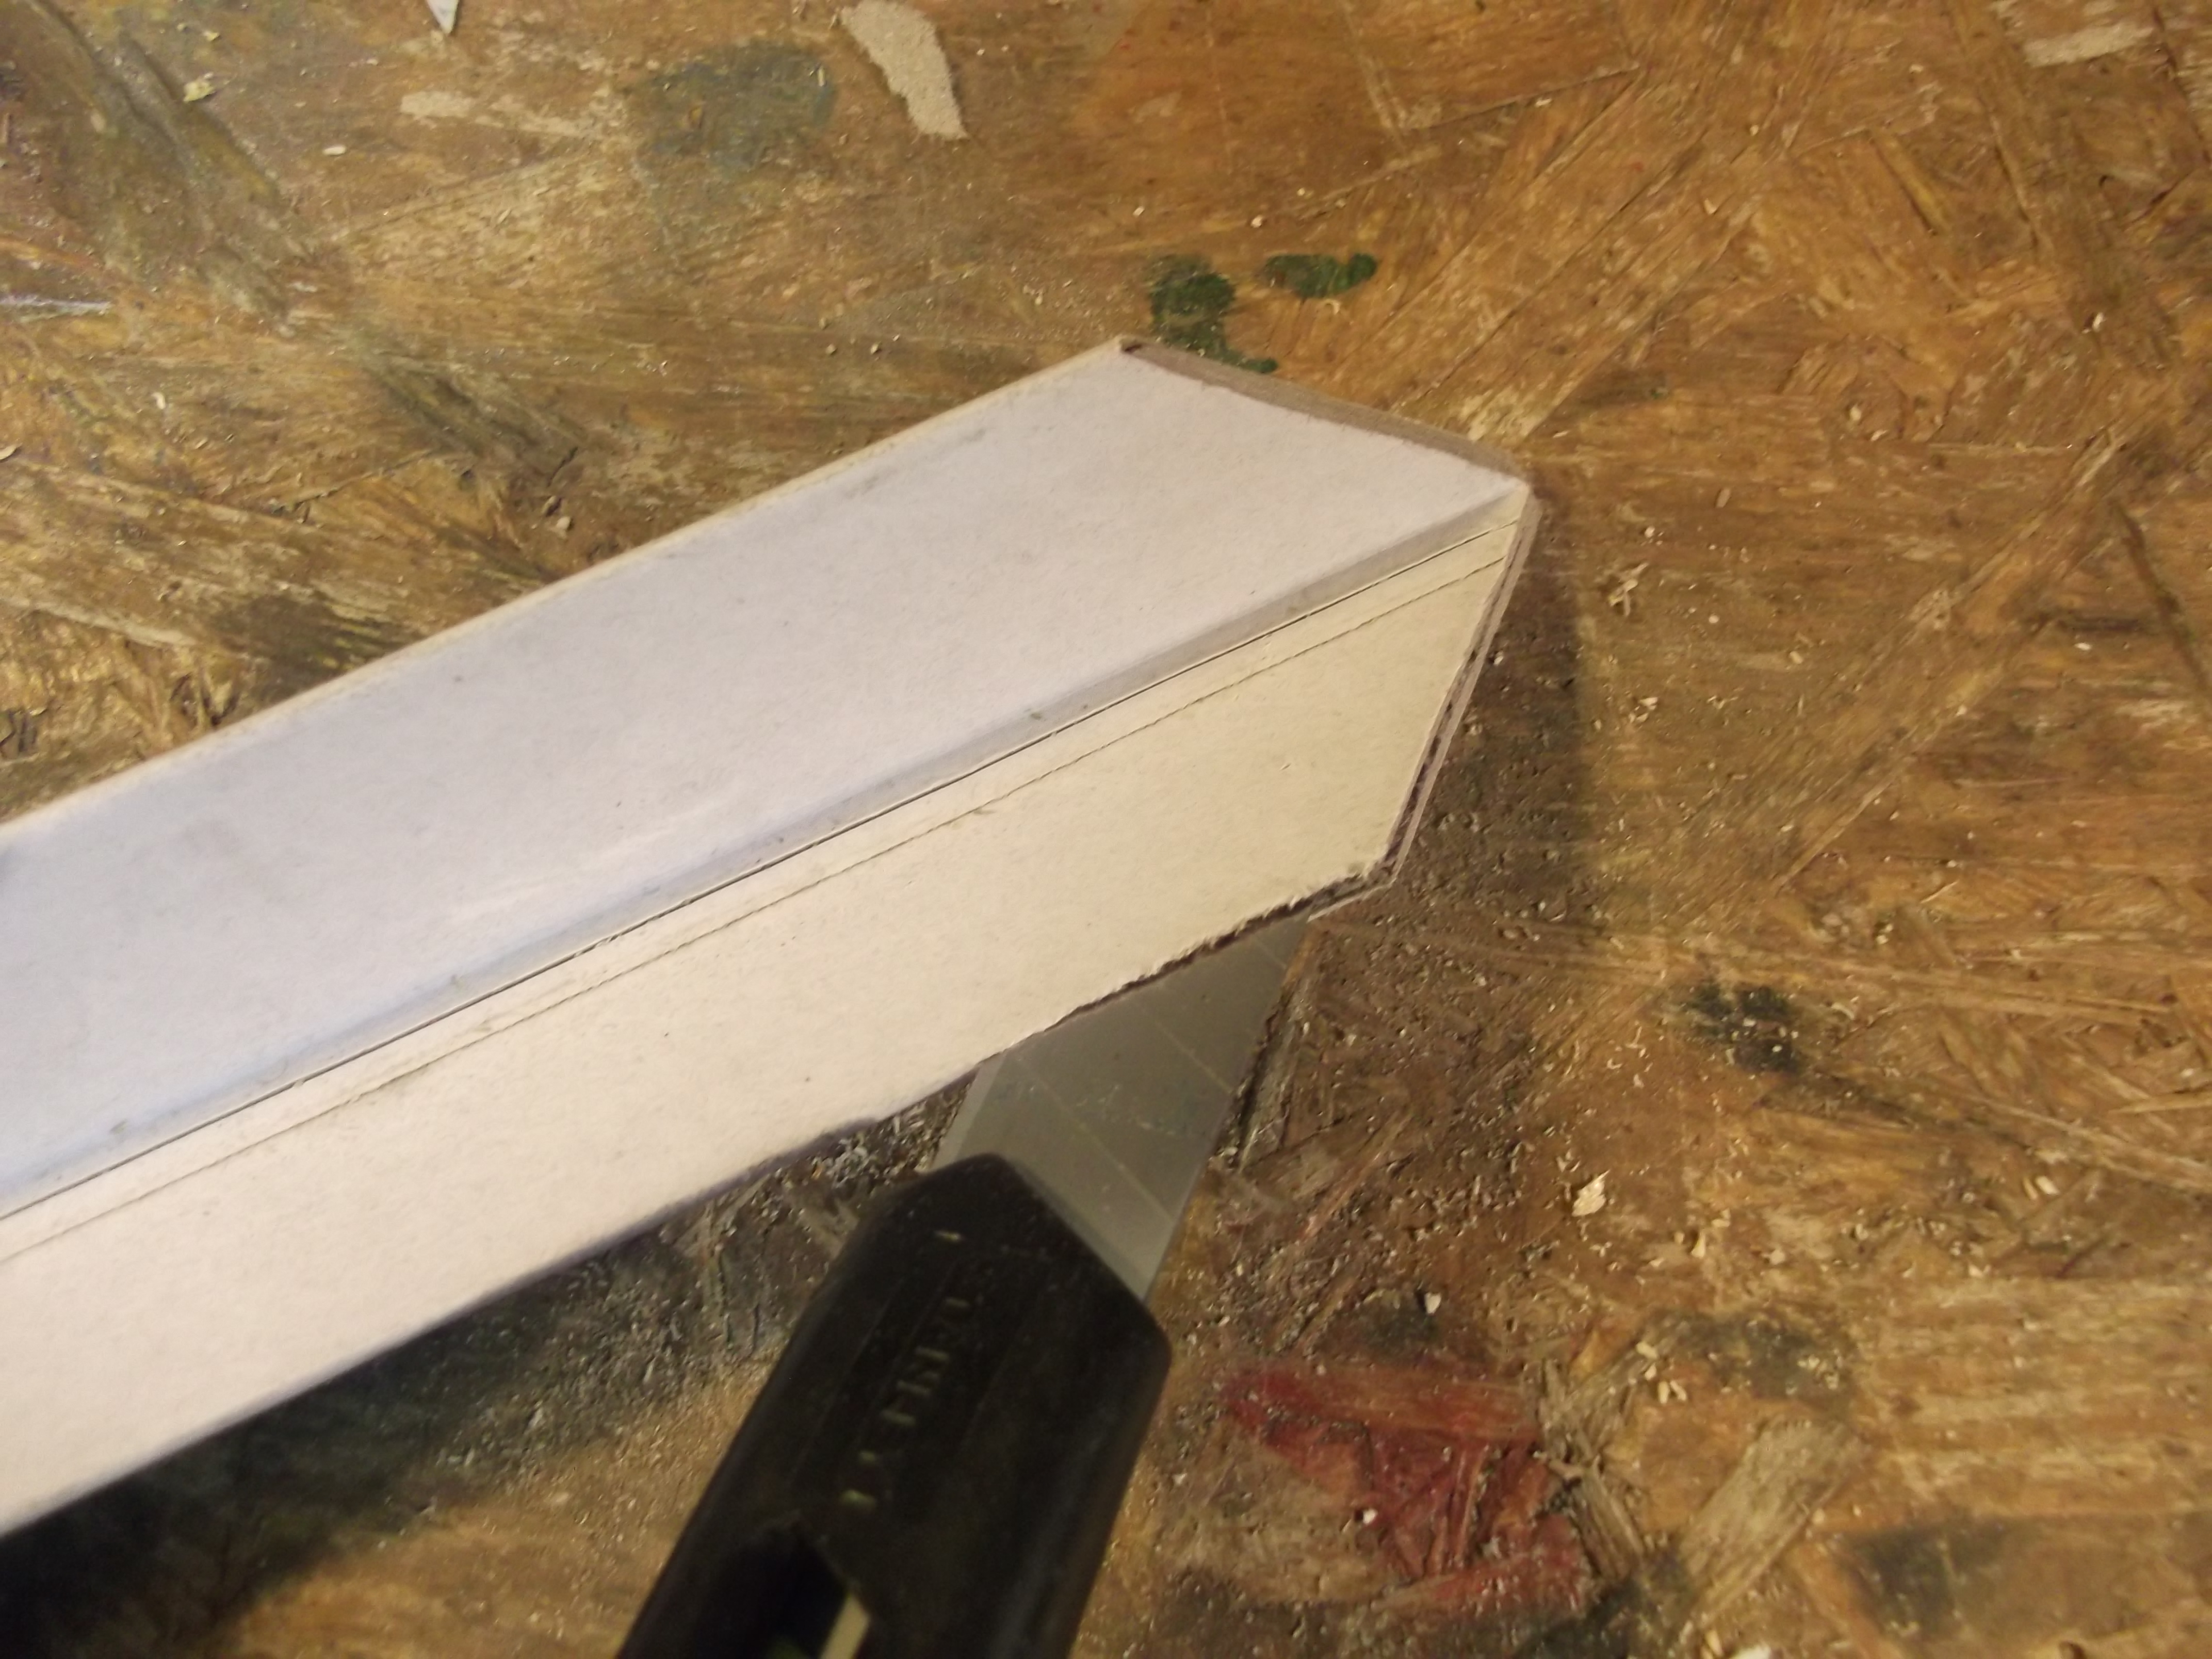
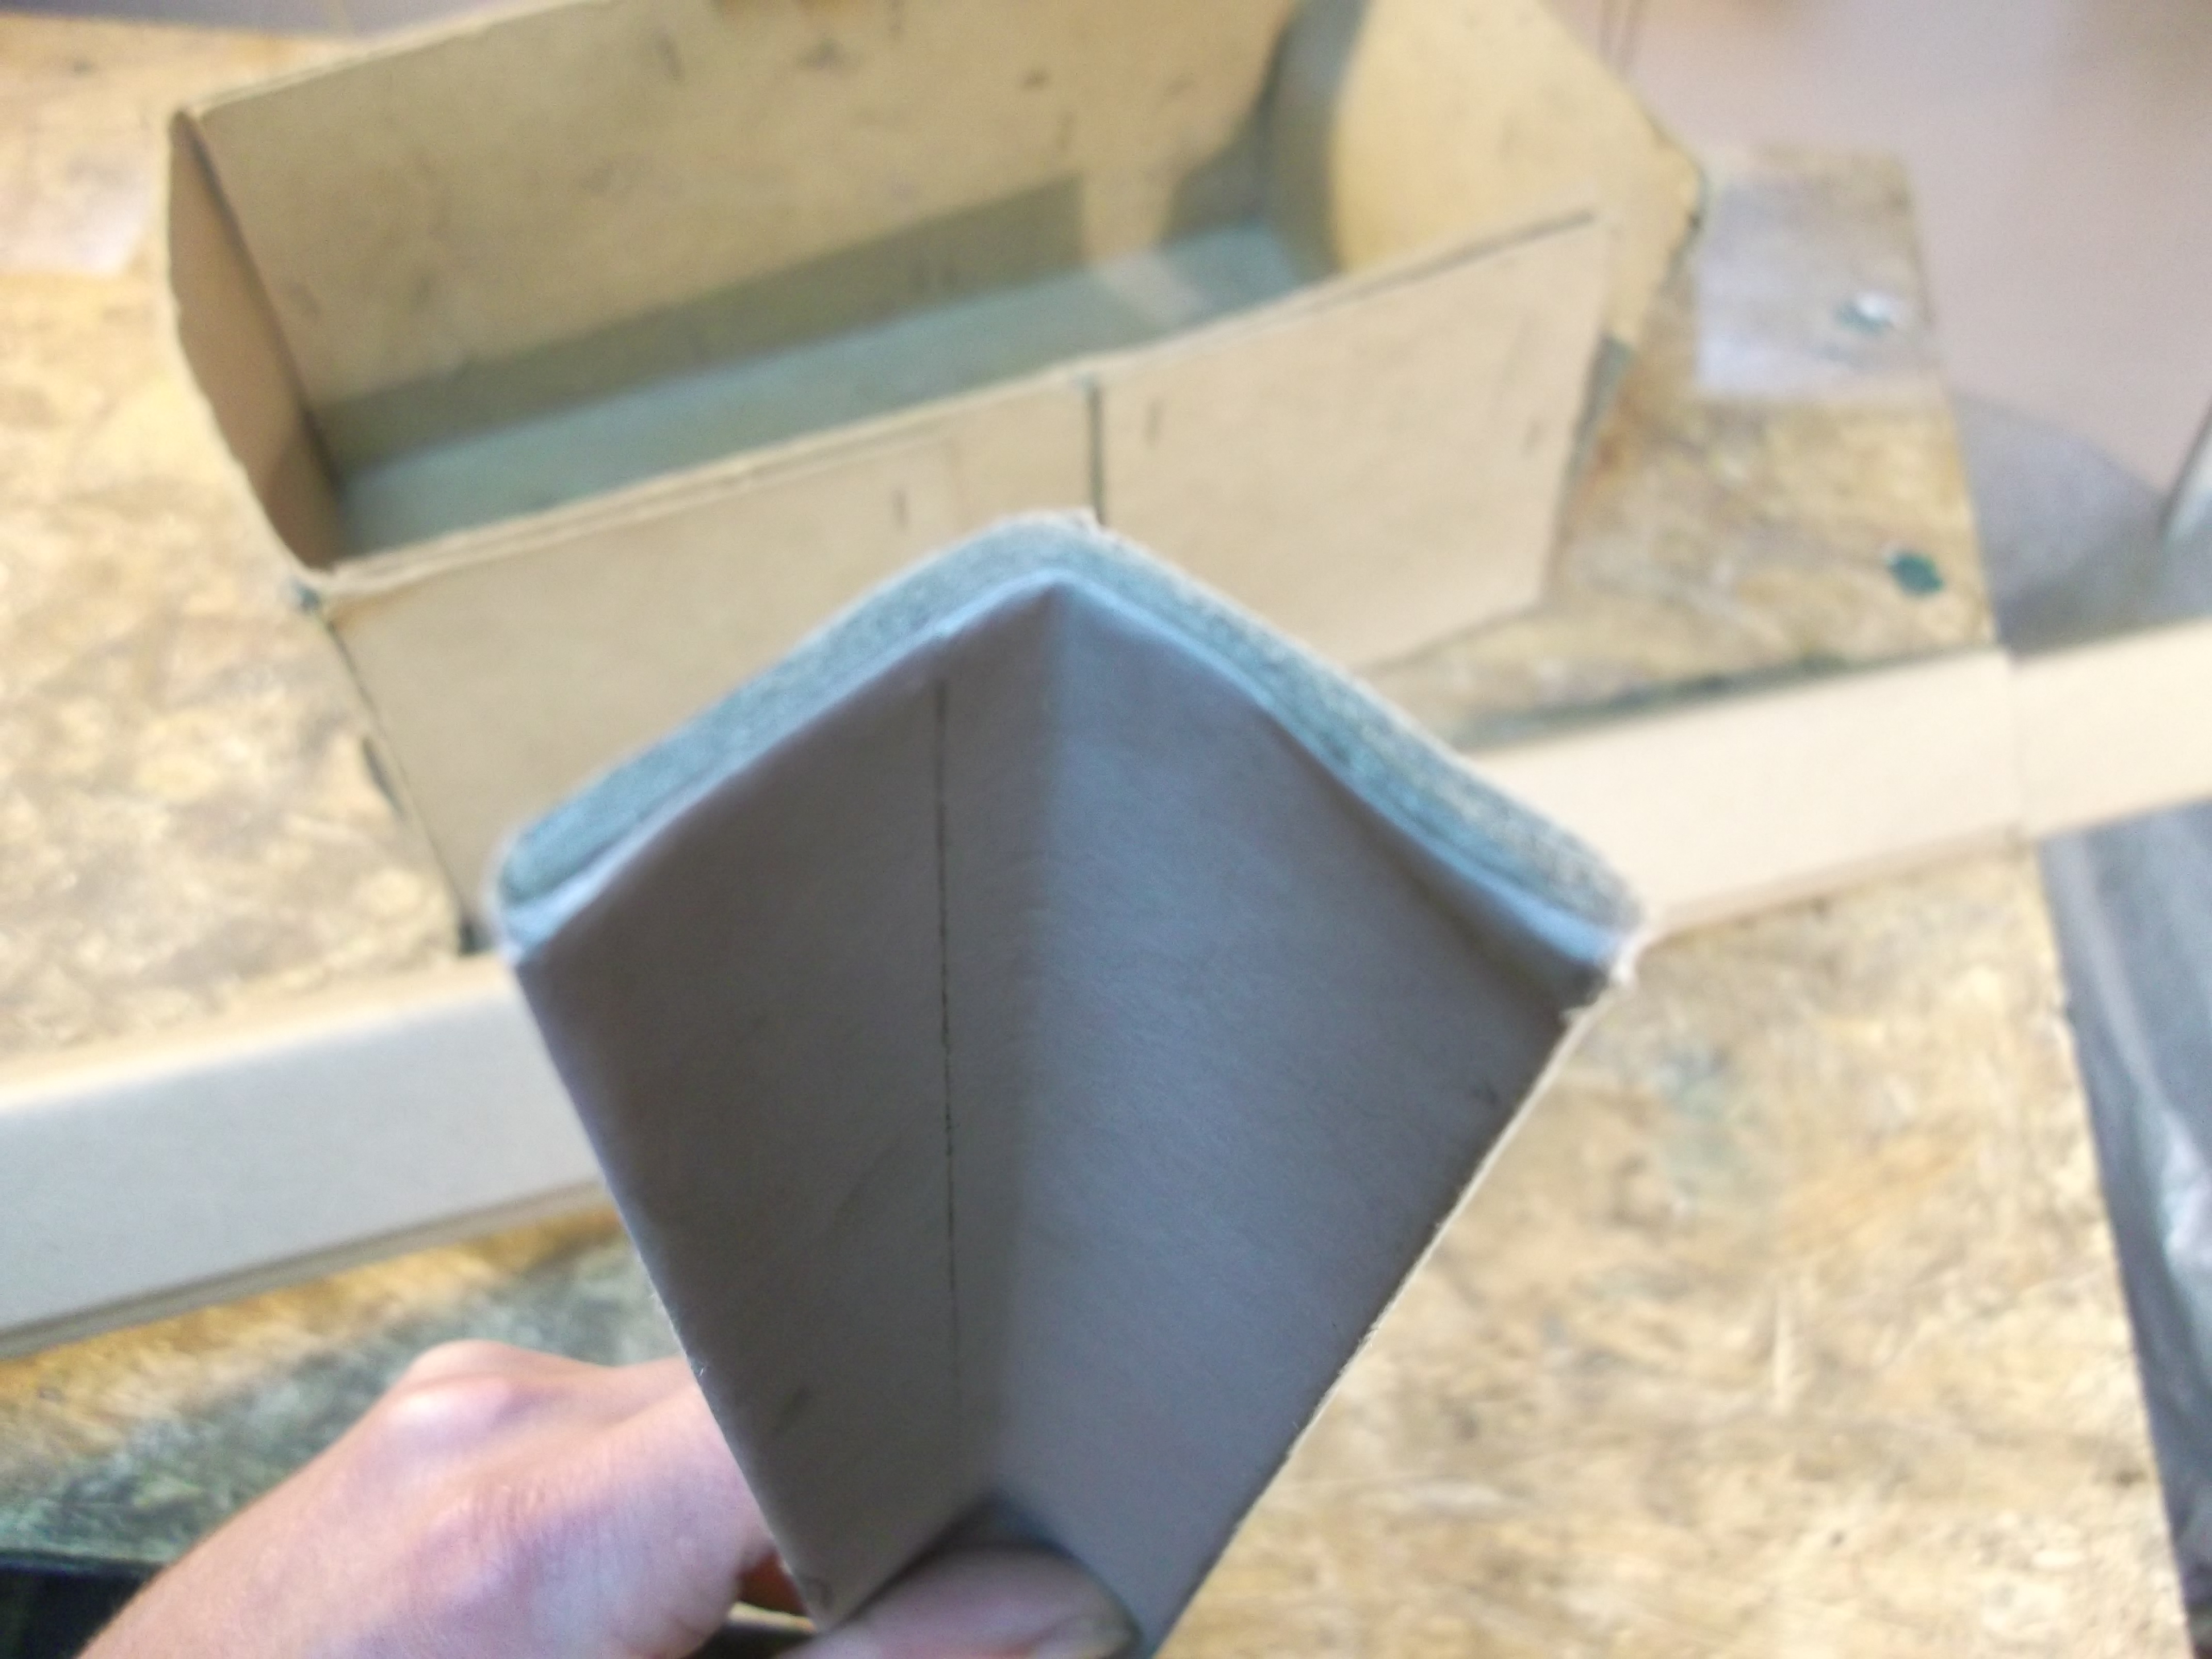
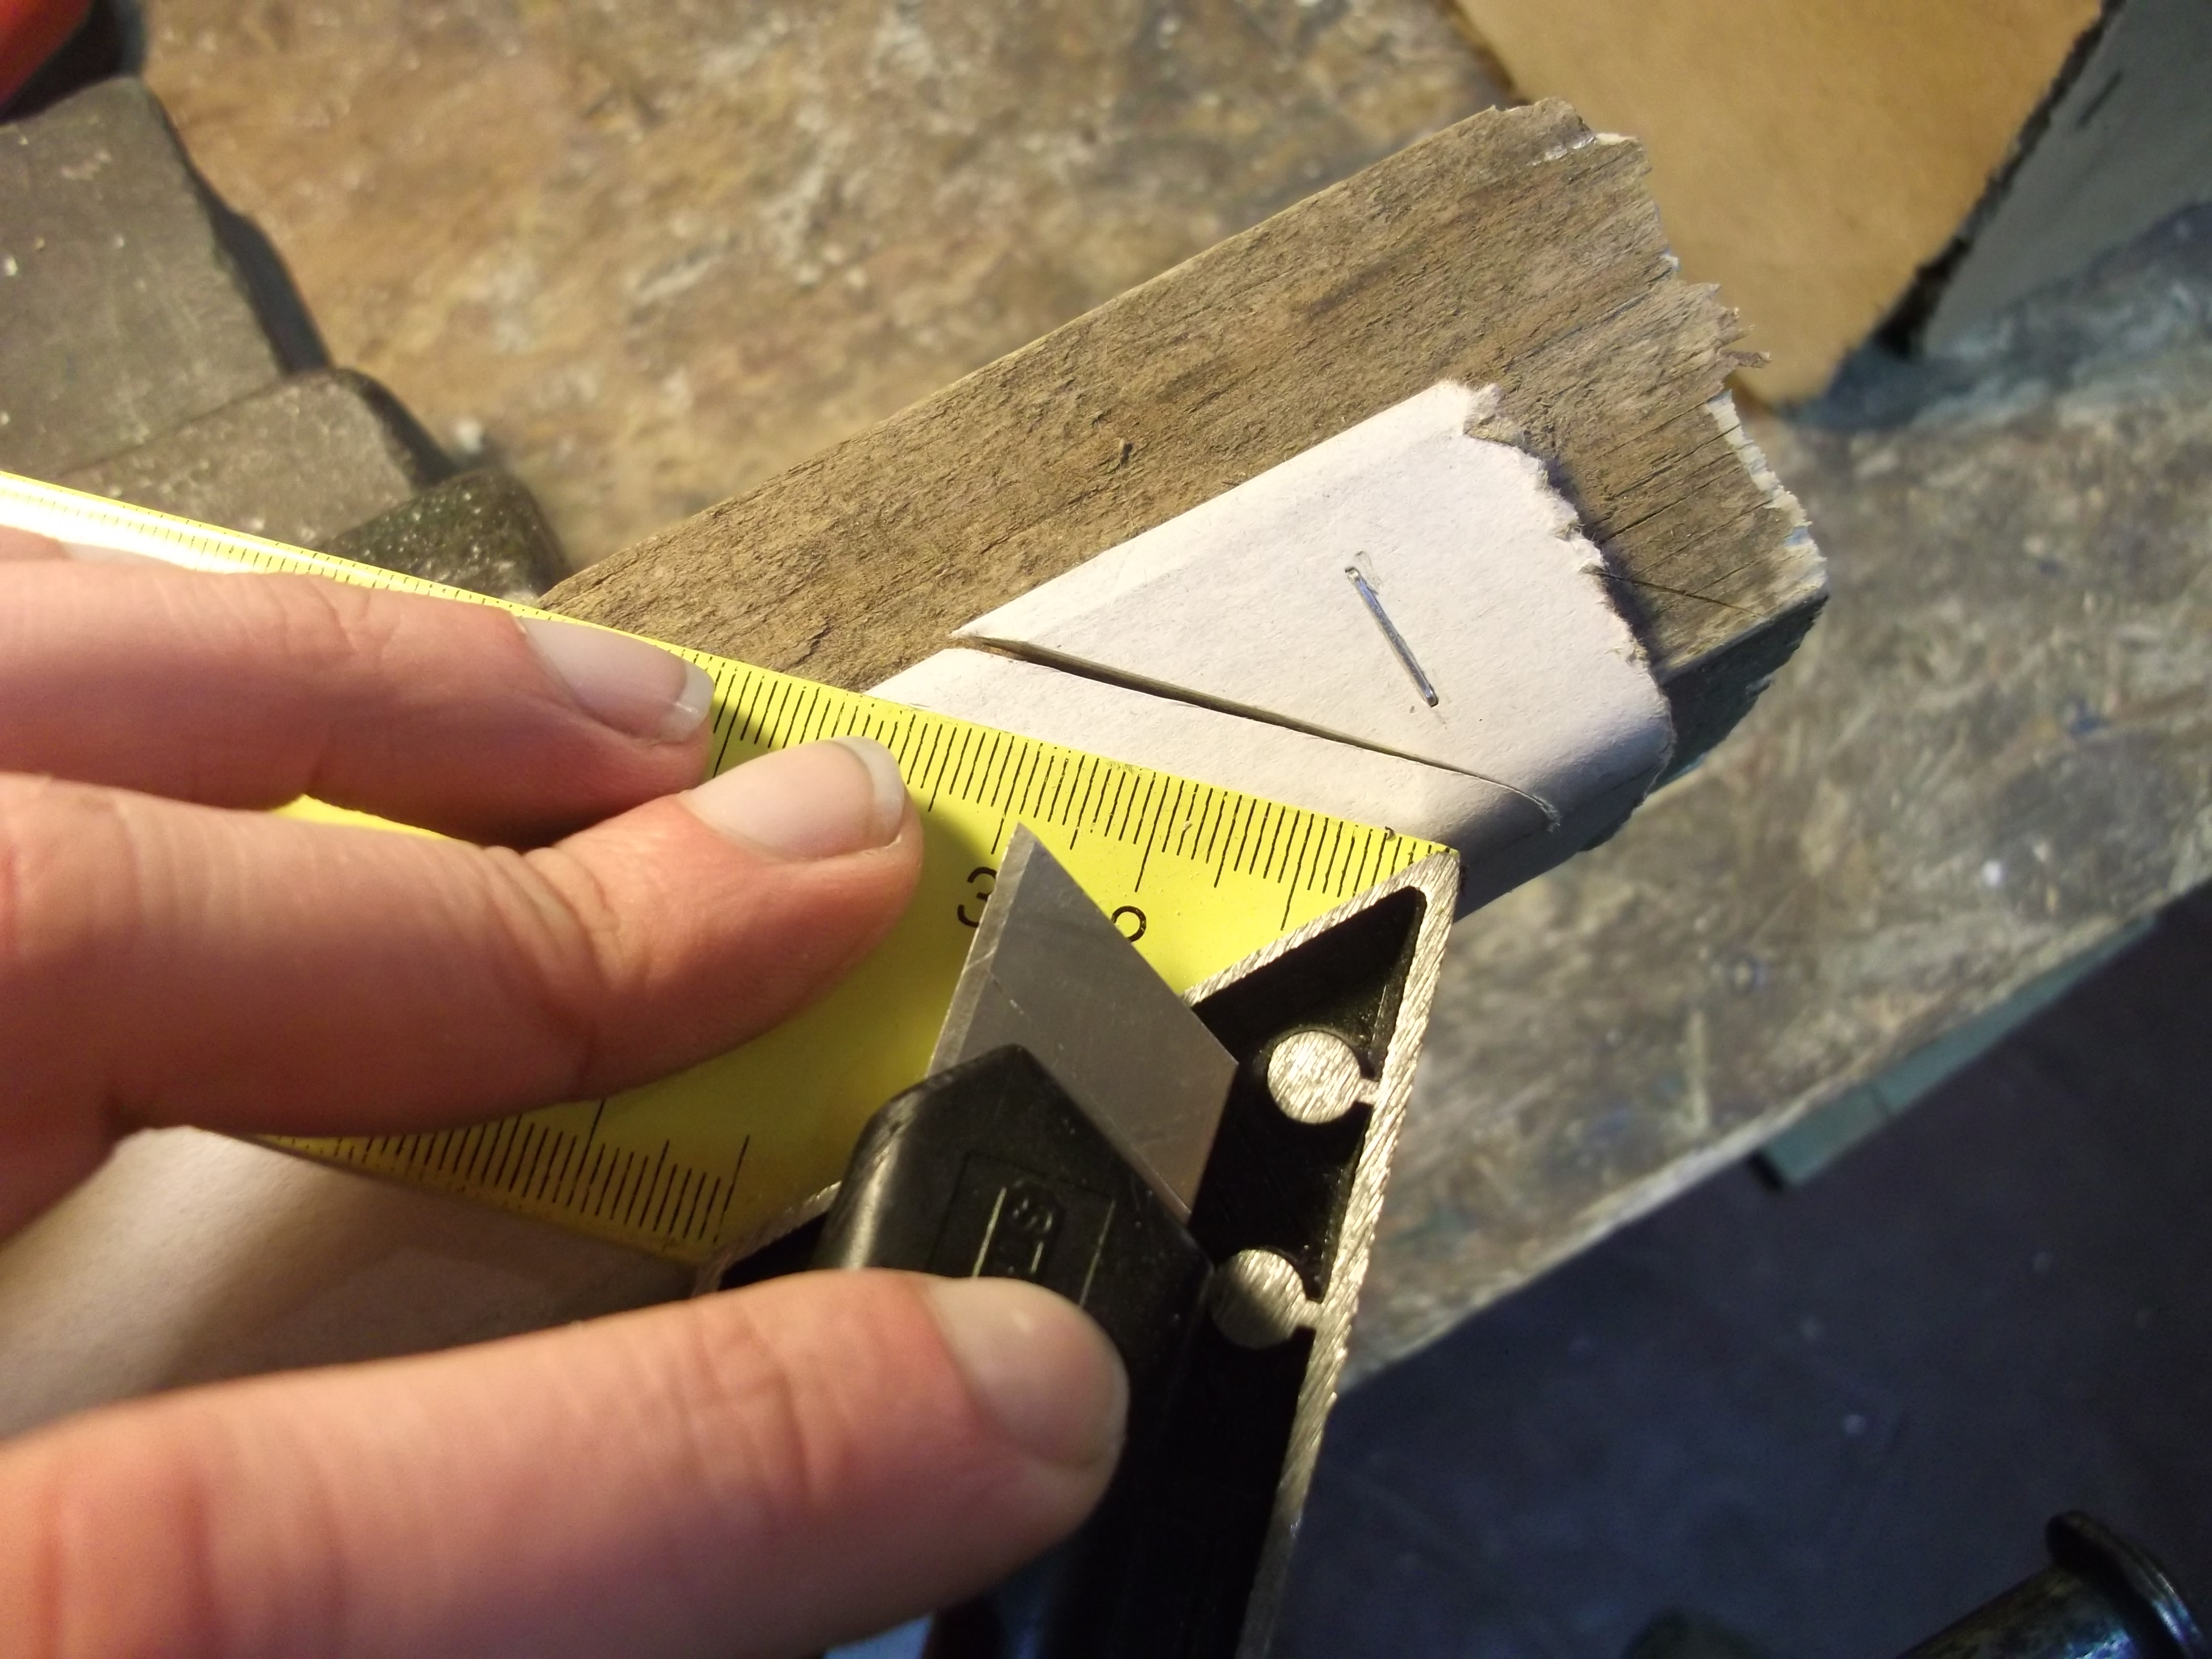
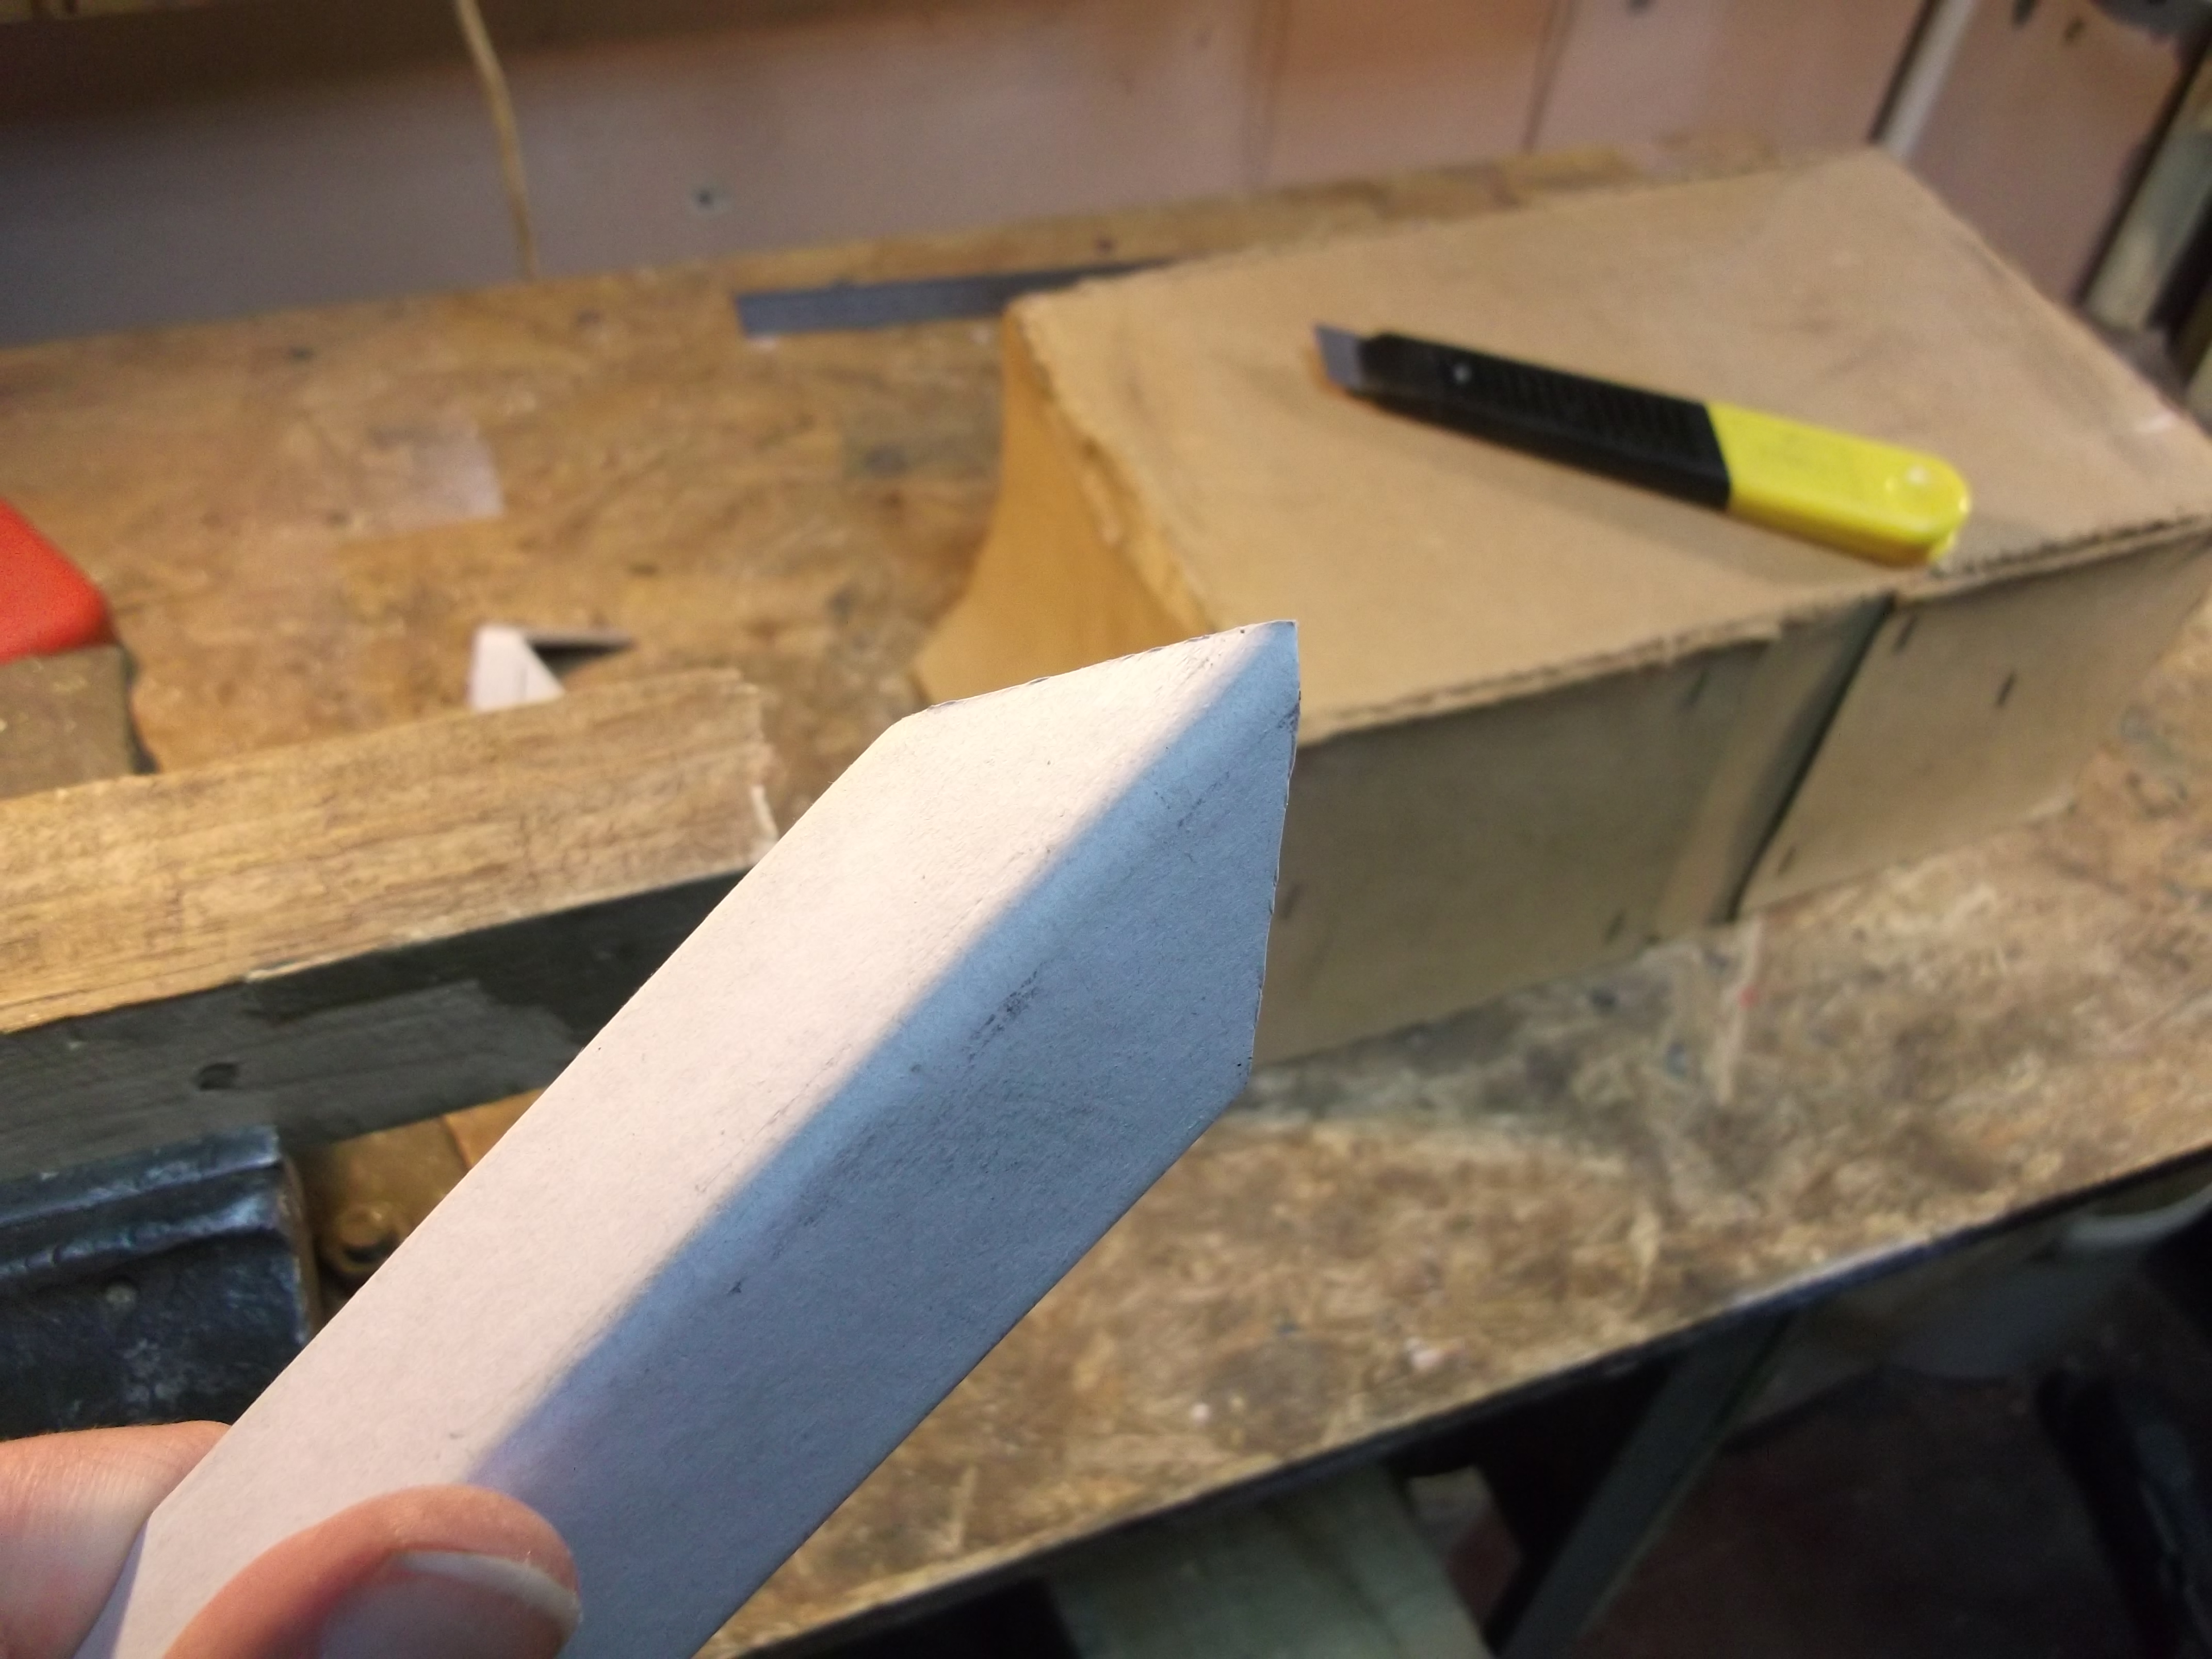
There's a few operations to be made to prepare the piece meant for the top edge of the box.
So...
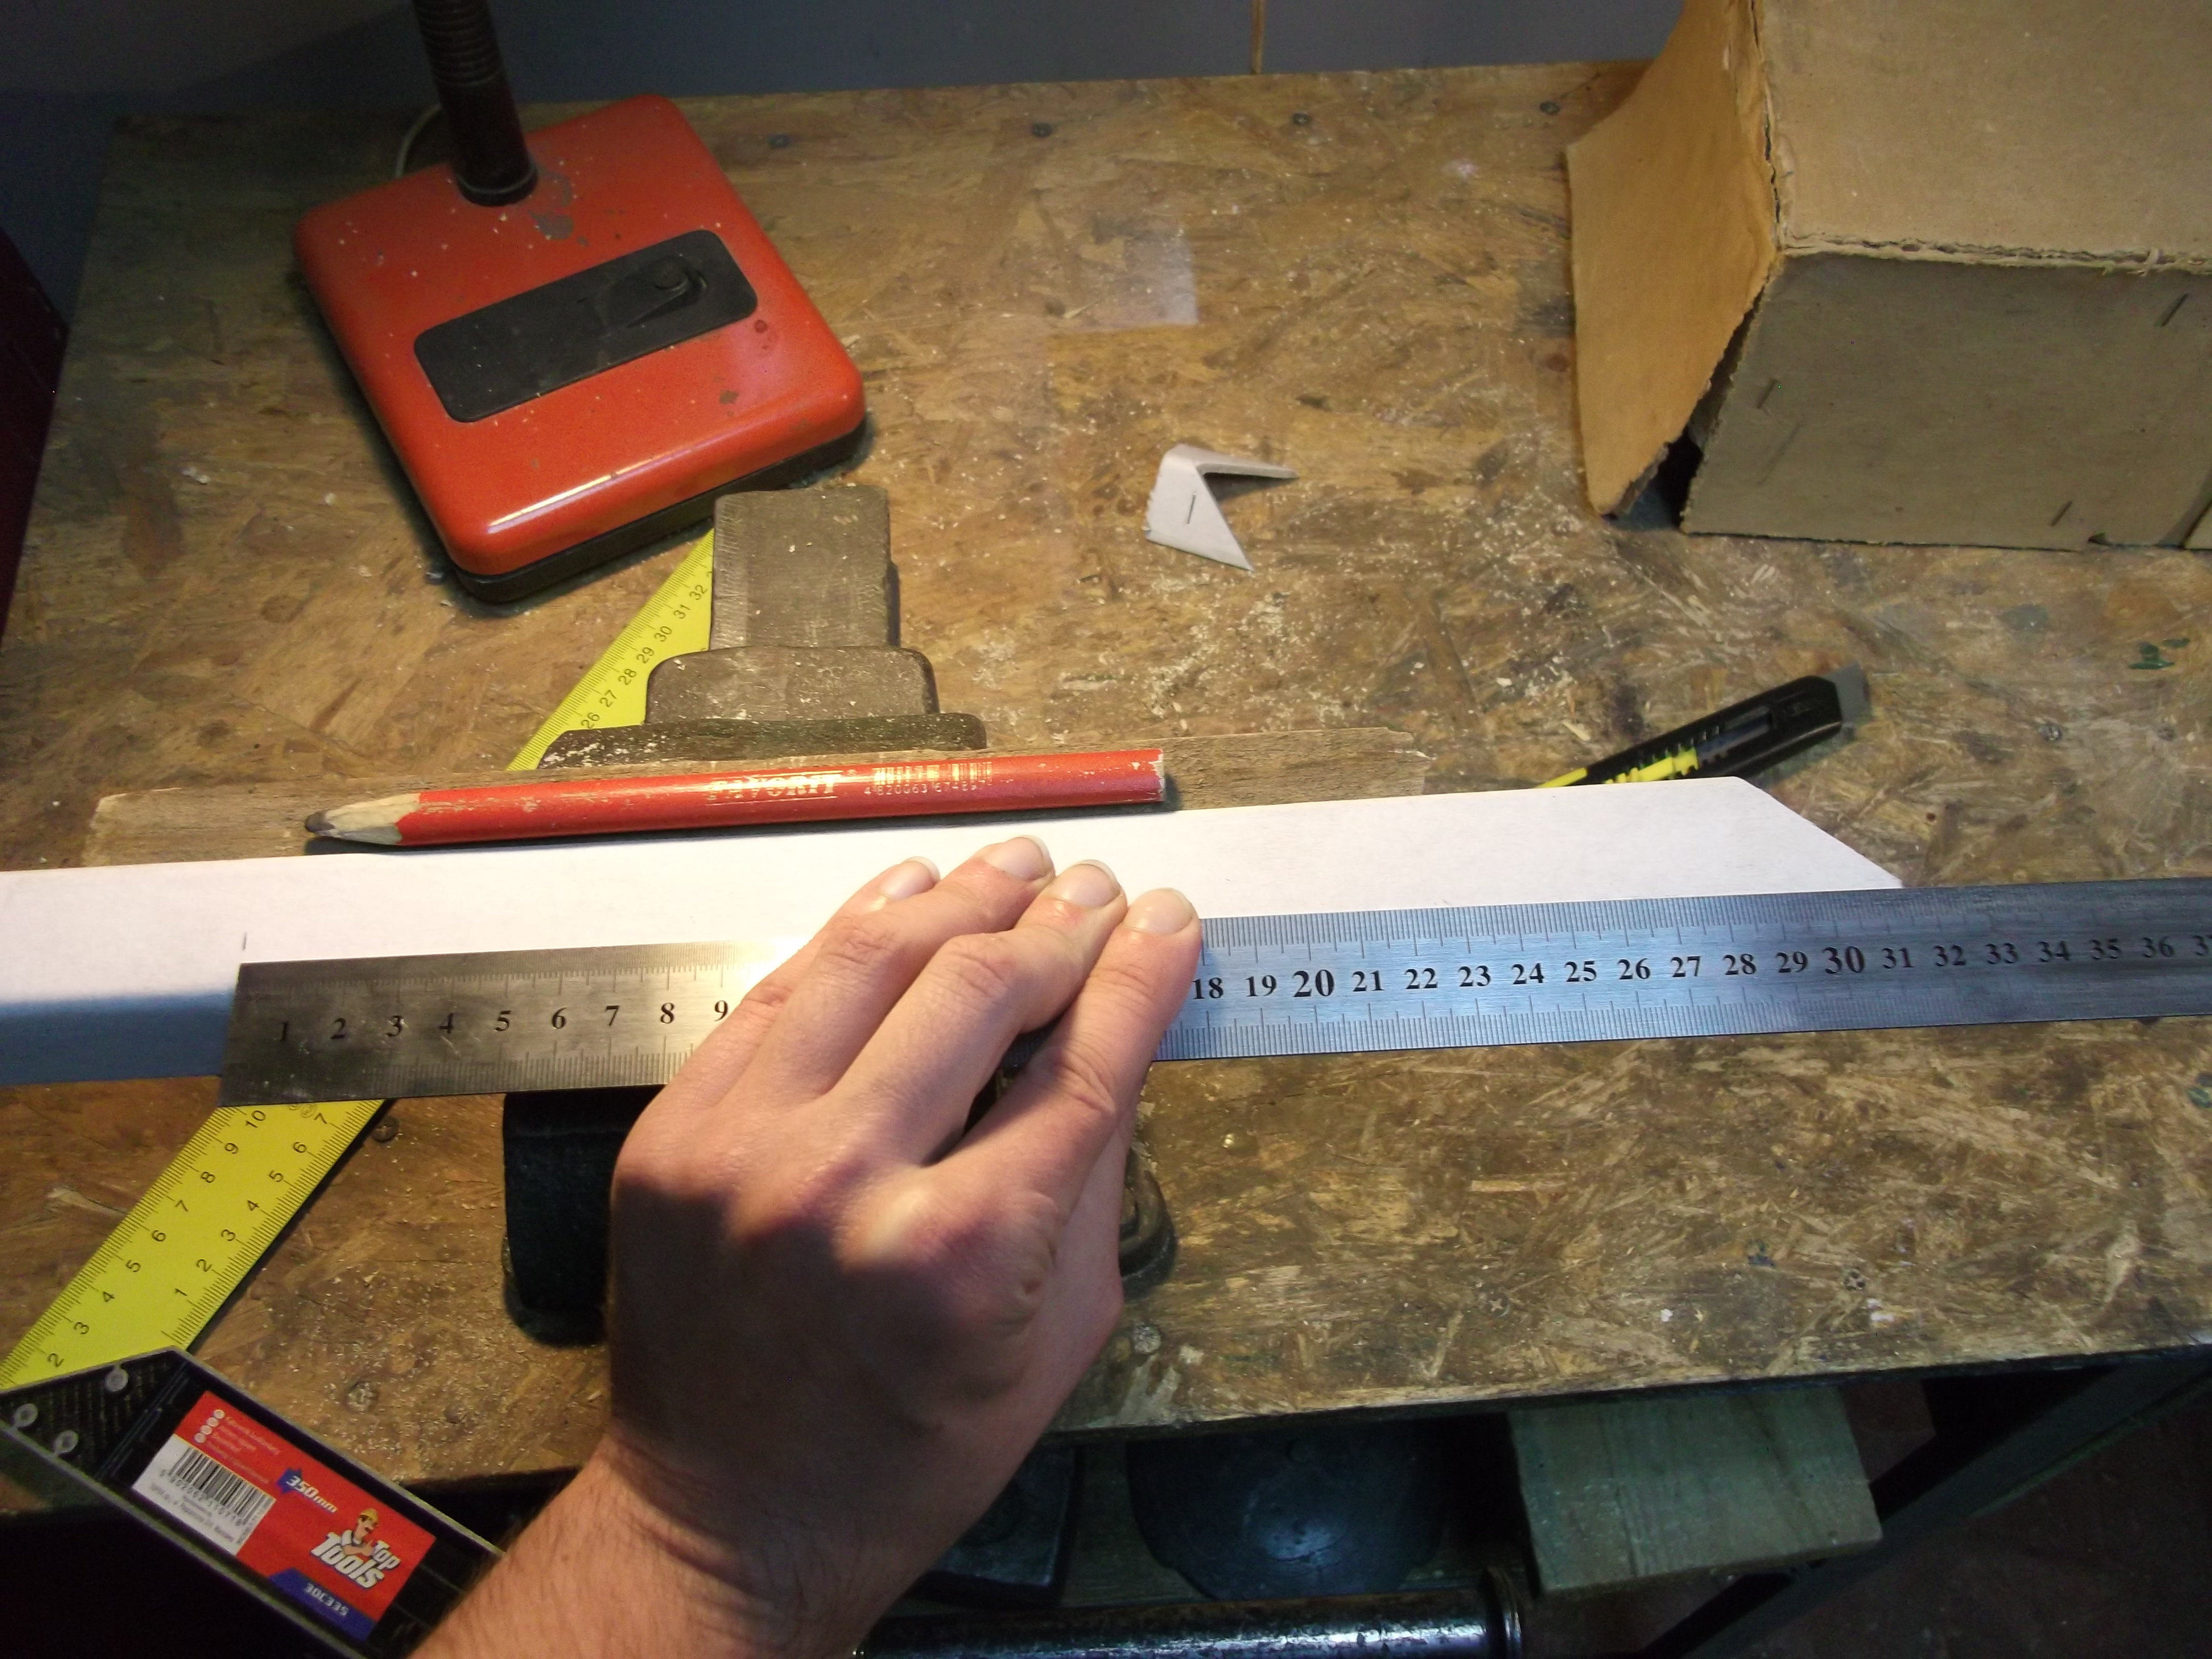
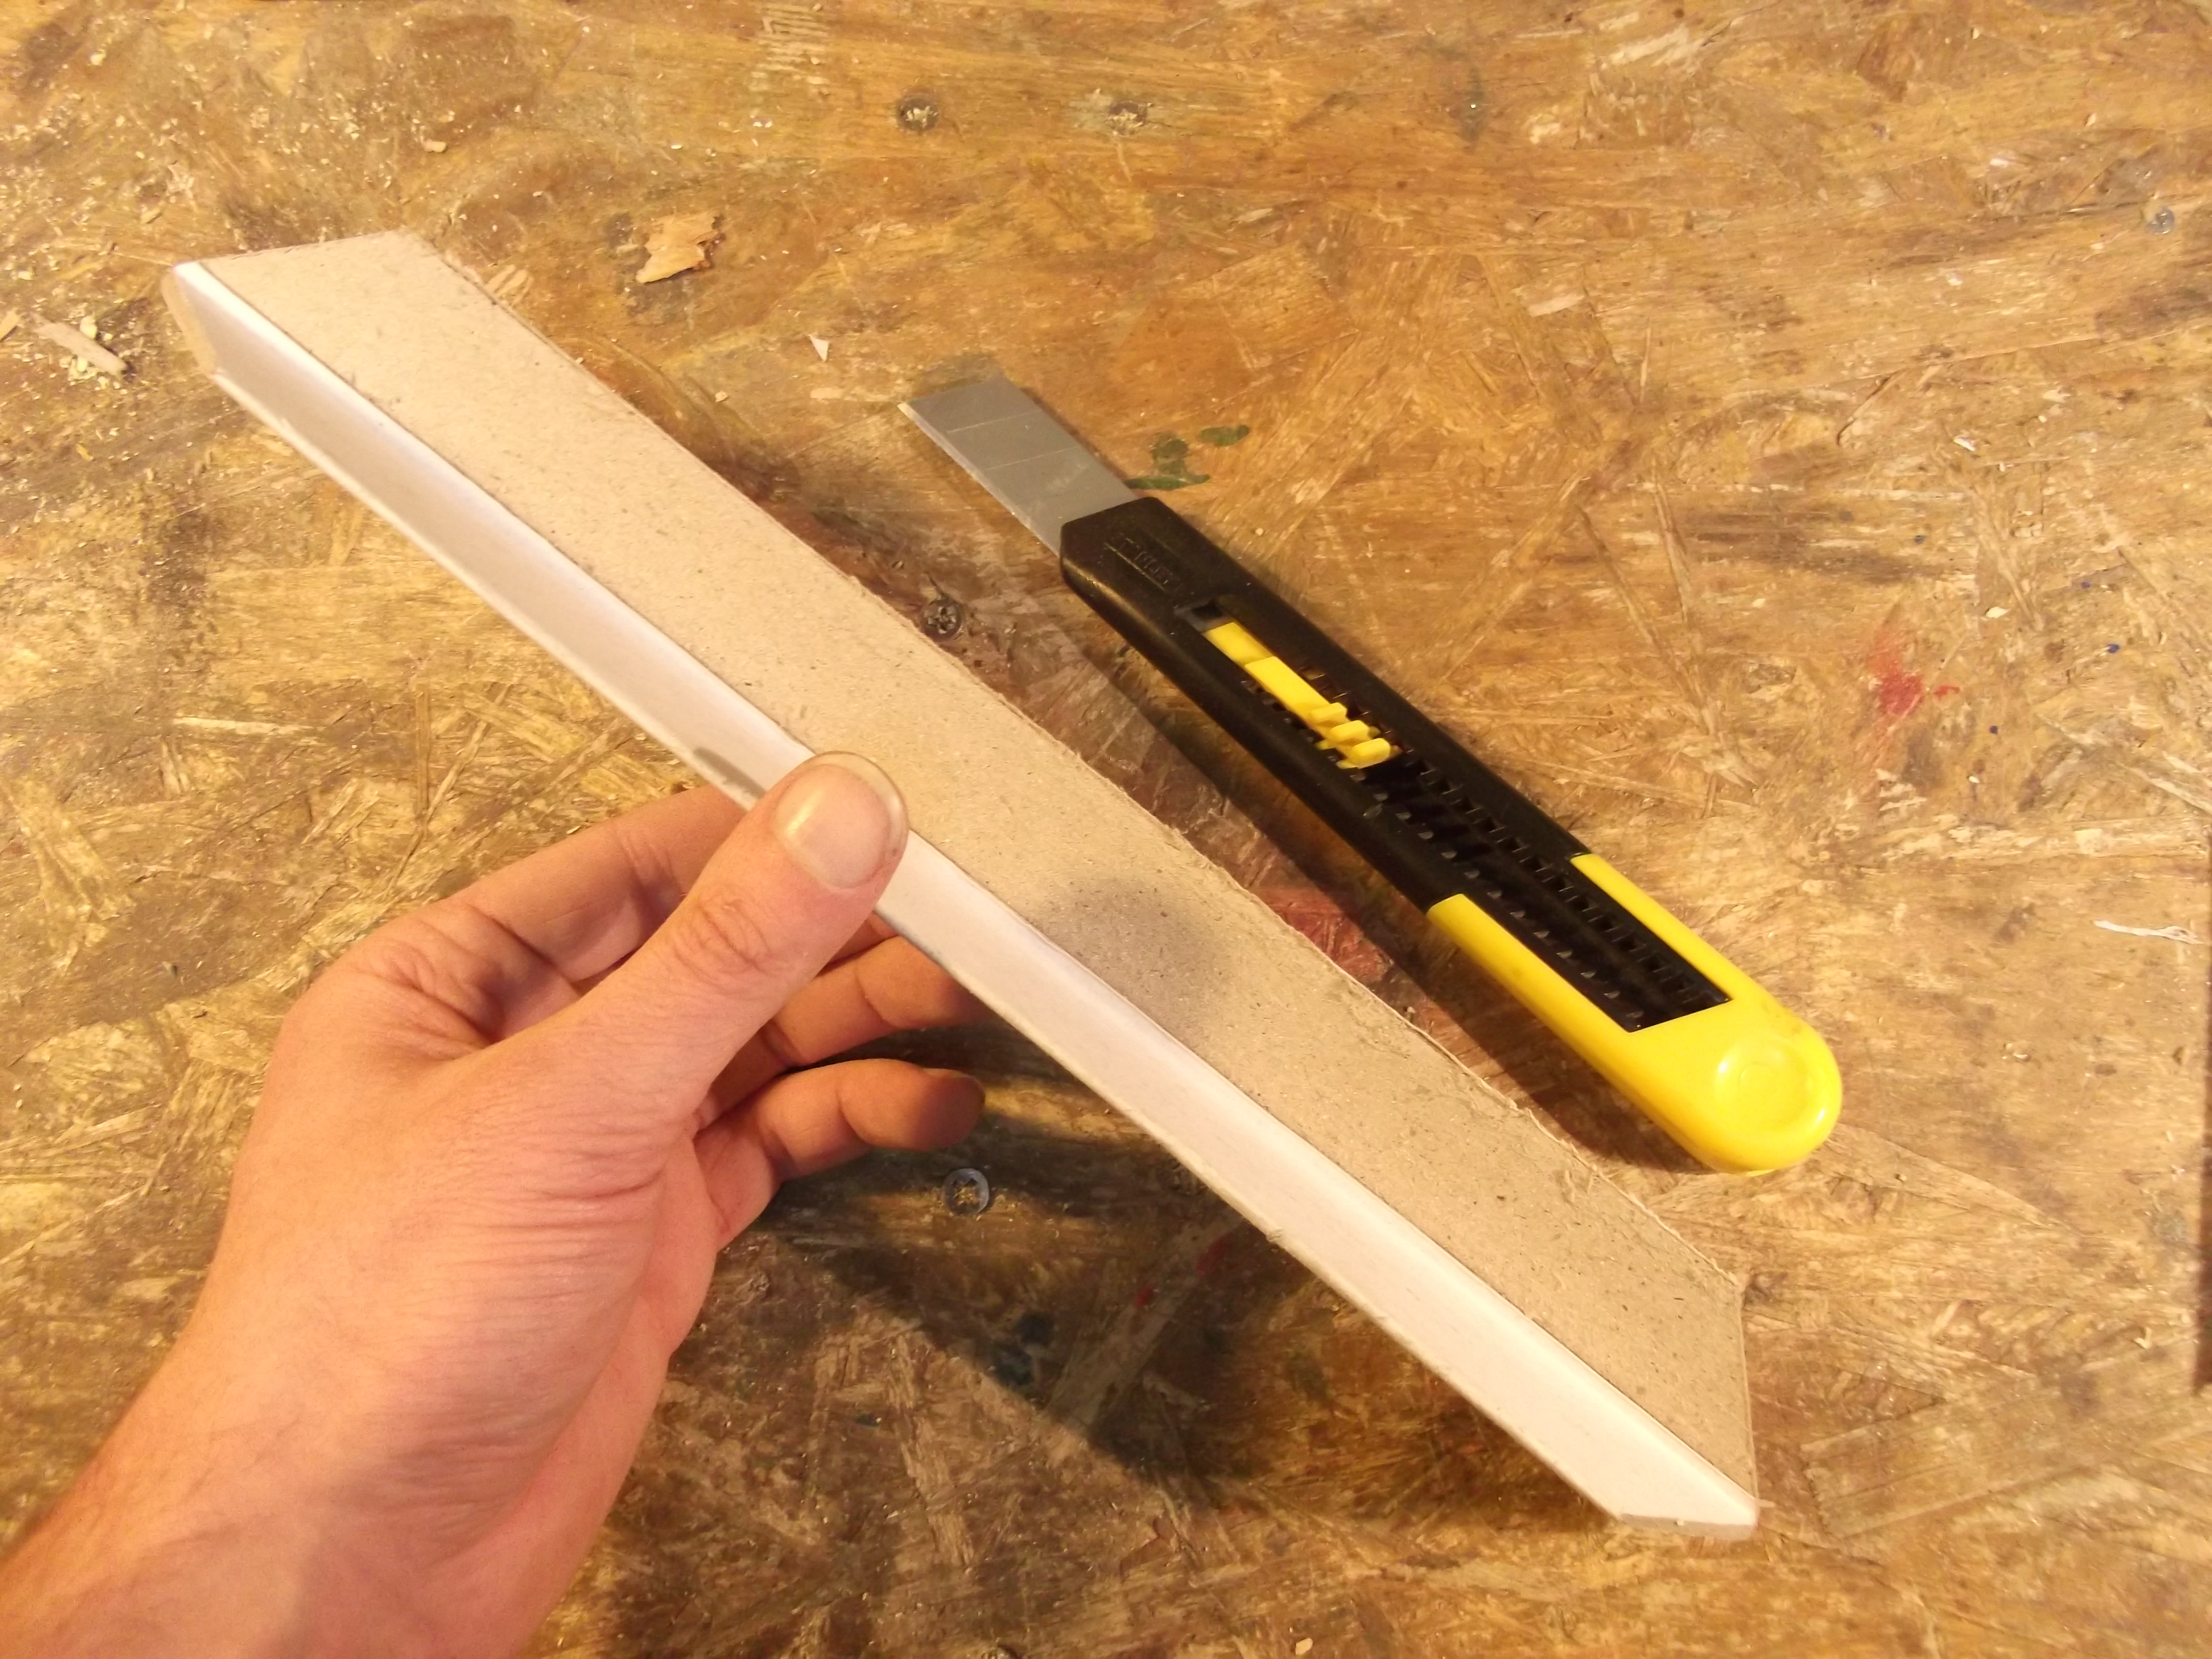
- Cut the piece into lenght;
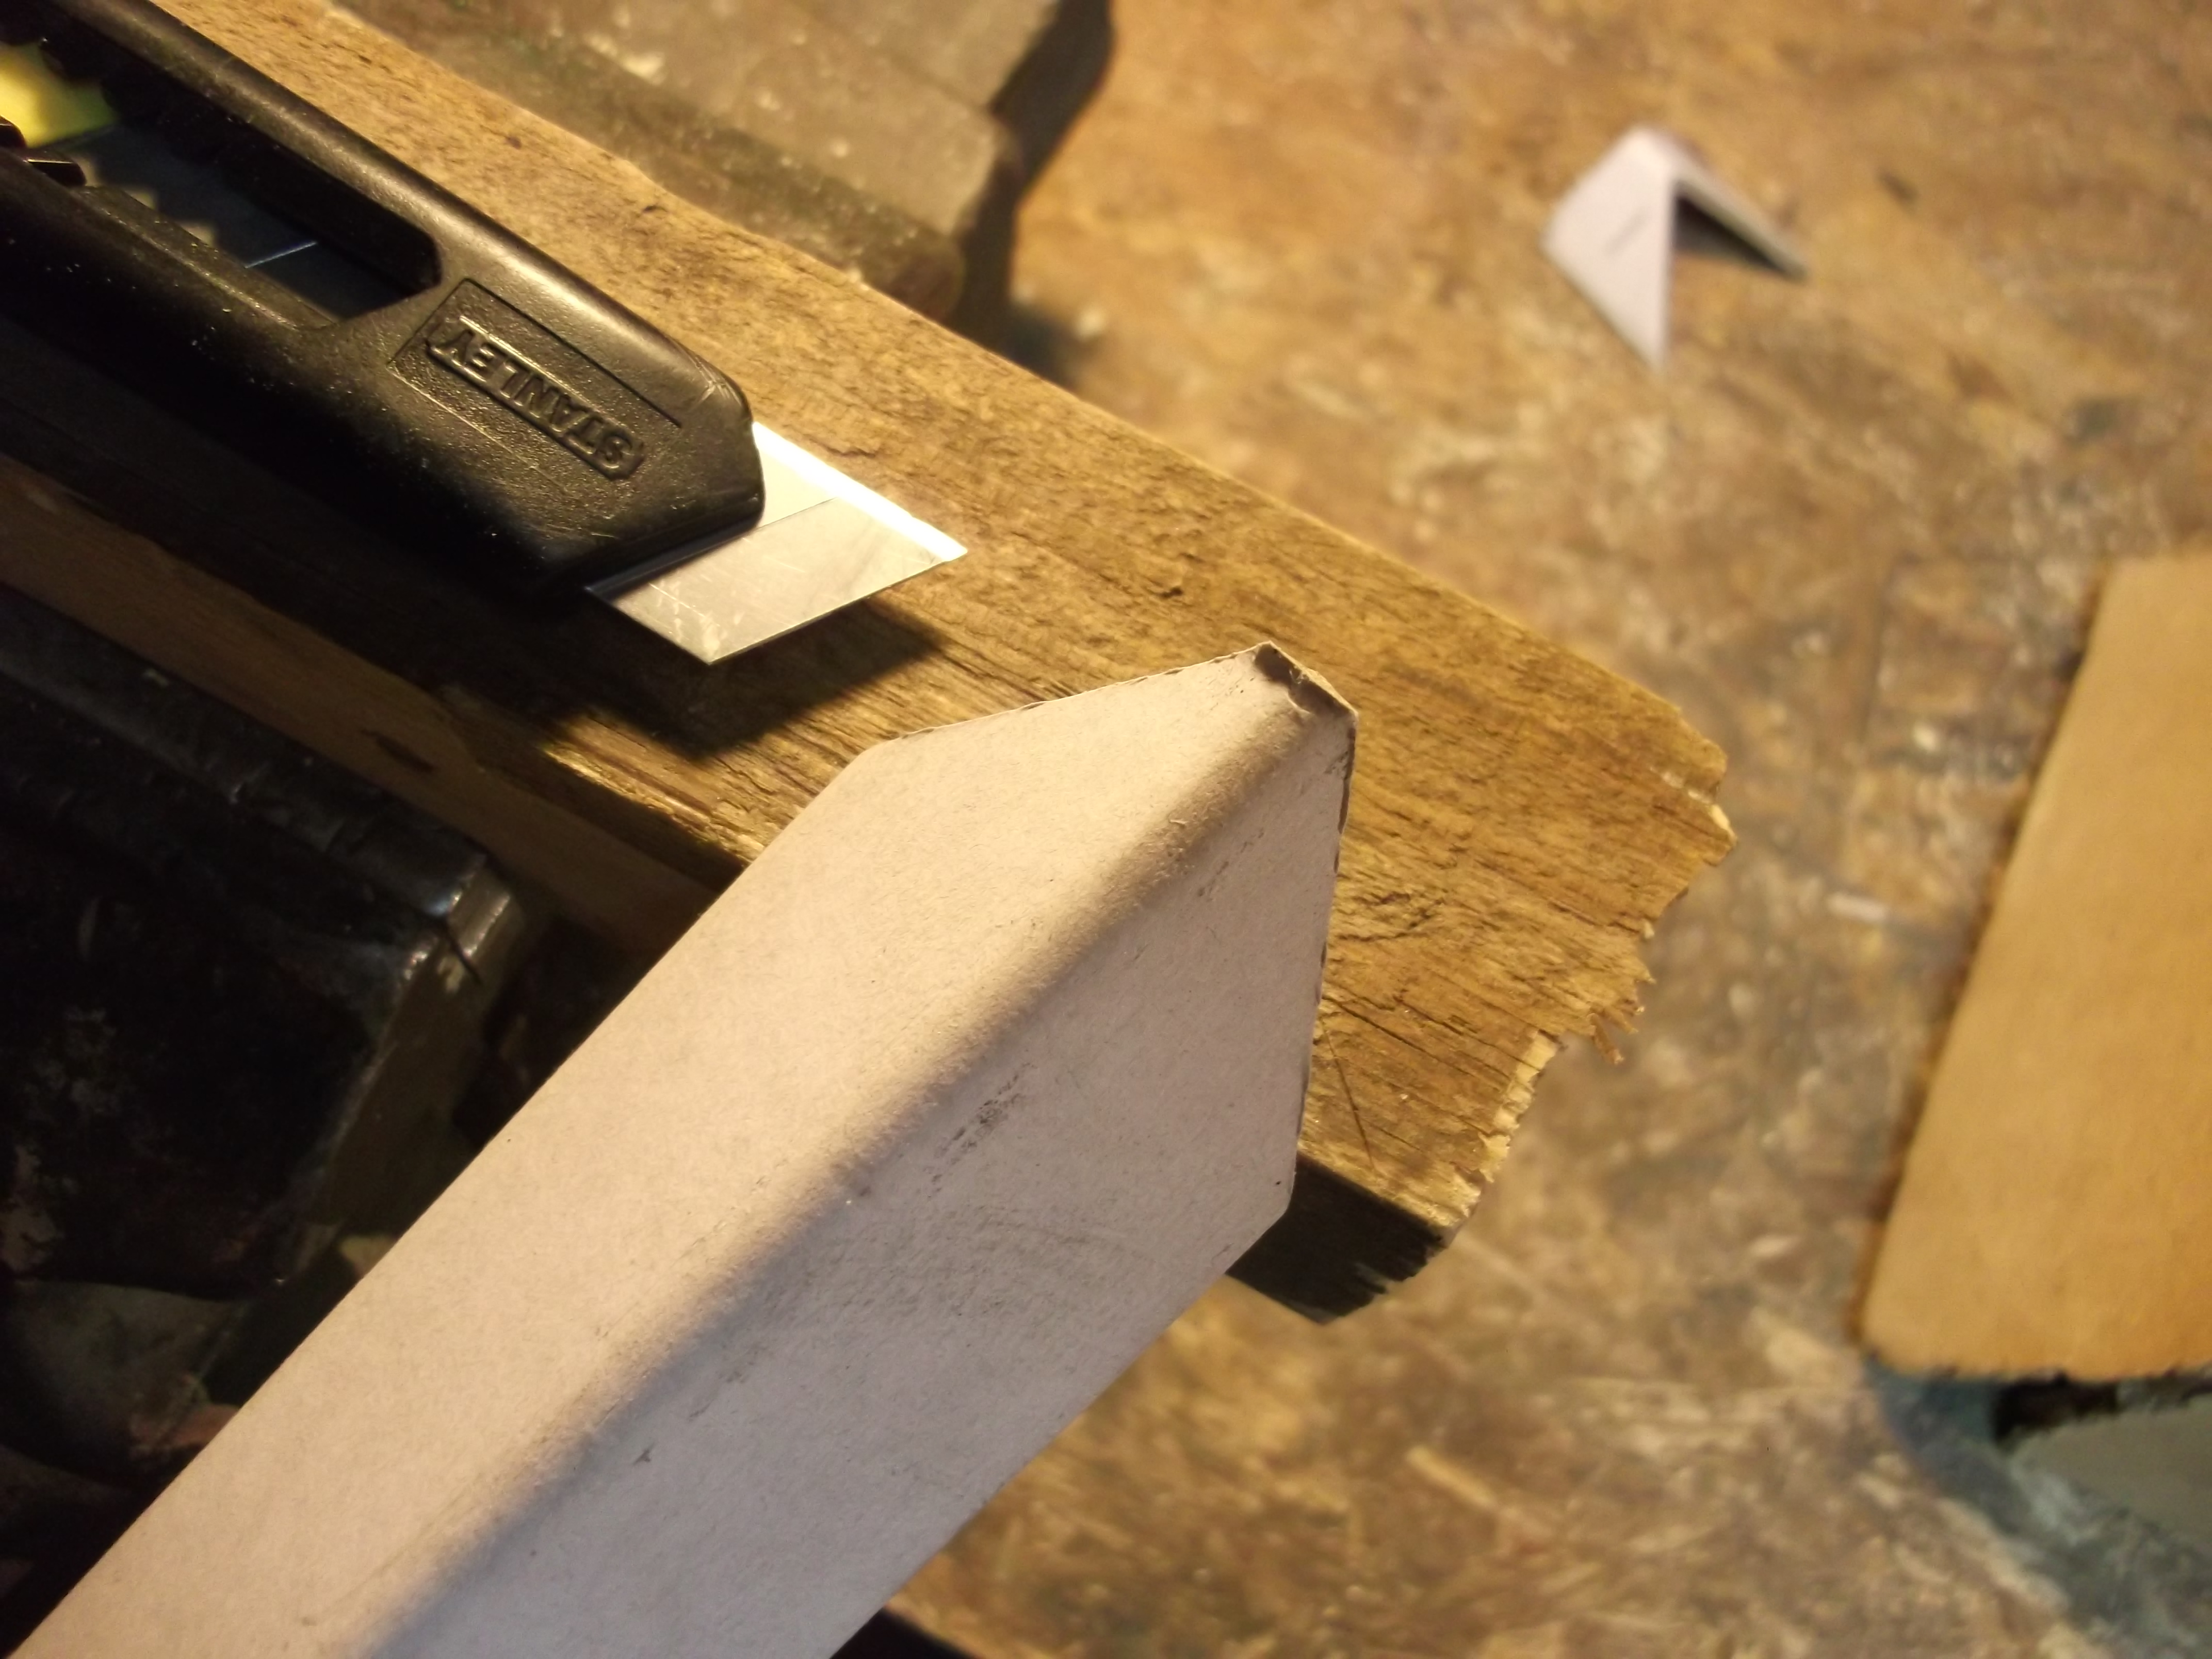
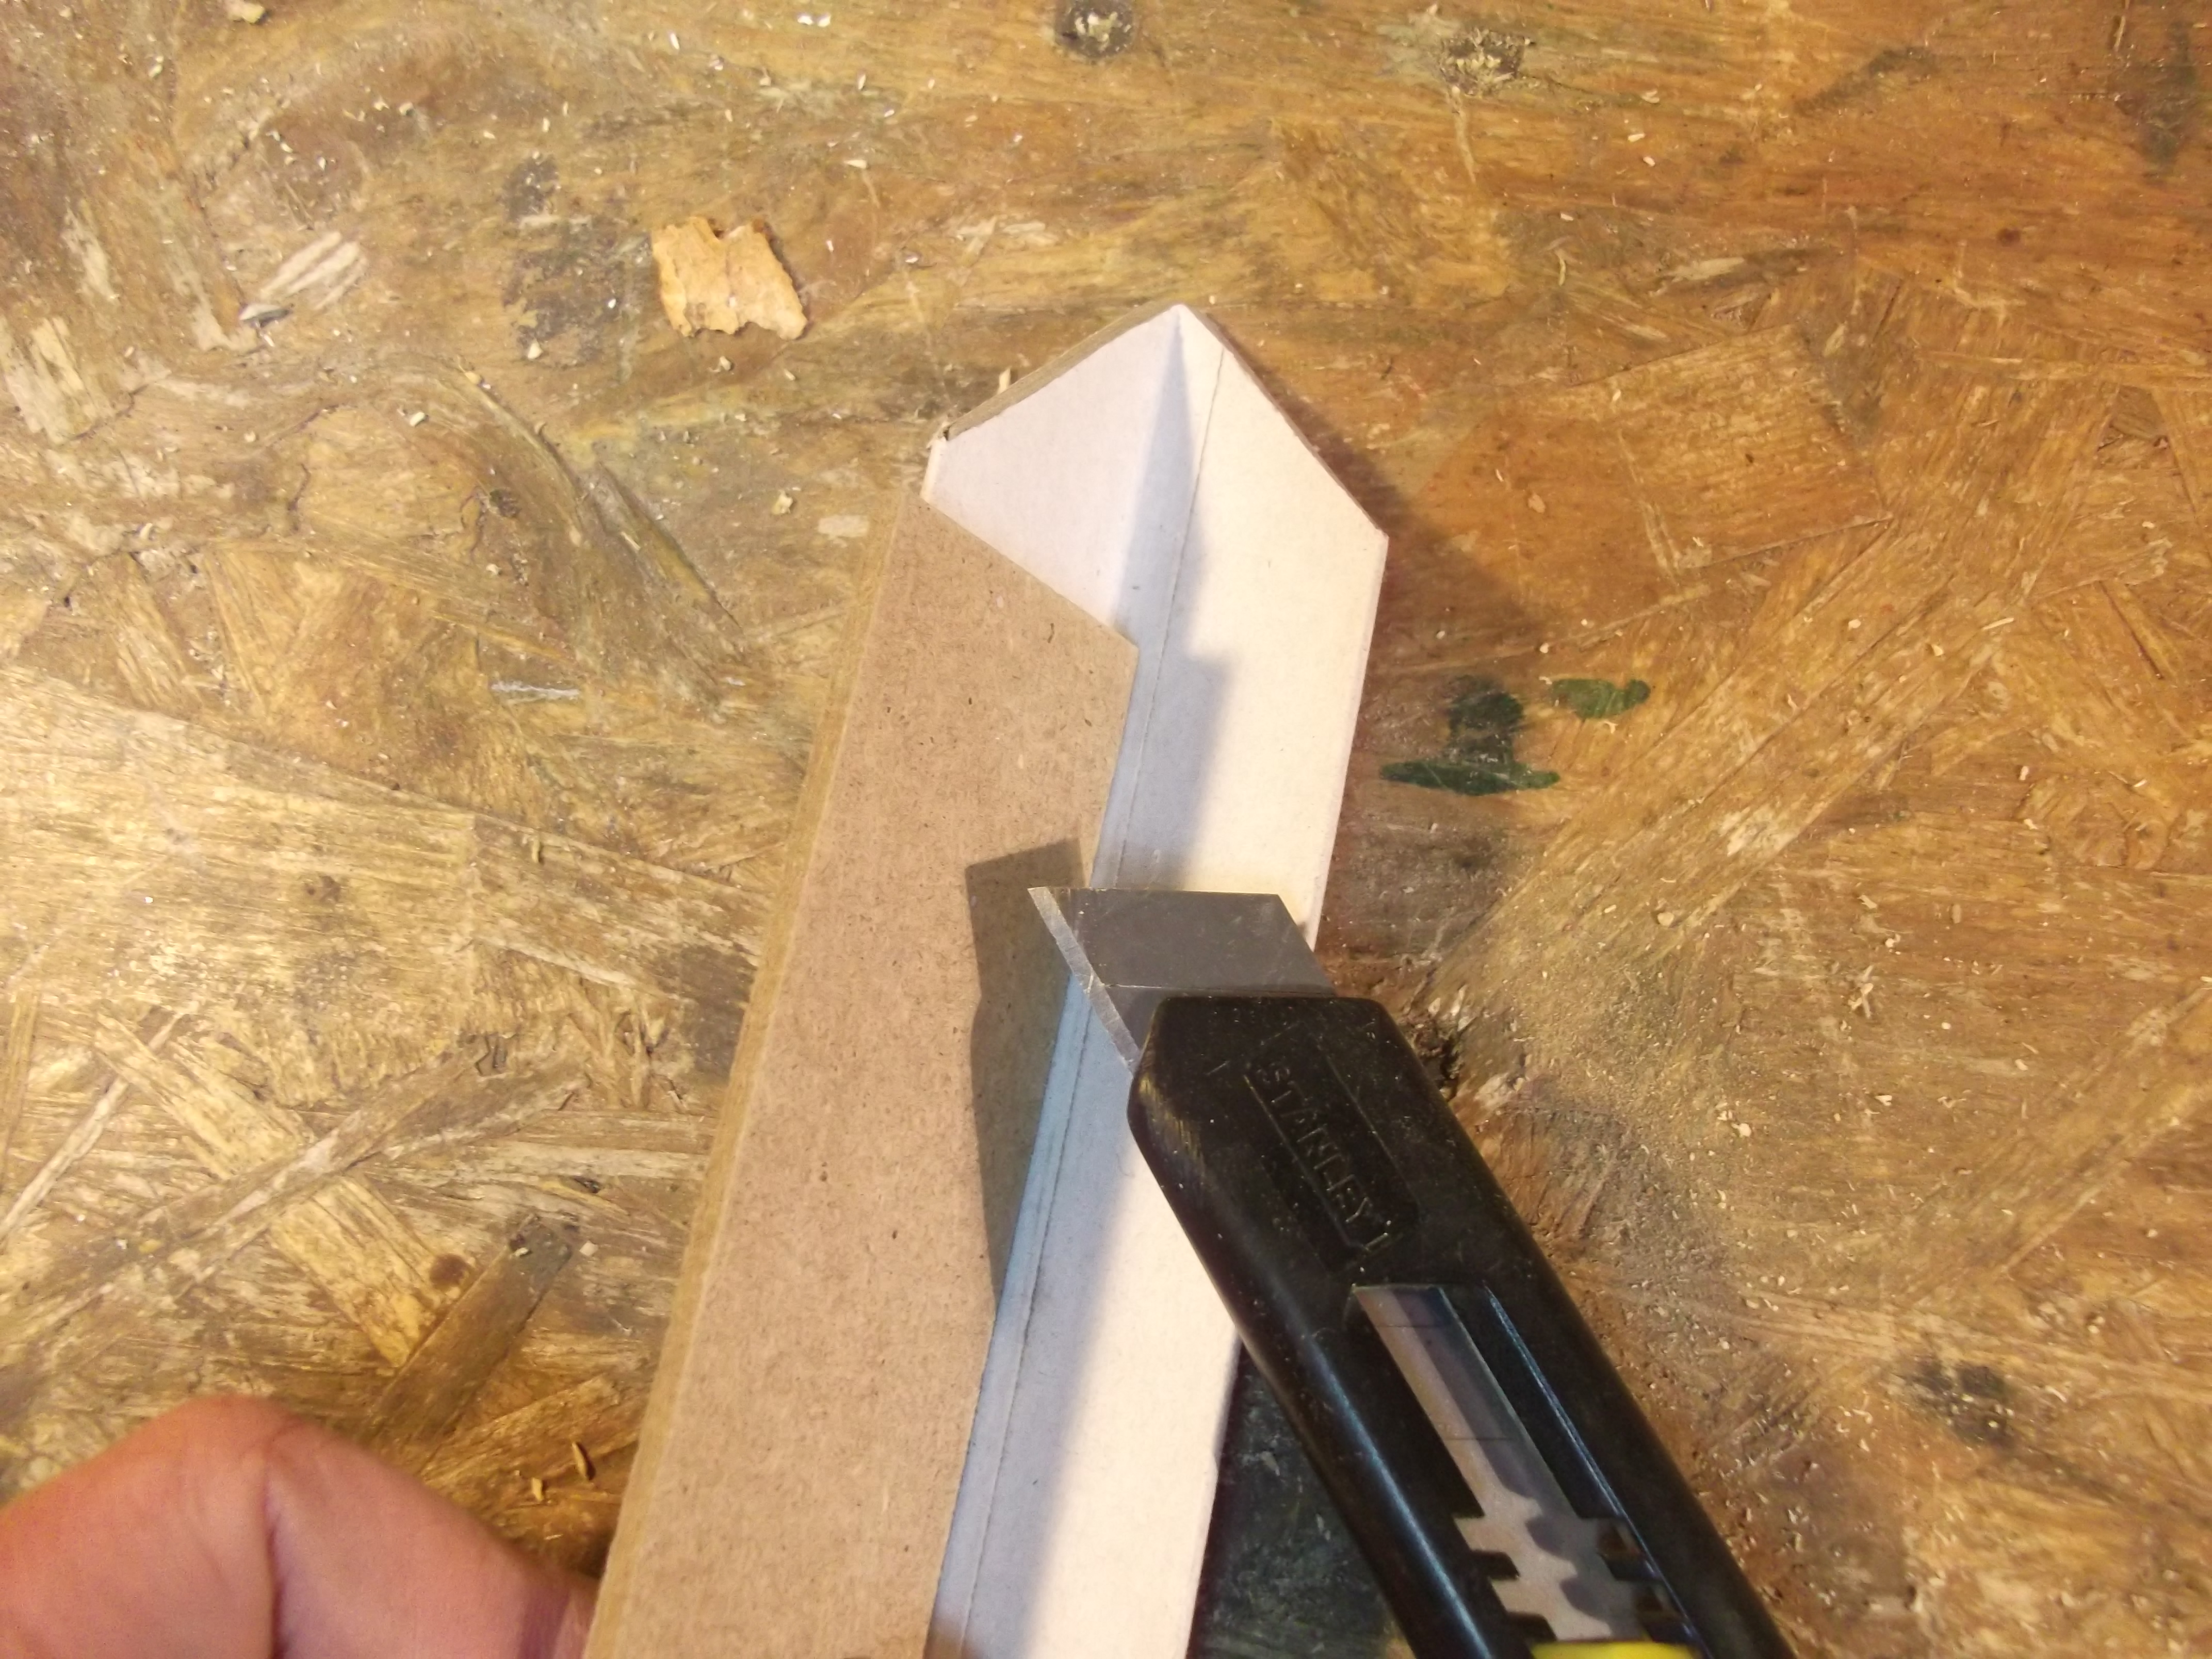
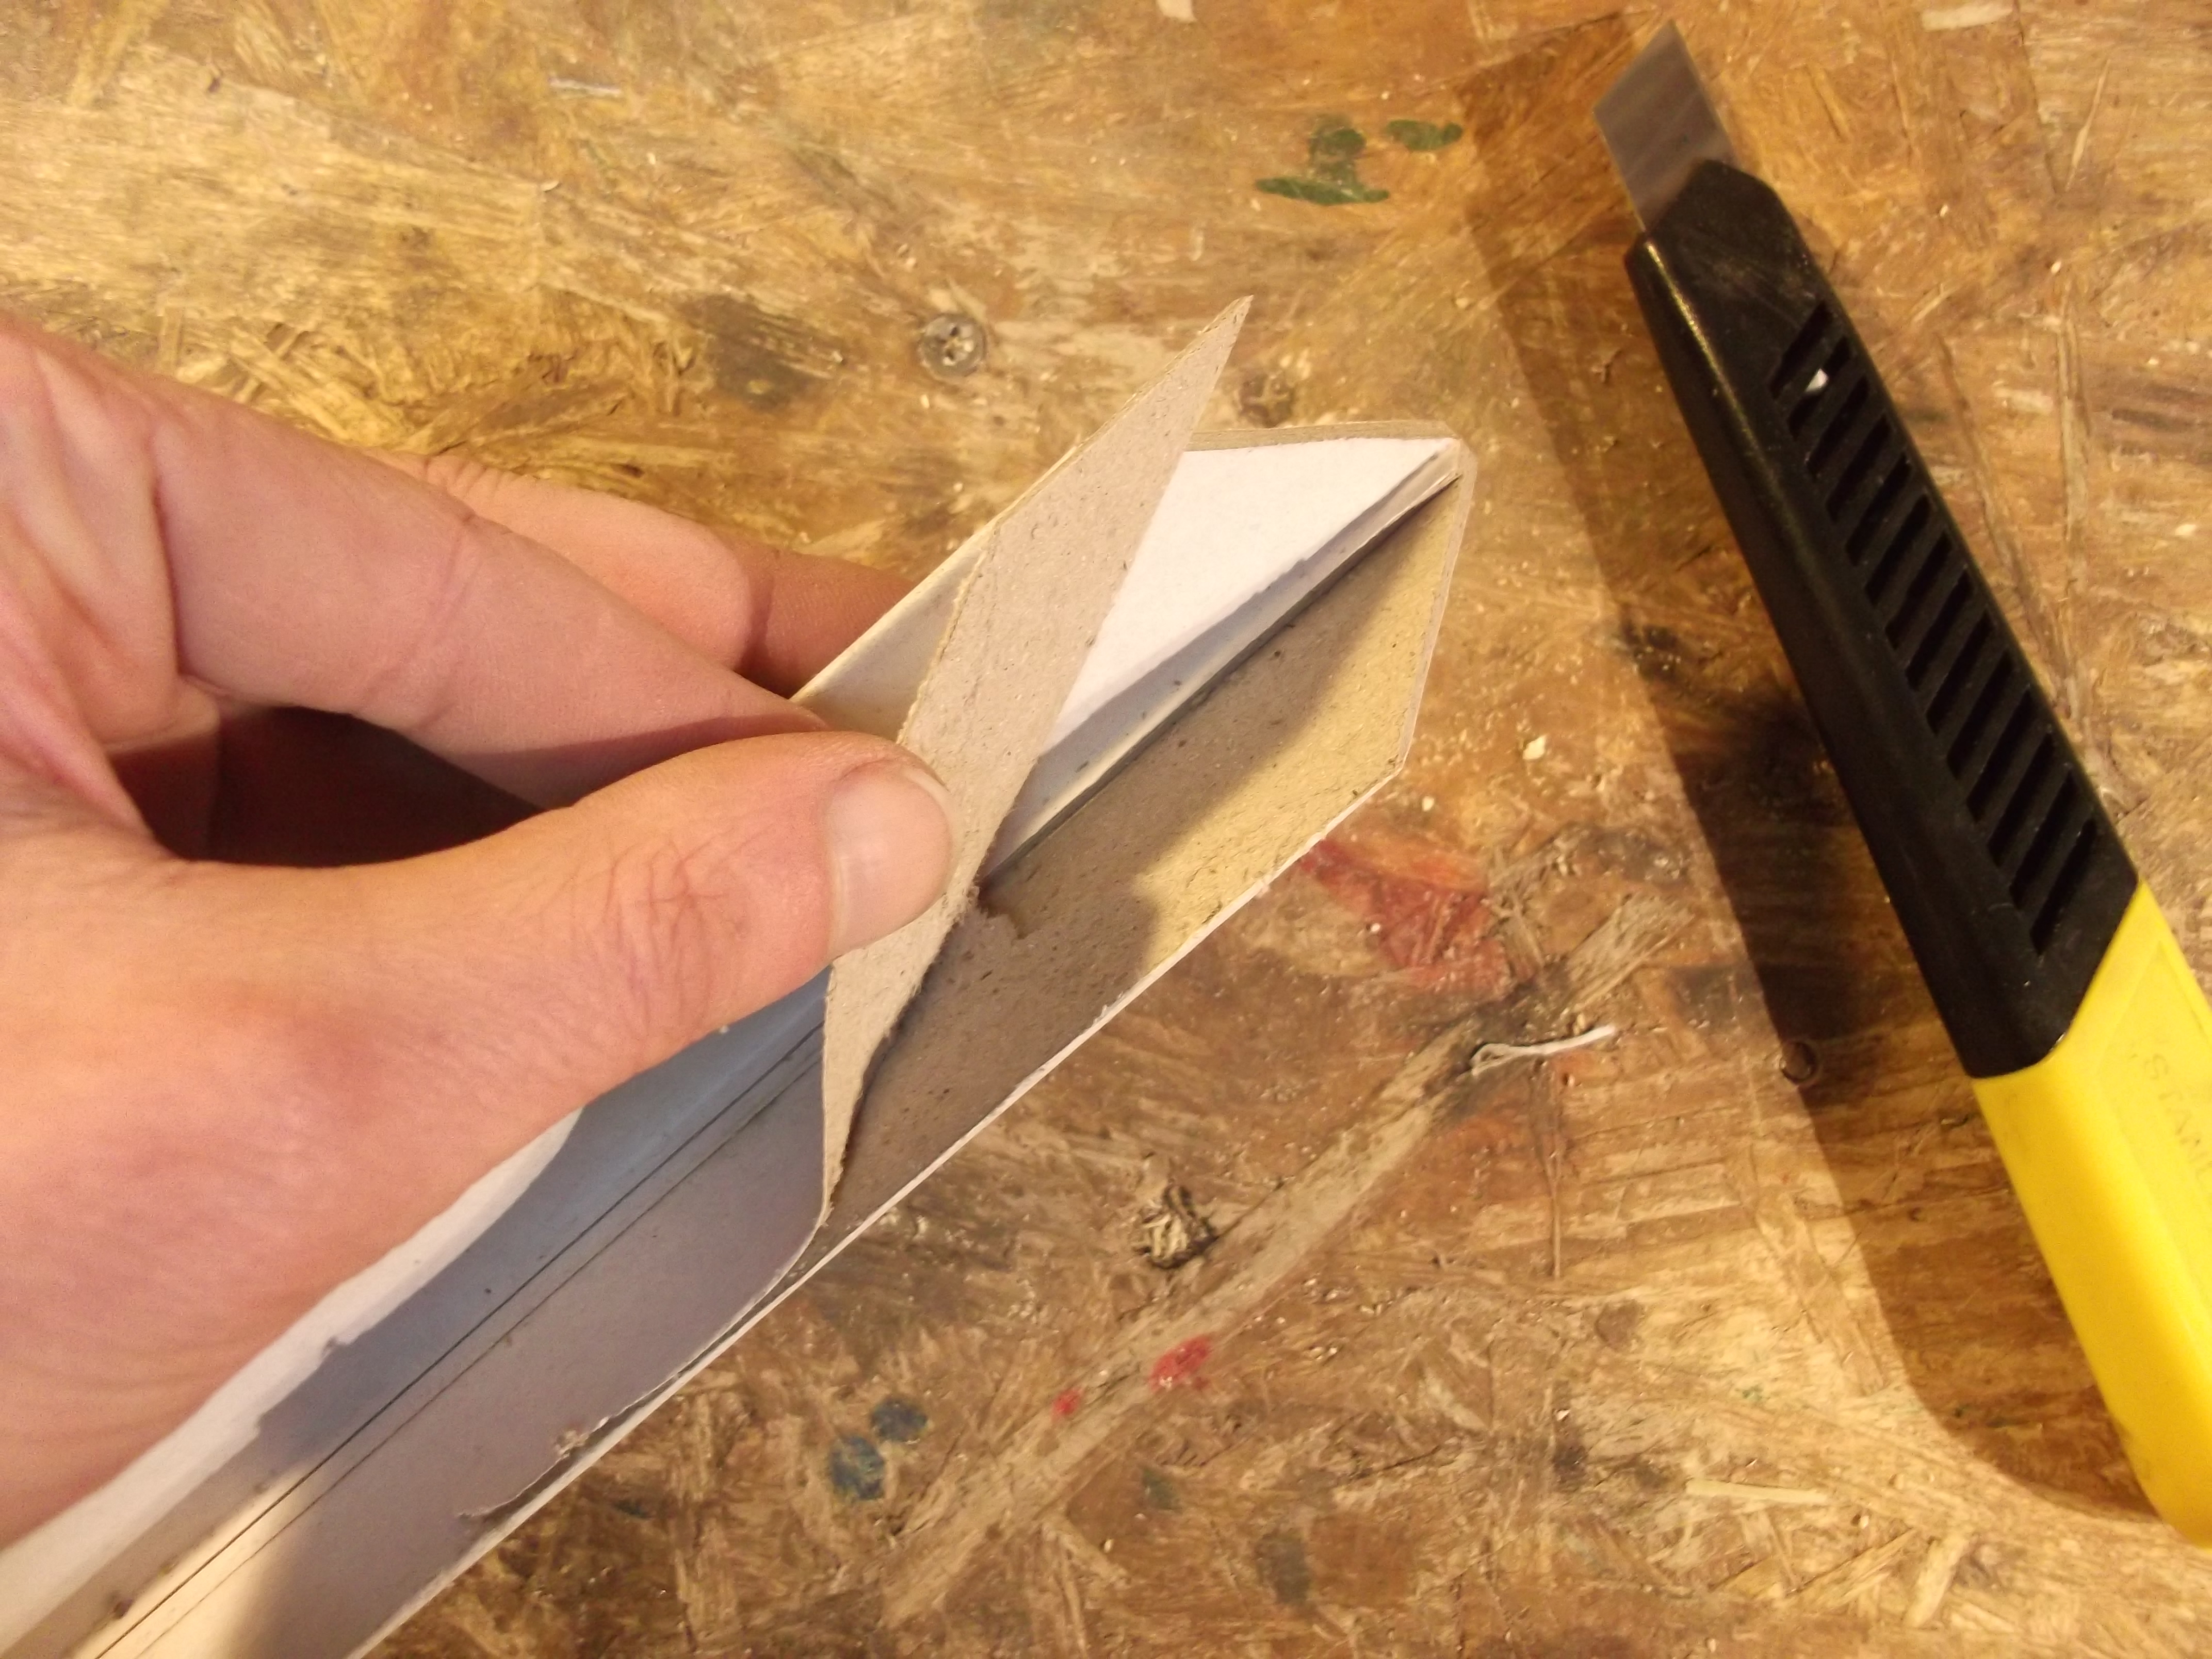
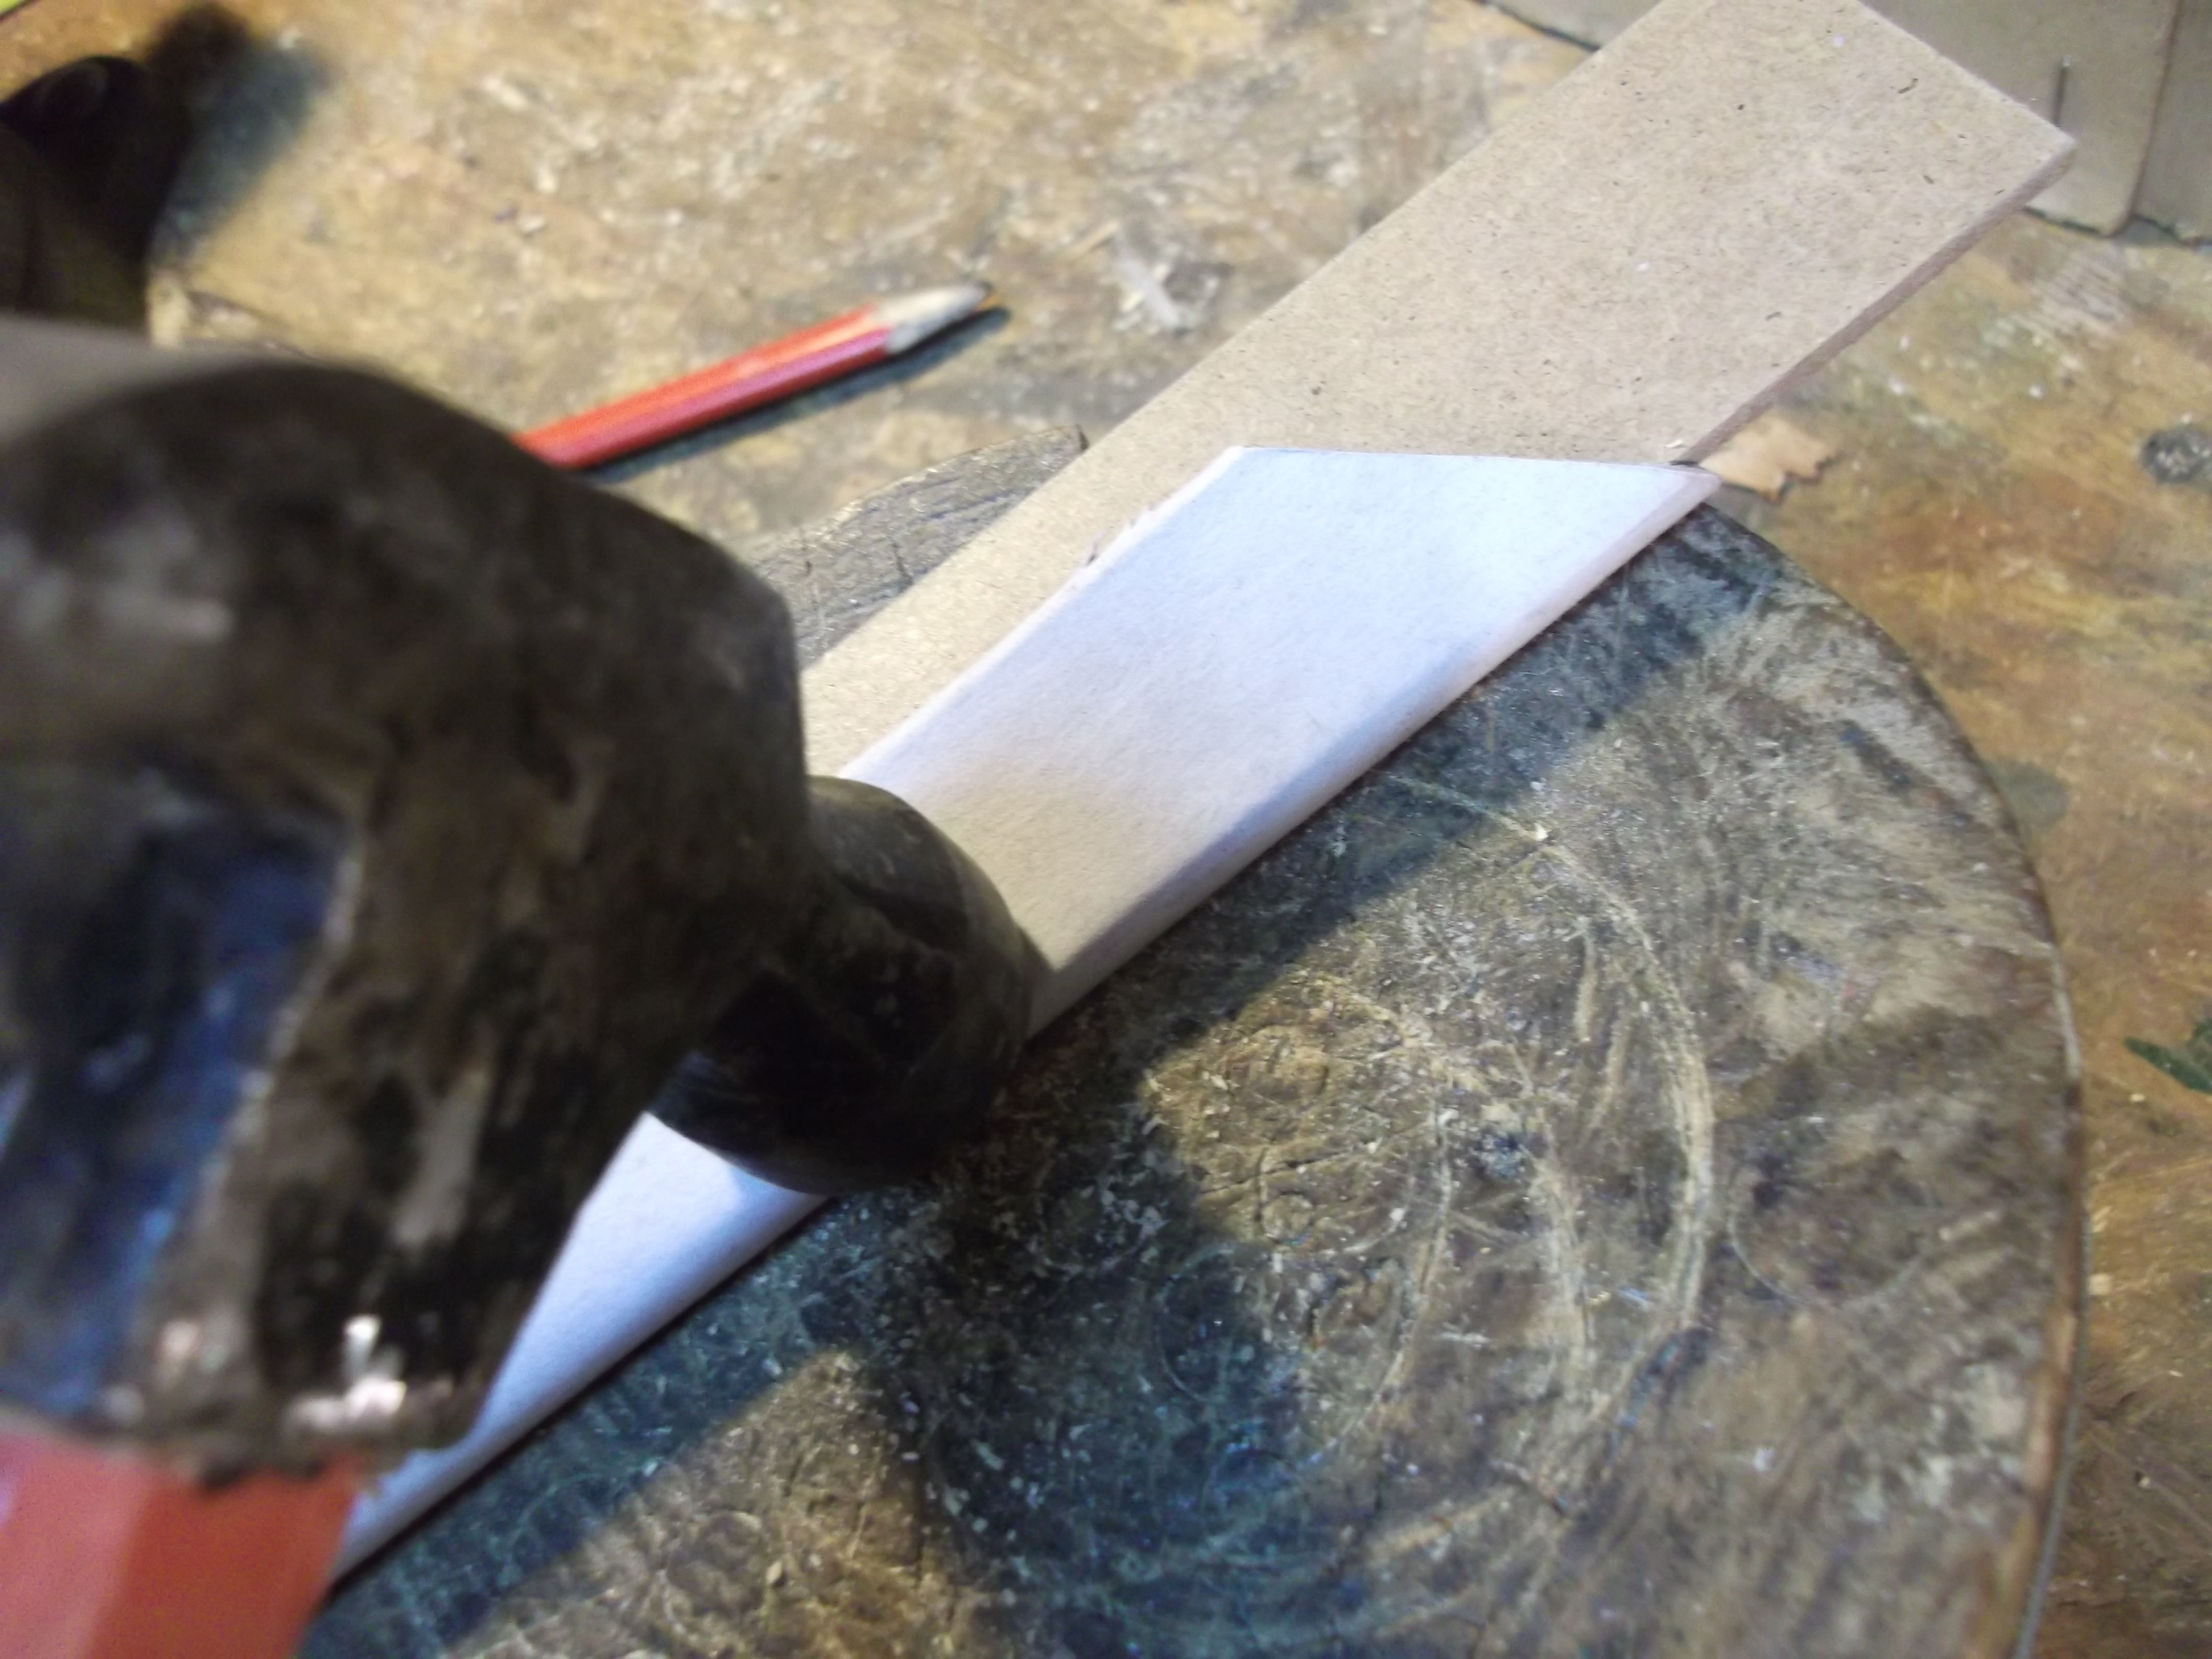
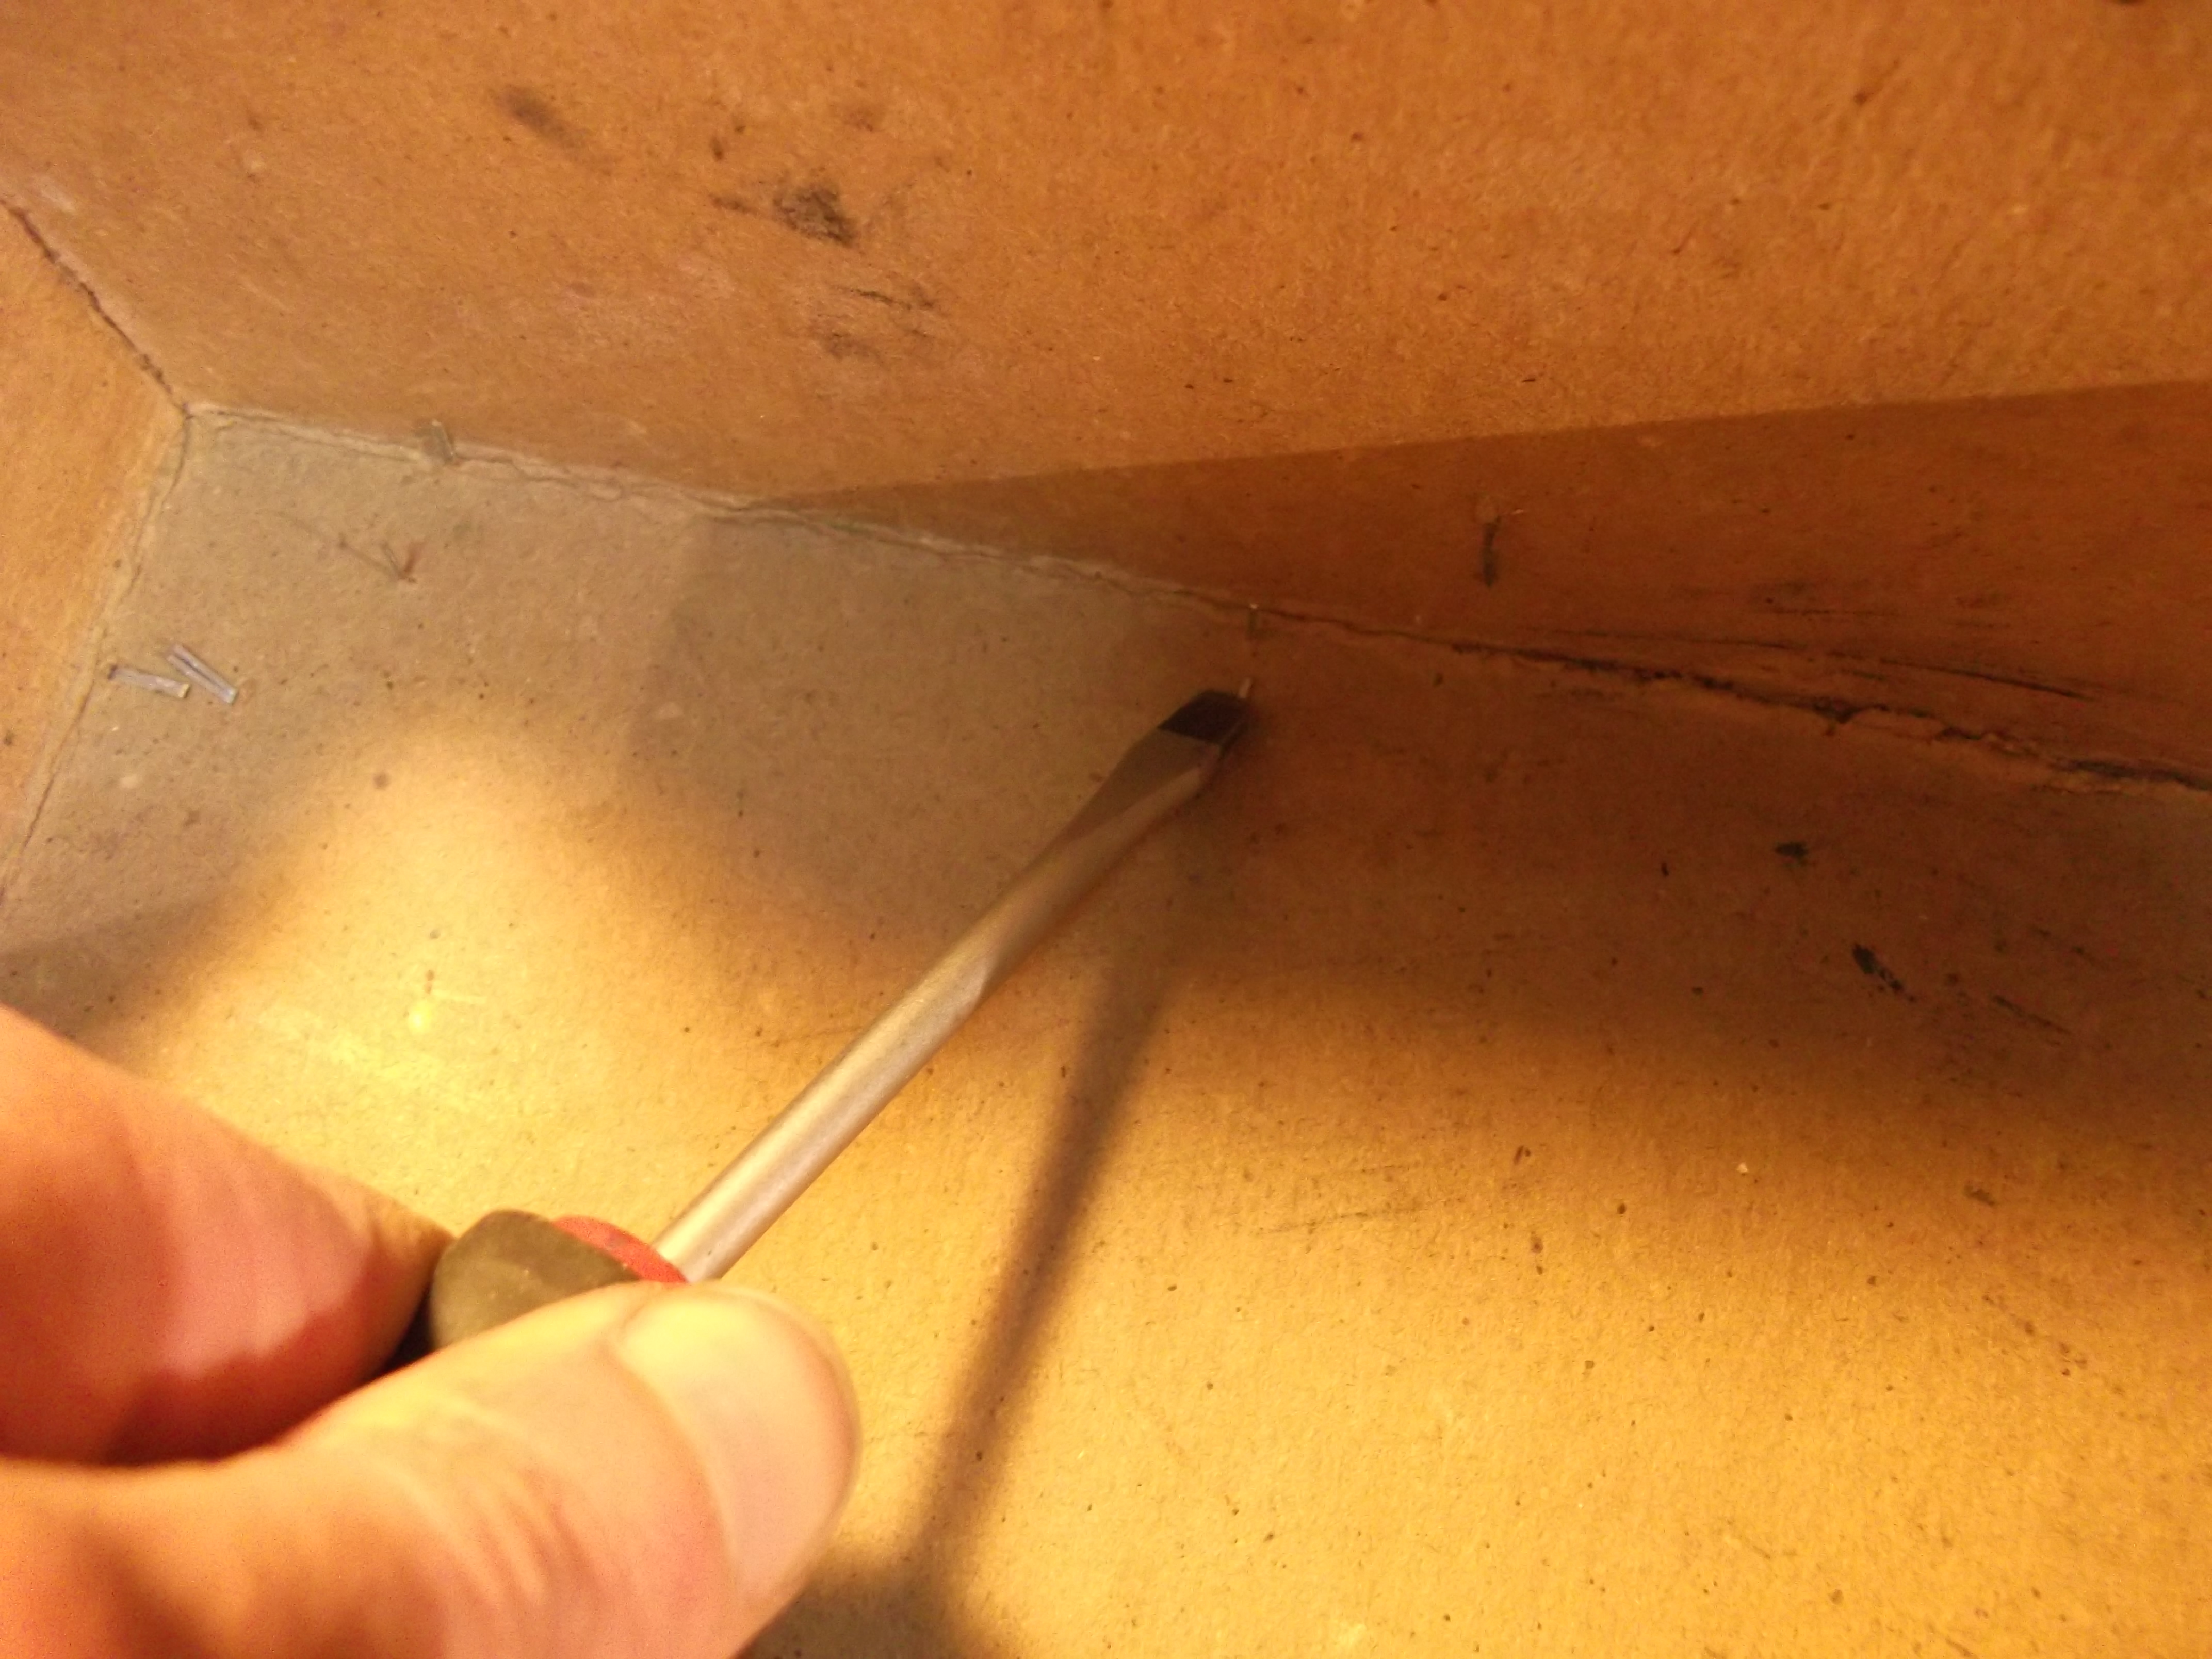
- Use a spacer to make a cut halfway through the thickness of the material at some distance from the wall of the profile on the inside;
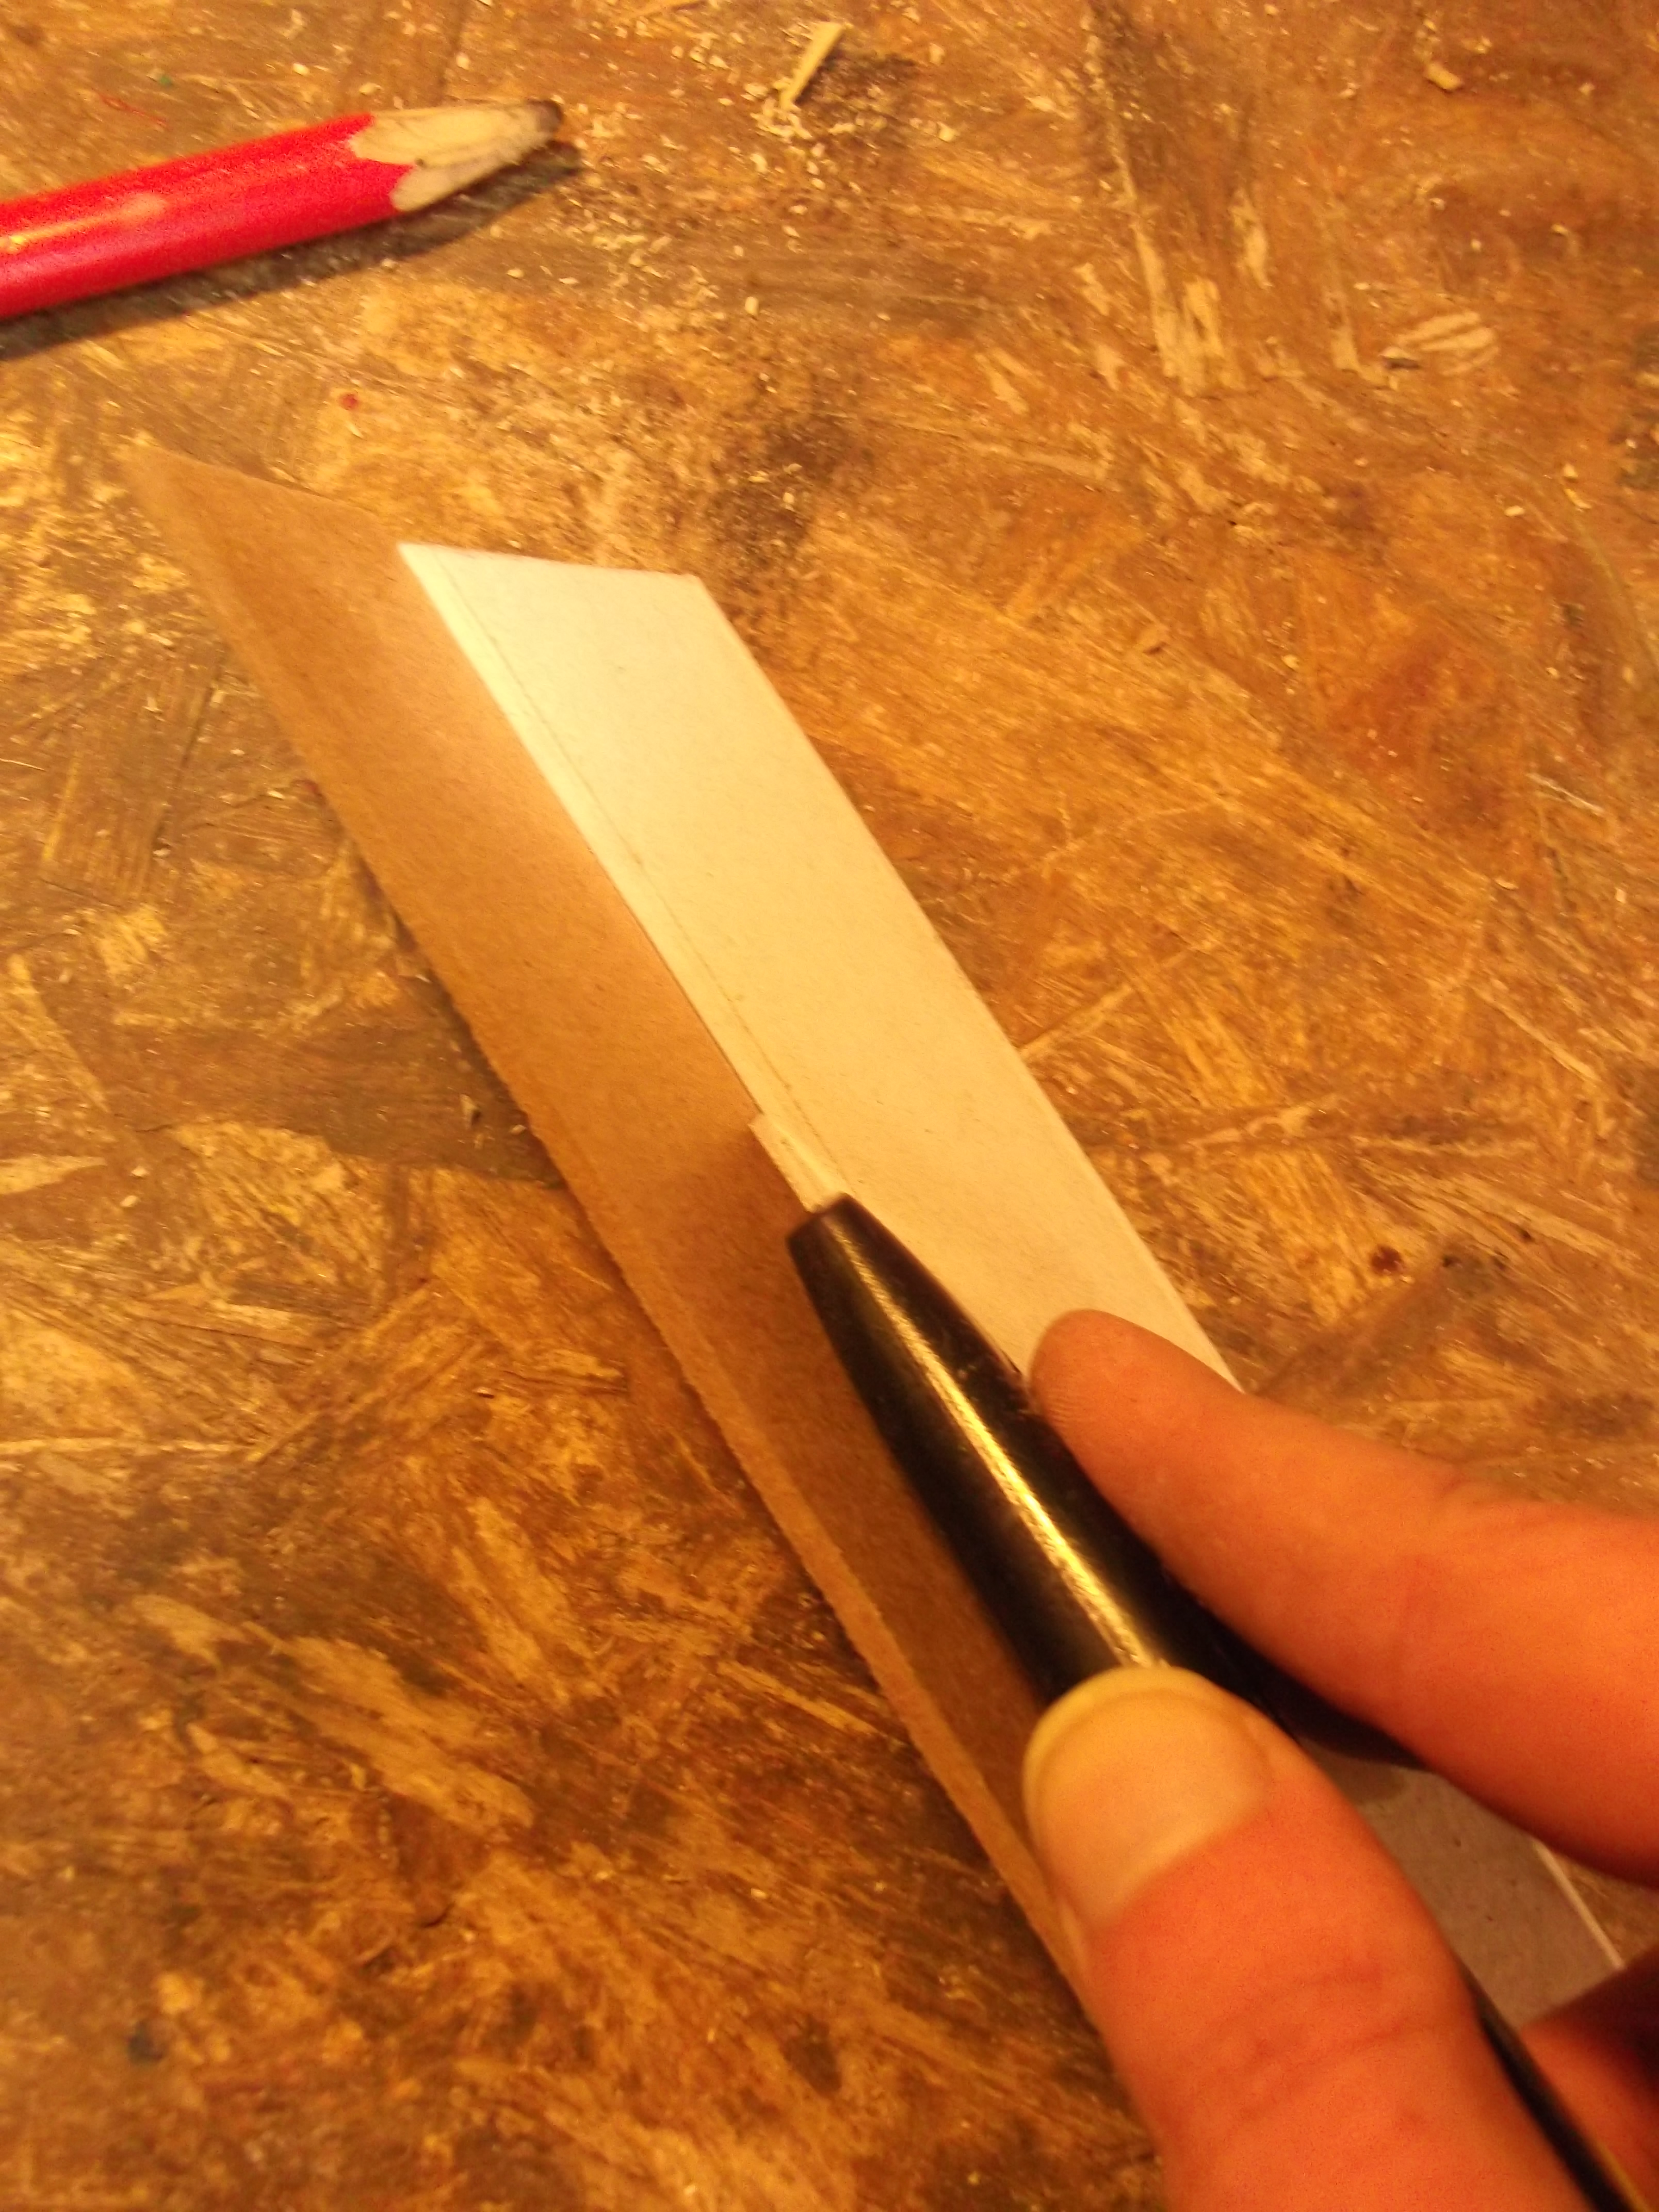
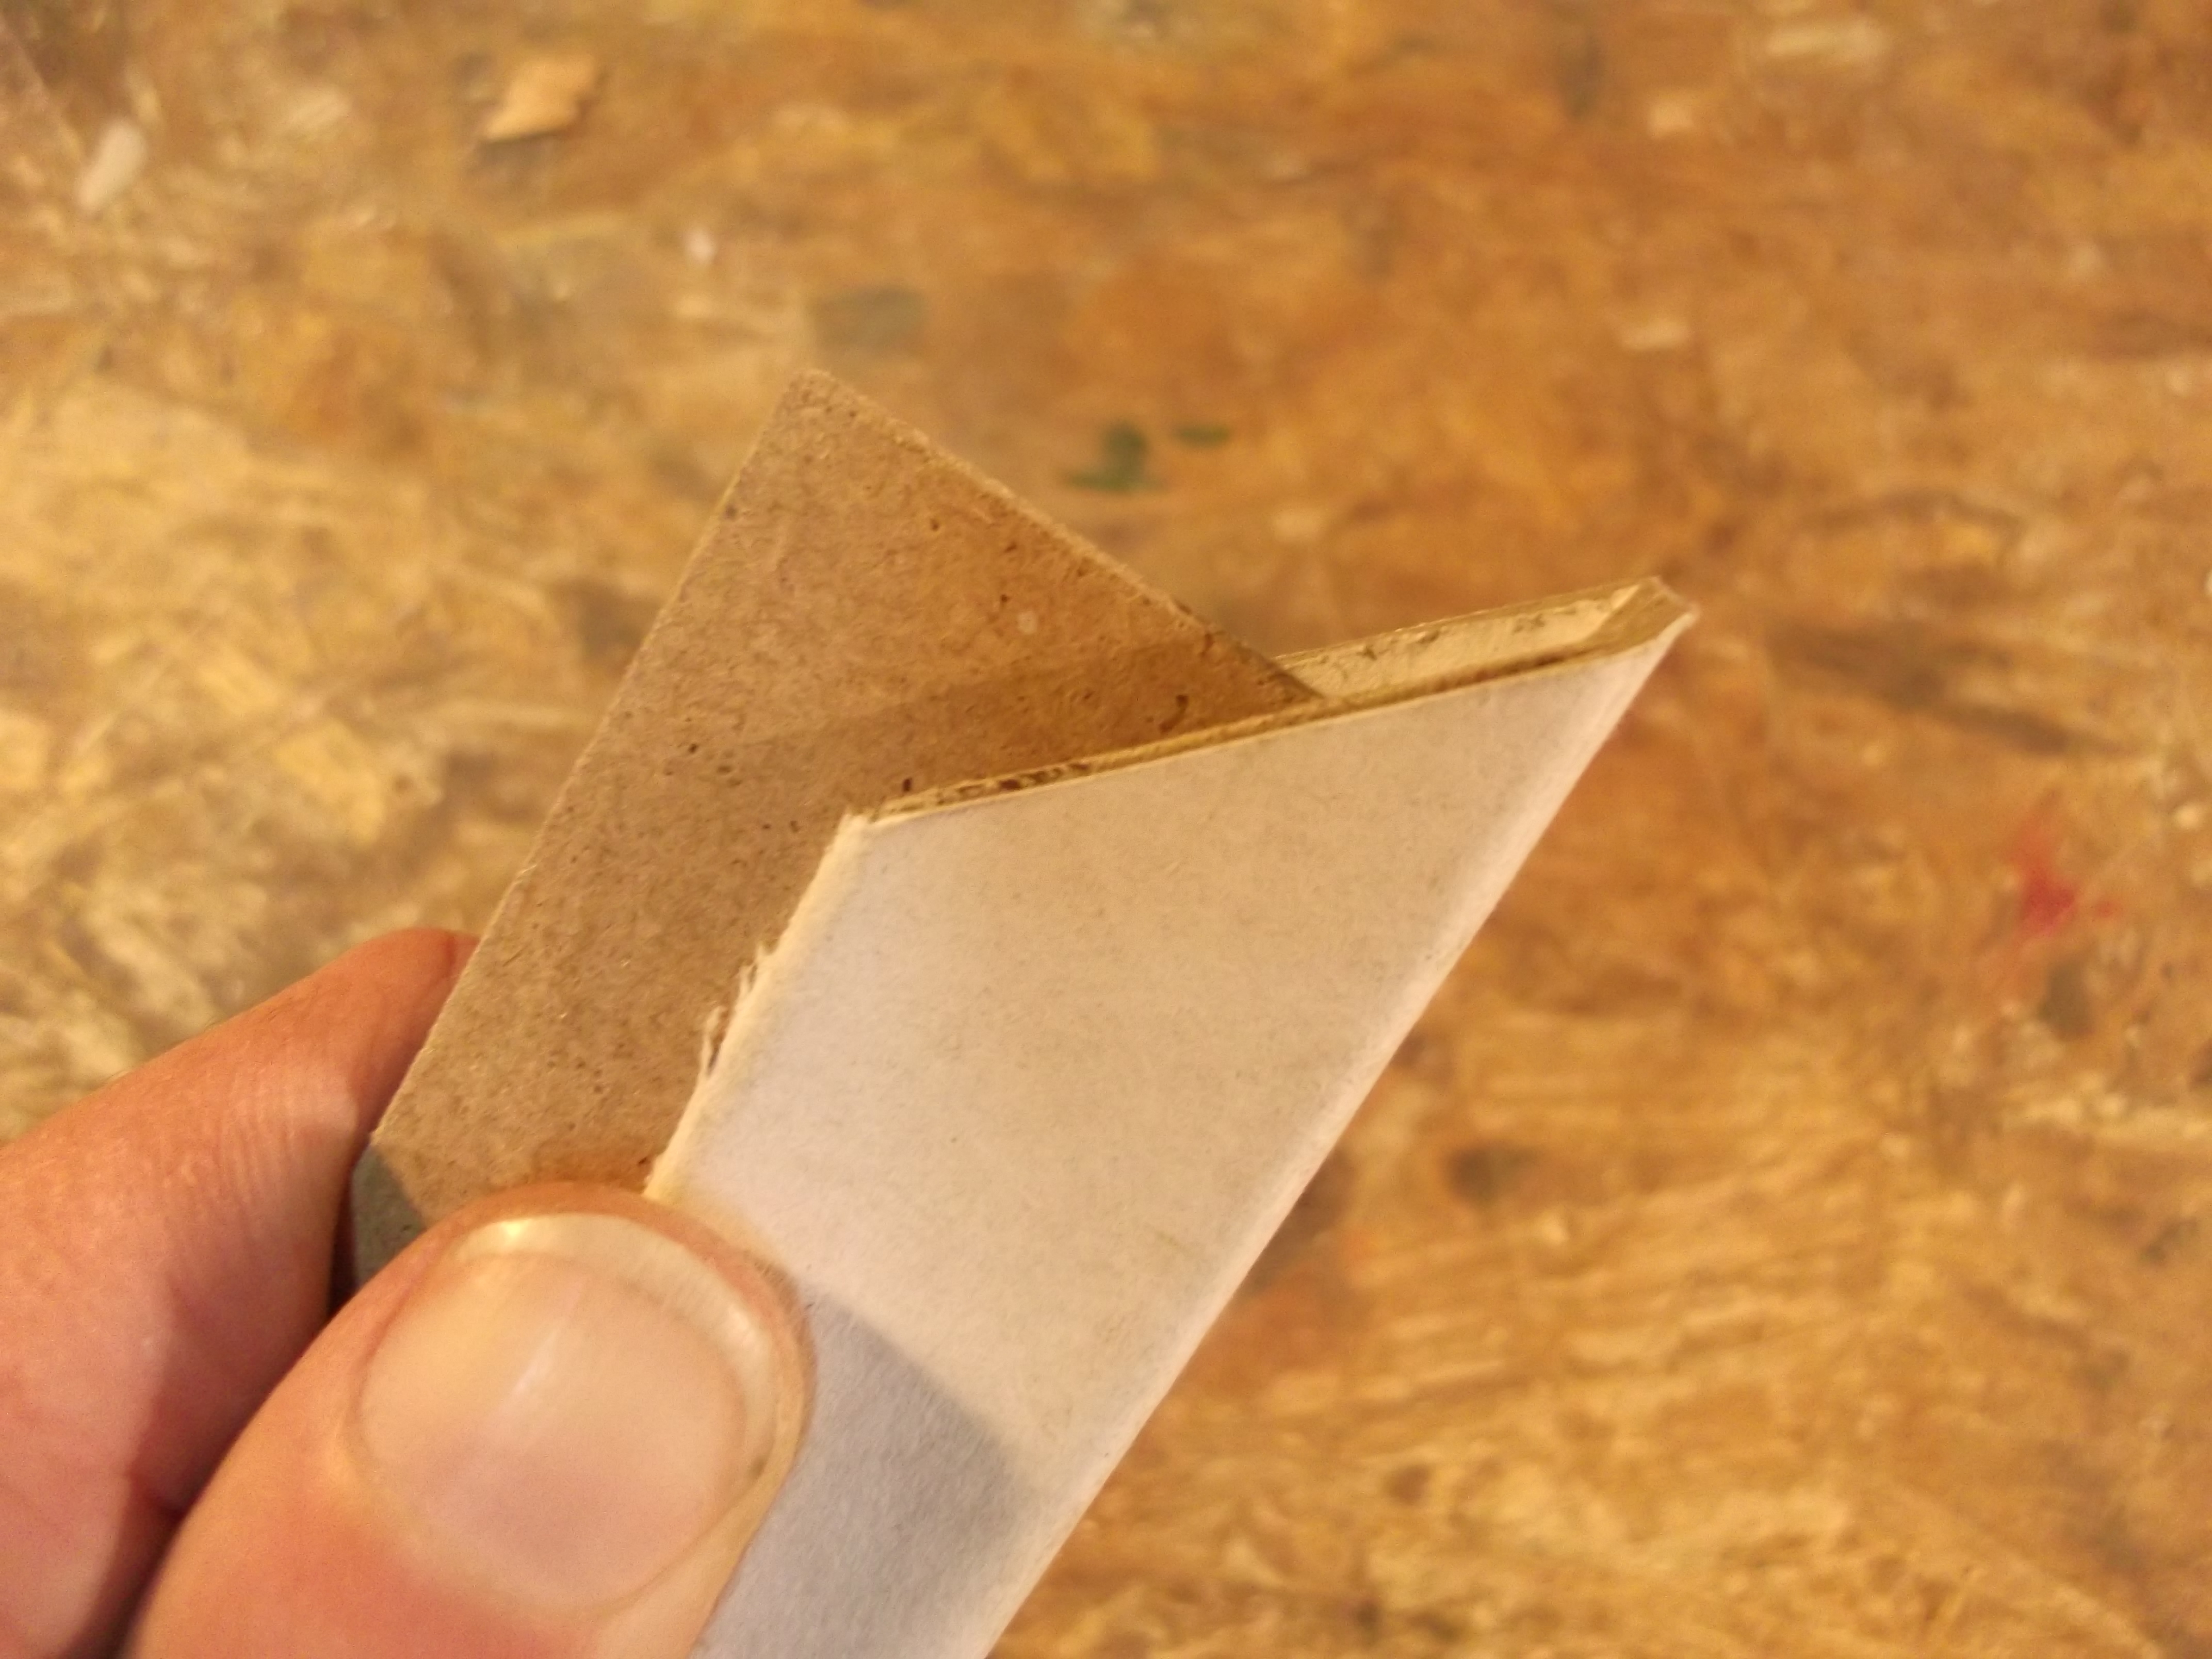
- Use knife to separate layers of the profile and remove material from one side;
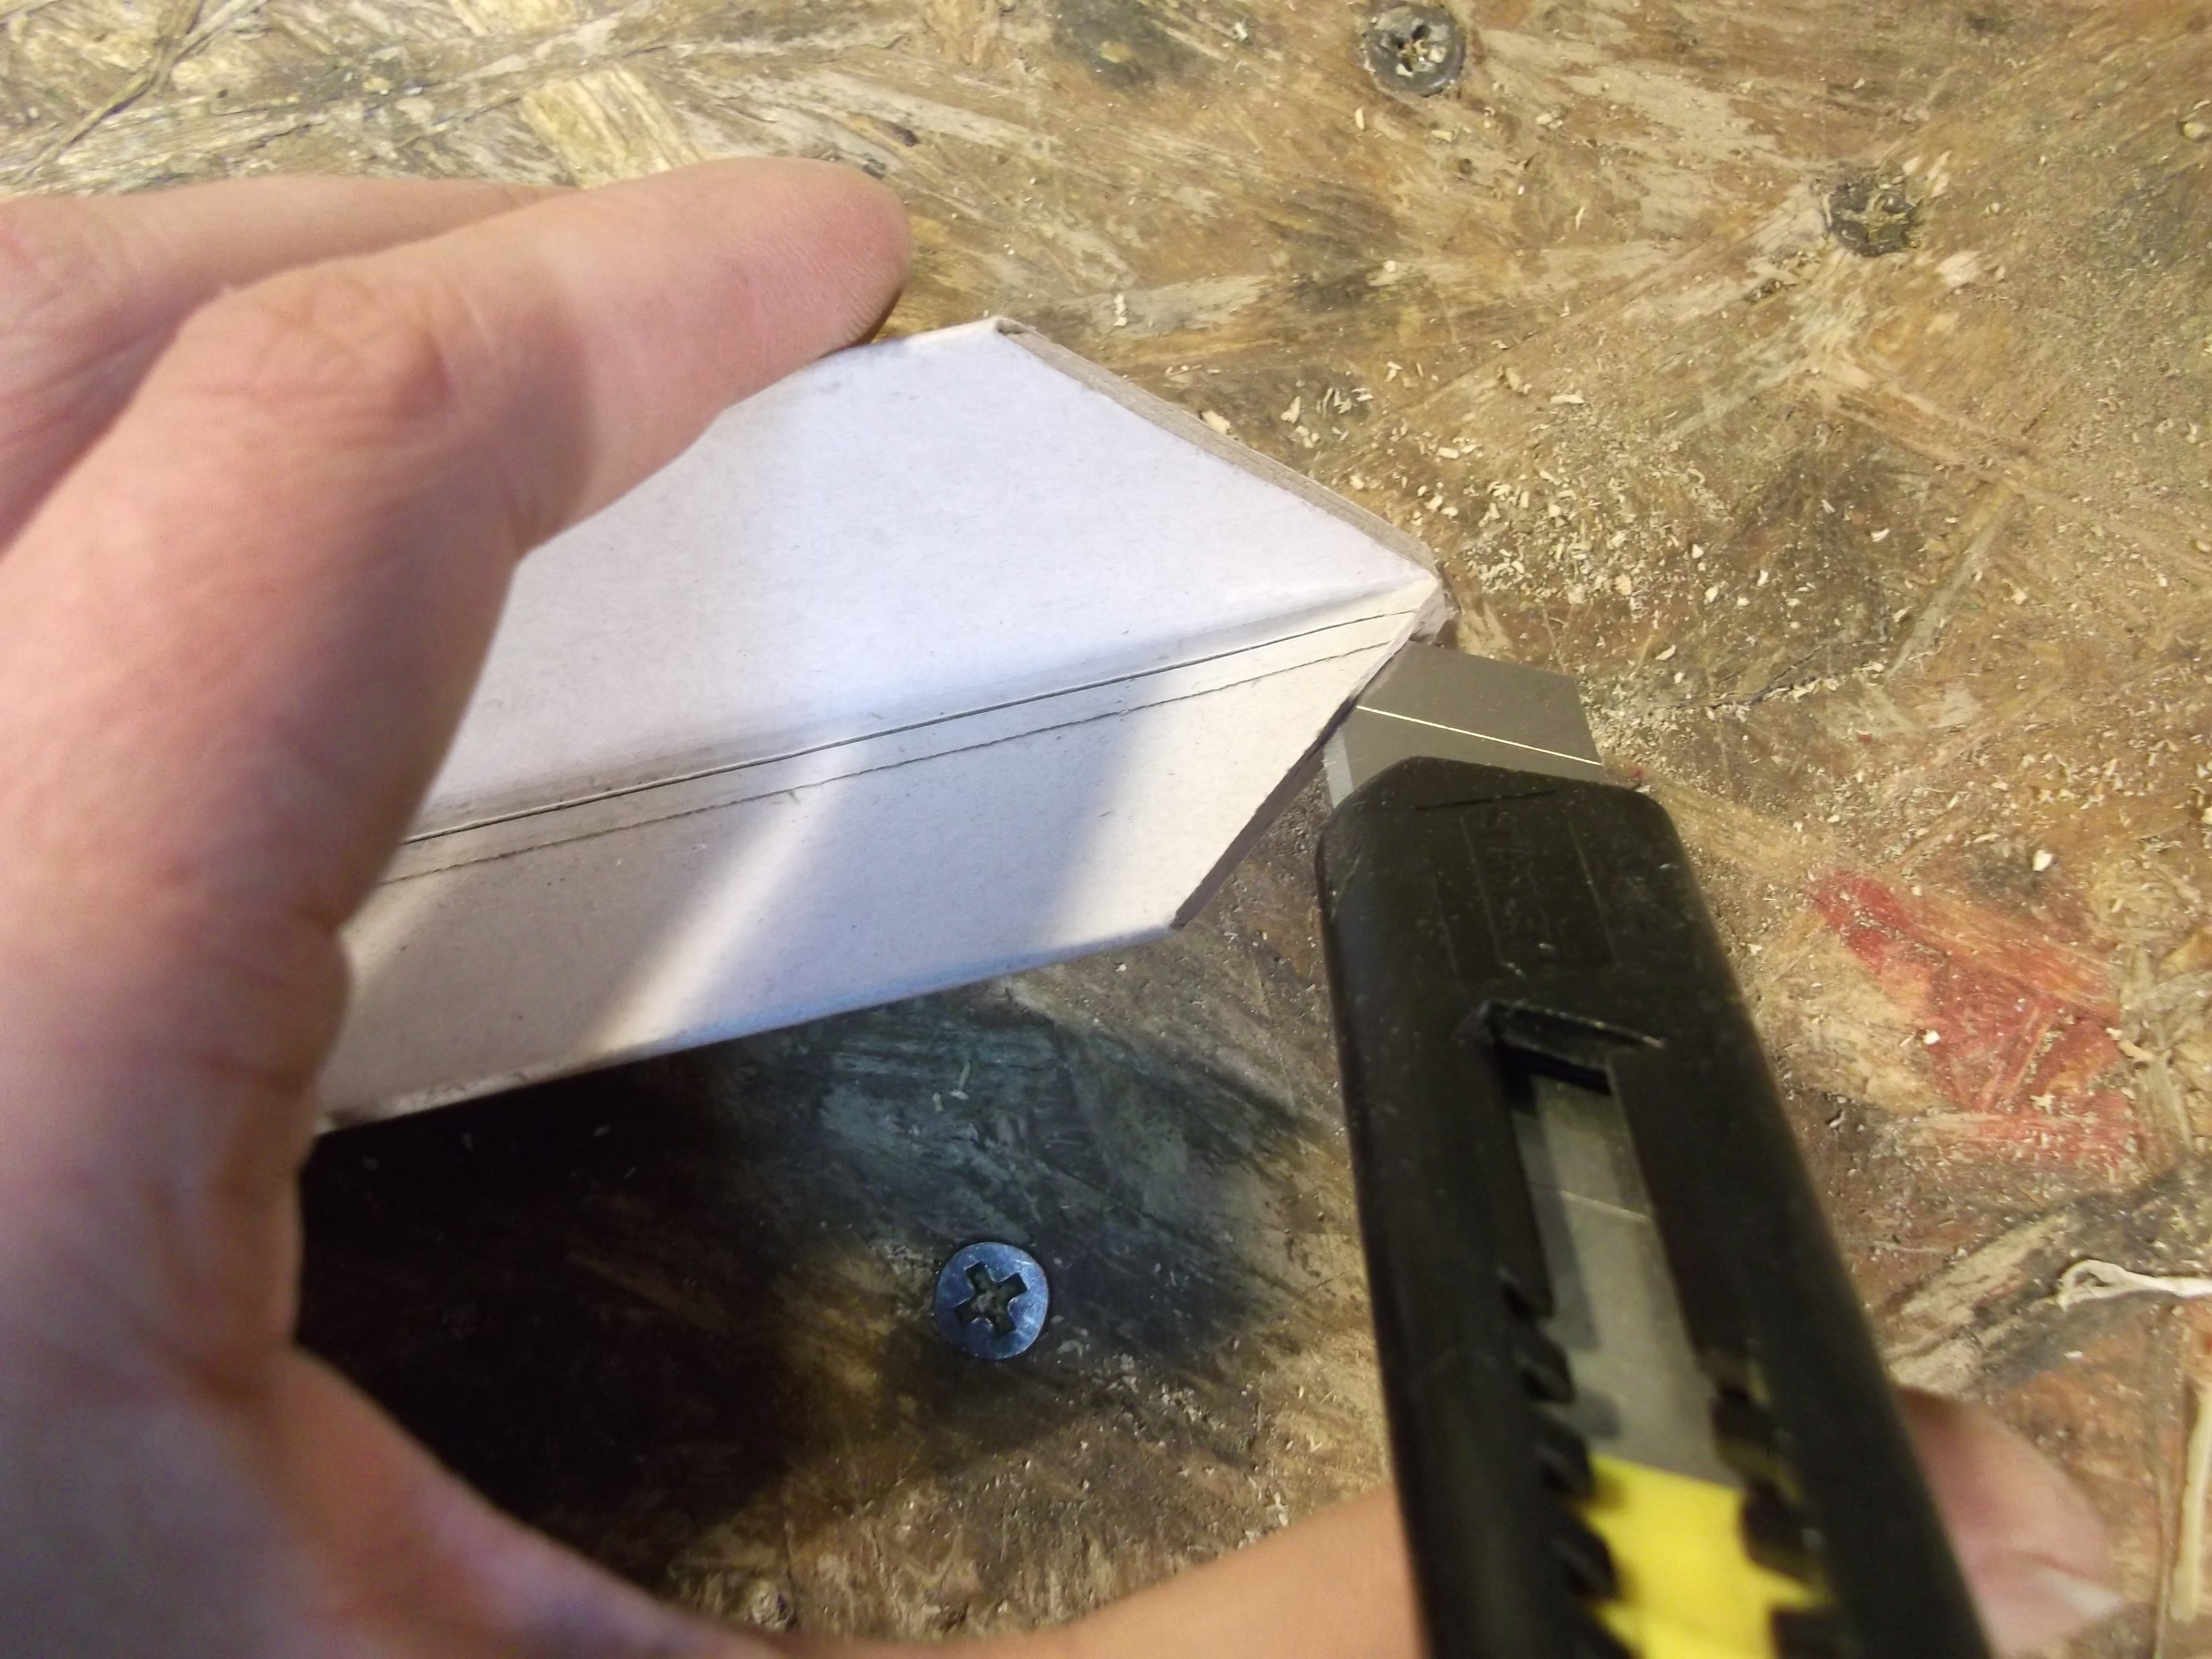
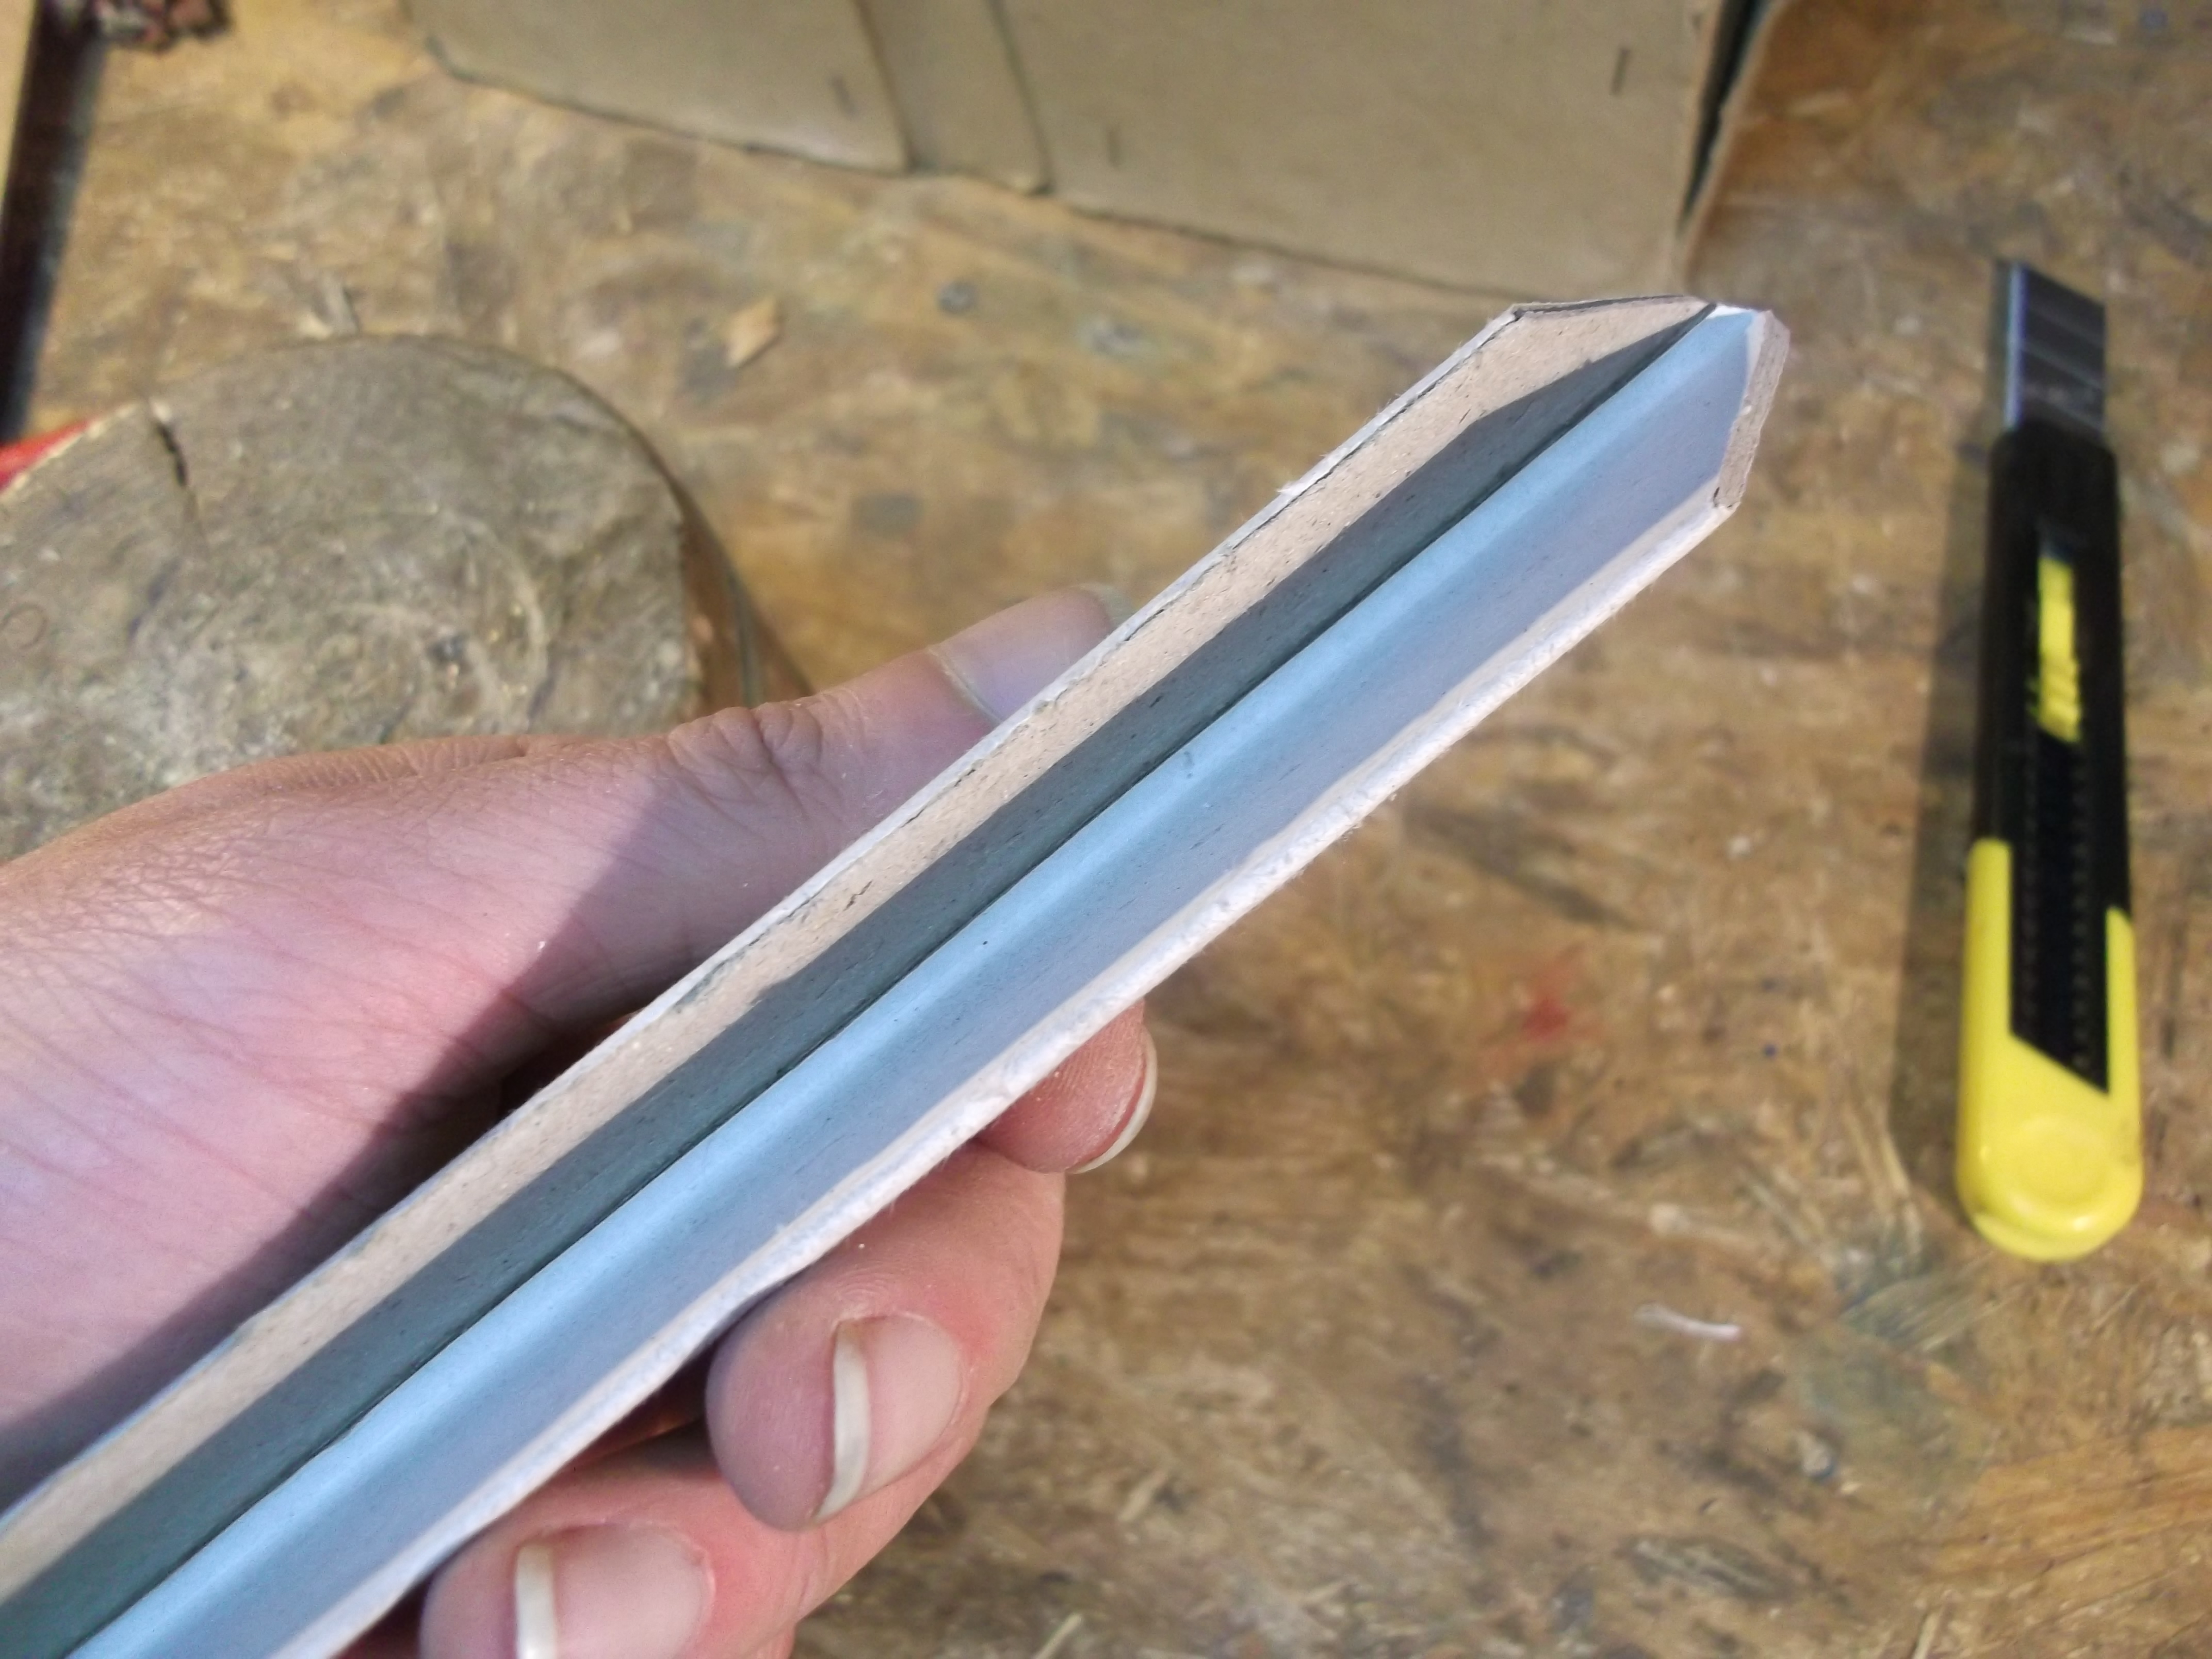
- Bend created thinner flap using the spacer. Tapping the bend with a hammer helps to form the edge.
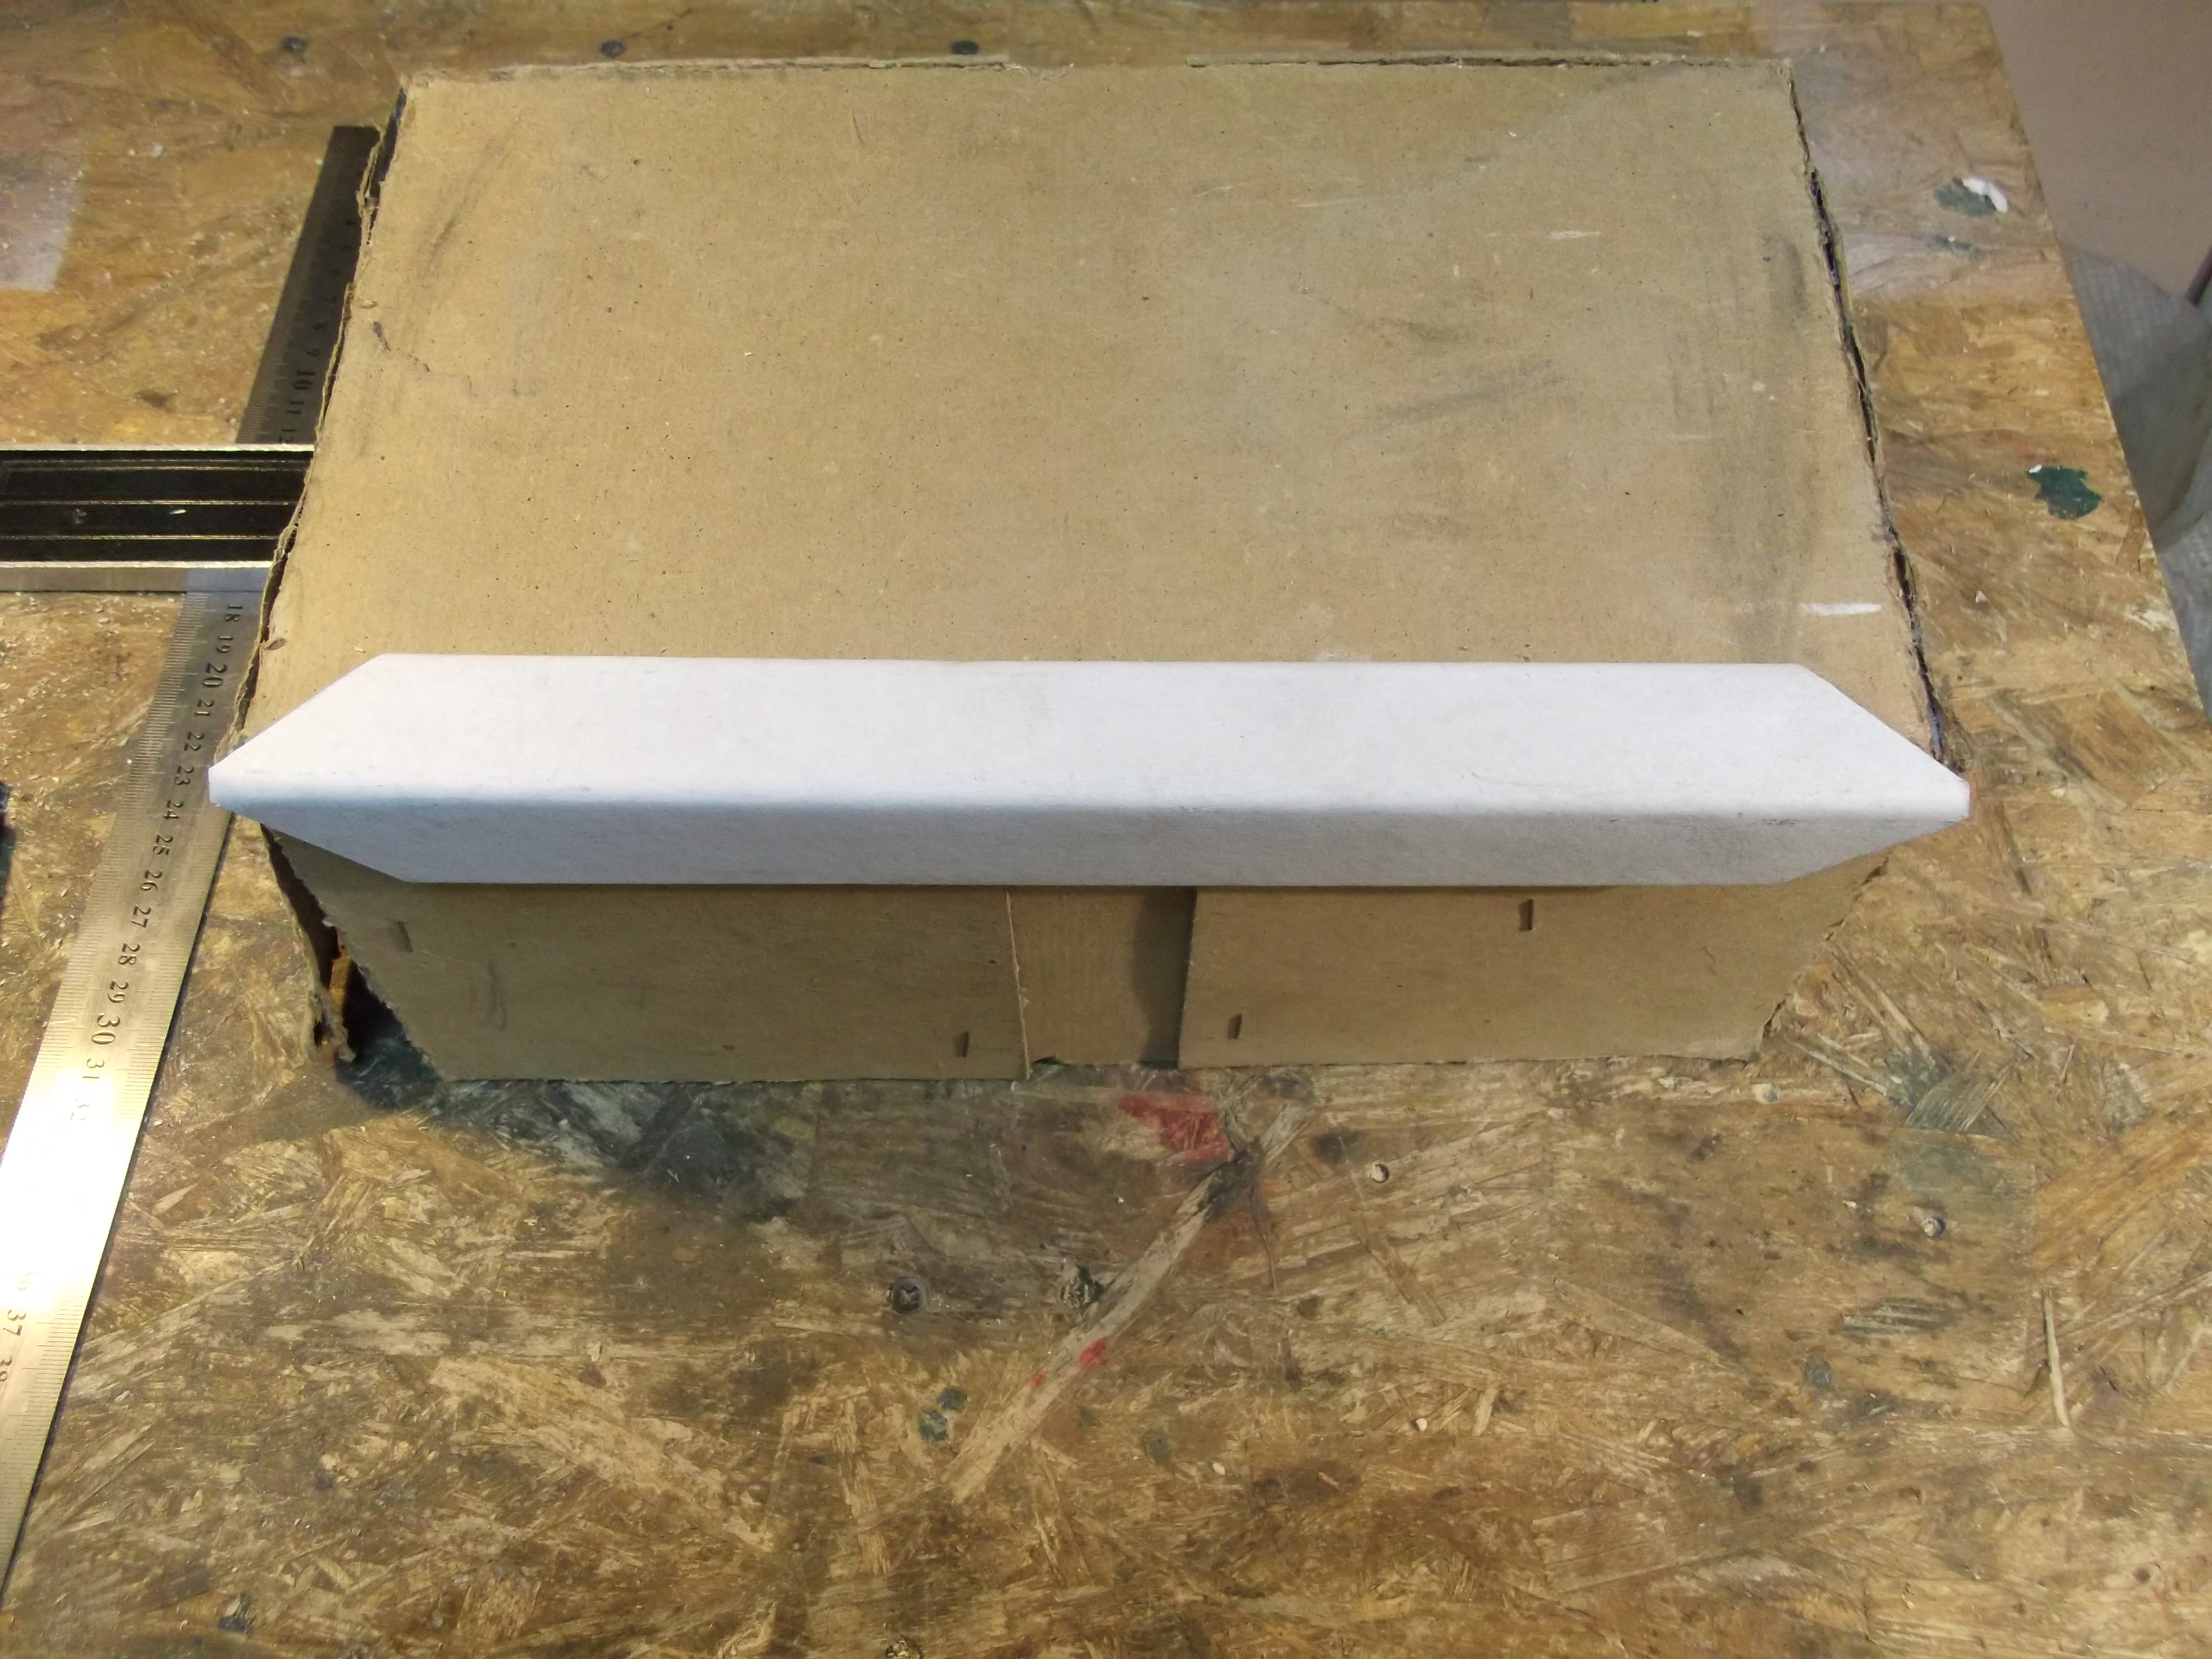
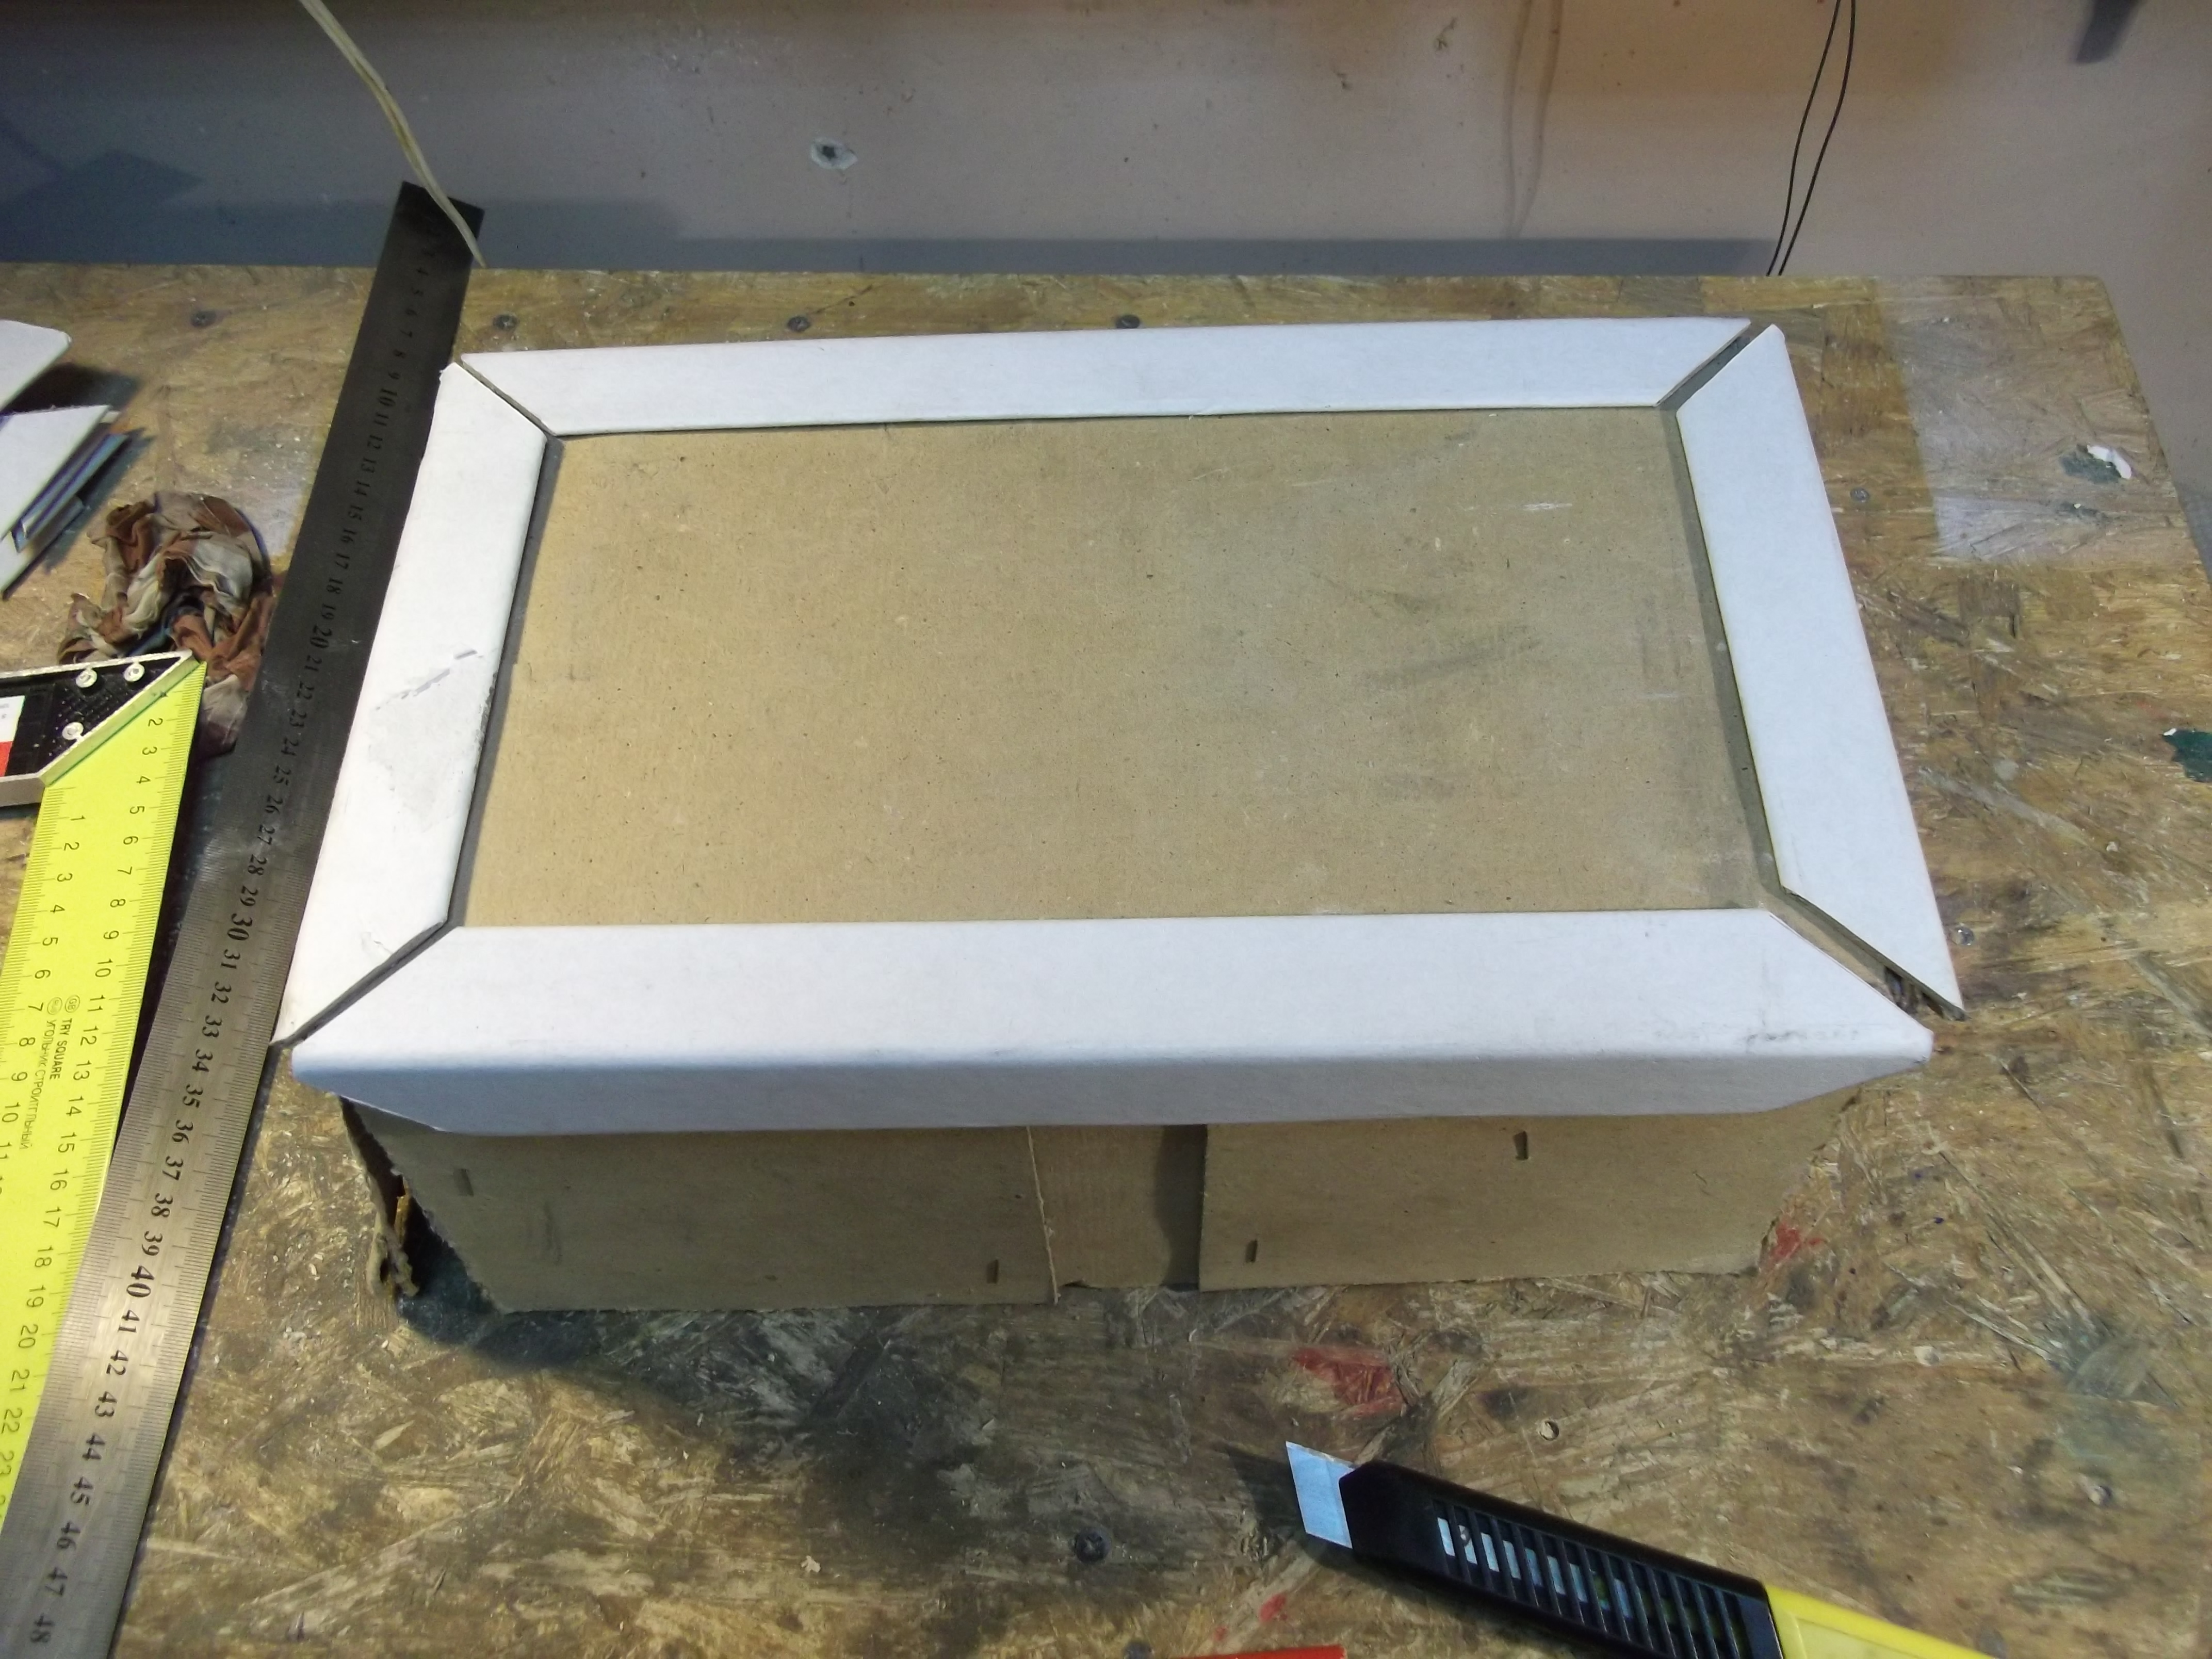
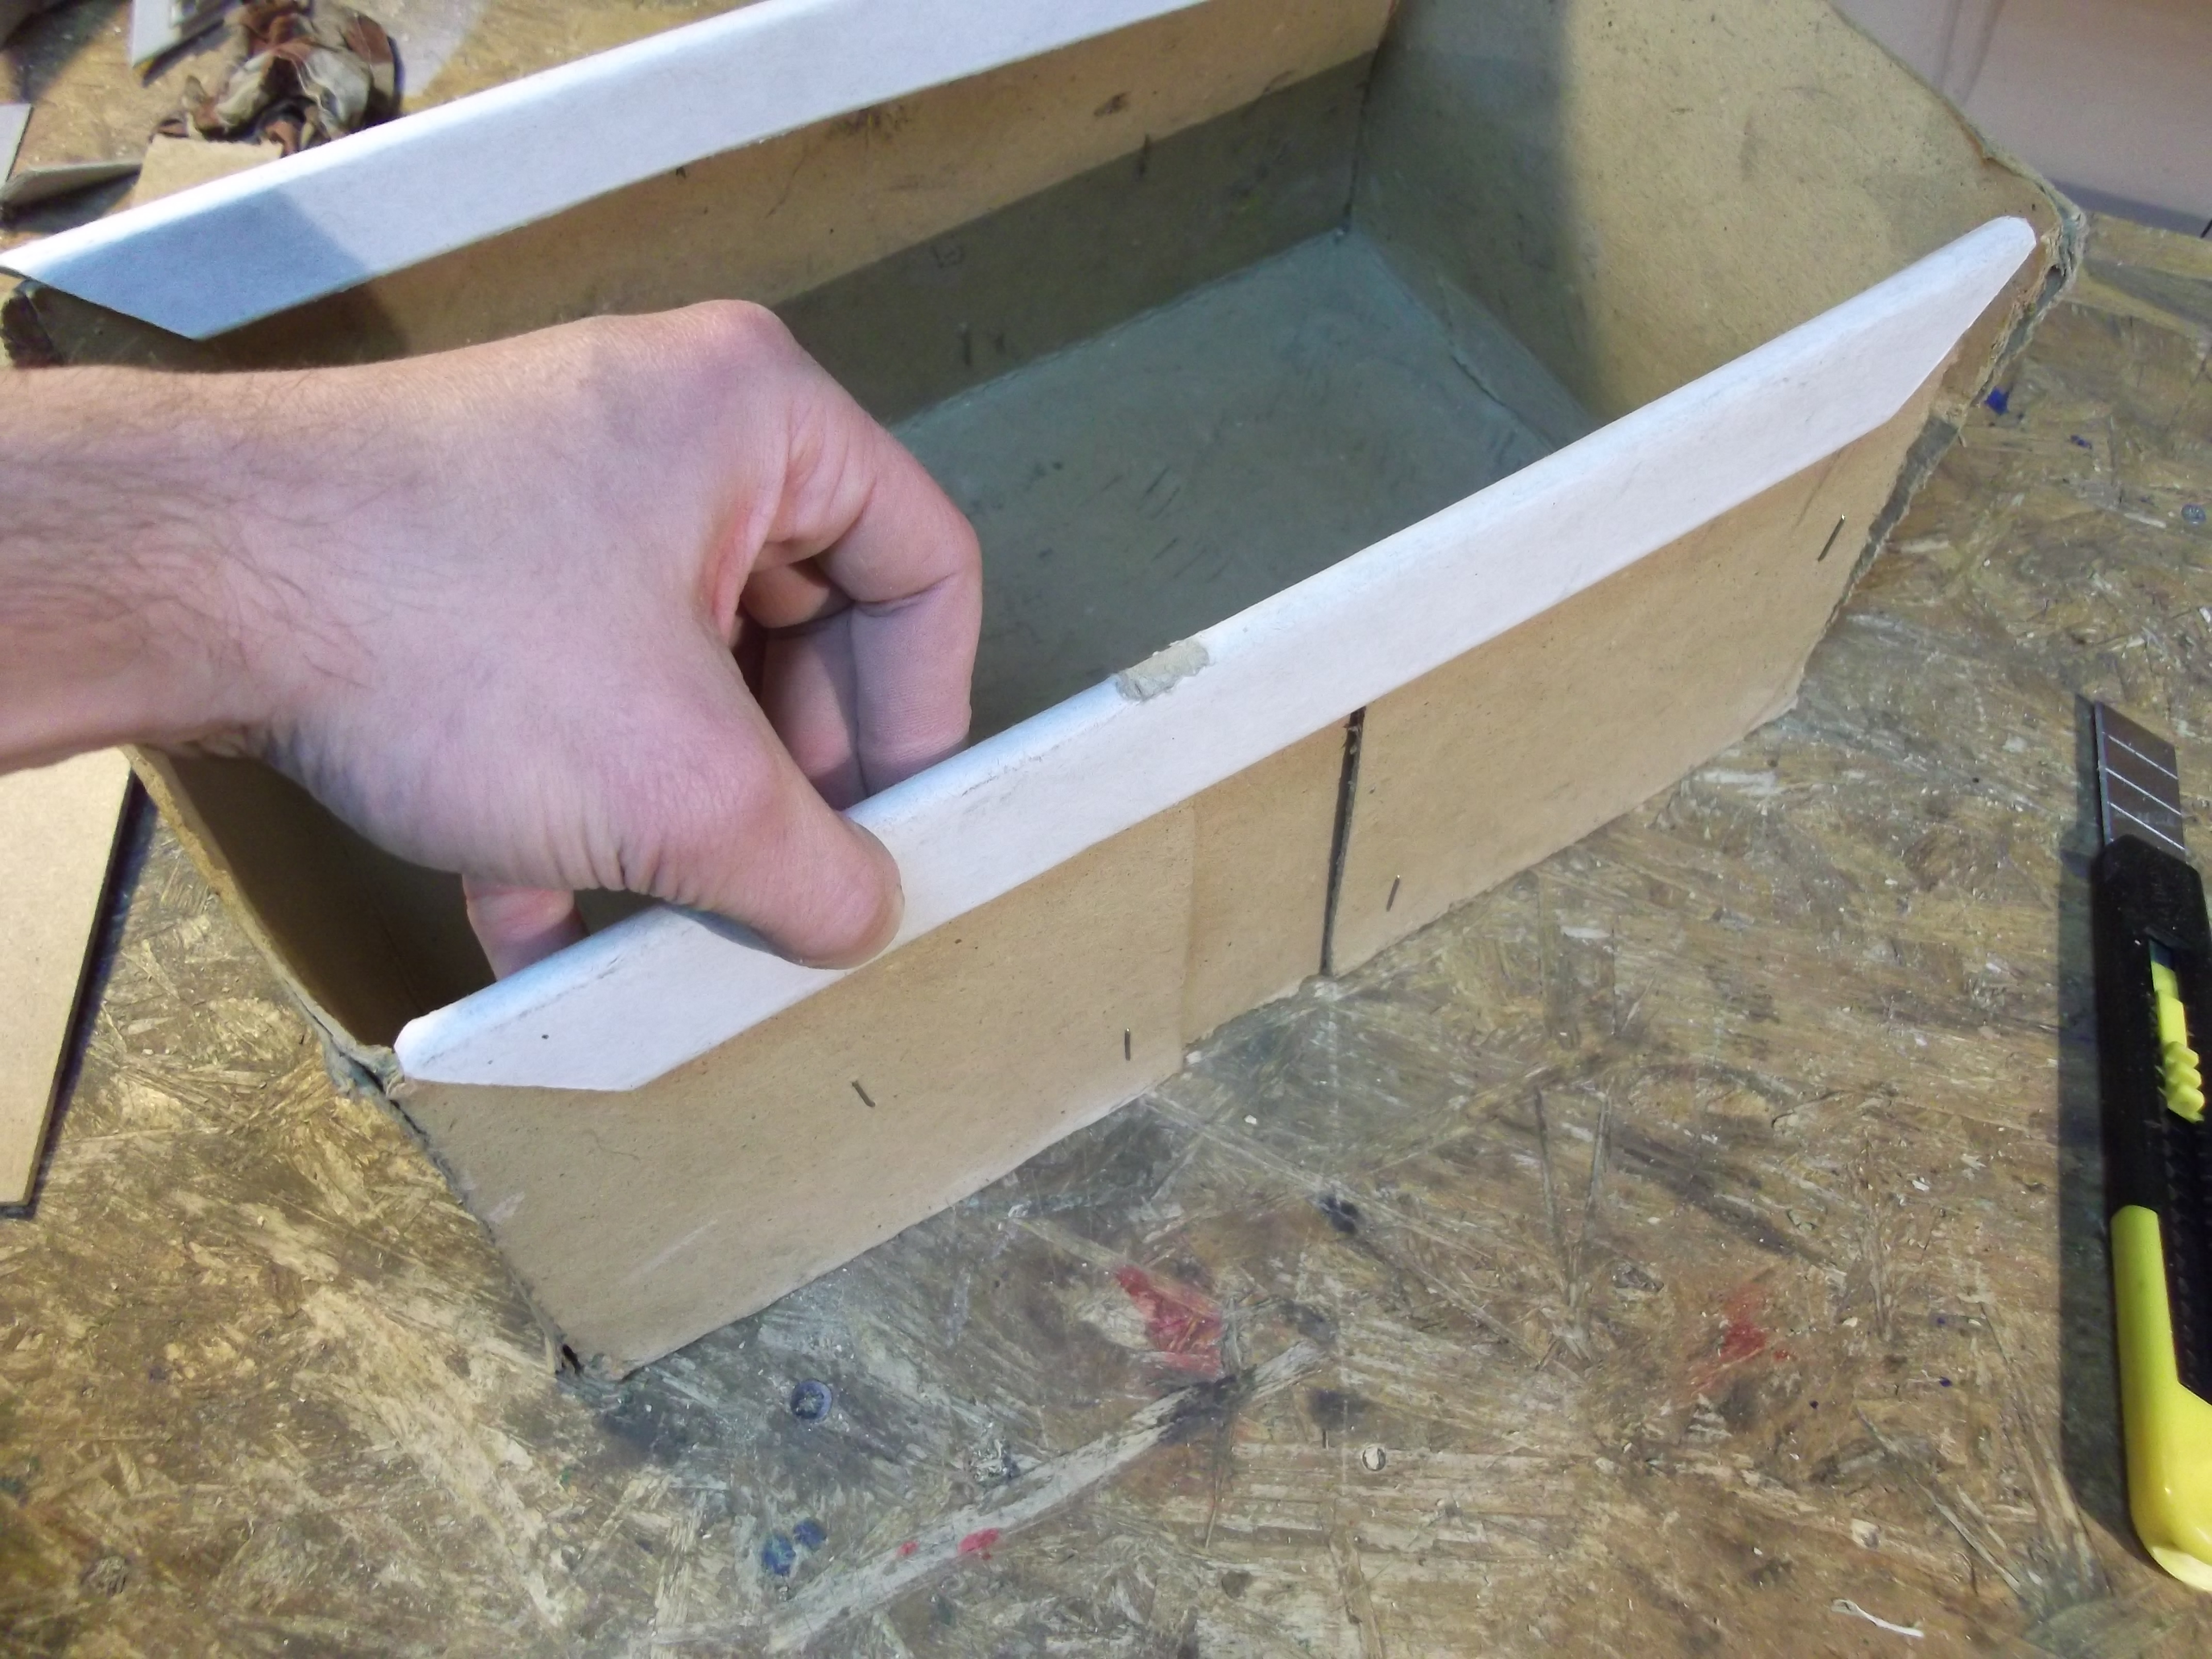
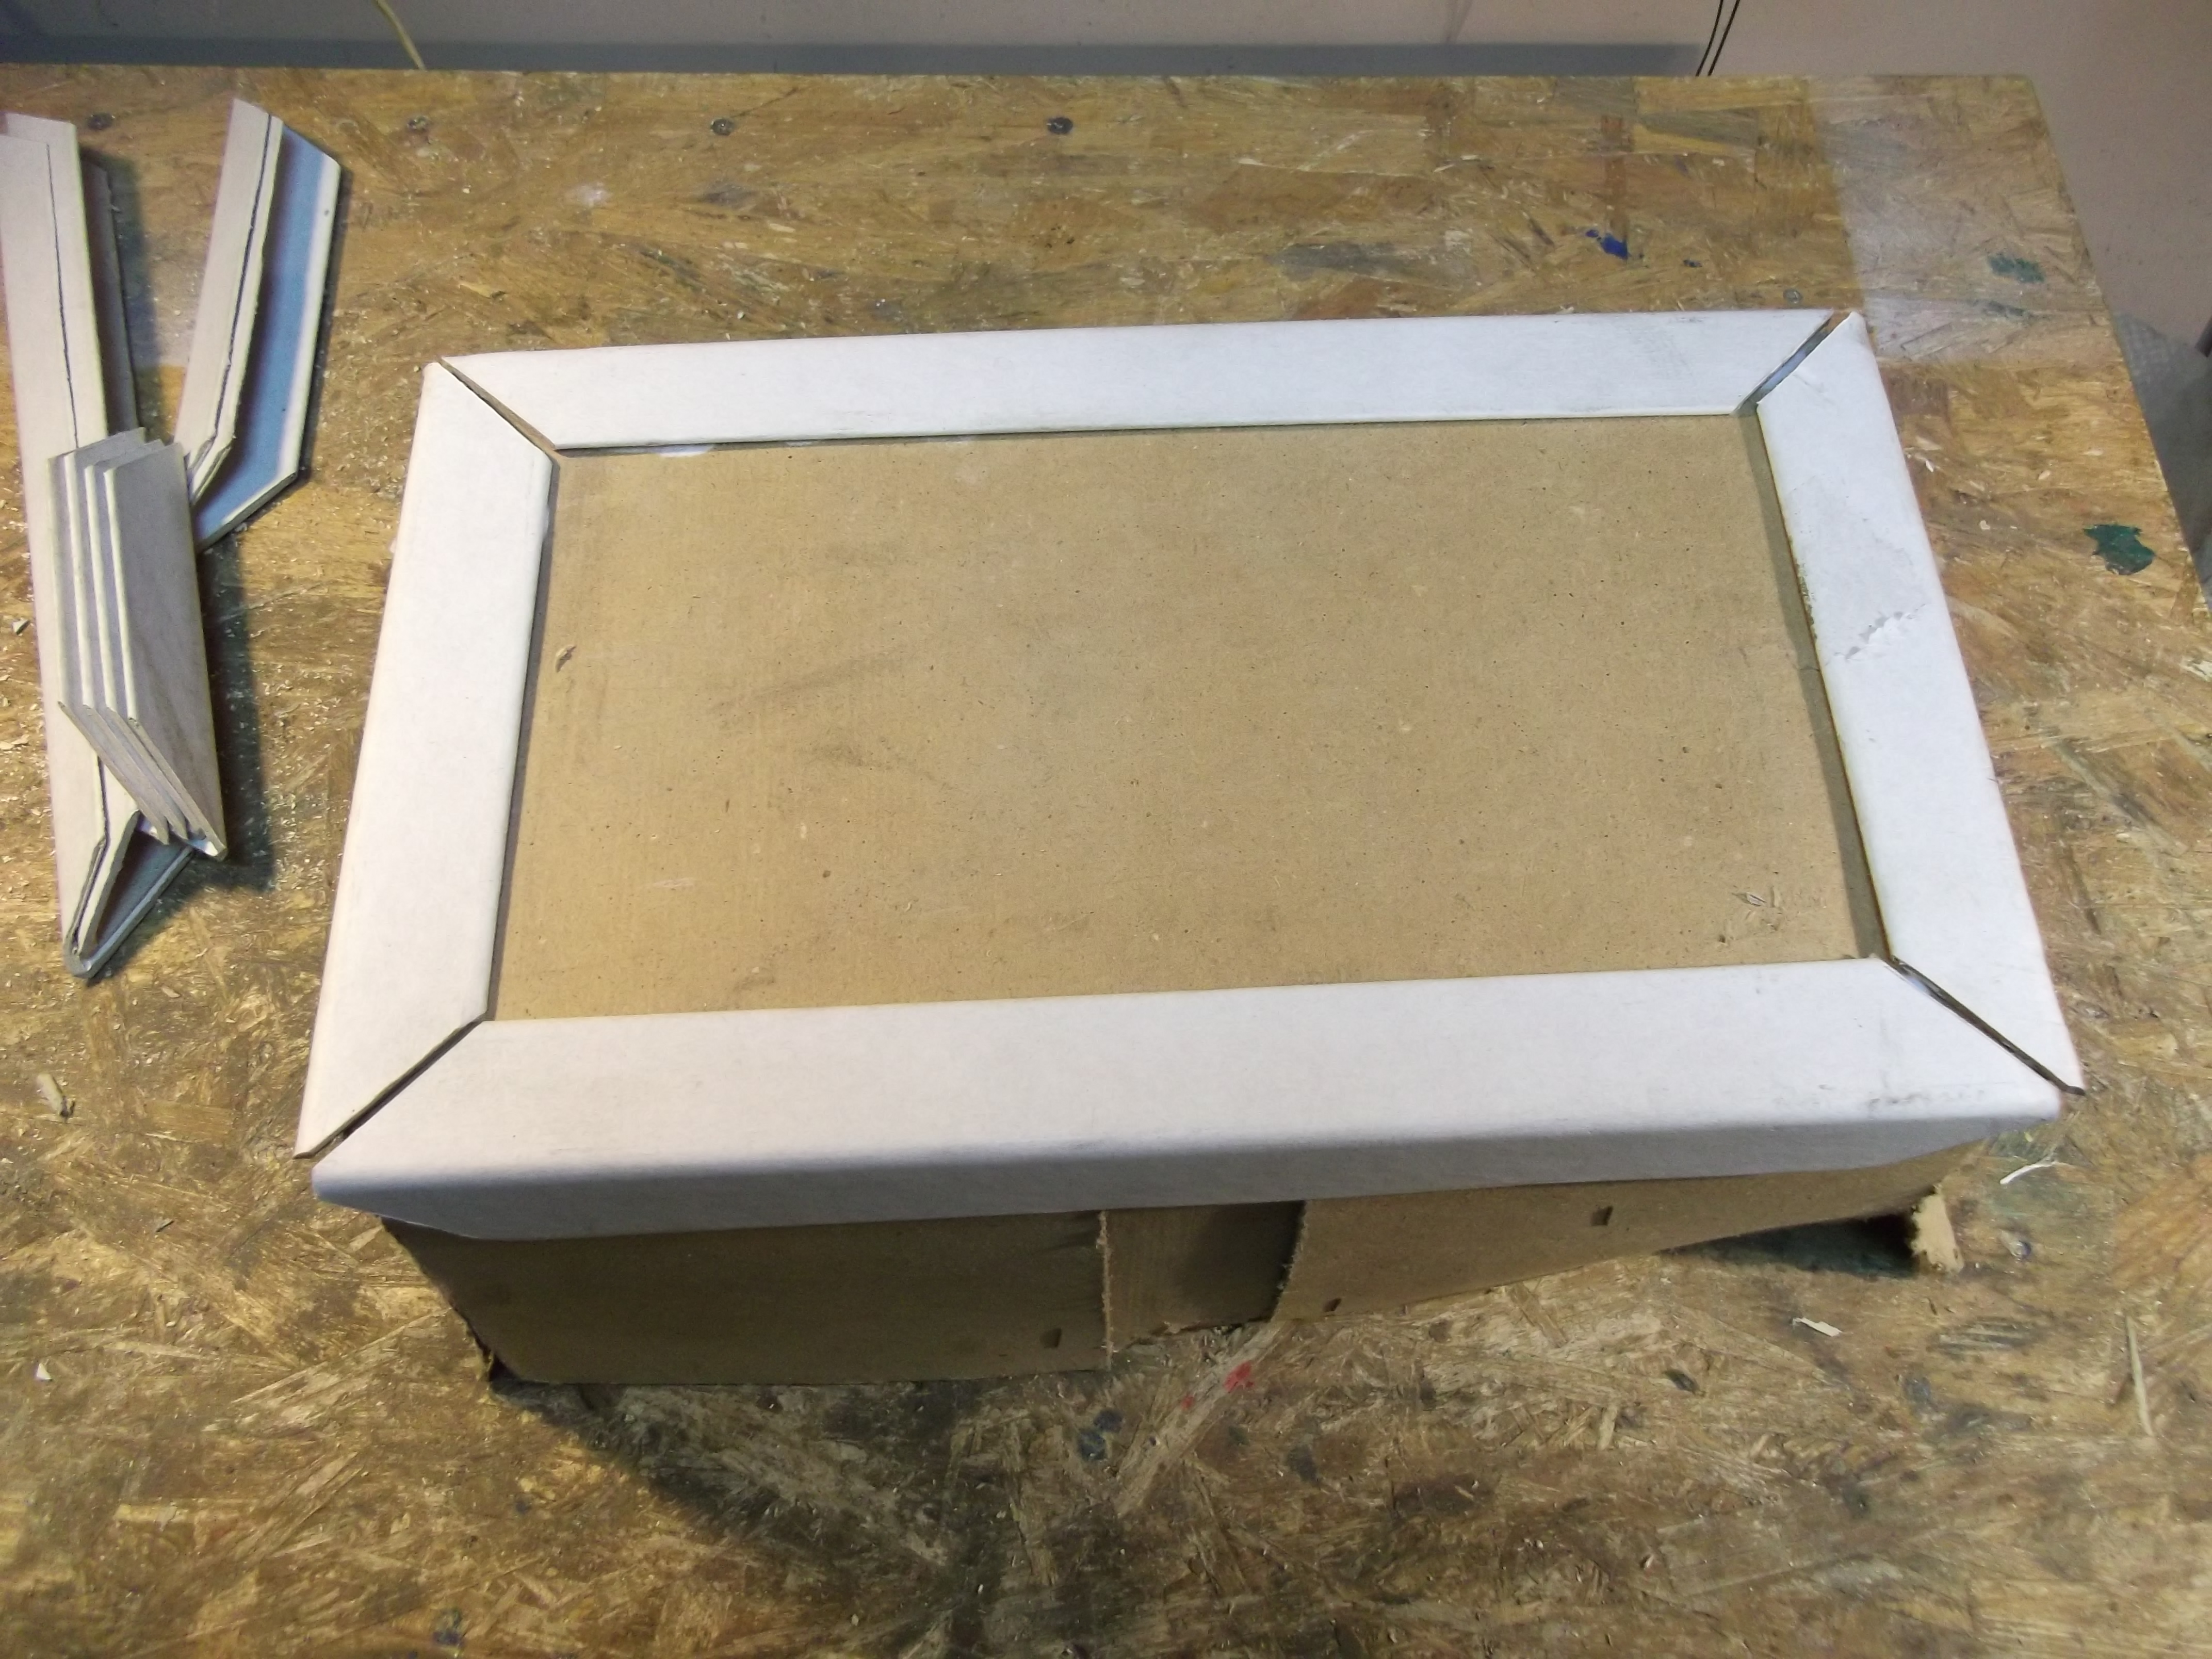
Now the piece can be applied to the edge of the box.

Now, when your top and bottom pieces applied, make measurements for vertical corners.
Prepare all the pieces.
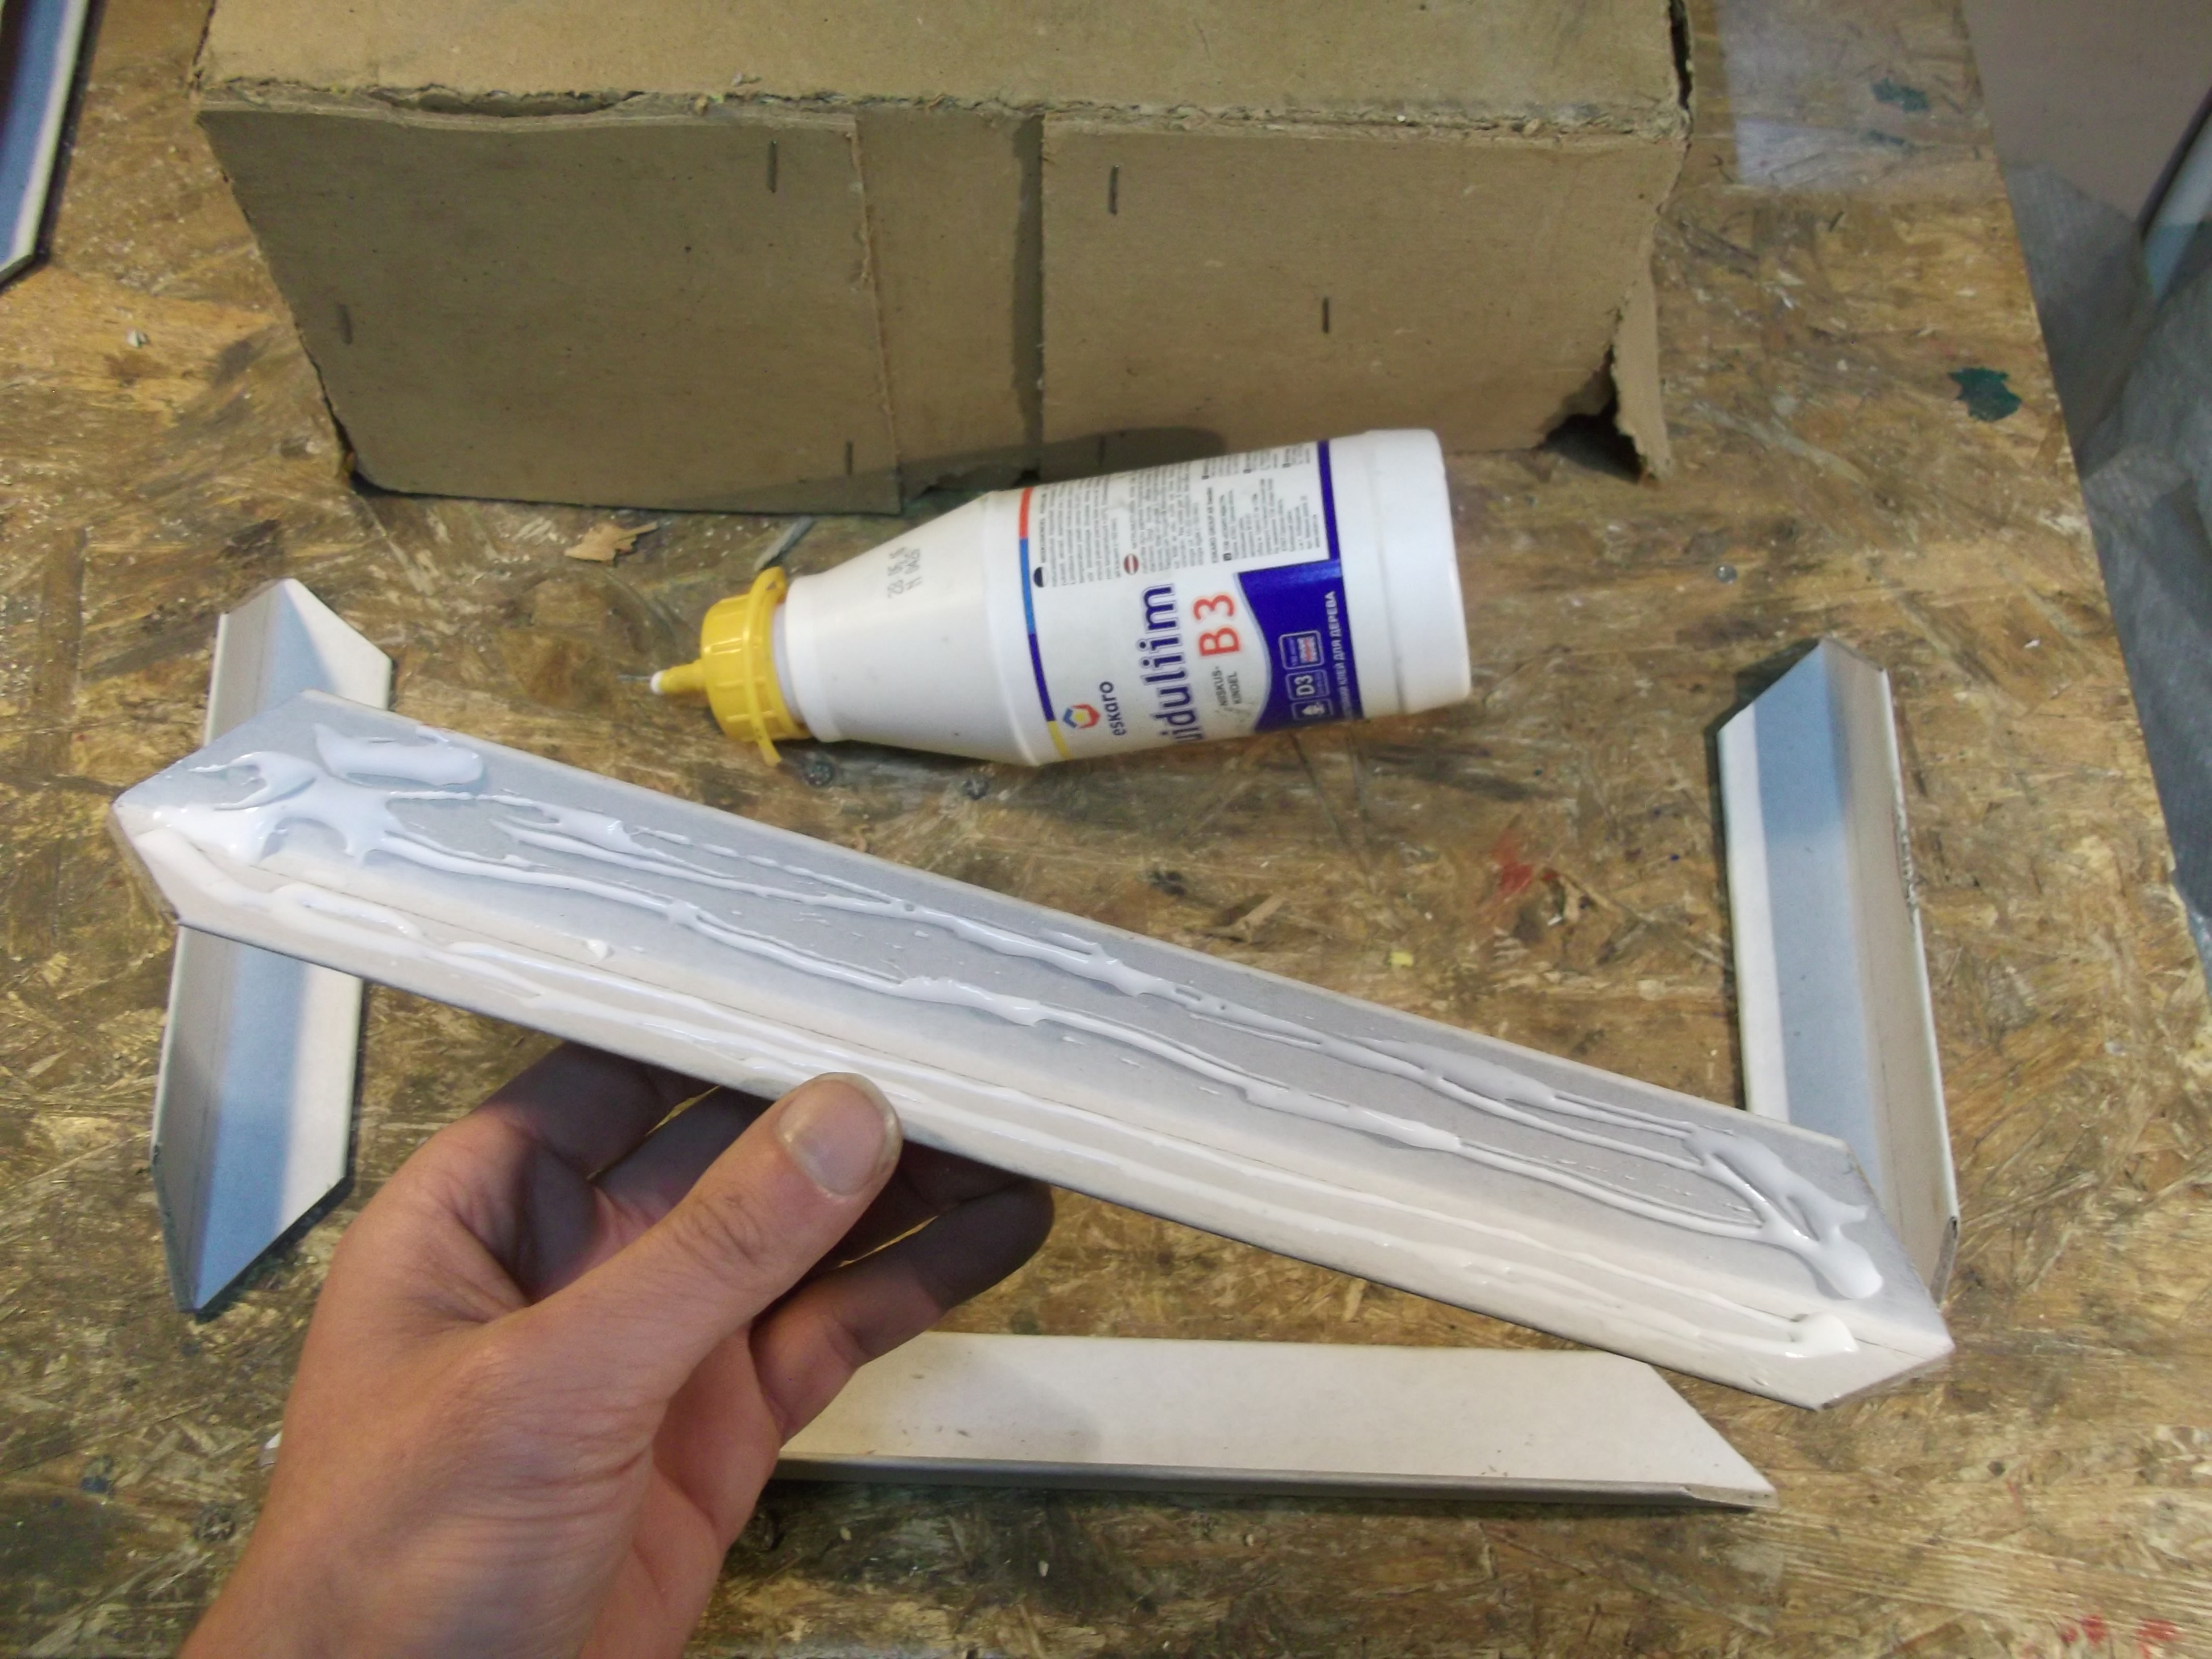
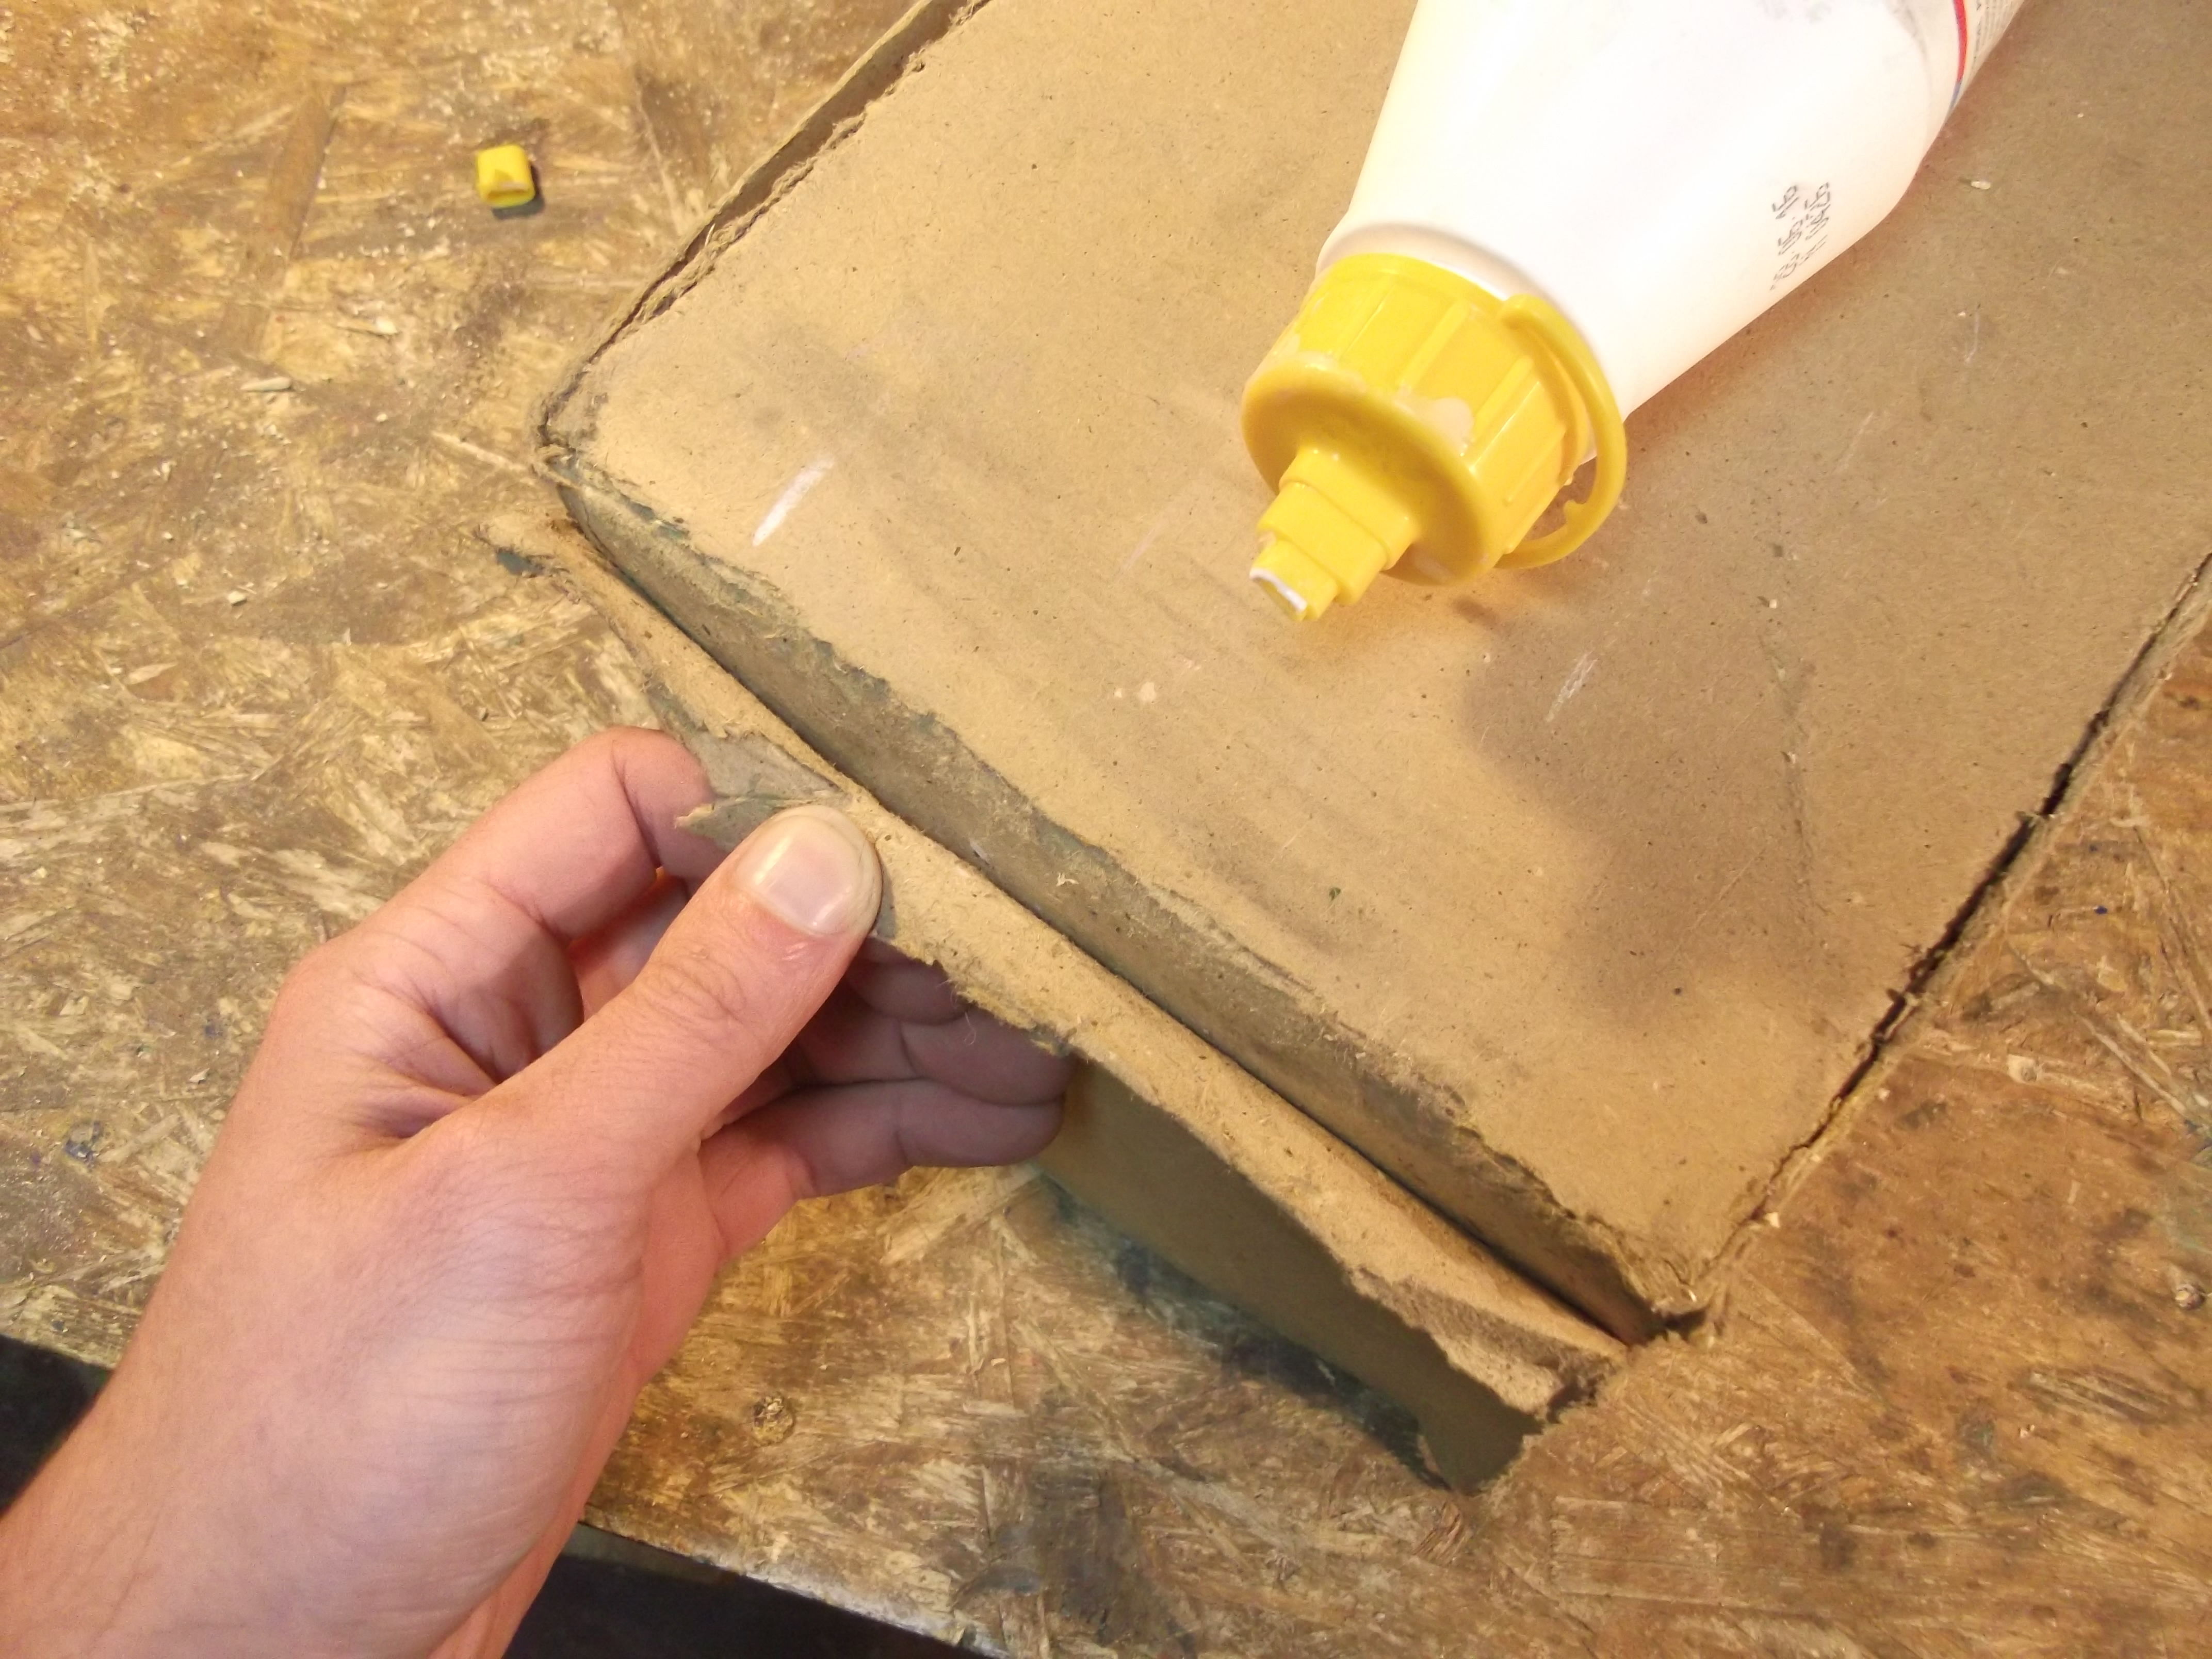
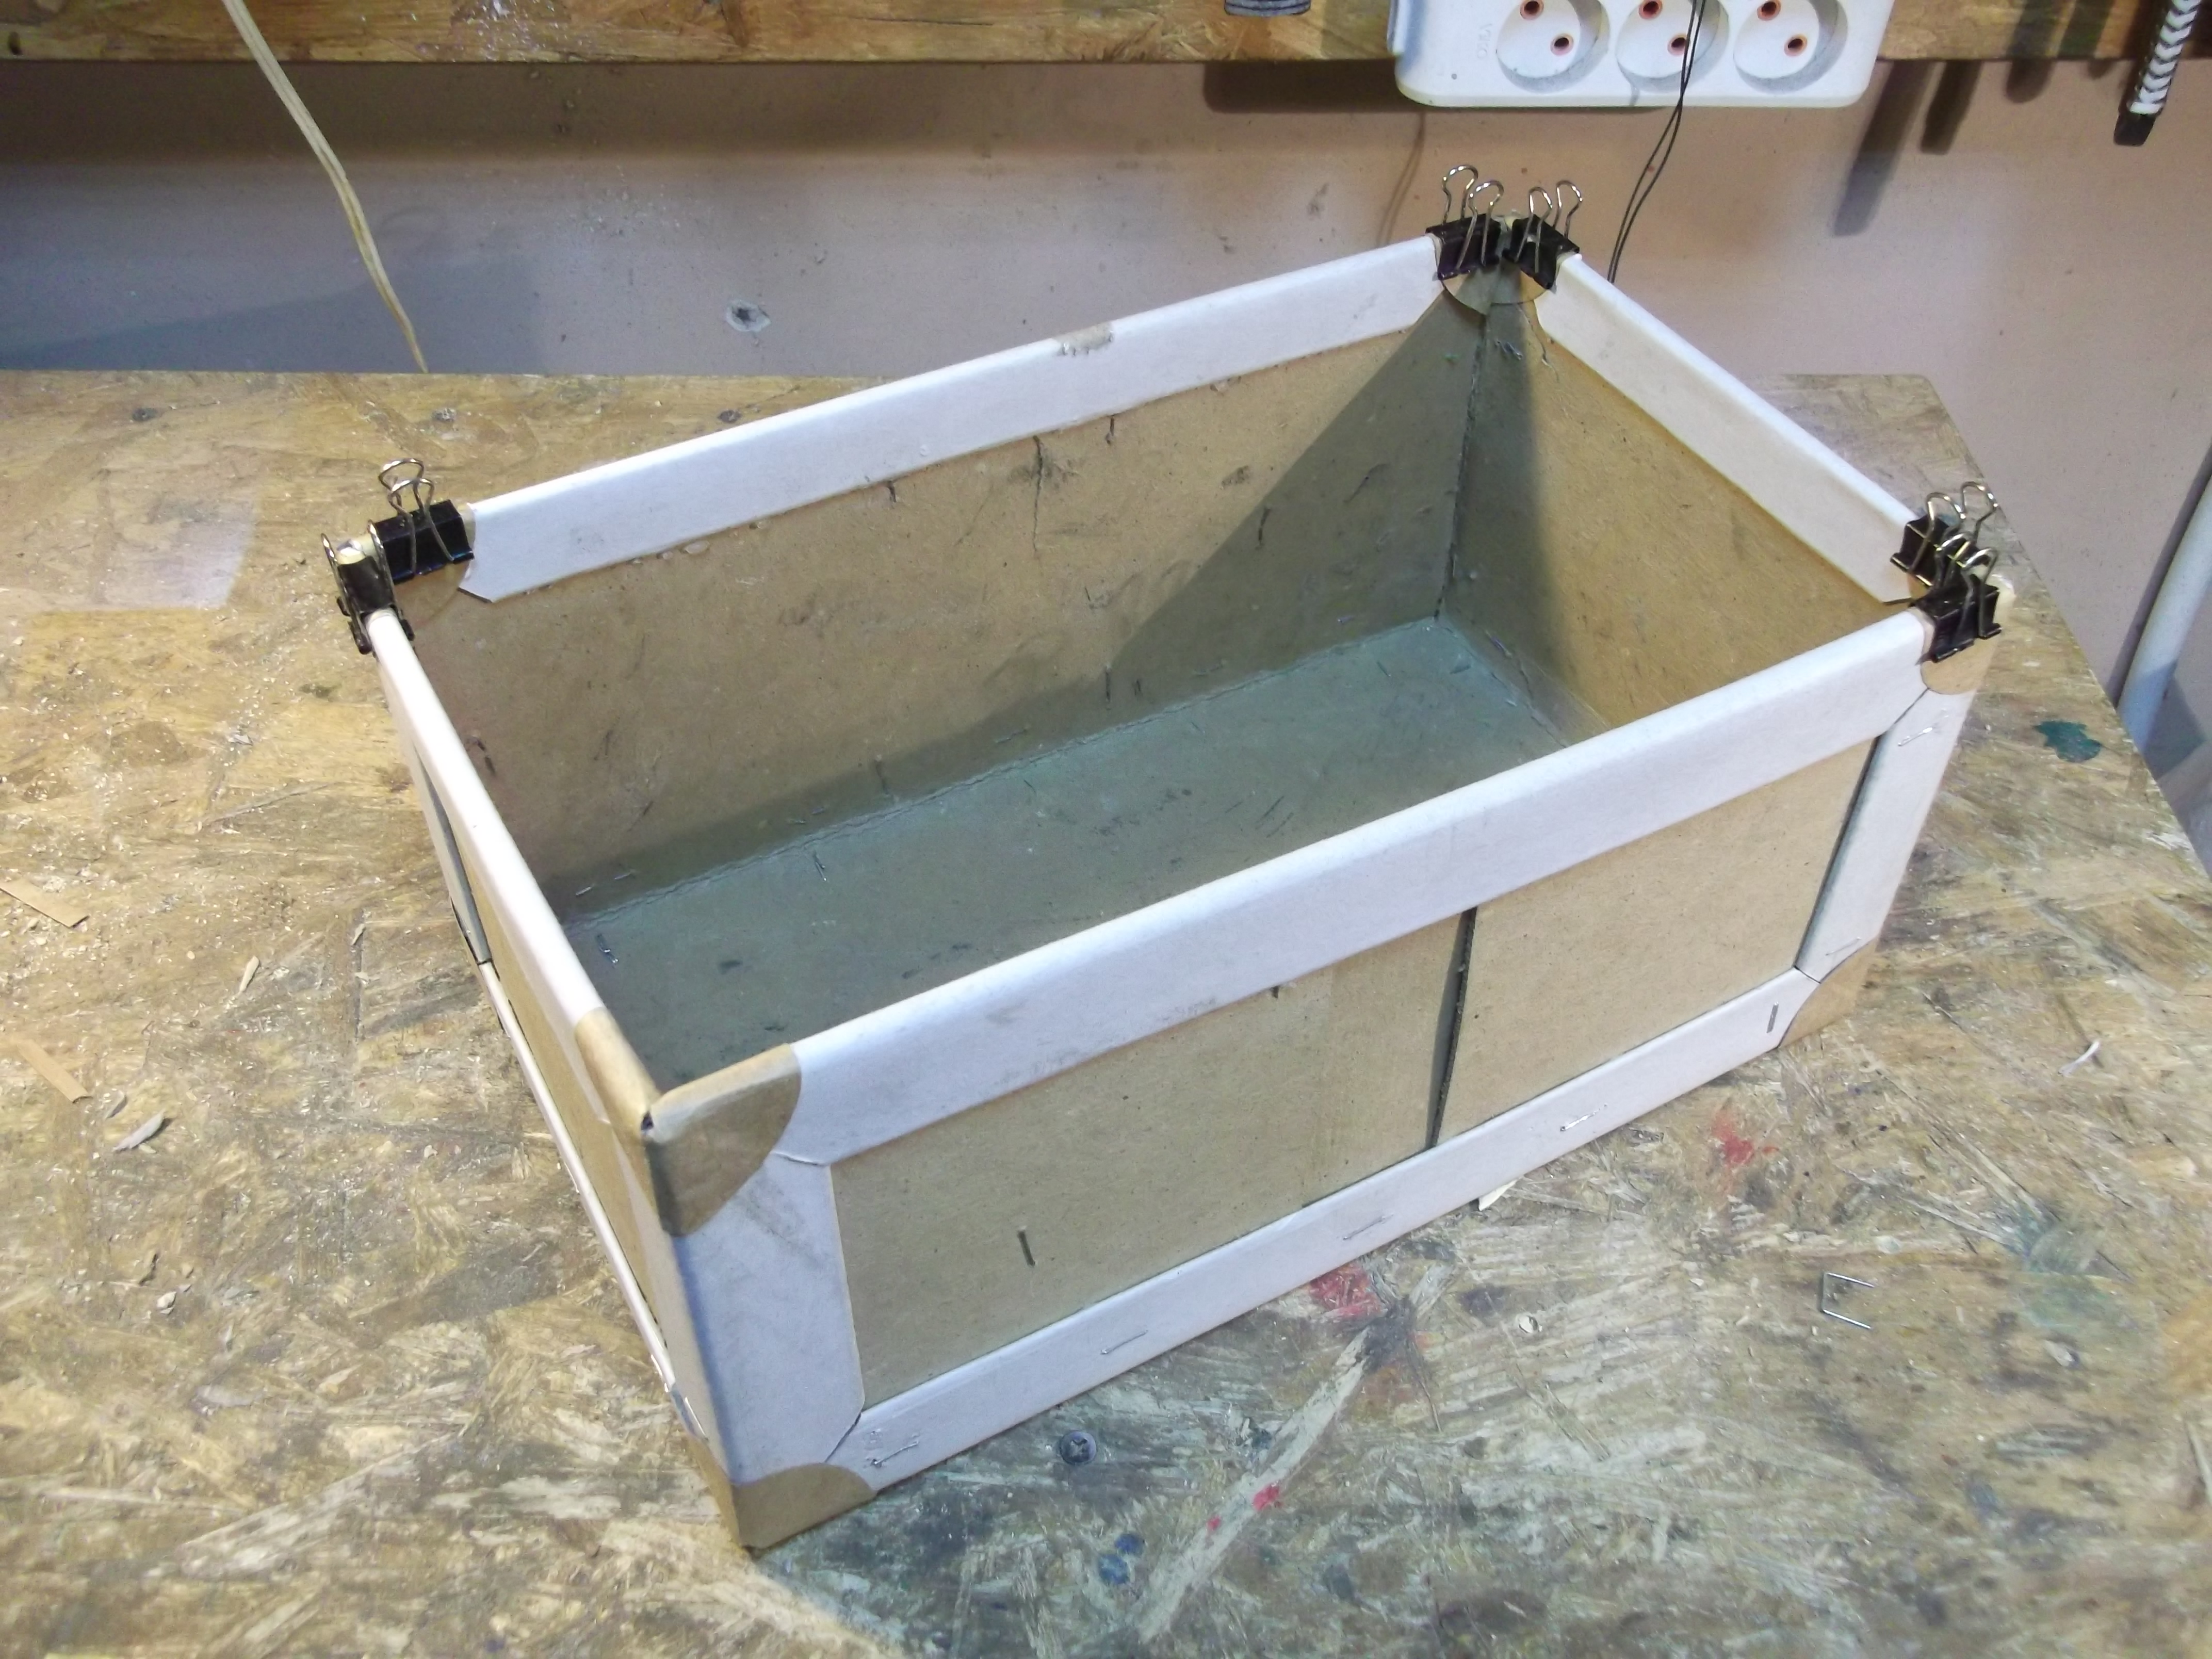
Starting from bottom, glue the profile corners to the box (I used white PVA glue) and align them evenly.
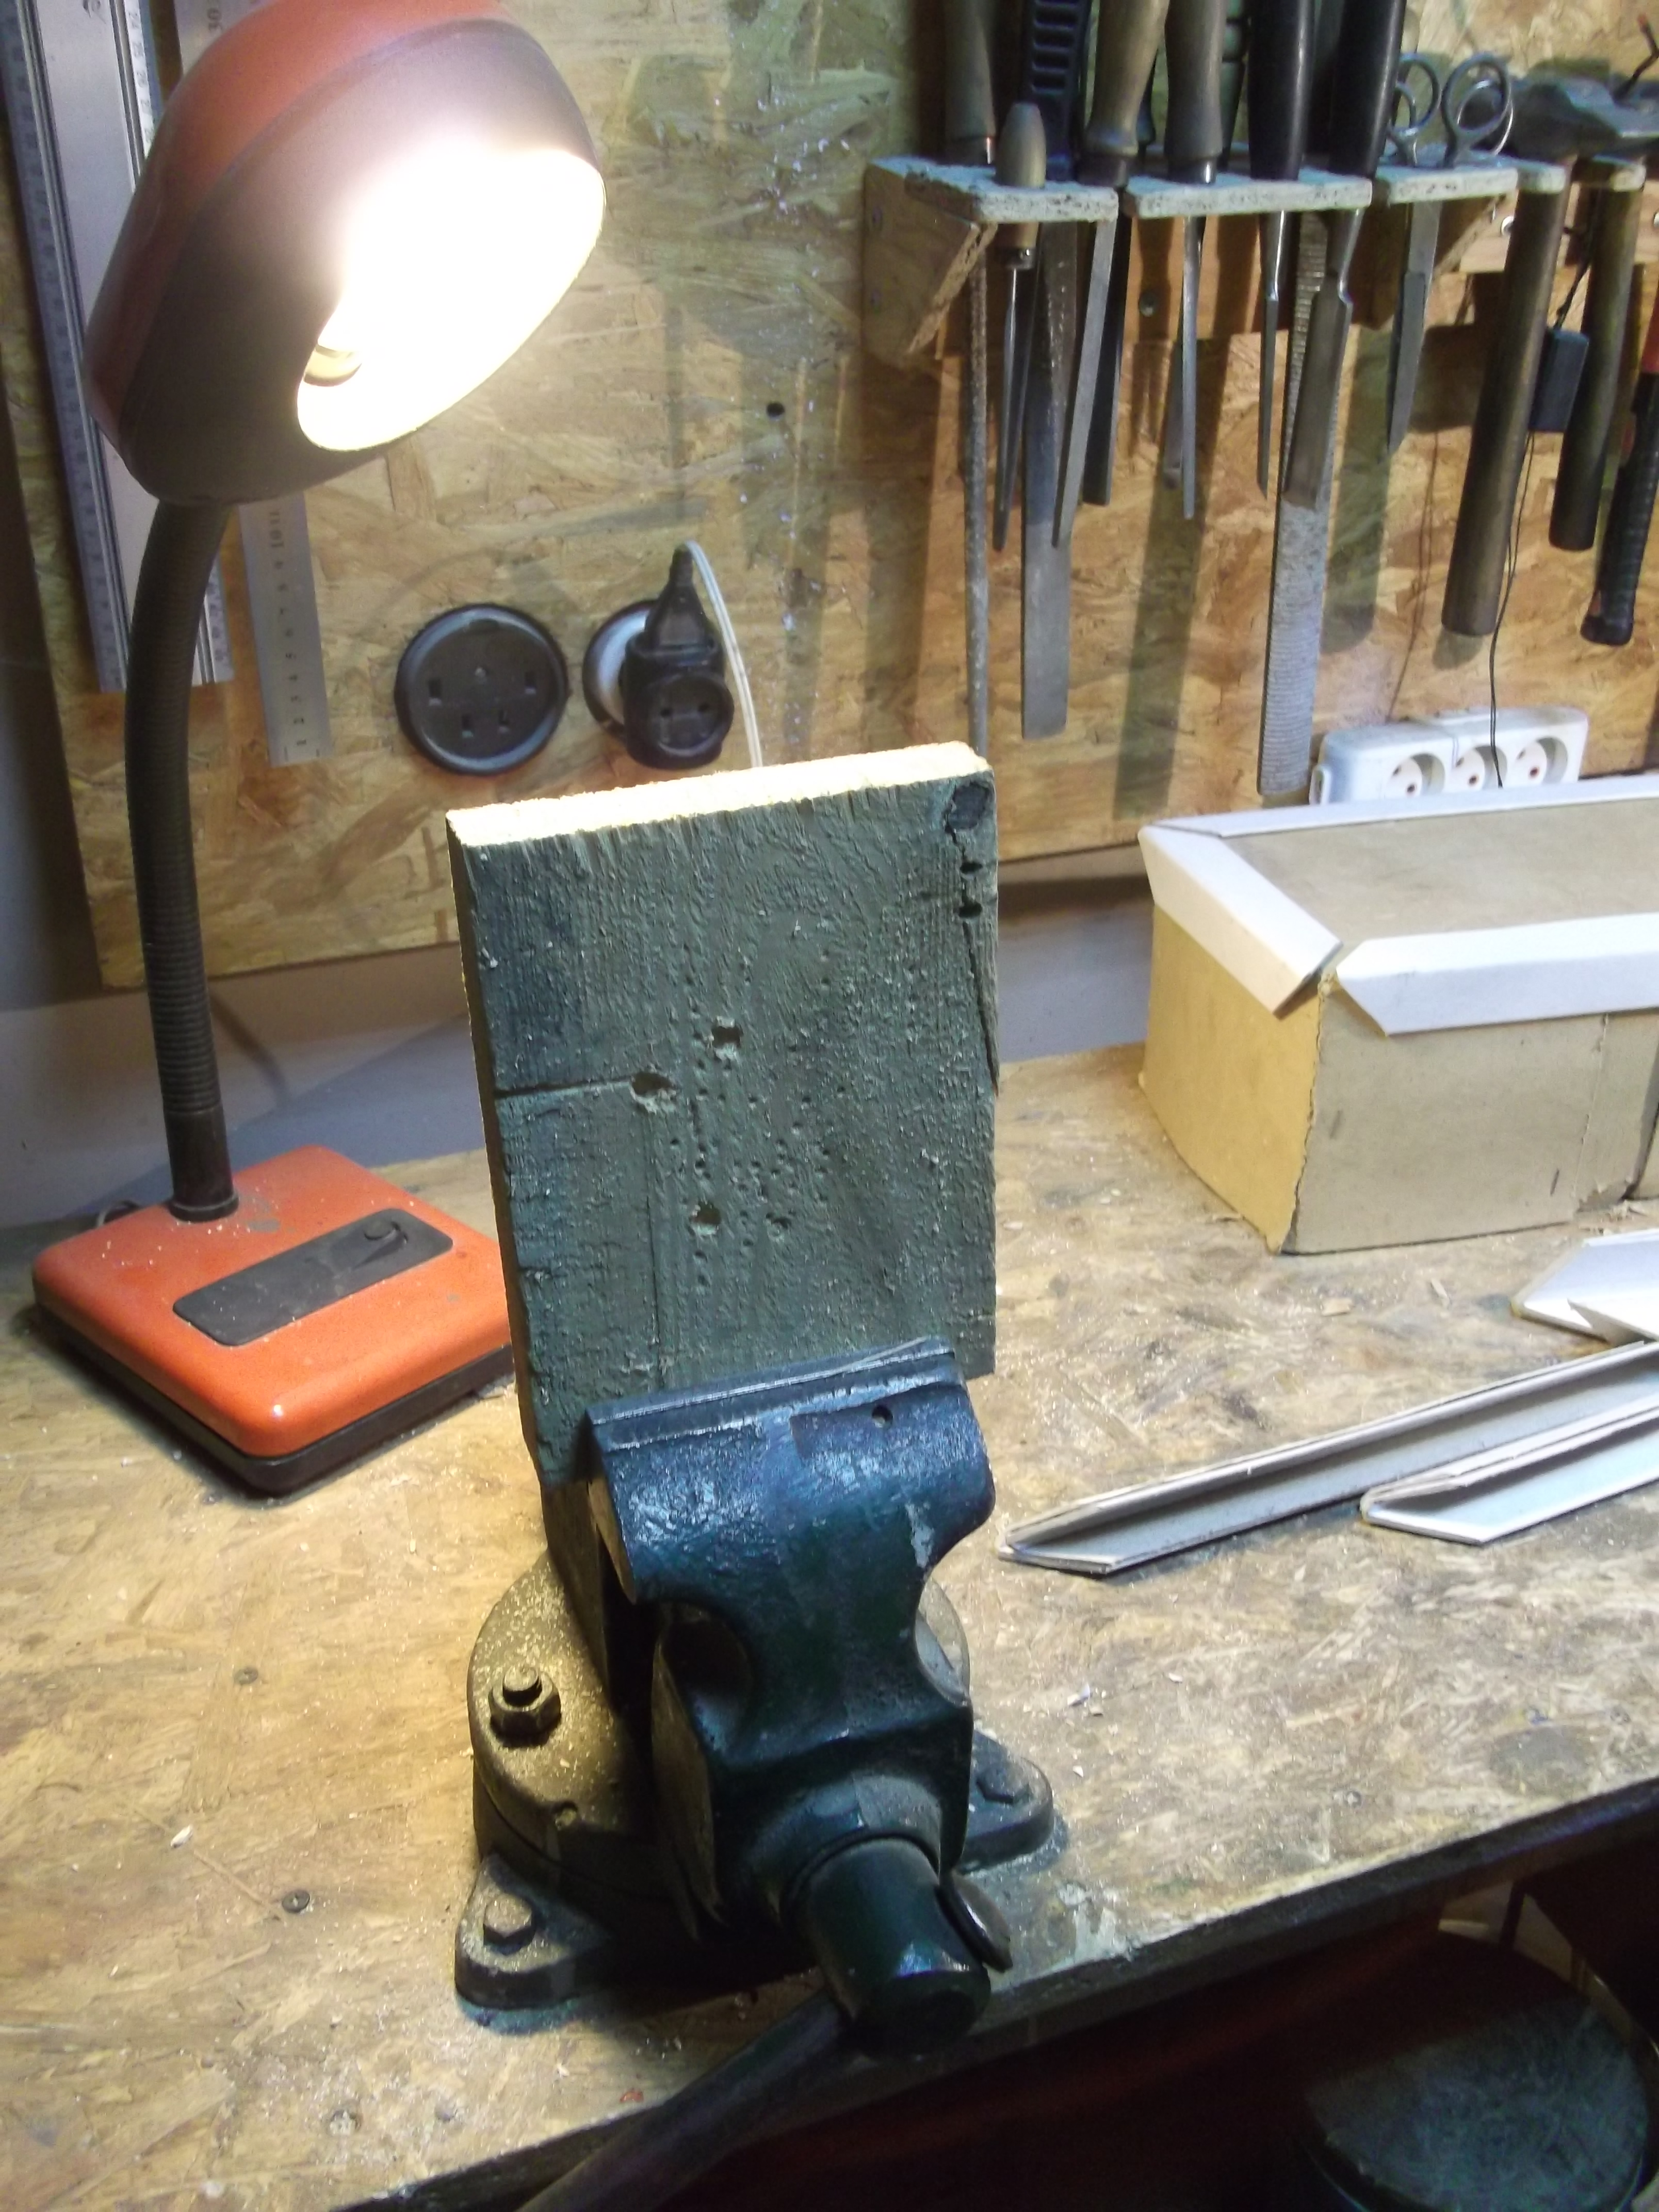
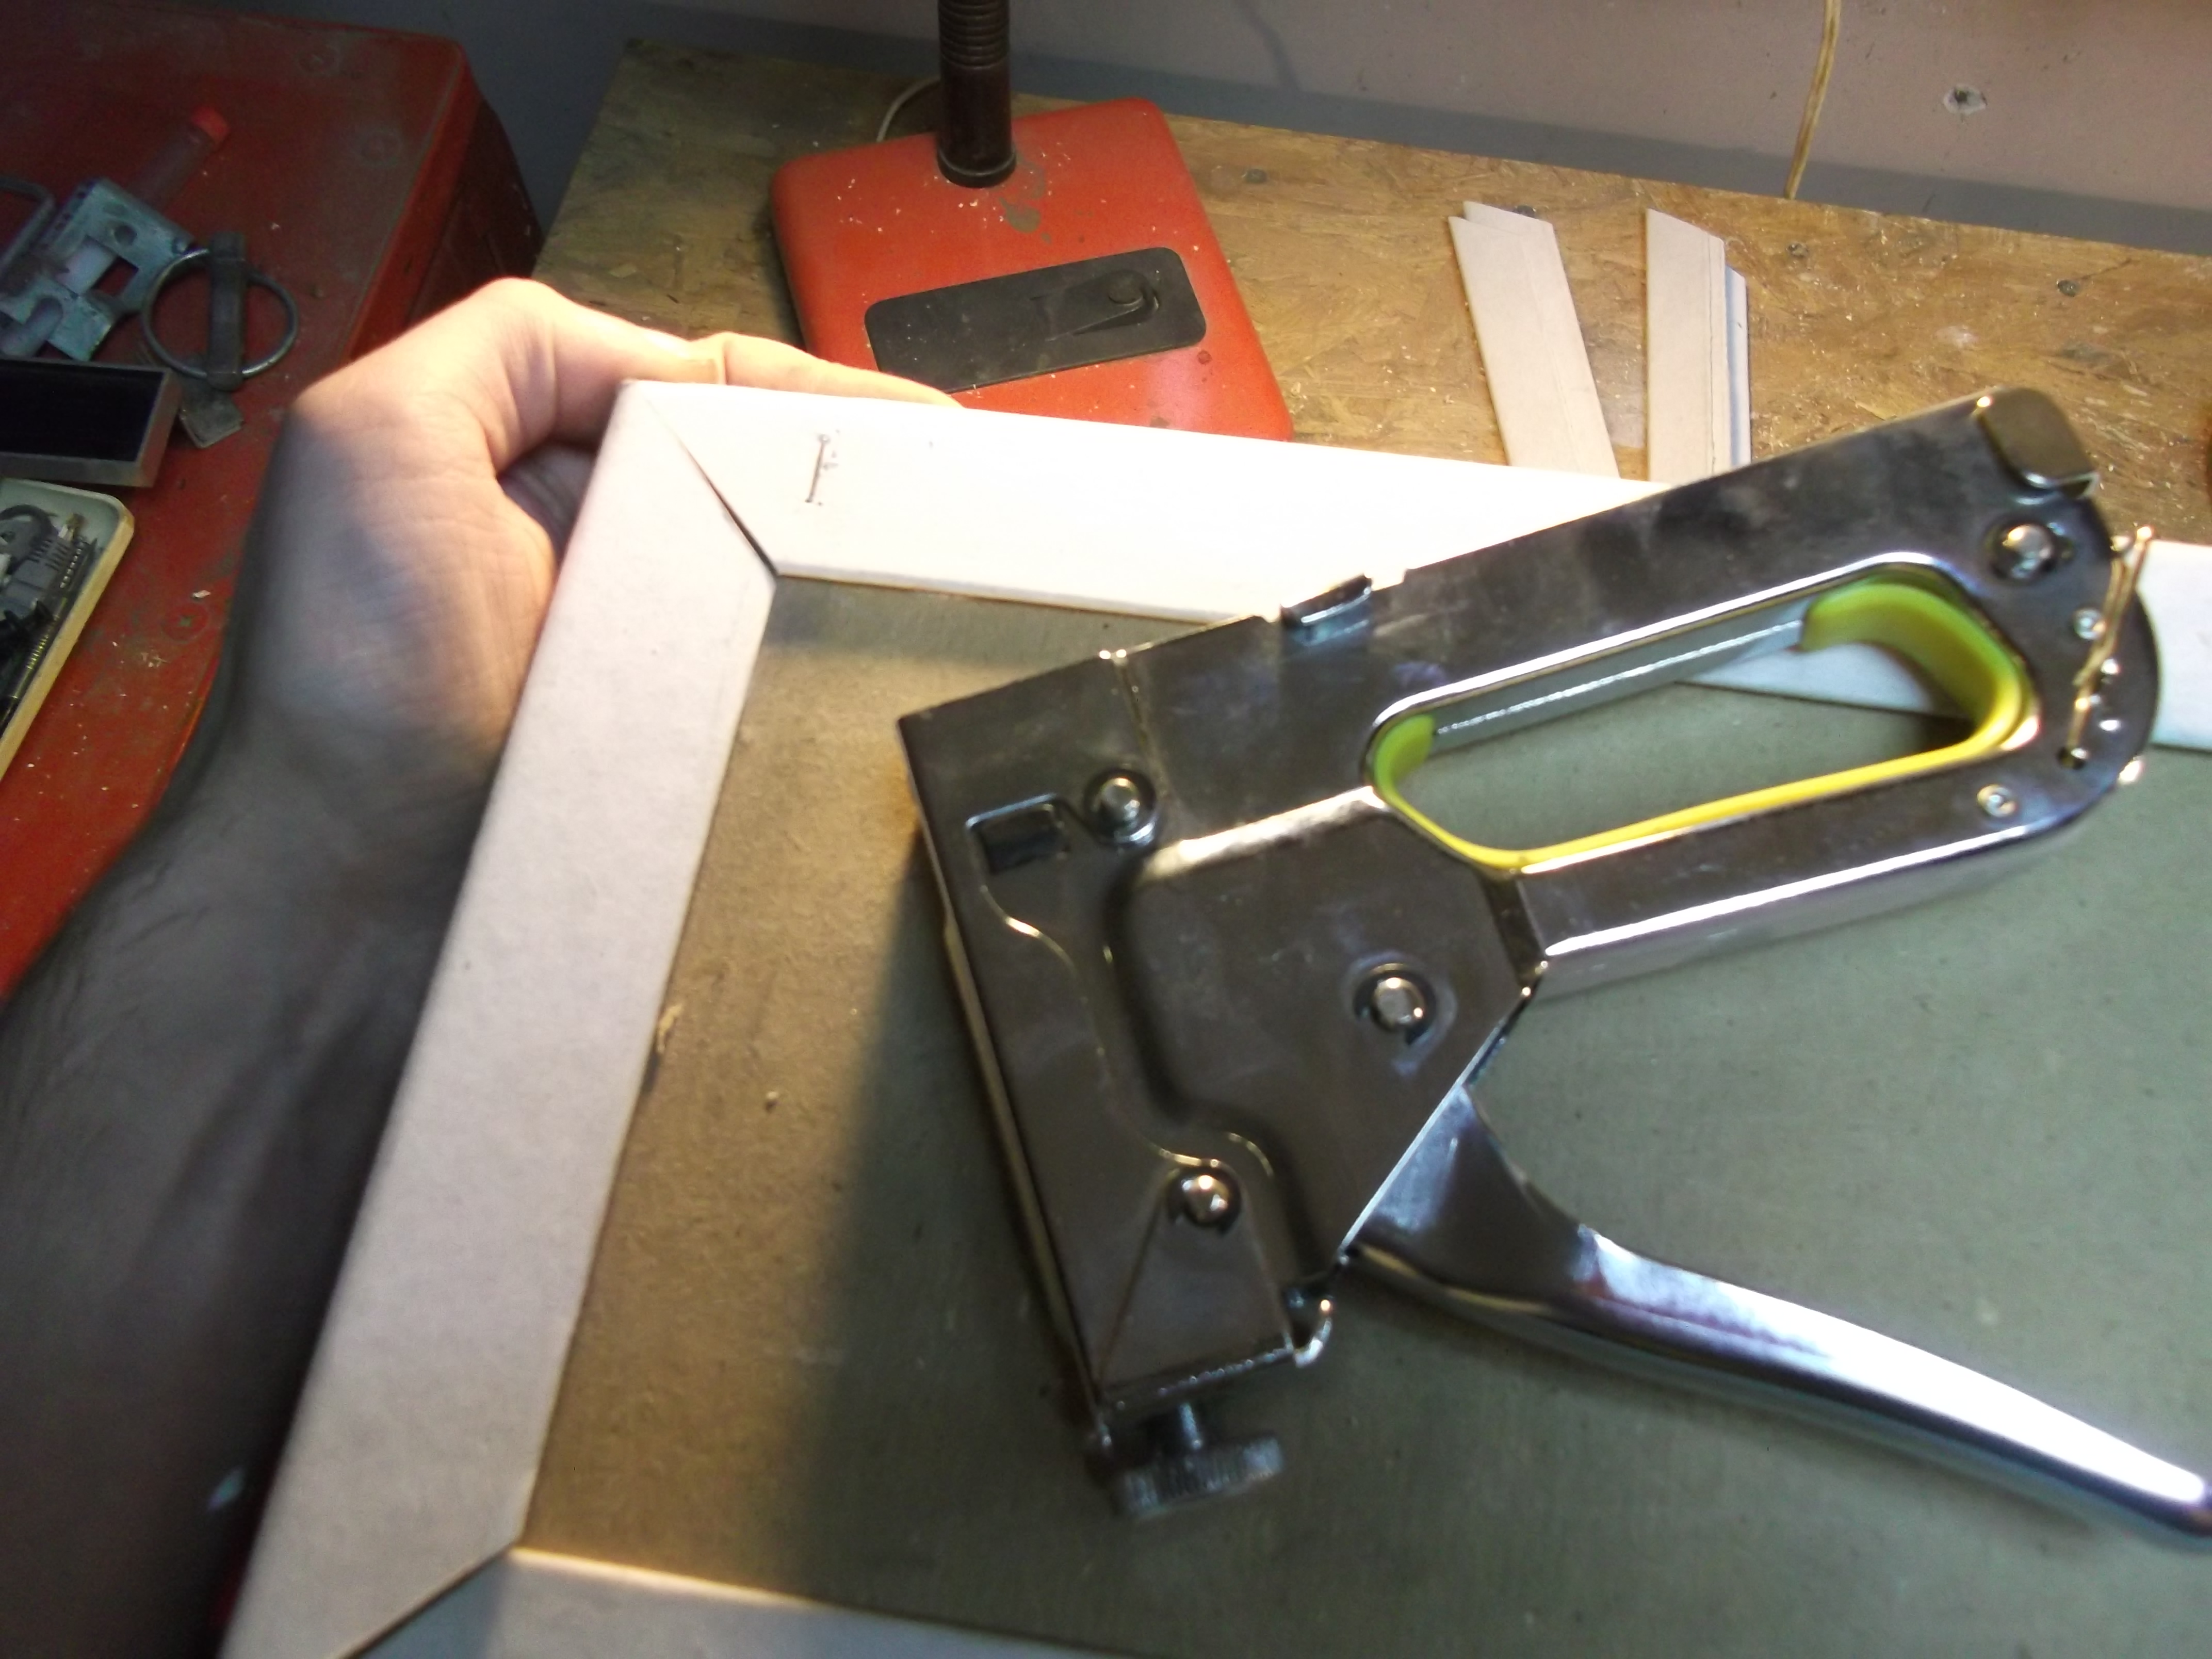
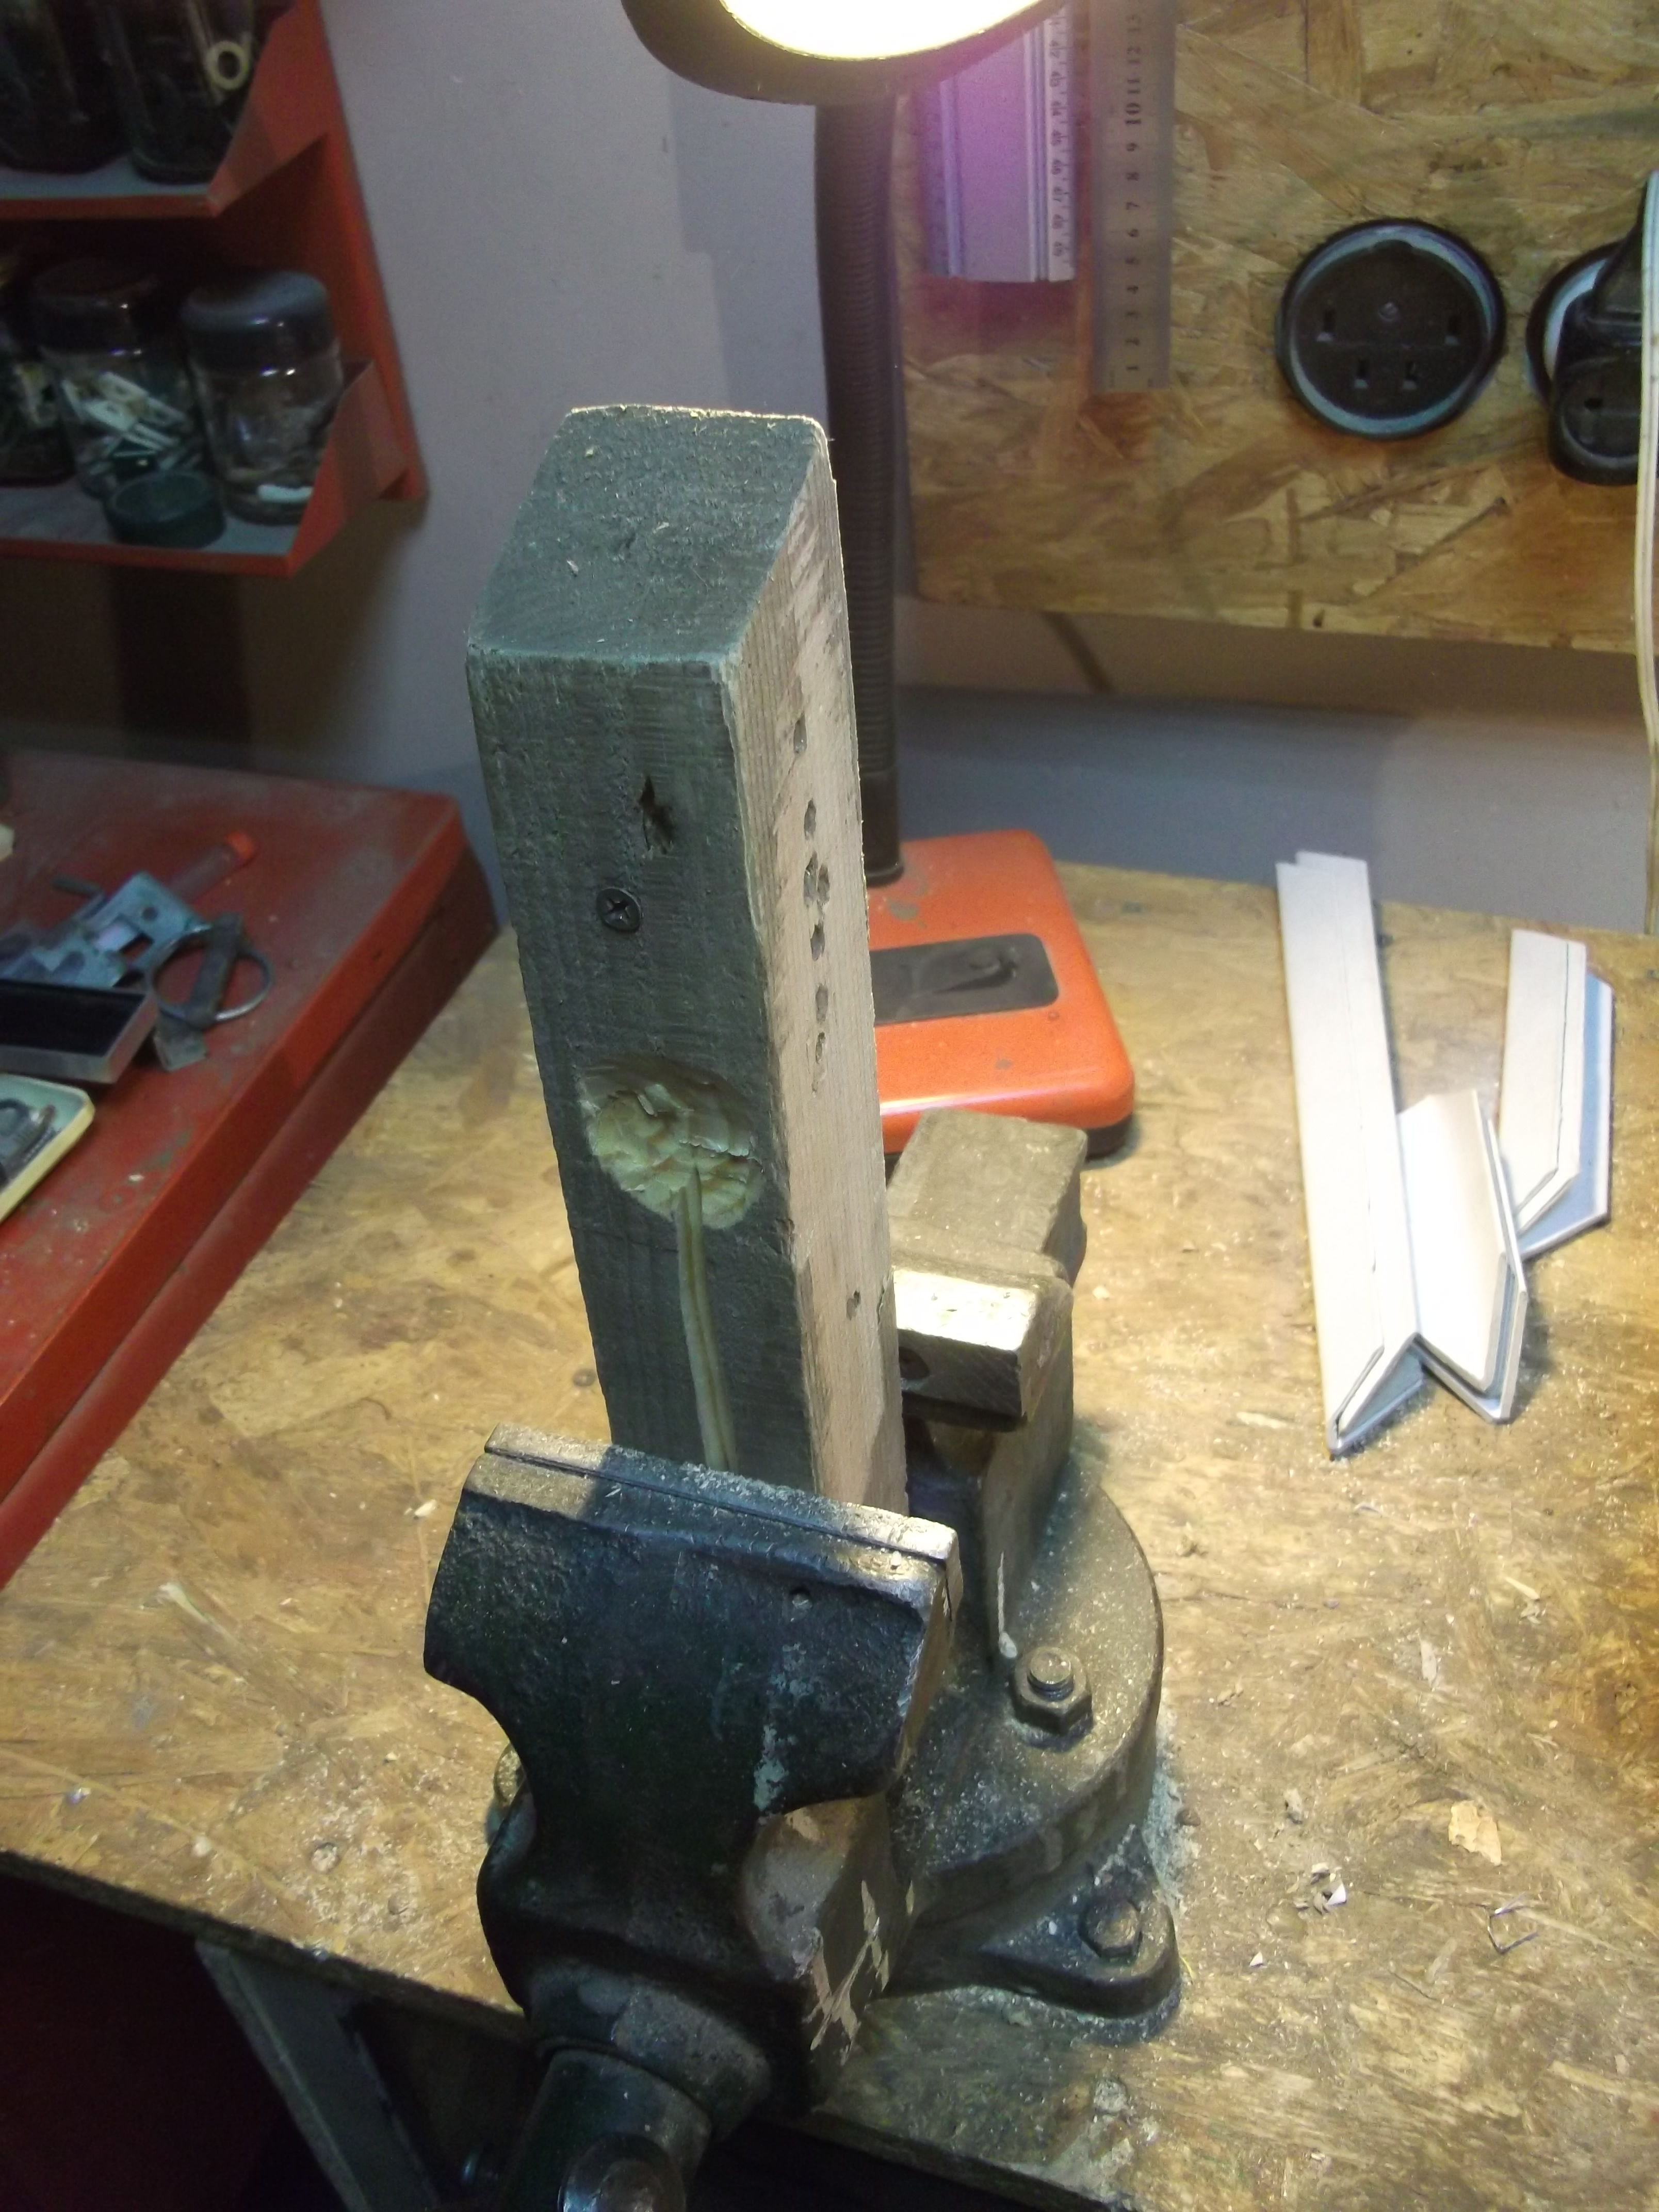
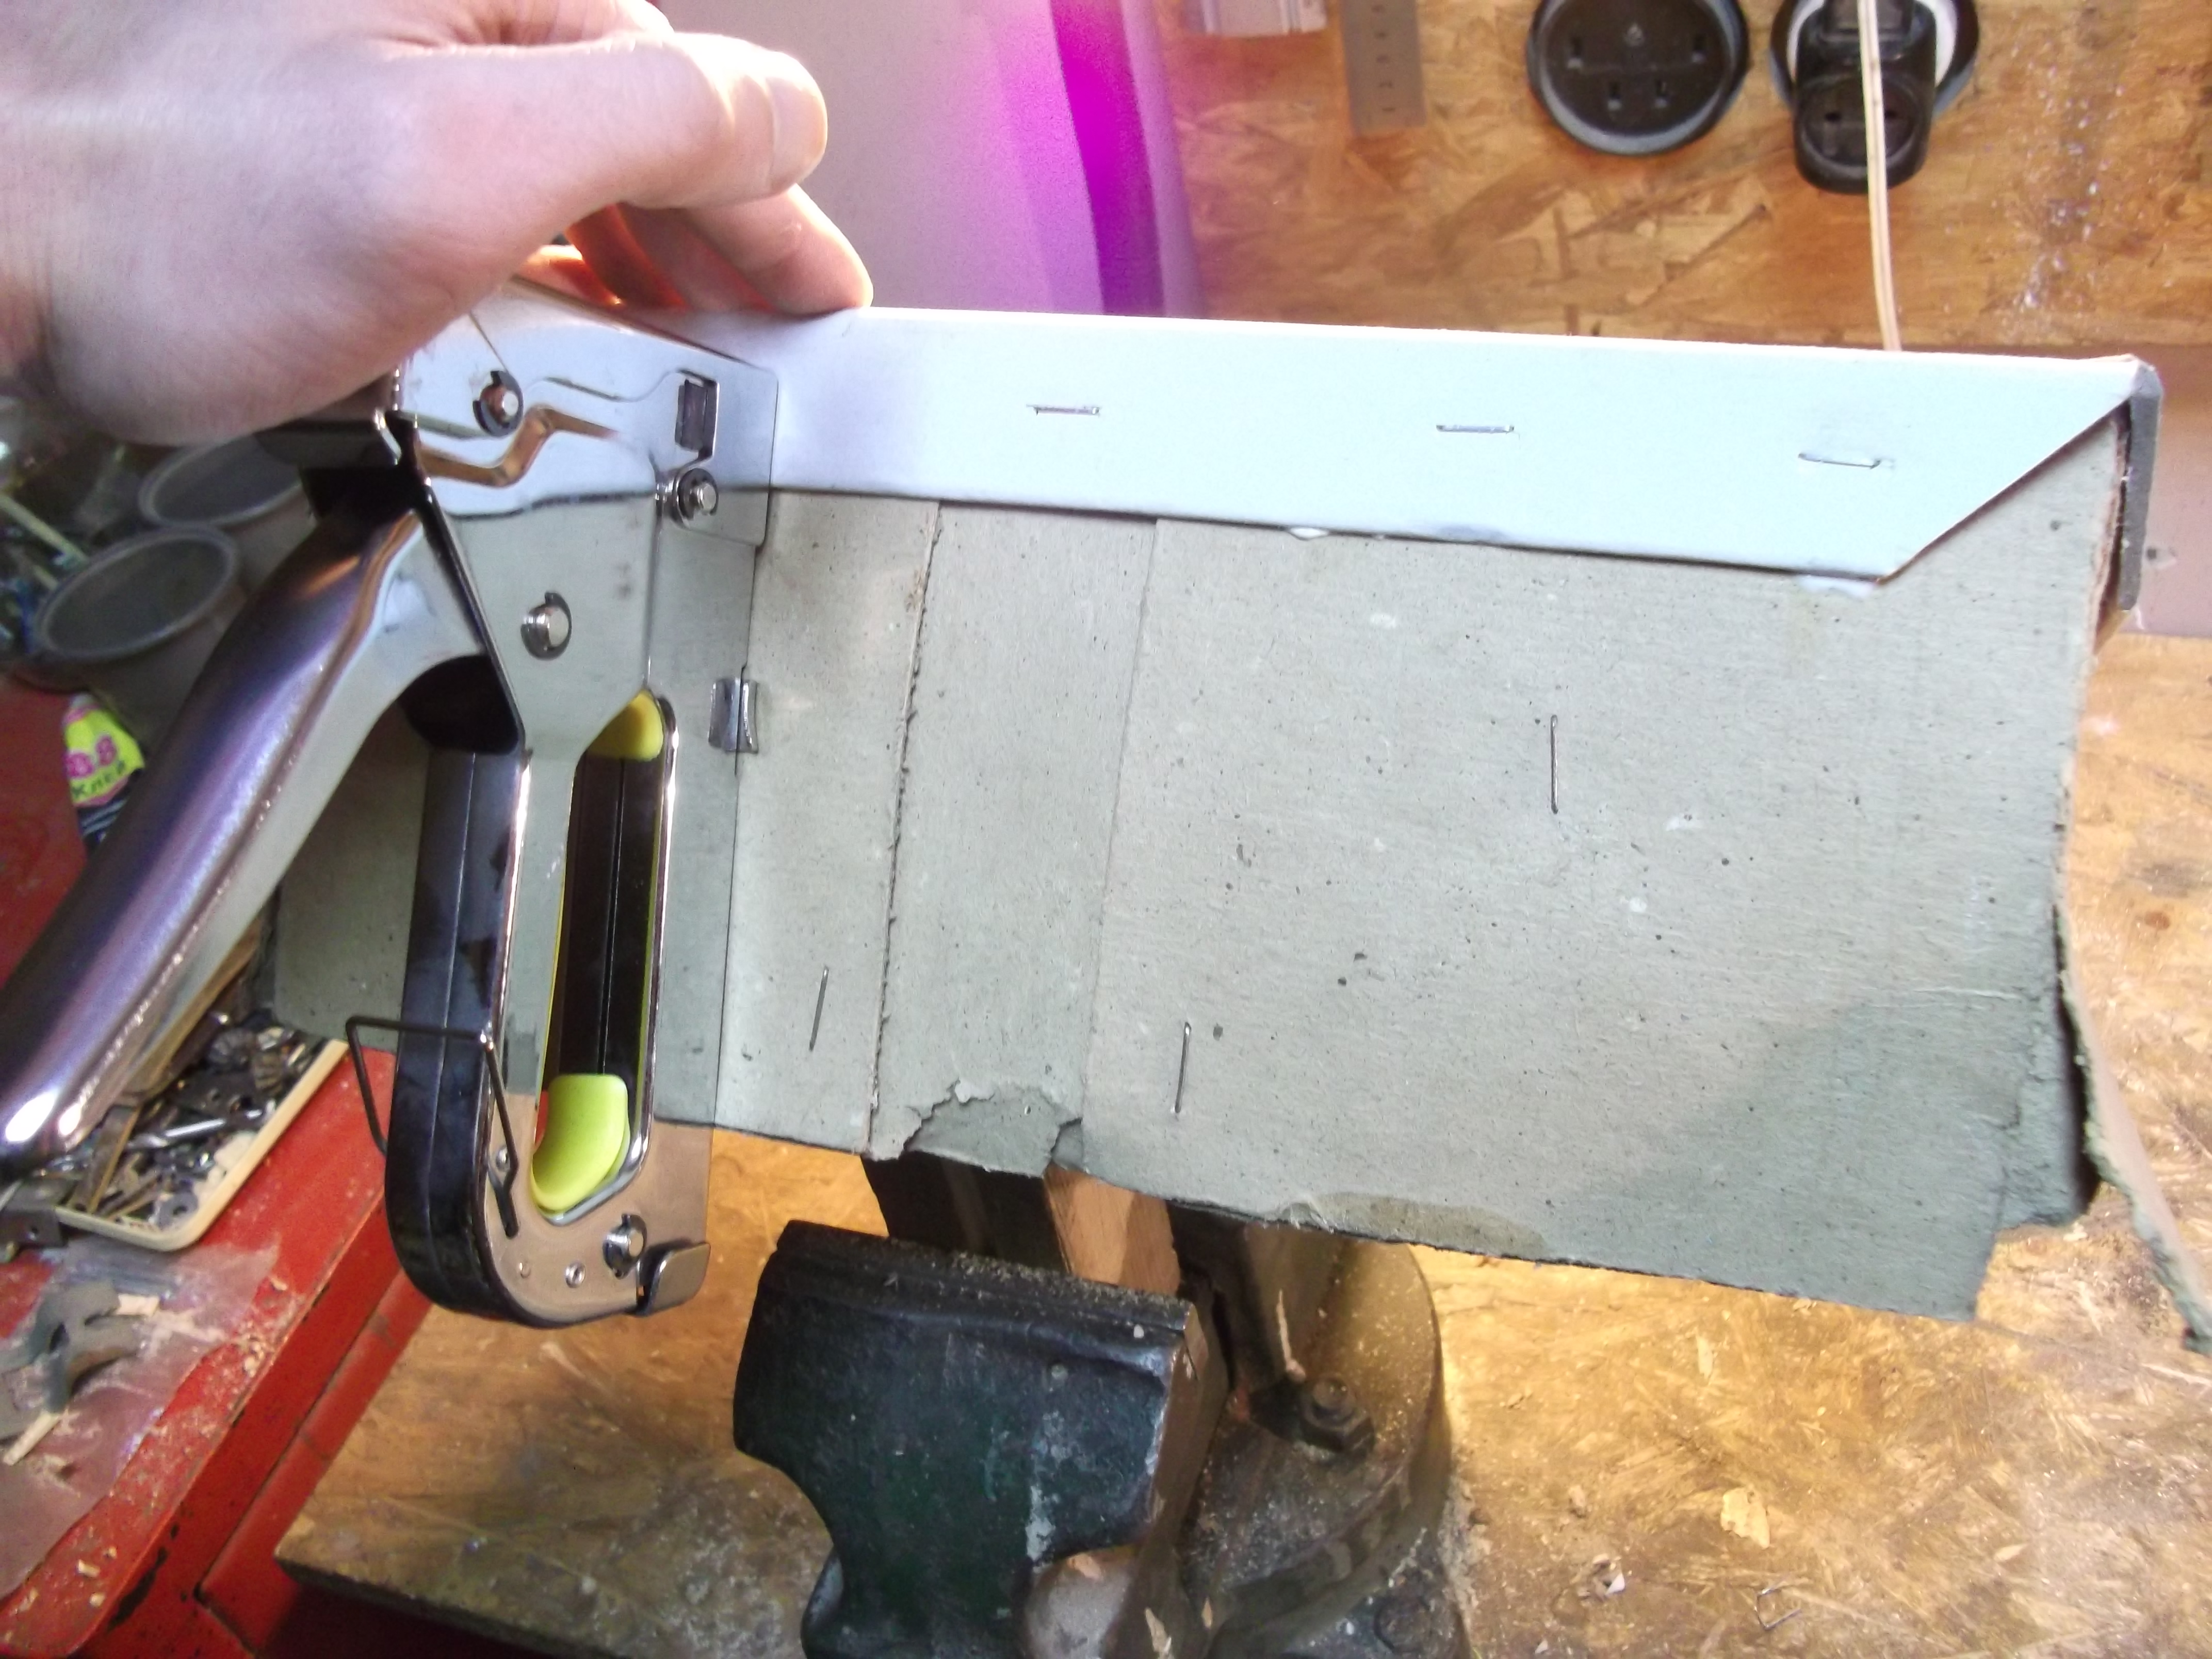
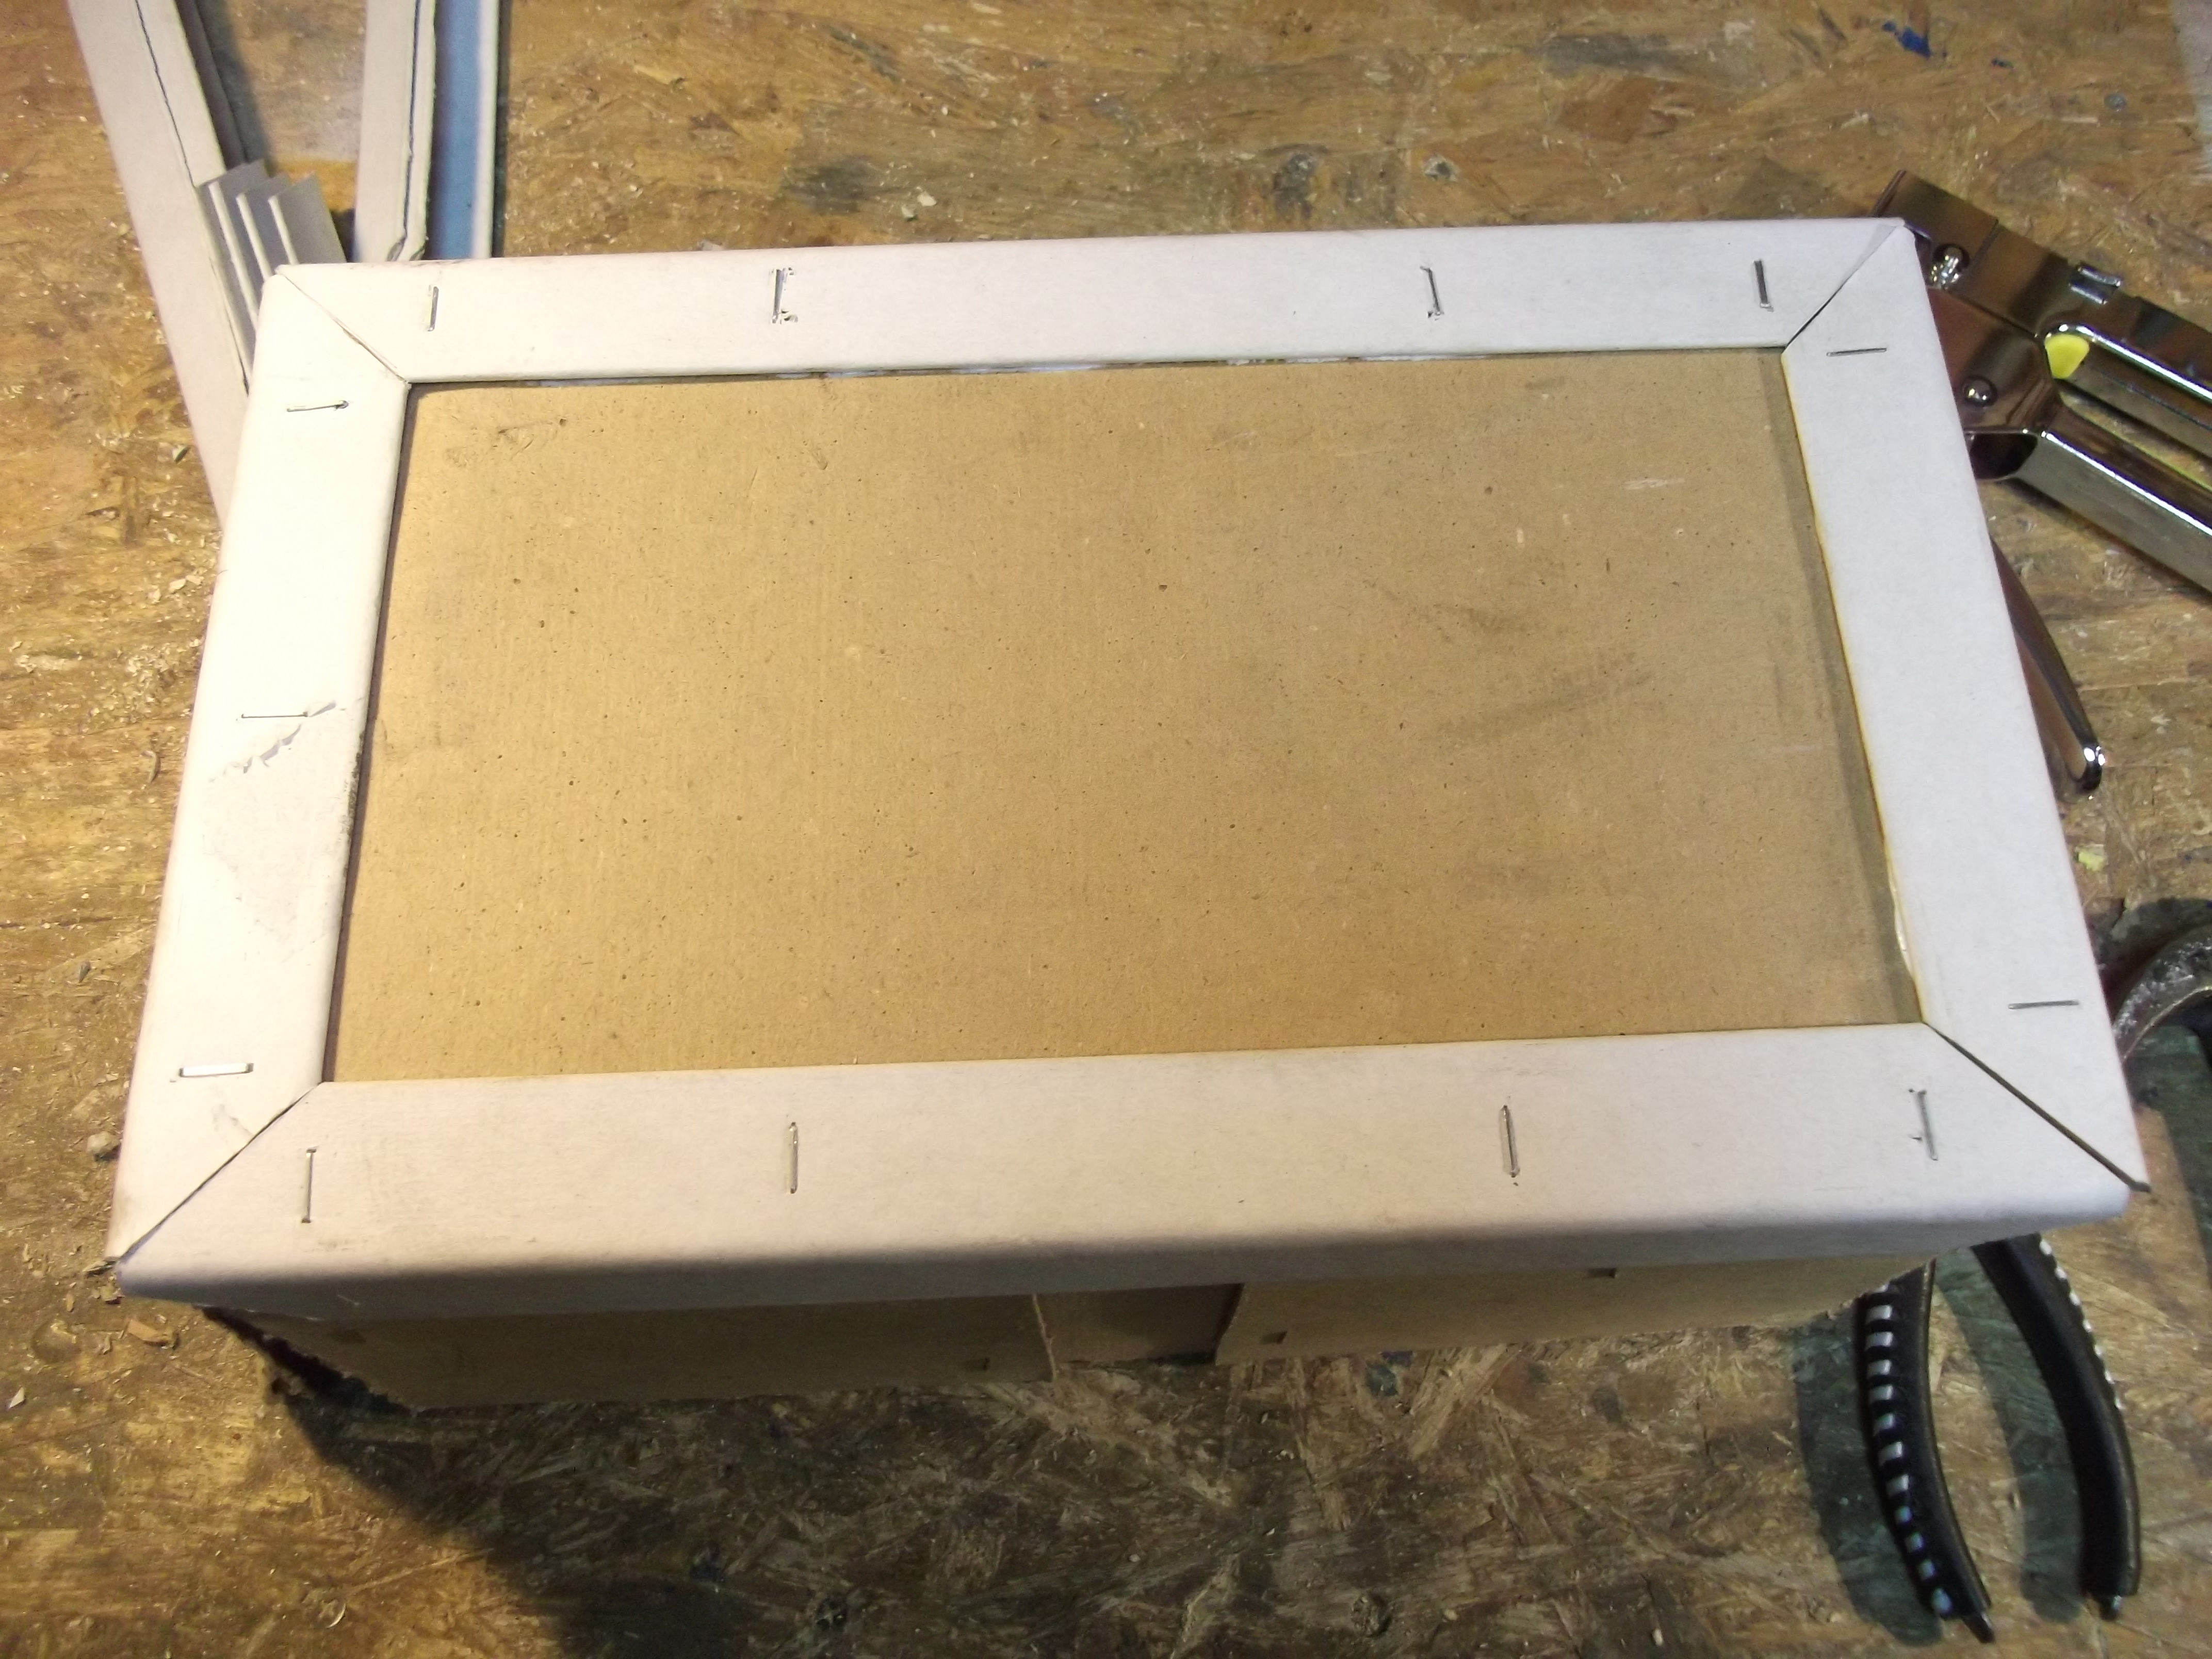
To fasten the pieces on place I'm using a stapler, with some primitive support advices to perform the opperation. If you're planning to leave the staples, bend the stems in the inside of the box.
You can also use some better clamping alternative. This was the best I had.
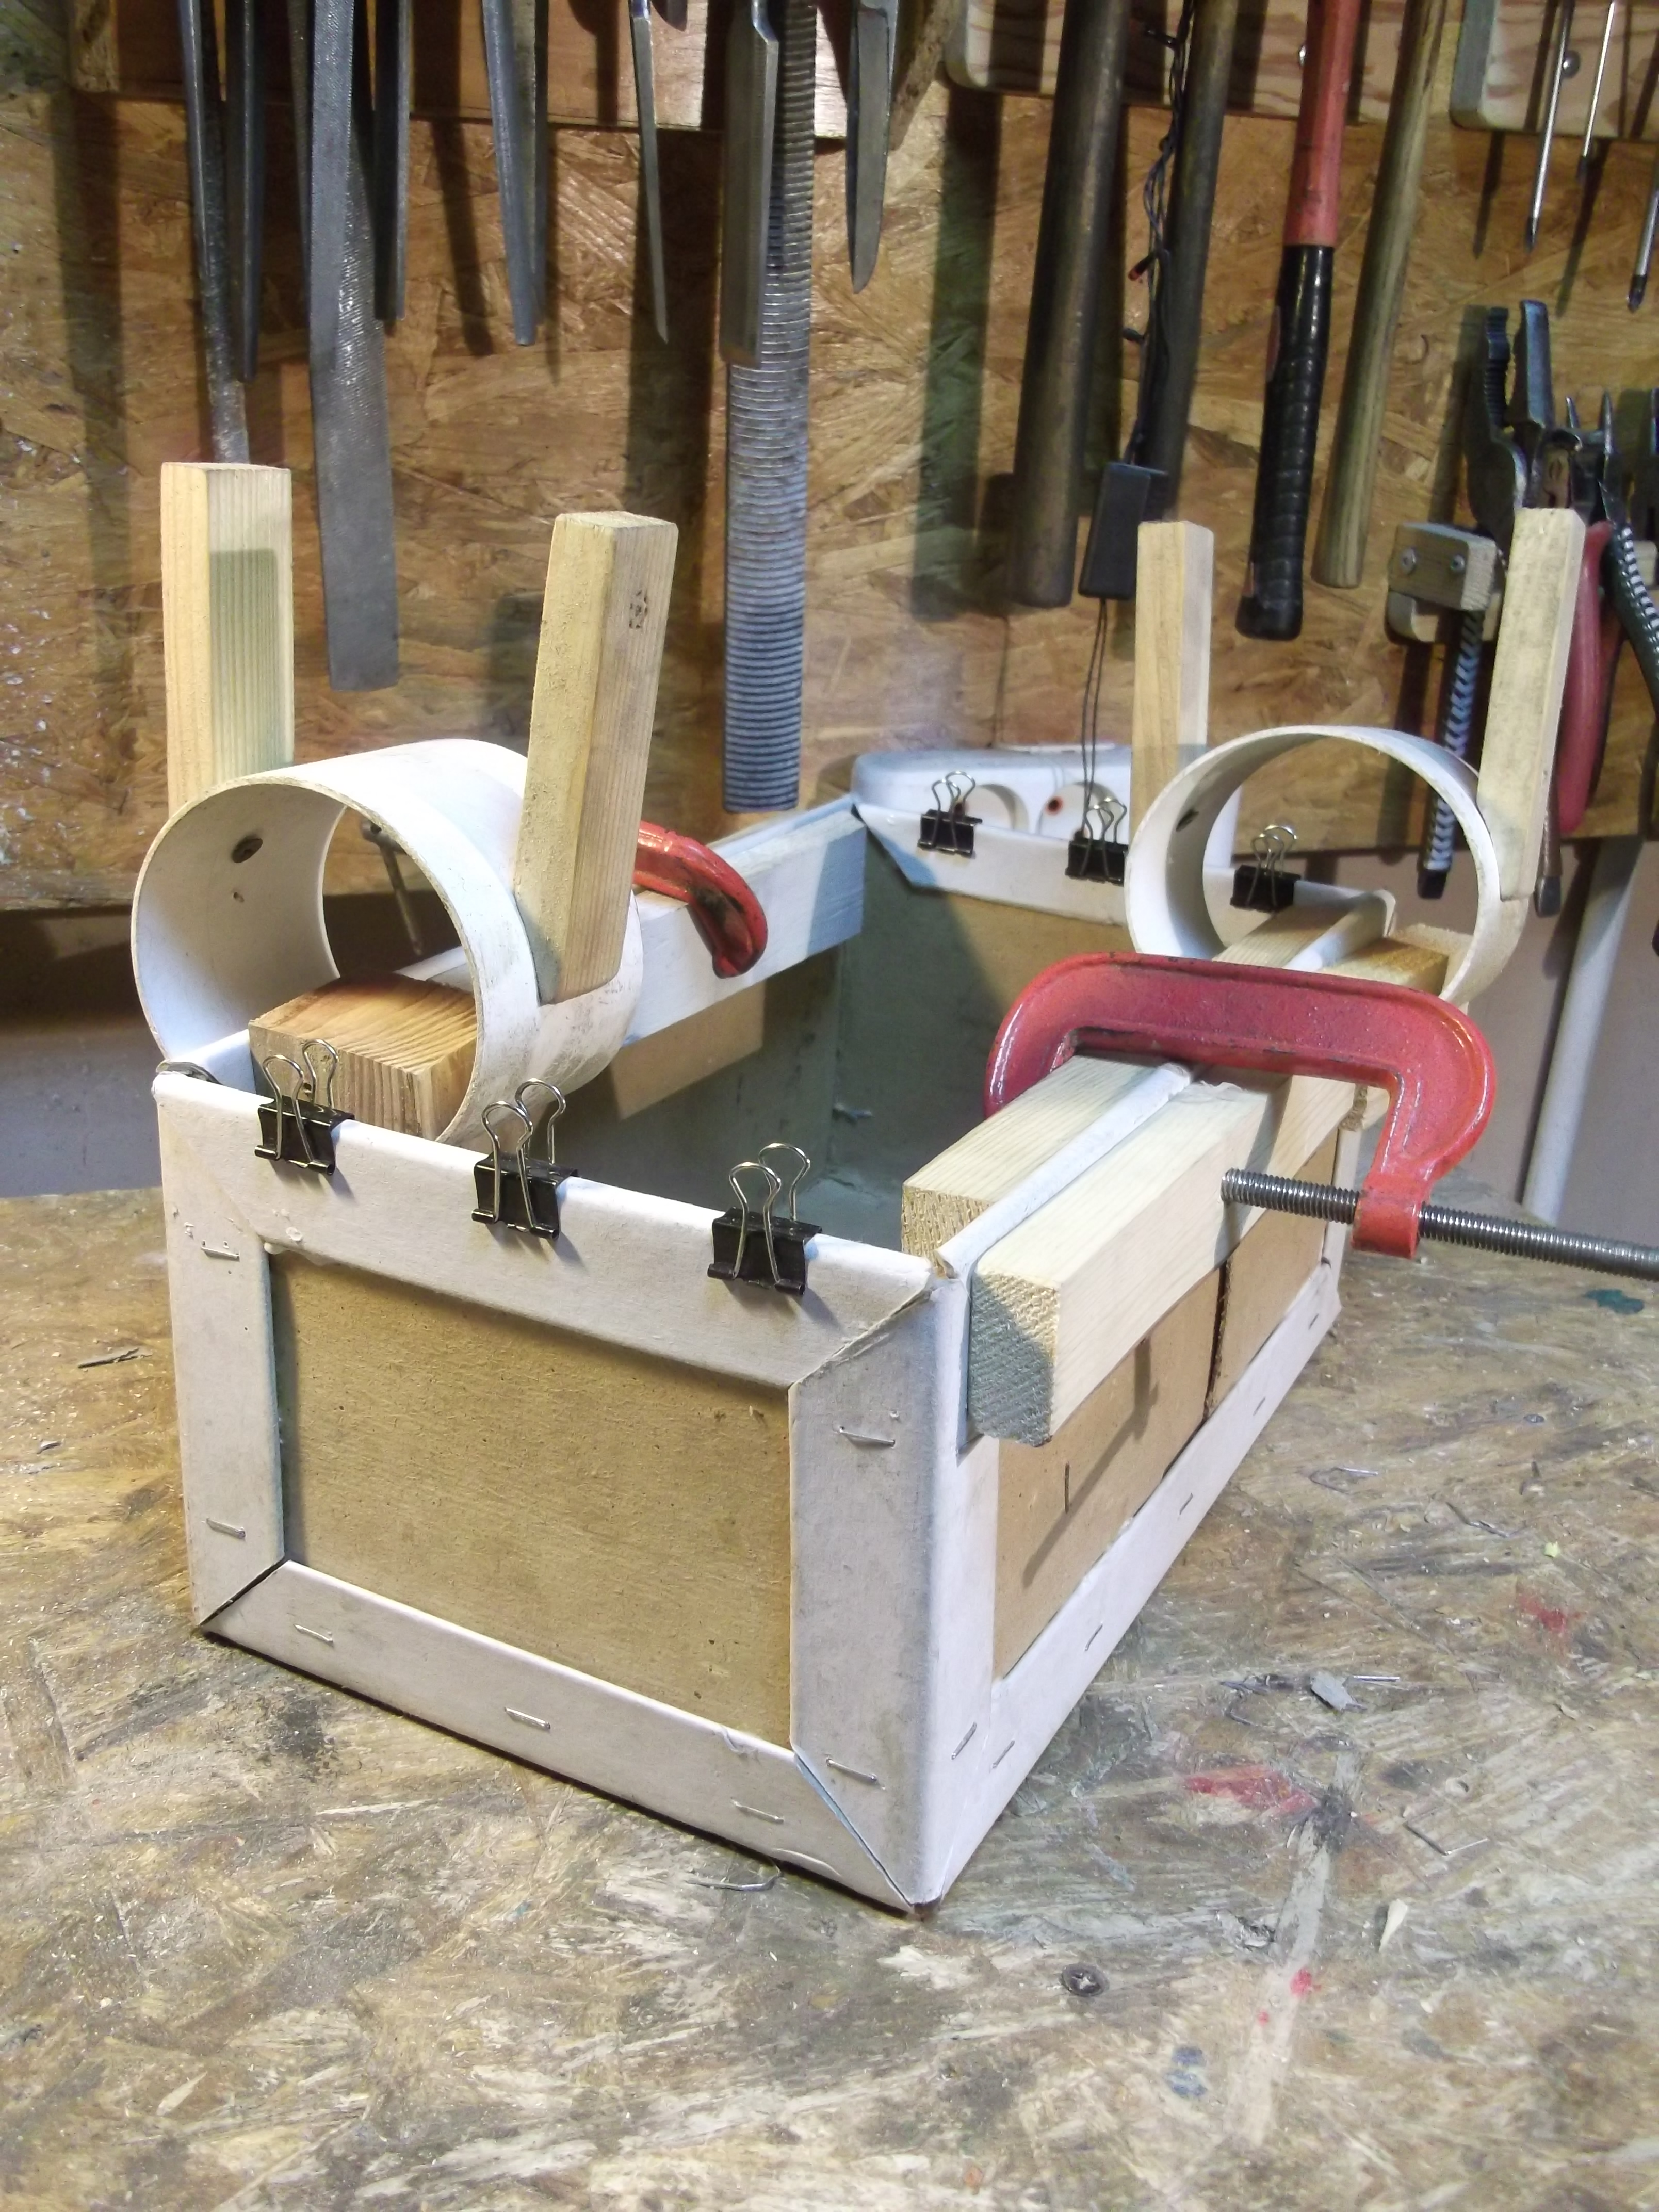
Apply the the pieces to the edge. Here I'm just clamping them using all the clamping possibilities in my possession.
Leave it for the glue to dry.
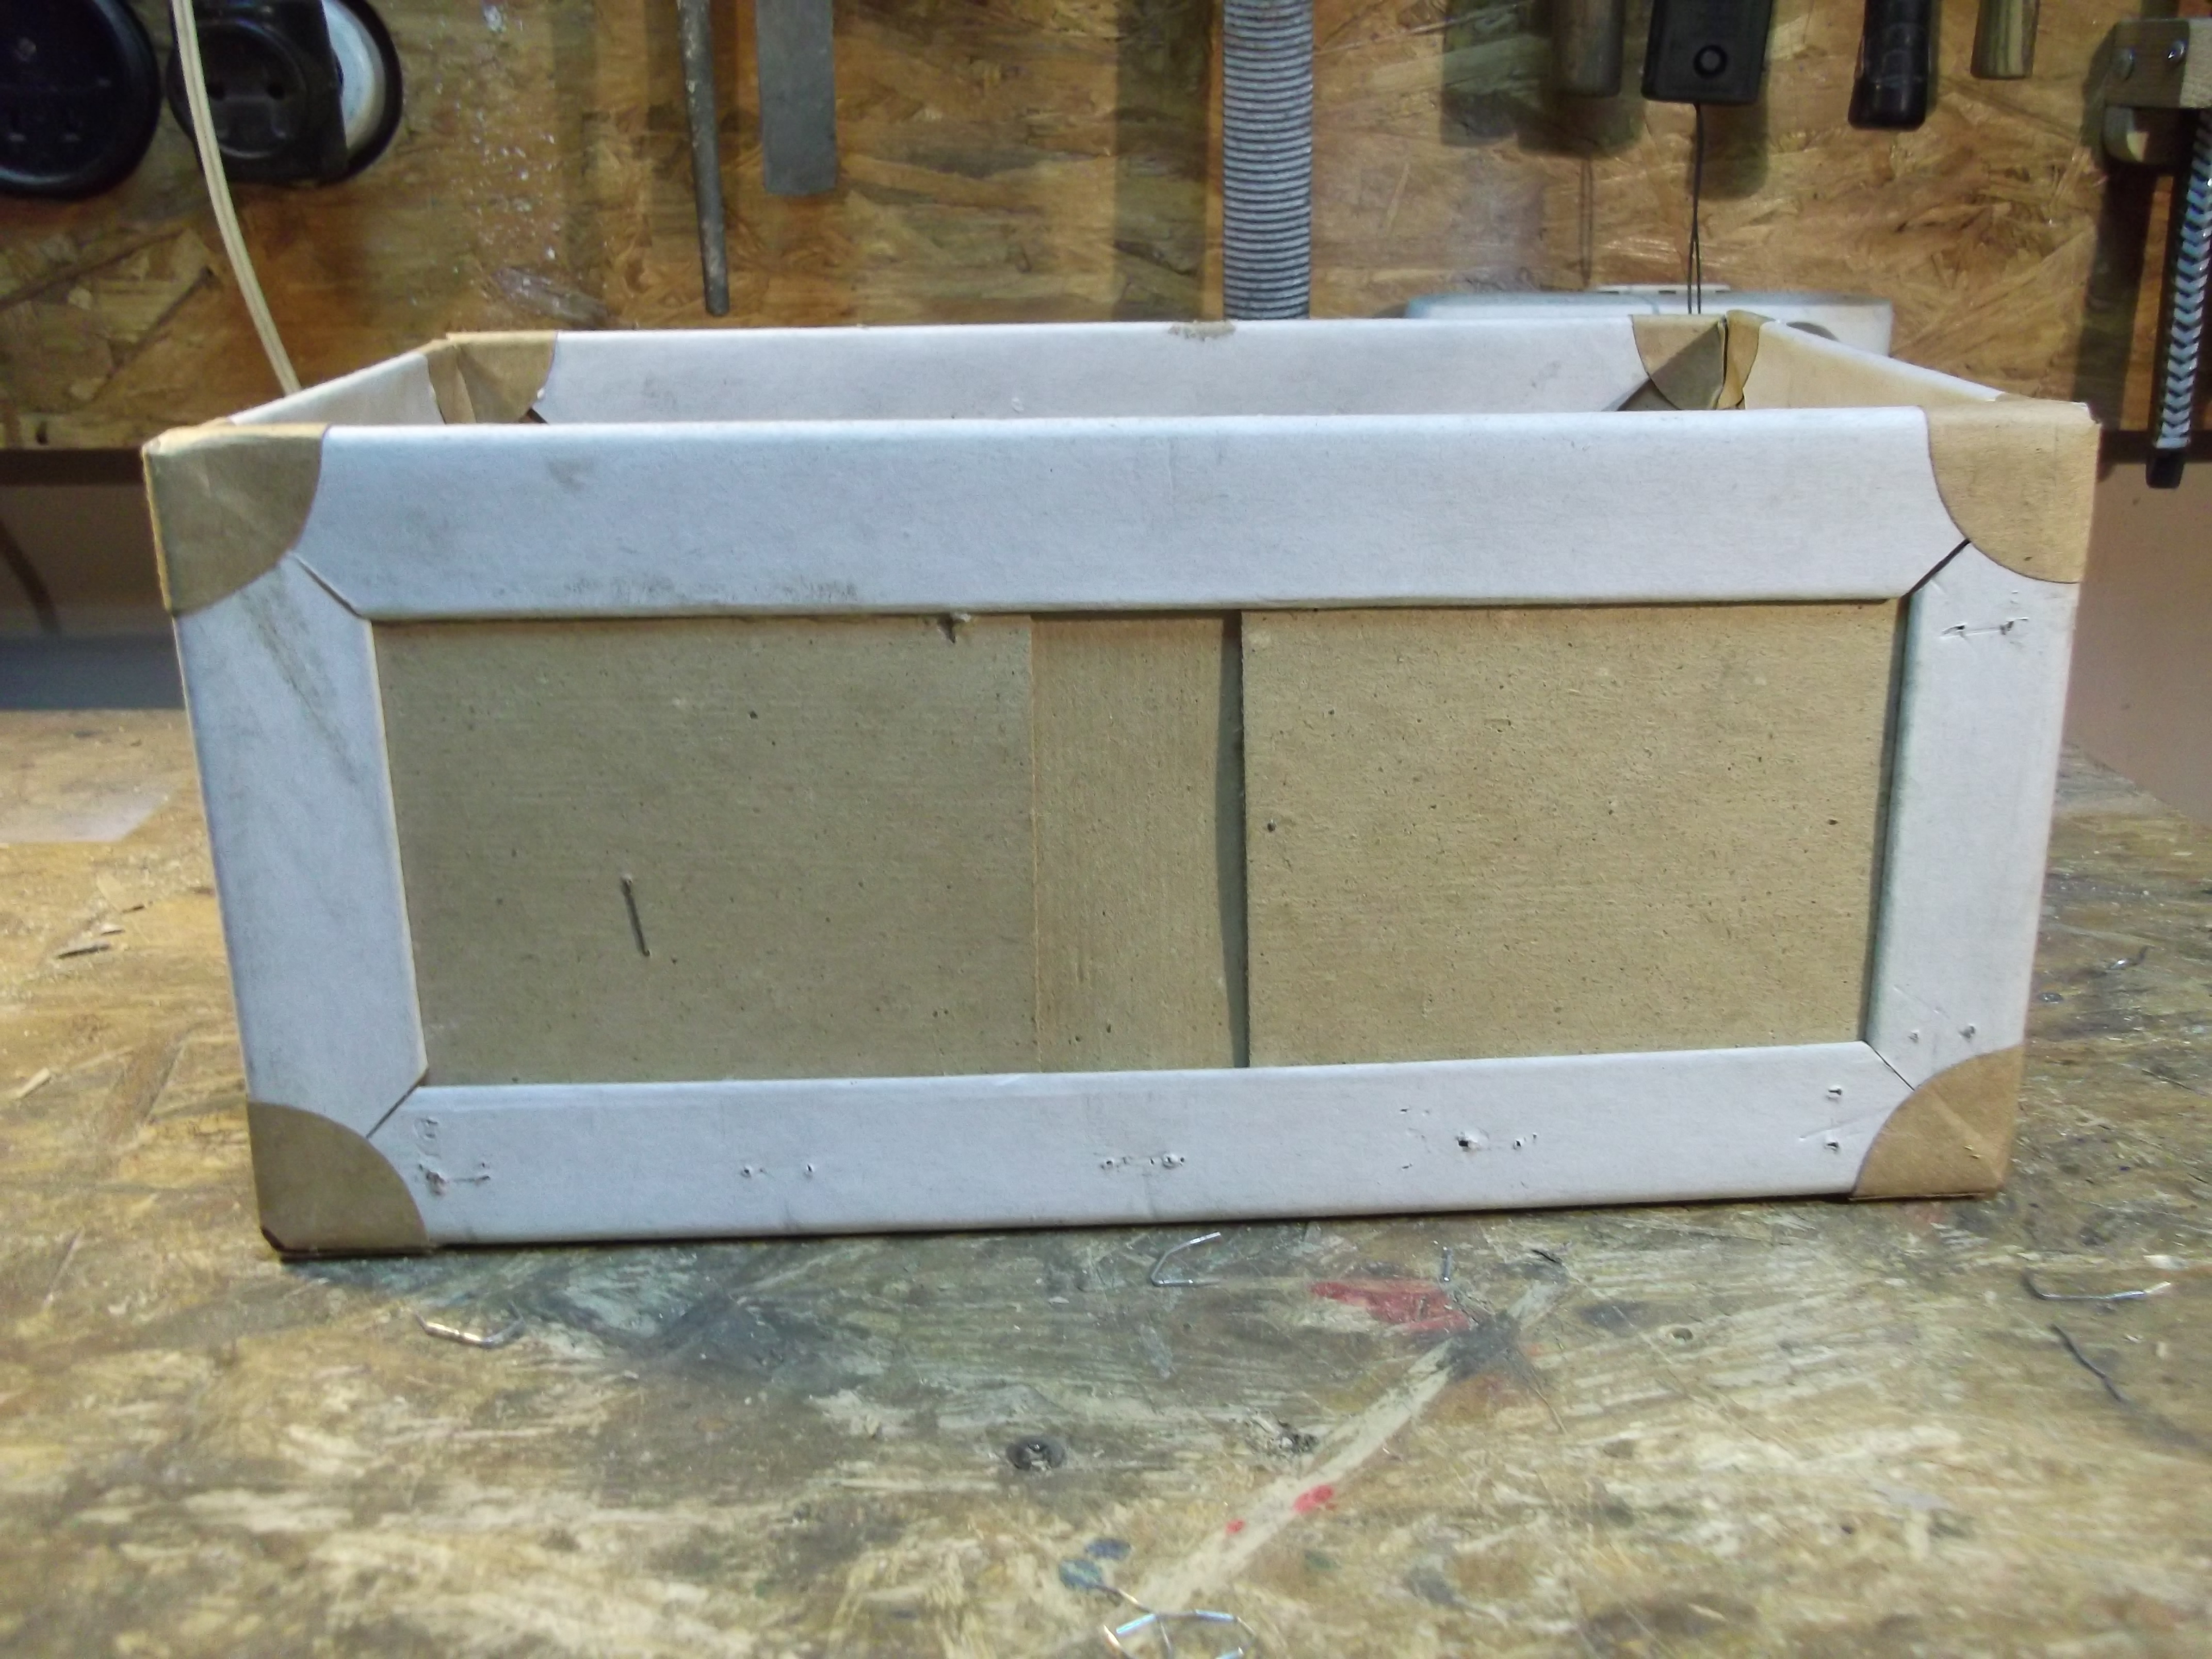
The last thing is to add corners.
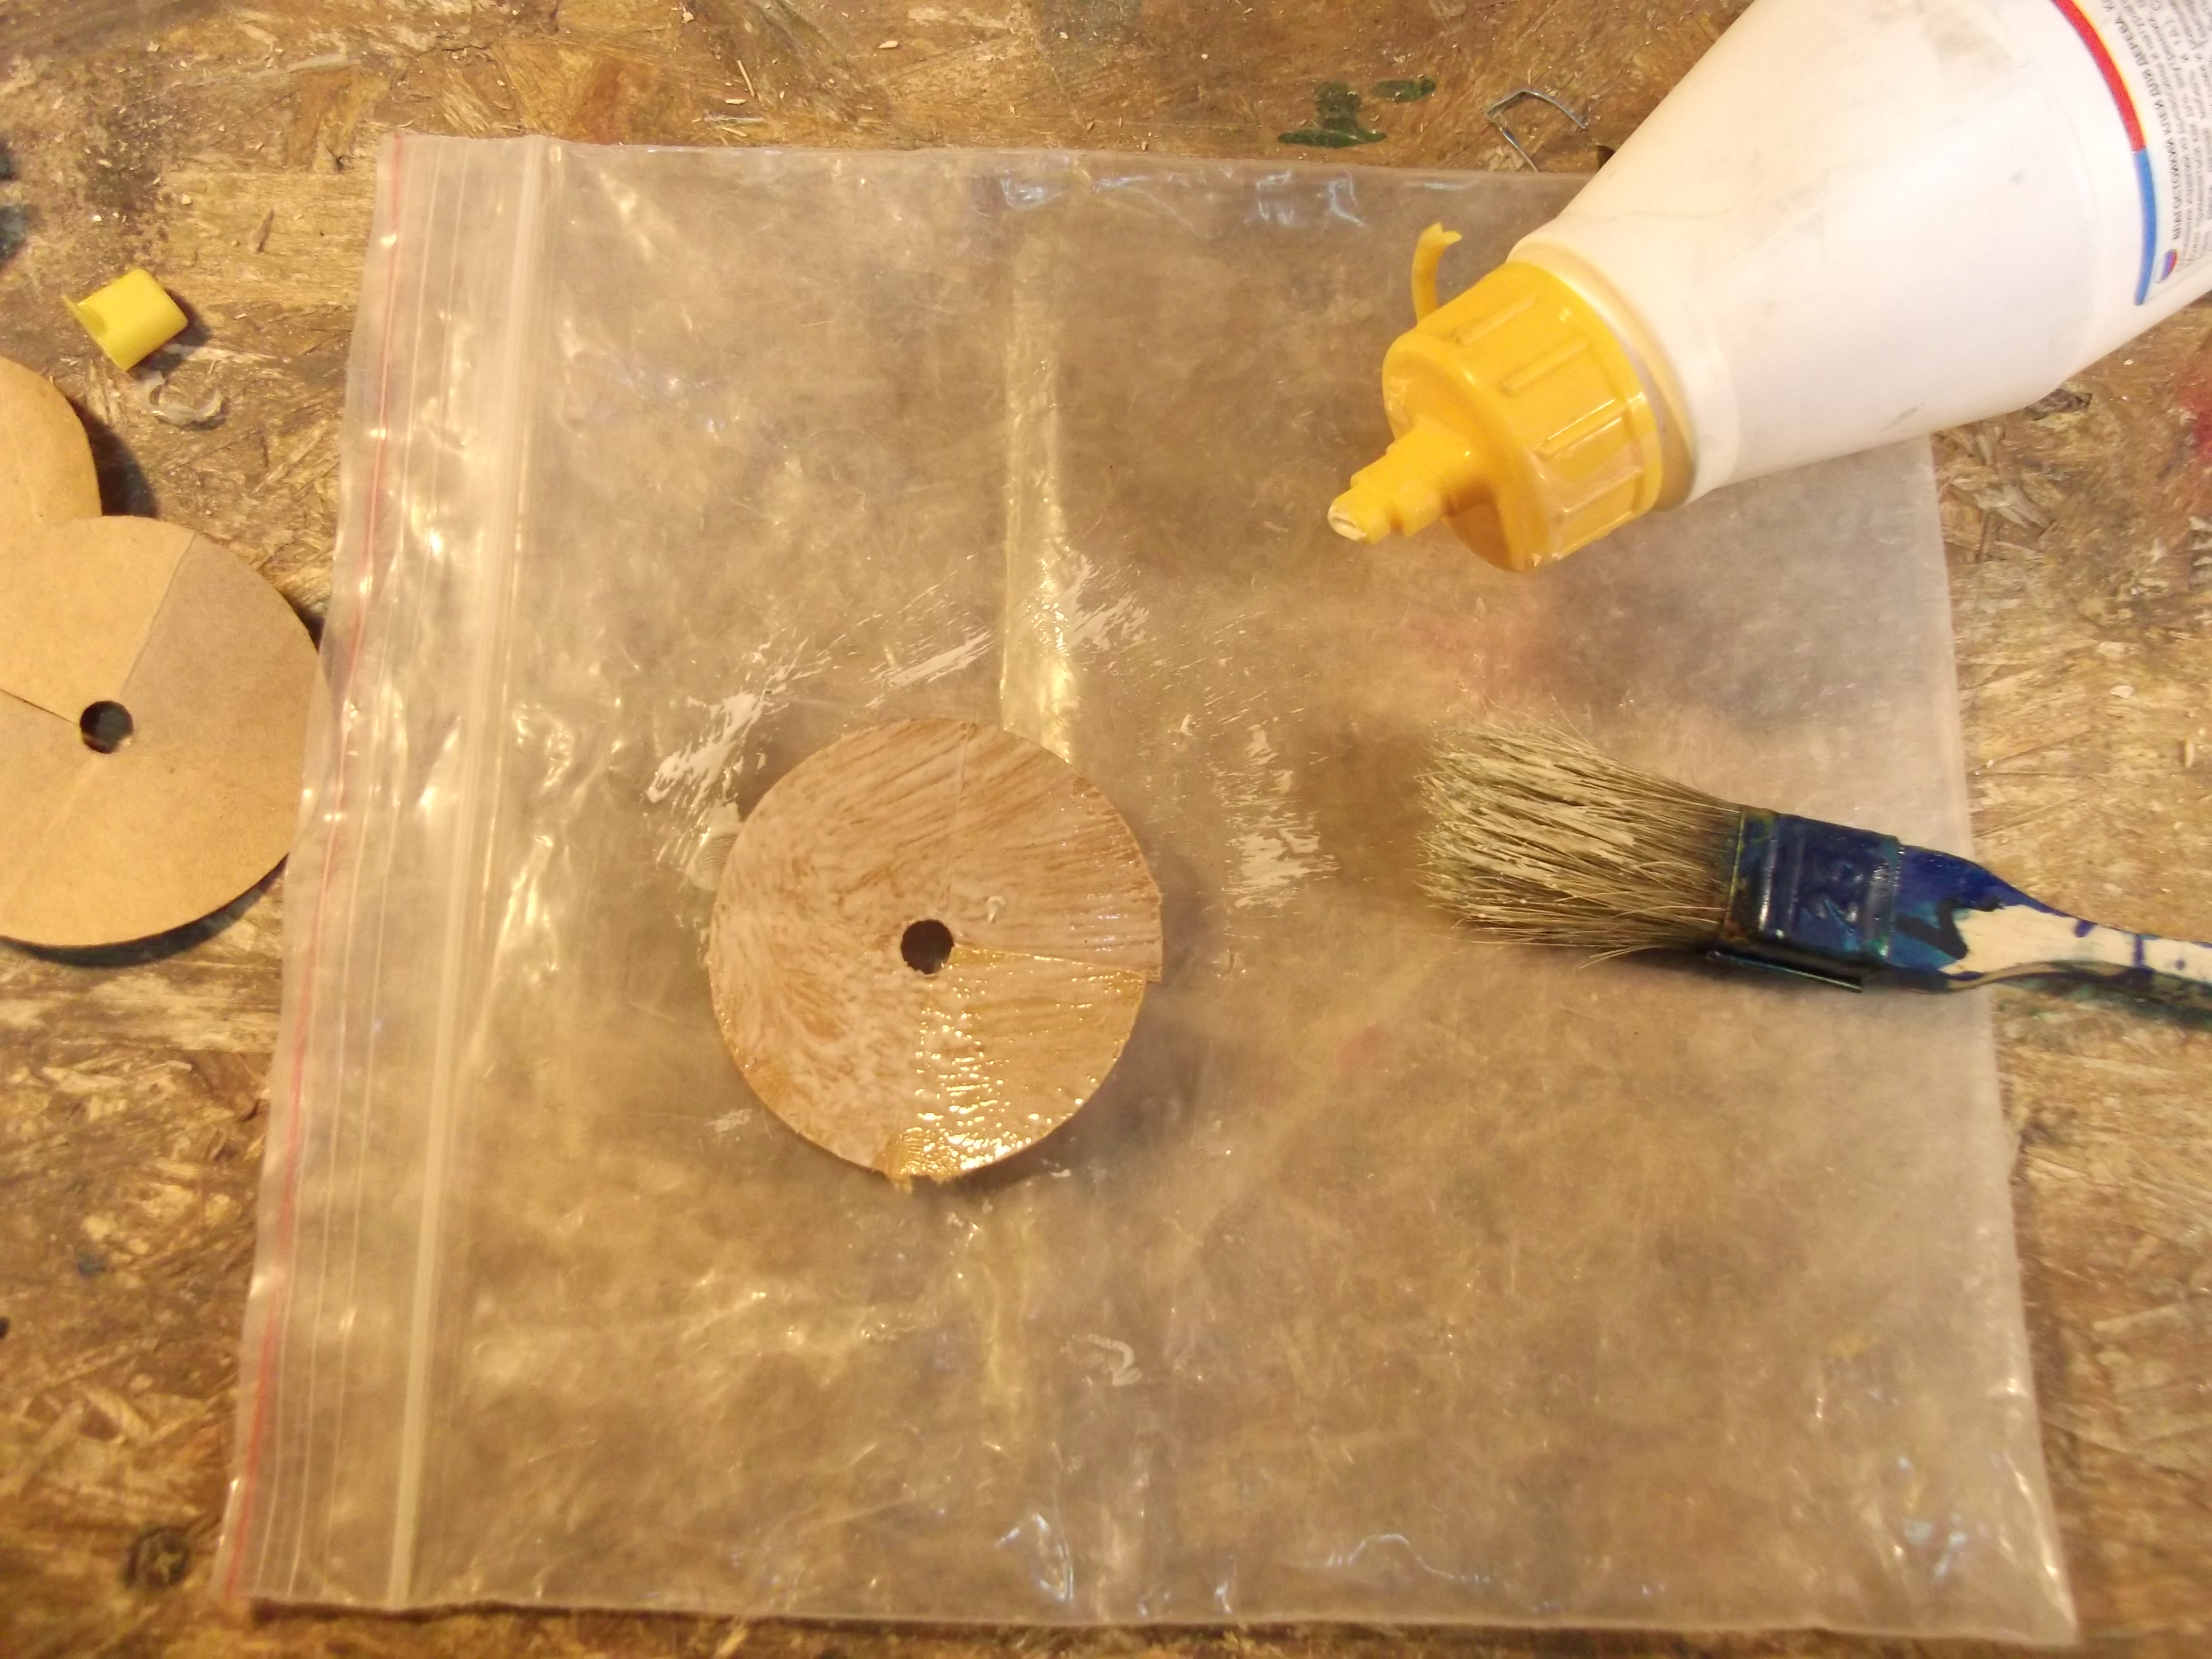
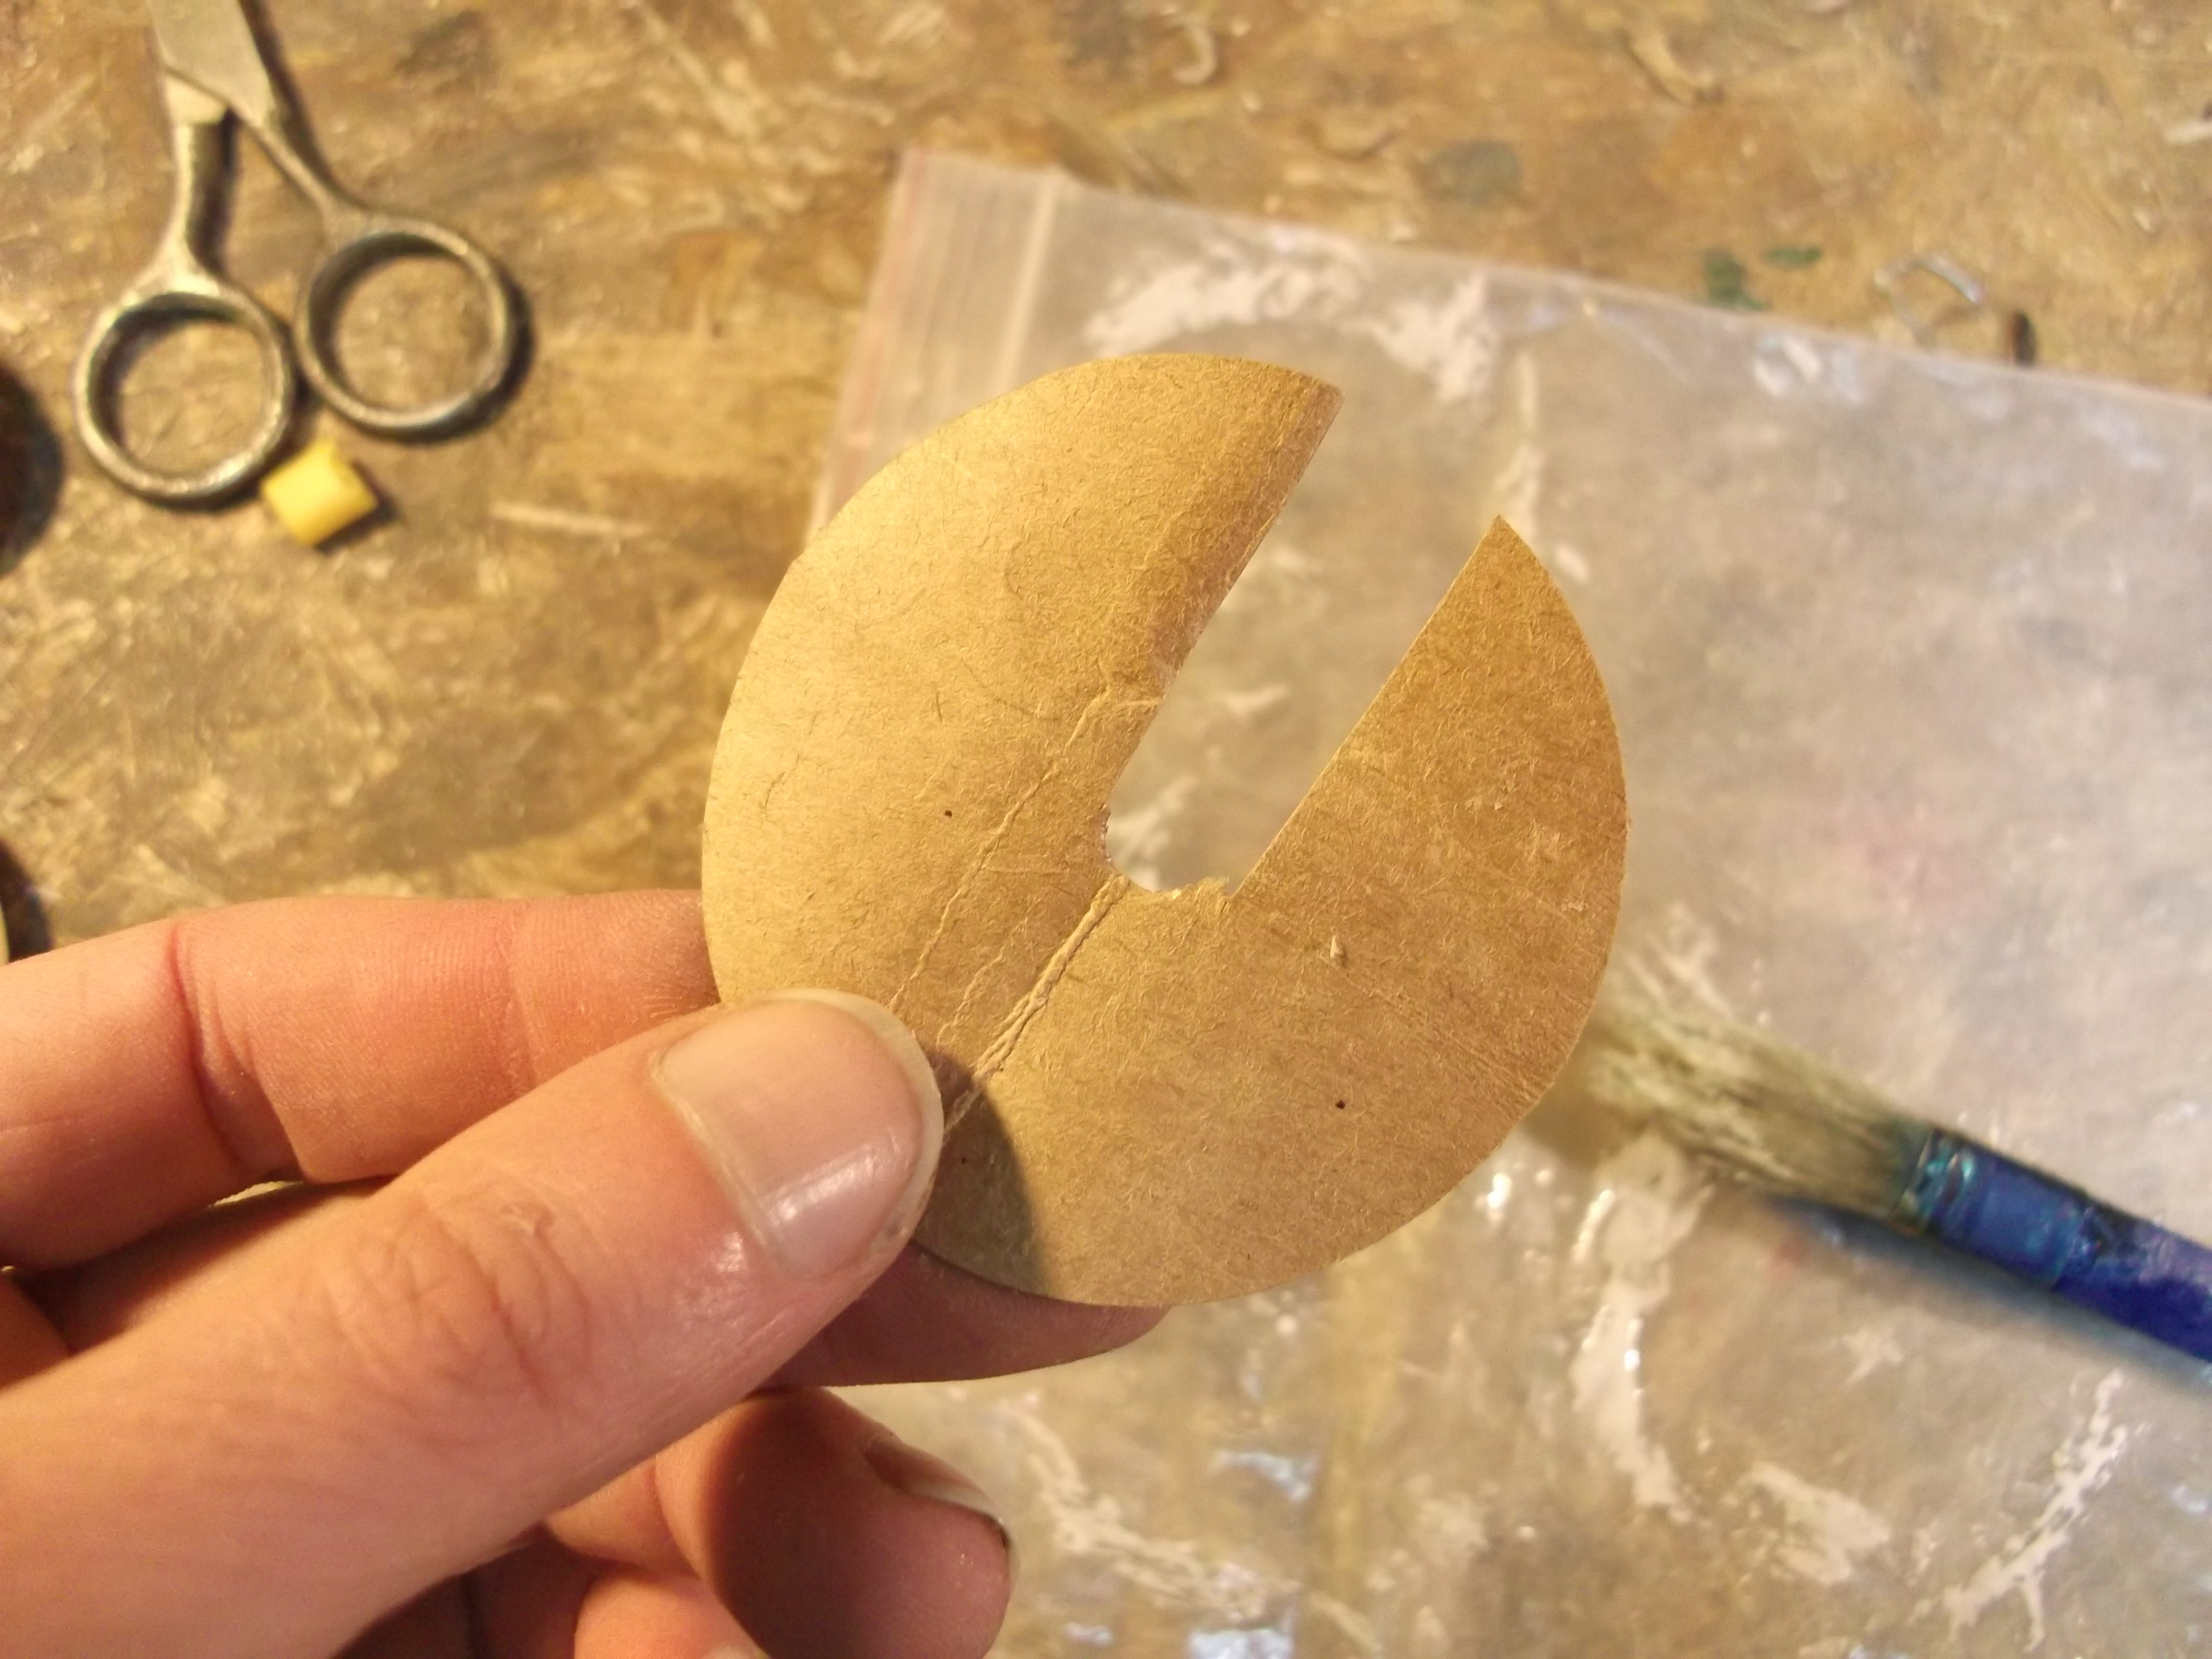
So I'm cutting 8 circles from thick craft paper, folding them twice, punching holes in the centre and cutting along the radius.
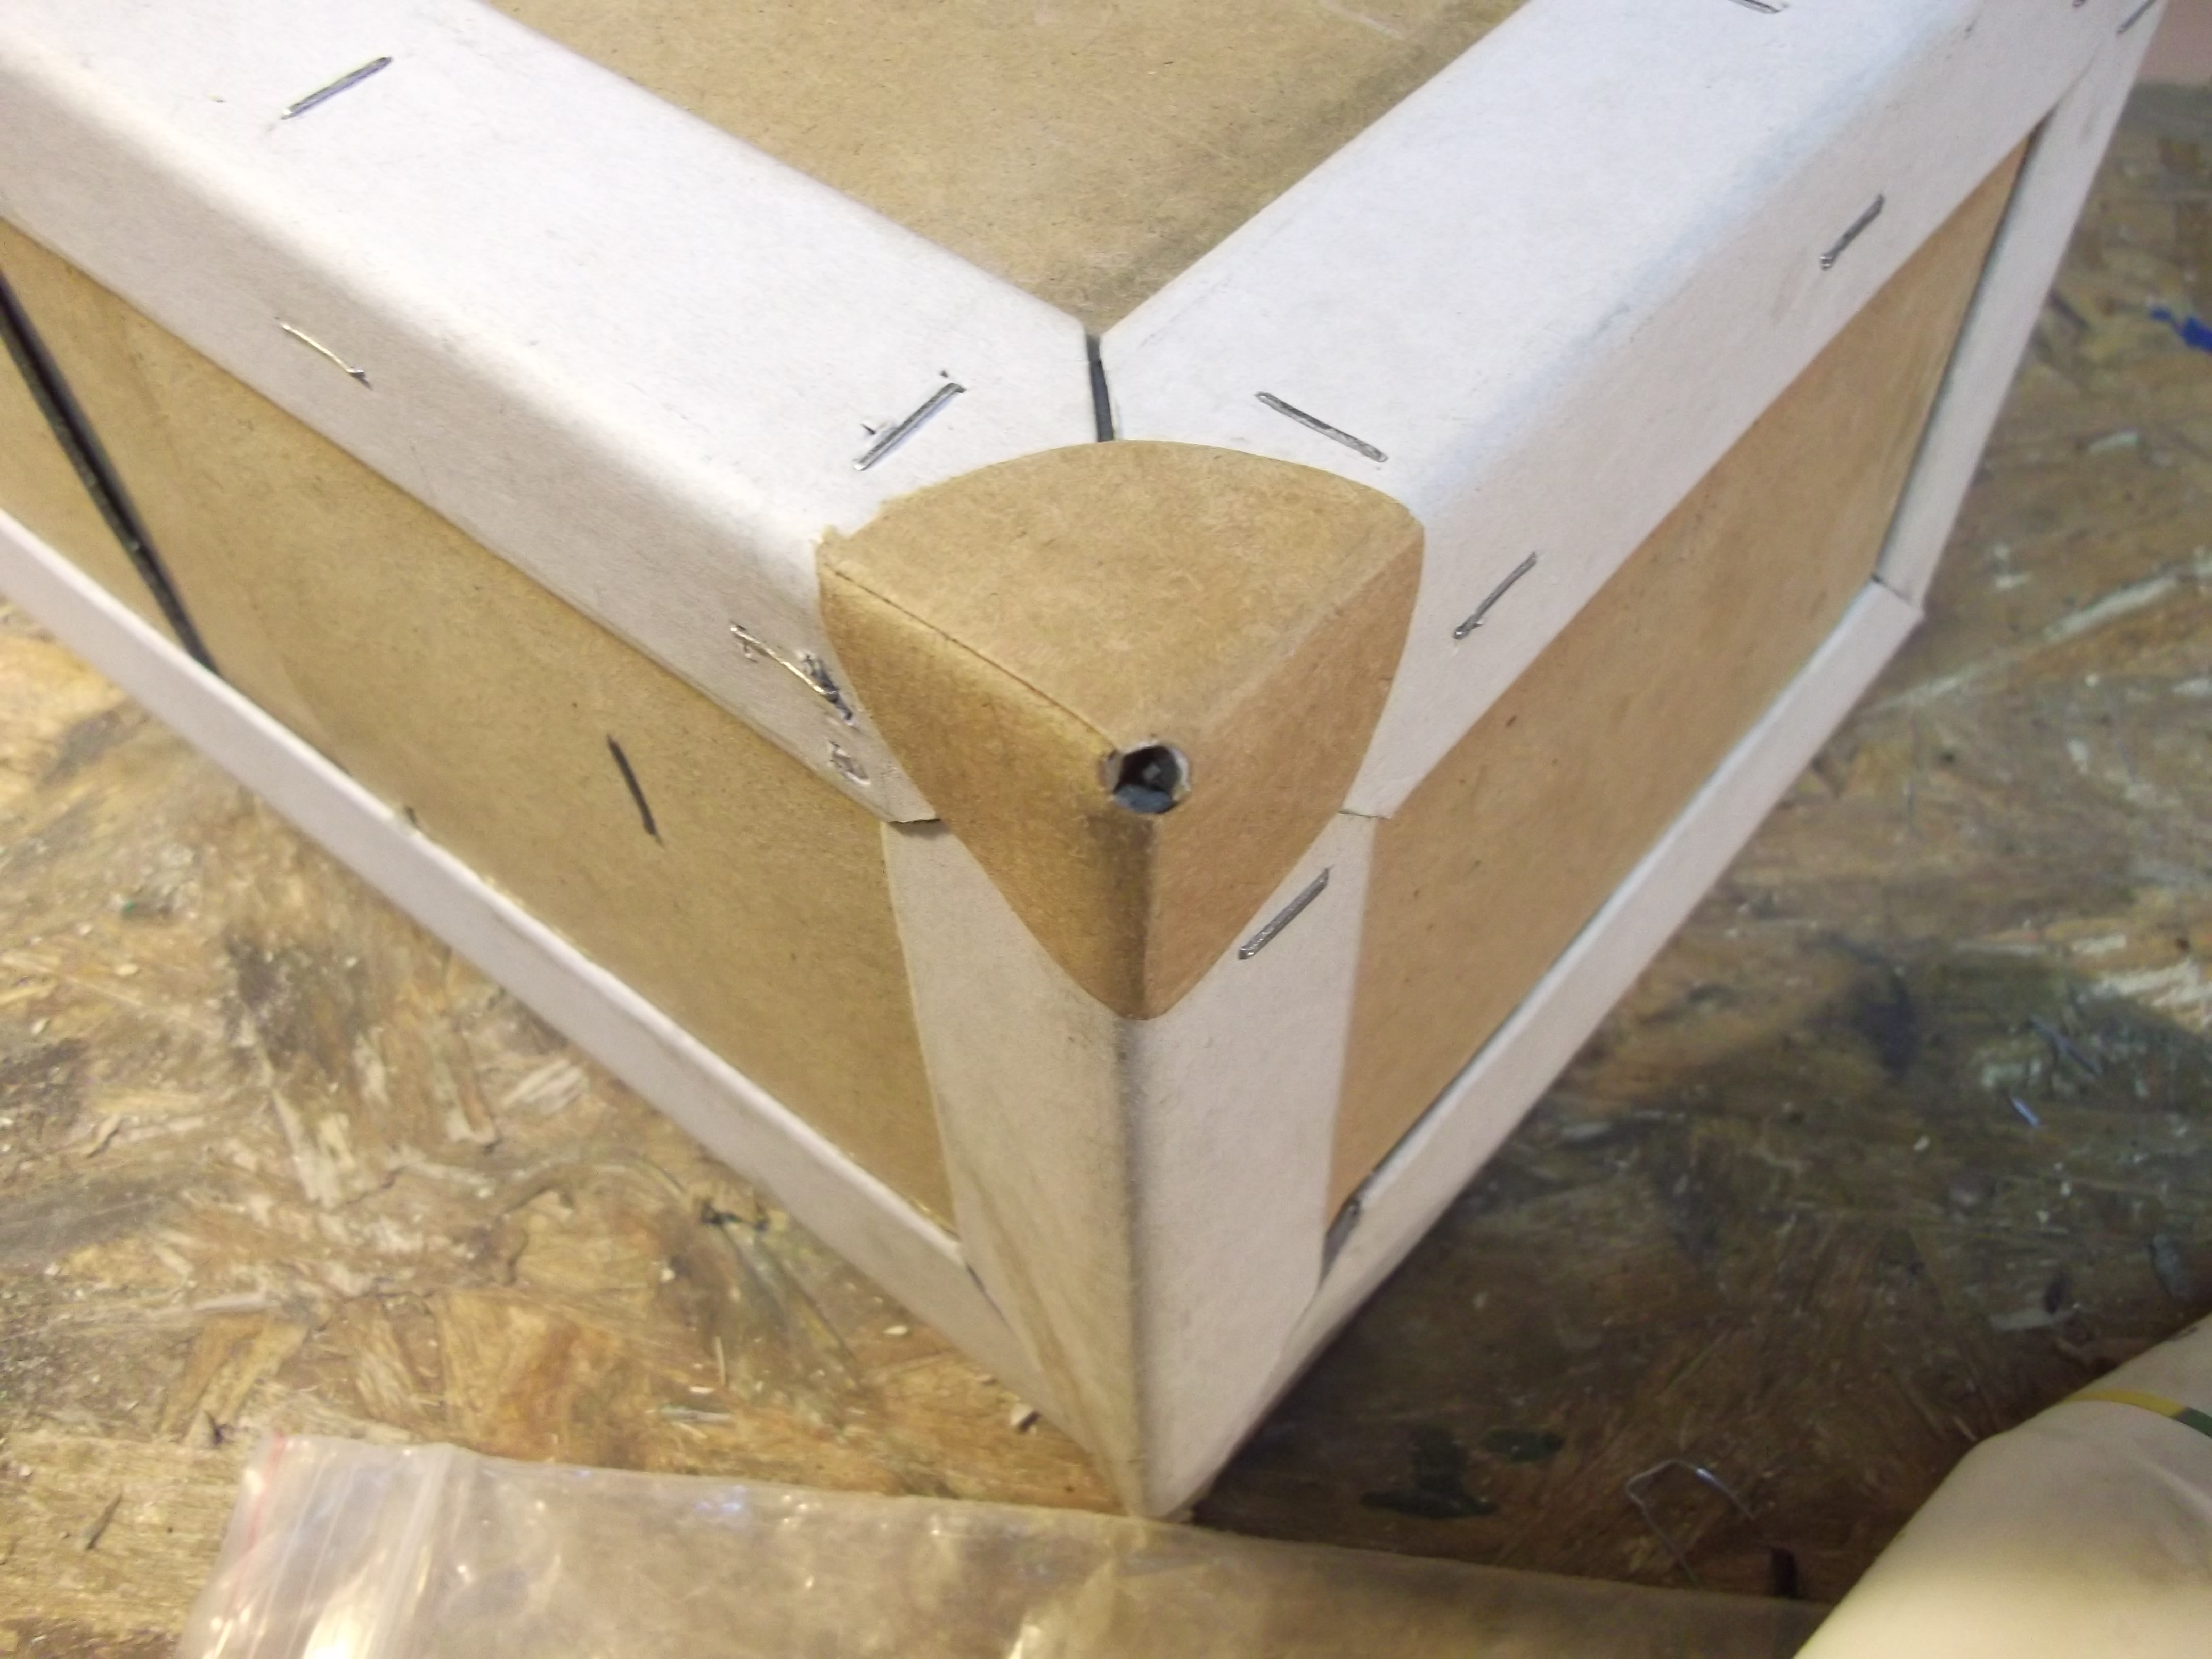
Then I'm gluing them to the corners of the box. Overlaping area goes to the bottom of the box.
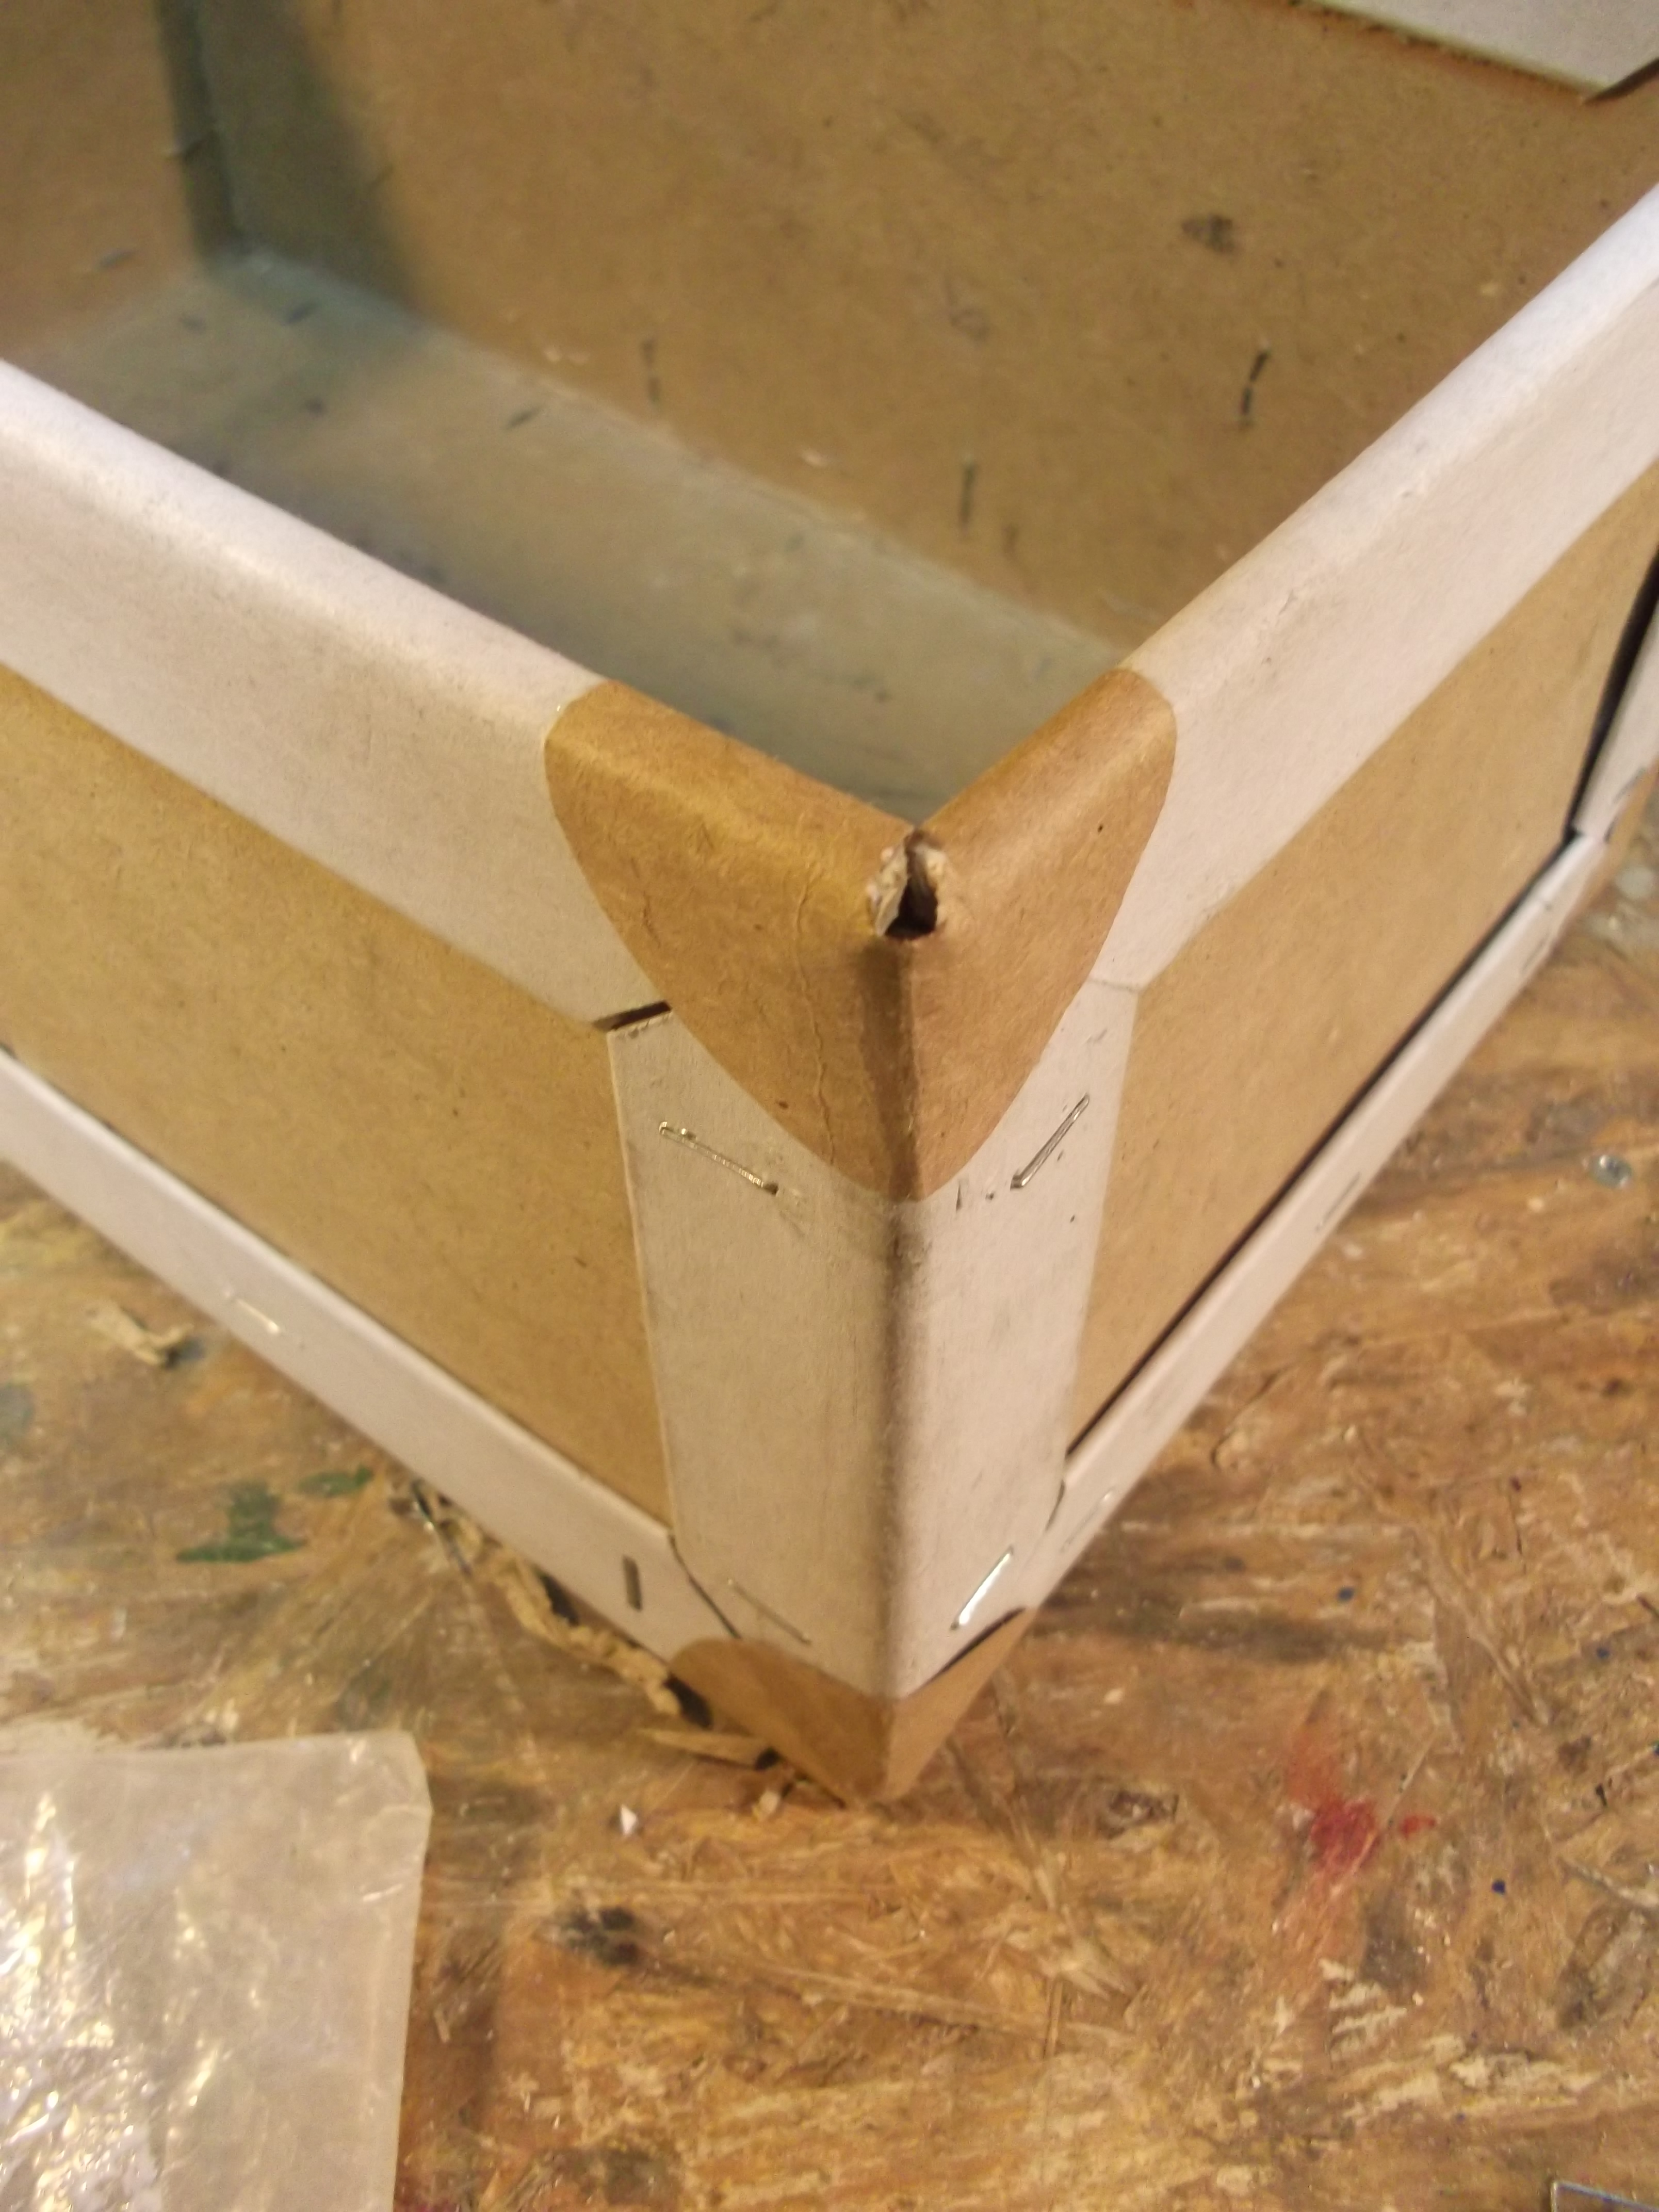
Some additional cuts are made to apply the piece to the top corners at the edge.


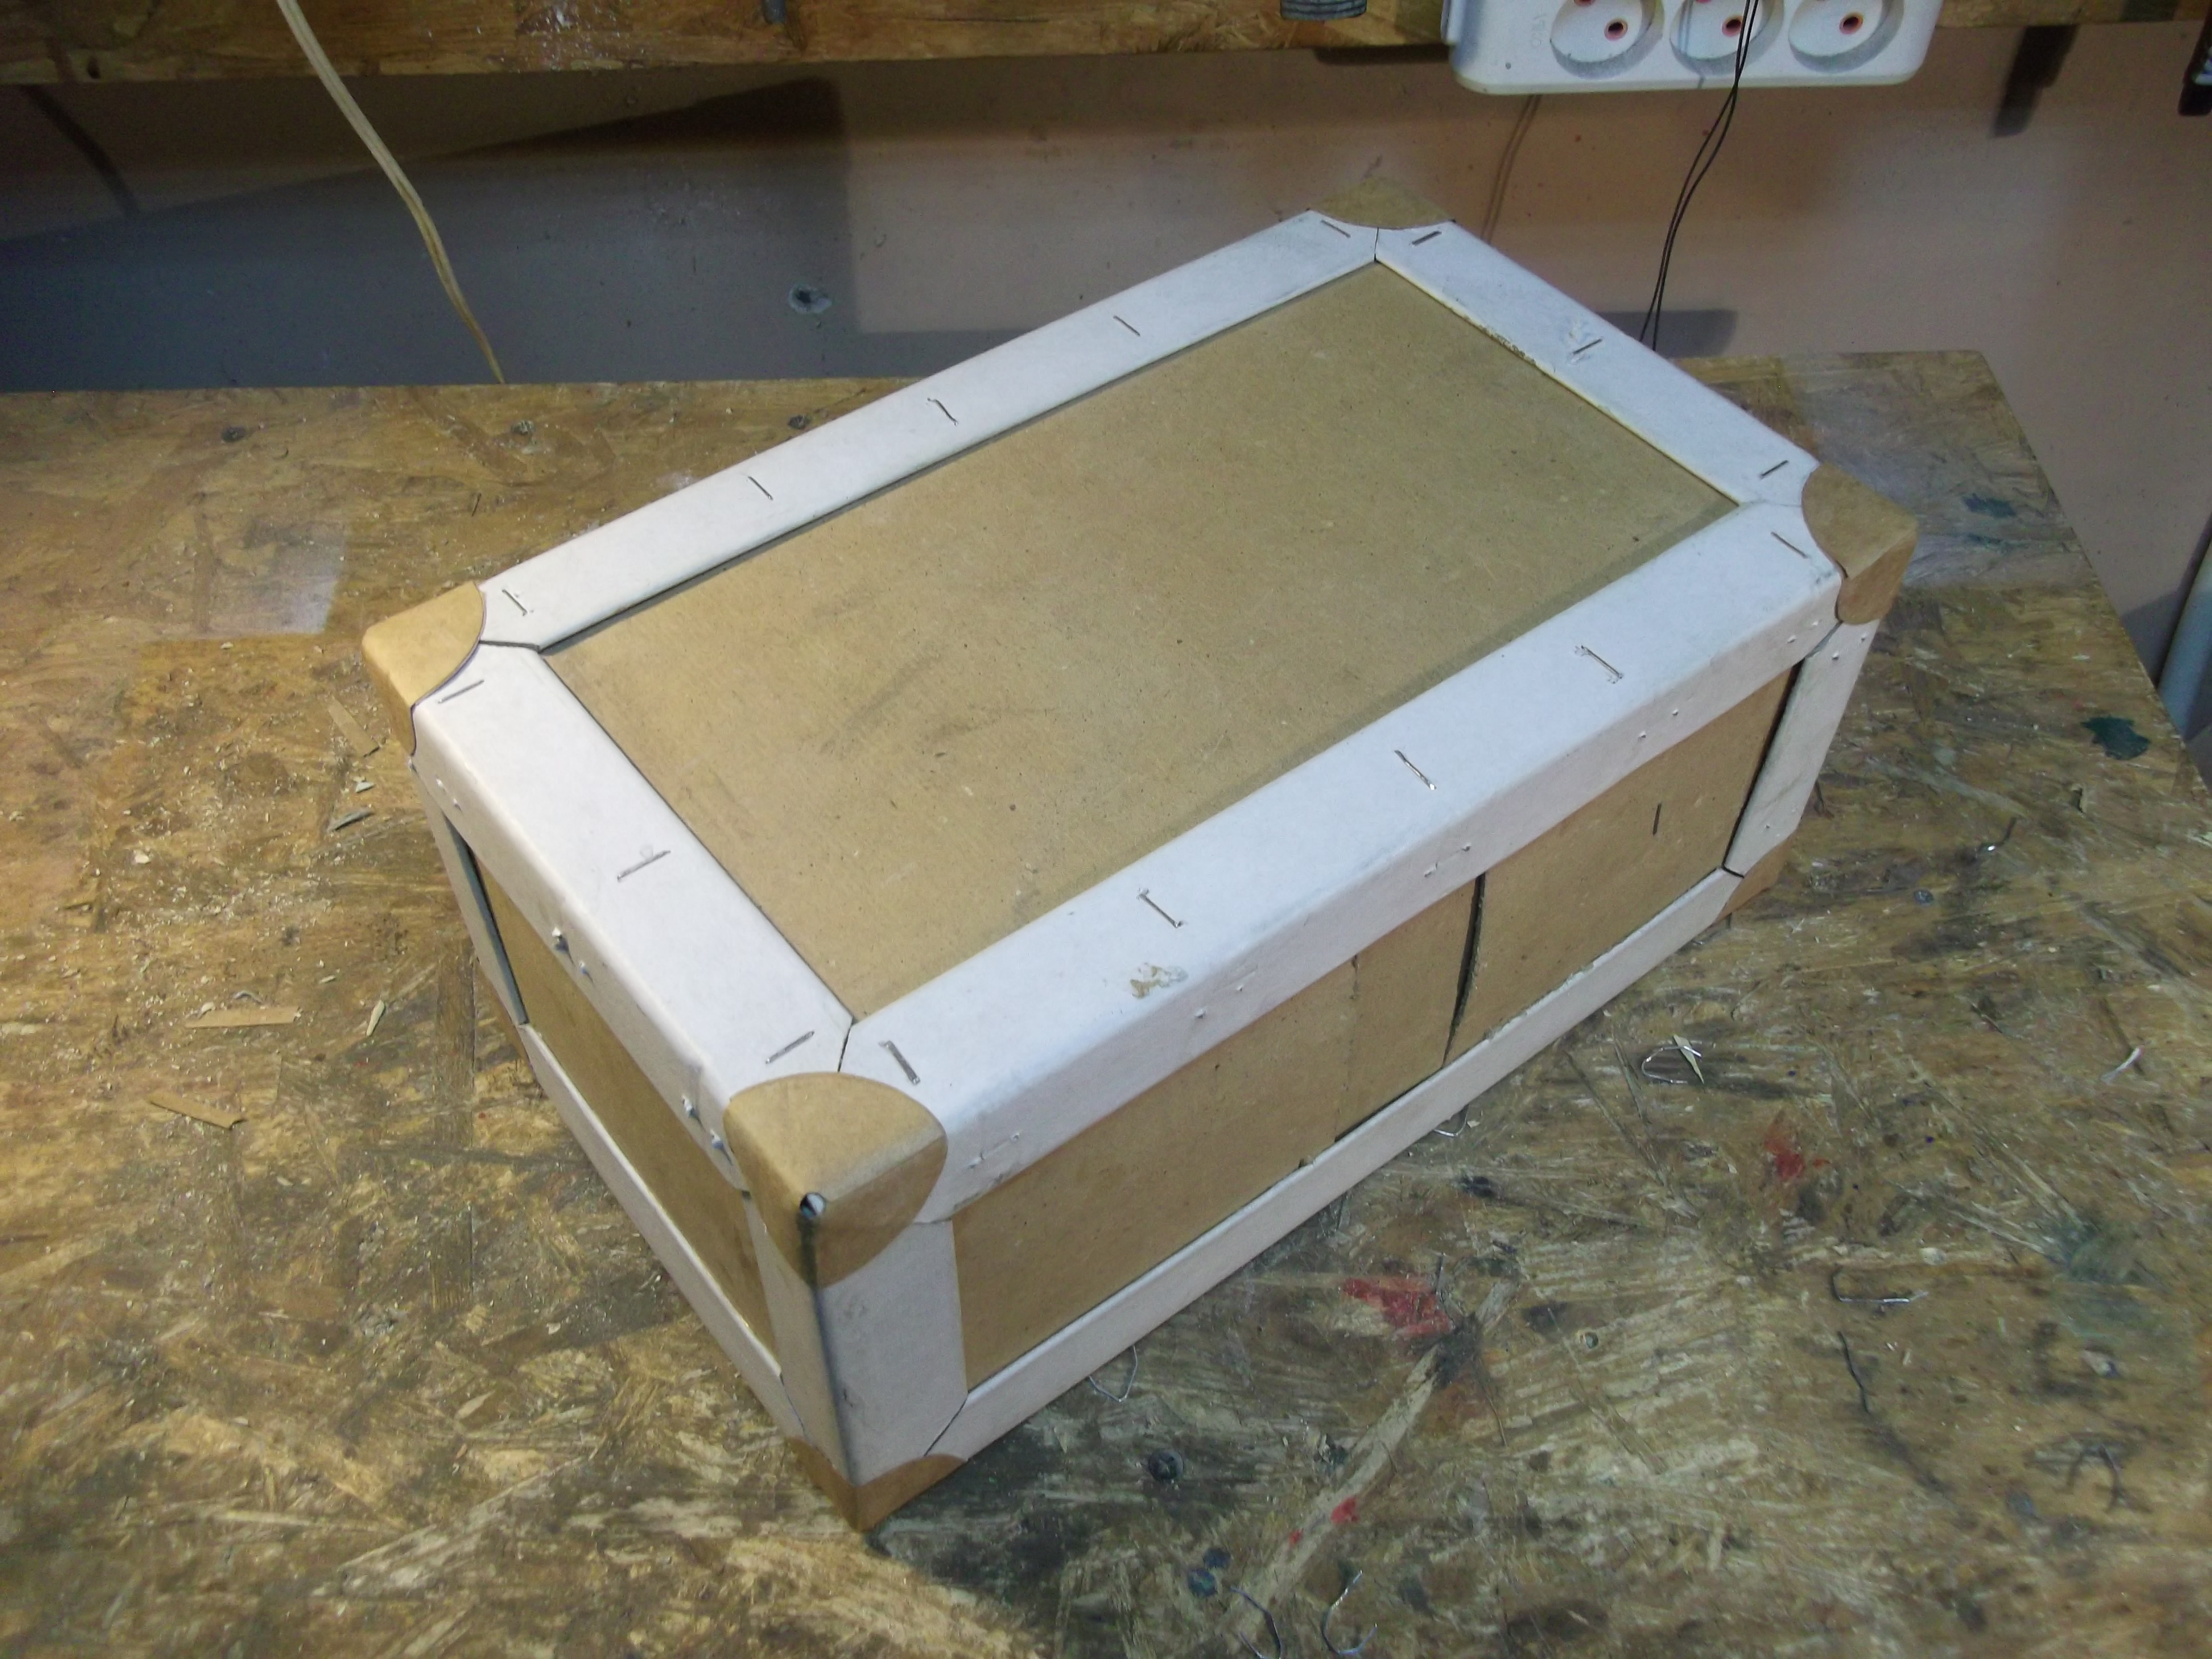
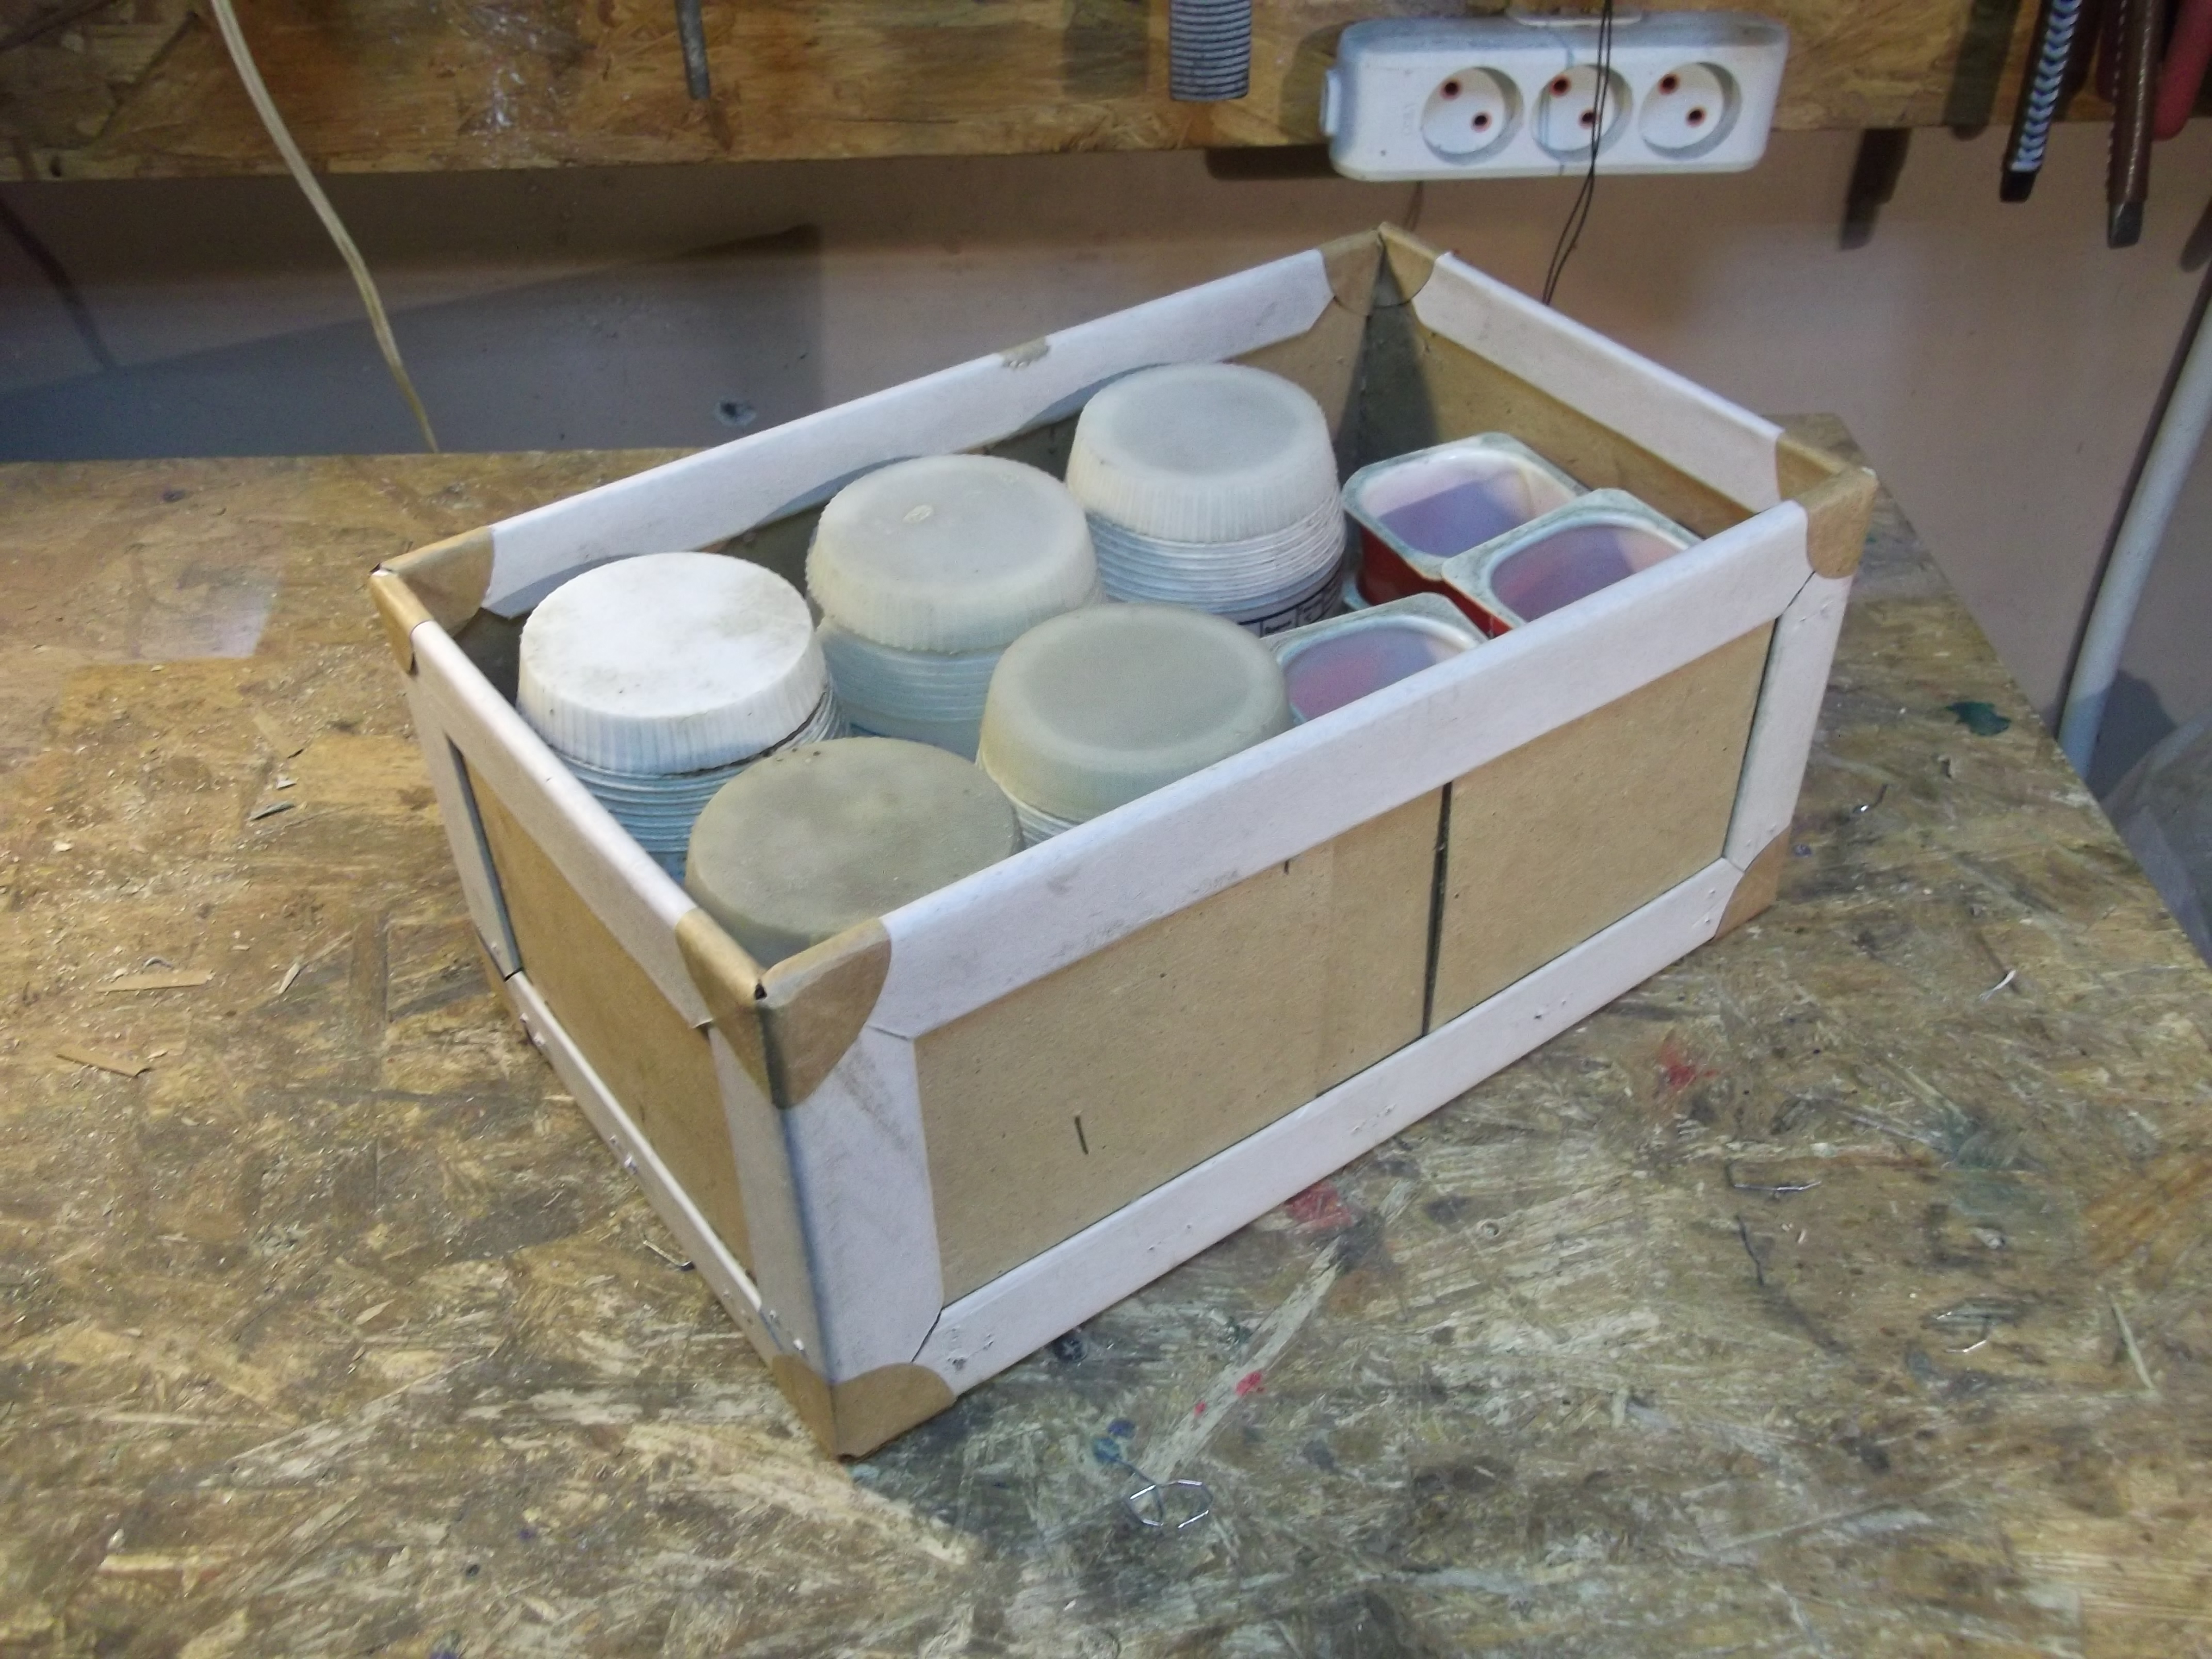
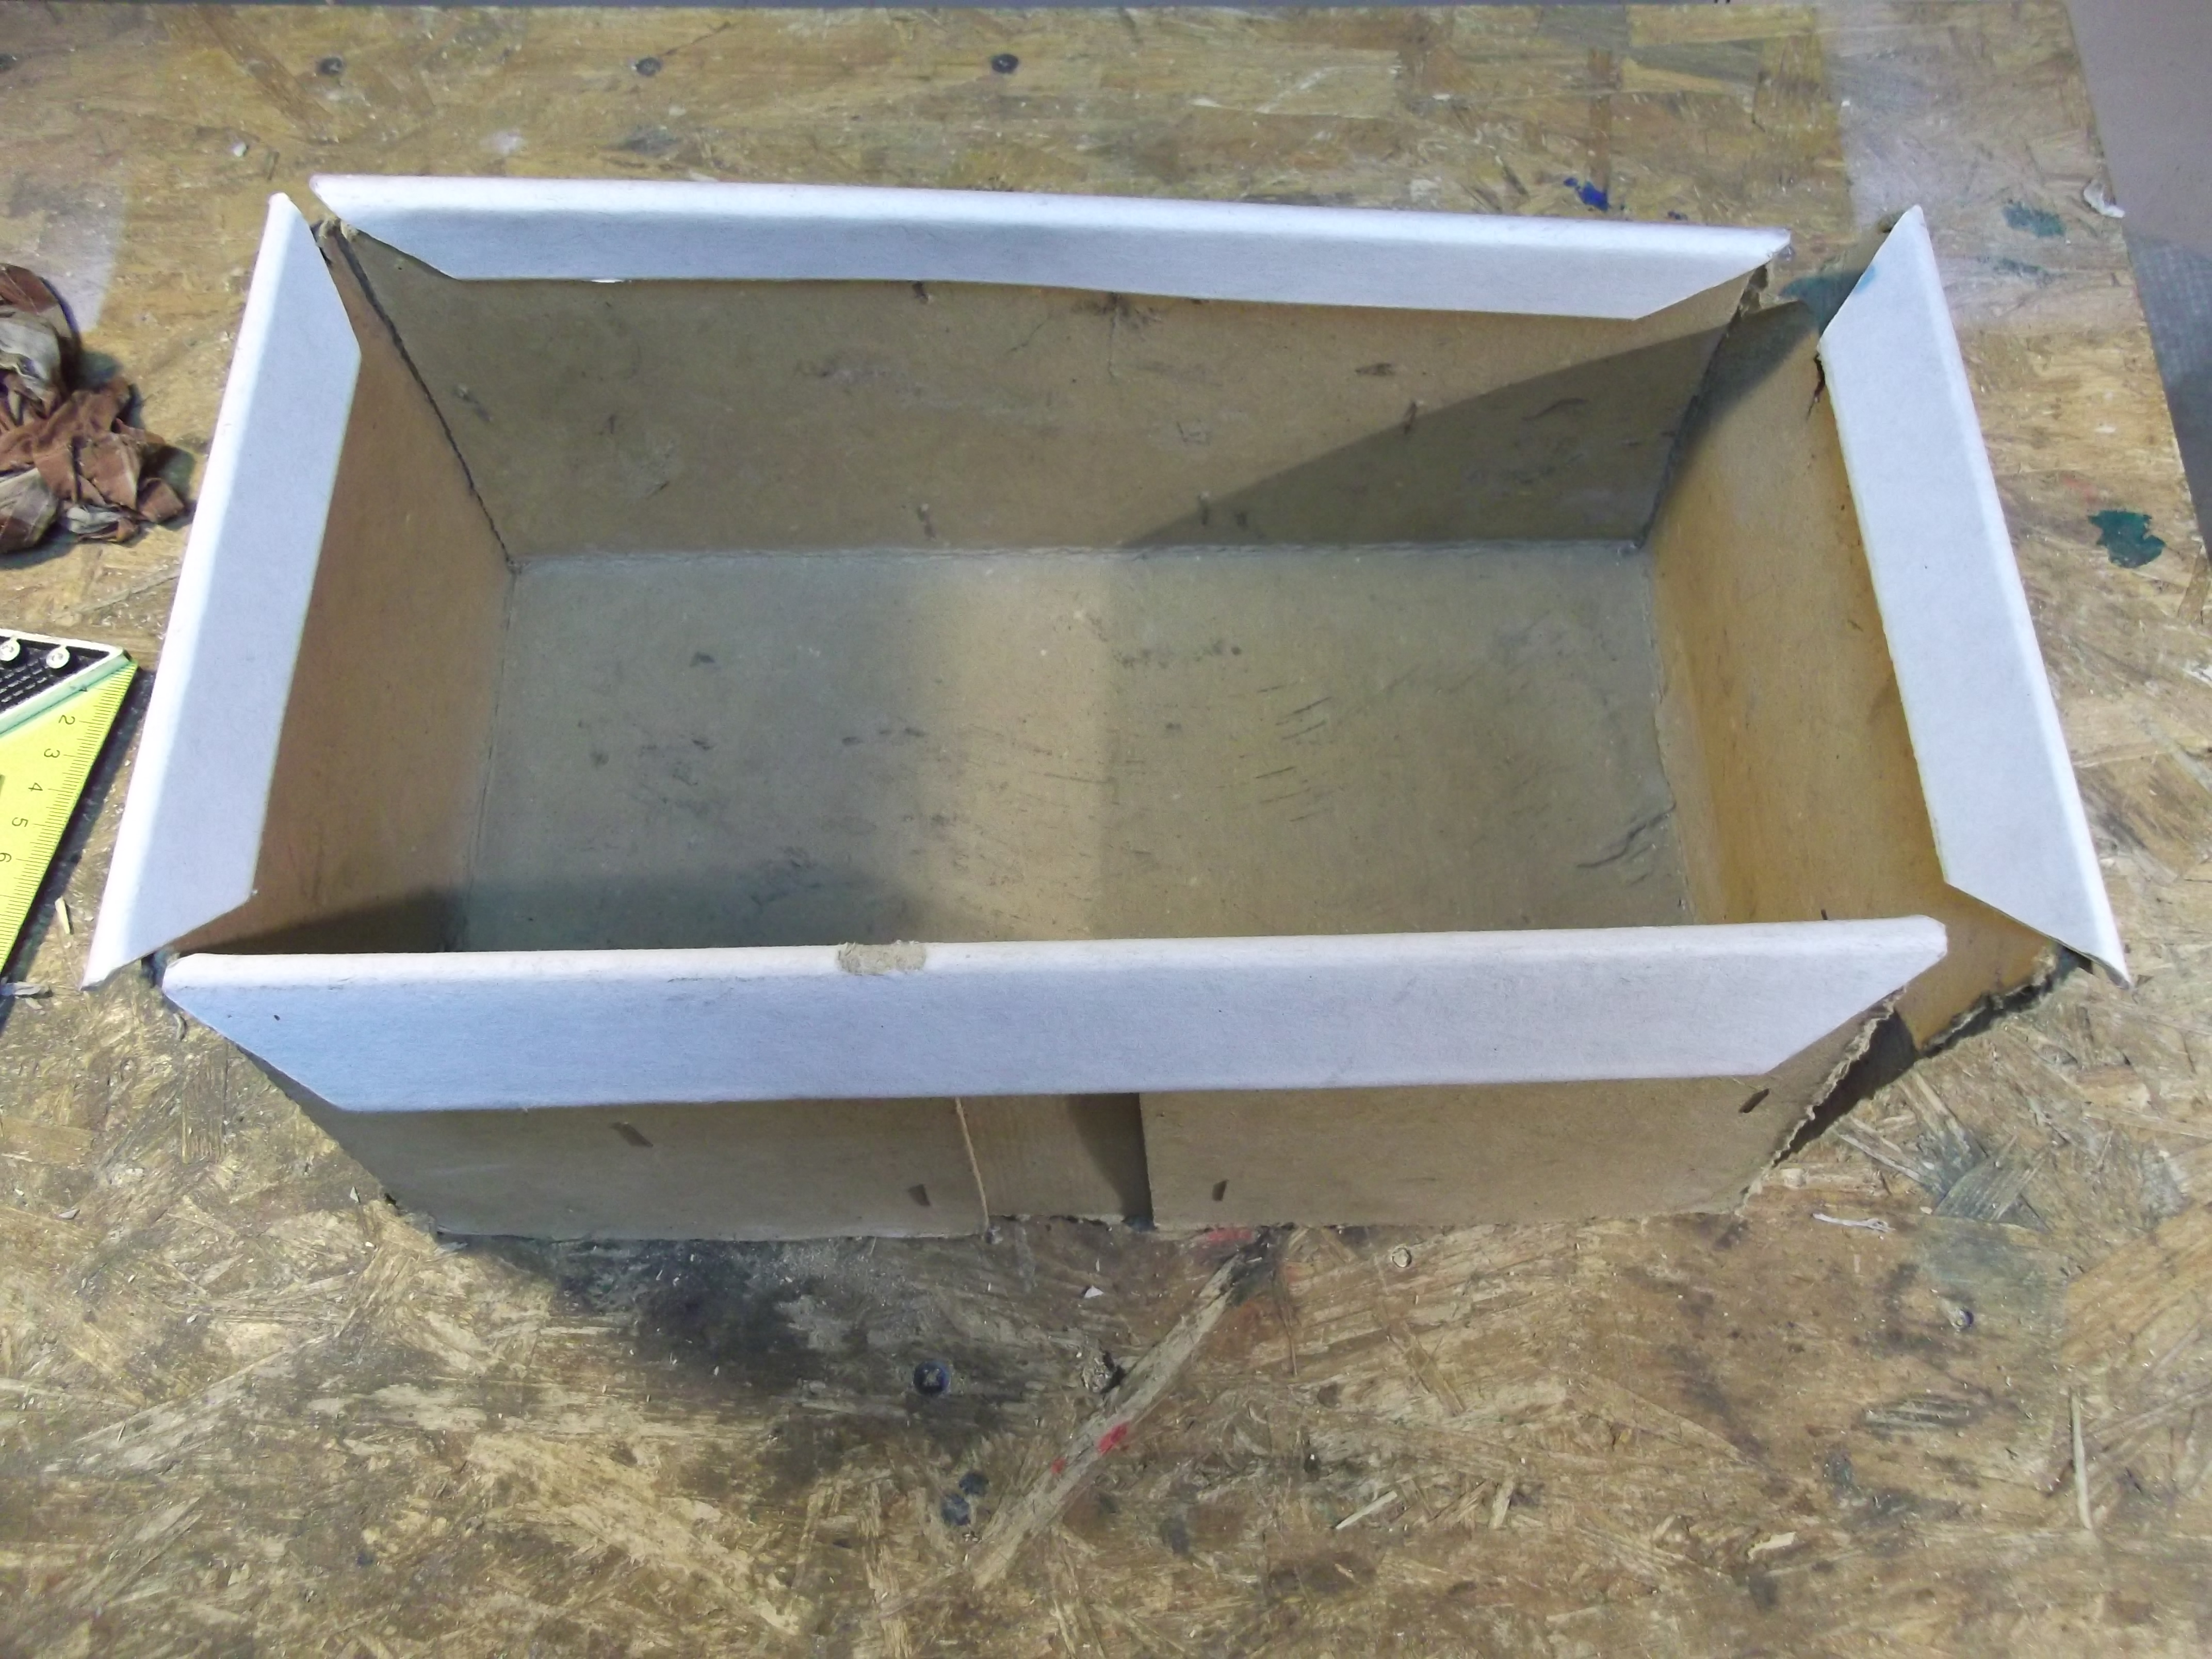
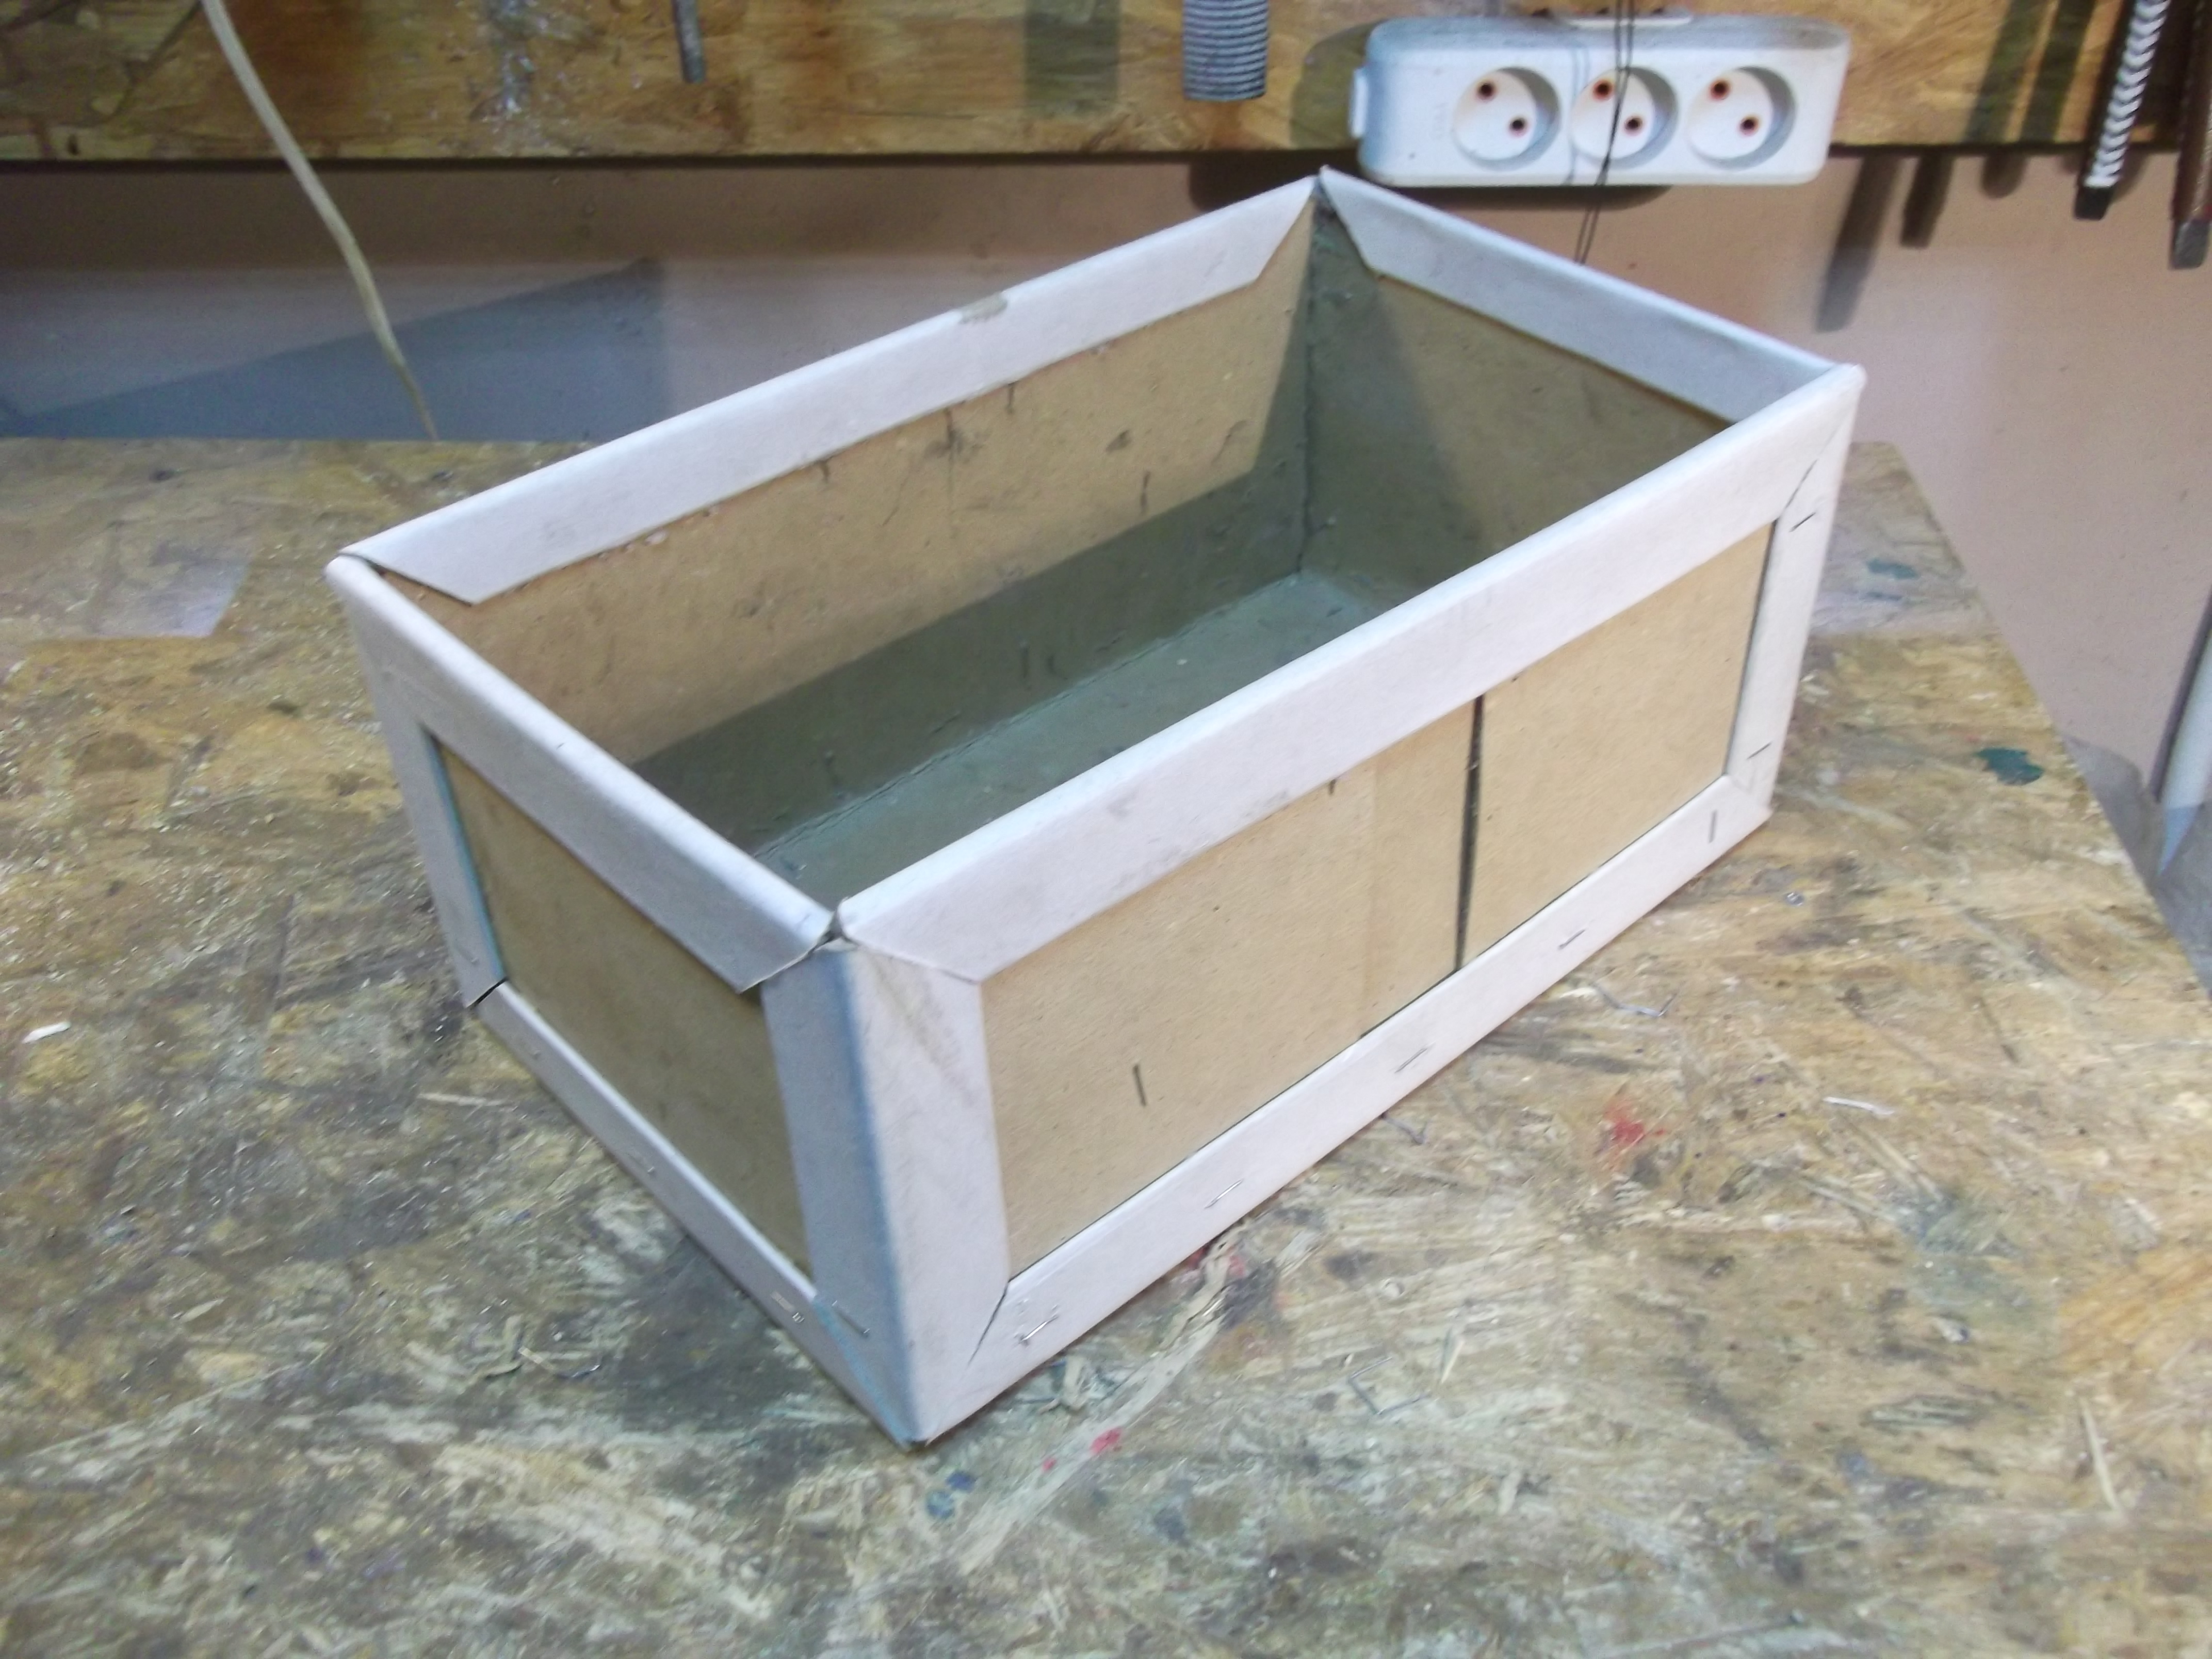
And this is it. Now my box-friend will be able to live long happy life in it's new sturdy reincarnation.
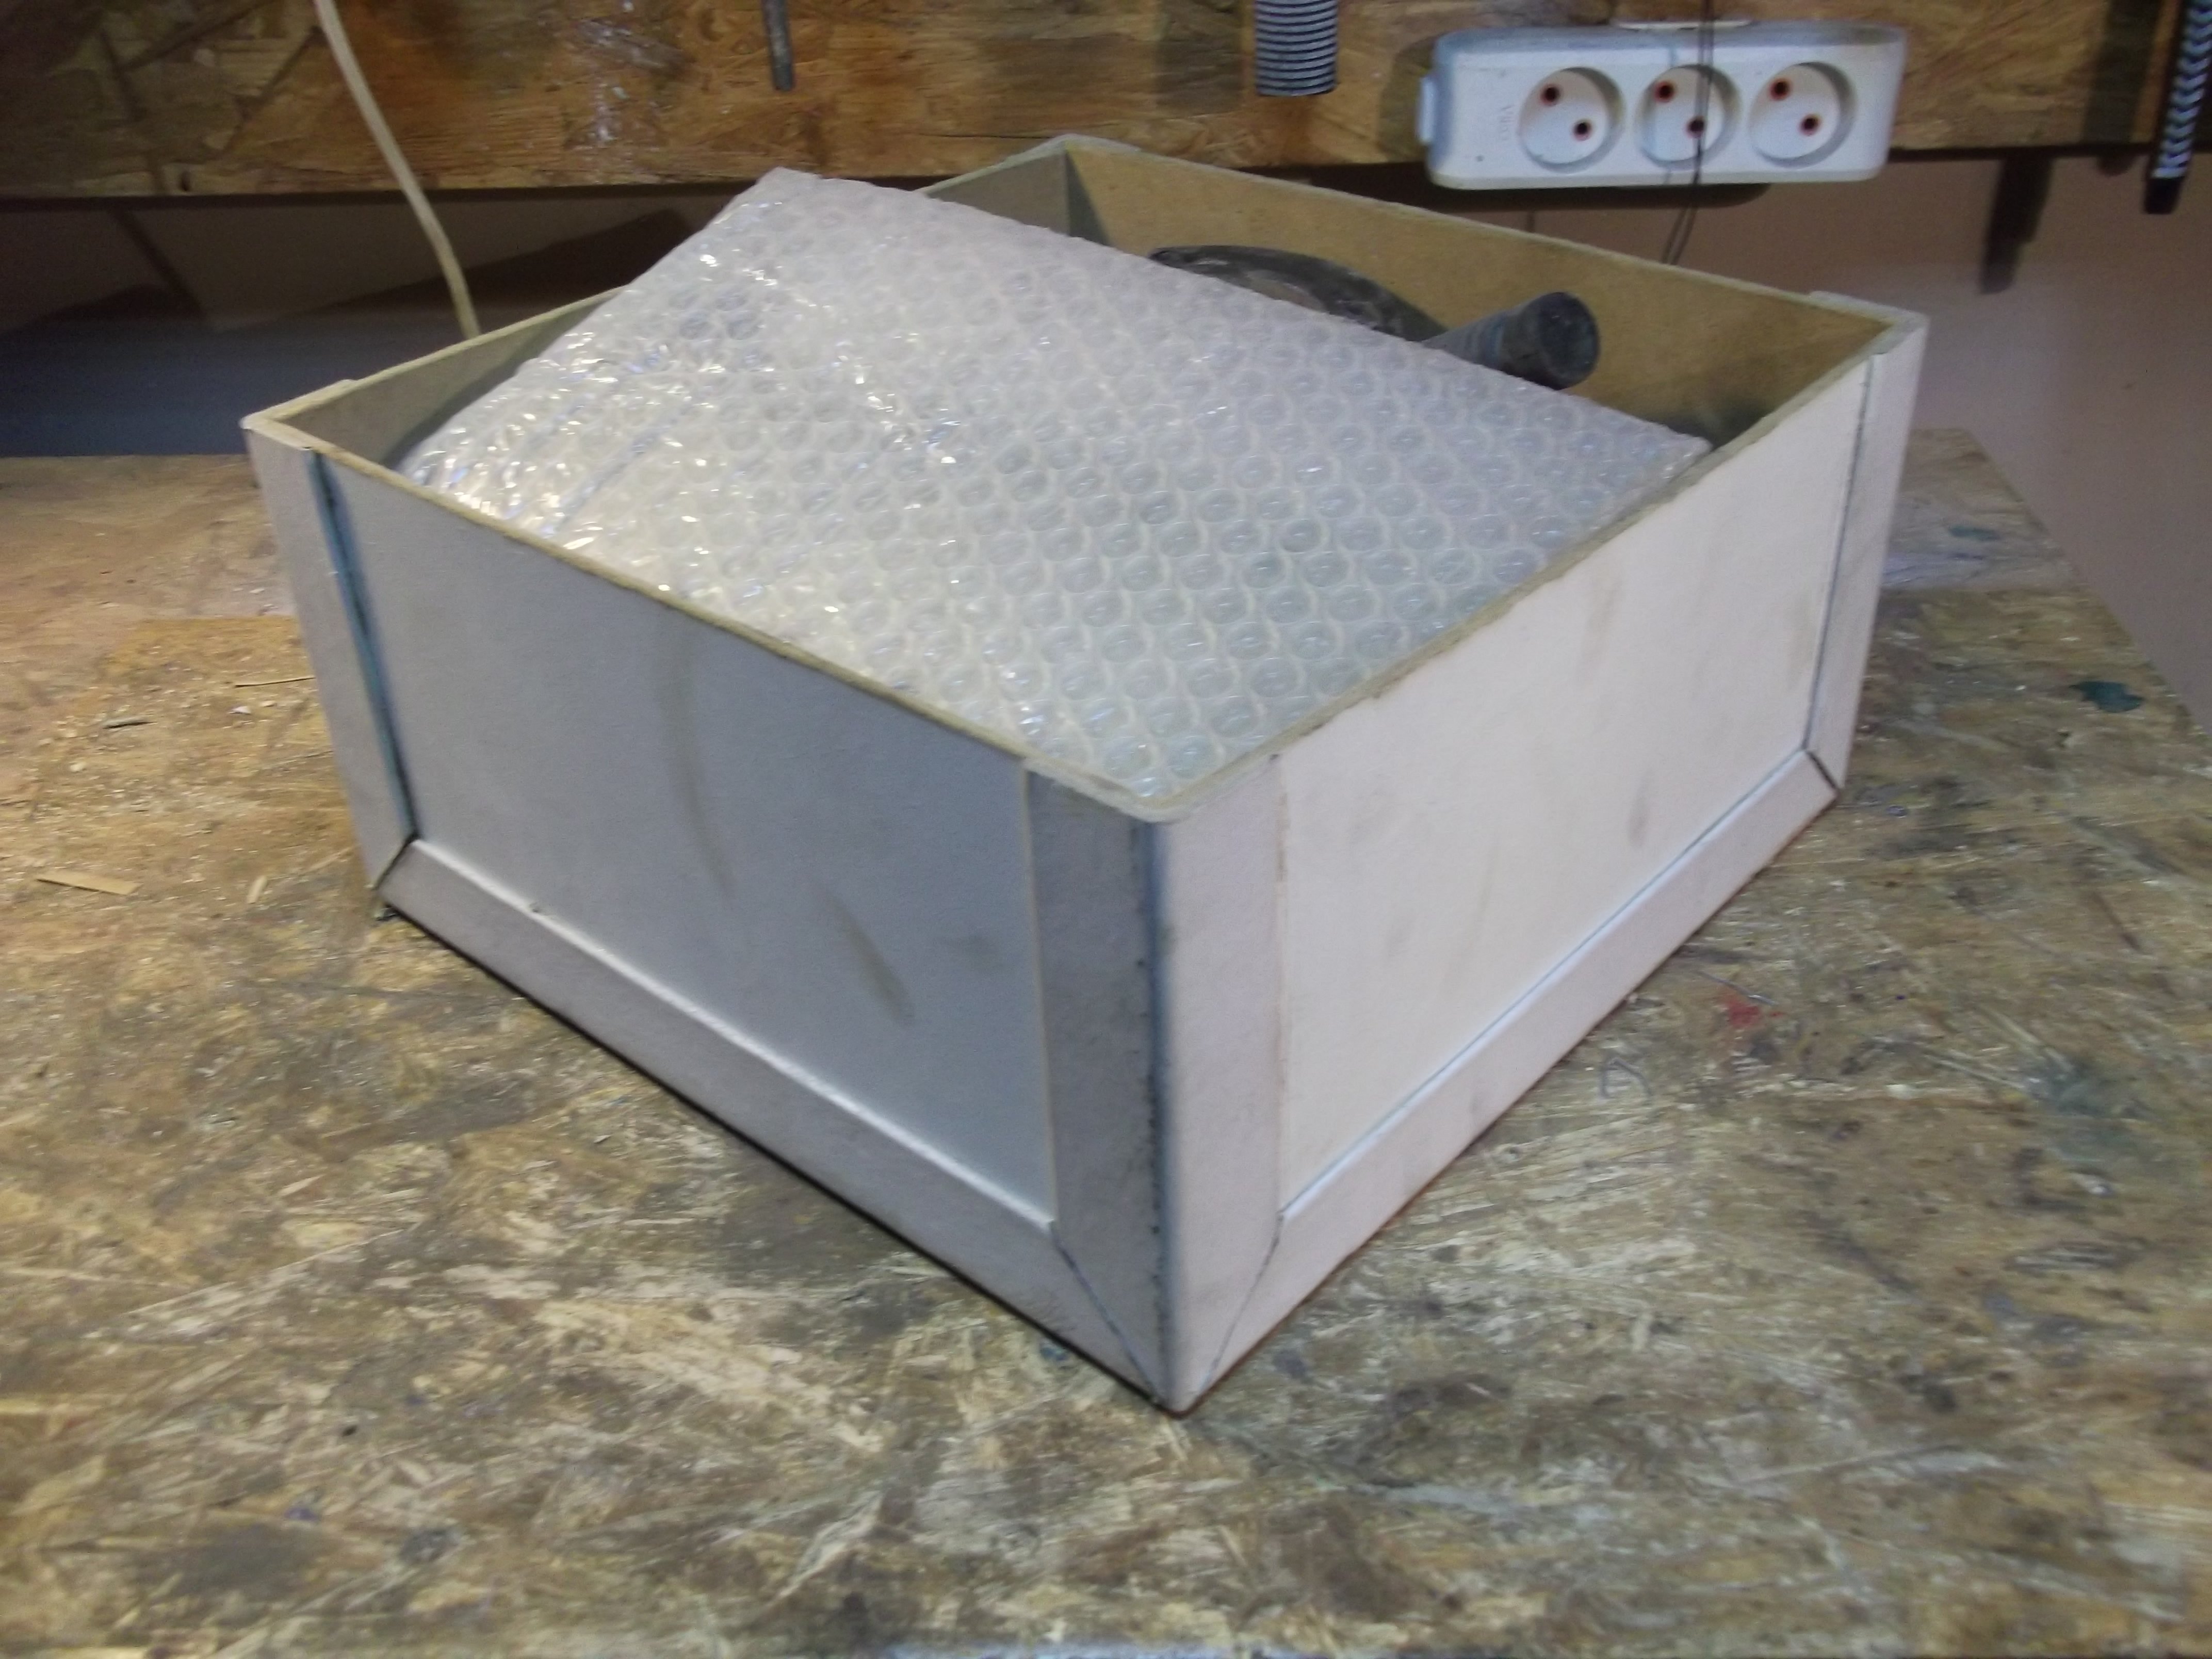
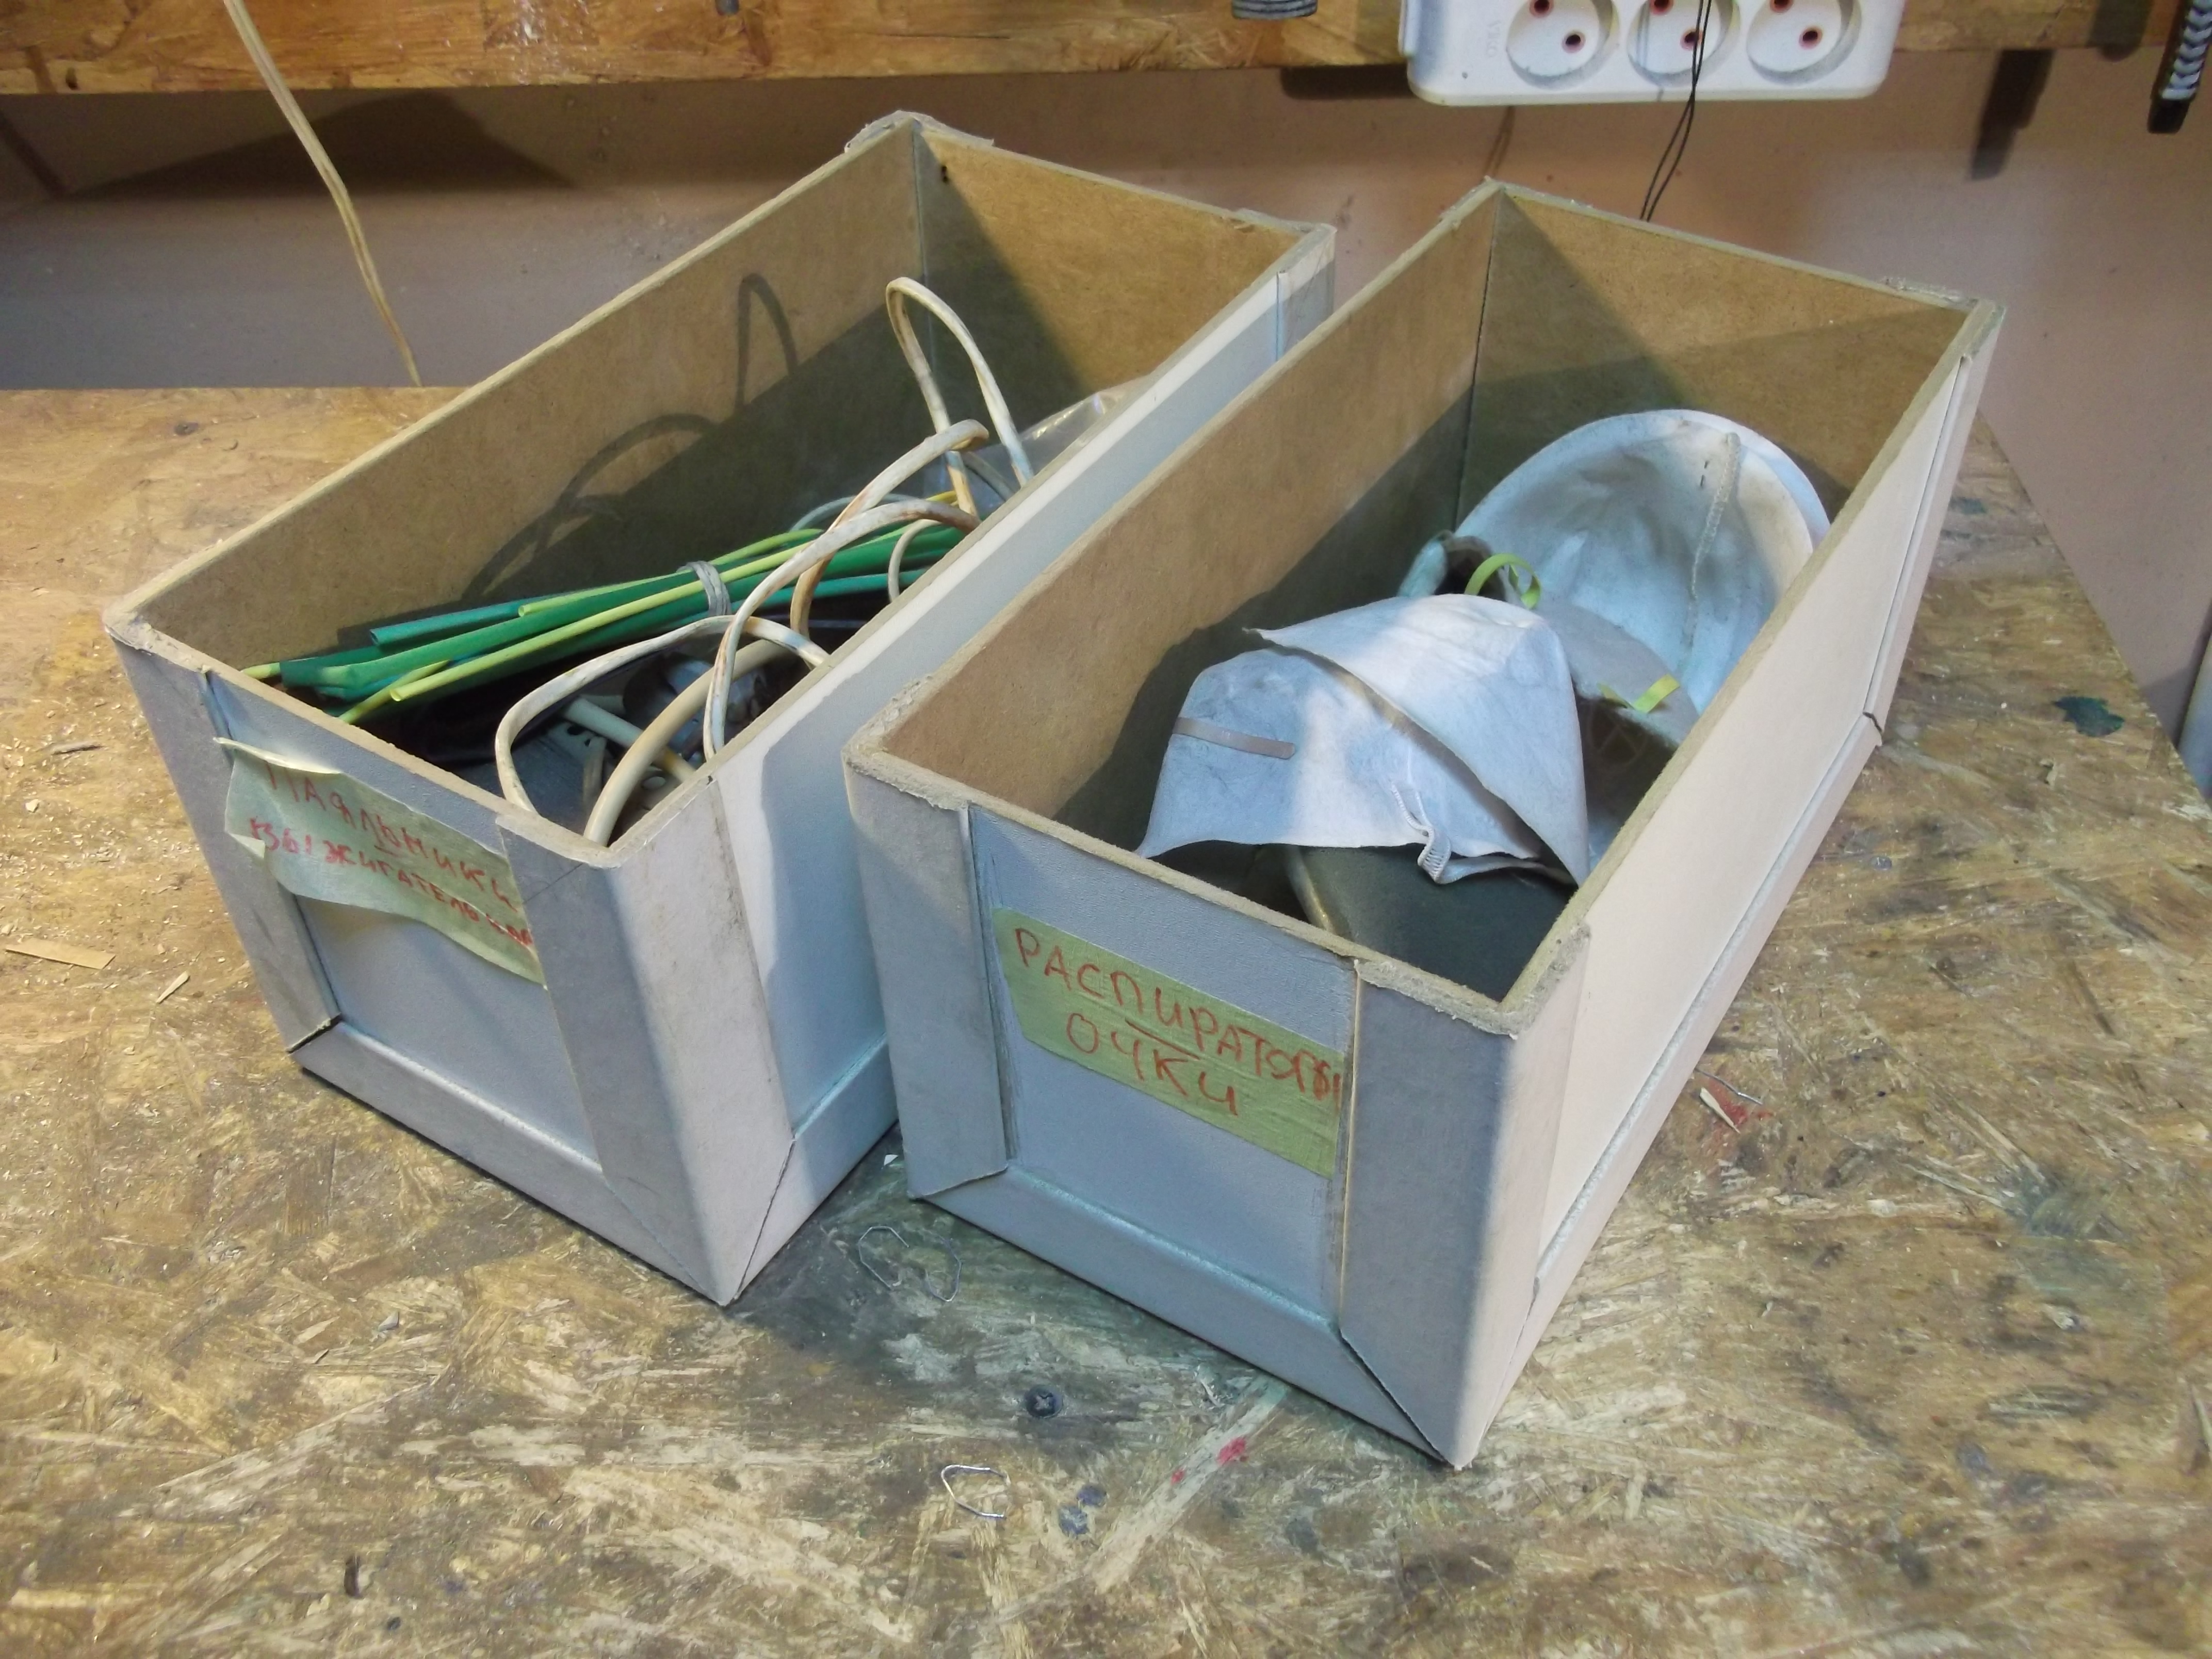
In the same way you can make new boxes. For those, I'm showing on the photos, I used pieces of particle board. They are nice and ridgid.
But this is it for now. Thanks for your attention, and remember, that sometimes the best things are those beyond the box.
But also... If you feel like I'm doing something useful and you want to see me doing more of that, please, concidere to support me on patreon. I always have new Ideas and willing to explore new crafts and stuff, so even with some humble extra budget I'll have more directions to explore and efforts to spend on my projects.