Fix a Broken Trowel or Garden Spade
by P J Galati in Living > Gardening
3032 Views, 0 Favorites, 0 Comments
Fix a Broken Trowel or Garden Spade

If you would like to see how I repaired the trowel without the written instructions, check out the video!
How to Repair a Broken Garden Trowel


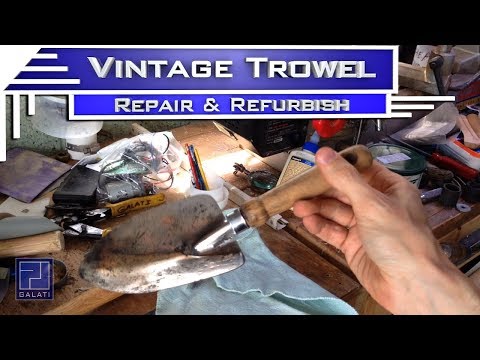
This trowel was used by my Grandfather to mix cement, and possibly dig some dirt as well. The handle had come loose and it was looking pretty rough.
Cement Removal


The first step for me, was to remove as much cement as possible. I did this by hammering the trowel head against the anvil section of my bench vise. Then I took it over to the wire wheel on my bench grinder and got the little bits off, plus any rust or dirt still remaining.
Polish It Up


I then used the buffing wheel on my bench grinder to polish up the metal. You can use any buffing compound you have available, most work pretty much the same (some work faster than others). Polishing the metal not only makes it look nice, but it offers a small degree of surface protect and it also makes it smoother, which is good for digging in the dirt.
Cleaning Up the Handle


This handle had cement on it and was weathered from use. However, it was a nice maple and just needed some attention. I used a chisel to remove the cement and then followed up with some sandpaper. Start with a 100 grit and work your way up to a 320 grit or higher, depending on your personal preference for smoothness.
Epoxy Time!


Next, mix up a small amount of 5 minute epoxy and then apply it to the inside of the handle as well as the rim where the trowel head will connect. My trowel had a relatively good fit, so there was no need for taping or clamping, but those are good options for keeping the parts tightly snugged together while the glue cures.
Apply a Finish


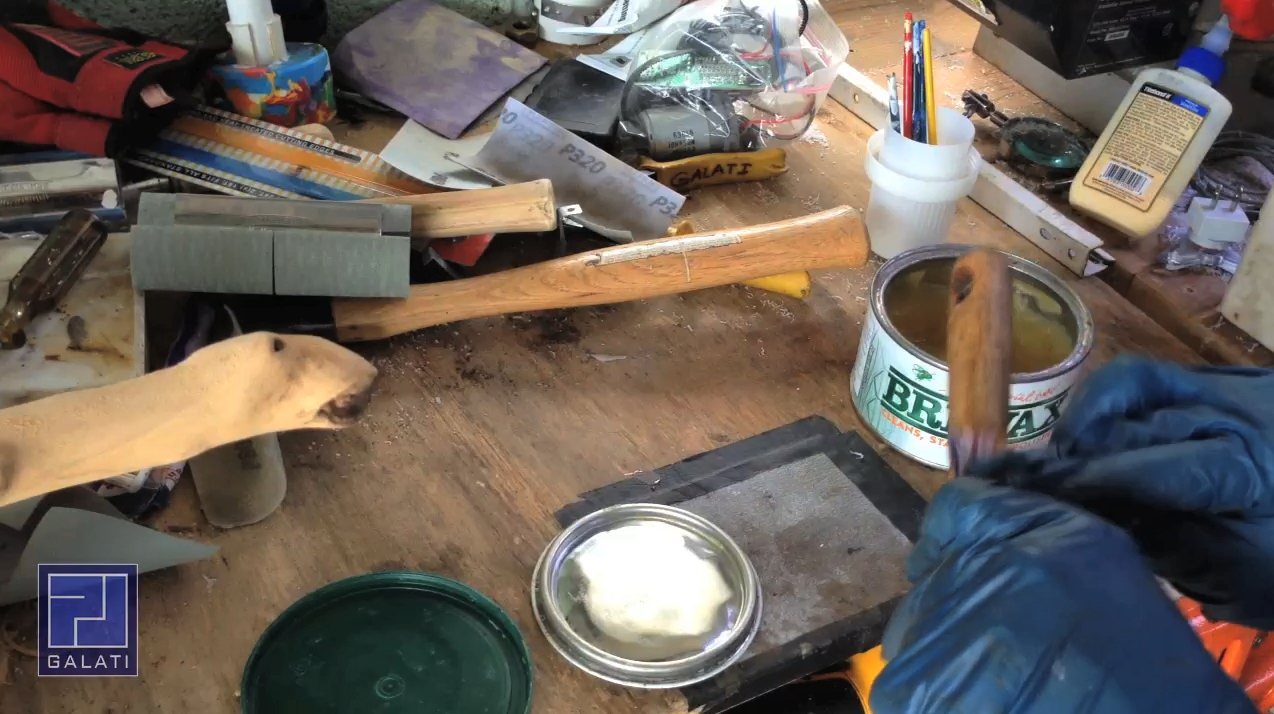
There are many finishes out on the market, but I prefer to use Briwax. It's got a great feel on wood (feels good in your hand) and it also cleans metal as it shines it. Because this is a wax finish, it does need to be reapplied occasionally to keep the tool in good condition. You apply a layer of Briwax with a rag, while wearing rubber gloves. Briwax isn't good to get on your hands before it cures.
Finish It Up With a Shine!


After a few minutes, you can wipe off the excess Briwax and give it a shine with a clean rag to polish. This will give your trowel an additional layer of protection and make it look nice. I hope this helps!