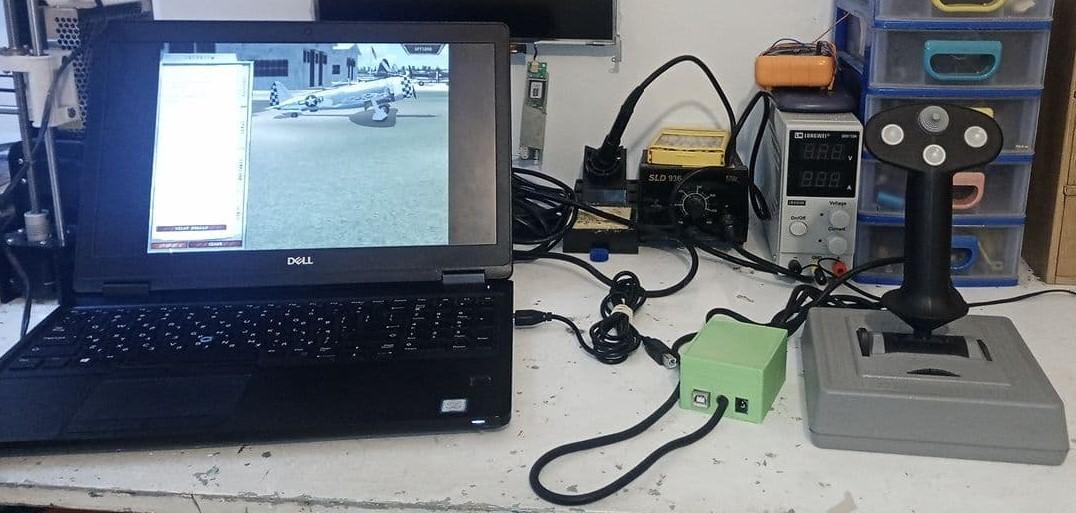
Fix Old Joystick
This is a guide on how to convert an old joystick with a serial connector to a USB using Arduino!
You will need Arduino With R3
because the program will send the data to the computer with the USB to the PC
but for the PC to recognize the Arduino as a Joystick we need to configure the USB as HID device (human interface device)
we do it by programming the USB chip with FLIP ATMEL program as you will see later.
so let's begin!
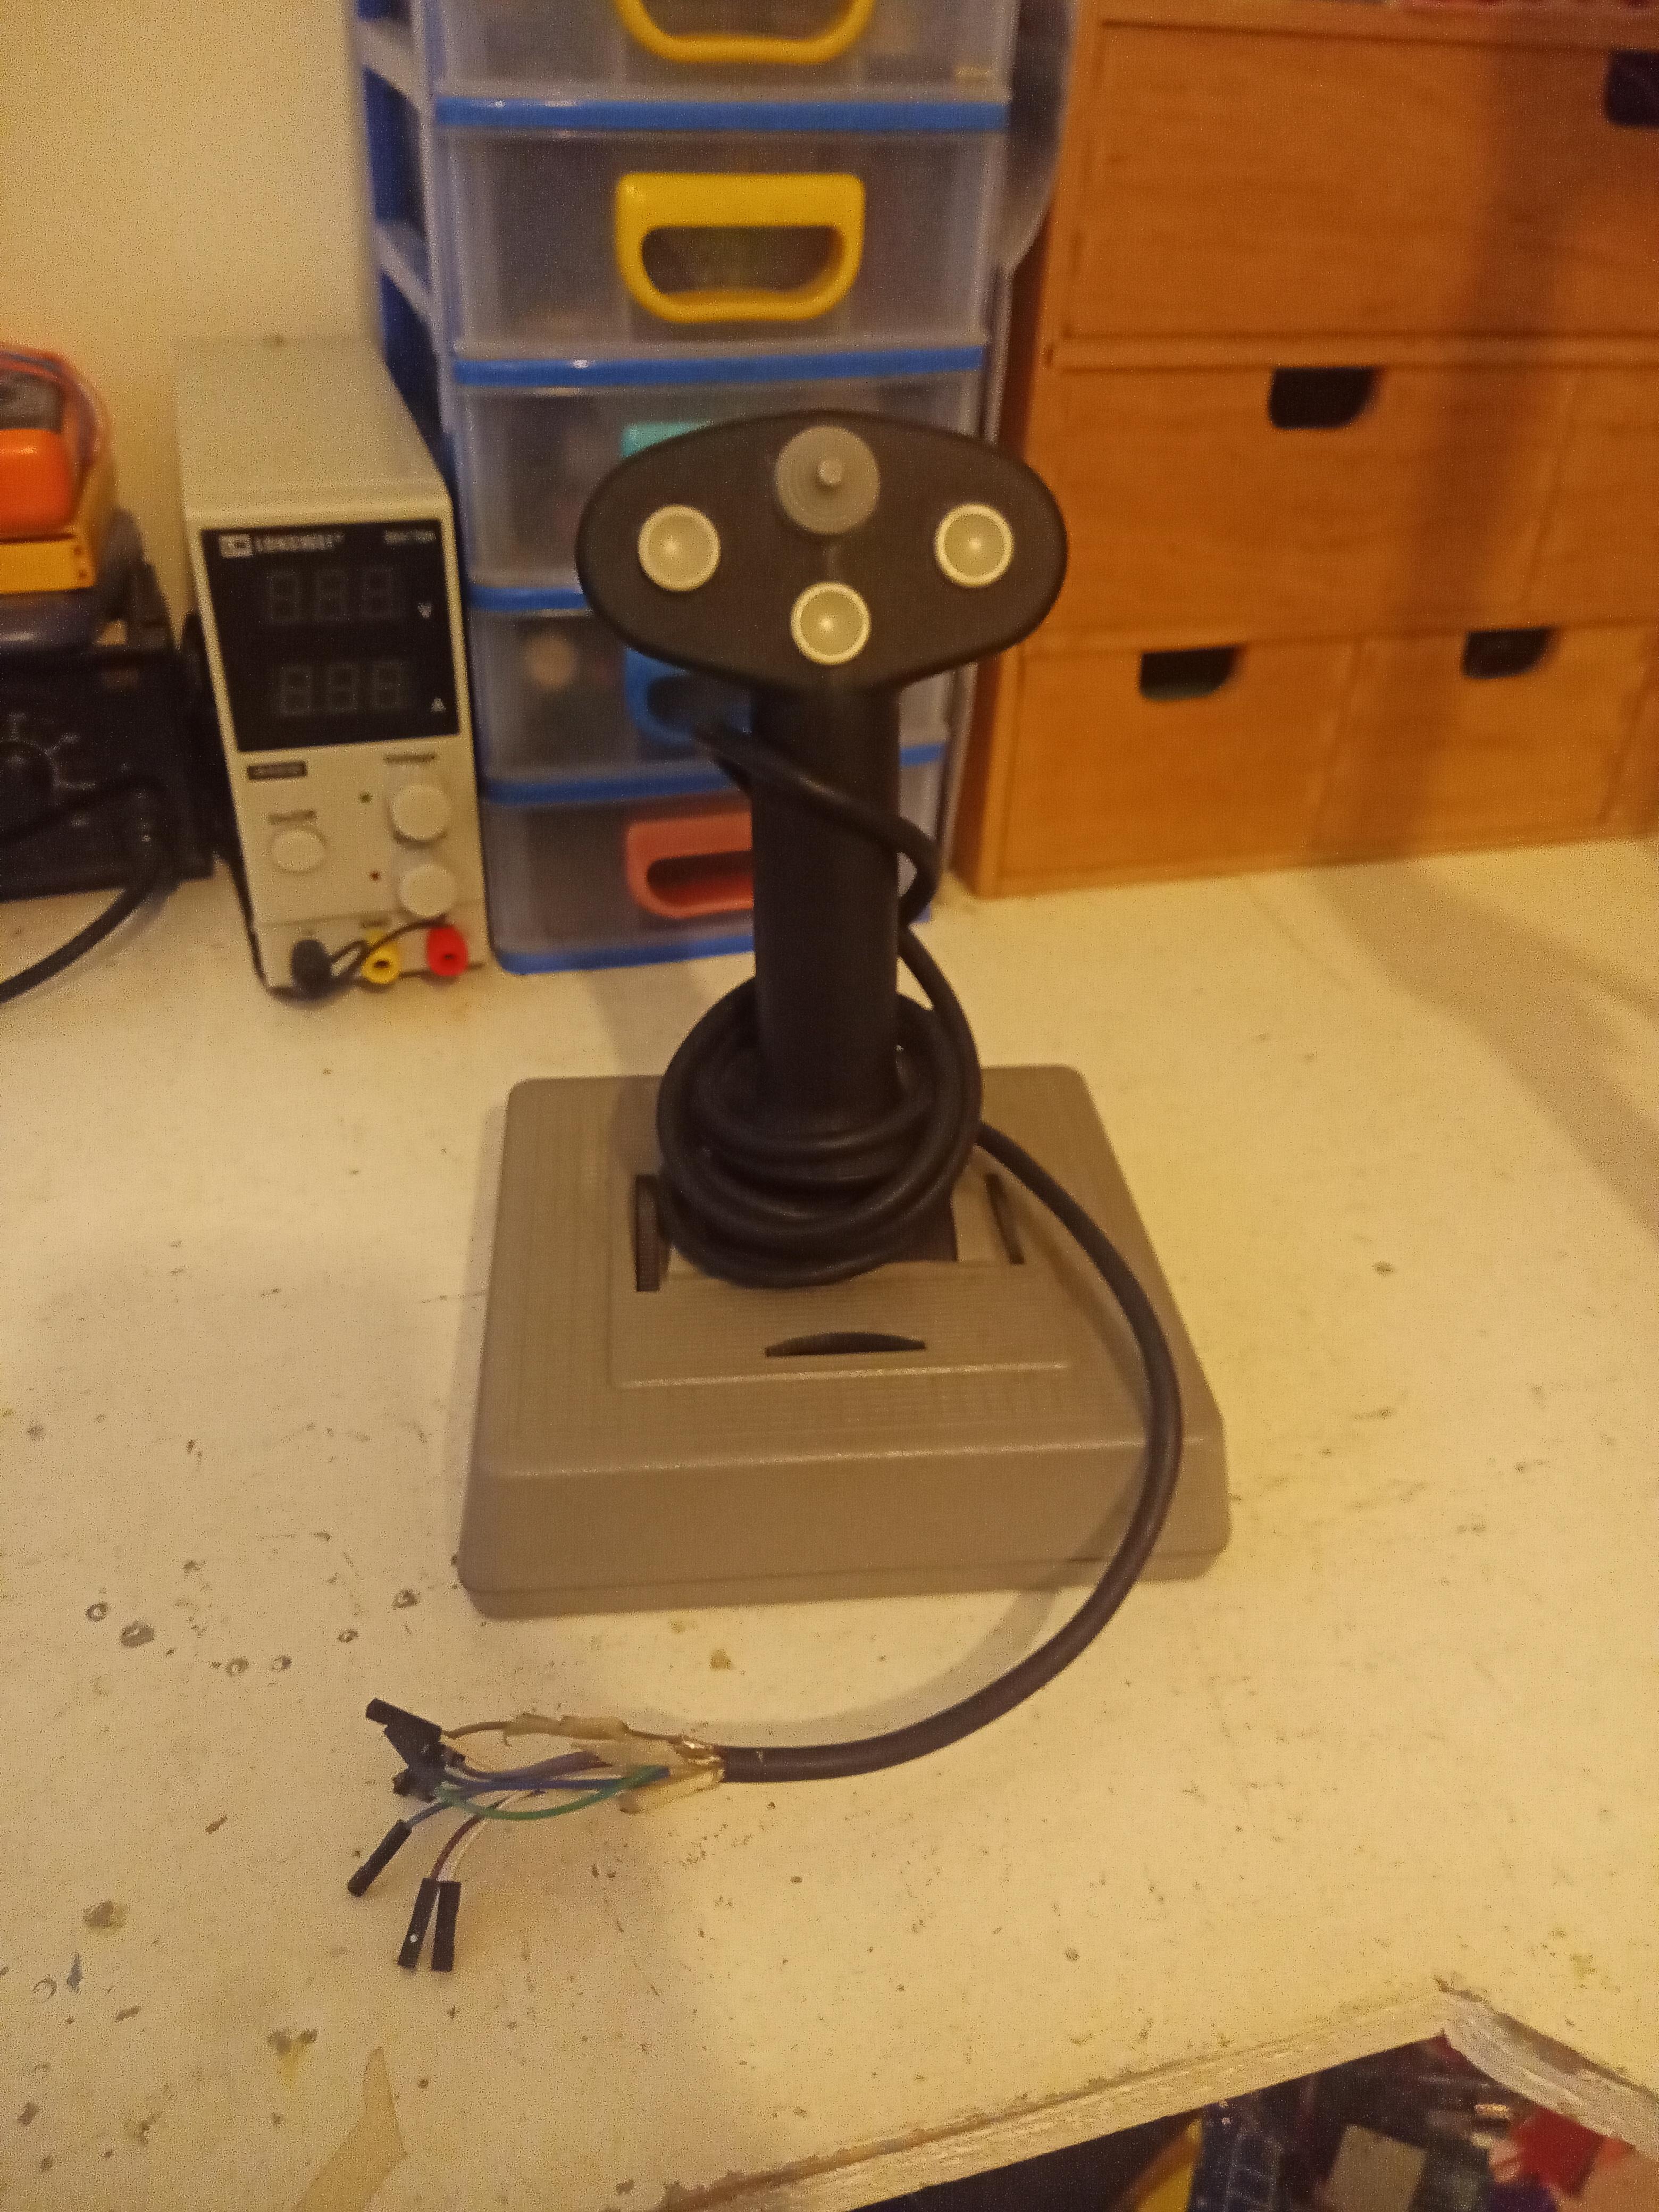
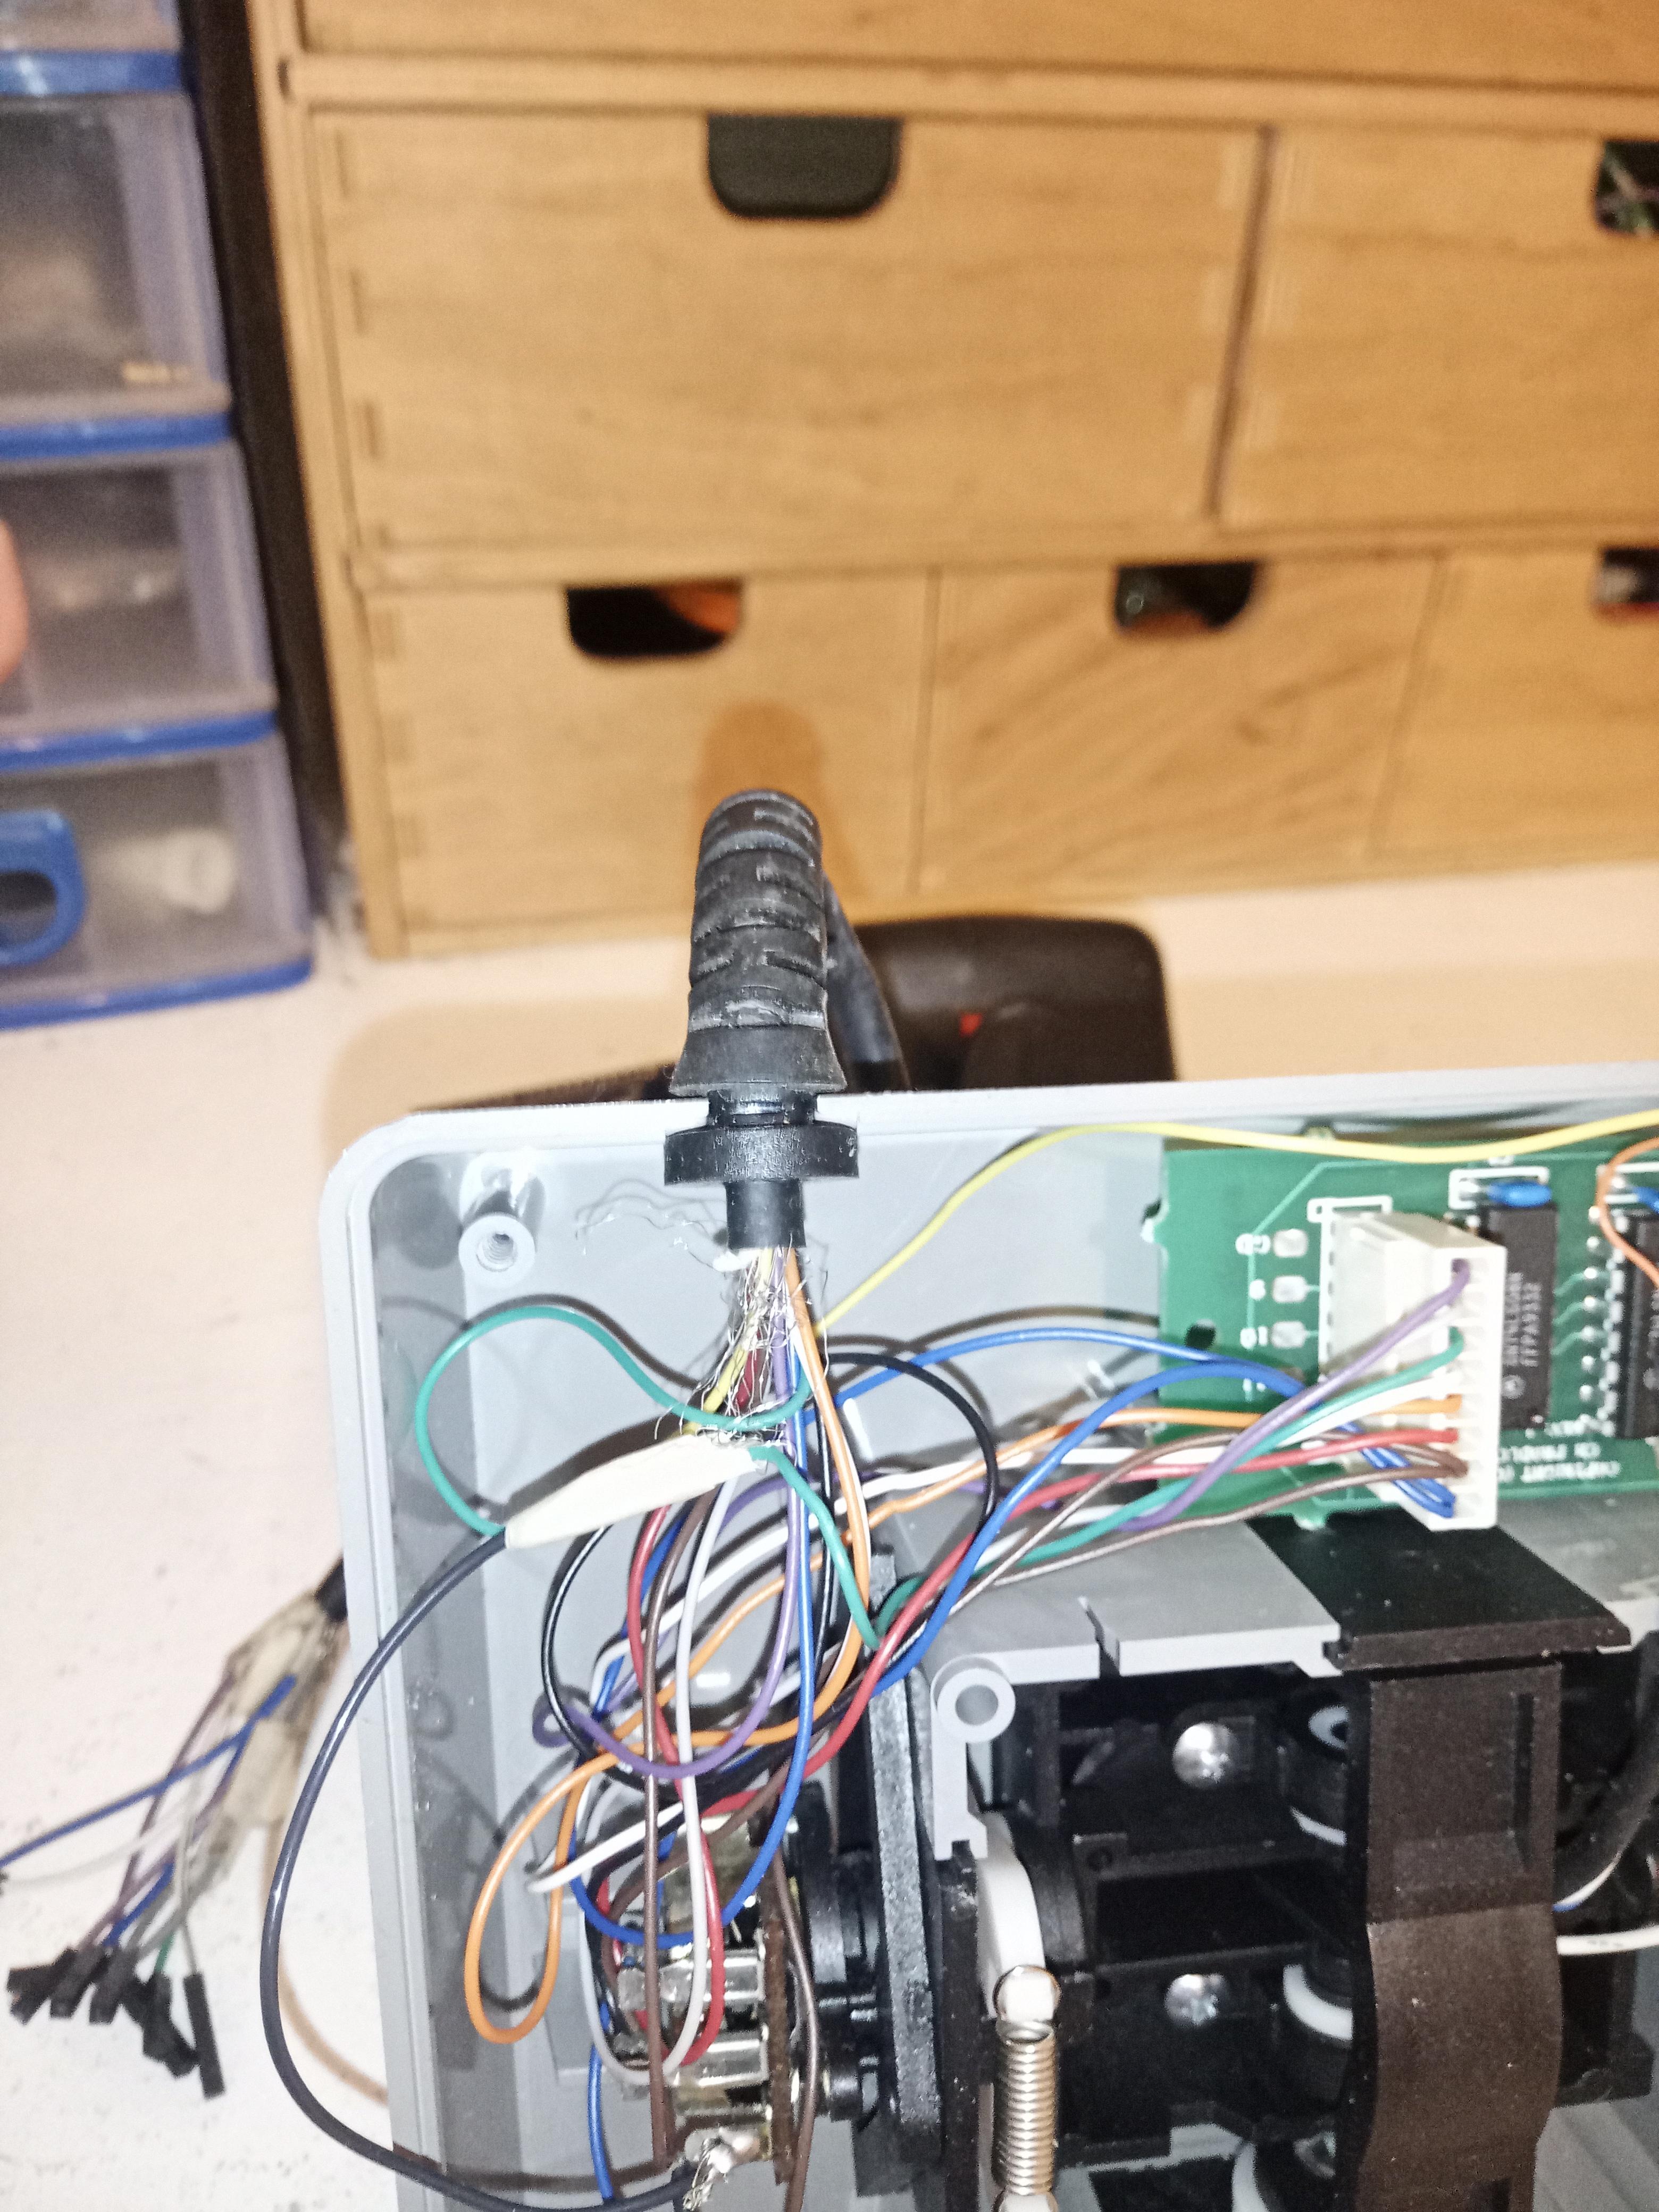
Cut the Serial Connector and Solder Connectors to the Wires
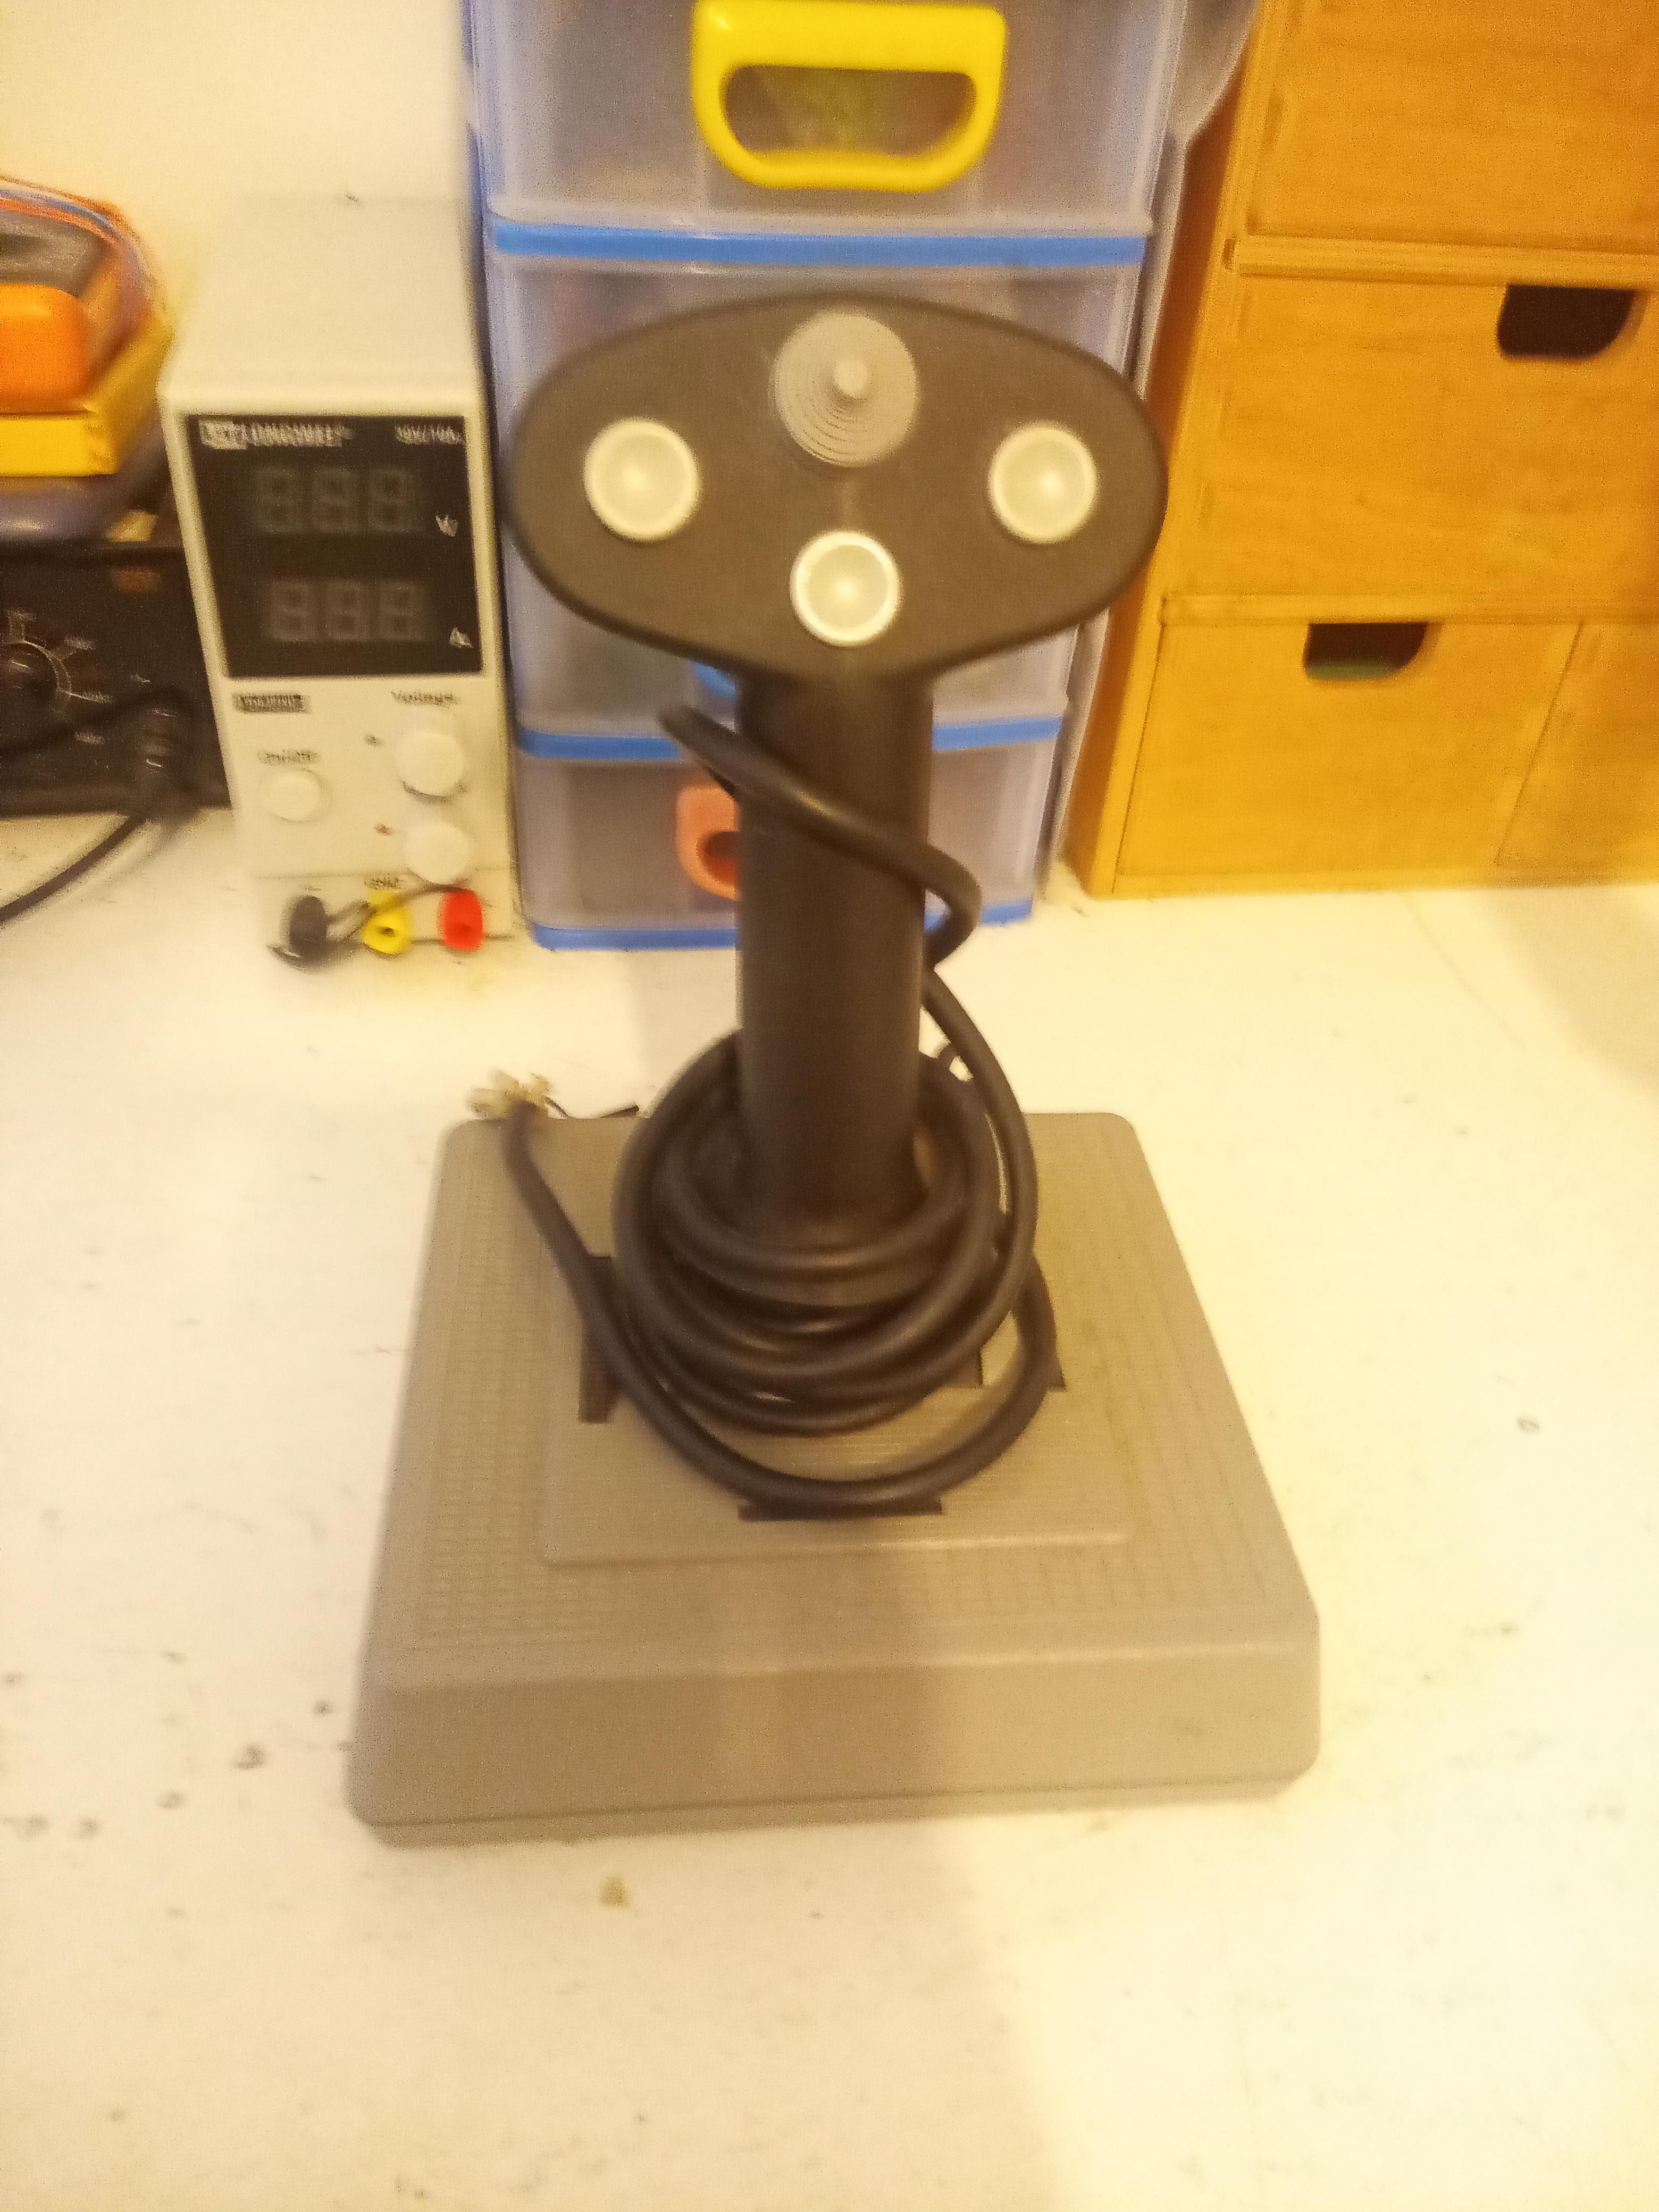
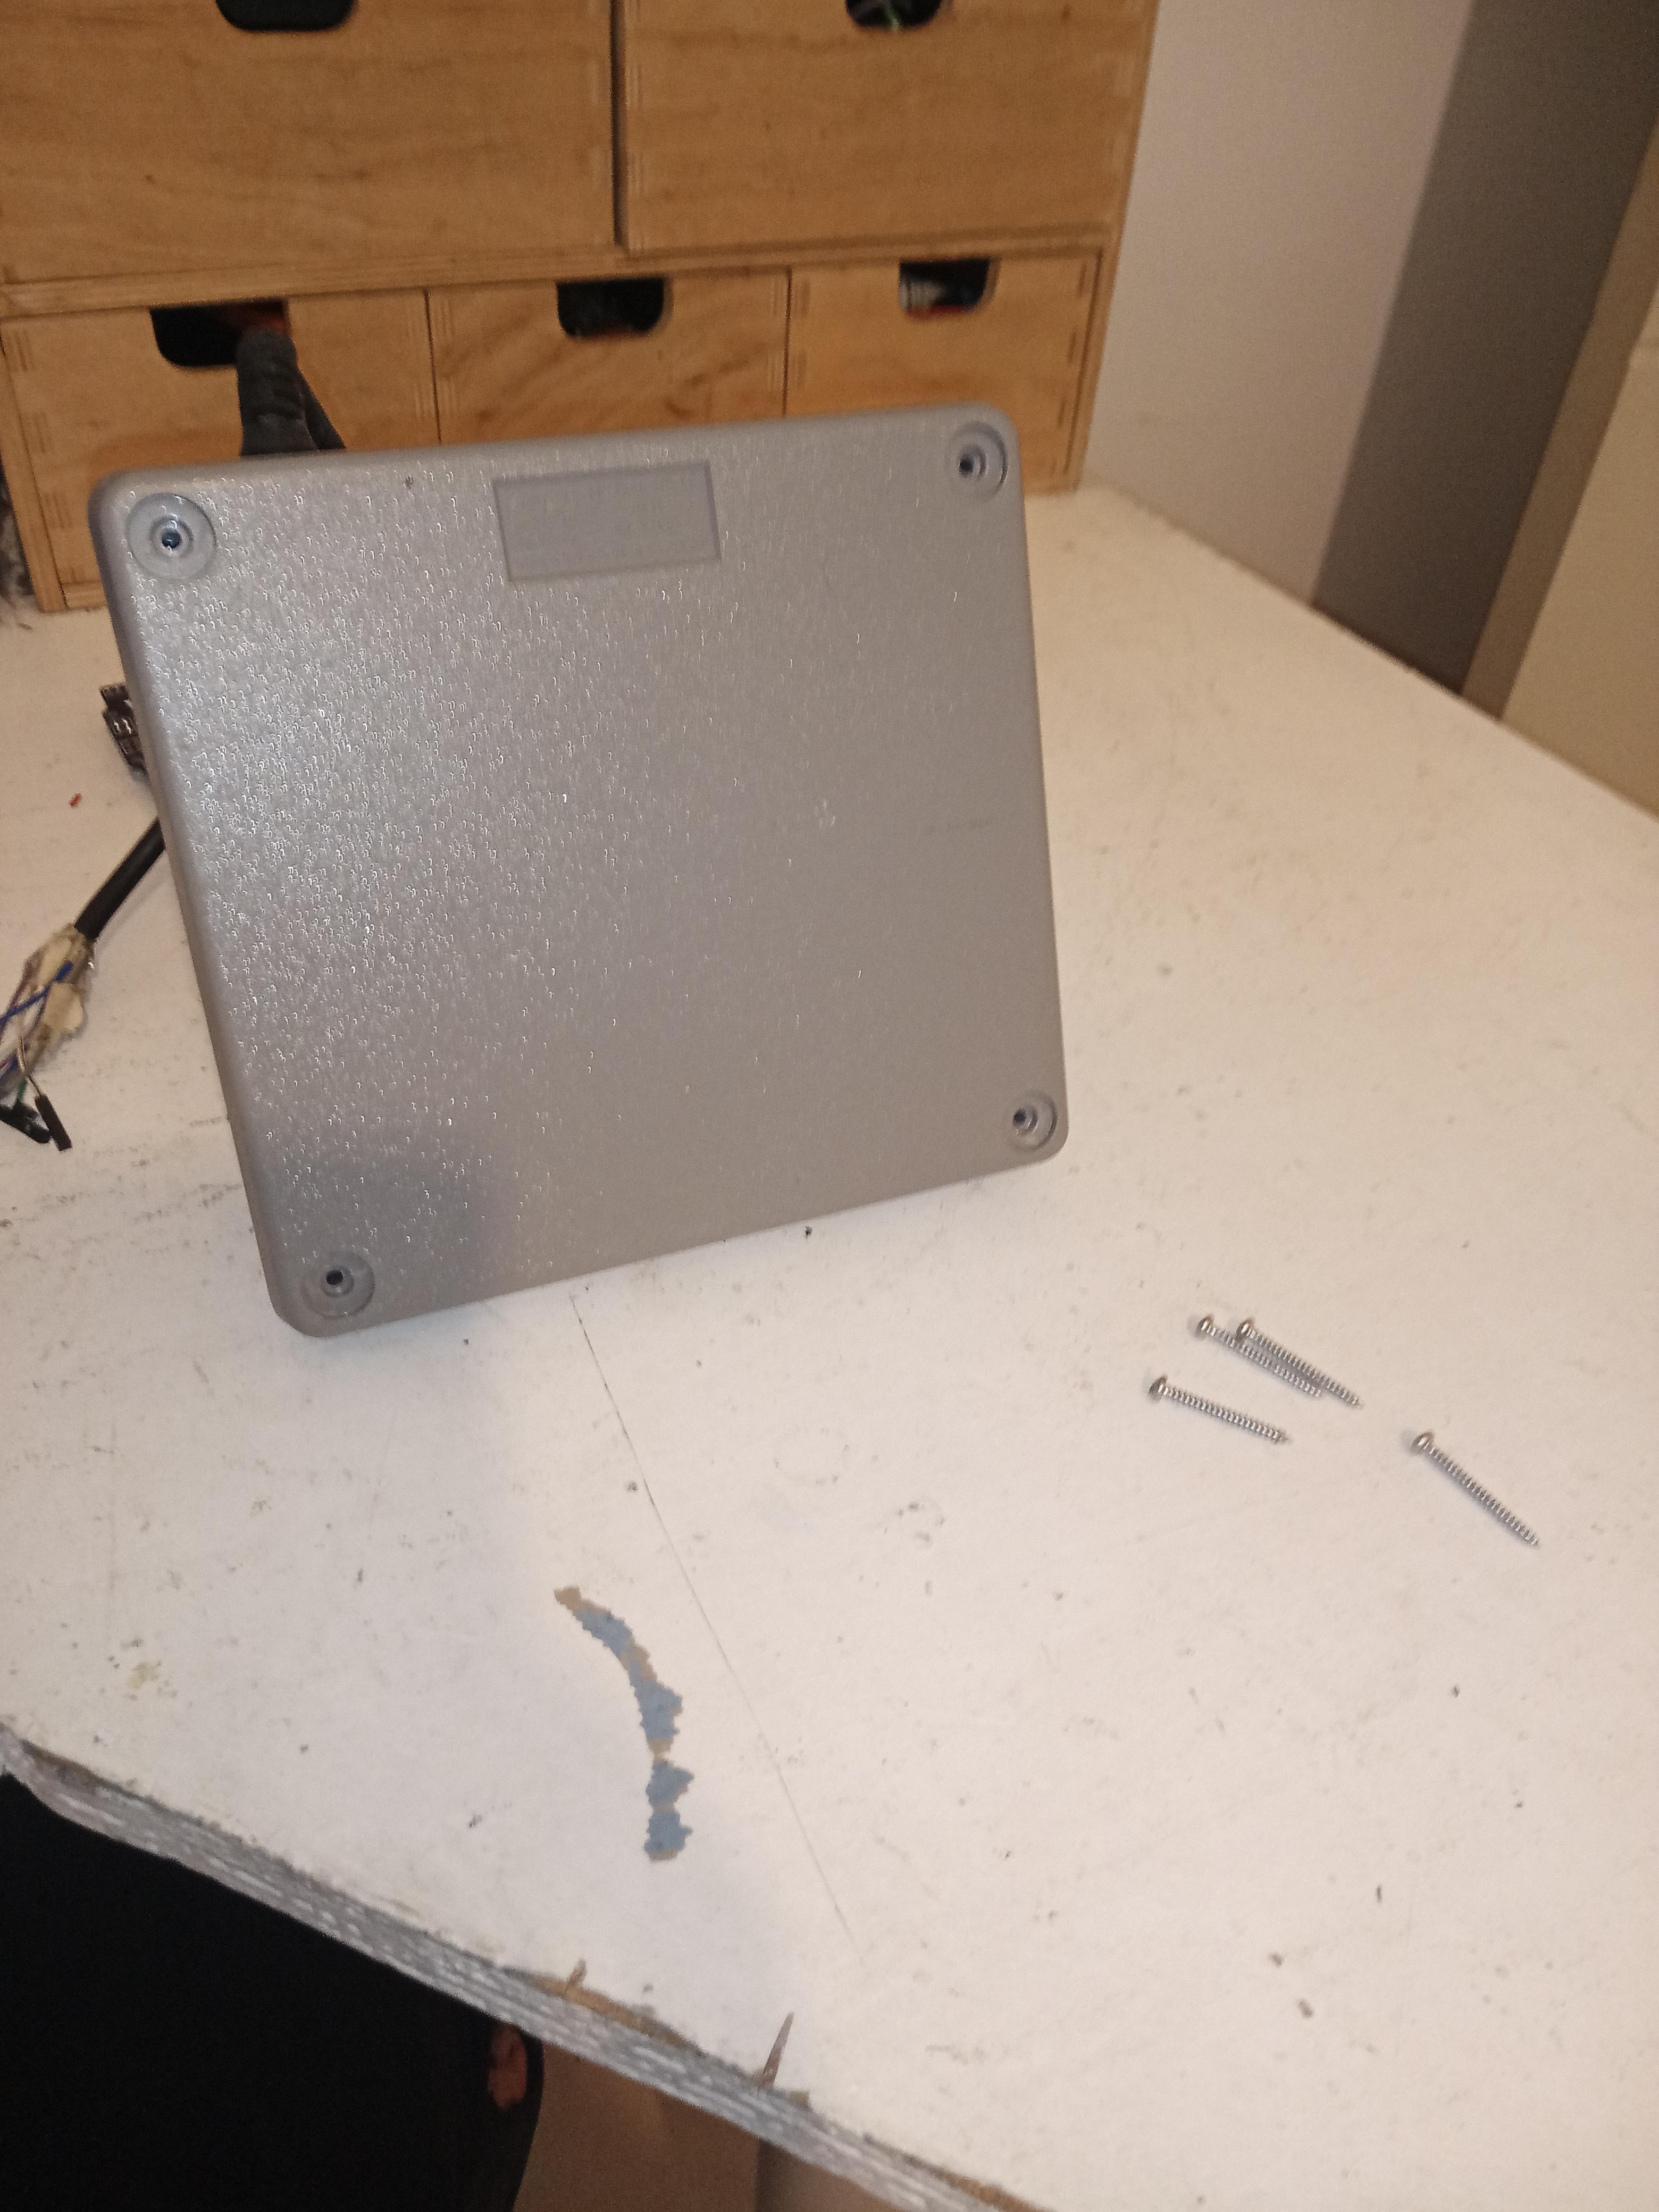
Open the Joystick
After You Open the Joystick, See Which Wire Connect to the Buttons and Which to the Analog Potentiometer
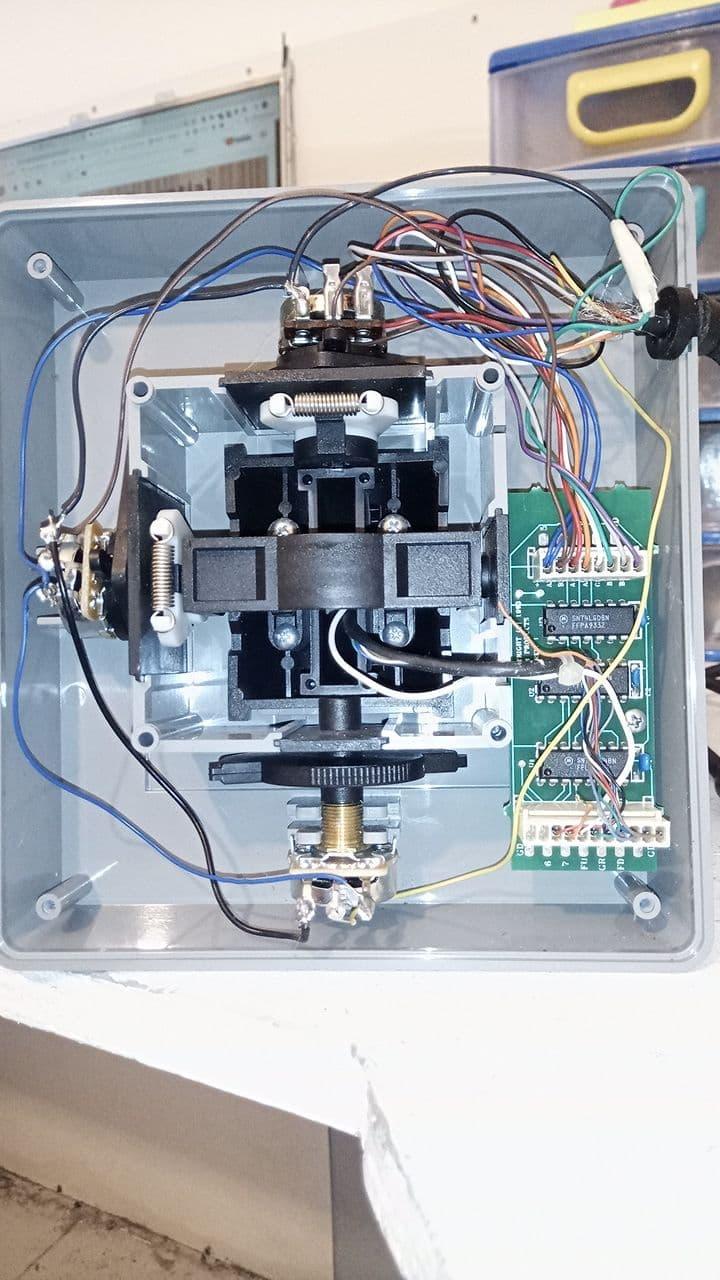
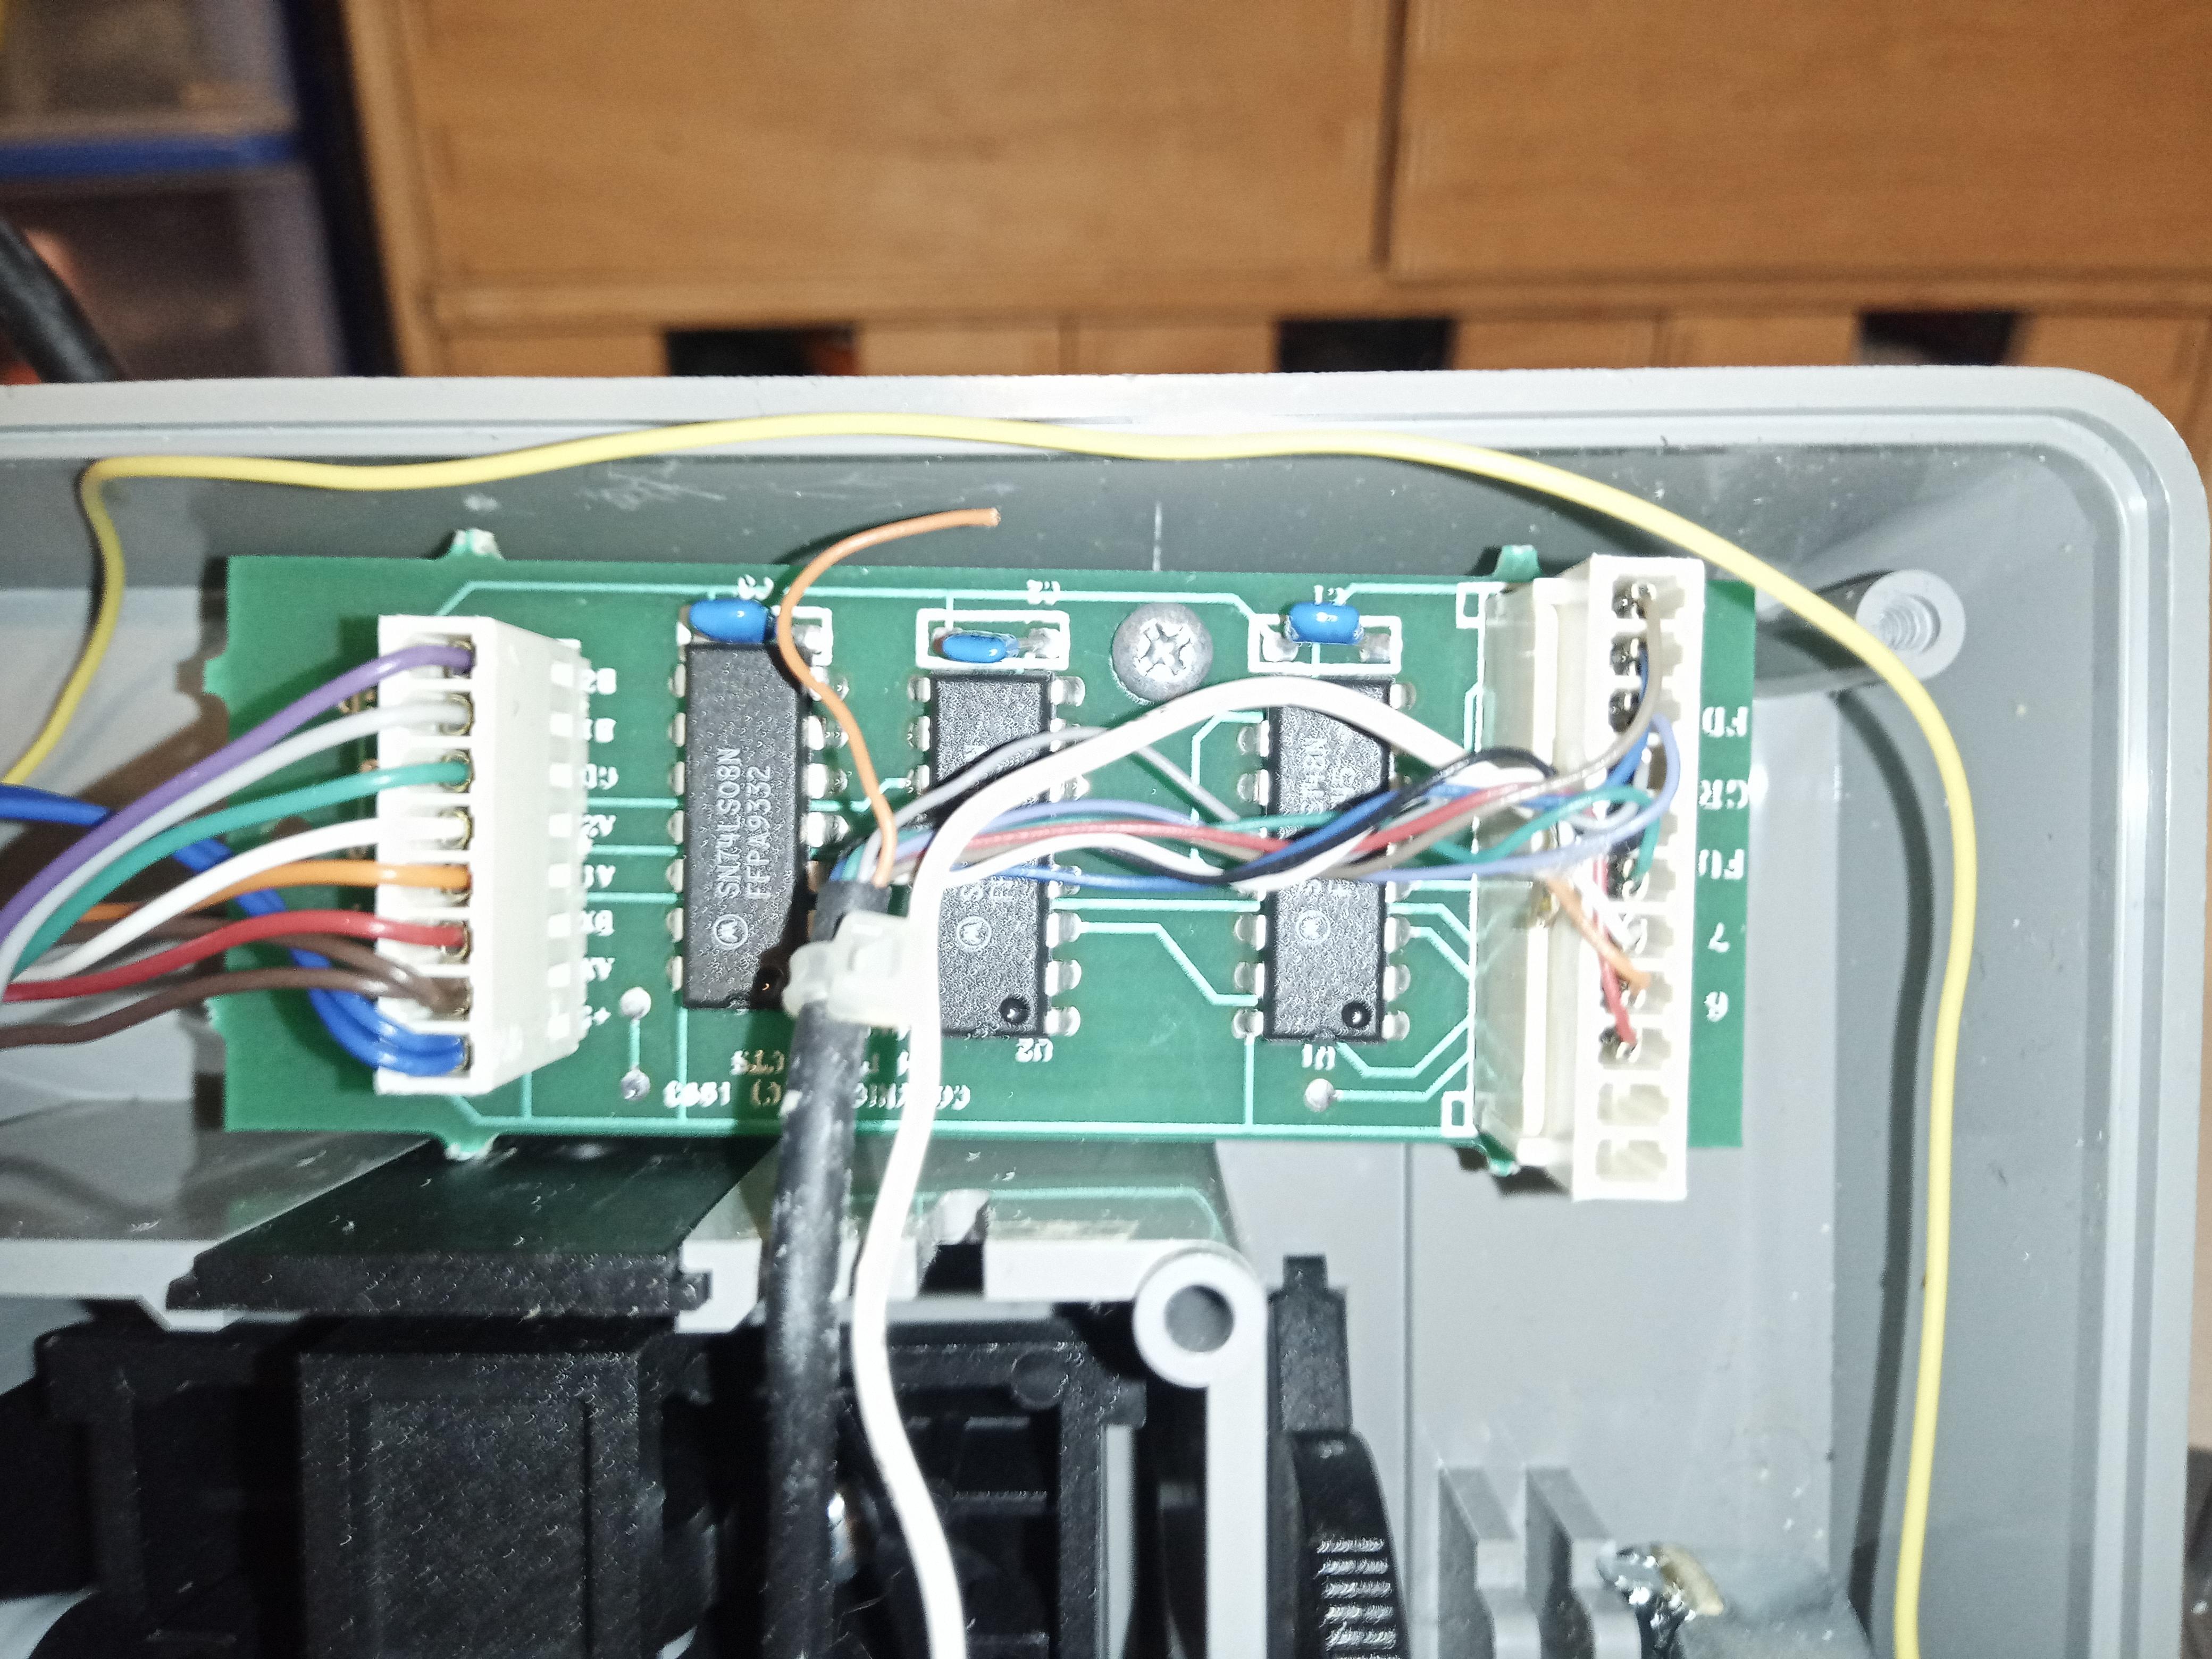
This Board Handle the Buttons
Connect the Wire to the Arduino


Connect the 3 analog wires to the analog connection in the Arduino.
the digital wires connect to the digital pins in the Arduino.
DO NOT FORGET TO CONNECT THE GROUND WIRE TO THE GND!!!
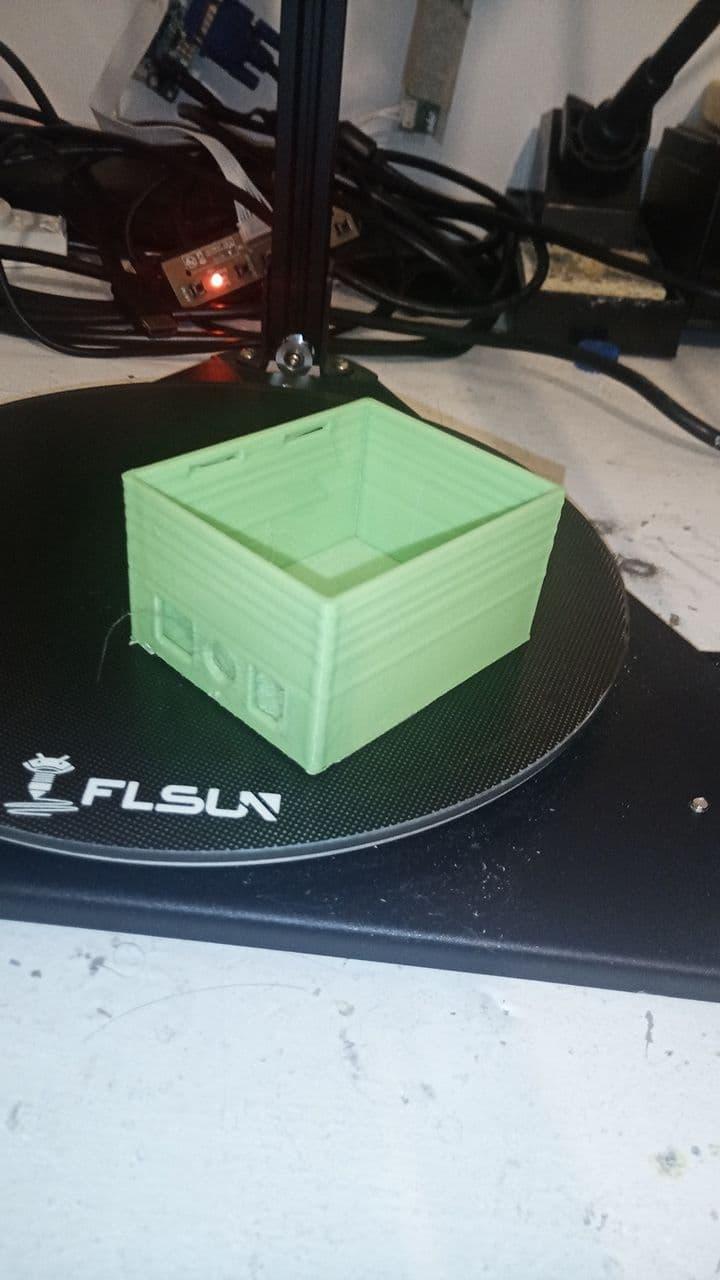
3D Print Case for the Arduino If You Want.
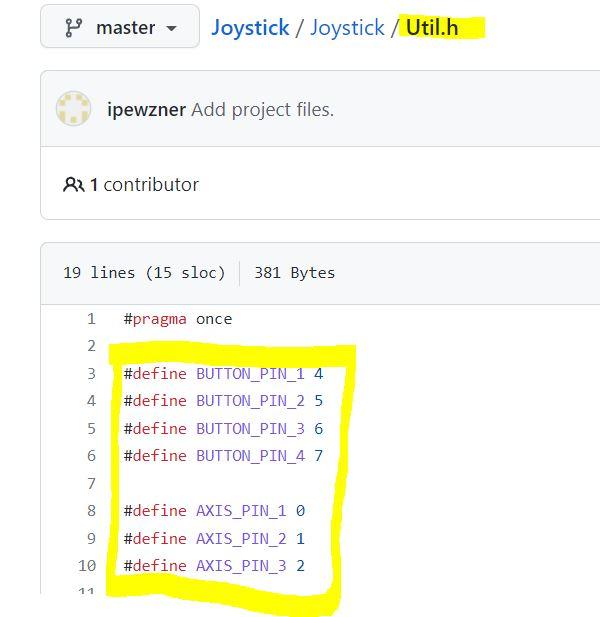
Download the Arduino Files From GitHub.
Change the Util.h File If You Need
Opload the Program to the Arduino
To Enter the USB Programming Mode Shortcut the Pins for a Second
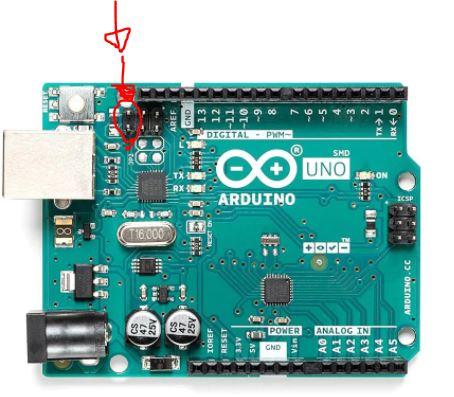
from now on you reprogramming the USB chip
this is reversible by doing the step from here to the end just use the
"Arduino-usbserial.hex" file in the future step!
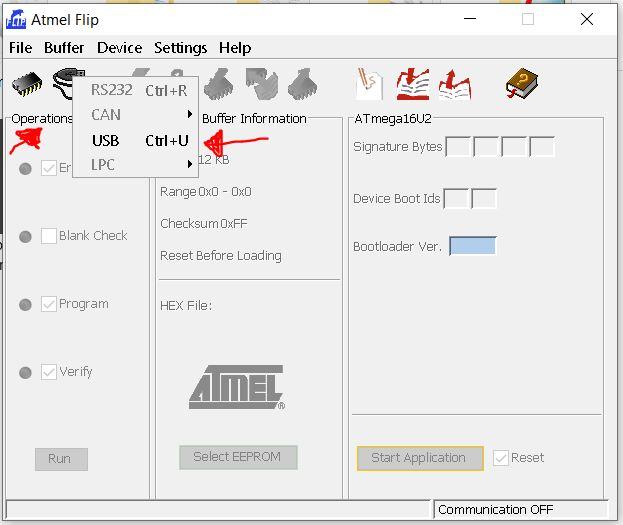
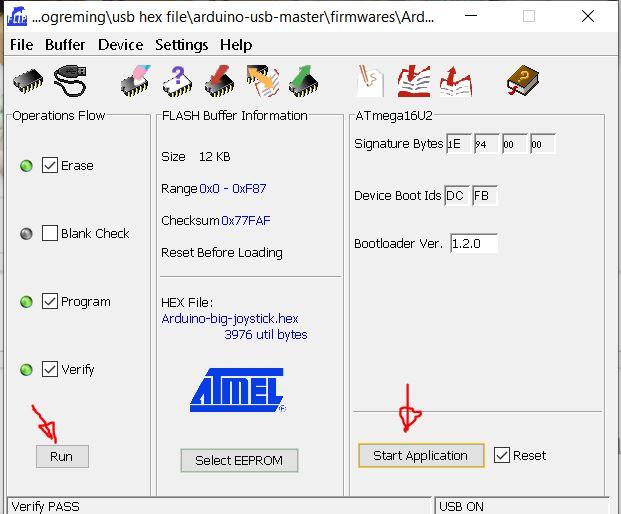
Open the FLIP ATMEL Programmer

Chose the USB
Then the Program Will Change and You Chose the HEX File
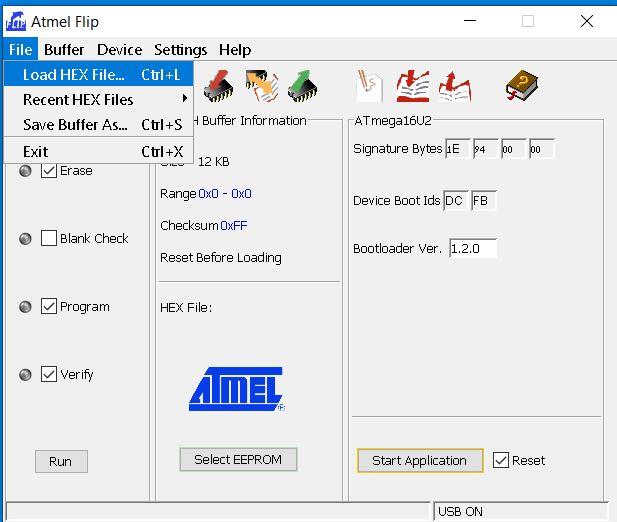
from the folder "hex files"
chose the "Arduino-big-joystick.hex"
Press RUN and After It Finish Press "start Application".
Replug It and Play!