Fix Membrane Keyboard With Some Non-working Keys
by izzatrazab in Circuits > Computers
19641 Views, 43 Favorites, 0 Comments
Fix Membrane Keyboard With Some Non-working Keys
I am going to show you how to repair a membrane keyboard with some non-working keys.
Supplies
- Screwdriver ( open the keyboard )
- Multimeter ( measure resistance )
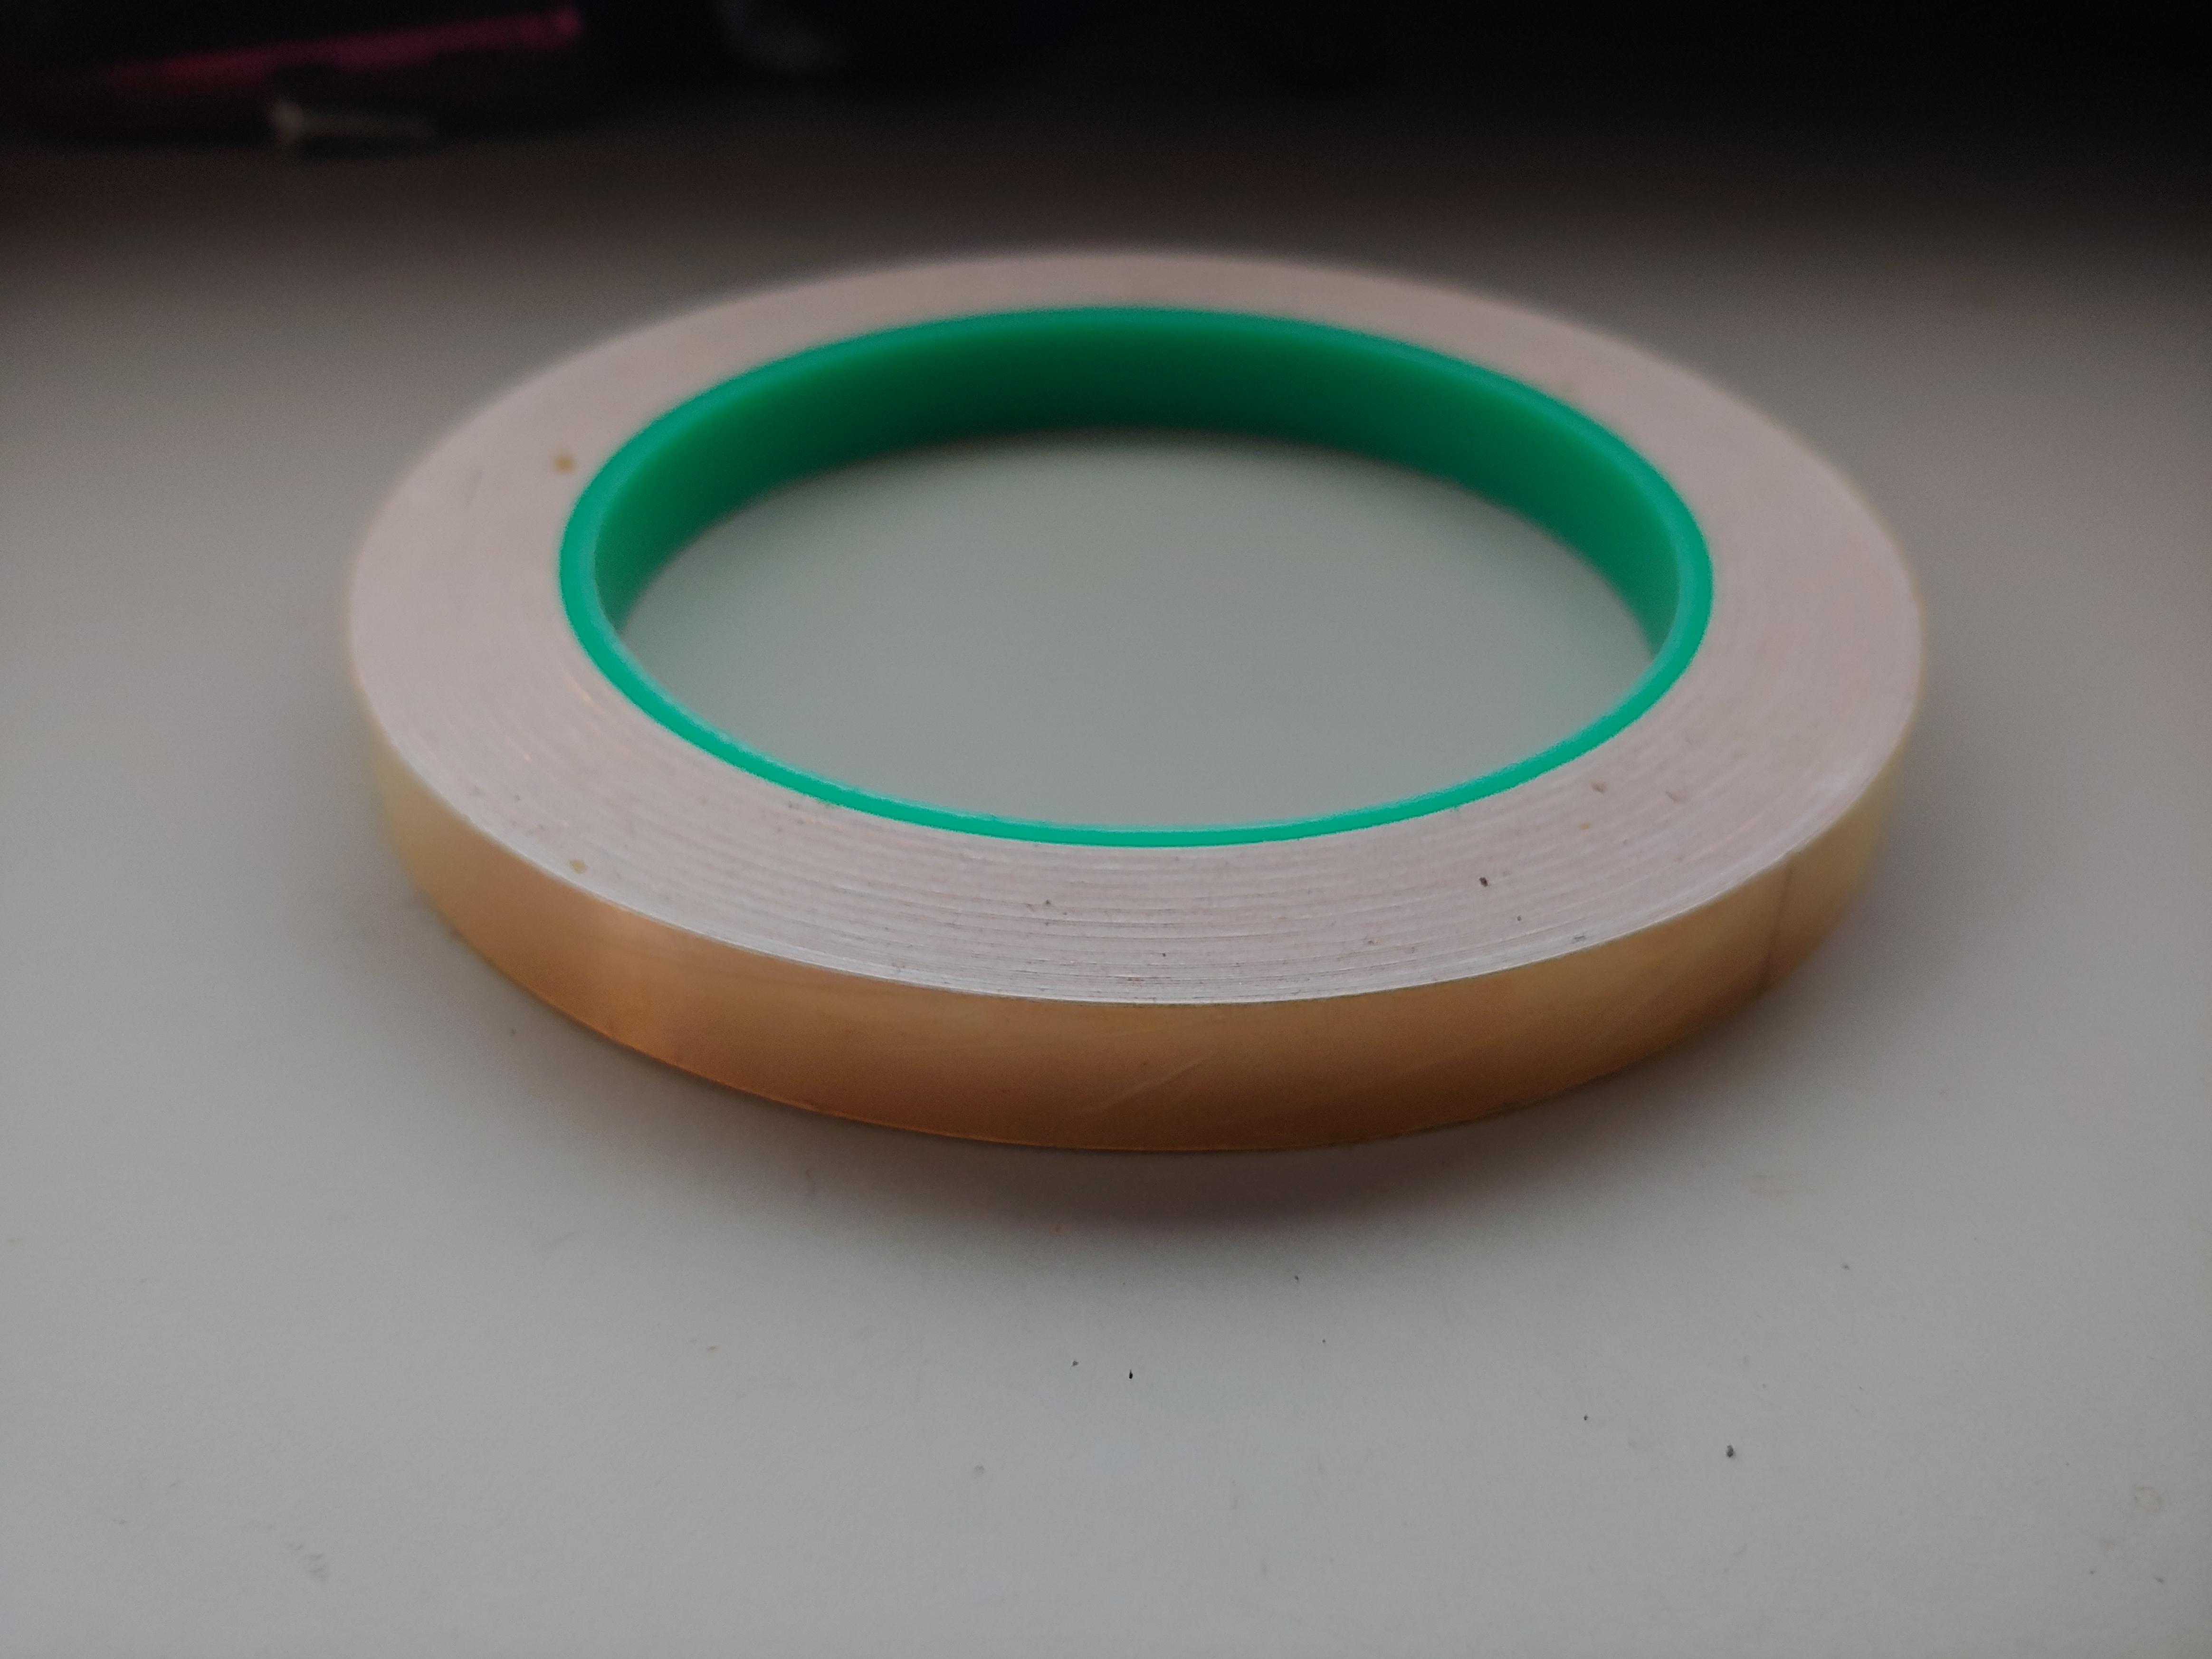
- Copper tape ( double-sided conductive )
- Scissor
- Knife
- Marker ( optional )

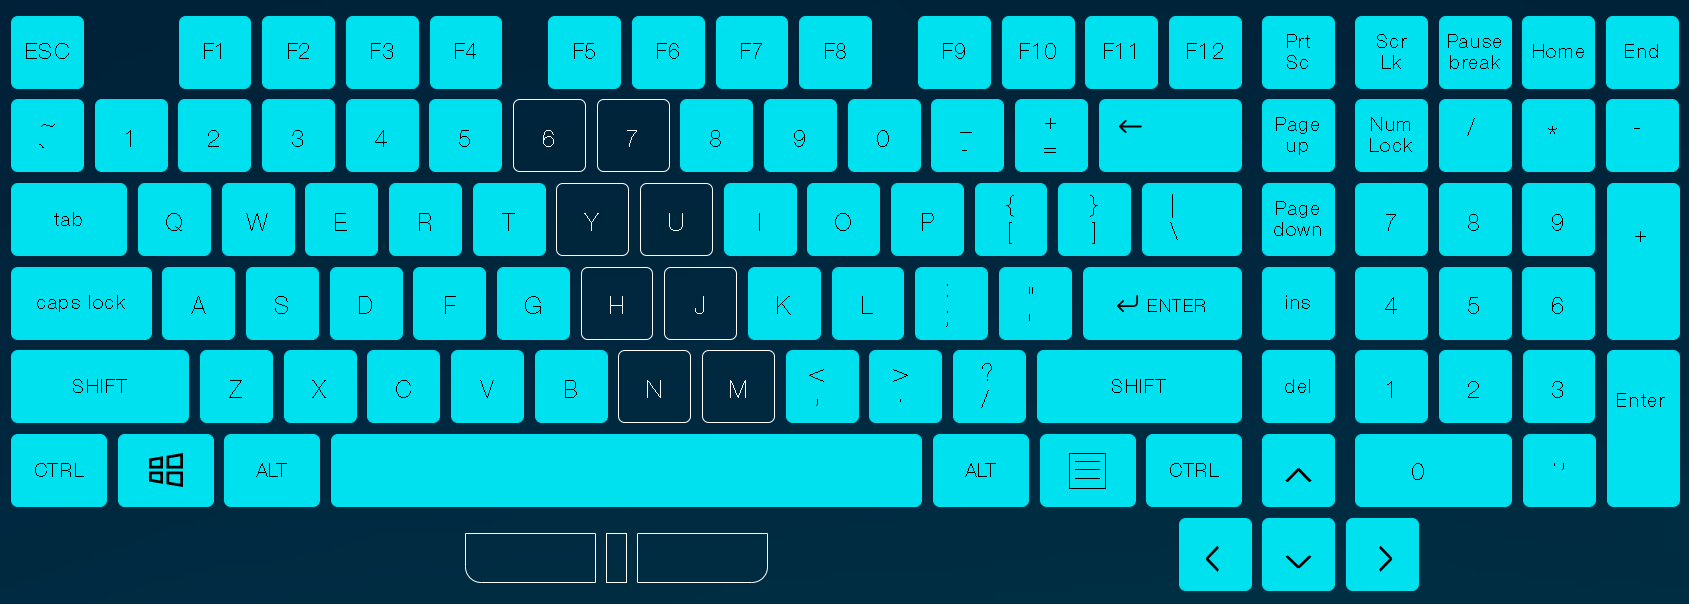
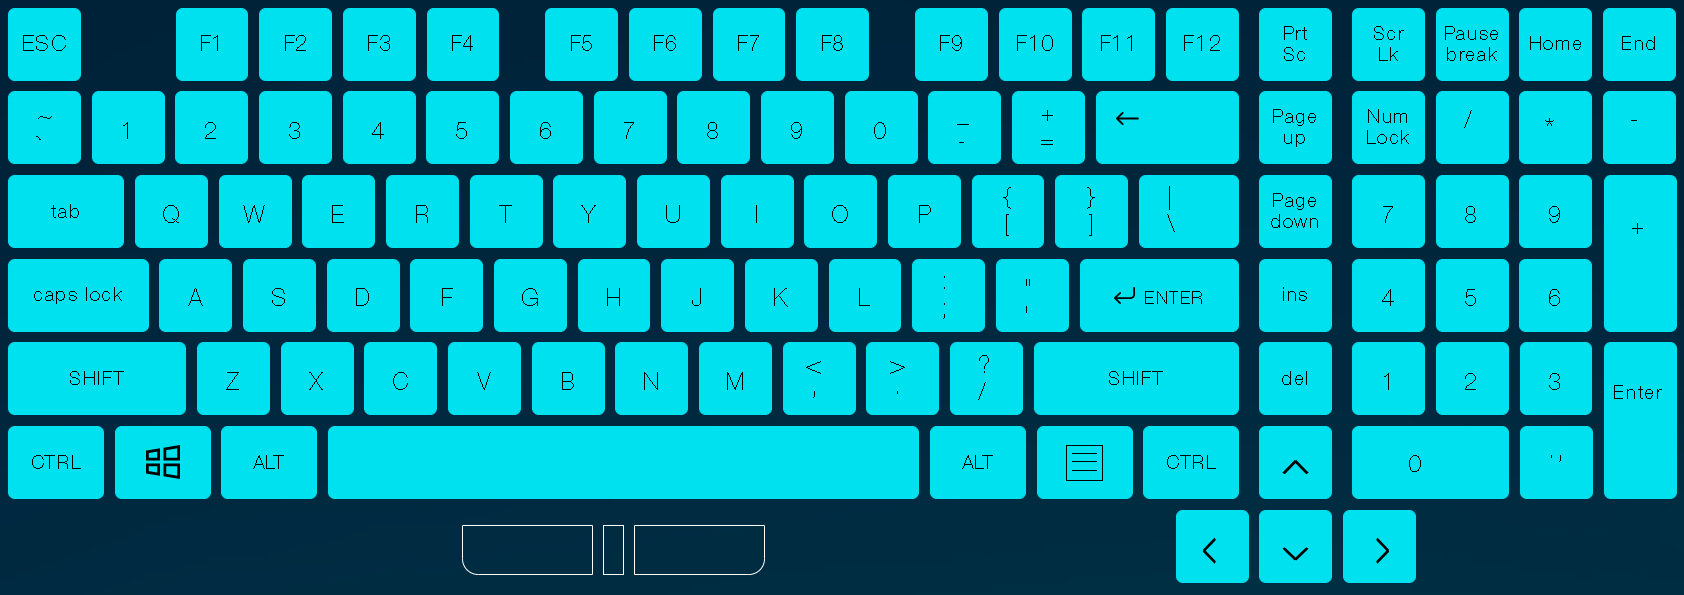
Connect you keyboard then go to any keyboard tester website, for example: "Key-Test" - keyboard test online to test which keys are not working. In my case here, 6, 7, Y, U, H, J, N, and M are not working.
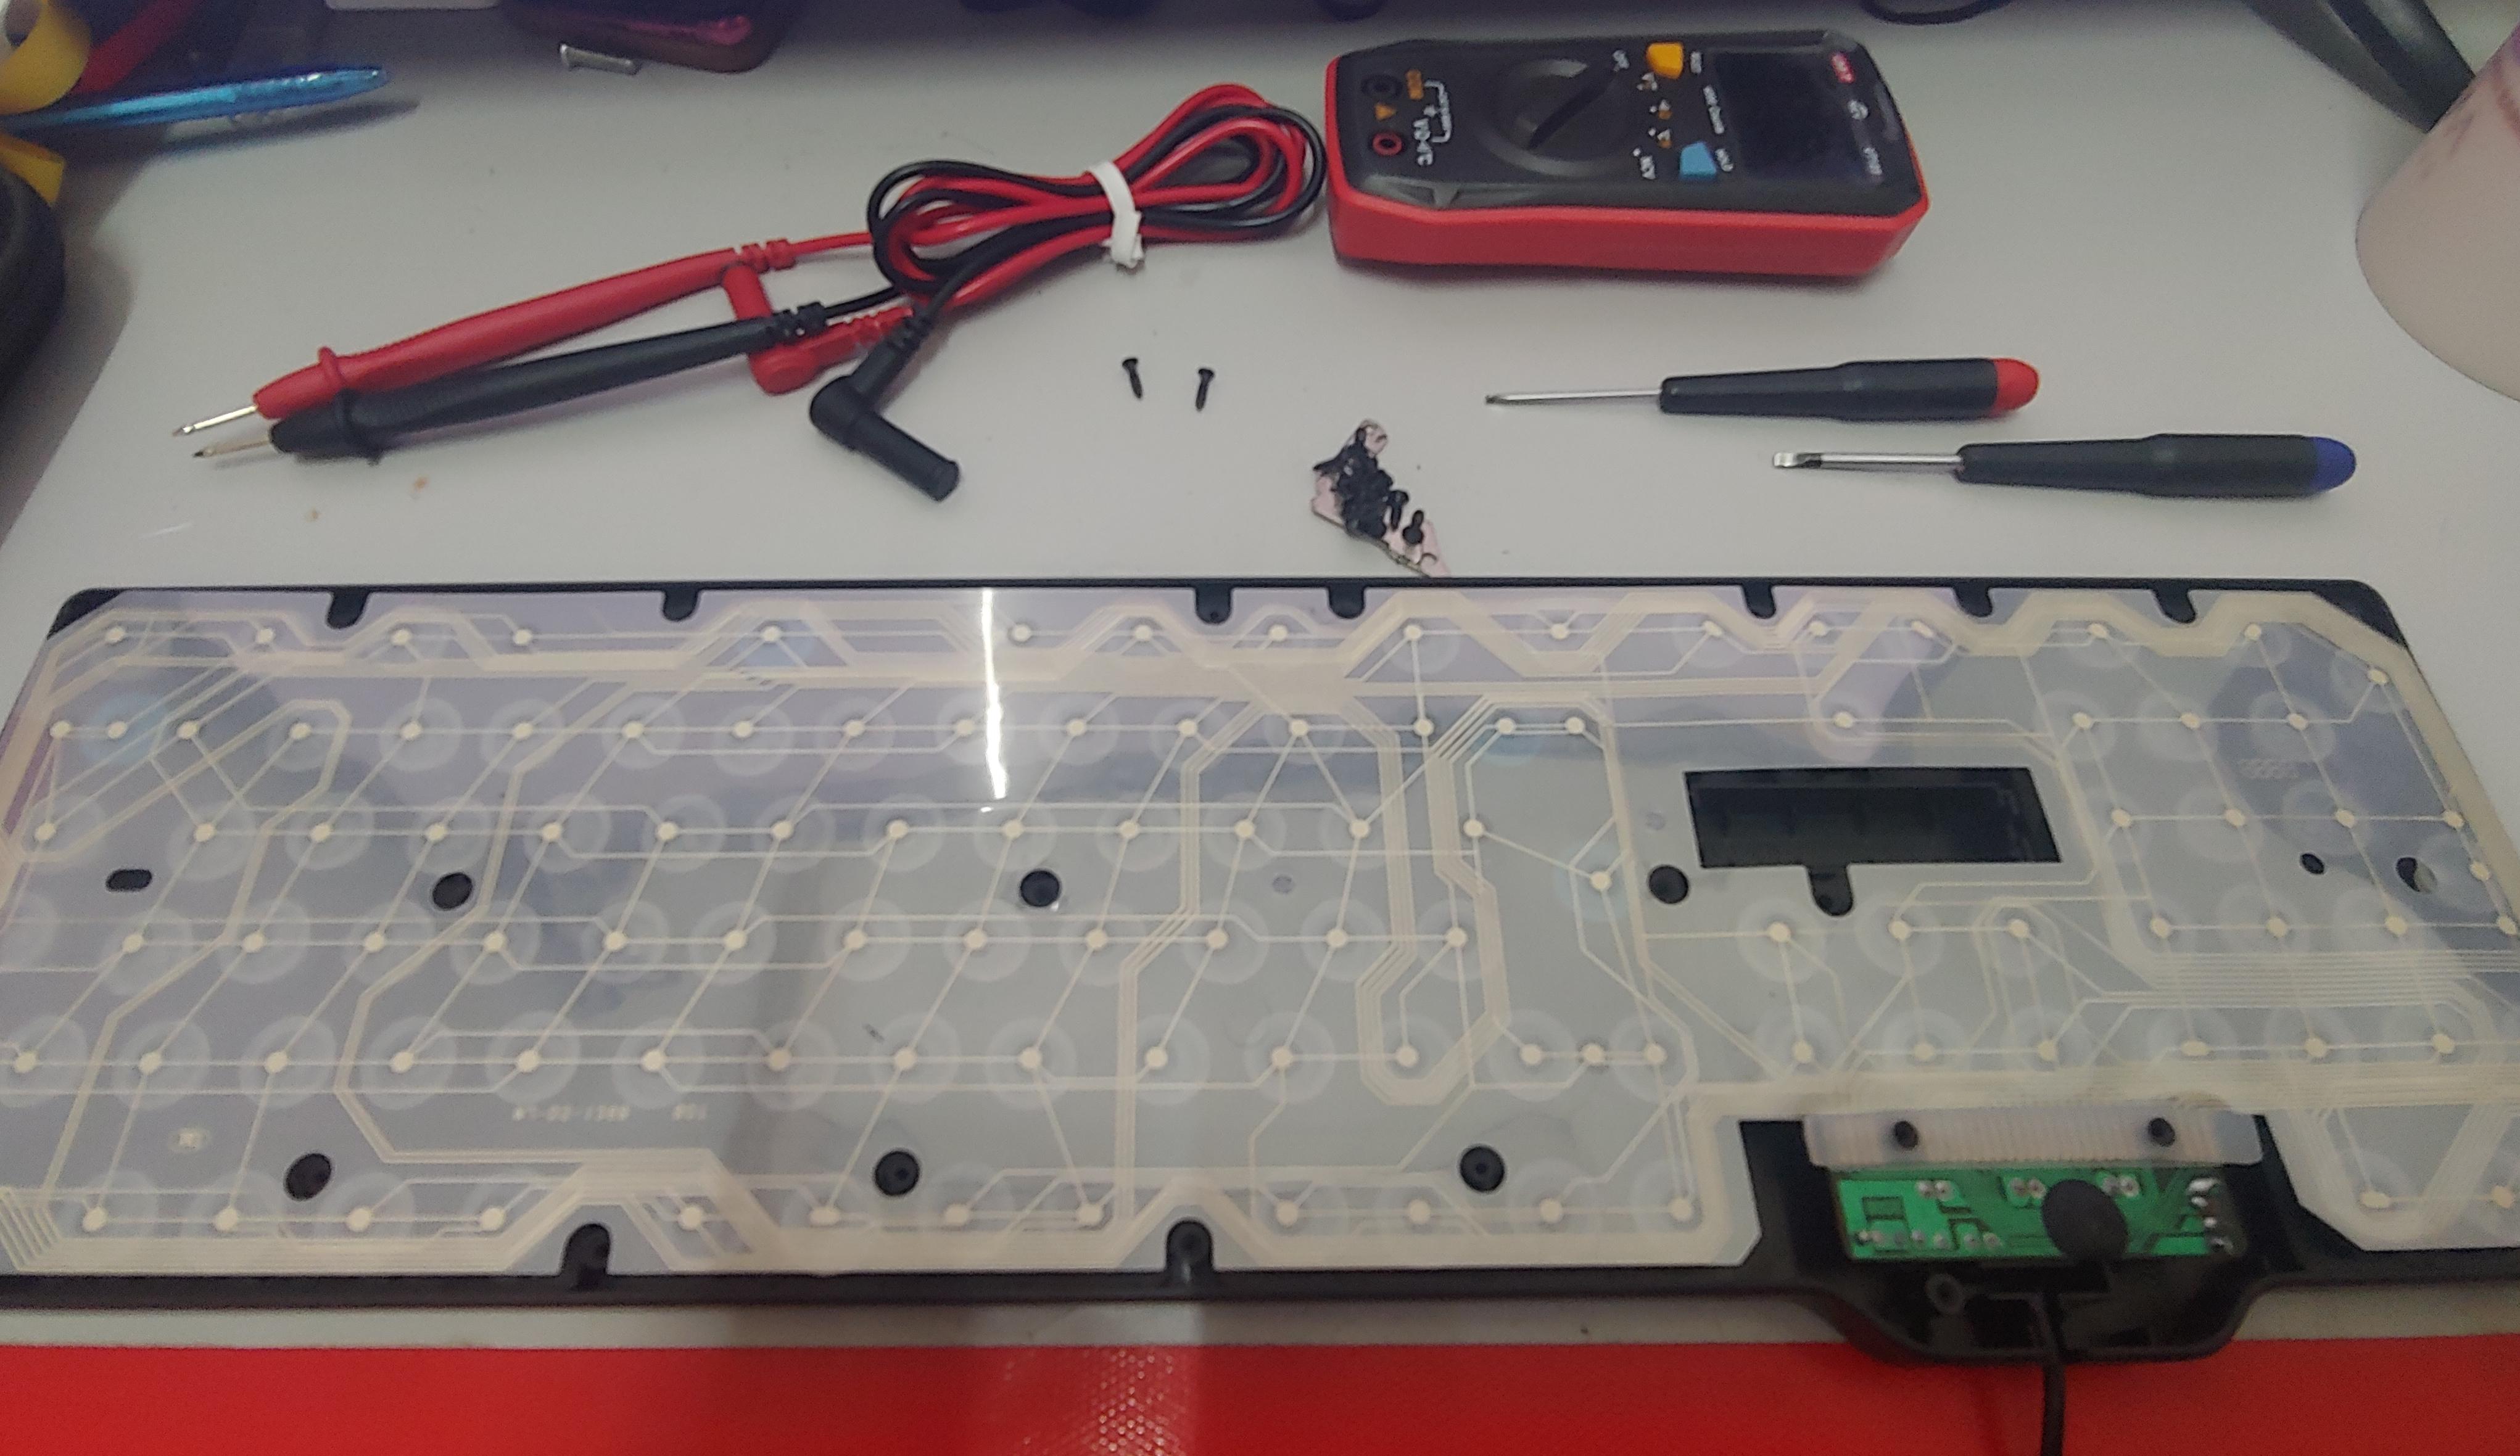
Open up the keyboard.
Identify the position of the non-working keys and mark them. Then separate the plastic sheet from the plastic case.
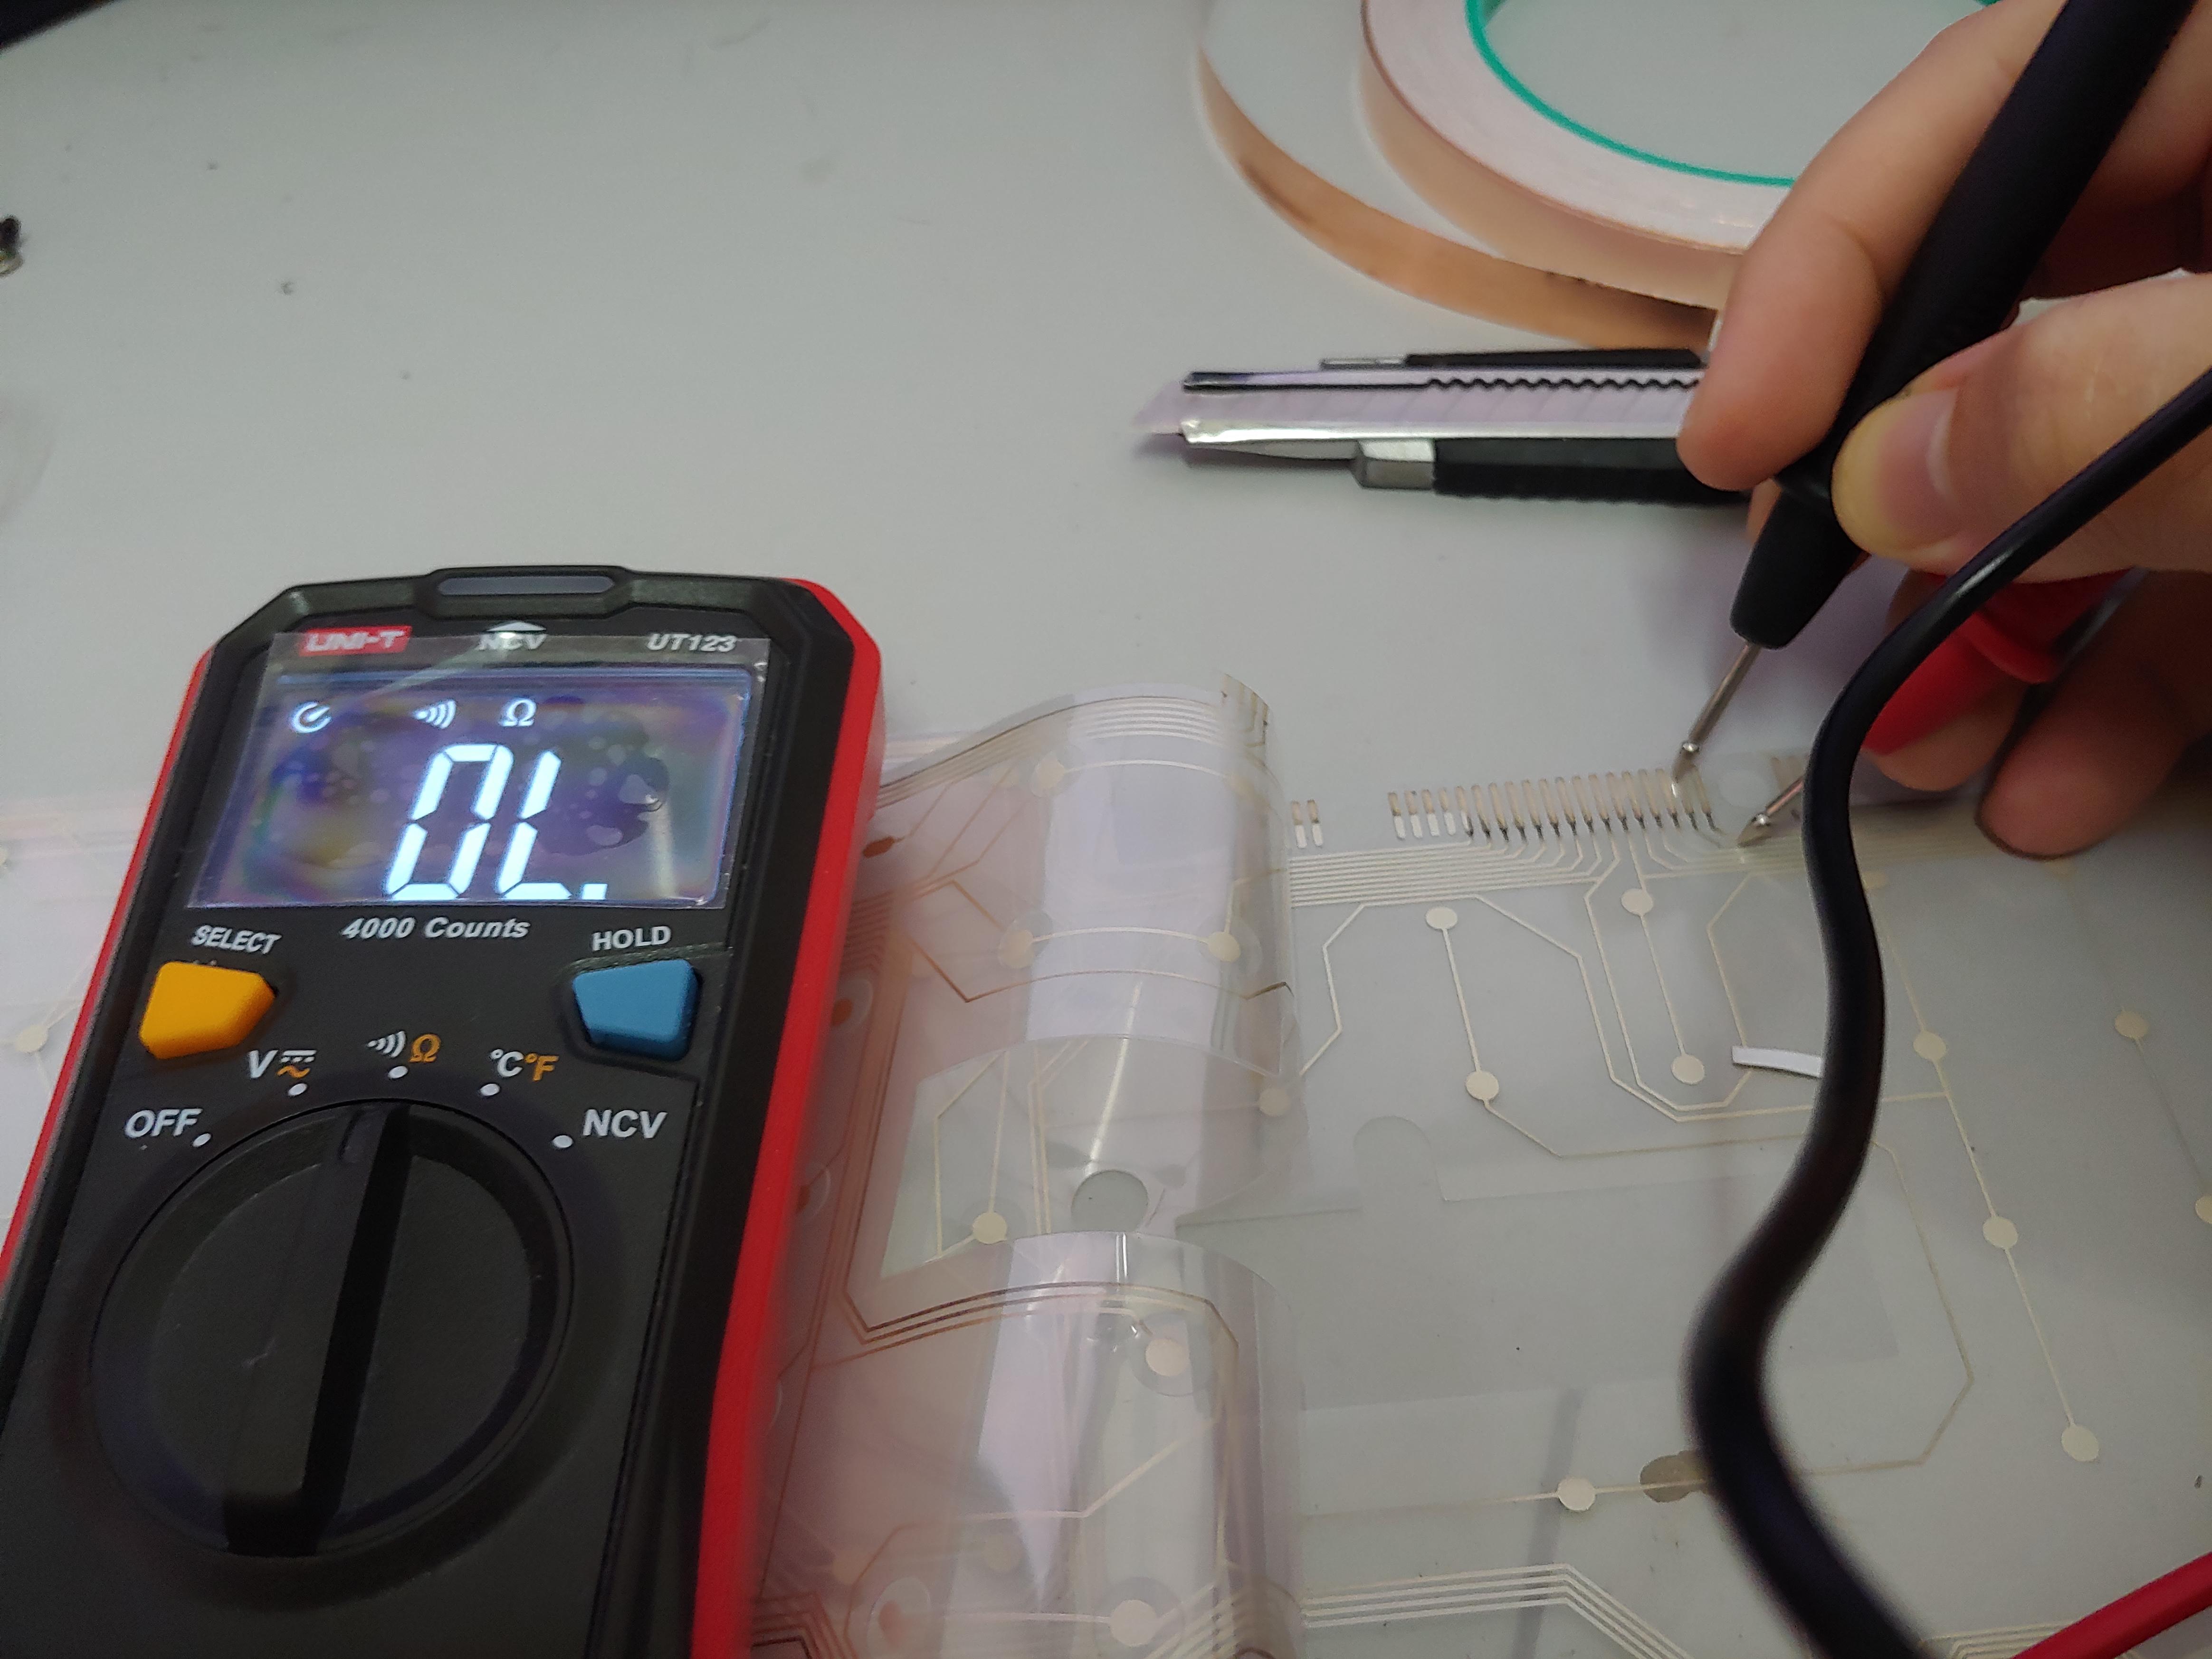
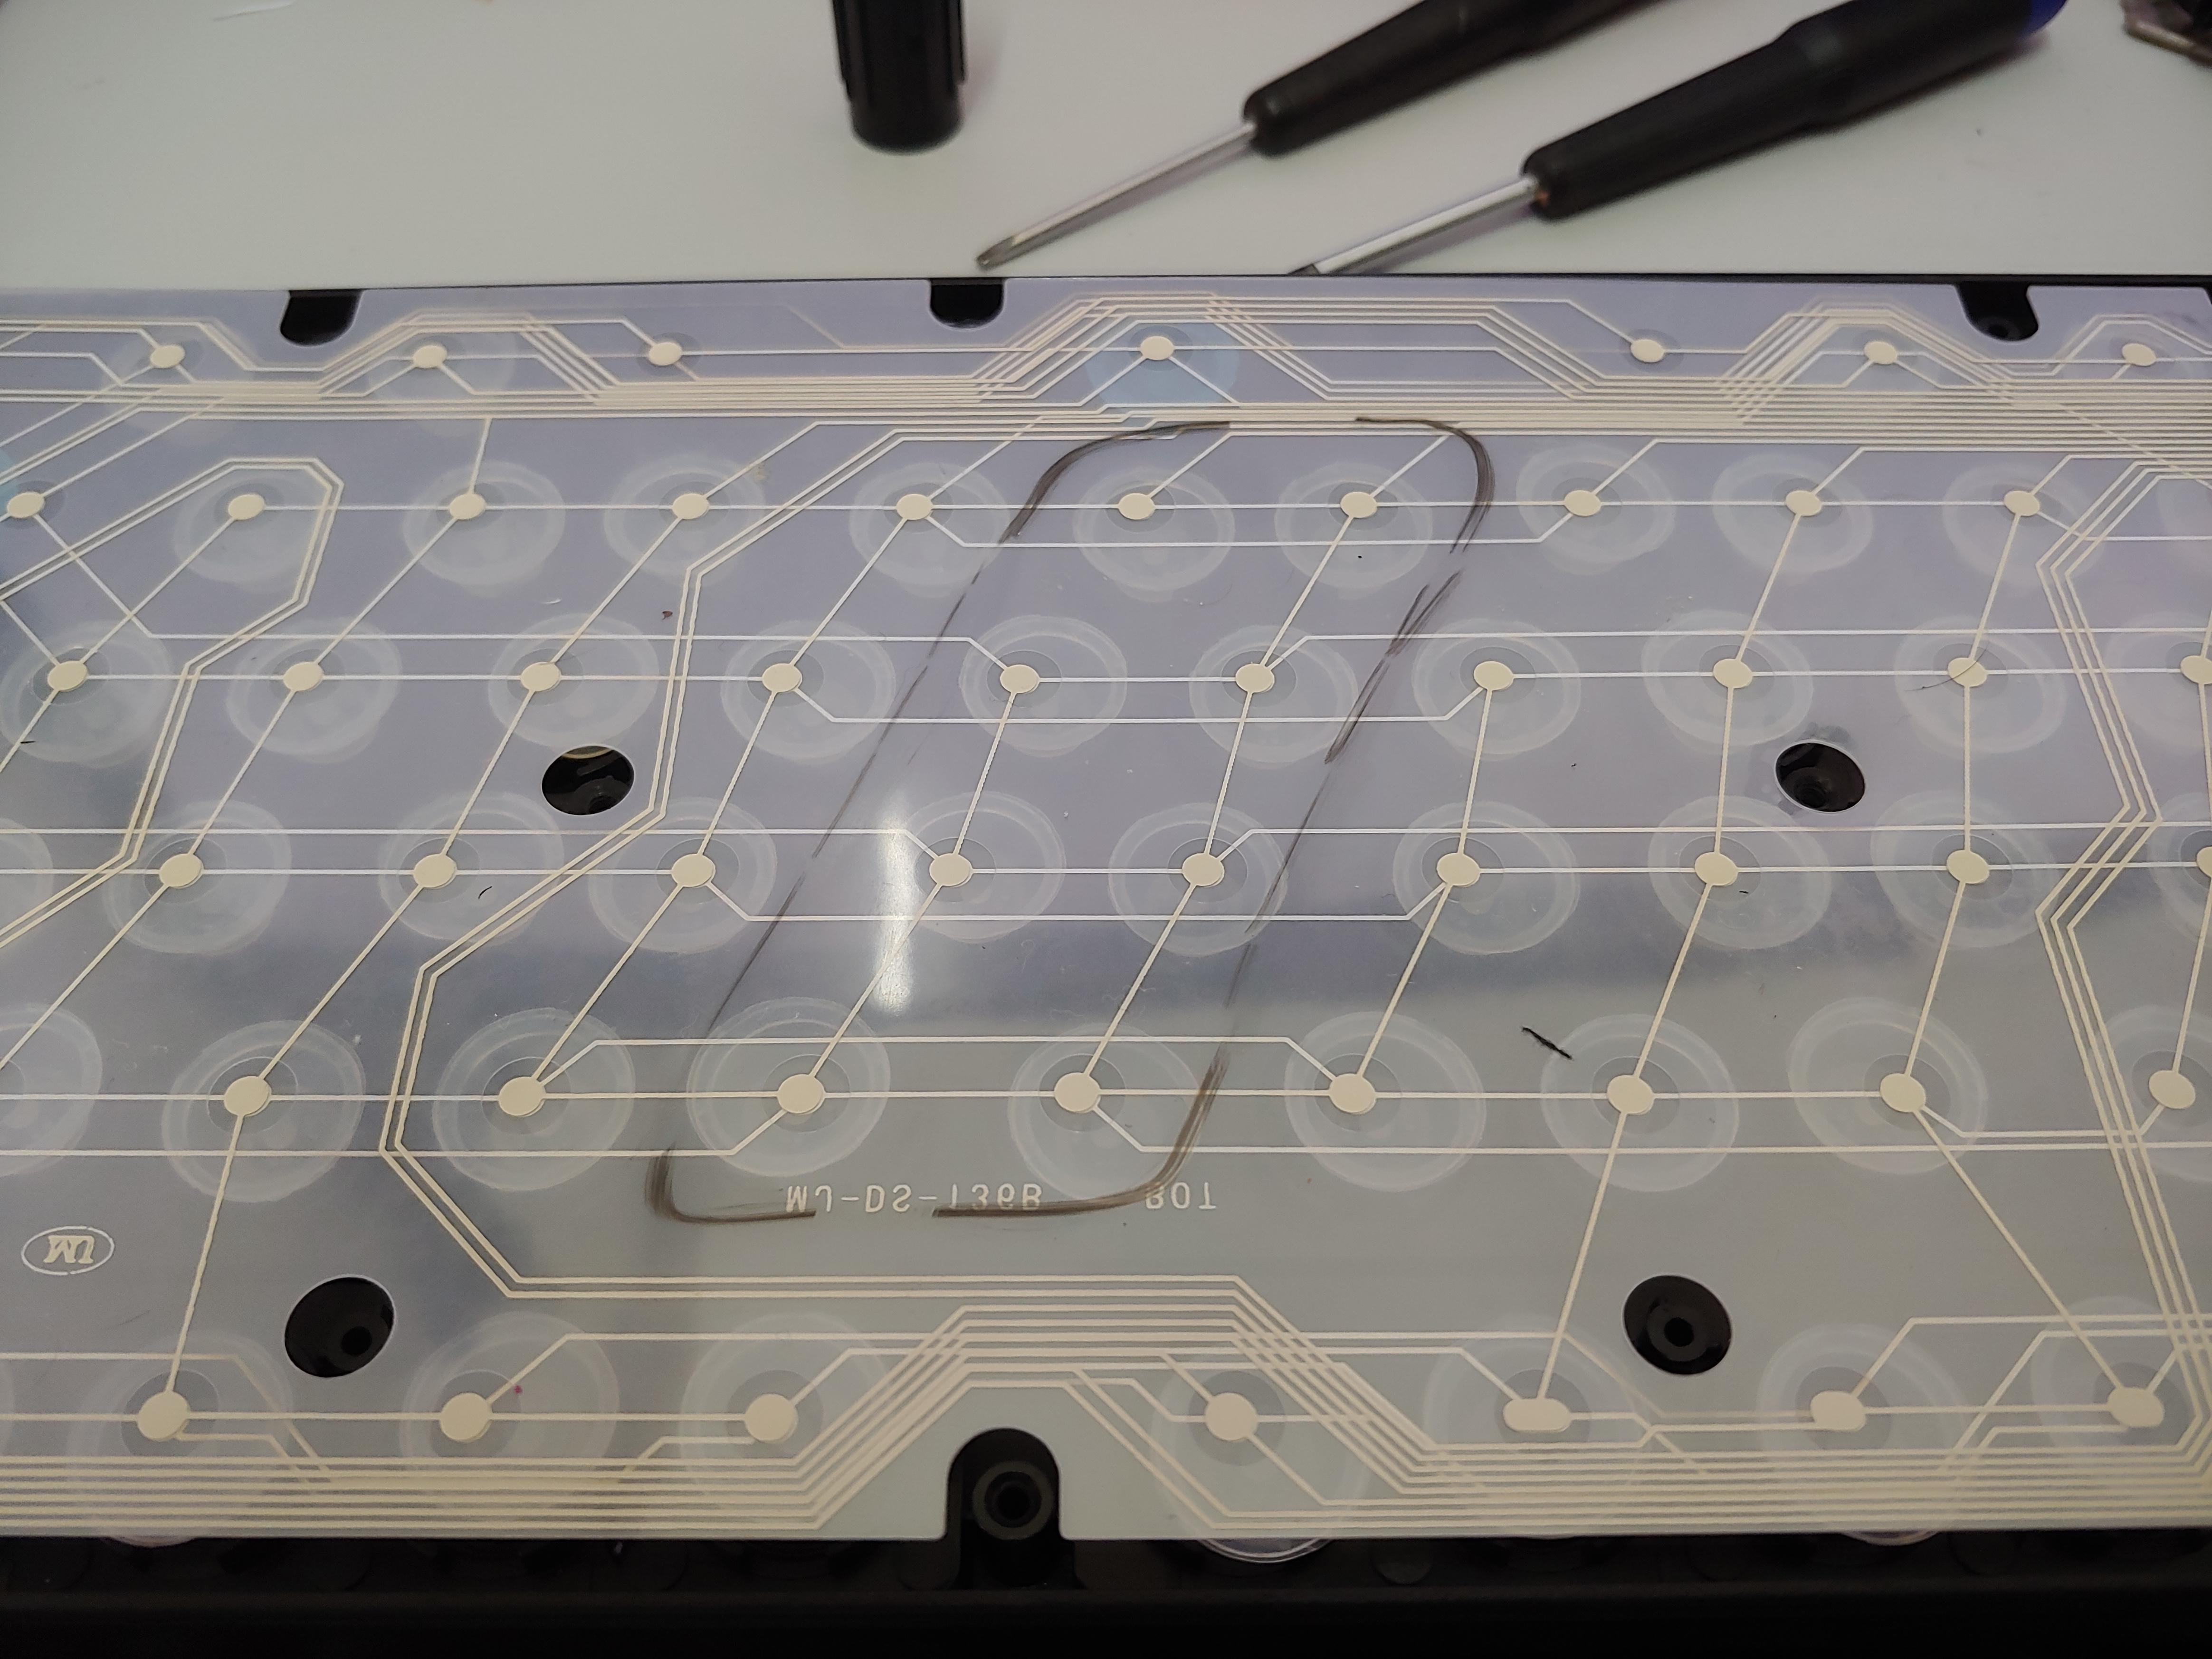
Follow along the tracer start from the non-working keys. Check visually for dark spot on the tracer (its like dark burnt mark), usually near the end of the tracer (end of the tracer is where the connected to the pcb). Using the multimeter, measure the resistance of the trace. The reason why the keys are not working is because the circuit of the keys are not closed completely when the keys are pressed. So, our goal here is to reconnect the circuit. In my case, the second last was disconnected at the end of the tracer.
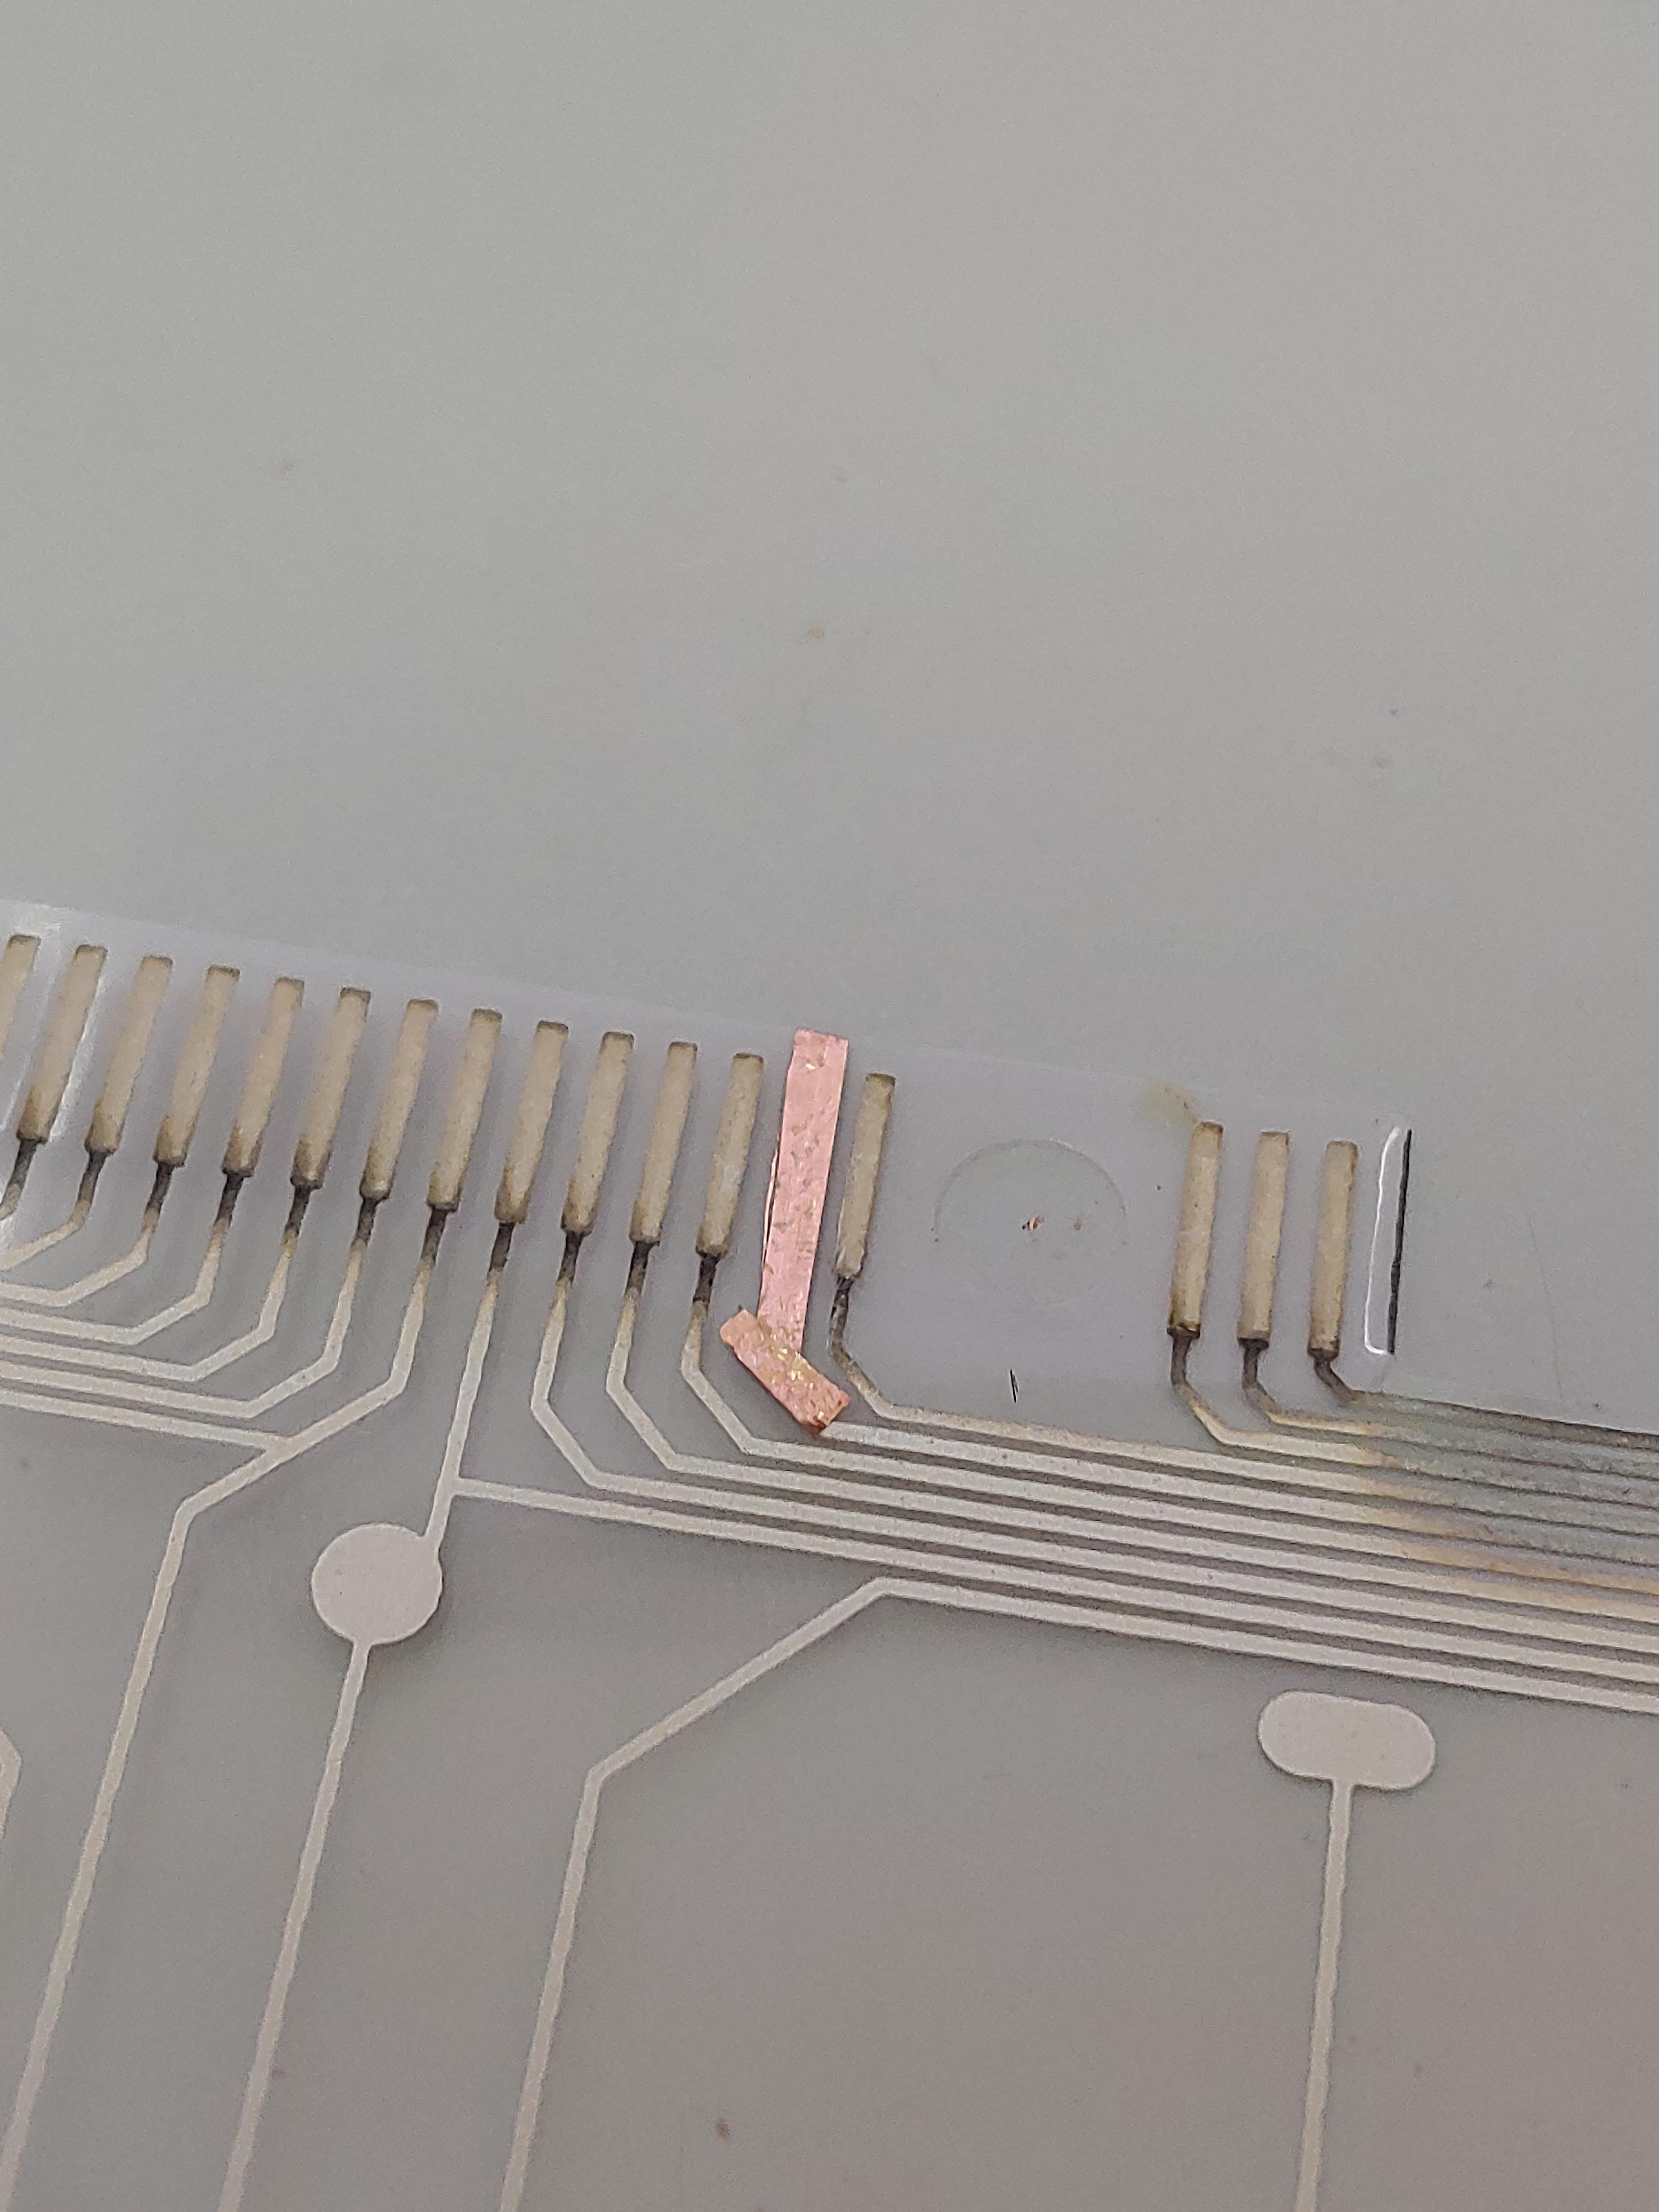
Cut thin pieces of copper tape, then paste it on the tracer. Then, test the resistance again. If it does not work, press on the copper tape to flatten in more or add more copper tape along the tracer. Please be patient in this process and be really careful.
Reassemble the keyboard (do not screw completely yet) and test it again. If all the keys works, then screw everything else. Now, the keyboard can be used again (at least in my case). Even if it does not, just remember that you learn a lot from it.