FishFood Dispenser
by Laura Wittevrongel in Circuits > Raspberry Pi
491 Views, 1 Favorites, 0 Comments
FishFood Dispenser
Hey!
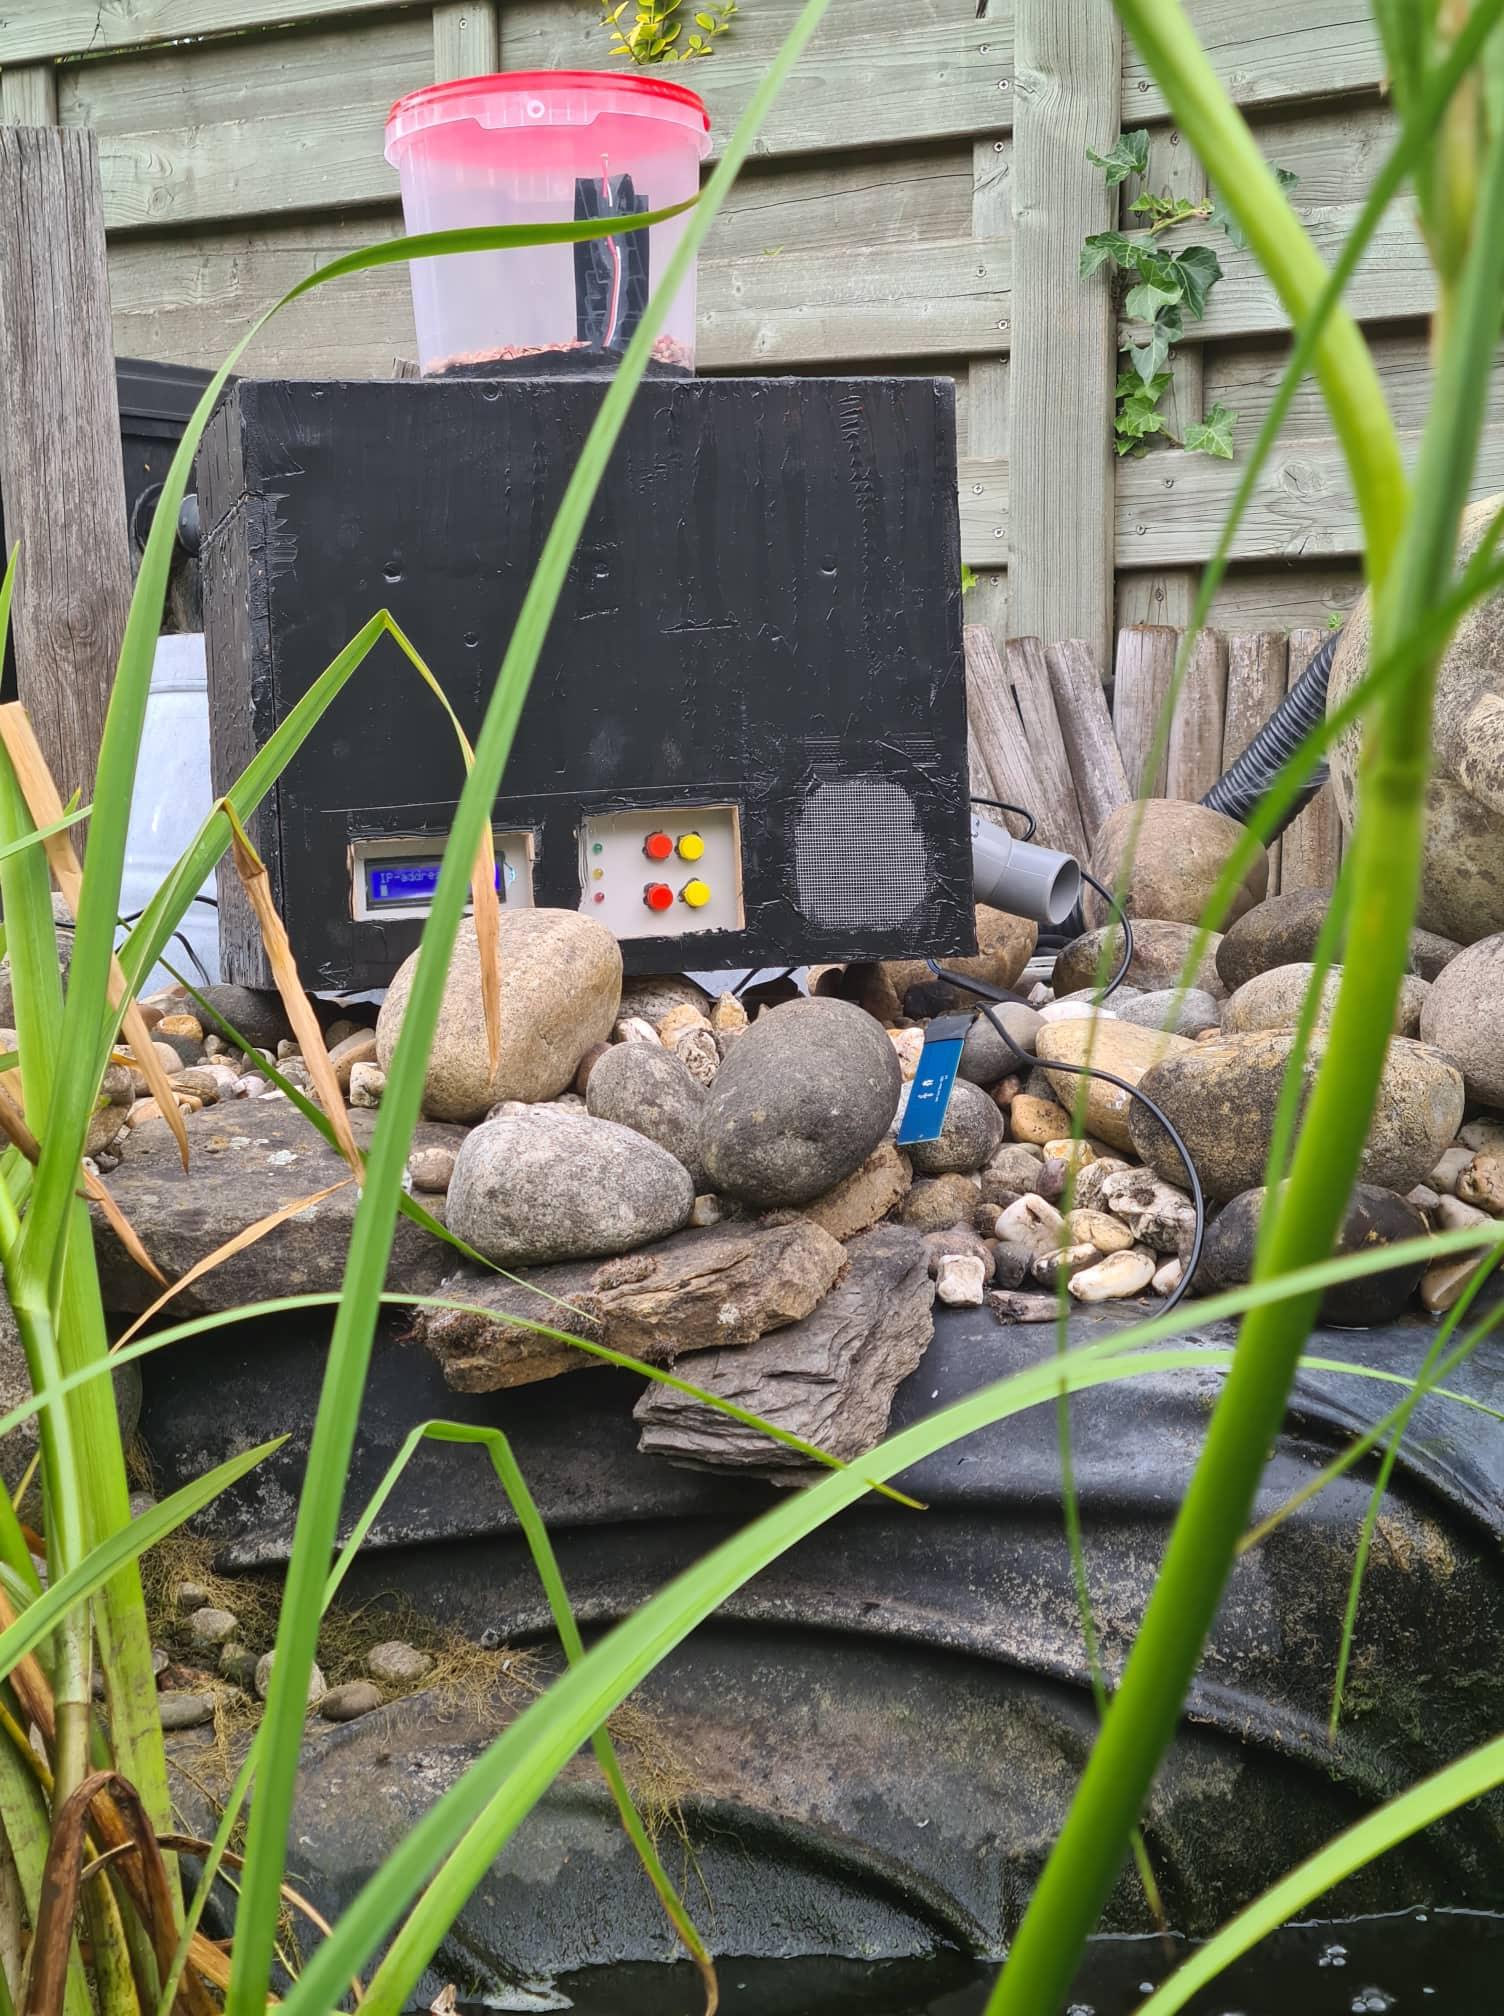
I made an automatic FishFood Dispenser for a schoolproject at Howest MCT Kortrijk. The FishFood Dispenser is an automatic waterproof feeder for pond fishes. Set the time you want to feed your fish and the dispenser will feed your fish at that time you set. All this can also be done on a webinterface. Push the button and feed your fish!
This instructable shows you step by step how you make this project yourself.
Get All the Components
You need a lot of components/equipment to start this project. All the components and materials are listed in the following file.
Make the Circuit
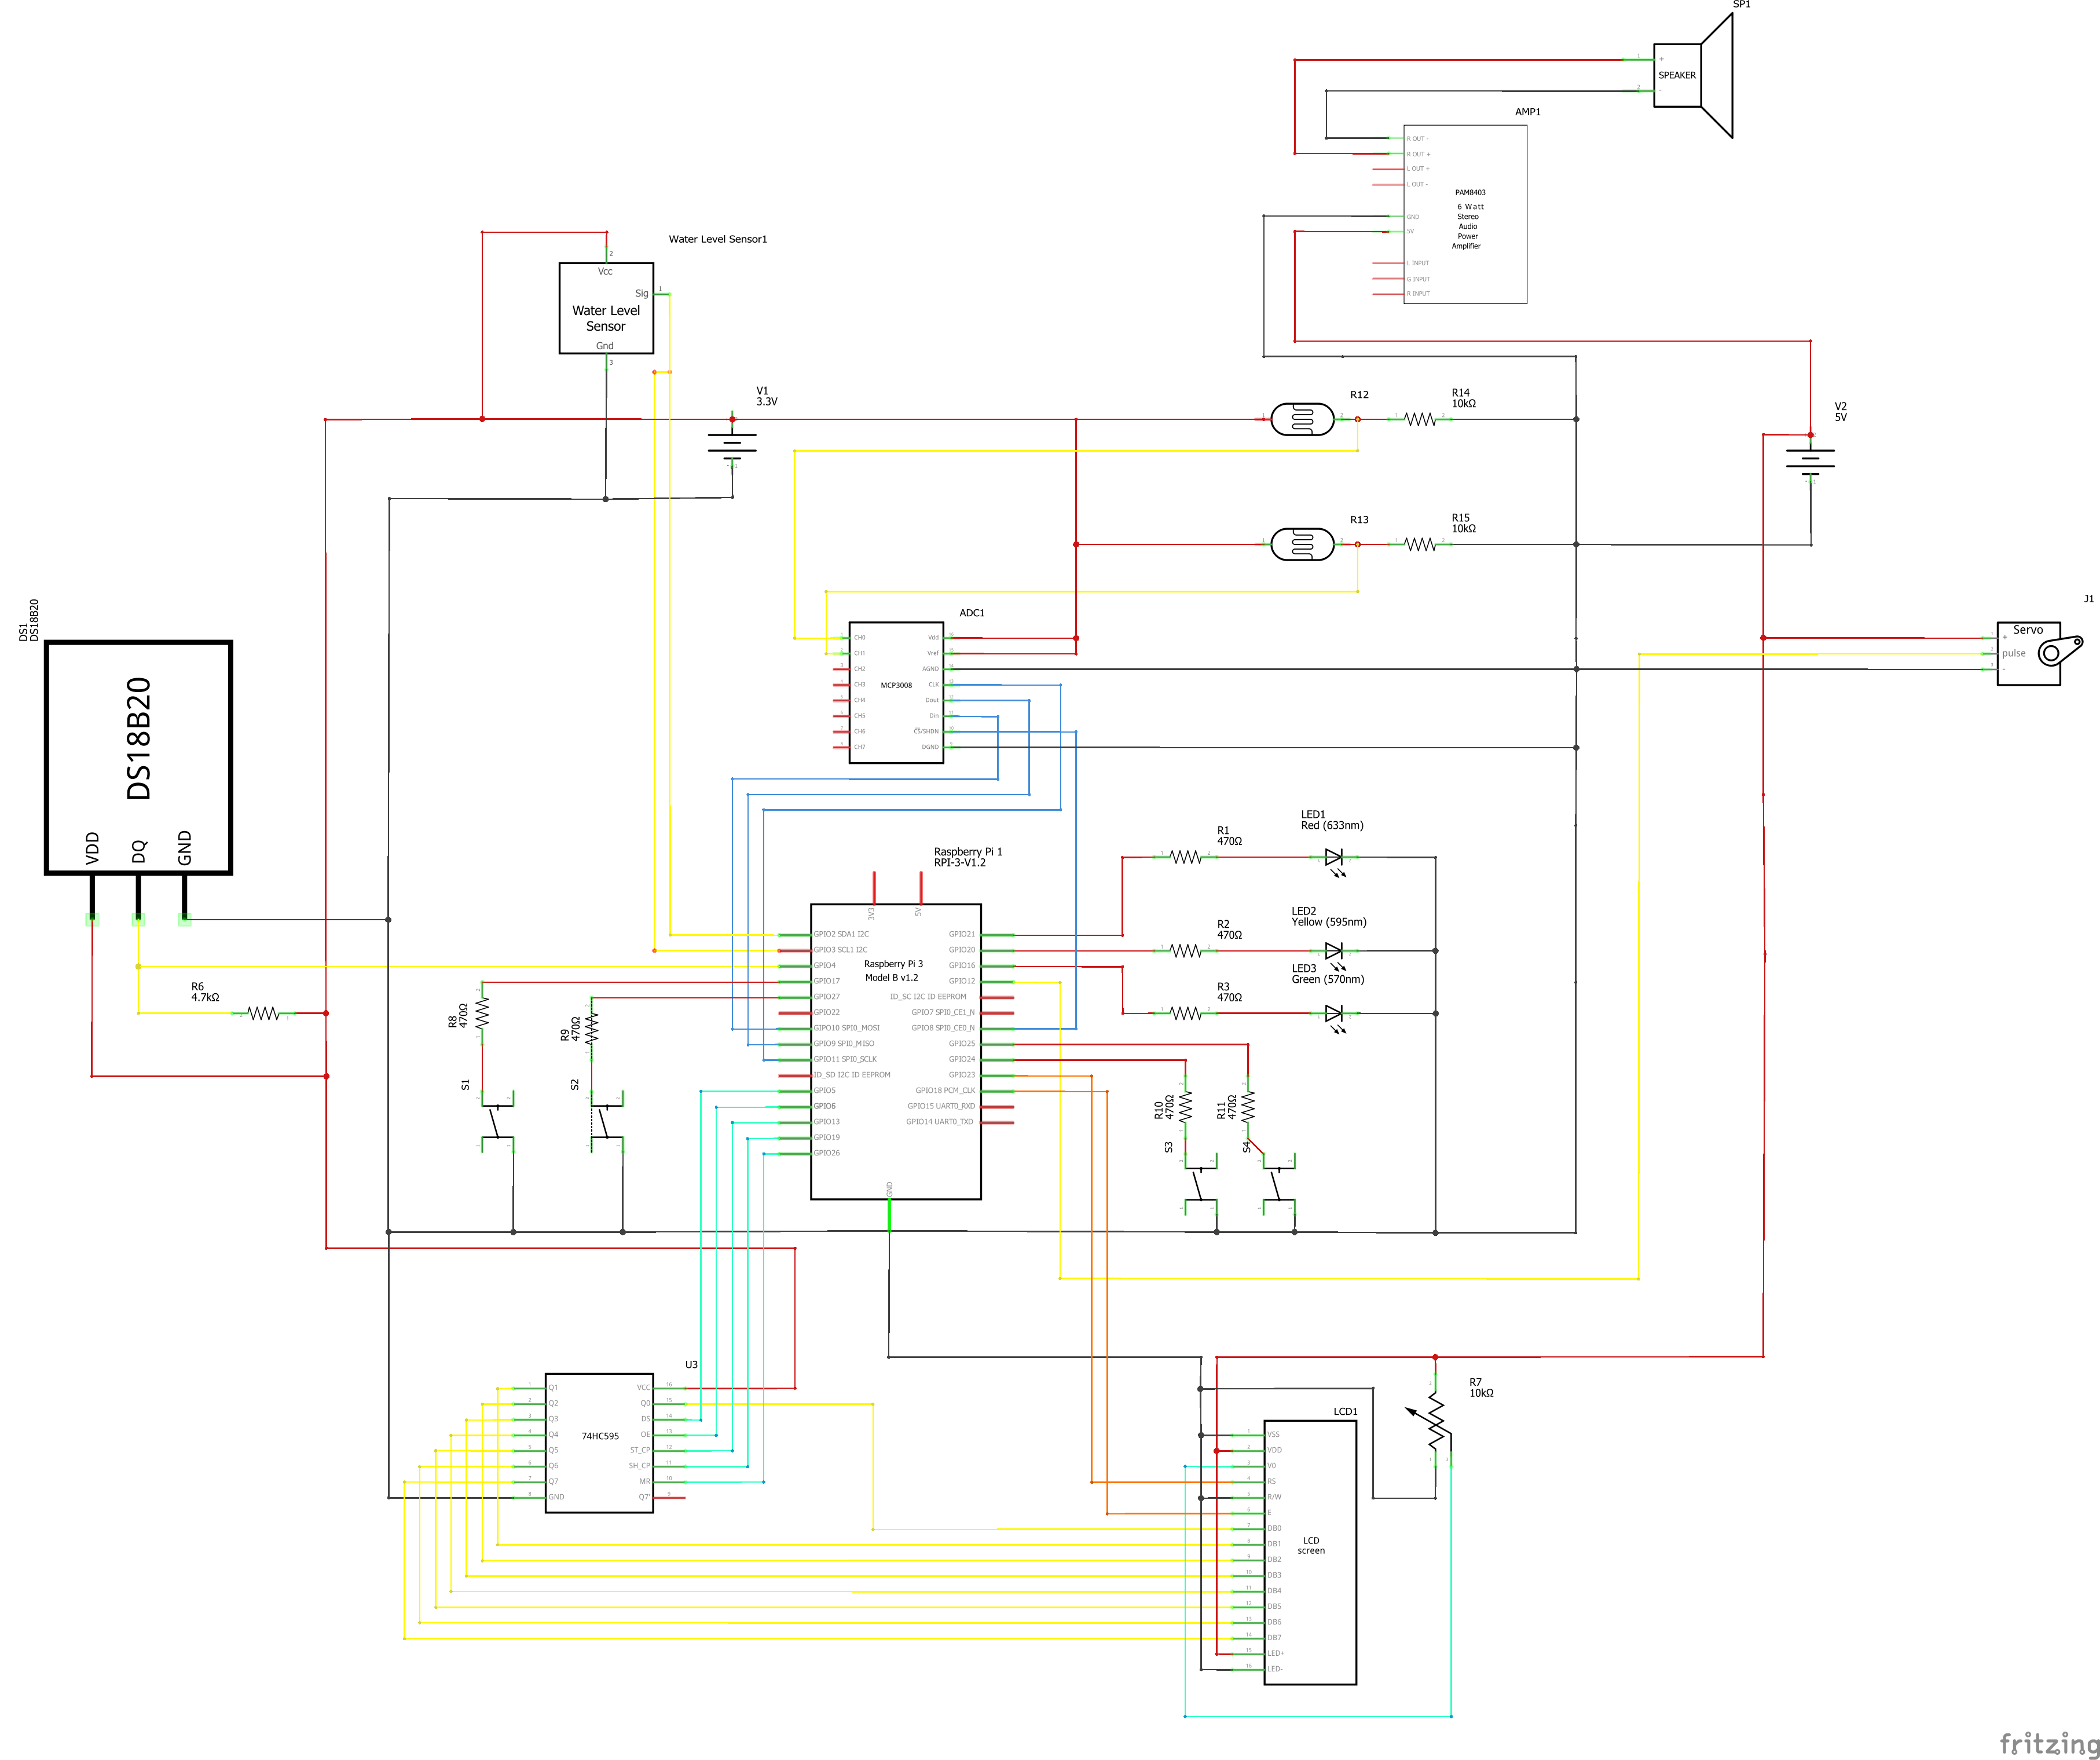
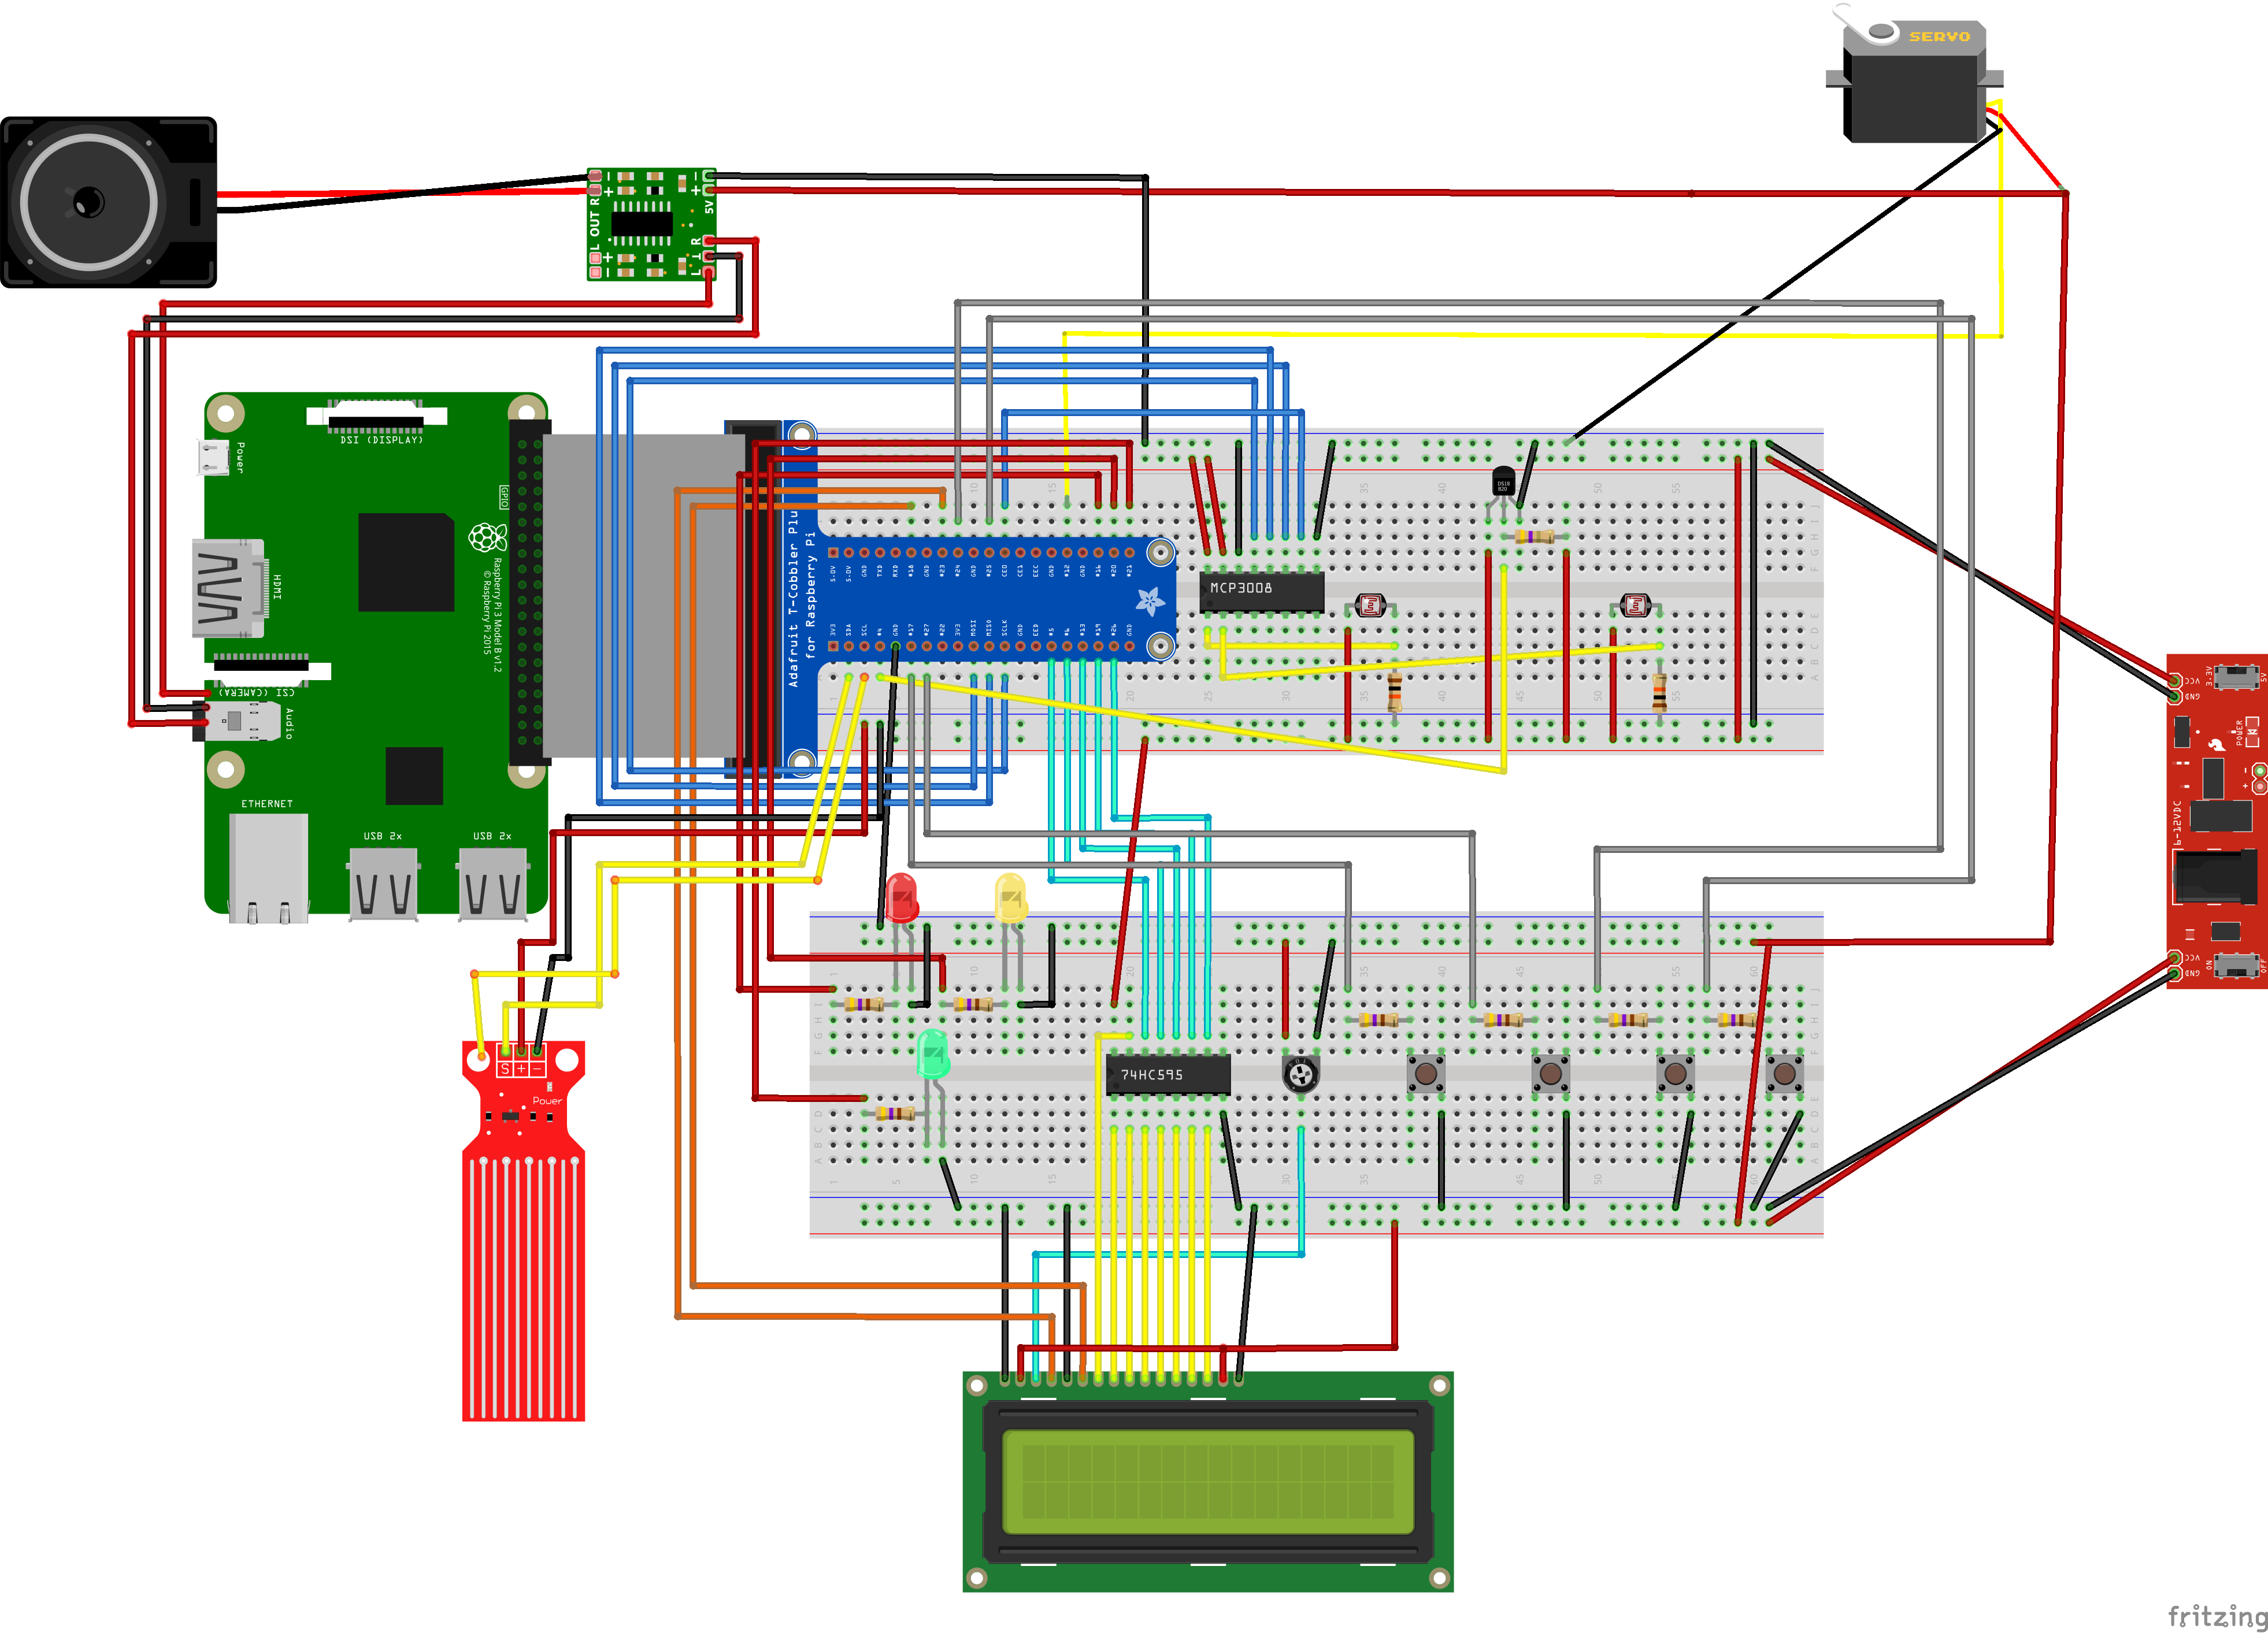
Solder
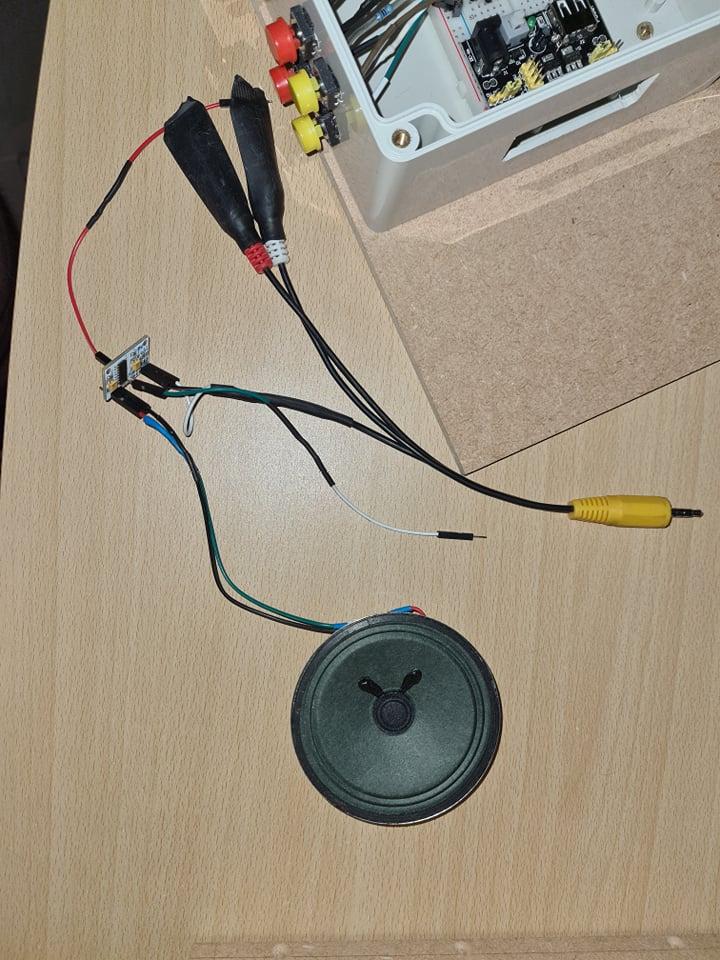
Solder the following components:
- Speaker + amplifier: make sure the cables between the speaker and the amplifier are long enough. Because the speaker is out of the internal plastic box and inside the housing. The rest (amplifier and audio jack 1.5mm) are inside the internal plastic box.
- Leds: don't forget the resistor and the cable needs to reach the T-cobler of the Raspberry Pi.
- Buttons: same like the leds.
- LDRs: make sure the cables are long enough because 1 is located at the very top of the container and 1 at the bottom of the container.
- DS18B20: don't forget the resistor.
Setup the Raspberry Pi
Download the following software:
- Win32DiskManager: https://win32diskimager.download/
- OS for the Raspberry Pi (desktop and recommended software): https://www.raspberrypi.org/software/operating-sys...
1. Put the micro SD (MINIMUM 8 GB) card into the adapter and put it into your computer.
2. Format the SD card
3. Write the OS on the SD card:
- Extract the raspbian zip file
- Open Win32DiskManager
- Browse for the raspbian img fil
- Click on Write (this will take some time)
4. Now you can SAFELY eject the SD card frm your computer and put it into your Raspberry Pi before connecton the pi to the power.
5. Enable the necessary interfaces with sudo raspi-config:
- SPI
- I2C
- One-wire
6. Add wifi connection:
wpa_passphrase "ssid" "password" >> /etc/wpa_supplicant/wpa_supplicant.conf
Replace ssid to your wifiname and replace the password
Get the Code and Install Packages
You can download the code on this link: https://github.com/WittevrongelLaura/FishFoodDispenser
To get this code running, you need to install a couple of packages.
- pip3 install mysql-connector-pythonpip3
- install flask-socketiopip3
- install flask-corspip3
- install geventpip3
- install gevent-websocket
Reboot after you installed everything: sudo reboot.
Create the Database
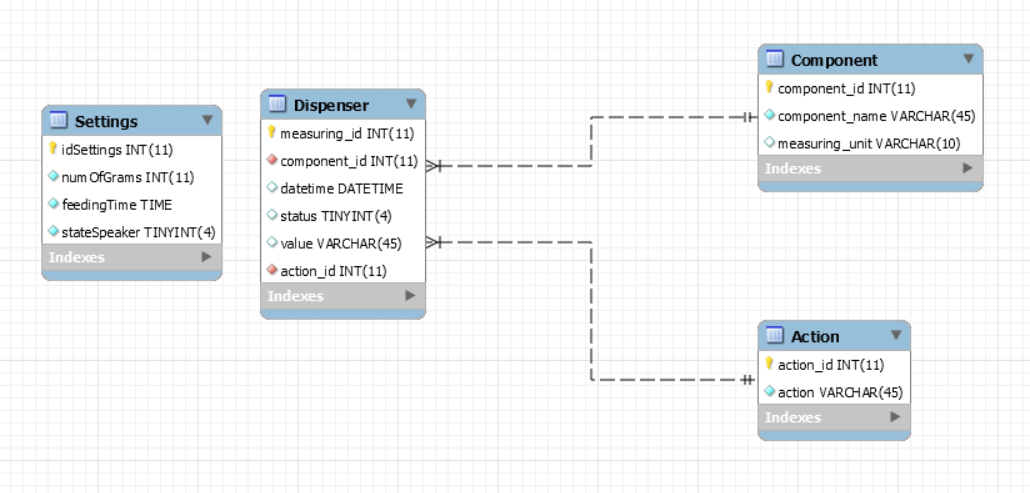
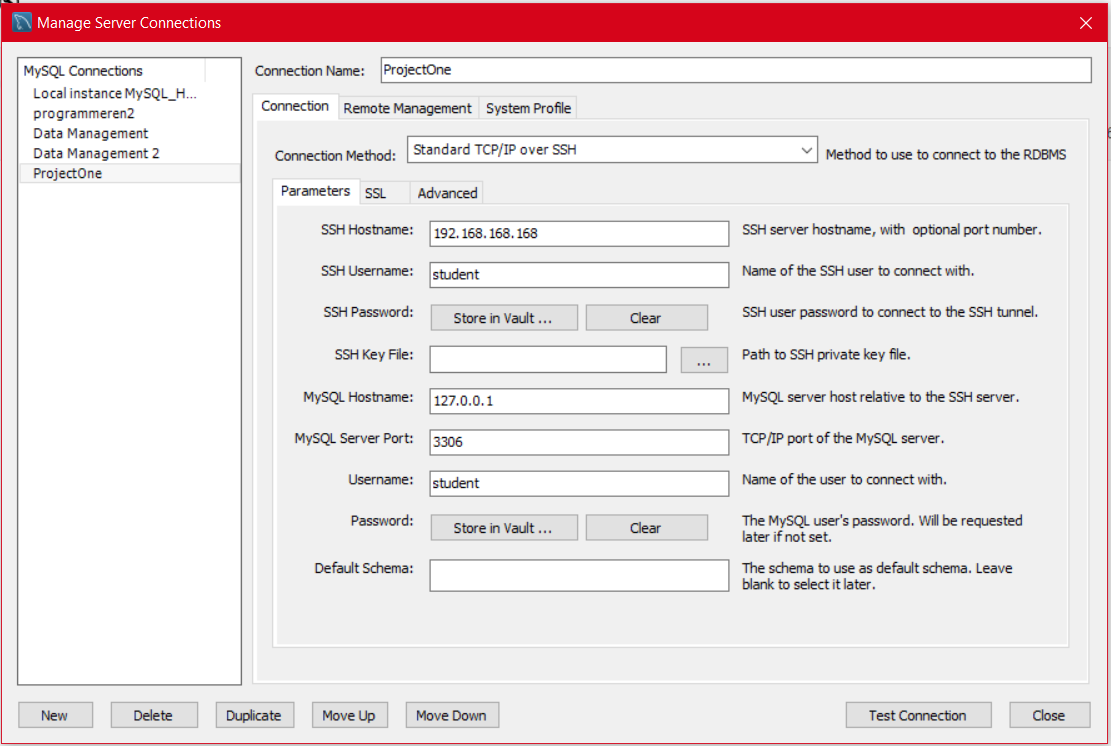
The first thing you need to do is making a new connection over SSH.
Then you need to import the database into your connection.
In the repository, there is a directory called 'database-export'.
There is an .sql file in there. Go execute this file into MySql.
I used Mariadb als DBMS.
The Housing
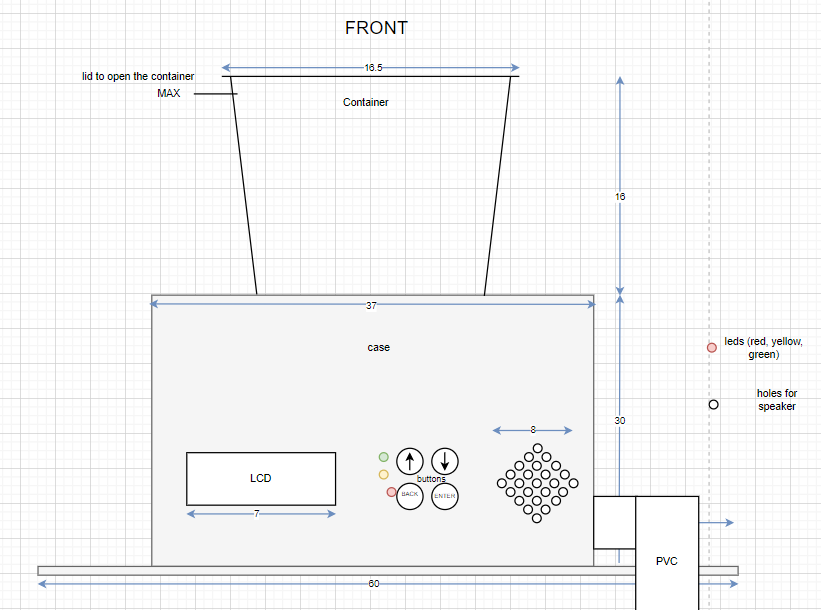
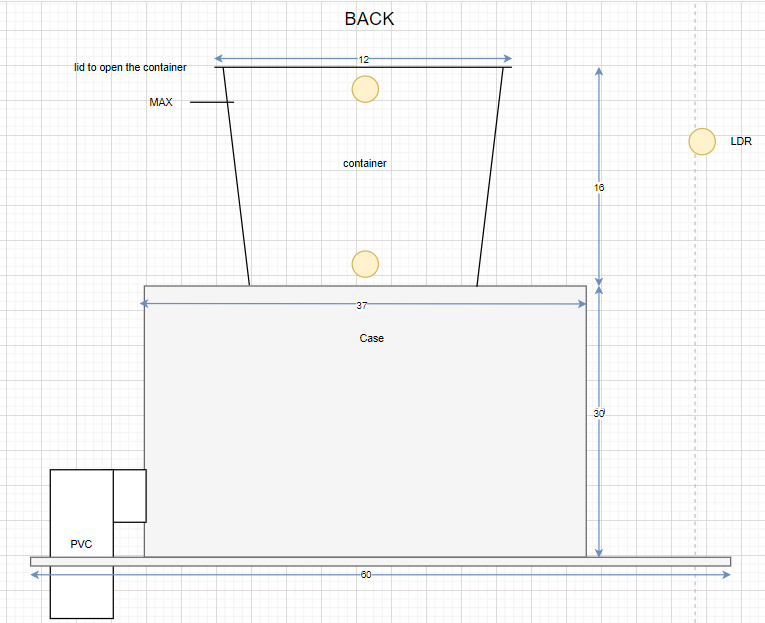
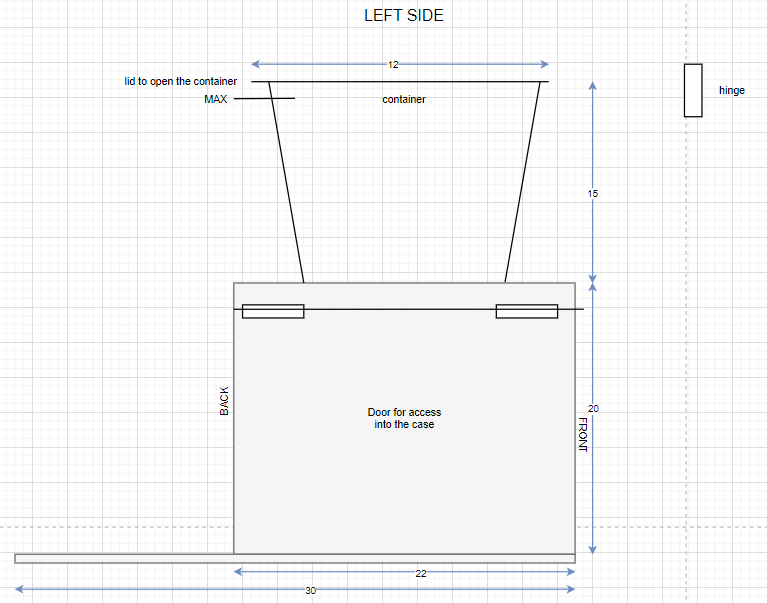
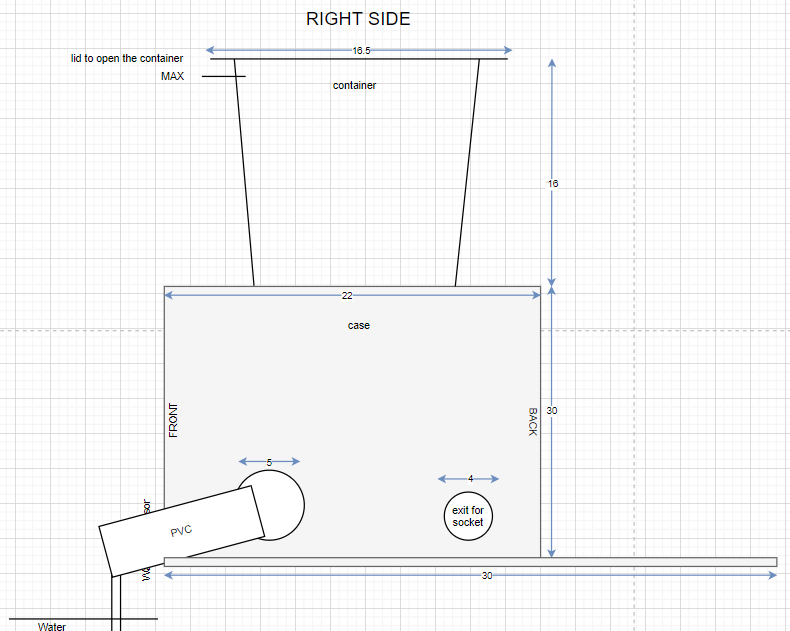
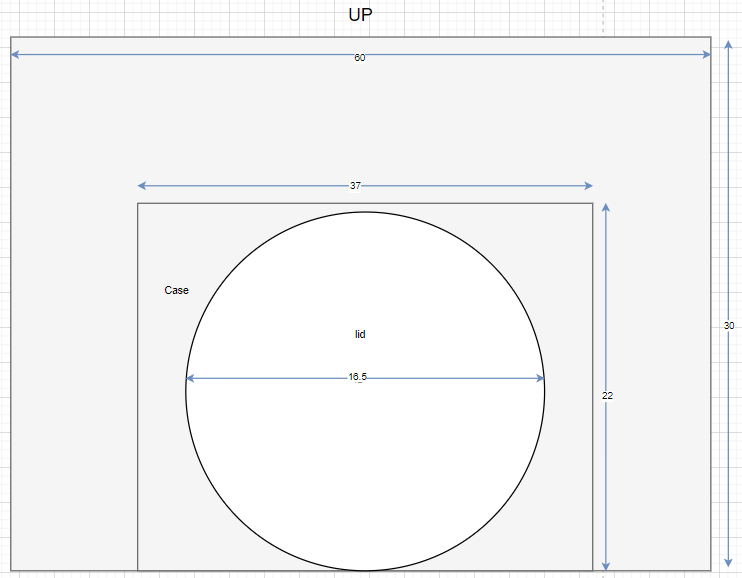
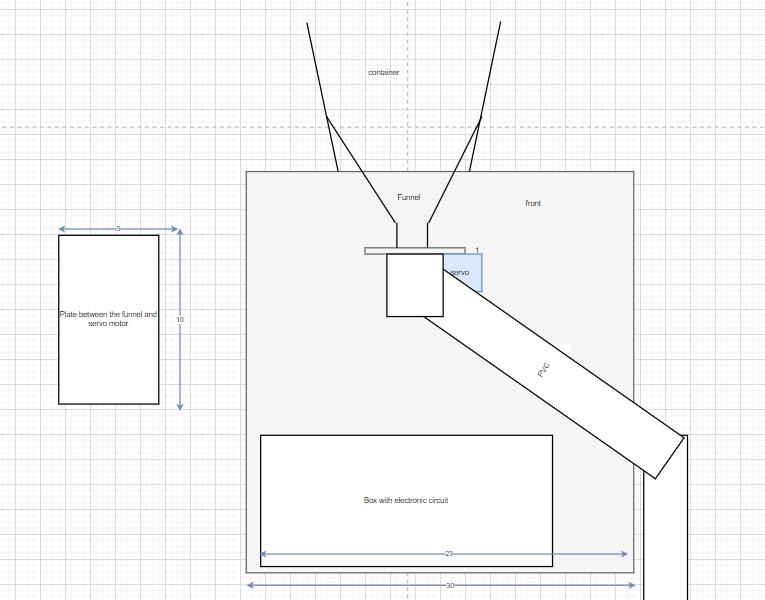
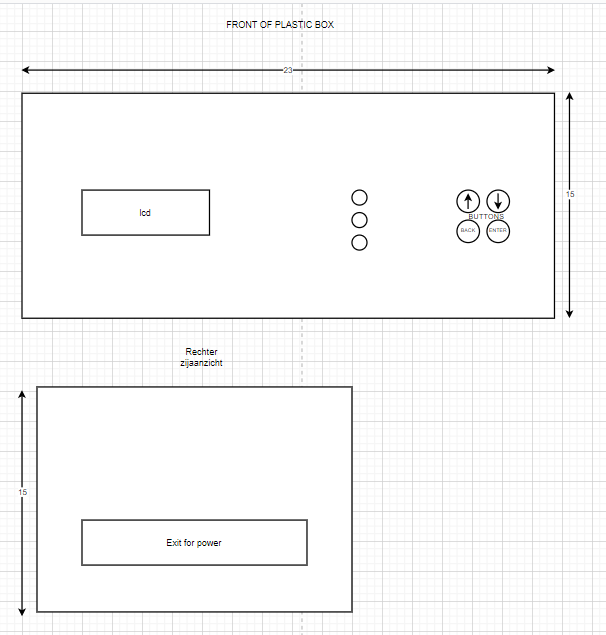
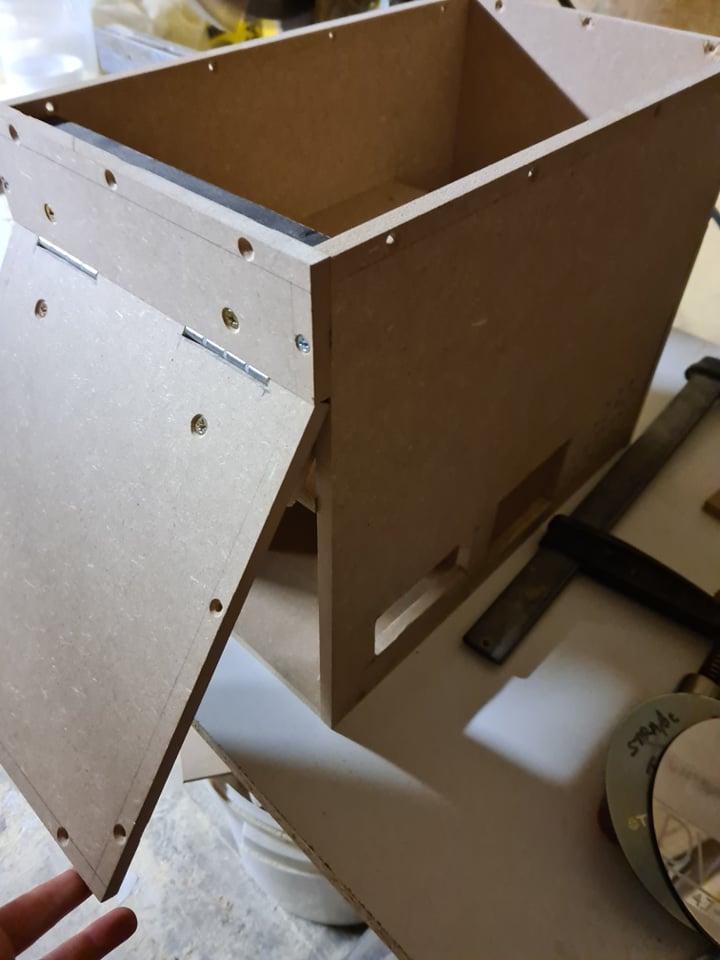
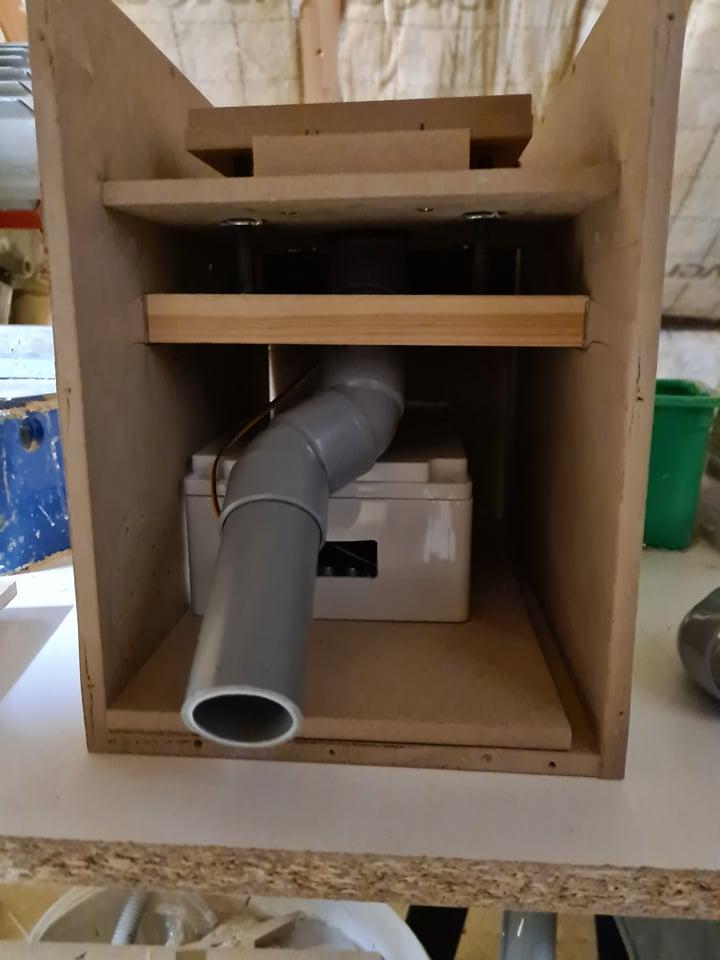
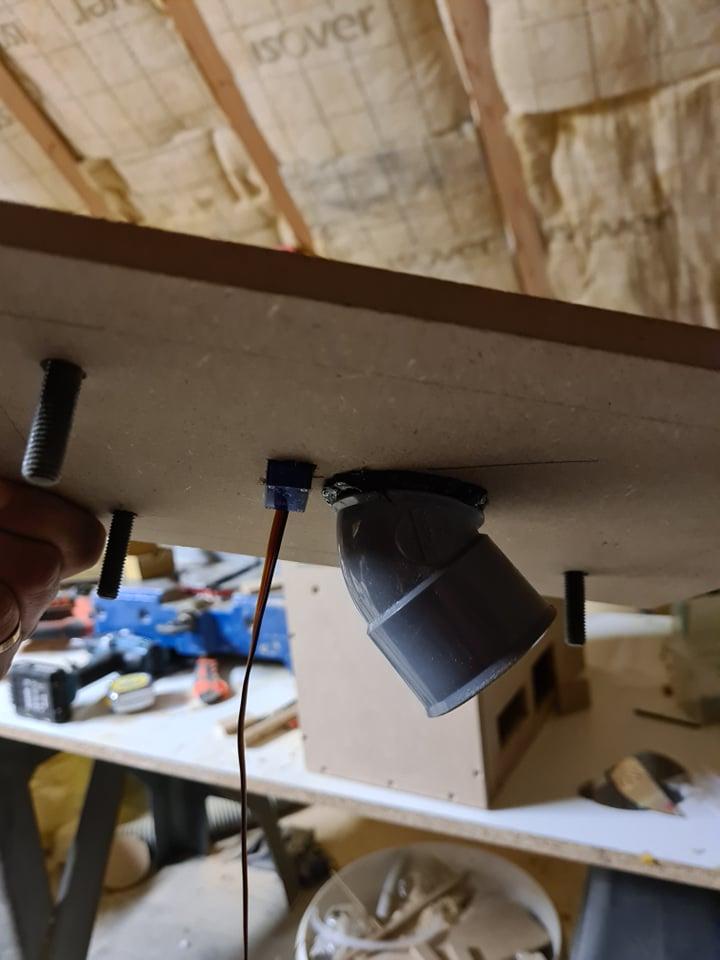
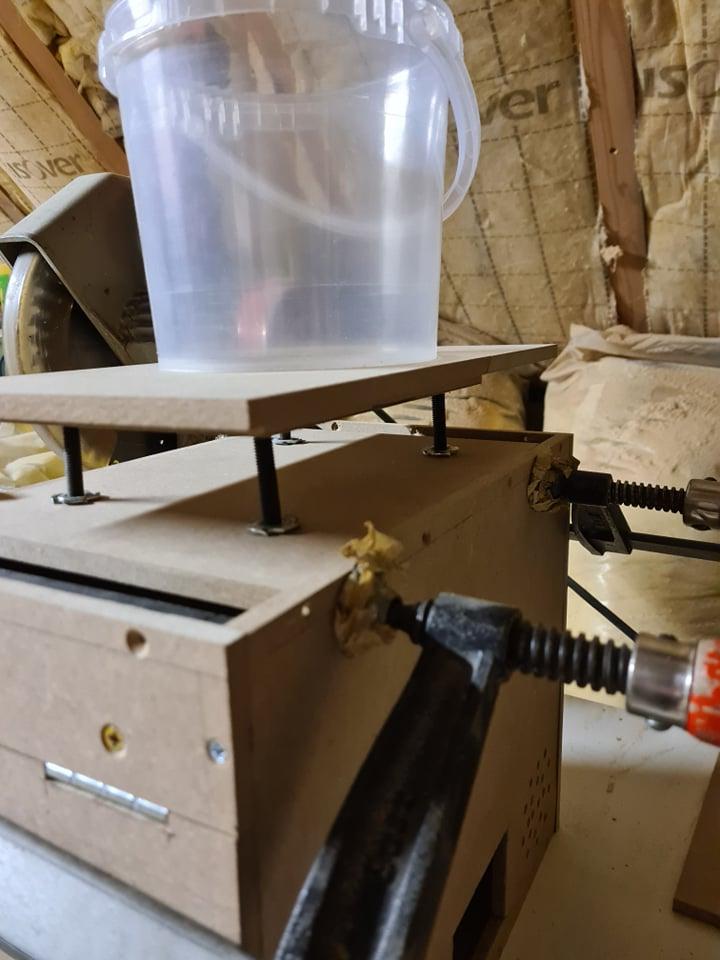
I made the housing in wood (MDF) and I used an extra plastic box inside to protect my circuit from rain/water.
These images shows the drawing of the housing:
The 'container' is a transparant (!) plastic can.
The 'case' is a box made out of wood.
The End
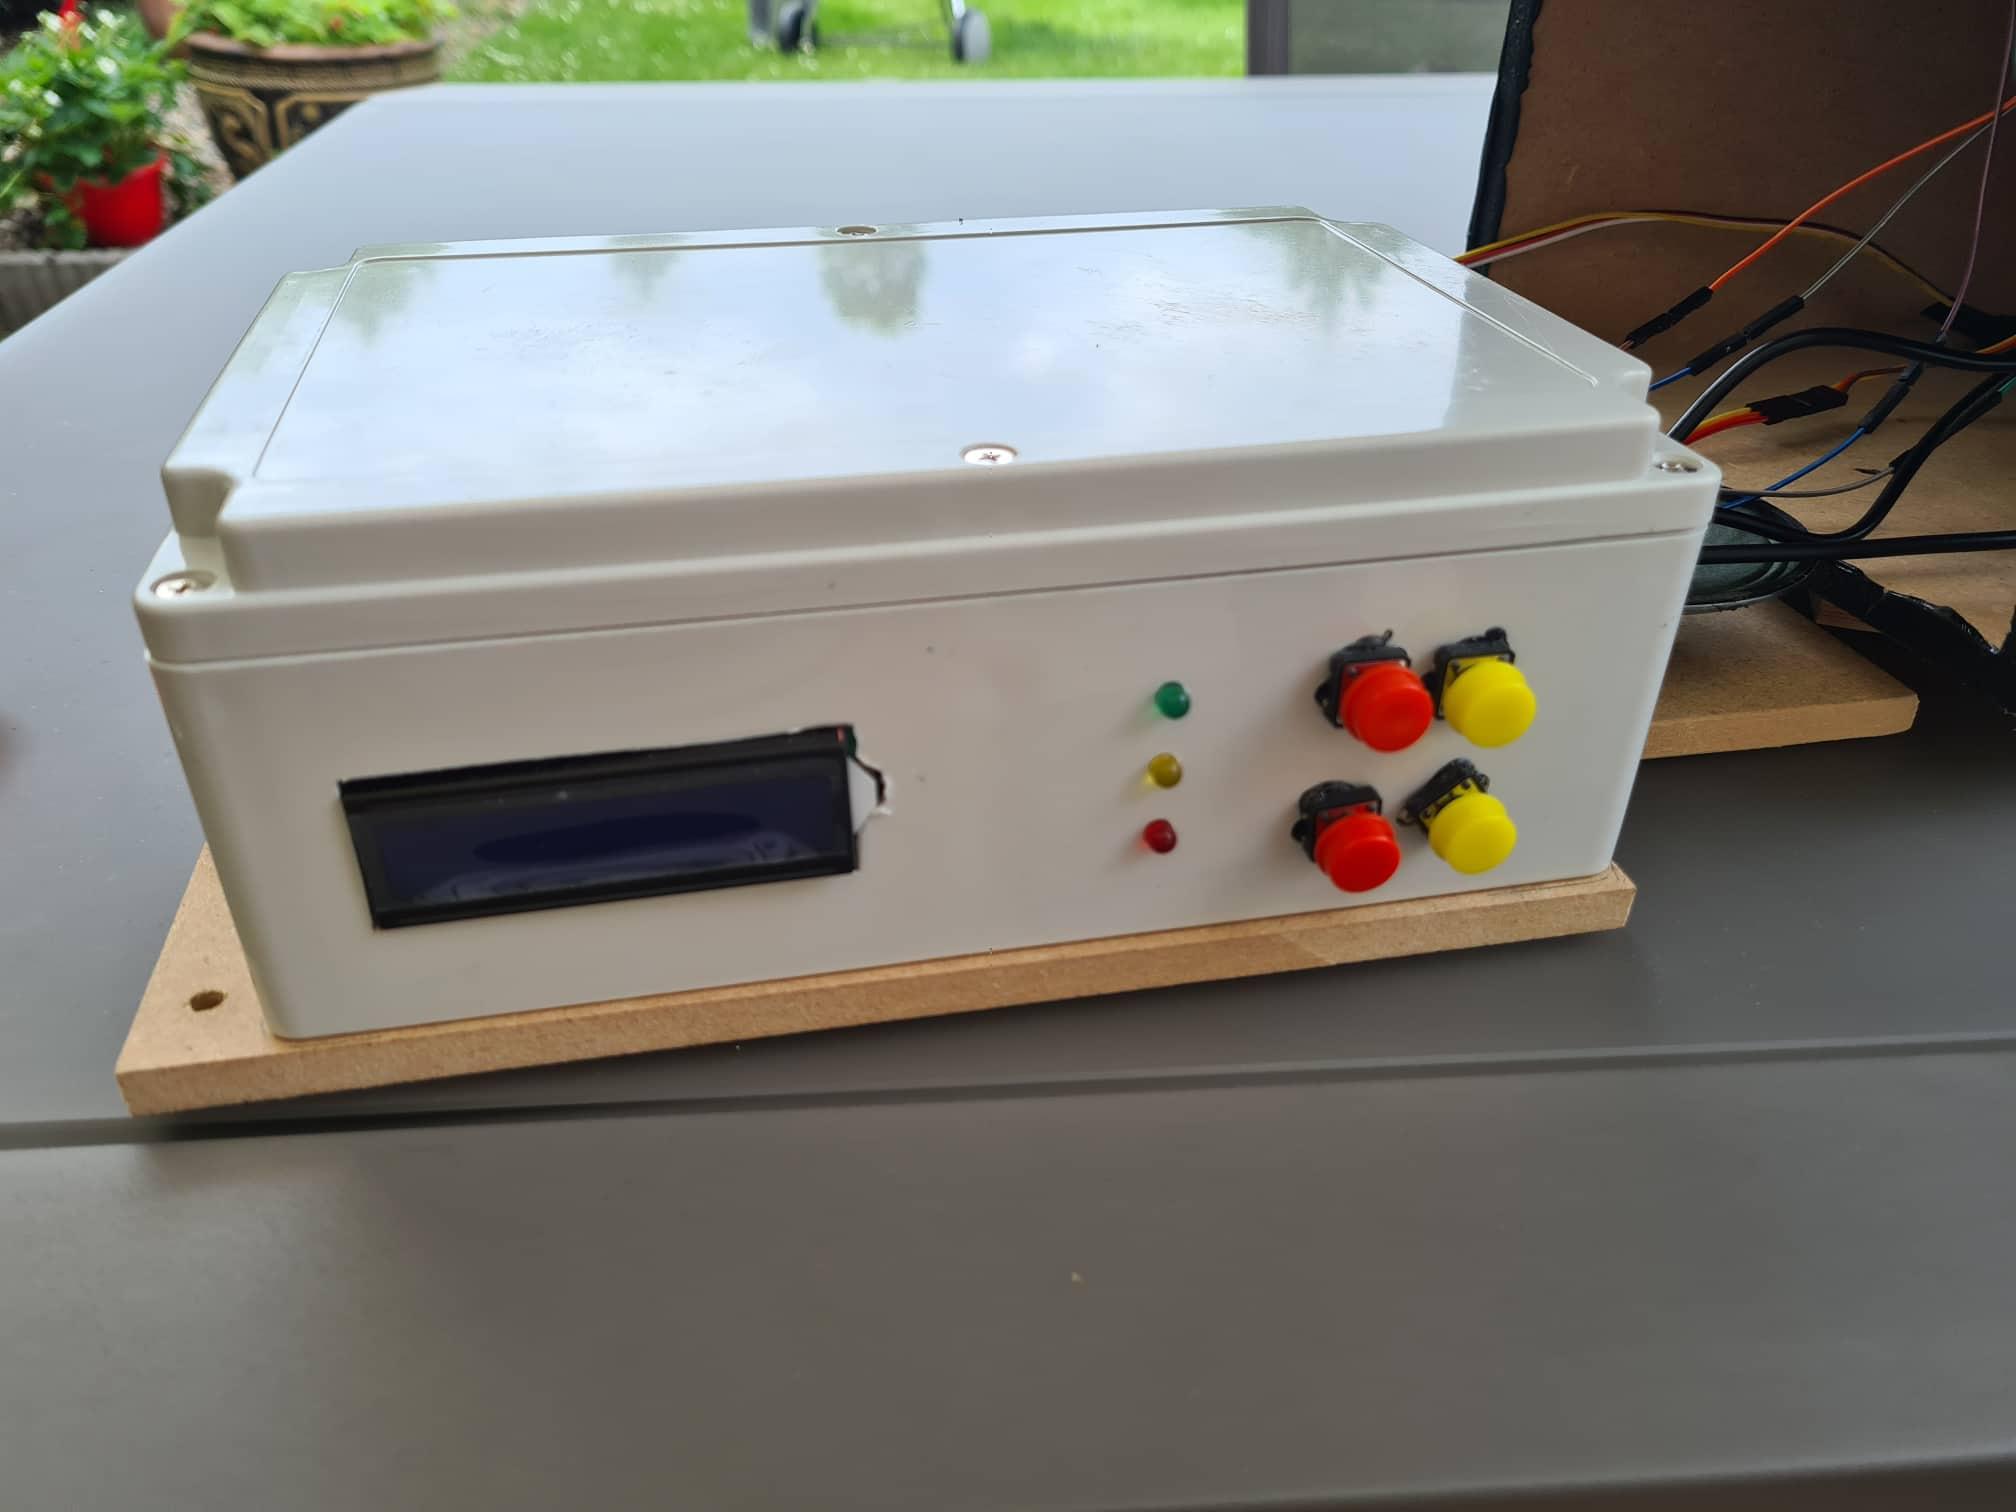
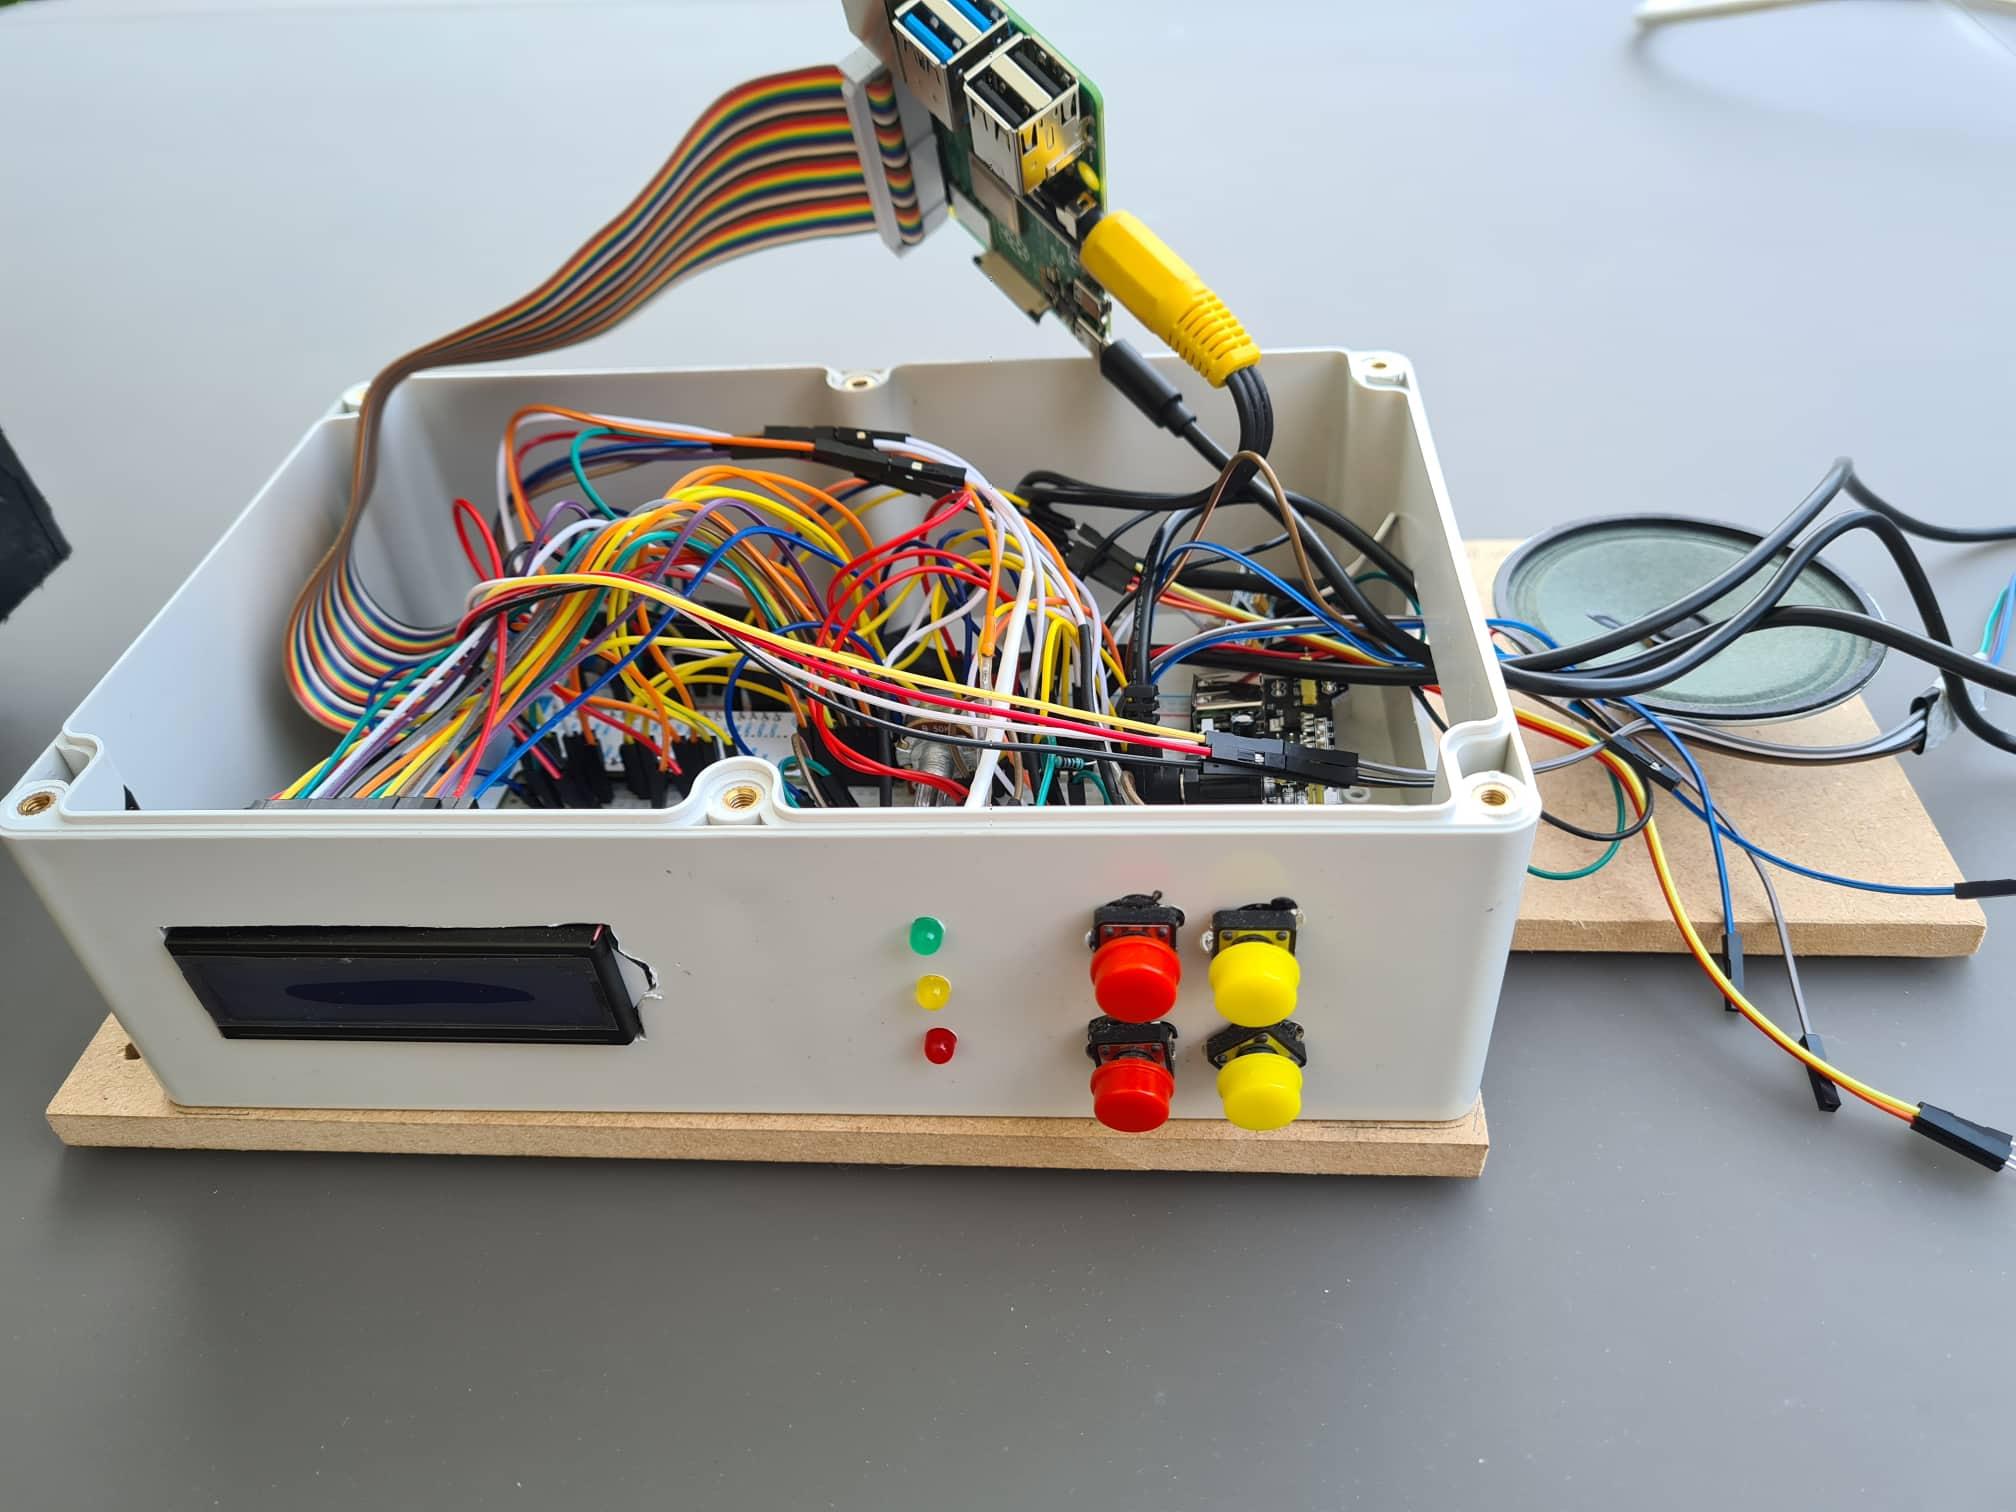
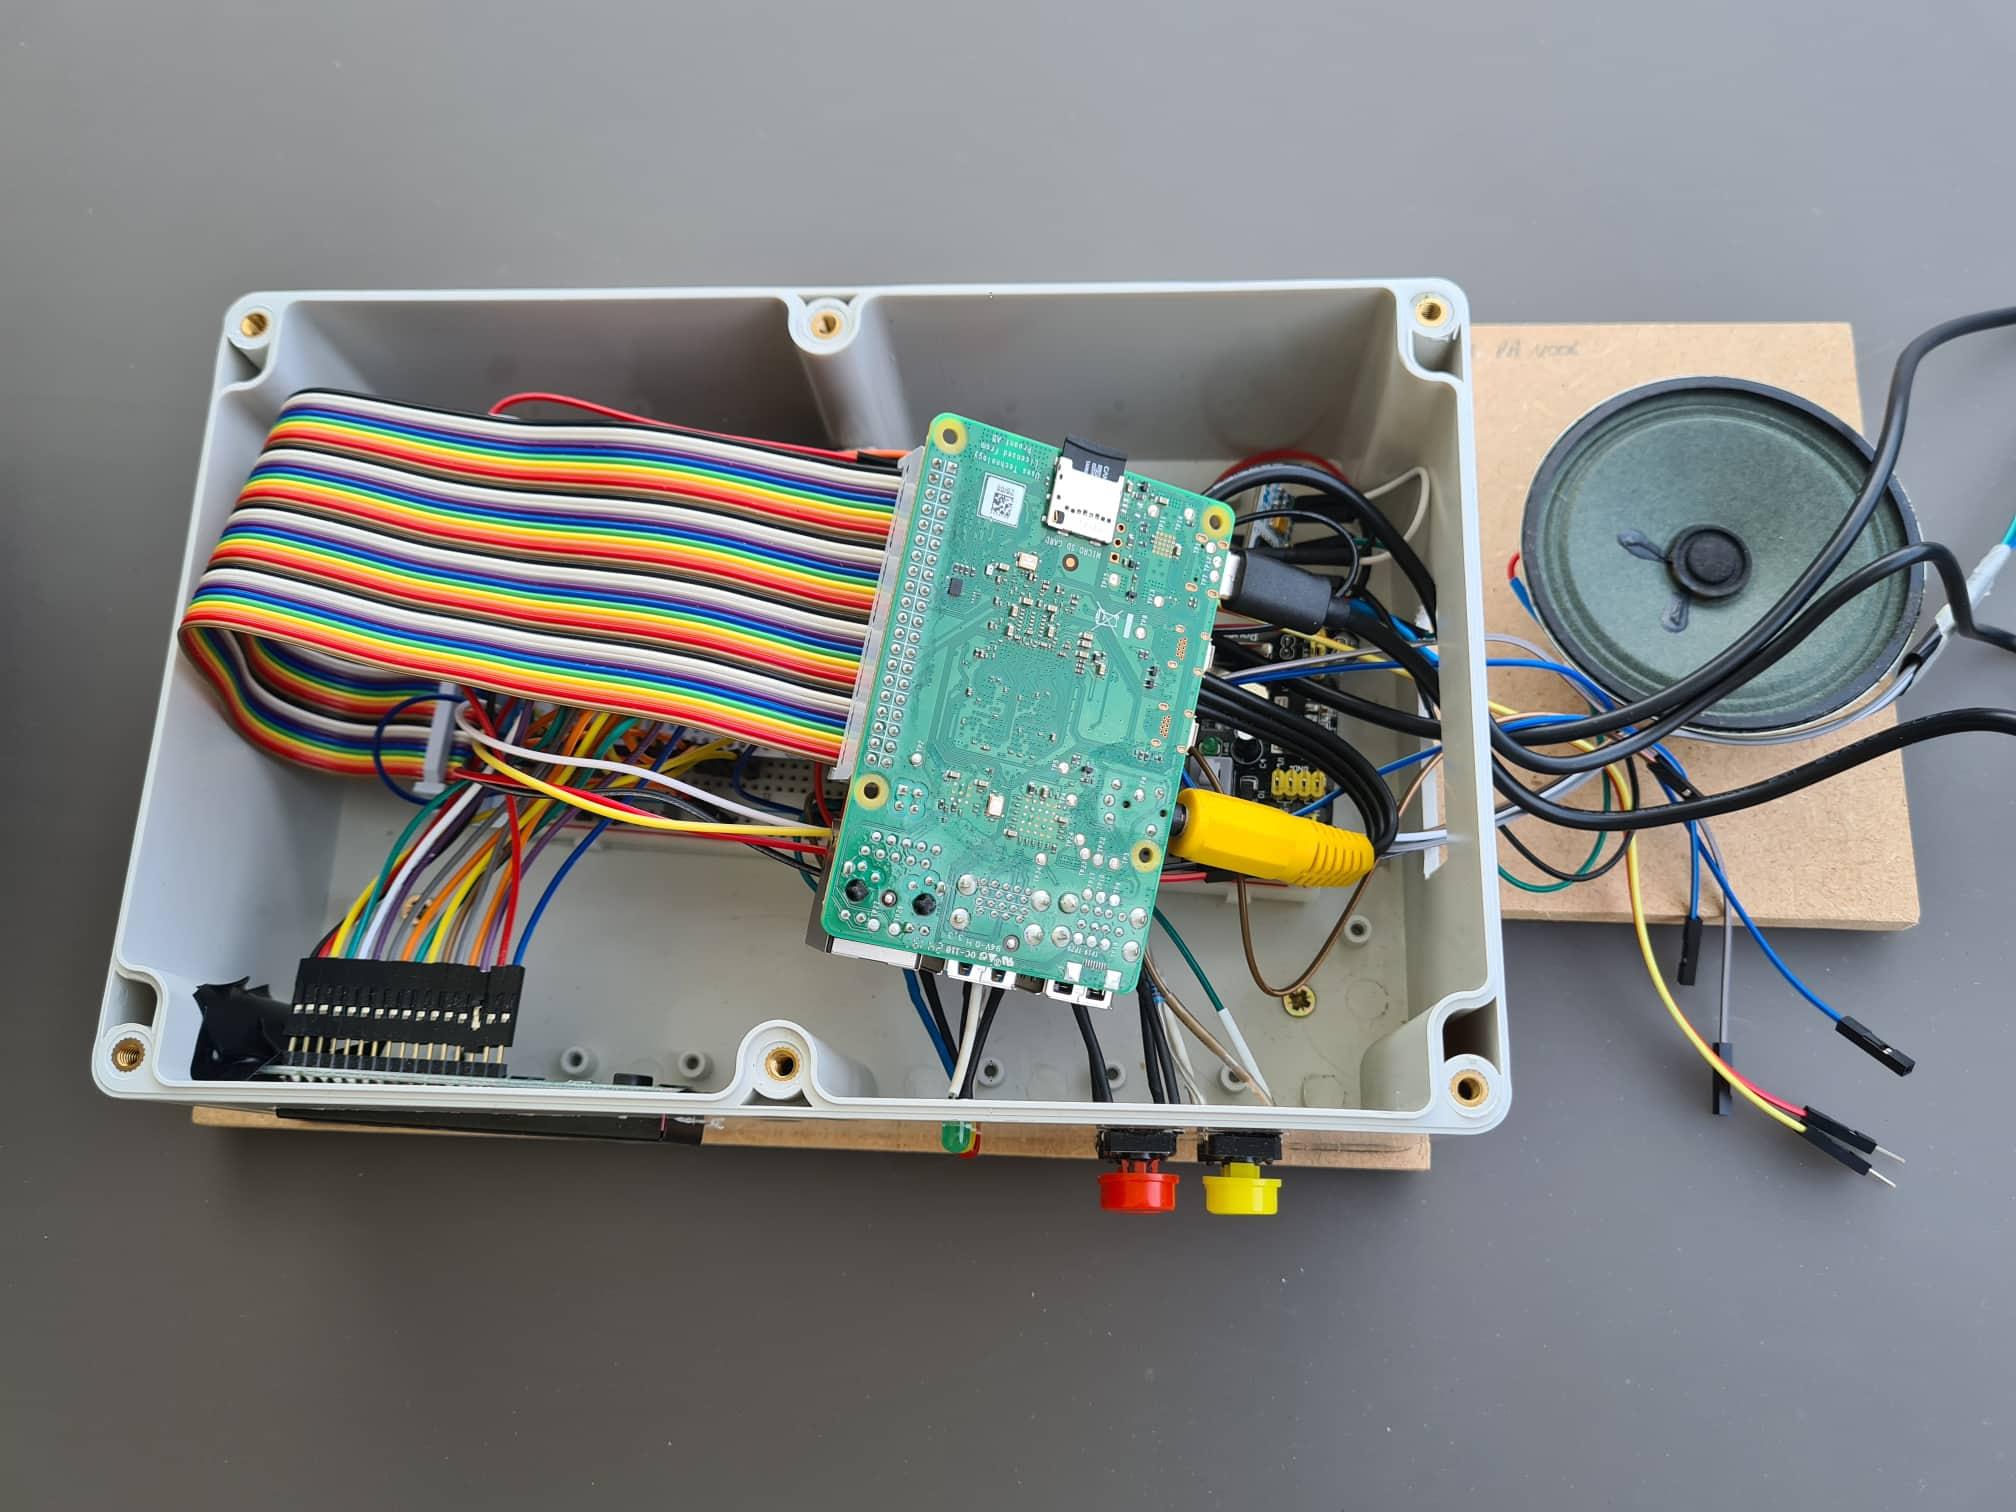
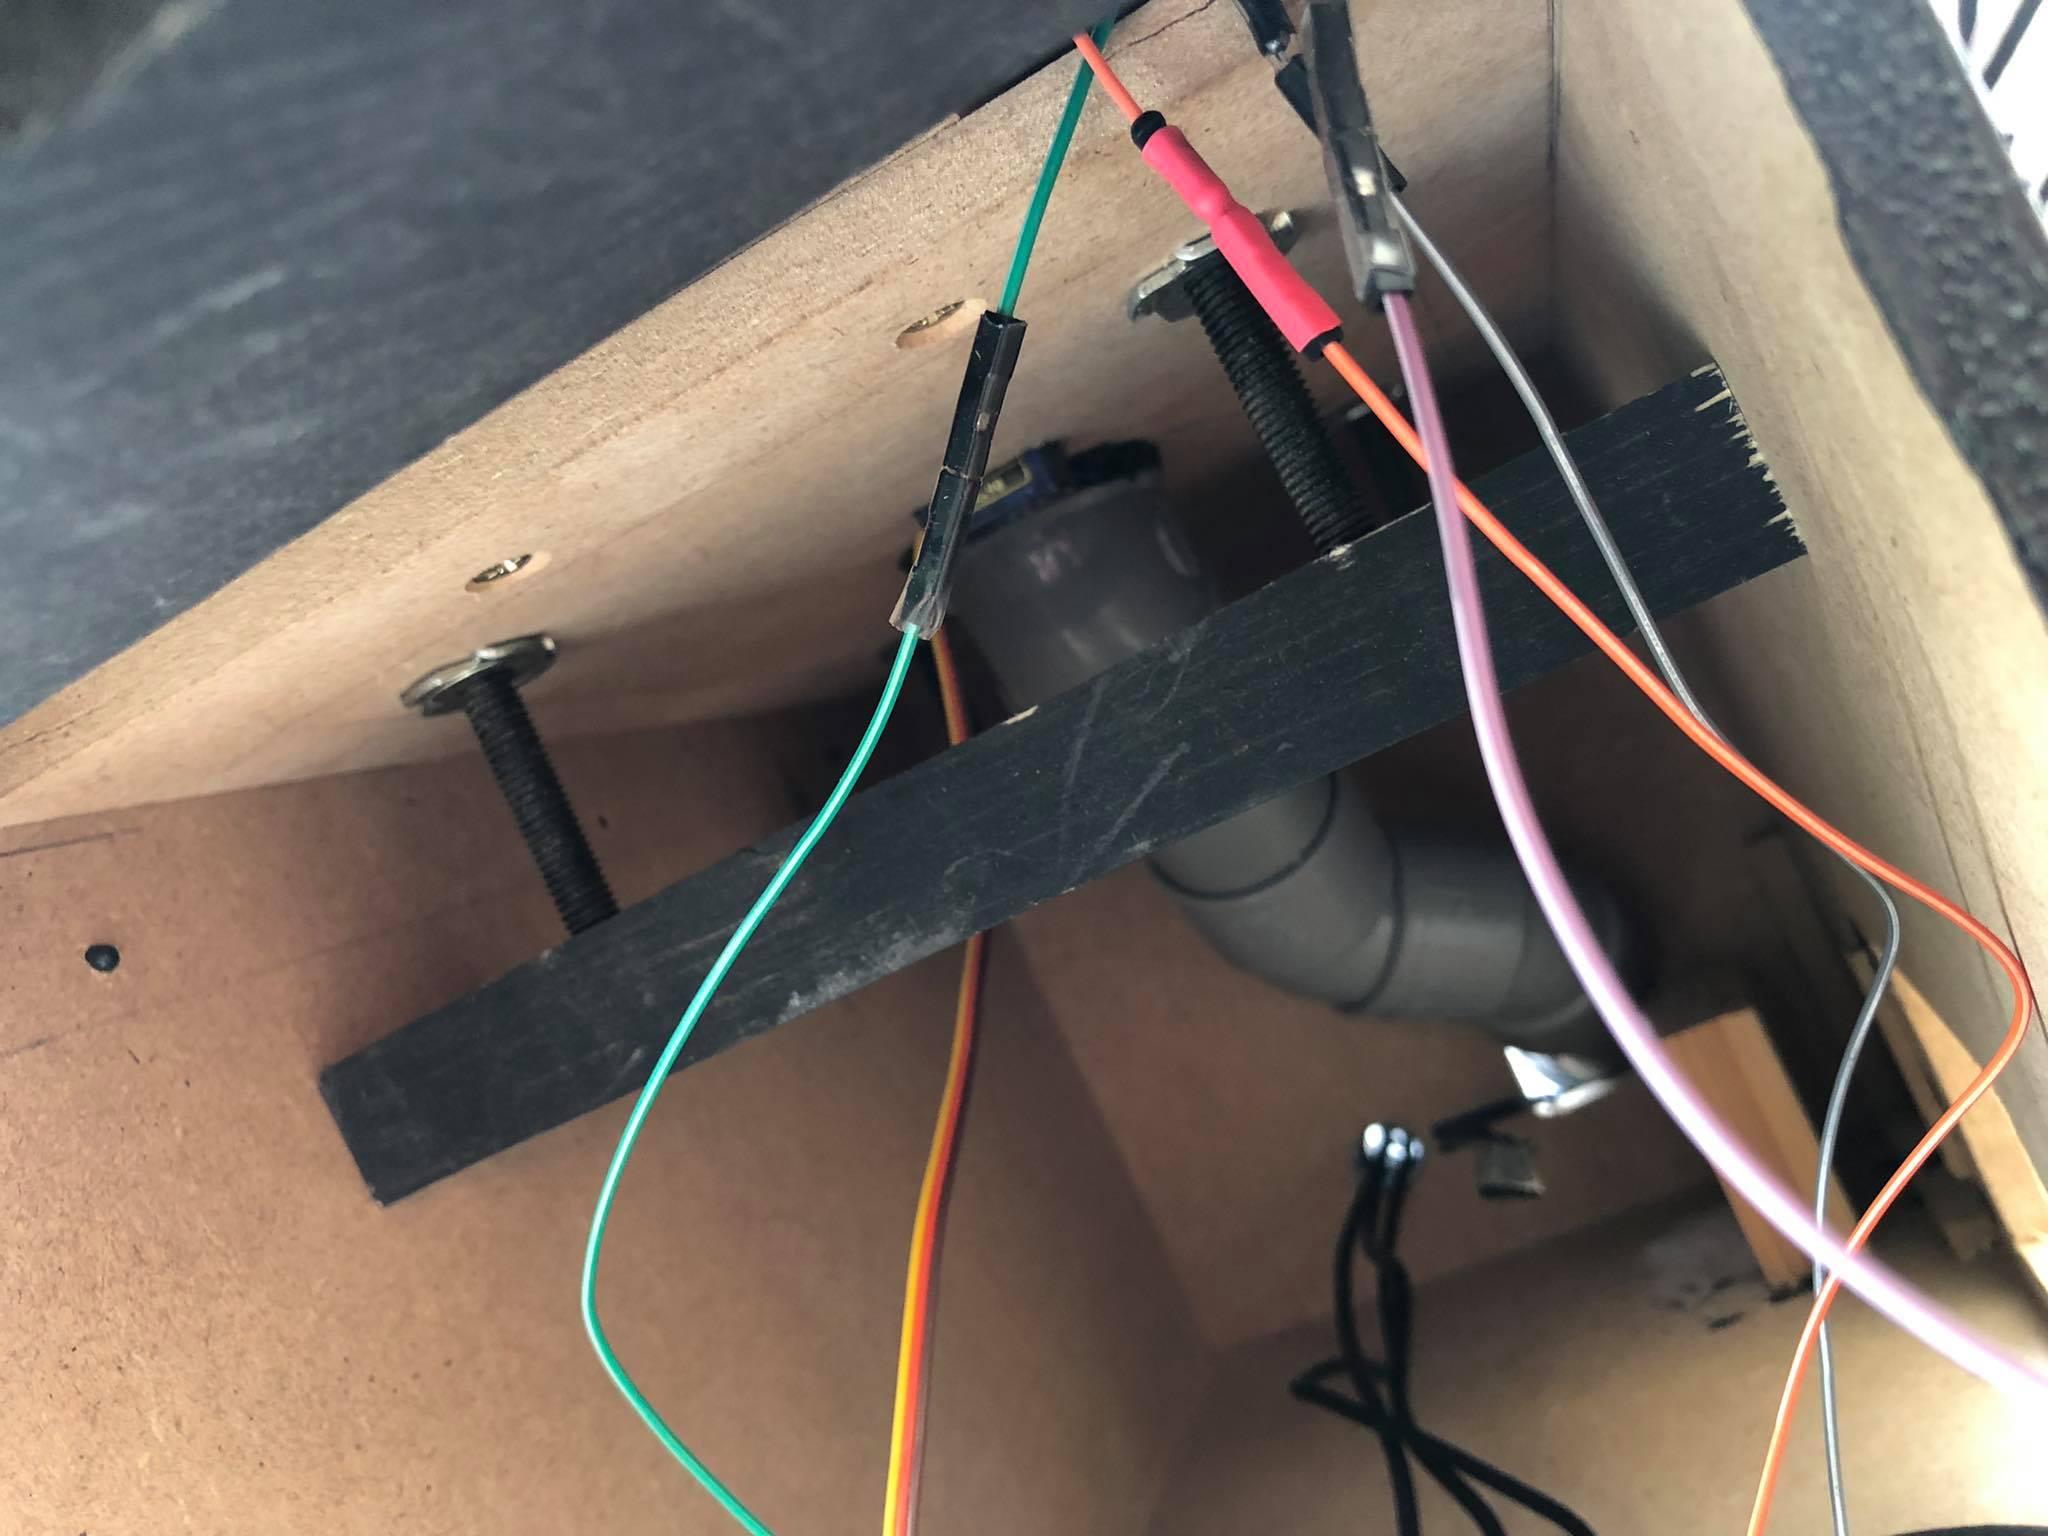
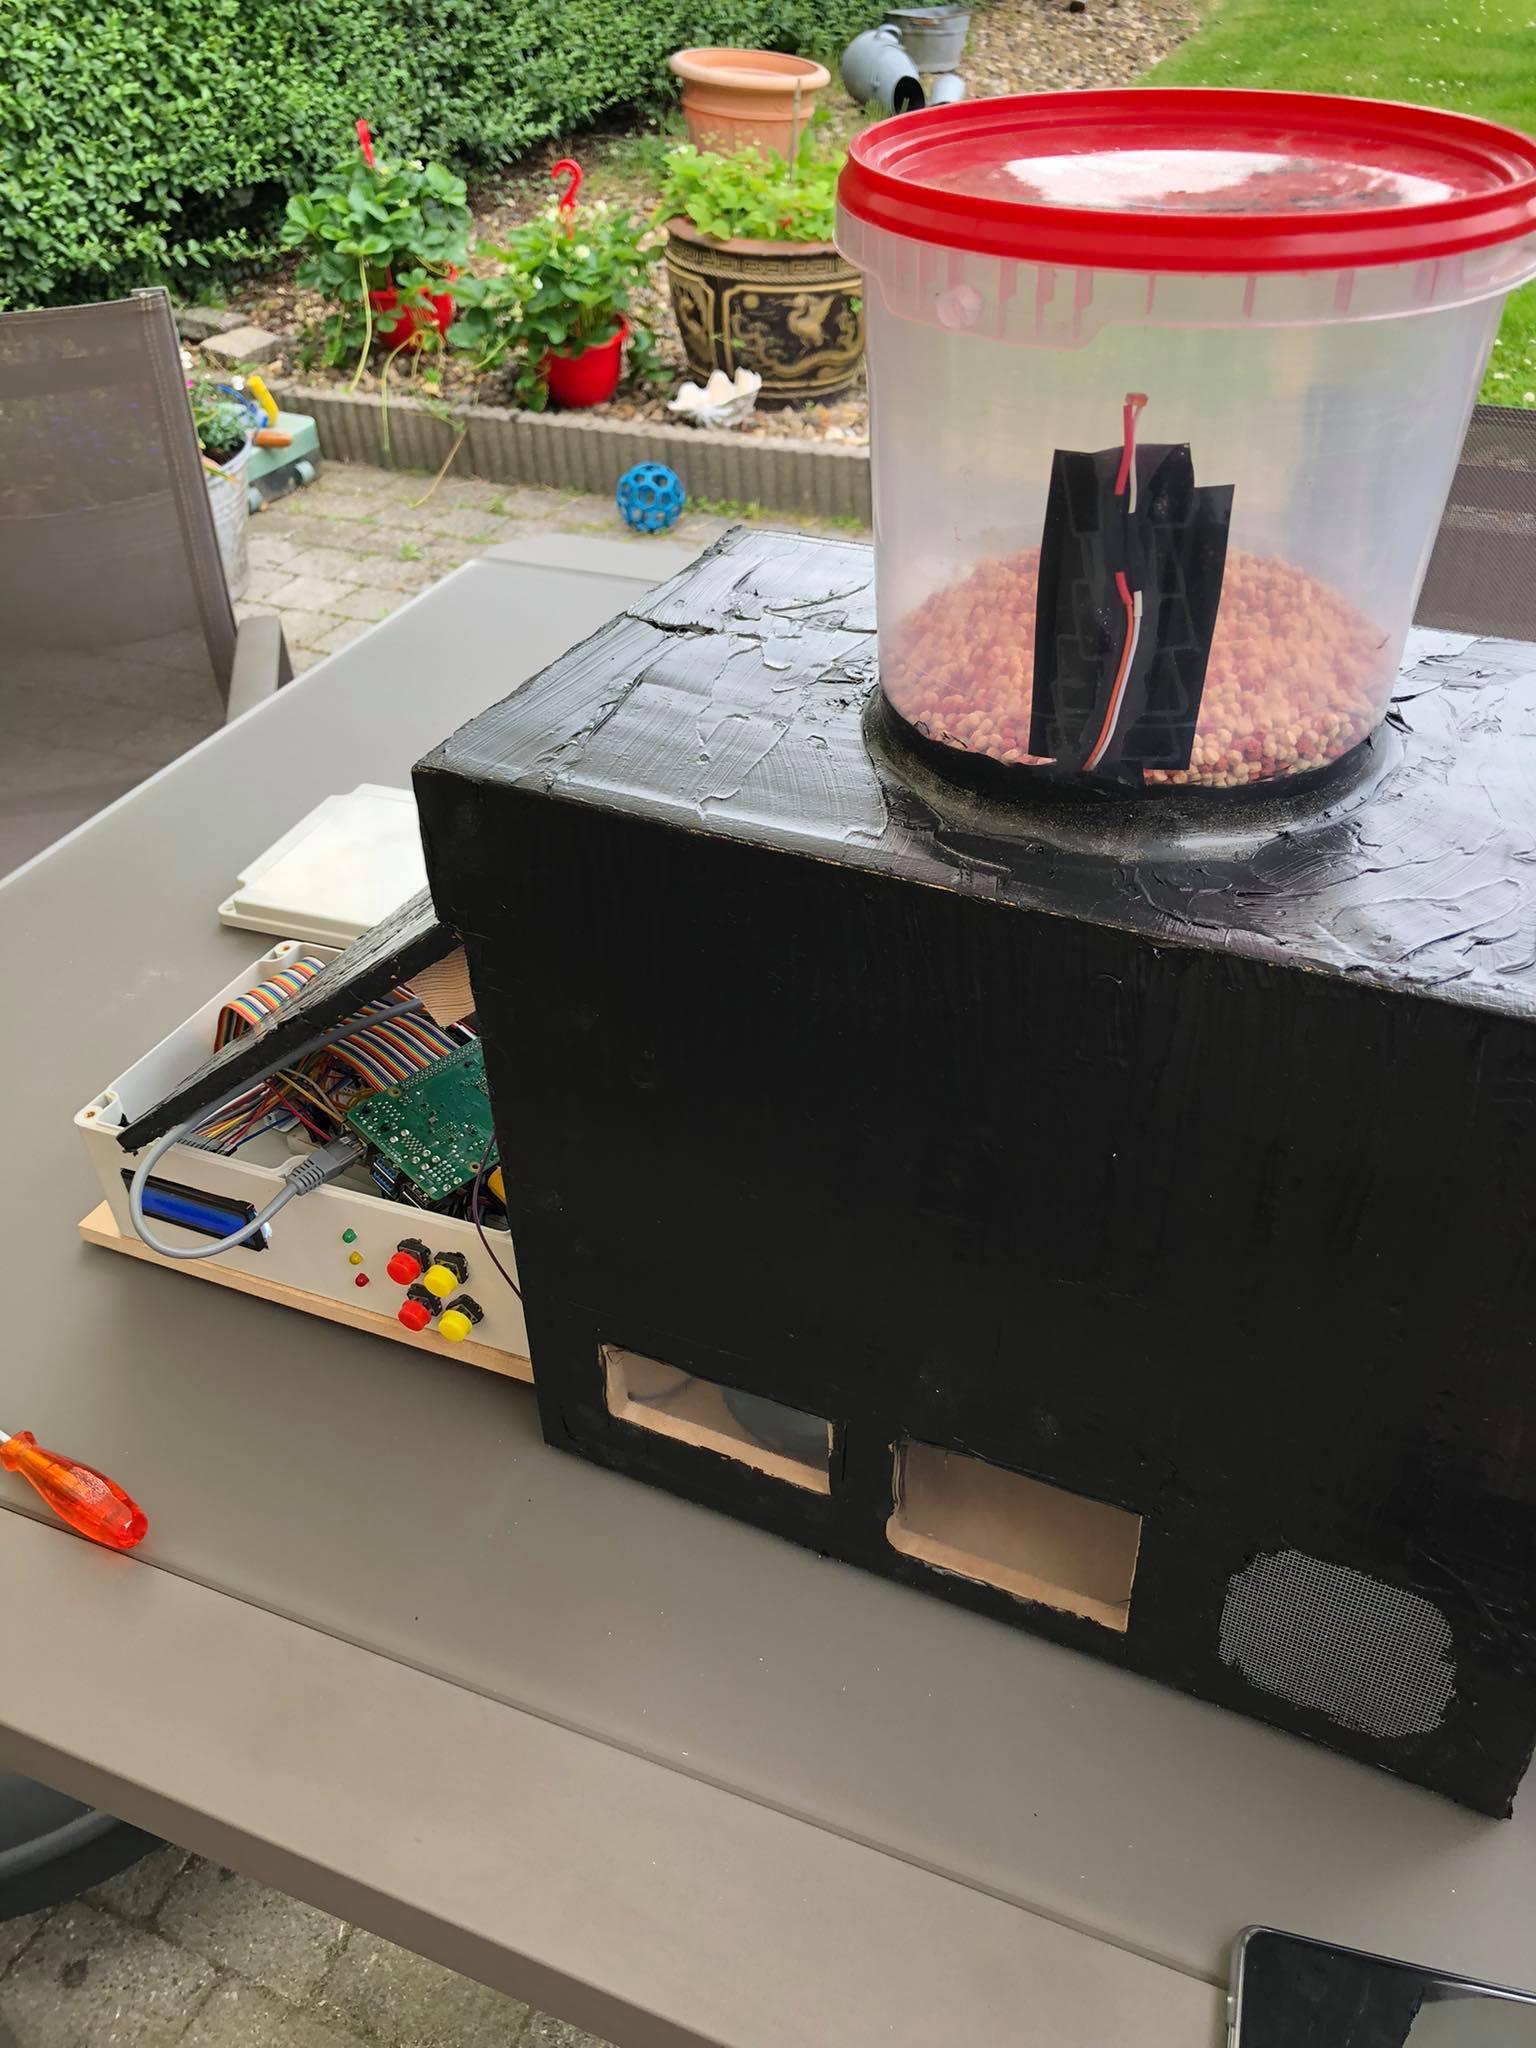
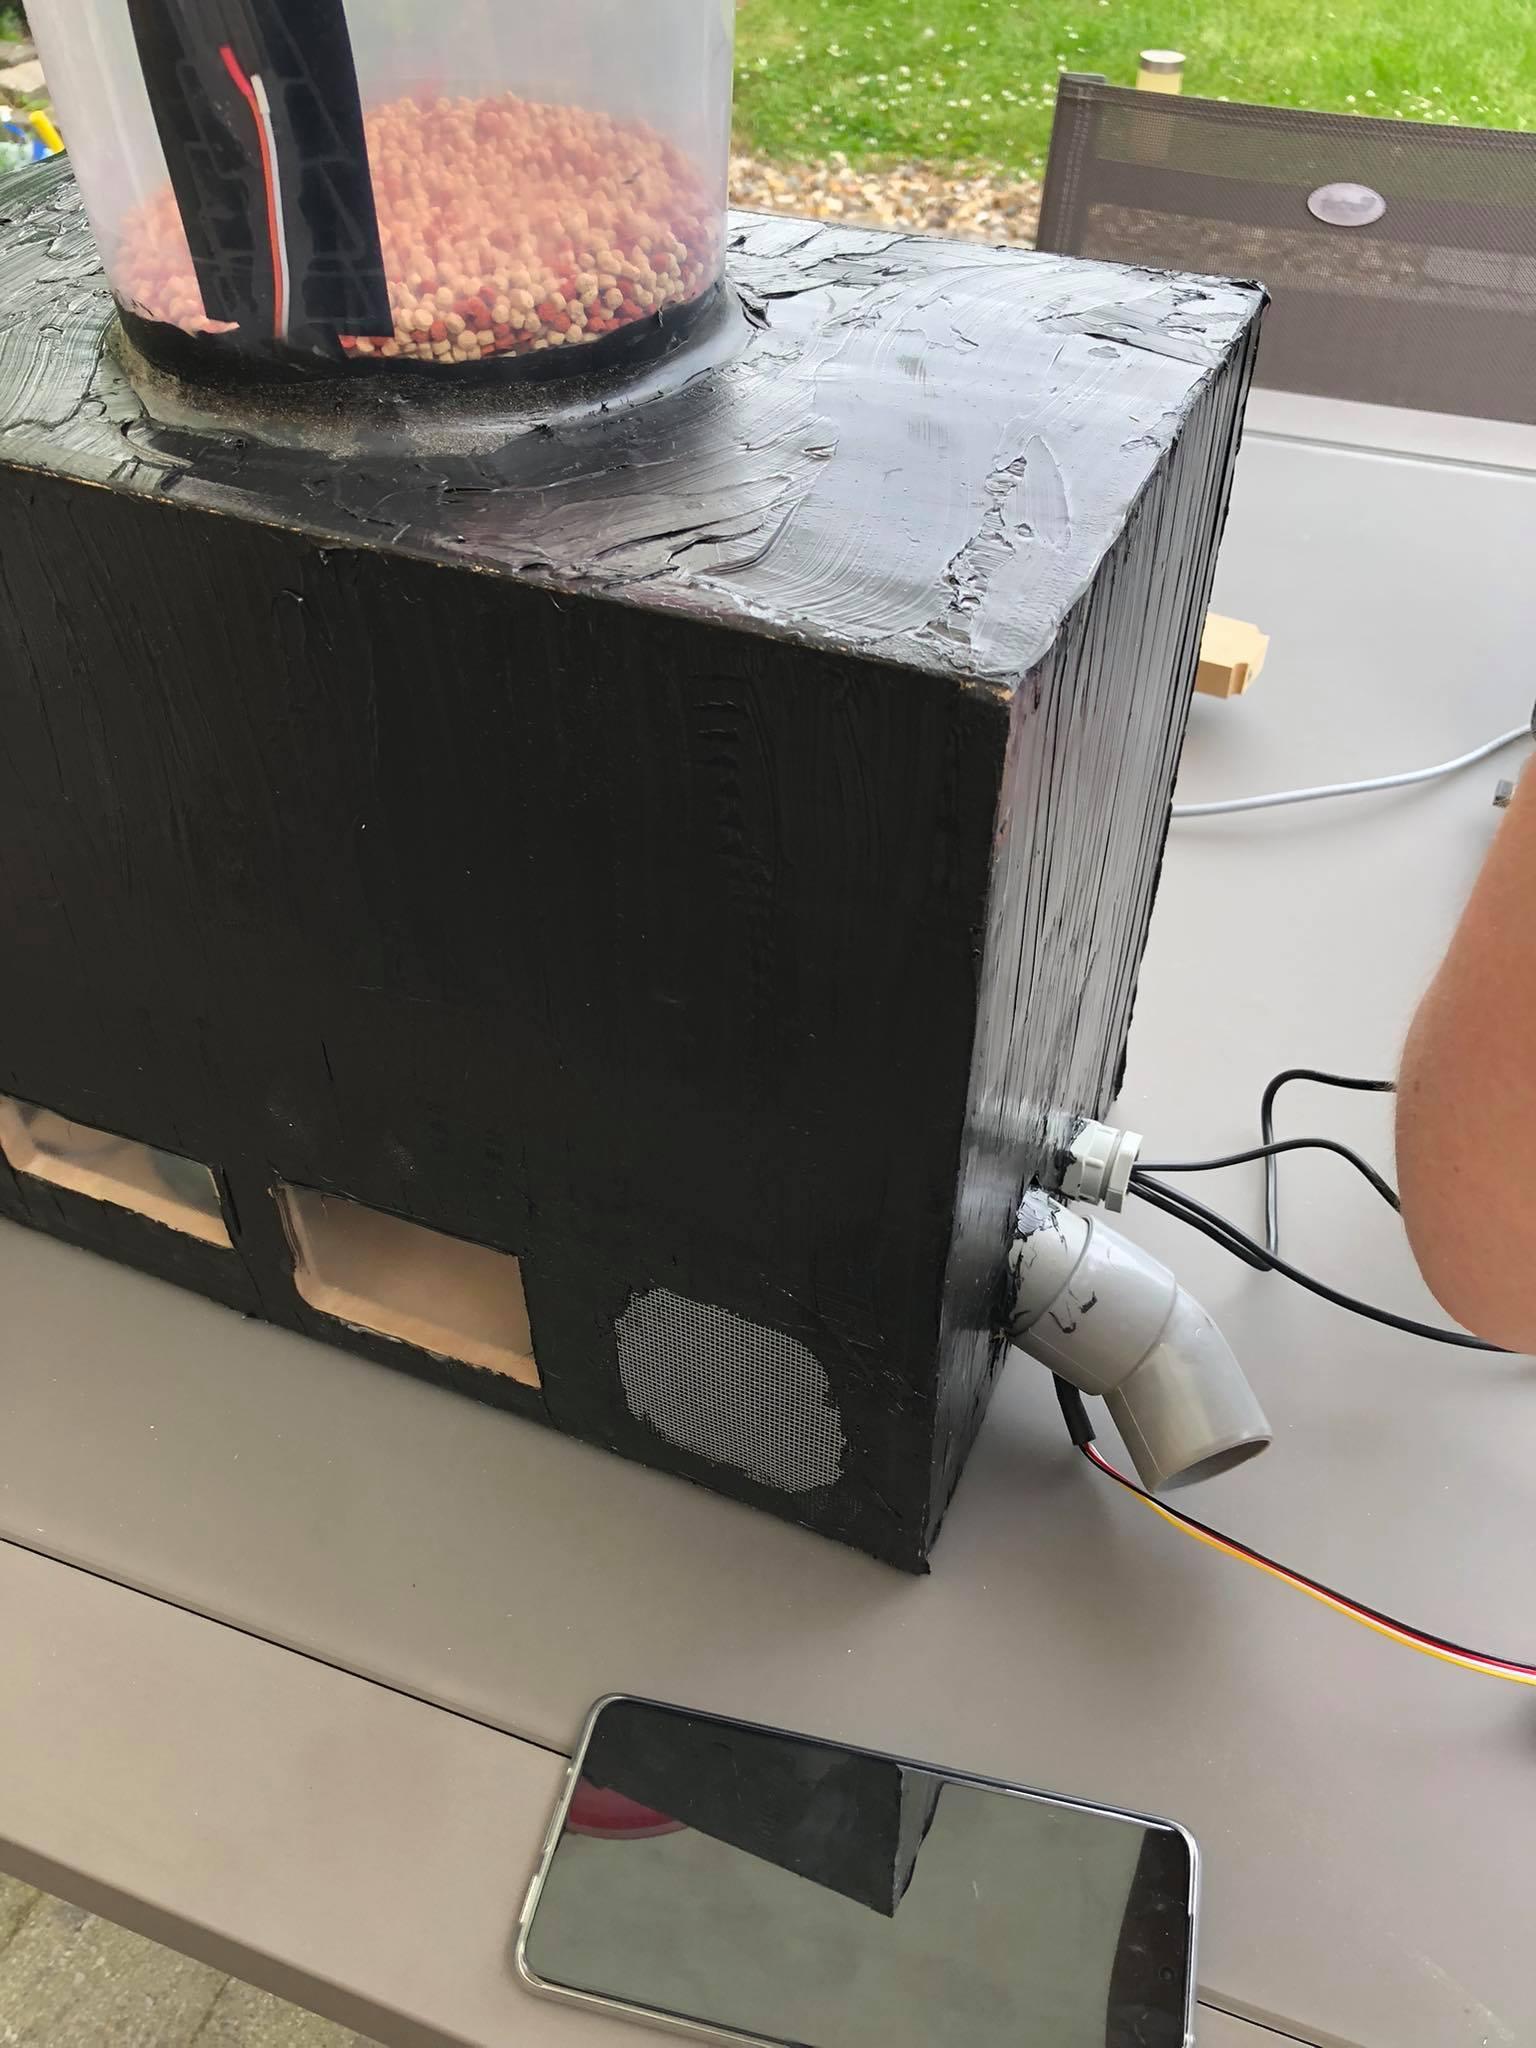
This is how I made the housing.
The first pictures are how it's made on the inside.
I it rubbed it in with black silicone.
You can put artificial grass or little stones on the housing to get it perfectily finished.