Finishing the Job: Installing a USB Keyboard Into an OLPC XO Laptop, Phase II
by labelreader in Circuits > USB
11440 Views, 15 Favorites, 0 Comments
Finishing the Job: Installing a USB Keyboard Into an OLPC XO Laptop, Phase II
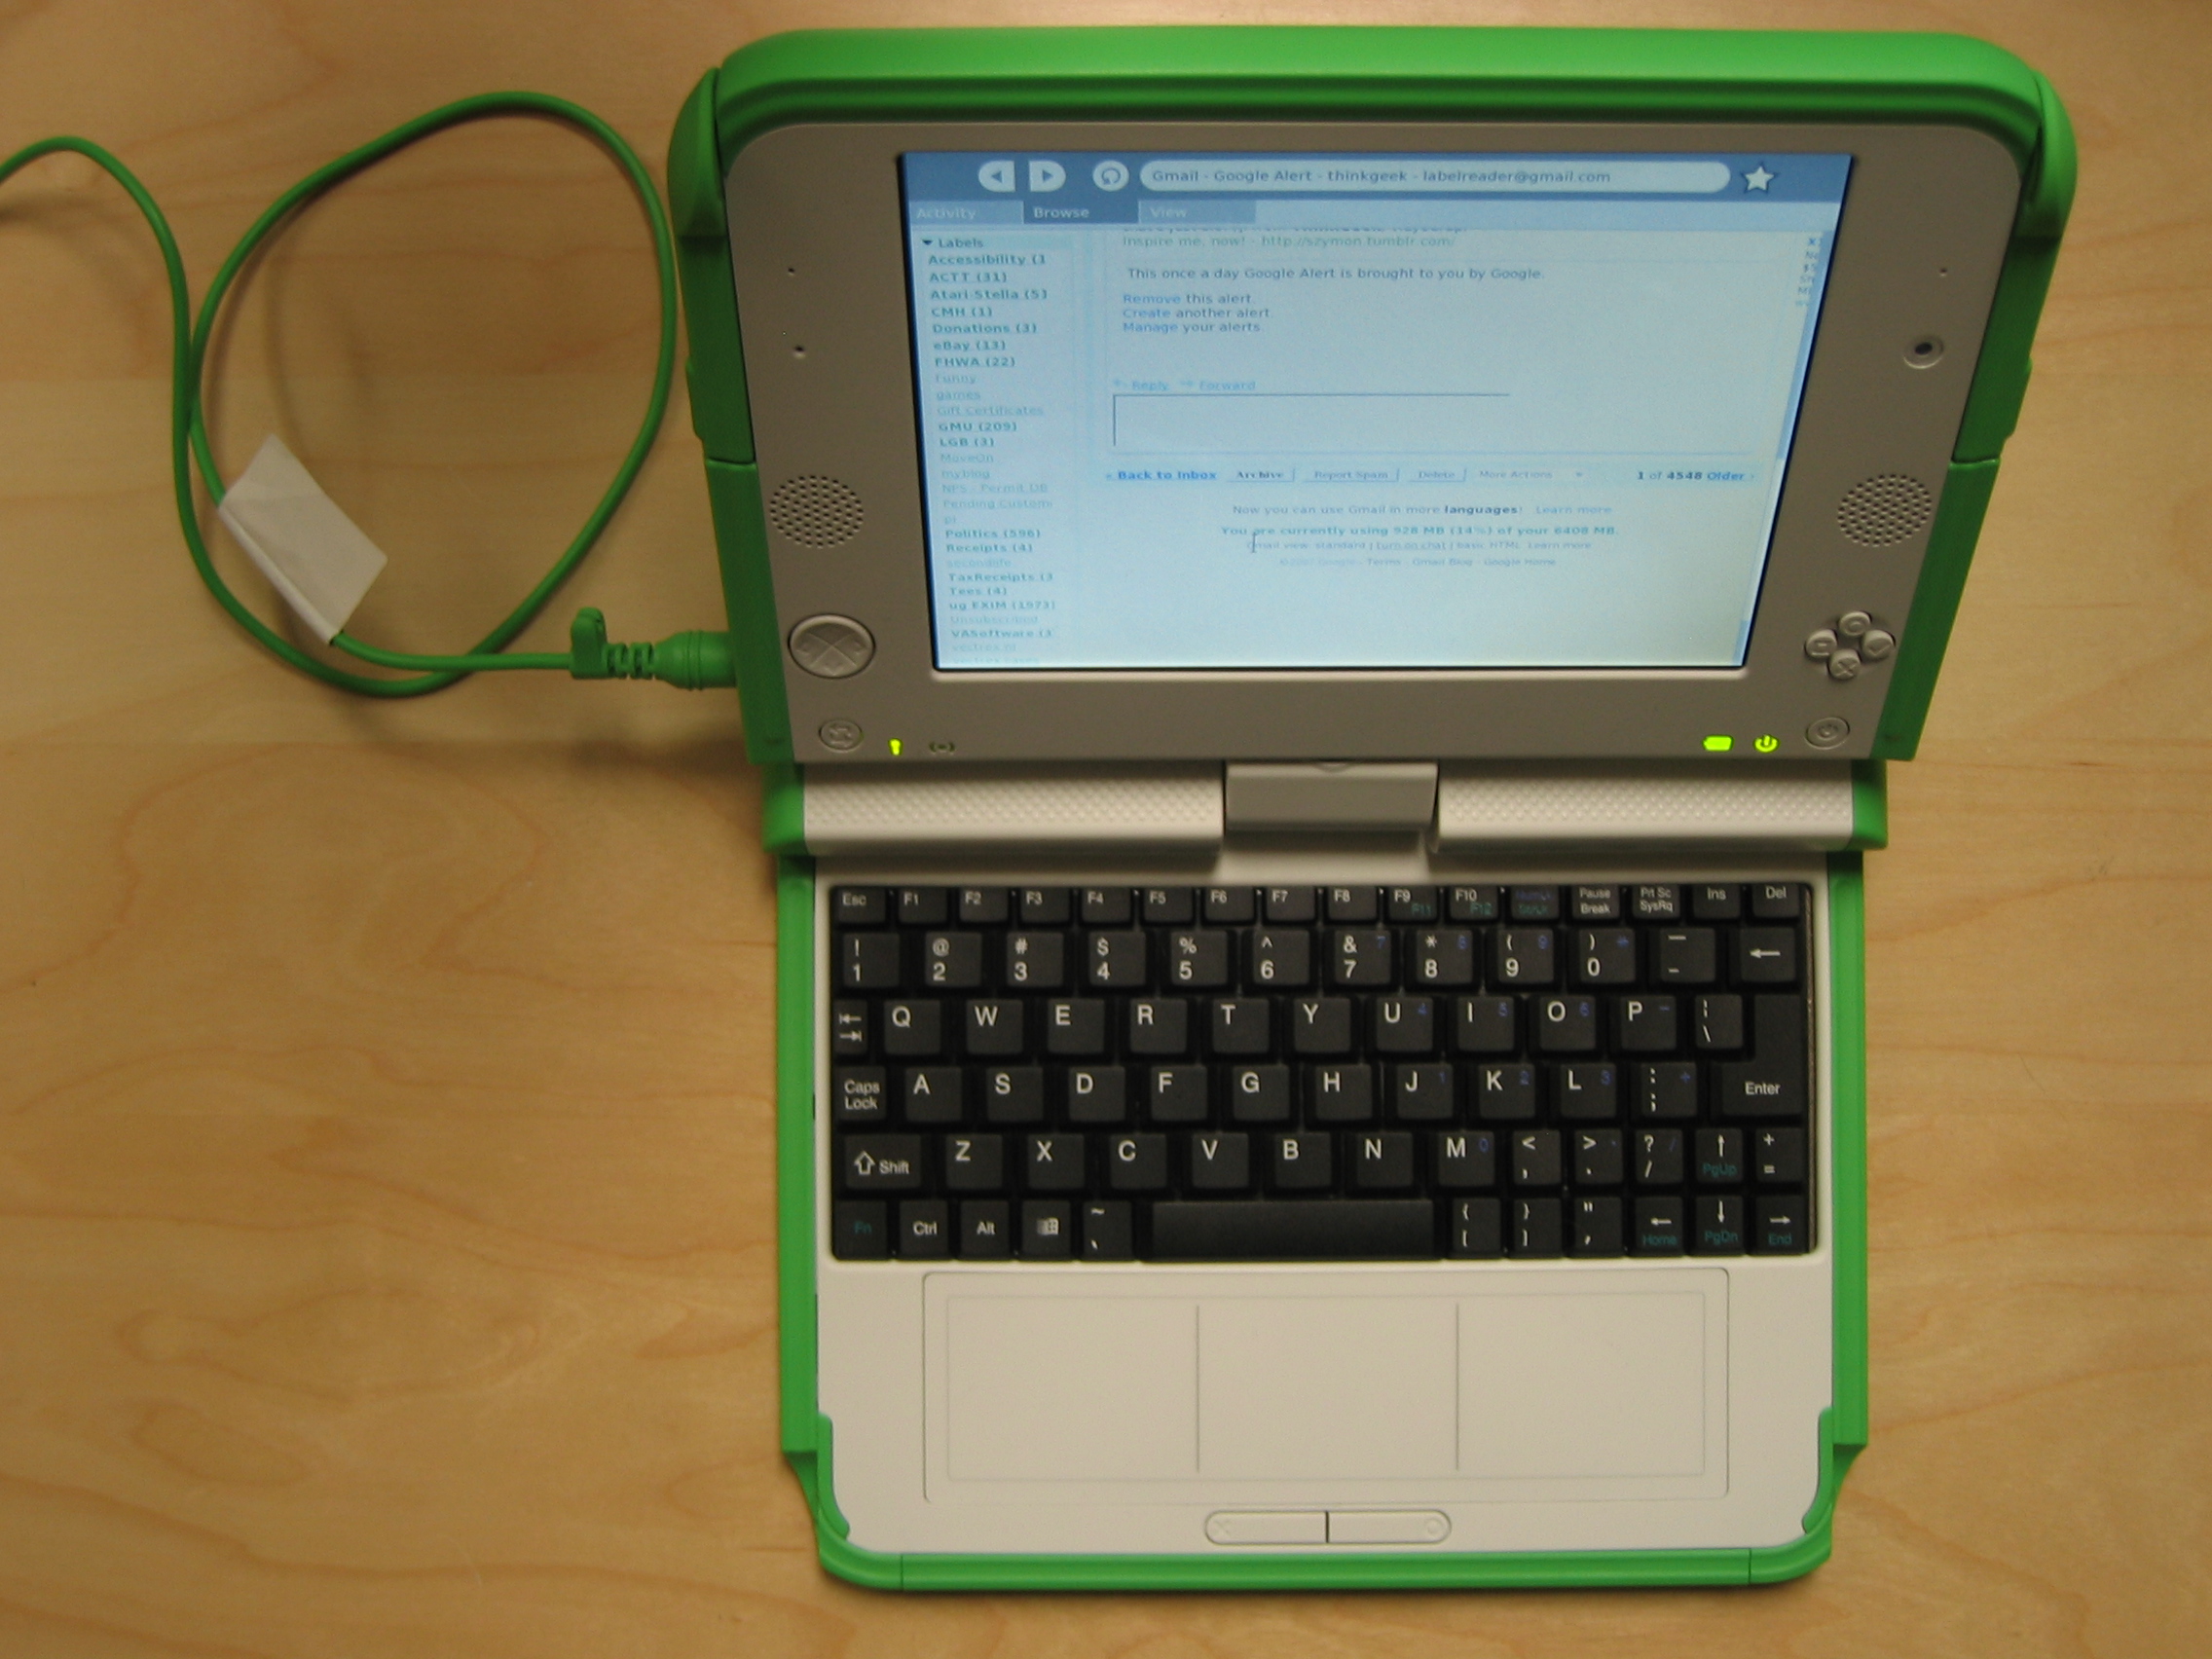
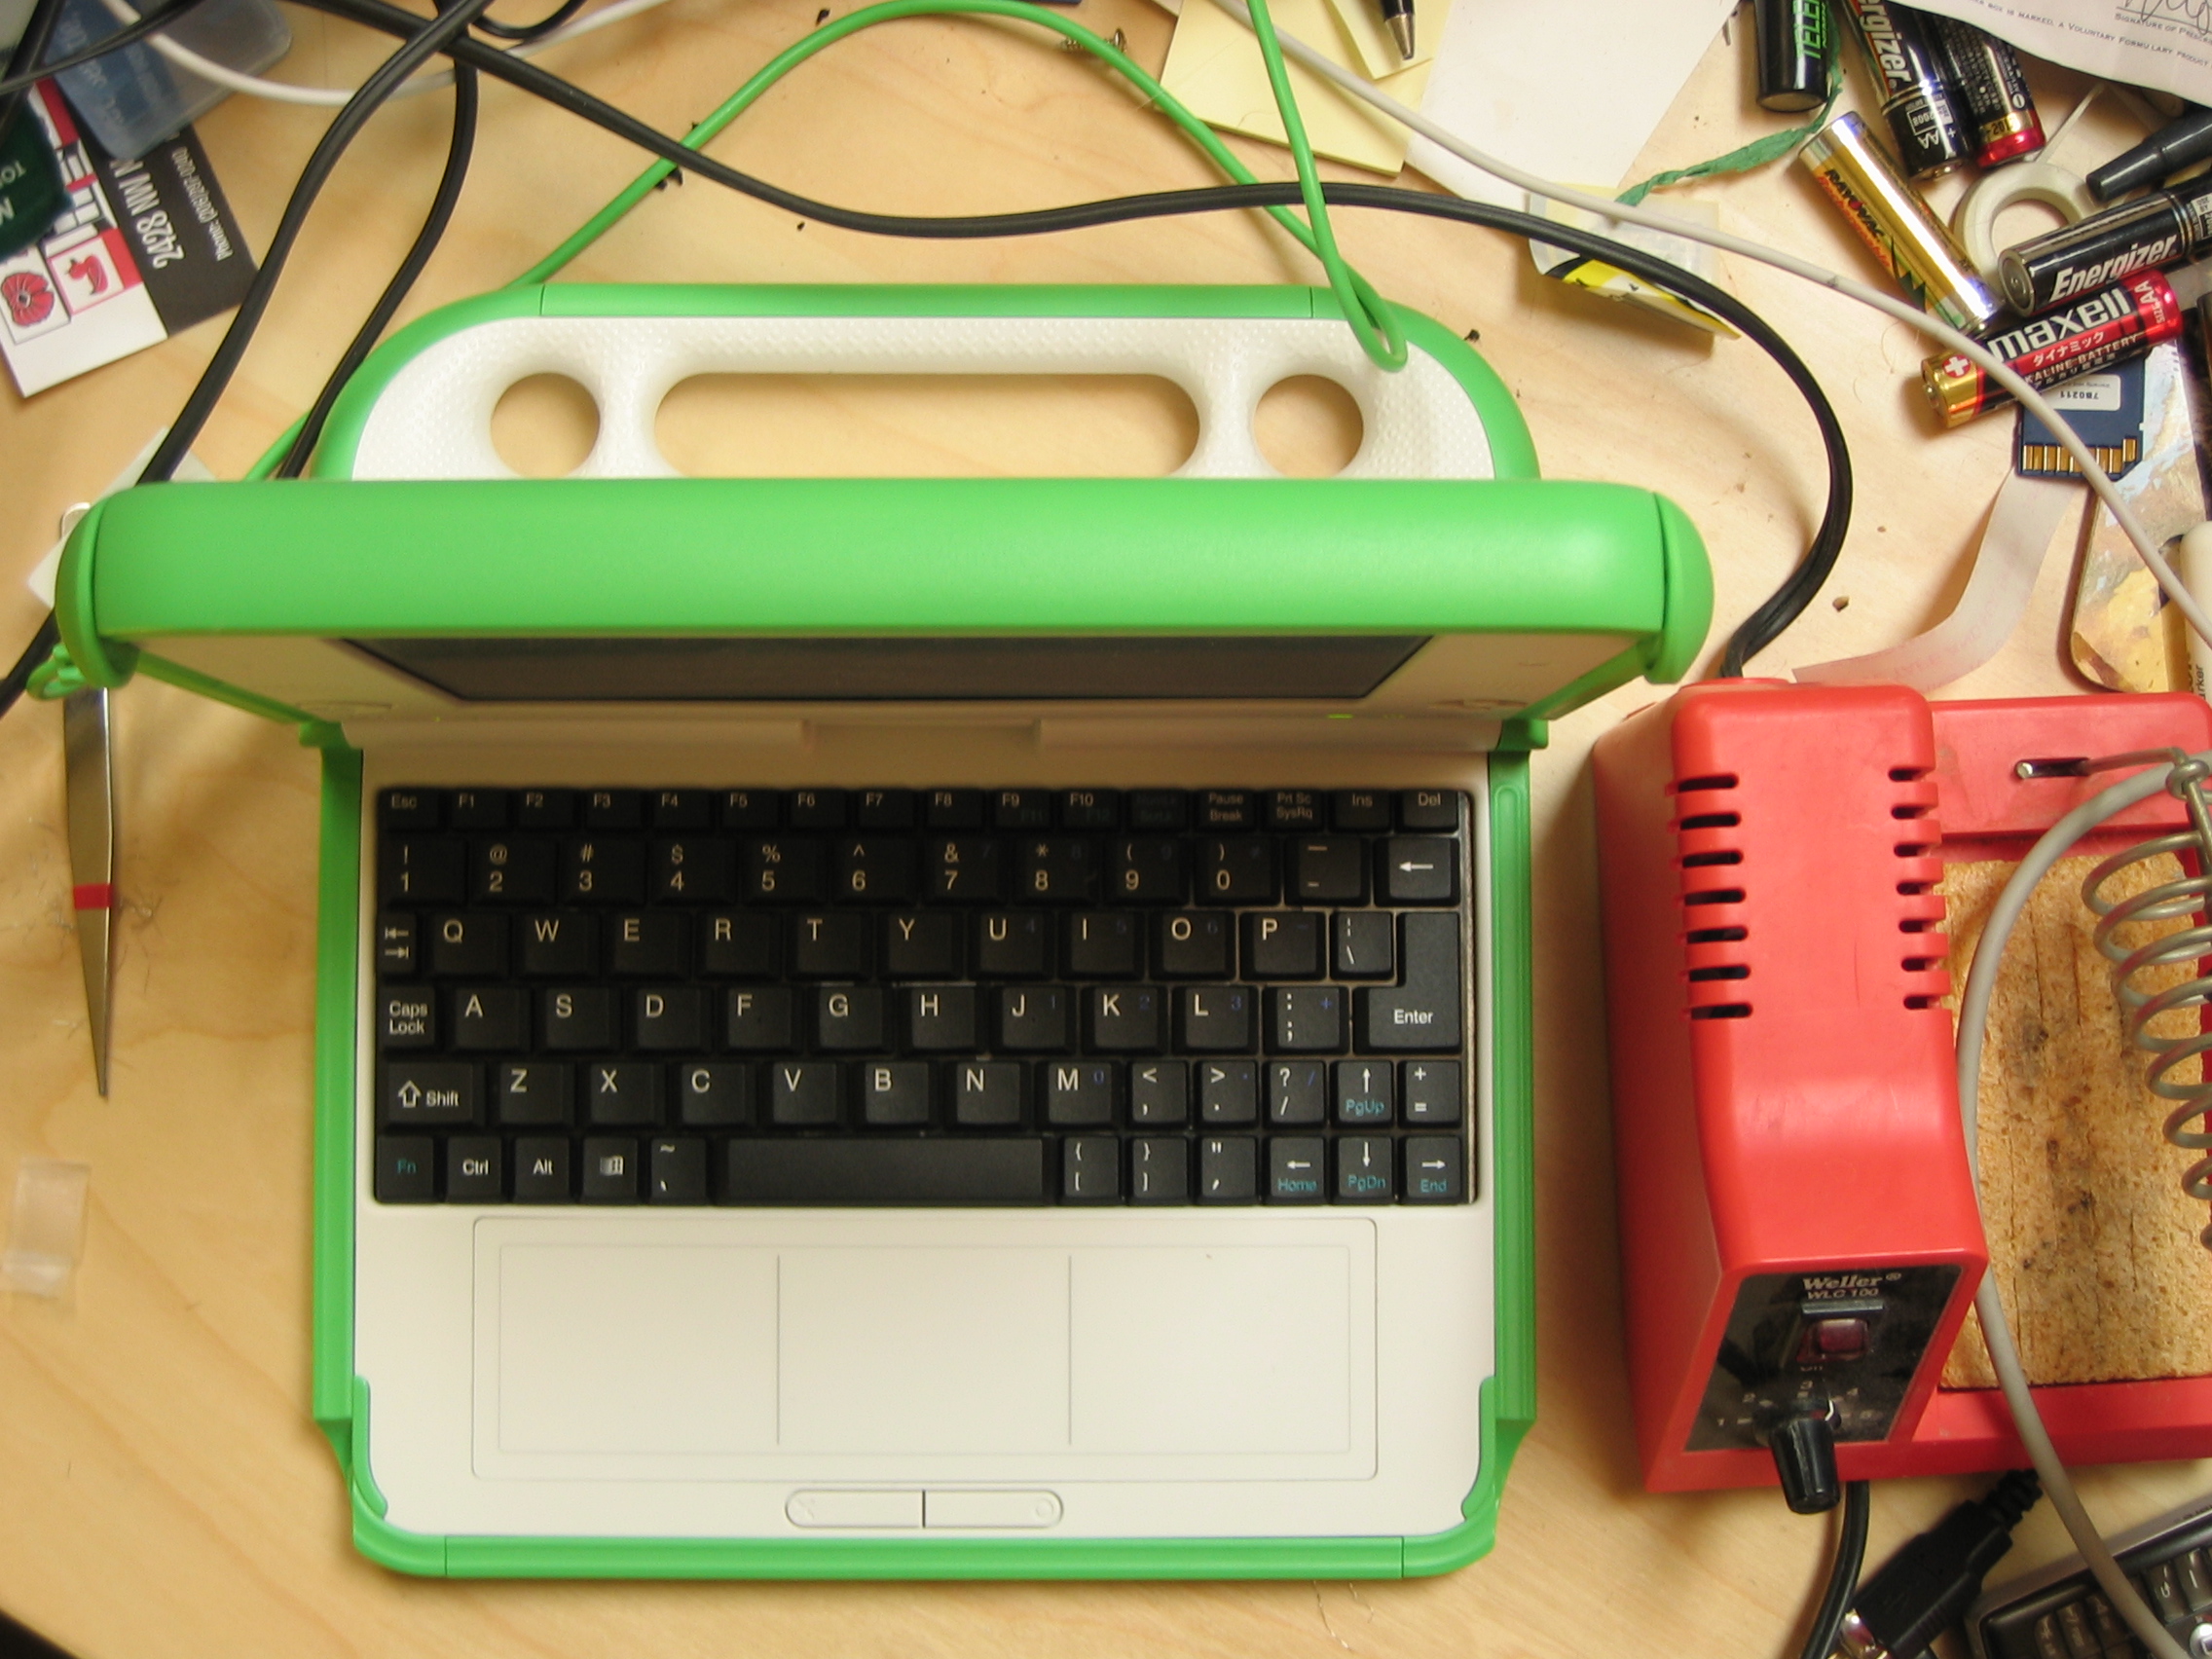
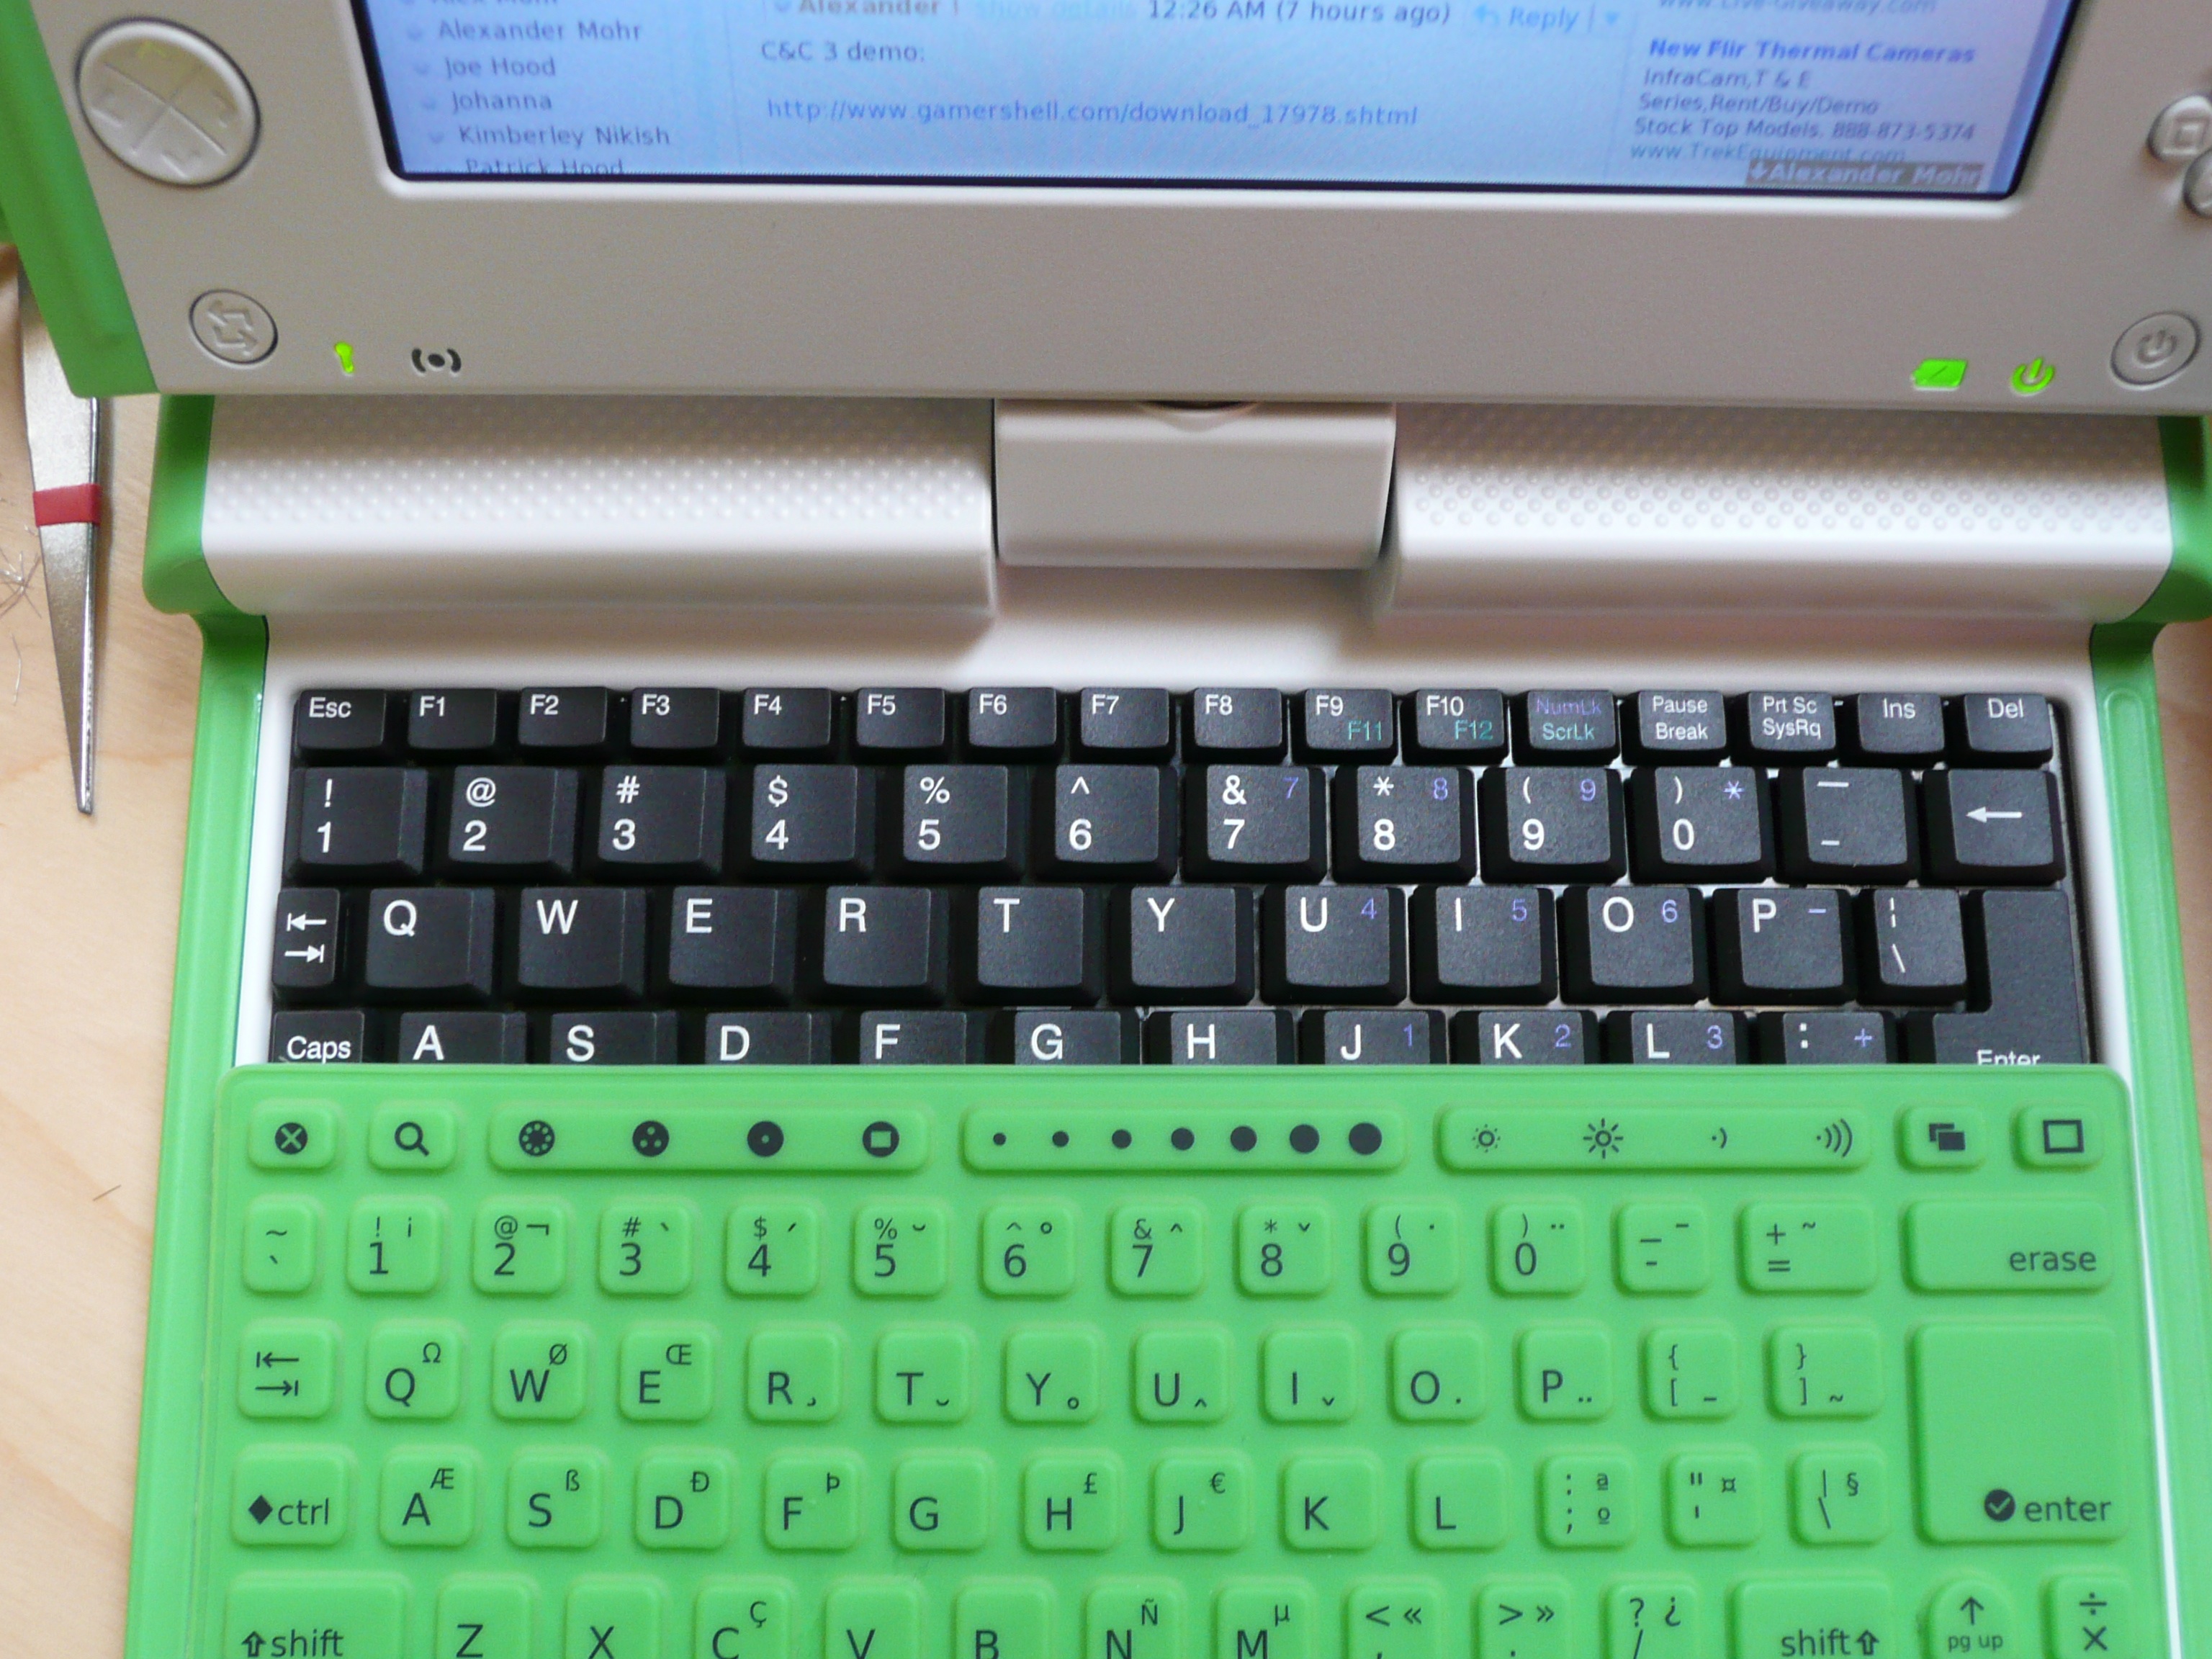
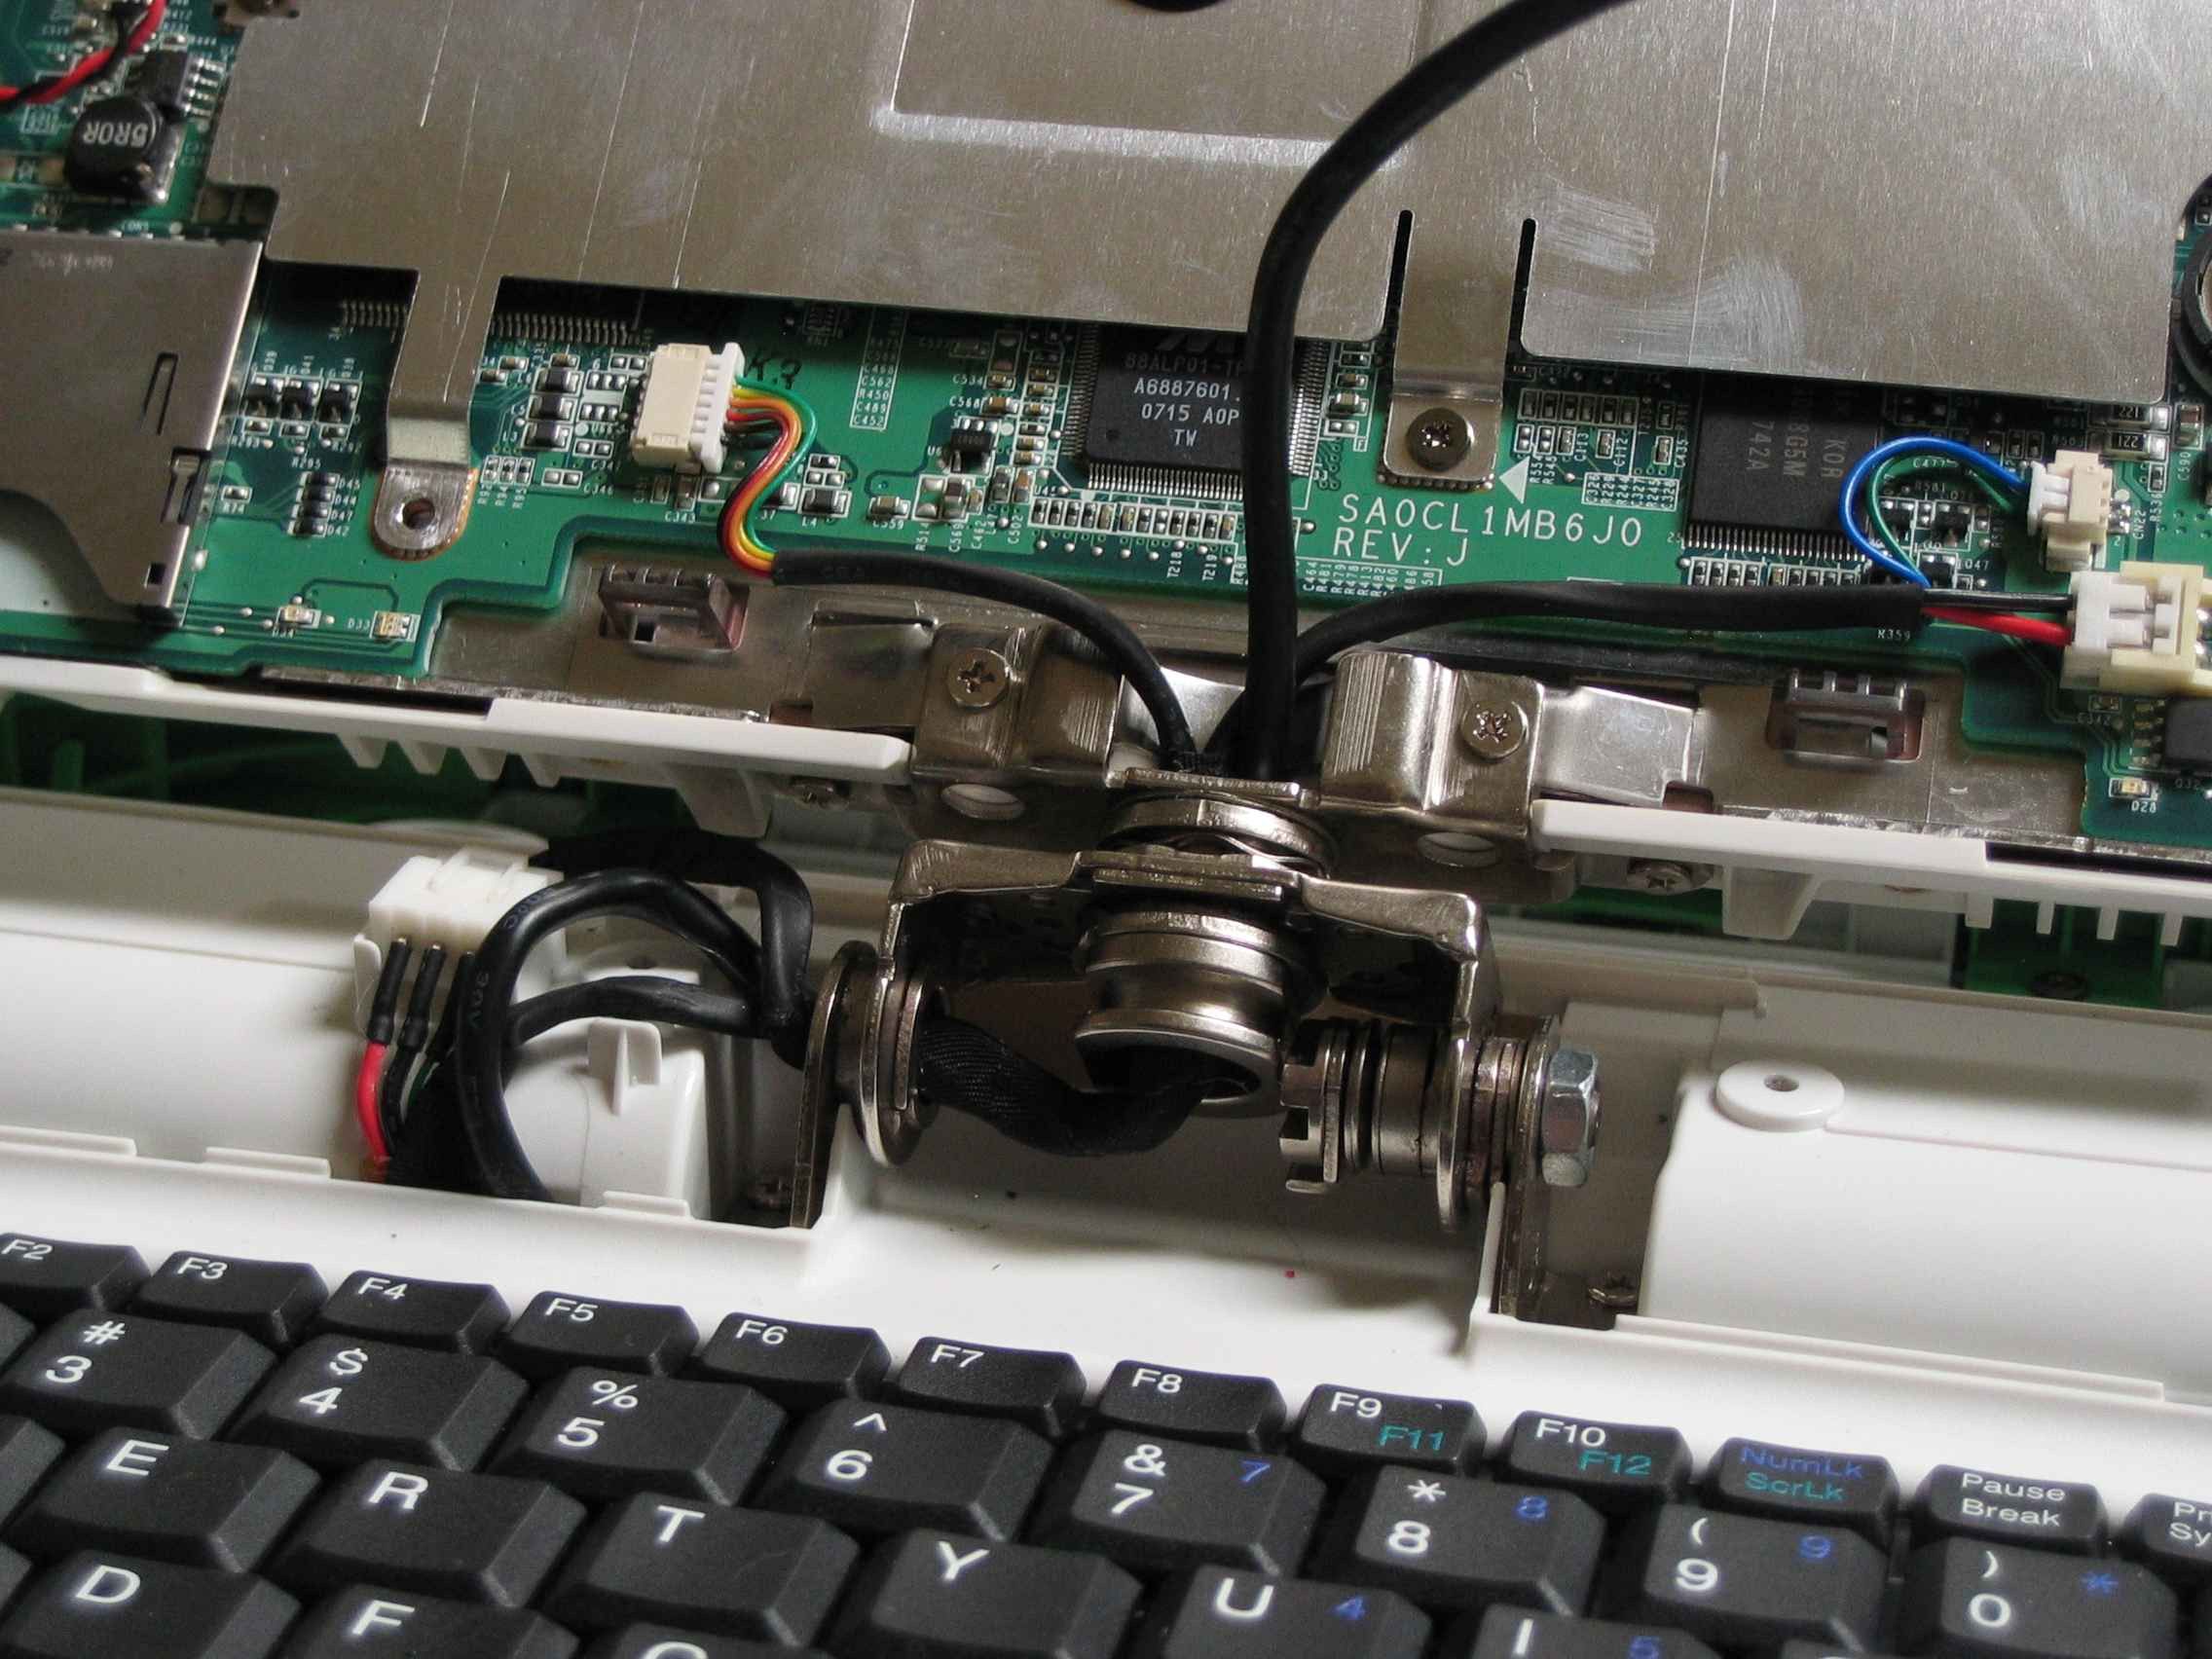
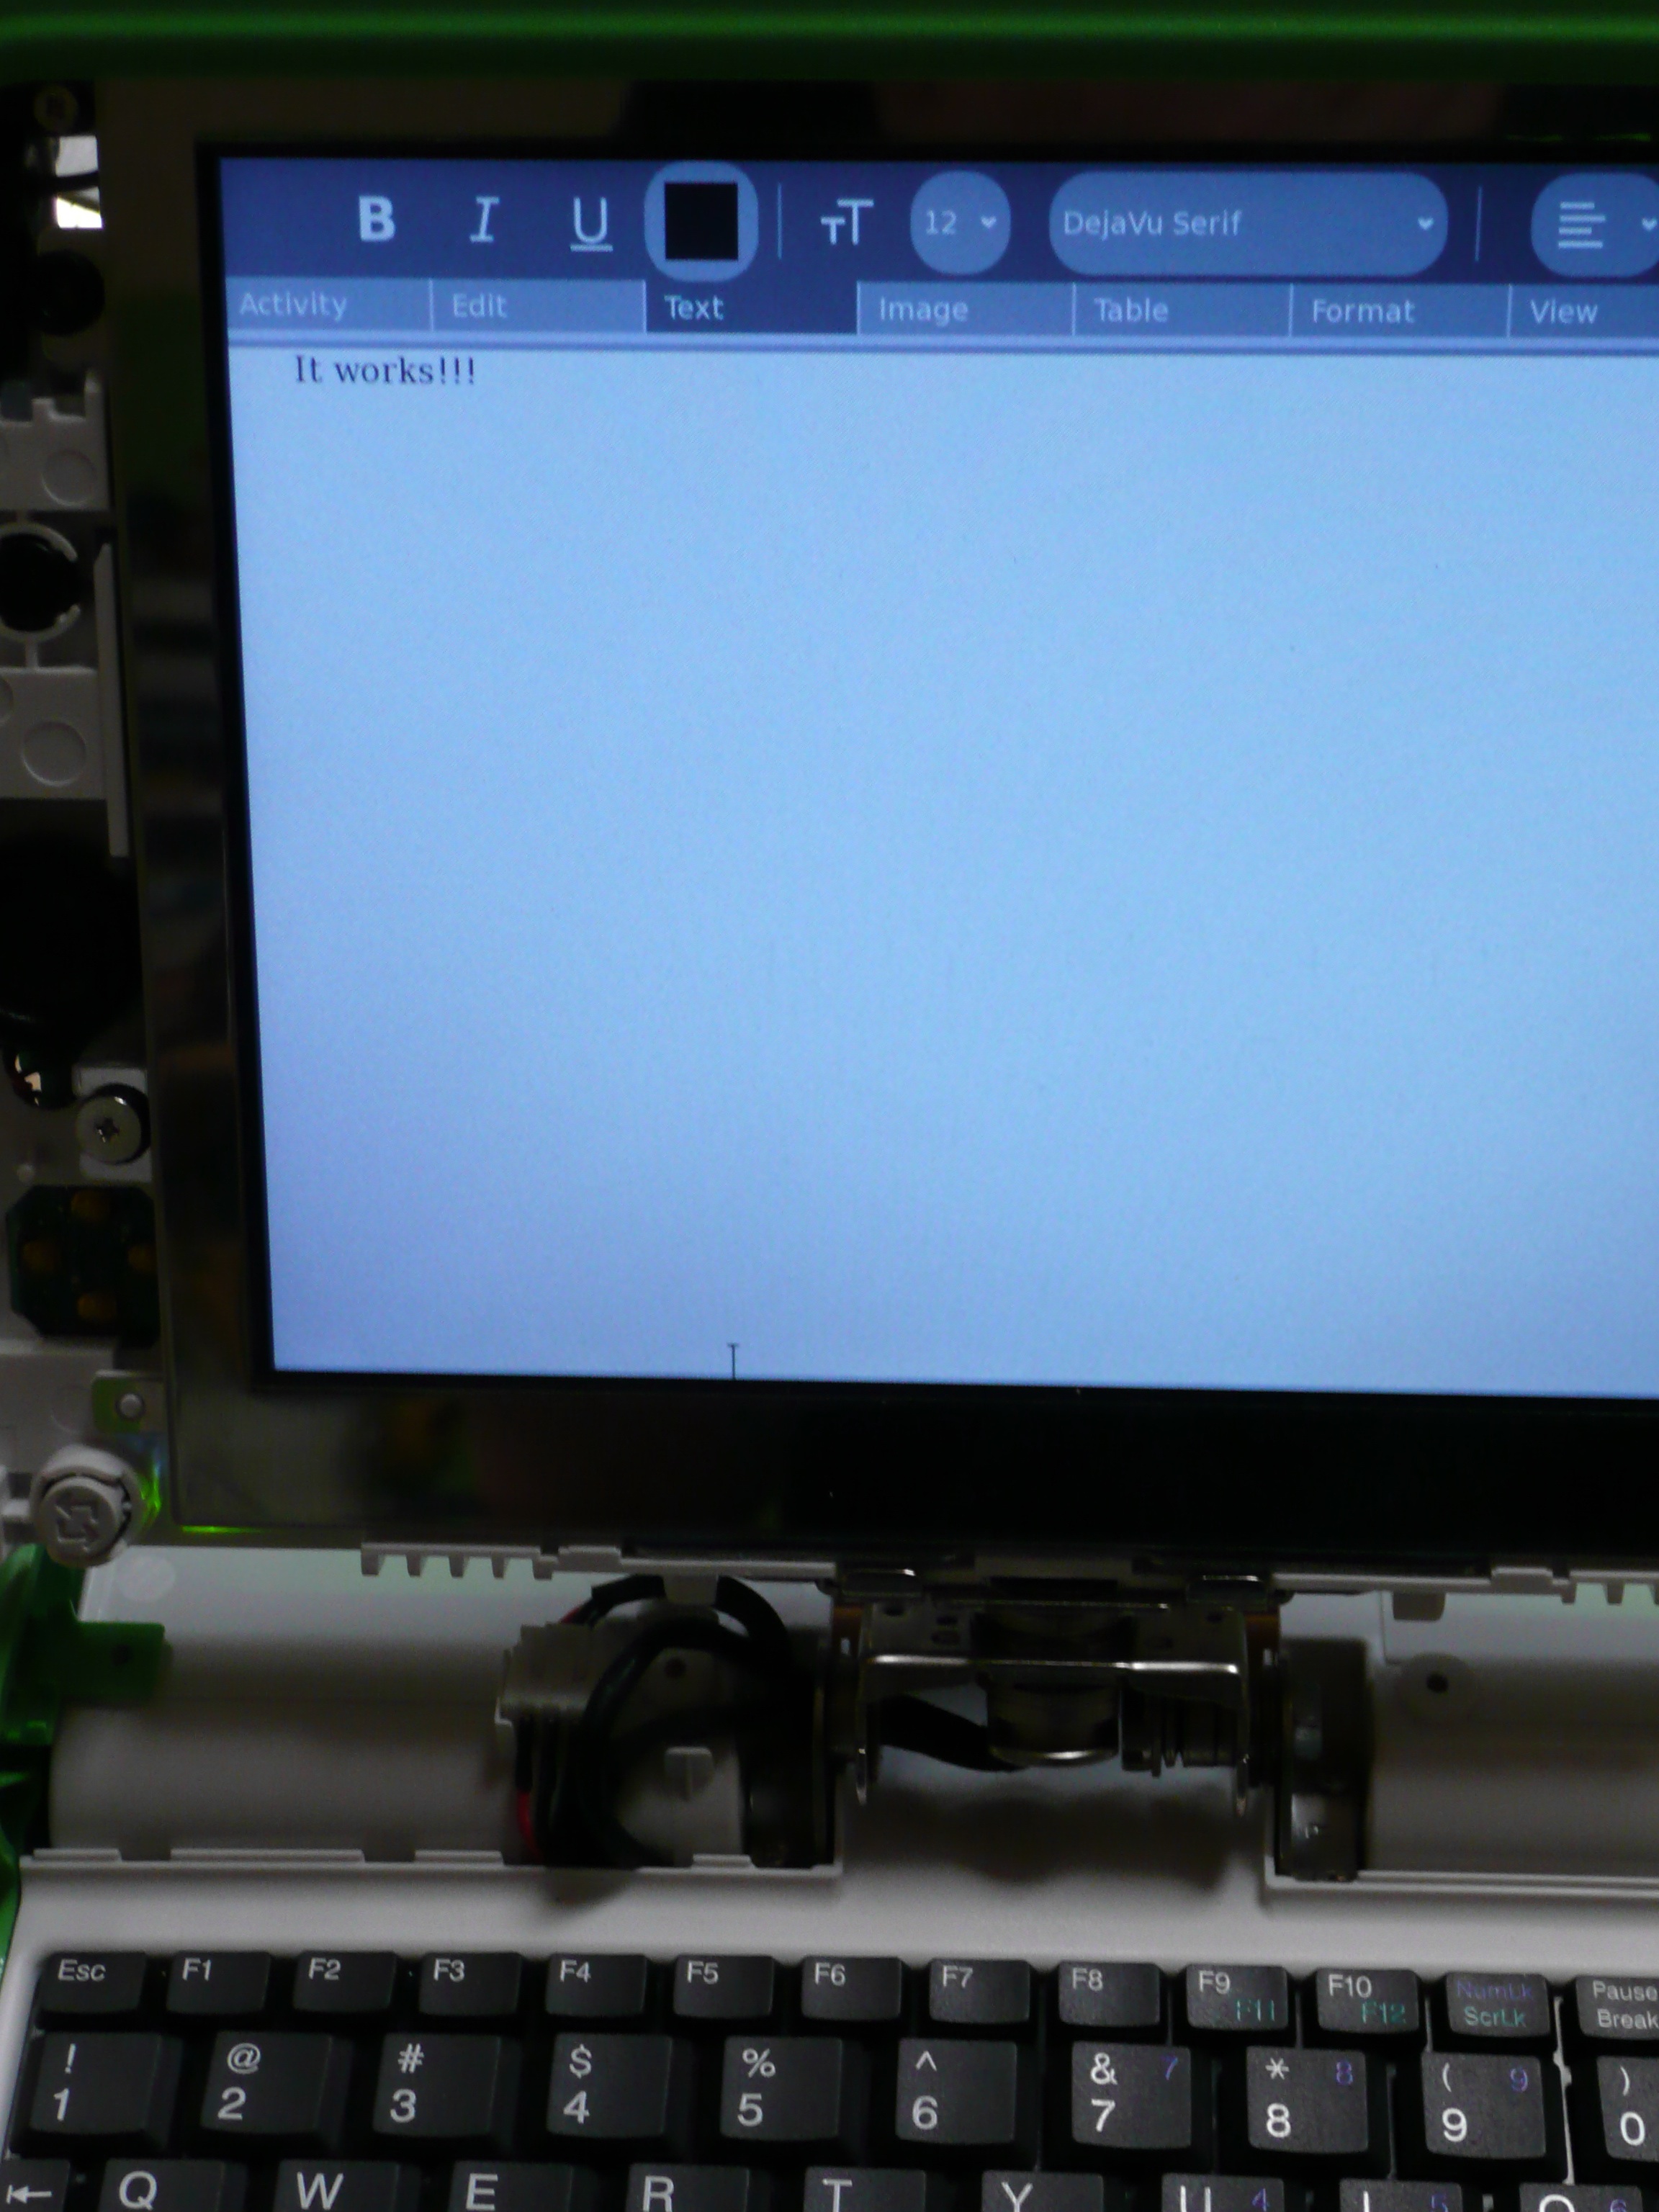
For a guy who's spent most of his life with his fingers connected to the home row, adding this USB keyboard that I can really touch-type on has made a huge difference in the usability of the XO. This is "phase II" -- putting the cable inside the case and hard-wiring it into one of the XO's USB ports. The instructions for this phase should work for adding any USB device to your XO.
Even though I extirpated it from my OLPC laptop and yeah, I poked a little fun at it in Phase I, I really love the design of the XO's soft green keyboard. There's no Caps Lock key, which is brilliant, it gives you access to all kinds of useful (and fun) extended characters, and the Sugar interface keys simply look cool. I will probably have mine framed, now that I'm not using it.
This part of the project is relatively benign compared with Phase I; there's no dremeling, no squeezing of parts together, just a little solder that should be pretty easy to undo later if you really need to. That said, you have to be very careful in this phase for other reasons: this time, you're working with the heart of your XO laptop. It would be very easy to cause a short circuit with some stray strands of wire or to melt a PC board with the soldering iron if you're not careful. One worry I didn't have going into this was that I might bump the clock backup battery. I should have been worried about it! Turns out that Firmware version q2d06 will never boot again if the clock battery is dislodged while you're poking around in your XO, so upgrade to q2d07 before proceeding! Thanks, eden!
Things you'll need:
1. A jeweler's large phillips screwdriver (hopefully you haven't lost yours since Phase I)
2. The needliest needle-nosed pliers you can find
3. A pair of wire cutters or very small tin snips
4. A wire stripper set one notch below "angel hair"
5. A pair of scissors
6. A multimeter or a battery soldered to two wires and an LED, for continuity testing
7. One piece of cellophane tape (sorry cello fans)
8. A soldering iron
9. Solder (preferably lead-free)
10. Something to block the USB port your new keyboard will now permanently occupy, or a good memory for which port never, ever to use again
11. An OLPC XO laptop, preferably one that has an unsightly USB cable hanging out the back
Skull Saw, Nurse
Luckily for me, I don't have to write any instructions on how to take apart your XO; all you need to do is visit the OLPC wiki:
http://wiki.laptop.org/go/Manual/Insides
You're trying to get to the USB ports, which are at the back of the XO's "head." Unfortunately, you can't just pop the back off and start digging, because the screws that keep the back panel from falling off are underneath the LCD. Follow the instructions through the third page. When I got to the LCD, I just removed it from the machine and set it aside on my desk on some of these things for safekeeping while I did the rest of the work.
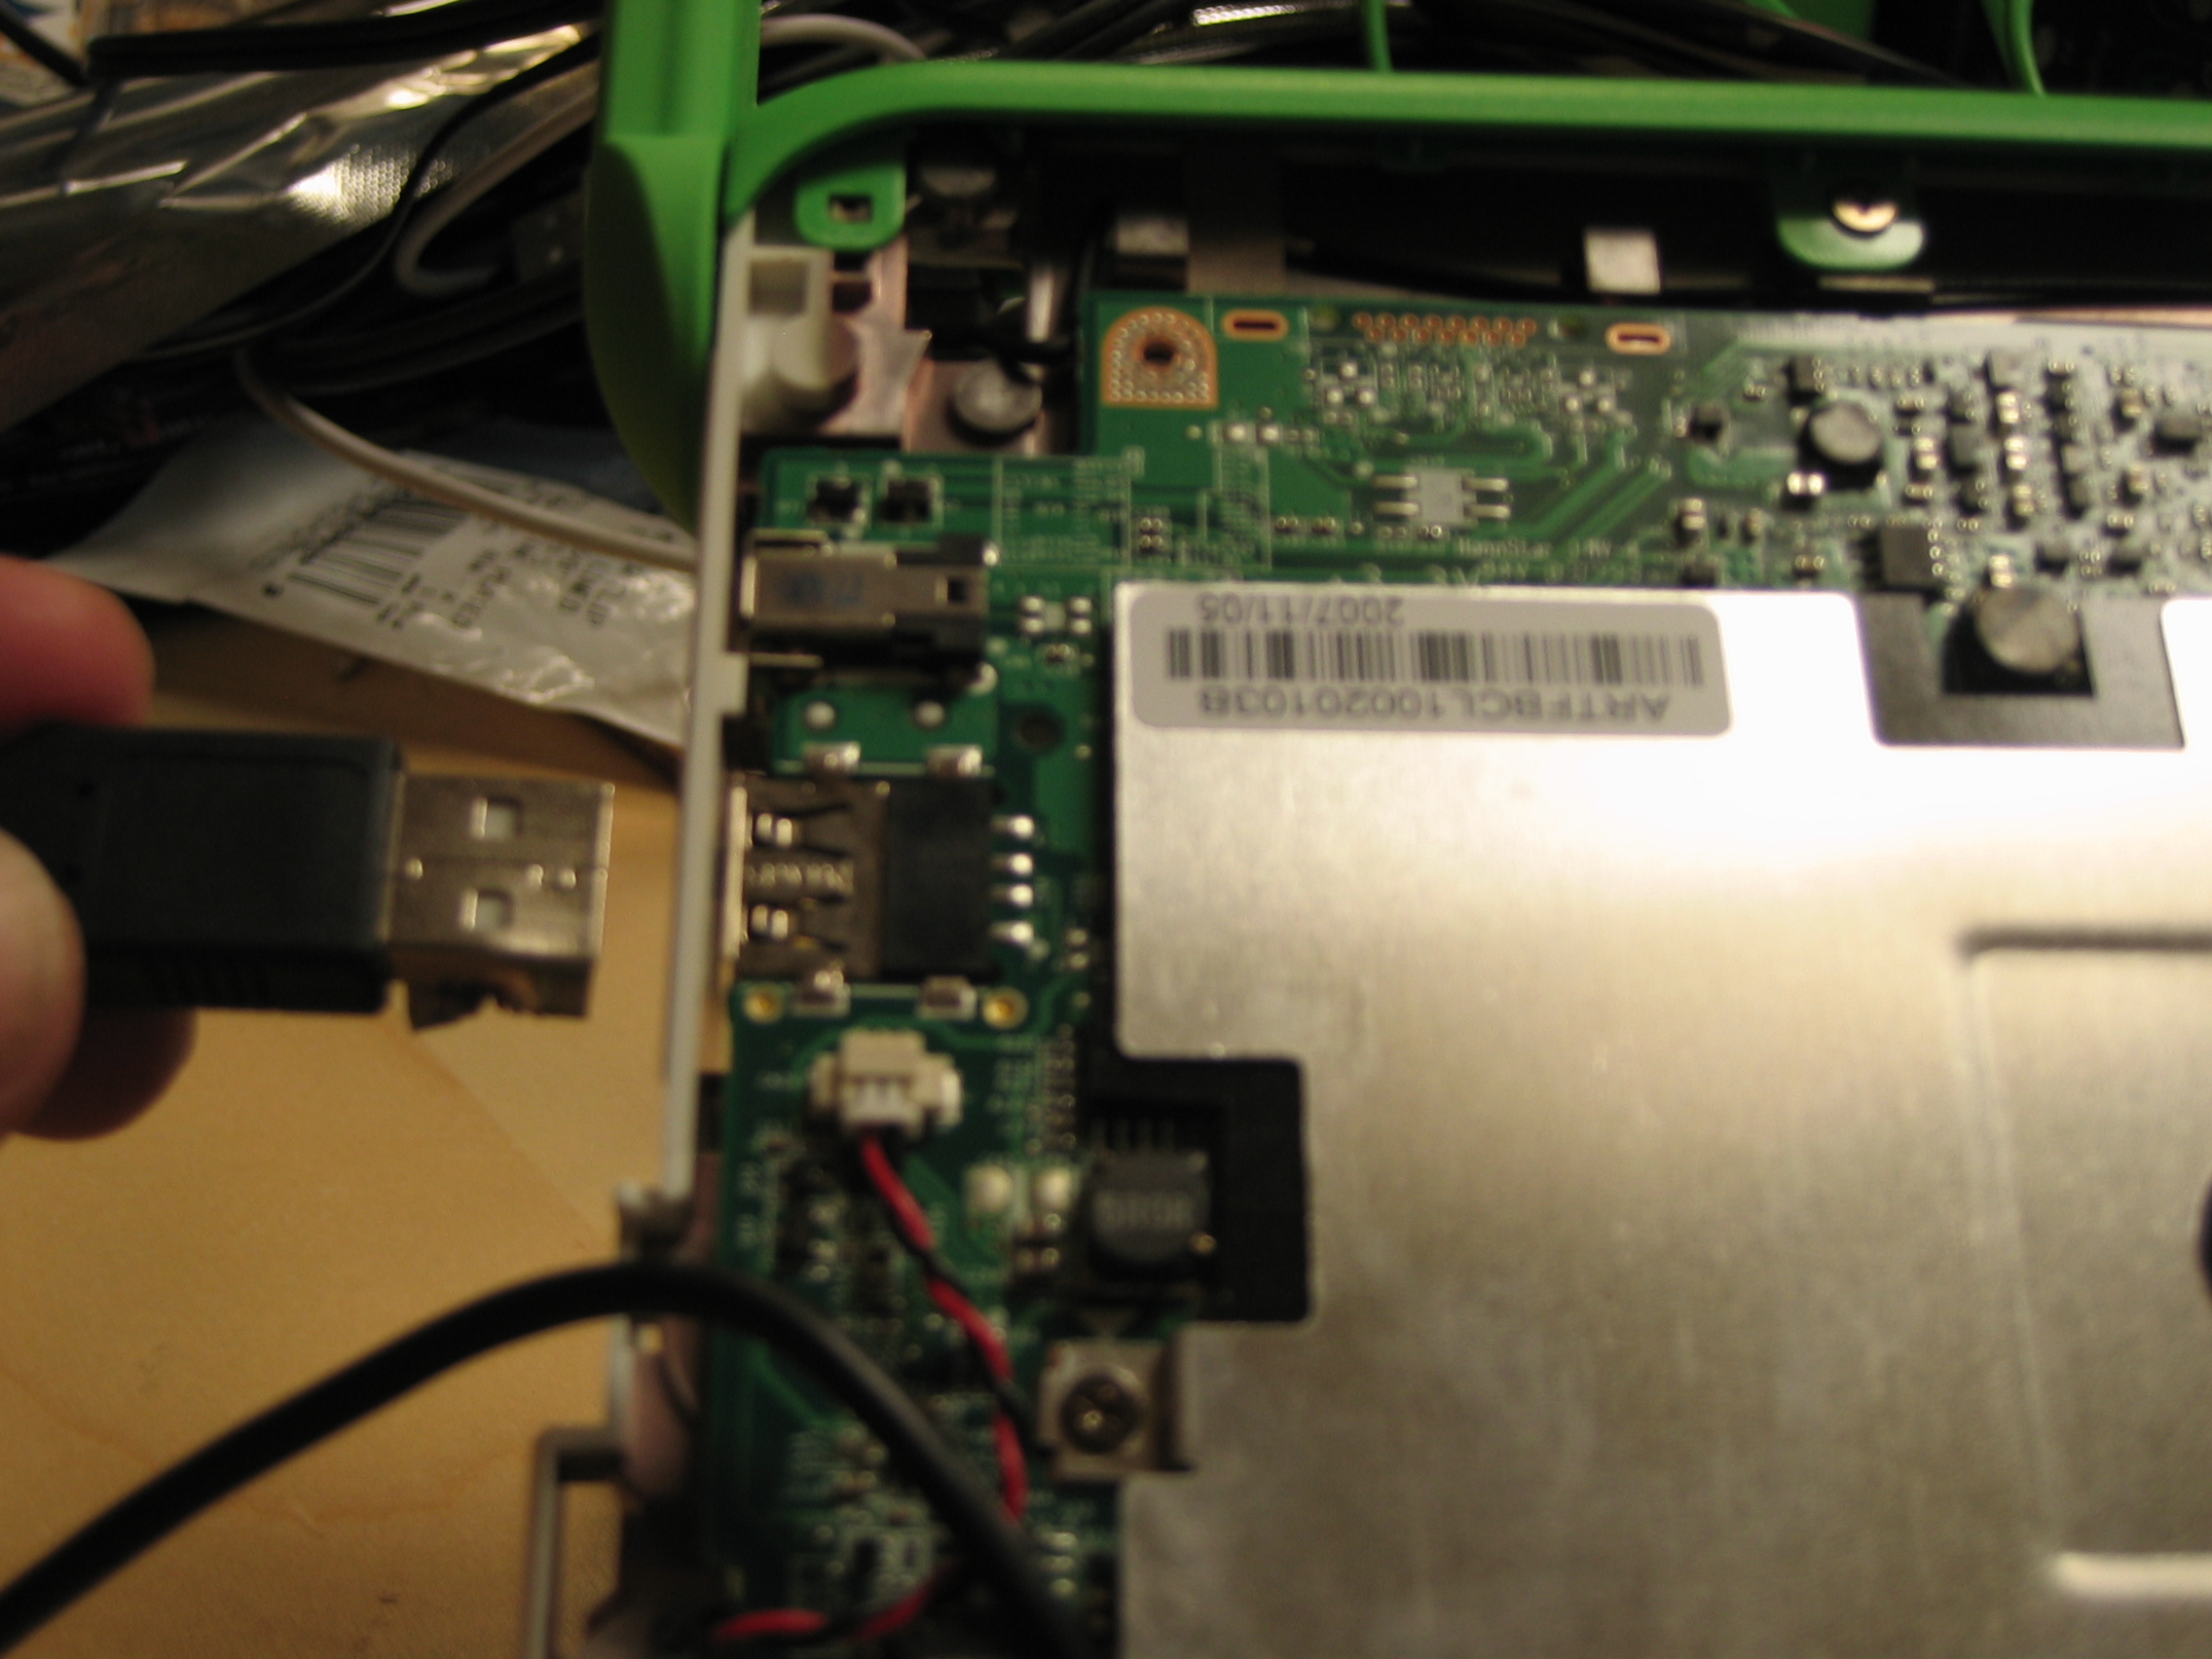
Once you get the back cover off, though, you'll see that the geeks at OLPC must have wanted you to hack your XO this way; one of the USB ports is not like the others -- instead of being mounted perpendicularly to the motherboard, it's flat along it, which means that the pins are all visible and practically screaming out to be soldered to something: a hub? a 3G modem? Maybe my next project should be an internal USB aquarium...
Cut the Cord


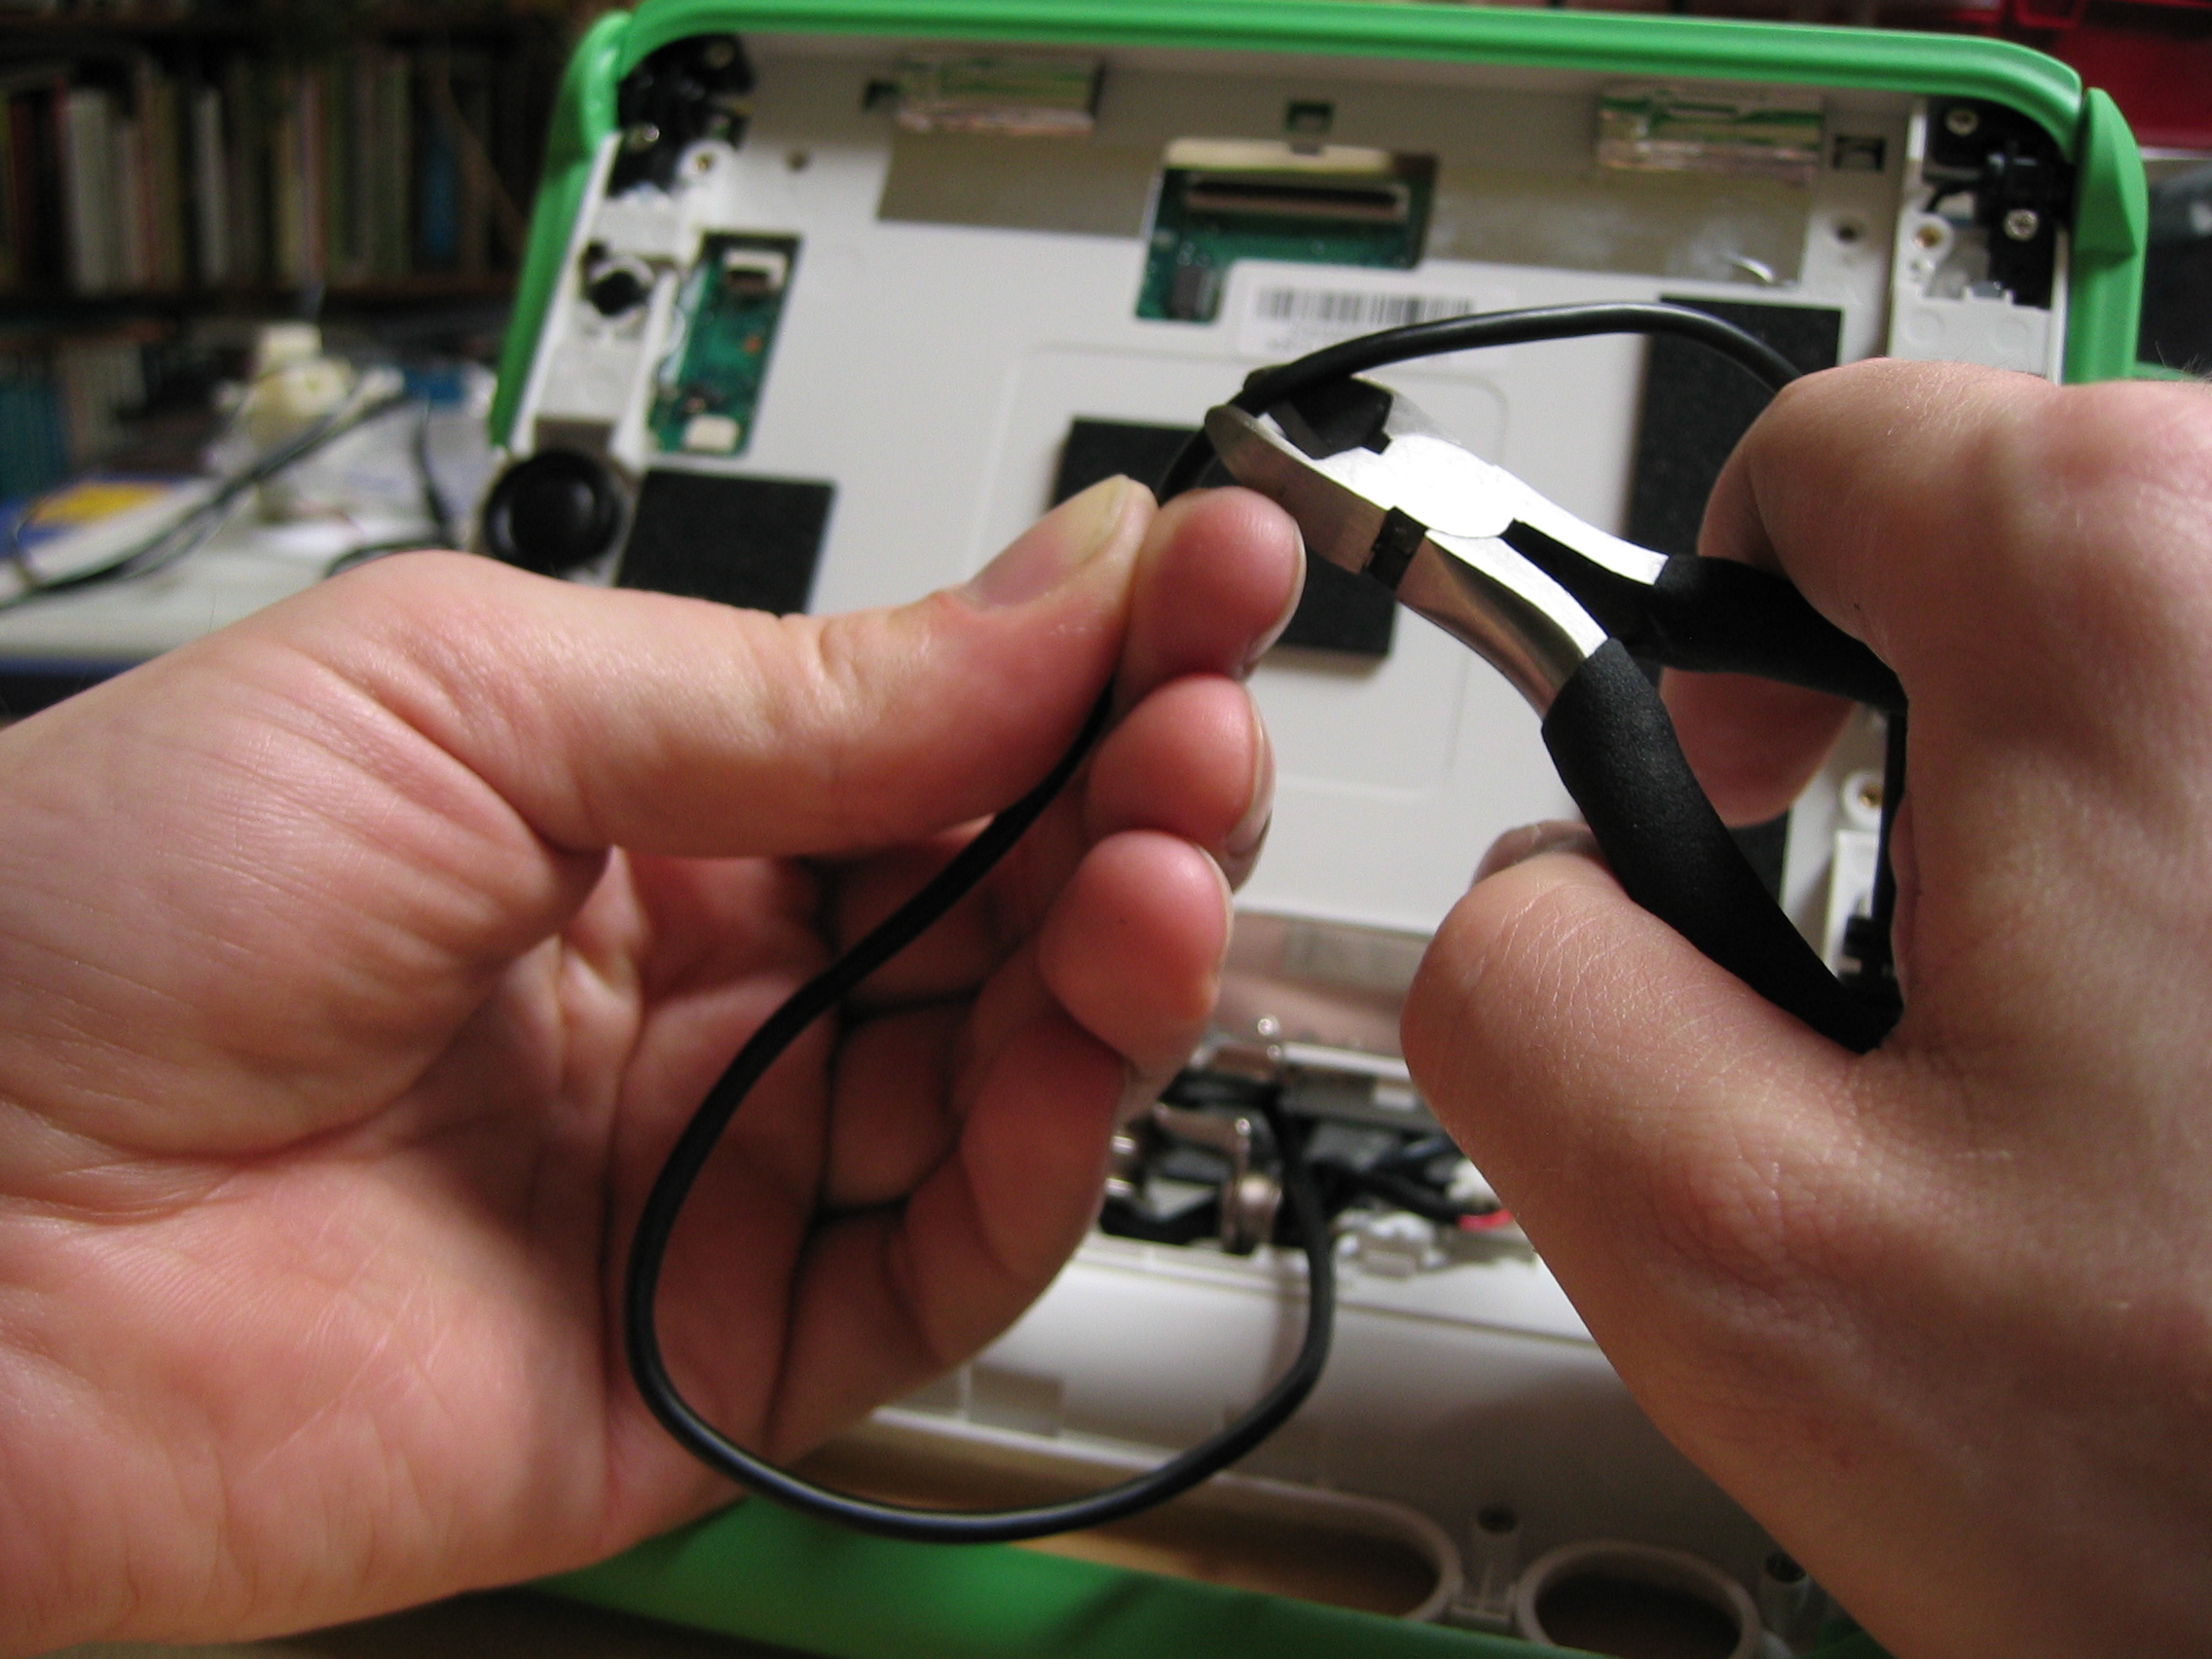
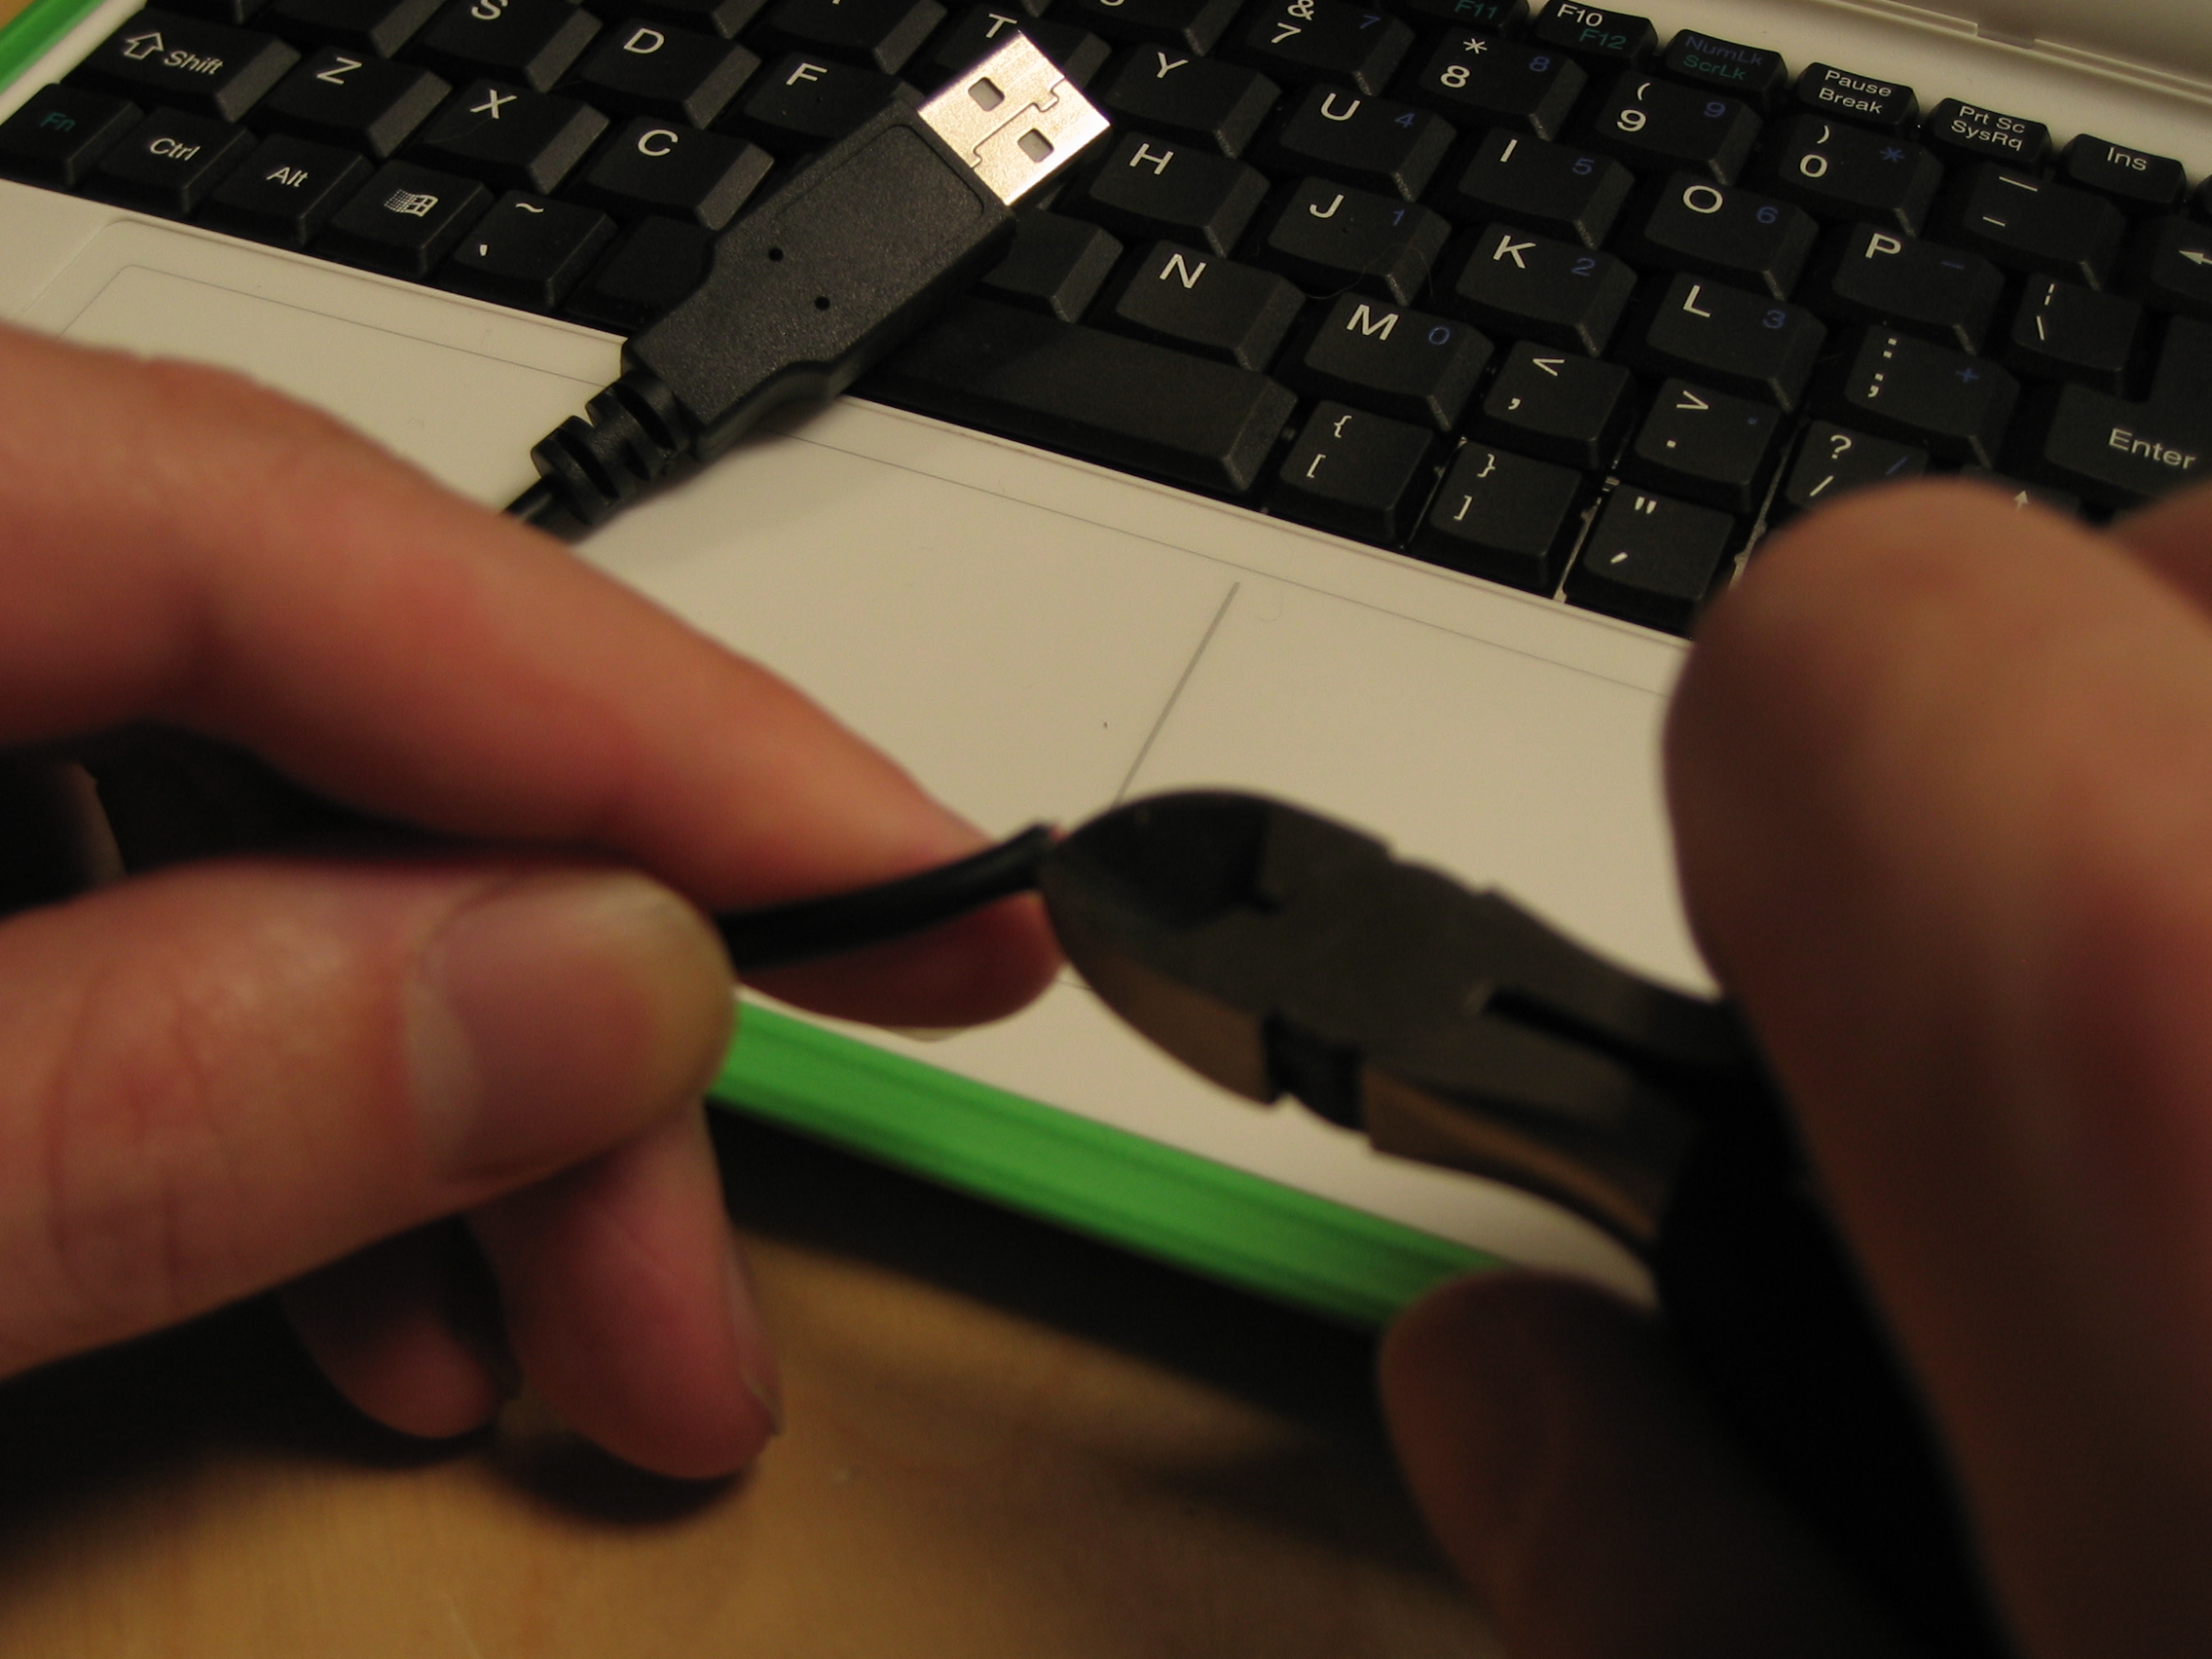
The only way we're going to get rid of that ugly usb cable hanging out the back of your XO laptop is to run it through the conduits in the XO's hinge. And the only way we're going to get the USB cable through those conduits is to cut its head off. It always makes me cringe to take a system from a working state to a non-working state, so if you're like me that way: don't worry, it will be okay! Have a lollipop.
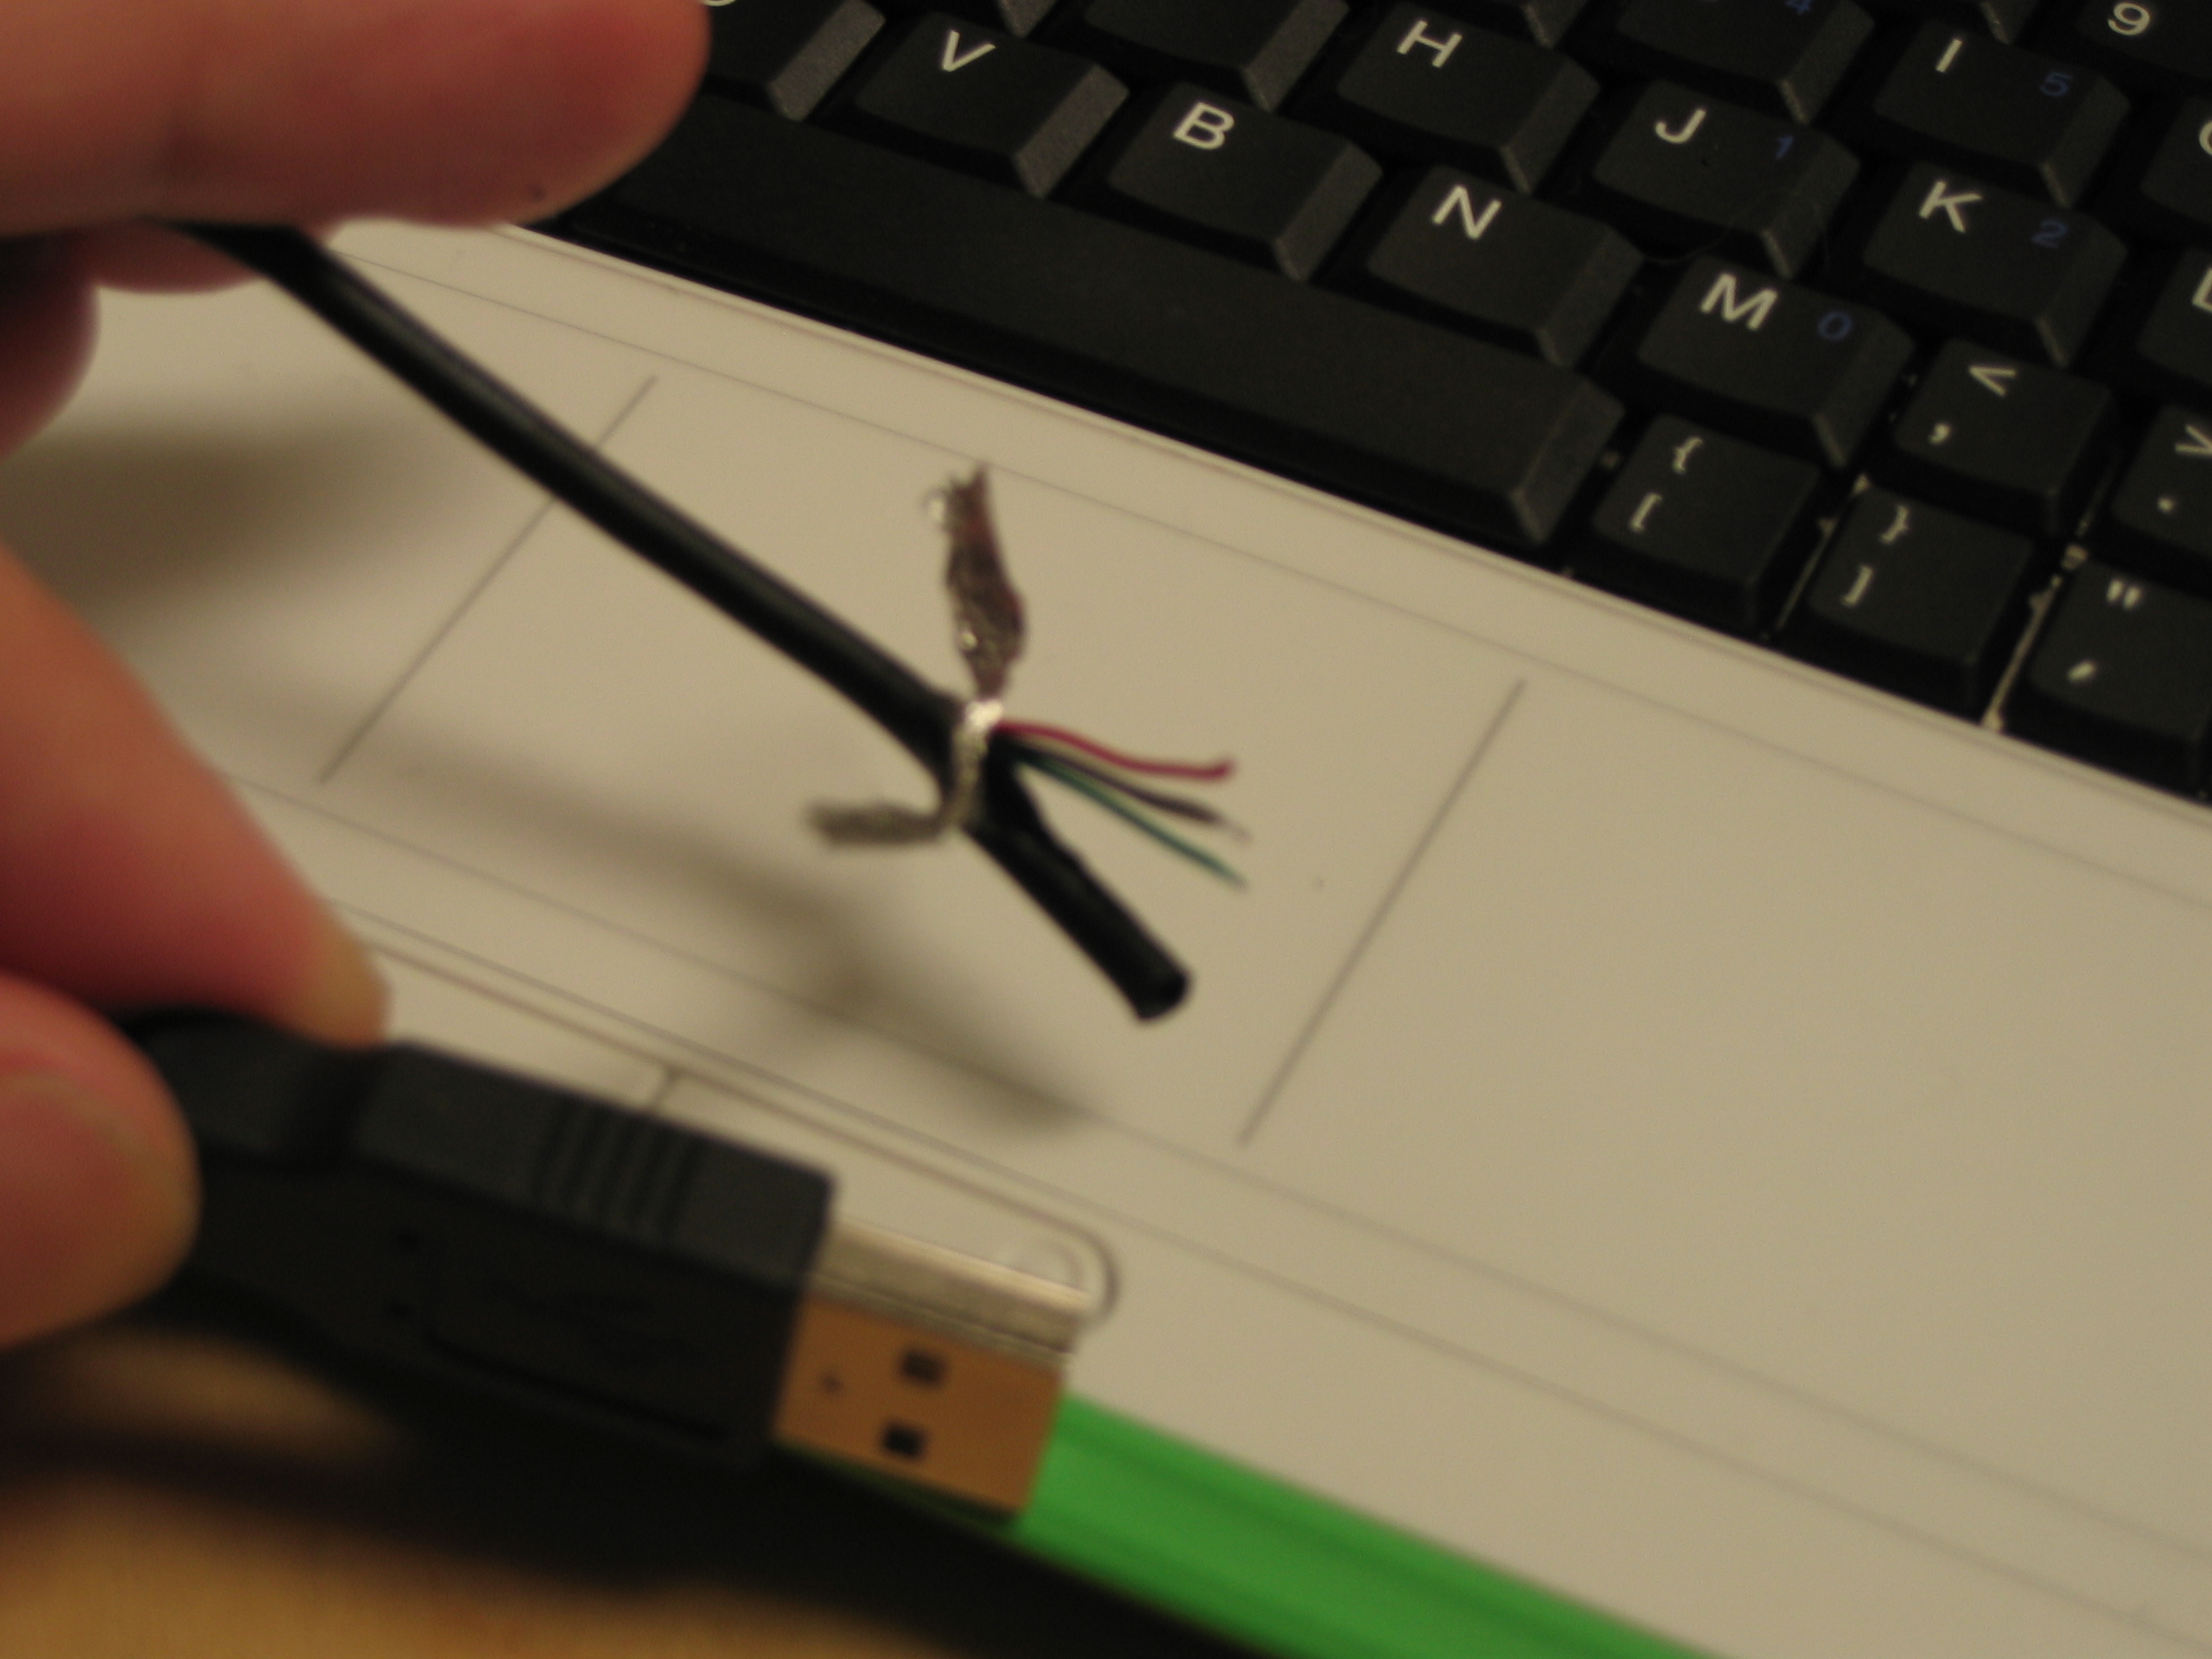
Cut the cable at least 5 inches from the end, so you can fold the it over and put both ends next to each other. Let's call this piece of cable "Stumpy." We're not going to throw Stumpy away just yet; he can teach us some things about USB cables and give us some practice handling these wires before we start modifying the end of the cable that will actually be part of the machine.
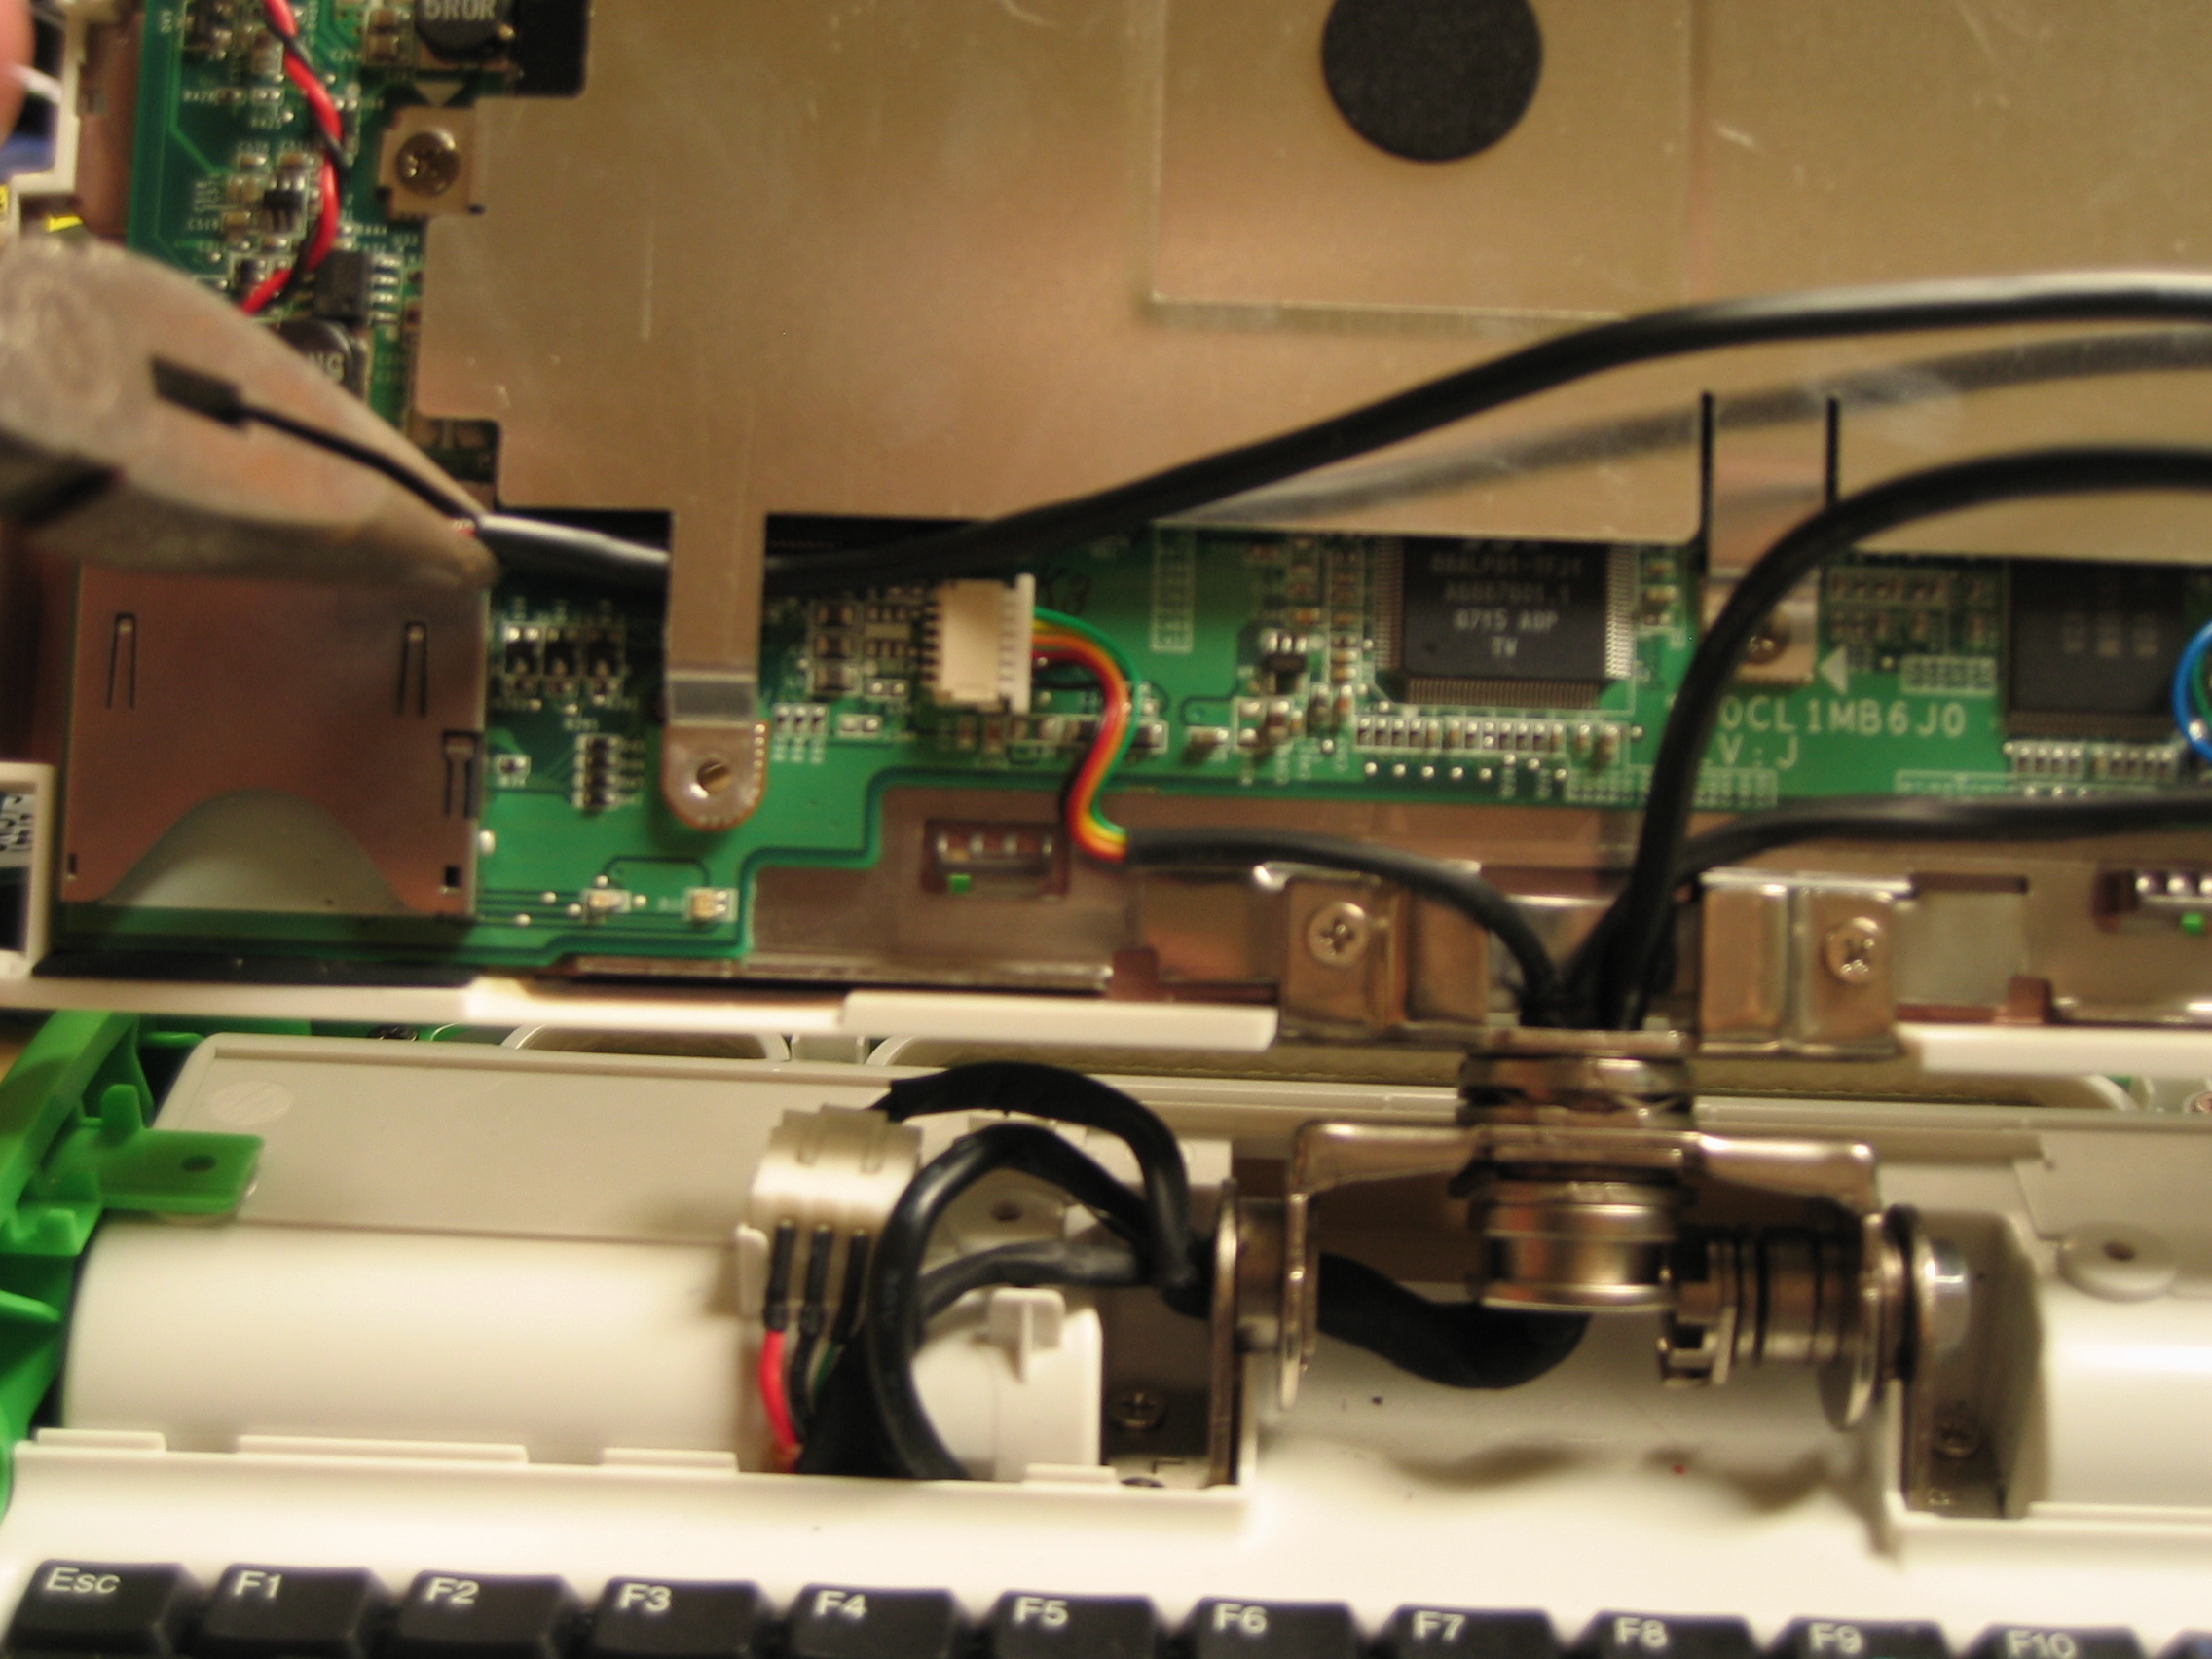
Now, take the part of the keyboard cable that's still attached to the keyboard (and by extension, your XO), and carefully thread it through the side of the hinge. Pull the cable all the way through, then feed it up through the top of the hinge into the head of your XO. If the cable gets stuck, needle-nose pliers will really help. Don't worry about damaging the very end of the cable; we're going to cut a lot of that off.
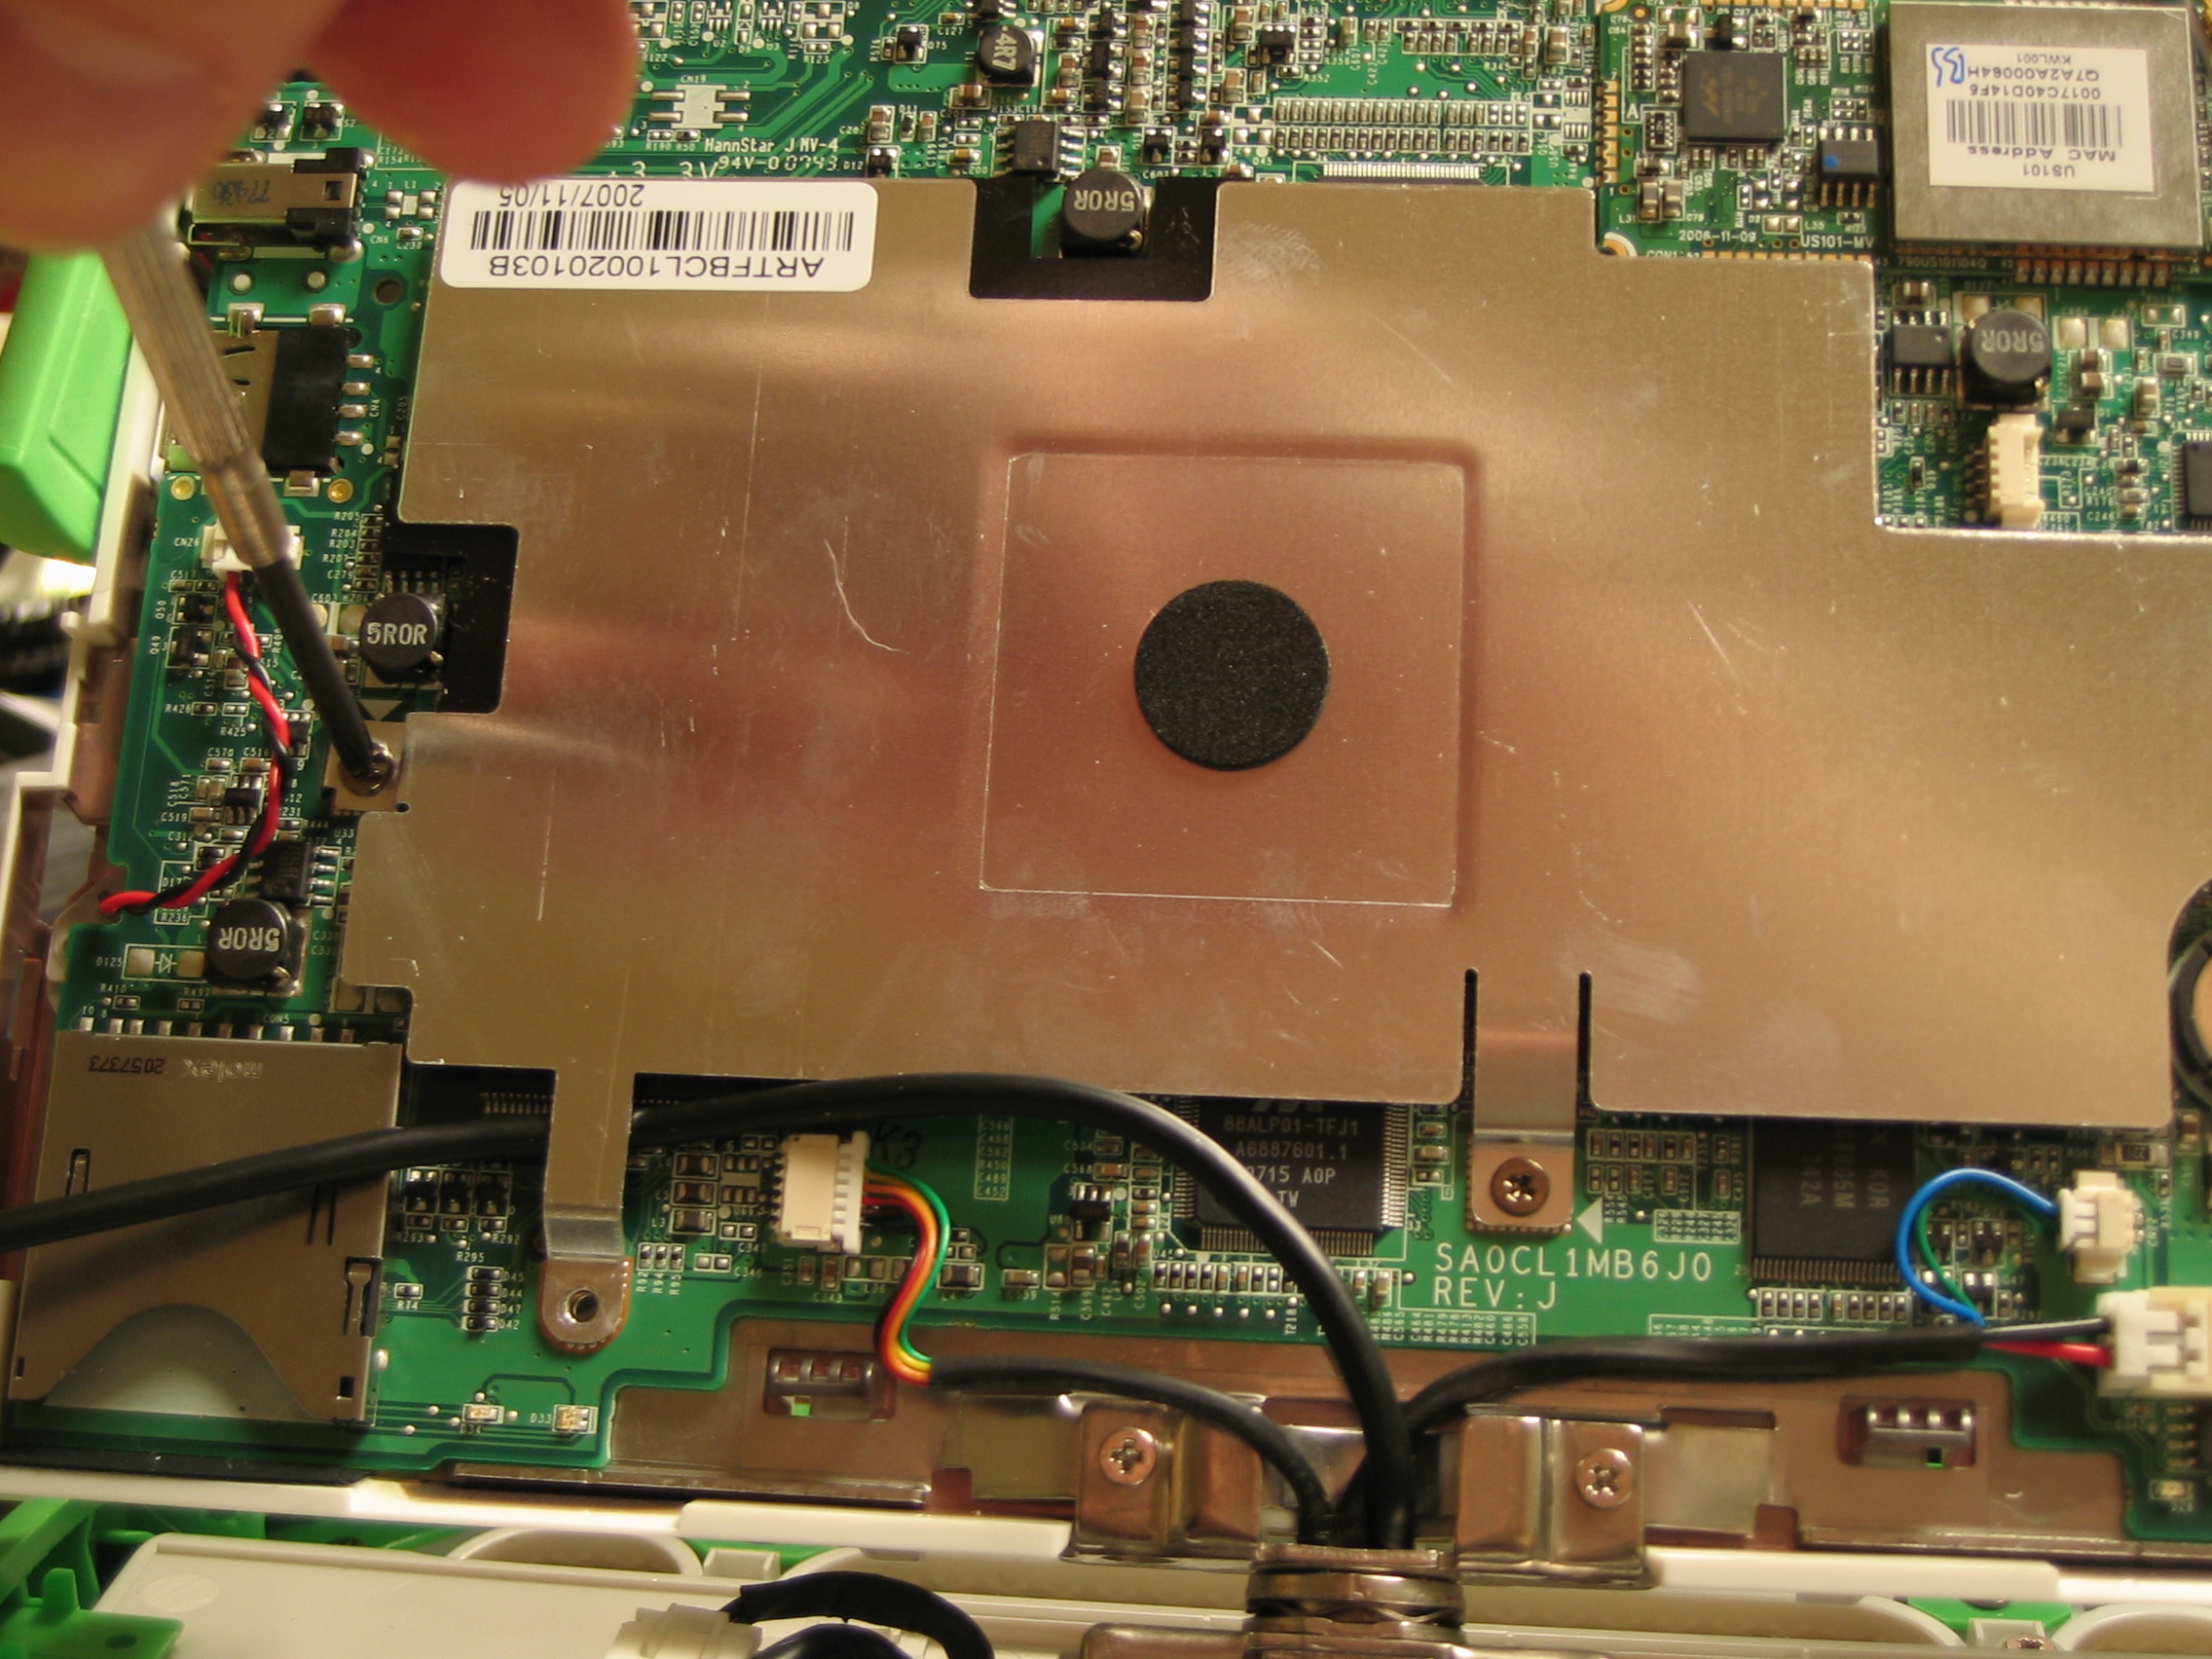
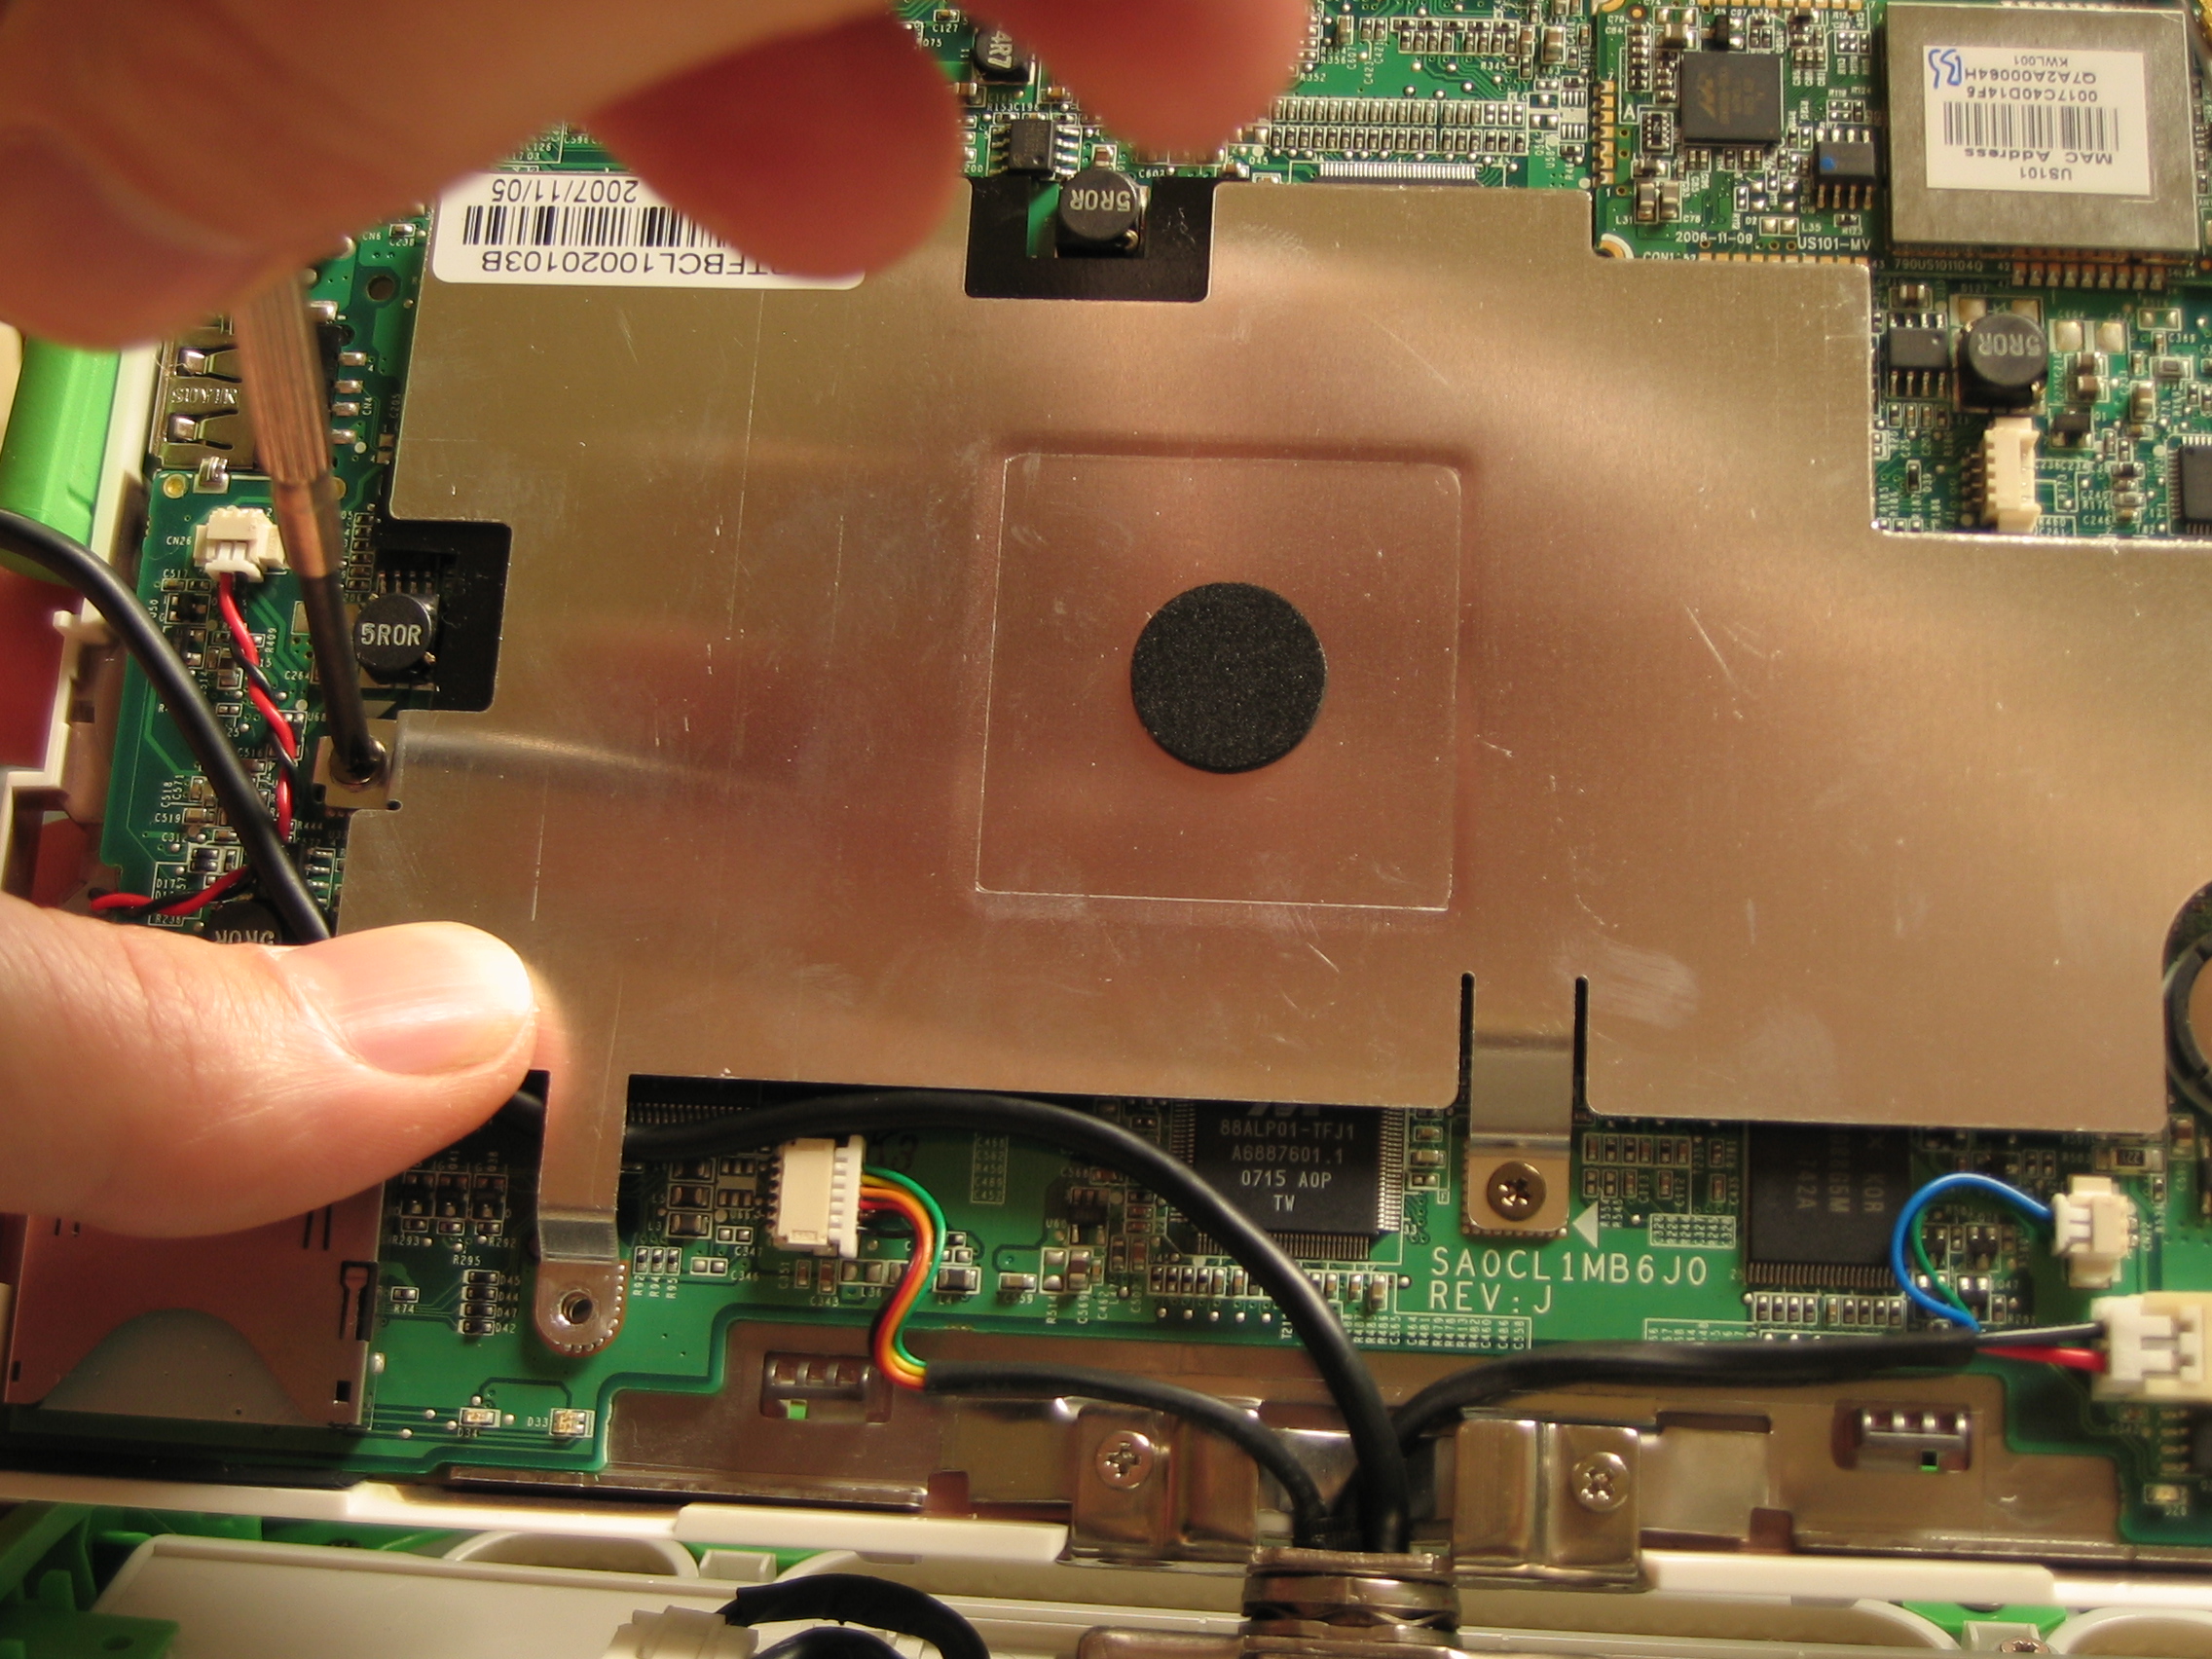
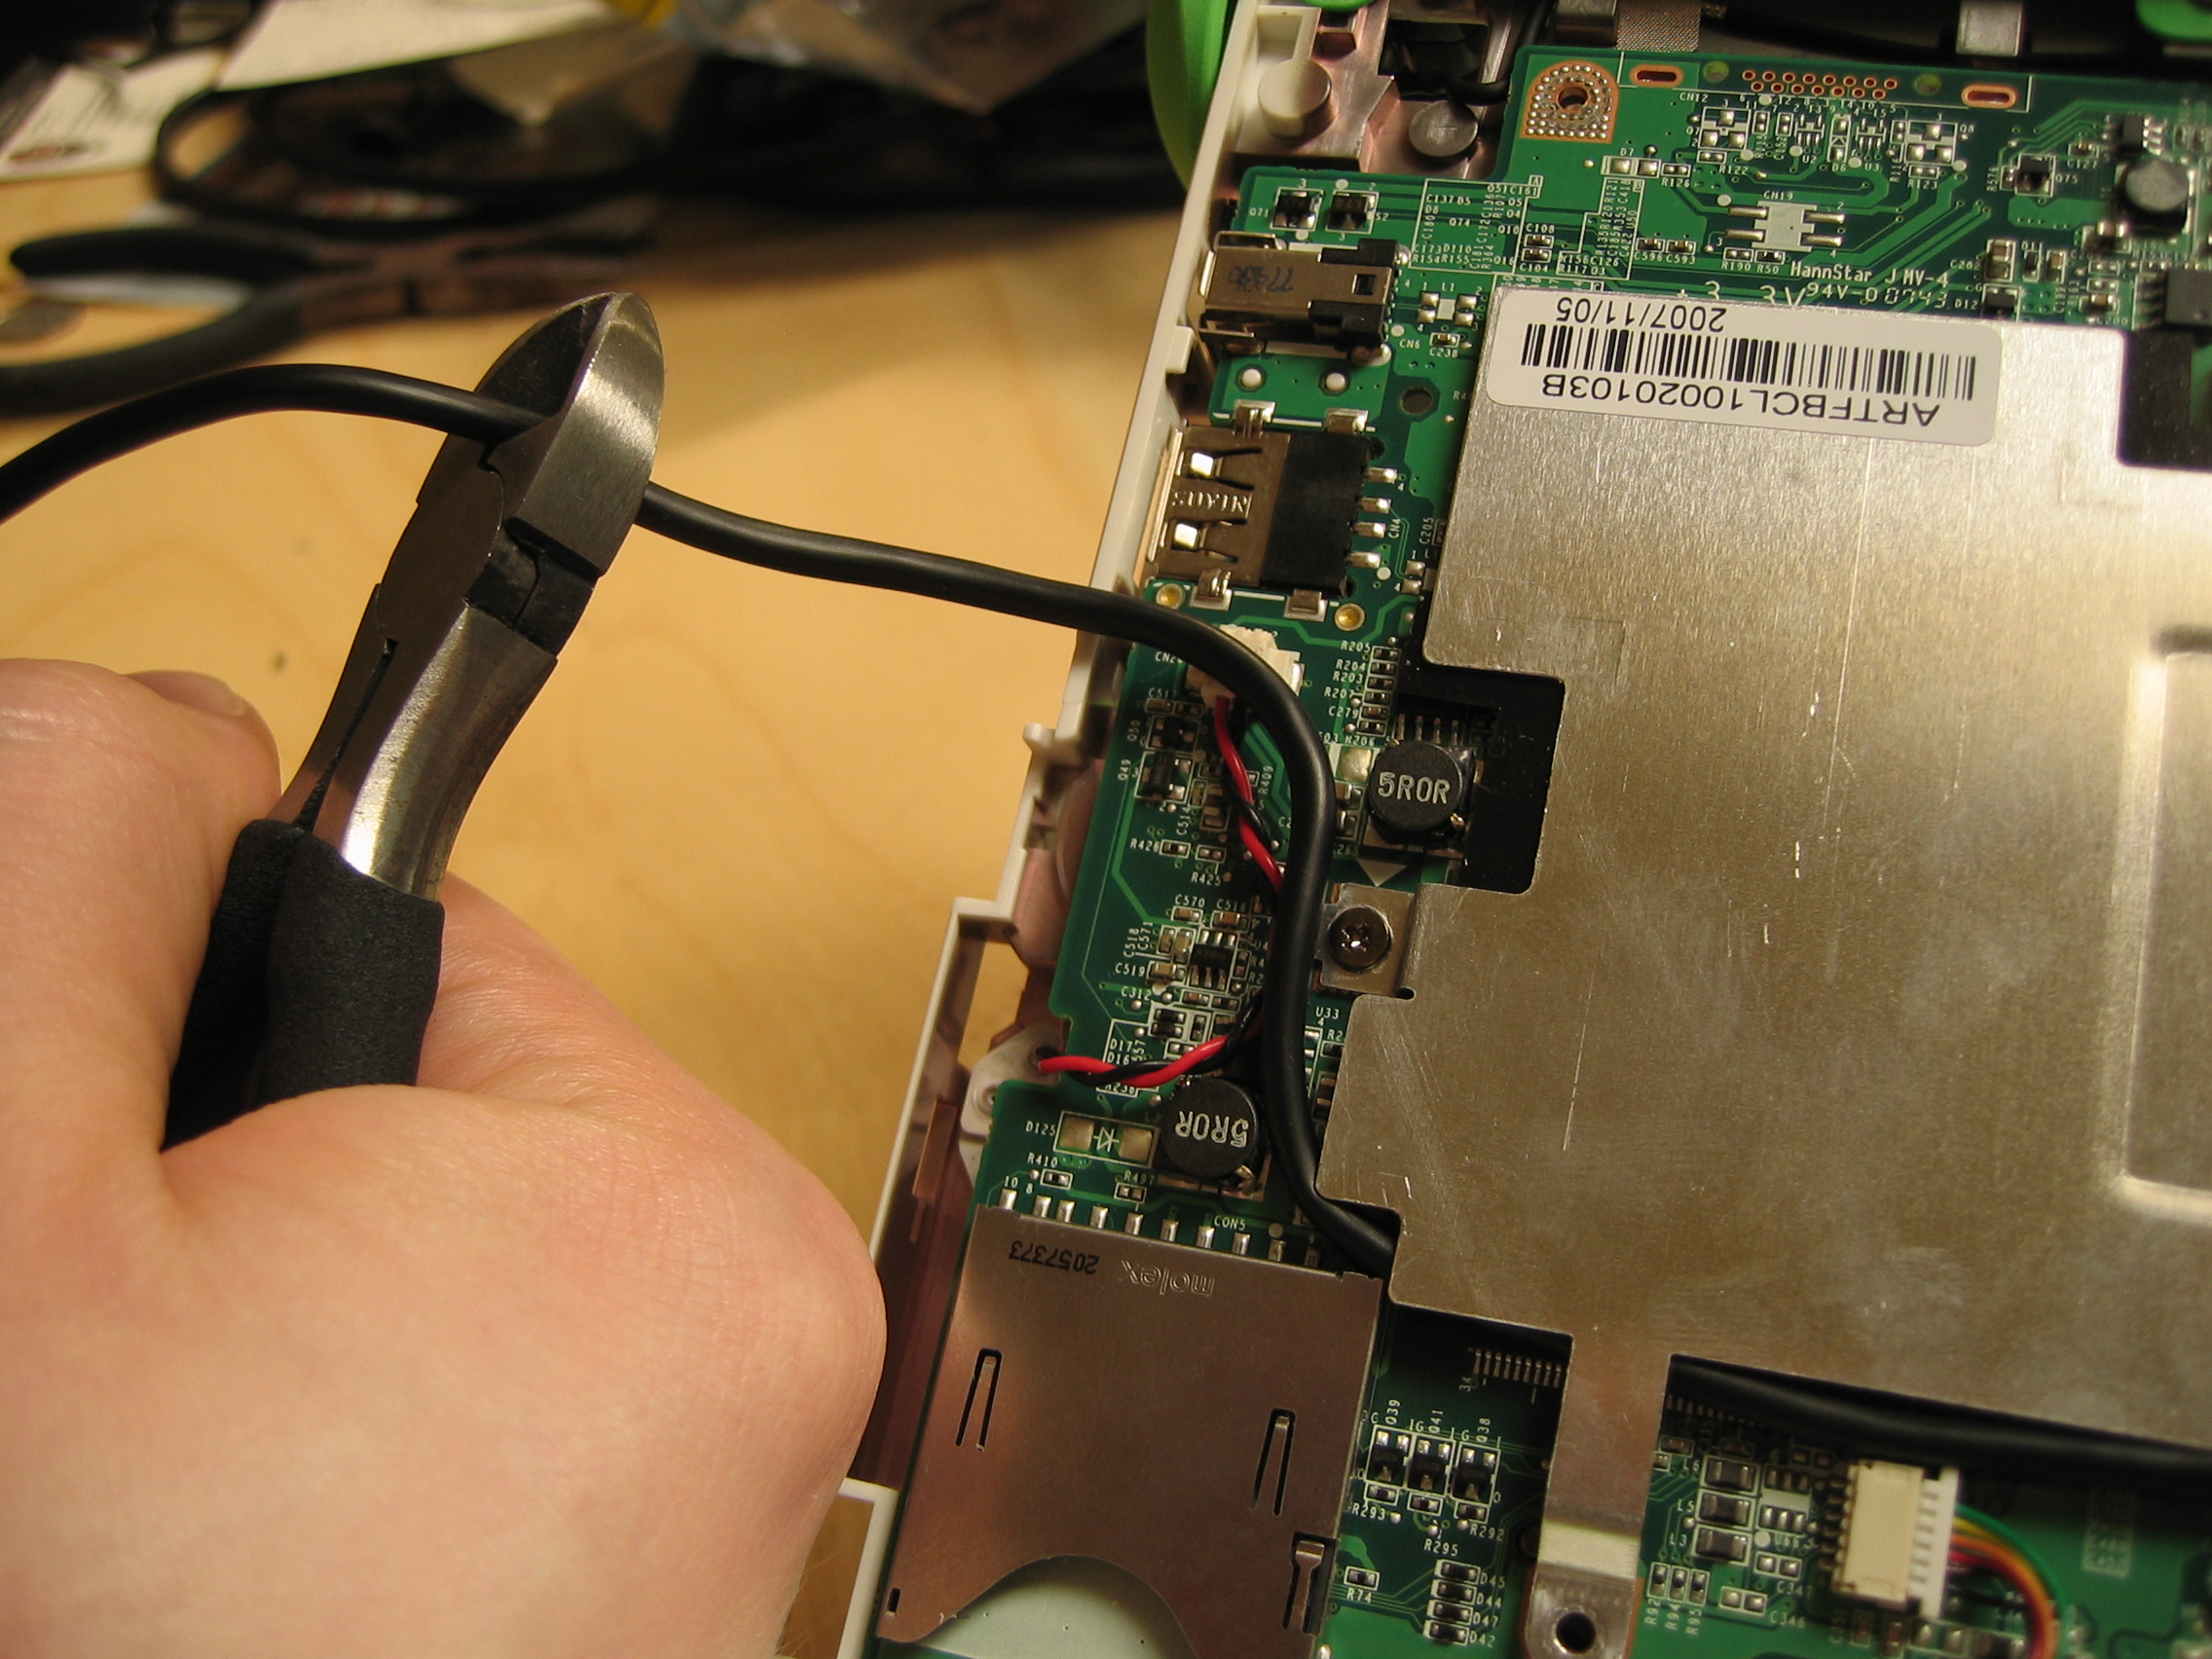
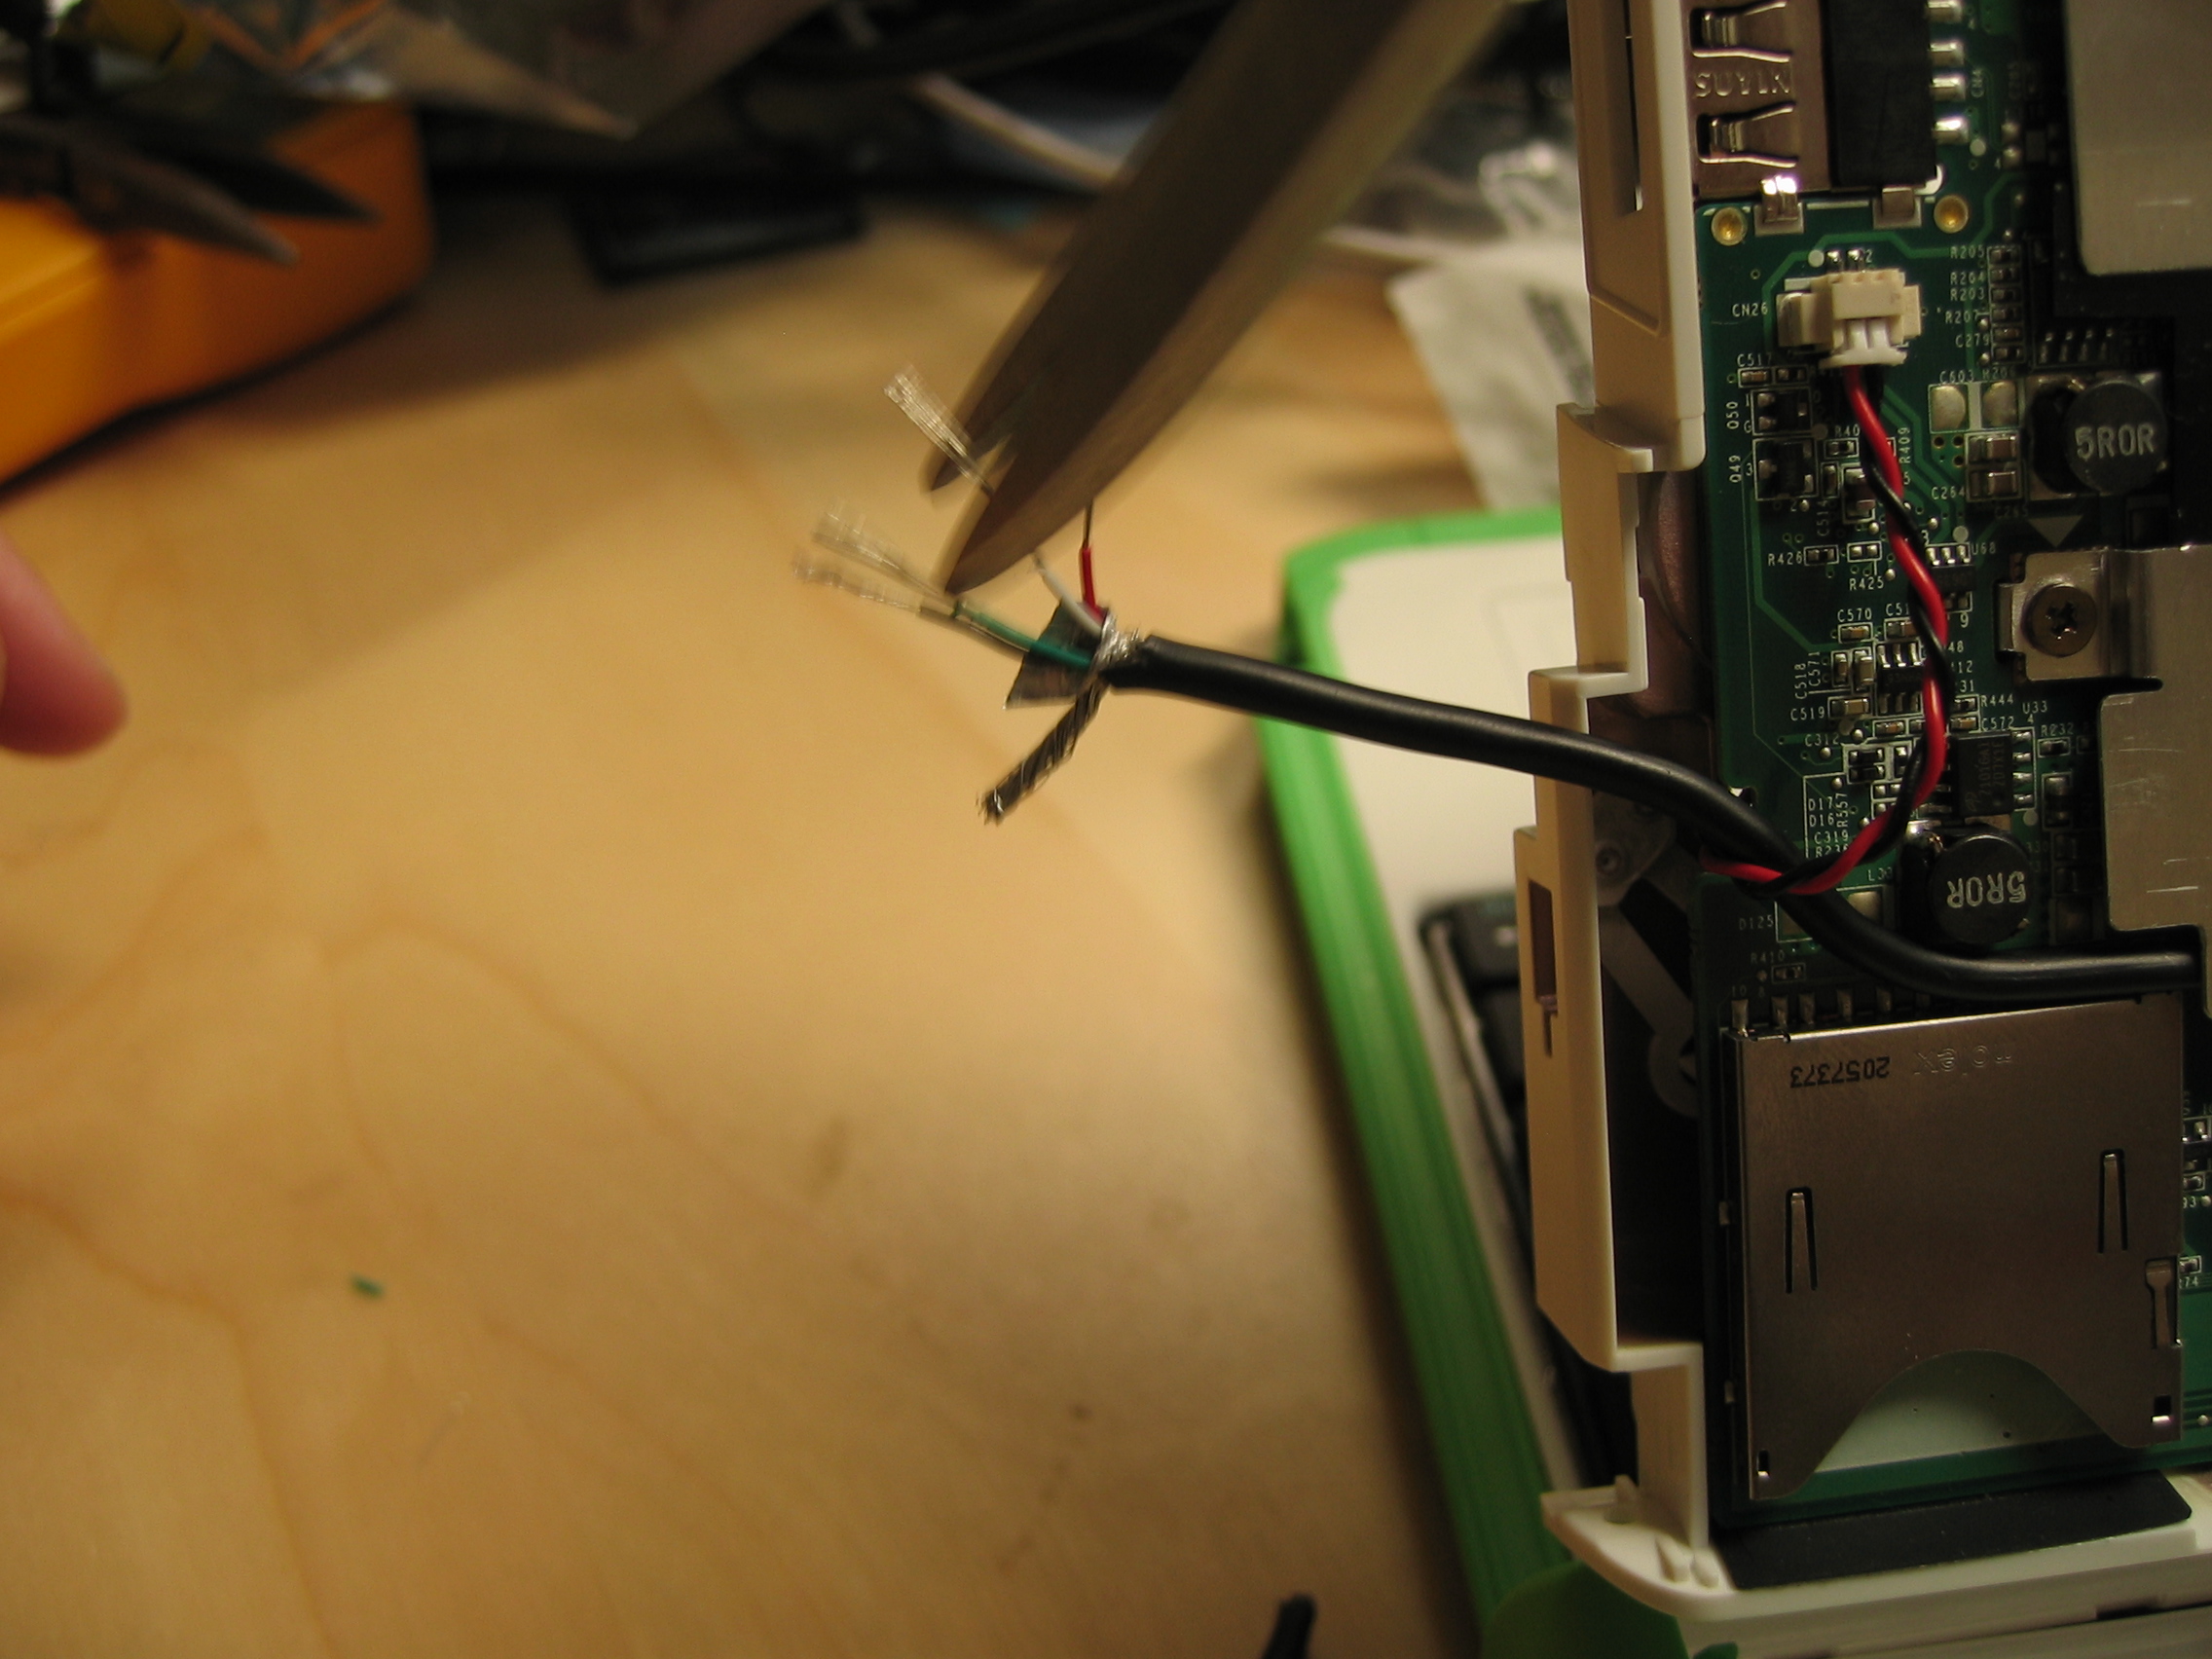
There's a nice heat shield covering most of the motherboard that provides a great place to run the keyboard cable. Just lay the cord along the bottom of the heat shield, pull it through the support at the left edge. To make it around the corner, I had to unscrew one of the heat shield supports (as shown in the third photo).
The Leg Wire's Connected to the Hip Wire


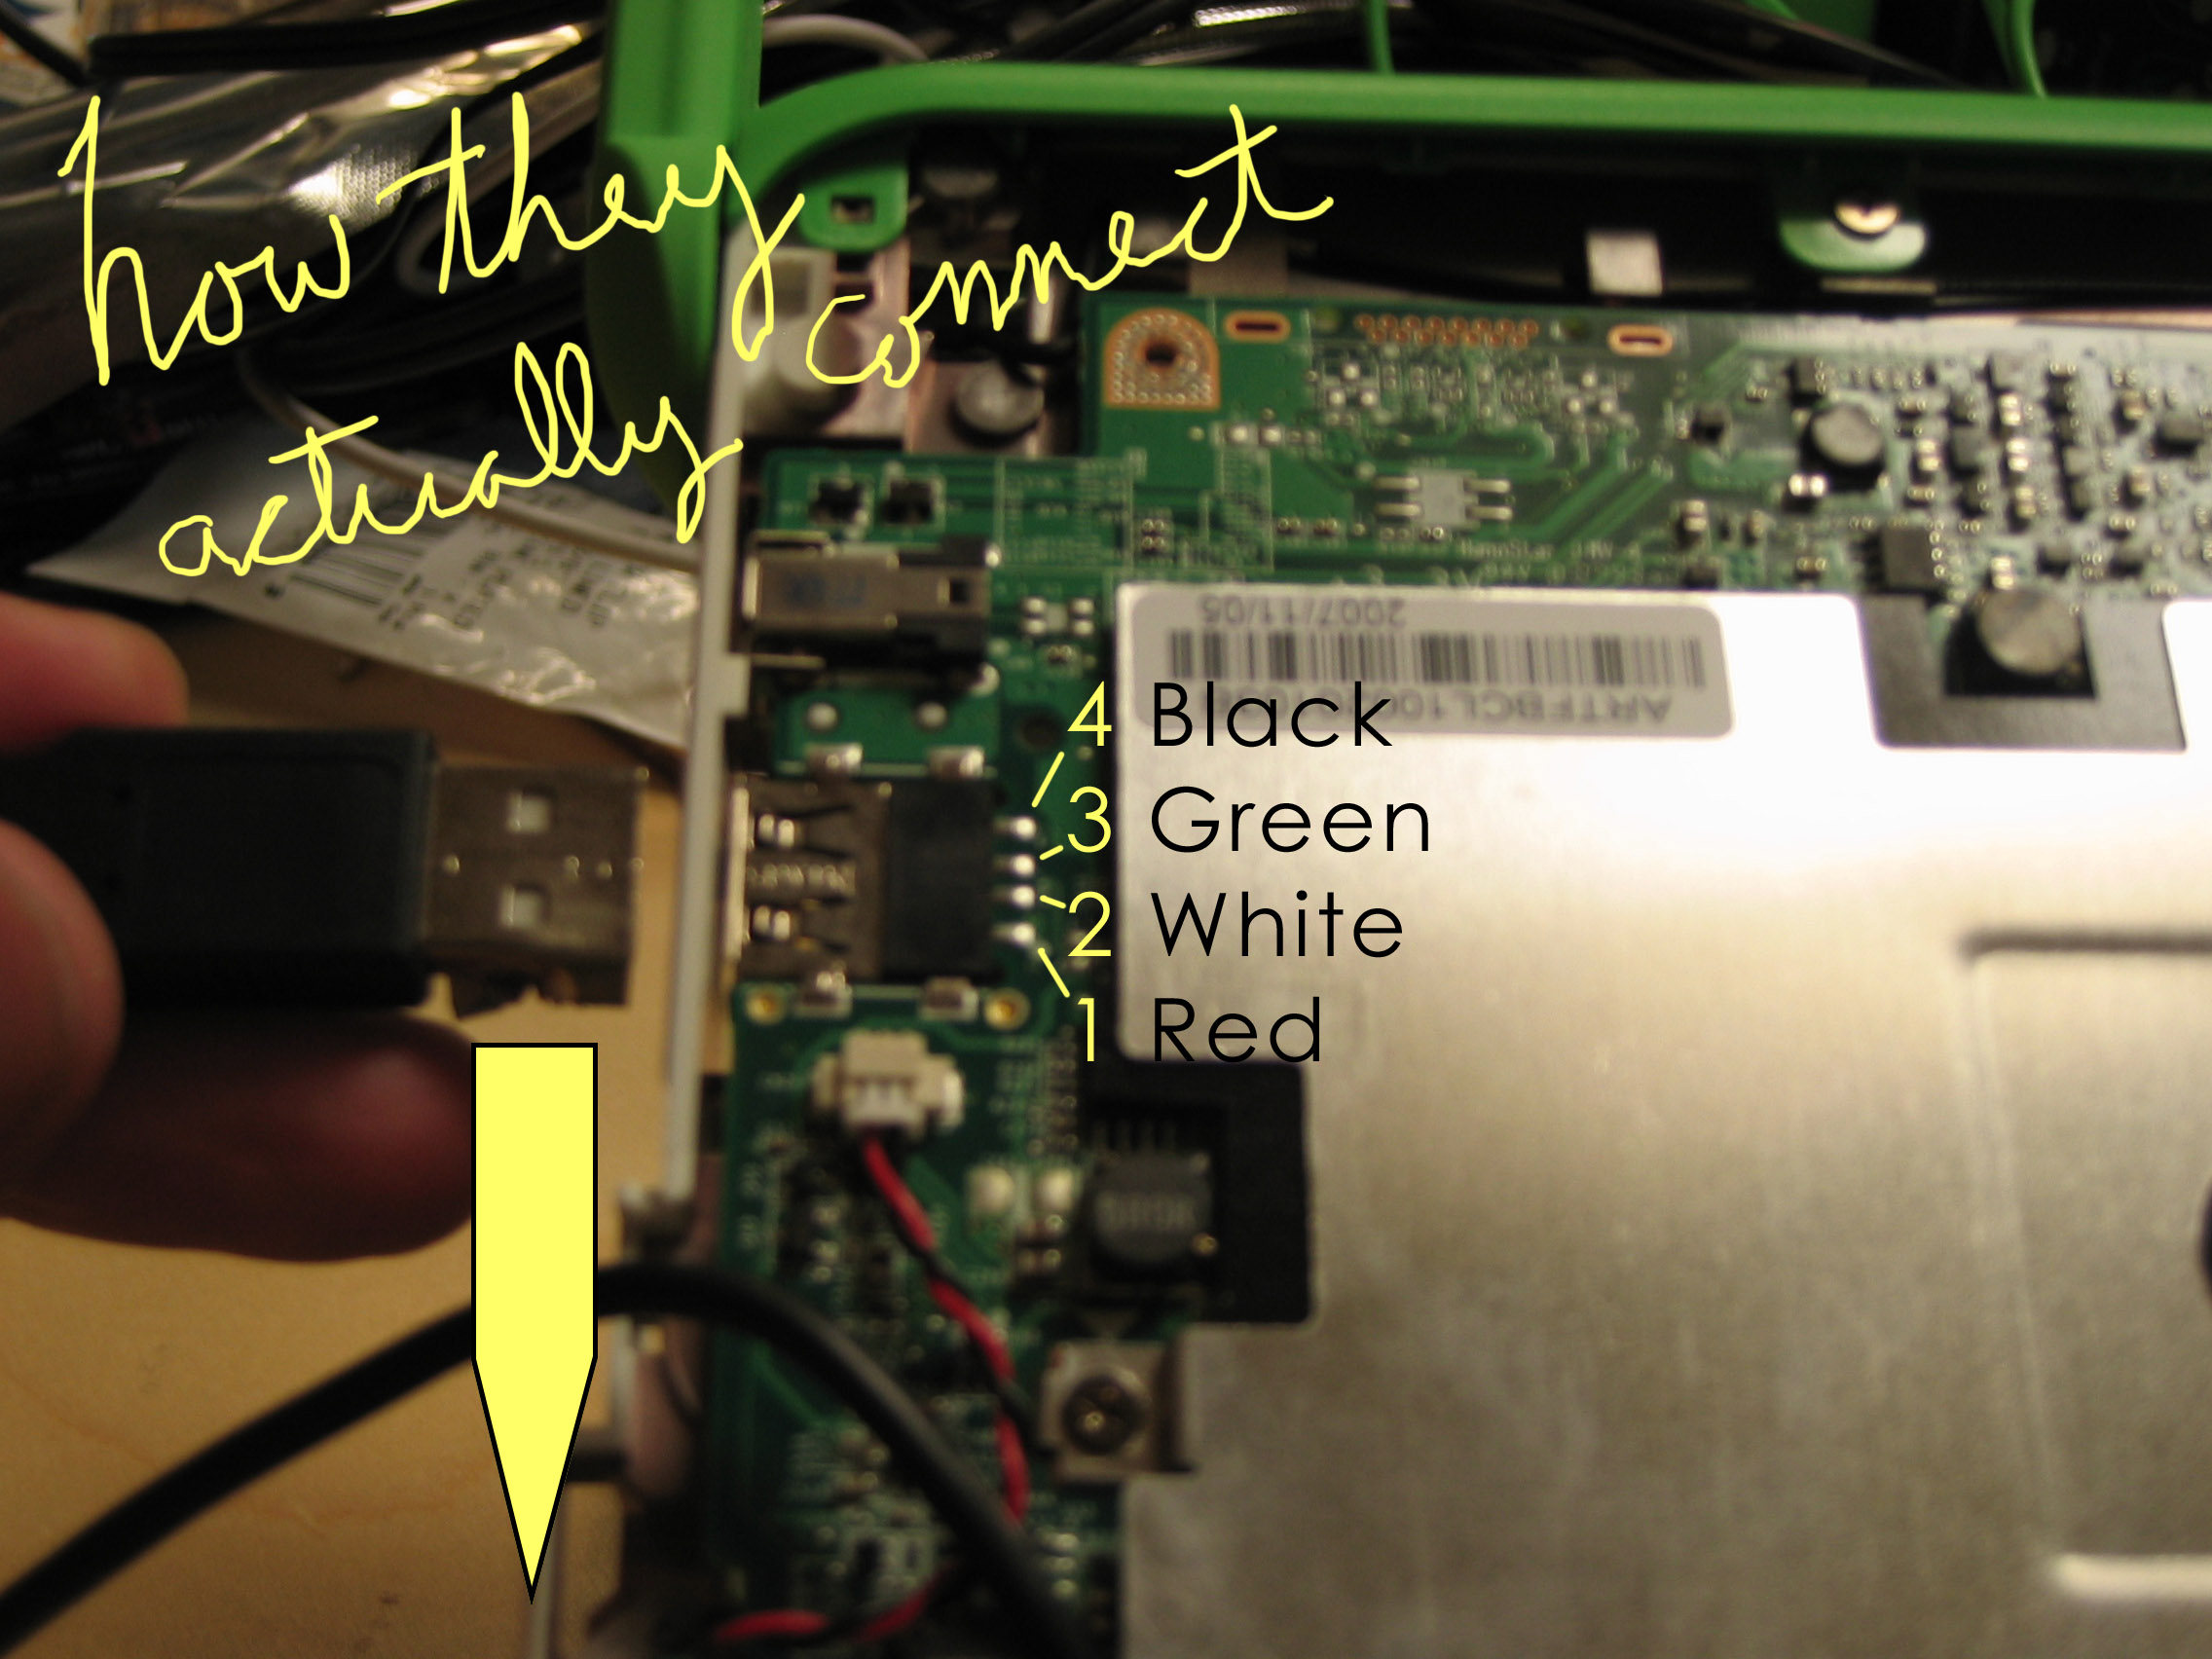
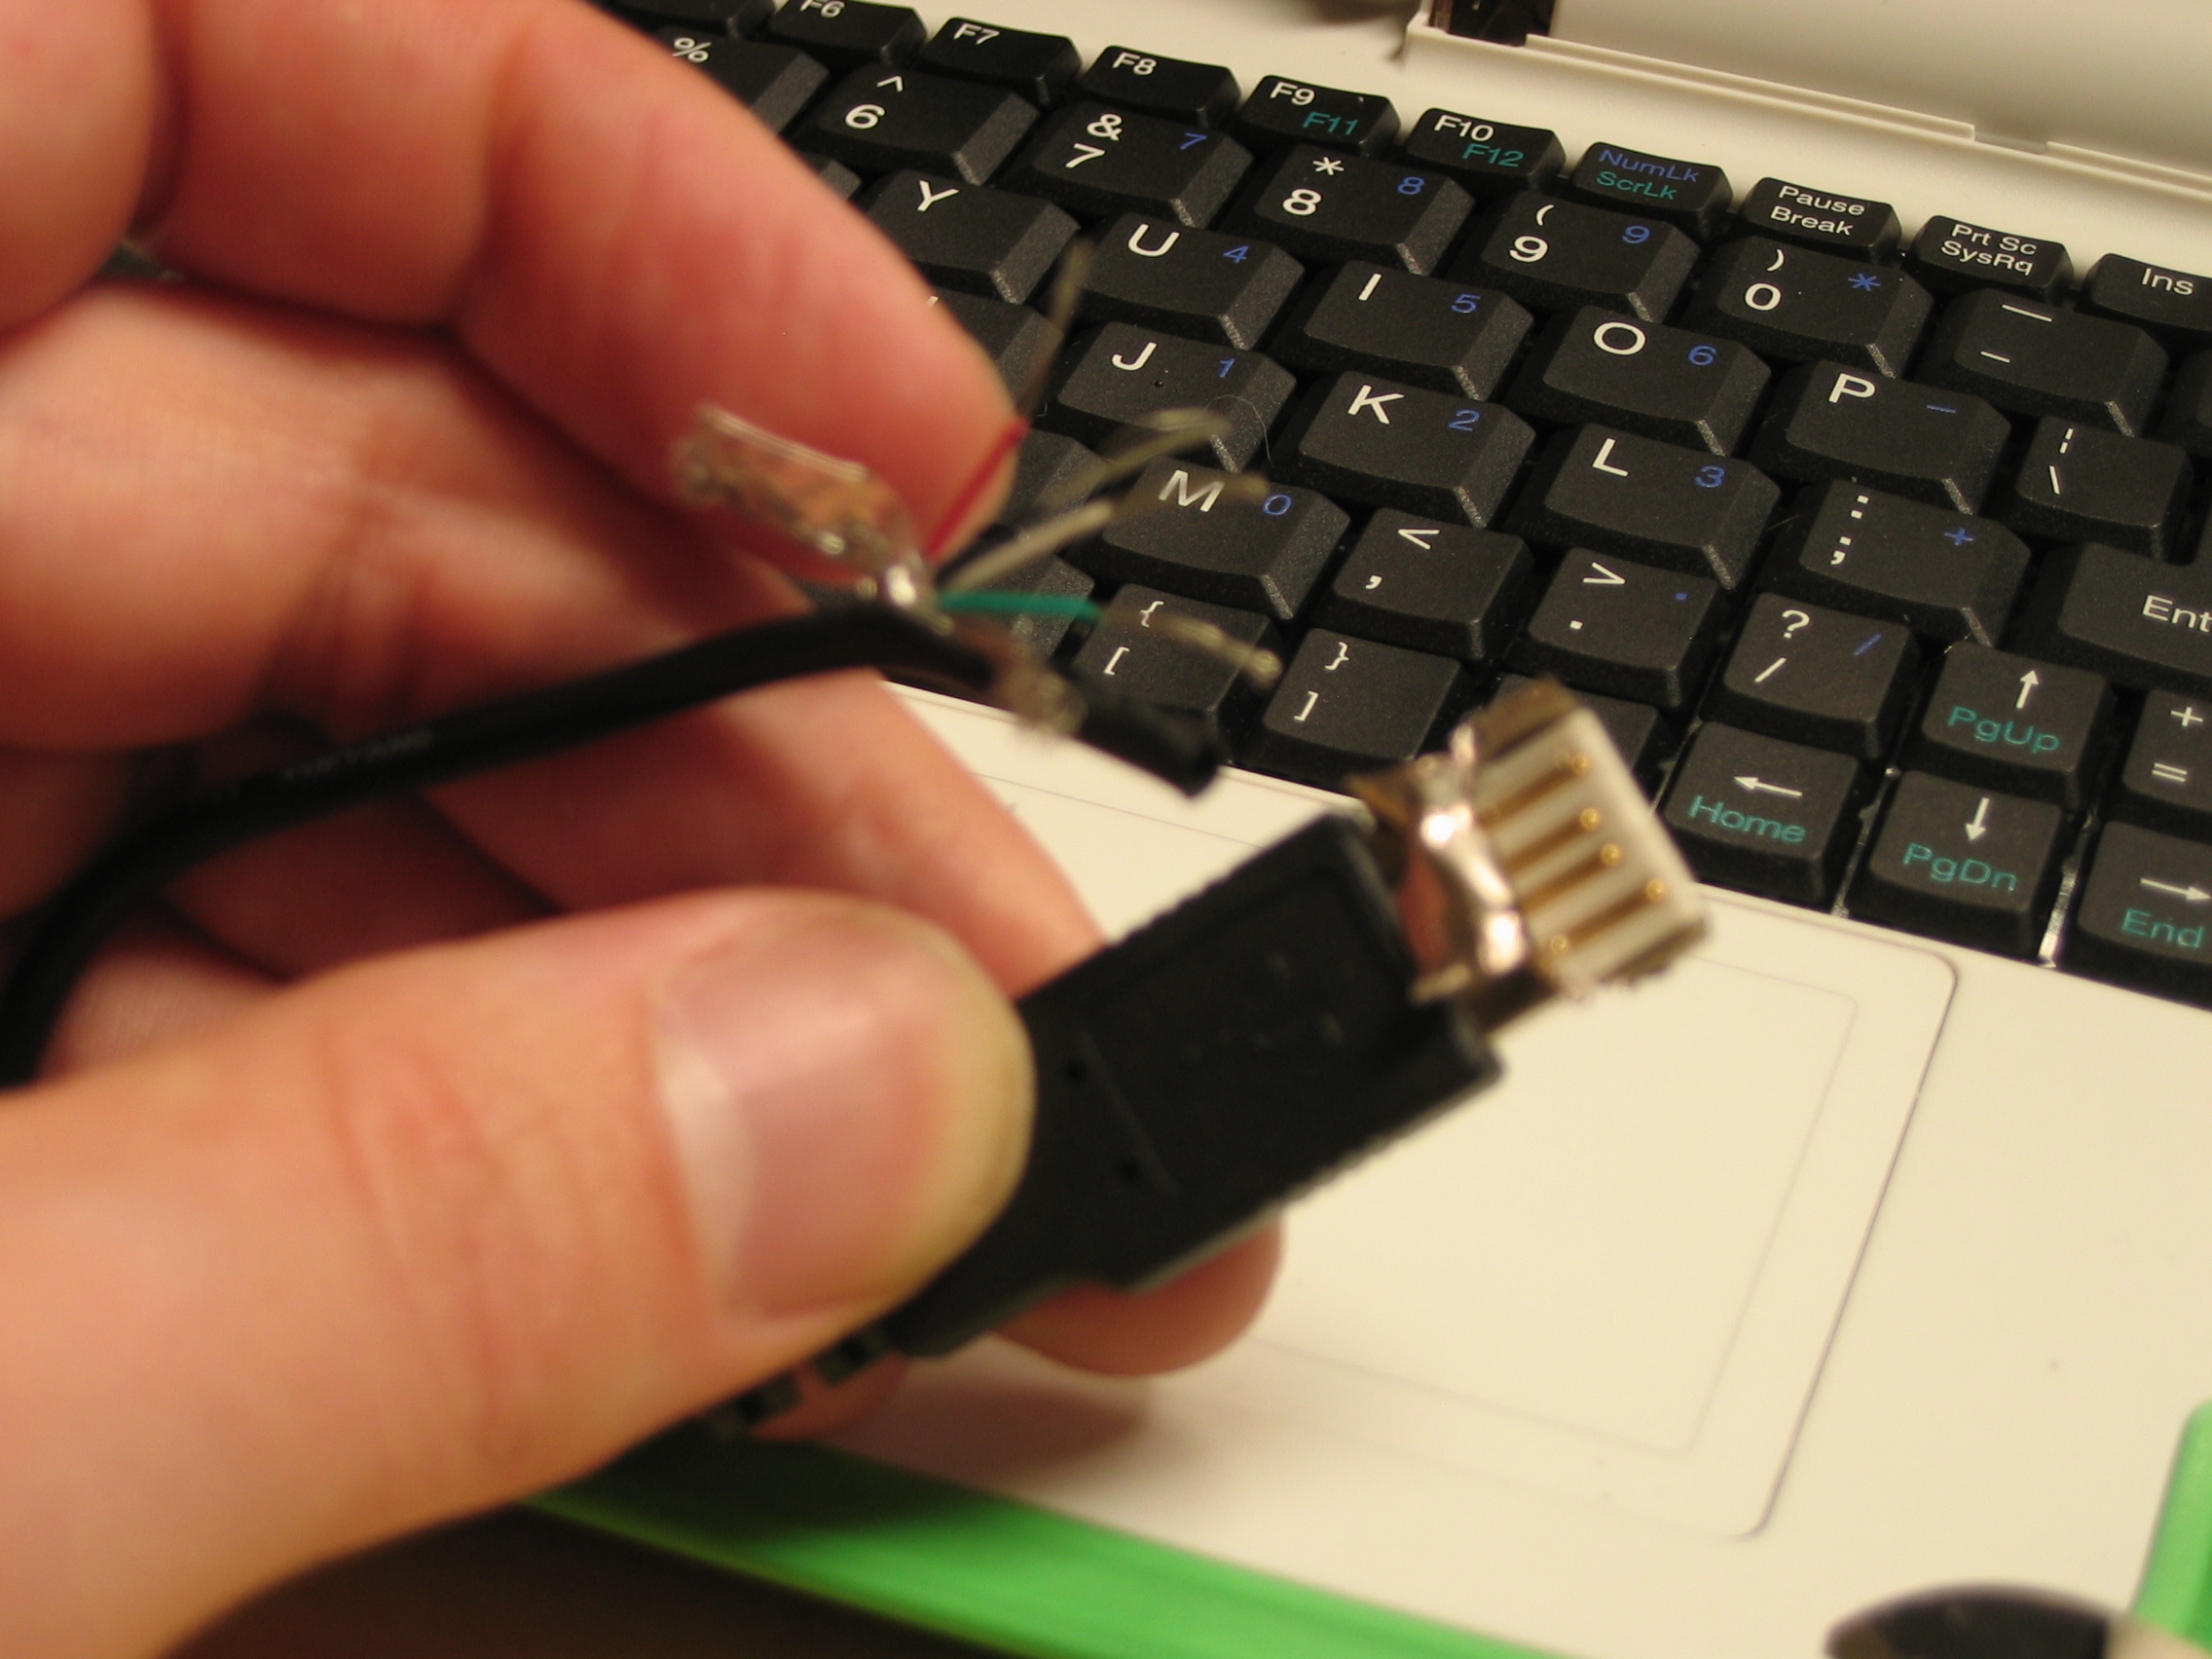
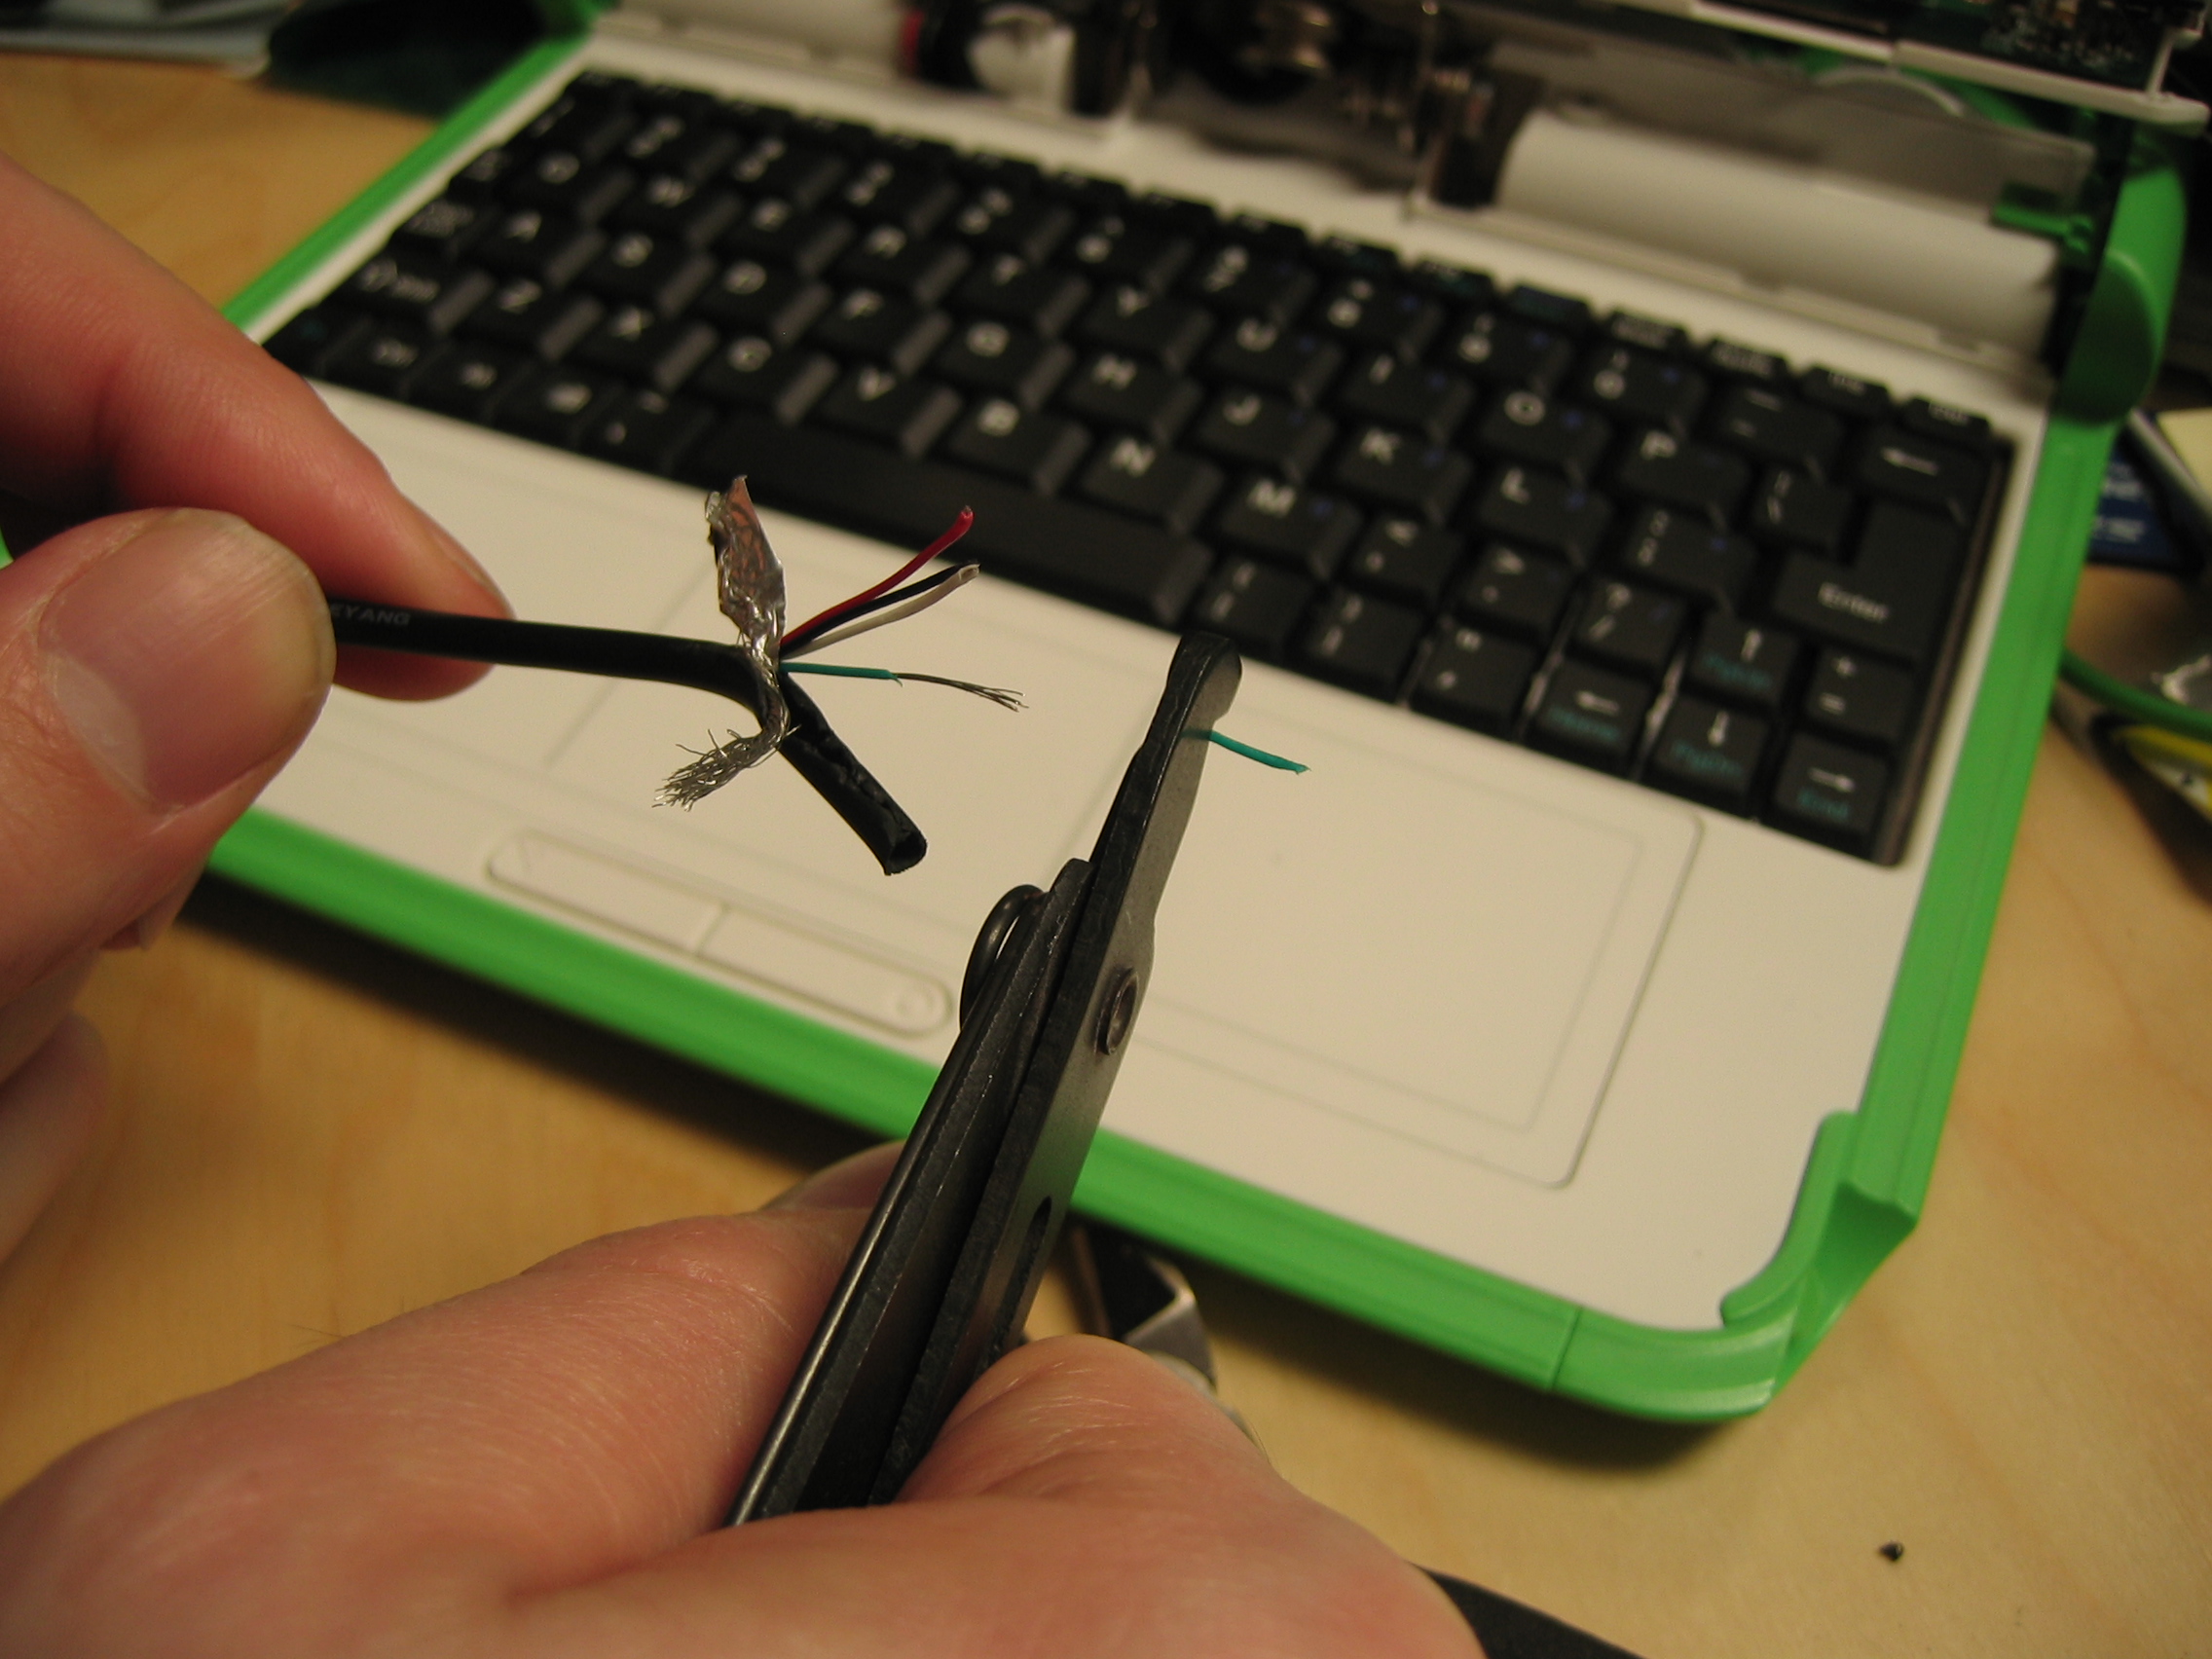
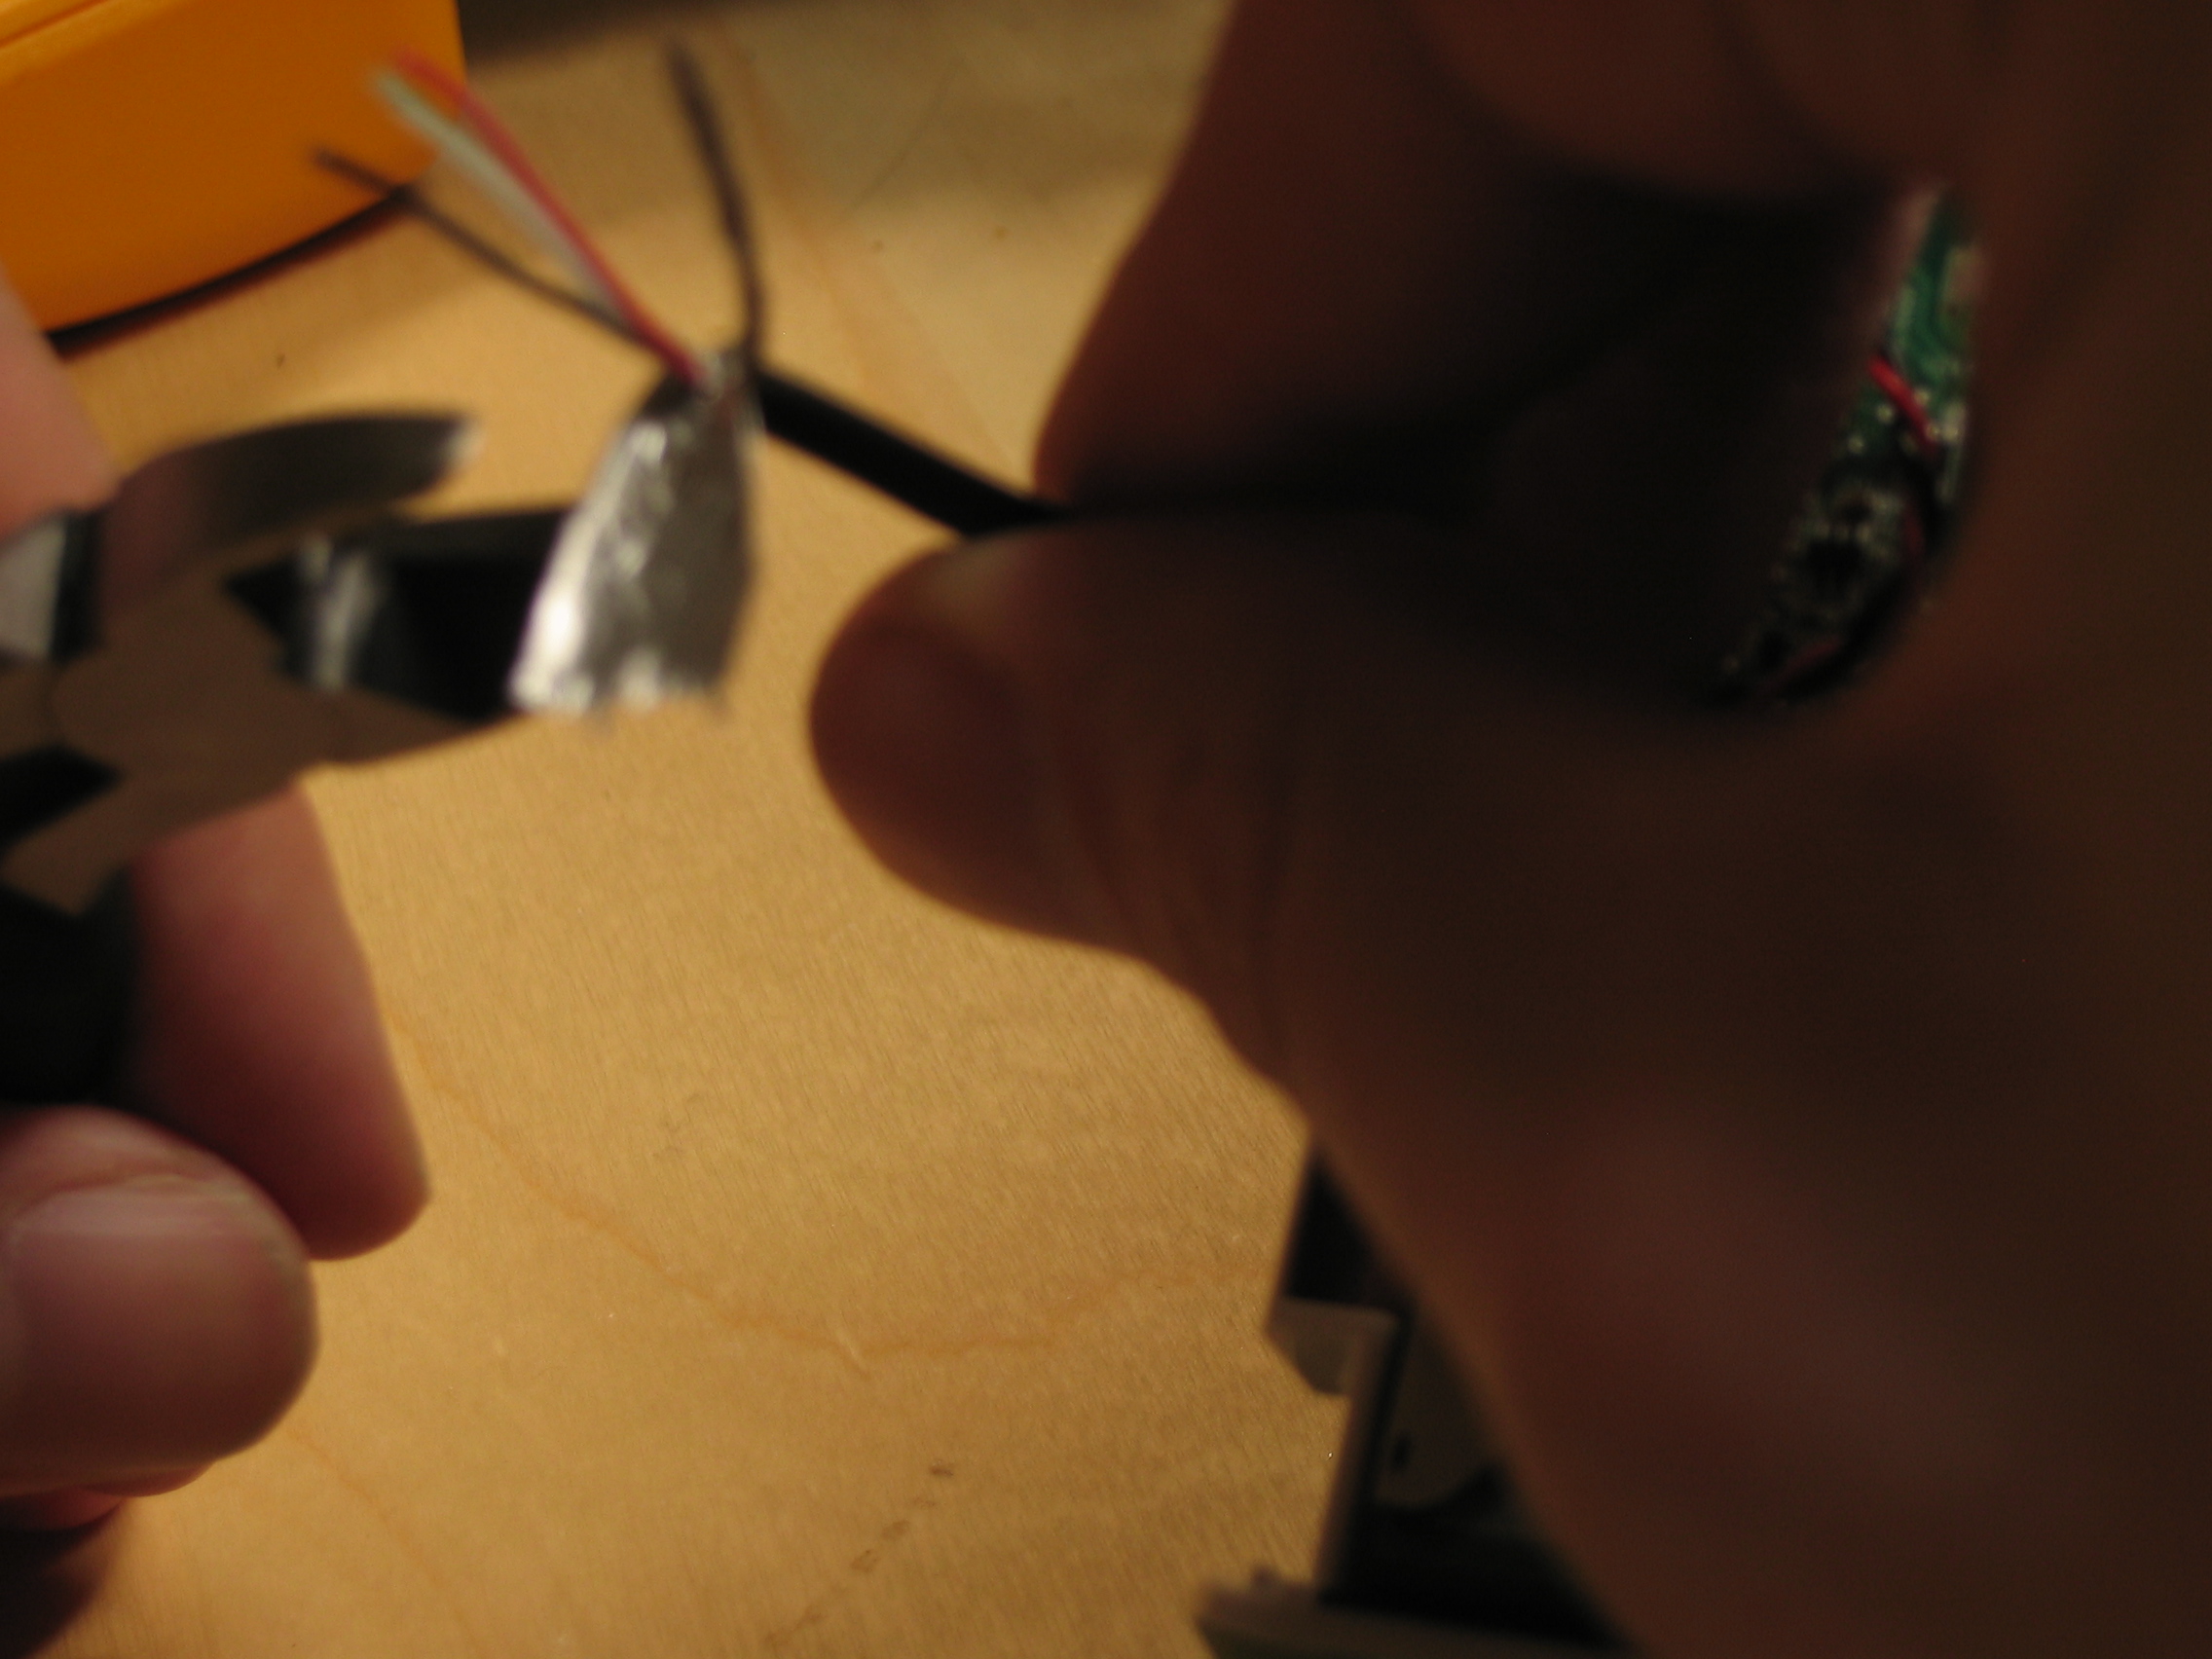
Remember Stumpy? You saved those last few inches of cable, right? Use your wire cutters to nibble into the insulation around Stumpy's cut end until you can peel the insulation back an inch or so, exposing a thin metal sheath, a lot of stranded wire, and four wires with colored insulation around them. Find the setting on your wire stripper that takes off the colored insulation from these colored wires without pulling out any strands of actual metal.
After you strip each end, roll the bare wires in your fingers until the strands of wire are twisted around each other. This will keep loose strands from one wire from accidentally making contact with another wire and ruining your day.
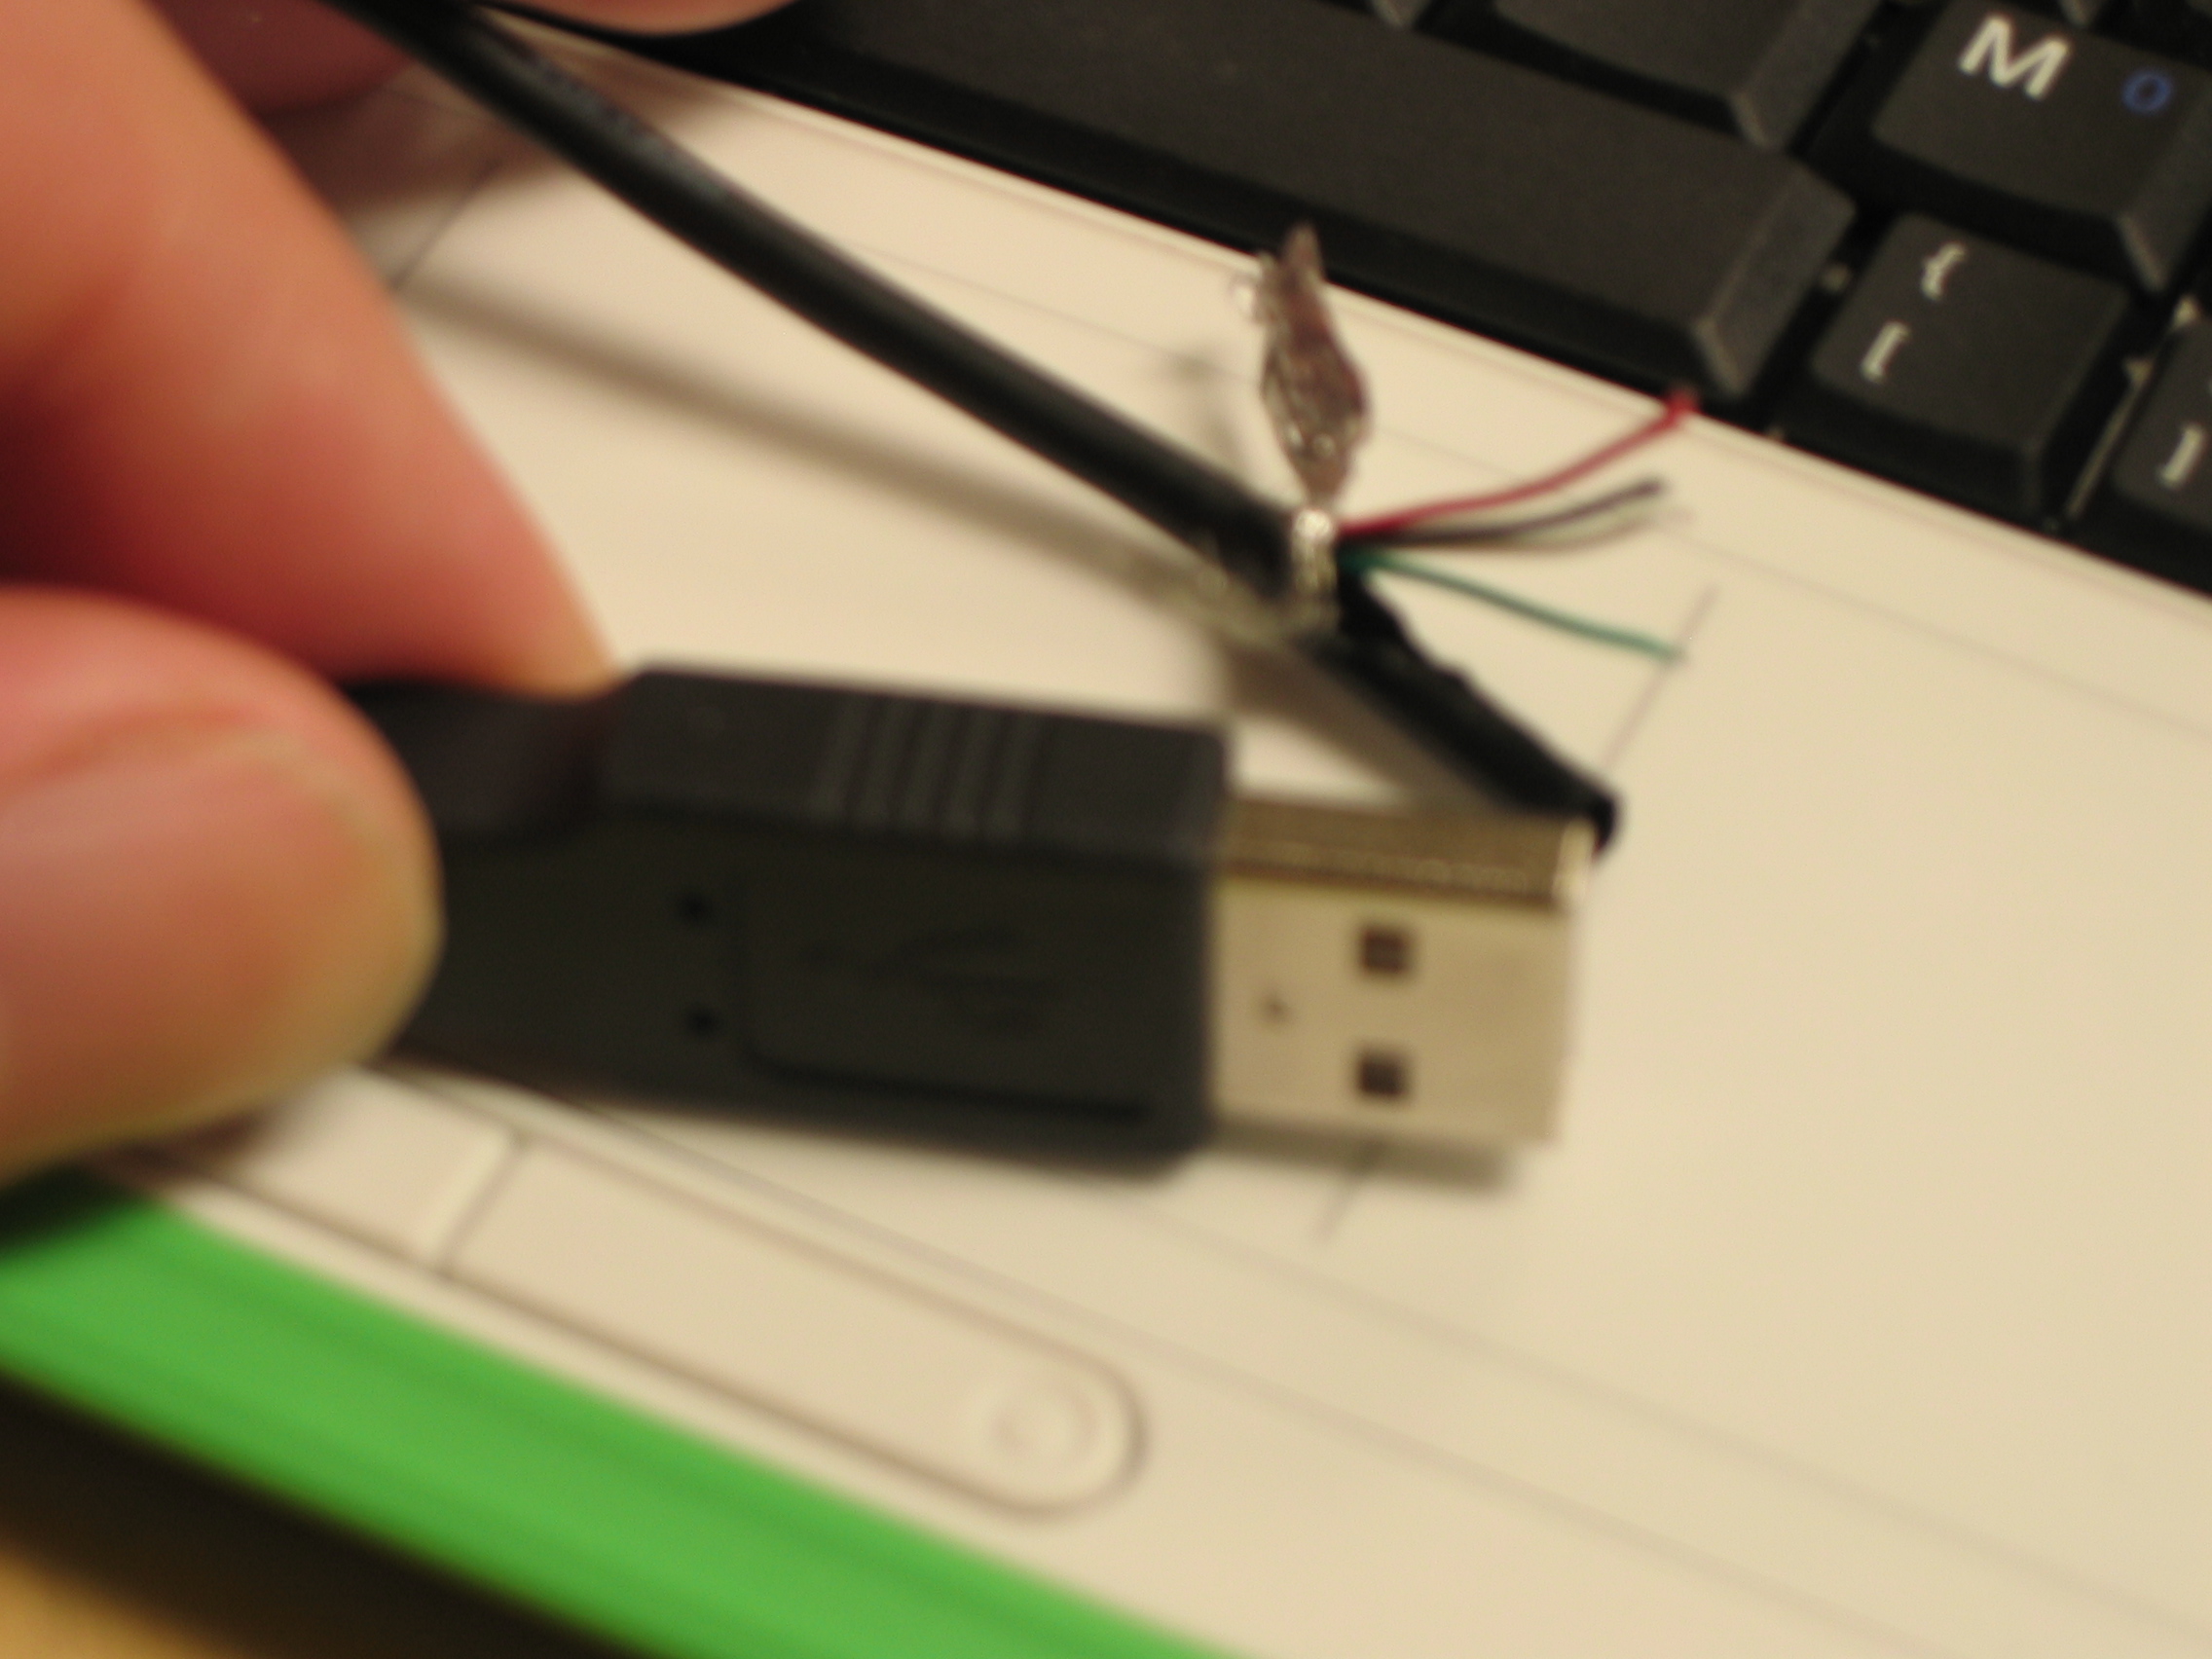
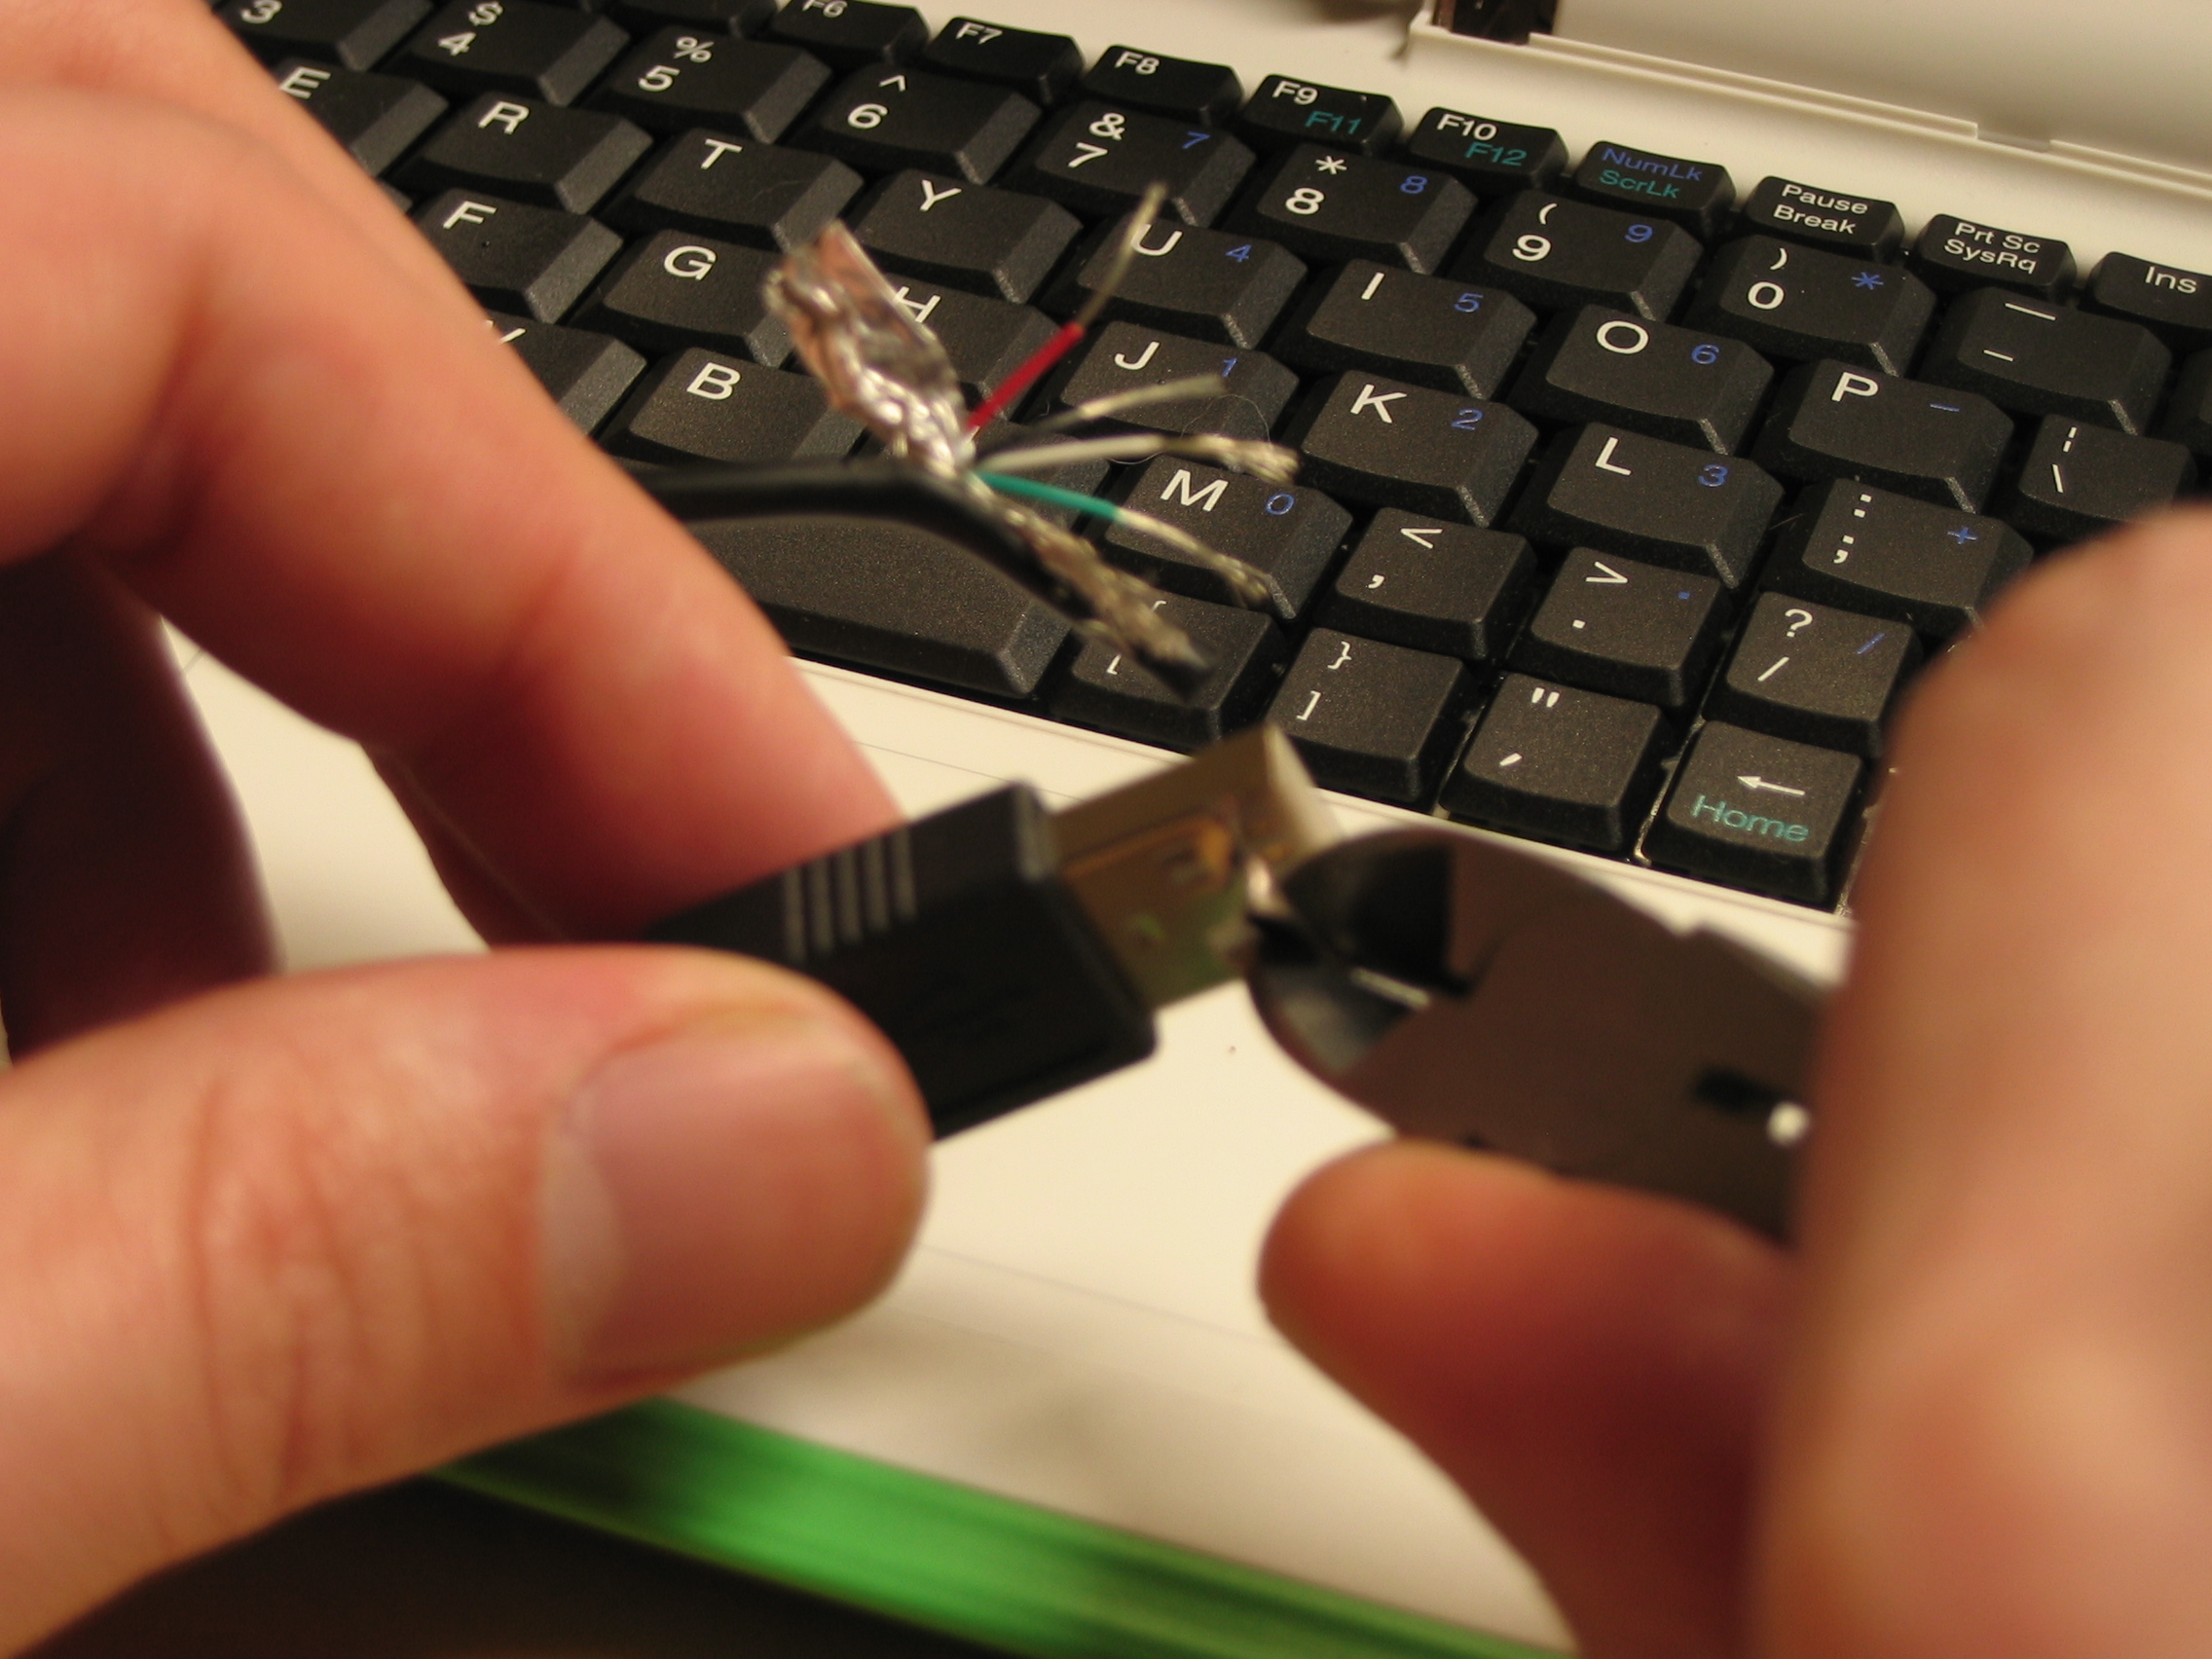
Use your wire cutters to open the housing on Stumpy's USB connector, so that you can get at the four pins inside the end. A little like opening a can of beans. Mmm, shiny conductive beans.
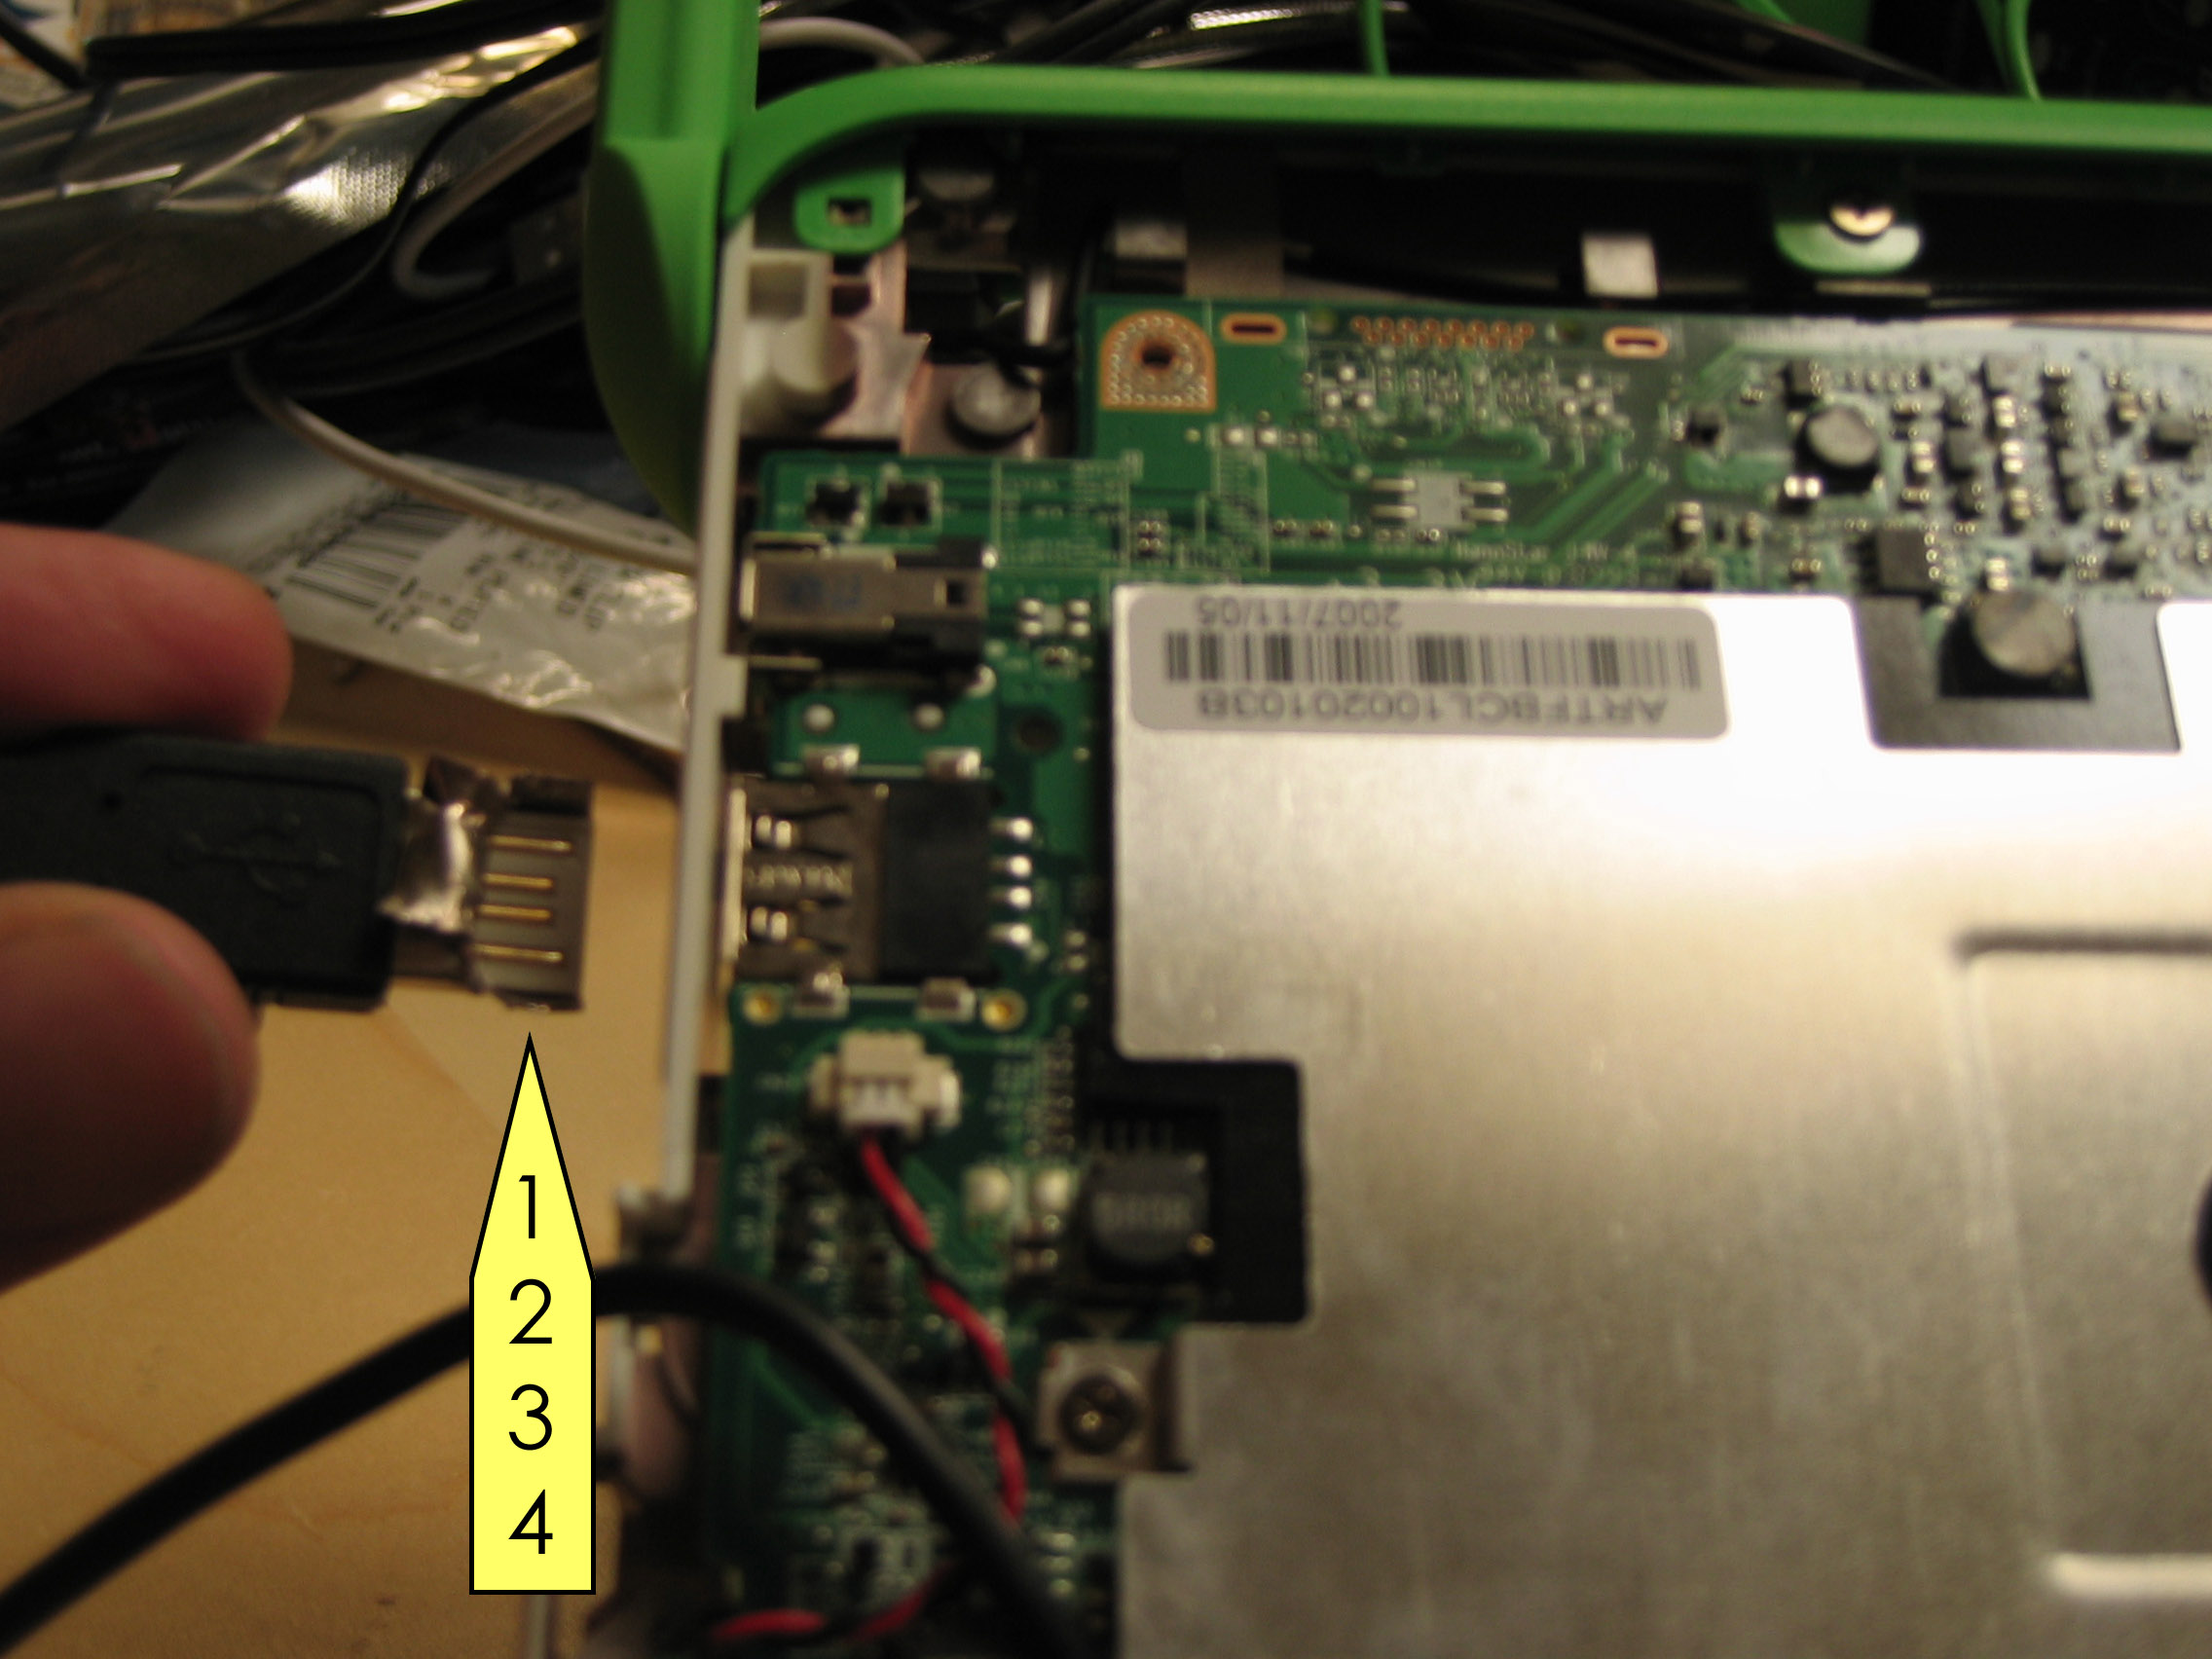
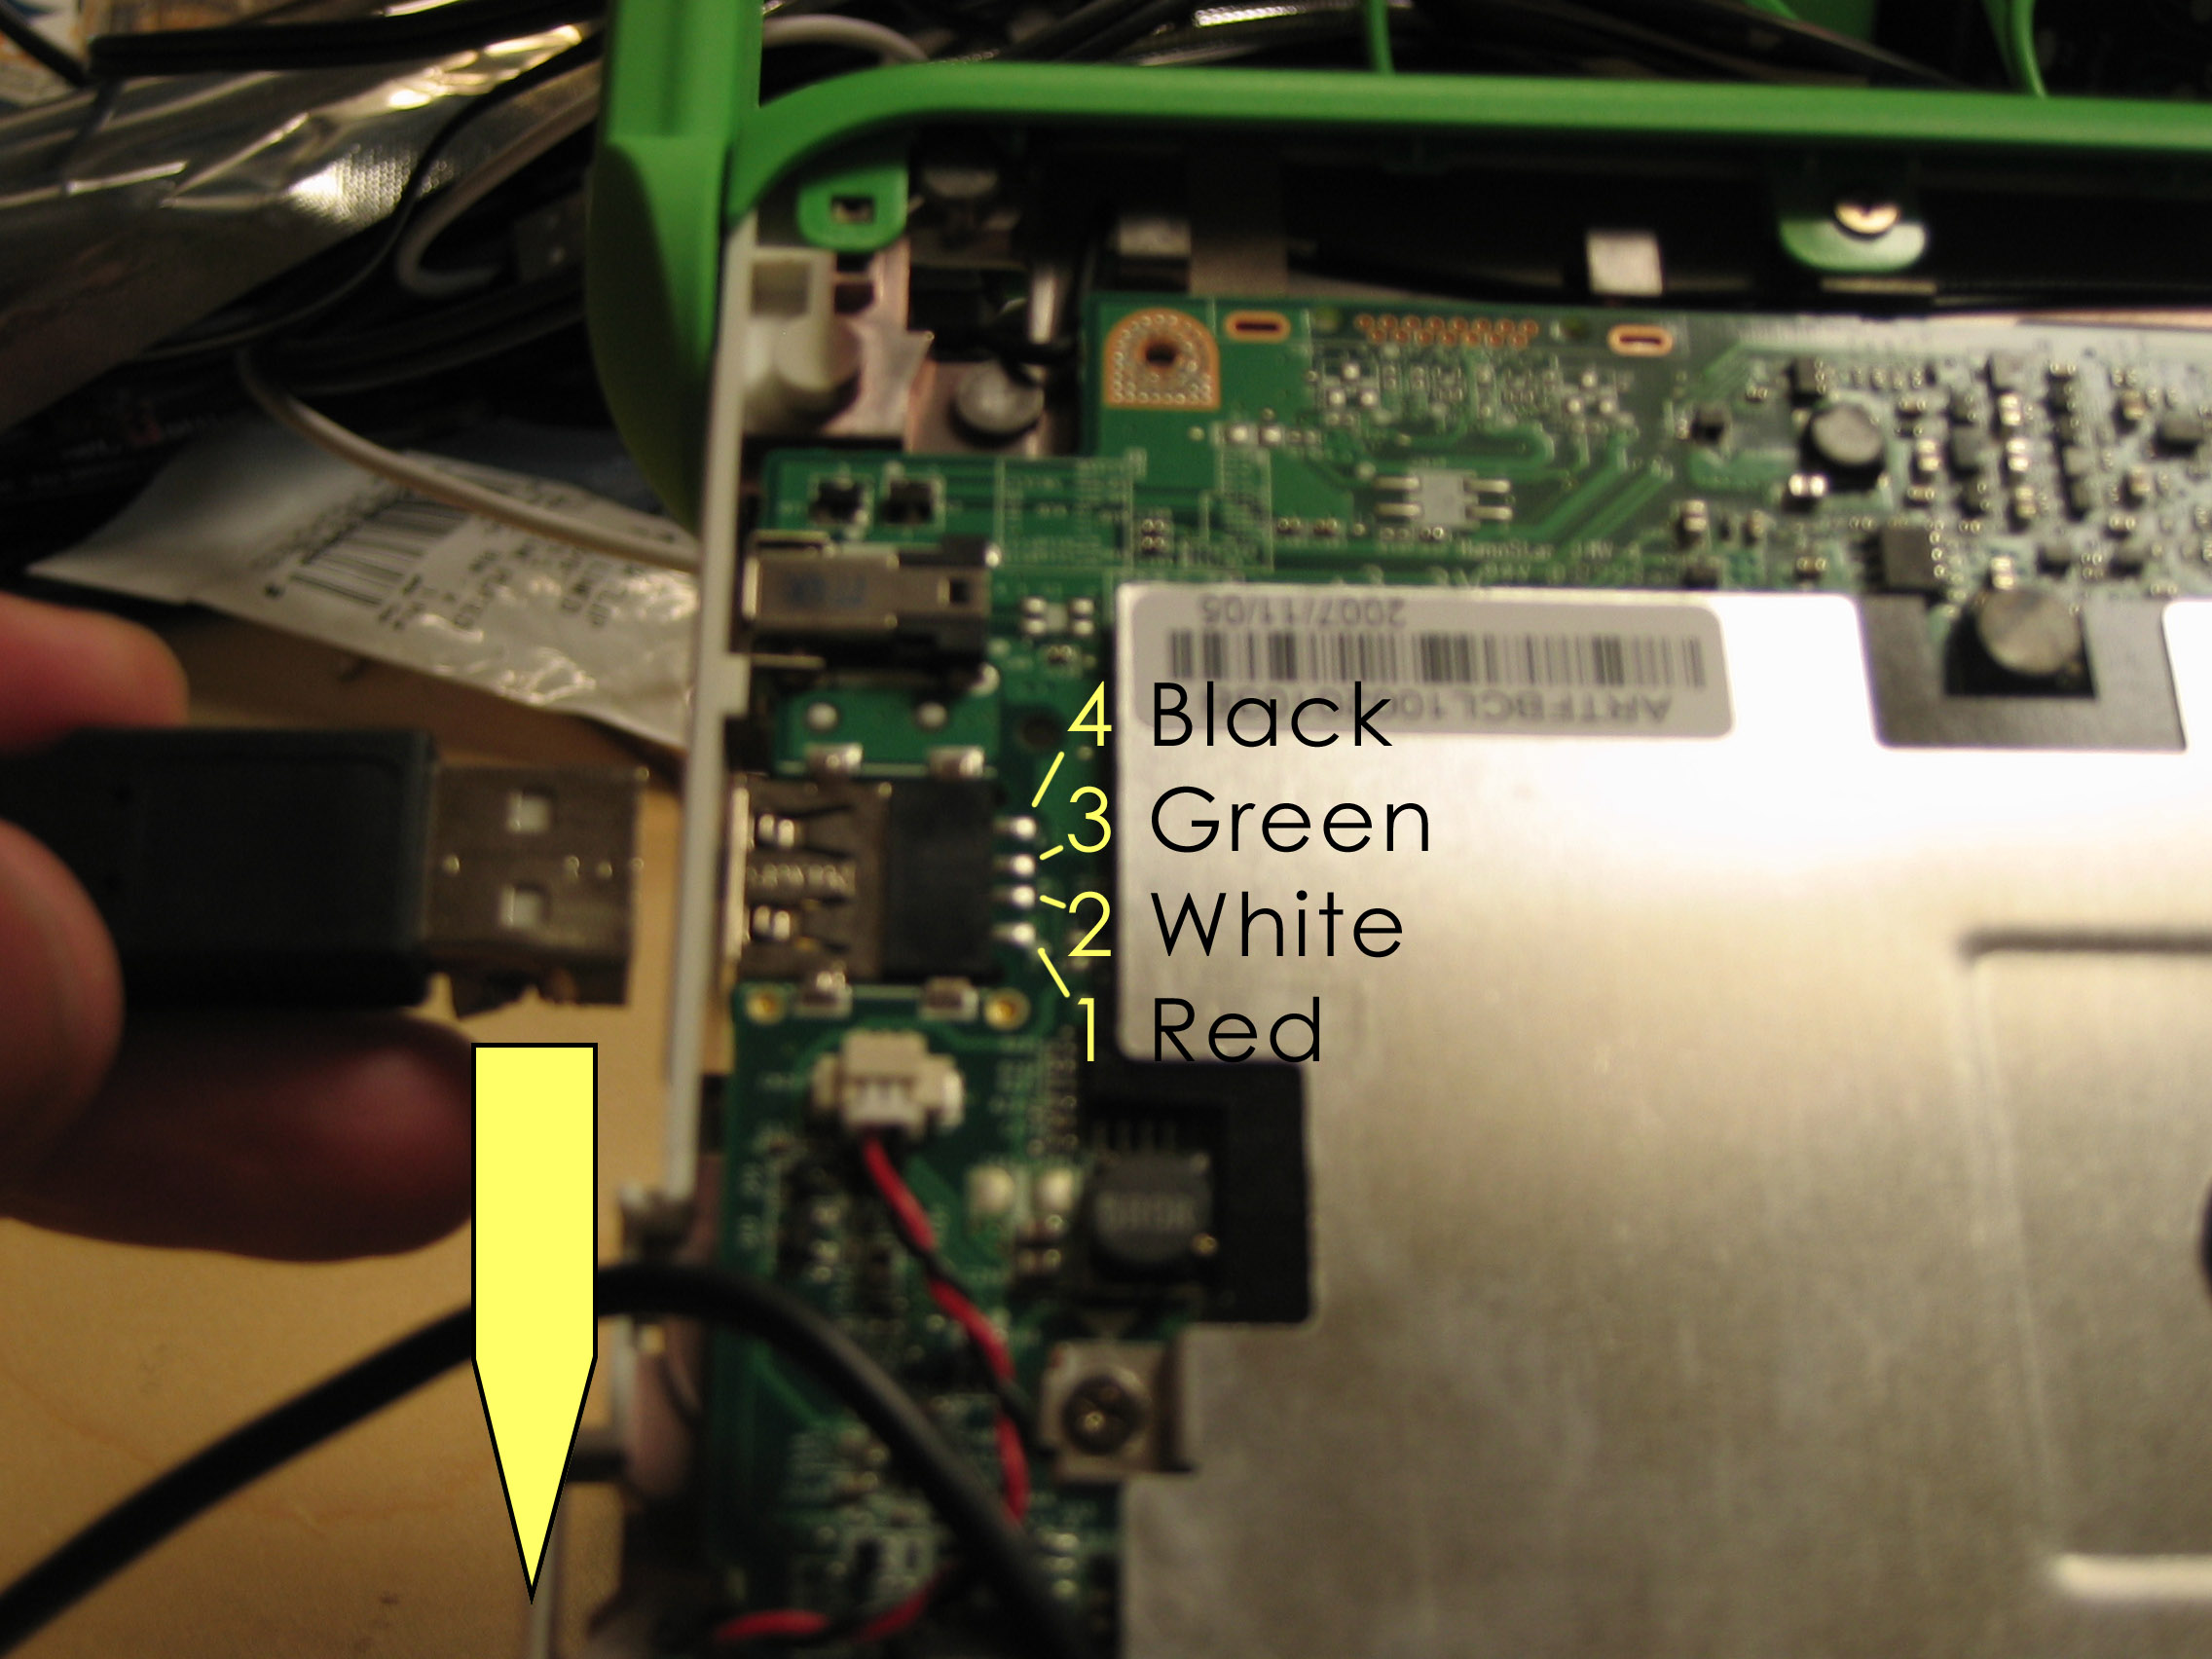
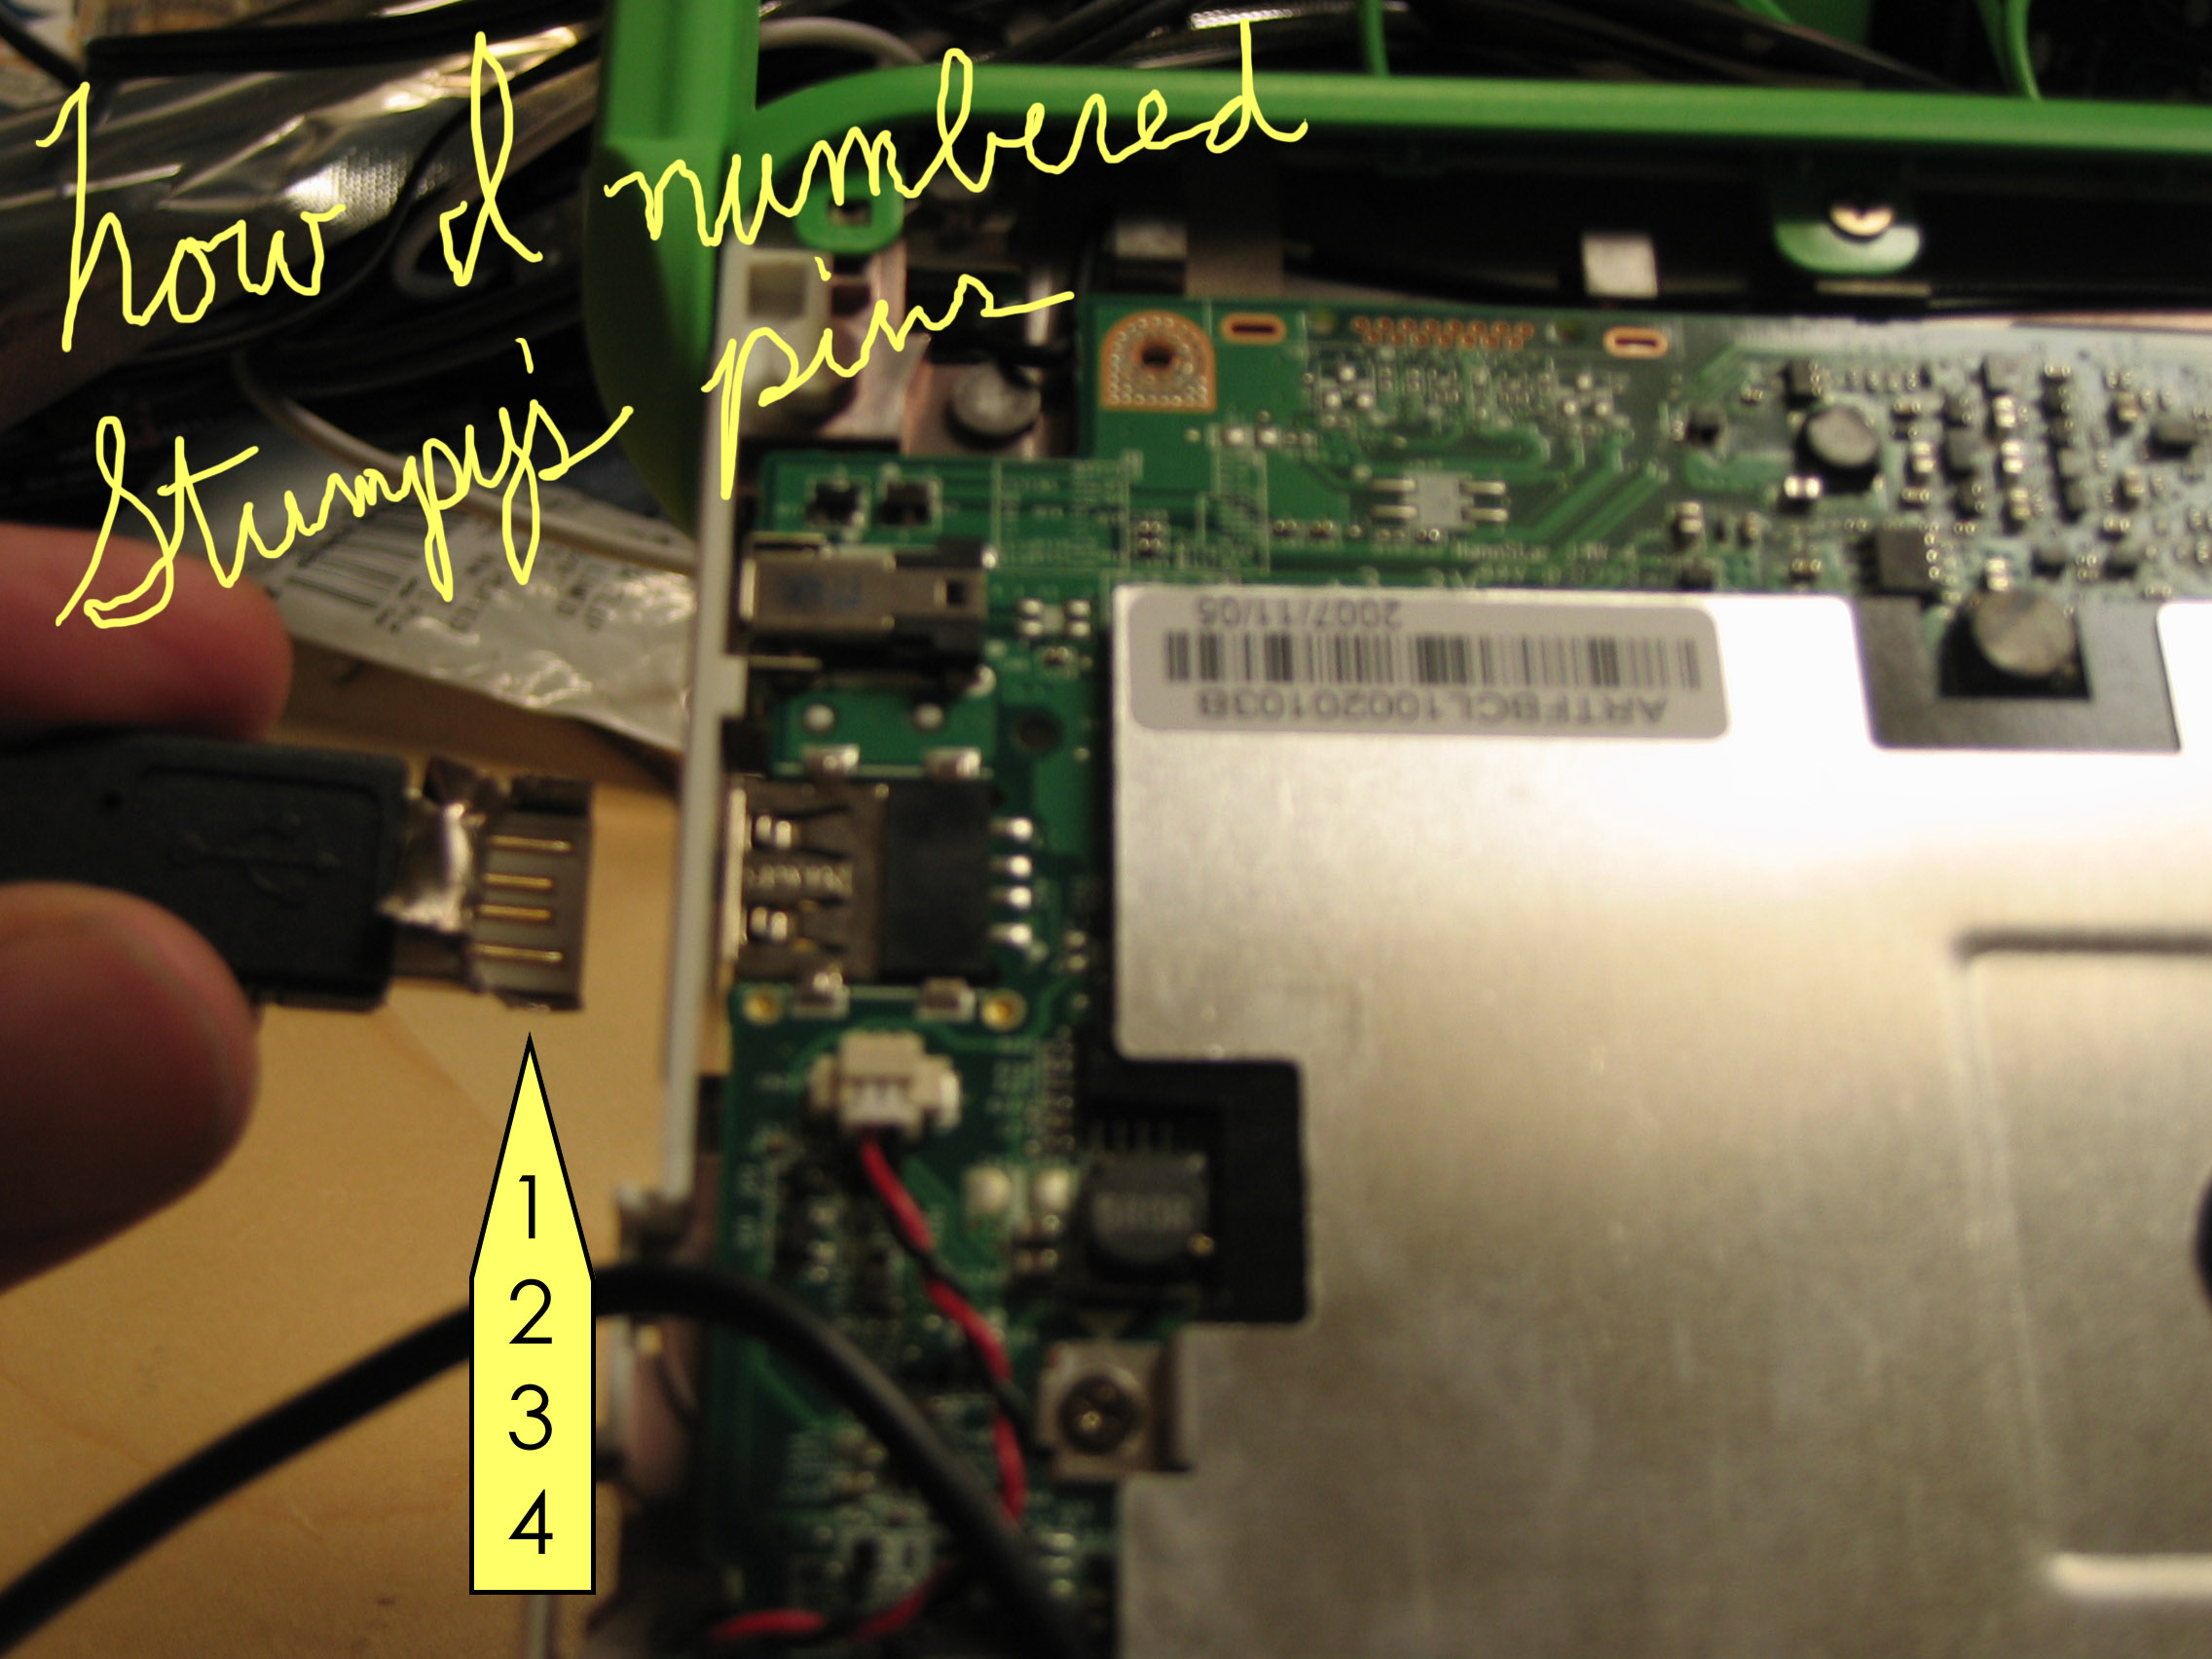
Now we're going to test continuity so we can find out which pins inside the USB connector go with each color wire inside the cable. Put your multimeter into resistance mode (ohms) or continuity mode, and clip or press Stumpy's wires to either lead. With the other lead, touch each pin until you see a low resistance reading or the continuity alarm sounds. Write down which color went with which pin. You can start numbering them from the top, bottom, left, or right. My list looked like this when I was done:
Red - pin 1
White - pin 2
Green - pin 3
Black - pin 4
And what about that big mess of stranded wire? Test it against the connector's housing -- bingo!
Hold Stumpy's connector up to the USB socket we found in step 1 as if you were going to plug it in. Note how your numbering scheme lines up with the circuitboard pins leading to the USB port.
Measure Twice


We're just about ready to make this permanent!
Pull the cable backwards along the heat shield toward the hinge to give yourself the maximum amount of extra that can comfortably fit, just in case you make a mistake and need another inch of cable later on.
Cut the cable about an inch and a half longer than it needs to be to reach the USB port pins.
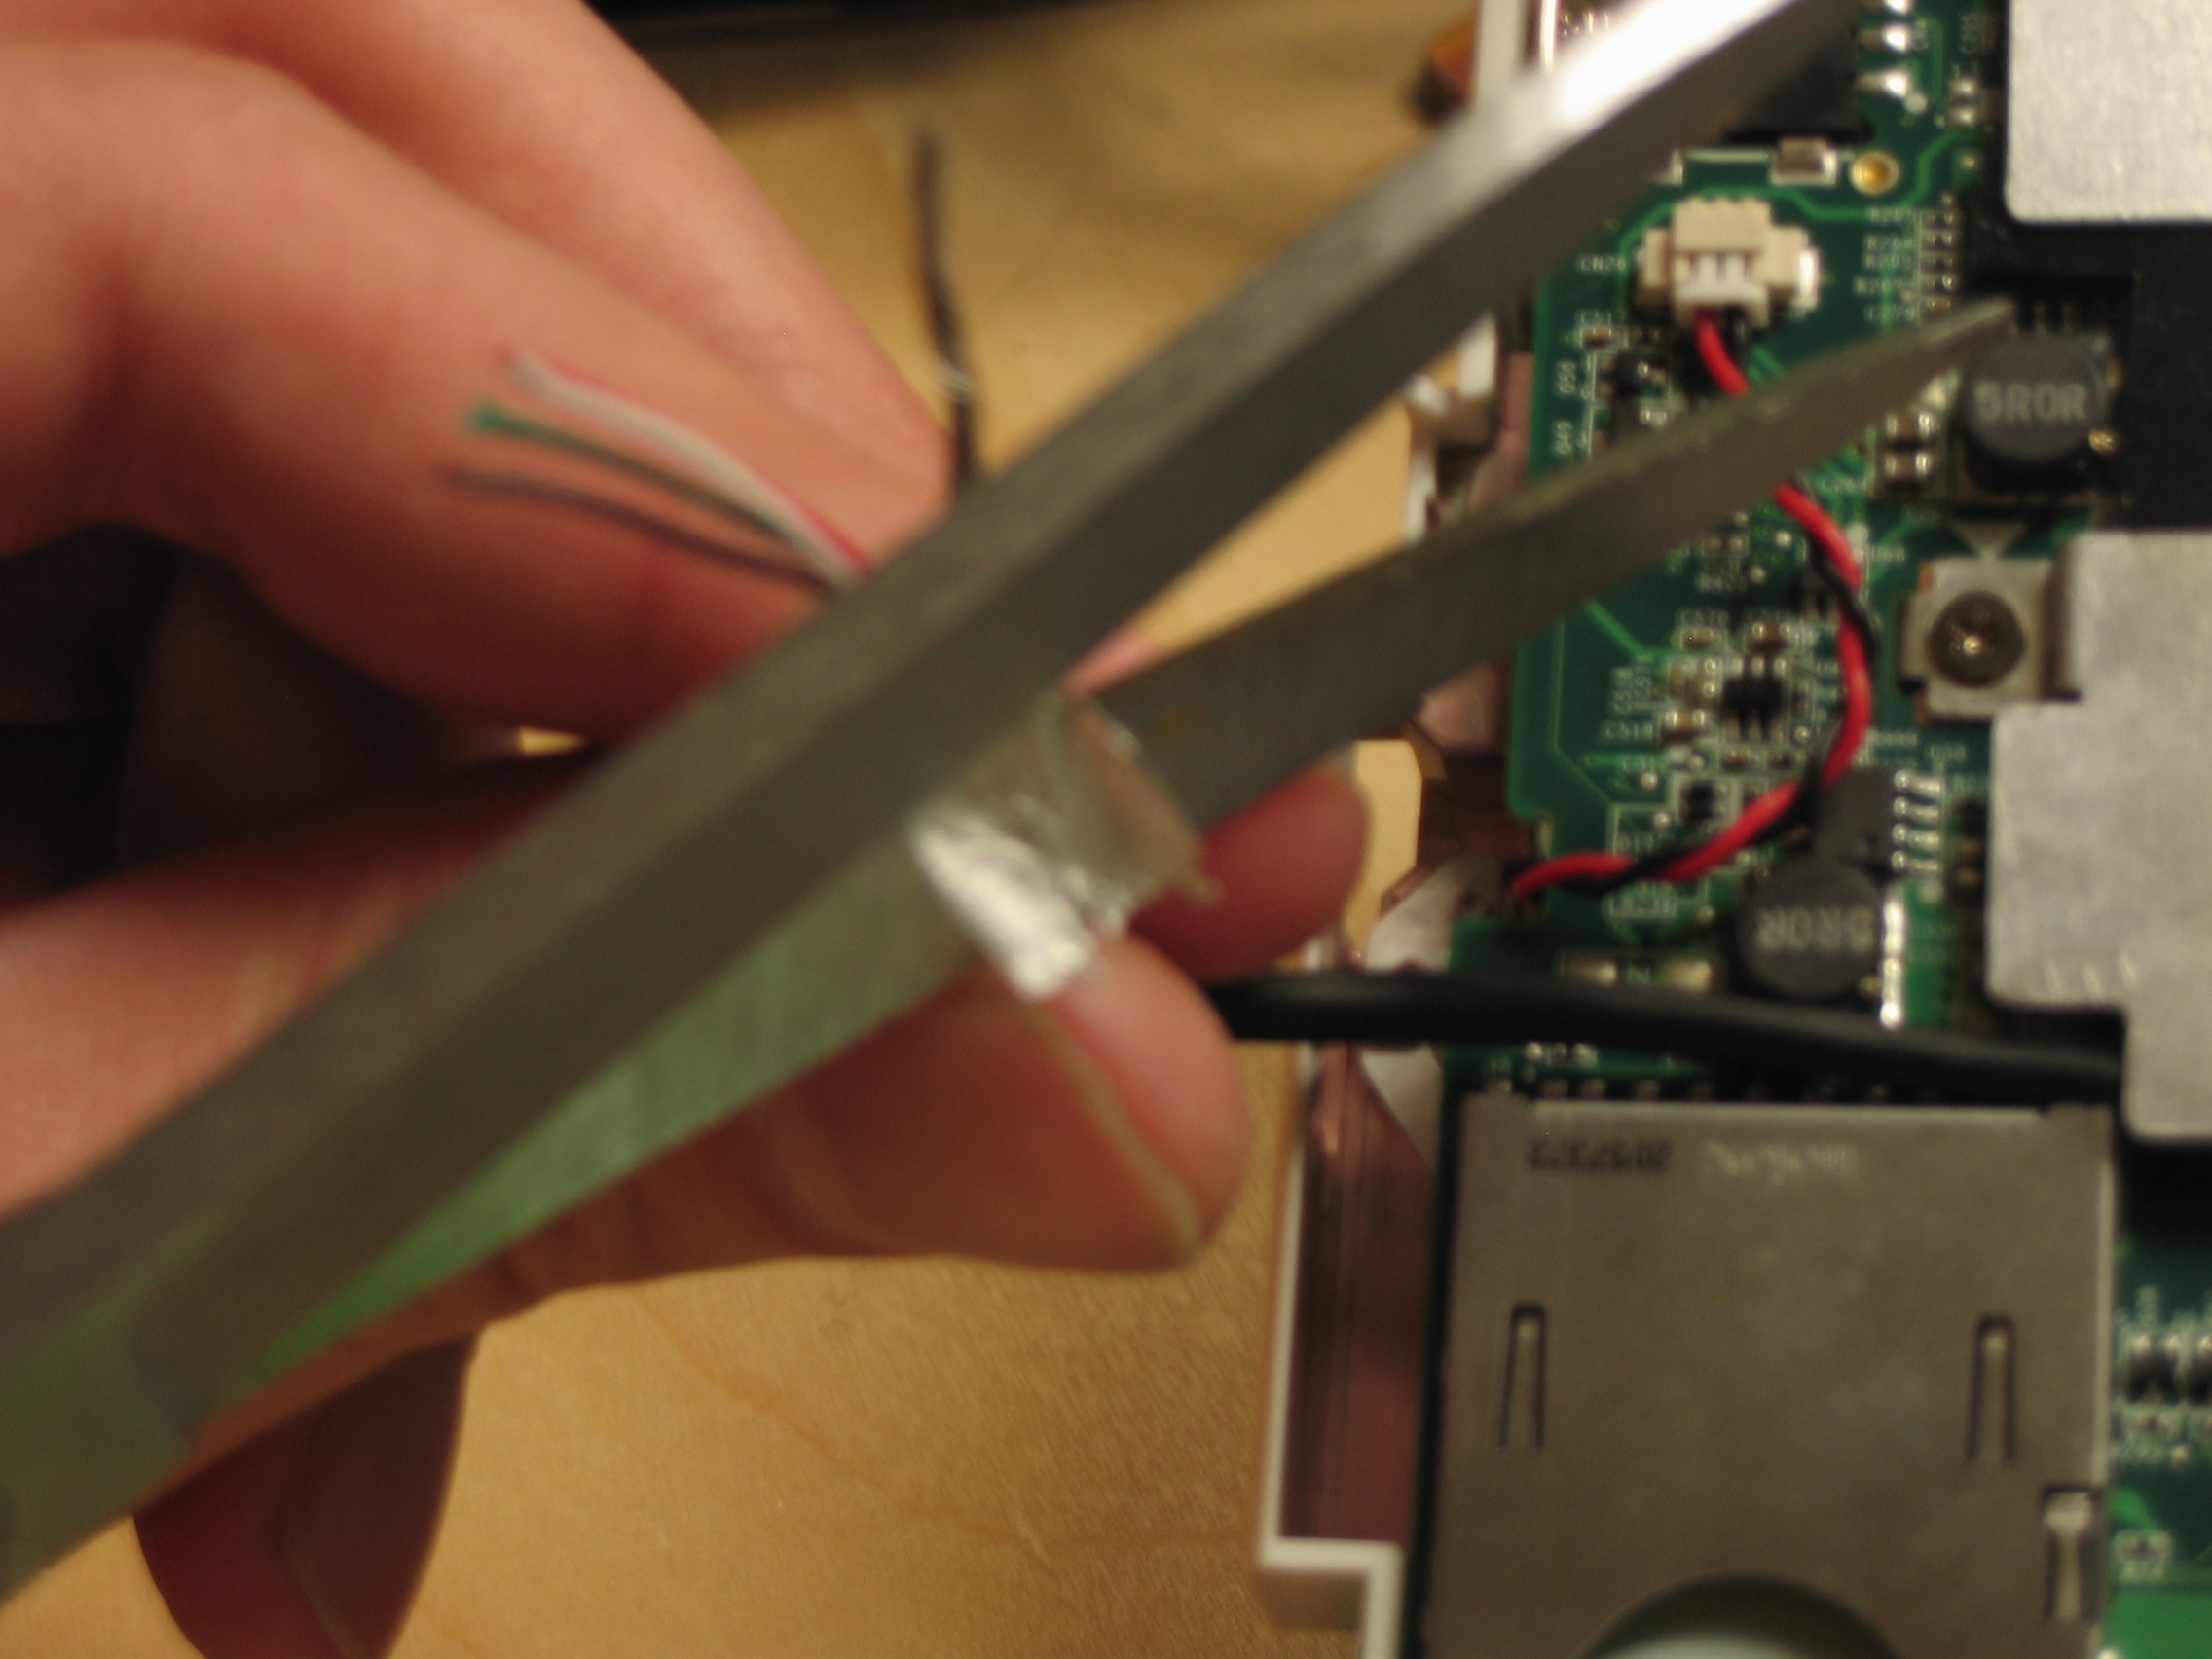
Just as we did with Stumpy, we're going to peel back the cable, but this time we're going to have to trim things carefully to get the wires to land on the USB port's pins. Twist the bare, uninsulated wire into a bundle, and cut away the foil shielding with a pair of scissors, but don't strip the colored wires yet.
Fan the wires out like fingers in the proper order; black, green, white, red, with the bare wire as the "thumb" of the hand. Turn the cable around to approach the four USB pins from the edge of the case, avoiding the heat shield altogether.
With the bare wire "thumb" on the USB port housing, see how long the wires will have to be to reach the USB pins on the motherboard. Marking them with a pen would be a good idea; I didn't, and had to pull a bit to get them lined up right after stripping and cutting.
Strip, twist, and cut each wire to the appropriate length to reach its pin, but make sure you do it away from the motherboard. If any of those strands gets into your system, it could cause a nasty short circuit and that could be the end of your XO. The wires will be different lengths, just like your fingers -- wow, this analogy is really good. Give each wire another twist after you cut it to make sure there aren't any stray strands that might touch other pins, the motherboard, the housing of the USB port, etc.
Suture With Solder


Time for the closing act of this here brain surgery. Pre-heat your soldering iron!
Here's where our single piece of cellophane tape comes in; lay the "hand" in position, then tape the fingers down. All "fingertips" must be in place, each touching its respective pin on the motherboard, with the thumb lying over the USB port's metal housing (where you're about to solder it). Make sure there isn't any excess wire anywhere that could fall over the edge and touch the motherboard.
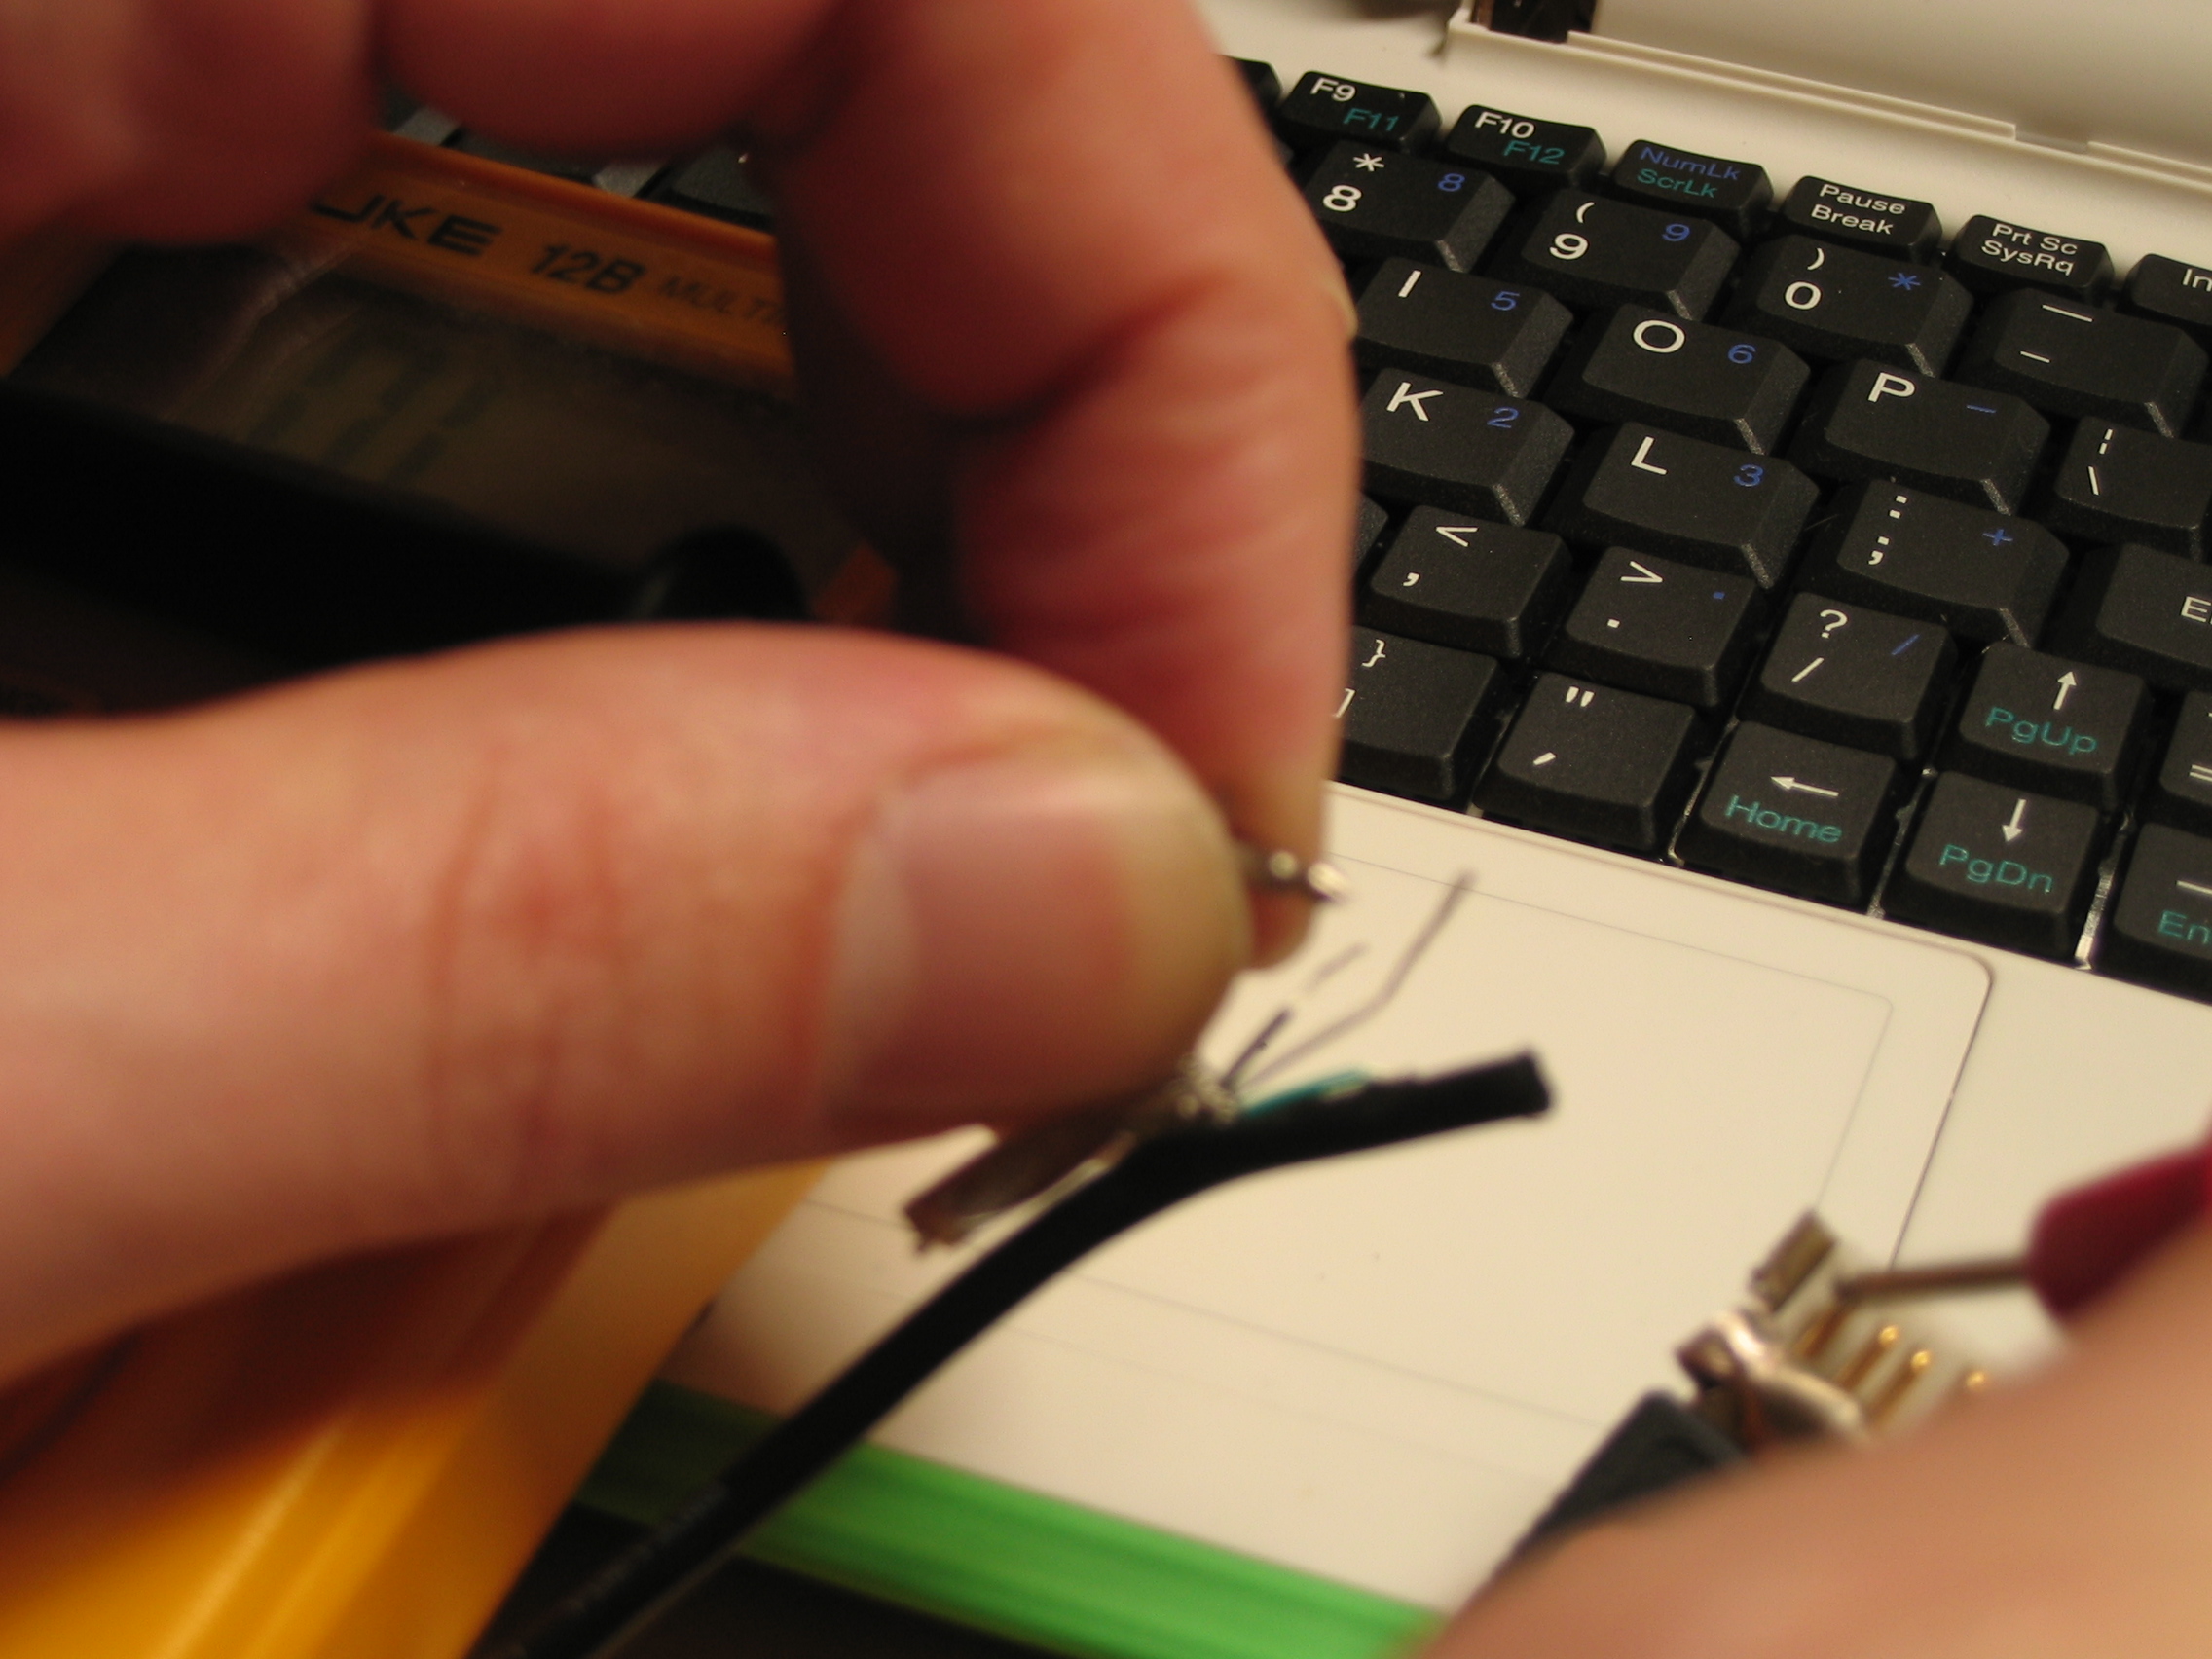
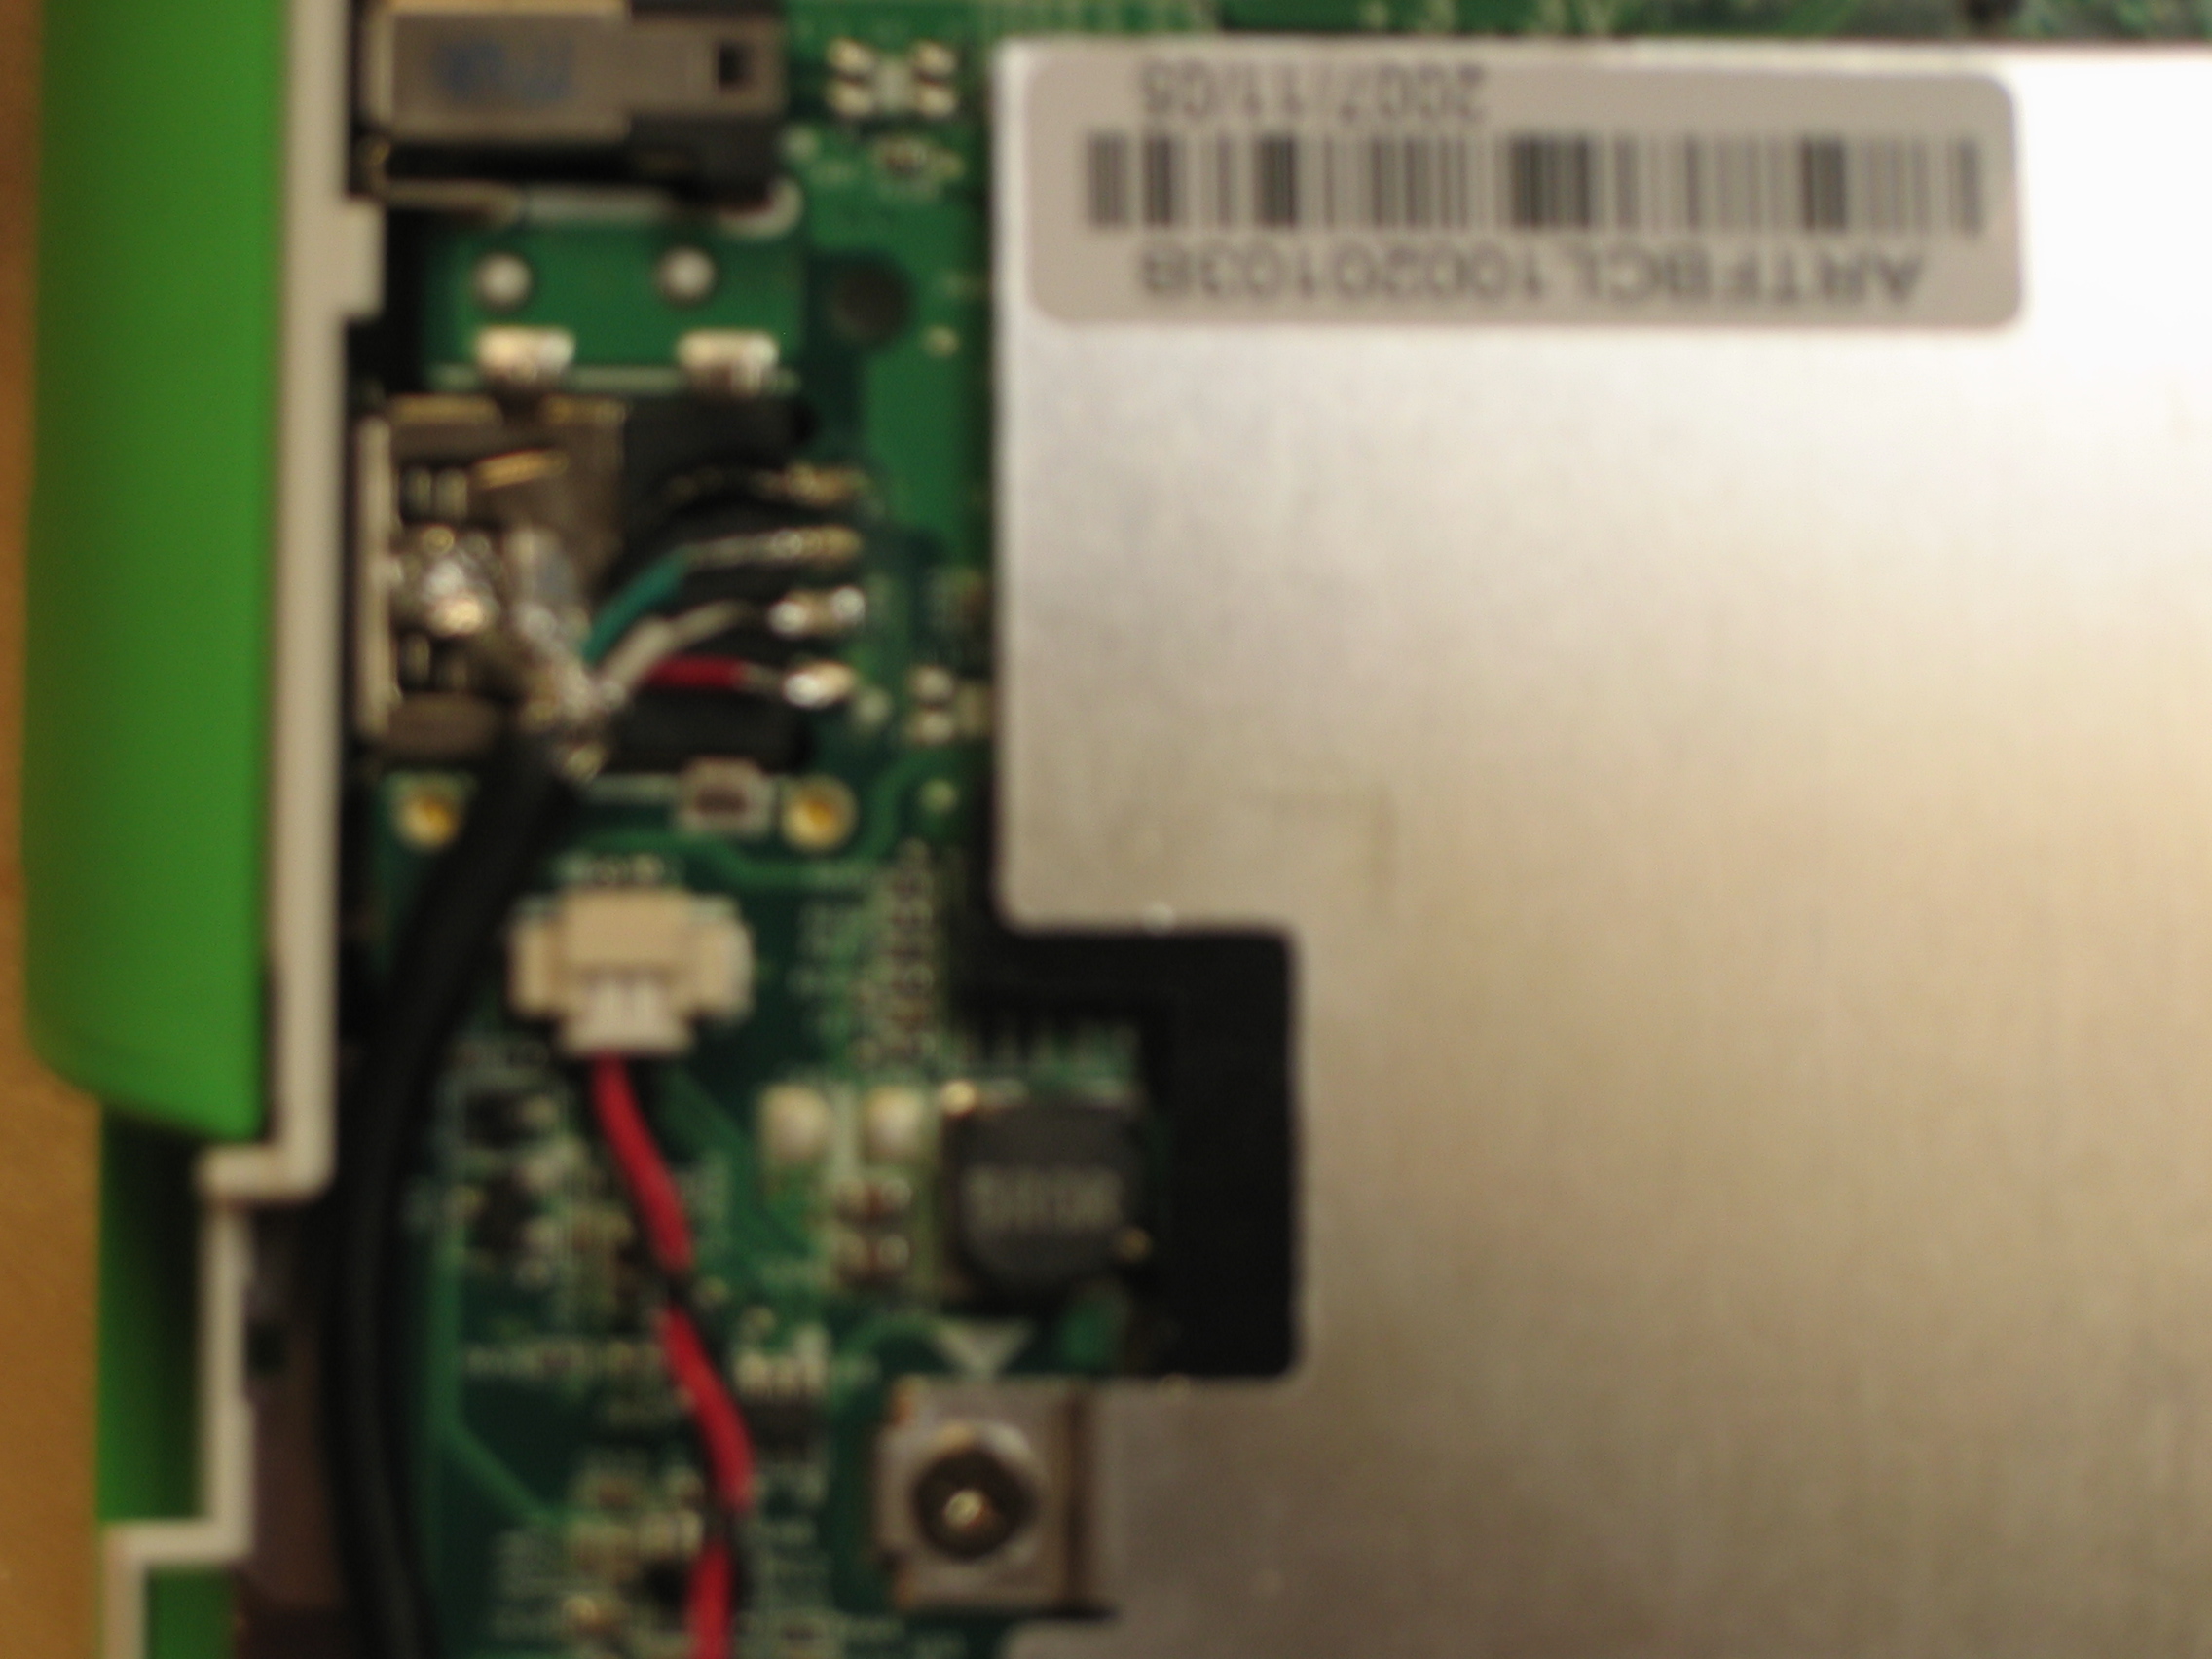
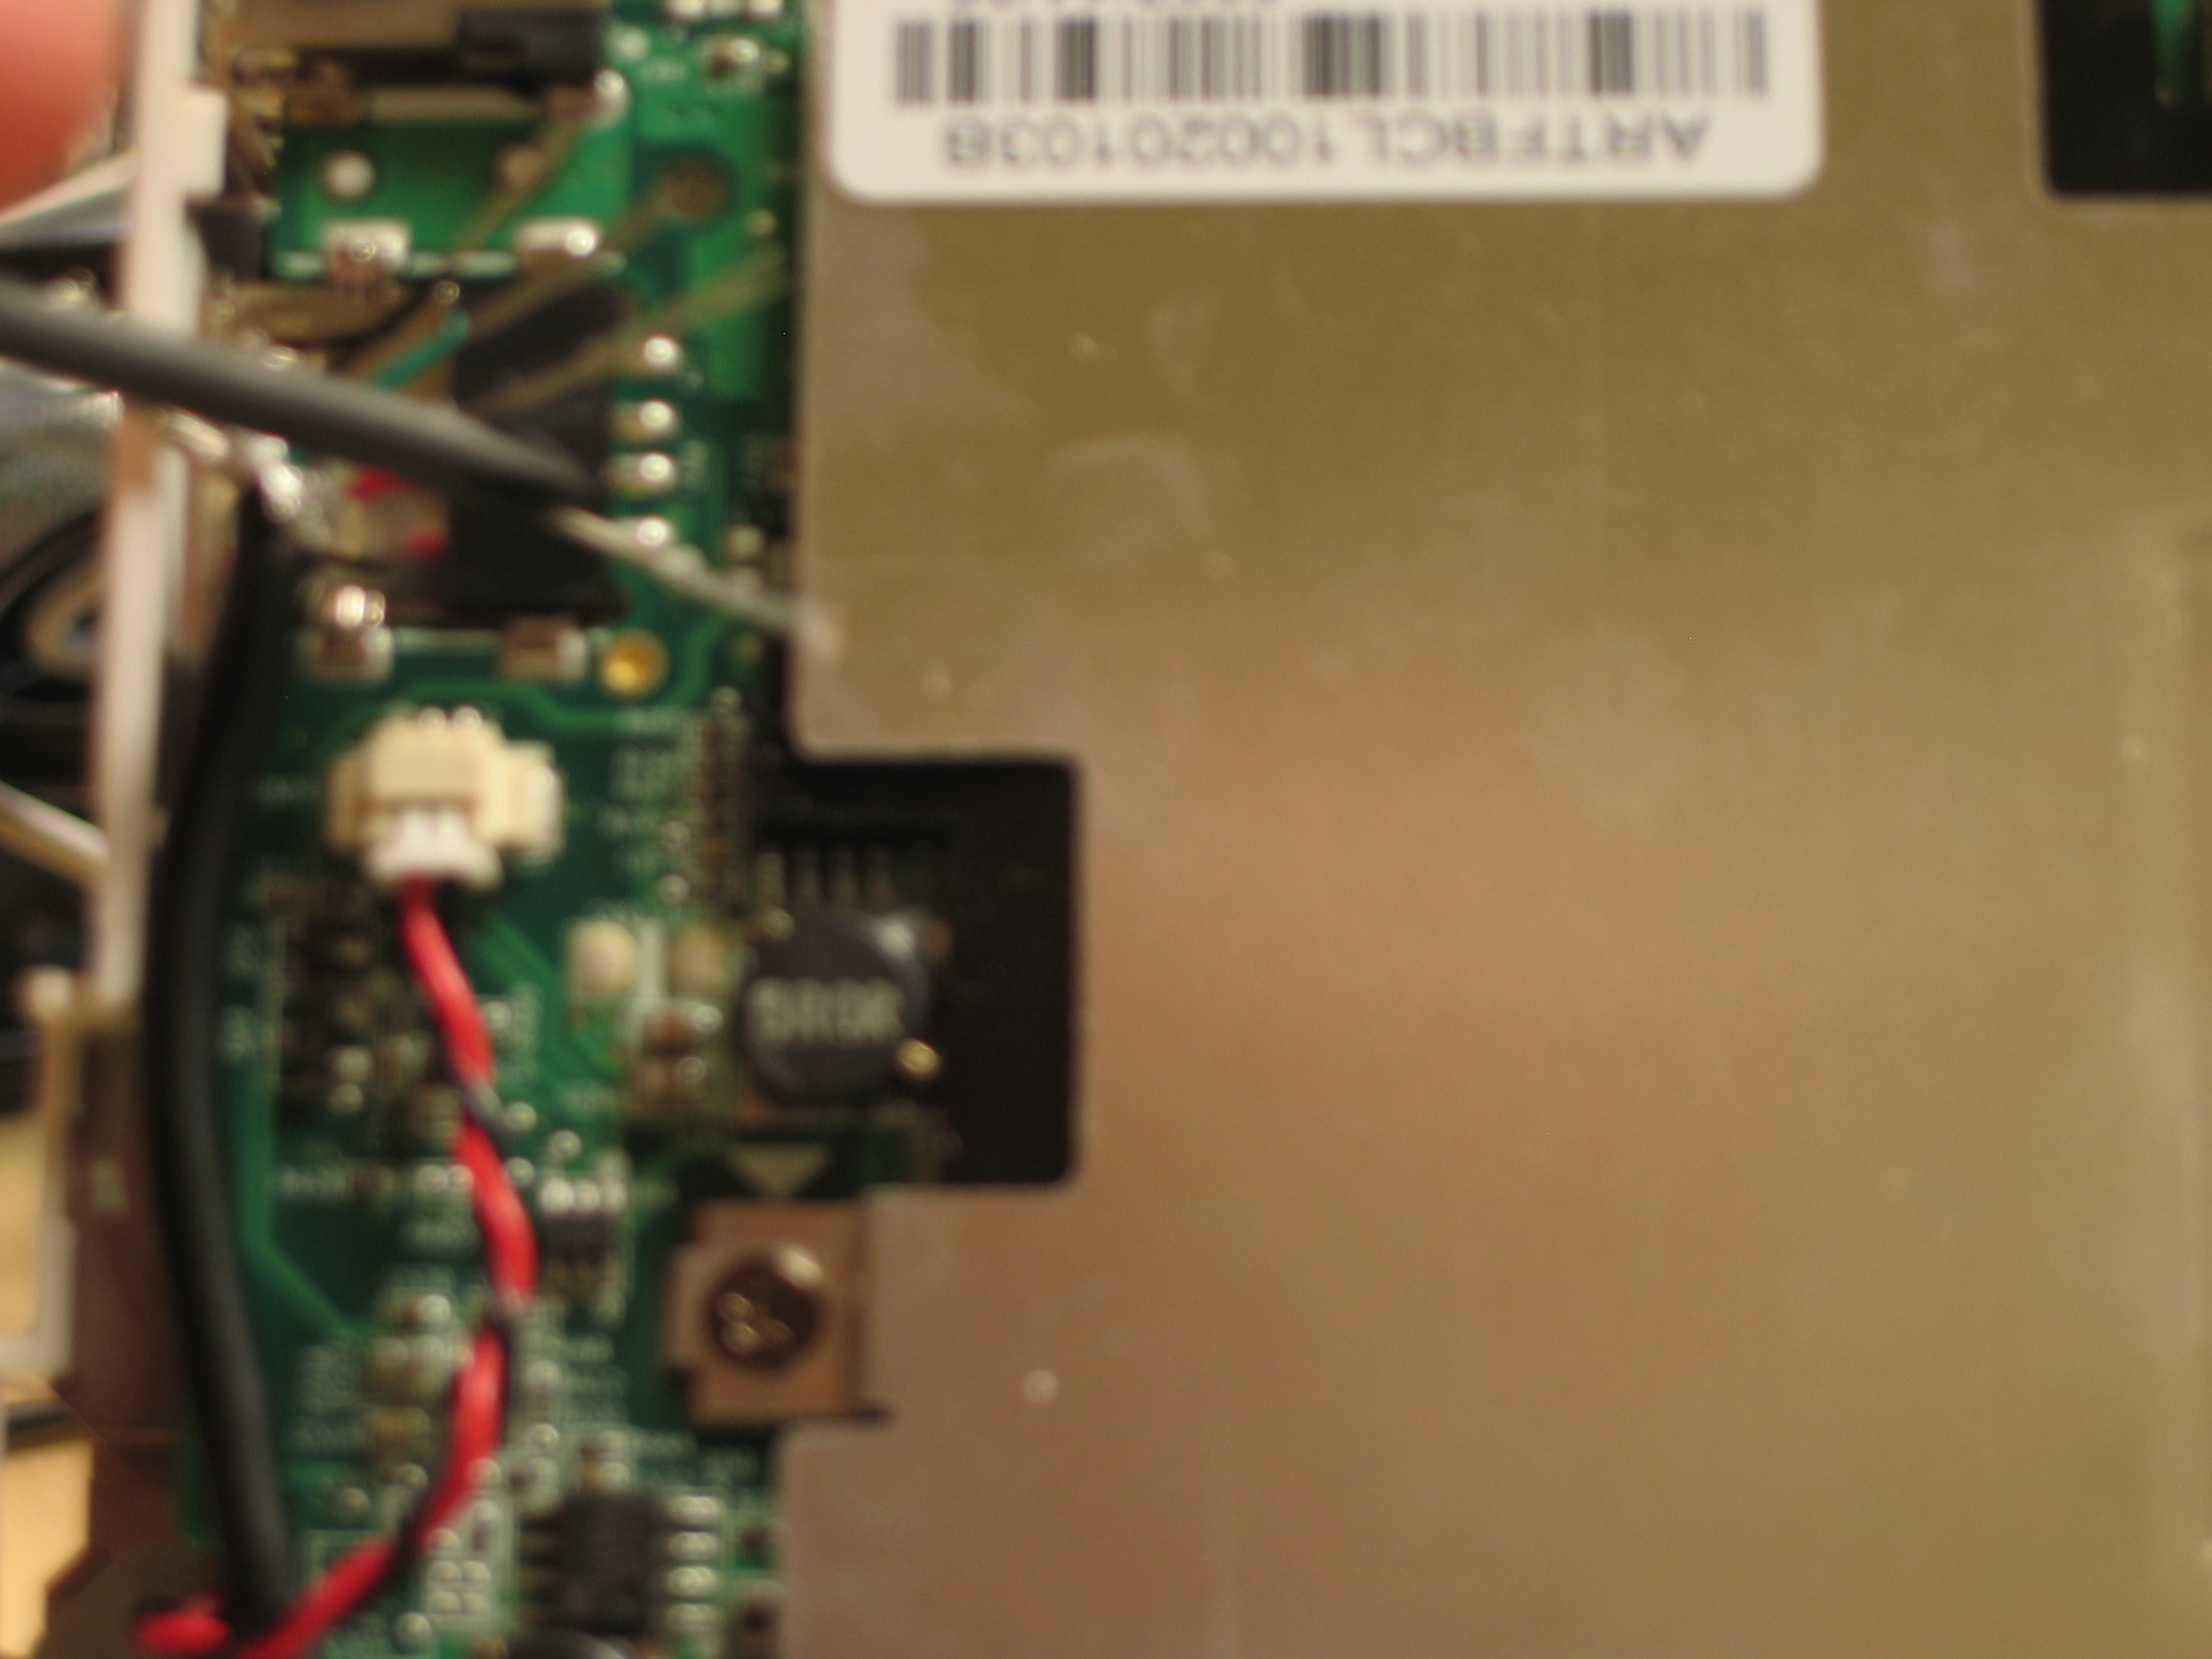
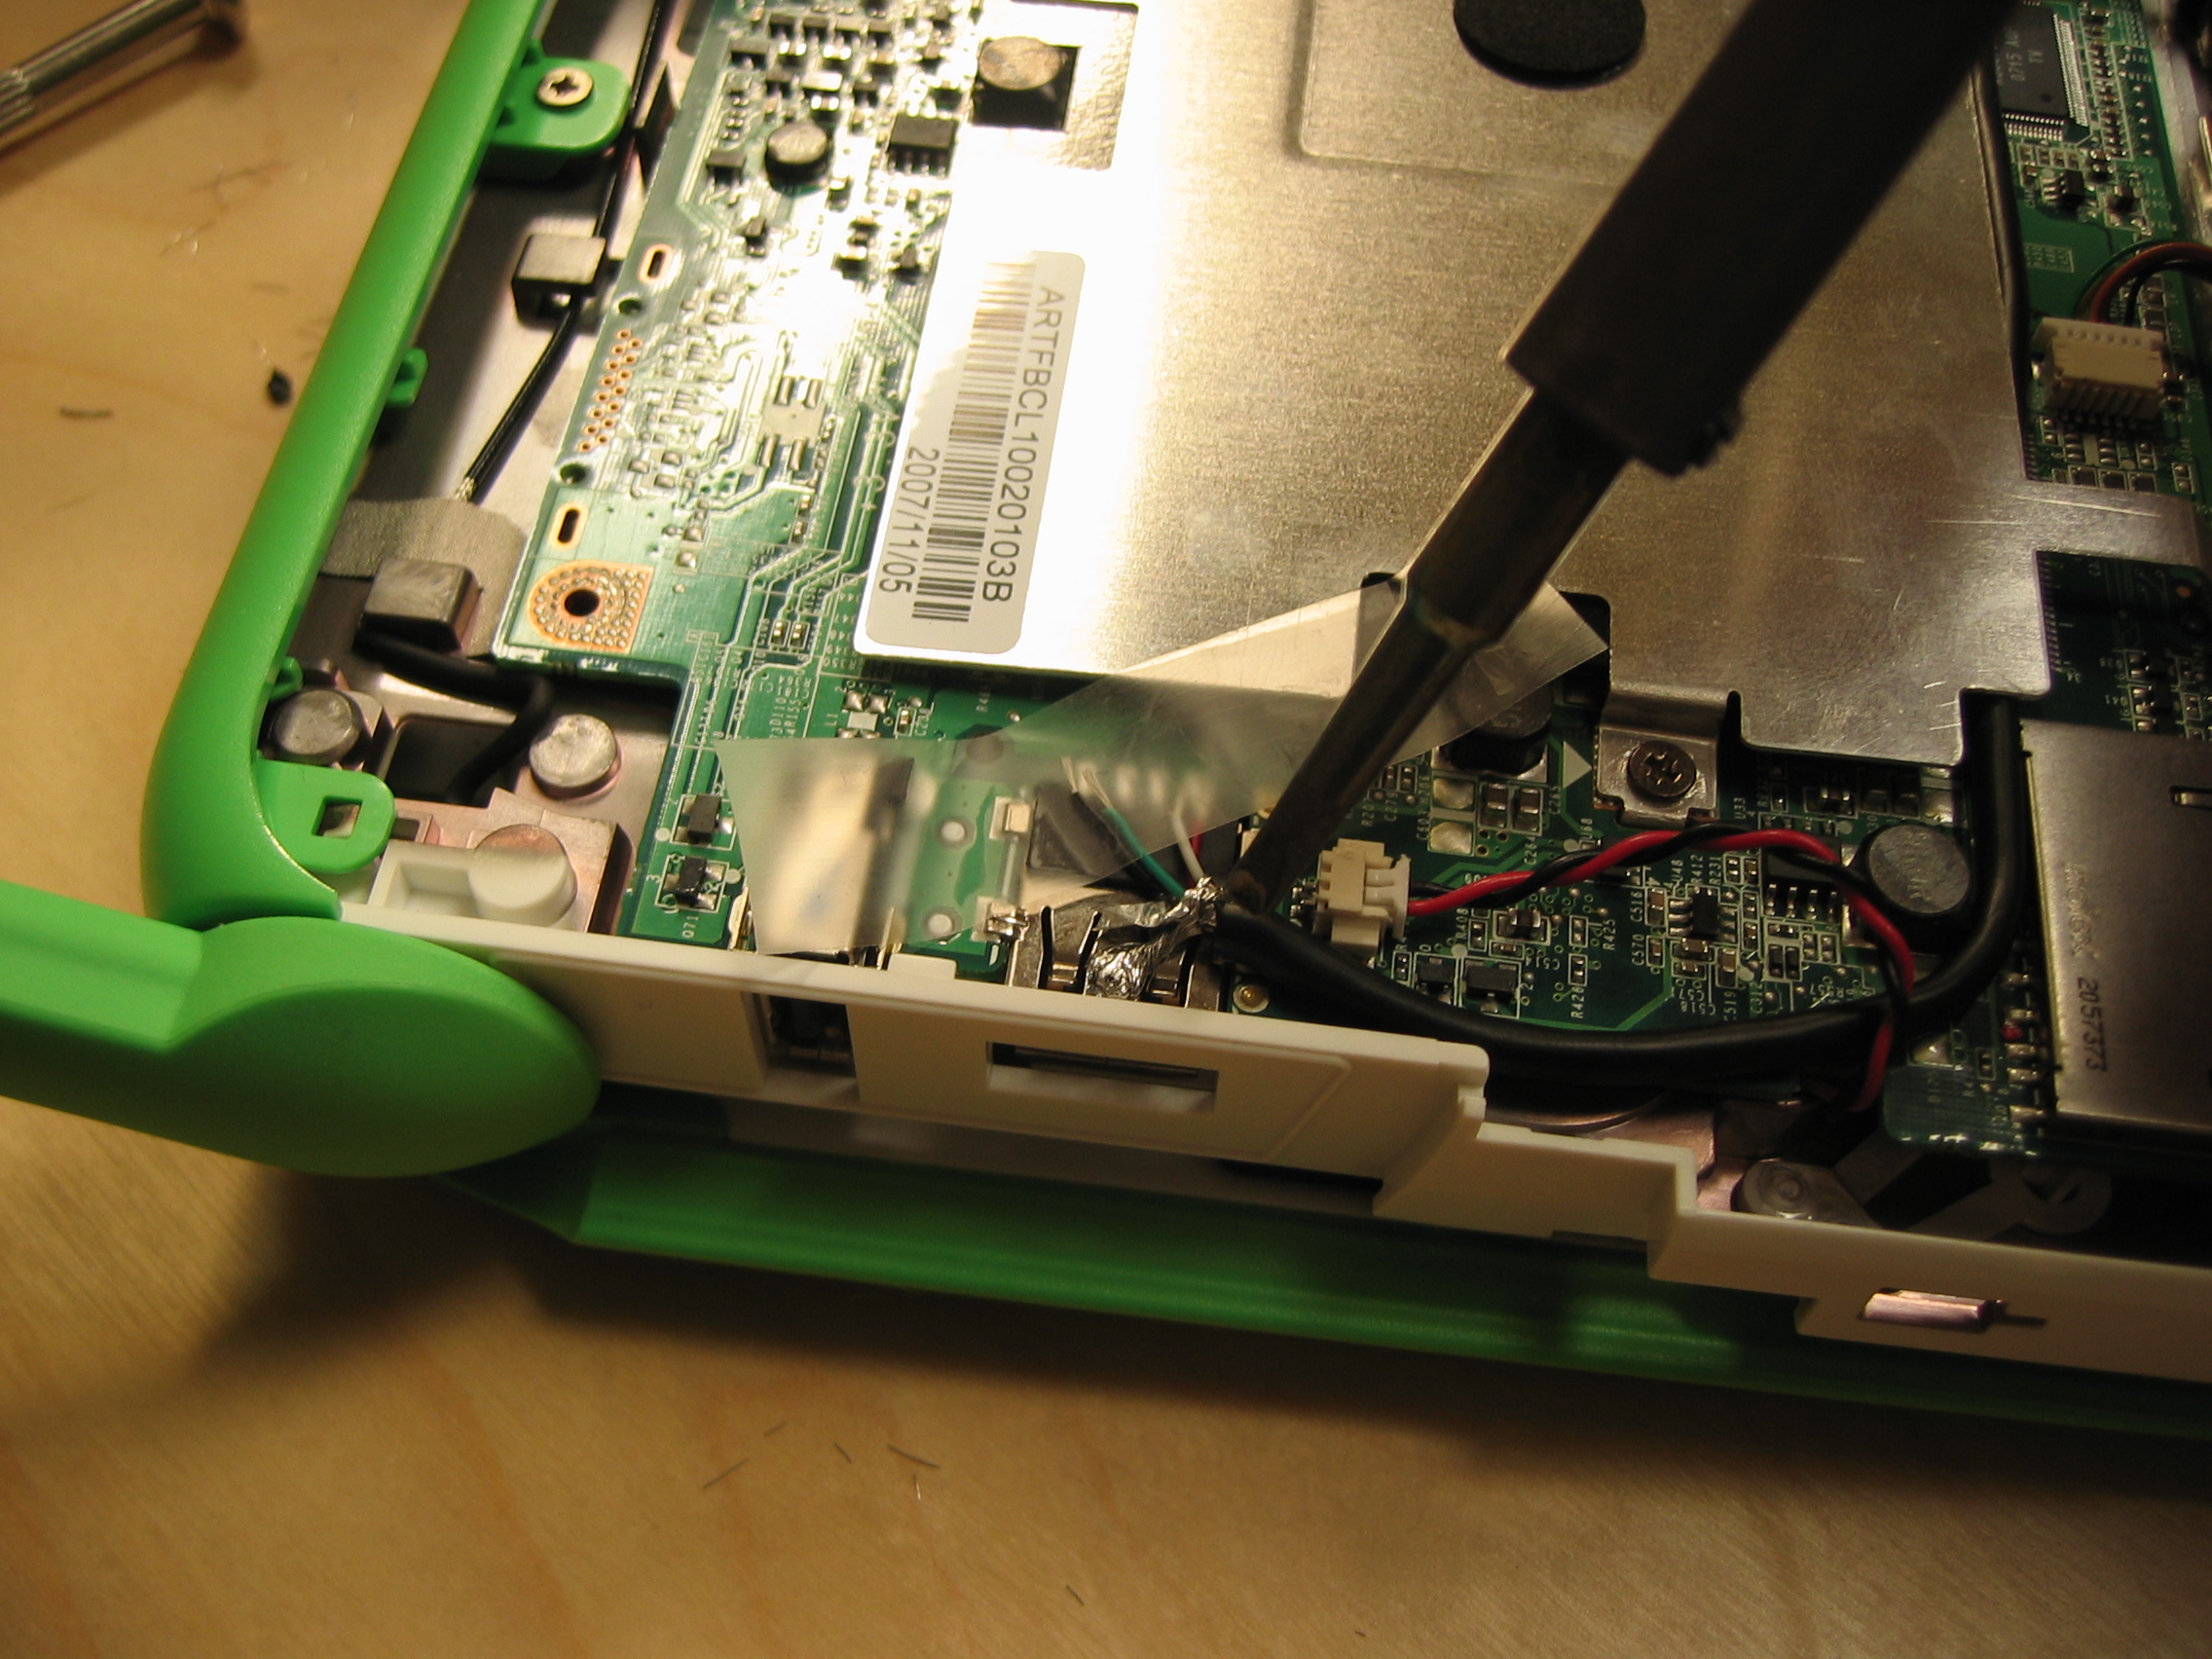
Solder the "thumb" into place anywhere on the metal housing of the USB port, then rip the tape off of the fingers and start soldering them into place. Tinning the fingertips by heating them and applying solder before you actually make the joint will help you avoid cooking the motherboard too much (sorry the second picture's so blurry).
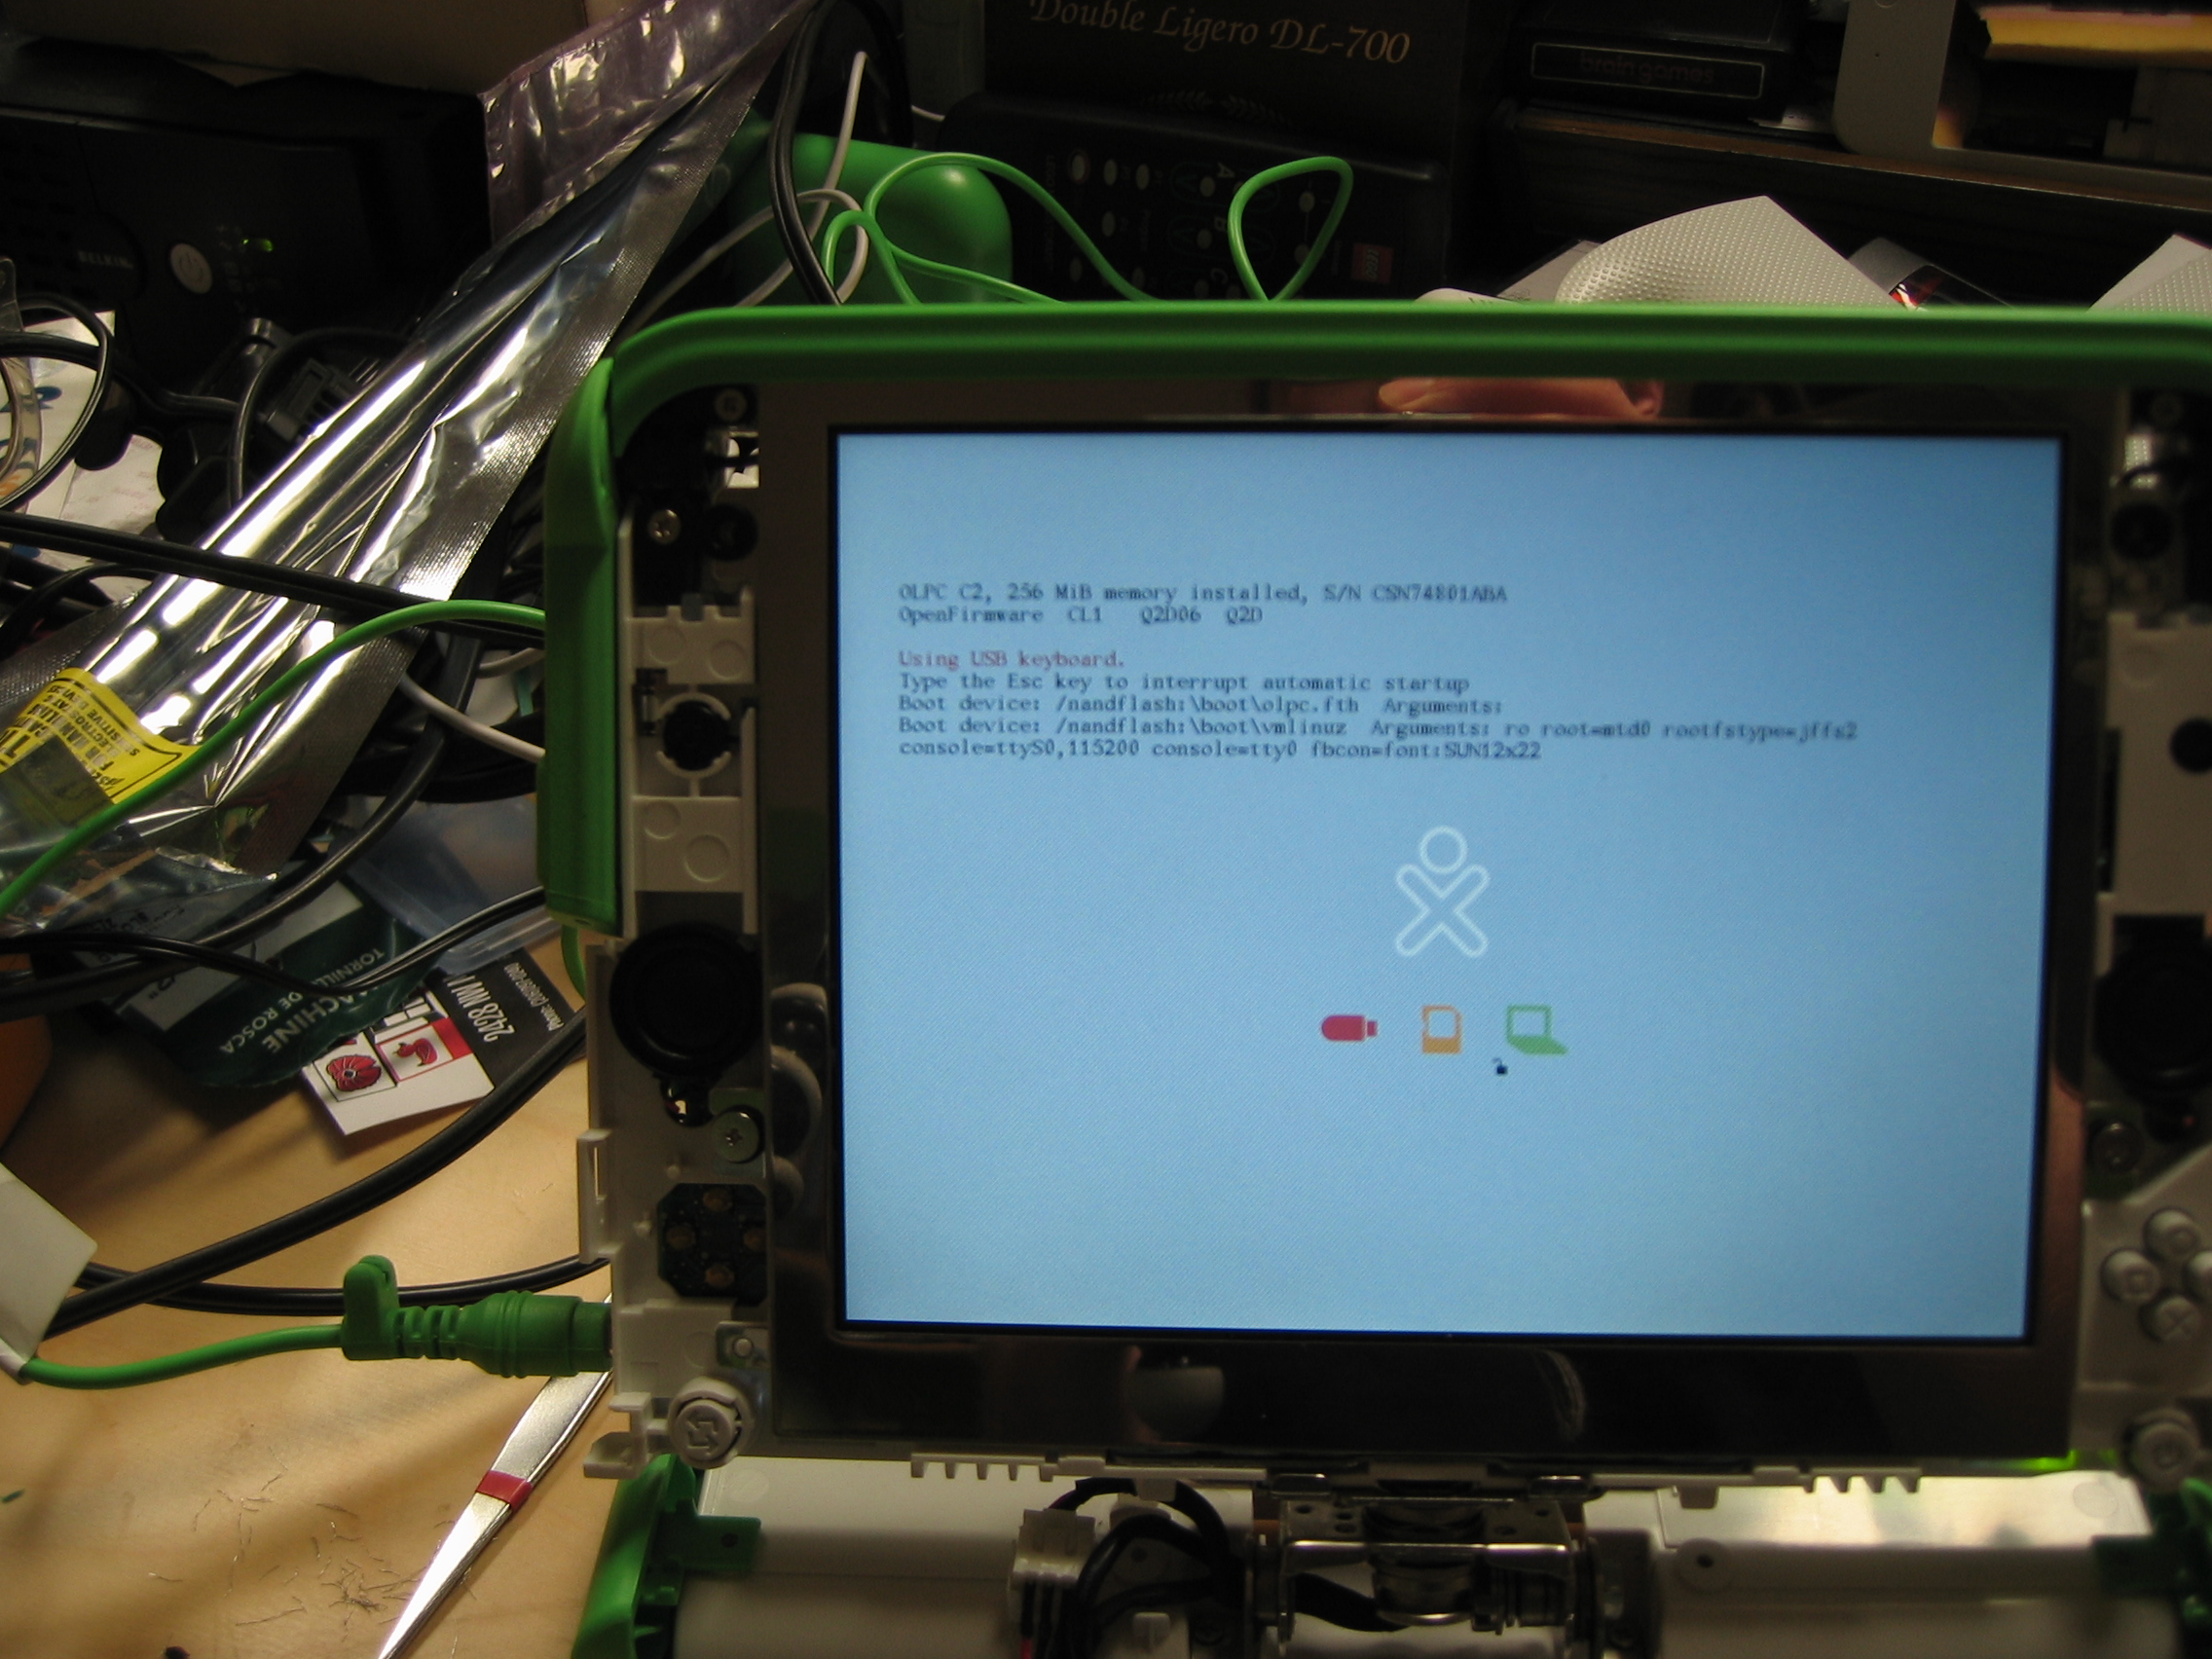
Hook up the monitor, make sure nothing is plugged into the USB port you just modified, and power it up! Getting the "USB Keyboard" message on boot seems a little weird with nothing plugged into the USB ports, doesn't it?
A Few Last Touches
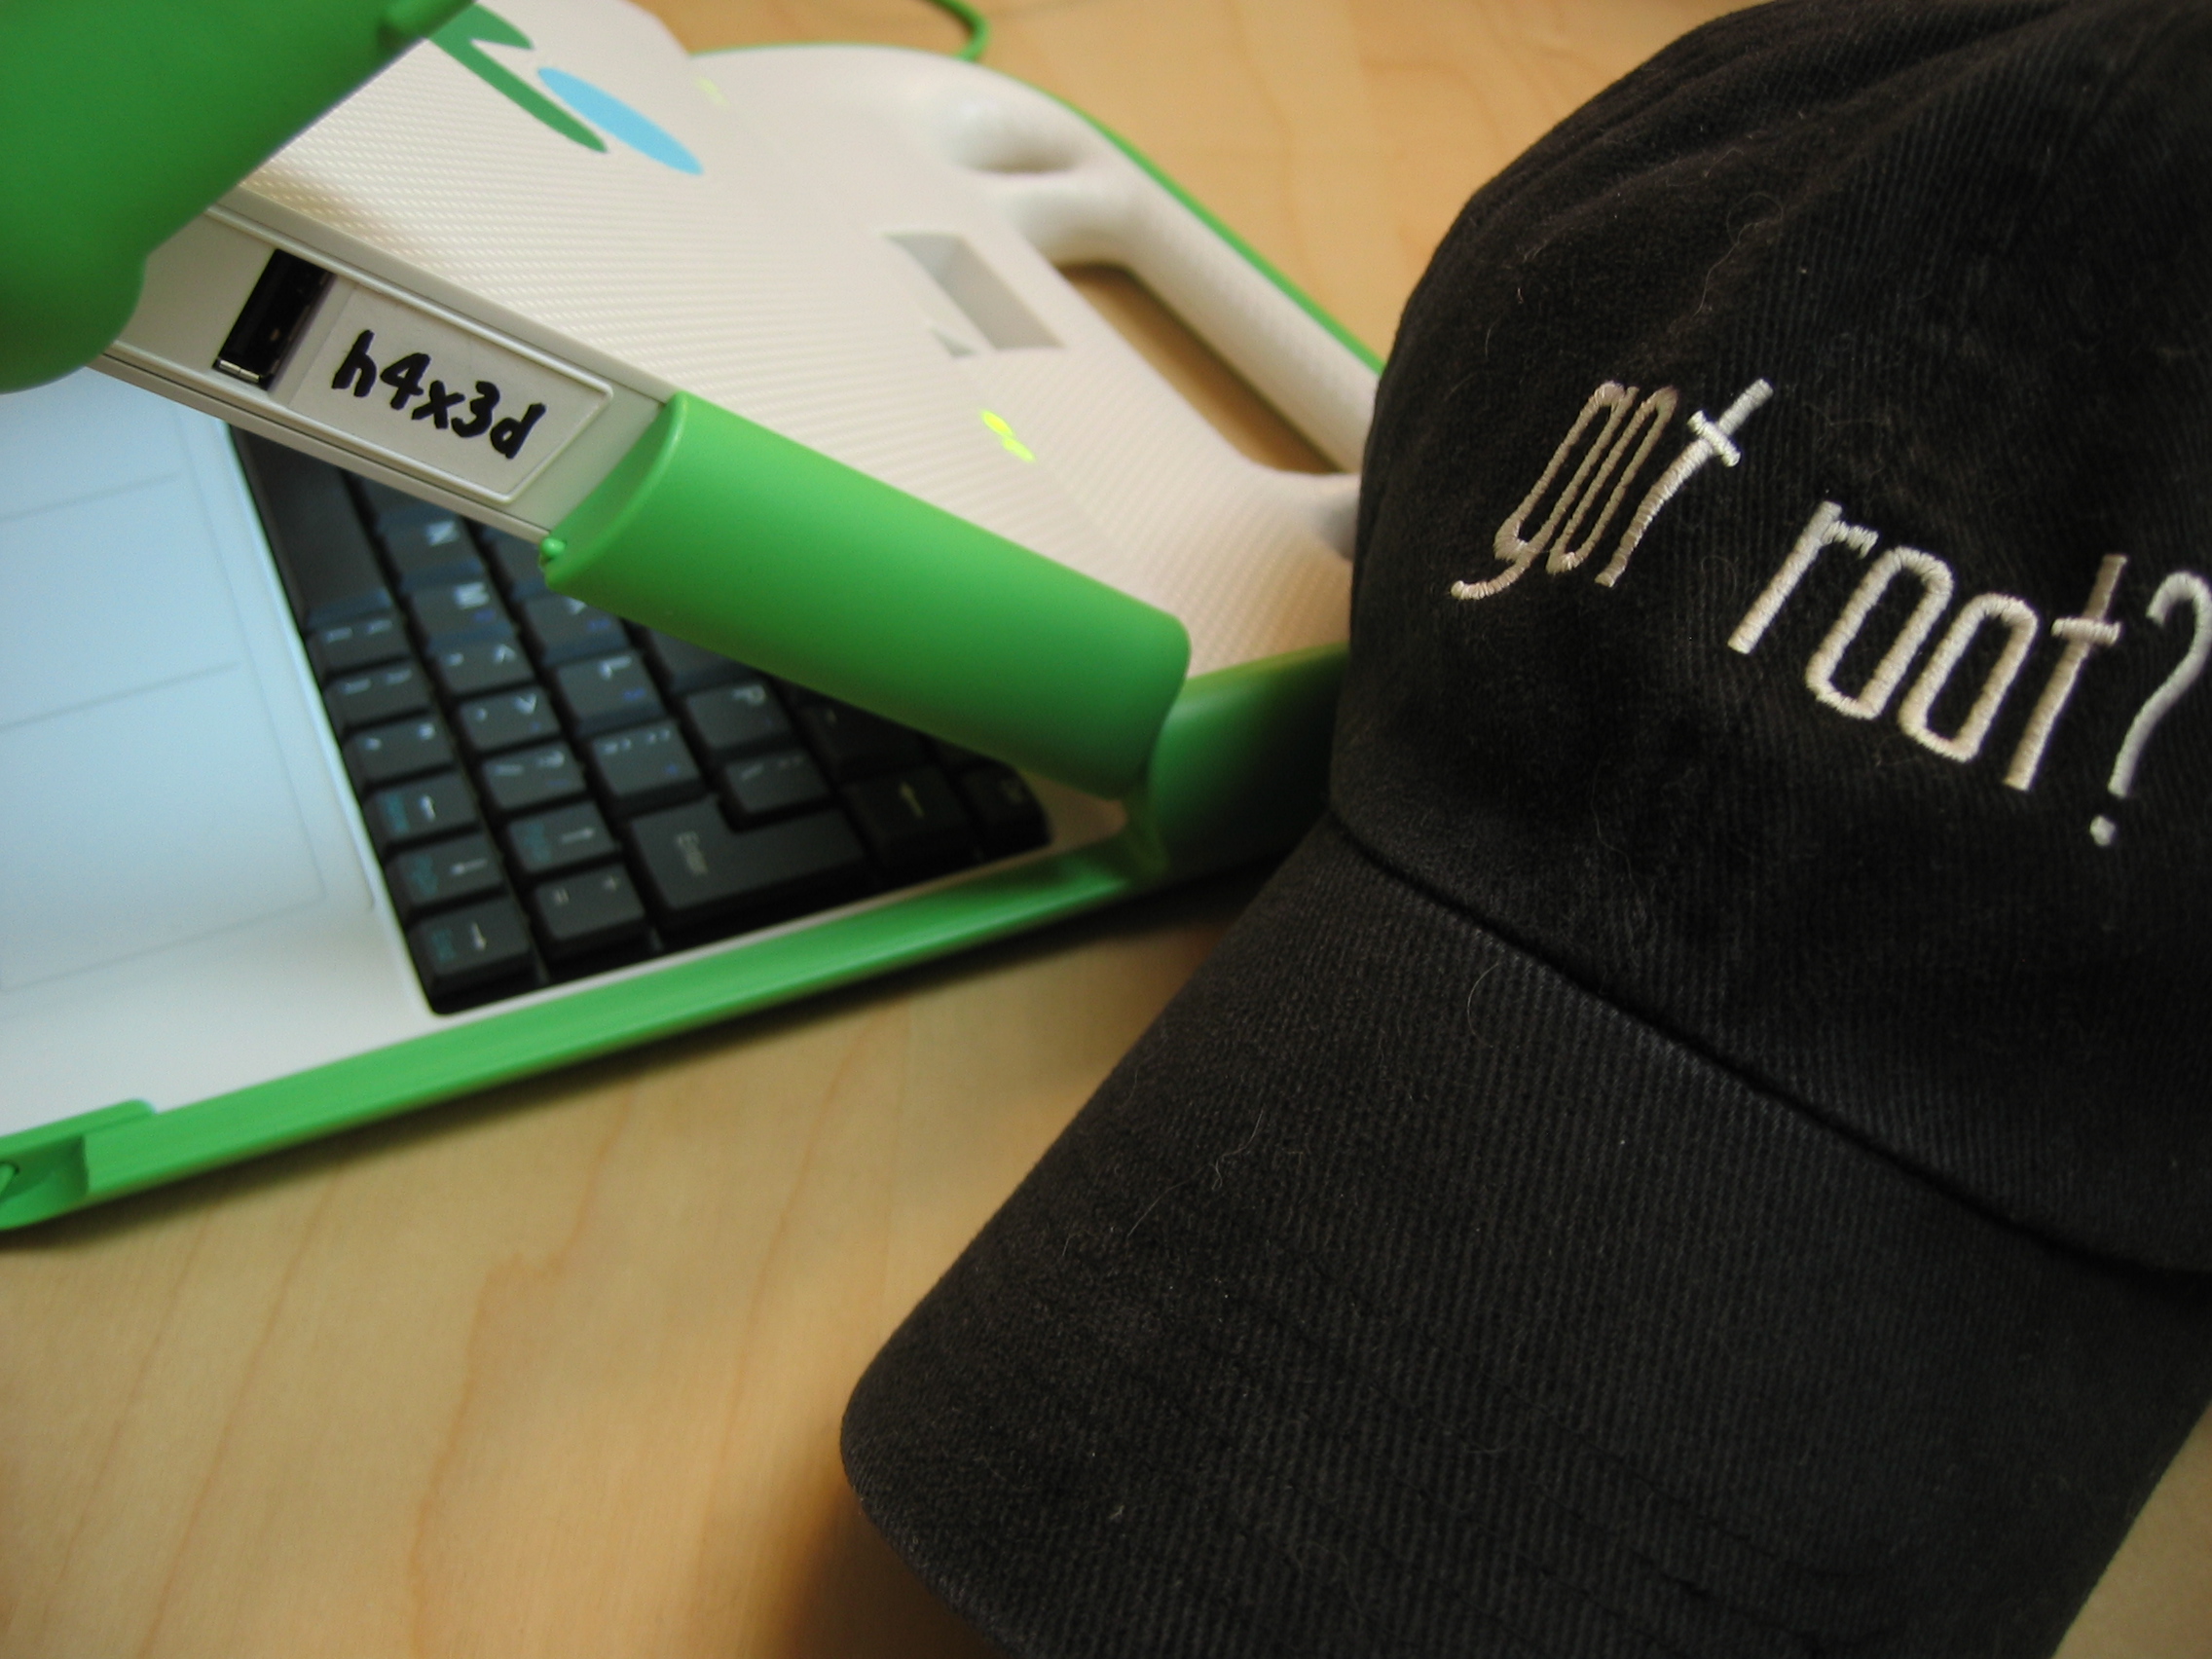
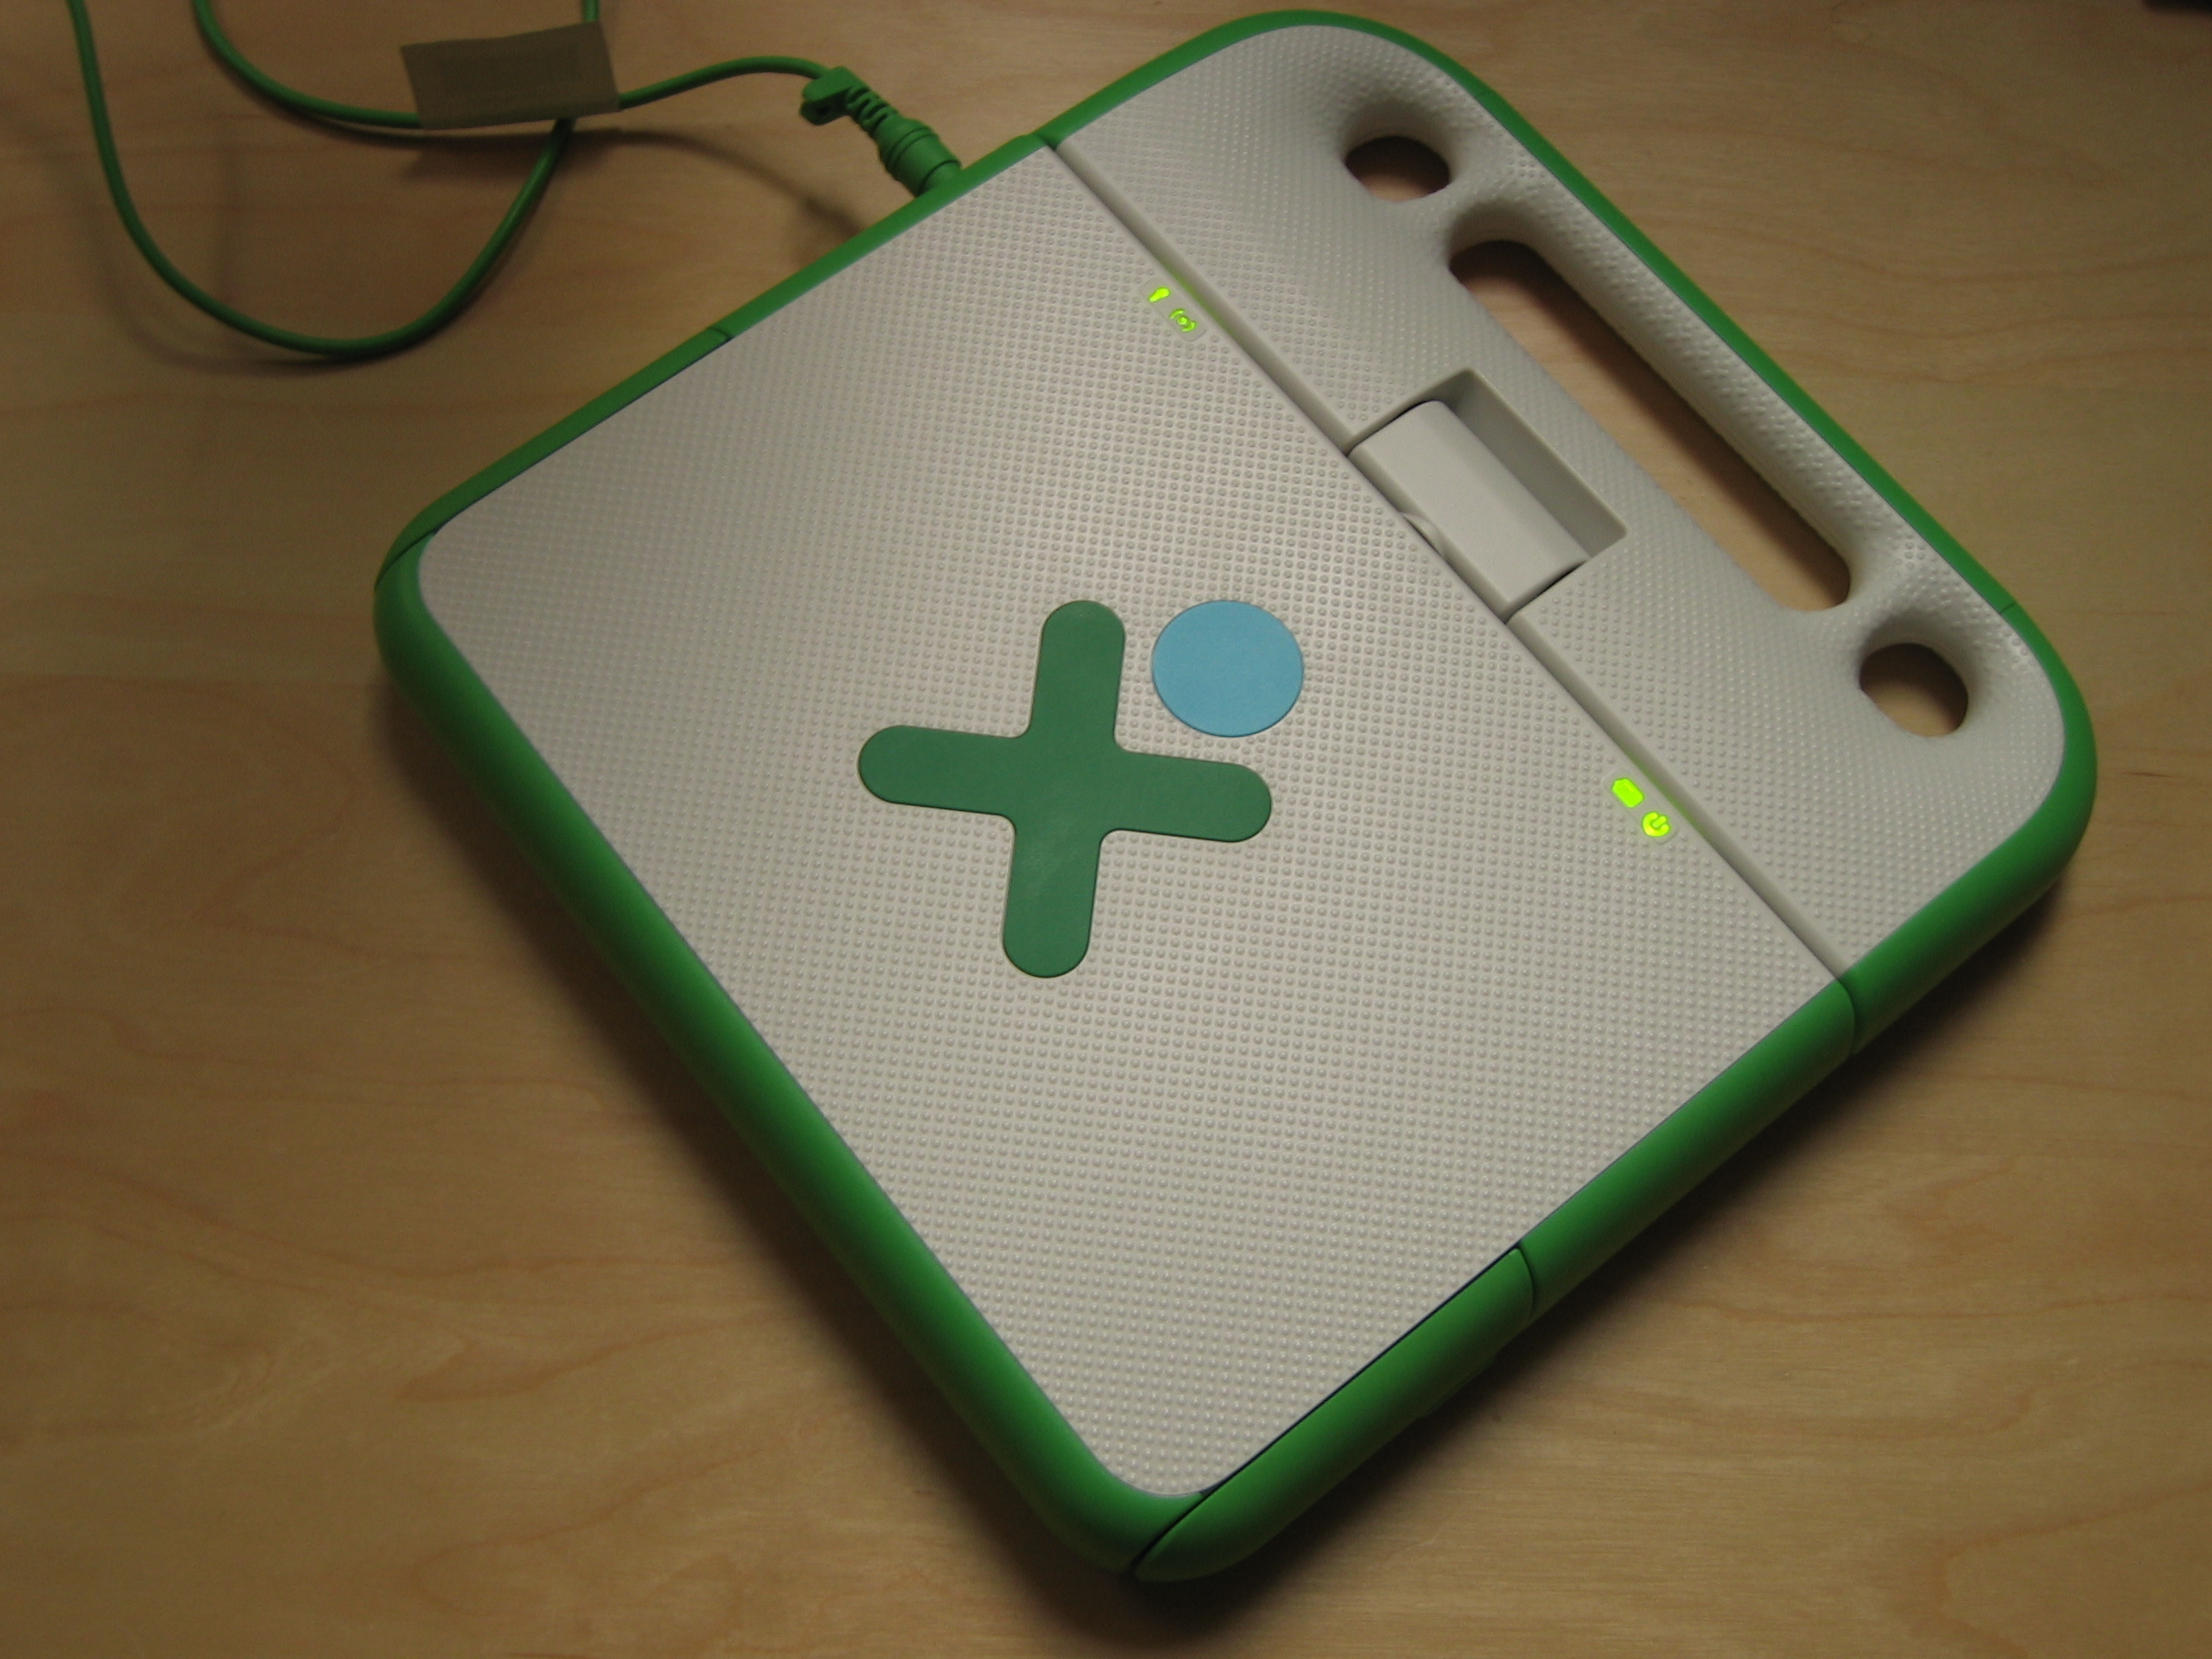
Check to make sure everything still works; you should be able to access your wireless network, the other two USB ports, and you should be able to close the laptop or flip the screen around to tablet mode without forcing anything or feeling any tightness.
If everything's good, reassemble your XO and bury Stumpy out back next to "Cheeks" the hamster!
I made myself a little sticker to cover the USB port so I wouldn't absently plug a thumbdrive or USB plasma globe into that port by mistake.
If everything's good, reassemble your XO and bury Stumpy out back next to "Cheeks" the hamster!
I made myself a little sticker to cover the USB port so I wouldn't absently plug a thumbdrive or USB plasma globe into that port by mistake.