Final Project - IoT Rube Goldberg Machine
by Lotem Michael in Circuits > Remote Control
327 Views, 0 Favorites, 0 Comments
Final Project - IoT Rube Goldberg Machine
In this final project, we created our own interpretation for an IOT Rude Goldberg Machine.
In our project, we focused on a daily use case, where our dog stays alone at home while we are at the office.
Our system provides us with a smooth automatic procedure to give him his 4 pm treat.
In general, the flow of our system is as the following:
For each and every ordinary Day in the office, when your dog is left alone back home.
Monday's Daily Automation reminds you that it is Snack Time, and creates a new task for you.
Then you open the Blynk App and click on its unique button.
The button Alarms your dog back home by starting the CPX to shout and blink!
Your dog will notice the noise and lights, so he will eat its treat from the light sensor.
The change in light level will trigger the Blynk App to send a webhook to the Integromat Scenario.
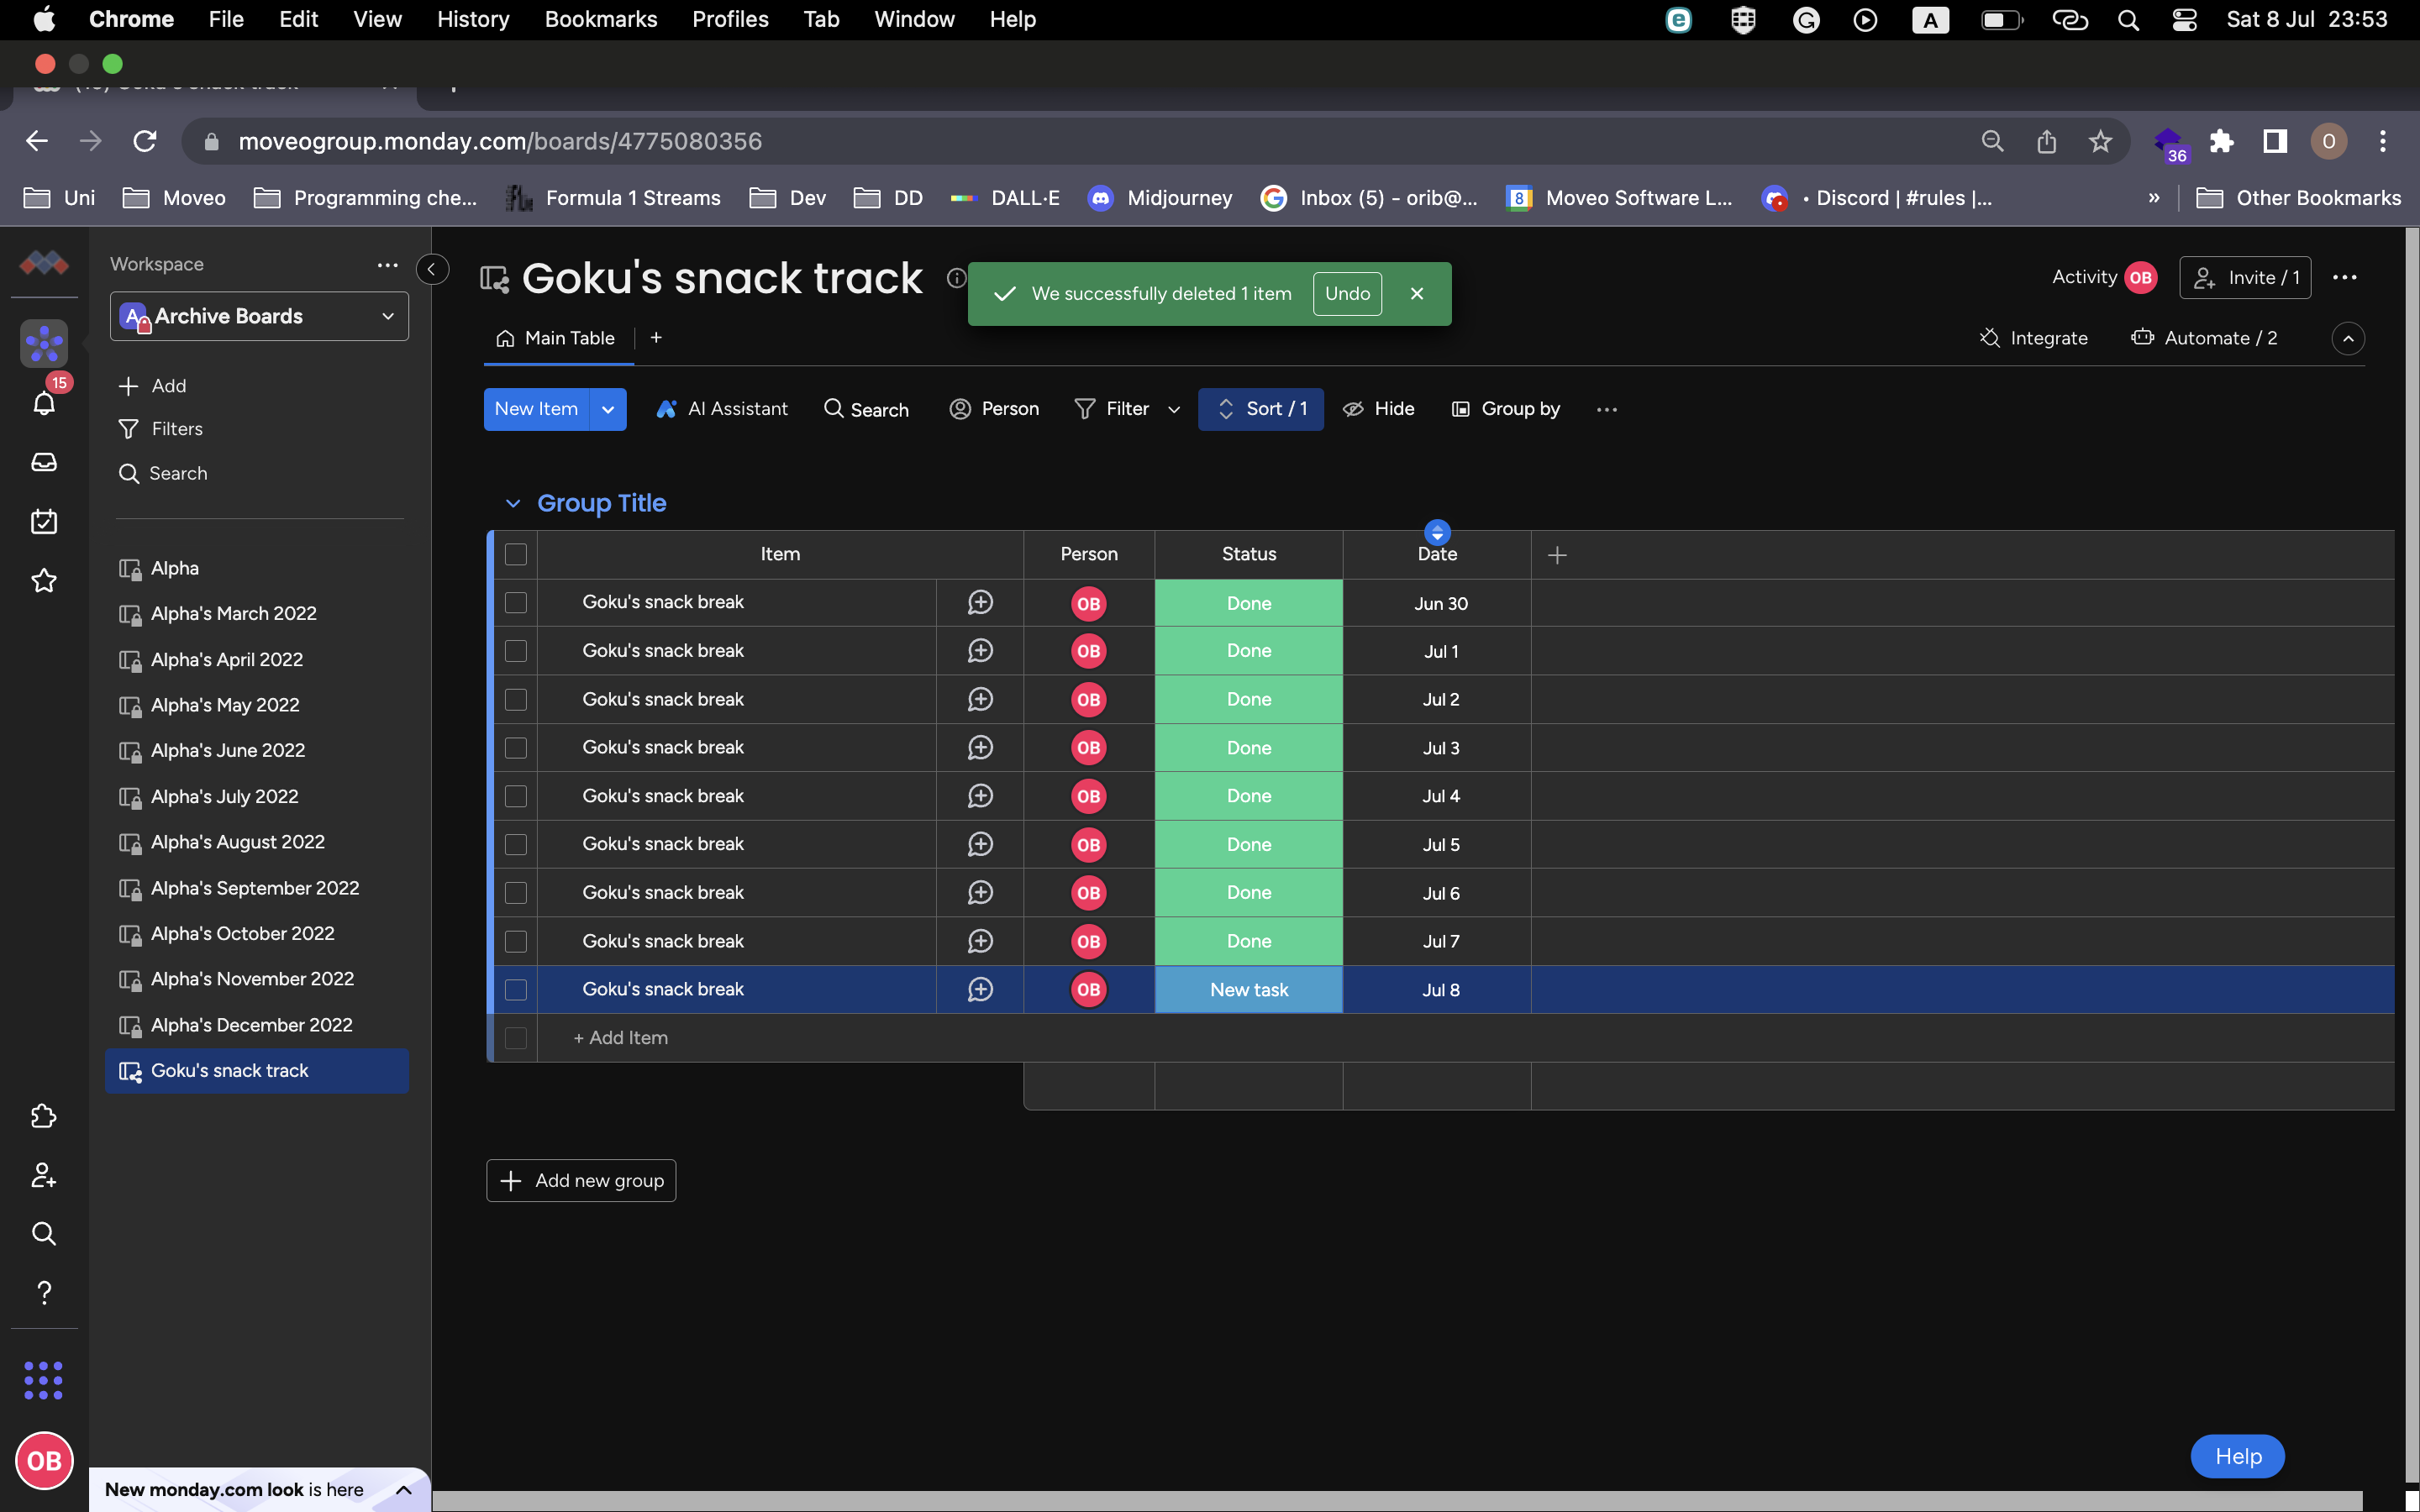
This scenario starts running, and eventually will move the Monday task to Done!
By the end of the flow, you get an assurance that your dog has eaten its snack.
In the following Instructable, we will provide all the details for the construction of this kind of system...
Supplies
Tools checklist -
Hardware:
- Adafruit Circuit Playground Express board & ESP8266 ESP-12E CH340G
- Micro USB cable
- Remote Battery power/USB Charger
- Internet connection (Wifi)
- Your dog's favourite snack
Software:
- Arduino IDE
Third-party Apps:
- Monday
- Blynk
- Integromat - Make
Monday Board Setup
- Login/Create a Monday user: monday.com.
- Create a new board.
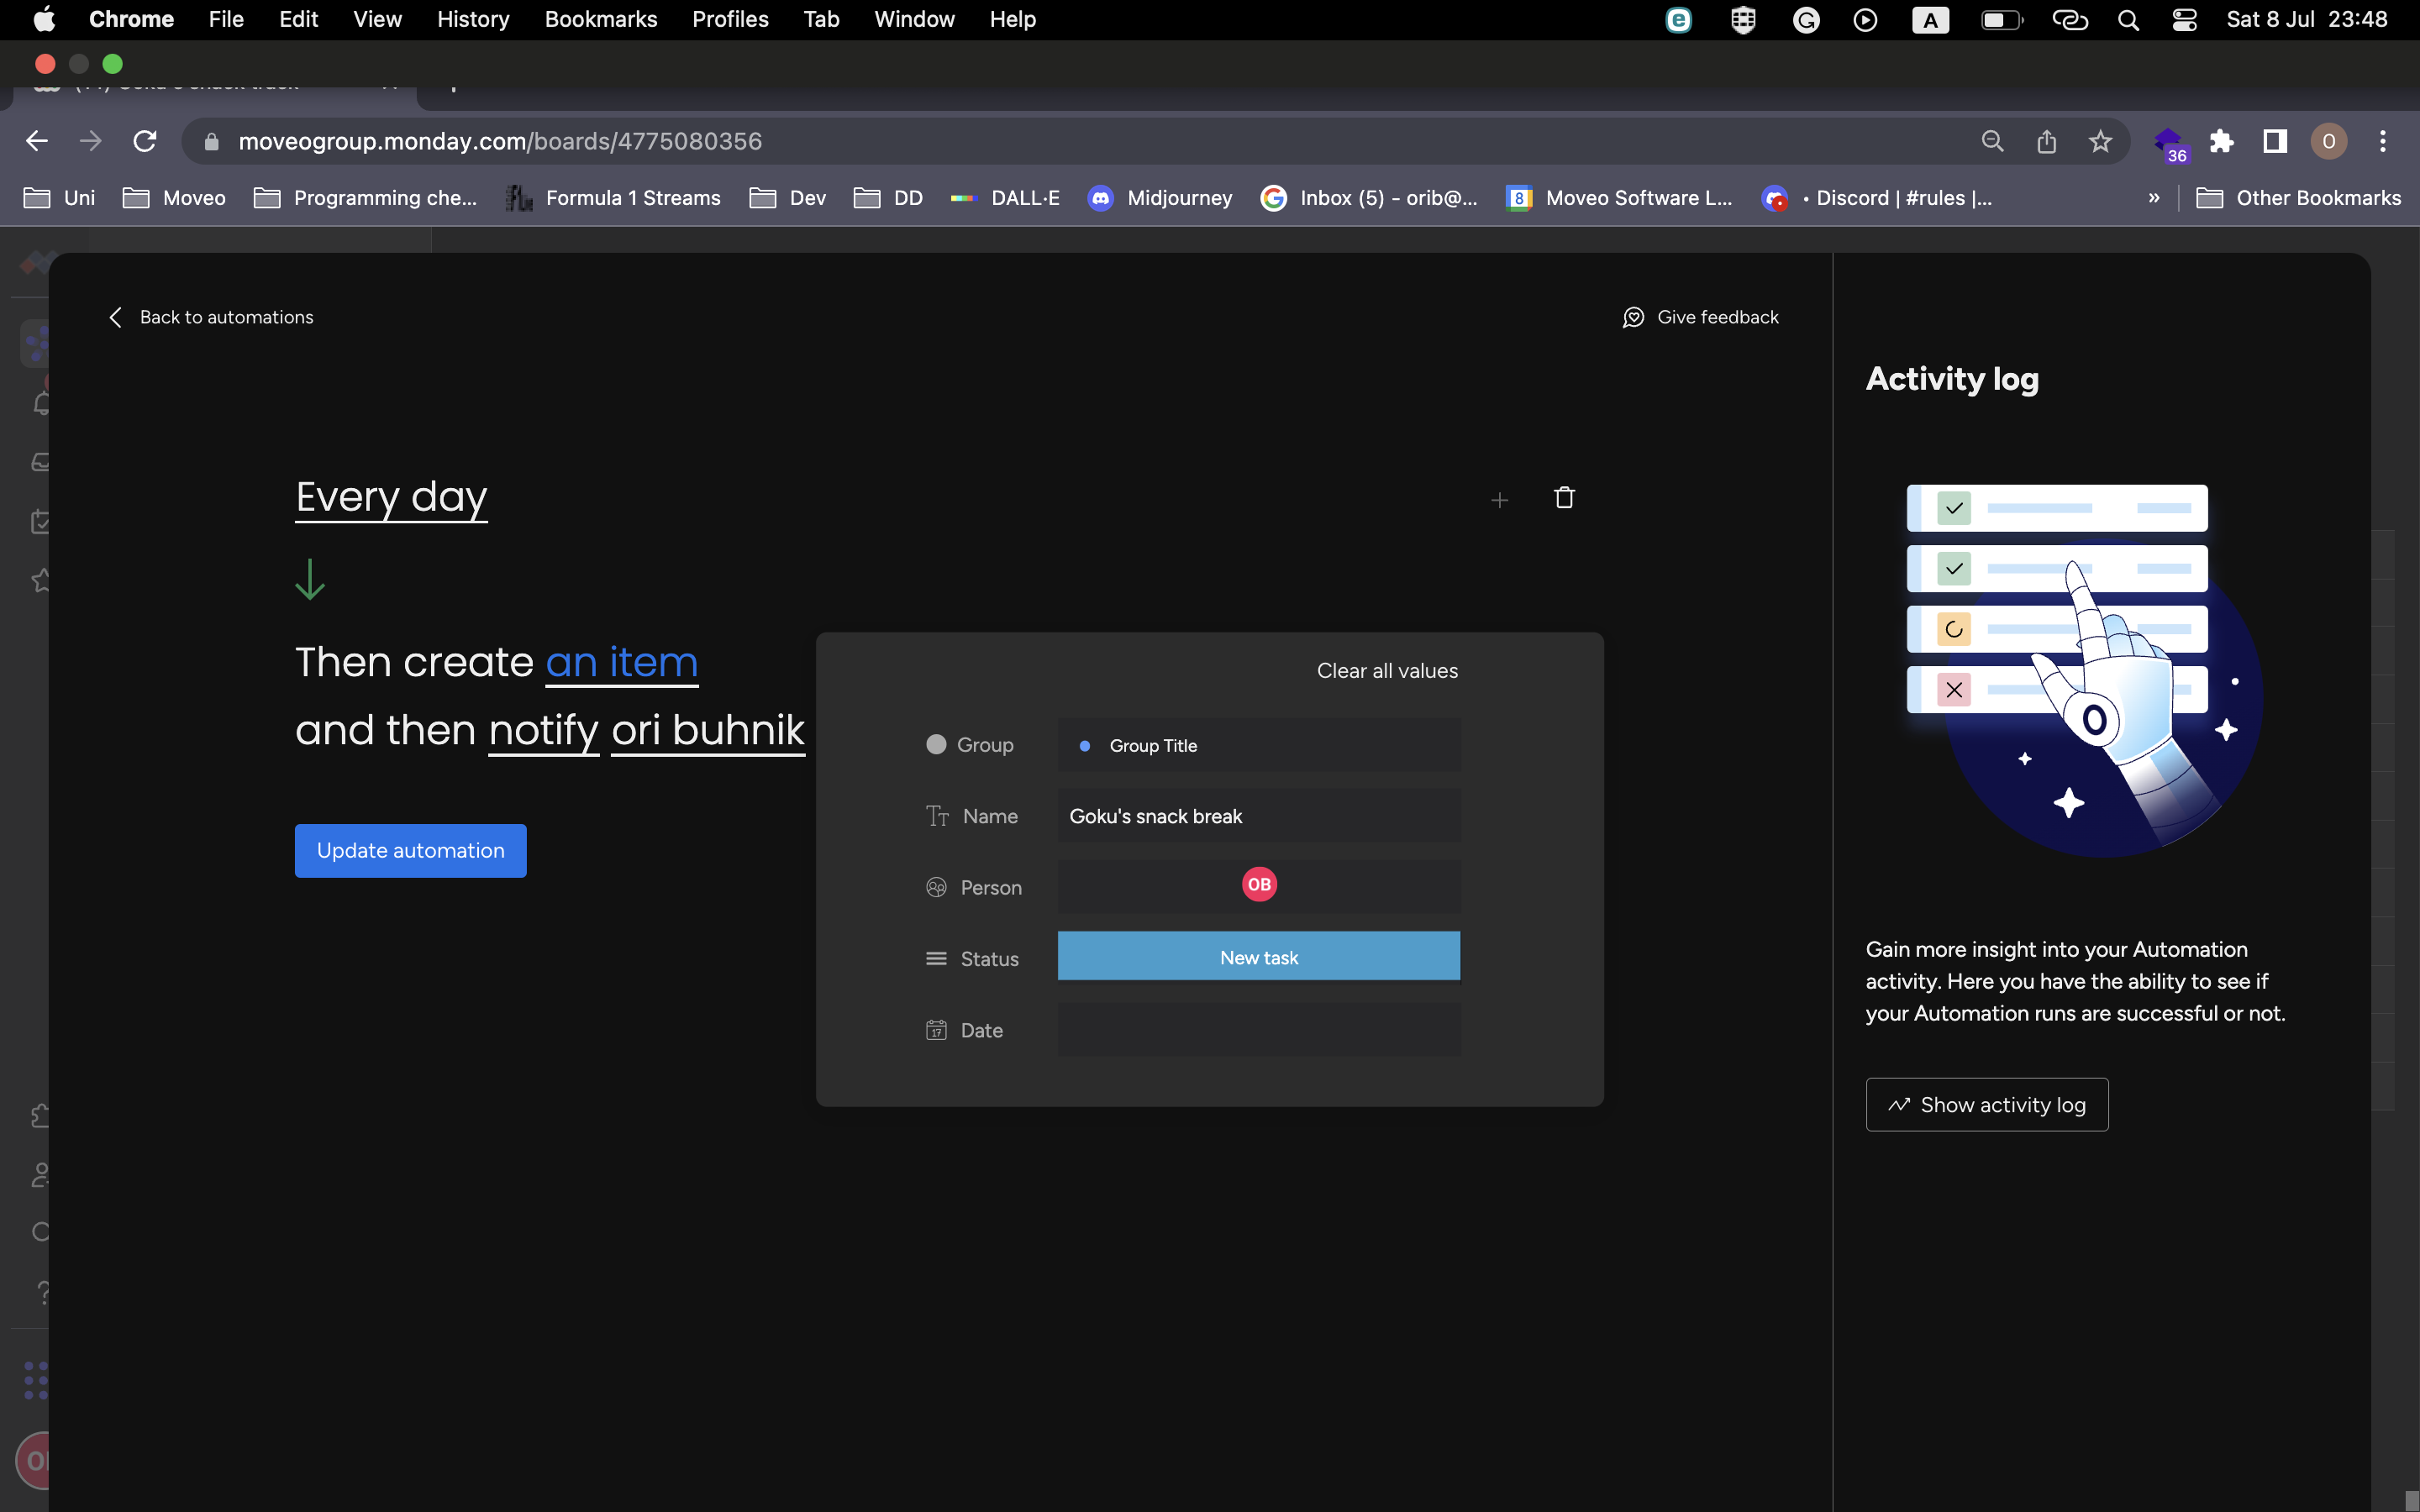
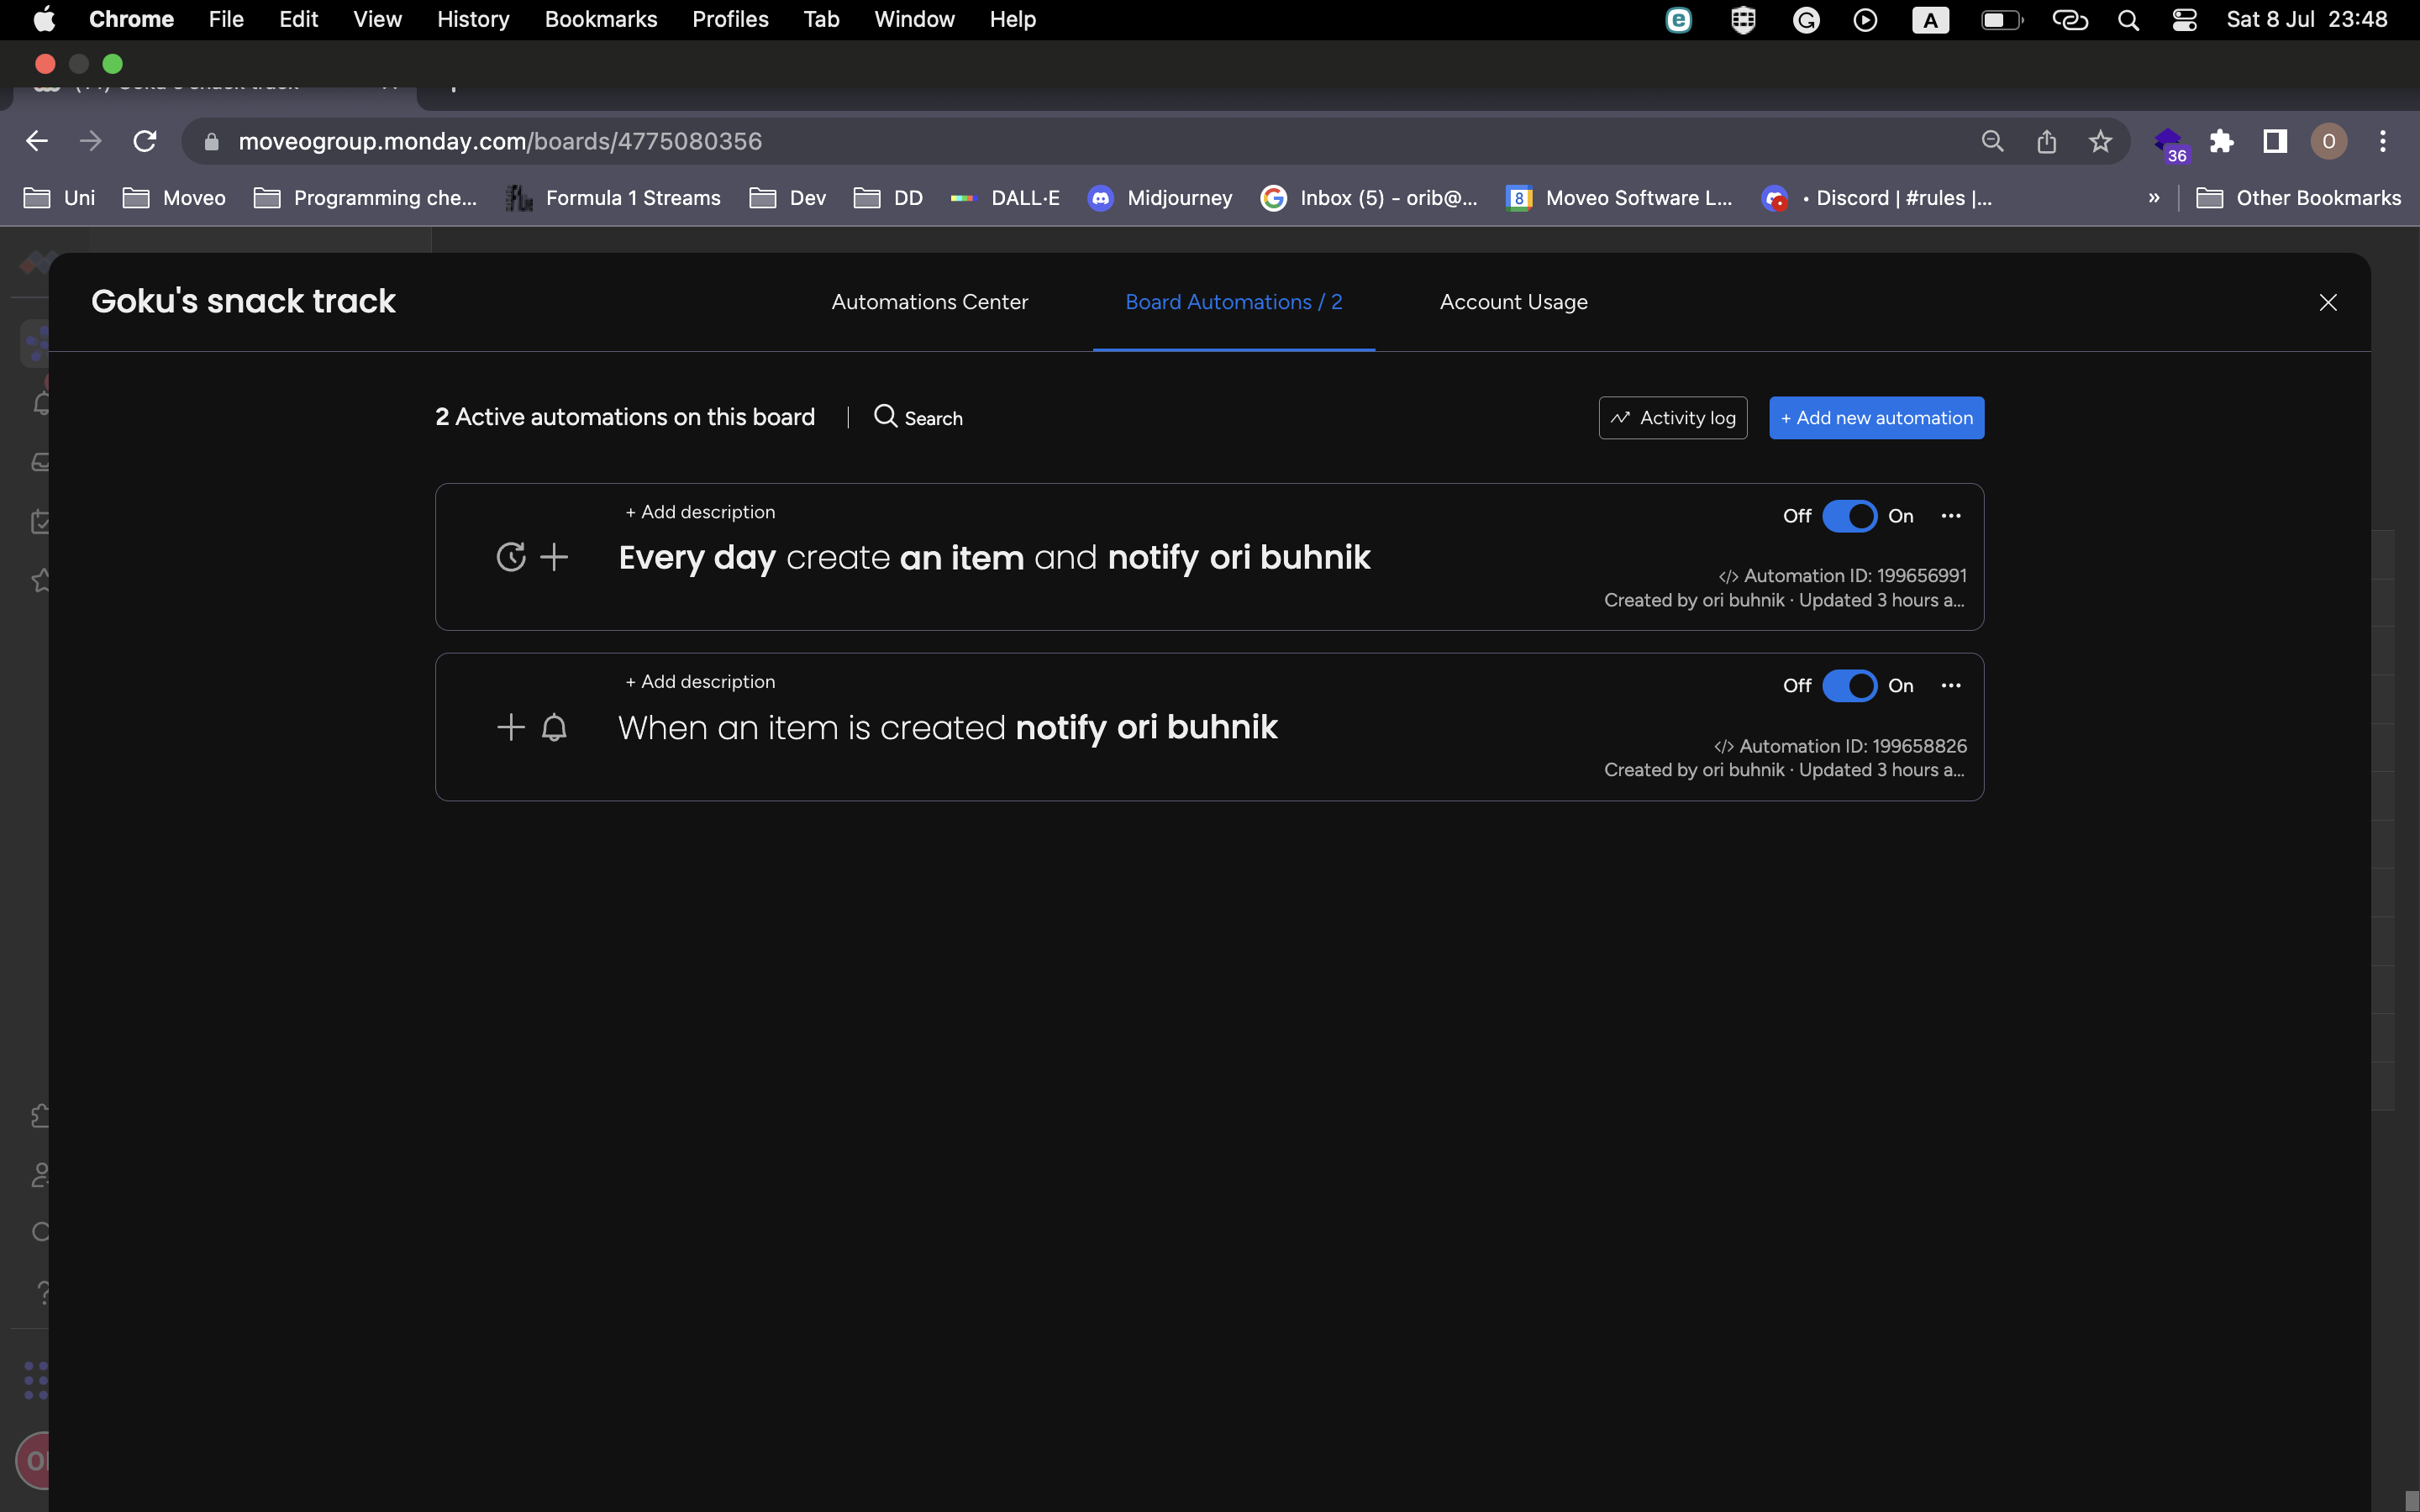
- Create a new daily automation, and configure the days you want it to notify you.
Creating Your Own Blynk App
- Login/Create a Blynk user: blynk.io
- Download Blynk App to your smartphone (search 'Blynk' Via your App Store).
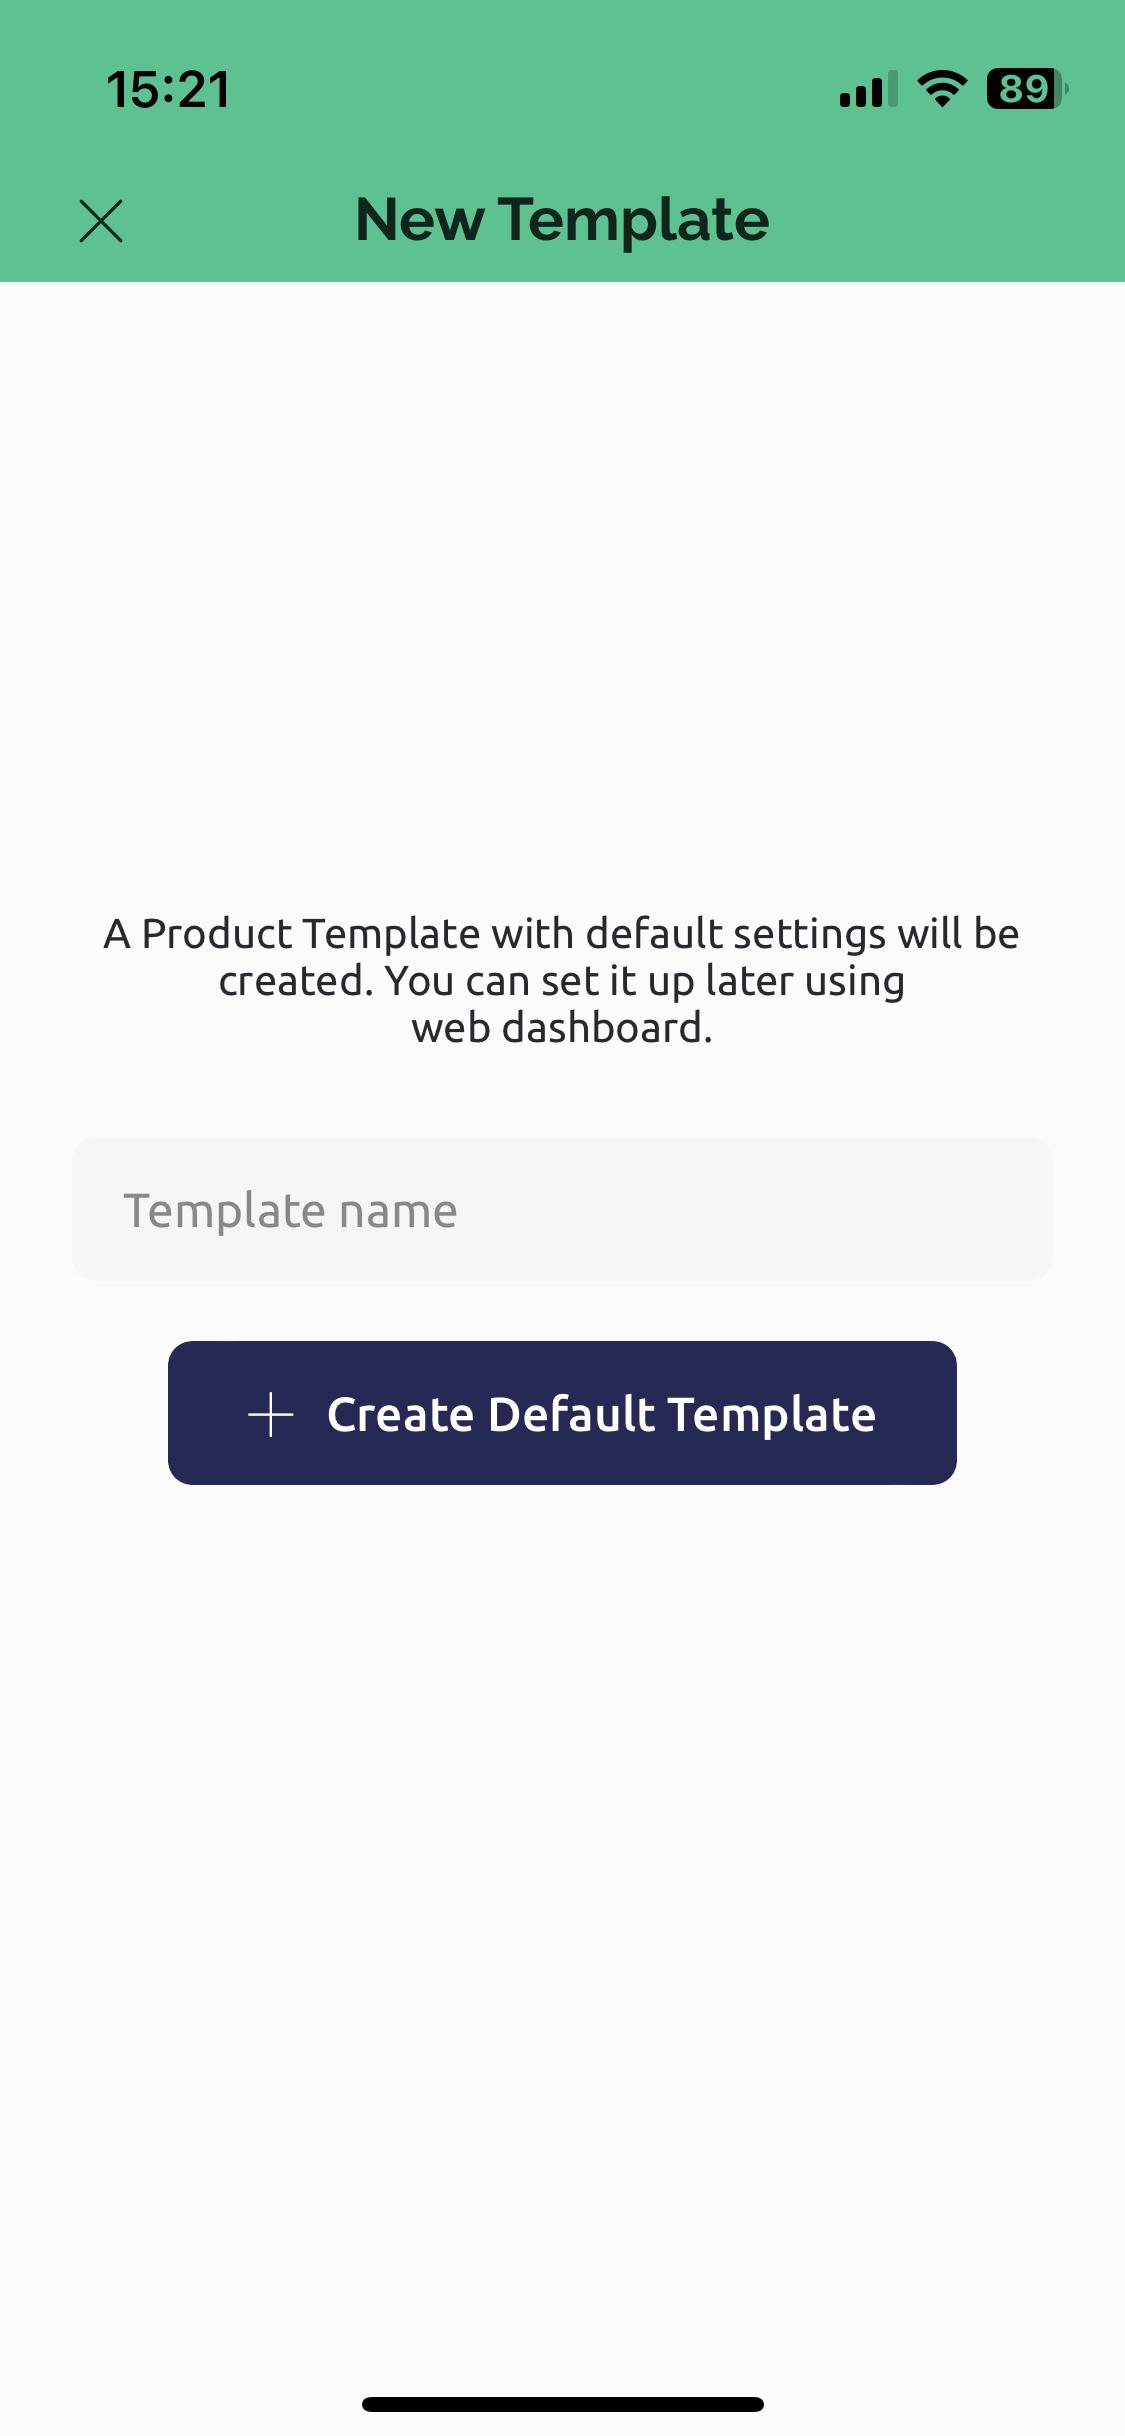
- Create a new template:
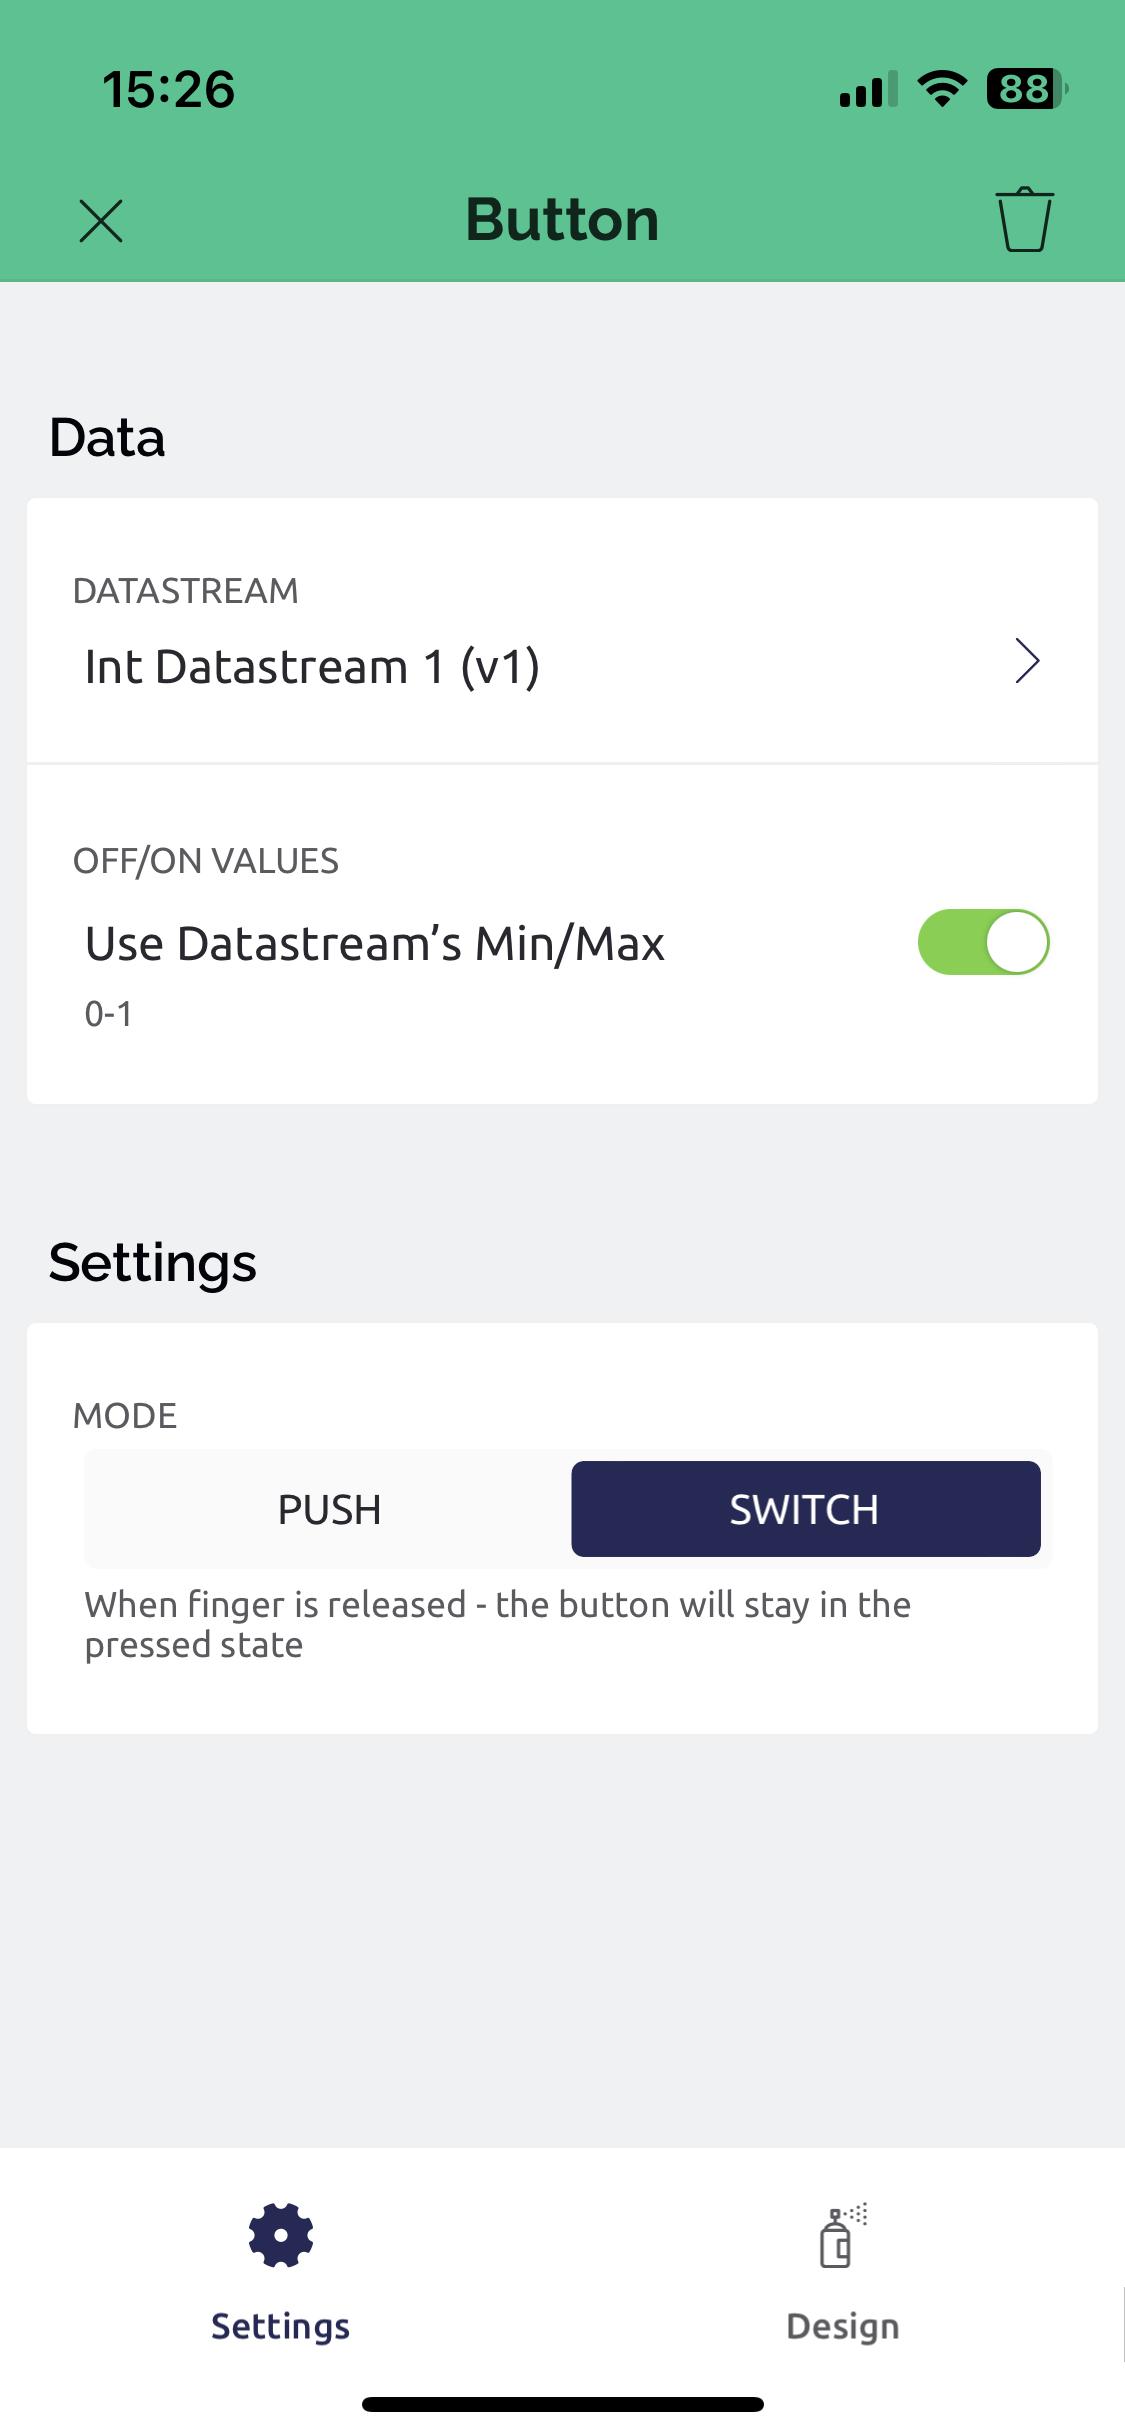
- Add a button -
- In his settings choose its datastream (for example v0)
- Change its mode to 'switch'.
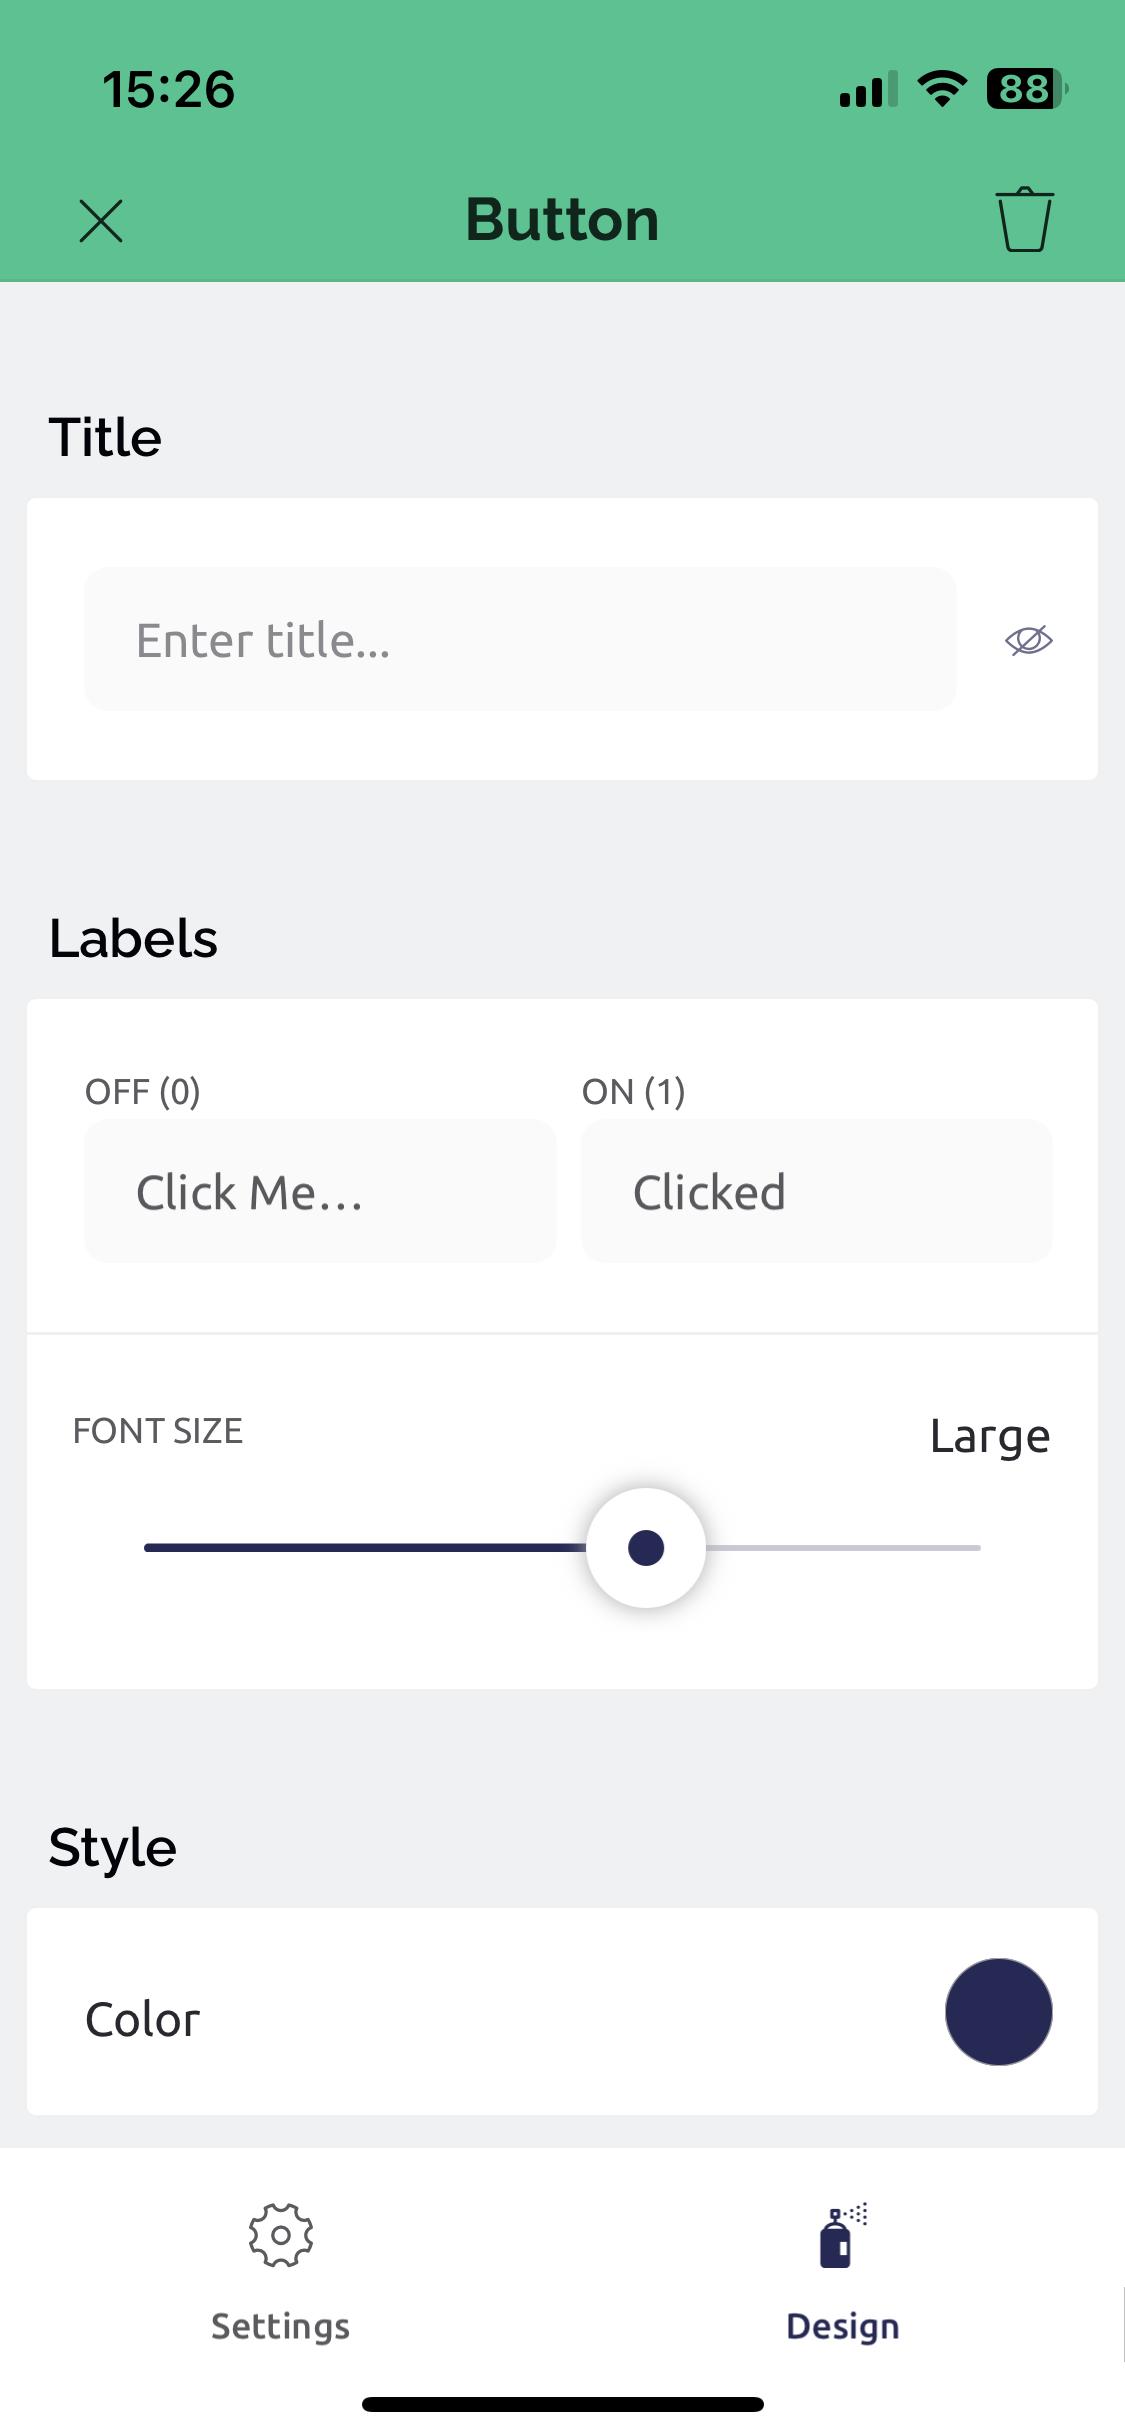
- Design it as you wish.
Creating a New Blynk Device
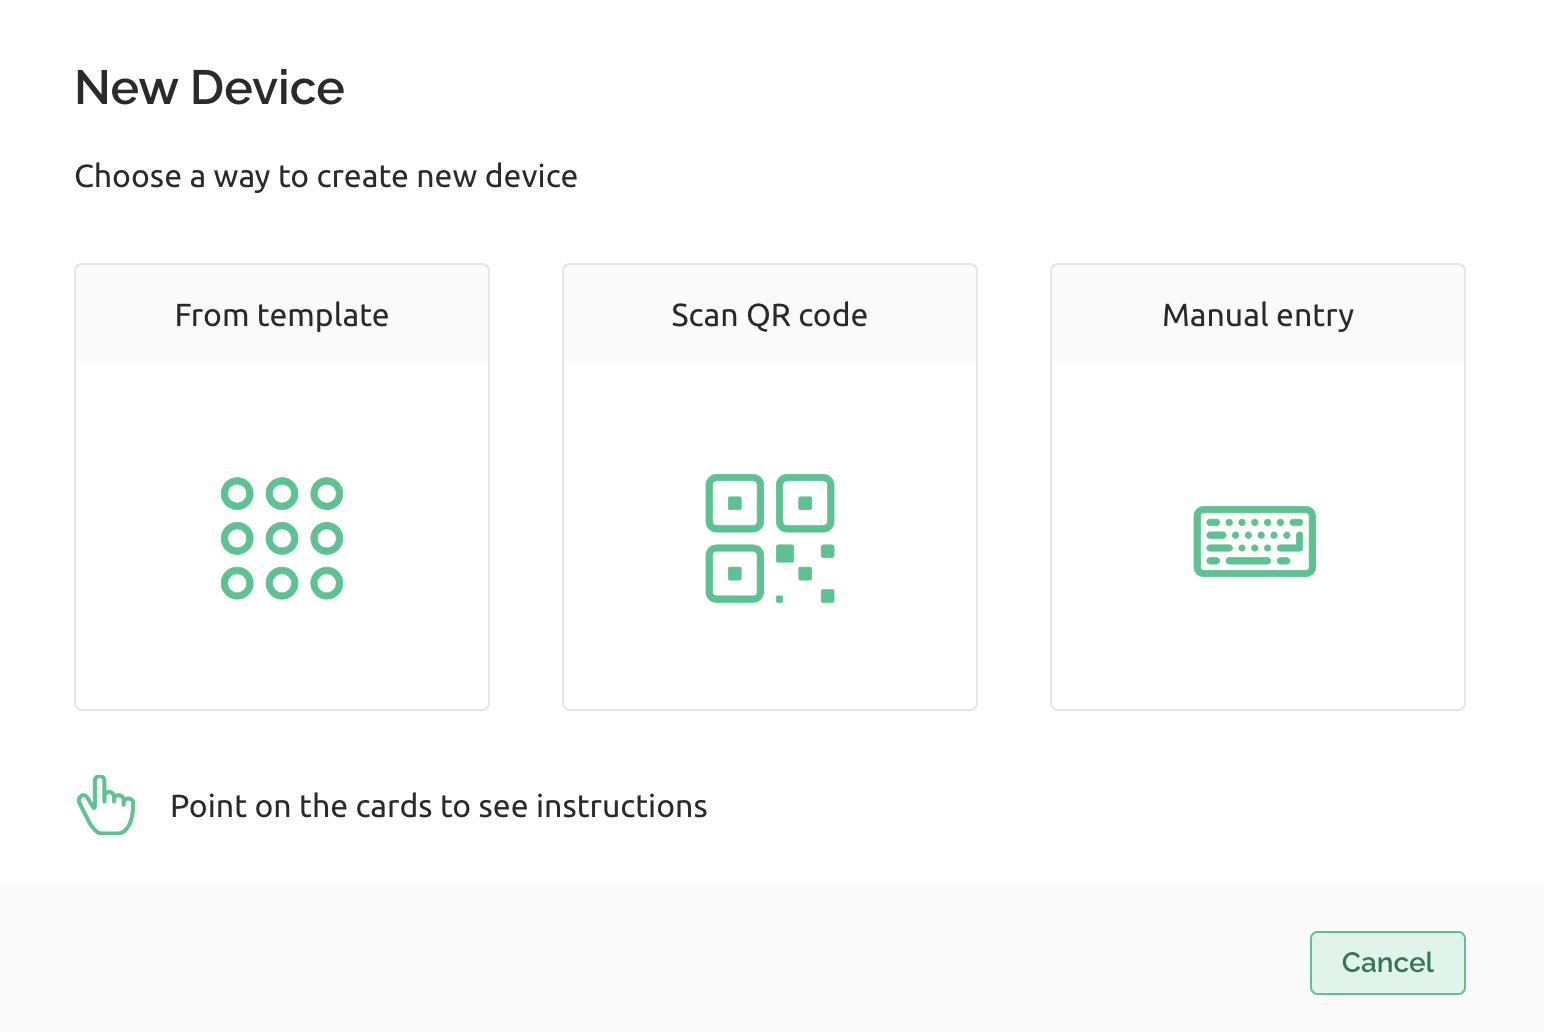
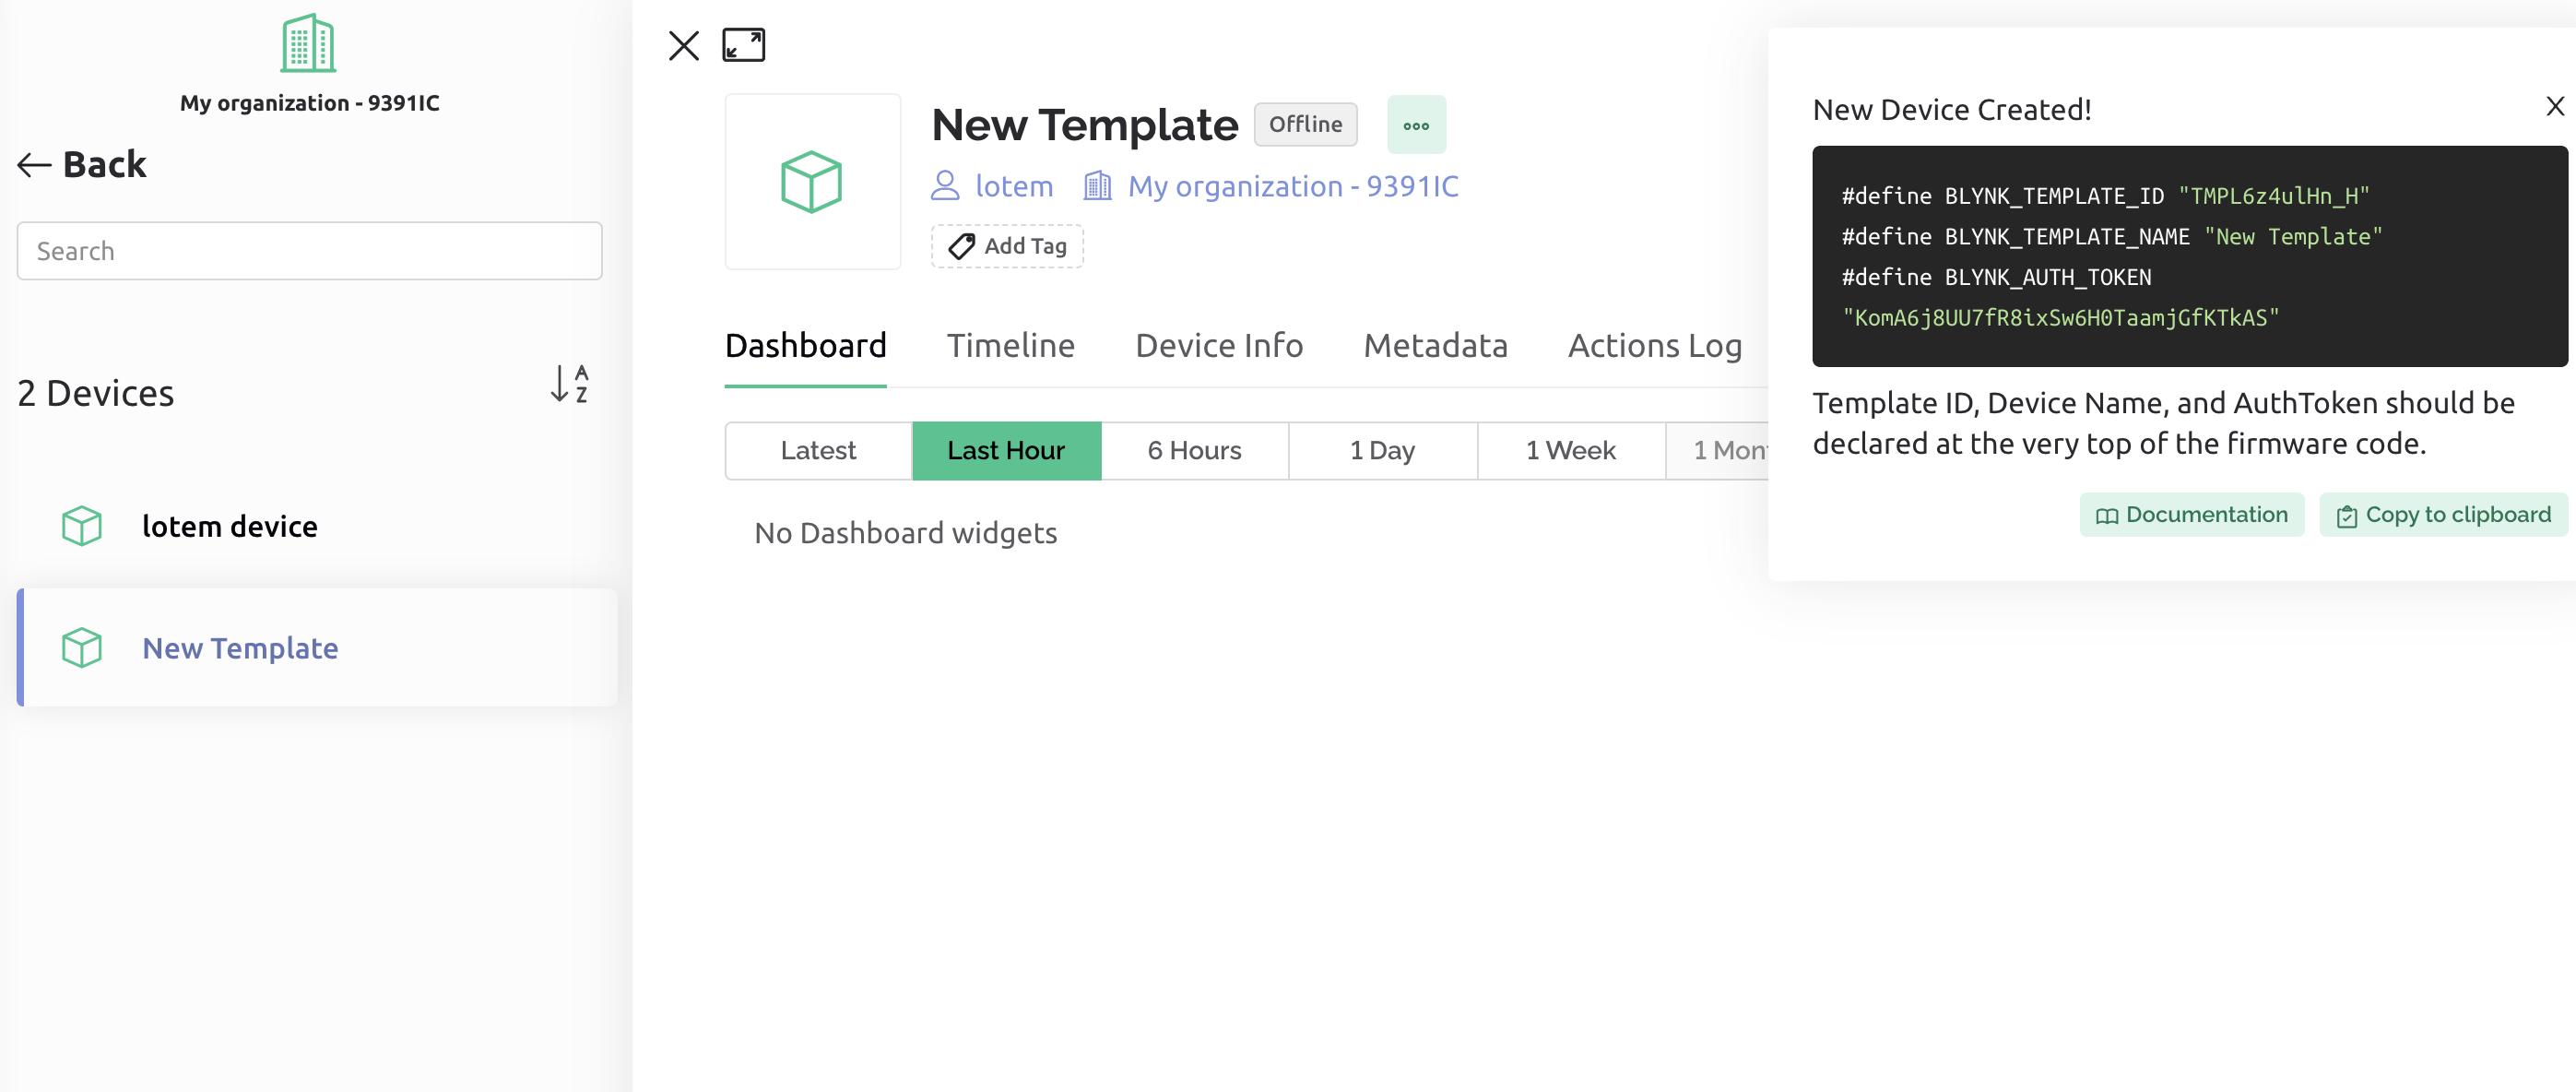
- Back on your (Blynk) web dashboard, create a New Device -
- Choose 'Create from template': (choose the one you just created in the previous step).
- Copy your firmware configuration: (you will need it in a moment).
- BLYNK_TEMPLATE_ID
- BLYNK_TEMPLATE_NAME
- BLYNK_AUTH_TOKEN
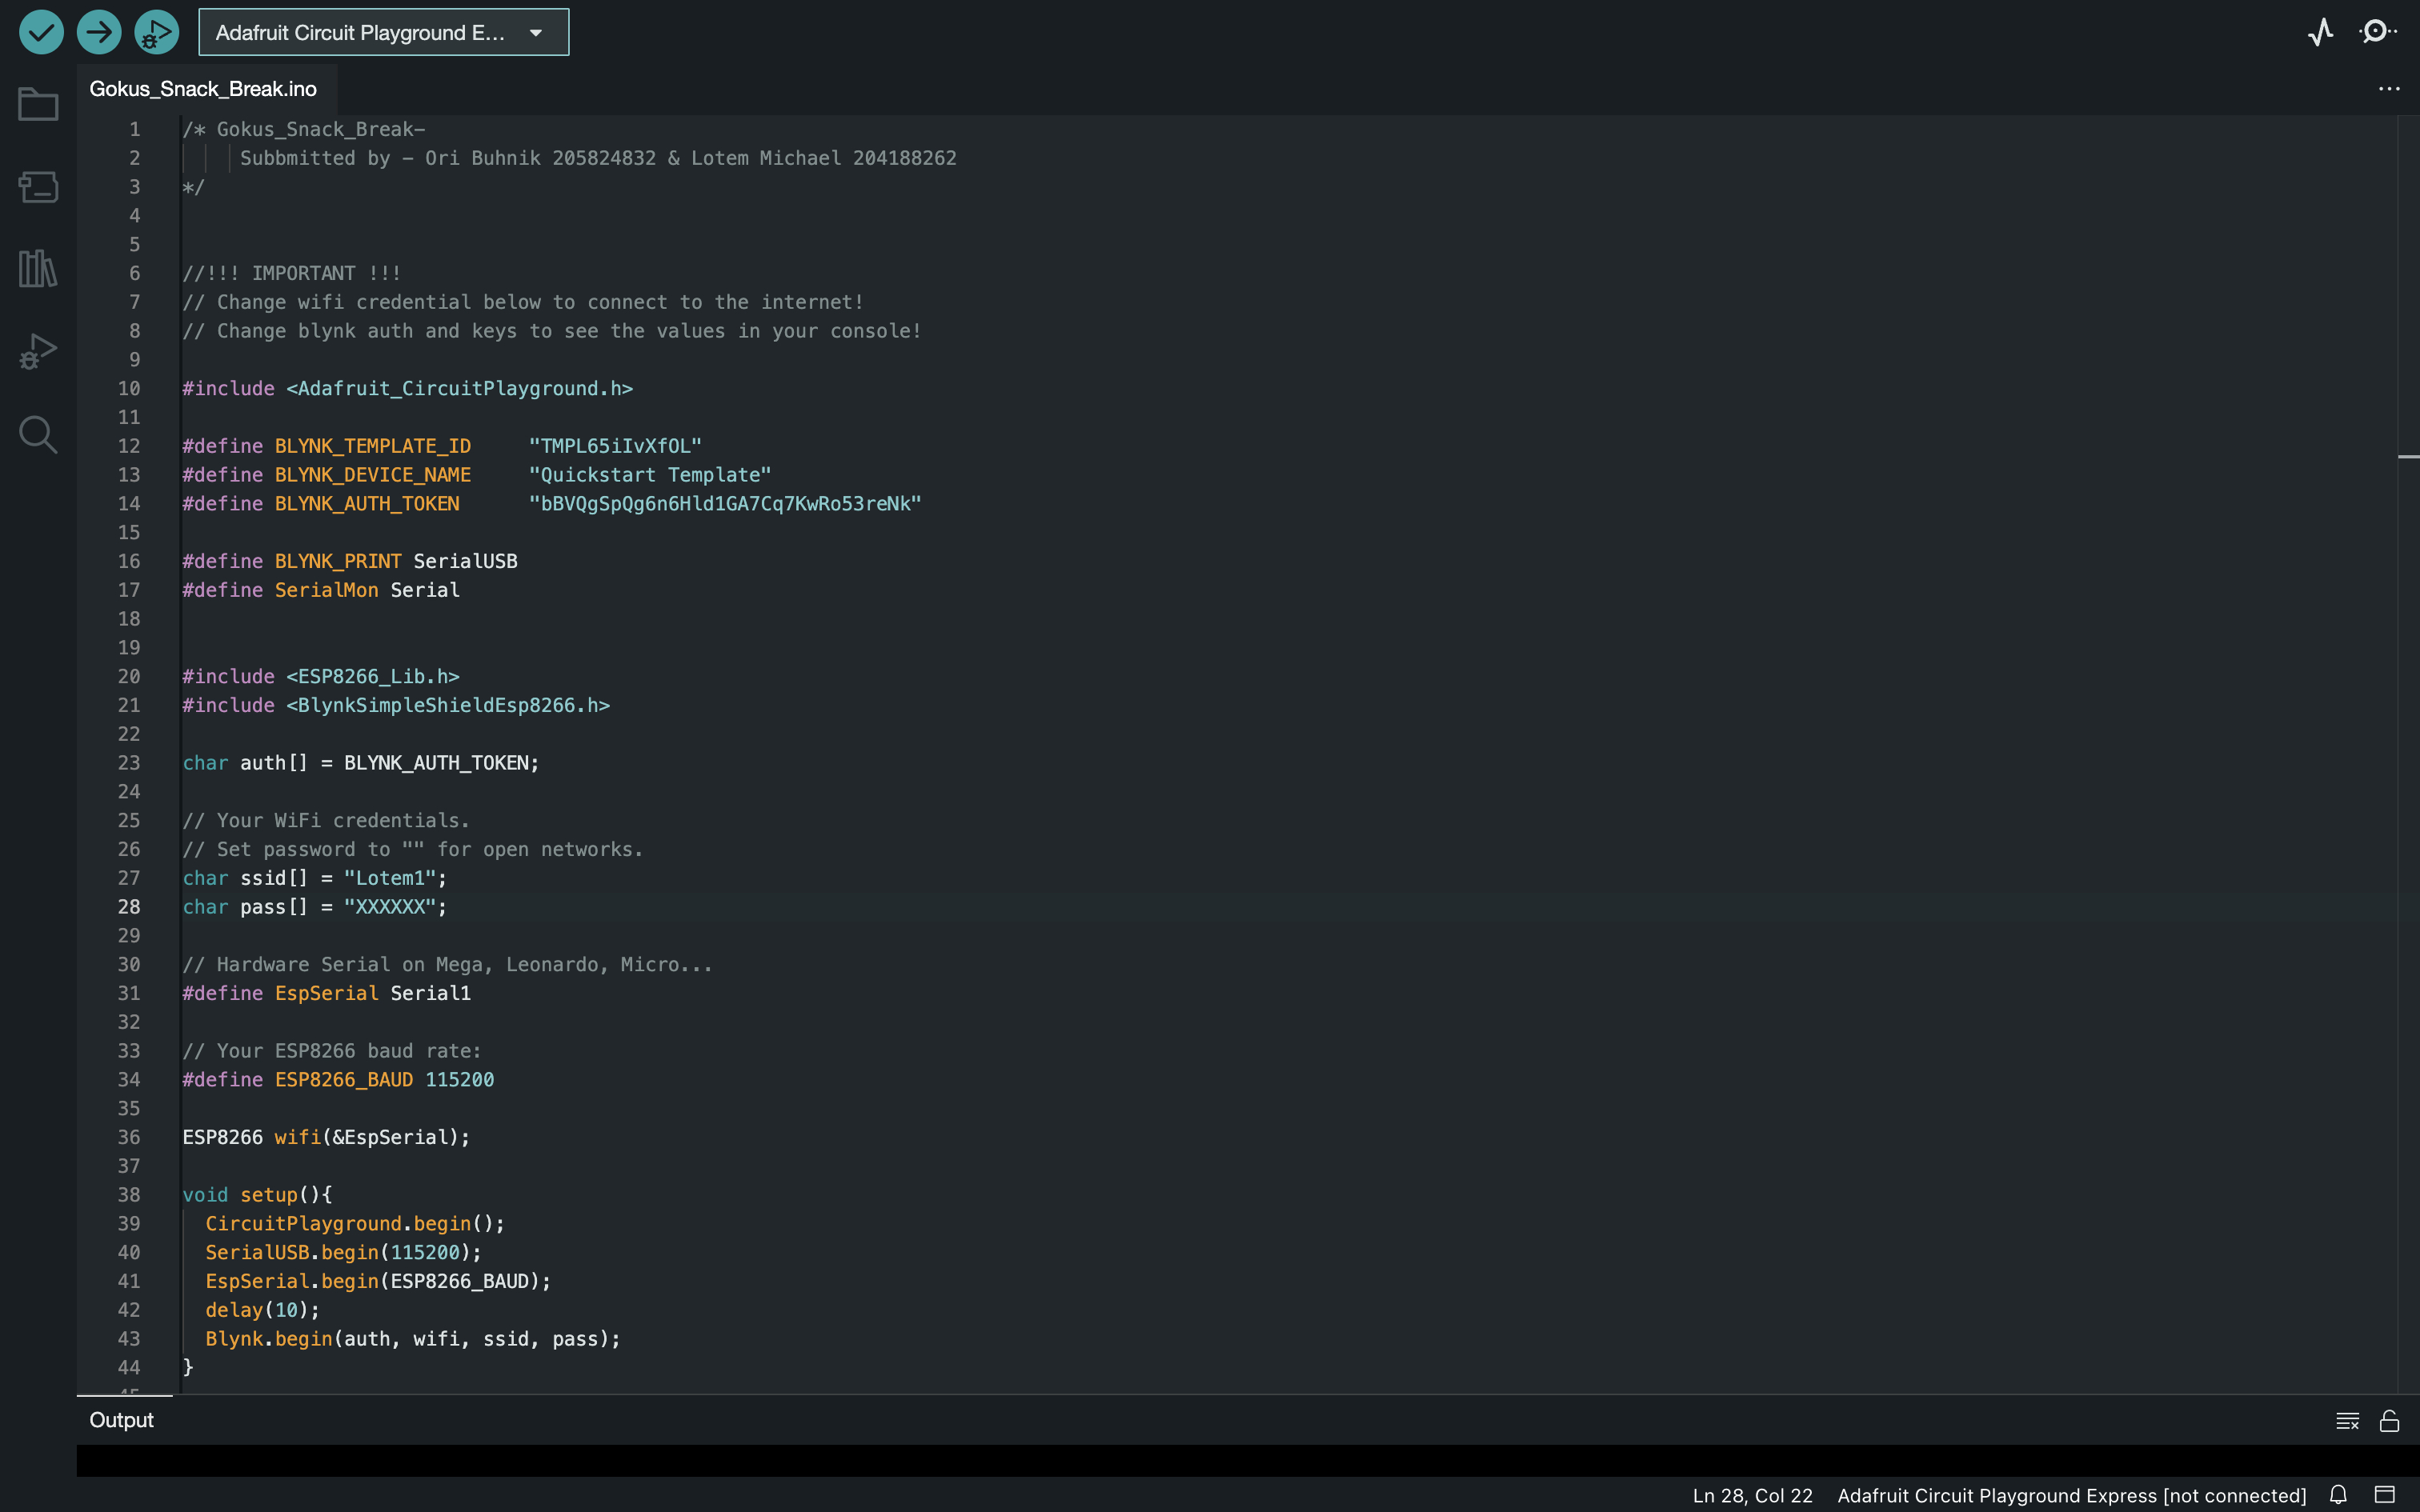
Cpx SetUp
.pdf 2023-07-24 17-44-23.png)
- Download Arduino IDE: www.arduino.cc/en/software
- Create a new scatch from the attached file - 'Gokus_Snack_Break.ino'
- Change the wifi Credentials. (To the wifi credentials that the CPX is going to be located nearby.)
- Change Blynk Auth and keys (To those you copied from the previous step.)
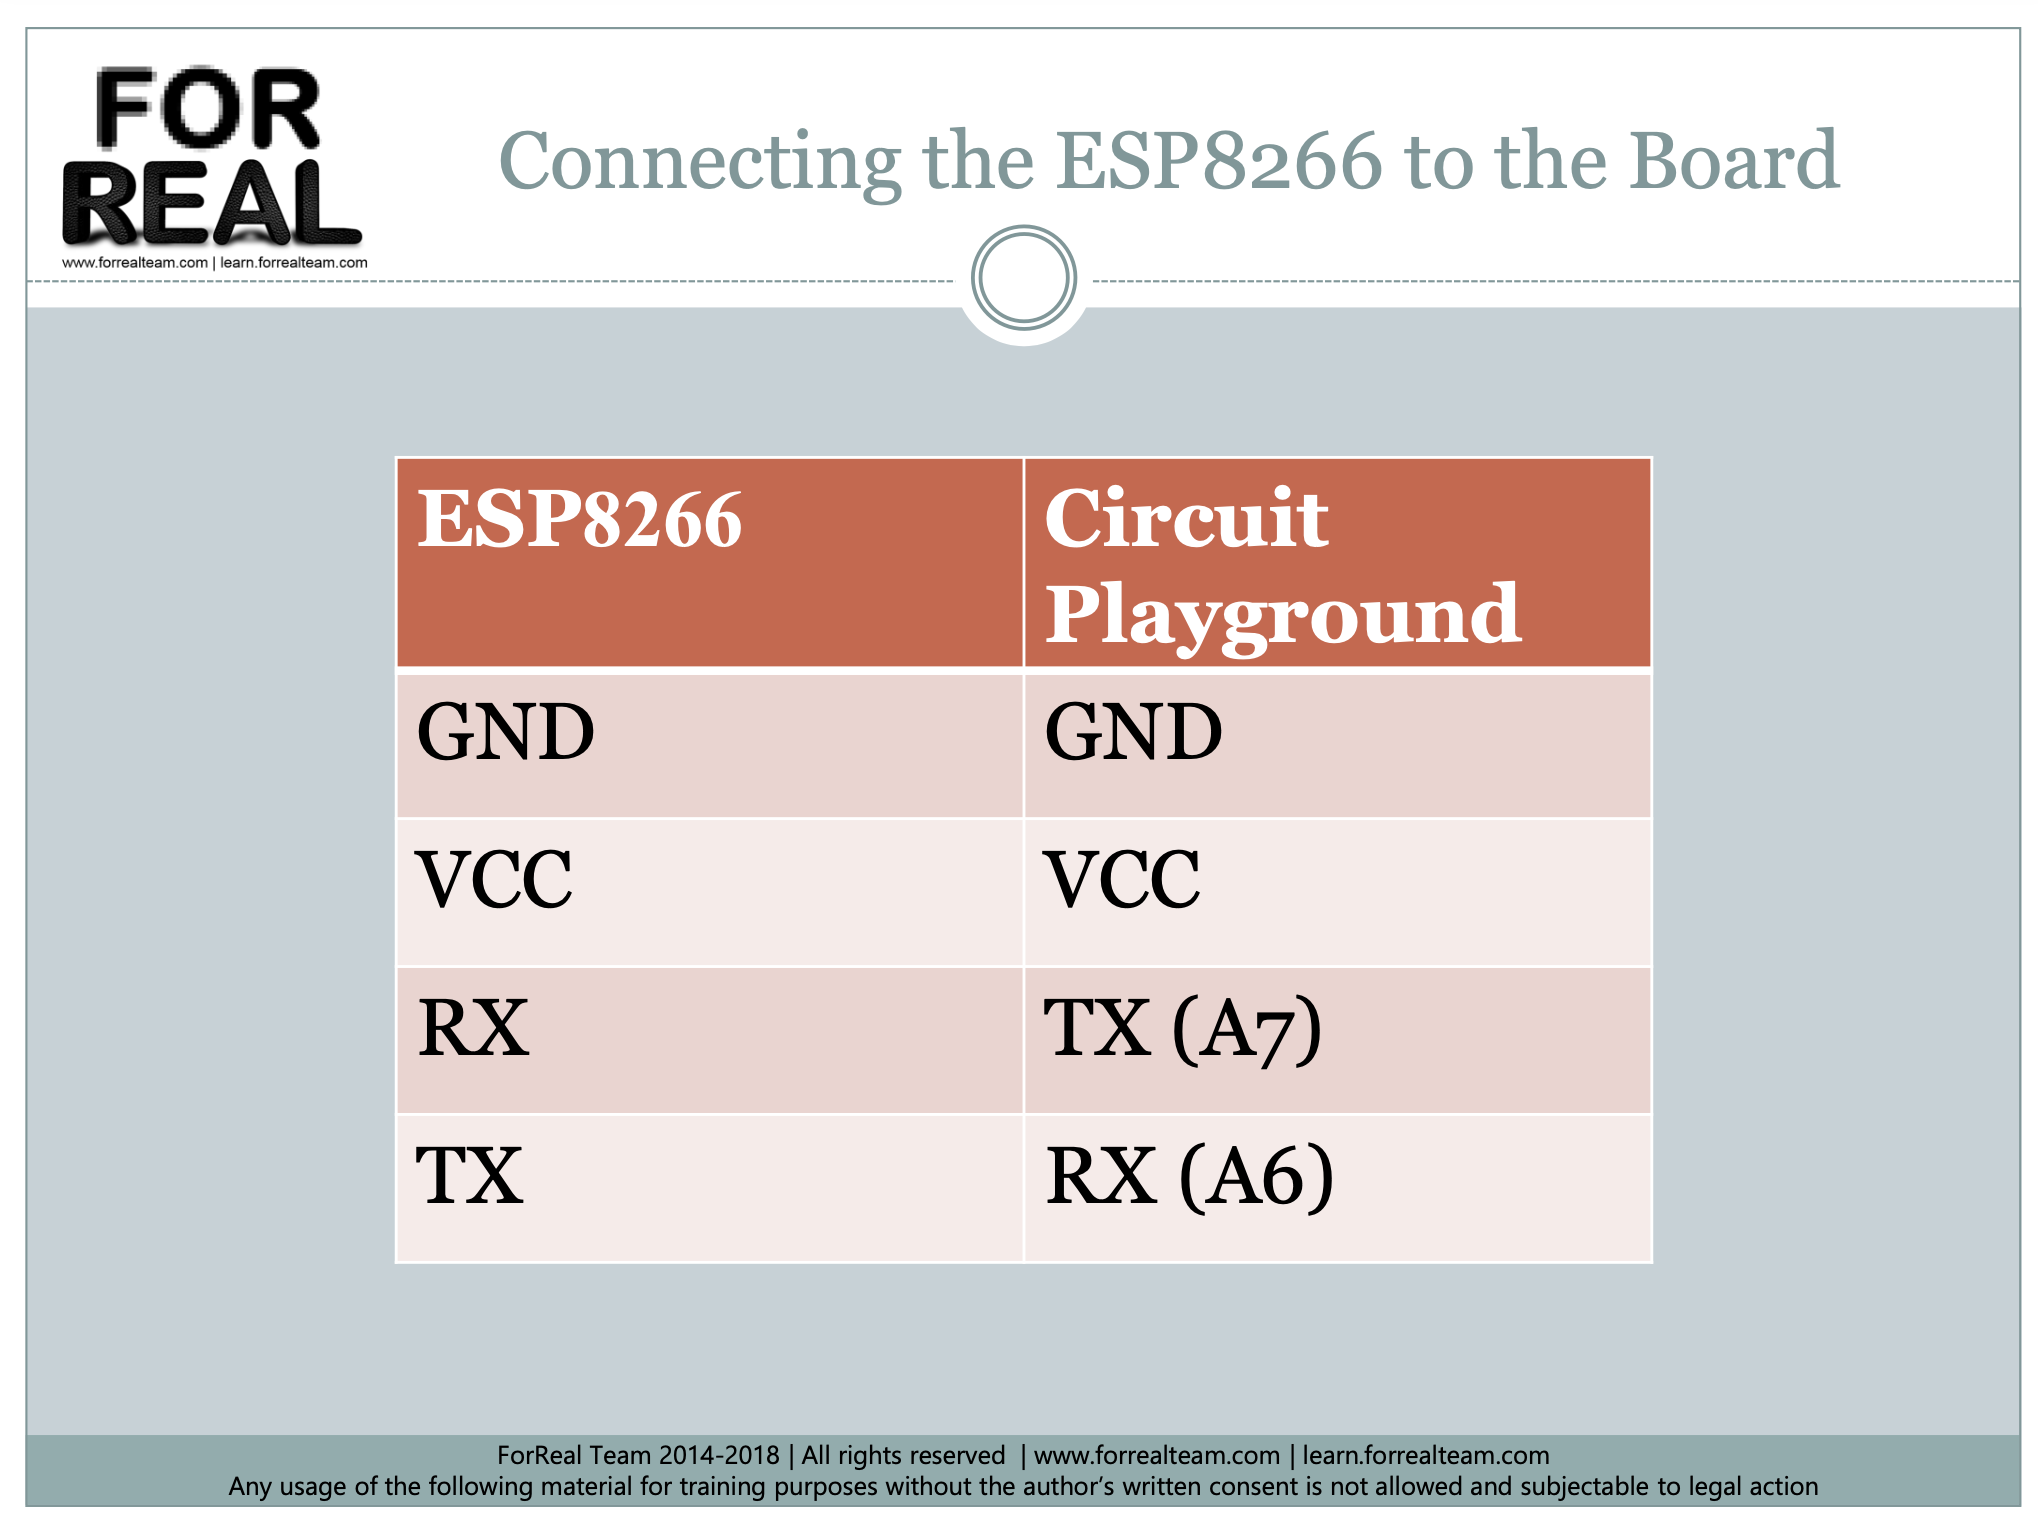
- Connect the ESP8266 to the CPX Board.
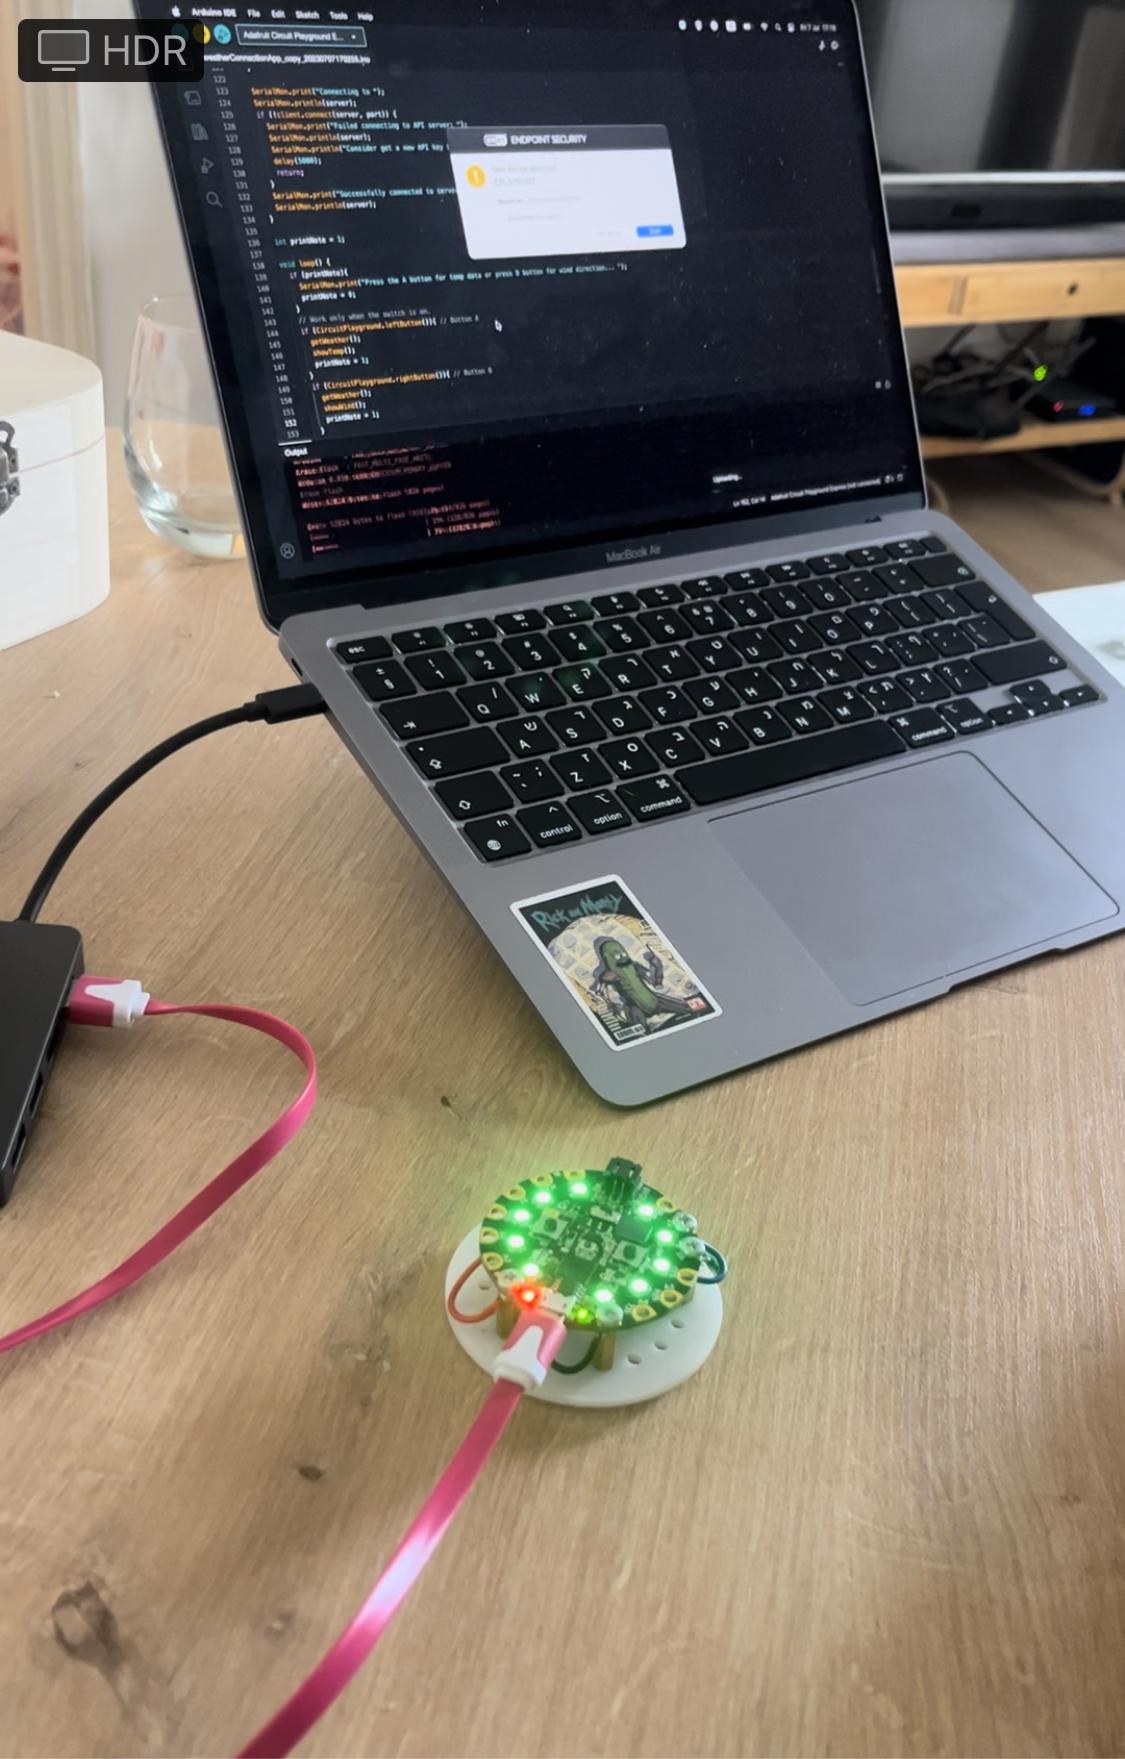
- Connect your CPX to your pc and upload the scatch to the board.
Downloads
Creating a New Integromat Scenario
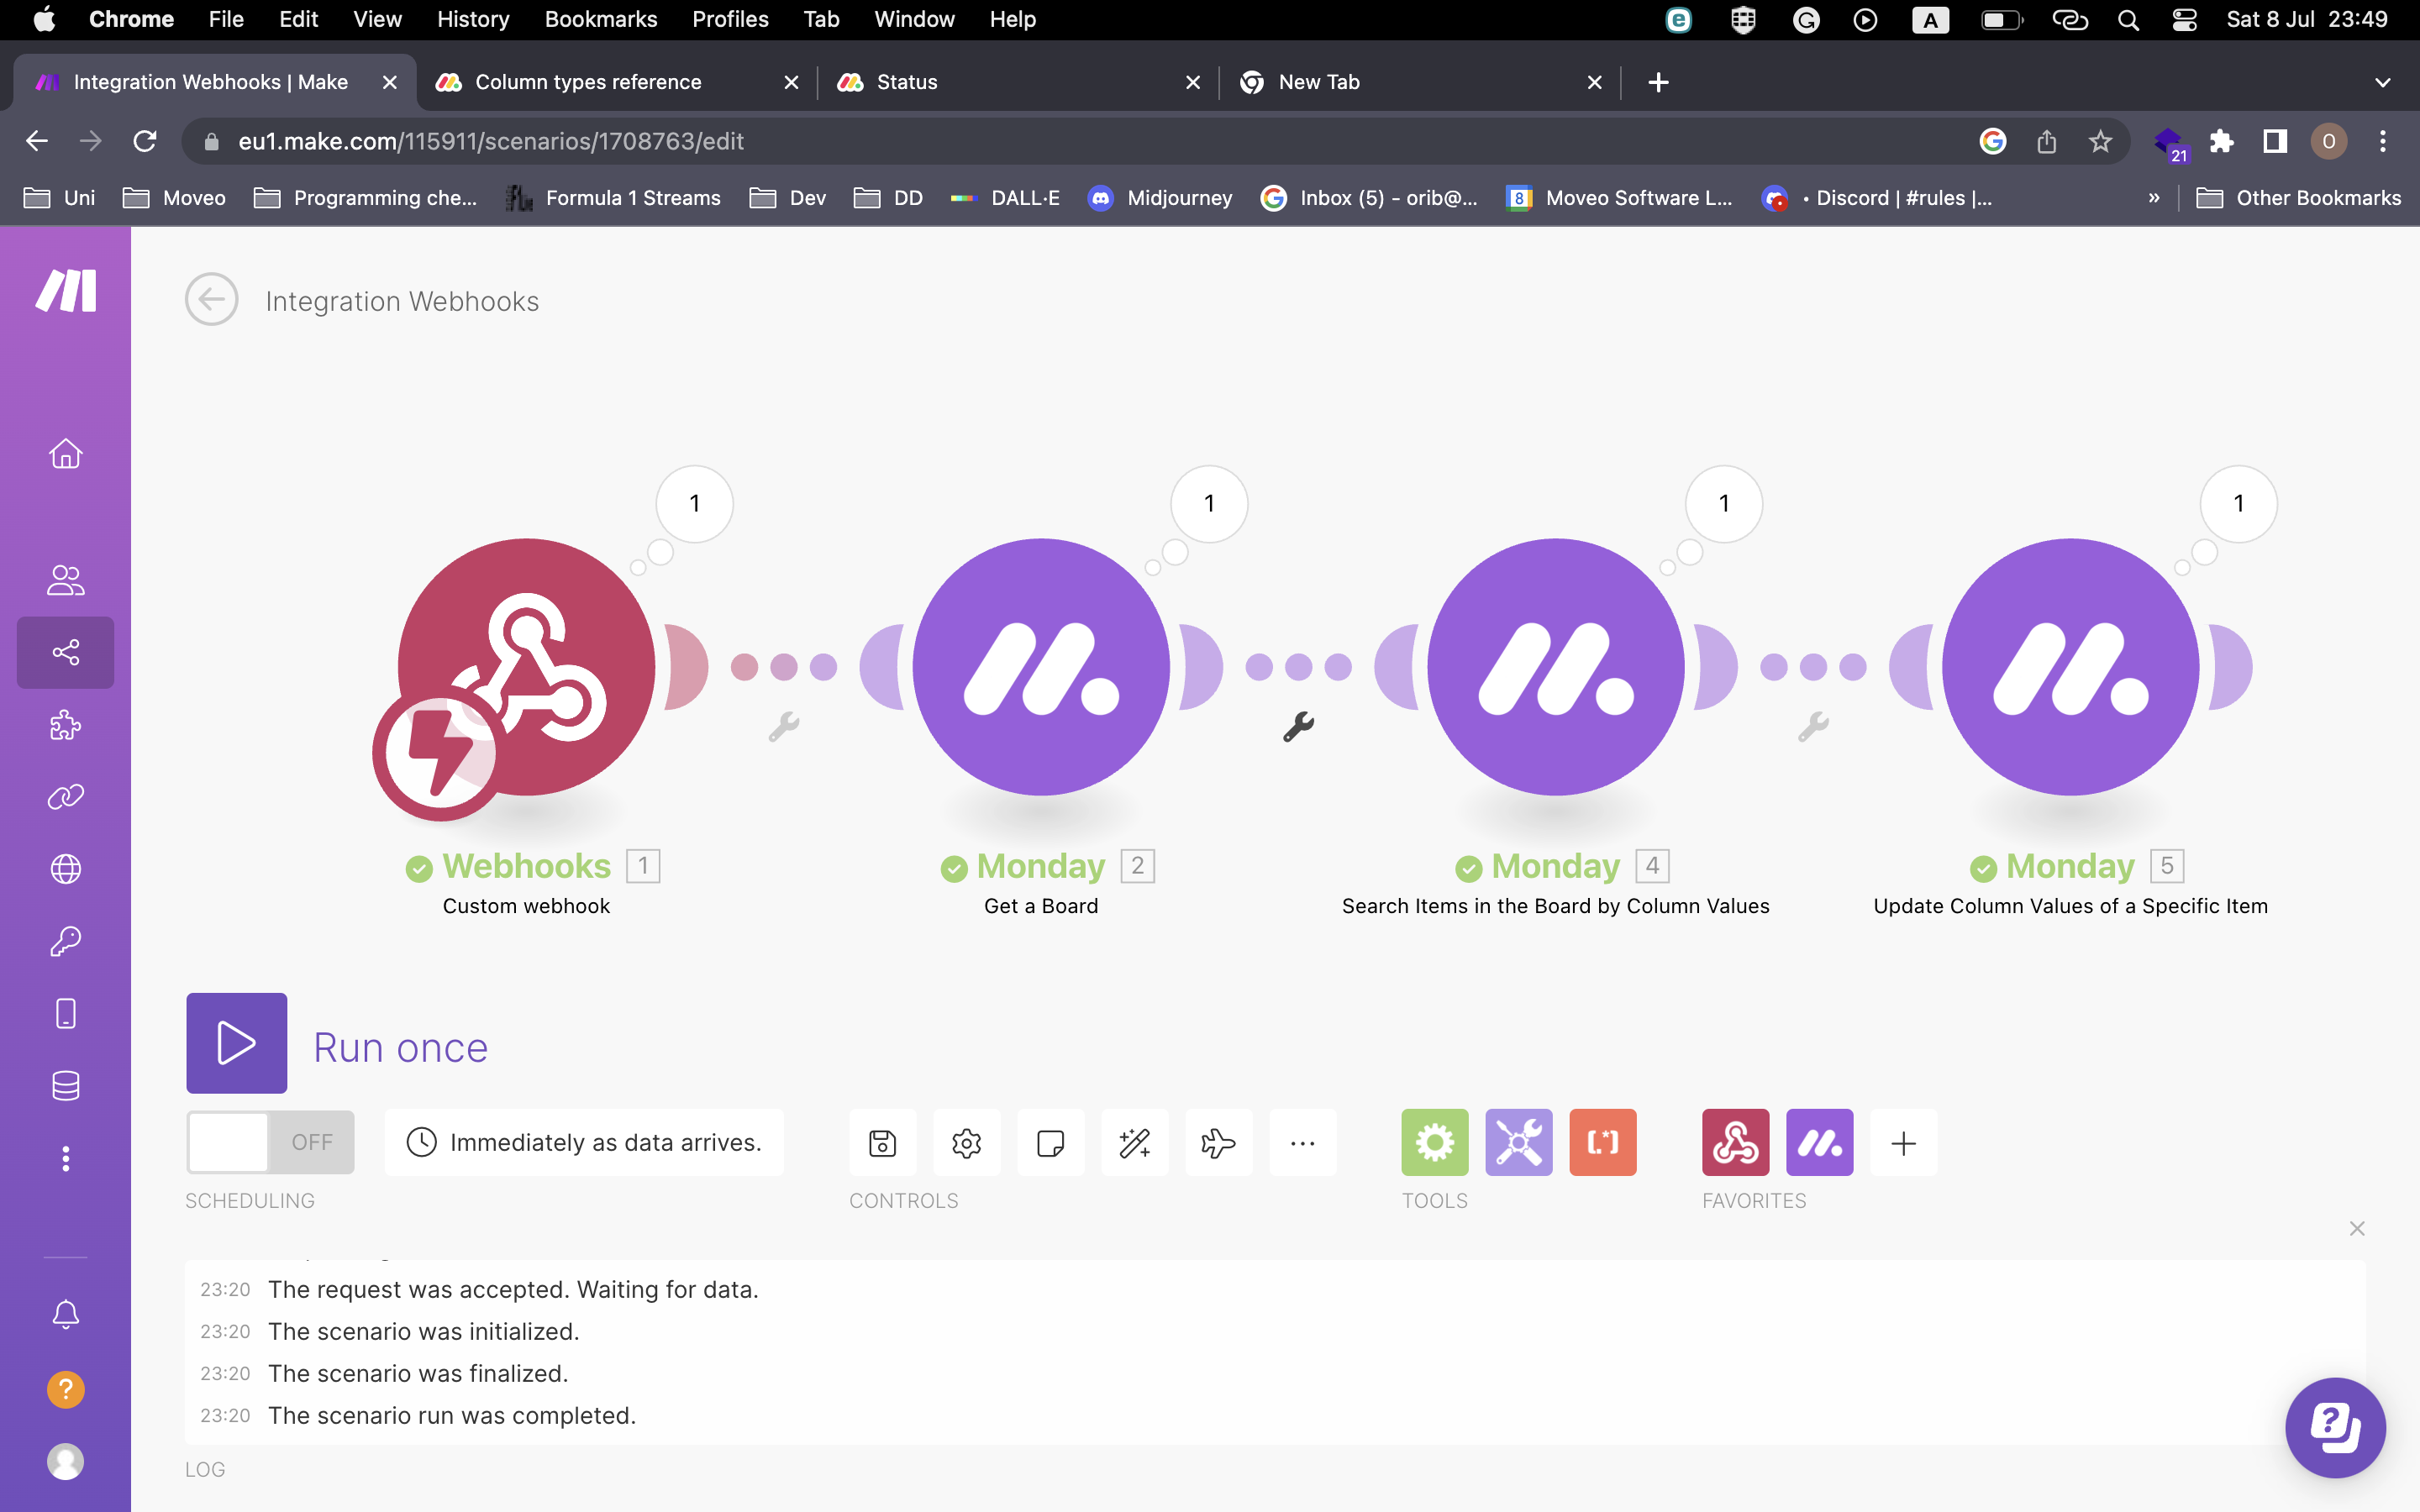
- Login/Create a Make (Integromat) user:https://eu2.make.com/.
- Create a new scenario that once the webhook is received, it will change the task to status 'Done' -
- Add a custom webhook - copy its URL you will need it in a moment.
- Add another module - Monday - 'get a board'.
- Add another module - Monday - 'search items in the boards by column value'.
- Add another module - Monday - 'update column values of a specific item'.
Create a WebHook on Your Blynk Device
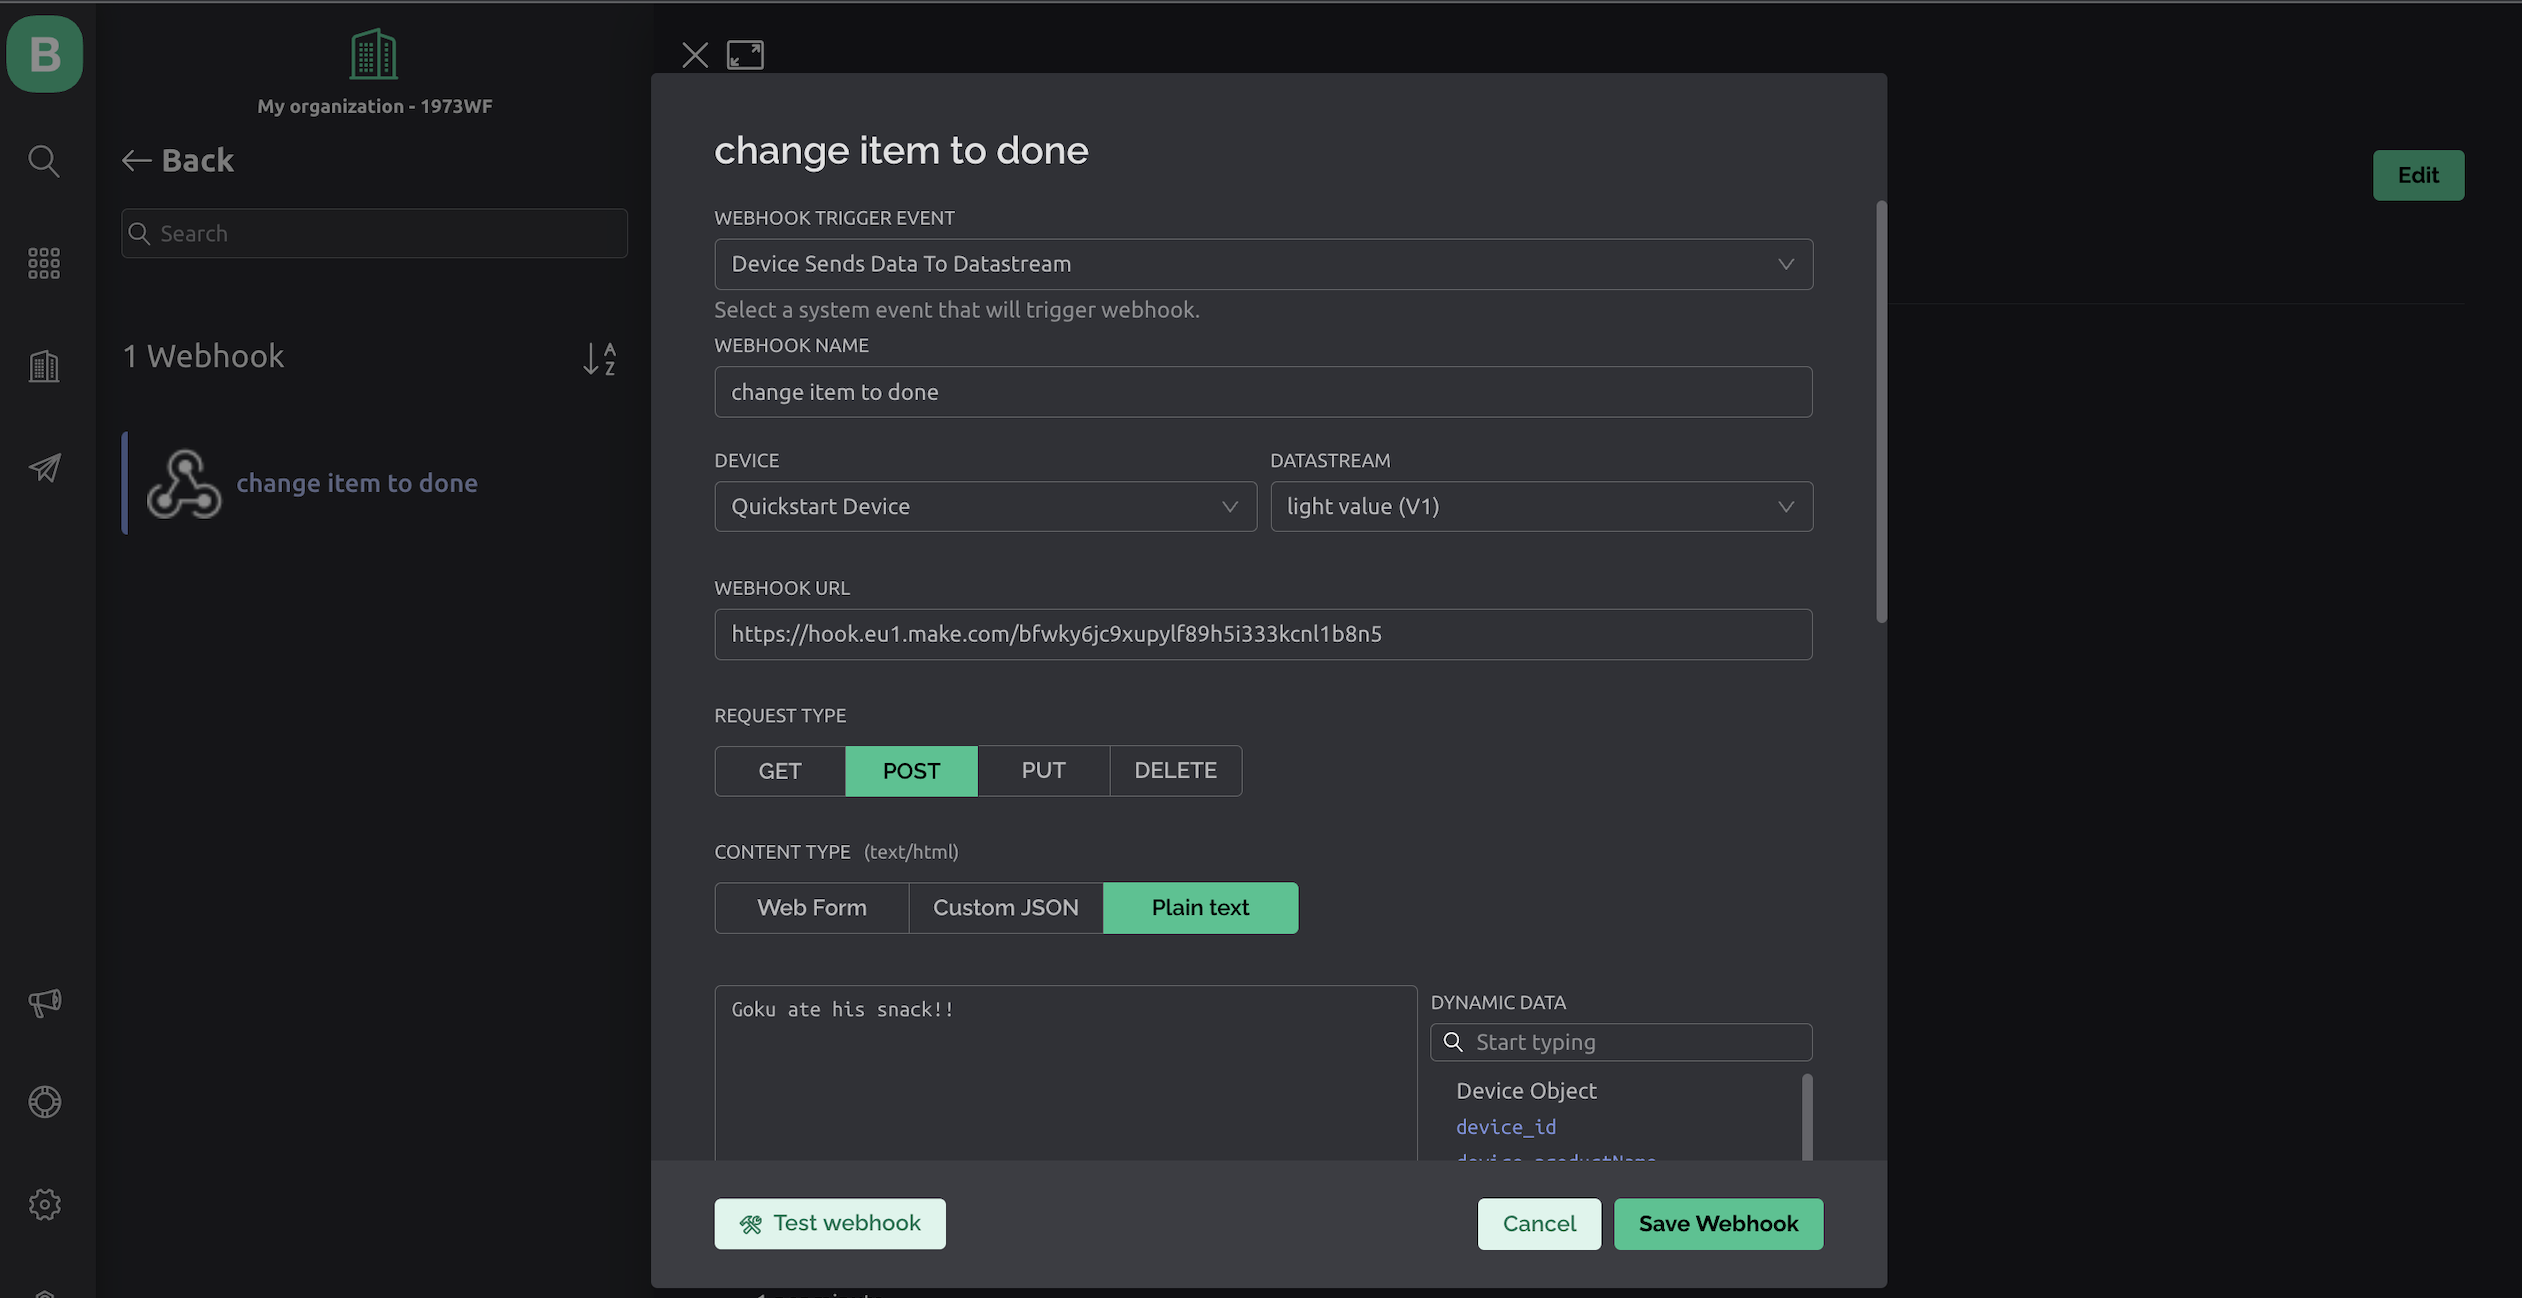
- Now, you need to create a New webhook in your Blynk app. On the Developers section of the Settings menu, click Create New WebHook:
- Configure it on your device and to the relevant Datastream.
- Paste the webhook URL that you copied from the previous step.
Enviroment Set Up

That is it! You are all set up!!
Now you can find the right spot in your house, to leave the CPX board connected to power with a snack for your dog.
Good luck!!!