Filming: Lighting the Stage
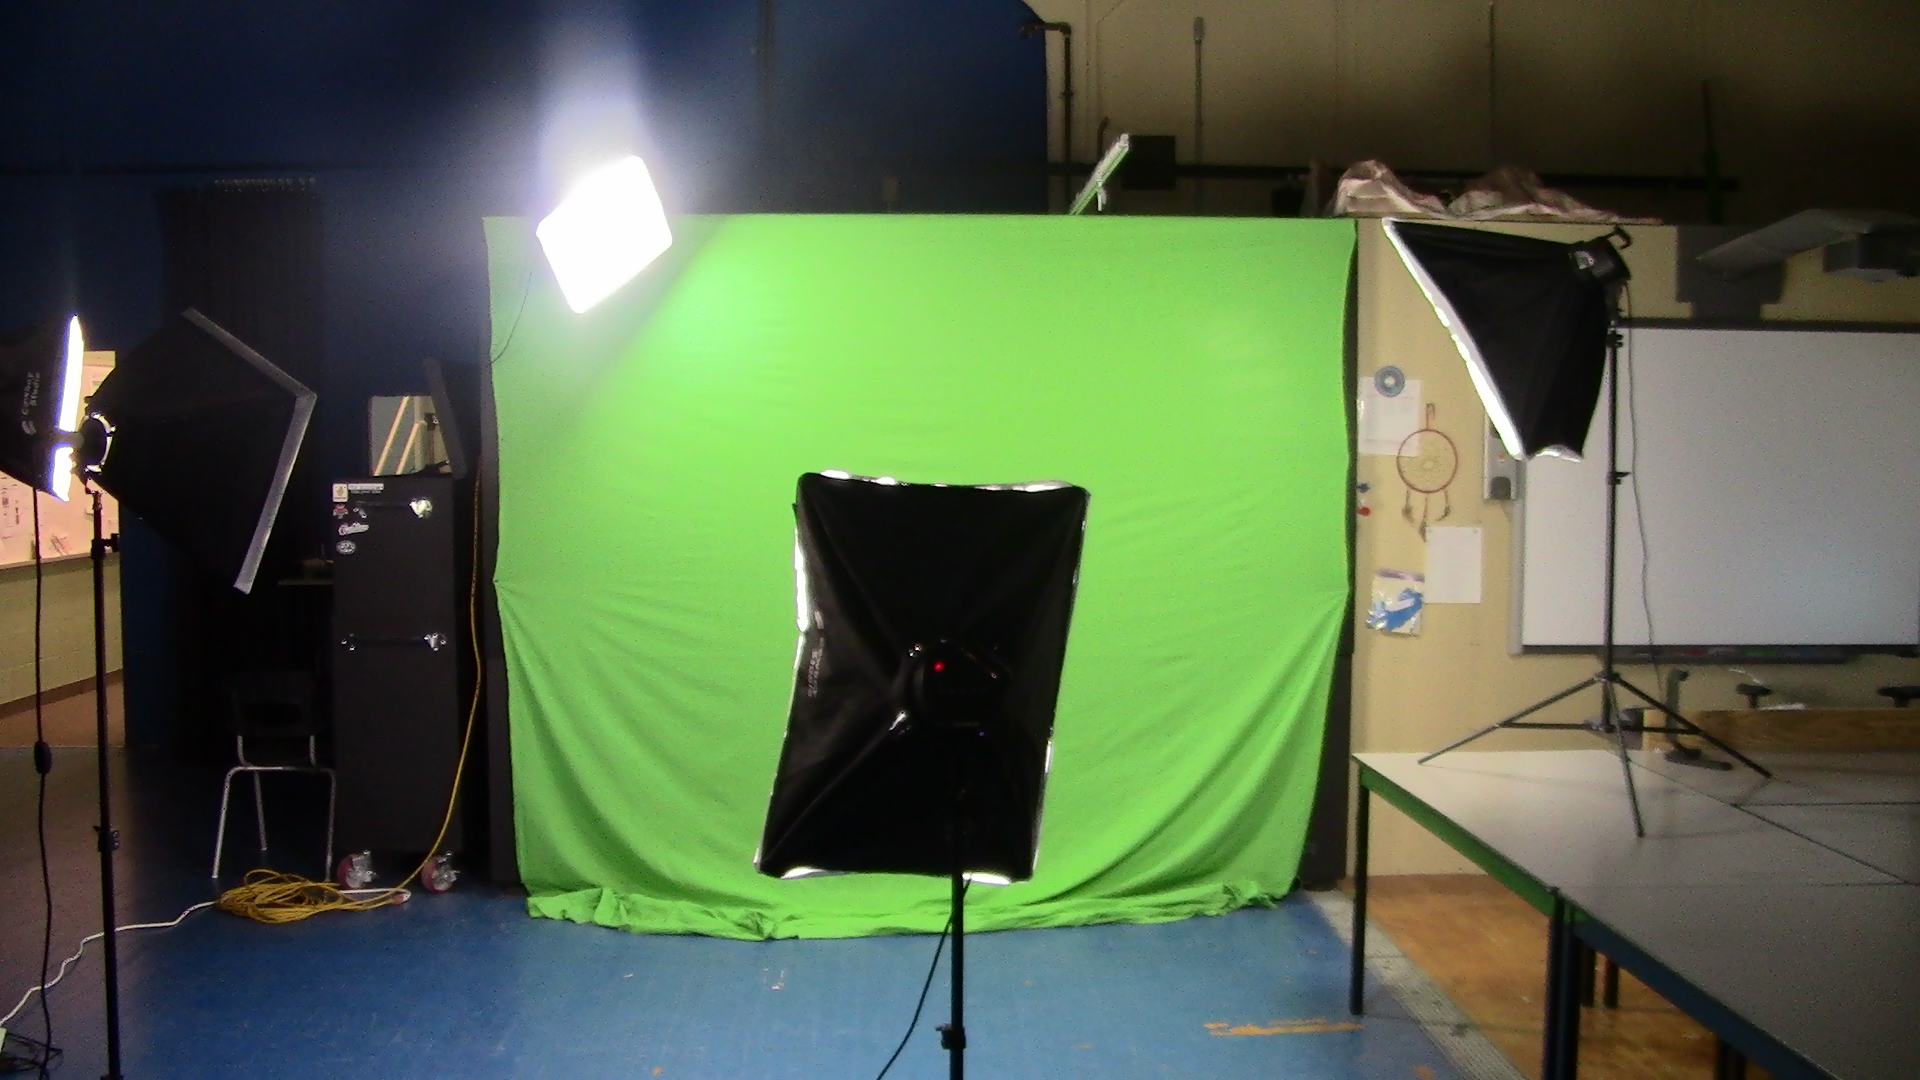
It's too dark! Who turned out the Lights? Woah, now it's too bright! Turn them down! This Instructable will go over the basics, and advanced Lighting techniques that you may want to use in your very own Film! This Instructable may help you with: Your own lighting, deciding how to light a certain shot, getting the right lights for the right scenes, and even lighting and darkening objects to make them look realistic! Ceiling lights, or completely dark rooms can ruin shots, or even make them look blurry. These lights and techniques on how to use them effectively can also help with your ability to shoot and light a film properly!
Materials
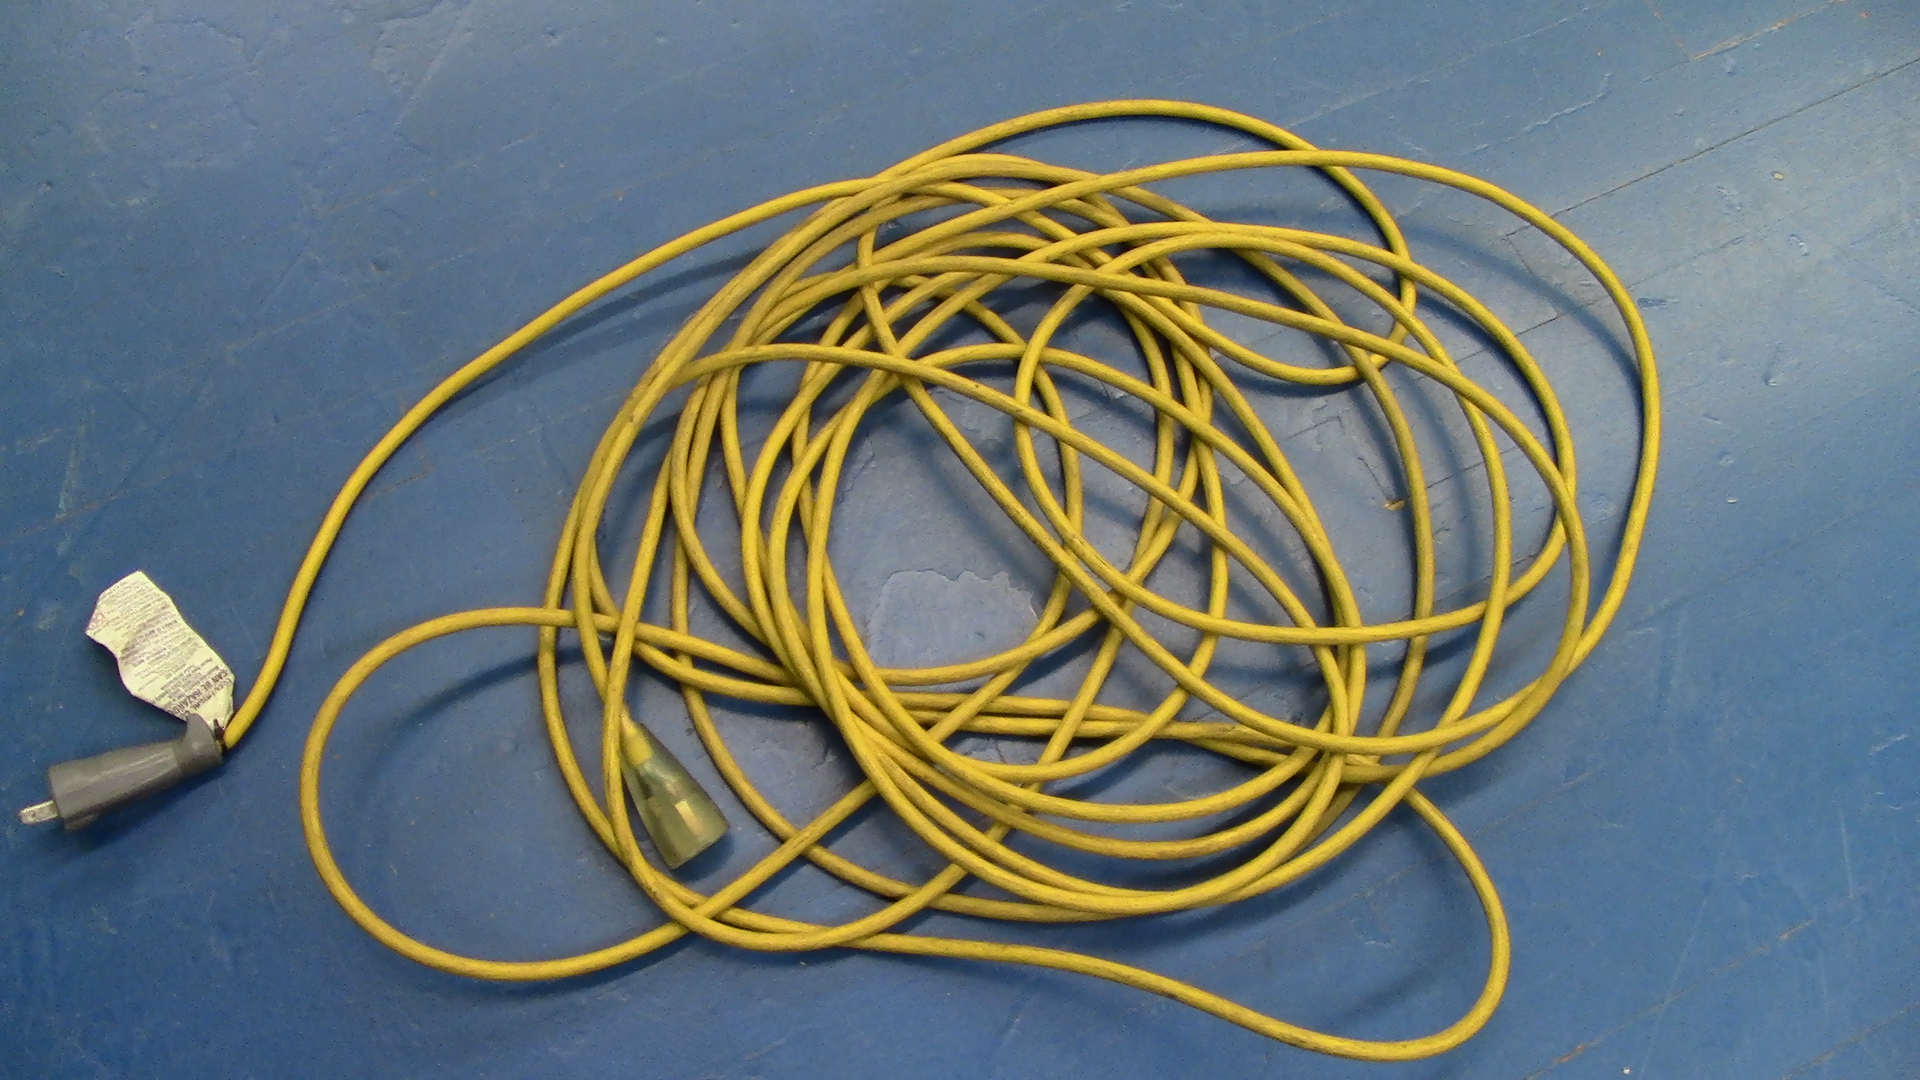
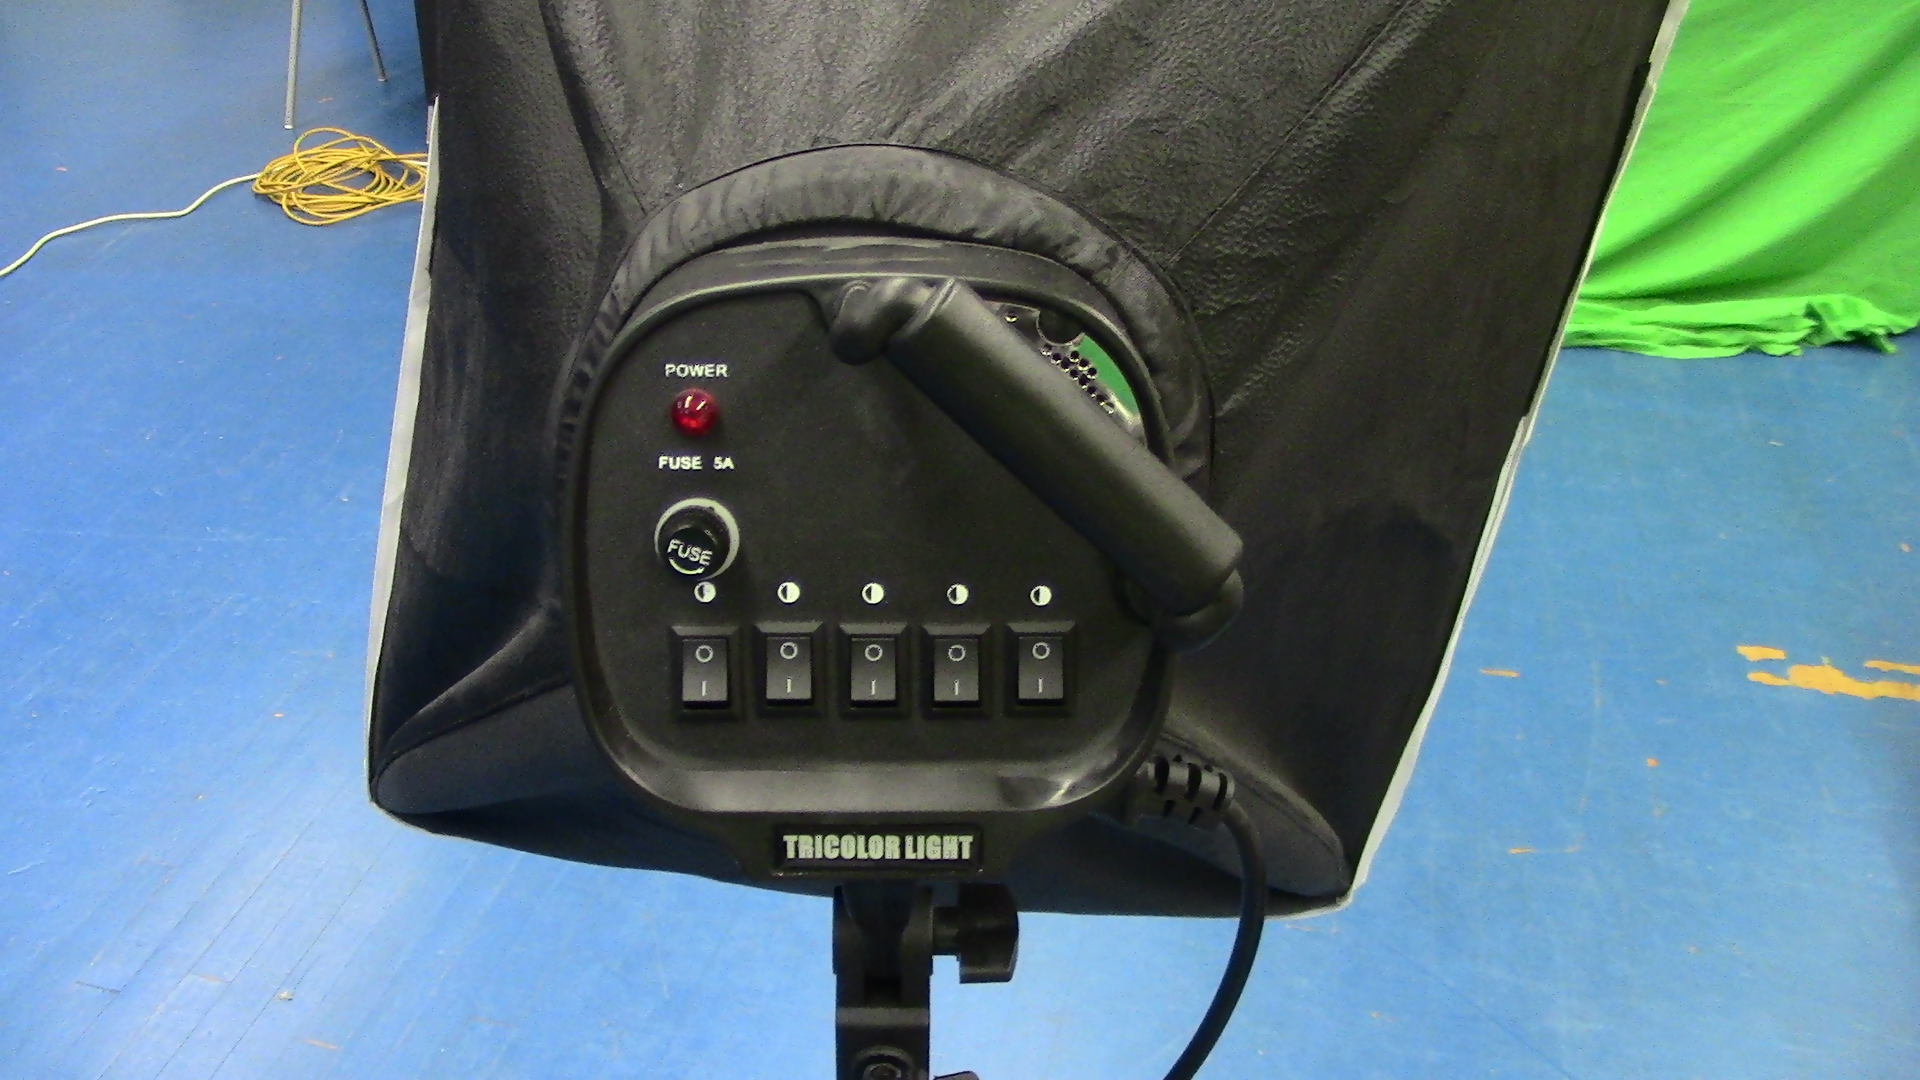
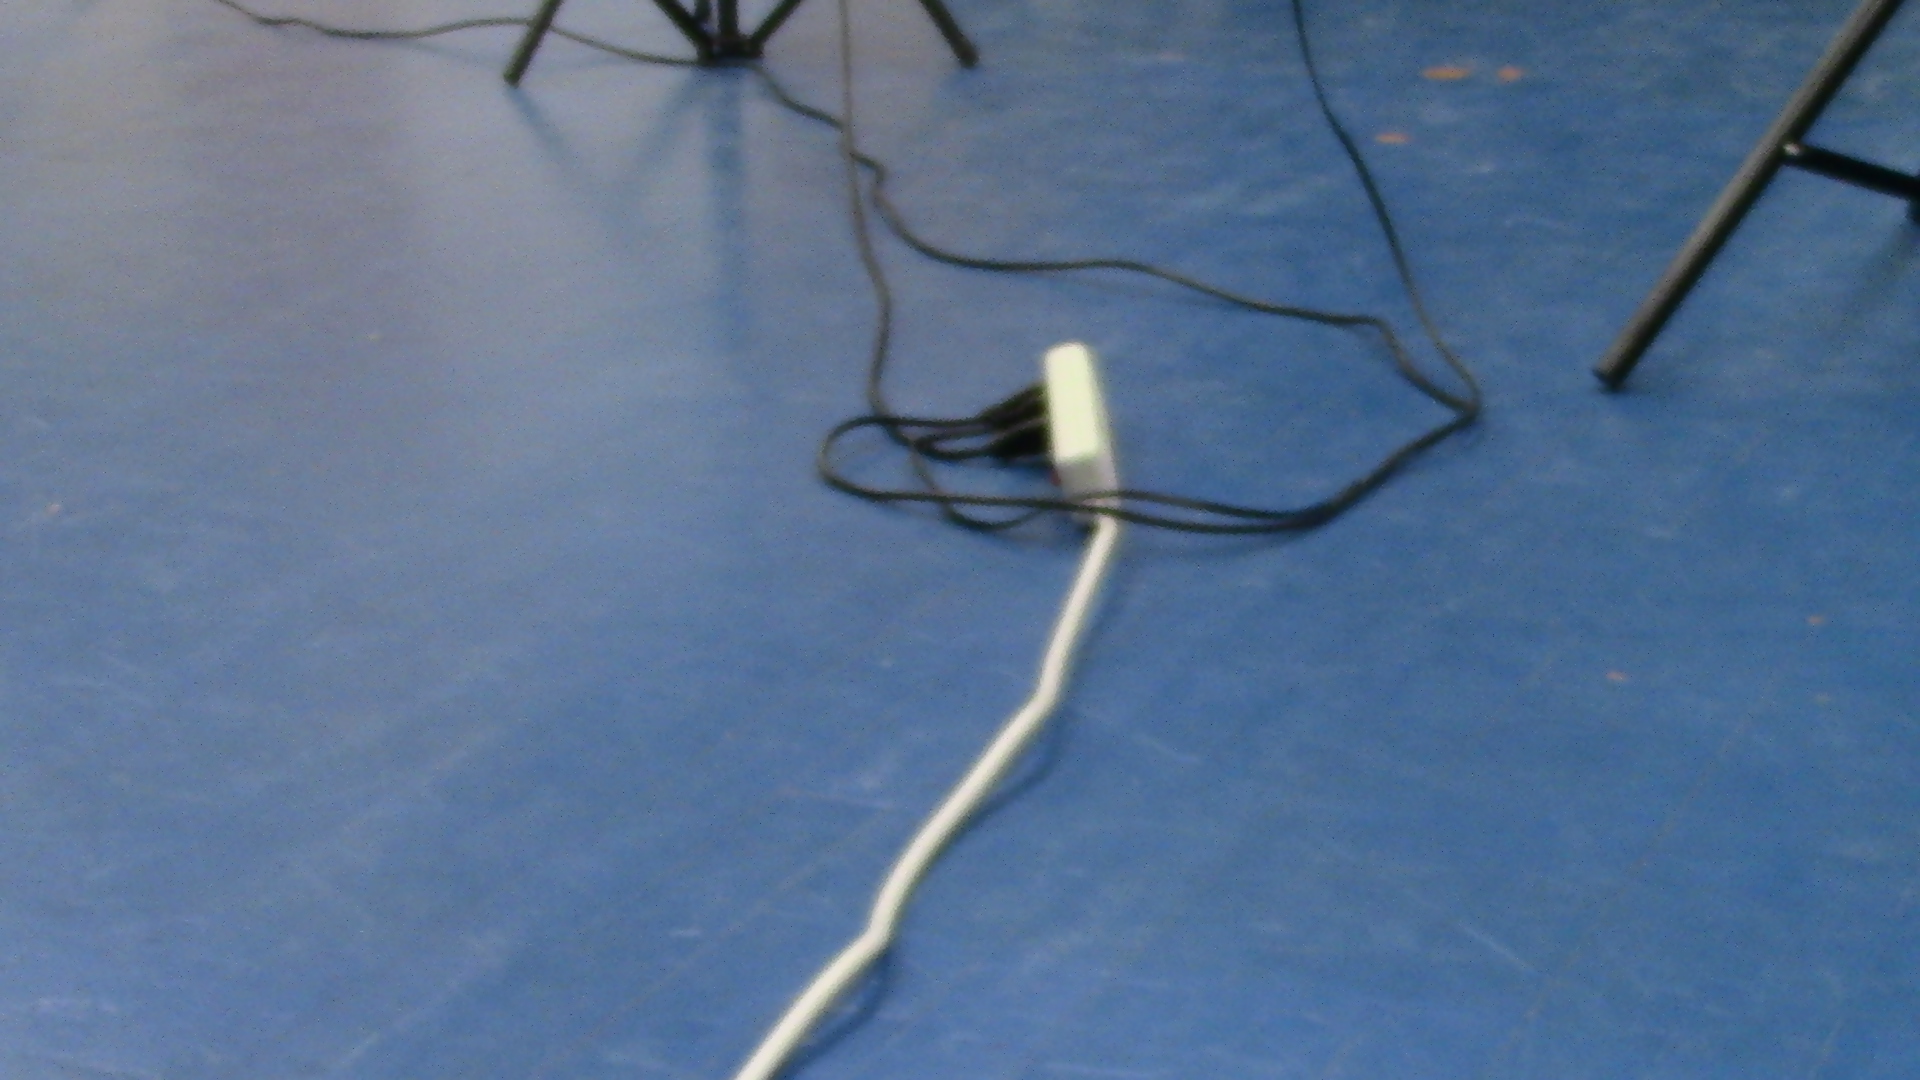
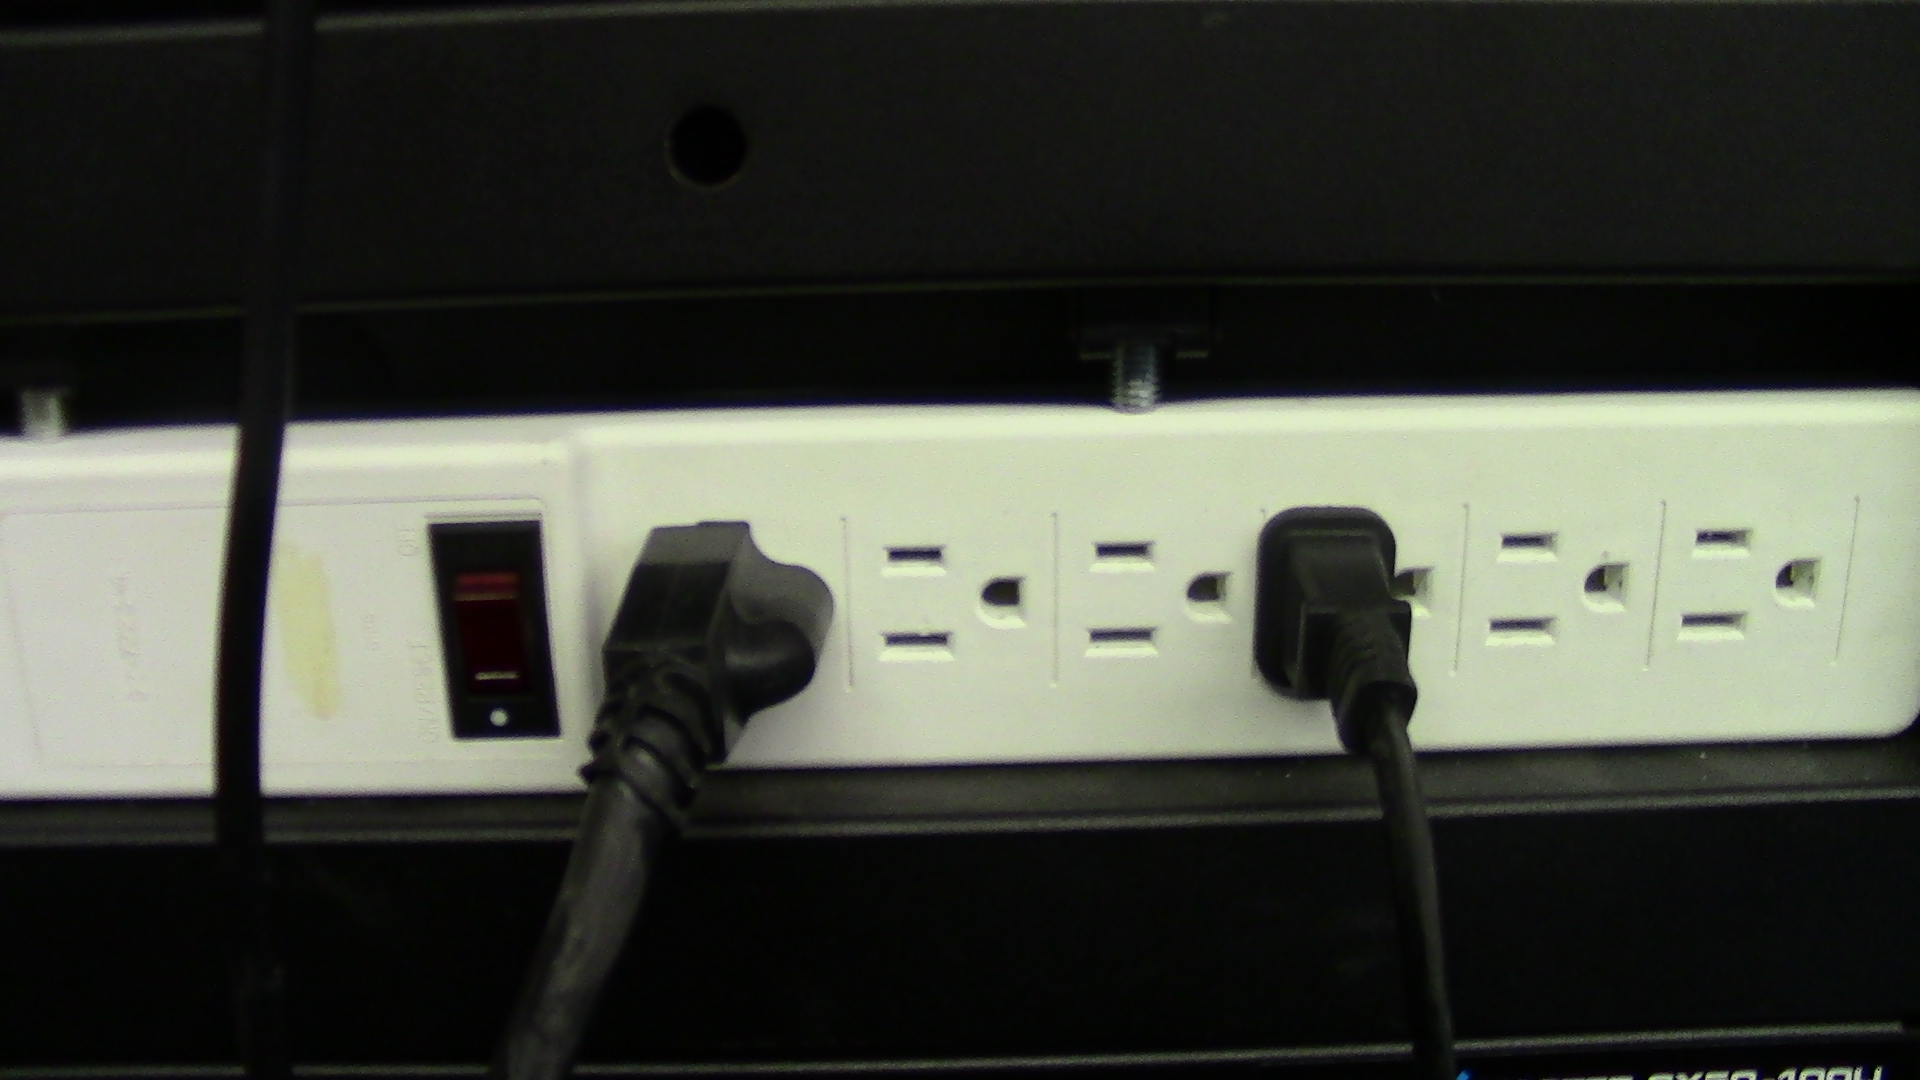
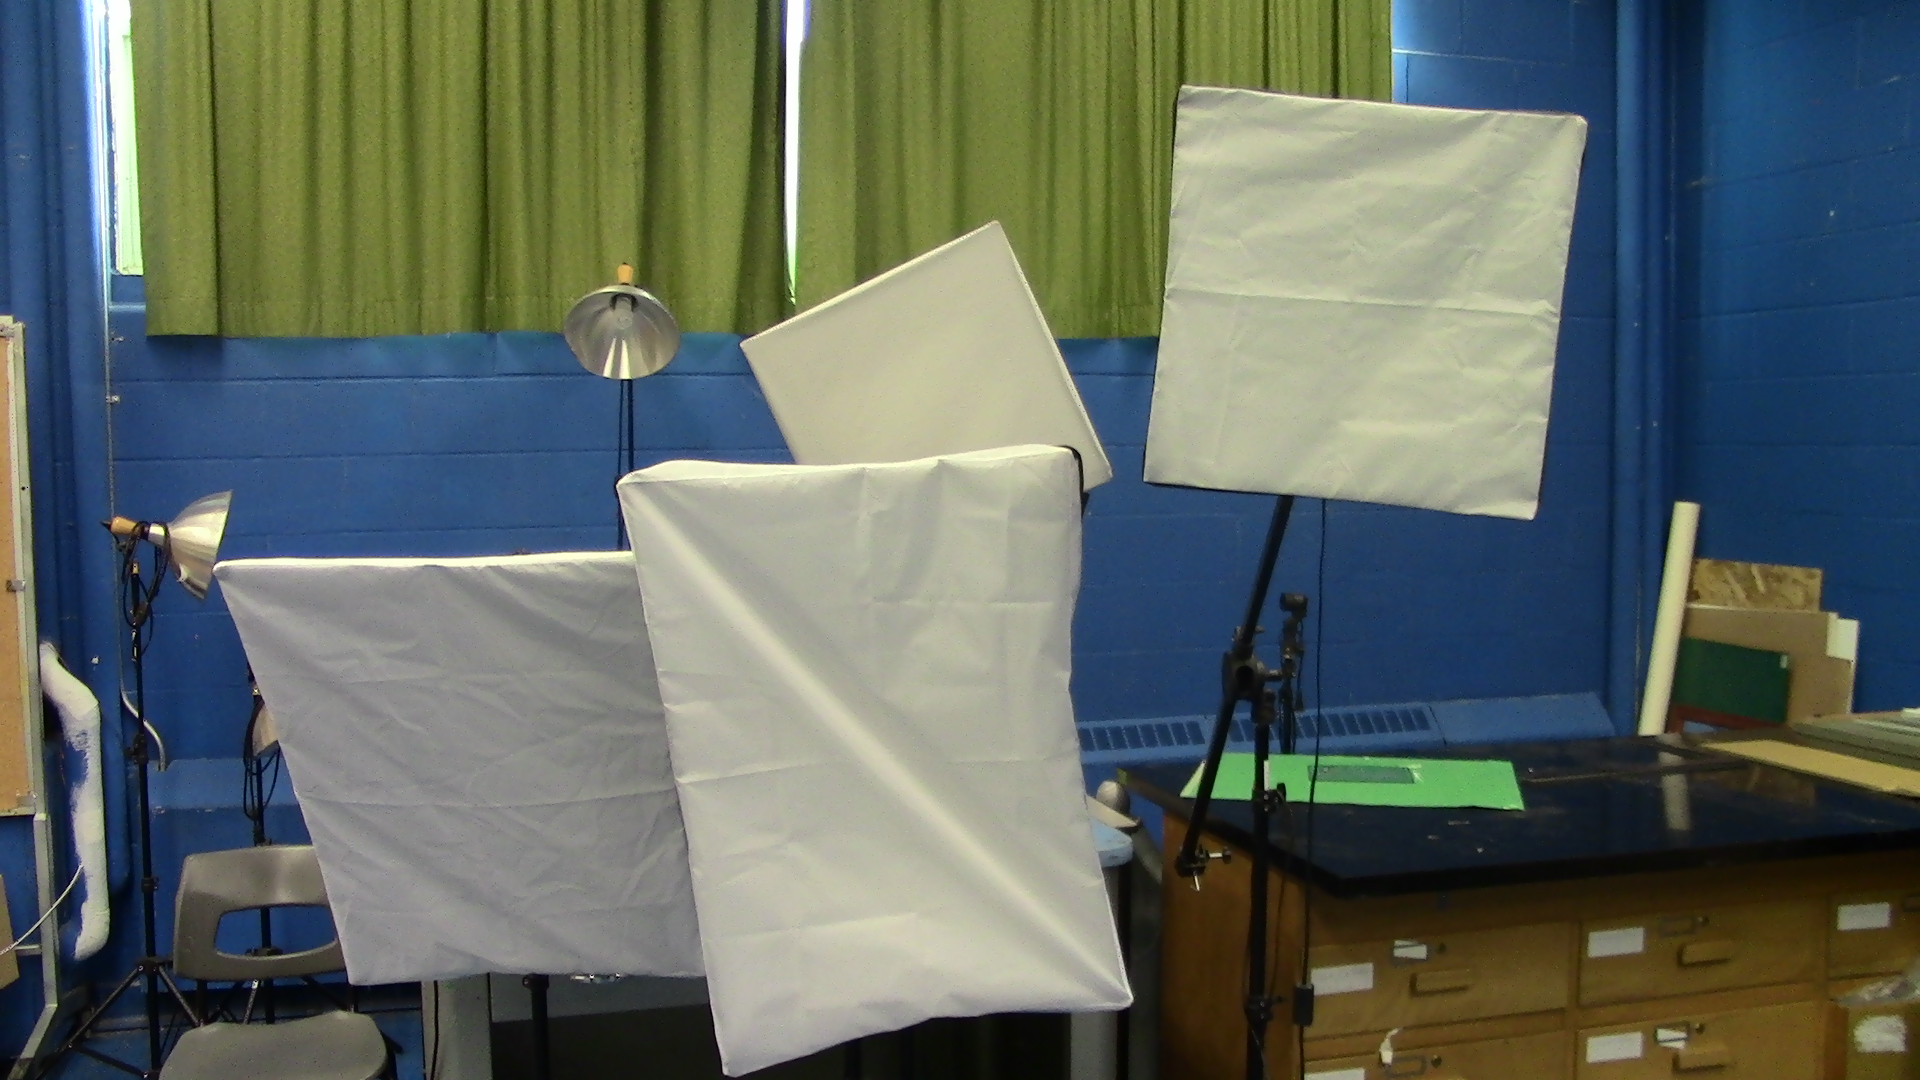
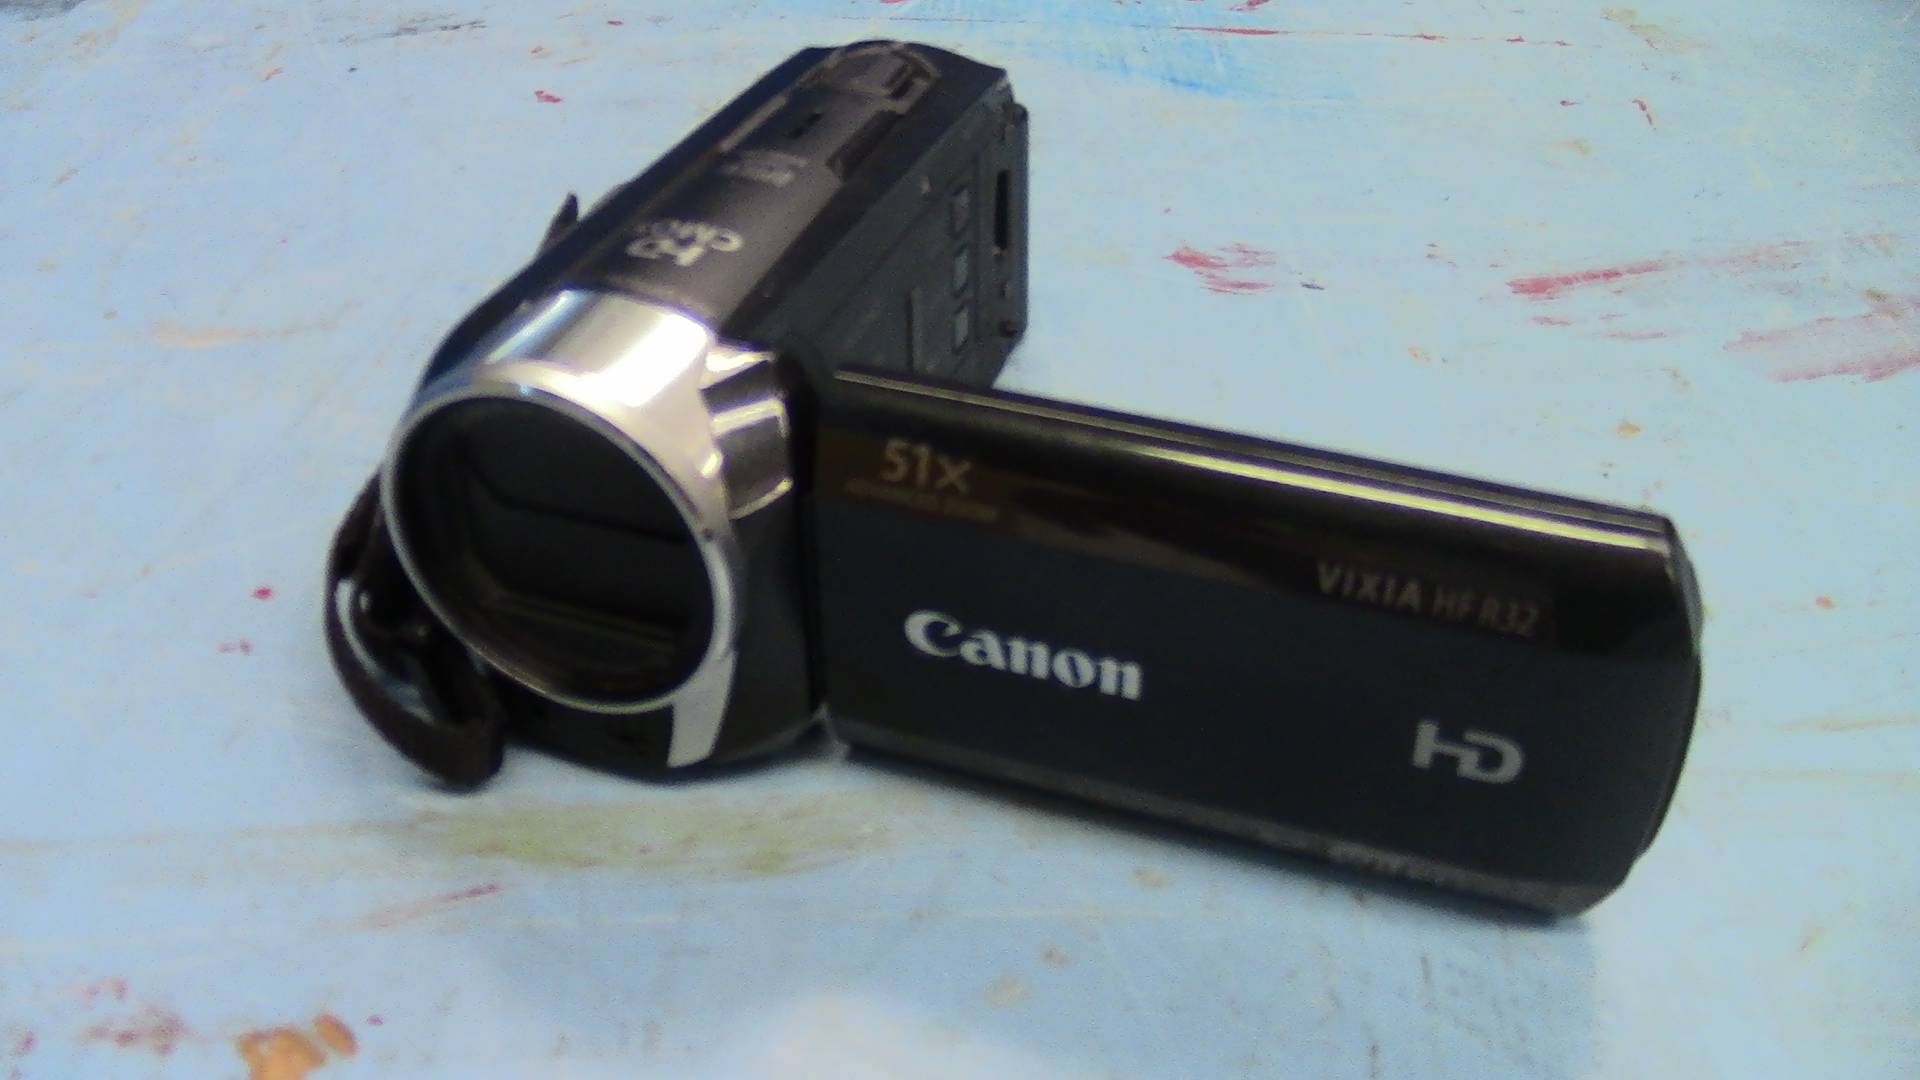
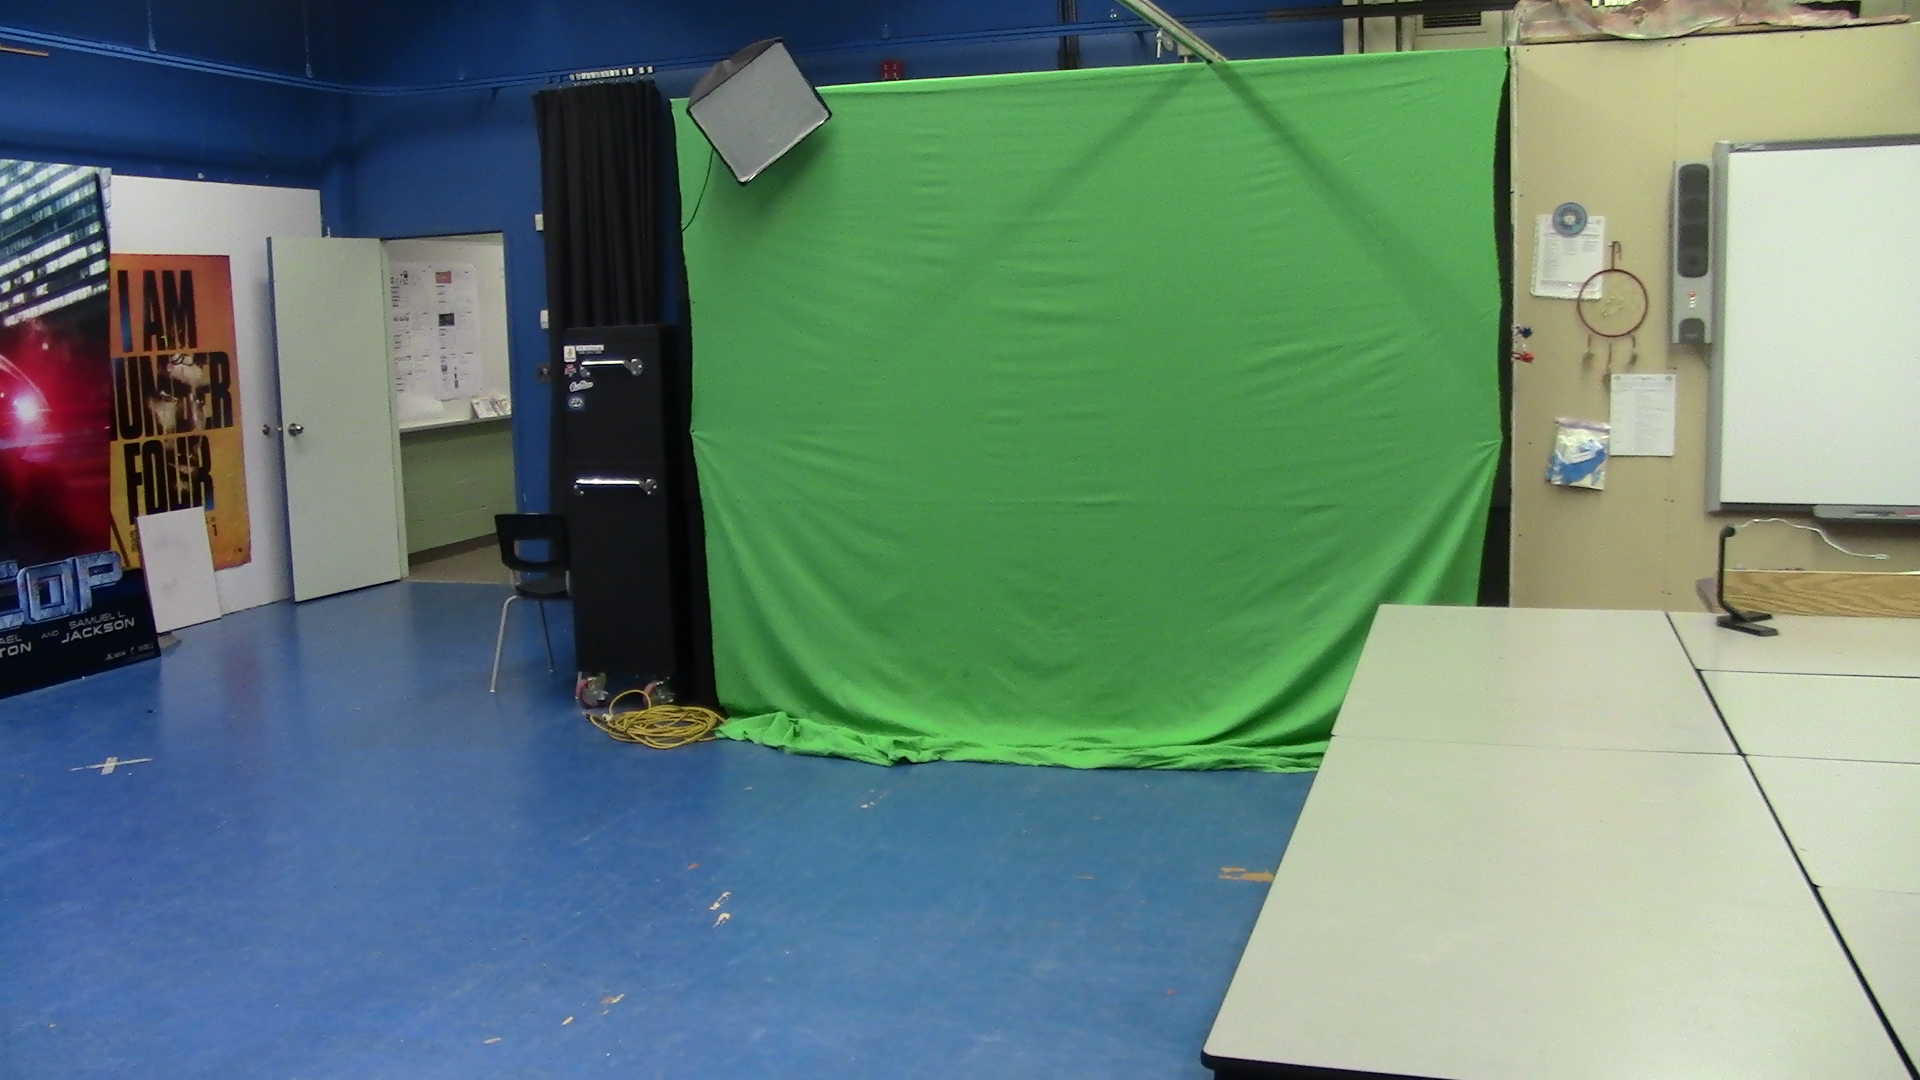
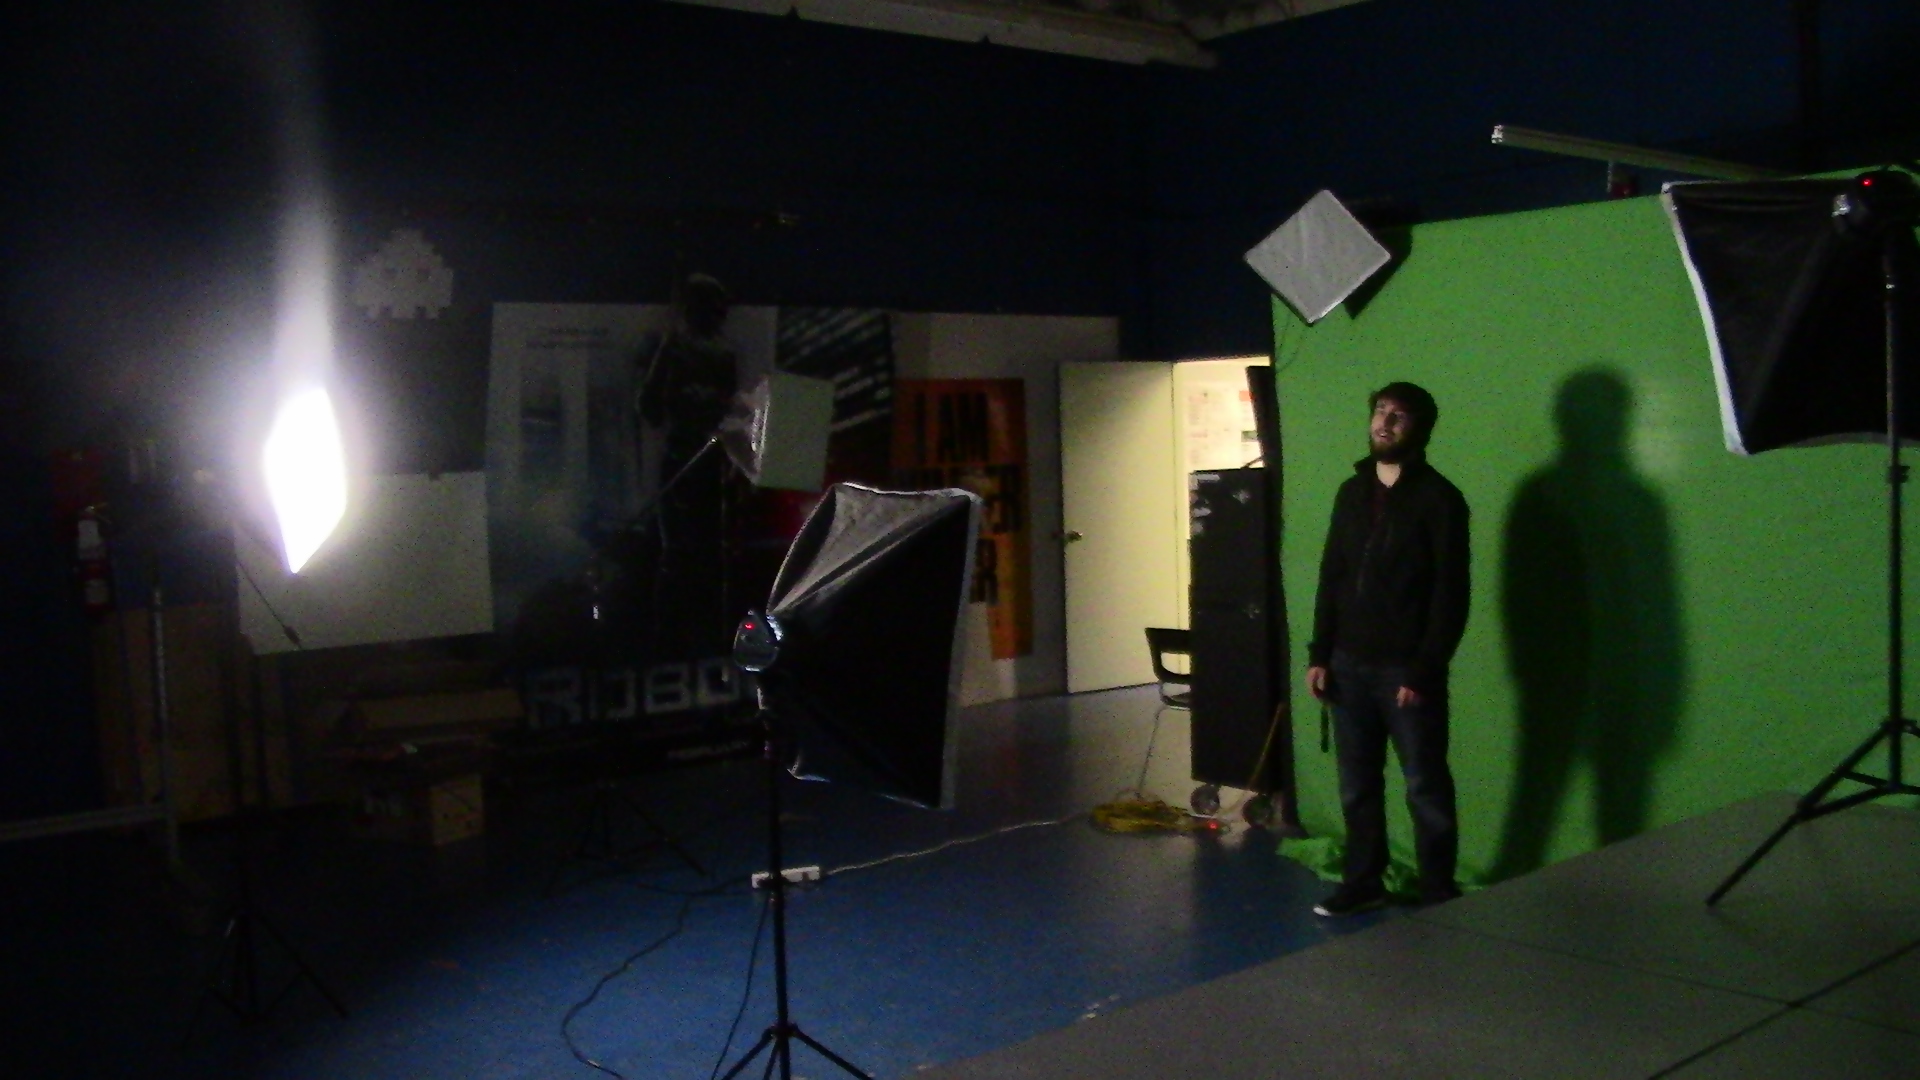
There are two types of light source for beginner film makers. The two types of light source that are easily and always available are Home Lights, and Natural Lights. There are other types of lights out there, but these are the best bang-for-your-buck starter lights you're going to find. However, Home Lights can easily ruin shots, and make them look darker, or highly un-realistic. If you can afford the items down below, you should consider acquiring each. First, you've got to acquire the right light source for the right scene!
---------------------------------------------------------------------------------------------------------------------------------------------------------------------------------
Materials:
•Soft-Box Lights
•Power Bar
•Extension Cord
•Camera
•Most likely an object or person if you are to test it out.
•A Scene
The Right Light Source!
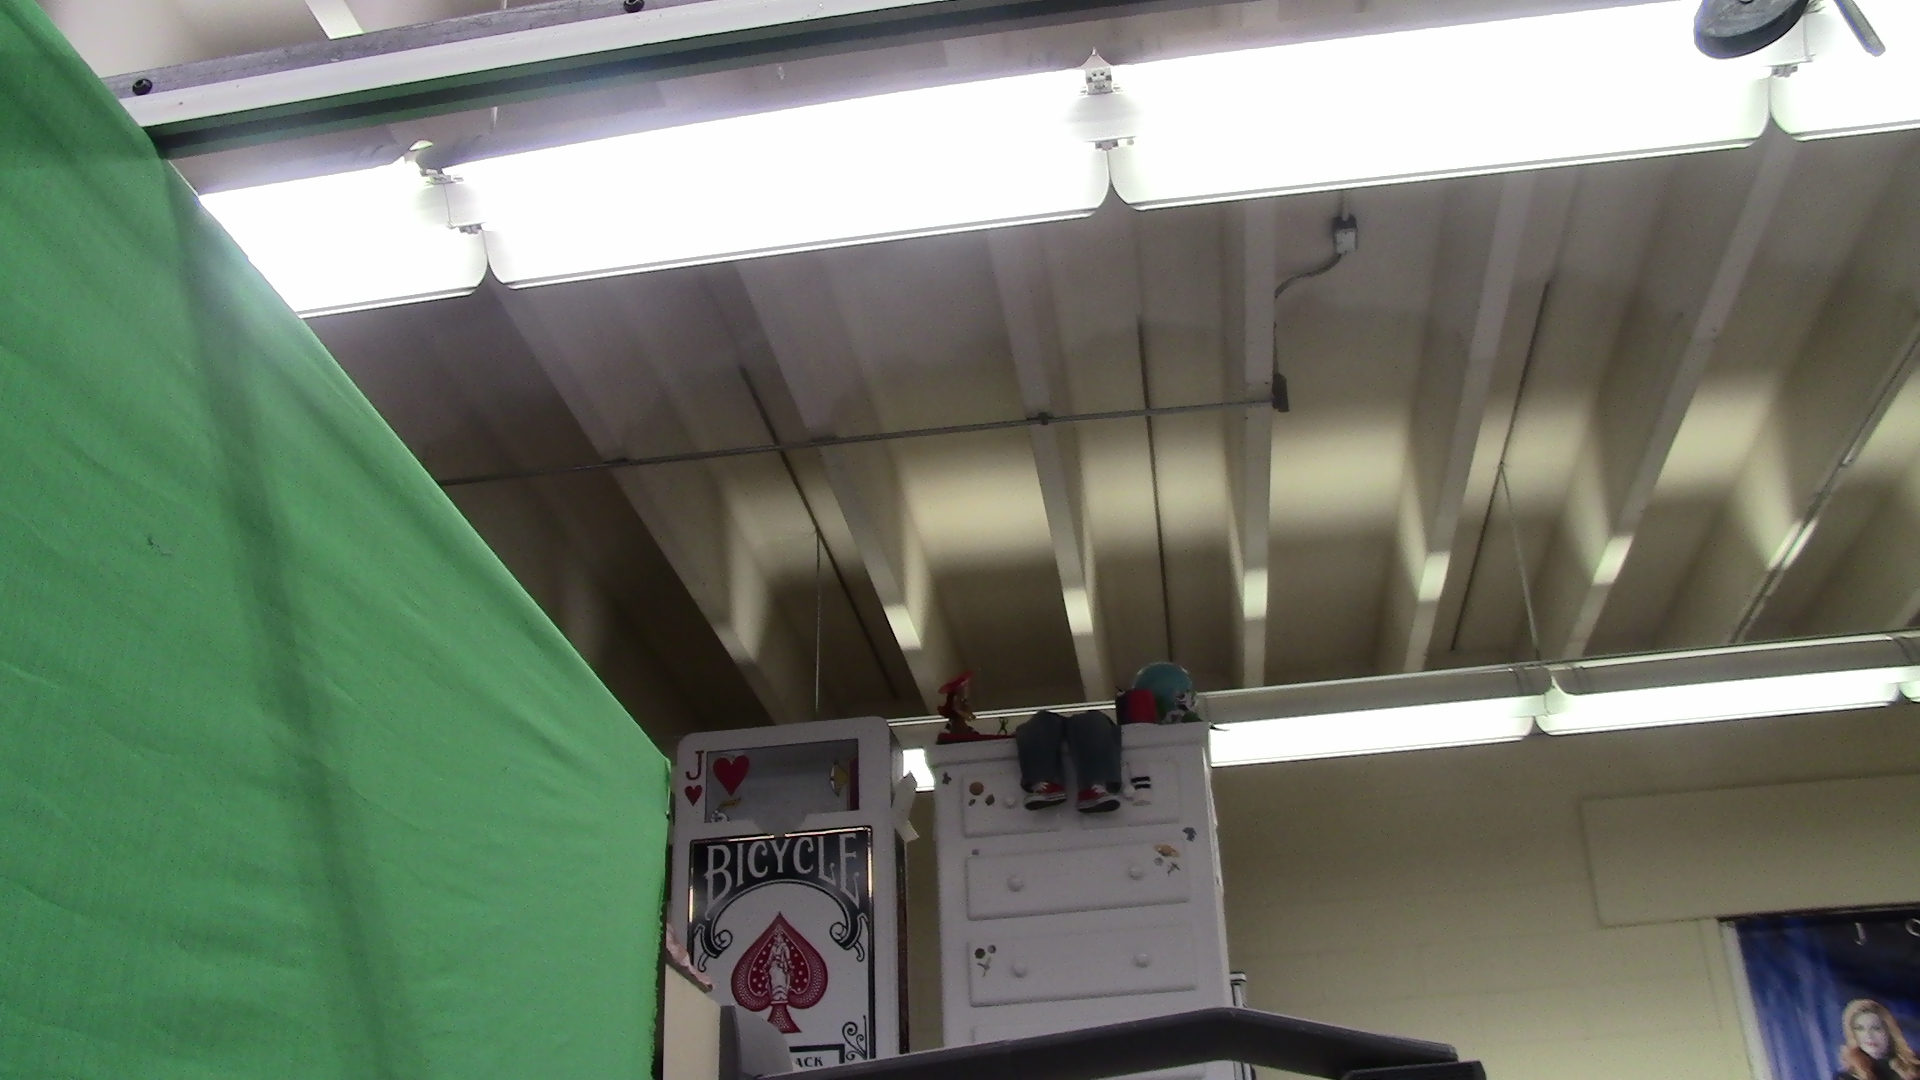

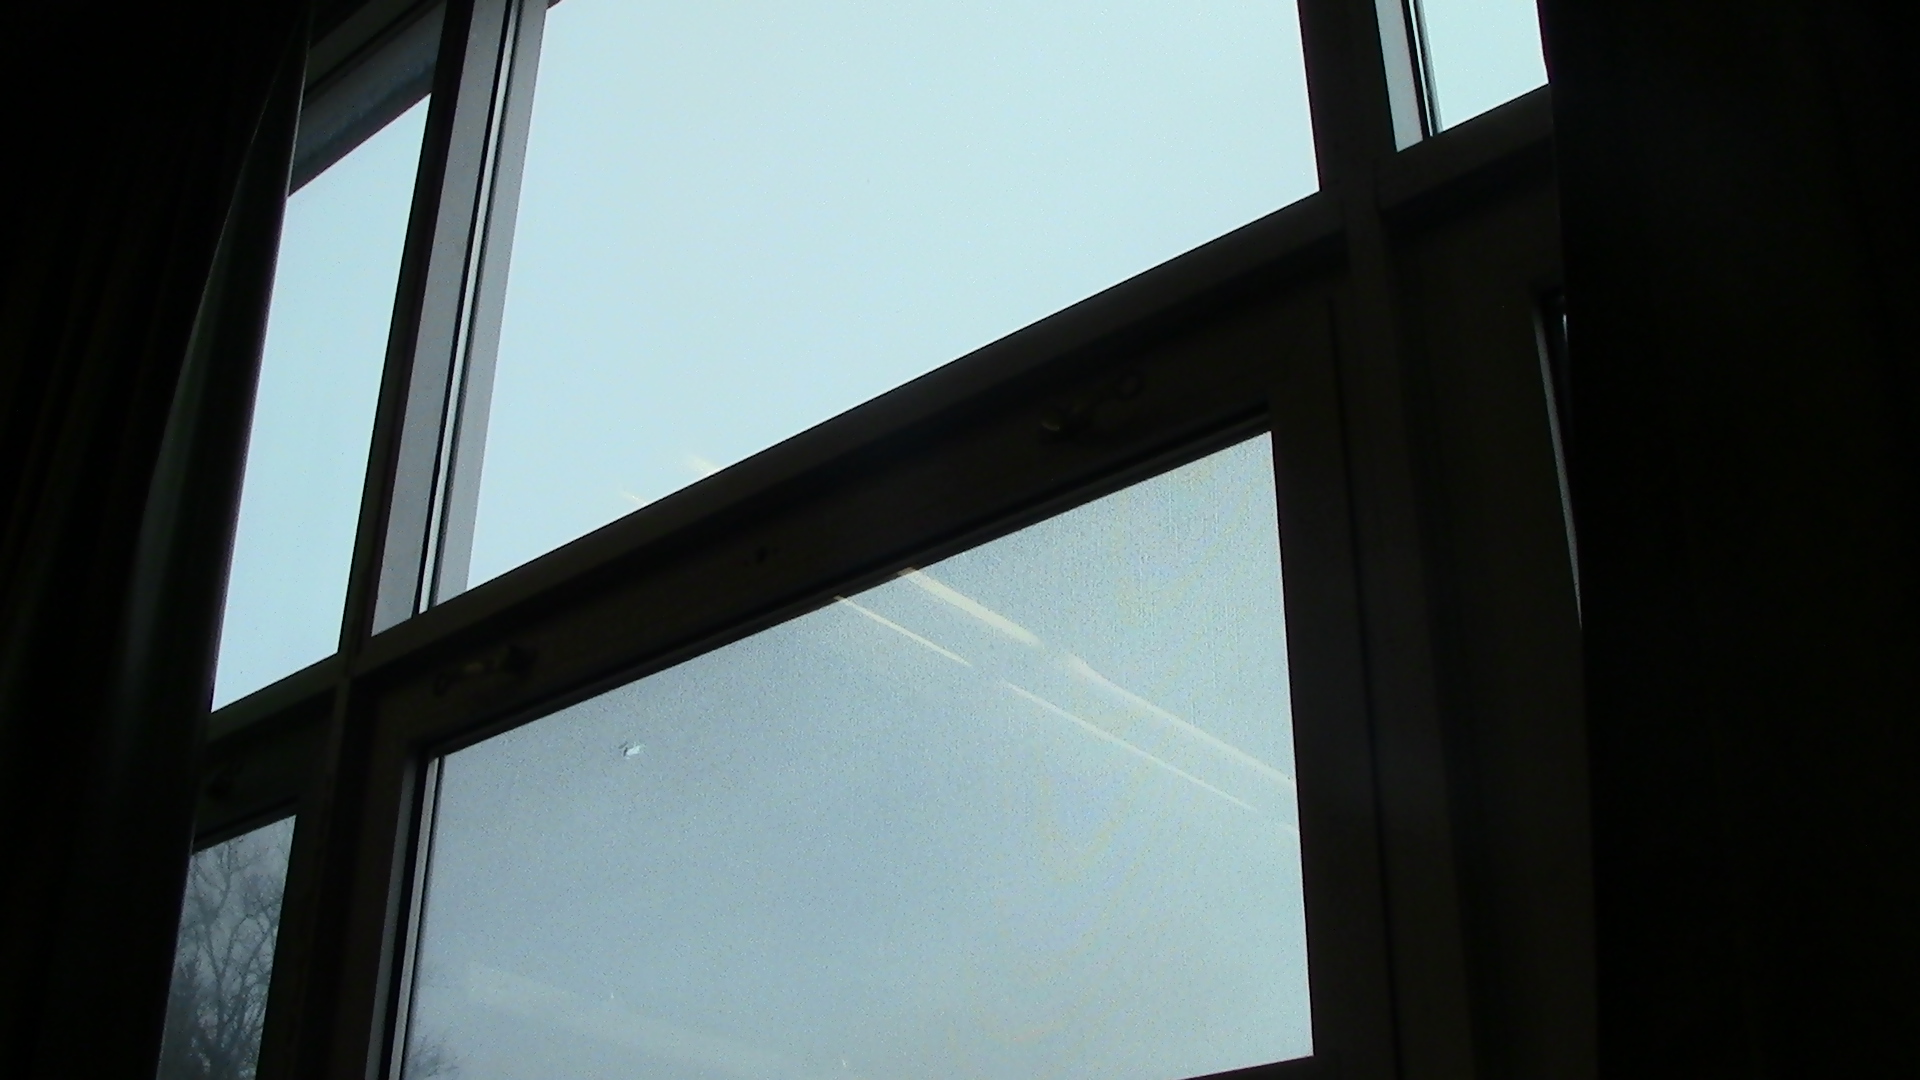
There are three basic light sources that can be used, and obtained easily. House-Light, Natural Light, and Filming Light. House-Lighting is used in your everyday life, and it's what you use when you go into the Office, or the Kitchen or go into stores! From pot lights to chandeliers, lamps and in-ceiling square lights, all are considered 'House-Lights' in this Instructable.
Natural Light is indeed natural, none other then the sun, or even possibly the moon. The sun can sufficiently light out-door shots, or even catch dramatic inside shots using lens flares, and floating dust particles! Natural lights are the easiest to use, and the easiest to obtain, unless of course it's the middle of summer and you're awaiting a dim and rainy day!
Lastly, Filming Light is used to add extra light, or make a scene with in-sufficient lighting look more realistic. Filming Light in this instructable is used by Box-Lights. These Box Lights can light up a scene to add an extra effect to make the scene look more realistic. A Camera does not always shoot exactly what you see, so lighting up a scene may make it look a bit better in the fish-eye-lens! Below are pictures of each light source. Choose wisely with the next step! Next you need to choose the right light for the right set-up!
Choosing the right light source for the right job is always a key decision. For items that are supposed to be dramatic, or even just a close up with Music, it should be using Natural Light. Natural Light looks good in dramatic affects, and sad or key moments in the movie. If you use Natural light for certain parts only, it brings the eyes attention to these parts of the movie. For regular lighting, or really dark shots, that need extra light use House Lights if you can't get box-lights or other lights. However, extra lighting like Box-Lights will light up the scene better, and concentrate the light source on your shot. So, why not use it in the movie? Below are a couple of pictures to show the same shot, using the different lights.
Choosing the Right Light!
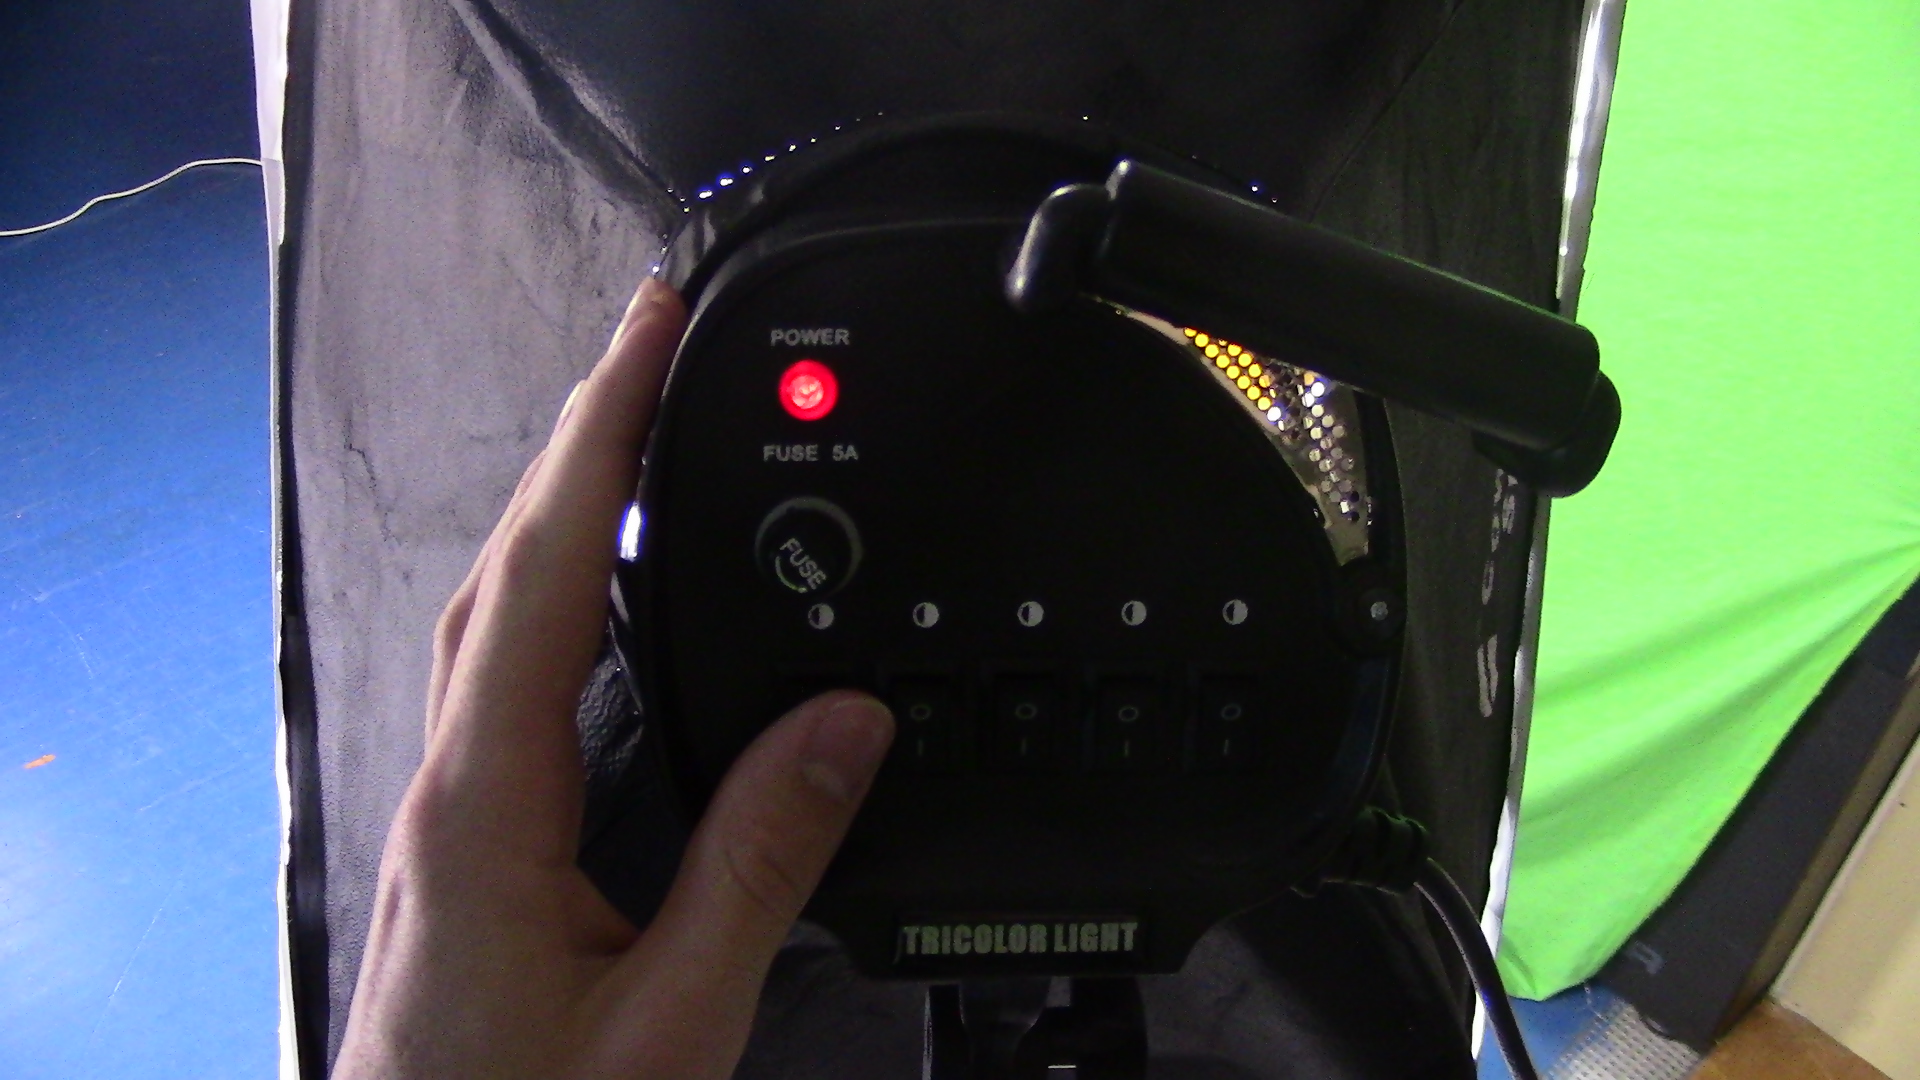

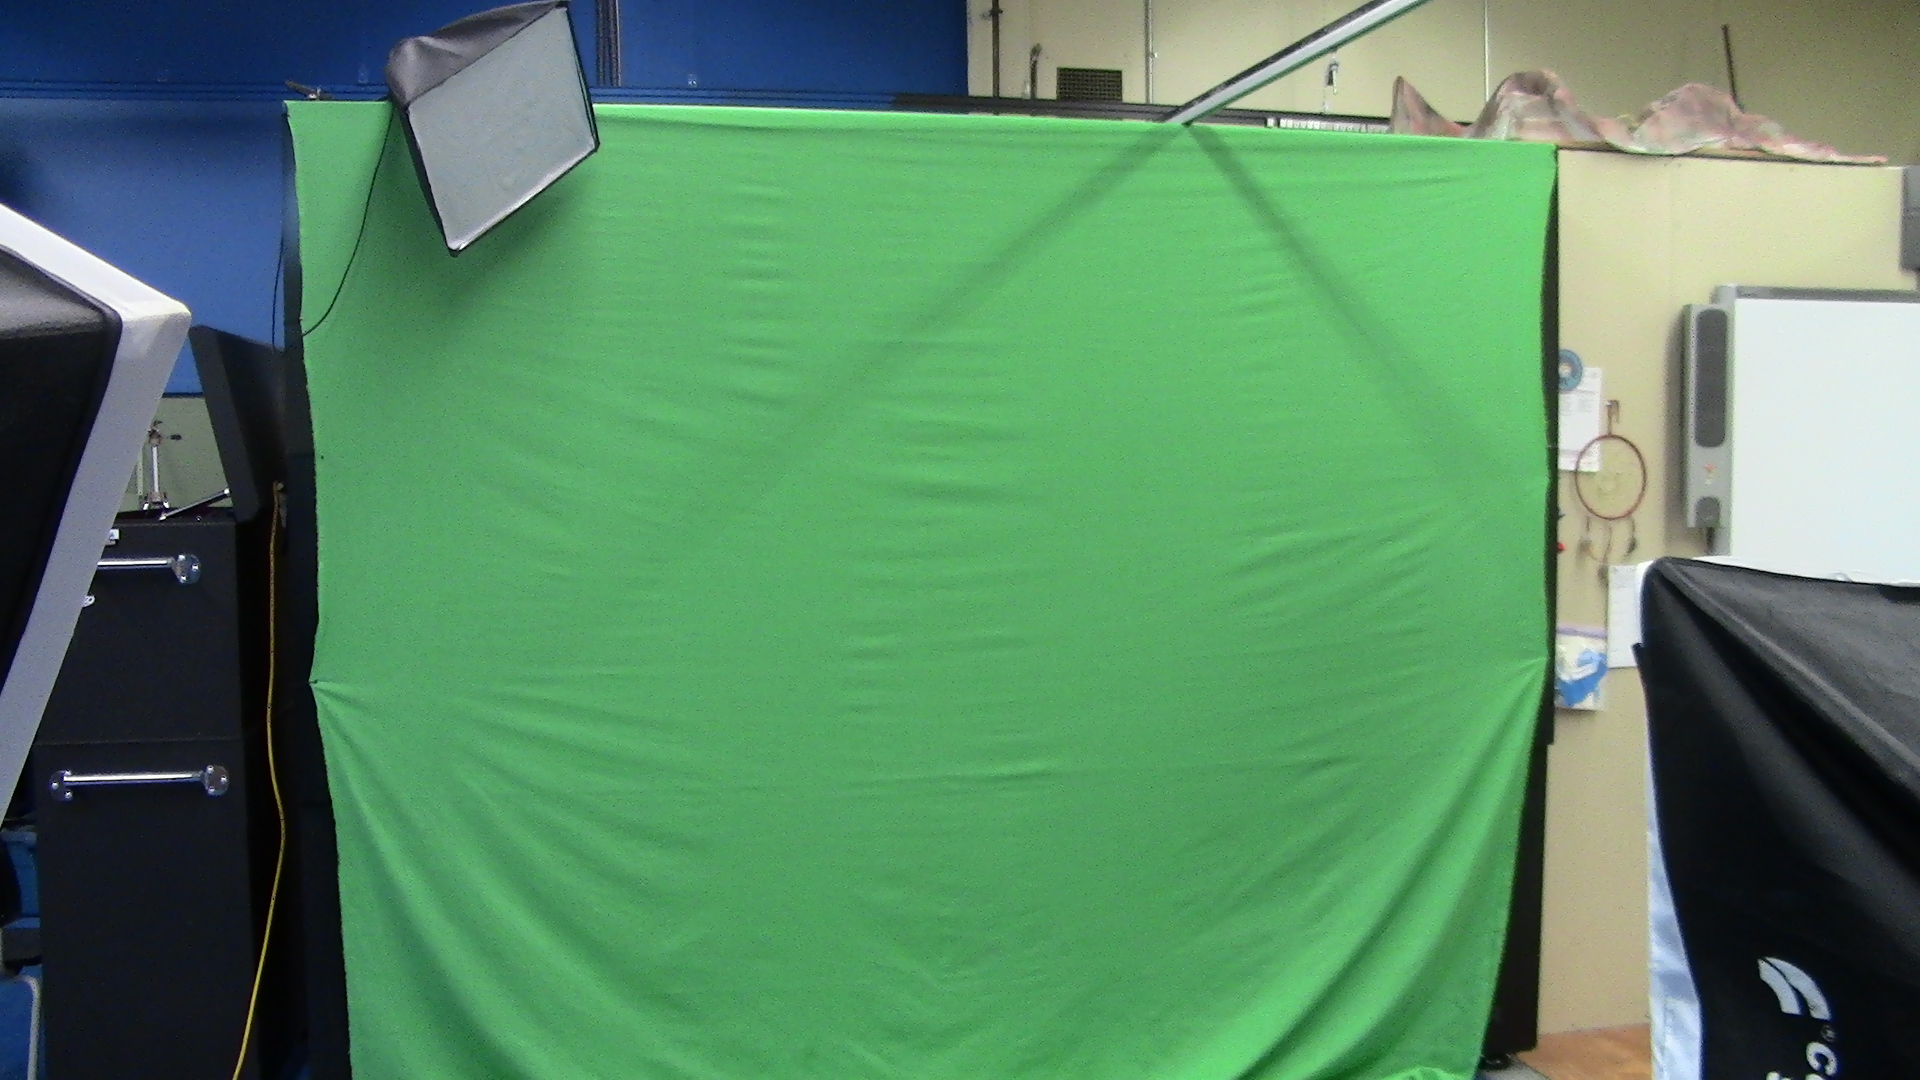
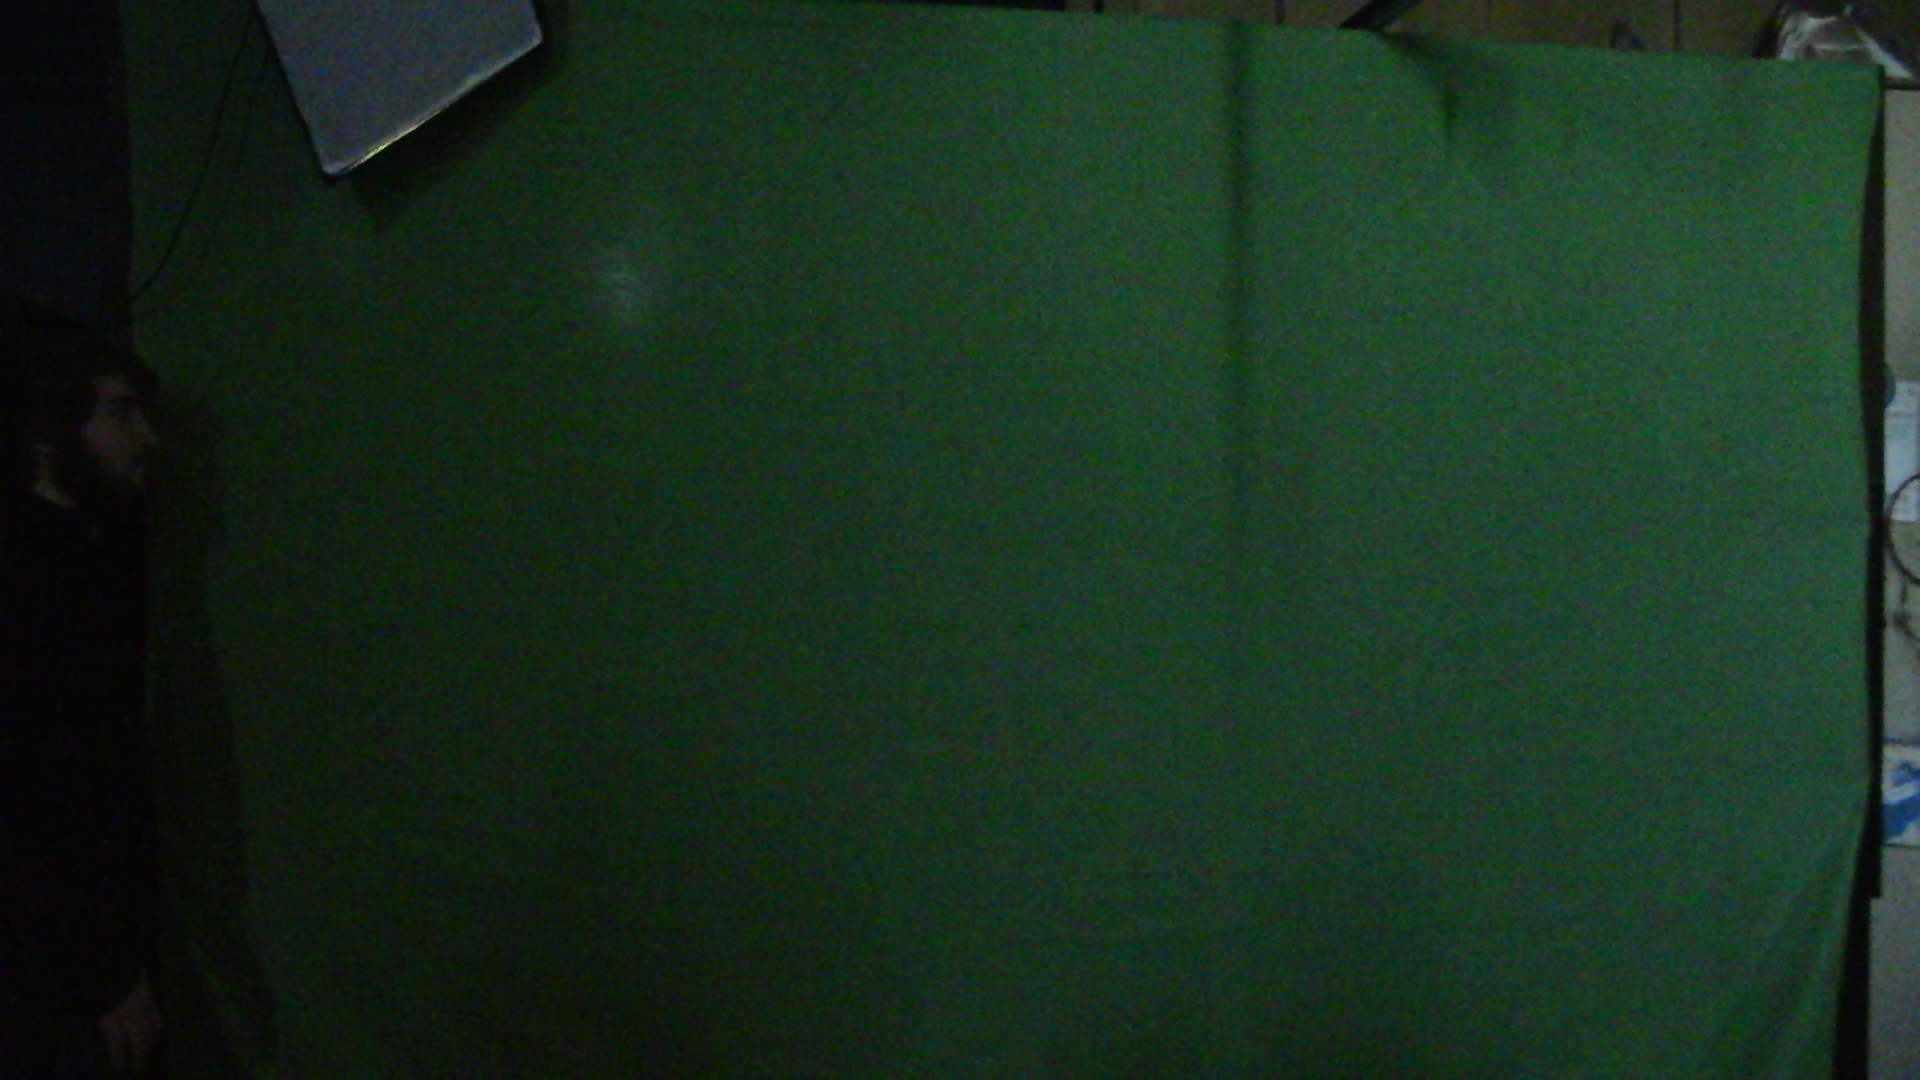
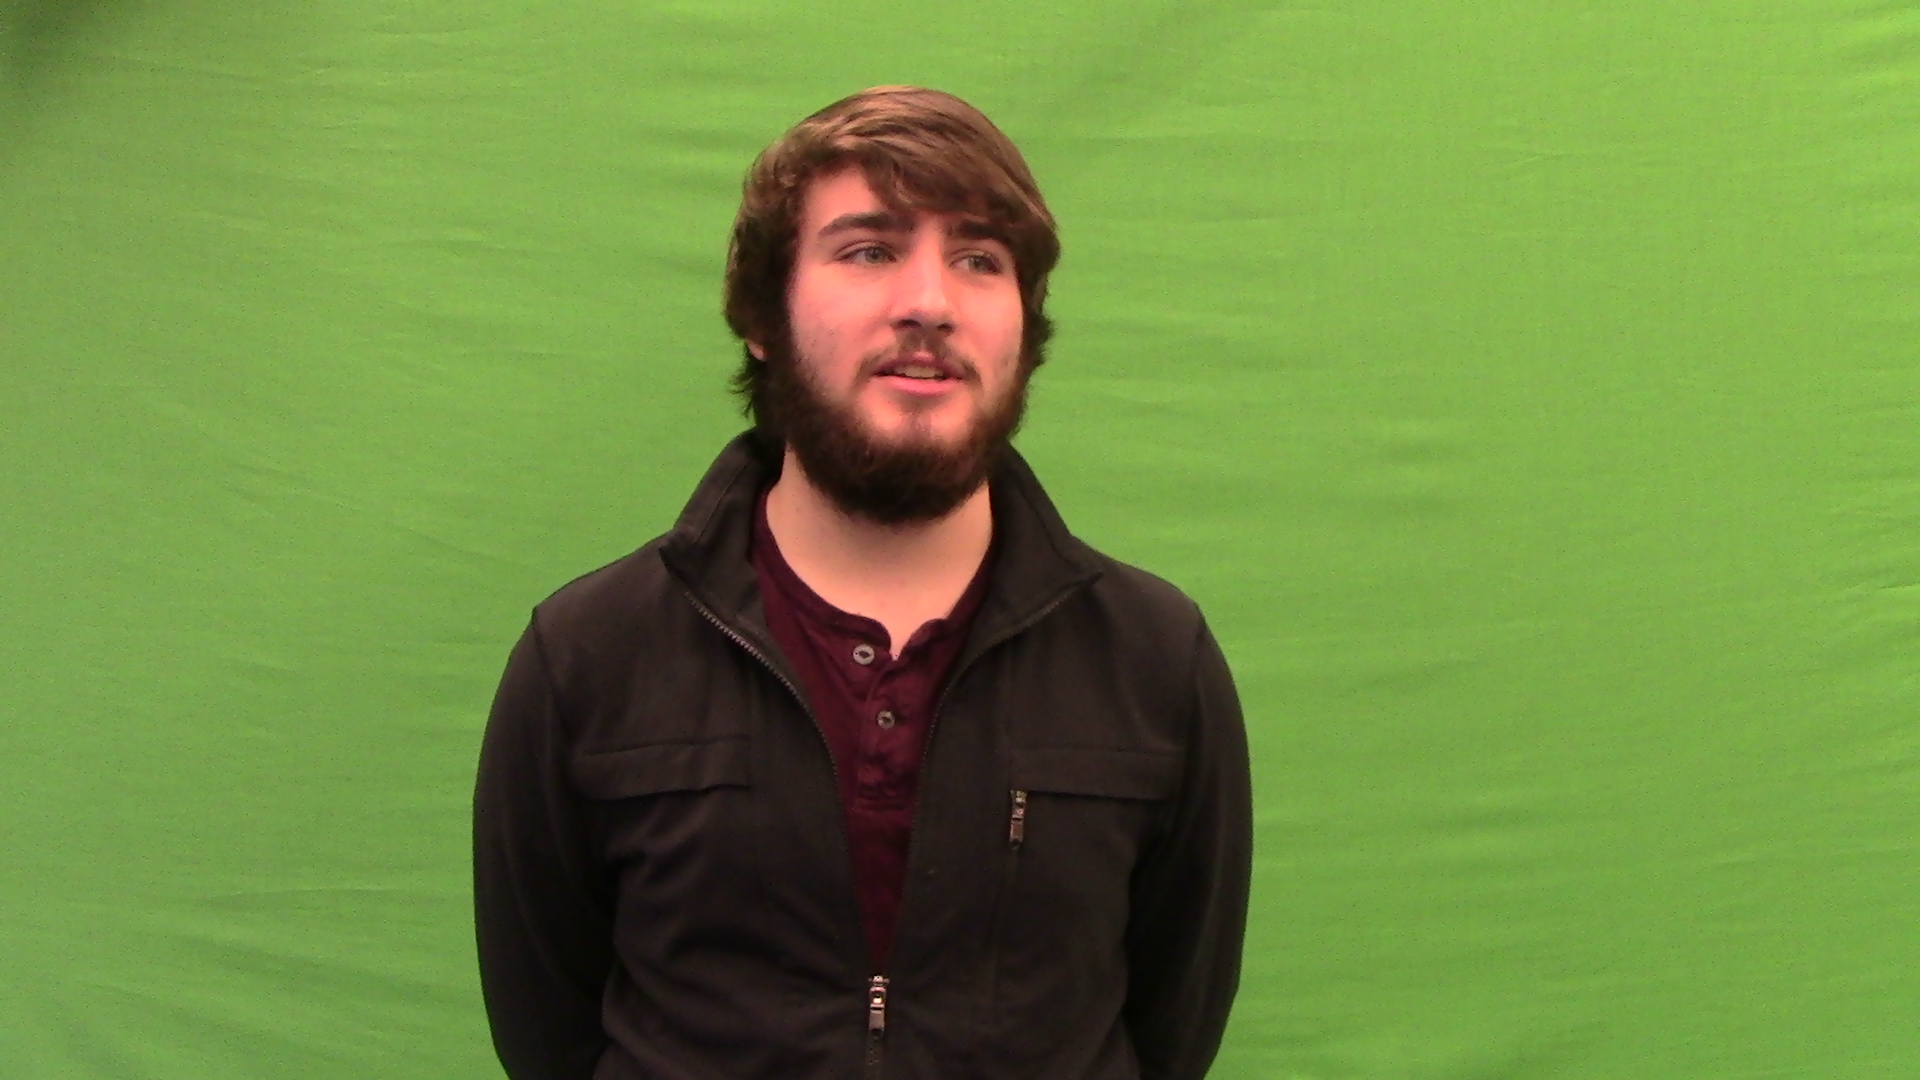
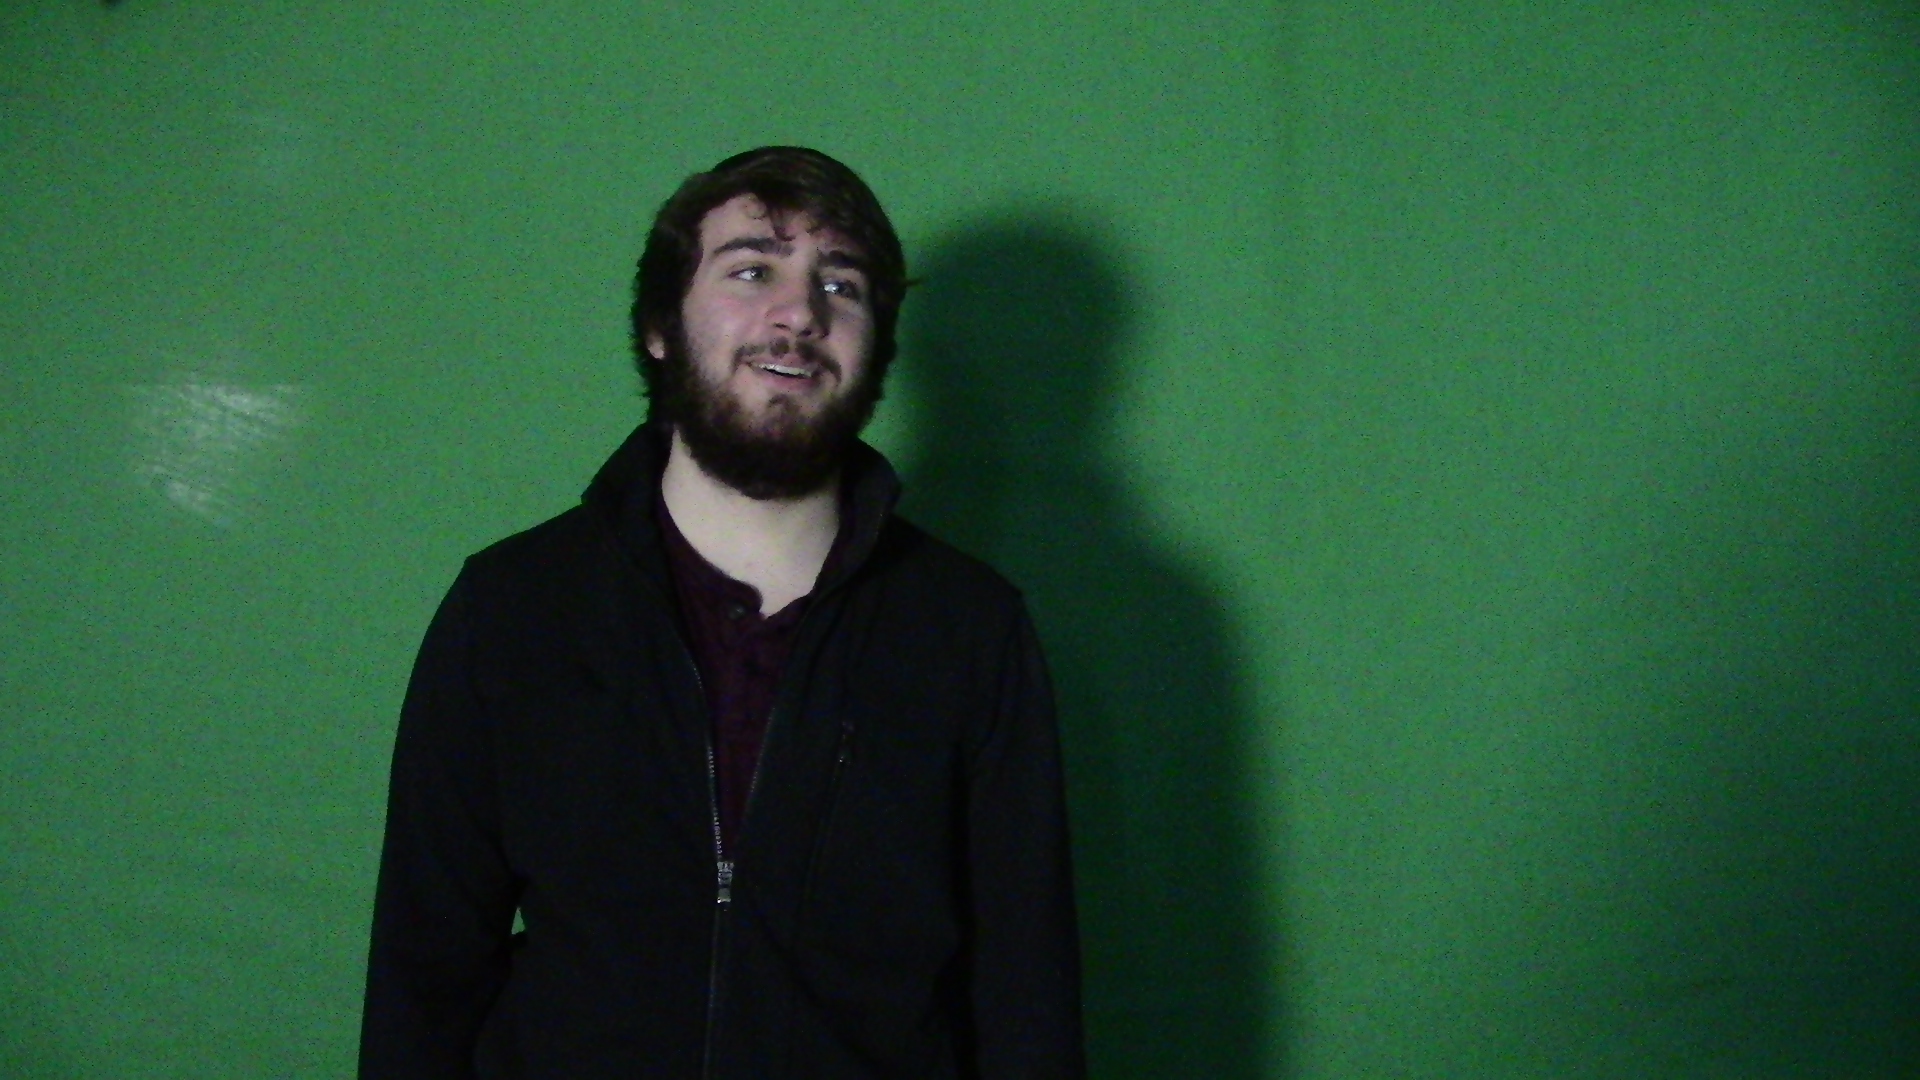
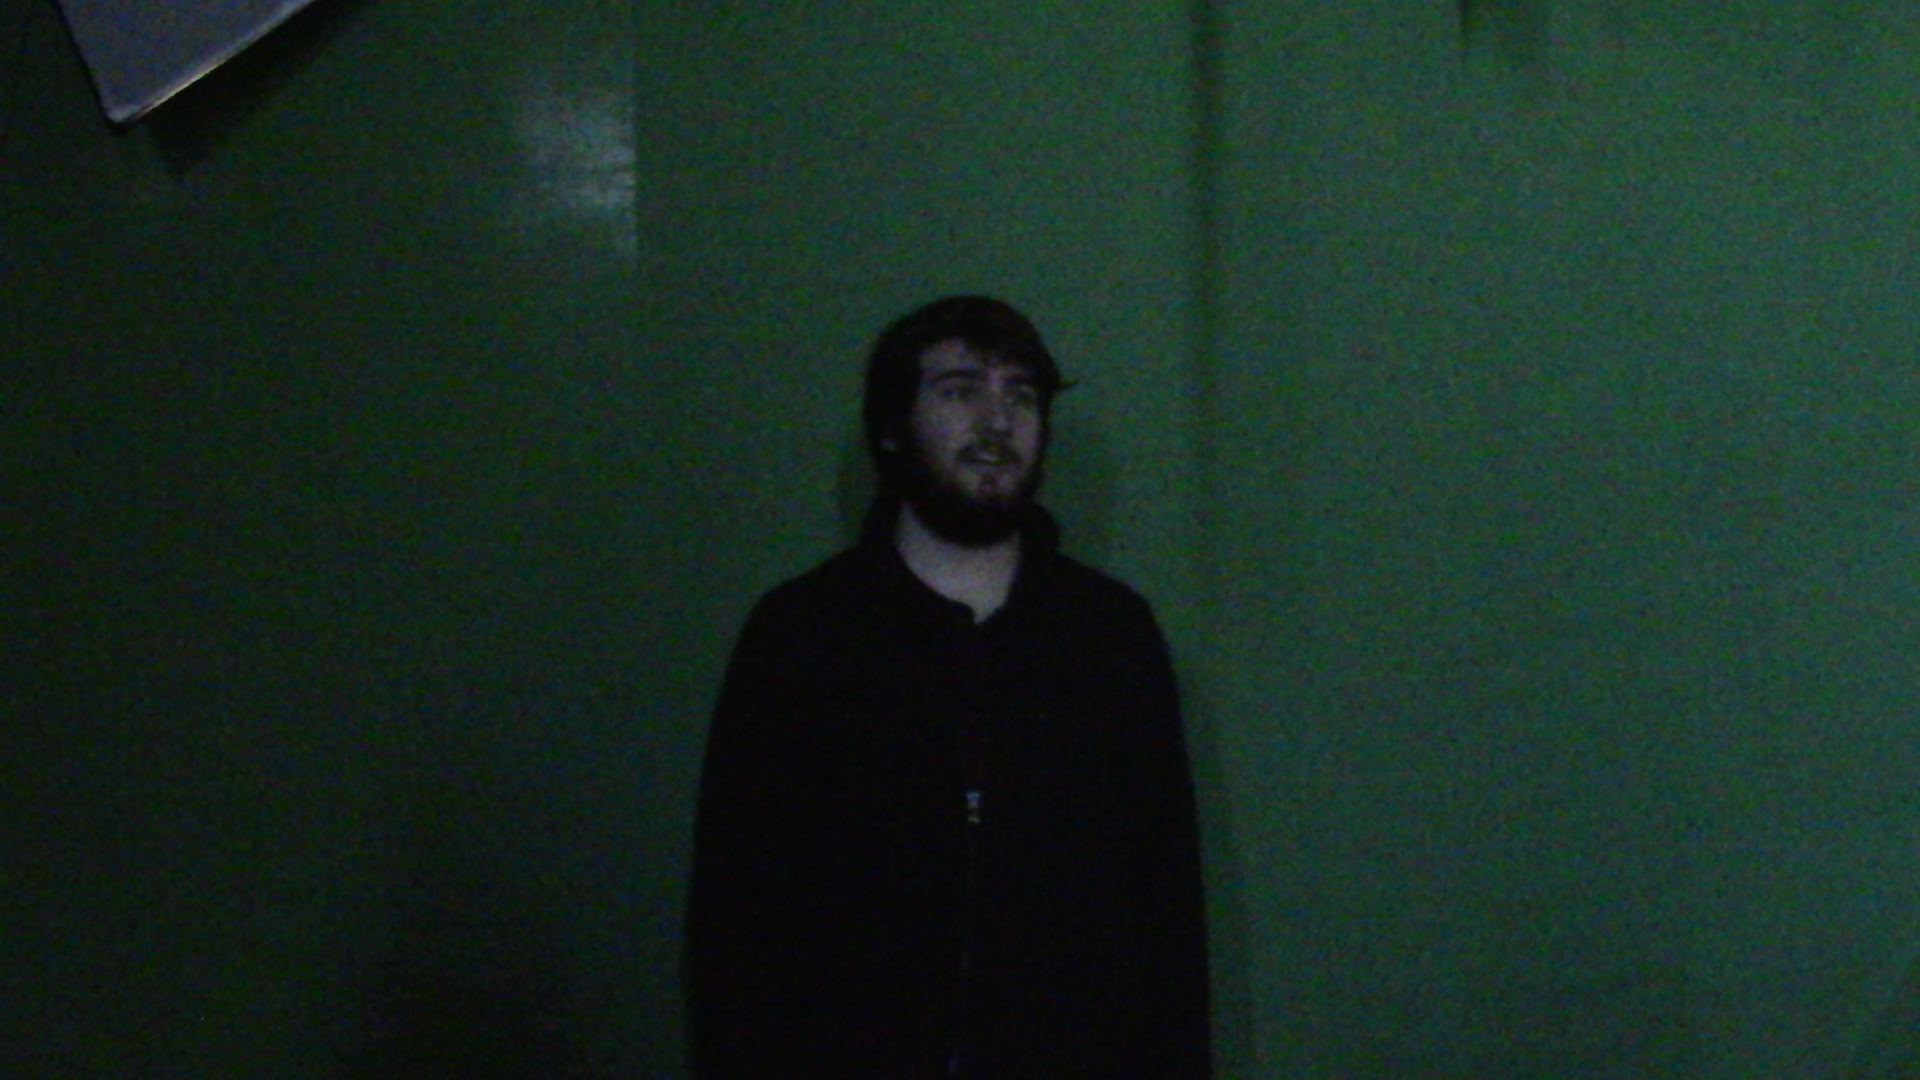
Choosing the right light source for the right job is always a key decision. For items that are supposed to be dramatic, or even just a close up with Music, it should be using Natural Light. Natural Light looks good in dramatic affects, and sad or key moments in the movie. If you use Natural light for certain parts only, it brings the eyes attention to these parts of the movie. For regular lighting, or really dark shots, that need extra light use House Lights if you can't get box-lights or other lights. However, extra lighting like Box-Lights will light up the scene better, and concentrate the light source on your shot. So, why not use it in the movie? These box lights also have many different settings to increase, or decrease the amount of light. Below are a couple of pictures to show the same shot, using the different lights. Next, you've got to angle your lights properly!
Angling Light!
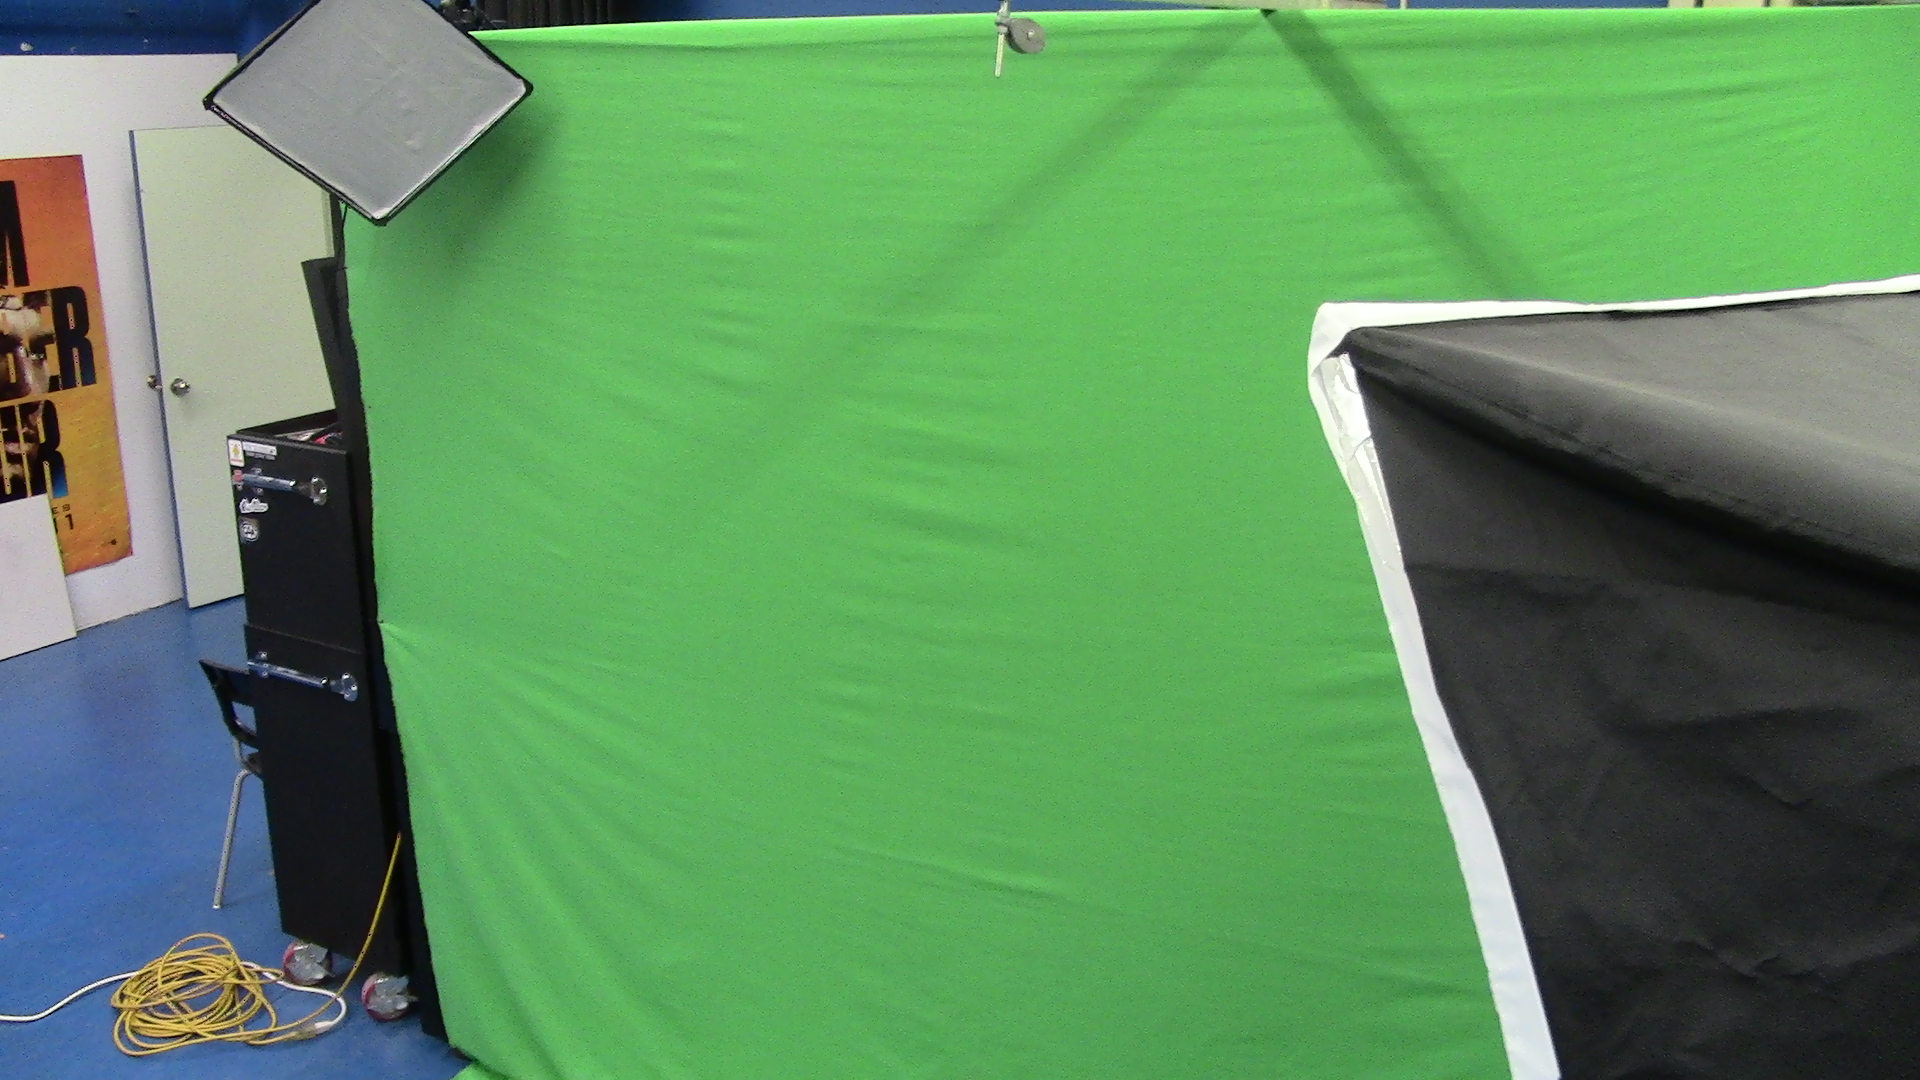
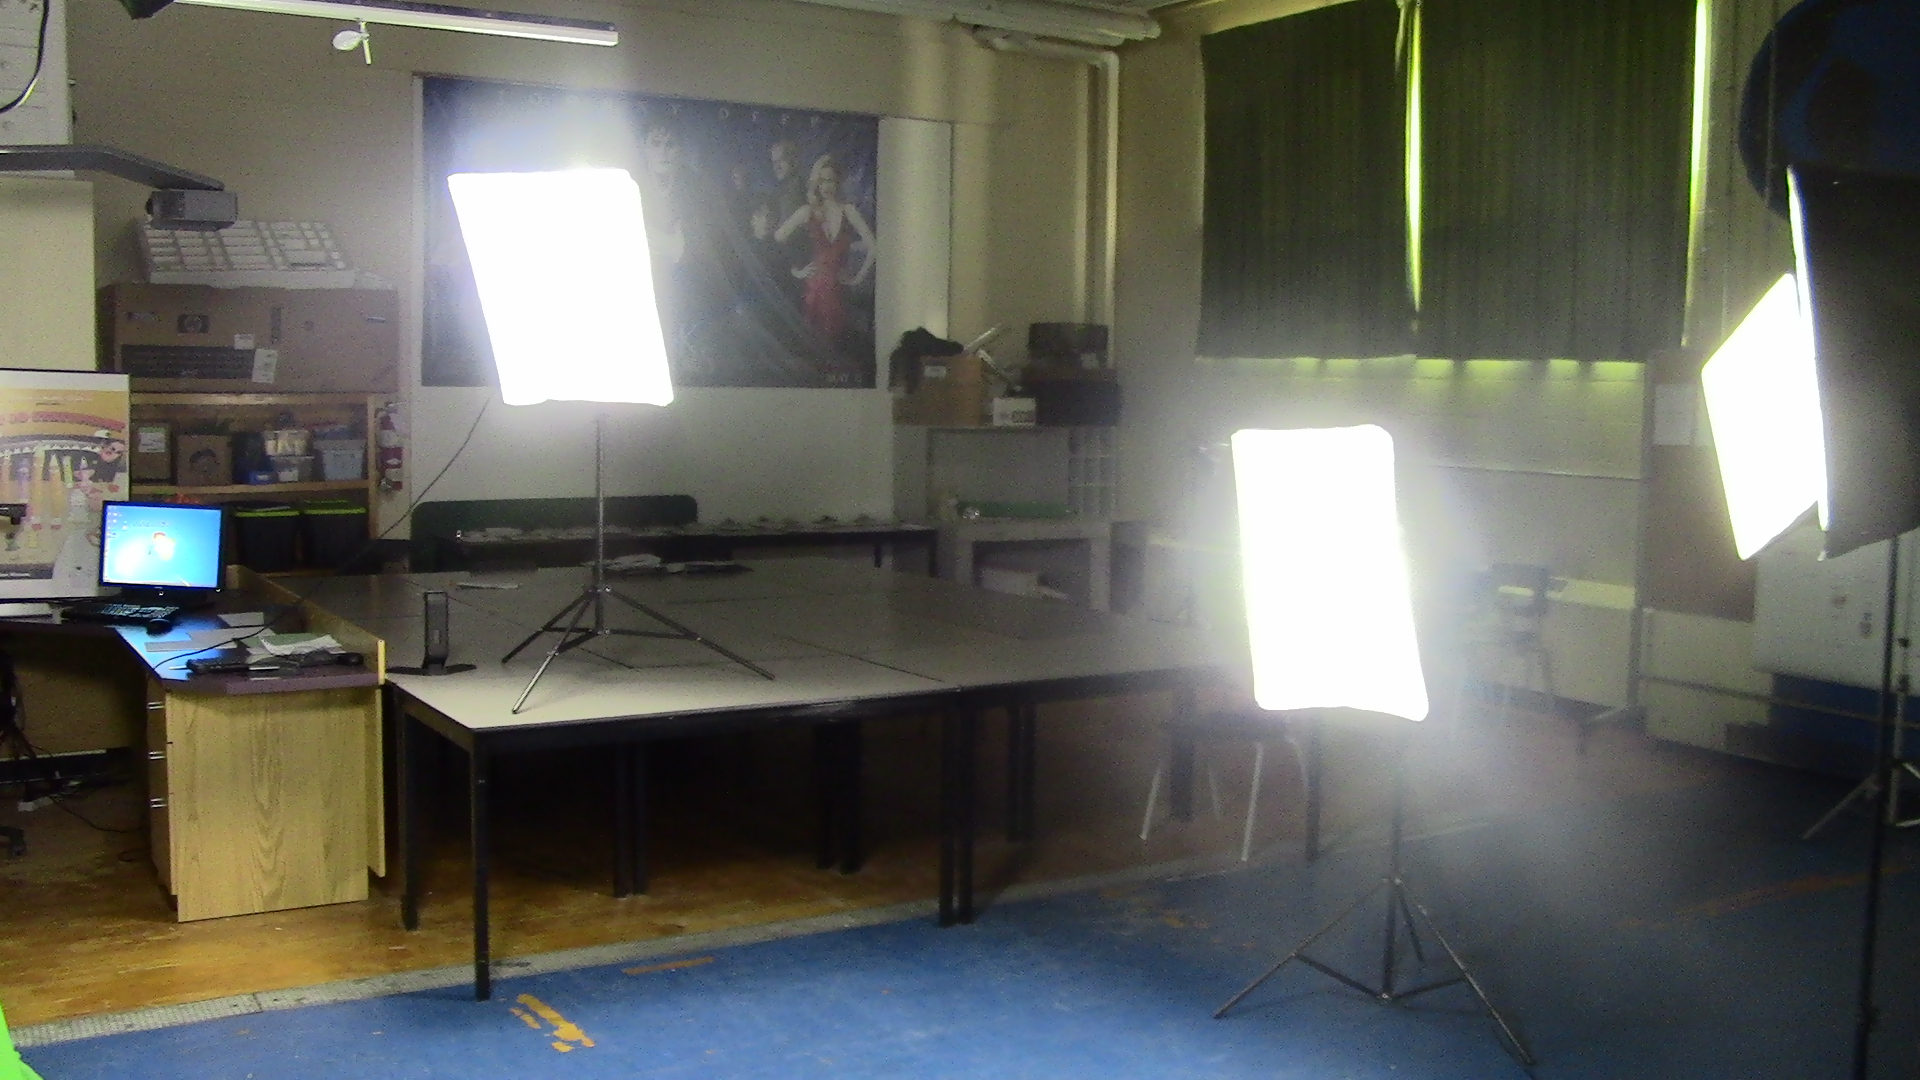
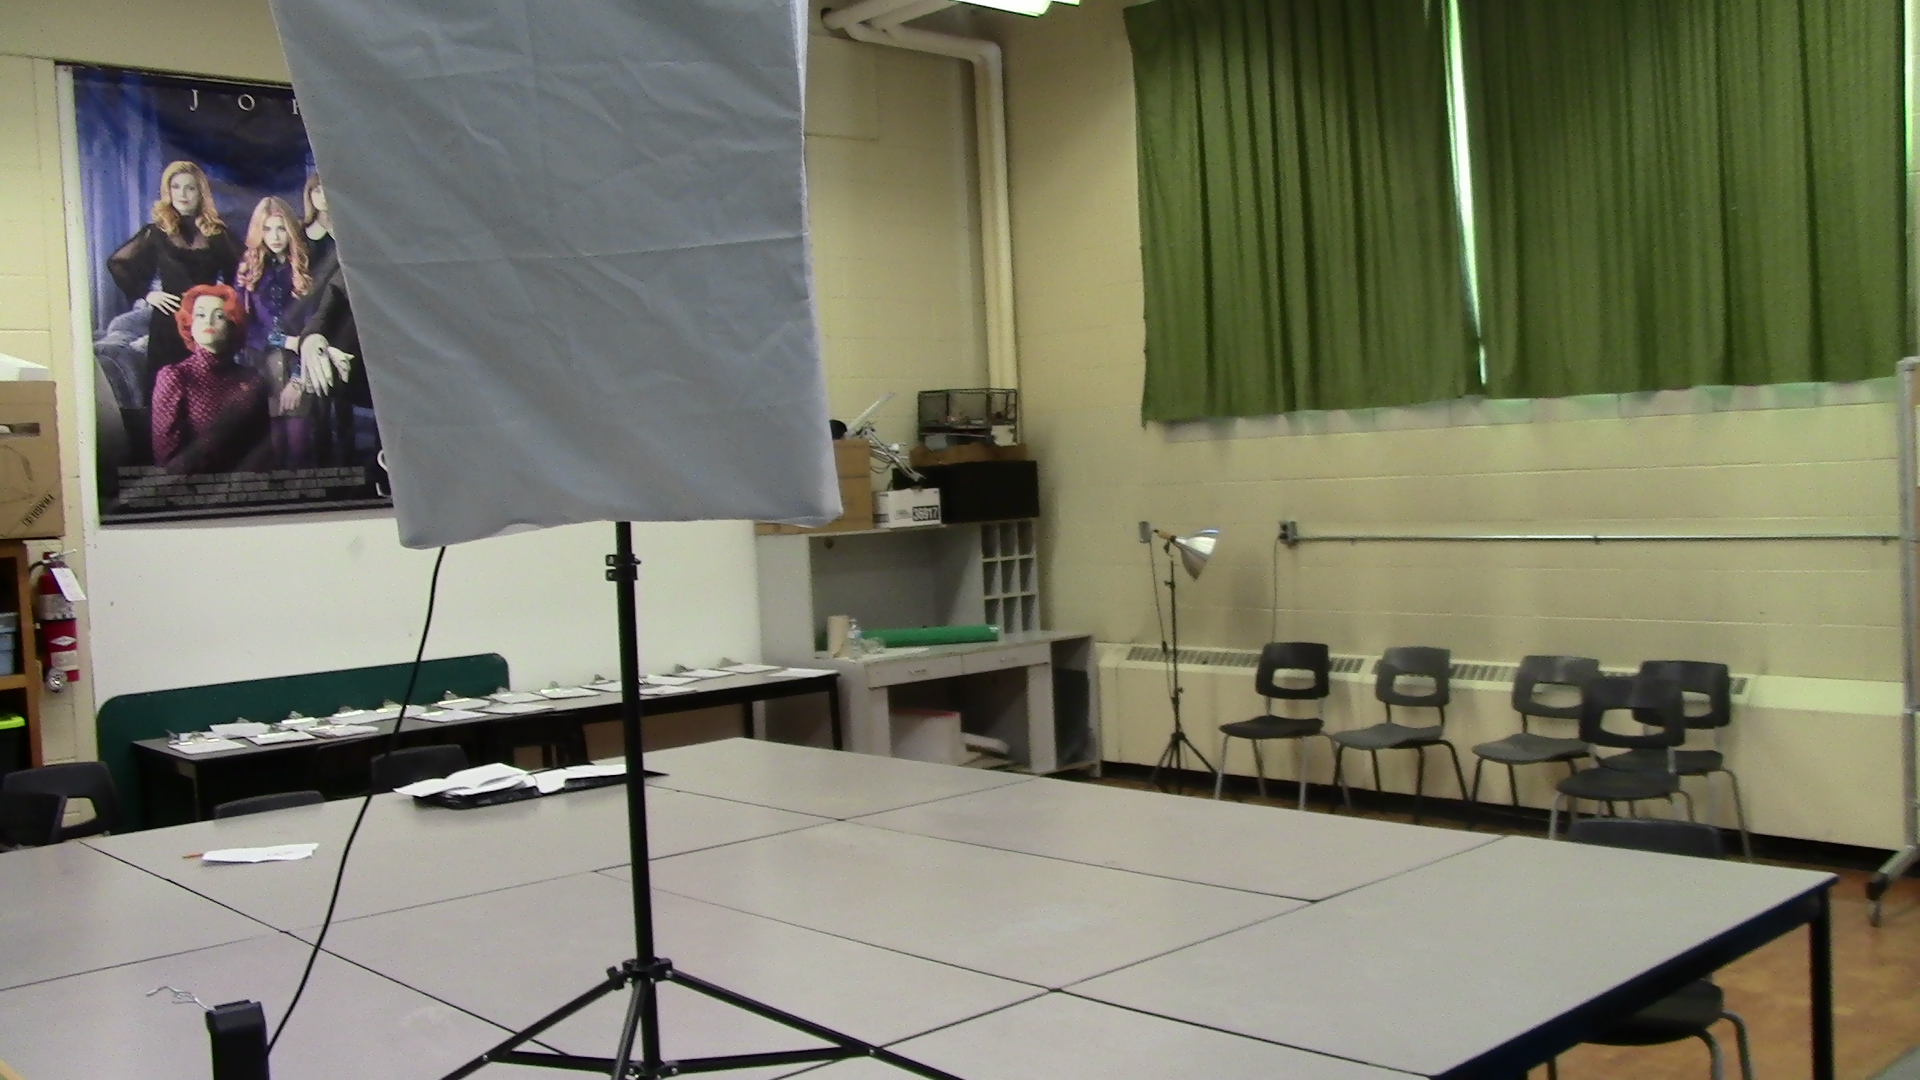

After you choose the light source, you have to move on to angle your lights! Angling your light is one of the most important steps! Angling your light source can do many things for your shots, including create shadows, and even simulate light coming from different directions! If you don't angle the light properly though, the scene can look unrealistic, or even too dark. Angling the light properly lights up your scene, and gives you the effects you'll need to have to create the movie you want! Remember to angle multiple lights, multiple lights like shown in the pictures above are angled perfectly for this scene to really light up the Actor, and the background. Lastly, you're ready for the spot-light!
The Light Is Right Tonight!

Now you've got it. You've learned the different light sources you can use in your movie, and which one to use for which scene to make things look a little more realistic! You've learned how to set-up lights, and where to angle lights to make sure your light source is effectively used in every shot! This Instructable is indeed a basic lighting instructable to show you how to use the right light, for the right scene, on the right night-- or day, whatever... you get the point, hot-shot! Now get out there and start using your lights to your abilities!
Special thanks to:
Actor on Stage:
@ Mr. Chunks
https://www.instructables.com/member/Mr.+Chunks/
Special thanks to:
Actor on Stage:
@ Mr. Chunks
https://www.instructables.com/member/Mr.+Chunks/