Filigree Masquerade Mask 3D Print Hueforge
by Penolopy Bulnick in Workshop > 3D Printing
2164 Views, 13 Favorites, 0 Comments
Filigree Masquerade Mask 3D Print Hueforge
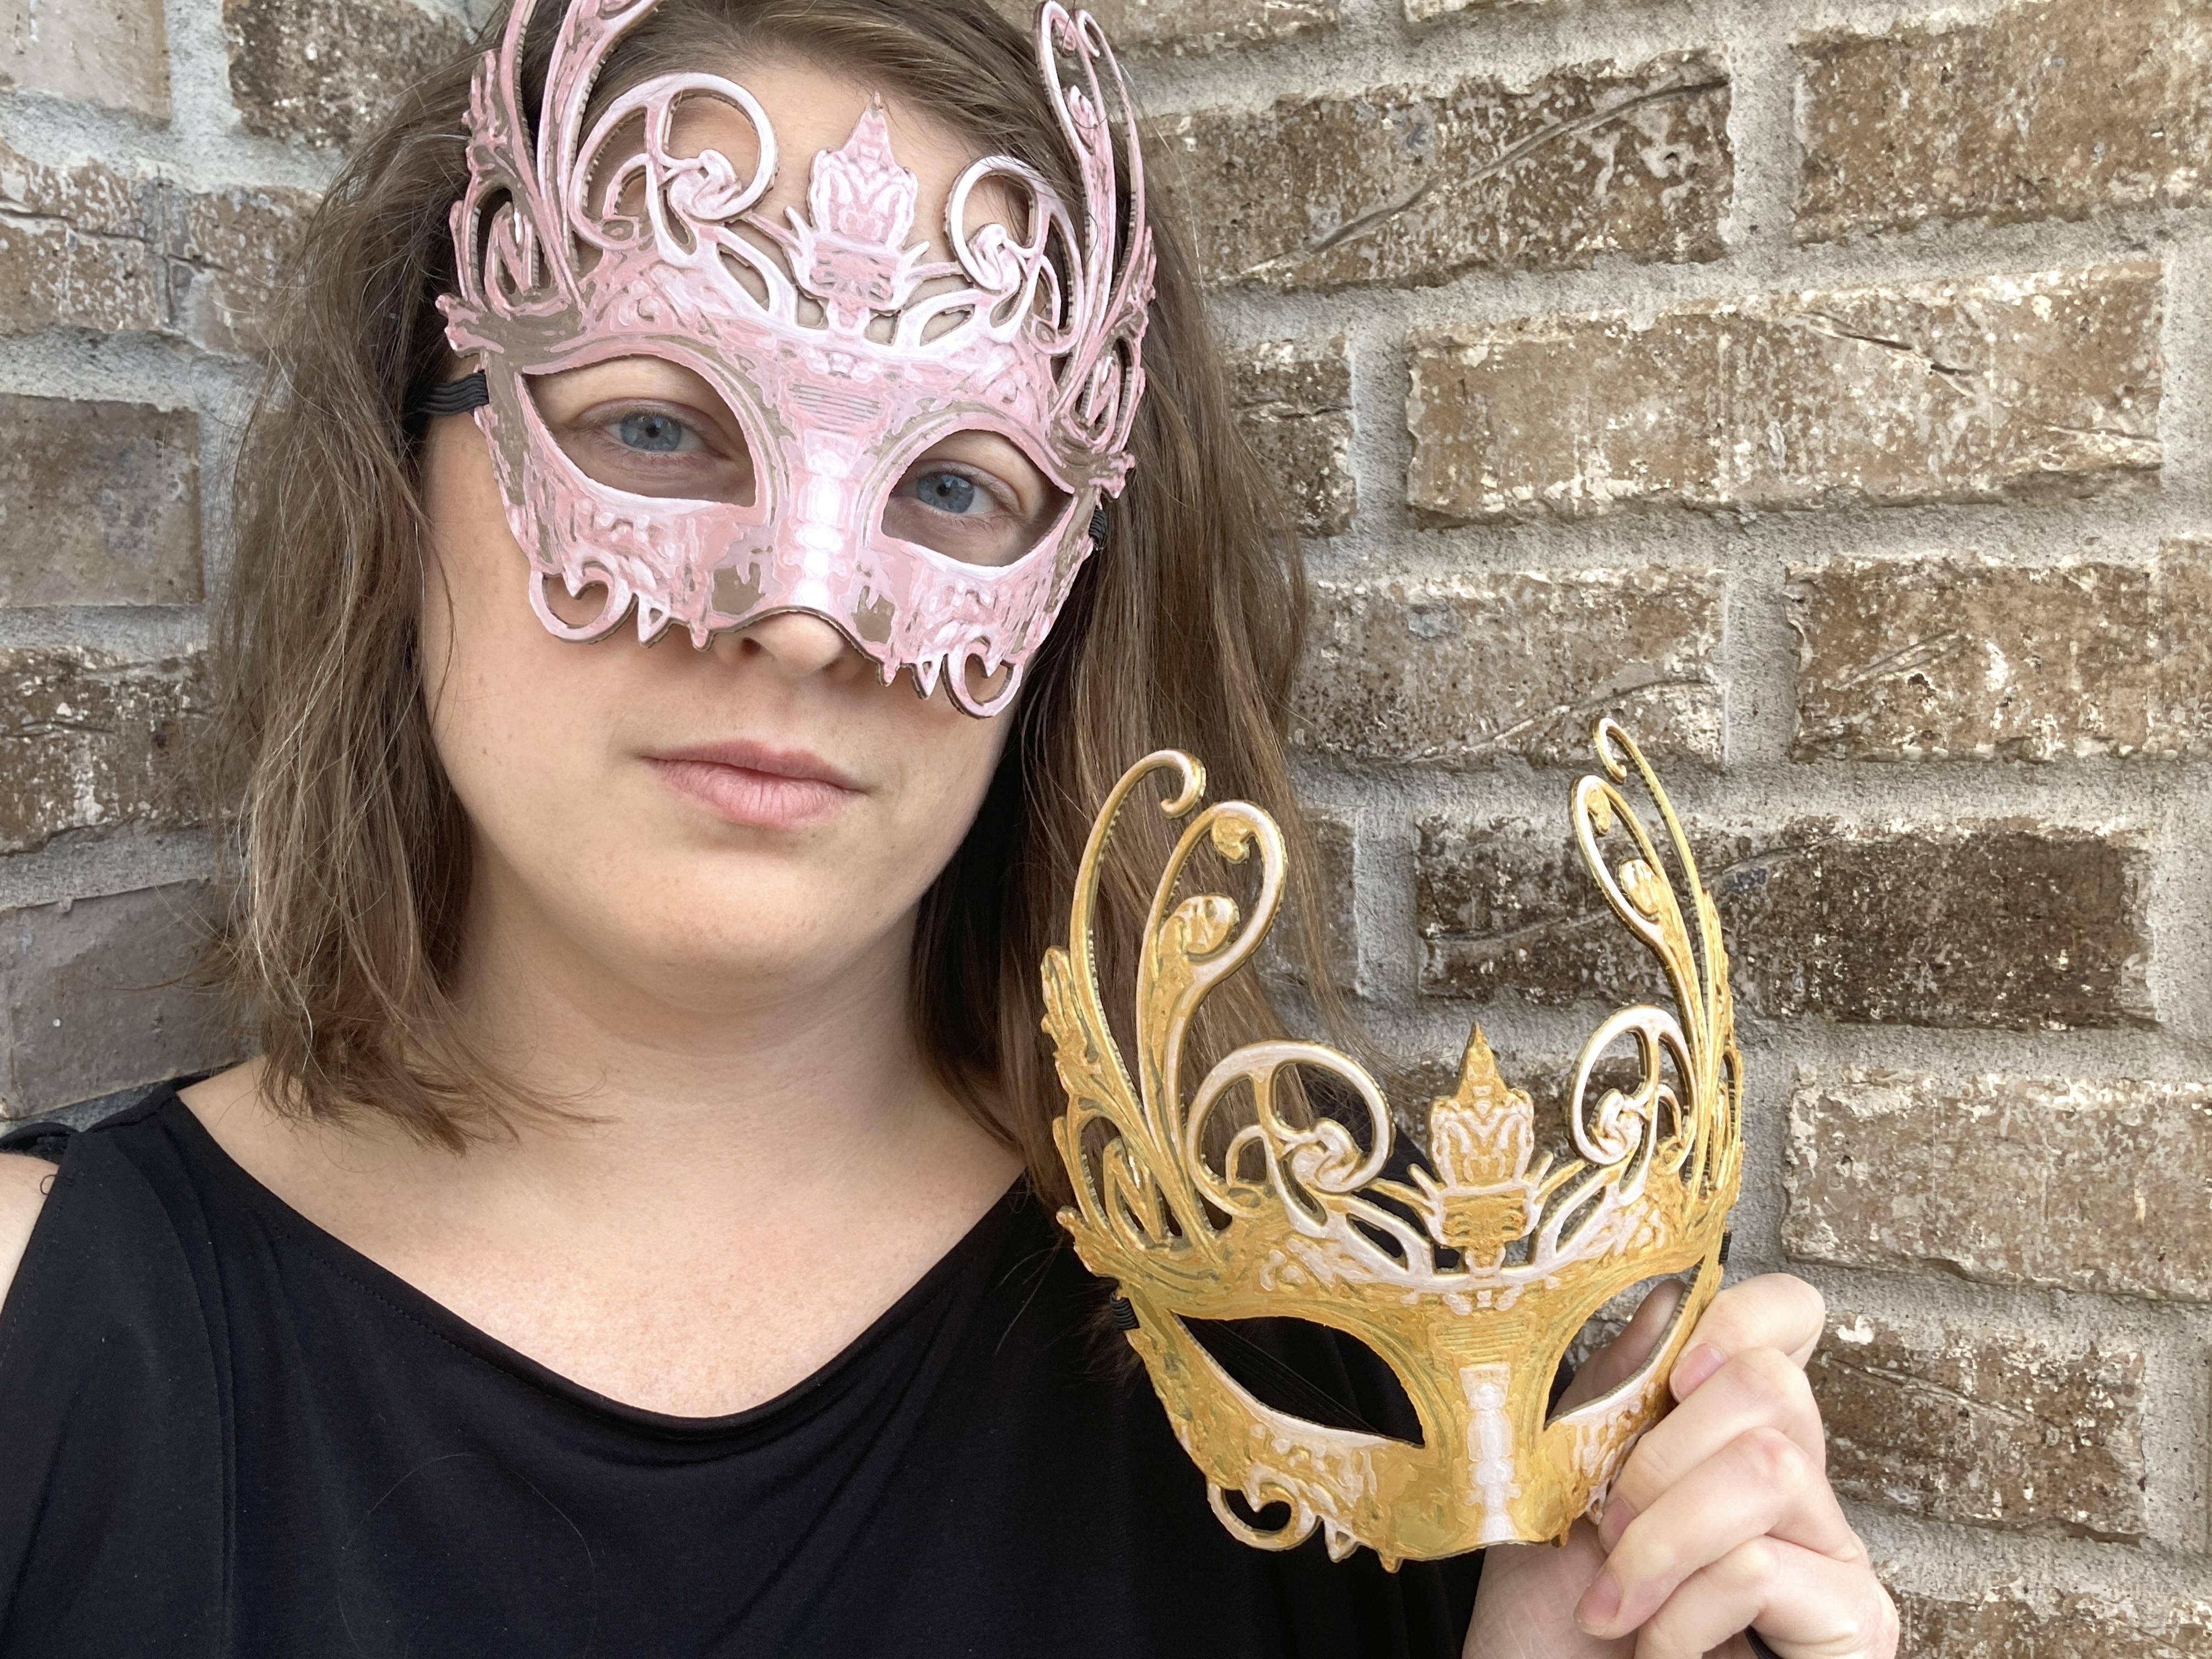

I was working on my elastic masquerade masks from a couple years ago where you would print it flat and then mold it and thought about how fun it would be to use Hueforge to make a mask! I went on over to Craiyon to generate a fun mask image (since I'm not very artistic) and after doing edits to clean it up in Photoshop, I ran it through Hueforge.
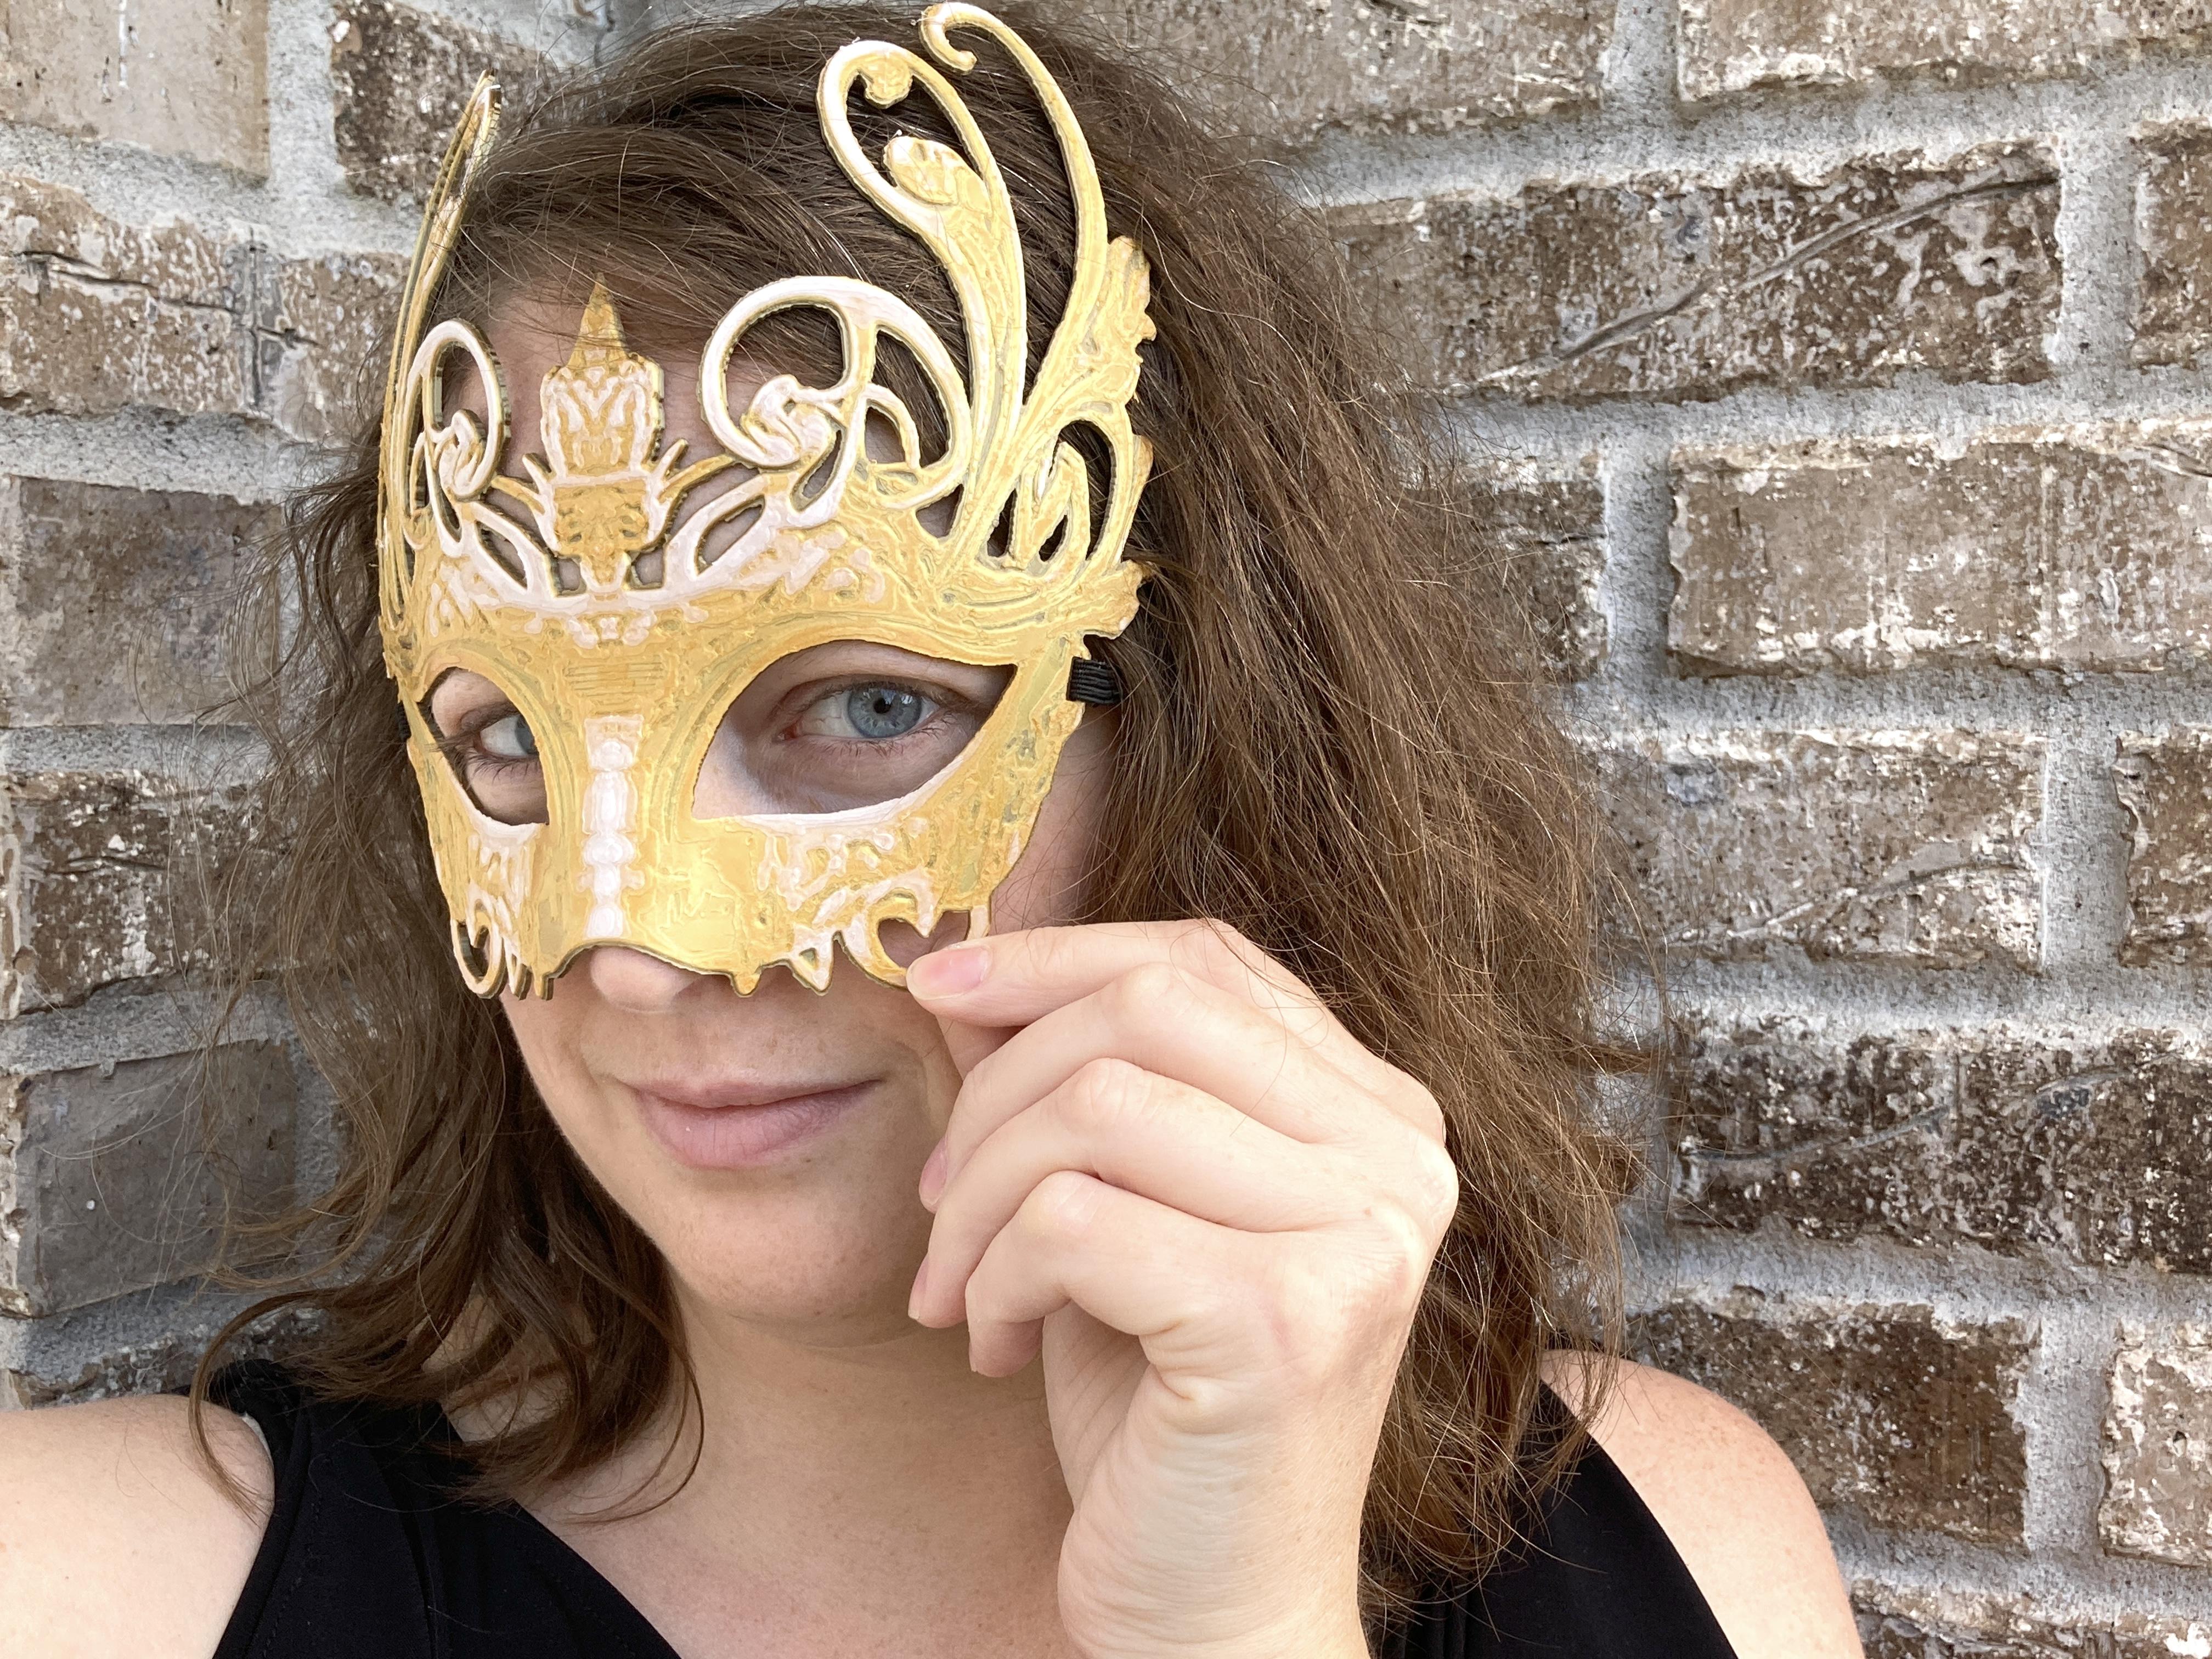
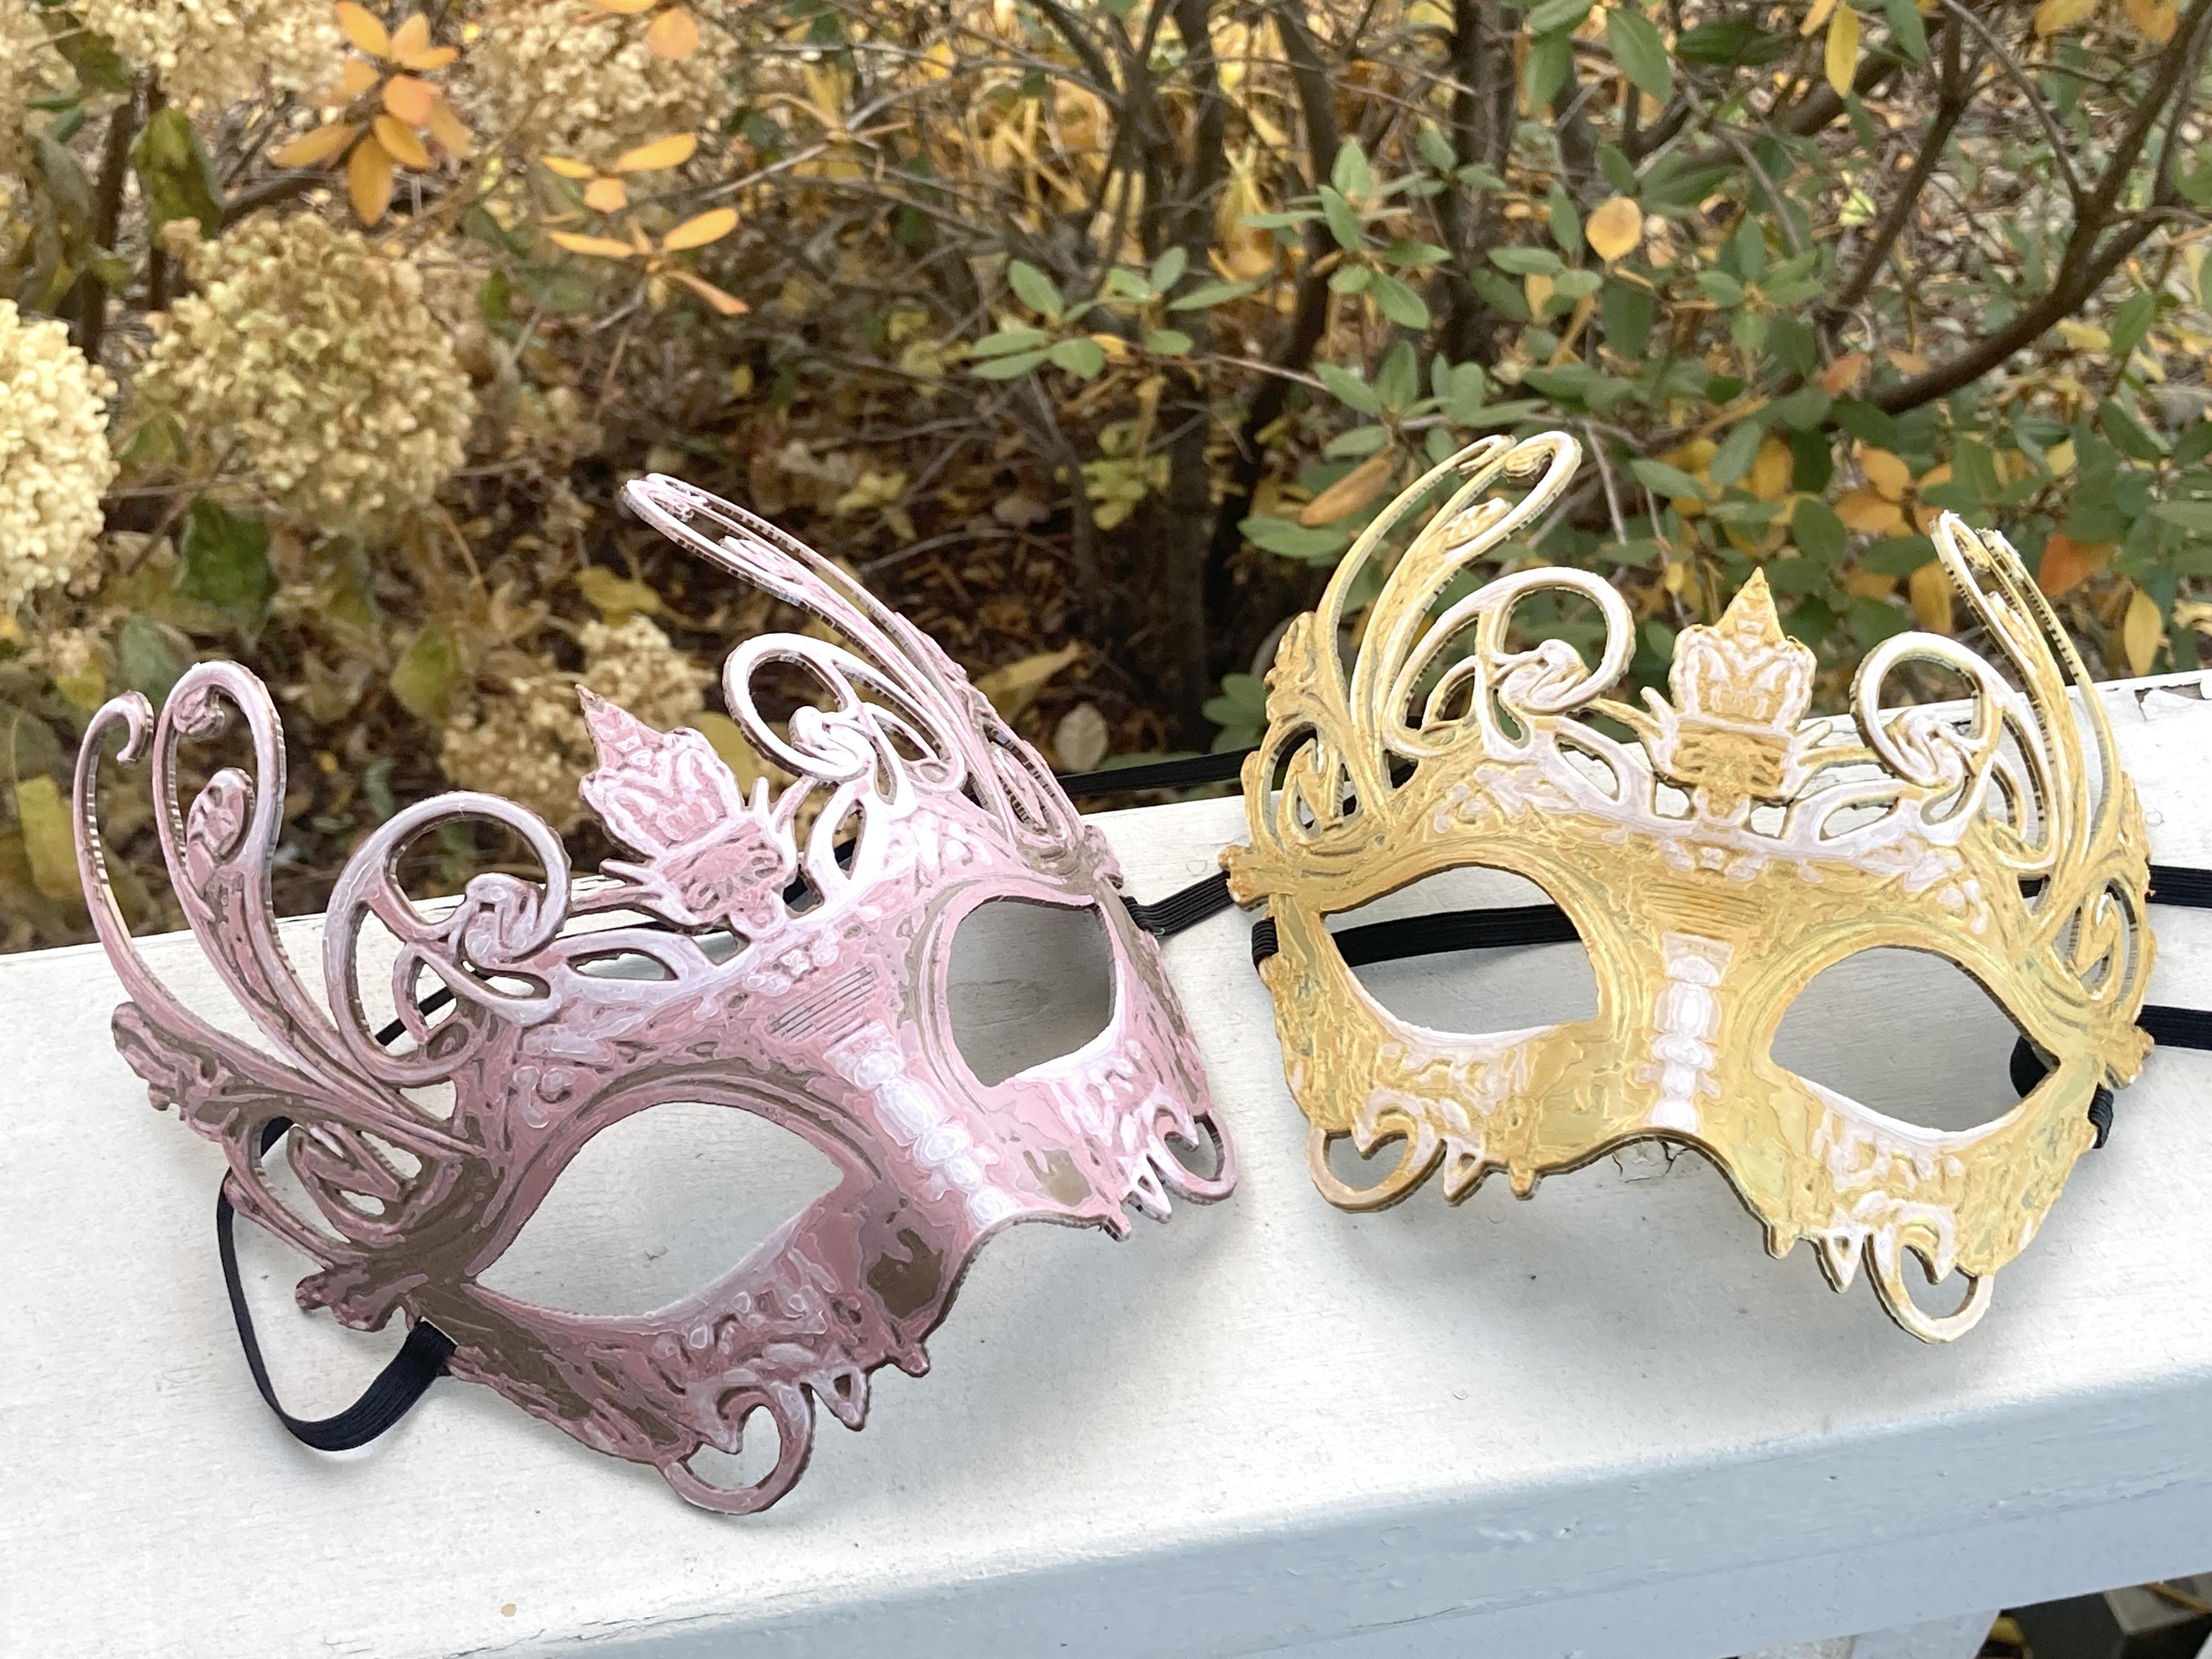
I'm pretty happy with the filigree-style masquerade mask I ended up with and after running it through Hueforge and bring it into the slicer, it was actually the perfect size!
Instructable 395
Supplies
- Print files for my mask can be found for FREE on MakerWorld - you can get the mask STL and the Bambu Print Profile with my settings.
- Hueforge
- Craiyon - used for image generation
- Filament of Choice, for my masks I used:
- Gold Mask
- Antique Gold CC3D
- Silky Gold FF SUNSENKJ
- Silky White OVERTURE
- Pink Mask
- Dark Rose Gold CC3D
- Silk Rose Gold DO3D
- Silky White OVERTURE
- 1/4" Elastic - I used black since I have dark hair, but use whatever feels good for you
- Hot Glue or Sewing Supplies or other glue
- Printer
- Optional: Heat Gun
*Any Amazon Links are Amazon Associates Links
Design
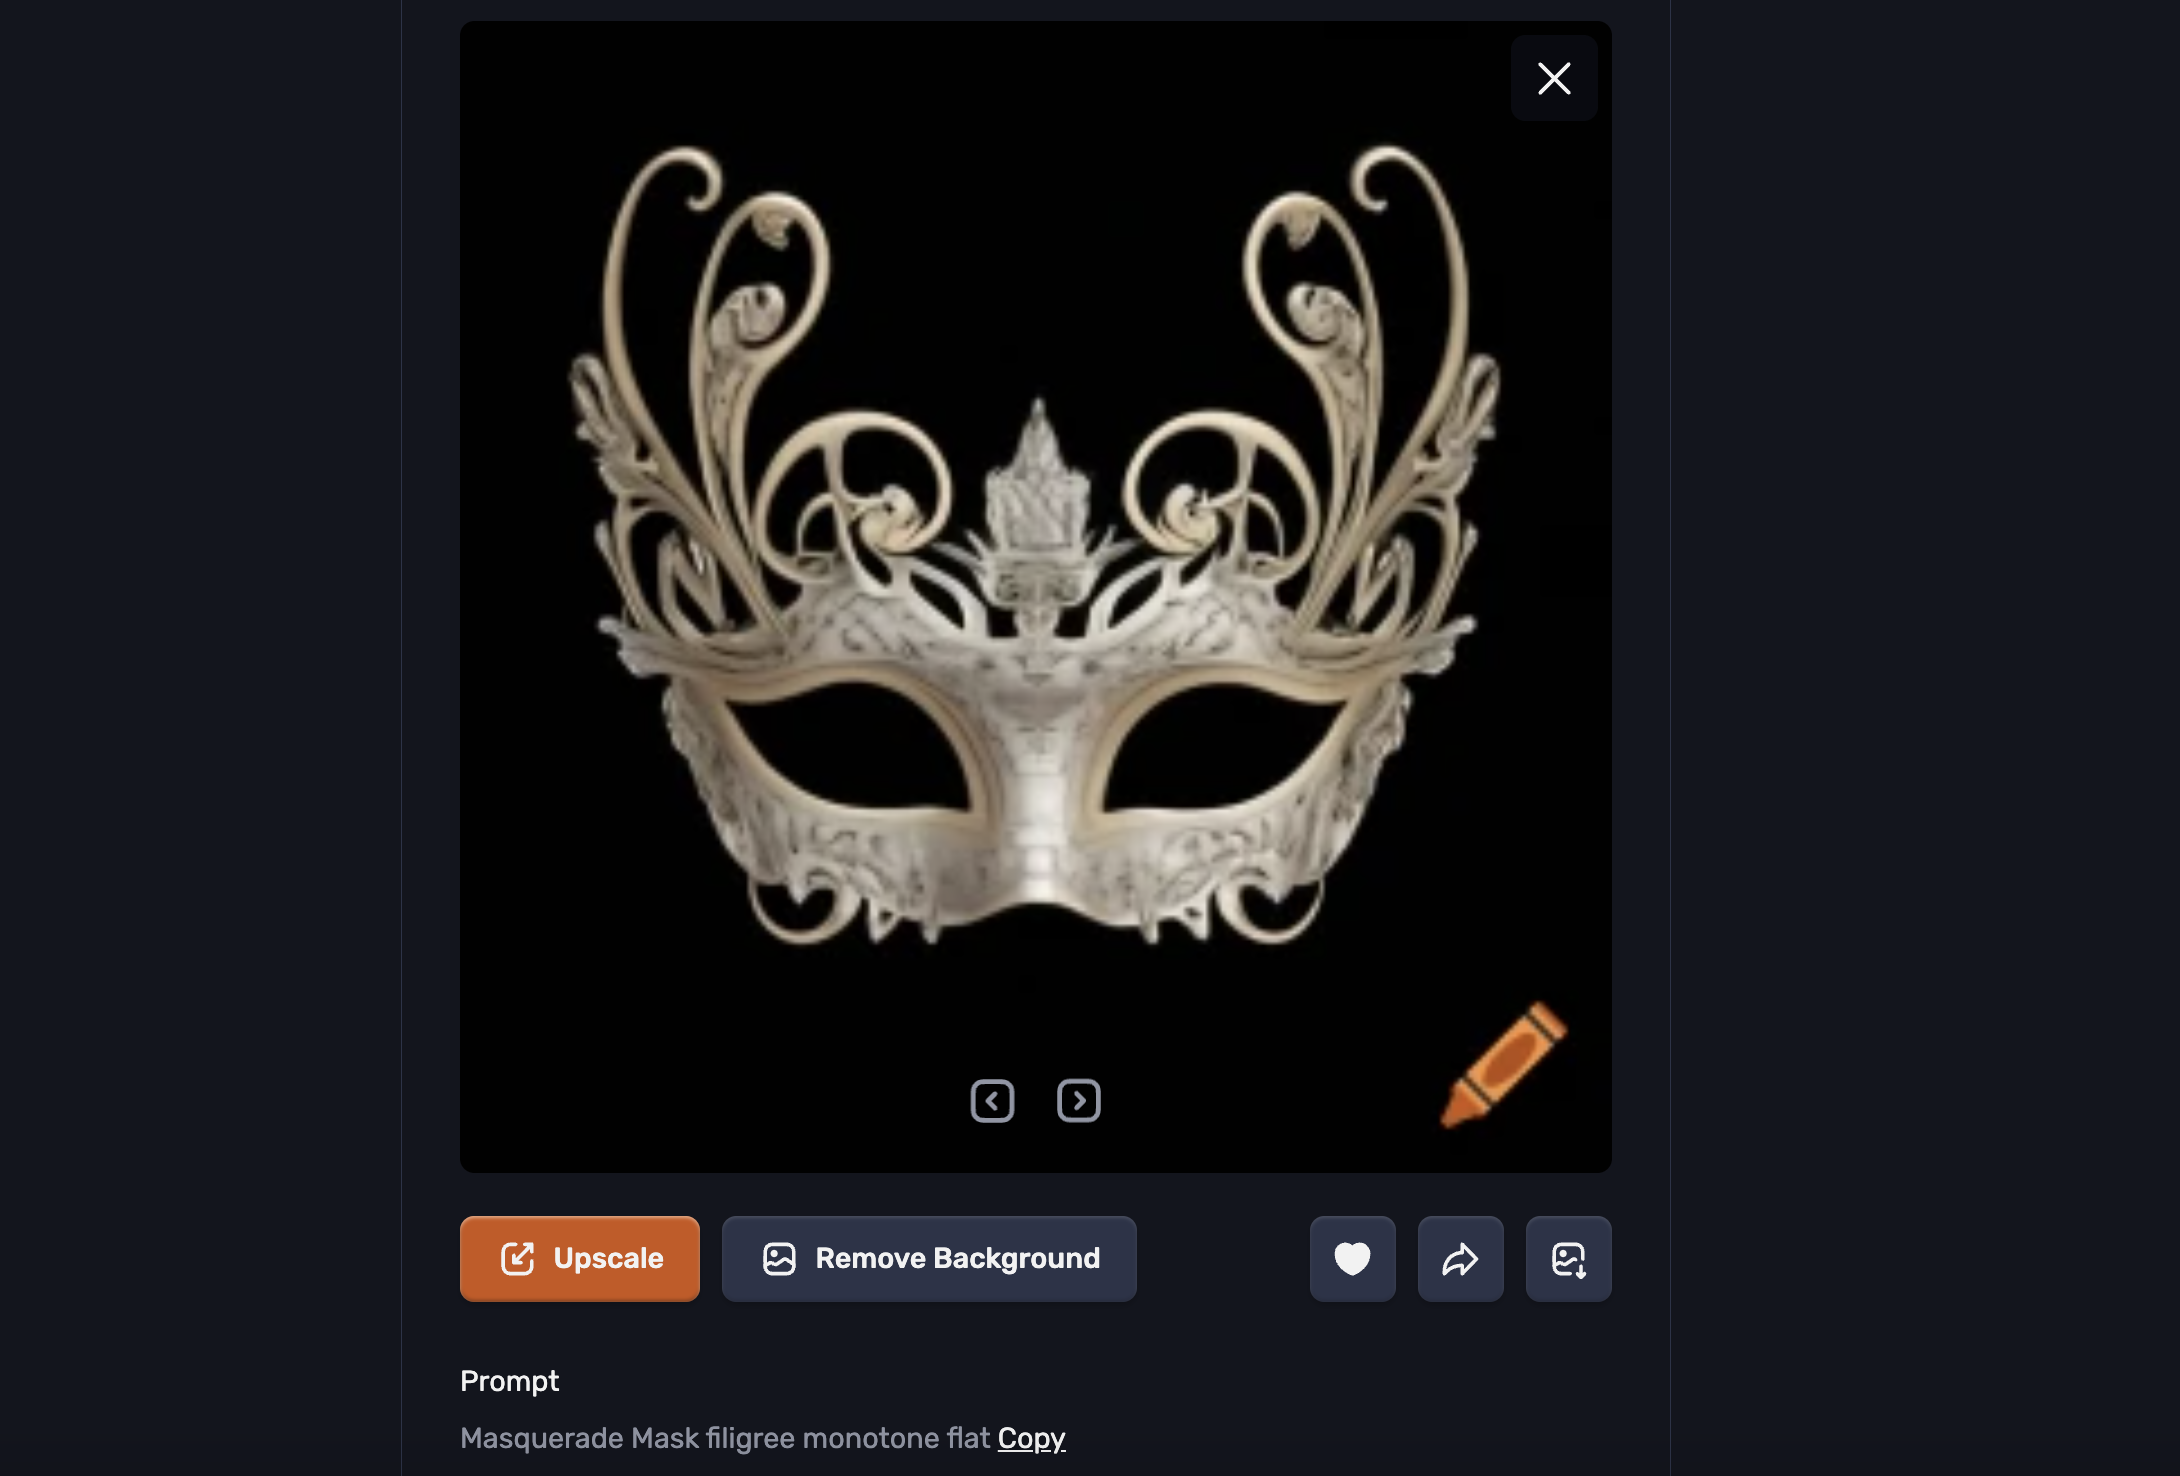
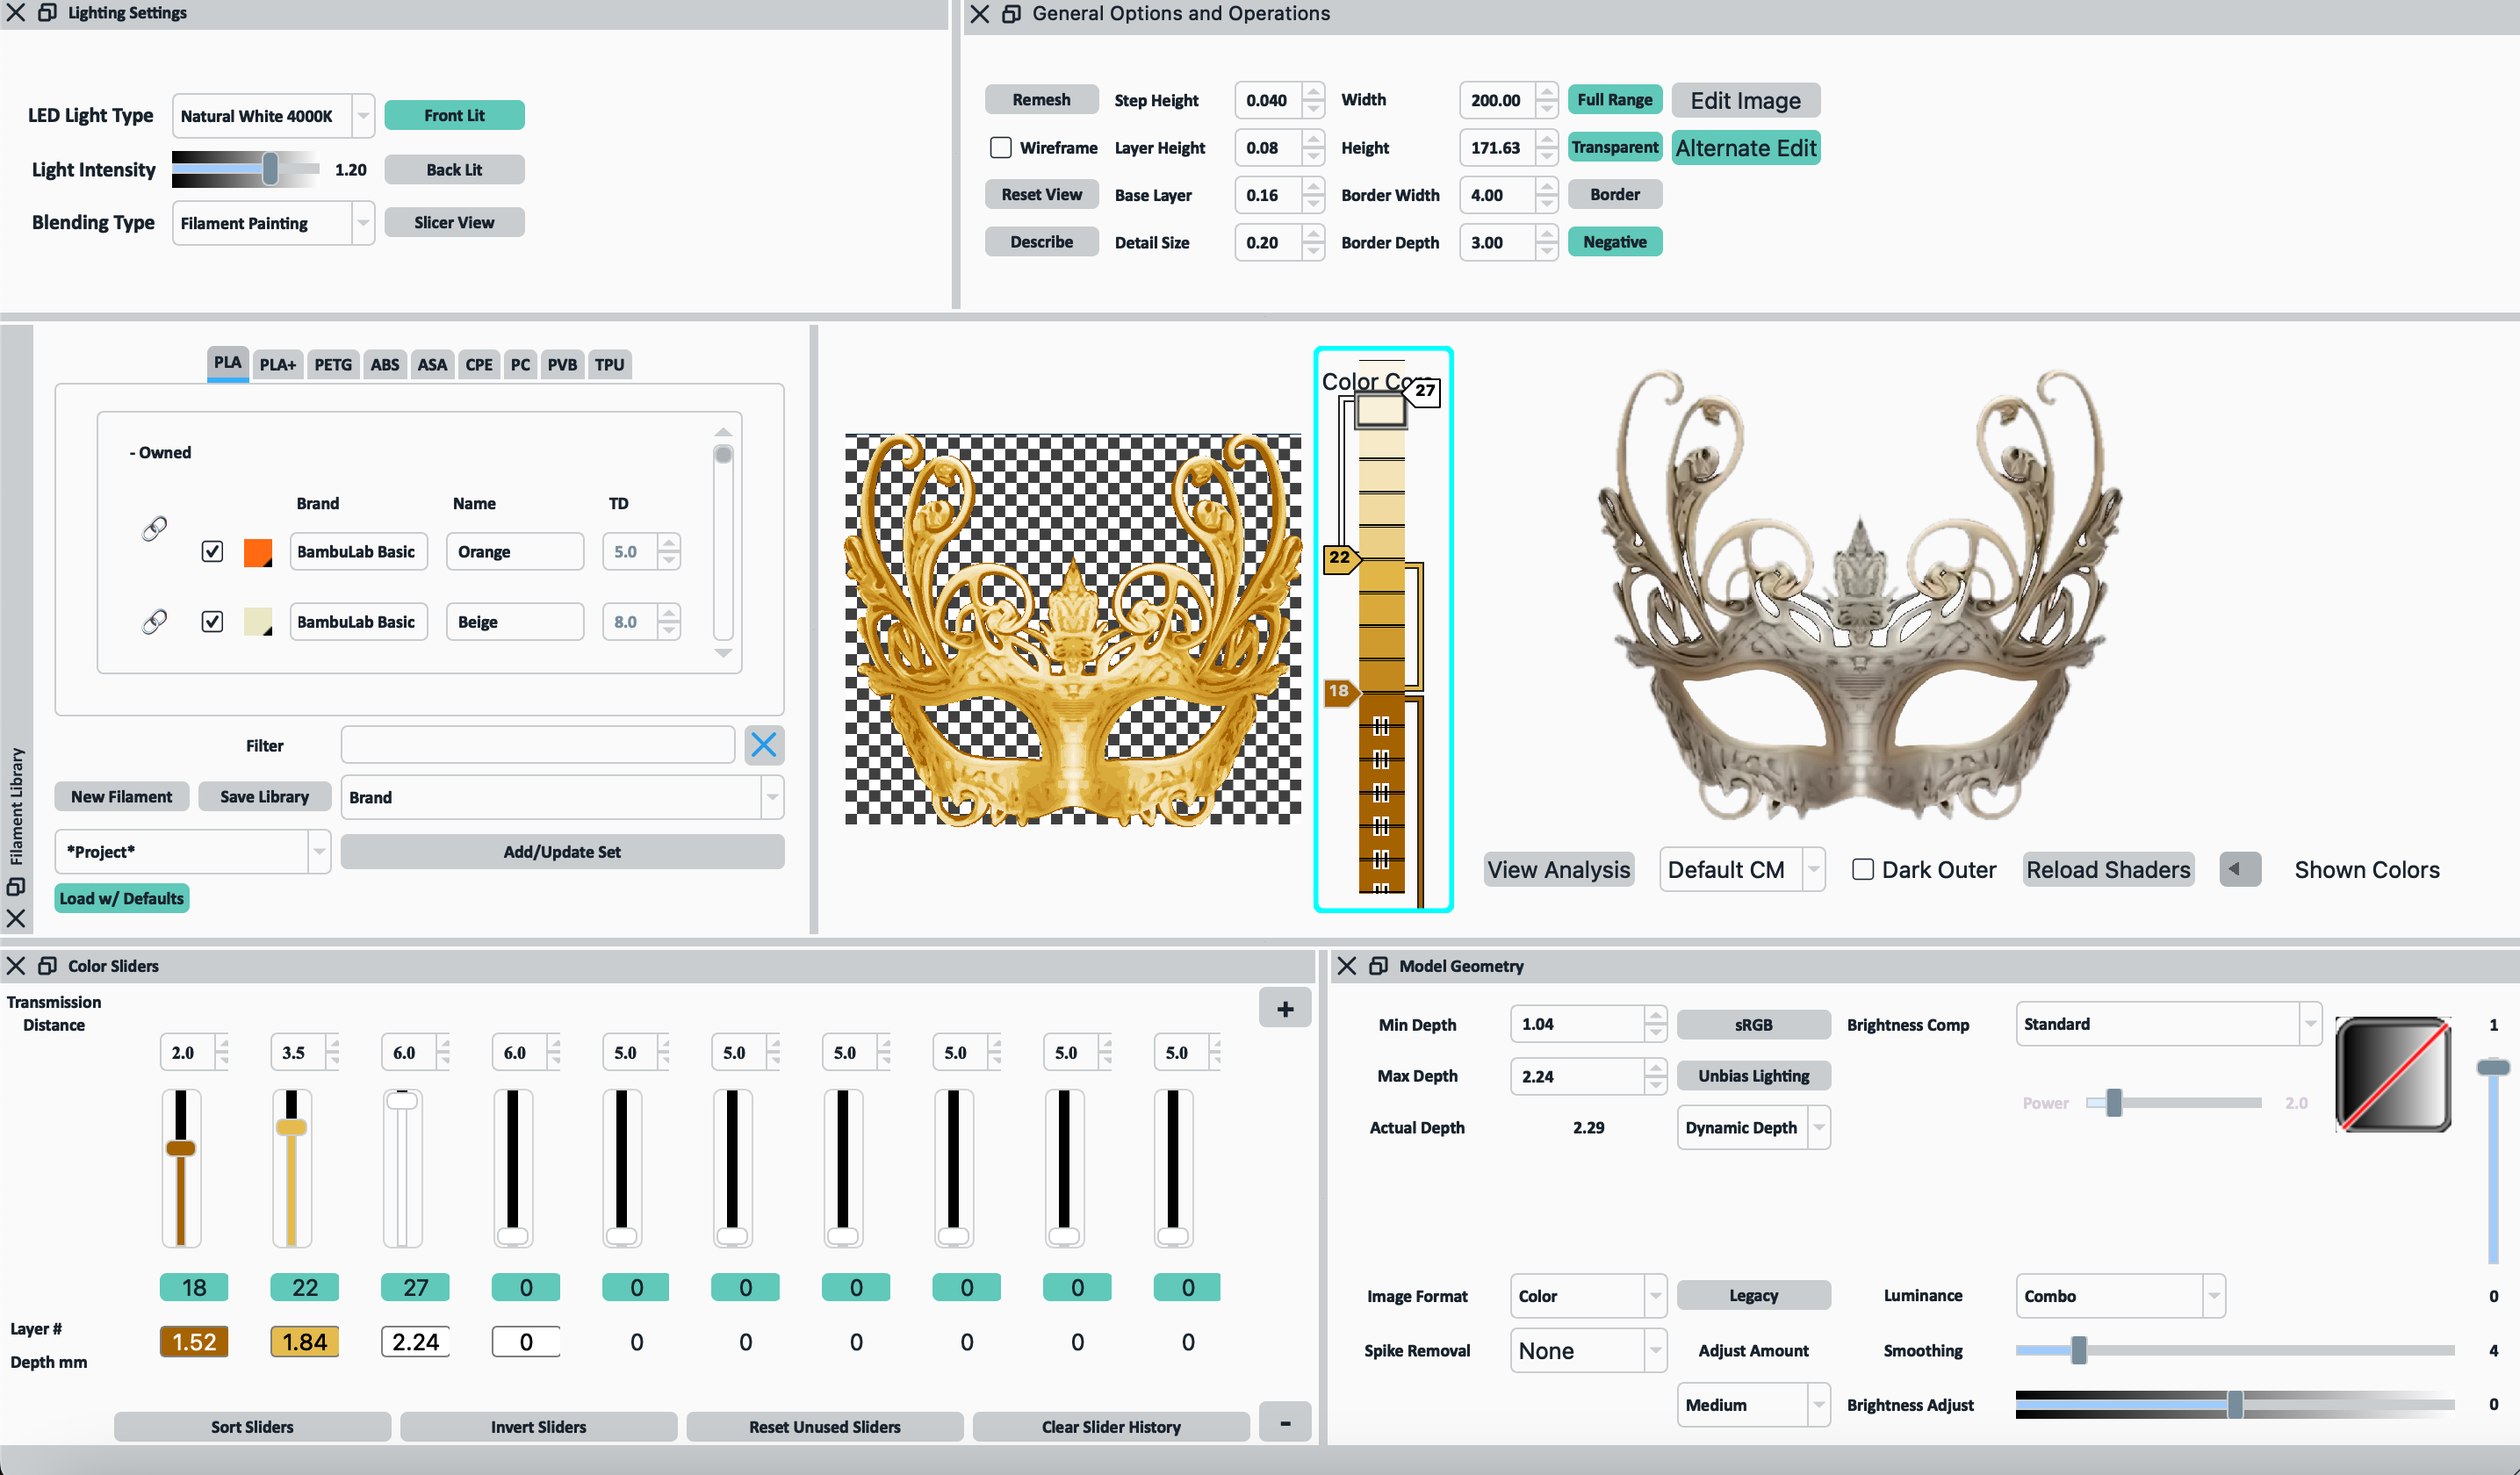
I needed to start with a design! As mentioned, I'm not very artistic :( so I went over Craiyon.com to generate a masquerade mask. I had some trouble getting just a mask not on a face, which I wanted in an attempt to make it easiest to work with, but I generated this image which I liked. I went over to Photoshop to do some editing. I erased things I didn't wanted, added thicker lines where some where thinner, and then copied one side over to the other to make it symmetrical.
Once it was ready I ran it through Hueforge. I decided to just do three colors and I made the minimum thickness a bit to make it more sturdy. 1.04 min depth.
My gold mask was the first test and I didn't have the base layer go up very high so I feel that kind of got lost so with the pink mask, I did more layers of the base and I feel that brought out the dark base layer better.
Colors
Pink Version:
- Layers 1 - 18 : Dark Rose Gold CC3D
- Layers 19 - 21 : Silk Rose Gold DO3D
- Layers 22 - Top : Silky White OVERTURE
Gold Version:
- Layers 1 - 16 : Antique Gold CC3D
- Layers 17 - 21 : Silky Gold FF SUNSENKJ
- Layers 22 - Top : Silky White OVERTURE
Slice and Print
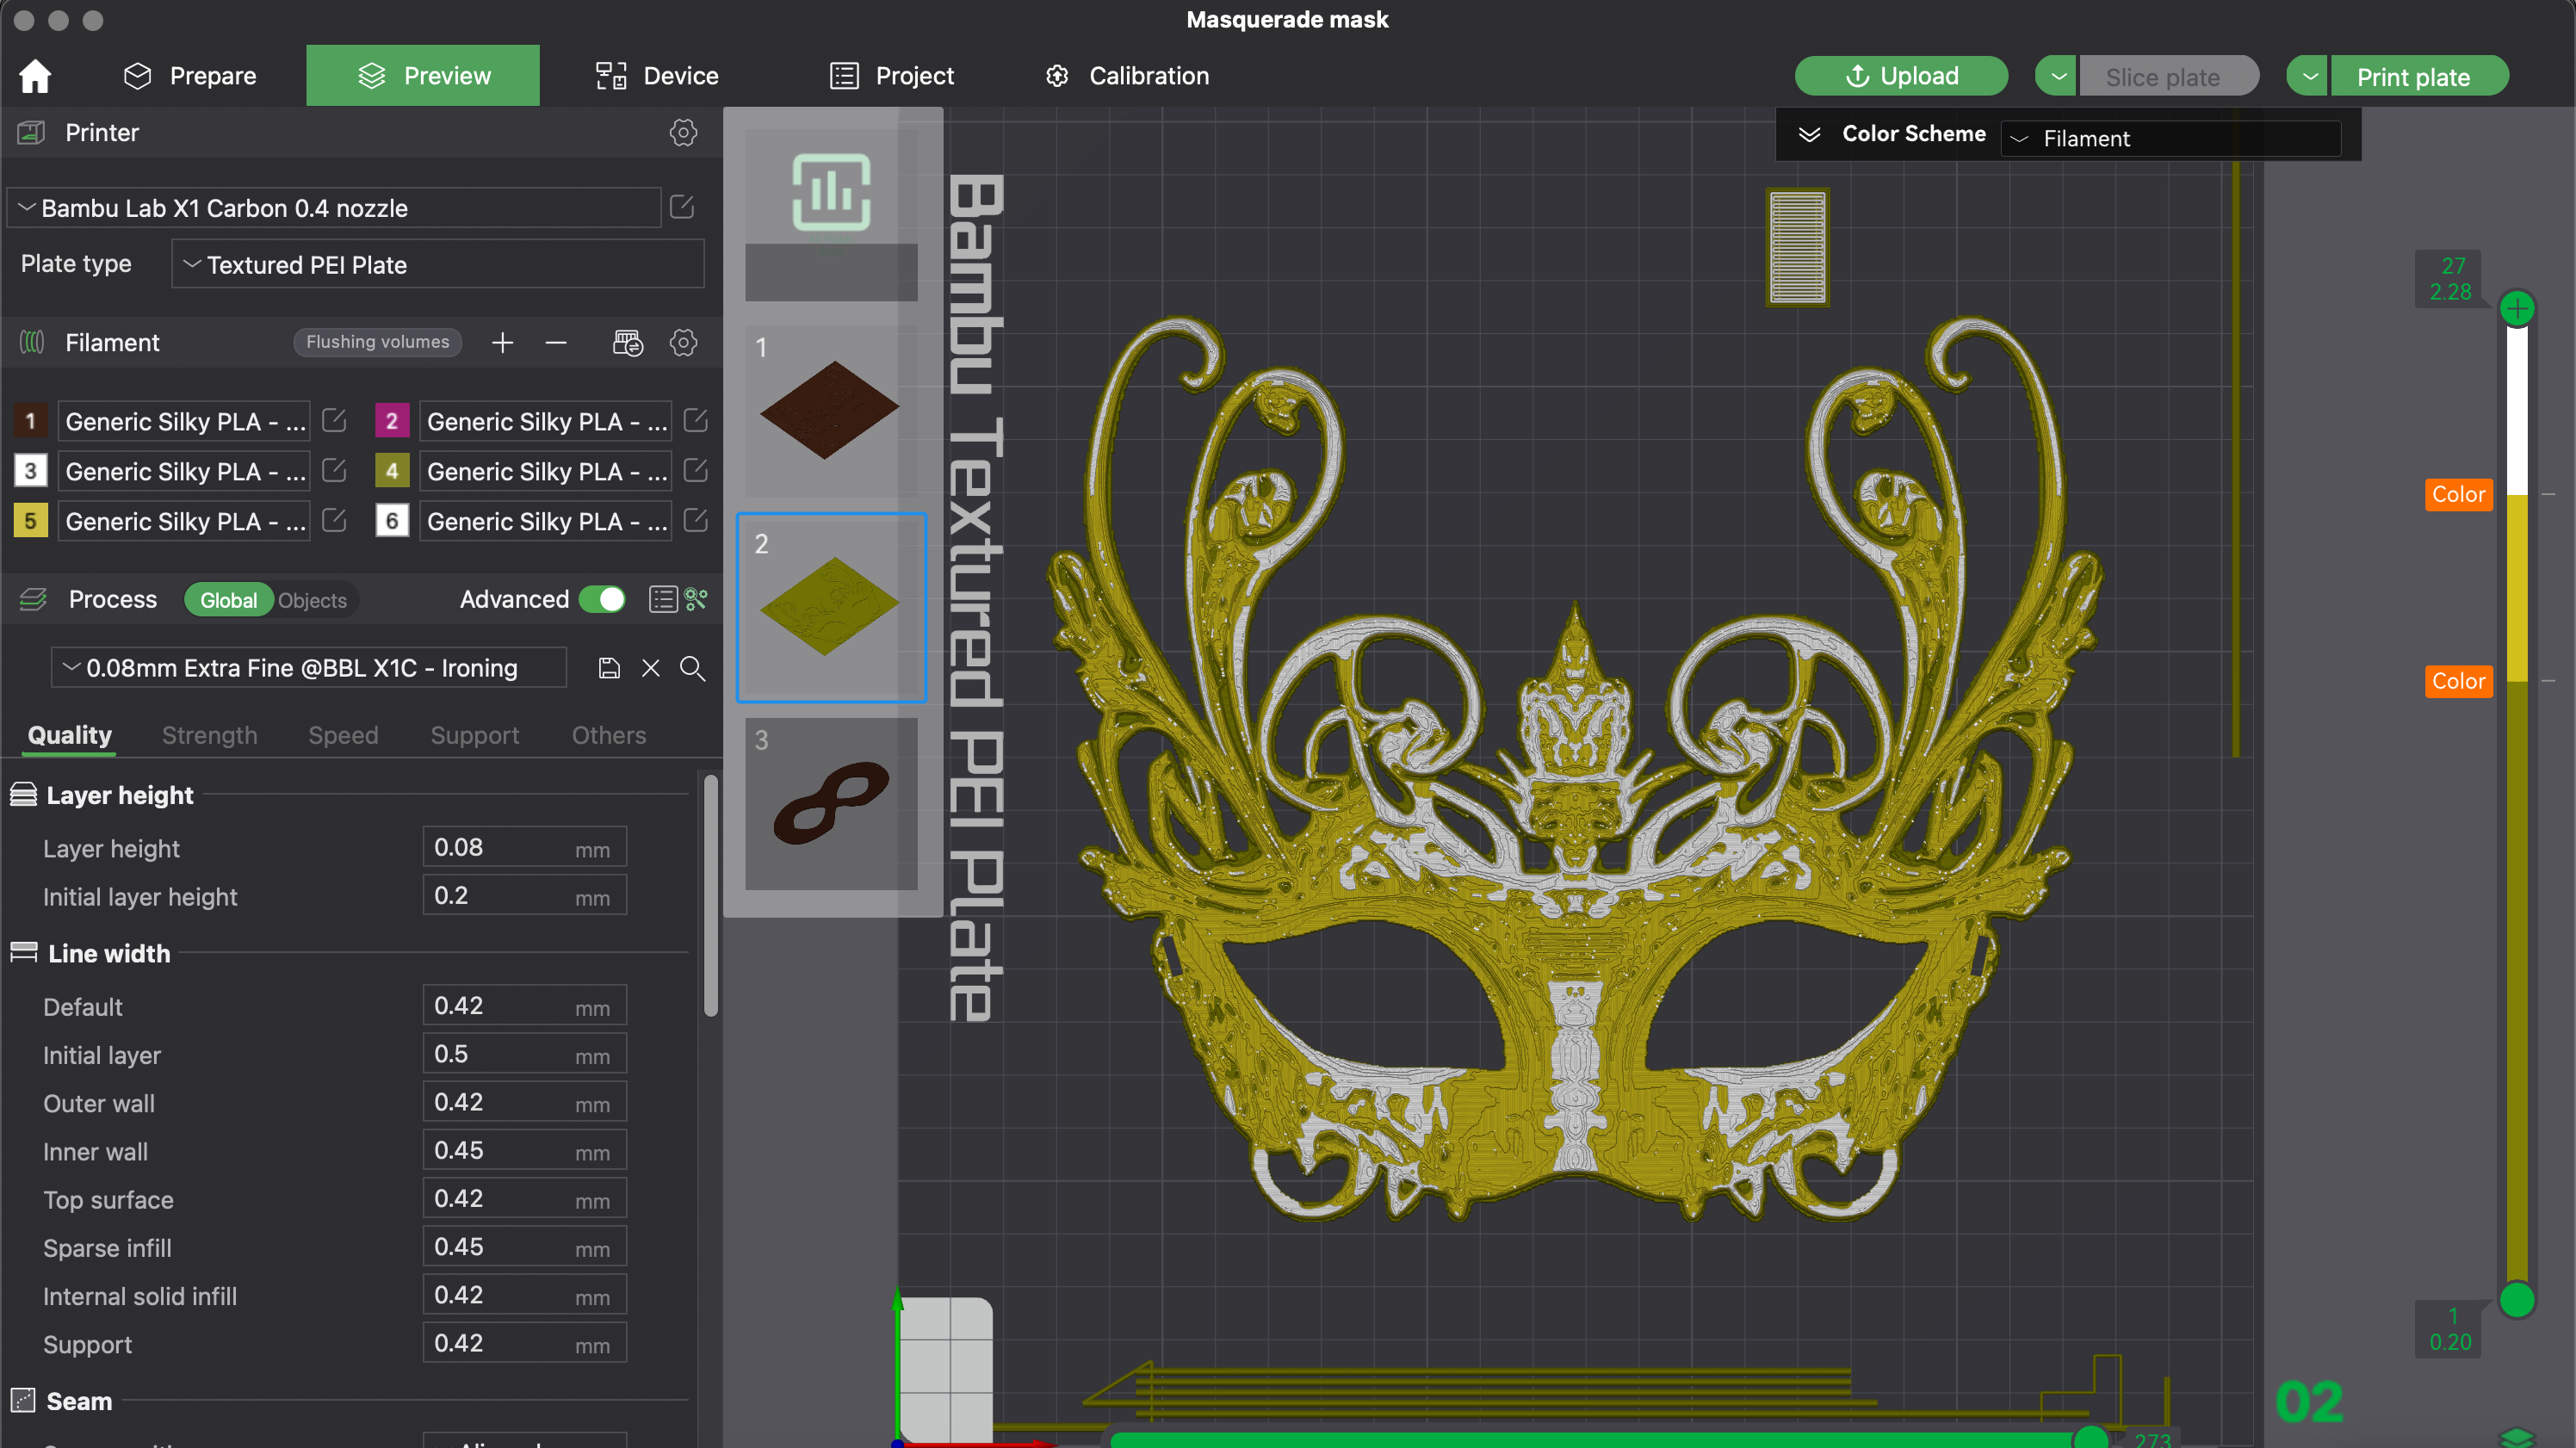
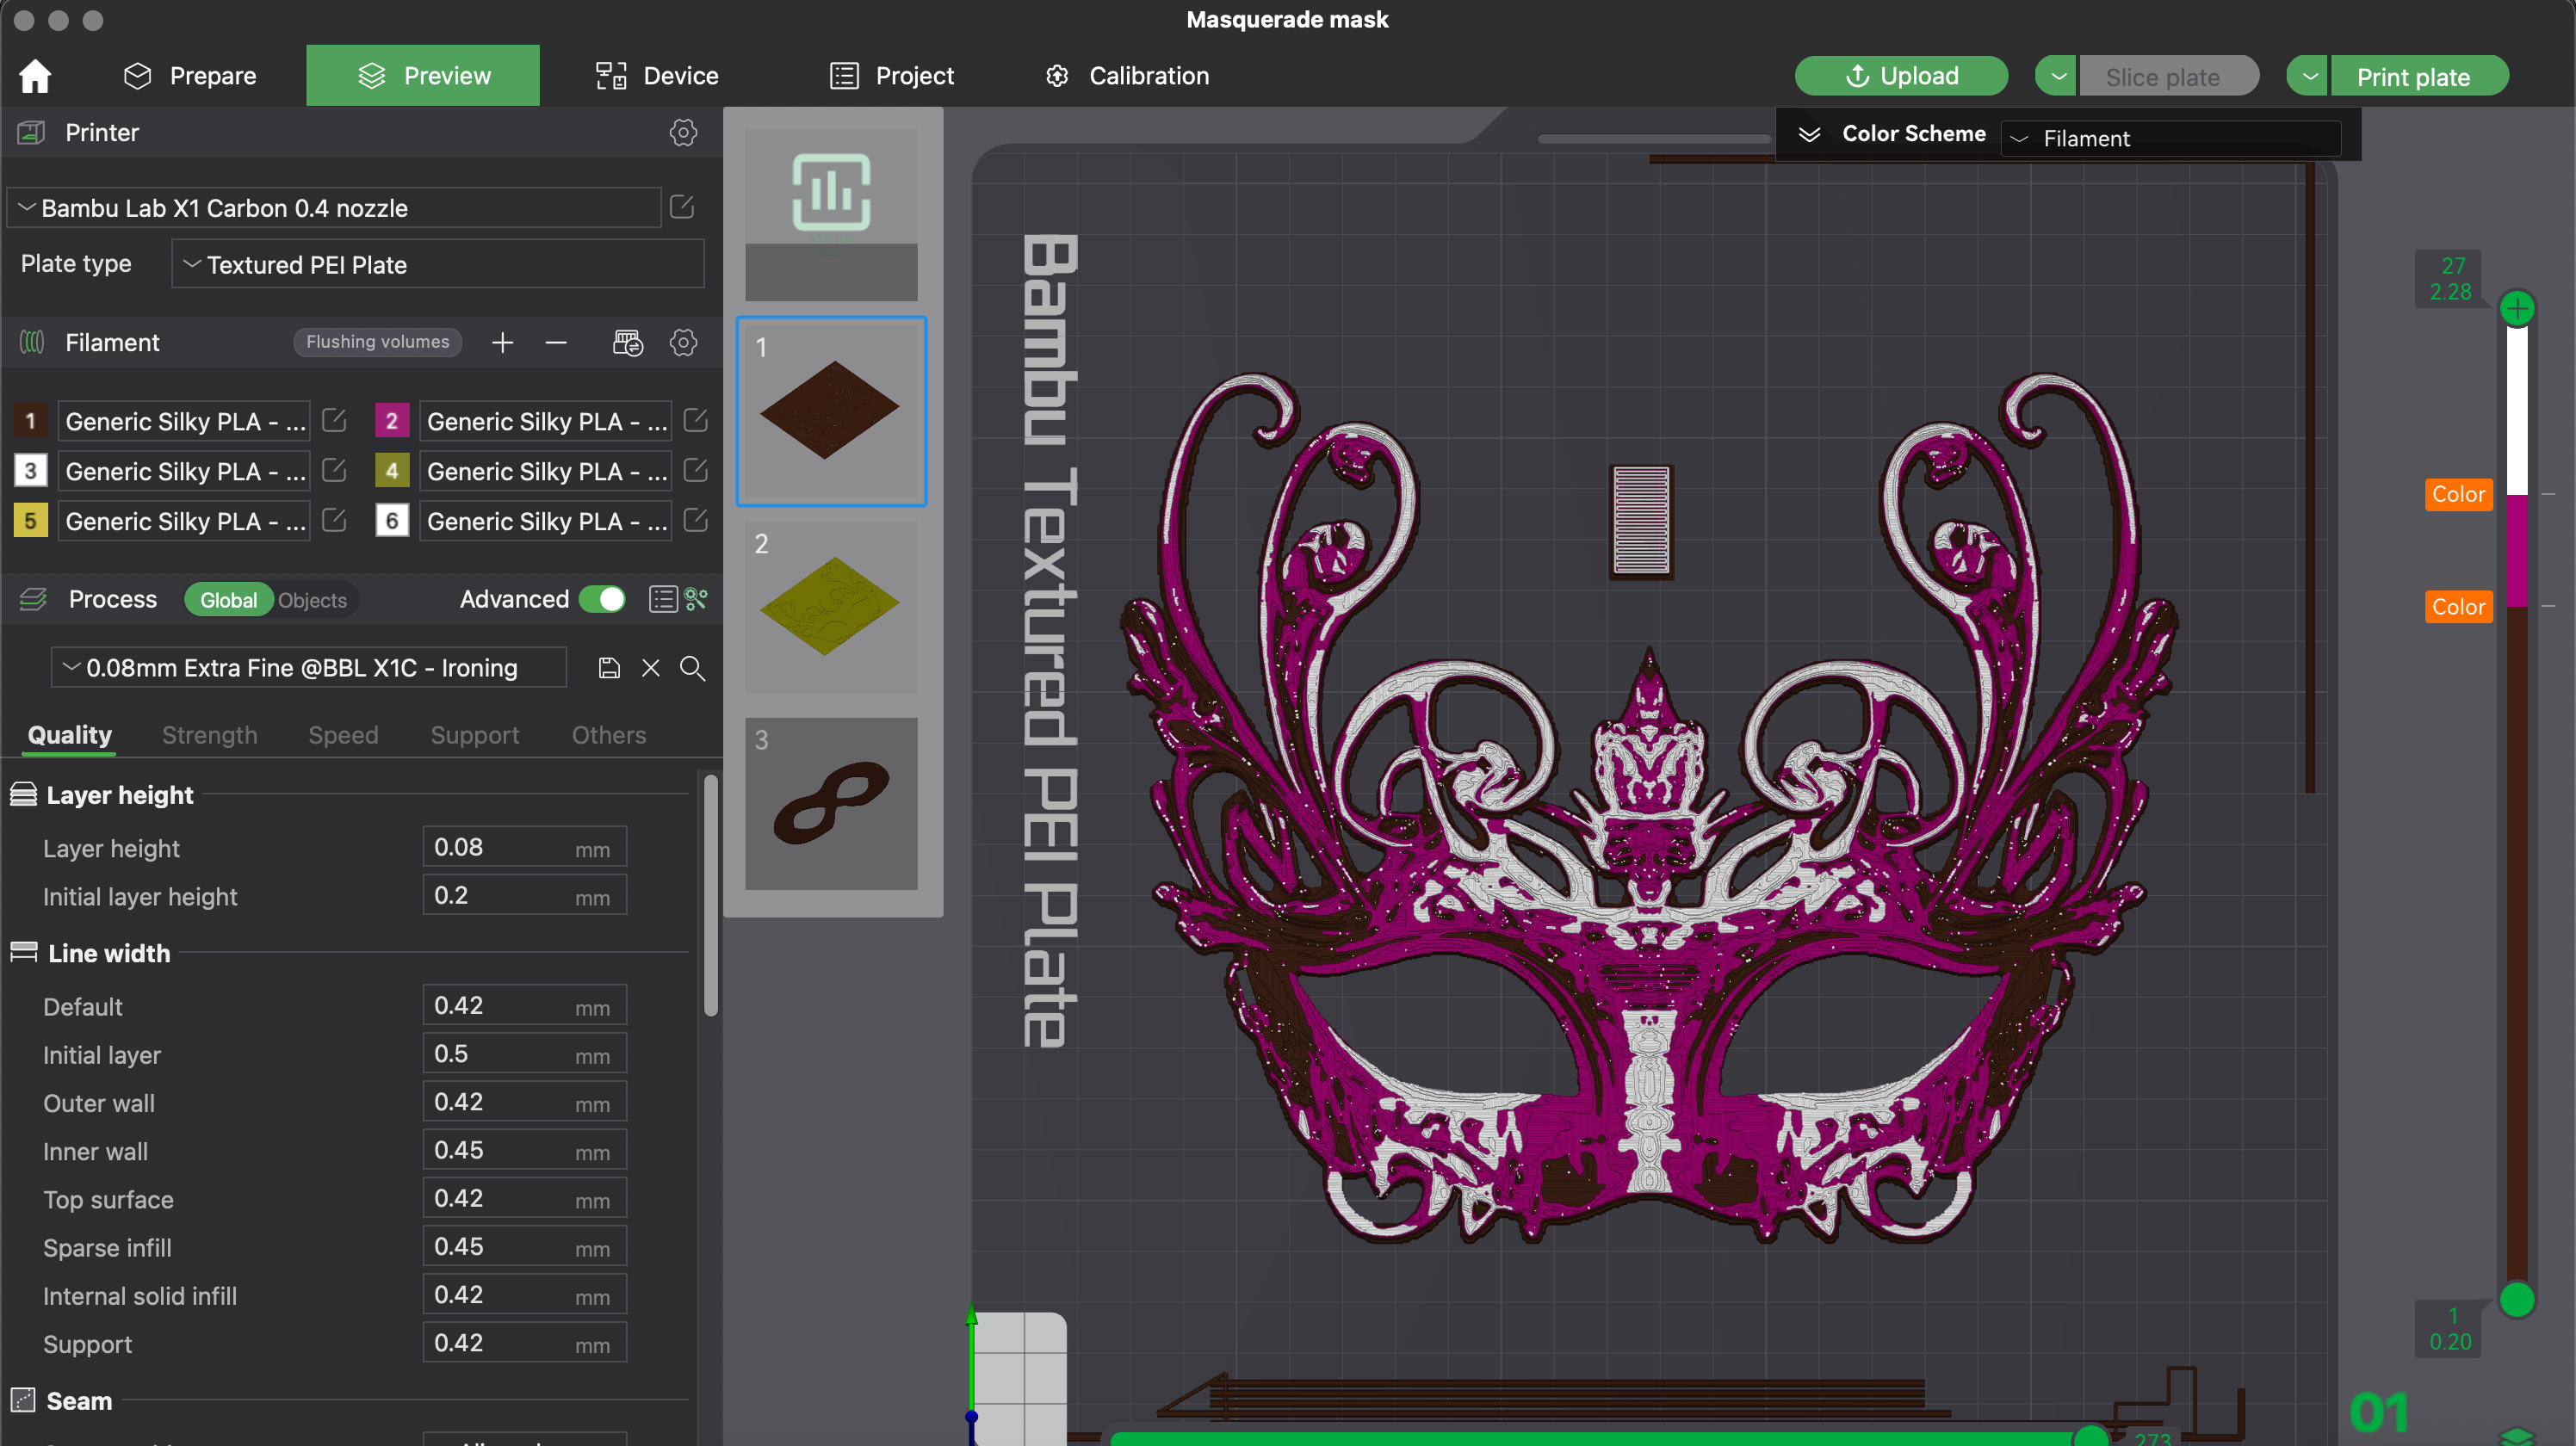
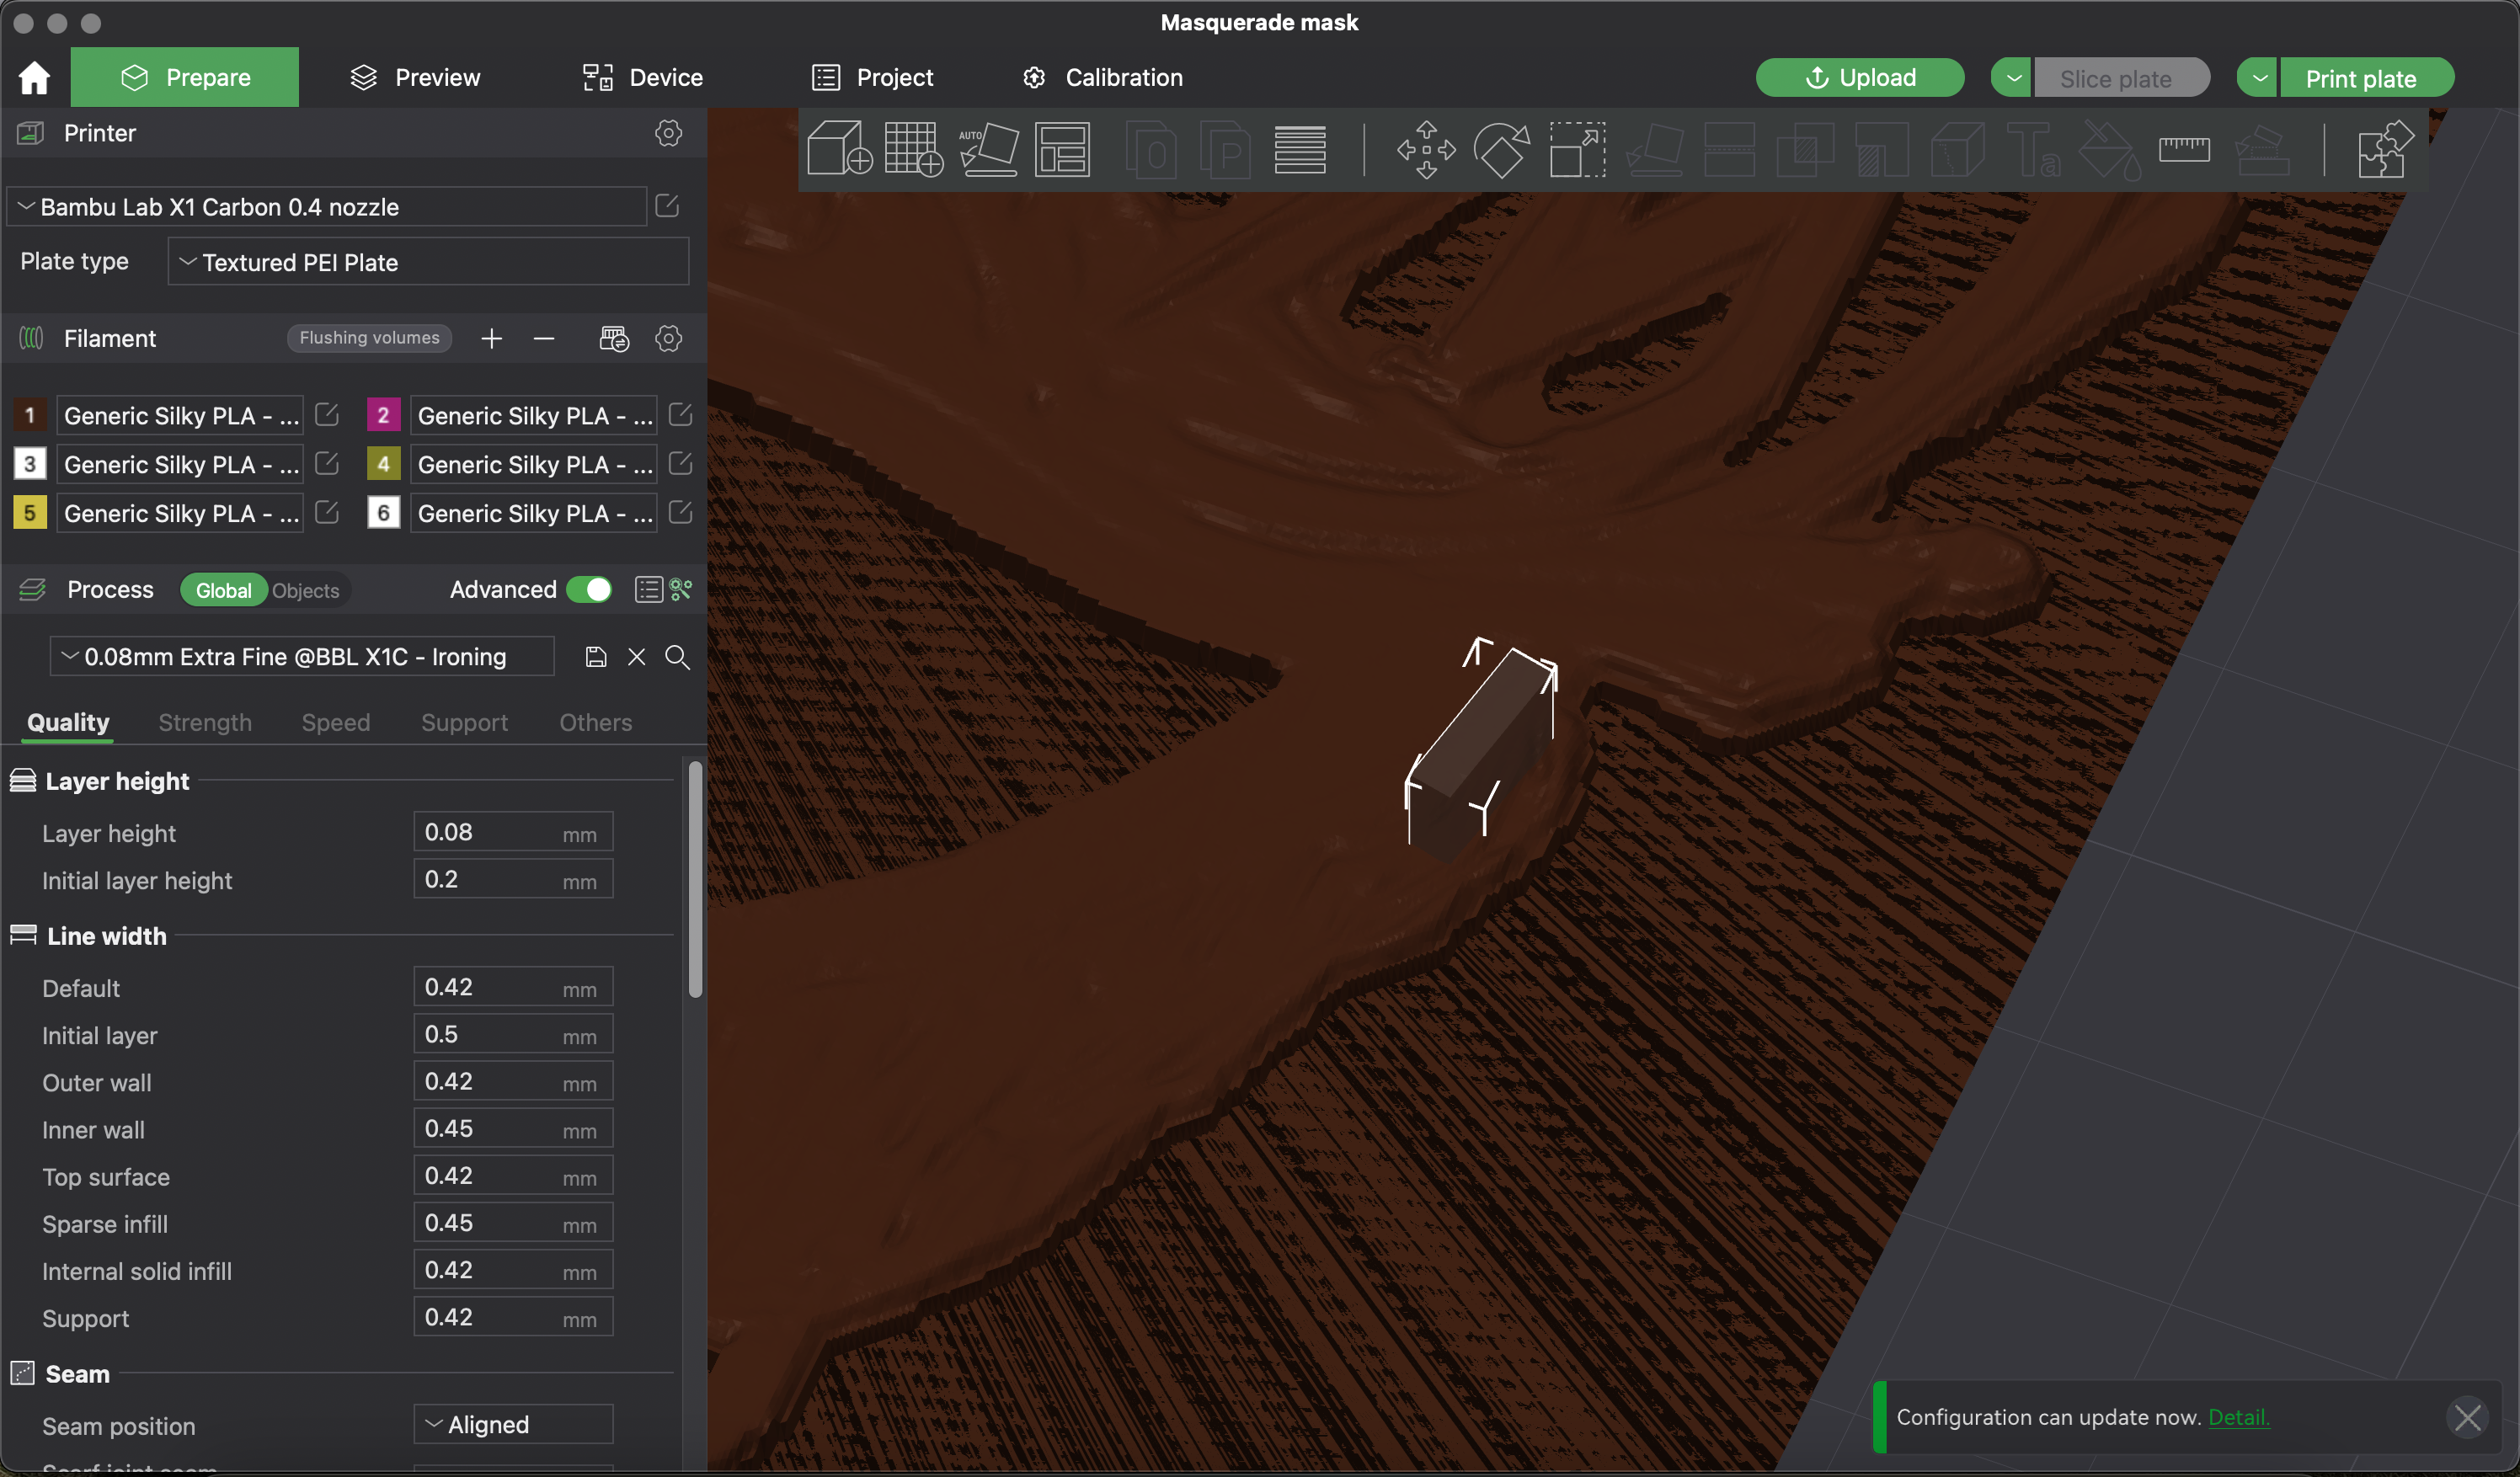
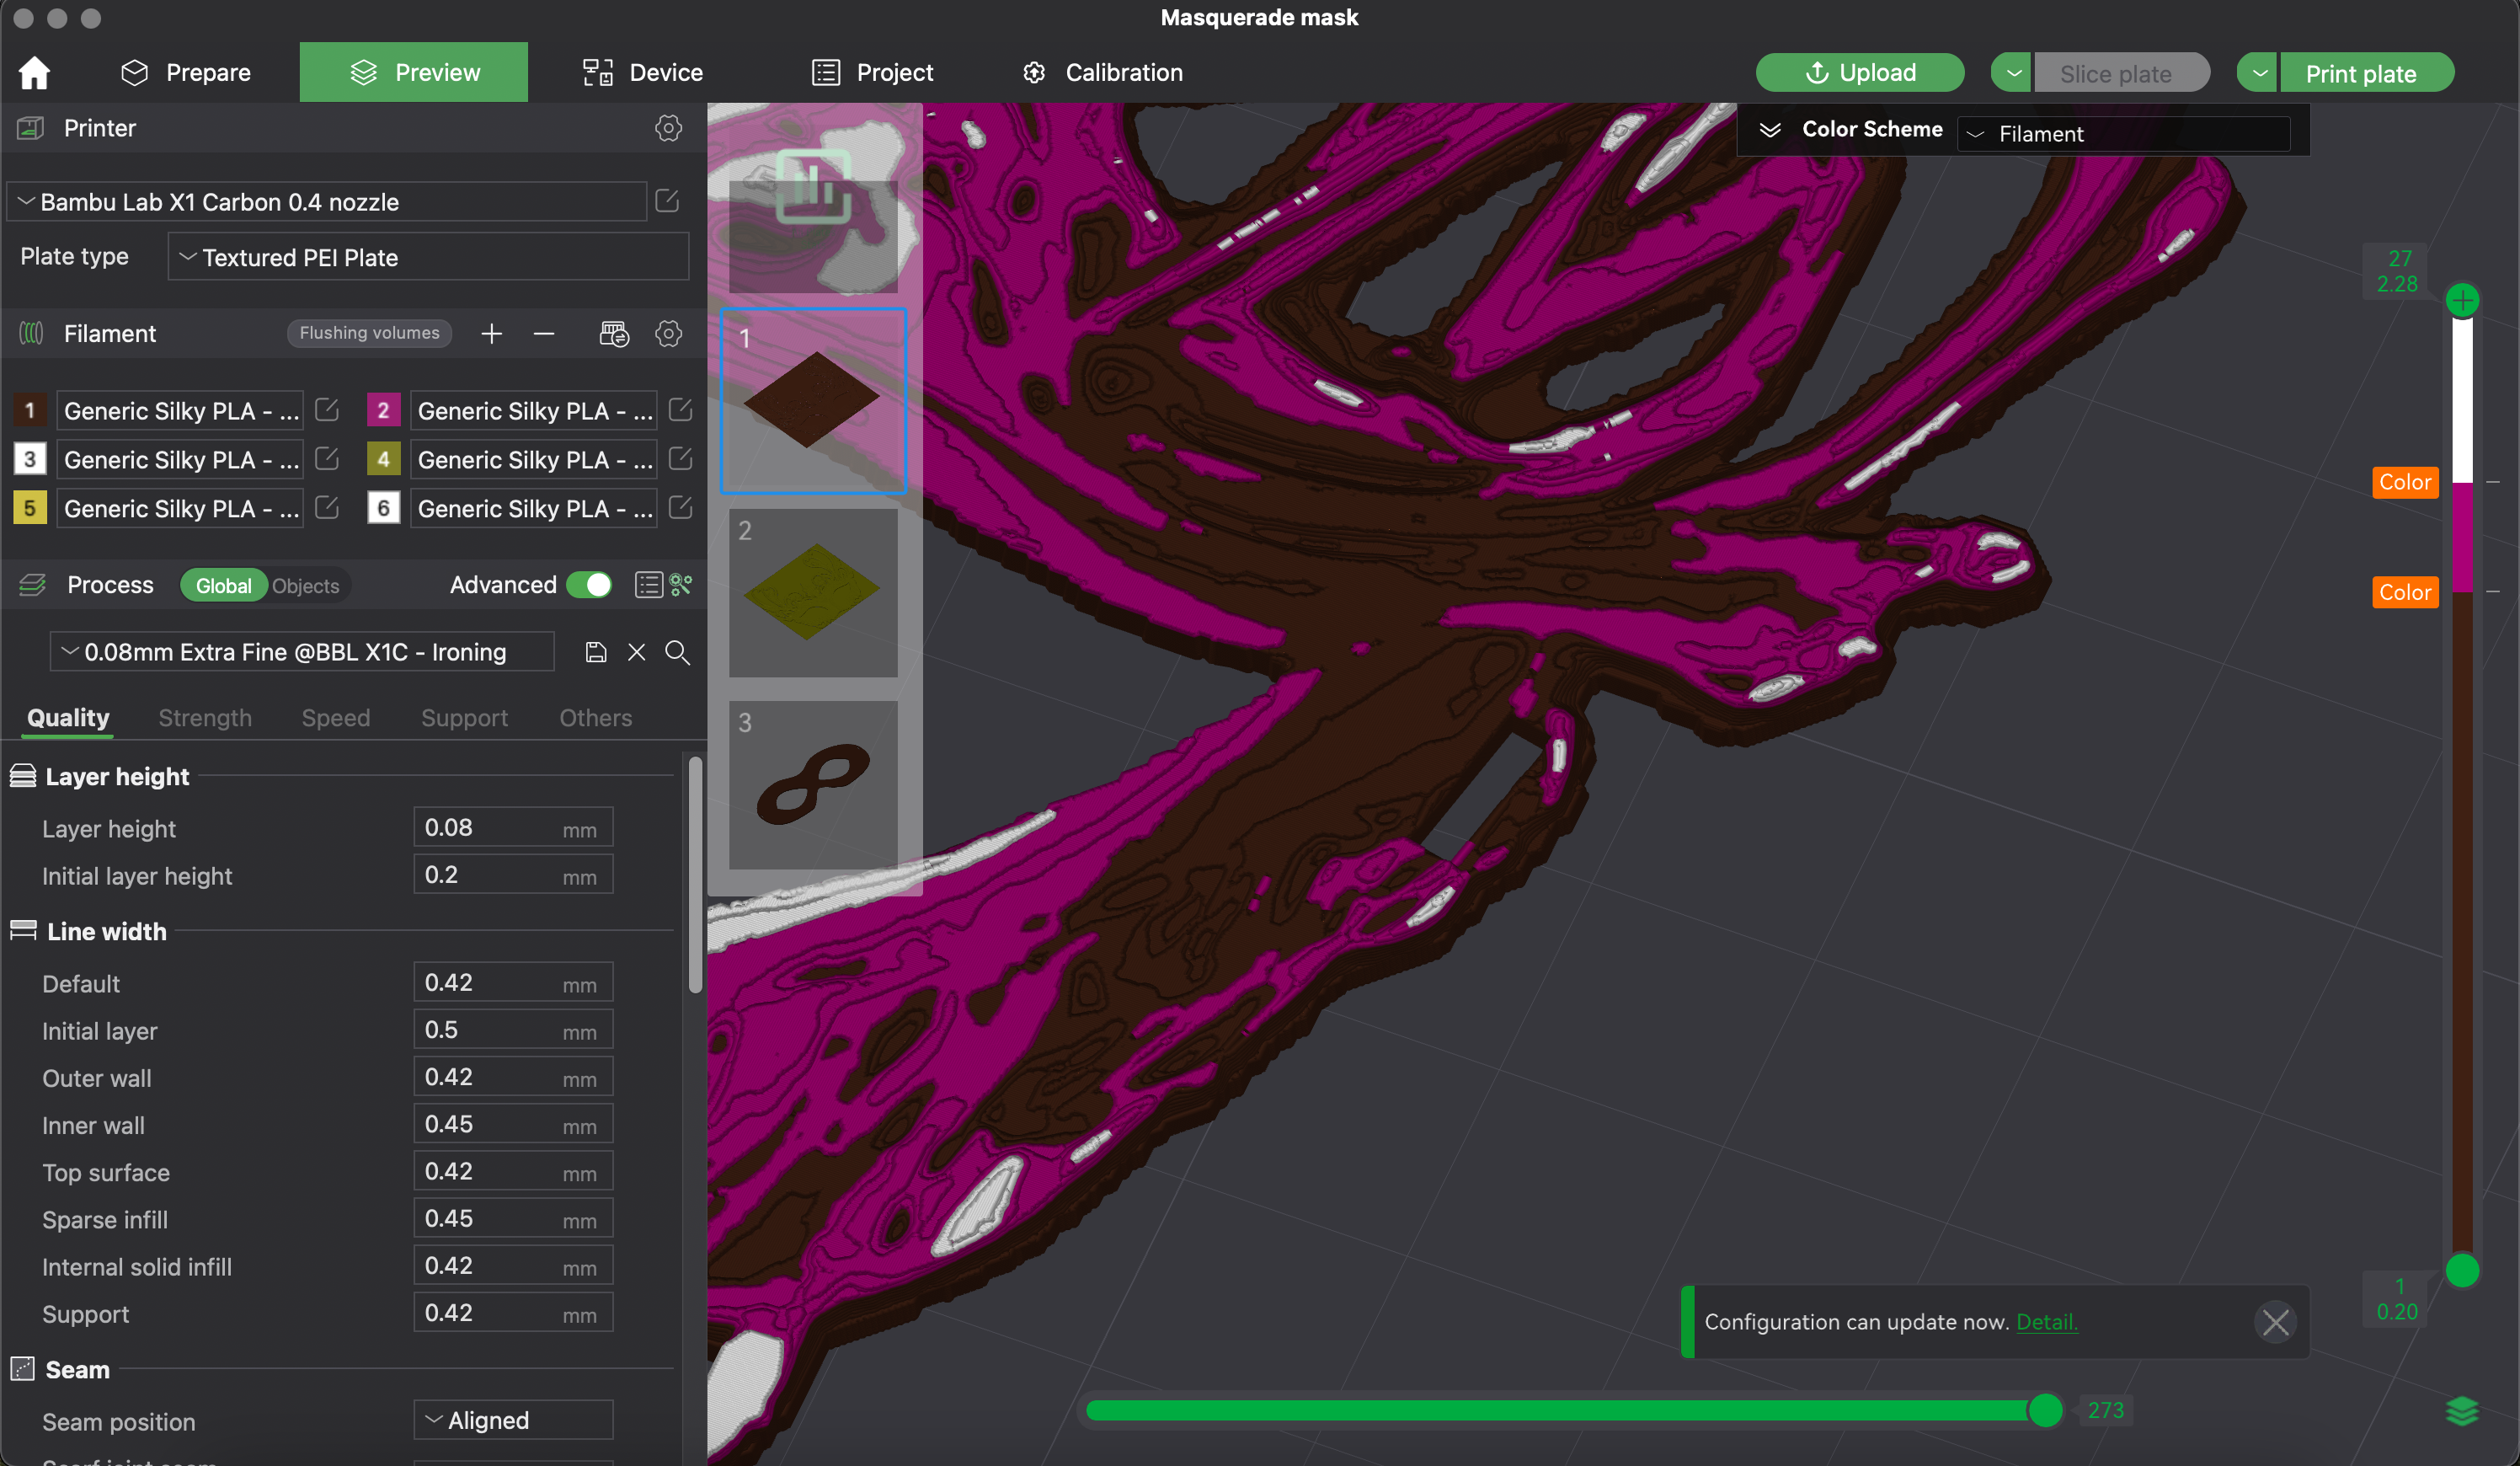
Time to slice!
I use the basic settings for .08mm Extra Fine using a .4mm nozzle. I also do Ironing on all top layers.
I added slots for the elastic using the Add Negative Part > Cube feature. I shrank it down until it was the size I wanted, and angled it a bit to go with the curve of the mask.
Then I let it print!
It takes about 4.5 hours on a Bambu X1 printer.
Shaping
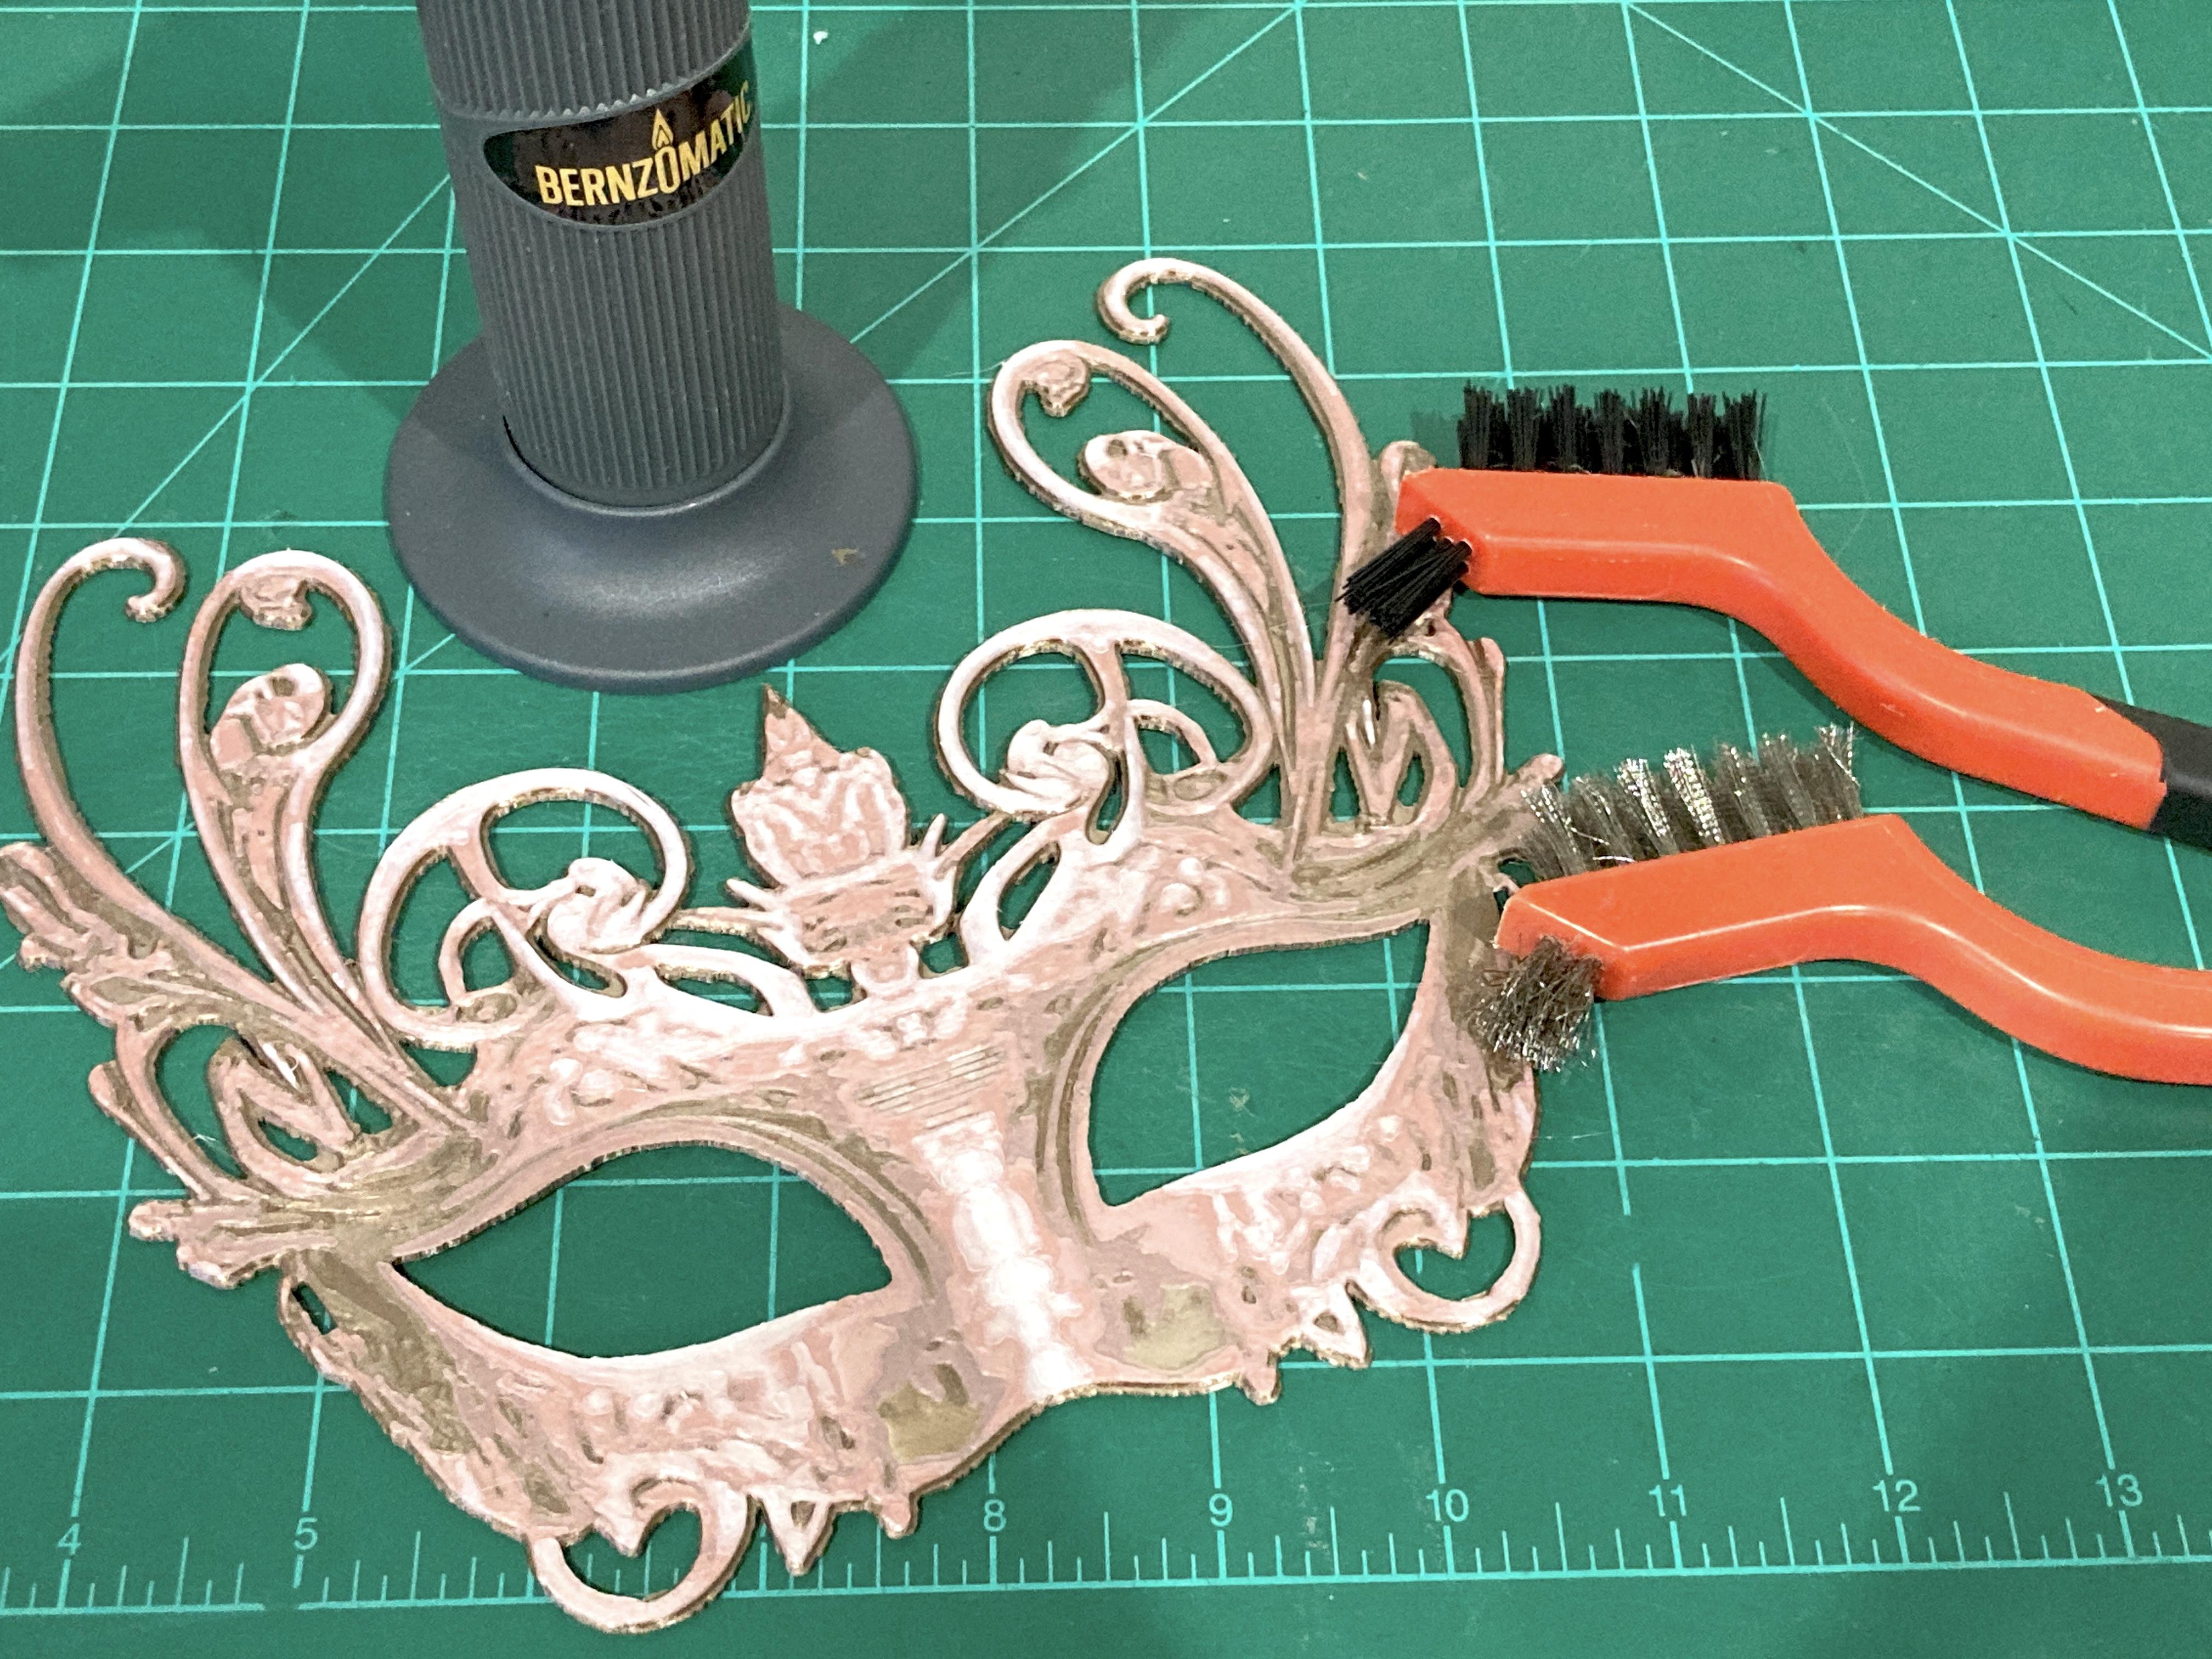
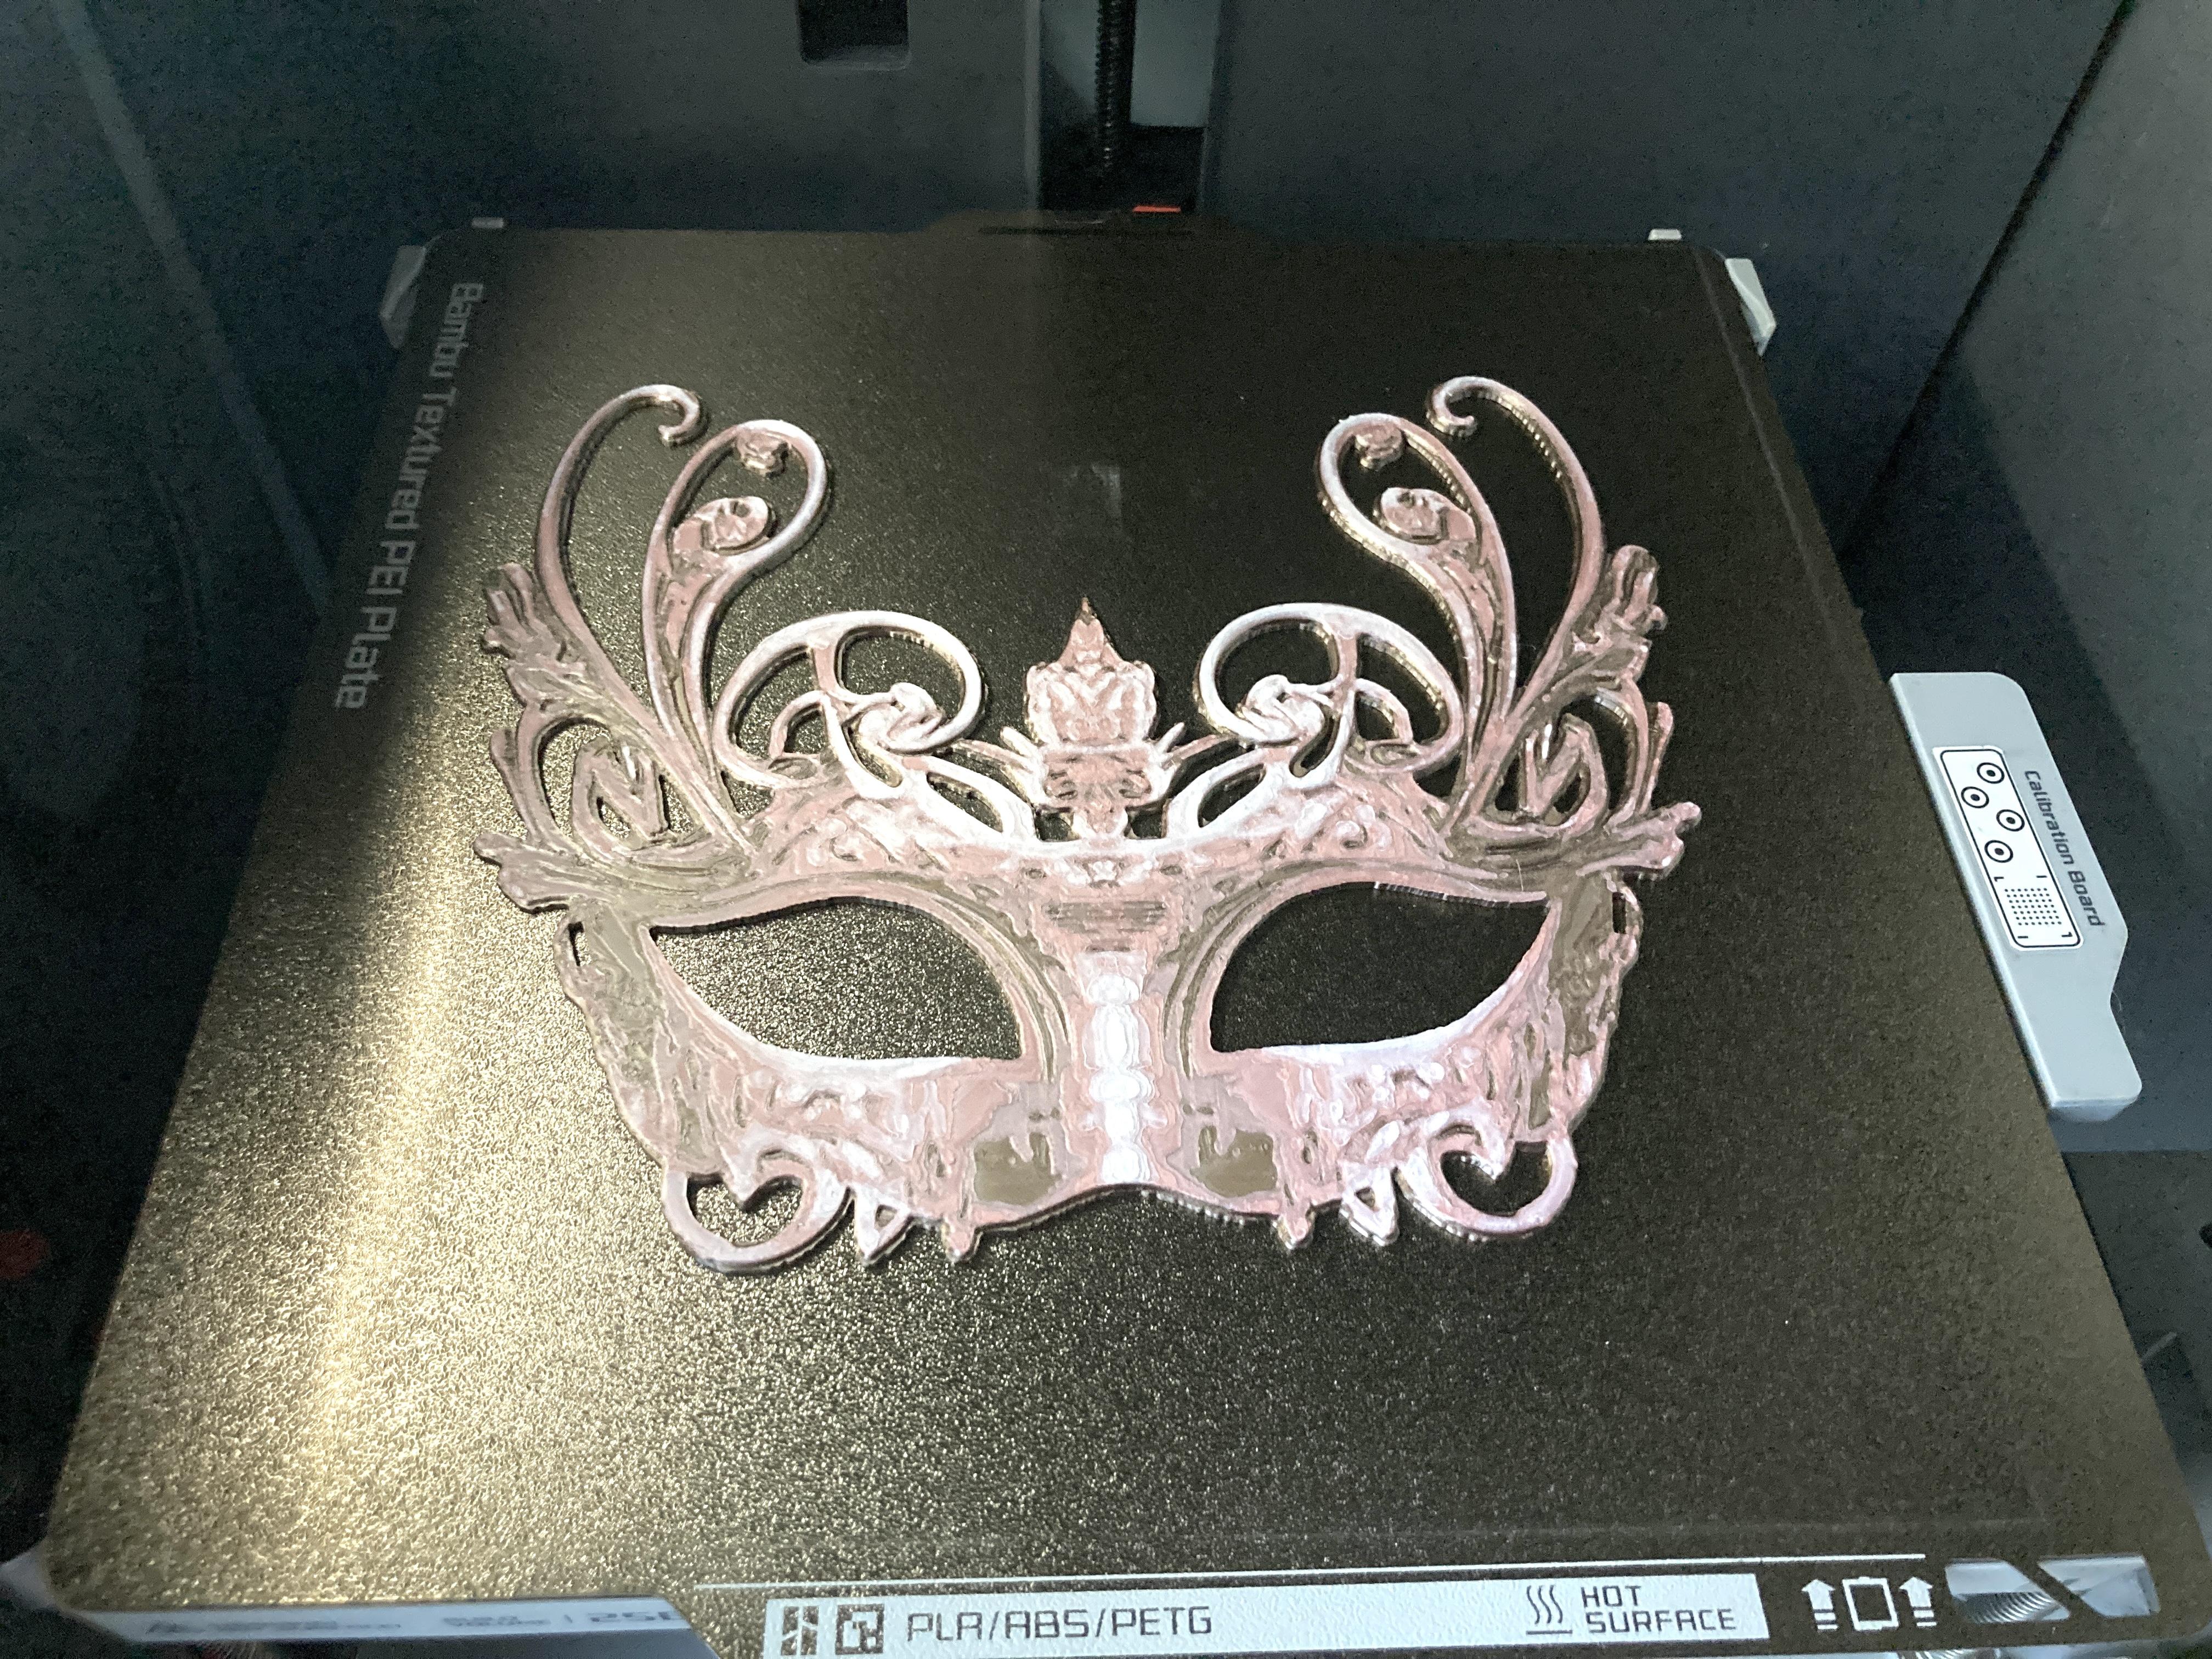
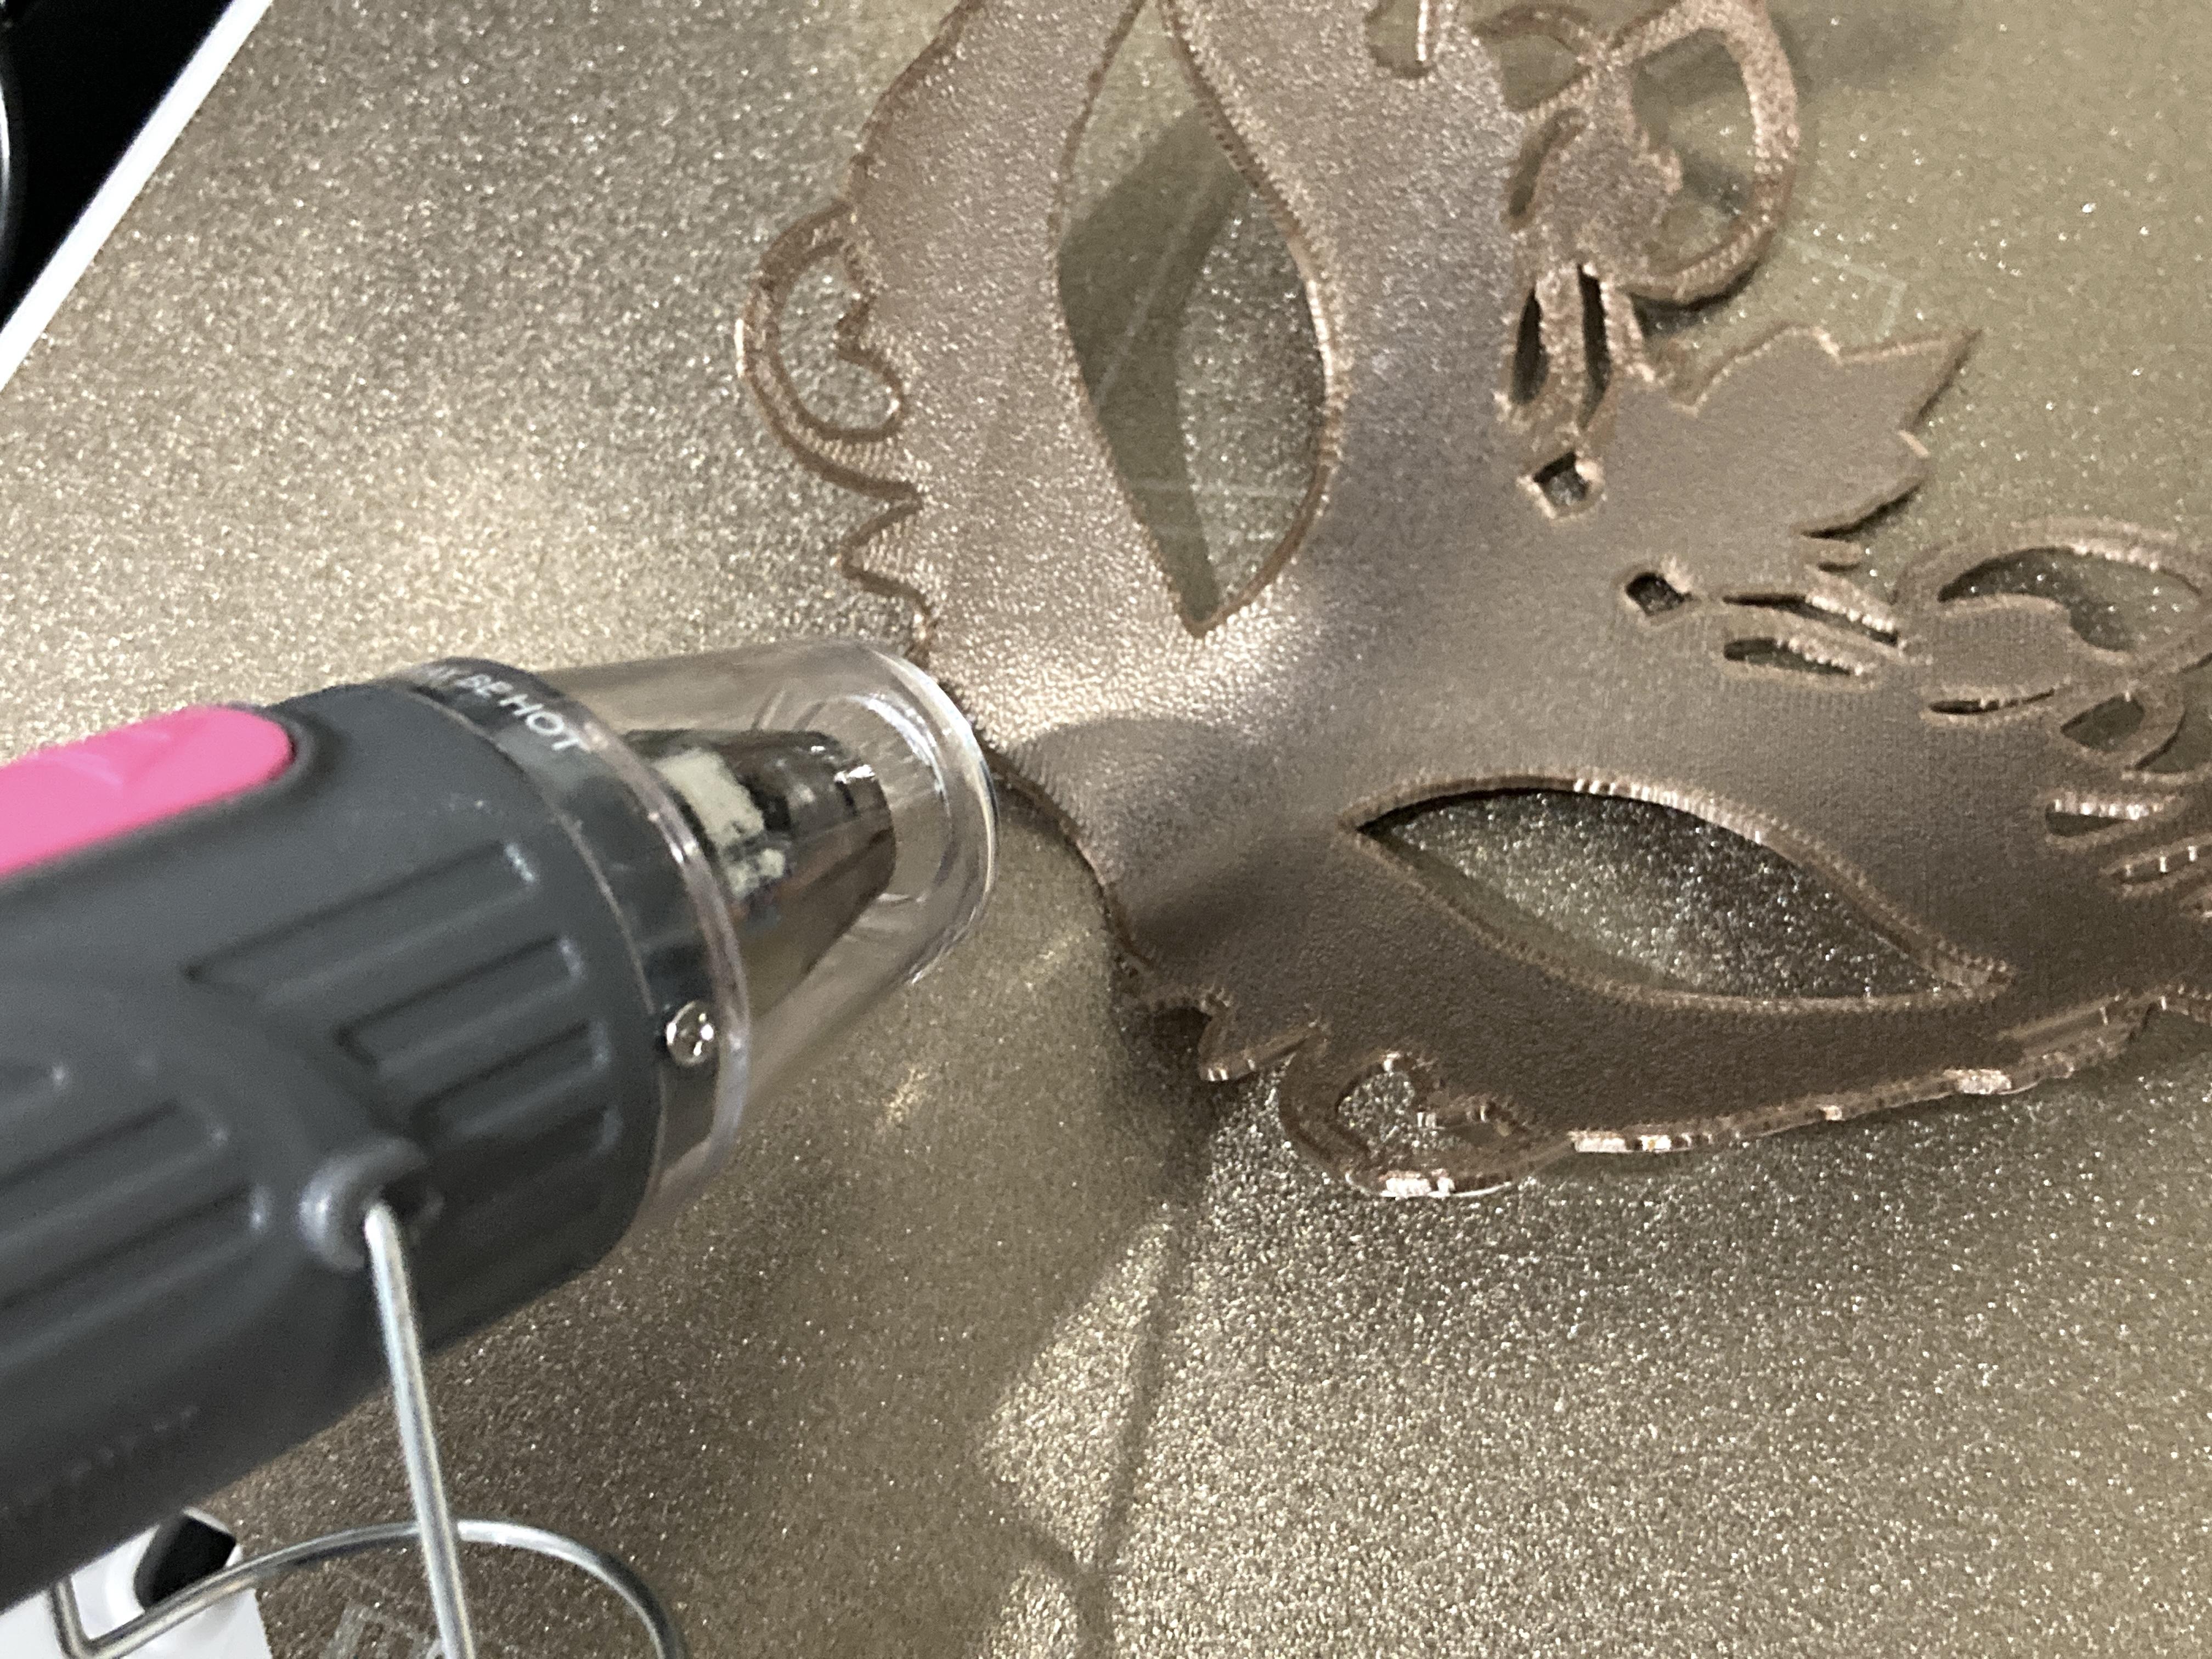
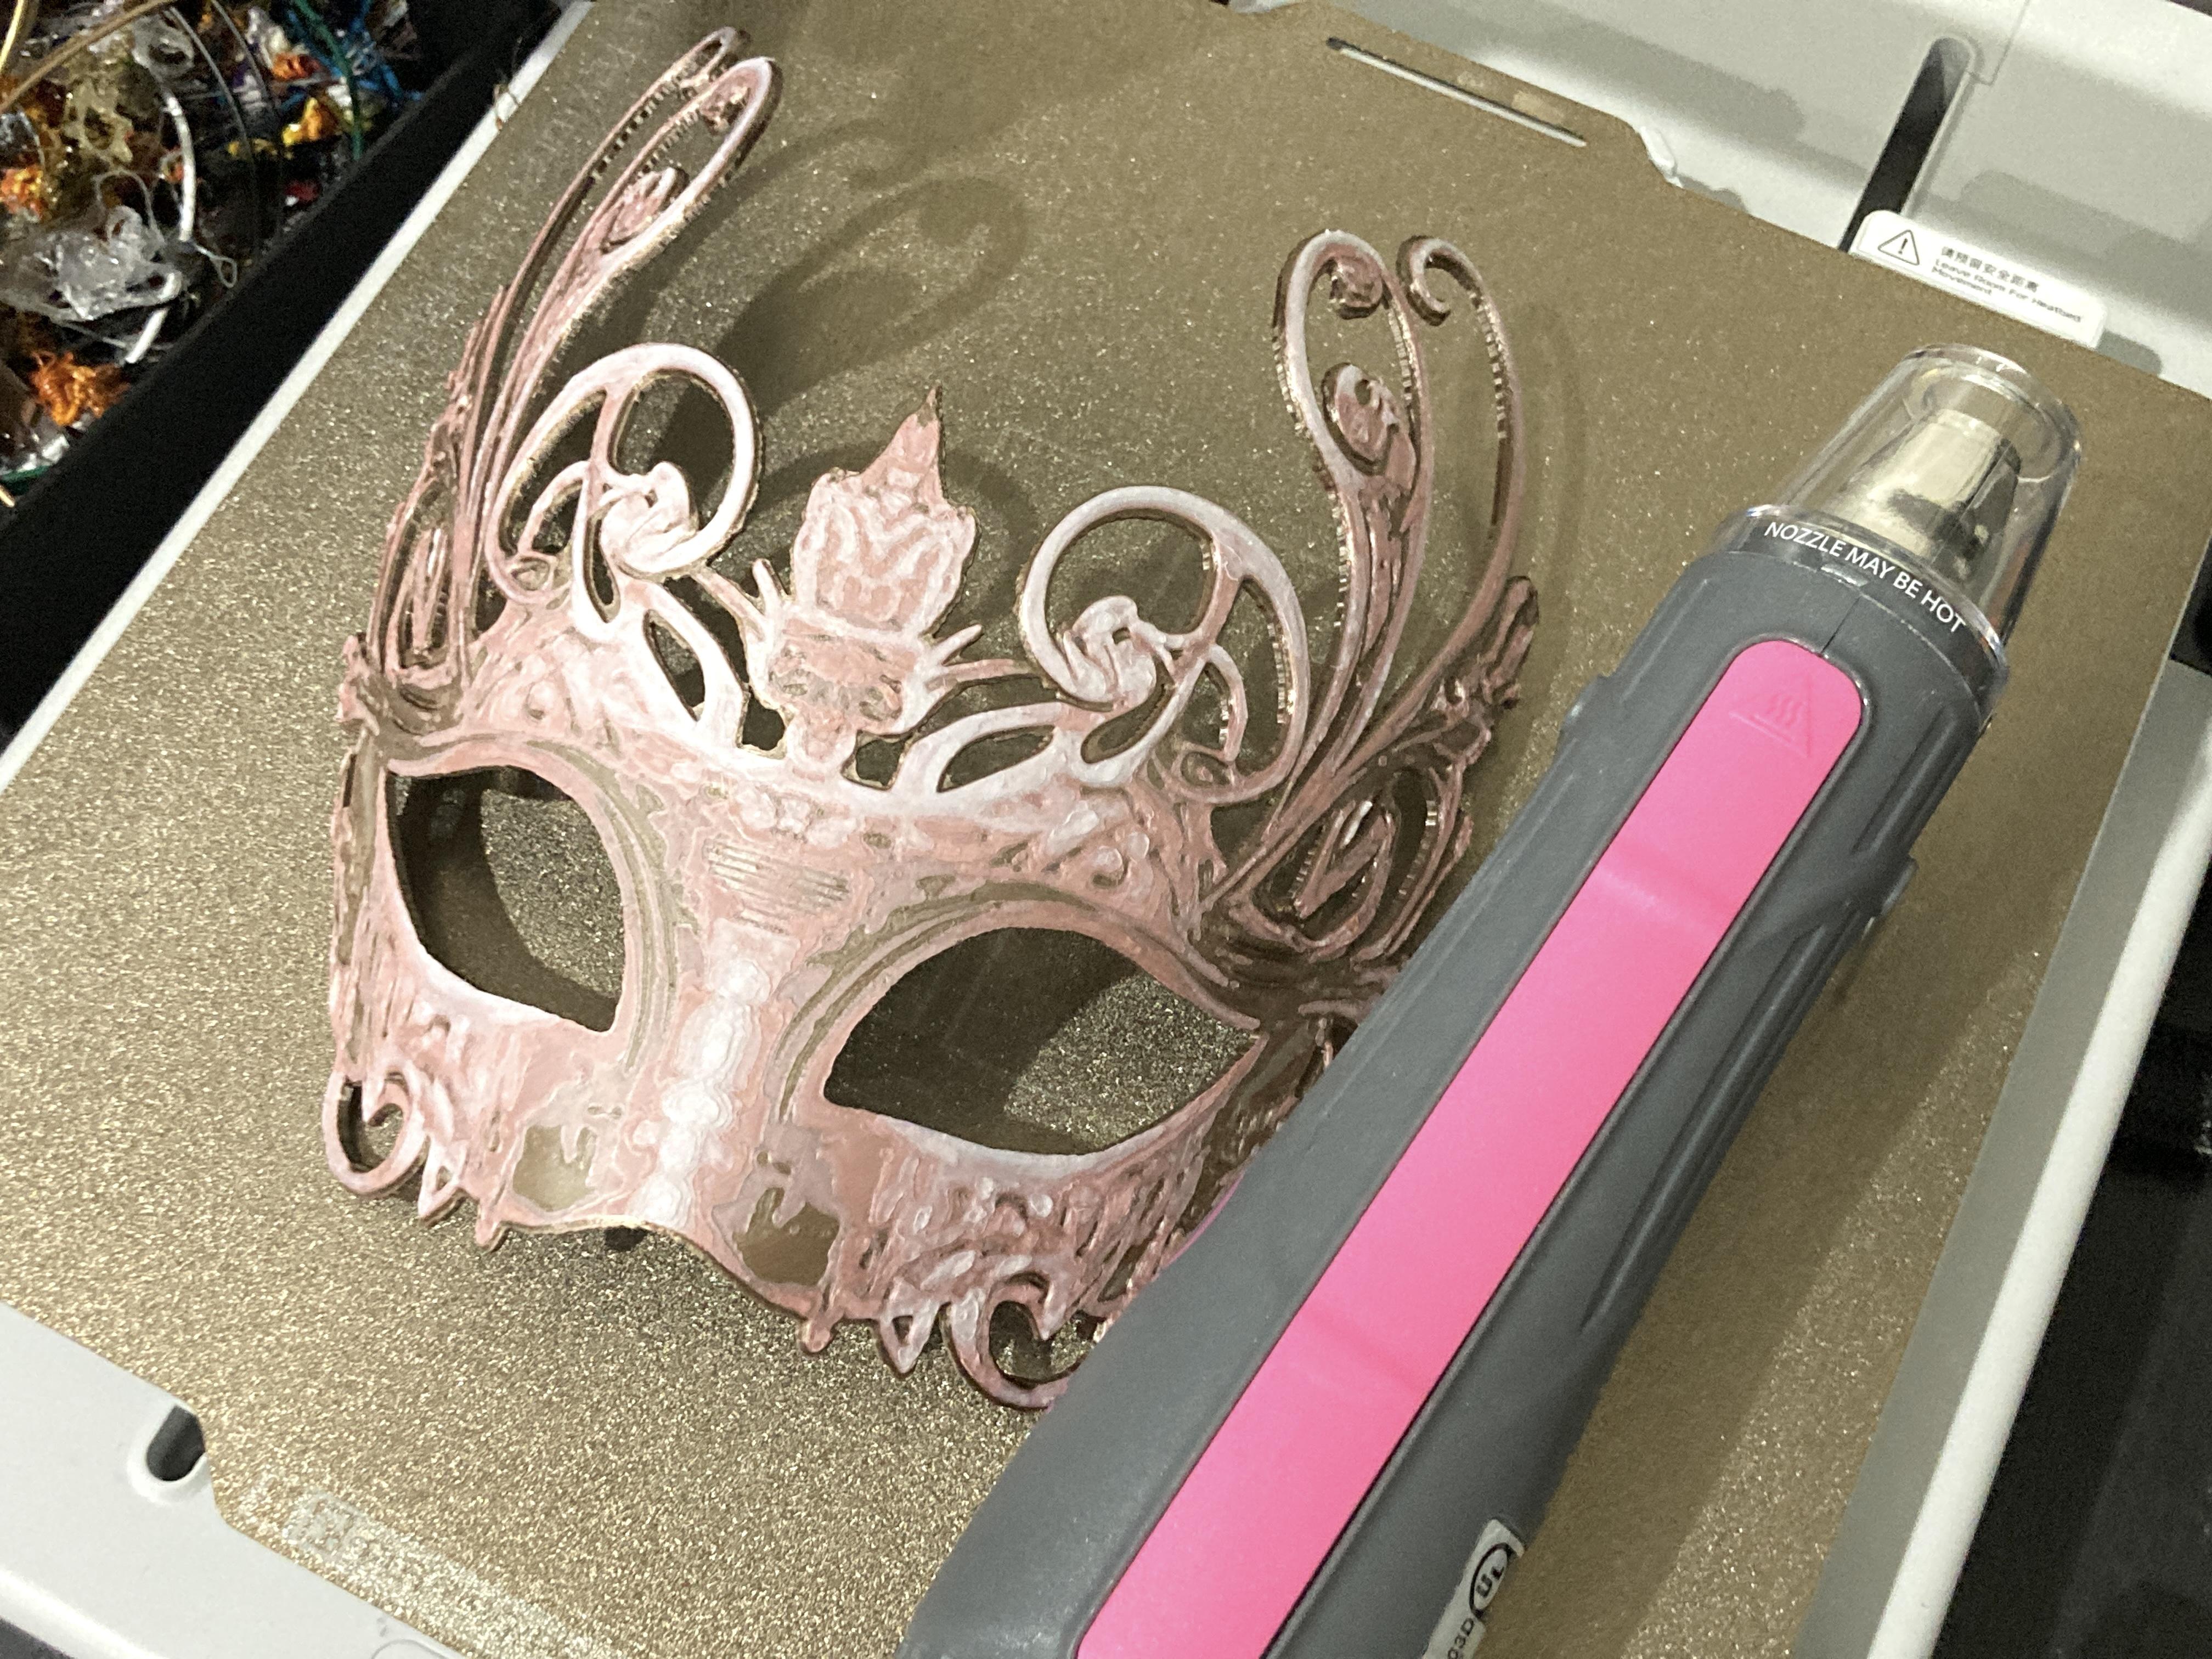
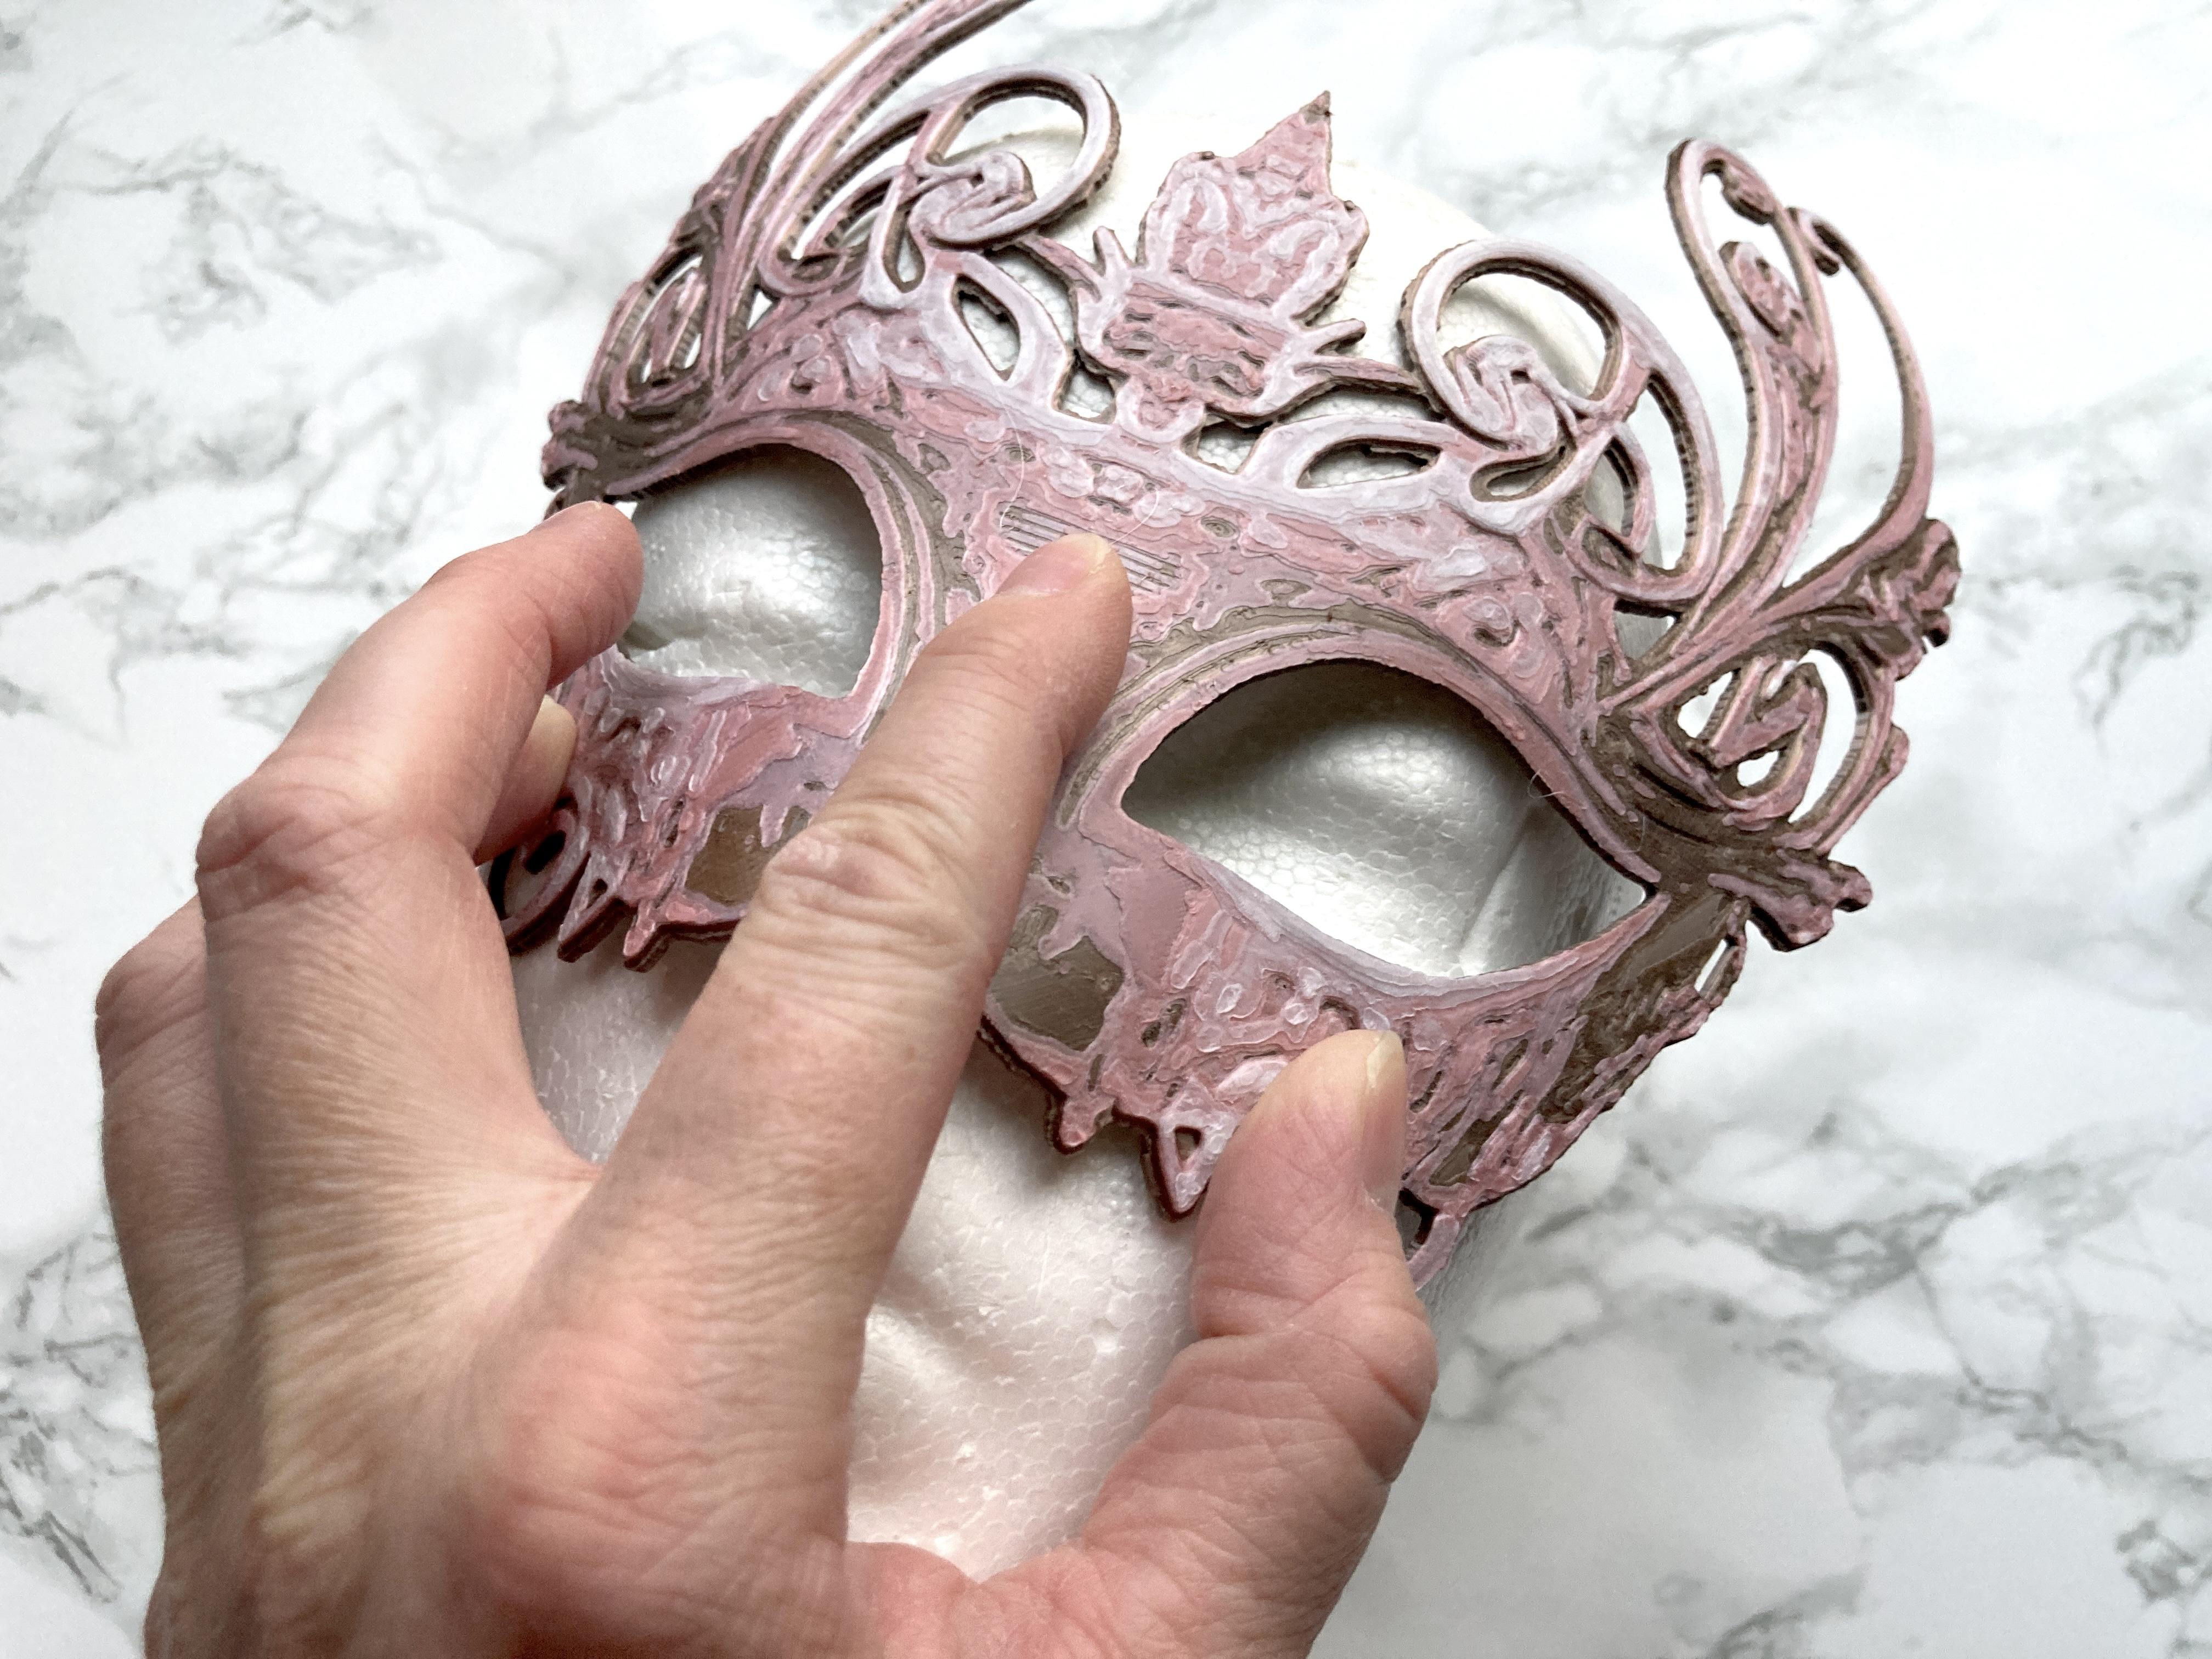
It is time to shape the mask! There are a couple ways to handle this.
One way that doesn't require more tools is to heat up the bed to about 80C and leave the mask on it. Wait until it is warm and pliable and shape it. It's easiest if you have something like a styrofoam head to shape it on, but if you are careful, you can just use your own face. Don't burn yourself! I actually use both. I use the head to get the basic shape, and then use my own face to get a better overall fit. The downside to this method is you have one shot at it because you can't get it back on the bed to warm up once it is shaped.
Other methods that I've used is hot water or a heat gun.
I like to at least use the heat gun to get that nose part right right as you want to curve it away from your face enough that it doesn't cut into your nose. Cool it down and you are set!
What's nice is you can keep warming it up and reshape it if necessary. Just be careful about distorting it too much and be wary of using a torch to shape it as that can melt it and wreak it easily. (Pst. I've done that.)
Strap and Finishing
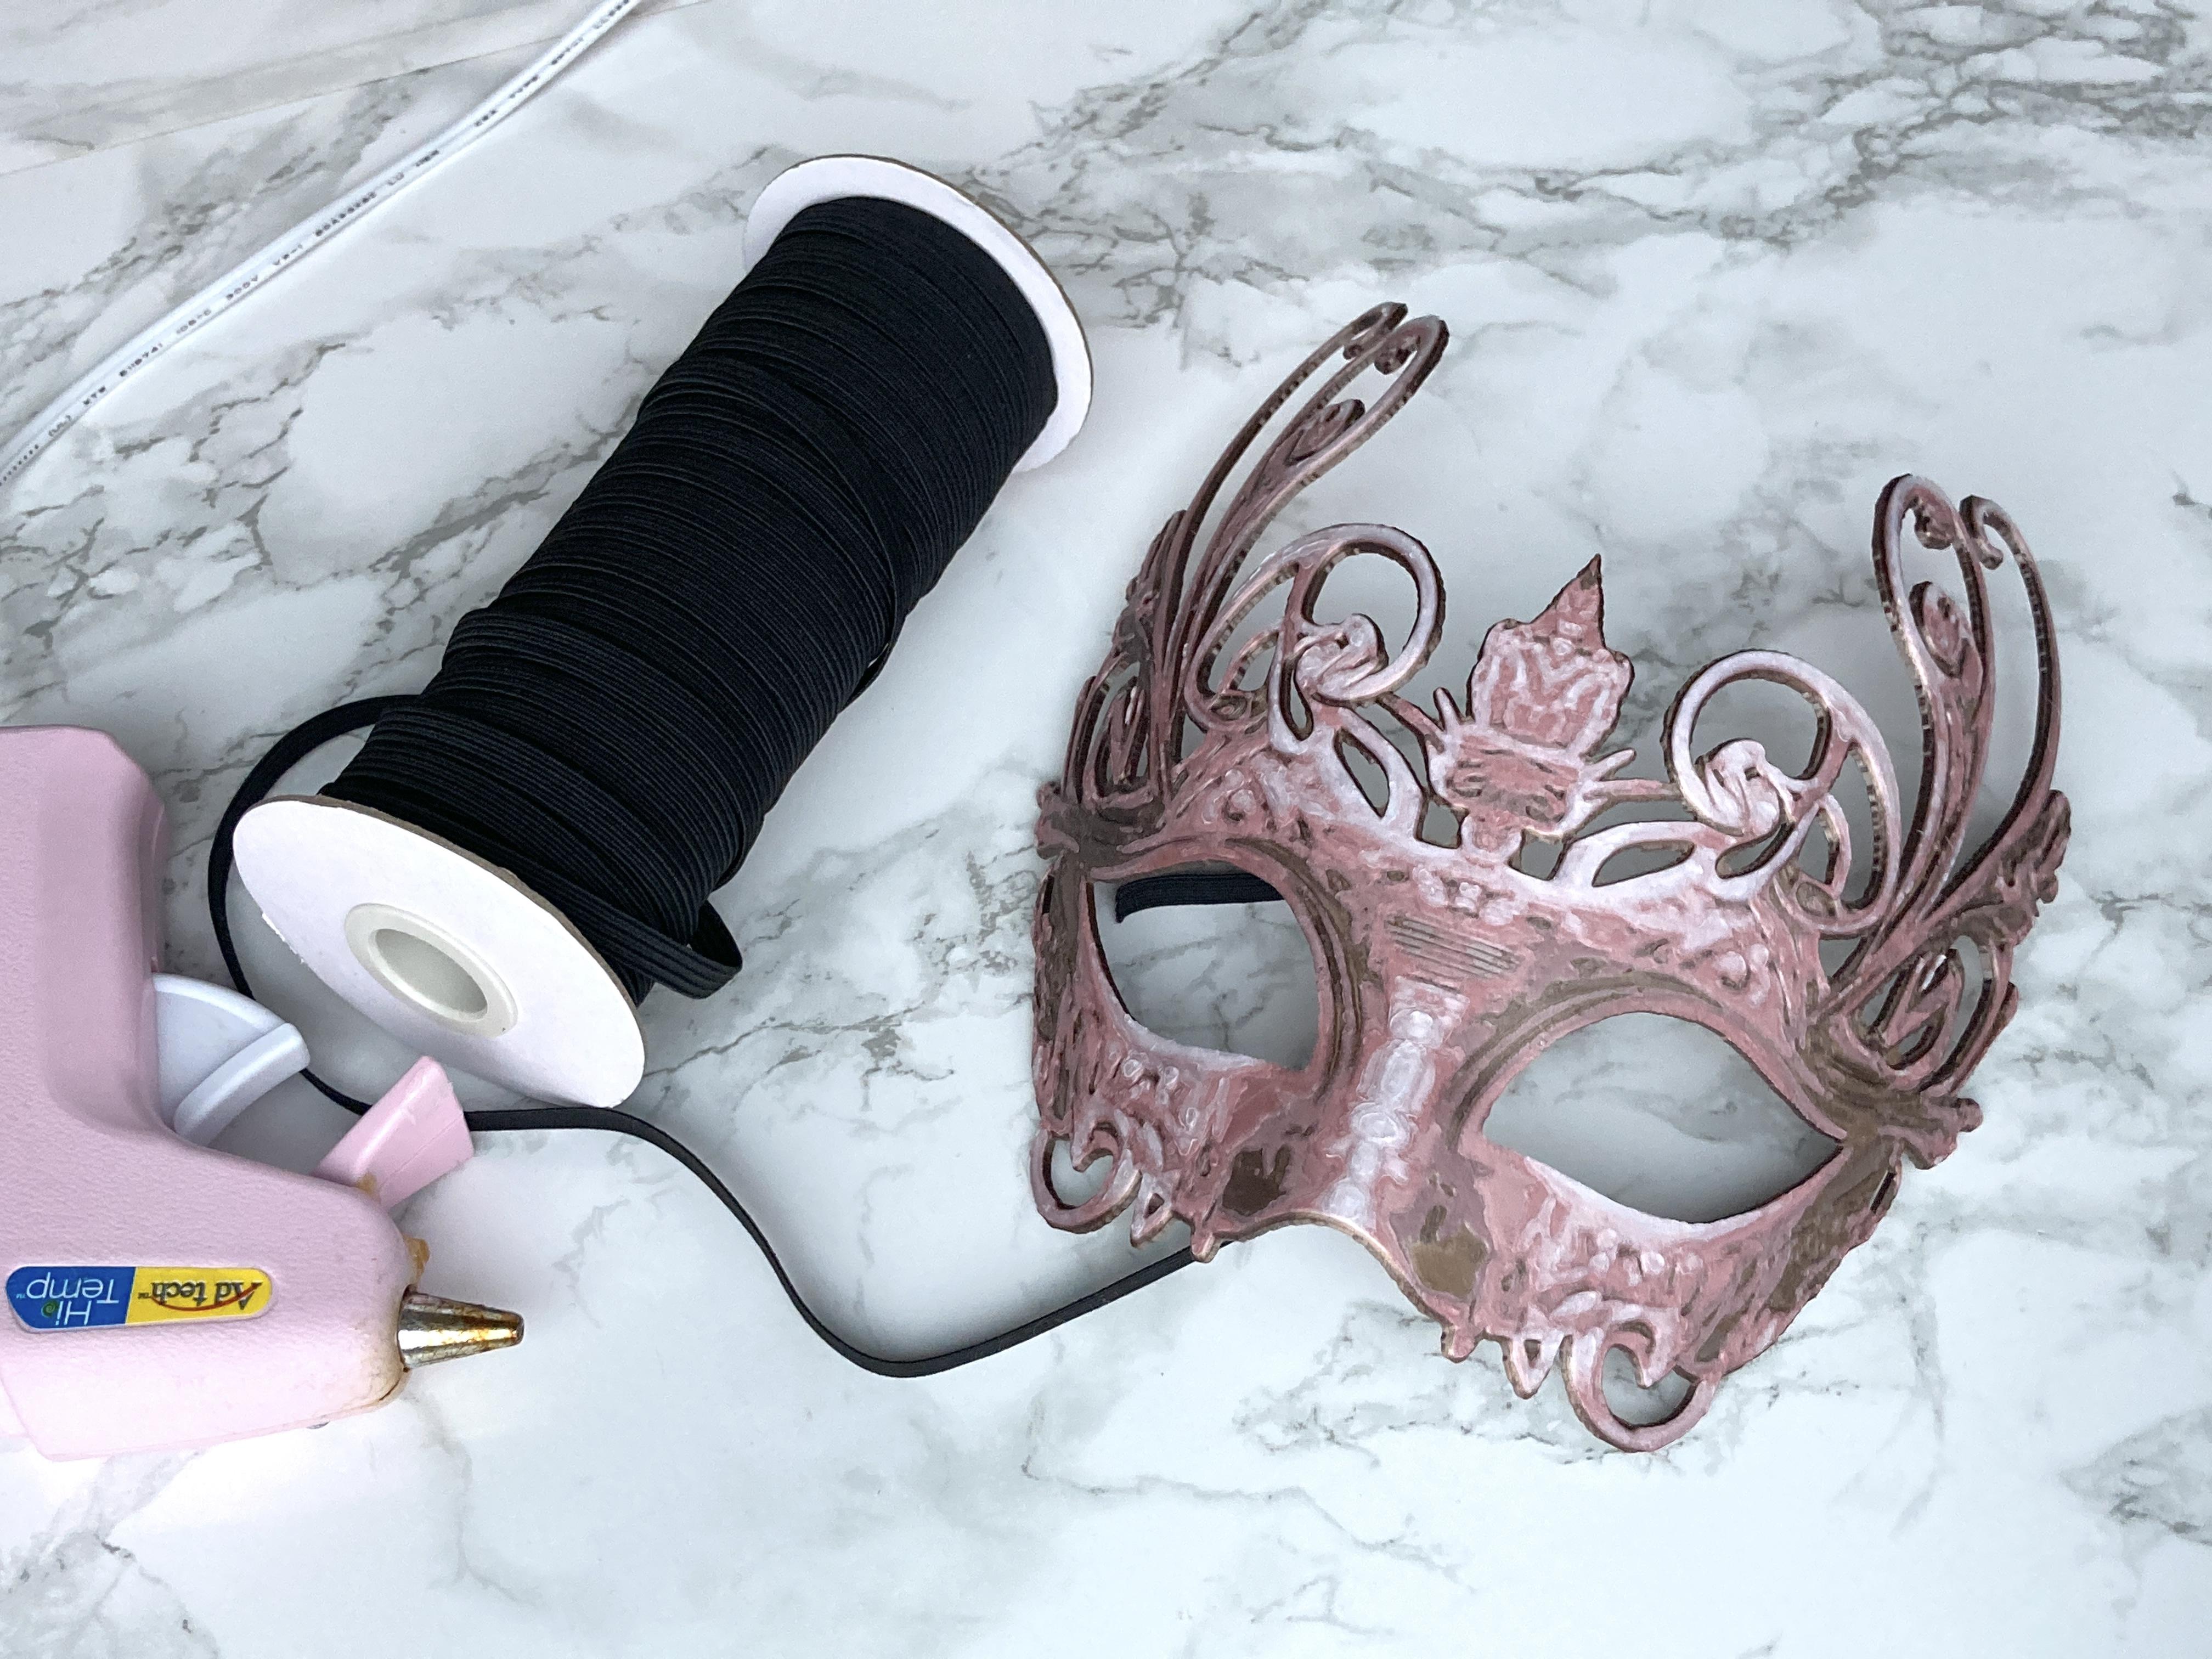
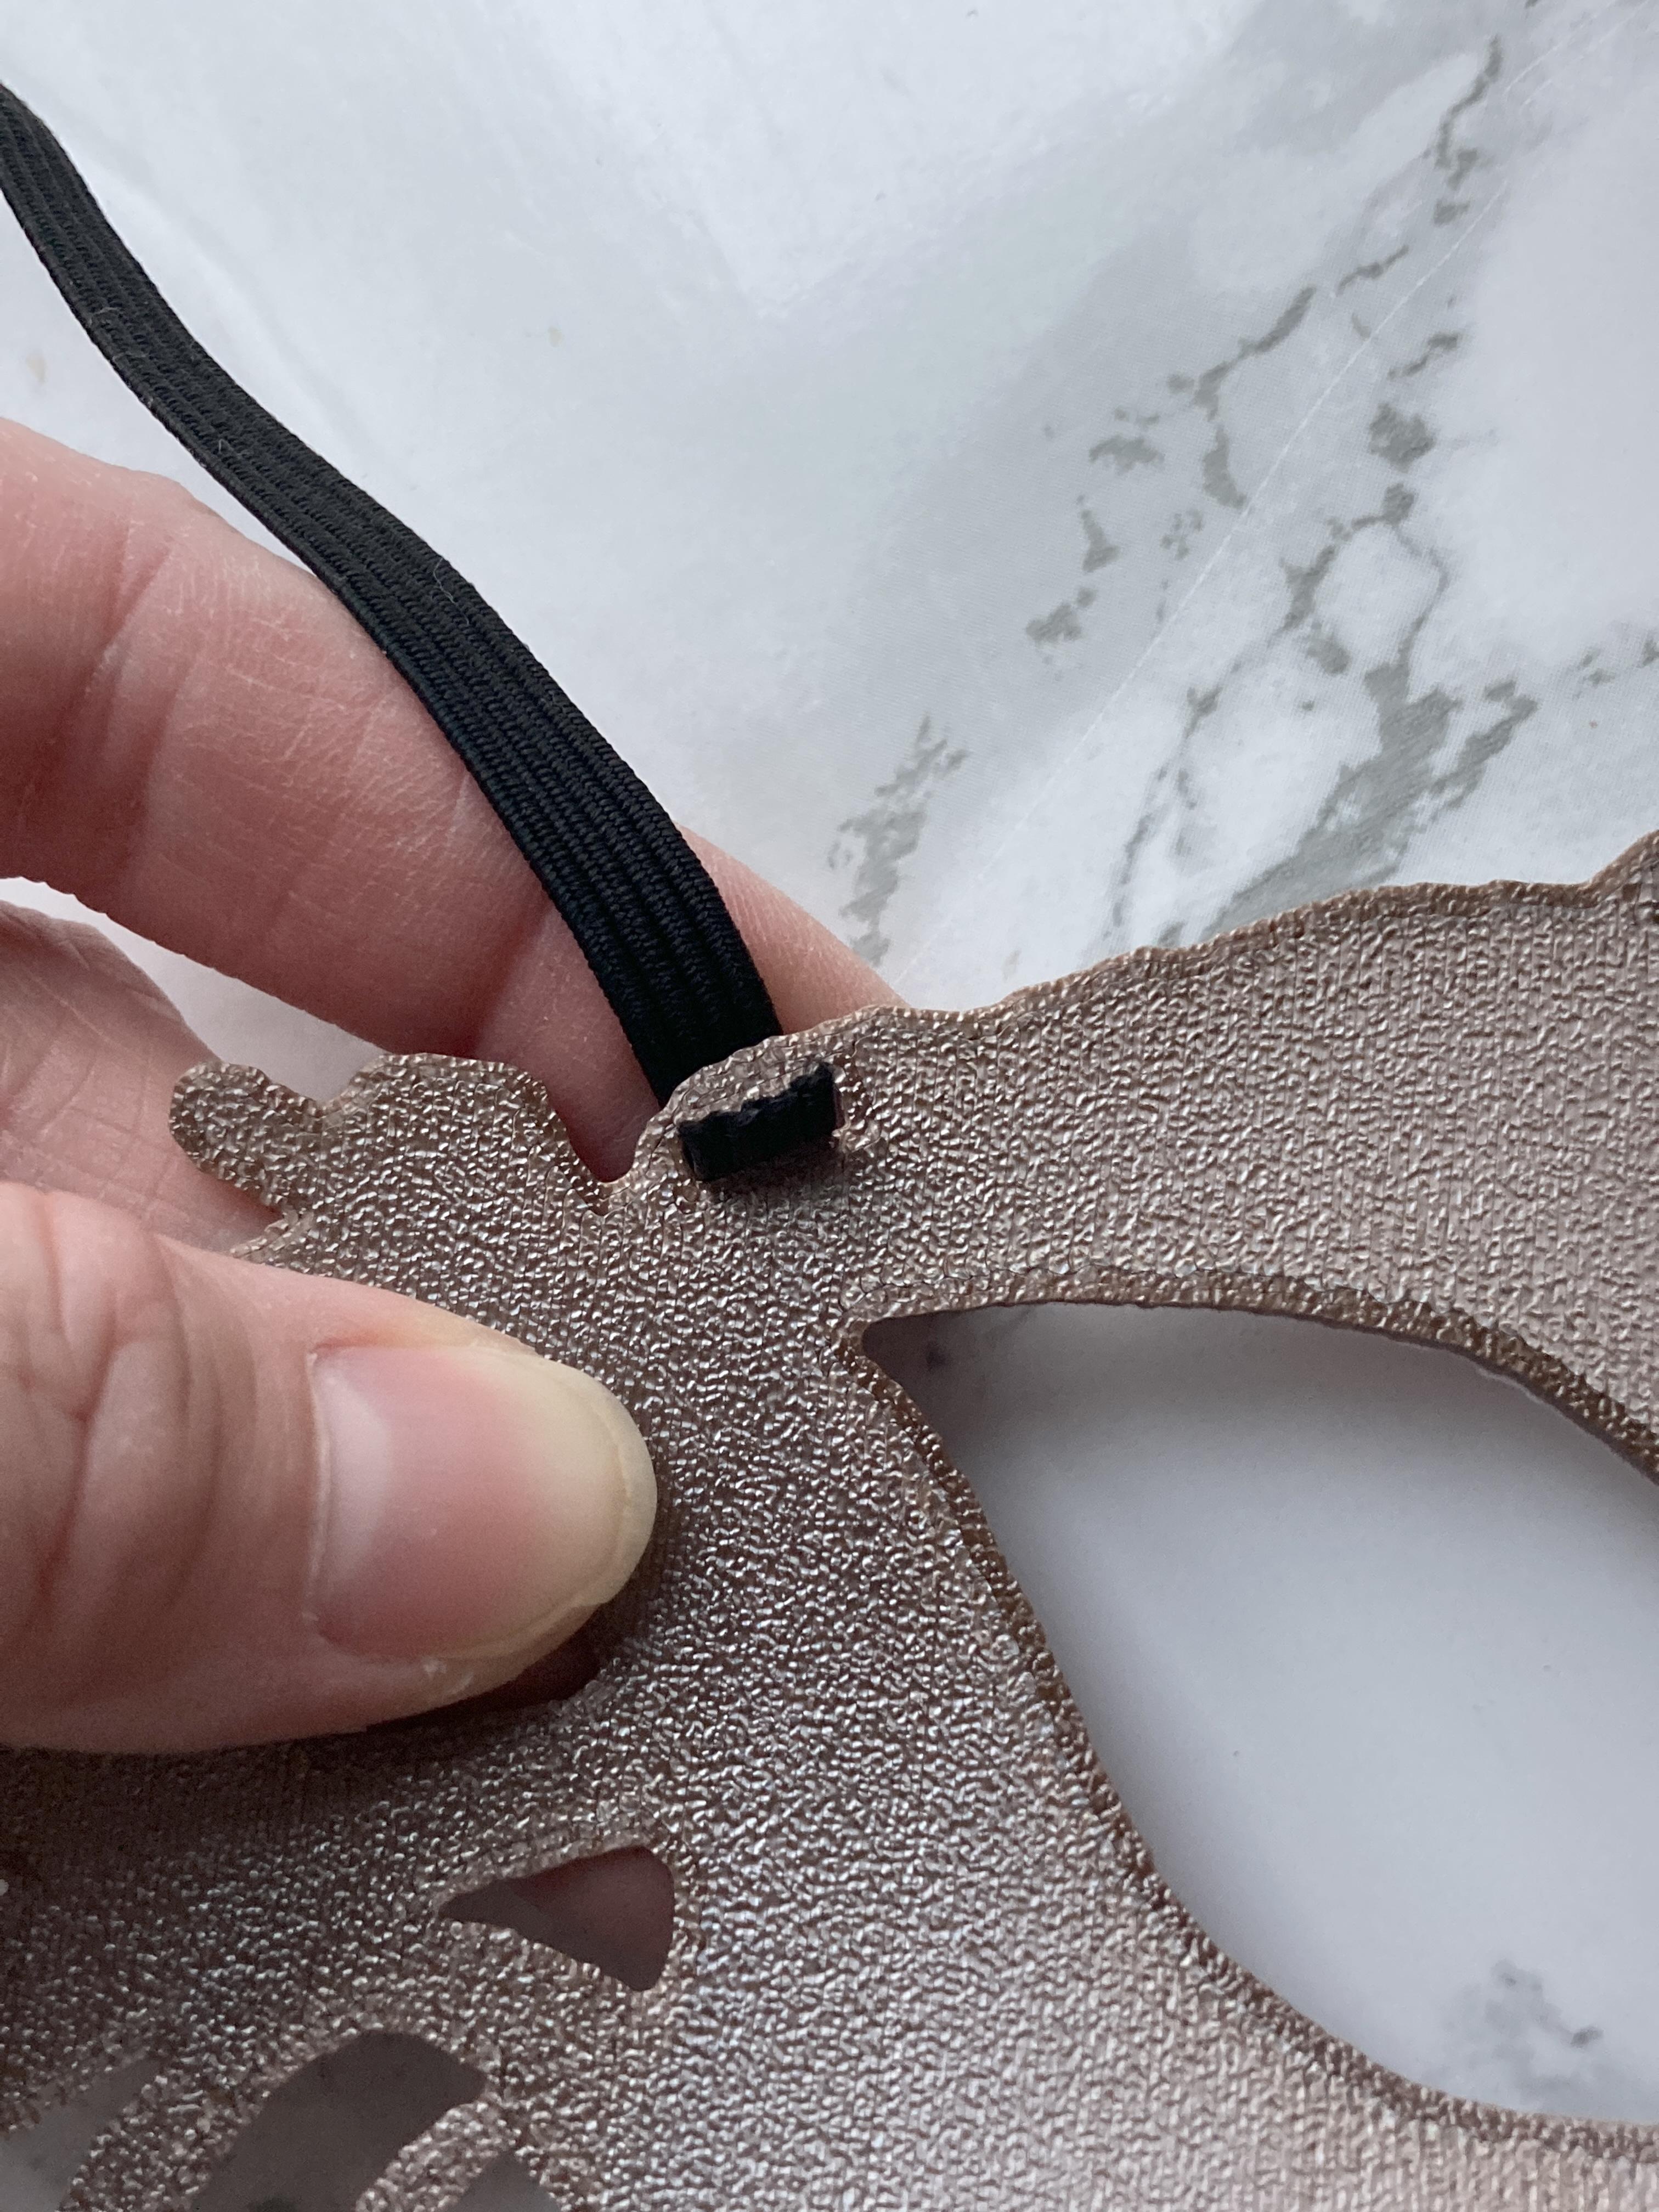
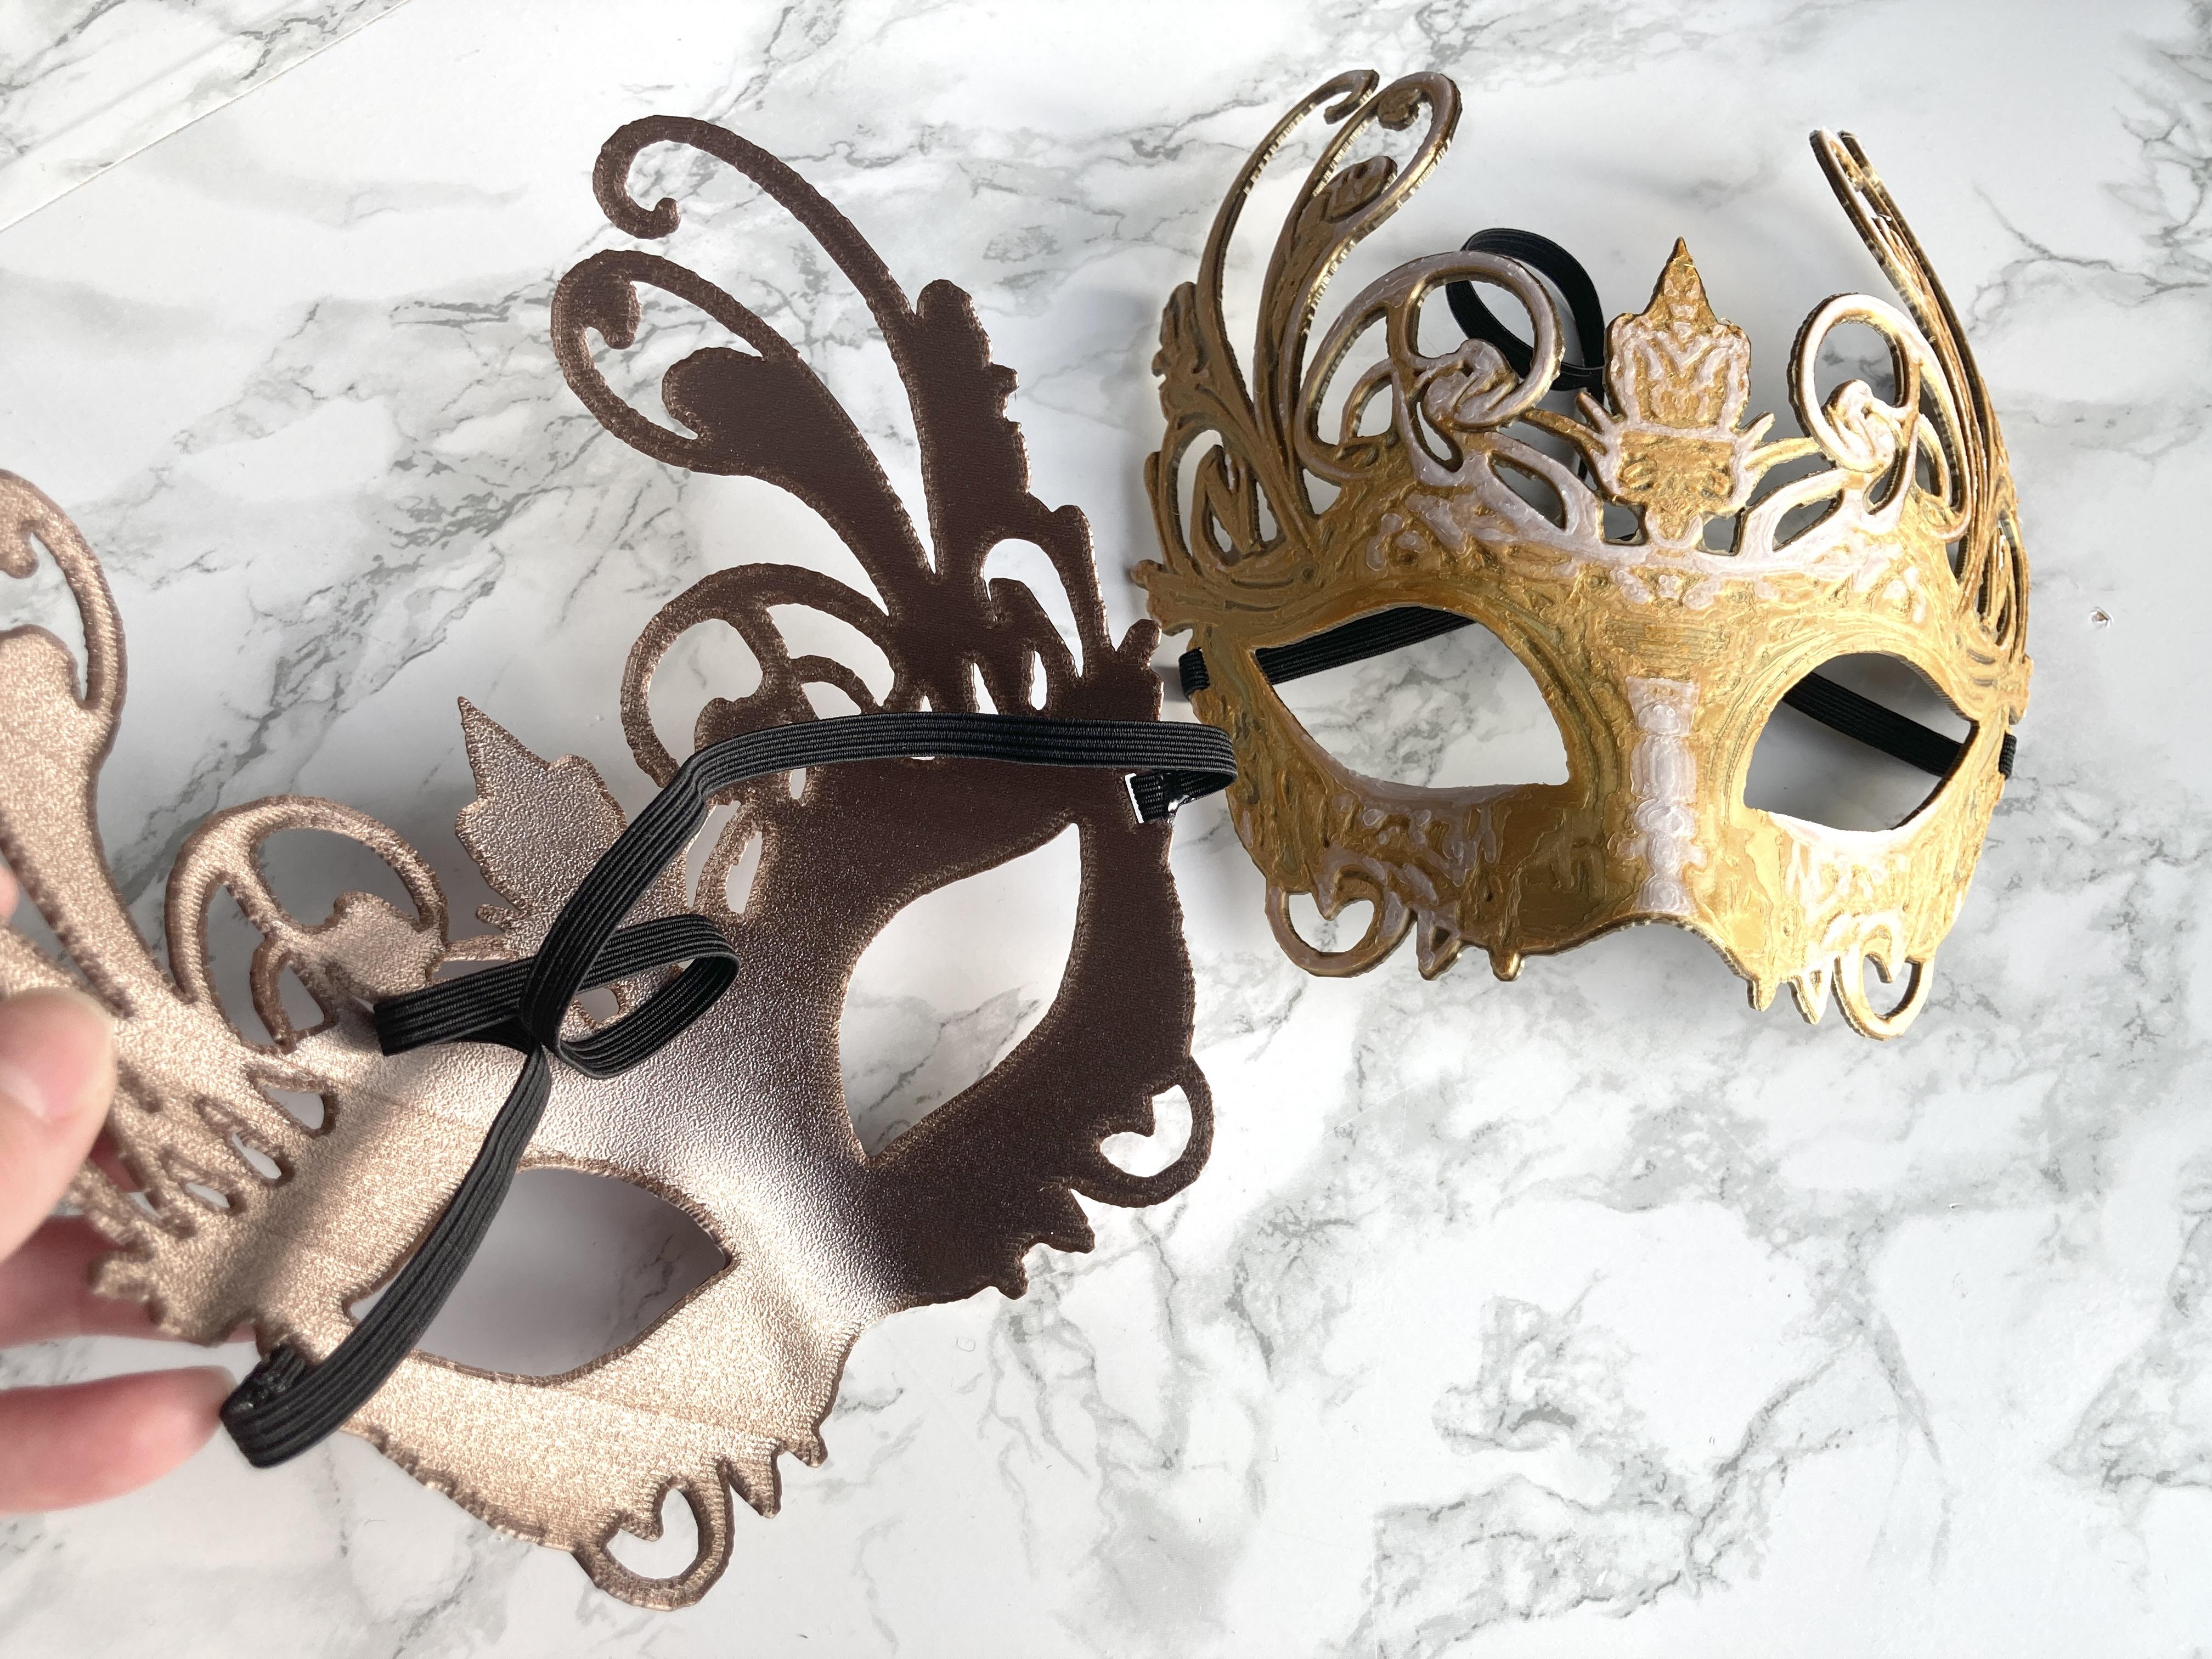
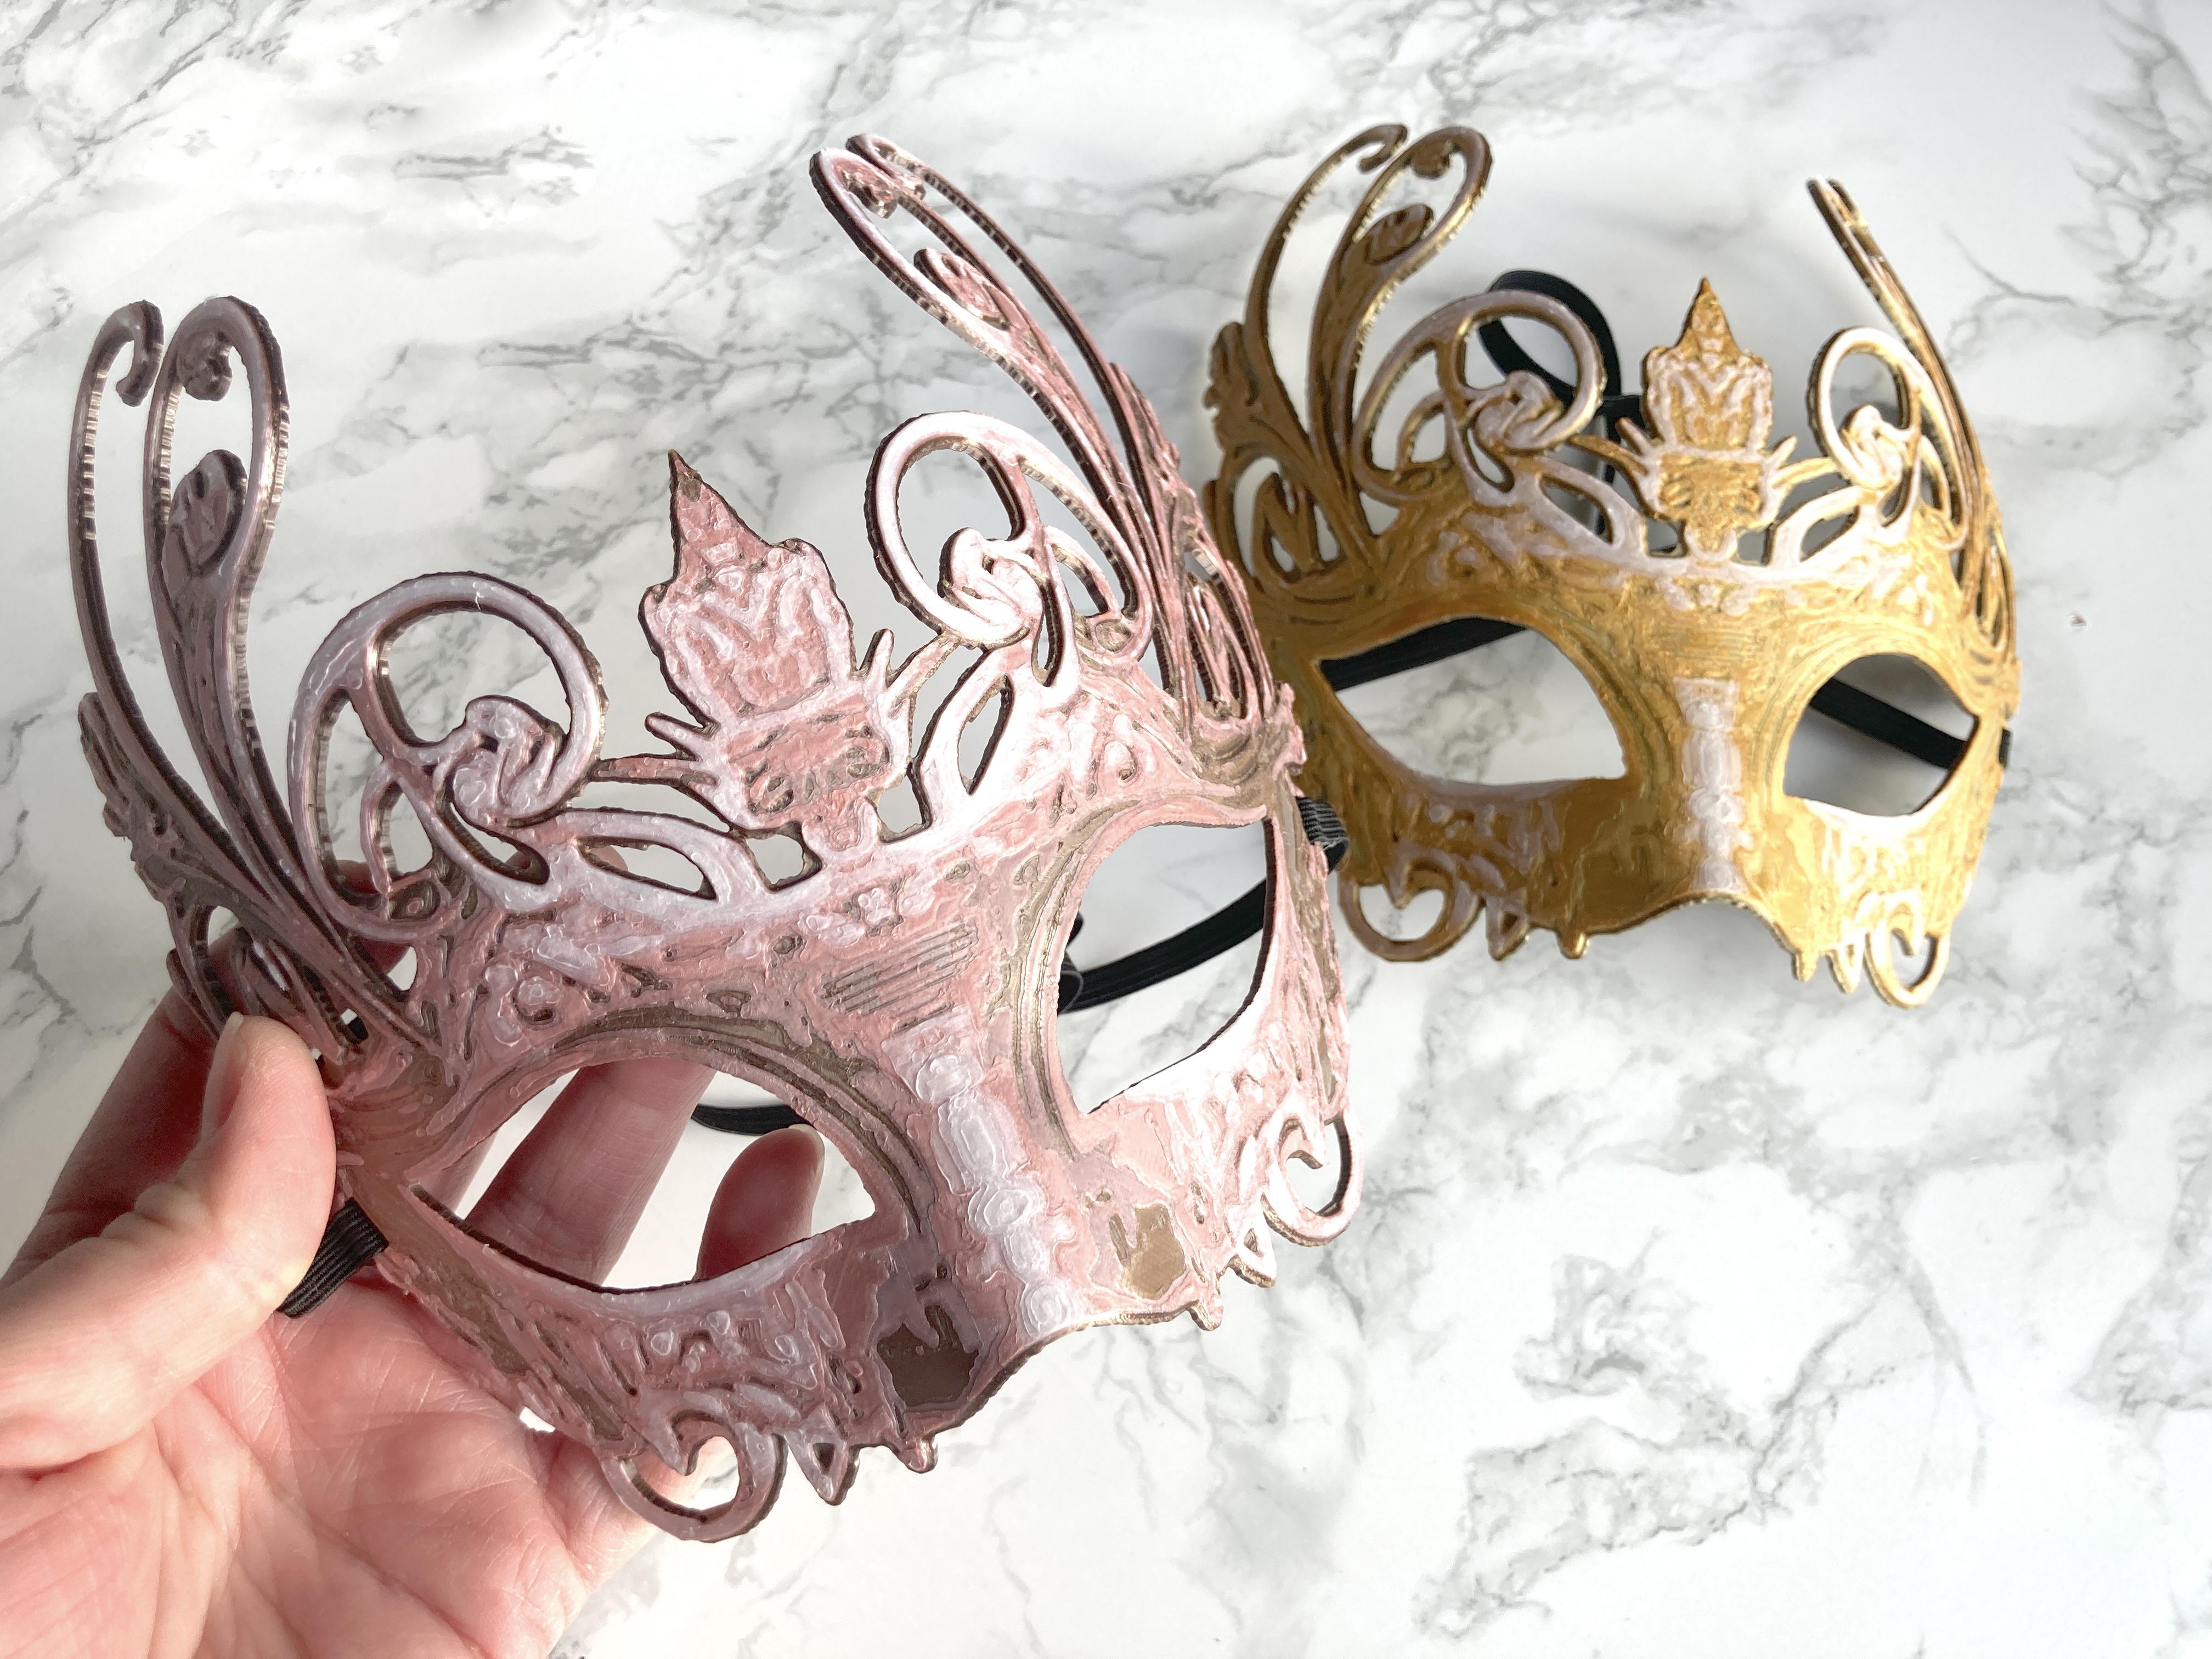
Time to add the elastic! Just measure on your head to get an idea of how much you need. Cut, and attach! You can use super glue to stop the ends from fraying, but I recommend either hot glue or sewing to attach to the mask. I feel the super glue can be iffy on staying attached to the elastic.
Enjoy your mask!
As I've done with my other 3D printed elastic mask, you can consider putting felt behind the nose to help cushion it against your face.
Mask
Mask


