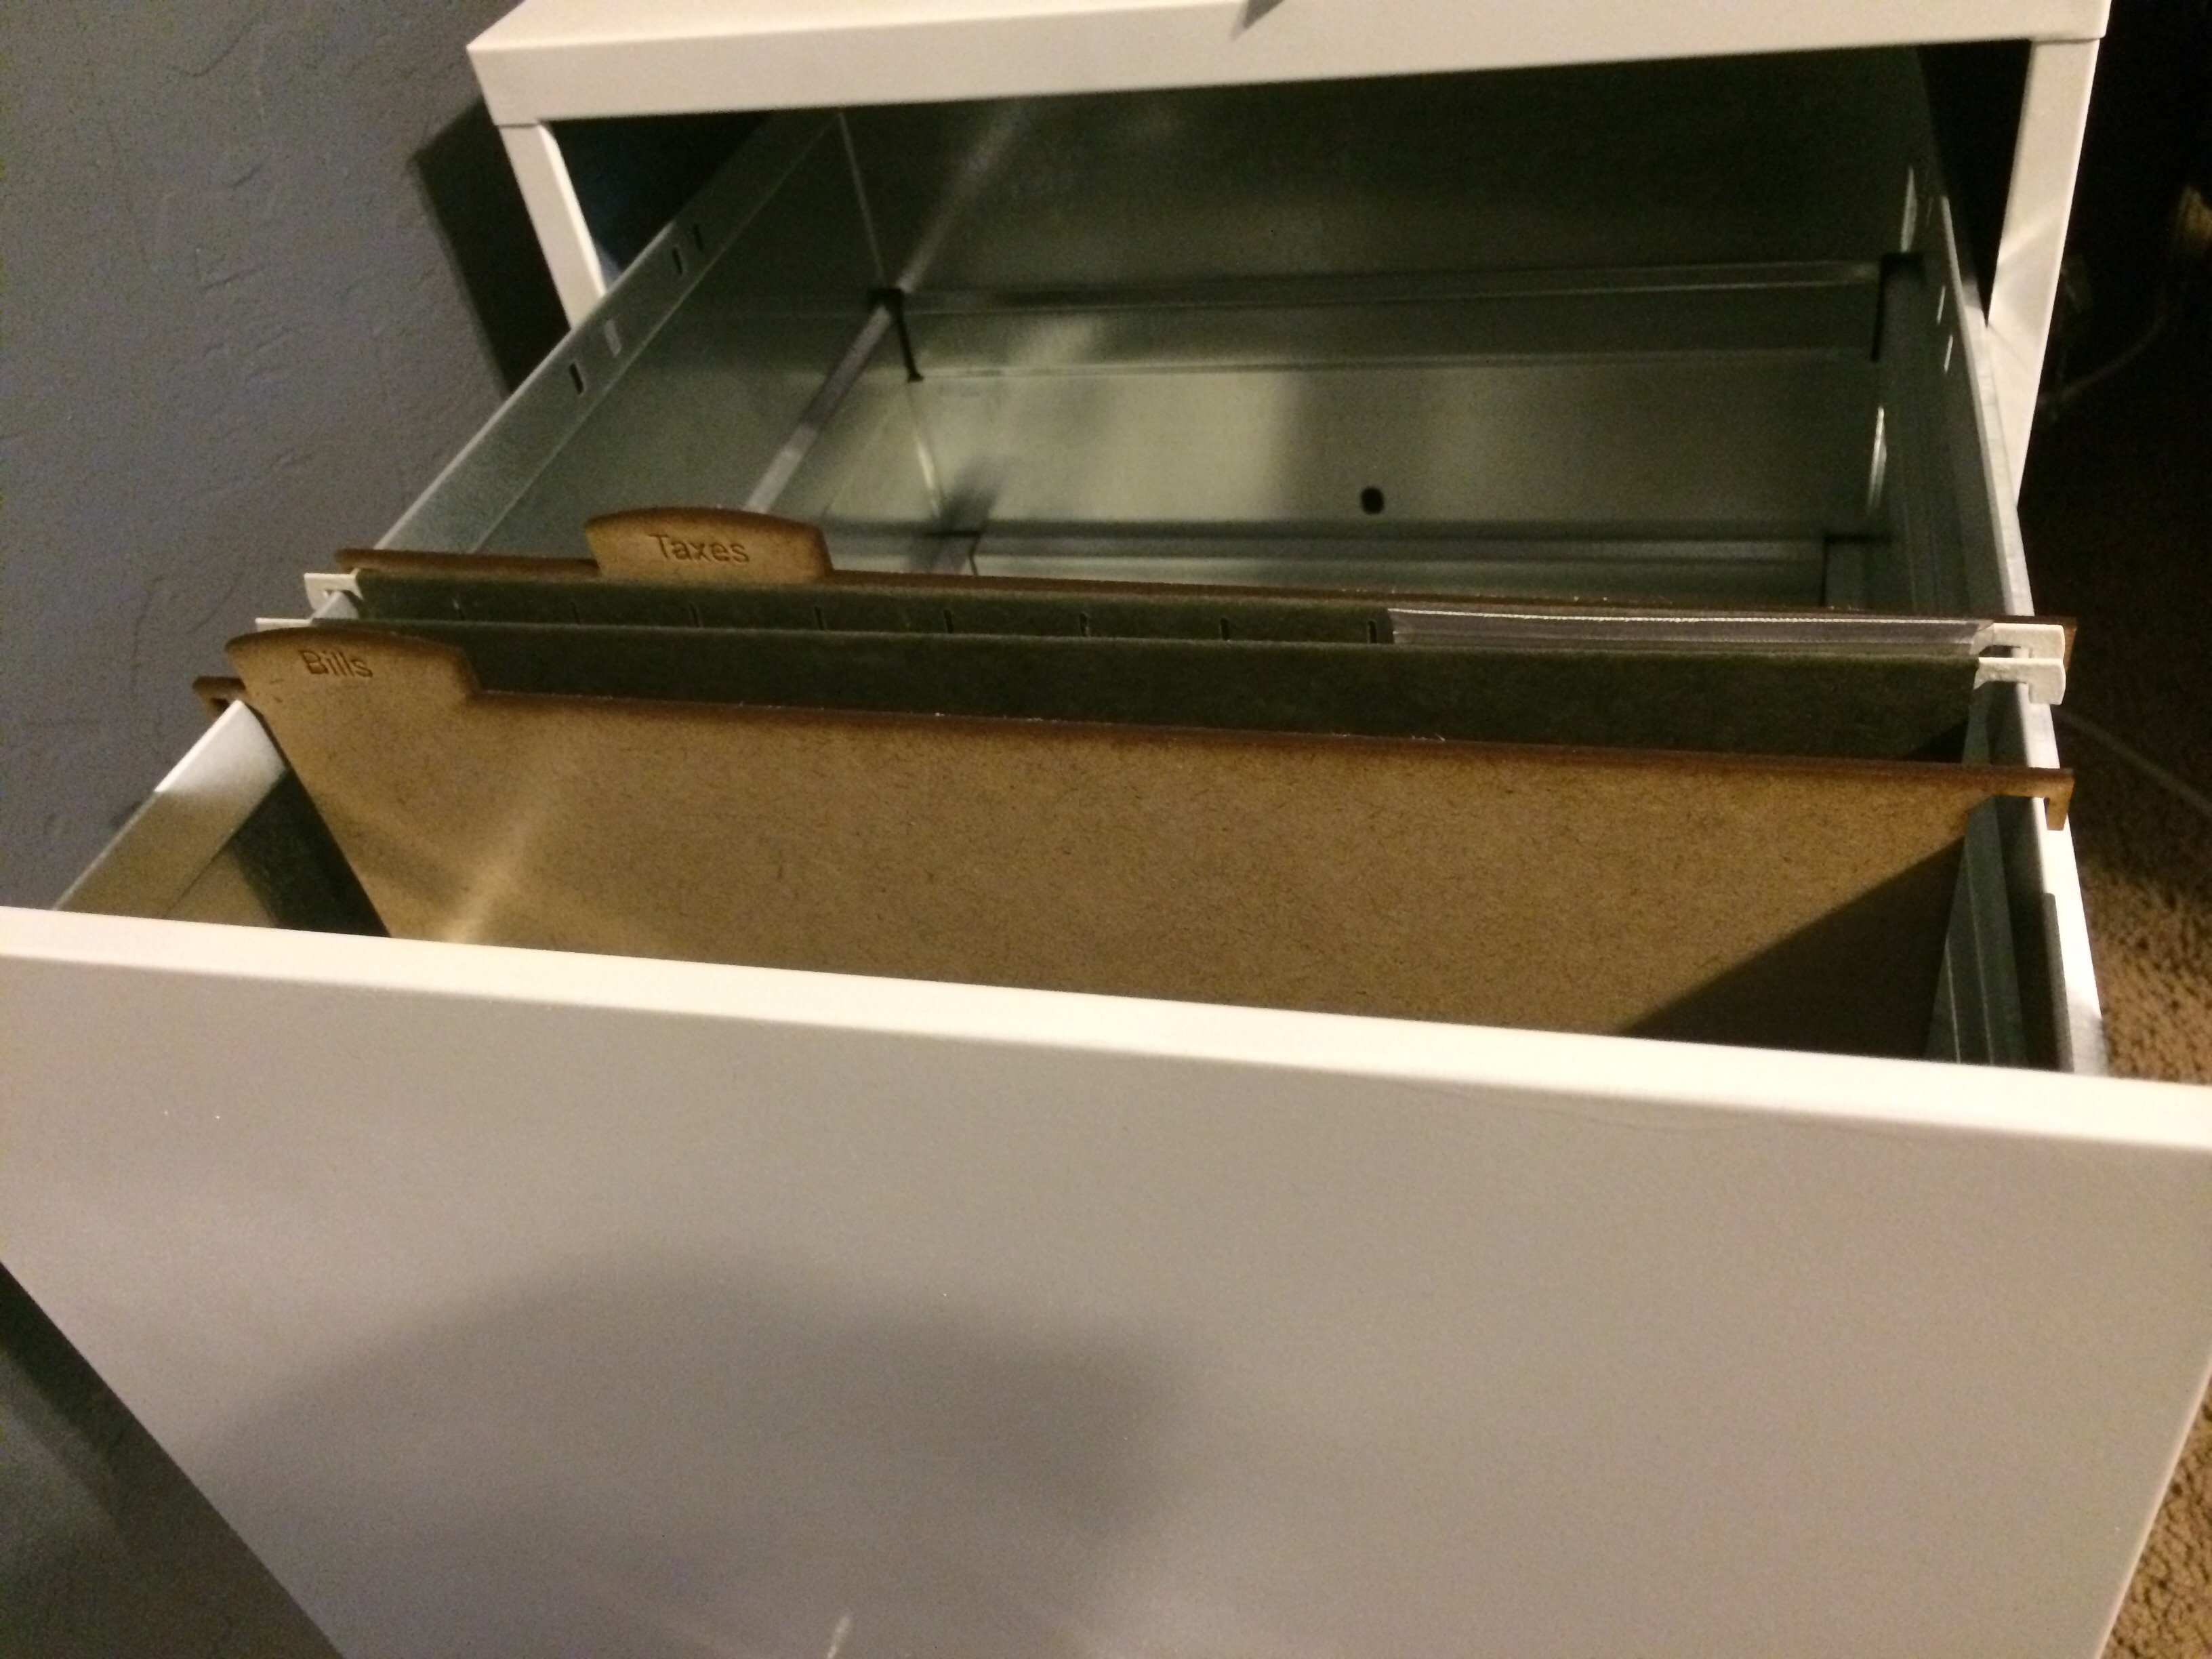
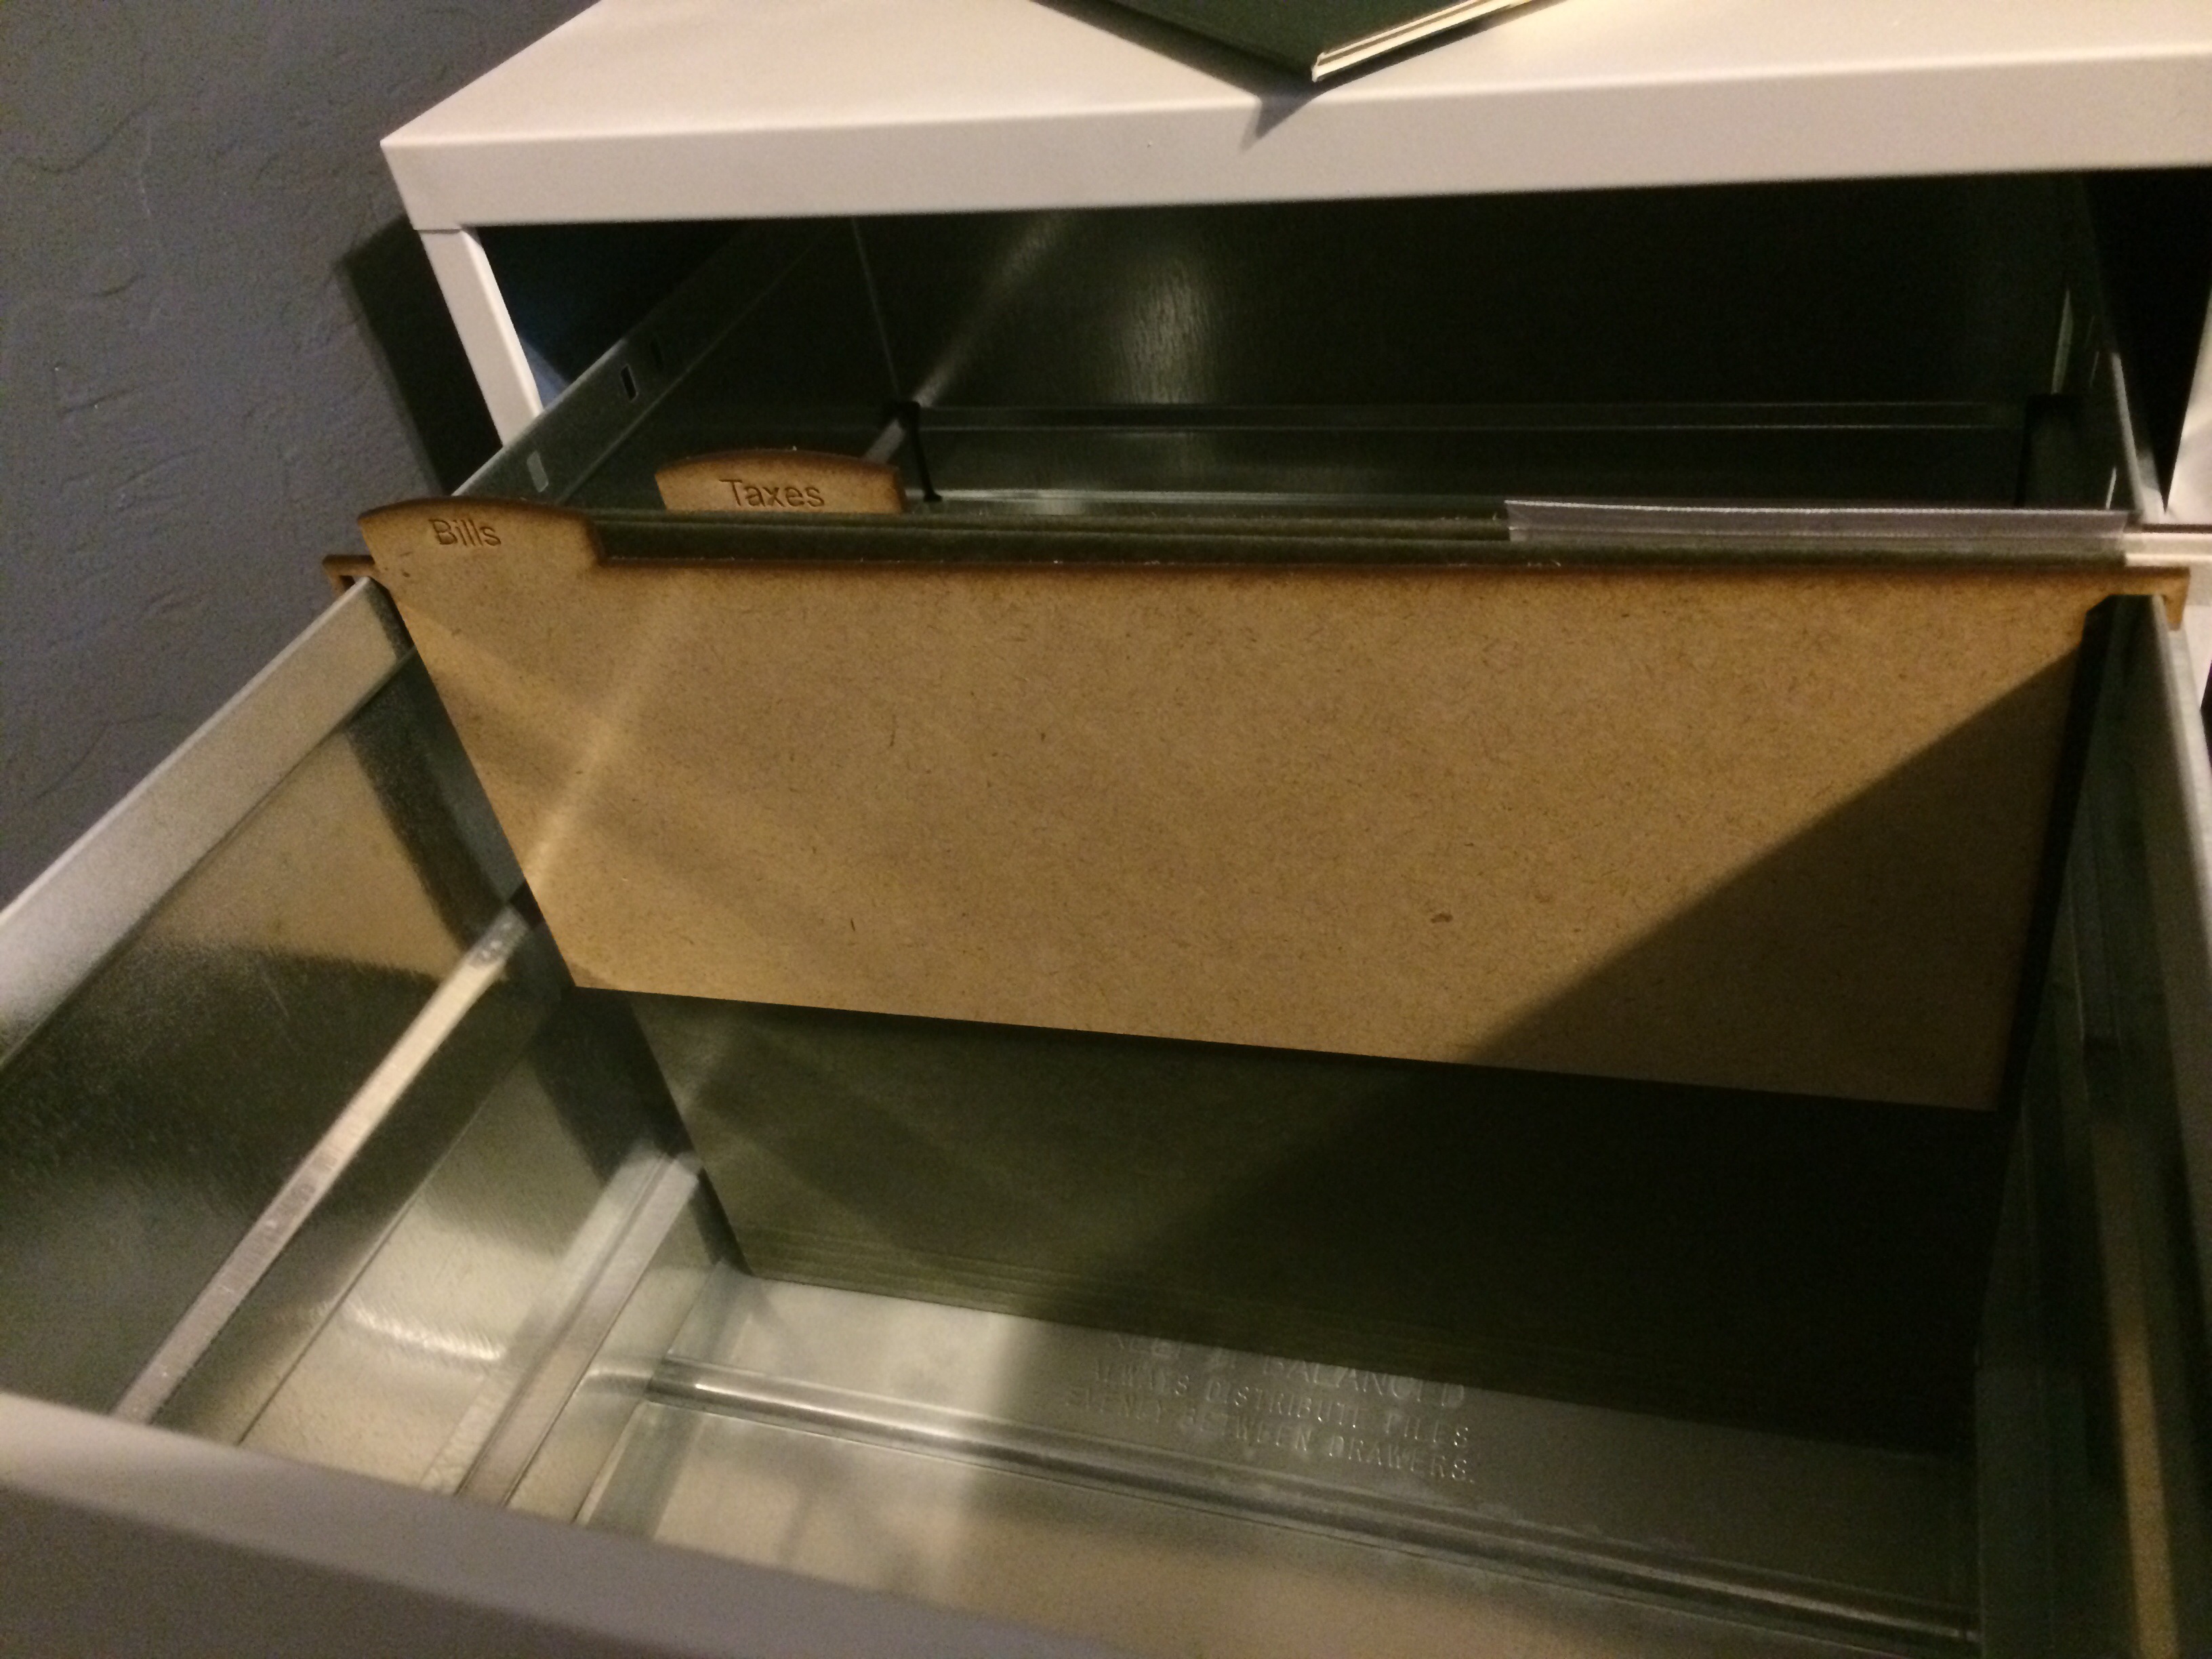
File Cabinet Dividers @ TechShop Chandler
by gowlery in Living > Organizing
869 Views, 12 Favorites, 0 Comments
File Cabinet Dividers @ TechShop Chandler
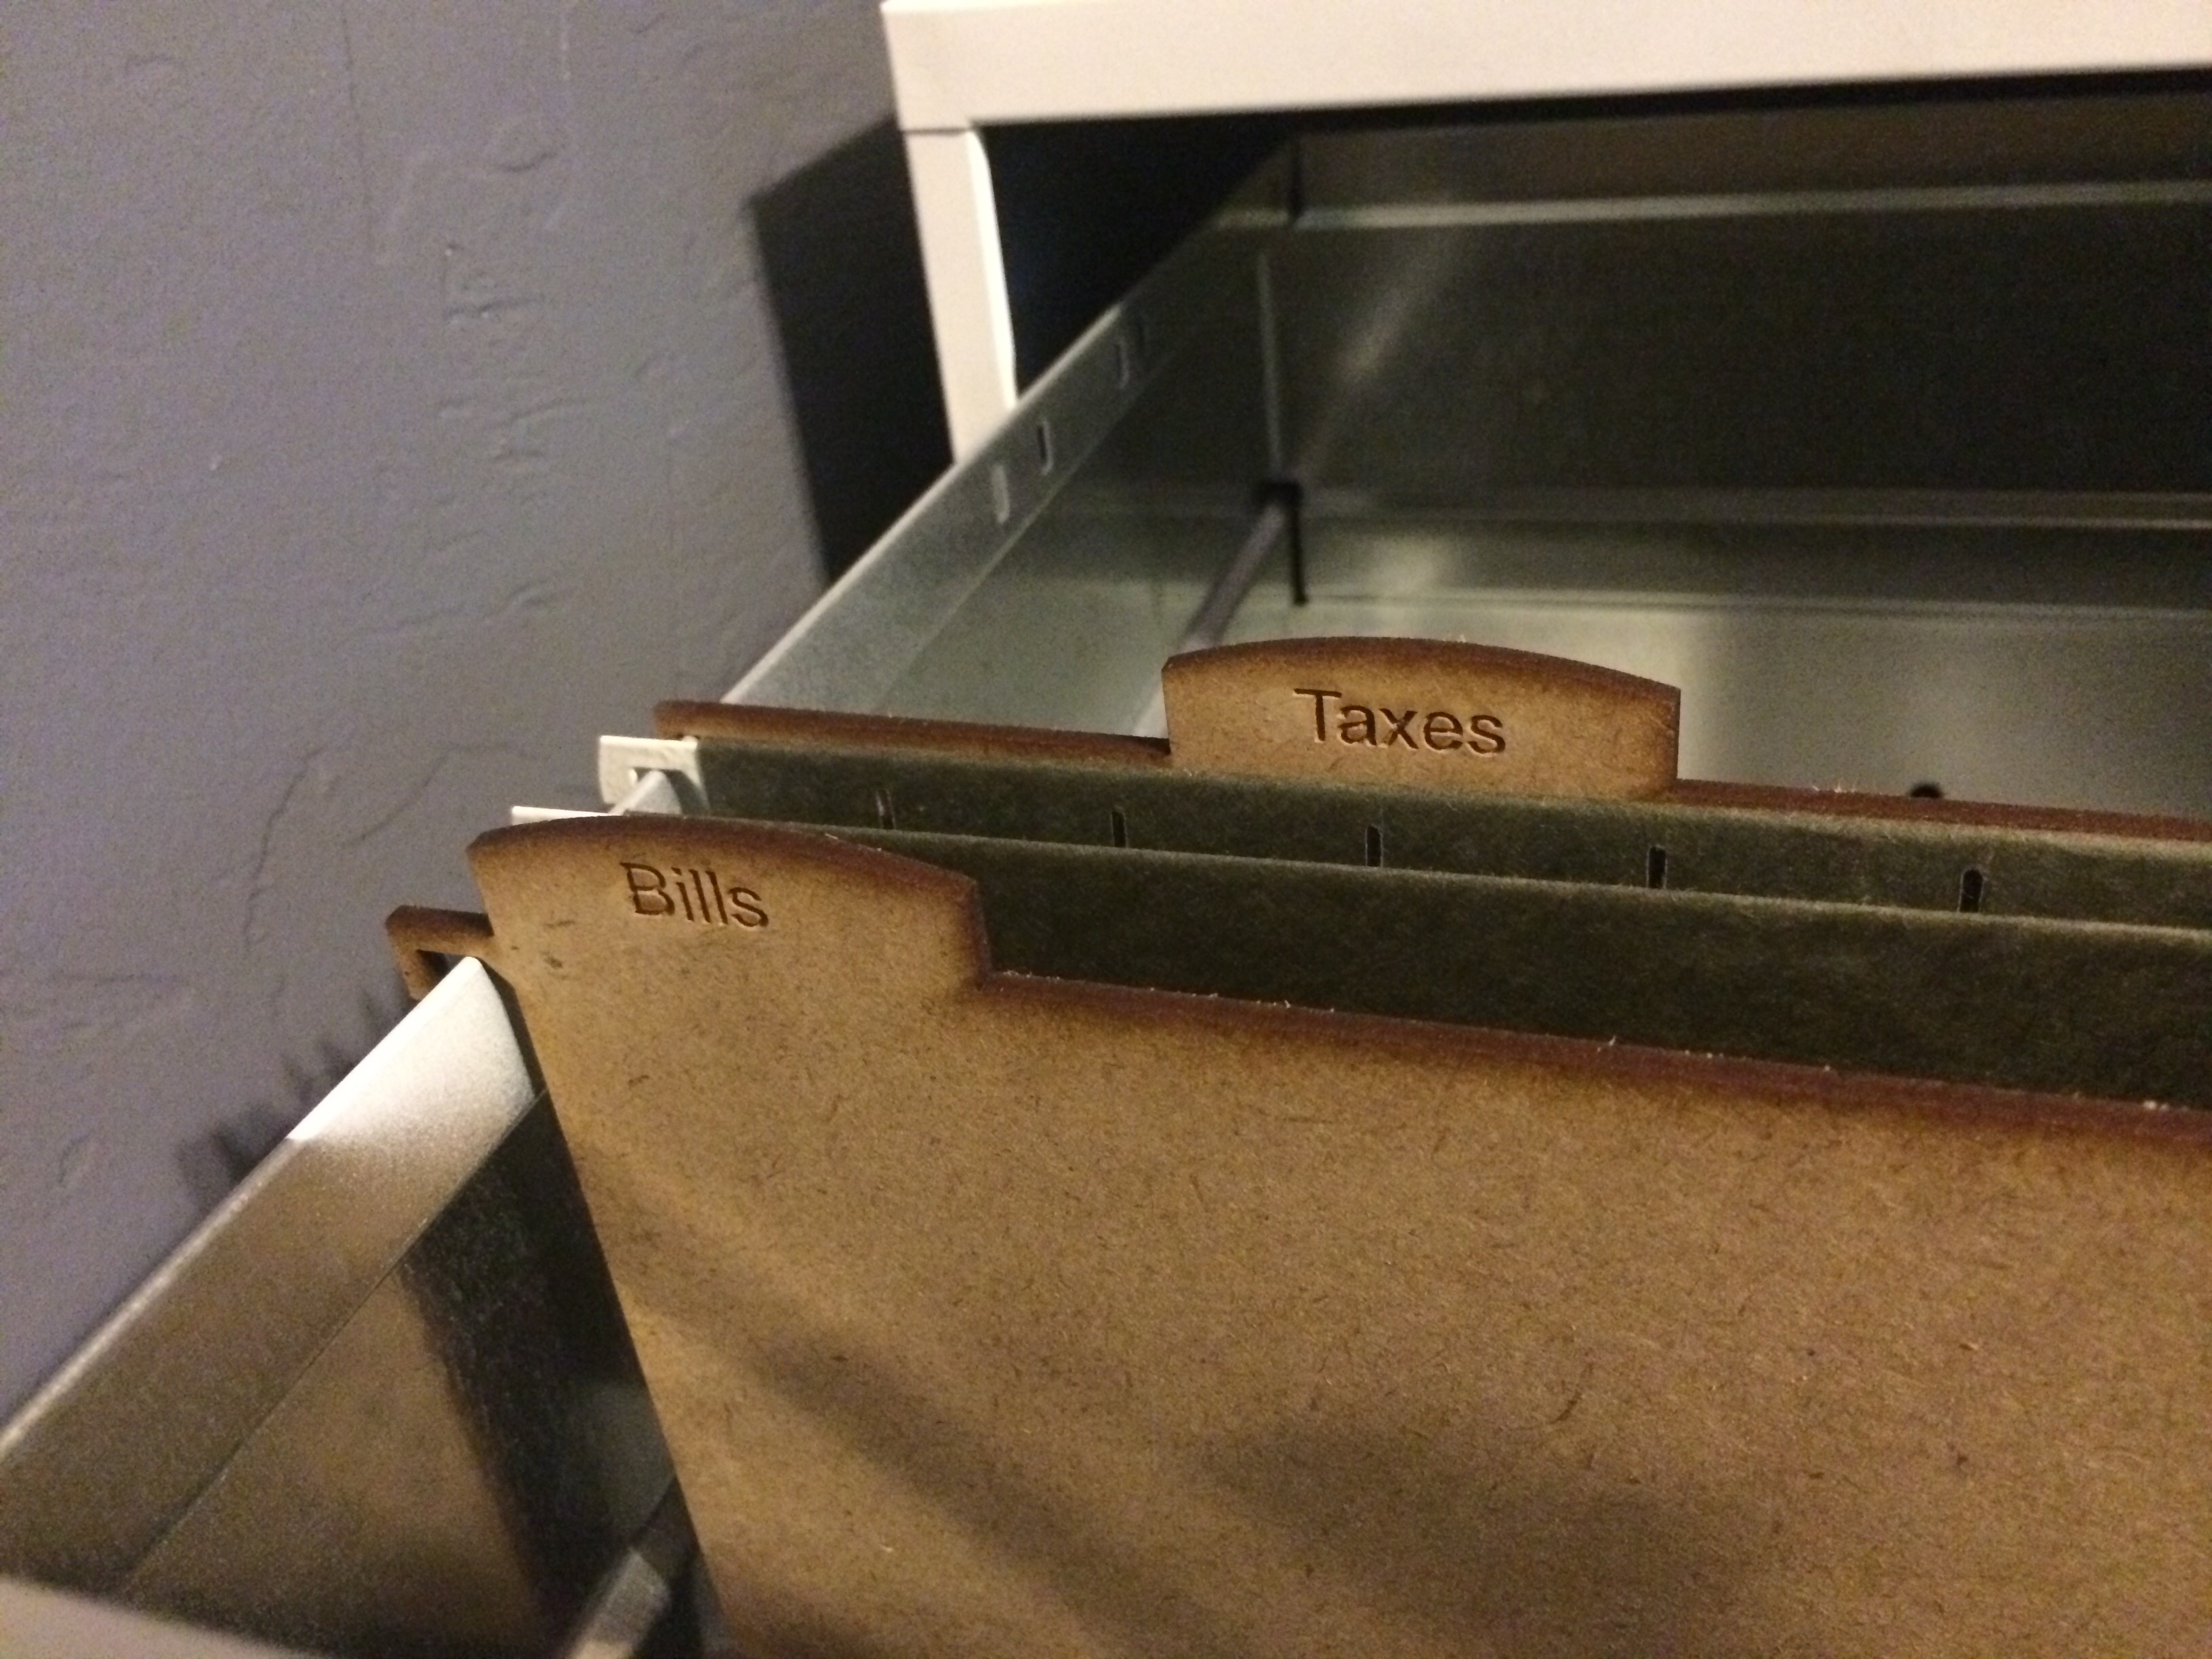
This is a tutorial for some file cabinet category organizers. These instructions are assuming that you are using the Universal Lasers @ TechShop Chandler, and that you have taken the SBU and are familiar with how to operate the machine.
For more information on the TechShop or to schedule a class, visit techshop.ws.
Downloads
Gather Materials
For this project, you will need the Illustrator file provided, and a sheet of 1/8" thick MDF. The 1/8" MDF is available at Home Depot as a 2' X 4' sheet. It will need to be cut down into 1' X 2' sections so that the material will fit the laser bed.
Customize File & Print
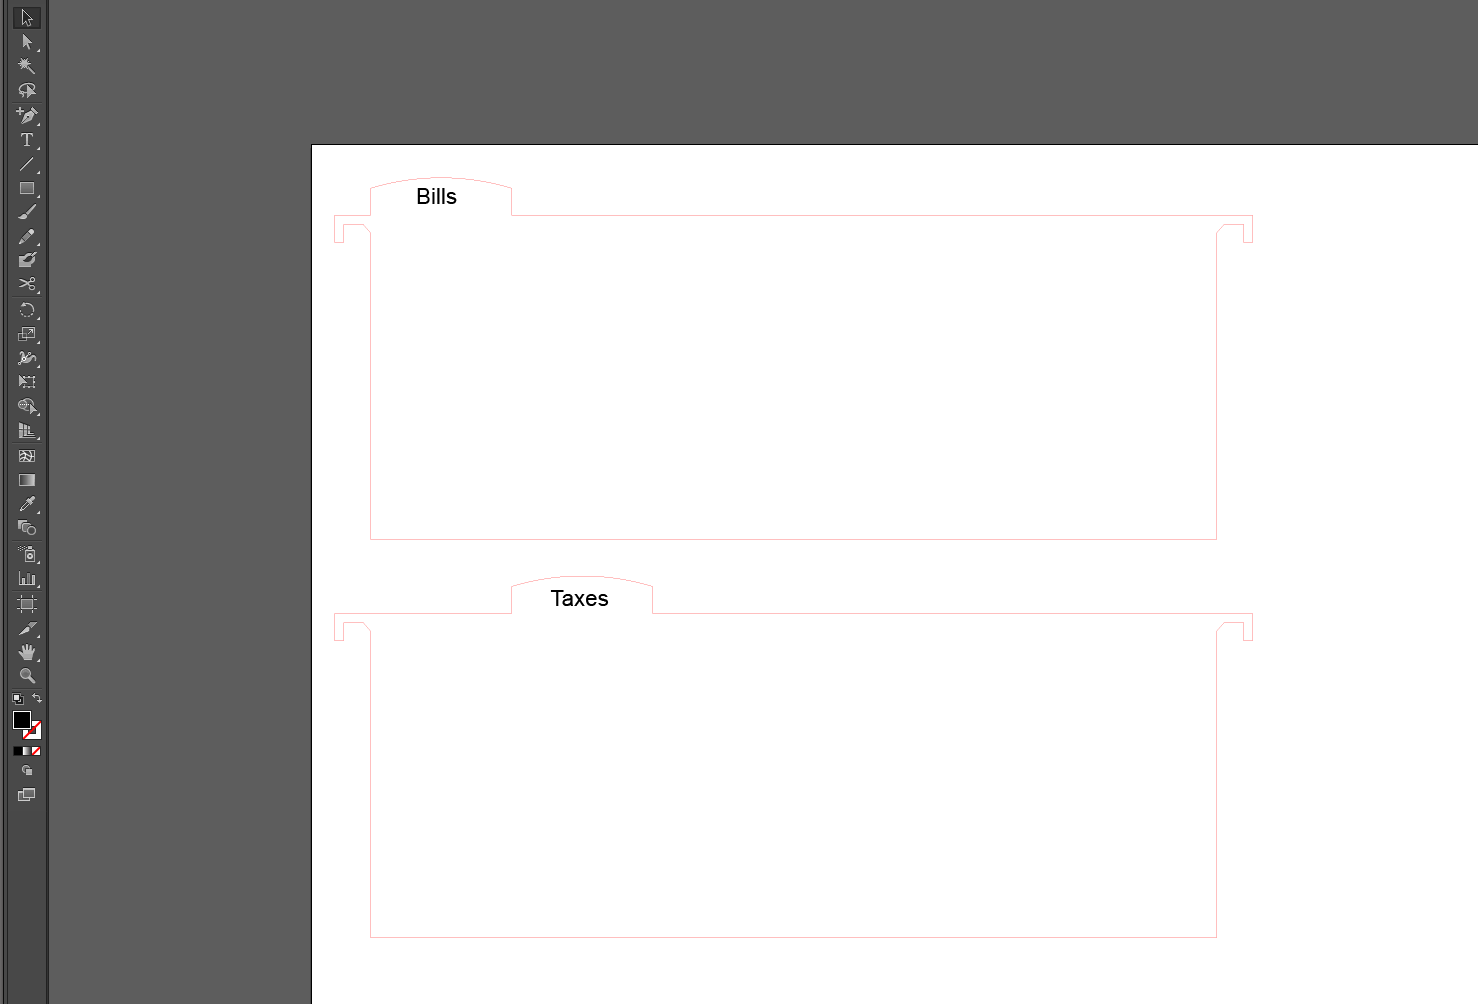
Open up the Illustrator file and add text to the label tabs. Just make sure that whatever you want to be etched on the label is in black.
When you have finished labeling the tabs, go ahead and print from Illustrator to the laser program. From the print screen in Illustrator, make sure to hit "Setup" and "Preferences" to access the laser settings. Set your material height (.125"), and choose General Medium Woods for the material. Make sure to hit apply, and once you are back in the print dialog, hit "Print"
Setup Materials and Print to Laser
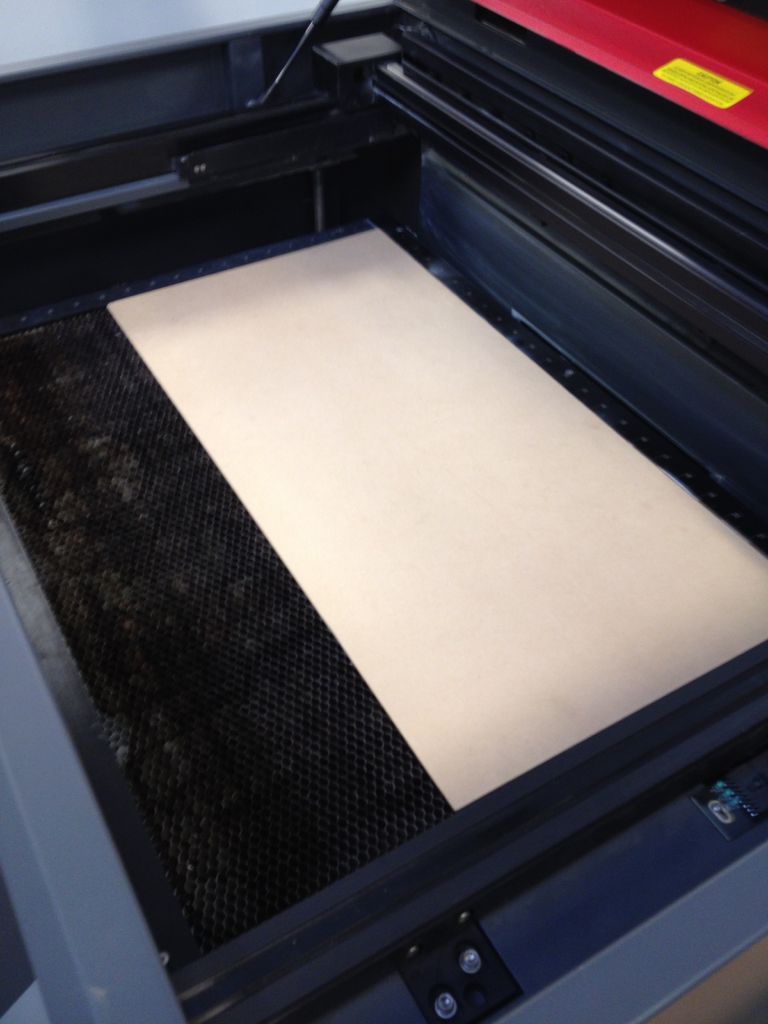
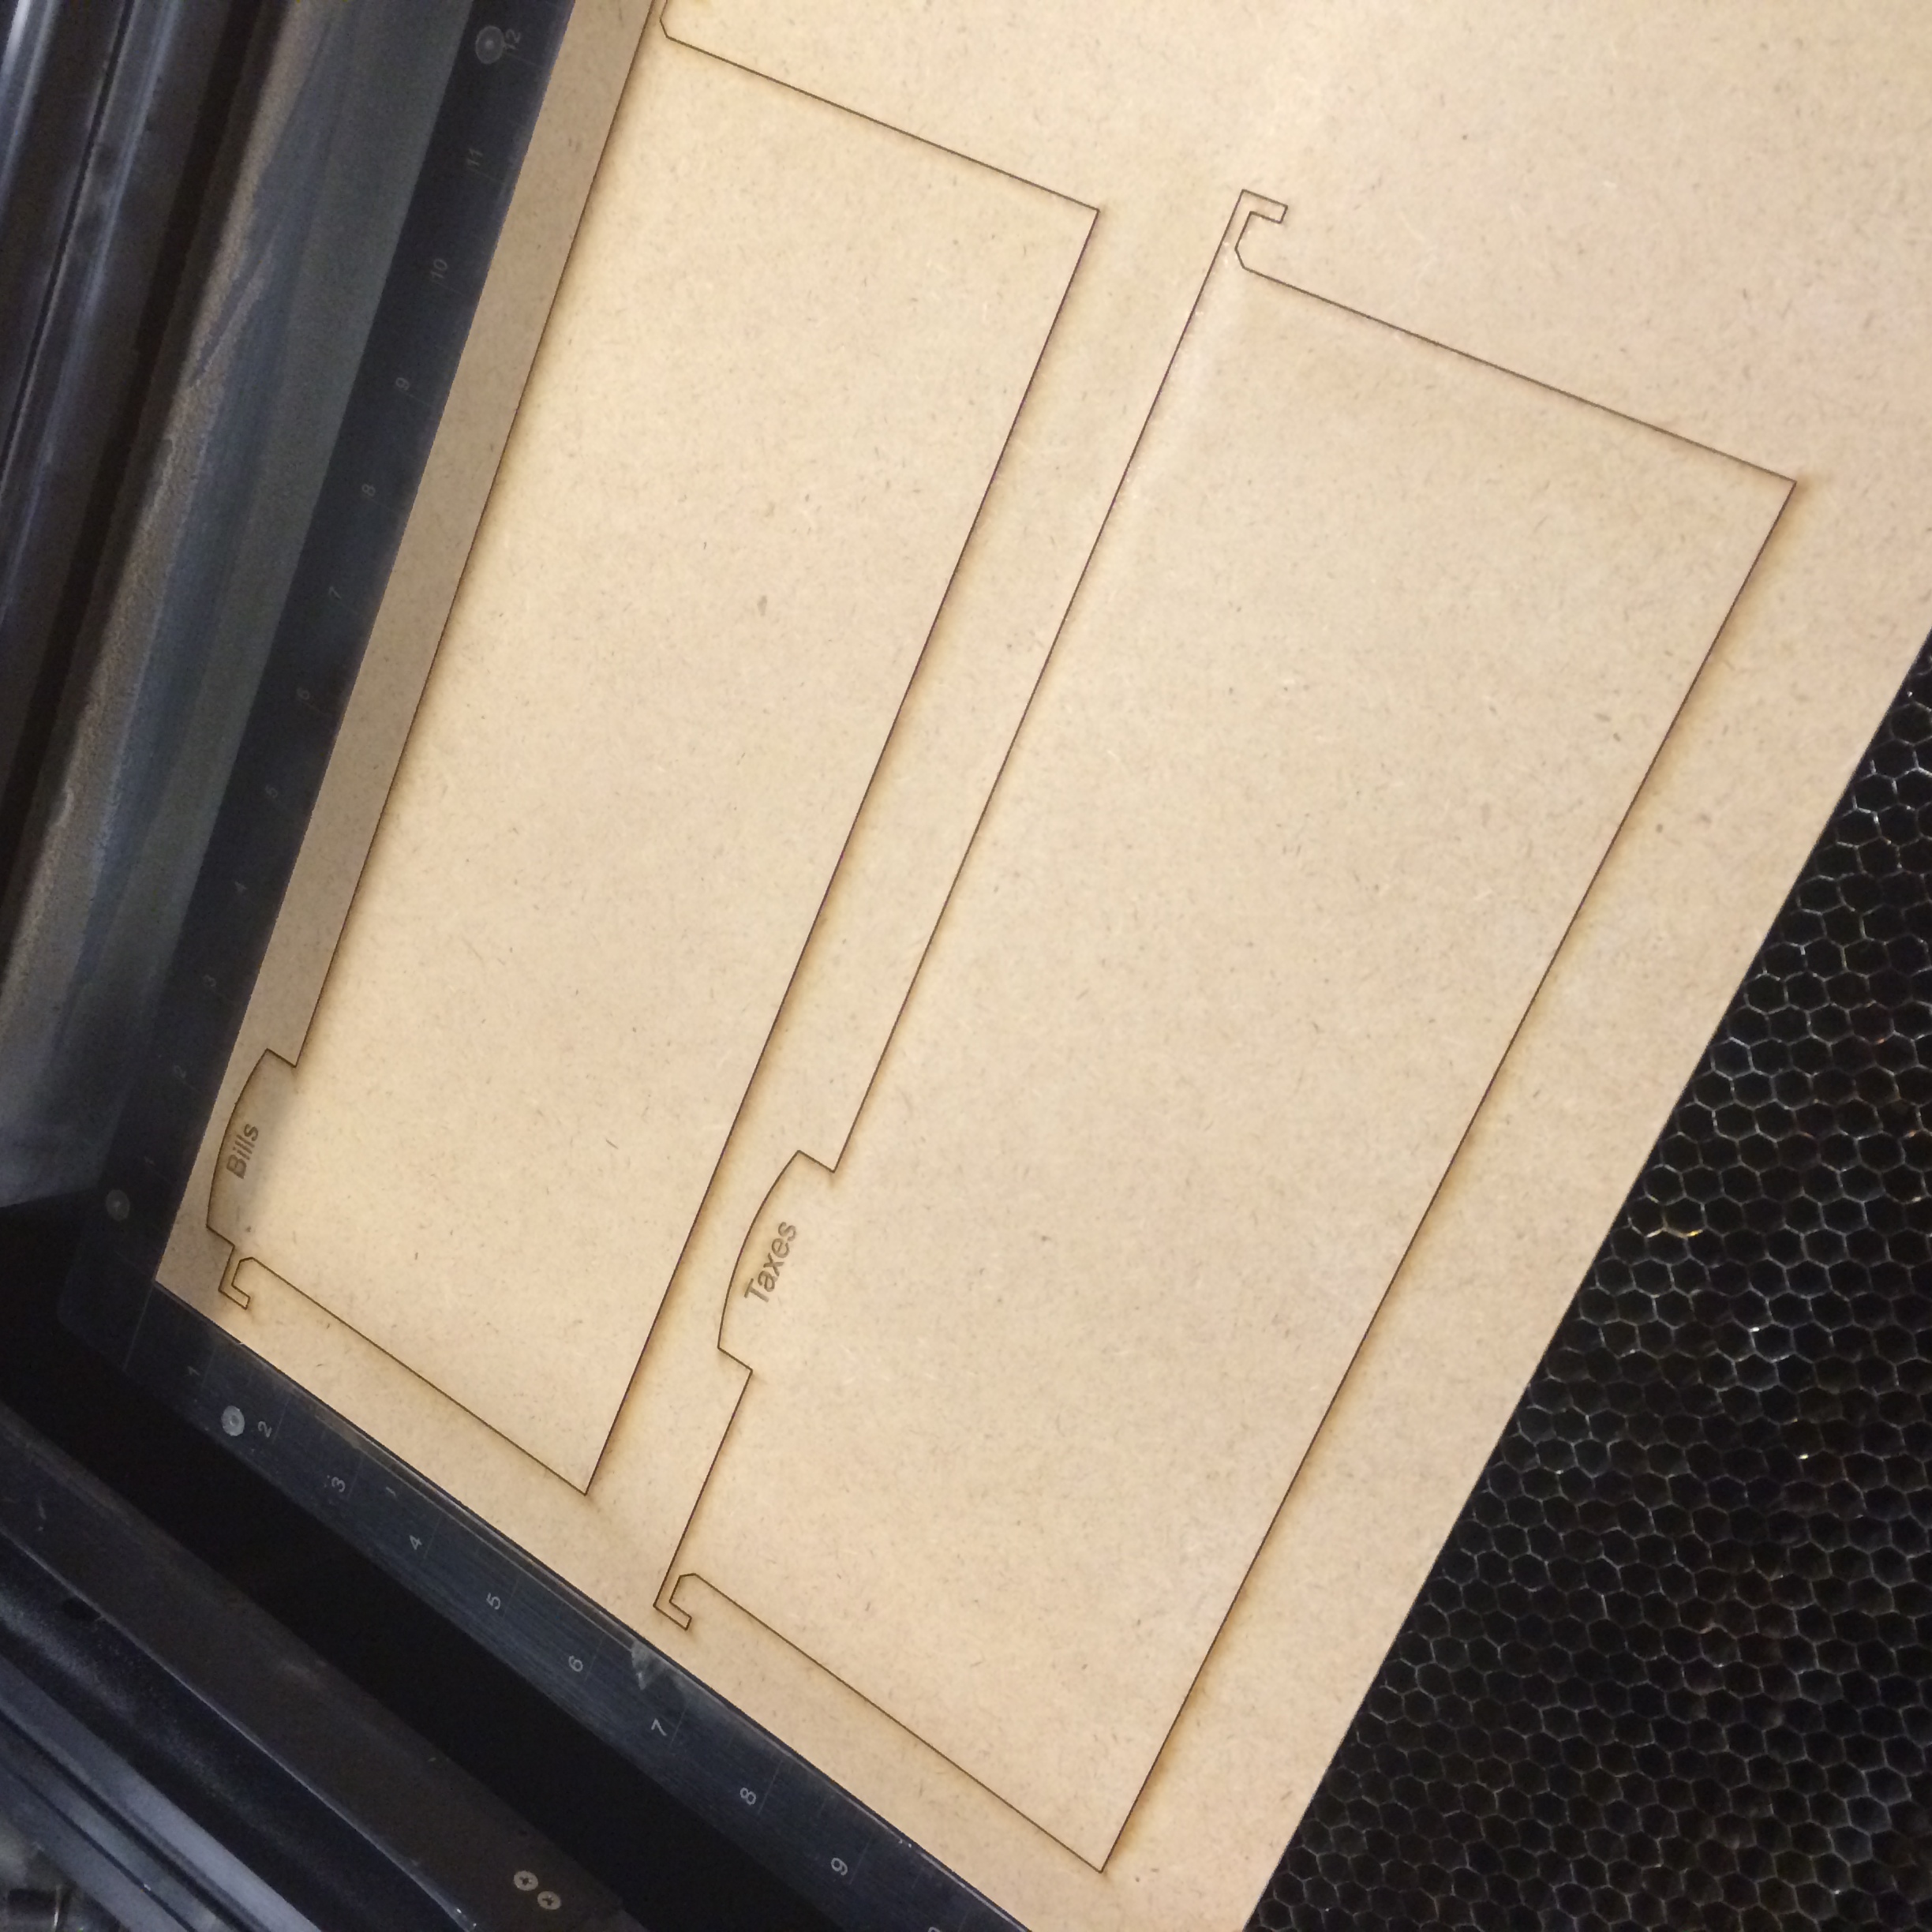
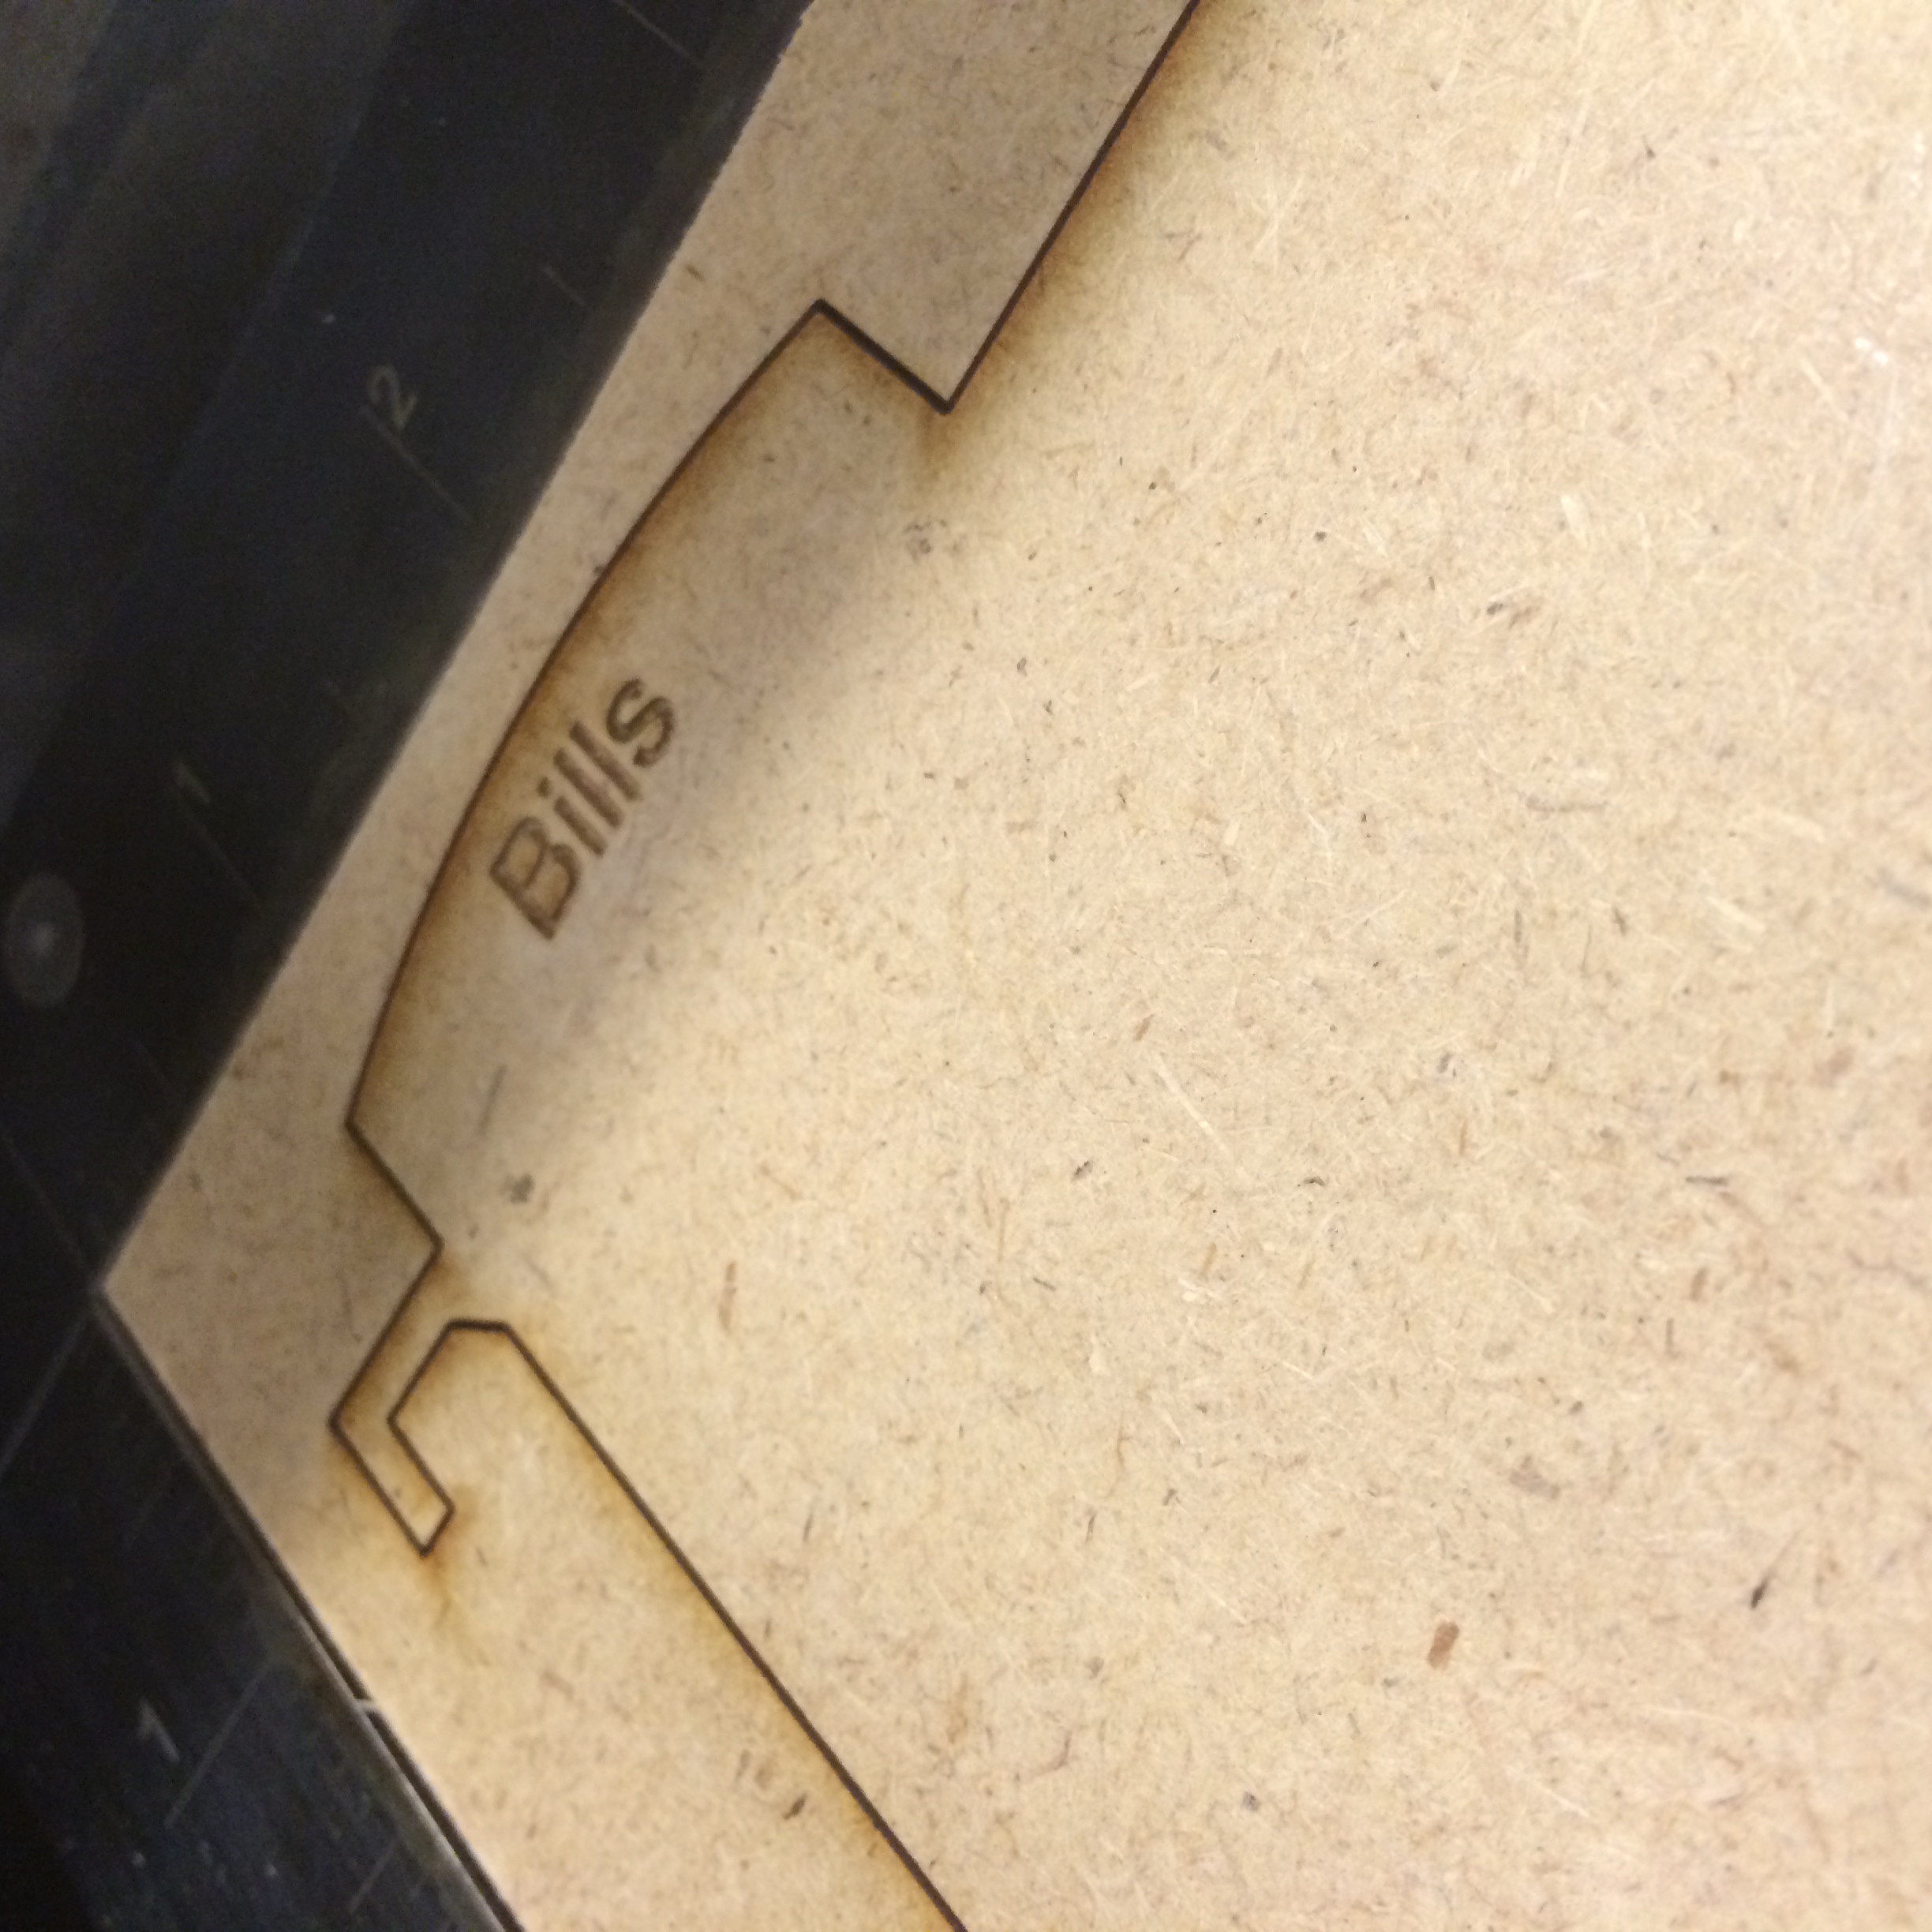
Place the first piece of MDF on the laser bed.
Once in the Laser Control Panel, use the "Focus View" option to move the laser head to the spot on the material that you want to start cutting at. Then use the "Relocate" option to move the image to where the pointer is positioned. To do this, select the grab point on the image that you want to line up with the start point, and then hit "To Pointer" in the bottom right hand corner of the screen.
At this point, you are ready to start the file printing. Go ahead and press the big, green Play button.
When the first page is finished printing, go to the next page and place a new piece of MDF on the laser bed. Relocate the objects again following the steps above and hit the Play button again to start the file. Repeat these steps for the remaining pages until all of the parts have been printed.
Organize Your Files
