Fidget Box
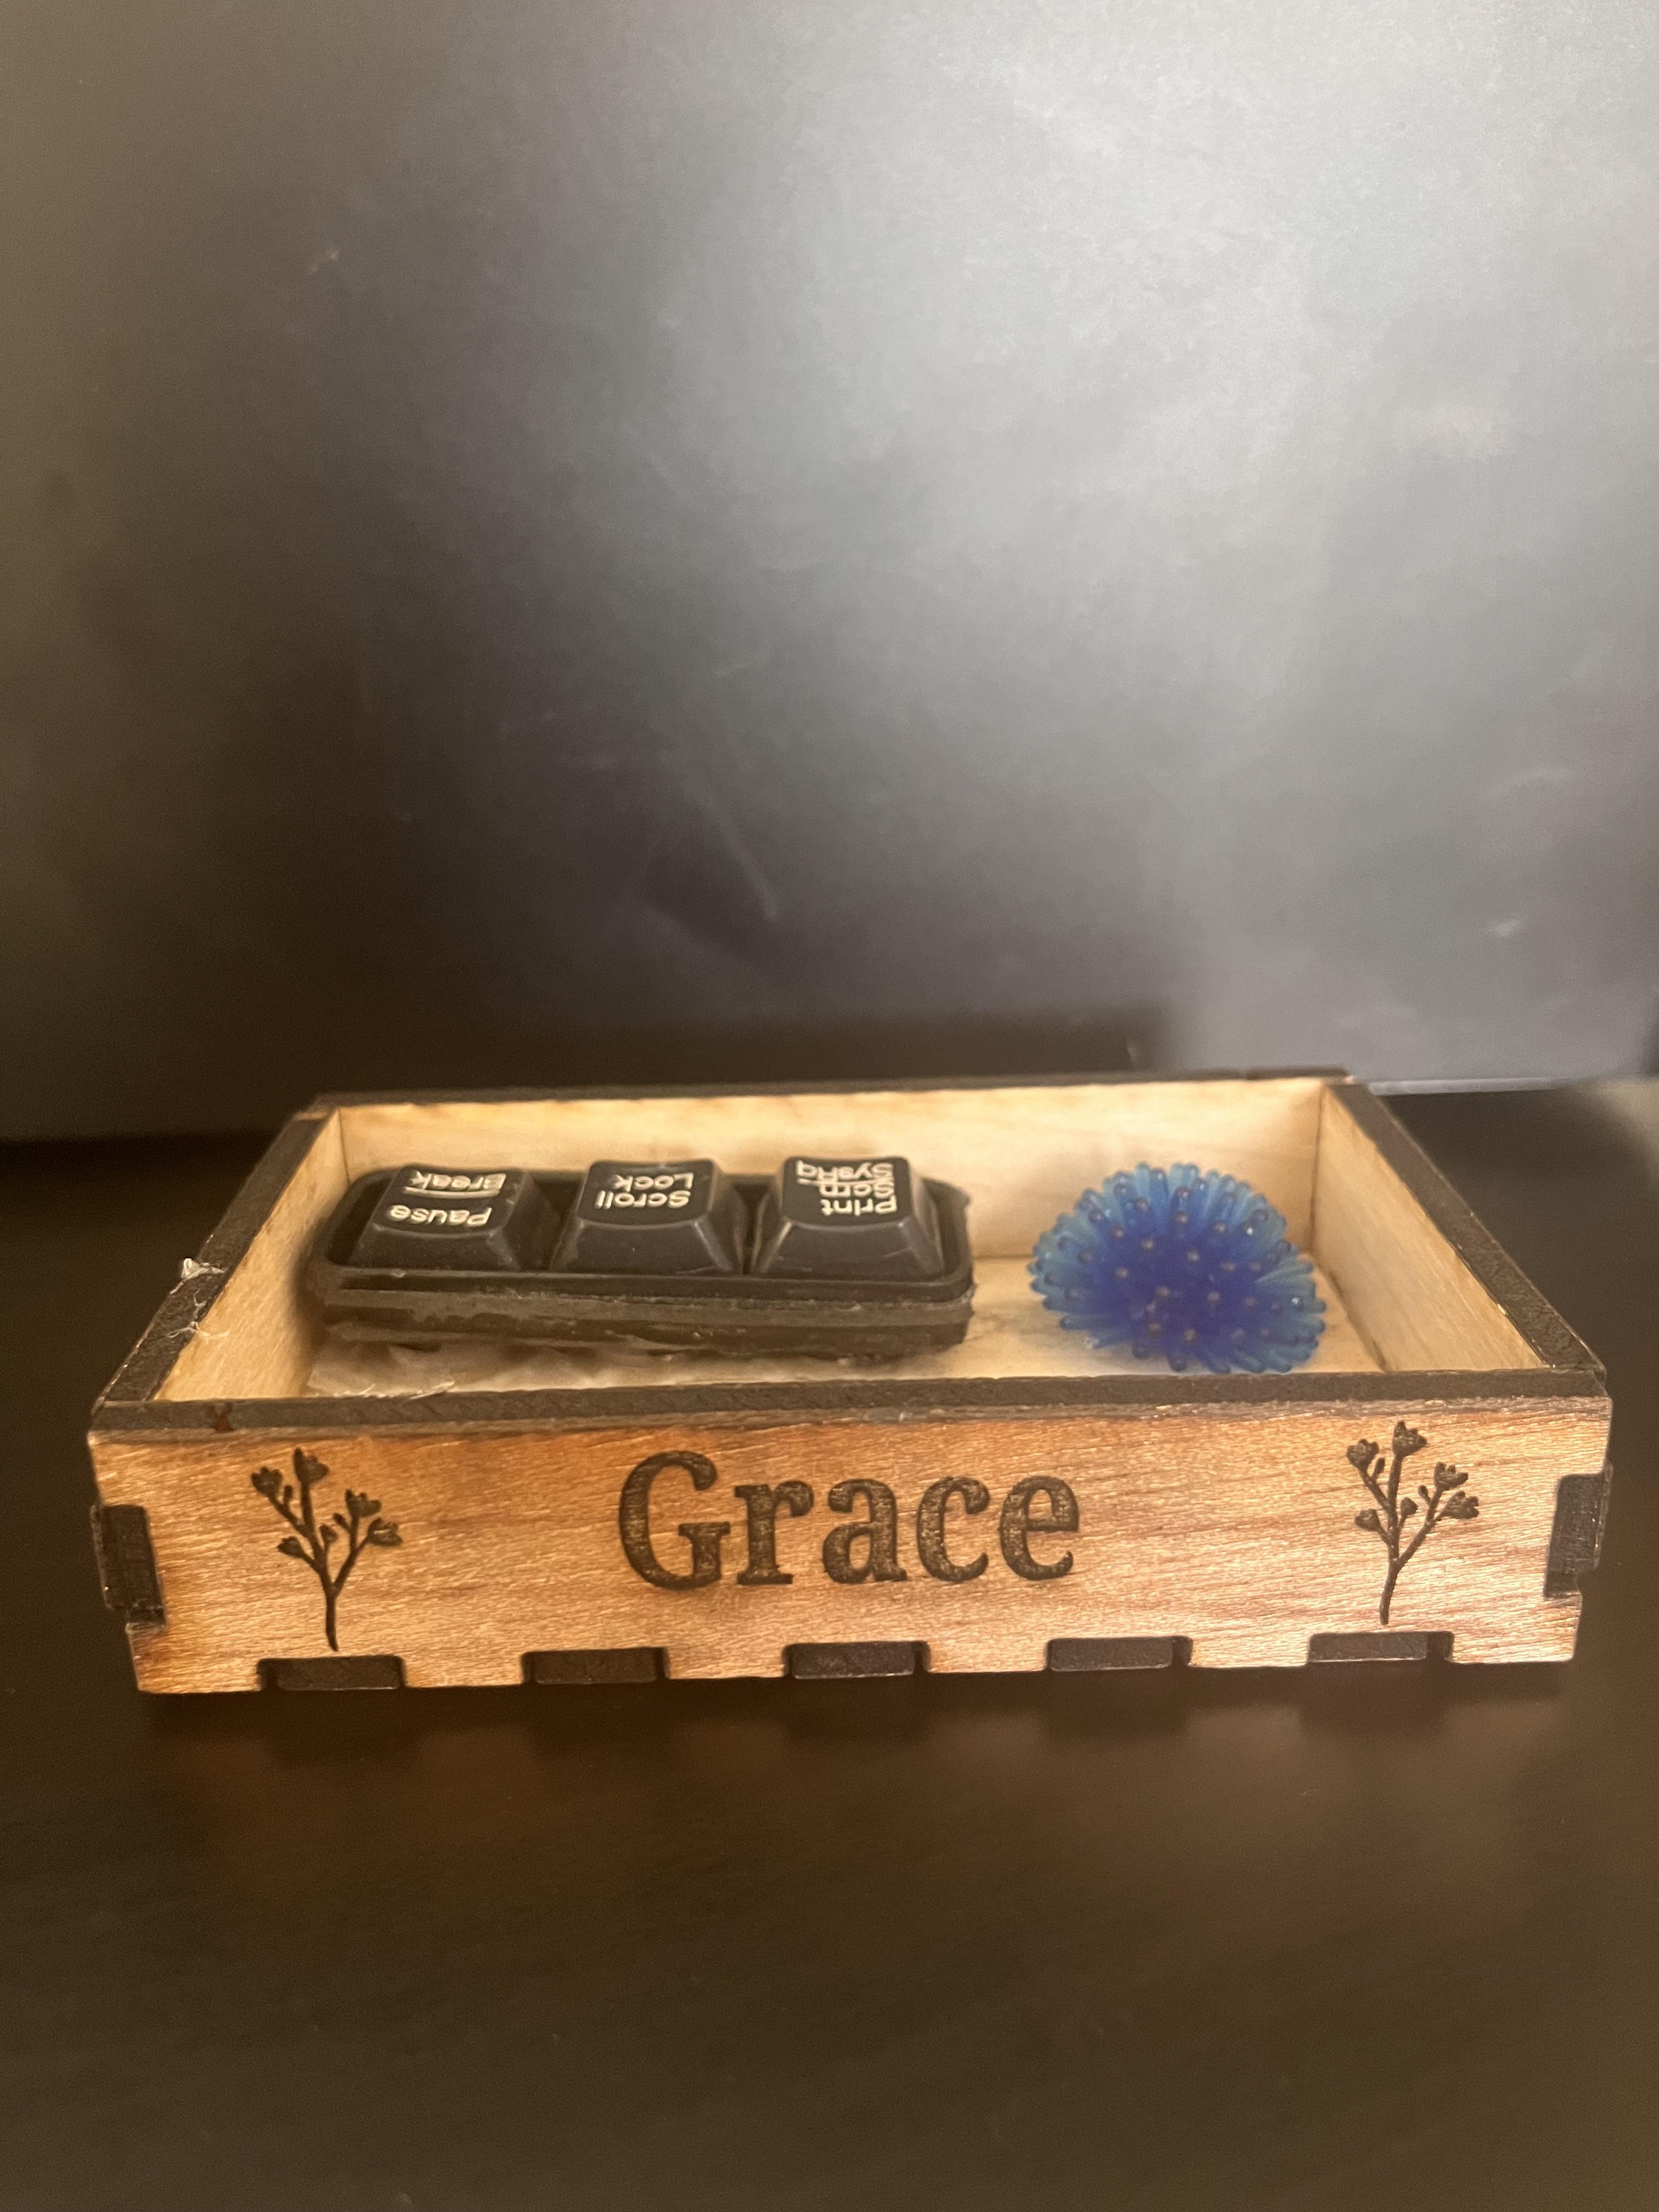
My Instructable is a Fidget Box made for one of my friends who was recently diagnosed with ADHD. So this toy is made for people that struggle with fidgeting issues and the lack of focus. It is a wood forked box, that has engravements of her name and small flower designs. Inside the box there are 3 keyboard keys, a rubber spiky topper, and 5 bubble pops in the final product. She really enjoyed the box, so I hope it can help you too!
Supplies
For the supplies there is a wide variety of objects that you can change out of the box to fit your fidget needs, but in mine I chose things specific for my client. Like I said above the box is made from a 1/4 inch of birch plywood, 3 plastic keyboard keys along with 3 silicone rubber keypads under them, I also decided to add 5 of these keypads by themselves because they could also add as a fidget, the last fidget is a blue rubber spiky topper of one of those rings from arcades. Other things that will help make this project easier is a laser cutter, a hand saw, scissors, sand paper, and super glue. Again, all of these fidgets are interchangeable if you cannot get them or you are not interested. Making this project as customizable as you want!
First Prototype
.jpg)
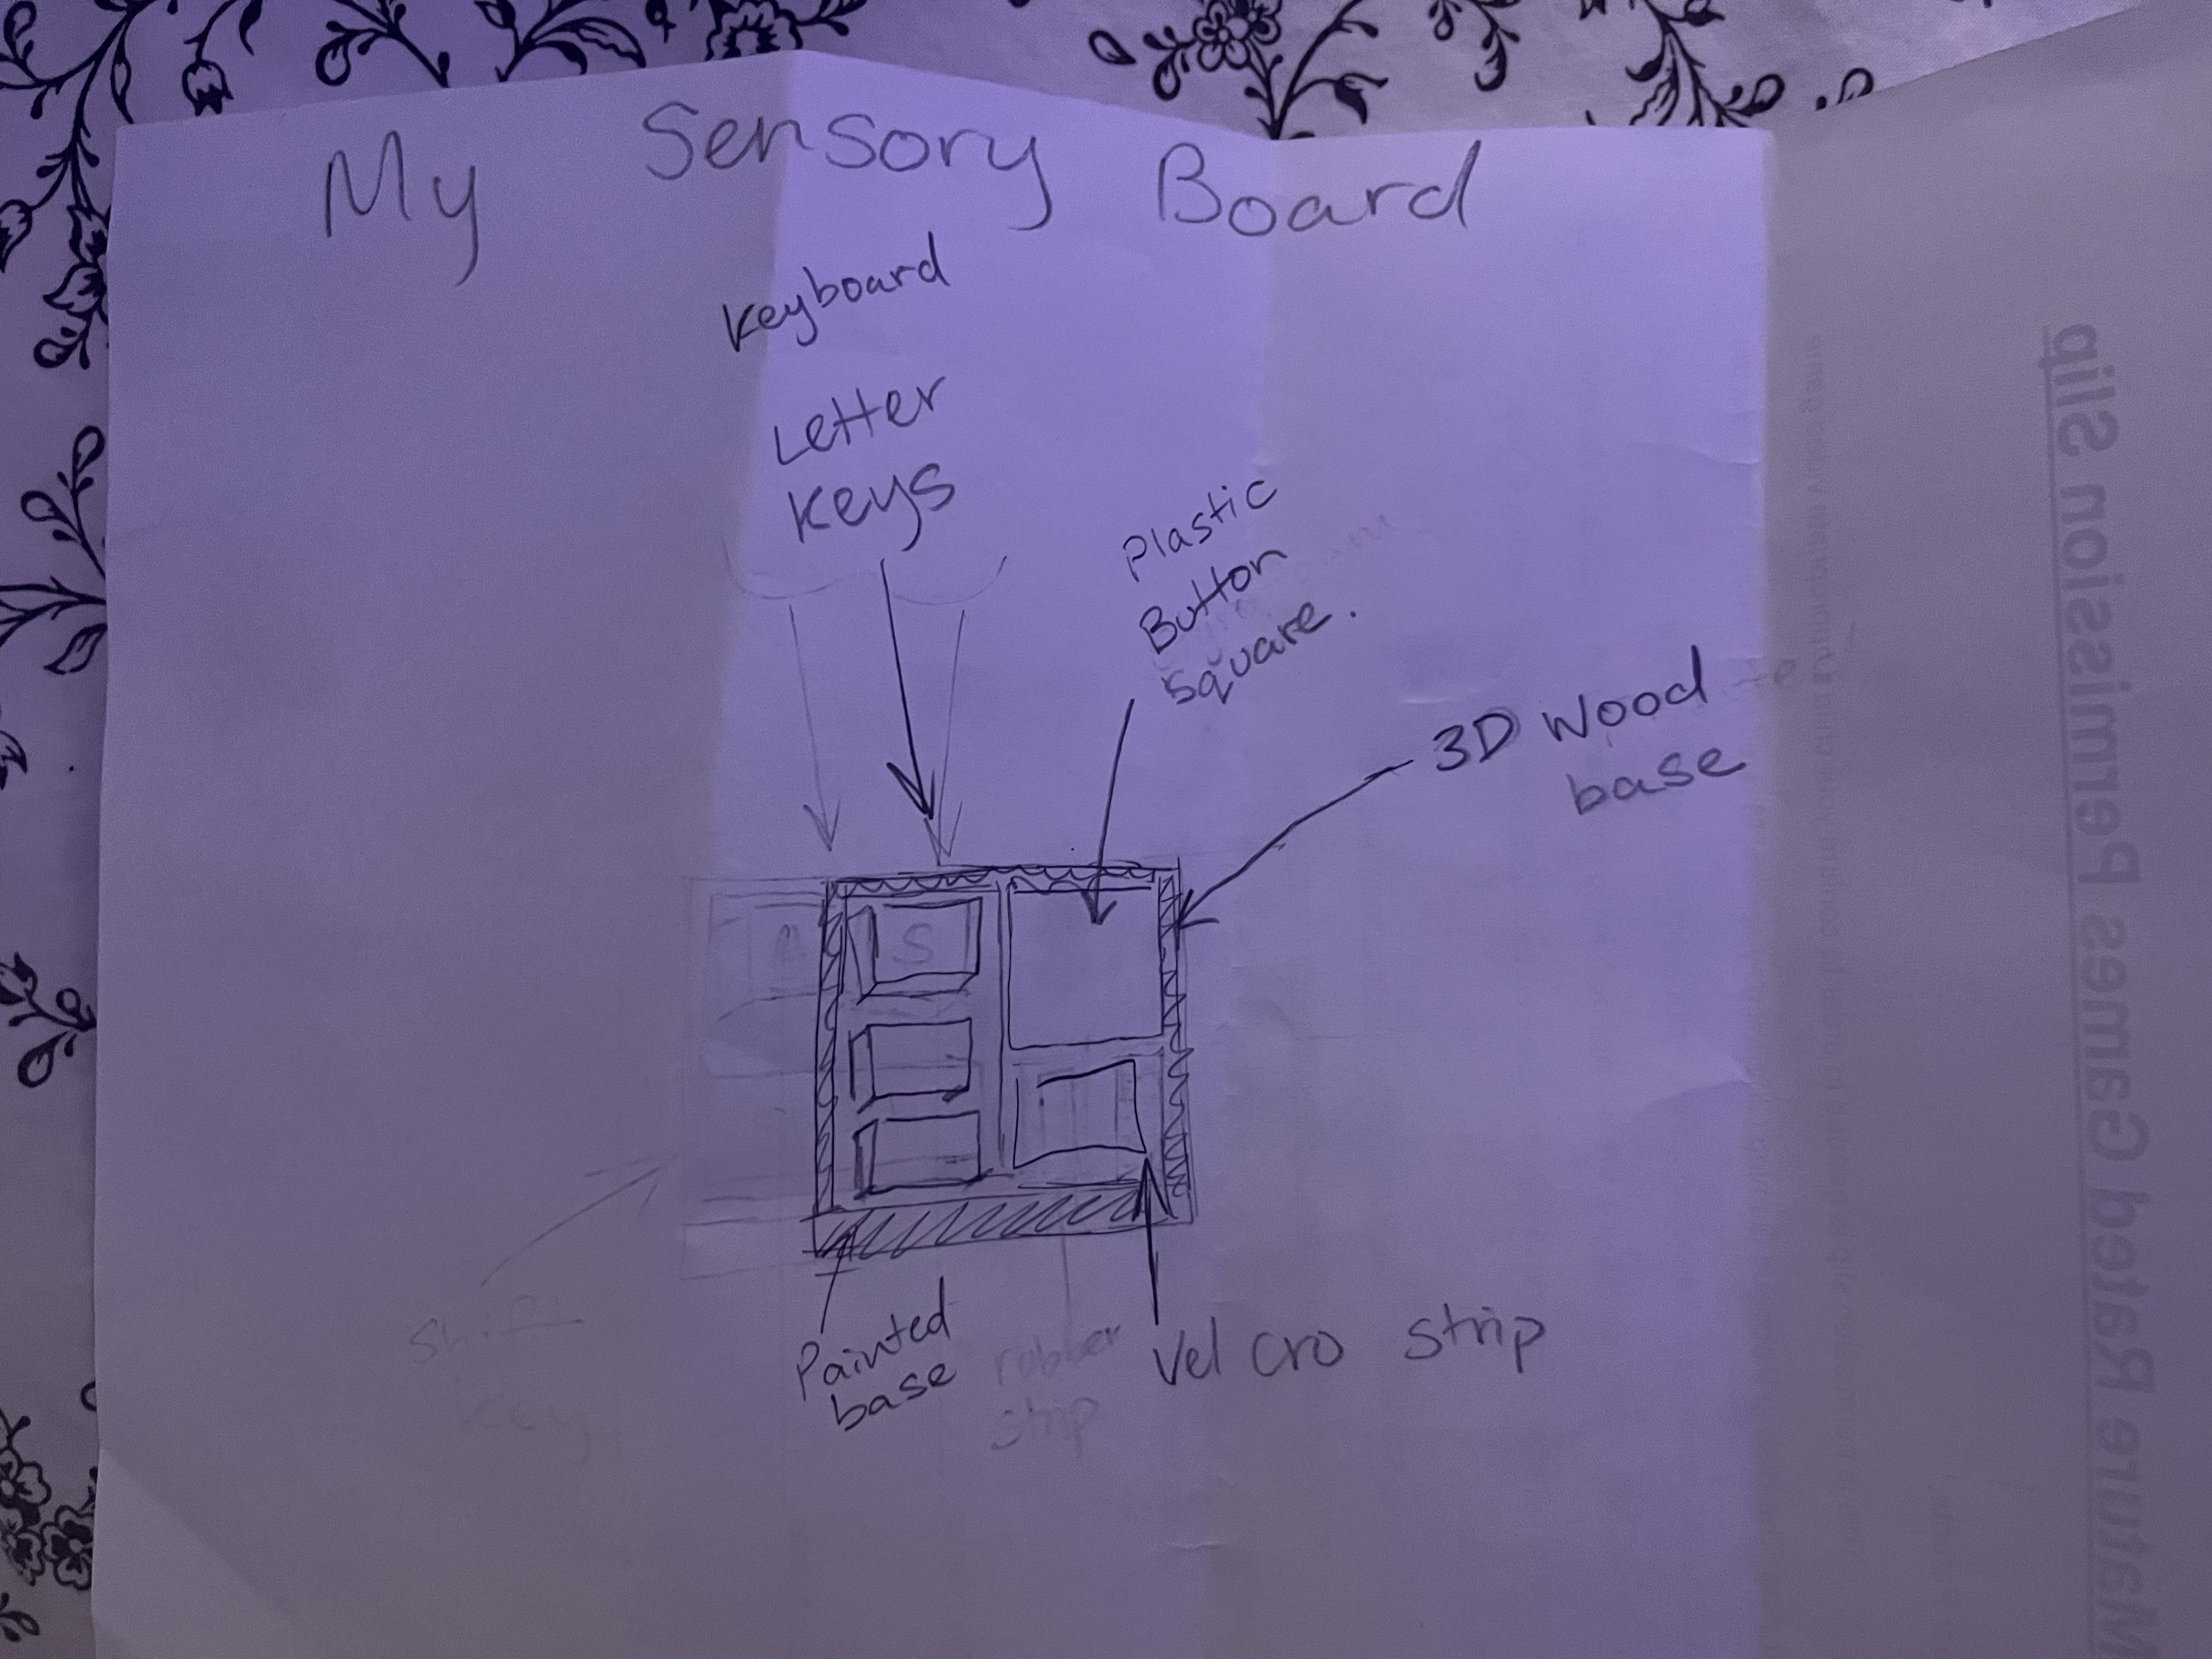
The best way to start this project is to draw out what you think you want to make. Keep in mind this is a draft so many things may change if you would like. Be creative and optimistic of the possibilities you can have. For my "blueprint" I drew a square resembling the wood box I was going to make, I added 3 keys in the box, with a square for a Velcro strip (that I ended up changing based off of my clients needs) and silicone rubber keypads as well. Drawing a sketch of what you are going to make really can help speeding up your process of creation.
Second Prototype
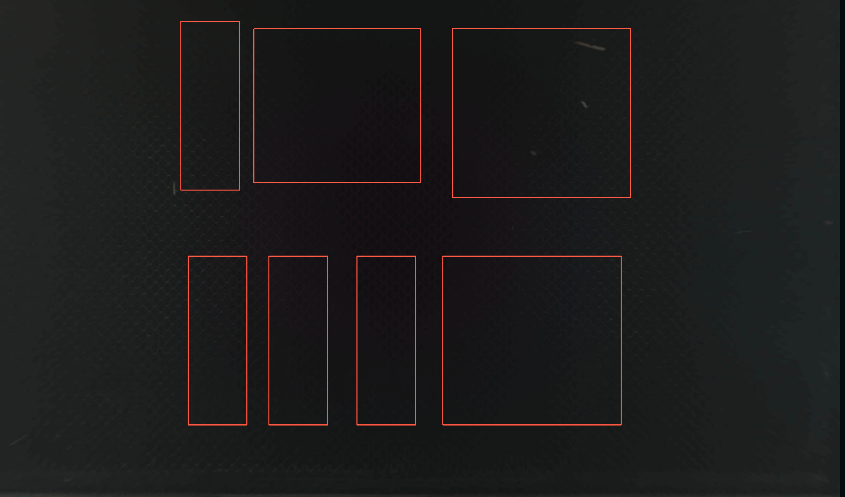
Unlike you're blueprint, the next step is making a physical prototype. Although this is not your final project so leave room for improvements. When making my prototype, I used all of the same materials except instead of wood I used carboard to make sure my idea was feasible. I used Glow Forge to size the carboard to the right length for the laser cutter. These measurements are exact to what I used so no need to measure yourself. Once cut, I used super glue to glue the pieces together along with the other objects inside the box. Then your first prototype is done!
Final Prototype
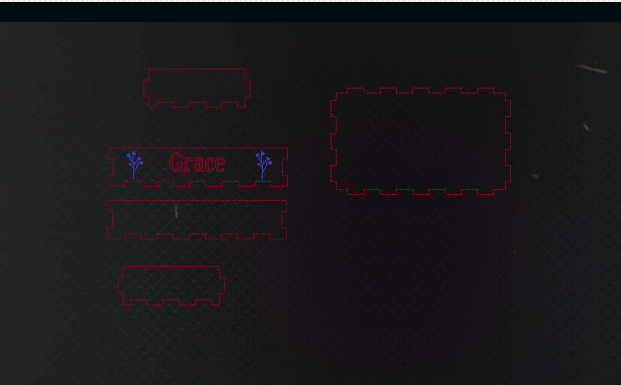
The steps to your final project are pretty simple so do not be worried! You will be using the same website Glow Forge. Although in this step you will be using different measurements to fit the exact objects that you want. (in my case I changed the measurements from the first prototype.) Before using Glow Forge I used MakerCase to create the forked box. So if you need to change the measurements of the box use that website, if not then just go straight to my Glow Forge. (If you want to make engravements the next step will be details.) Once the box is laser cut you will get straight to work on putting the box together. Lay all four pieces together having the biggest rectangle in the center with the corresponding sides next to it. Align the forks together and put glue on each one. Then grab sides and put the forks into there holes and hold for a few minutes on each. Repeat this process on all sides. To ensure the box is in the right place you an use clamps on both sides, these are not needed but suggested. Leave the box for 24 hours. After your box is put together you will use super glue to put all of your pieces in. Now your final project is finished!
Engravements

This step is completely optional but I believe it adds personality to your fidget box. In this step you will add engravements to your box. We will be using Glow Forge again. Once your project is opened on the top there is a big blue plus sign. To the right there is a T that stands for text. This is where you will place the text you want to add to wherever on your project. If you want to add other engravements then you can simply press the plus sign and add art work. Look at picture above for reference.